Eagtac TX30C2 Flashlight Review
Eagtac has the Eagtac TX30C2 flashlight, an 18650 light that uses the Nichia 219c emitter and has an indicating switch! Read on for testing.
Official Specs and Features
Here’s a link to the Eagtac TX30C2 Flashlight product page.
Versions
There are two packages of this light. One is just the light package (which is what I have here- you can see what that includes below). The other is the “kit” package, which includes a few extras like a strike bezel, holster, and diffuser.
Price
I got this one from KillzoneFlashlights.com, and that’s where I’d recommend you get it. They’re an authorized dealer for EagTac. The going price is $110.
Short Review
There are many things I like about this light, and a couple of things I don’t. The things I don’t like are the lack of low voltage protection and the lack of a switch warning on low voltage. The things I like about the light are: everything else. This is a nice quality light, with interesting features, which I’ll cover later!
Long Review
The Big Table
| Eagletac TX30C2 | |
|---|---|
| Emitter: | Nichia 219c (4000K CRI92R9050 SW40 D240) |
| Price in USD at publication time: | $110.00 |
| Cell: | 18650 |
| Turbo Runtime | High Runtime |
| LVP? | No |
| Switch Type: | E-Switch |
| Quiescent Current (A): | ? |
| On-Board Charging? | No |
| Claimed Lumens (lm) | 885 |
| Measured Lumens (at 30s) | 735 (83.1% of claim)^ |
| Claimed Throw (m) | 269 |
| Candela (Calculated) in cd (at 30s) | 852lux @ 5.045m = 21685cd |
| Throw (Calculated) (m) | 294.5 (109.5% of claim)^ |
| All my Eagletac reviews! | |
^ Measurement disclaimer: Testing flashlights is my hobby. I use hobbyist-level equipment for testing, including some I made myself. Try not to get buried in the details of manufacturer specifications versus measurements recorded here; A certain amount of difference (say, 10 or 15%) is perfectly reasonable.
What’s Included
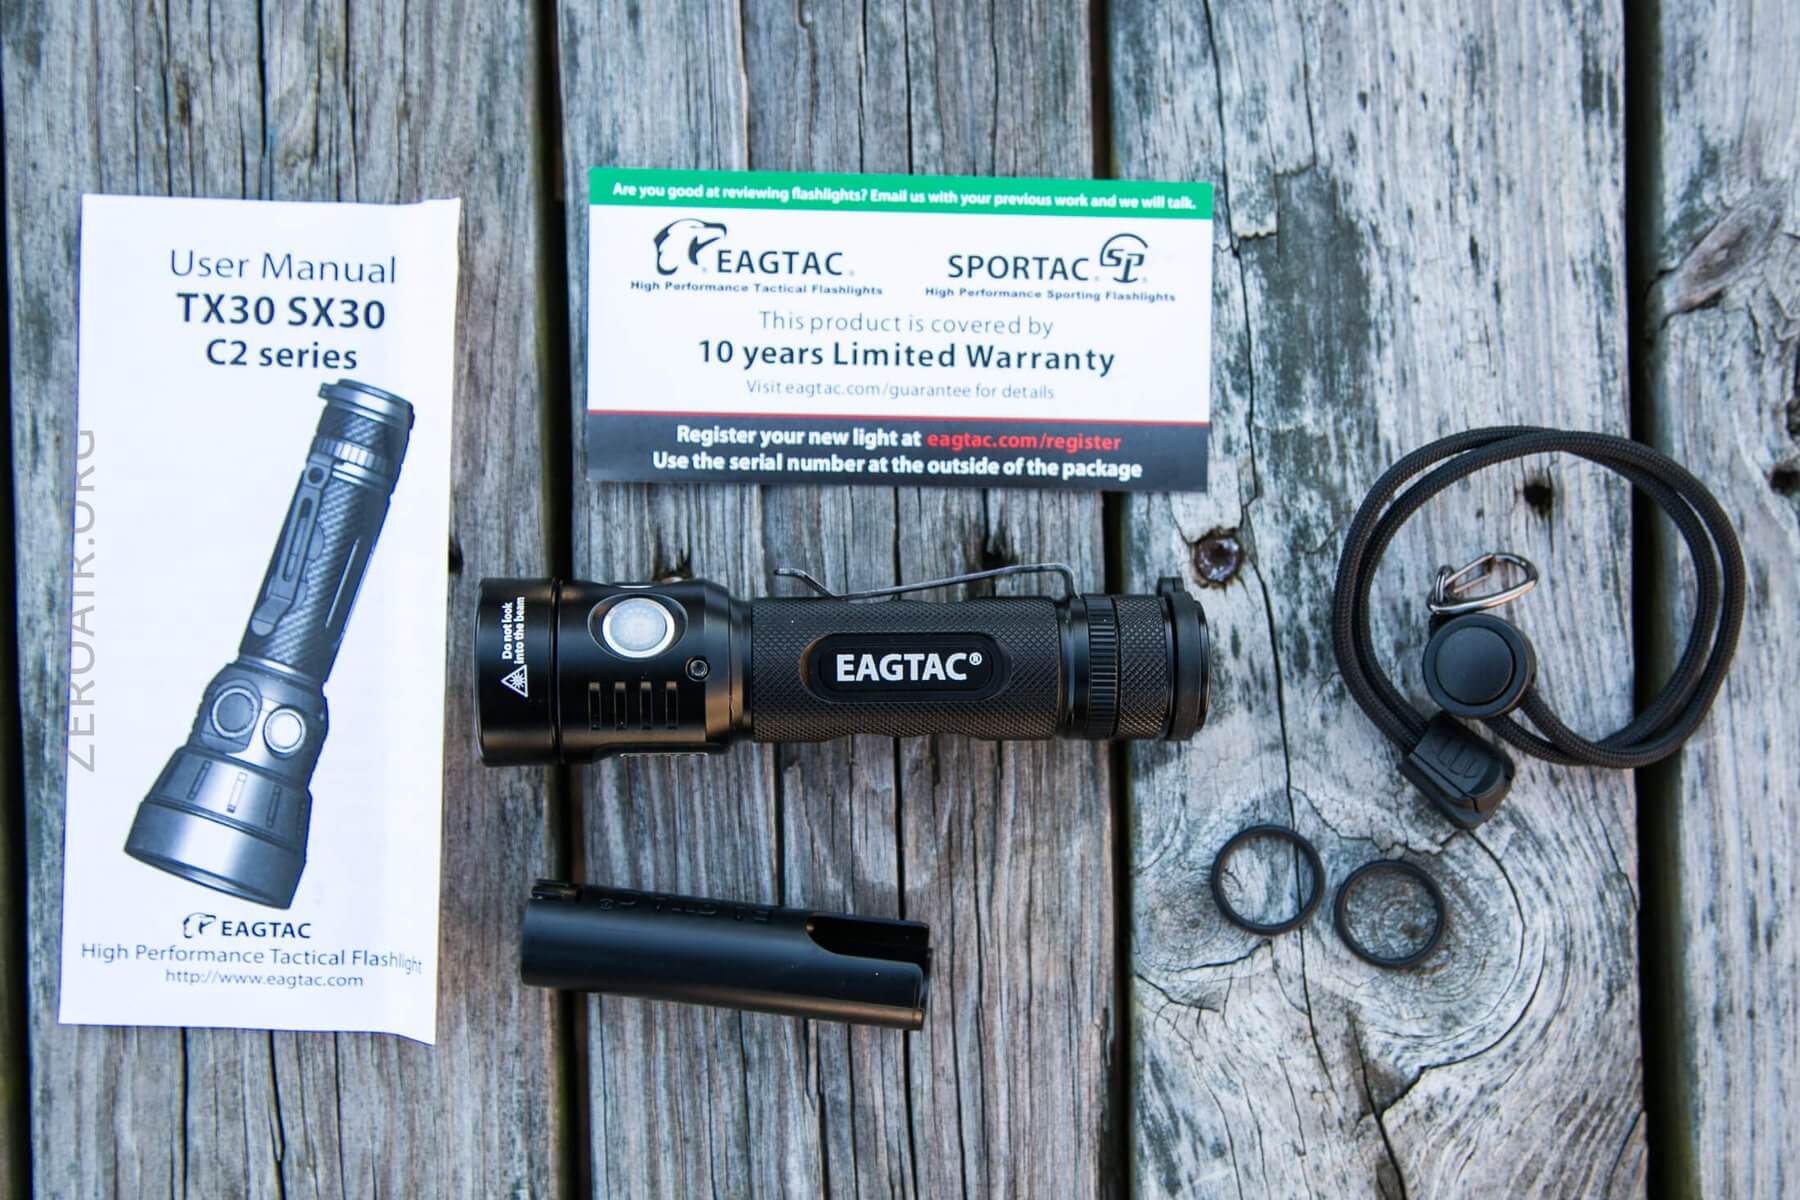
- EagTac TX30C2 Flashlight
- Lanyard
- Spare o-rings (2)
- Battery adapter for 2xCR123
- Manual and paperwork
Package and Manual
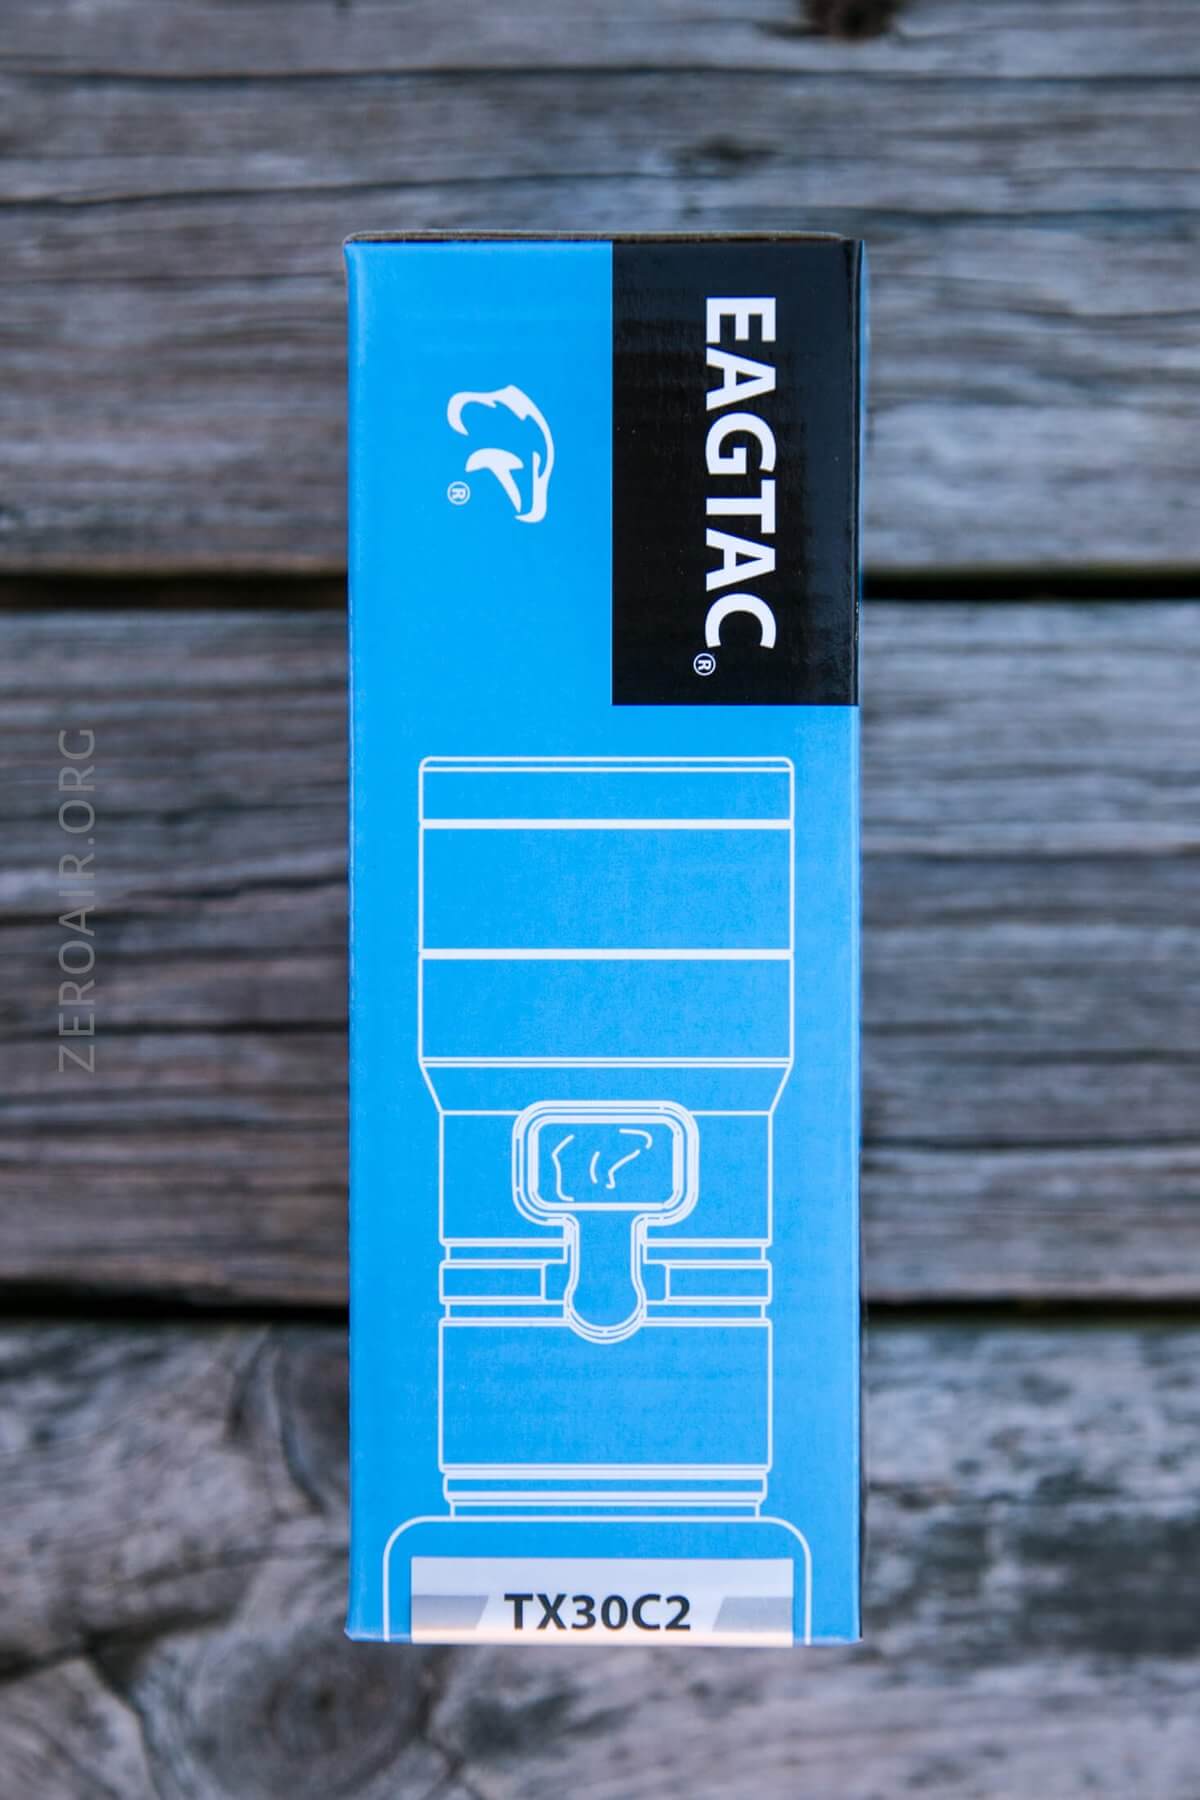
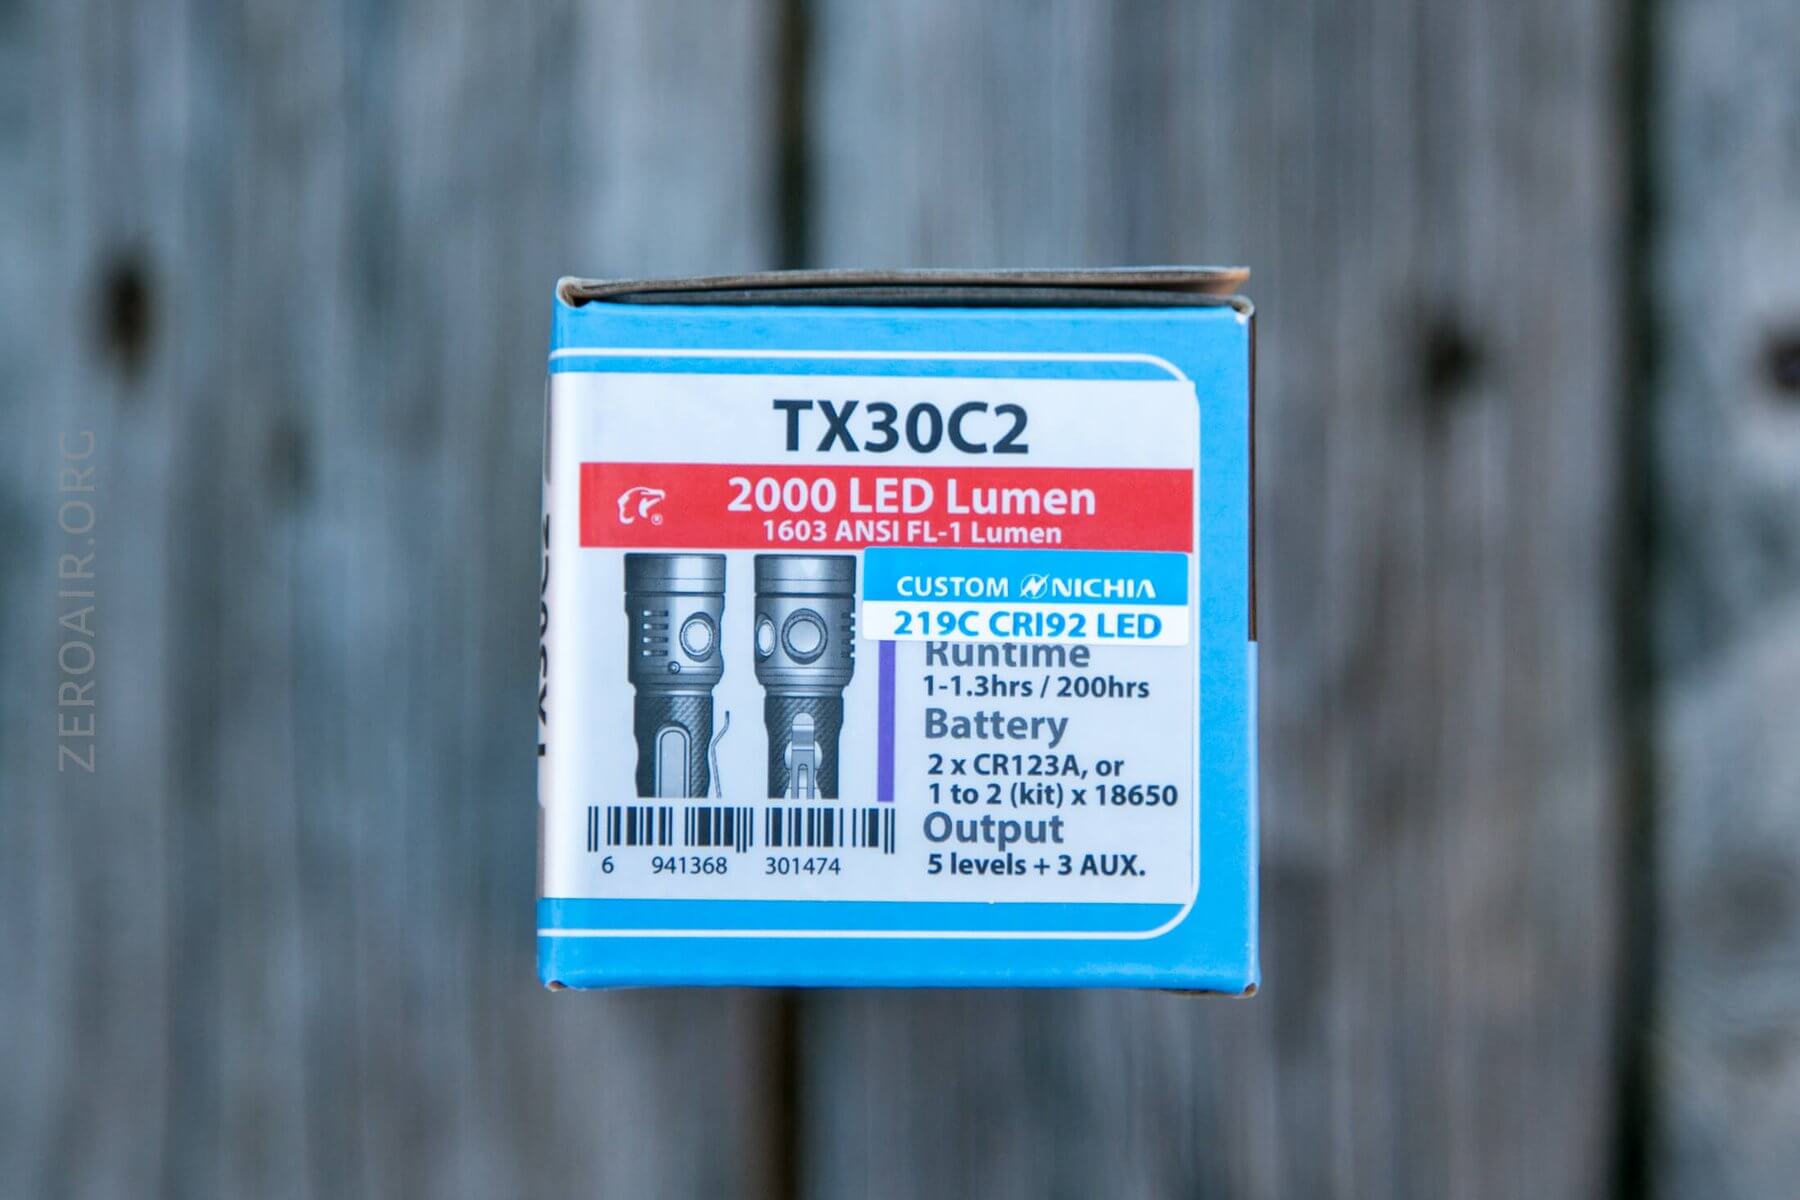
EagTac uses a cardboard box with a bunch of printing and distinctive coloring. You’ll guess that I like this package for its recyclability. It’s also a “standard” box – the same box used with other lights, differentiated by a sticker. See the sticker below, which covers the specs of the light. Unfortunately, some of the stickers are model generic, so, for example, the “Custom Nichia 219c CRI92 LED” sticker would override the “2000 LED Lumen” rating.
The light is held in place by more cardboard. Again, I like this better than foam, because of the lower environmental impact.

Here are some shots of the manual. It’s all in English and a two-sided fold-out paper. The manual actually services all the lights in this build series (TX30C2 and SX30C2).
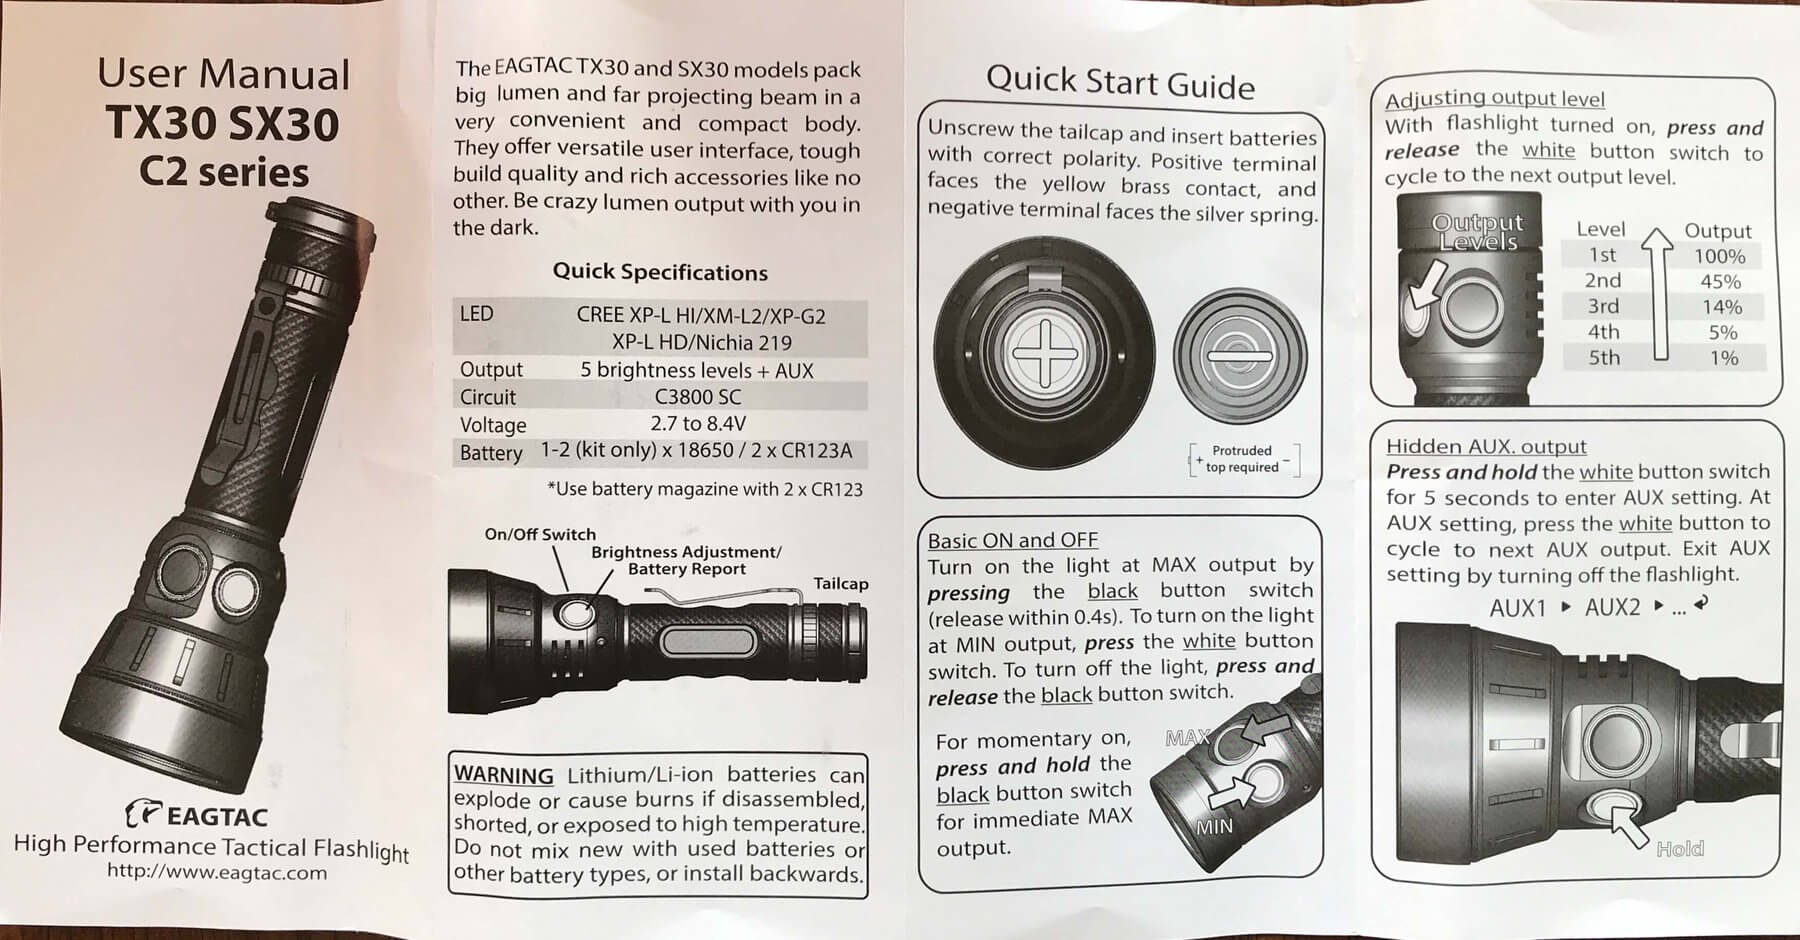
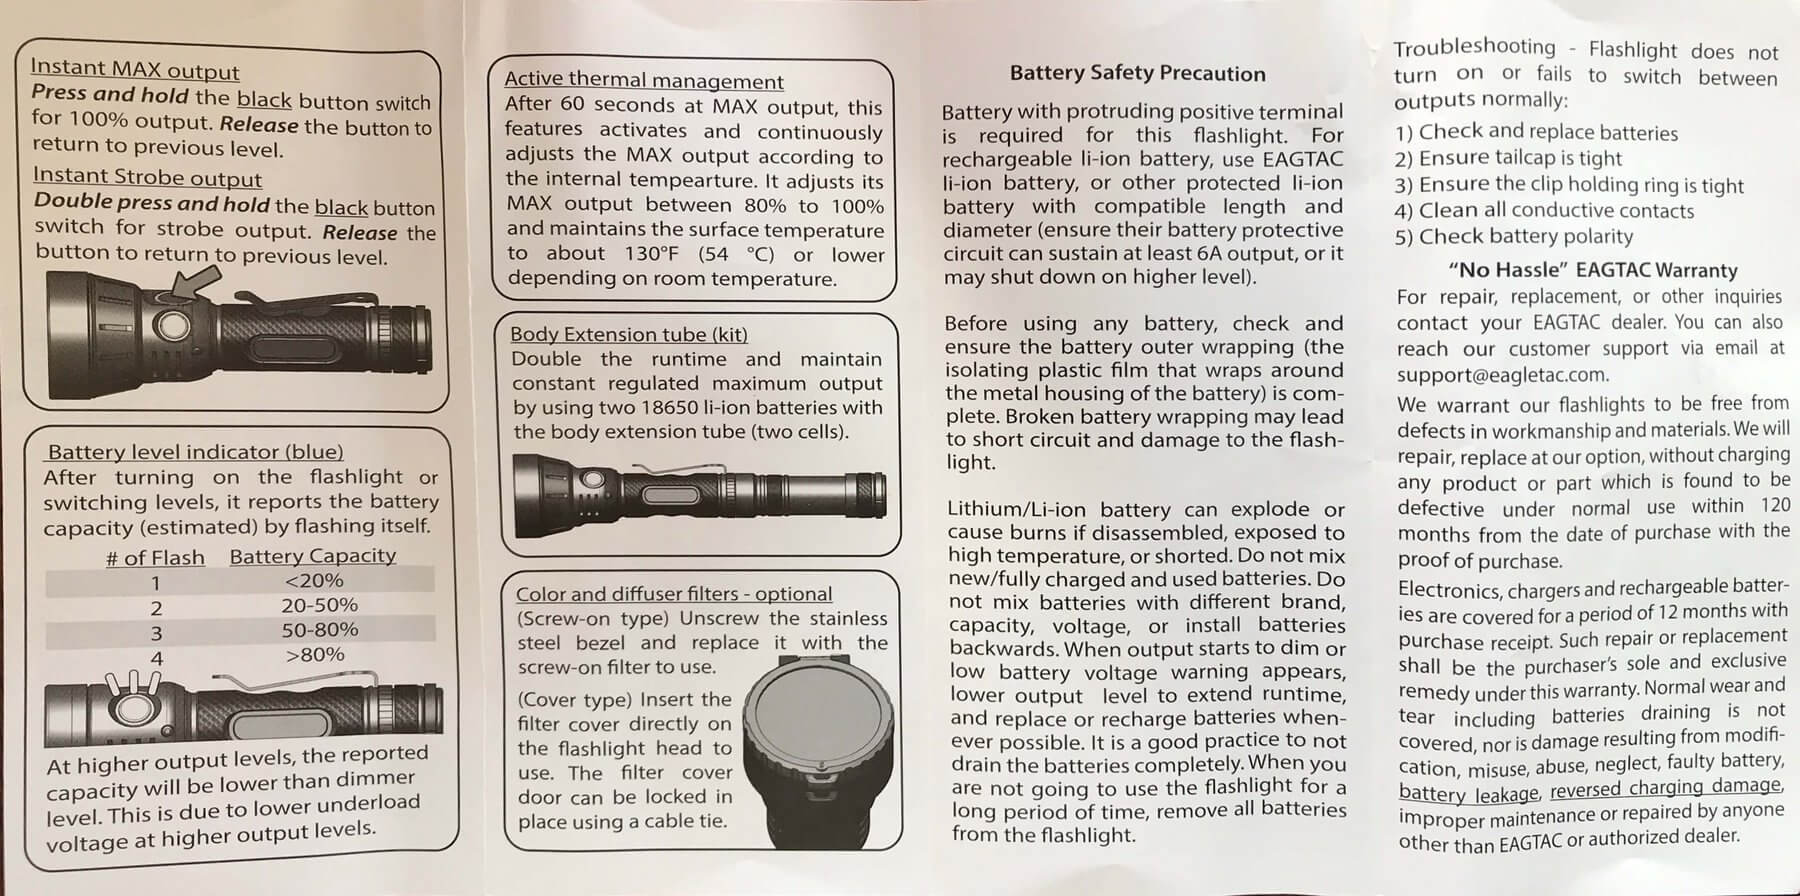
The manual, being that it includes more than just this light and that there are kits available, covers some options that you might not have. Like an extension tube and a diffuser cover.
Build Quality and Disassembly
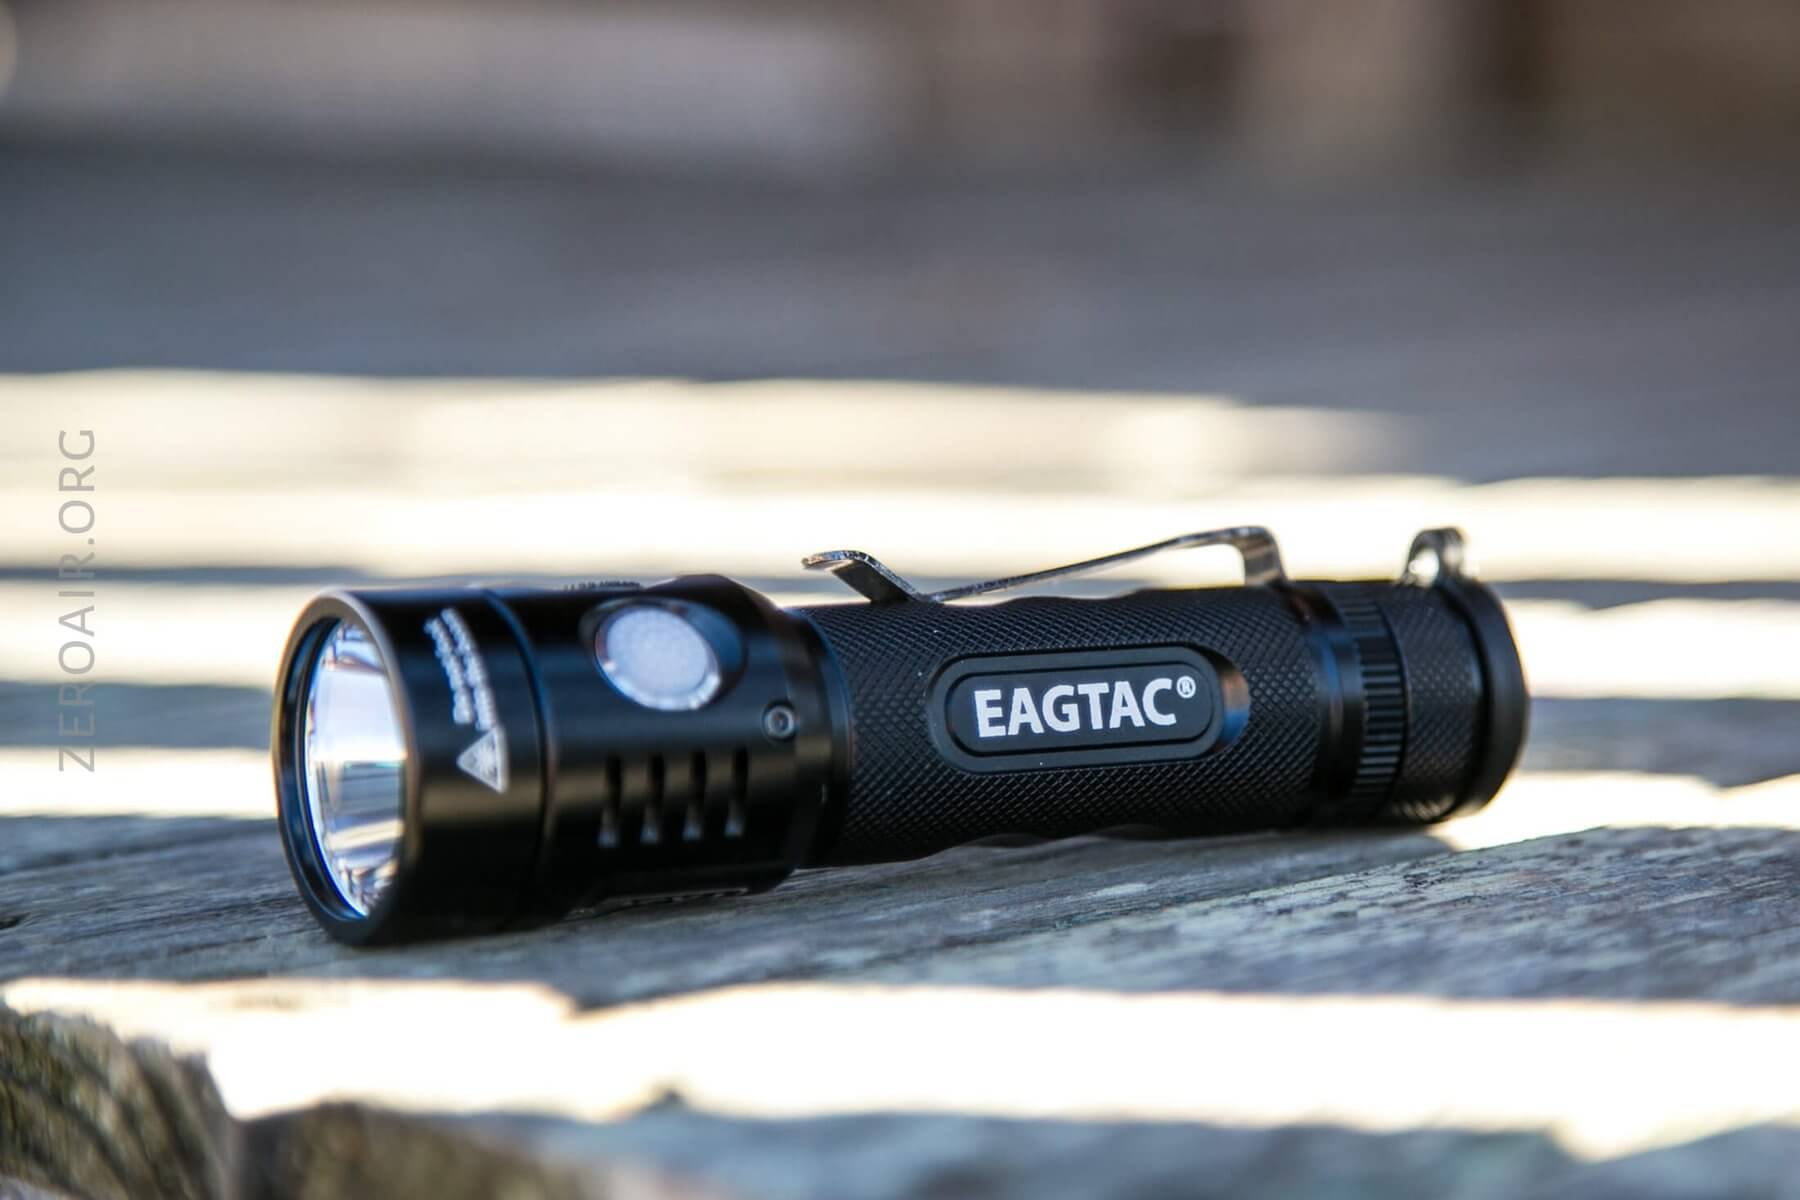
You can just glance at this light and know that it seems different. It’s evolved from a much earlier branch than most other flashlights today. That’s a good thing – you can get a few options in this light that you can’t get elsewhere!
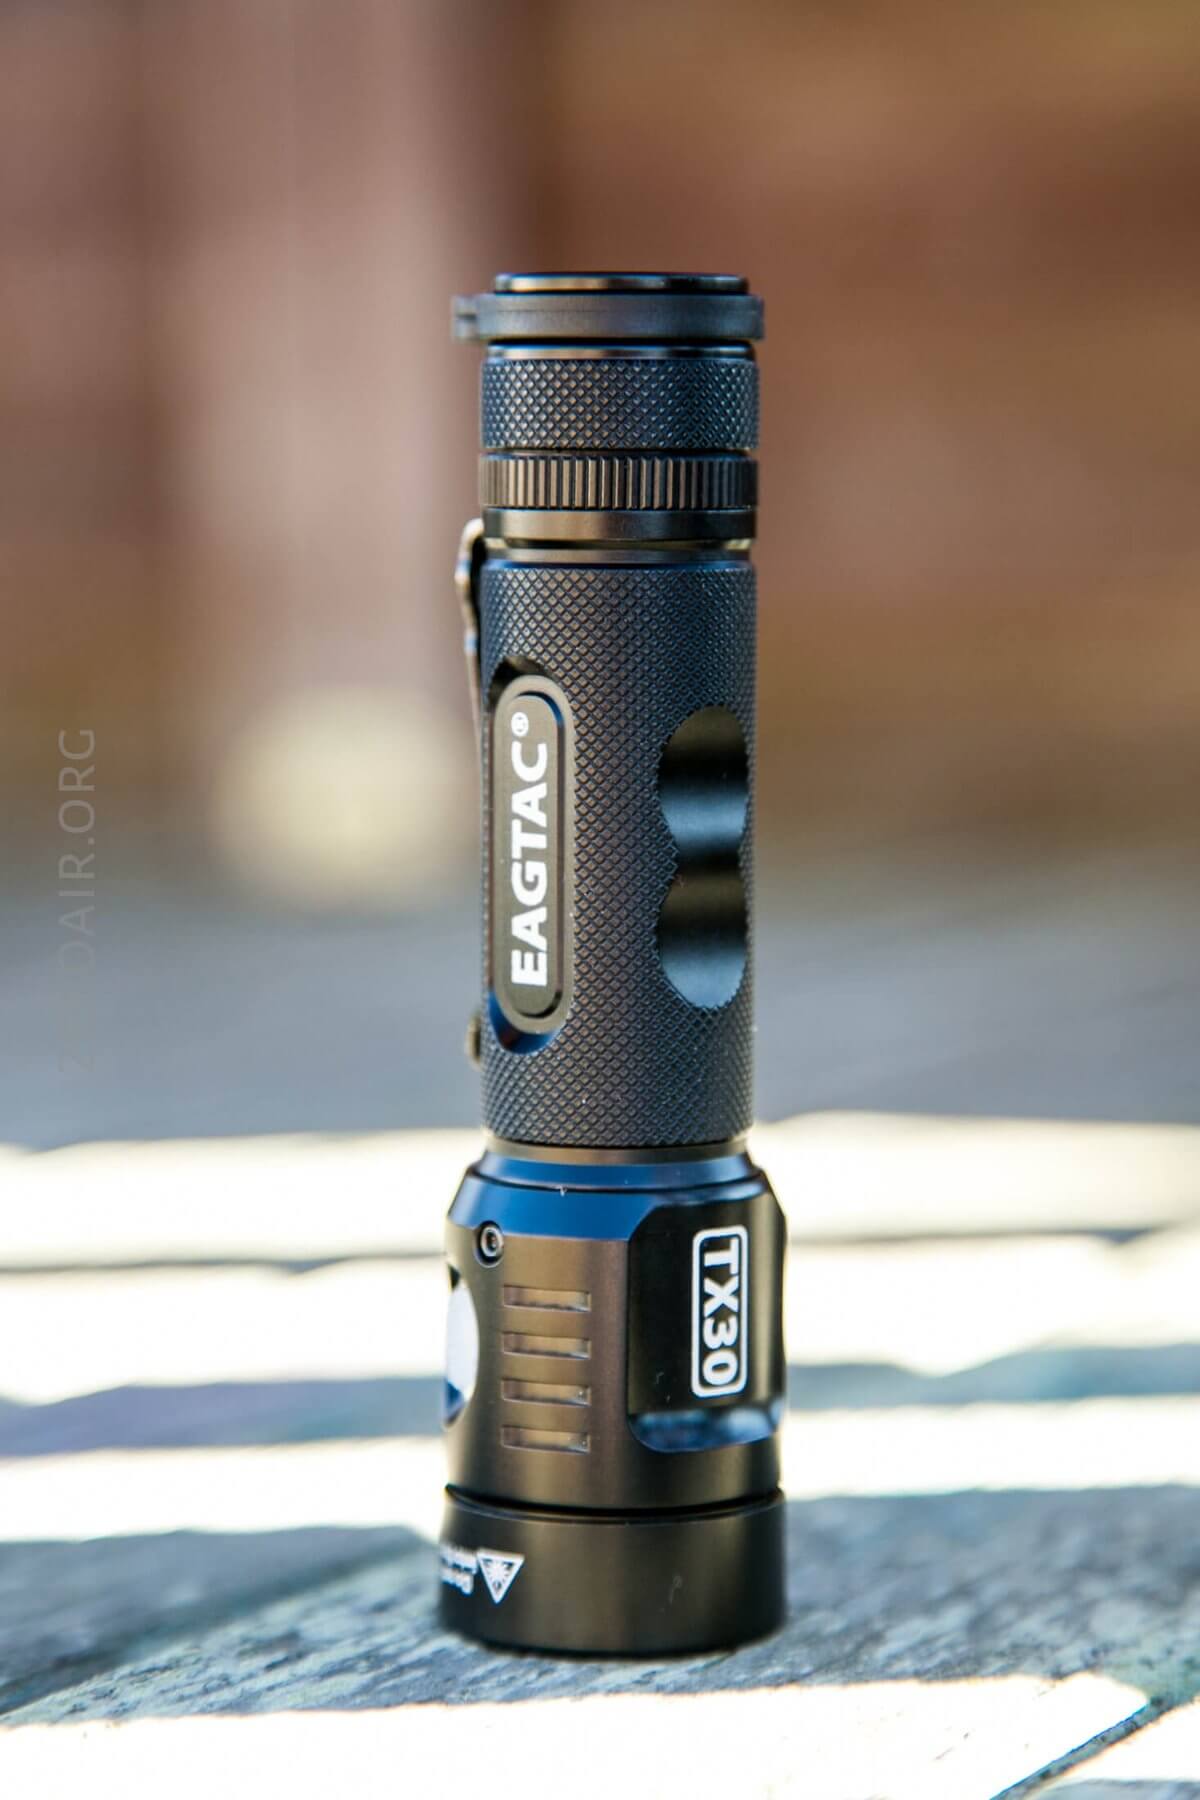
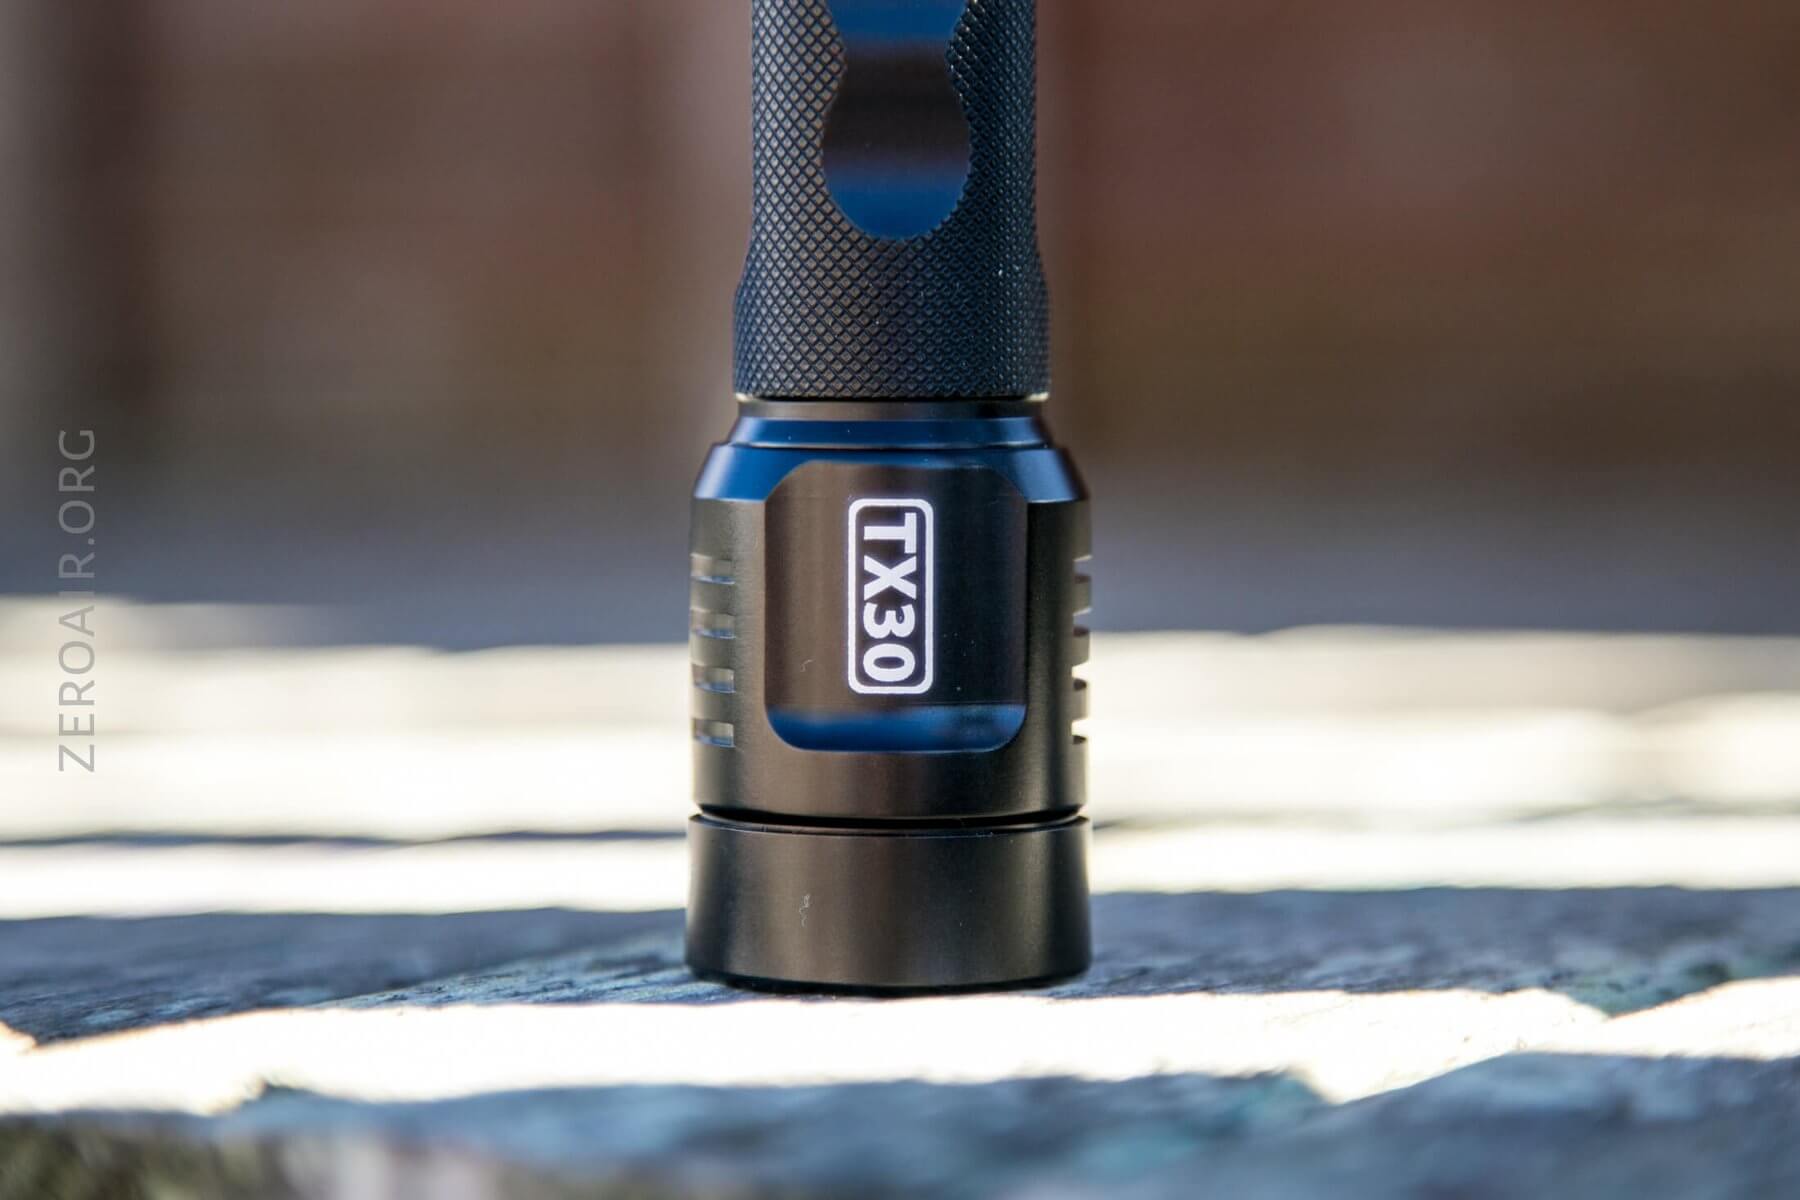
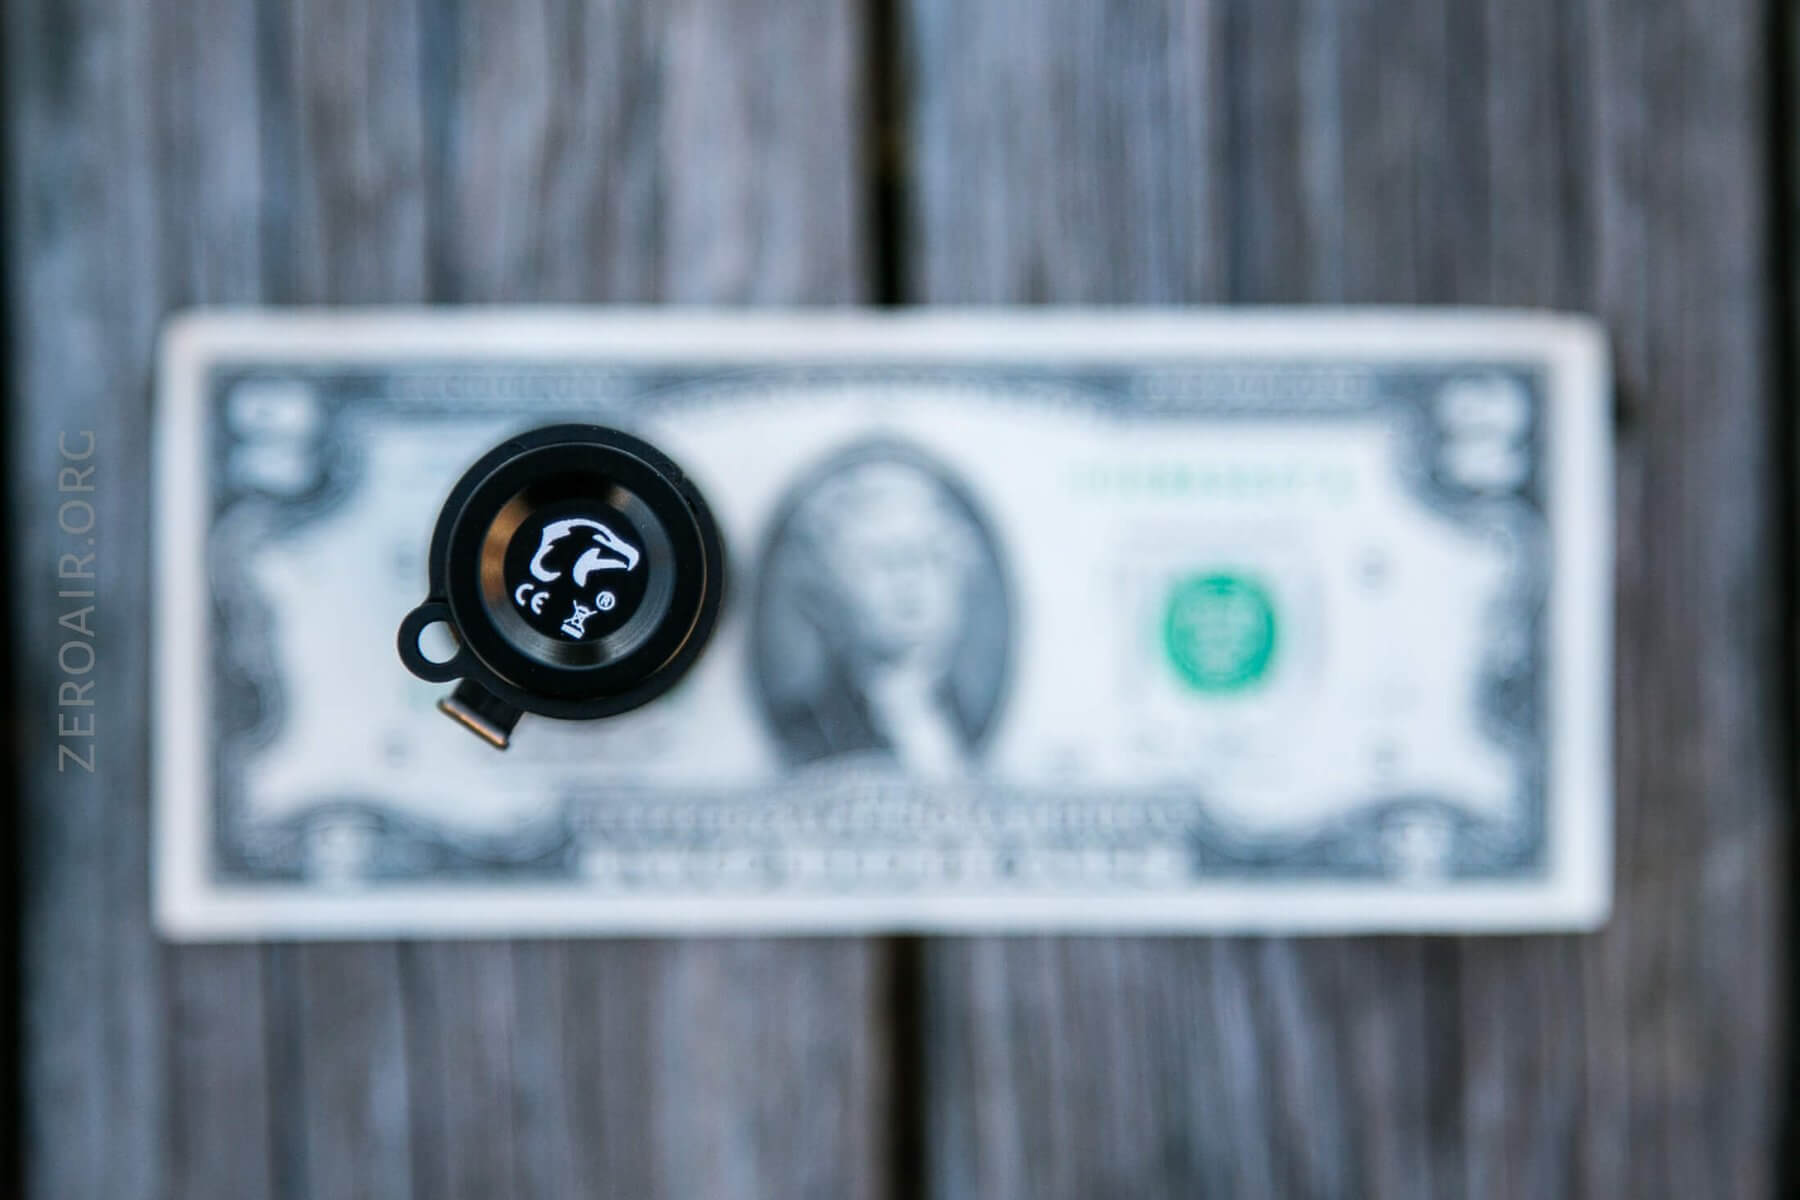
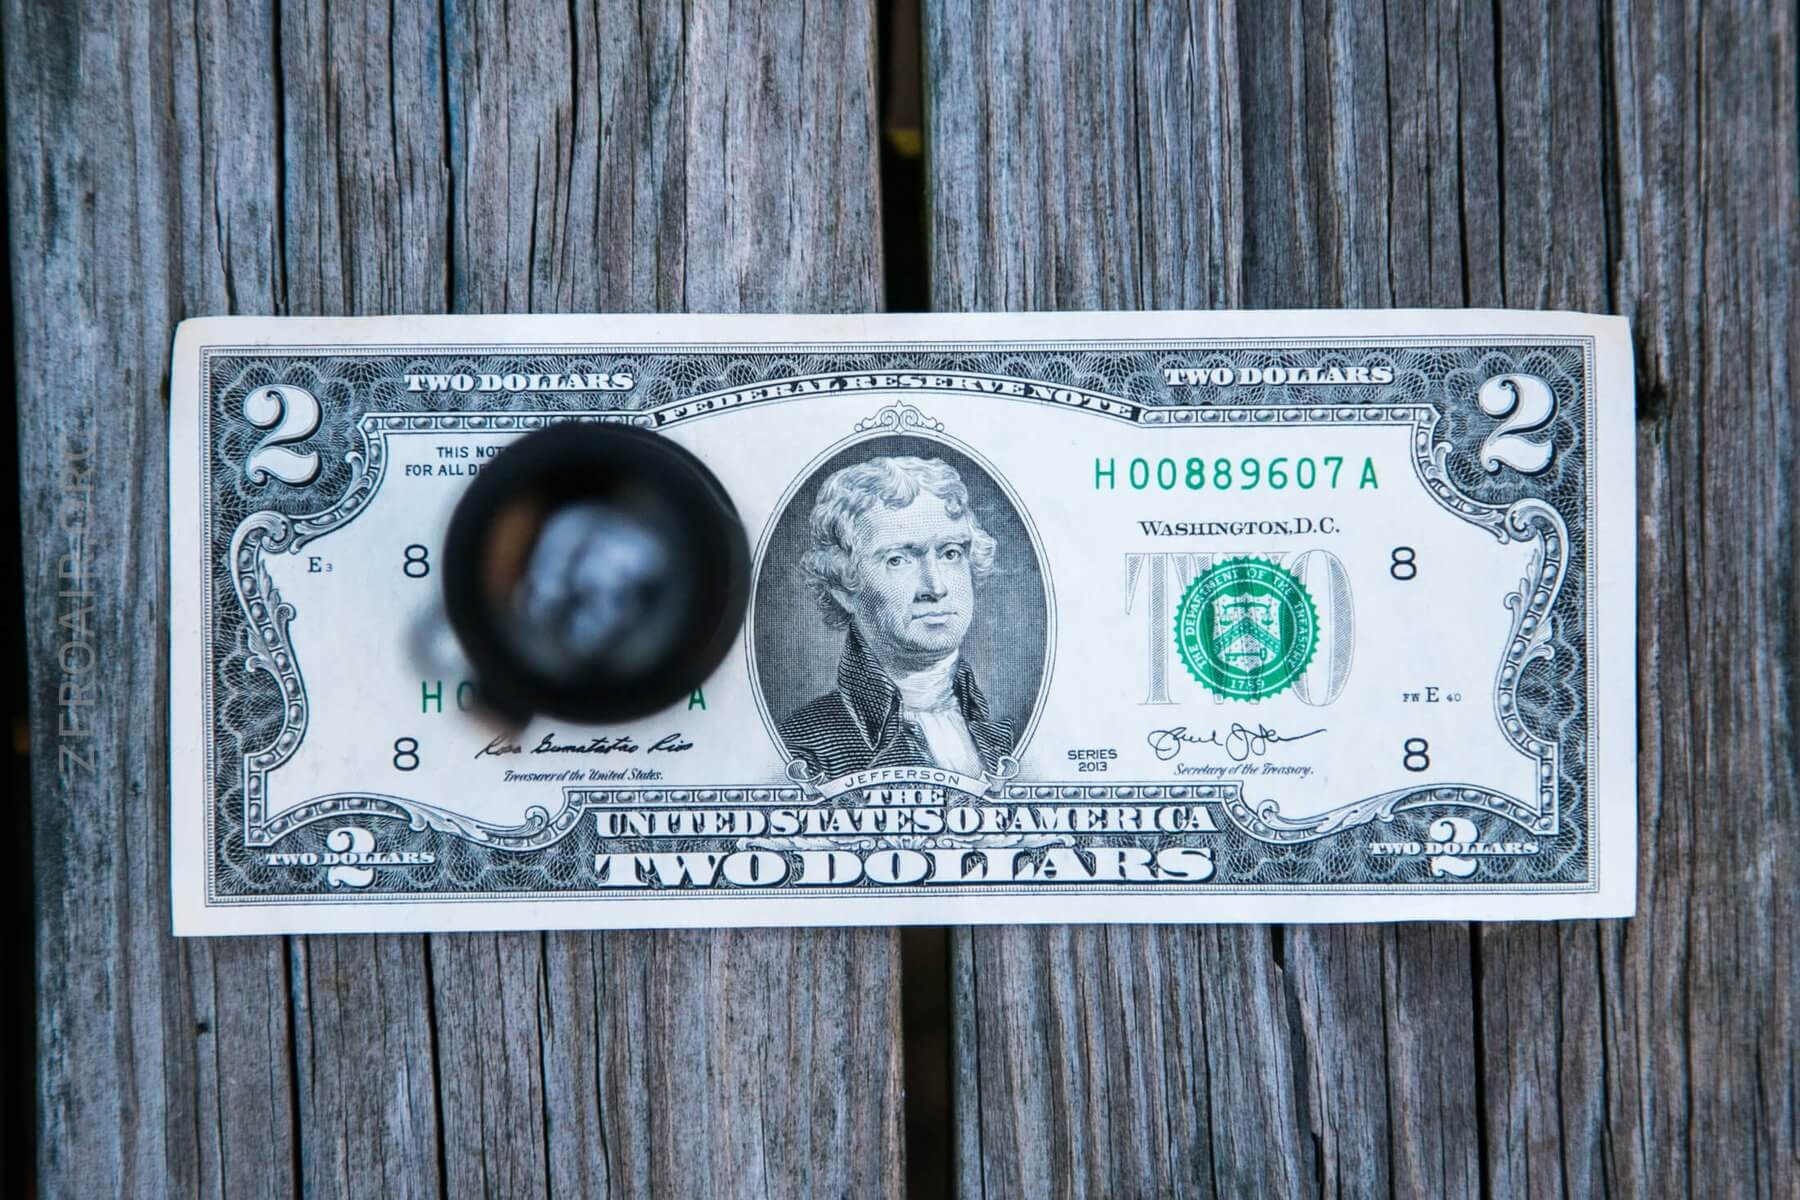
One of the main differences is in the tailcap. There’s a retaining ring, which is a lanyard attachment point. The different thing about that is how it allows you to remove the tailcap. Since this bit of the tailcap rotates freely, it’s possible to unscrew the tailcap without really releasing the grip from the tailcap. That might seem minor, but it’s really a nice thing.

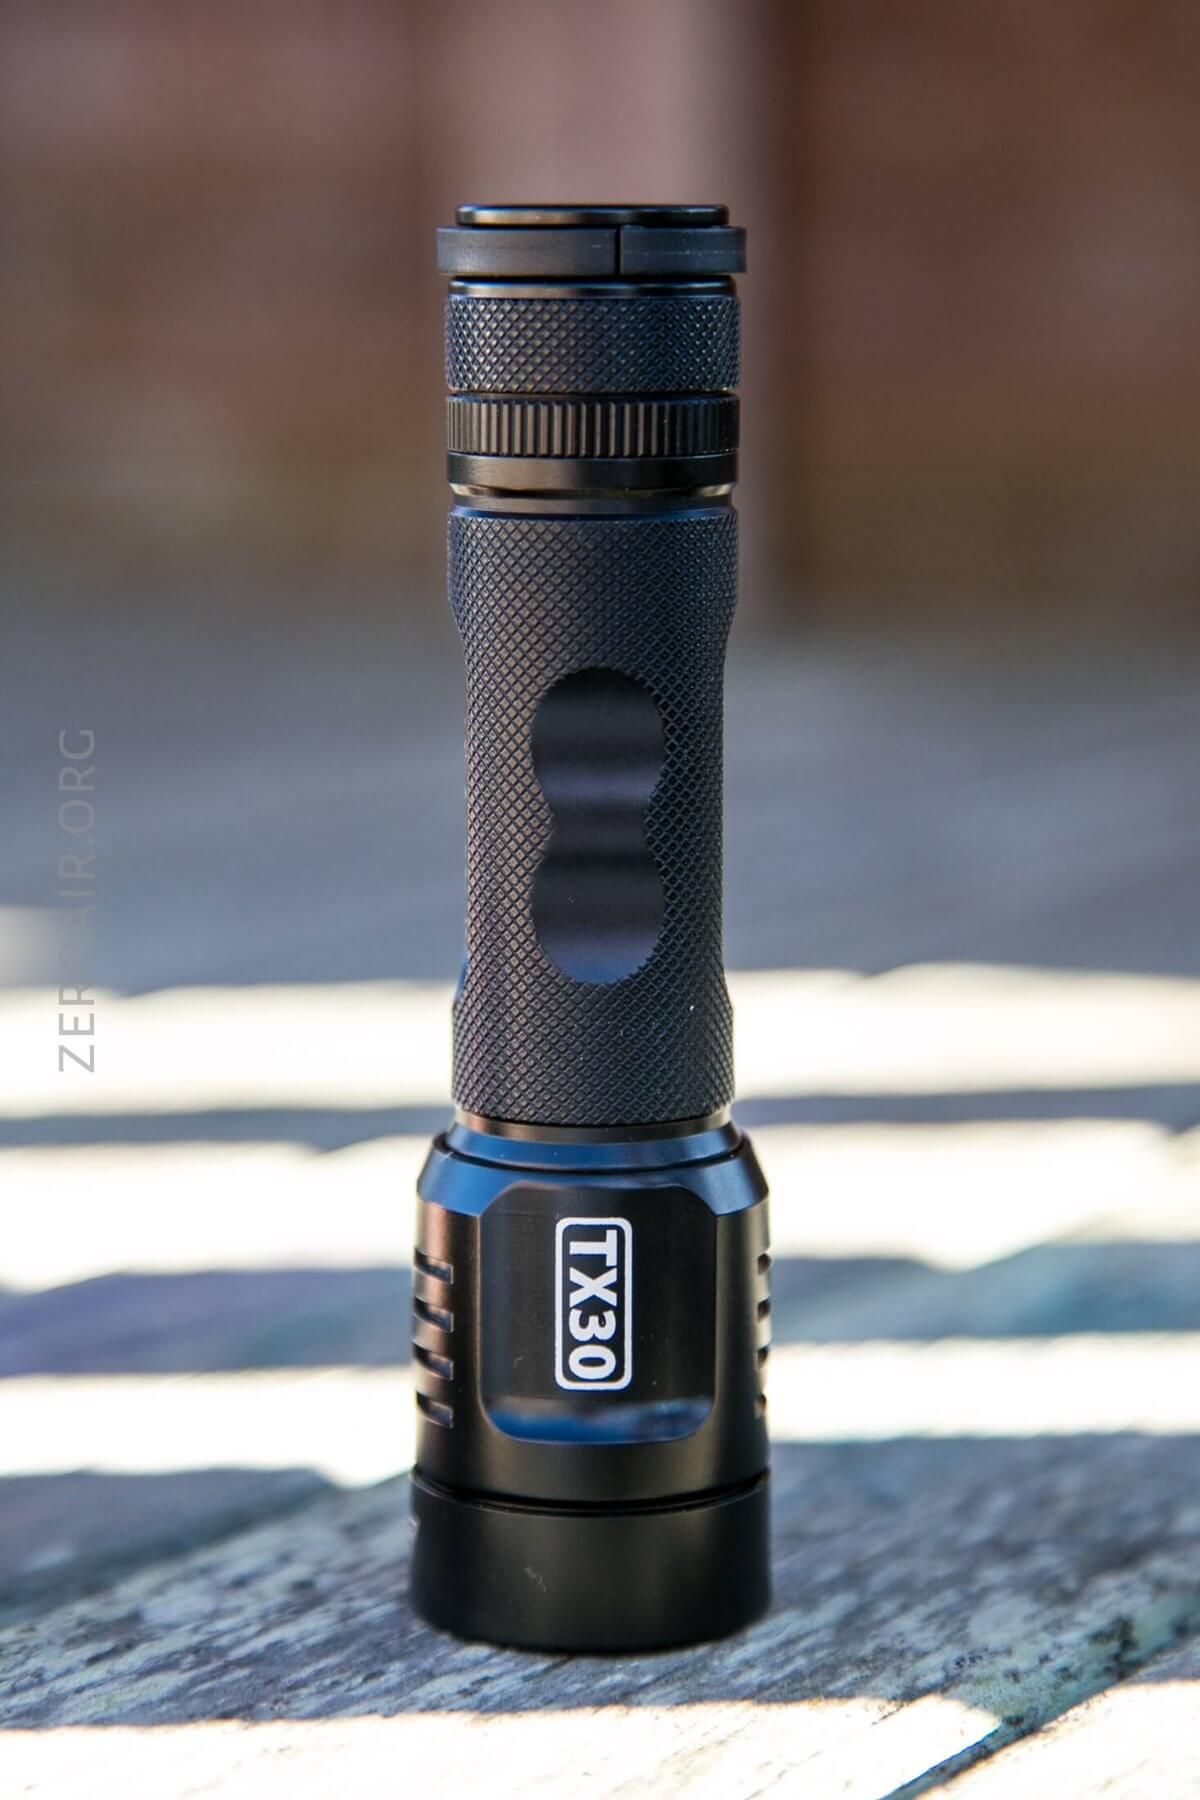
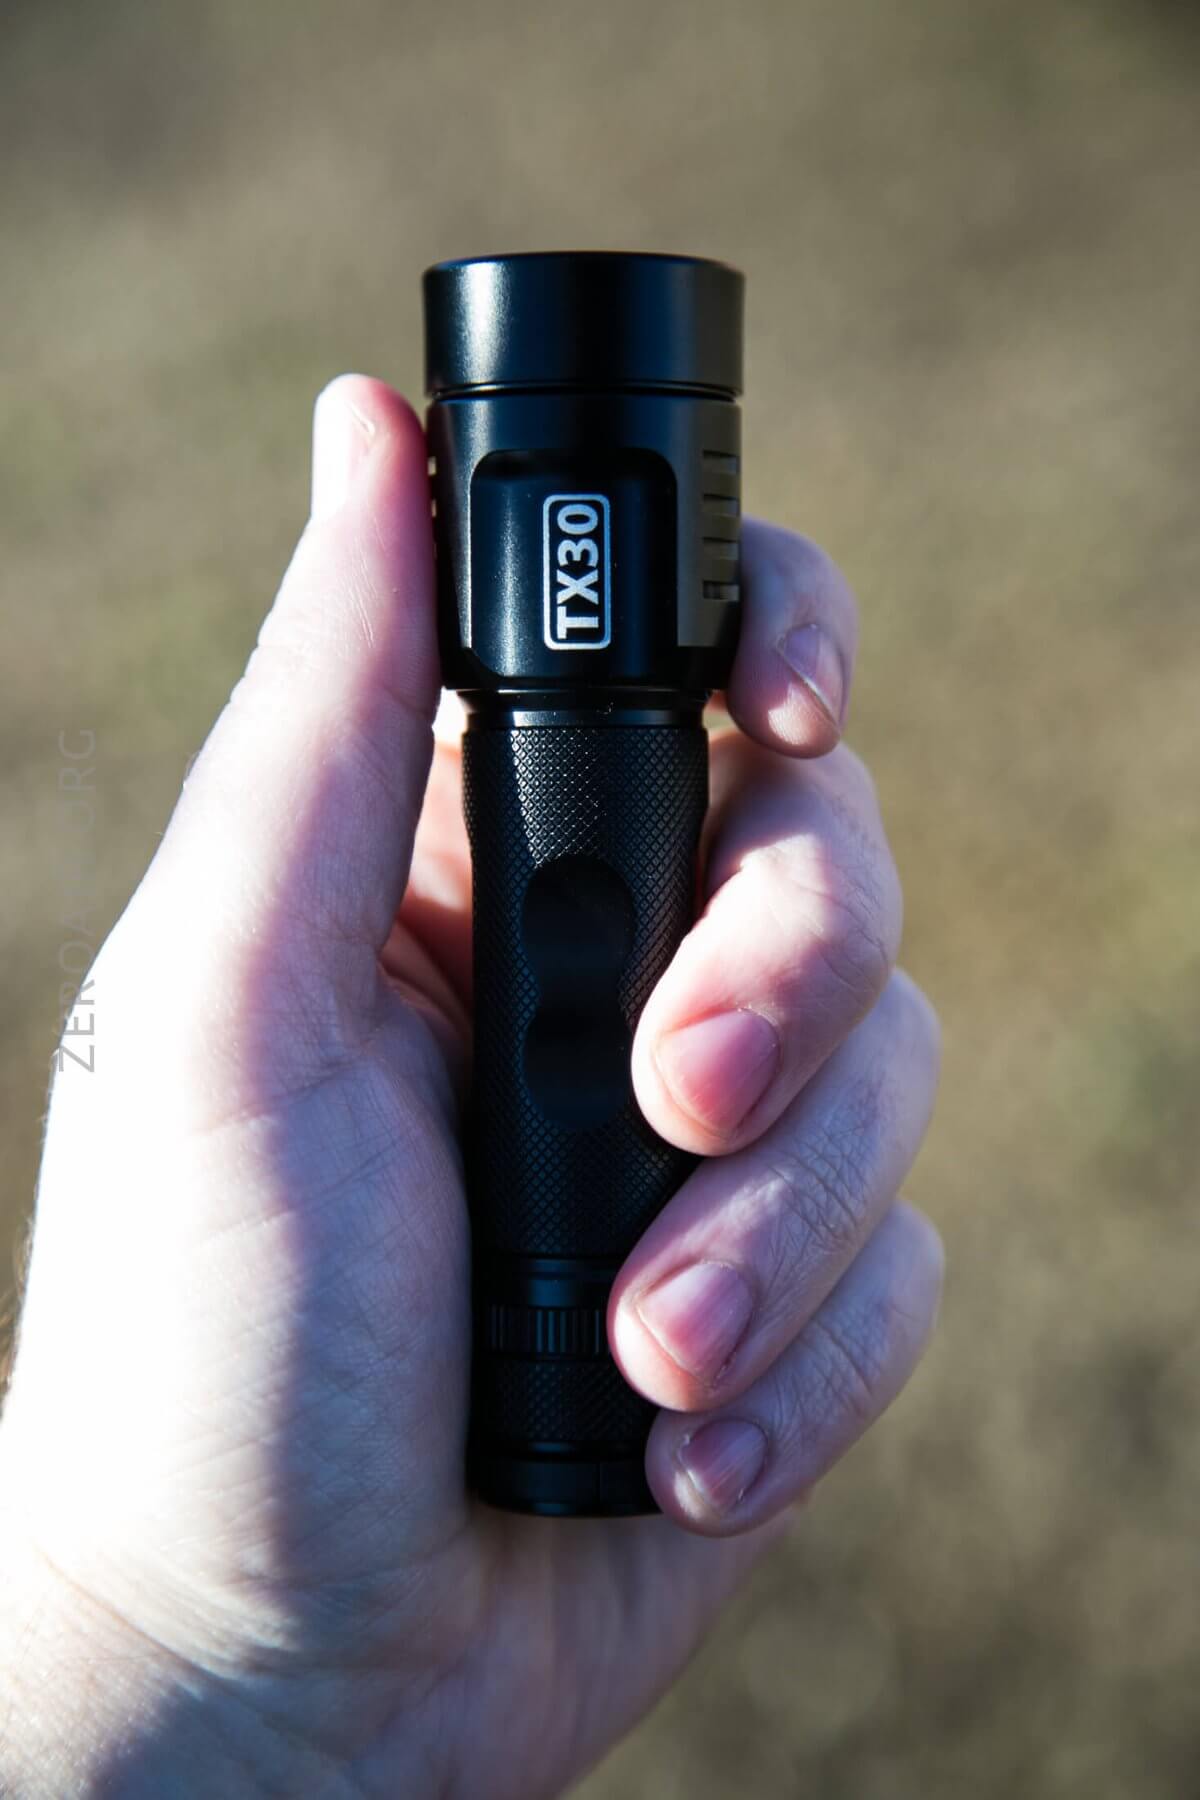
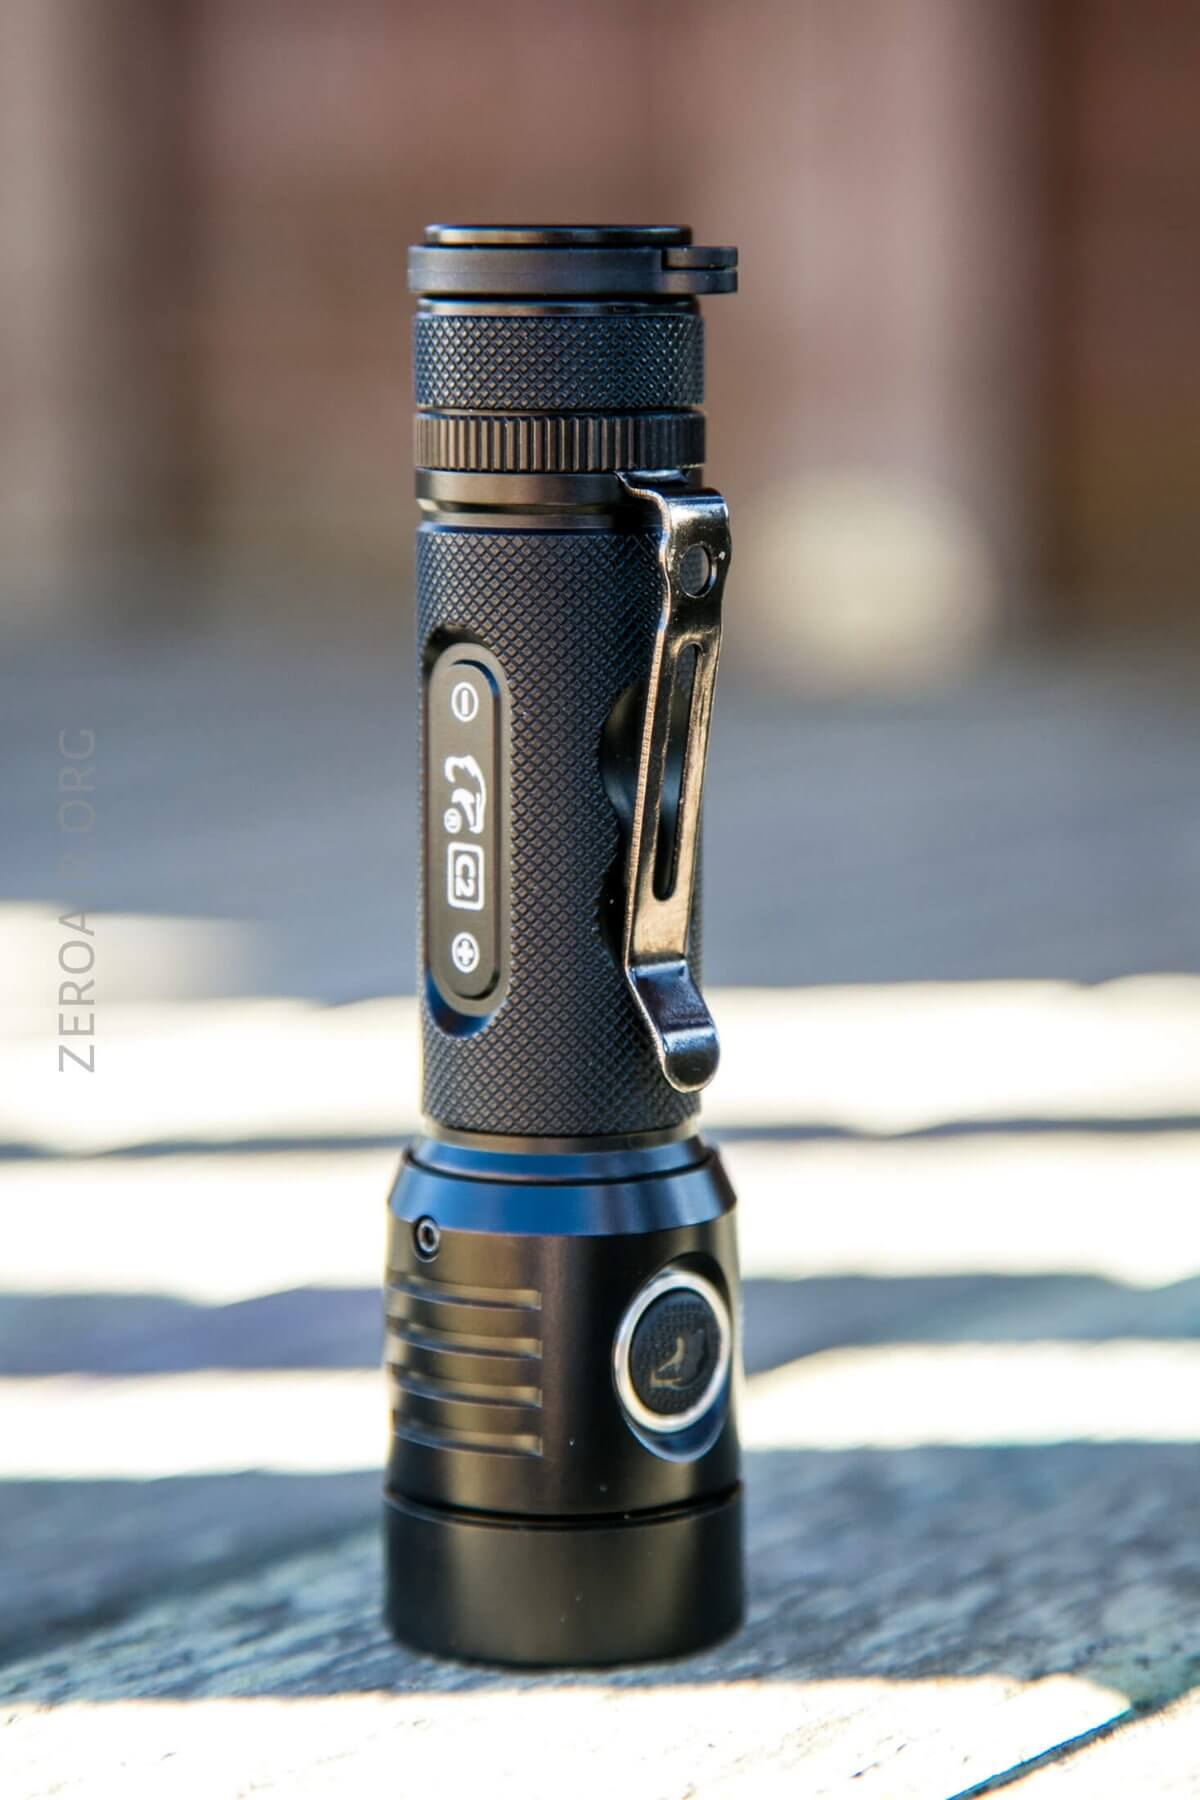
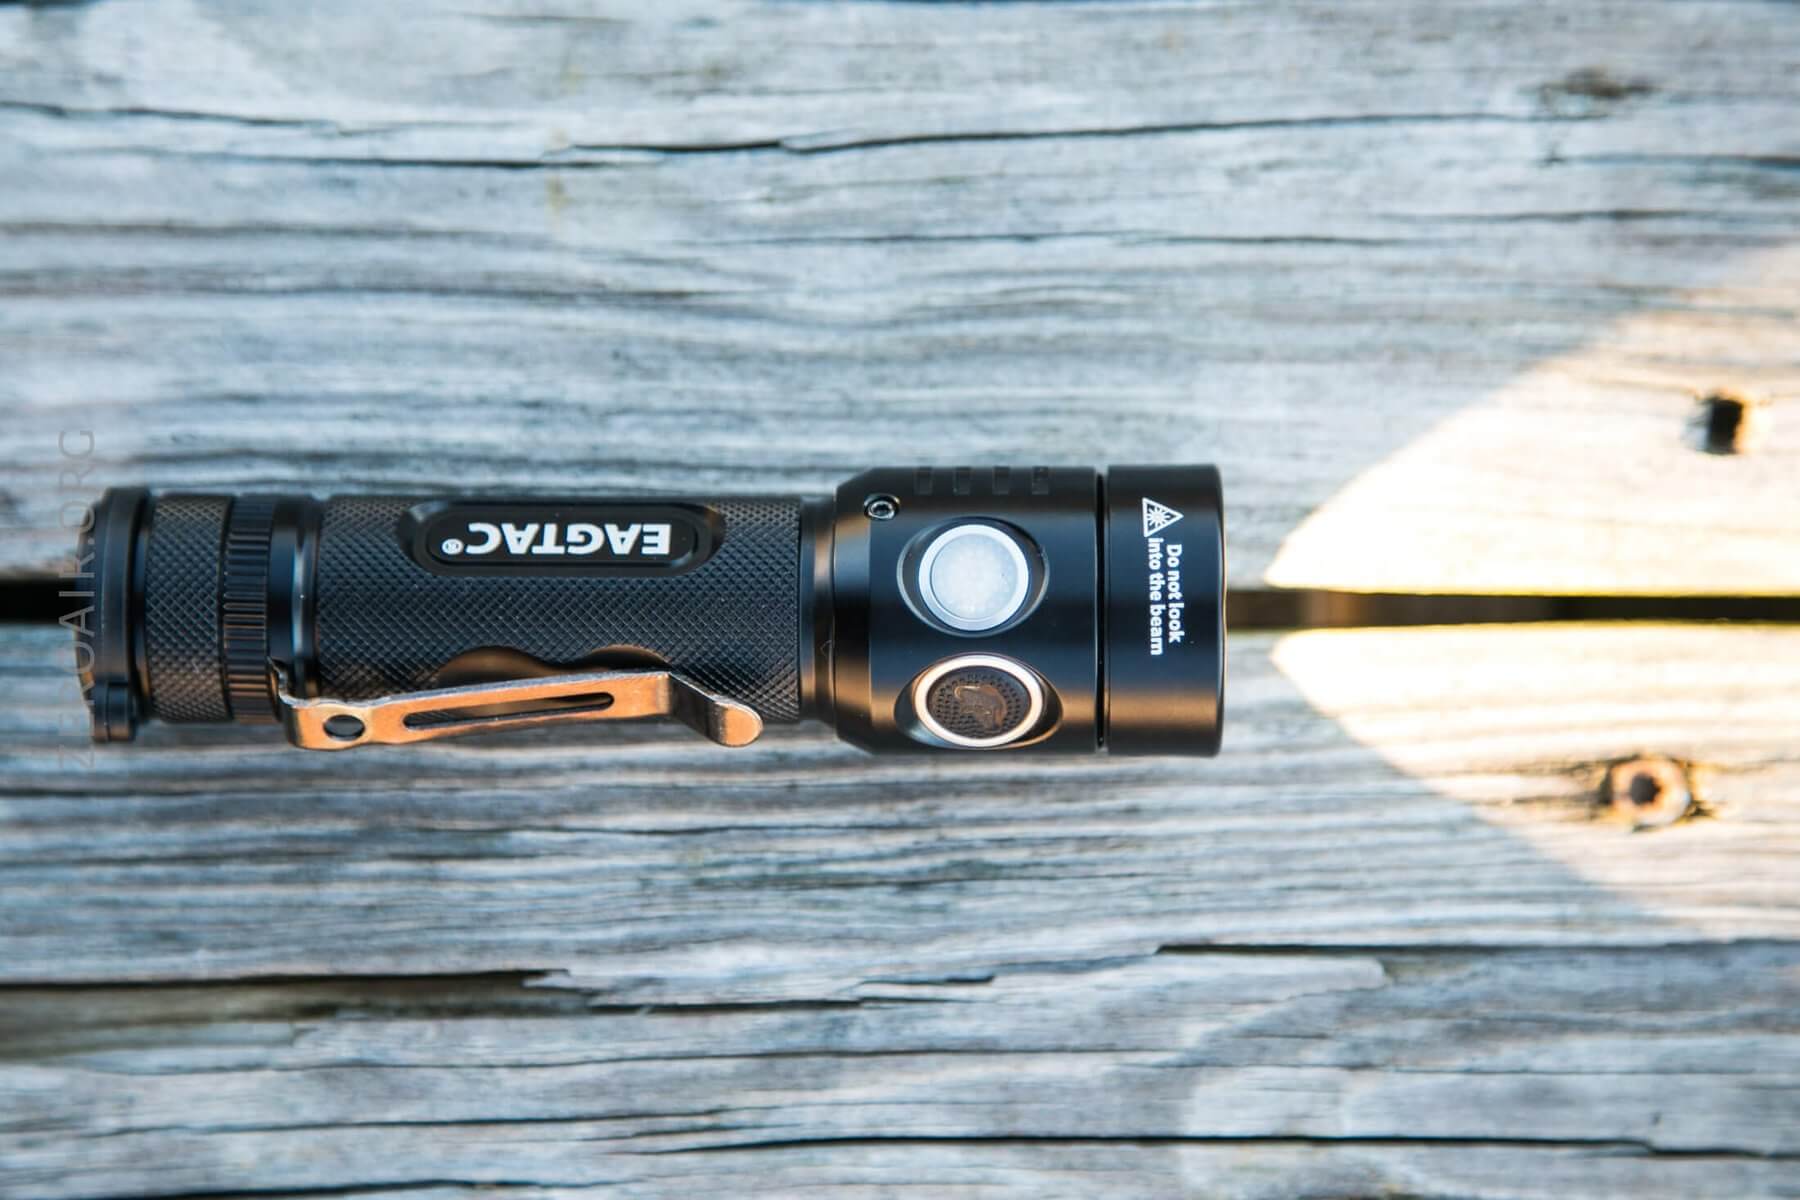
The light is quite printed, including the model on the head. The model name being on the head is sensible since the body is shared by other models (one of which I’ll be reviewing later this week, or early next!).
As you can see, there are fins on the head, but not extremely deep. The TX30C2 isn’t driven very hard, though, so there’s no extreme heat to deal with.
The head is also held on in an unusual way. There’s a set screw, seen below, which holds the head on. I did not remove this screw (but may; I’m interested in what’s in there exactly). But this set screw is very different – I can’t think of one other light with a set screw holding the head on this way. (Not that it’s a better or worse way, but it proves that the engineering is solving problems in a way others aren’t, which sometimes leads to great innovation!)
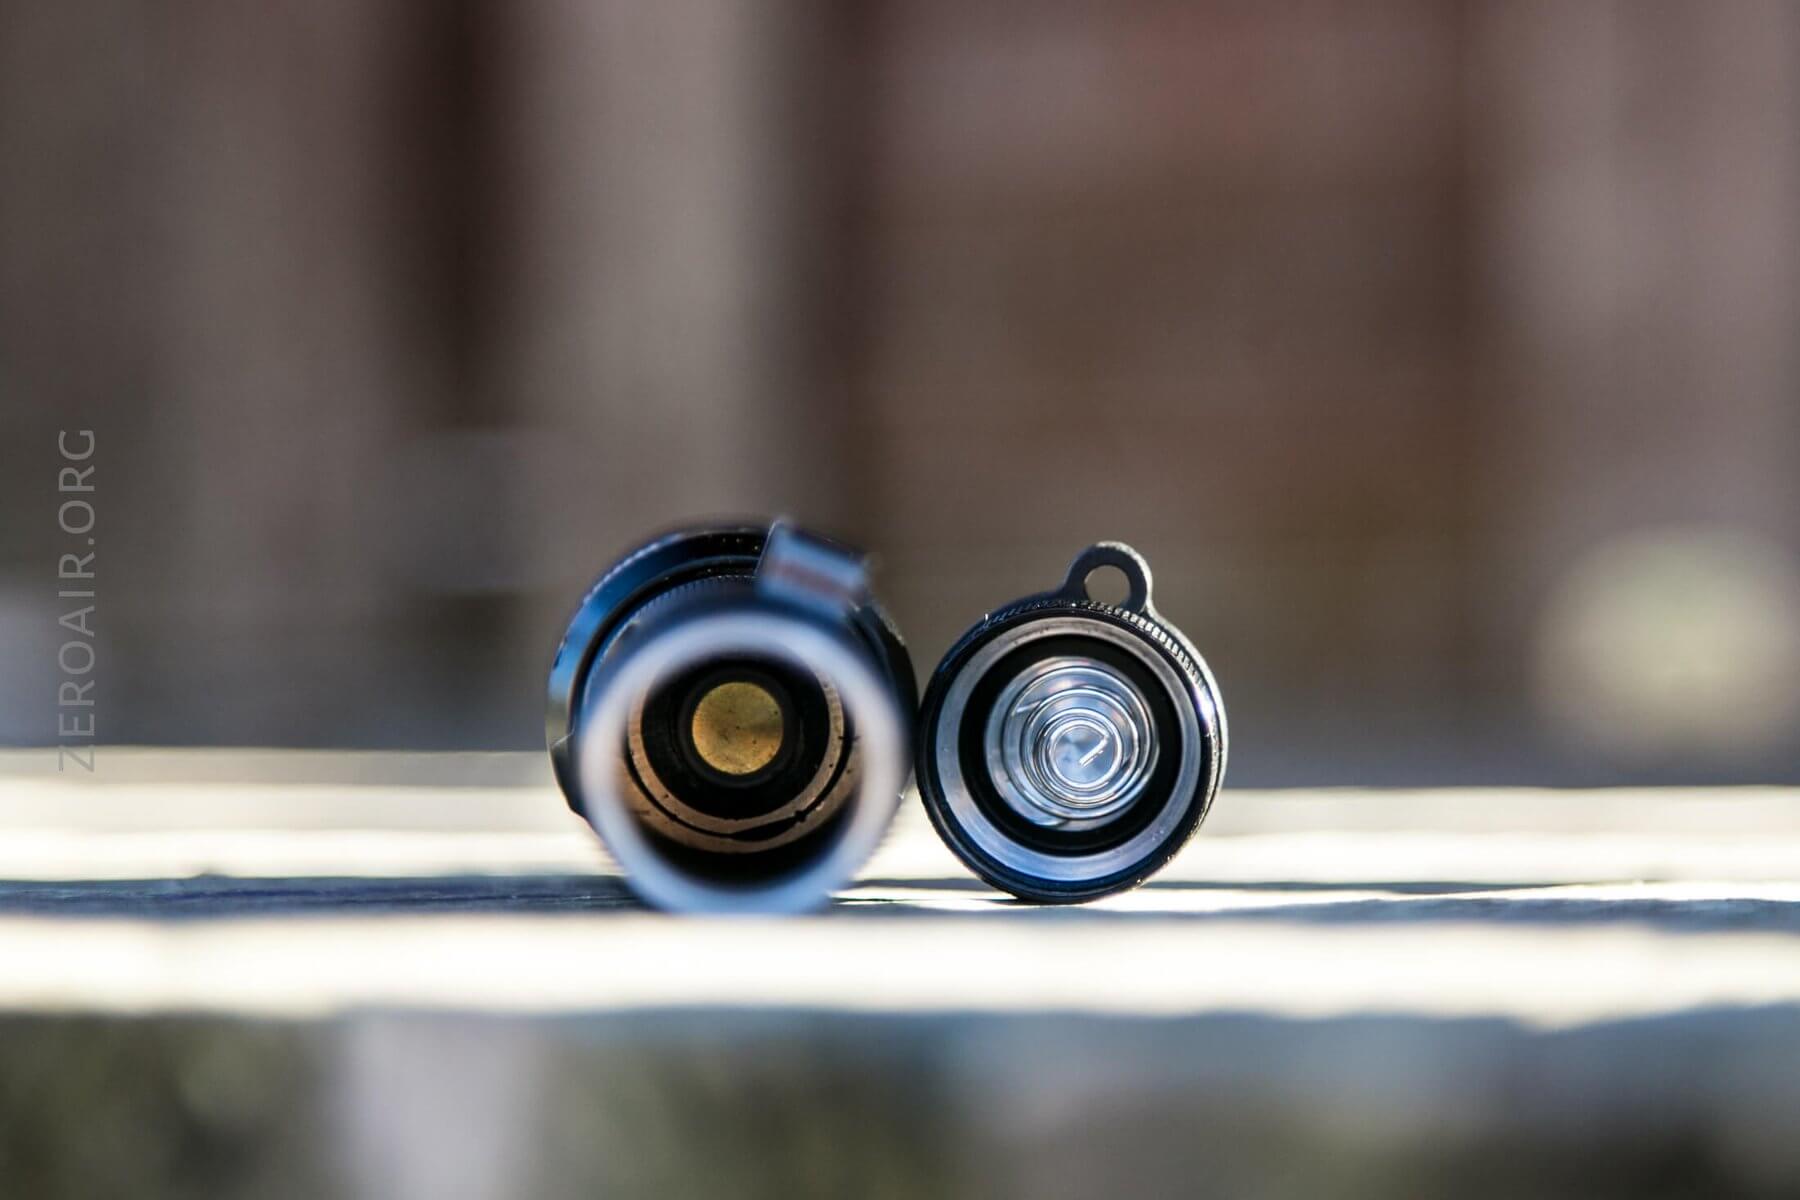
The tailcap has a spring. The head end has a spring, too, but it terminates in a button (so it’s a spring, even though it looks buttony below). The tailcap spring isn’t quite as stiff as I’d like, but with both ends having springs, this isn’t a big issue. It’s hard to see that positive connection, but the brass button has a plastic ring around it. Looks like that’d be physical reverse polarity protection, but it doesn’t seem to be; flat-top cells work fine. (The manual does say “protruded top required,” which would indicate that they do want us to use button tops.)
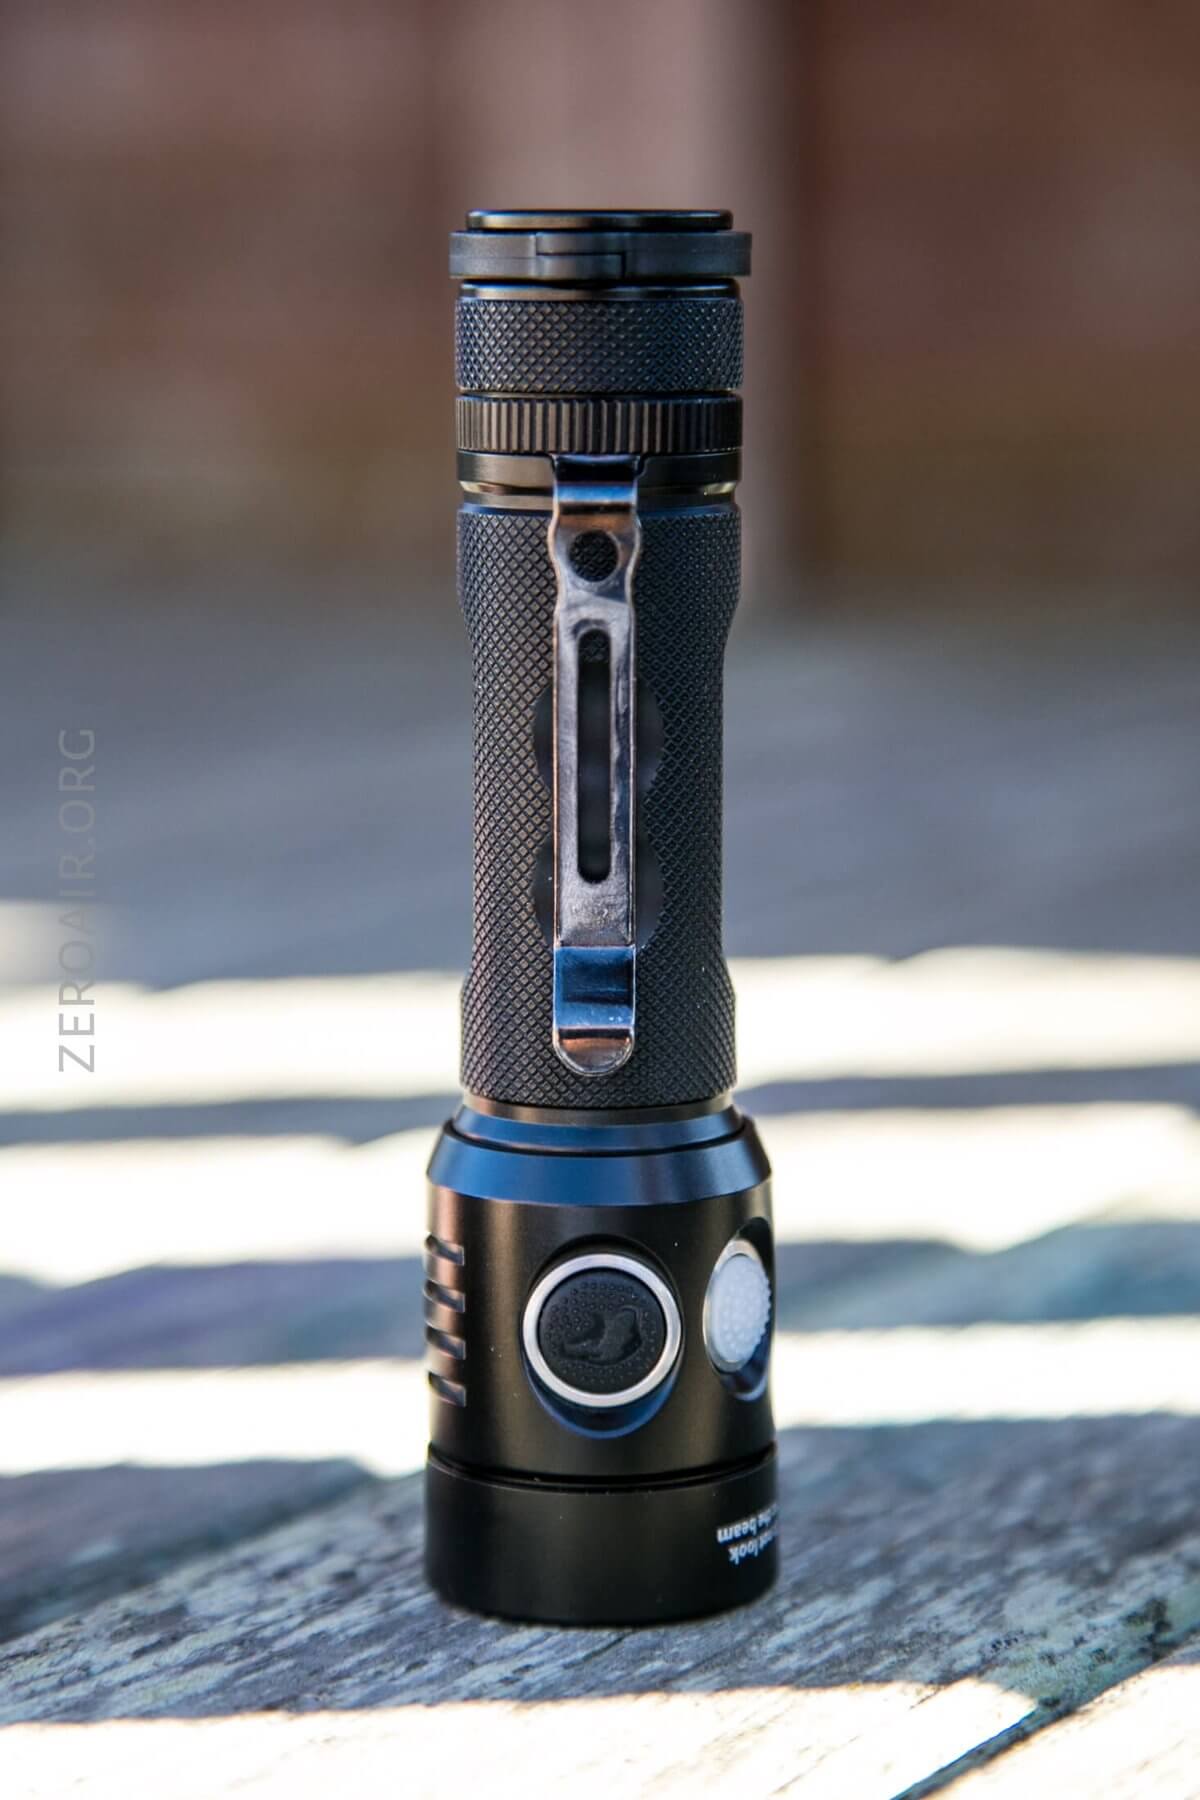
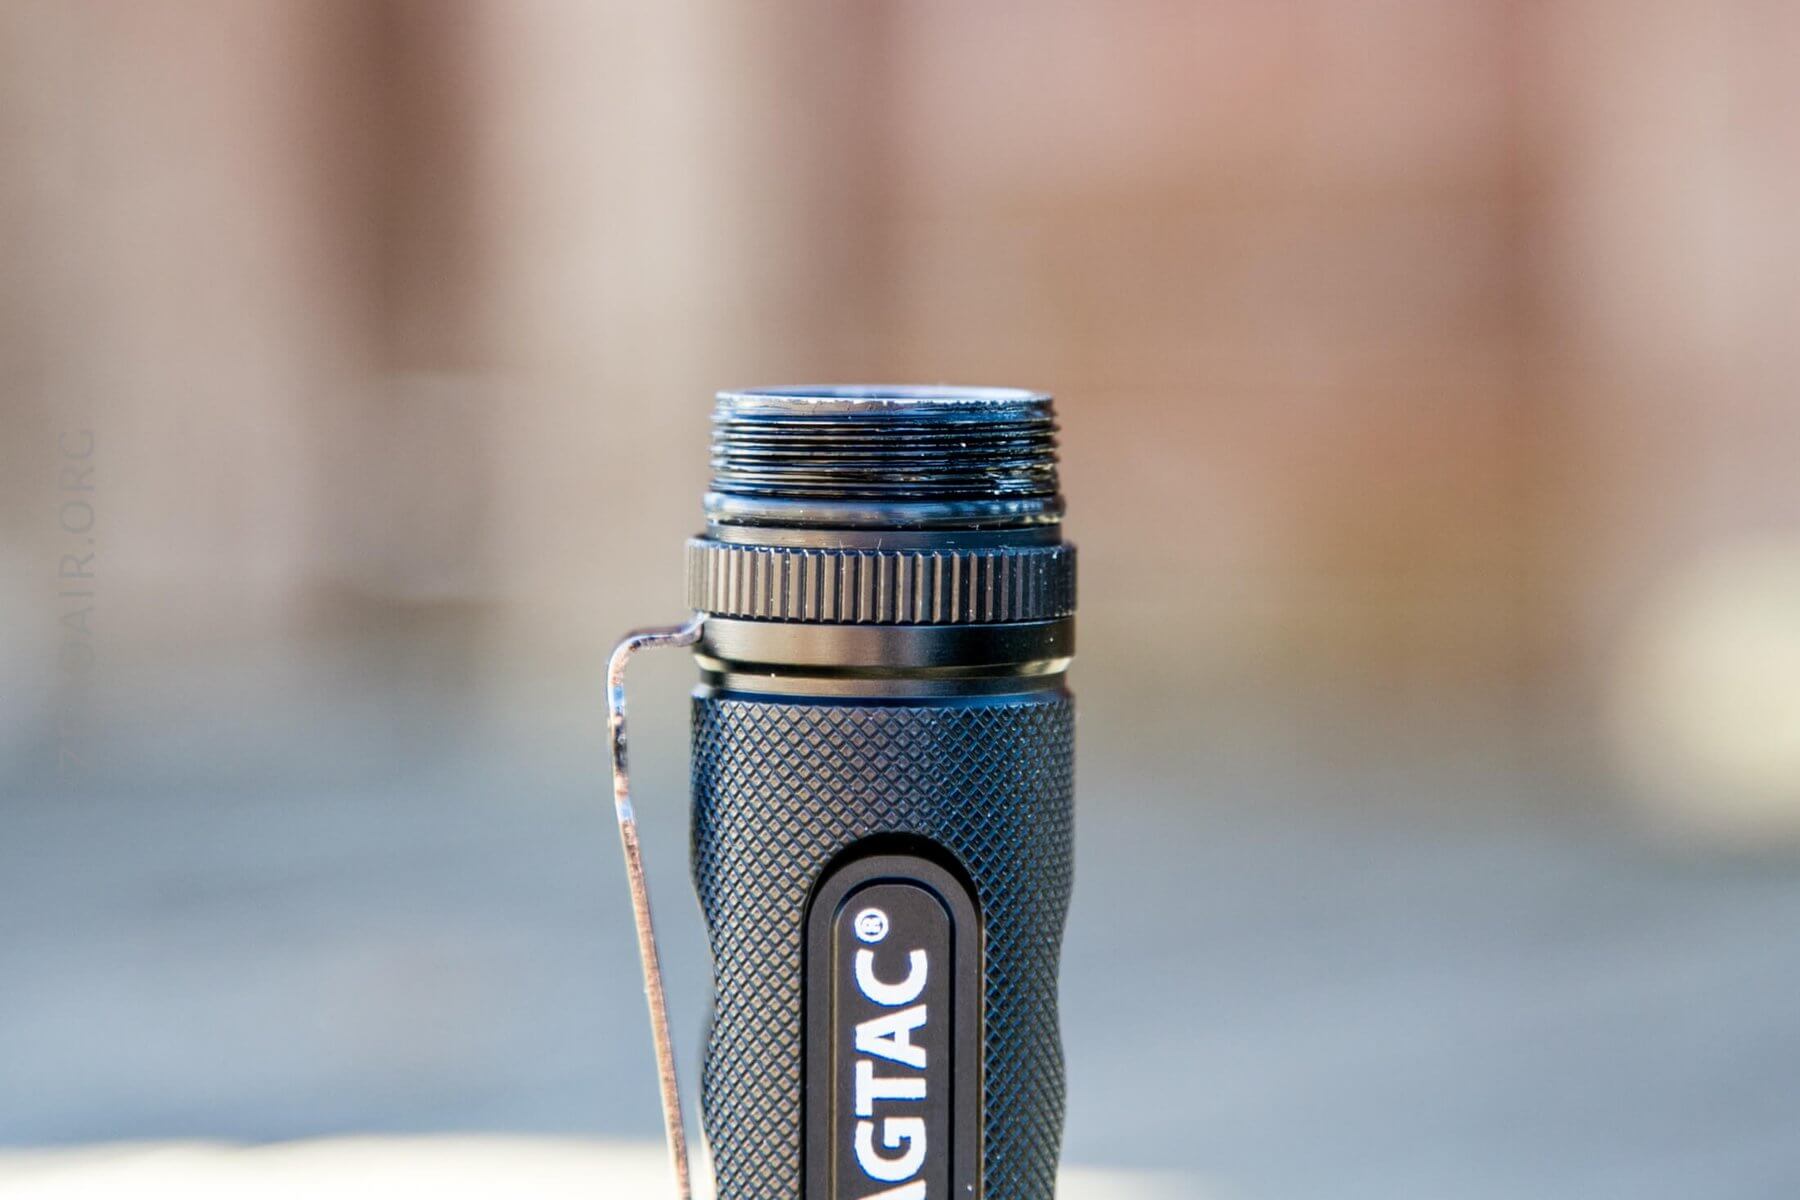
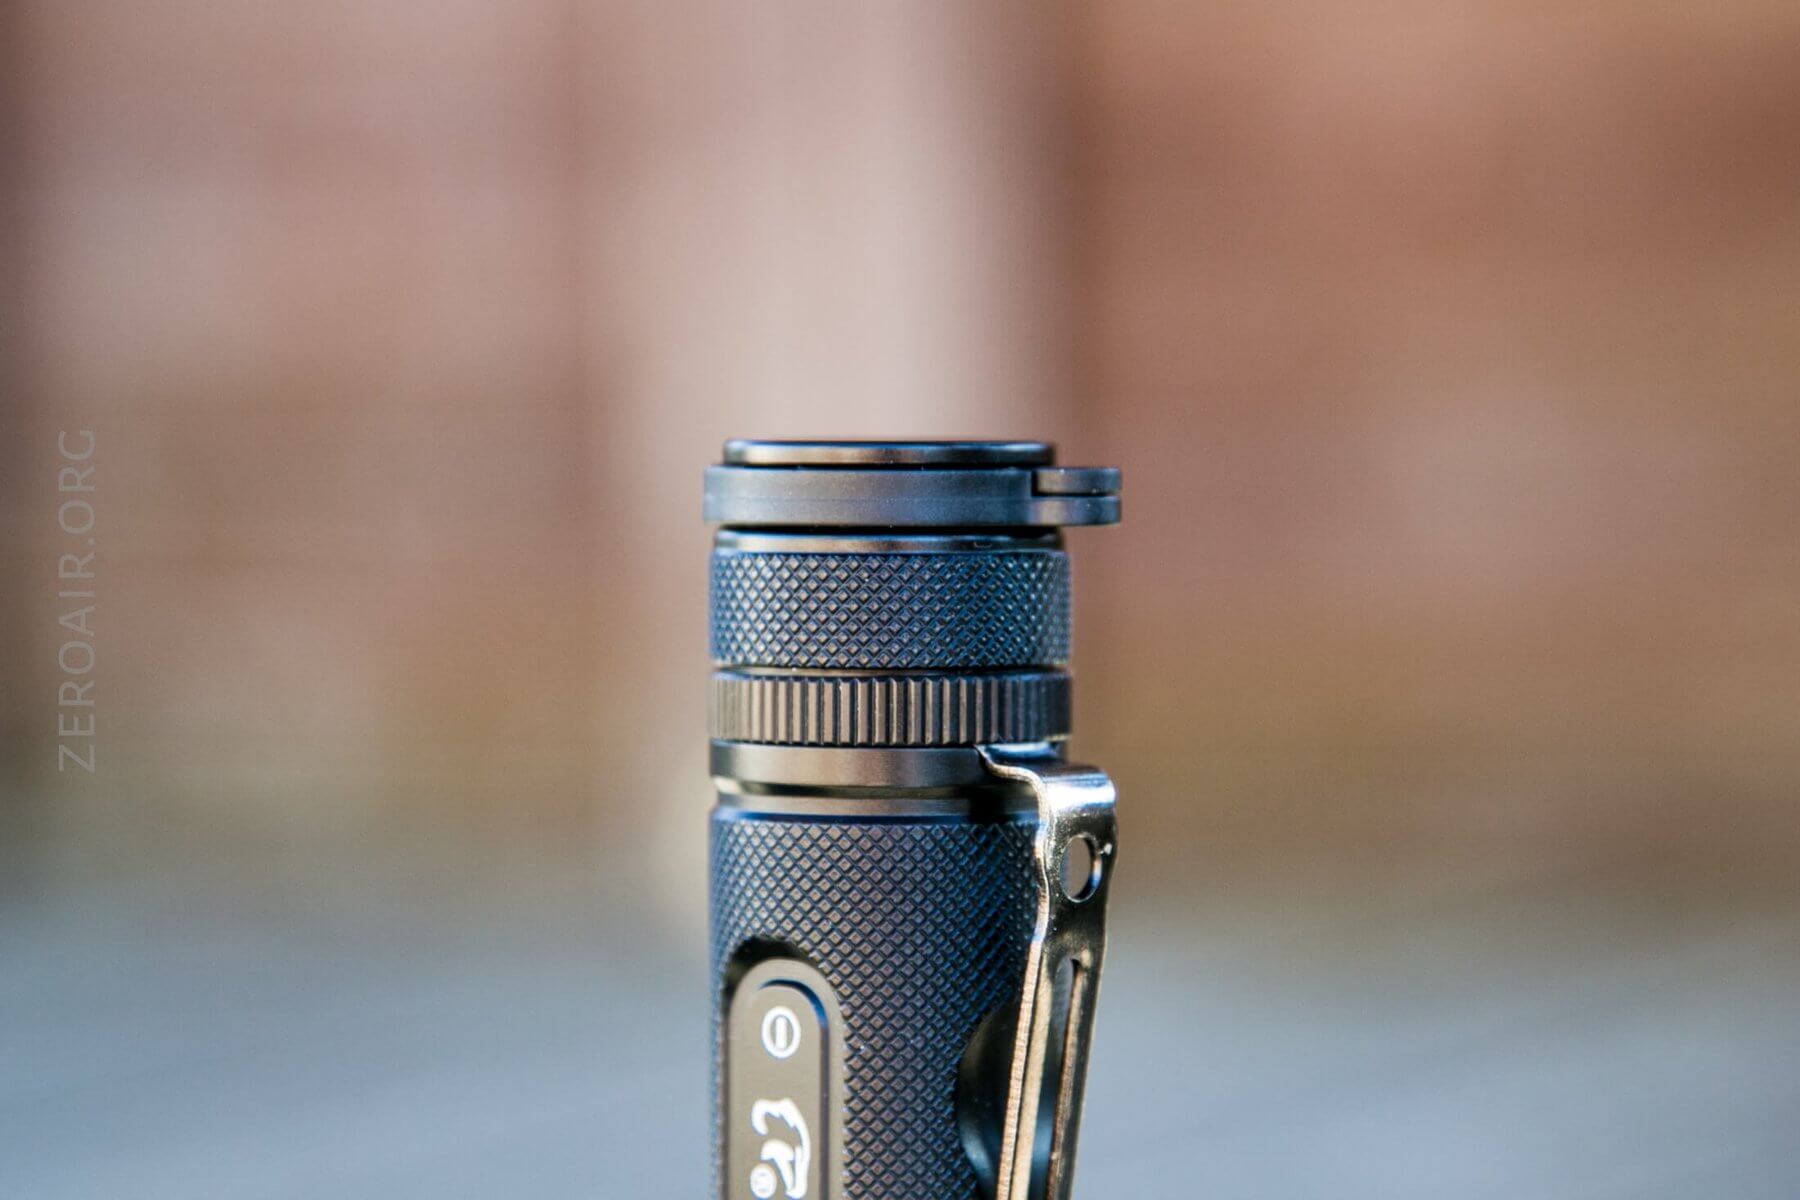
The threads are triangle cut, lubed, and anodized. They are a little long, requiring a good bit of motion to get the tailcap on and off. See that little ring just over the top of the pocket clip? That’s a pocket clip retaining ring. More on that novel feature in a bit.
The tailcap, seen below, has some very useful knurling. As I said above, the little lanyard connection is useful – it spins freely. What I’ve found myself doing is gripping that and squeezing down on the knurling to twist. Then keep the grip on the ring, but loosen the grip on the knurling. It’s a very smooth action.
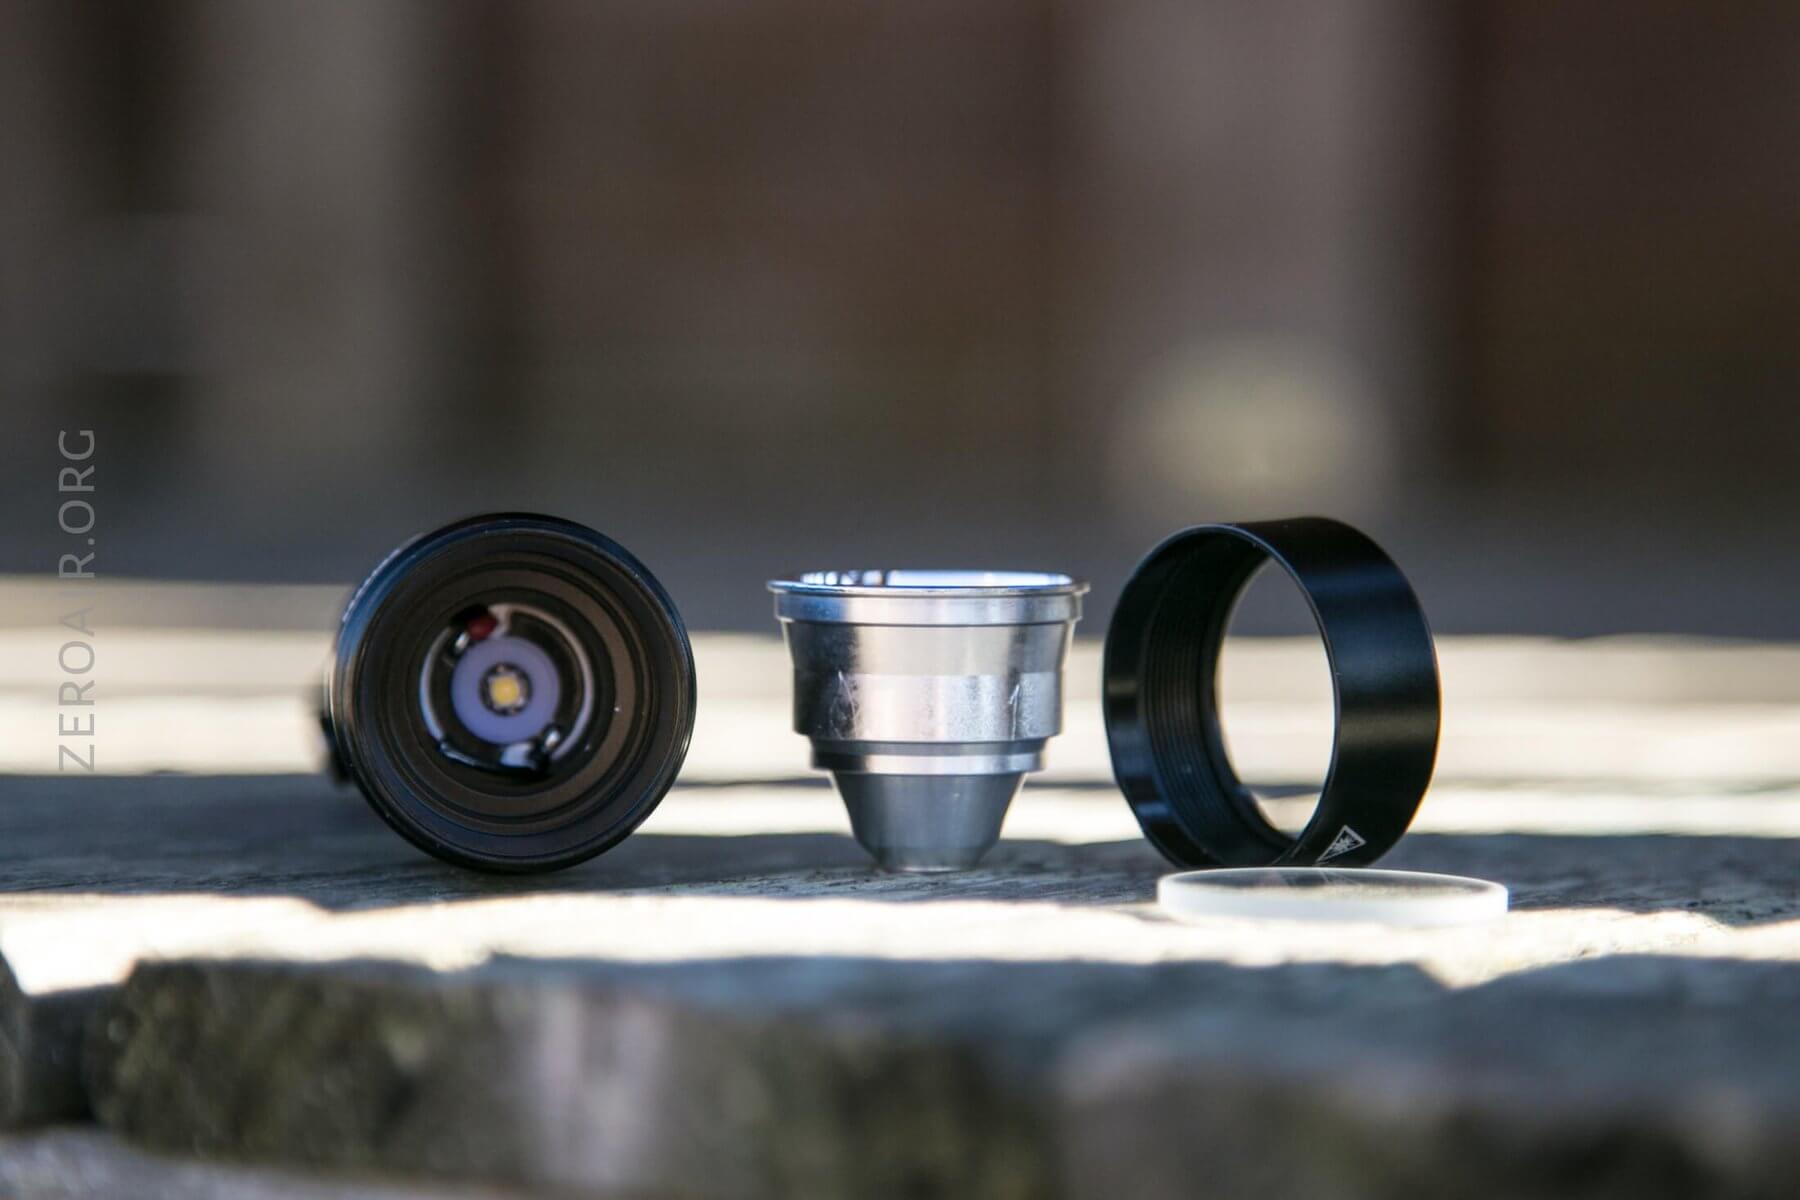
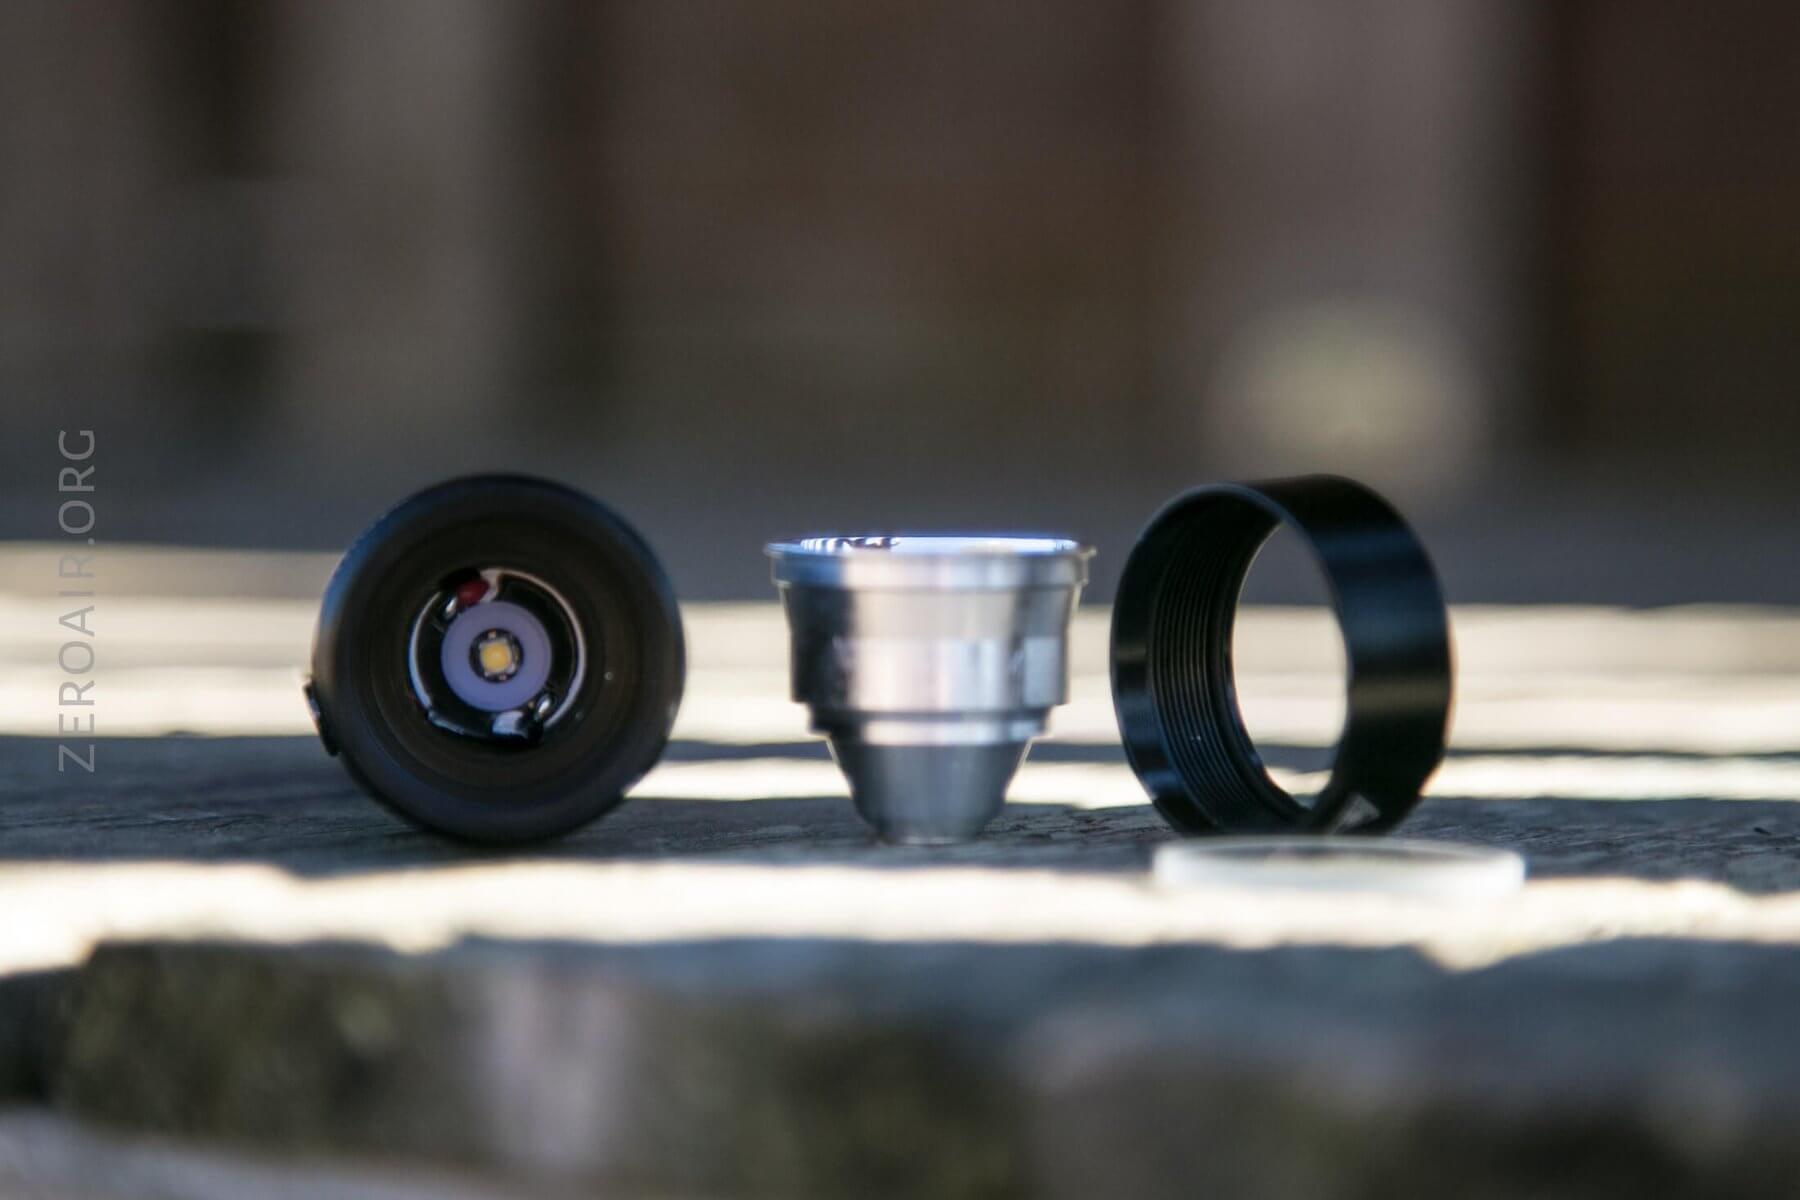
The bezel also unscrews easily, which makes sense, given that there’s a swappable strike bezel included with the kit.
The lens, emitter, and optic are accessible with the bezel off.
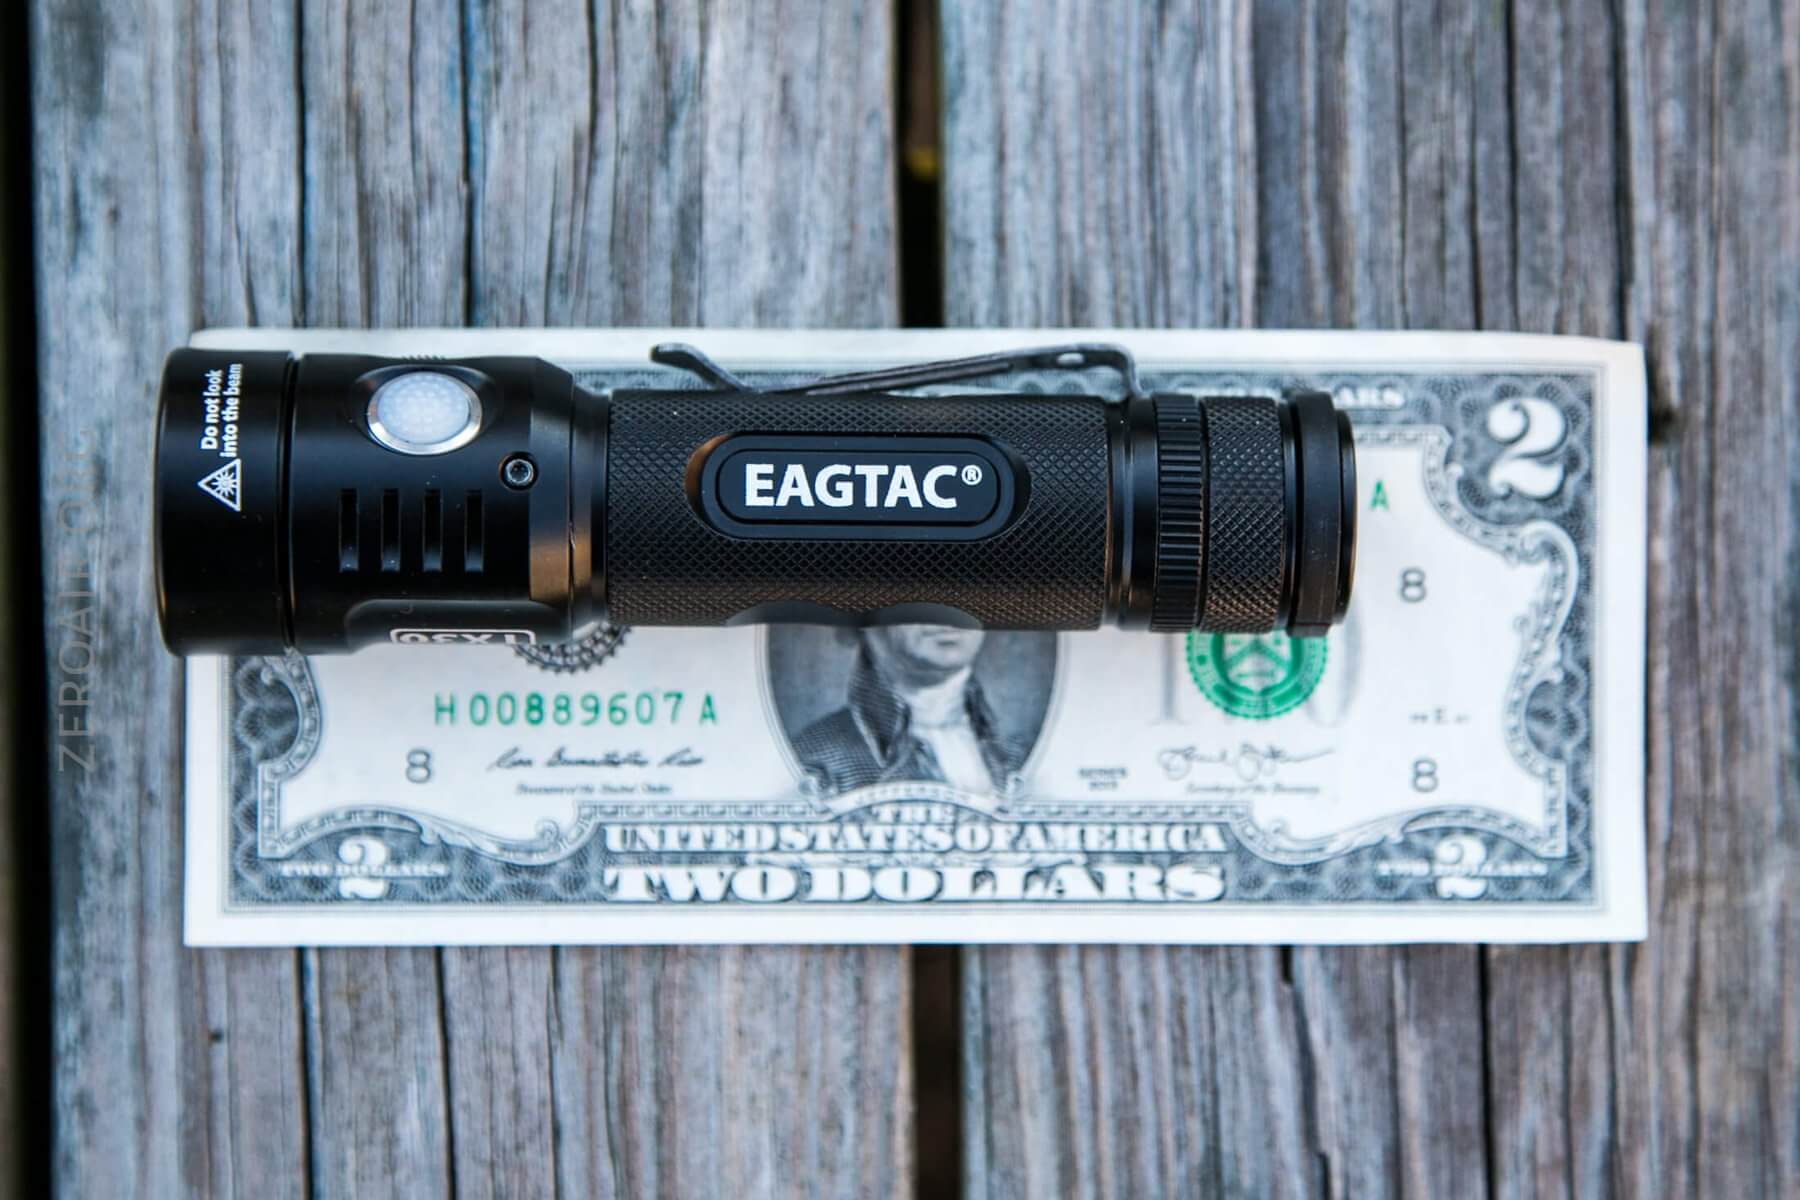
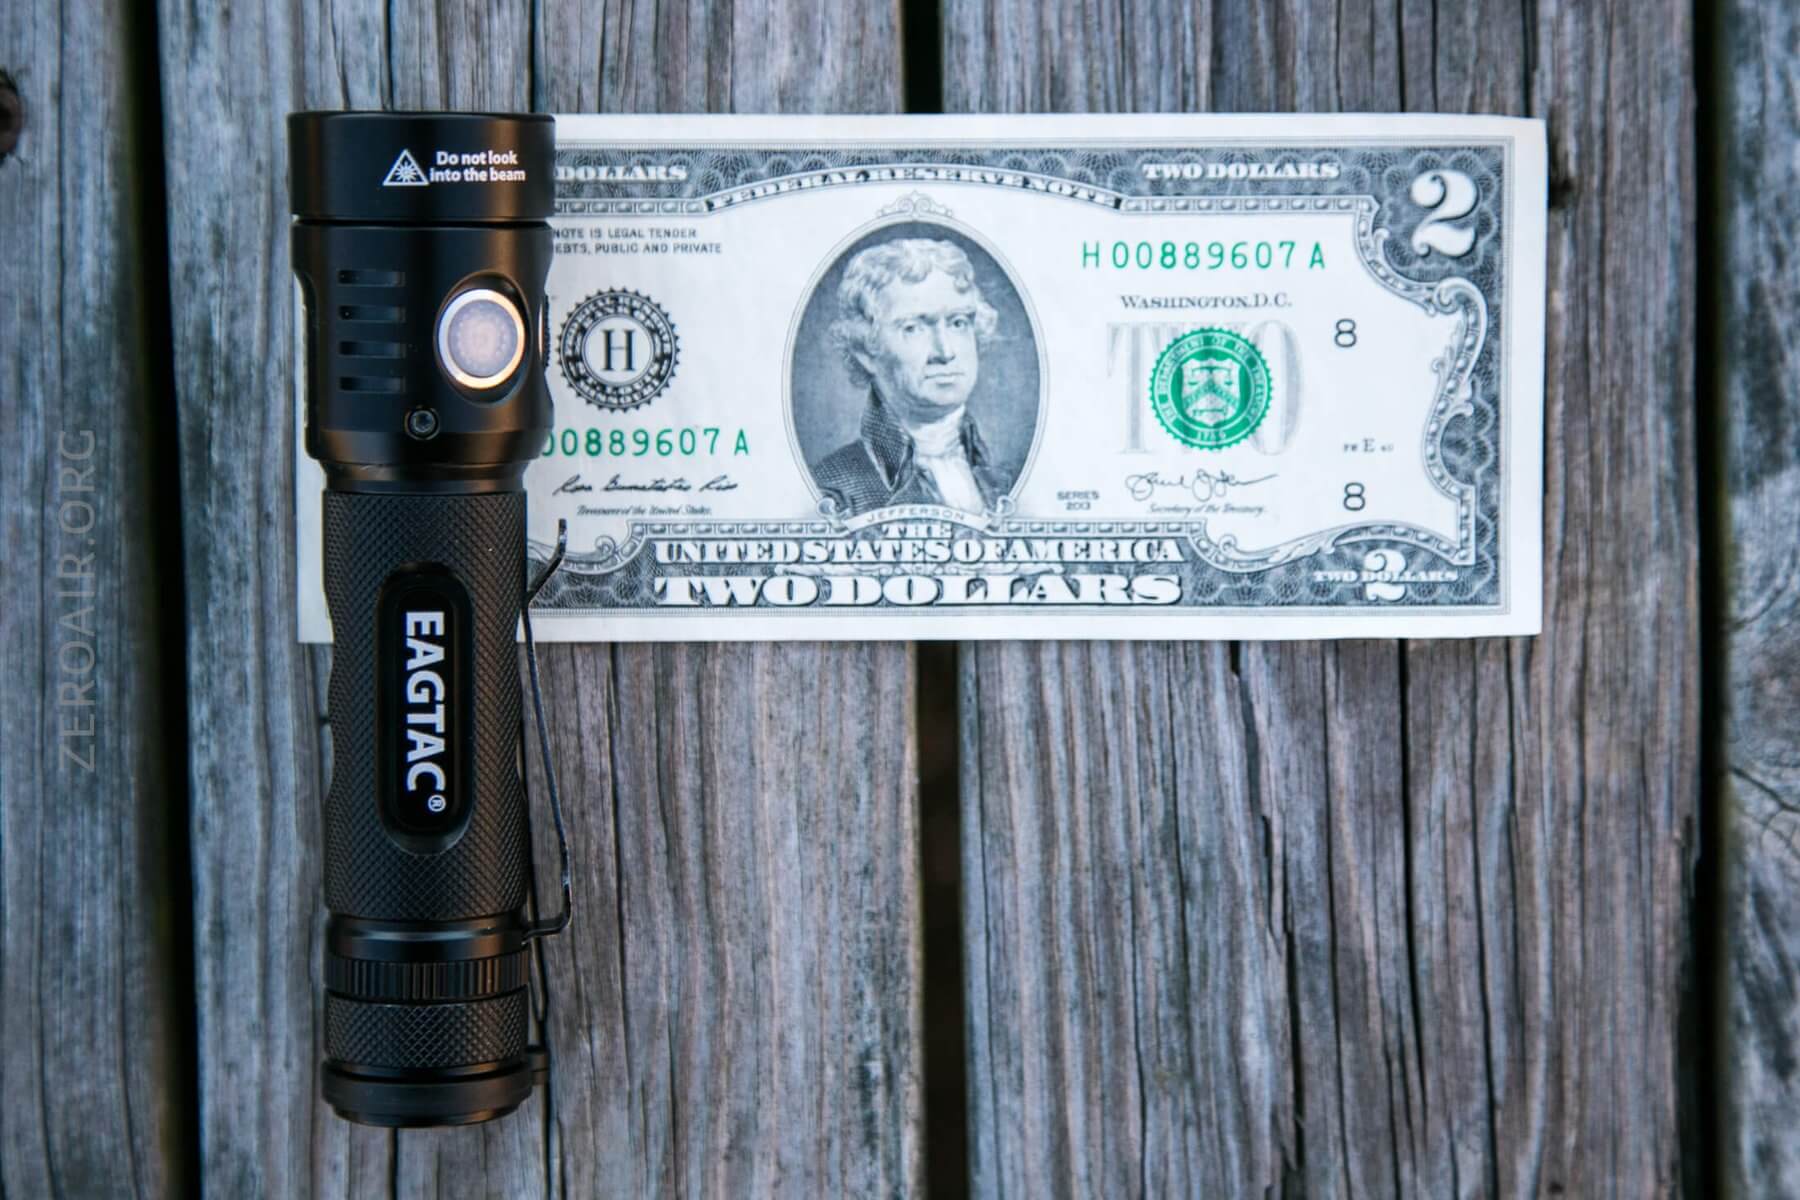
Size and Comps
Officially:
Bezel: 33mm
Length: 128mm
Body: 25.4mm
Weight: 110g with cell.
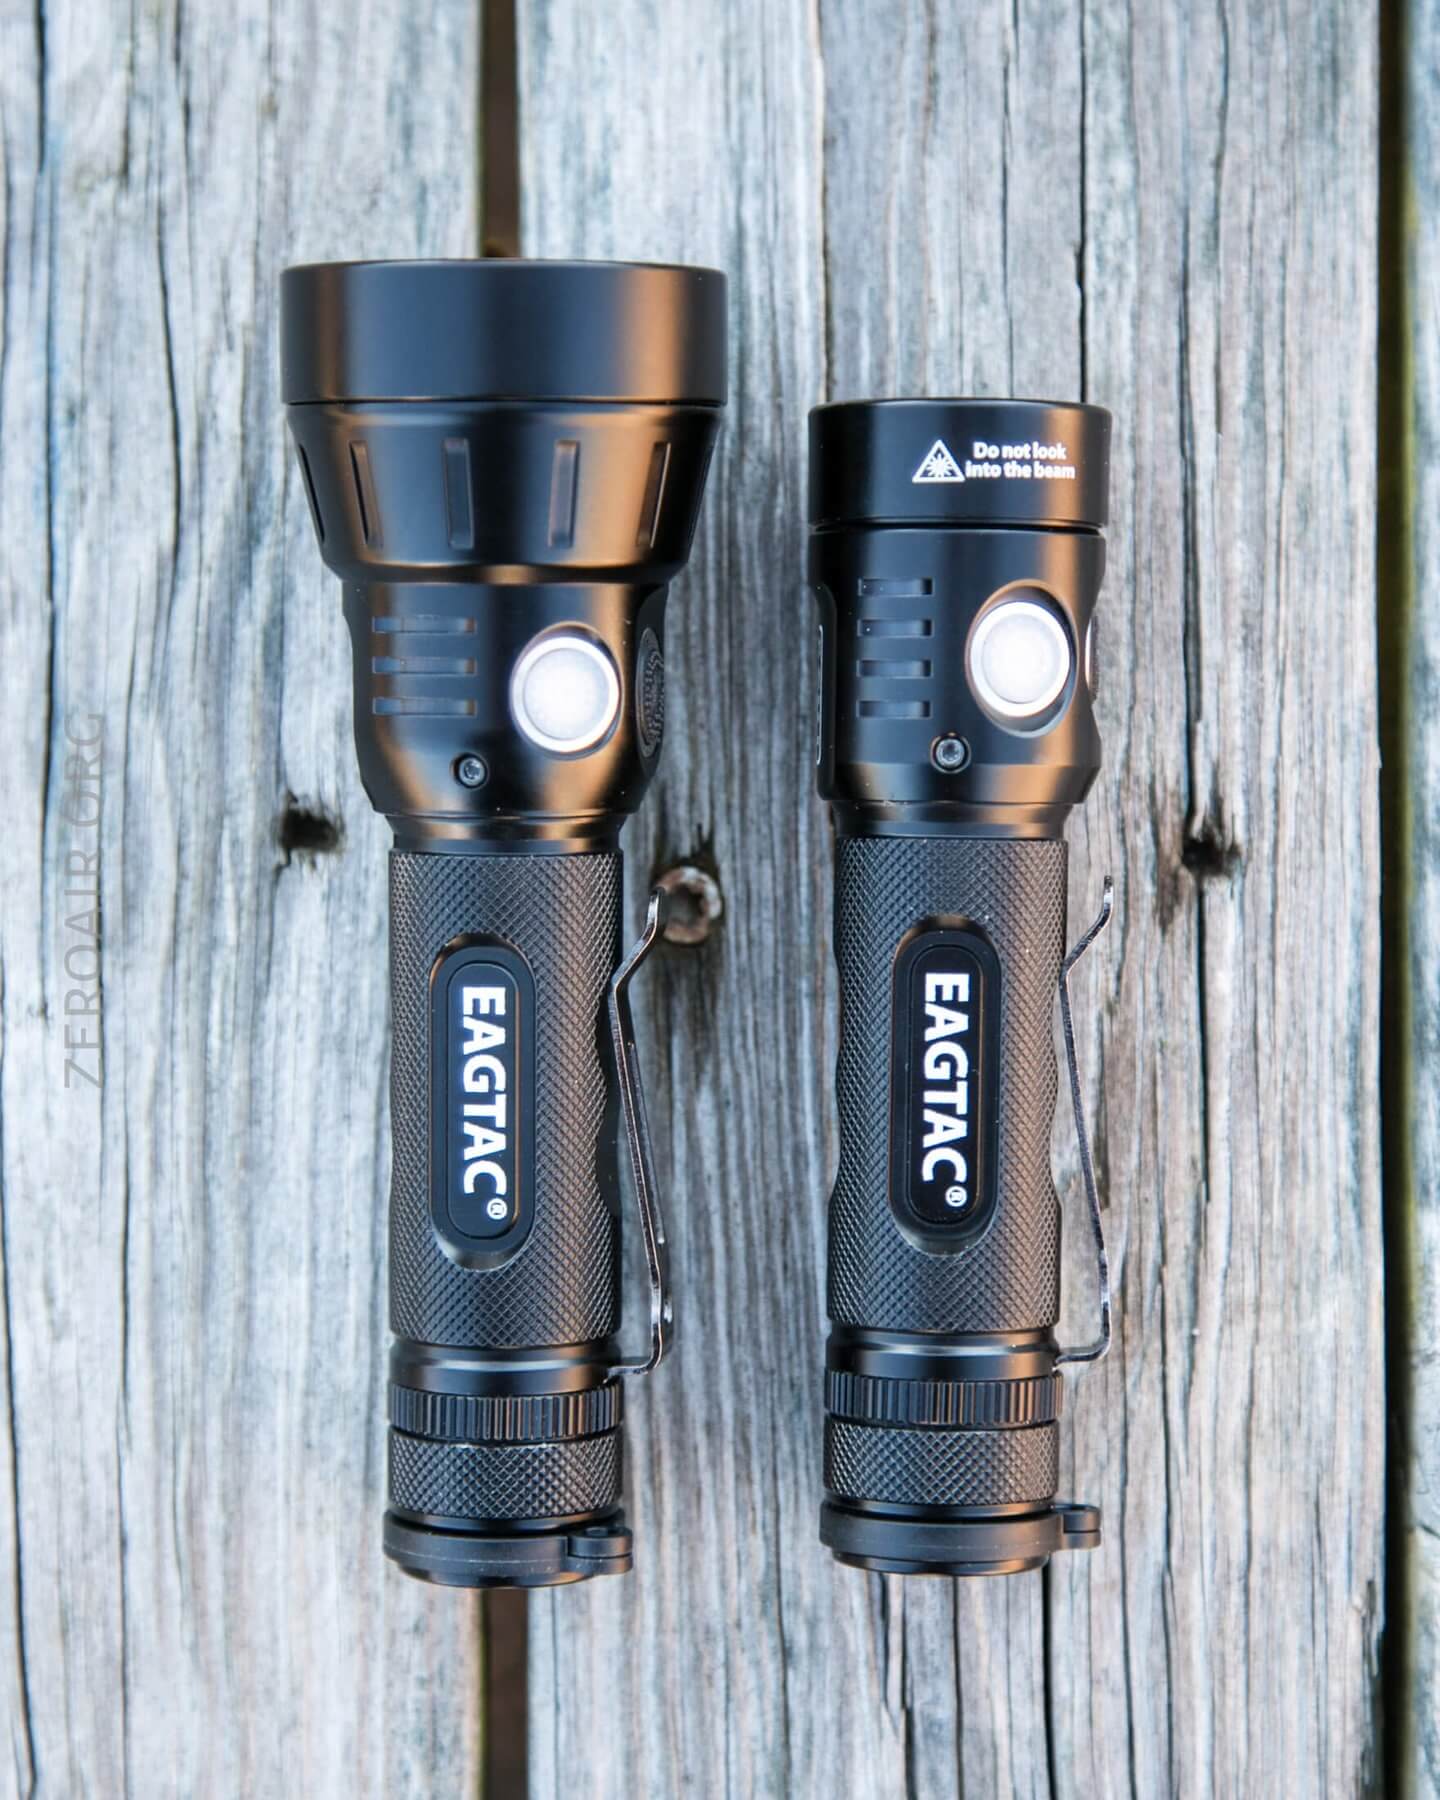
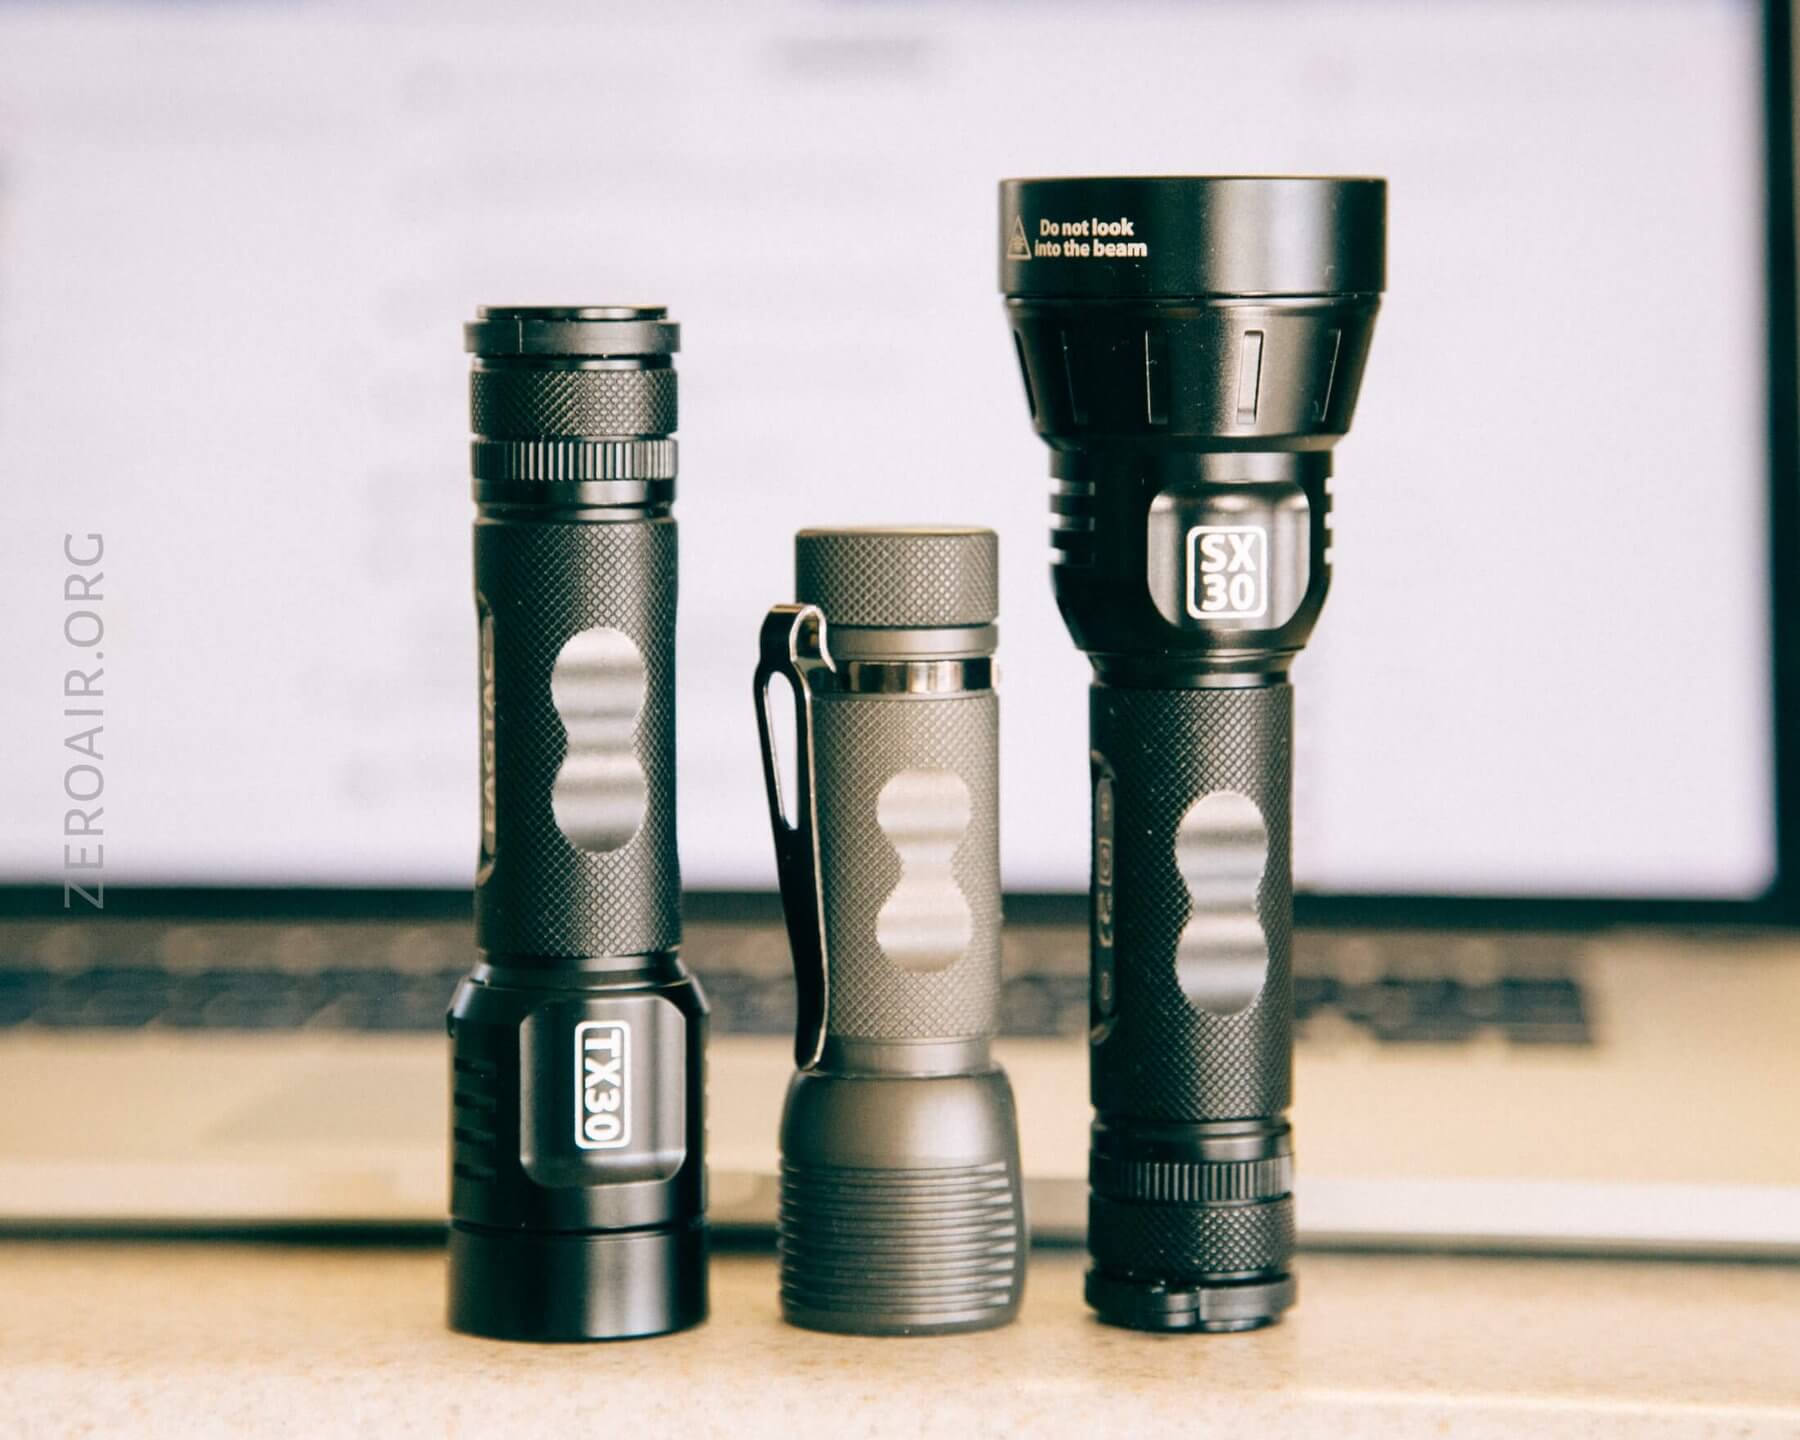
Below, the TX30C2 (right) is seen with the SX30C2, which I’ll have a review of in the coming days. Note how the bodies are the same, with the heads being the only difference.
Trying to work on some in-hand photos with my reviews. Hope these are helpful.
As expected, the TX30C2 is a little longer than the Convoy S2+. The diameter is practically the same, though. Mine’s a custom “baked” edition Nichia 219b triple. A very nice 18650 light.
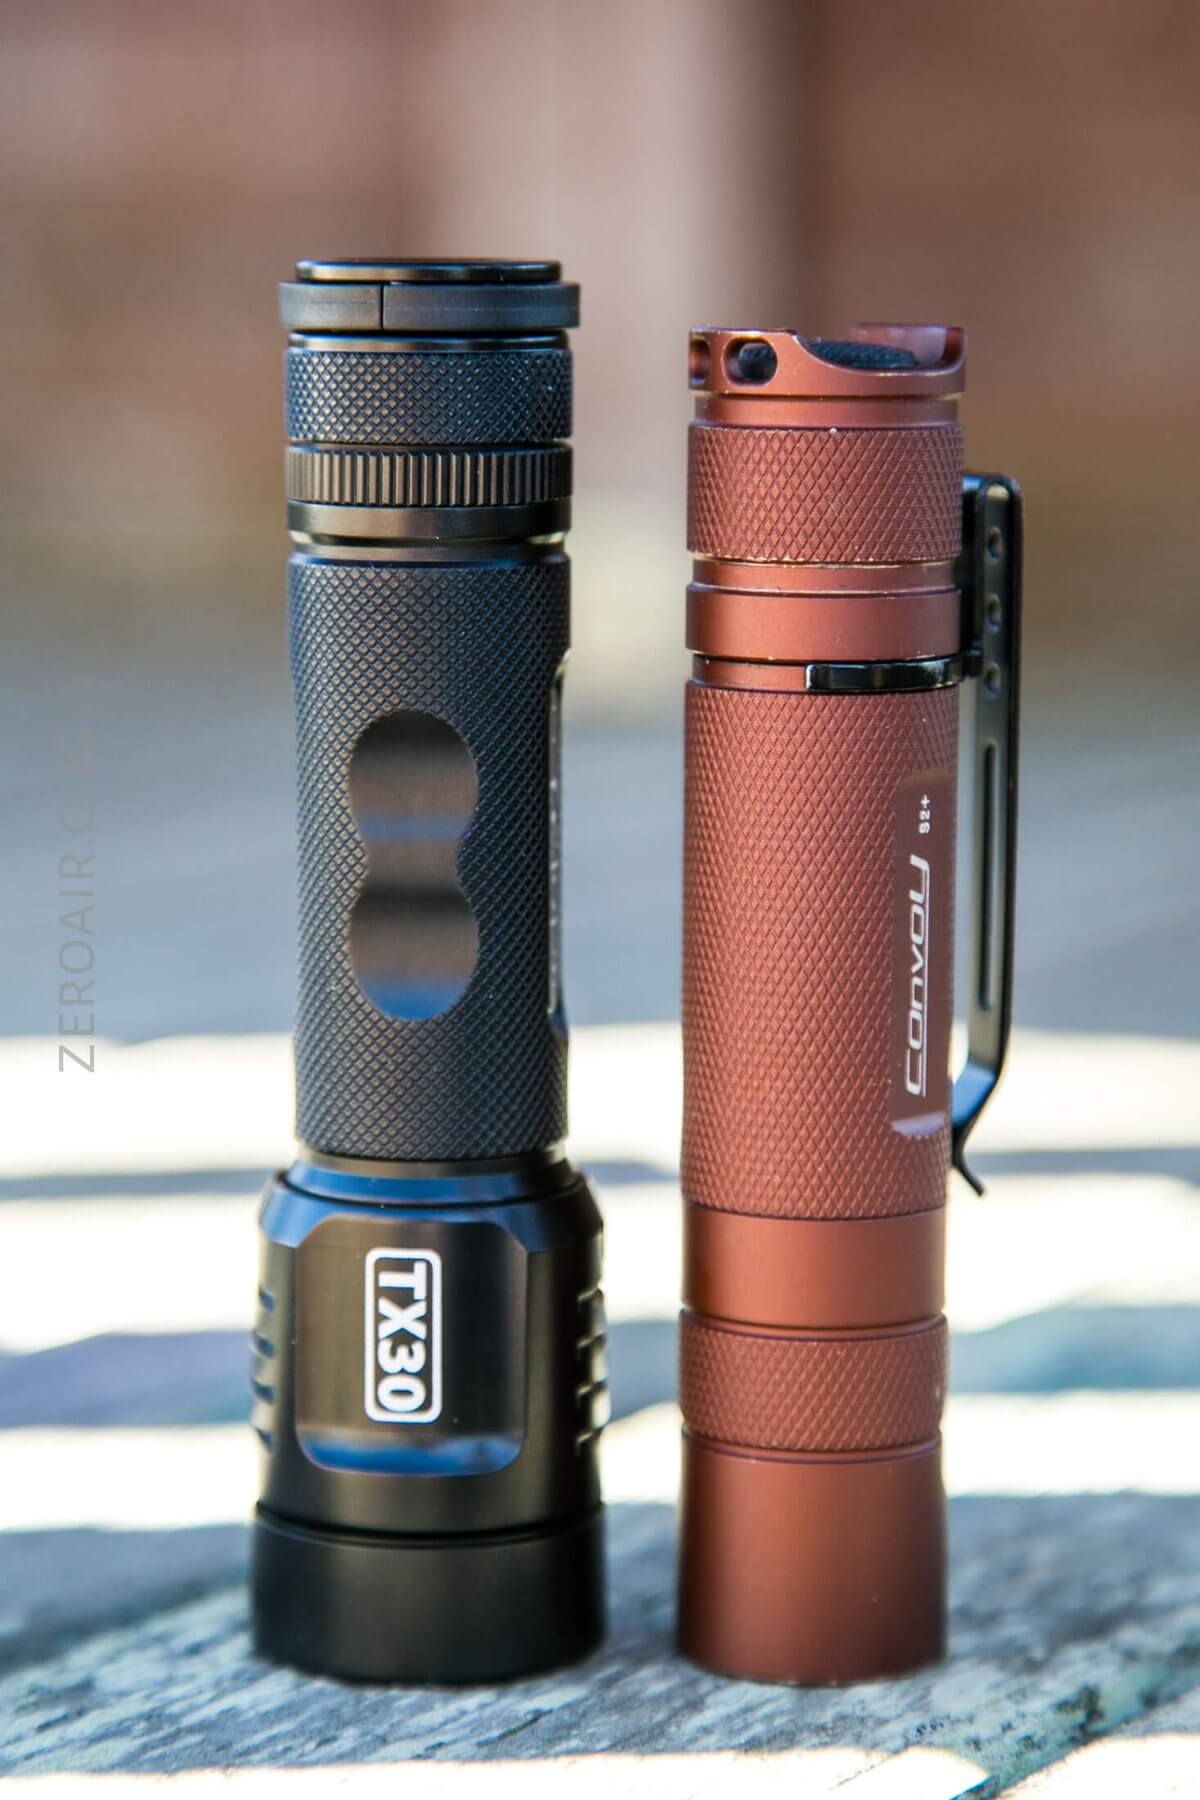
Edited the post to add this shot in. I’d meant to include it. Now, I don’t know who makes what flashlight, but this similar cutout in the side is too specific to be a coincidence!!
Retention and Carry
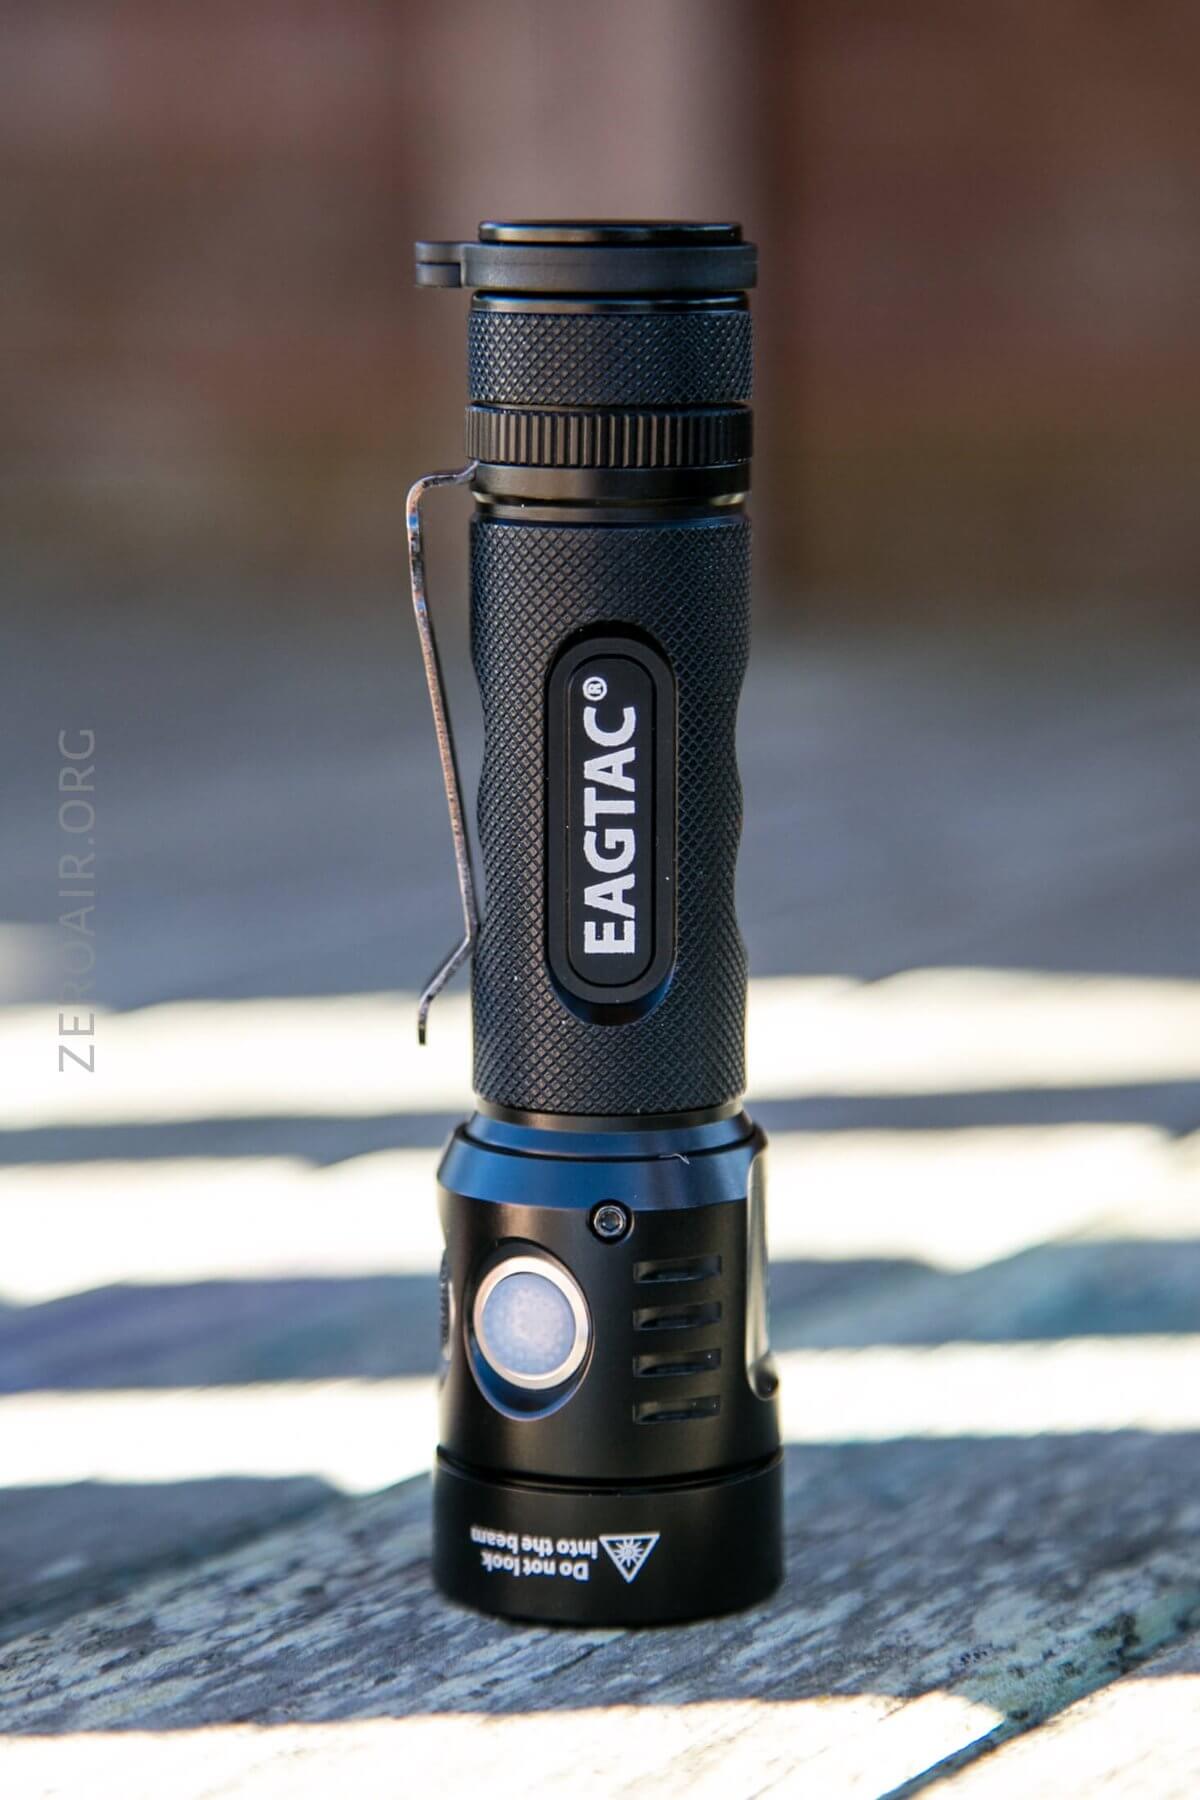
First up is the lanyard. This lanyard connects through the dedicated plastic ring on the tailcap (which I’ve already gushed about, above). The lanyard has a little metal spring-clip and attaches very securely

It’s also possible to connect the lanyard to the pocket clip. The clip is thick and stiff, and while it is a friction clip, I trust this connection.
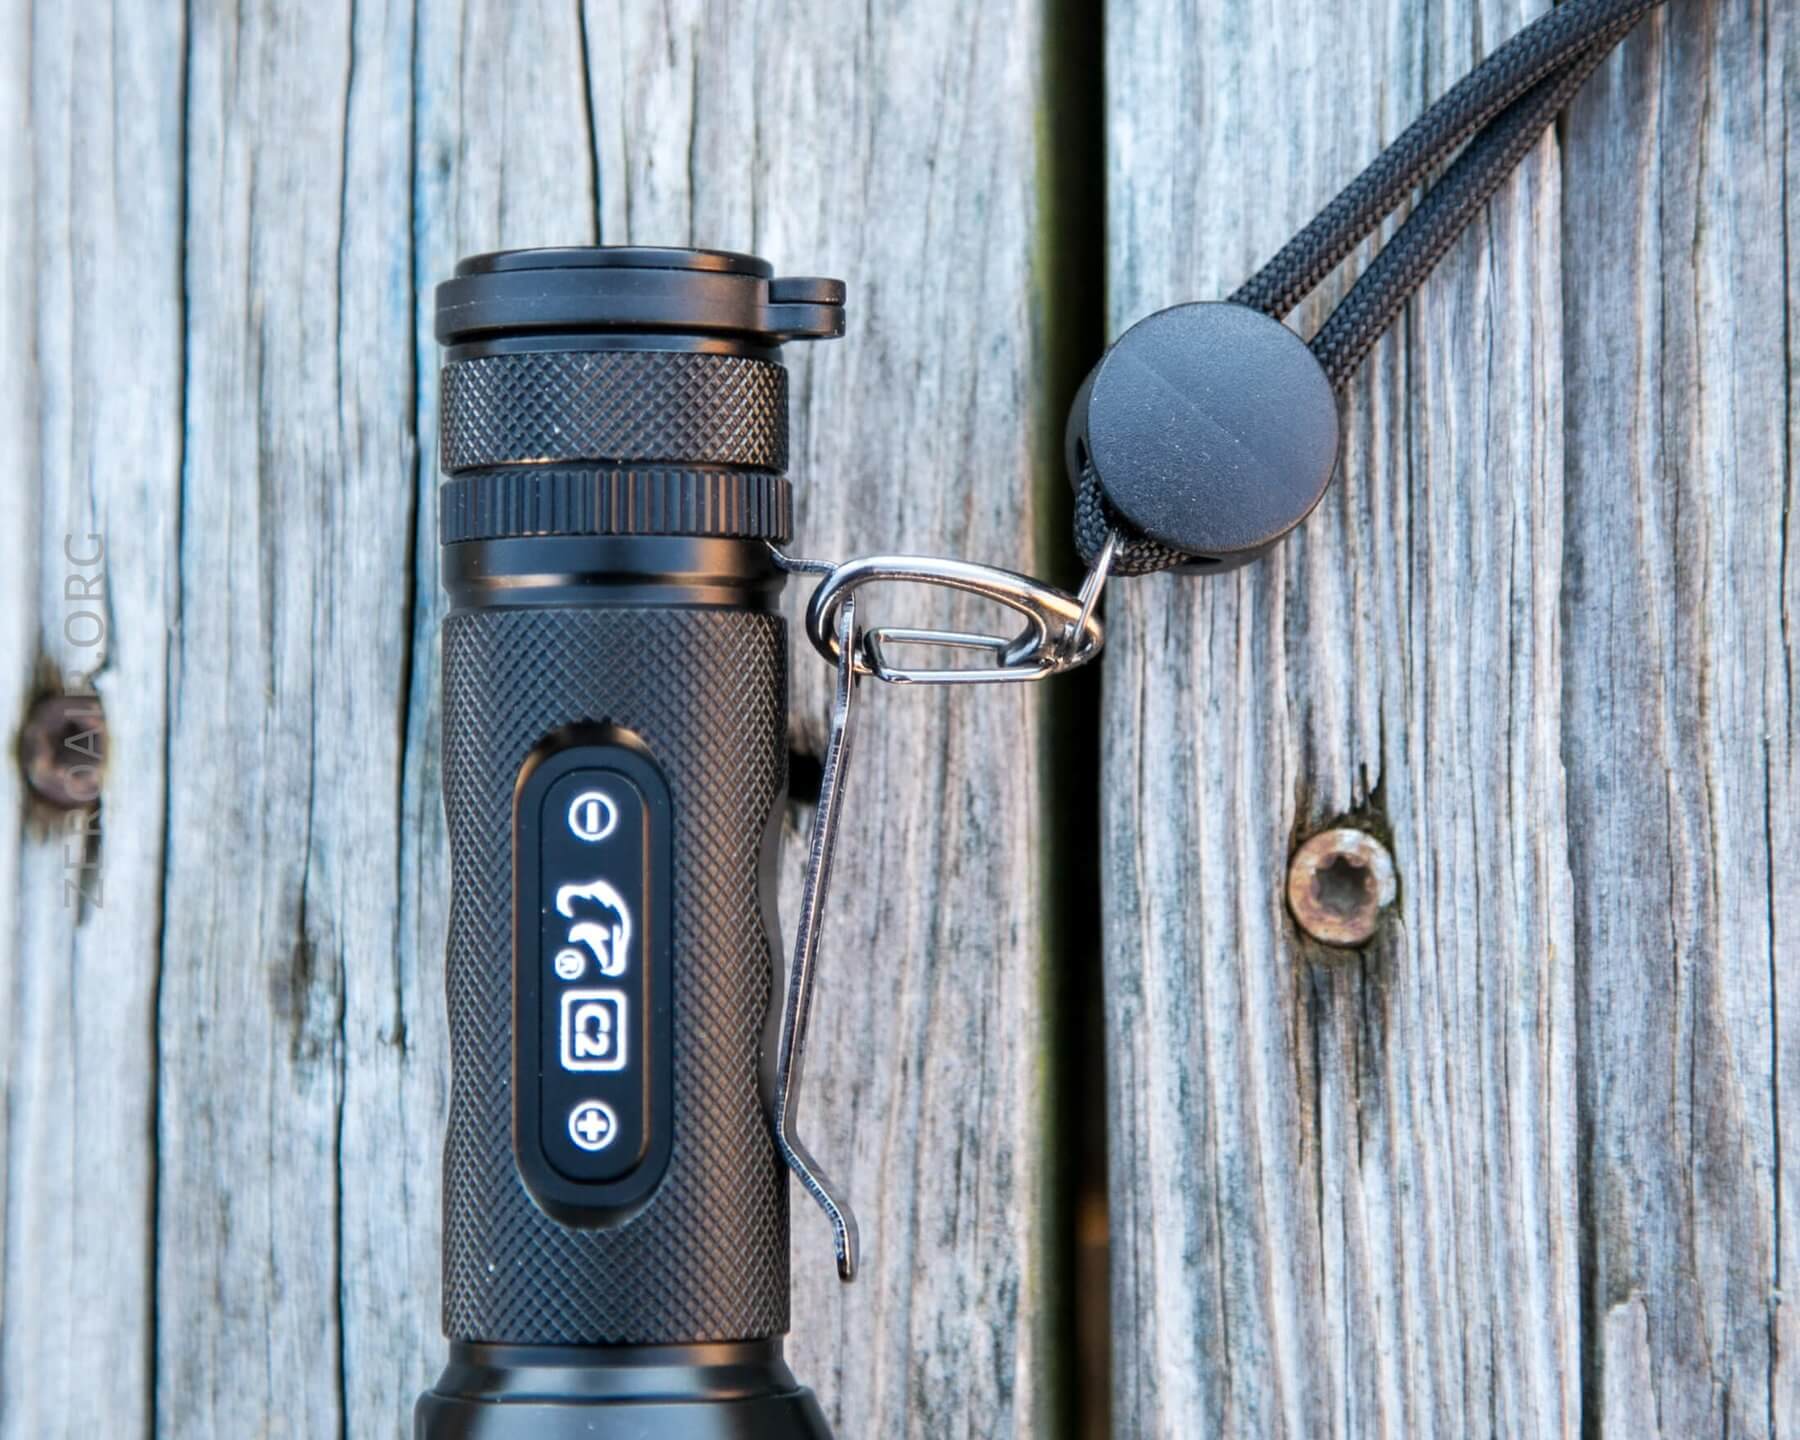
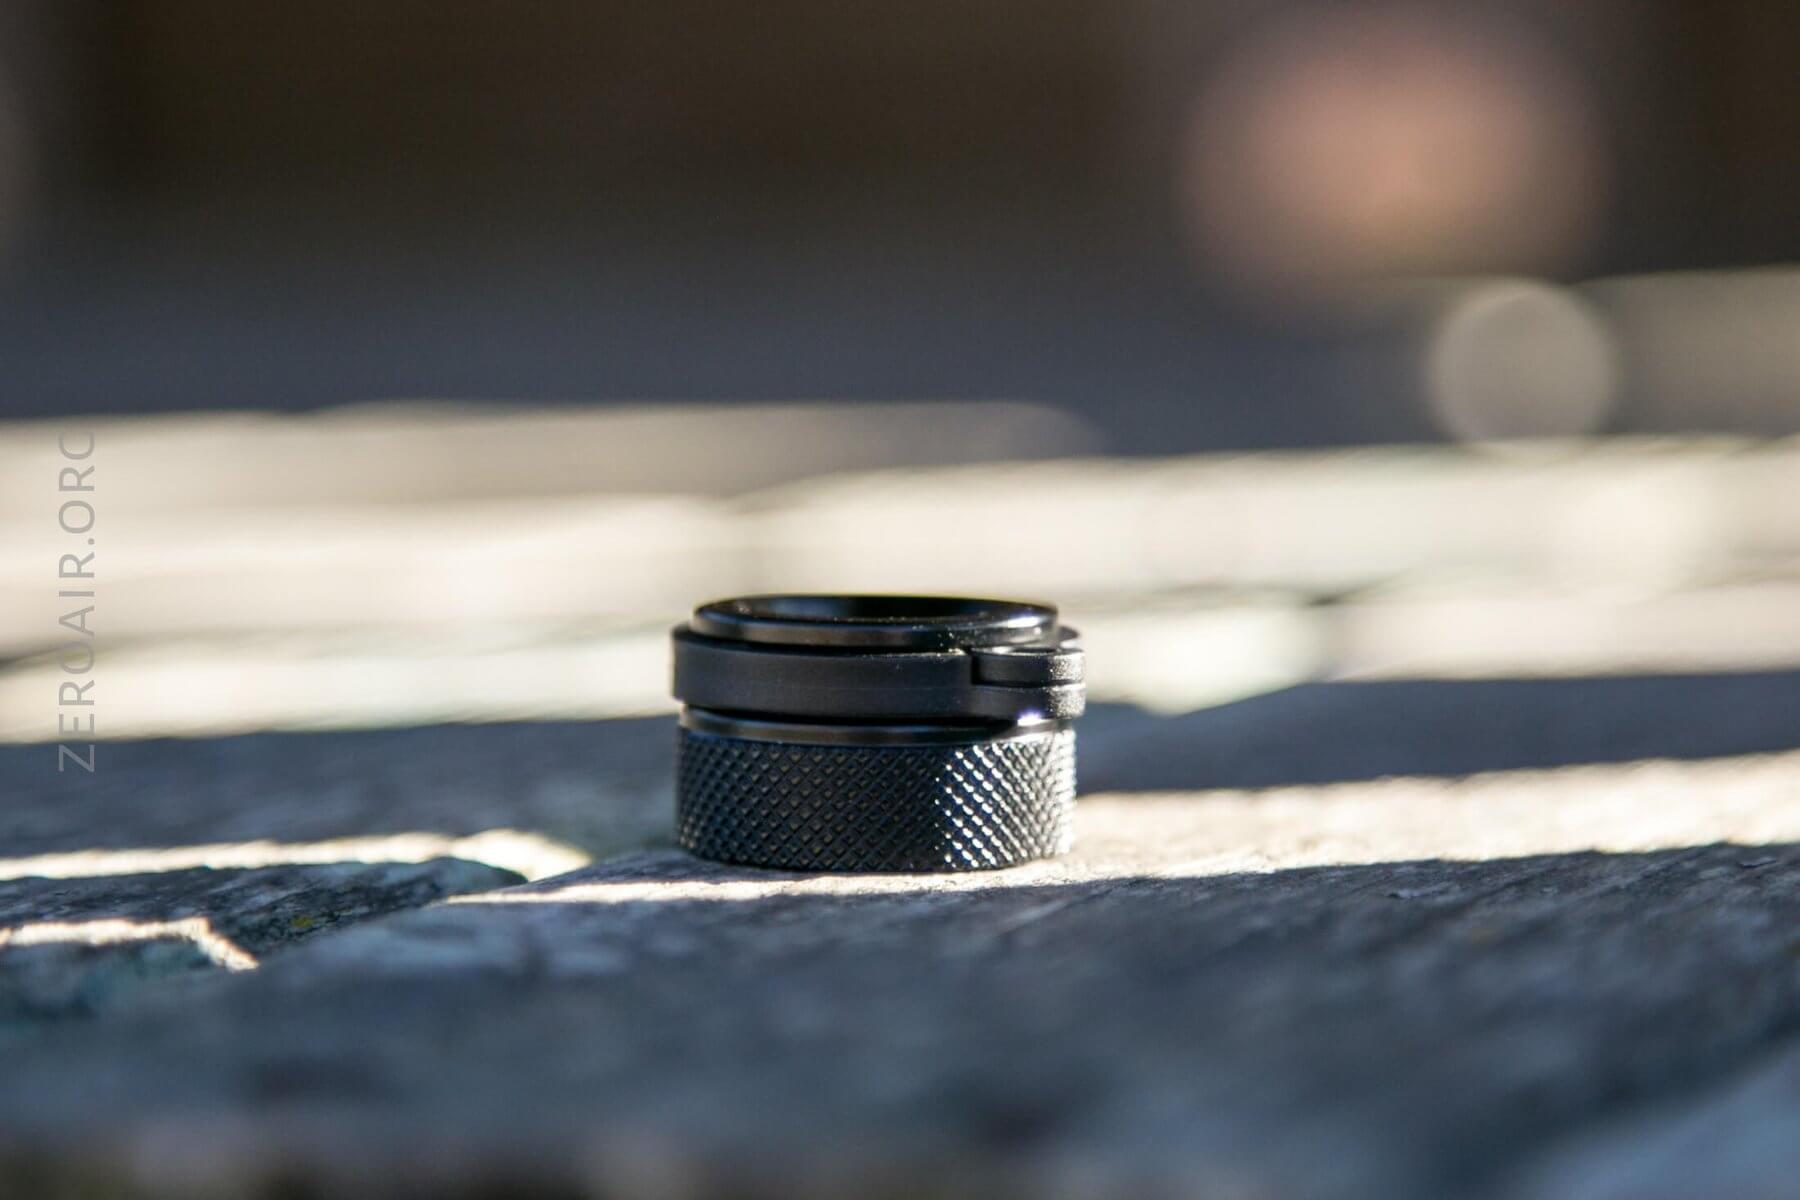
The reason I trust the pocket clip for lanyard attachment is that there’s a ring that screws down over the pocket clip, preventing it from sliding off. That’s a very clever solution to clip management, while still allowing for the clip to be removed. To remove the clip, take off the tailcap. Removing the o-ring is not necessary, but it will help. Then unscrew the tiny clip-retention ring (the reeded part – that looks like the side of a quarter coin). This might not remove all the way, but it’ll unscrew enough to allow the friction clip to be removed. Then screw it back down, screw the tailcap on, and you have a clipless TX30C2. (Also note that this means it removes seamlessly!)
That hole in the clip looks like it might be a good tripod mount point, but the hole is just slightly too small. That’d be a coup for EagTac to widen that hole to allow tripod mounting right there. McGizmo
The kit includes a nylon pouch; I didn’t get the kit, so I haven’t seen the pouch.
There is no magnet. The light will tailstand flawlessly.
Power and Runtime
I have tested this light with an Efest 3500mAh 18650. It’ll also run from 2xCR123, and an adapter sleeve is provided. Any type 18650 will work. Protected, unprotected; flat top, button top.
The stepdowns begin fairly quickly, but the light levels out at about 640 lumens, where it stays for around 45 minutes. Then the drop off that tracks cell voltage begins and steadily drains the cell until the output is negligible, and the cell is low (2.5-2.6V in my testing, but the light never actually shut off). EagTac calls Turbo “MAX”, which I’ll do too.
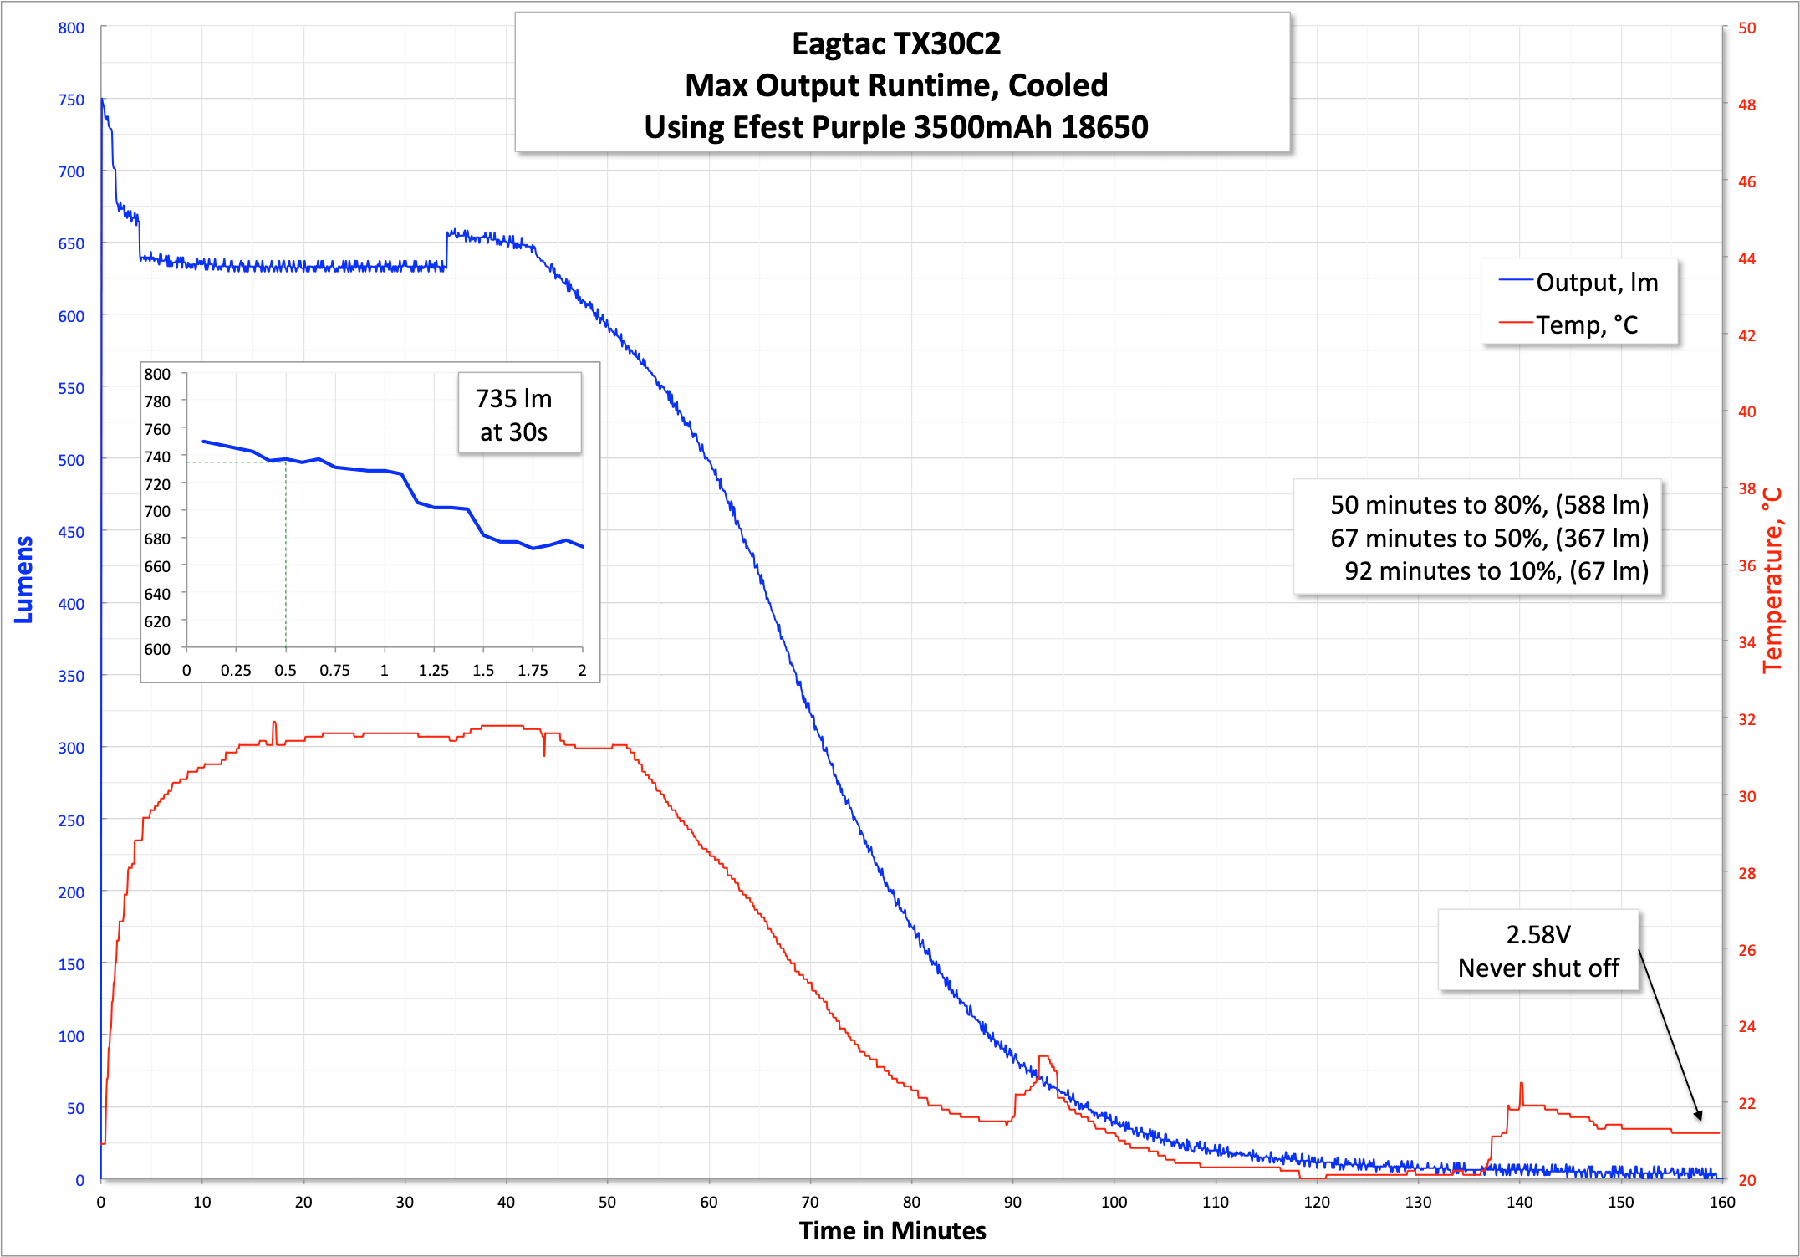
High is stable for over two hours, which is respectable. The output isn’t that much lower than MAX. Again, no evidence of LVP.
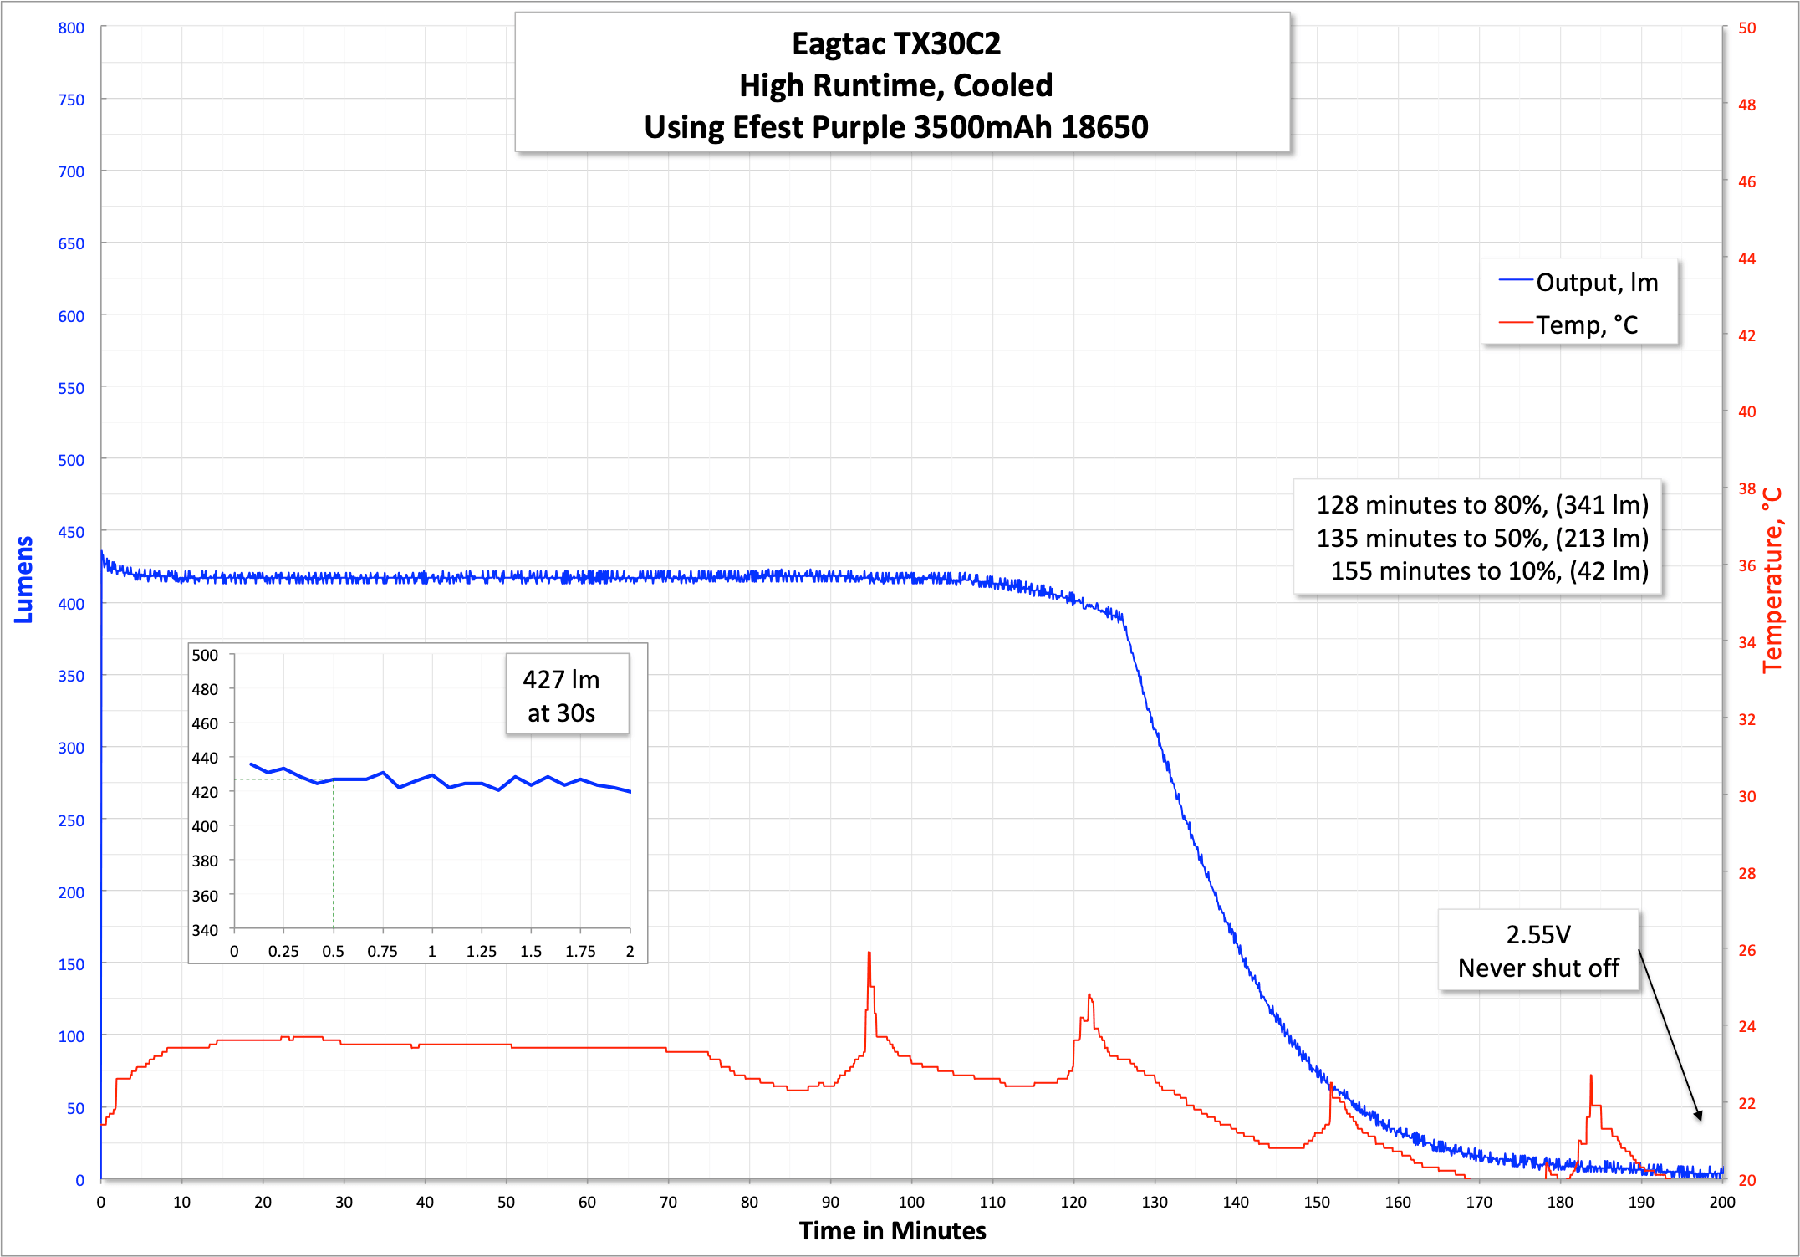
There is no indication from the switch when the voltage is low. There is an indication of cell voltage when the light is turned on. A few seconds after turning on, the switch will blink a number of times. Those blinks indicate the following:
4 Blinks: >80% capacity
3 Blinks: 50-80% capacity
2 Blinks: 20-50% capacity
1 Blinks: <20% capacity
During a runtime, I might say “this light has no LVP,” but in reality, at any point during use, the light could be shut off and turned back on to see what the approximate cell voltage is. Also, the output would be a very good indicator.
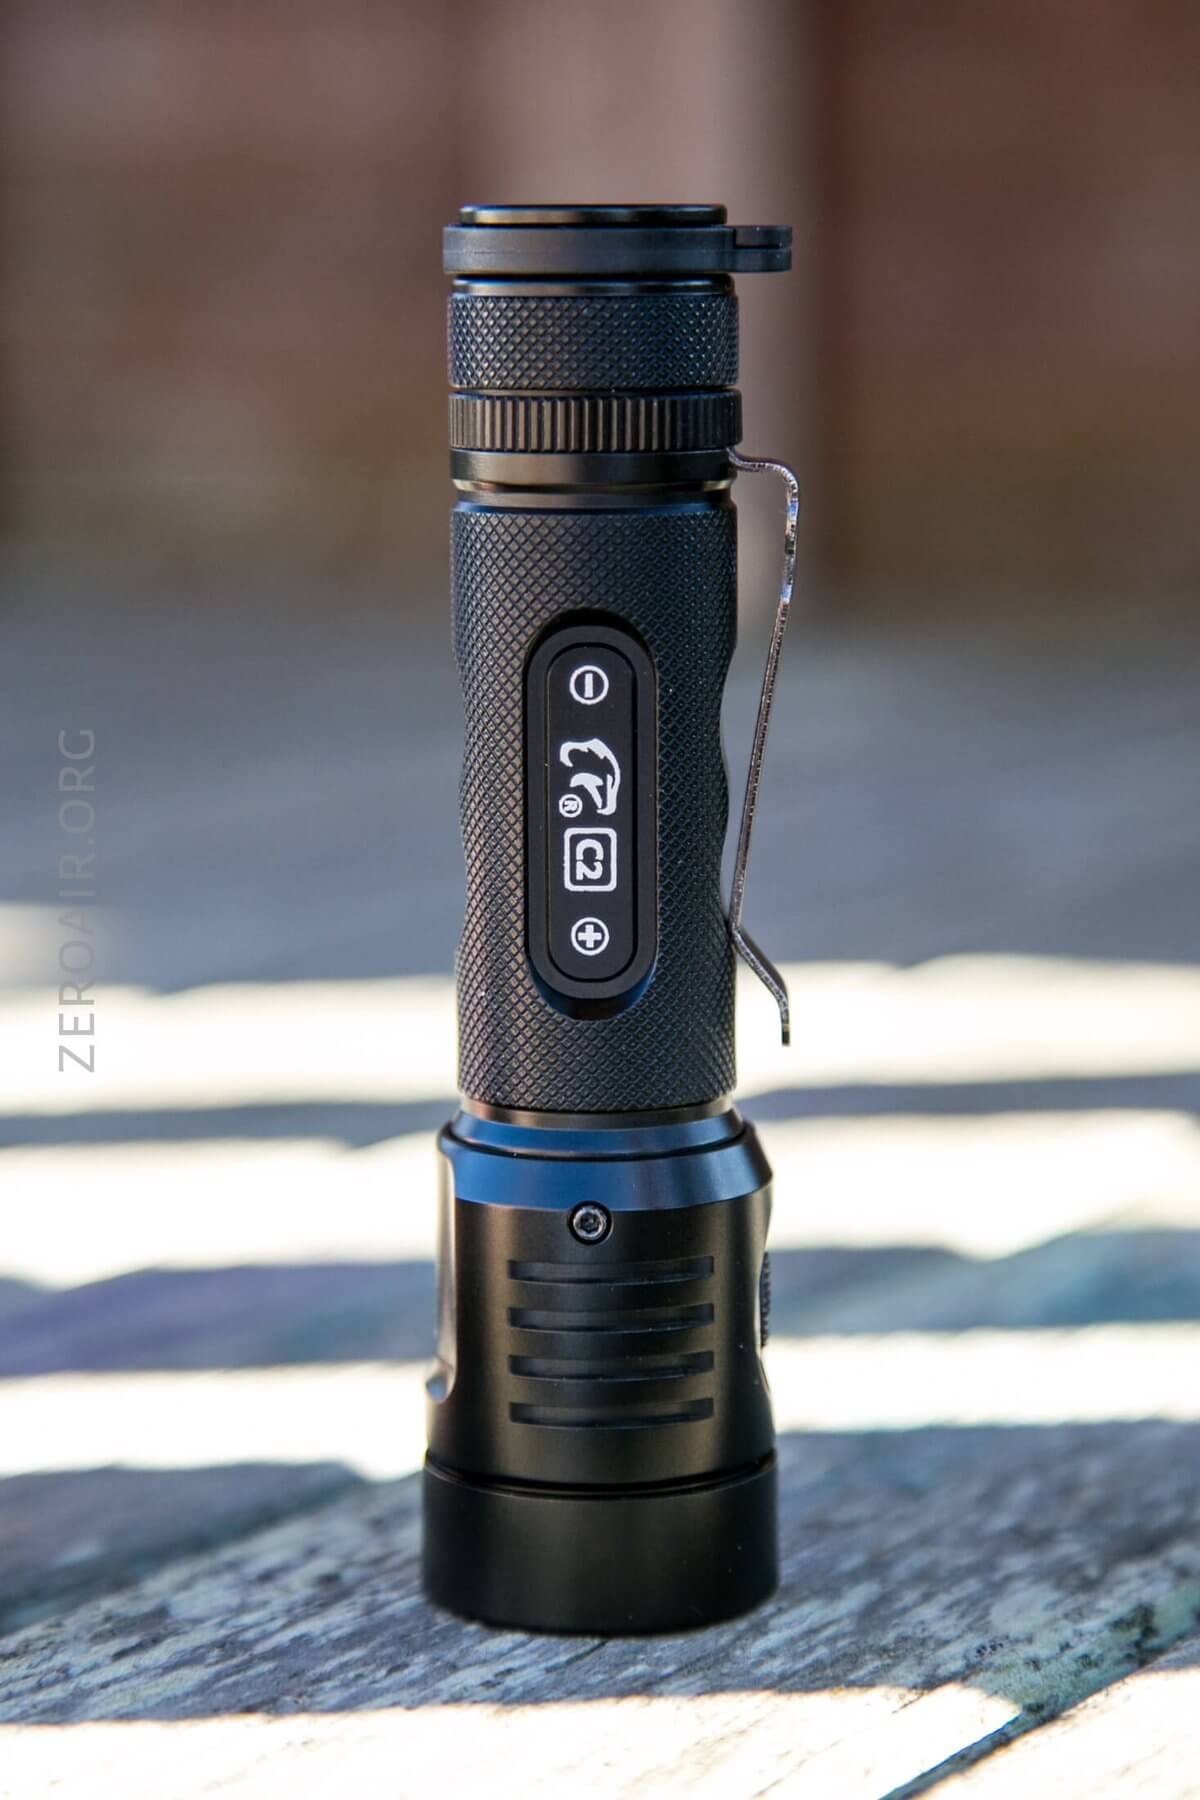
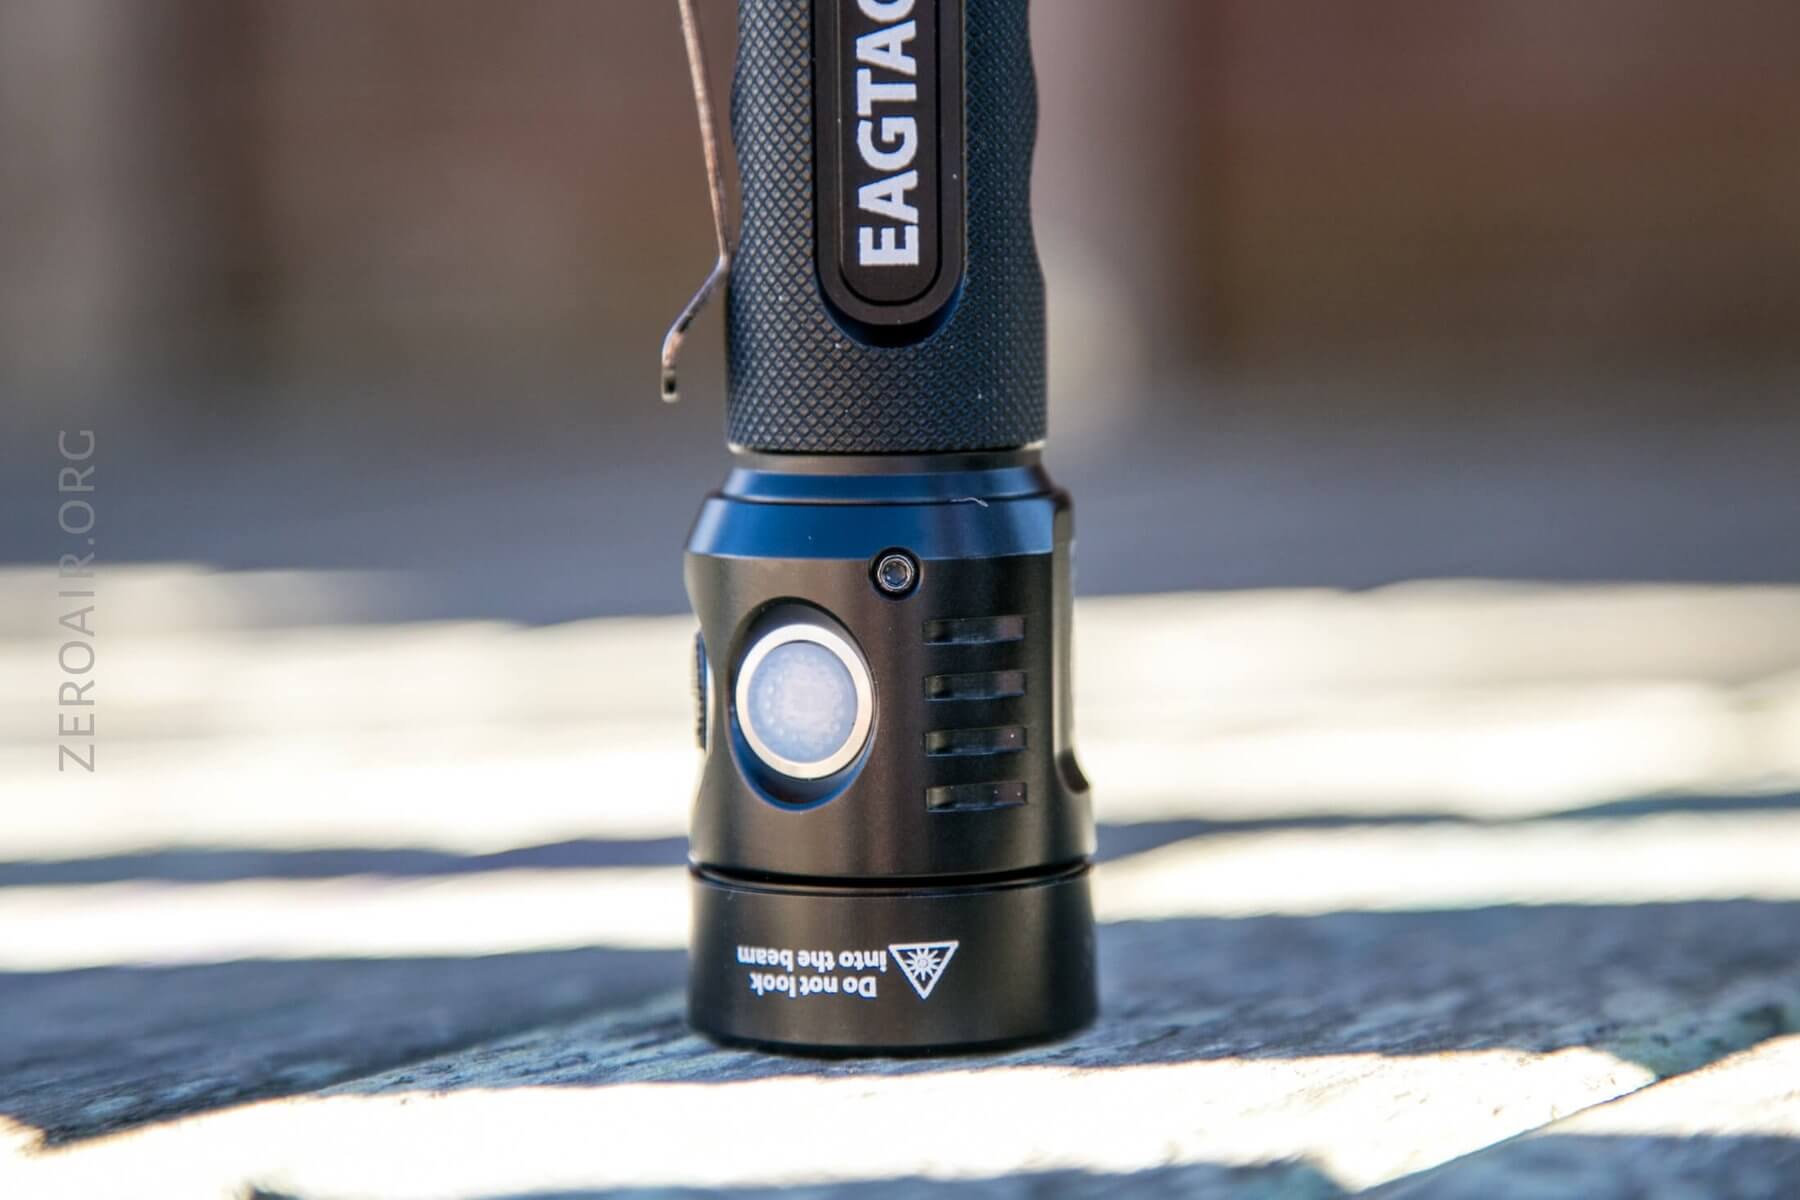
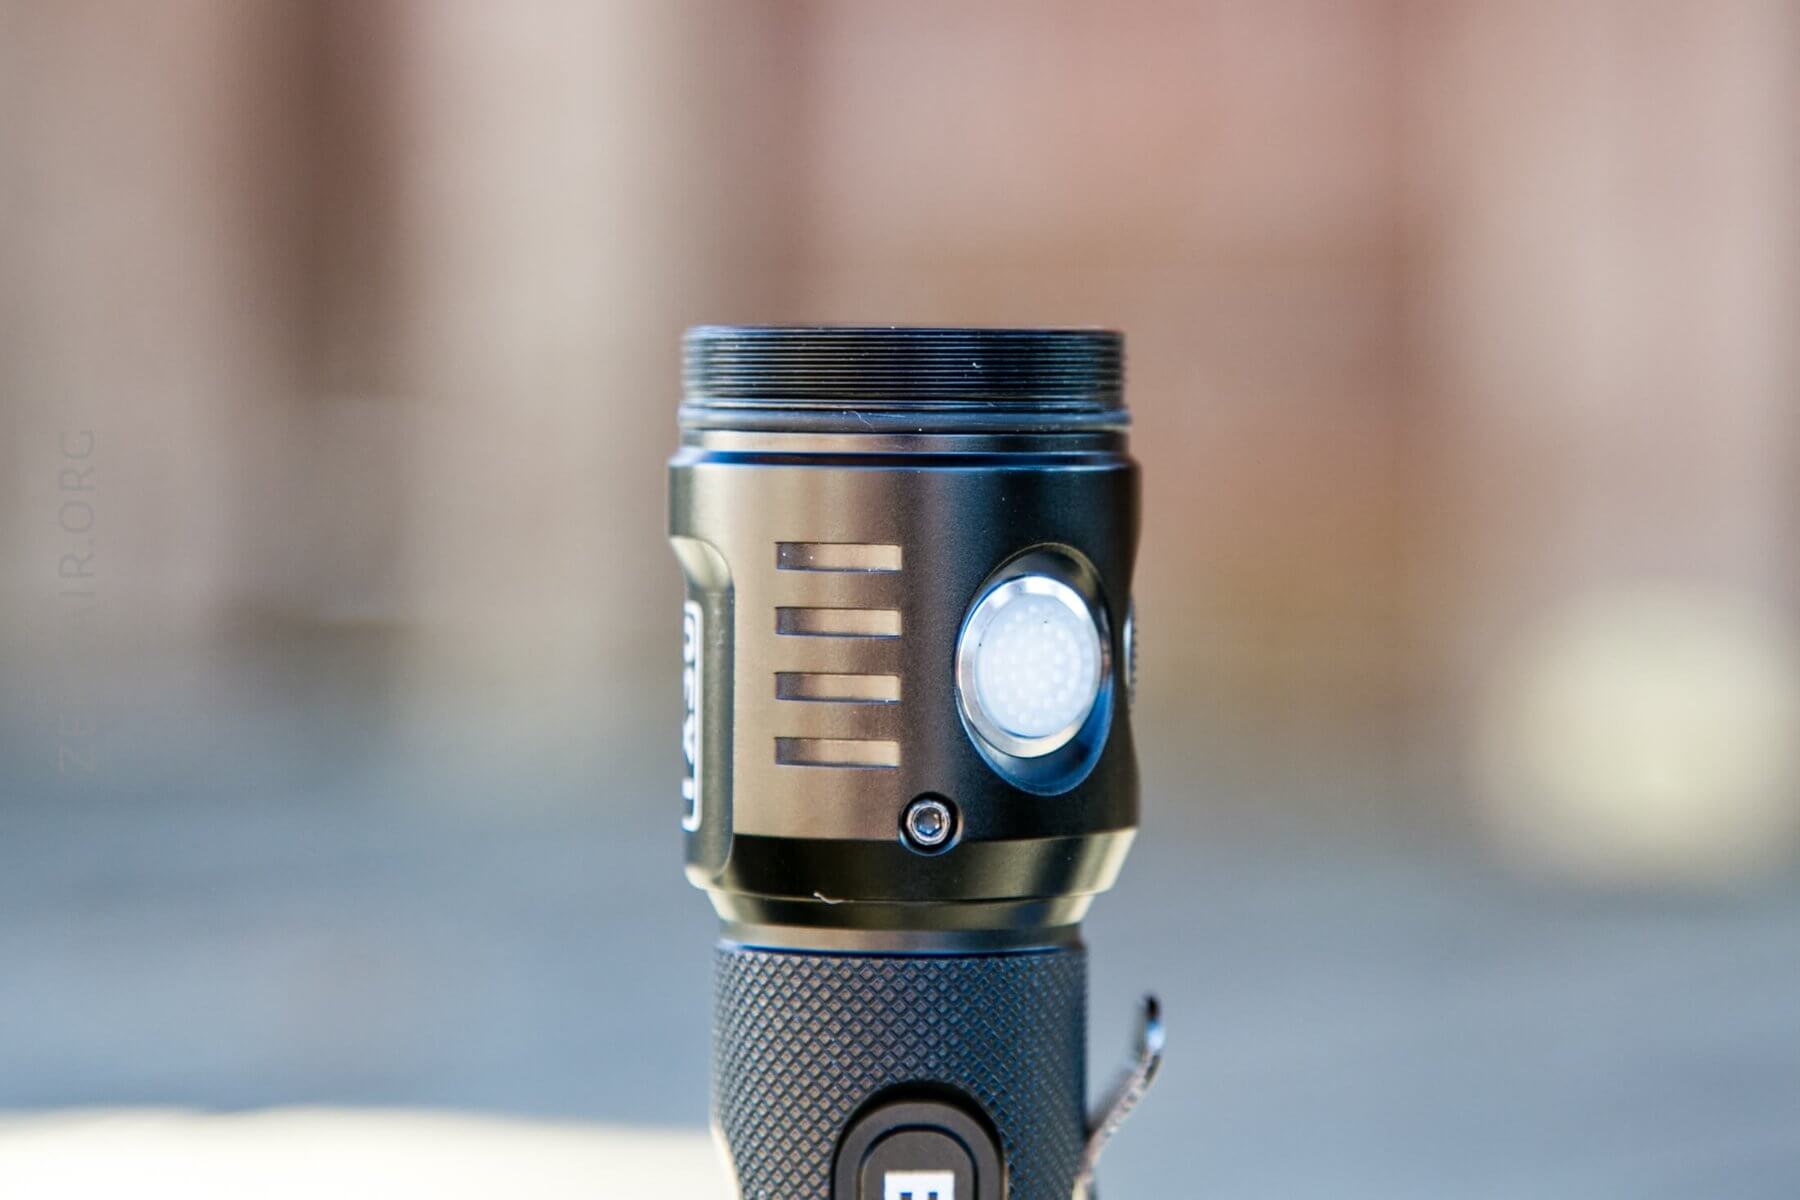
User Interface and Operation
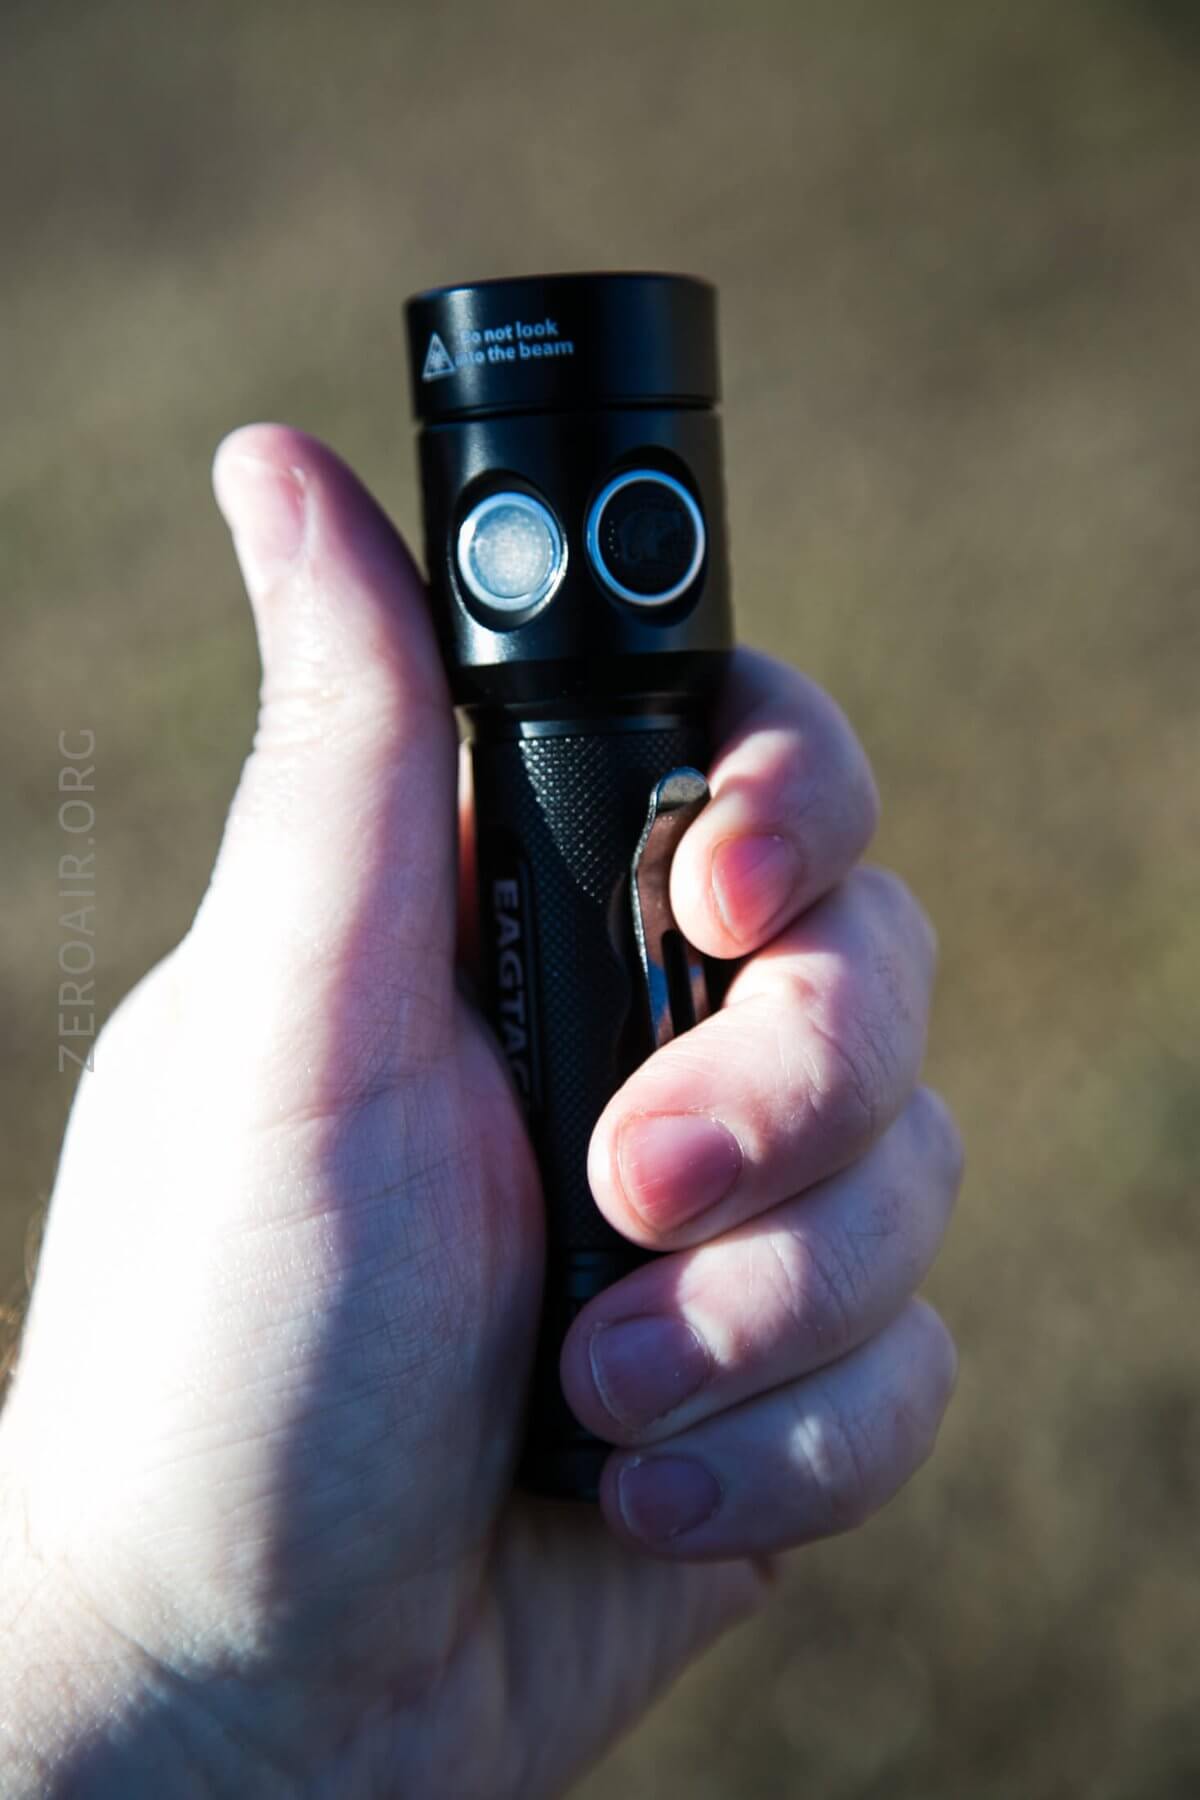
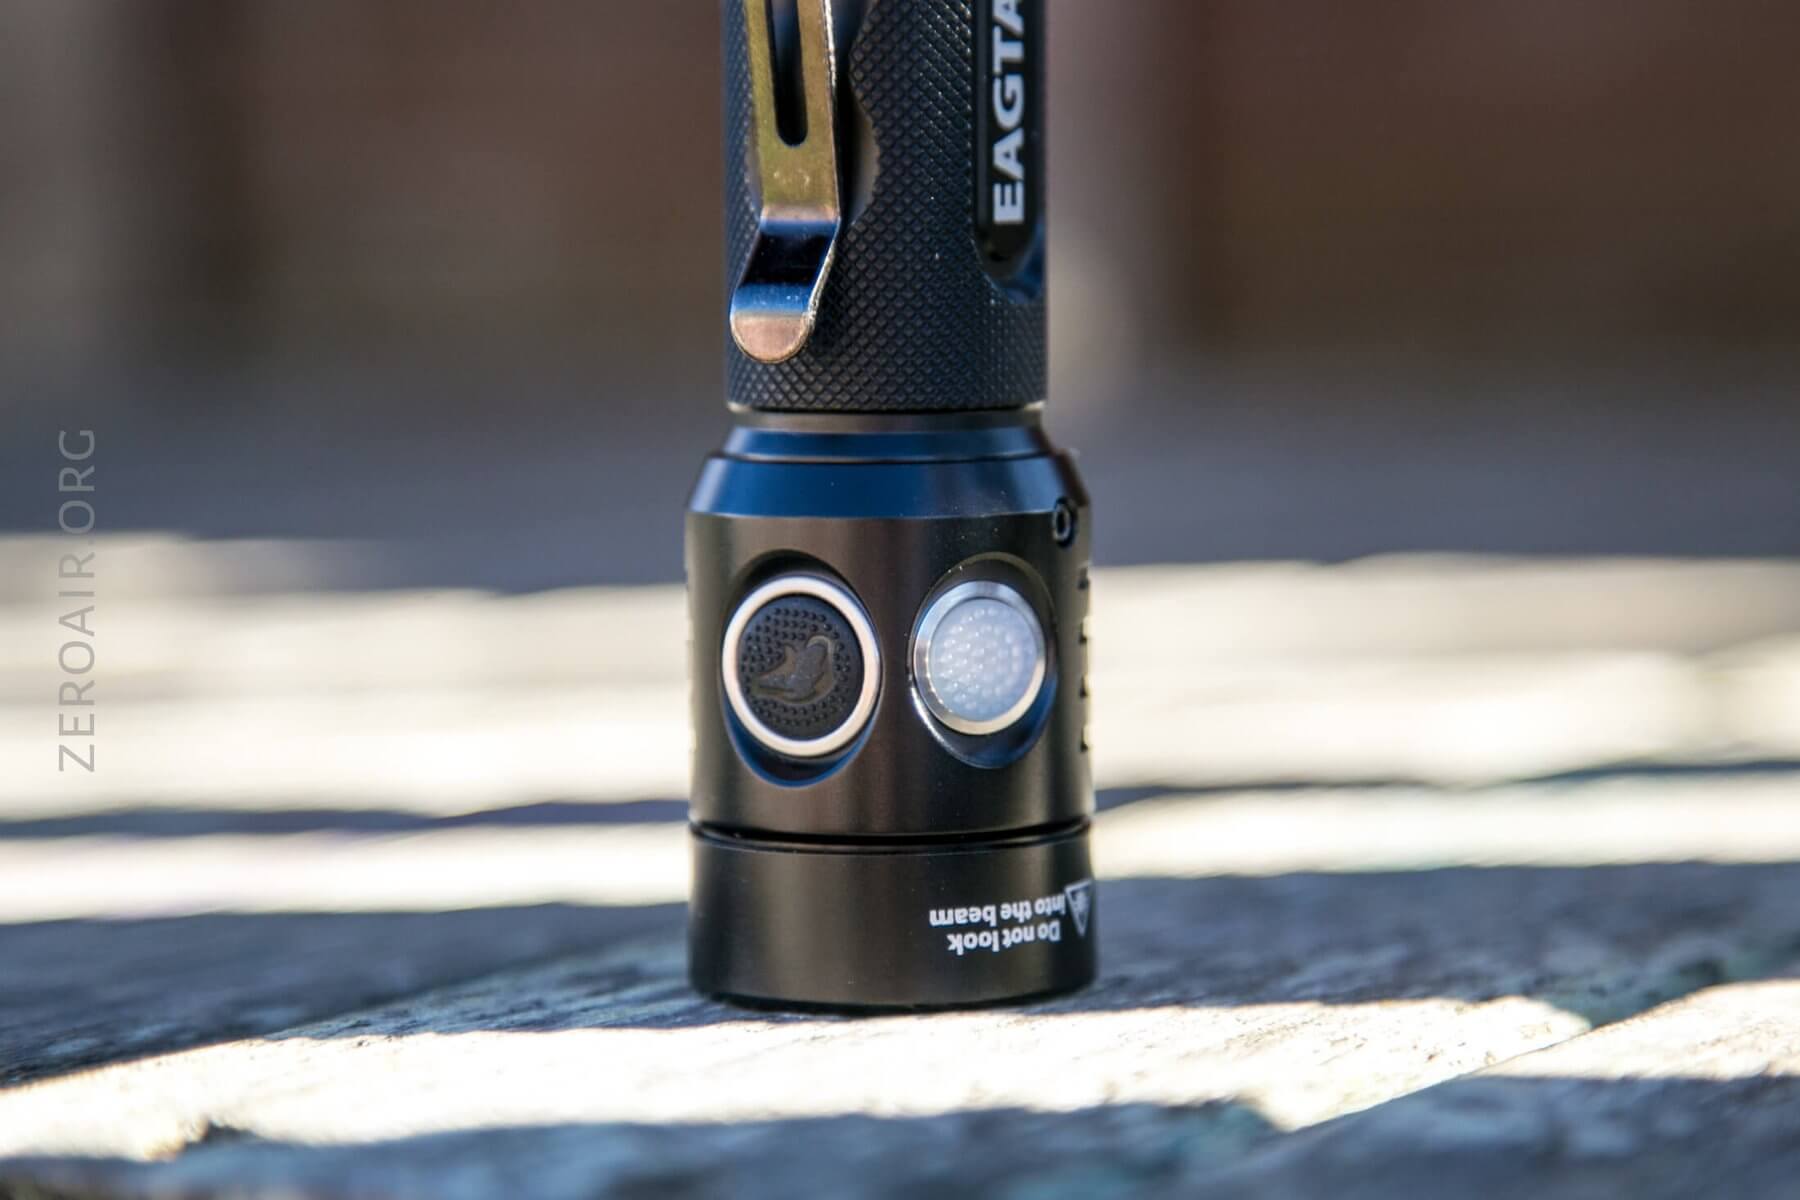
There are two switches on this series of lights (which is more than just the two I have, the TX30C2 and SX30C2). Both are e-switches. One (the left one, when holding the light) is black. The right switch is white/clear and has a blue indicating LED under. The two switches are useful since they offer shortcuts that are more difficult (at least, more difficult to remember) than those in single-switch lights.
The switches are different sizes, but that’s not noticeable in daily use.
Here’s a user interface table!
| State | Action | Result |
|---|---|---|
| Off | Click Black Button (BB) | Turbo |
| Off | Click (Or Hold) White Button (WB) | Low (1% Output) |
| Any | Hold BB | Momentary Turbo |
| On | Click BB | Off |
| On | Click WB | Mode advance (LMH direction) |
| On | Hold WB >5s | Slow flash |
| Aux Group | Click WB | Aux Advance (Slow flashh>SOS) |
| Aux Group | Click BB | Off |
| Aux Group | Hold WB | Turbo |
Modes and Currents
| Mode | Mode Claimed Output (lm) | Claimed Runtime | Measured Lumens | Tailcap Amps |
|---|---|---|---|---|
| 1 | 100% | – | 735 | 2.50 |
| 2 | 45% | – | 411 | 1.00 |
| 3 | 14% | – | 160 | 0.29 |
| 4 | 5% | – | 57 | 0.08 |
| 5 | 1% | – | 5 | ~ |
Bench power seems to confirm the lack of low voltage protection.
LED and Beam
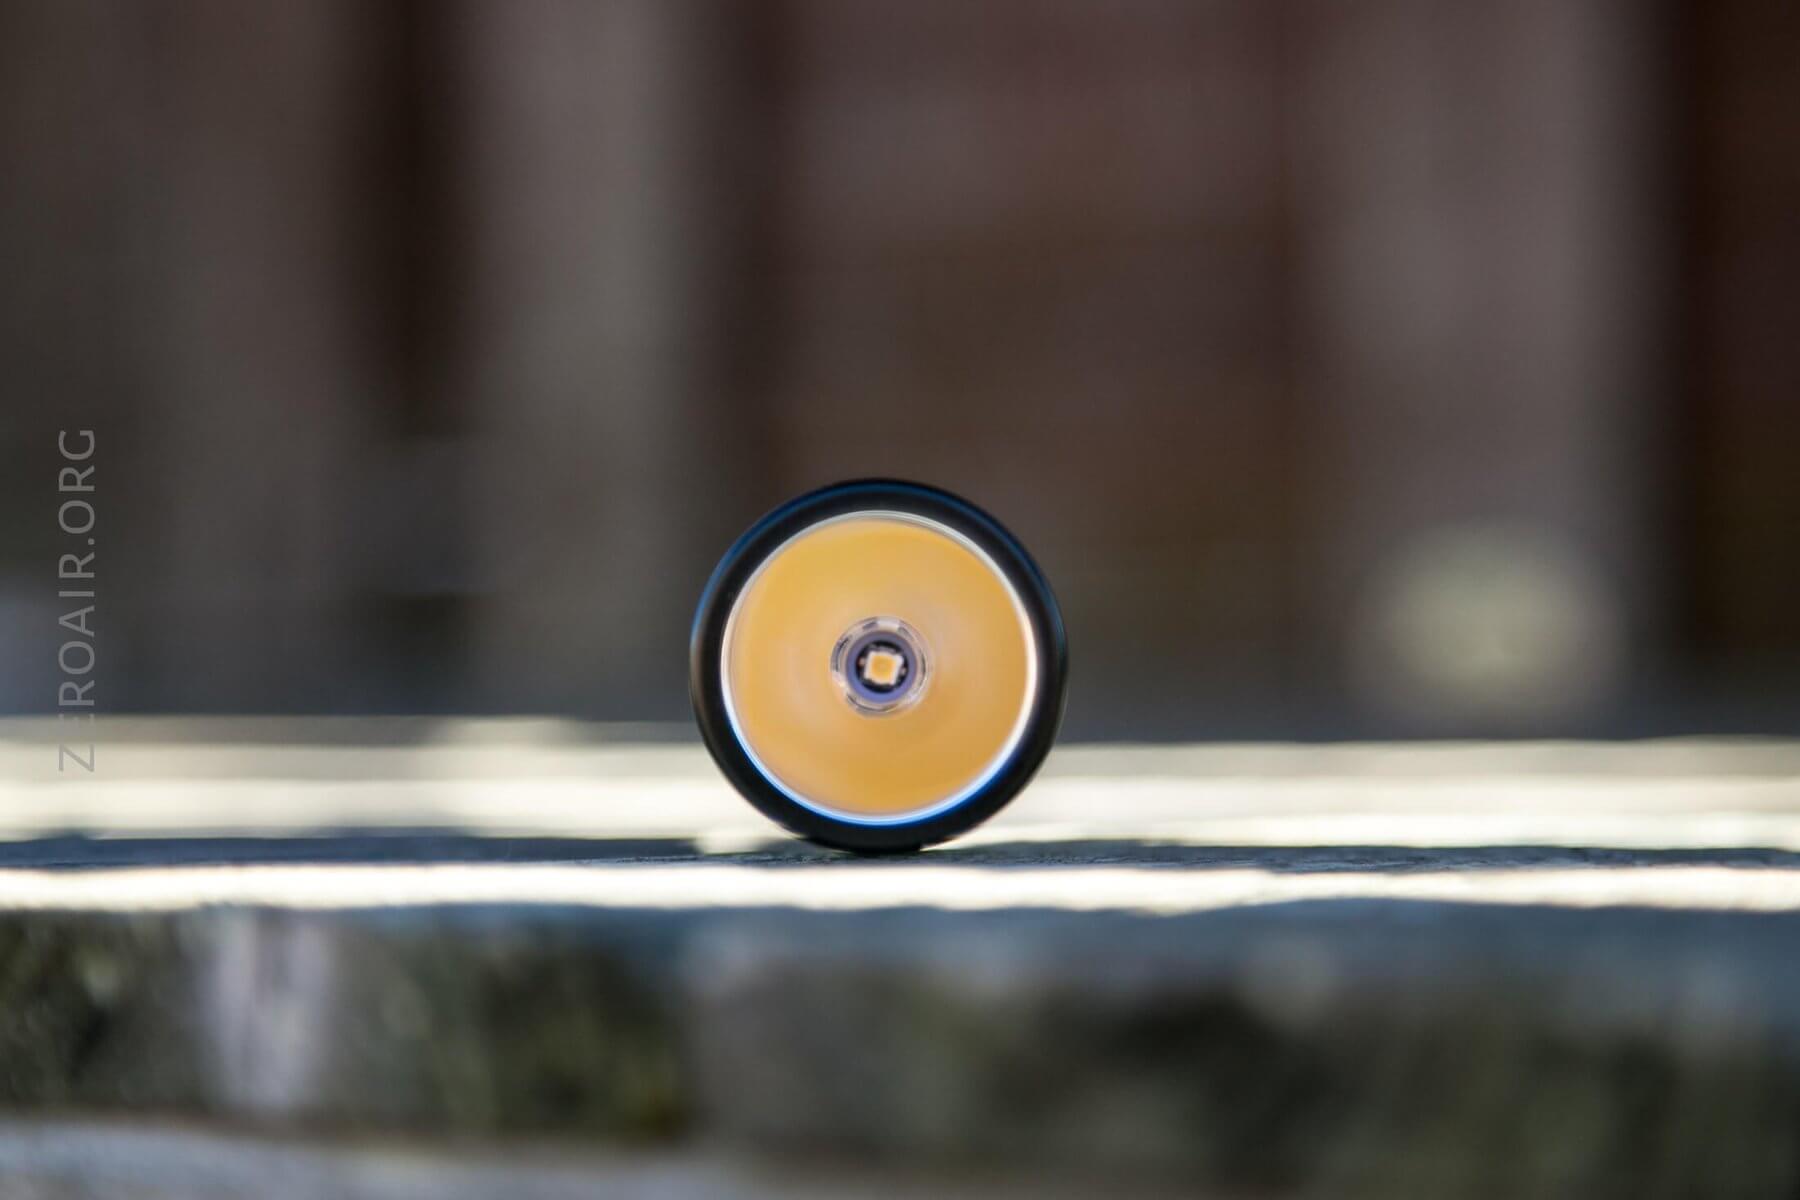
Here’s another special thing about this light! It’s available in a stock configuration with a Nichia emitter. This is a High CRI 219c model. That’s not unheard of in production lights, but it’s a little unusual in this type (medium thrower). And that’s a good thing – warmer lights make great thowers!
The reflector is deep and smooth, making a hotspot that is even across the spot, and a little (but specific) spill.
Beamshots
These beamshots always have the following settings: f8, ISO100, 0.3s shutter, and manual 5000K exposure. These photos are taken at floor level, and the beam hits the ceiling around 9 feet away.


I really like the beam profile, and in the light this size, it makes for a reasonable pocket carry light.
Tint vs BLF-348 (KillzoneFlashlights.com 219b version) (affiliate link)
The tint is about what you’d expect from a 219c. I still prefer the 219b, but 219c is a good alternative. Also, it’s fairly warm, at 4000K.
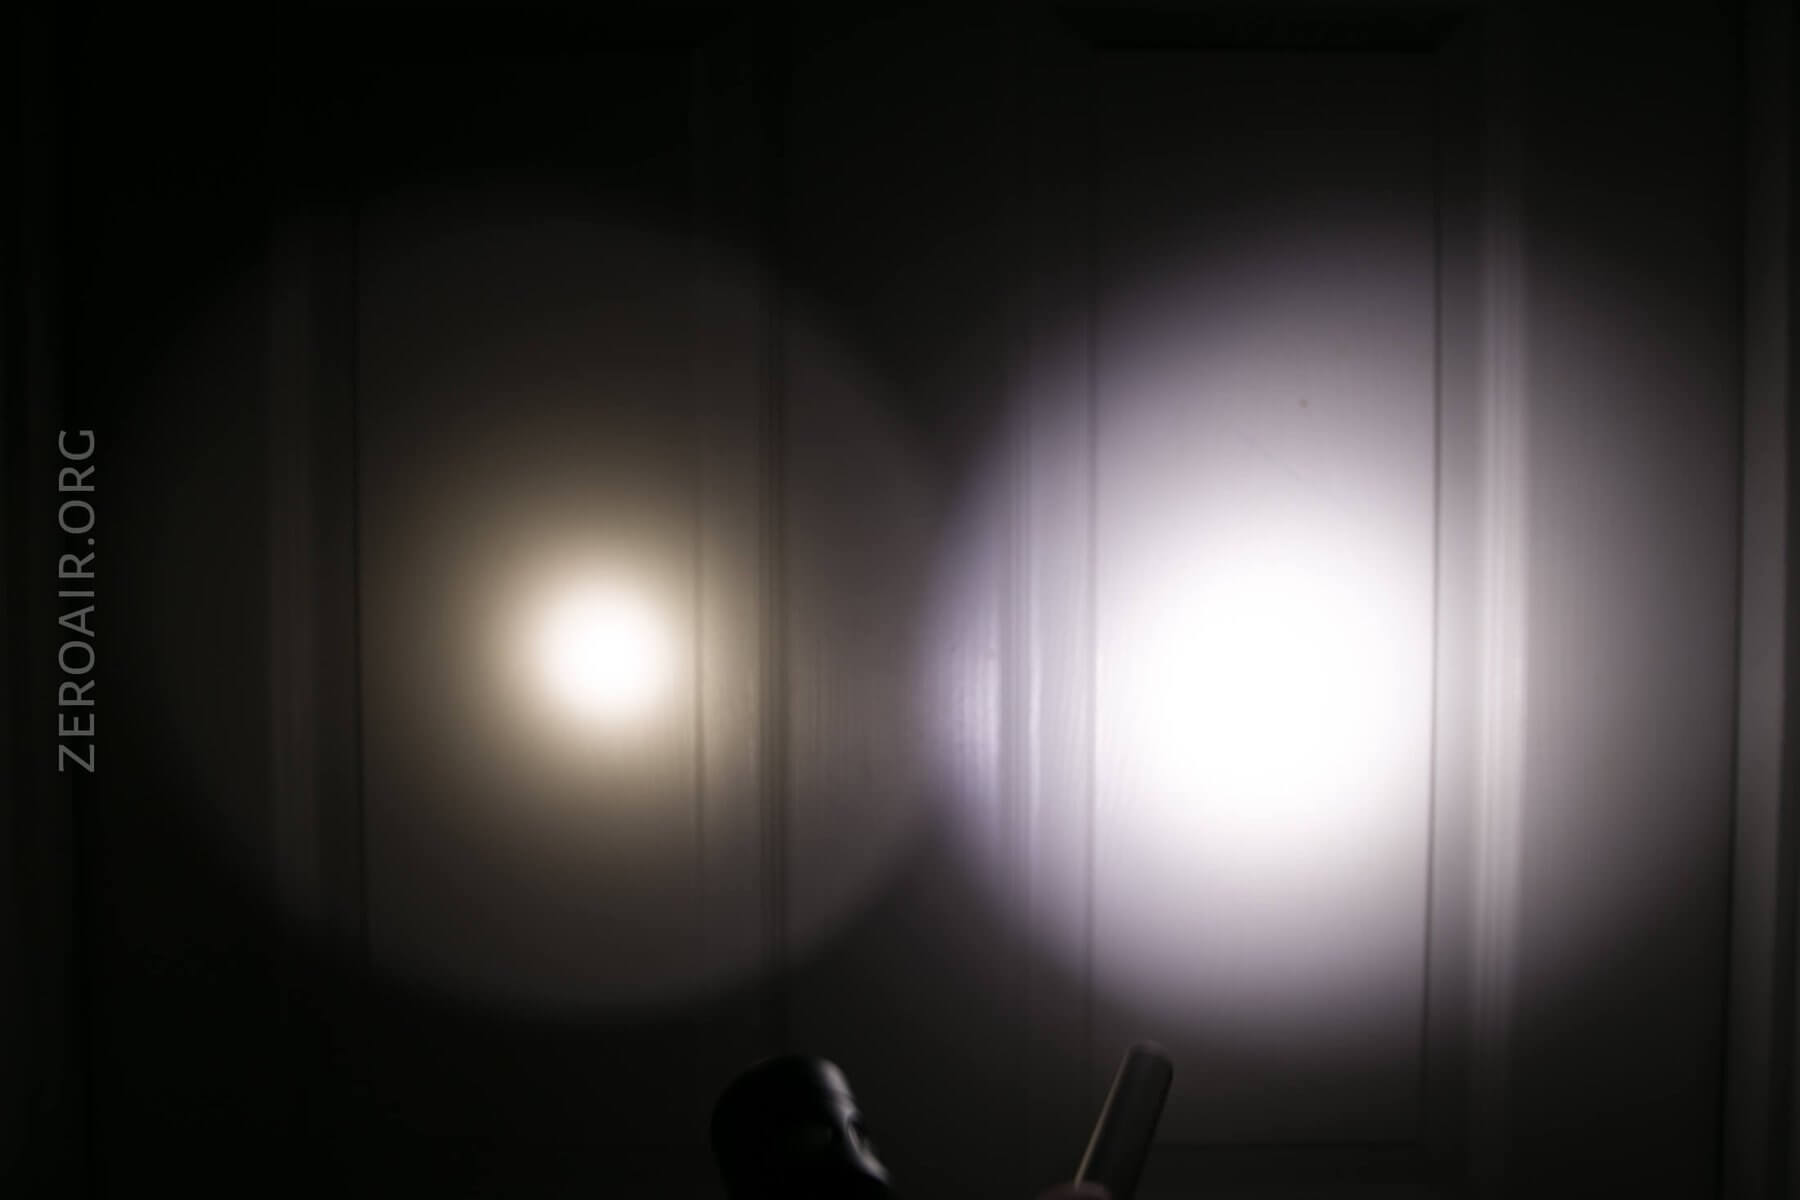
I compare everything to the KillzoneFlashlights.com 219b BLF-348 because it’s inexpensive and has the best tint!
Random Comparisons and Competitive Options
Here’s a link to a relevantly filtered page on parametrek.com. I use that site a lot! There aren’t any other lights like this one. There are a few Nichia lights there with similar throw, but one achieves that with non-Nichia emitters also on the light. The other two aren’t even in this class, and are also made by EagTac!
I highly recommend this light because of the emitter choice, but also for the other special features mentioned above.
Conclusion
What I like
- Stock Nichia offering!
- Dual switch user interface is very convenient
- Build quality is good
- All the novel build quality features are universally good
- Good throw for a Nichia light!
What I don’t like
- Lack of LVP
- The indicating switch could be more fully utilized
- Output falls short of the claim
Notes
- This light was provided by killzoneflashlights.com for review. I was not paid to write this review.
- This content originally appeared at zeroair.org. Please visit there for the best experience!
- Use my amazon.com referral link if you’re willing to help support making more reviews like this one!
- Please support me on Patreon! I deeply appreciate your support!
Discover more from ZeroAir Reviews
Subscribe to get the latest posts sent to your email.
Pingback: Eagtac SX30C2 Flashlight Review - ZeroAir Reviews
How do you charge the cell
By removing the cell(s) and using a bay charger.