Custom ReyLight Gemini Flashlight Review
Today I’m testing an orange-coated Custom ReyLight Gemini. Hope that type of post interests you, and please read on!
Official Specs and Features
Here’s a link to the Custom ReyLight Gemini product page.
Versions
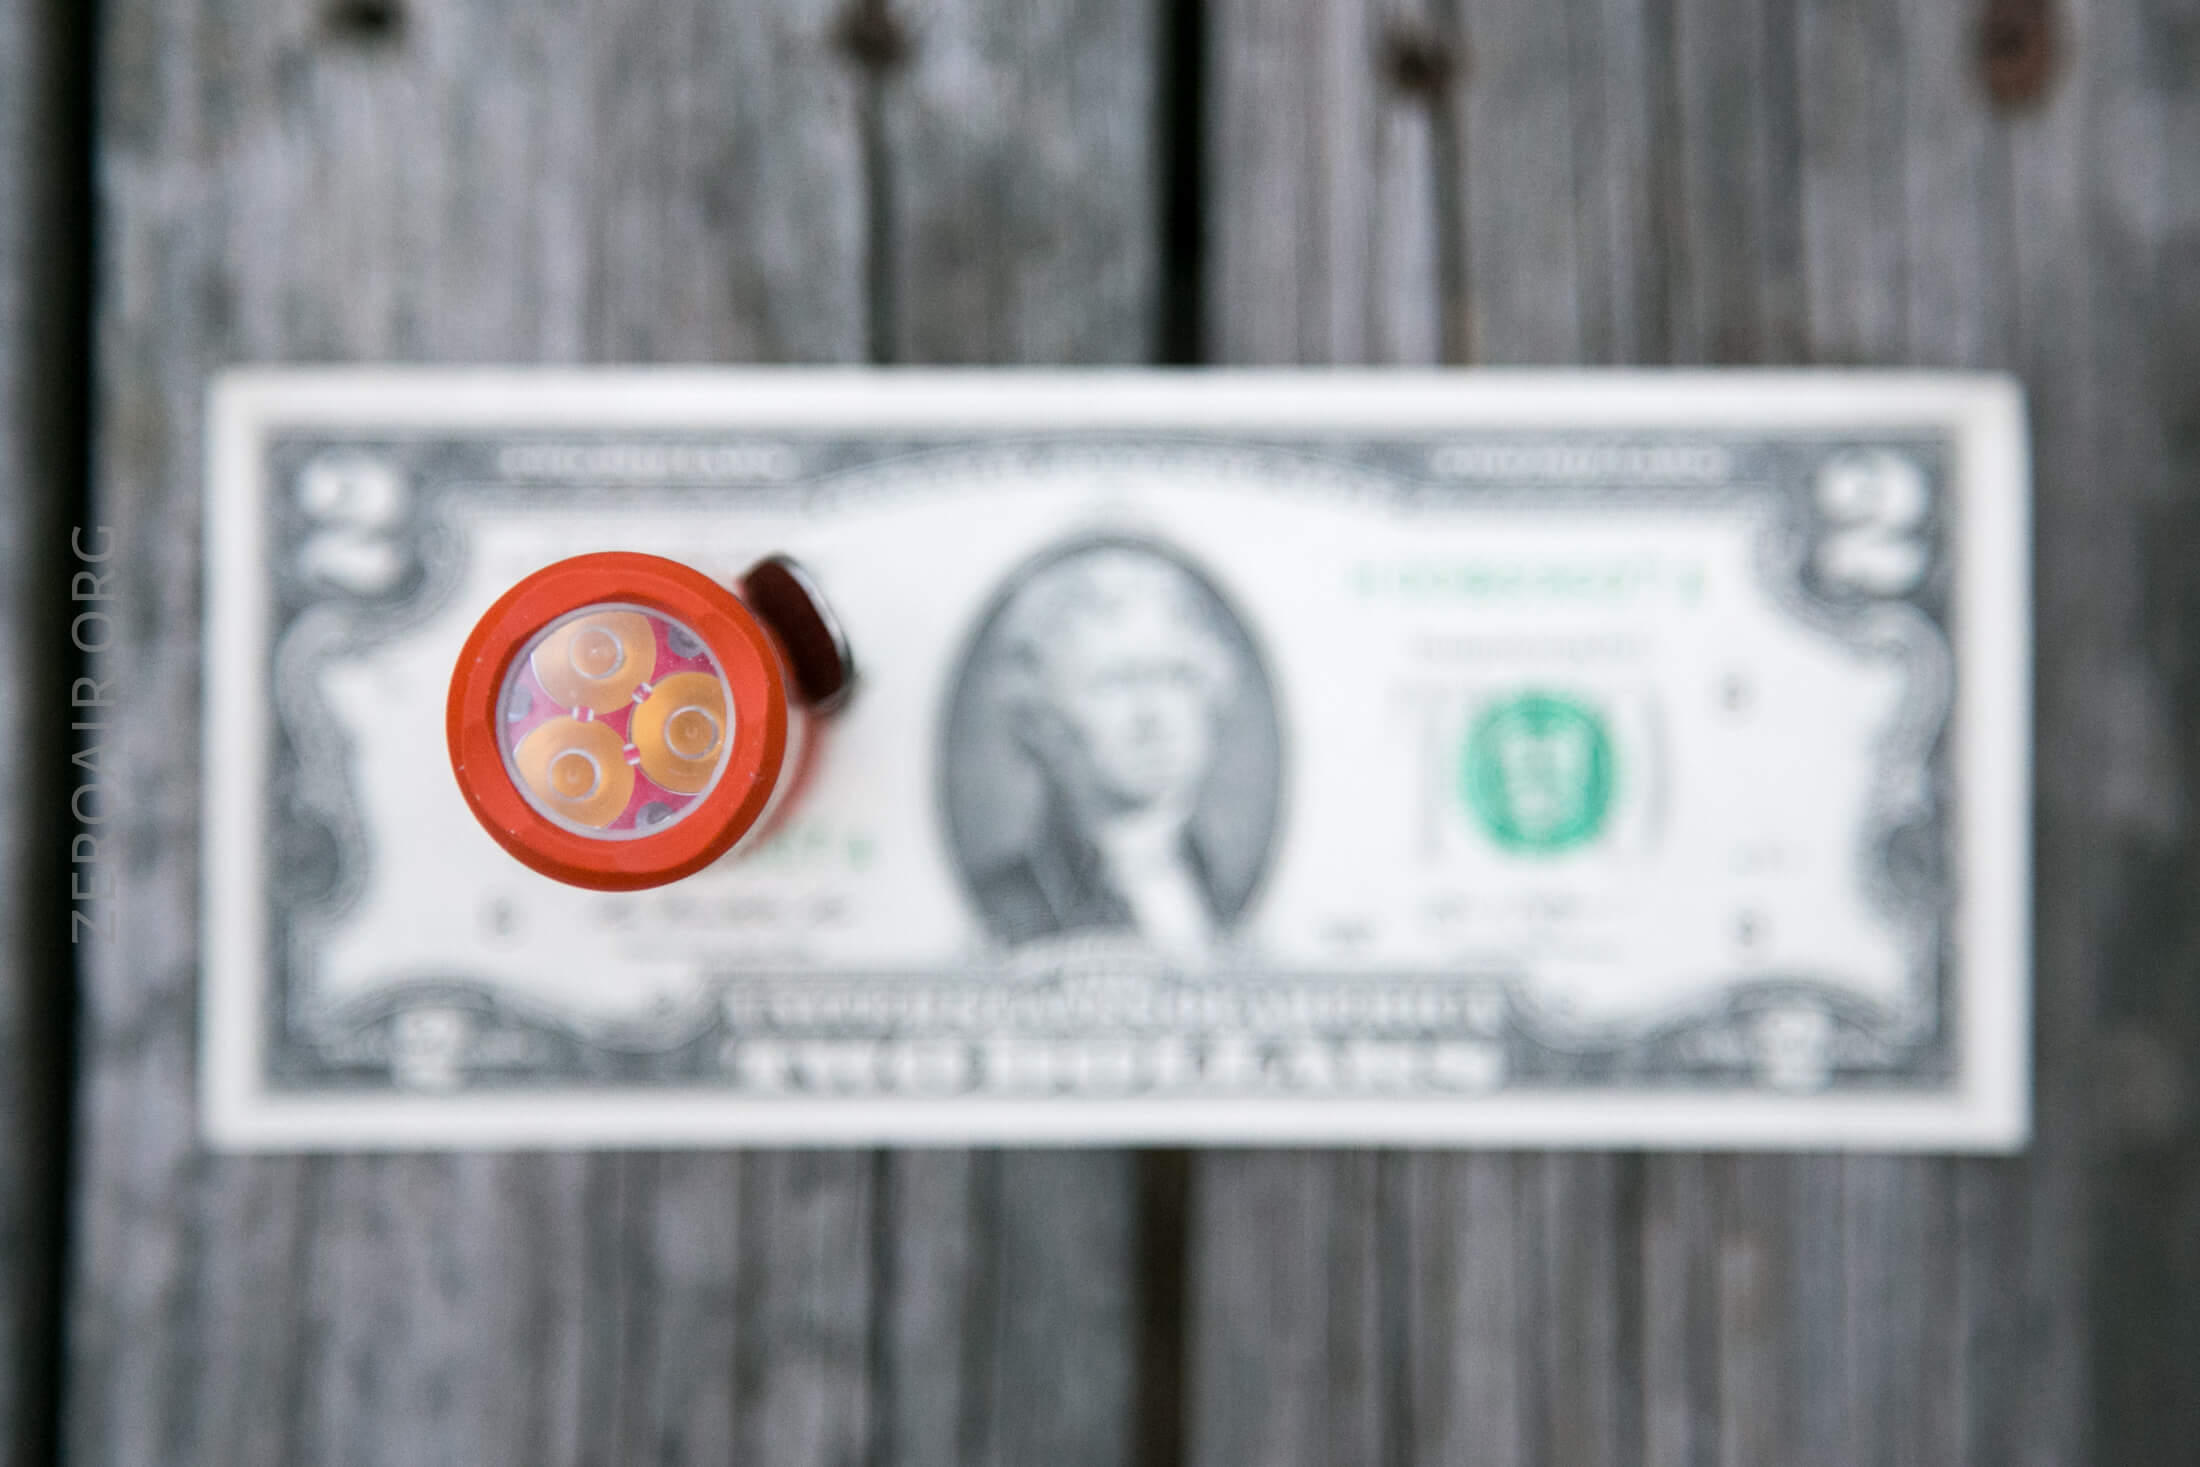
As of right now, I think there is only stainless steel for the Gemini. But that is available in raw stainless, black-coated, and orange-coated (seen here). Two emitter options are available too: Cree XP-L HI, and Luminus SST20 4000K (seen here).
Price
Retail for the light exactly as seen here is $120. Variations go all the way from $100 (raw with Luminus) to $130 (coated with Cree).
Short Review
Having had many other ReyLights in the past, I have to say I’m very pleased with this Gemini. I’d like to experience the original UI, though. Overall, this is a fantastic little triple, and I can recommend it. I think the price point is fairly good, too.
Long Review
The Big Table
| Custom ReyLight Gemini with custom firmware! | |
|---|---|
| Emitter: | Luminus SST-20 (4000K) |
| Price in USD at publication time: | $120.00 |
| Cell: | 1×18350 |
| Turbo Runtime | Turbo Runtime |
| LVP? | |
| Switch Type: | Mechanical |
| On-Board Charging? | No |
| Claimed Lumens (lm) | 2000 |
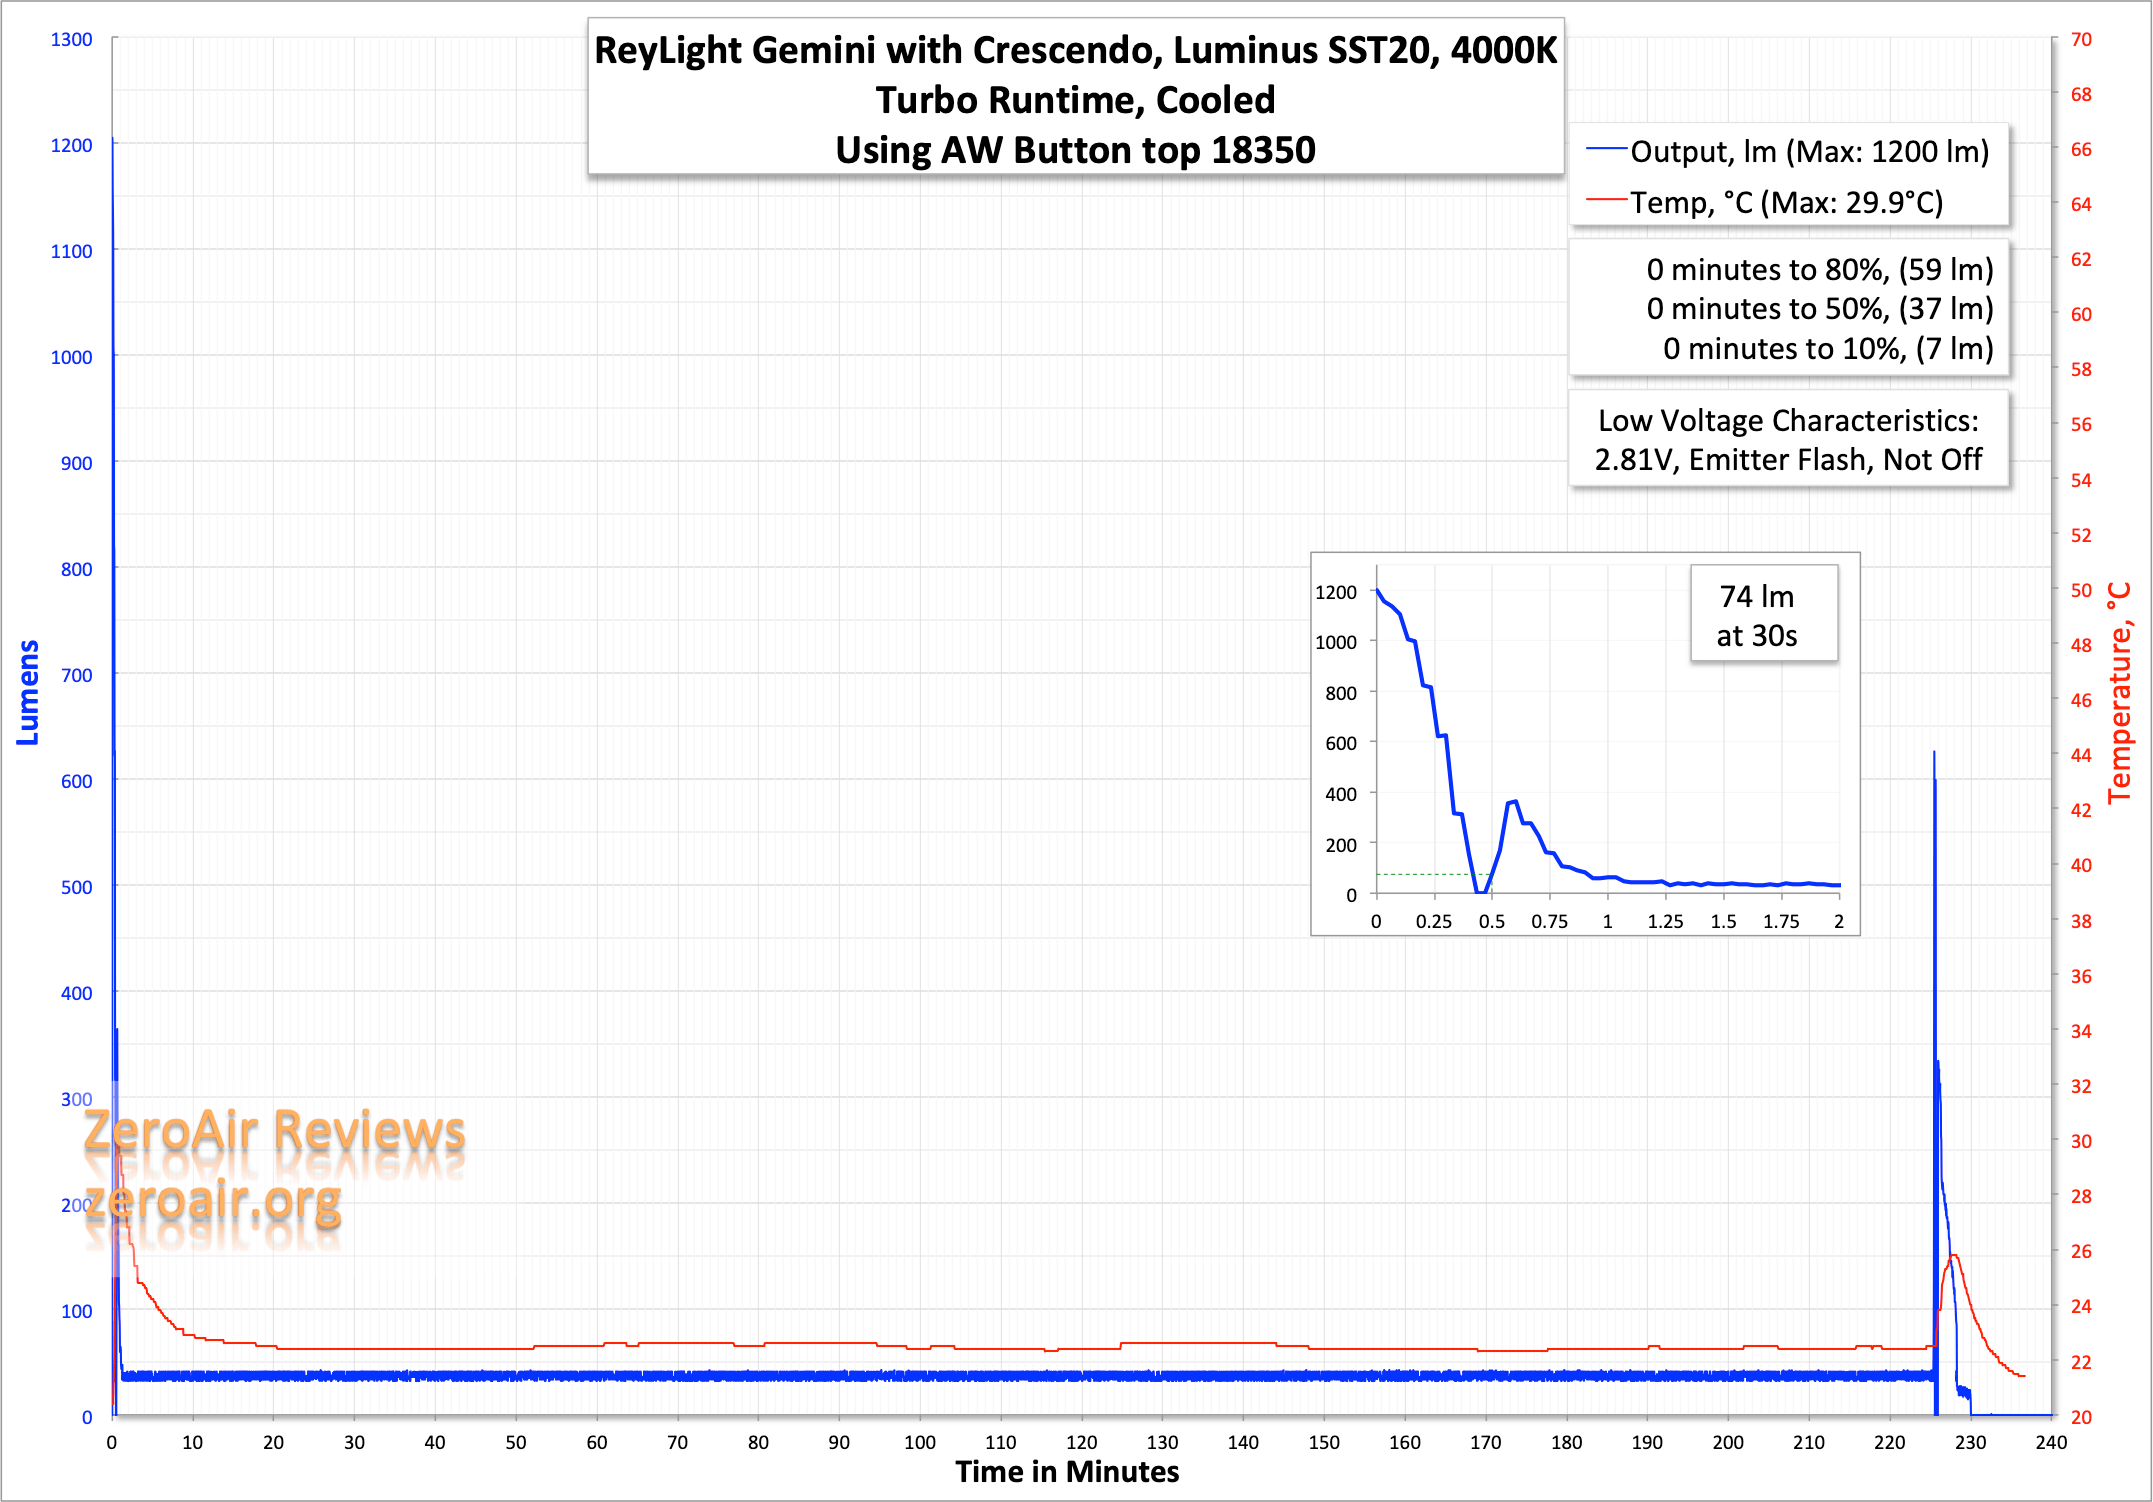
| Measured Lumens (at 30s) | [1200^] (-60% of claim)^ |
| Claimed Throw (m) | – |
| Candela (Calculated) in cd (at 30s) | 13lux @ 4.229m = 232cd |
| Throw (Calculated) (m) | 30.5 |
| All my ReyLight reviews! | |
^ Measurement disclaimer: Testing flashlights is my hobby. I use hobbyist-level equipment for testing, including some I made myself. Try not to get buried in the details of manufacturer specifications versus measurements recorded here; A certain amount of difference (say, 10 or 15%) is perfectly reasonable. Again, this is Crescendo firmware, not the stock firmware. Stock could be (probably is) higher.
What’s Included
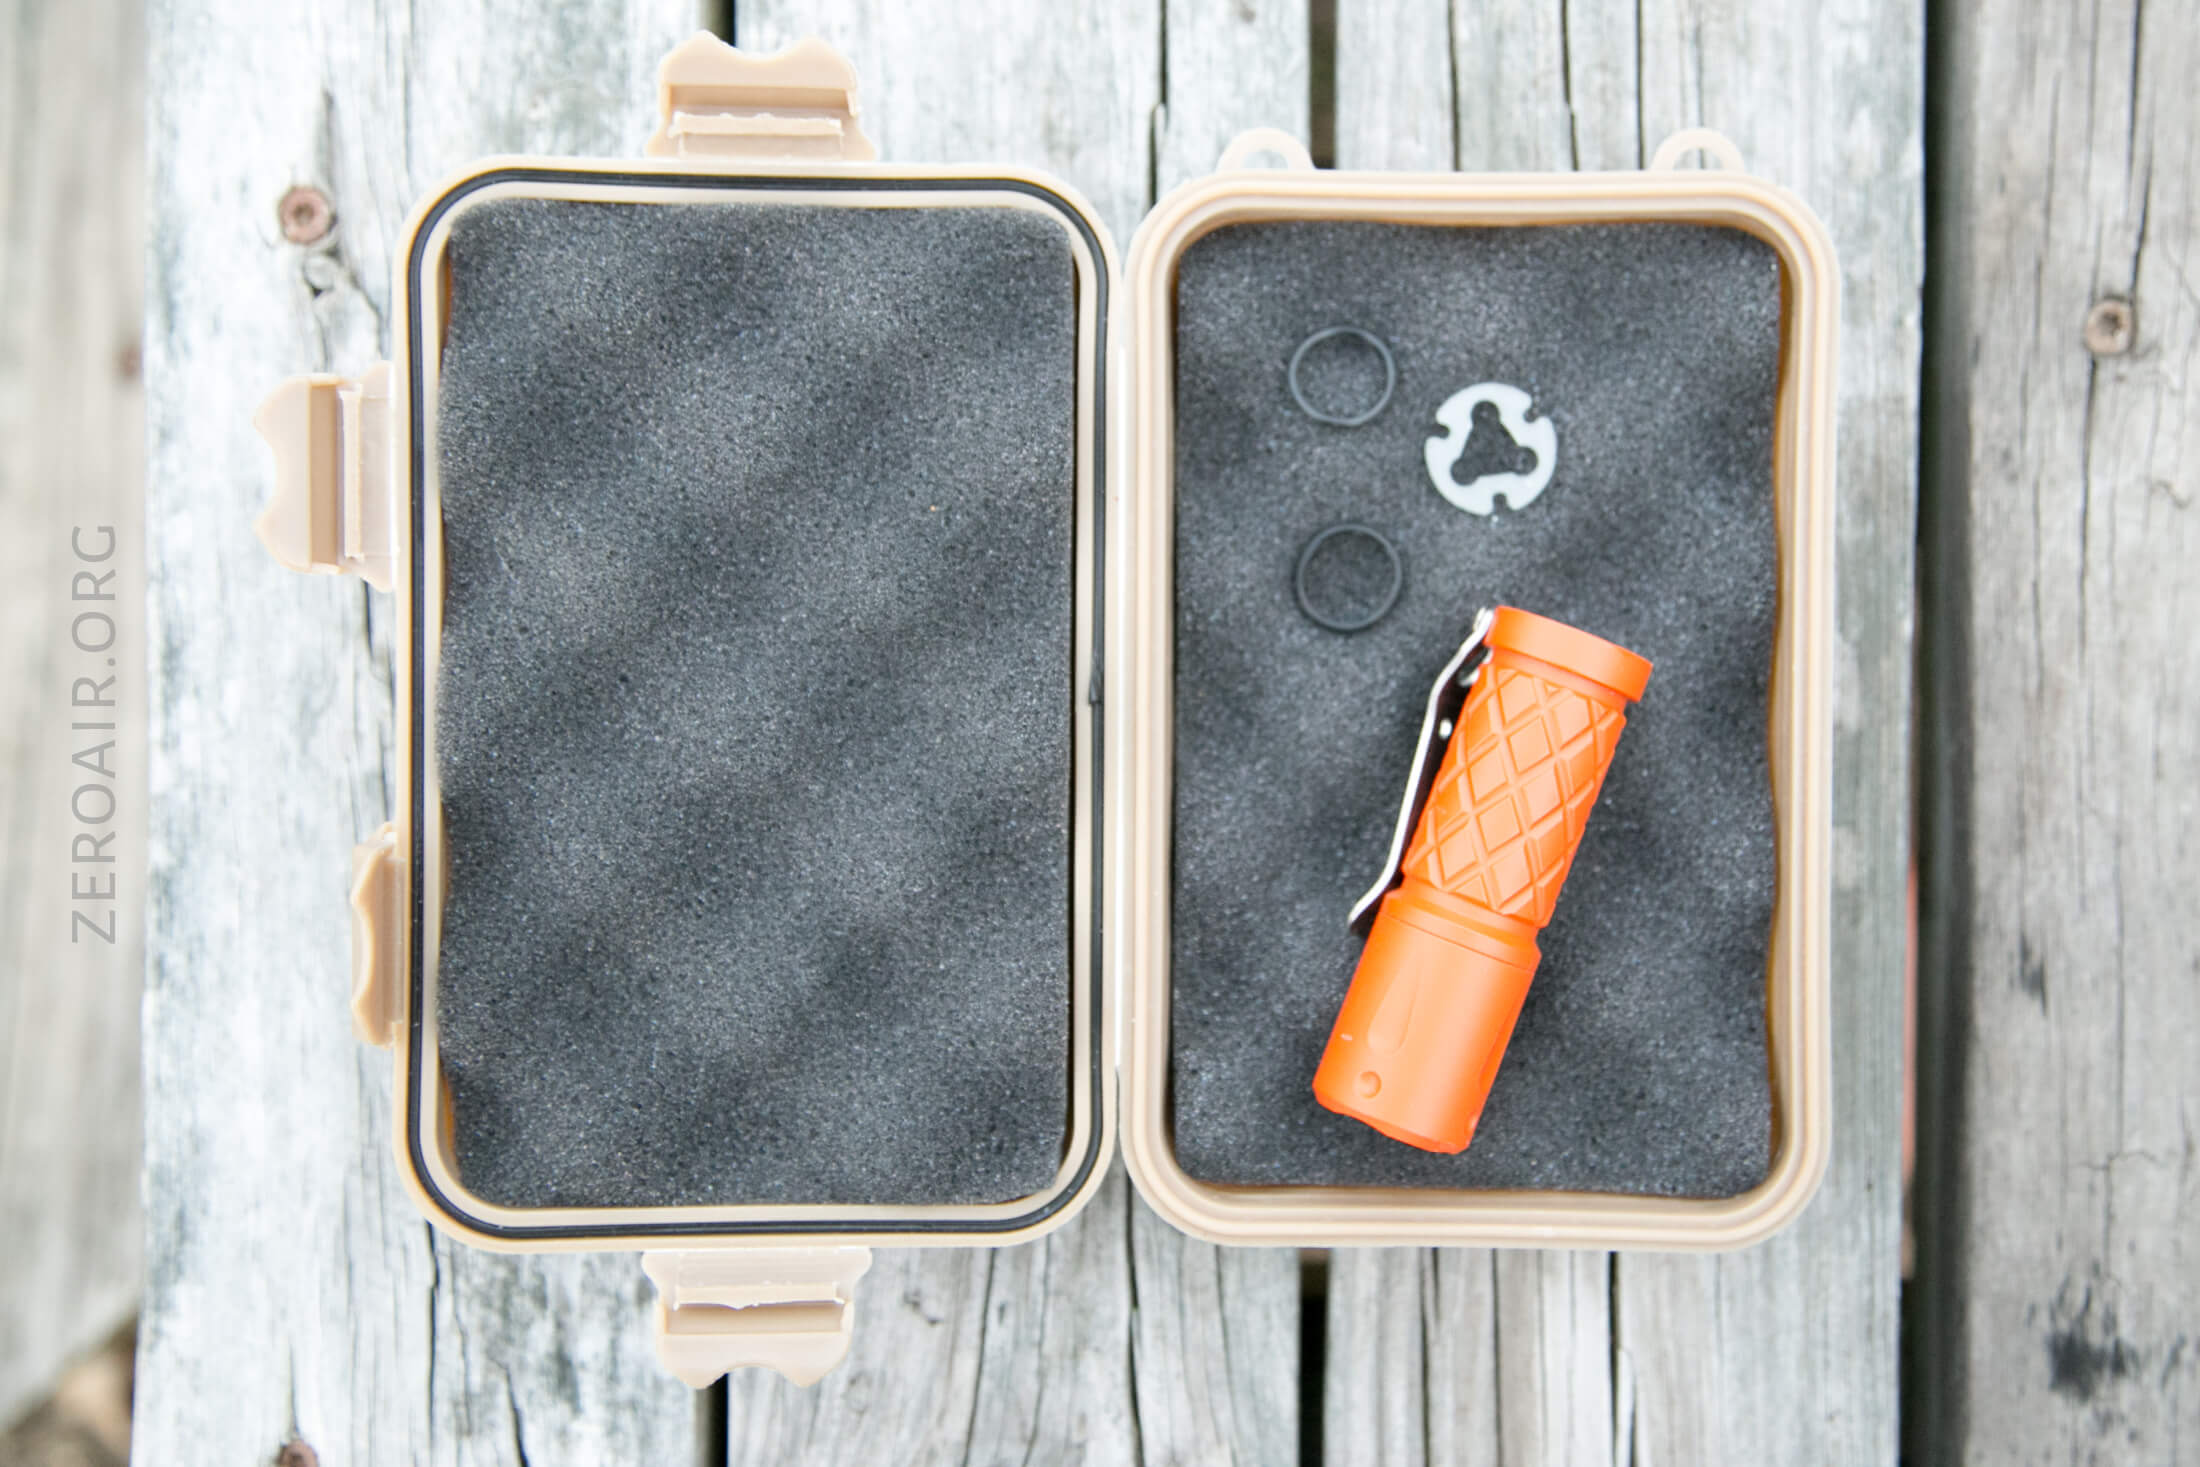
- Custom ReyLight Gemini
- Spare o-rings (2)
- Spare glow gasket (which looks to be an add-on cost of $15)
Package and Manual
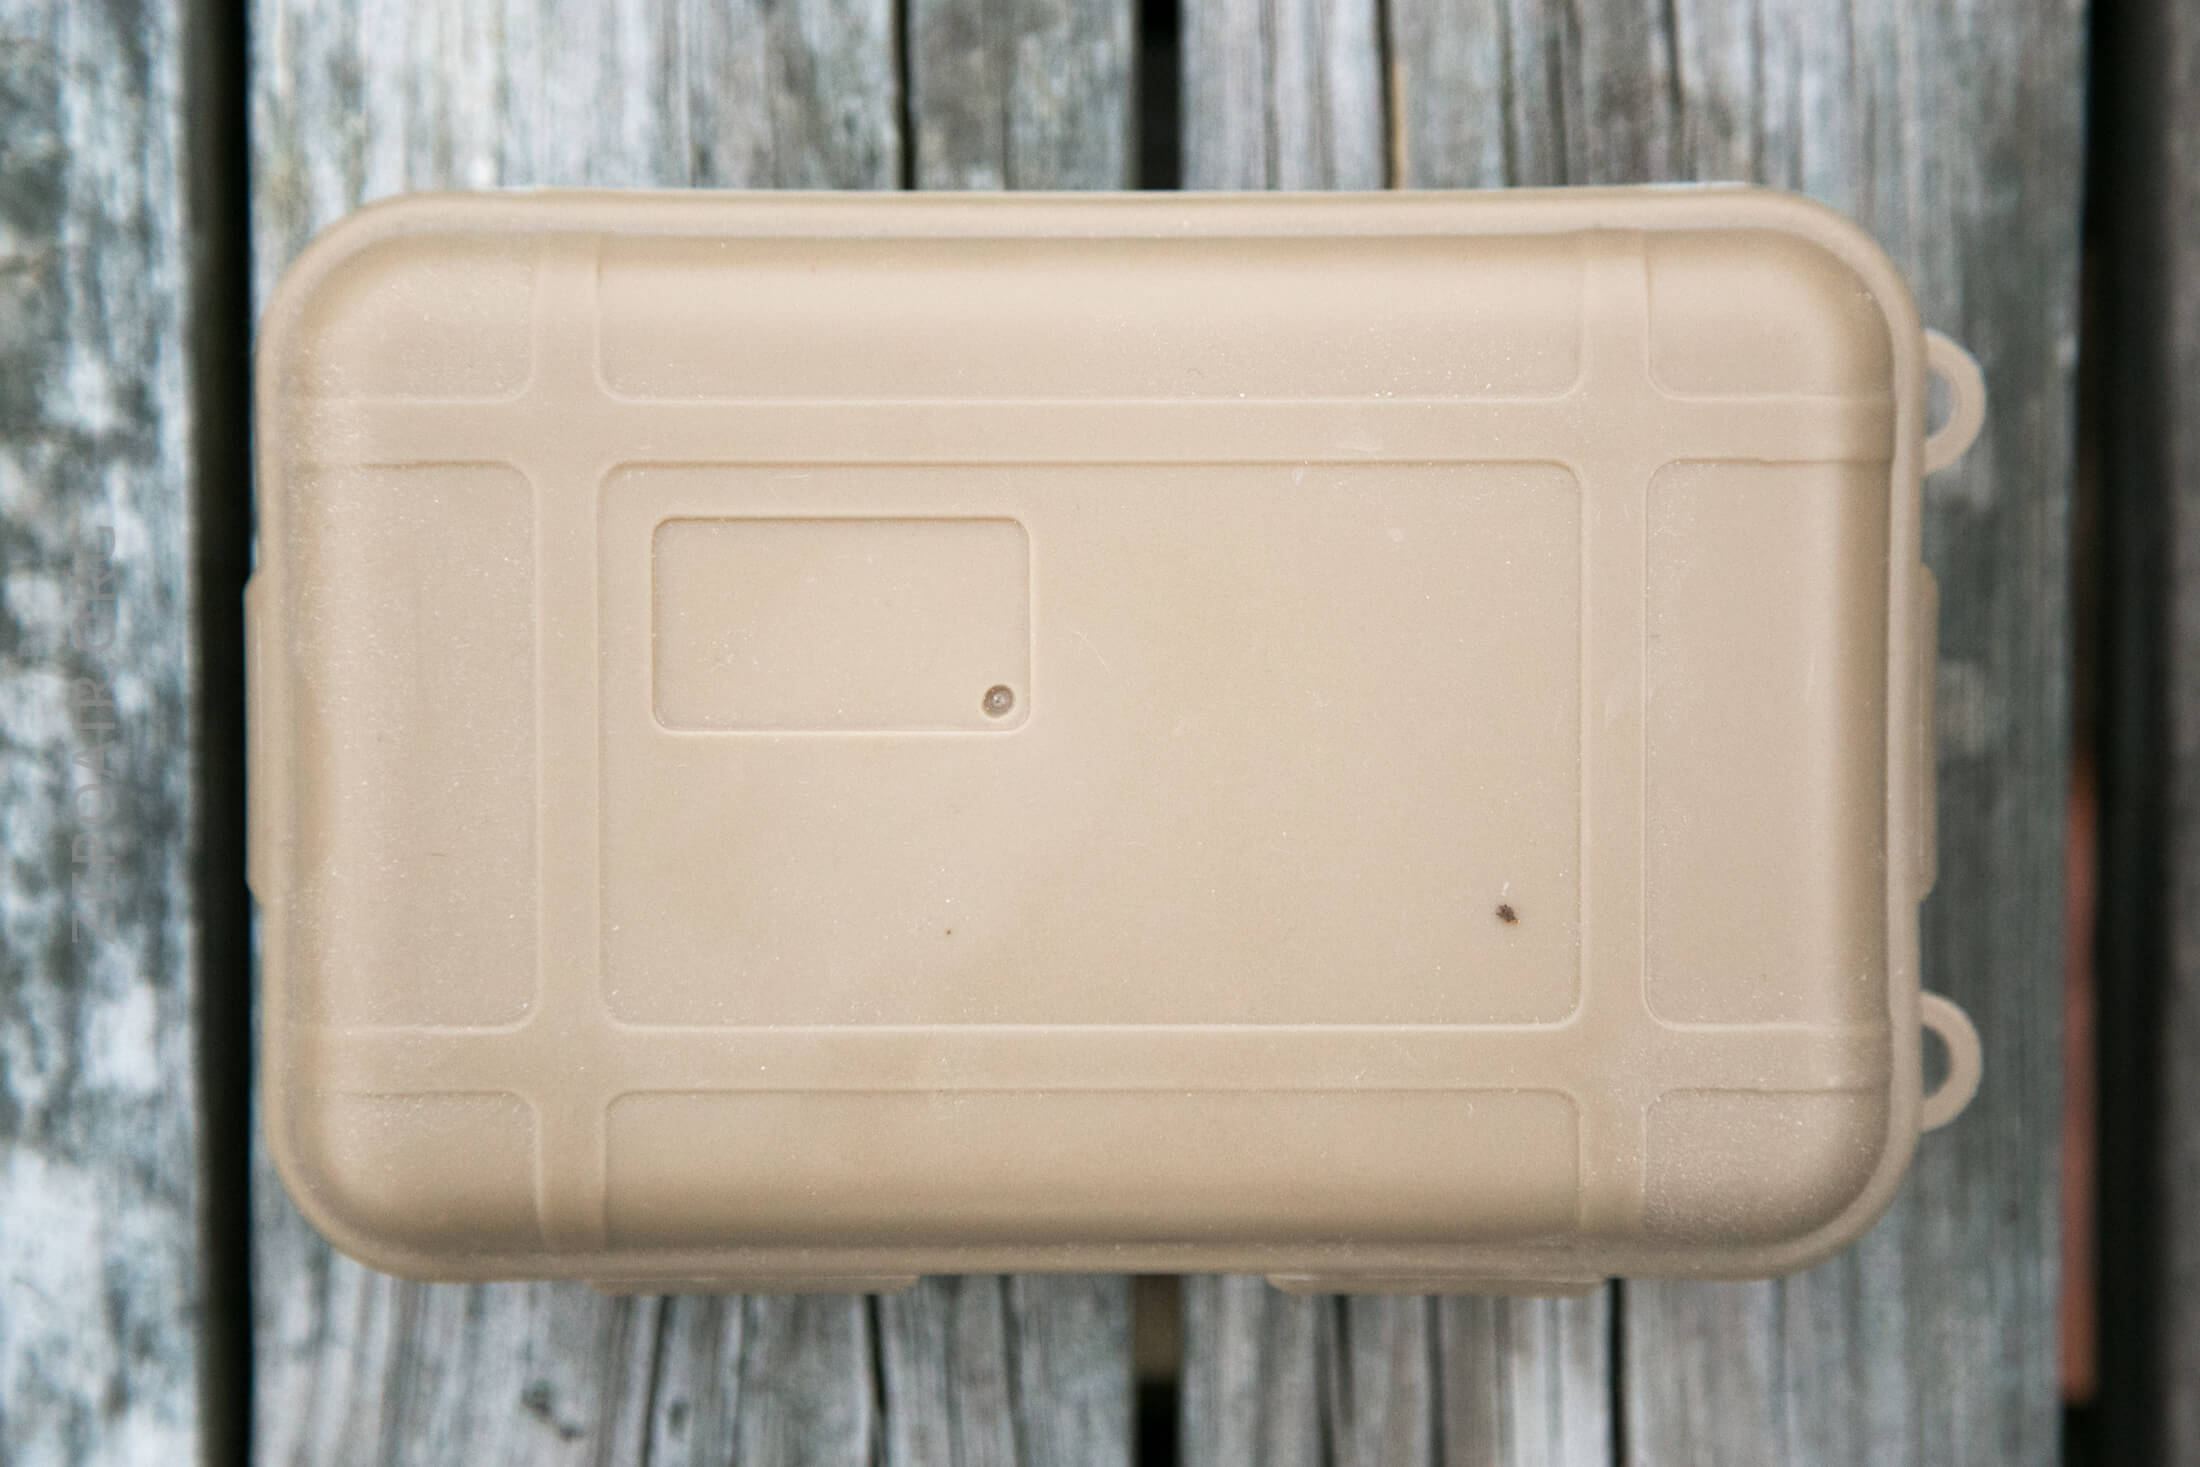
The Gemini ships in one of these ubiquitous plastic containers. This one’s slightly higher quality than those common green ones, though.
I didn’t get a manual with mine; I don’t know that there is one with a new purchase.
Build Quality and Disassembly
This is the main point that impressed me about the Gemini. The build quality is great.

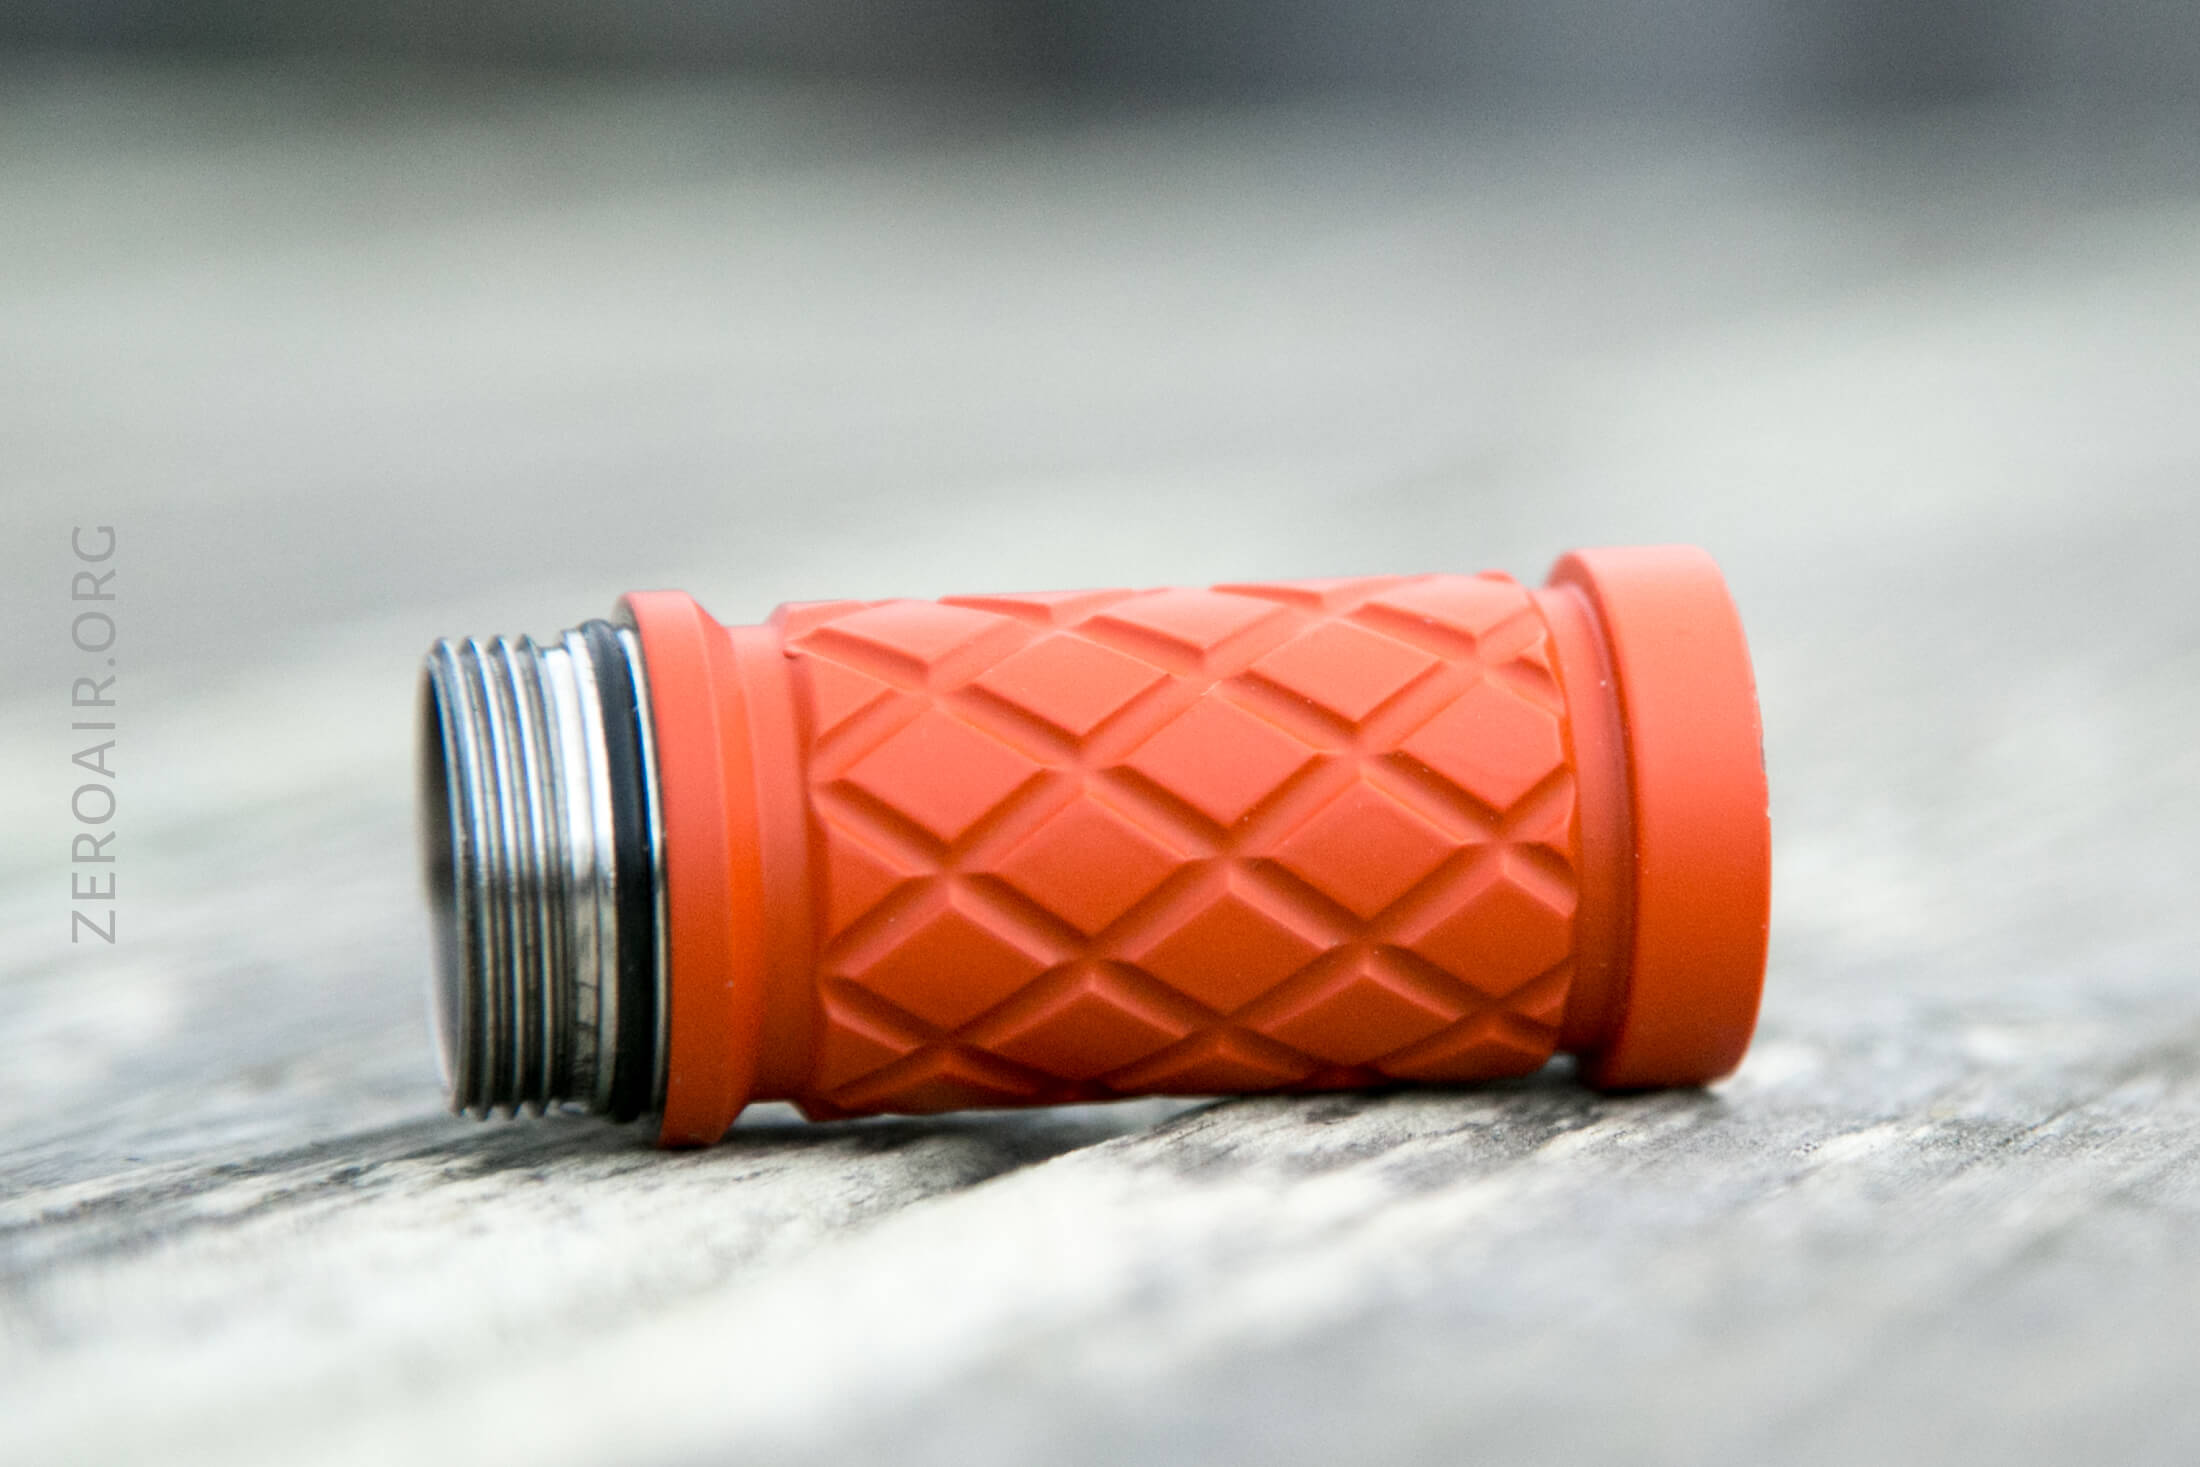
But the first question you have to ask is “how’s the coating?” Well, it’s possible to scrape/chip it off. I won’t call it “delicate” because all the scratches it has were on when I got it – I haven’t added any. So for me, it’s been plenty robust, and I don’t know the level of abuse from its past life. But certainly, on the edges, the coating (whatever it is) can chip.
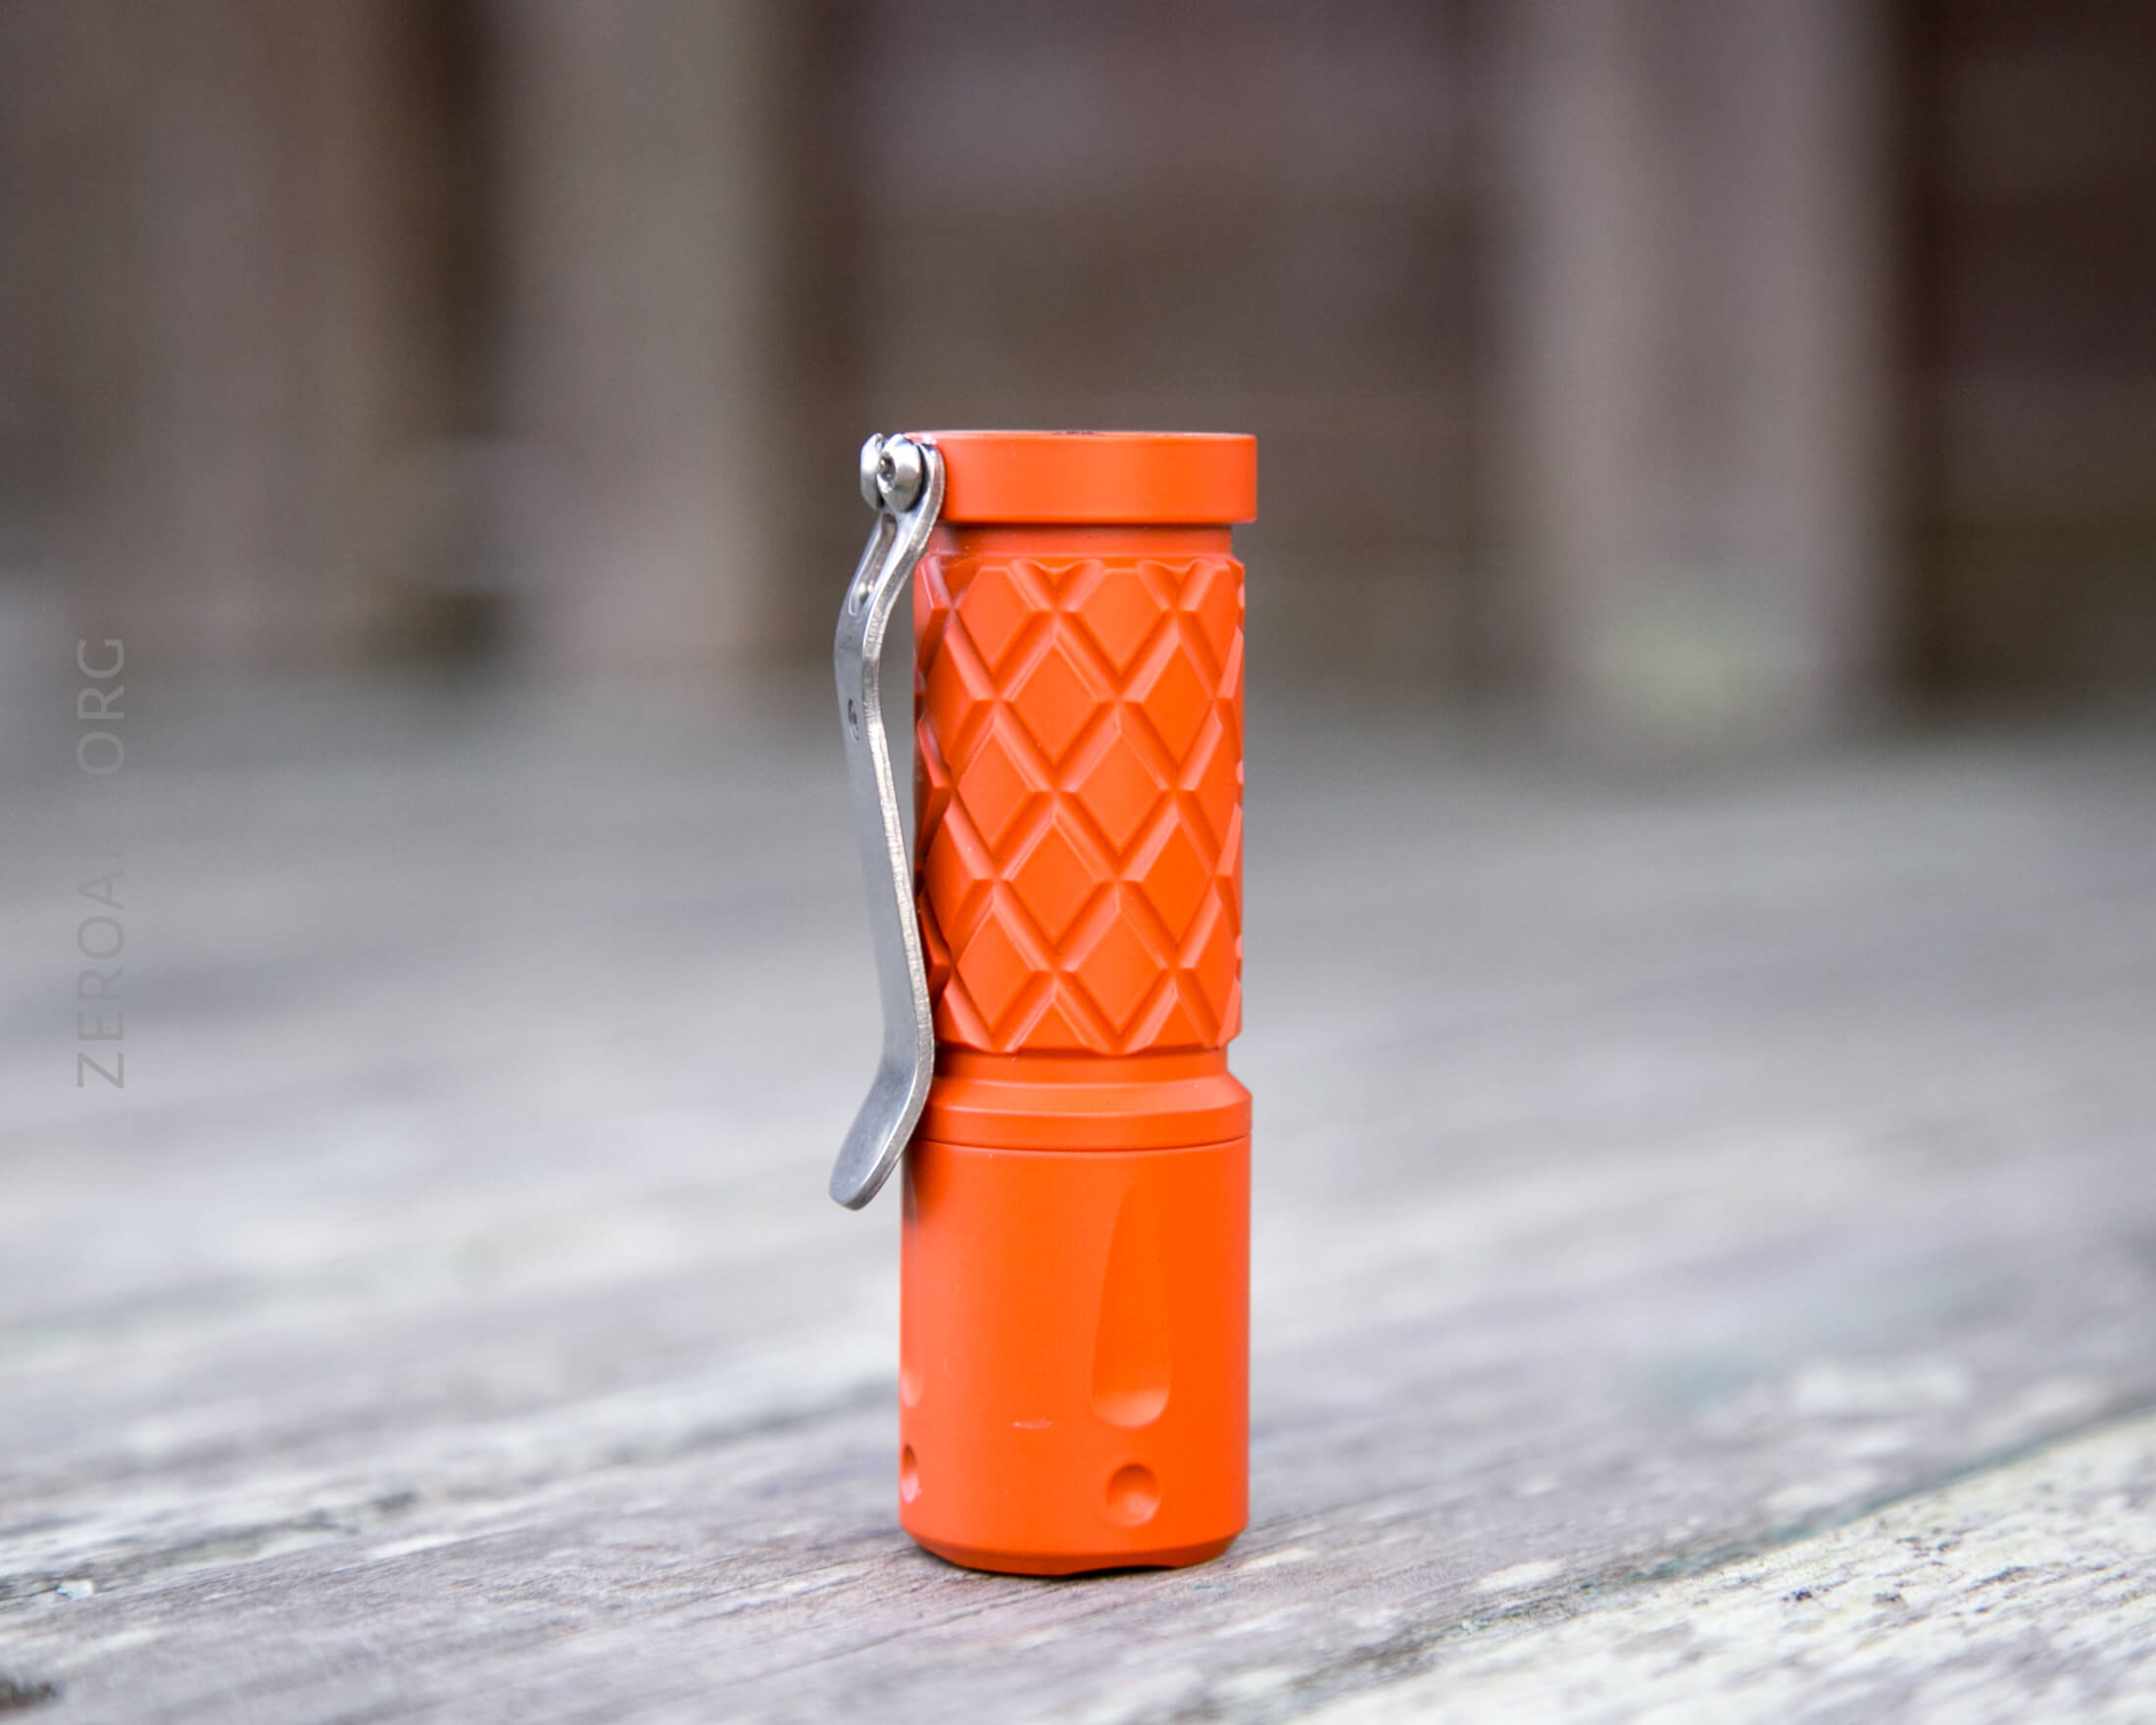
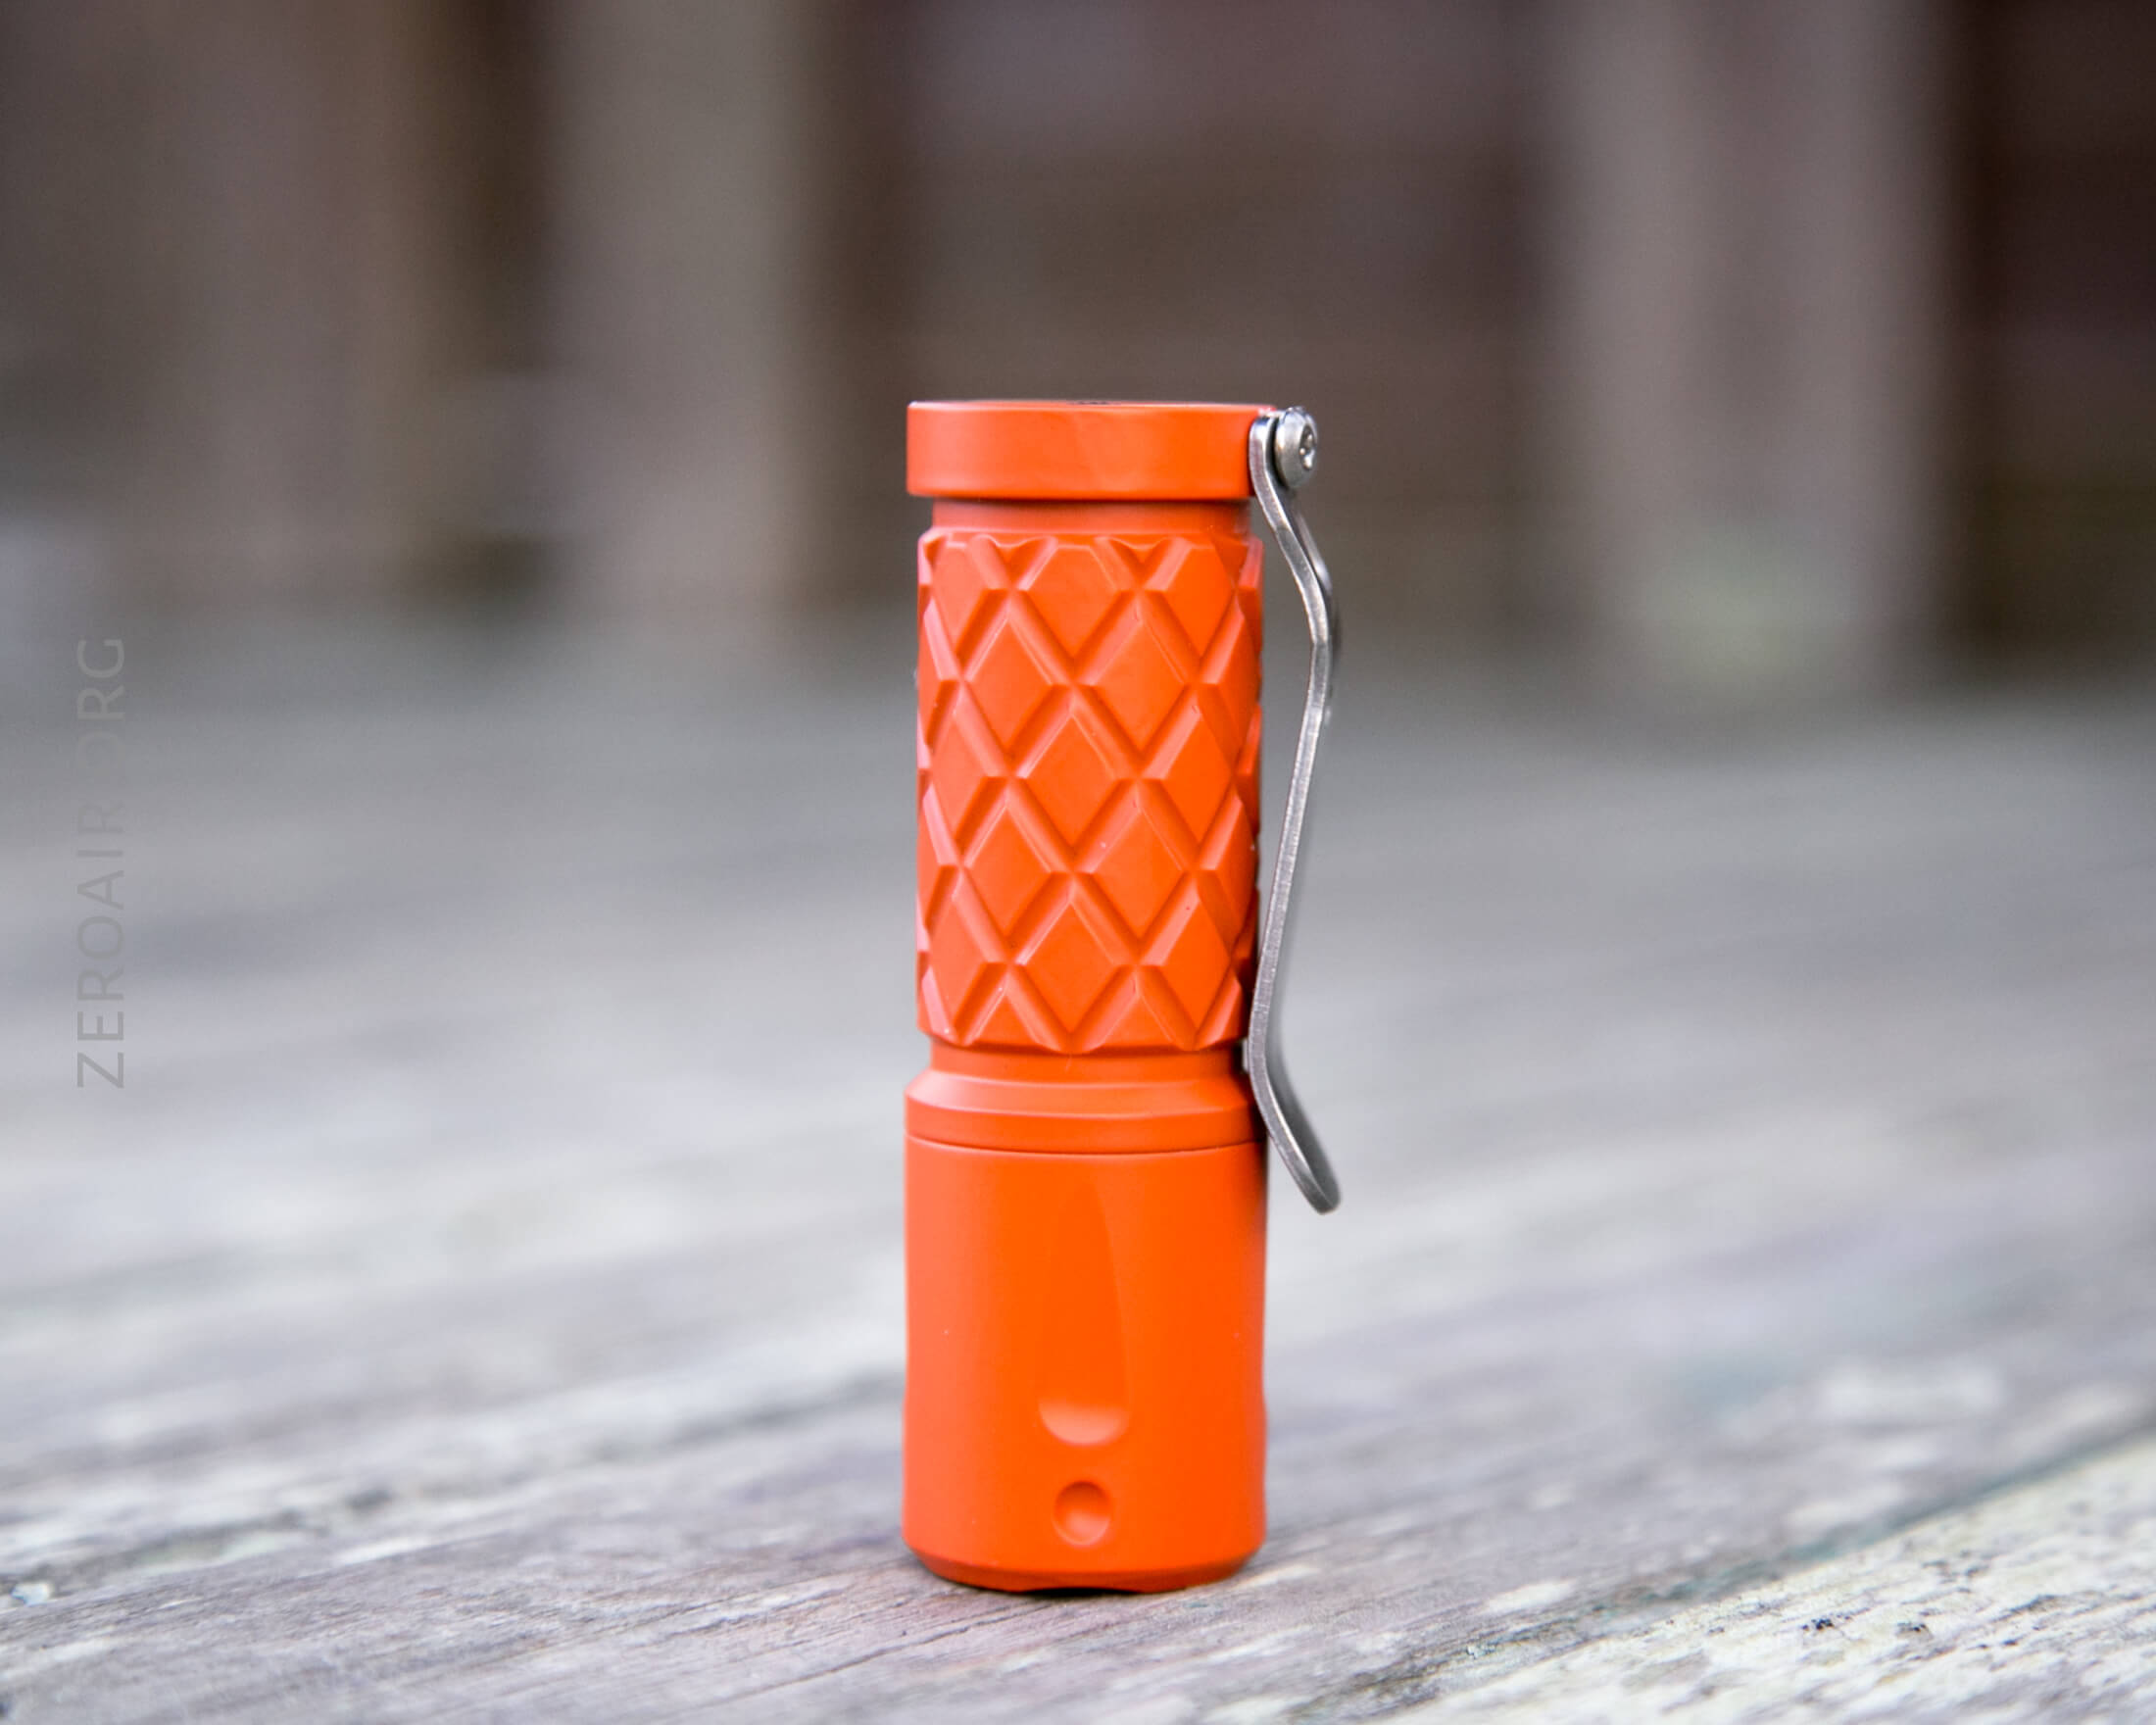
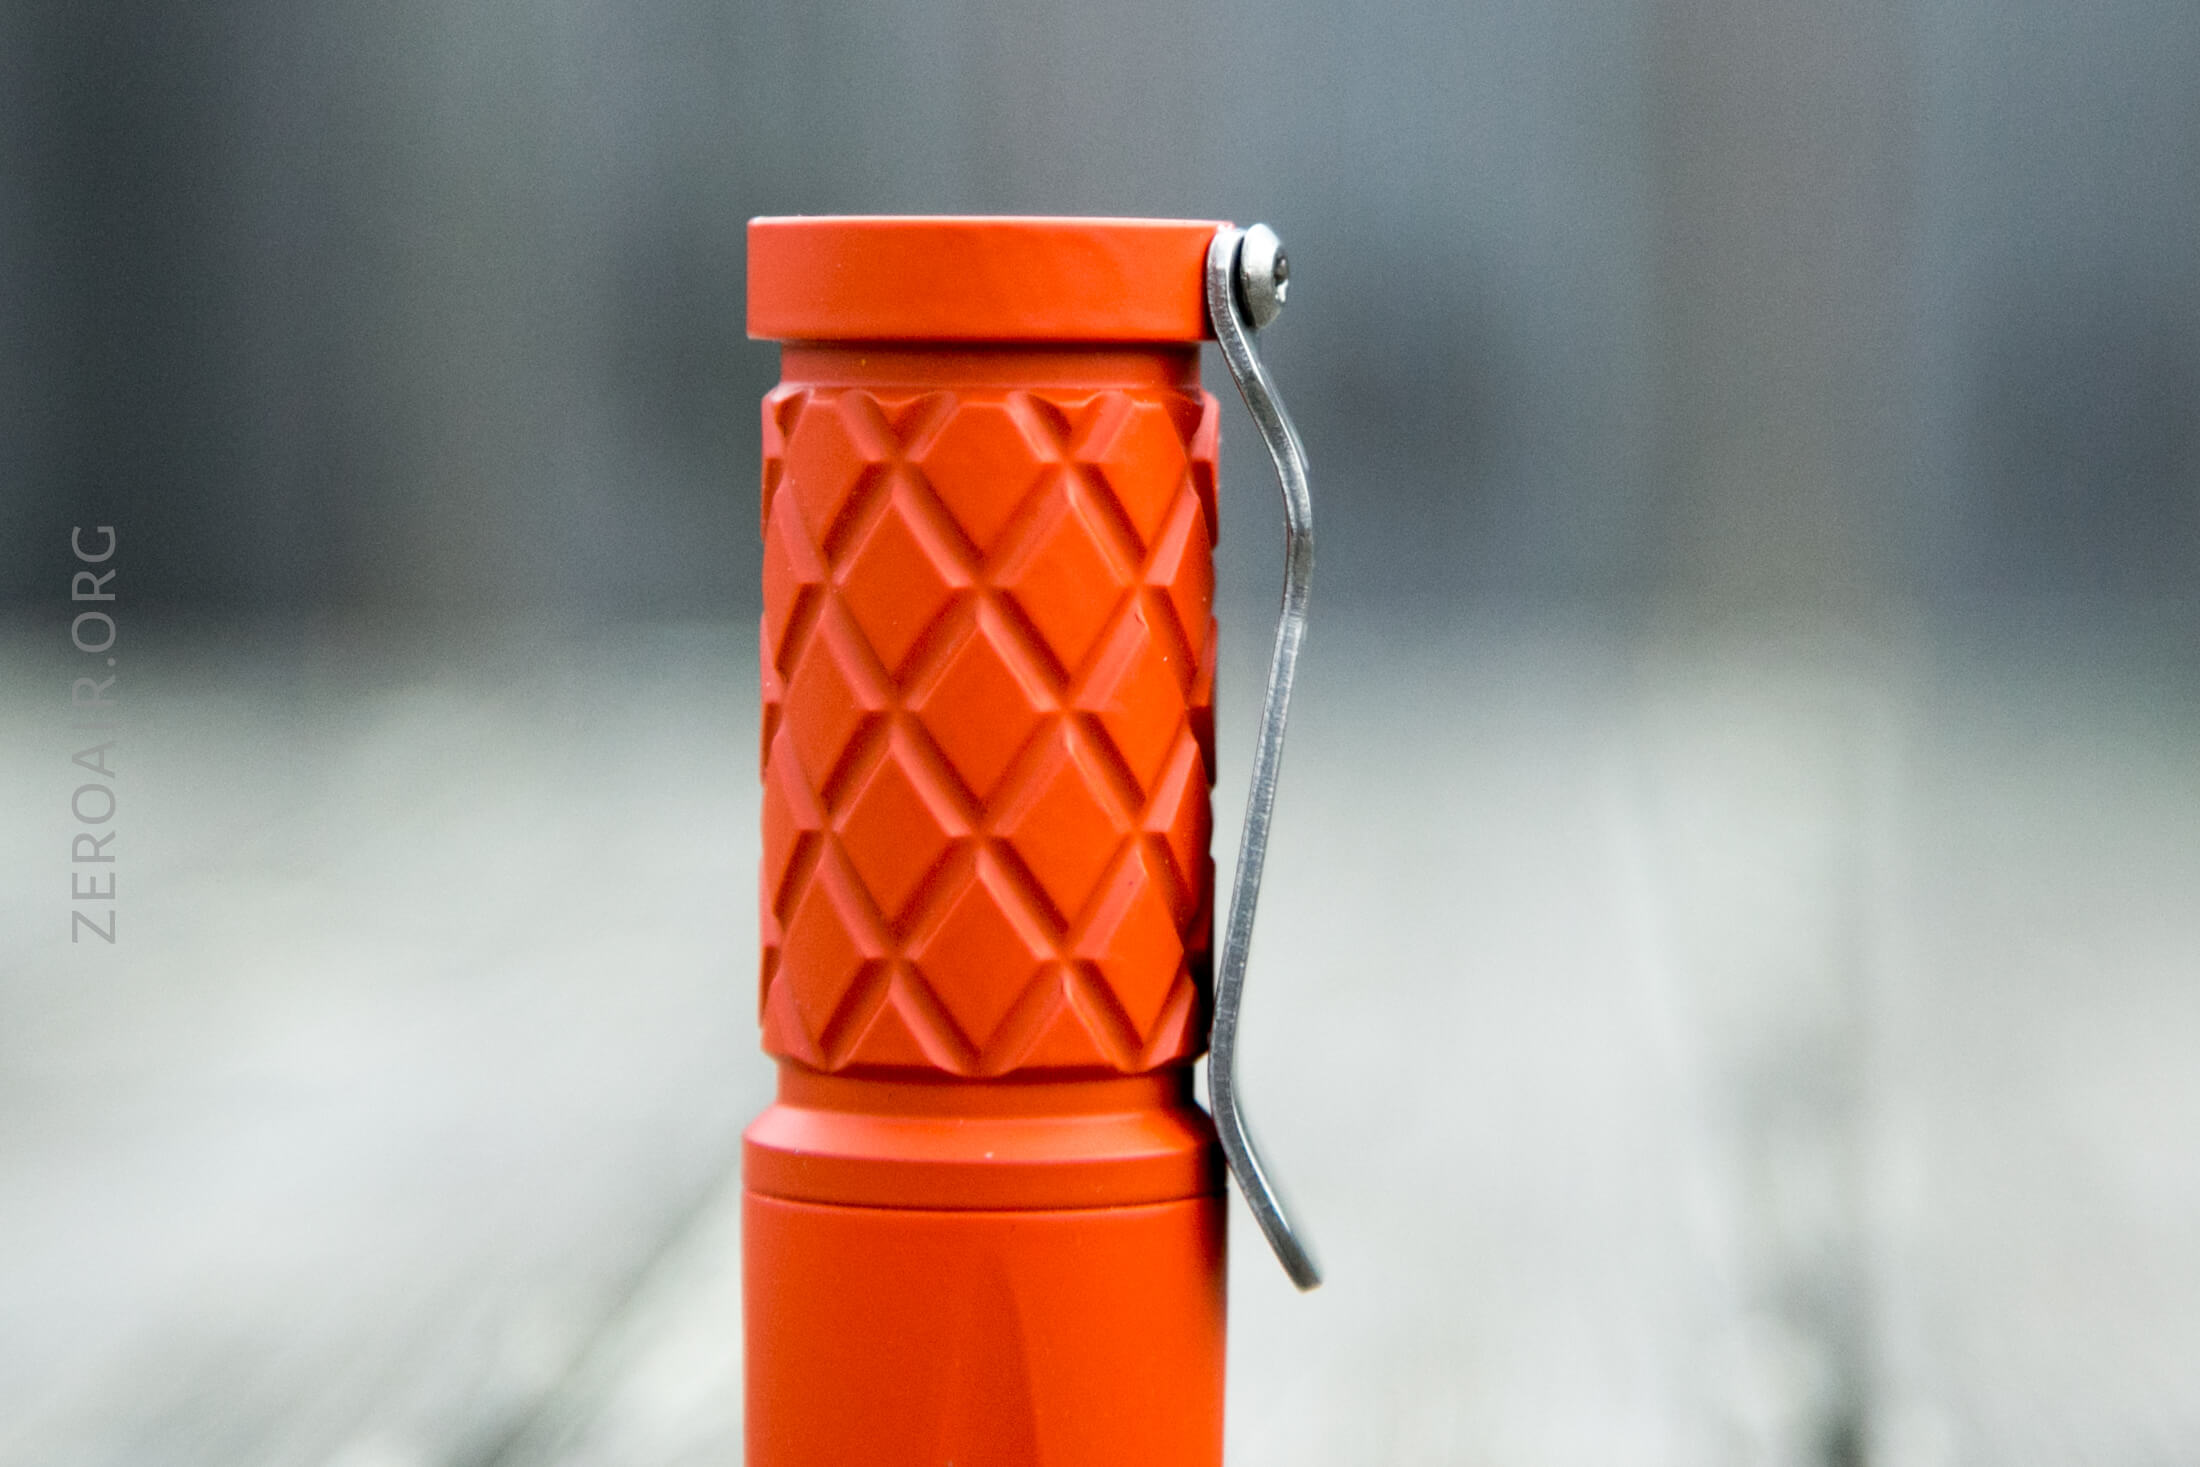
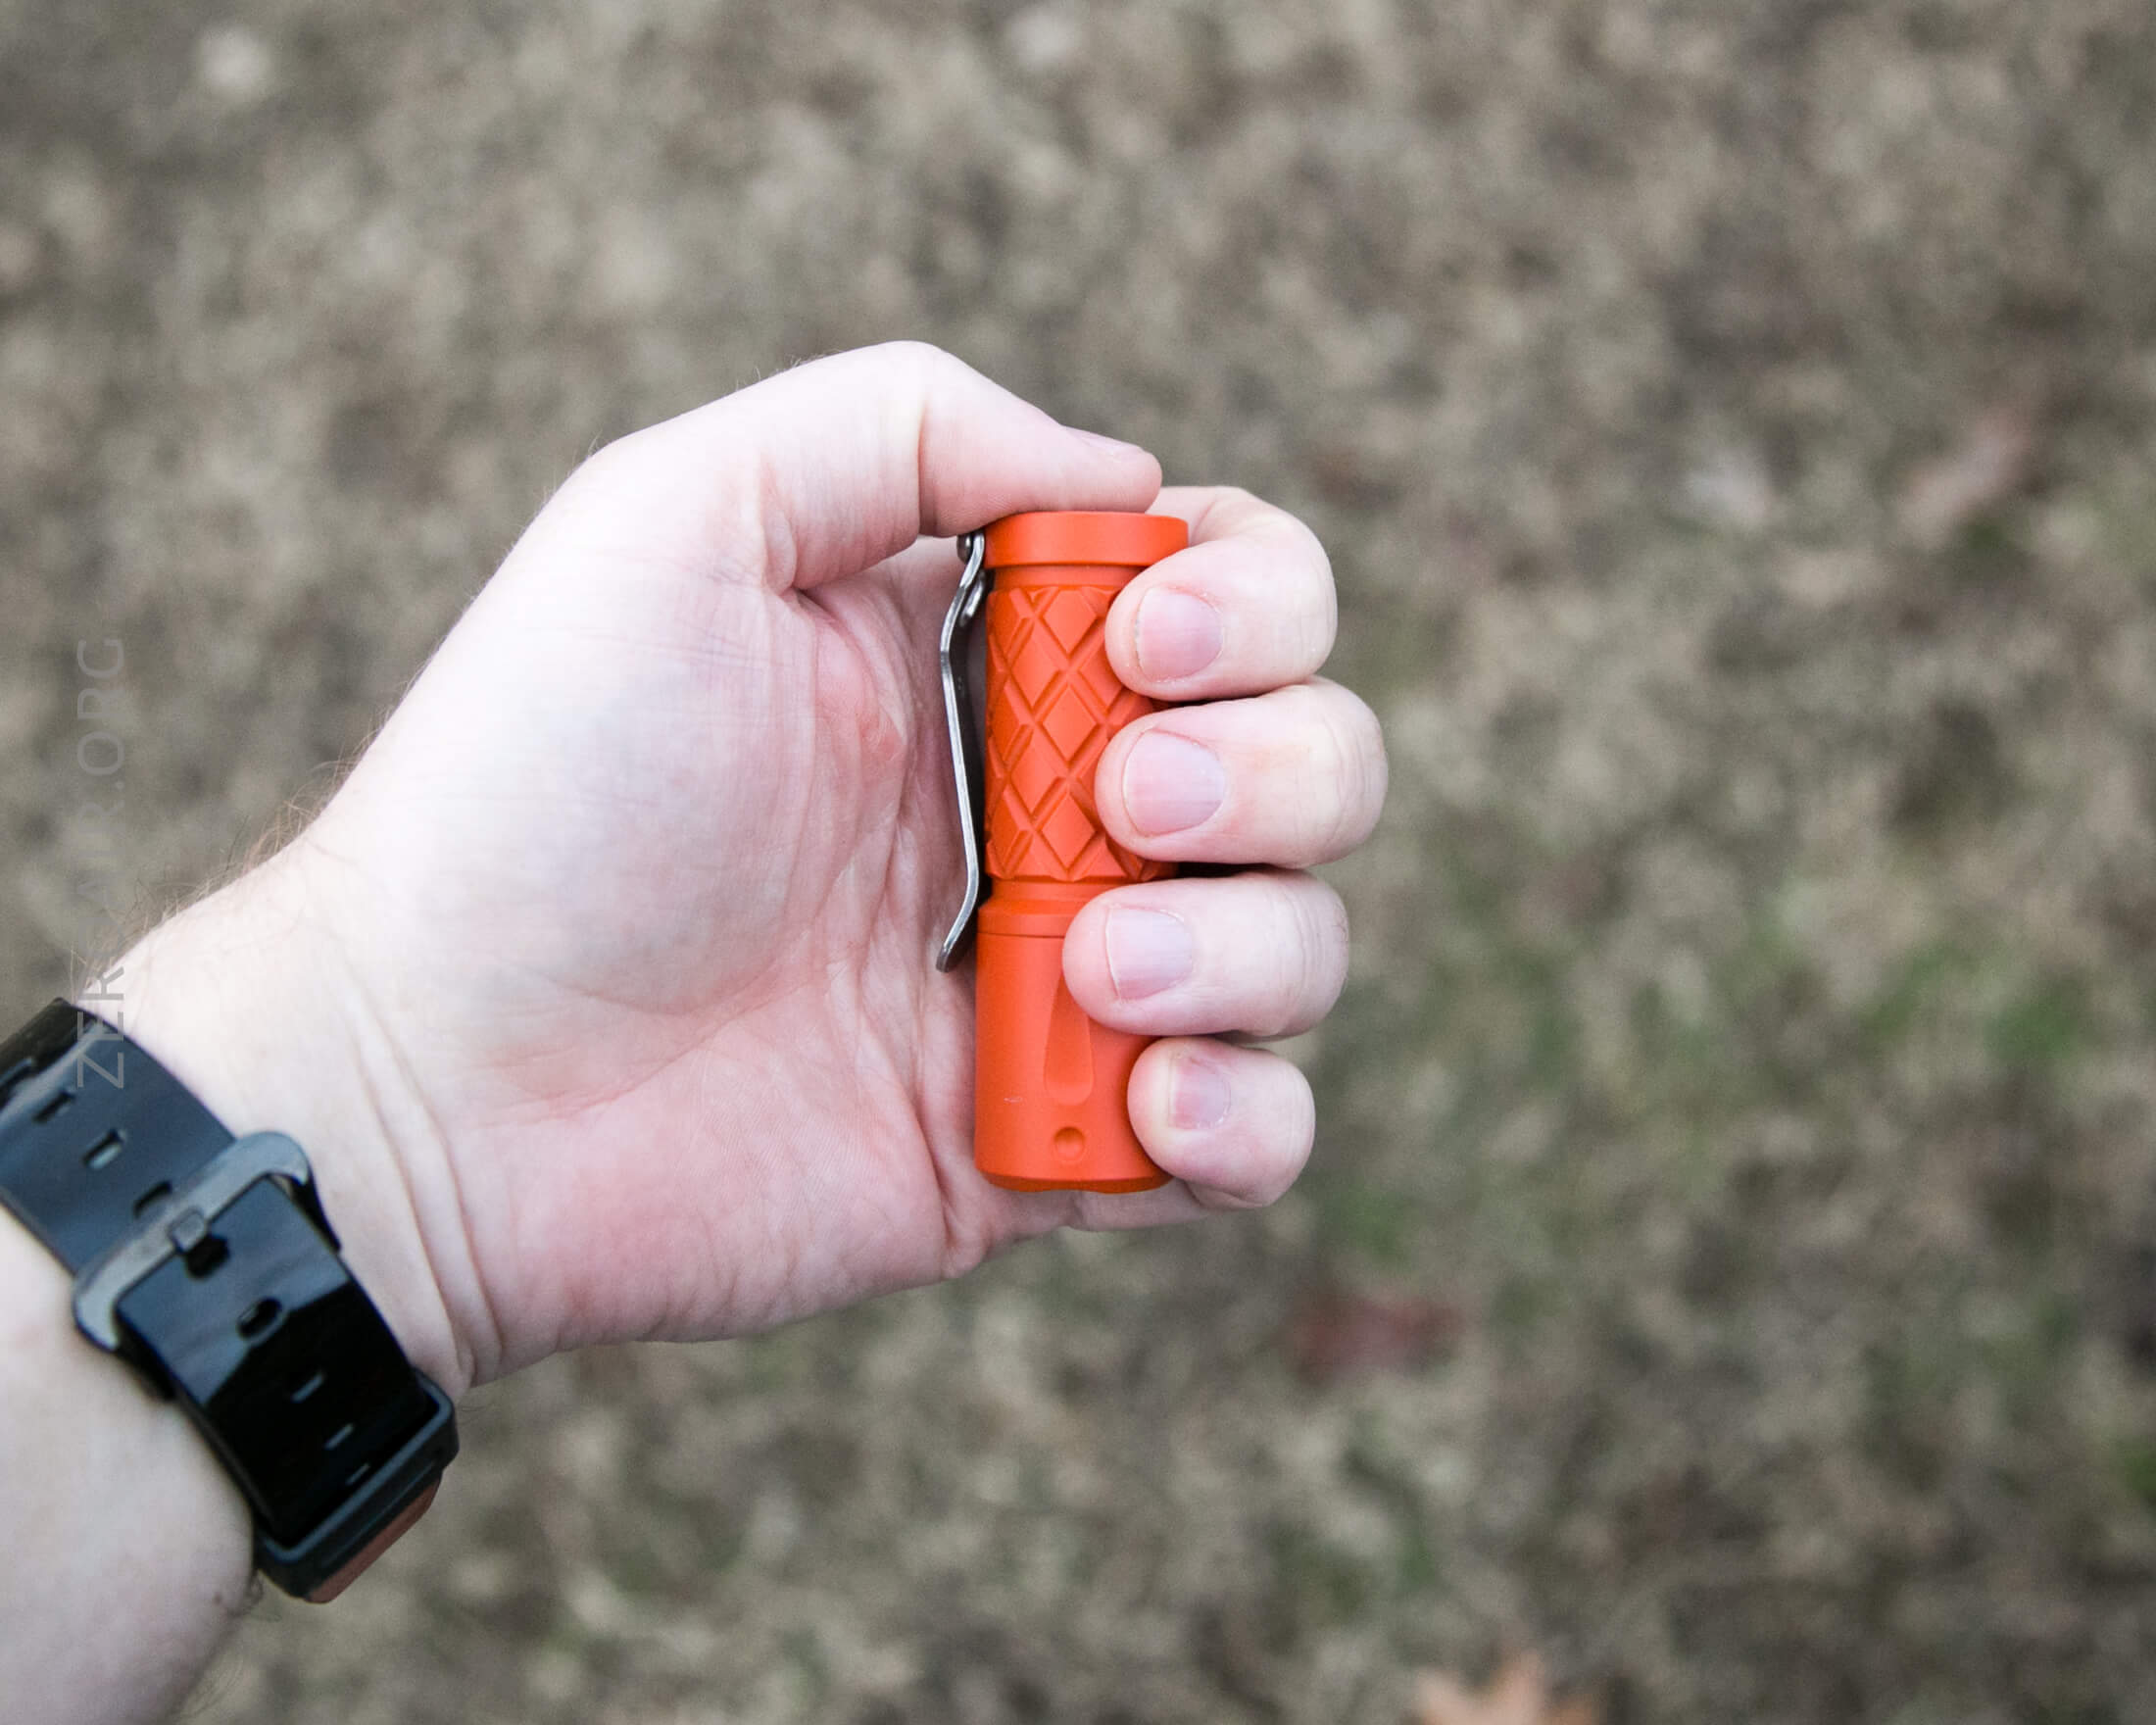
But the coating is oh so pleasurable to hold. It has this weird soft feel, which makes it great for just twirling on the hand. I love it for that reason.
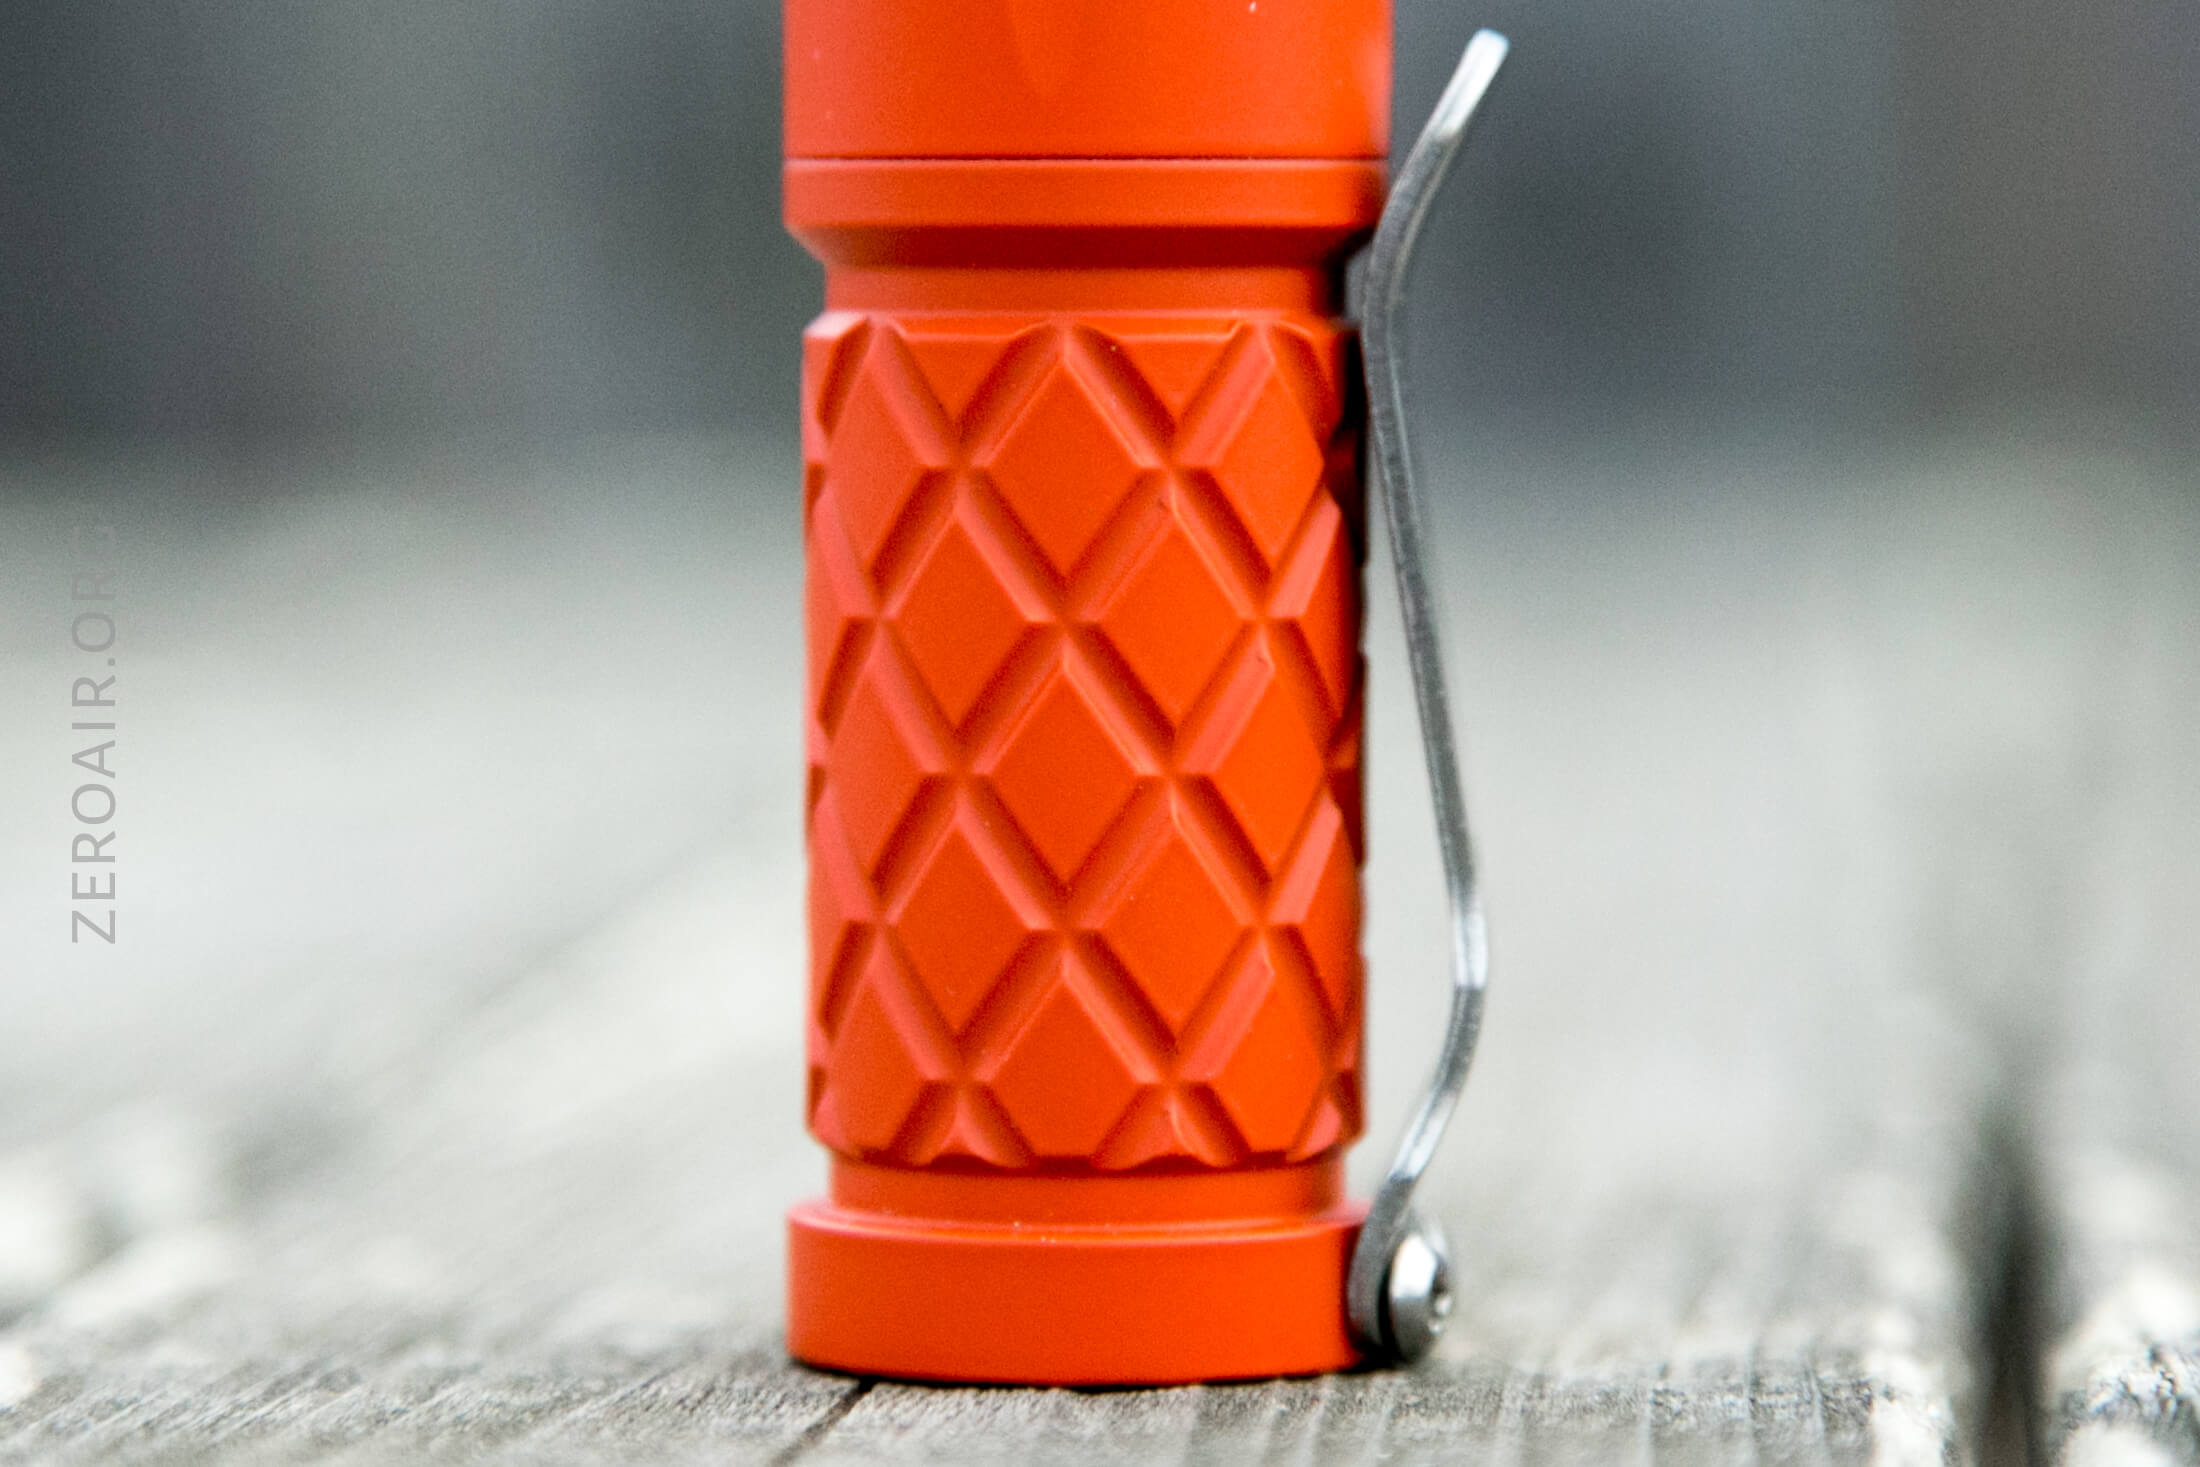
The body has big fat knurling – like a macro diamond pattern or something. Not especially grippy.
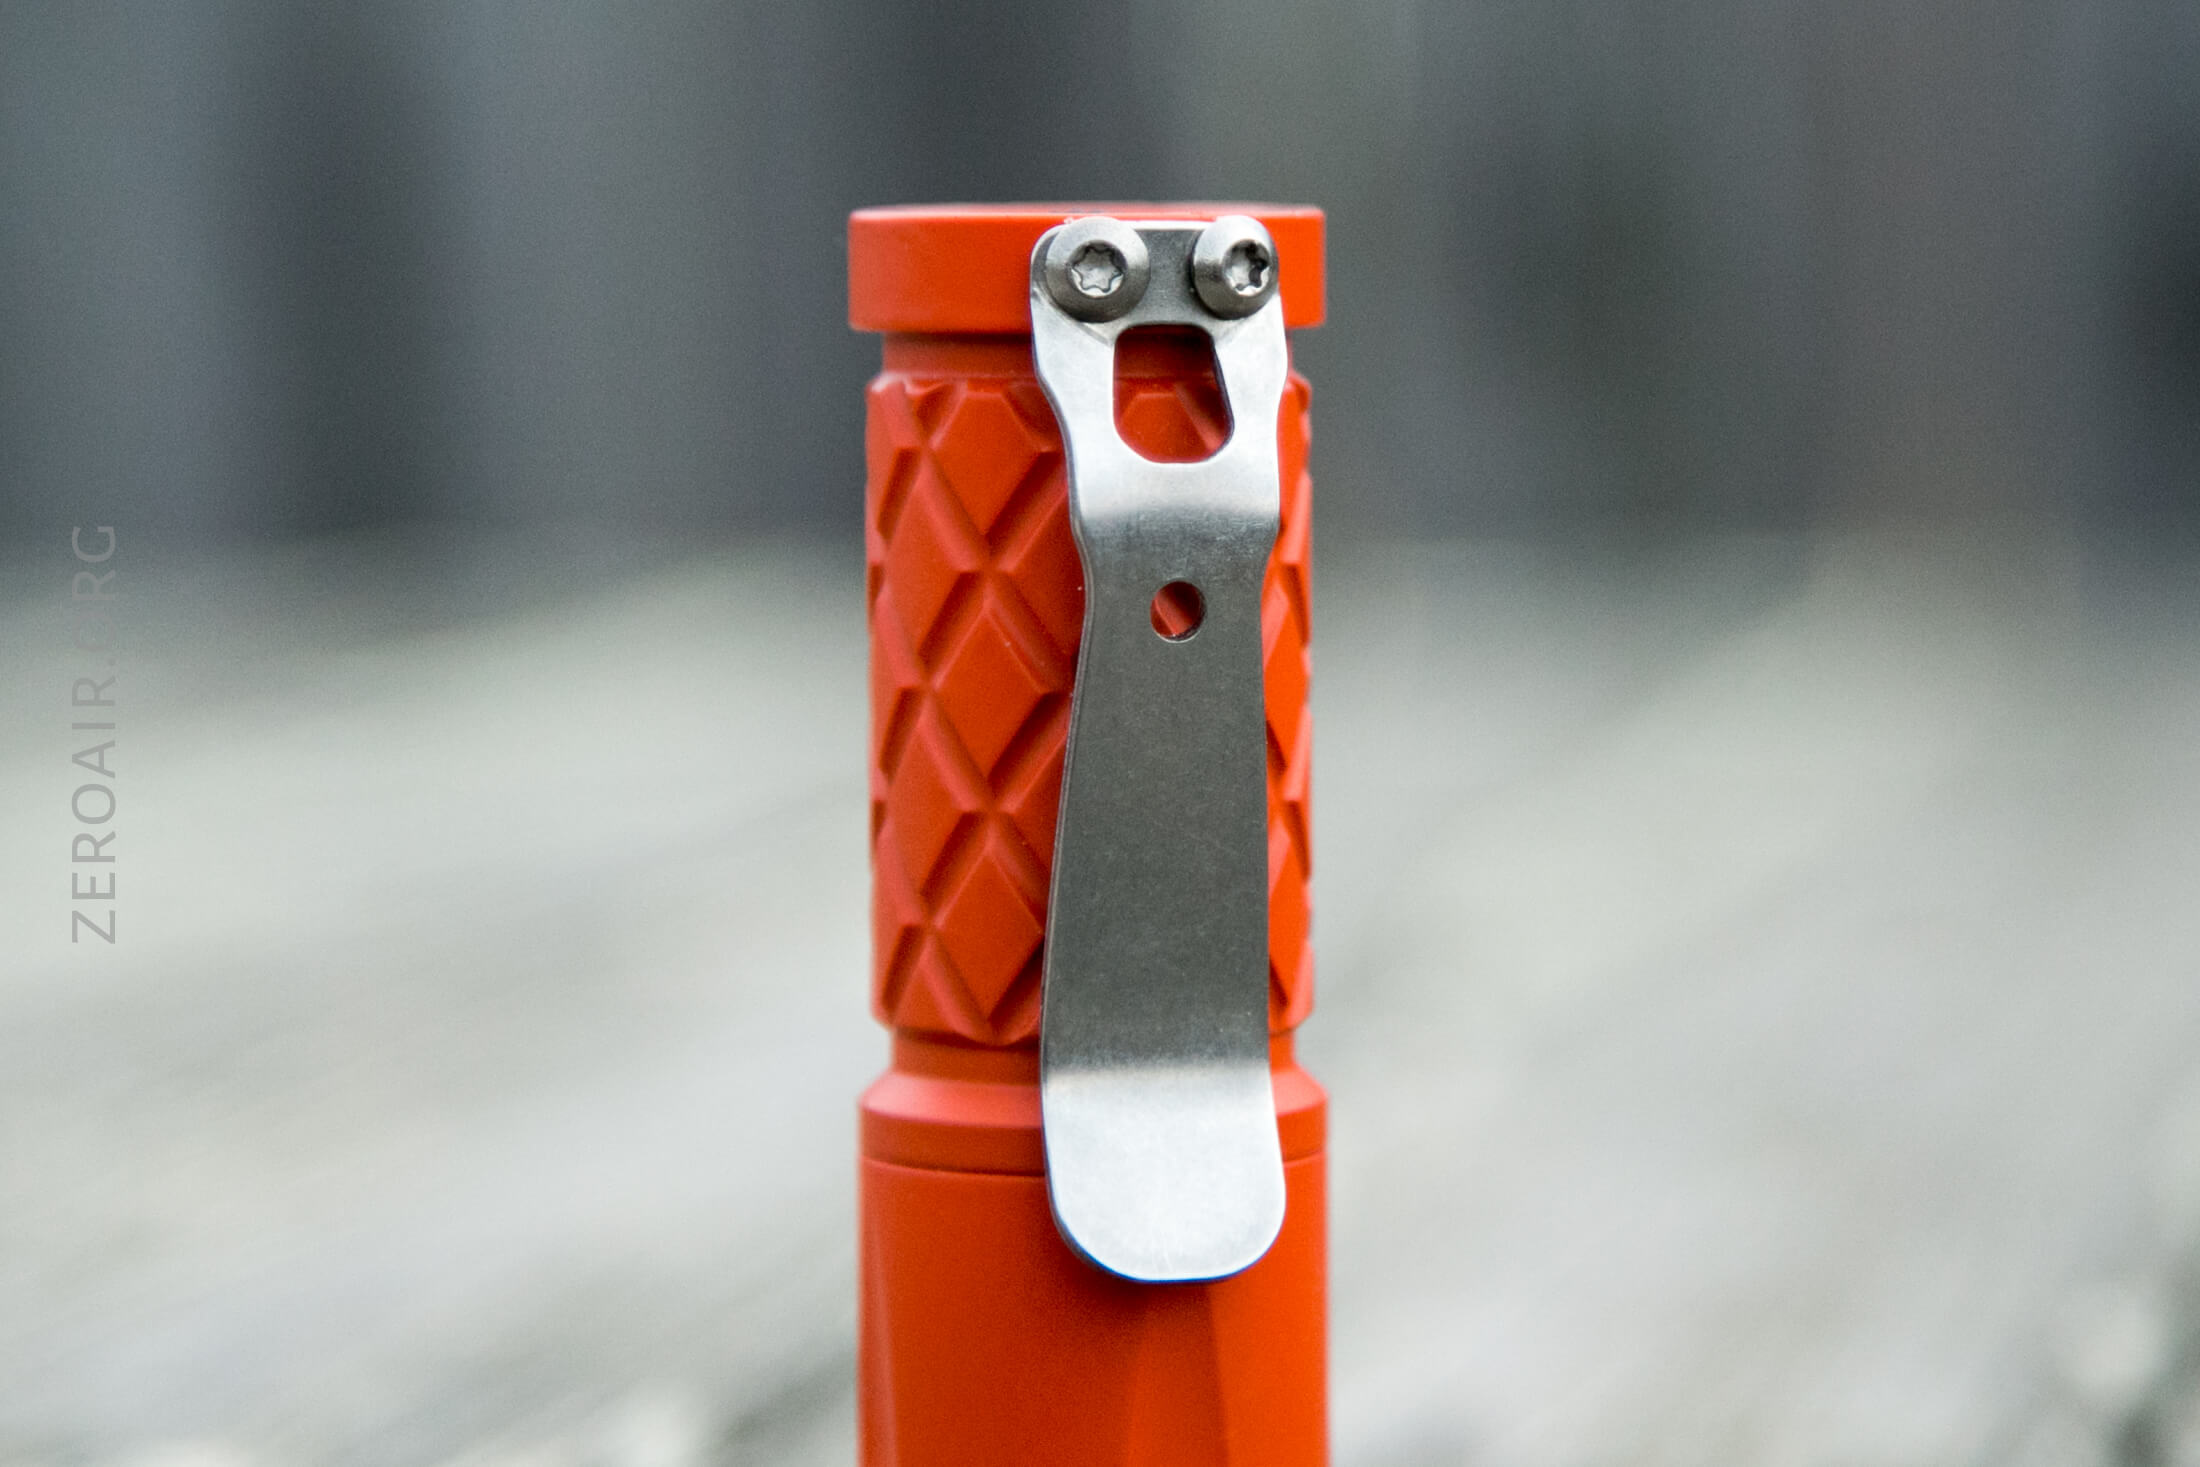
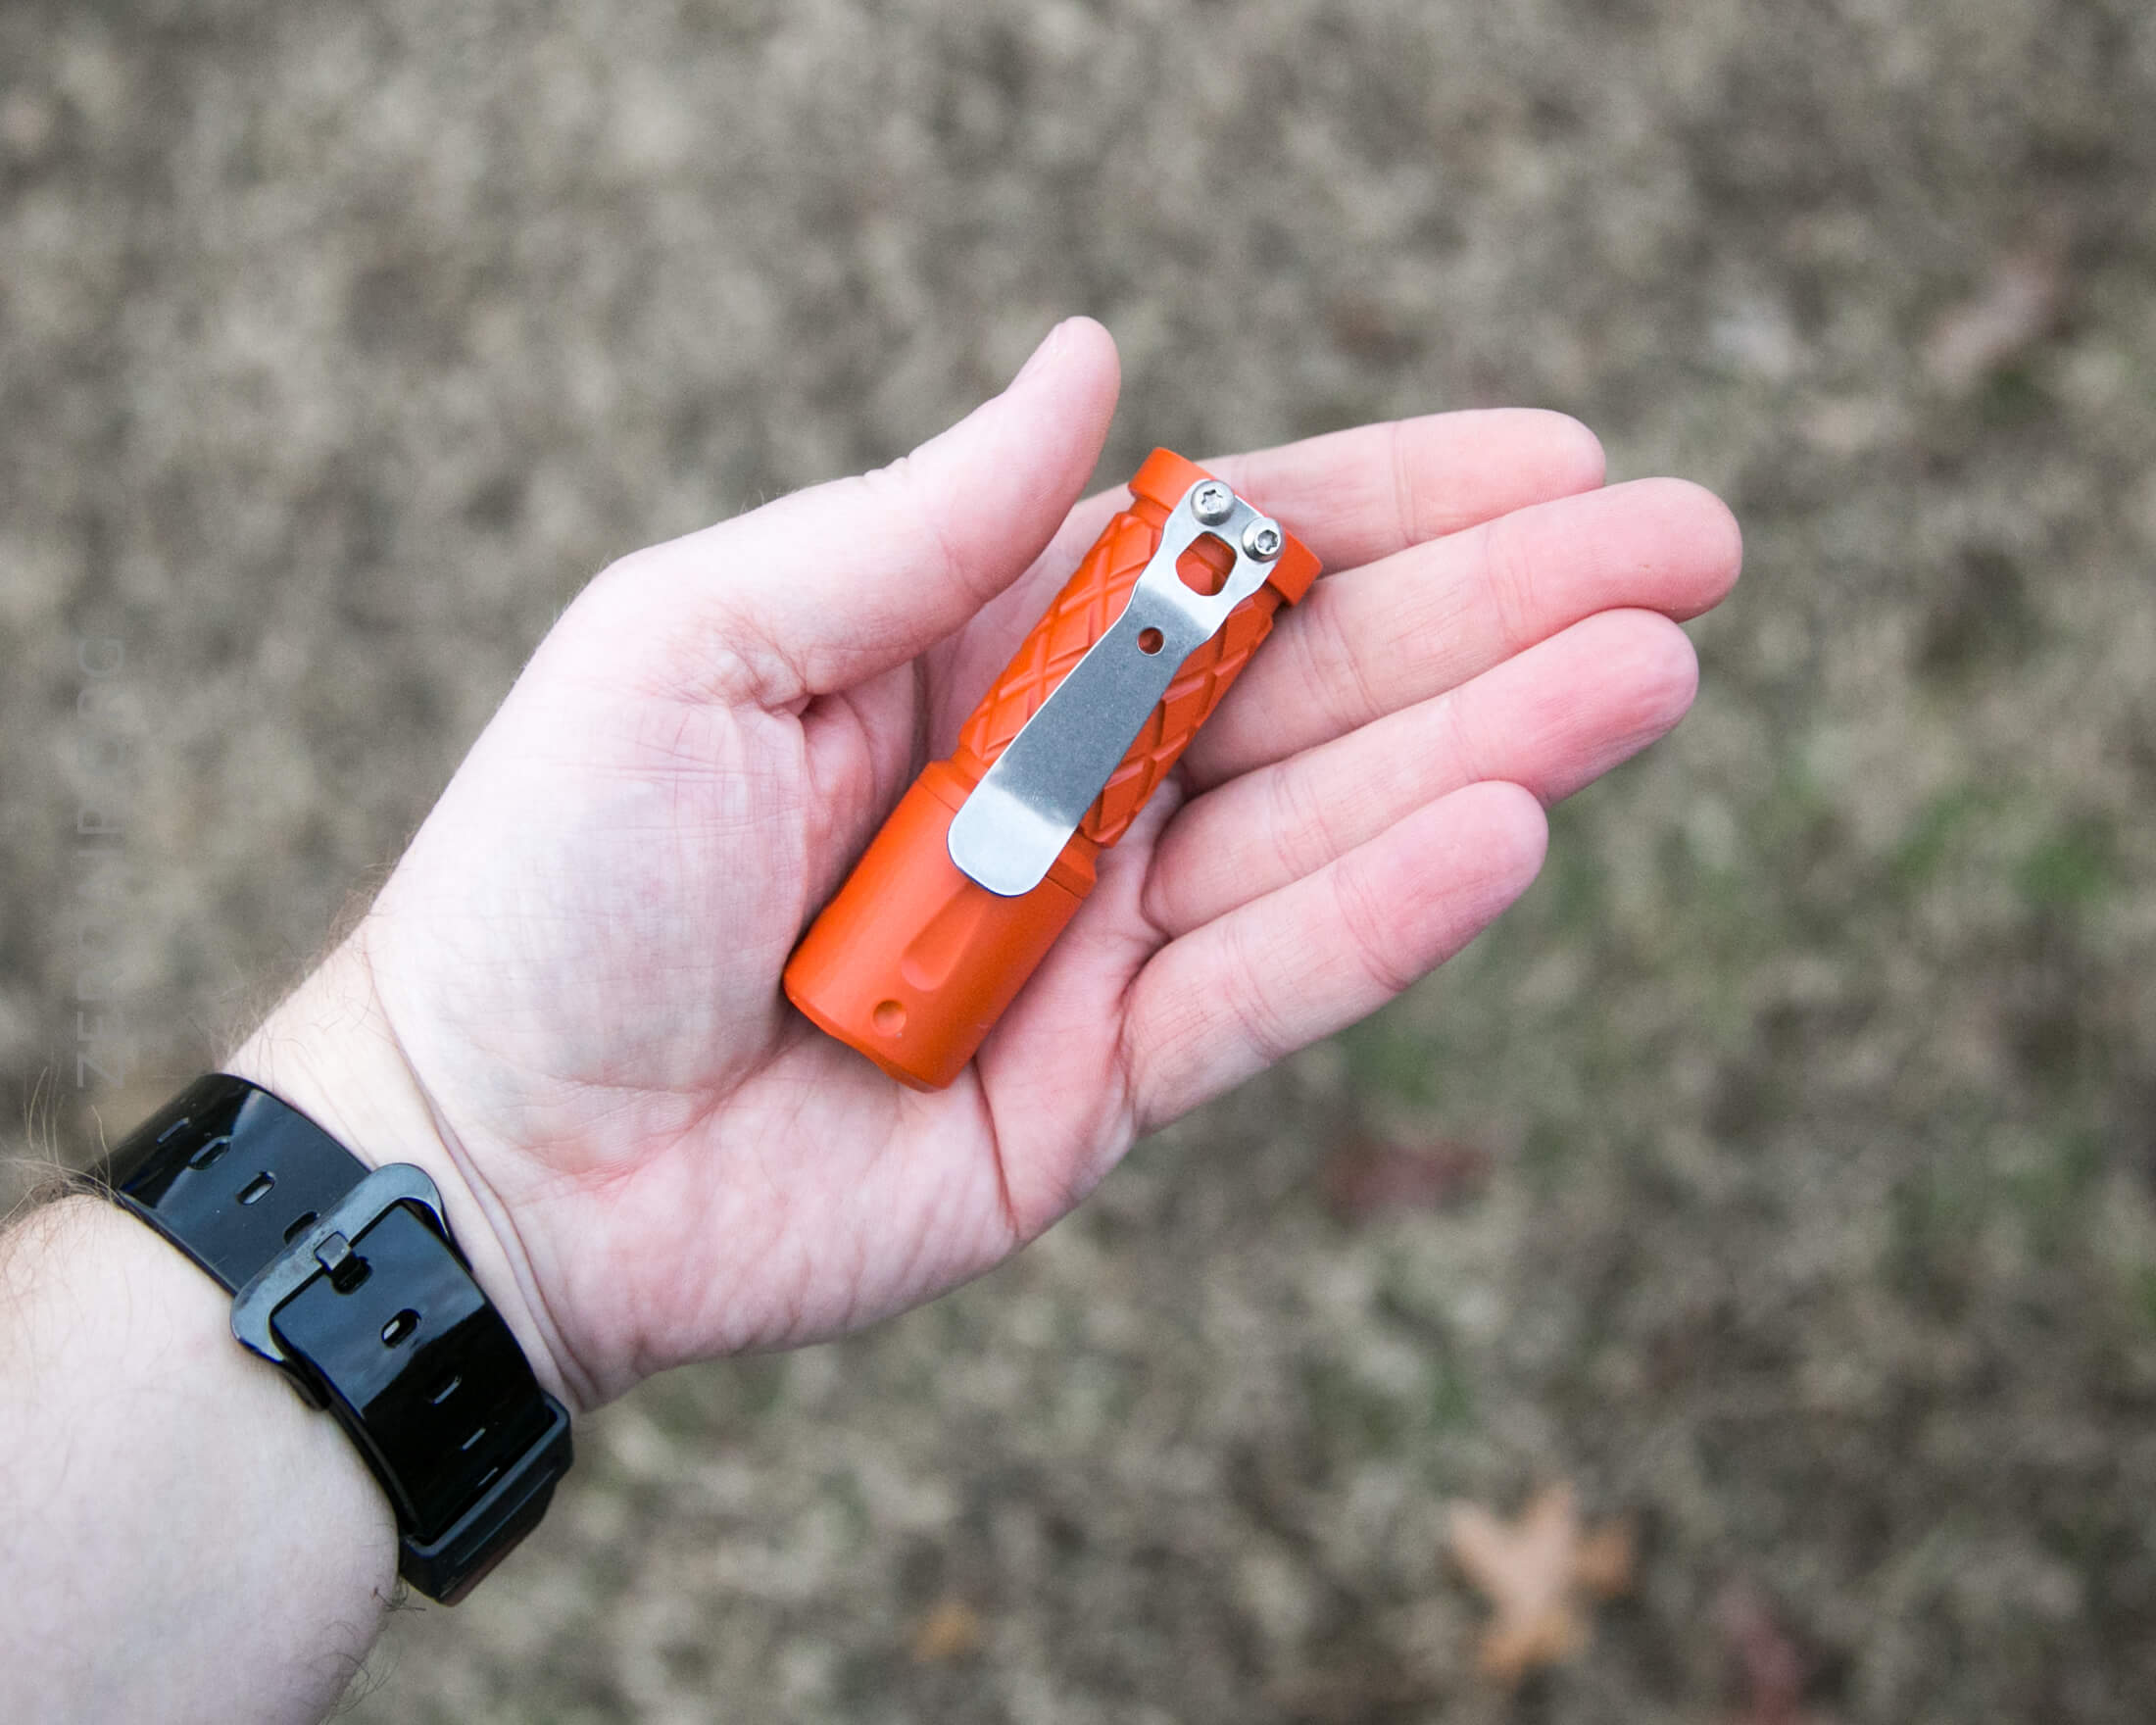
More on the clip later. But right here, I’ll say how much the clip reminds me of a face, and that face looks like the Martians from Sesame Street.
In my copy, it seems like the head coating is just a bit thicker than the body coating.
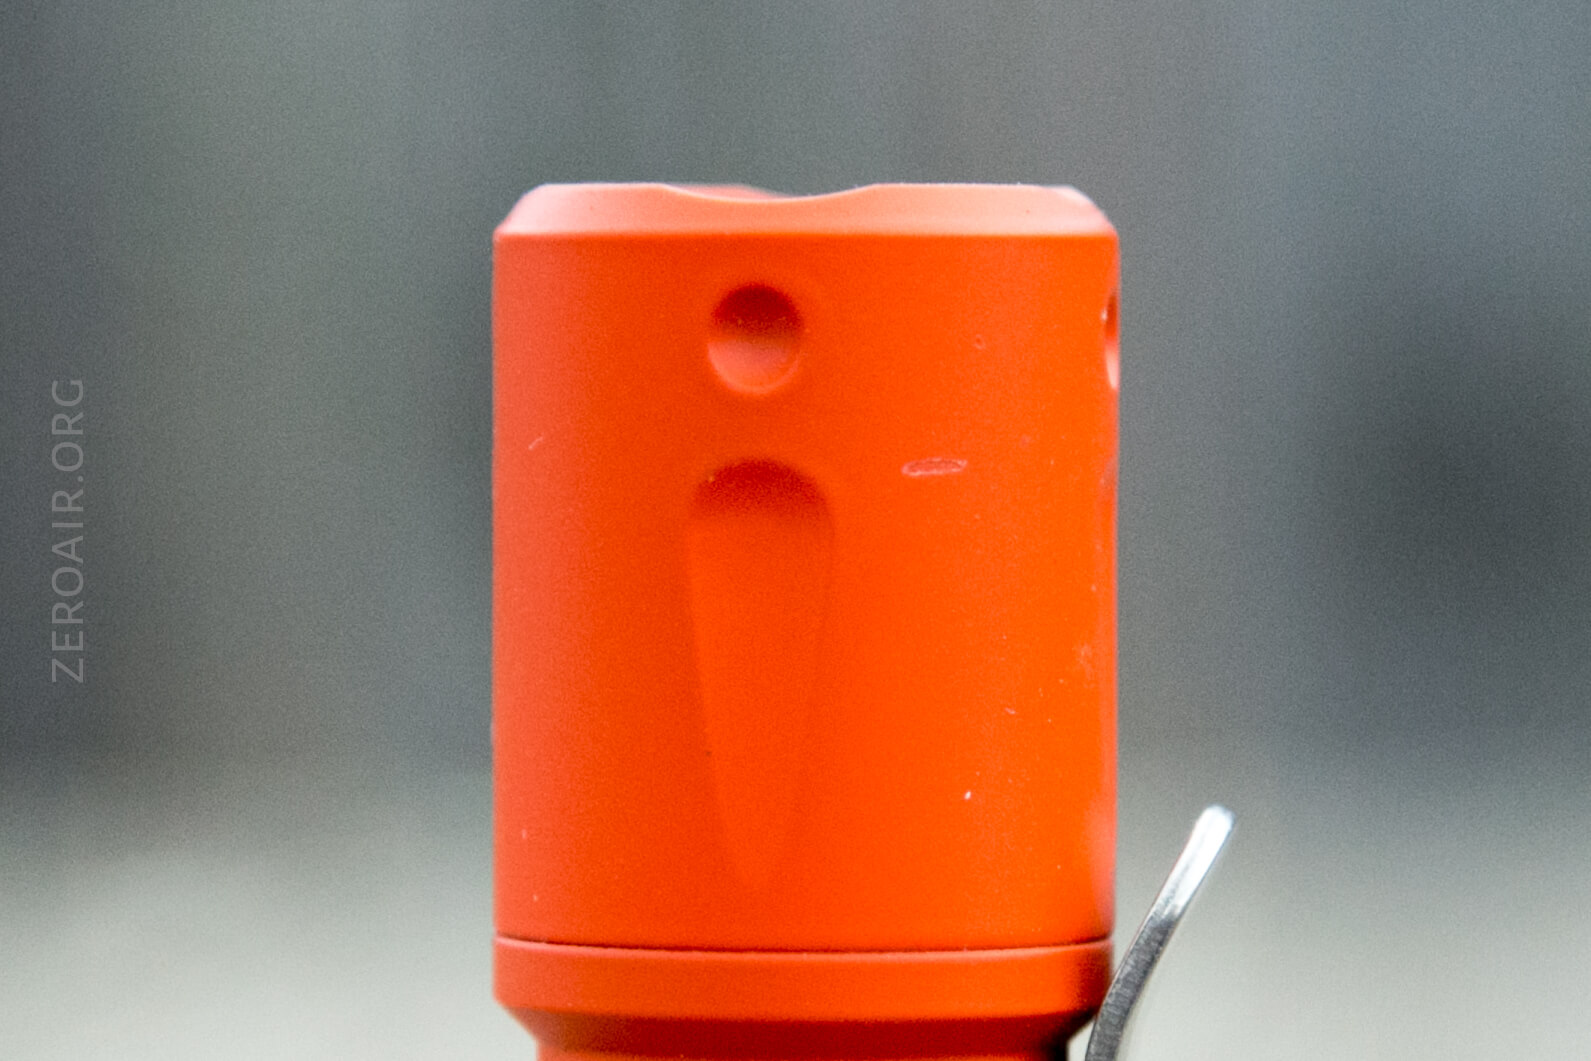
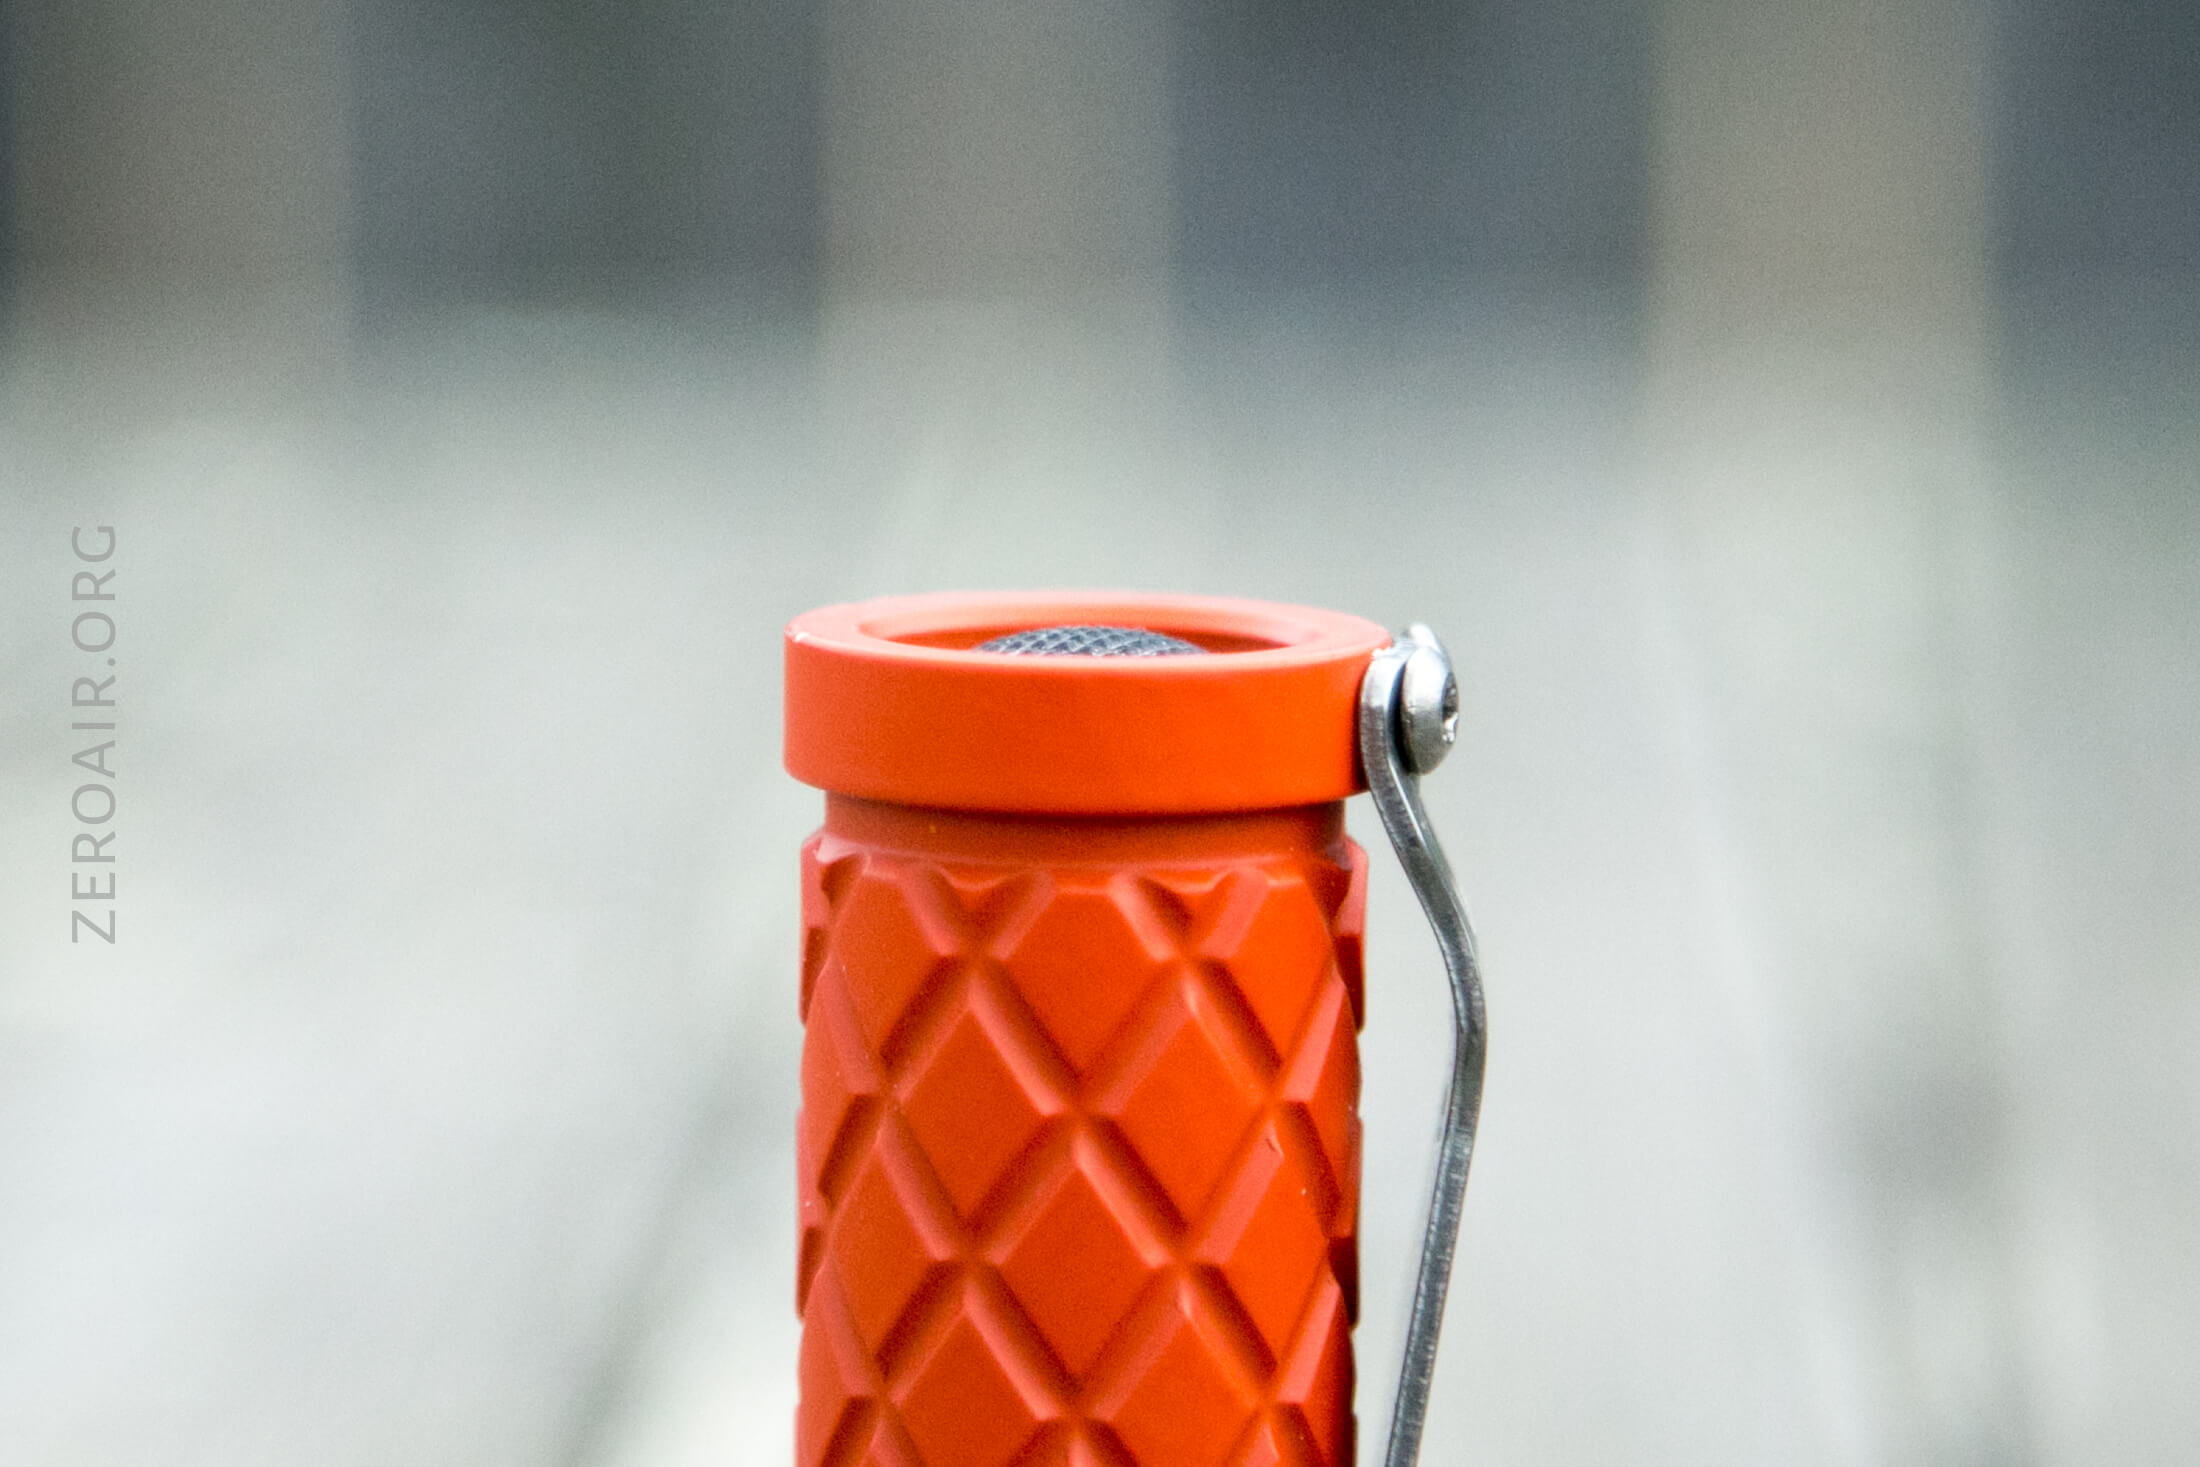
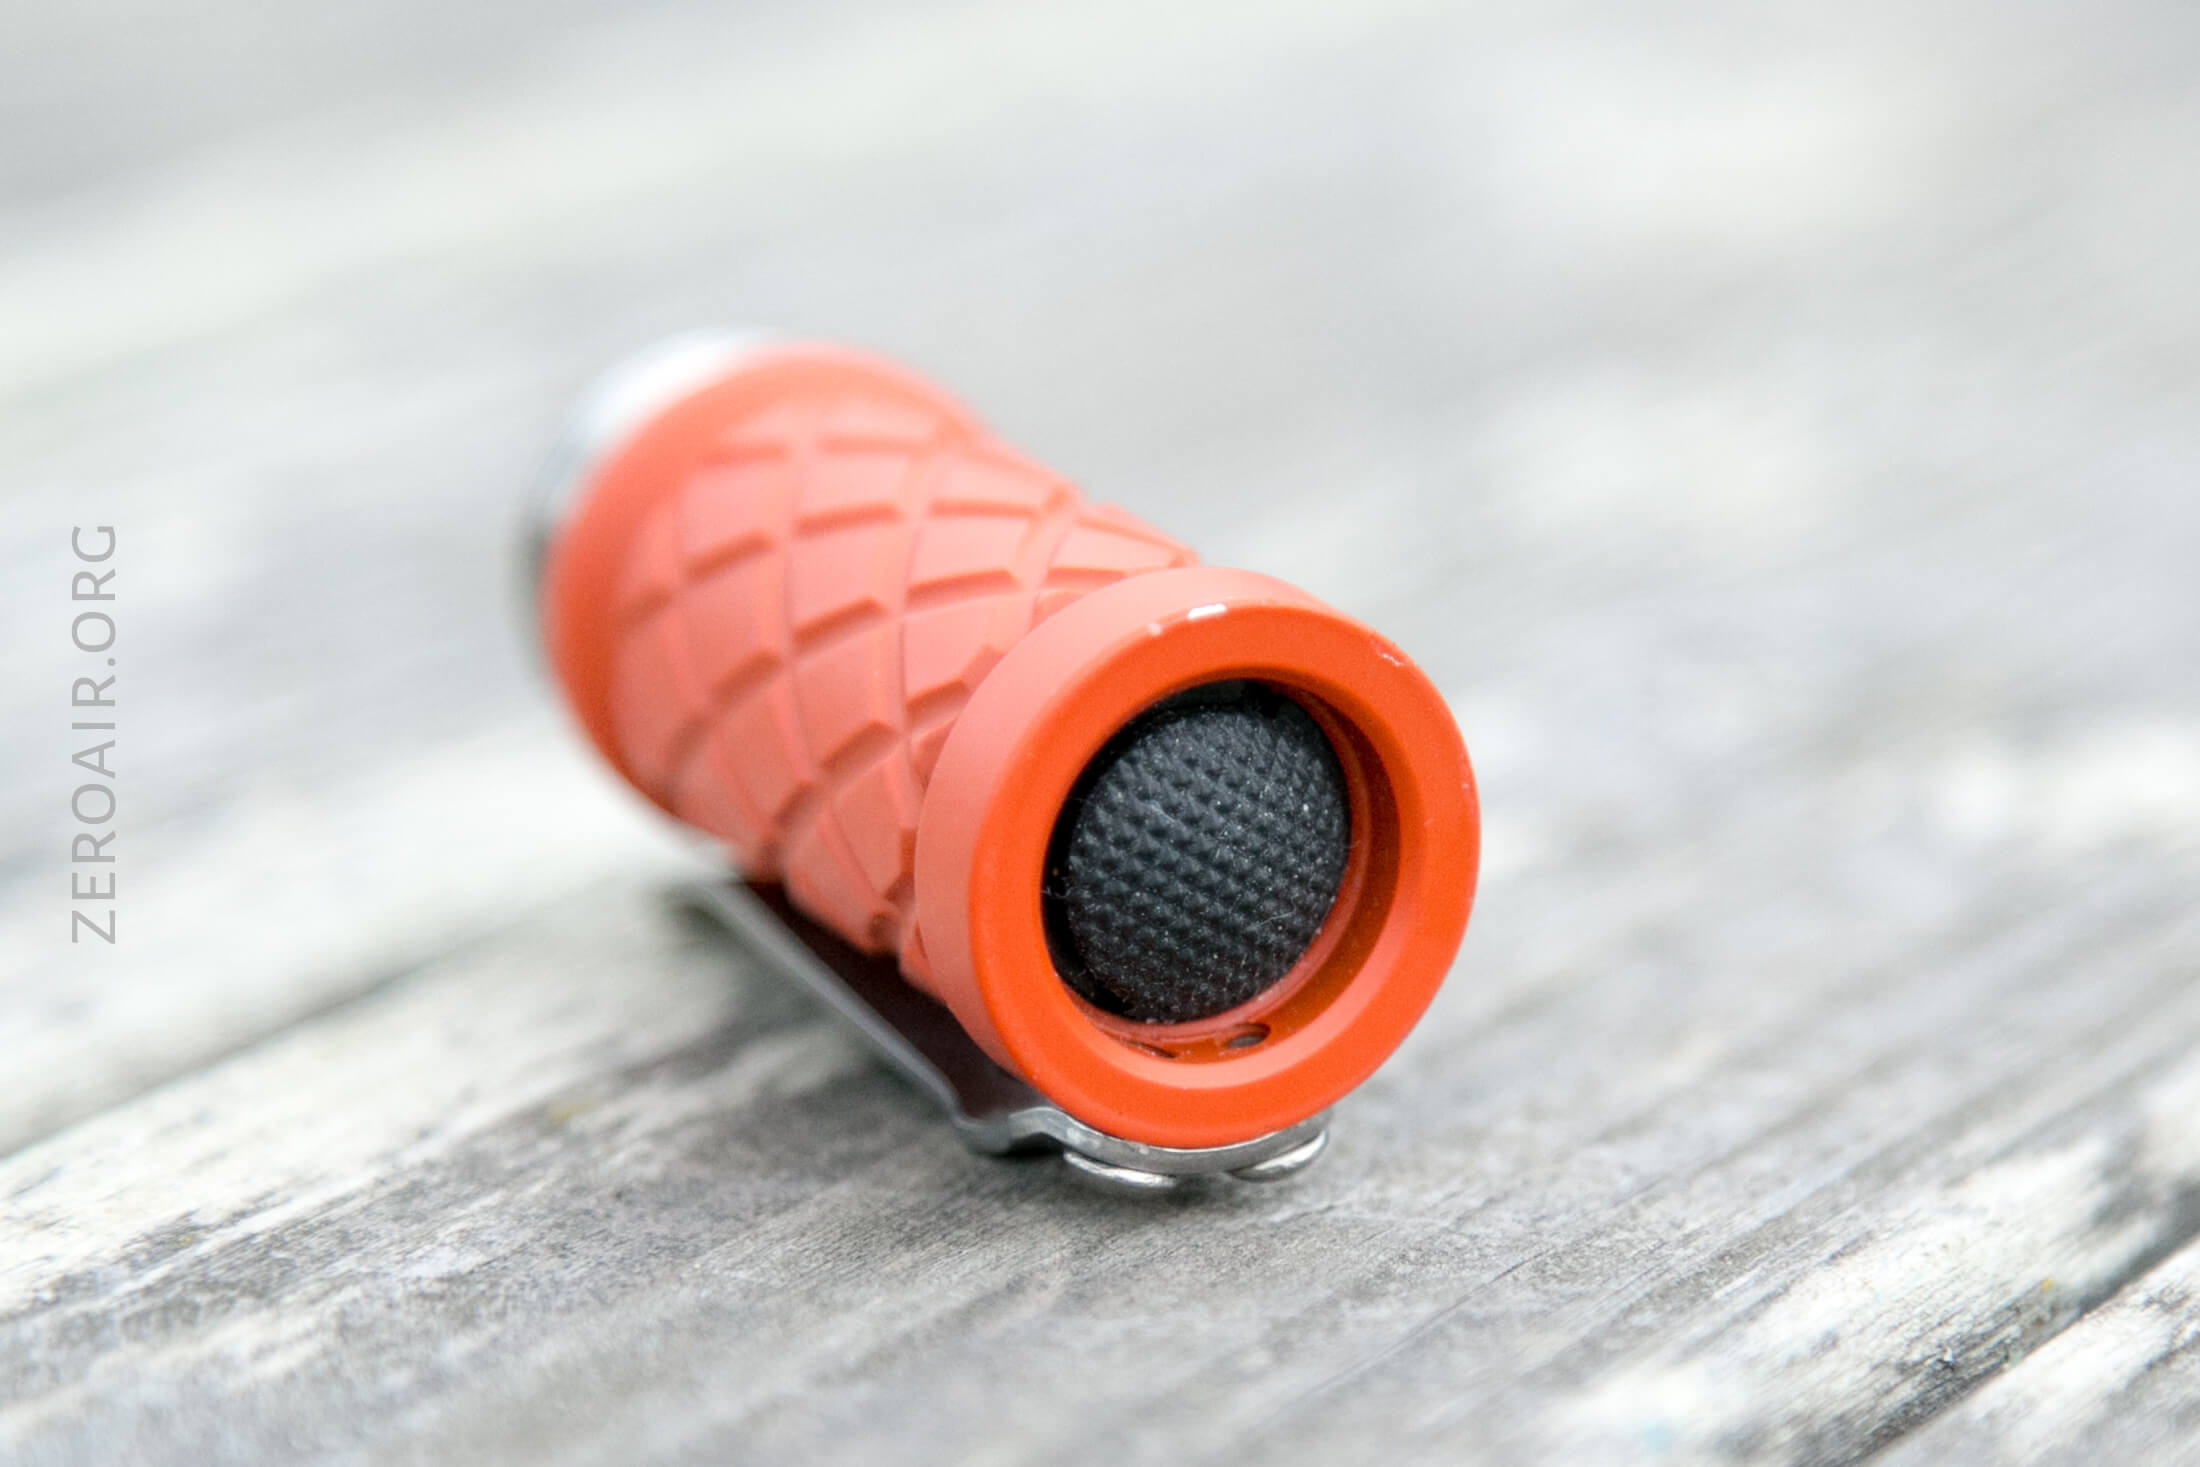
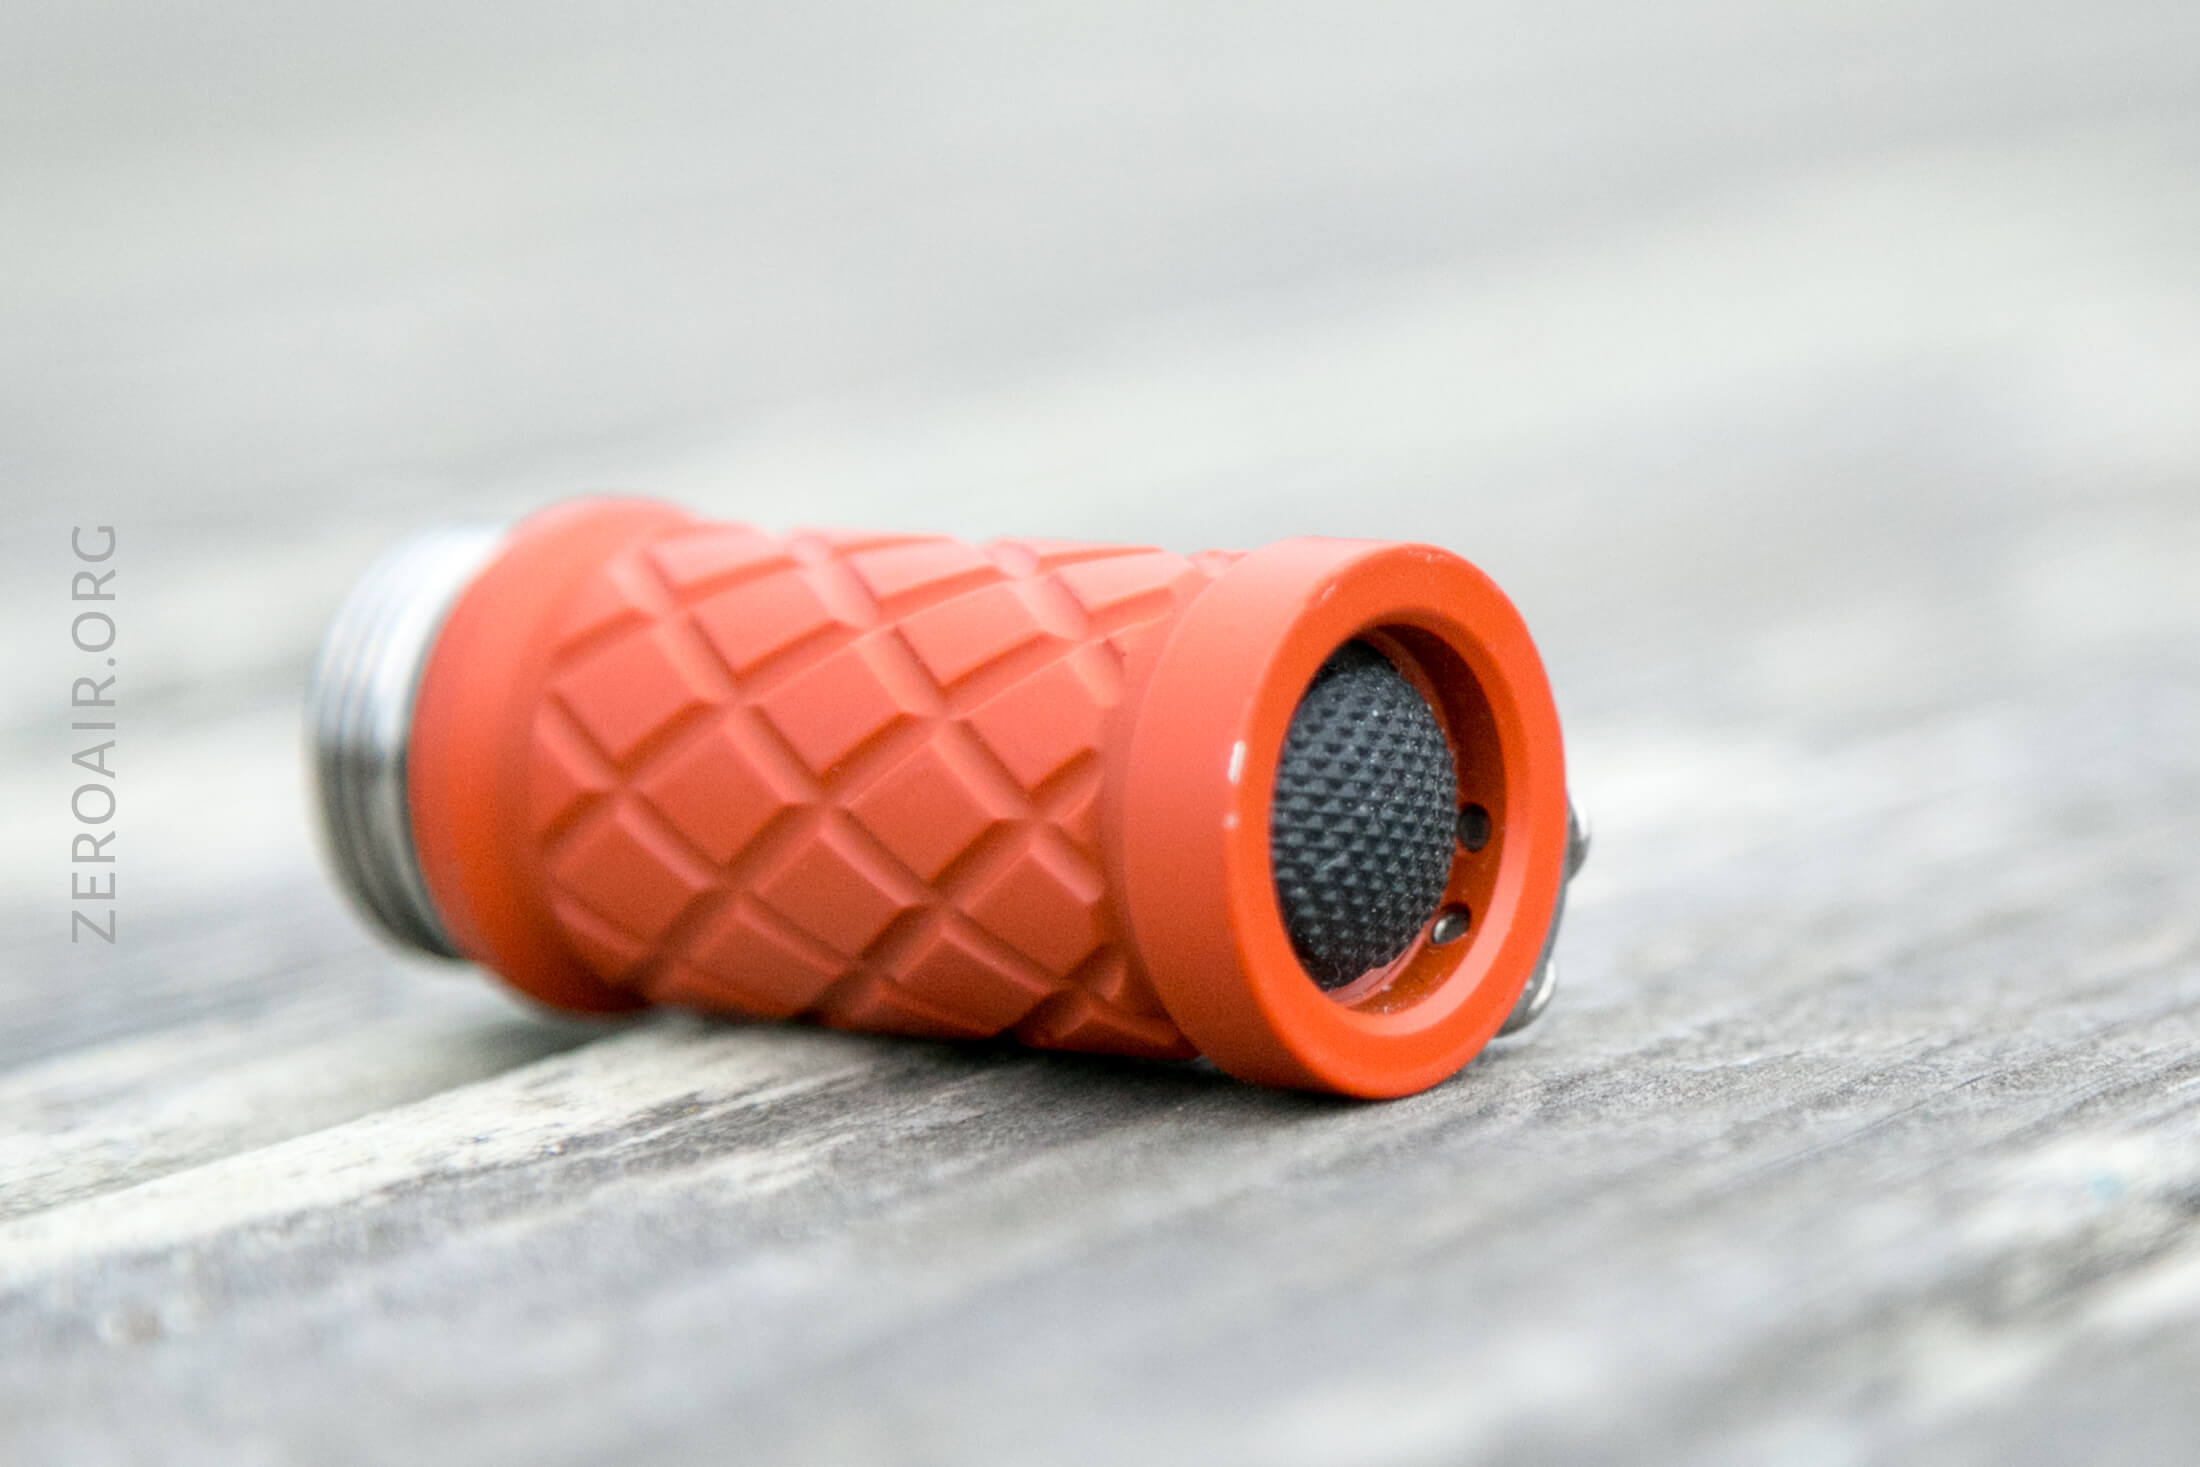
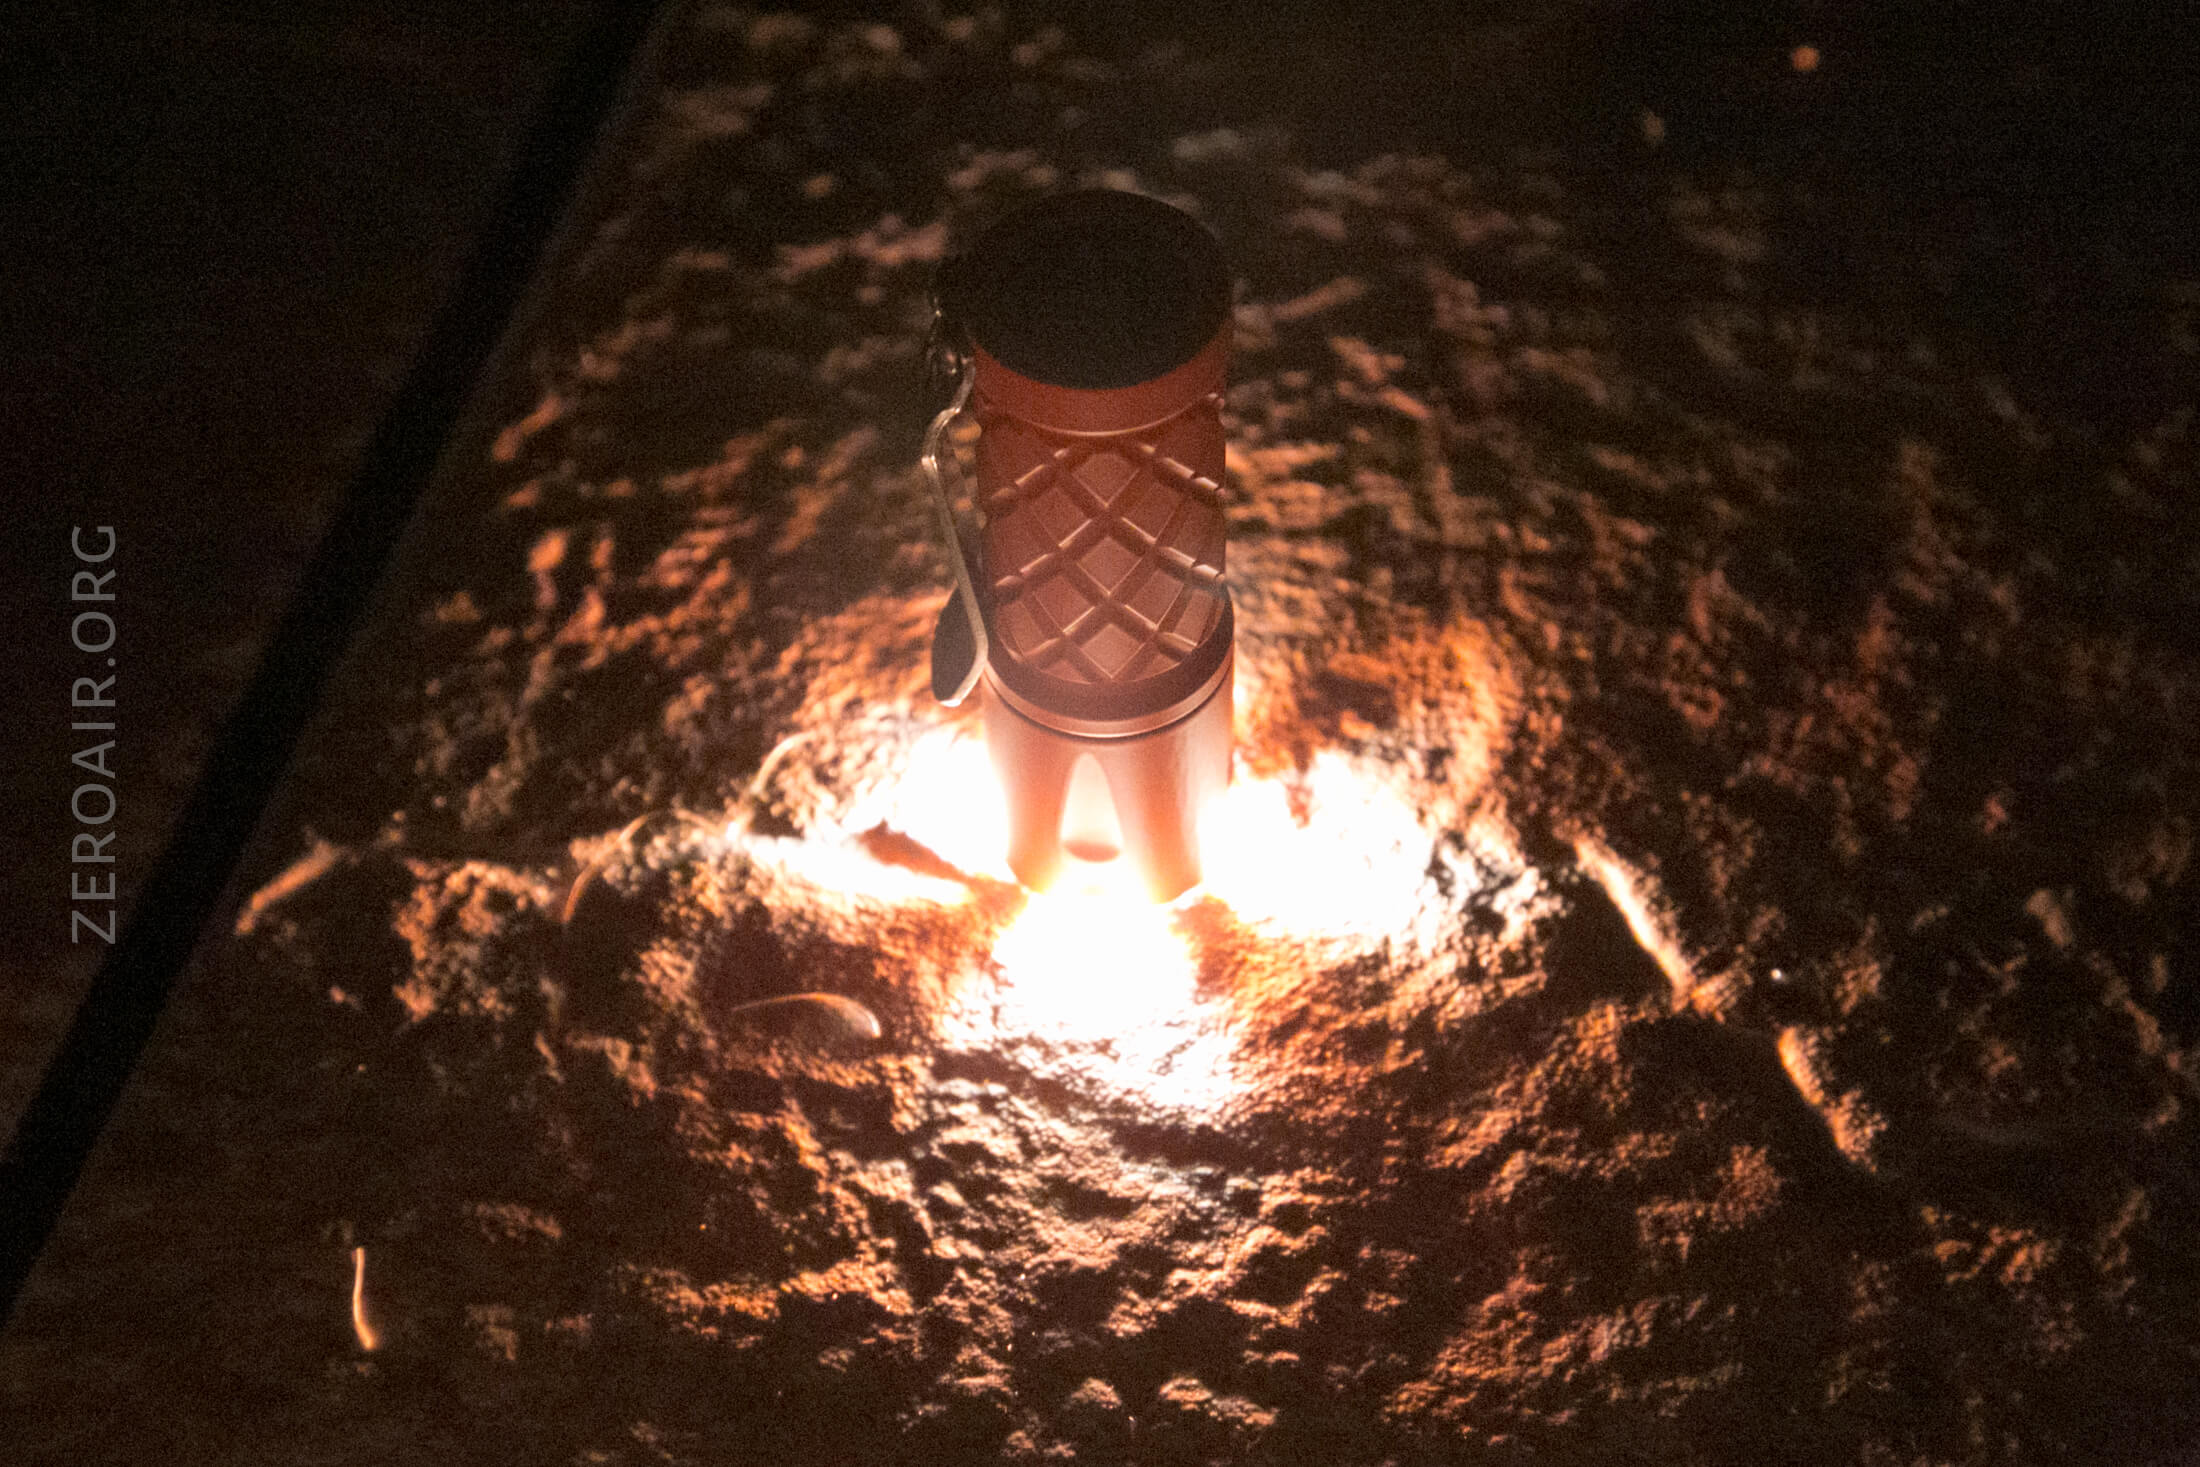
A nice thing also is that the tail shroud covers the button, so tailstanding is very smooth.
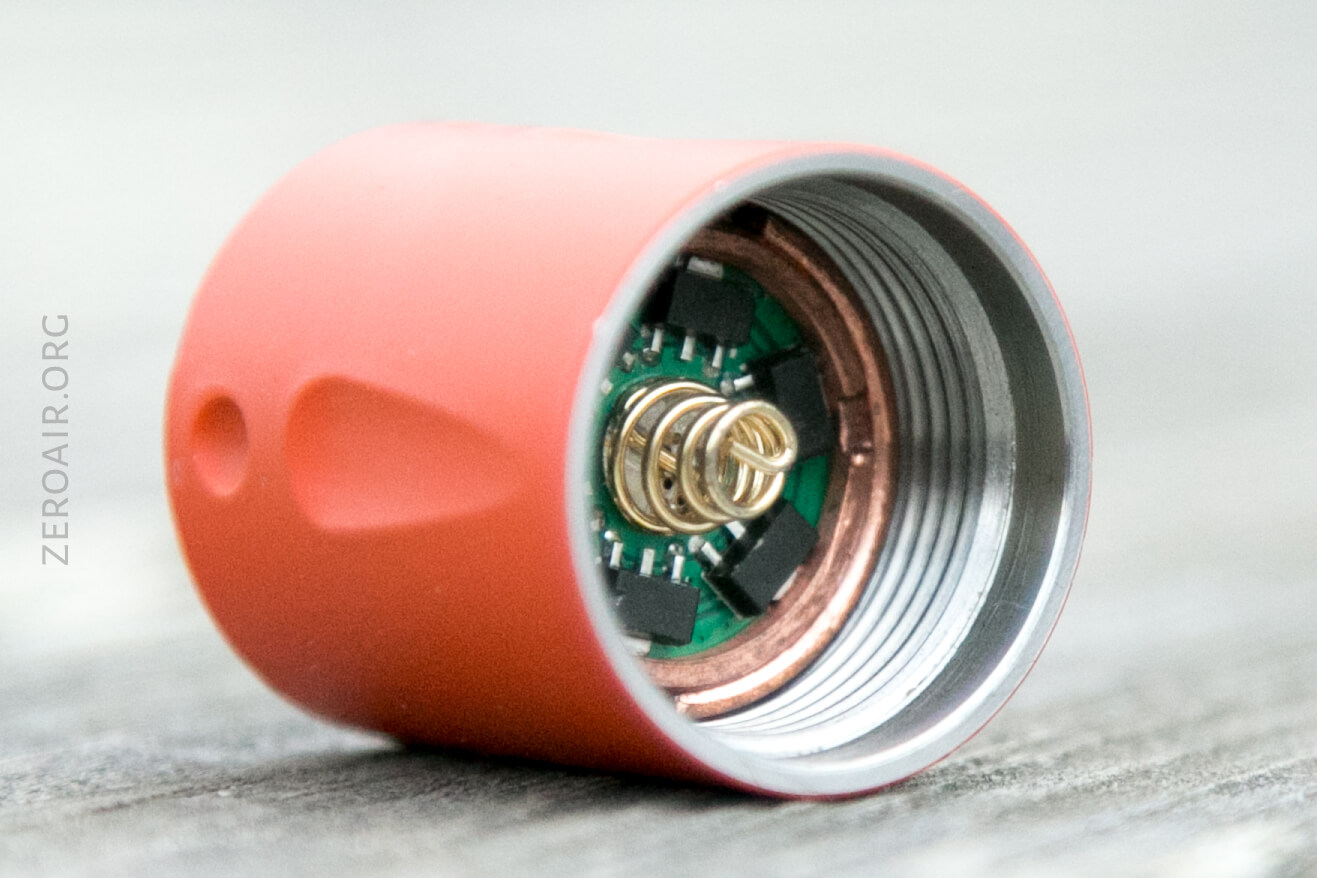
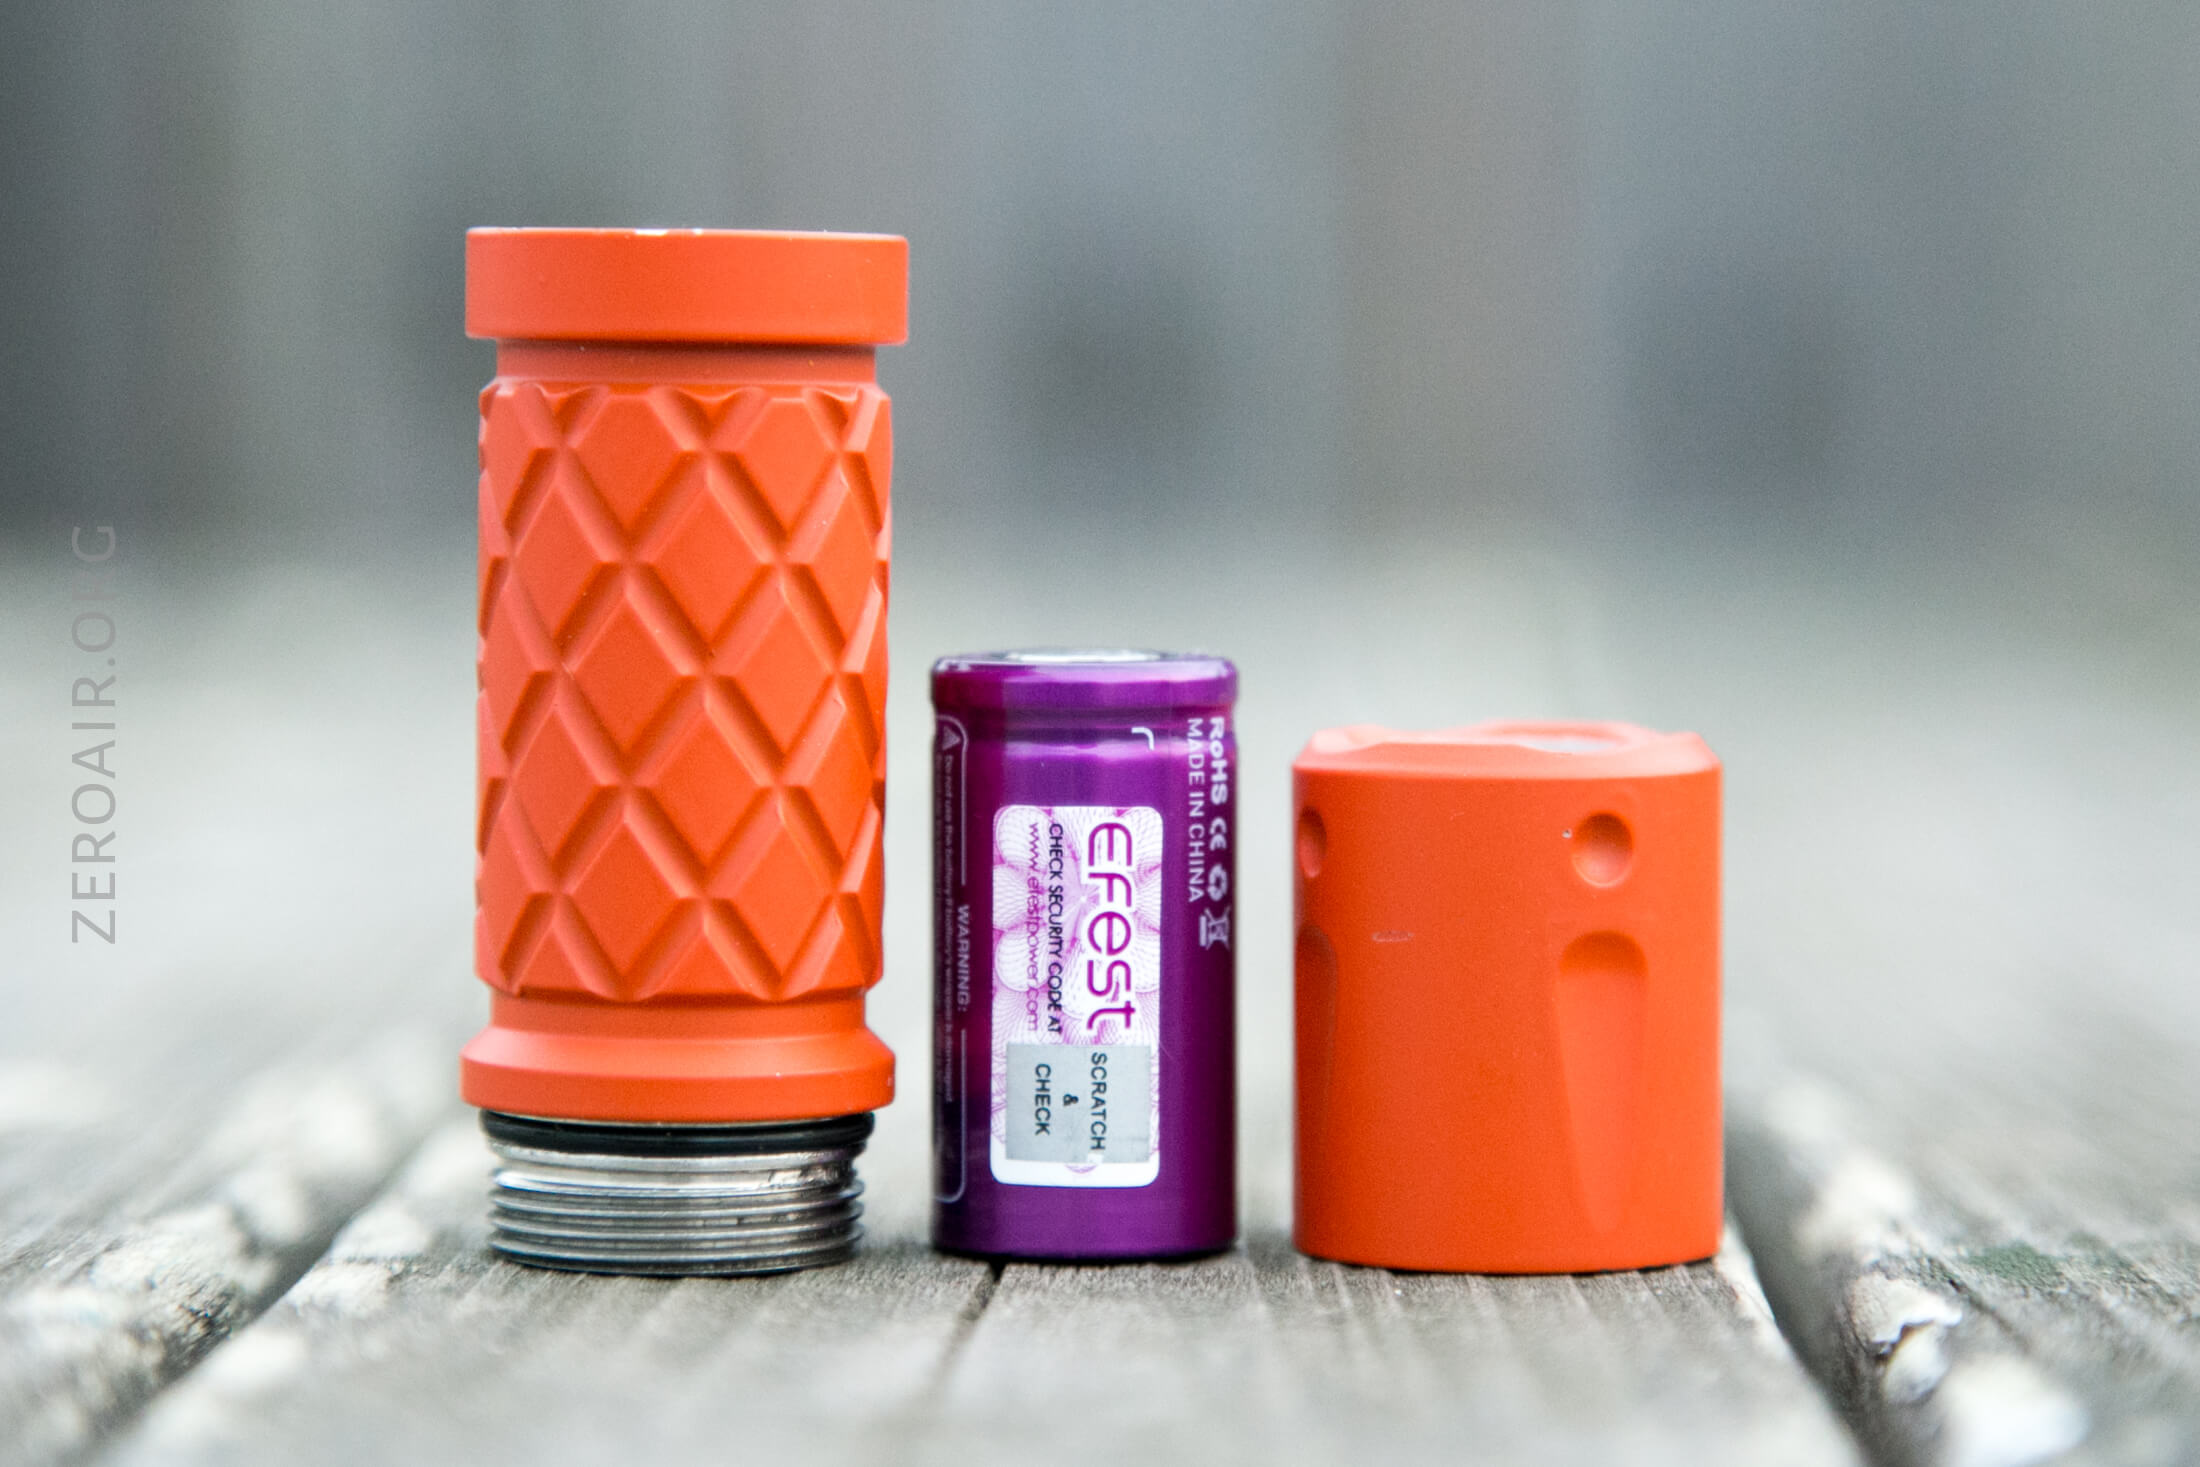
Both the head and tail have springs. The pill is threaded in and easy to remove, and also made of copper!

The threads are very smooth as you’d expect out of stainless threads.
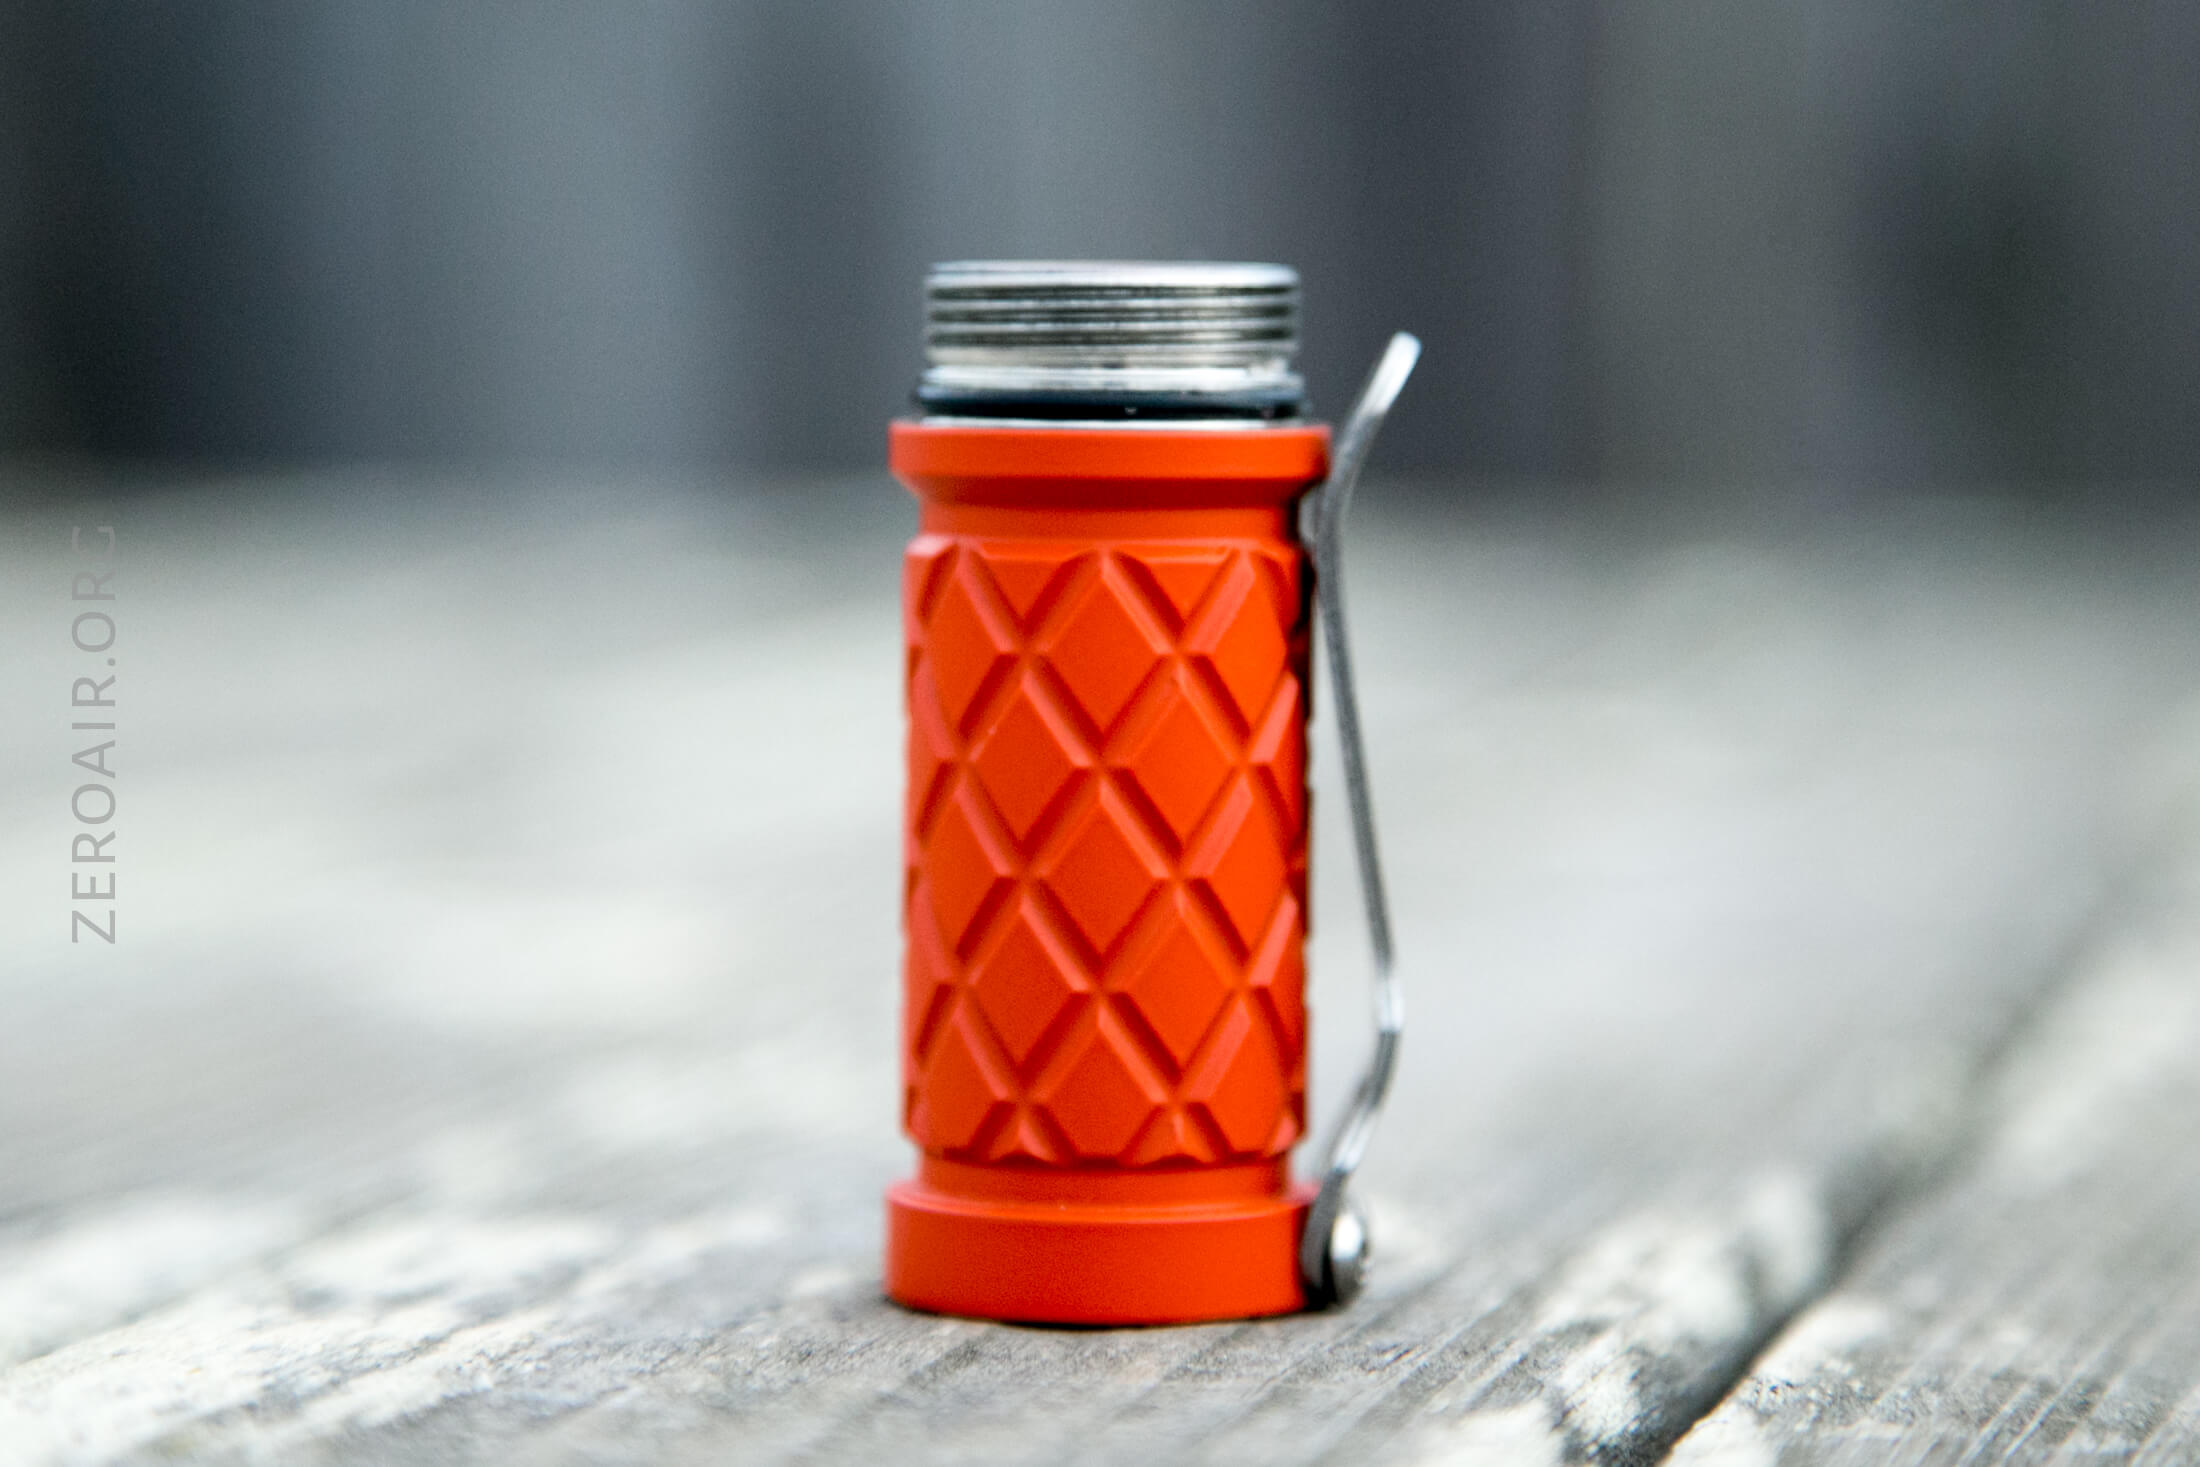
The tail/cell holder is one piece, so overall it’s just a 2-part light.
Below, you can see just a little more chipping on the coating.
One more point where the game could probably be stepped up is the screw holes on the clip – they go all the way through the (thick) tail. So (below) they’re visible. The ring here is probably thick enough to support them without going through. That said, it’s more convenient to do it this way, so I do get it.
Size and Comps
Officially:
Weight: 138 g, 4.8 oz.
Length: 97mm, 3.8 inch.
Diameter: 23mm, 0.9 inch.
Thread wall thickness: 1.5mm.
Head wall thickness: 2.4mm.
Overall wall thickness: 2.0mm.
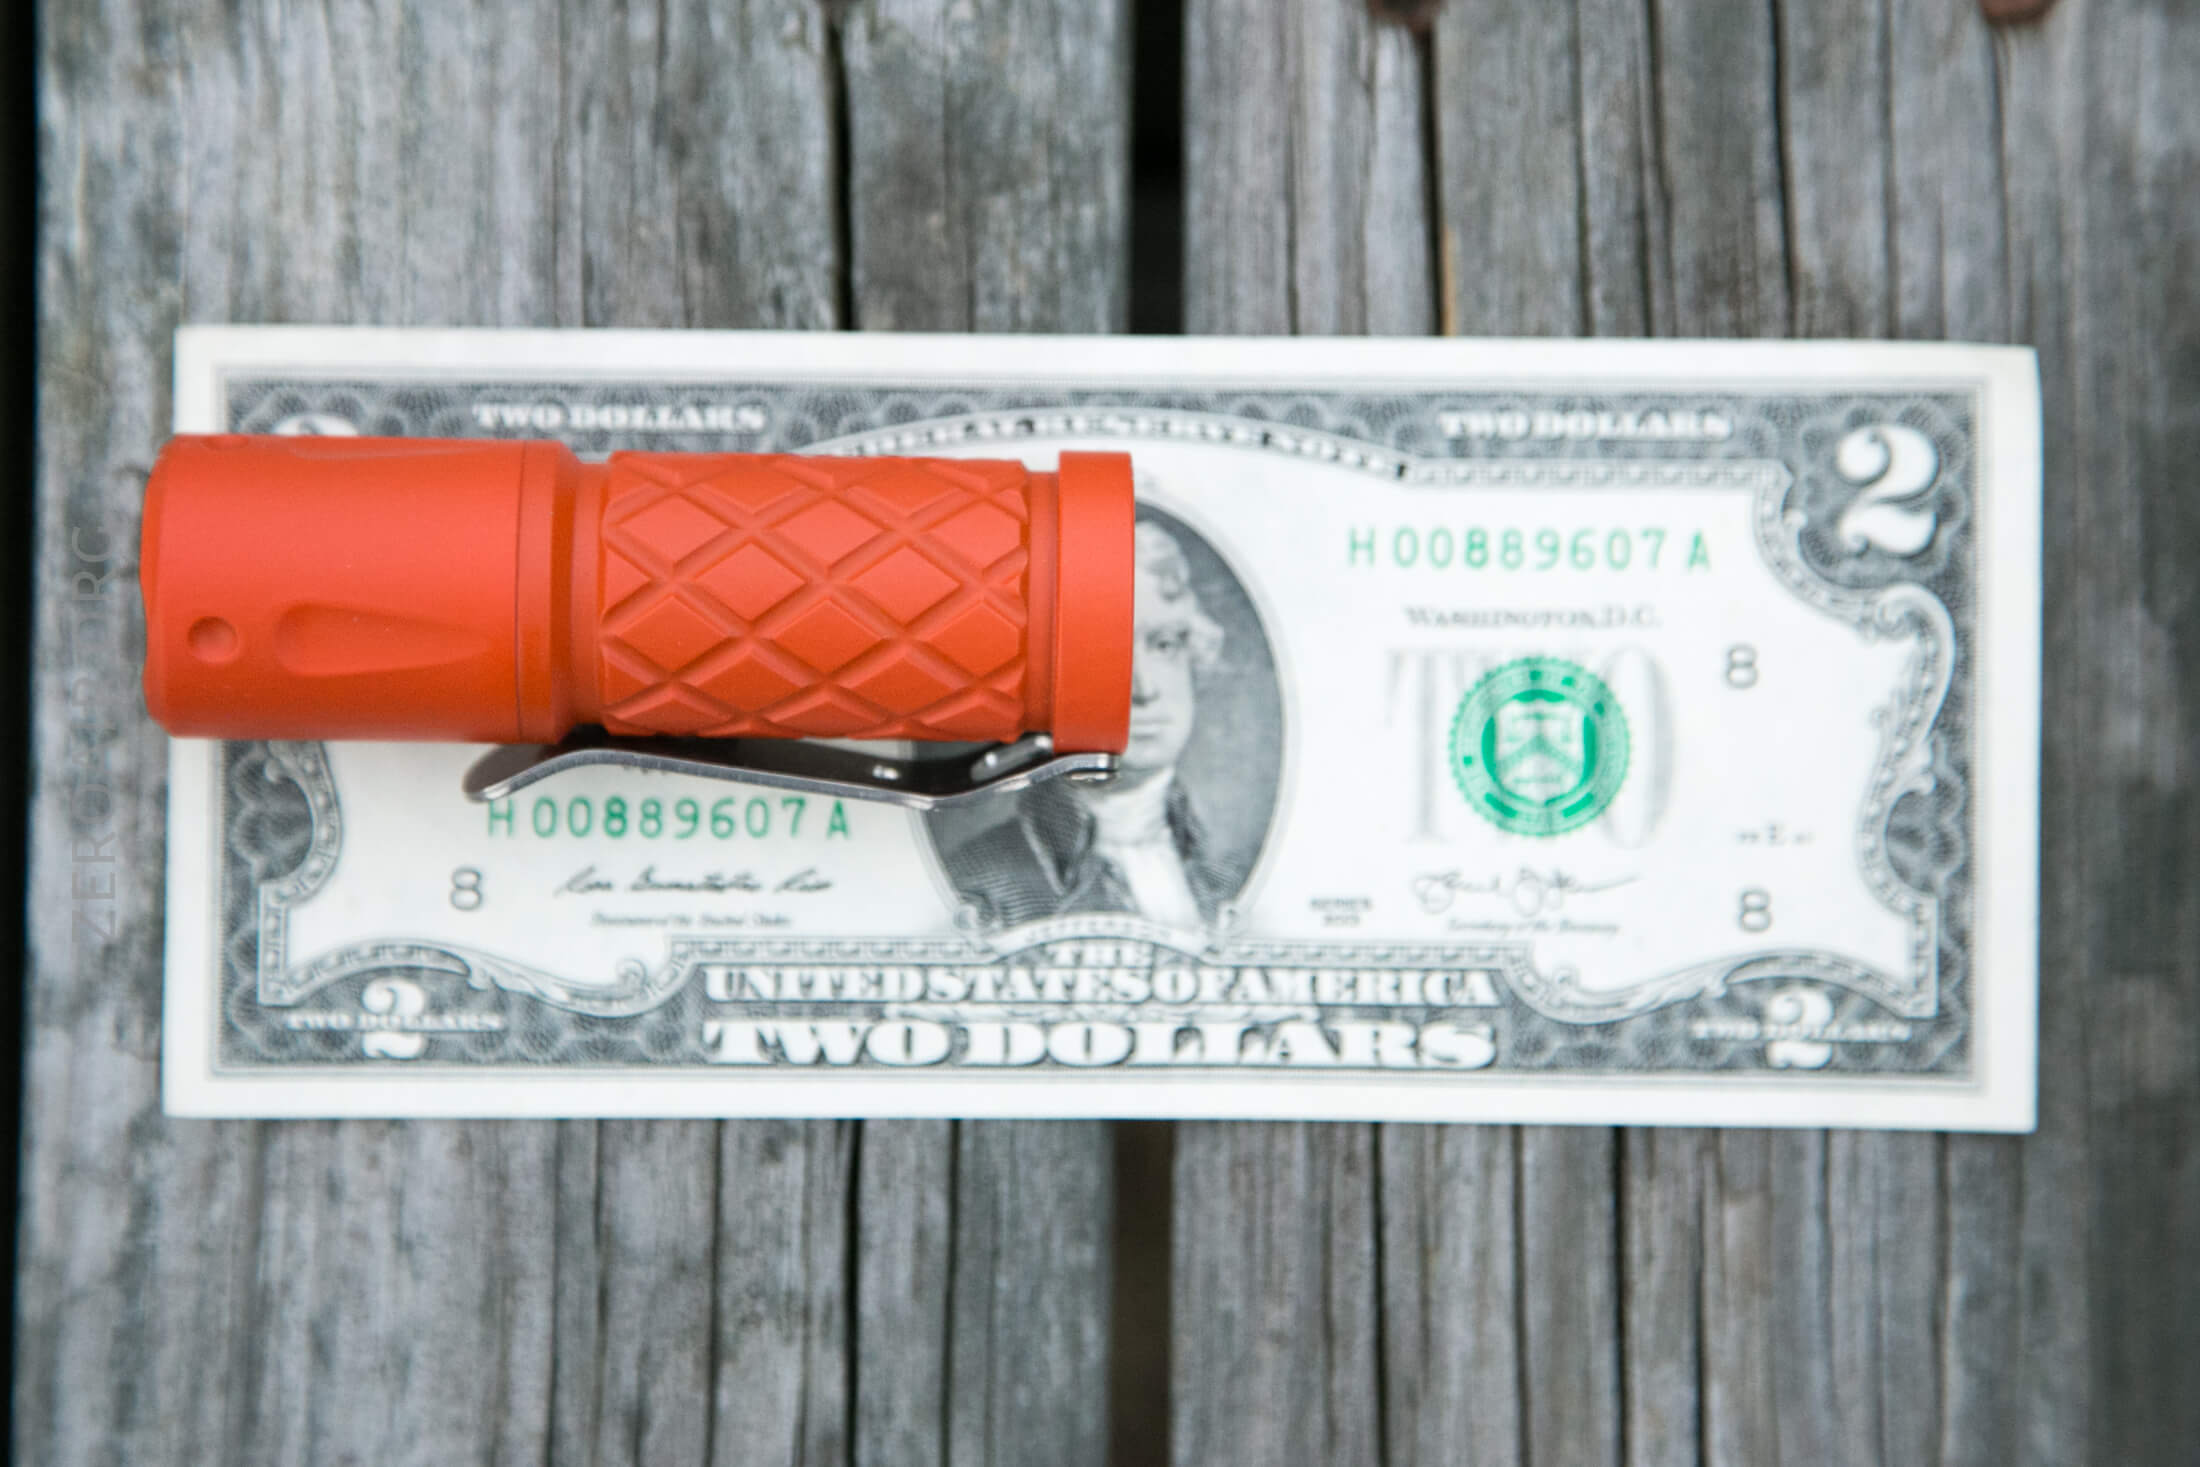
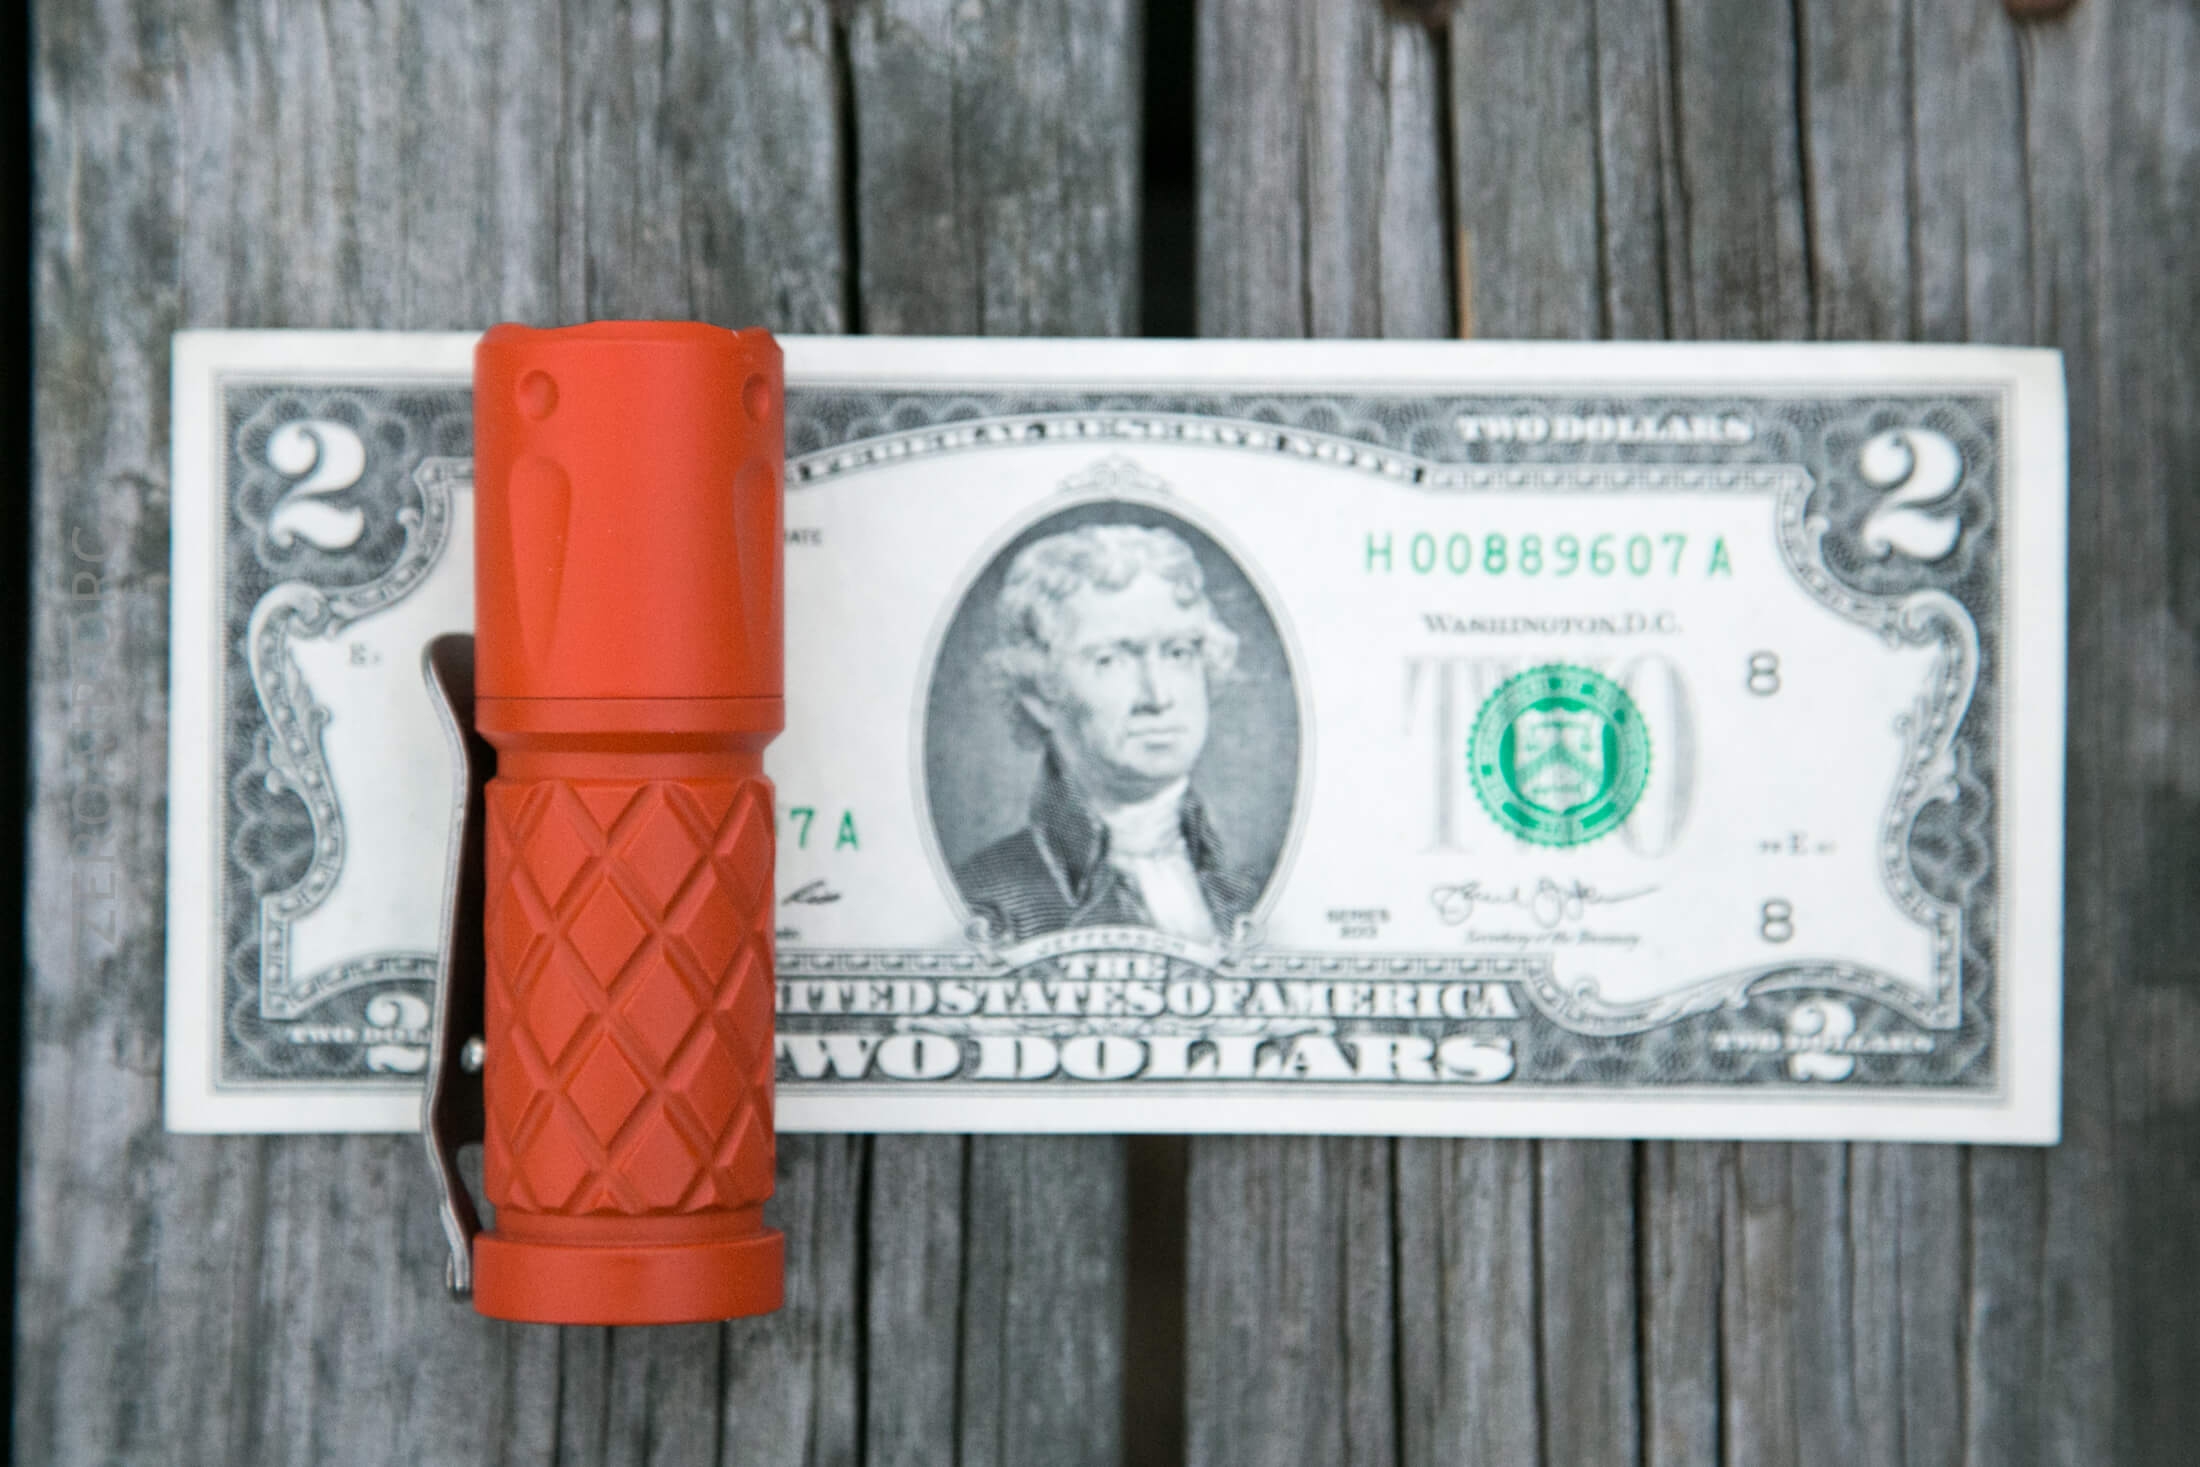
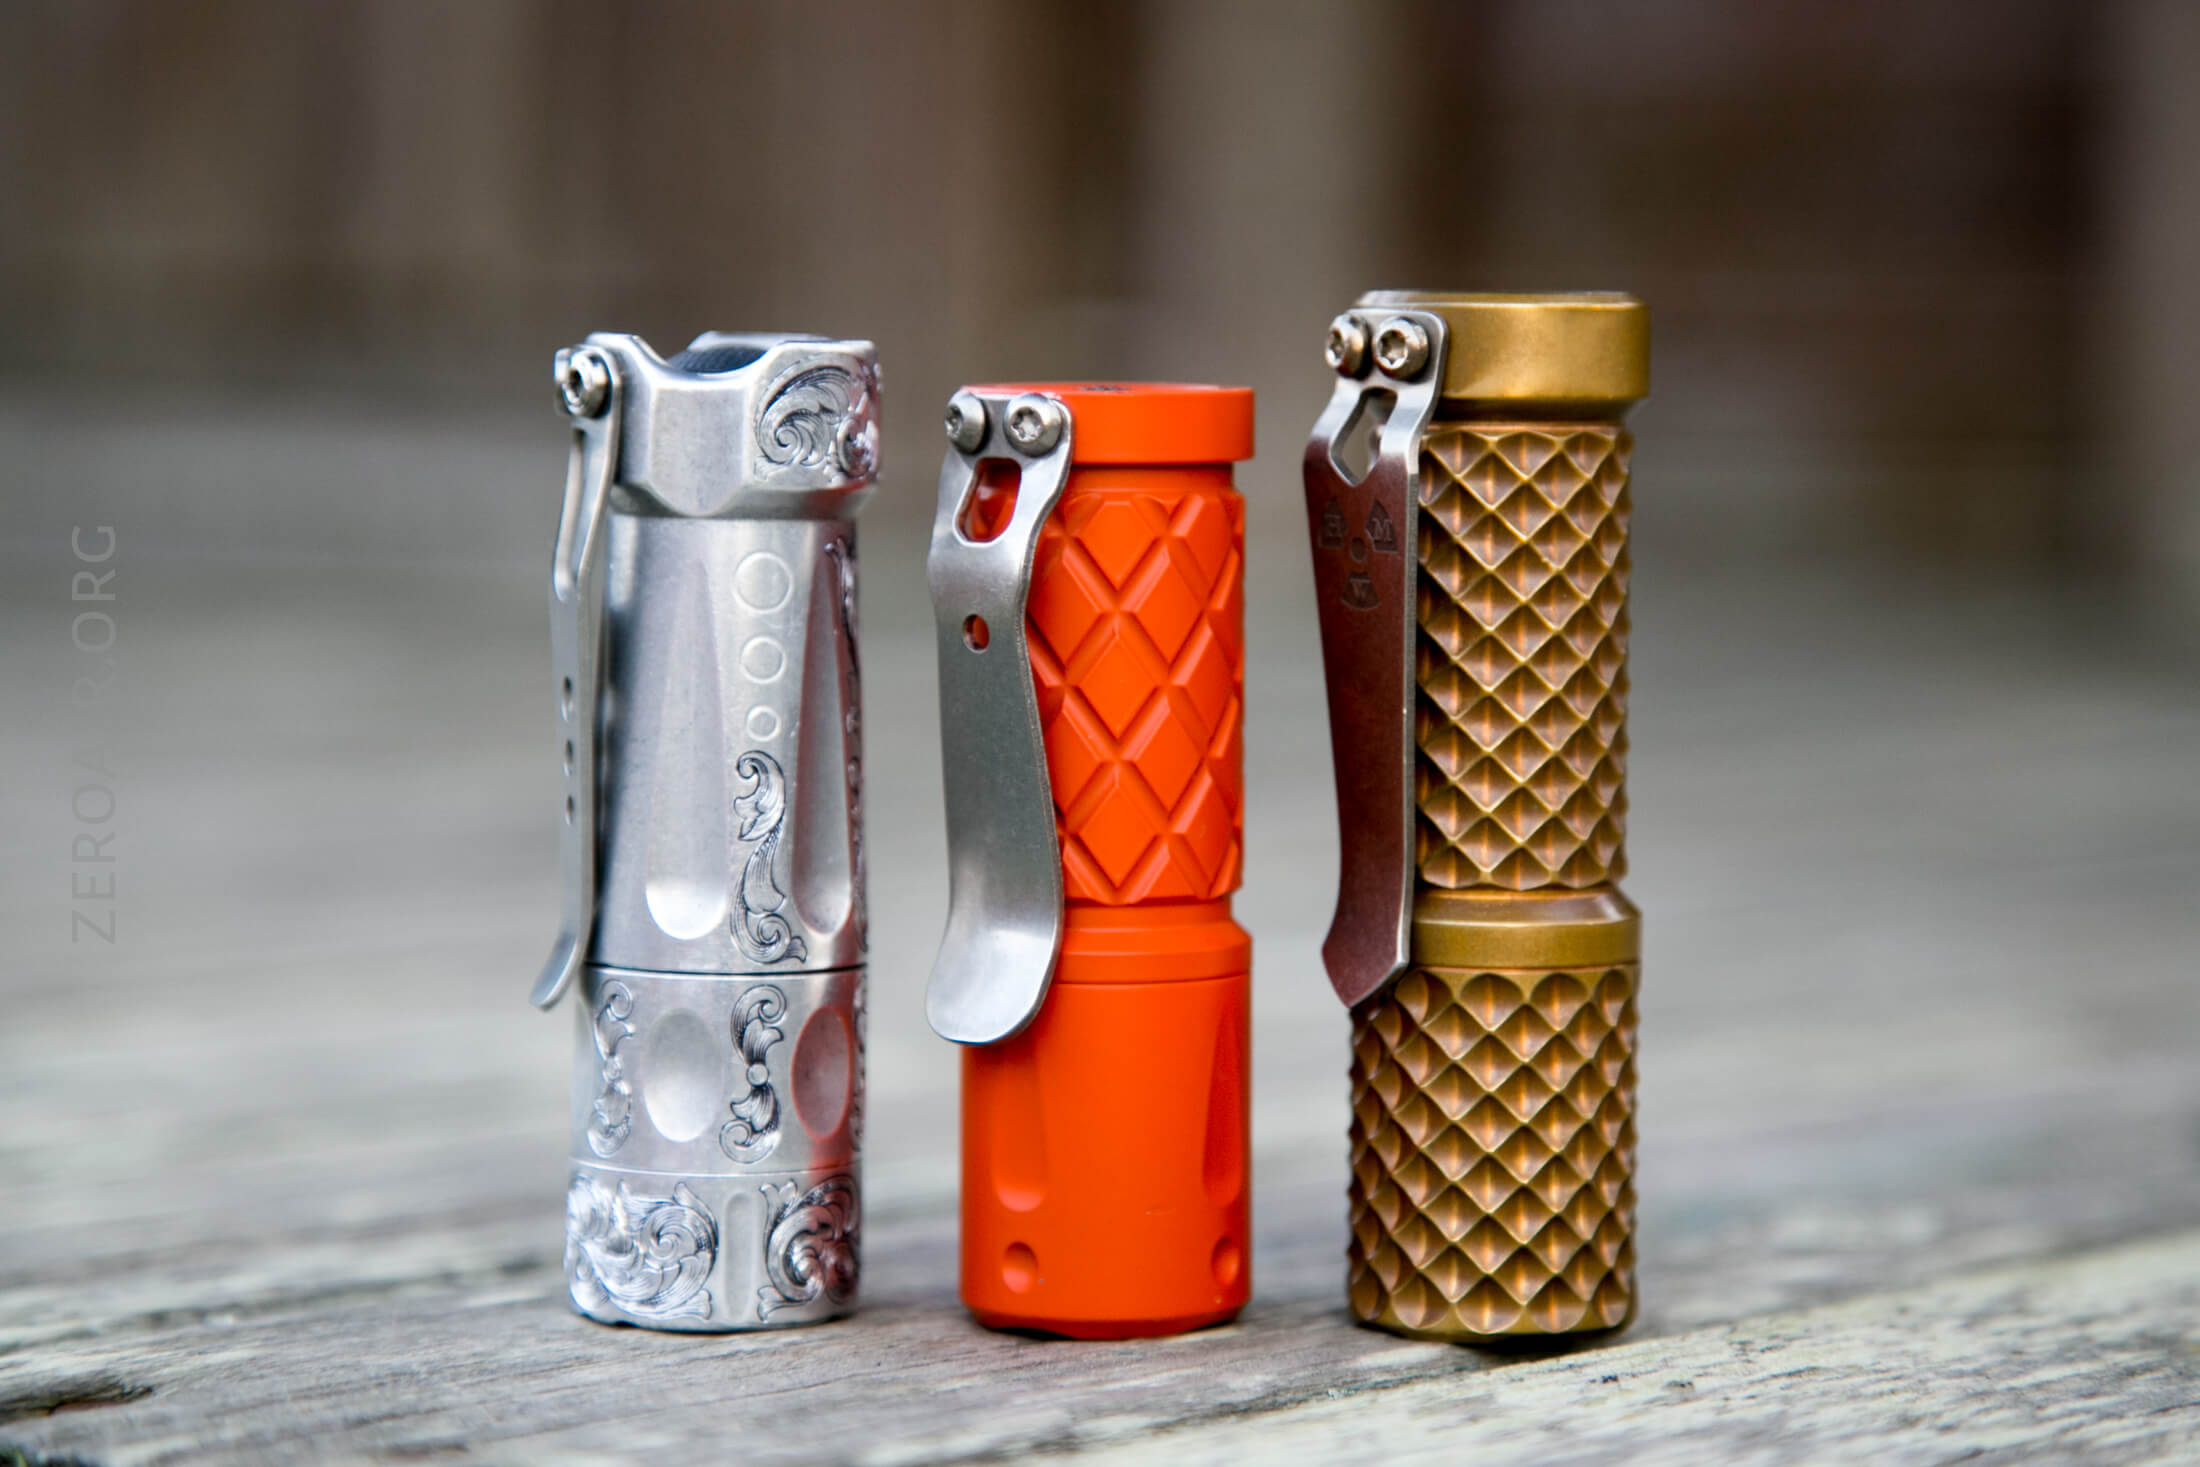
I can’t think of a smaller clicky triple.
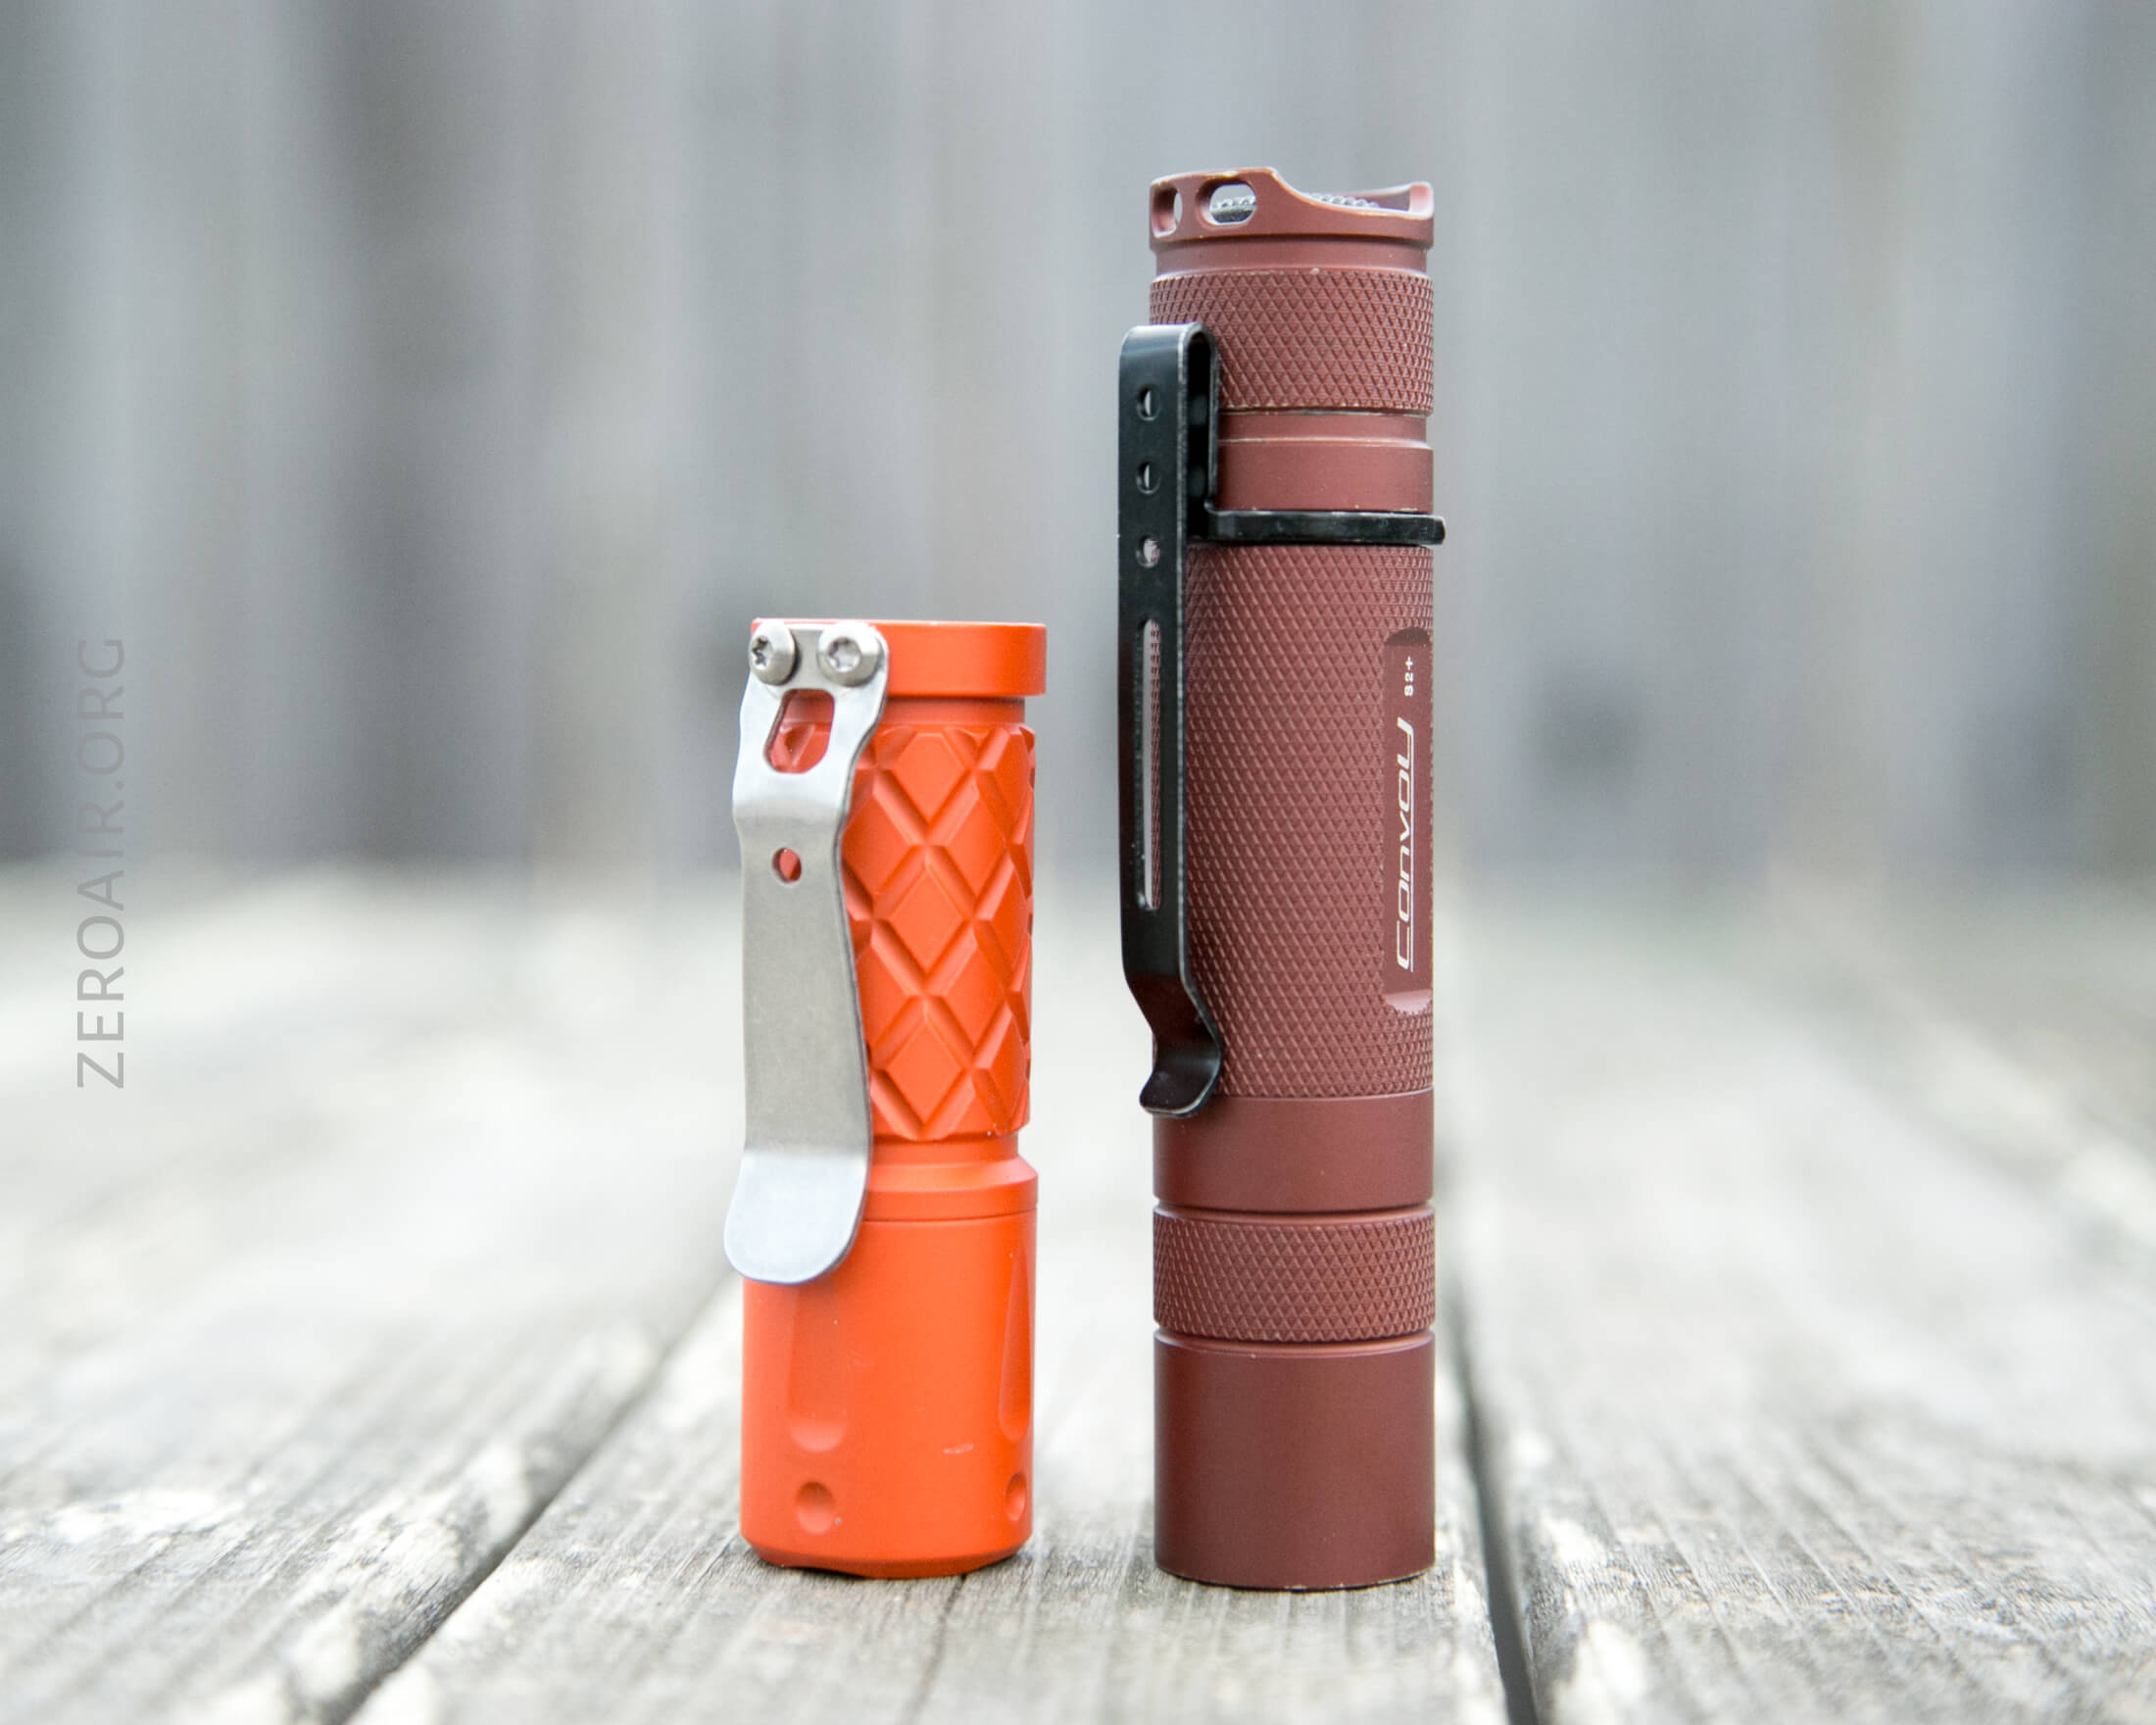
Here’s the test light with the venerable Convoy S2+. Mine’s a custom “baked” edition Nichia 219b triple. A very nice 18650 light.
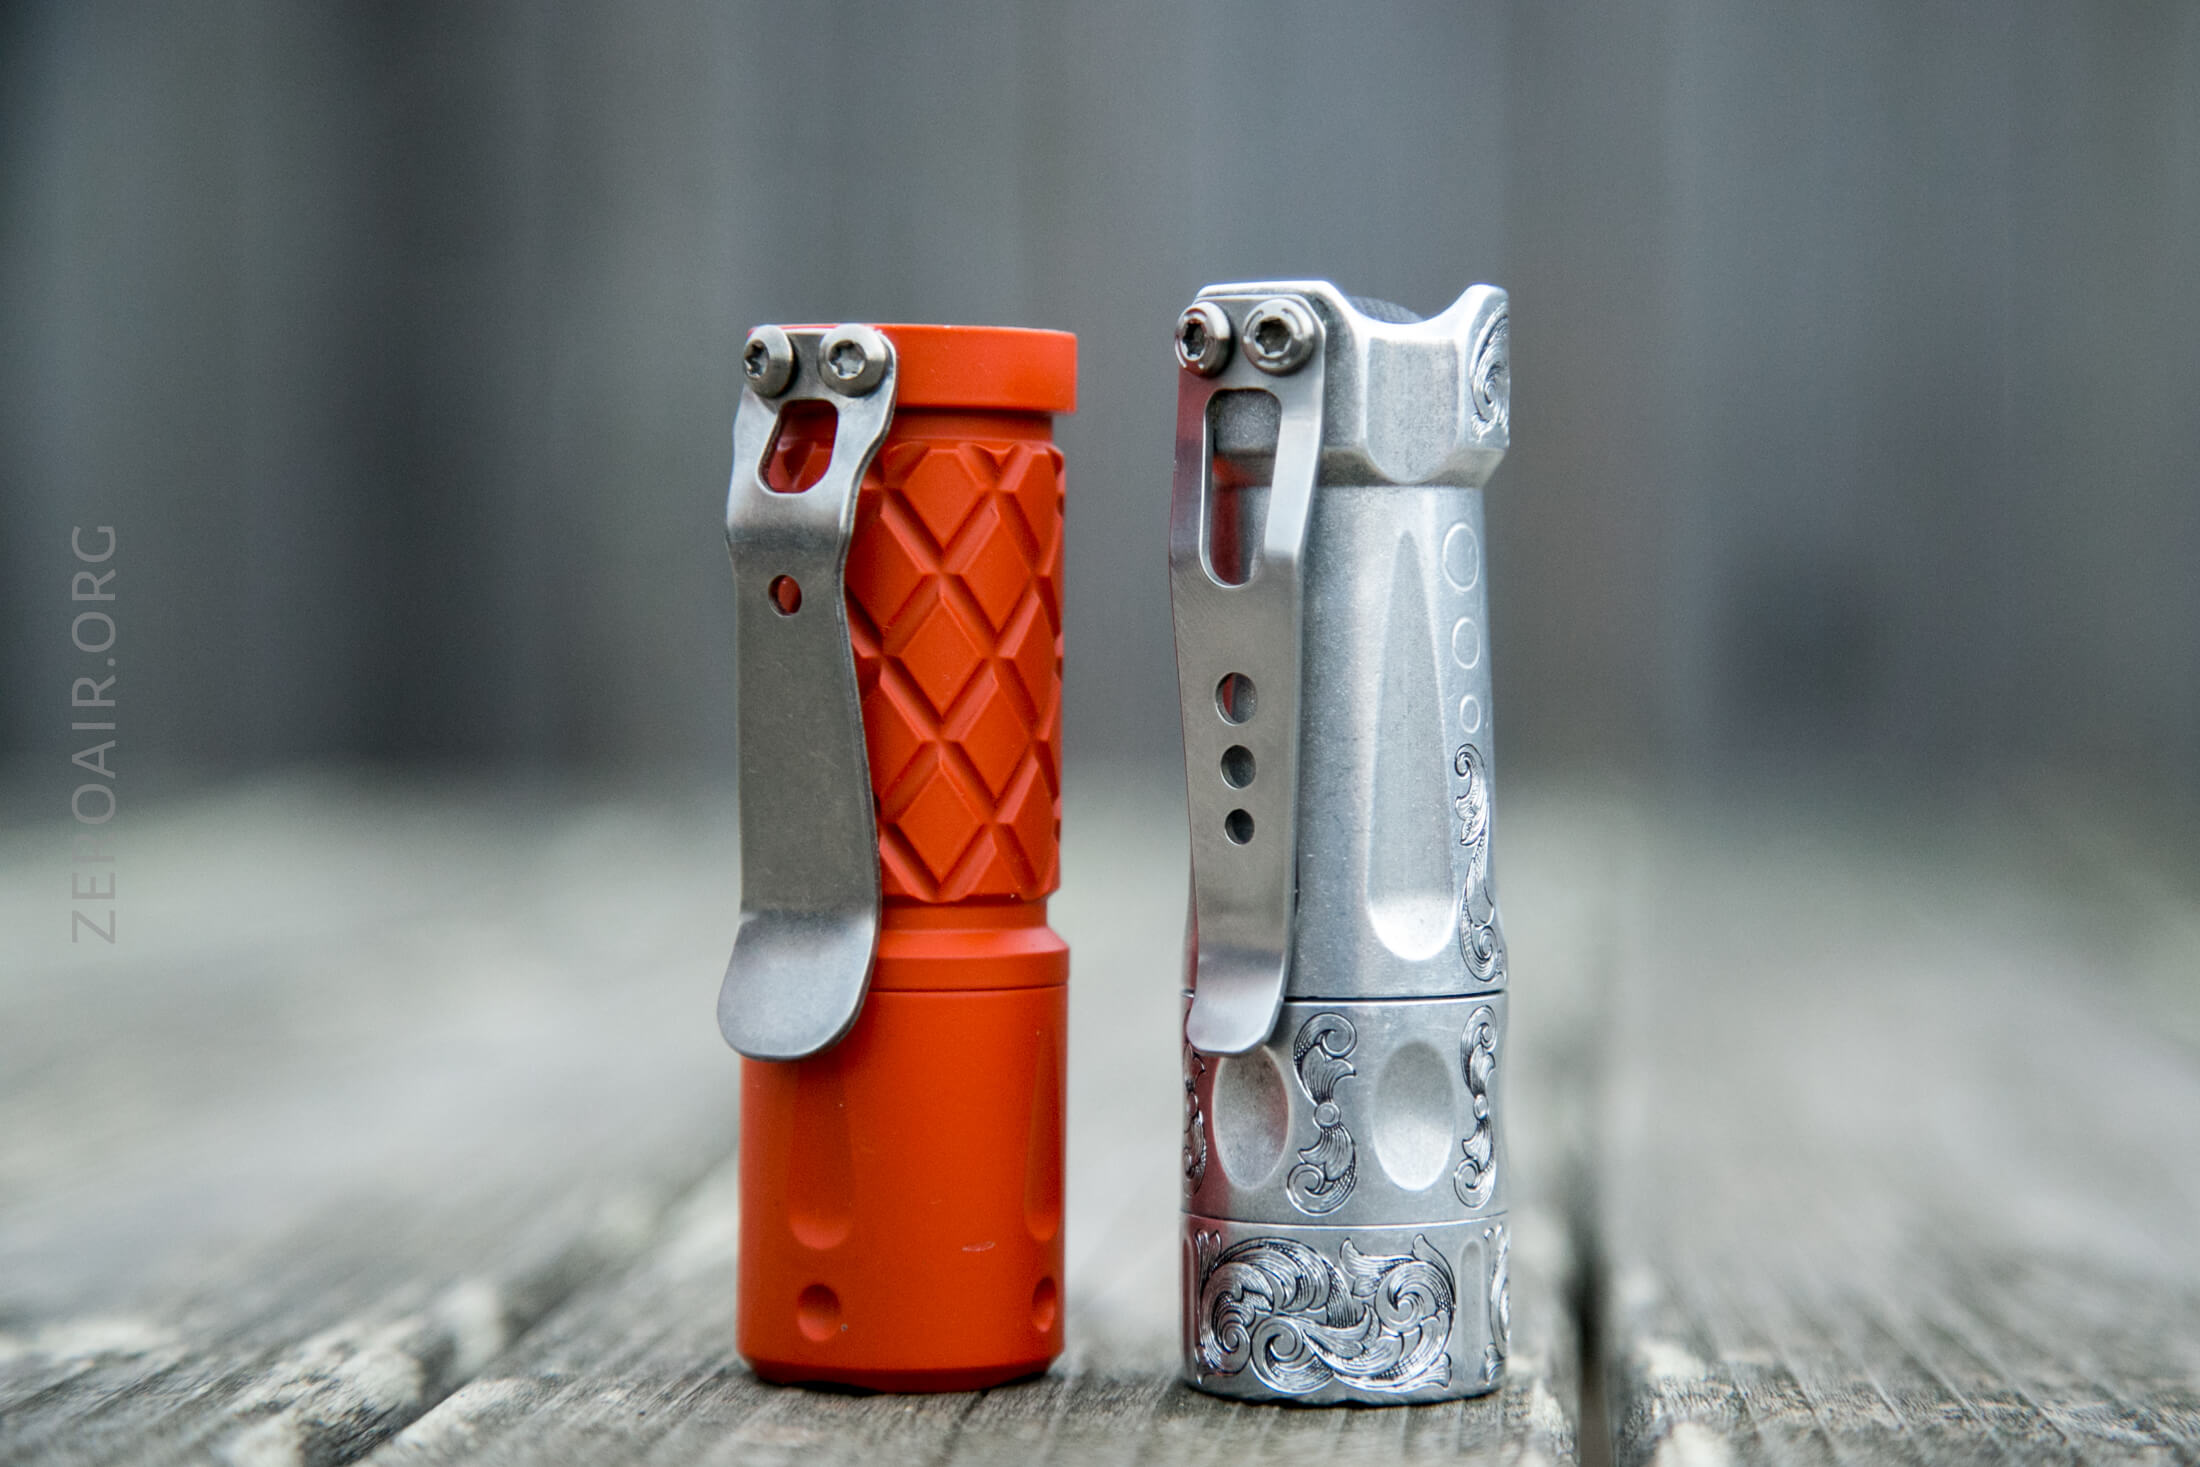
And here’s the light beside my custom-engraved TorchLAB BOSS 35, an 18350 light. I reviewed the aluminum version of that light in both 35 and 70 formats. Notably, it’s much smaller than the TorchLAB BOSS 35!
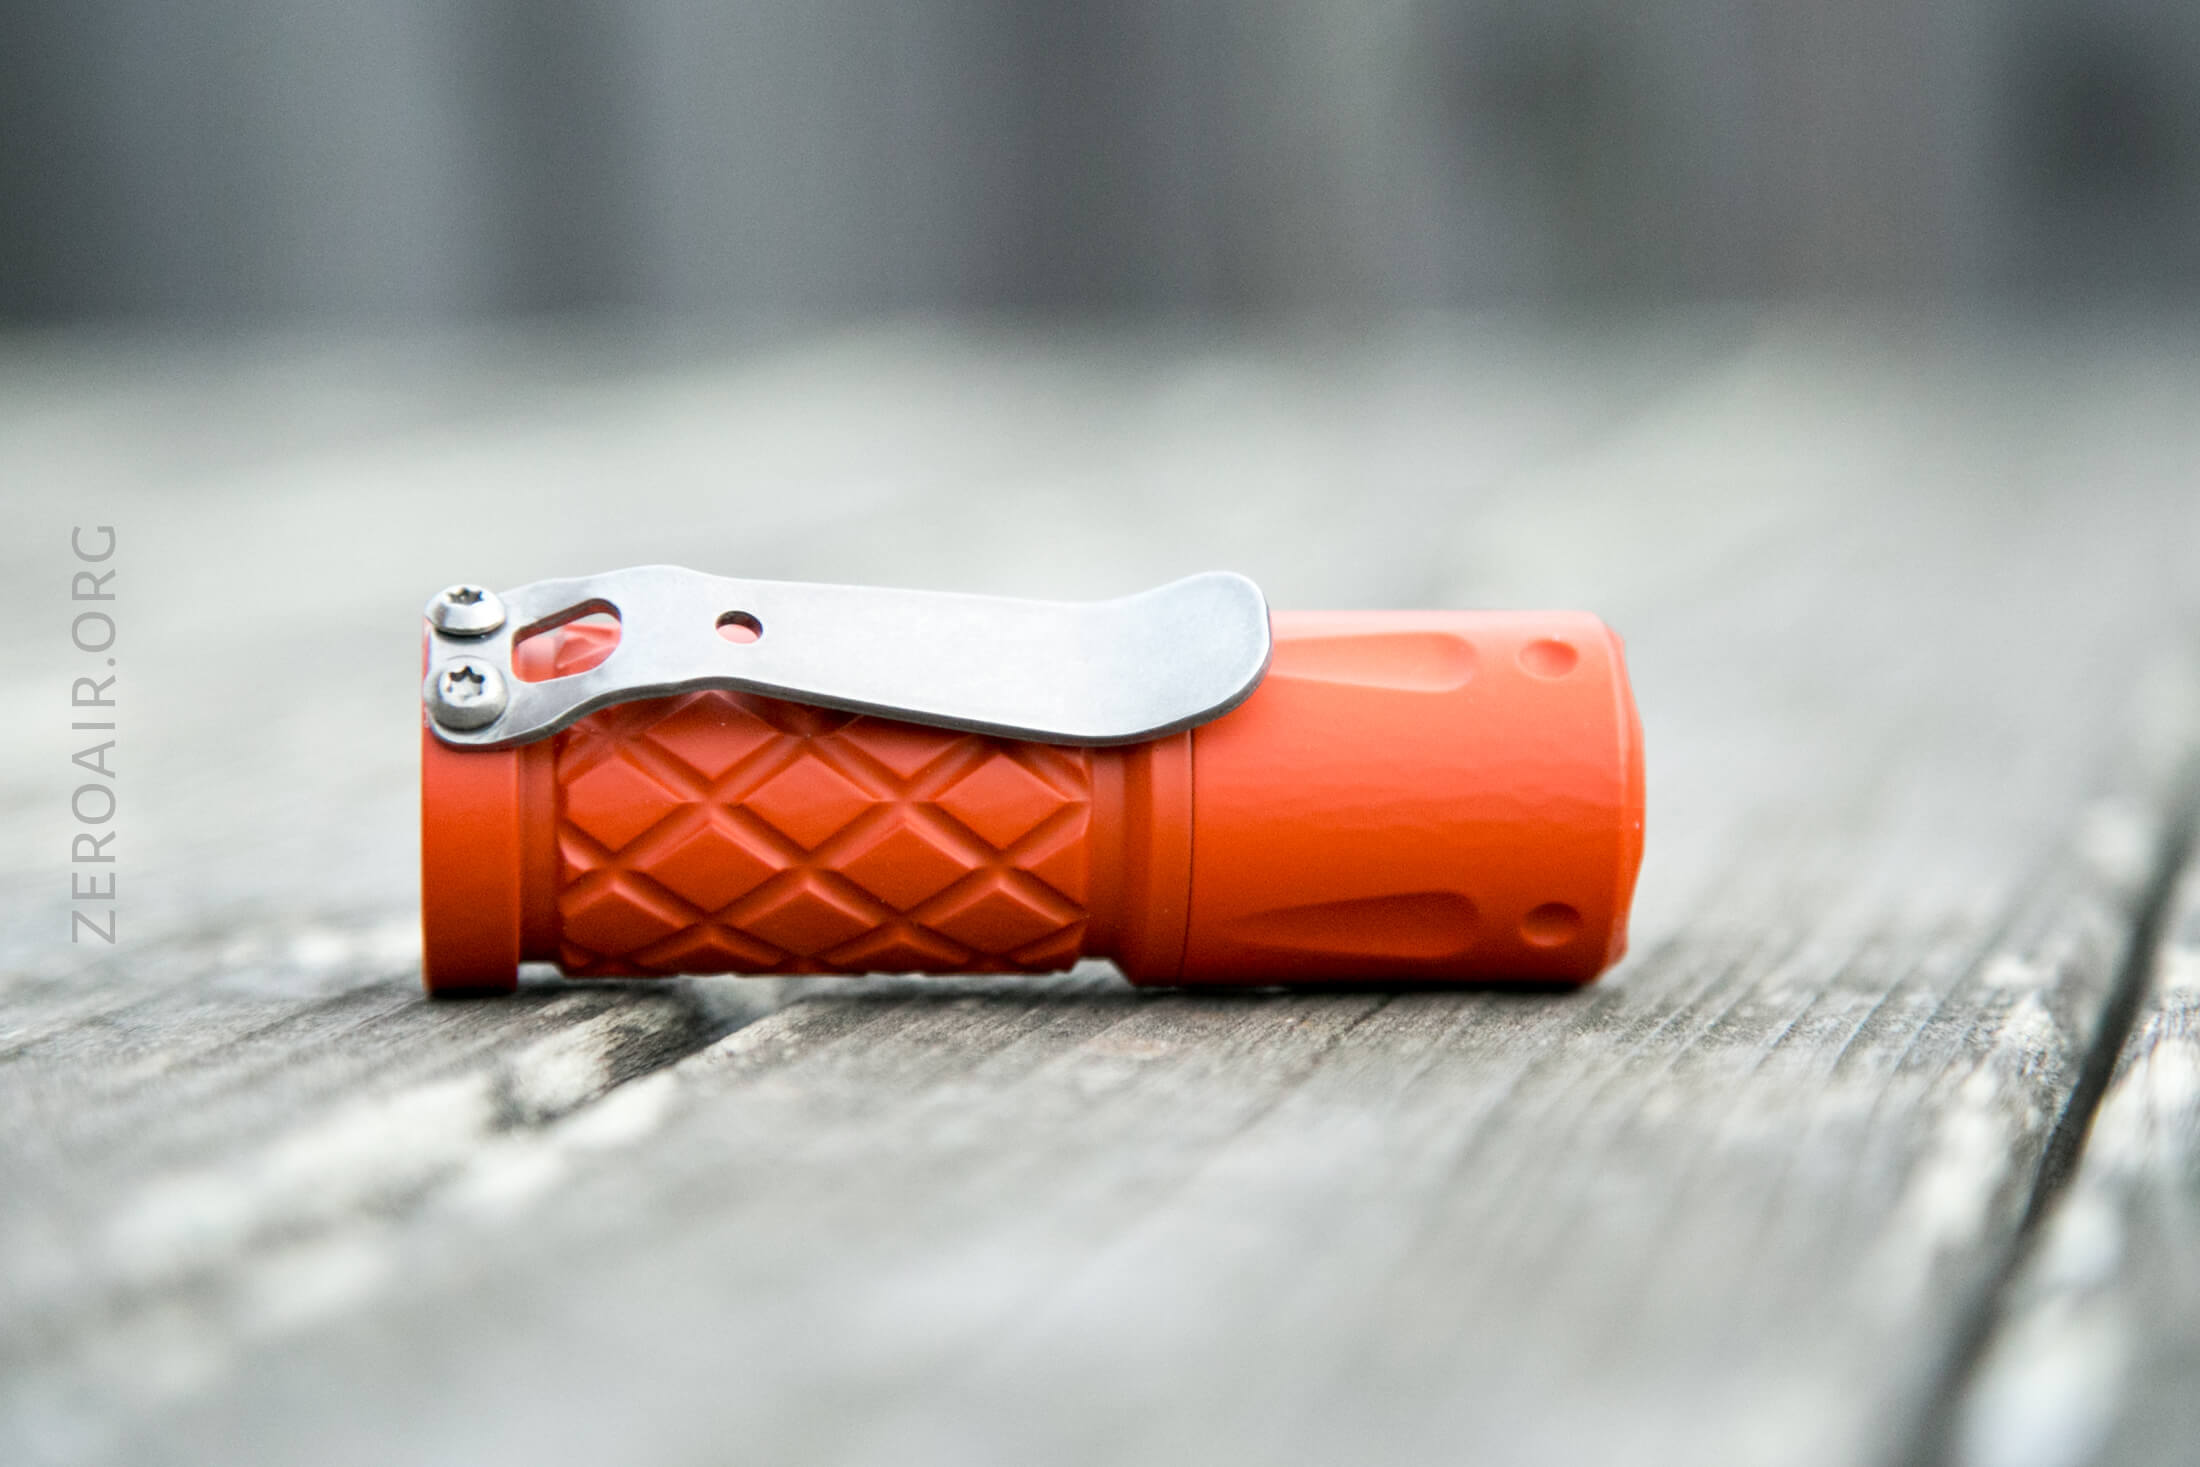
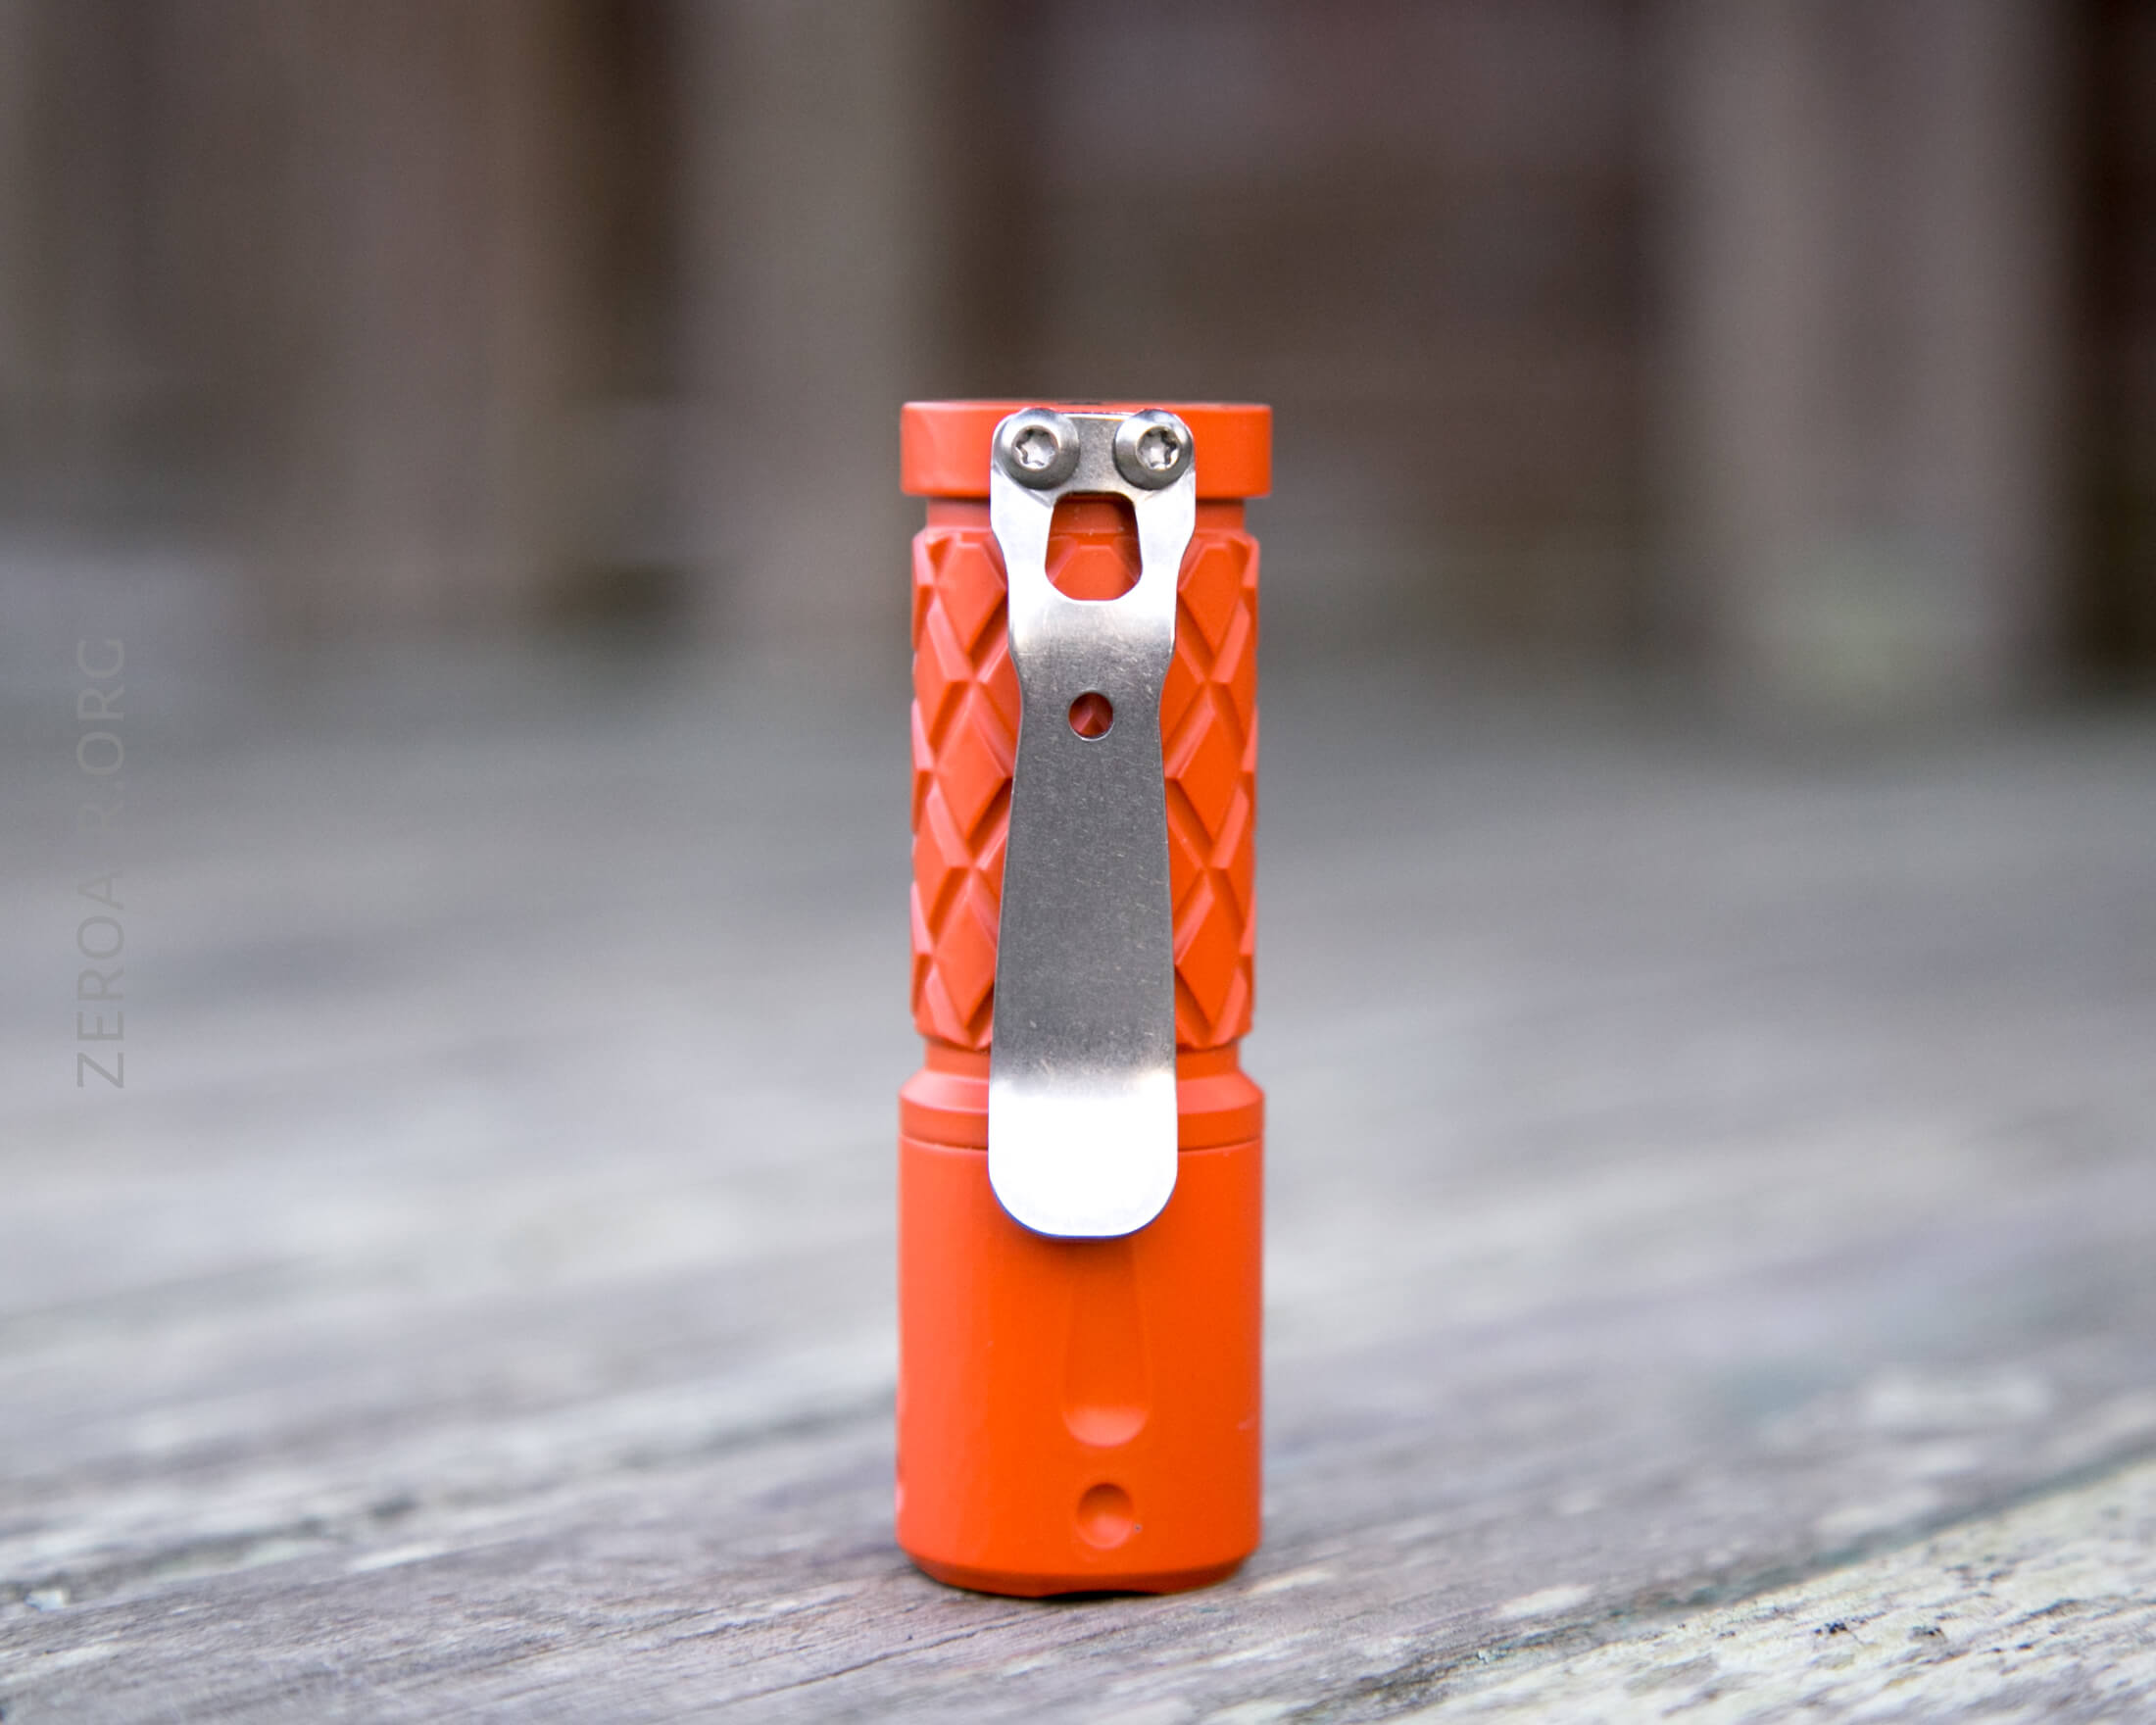
Retention and Carry
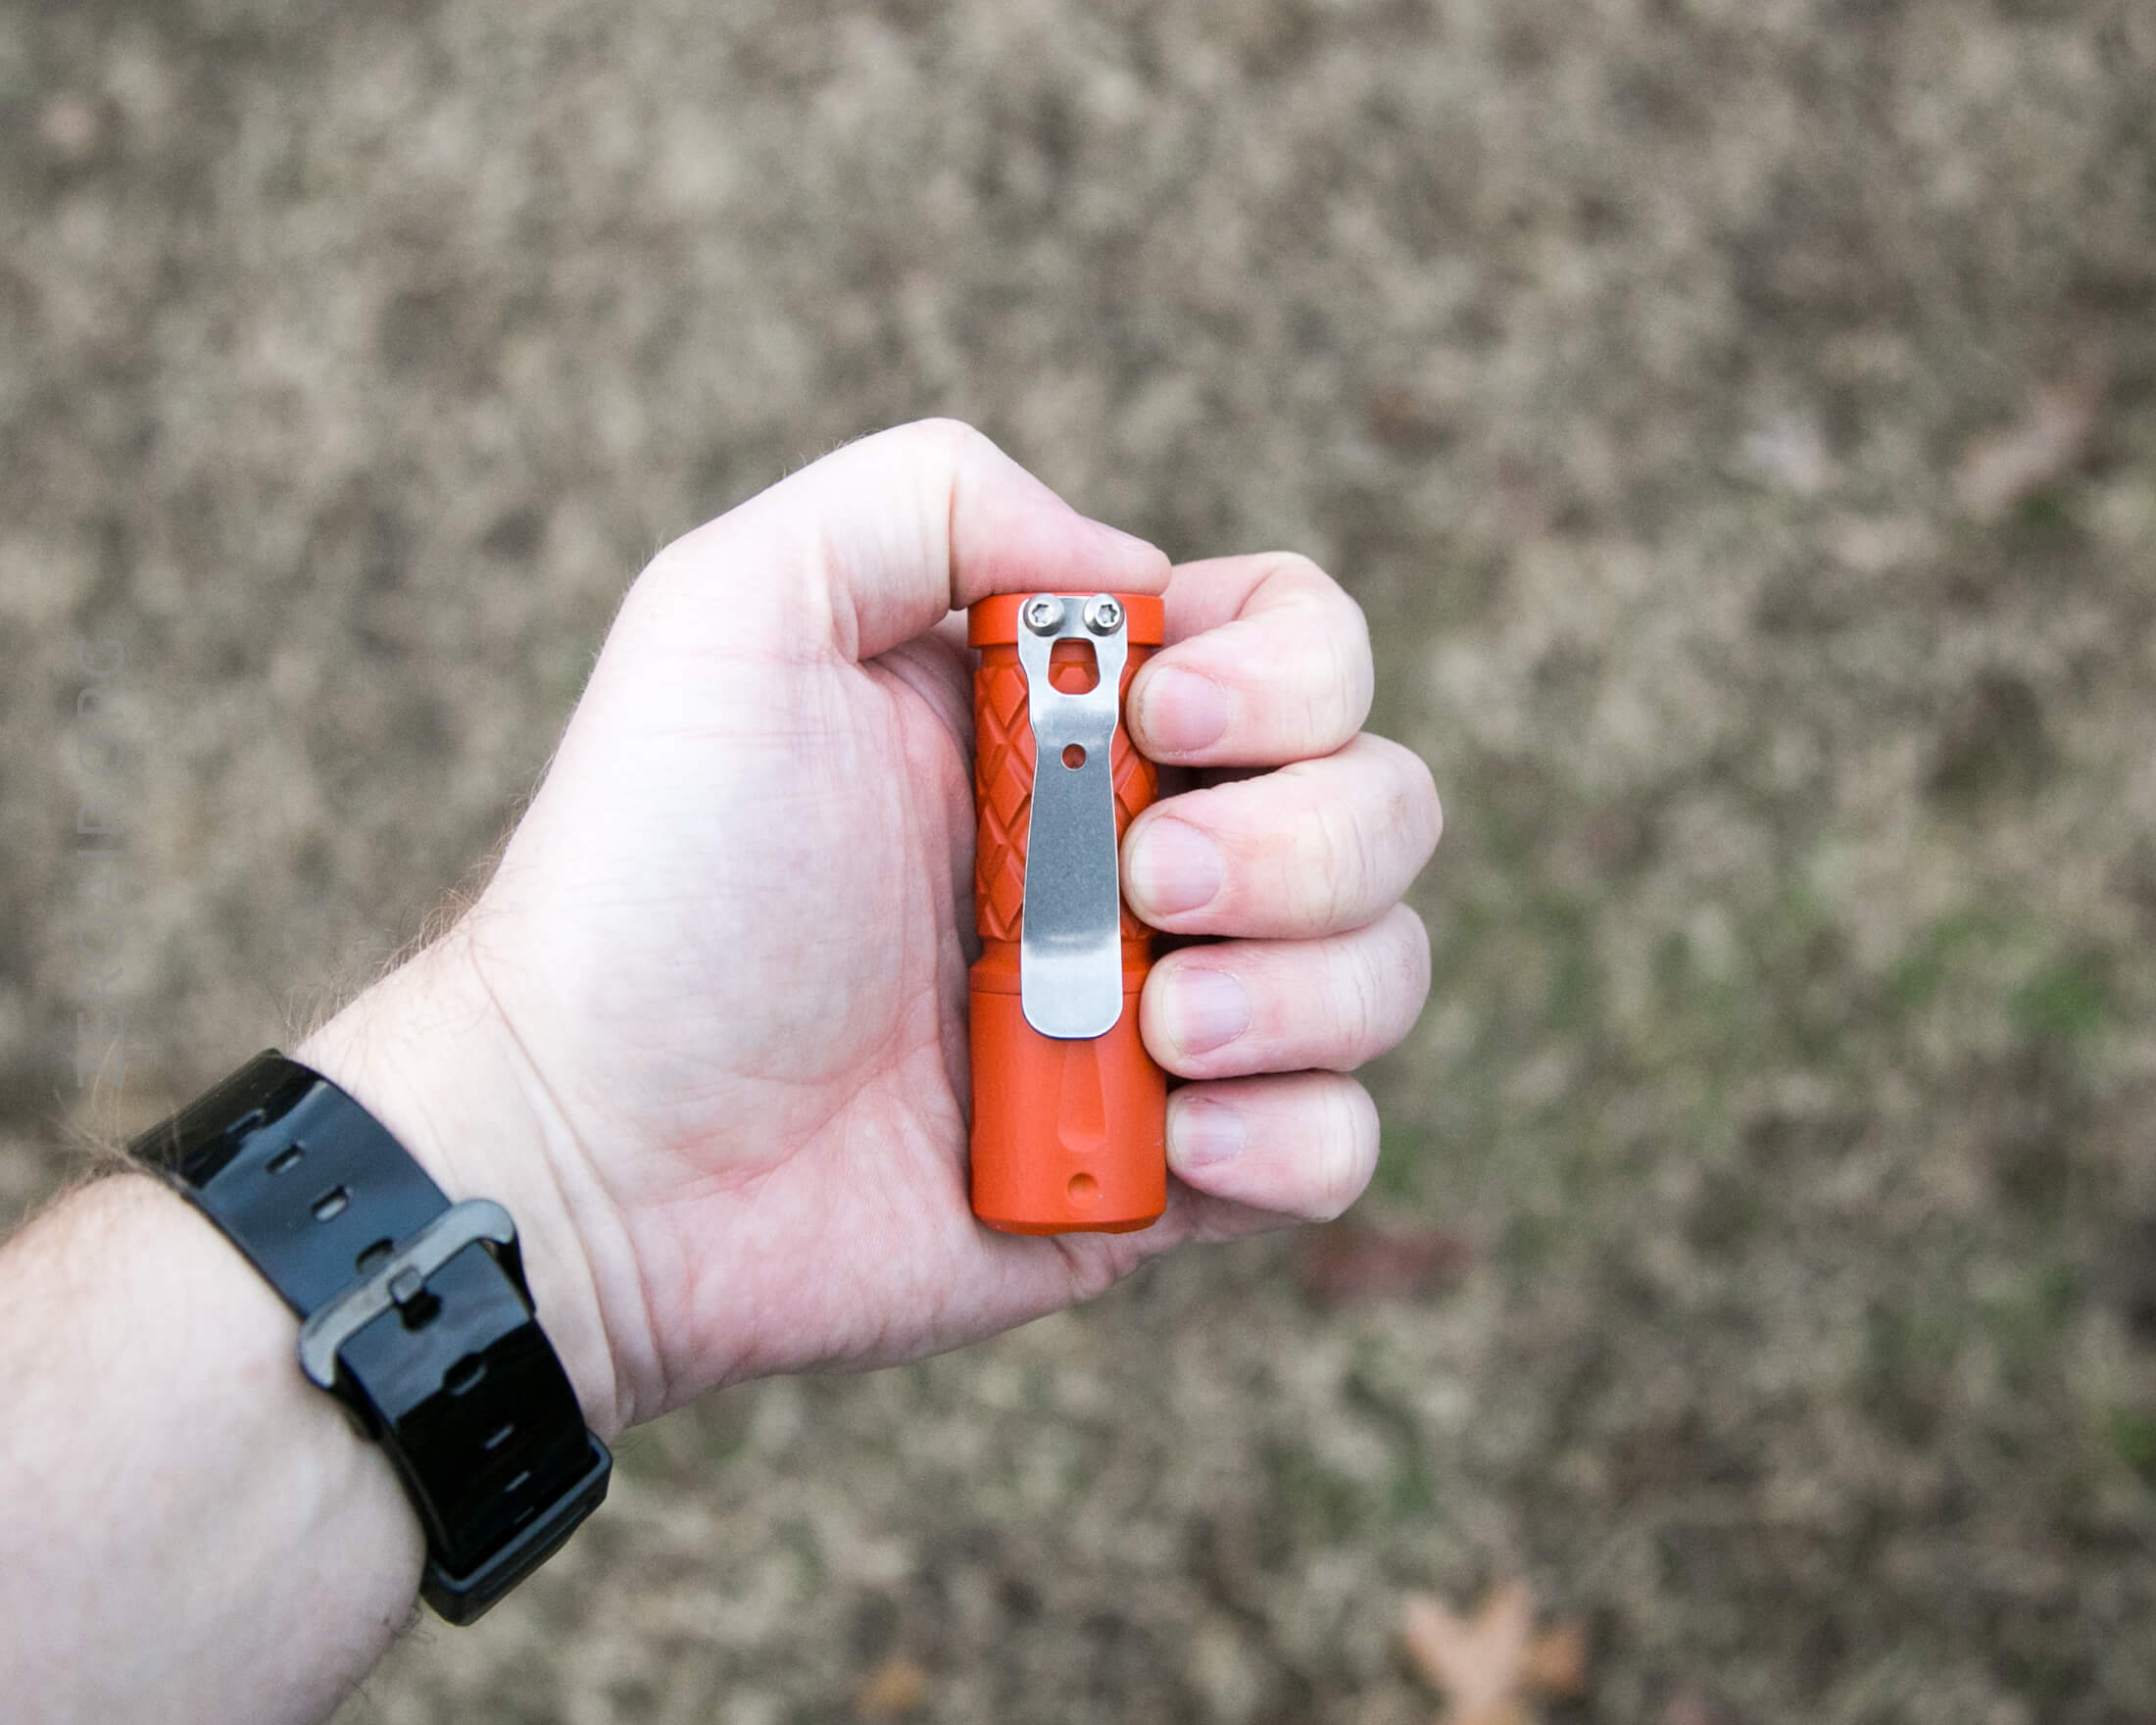
The only means of carrying the Gemini is the already-attached pocket clip. This is a thick clip, held in place by two Hex screws. The clip also feels like stainless. Not springy enough for titanium, but it is not ferrous. It’s a very nice clip – I like the shape and large mouth.
There are variations of this clip used on other ReyLights, too. Dawn has a stonewashed version. Copper Dawn has a… bronzed? version.
I am nearly certain that this is the standard SteelFlame pattern, so you could dress this light if you wish.
The clip isn’t reversible, and as such, the Gemini can’t be used as a hatlight. That’s weight-prohibitive anyway.
Power and Runtime
The Gemini (all Geminis) are powered by a single 18350 cell. Since there are springs on both ends, any type 18350 will work. Protected or not. Button top or flat top.
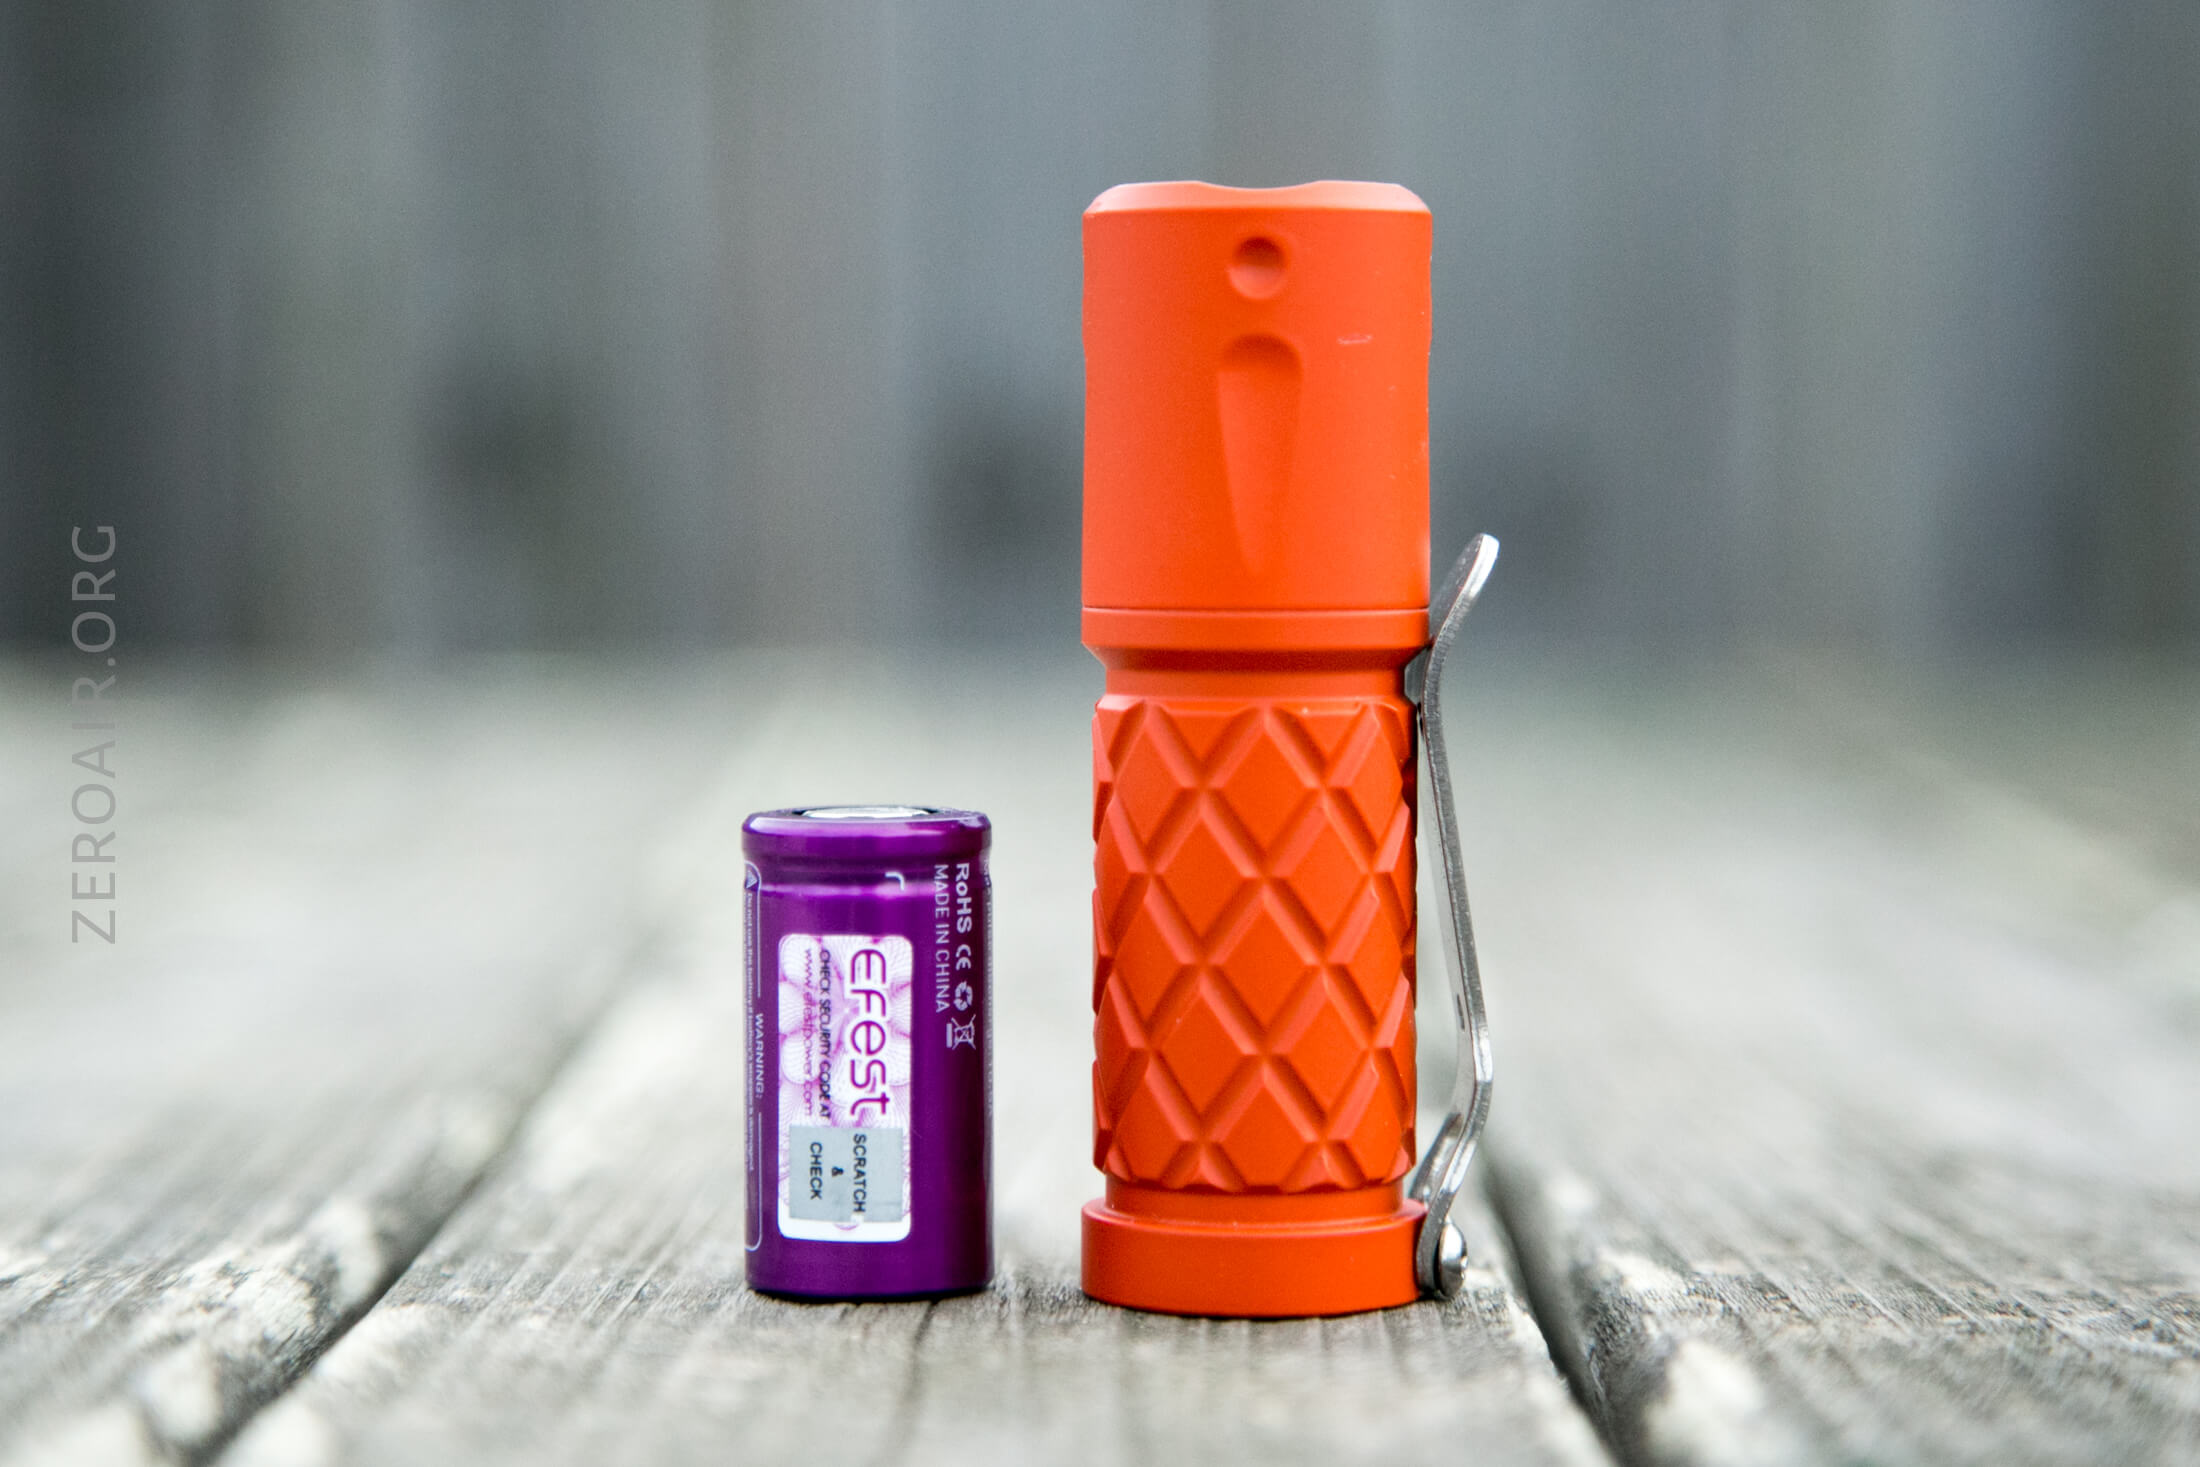
While the flat top Efest 18350 is pictured above and below, I tested exclusively with an AW button top.
I did perform a couple of runtimes, but again, this light has been flashed with Crescendo. So I’m not sure how the stock firmware pushes this light, but as far as I can tell, this branch of Crescendo does not run the light very hard. The stepdowns are quick and very dramatic, and the light doesn’t wander back up once the temperature has been handled. So here are two mostly meaningless runtimes.
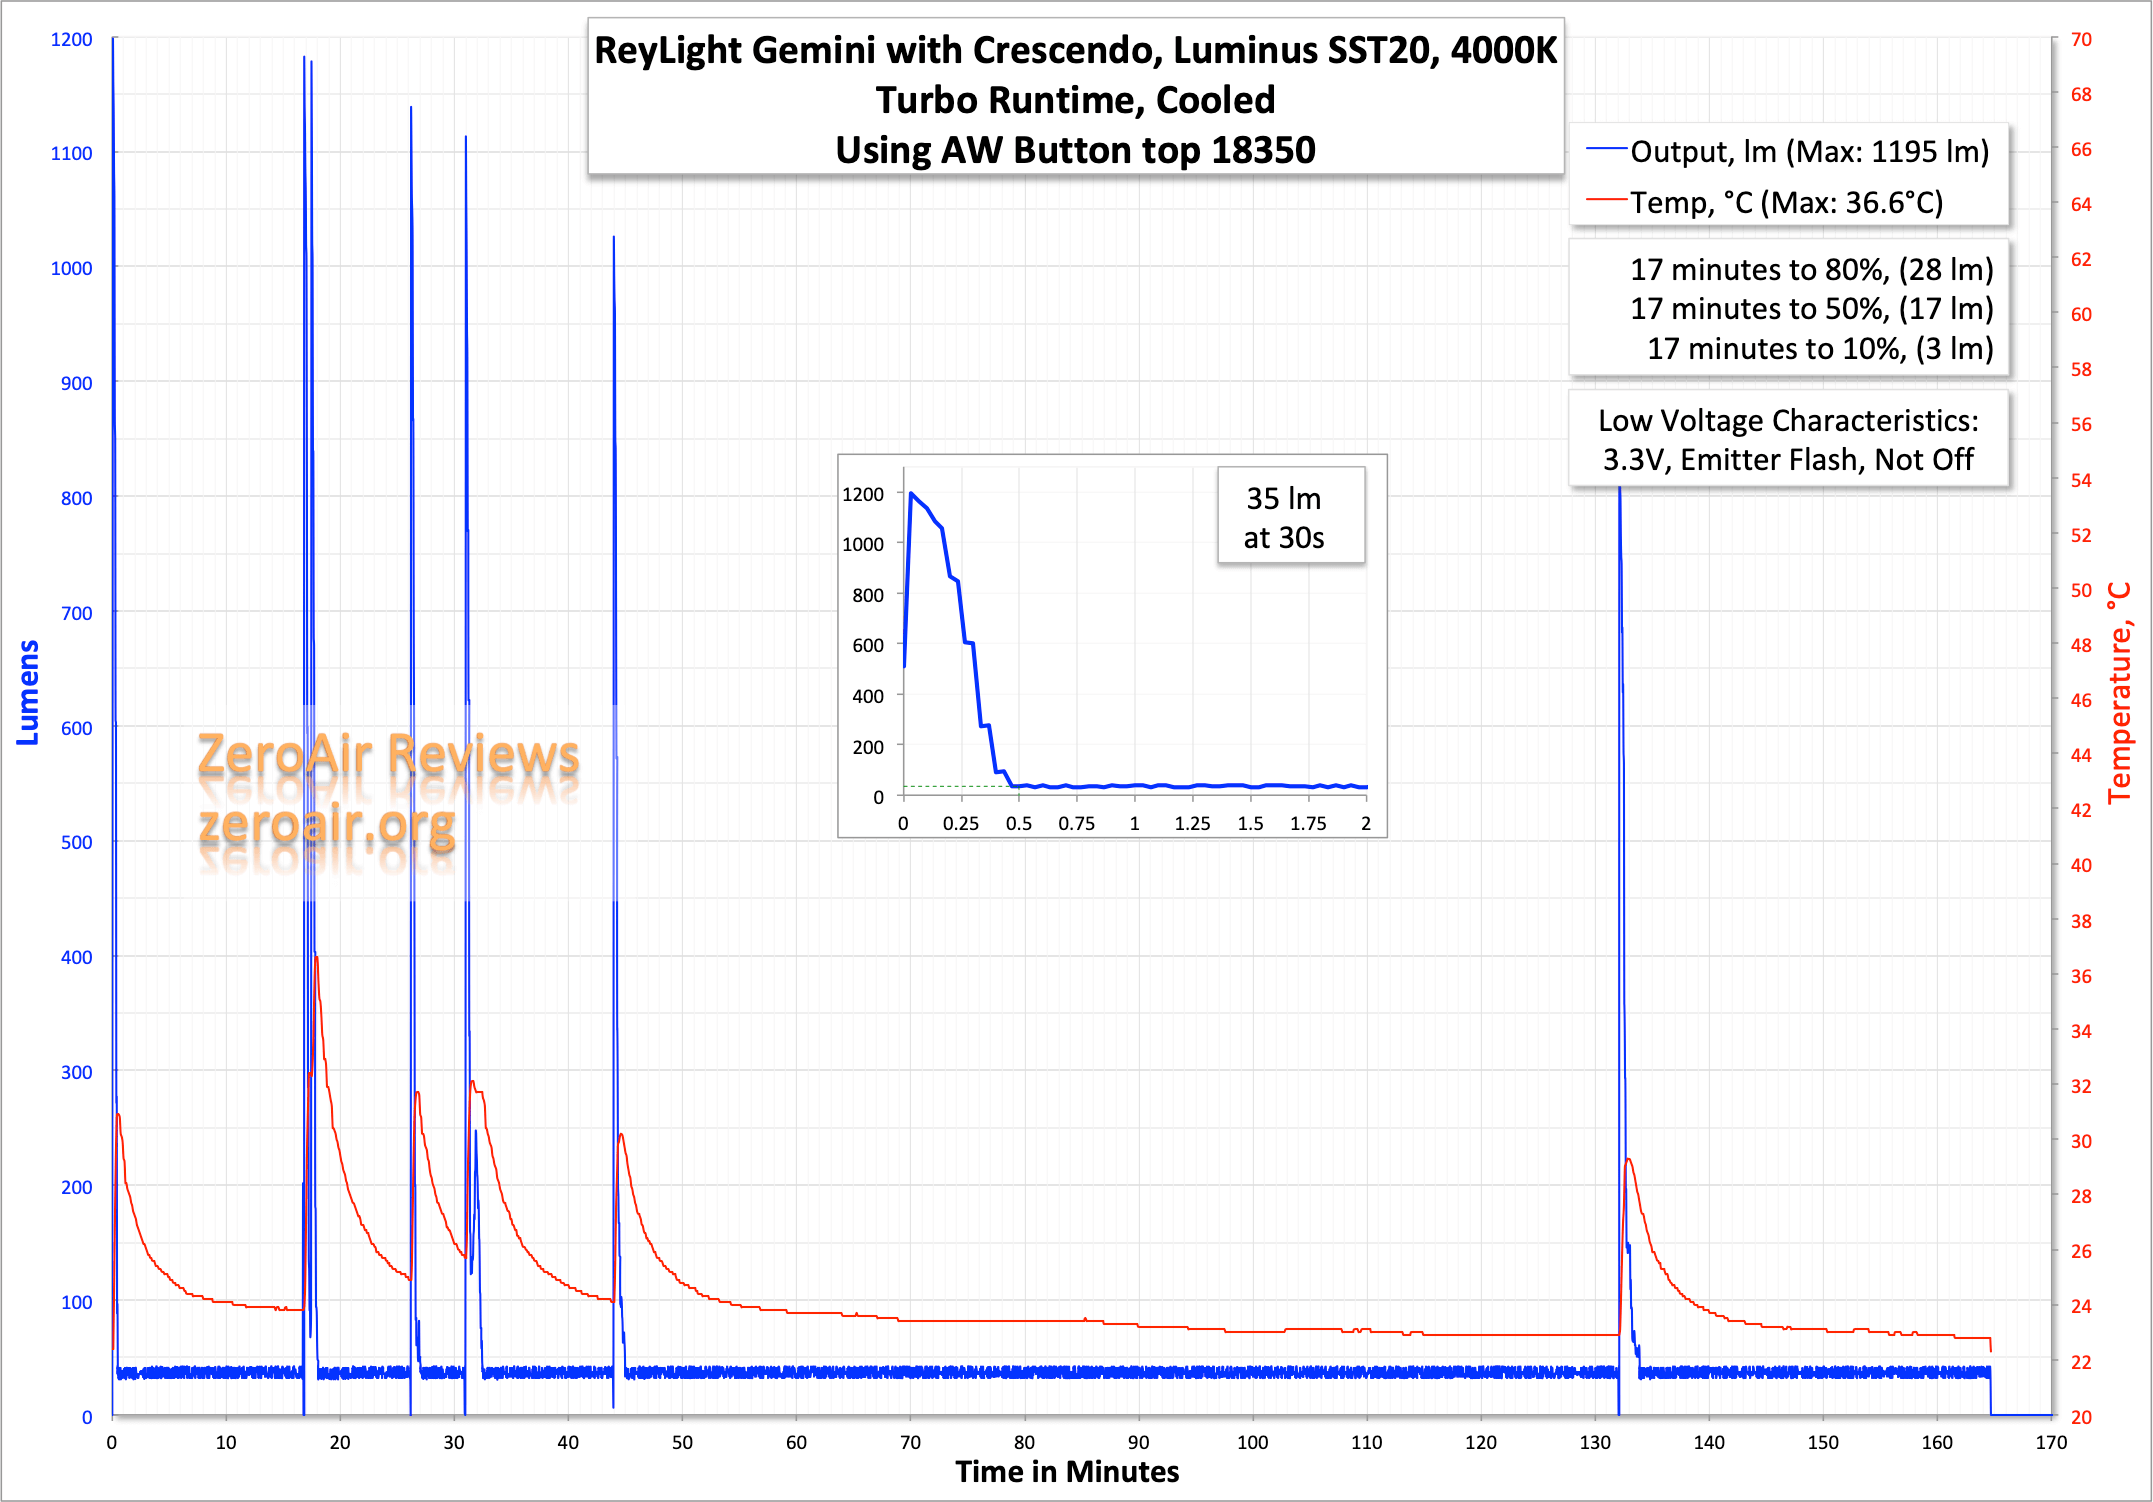
Again, don’t read into these runtimes too much! This isn’t the stock firmware. Crescendo steps down dramatically and essentially immediately.
On the runtime below, I even tried late in the test to set the output to a lowish mode and run it there – the effect was nearly the same. The light steps down after just a few seconds. After the stepdown to 40ish lumens, there is finally a stepdown to [negligible] when the cell voltage is 2.8 or so.
Pulse Width Modulation
Crescendo does have PWM. Lowest and Highest are the only specified modes – the 3 middle are just along the way in increasing output. I don’t really notice the PWM by eye.

Here you can see a “baseline” – a chart with almost no light hitting the sensor.
Then there’s the Ultrafire WF-602C flashlight, which has some of the worst PWM I’ve seen. It’s so bad that I used a post about it to explain PWM! Here are multiple timescales (10ms, 5ms, 2ms, 1ms, 0.5ms, 0.2ms) to make comparing this “worst” PWM light to the test light easier. That post also explains why I didn’t test the WF-602C at the usual 50us scale.
User Interface and Operation
The Gemini has a single switch. It’s a standard mechanical forward clicky.
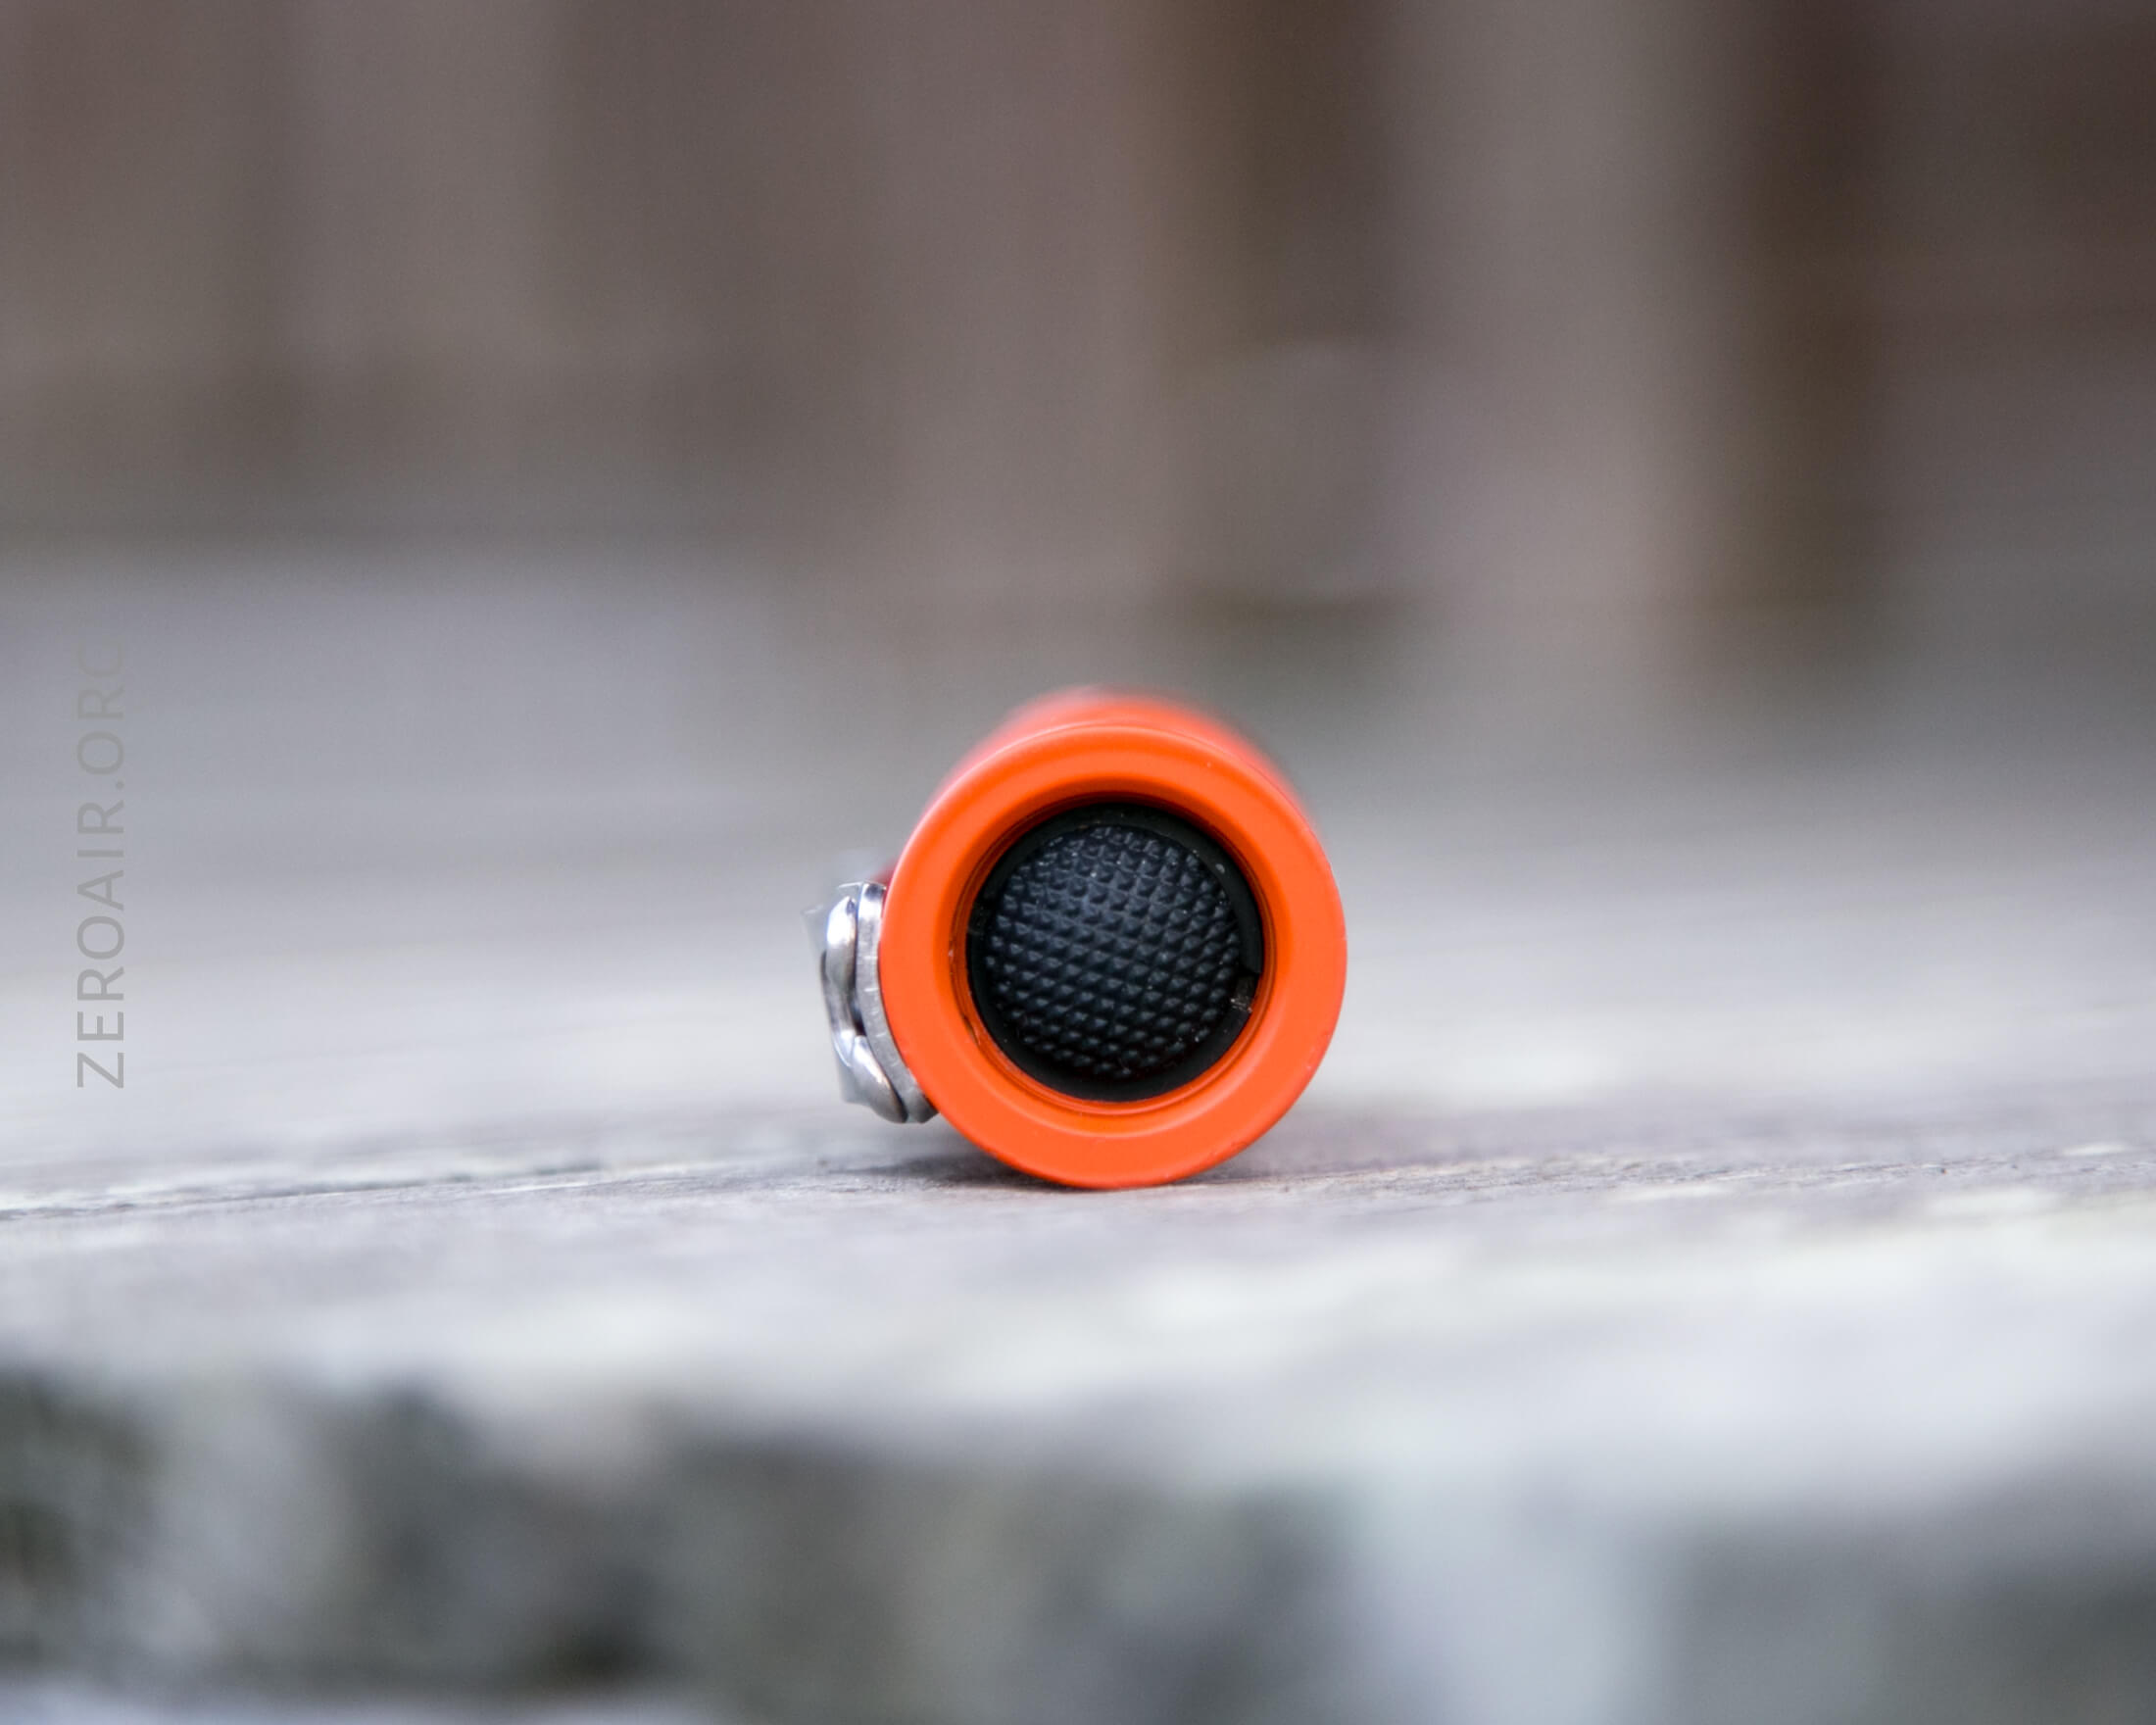
The clicky is great. The whole switch is great, in fact. There’s plenty of access for the required clicky travel.
Stock Geminis have Bistro, which is another firmware by ToyKeeper. Mine has been flashed with Crescendo. This is my first experience with Crescendo. Crescendo is a novel ramping user interface for mechanical clicky lights. I say novel because generally ramping is a hard thing for a mechanical switch to achieve!
If you’re interested in Bistro and my thoughts on it, you could check out the FidgetHQ Aonic review.
Here’s the user interface diagram by the maker.
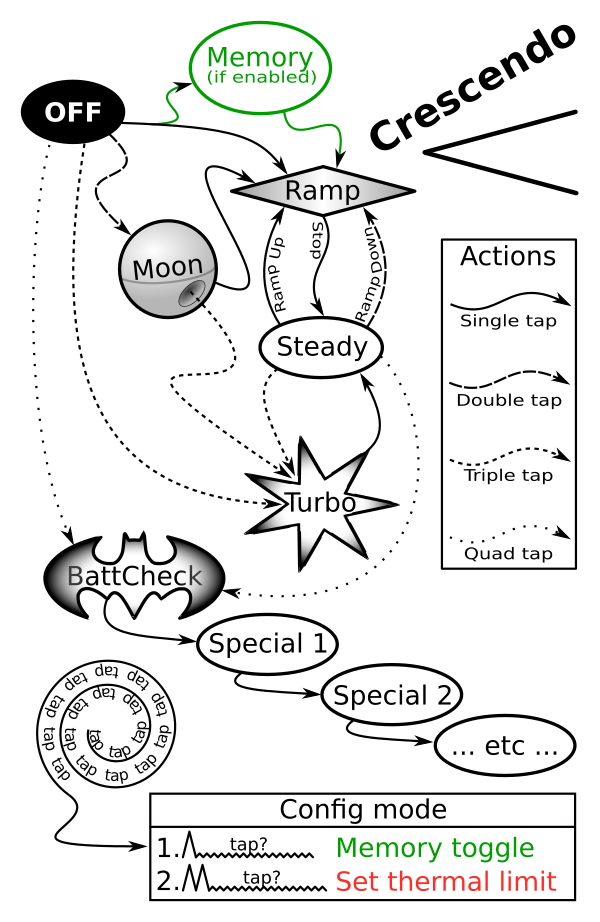
Crescendo is a bit of a…. specialist firmware. As I understand it, you’ll probably only flash it to your light if you know what you’re doing. And if you know what you’re doing, then you’ll want to program your own Specials anyway. As such, they aren’t predefined. Also, since this firmware might be flashed onto different memory-sized ATTiny chips, some features might be dropped. (It seems that on my copy, the option for mode memory has been dropped.)
Crescendo can ramp up and down. Along the way up, there seem to be three blips that aren’t defined in the graphic. These could be seen as discrete modes, but they aren’t accessed in any way but the normal way. So I won’t consider them specific modes.
No user interface table on this guy. There are plenty of reasons, including that the graphic is sufficient, but I’m going to go with the fact that your copy of Crescendo might be [tons of variations].
I will say, regarding thermal configuration, that it’s a bit generic. Basically, go to the thermal config section, and let the light get as hot as you’d like the max to be. Then set (click) that as the thermal limit.
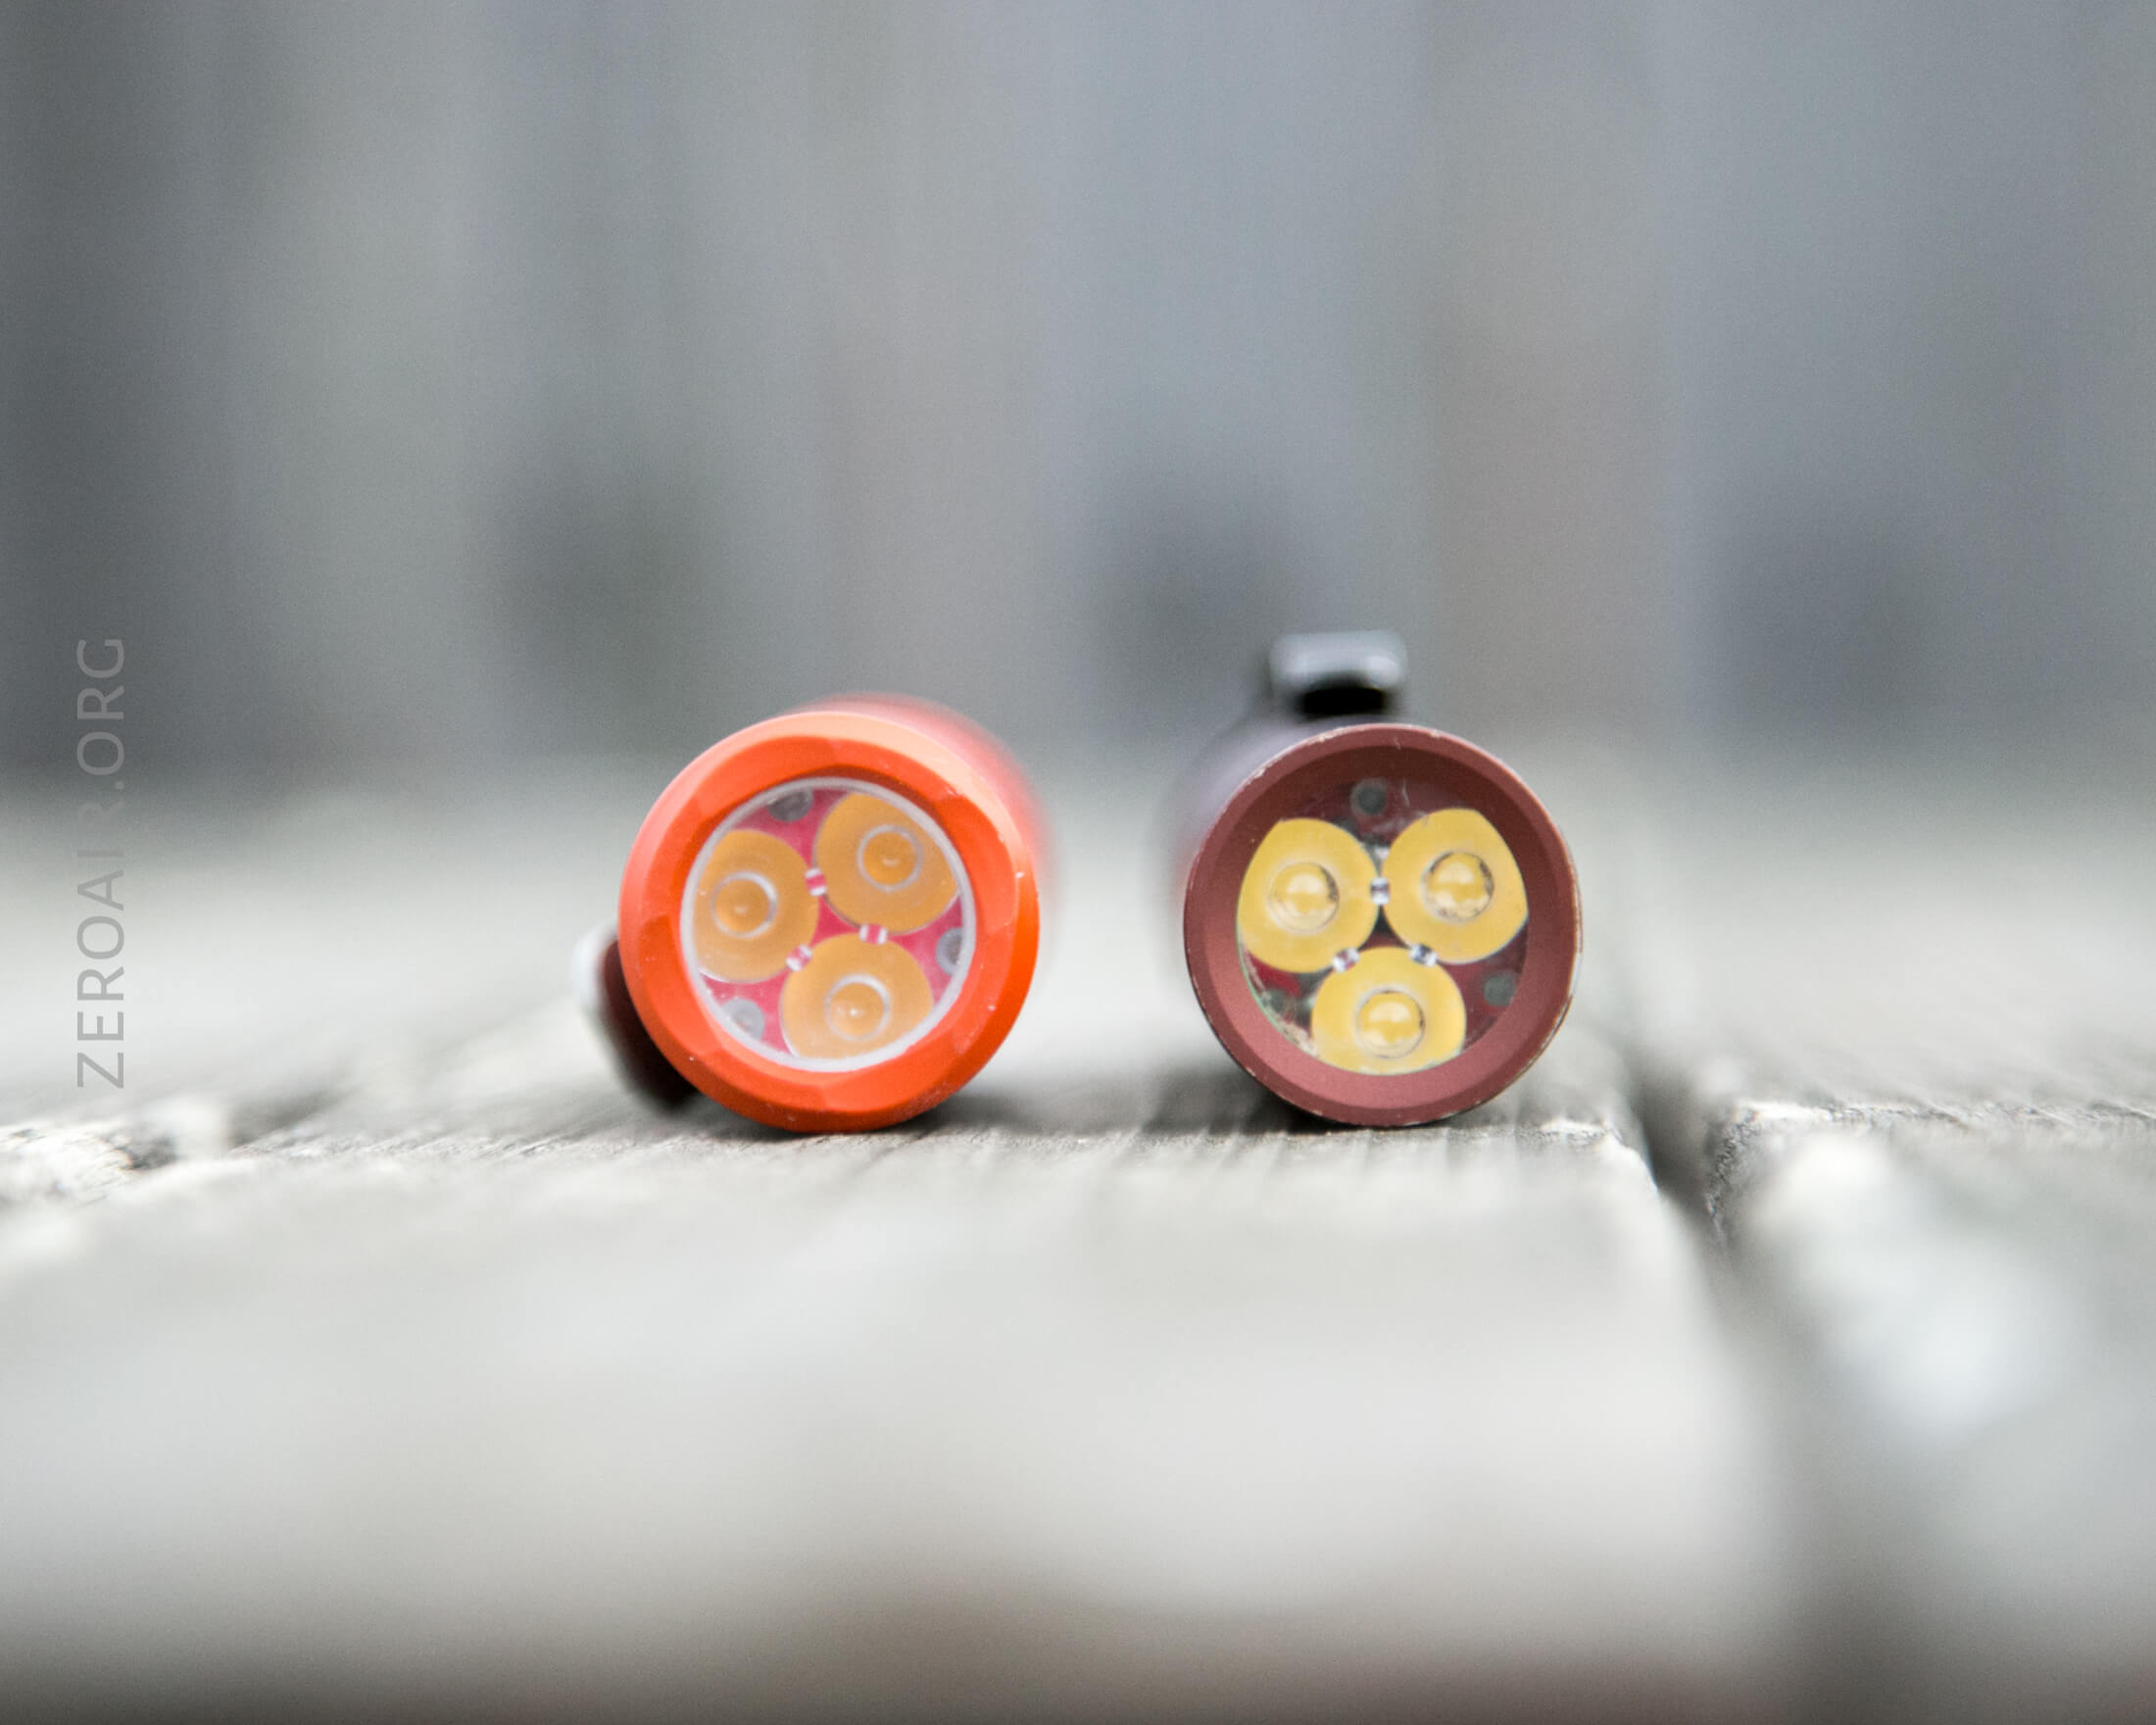
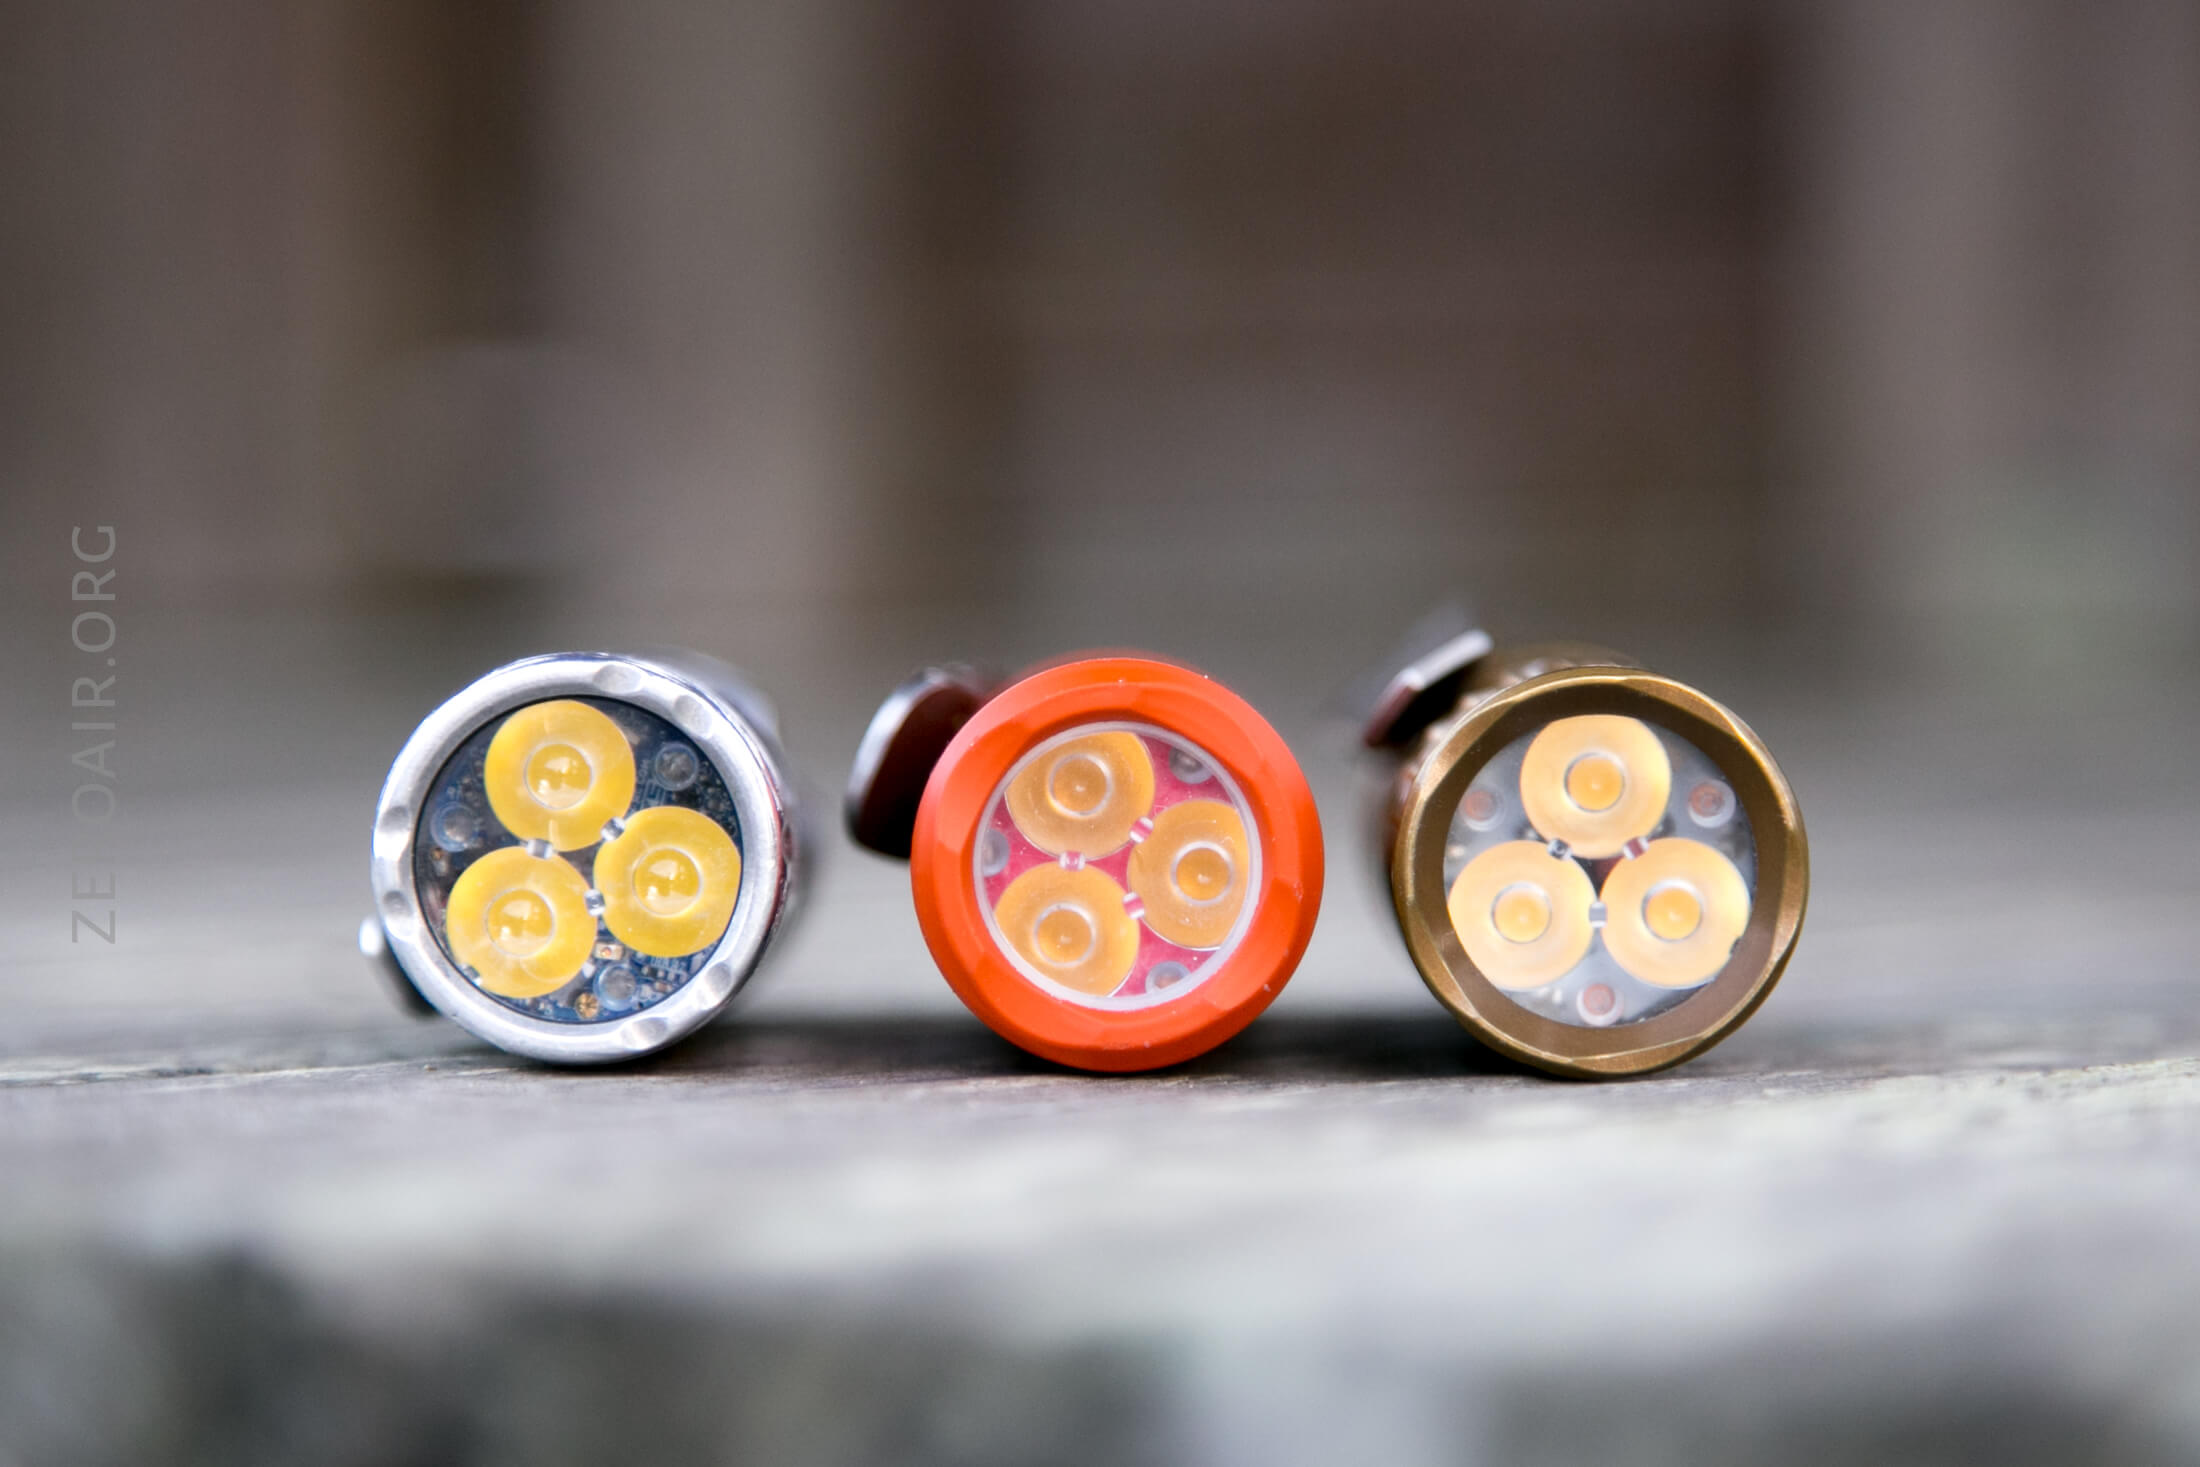
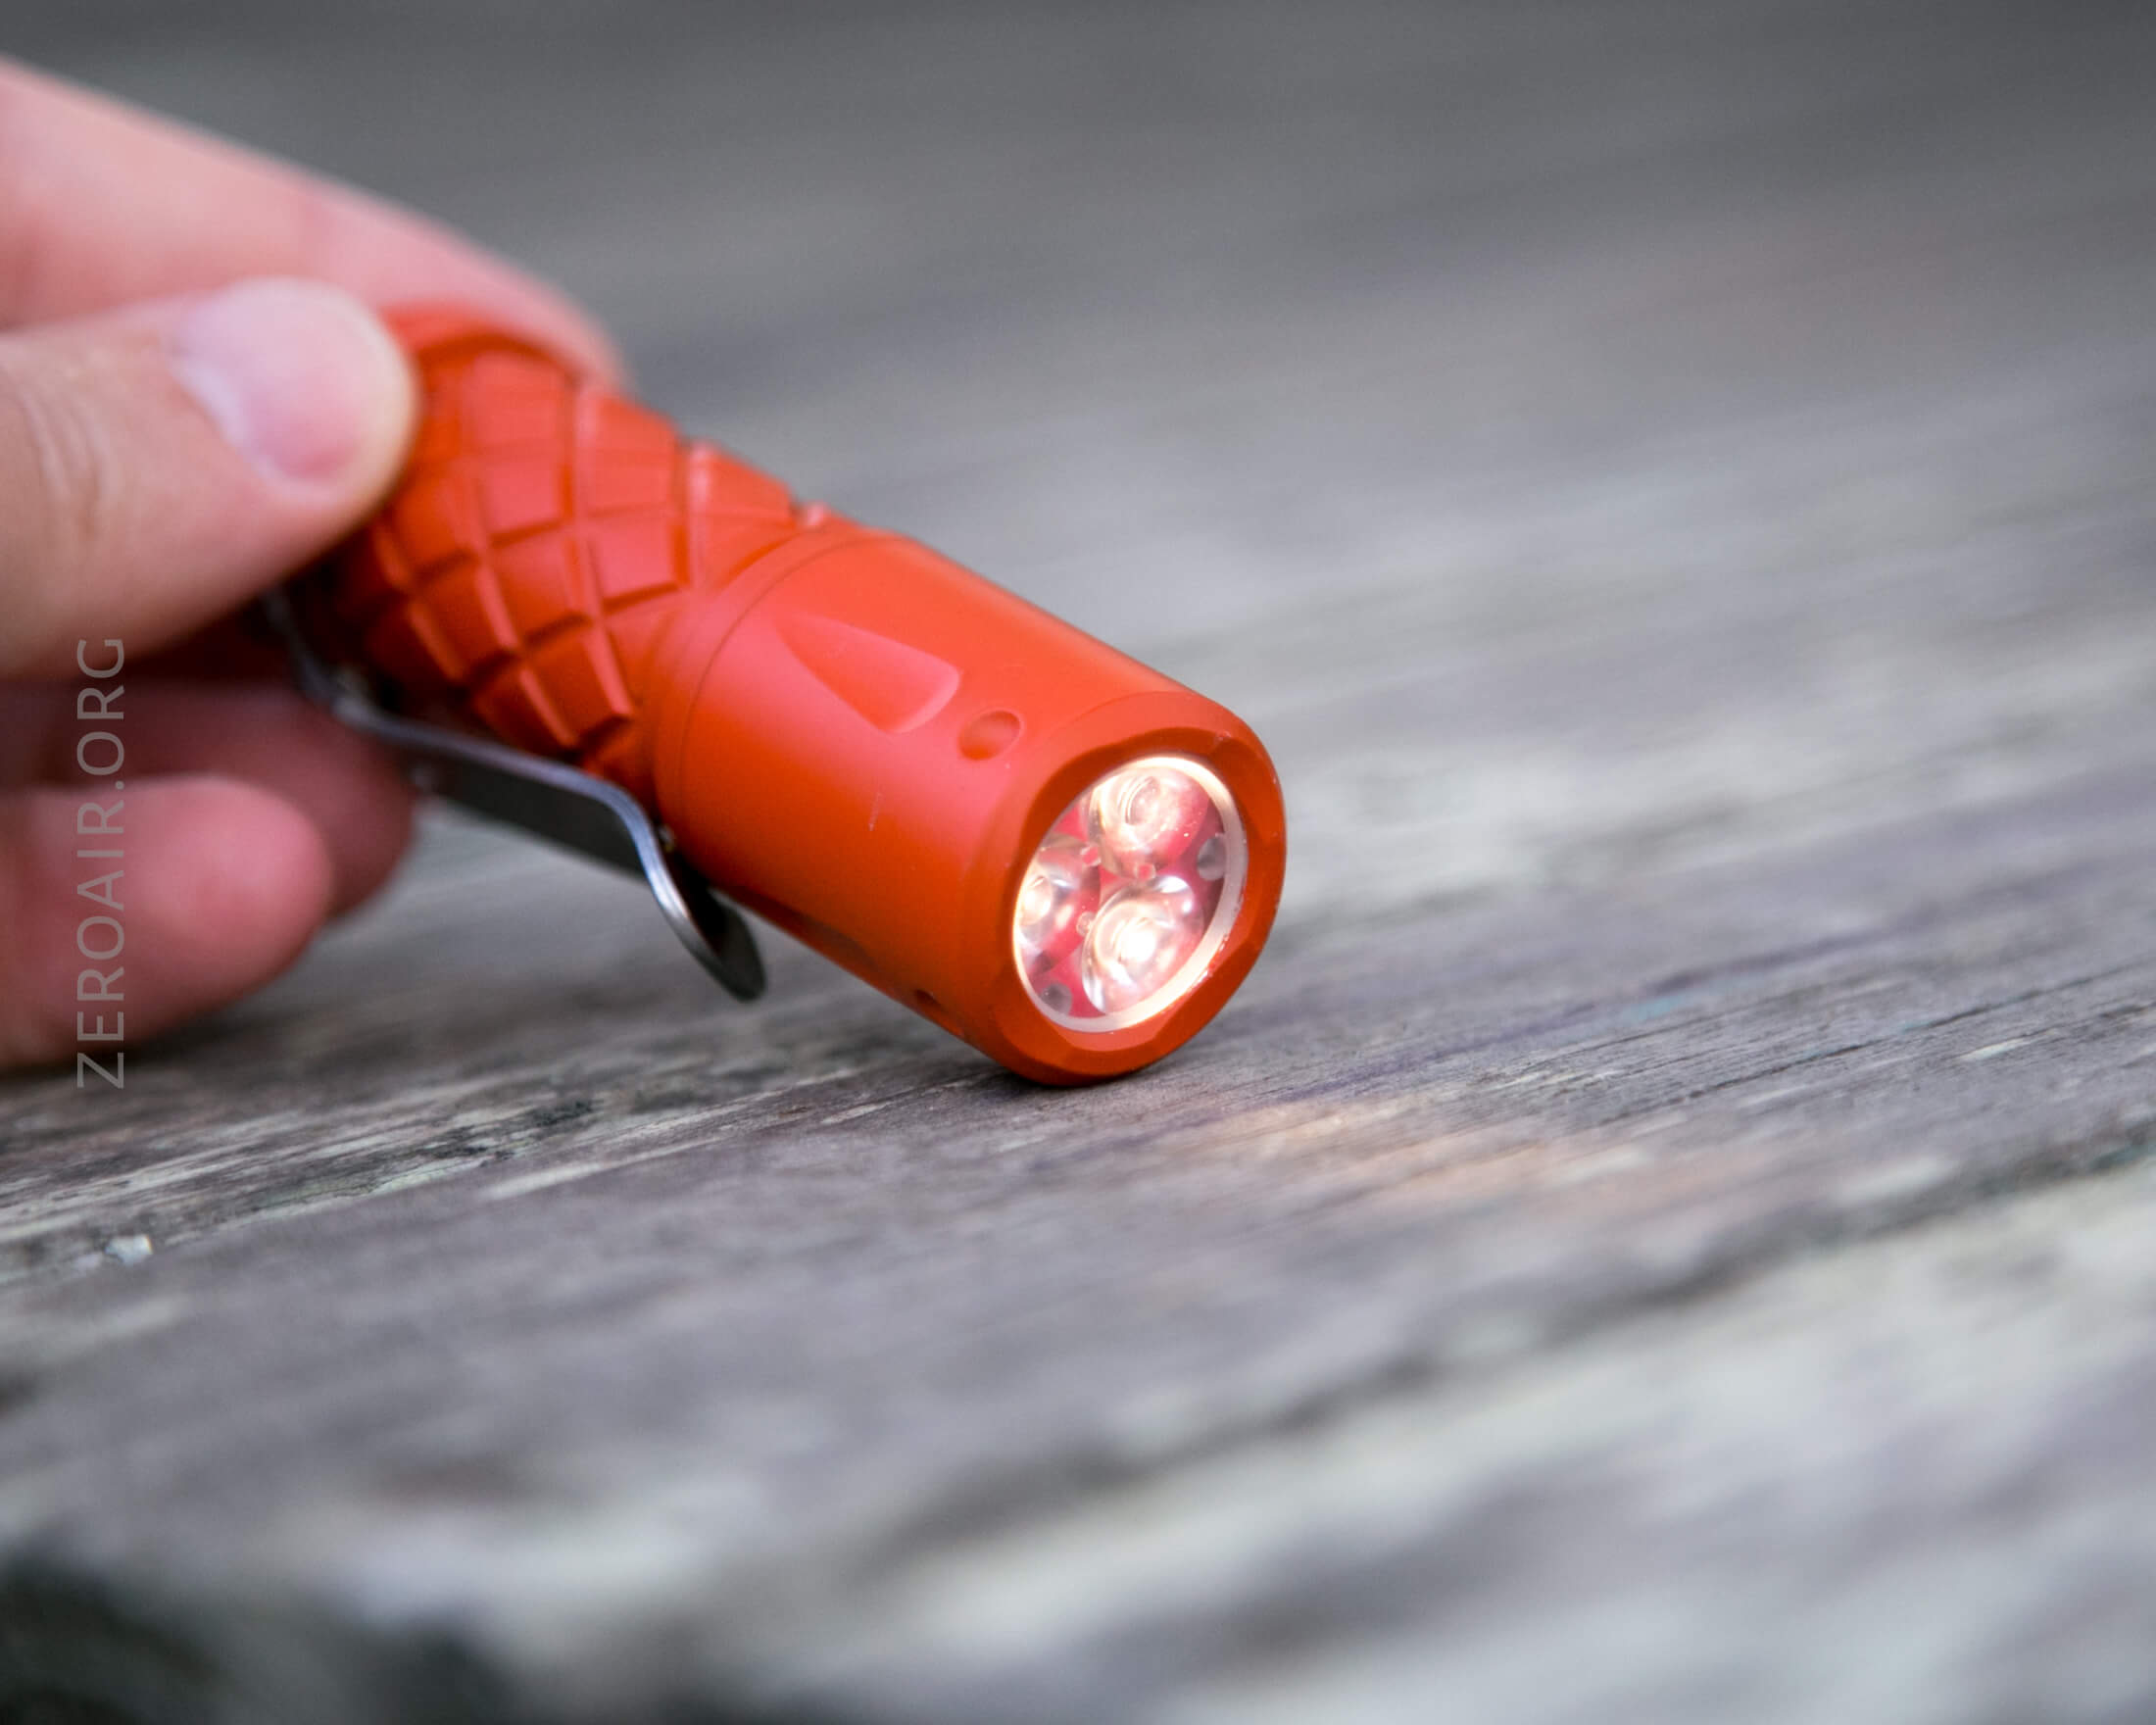
LED and Beam
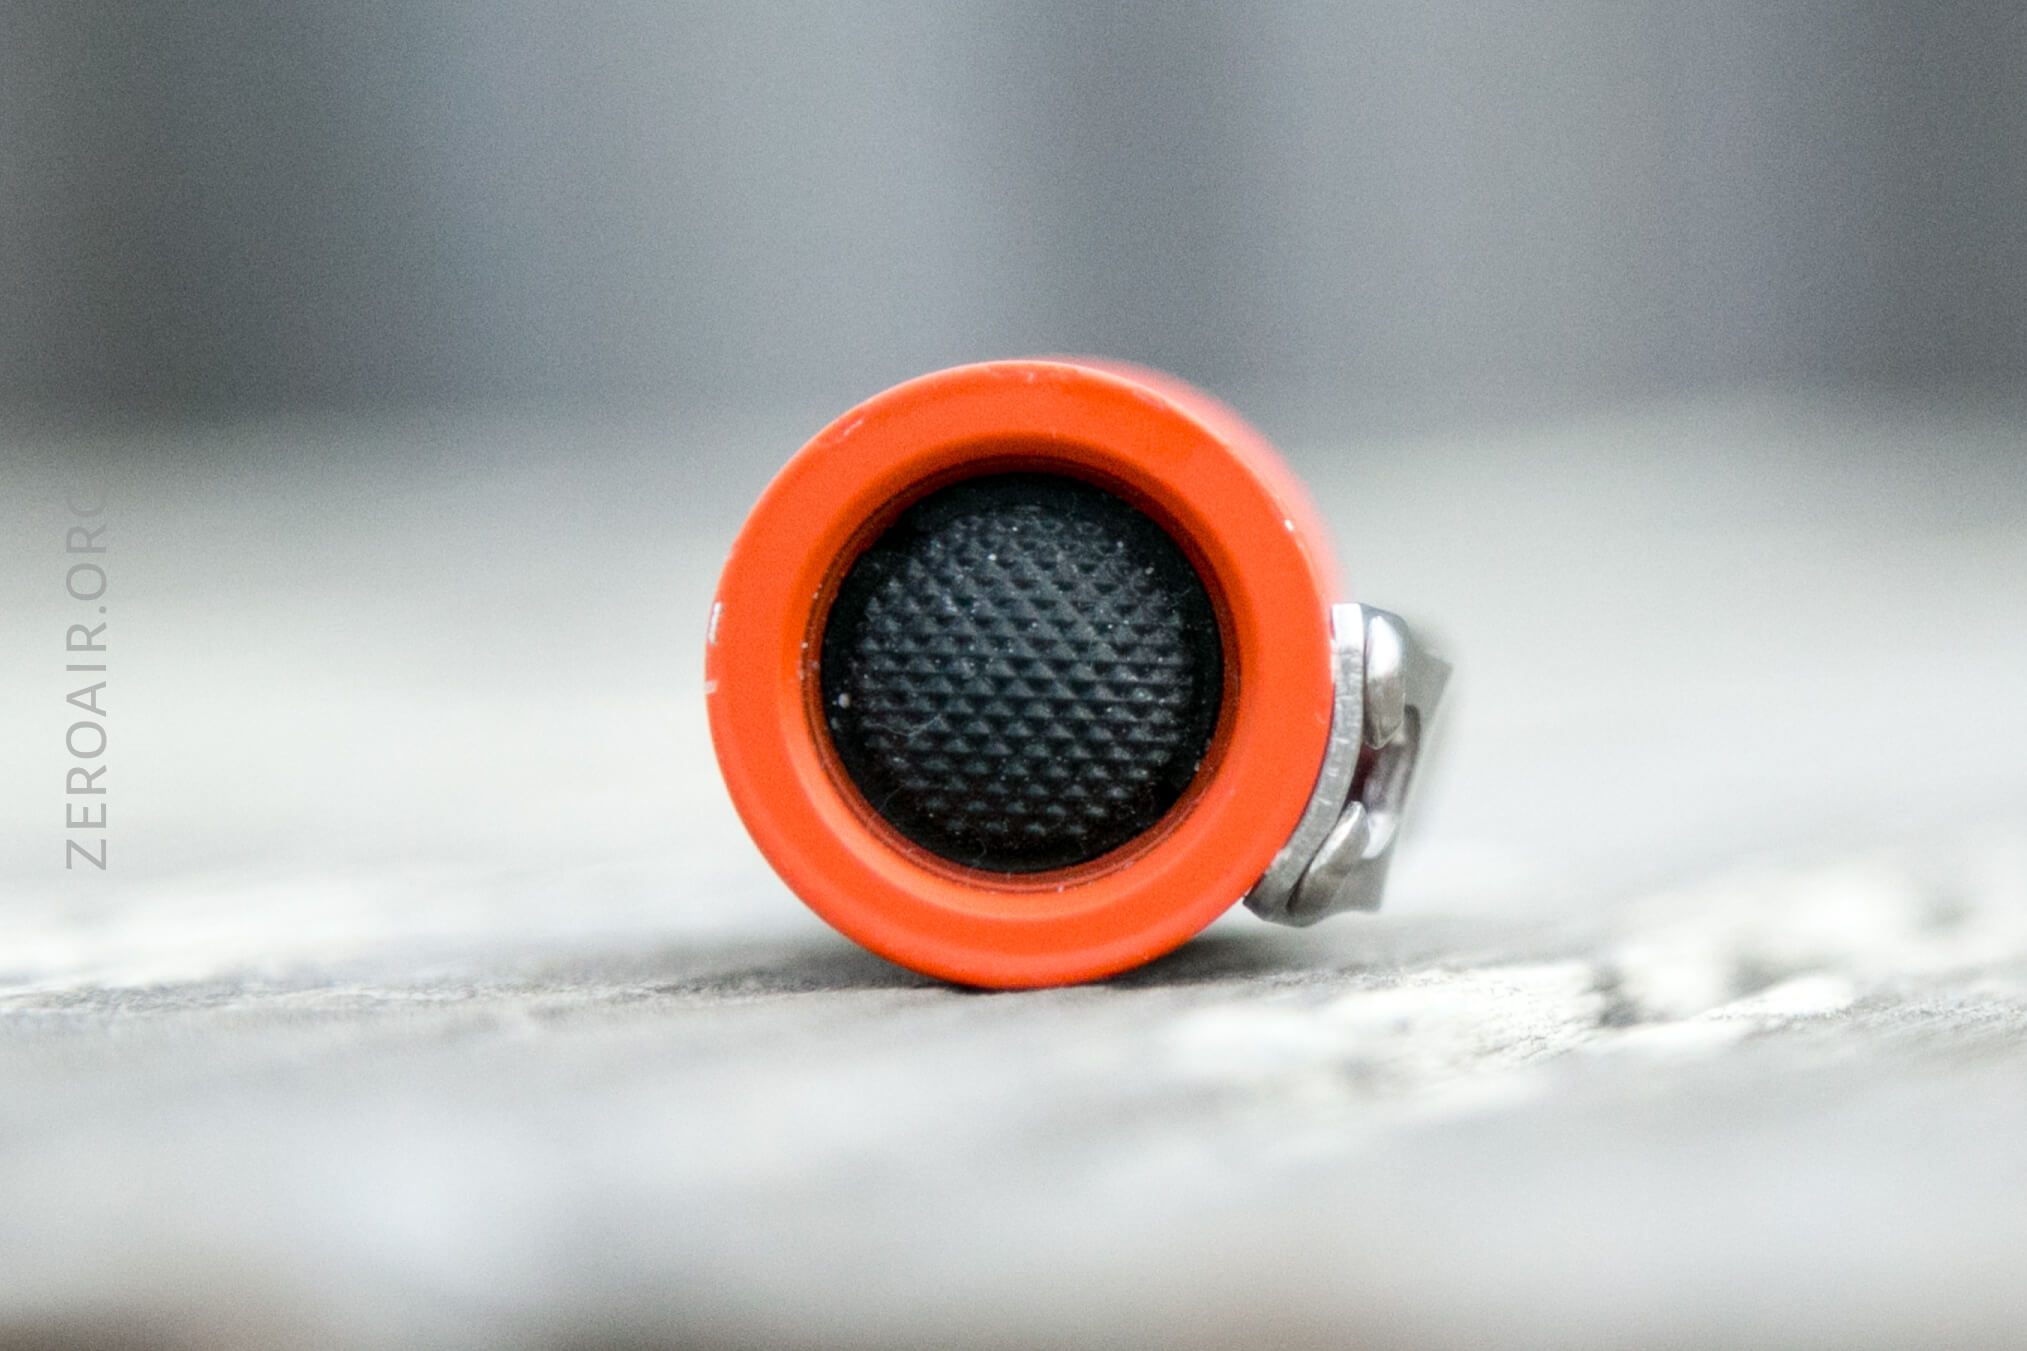
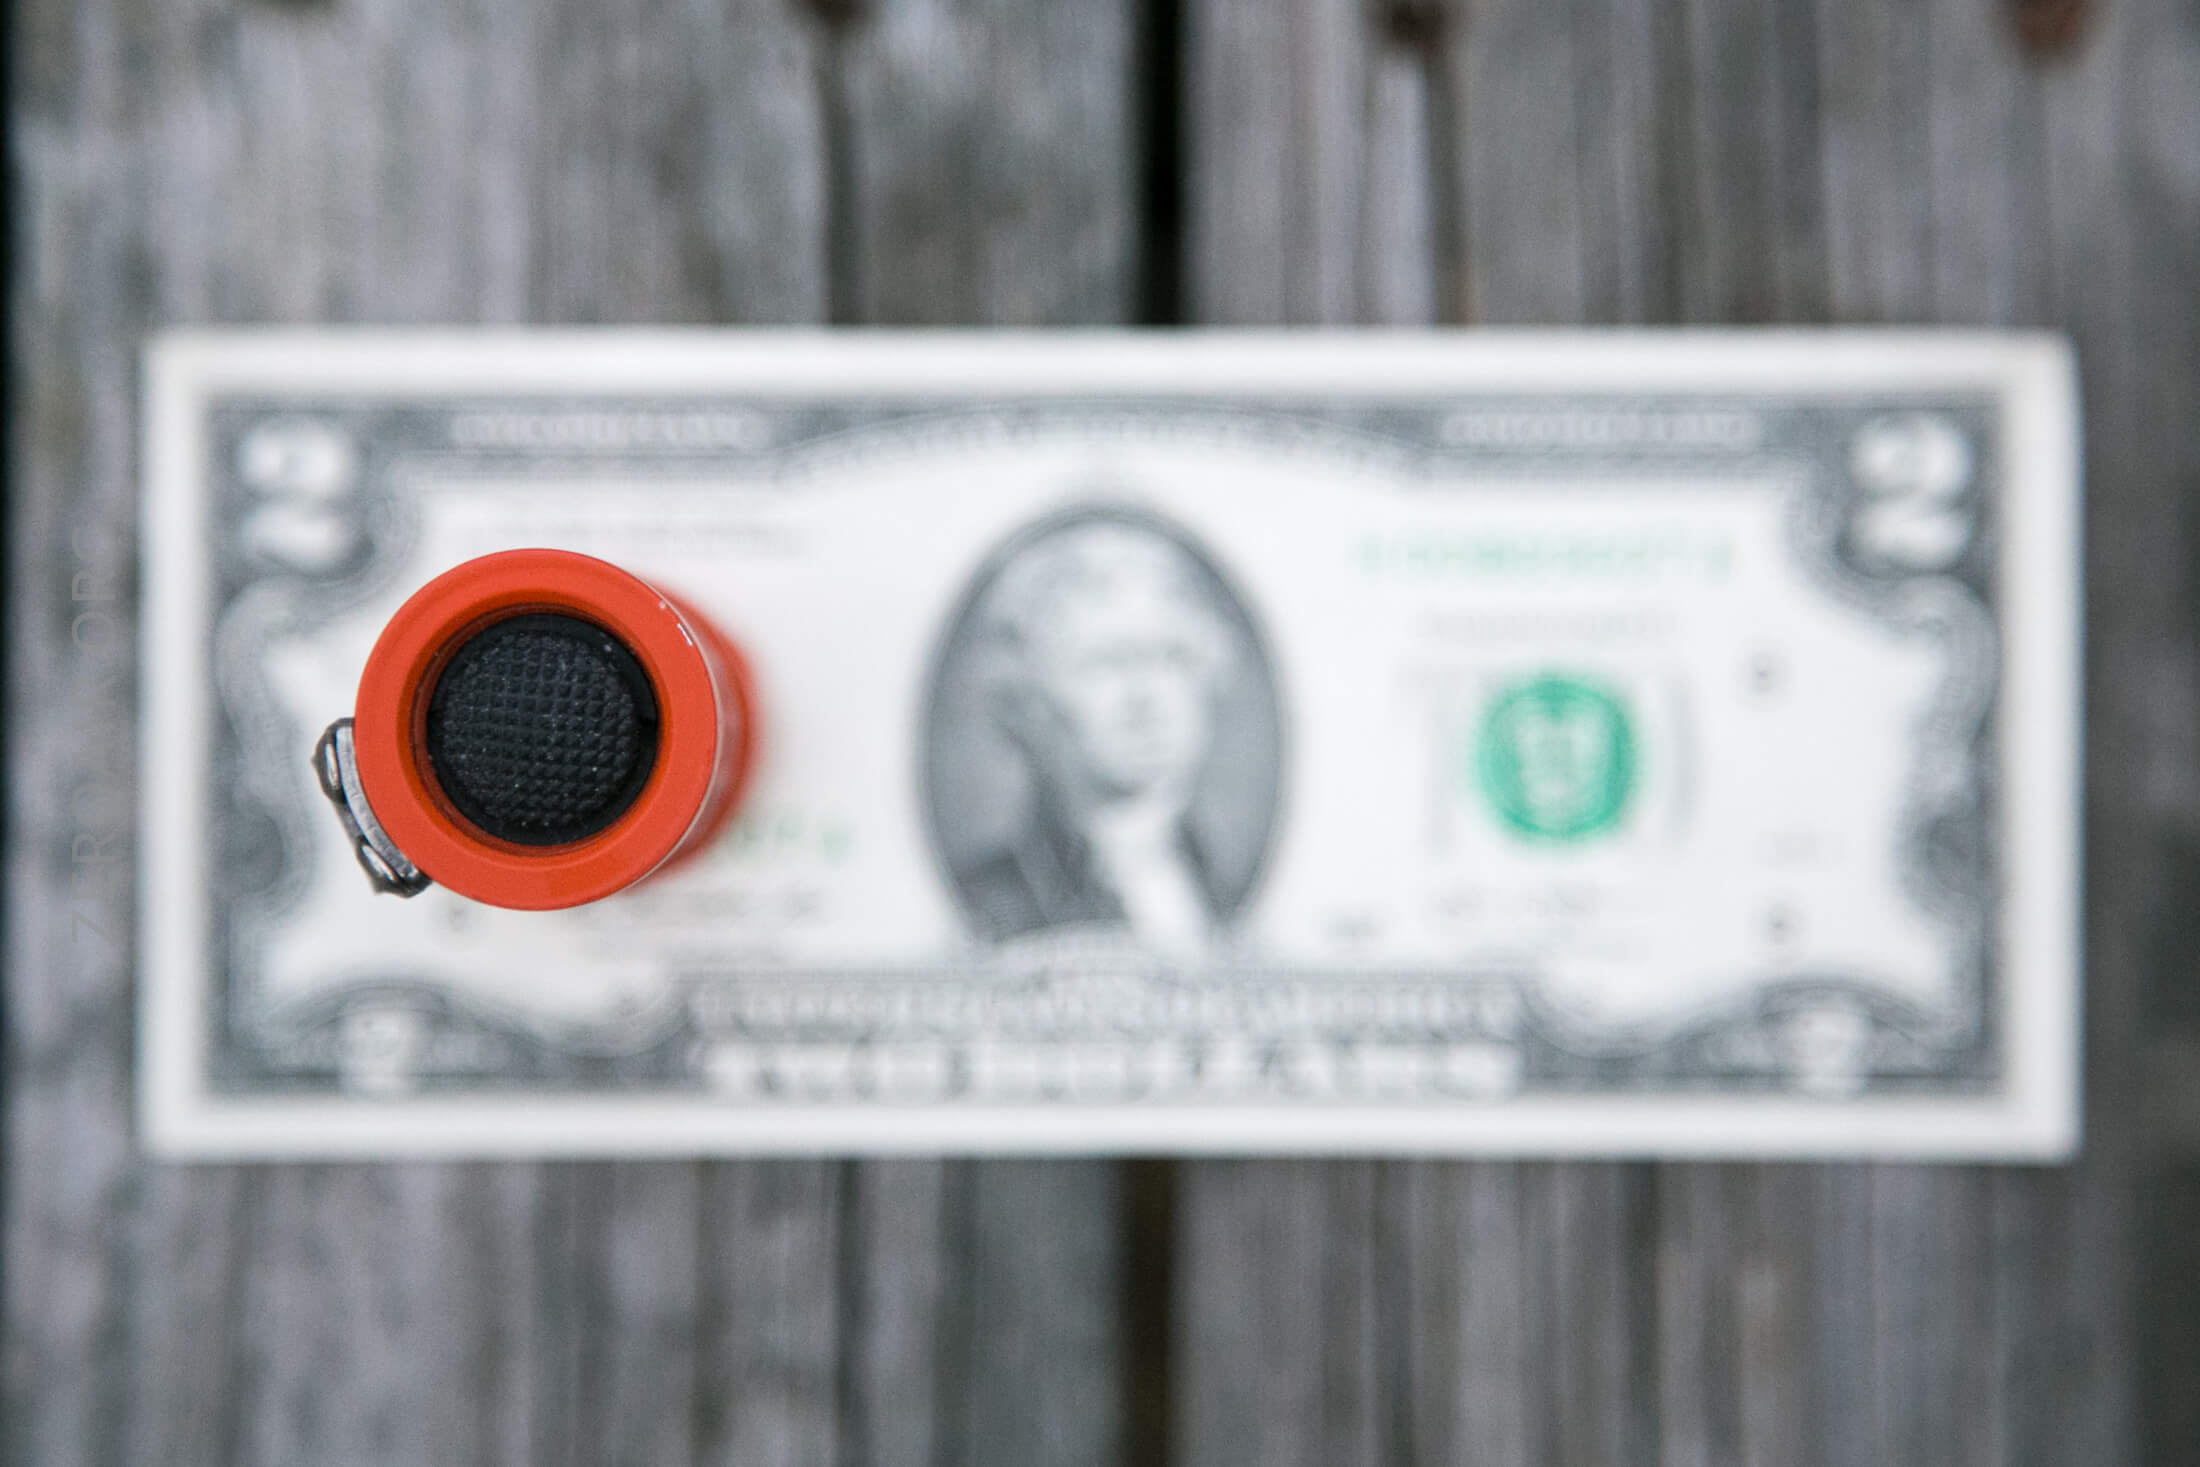
My copy has Luminus SST20 in 4000K. They’re very warm. The optic is unspecified in the product literature, but there is a sapphire lens over it. But the optic is another thing that’s been modified in this one – it has a 10511 optic for a smoother beam.
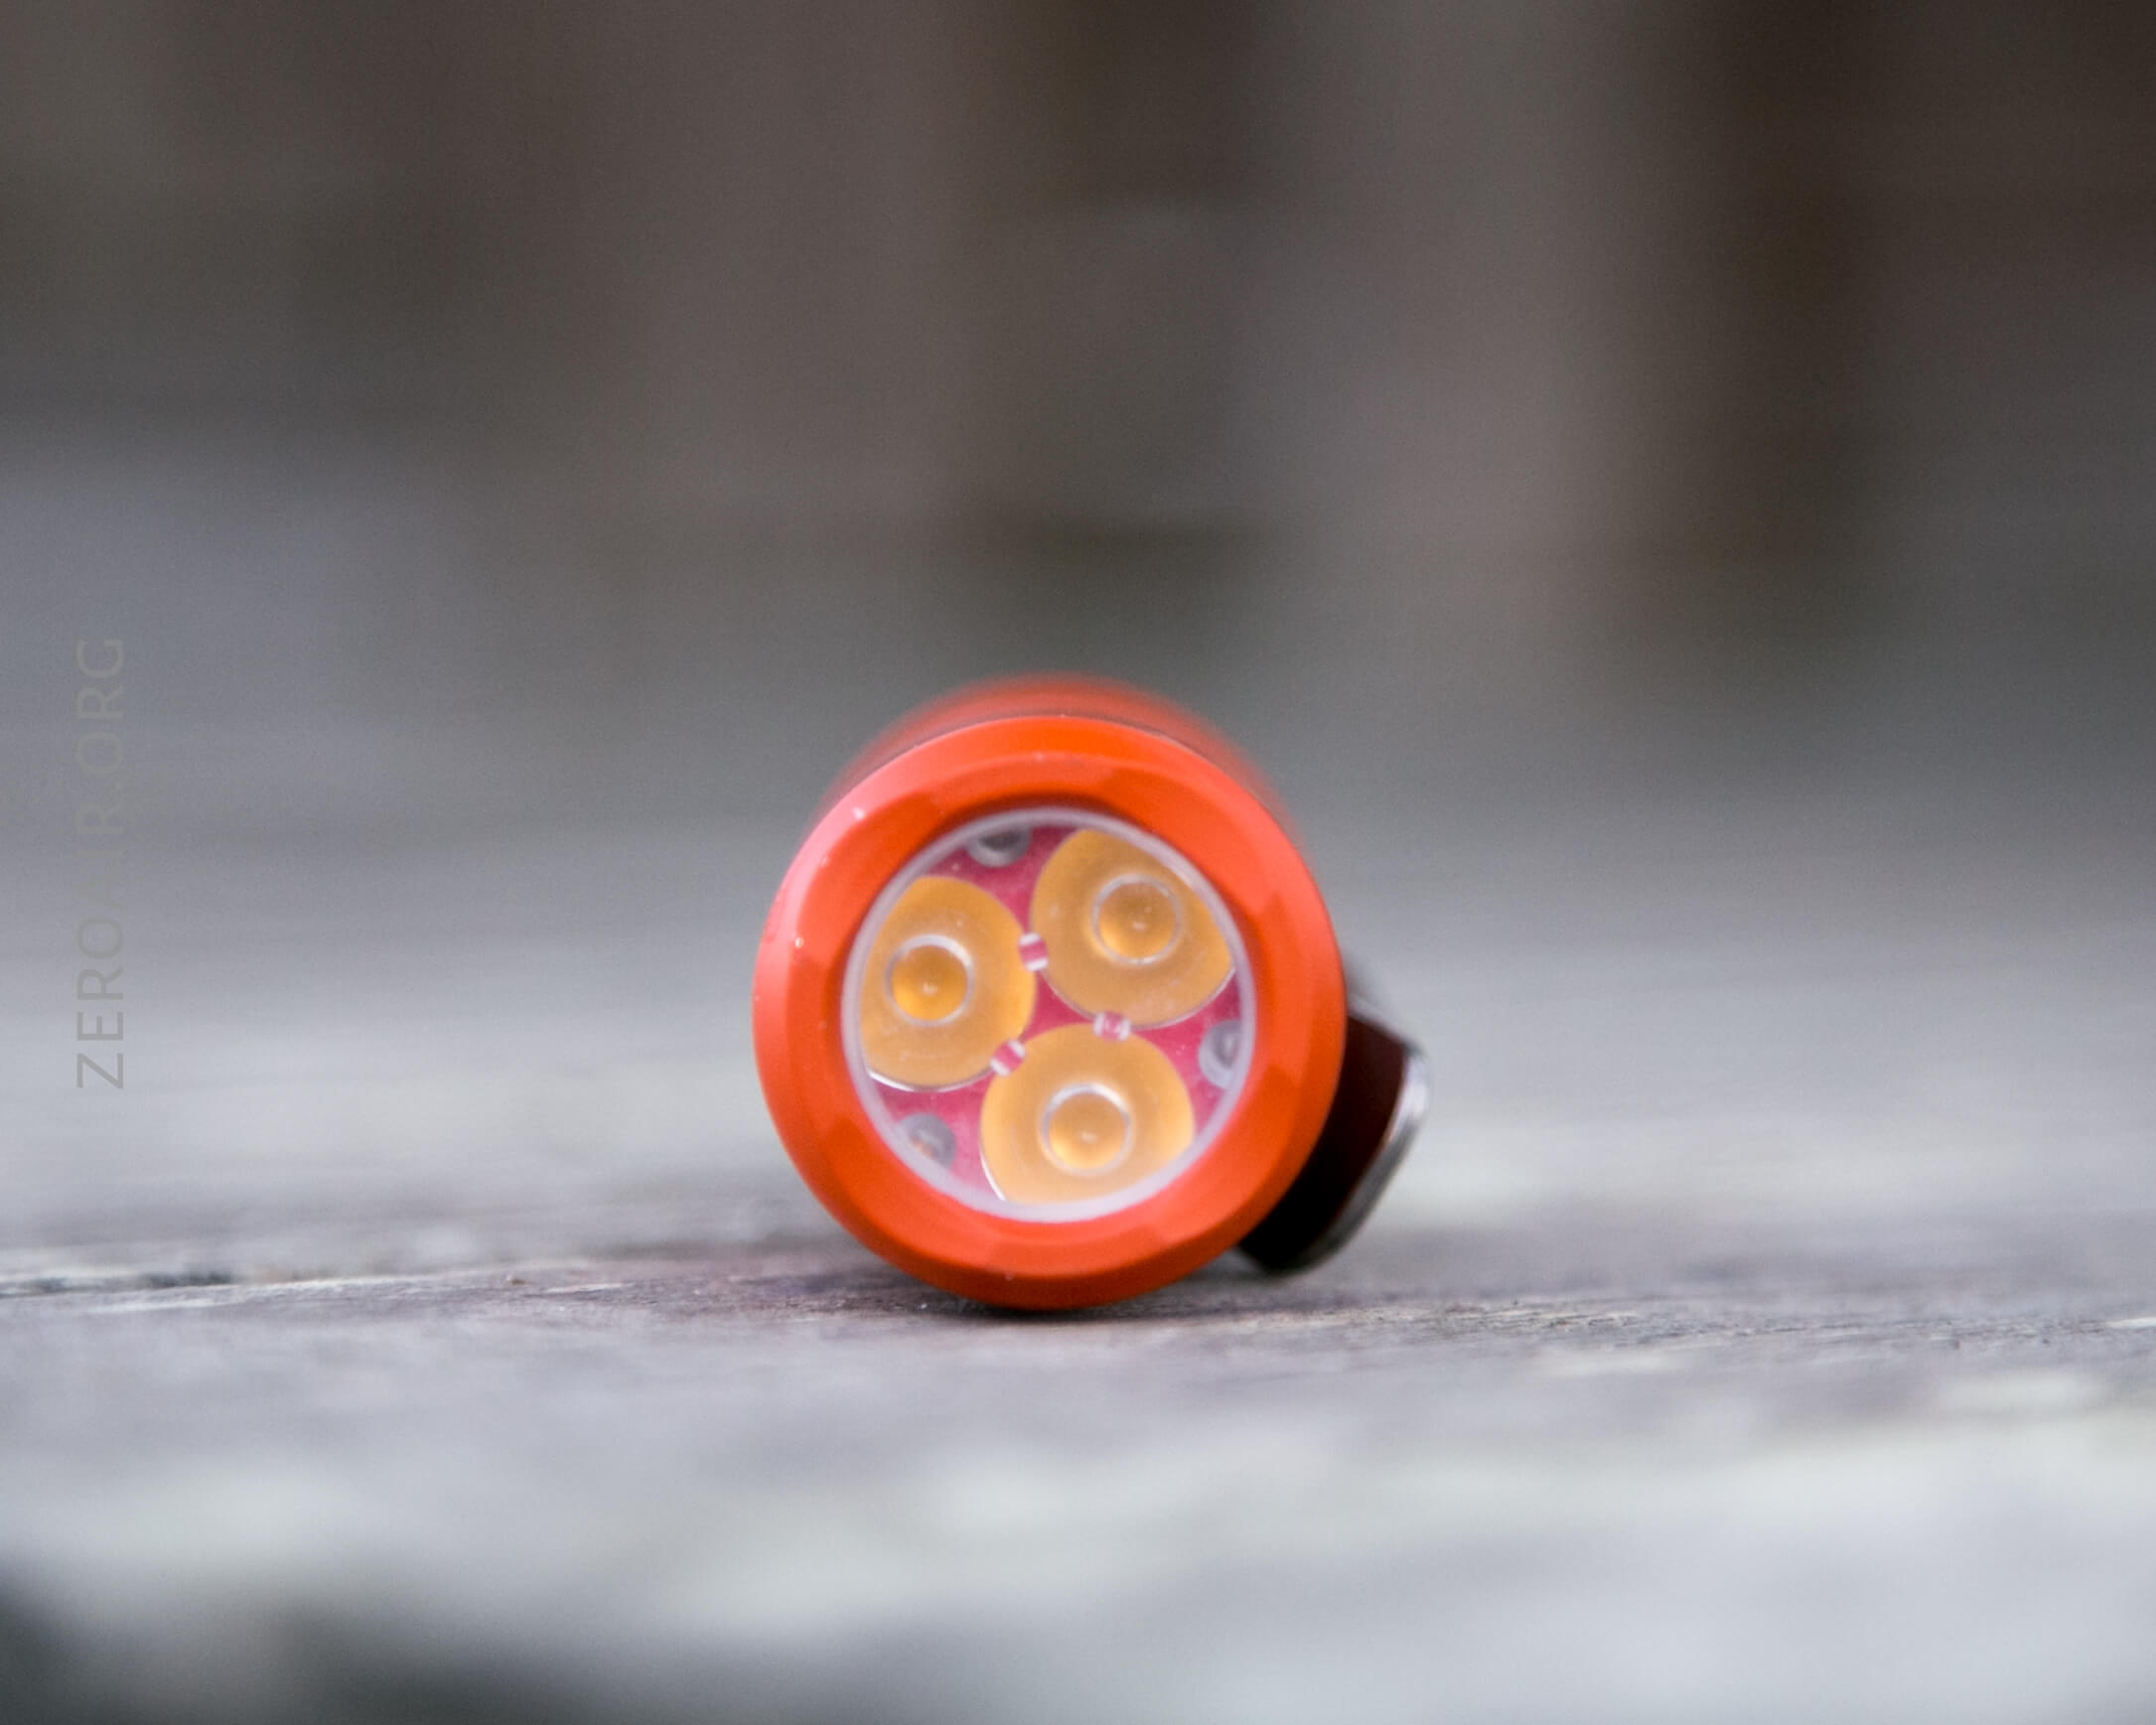
Above, you’ll see what my biggest and maybe only criticism of this light. The optic is just too covered! I want much more reveal here – there’s no need for the bezel of the light to require so much coverage over the optic. BOSS does this well, as does the Hanko Trident. I do like how short the bezel is, and also that it has some shape so that the light can sneak out the bottom when headstanding.
The glow gasket in my copy is SO GLOWY. And orange, in my case, too. This light overall is just so orangey. Orange body, warm emitters, orange glow. I love it. (And actually, it’s a special version – Lava Turbo glow.)
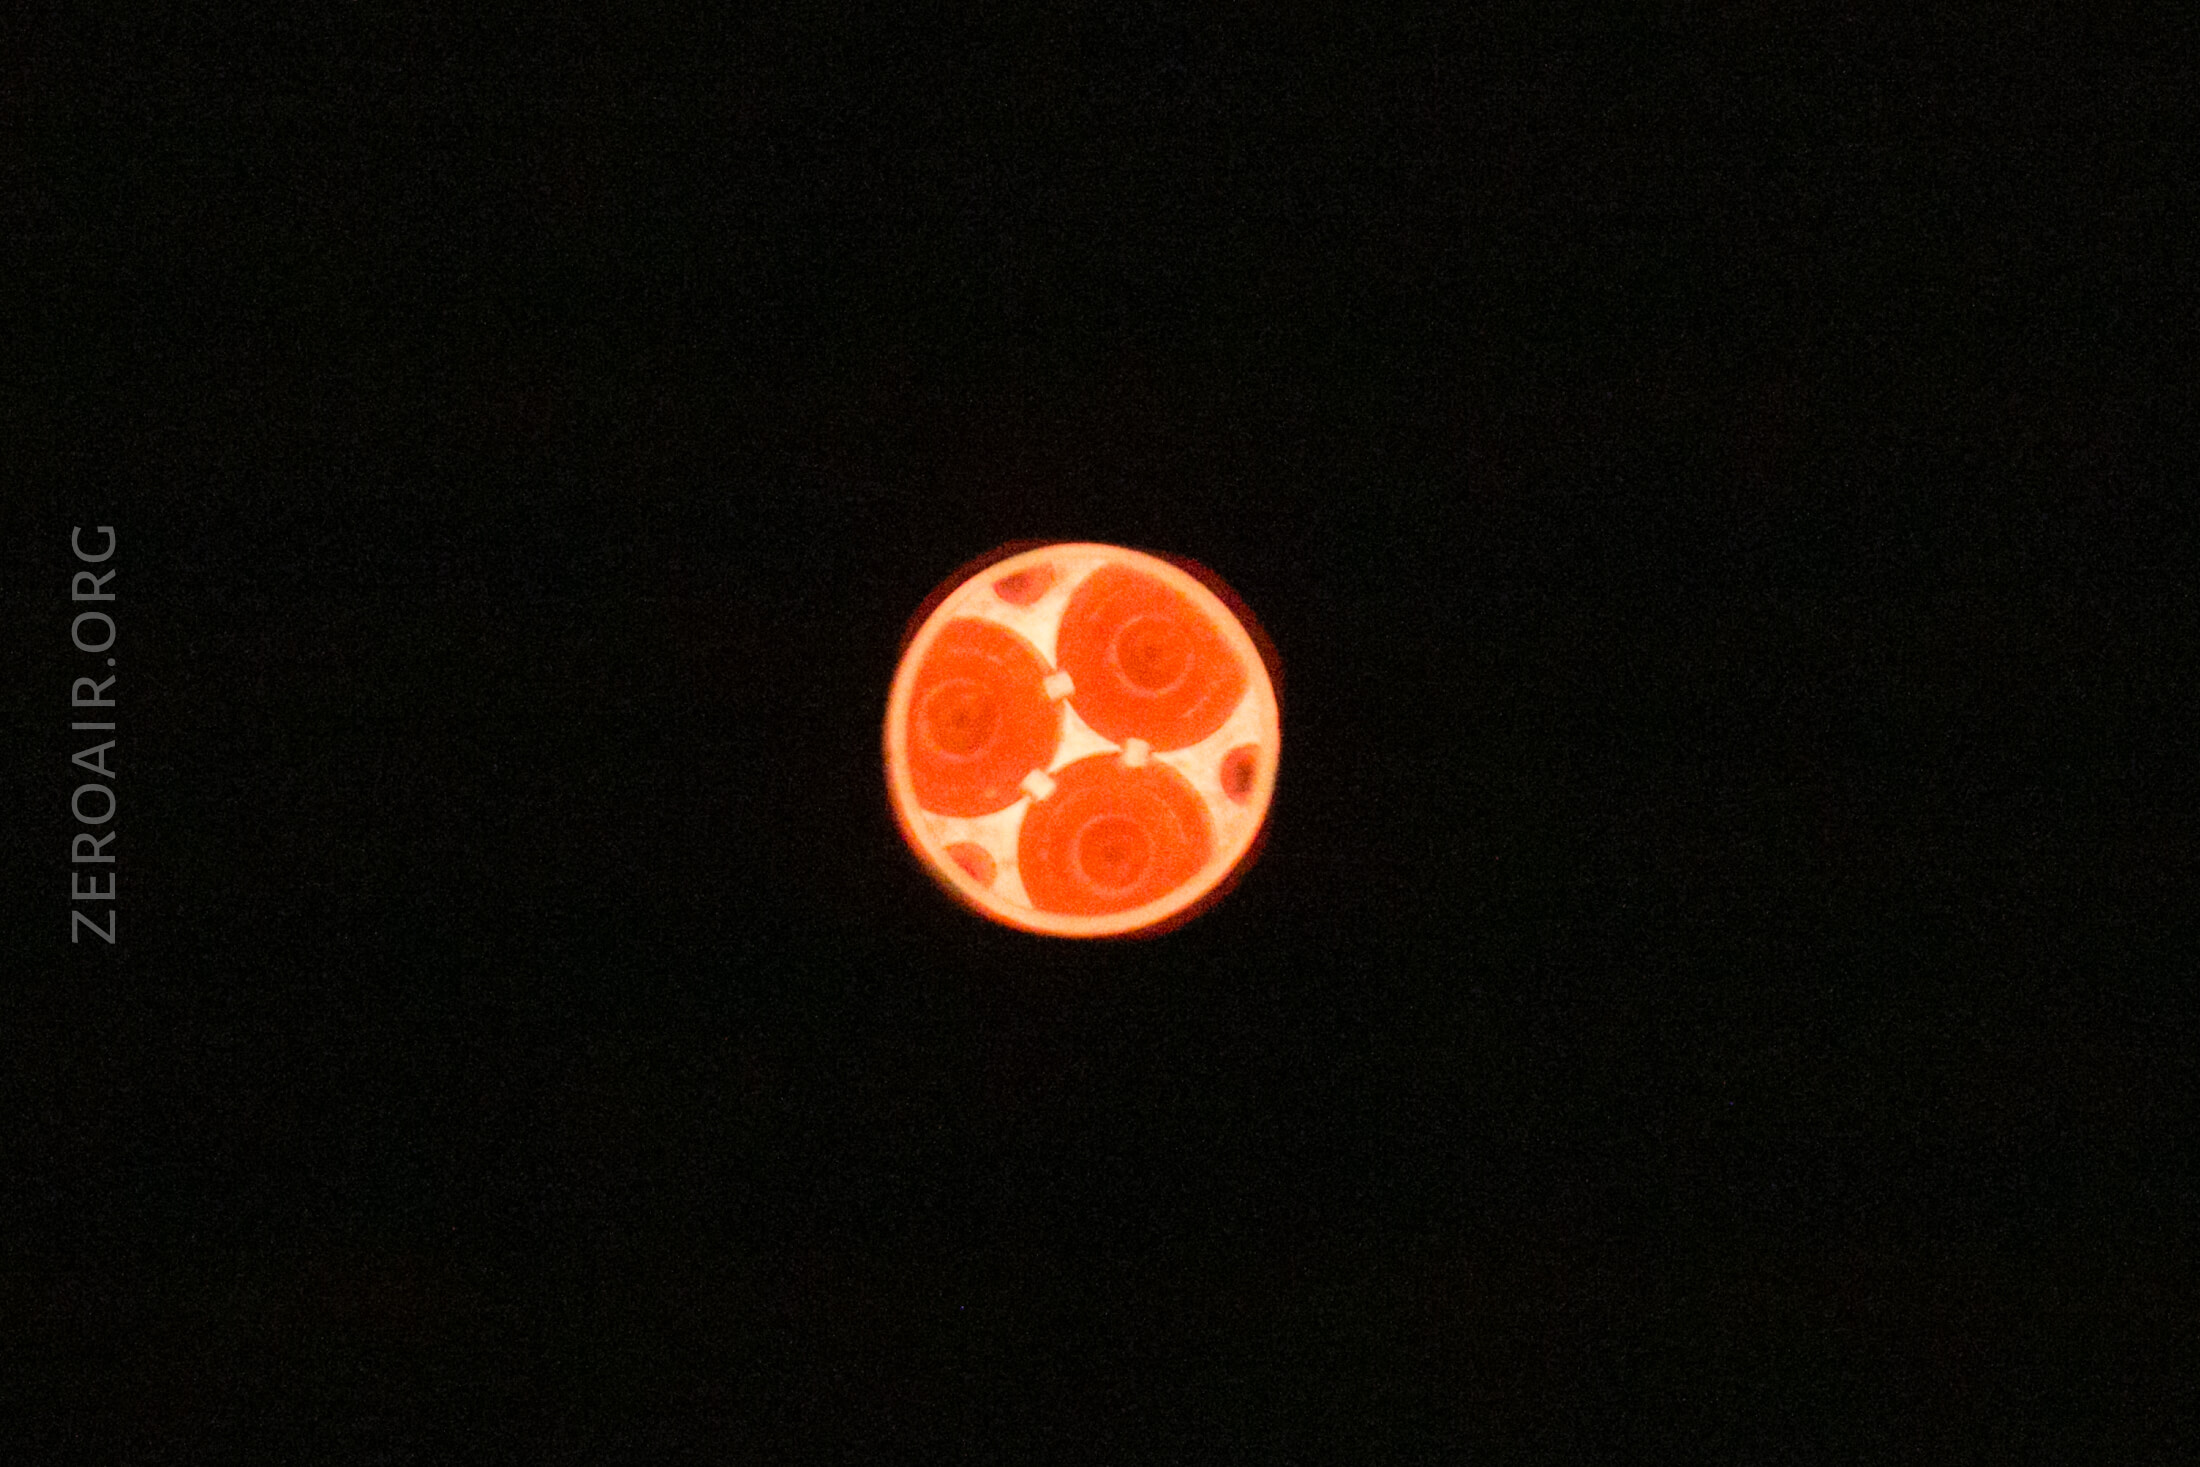
Below, that’s the glow gasket, with no emitters on!
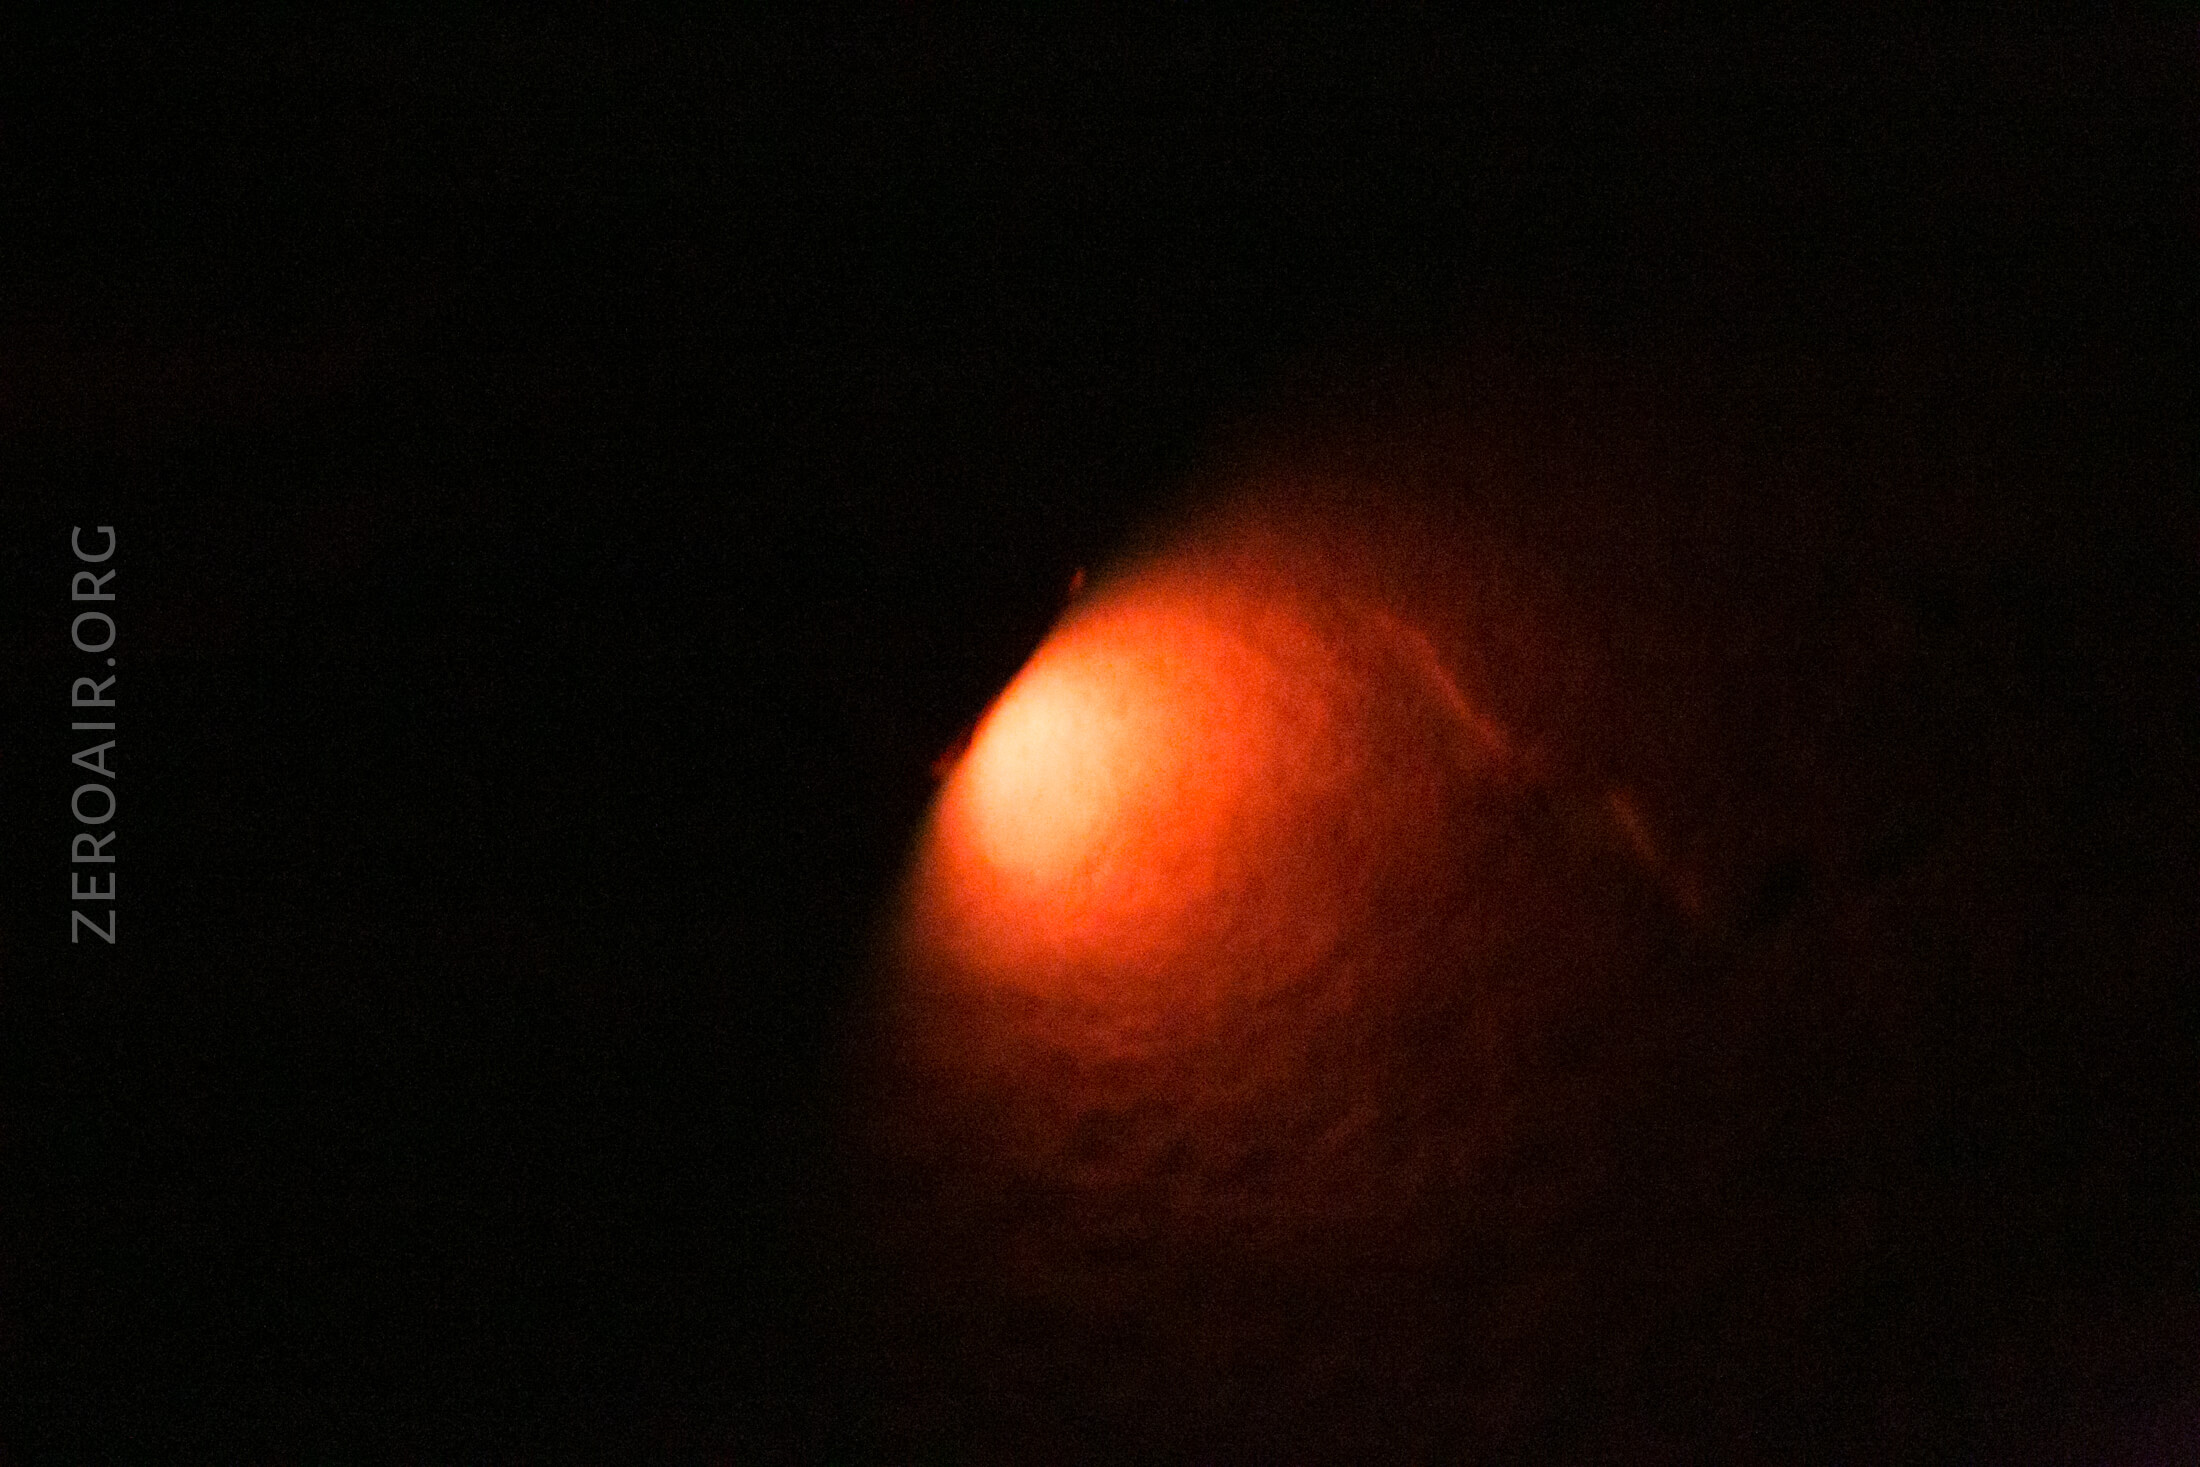
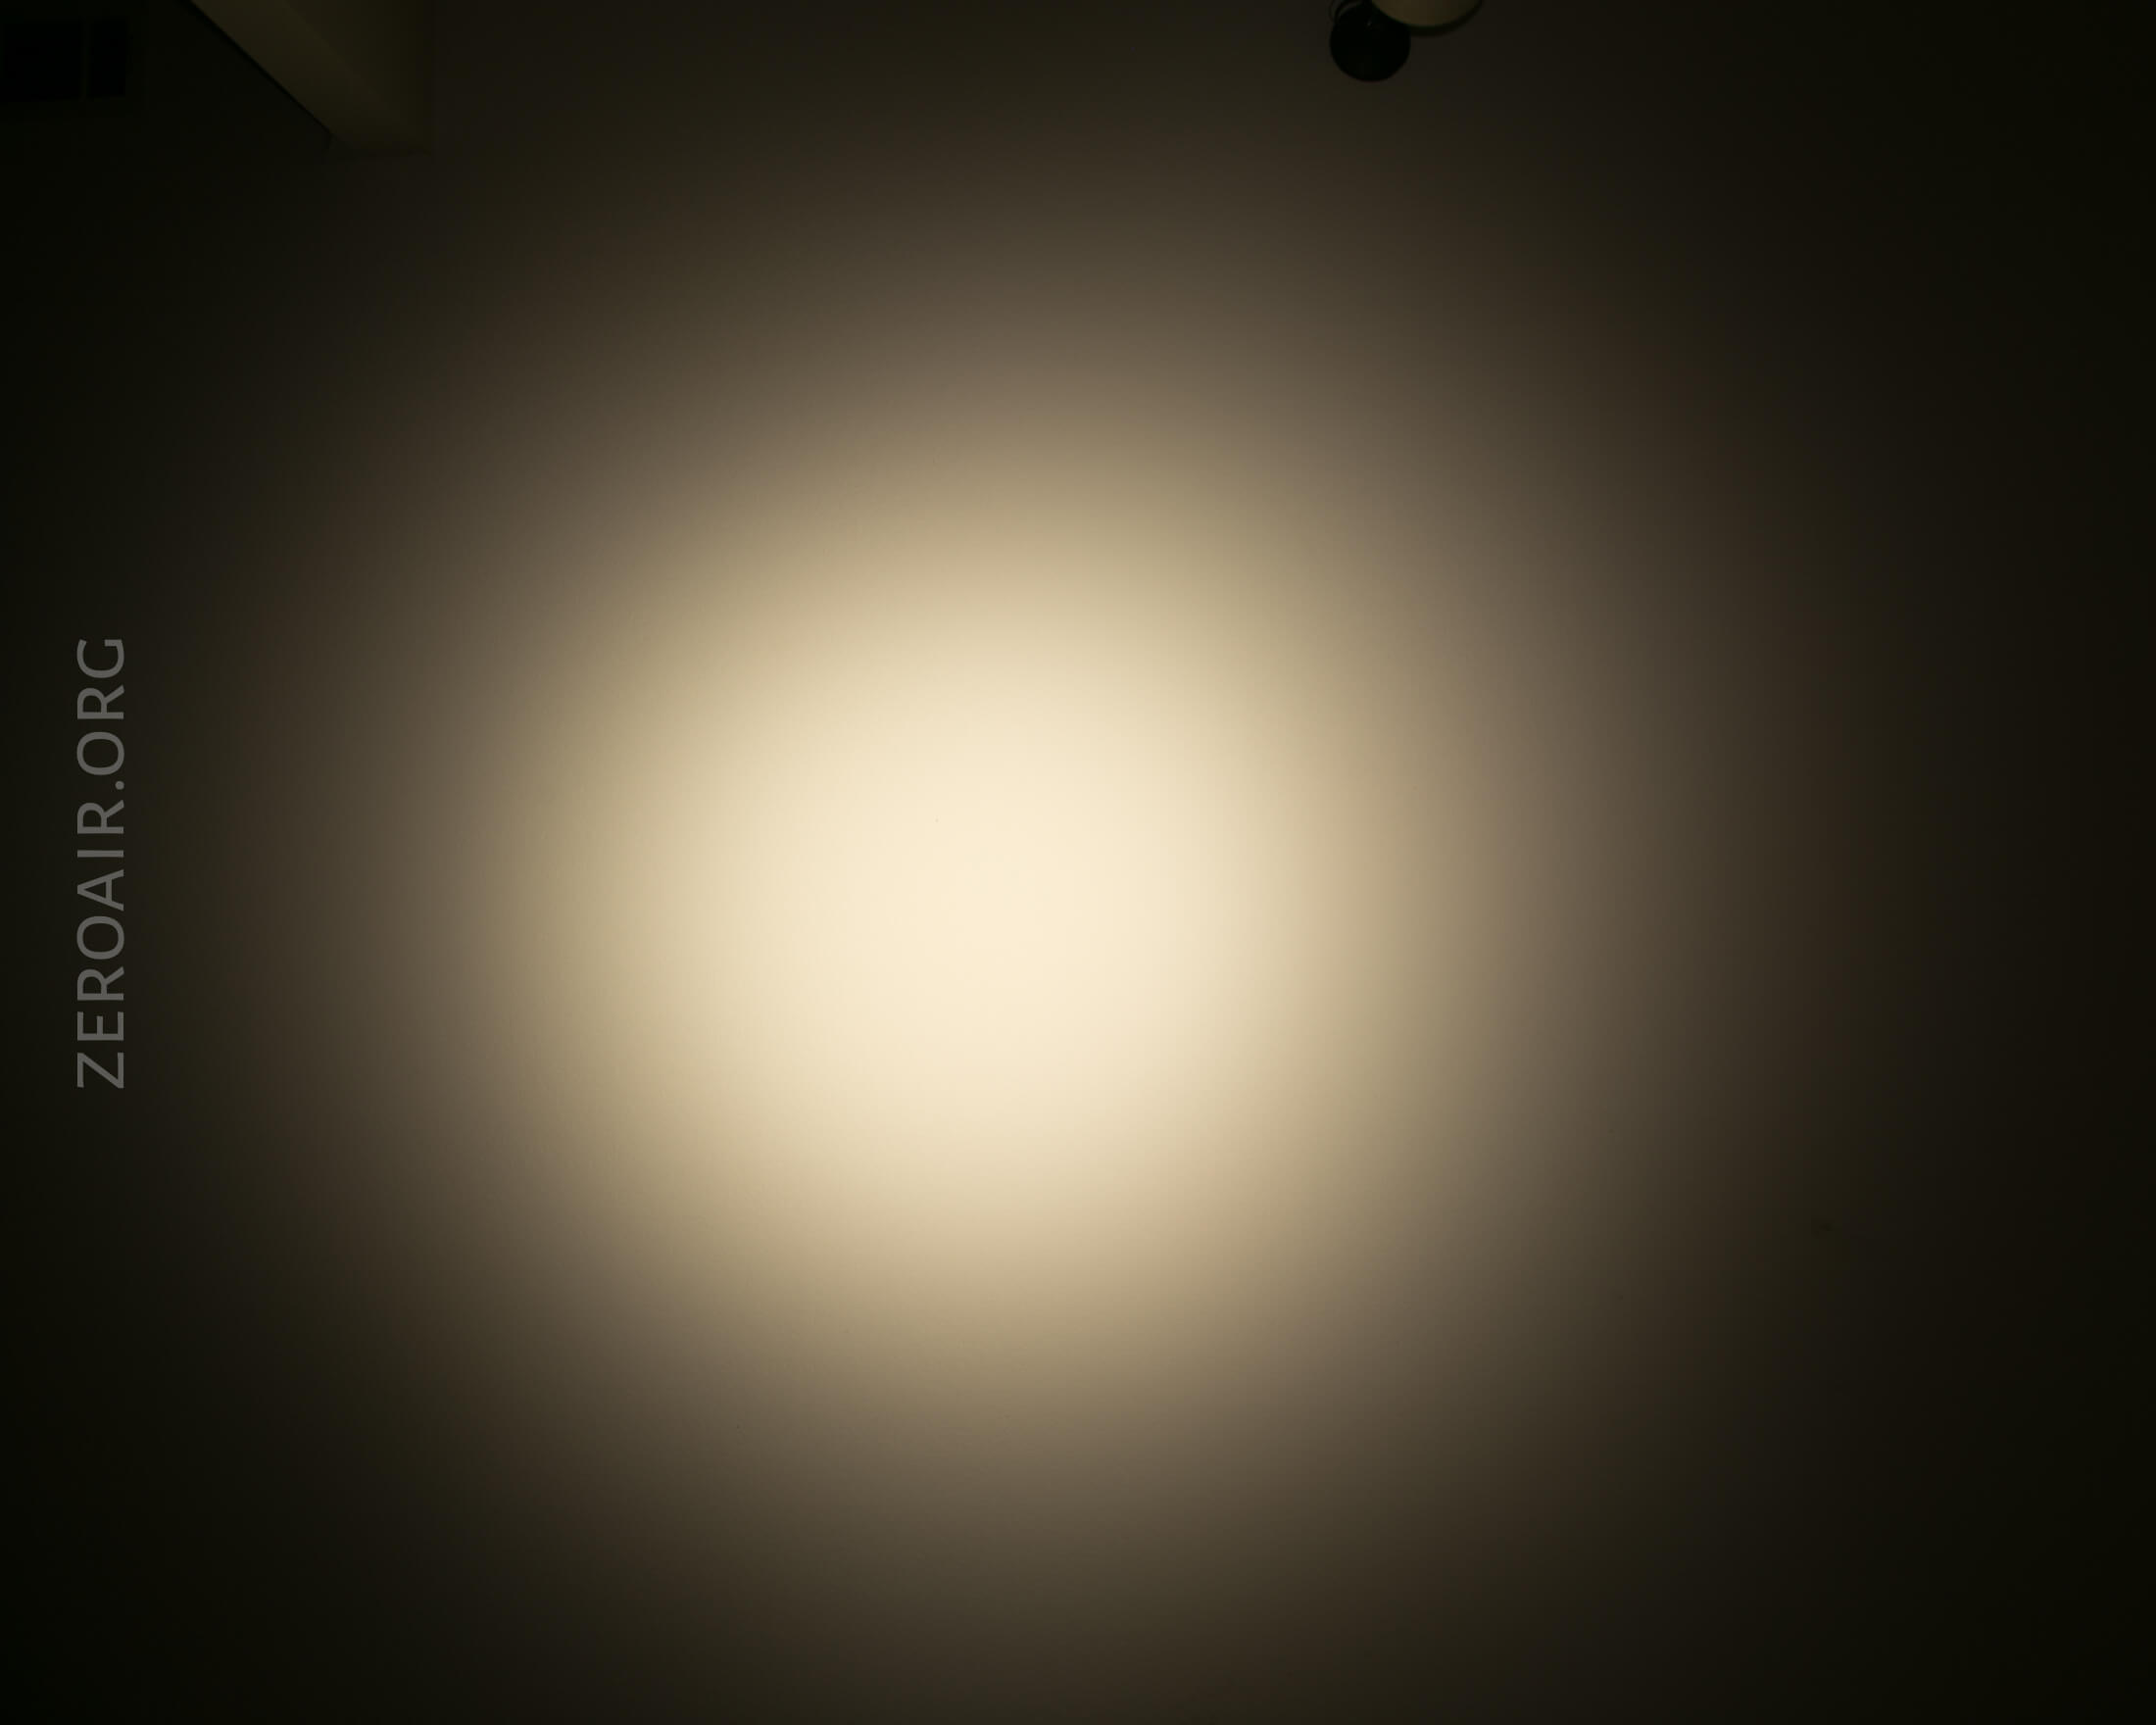
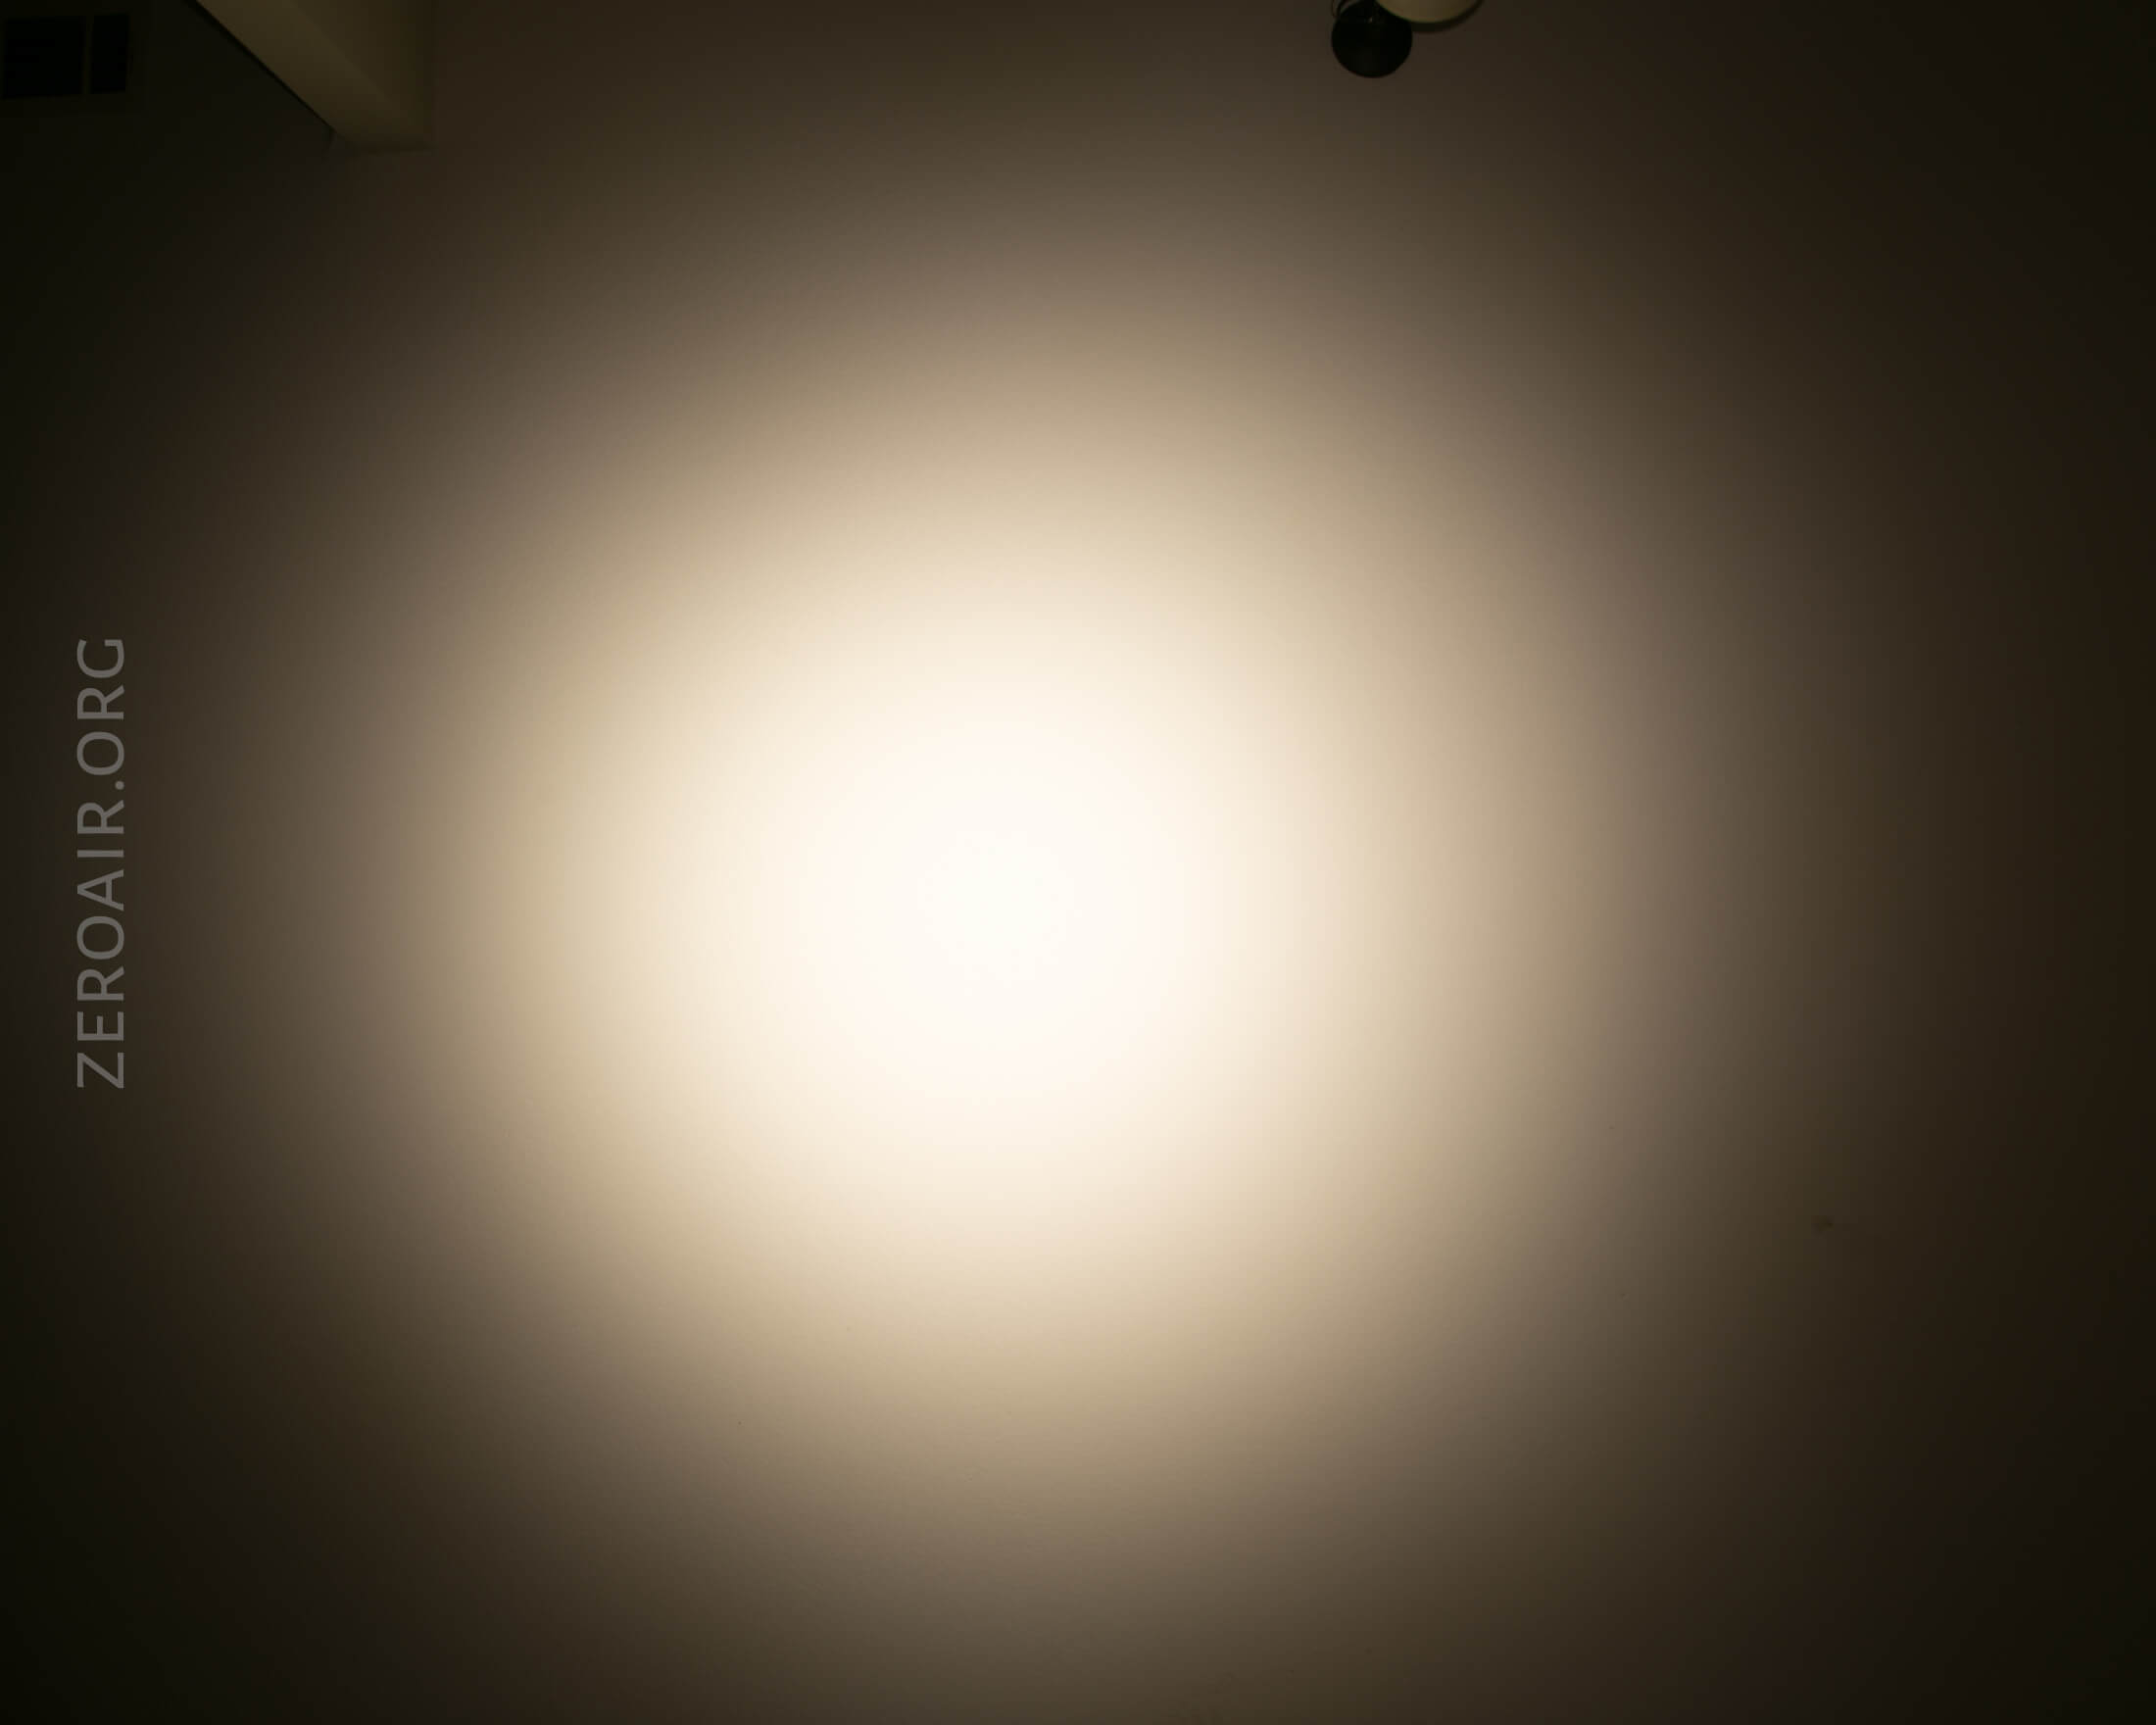
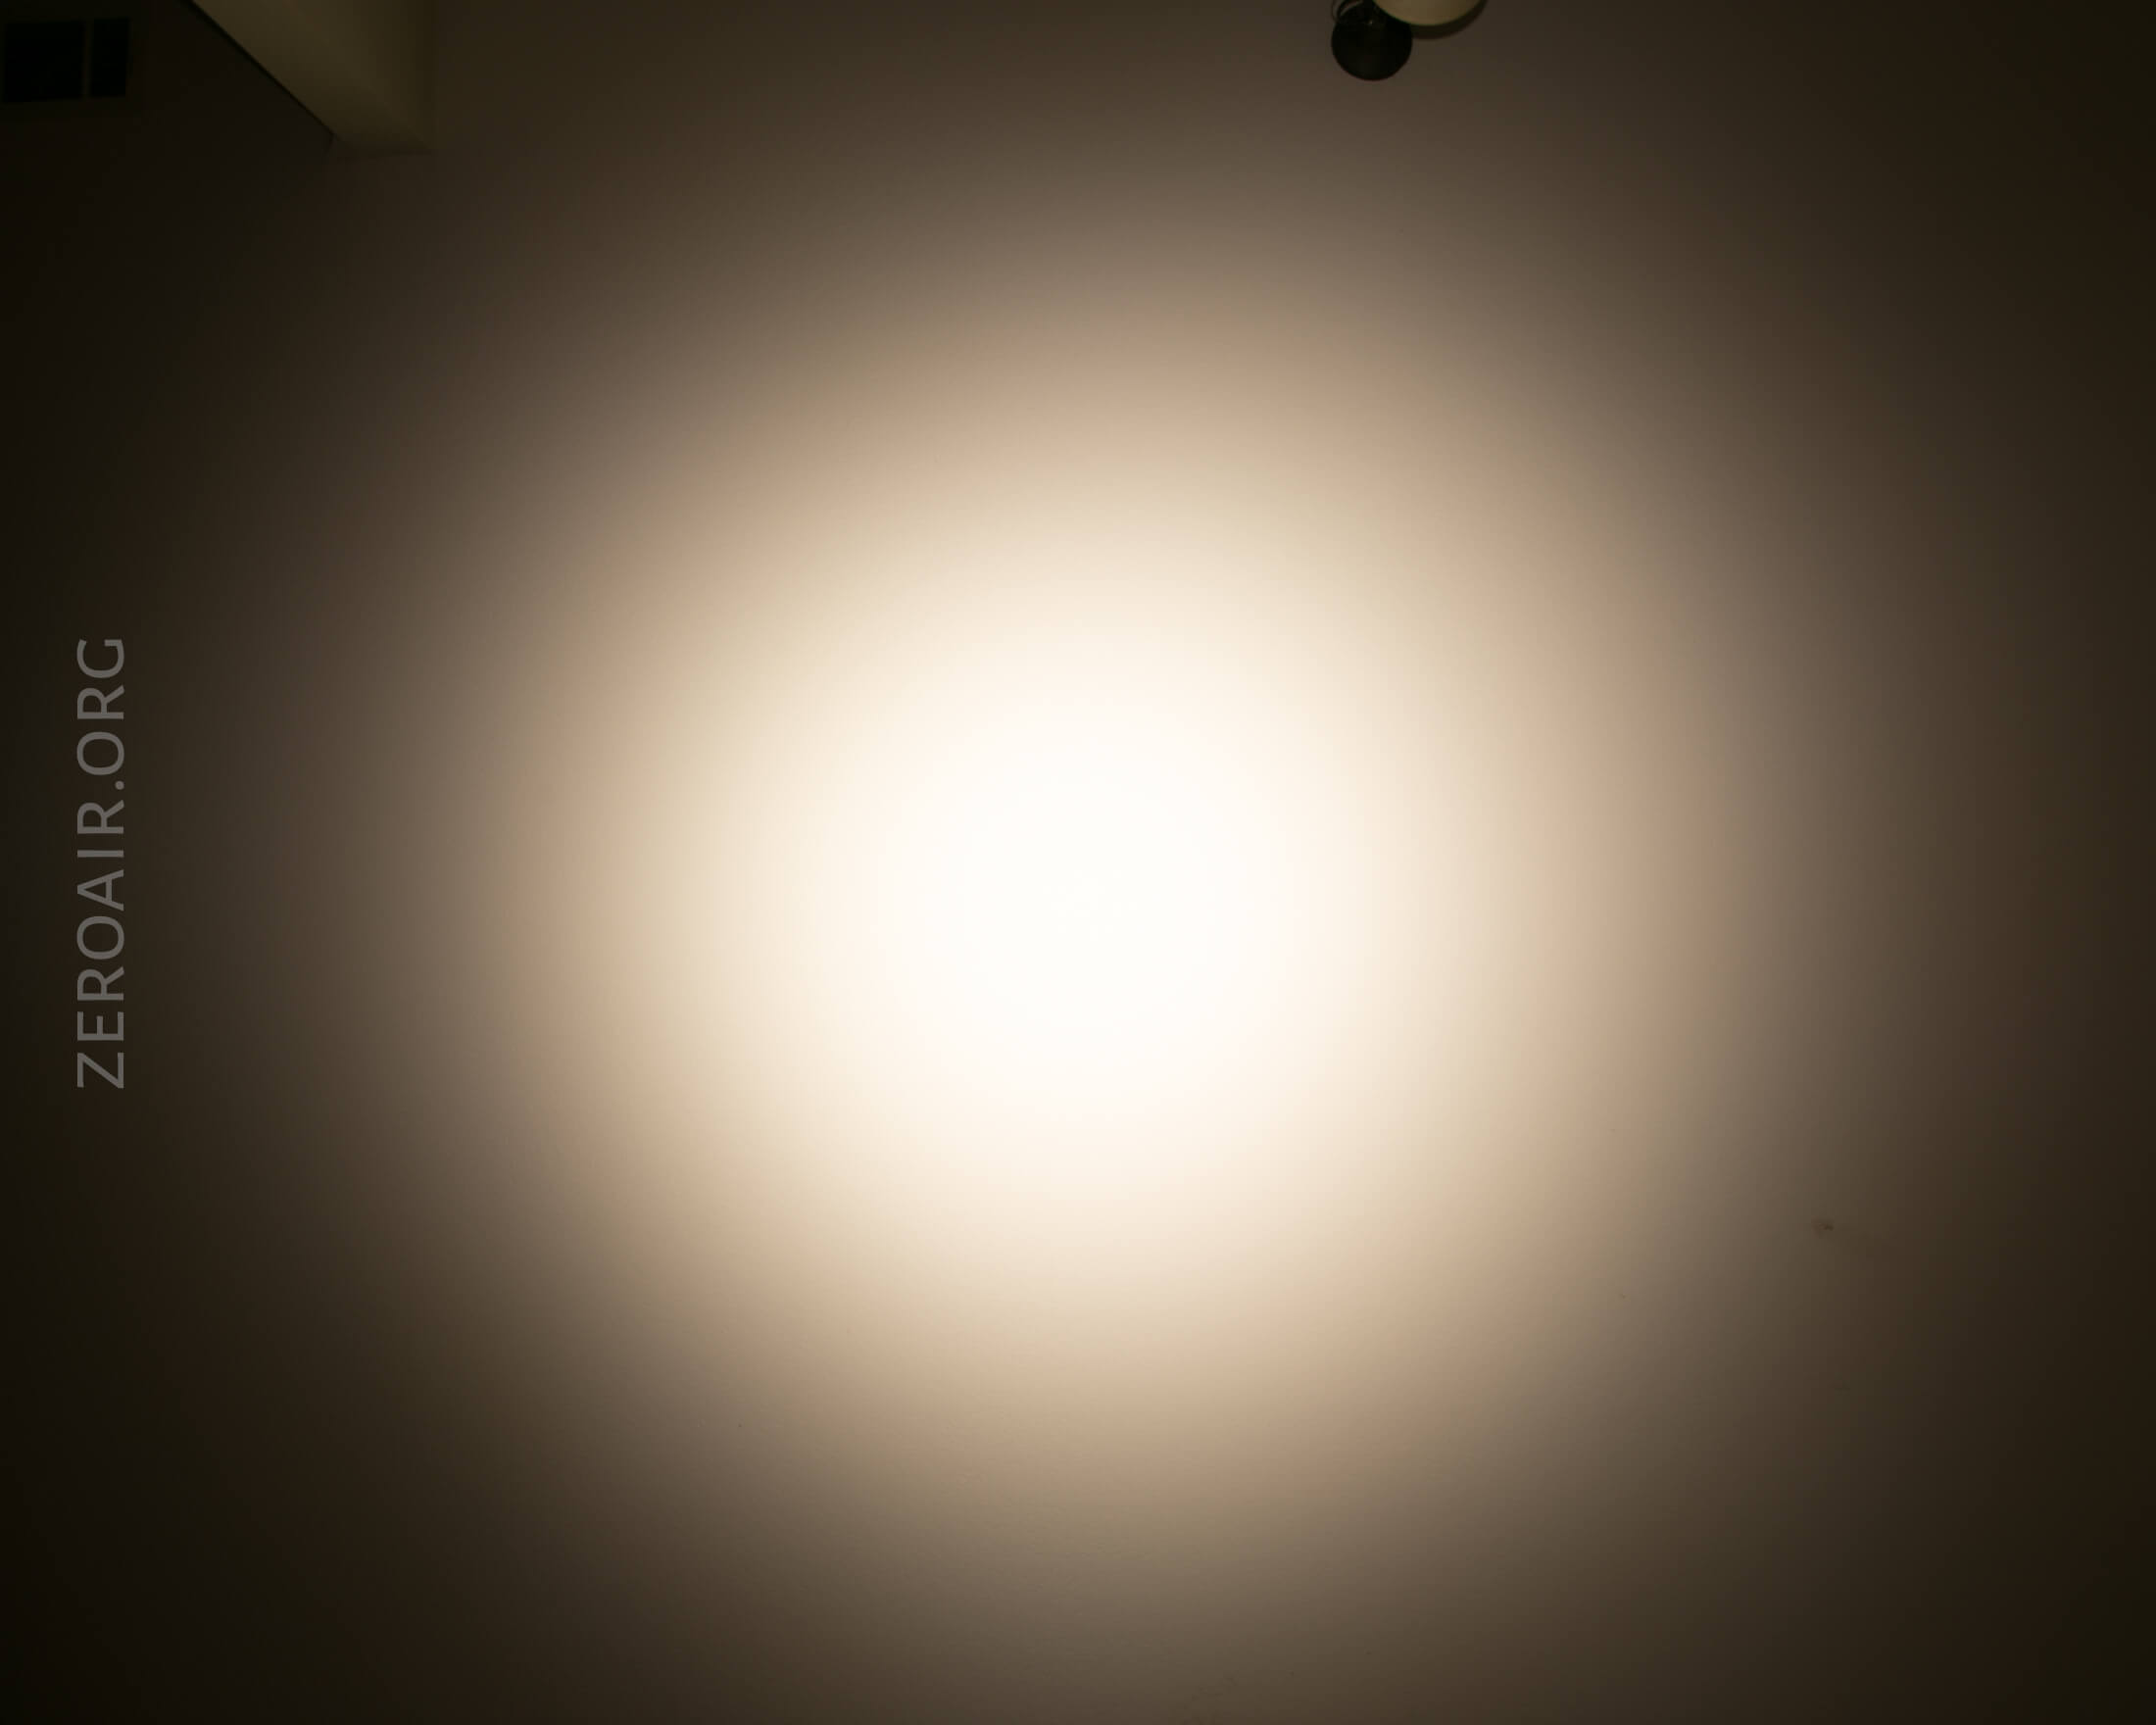
Beamshots
These beamshots always have the following settings: f8, ISO100, 0.3s shutter, and manual 5000K exposure. These photos are taken at floor level, and the beam hits the ceiling around 9 feet away.
These are just kind of random outputs along the ramp-up. There are no predefined outputs, no discrete steps to hit.


Tint vs BLF-348 (KillzoneFlashlights.com 219b version) (affiliate link)
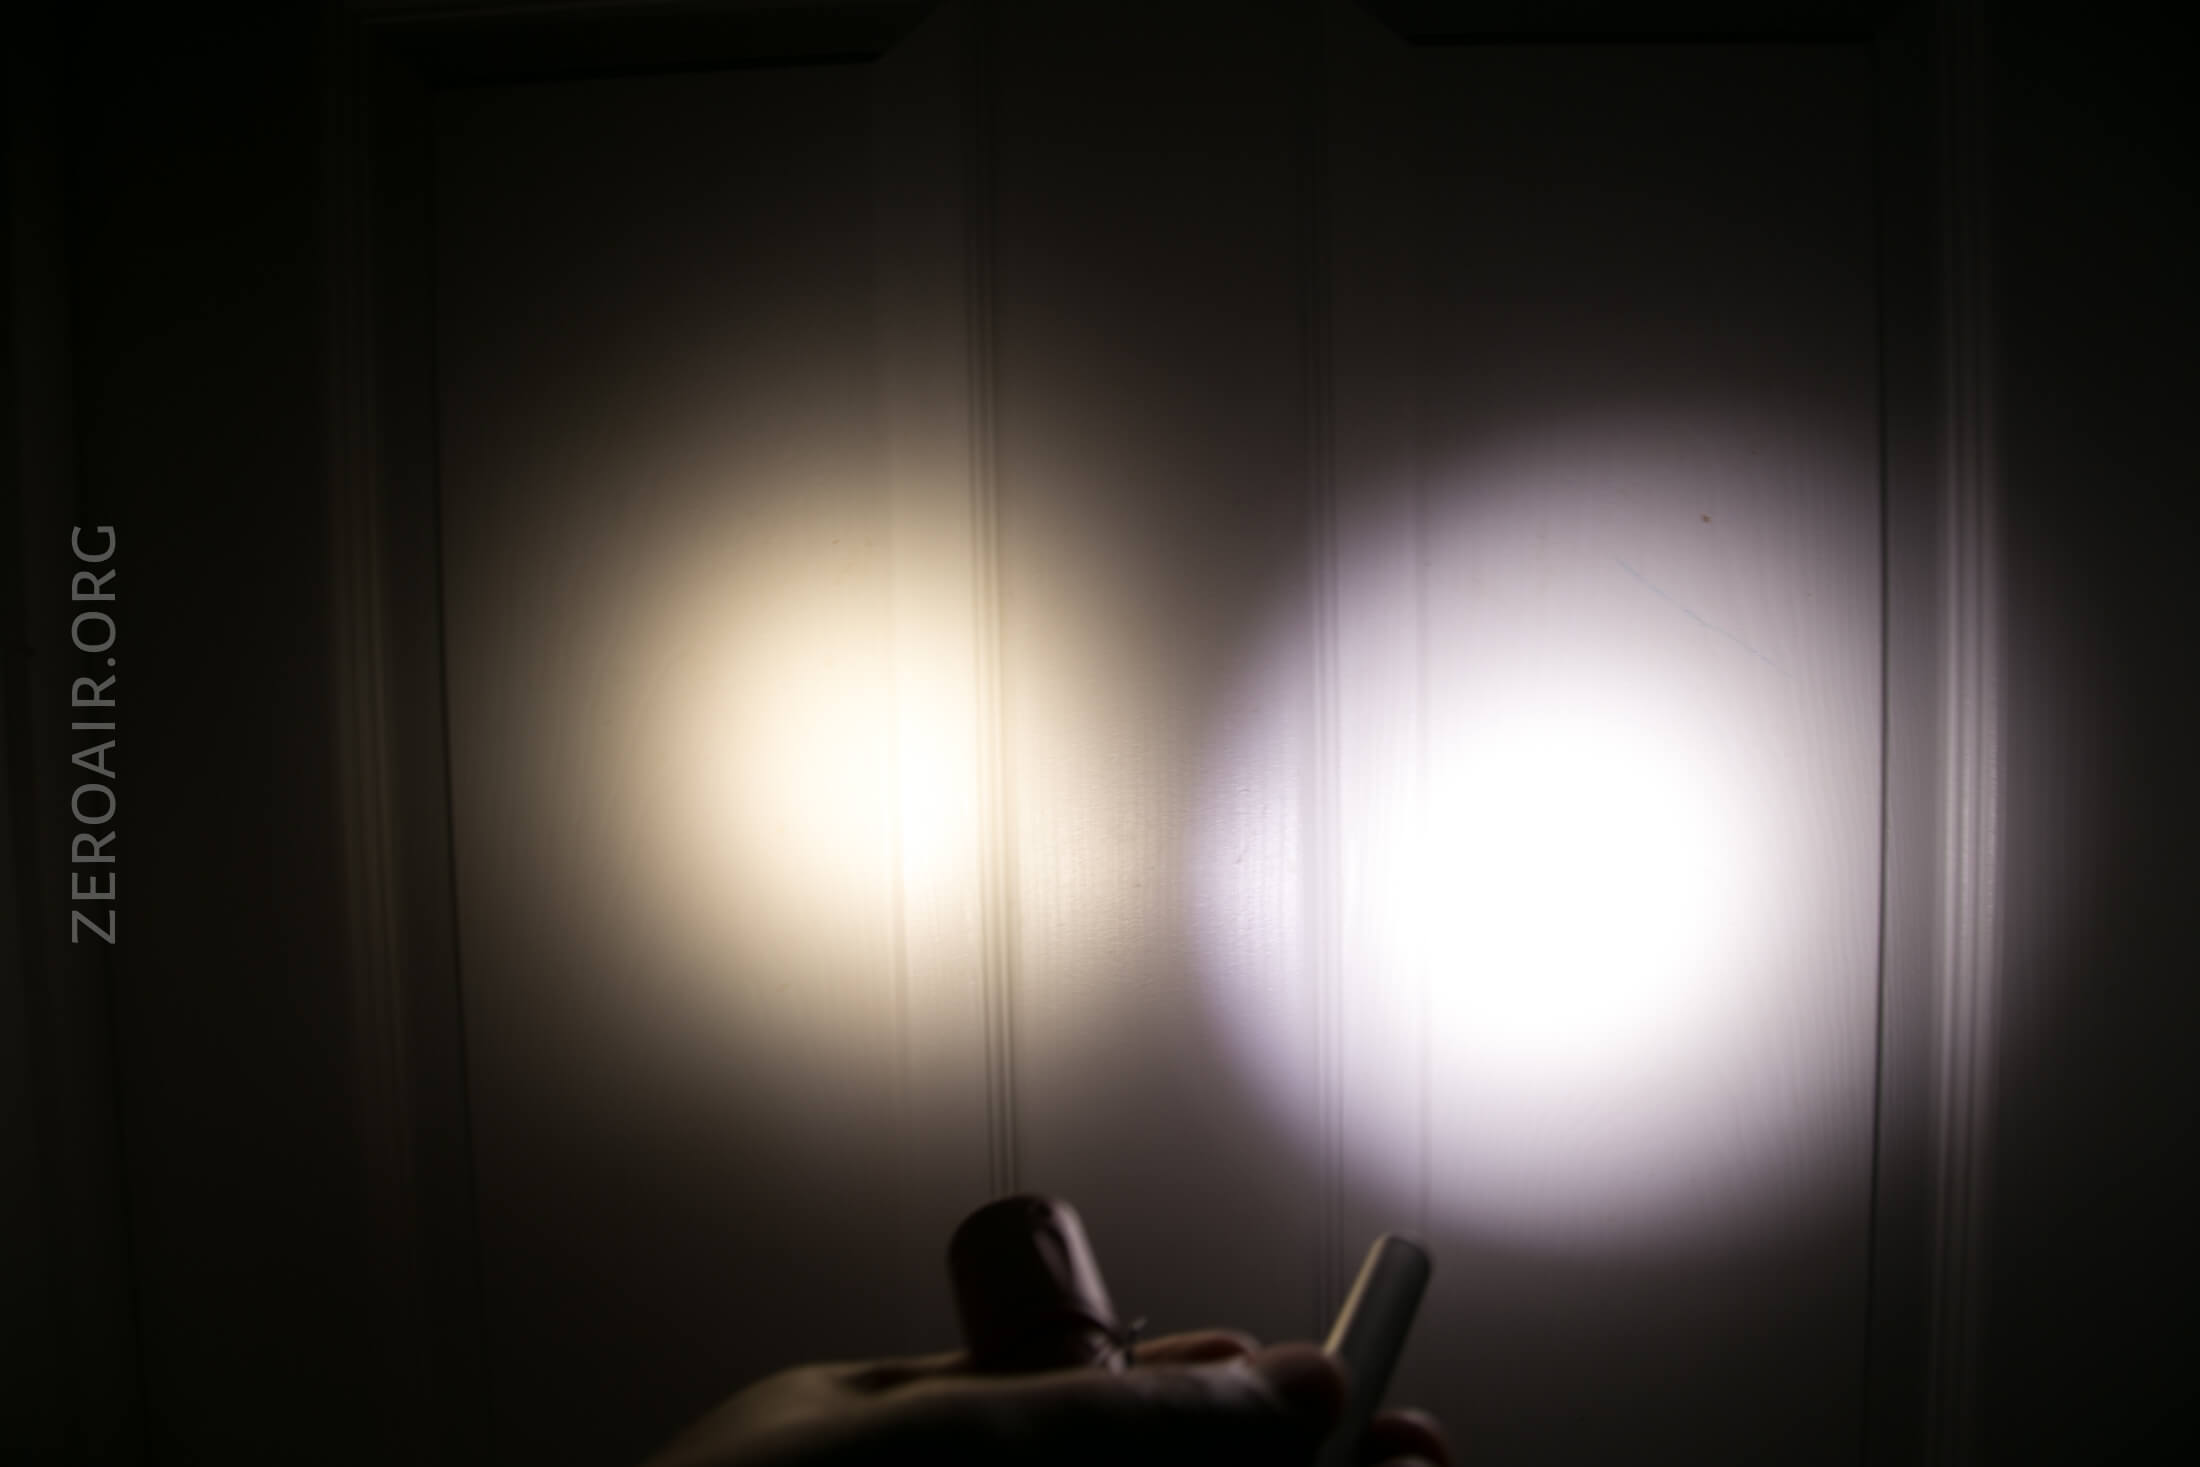
I compare everything to the Killzone 219b BLF-348 because it’s inexpensive and has the best tint!
Conclusion
What I like
- Size is great – much smaller than I expected
- The coating, despite it being a bit chippy?
What I don’t like
- The bezel is too thick. I want a much bigger optic reveal.
- This light is stainless, and so is much too heavy. Aluminum in this light would be great.
Notes
- This light was provided by me for review. I was not paid to write this review.
- This content originally appeared at zeroair.org. Please visit there for the best experience!
- Use my amazon.com referral link if you’re willing to help support making more reviews like this one!
- Please support me on Patreon! I deeply appreciate your support!
Discover more from ZeroAir Reviews
Subscribe to get the latest posts sent to your email.