RovyVon A29 Brass Flashlight Review
Here’s the RovyVon A29 Brass Flashlight. This keychain flashlight has a great user interface and a nice feature set. Read on!
Official Specs and Features
Here’s a link to the RovyVon A29 Brass Flashlight product page.
Versions
The A29 is a brass version of this series. There’s a bunch of other bodies, but let’s focus on the A29. There’s just one version! One body metal, one emitter option. Brass and Nichia 219c. You do end up with some options, though, since you can pick which color tritium is installed – or no tritium (which is what I bought).
Price
These go for $79.95 without tritium. Tritium adds $30, for a total of $109.95. And it’s available on Amazon! (That’s a referral link, too.)
Short Review
As stated above. I really like this series. Since I’ve now handled three from the series, I can say I’m a bit frustrated at times by the differences in user interface – I wish they’d settled on something, then released the light, or at least done something that makes sense. Otherwise, I love the light!
Long Review
The Big Table
| RovyVon A29 | |
|---|---|
| Emitter: | Nichia 219c (90+CRI) |
| Price in USD at publication time: | $79.95 on Amazon |
| Cell: | Internal |
| Turbo Runtime | High Runtime |
| LVP? | Yes |
| Switch Type: | E-Switch |
| Quiescent Current (A): | ? |
| On-Board Charging? | Yes |
| Chargetime | |
| Power off Charge Port with no Cell? | All modes |
| Claimed Lumens (lm) | 700 |
| Measured Lumens (at 30s) | 586 (83.7% of claim)^ |
| Claimed Throw (m) | – |
| Candela (Calculated) in cd (at 30s) | 291lux @ 3.756m = 4105cd |
| Throw (Calculated) (m) | 128.1^ |
| All my RovyVon reviews! | |
^ Measurement disclaimer: Testing flashlights is my hobby. I use hobbyist-level equipment for testing, including some I made myself. Try not to get buried in the details of manufacturer specifications versus measurements recorded here; A certain amount of difference (say, 10 or 15%) is perfectly reasonable.
What’s Included
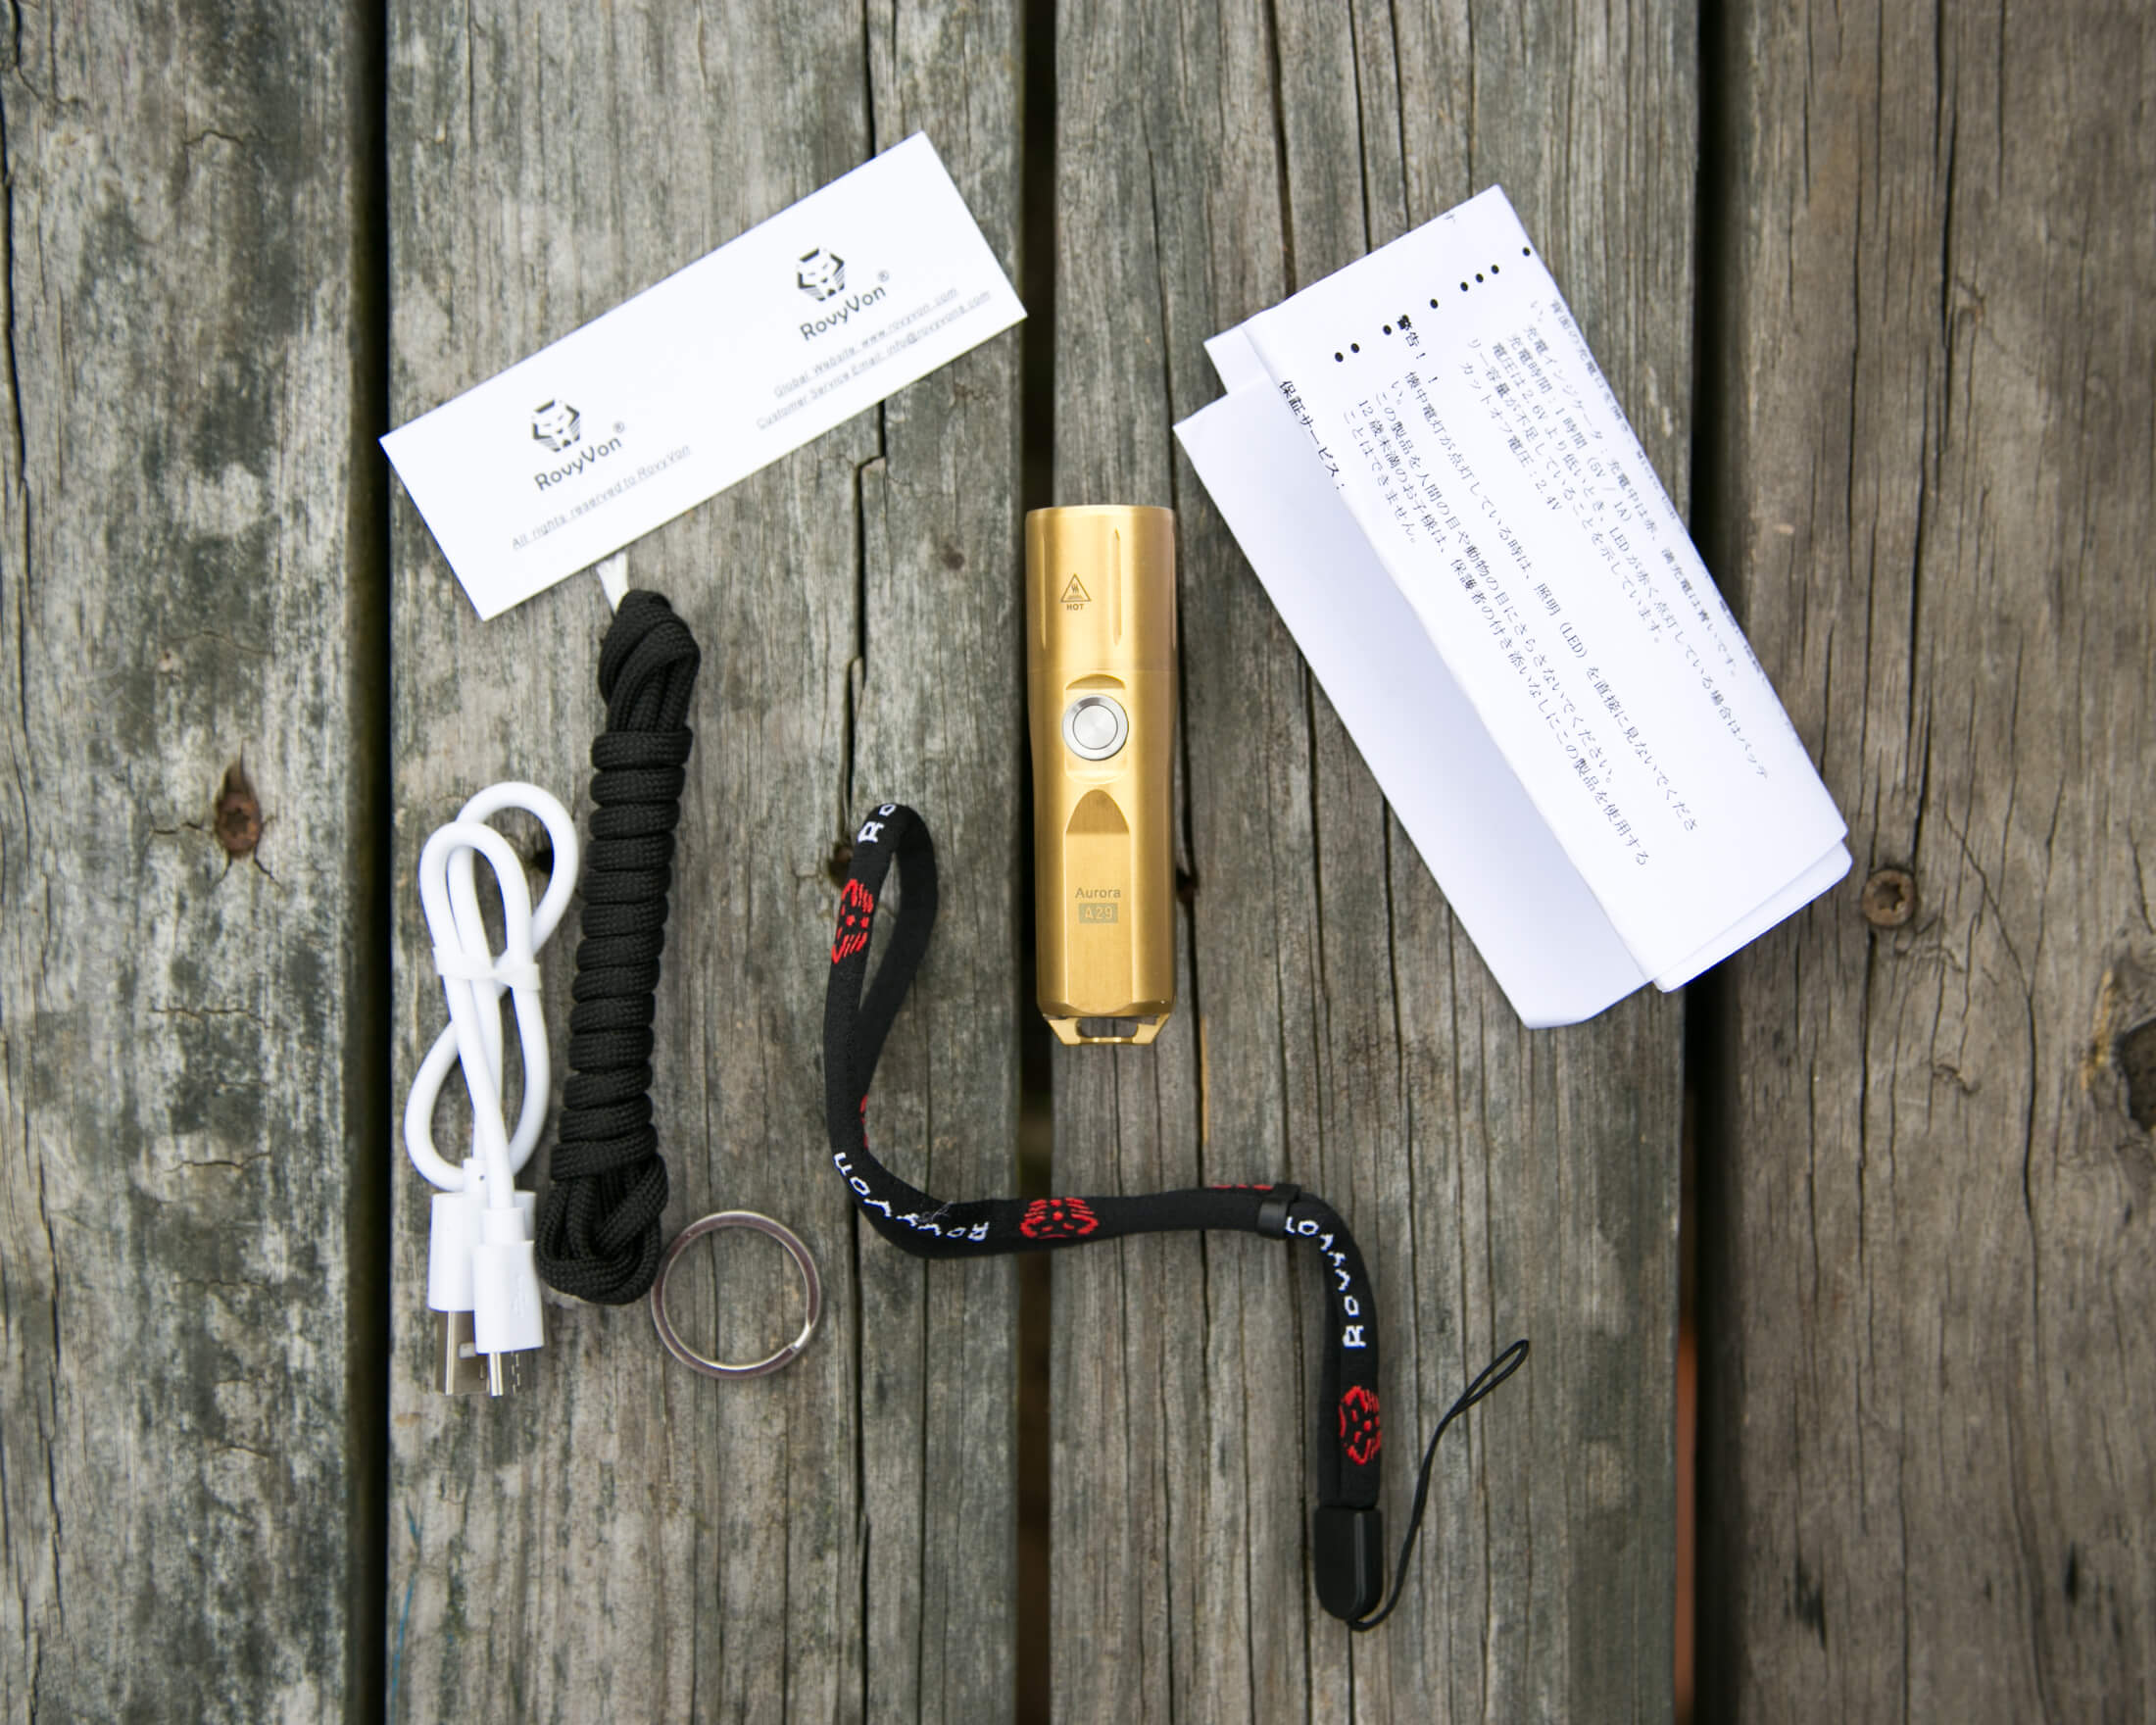
- RovyVon A29 Brass Flashlight
- Lanyard
- Split Ring
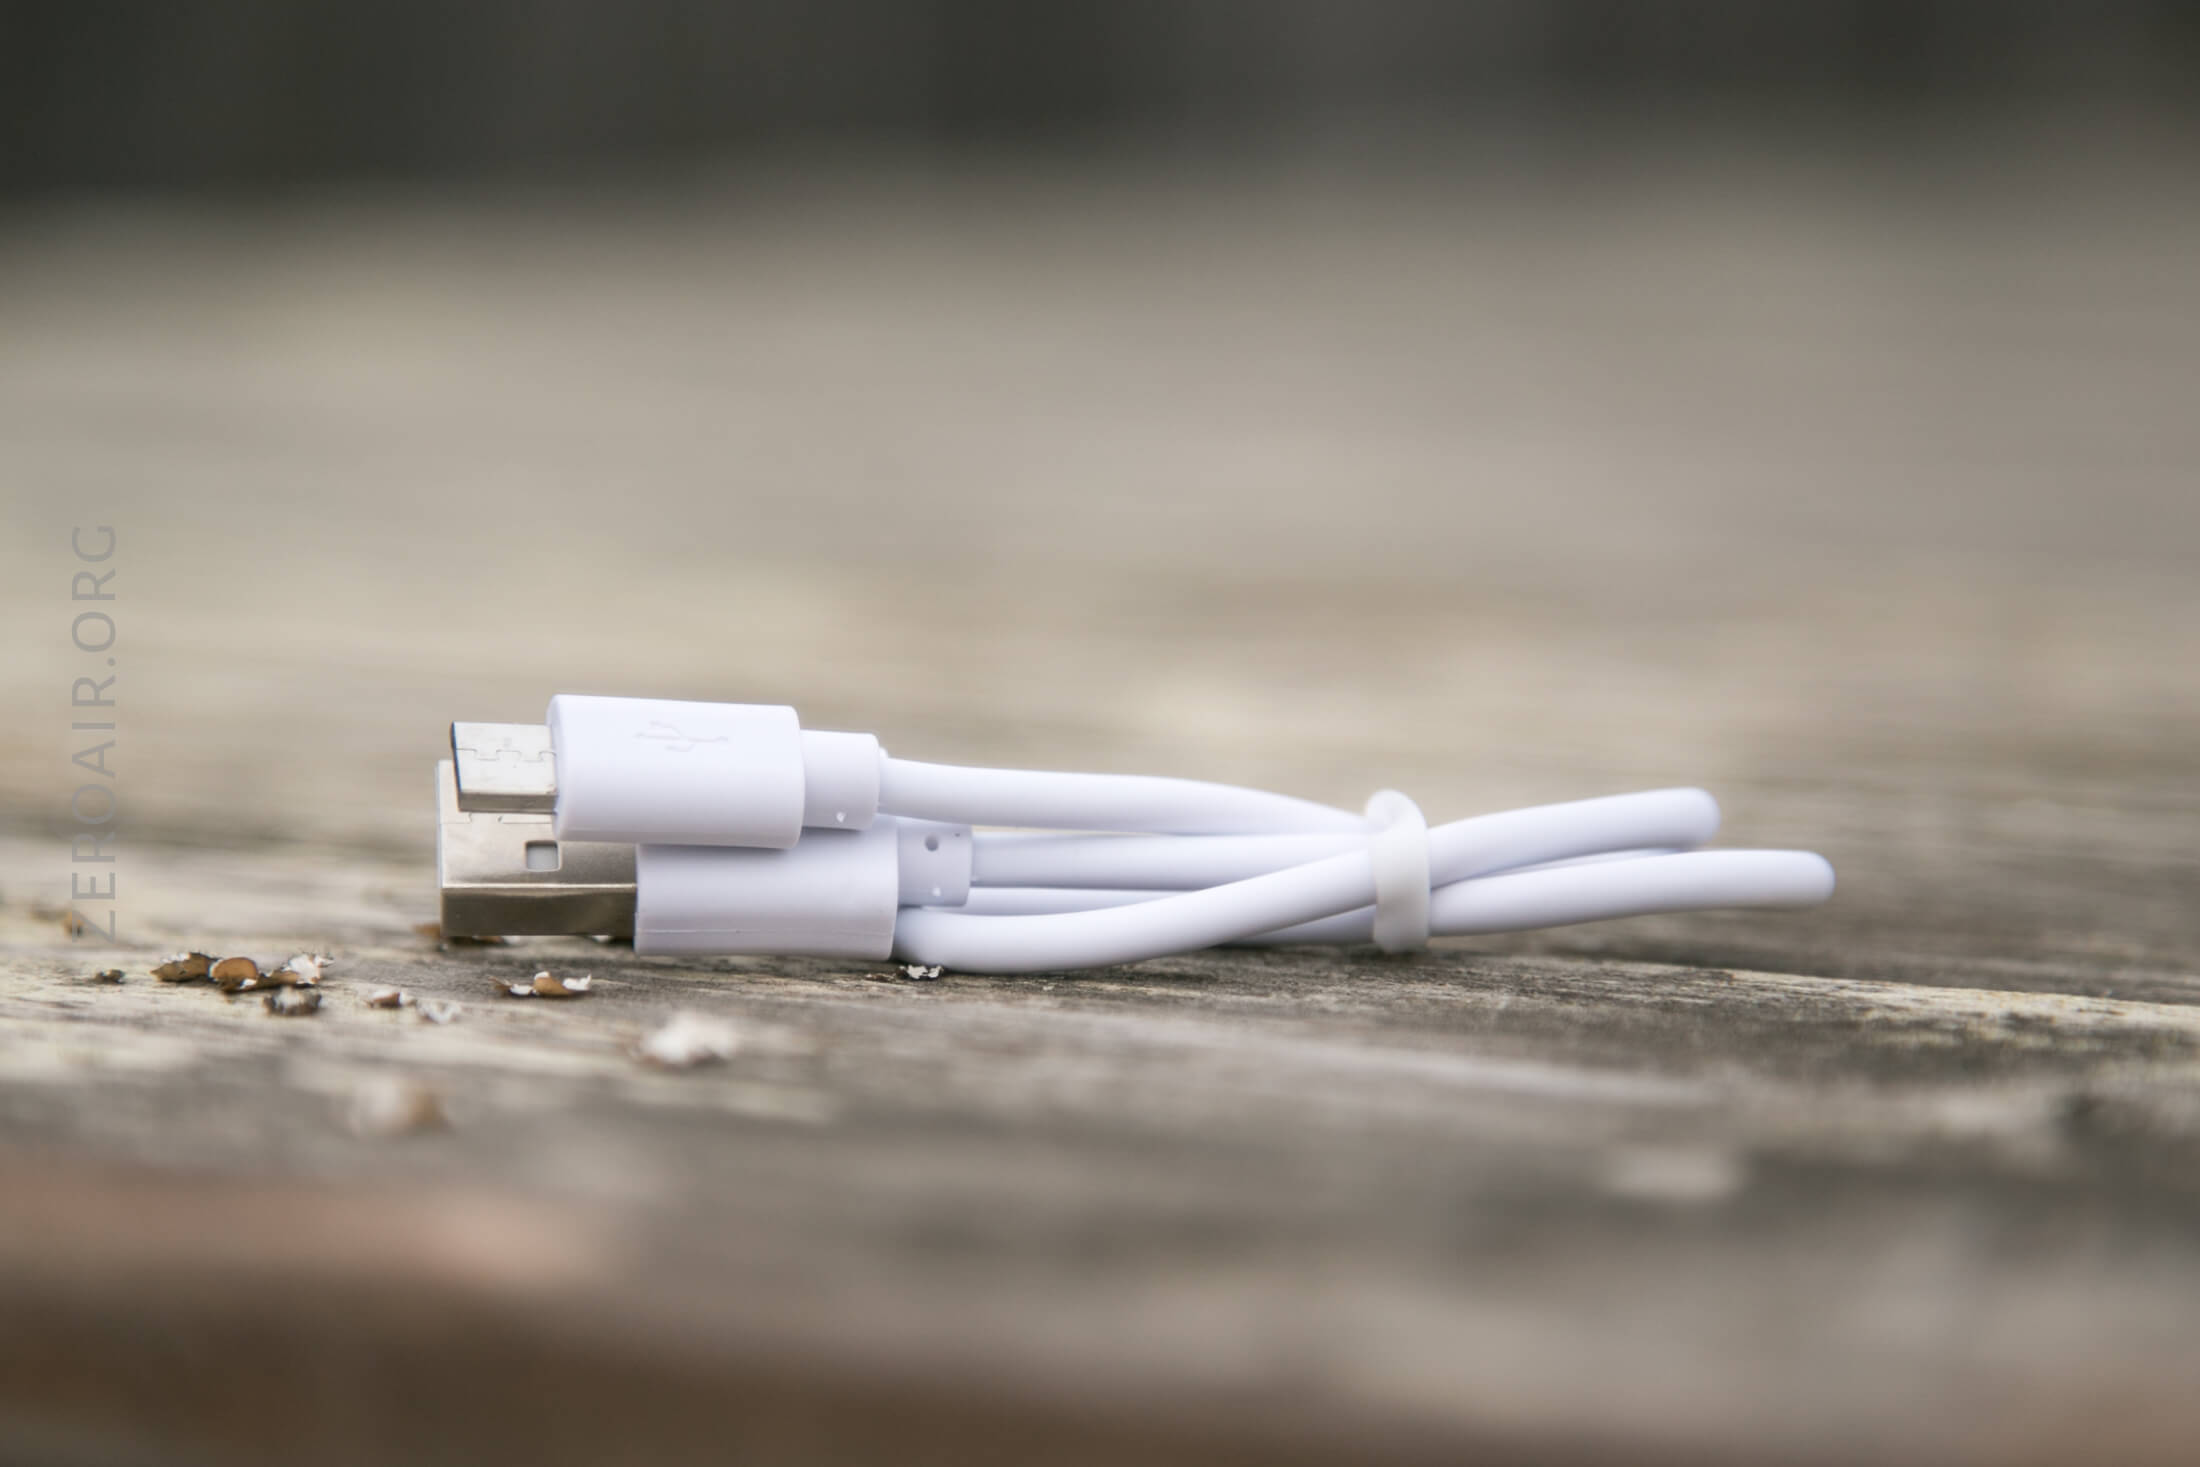
- Charge cable (USB to micro-USB)
- Paracord
- Manual etc
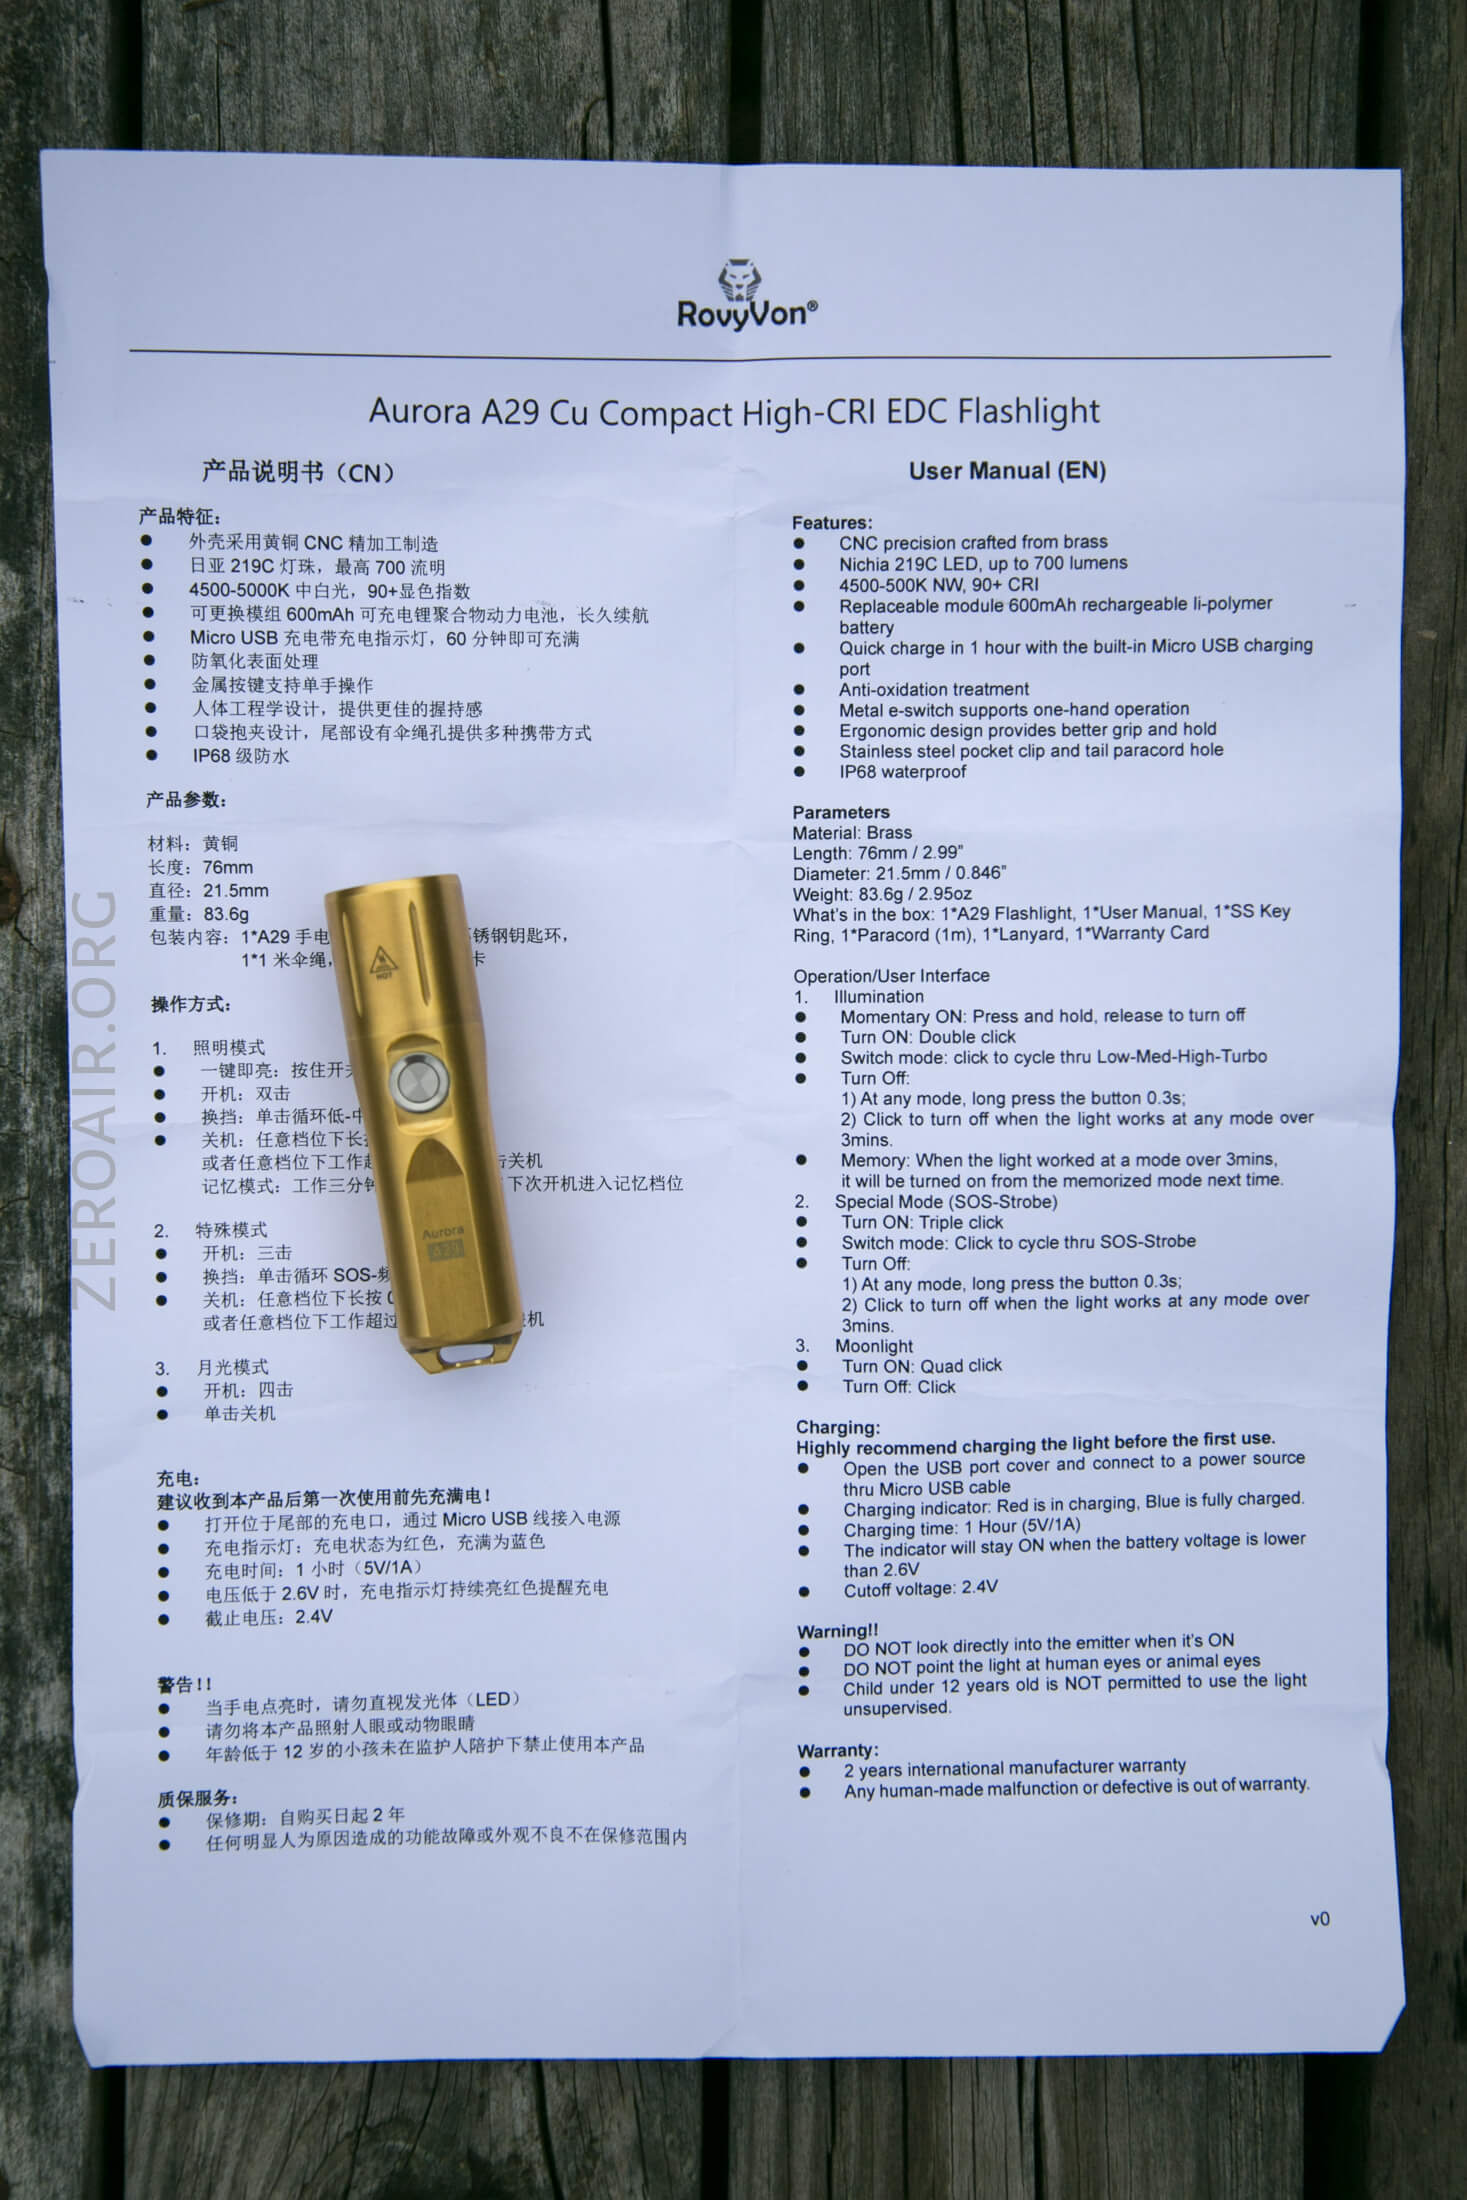
Package and Manual
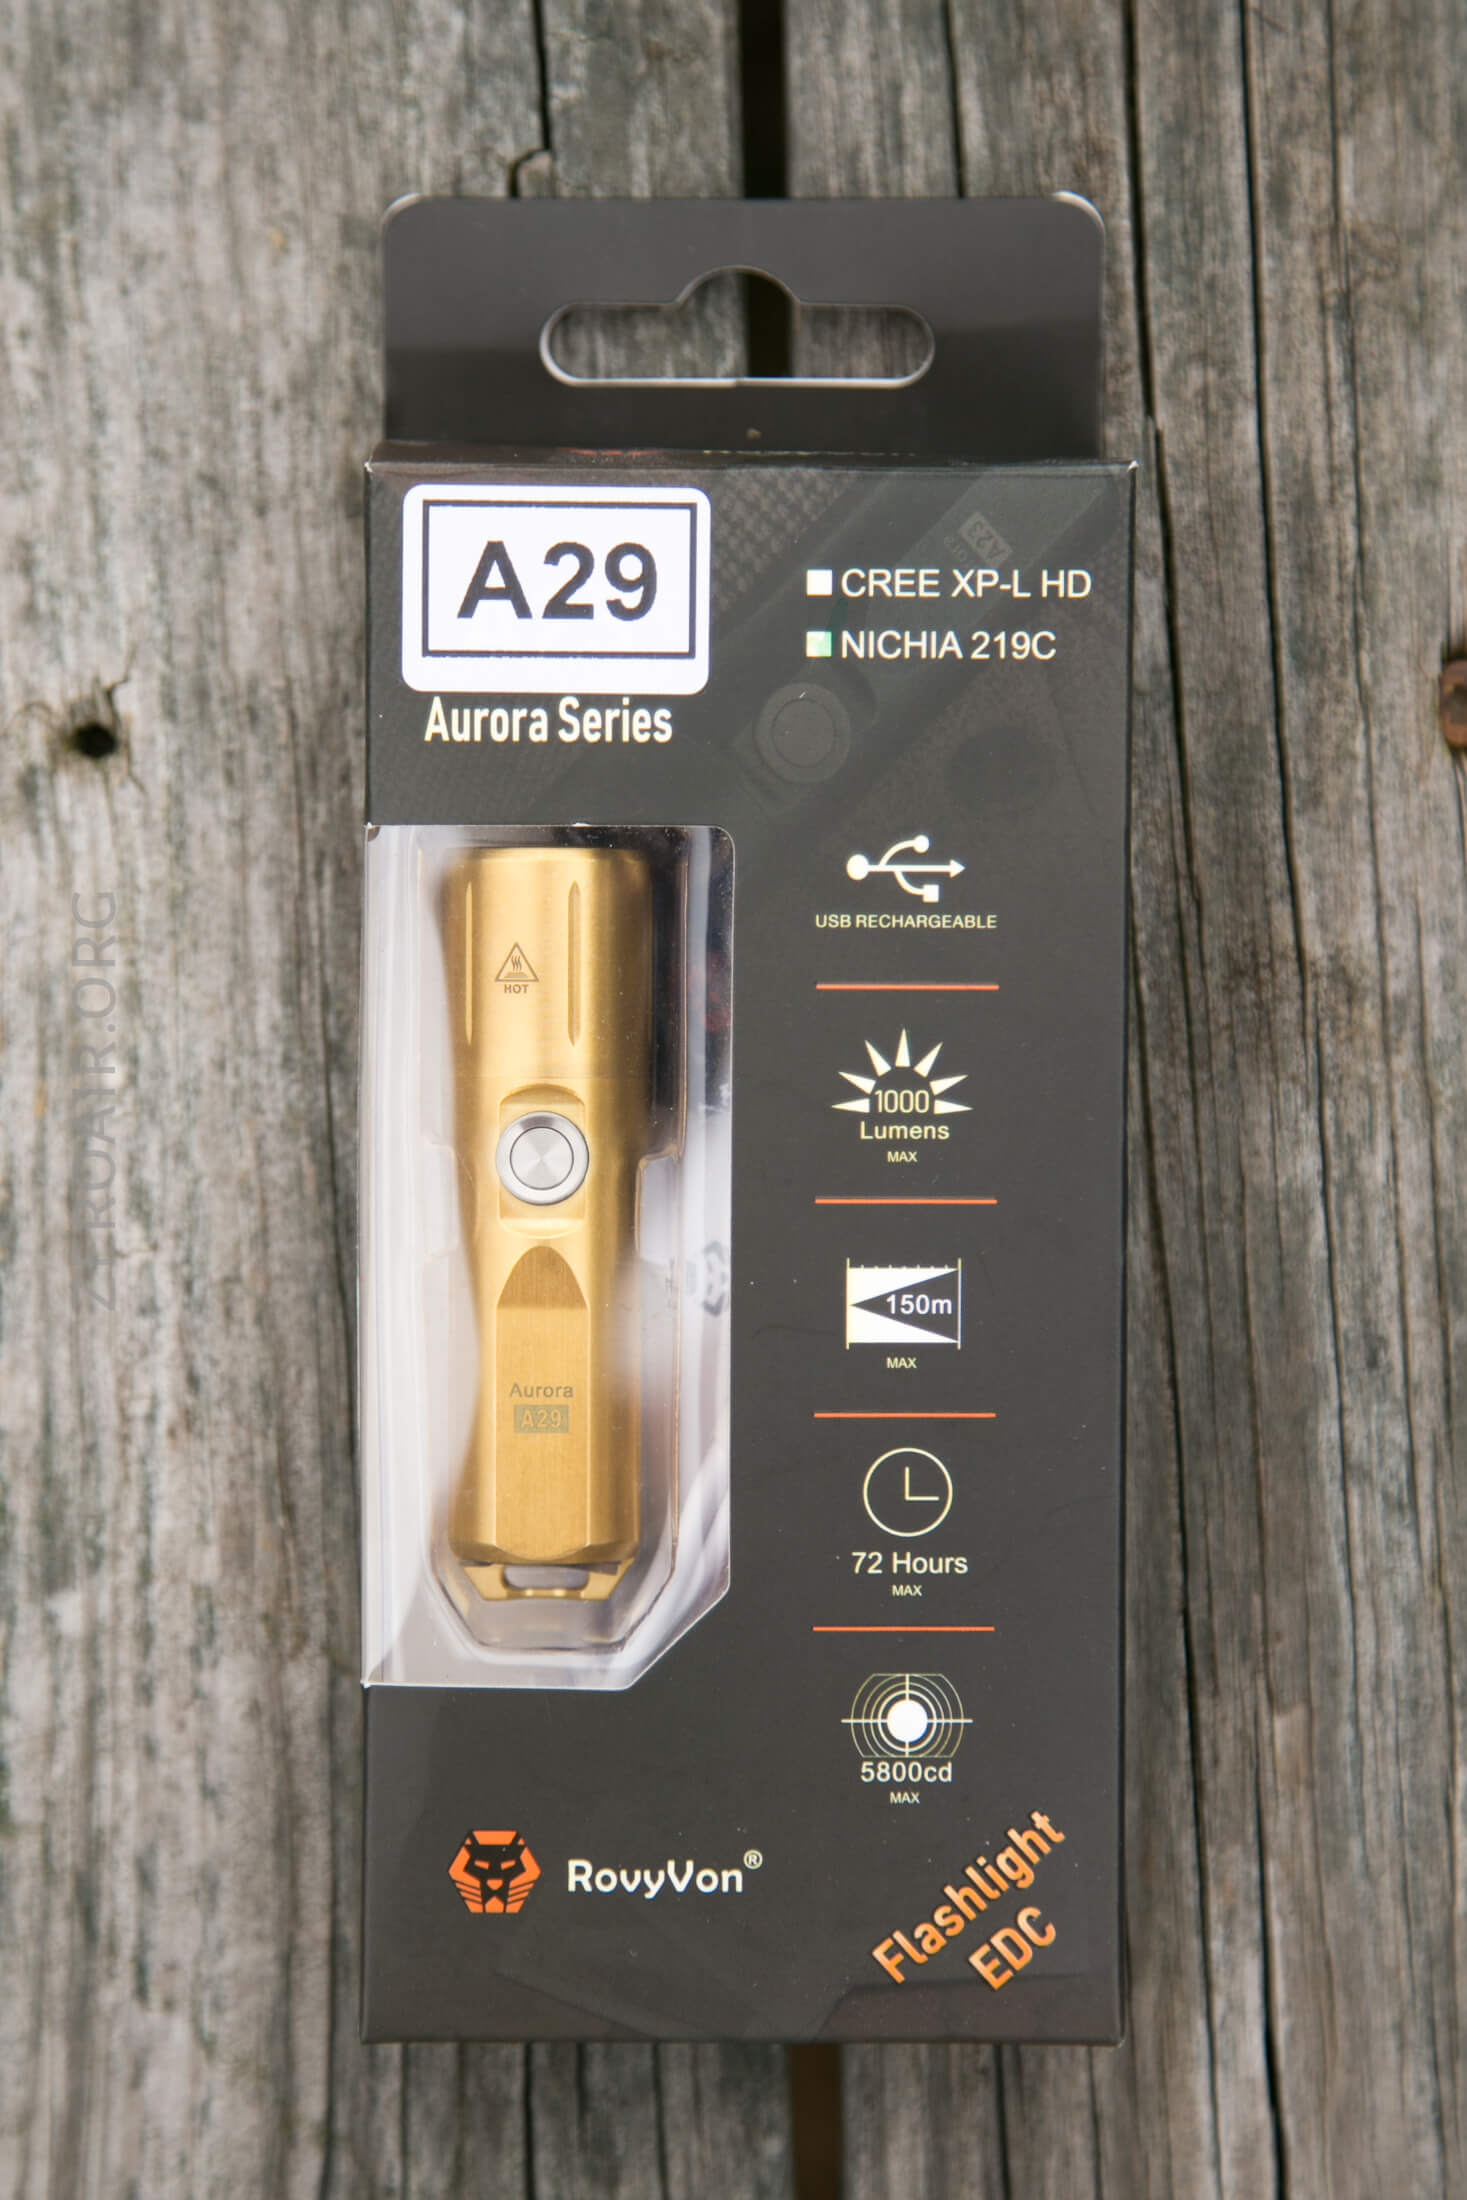
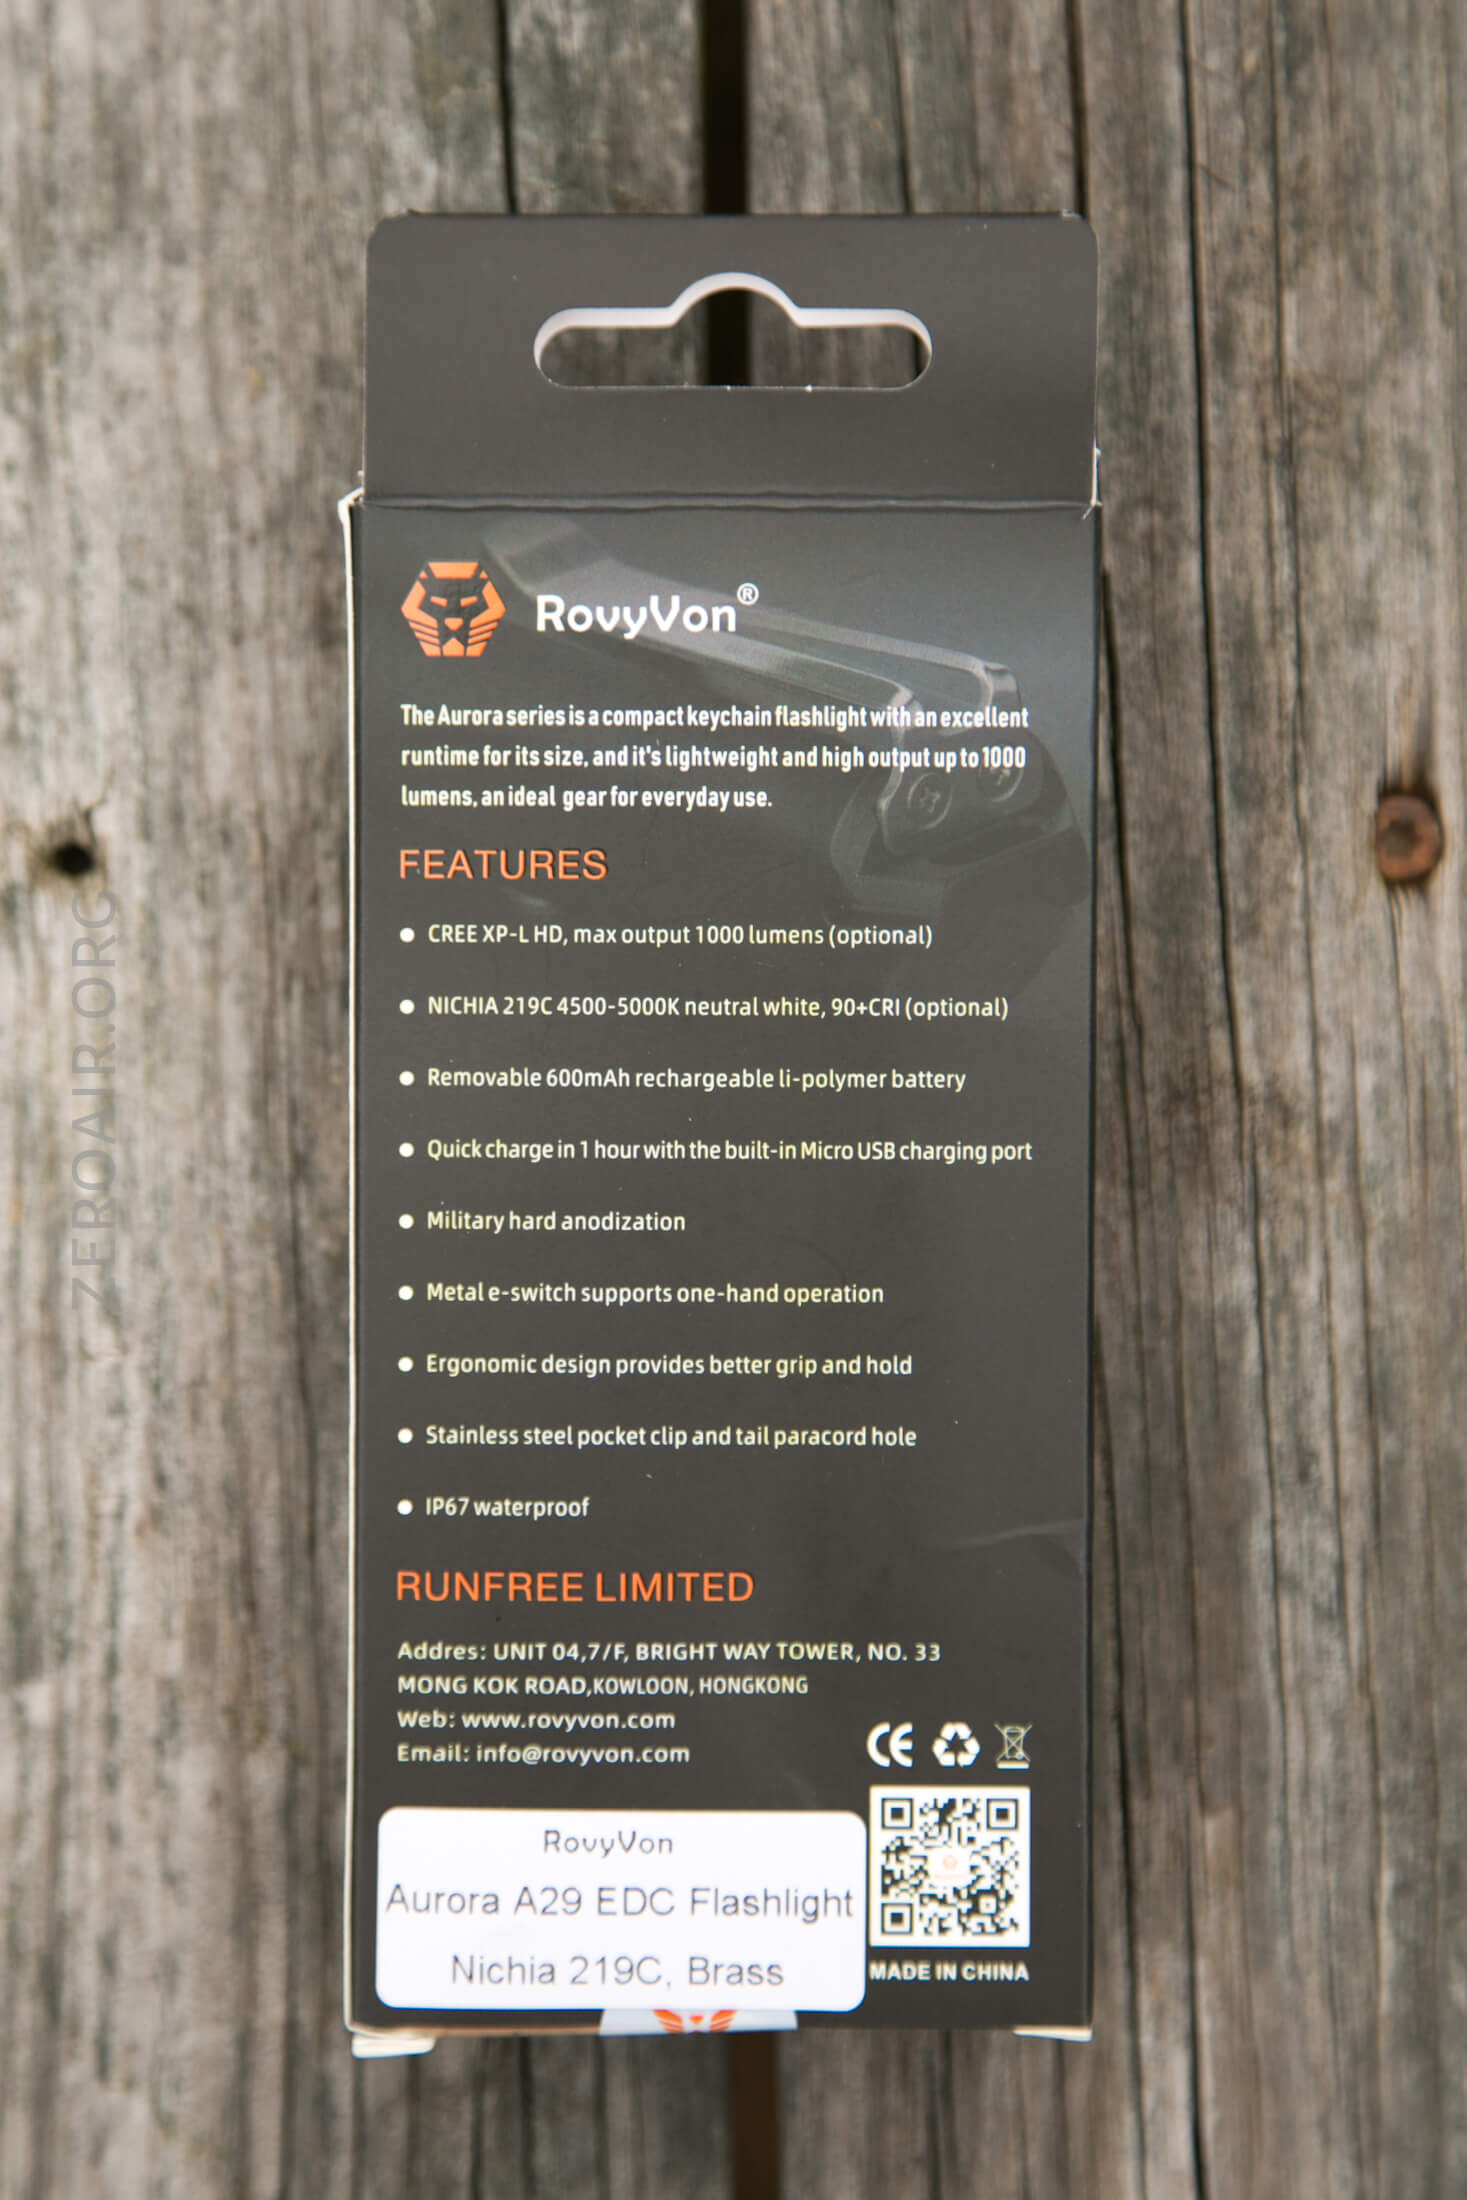
Typical RovyVon package and manual.

Build Quality and Disassembly
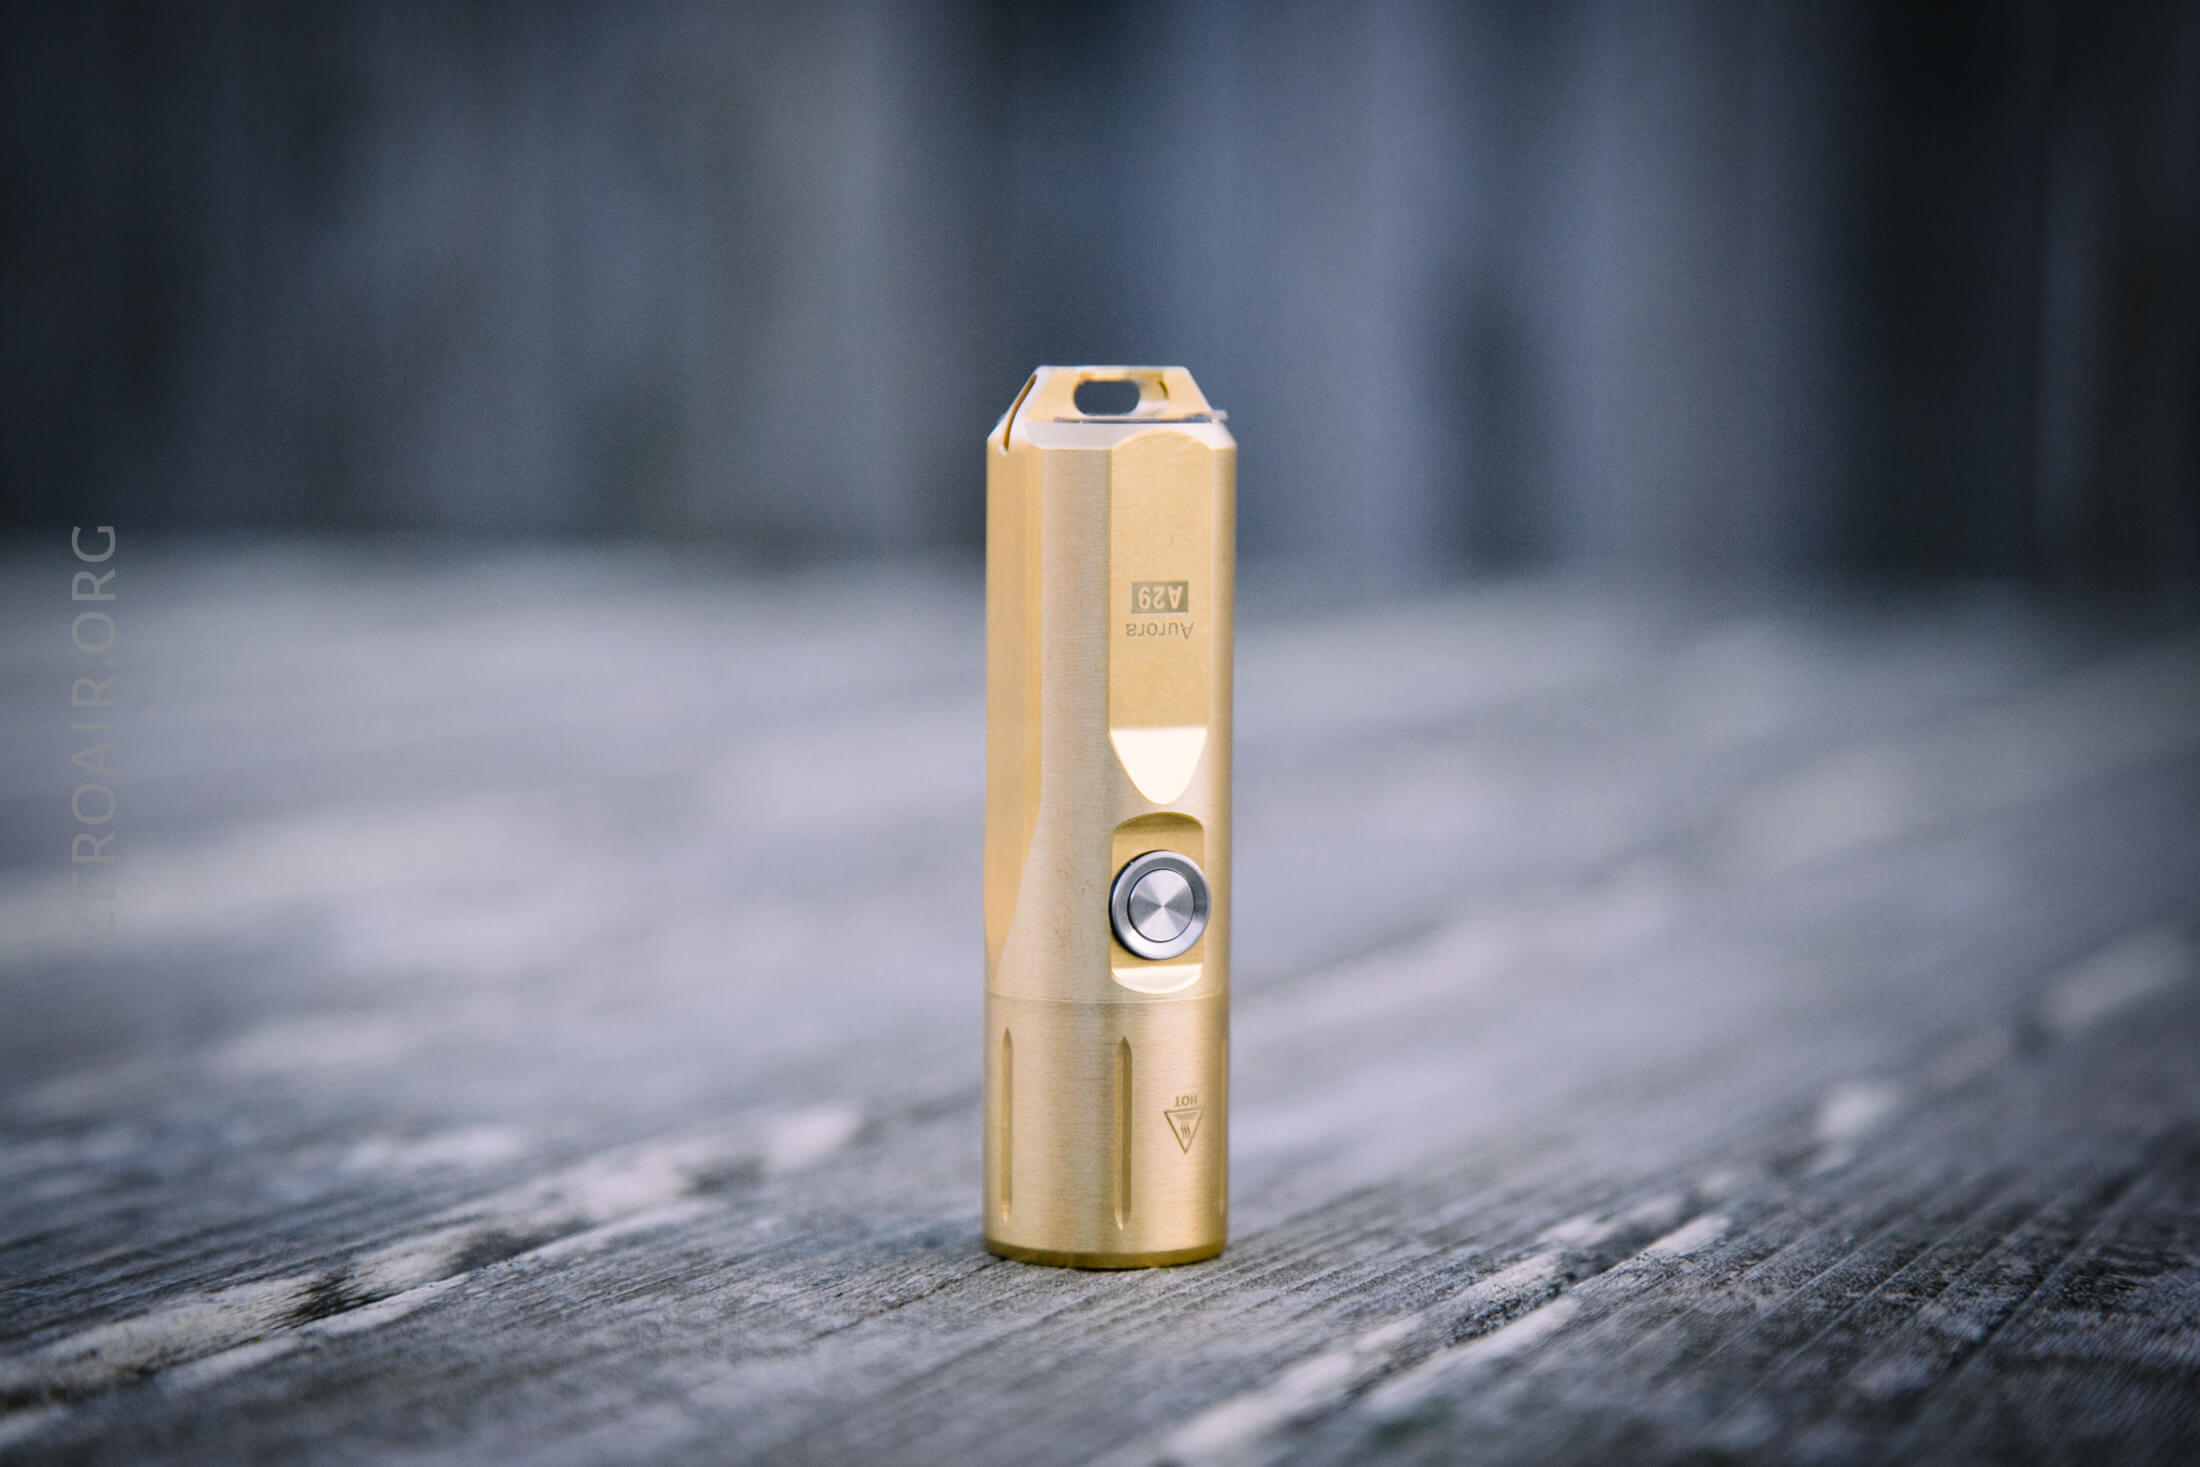
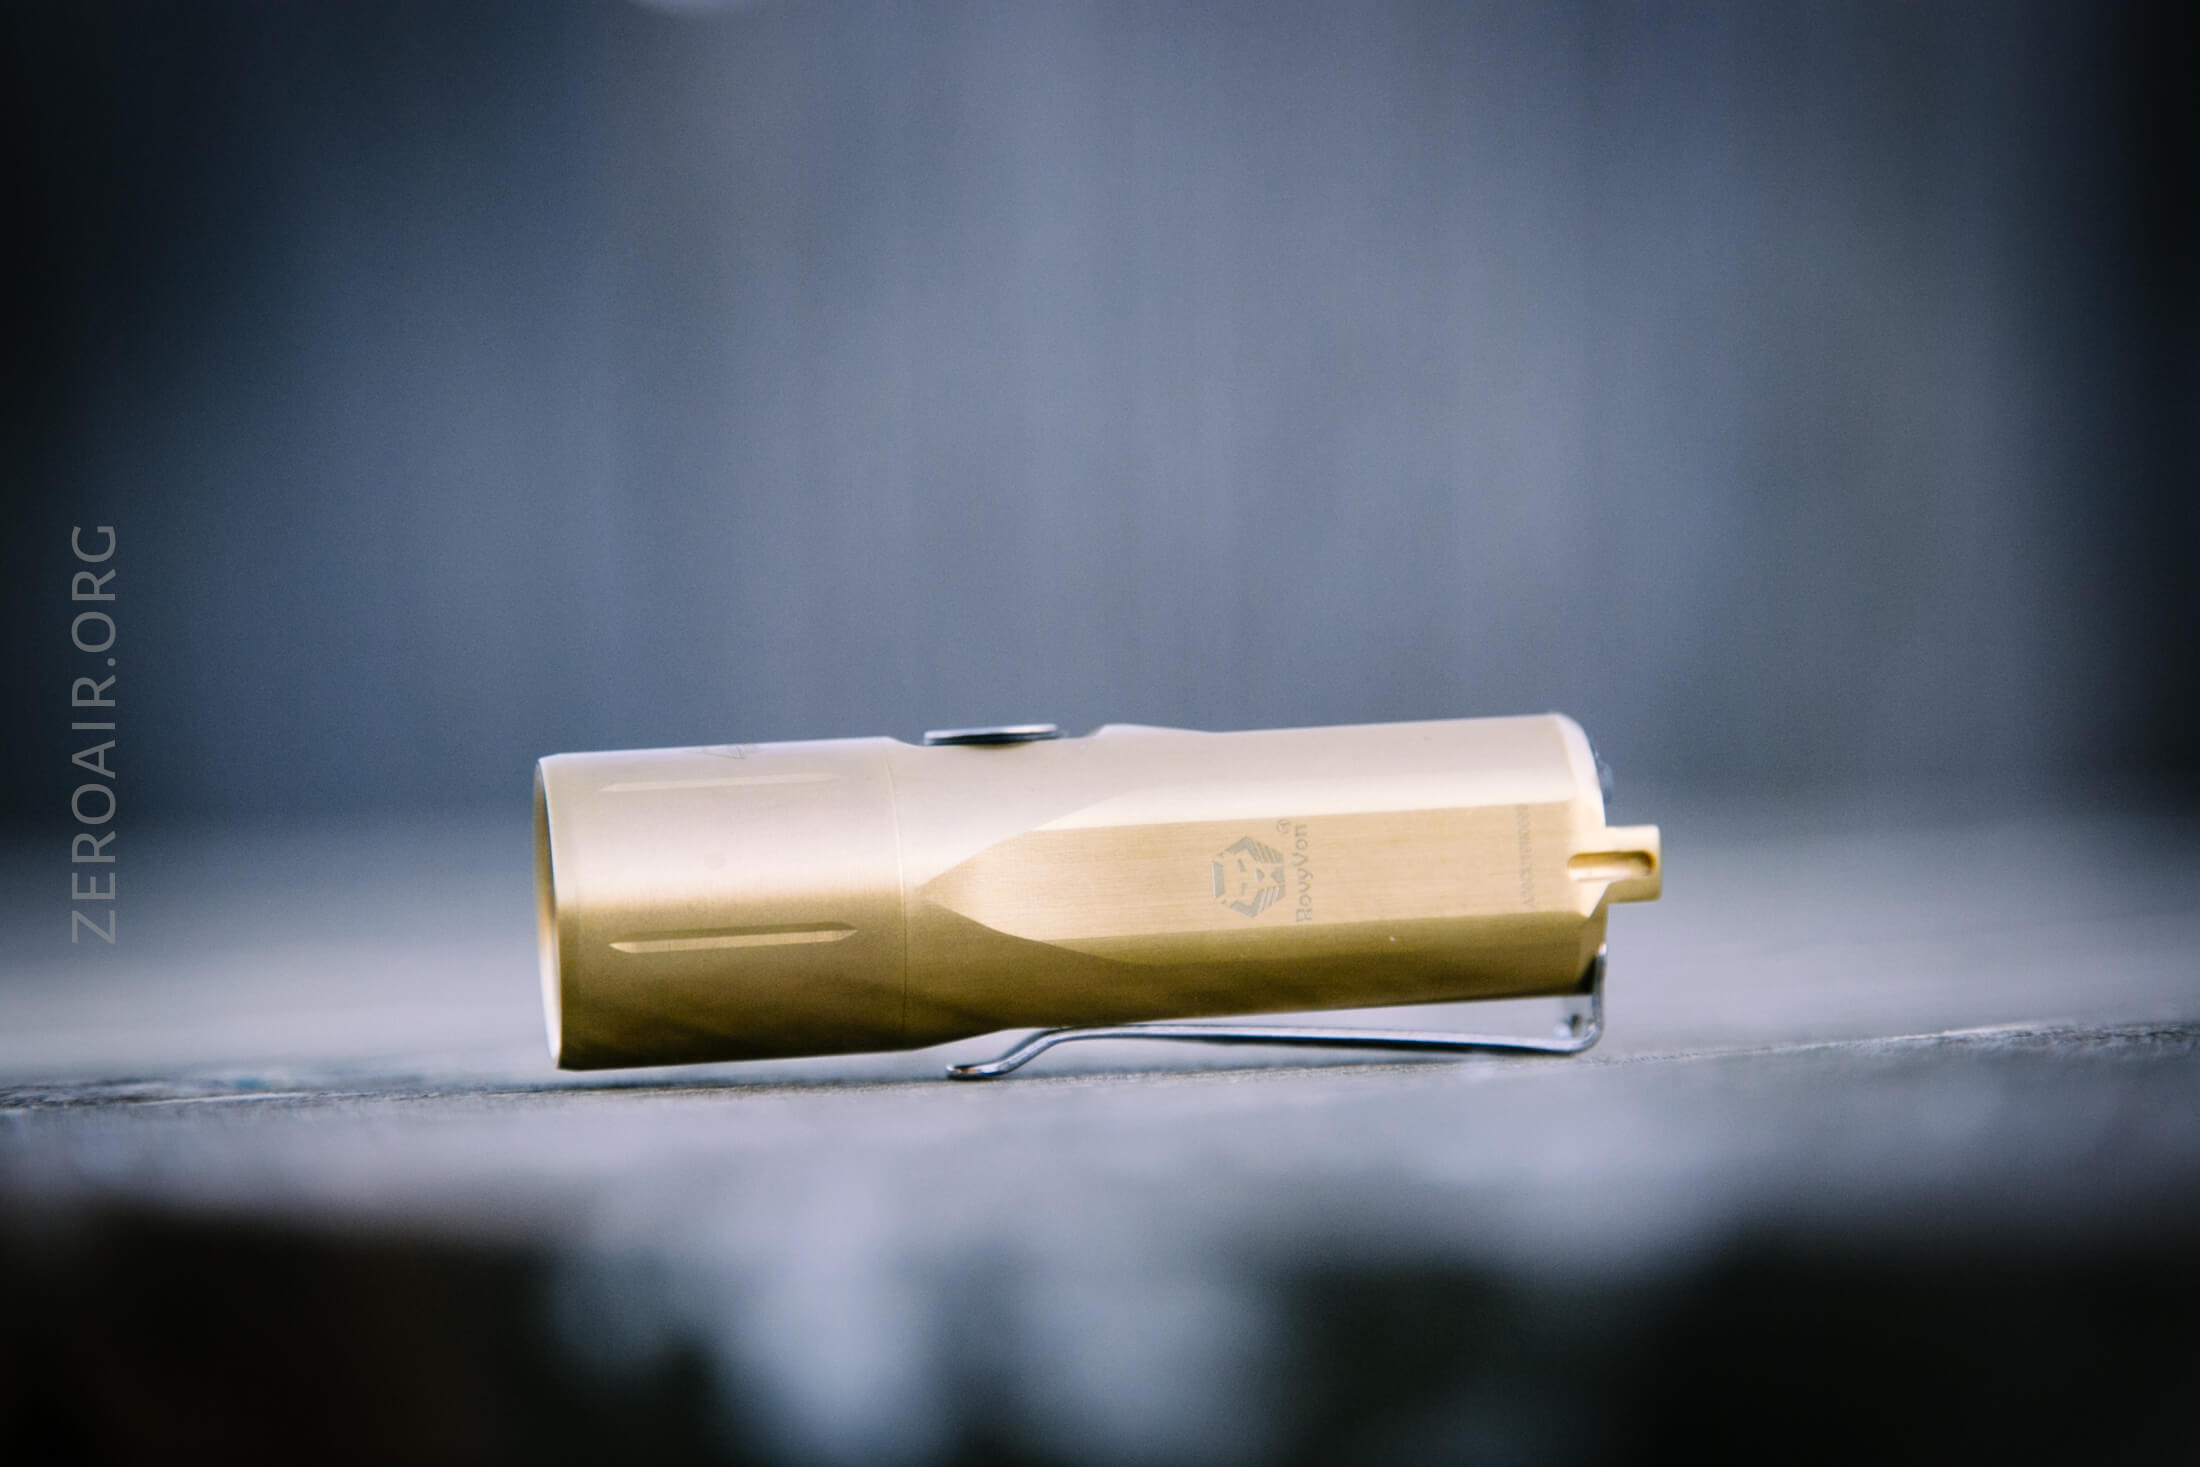
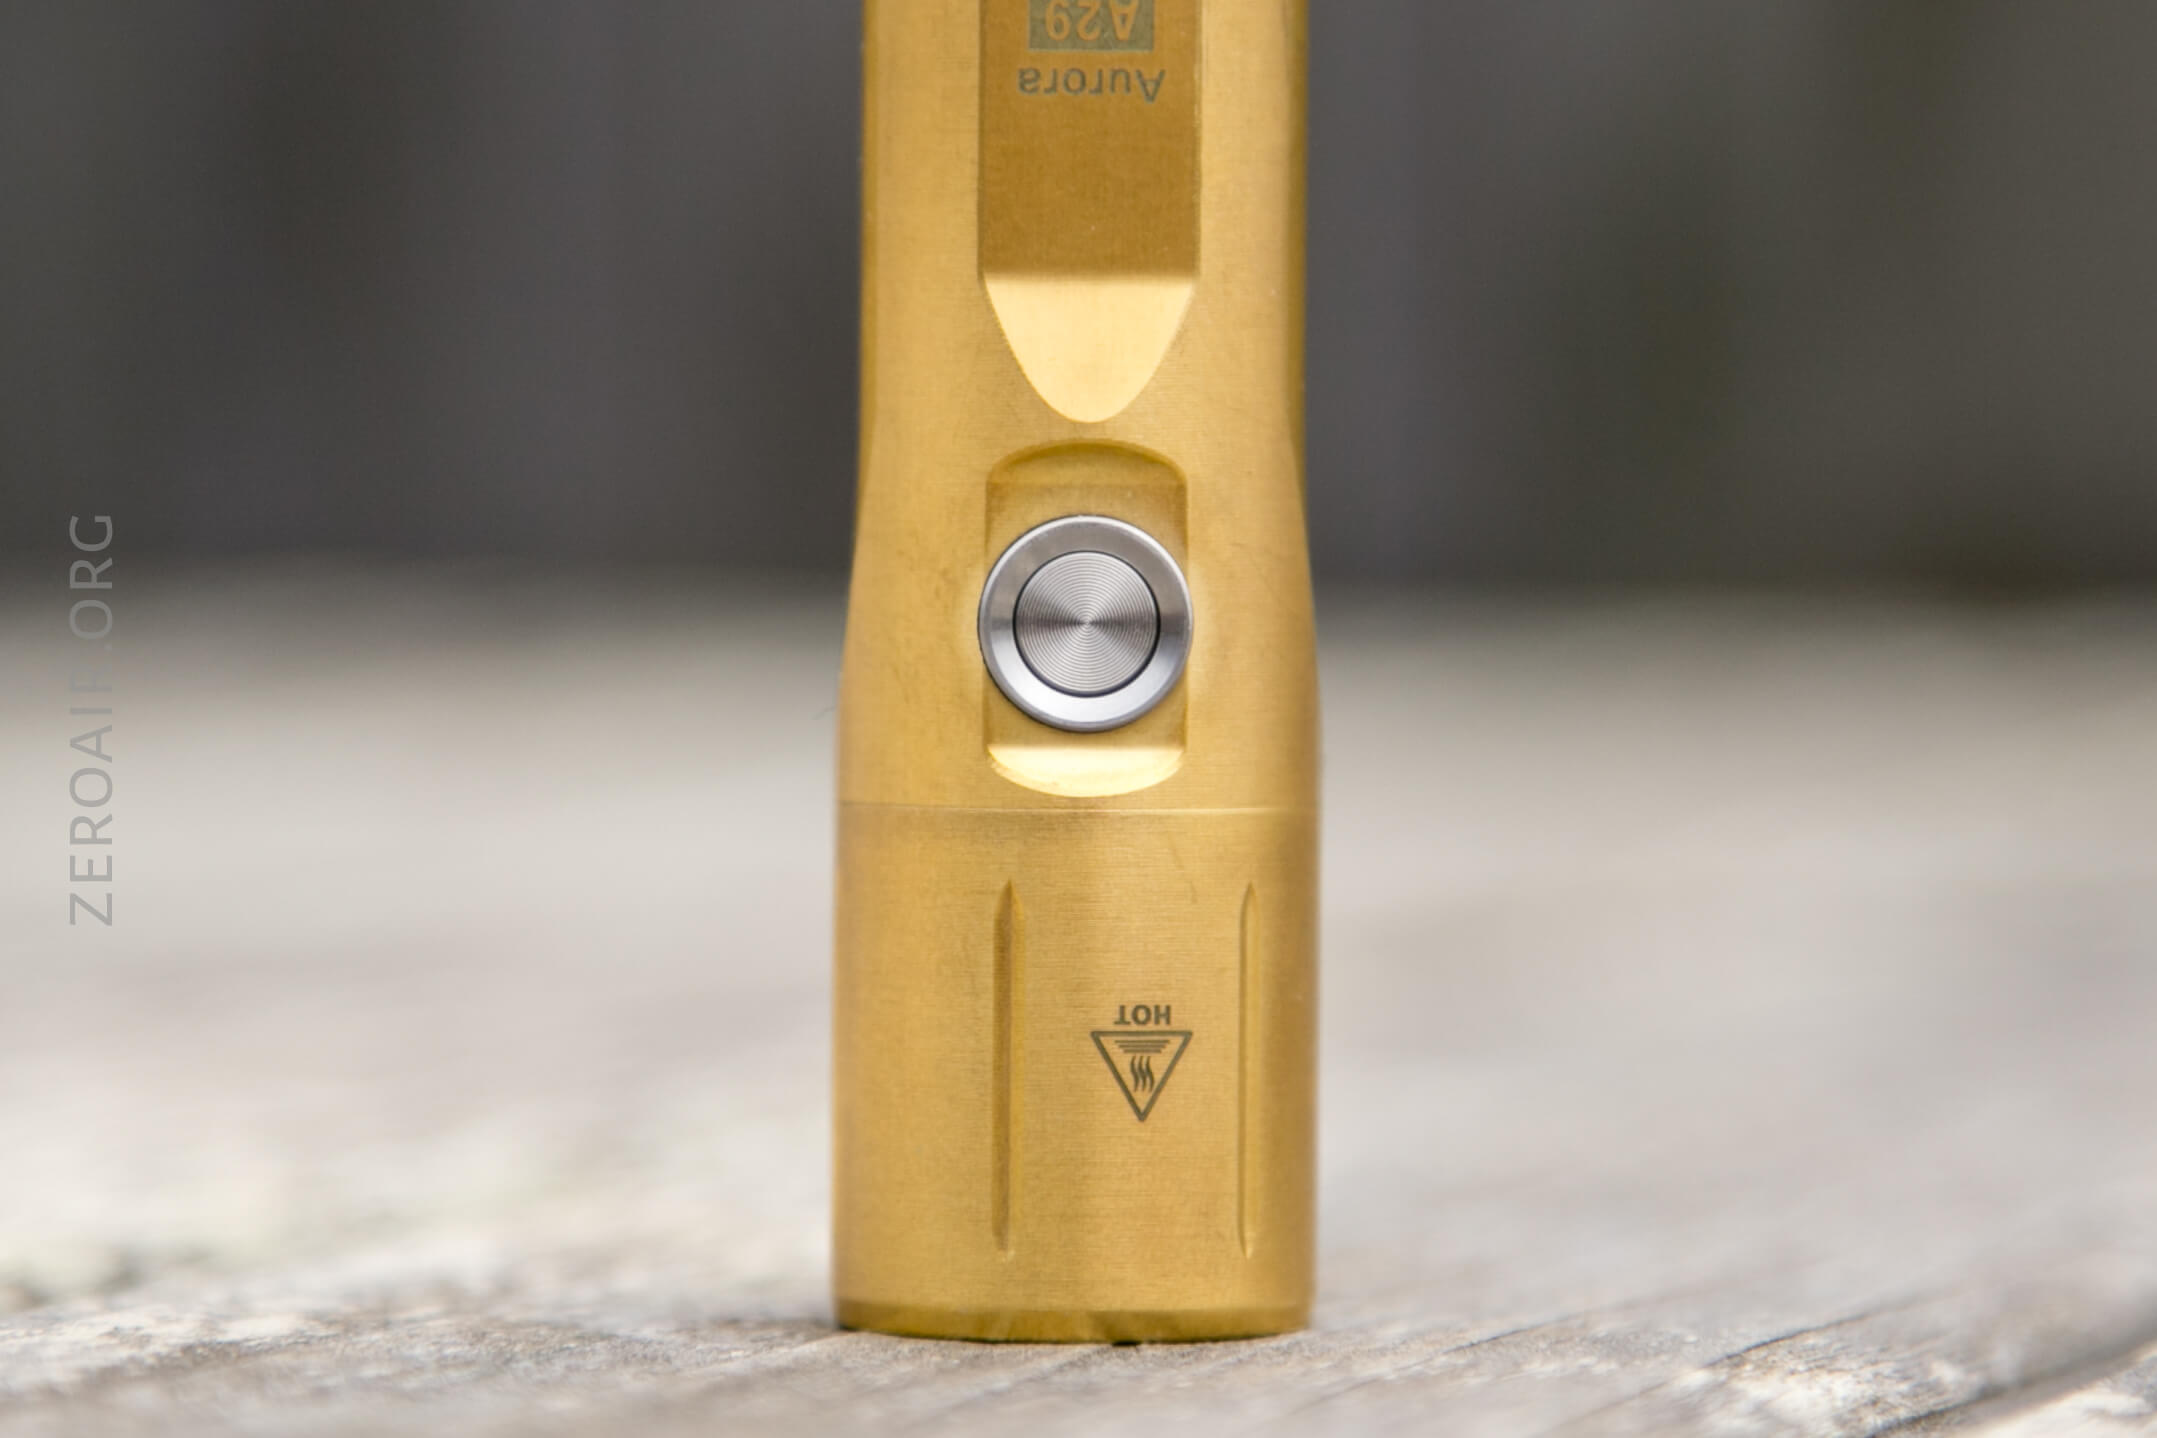
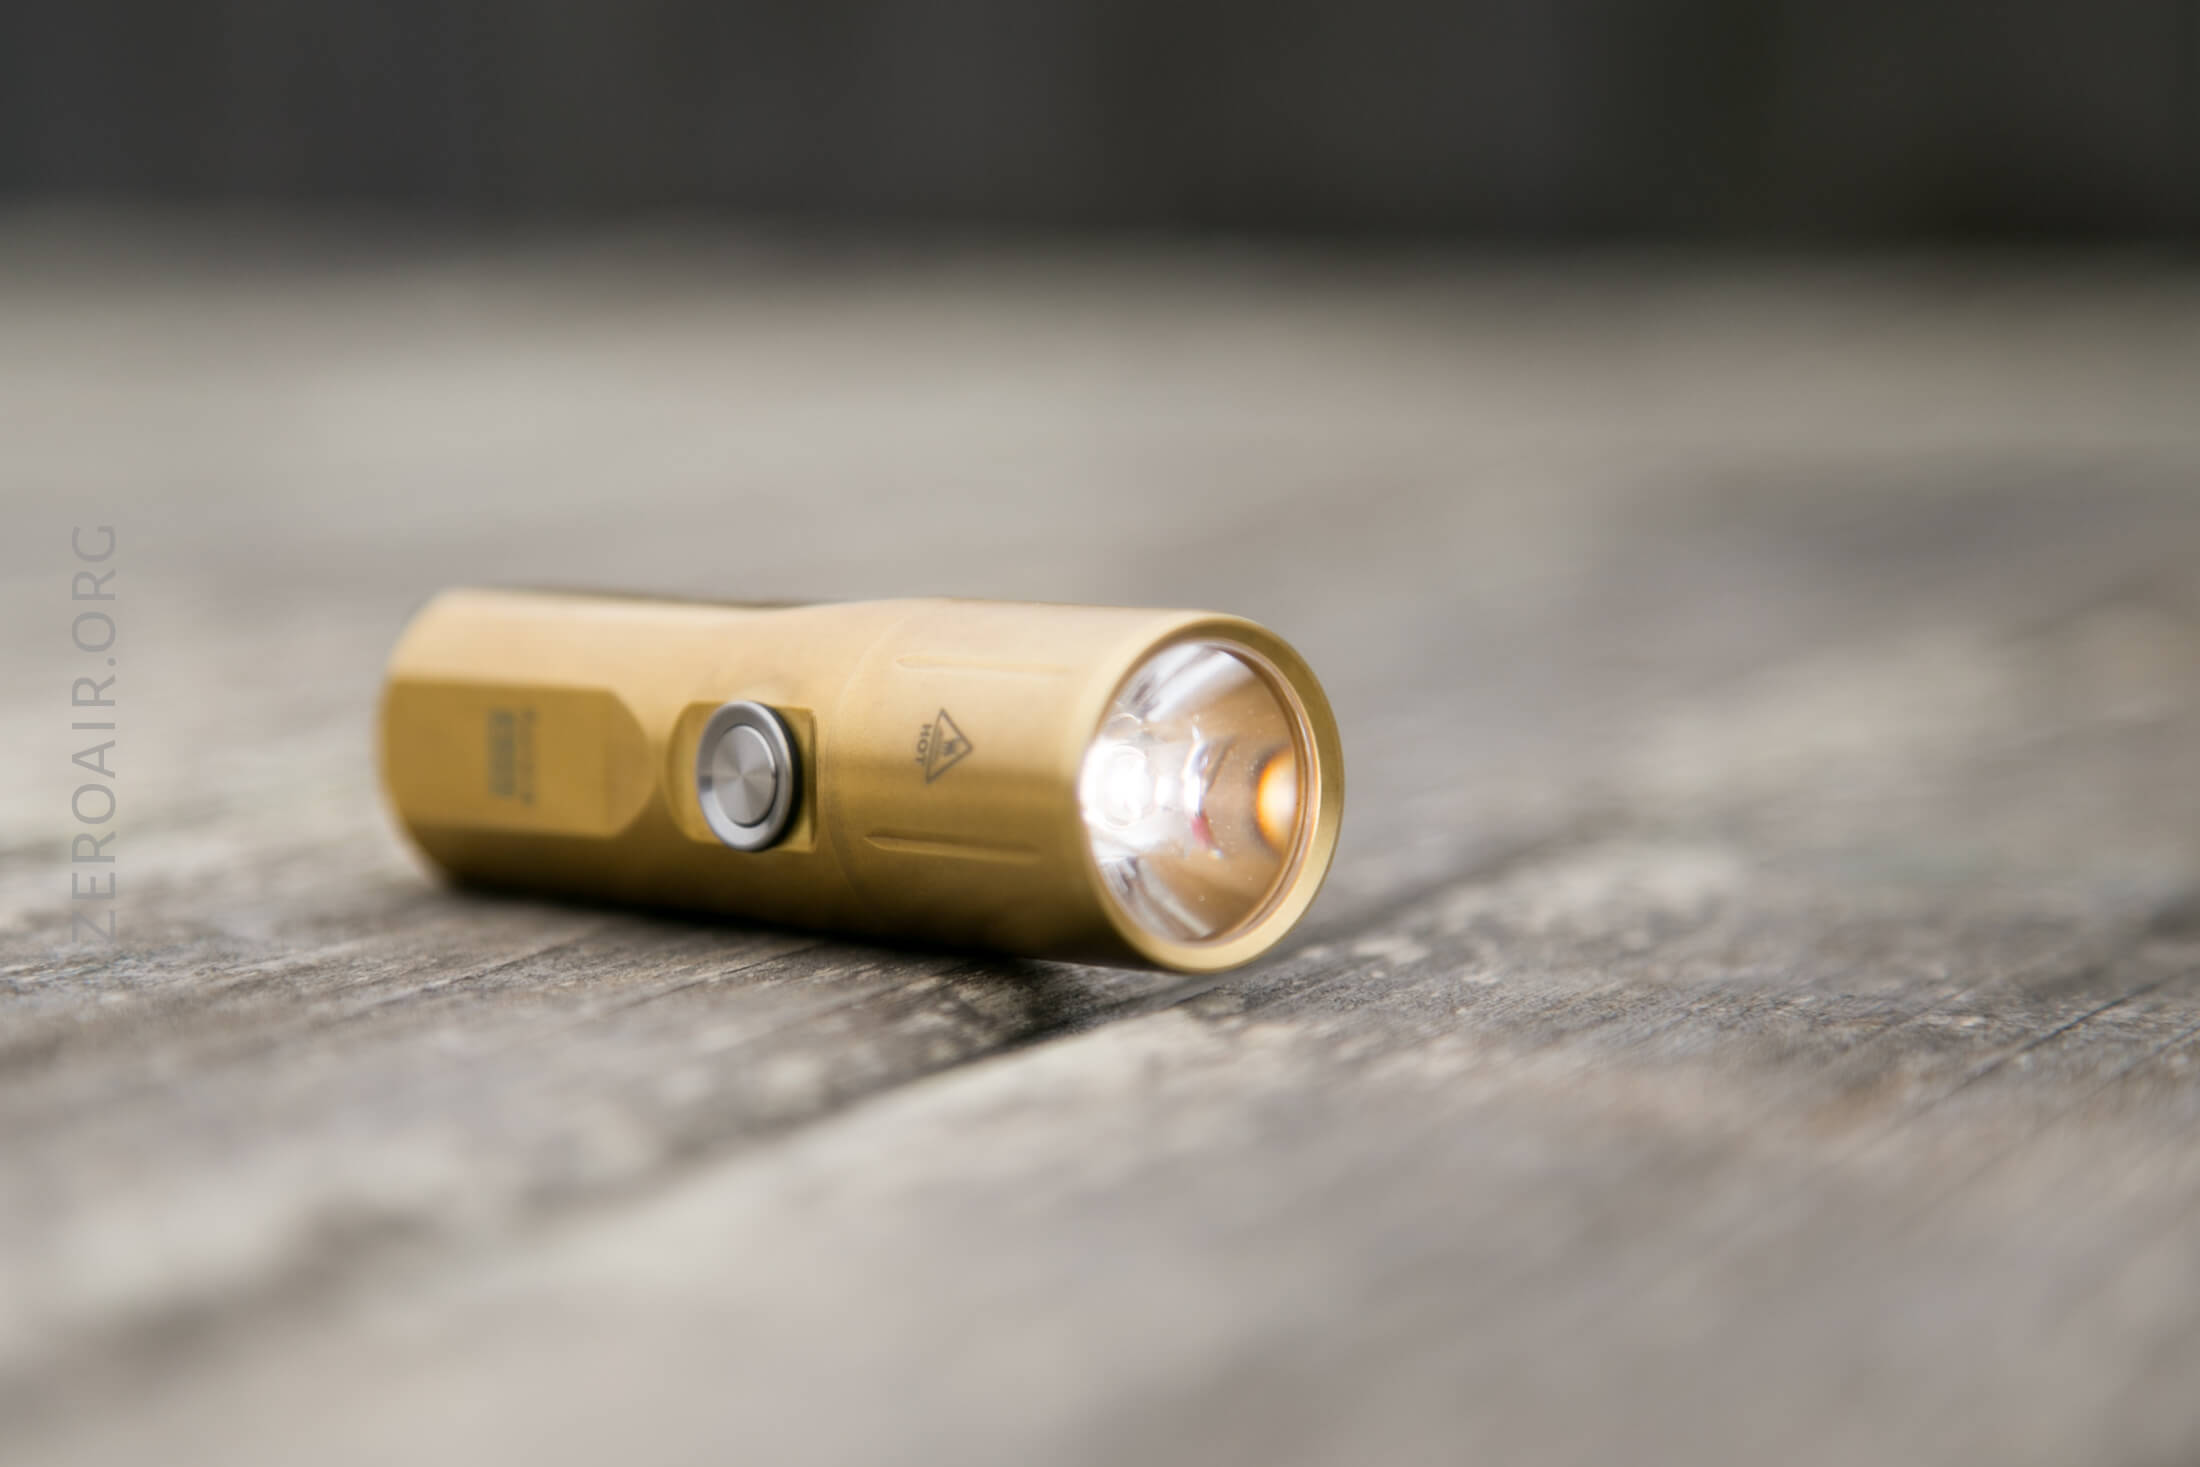
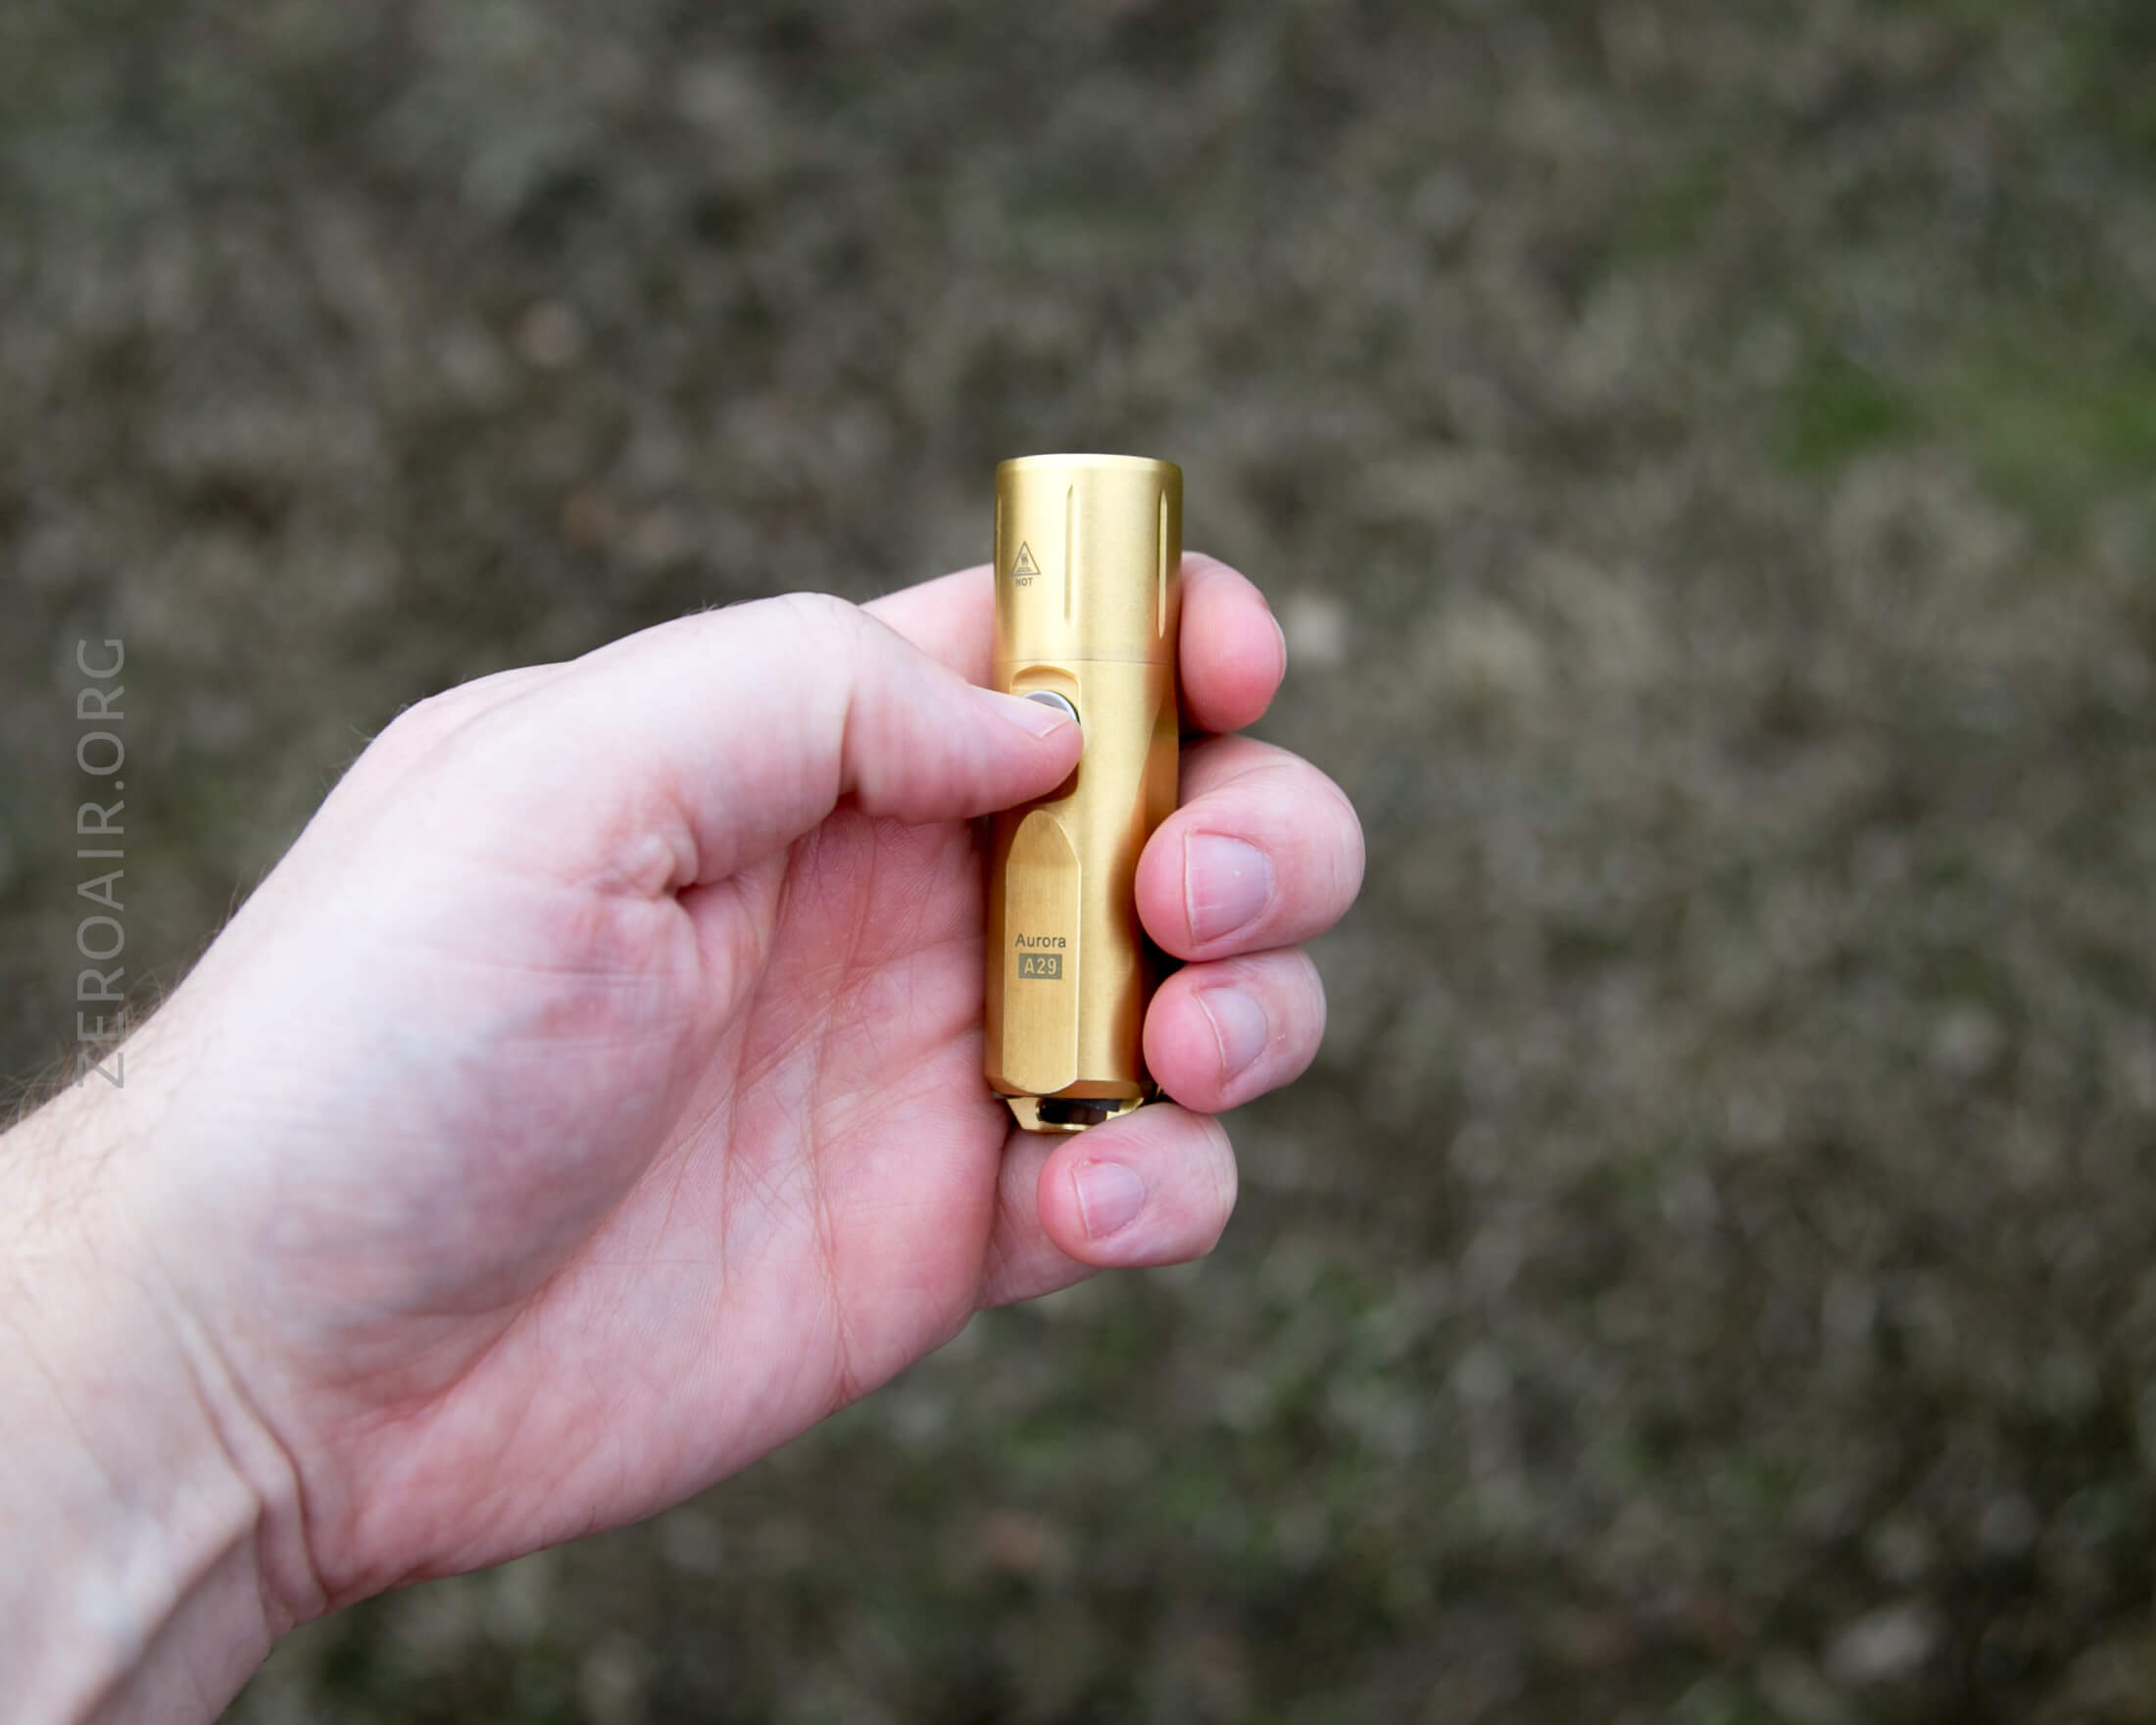
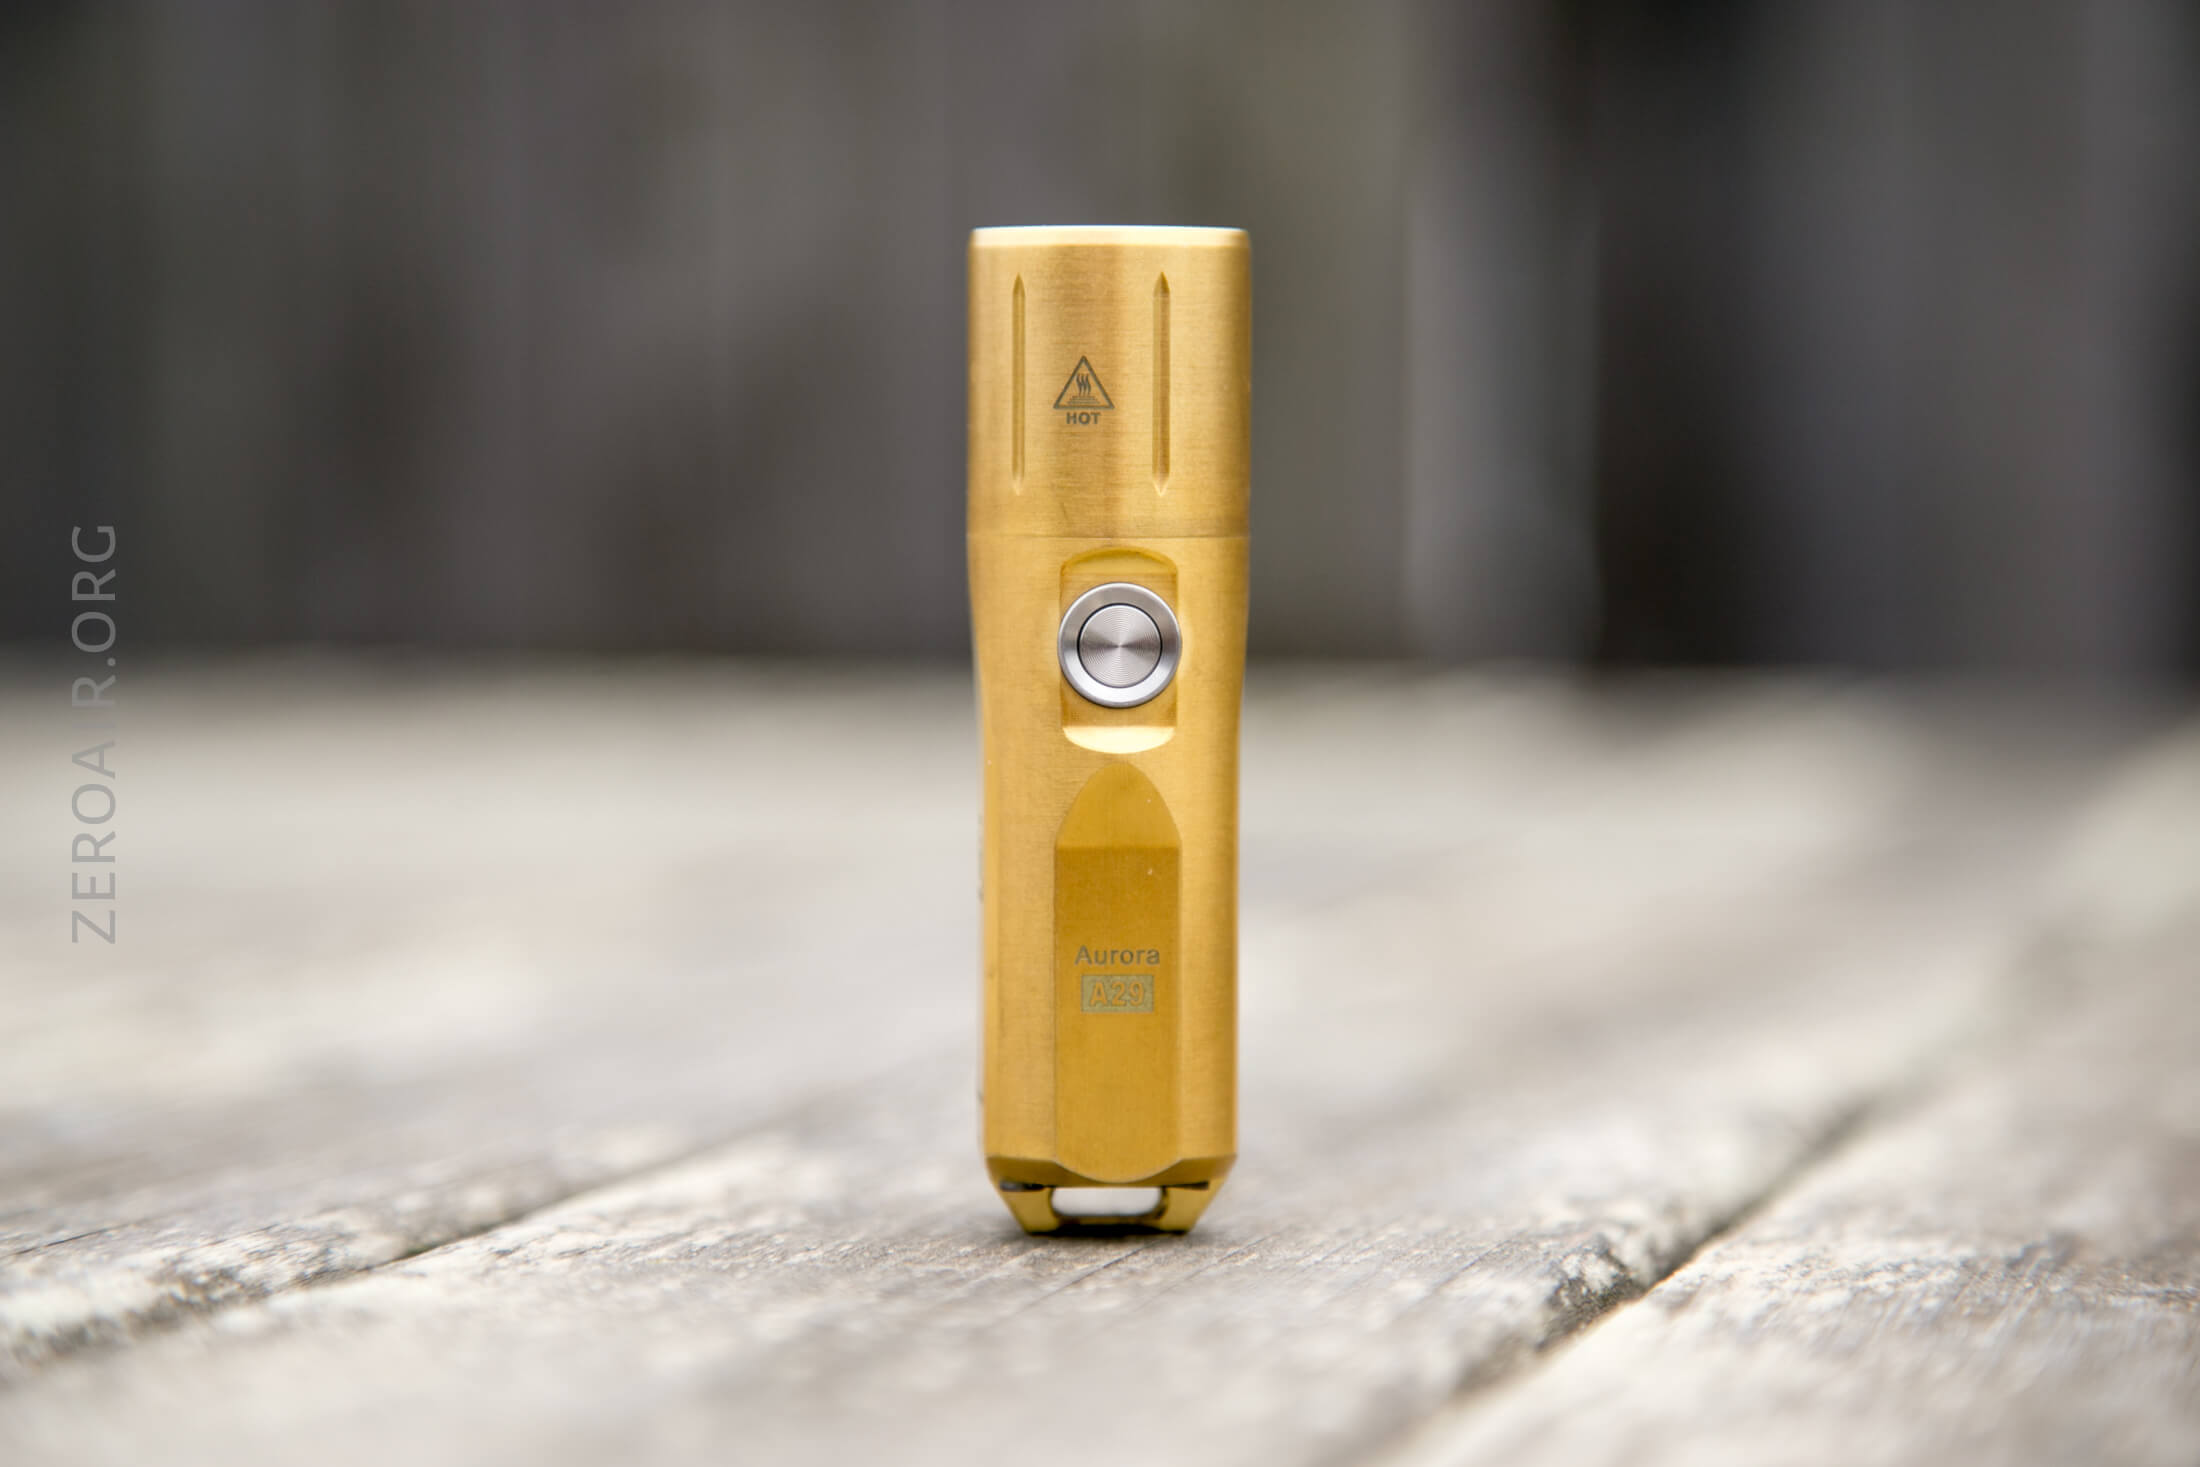
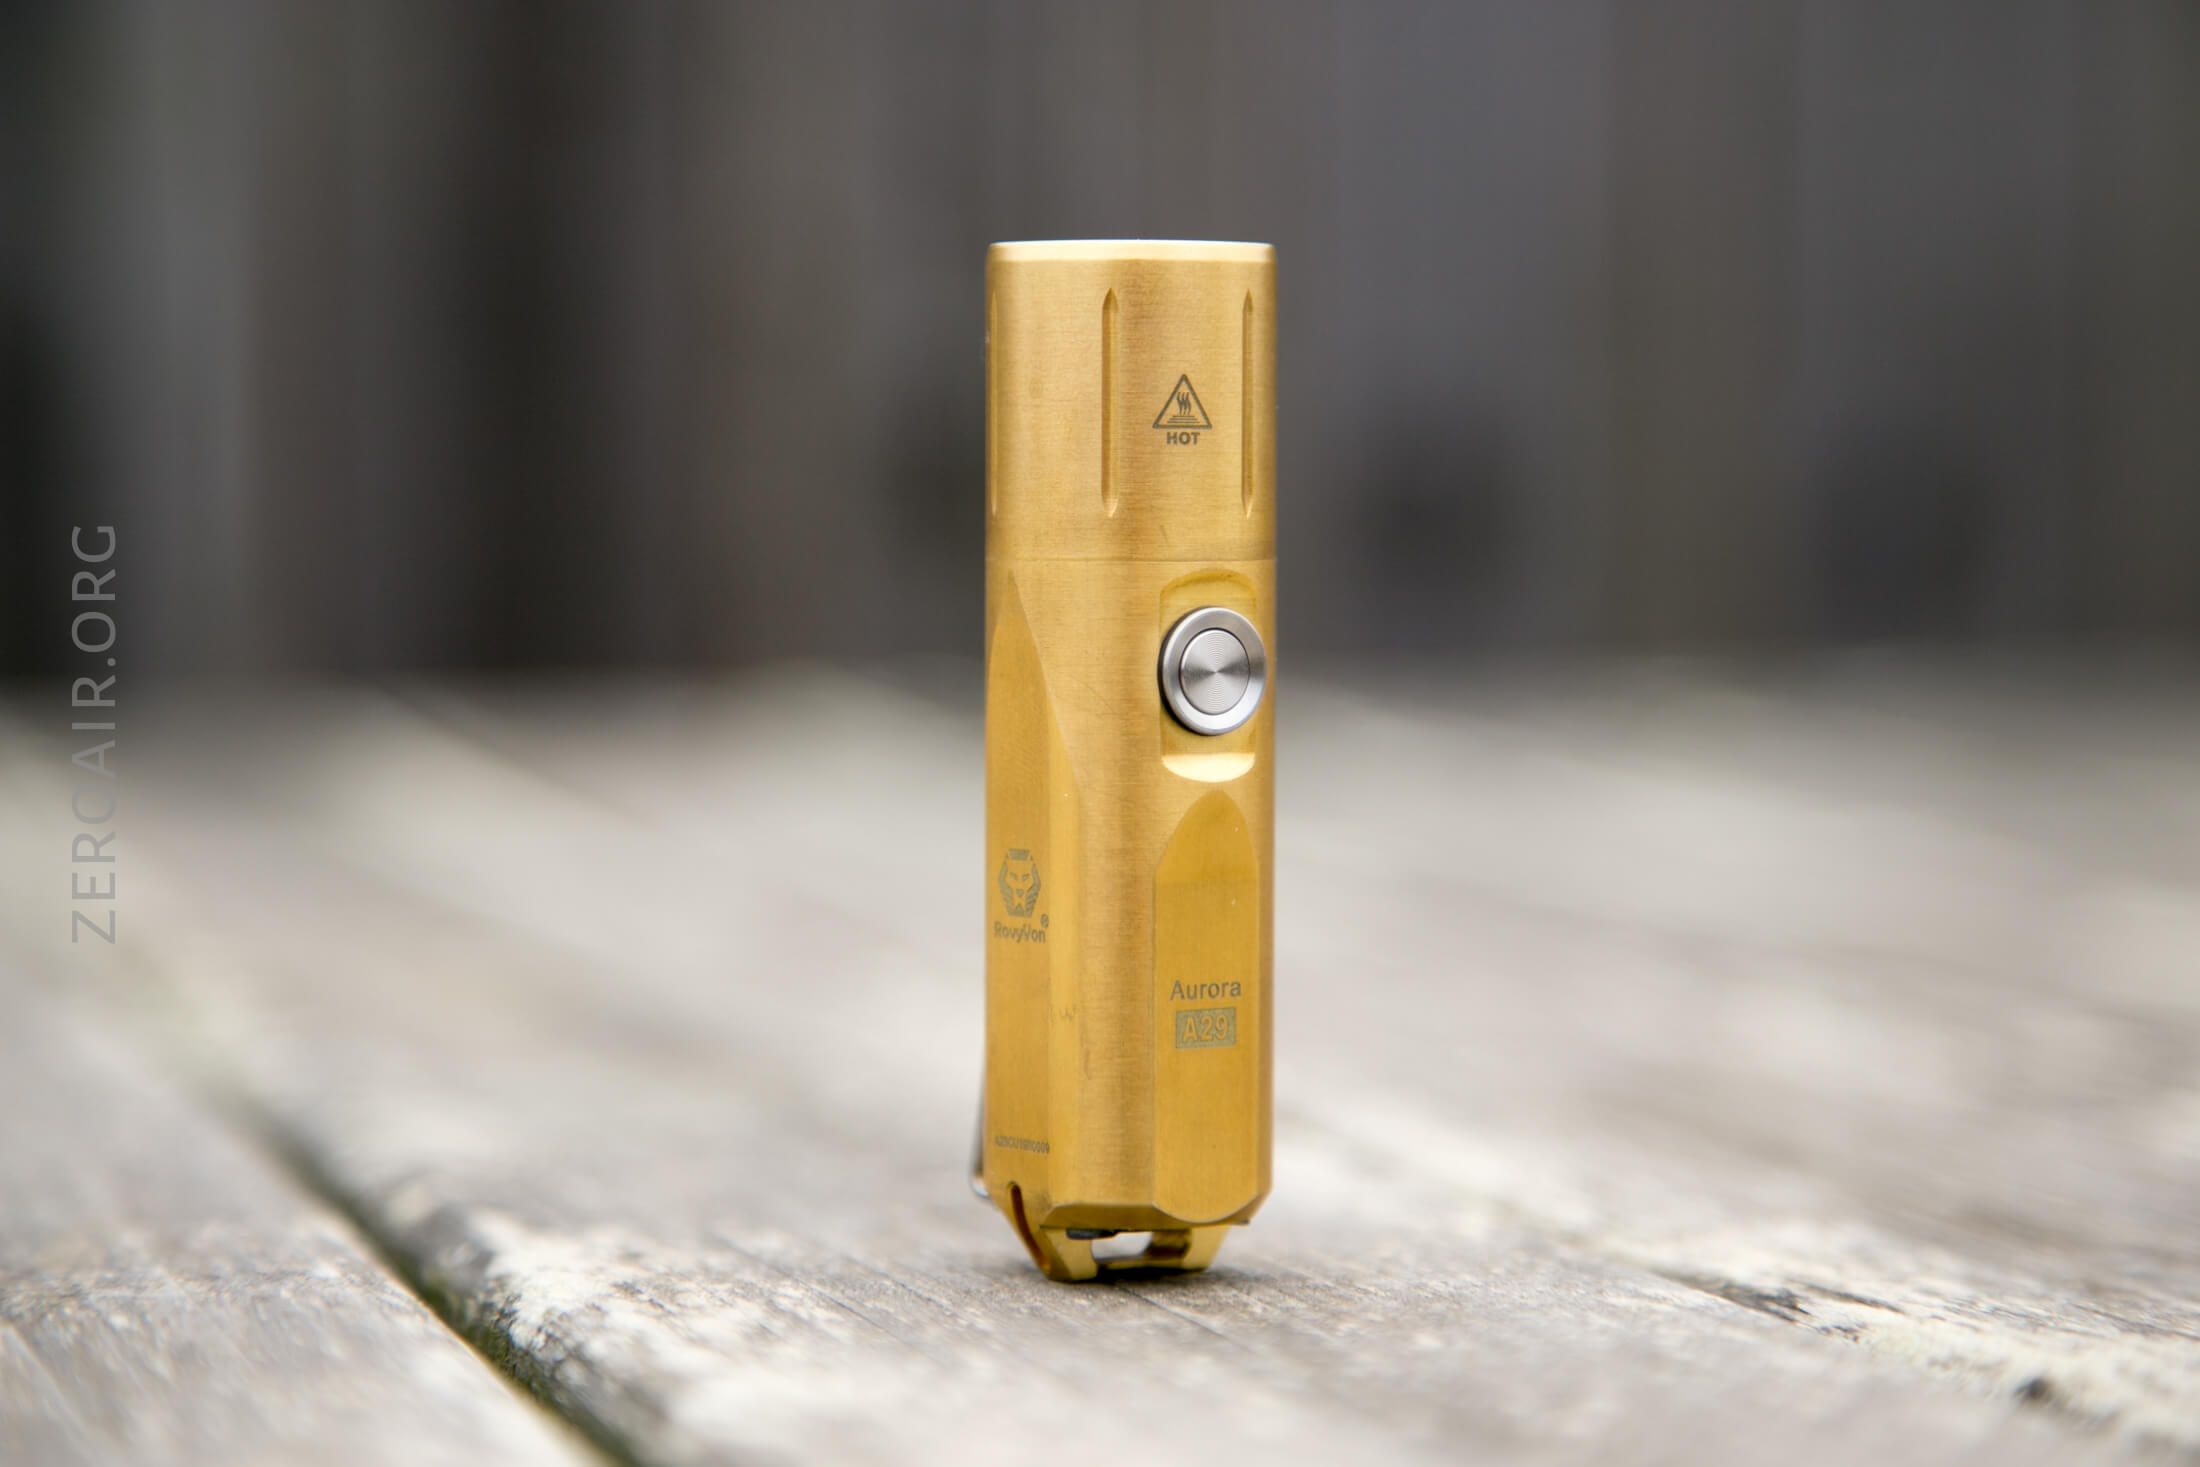
Great build quality. Nothing really more to report. I love the brass. It’s a great weight for this relatively small light.


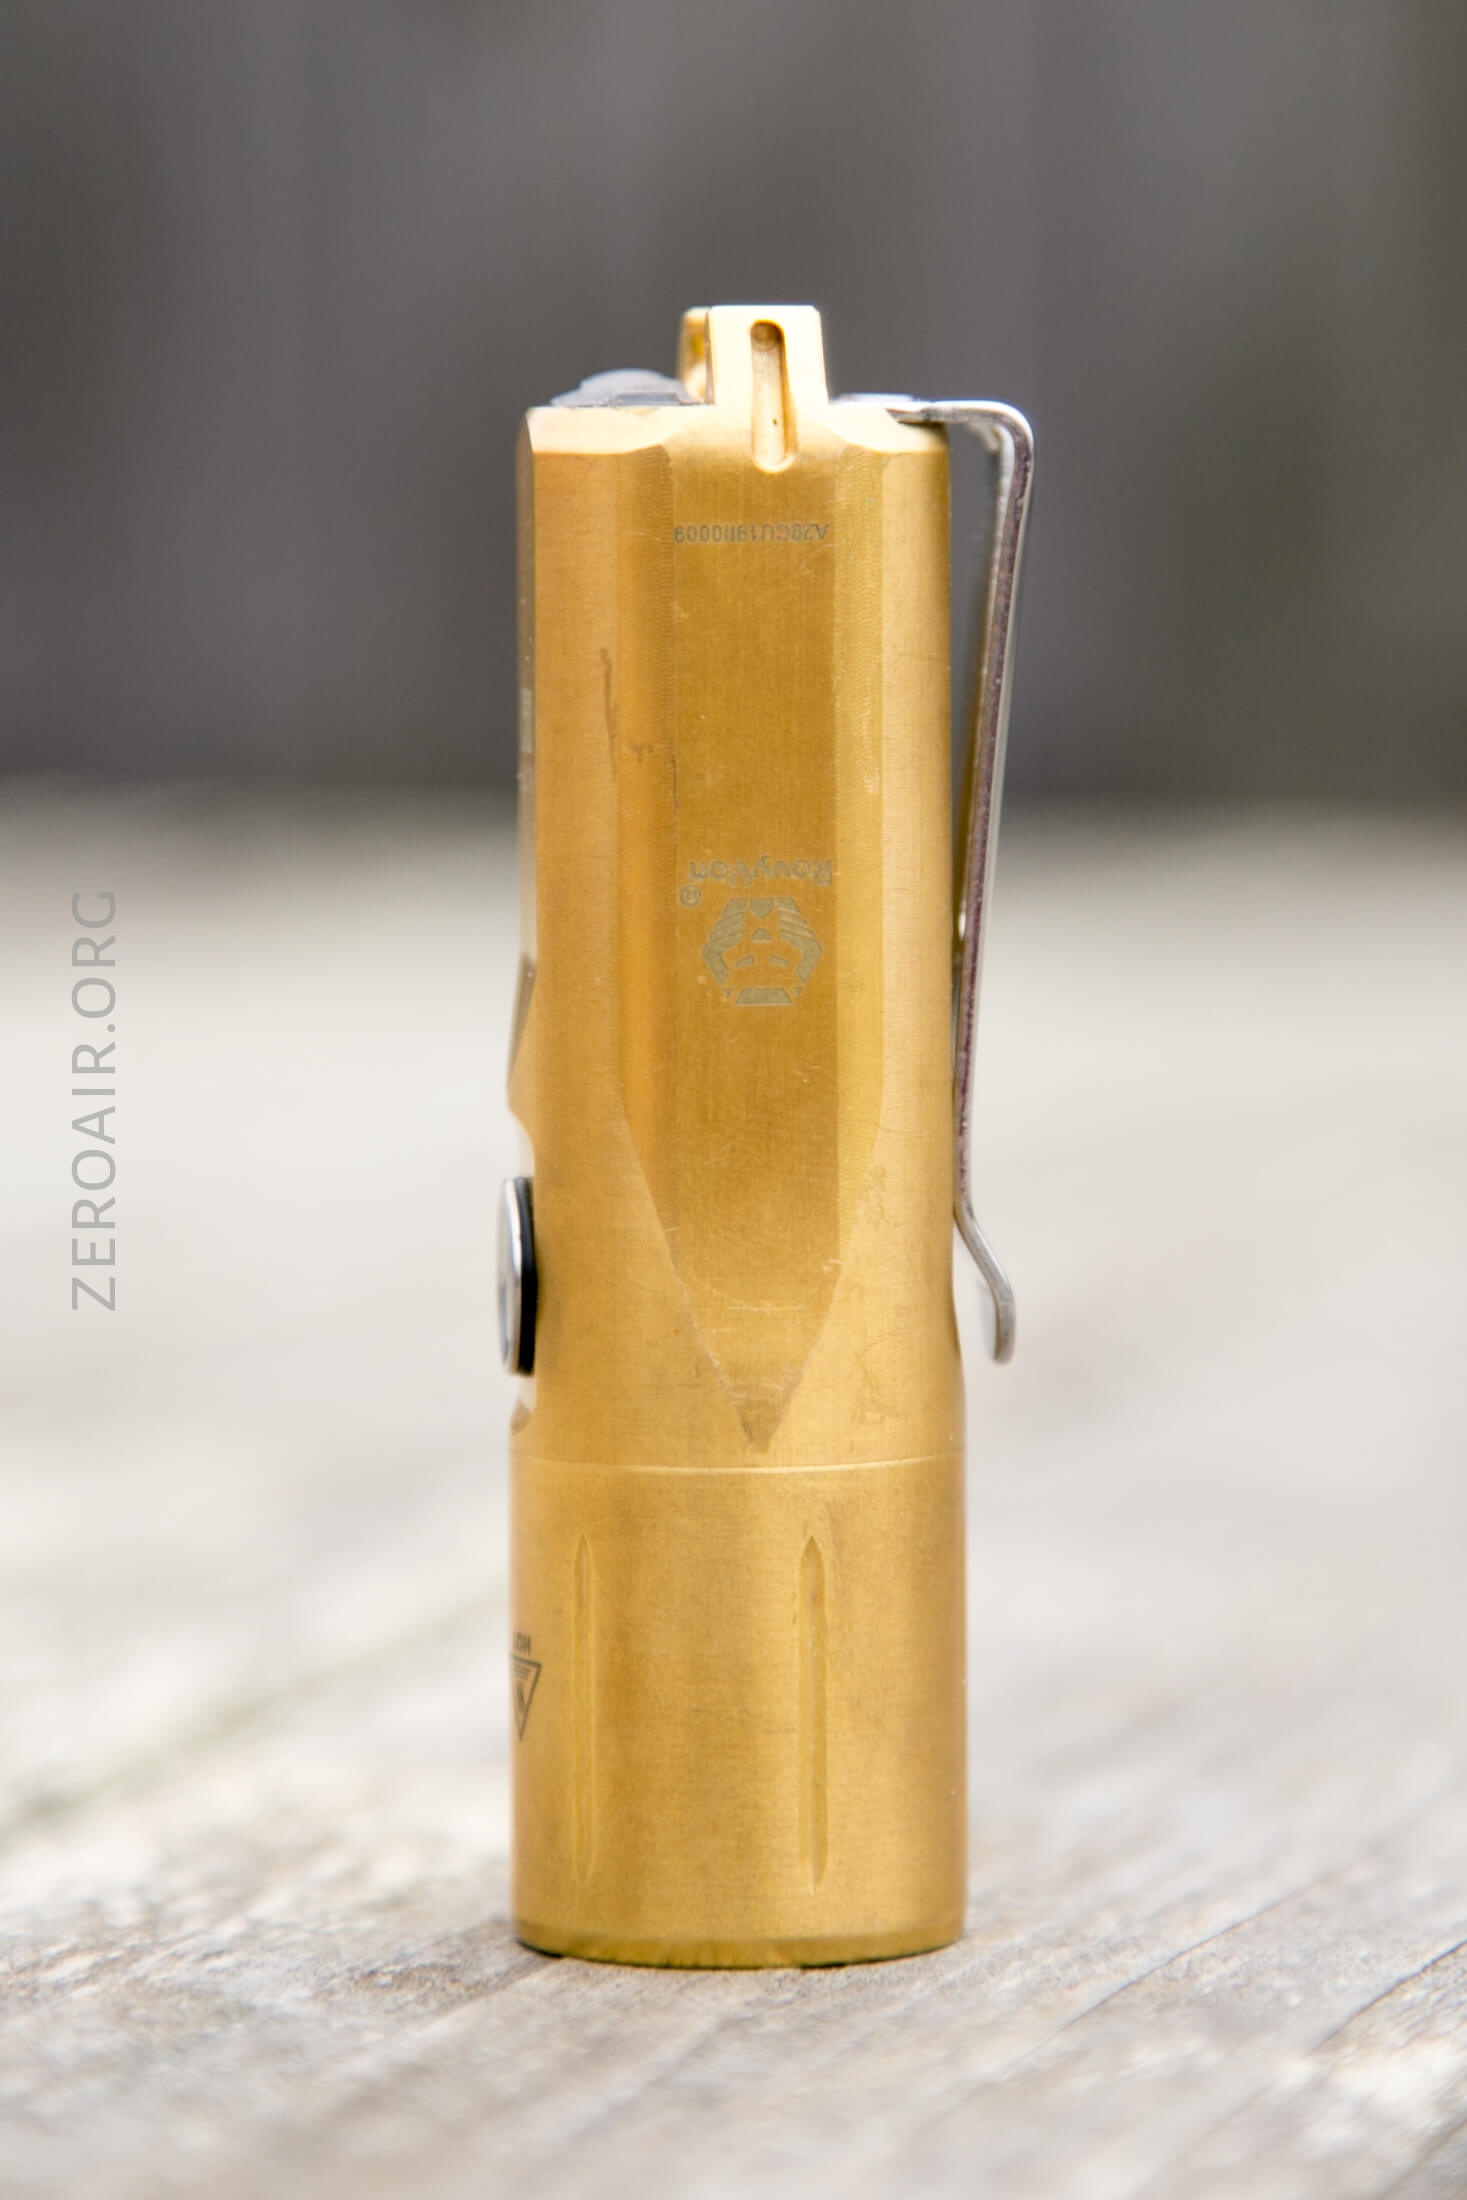
The “Hot” triangle warning hasn’t been indexed, just like the other models. Once RovyVon does the next iteration, maybe that’ll all get lined up.
Some of the shots above and below are reused from my new light day post and are more glamour shots.
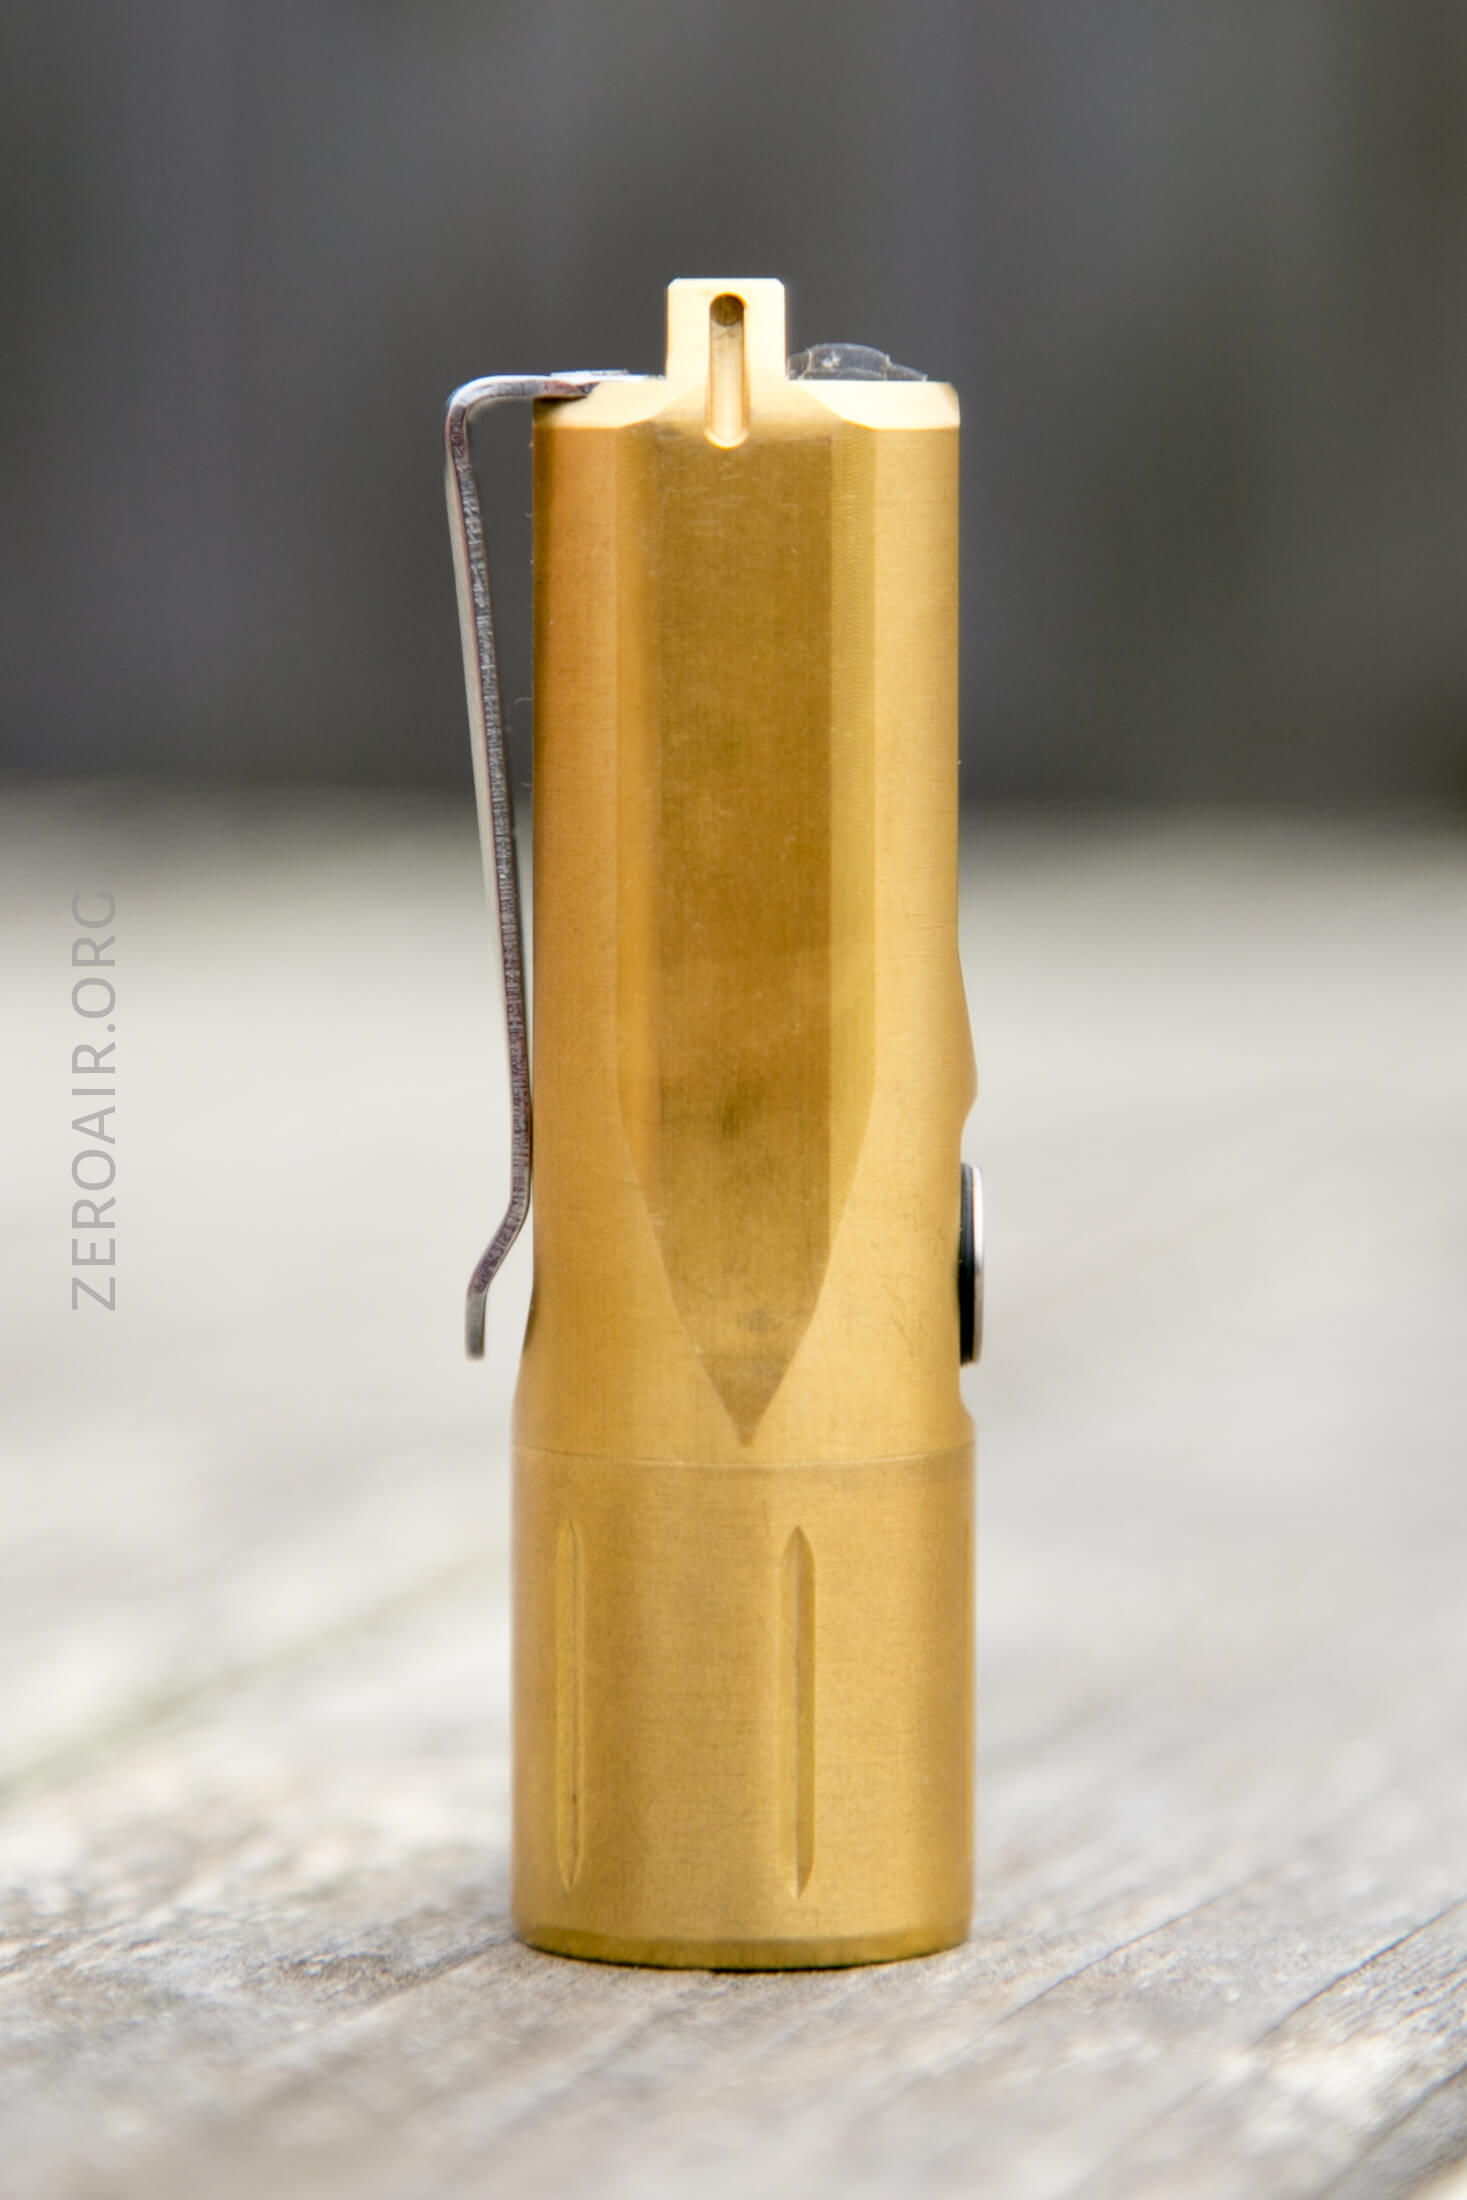
The tritium vials go in the loop on the tail of the light. They’re good slots. One of these days I’ll use them. Would that be a good How Do I… post?
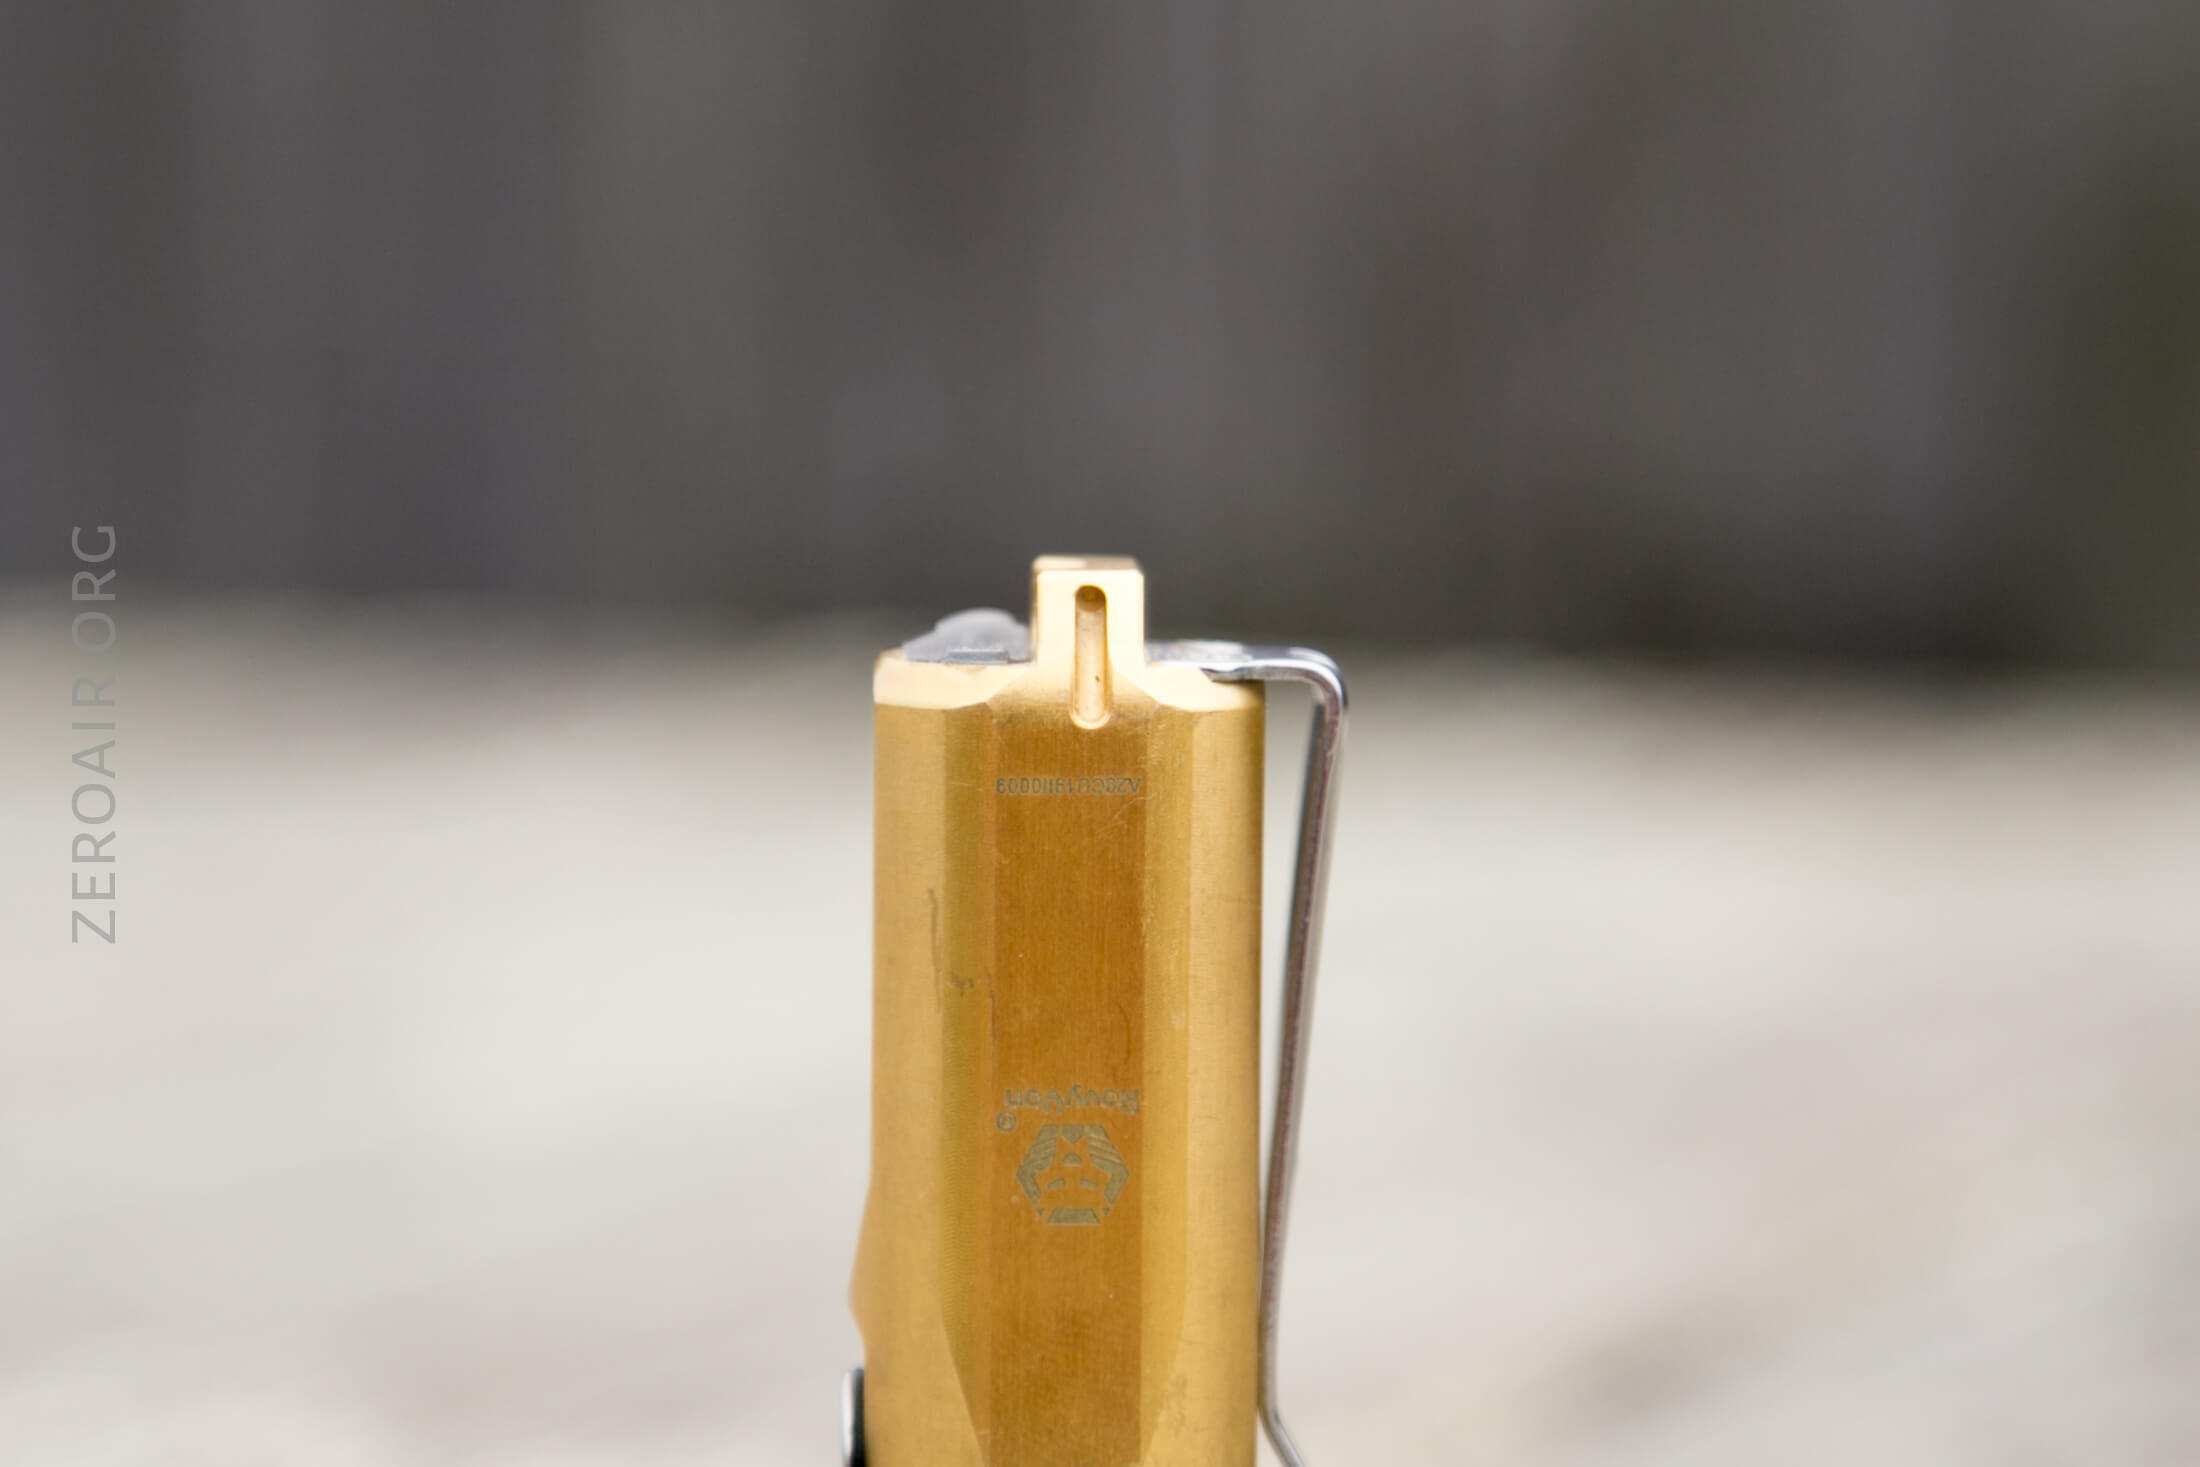
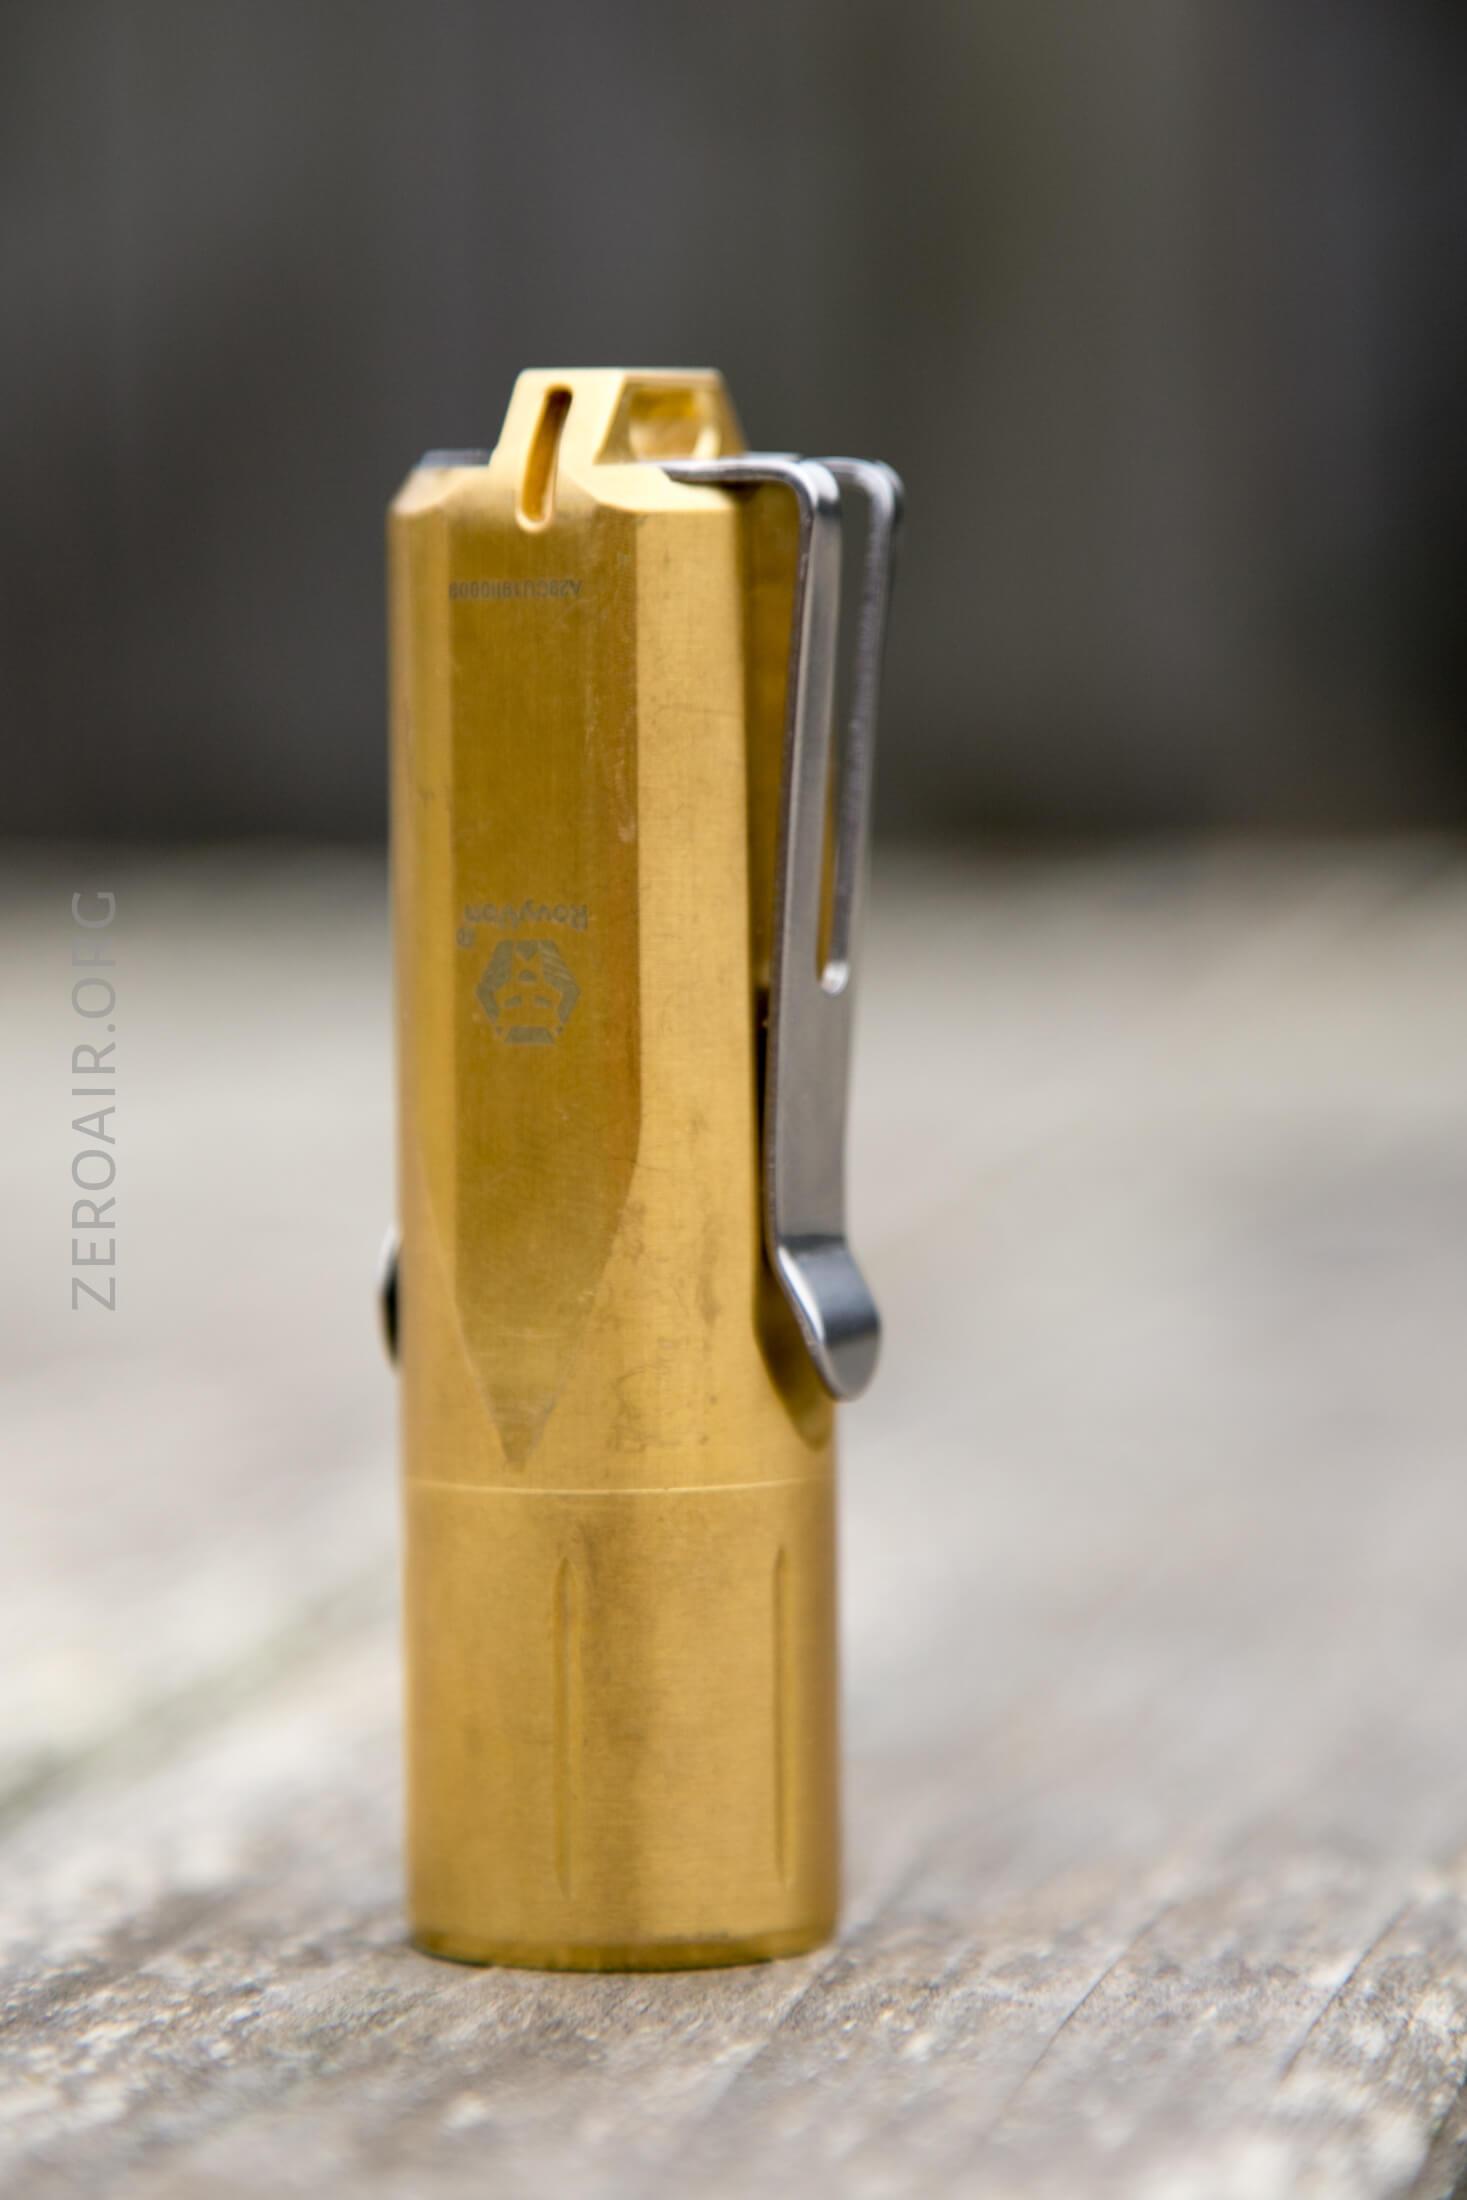
At first, I thought there was a difference in the tail loop, but as it turns out, that little cutout is present in the A28 as well.
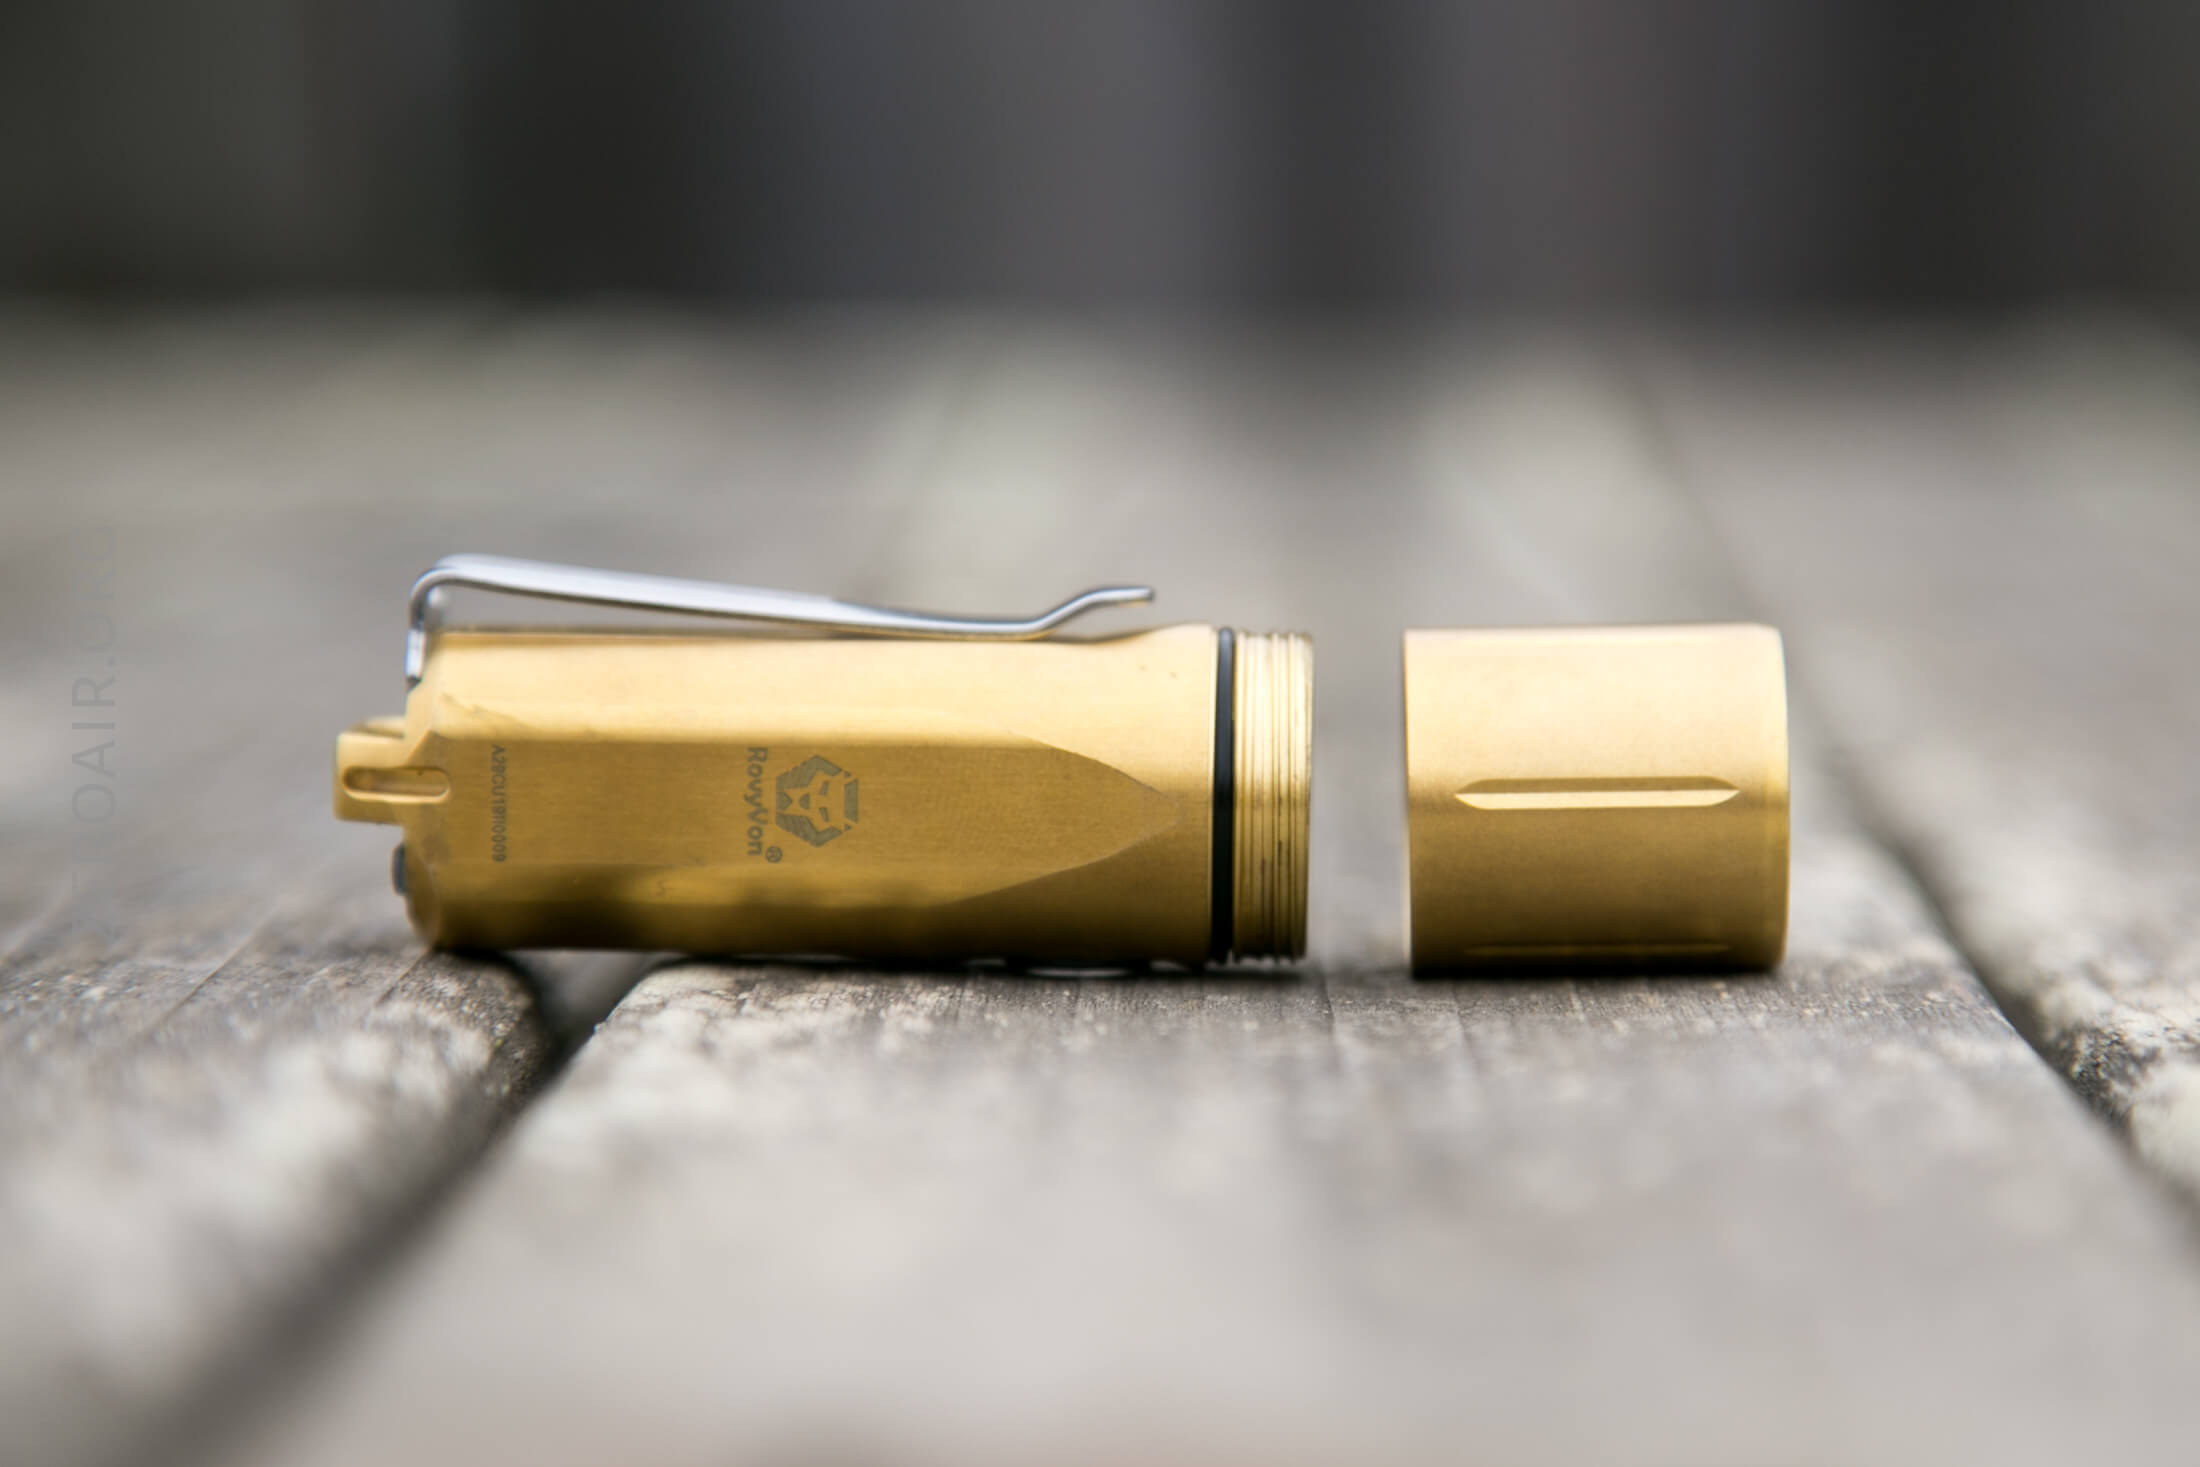
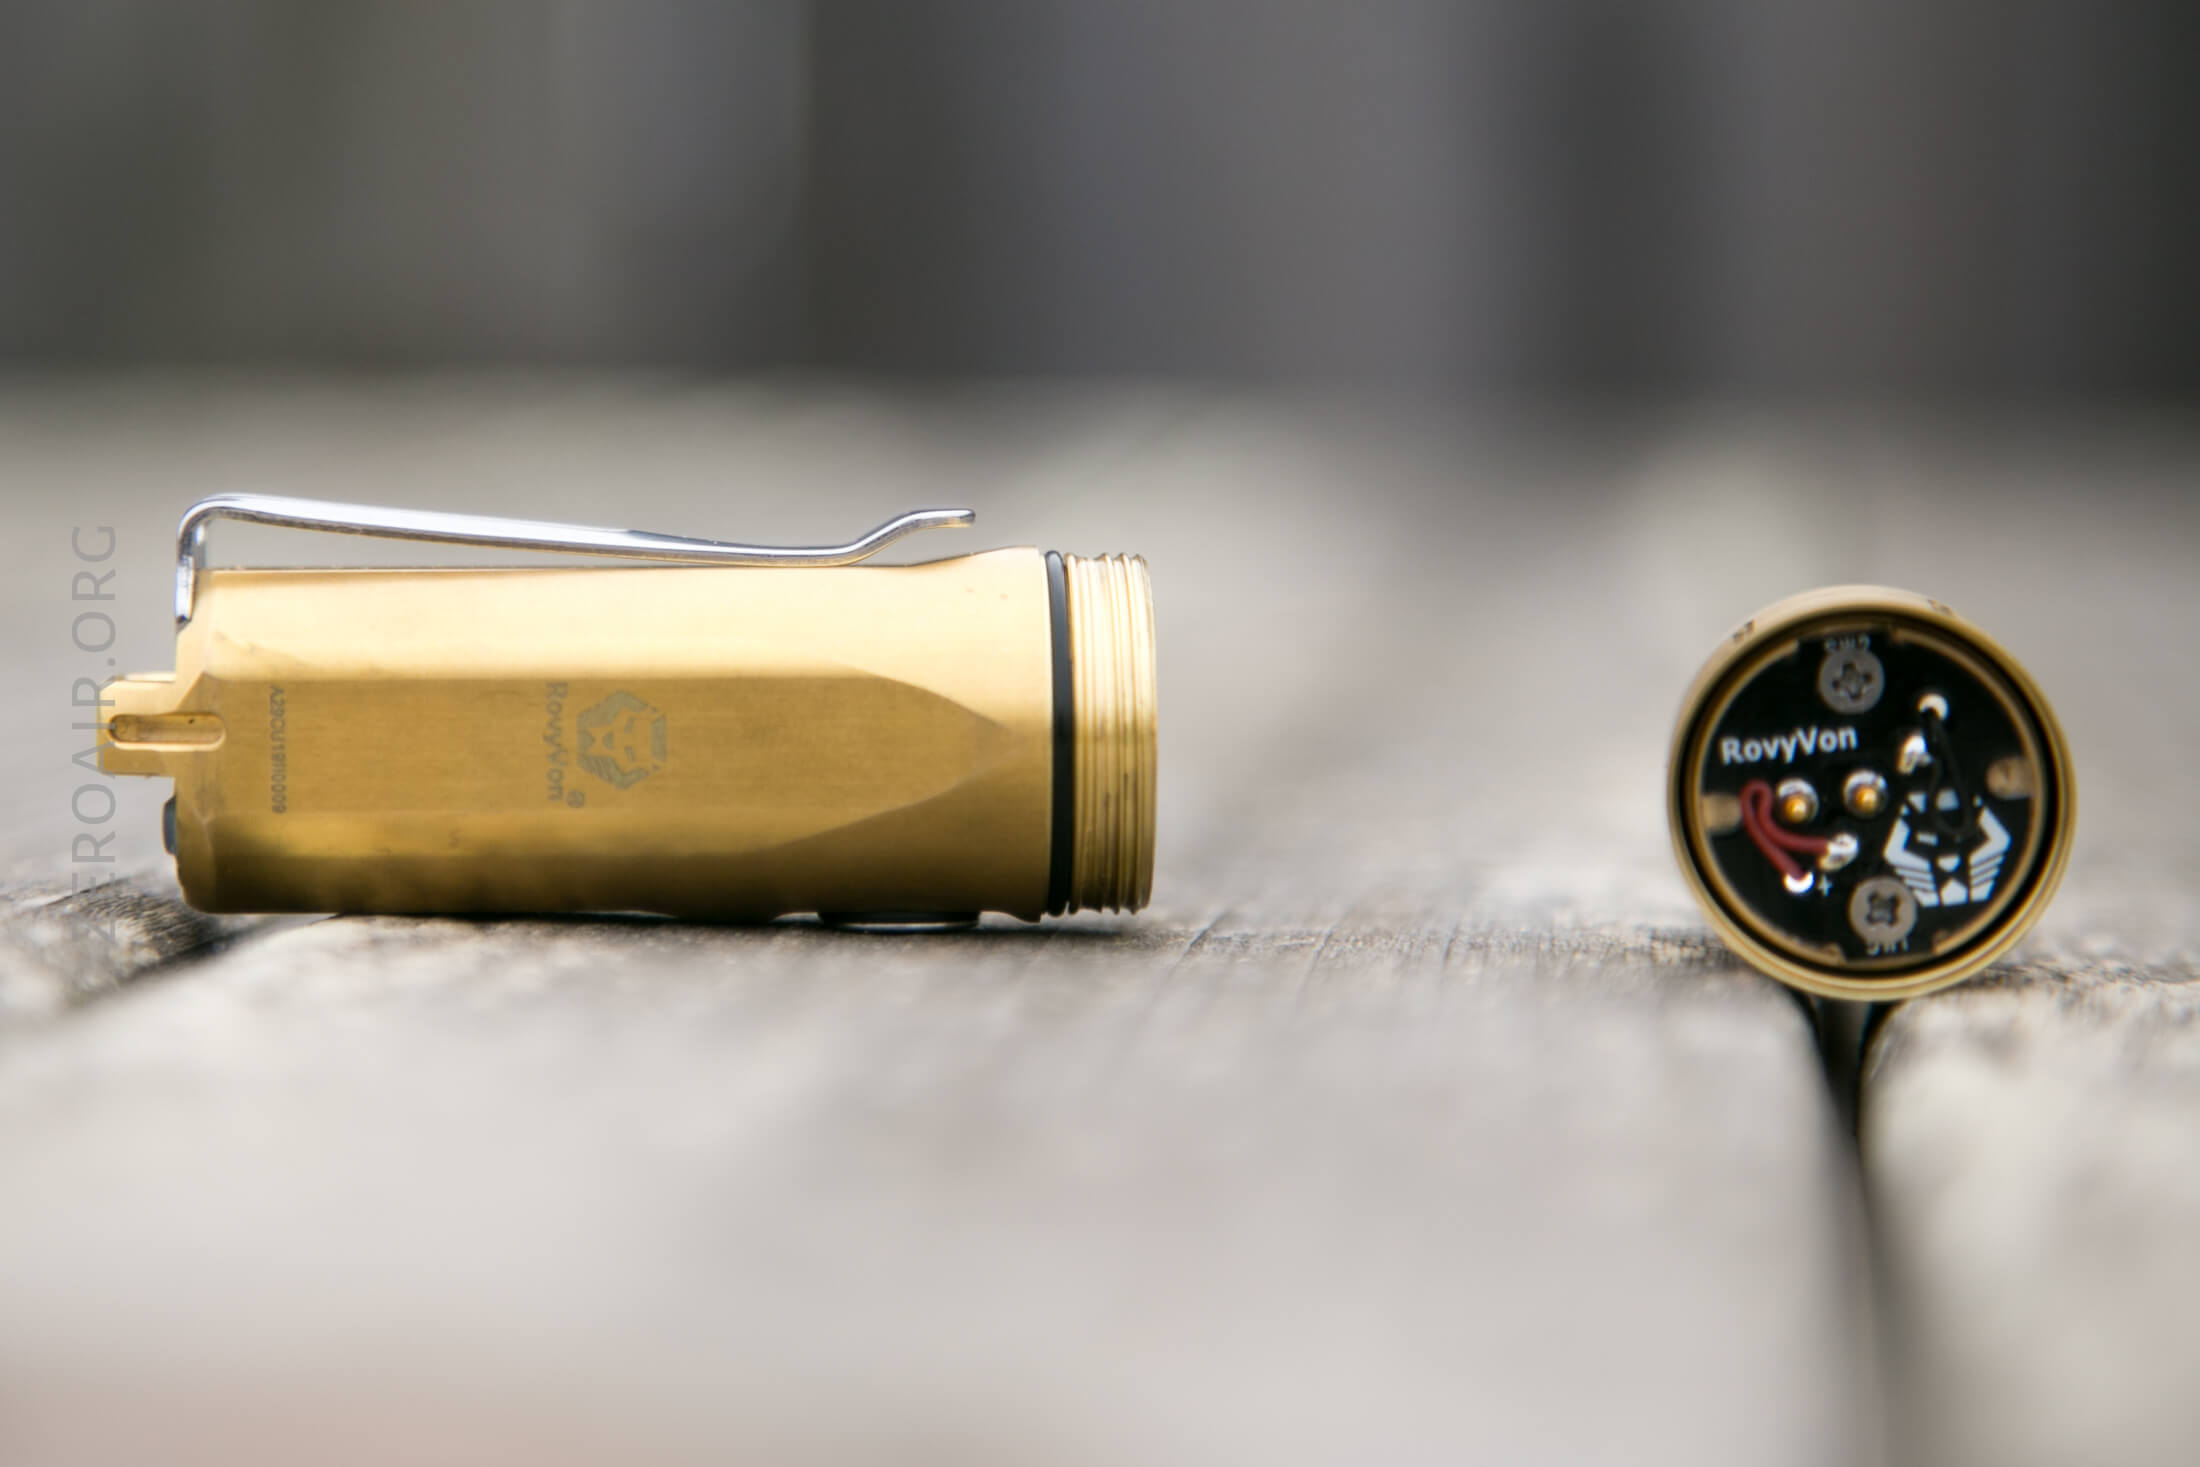
Threads are made of body material. They’re short threads, so not a ton of twisting is required. And of course, brass threads are great.
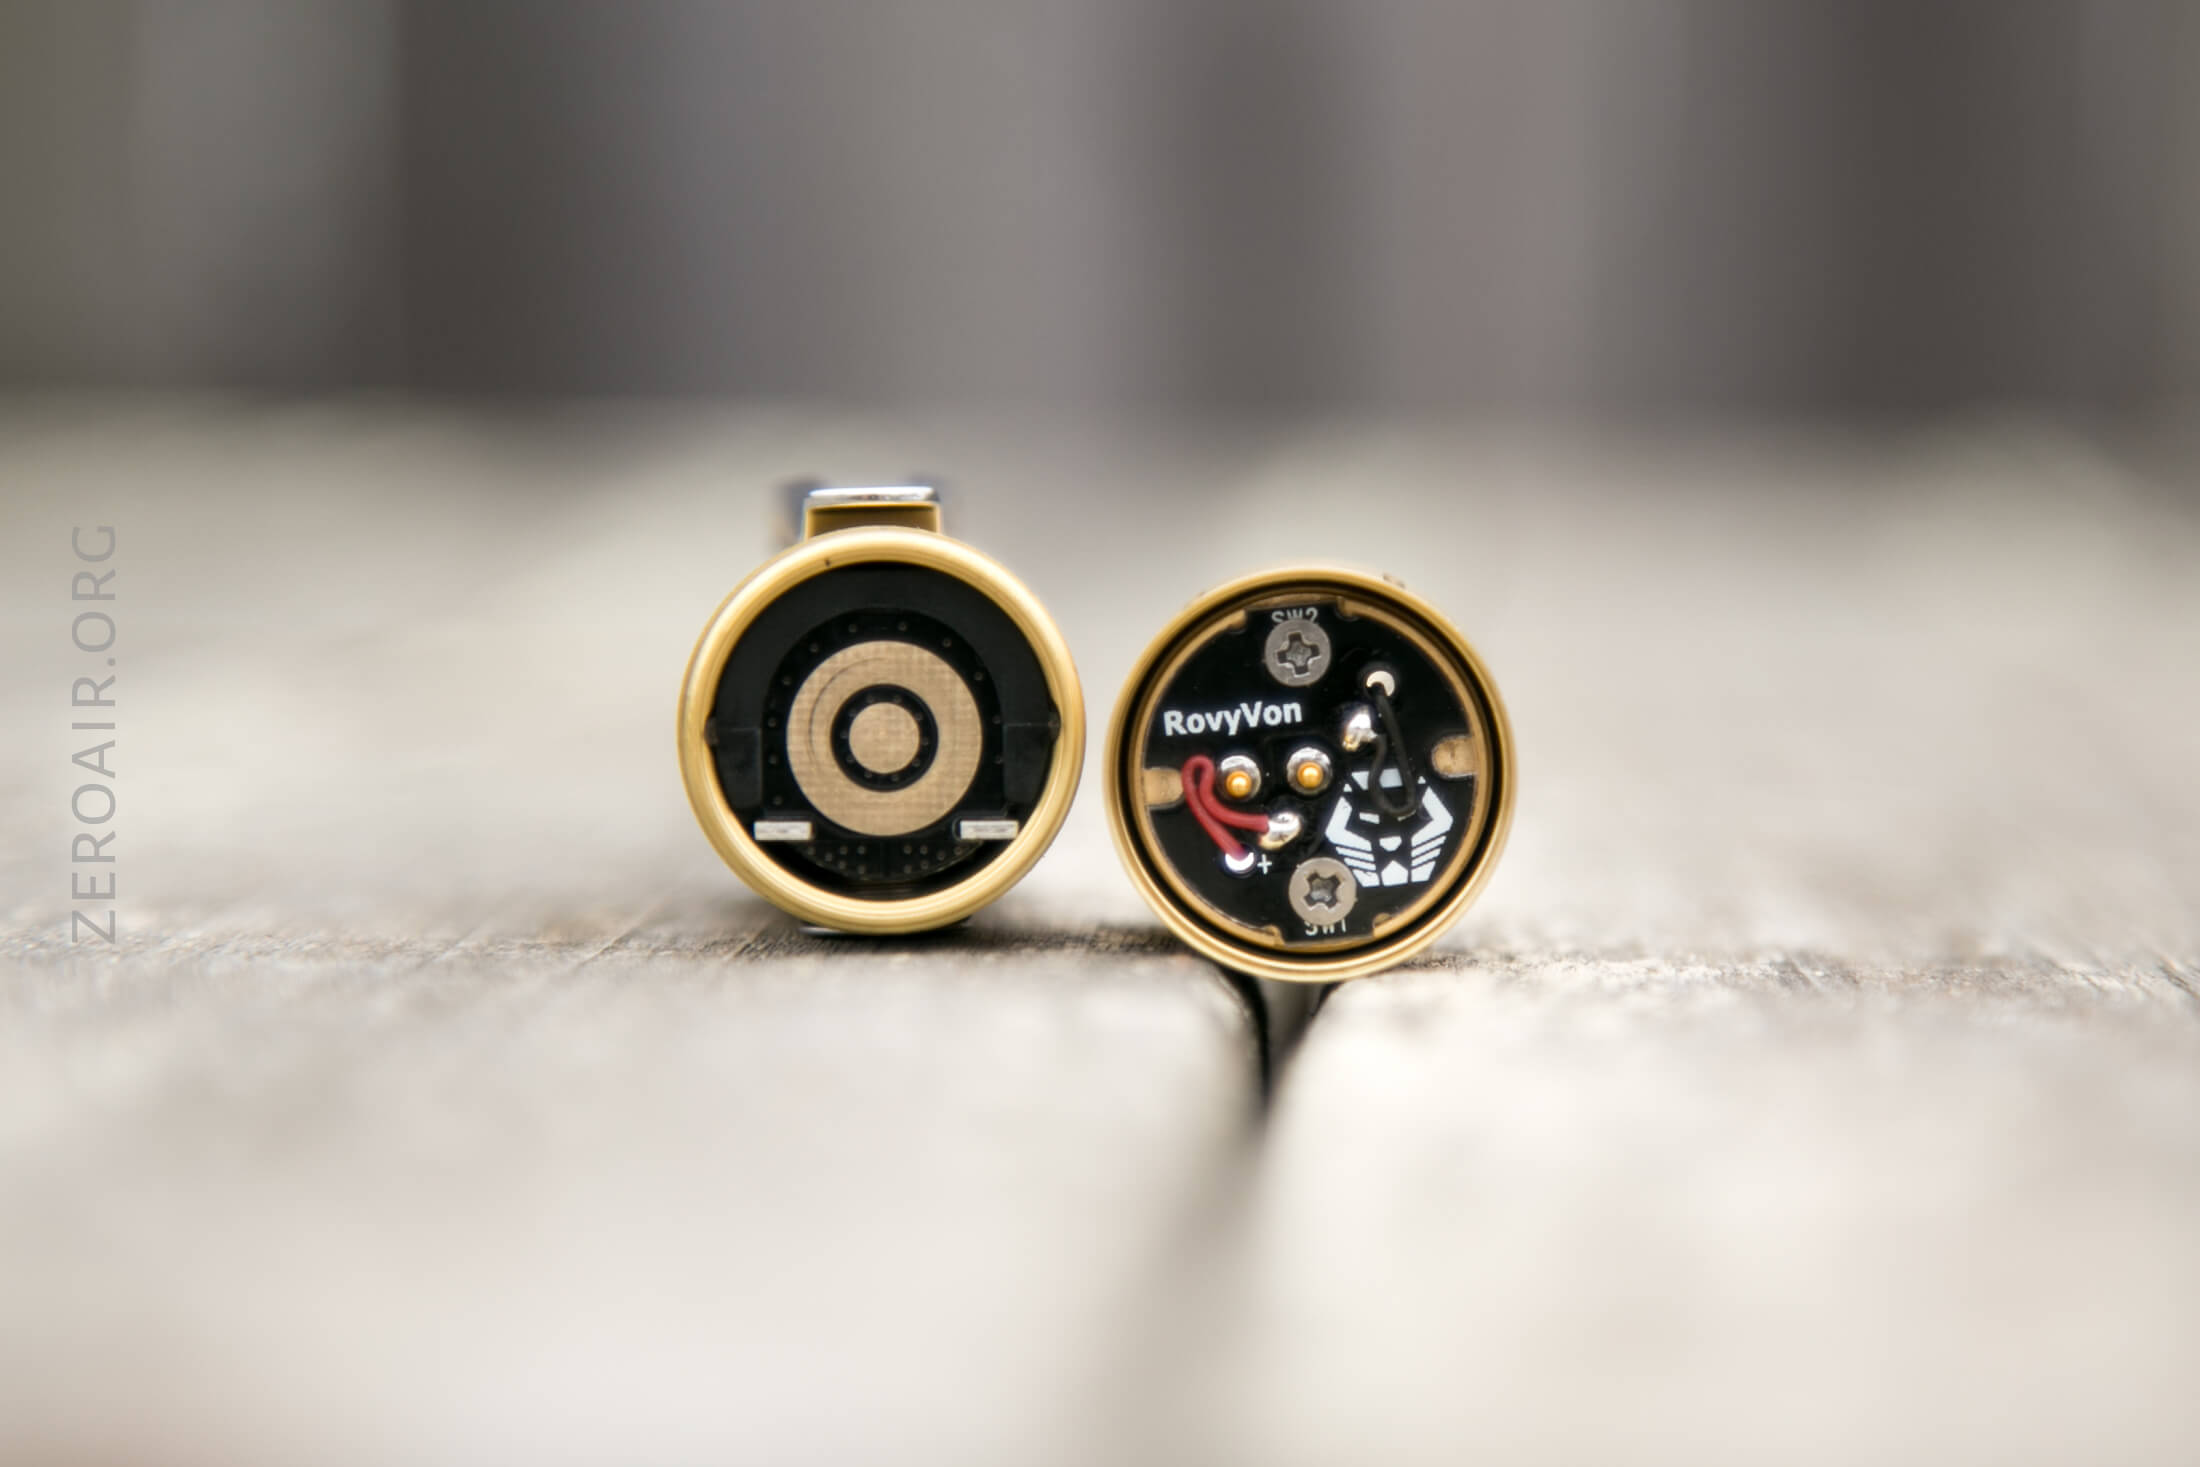
The internals. I didn’t take it down further than this because it’s the same as the A23, and I don’t really want to mess up another switch. So have a look at the A23 disassembly if you want to see the battery.
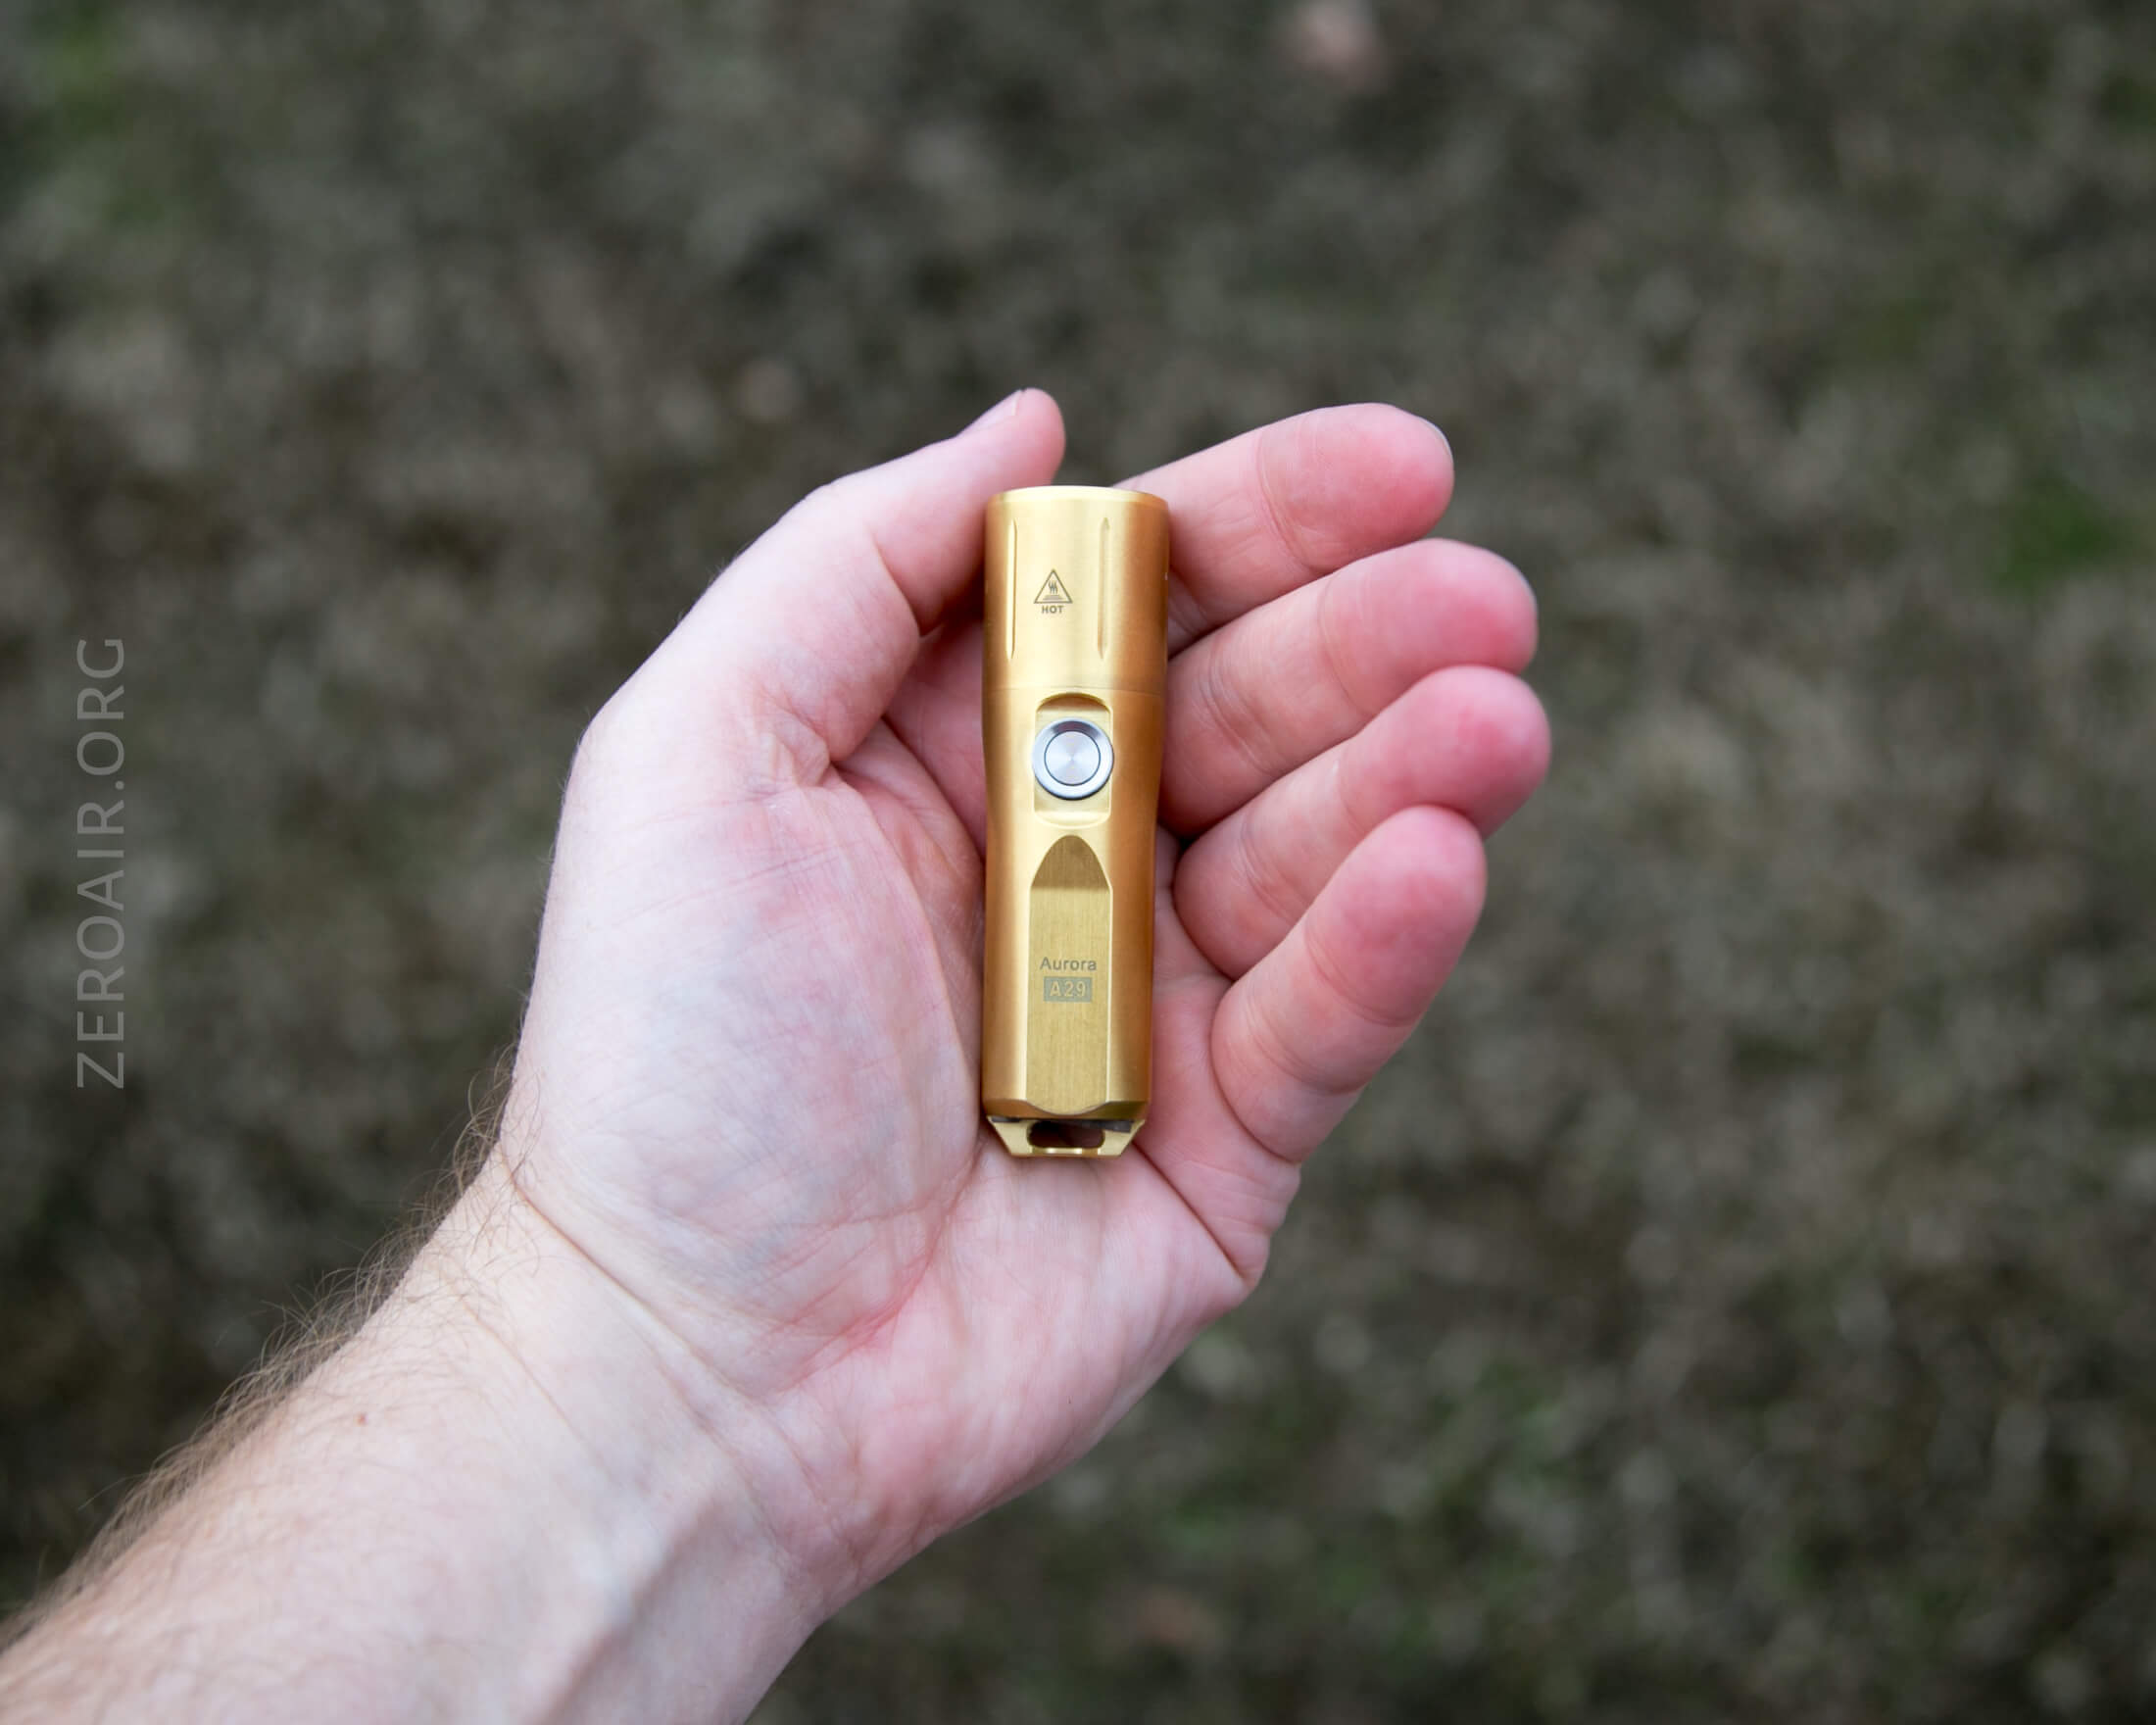
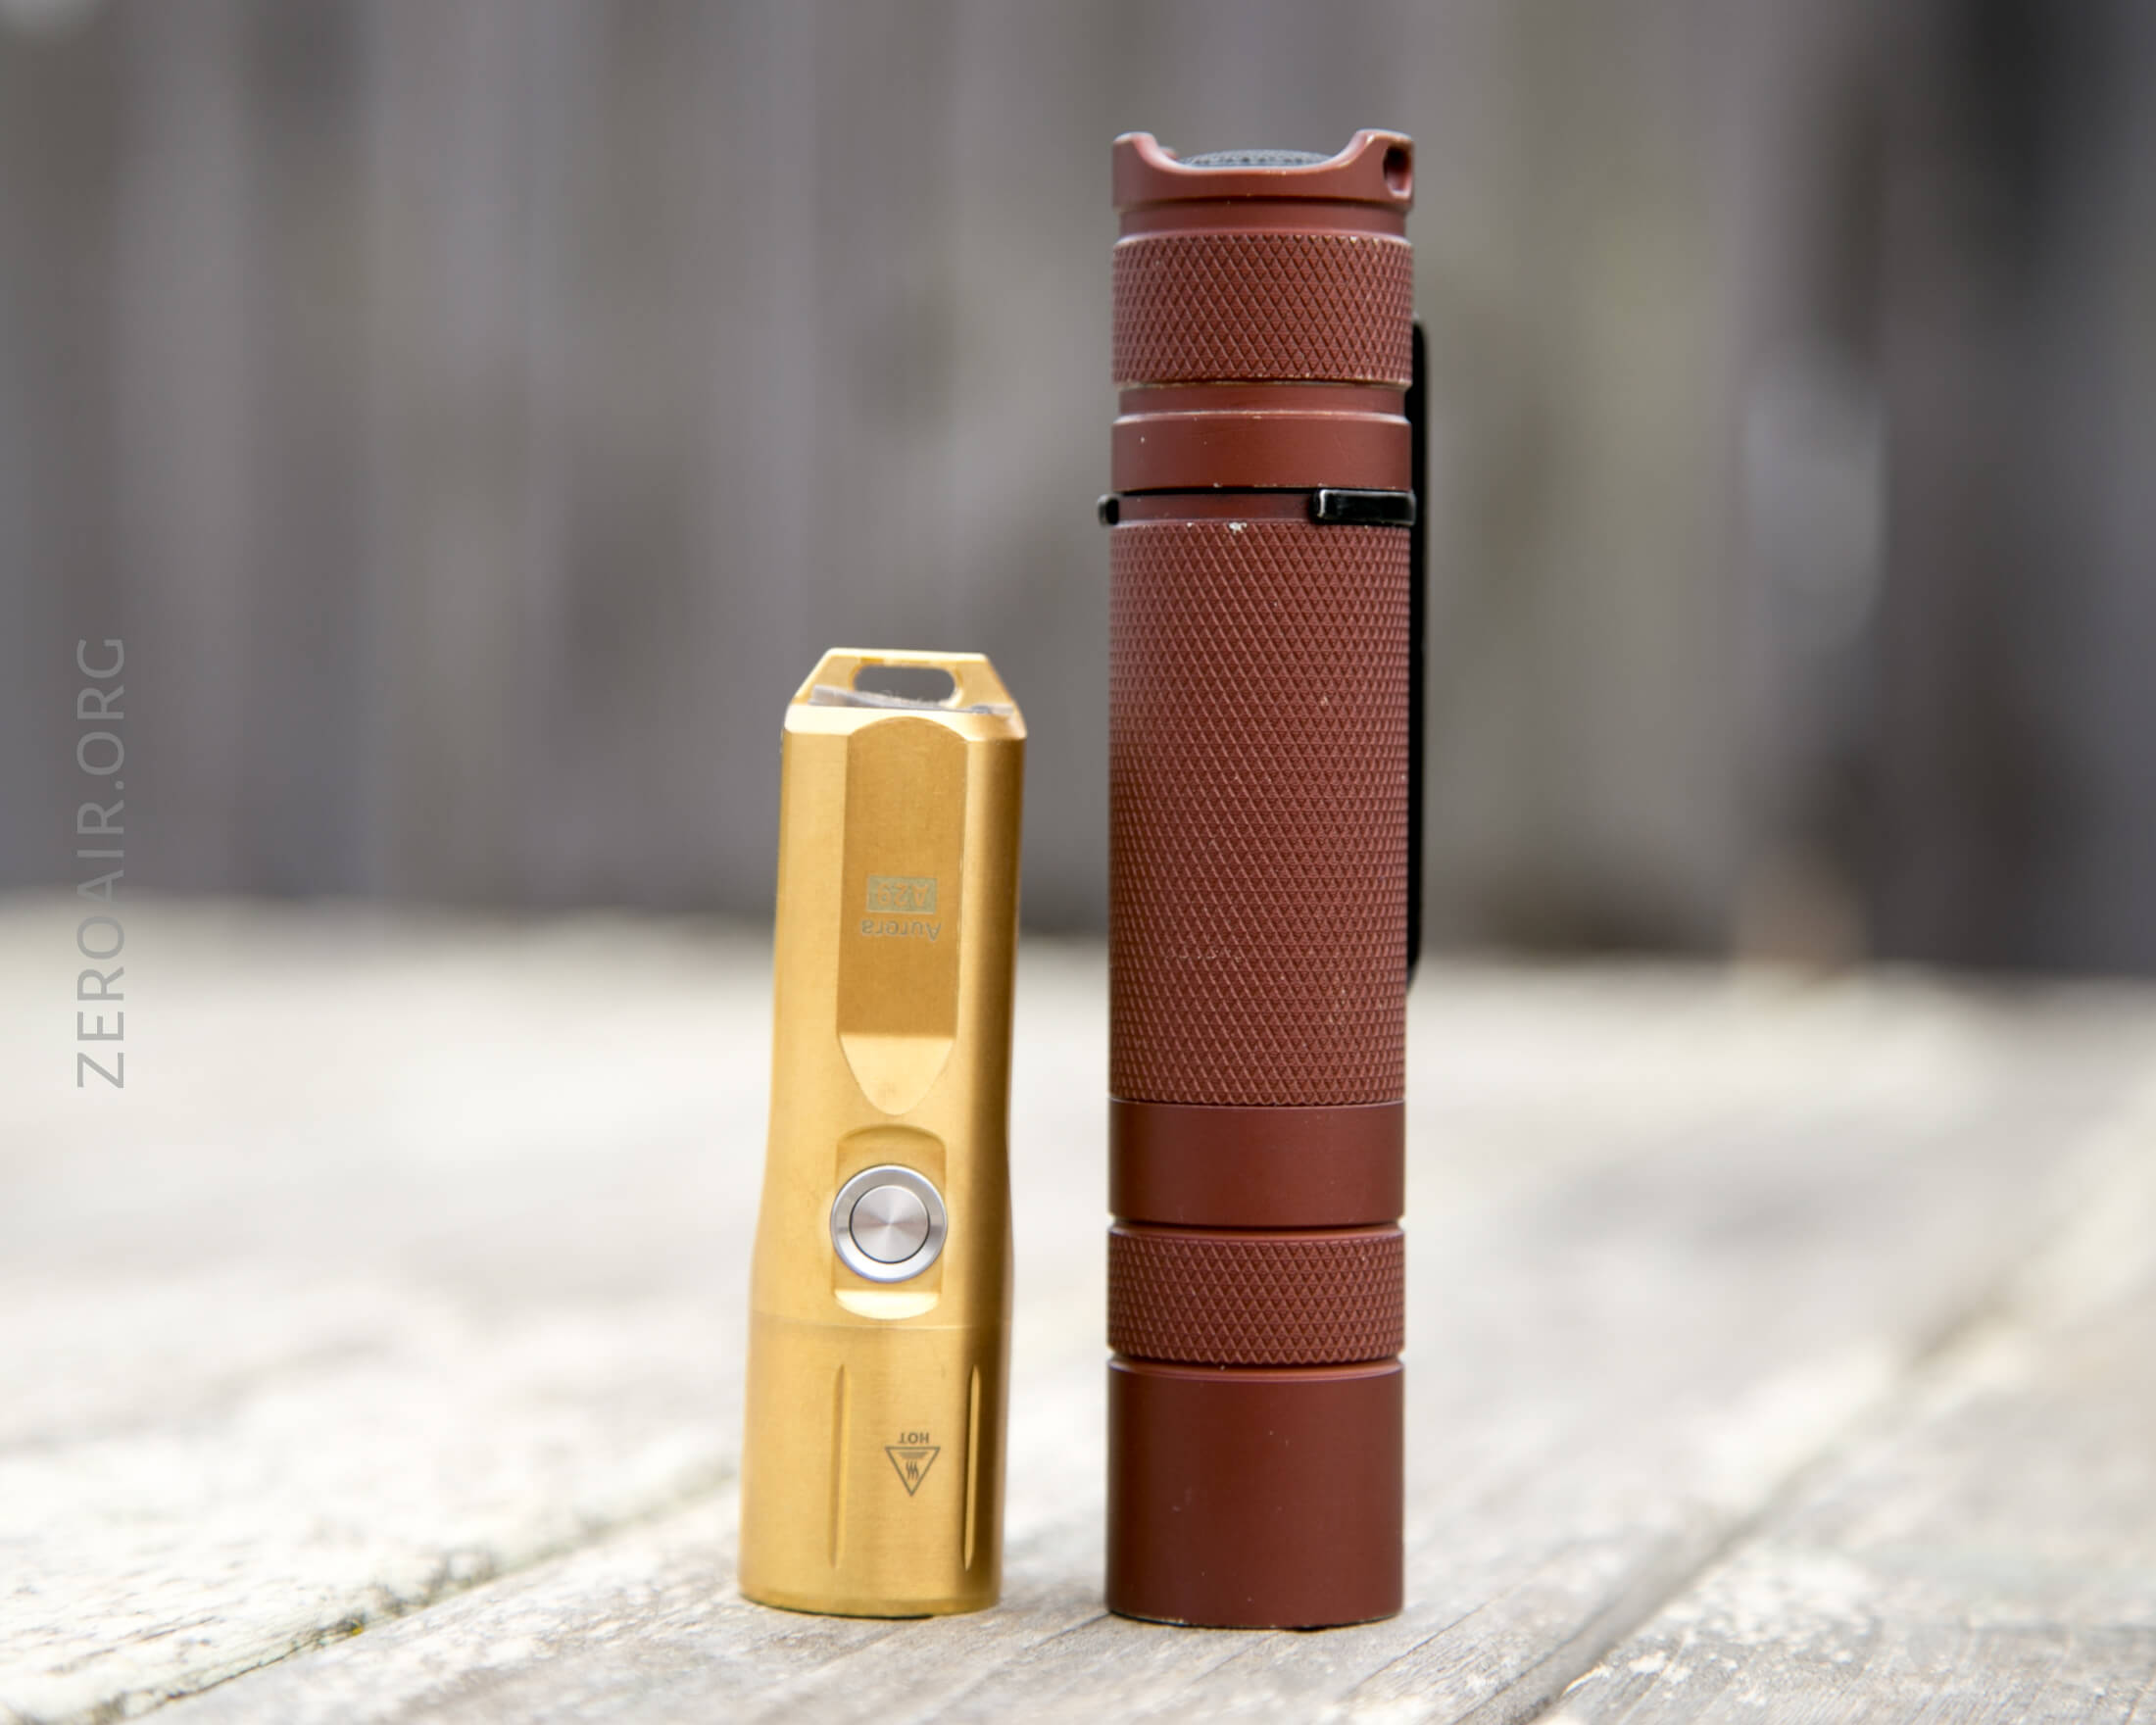
Size and Comps
Dimensions: 76mm (Length) x 21.5mm (Diameter)
Weight: 83.6g/2.95oz
Here’s the test light with the venerable Convoy S2+. Mine’s a custom “baked” edition Nichia 219b triple. A very nice 18650 light.
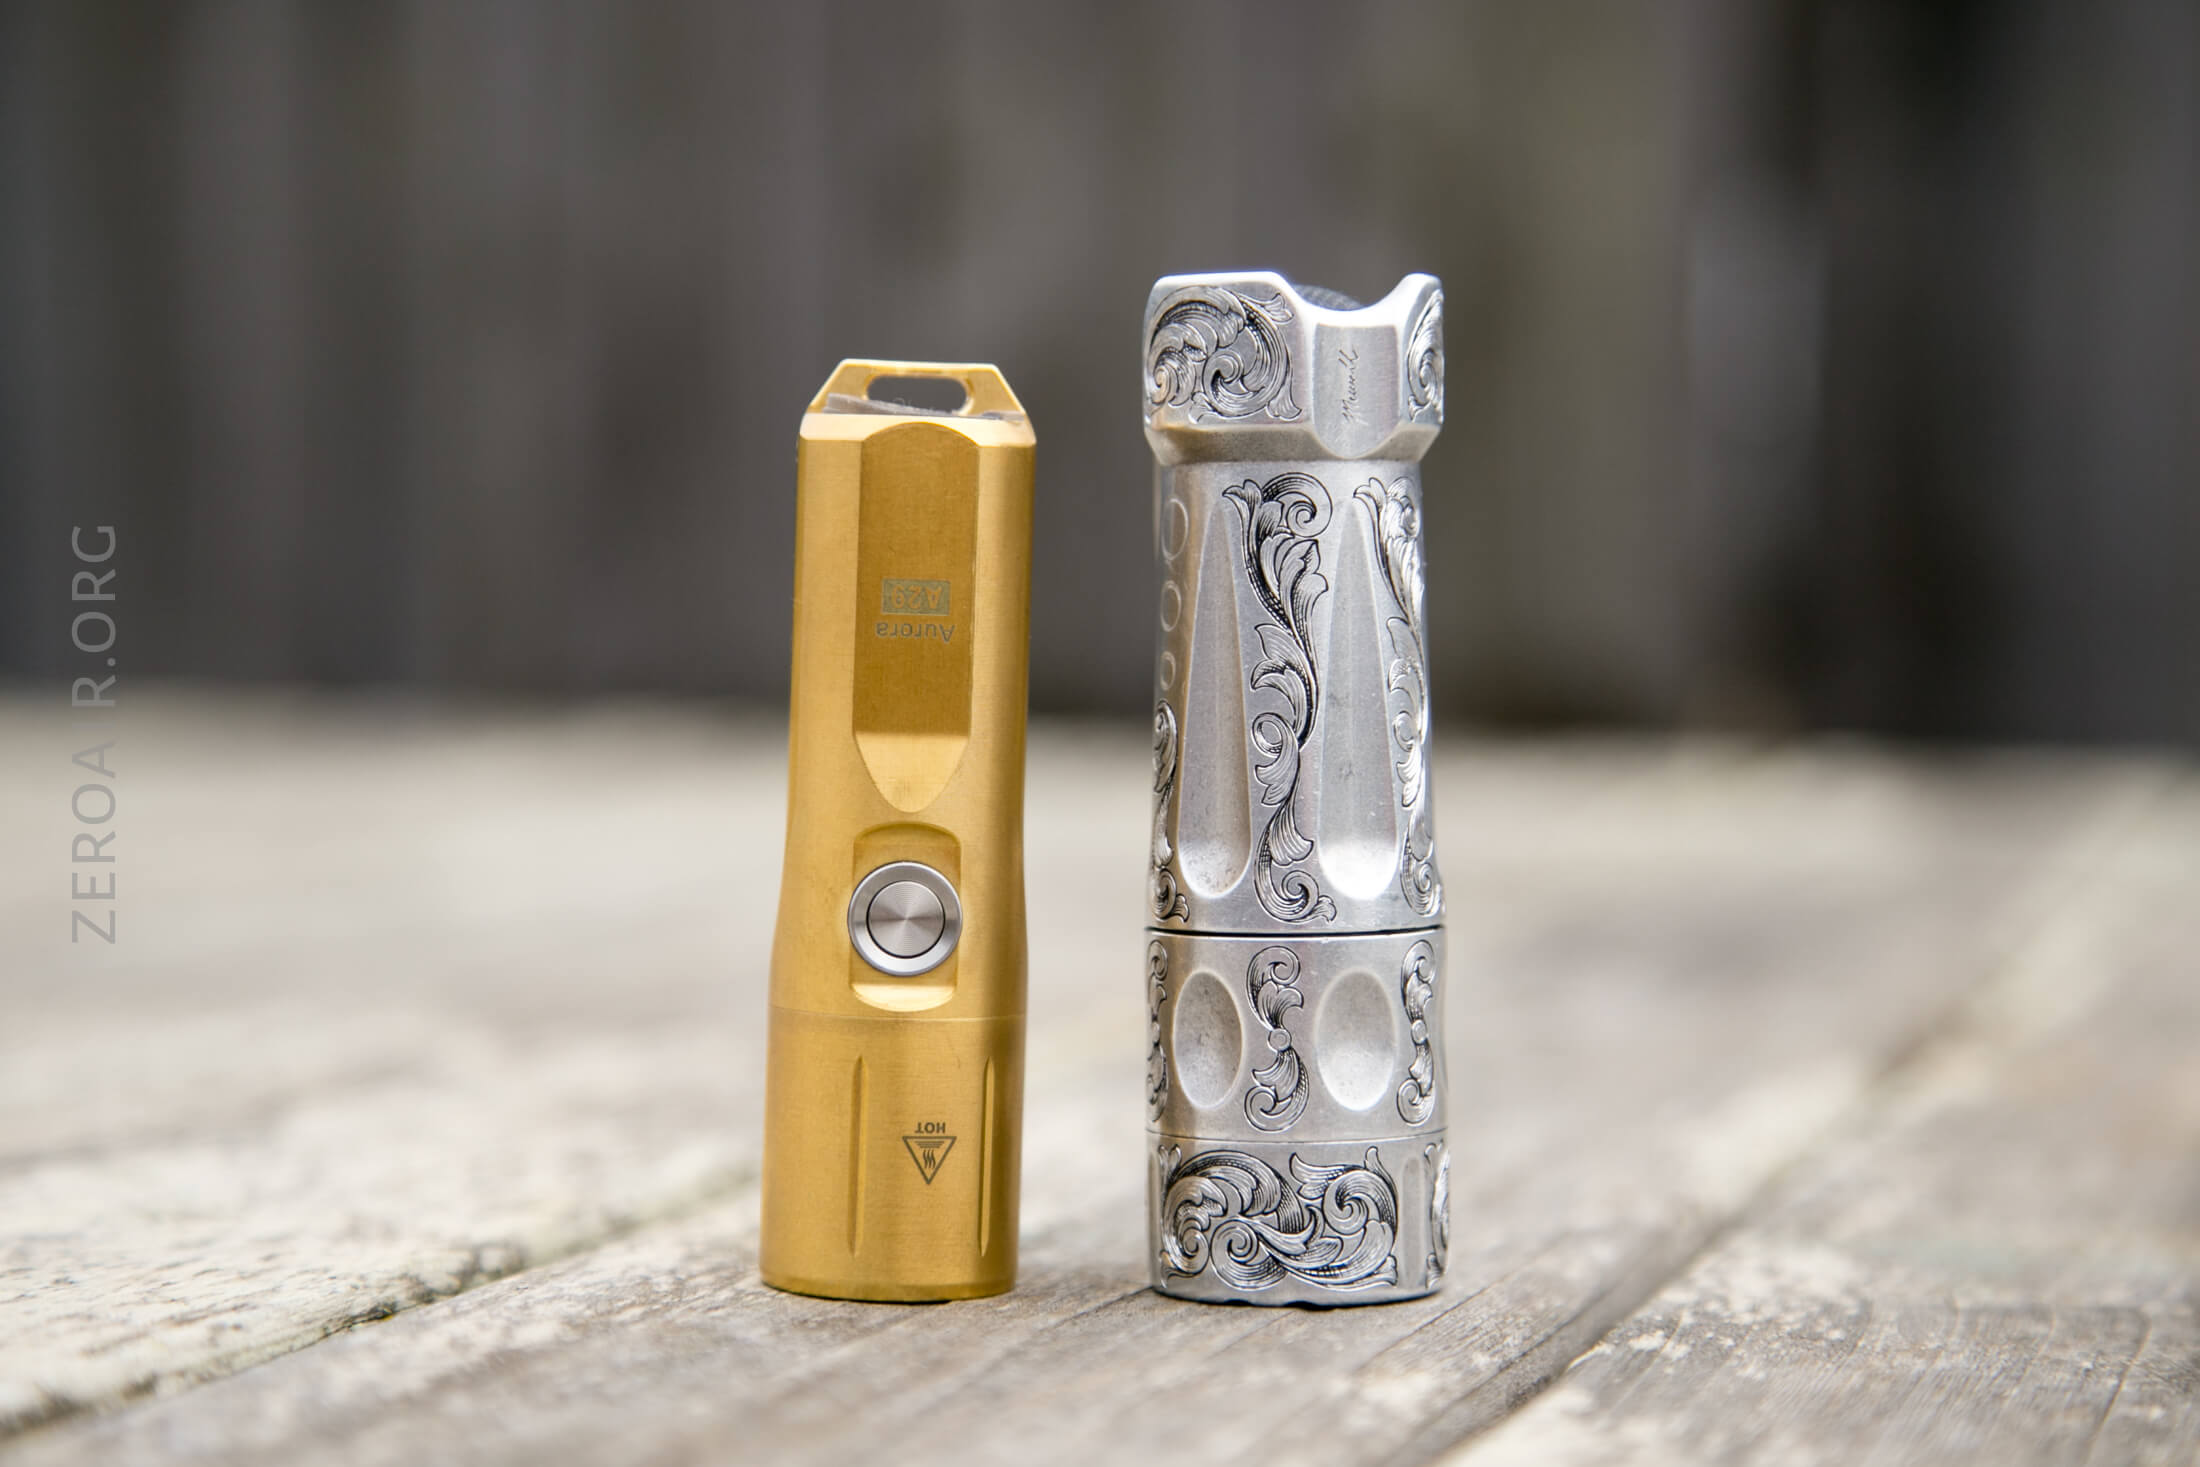
And here’s the light beside my custom-engraved TorchLAB BOSS 35, an 18350 light. I reviewed the aluminum version of that light in both 35 and 70 formats.
Retention and Carry
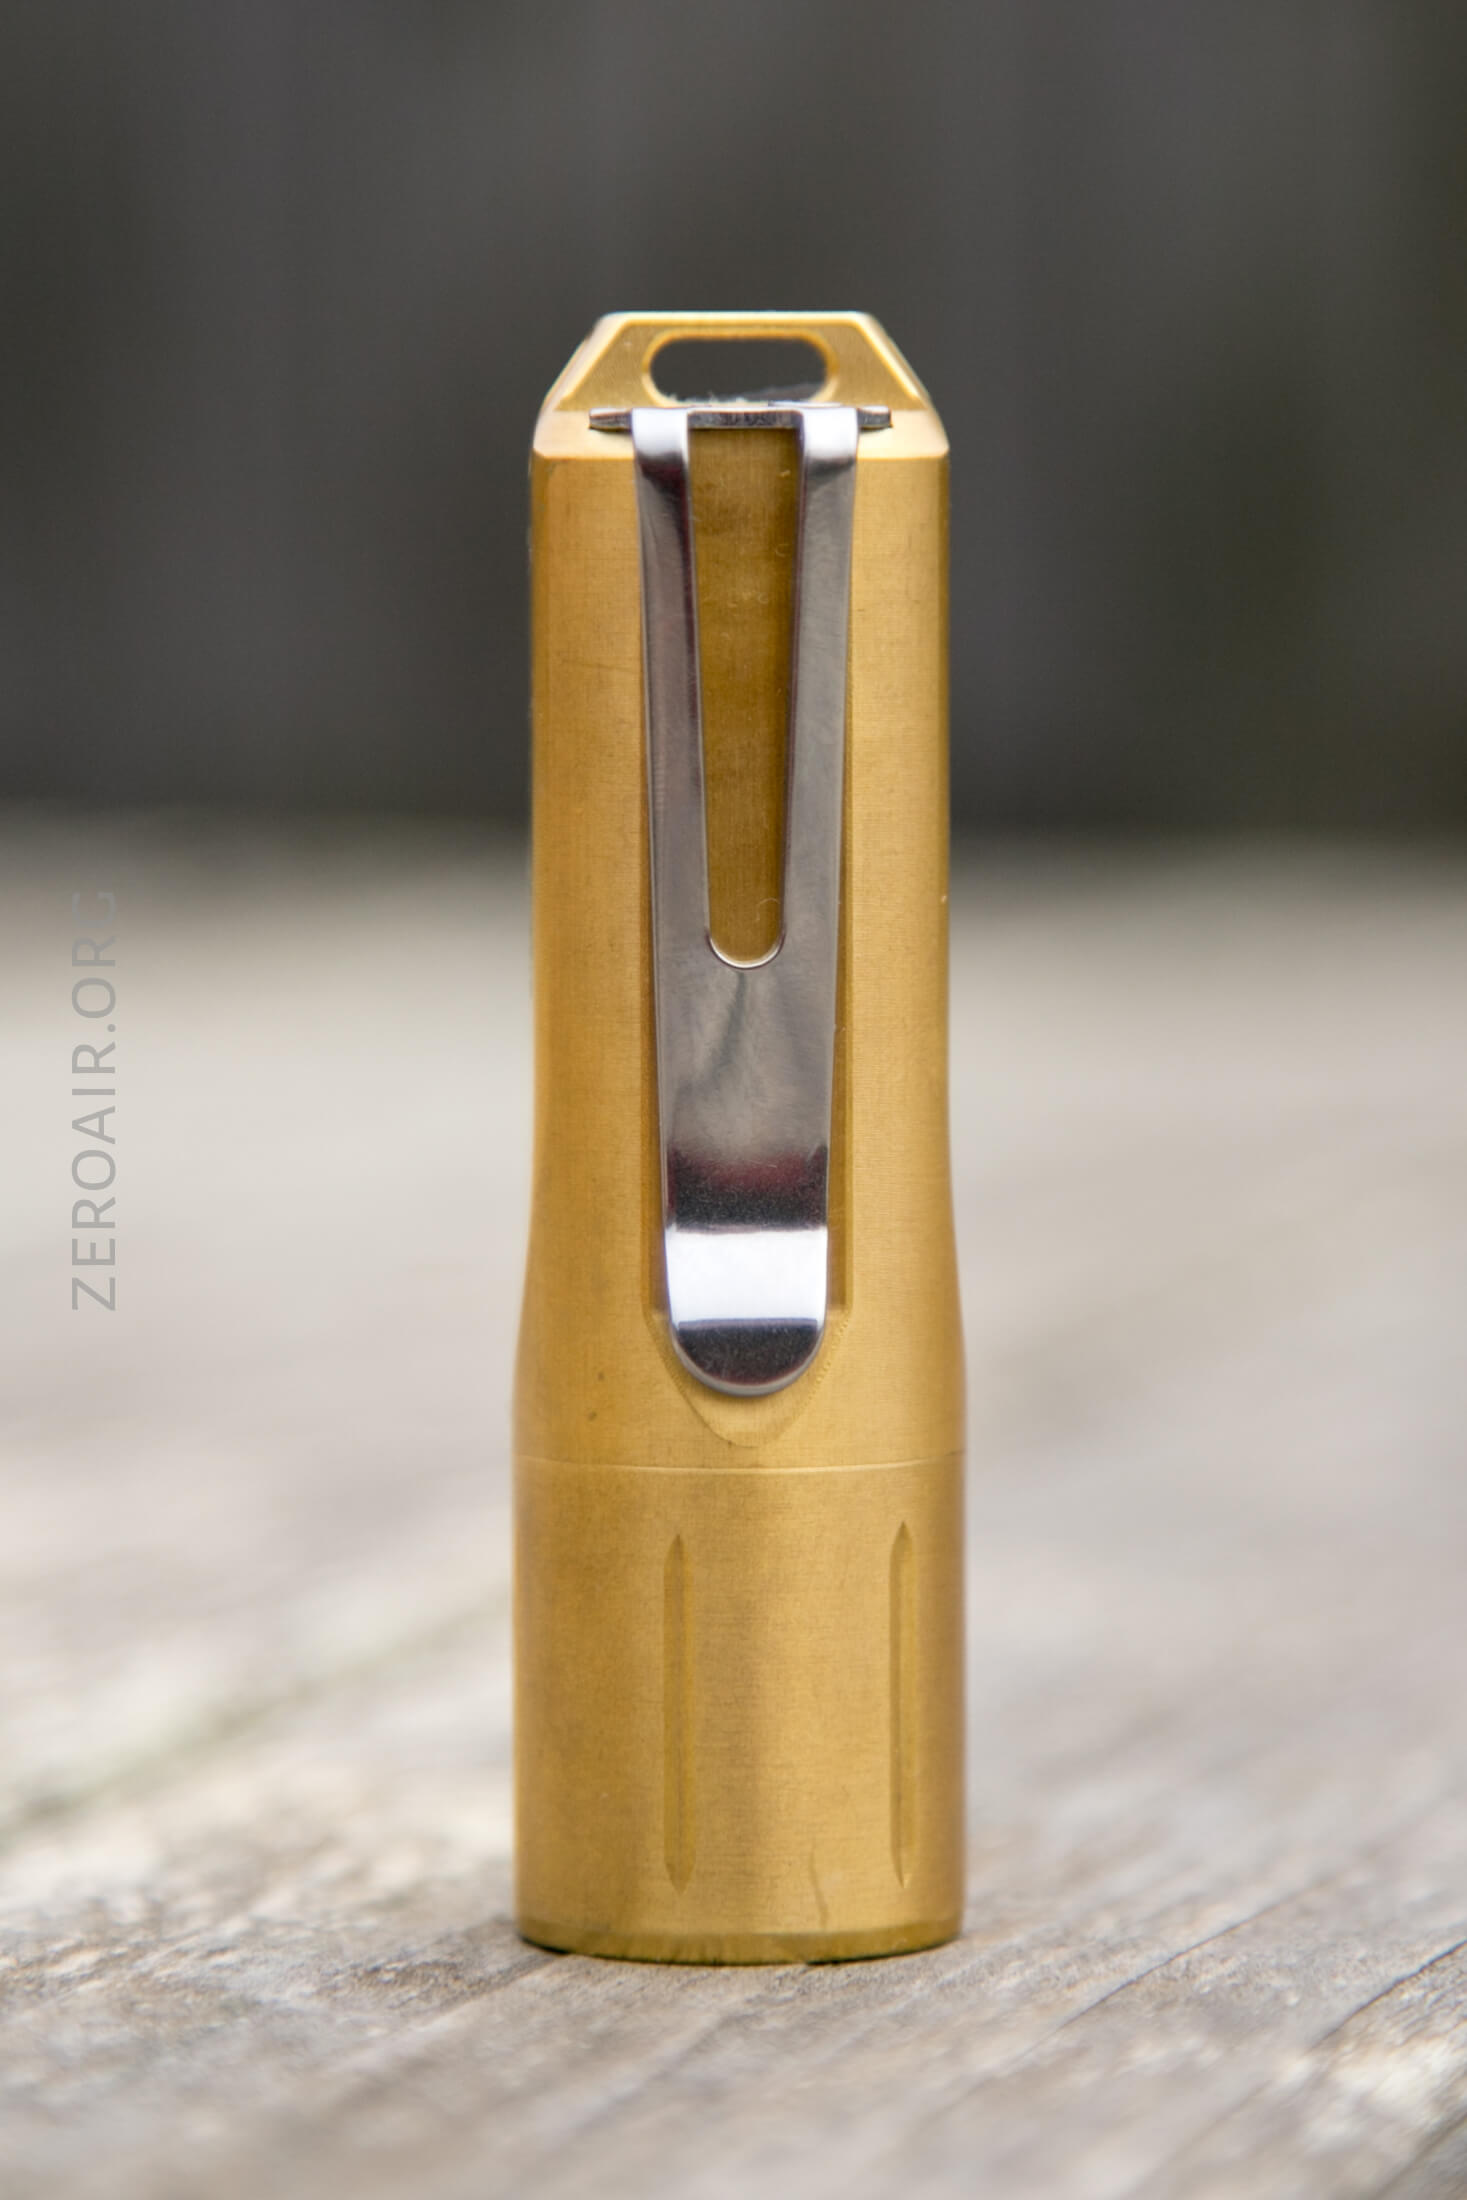
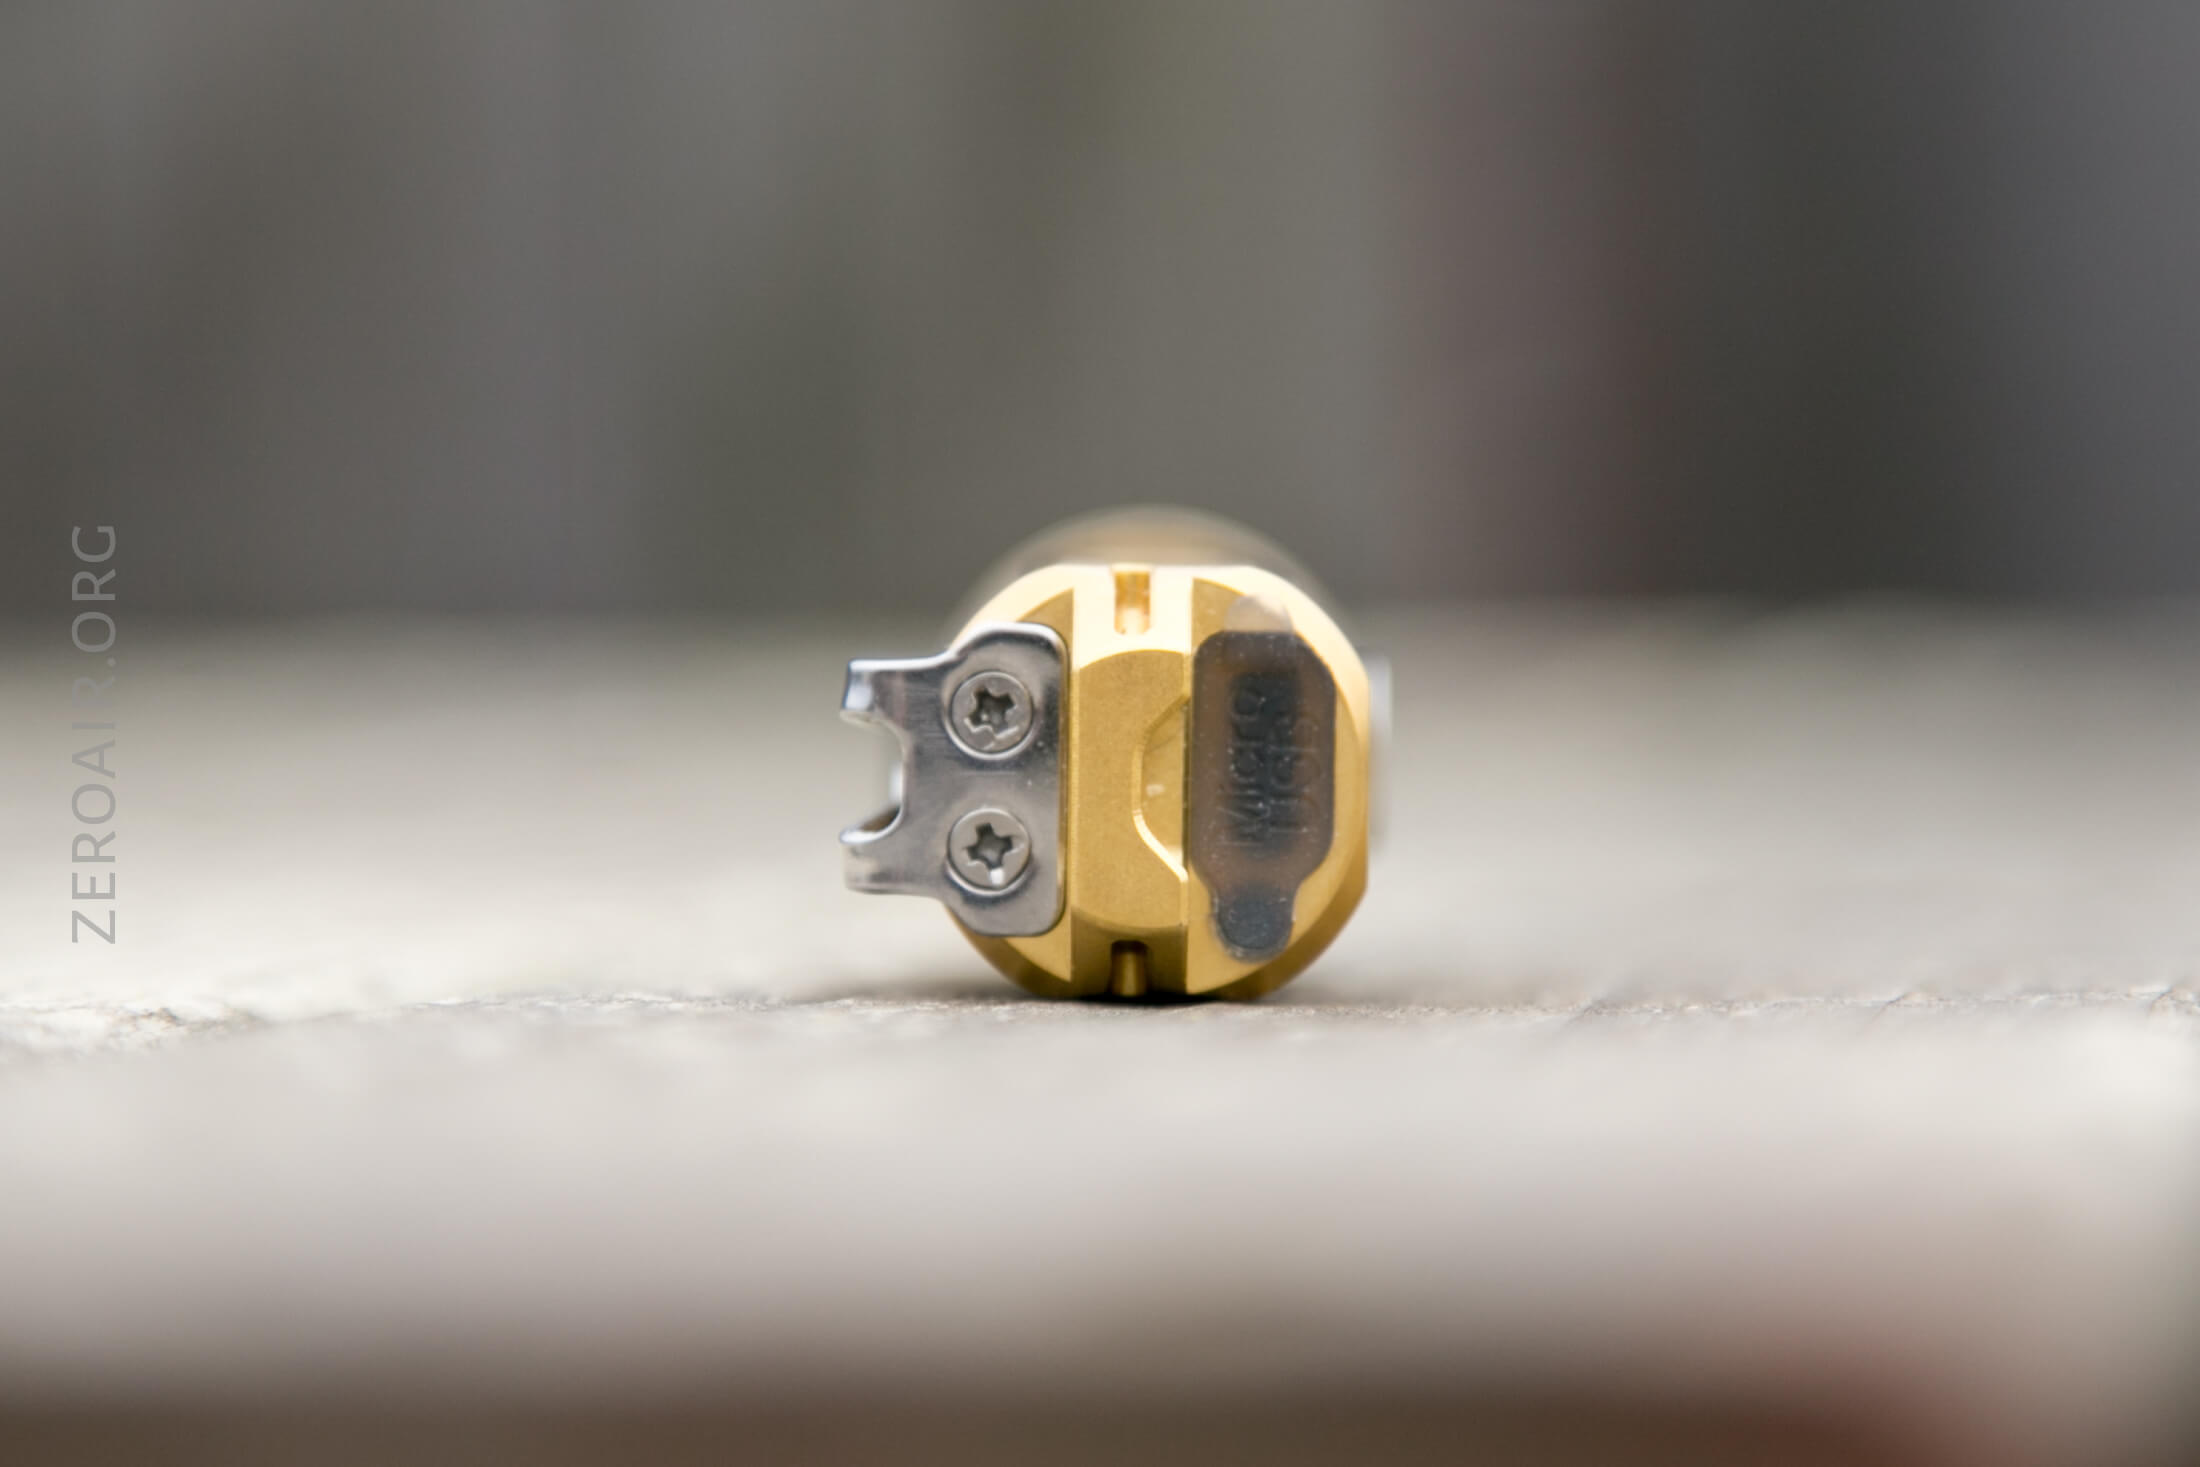
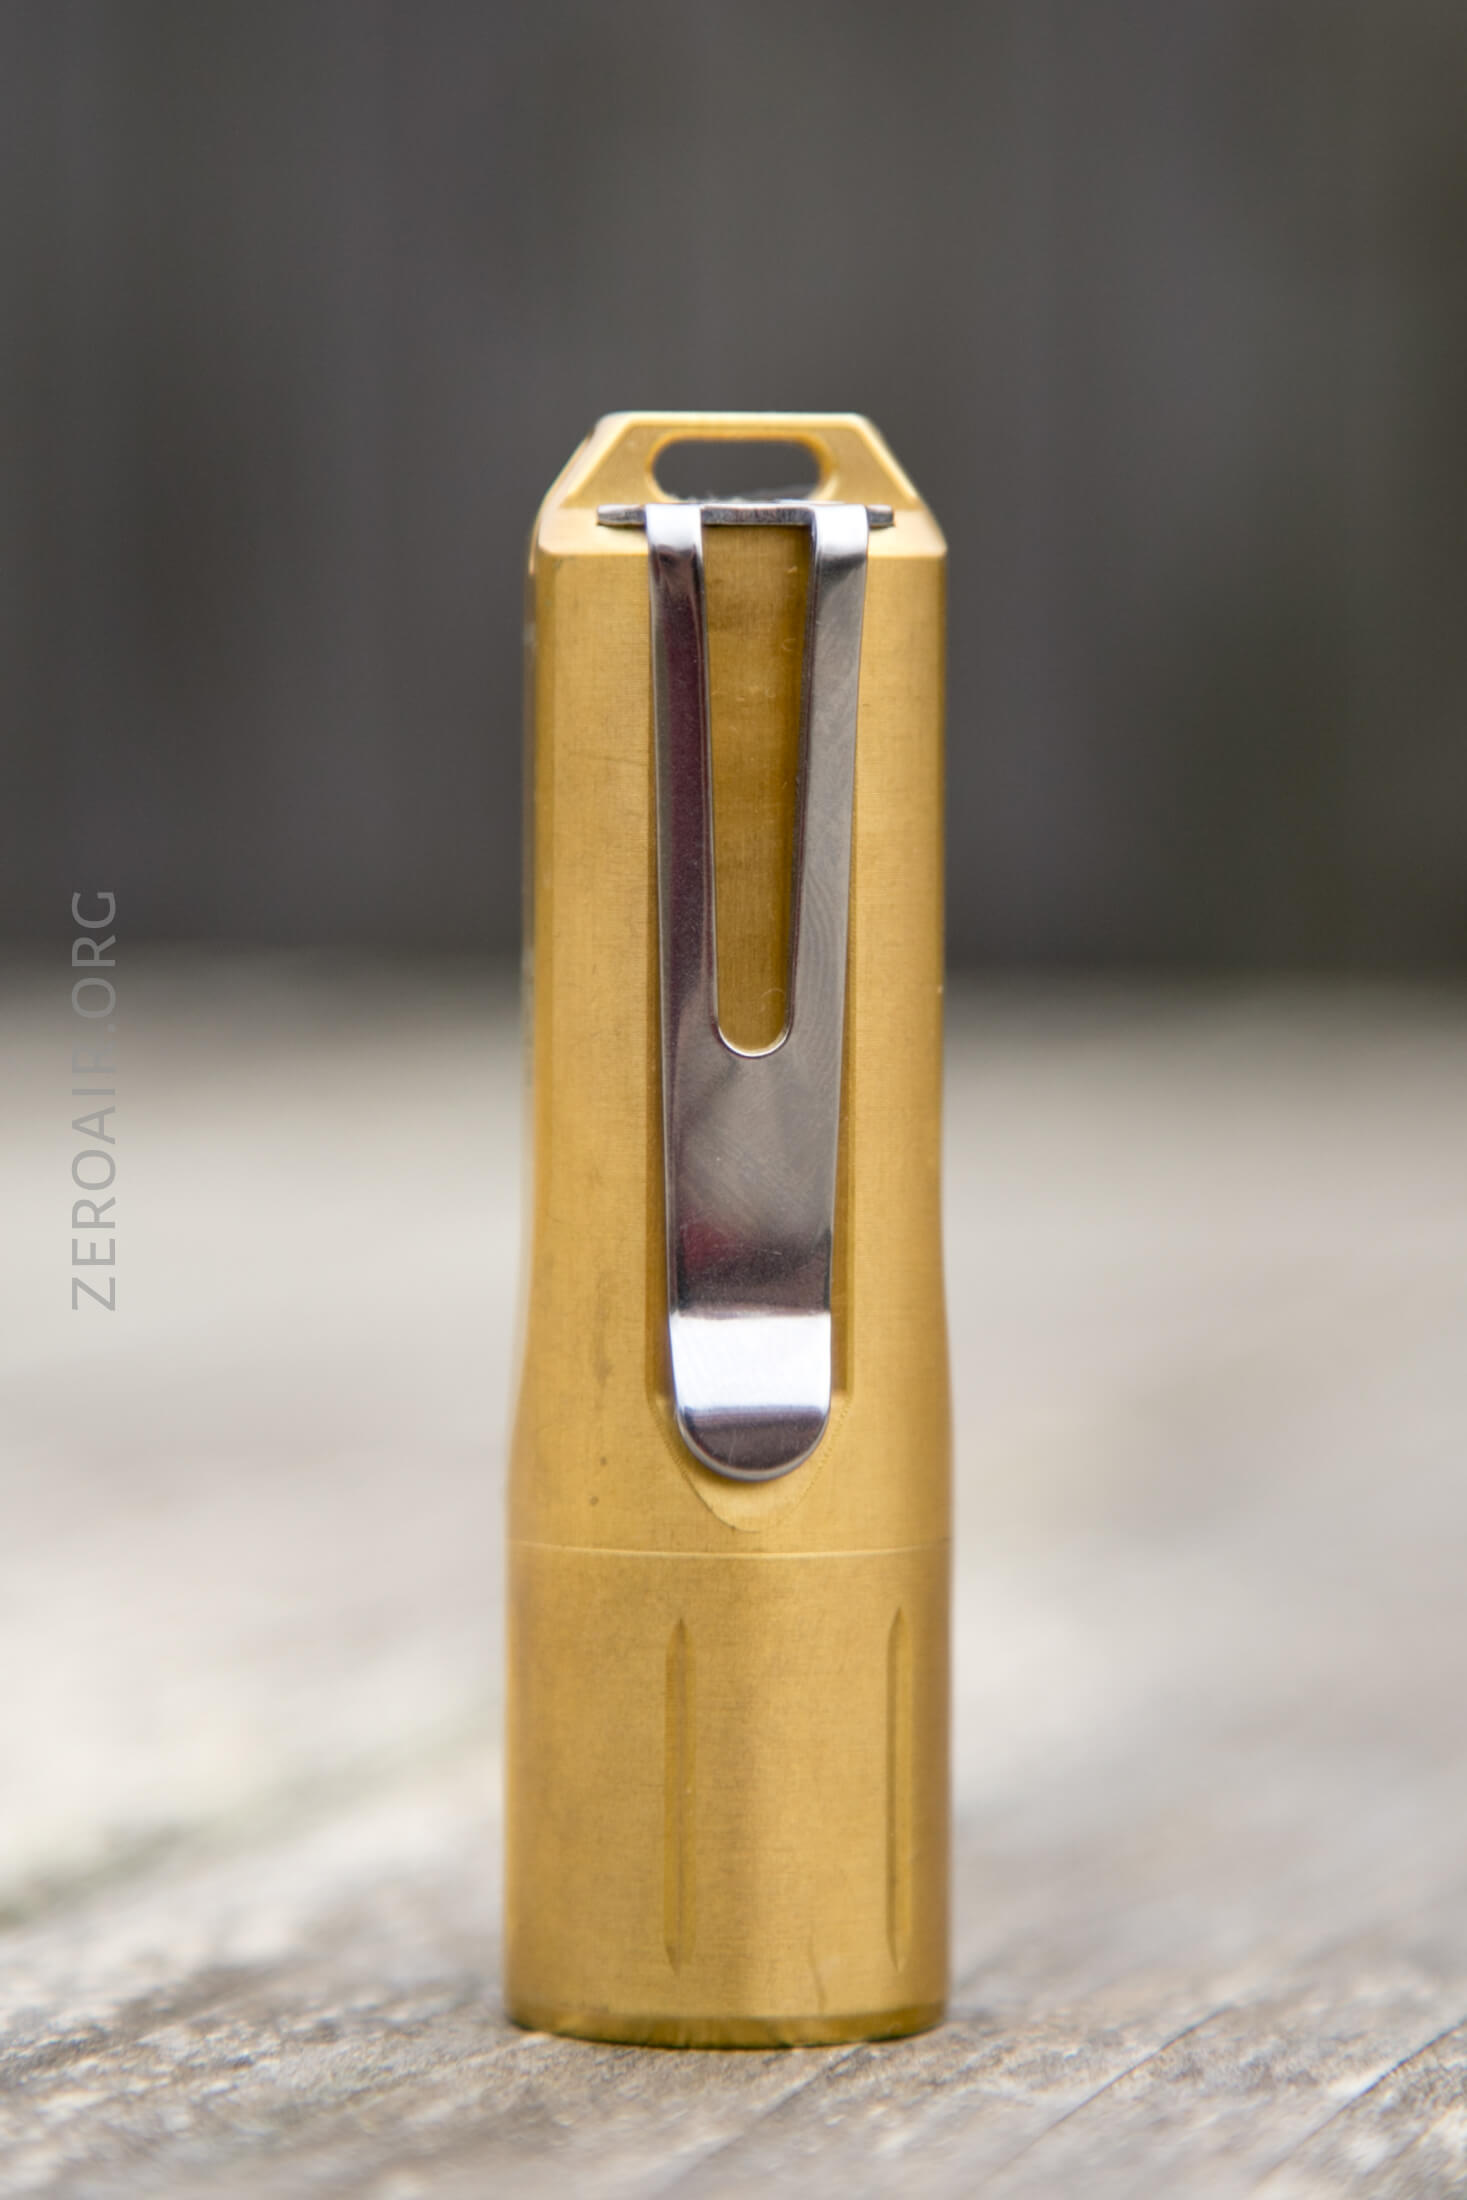
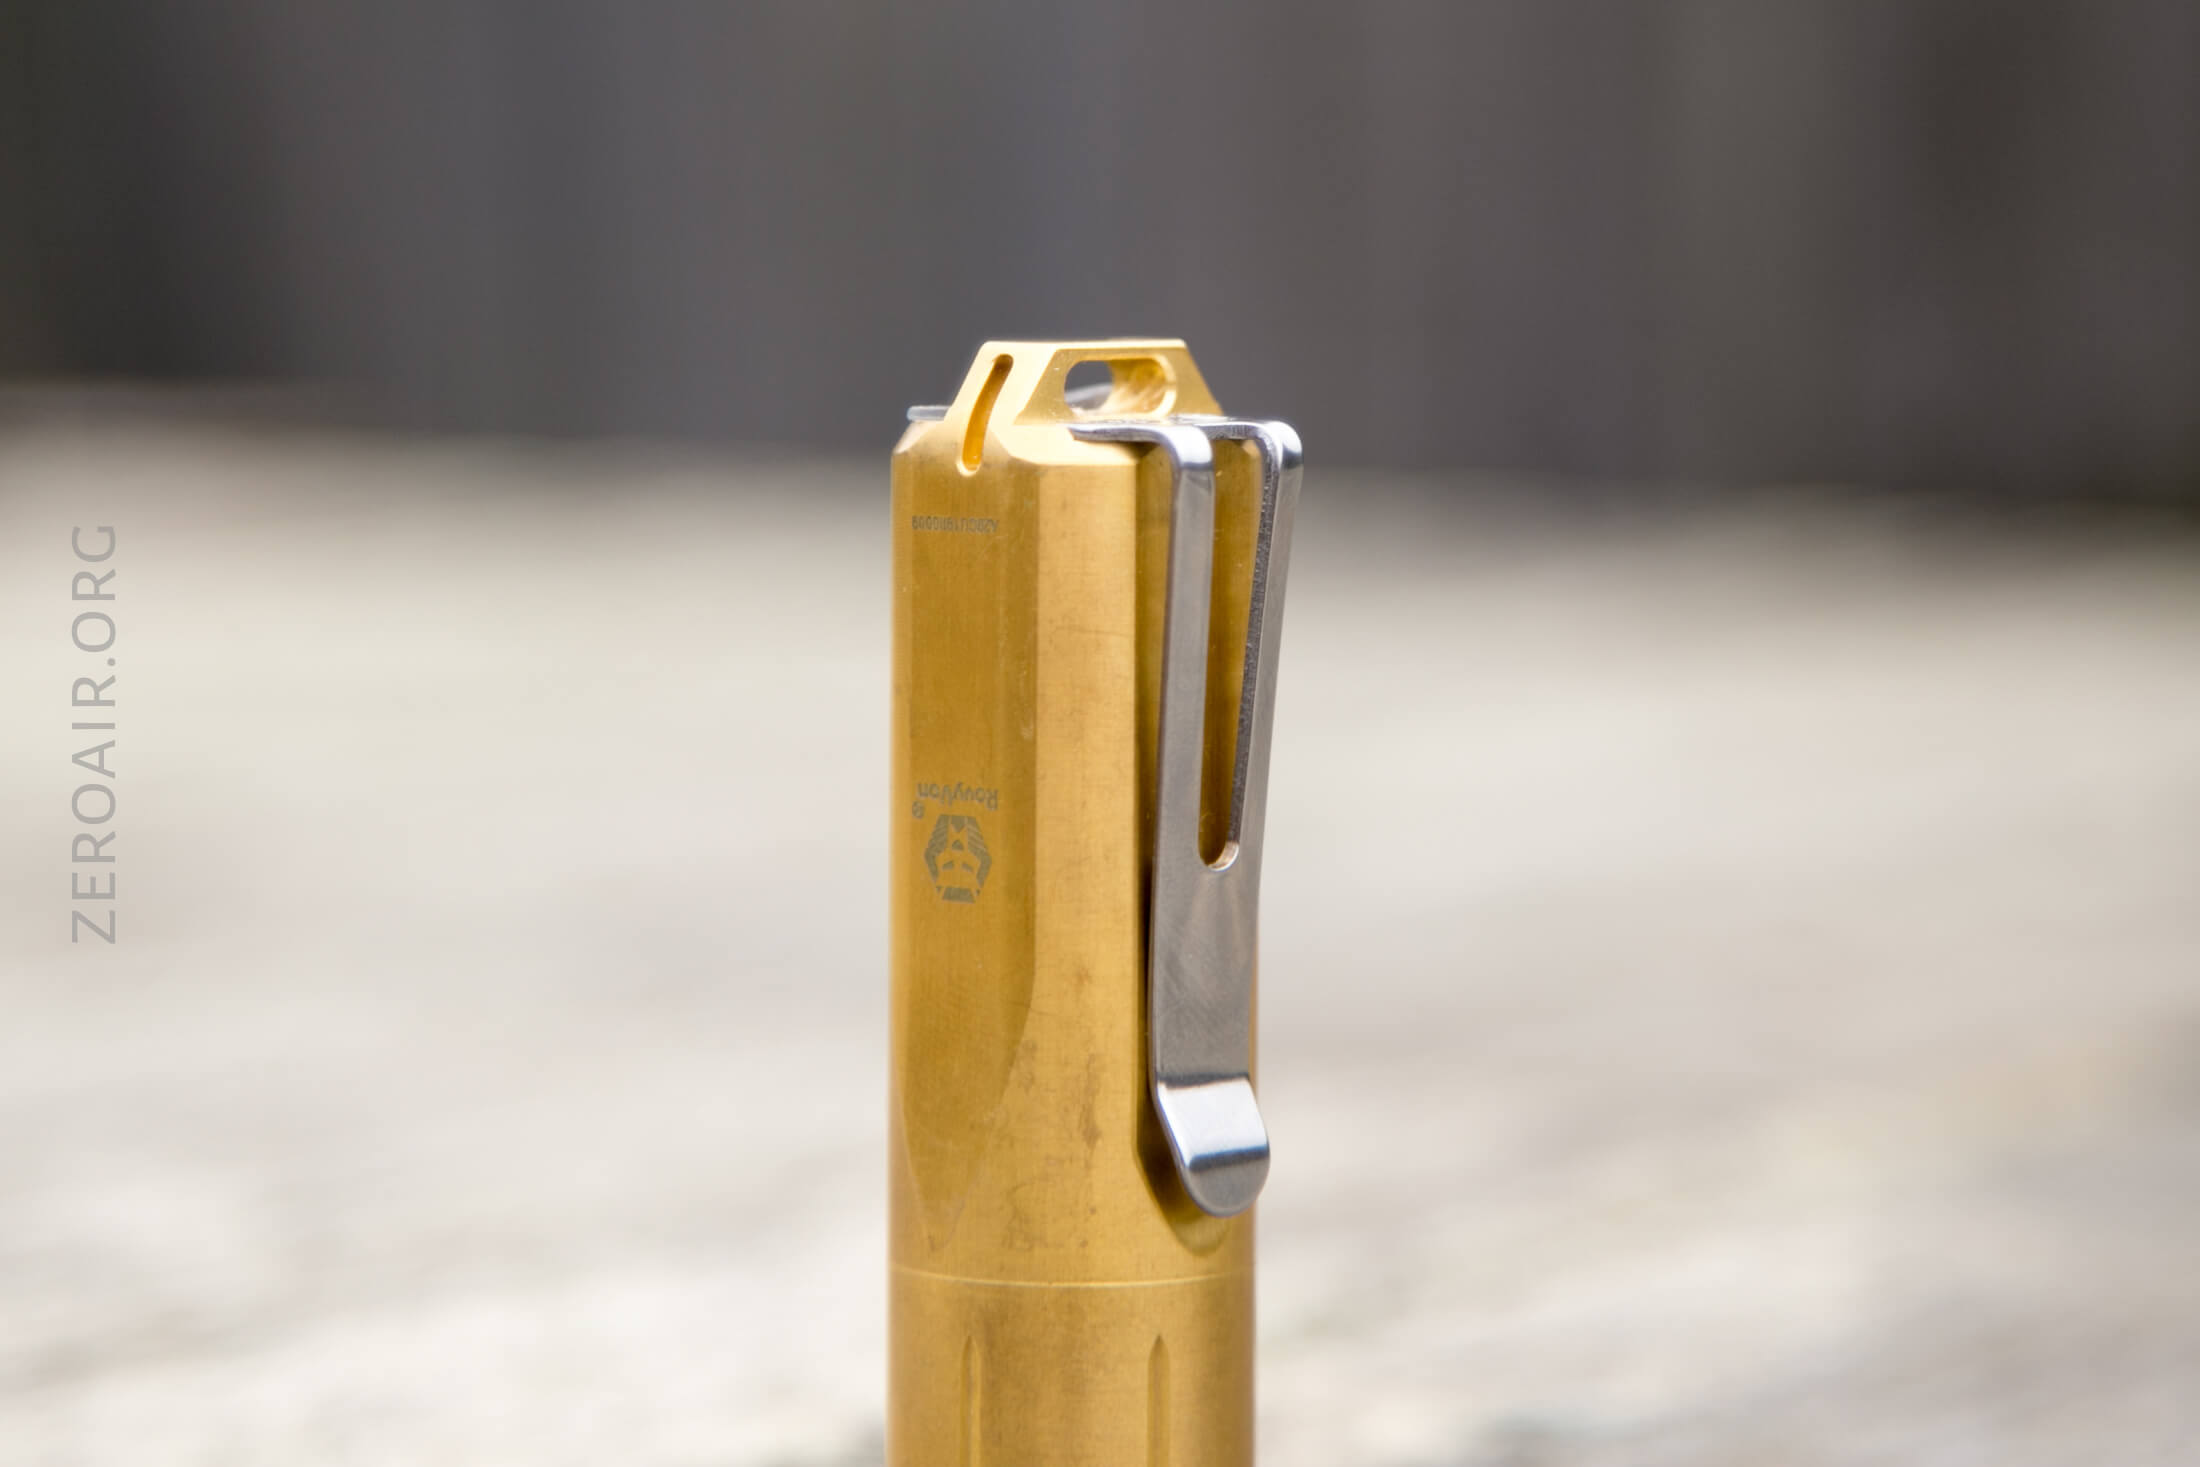
The main means to carry the A29 is the pocket clip. It’s attached with two Philips screws, which sit flush on the clip.
I really like this clip. It’s easy to use (big mouth), very smooth, and also very deep carry.
Also, an option for carrying is the lanyard, which is included. It could attach to the tailcap loop or the pocket clip since the pocket clip is securely attached (not a friction fit).
The included paracord could be attached in much the same way as the lanyard.
The light will tailstand, but I wouldn’t really rely on that much.
The clip isn’t reversible, so this can’t be a hatlight.
Power and Runtime
As stated, the battery is an internal lipo. It’s technically built-in, but the J-type connector can be seen through the body. However, if you replace the battery with one from RovyVon, you’ll be replacing the entire guts of the body.
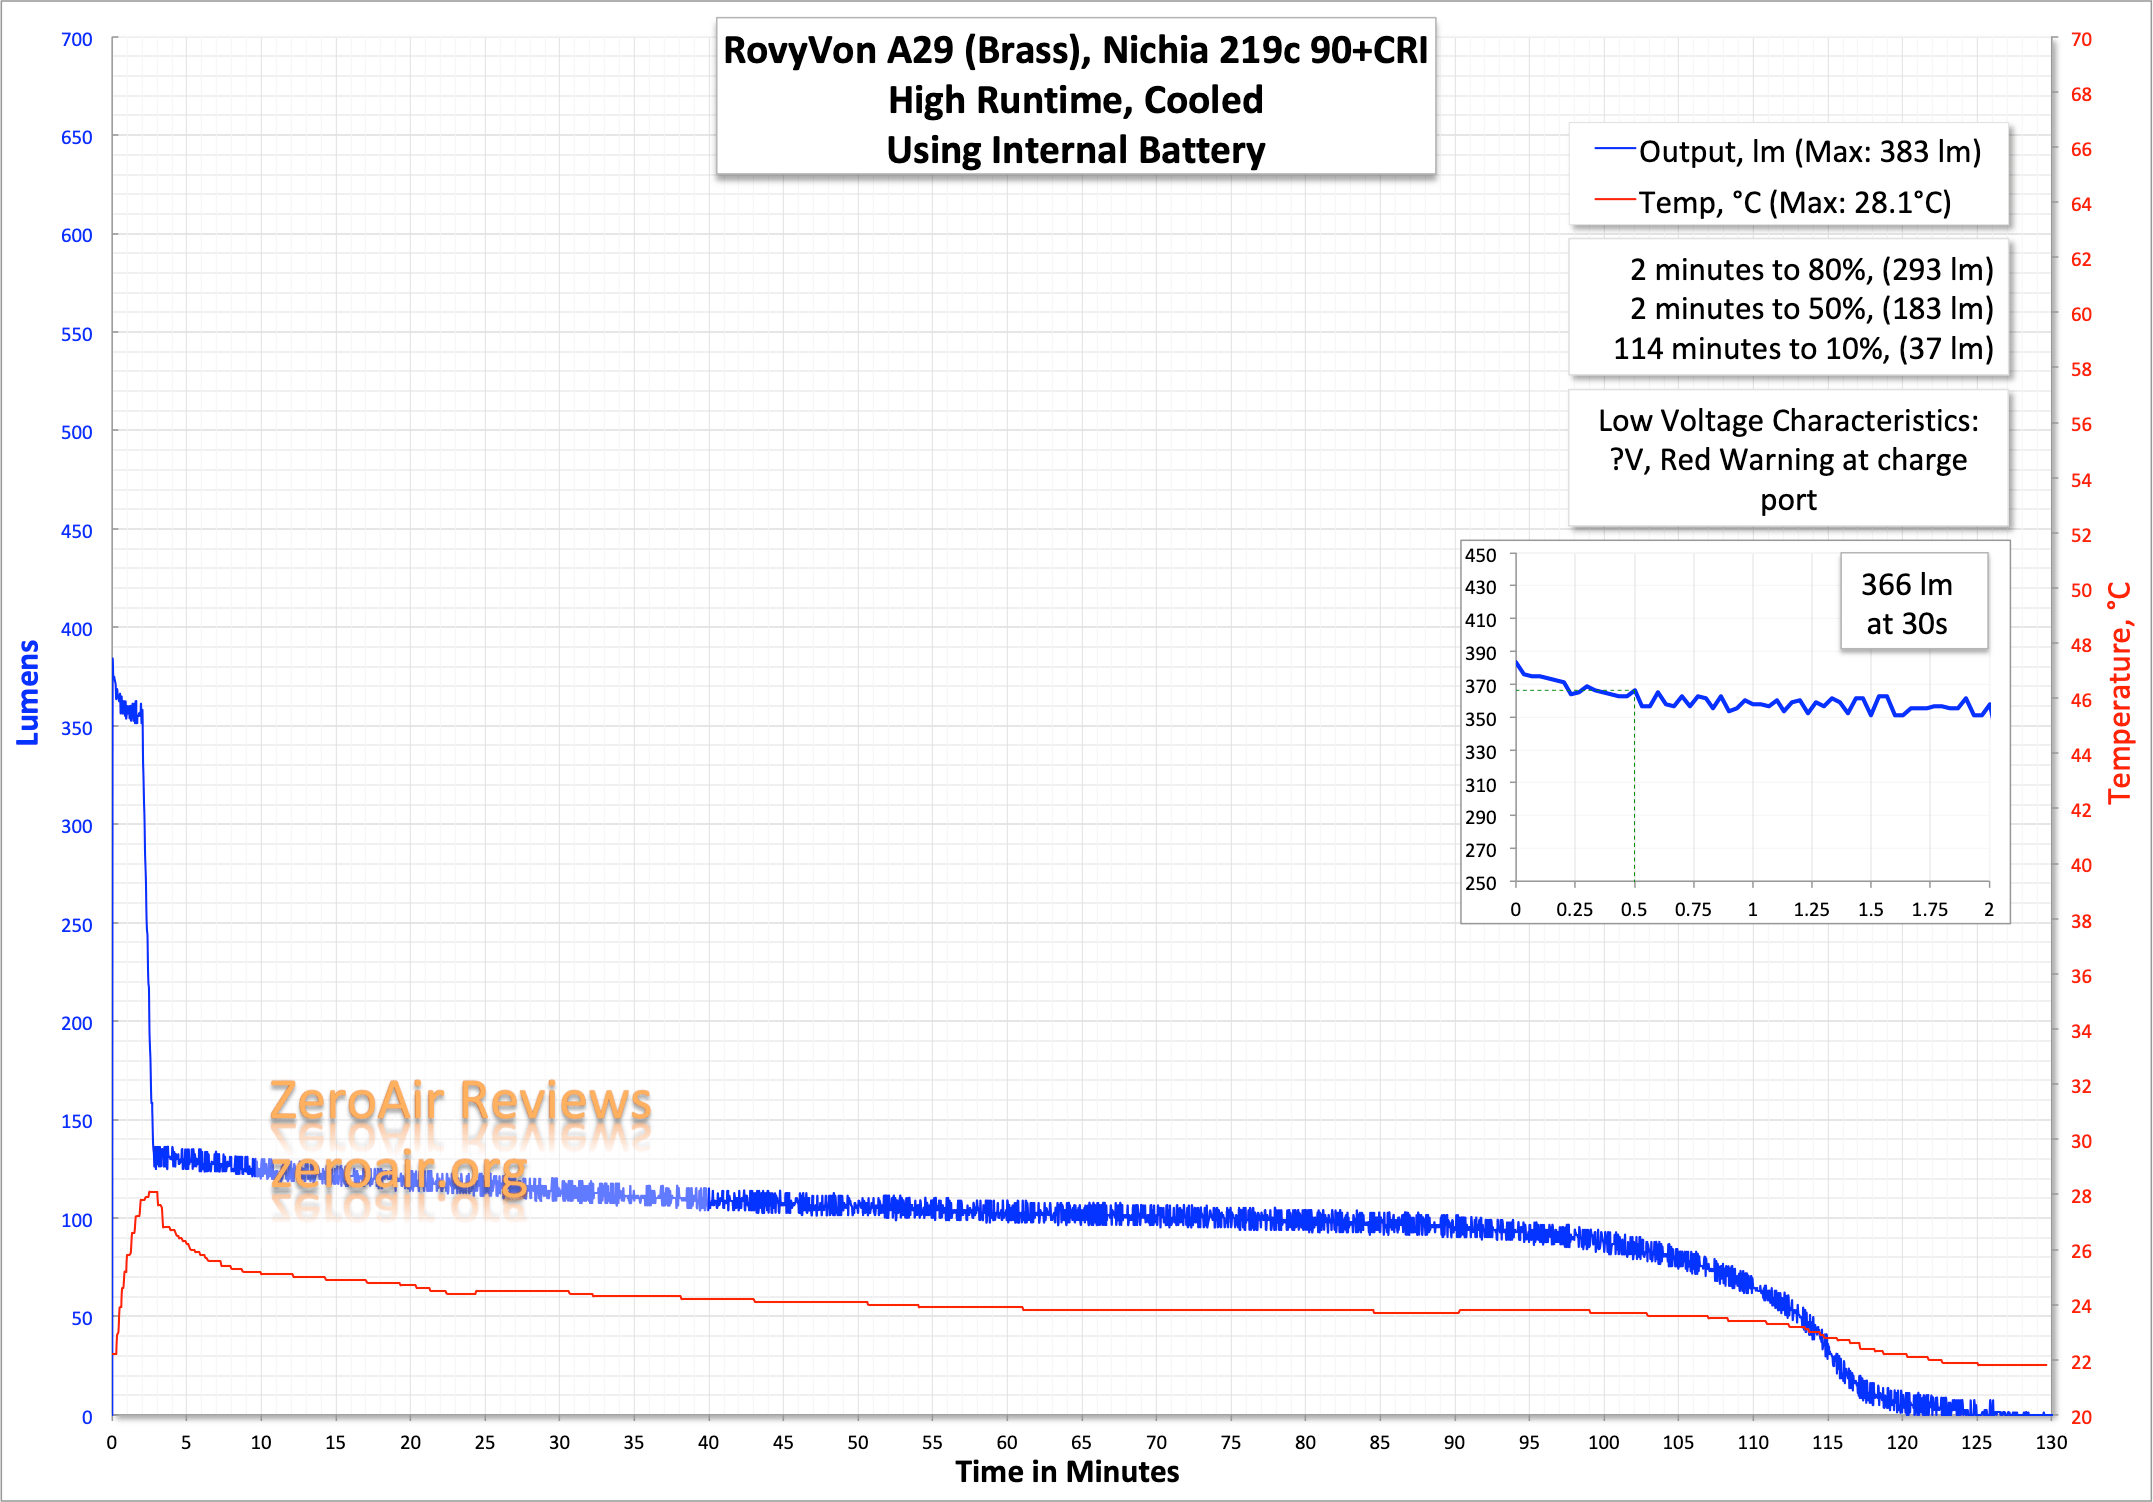
Here are a couple of runtimes on the highest main modes. As you can see, unlike the plastic A28, the output is stable for much longer (1.5 minutes at least) but is still lower than the rated 700 lumens.
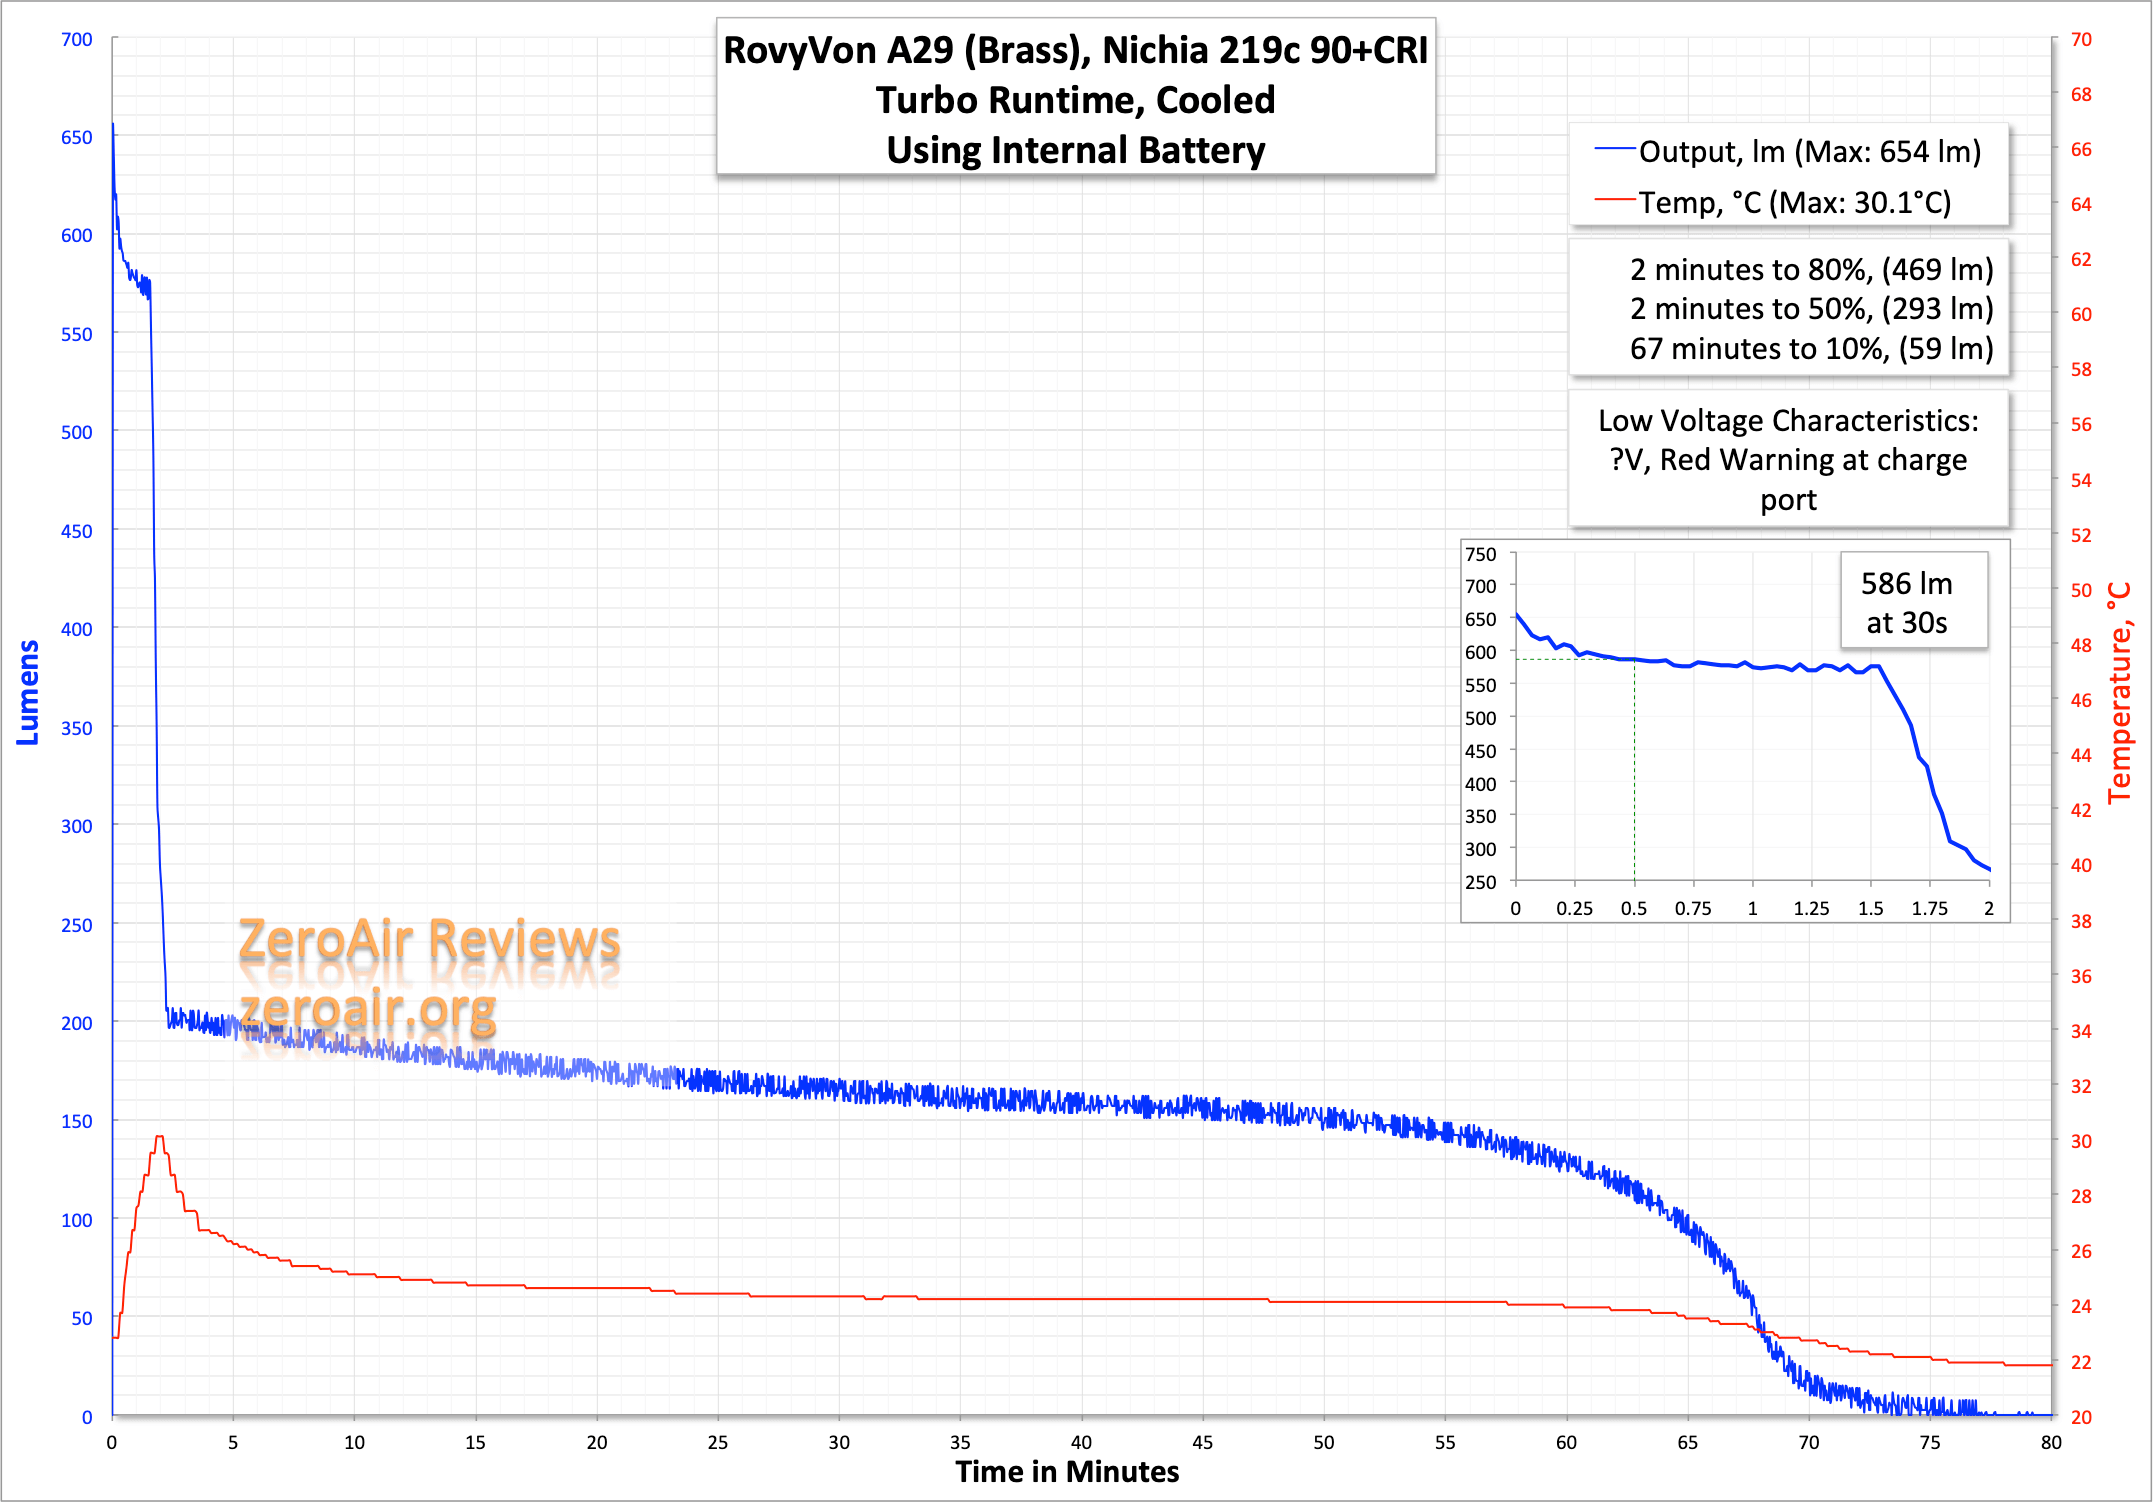
Hard to say if there’s LVP, but the stepdowns mean you’ll definitely notice when the battery is low. That said, I’m fairly sure lipos are more resilient (or at least safer) when discharge is low.
High looks about the same, and steps down in the same way. The stepdown happens later here, so High actually ends up with a higher output rating at 30s than Turbo.
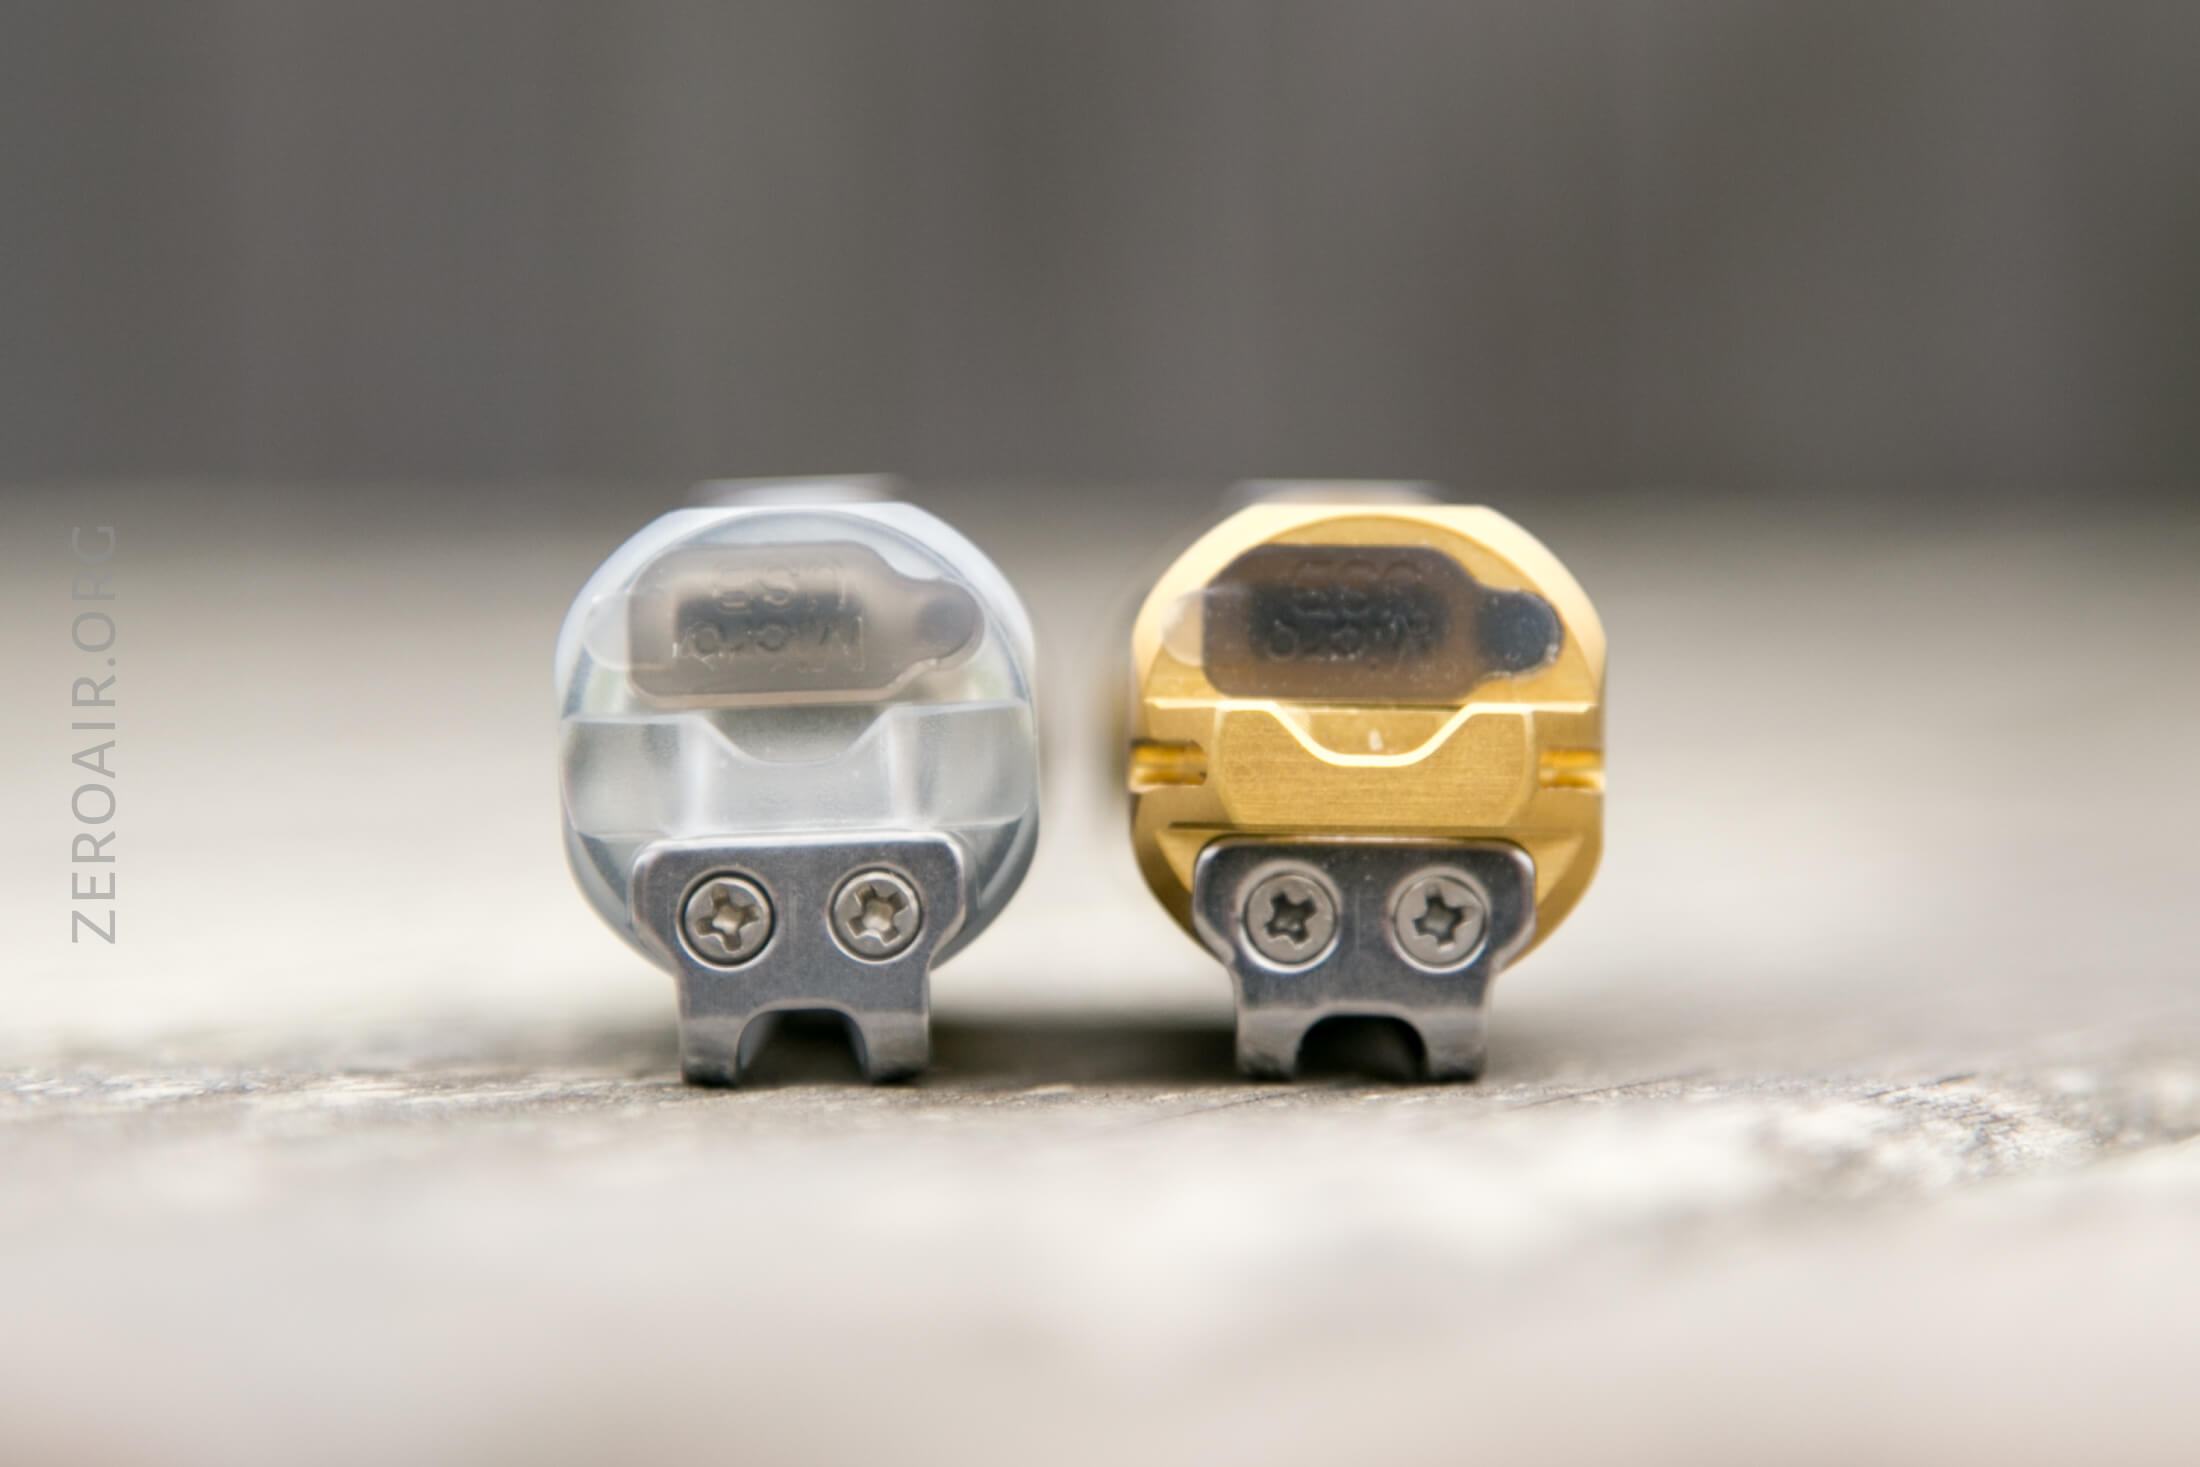
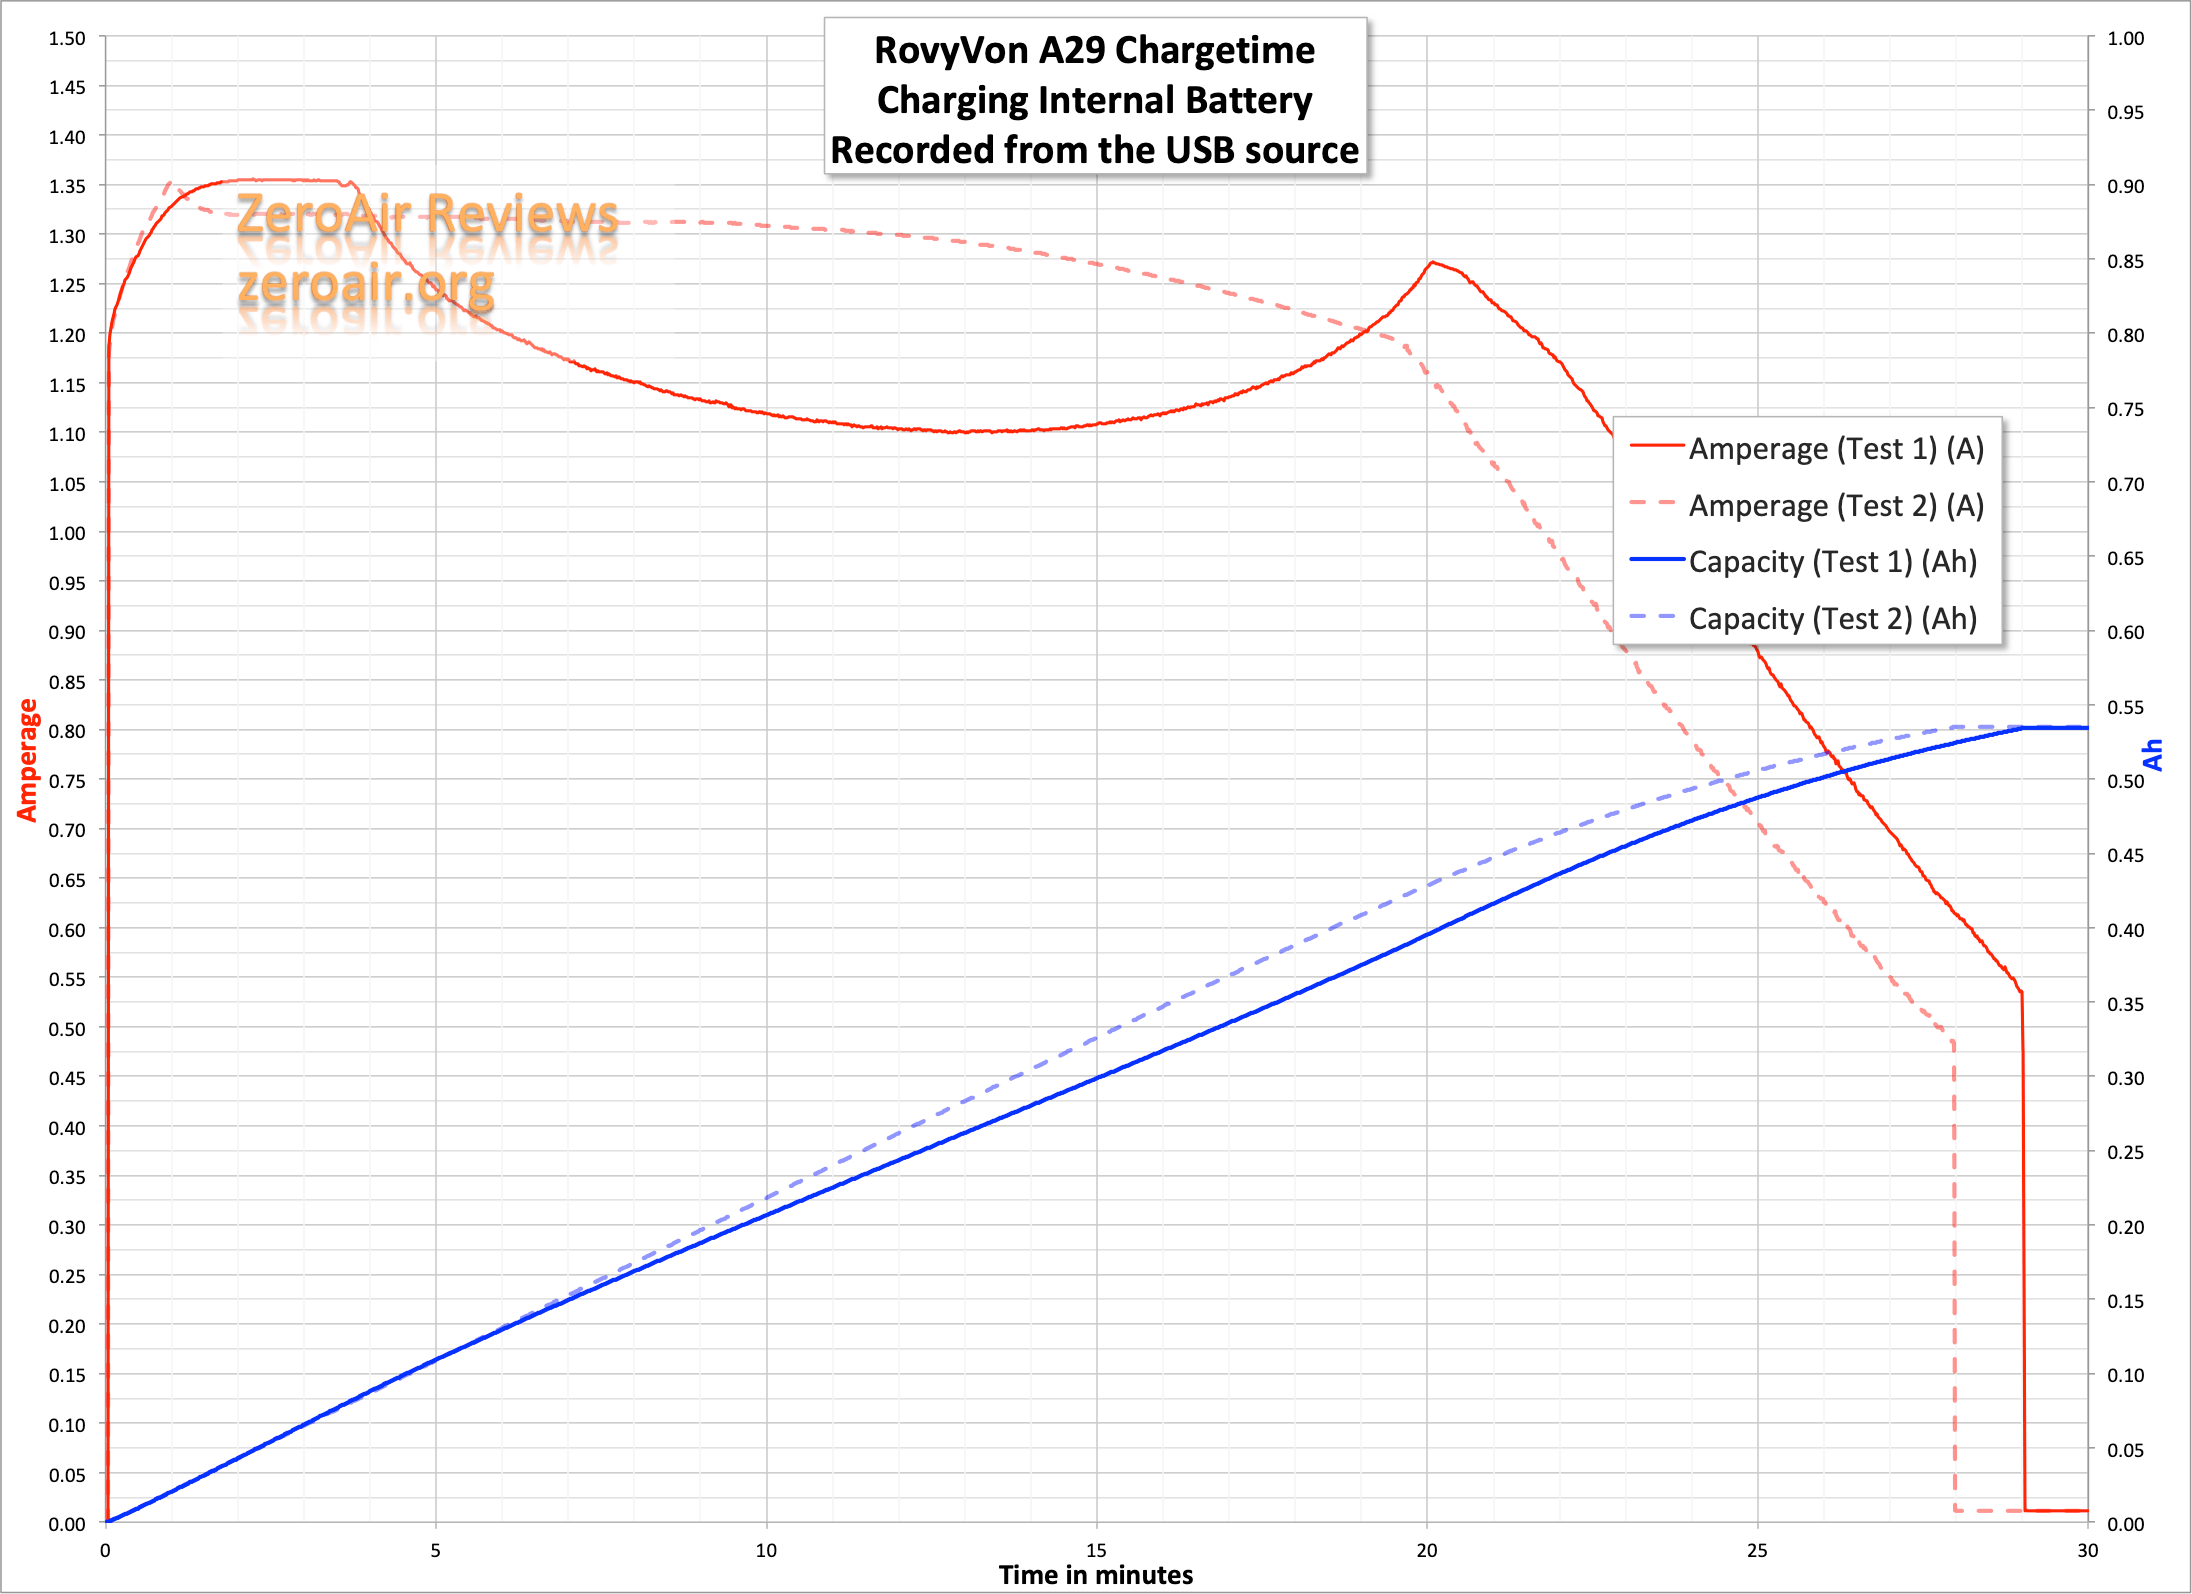
Charging
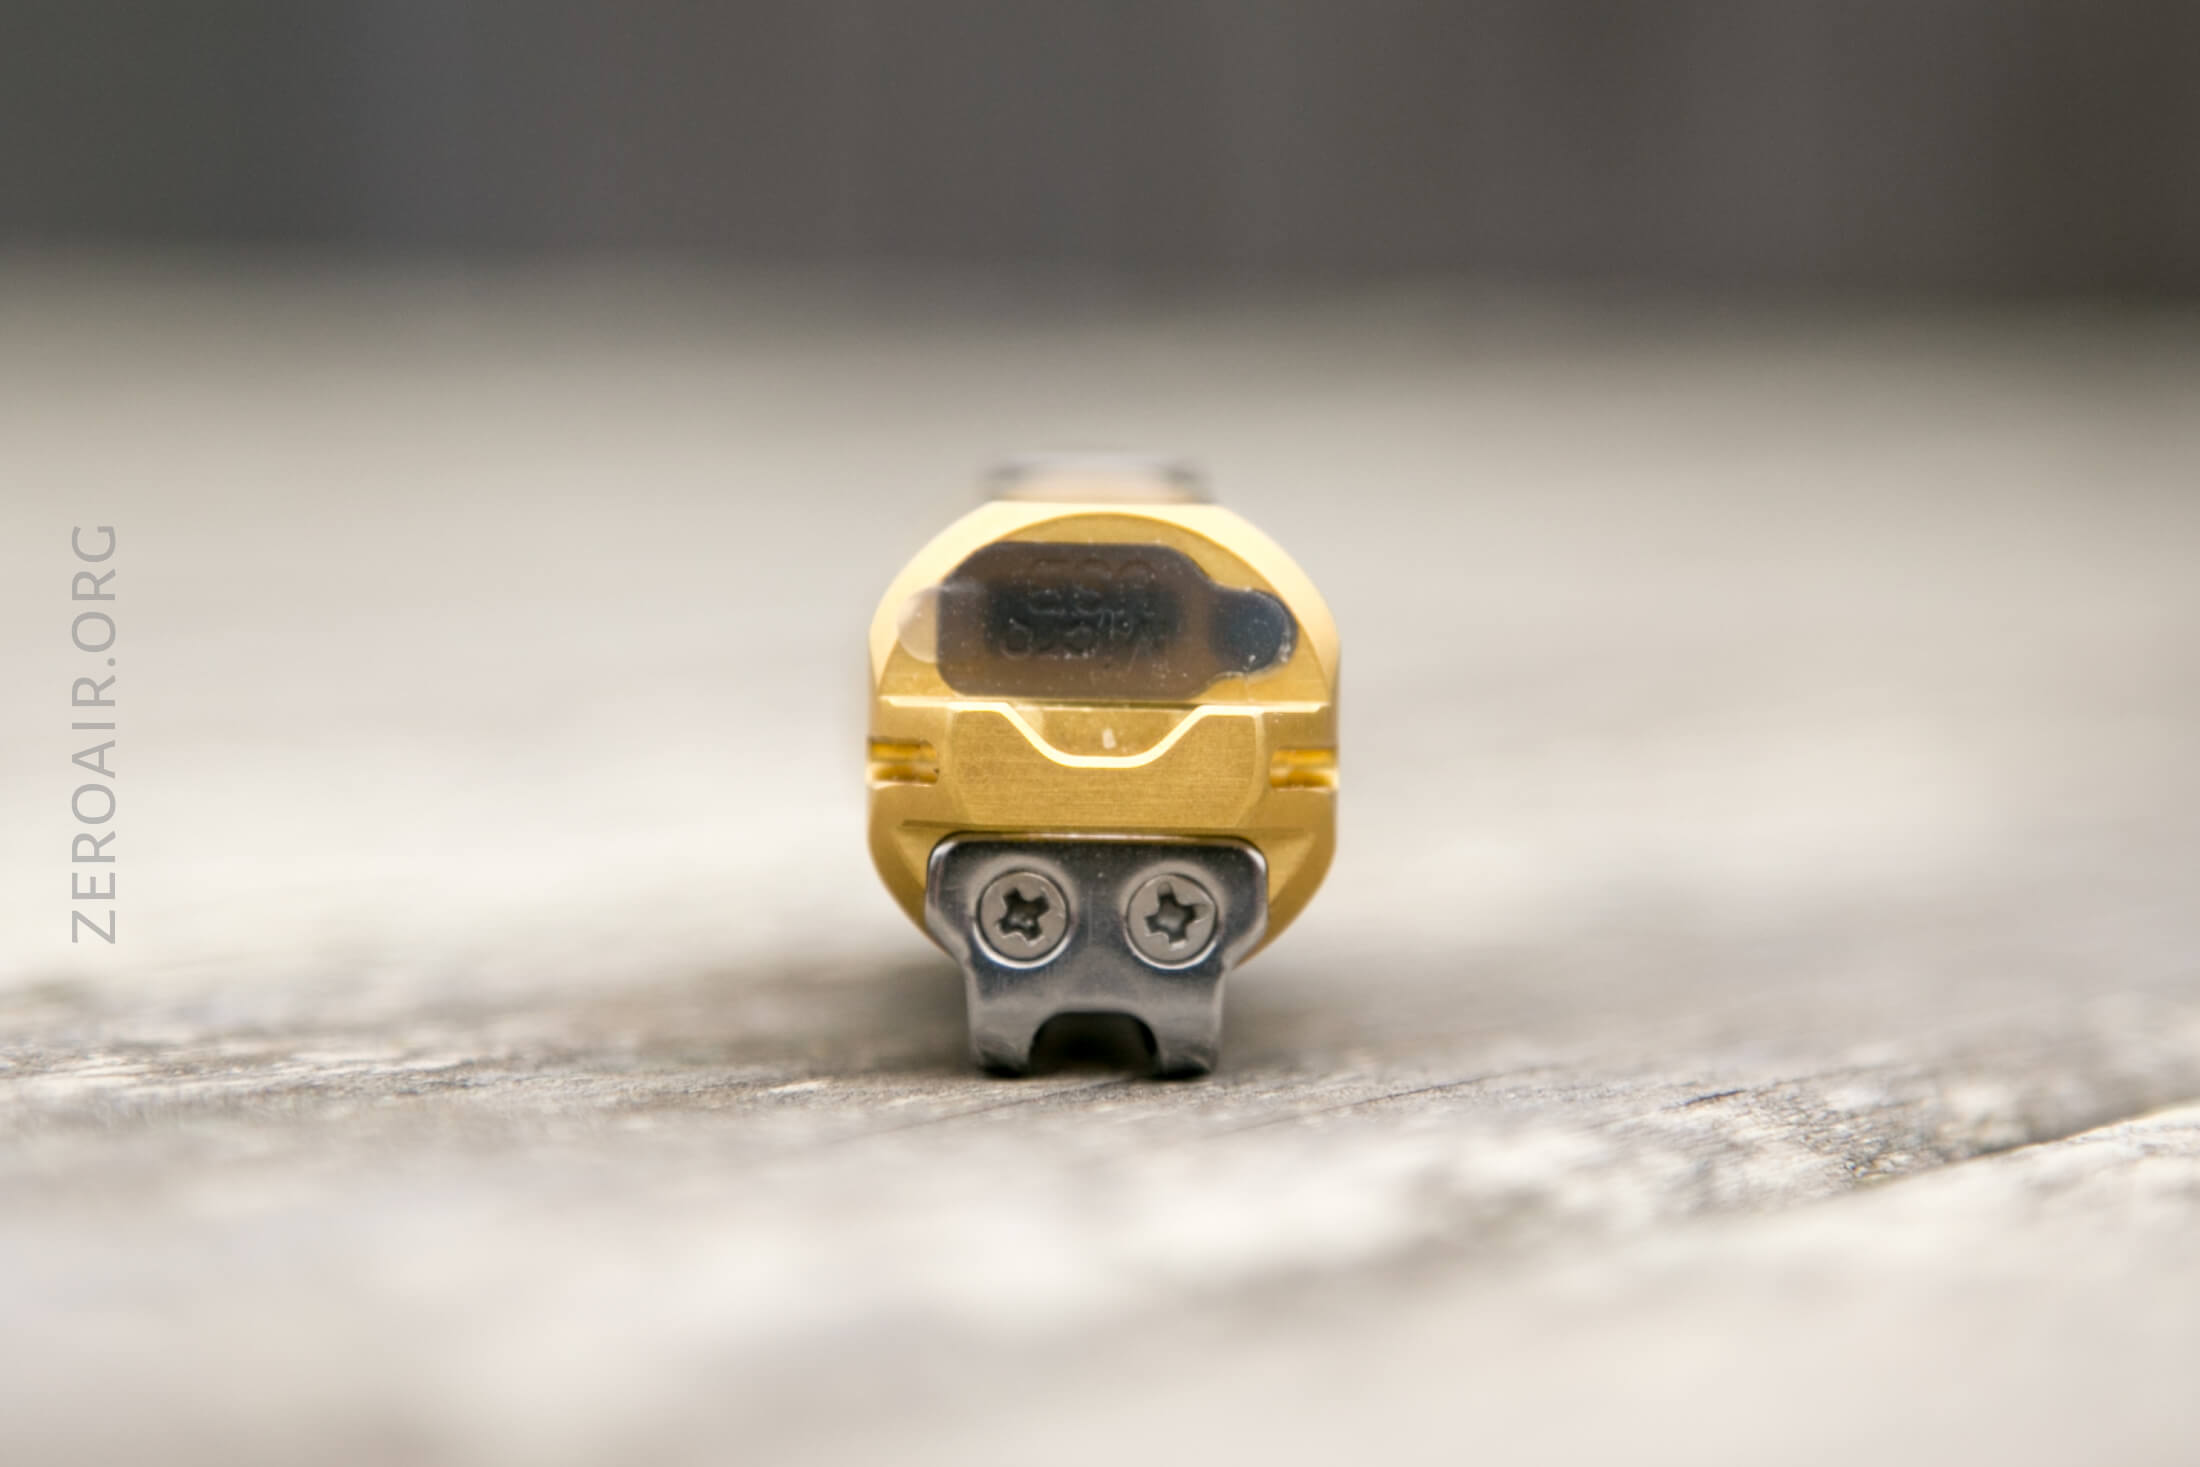
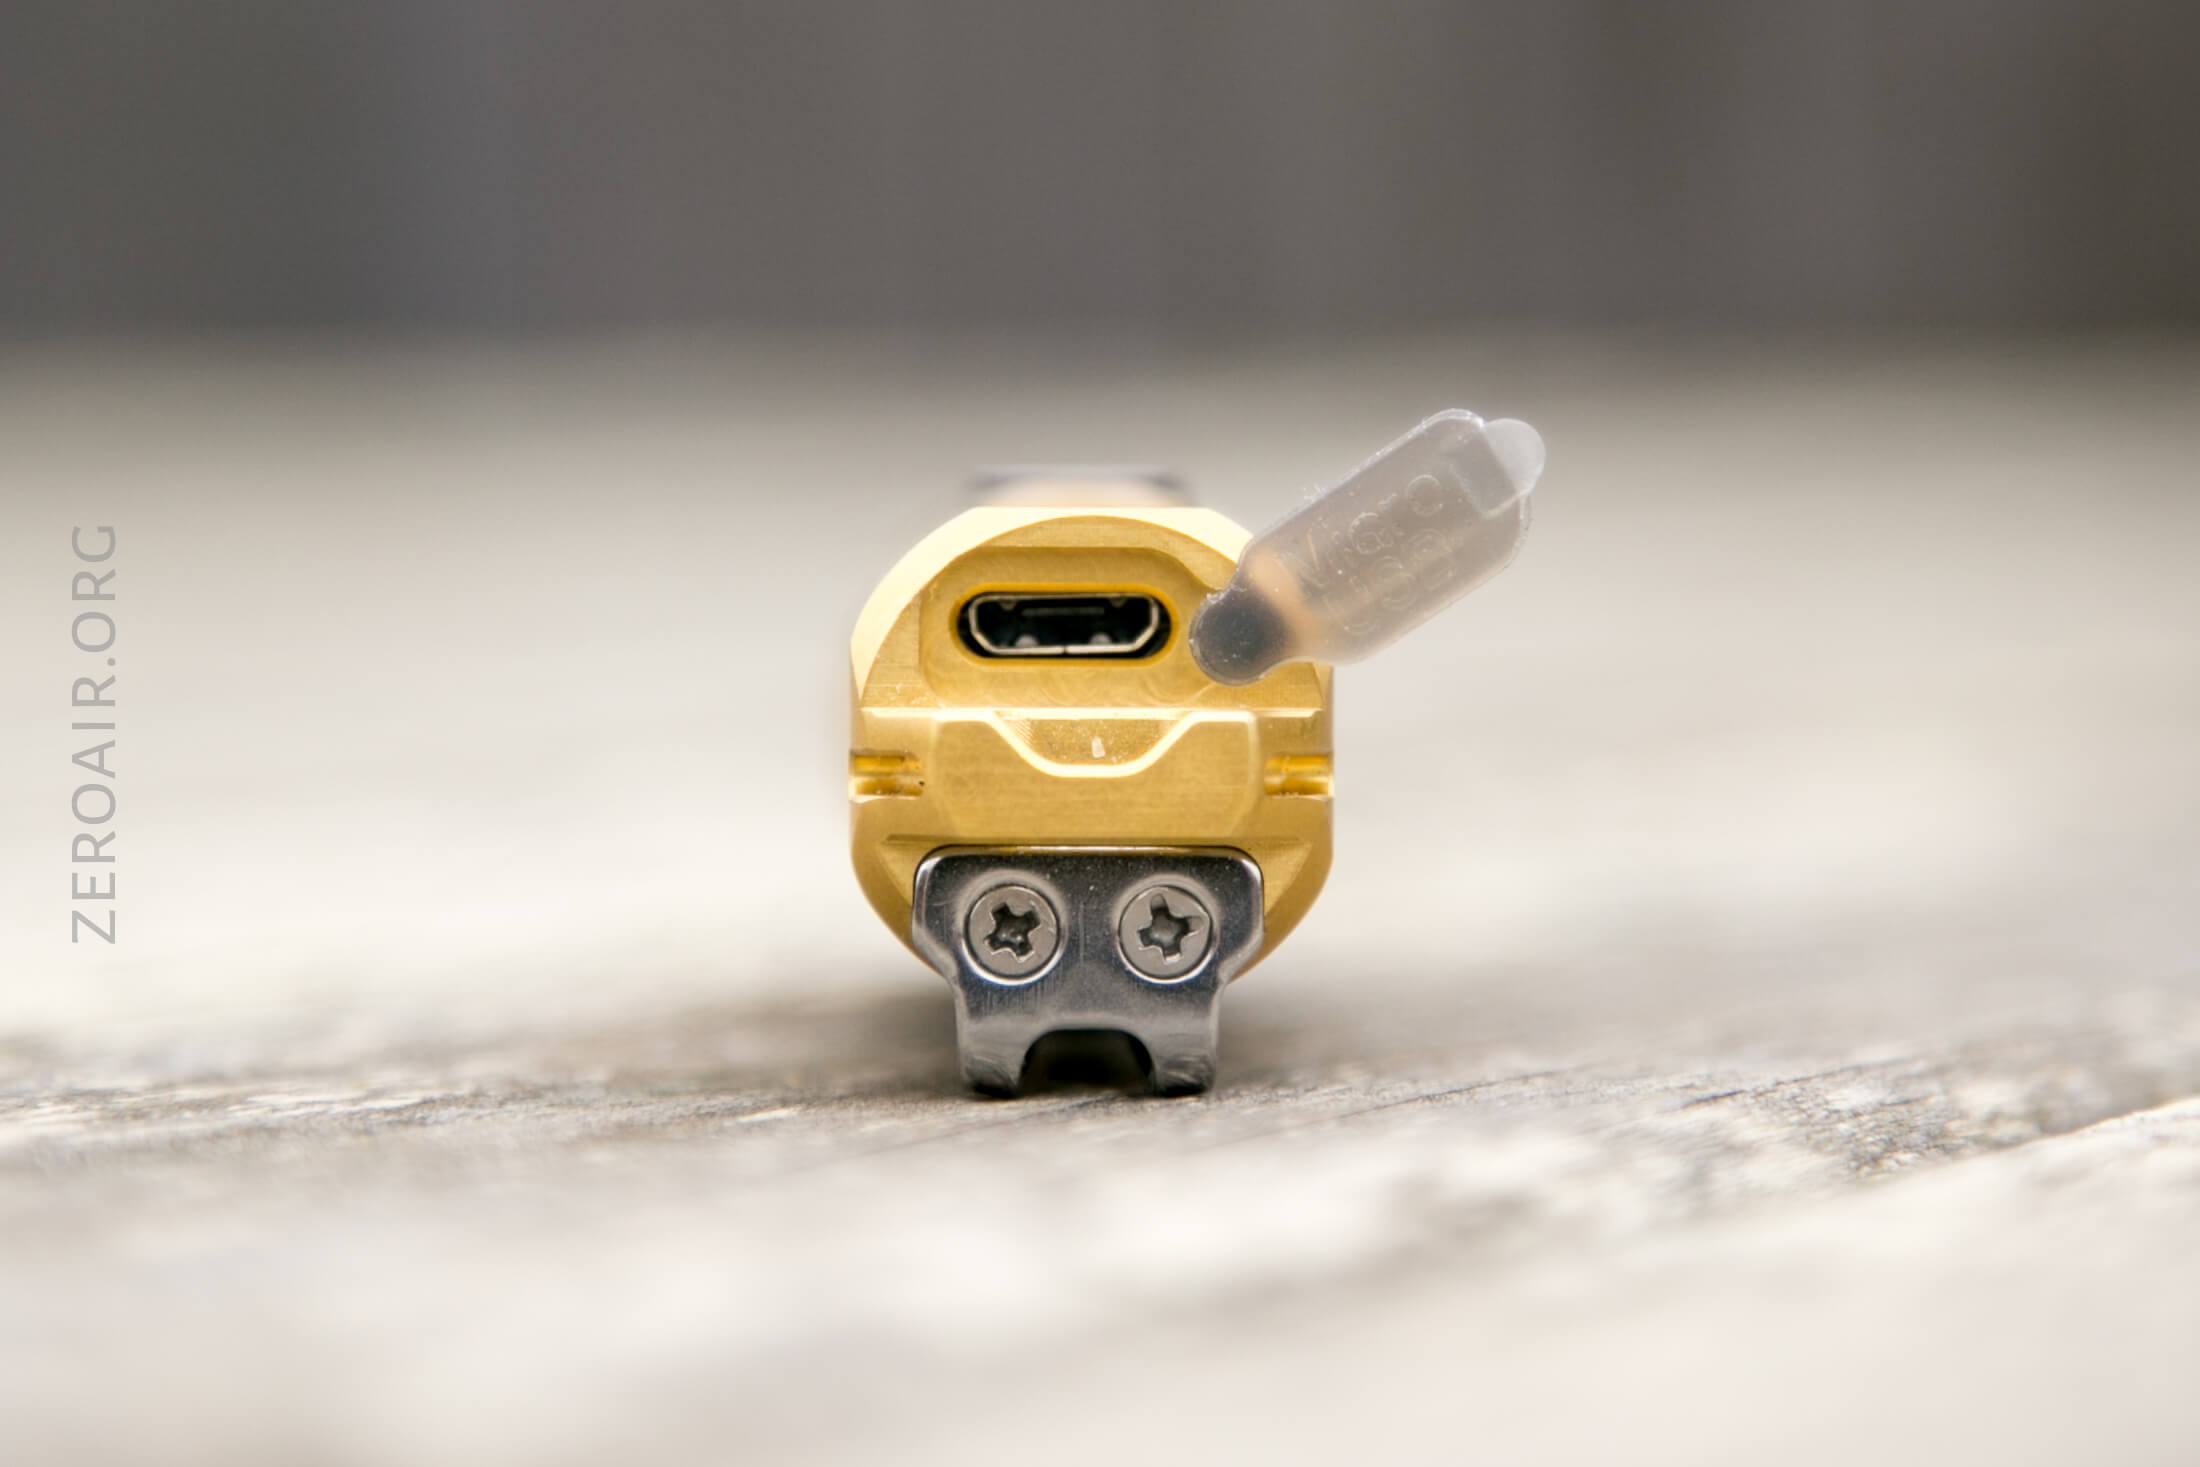
Of course, there’s also built-in charging, via micro-USB on the tail. There’s a press-in cover, which fits securely. Every time I tried to open this I picked at the wrong end – so just be sure which side to try to snag. (The tab is very clear to my eye.)

A little less consistent charging here than with the A28, but still fine. Around 2C on average, which is ok for a LiPo.
Modes and Currents
| Mode | Mode Claimed Output (lm) | Claimed Runtime | Measured Lumens | Tailcap Amps |
|---|---|---|---|---|
| Turbo | 700 | 1.5m/80m | 586 | – |
| High | 450 | 1.5m/130m | 366 | – |
| Medium | 120 | 150m | 123 | – |
| Low | 30 | 9.5h | 31 | – |
| Moonlight | 0.5 | 72h | – | – |
Pulse Width Modulation
There’s some PWM around the modes, but it’s very fast and not really noticeable.

Here you can see a “baseline” – a chart with almost no light hitting the sensor.
Then there’s the Ultrafire WF-602C flashlight, which has some of the worst PWM I’ve seen. It’s so bad that I used a post about it to explain PWM! Here are multiple timescales (10ms, 5ms, 2ms, 1ms, 0.5ms, 0.2ms) to make comparing this “worst” PWM light to the test light easier. That post also explains why I didn’t test the WF-602C at the usual 50us scale.
User Interface and Operation
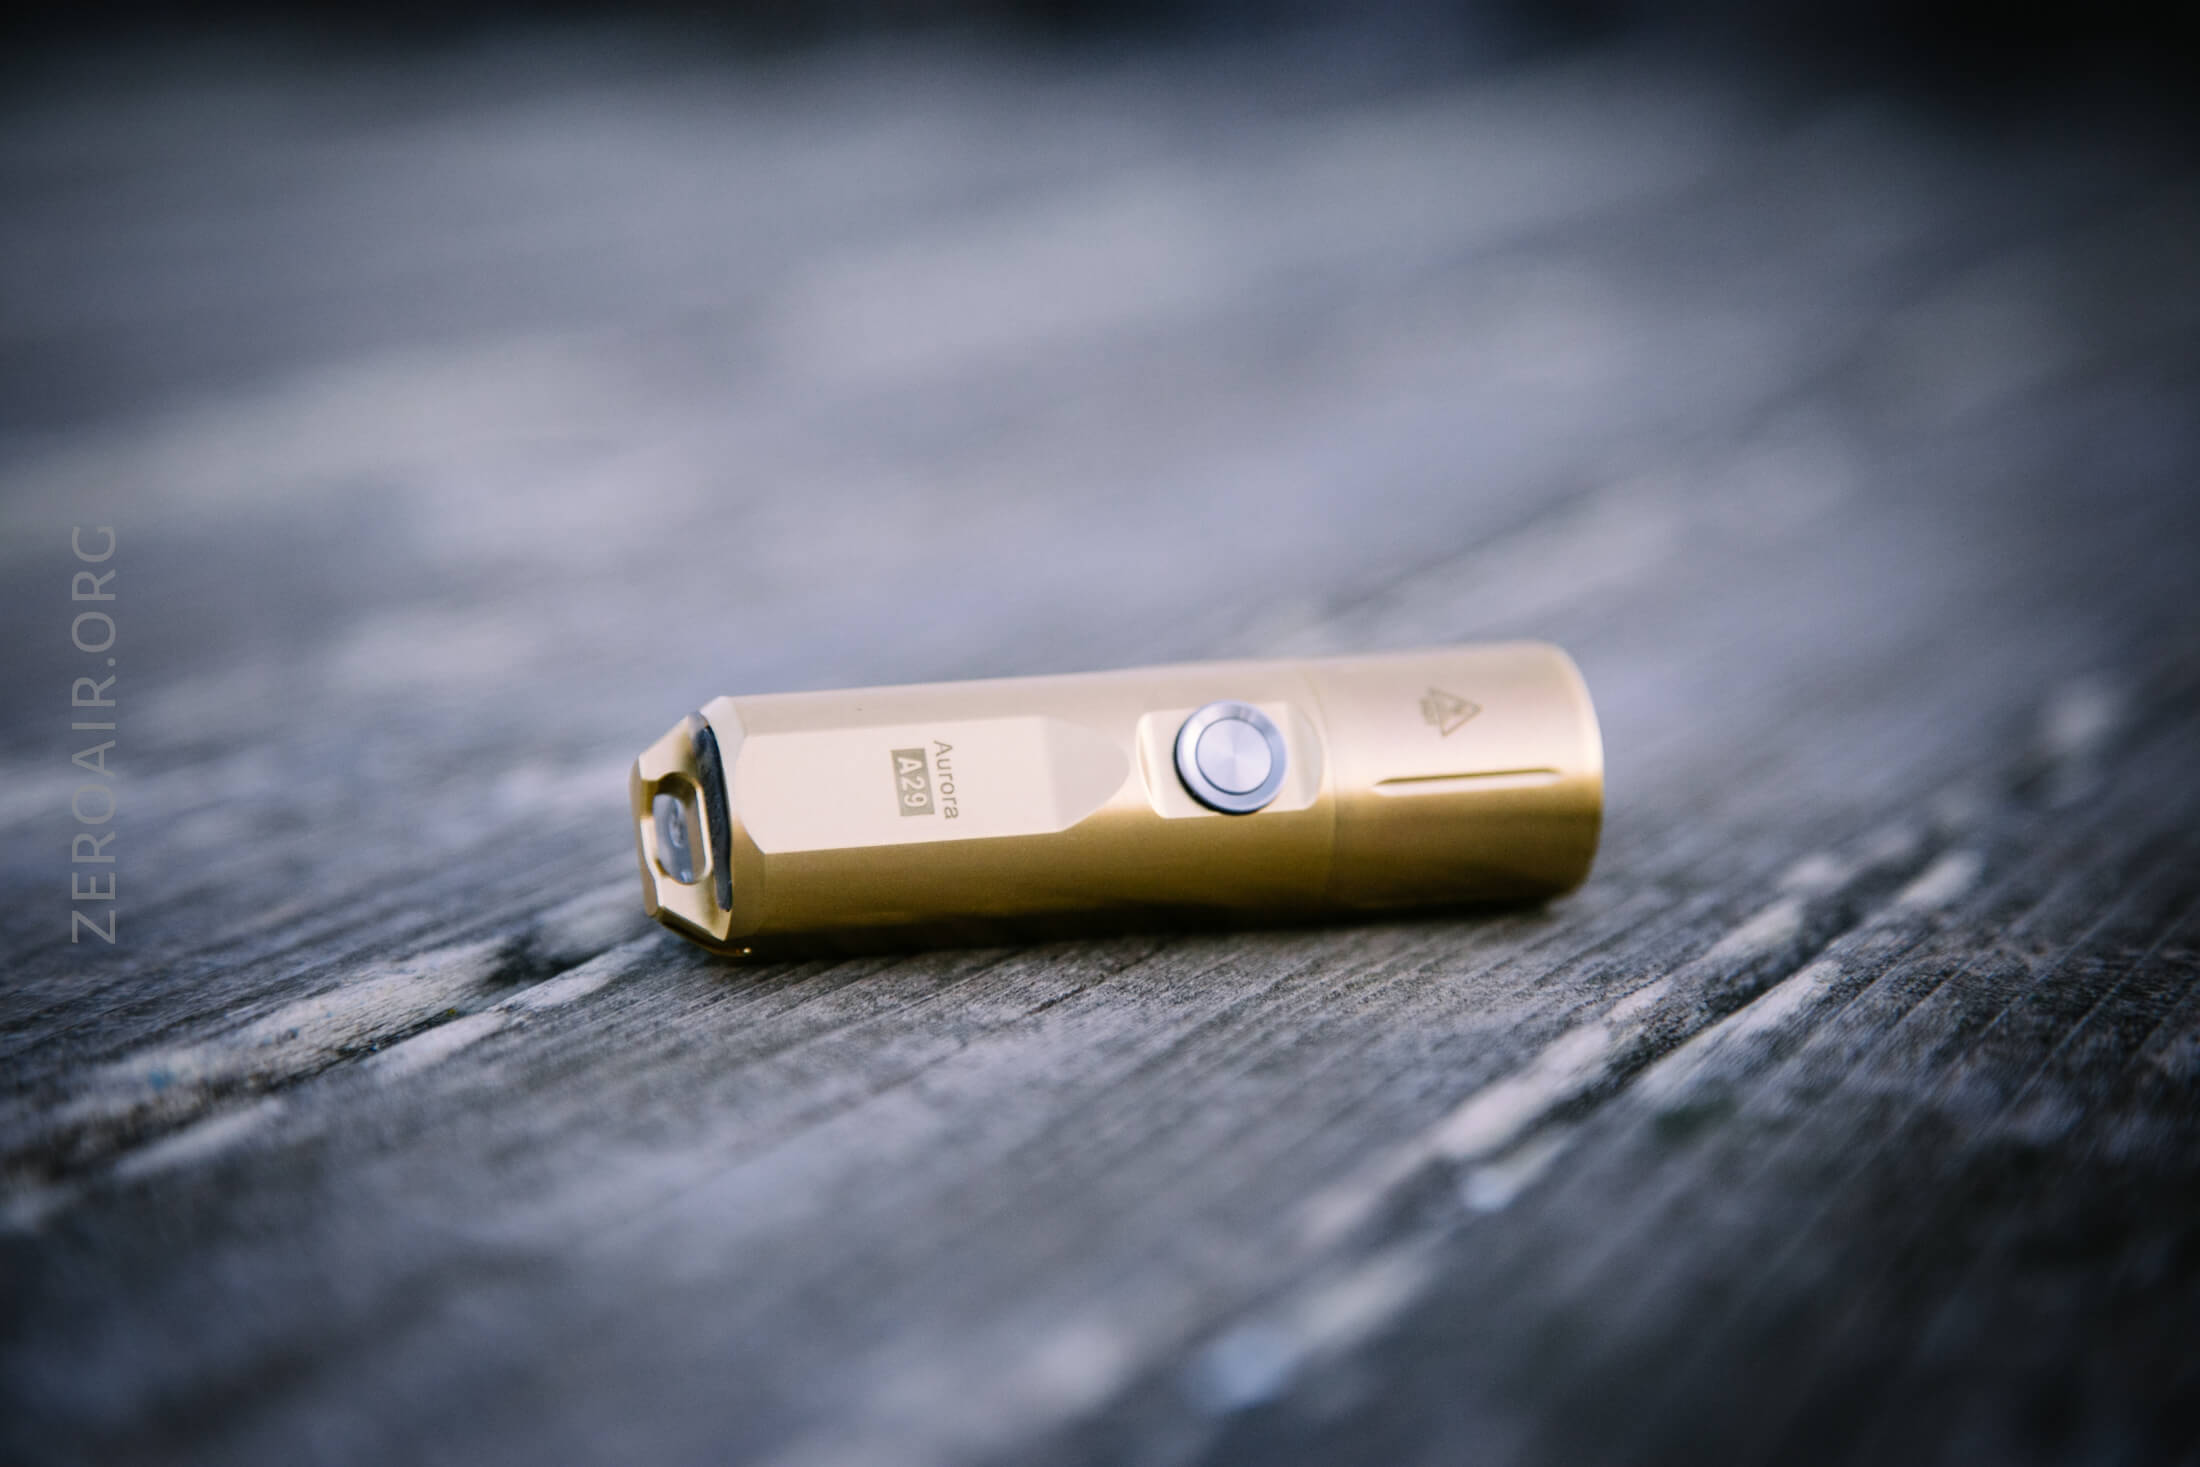
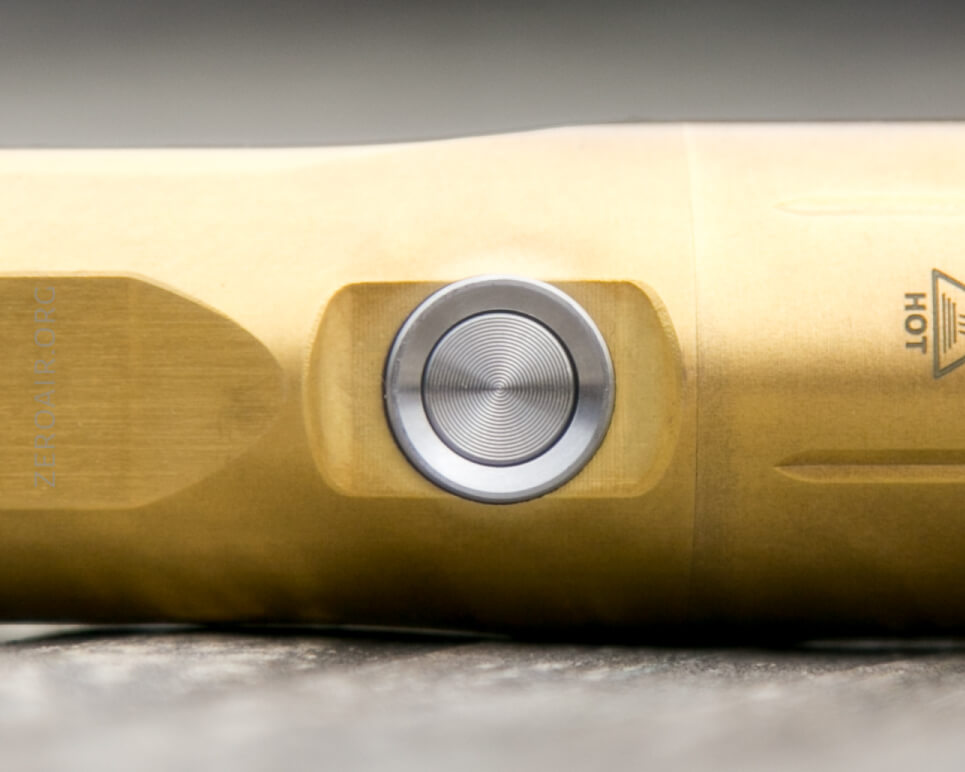
The button is a side switch, just below the head. It’s a metal-cover e-switch. The metal button has a metal surround, which both gives a place to find with your finger and helps prevent accidental presses.
Here’s a user interface table! This light represents the new UI, which has moonlight only after 4 clicks. But hey, at least it’s present.
| State | Action | Result |
|---|---|---|
| Off | Click | No action |
| Off | Hold | Momentary Turbo |
| Off | Double Click | On (Memorized Mode**) |
| On | Click | Mode advance |
| On | Hold | Off |
| Off | Click 4x | Moonlight |
| On >3m | Click | Off |
| Off | Click 3x | SOS |
| SOS | Click | Strobe advance (SOS, Strobe) |
** The mode is memorized after being on for >3m
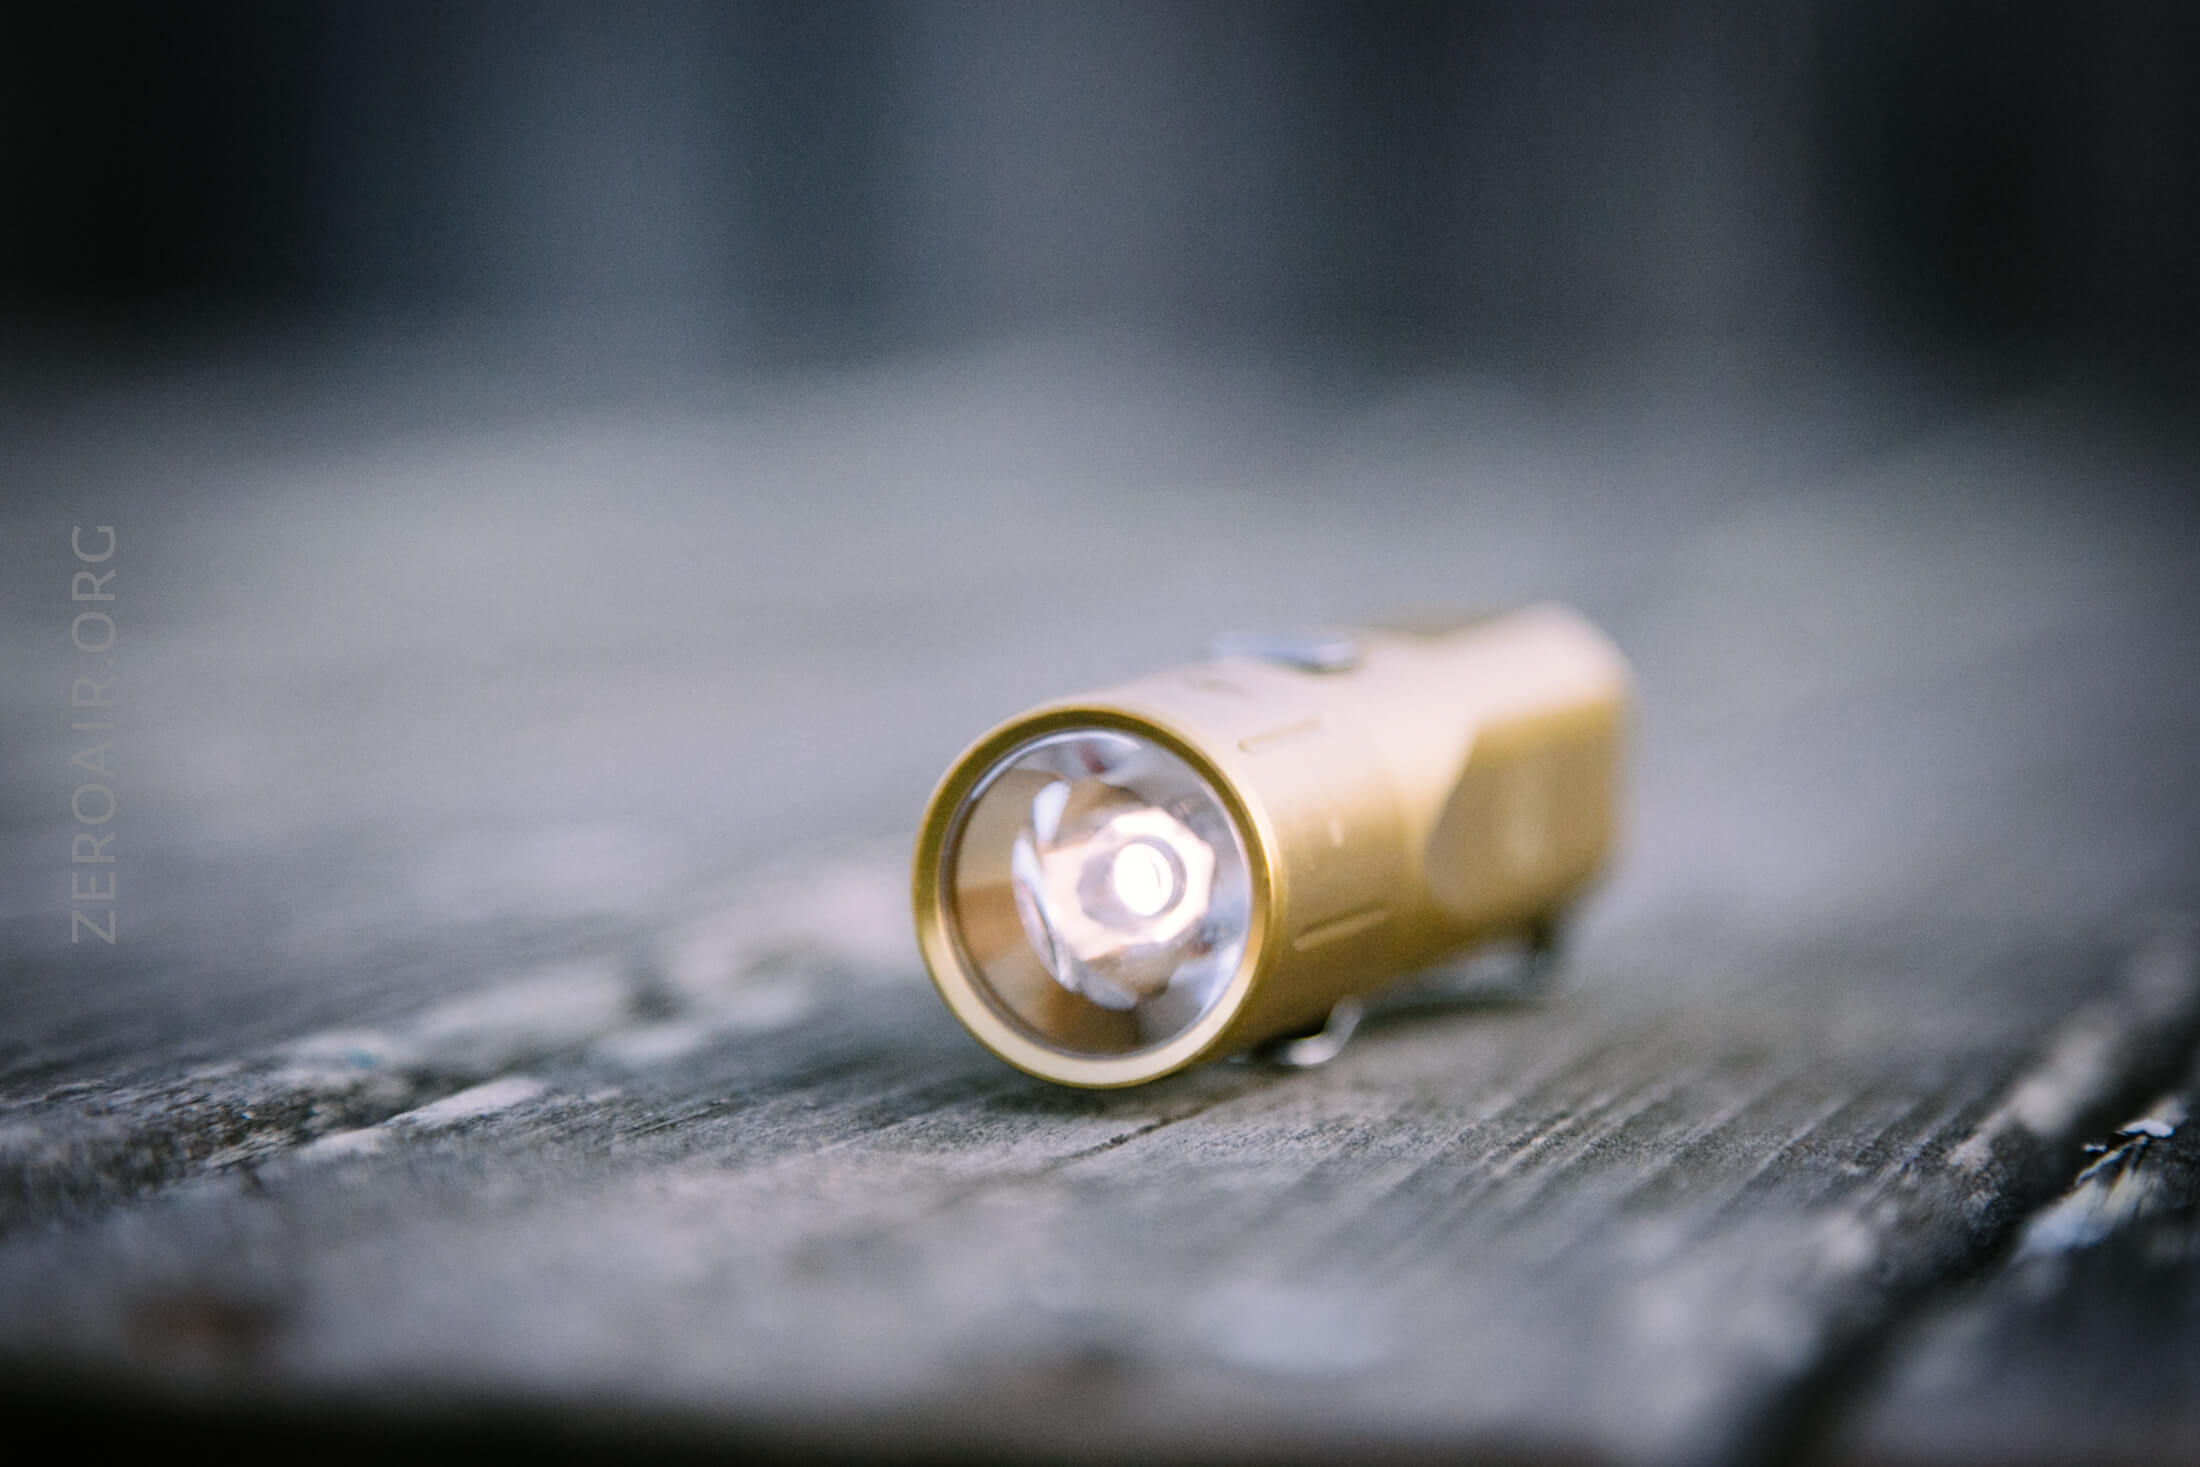
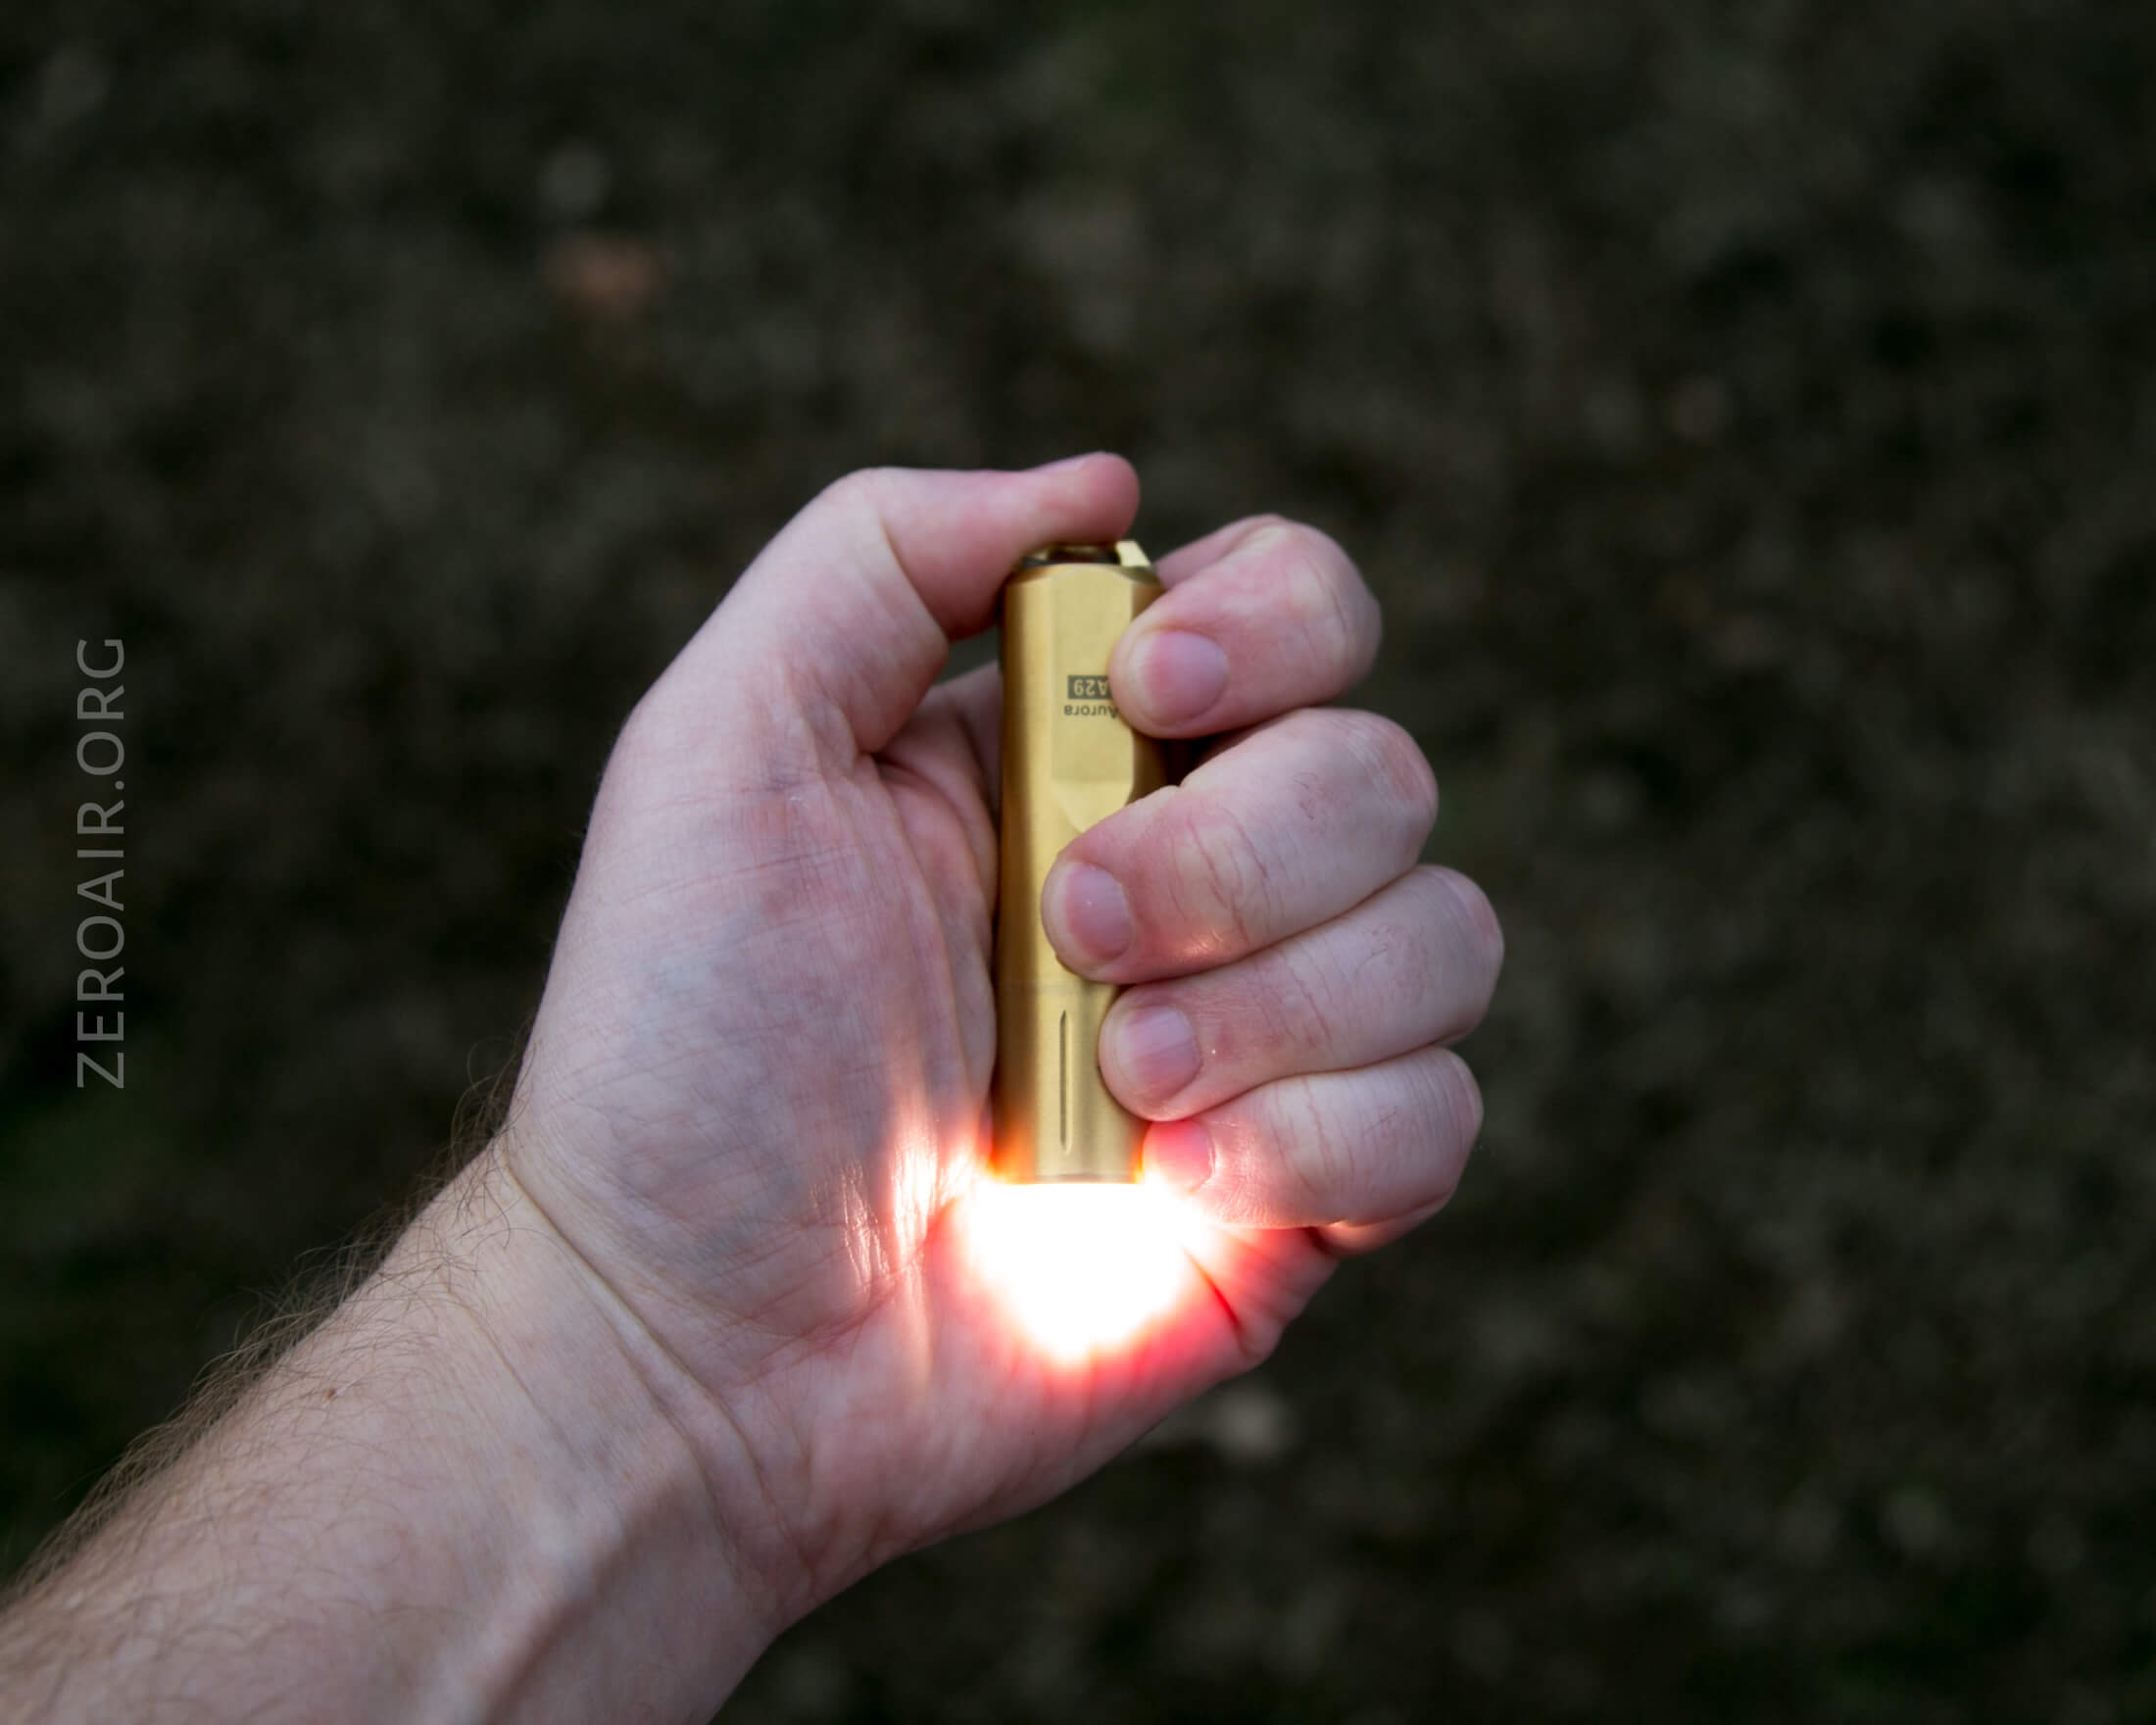
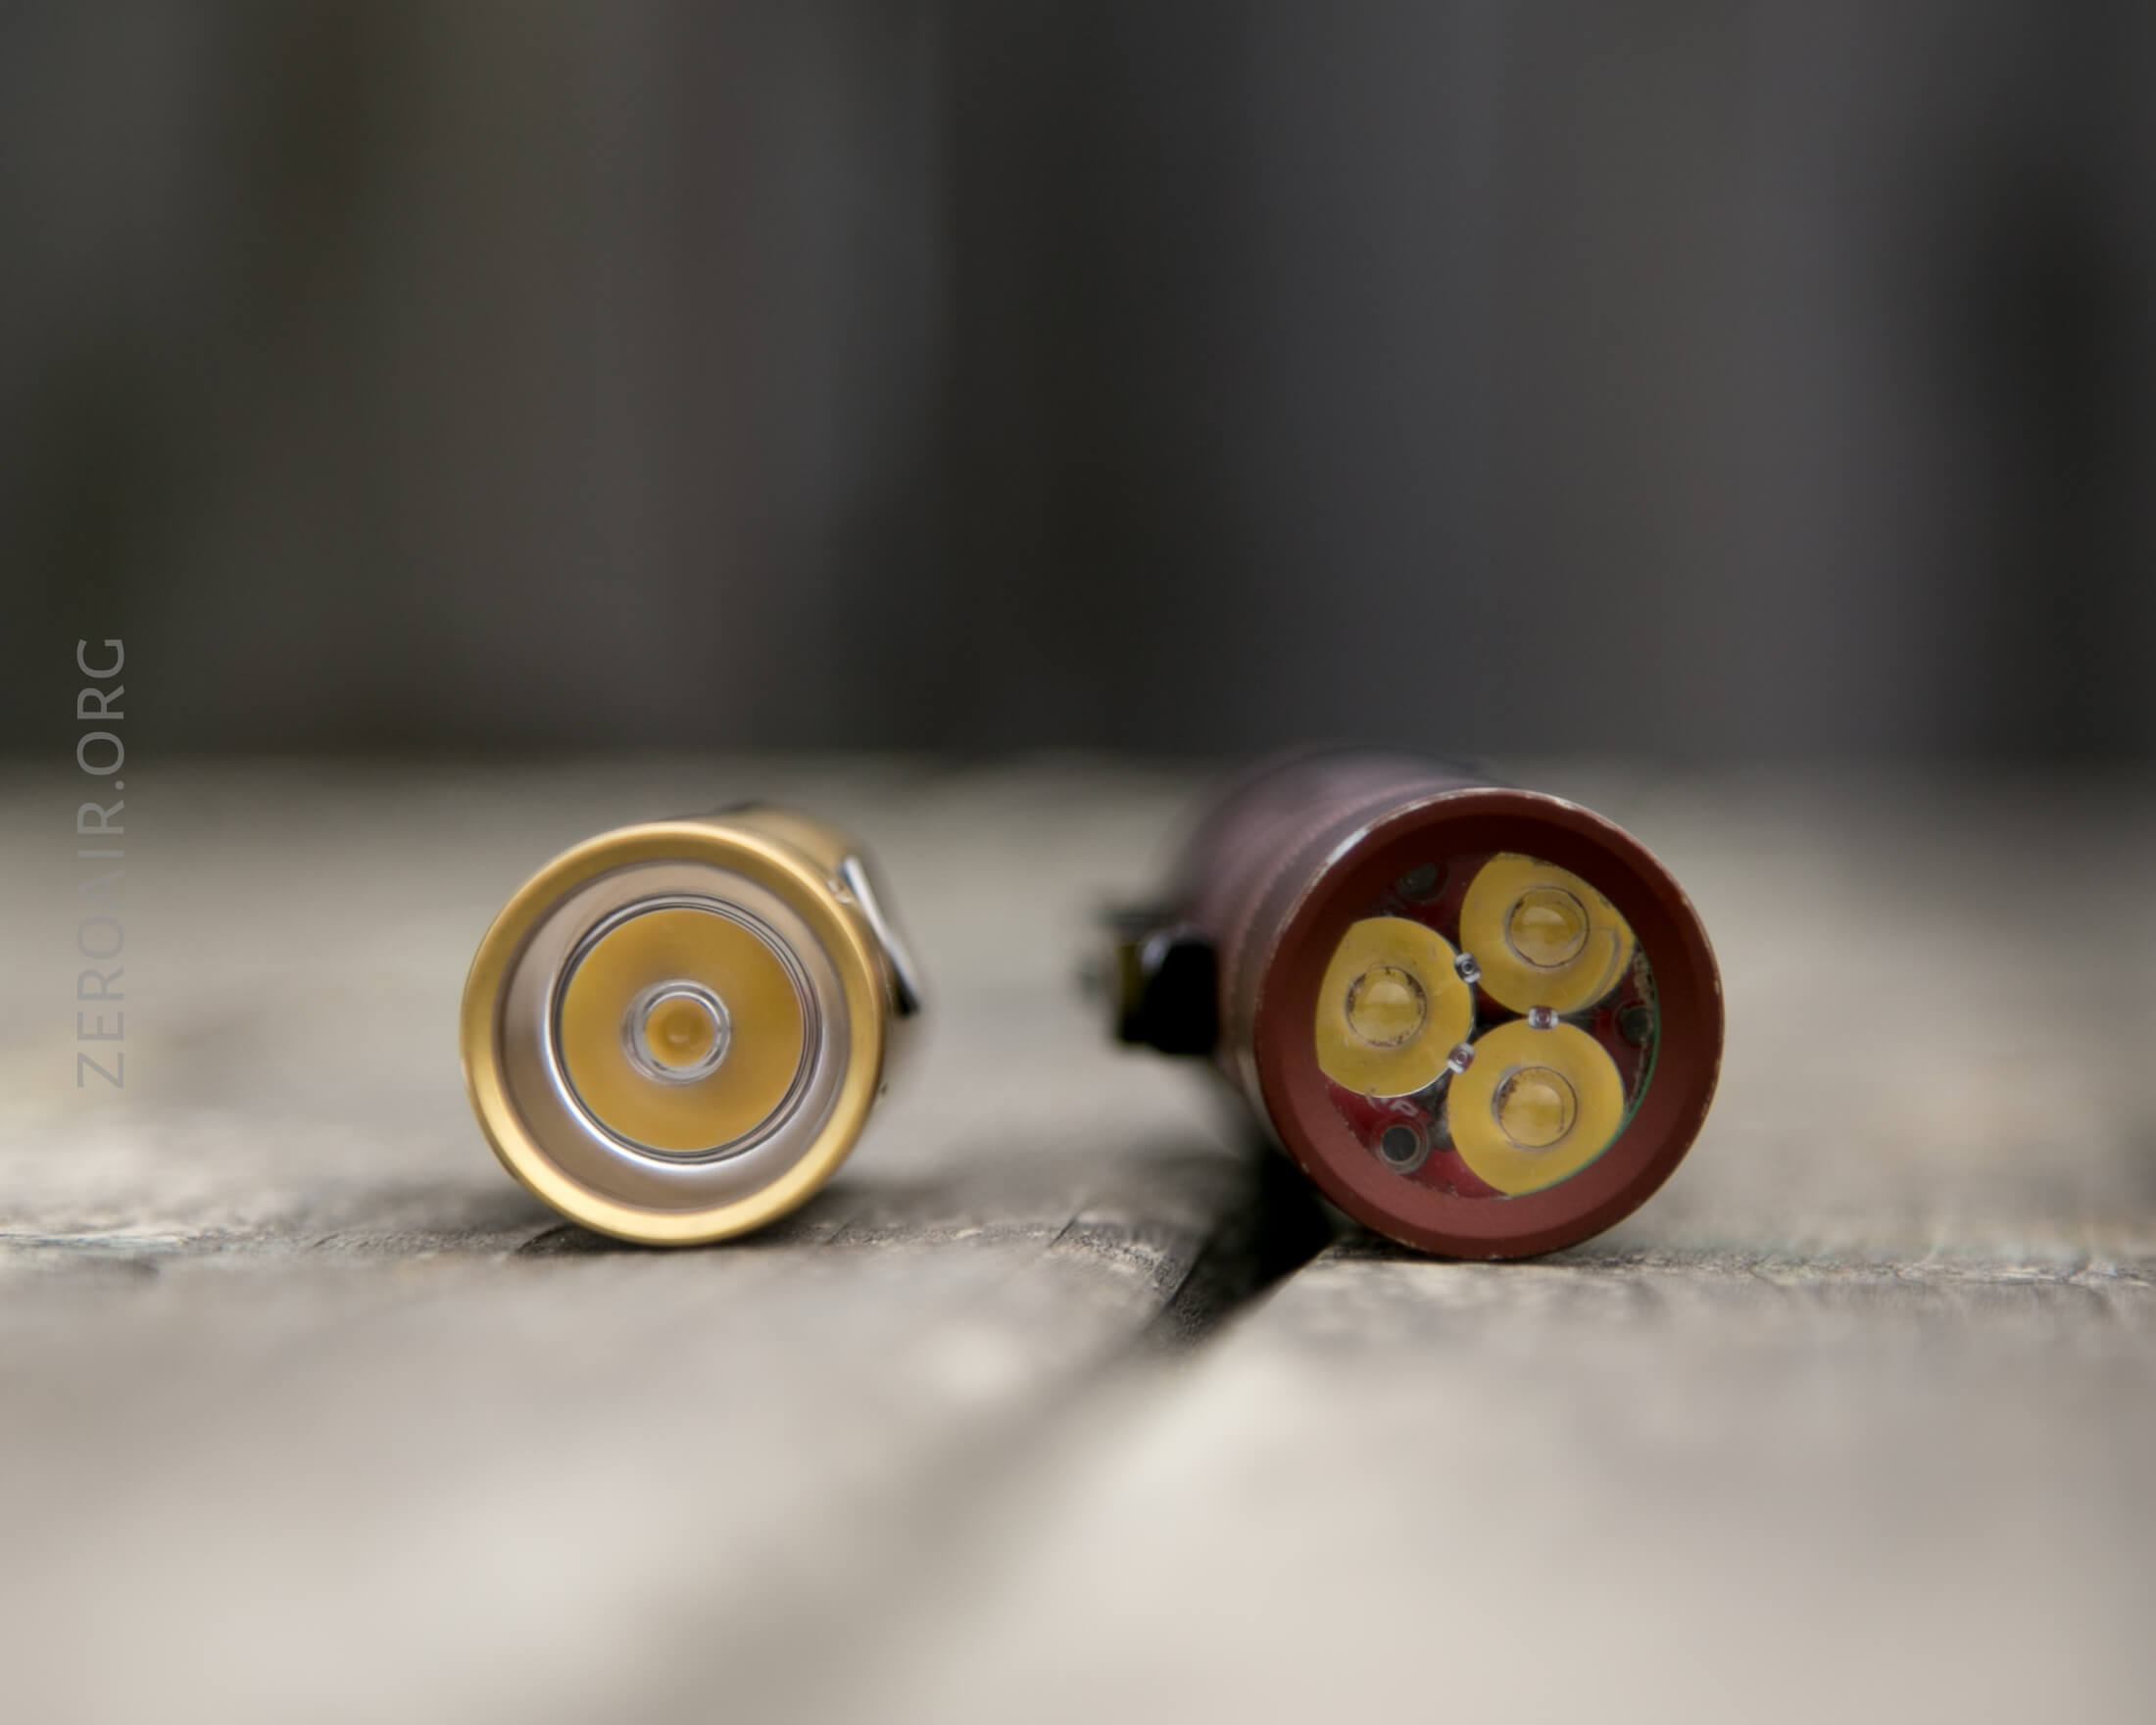
LED and Beam
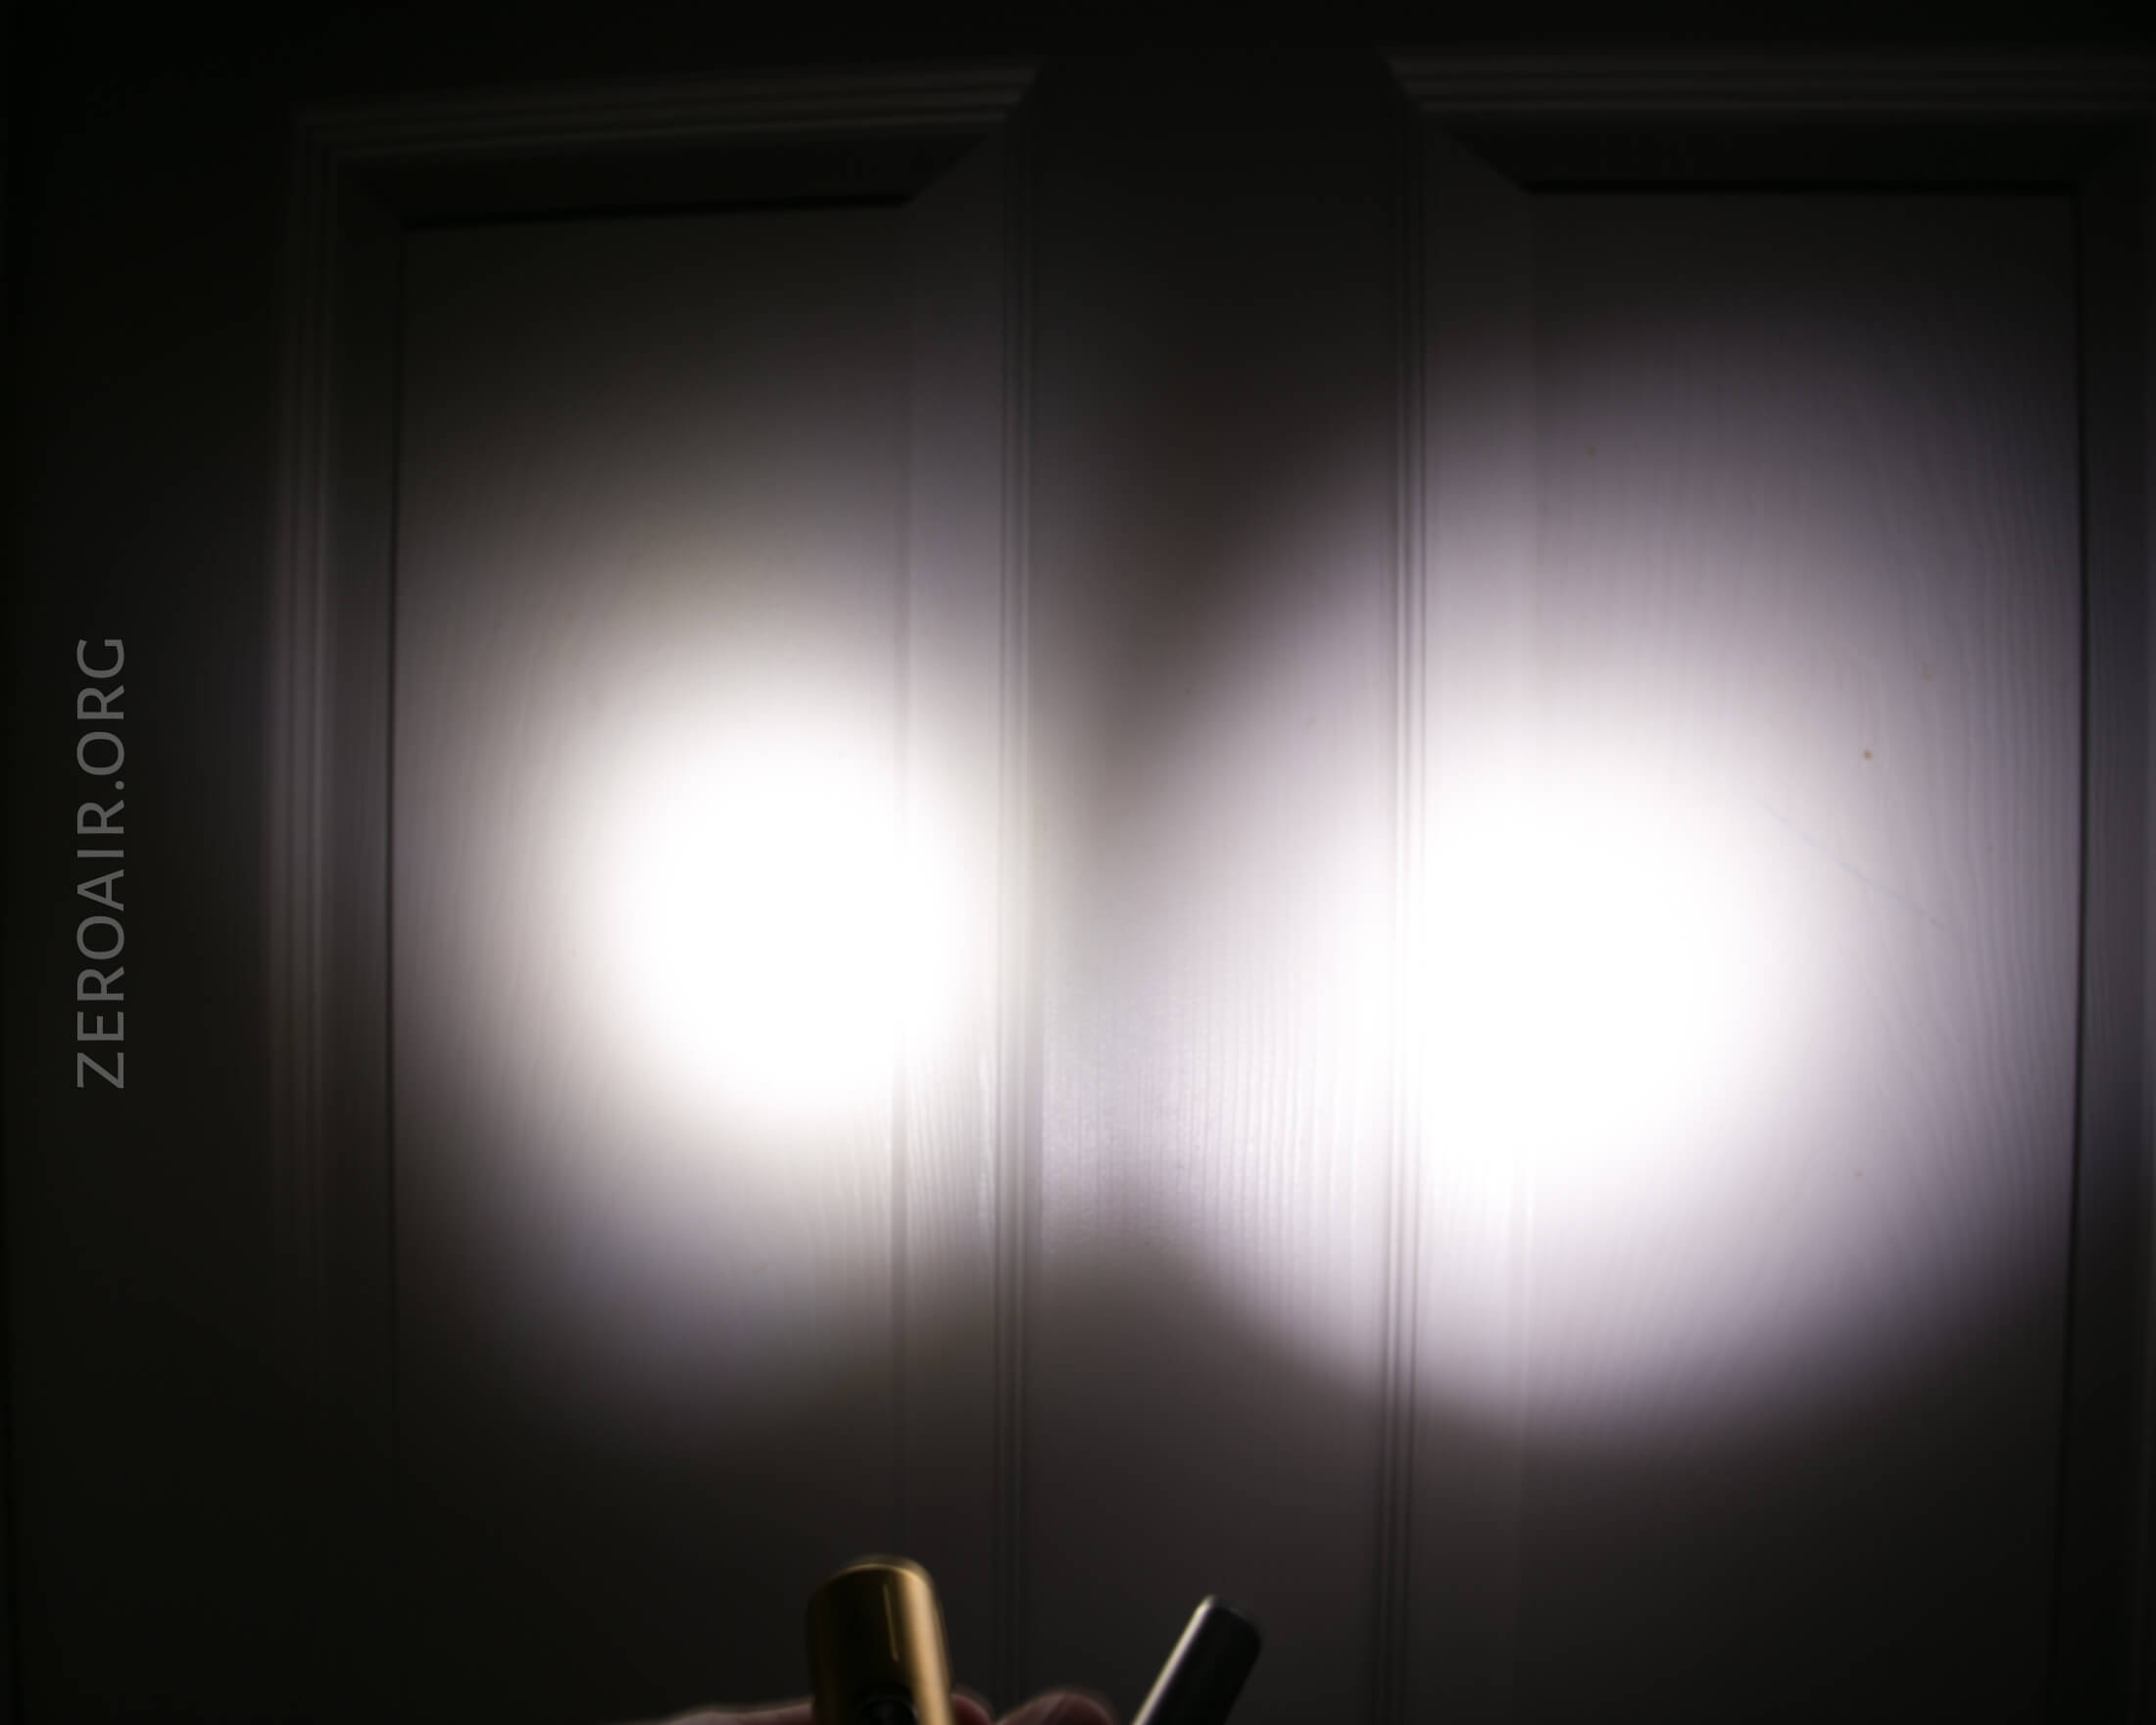
The emitter of choice is the Nichia 219c, which is a High CRI (90+). The other option is a Cree XP-L. The emitter is under a TIR optic, which I think has seen some changes since the A23 review – see the beamshots of the two for comparison purposes. A23 beamshot link. I think this optic might even be a bit different from the A28 optic too.
These beamshots always have the following settings: f8, ISO100, 0.3s shutter, and manual 5000K exposure. These photos are taken at floor level, and the beam hits the ceiling around 9 feet away.


Moonlight isn’t pictured here… I forgot how to get to it, and forgot it was there.
Tint vs BLF-348 (KillzoneFlashlights.com 219b version) (affiliate link)
I compare everything to the Killzone 219b BLF-348 because it’s inexpensive and has the best tint!
Conclusion
What I like
- The brass is great
- Has a good weight but a small size. feels important.
- Tritium slots. Haven’t added them yet, but might just be my first.
- I just like the build overall. Not flashlighty, but it scratches that itch somehow
What I don’t like
- user interface Ambiguity among all the models
Notes
- This light was provided by me for review. I was not paid to write this review.
- This content originally appeared at zeroair.org. Please visit there for the best experience!
- Use my amazon.com referral link if you’re willing to help support making more reviews like this one!
- Please support me on Patreon! I deeply appreciate your support!
Discover more from ZeroAir Reviews
Subscribe to get the latest posts sent to your email.
Pingback: Holiday Flashlight Guide 2021 - You Should Buy These! - ZeroAir Reviews