YLP Unicorn 1.0 Flashlight Review
YLP sent this YLP Unicorn 1.0 flashlight for review. It’s an interesting 18650 light, notable for the user interface. Read on for some testing!
Official Specs and Features
Here’s a link to the YLP Unicorn 1.0 Flashlight product page.
Versions
I believe there’s just one version.
Price
The YLP Unicorn 1.0 Flashlight sells for around $40 but looks to be out of stock at the moment.
Short Review
I like it. I find it to be very simple, easy to handle, and overall, the functionality I’d want out of it is there. The high CRI is a great option and appreciated in a stock version light. Even some alternate UI’s are available, which is a nice touch.
Long Review
The Big Table
| YLP Unicorn 1.0 | |
|---|---|
| Emitter: | Samsung LH351D ((NW, 4200K, >90CRI)) |
| Price in USD at publication time: | $40.00 |
| Cell: | 1×18650 |
| Turbo Runtime | High Runtime |
| LVP? | Yes, with Switch warning |
| Switch Type: | E-switch |
| Quiescent Current (A): | ? |
| On-Board Charging? | No |
| Claimed Lumens (lm) | 850 |
| Measured Lumens (at 30s) | 803 (94.5% of claim)^ |
| Candela per Lumen | 7.6 |
| Claimed Throw (m) | 125 |
| Candela (Calculated) in cd (at 30s) | 346lux @ 4.201m = 6106cd |
| Throw (Calculated) (m) | 156.3 (125% of claim)^ |
| All my YLP reviews! | |
^ Measurement disclaimer: Testing flashlights is my hobby. I use hobbyist-level equipment for testing, including some I made myself. Try not to get buried in the details of manufacturer specifications versus measurements recorded here; A certain amount of difference (say, 10 or 15%) is perfectly reasonable.
What’s Included

- Yarkiy Luch (YLP) Unicorn 1.0 Flashlight
- Spare o-rings (2)
- Lanyard
- Manual
Package and Manual


Build Quality and Disassembly
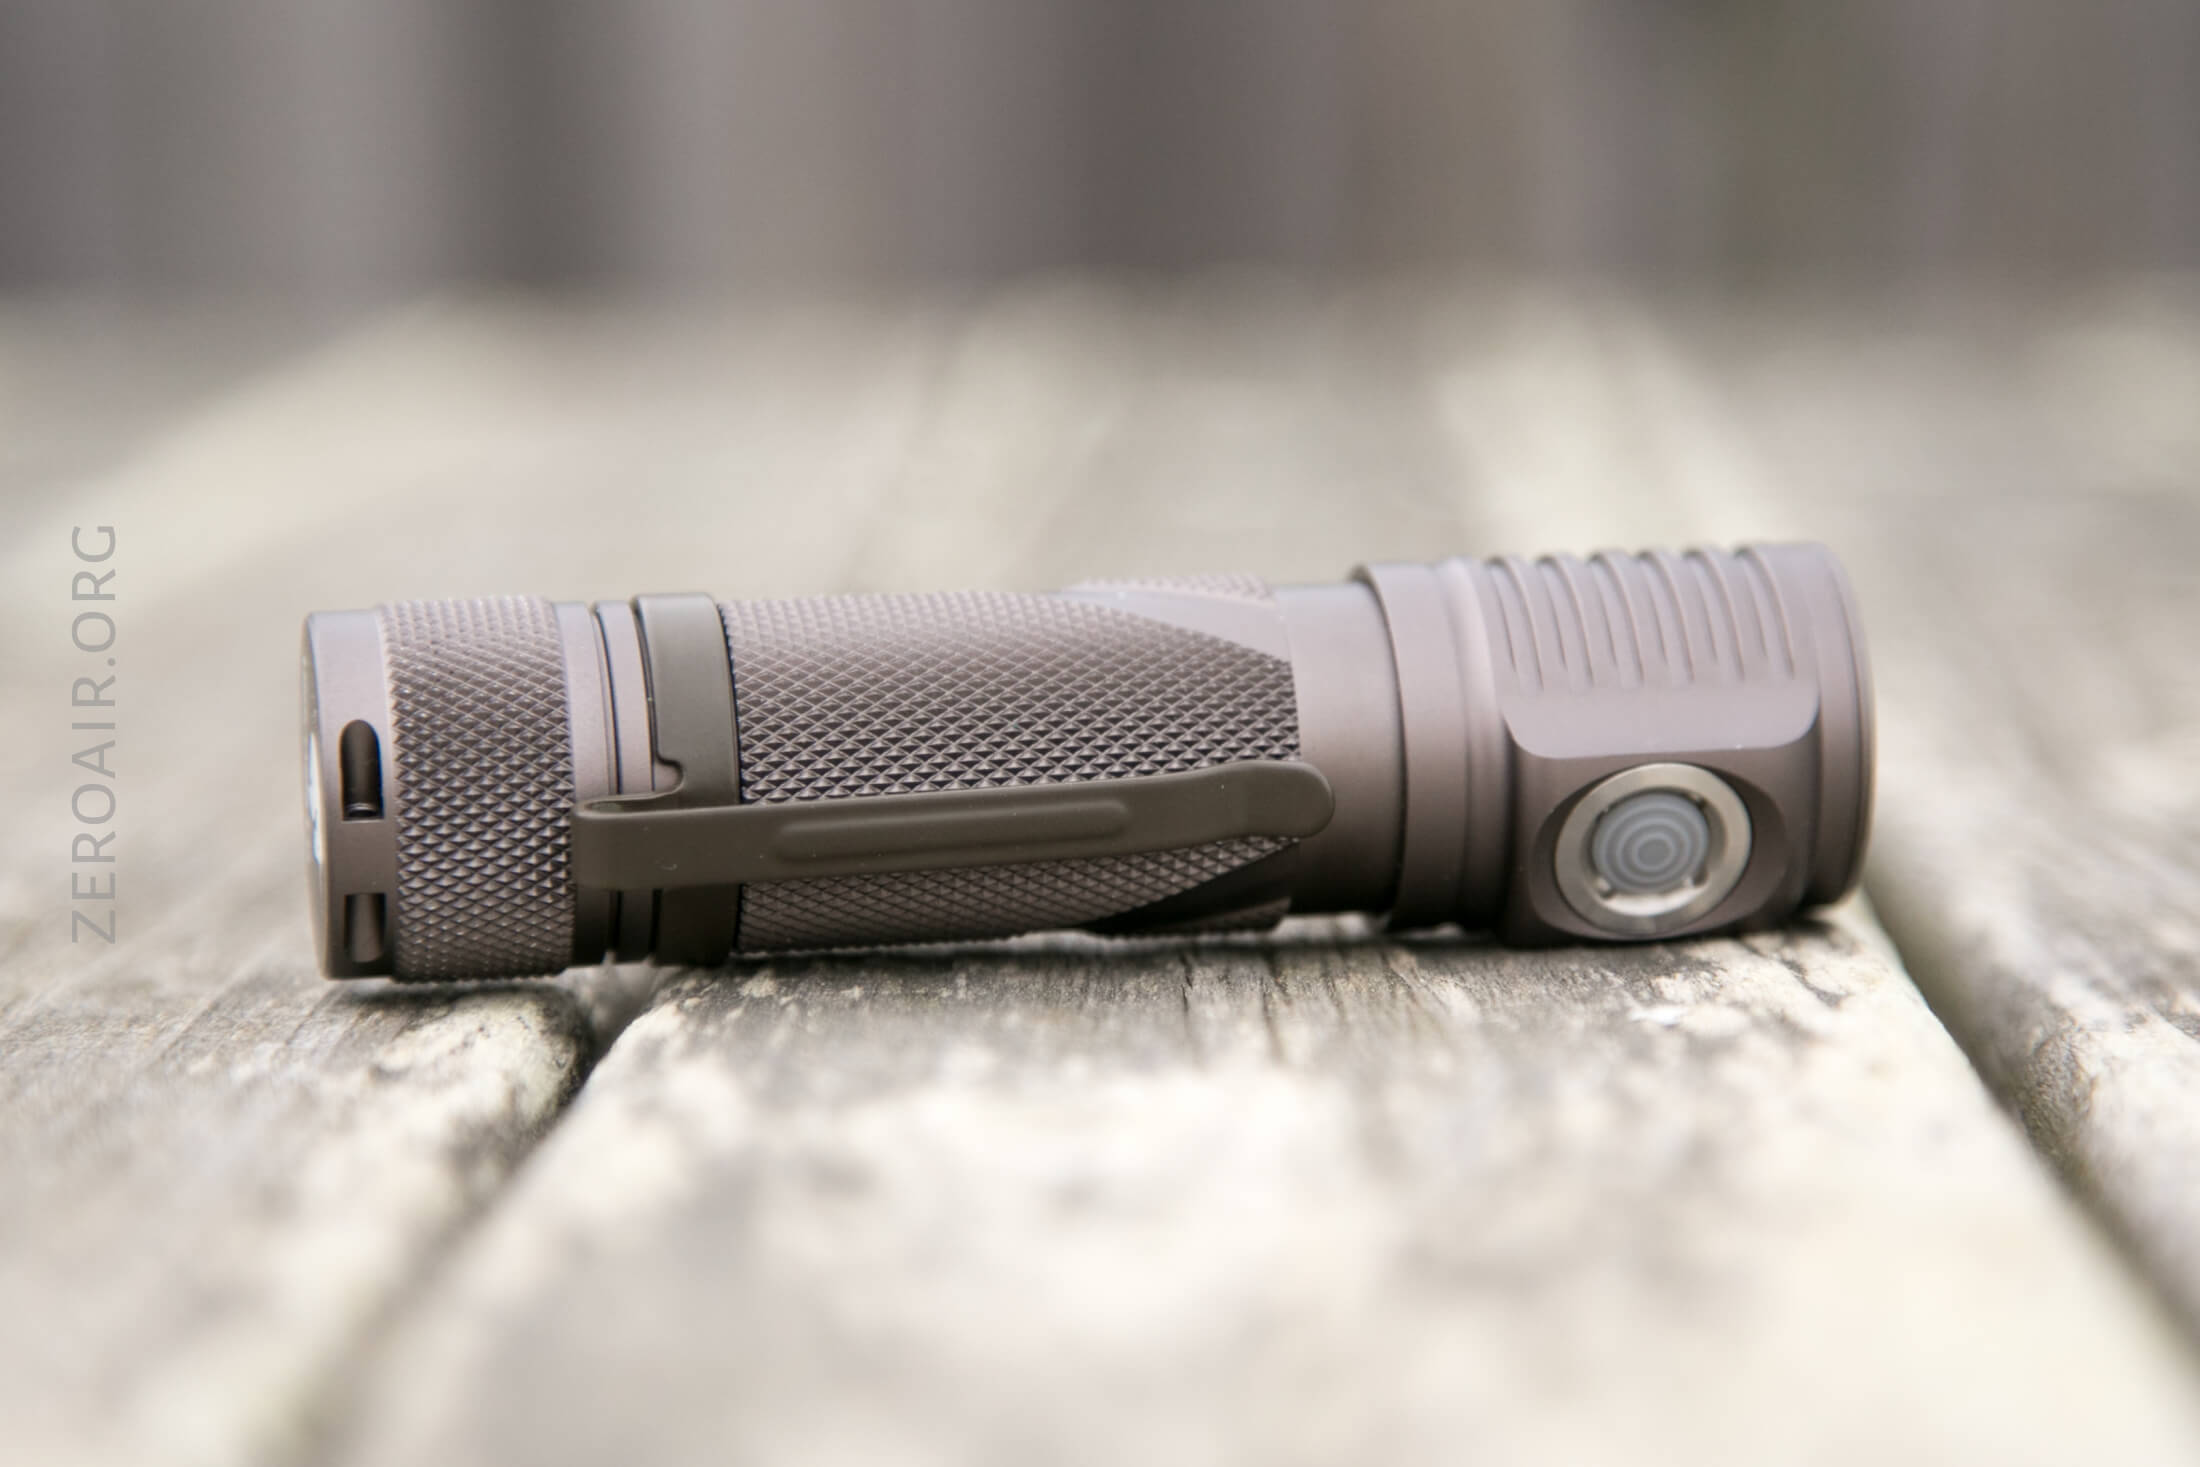
This is a very well constructed light, with some things different than what we sometimes see.
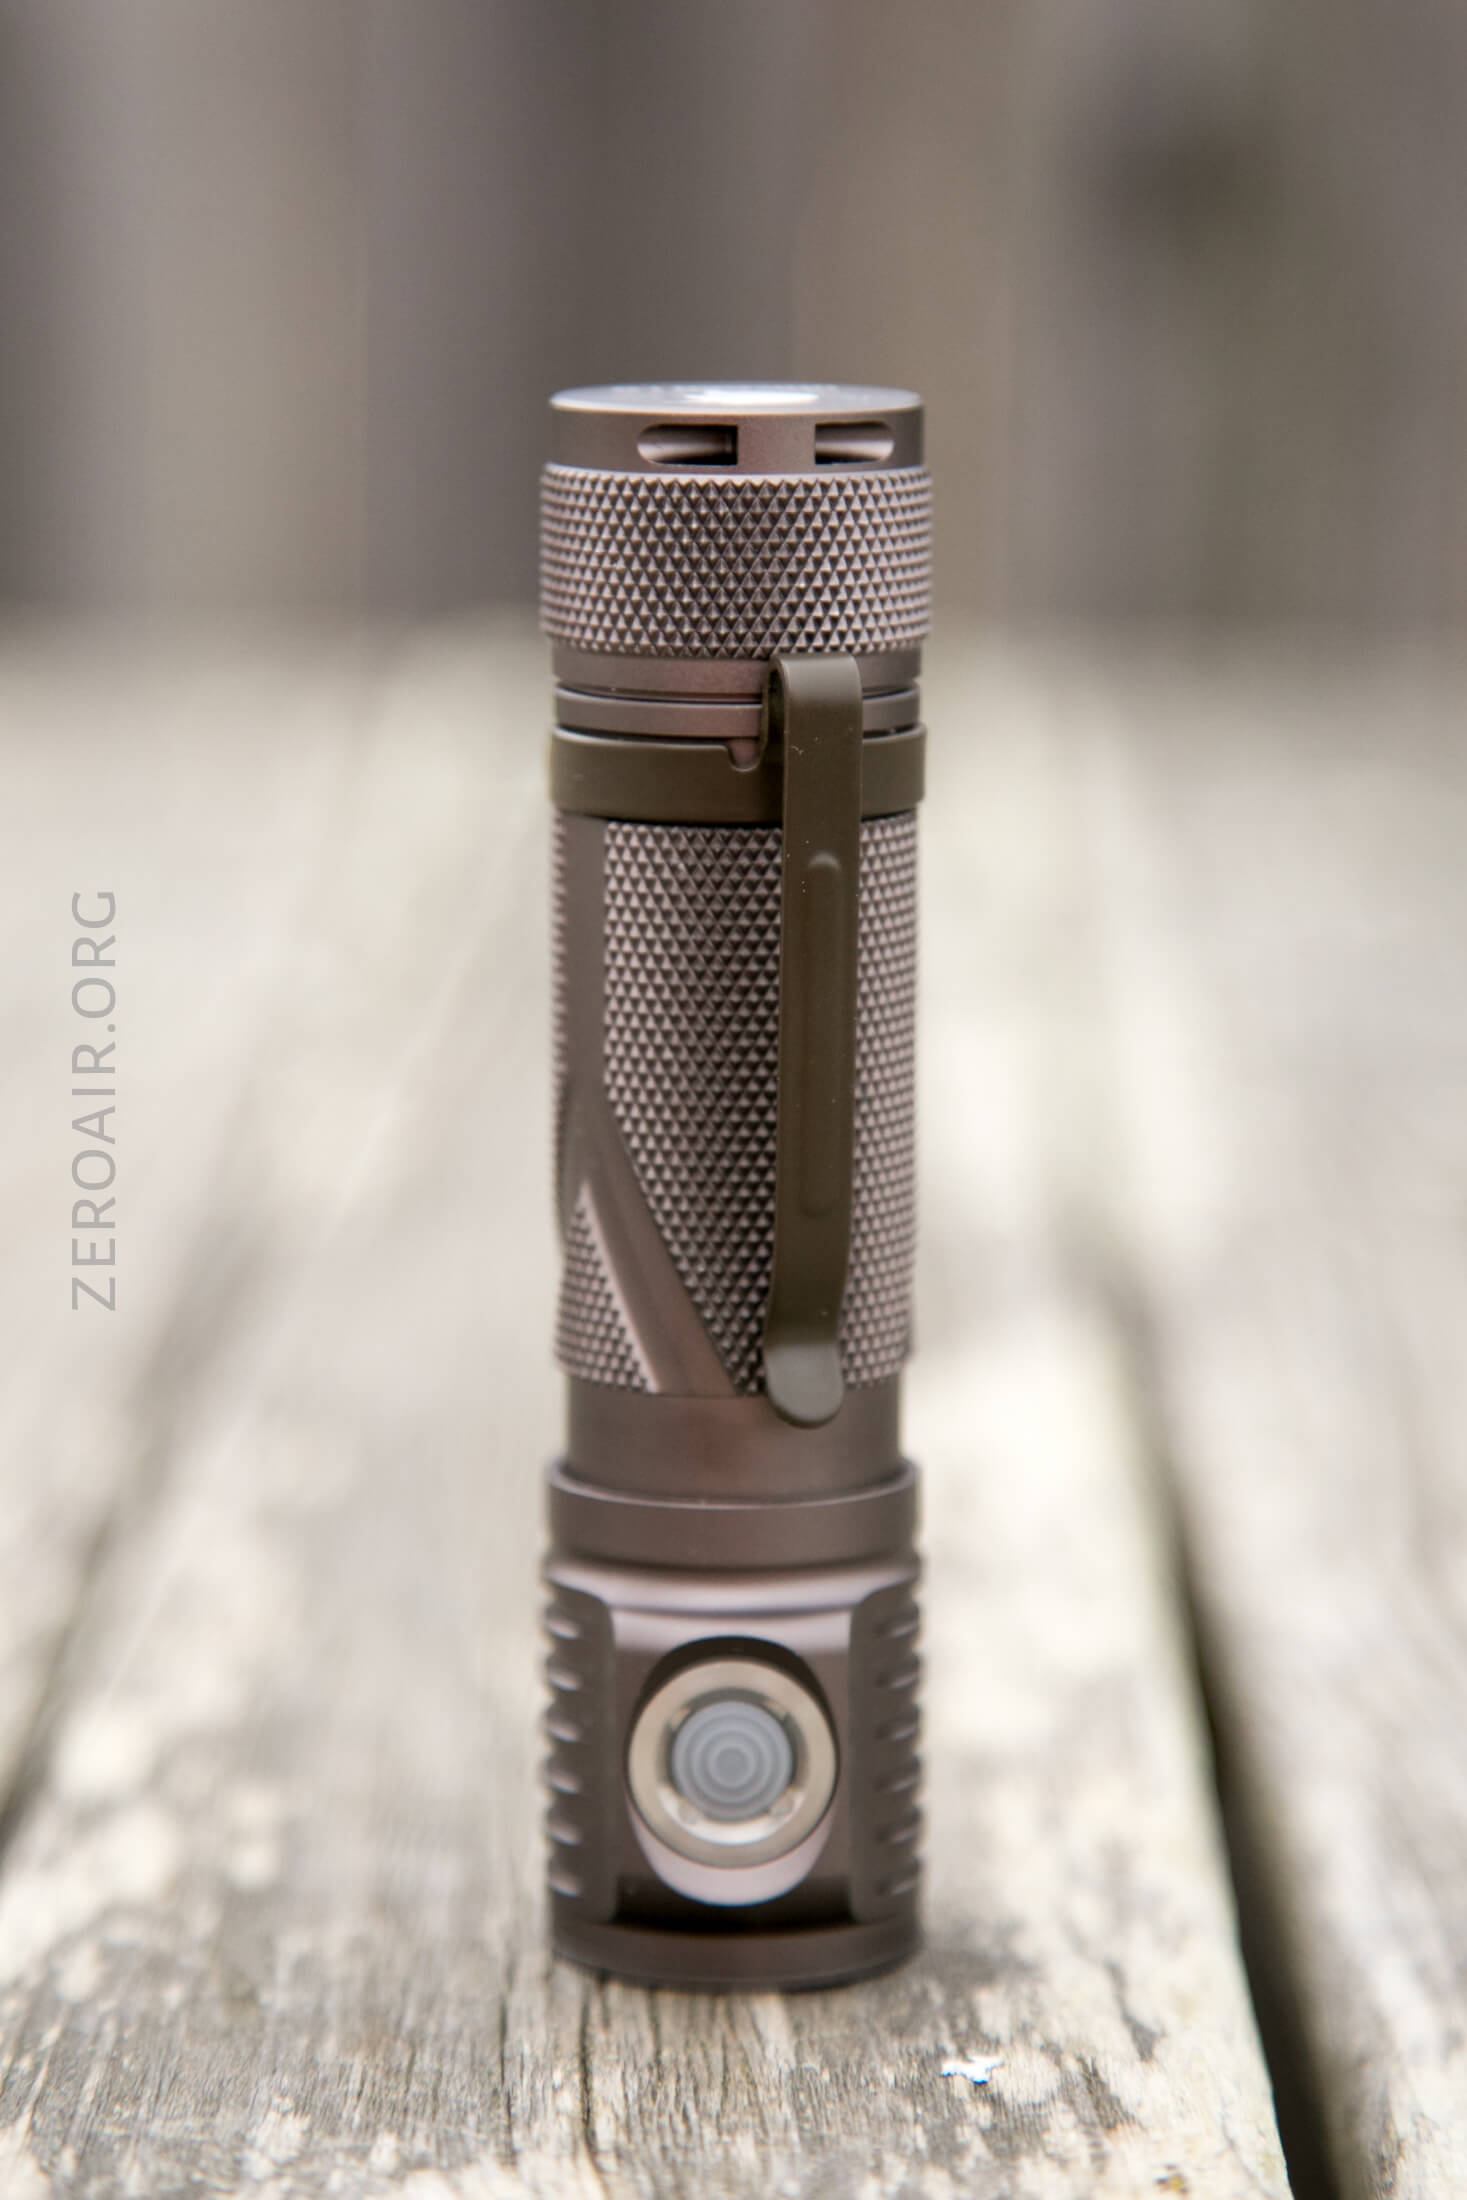
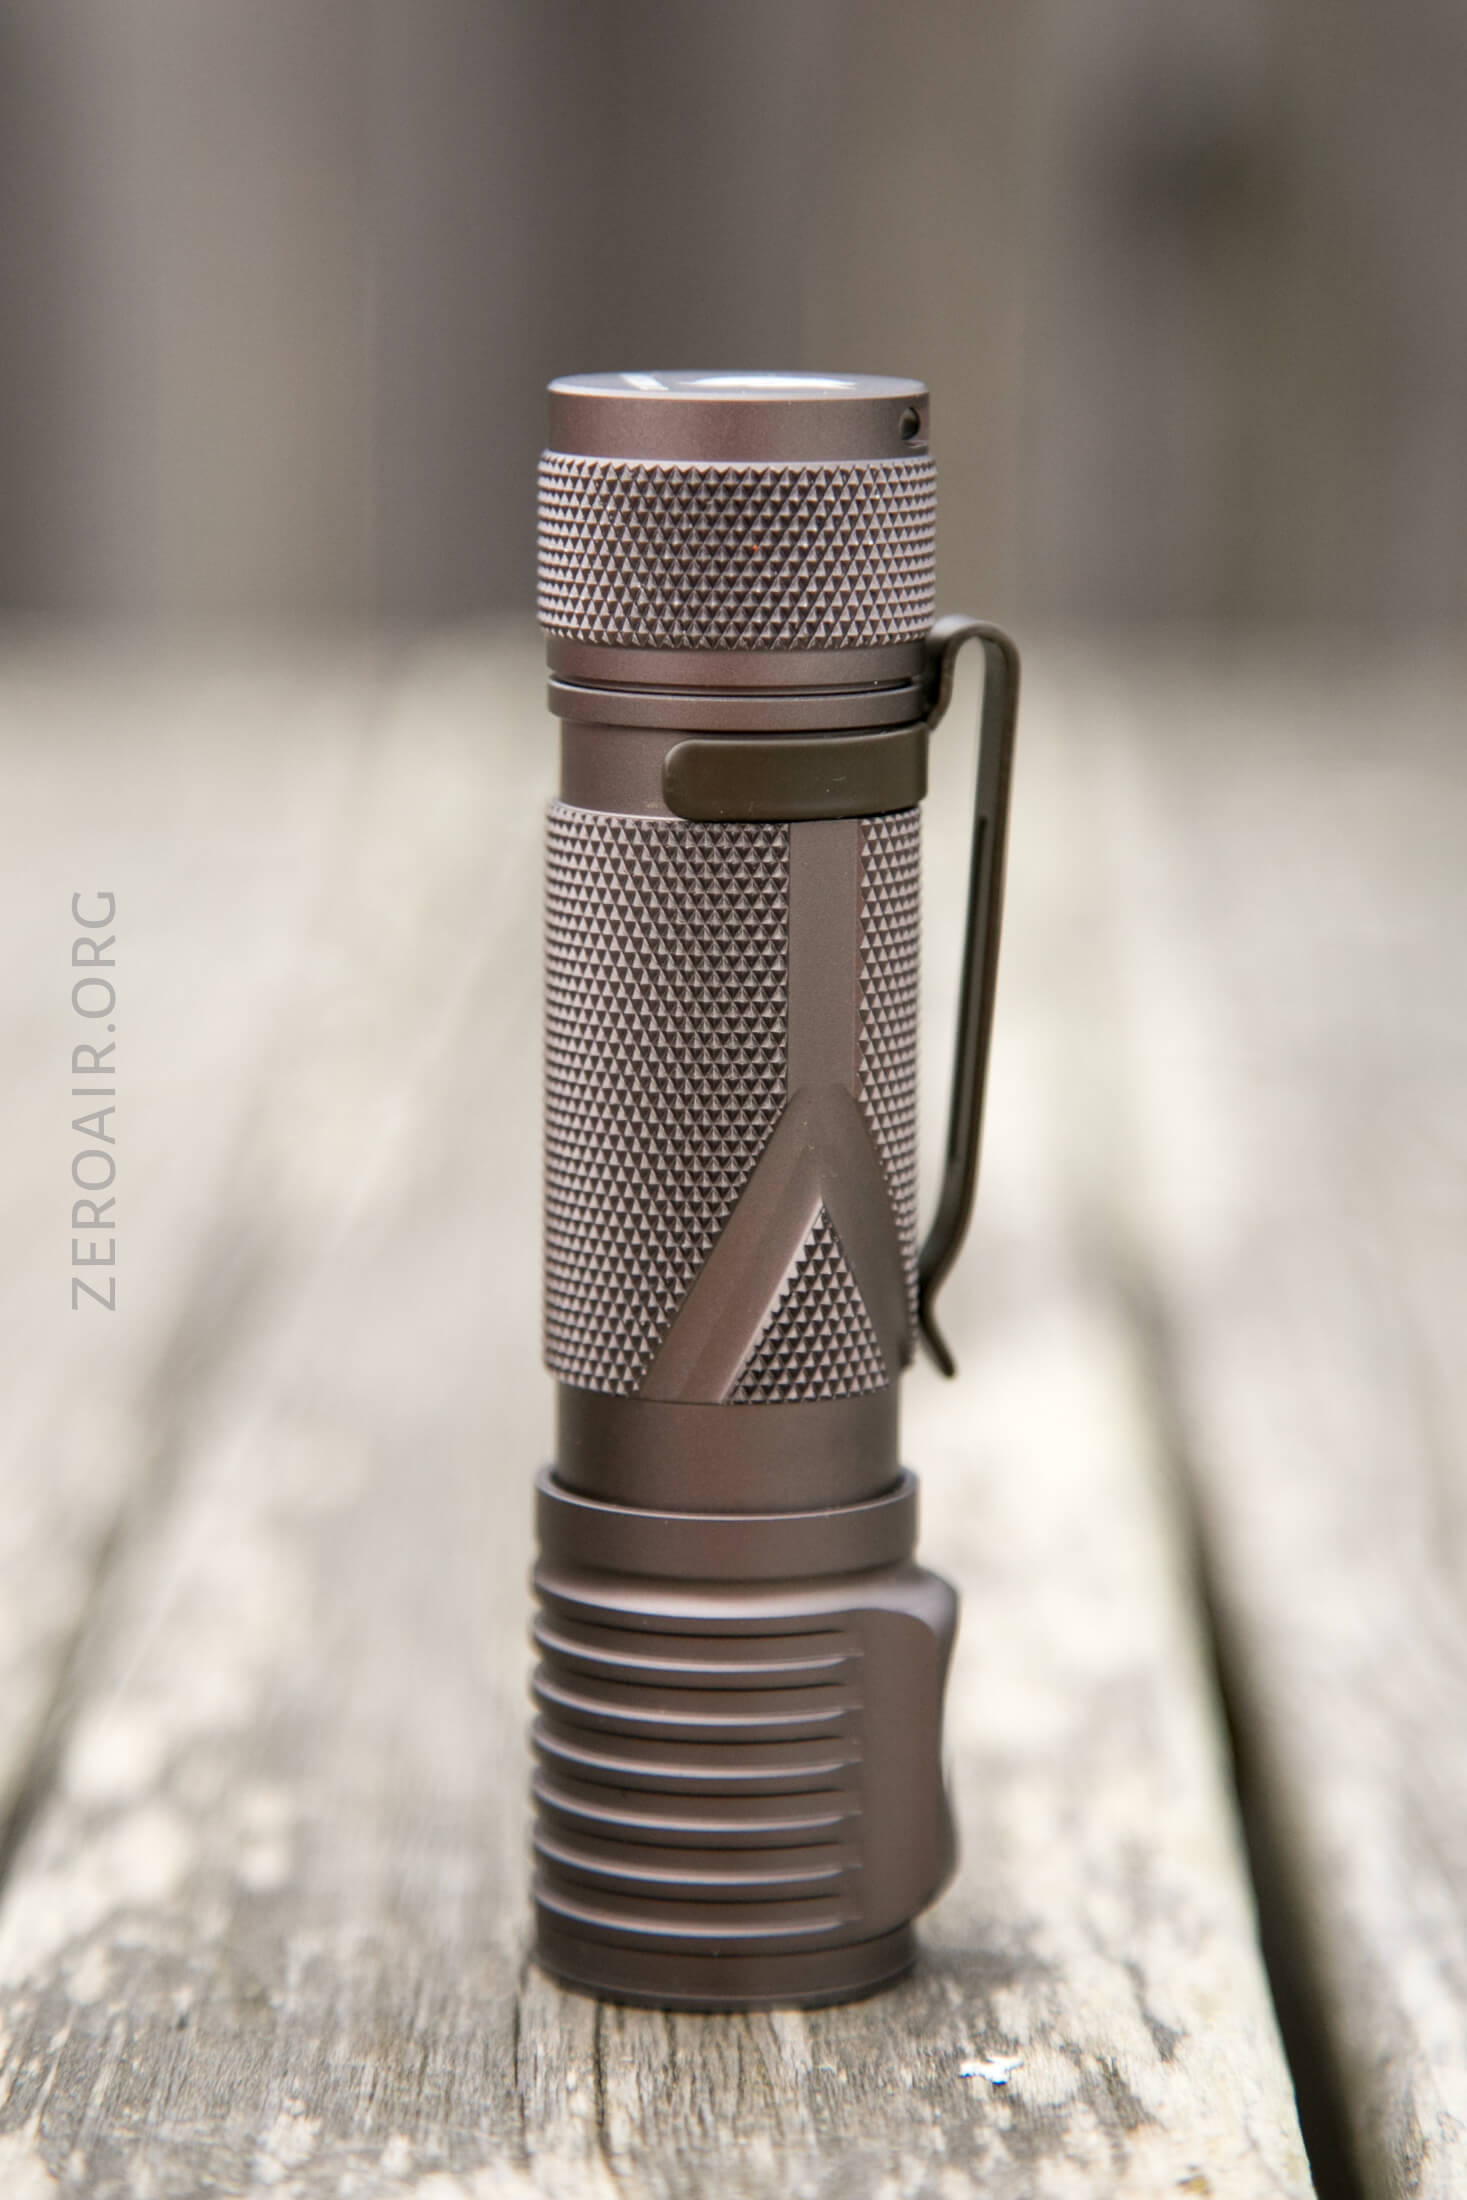
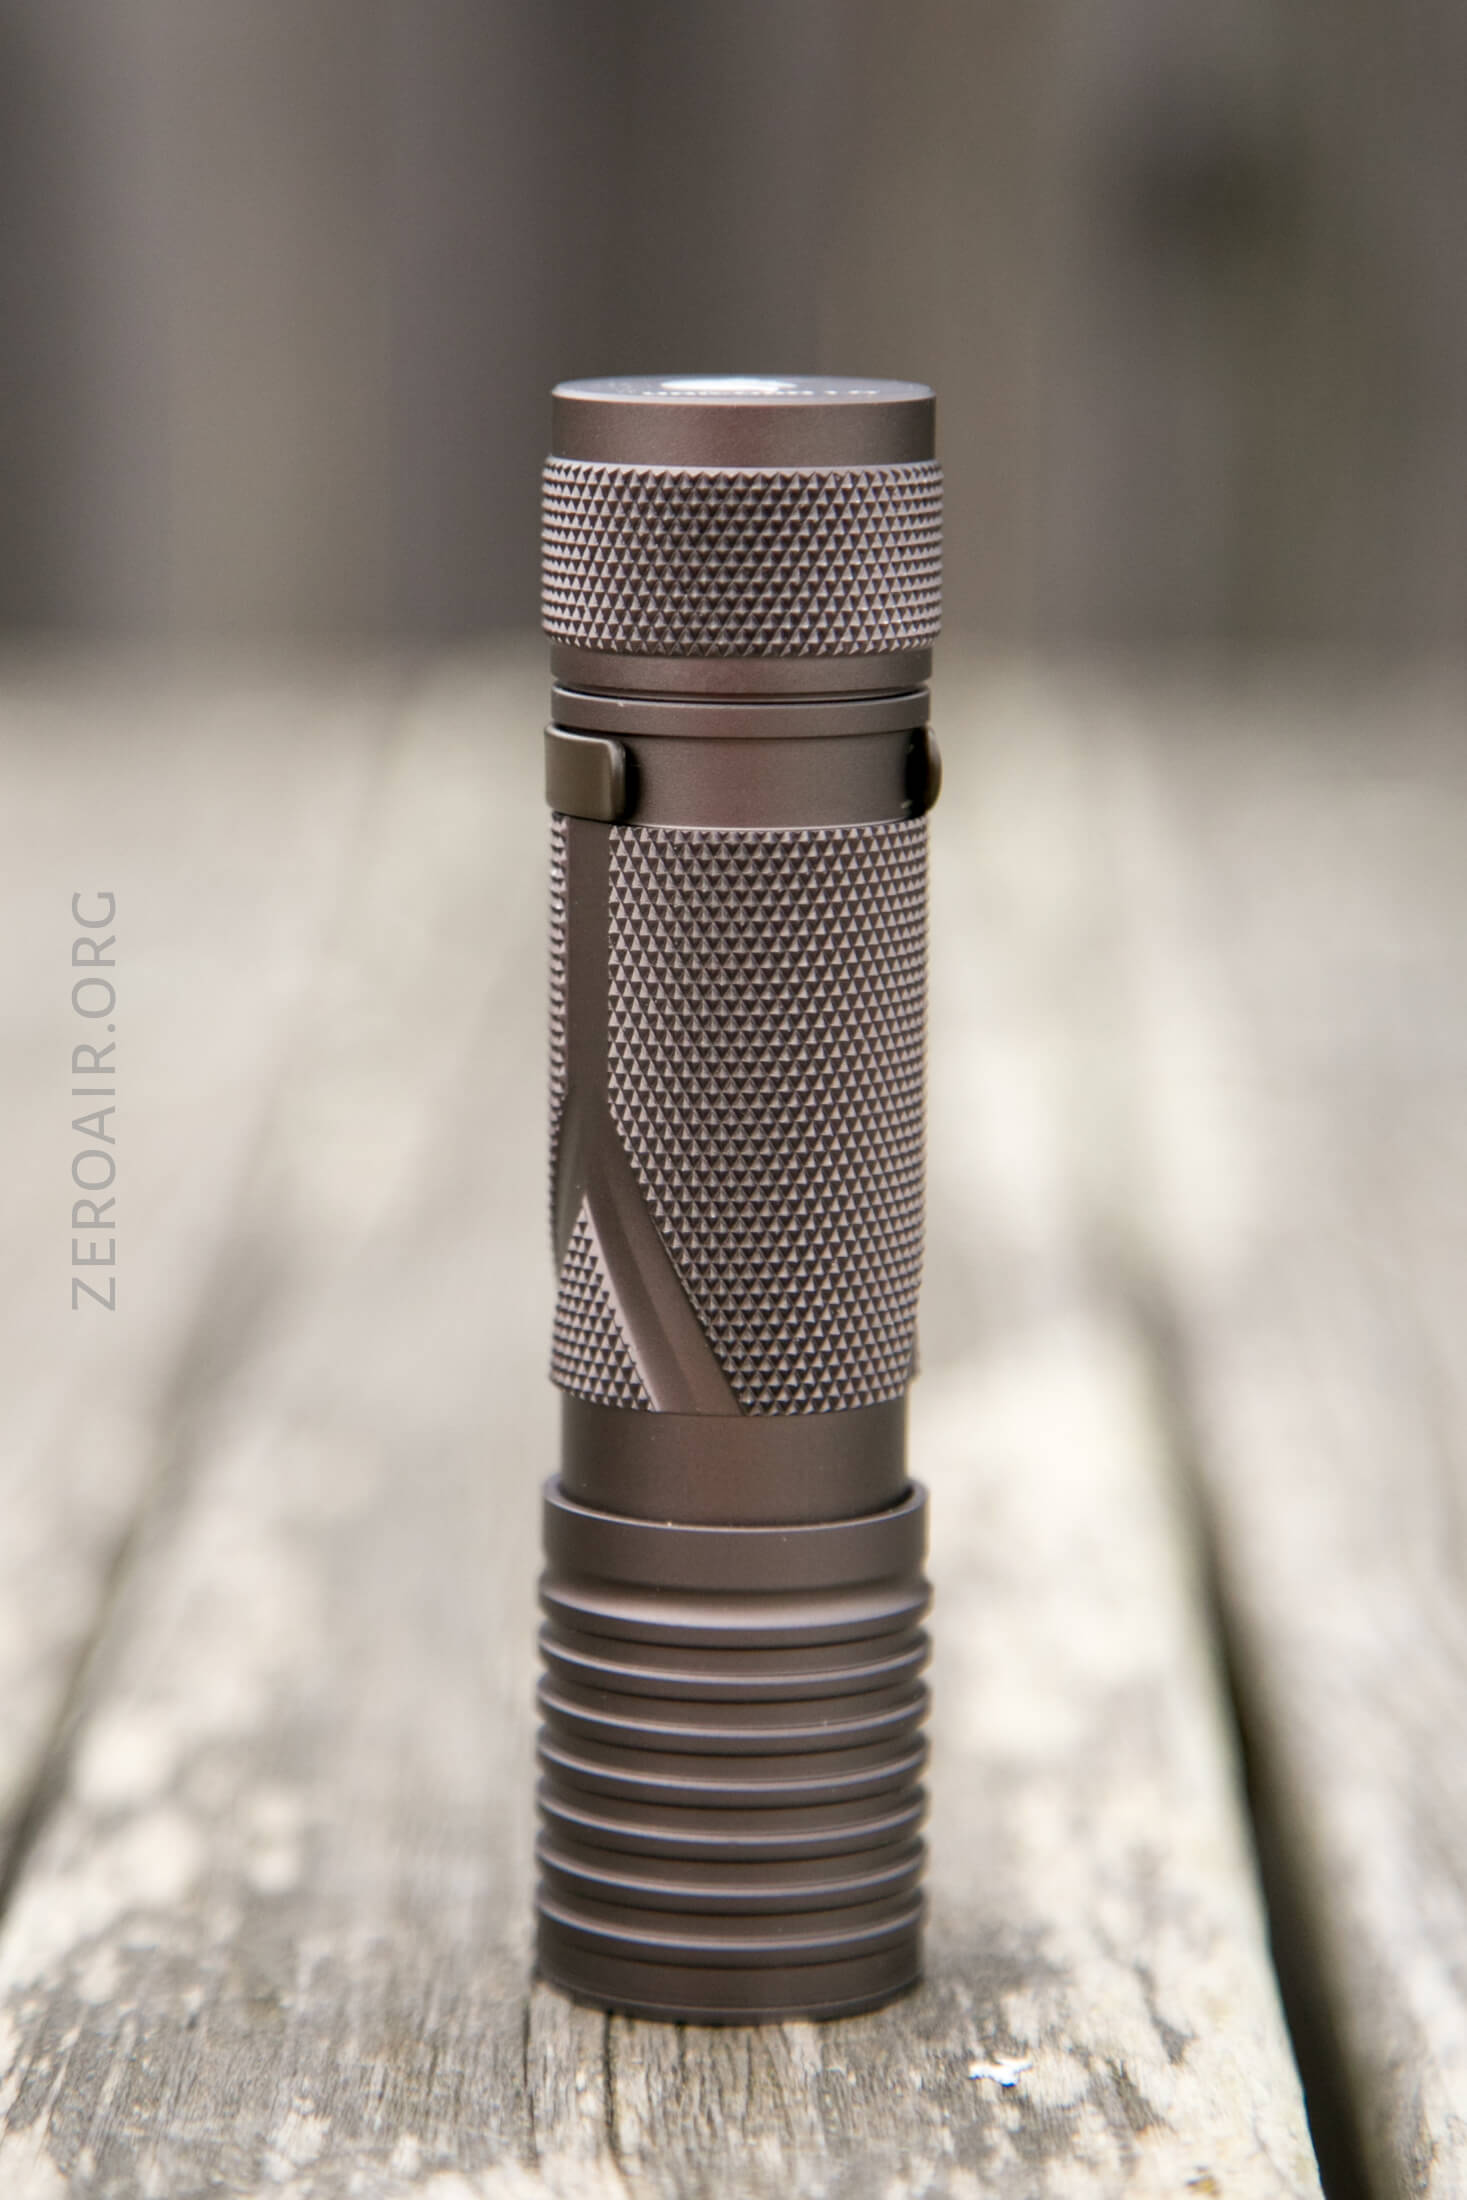
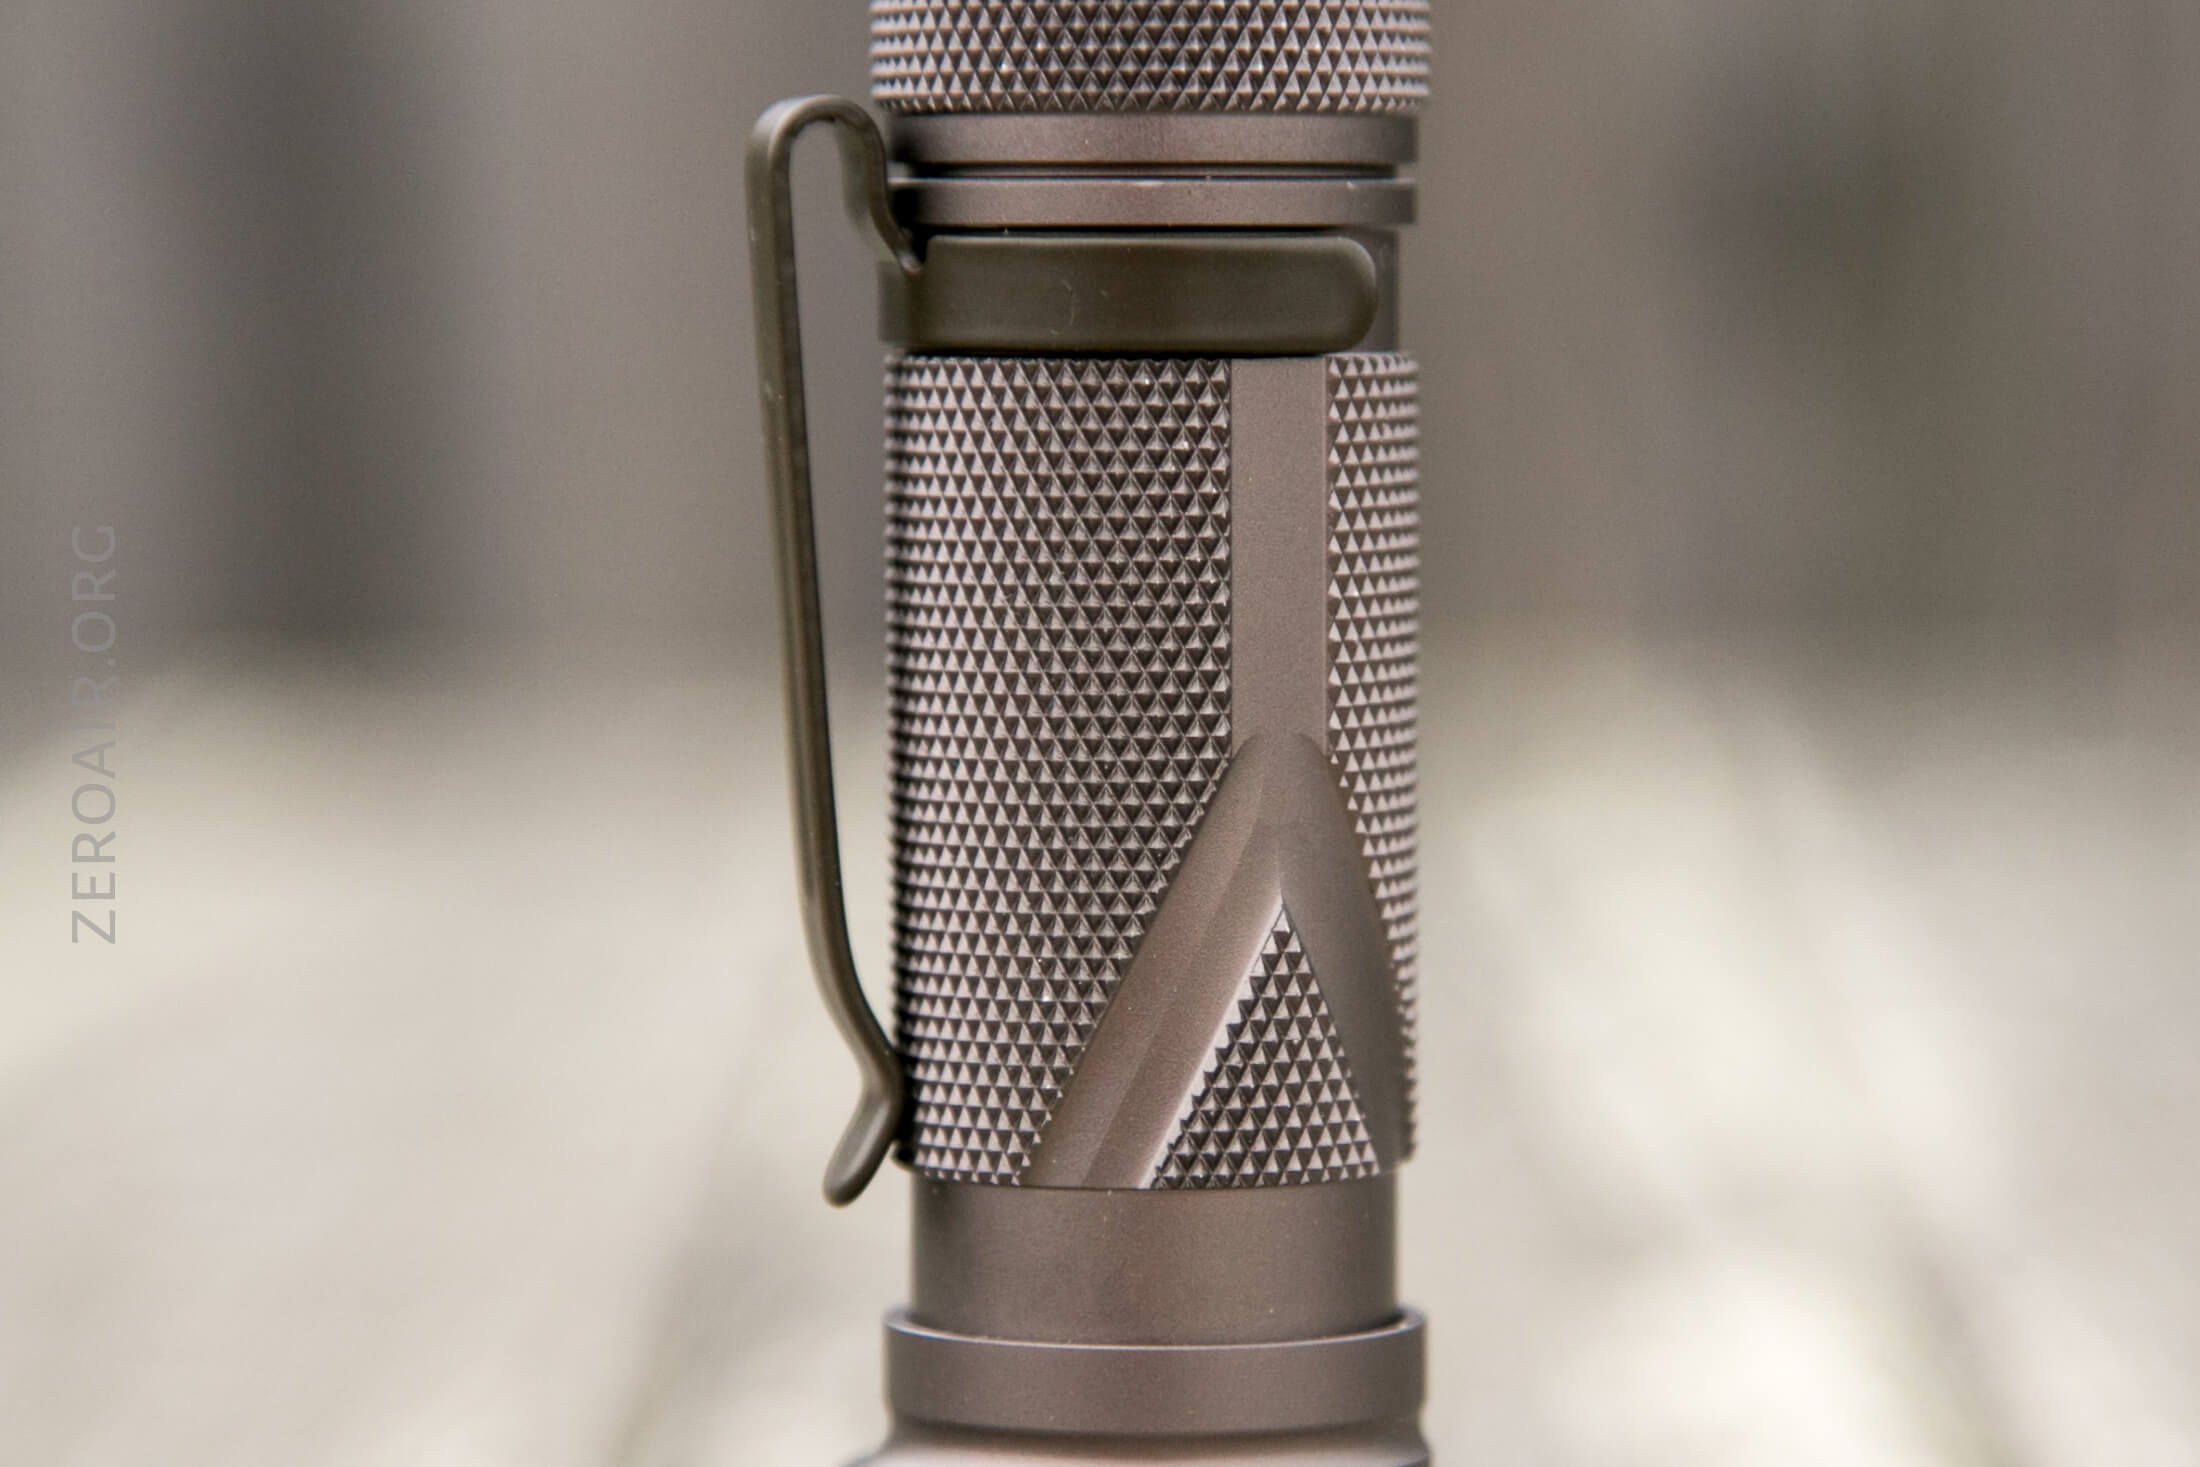
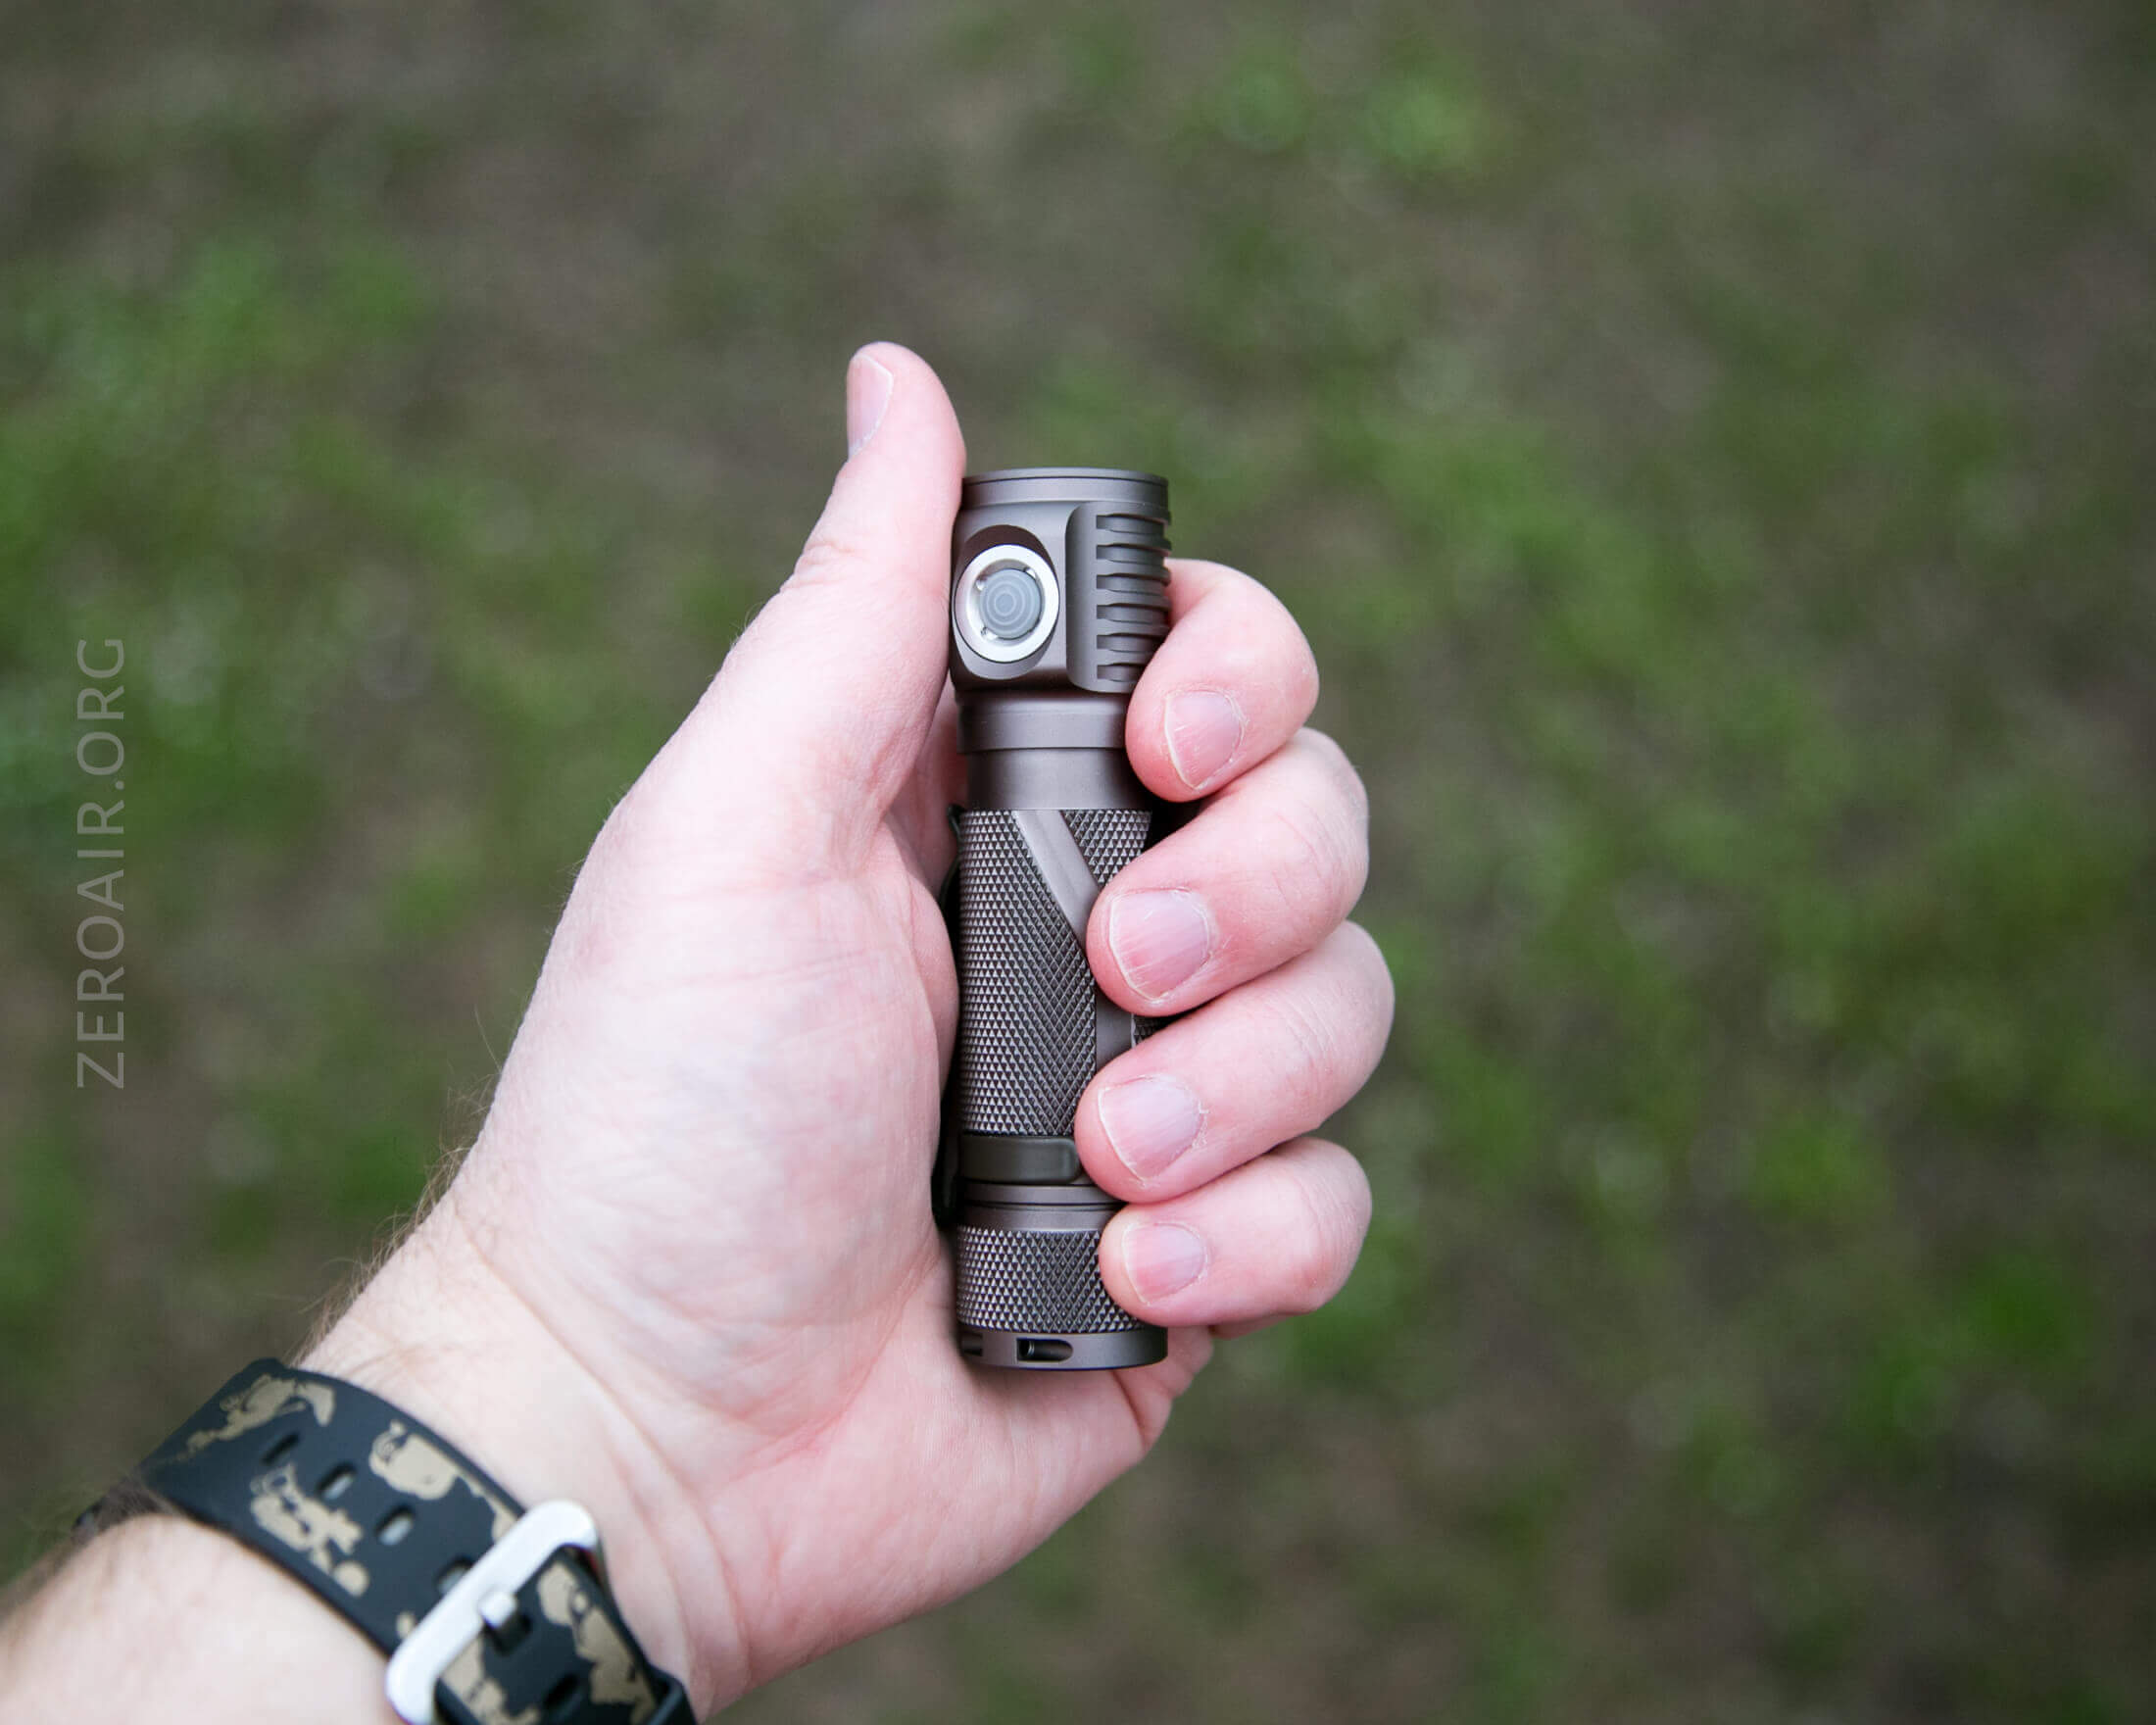
Most notably, the knurling is quite aggressive and will provide an extremely sure grip.
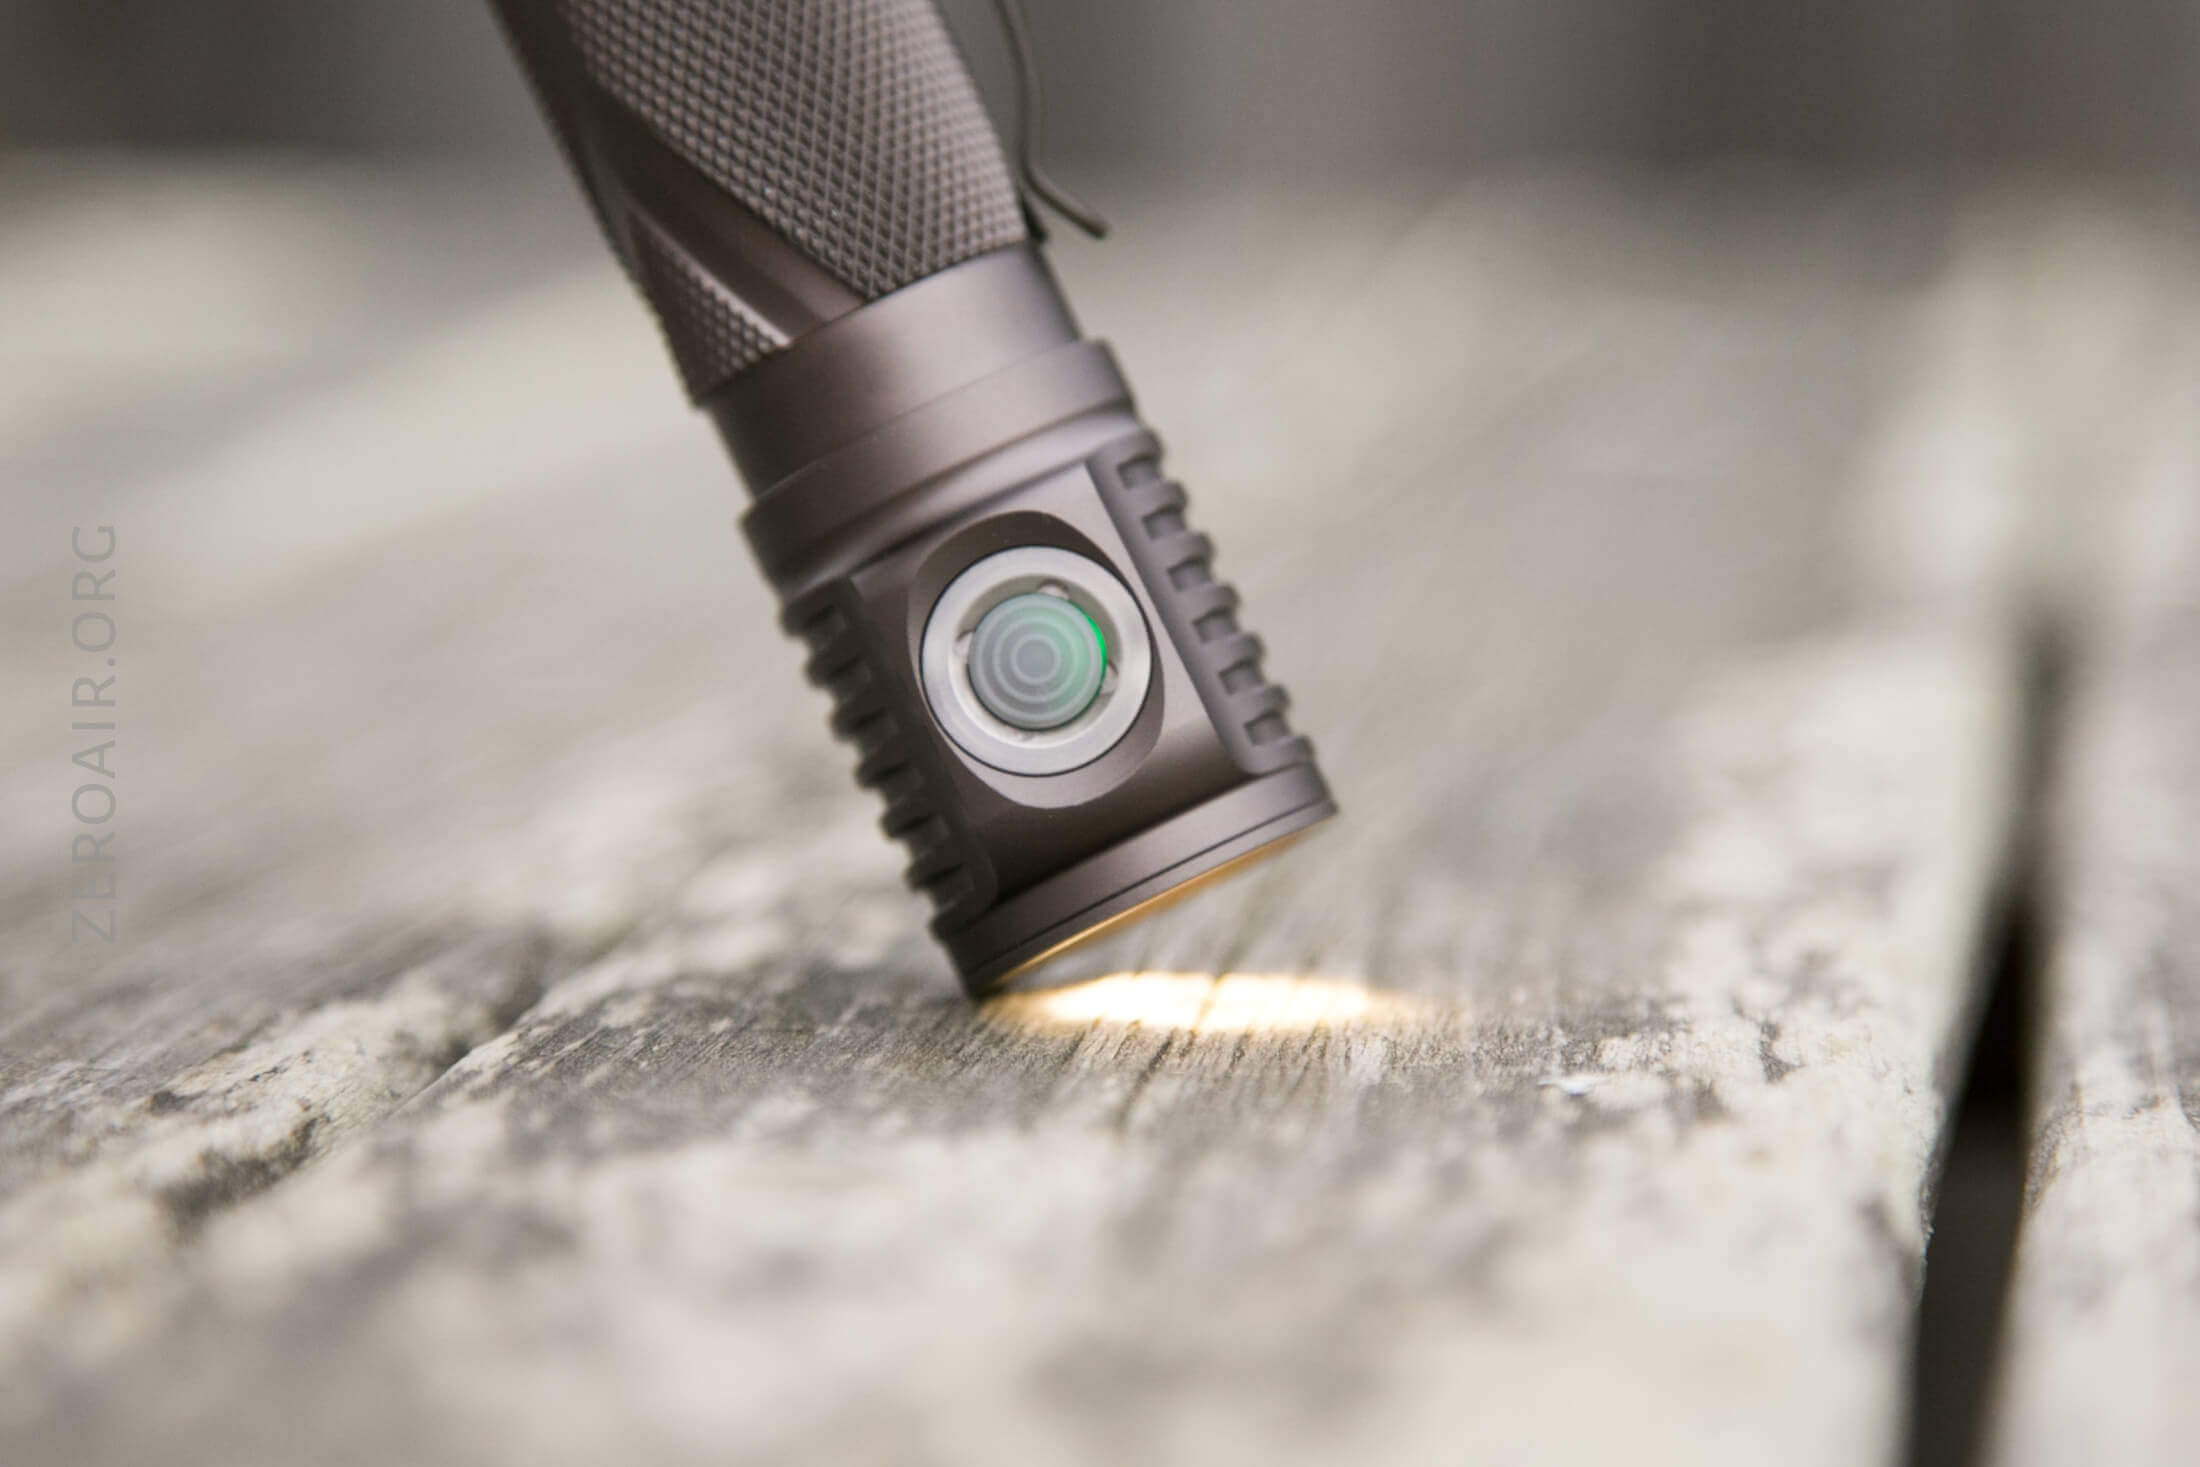
Some other nice appointments include the button, which we’ll cover more later.

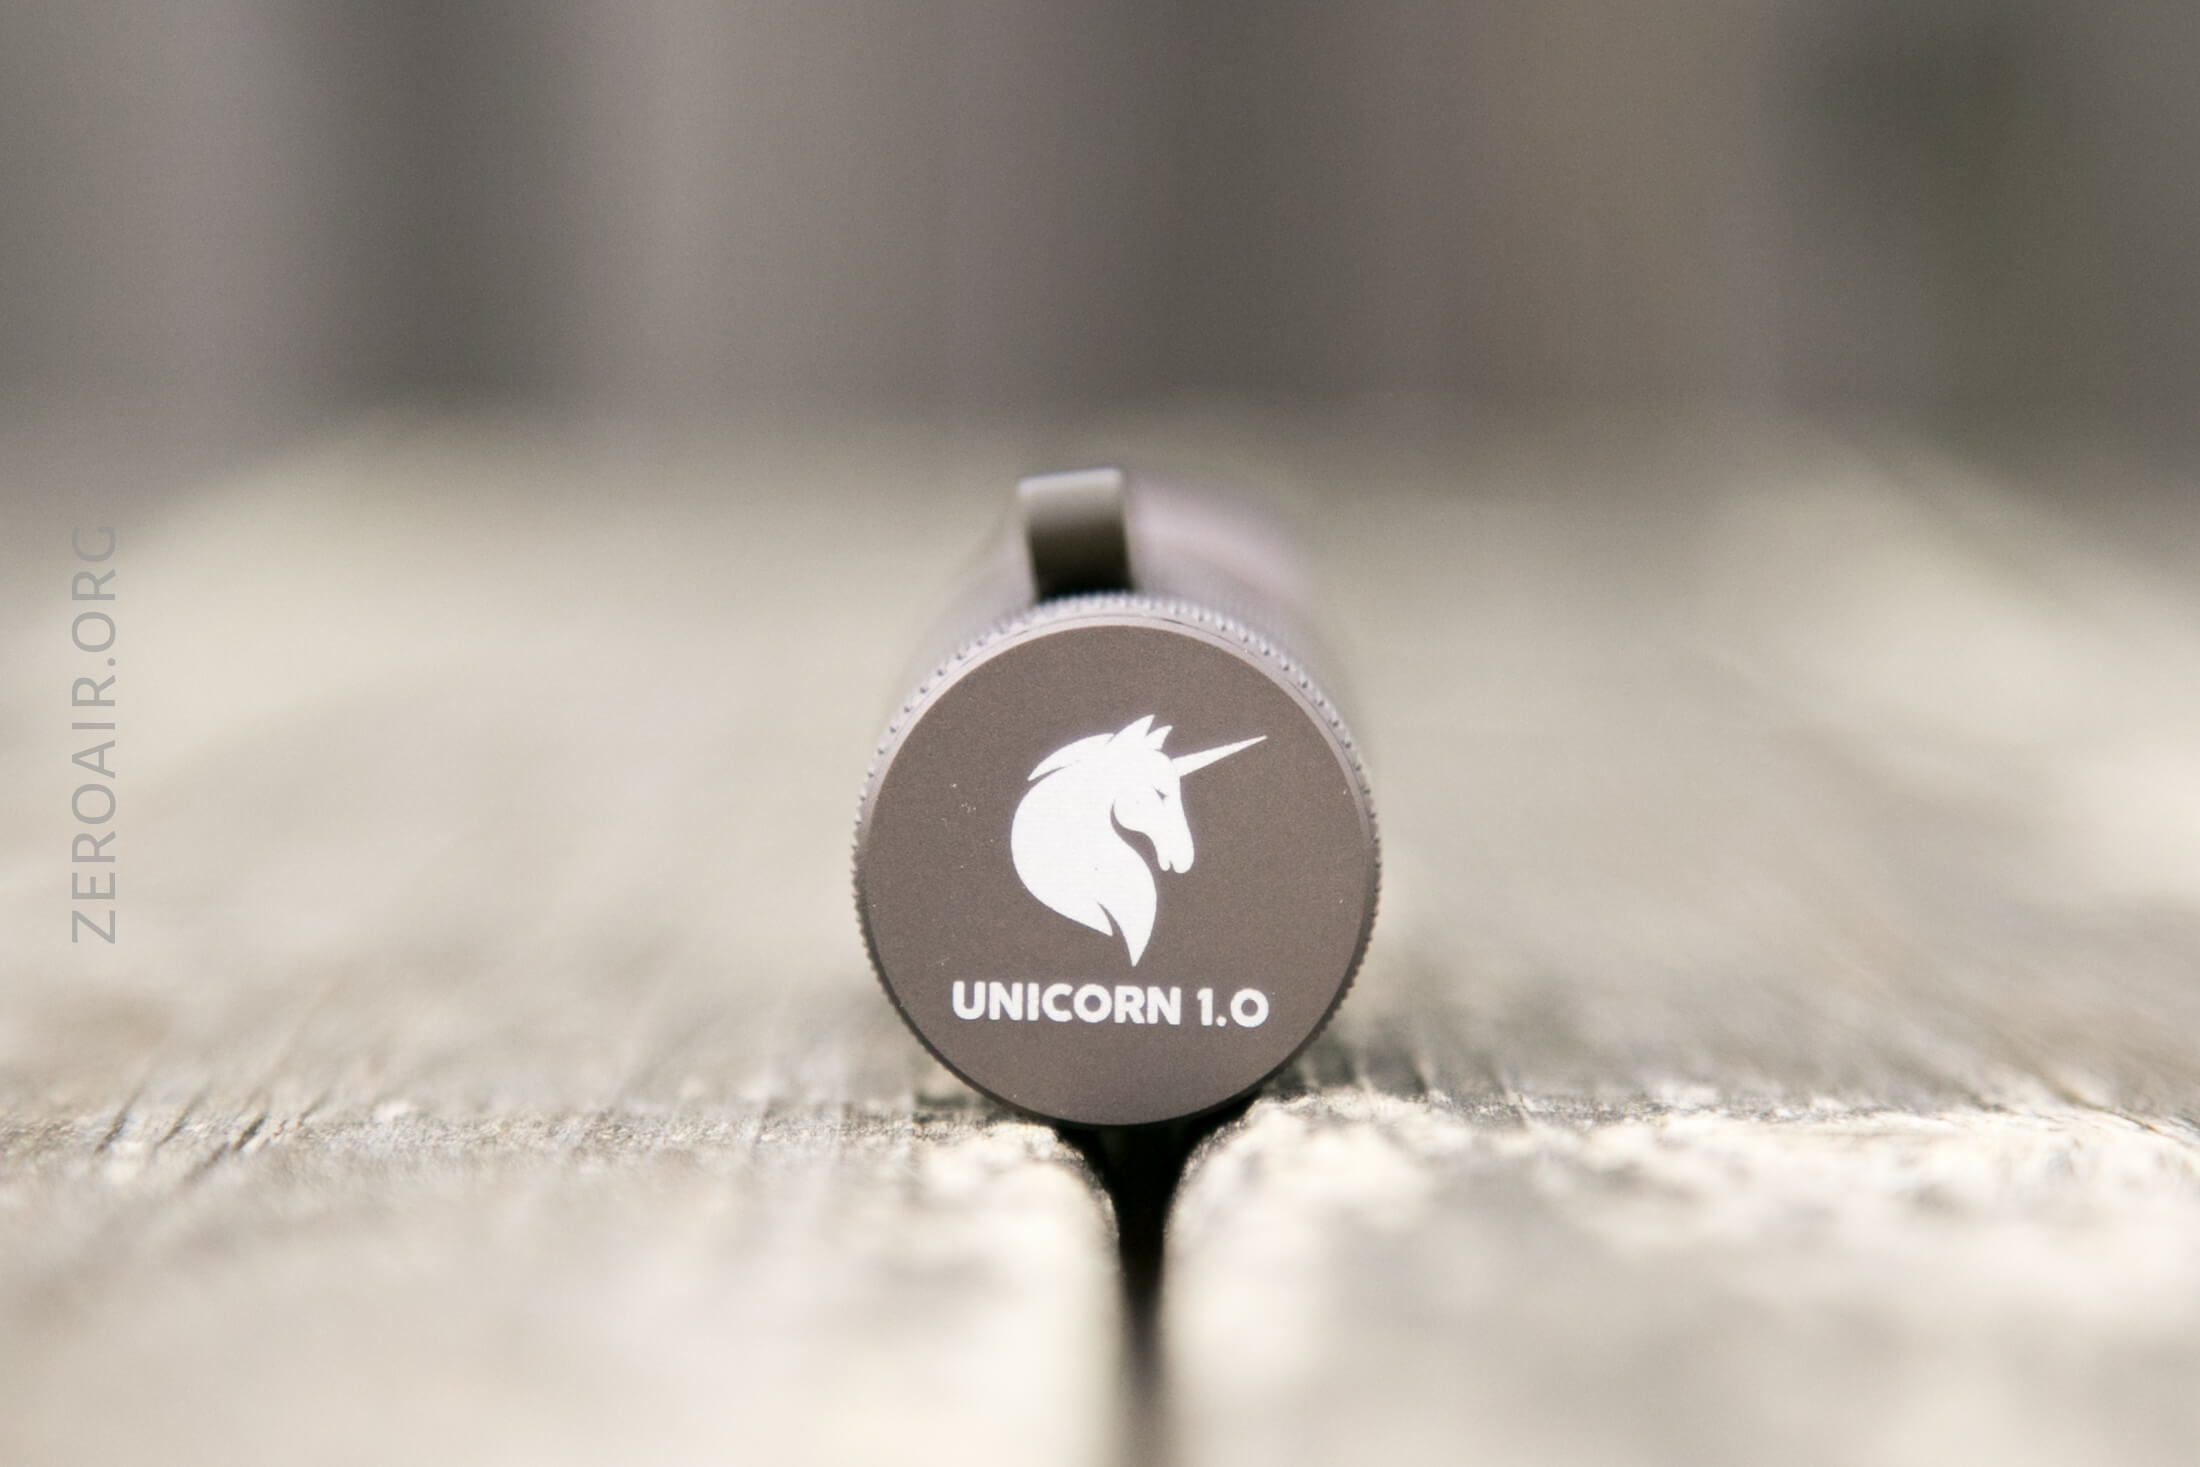
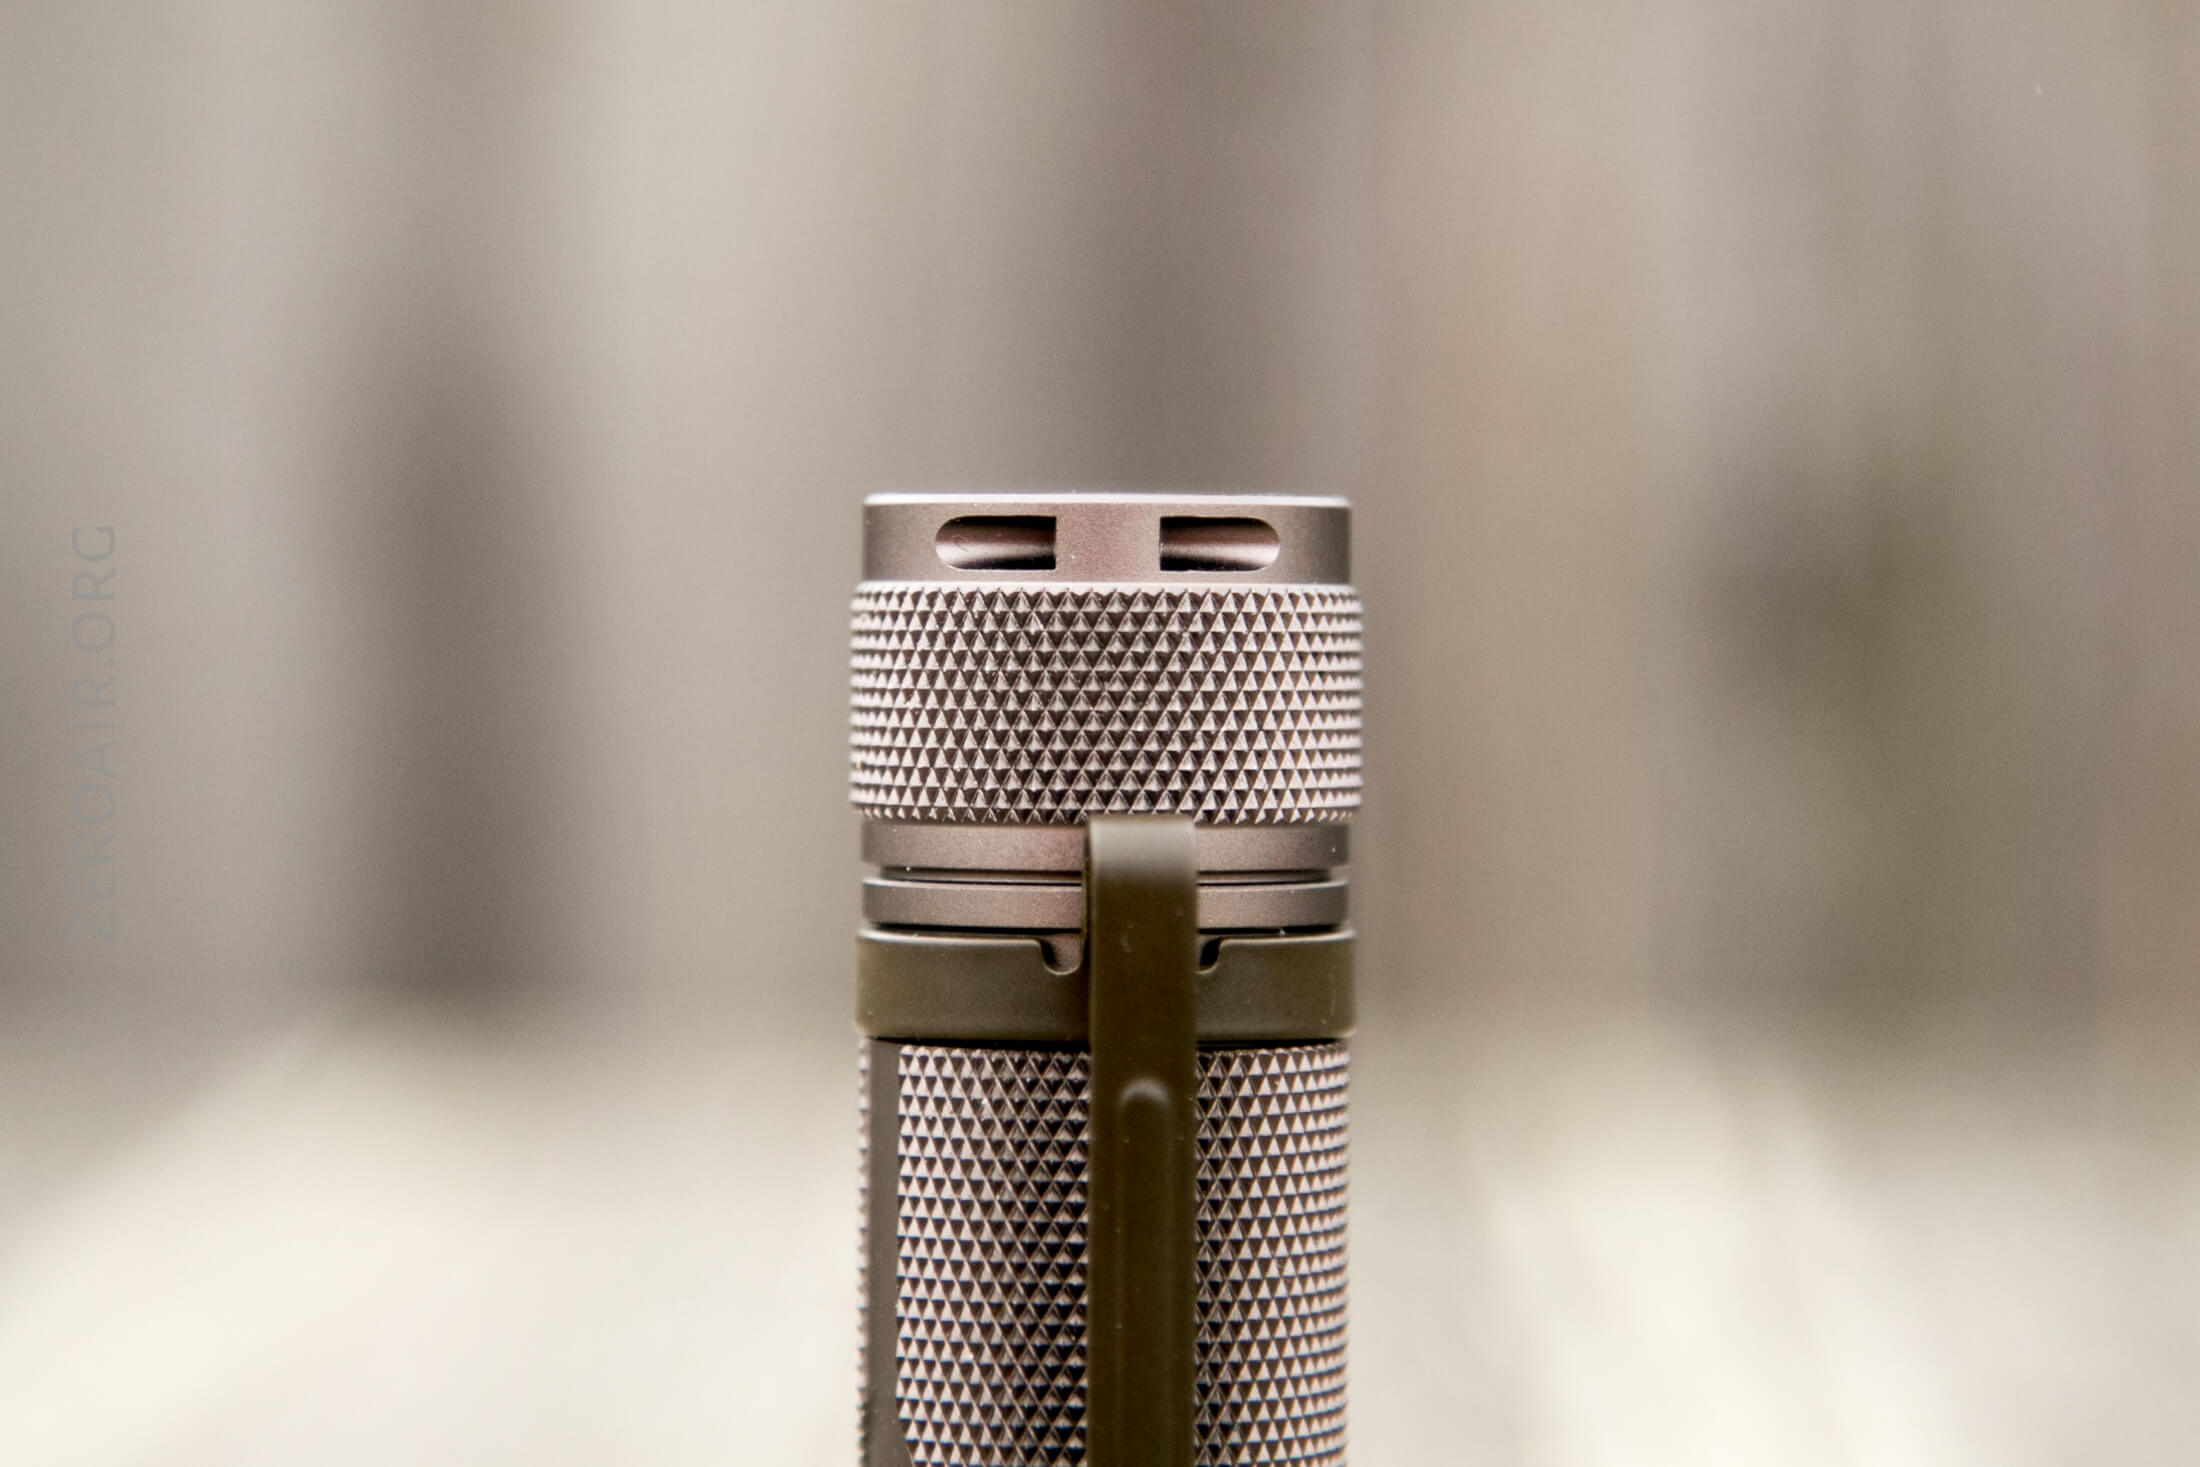
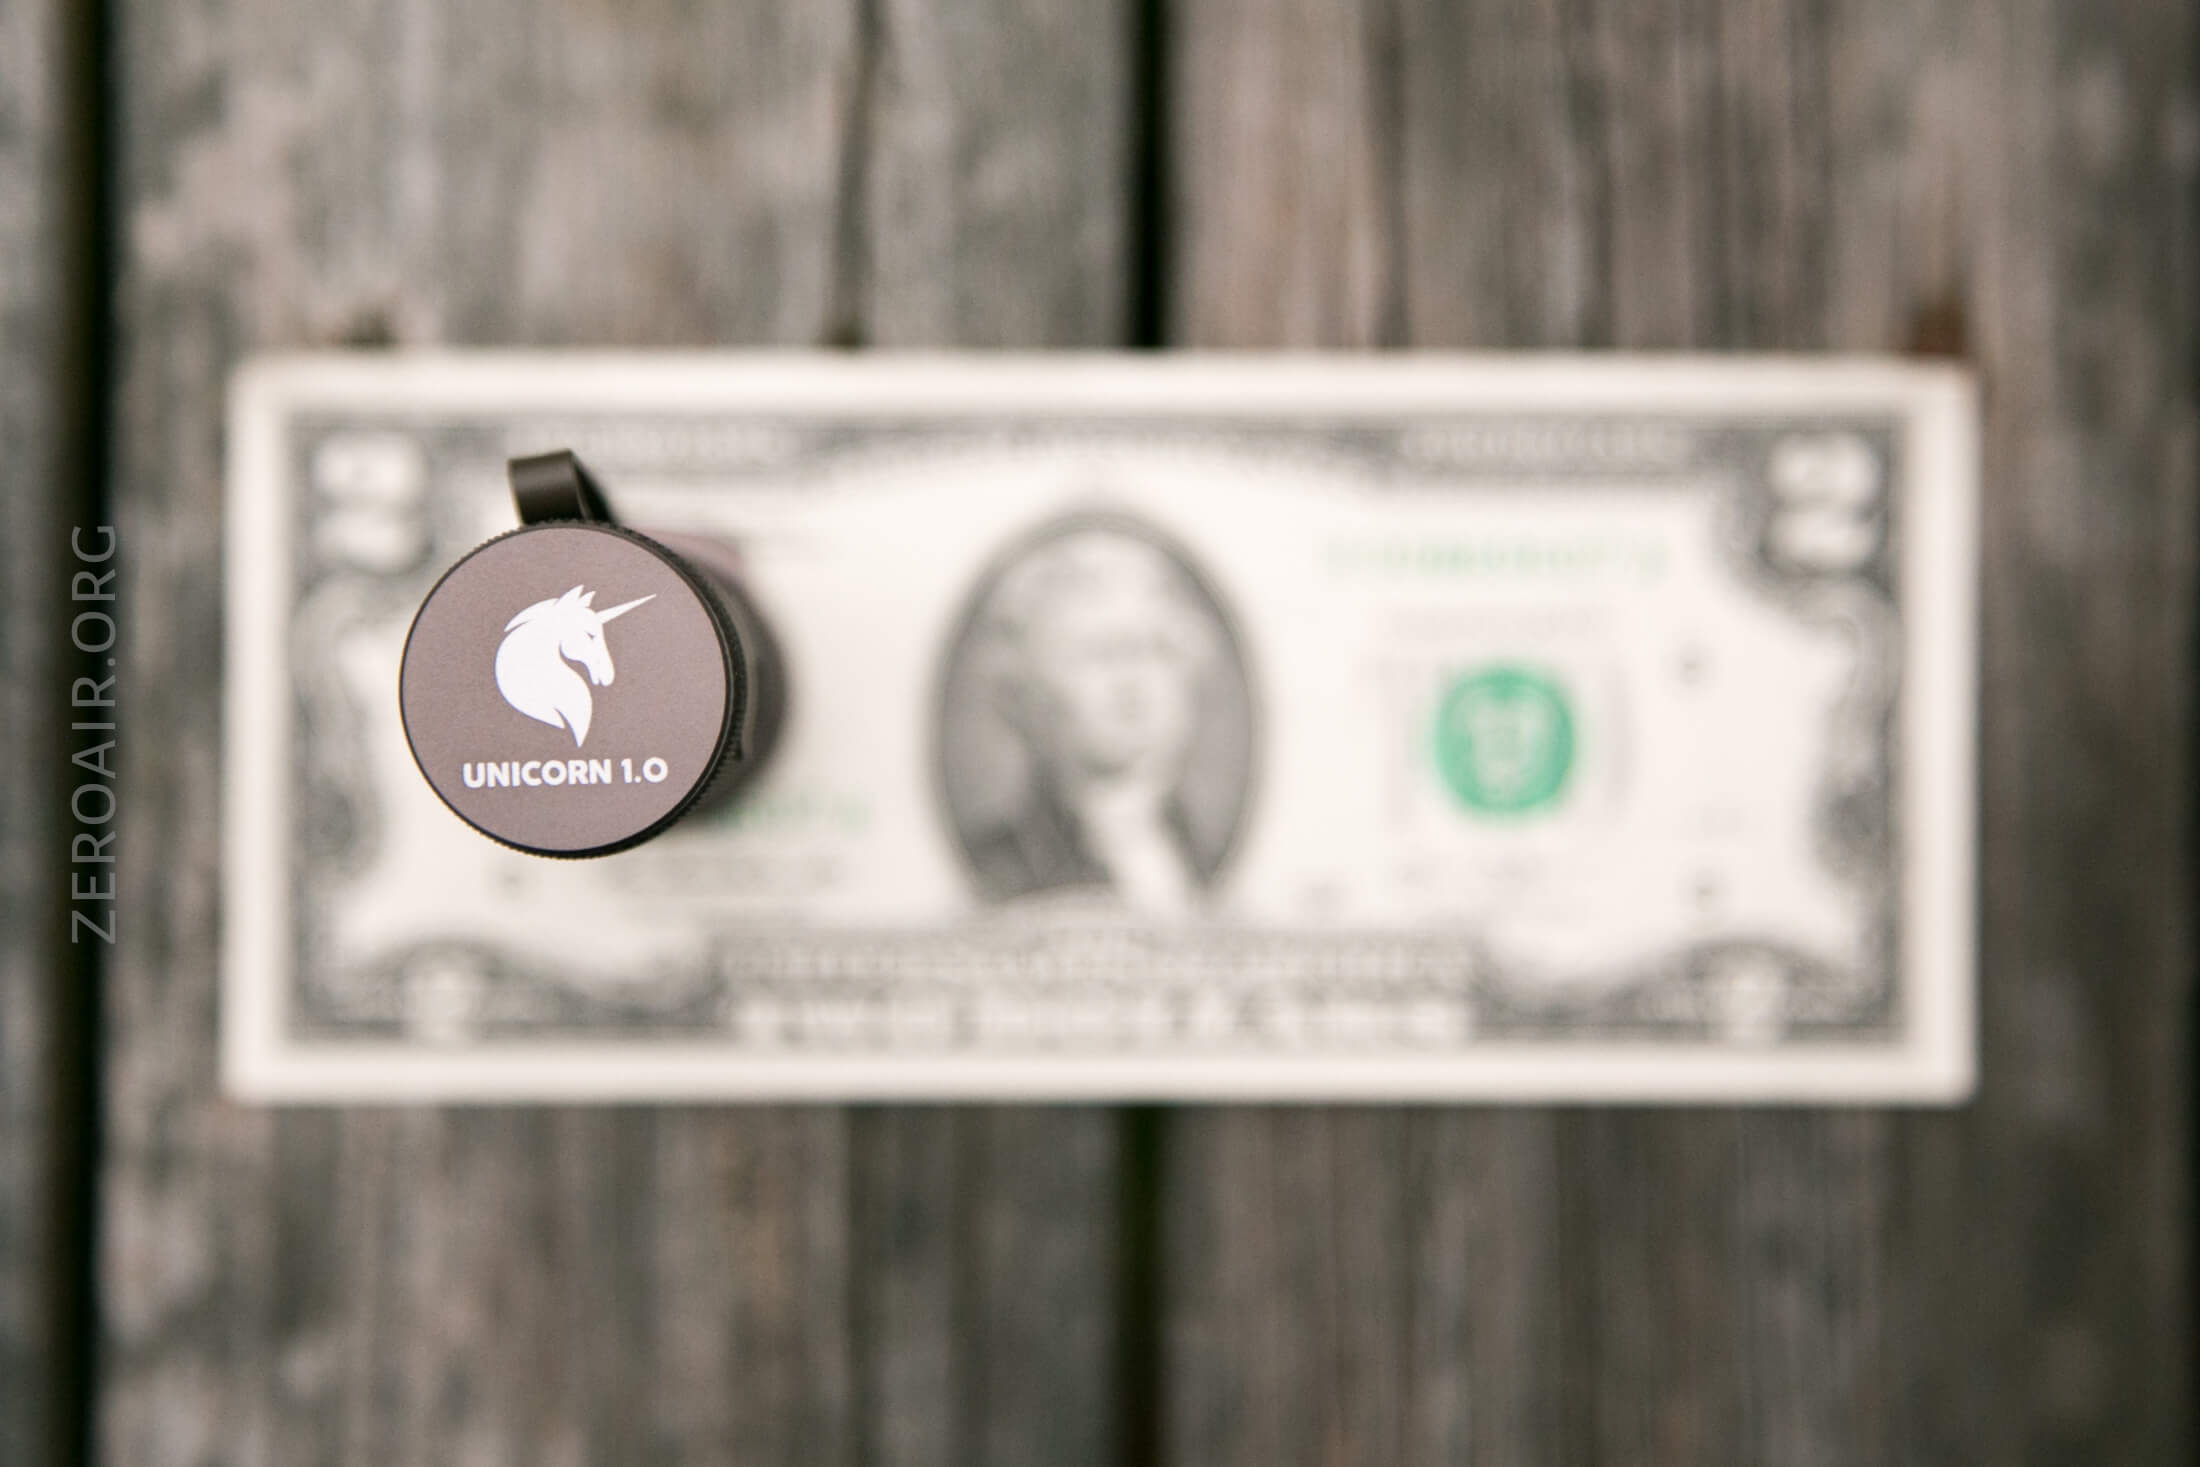
The tailcap has some good branding, with a Unicorn 1.0 logo.
The fins on the head are very reminiscent of Zebralight cooling fins. They aren’t over the top, but are good for an EDC light.
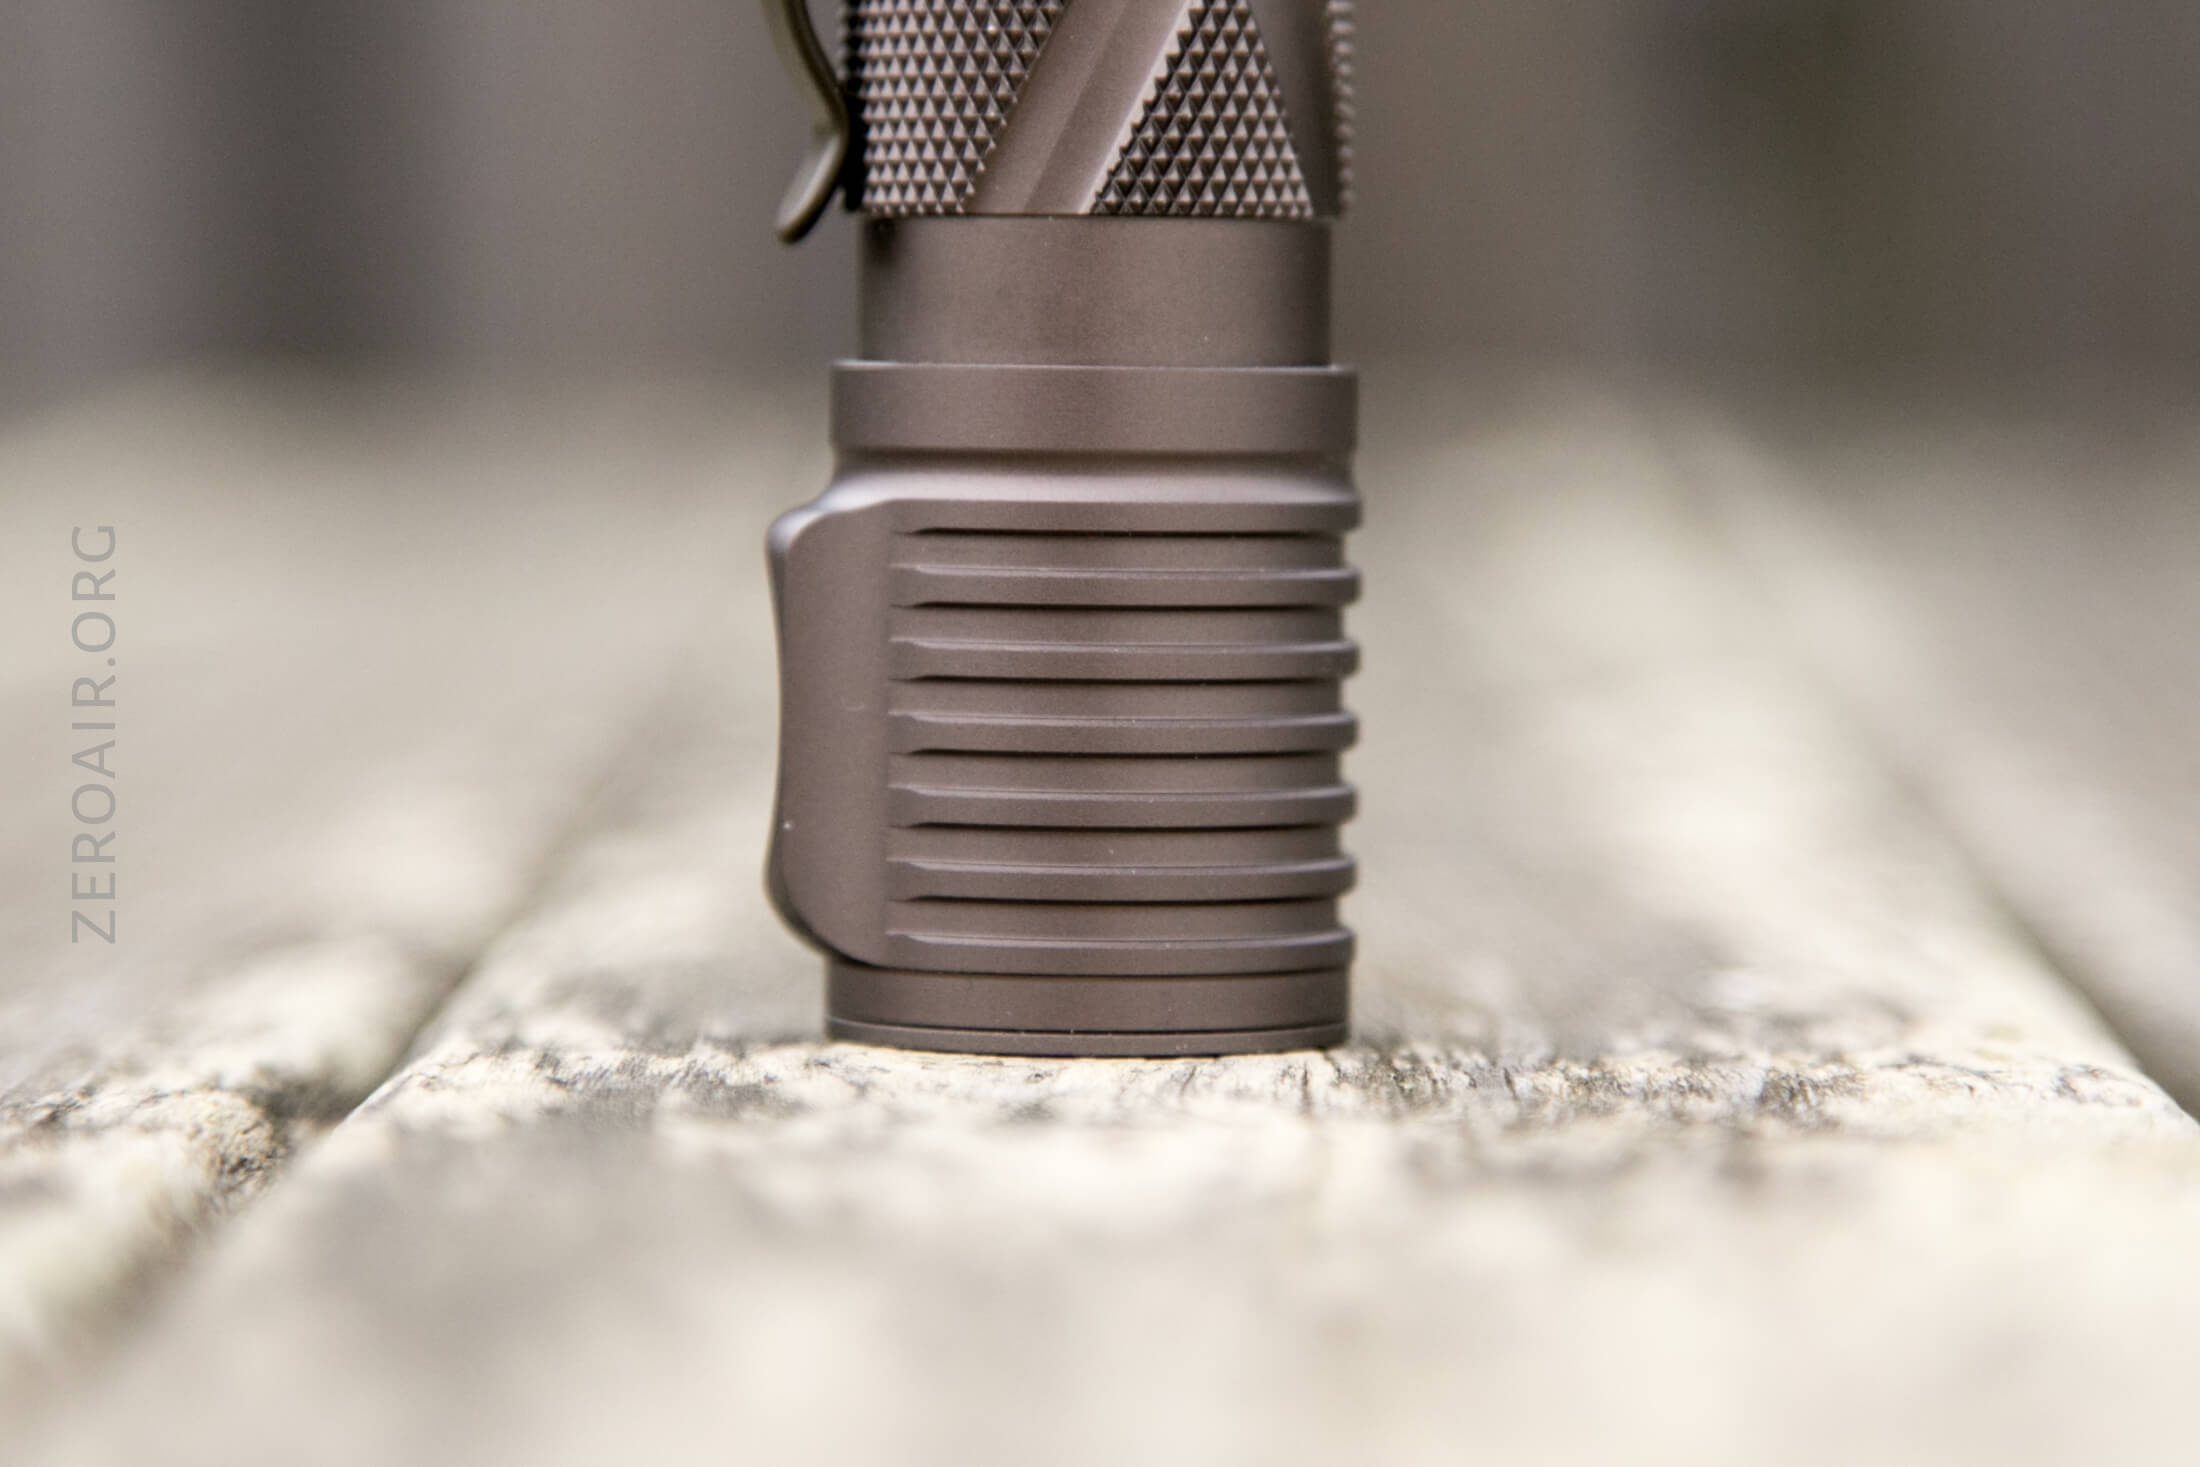
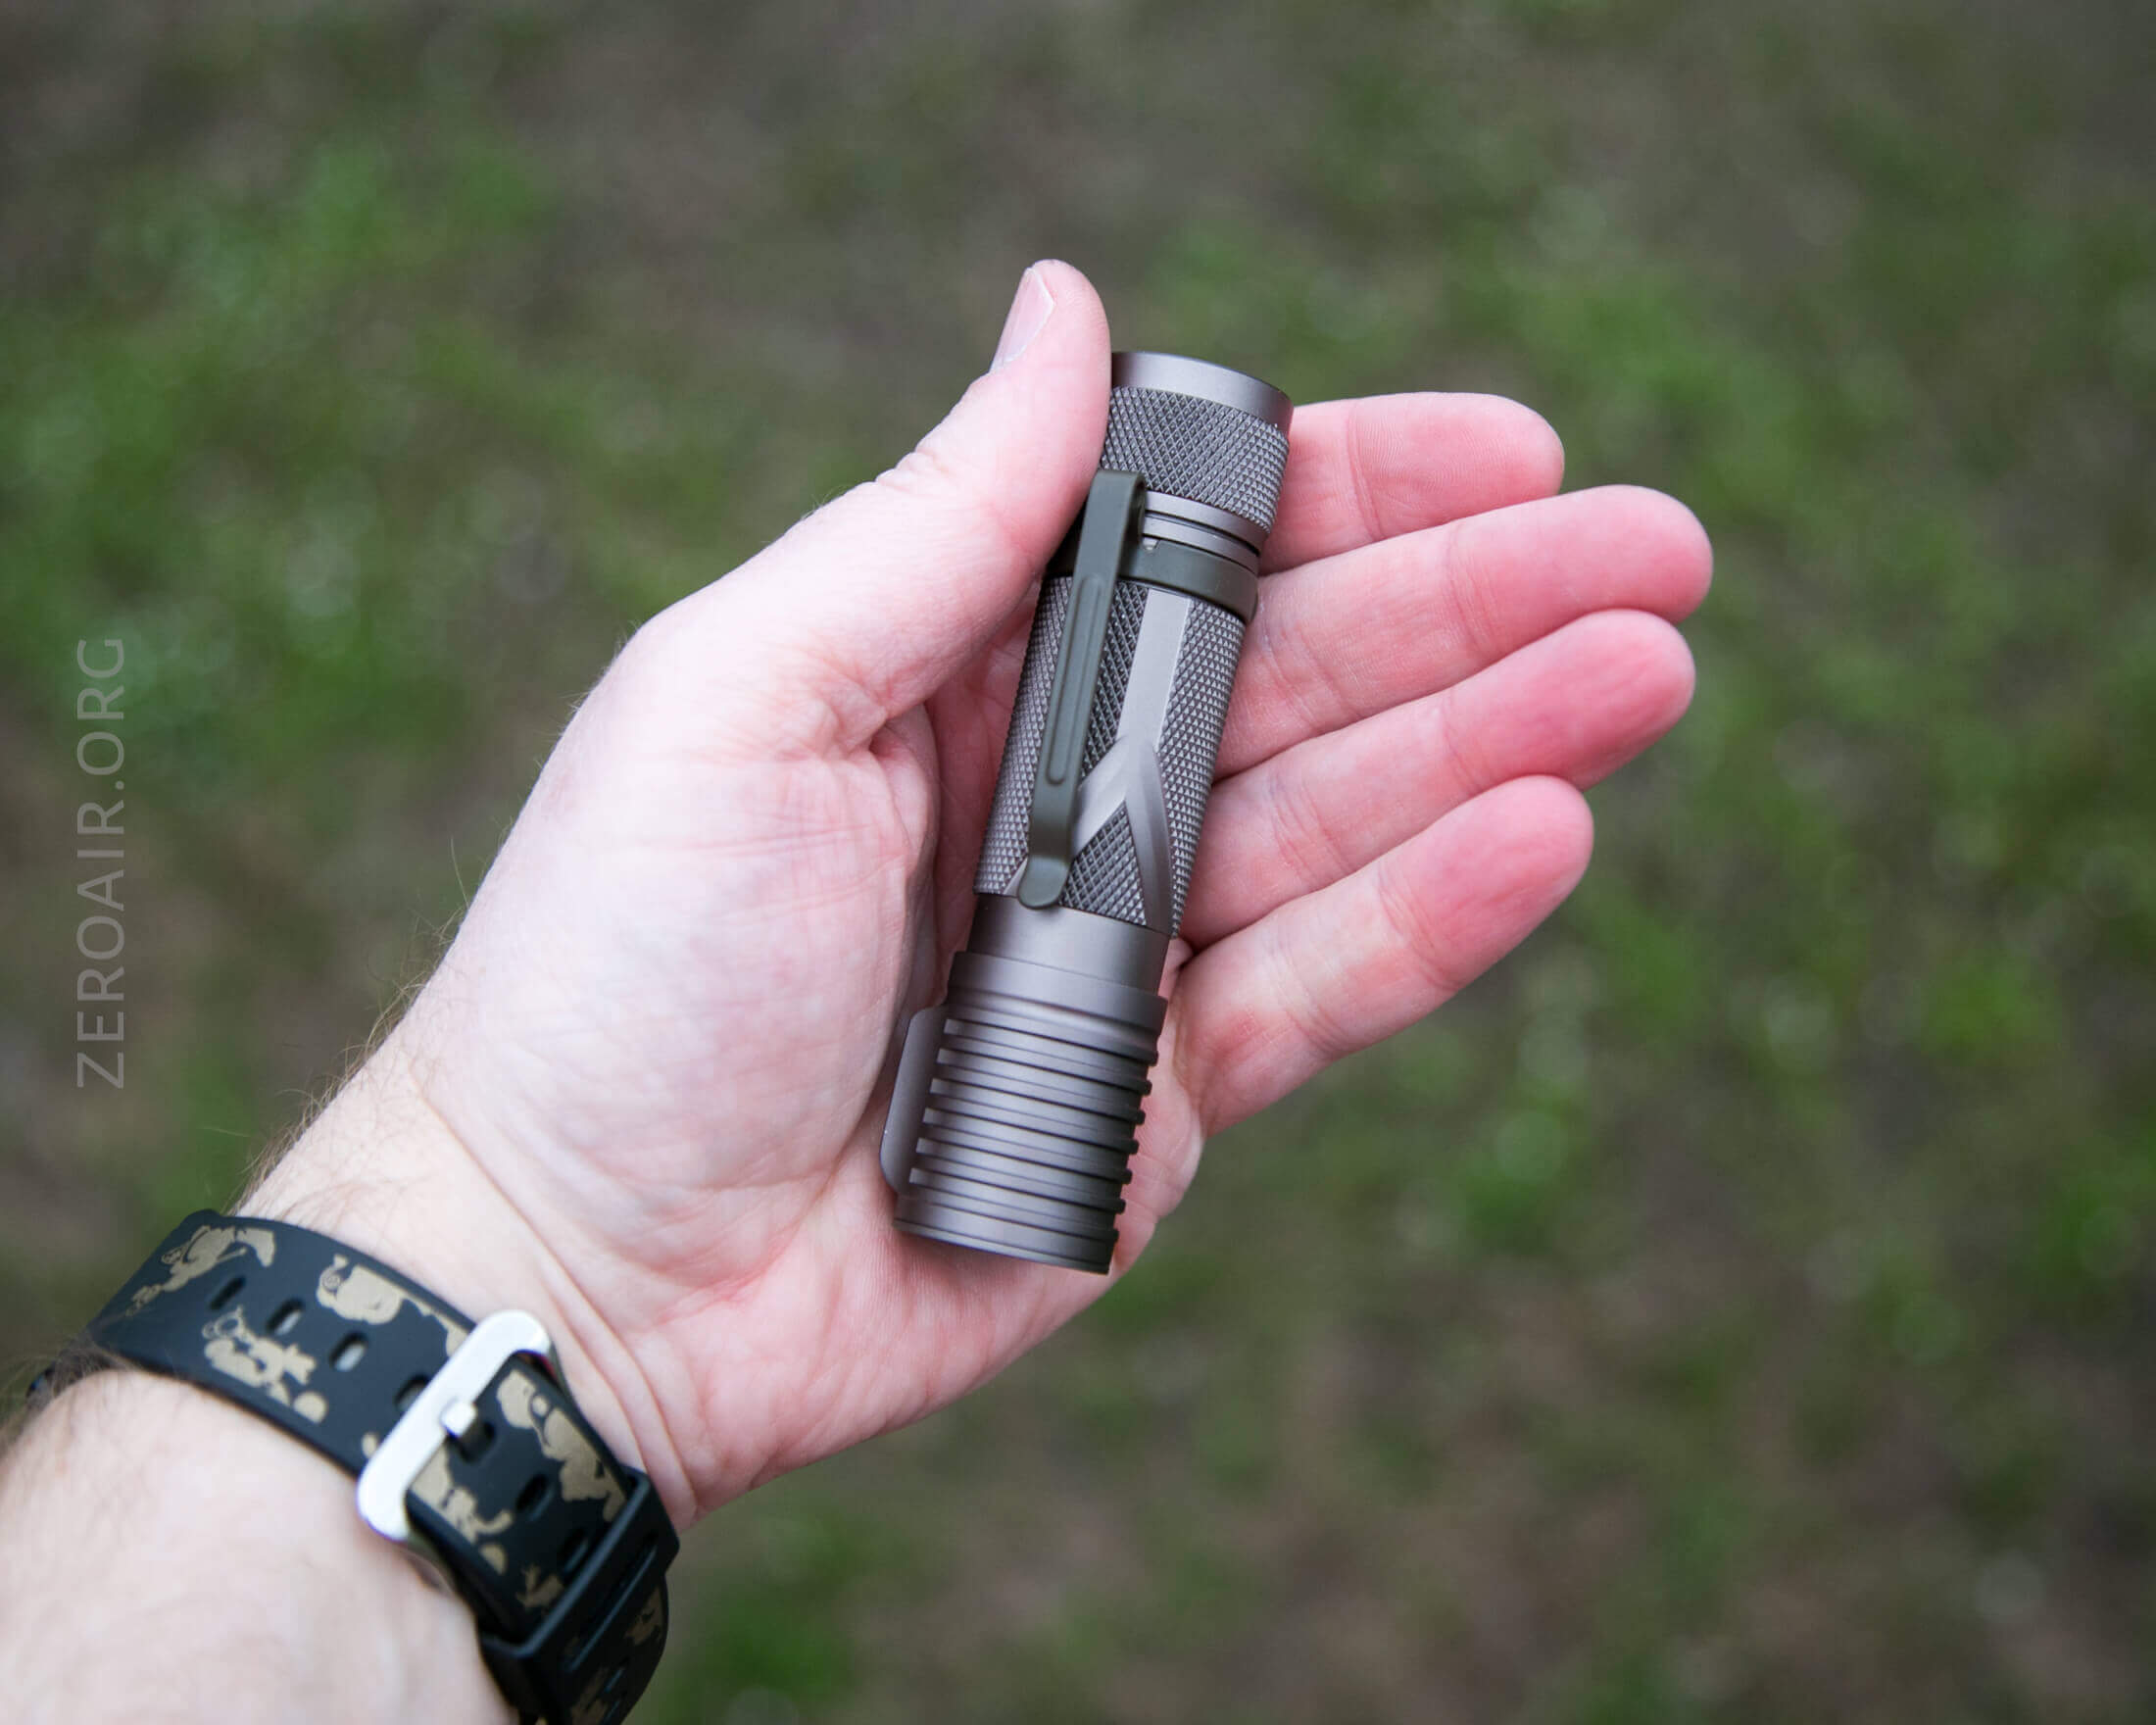
Again, the knurling. There are some inset body designs, too. (It’s a “Y”, most probably for the Y in YLP lights.)
The tailcap has knurling as well, which is appropriate since the tailcap is what’s removed for cell swaps.
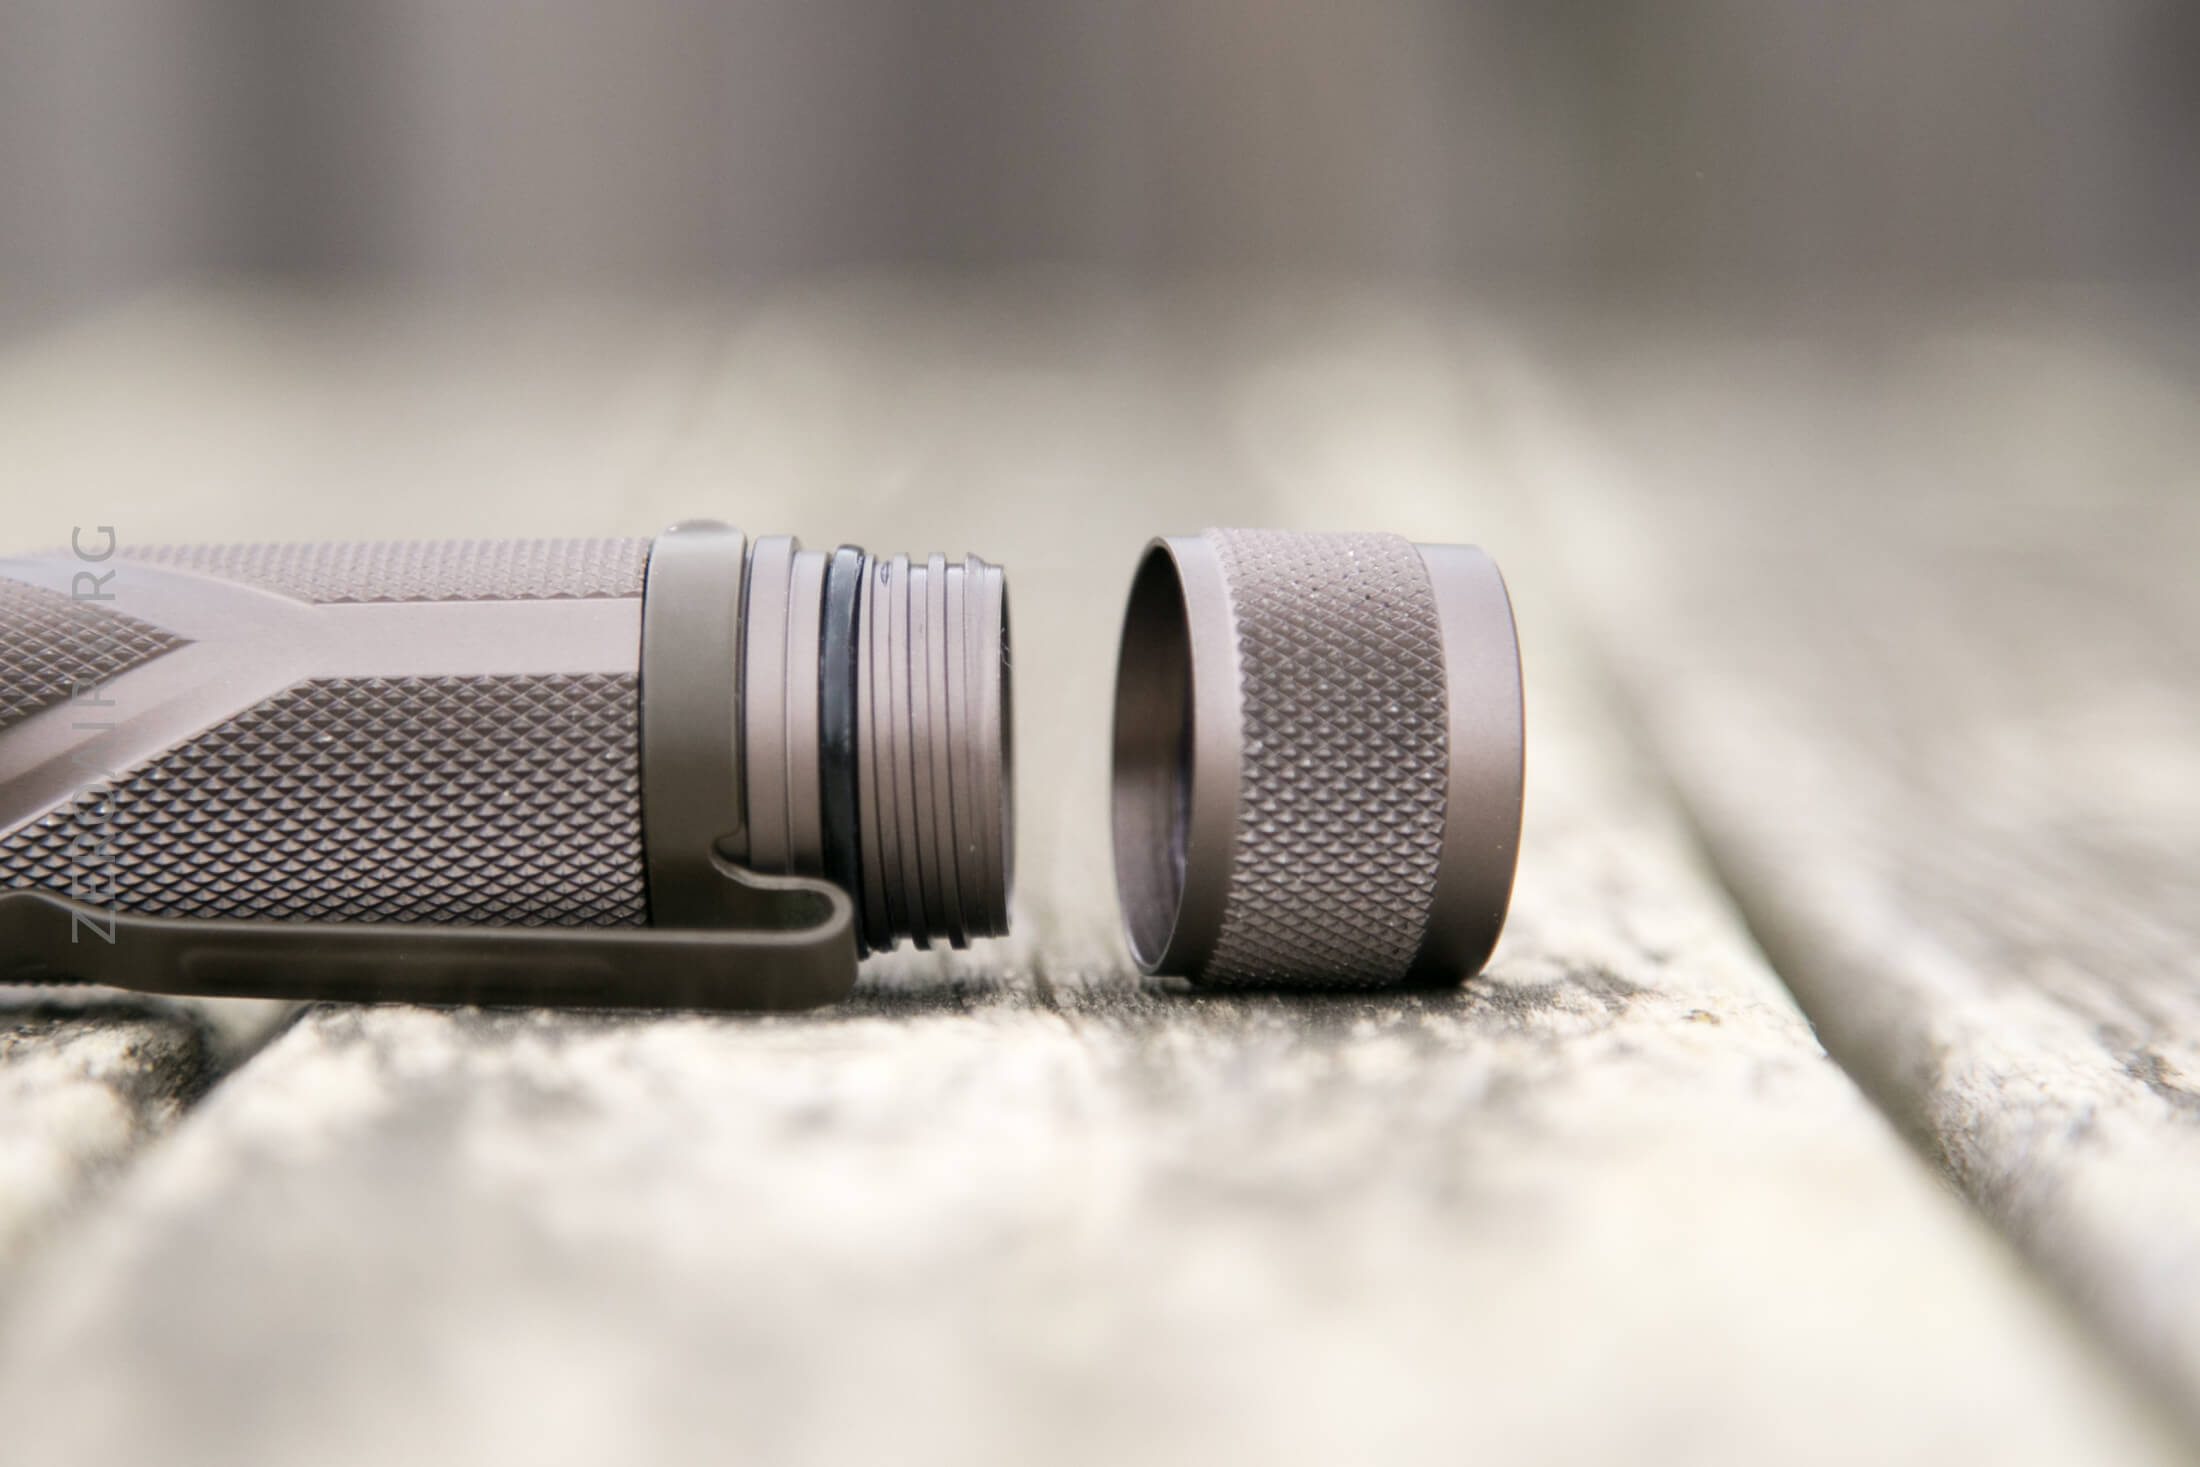
These threads might be the biggest I’ve ever seen on a light. Very thick, anodized, and smooth. Also, you can see some attention to detail here – that end threads (rightmost, below) are angled, unlike the other threads, to allow for a very smooth entry into threading. All the knurling means that it’s easy to remove the tailcap with one hand (2.5 full twists).
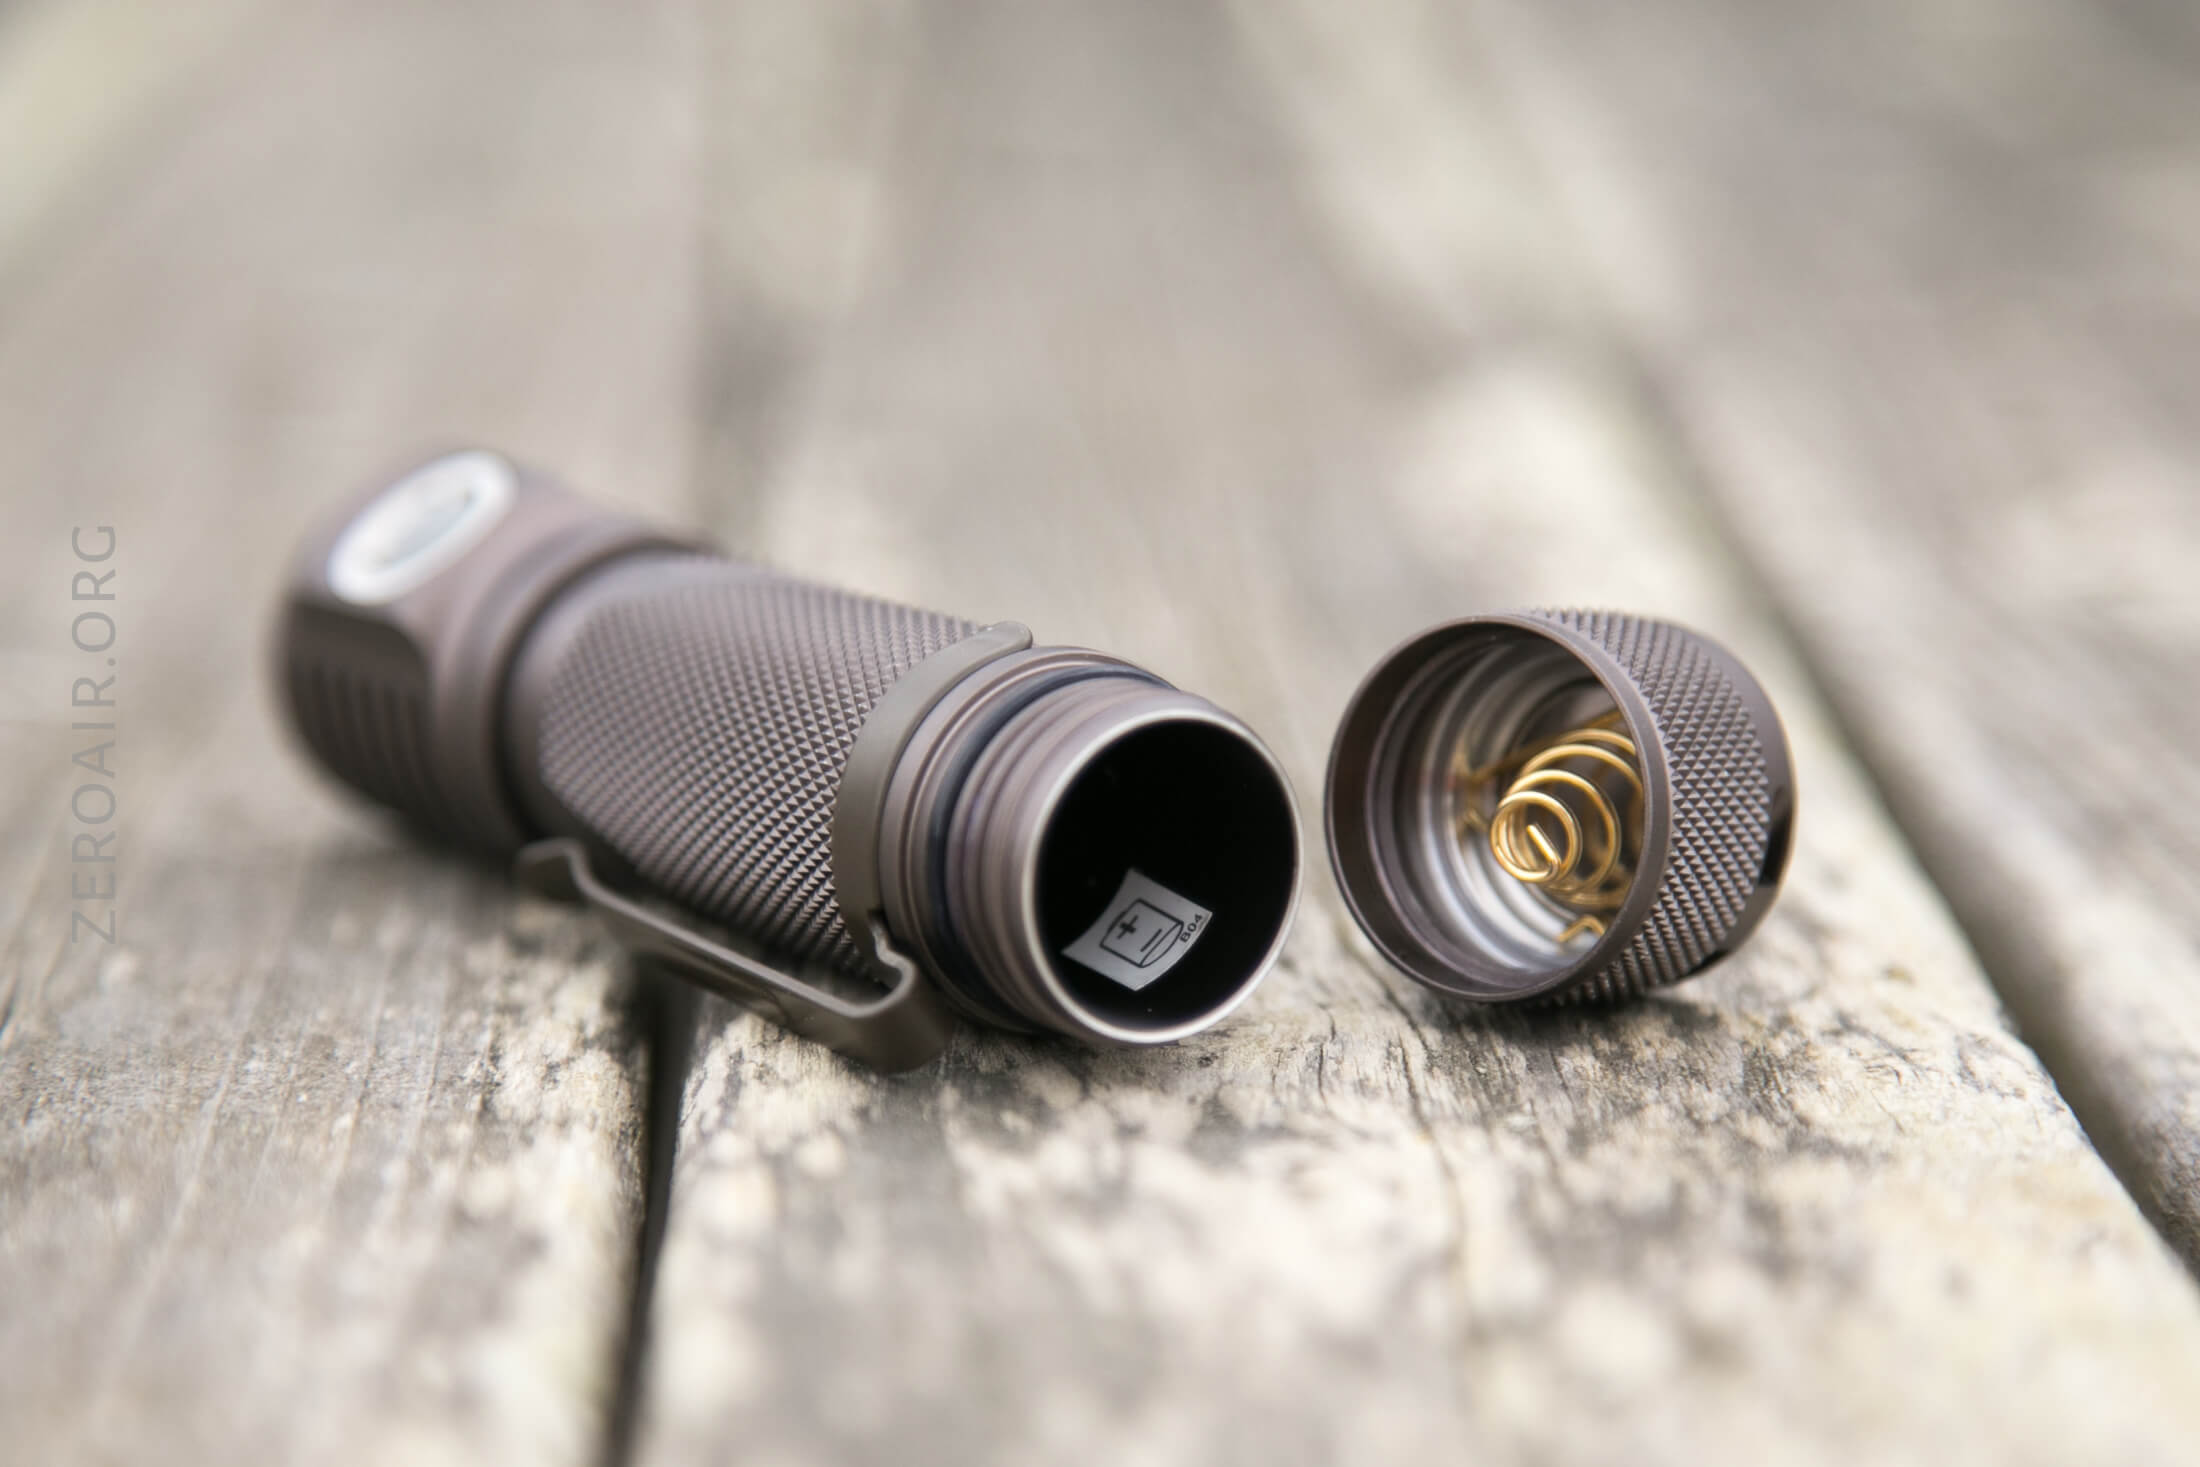
The tailcap has a magnet, which I think could be removed with the removal of the spring. The magnet is quite strong.
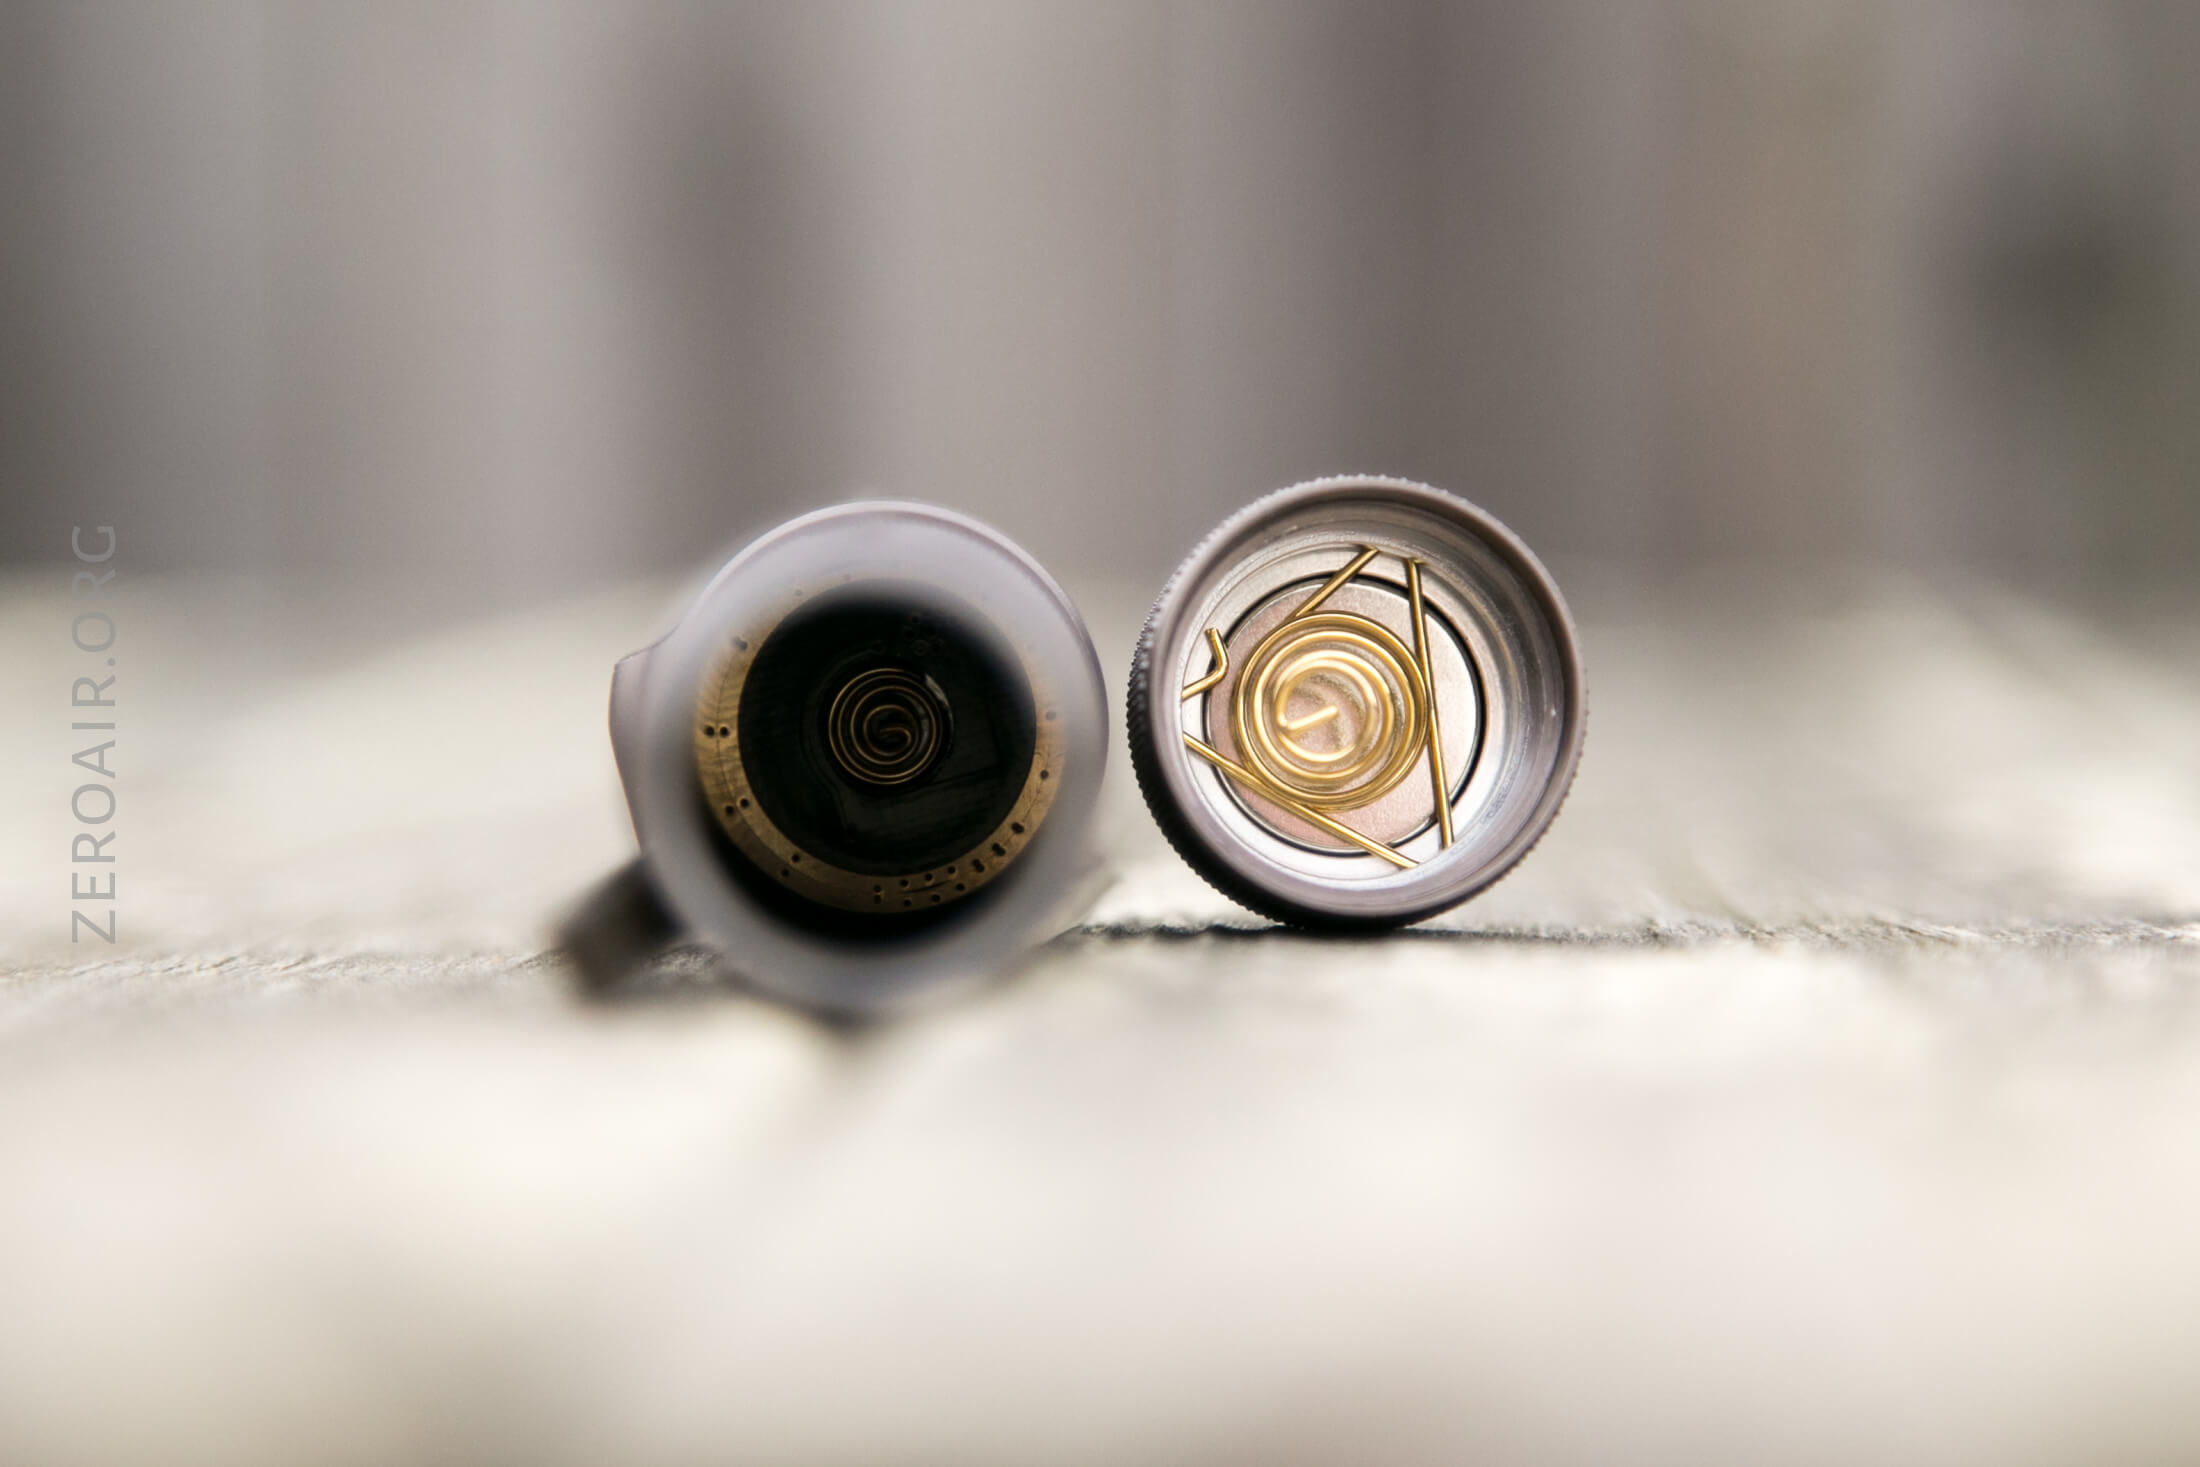
Inside the cell tube is a sticker indicating cell orientation – it’s the ‘standard’ orientation.
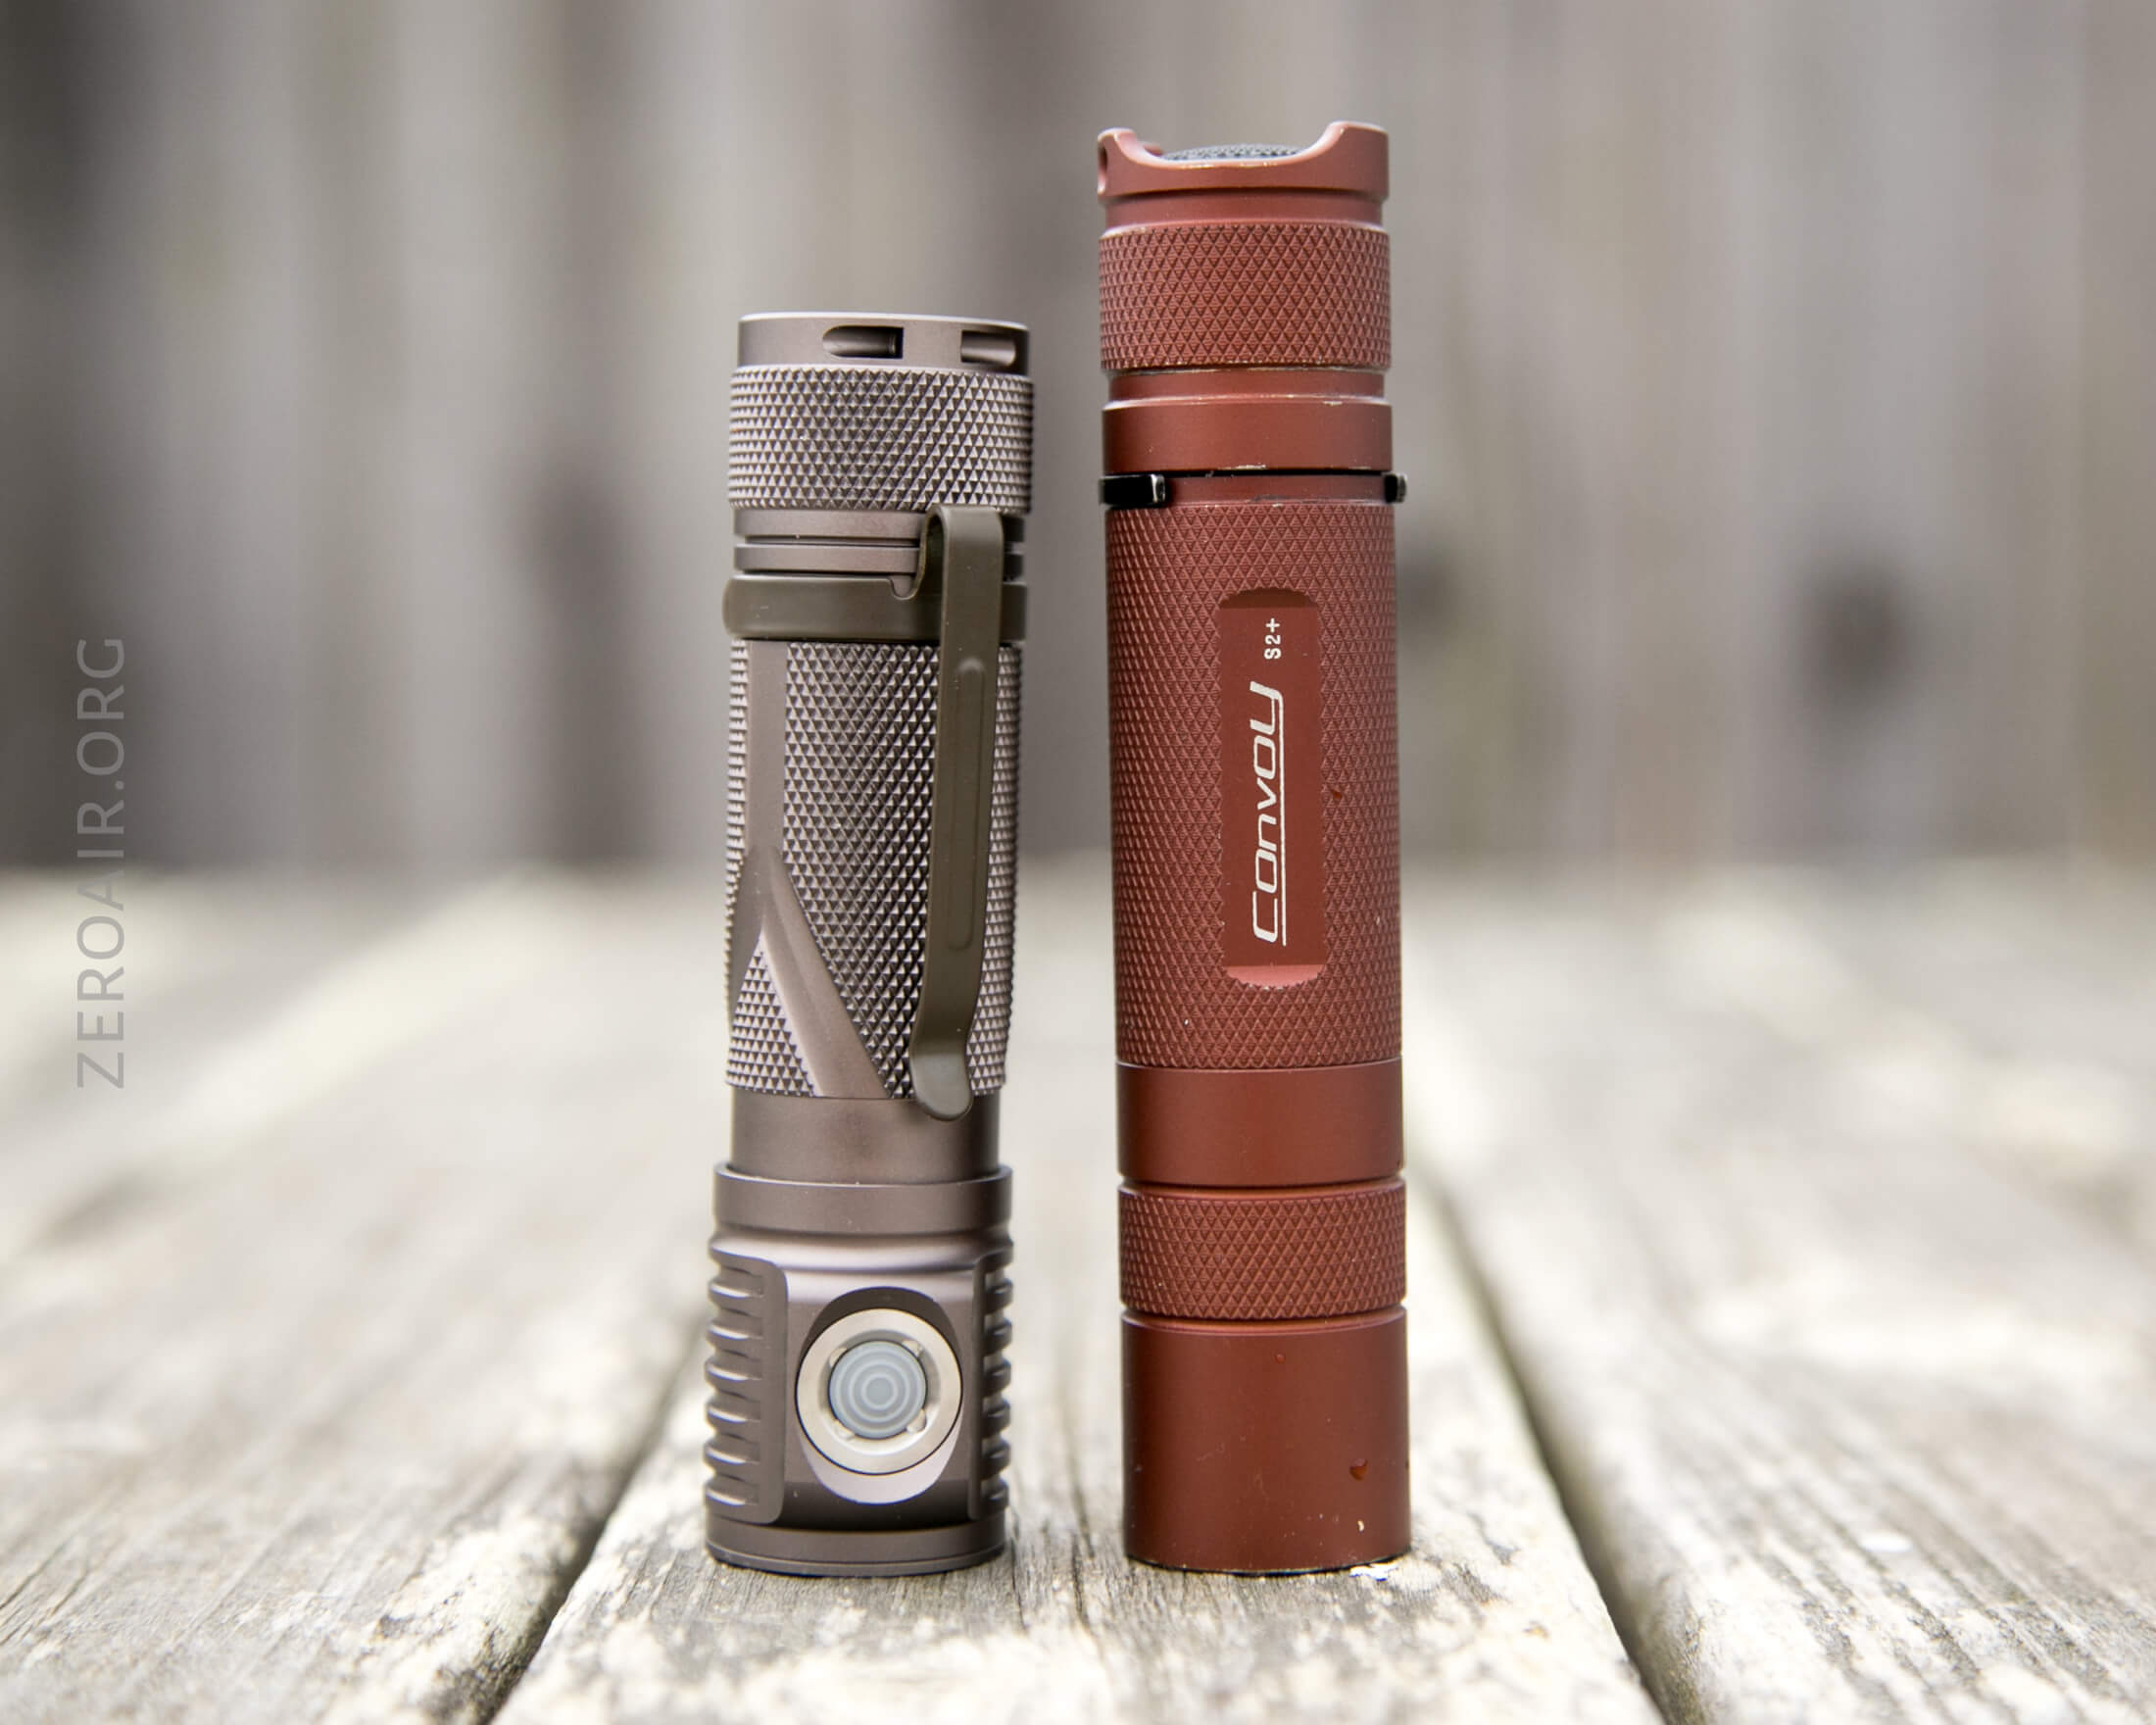
Size and Comps
Officially: LENGTH: 102MM, HEIGHT: 28MM, DIAM.: 25MM and 67g.
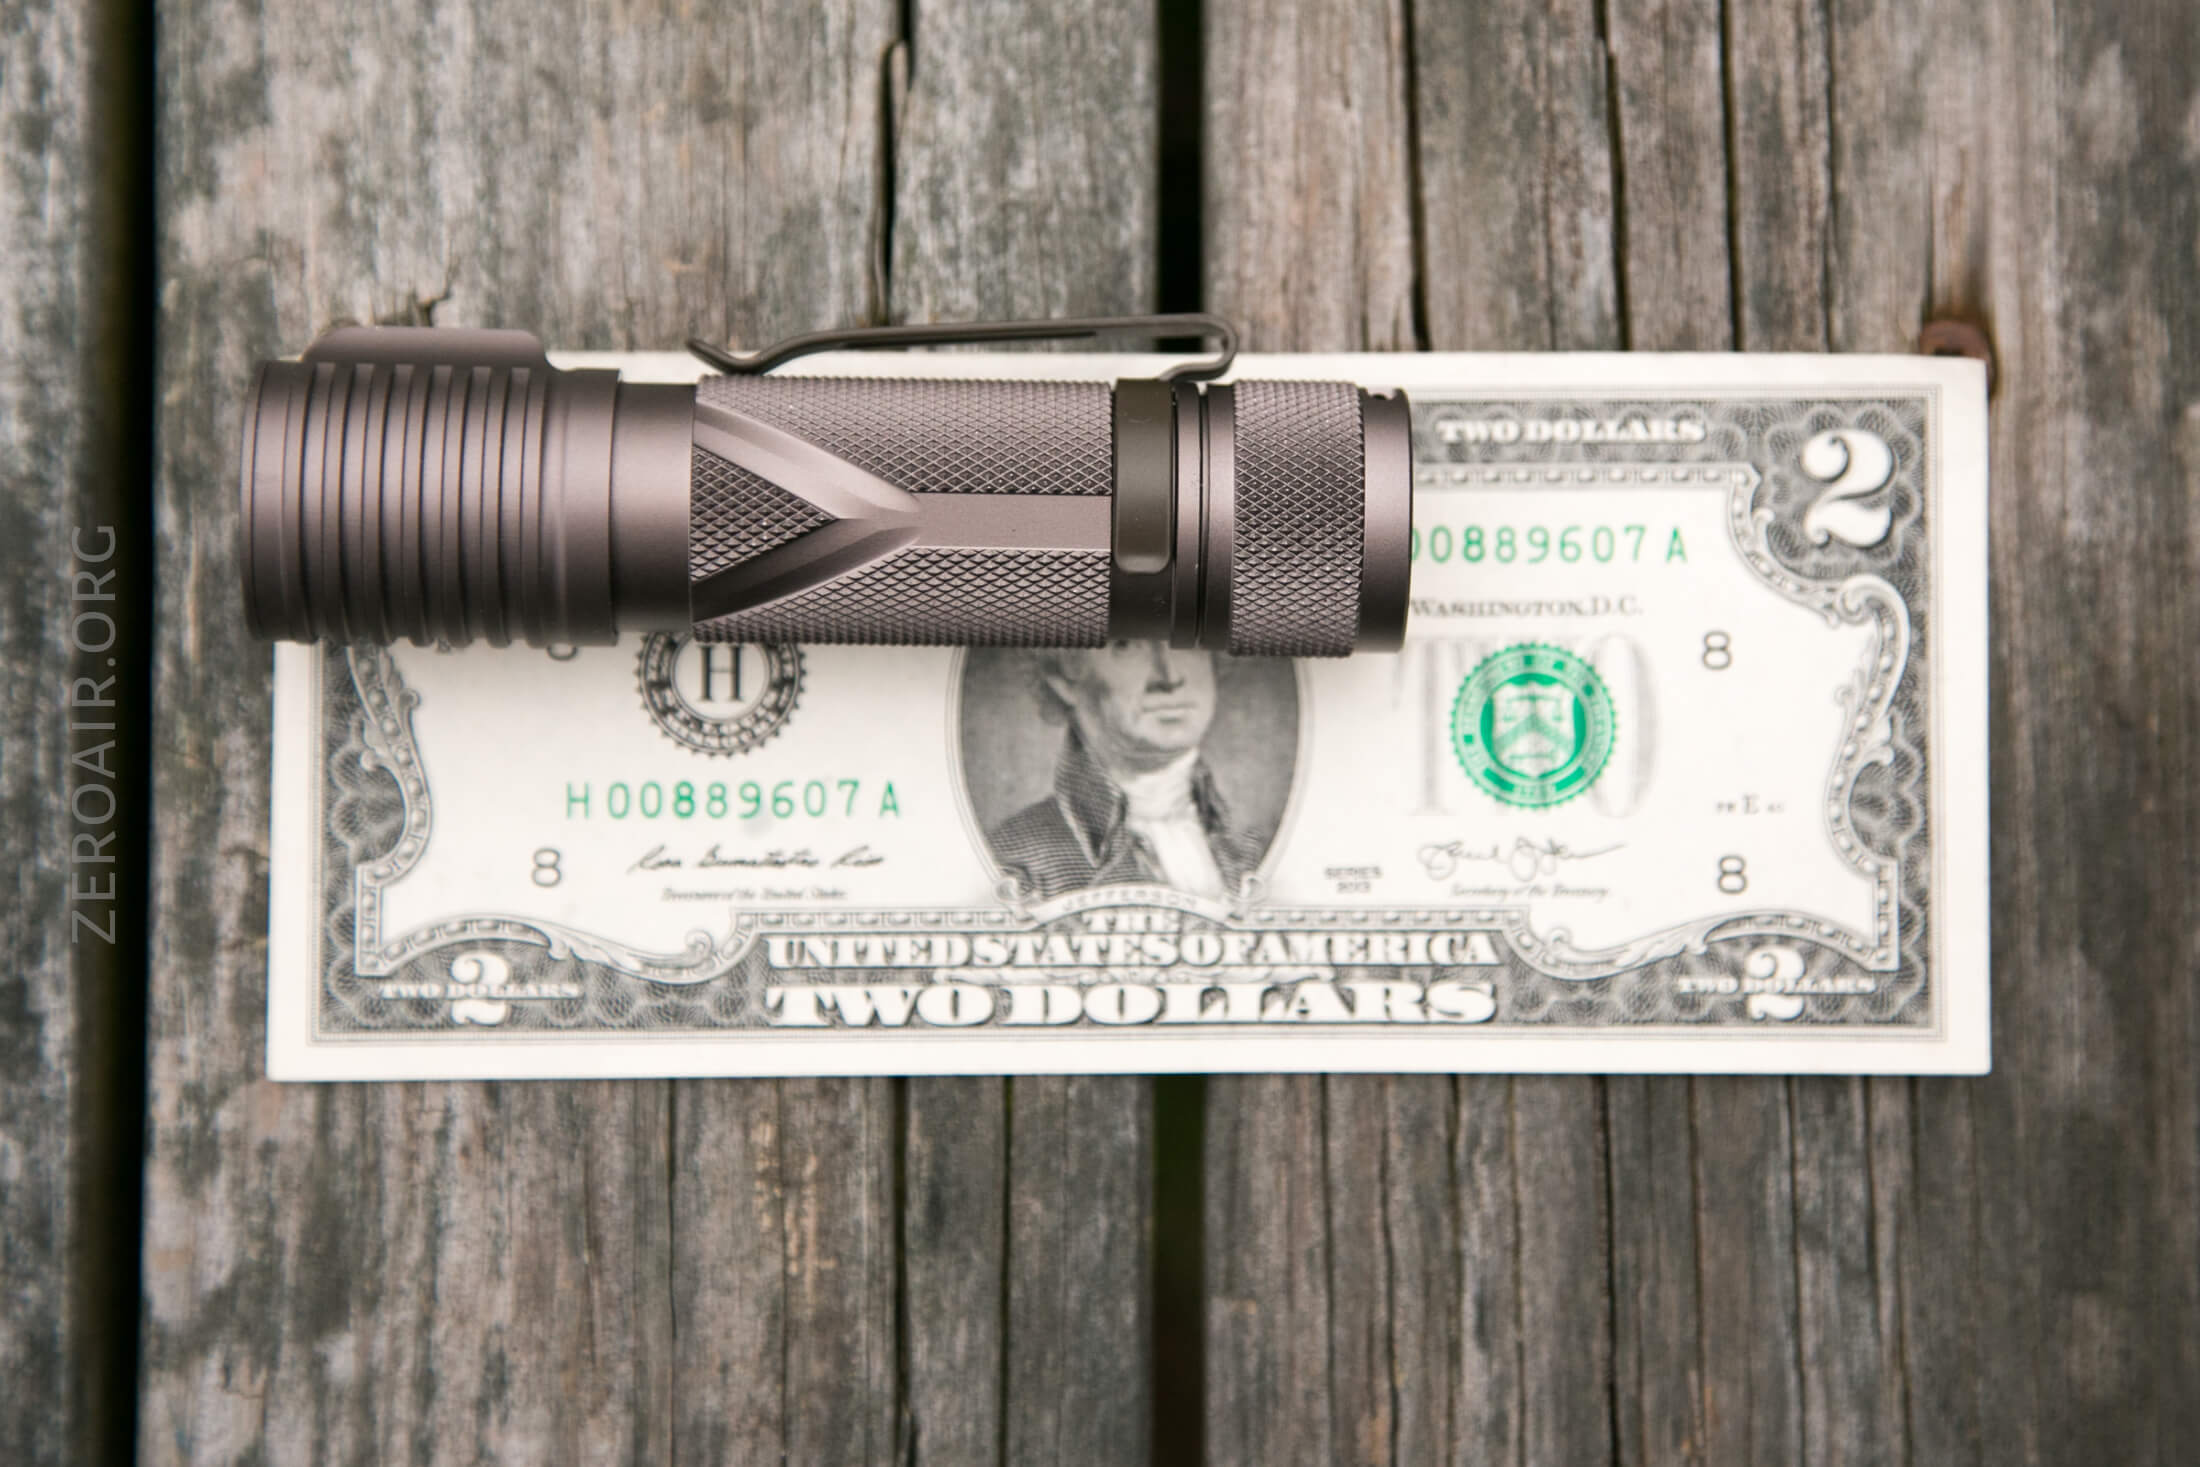
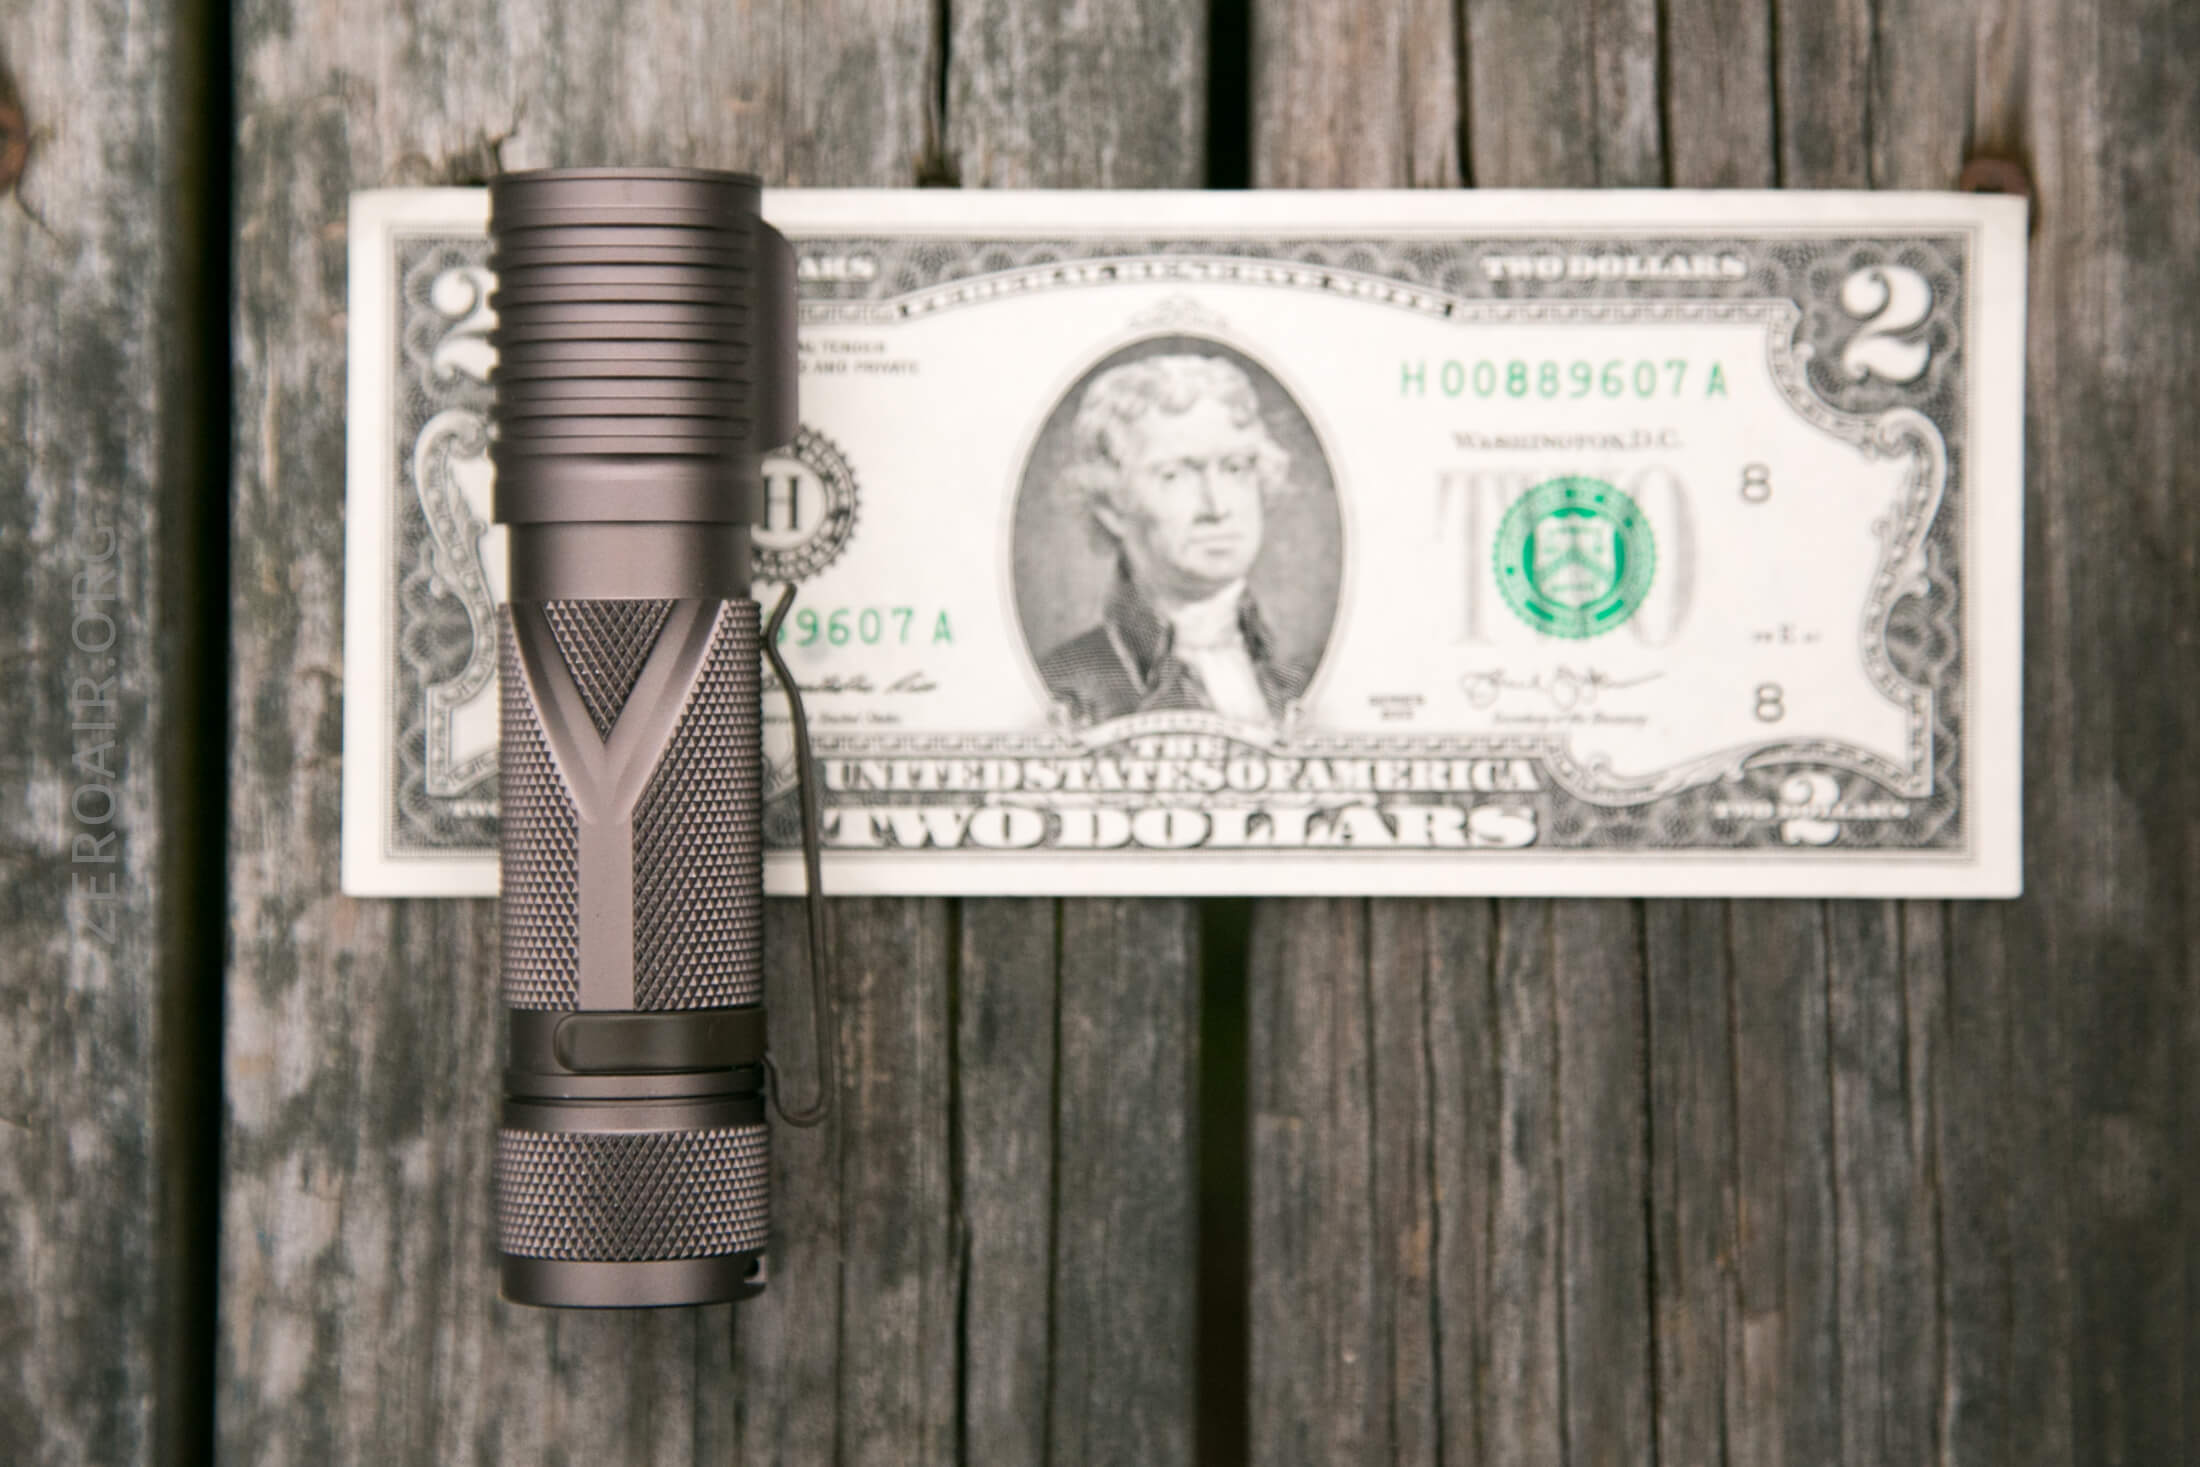
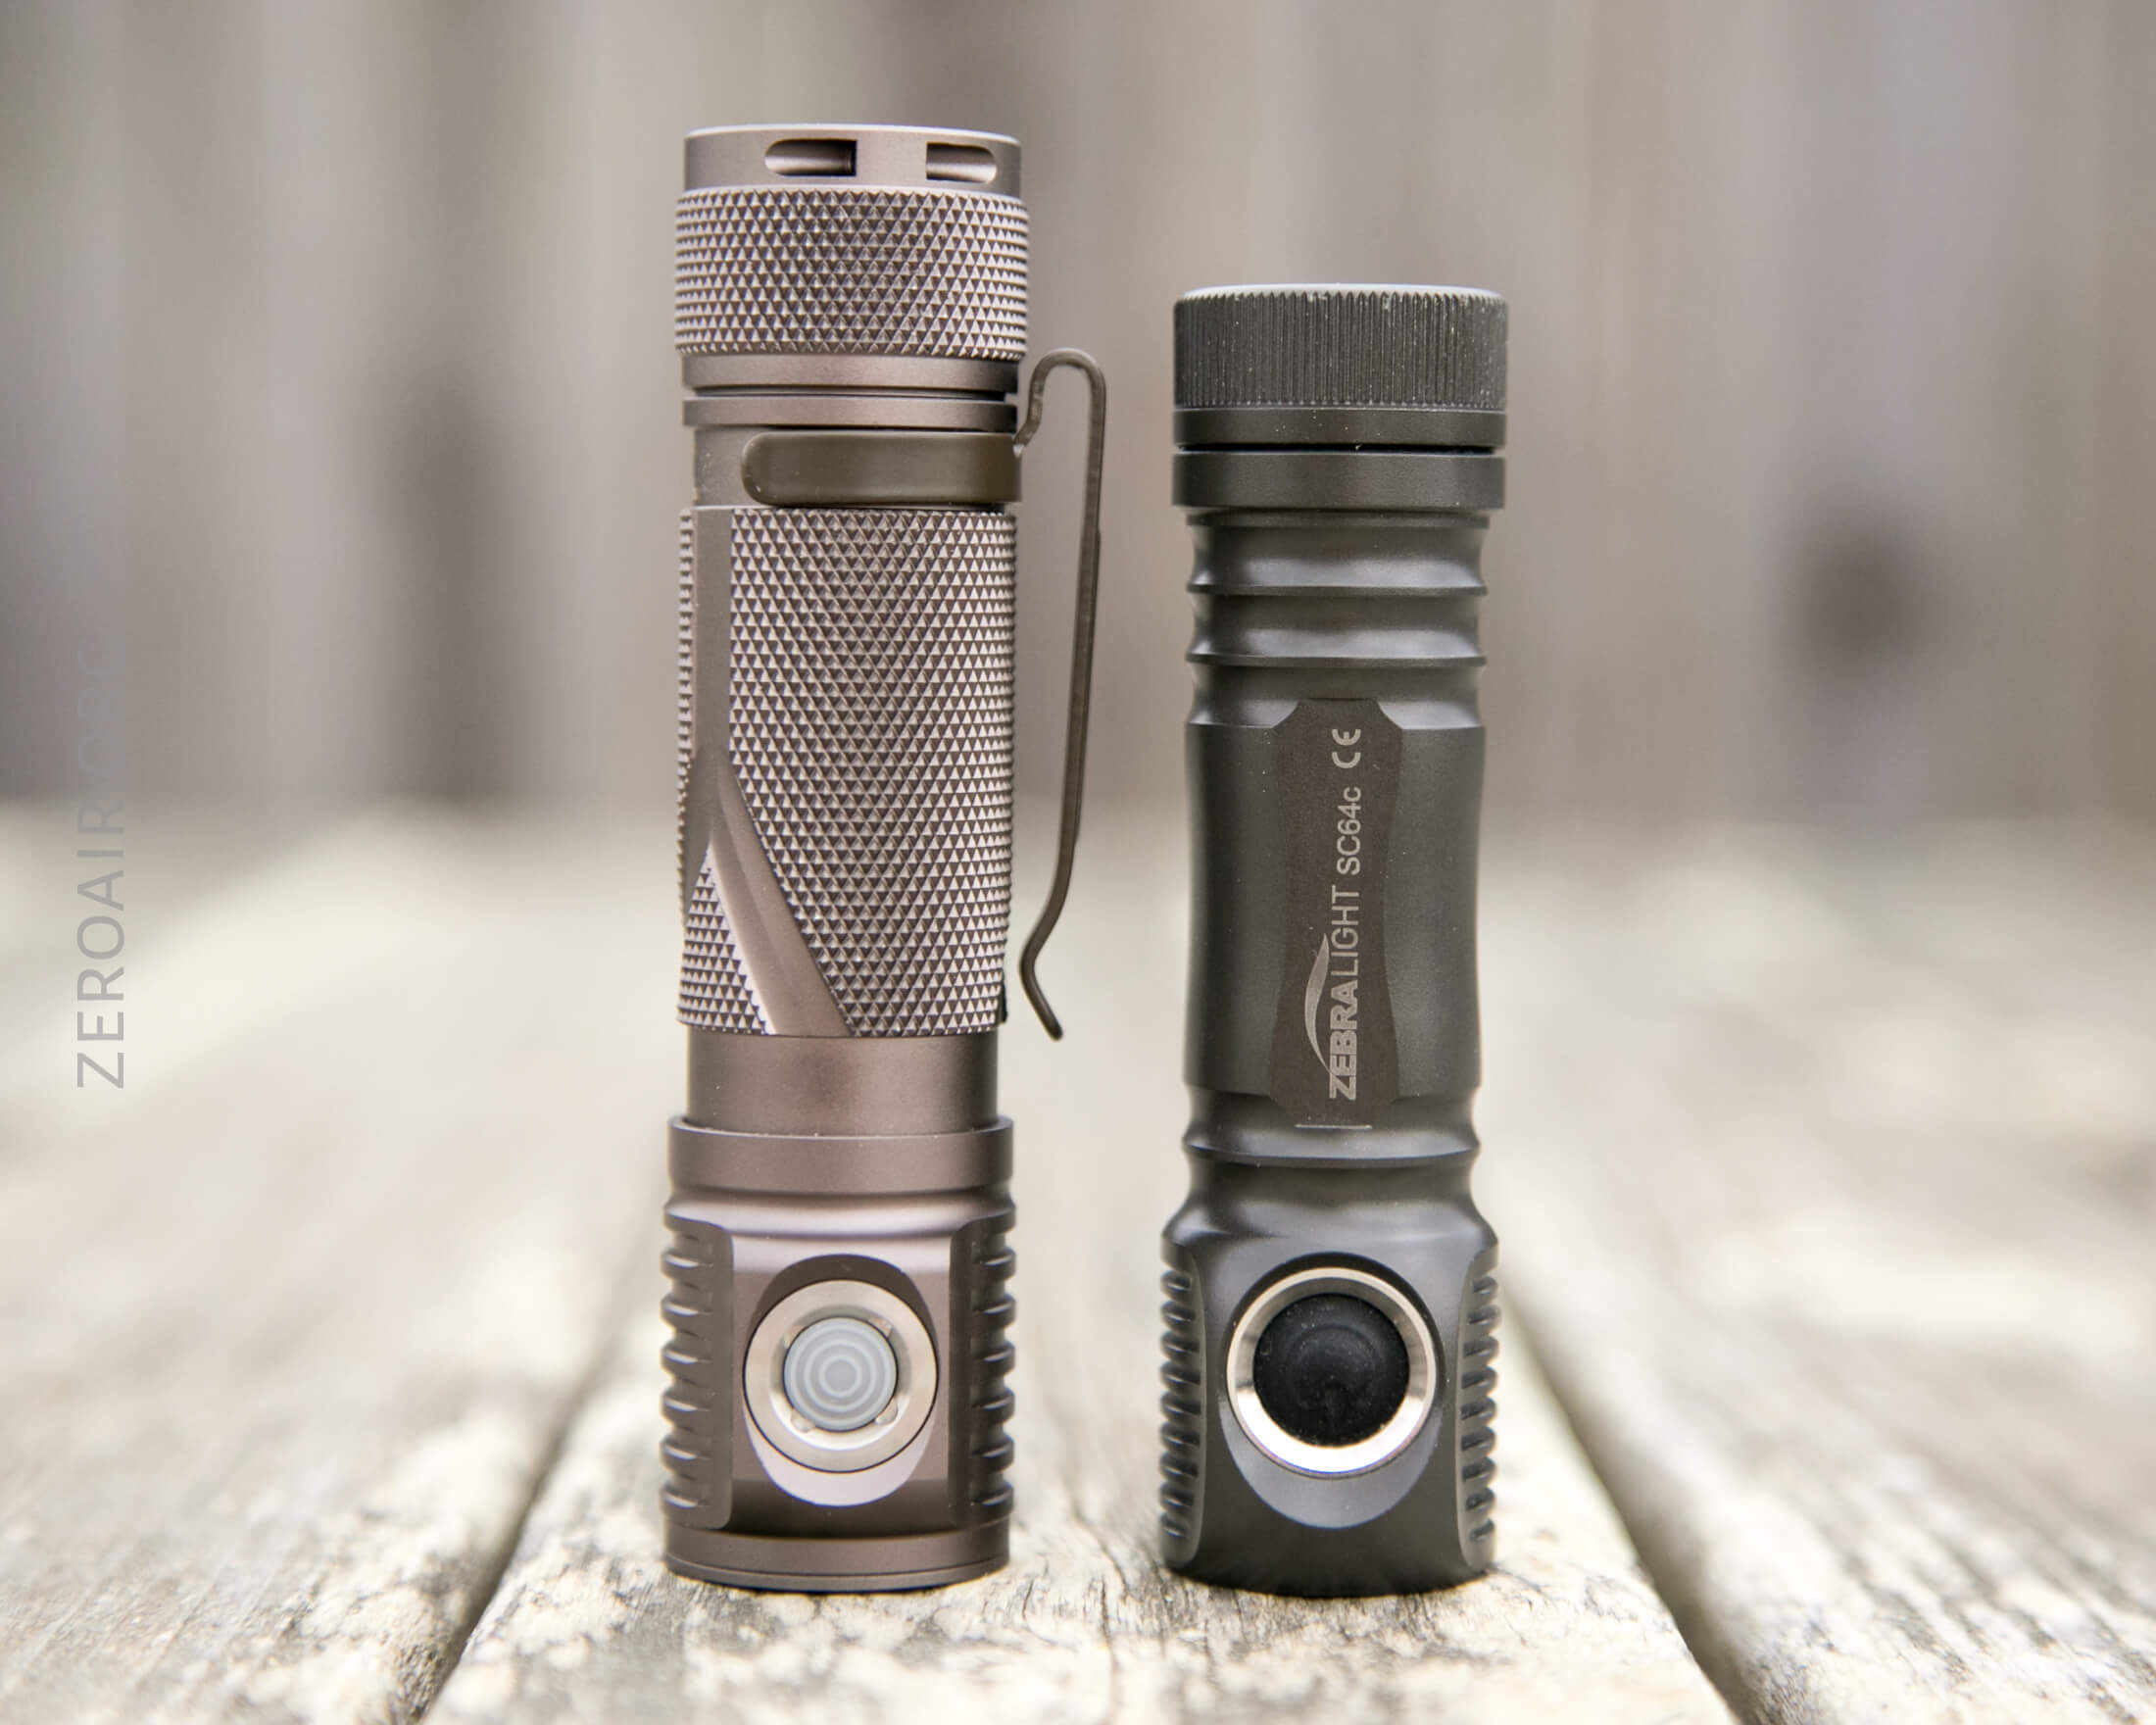
It’s sort of long for this class light, but still nowhere near as long as the Convoy S2+.

Compared to another very similar light, though, it does seem a bit big. This is the Zebralight SC64c (the BobMcBob version.)
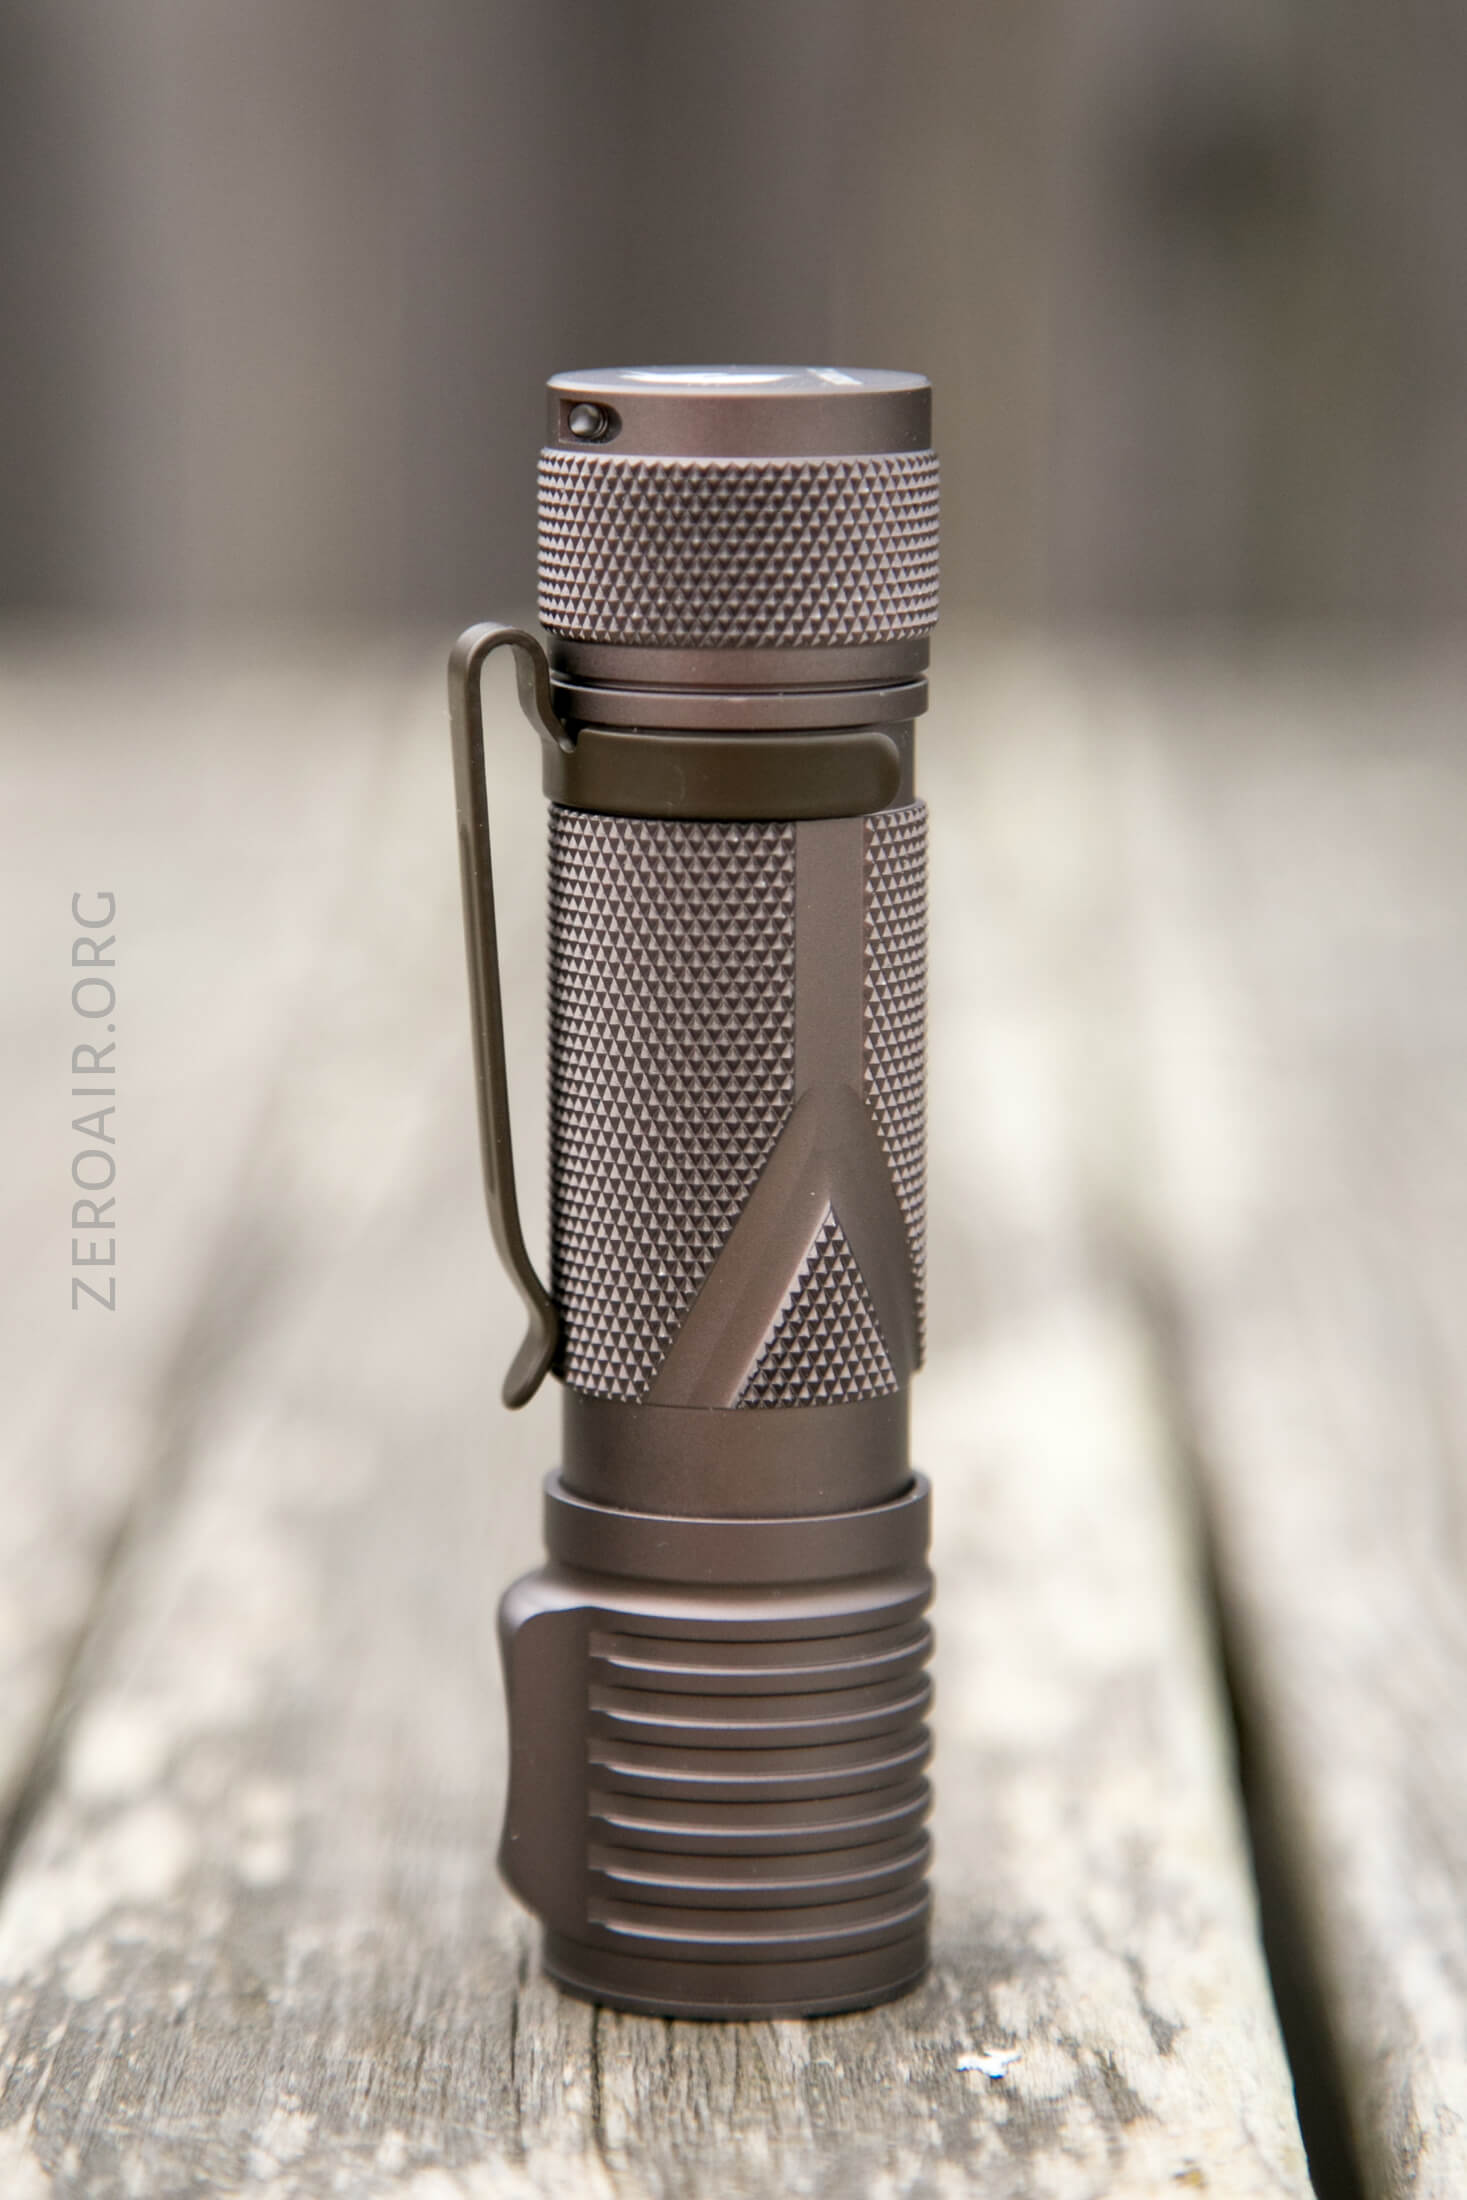
Retention and Carry
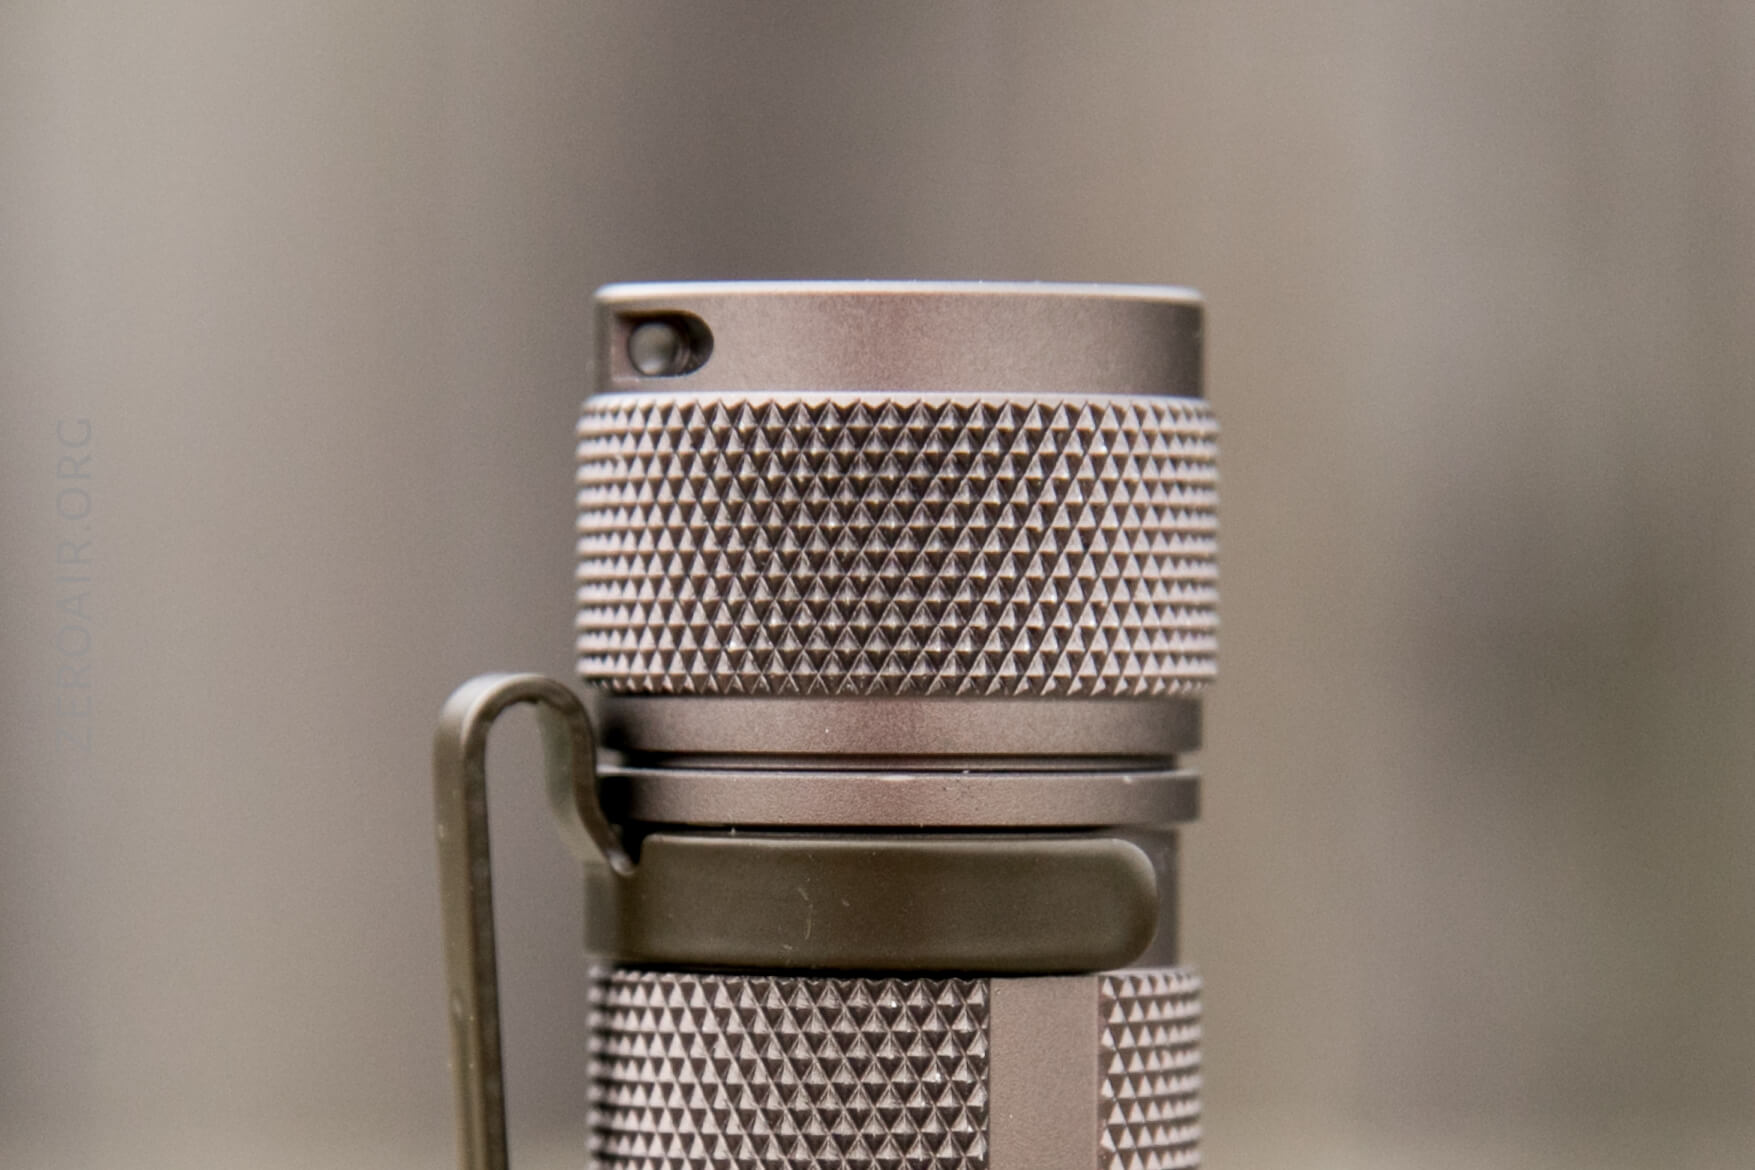
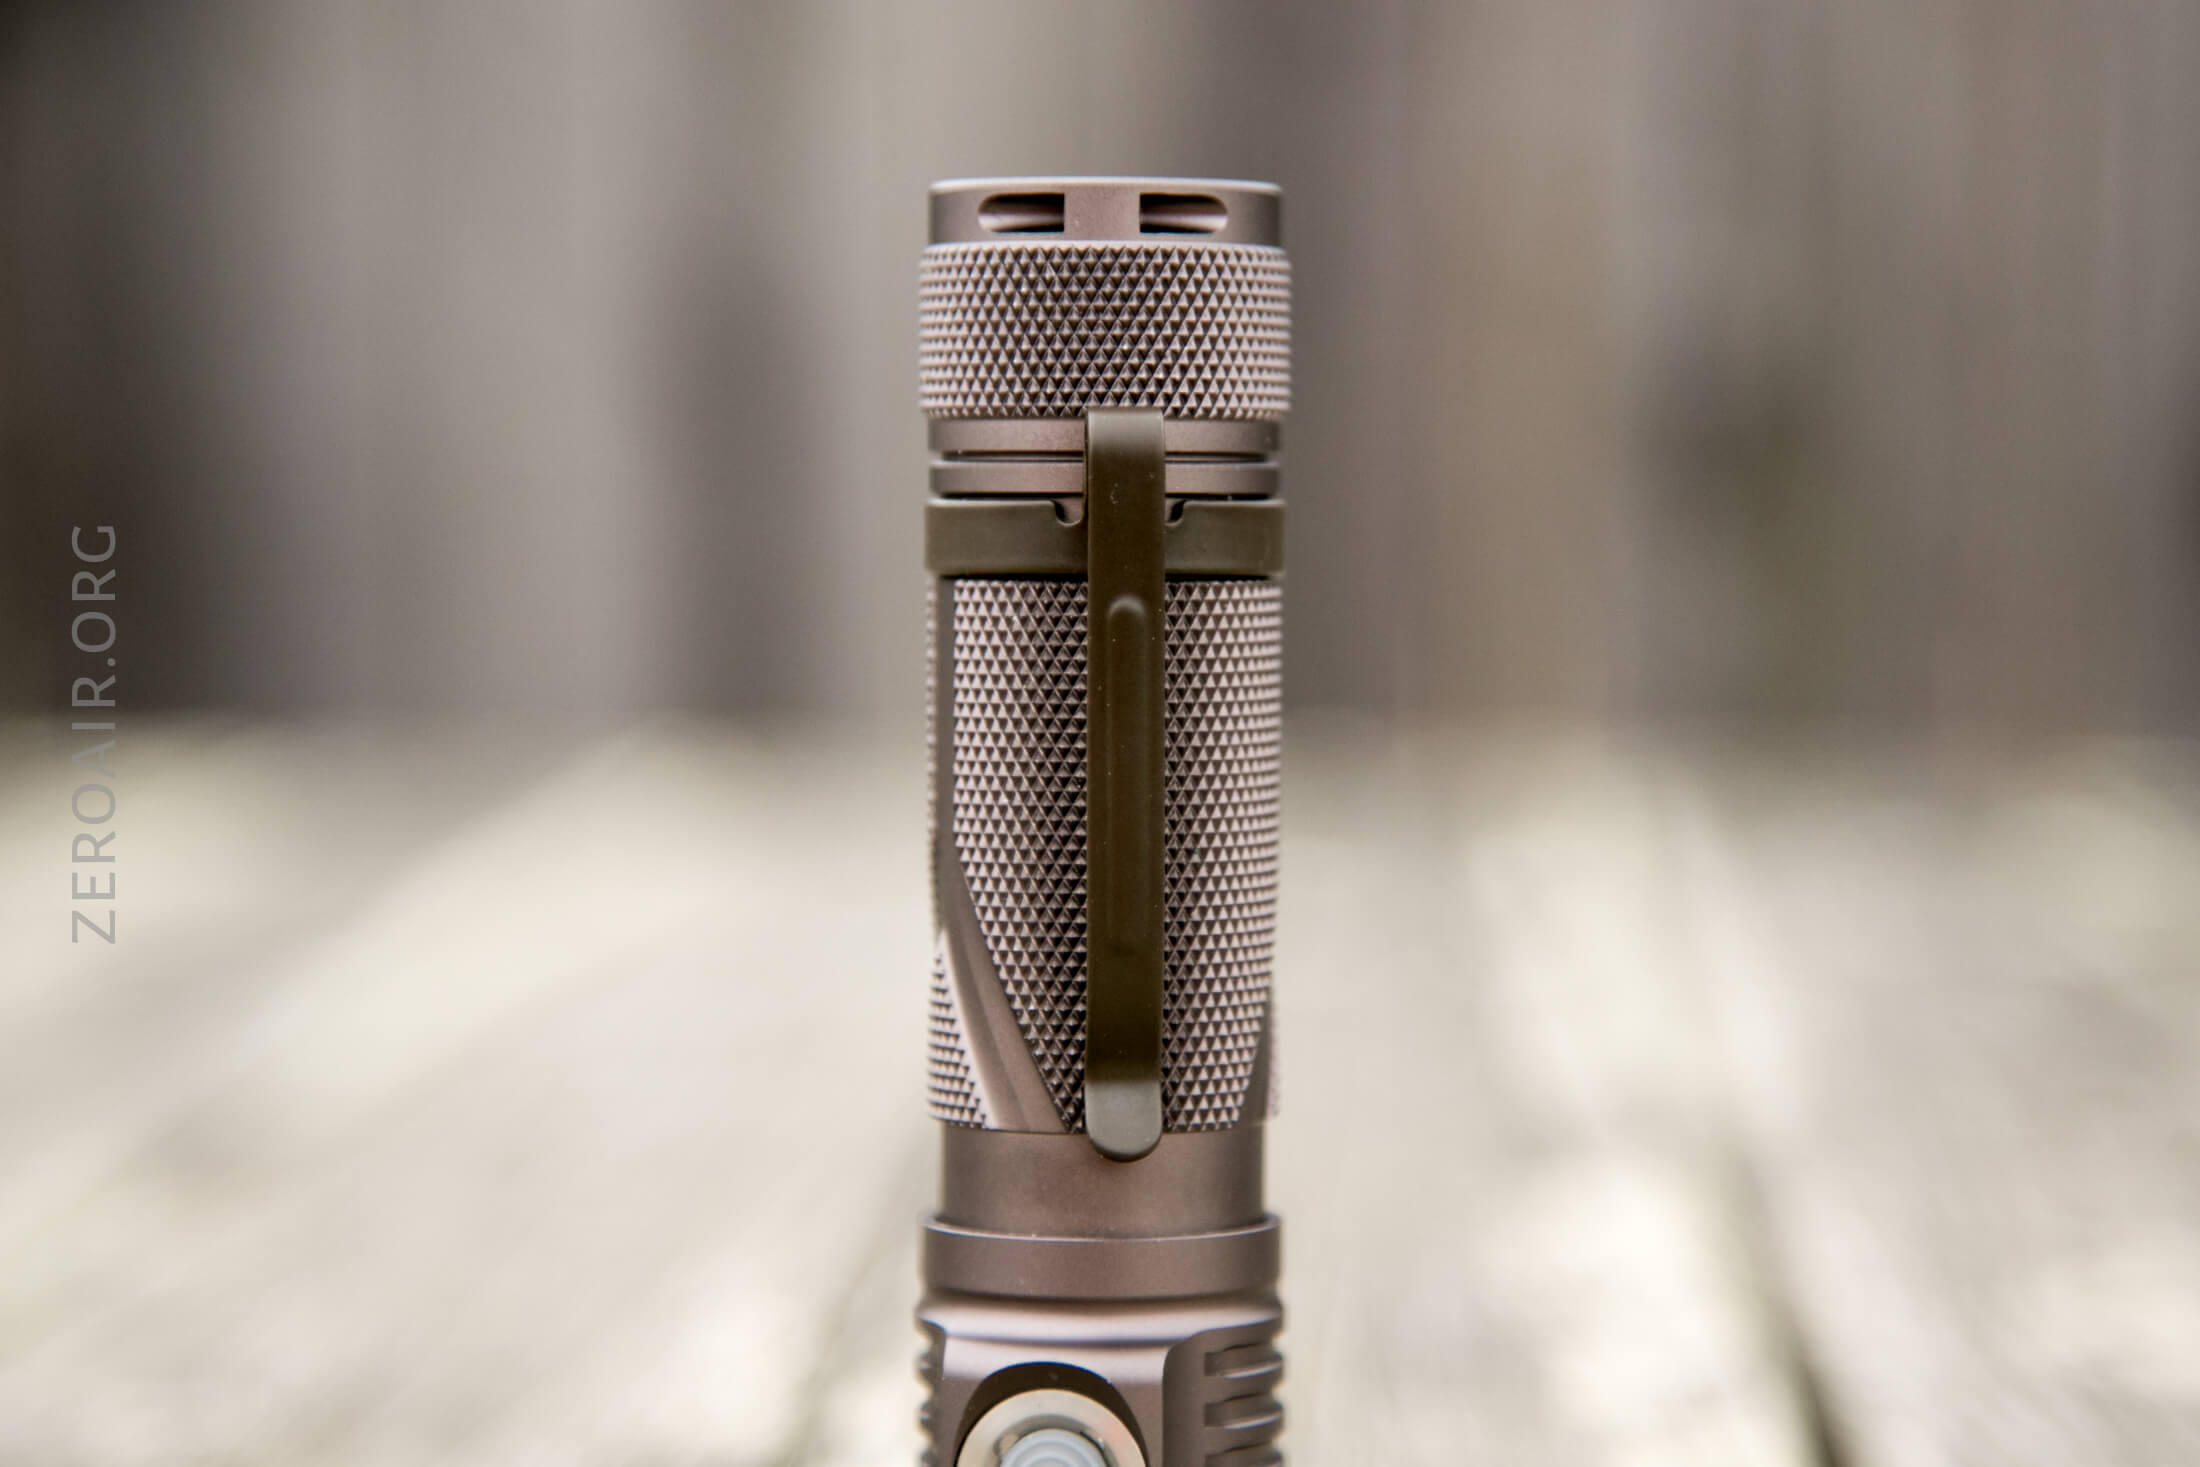
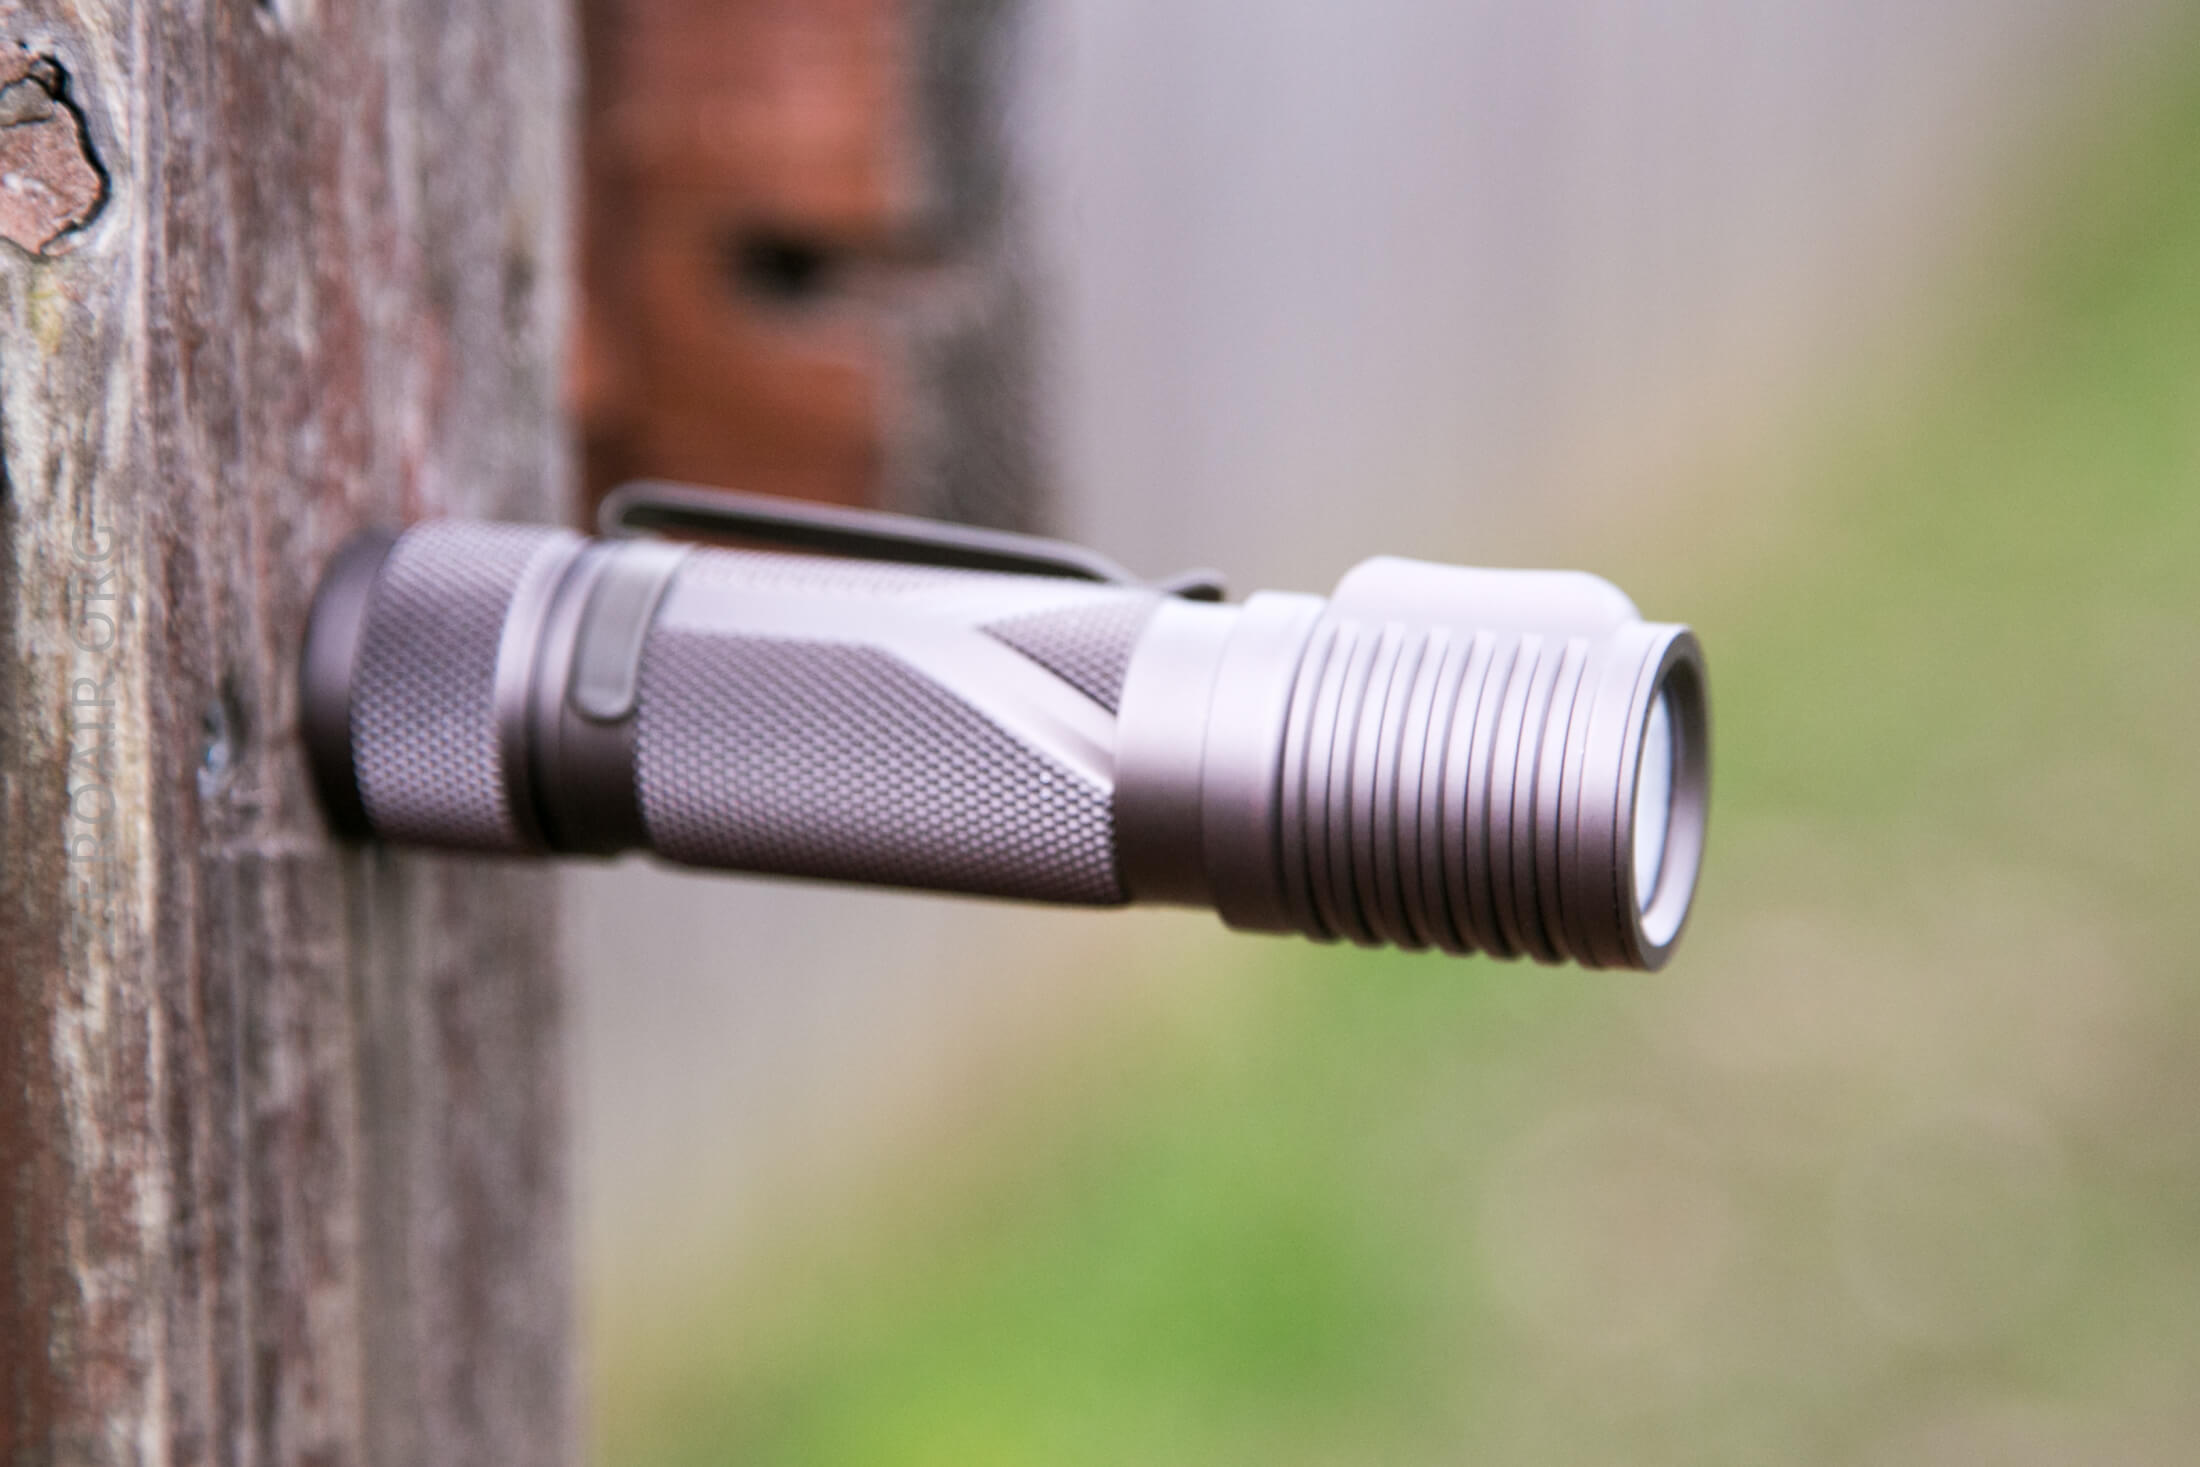
The primary way to carry this light will be the pocket clip. This is a simple friction-fit clip, but it’s been very well considered. Namely, the metal isn’t just left as stamped (or water cut or whatever). Have the edges been “softened”? How to say it exactly. They aren’t sharp. Not really “rounded” but they’re very comfortable. This is something often not seen in even higher-end lights!
The clip is very secure. Though there are no holes in it, it’d be a good location for a lanyard. I think it’s secure enough.
The included lanyard is intended to attach through a hole in the tailcap.
And the magnet in the tailcap is plenty strong to hold this light in any orientation.
The pocket clip is reversible, and so the light can be used as a hatlight if desired.
Power and Runtime
The Unicorn 1.0 is powered by a single 18650 cell. The cell goes into the light in the normal orientation, with the positive terminal toward the head.
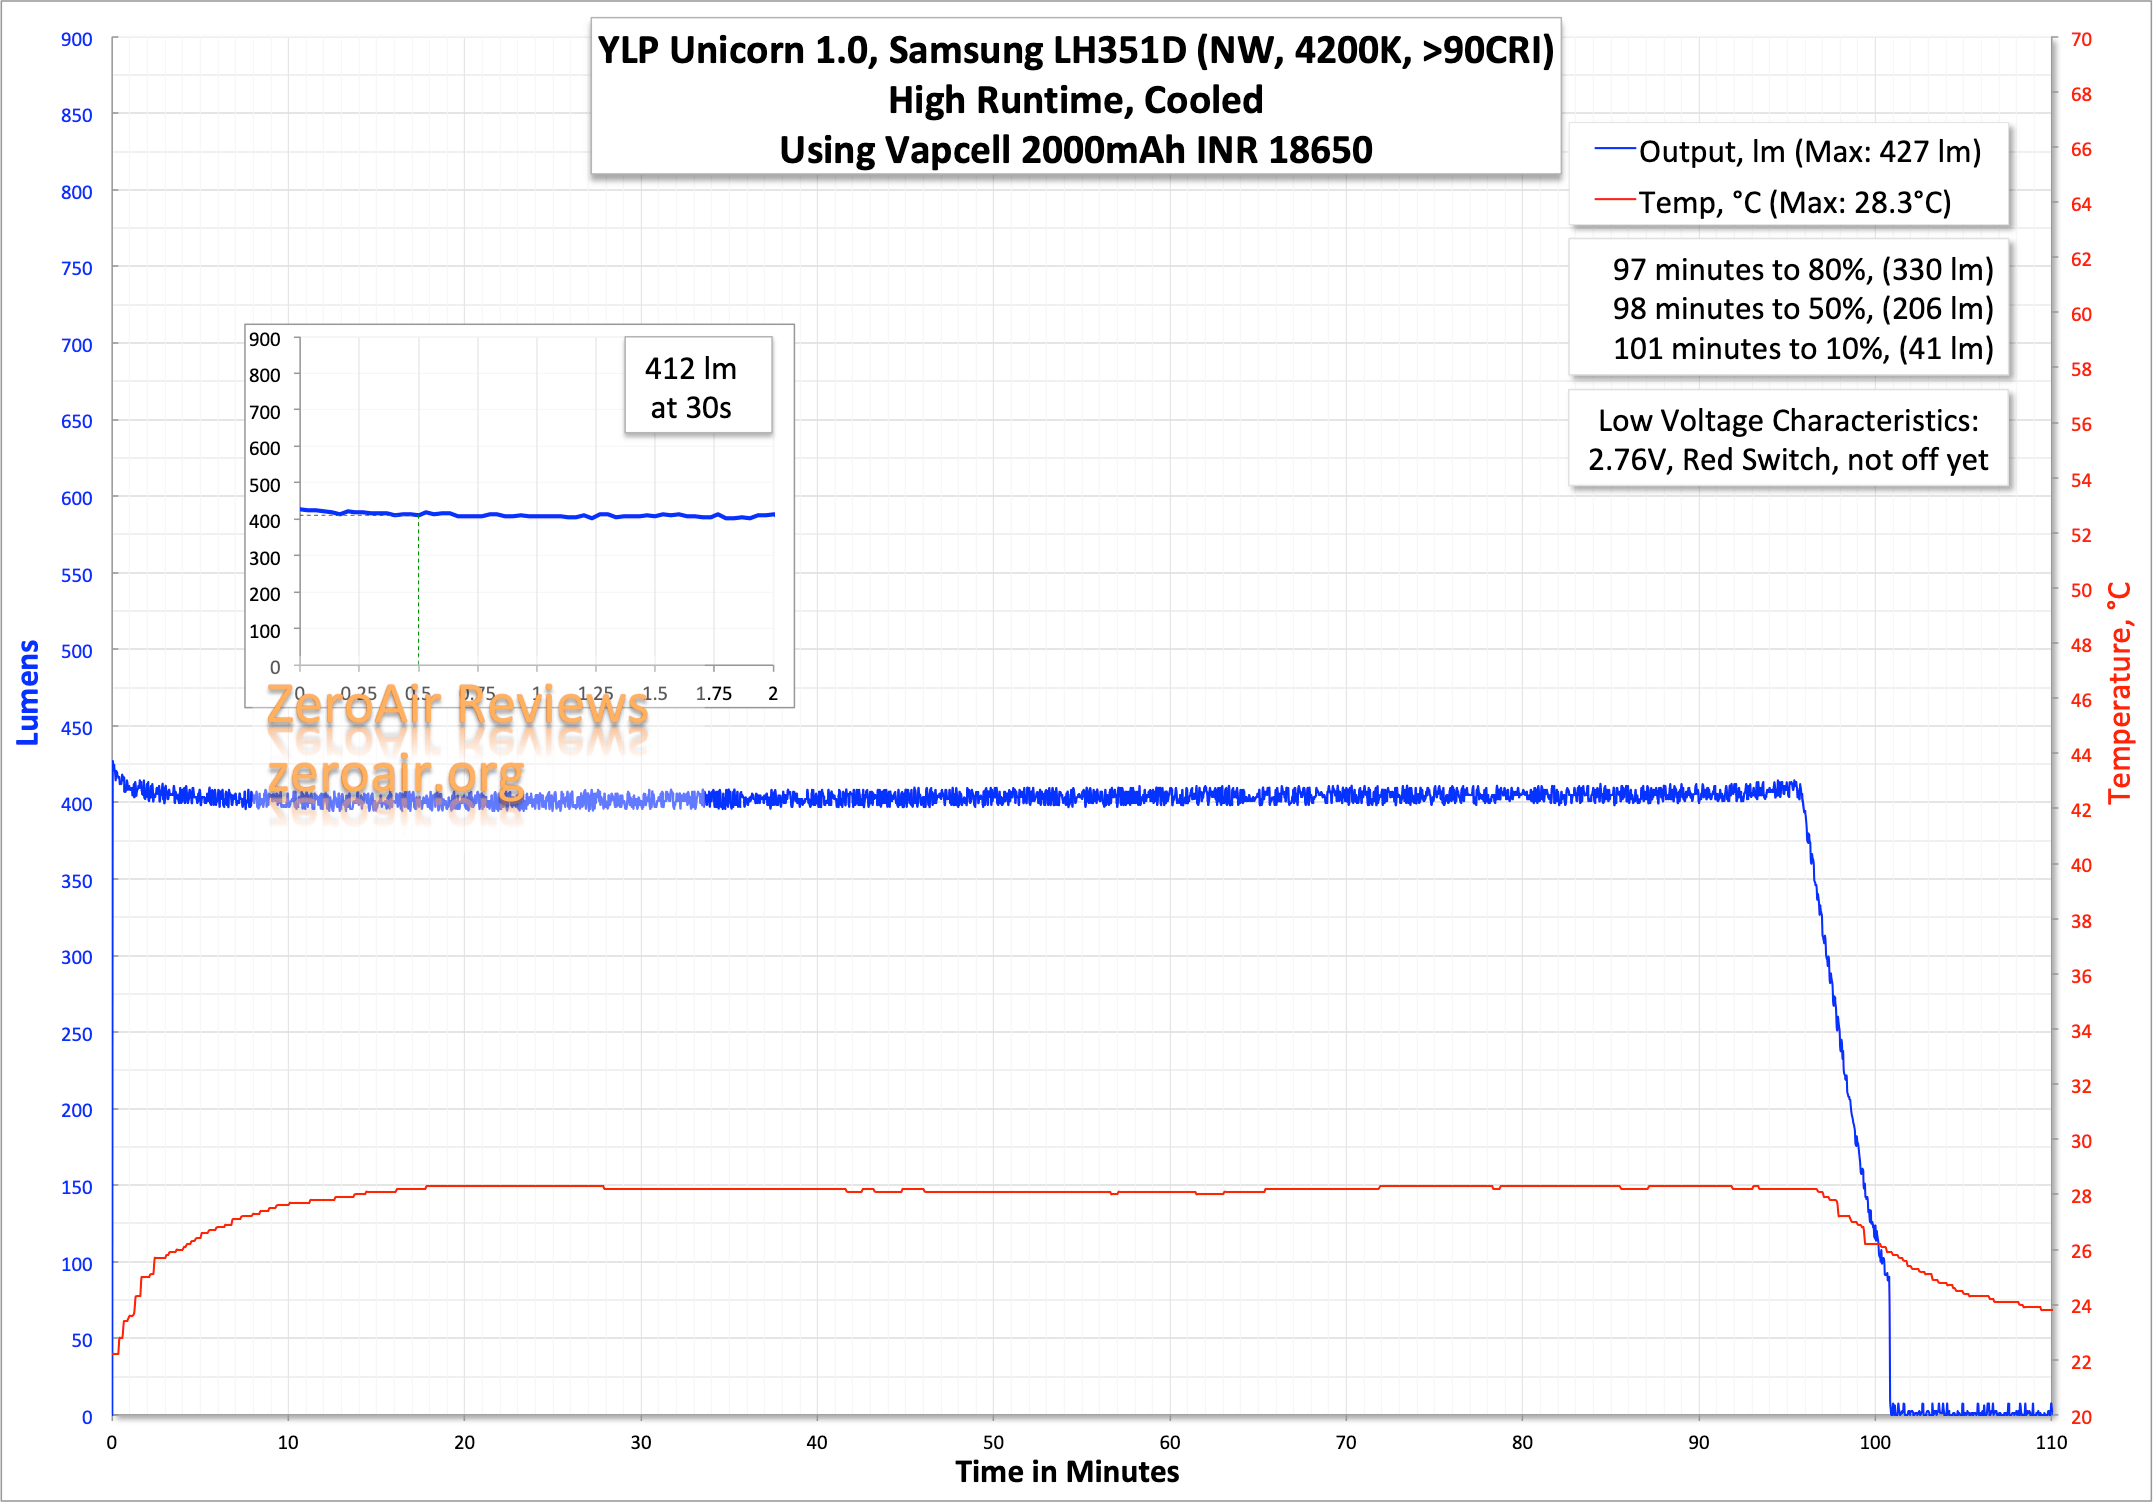
Here are a couple of runtimes. The light does have LVP, but I’ve stopped these tests before that kicked in. (YLP calls this “Maximum” not “Turbo.”)
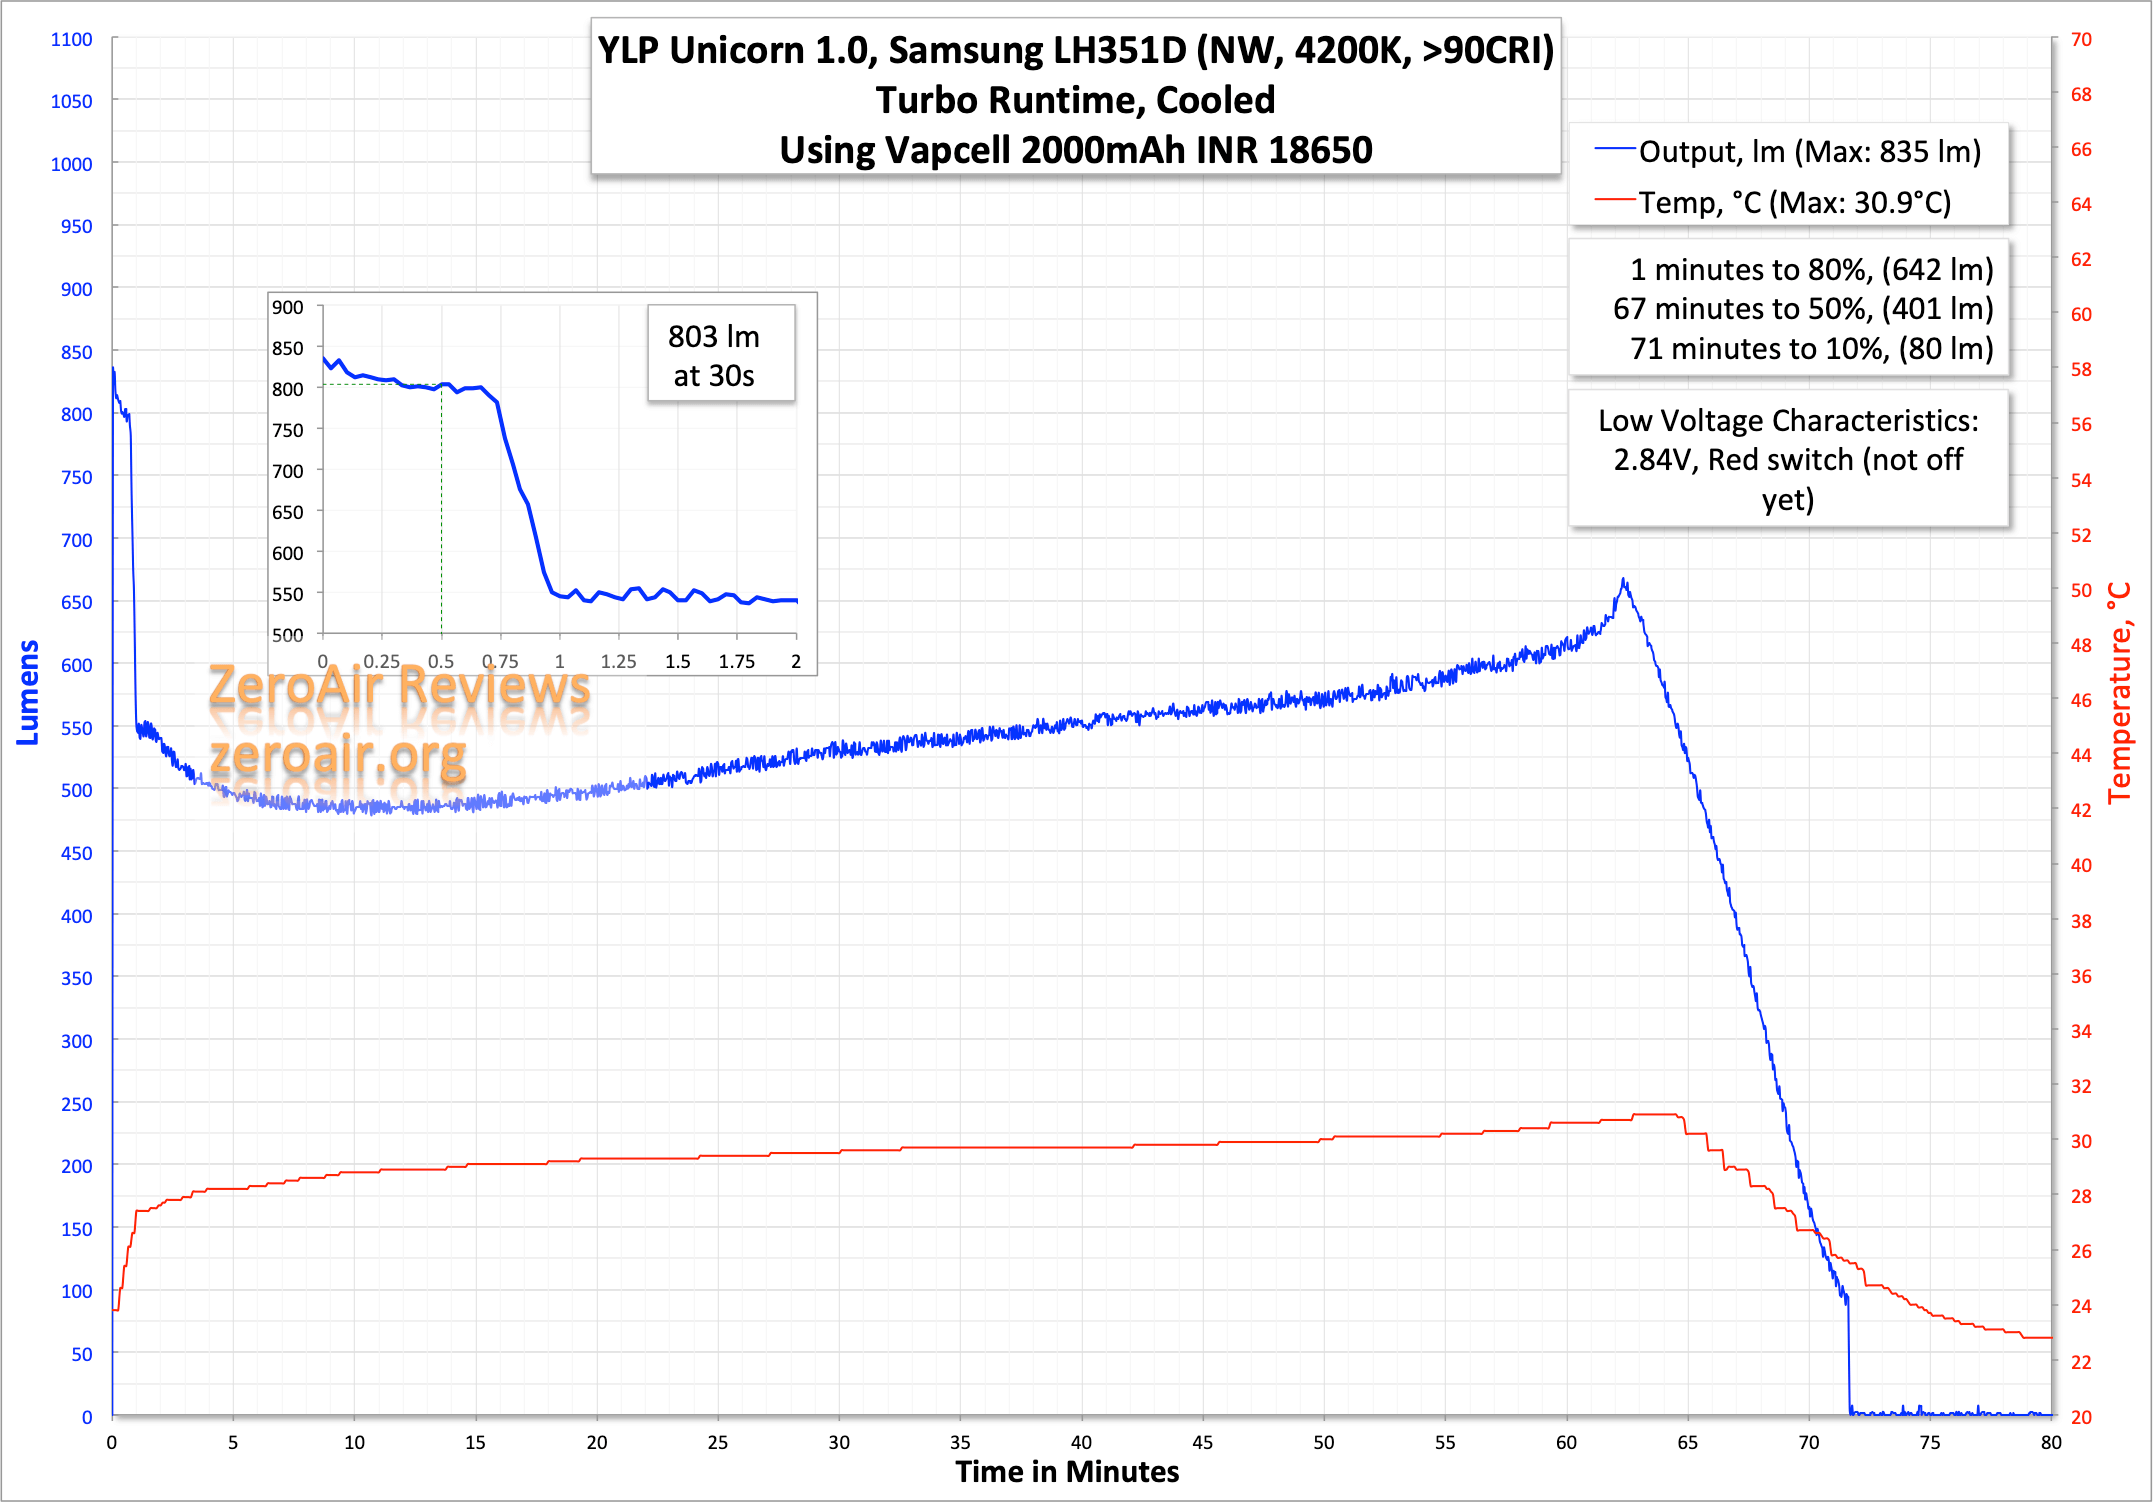
High is very well regulated, over the course of around an hour and a half.
On bench power testing, the switch turned from green to green/red at 3.6V. Then to solid red at 3.2V. And at 2.5V, the light shut off completely (and electrically).
Modes and Currents
| Mode | Mode Claimed Output (lm) | Claimed Runtime | Measured Lumens | Tailcap Amps |
|---|---|---|---|---|
| Maximum | 850 | 1.5h | 803 | 2.50 |
| High | 450 | 2.5h | 412 | 1.09 |
| Medium | 170 | 7.5h | 150 | 0.39 |
| Low | 40 | 33h | 38 | 0.10 |
| Minimum | 3 | 10d | 2 | 0.01 |
Pulse Width Modulation
The sawtooth seen below is not PWM. Also, it’s not visible to my eye (and therefore unlikely to be visible to yours, too.)

Here you can see a “baseline” – a chart with almost no light hitting the sensor.
Then there’s the Ultrafire WF-602C flashlight, which has some of the worst PWM I’ve seen. It’s so bad that I used a post about it to explain PWM! Here are multiple timescales (10ms, 5ms, 2ms, 1ms, 0.5ms, 0.2ms) to make comparing this “worst” PWM light to the test light easier. That post also explains why I didn’t test the WF-602C at the usual 50us scale.
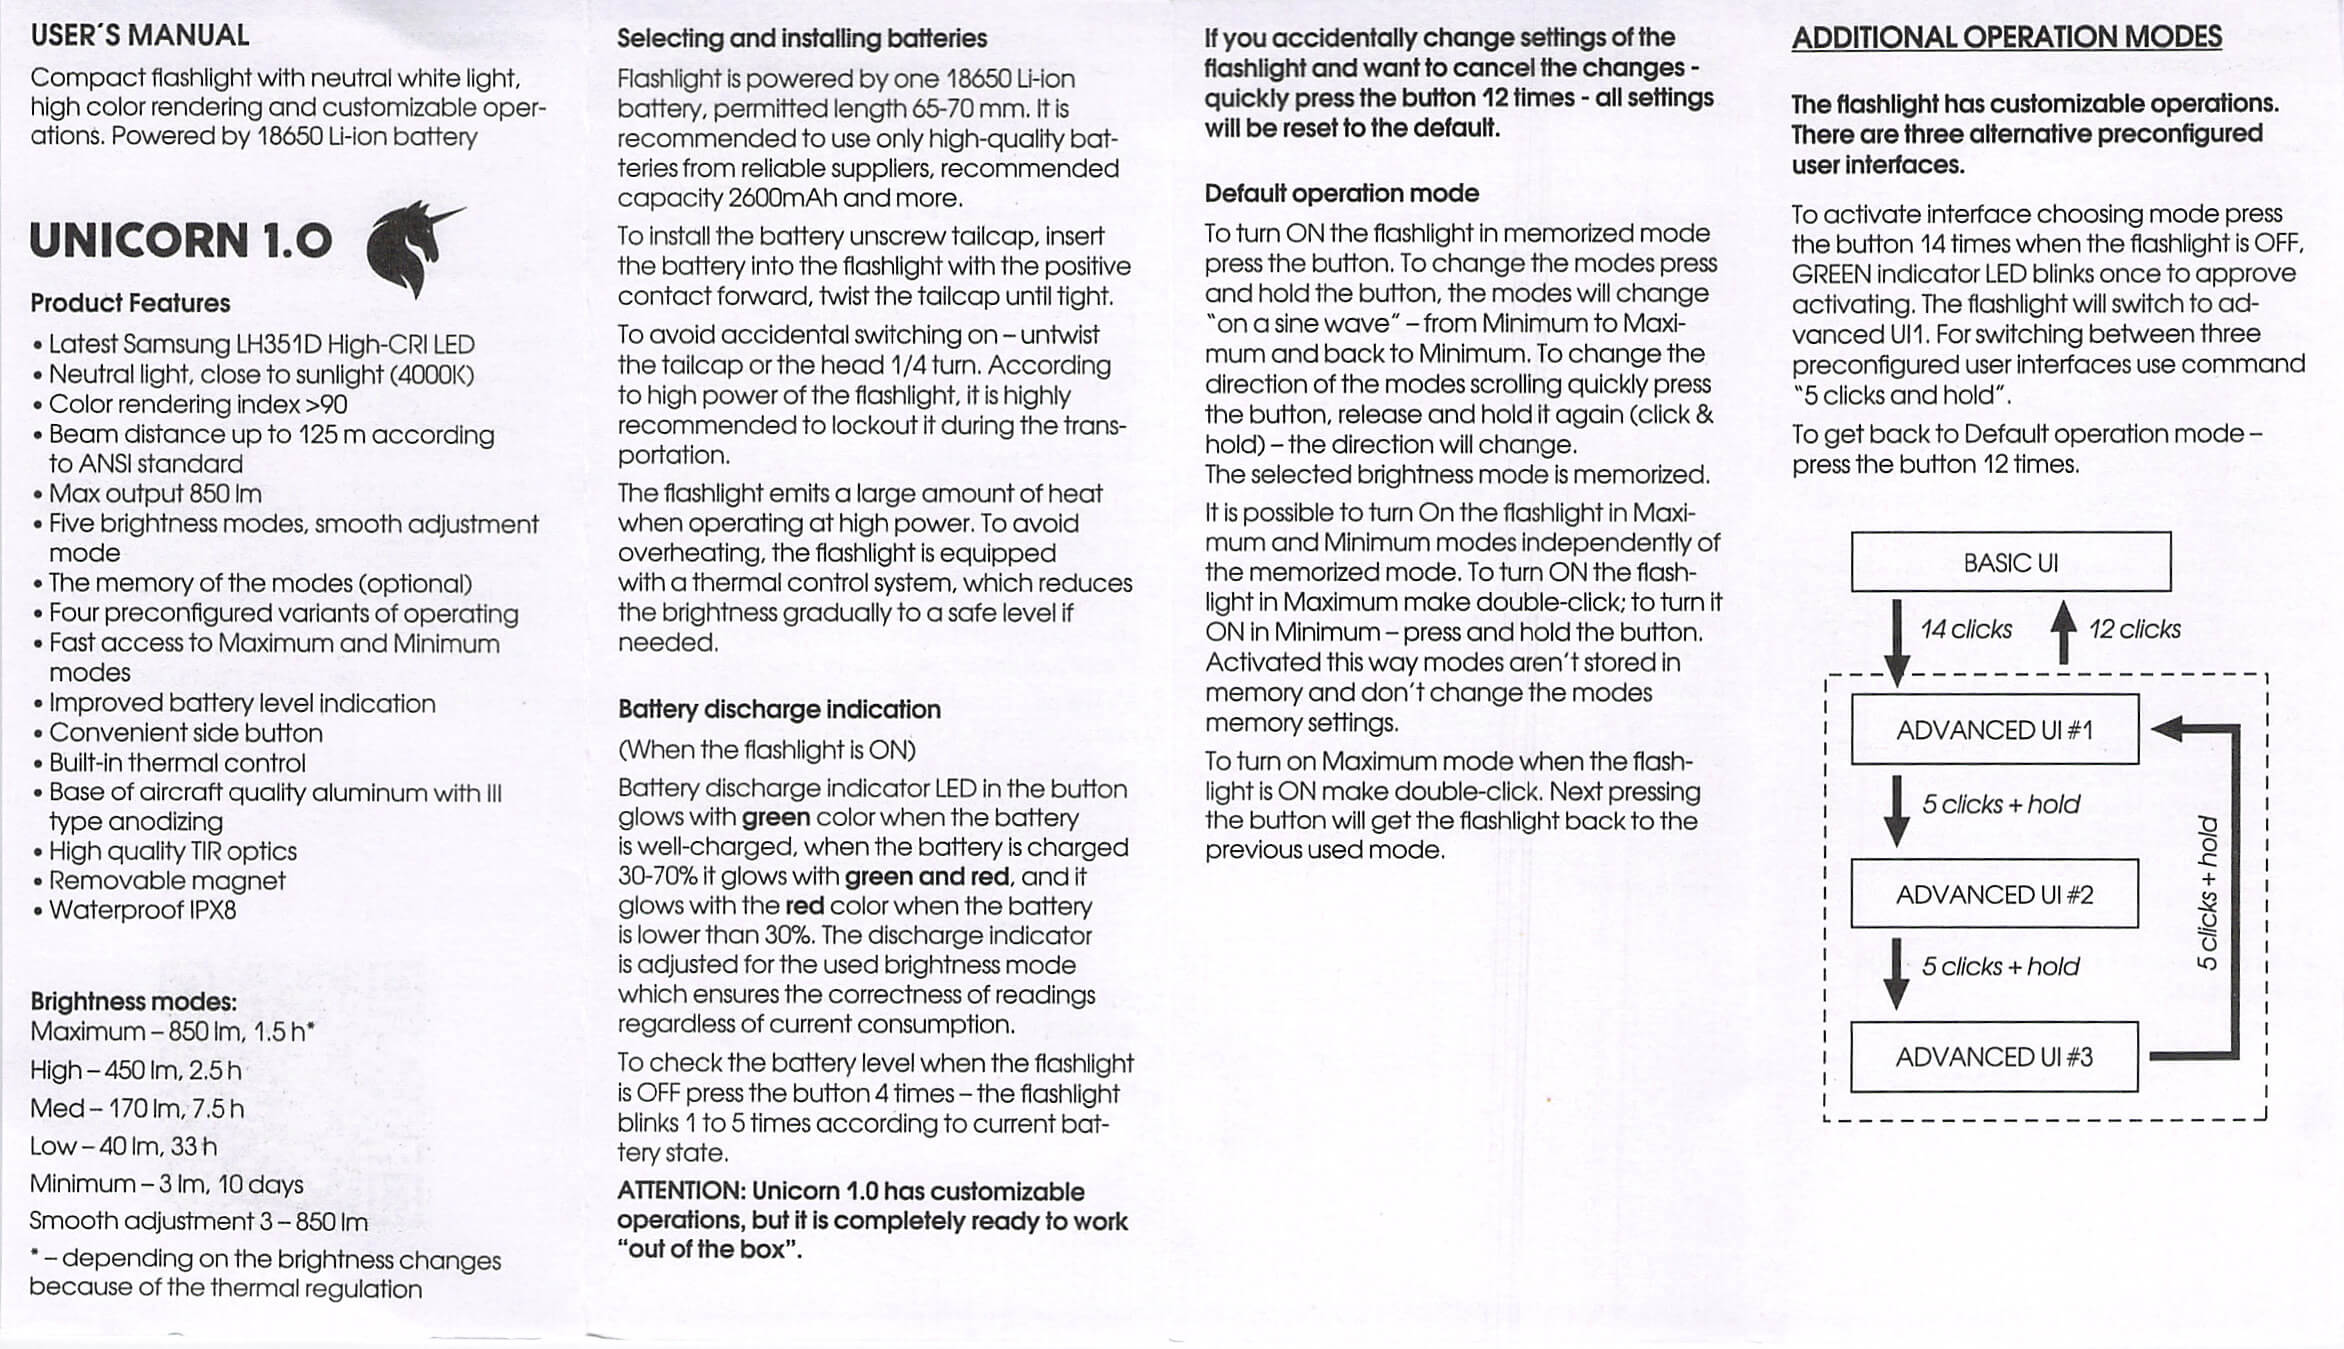
User Interface and Operation
There’s a single indicating e-switch on the Unicorn 1.0. It’s clear and can indicate red and green. It’s quite clicky, too.
There are four (4) user interfaces available. The Basic user interface is what ships enabled. Switching from Basic to Advanced requires 14 clicks. A successful switch is indicated with a green switch indication. Switching between 3 Advanced UI’s requires 5 clicks and a hold. Switching from Advanced to Basic requires 12 clicks.
Here’s a user interface table for the Basic UI!
| State | Action | Result |
|---|---|---|
| Off | Click | On (Mode memory) |
| On | Hold | “Sine wave” mode changes (lowest to highest back to lowest, repeating) |
| Off | Double click | Maximum^ |
| Off | Hold | Minimum^ |
| On | Double Click | Maximum (and next click will be previous mode) |
| Off | Click 14x | Advanced user interface 1 (ramping, while maintaining Min/Max access) |
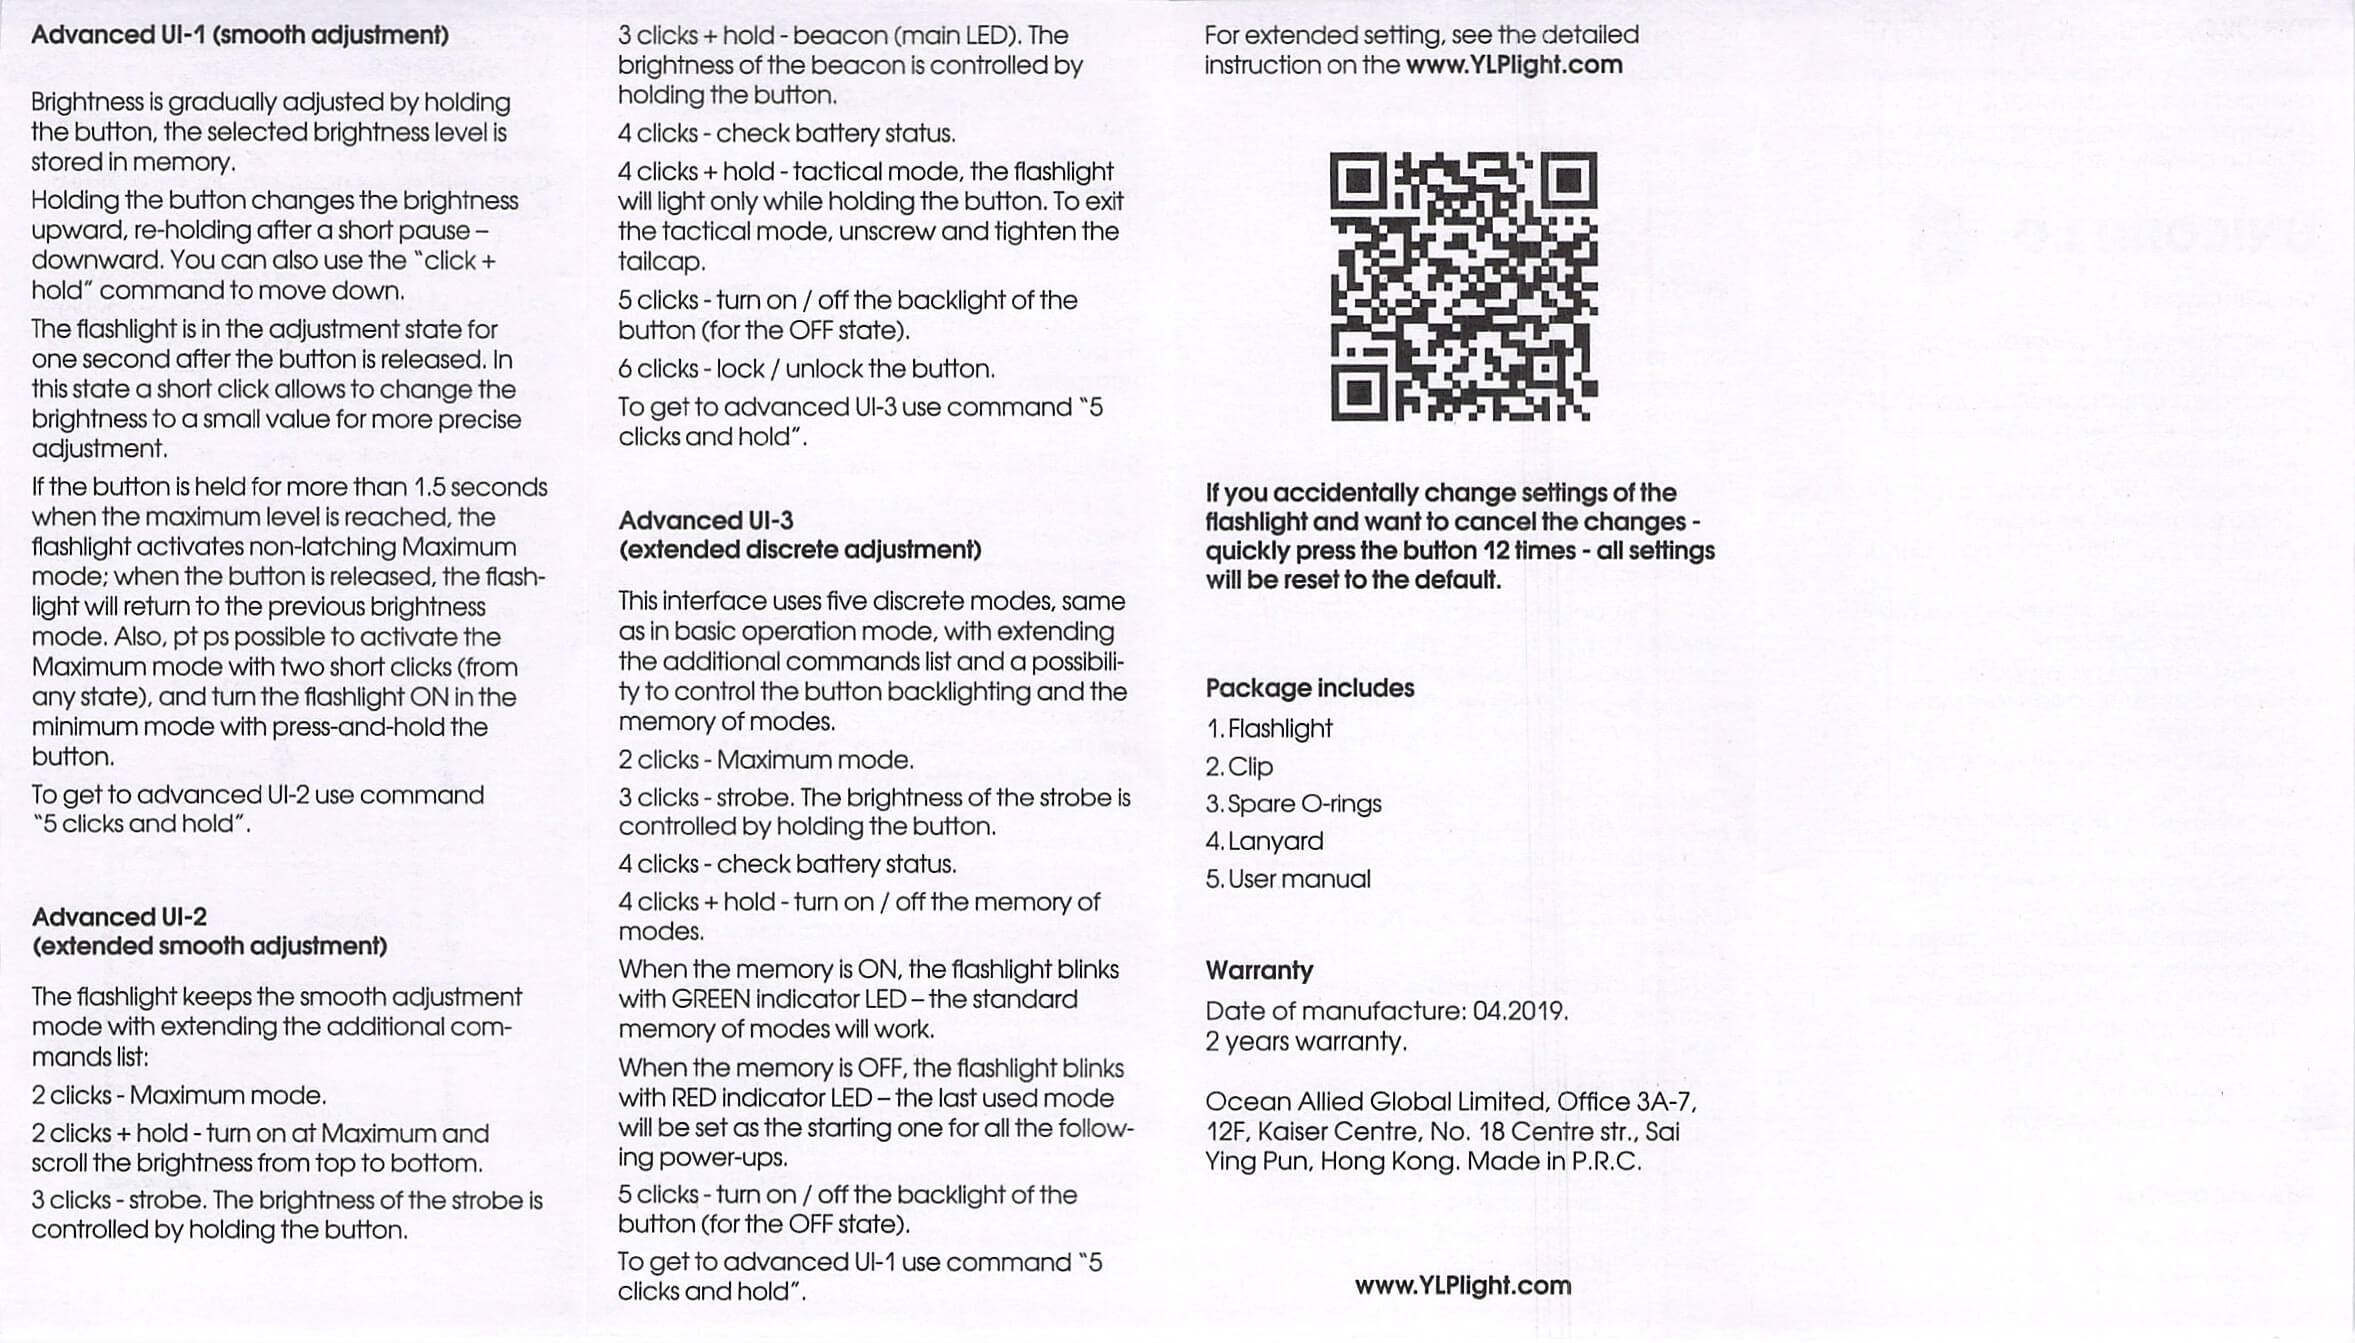
| Advanced user interface 1 | Click 5x + Hold | Advanced user interface 2 (also ramping, but more, including some strobe options, battery check, tactical mode (completely momentary operation)) |
| Advanced user interface 2 | Click 5x + Hold | Advanced user interface 3 (similar to the Basic UI, but with some memory change options, some switch indicator change options and other things) |
| Any Advanced UI | Click 12x | Returns to Basic UI |
^ Activations like this are not stored in memory
Here is the manual text on the Advanced user interface options.

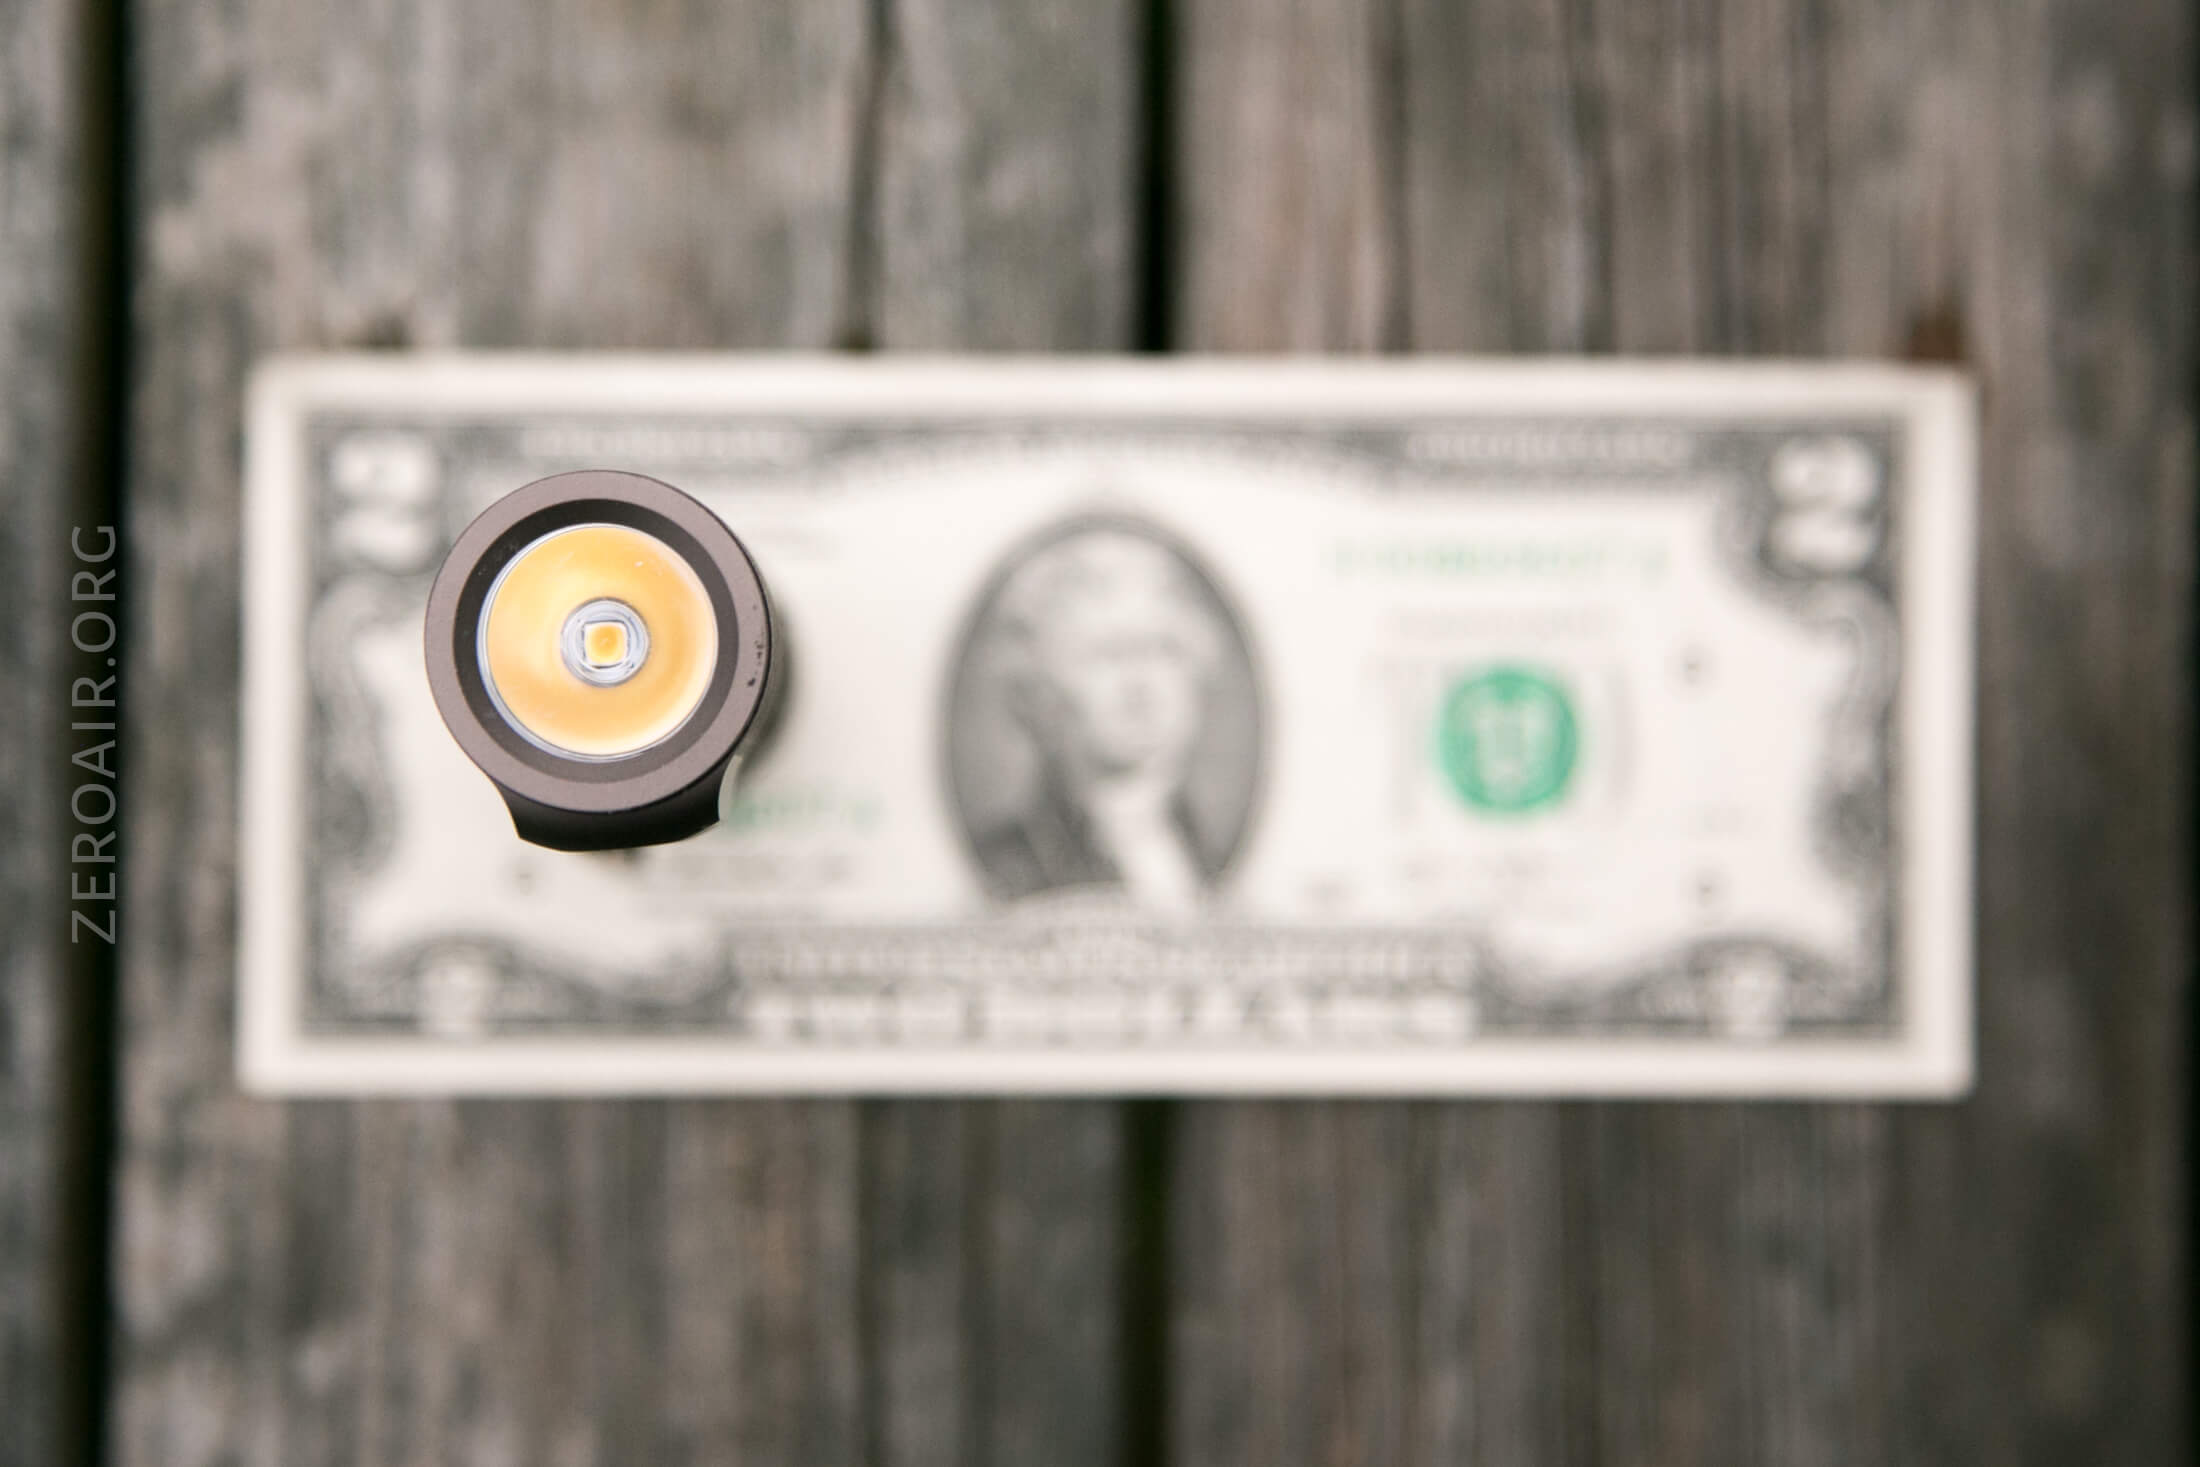
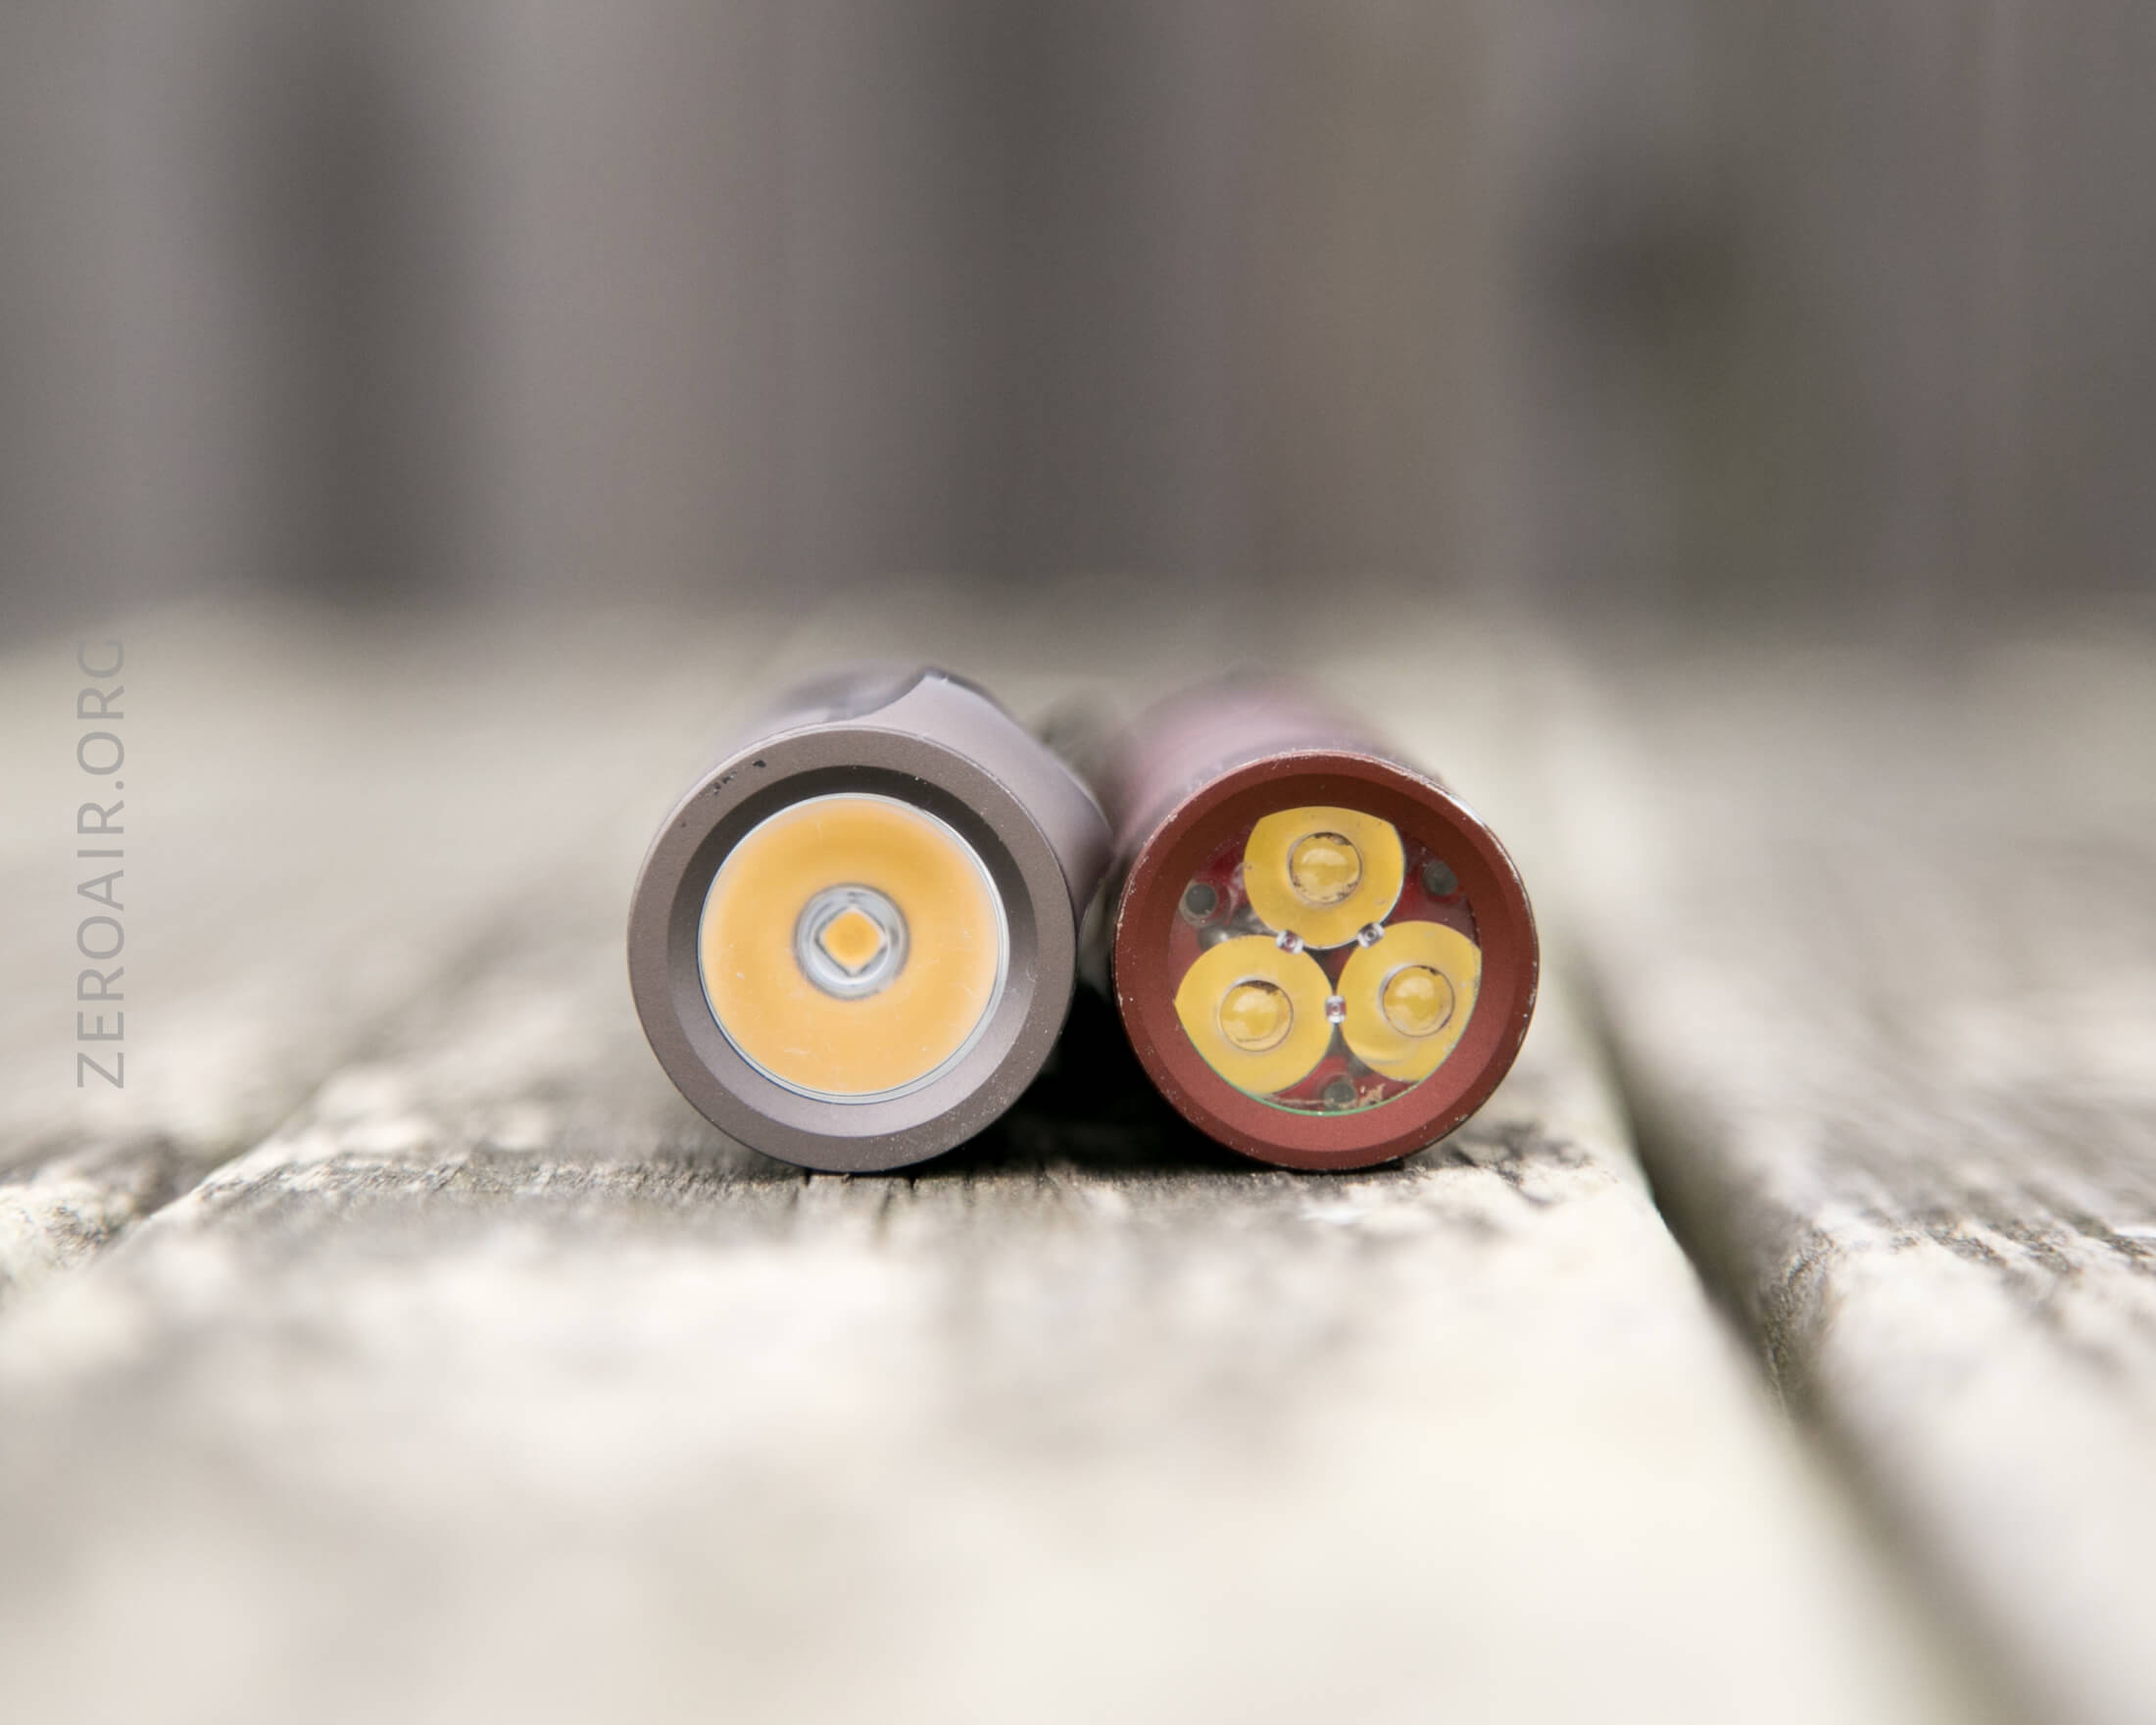
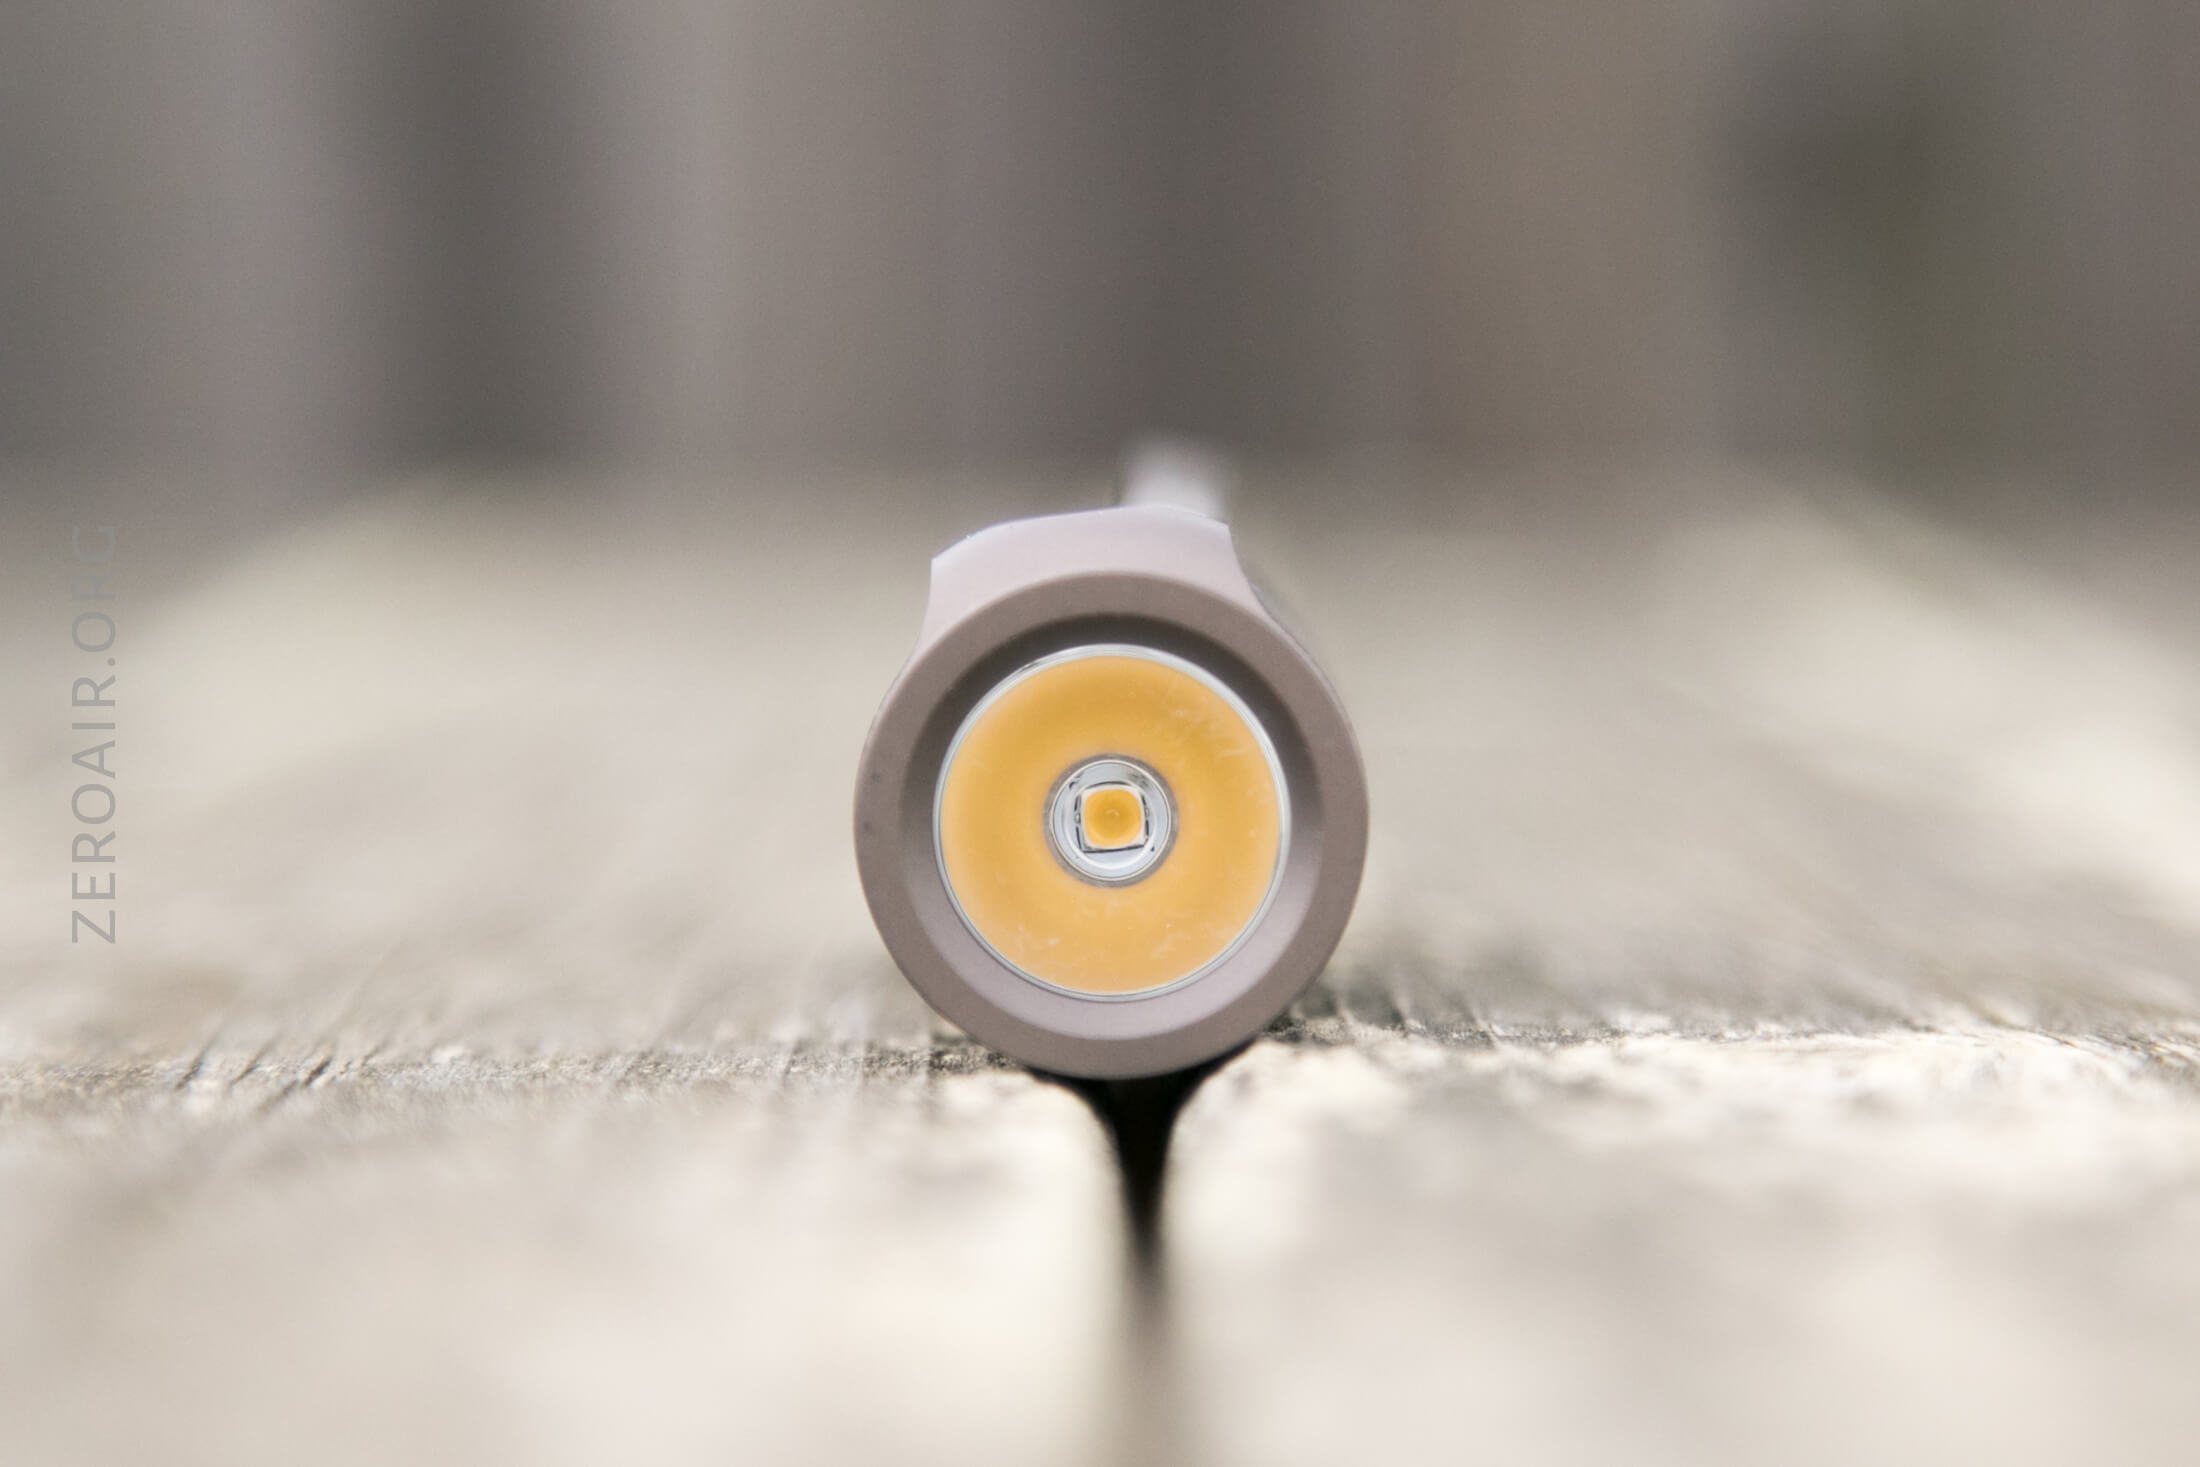
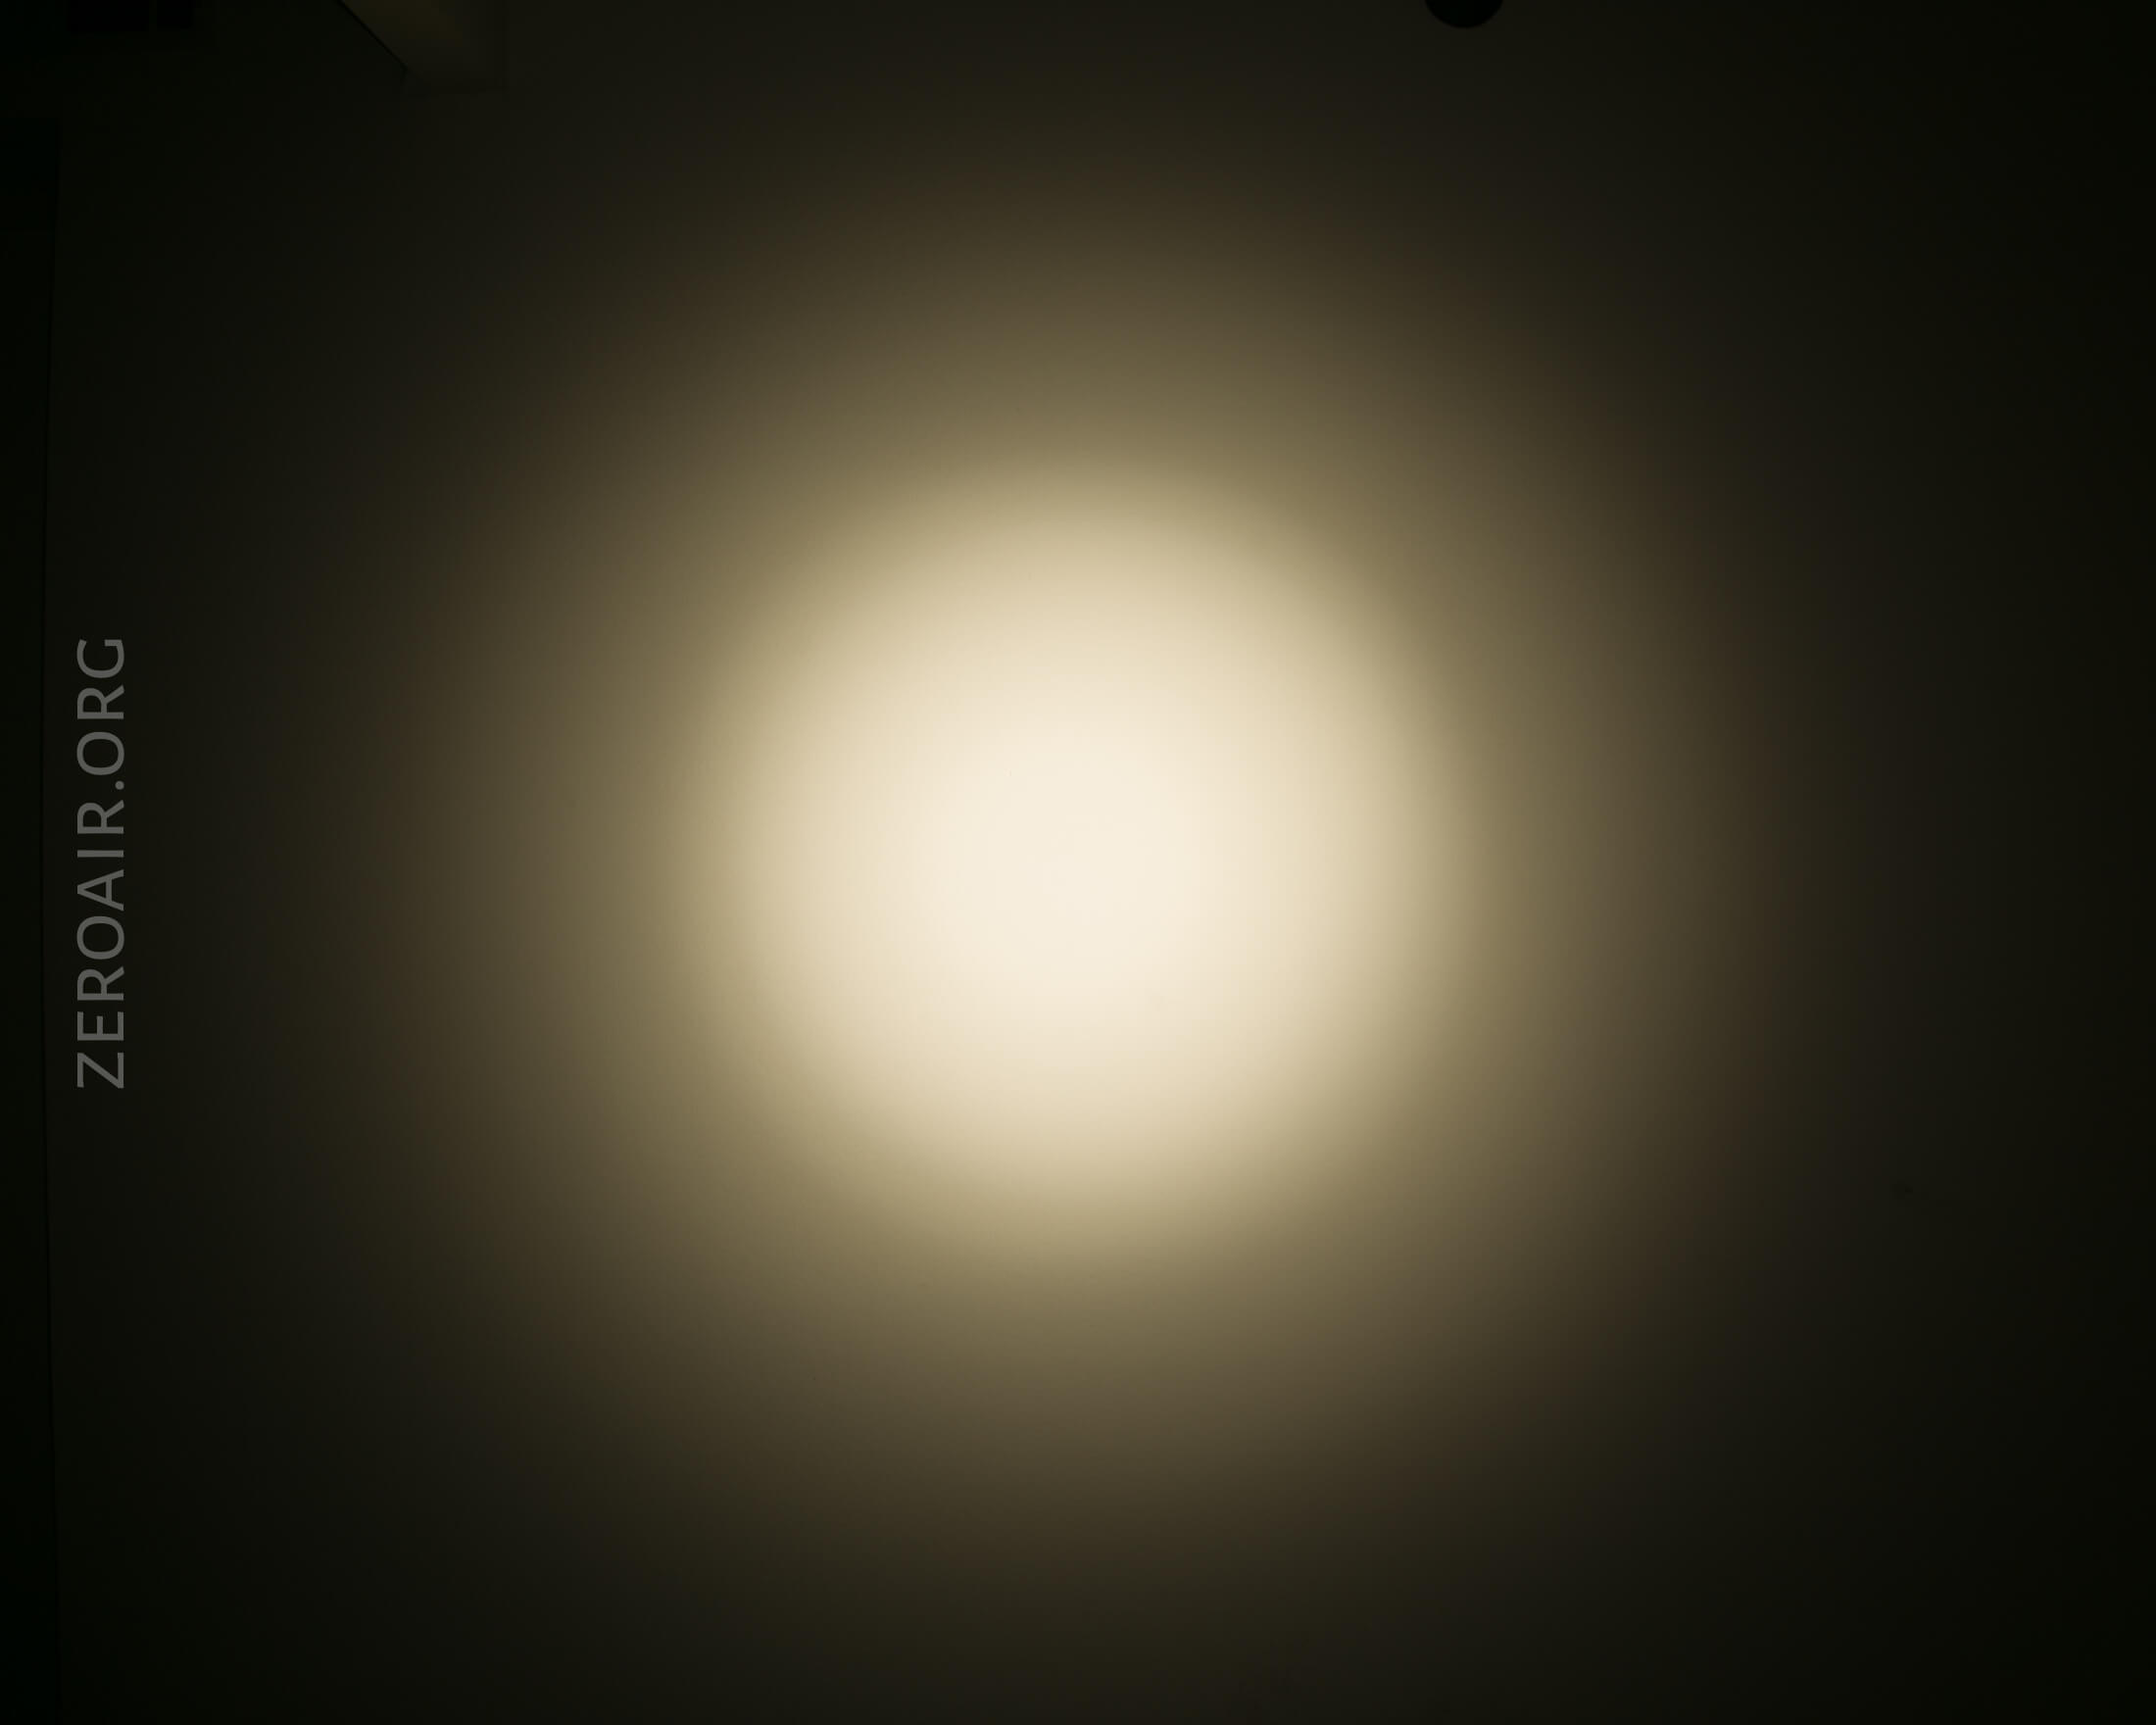
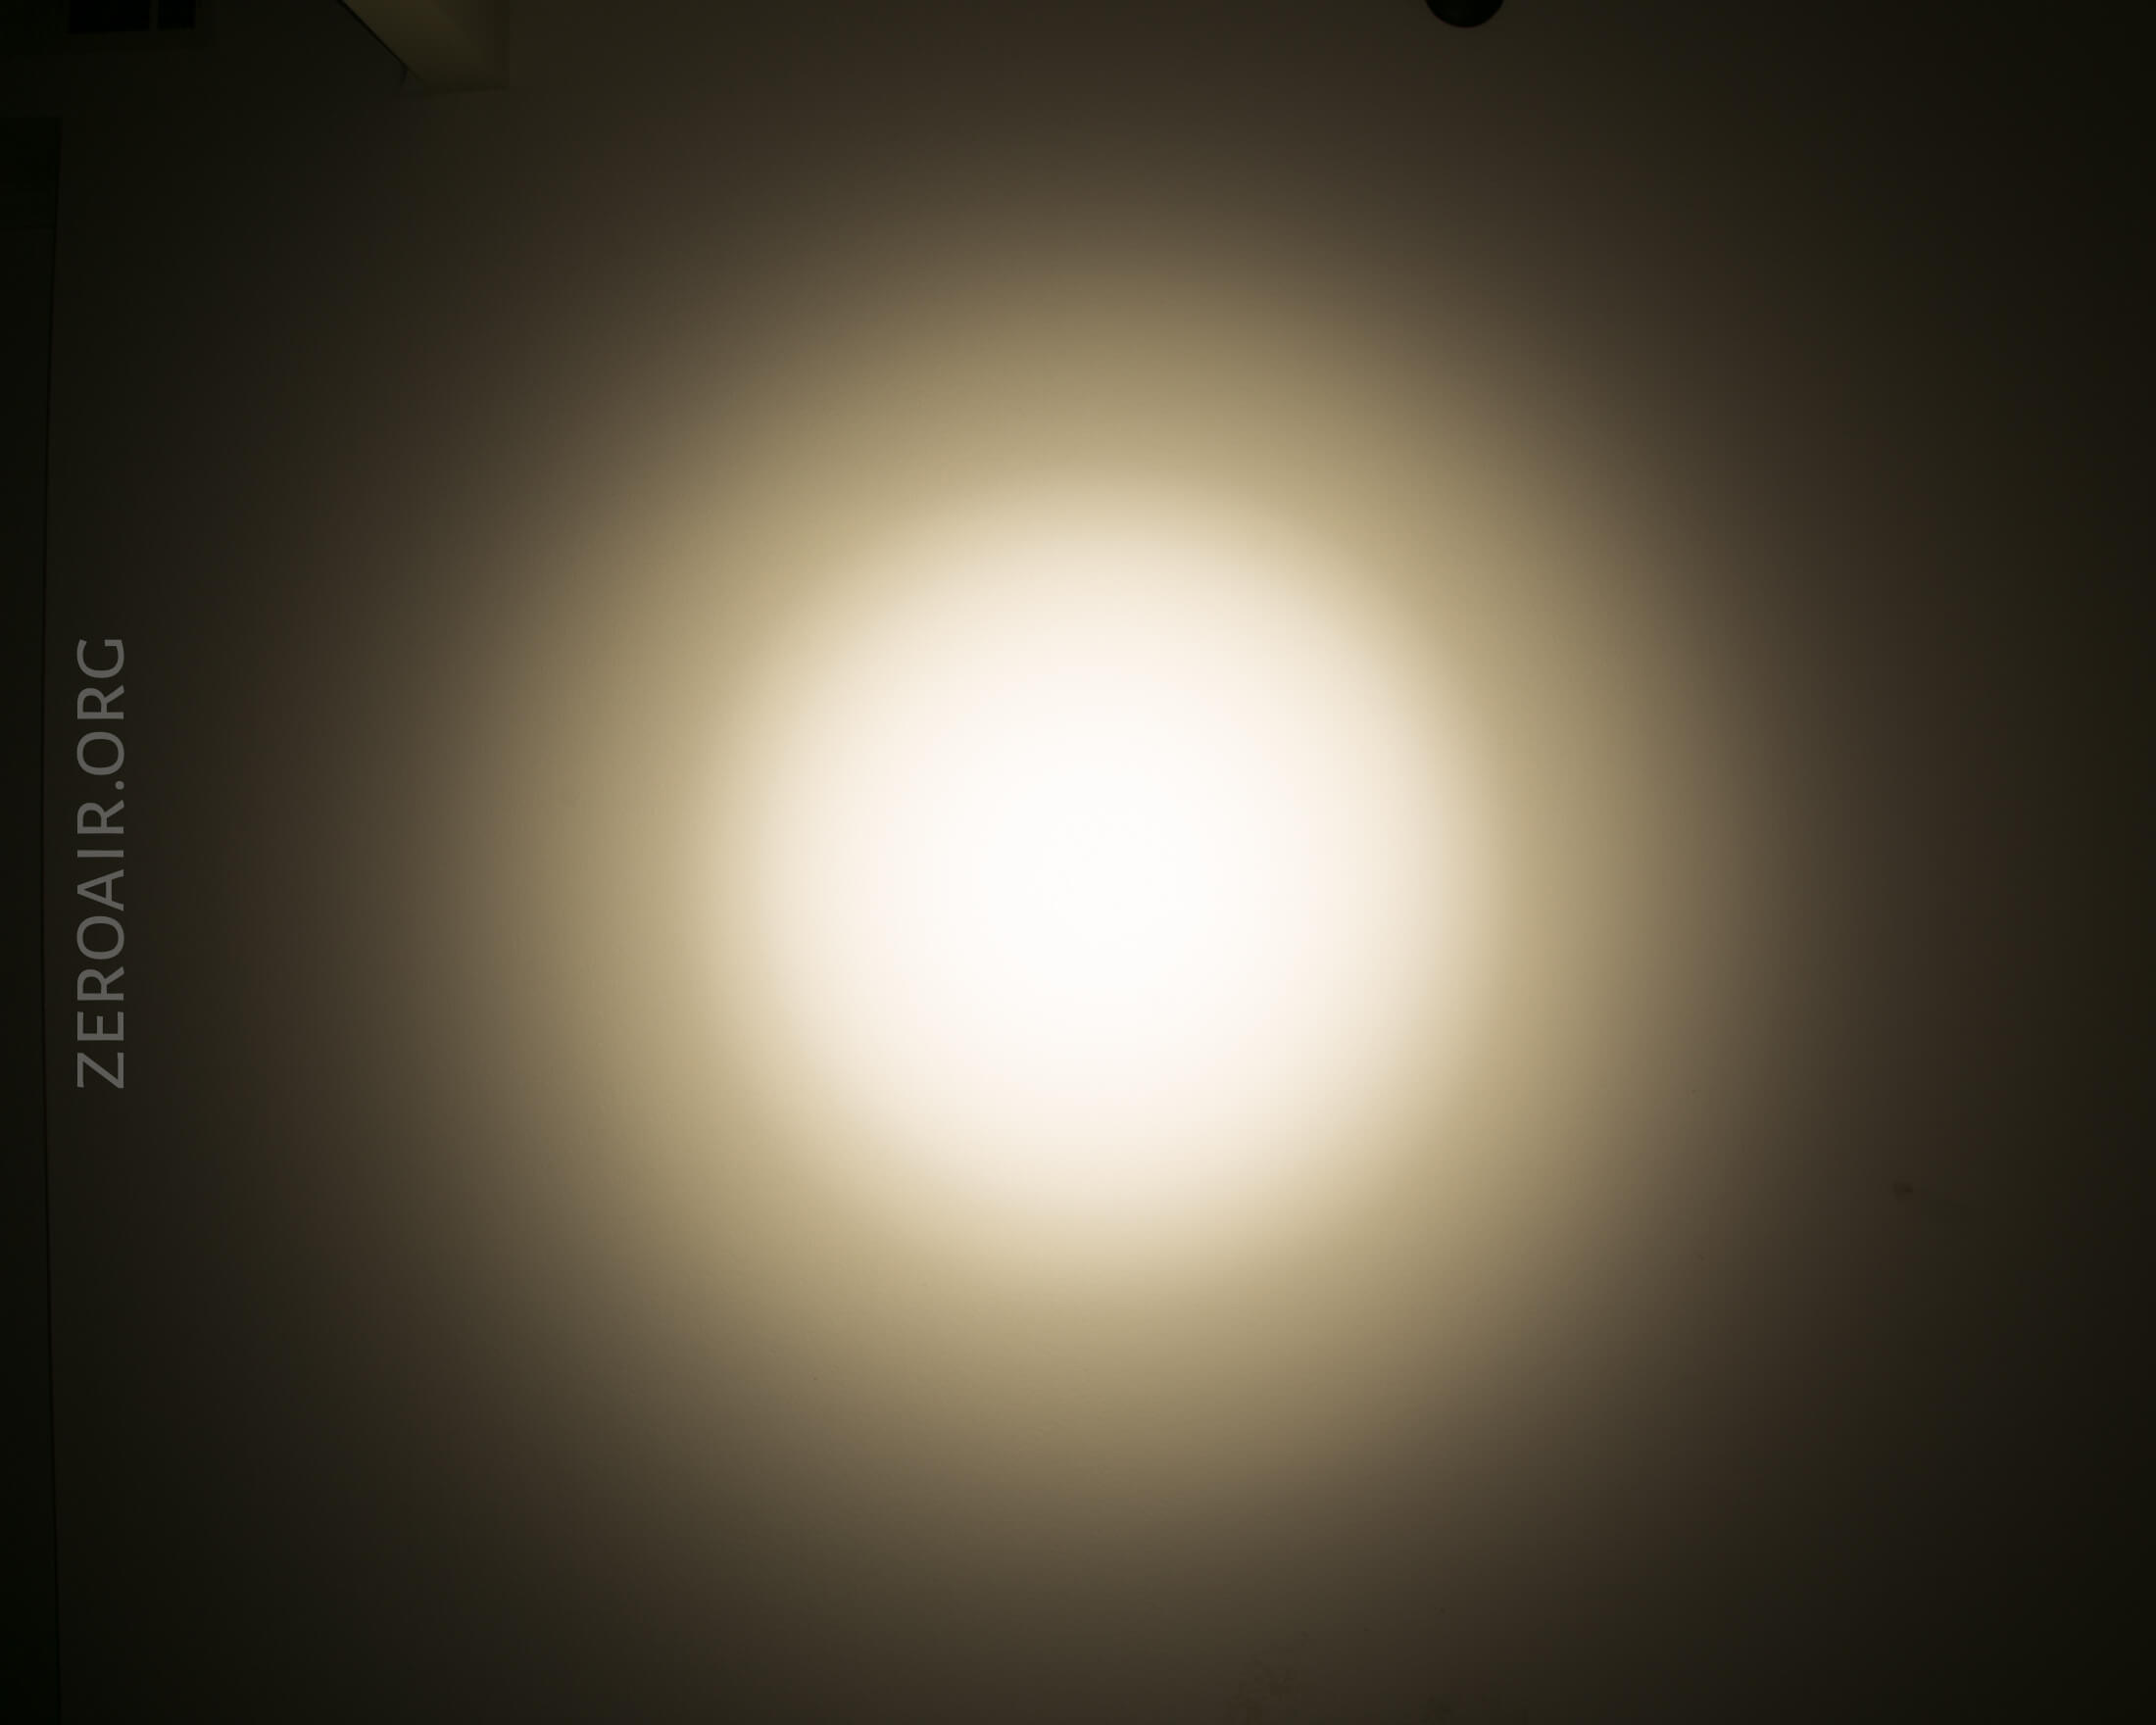
LED and Beam
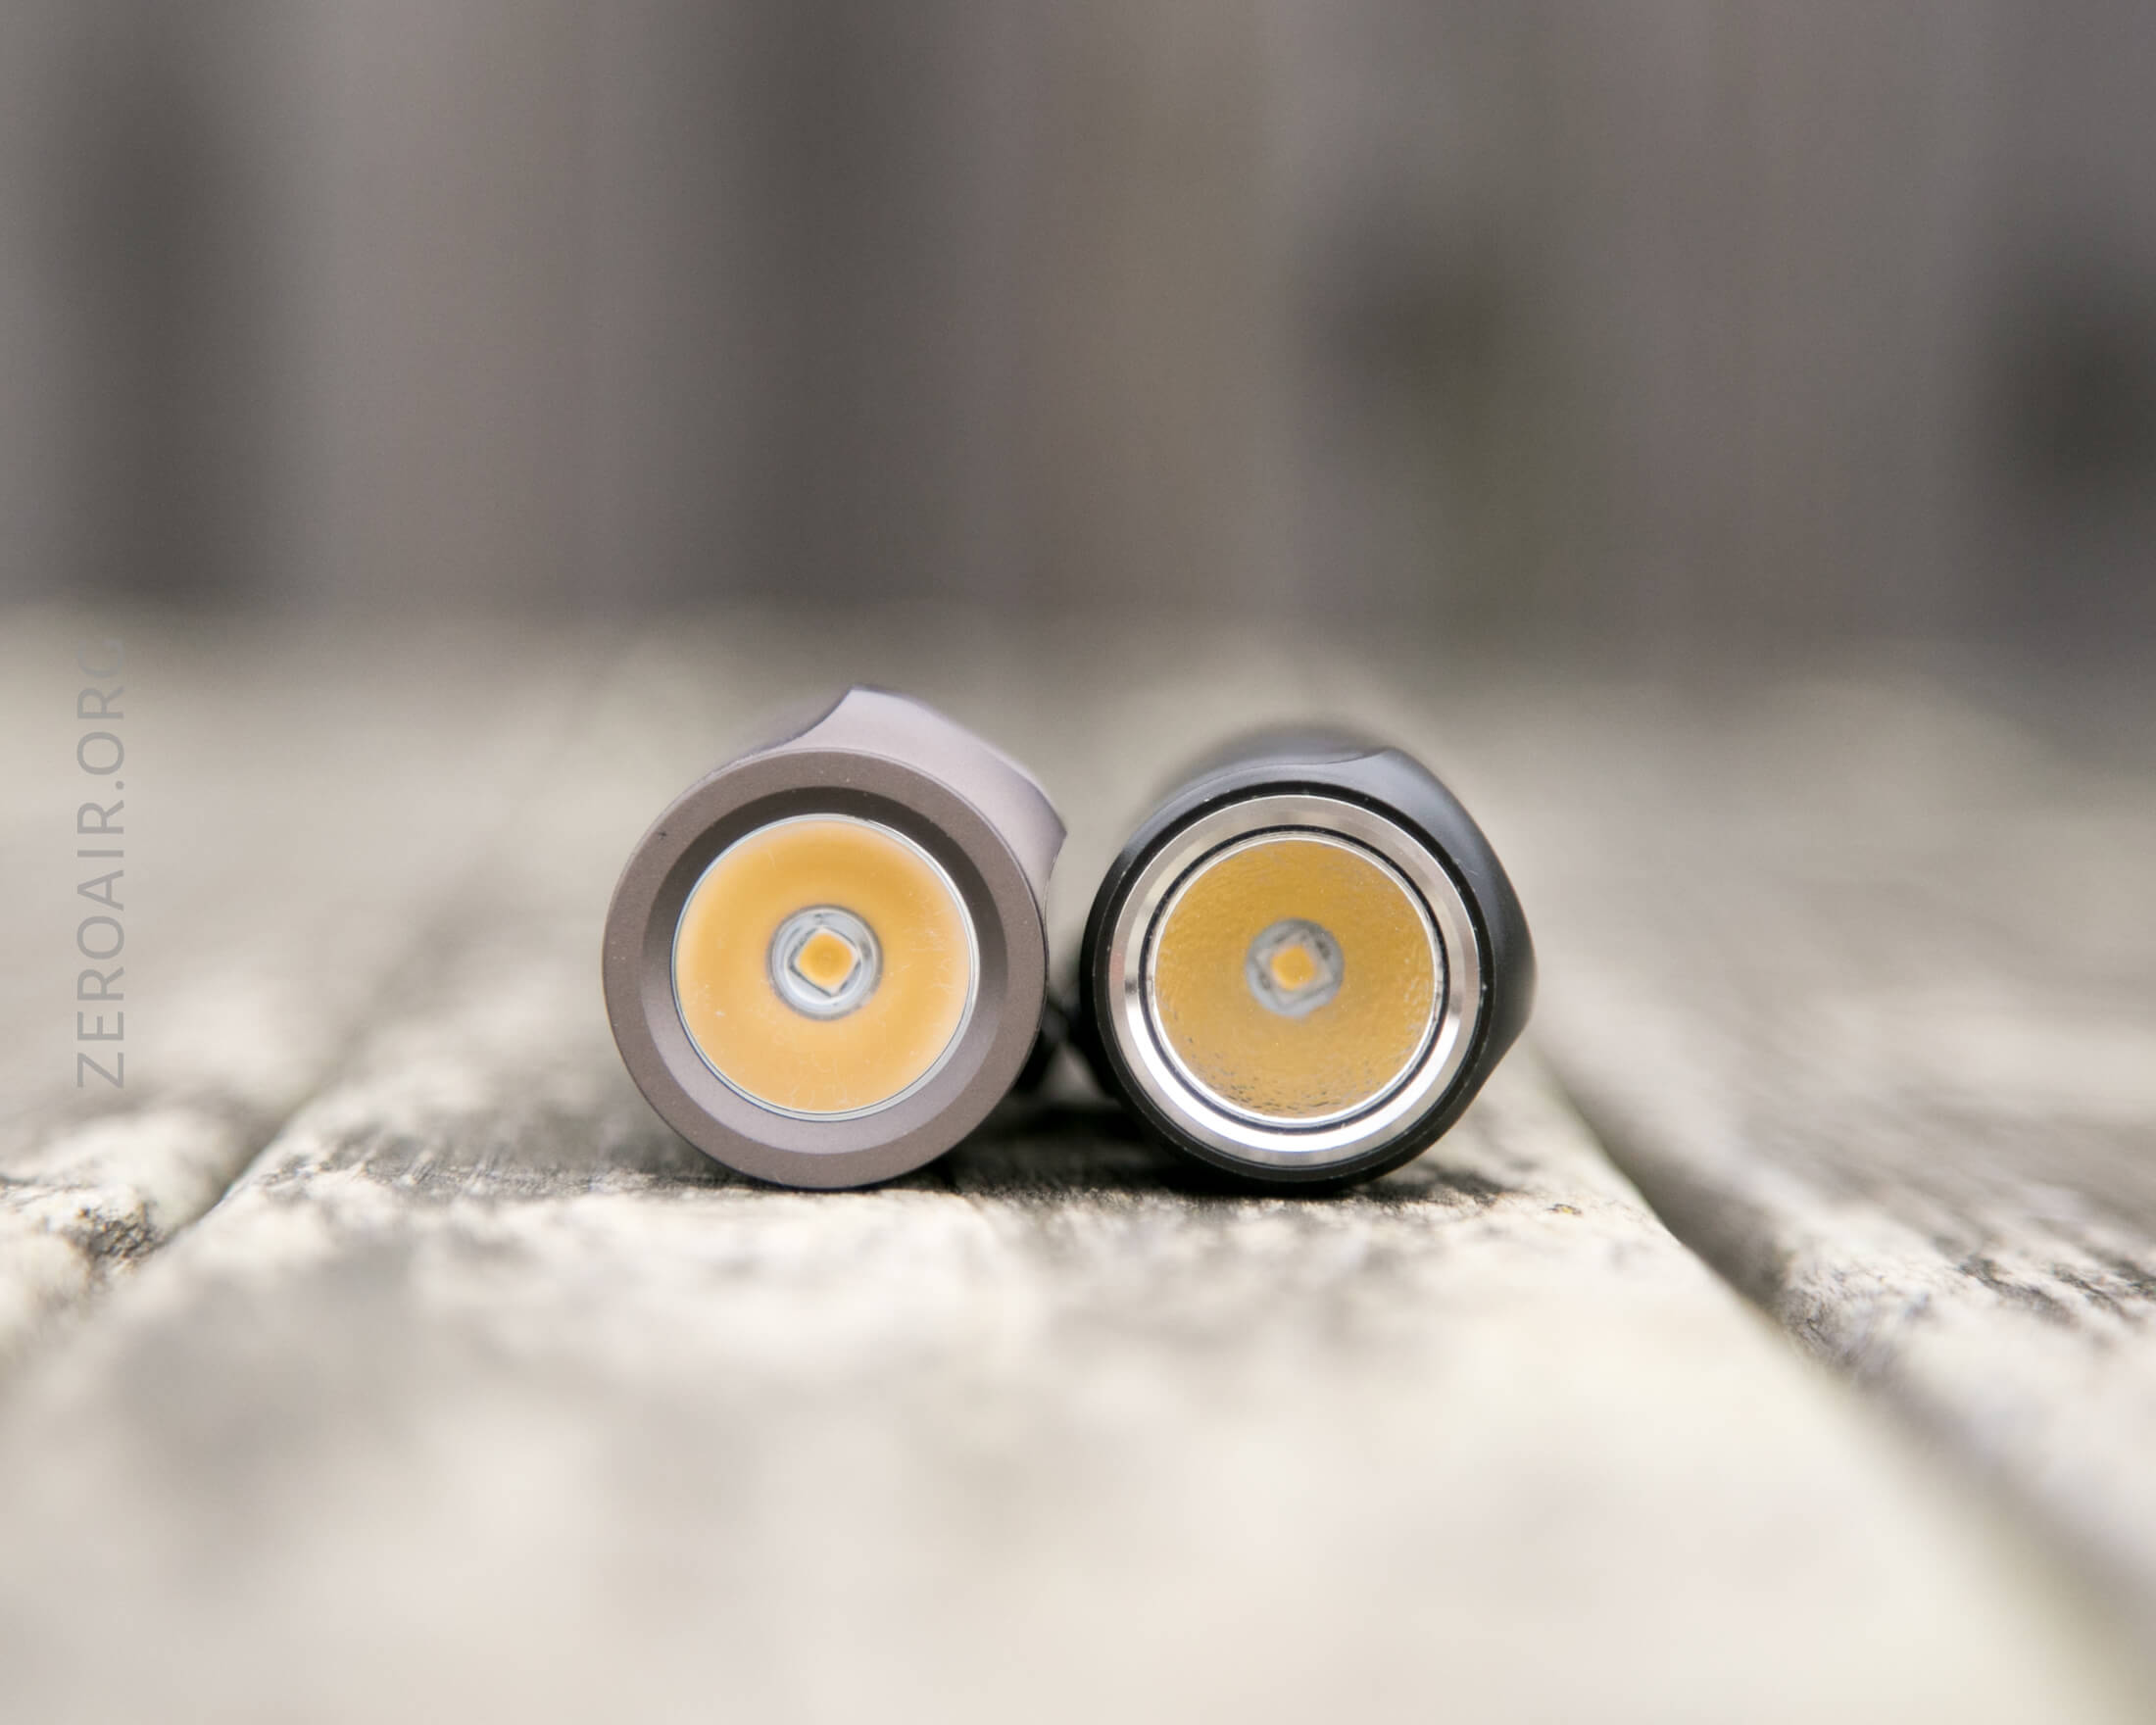
The emitter in the Unicorn 1.0 is a Samsung LH351d, in 4000K and High CRI (>90). This emitter is under a TIR and provides one of my favorite beam patterns – fairly tight and even all the way across the hotspot.
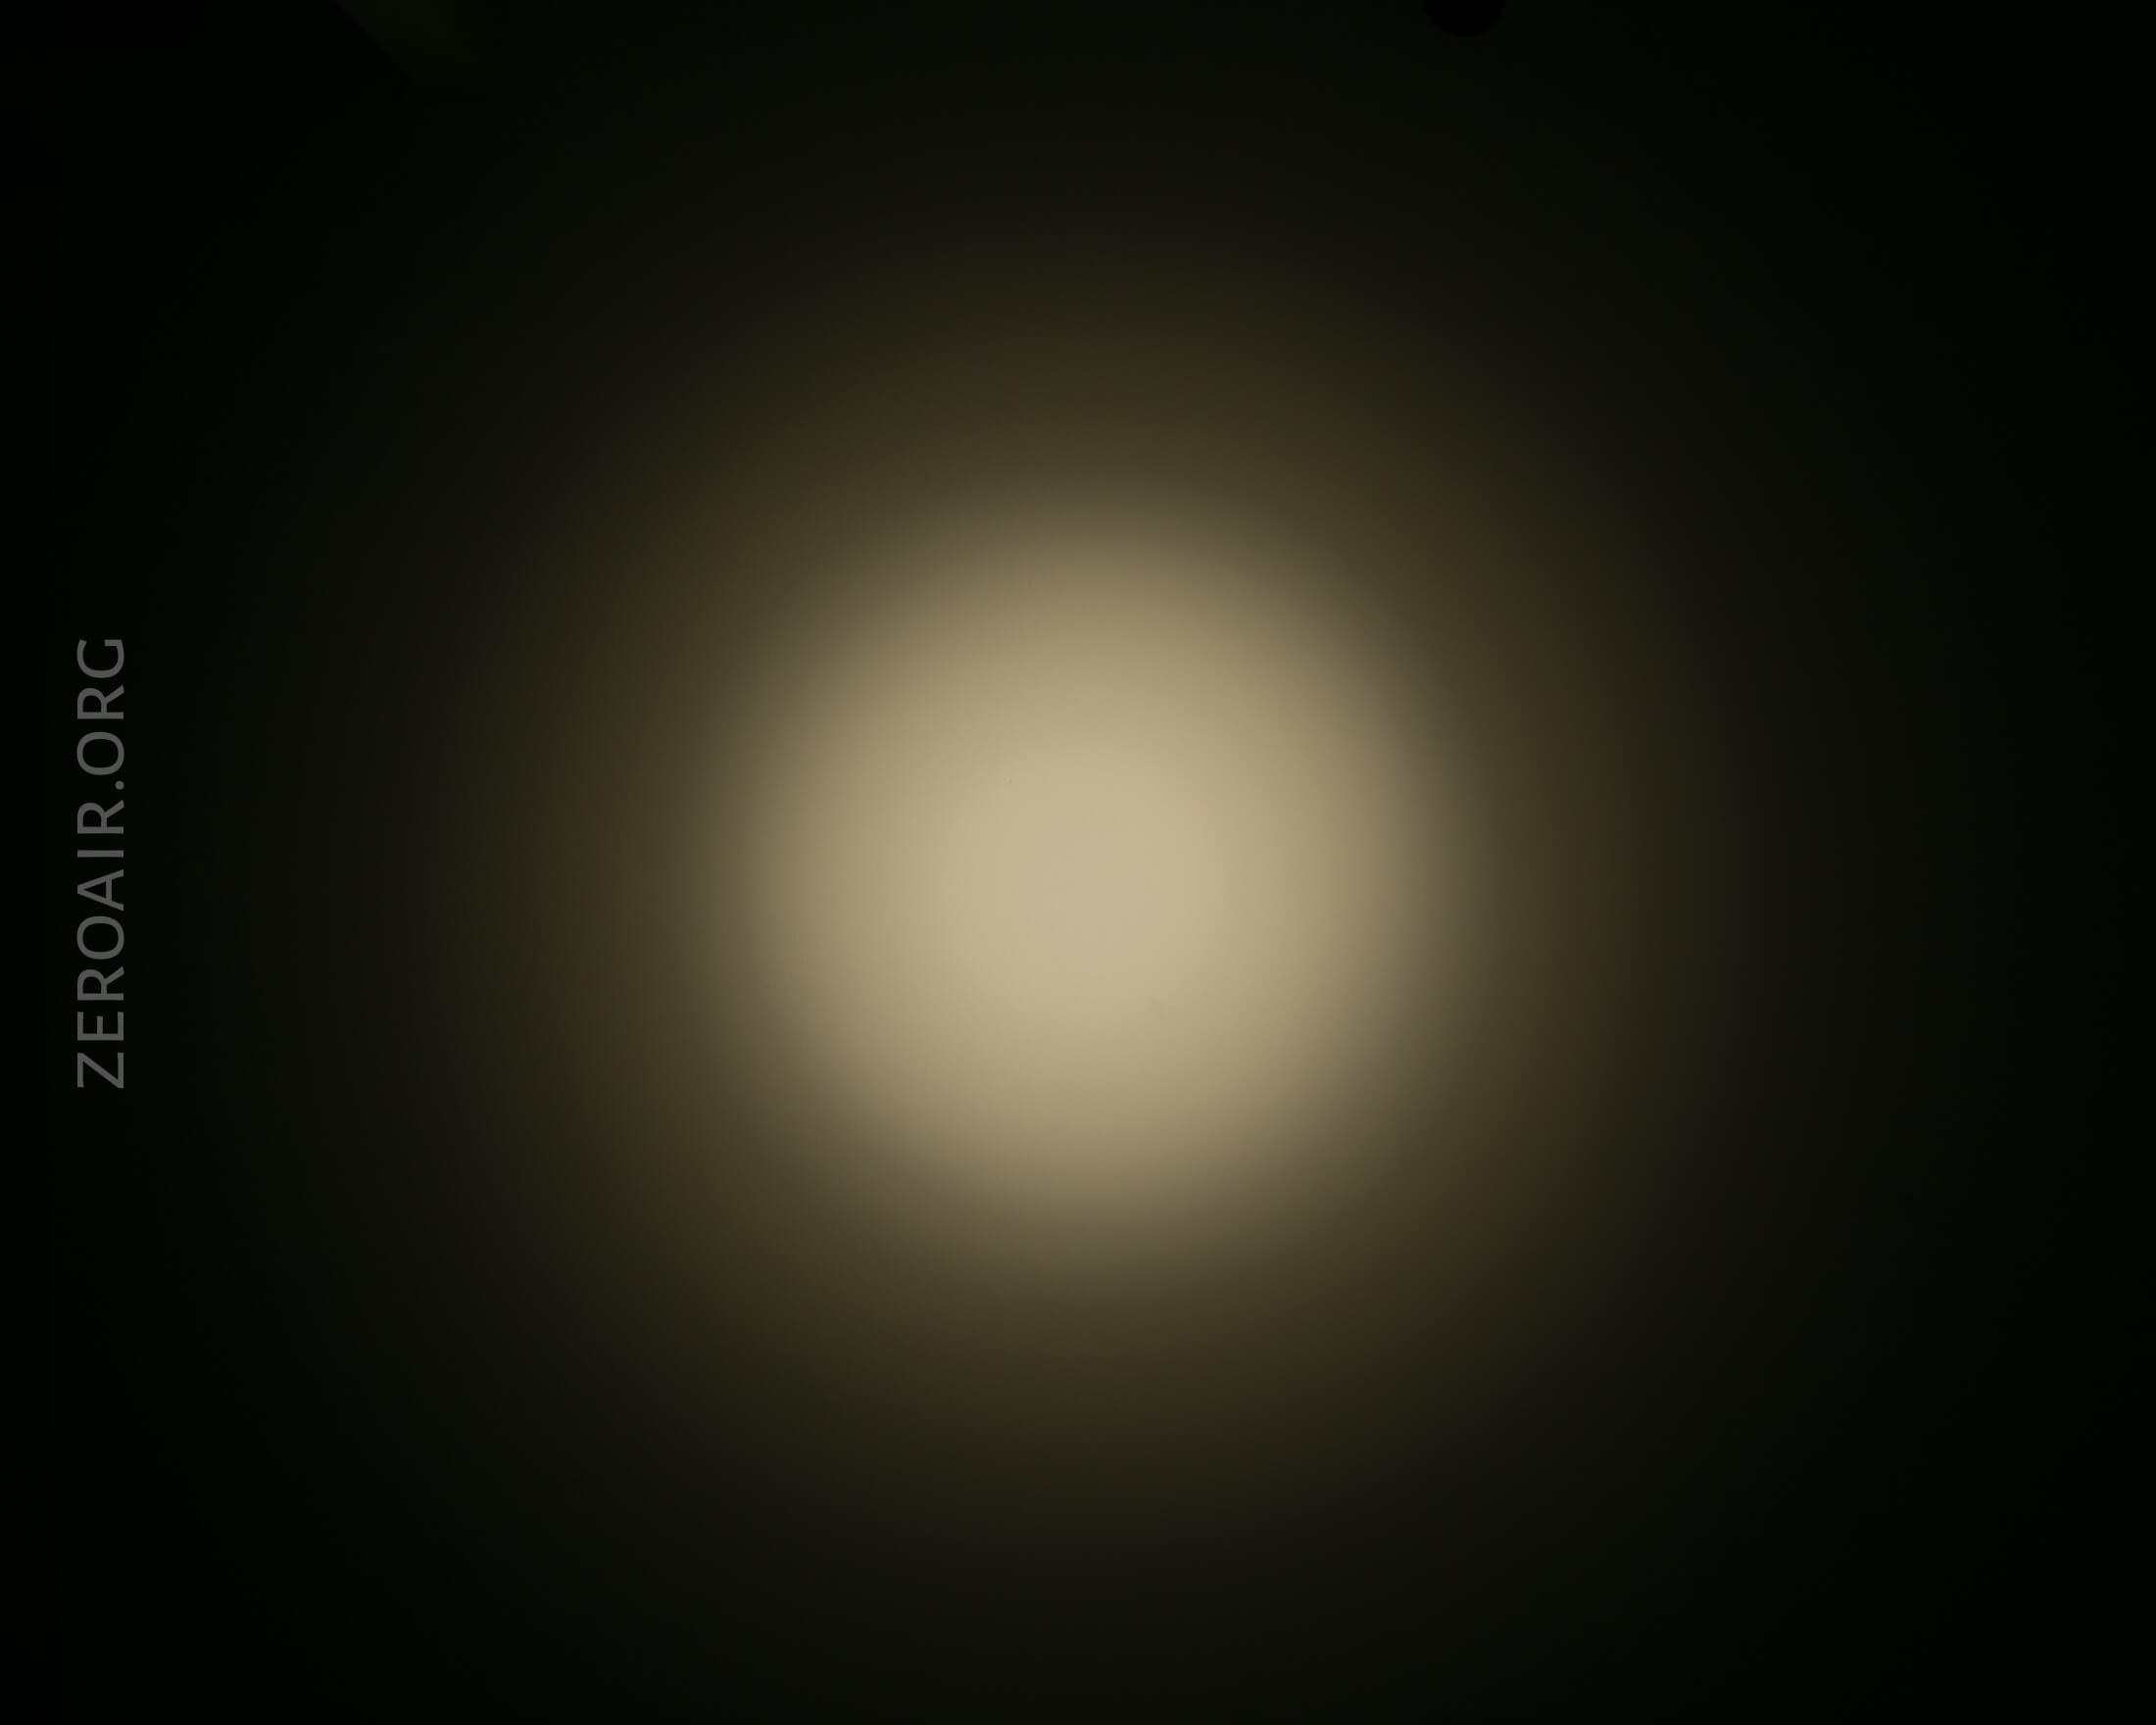
Beamshots
These beamshots always have the following settings: f8, ISO100, 0.3s shutter, and manual 5000K exposure. These photos are taken at floor level, and the beam hits the ceiling around 9 feet away.


Tint vs BLF-348 (KillzoneFlashlights.com 219b version) (affiliate link)
I keep the test flashlight on the left and the BLF-348 reference flashlight on the right.
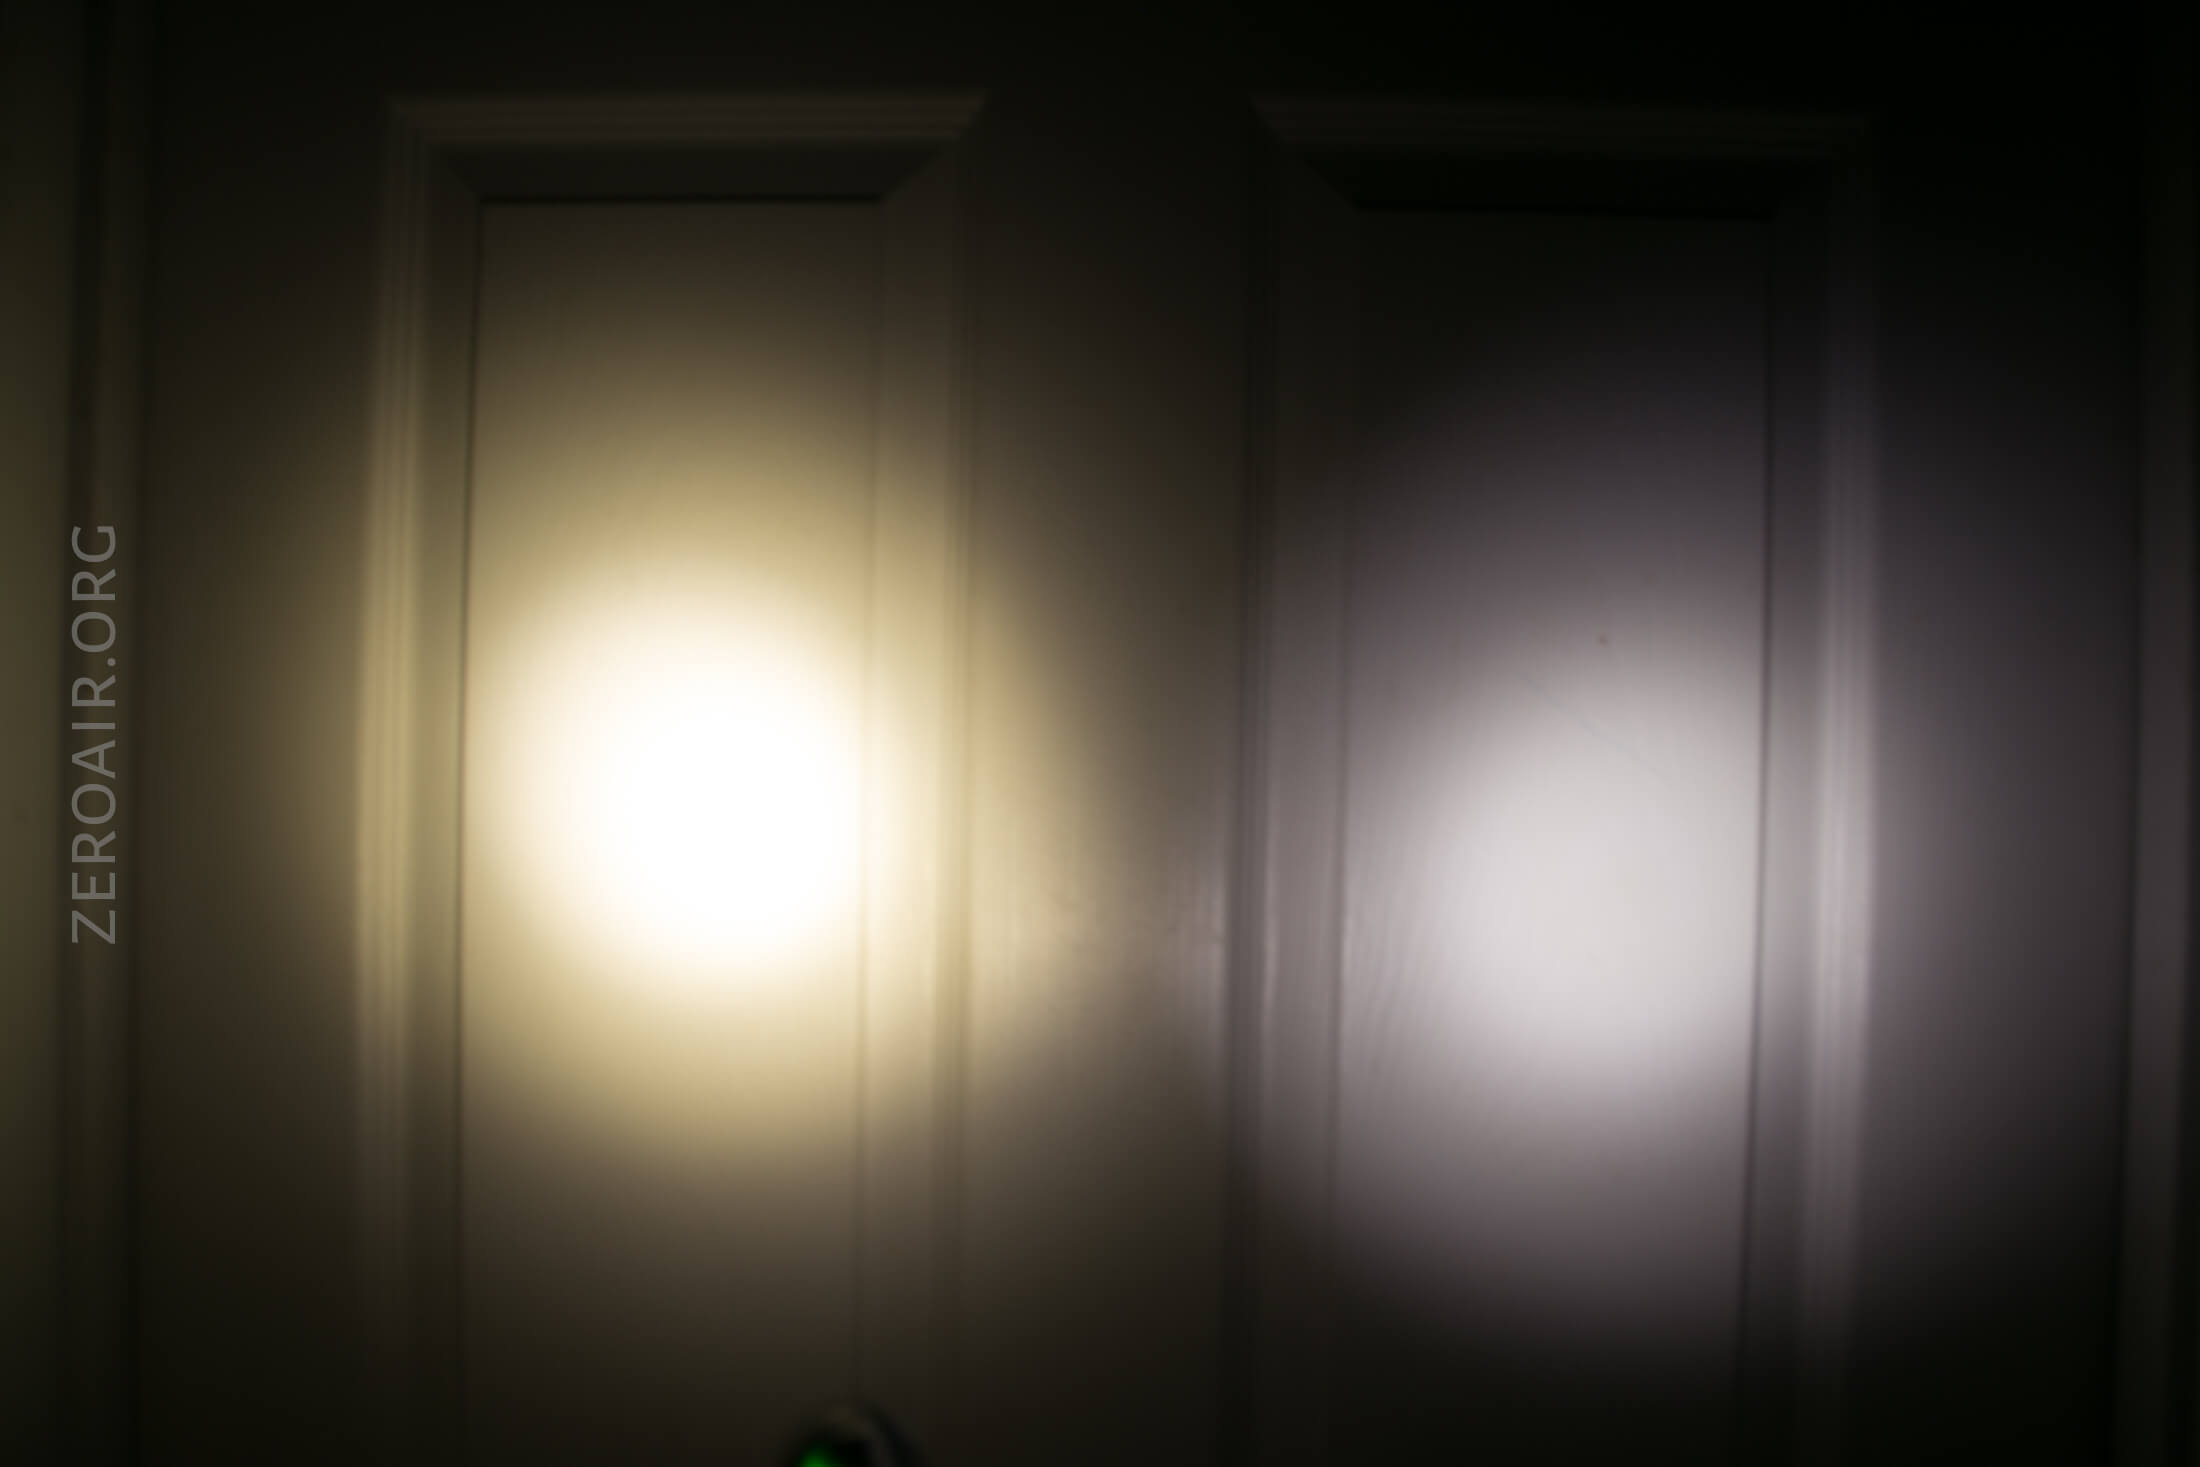
I compare everything to the Killzone 219b BLF-348 because it’s inexpensive and has the best tint!
Conclusion
What I like
- Use of high CRI emitter
- Use of Samsung LH351d
- Relatively low cost
- Many user interface options
- Reasonable claims made on the light and the specs are met
What I don’t like
- Just a little big, comparatively
- The switch could be bigger, or less clicky (but easier to press). Still very functional though.
Notes
- This light was provided by YLP for review. I was not paid to write this review.
- This content originally appeared at zeroair.org. Please visit there for the best experience!
- Use my amazon.com referral link if you’re willing to help support making more reviews like this one!
- Please support me on Patreon! I deeply appreciate your support!
Discover more from ZeroAir Reviews
Subscribe to get the latest posts sent to your email.
Very well done both the lite and the appraisal
Have you discovered Engineering menu ?
Is the head glued? Can it be removed with a heat gun?
Please add some photos where you hold it in your hand, thank you.