RovyVon E200s Angel Eyes Flashlight Review
RovyVon’s new RovyVon E200s Angel Eyes is a dual-emitter rectangle light. Quite an interesting design! Read on for photos and thoughts!
Official Specs and Features
Here’s a link to the RovyVon E200s Angel Eyes product page.
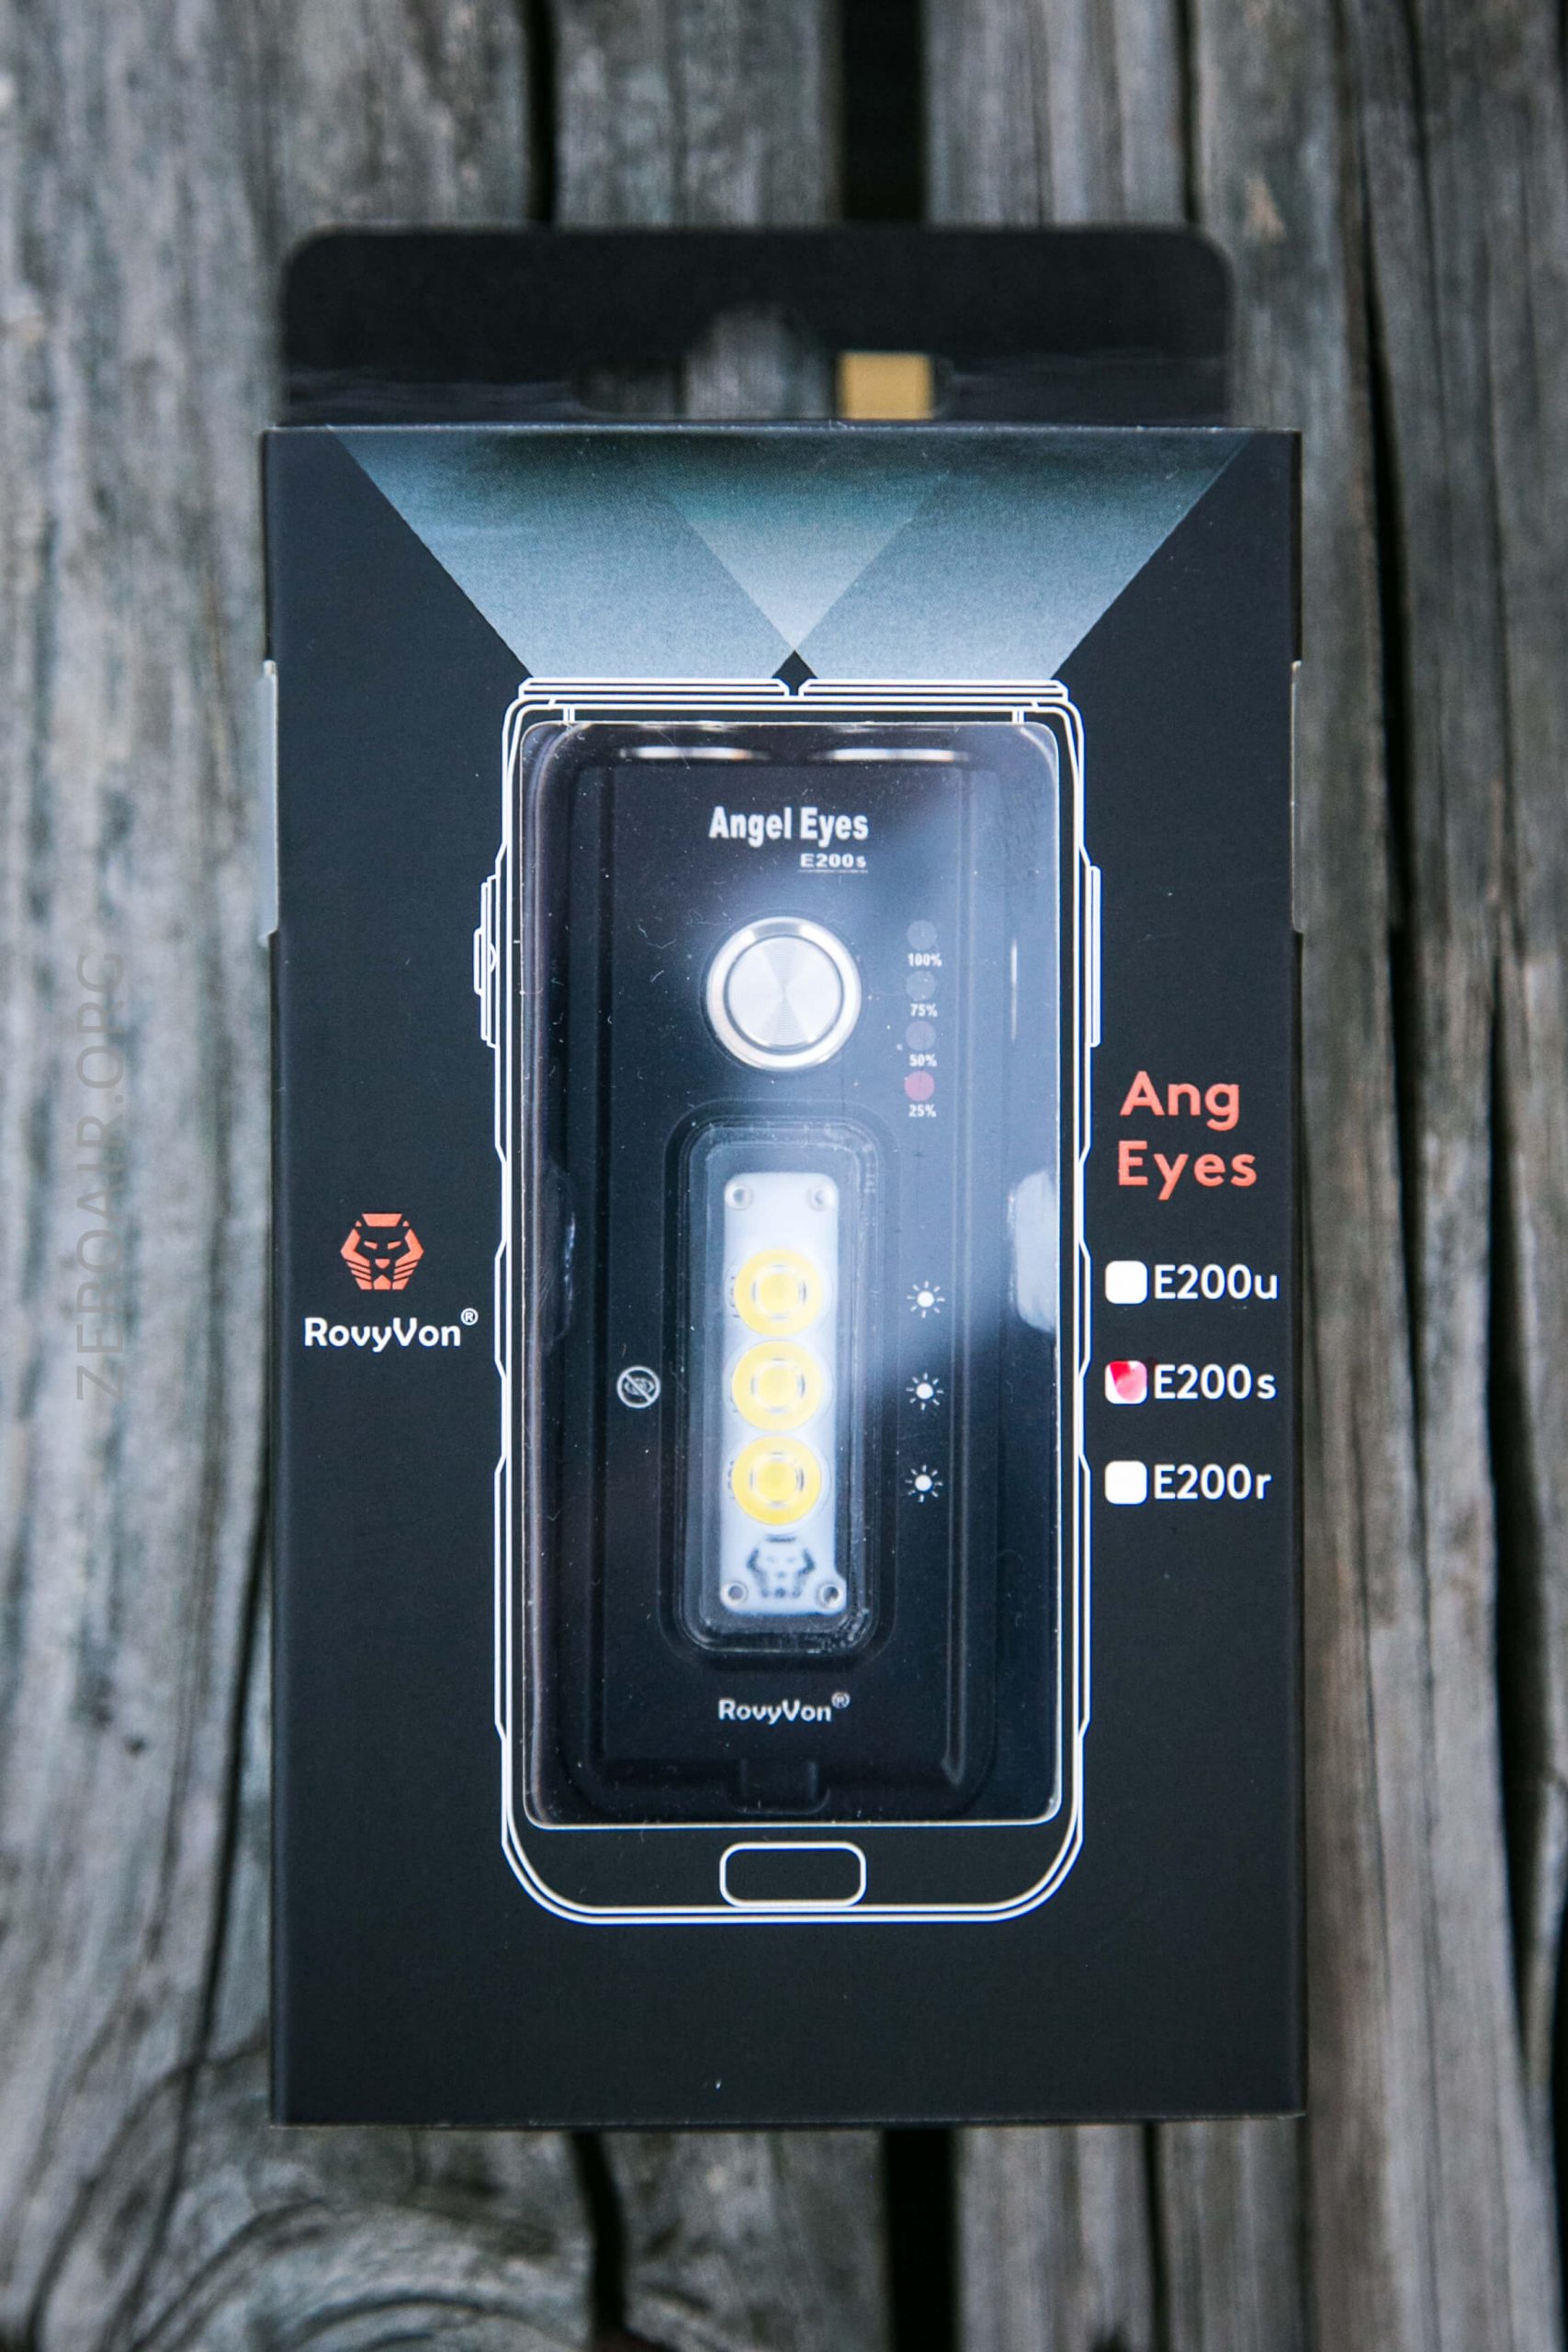
Versions
There are three versions of the E200.
The E200u uses a dual-chip LED, which makes UV-C (270nm) and UV-A (390nm-400nm).
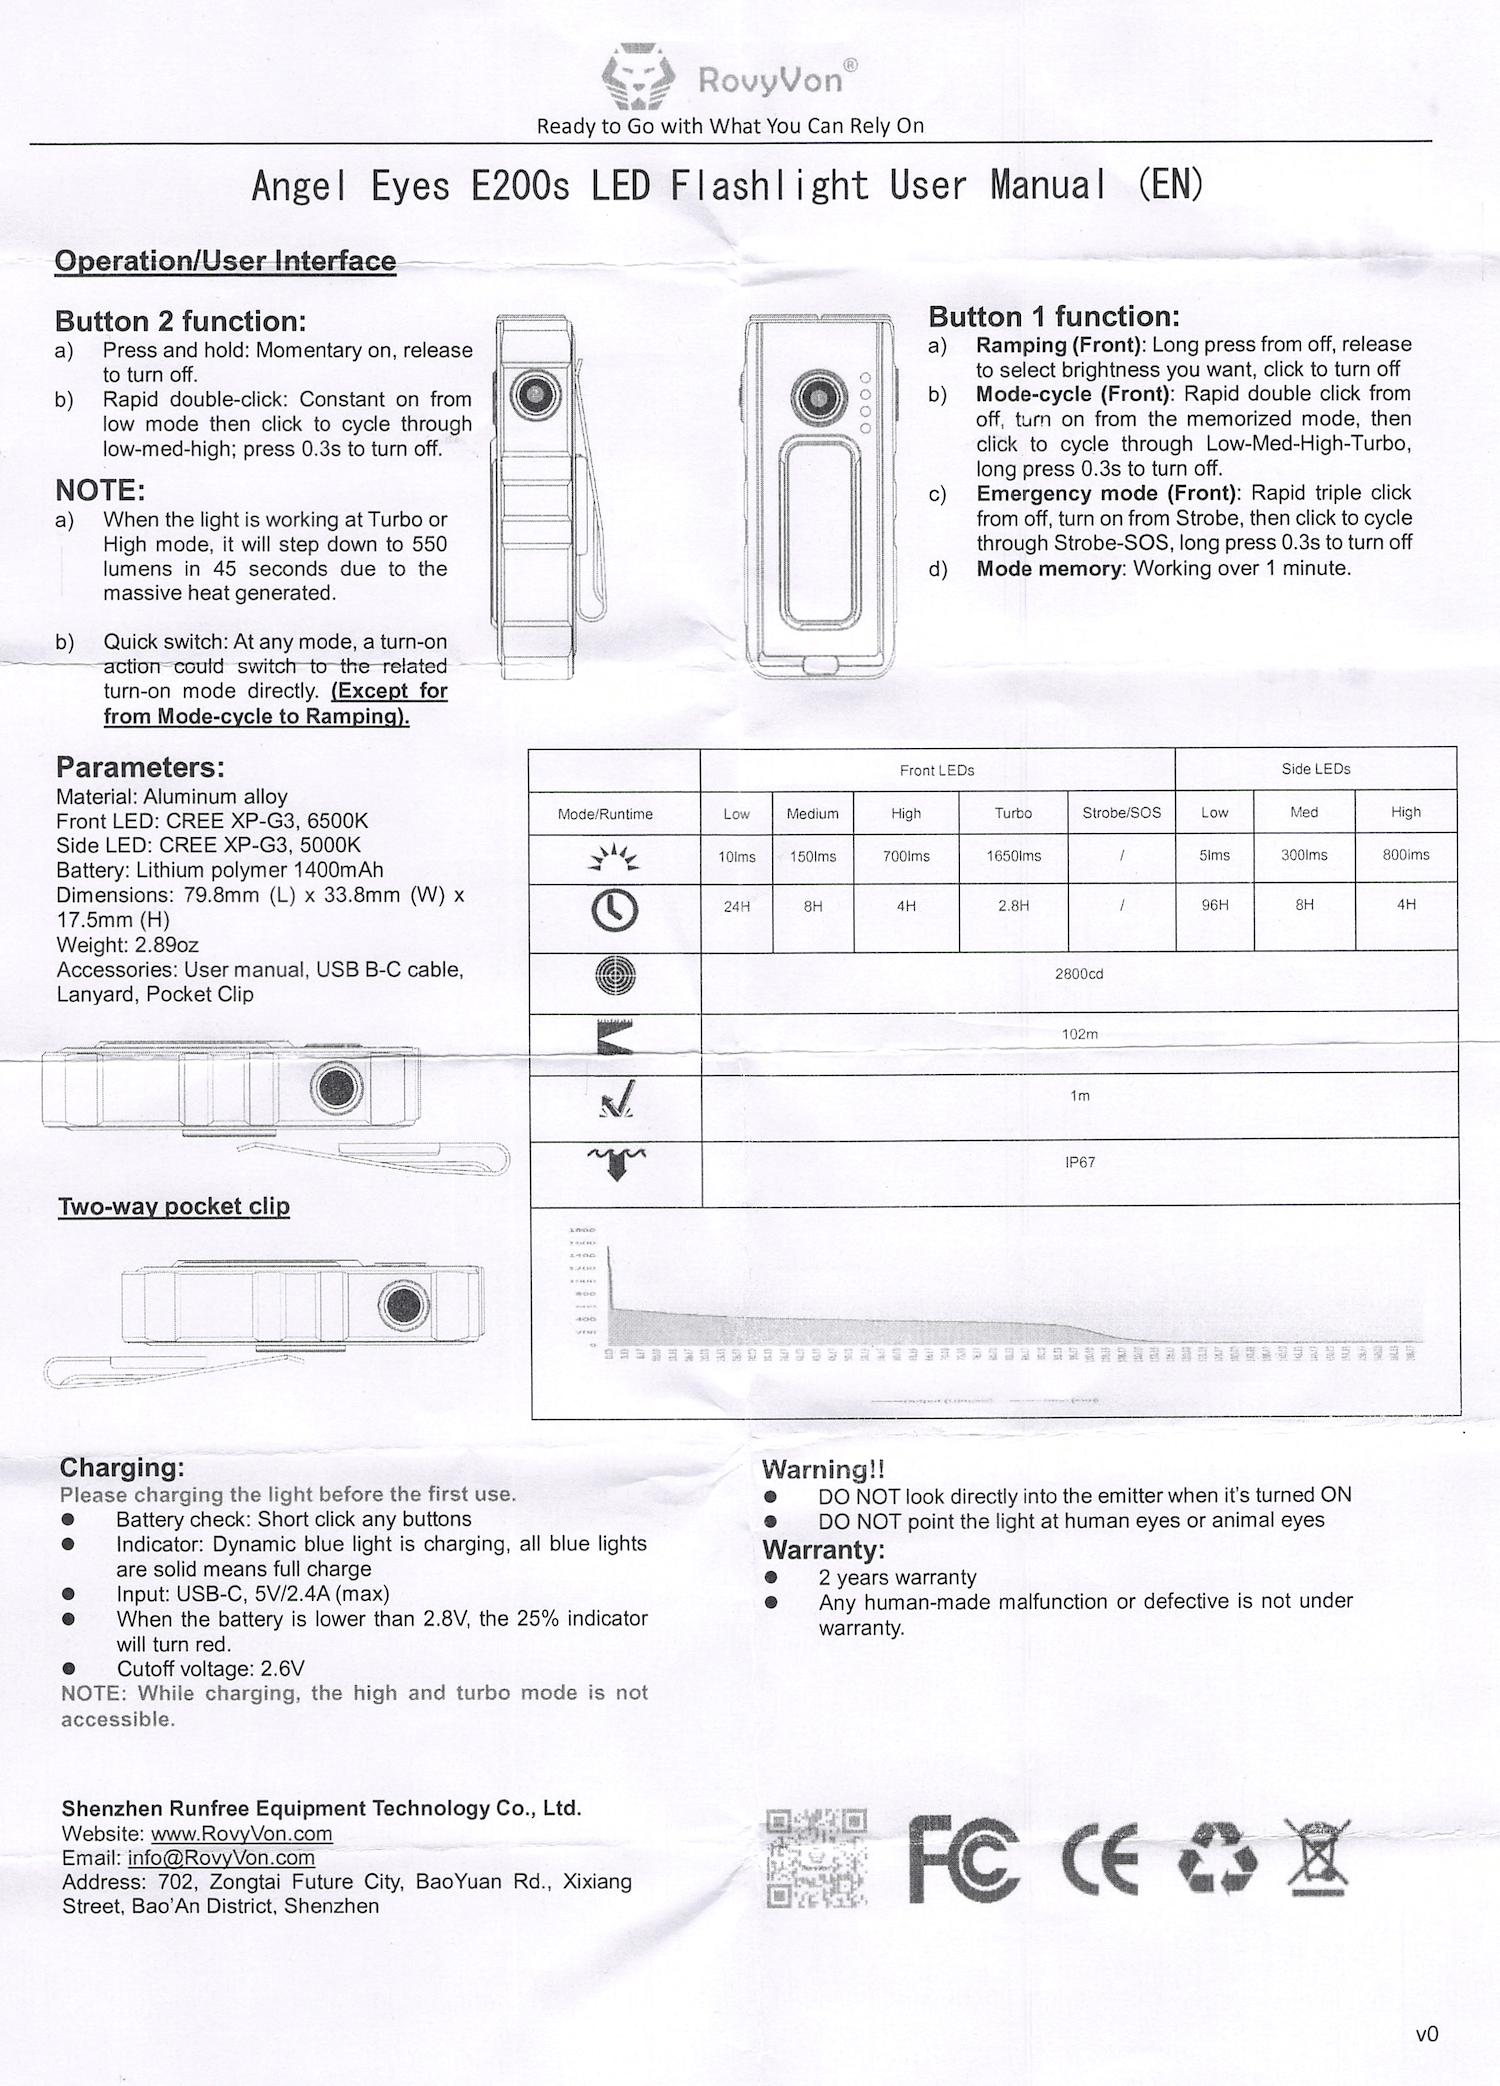
The E200s uses CREE XP-G3 LEDs for both front and sidelight (Front is 6500K and Side is 5000K for color temperature).
The E200r has red and blue LEDs for the front light and CREE XP-G3 LEDs for the sidelight.
Price
These are listed at $79.95 right now on Amazon(referral link).
Short Review
This E200s Angel Eyes is another neat little light from RovyVon. I like the size better than the bigger angel eyes E300s, and overall, it’s probably more useful. Charging is fast and consistent. Output is lower than spec.
Long Review
The Big Table
| RovyVon E200s Angel Eyes | |
|---|---|
| Emitter: | Cree XP-G3 (6500K) – Front emitters (2) |
| Price in USD at publication time: | $79.95 on Amazon |
| Cell: | Internal (1400mAh LiPO) |
| Turbo Runtime | High Runtime |
| LVP? | ? |
| Switch Type: | E-Switch |
| Quiescent Current (A): | ? |
| On-Board Charging? | Yes |
| Charge Port Type: | USB-C |
| Chargetime | |
| Power off Charge Port with no Cell? | Two low modes |
| Claimed Lumens (lm) | 1650 |
| Measured Lumens (at 30s) | 1152 (69.8% of claim)^ |
| Candela per Lumen | 5 |
| Claimed Throw (m) | 102 |
| Candela (Calculated) in cd (at 30s) | 252lux @ 4.592m = 5314cd |
| Throw (Calculated) (m) | 145.8 (142.9% of claim)^ |
| All my RovyVon reviews! | |
| RovyVon E200s Angel Eyes | |
|---|---|
| Emitter: | Cree XP-G3 (5000K) – Side emitters (3) |
| Price in USD at publication time: | $79.95 on Amazon |
| Cell: | Internal (1400mAh LiPO) |
| High Runtime | Mid Runtime |
| LVP? | ? |
| Switch Type: | E-Switch |
| Quiescent Current (A): | ? |
| On-Board Charging? | Yes |
| Charge Port Type: | USB-C |
| Chargetime | |
| Power off Charge Port with no Cell? | All 3 modes |
| Claimed Lumens (lm) | 800 |
| Measured Lumens (at 30s) | 491 (61.4% of claim)^ |
| Candela per Lumen | 2.4 |
| Claimed Throw (m) | 102 |
| Candela (Calculated) in cd (at 30s) | 131lux @ 3.009m = 1186cd |
| Throw (Calculated) (m) | 68.9 (67.5% of claim)^ |
| All my RovyVon reviews! | |
^ Measurement disclaimer: Testing flashlights is my hobby. I use hobbyist-level equipment for testing, including some I made myself. Try not to get buried in the details of manufacturer specifications versus measurements recorded here; A certain amount of difference (say, 10 or 15%) is perfectly reasonable.
What’s Included
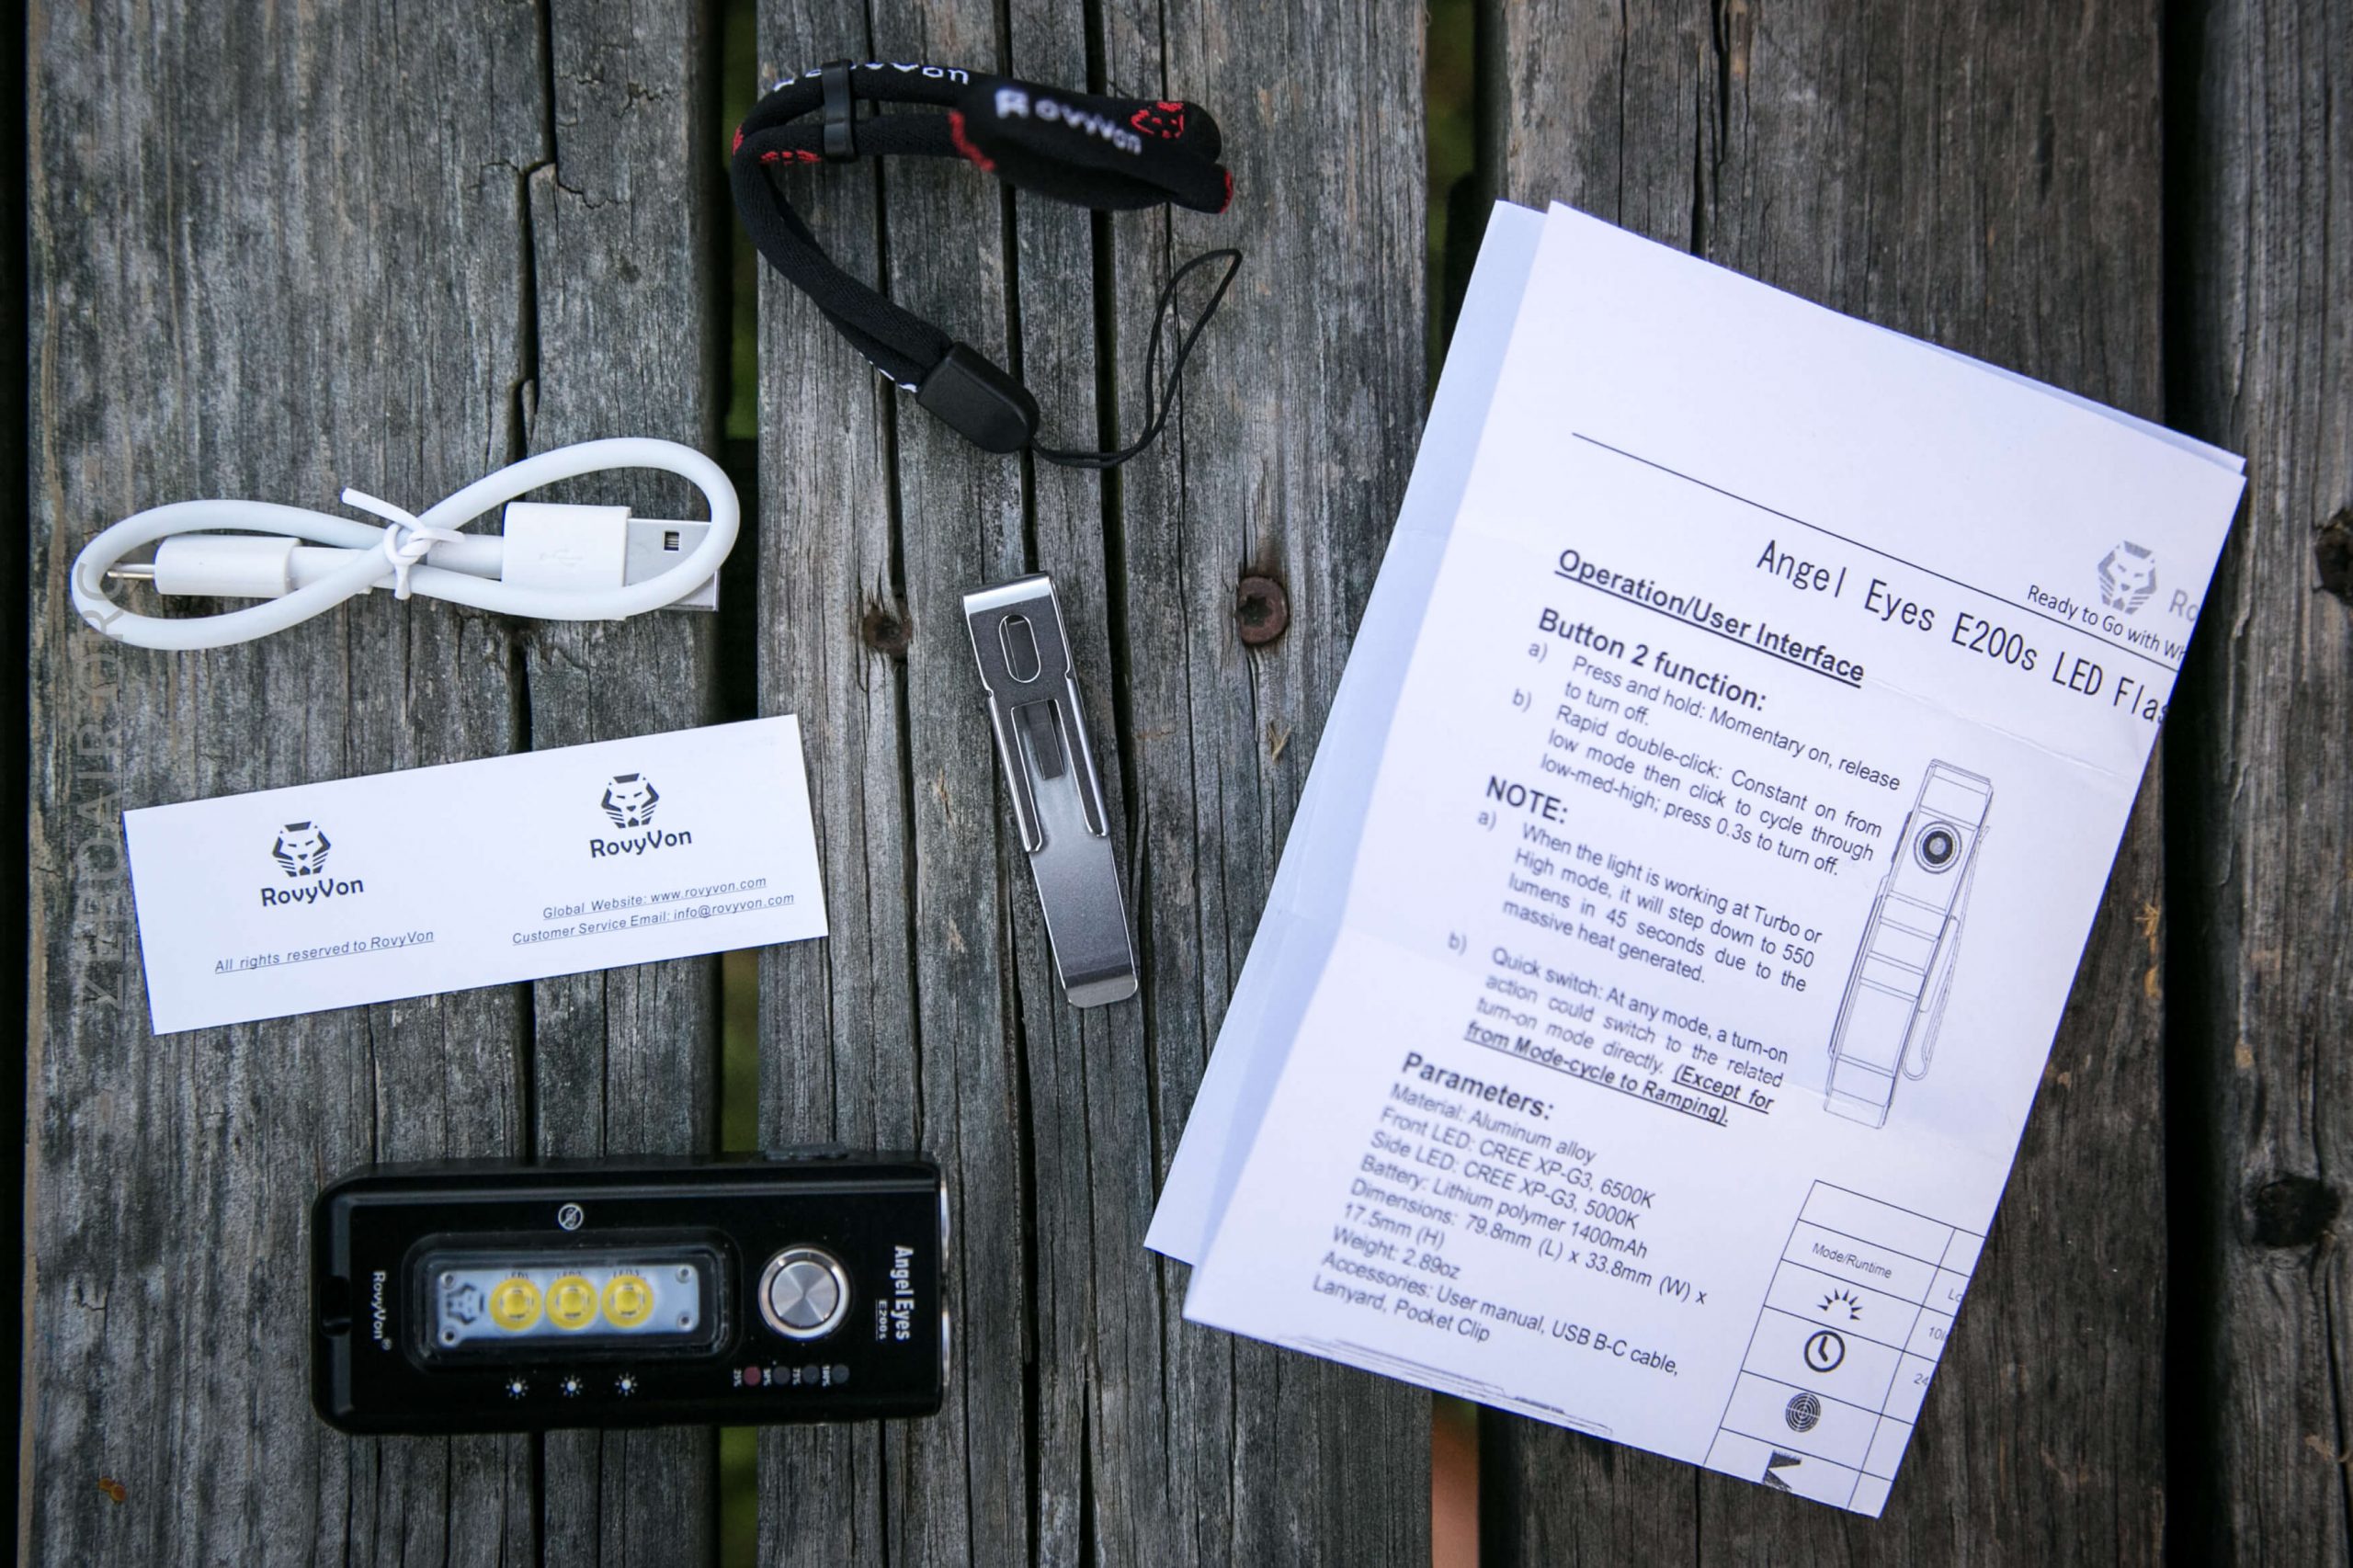
-
RovyVon E200s Angel Eyes Flashlight
- Pocket Clip
- Lanyard
- Charge cable (USB to USB-C)
- Manual and papers
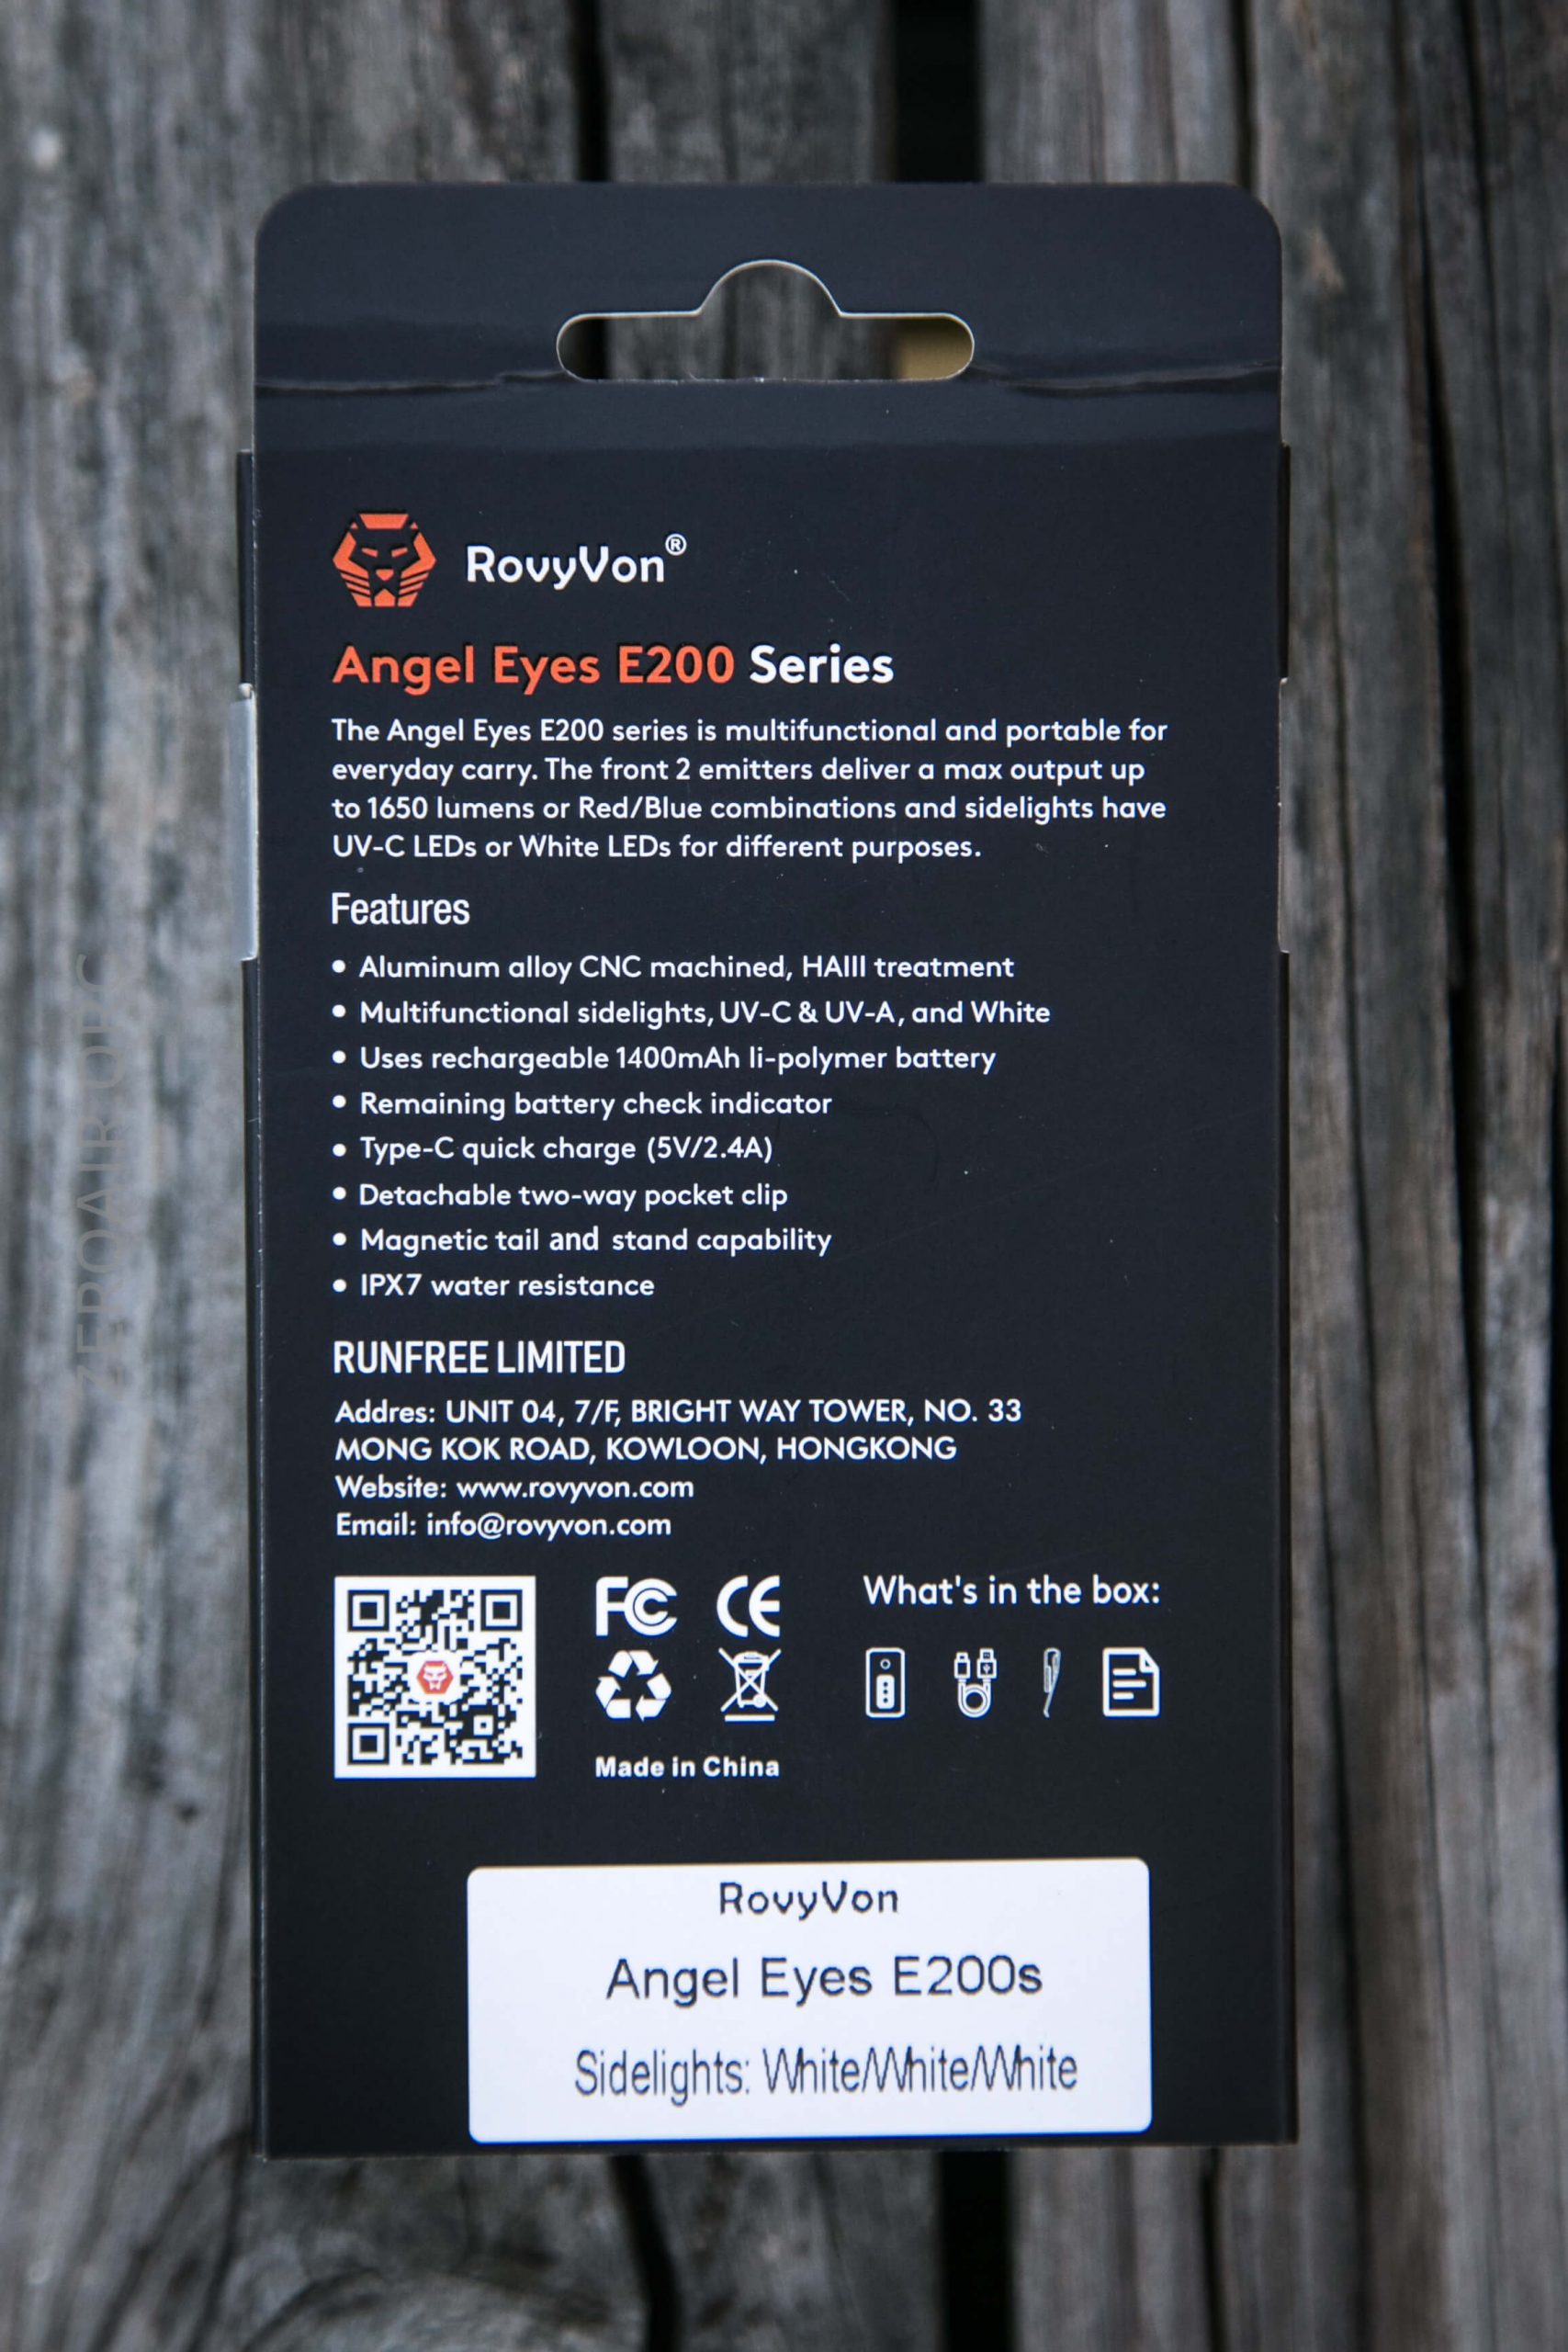
Package and Manual
Build Quality and Disassembly
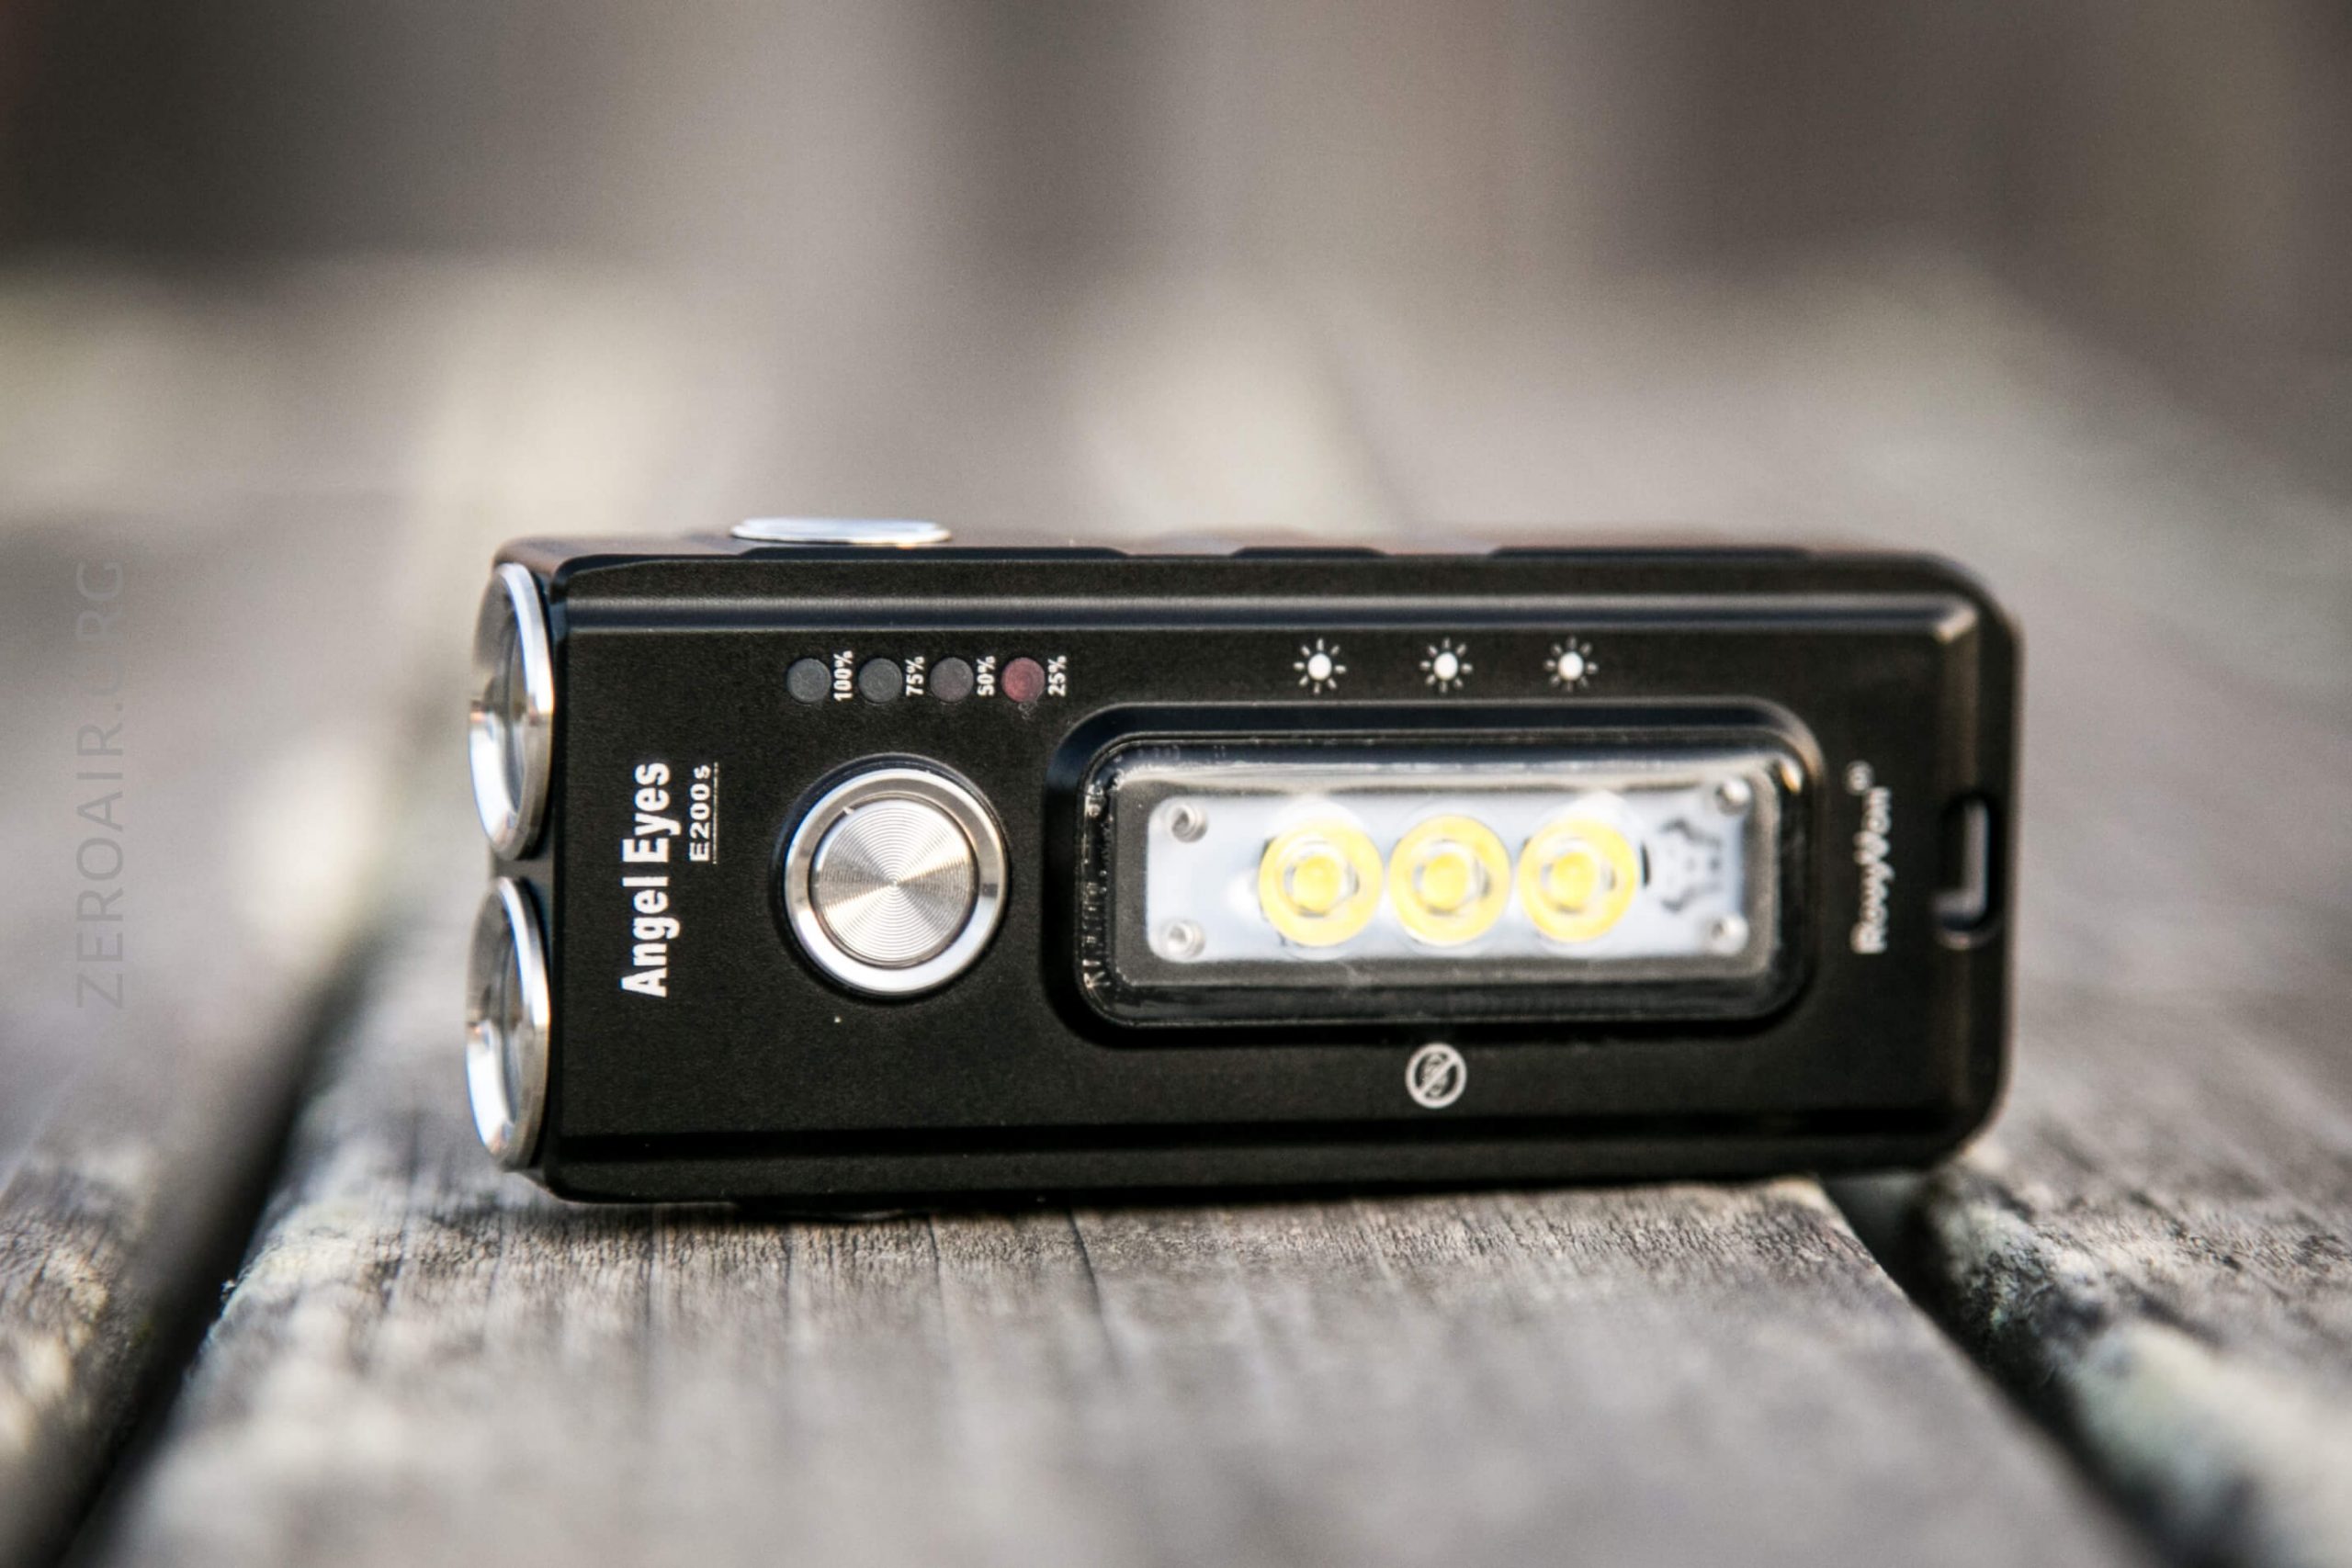
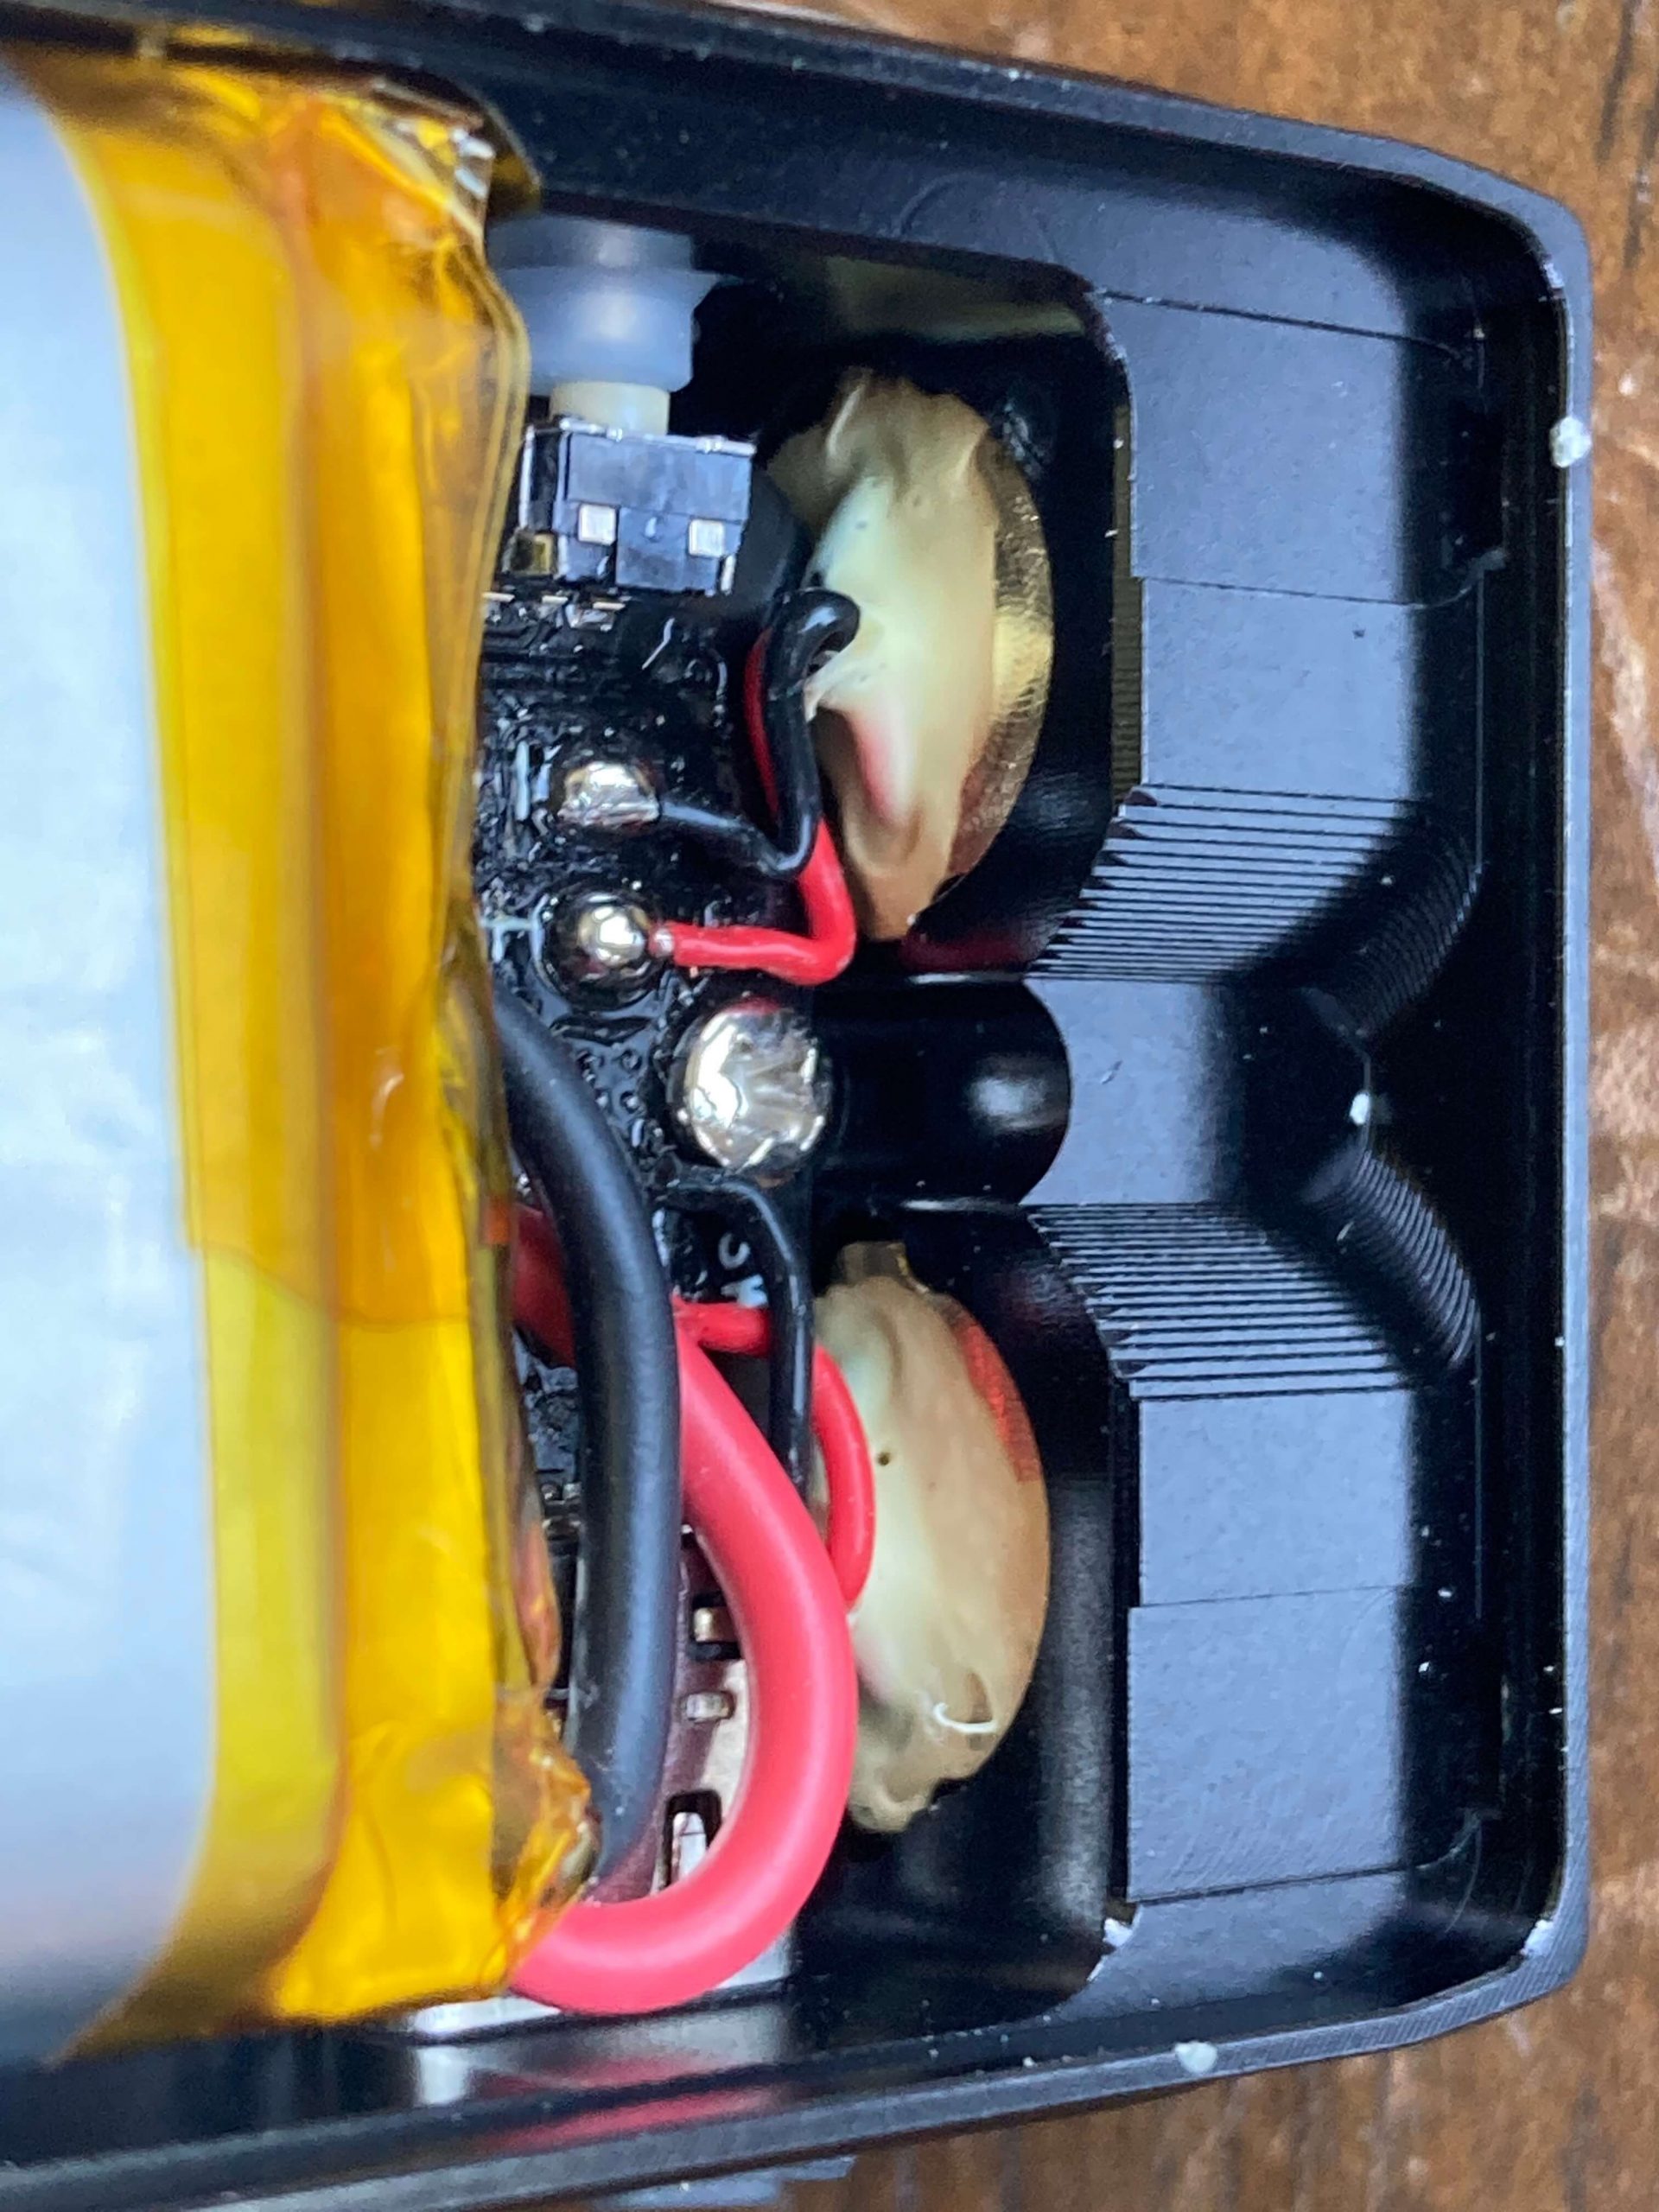
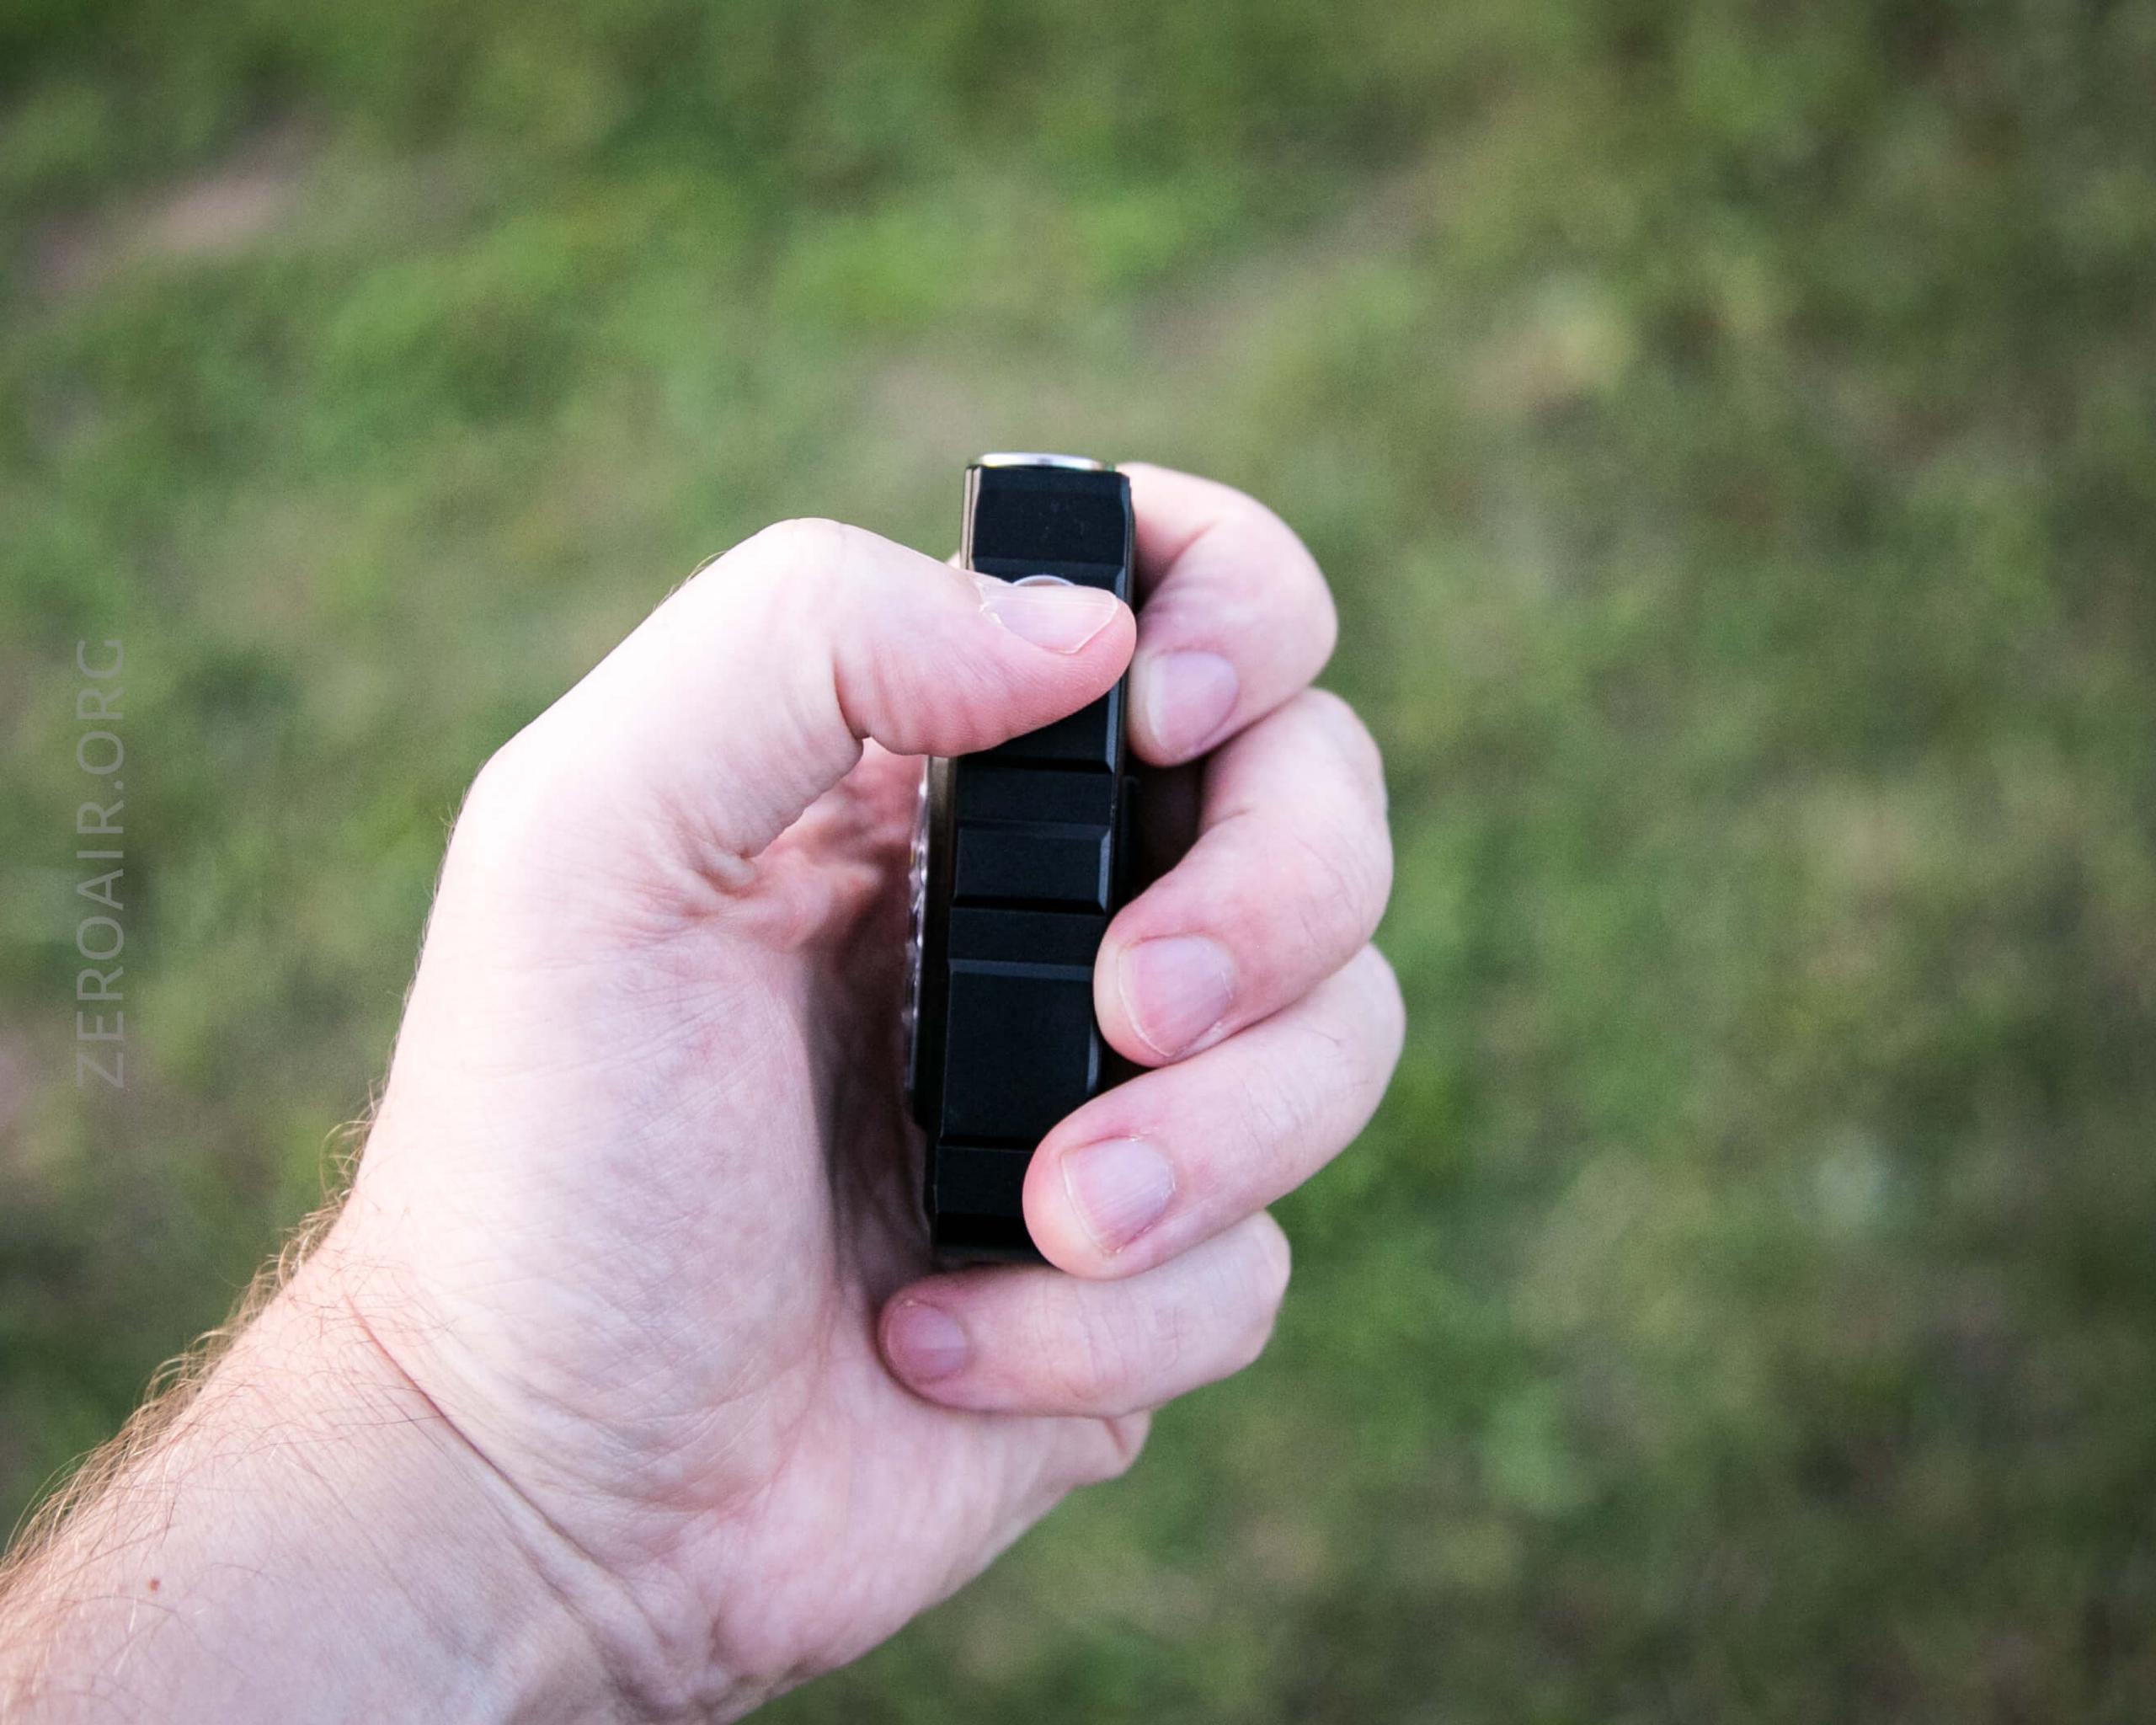
The RovyVon E200s Angel Eyes flashlight’s build quality is good. The guts are both sandwiched and screwed into the inside. The light will not lie flat on any side except the switch side for the front emitters. This is a minor annoyance (but still an annoyance).
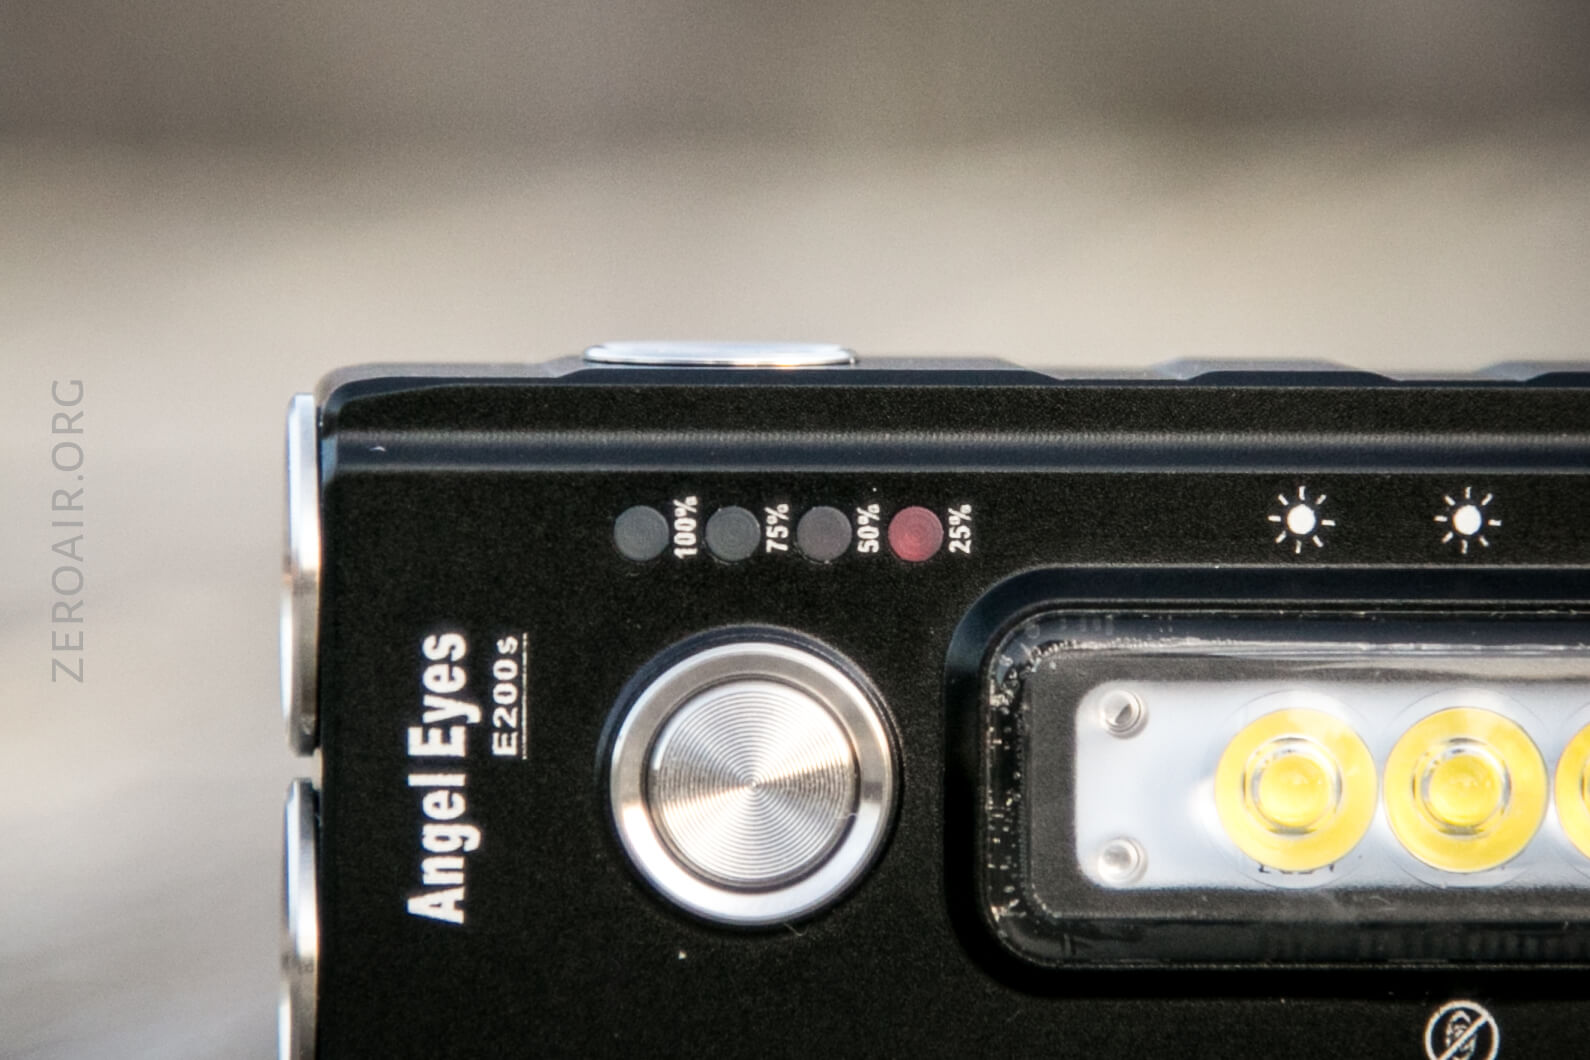
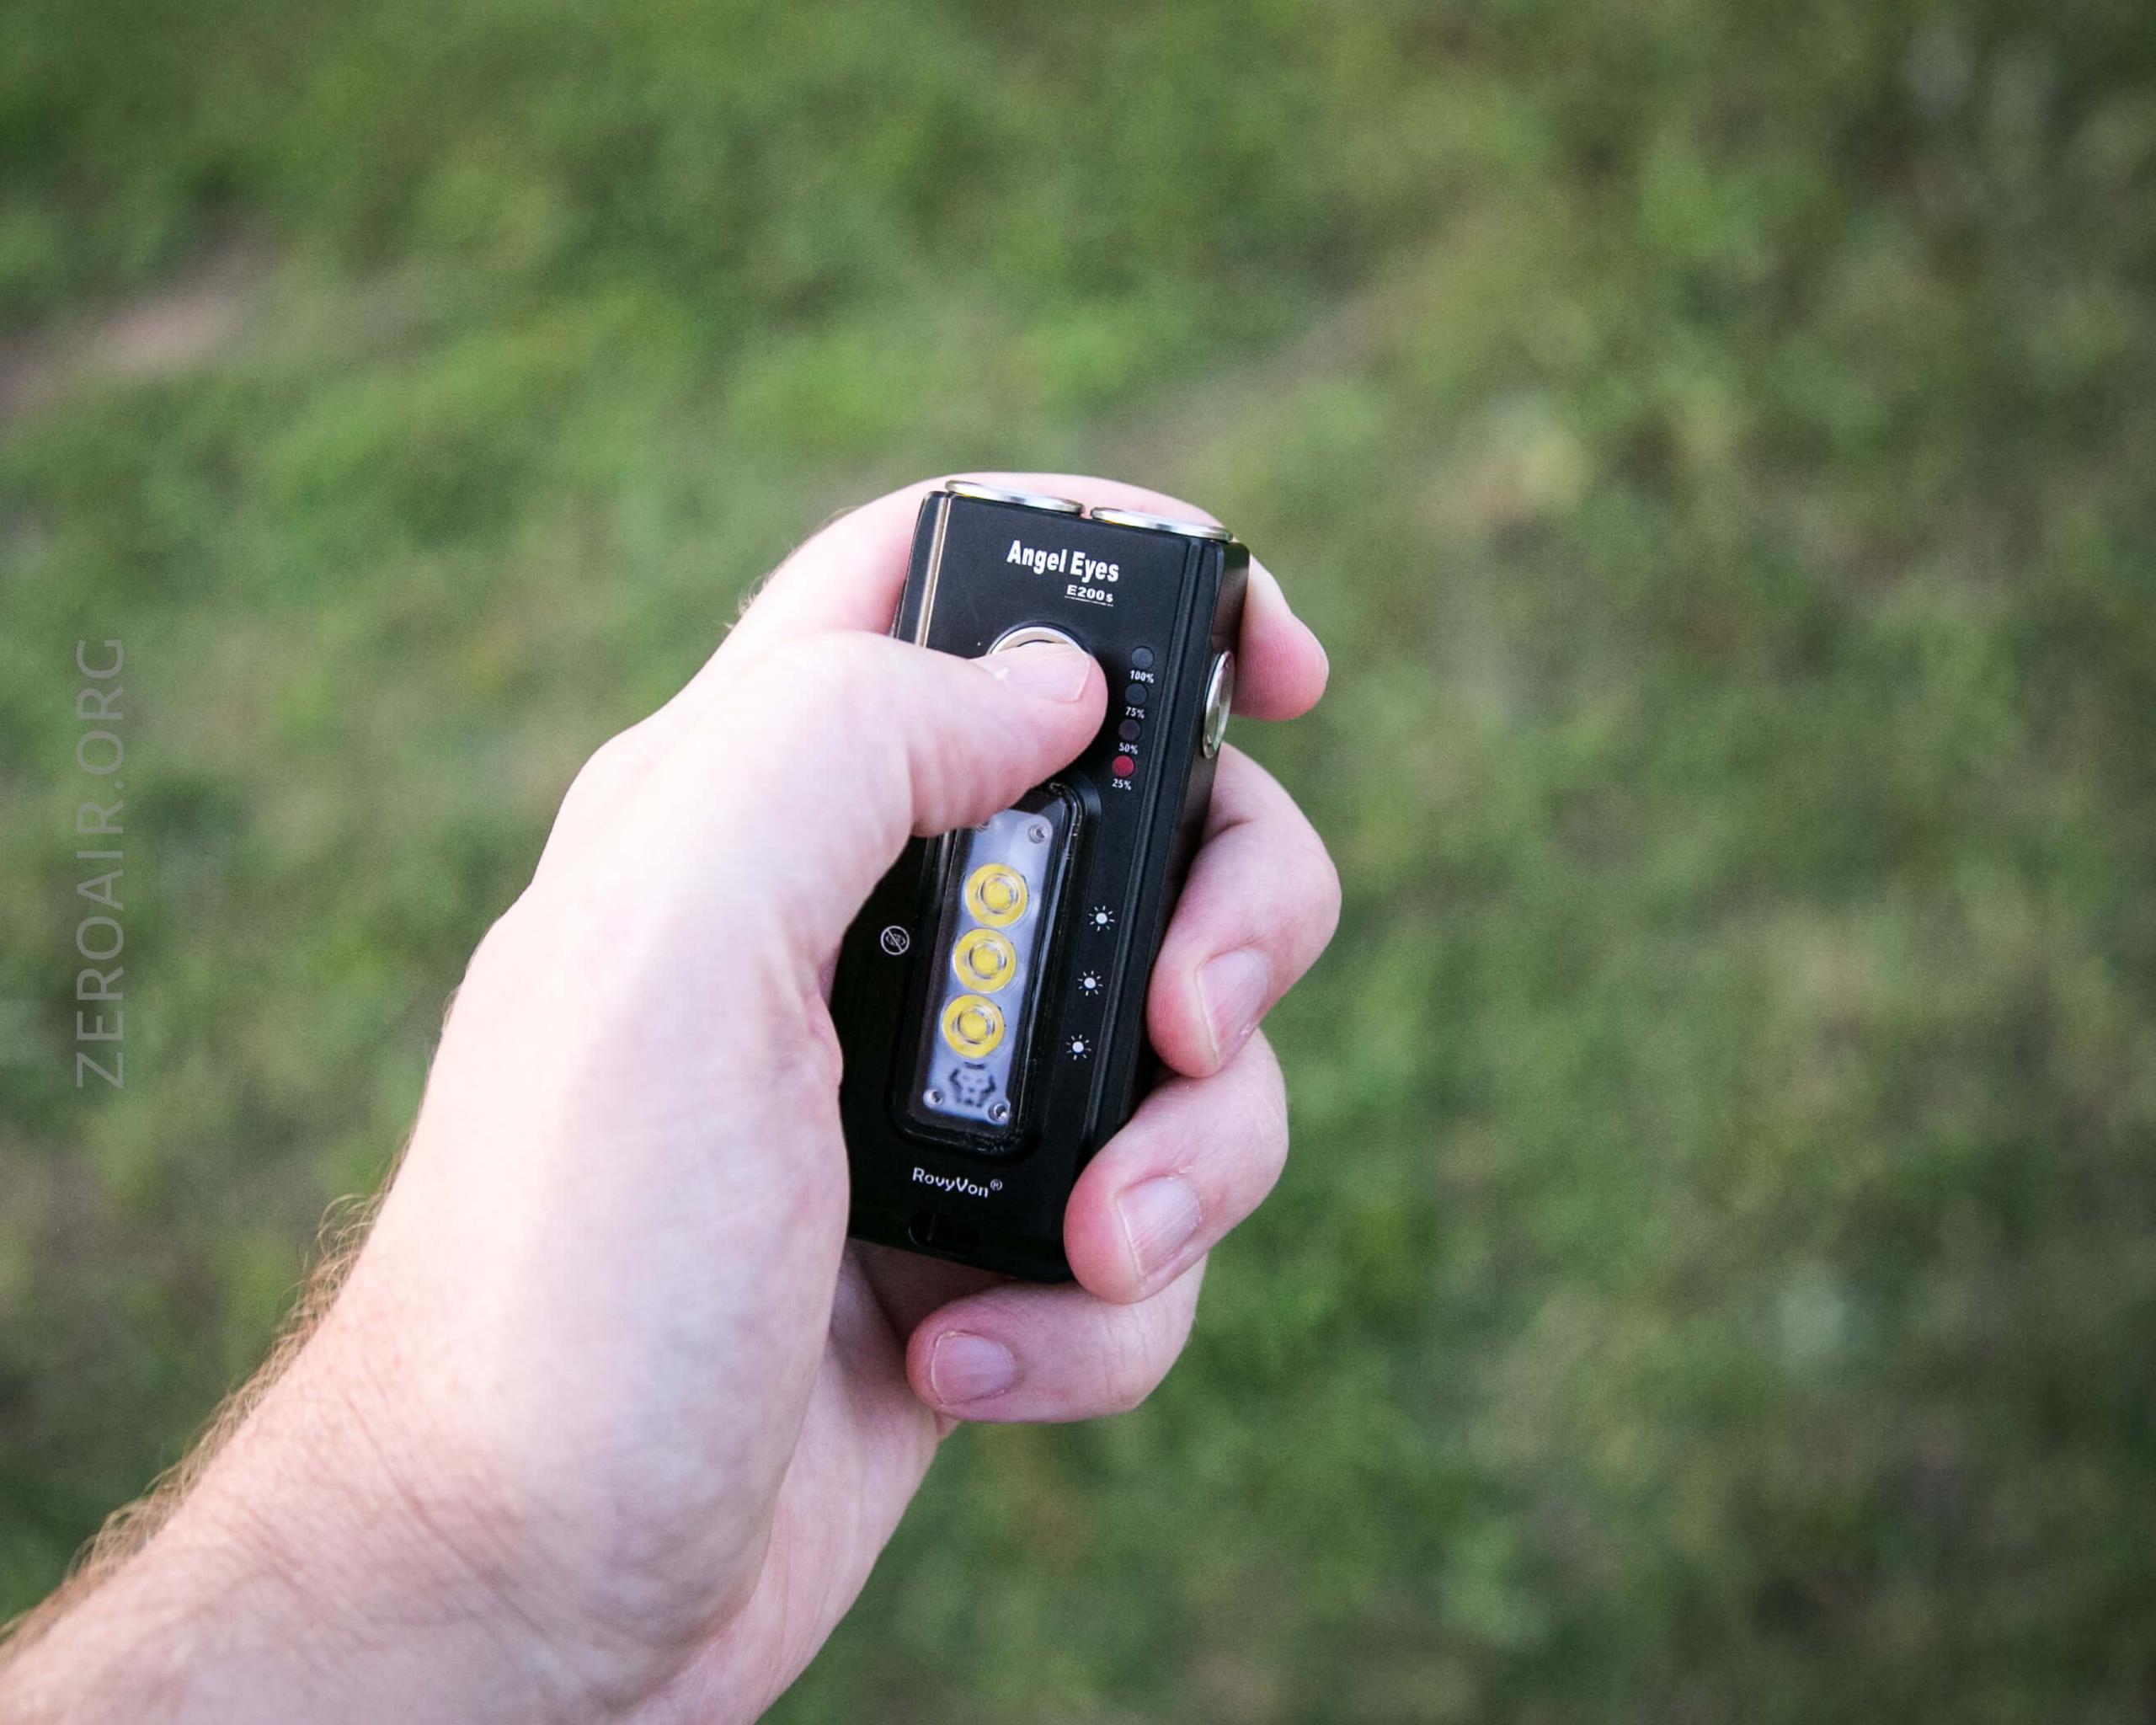
The battery was on 25% when I took these photos. Normally, that isn’t lit, of course.
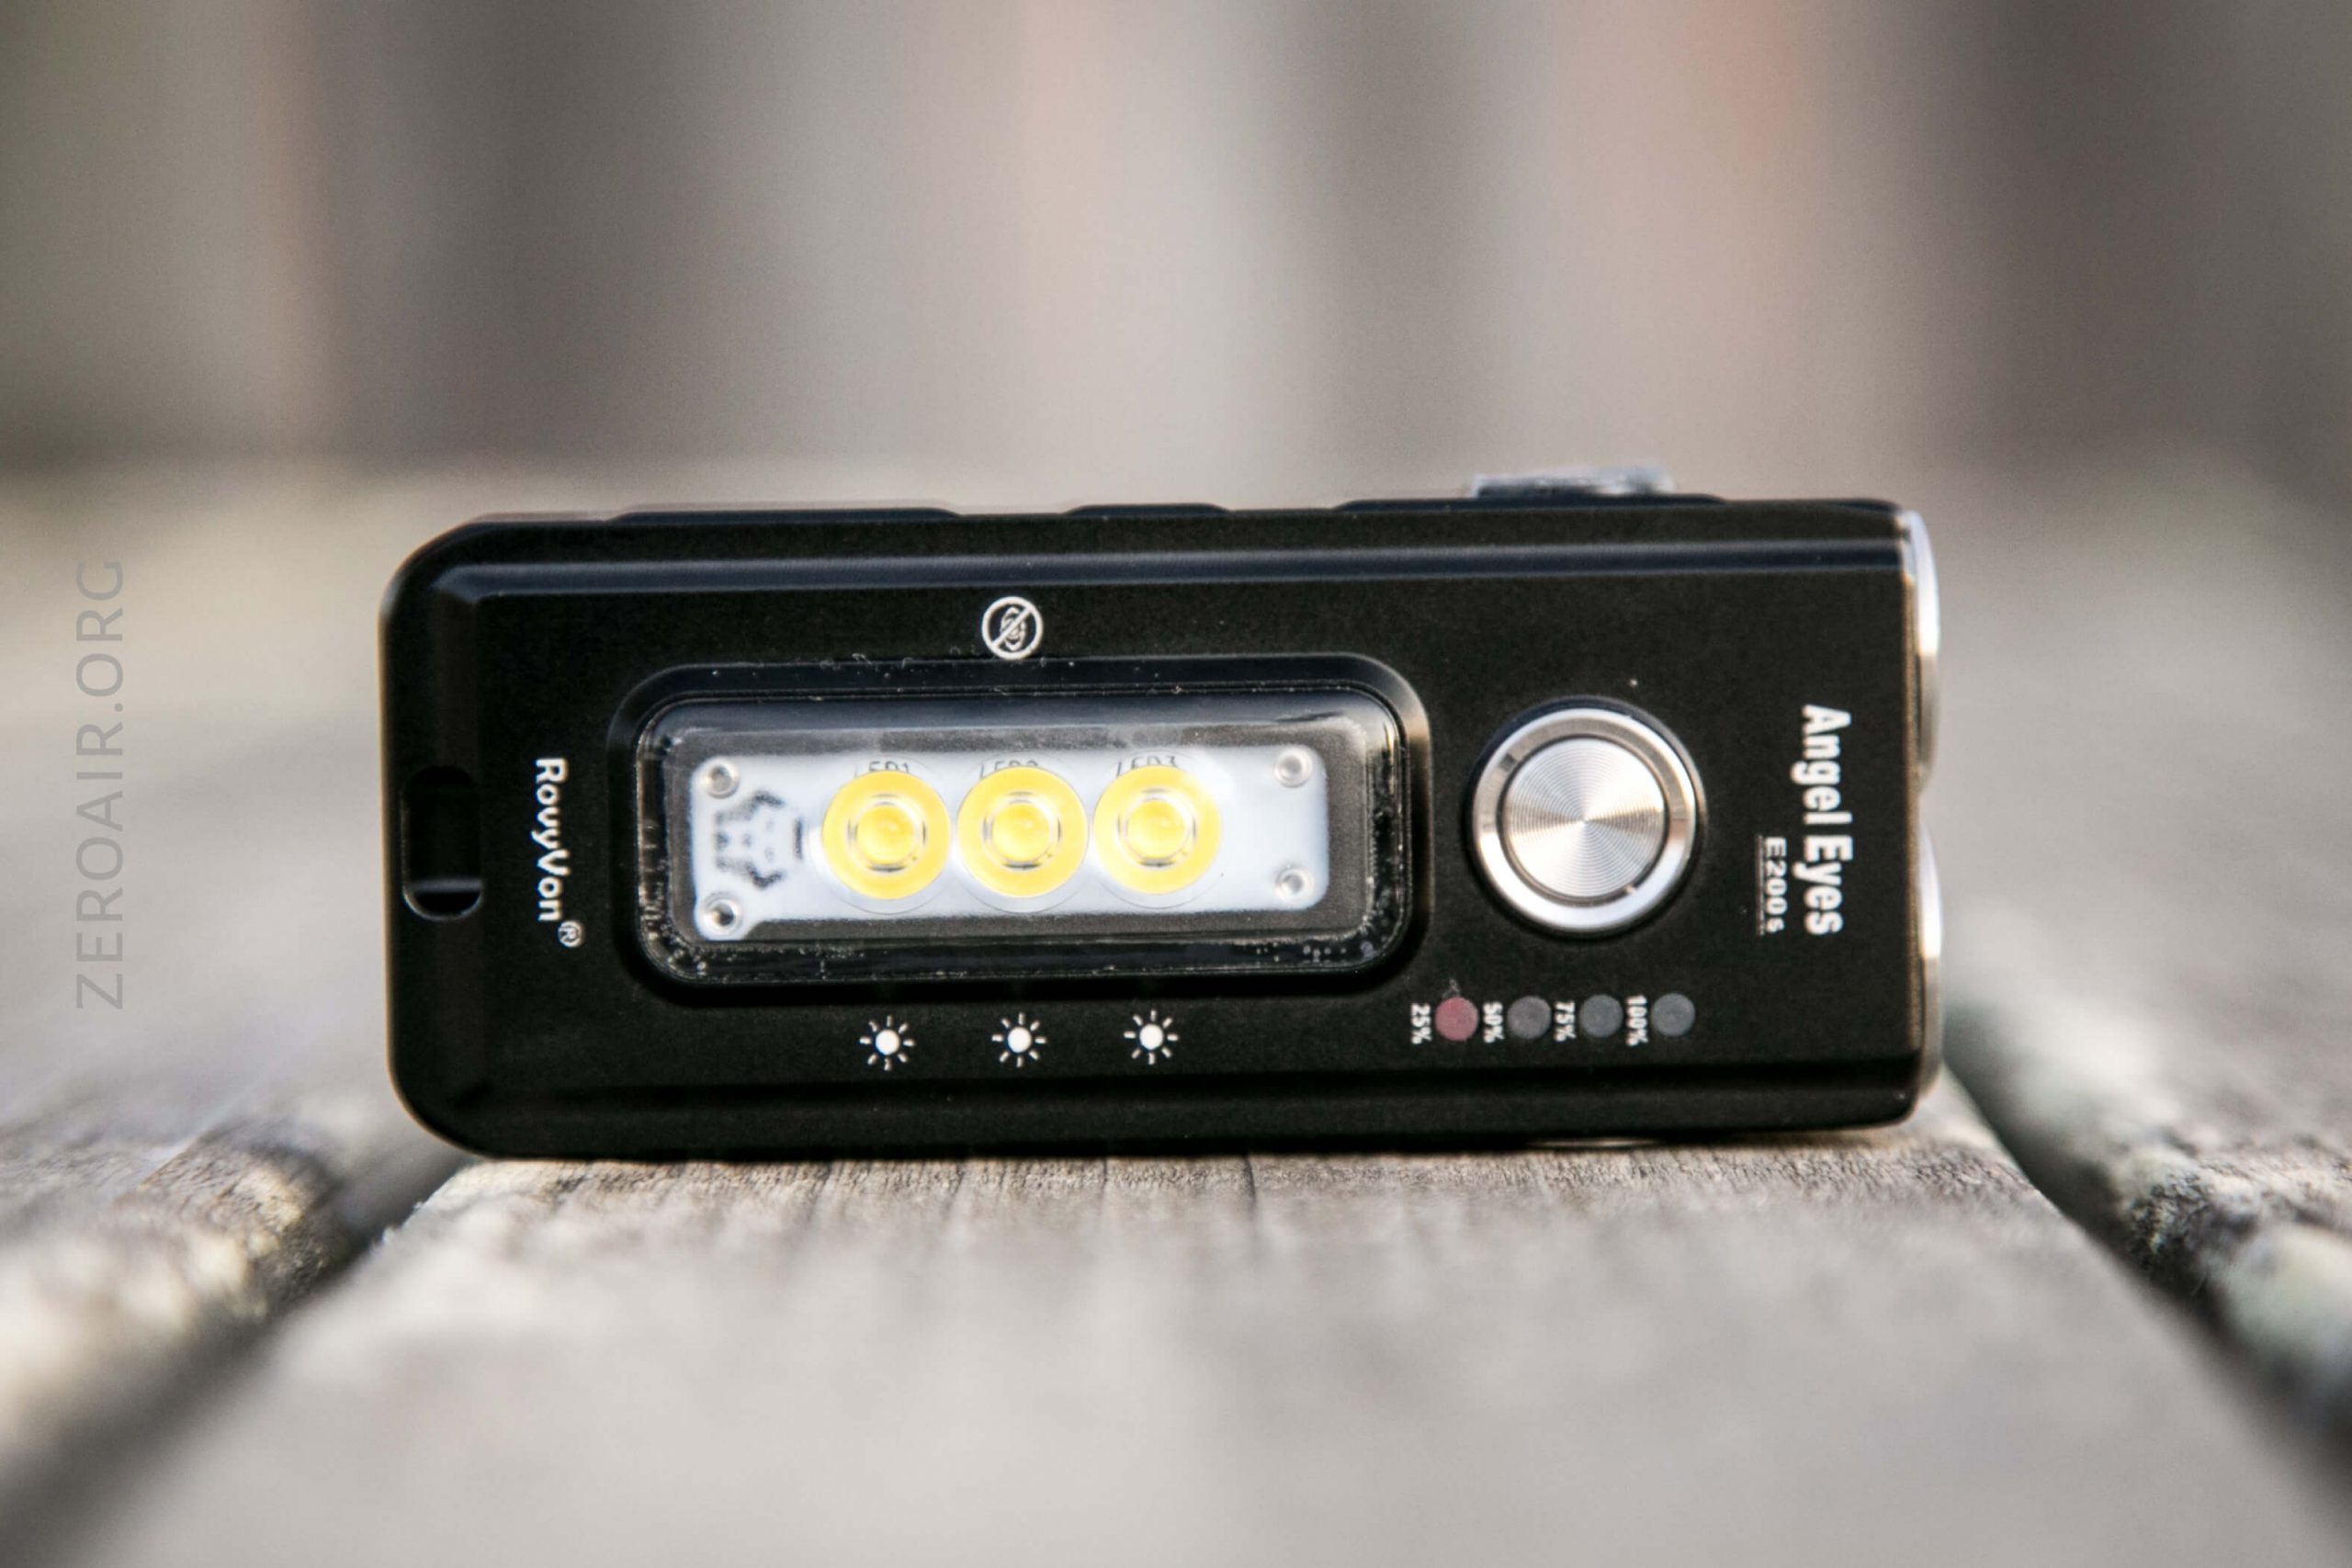
I was surprised to find that the side emitters operate 1-2-3 for the three modes.
The front emitters are not this way and operate together in every mode.
The whole light is held together by these two Torx screws. They are T6 size. They remove easily (no Loctite.)
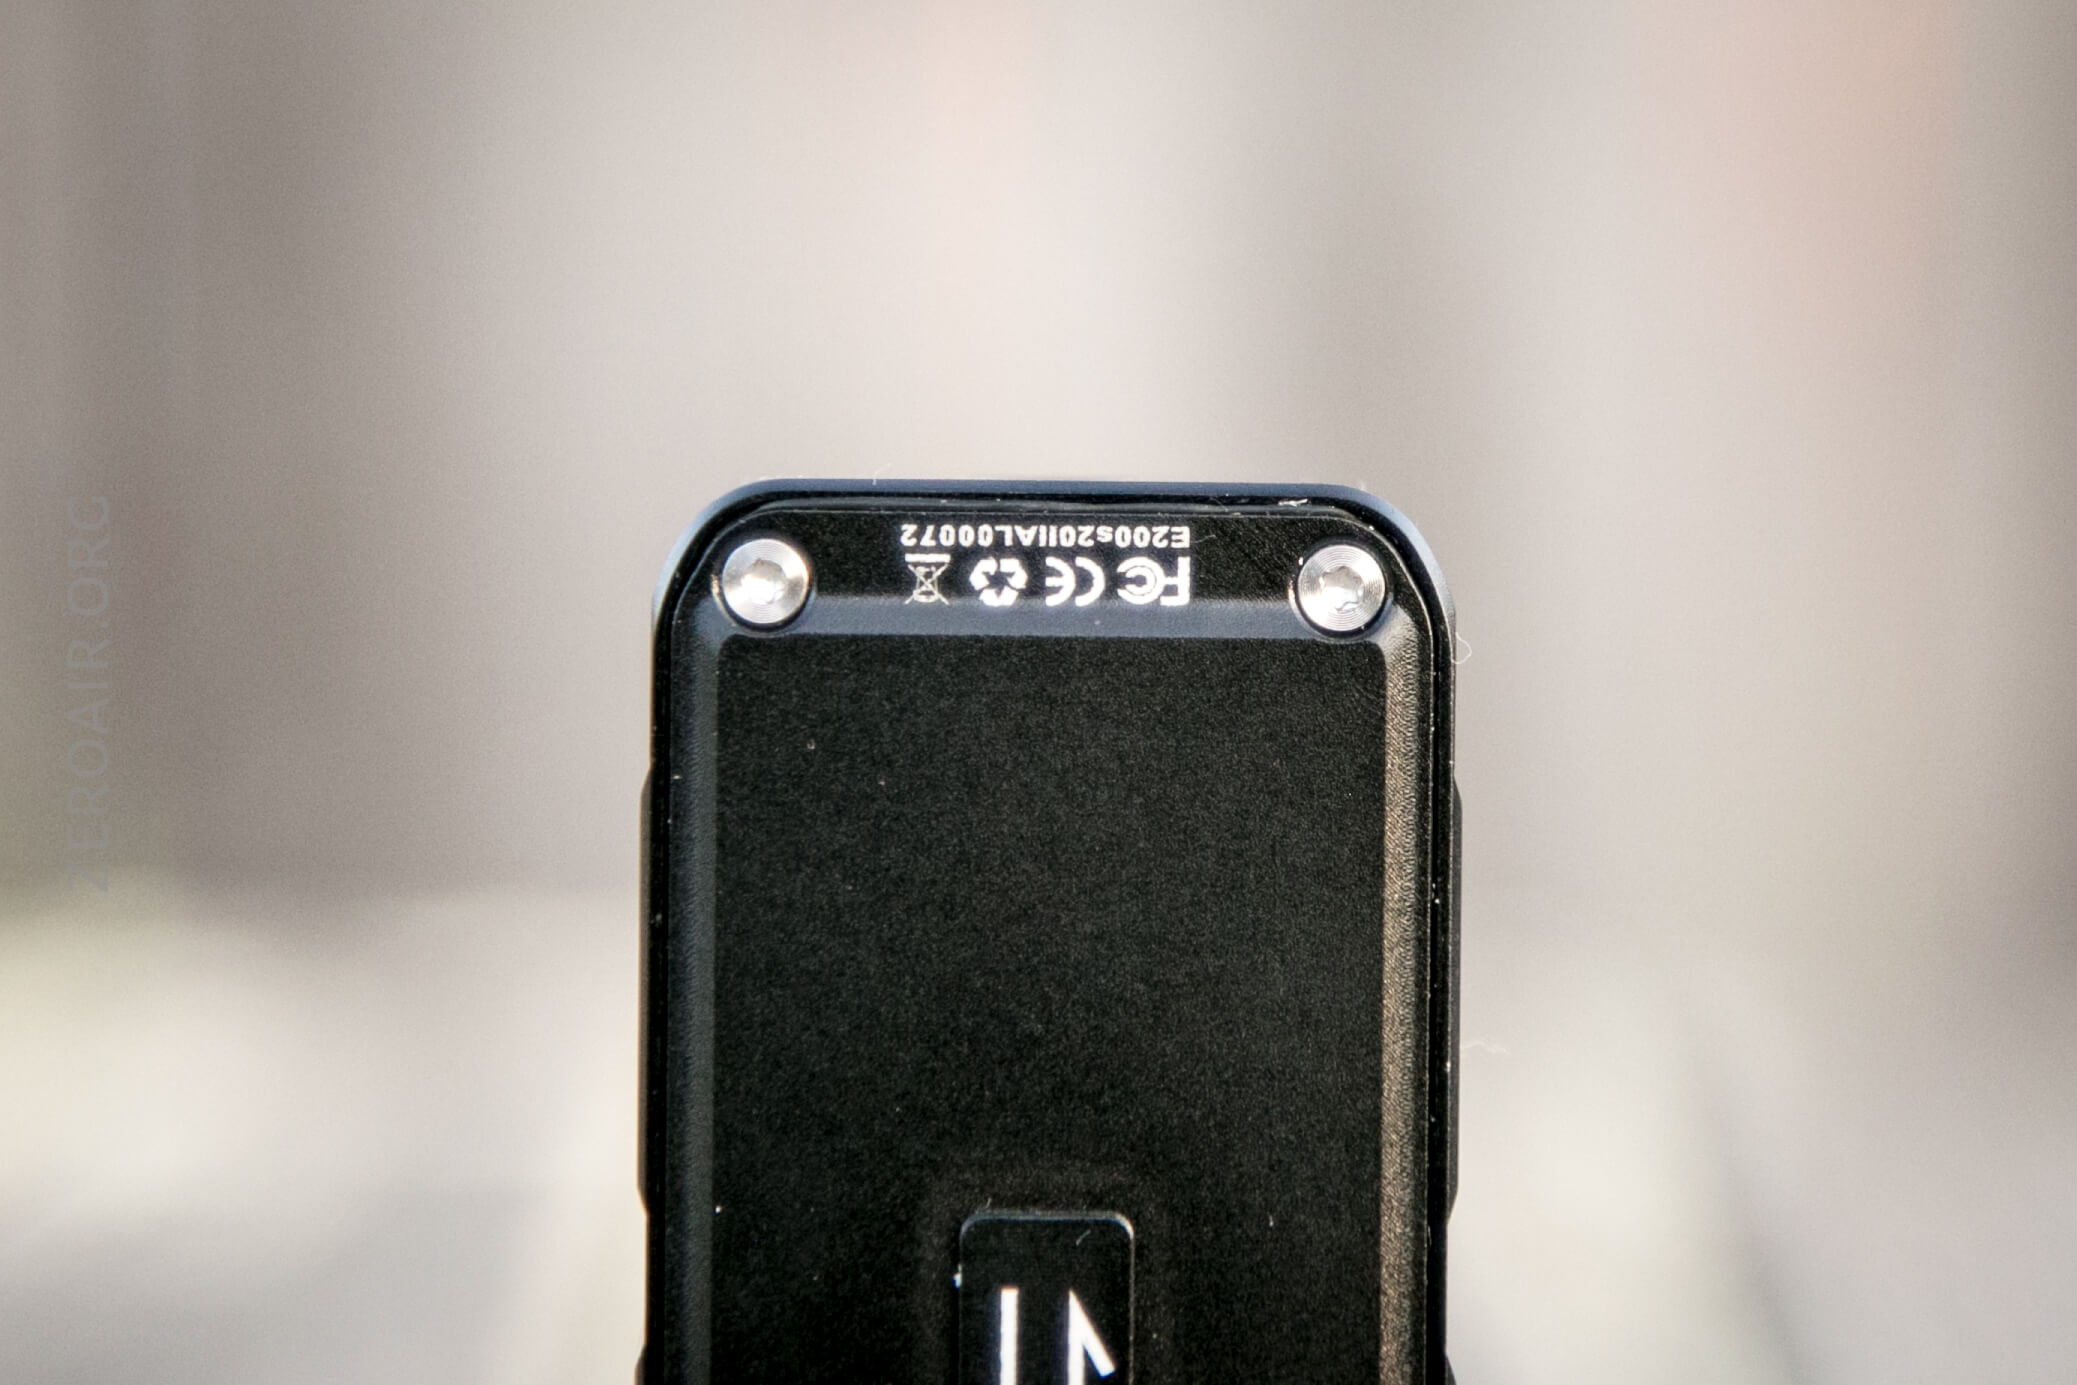

The back removes easily after the screws are removed. Even when unscrewed, there’s not much of a gap for pulling off the cover. I got a thumbnail under the pocket clip holder and lifted it up pretty easily. (It’d be even easier if the pocket clip were installed – just grasp the pocket clip and pull up).
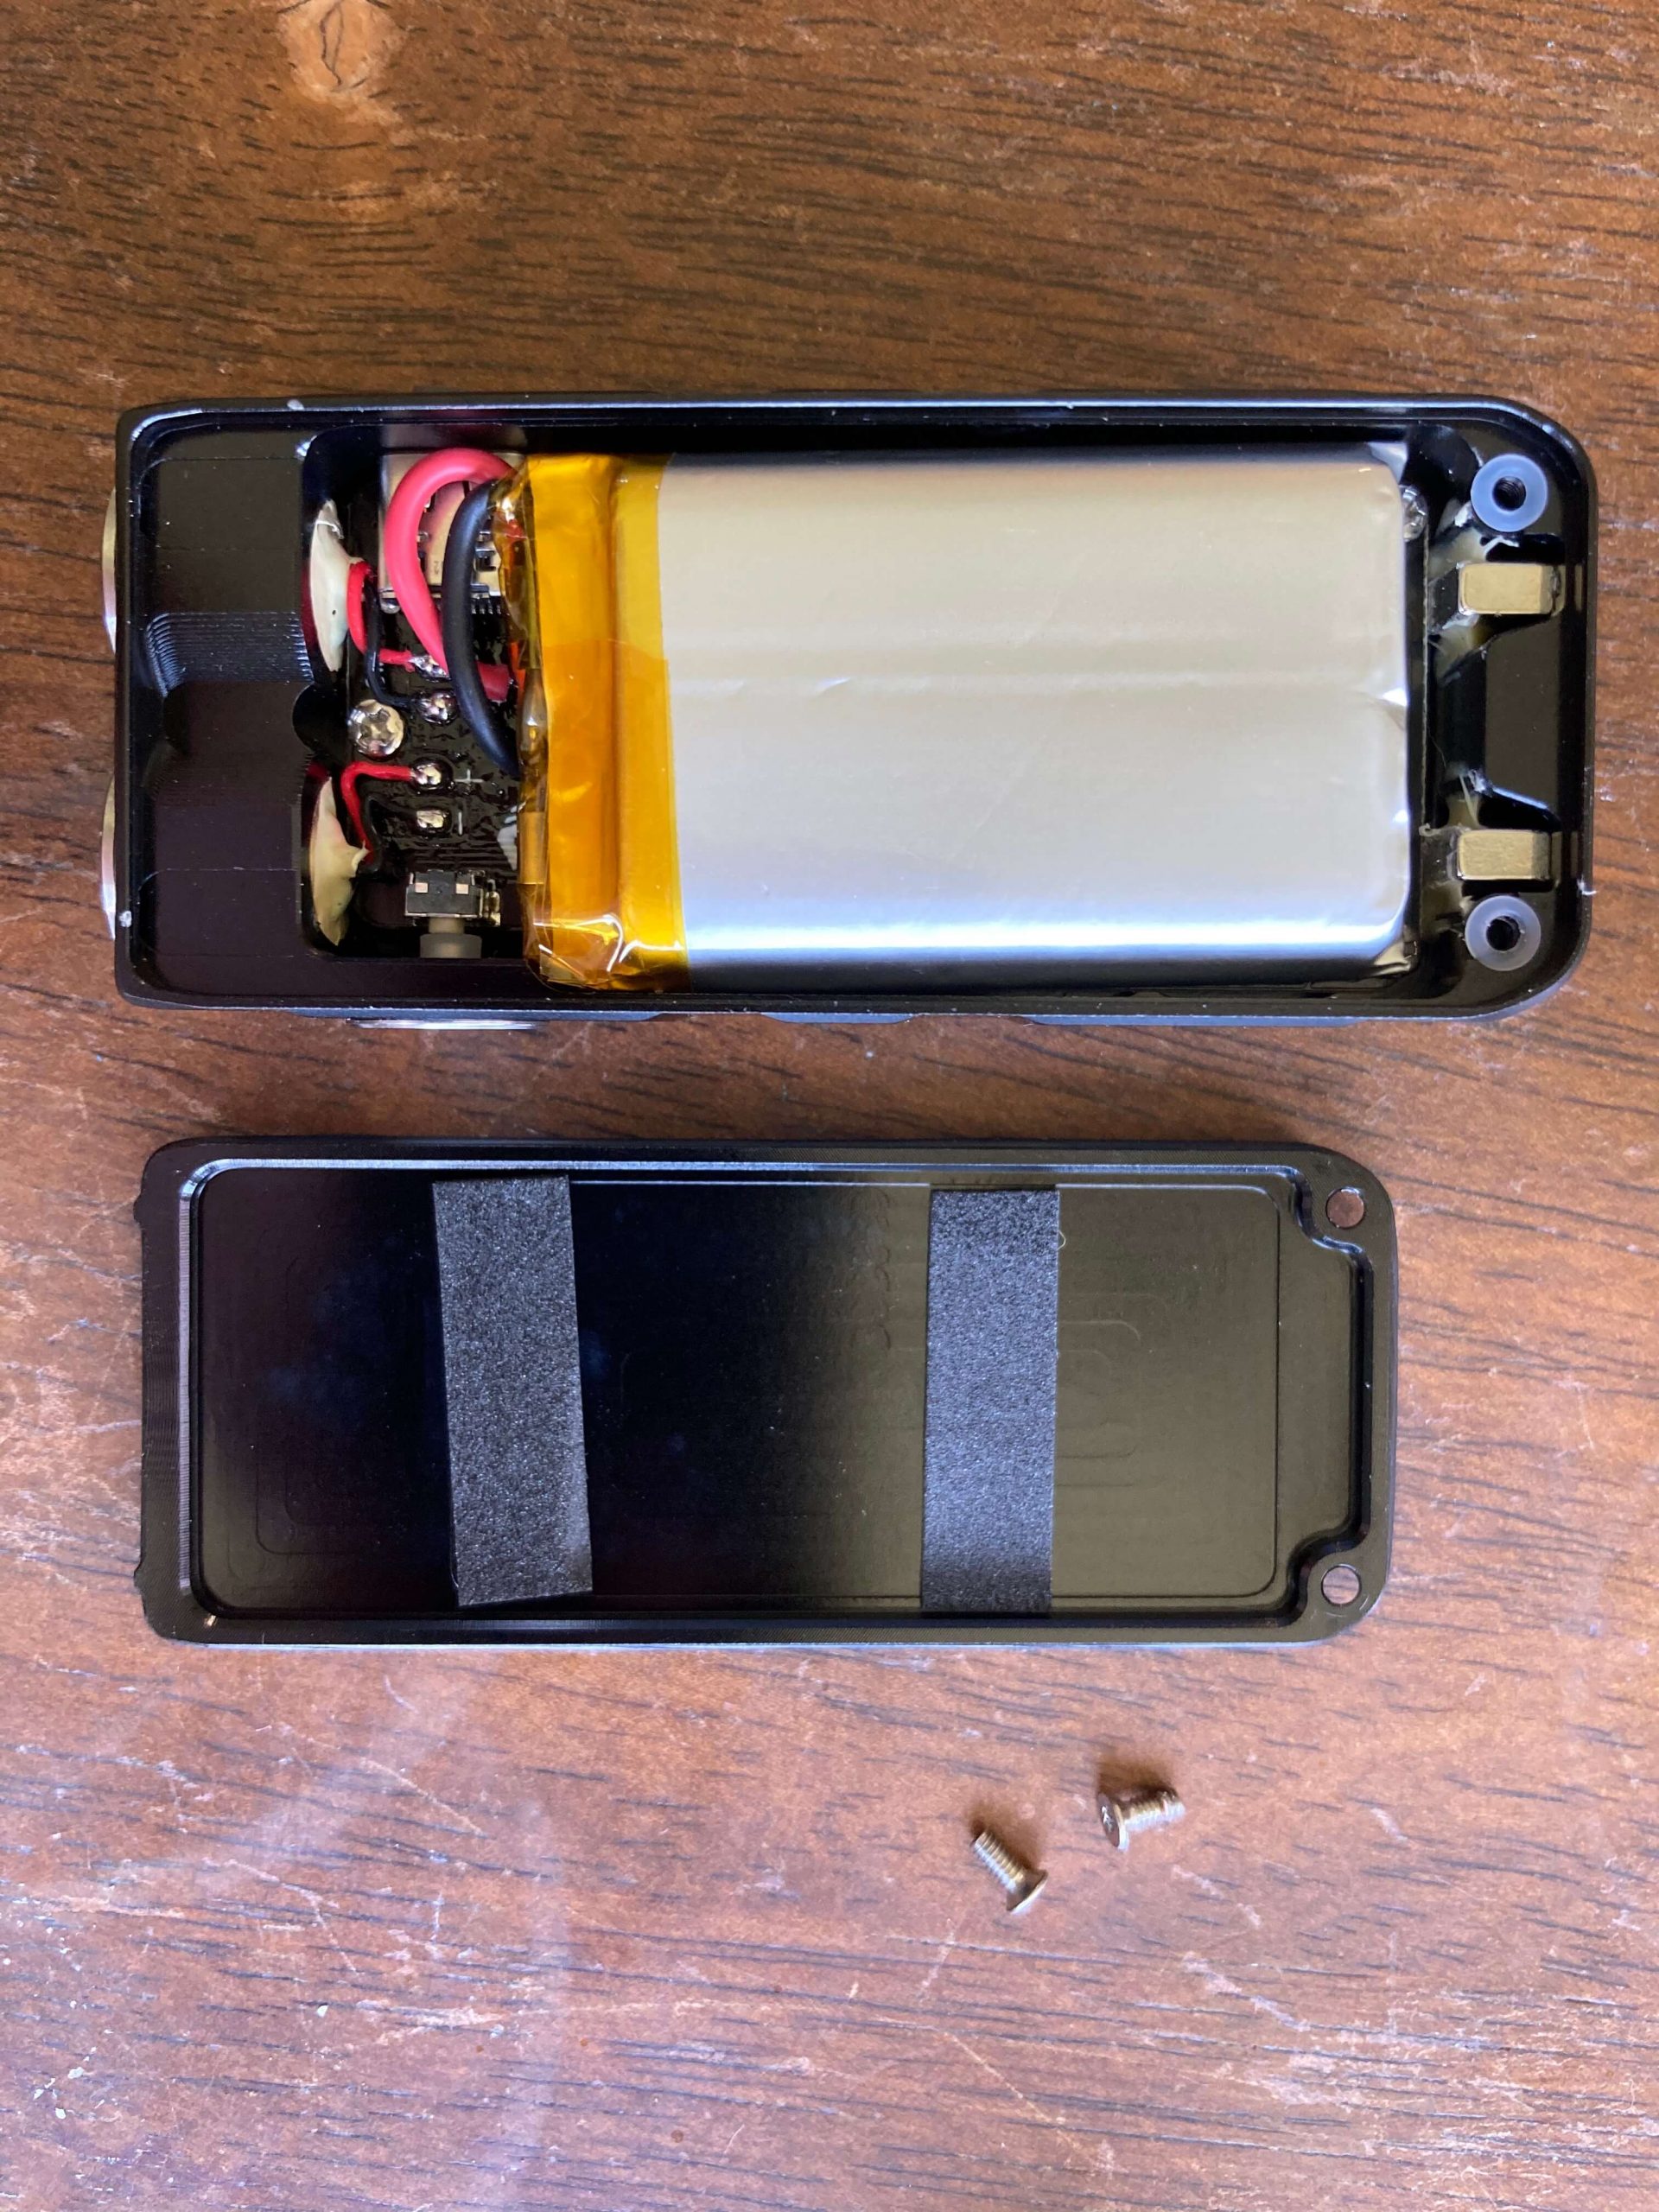
Note the two magnets just inside the two screw holes there.
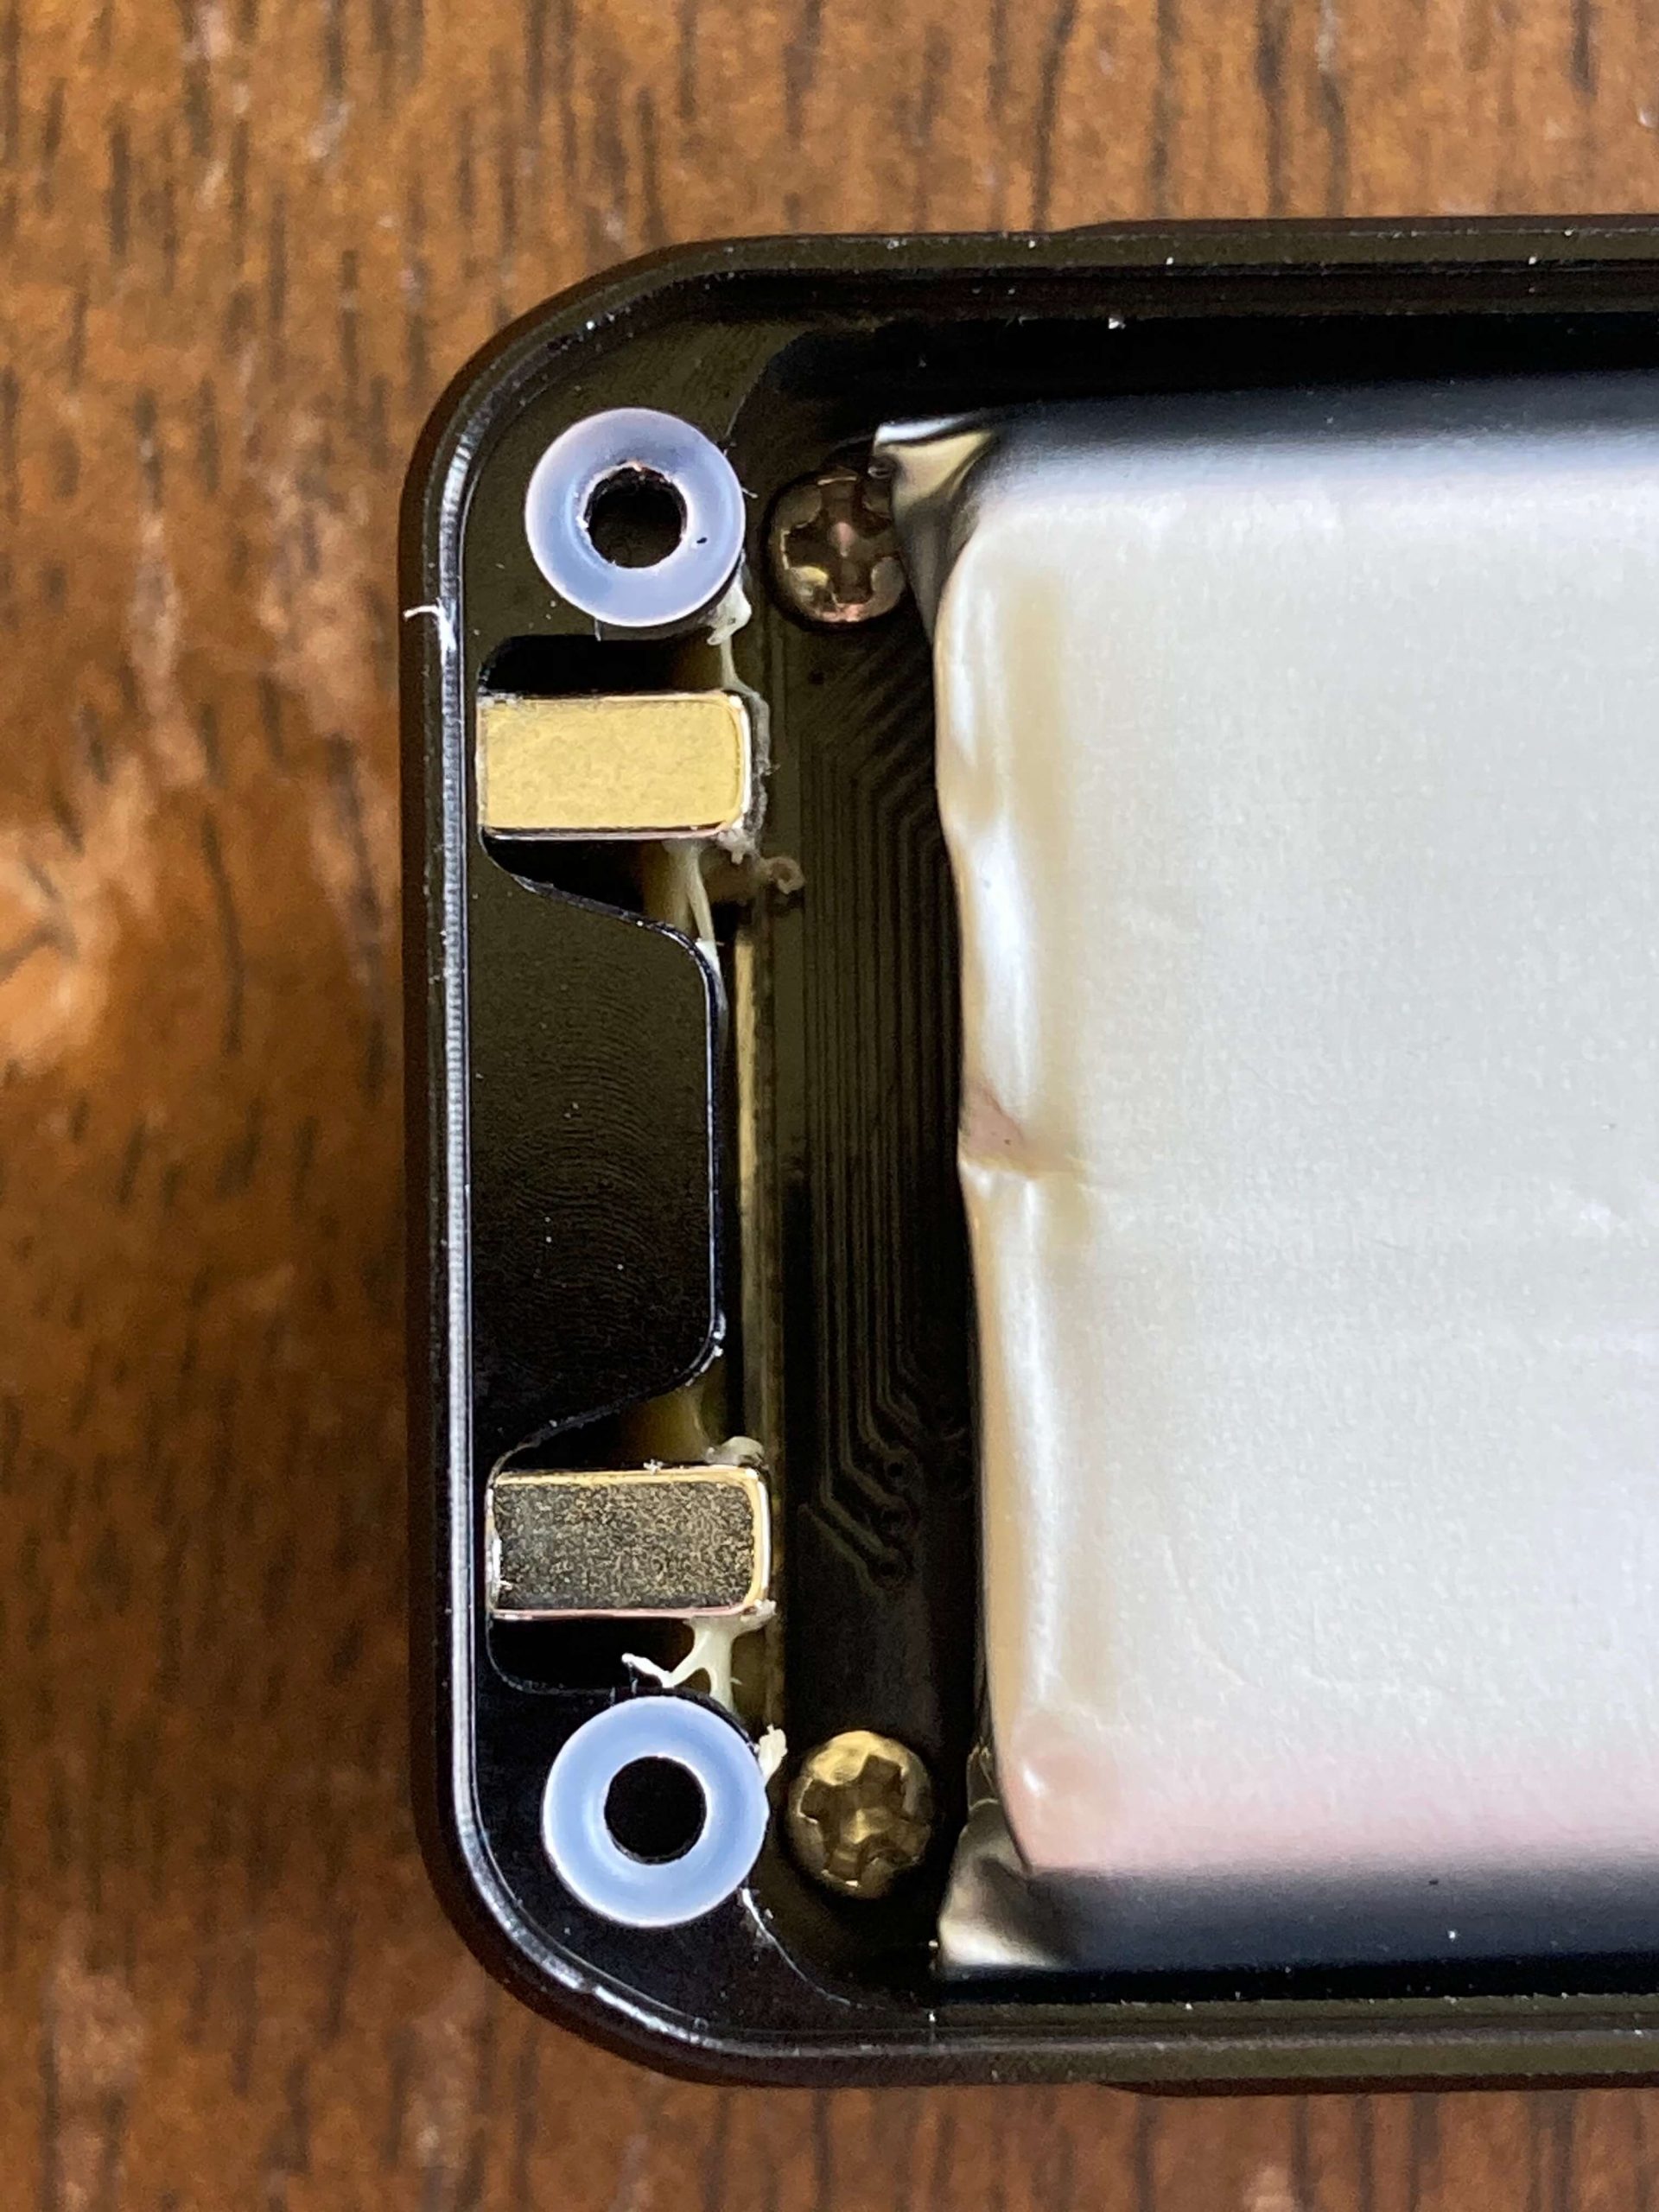

The reflectors for the front emitter look to have a bit of epoxy. I am unsure how this would complicate emitter swaps for this light.
When reinstalling the back plate, you’ll need to get these two little nubs seated, and then just lay the back down for a seal, and replace the screws.
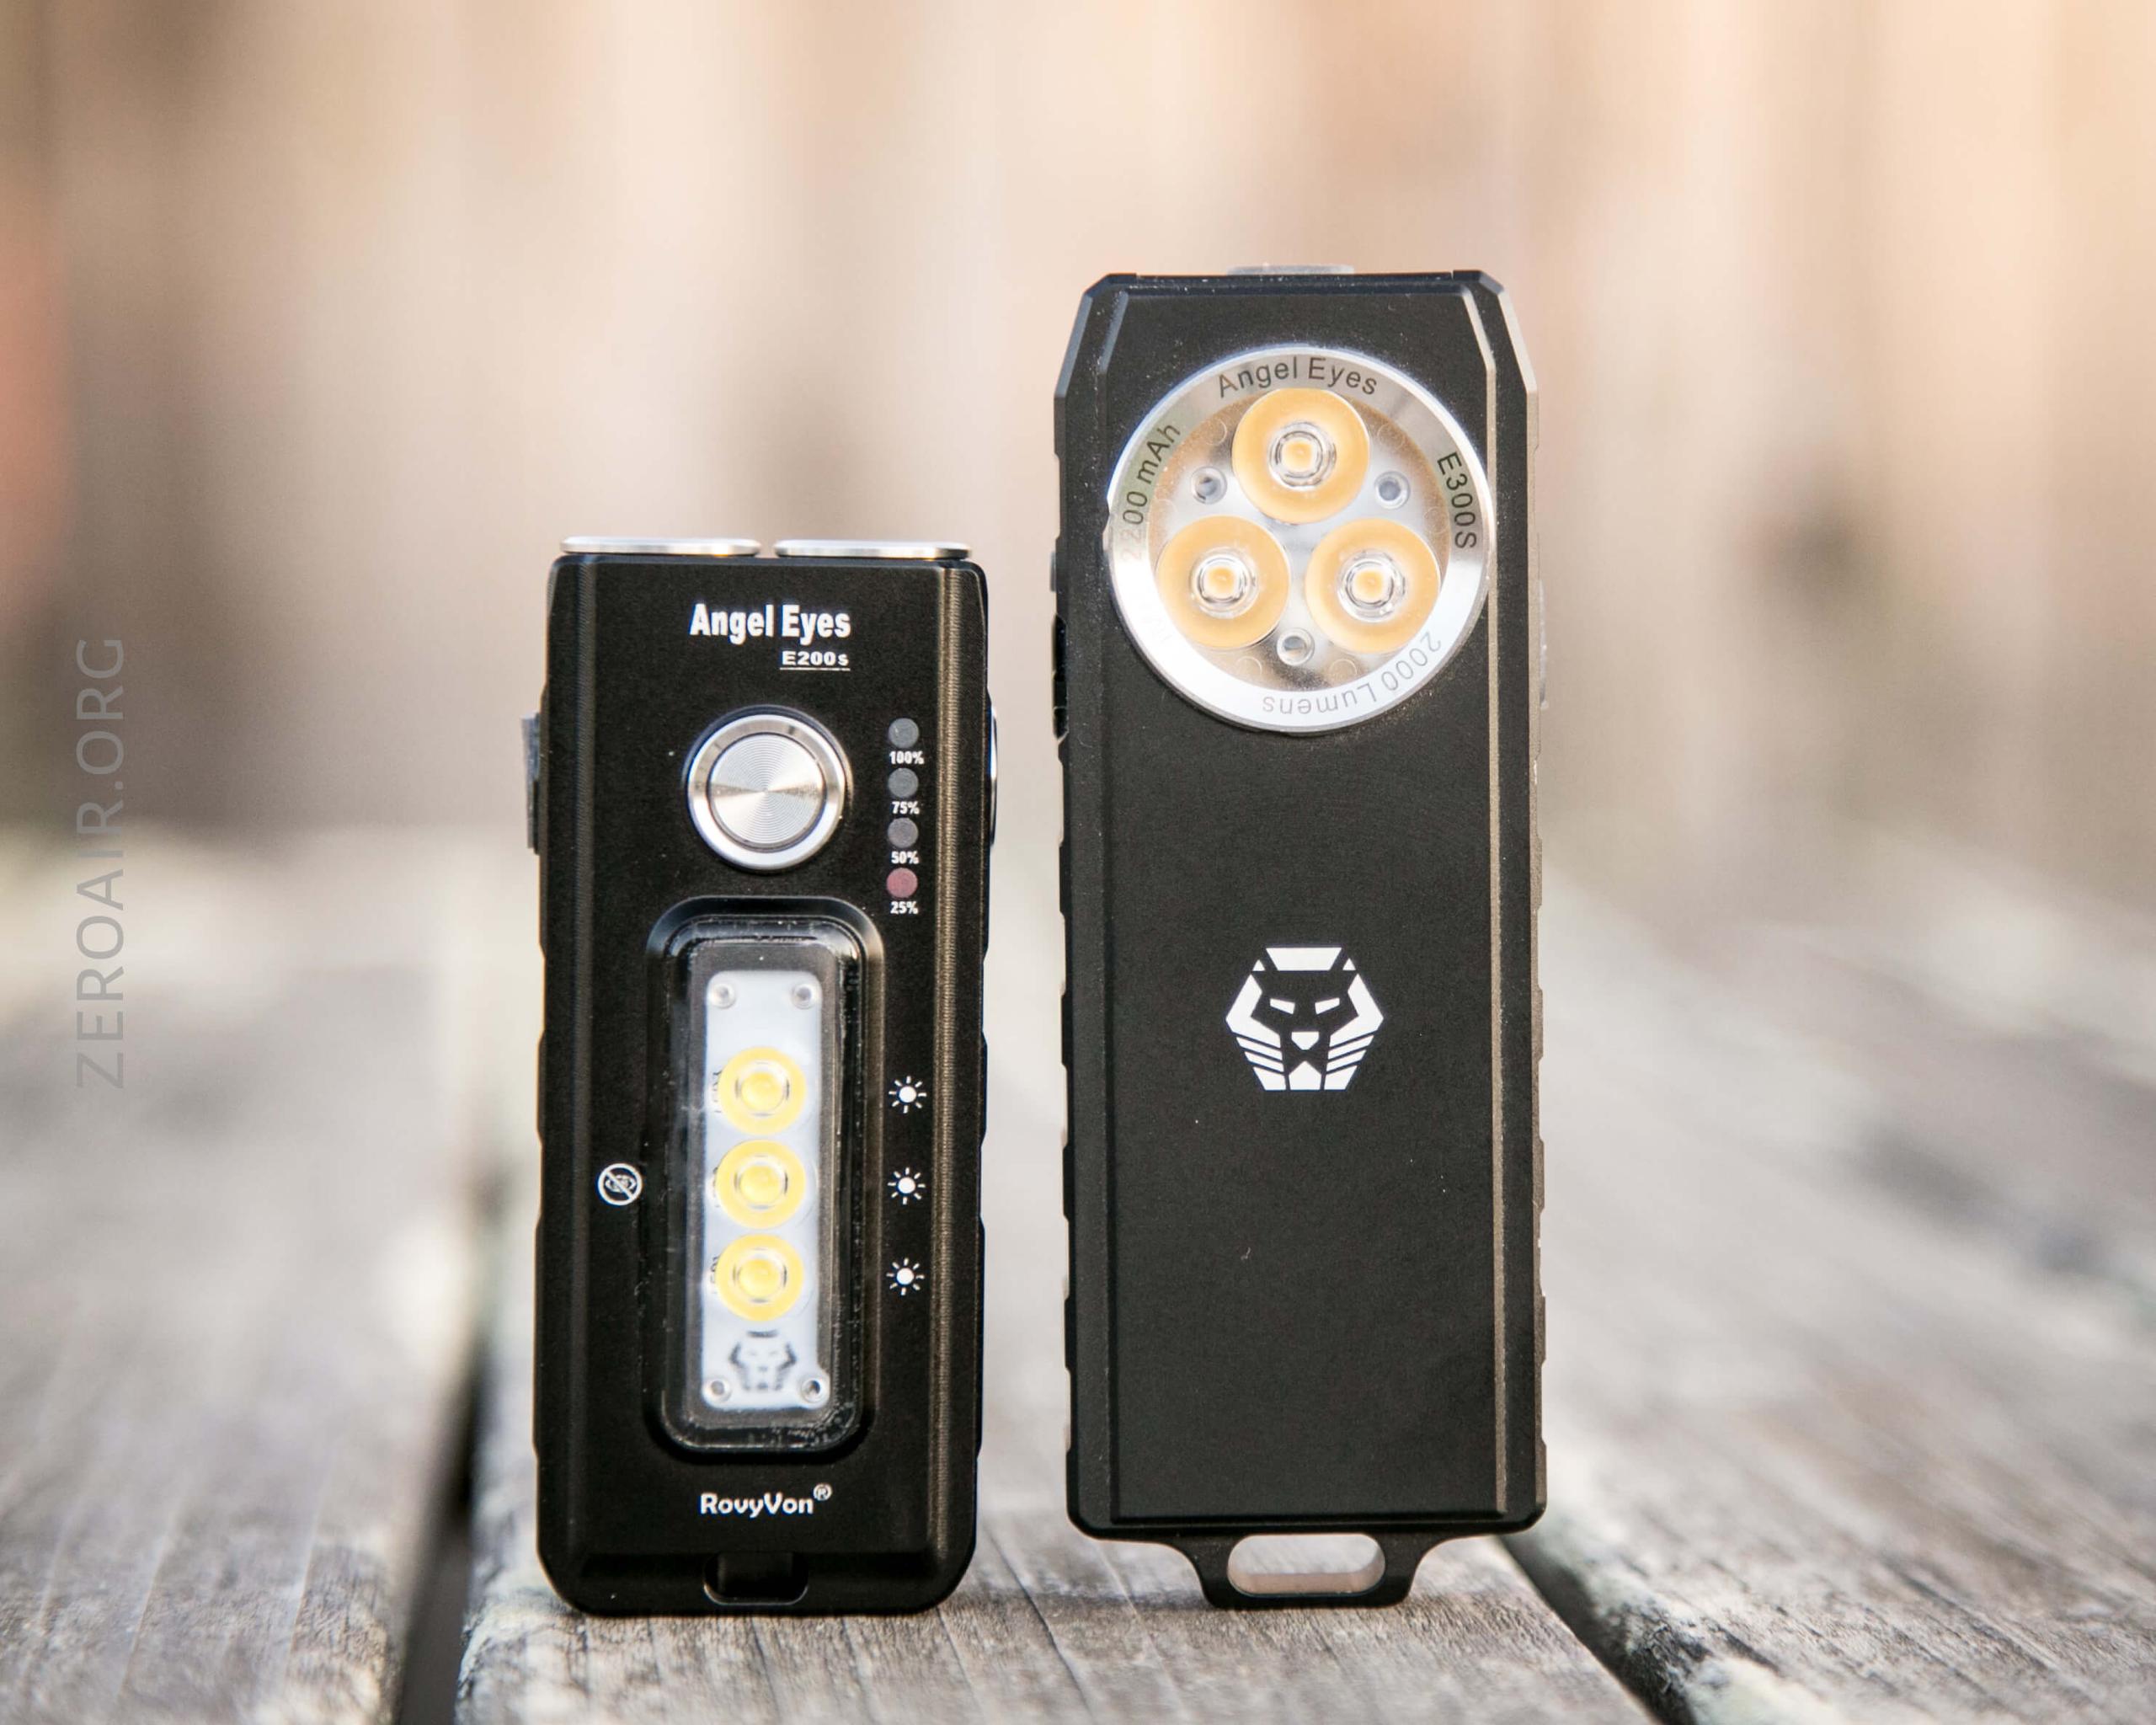
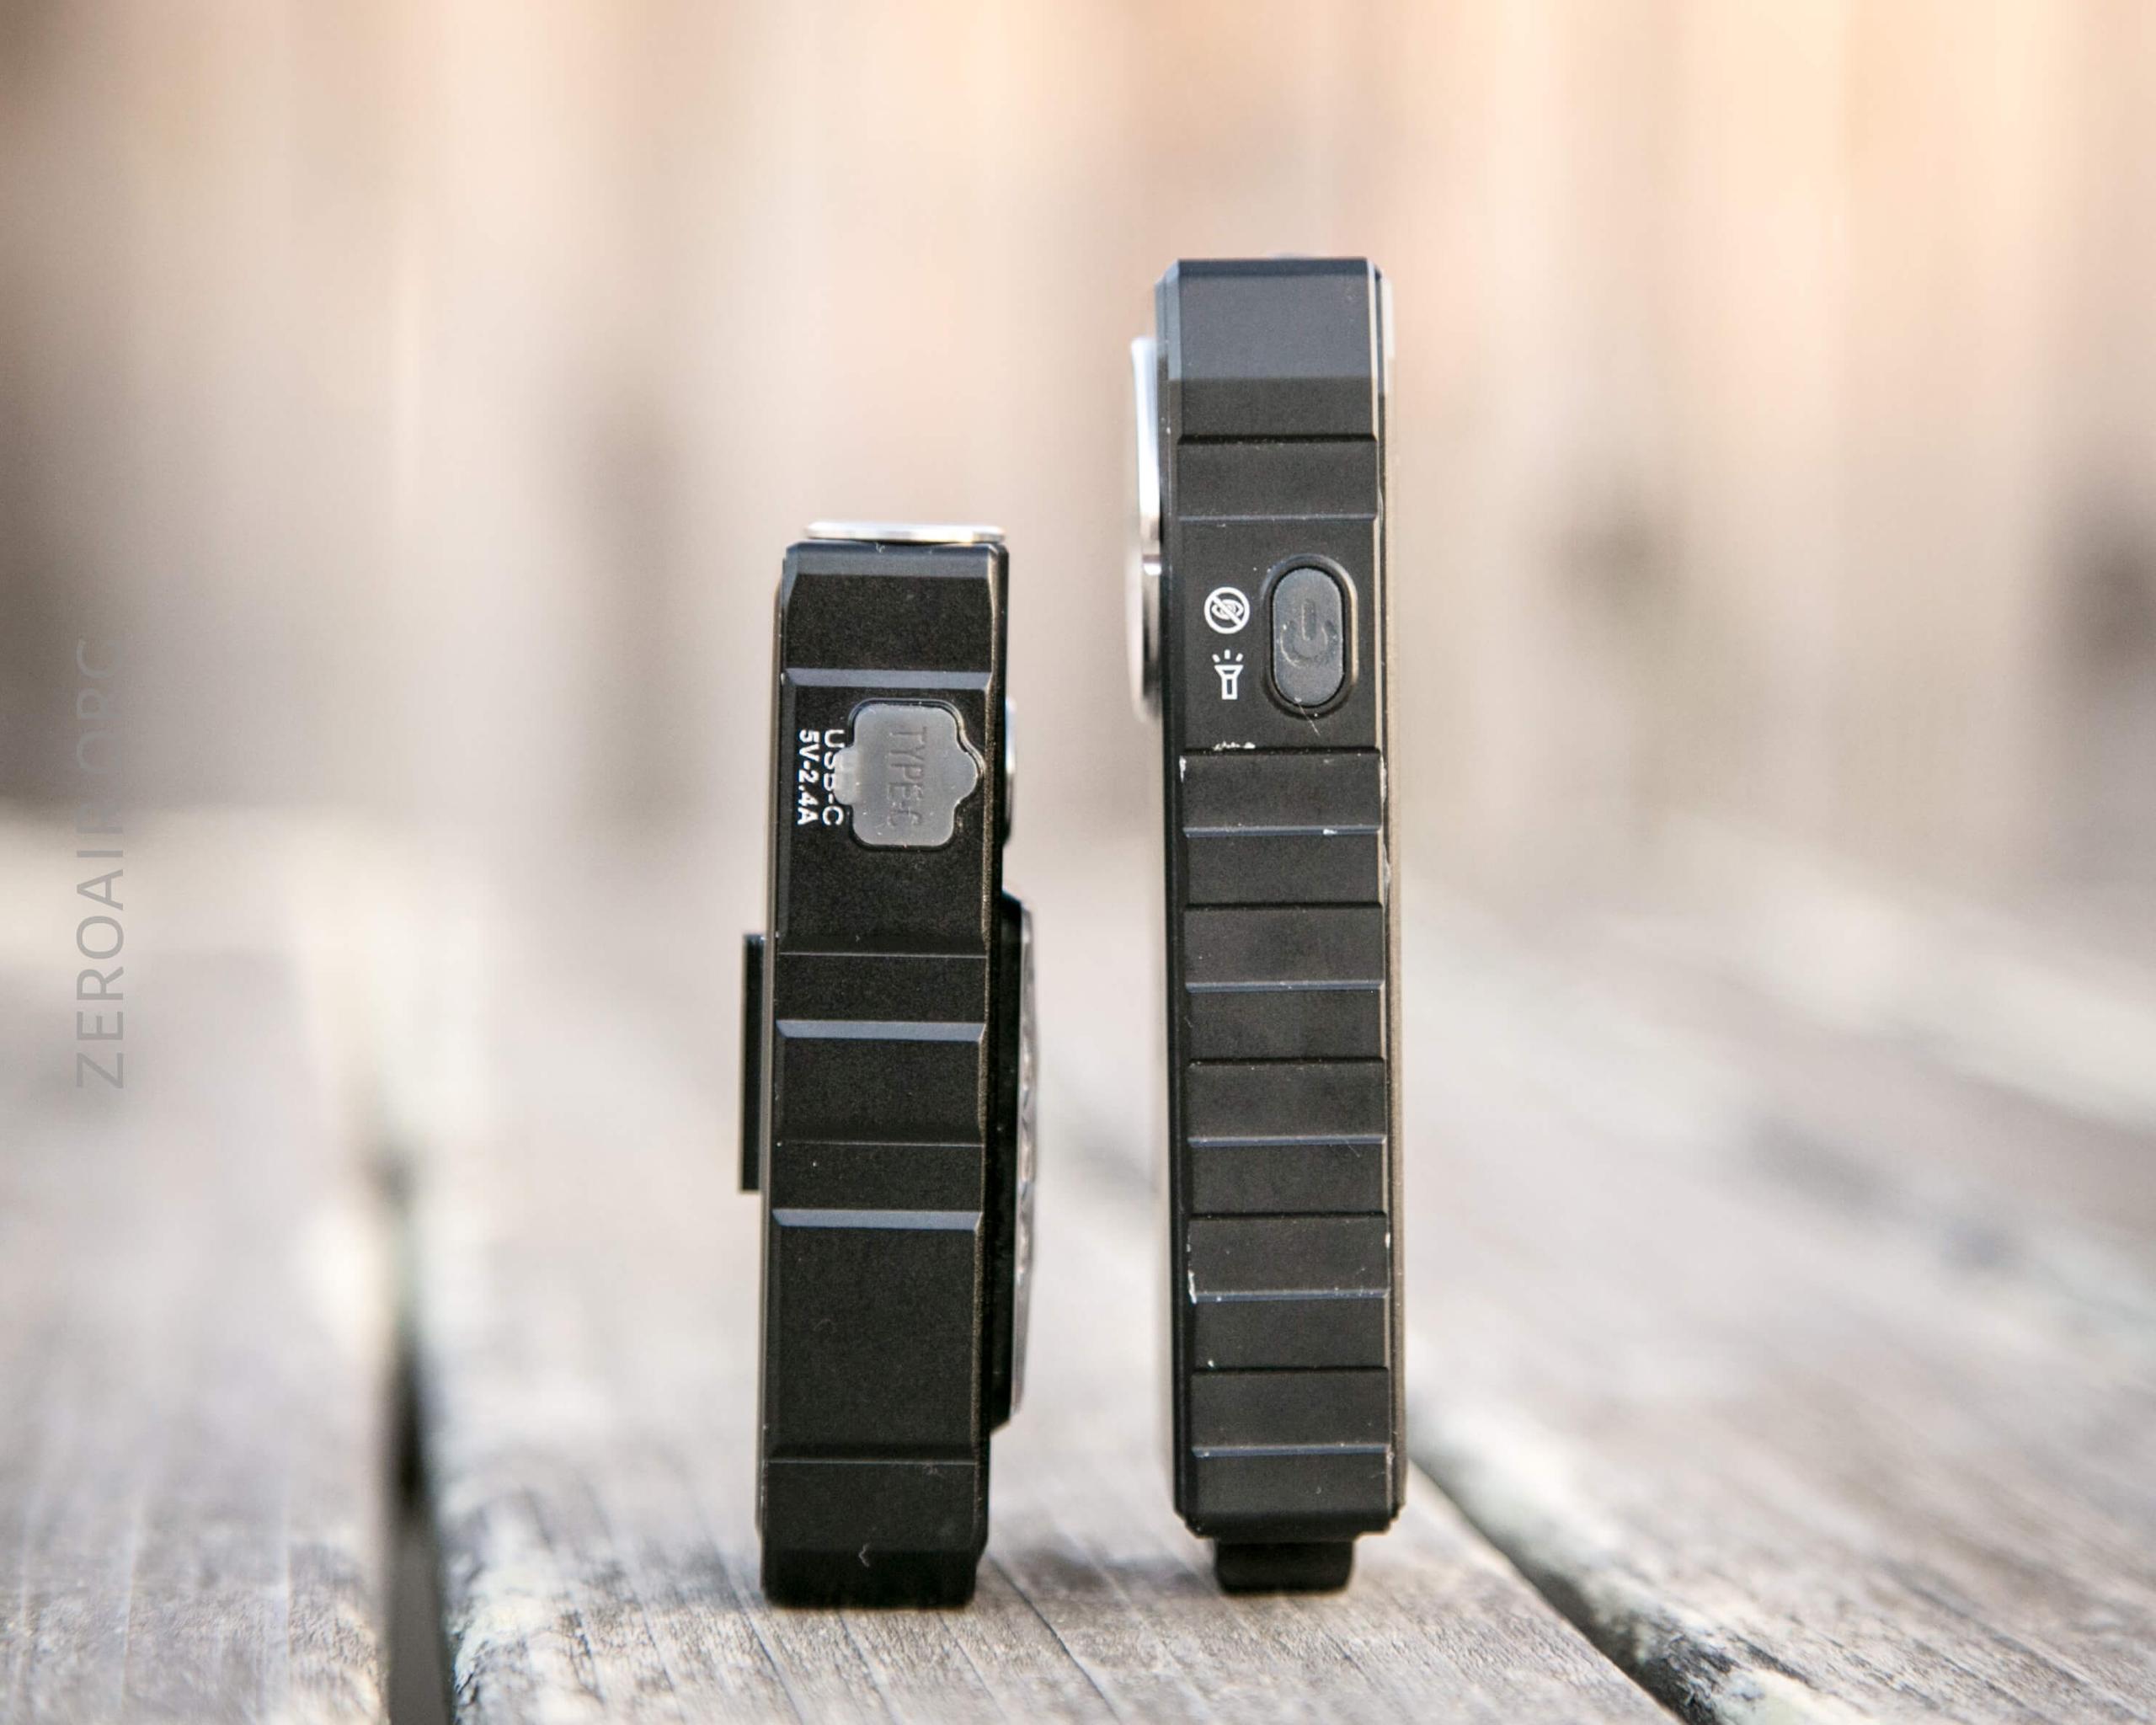
Size and Comps
The size is 79.8mm x 33.8mm x 17.5mm and 2.89oz.
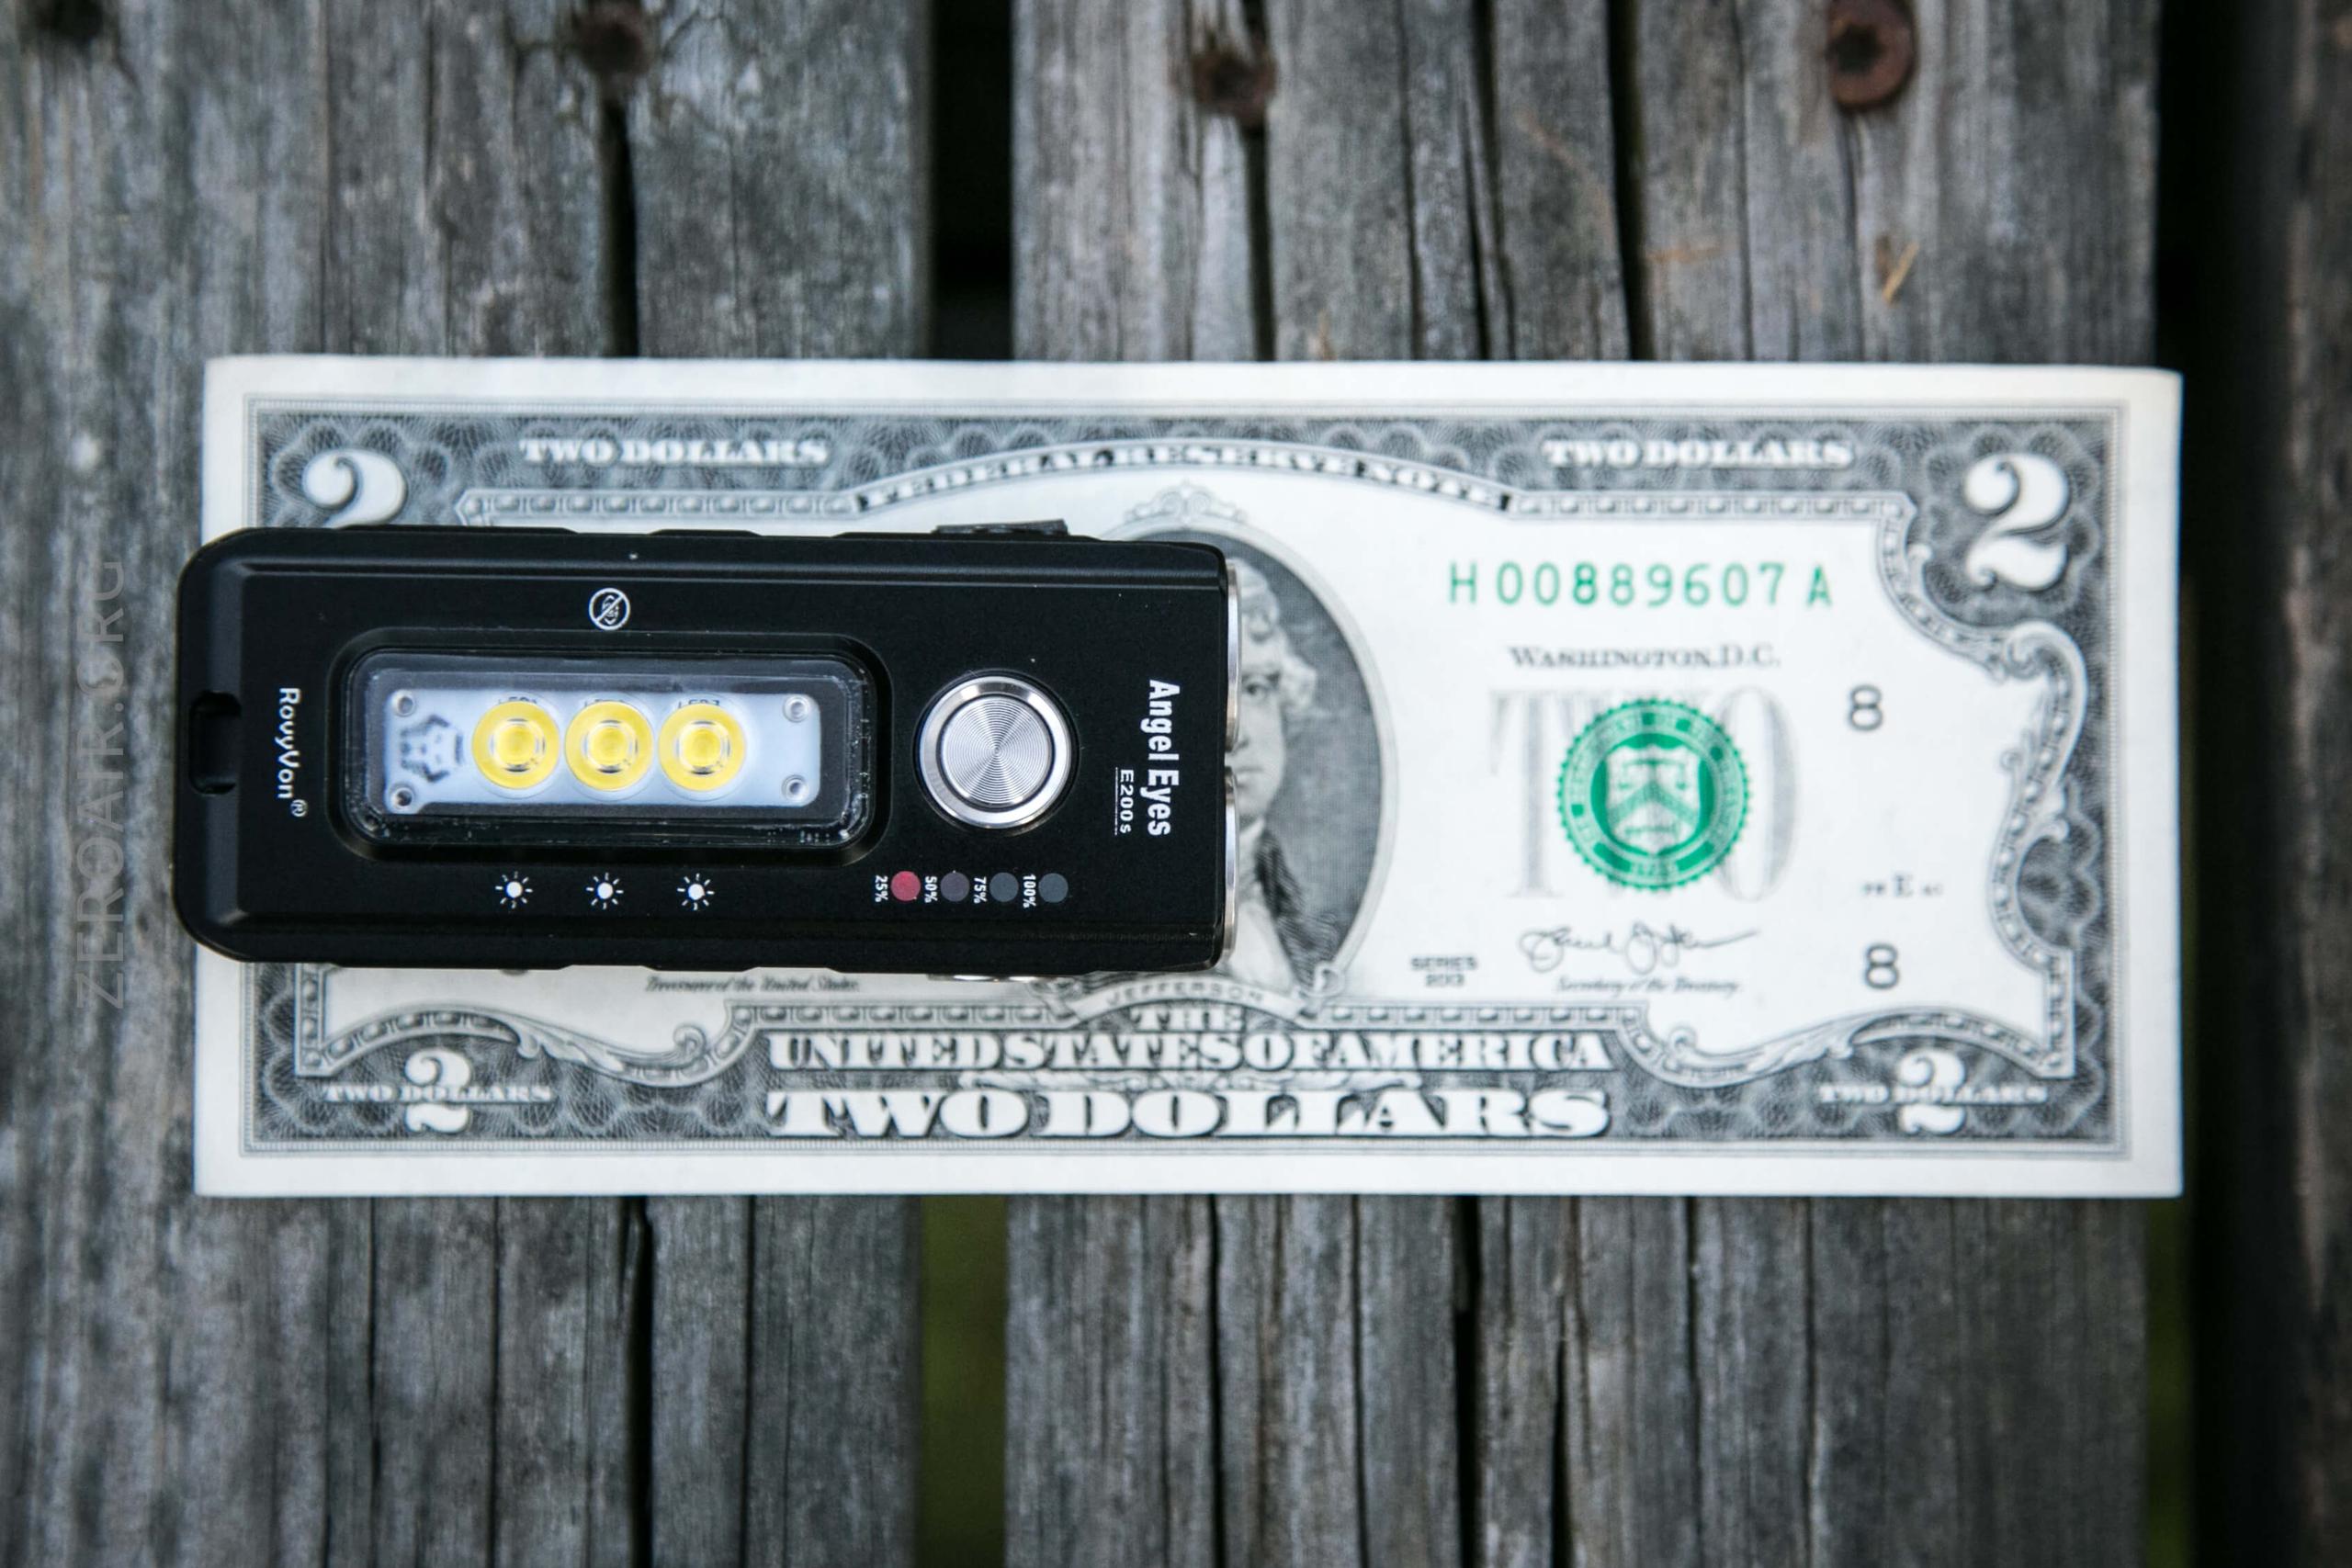
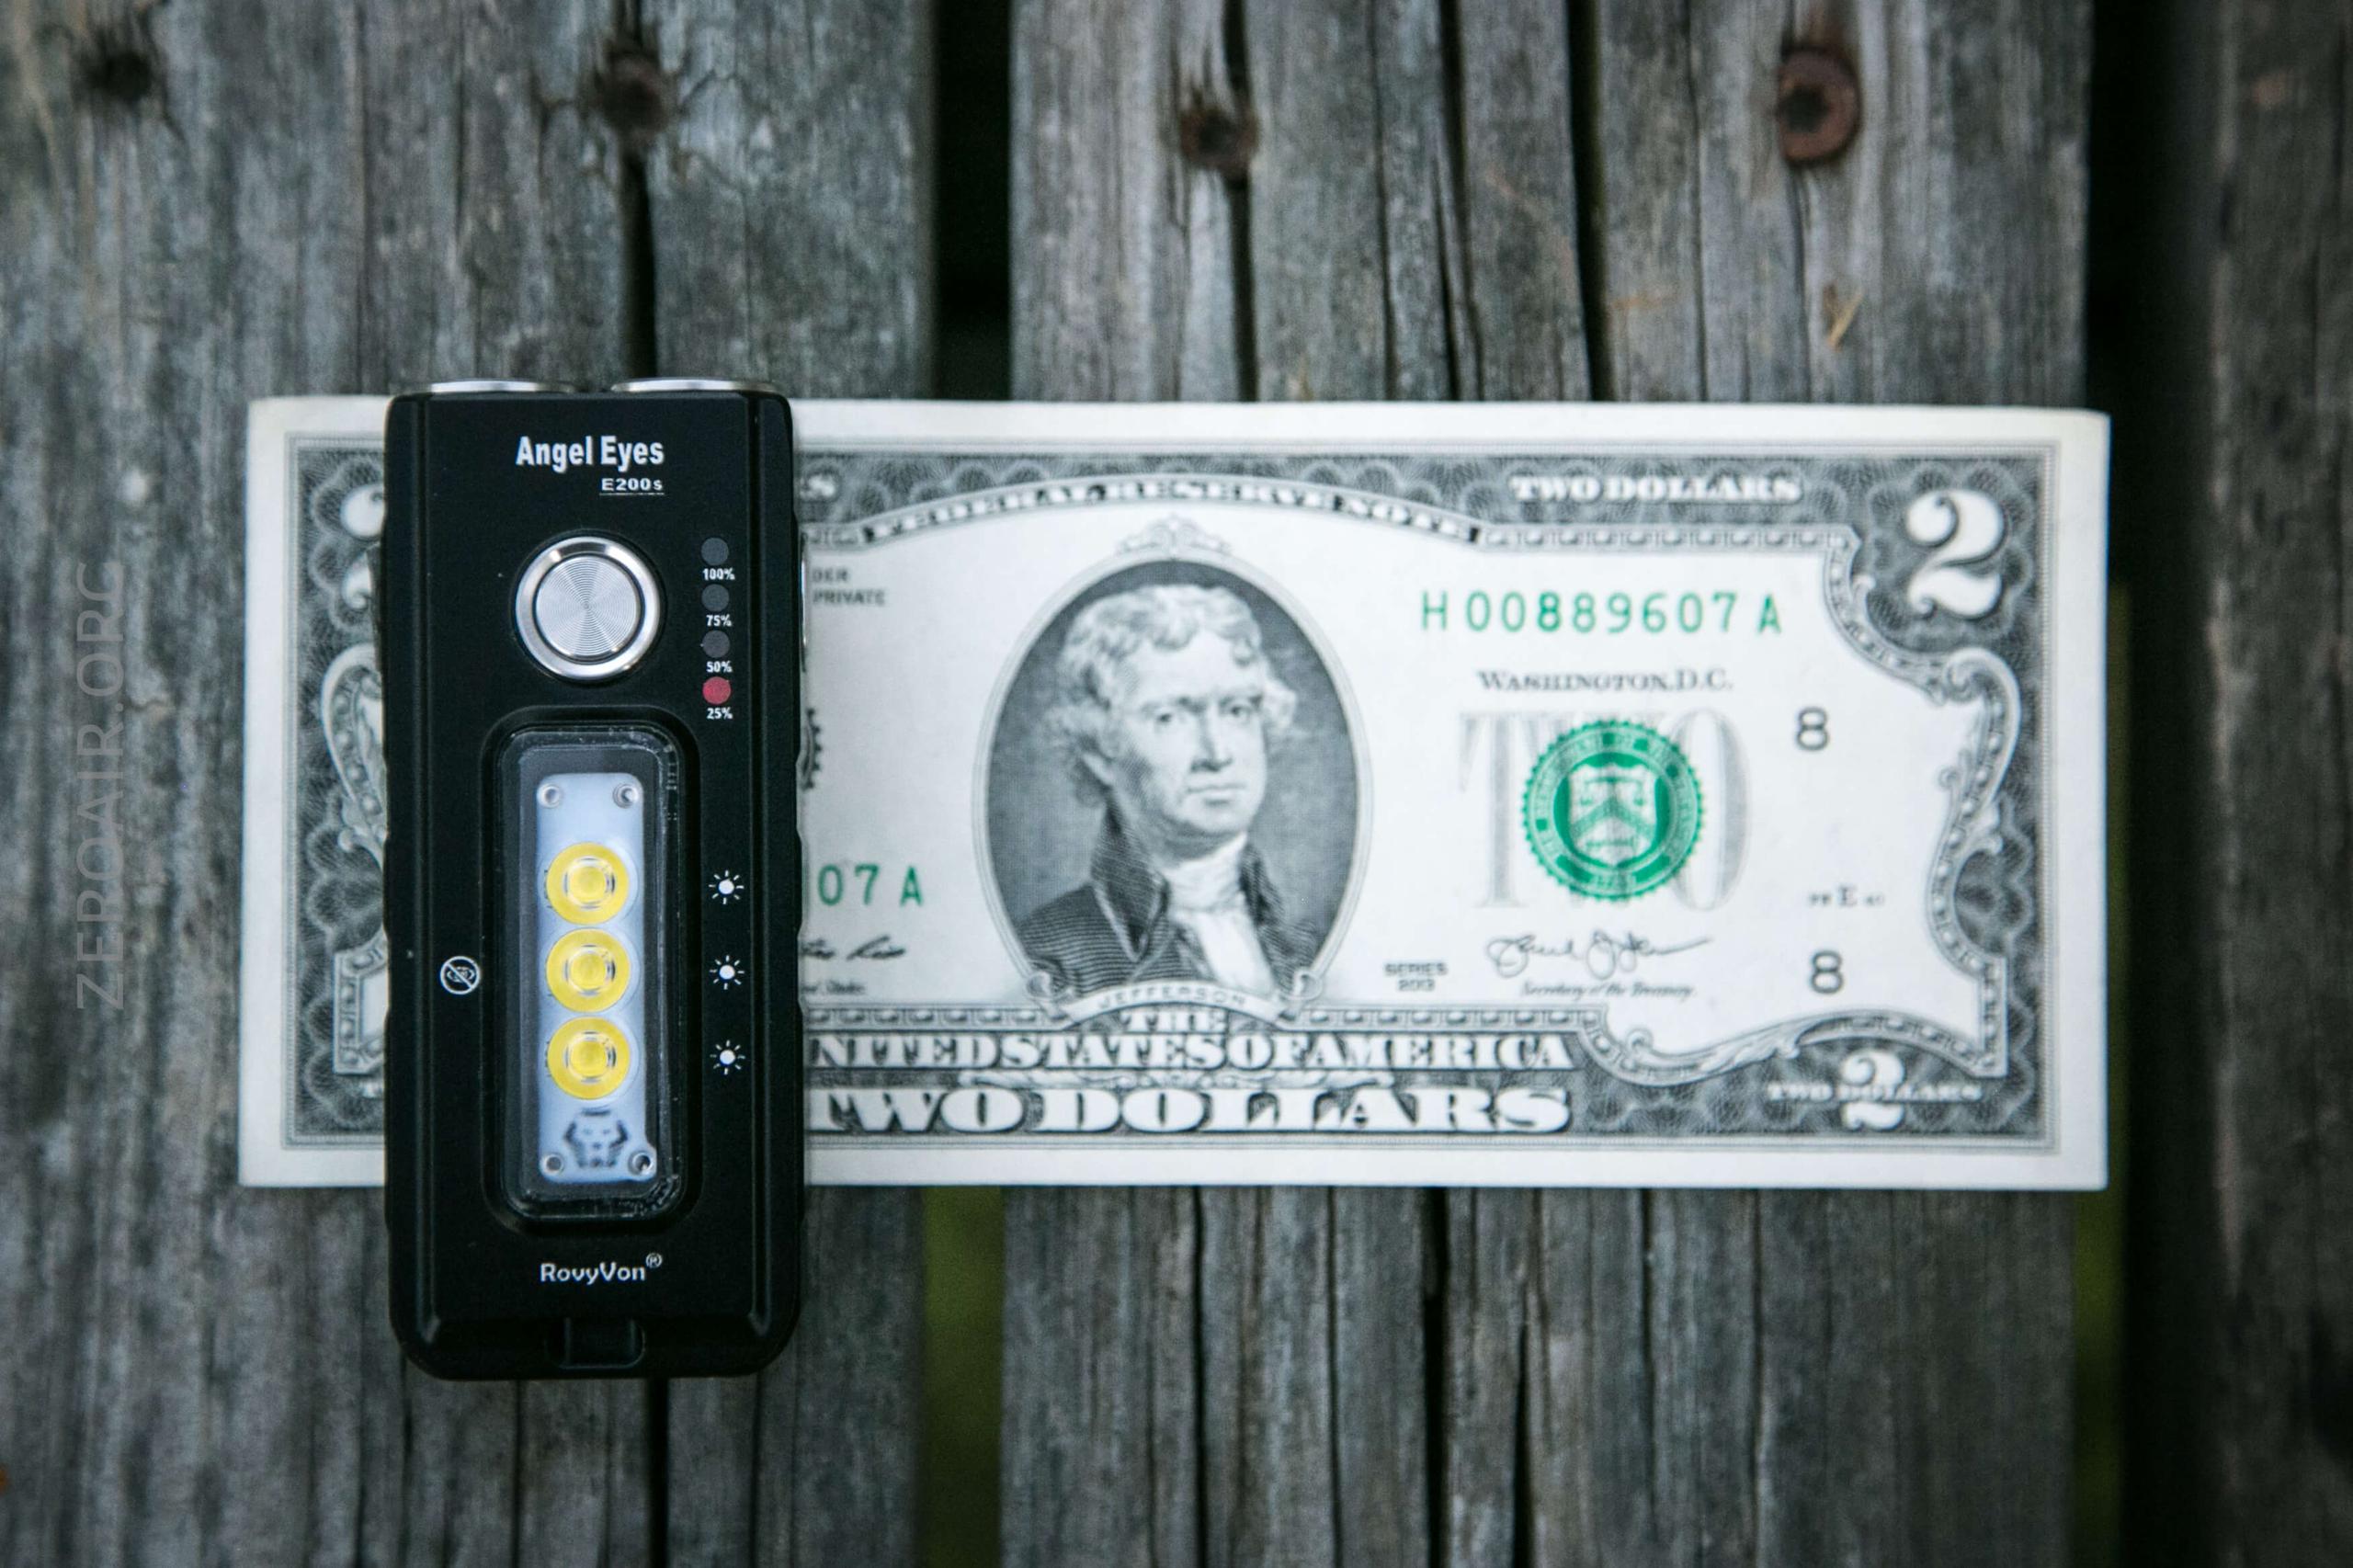
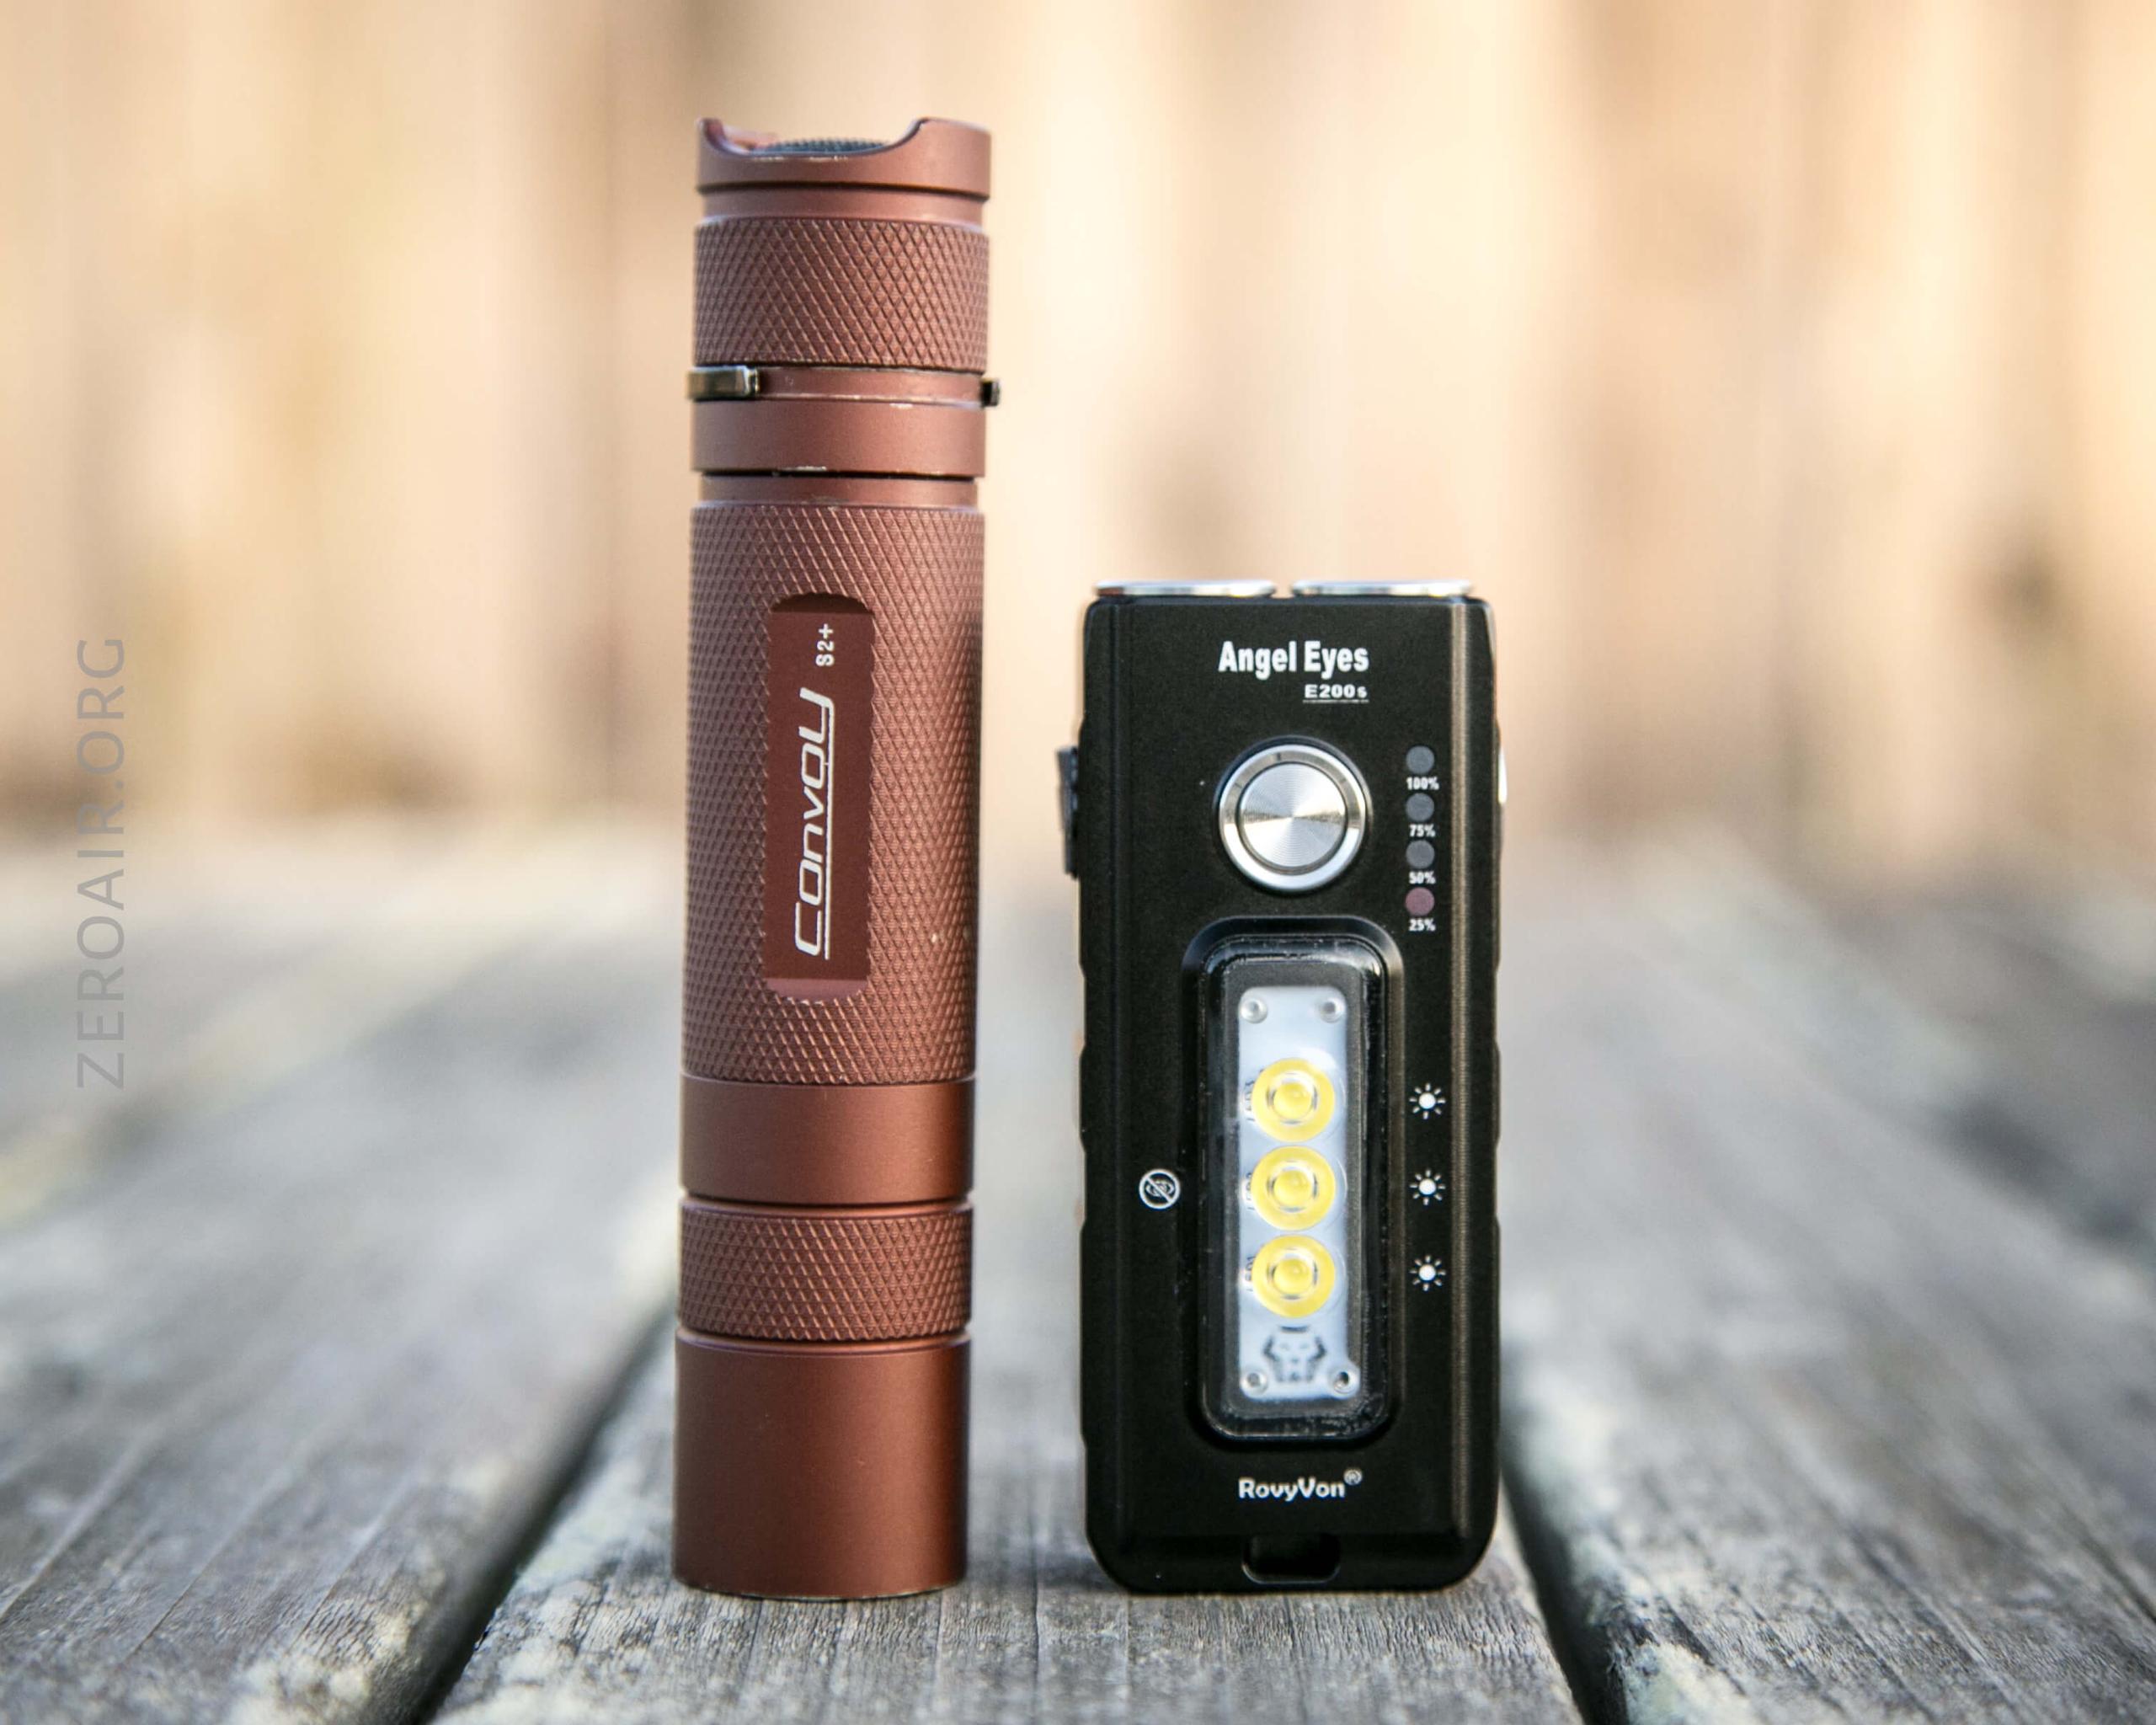

Notably, it’s much smaller than the E300. The width is about the same, though.
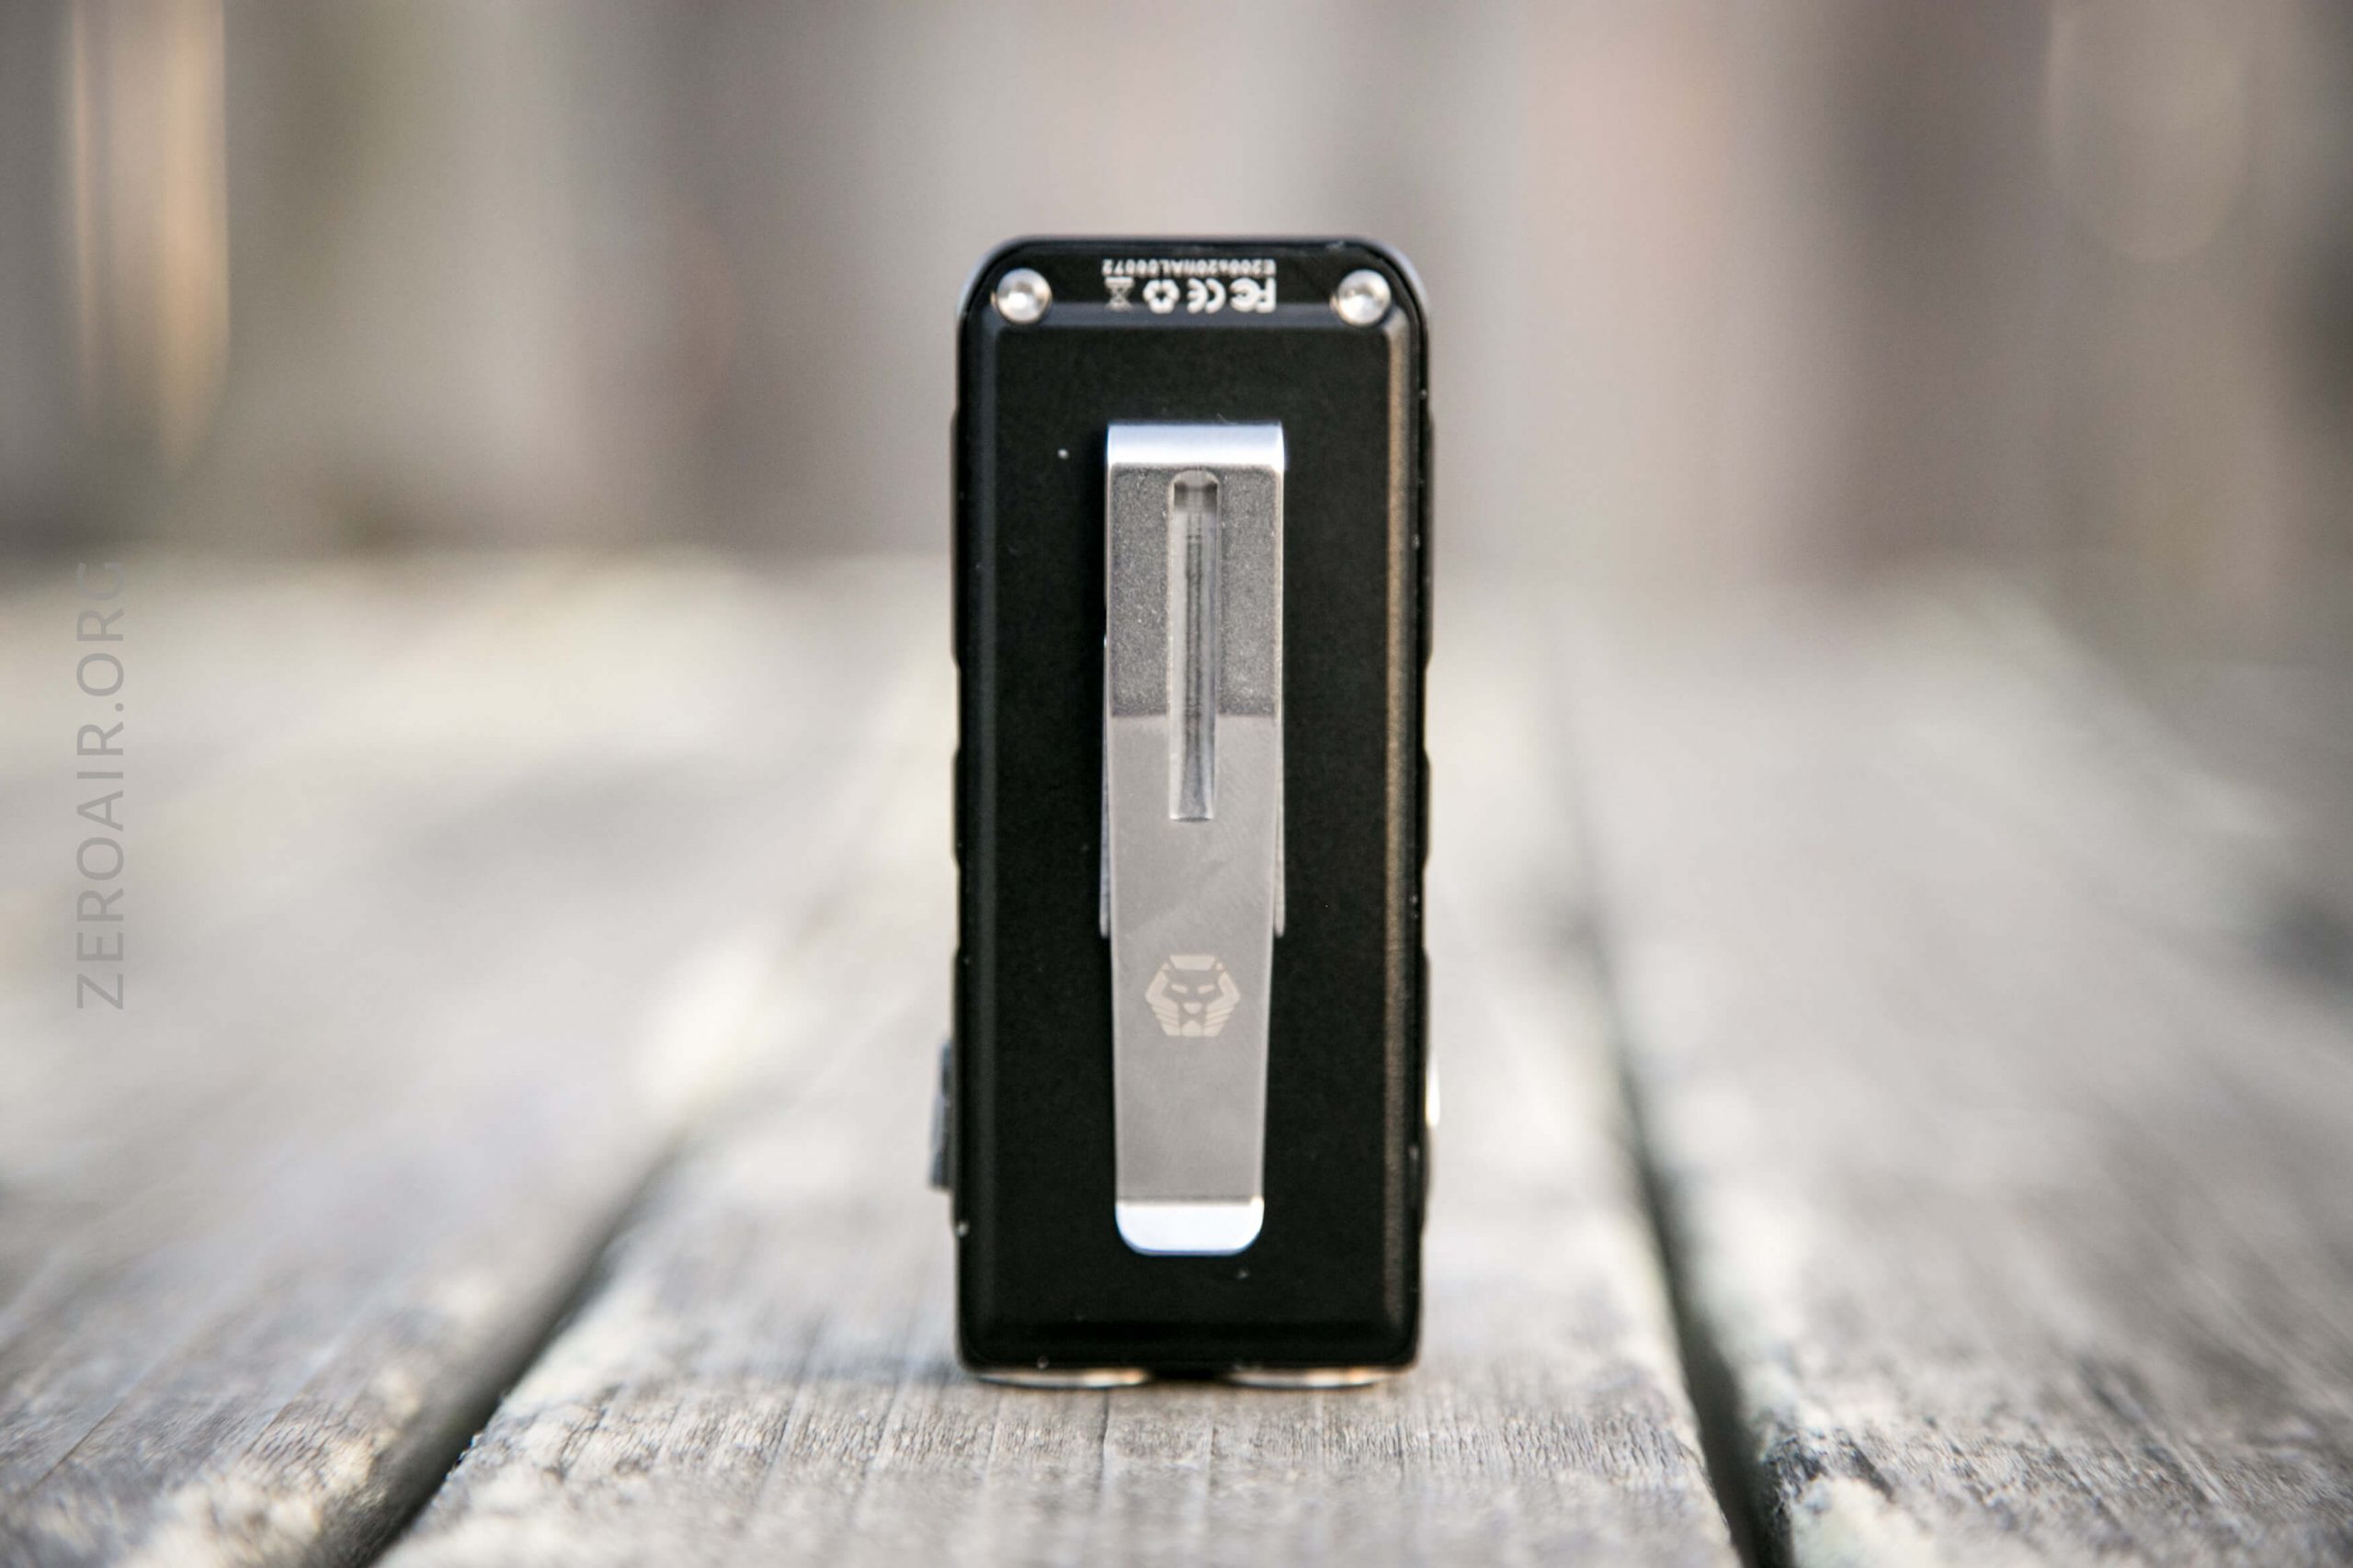
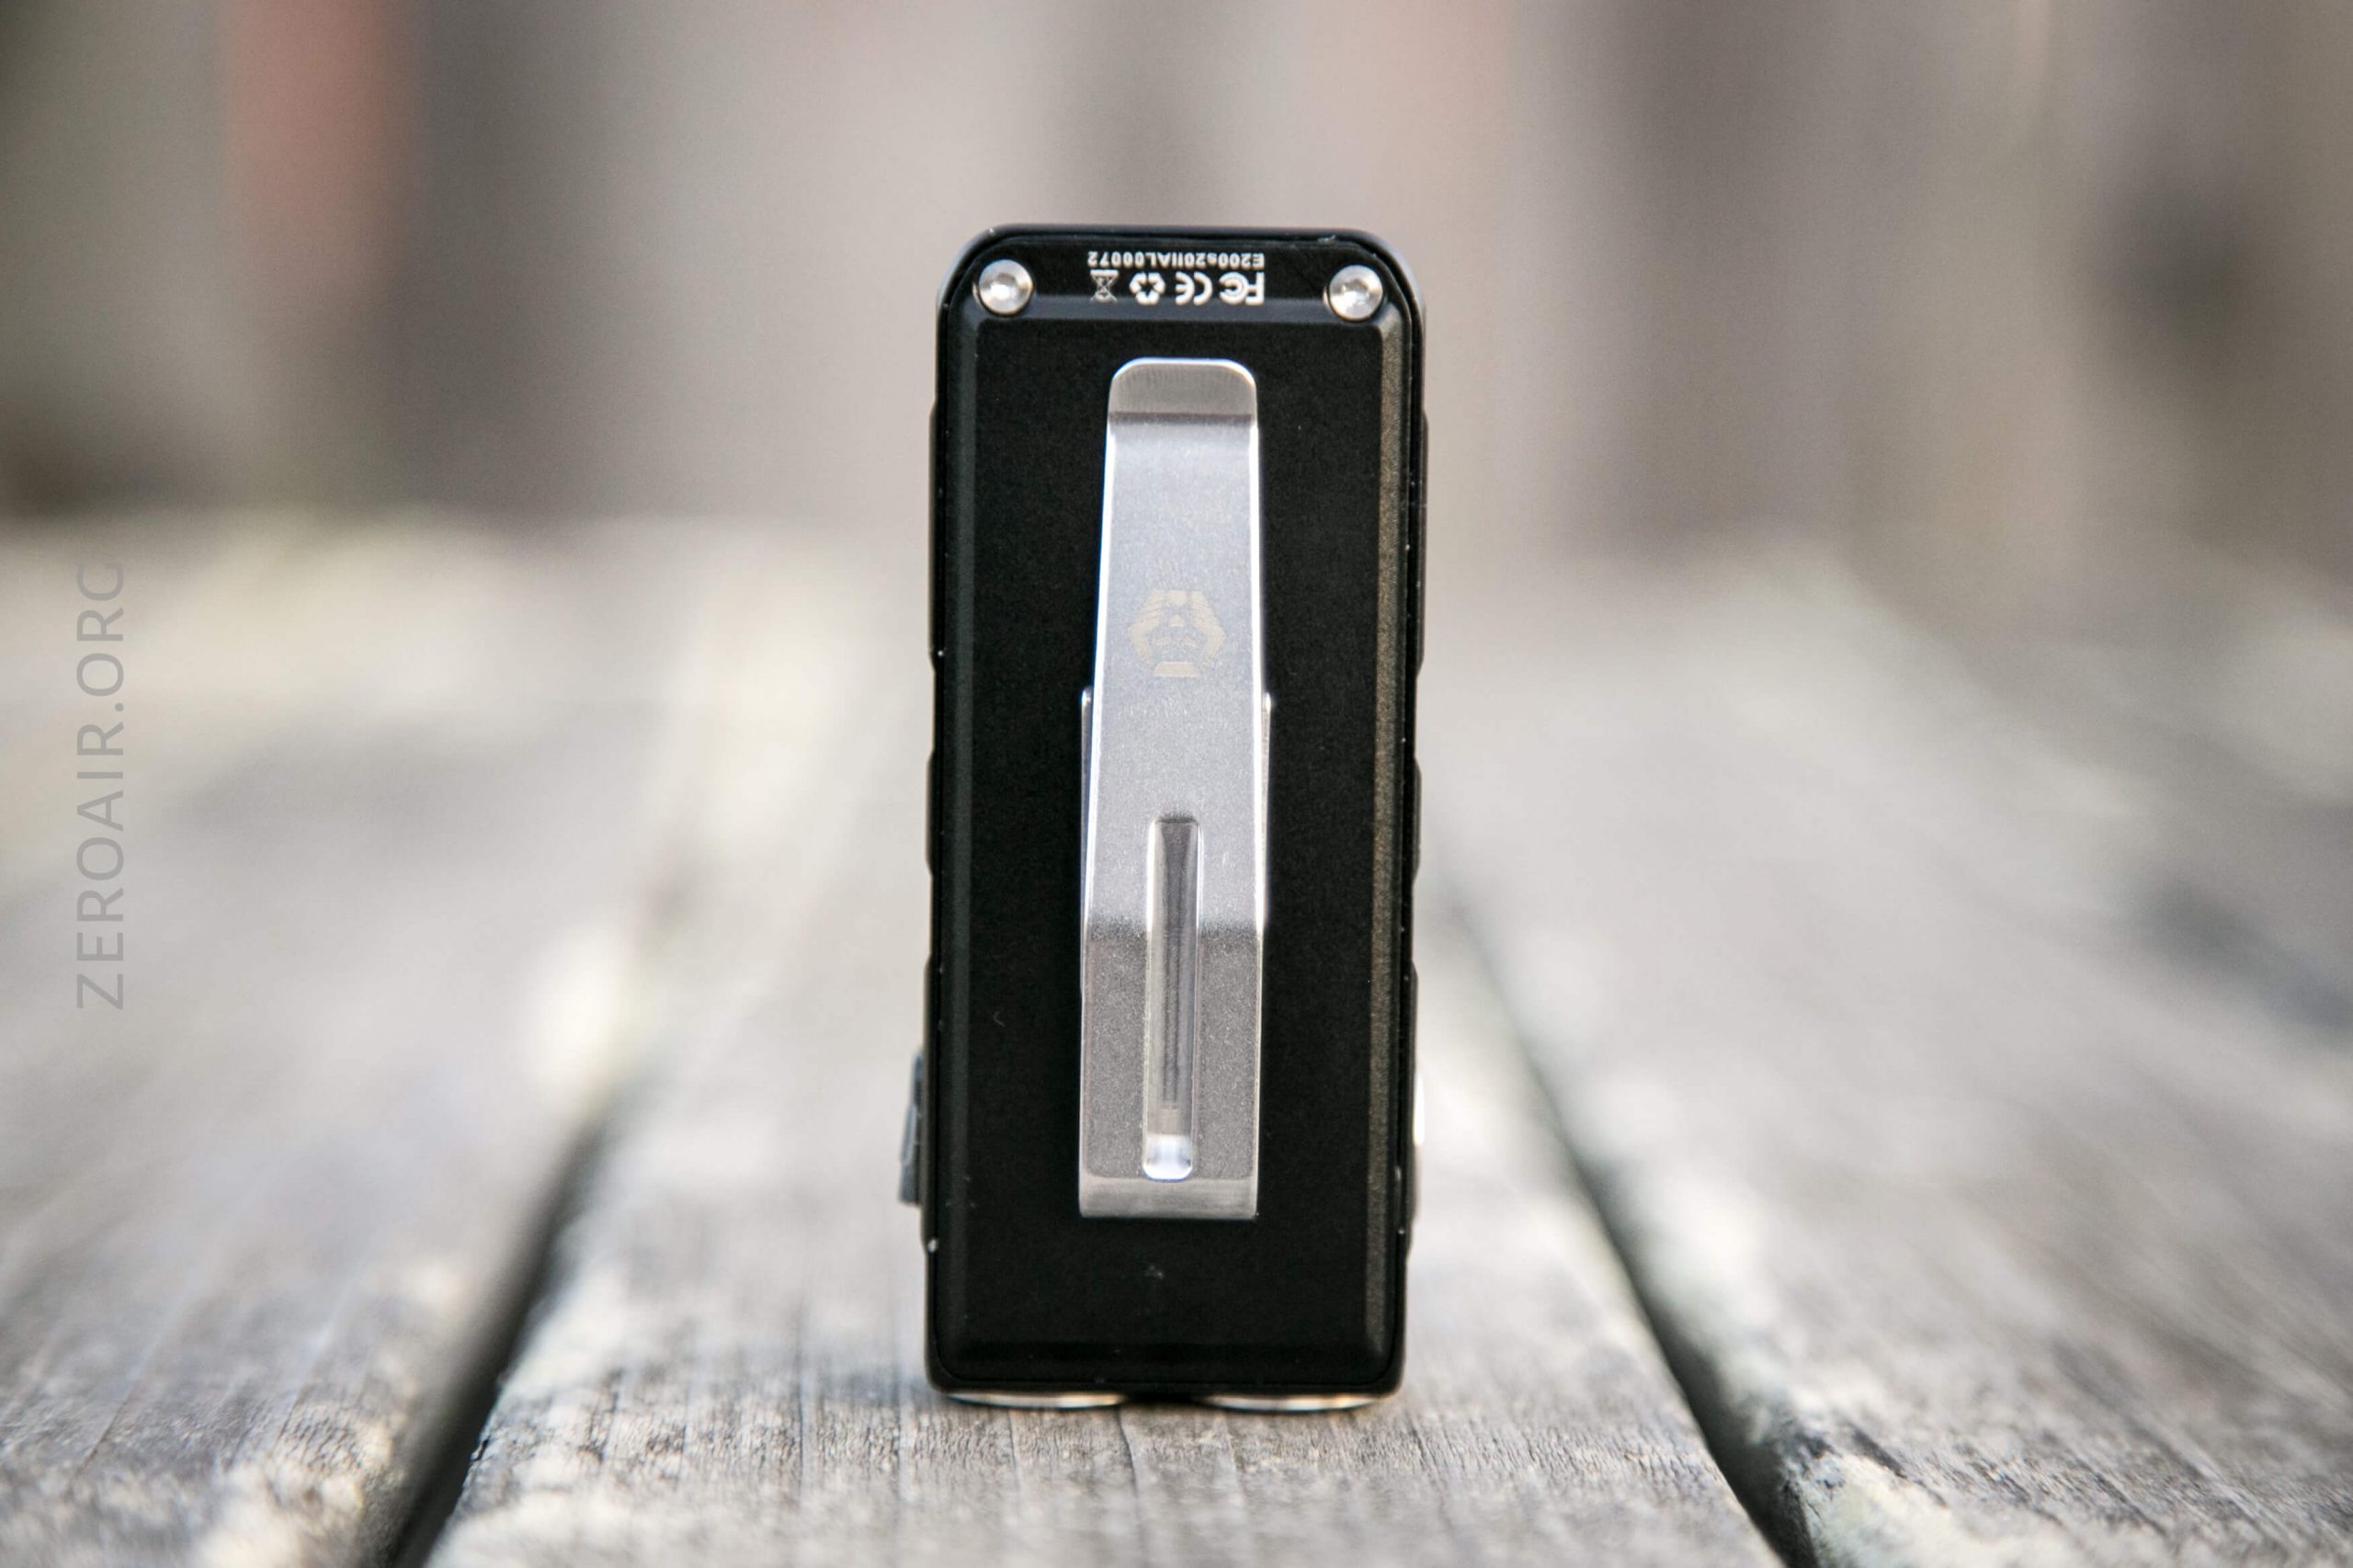
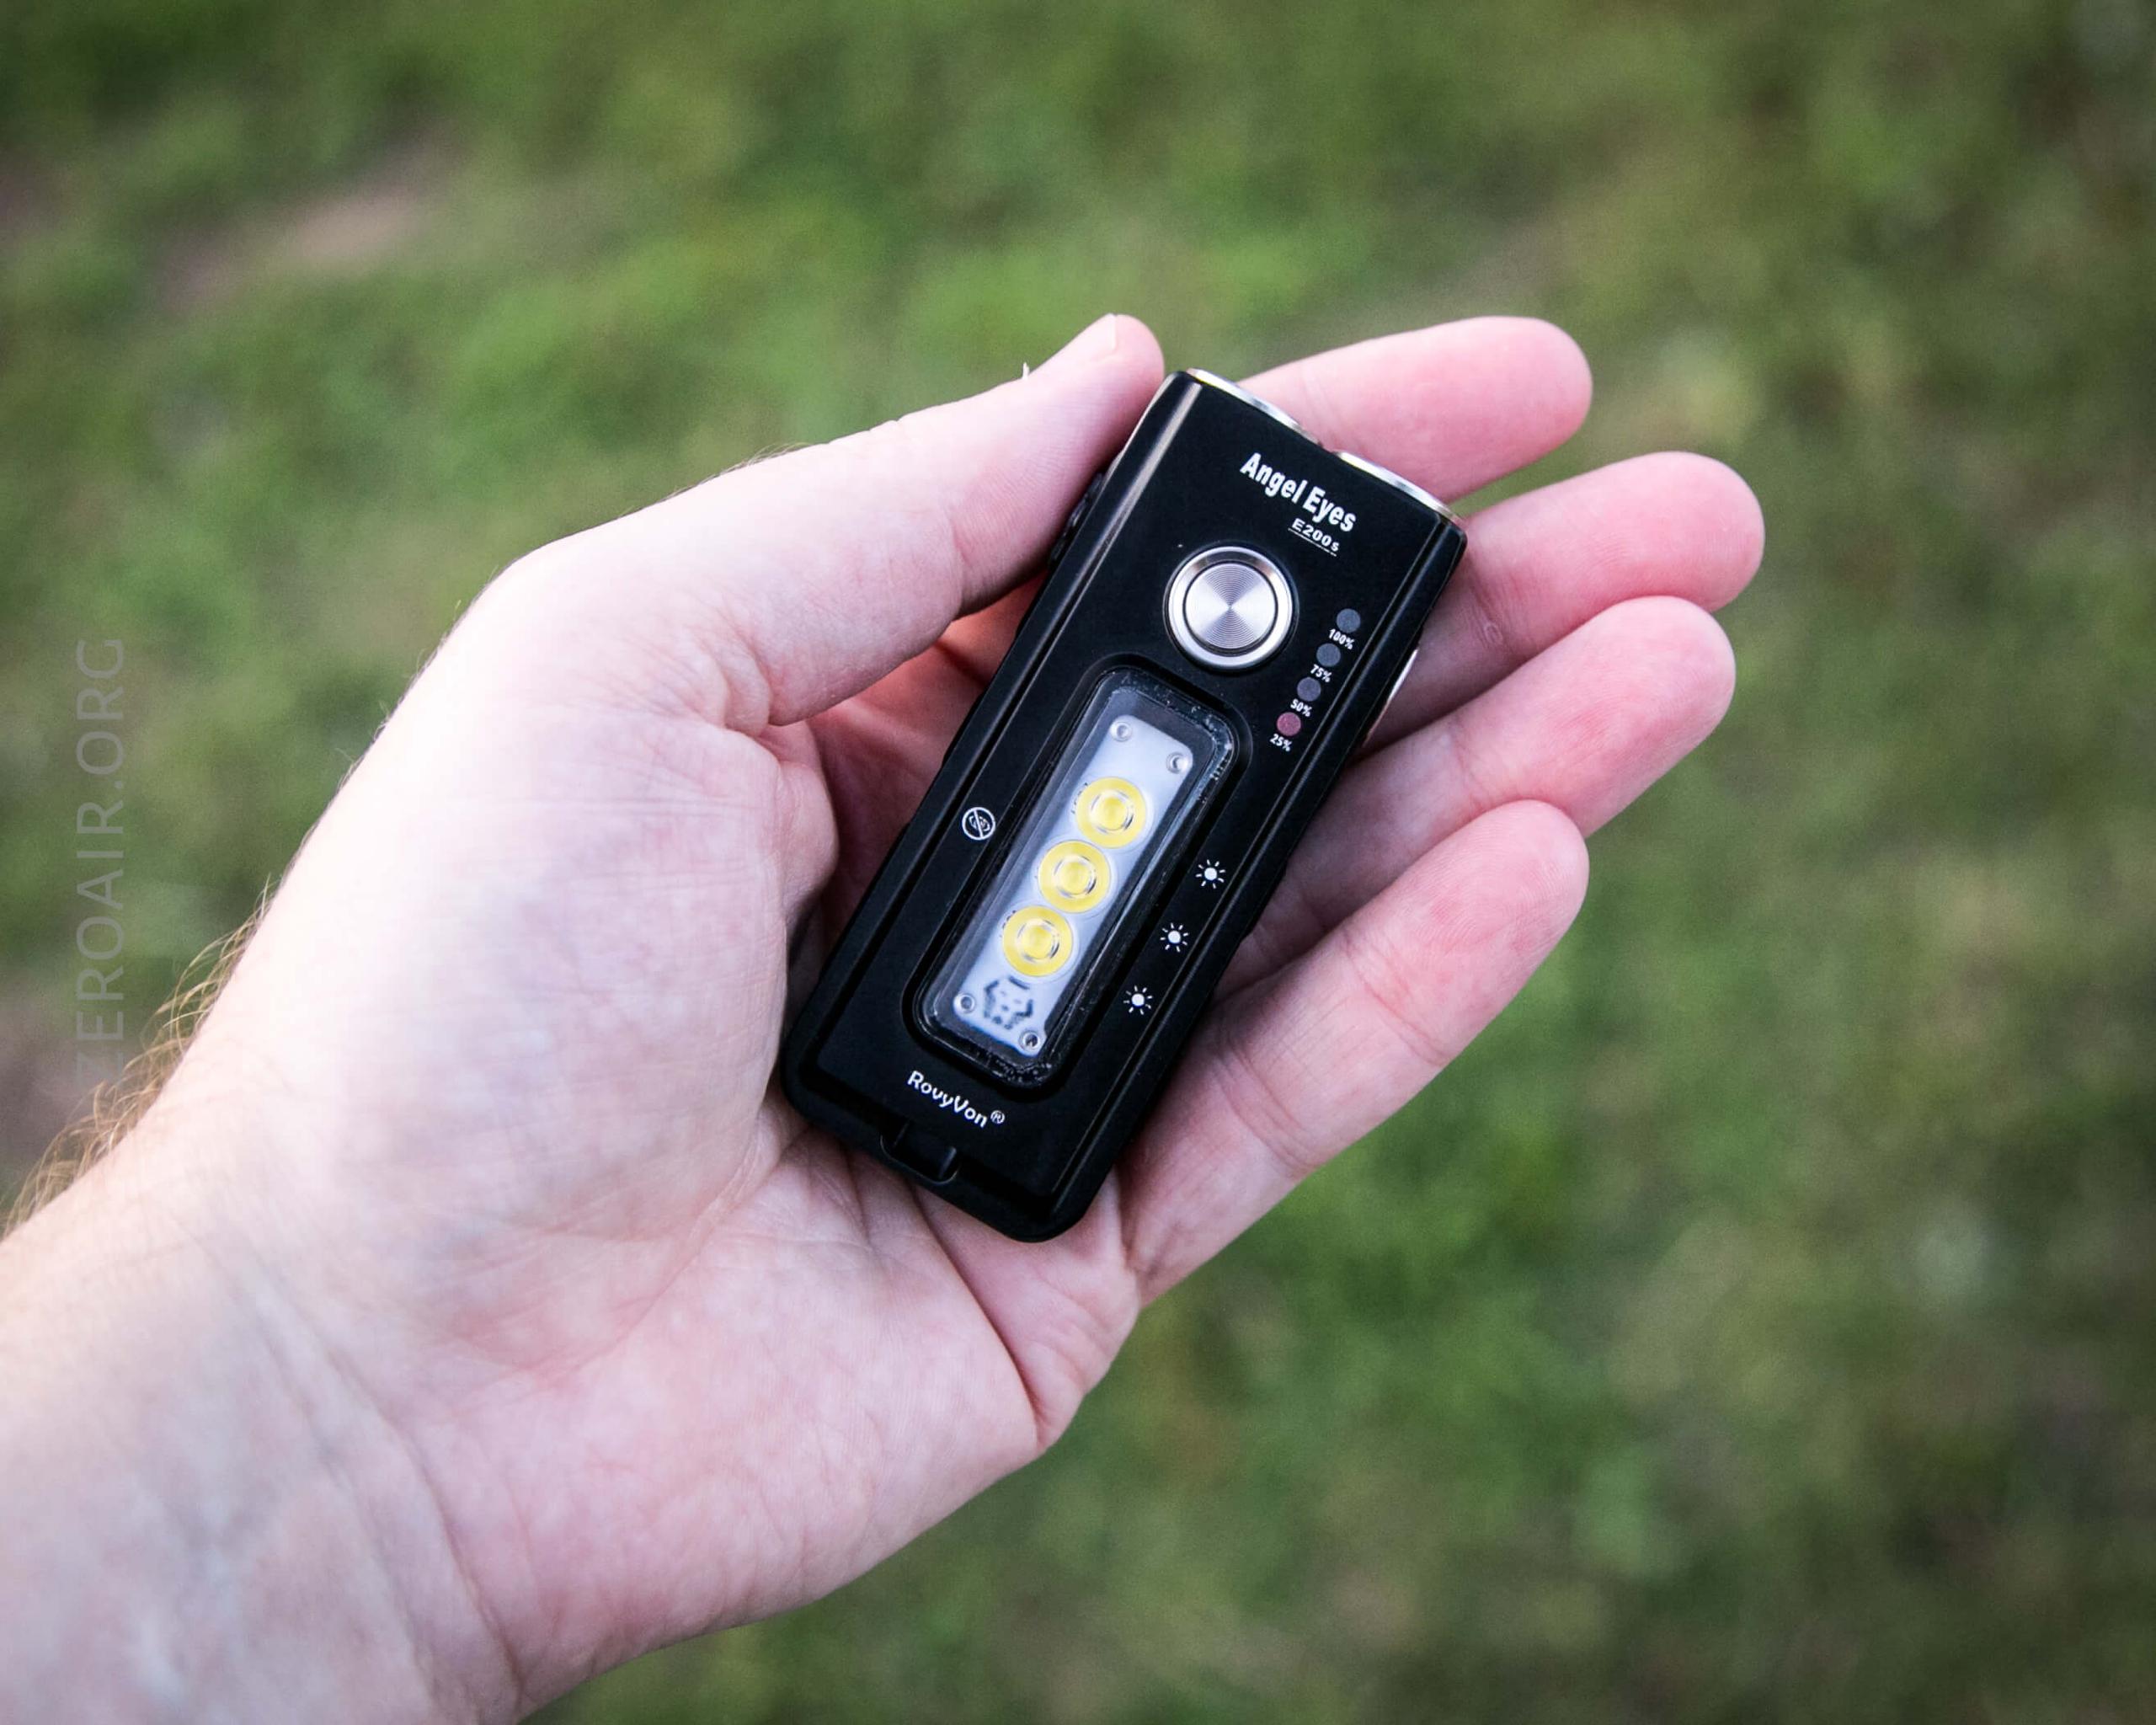
Retention and Carry
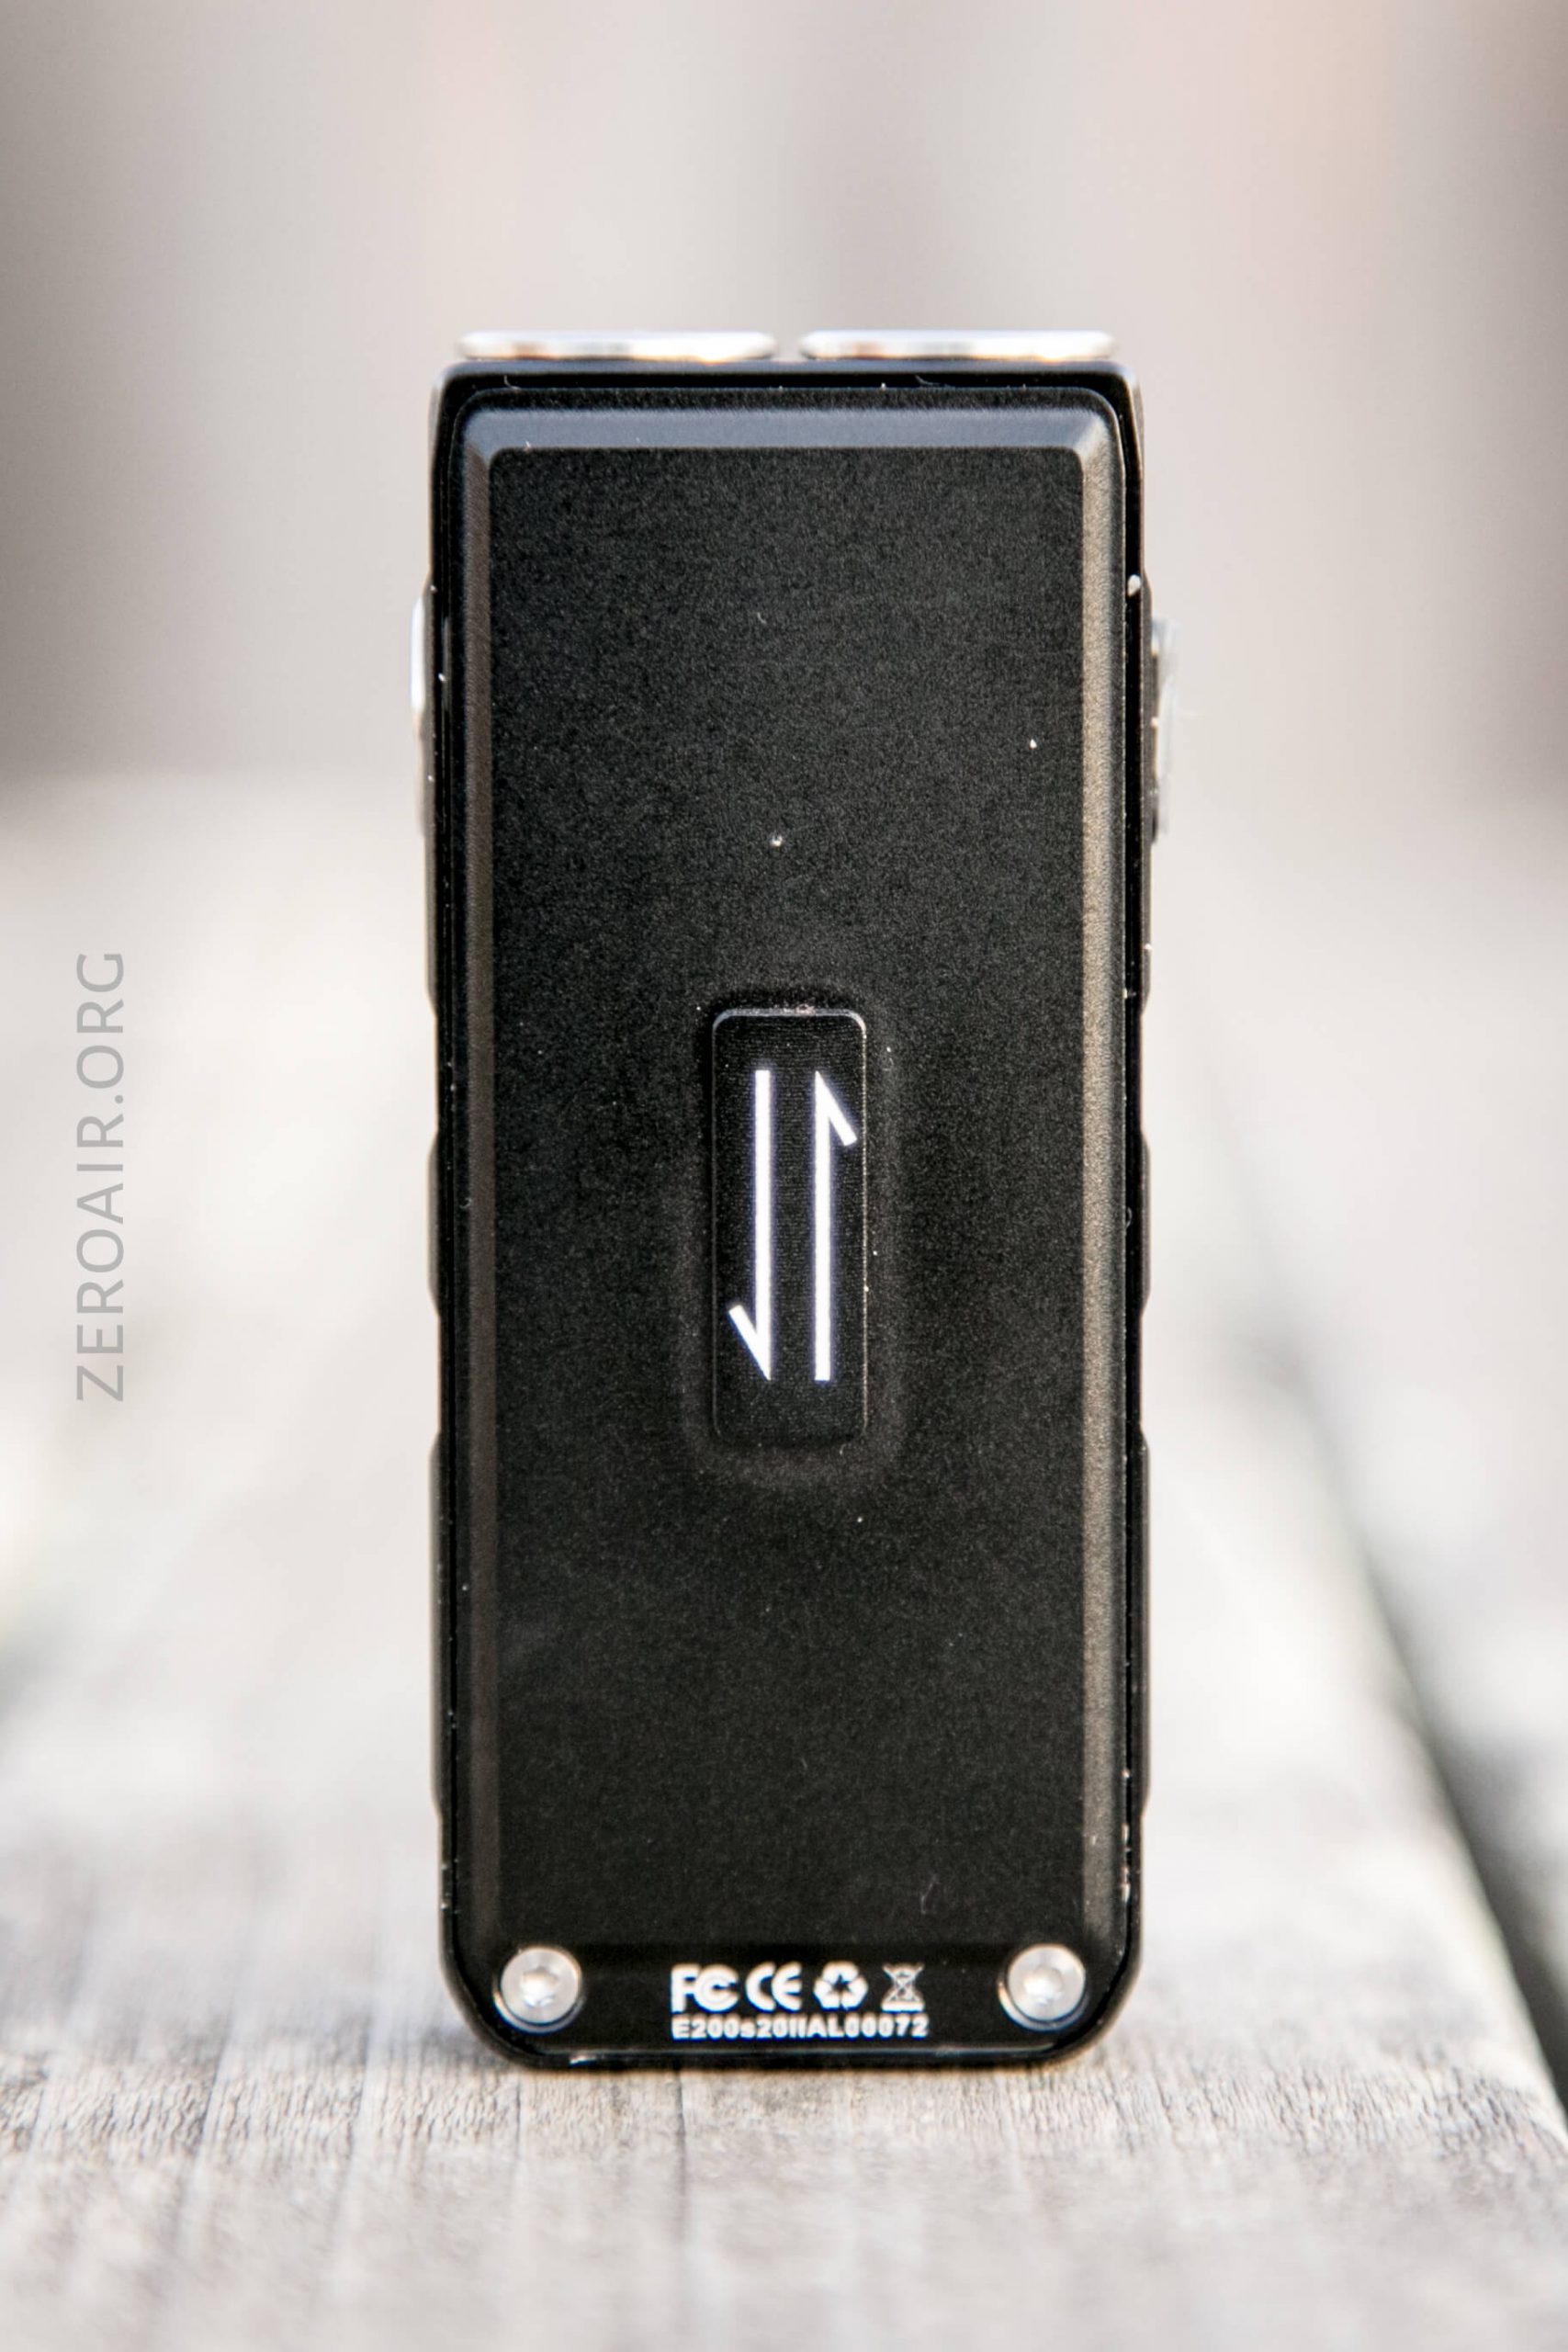
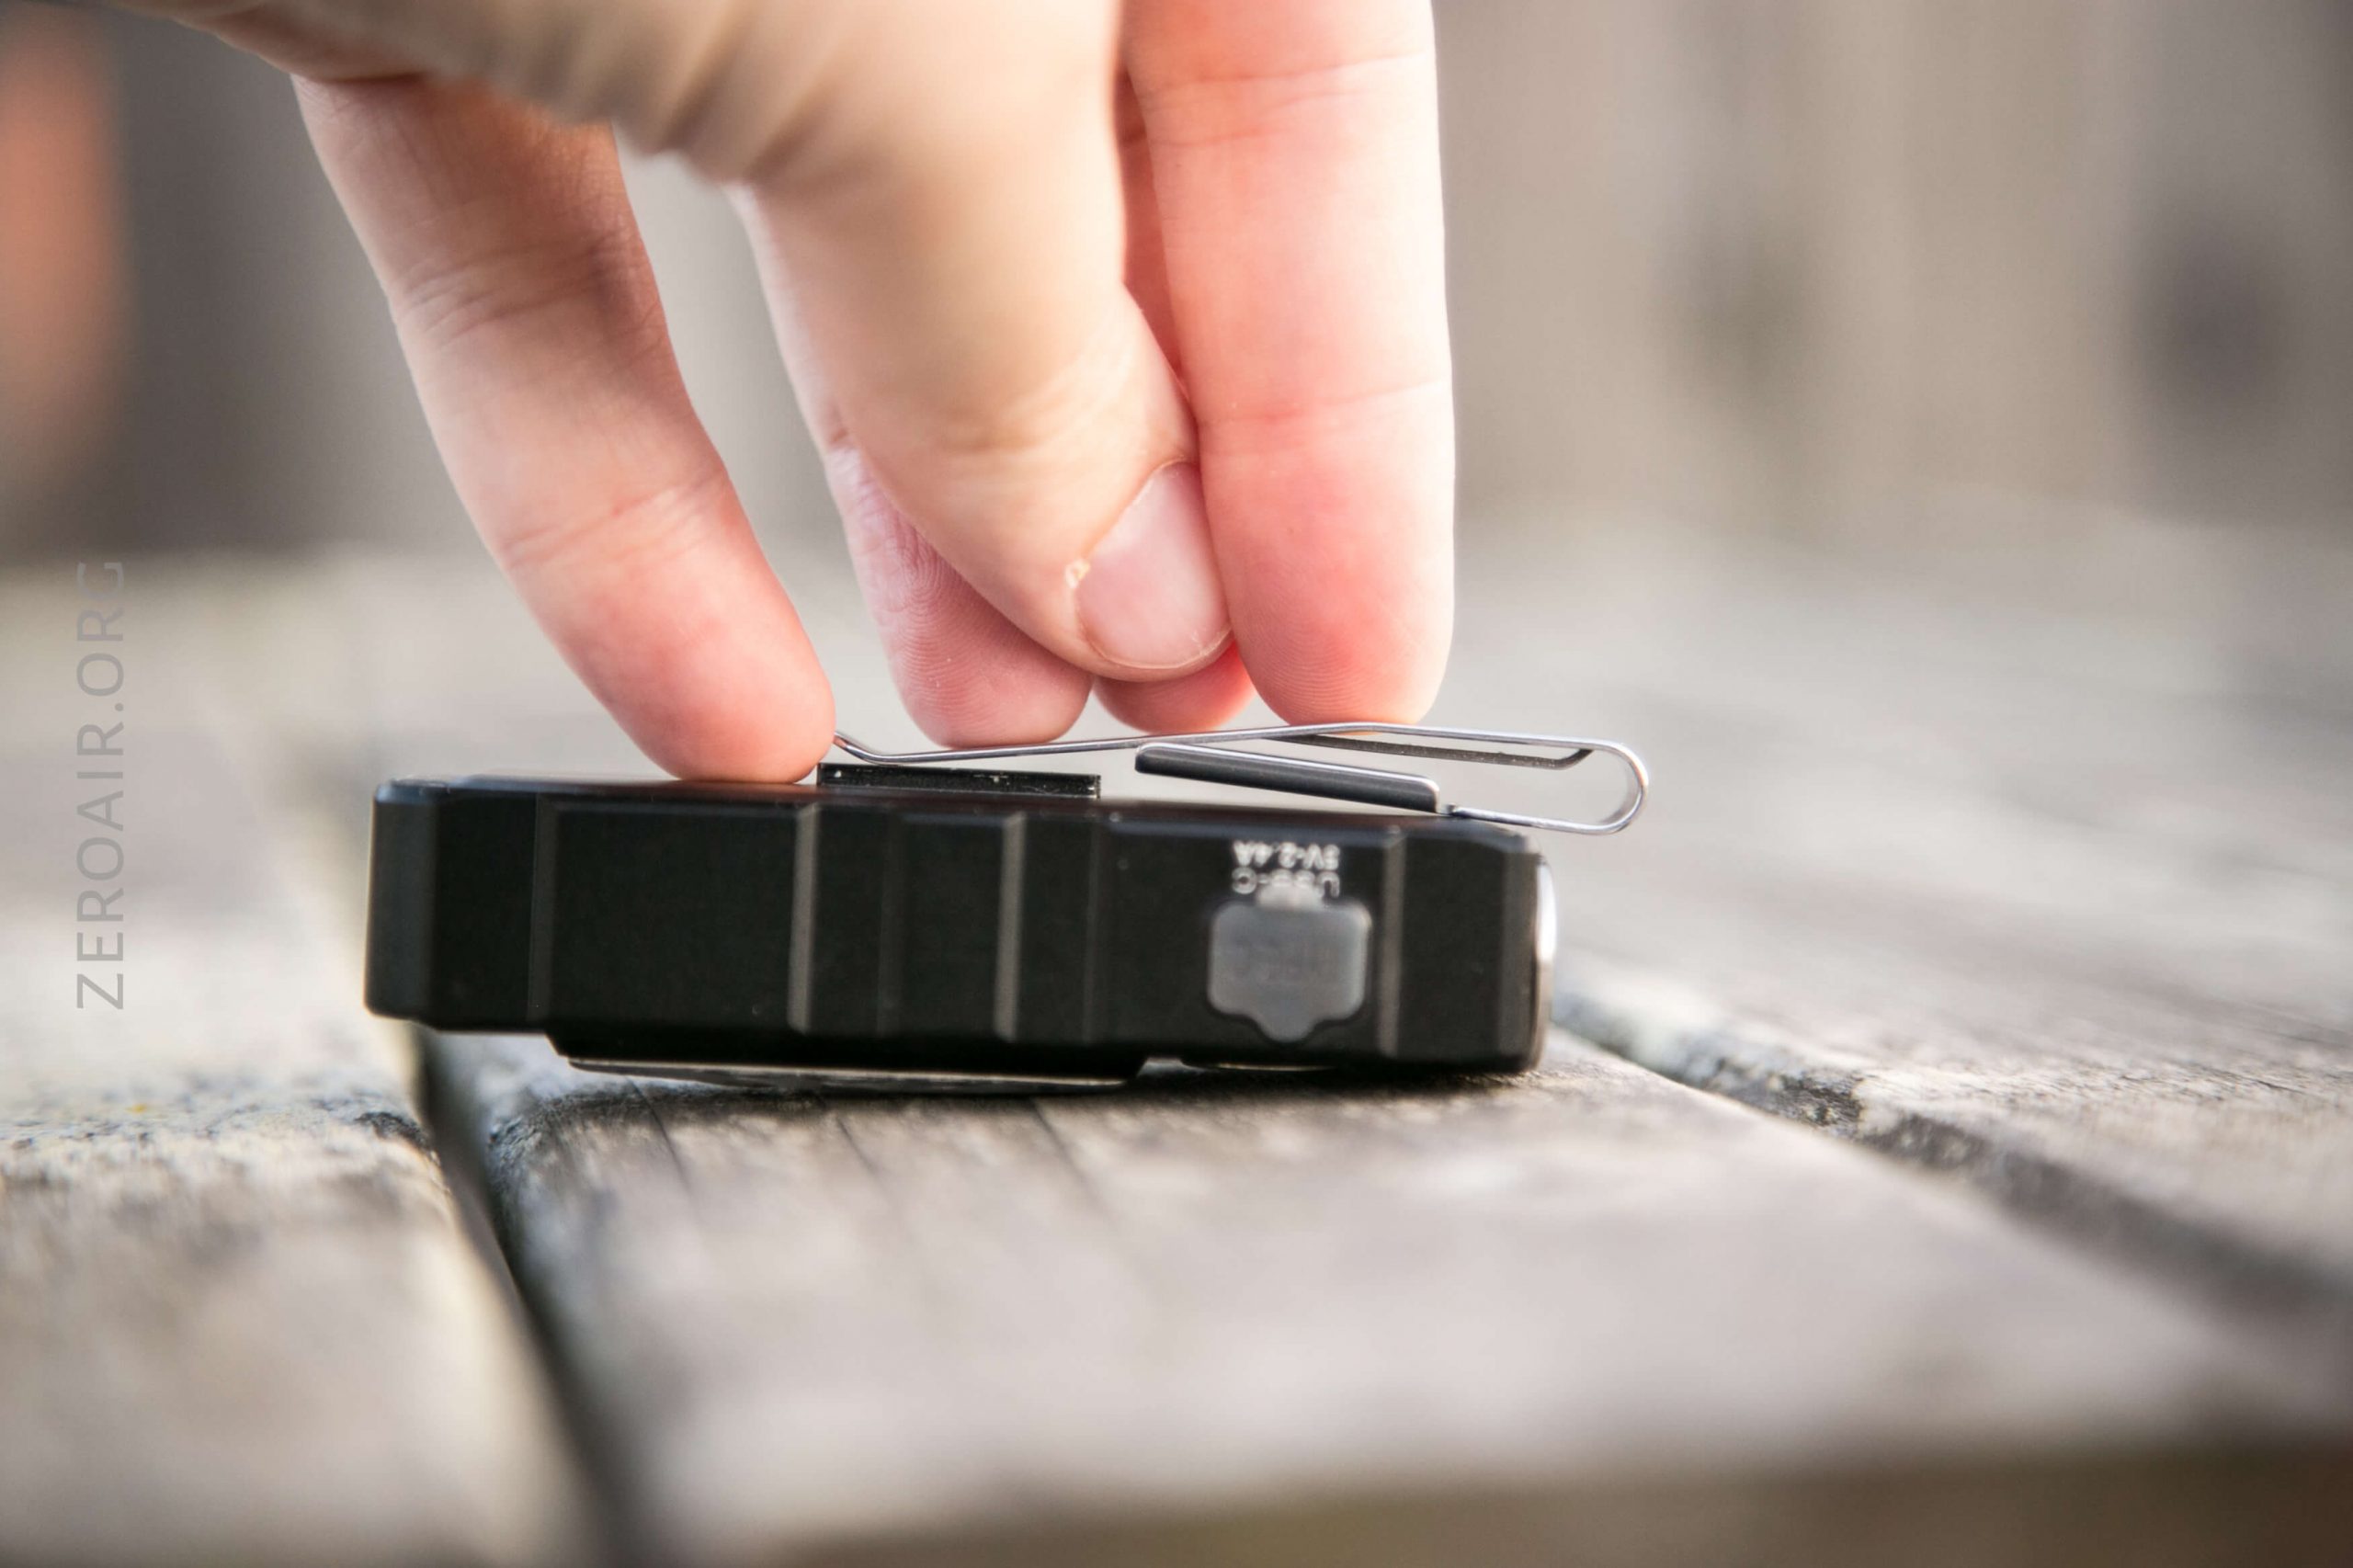
A pocket clip is included. It attaches to the back of the light. It’s a sort of “slip-on” clip.


Installing it isn’t the easiest prospect, but if you lay it as seen below, and press fairly hard right where my index finger is, you’ll flex the clip enough for it to grab the rails.
The clip will fit in either orientation. Also, it doesn’t really “click” in or anything, it just stays in place with friction.
Also included is the lanyard, which attaches to the back (bottom?) of the light.
Also on the same end as the lanyard hole (above, above), is a tripod hole.
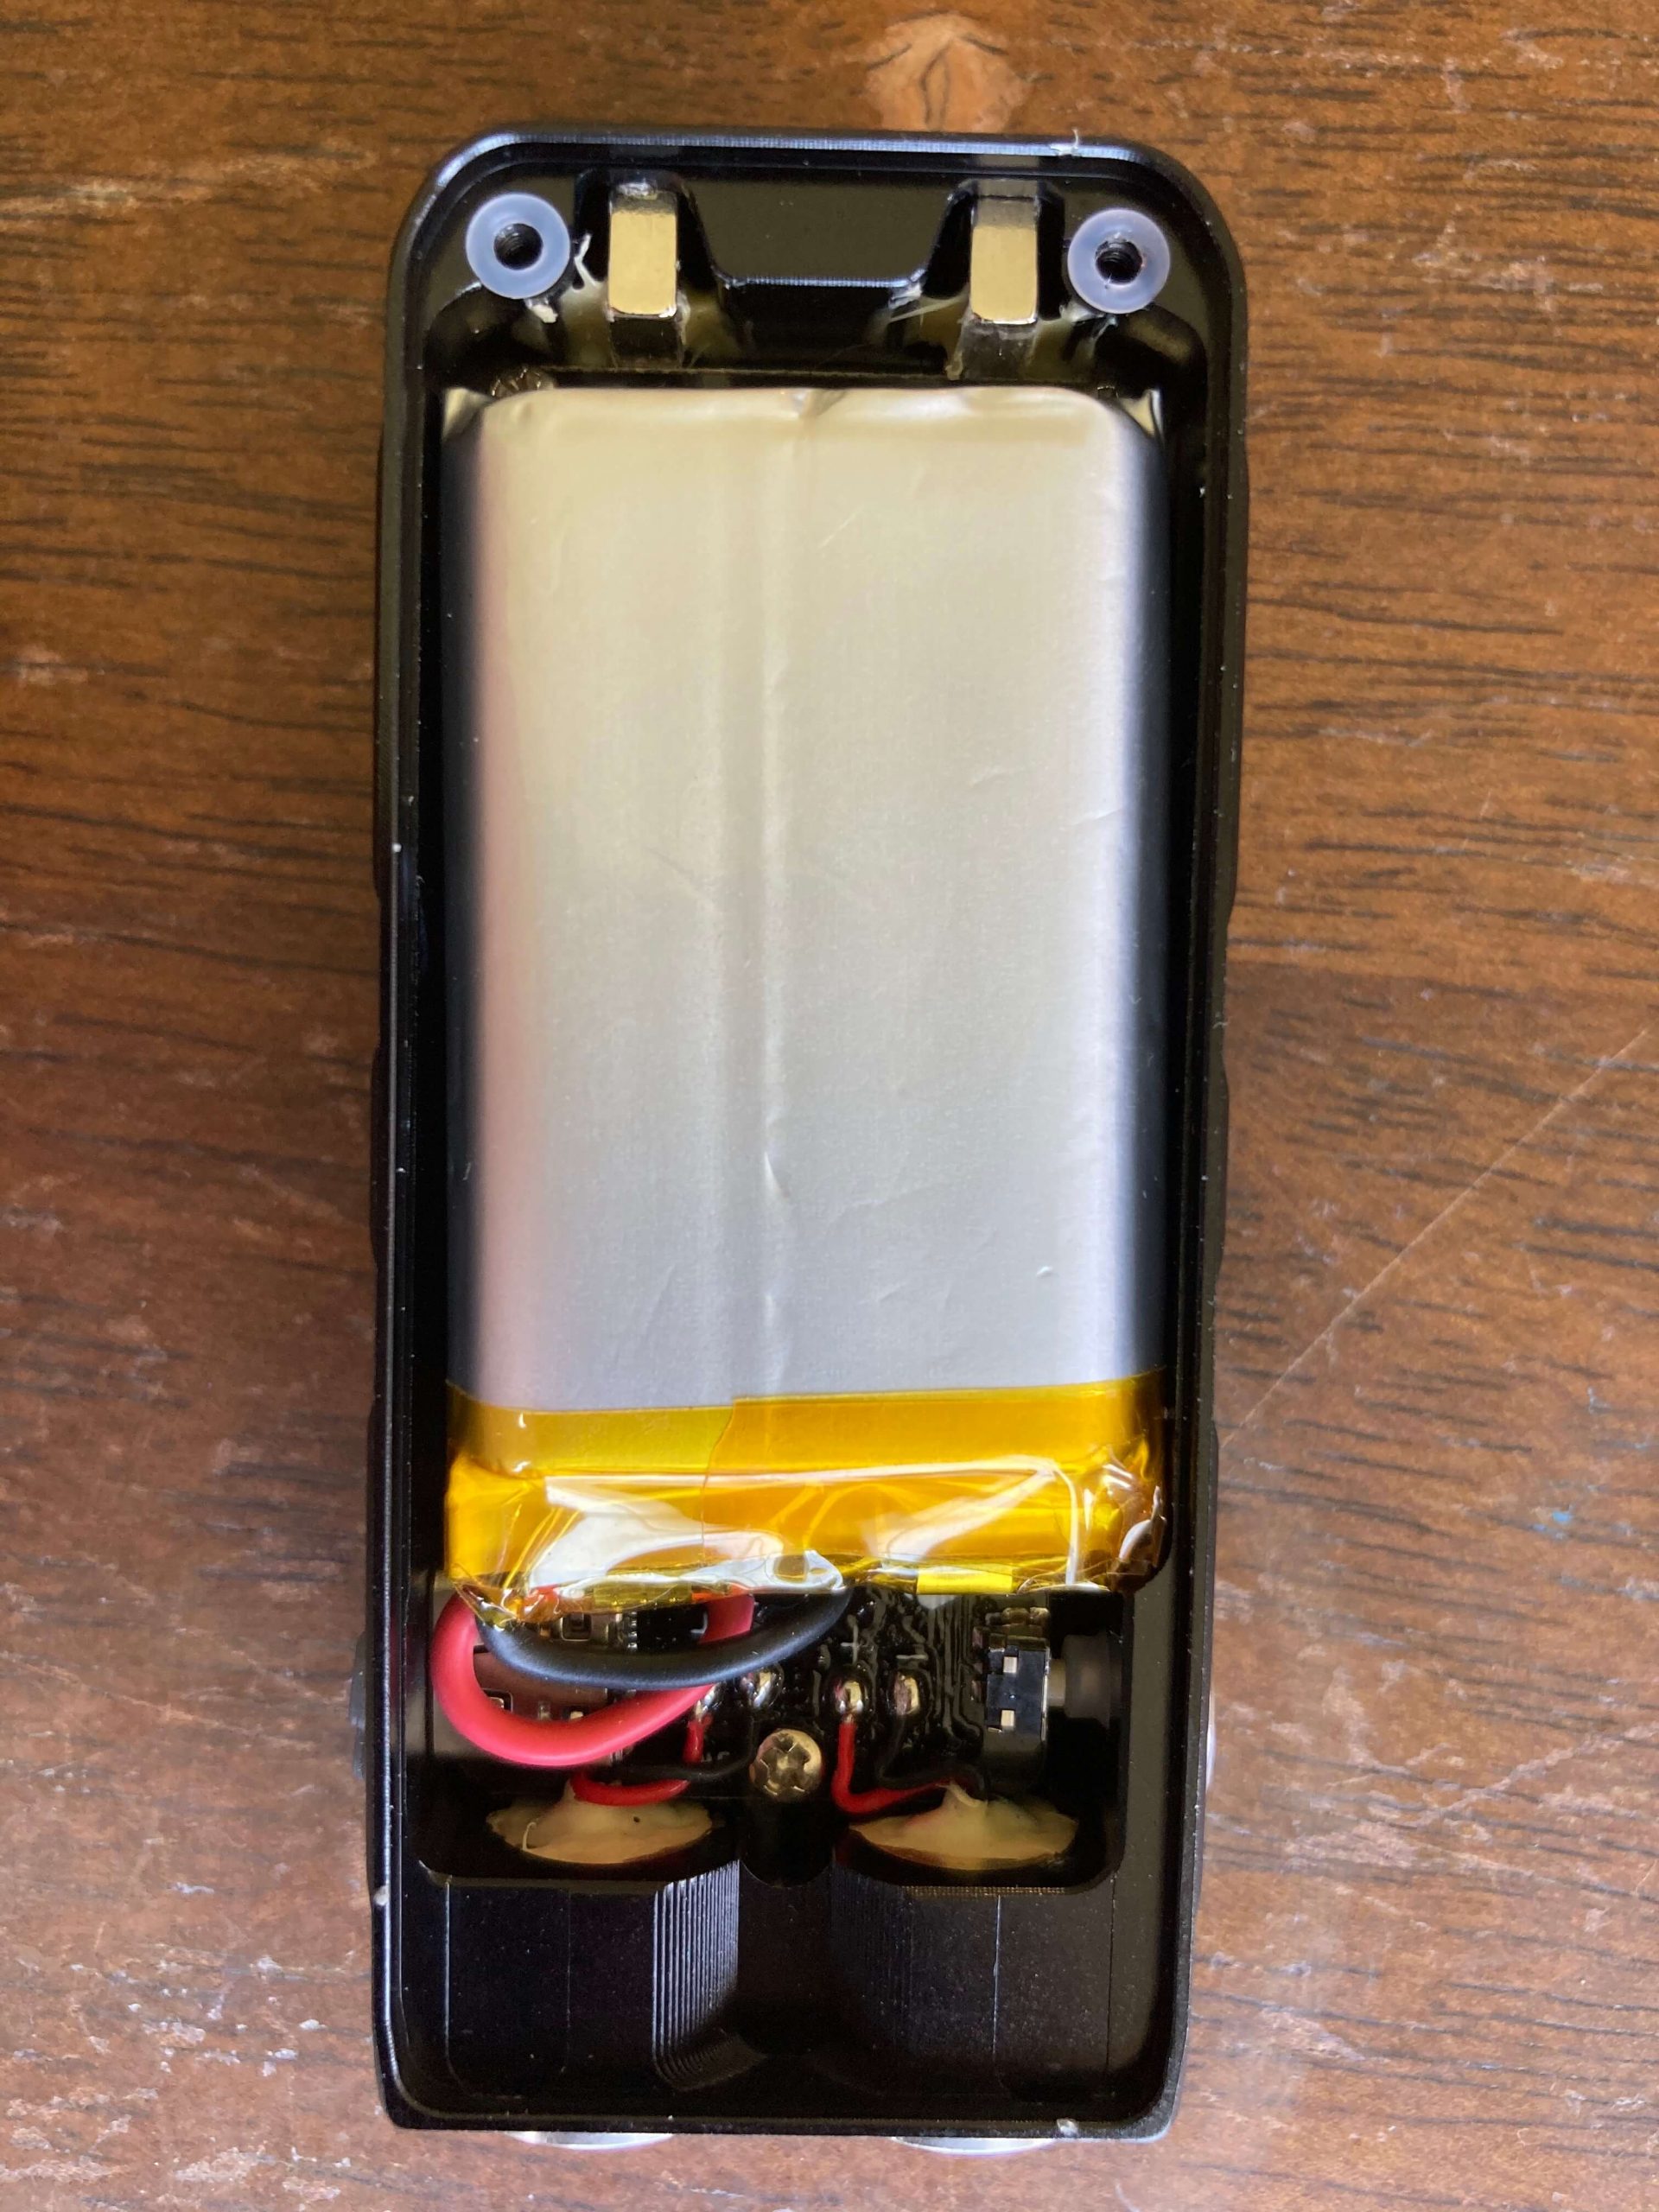
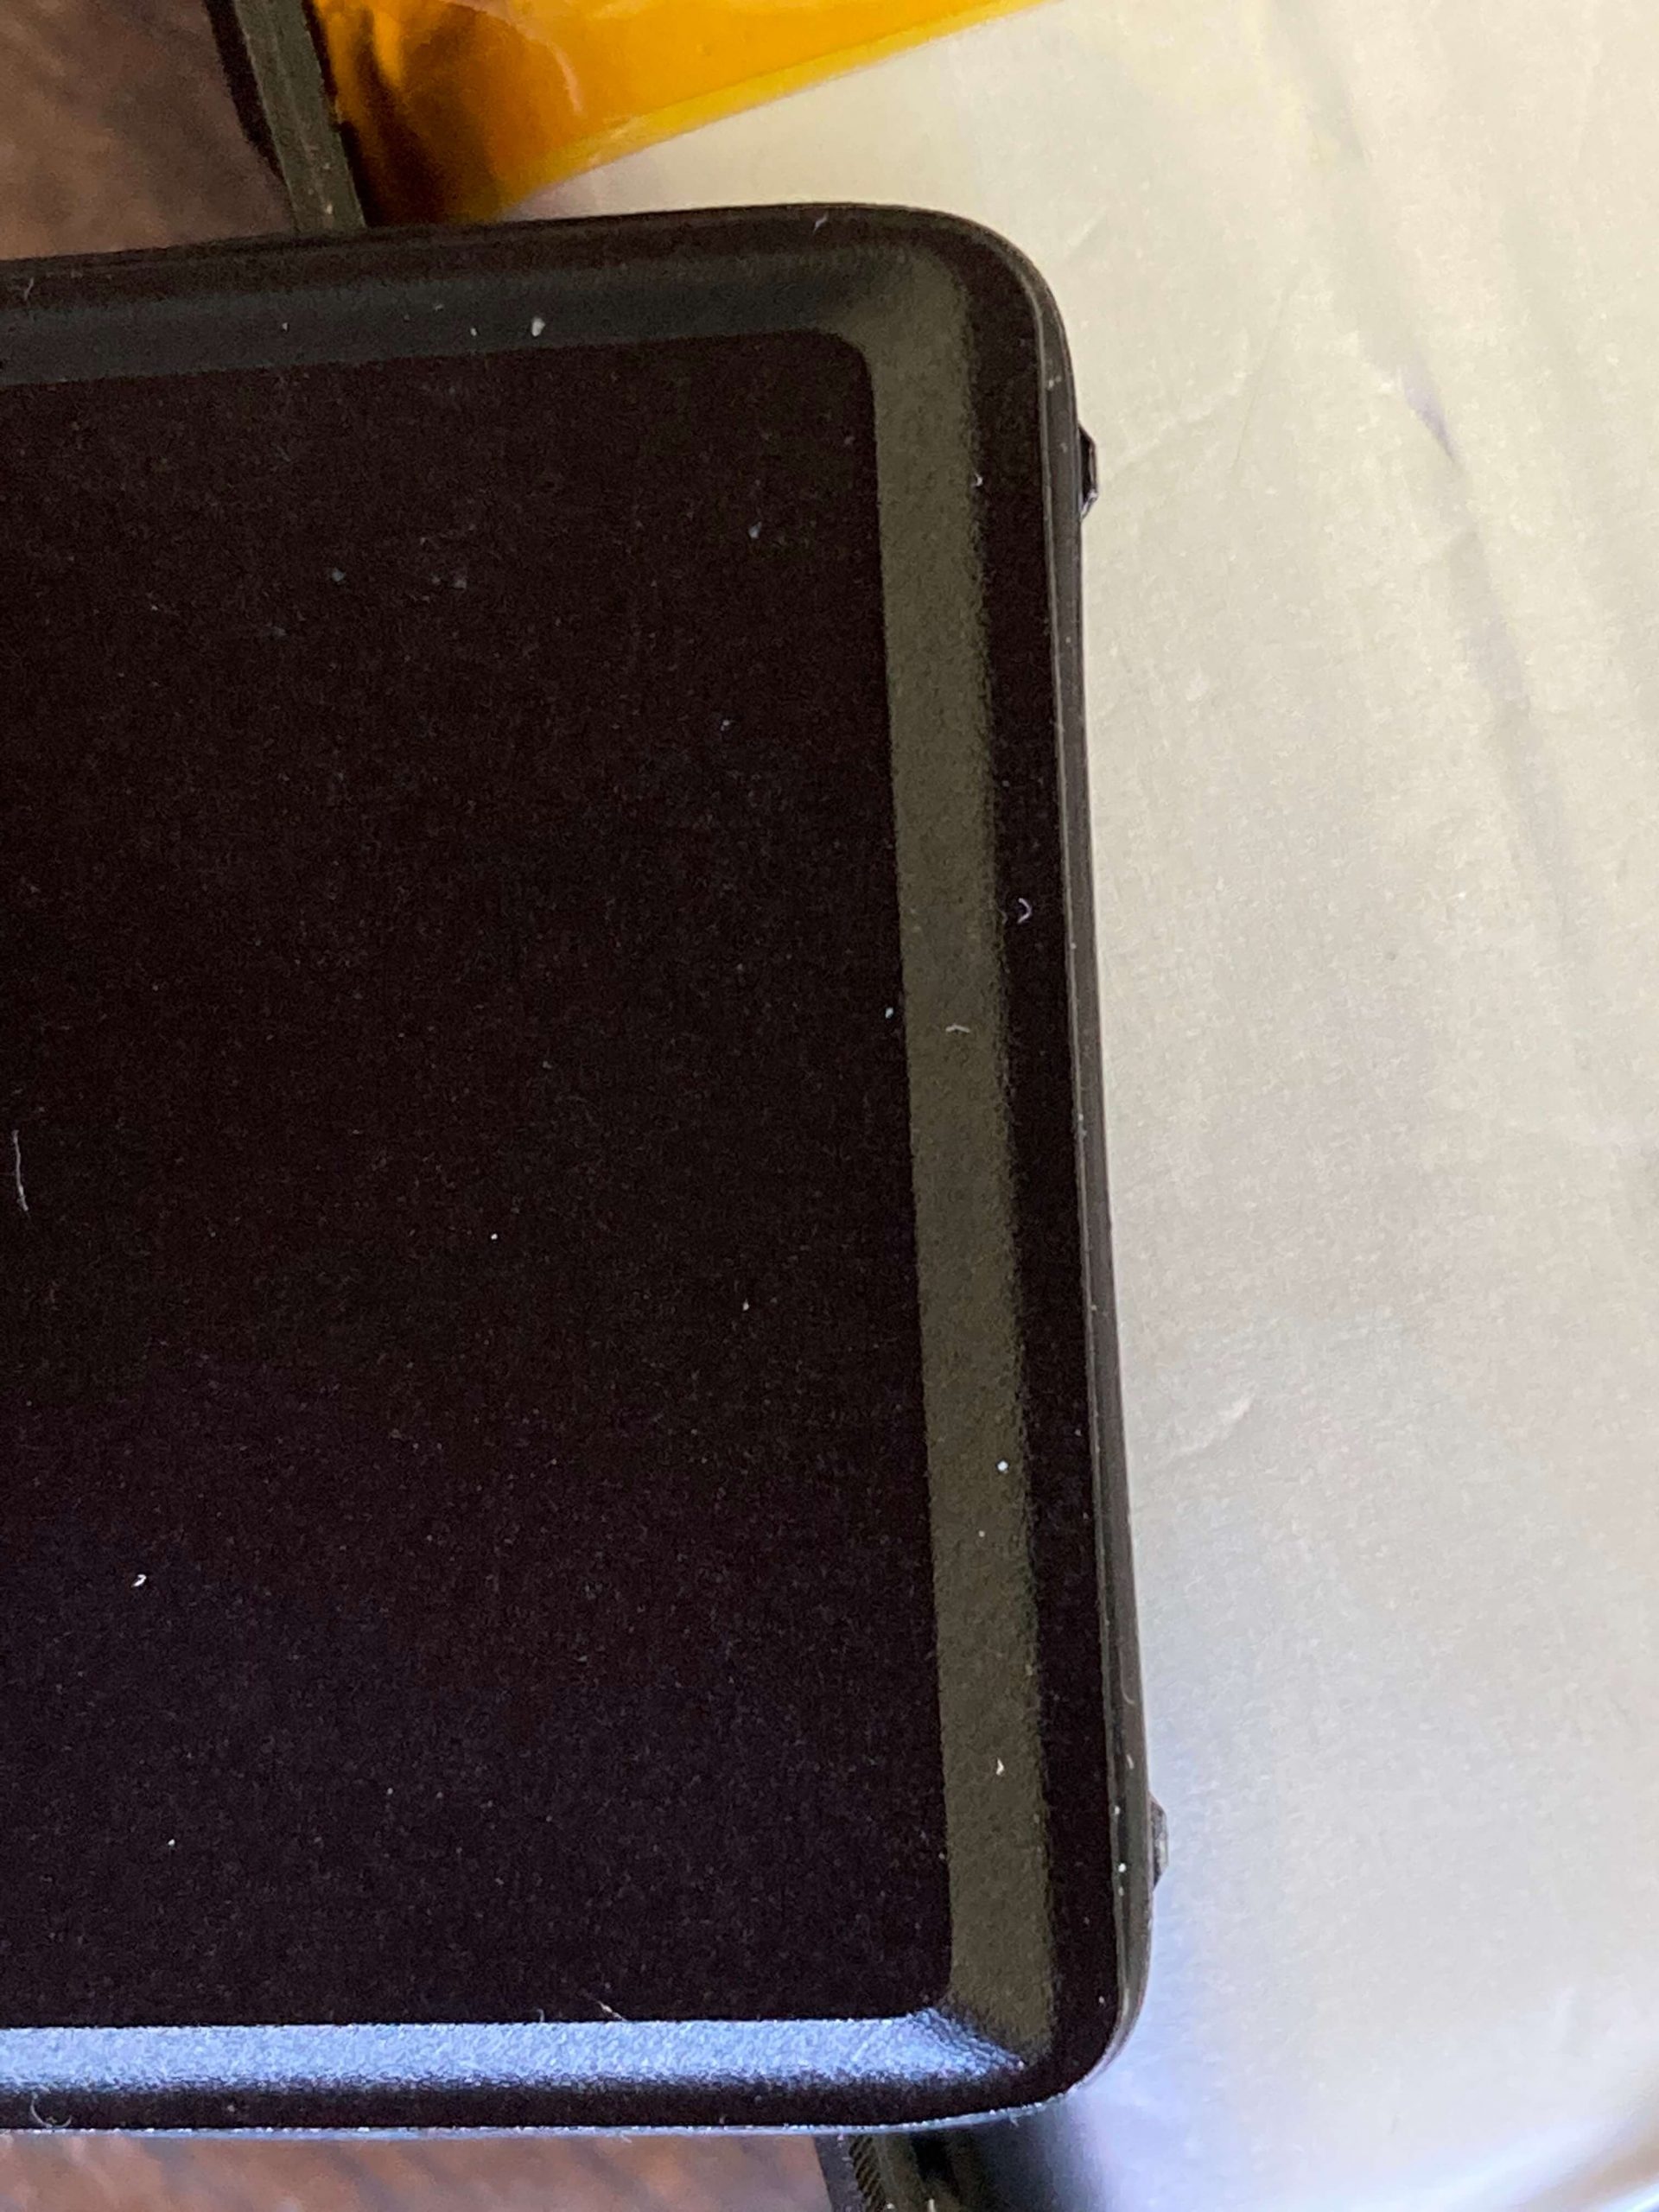
The tail end has magnets, too. They can be seen from the disassembly photo:
These magnets will hold the light, but they aren’t all that terribly strong. They do hold the light fairly well.
The clip being reversible does mean this light is useful as a hatlight.
Power and Runtime
The E200 is powered by a built-in 1400mAh LiPO pouch. It looks to be hard-wired, but at the least, it is accessible easily.
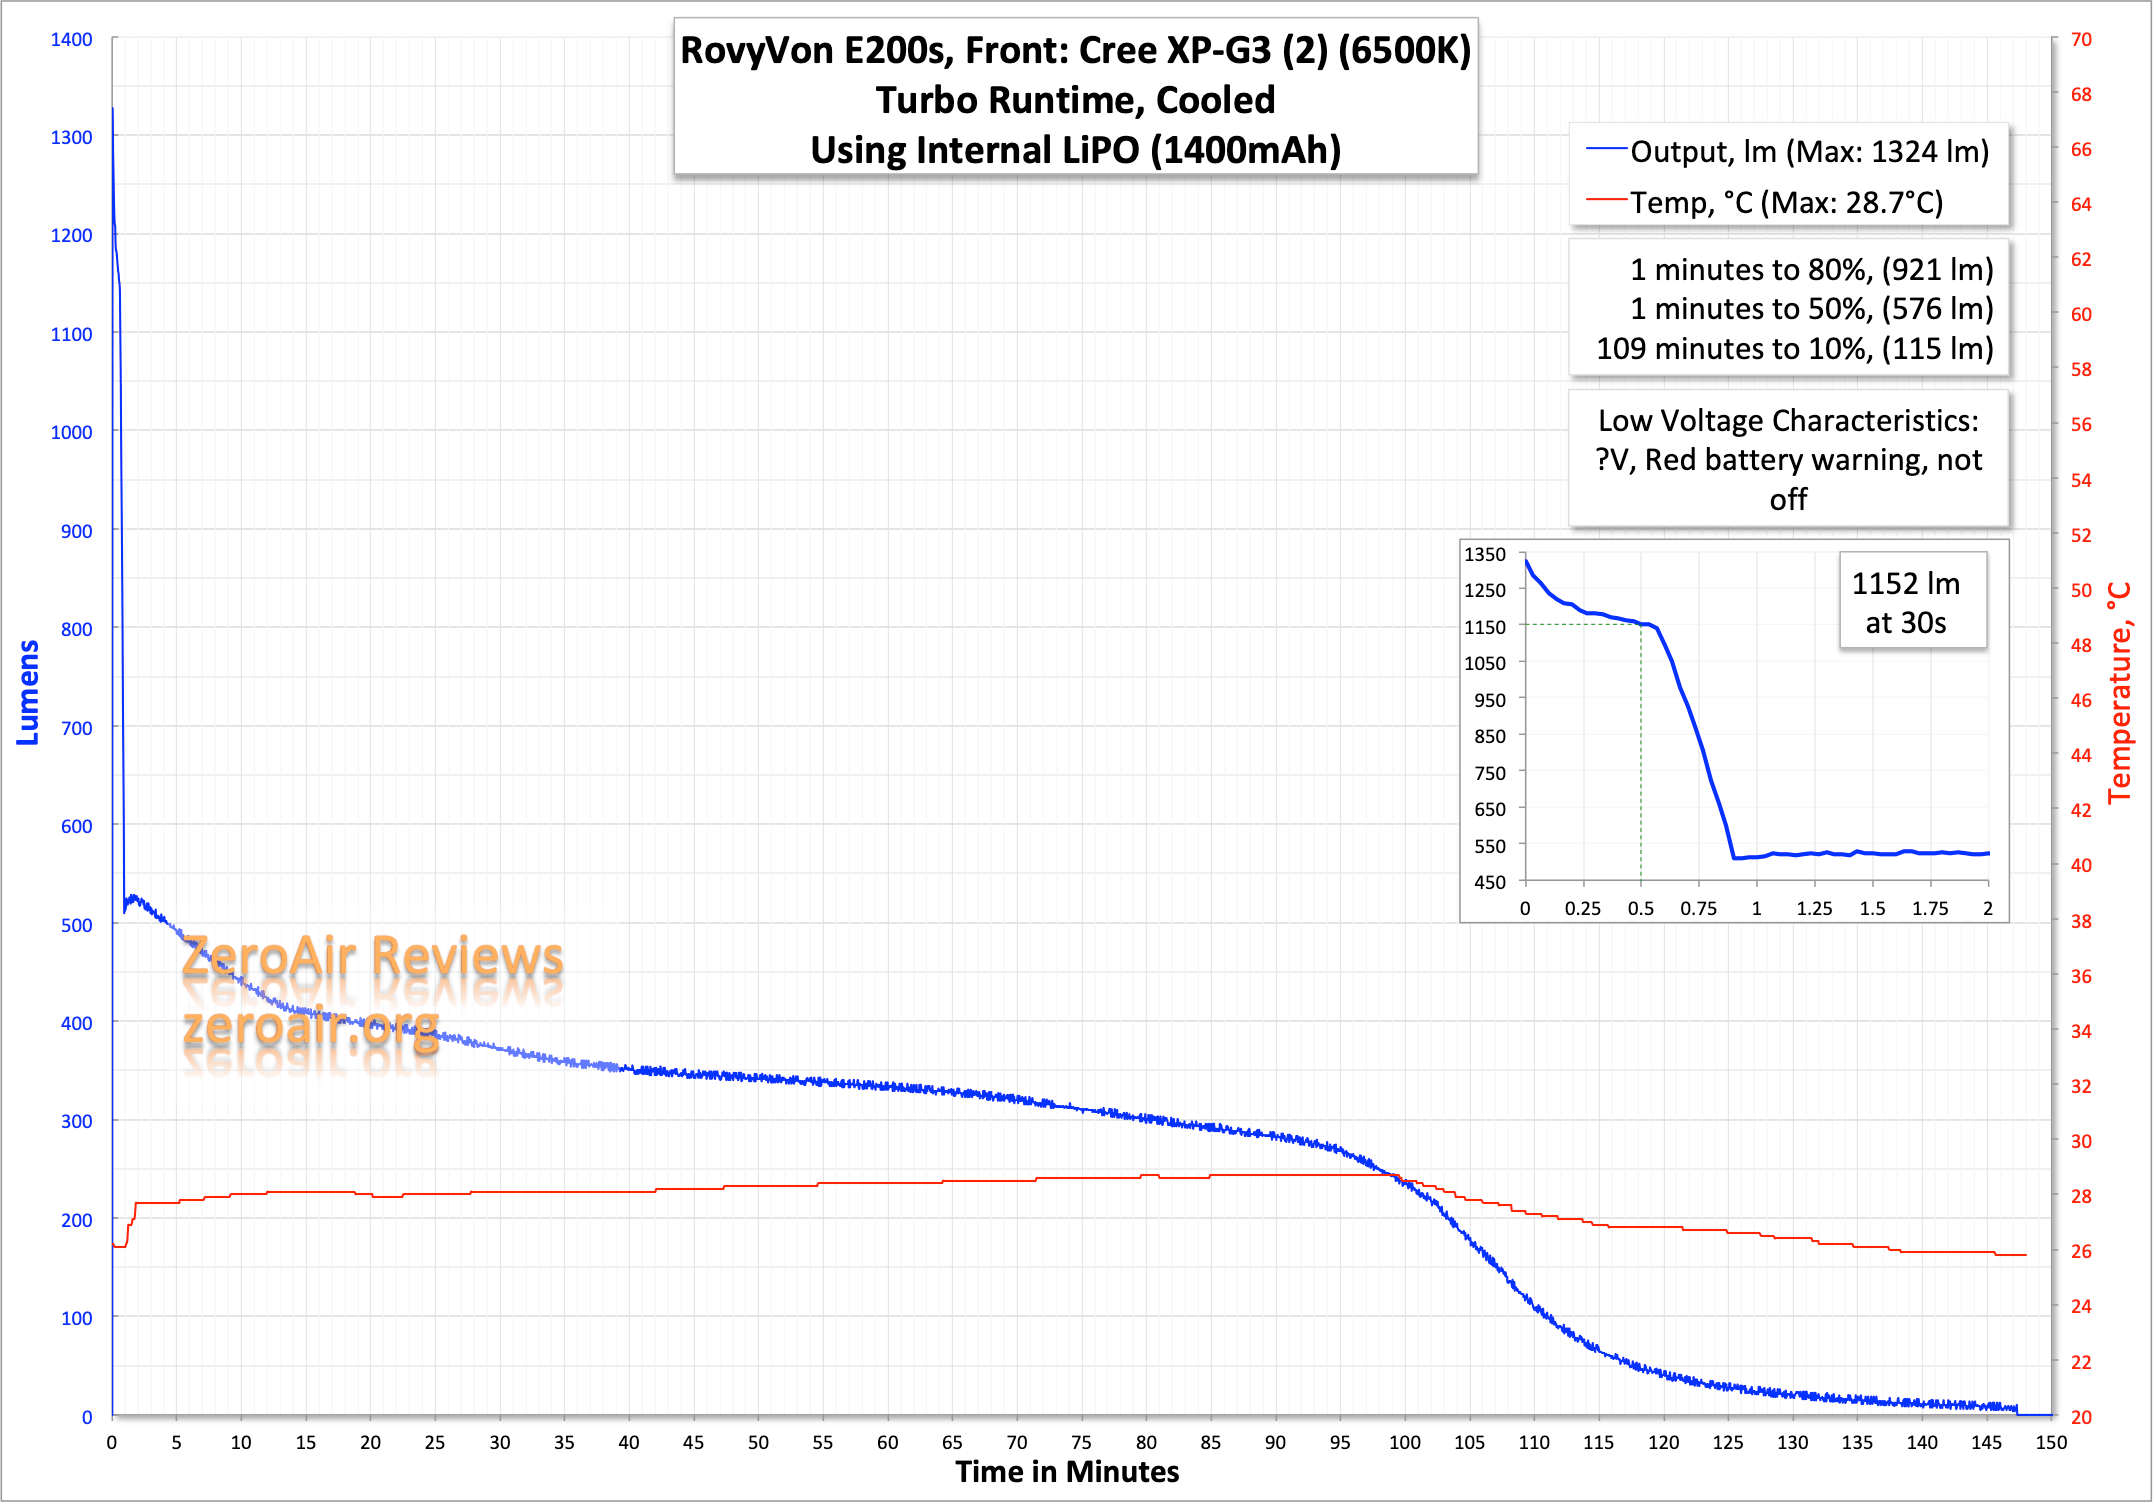
Here are a couple of runtimes for the front emitters. I wasn’t able to determine LVP. When the light is at the end of a test, all modes are accessible, but they are much lower than the usual output. So it’d be very unlikely you wouldn’t notice the battery needs to be charged. And of course, there’s the warning on the side.

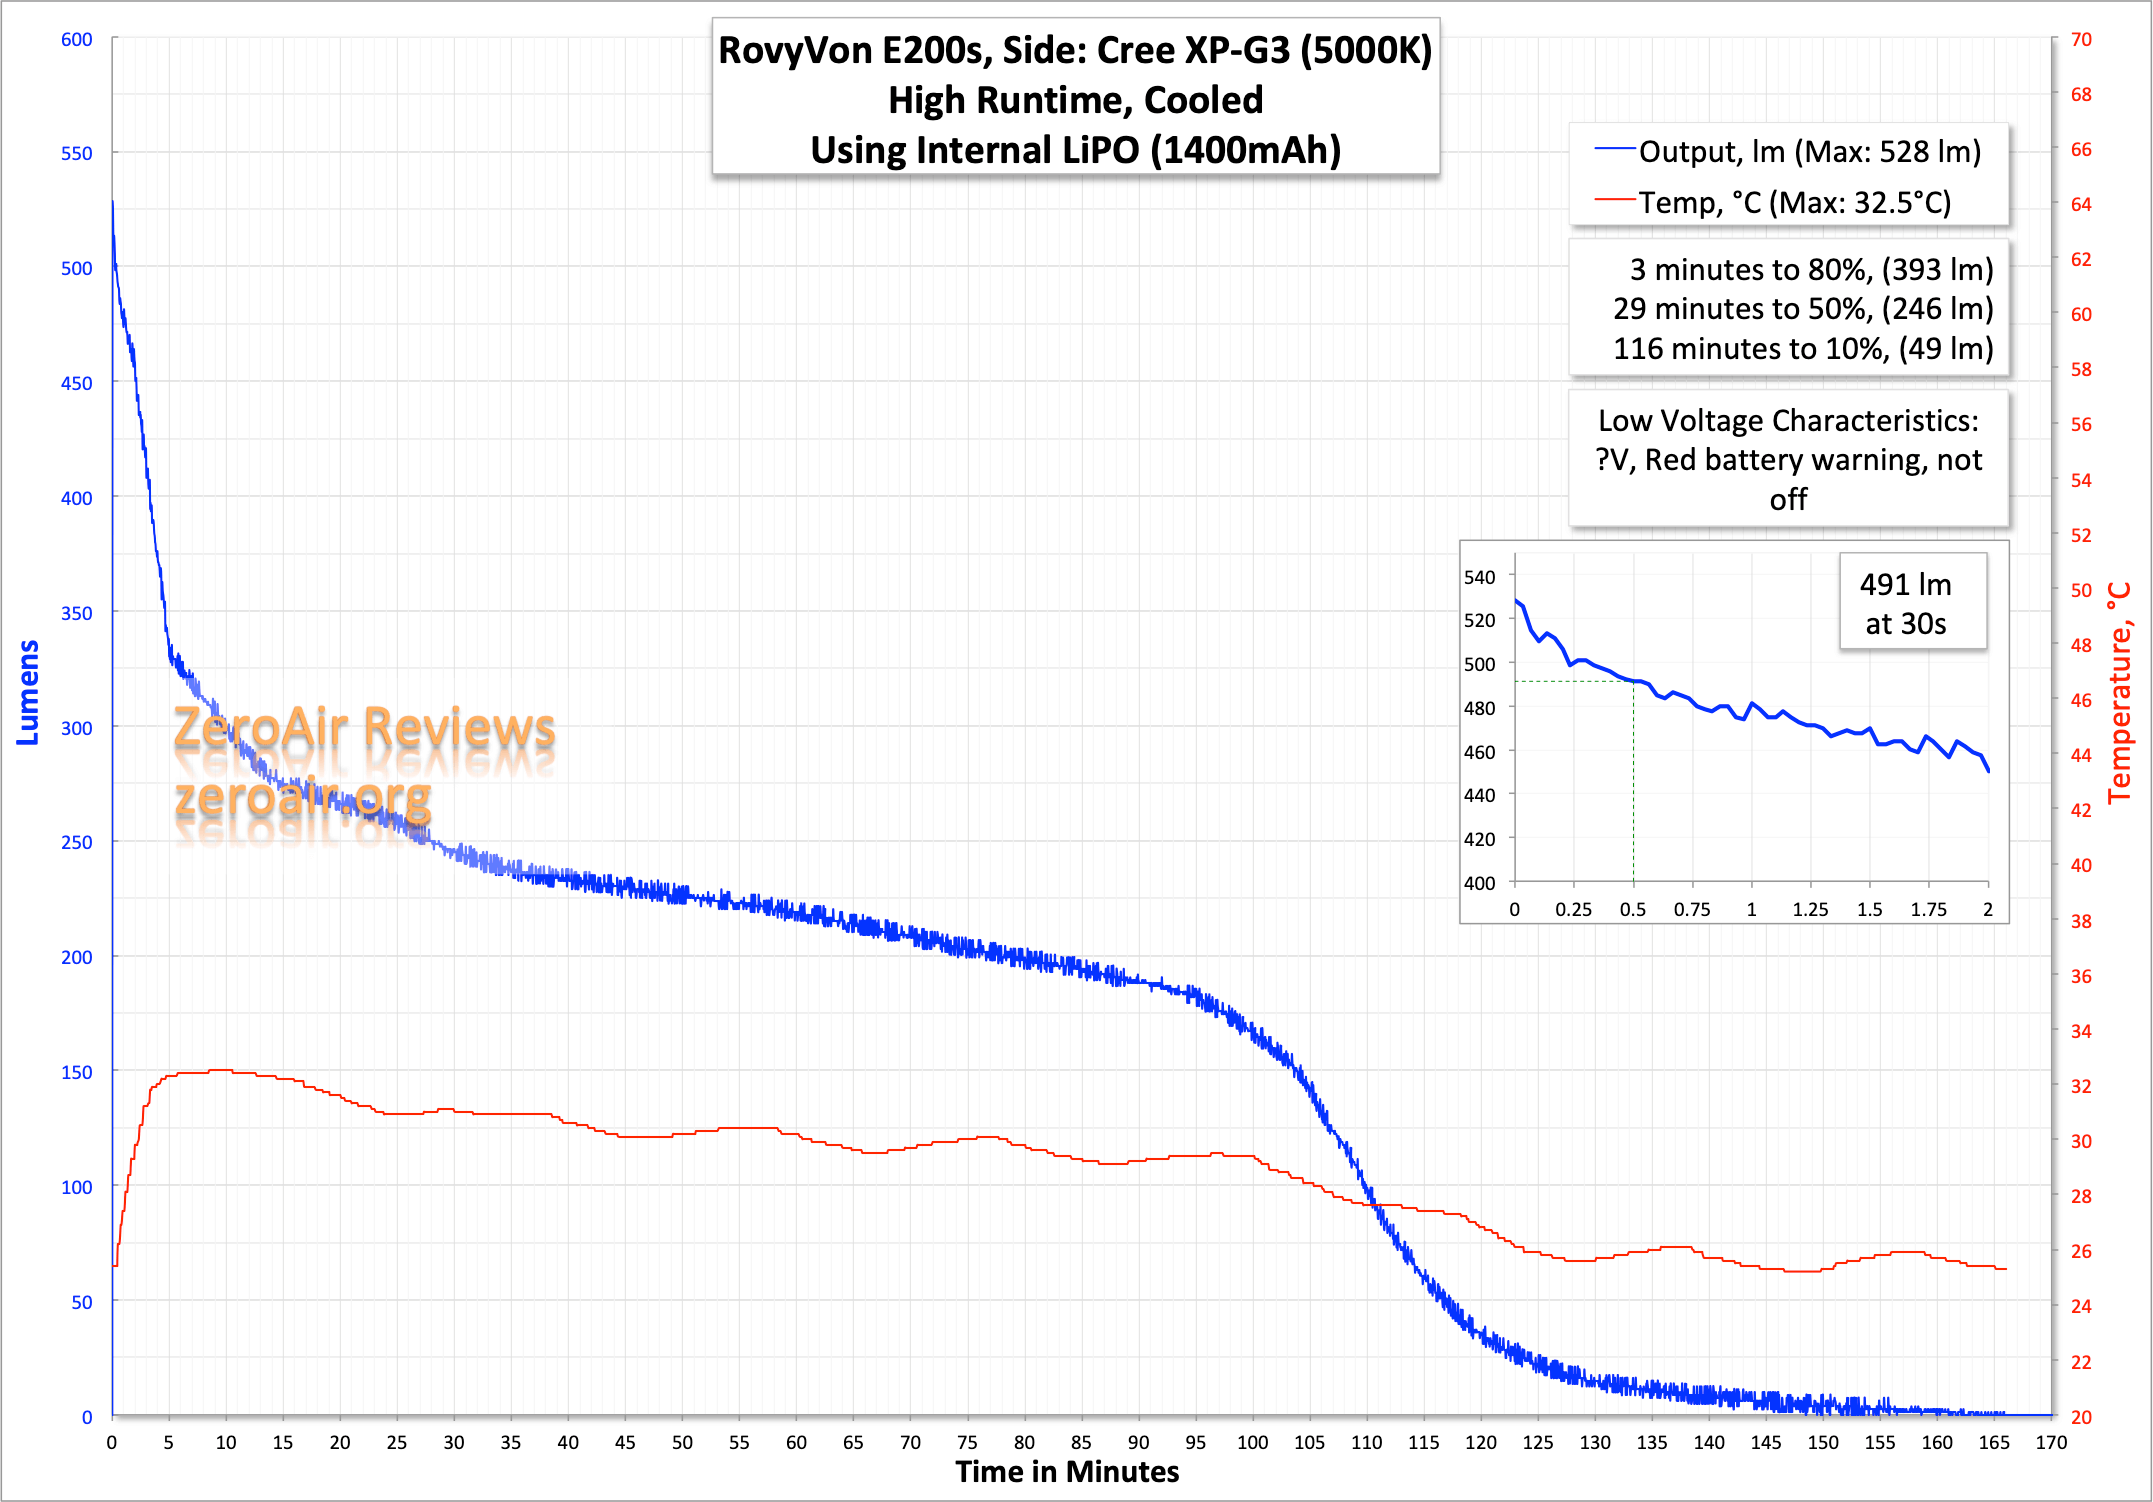
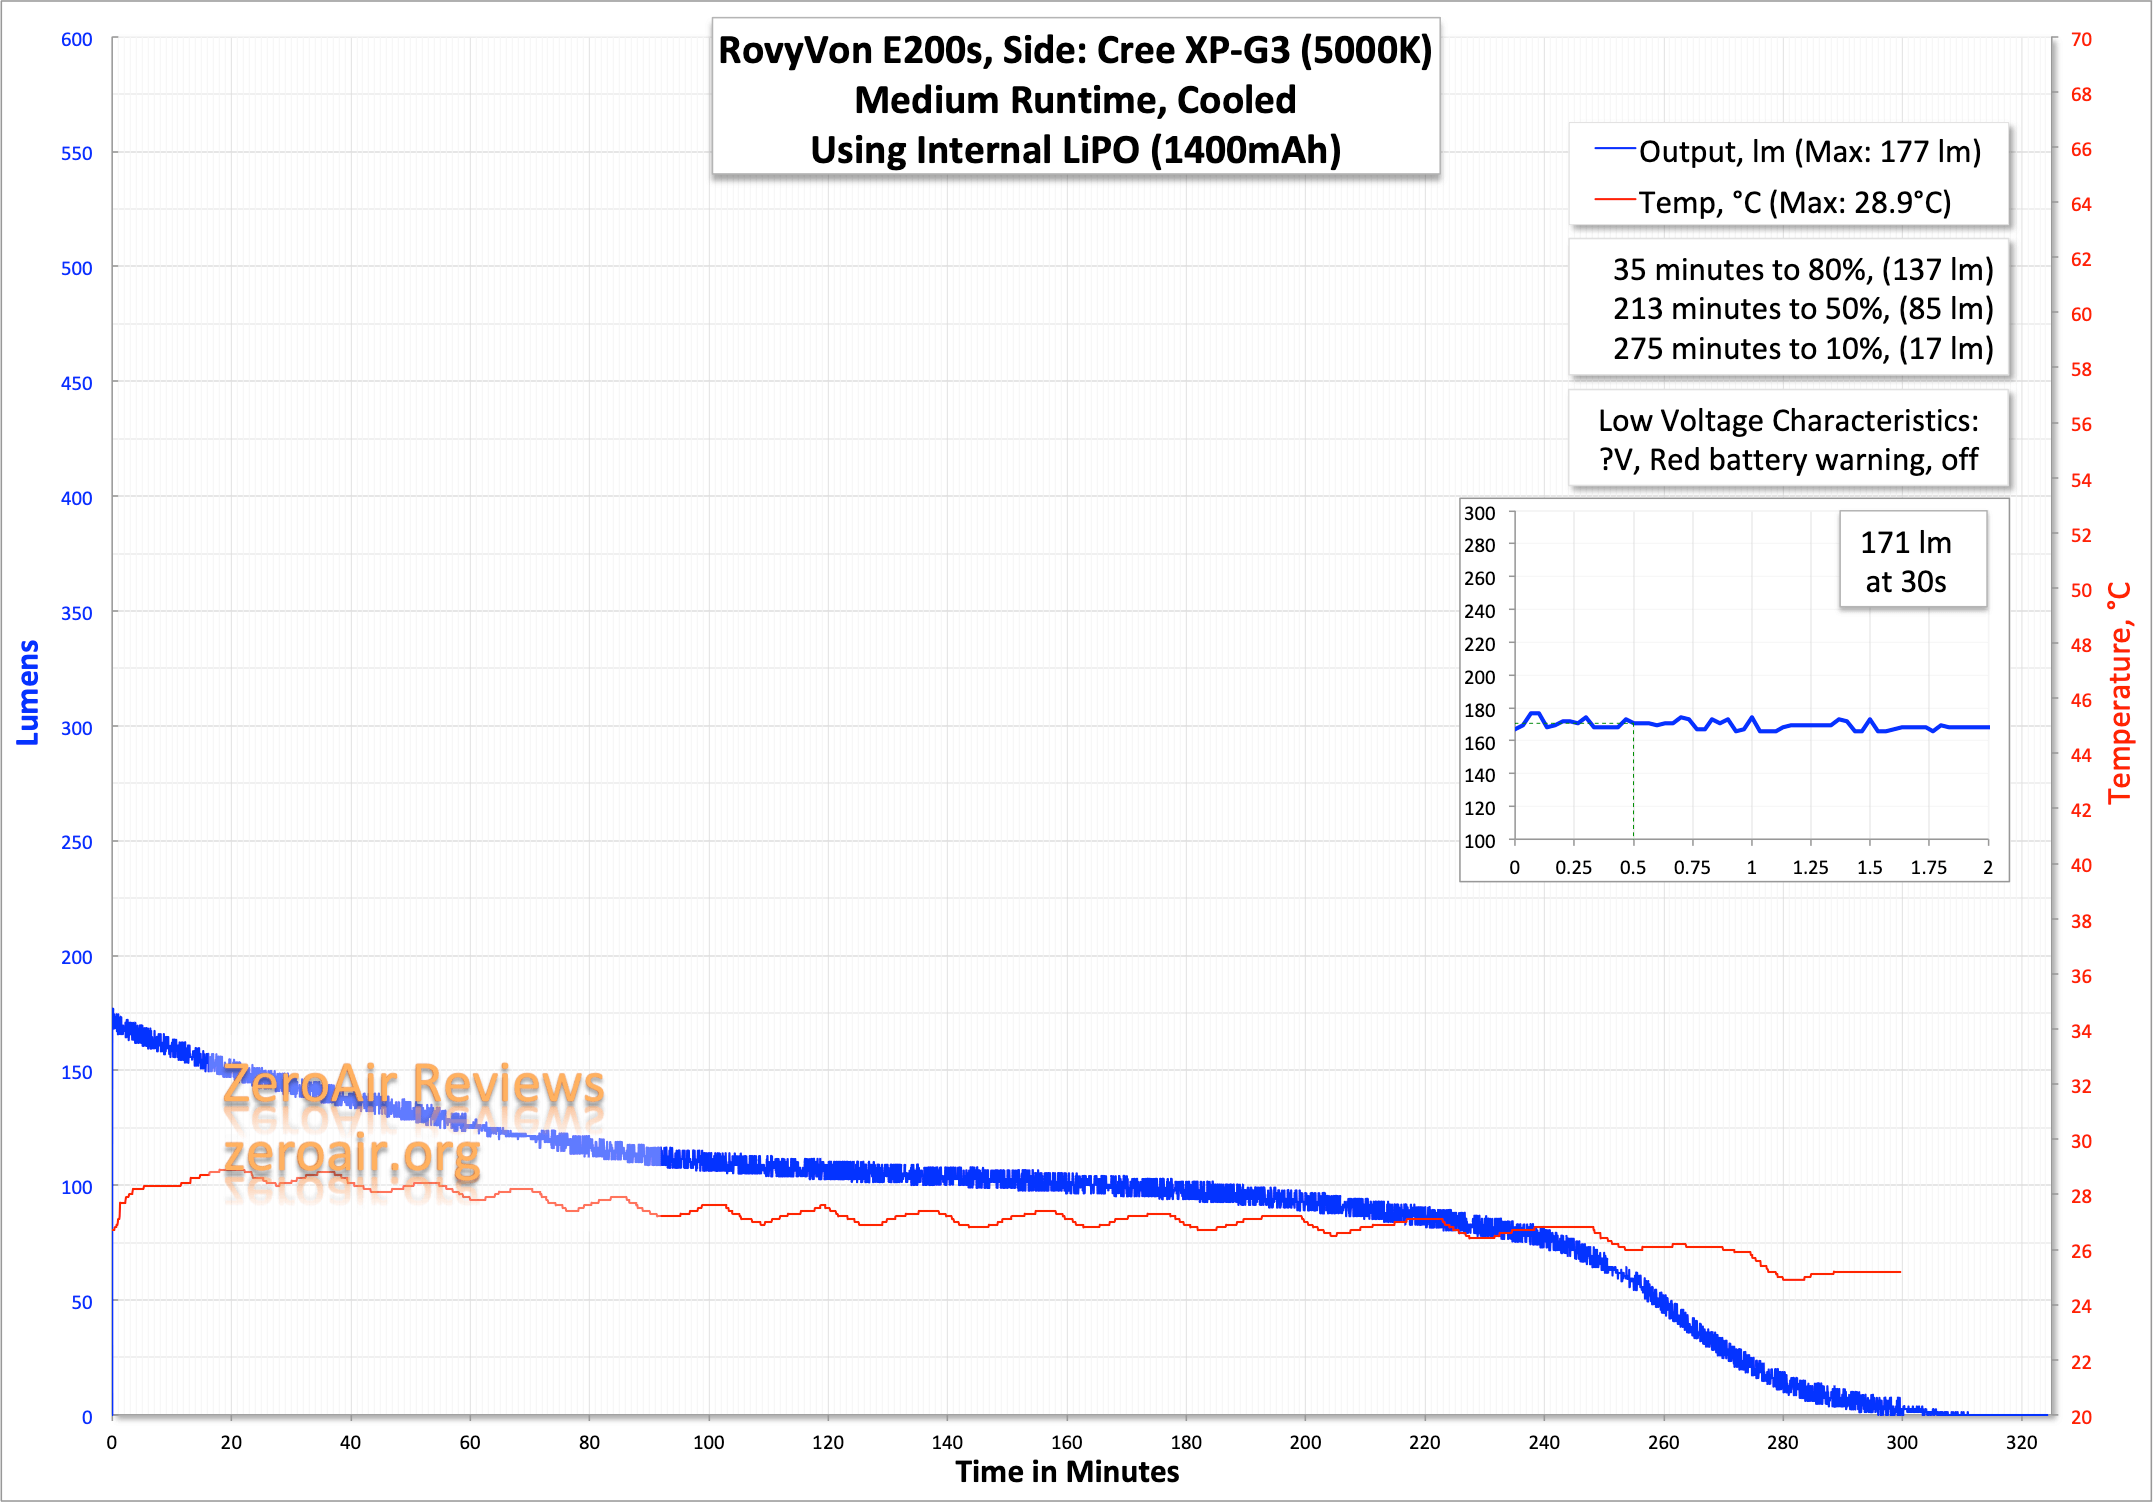
Here are two runtimes for the side emitters, too. Output is much lower than the specification for the sidelights, but it’s more difficult to completely capture the light from them. I will say that whatever their output, they are quite bright.
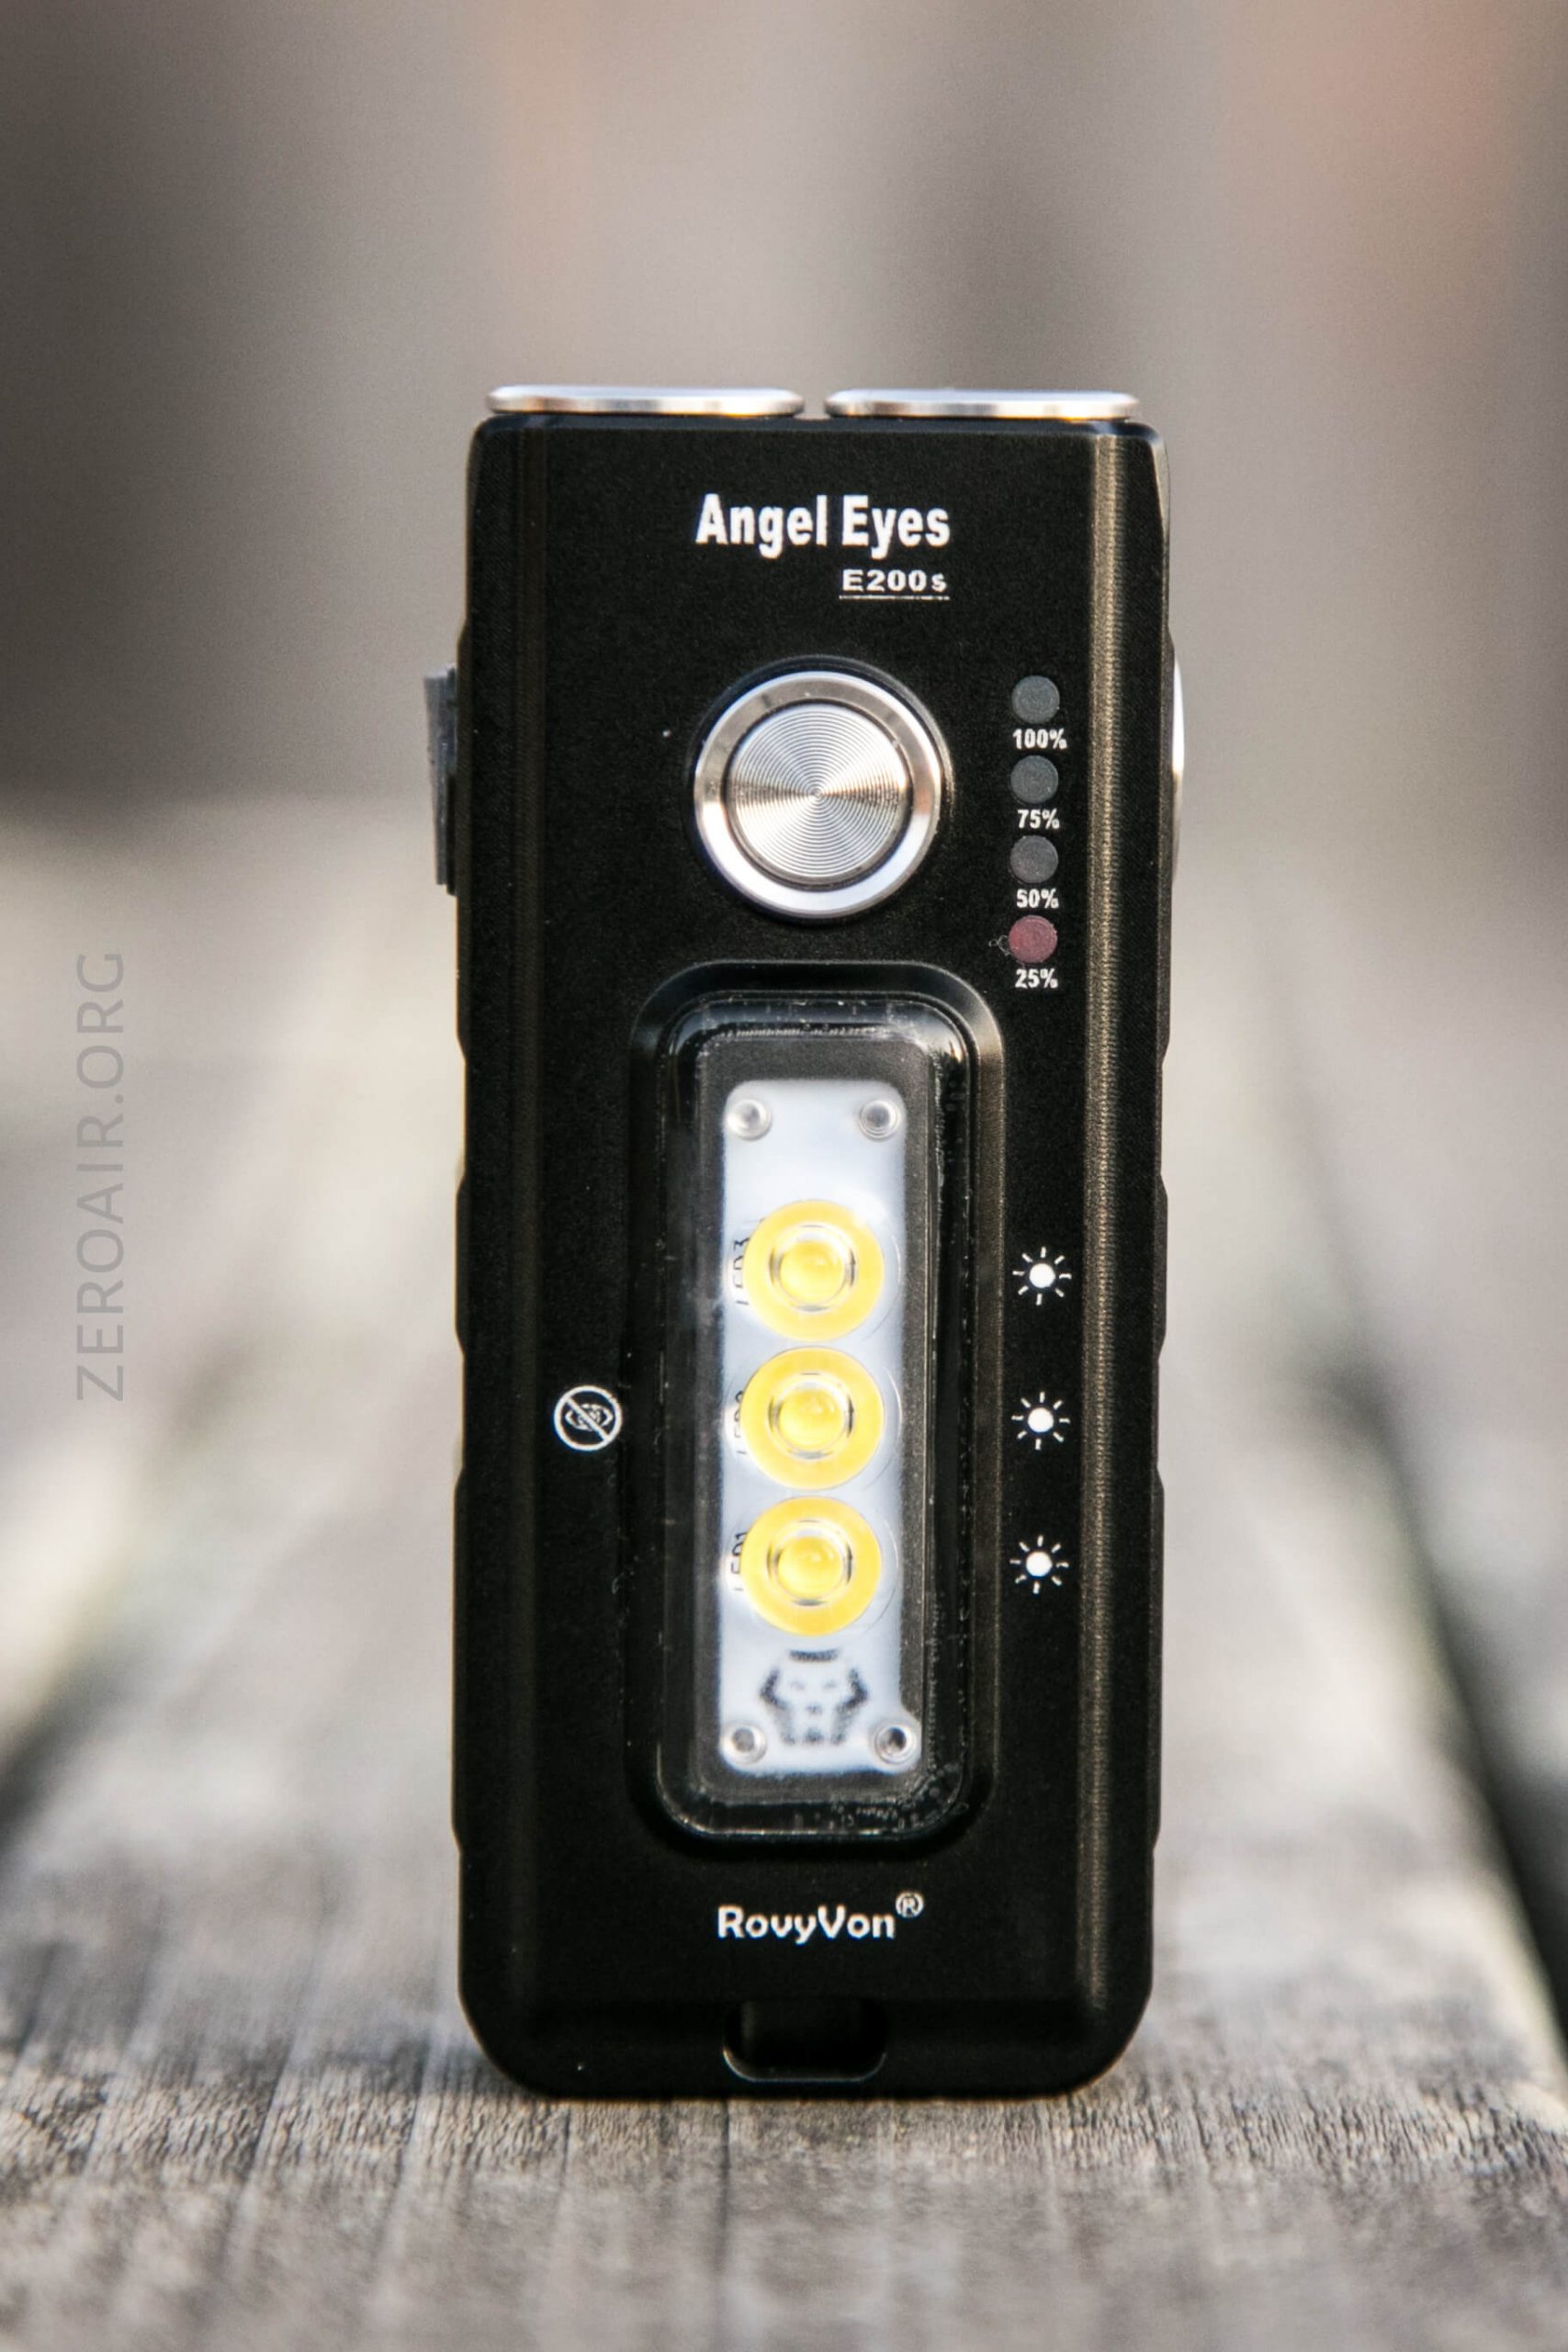
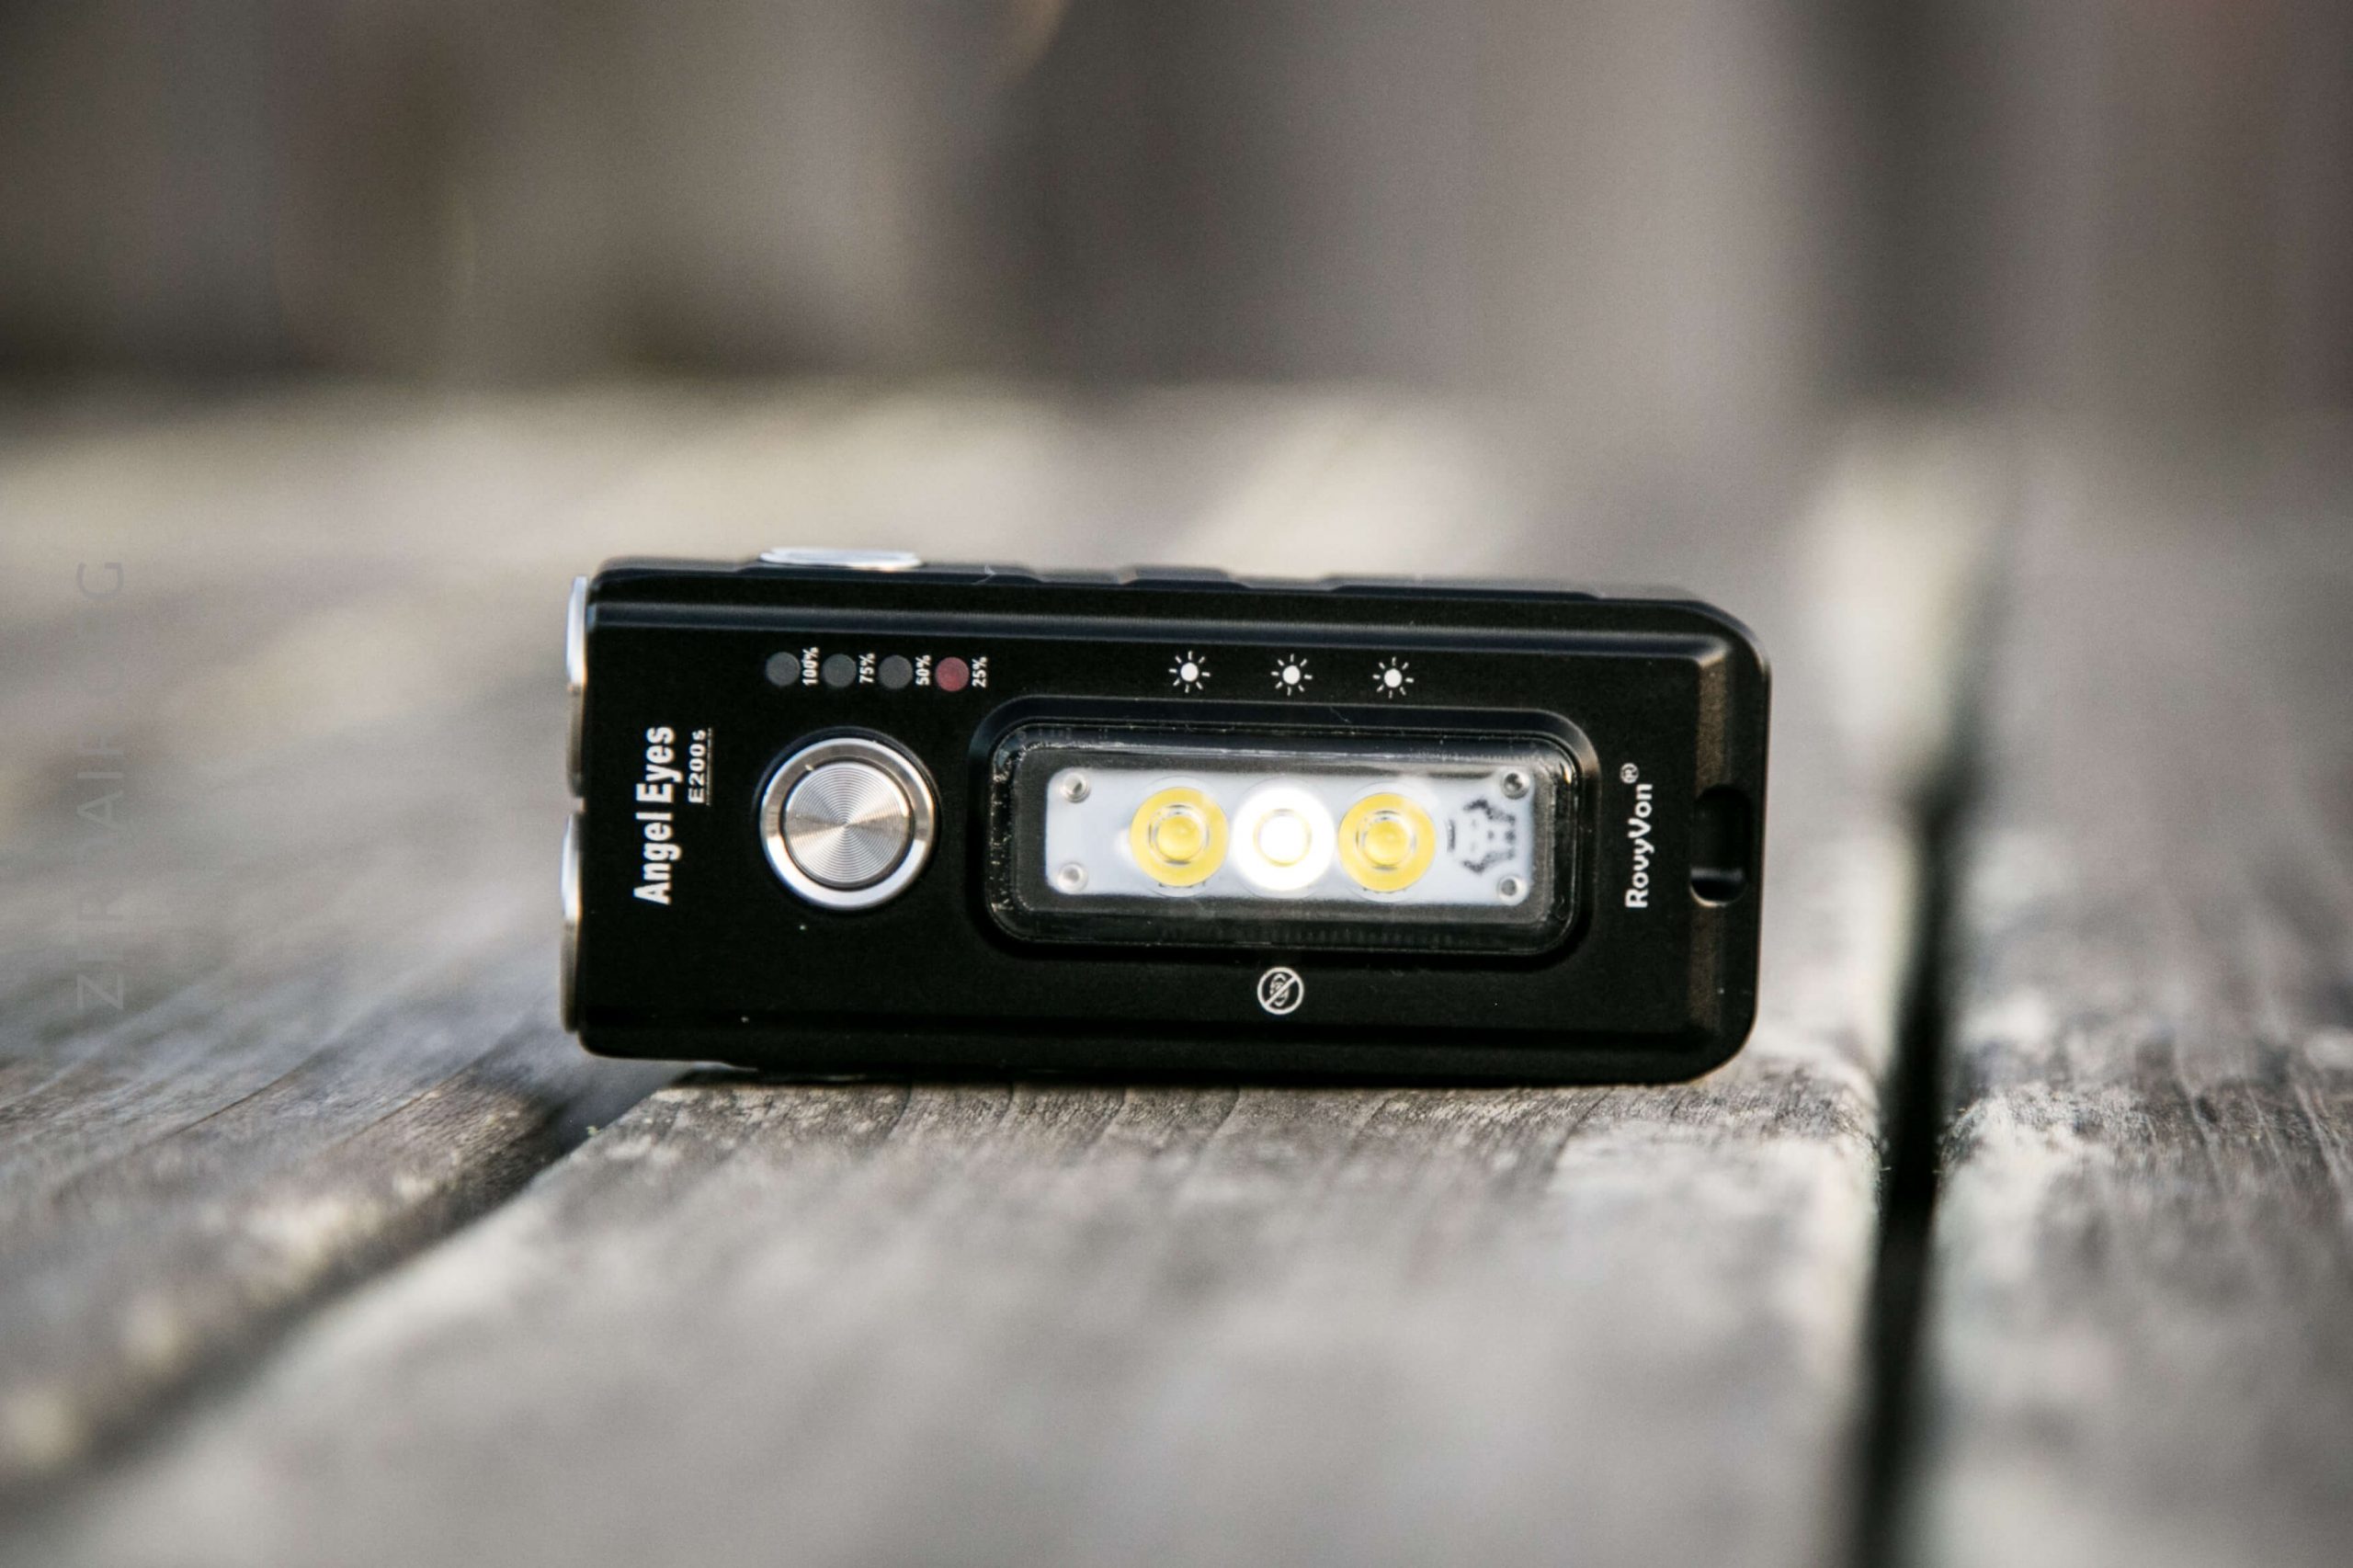
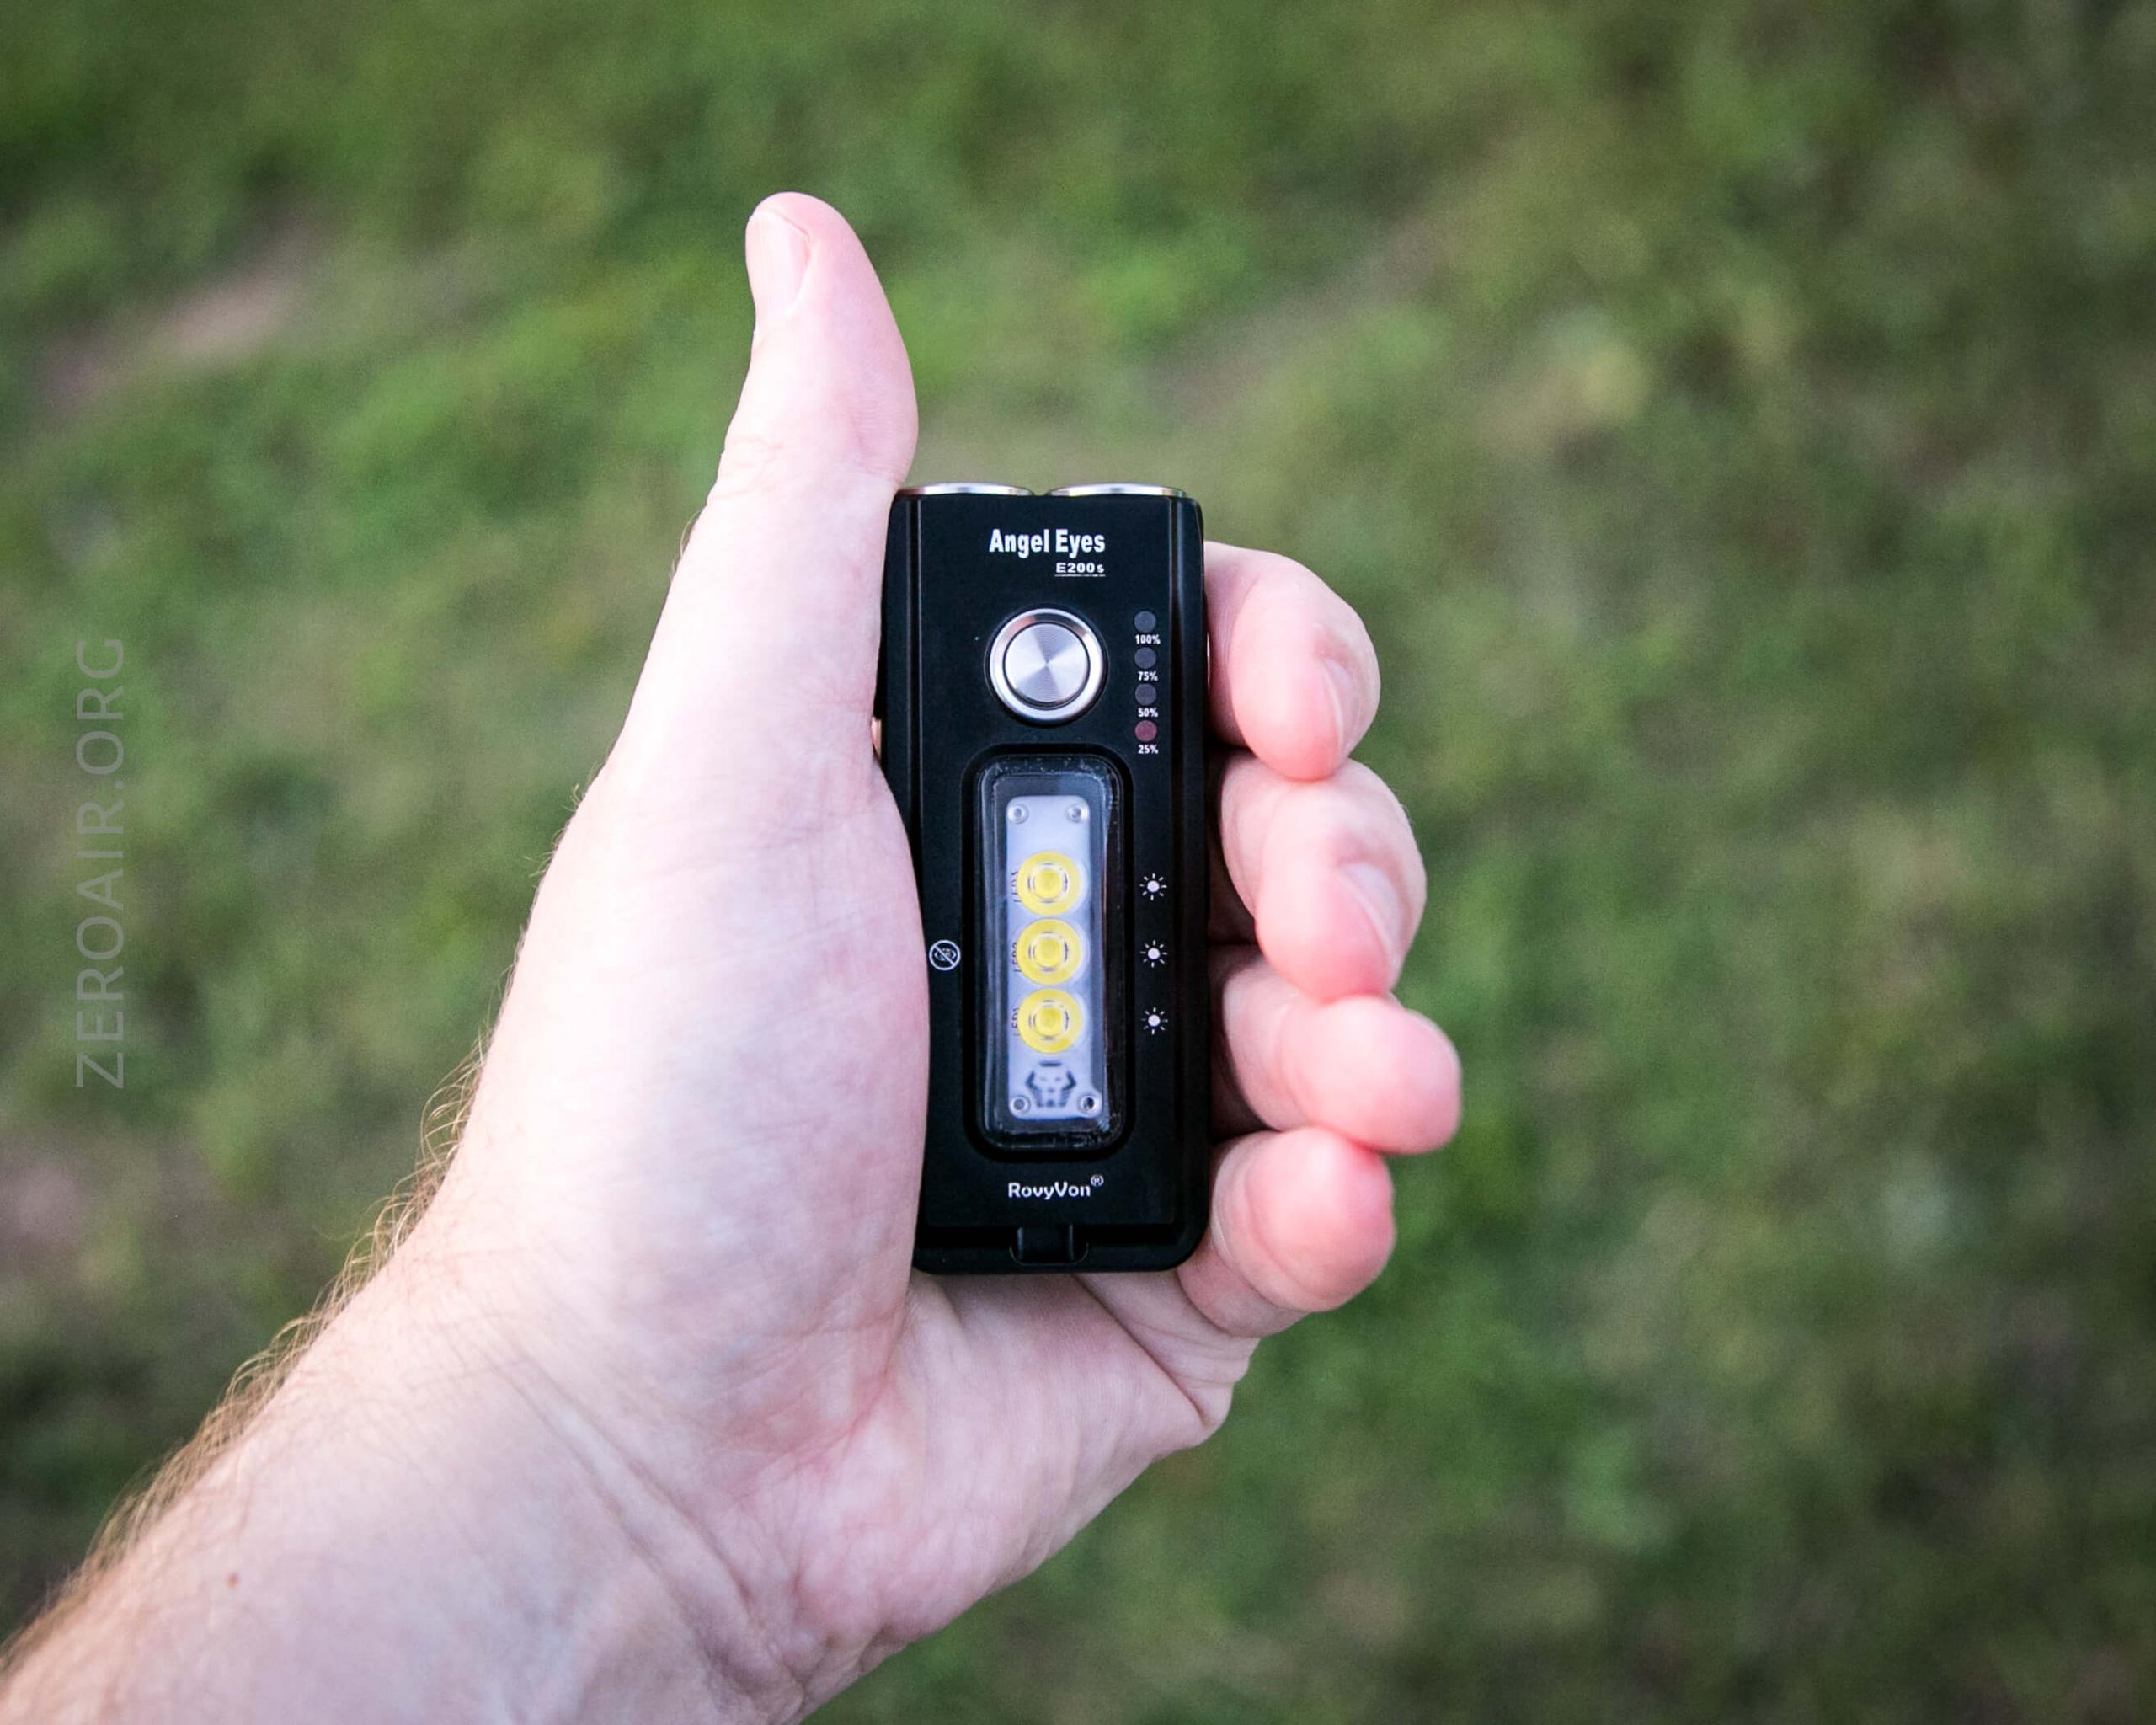
Here’s the battery indicator. Four rubber dots, each representing a quarter charge – 25%, 50%, 75%, and 100%. Below red is lit for 25%. This one can indicate red or blue, in fact.
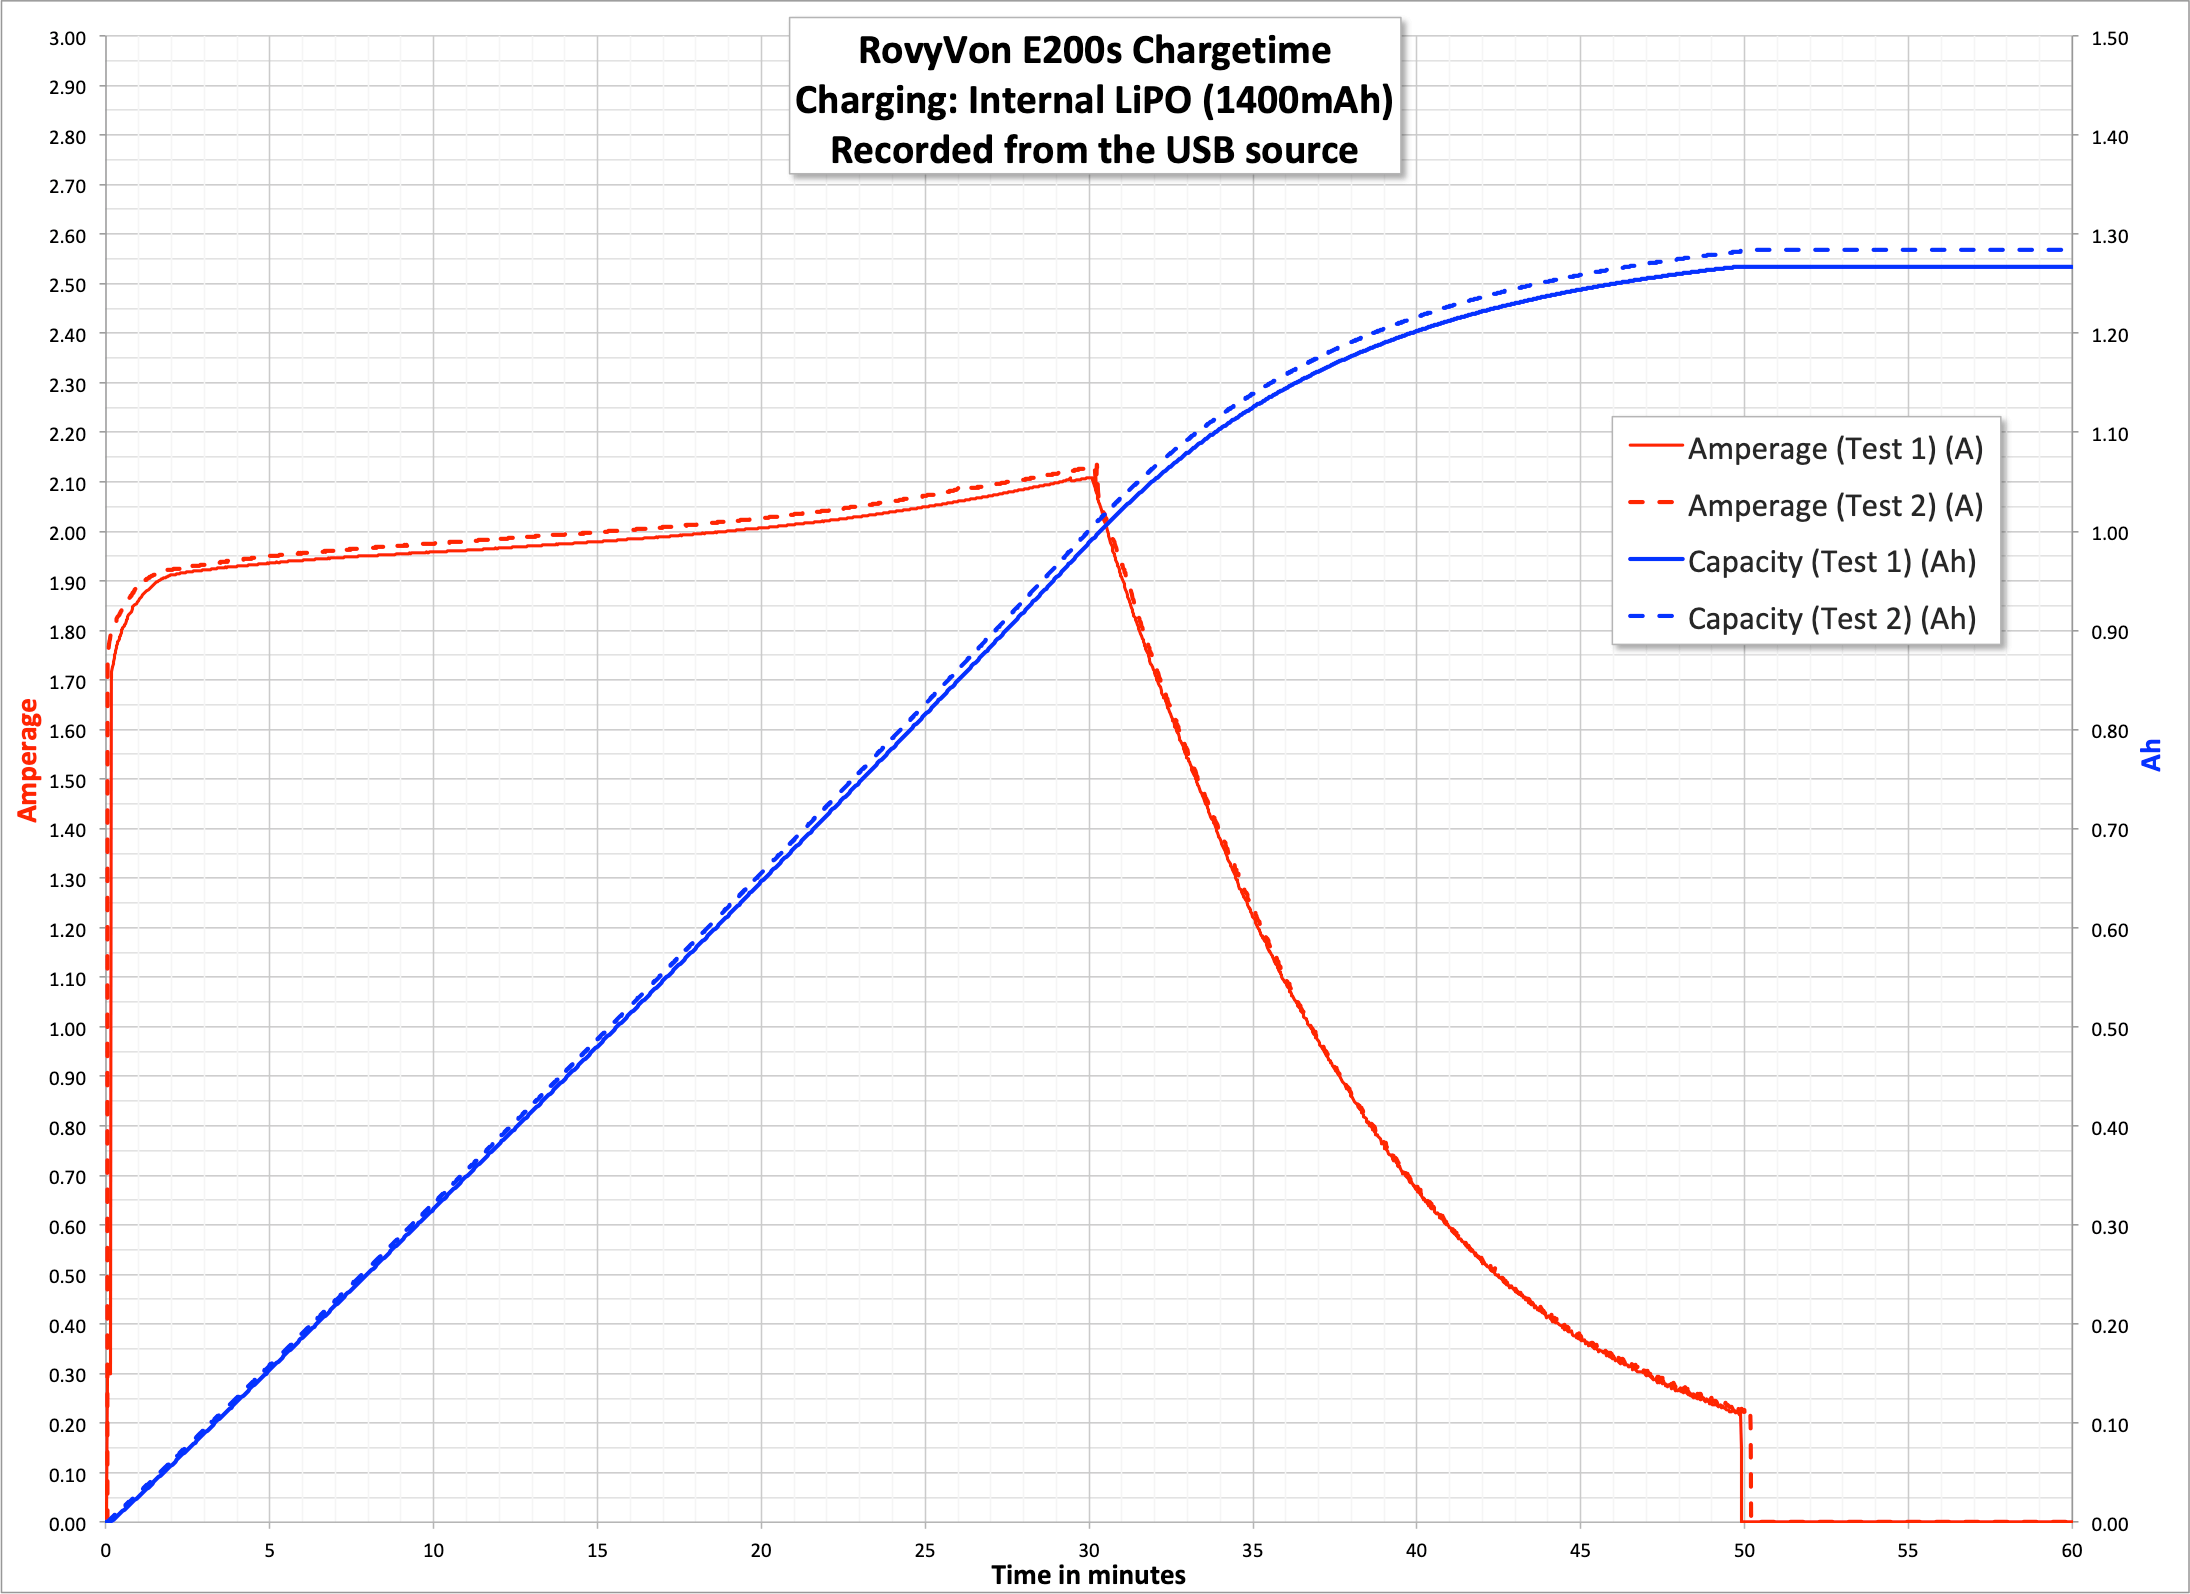
Charging
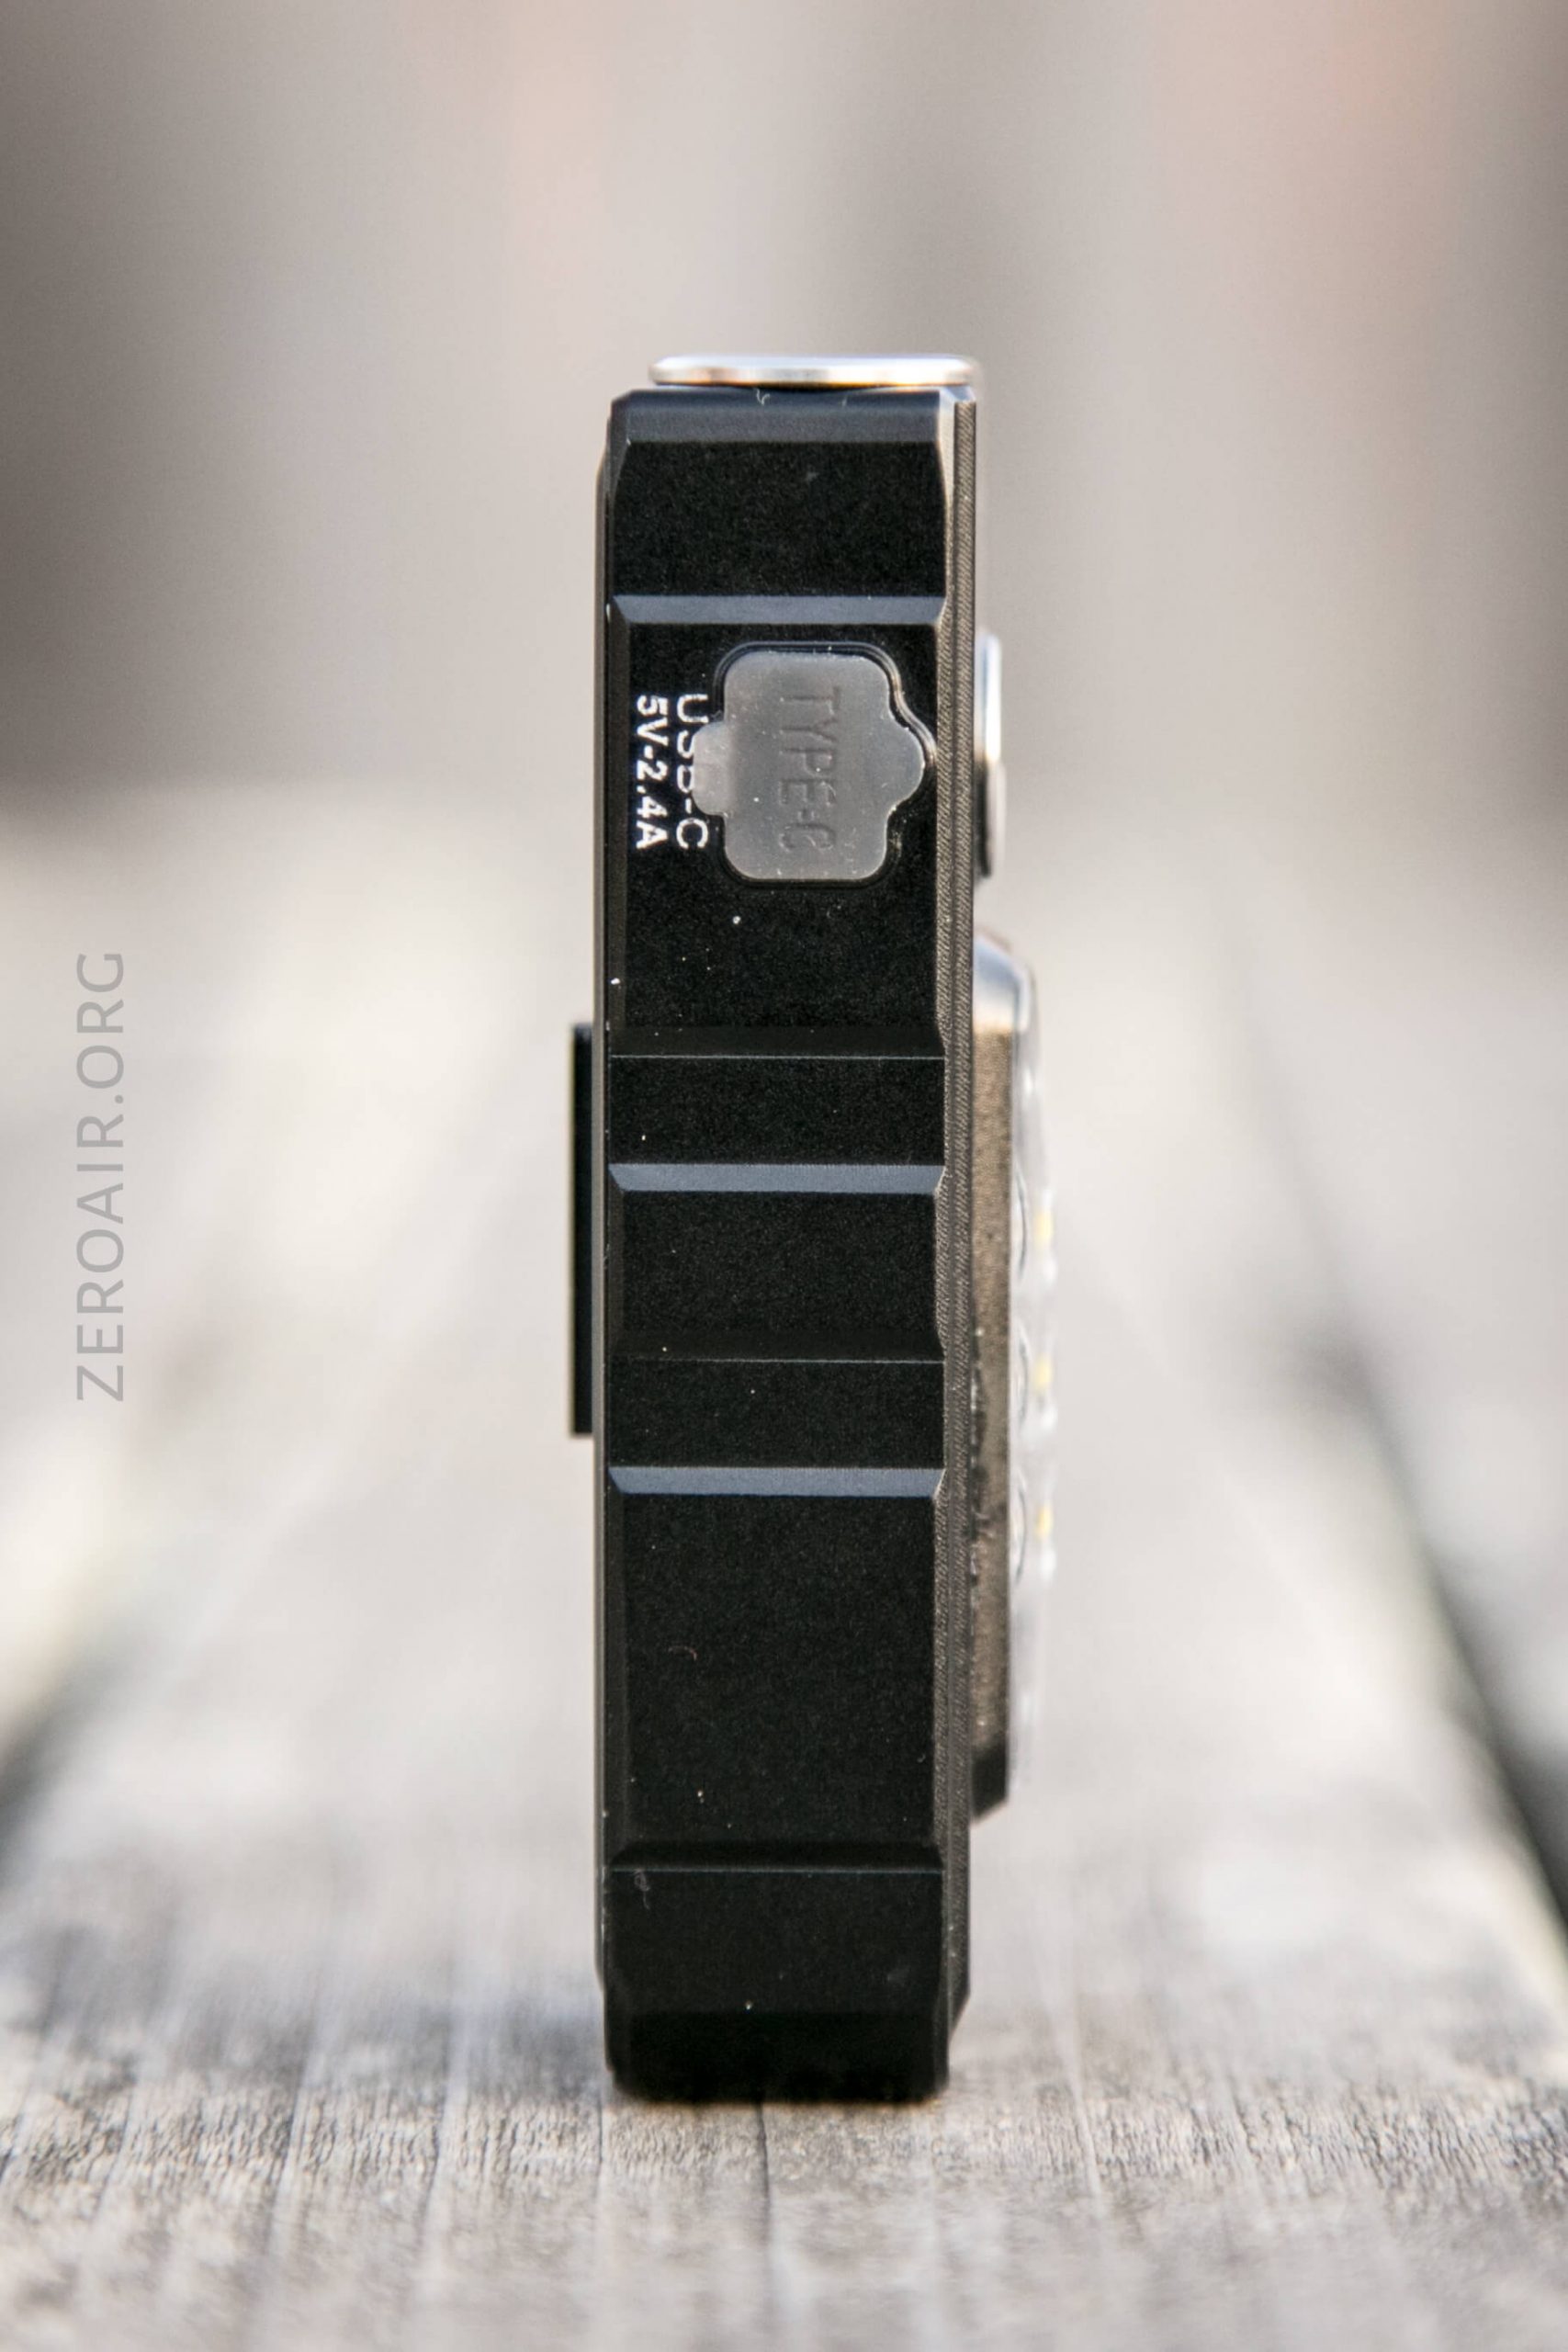
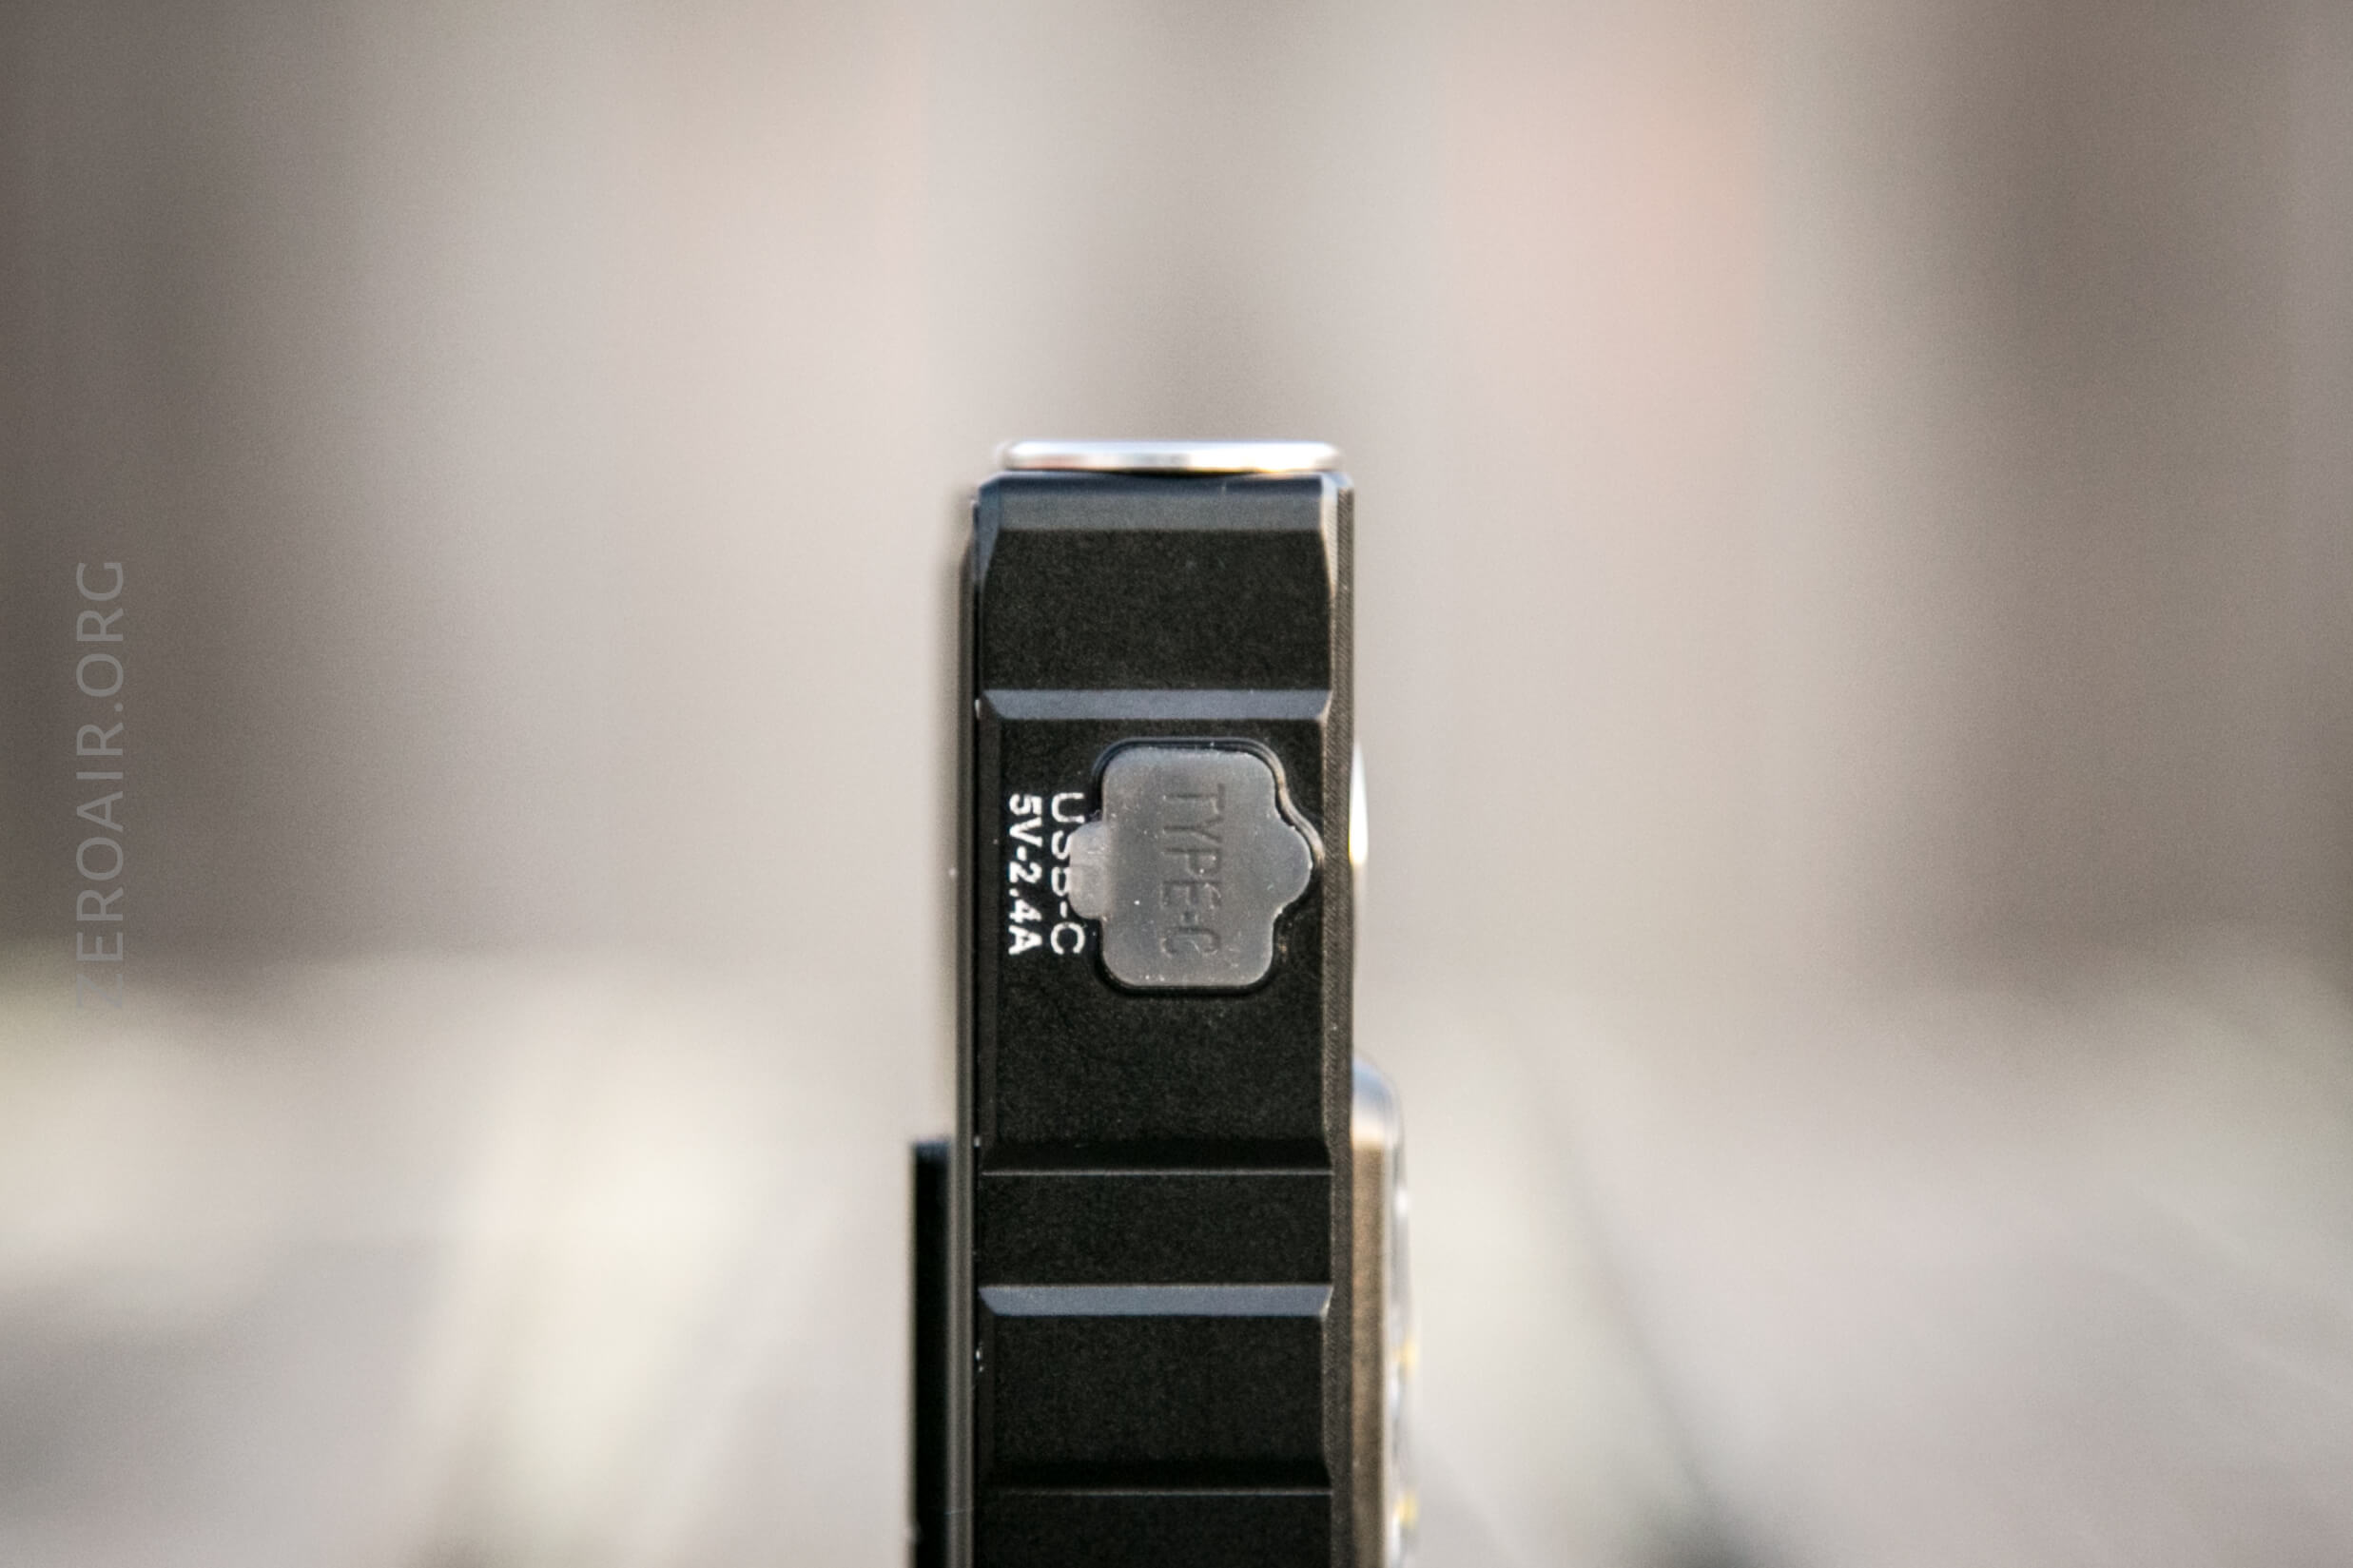
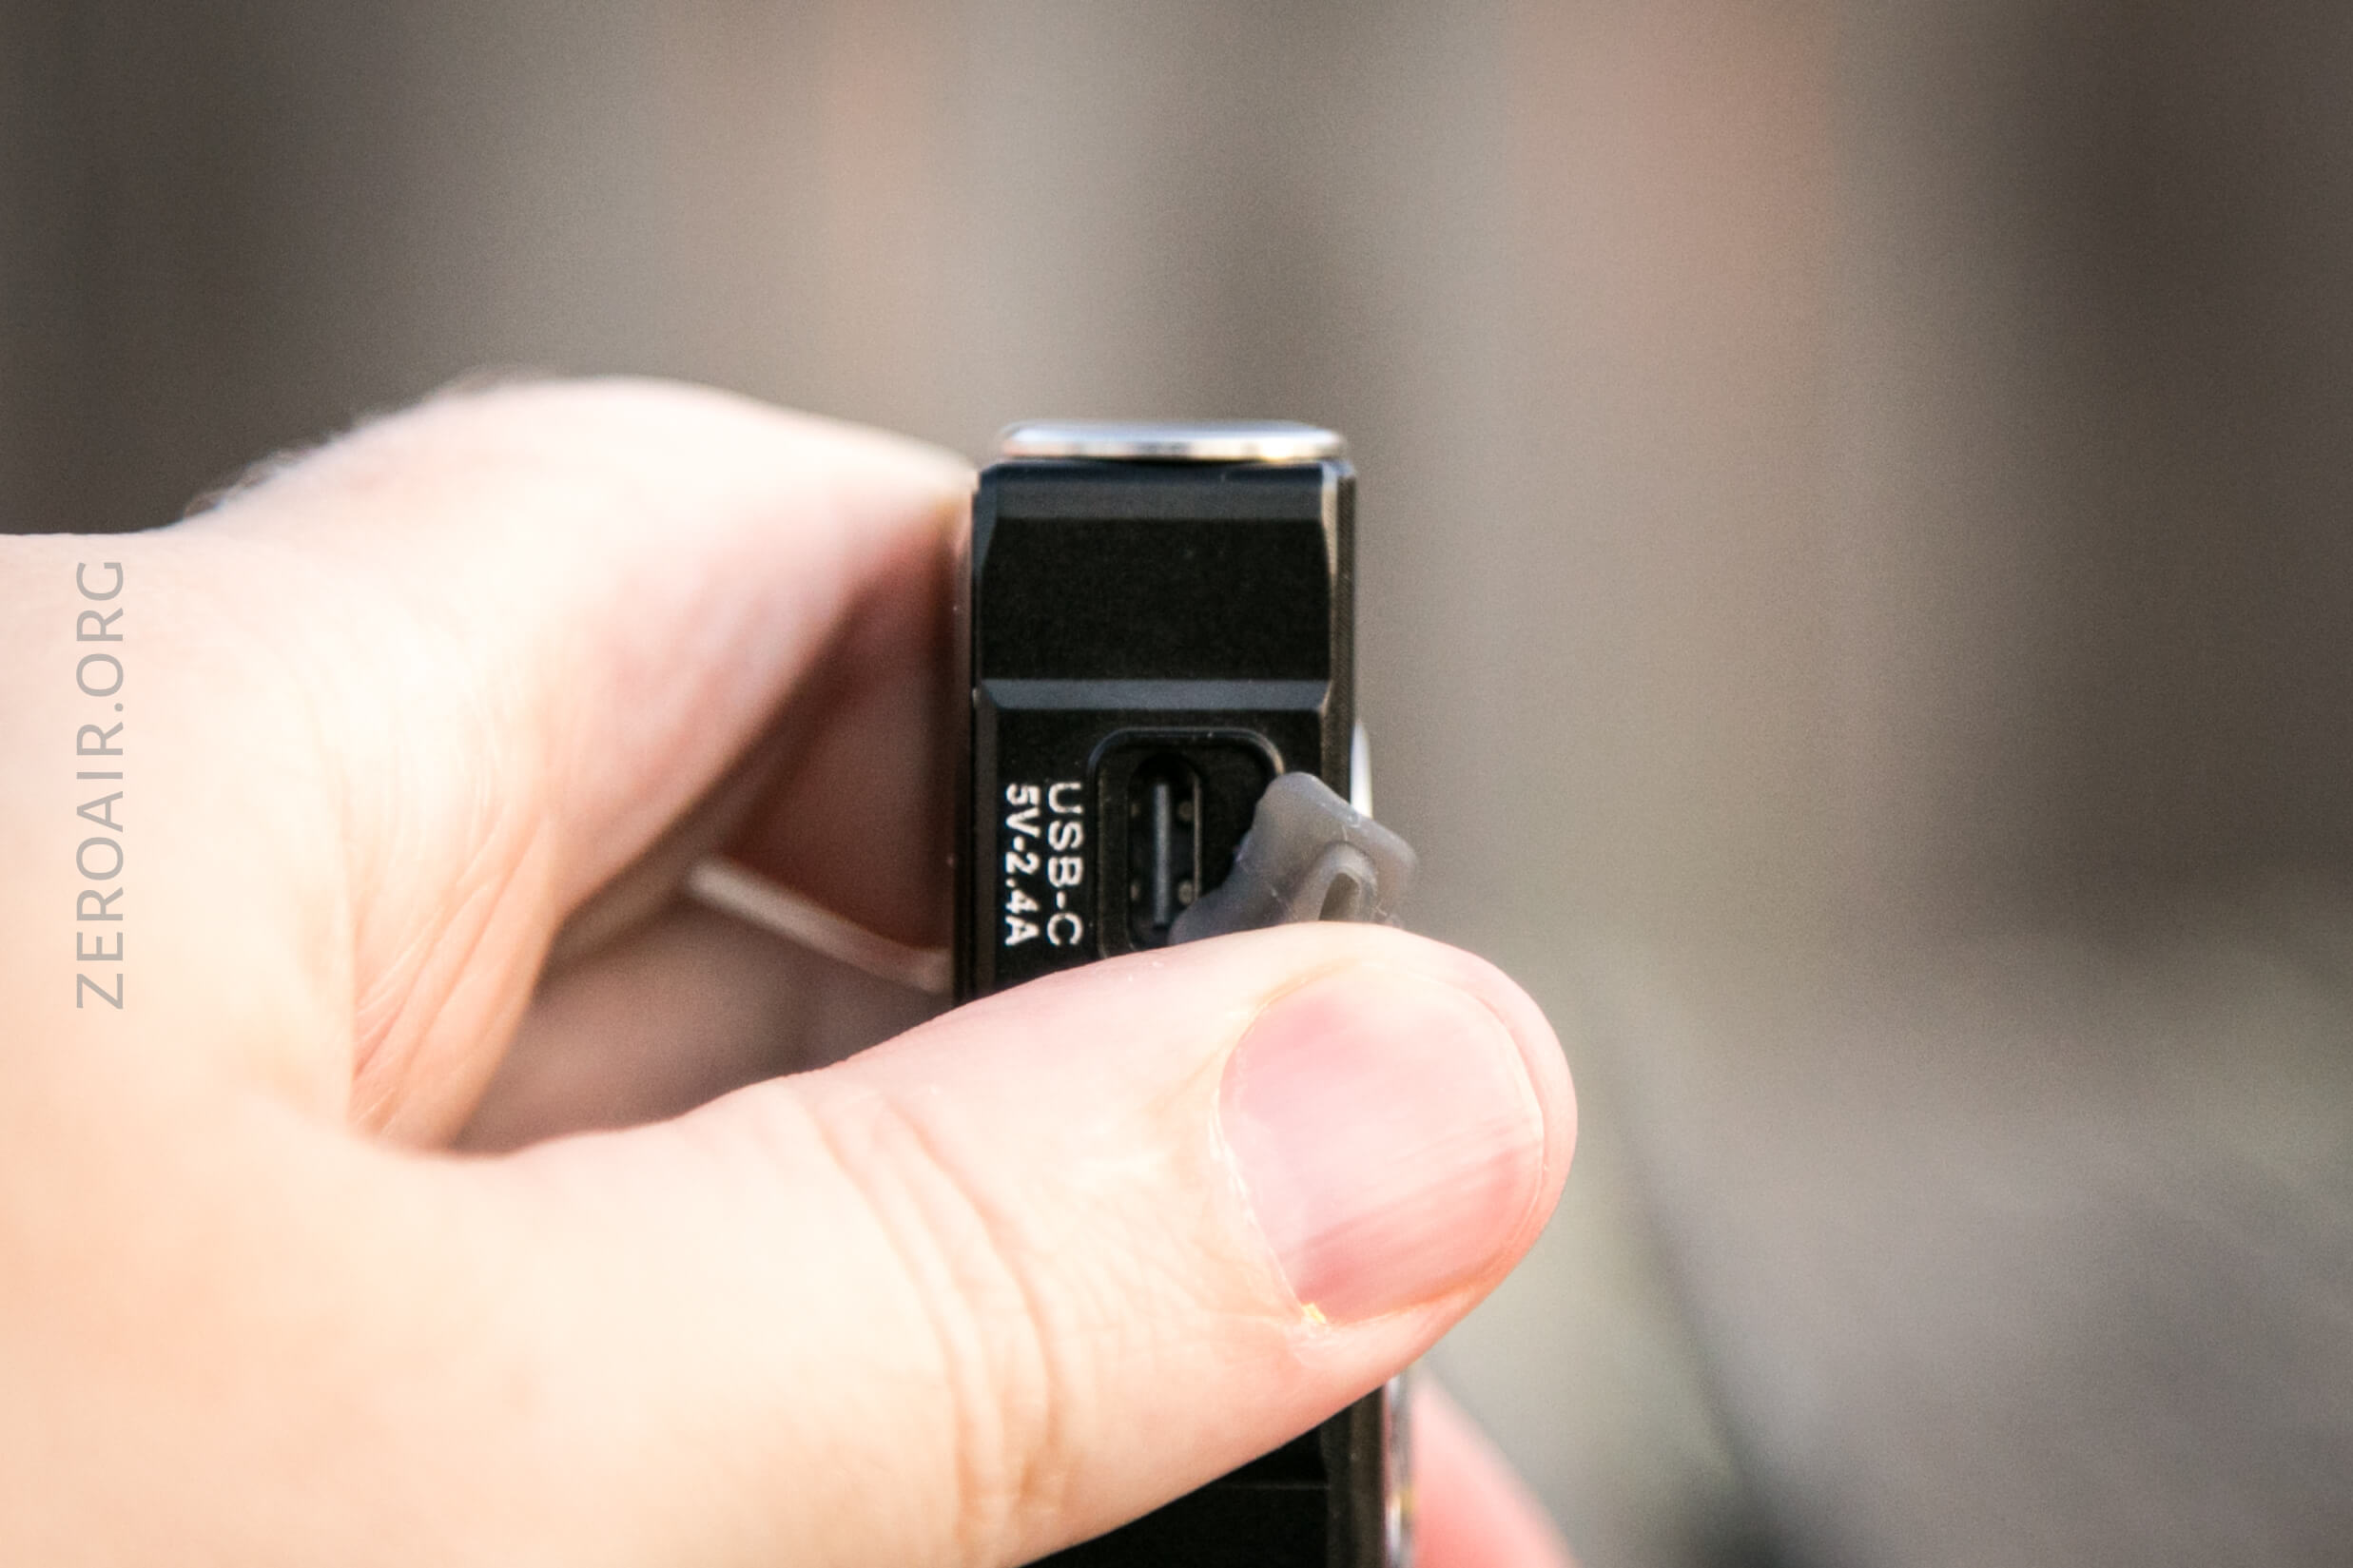
A cable is included – USB to USB-C.
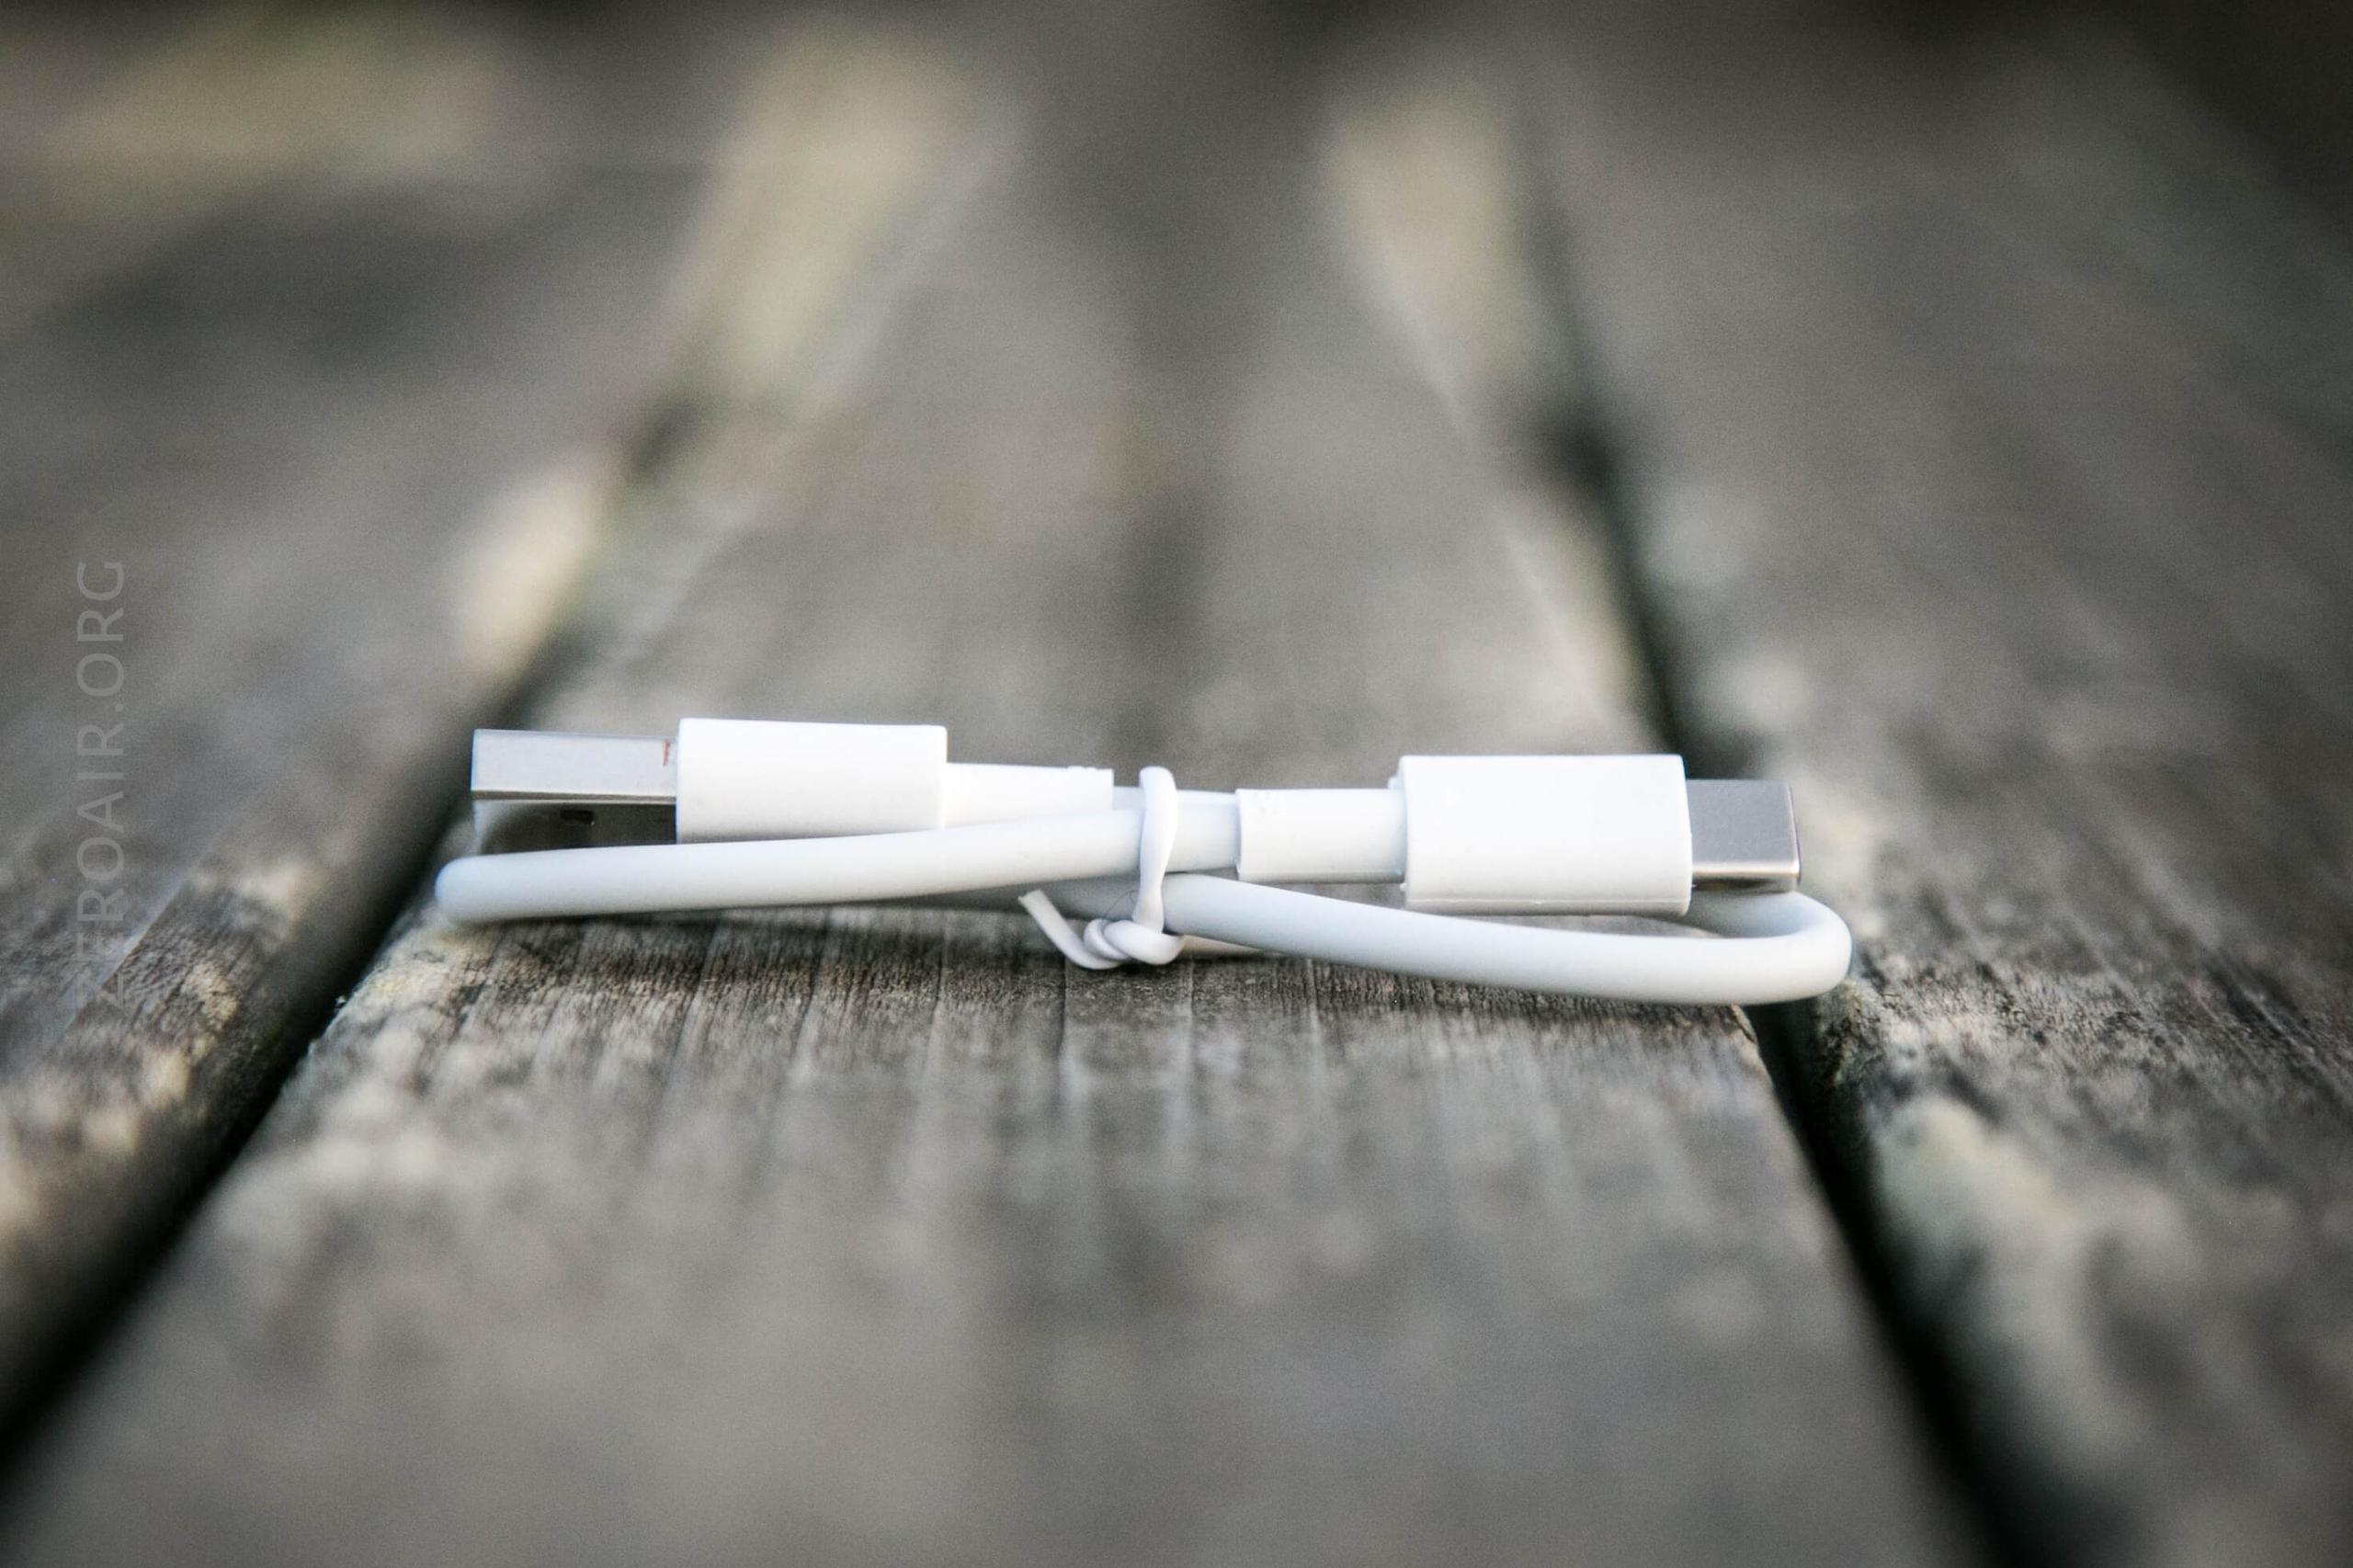
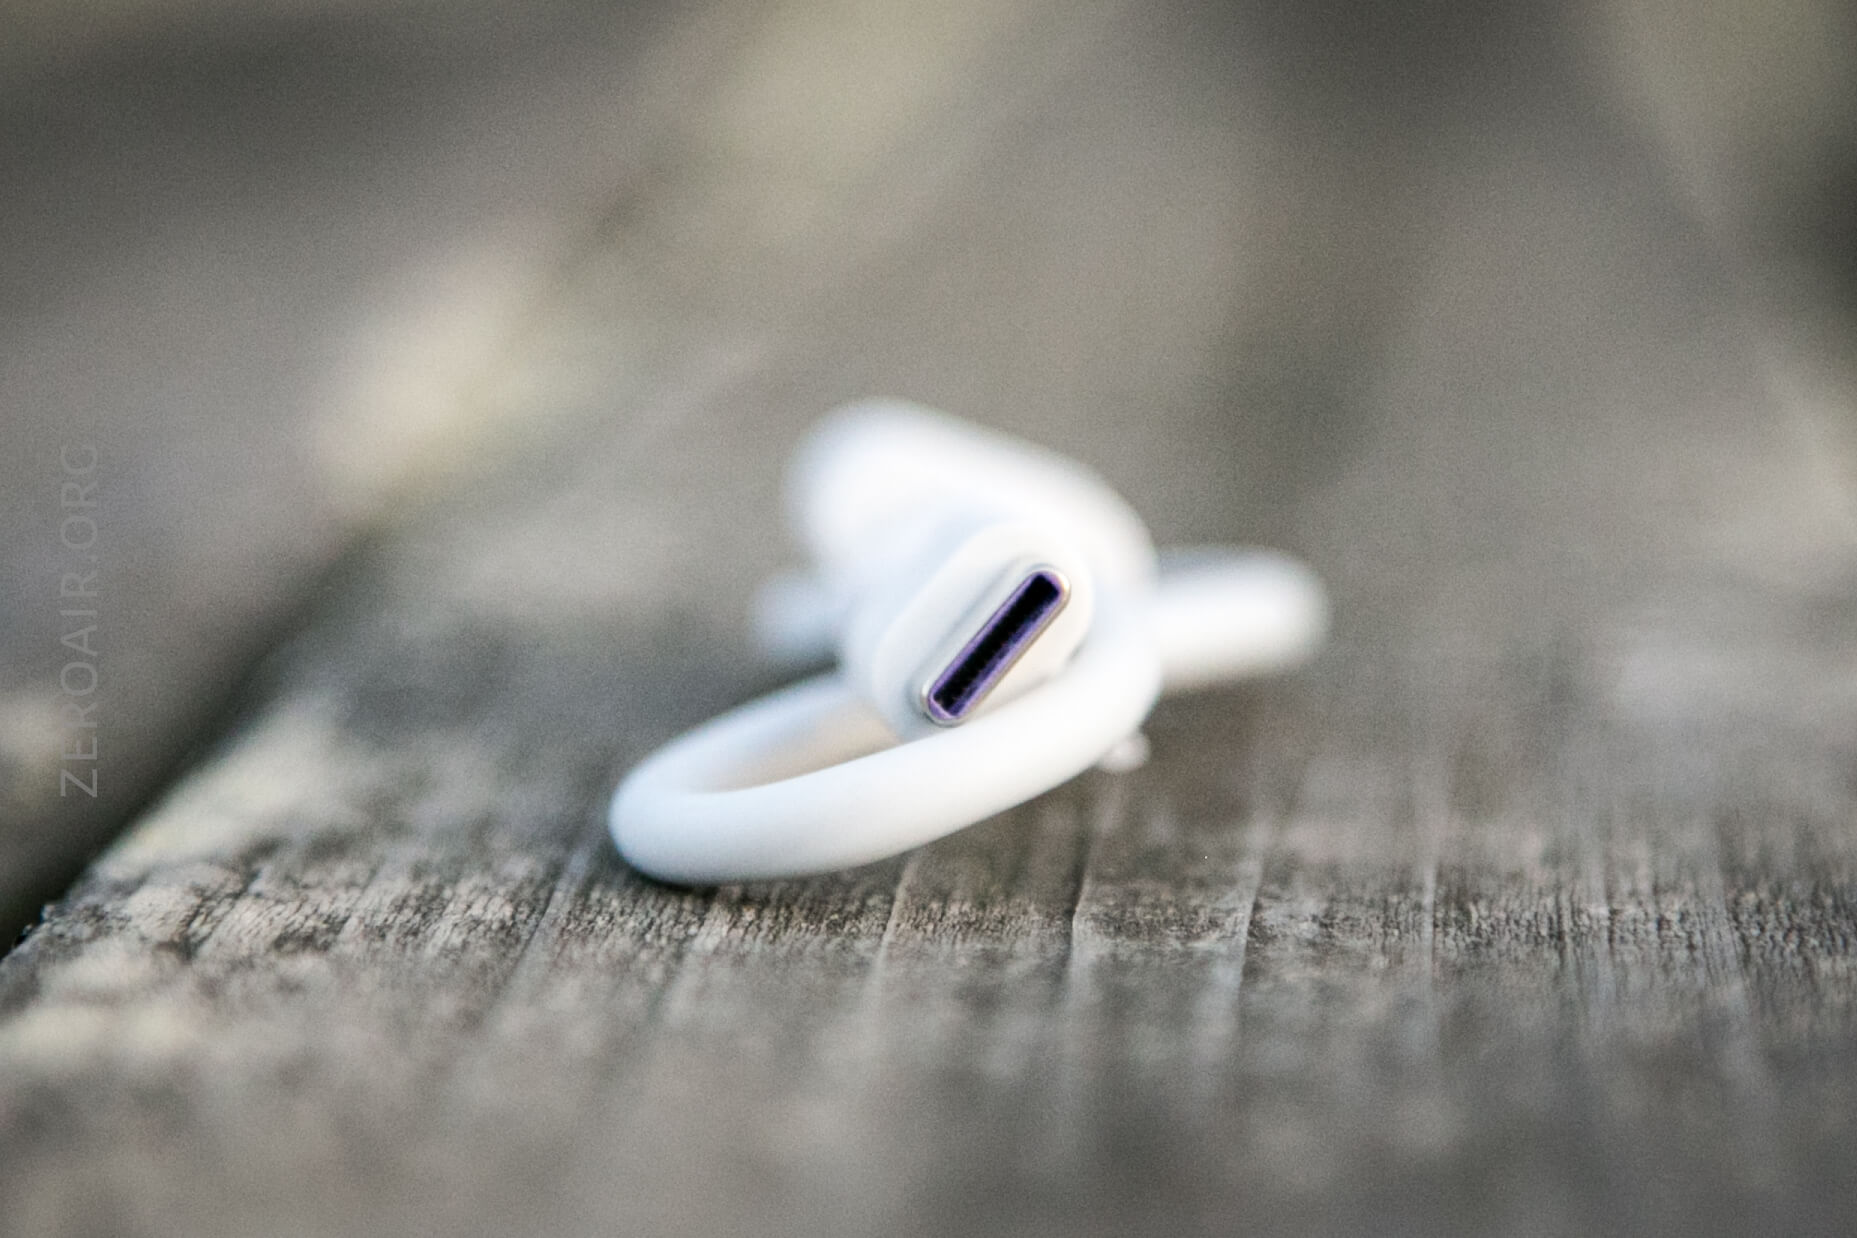
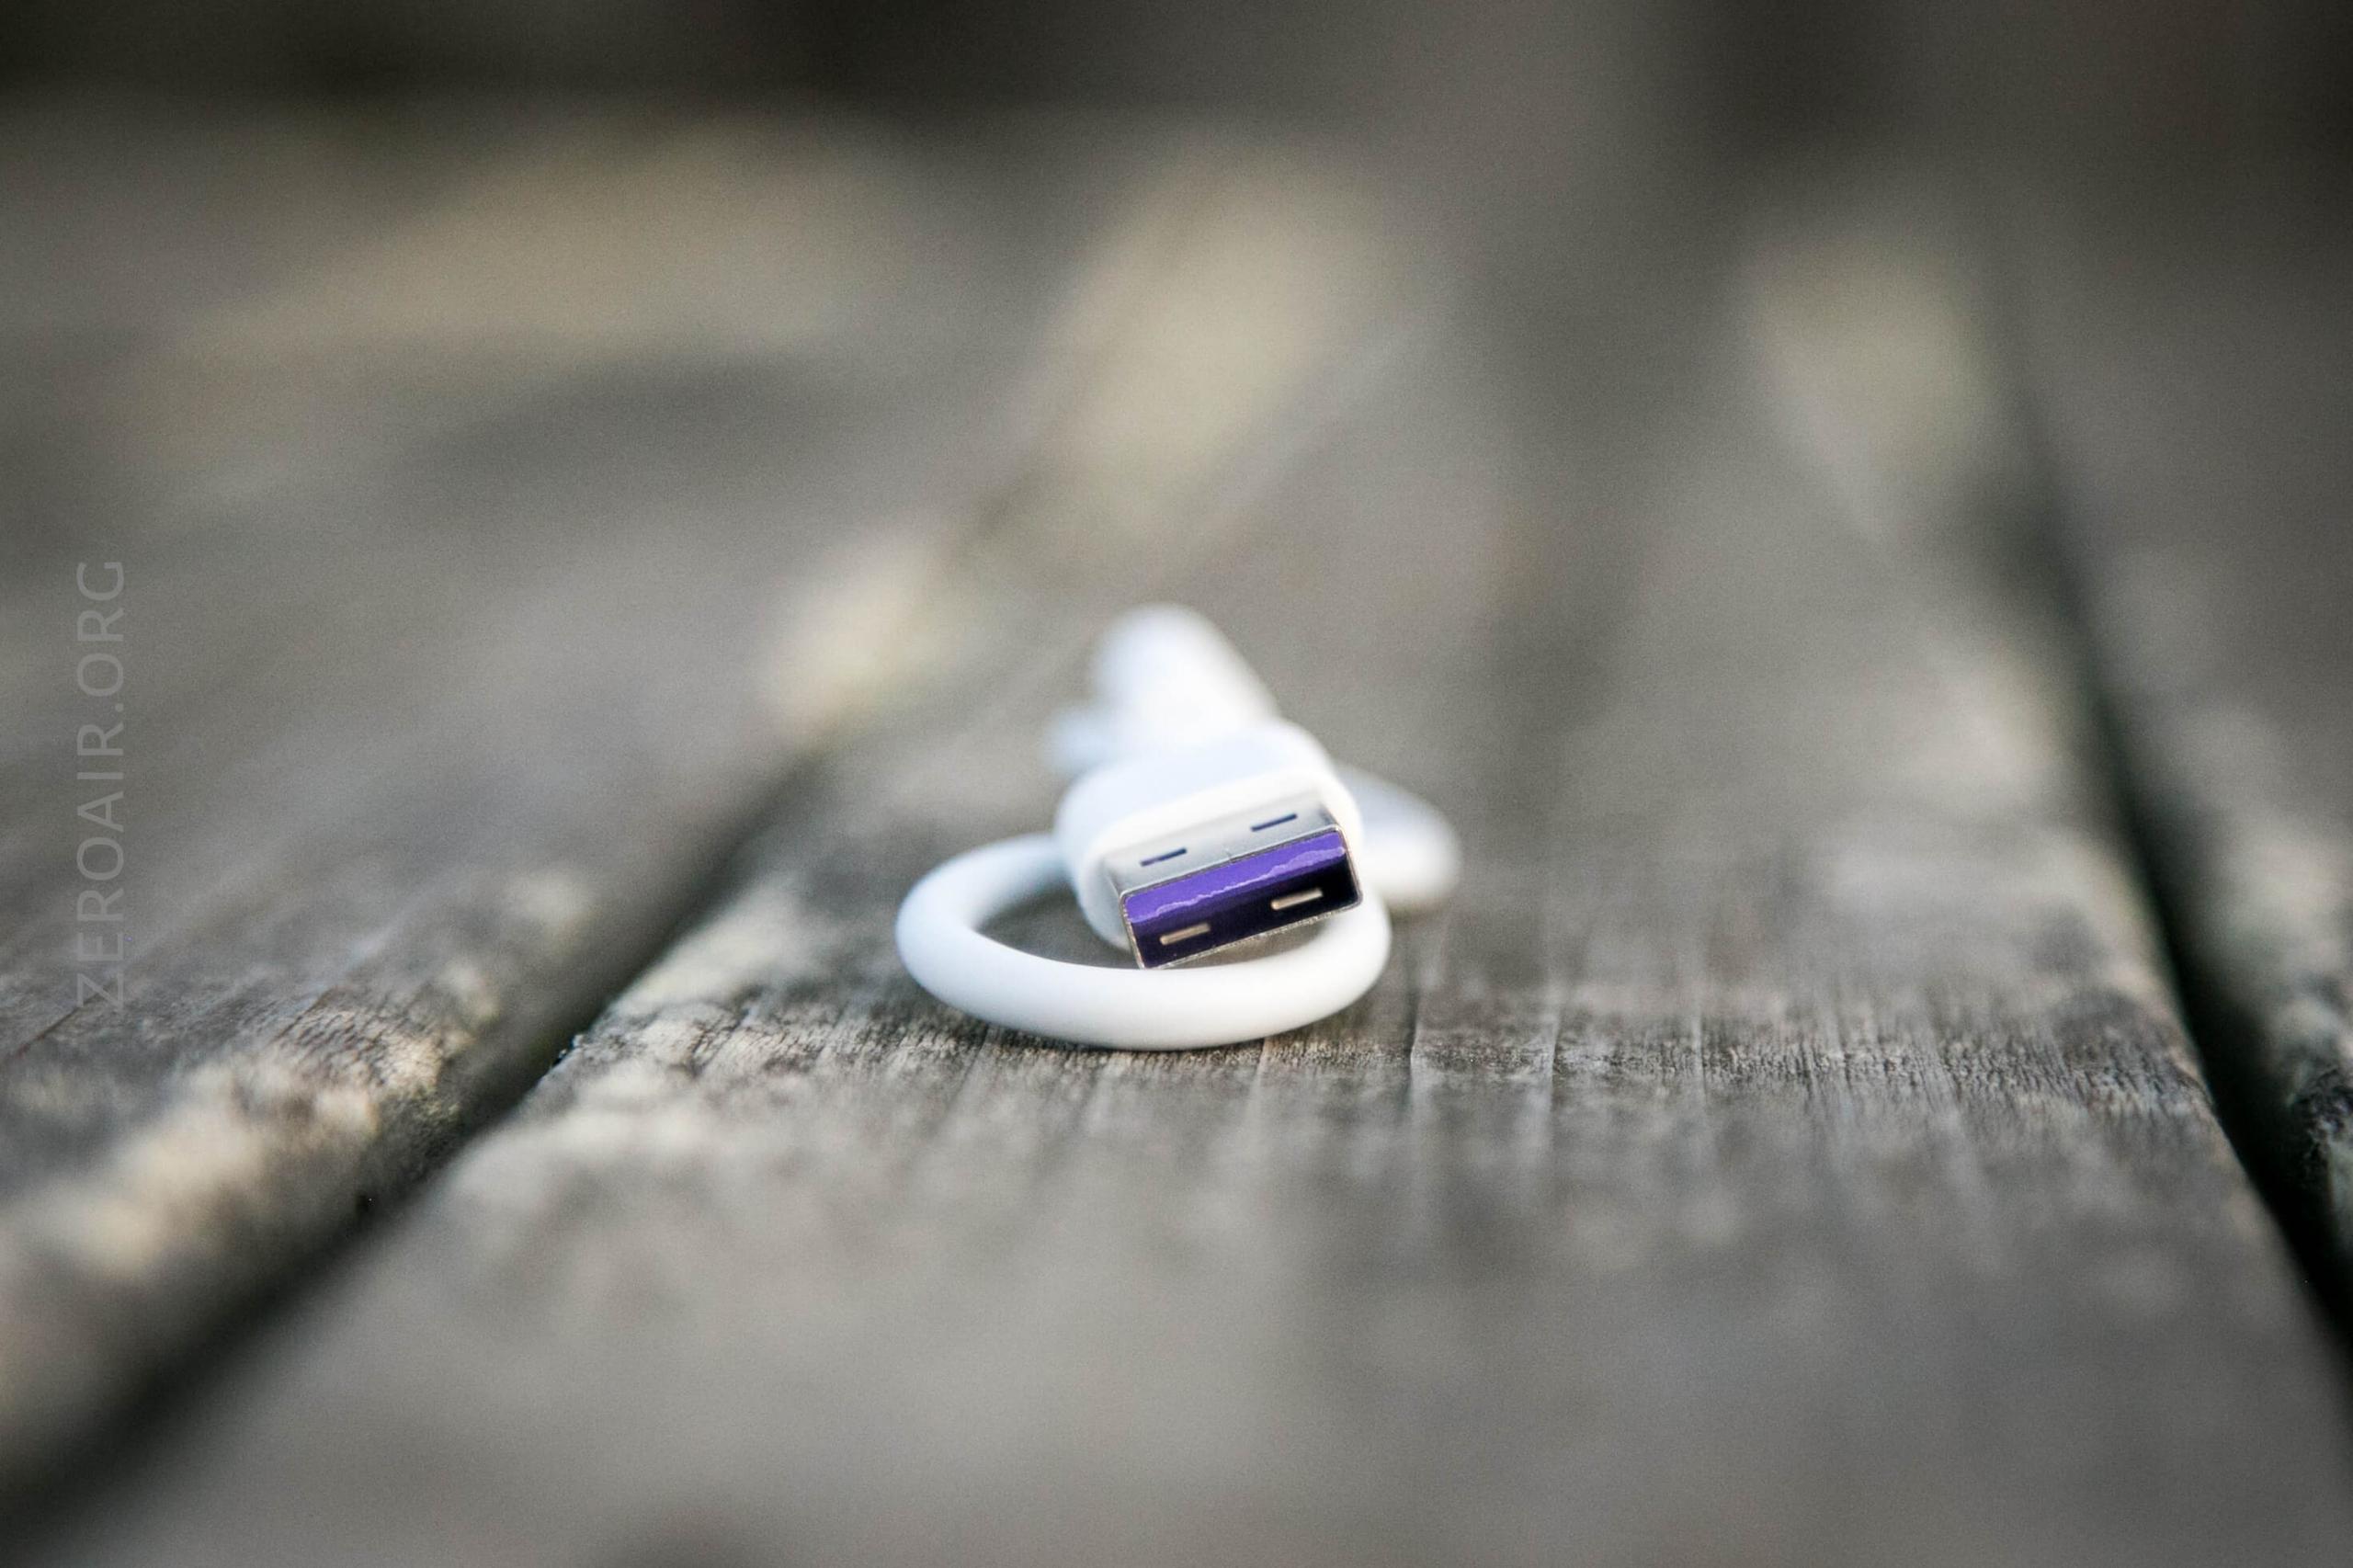
The charge port has a press-in cover. It’s good enough.
Charging takes under an hour, and proceeds at or around 2A. While charging the battery indicators cycle flashlight. When the light is charged, they are all solid blue.
Modes and Currents
| Mode | Mode Claimed Output (lm) | Claimed Runtime | Measured Lumens | Tailcap Amps |
|---|---|---|---|---|
| Turbo (front) | 1650 | 2.8h | 1152 | – |
| High (front) | 700 | 4h | 548 | – |
| Mid (front) | 150 | 8h | – | |
| Low (front) | 10 | 24h | – | |
| High (side) | 800 | 4h | 491 | – |
| Mid (side) | 300 | 8h | 171 | – |
| Low (side) | 5 | 96h | – |
Pulse Width Modulation
Low and Turbo do not exhibit PWM. Medium and High exhibit a sort of sawtooth, but it’s not really PWM, and also not at all noticeable.

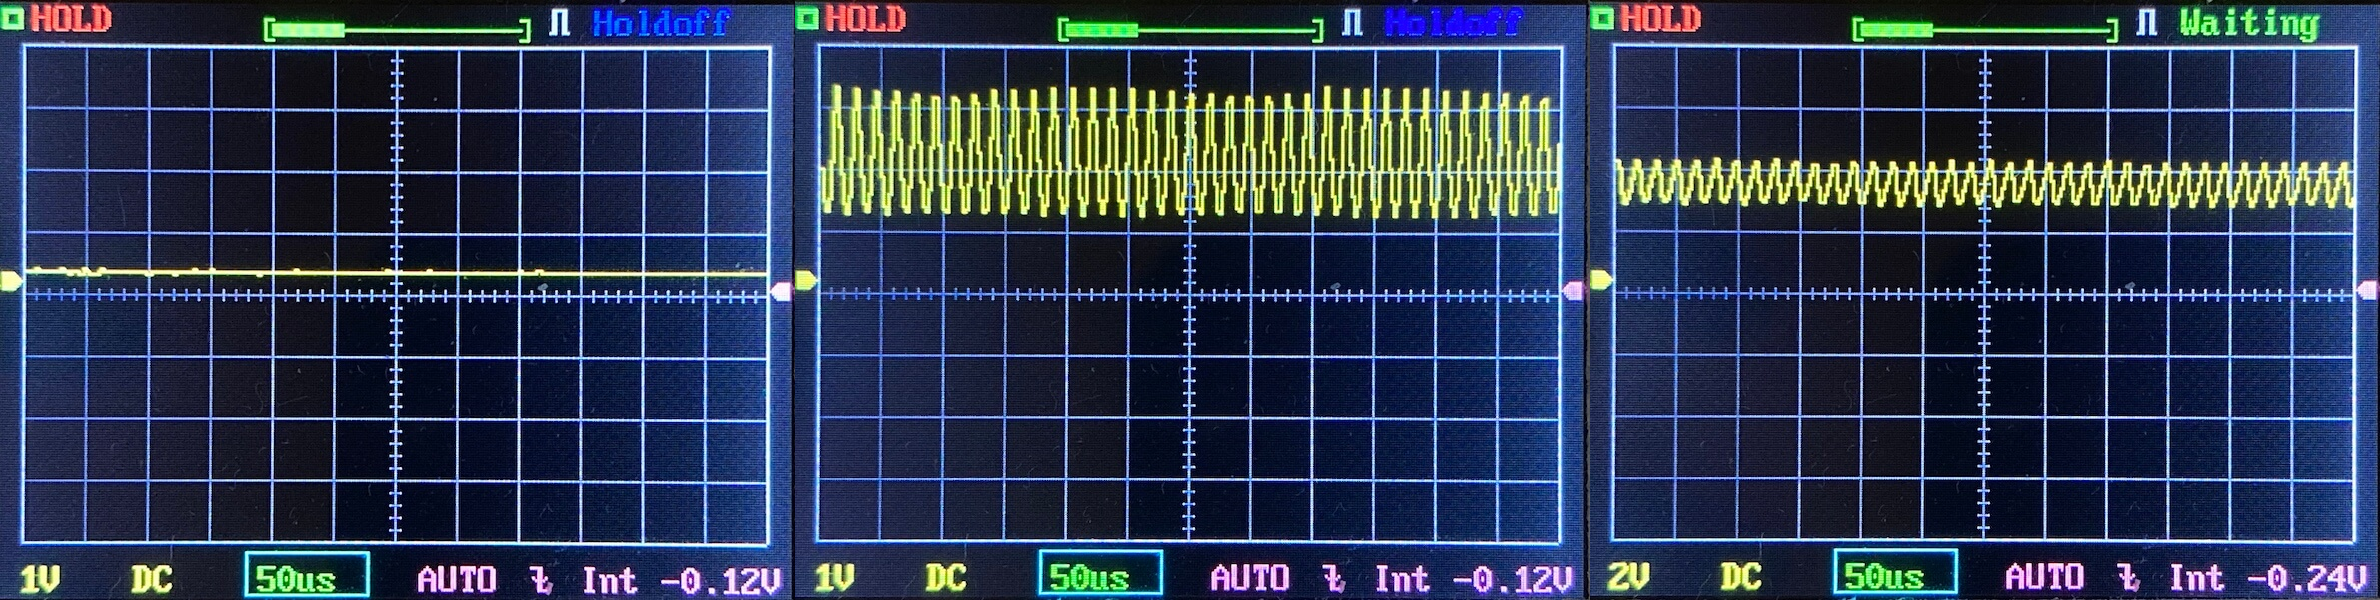
Here you can see a “baseline” – a chart with almost no light hitting the sensor.
Then there’s the Ultrafire WF-602C flashlight, which has some of the worst PWM I’ve seen. It’s so bad that I used a post about it to explain PWM! Here are multiple timescales (10ms, 5ms, 2ms, 1ms, 0.5ms, 0.2ms) to make comparing this “worst” PWM light to the test light easier. That post also explains why I didn’t test the WF-602C at the usual 50us scale.
User Interface and Operation
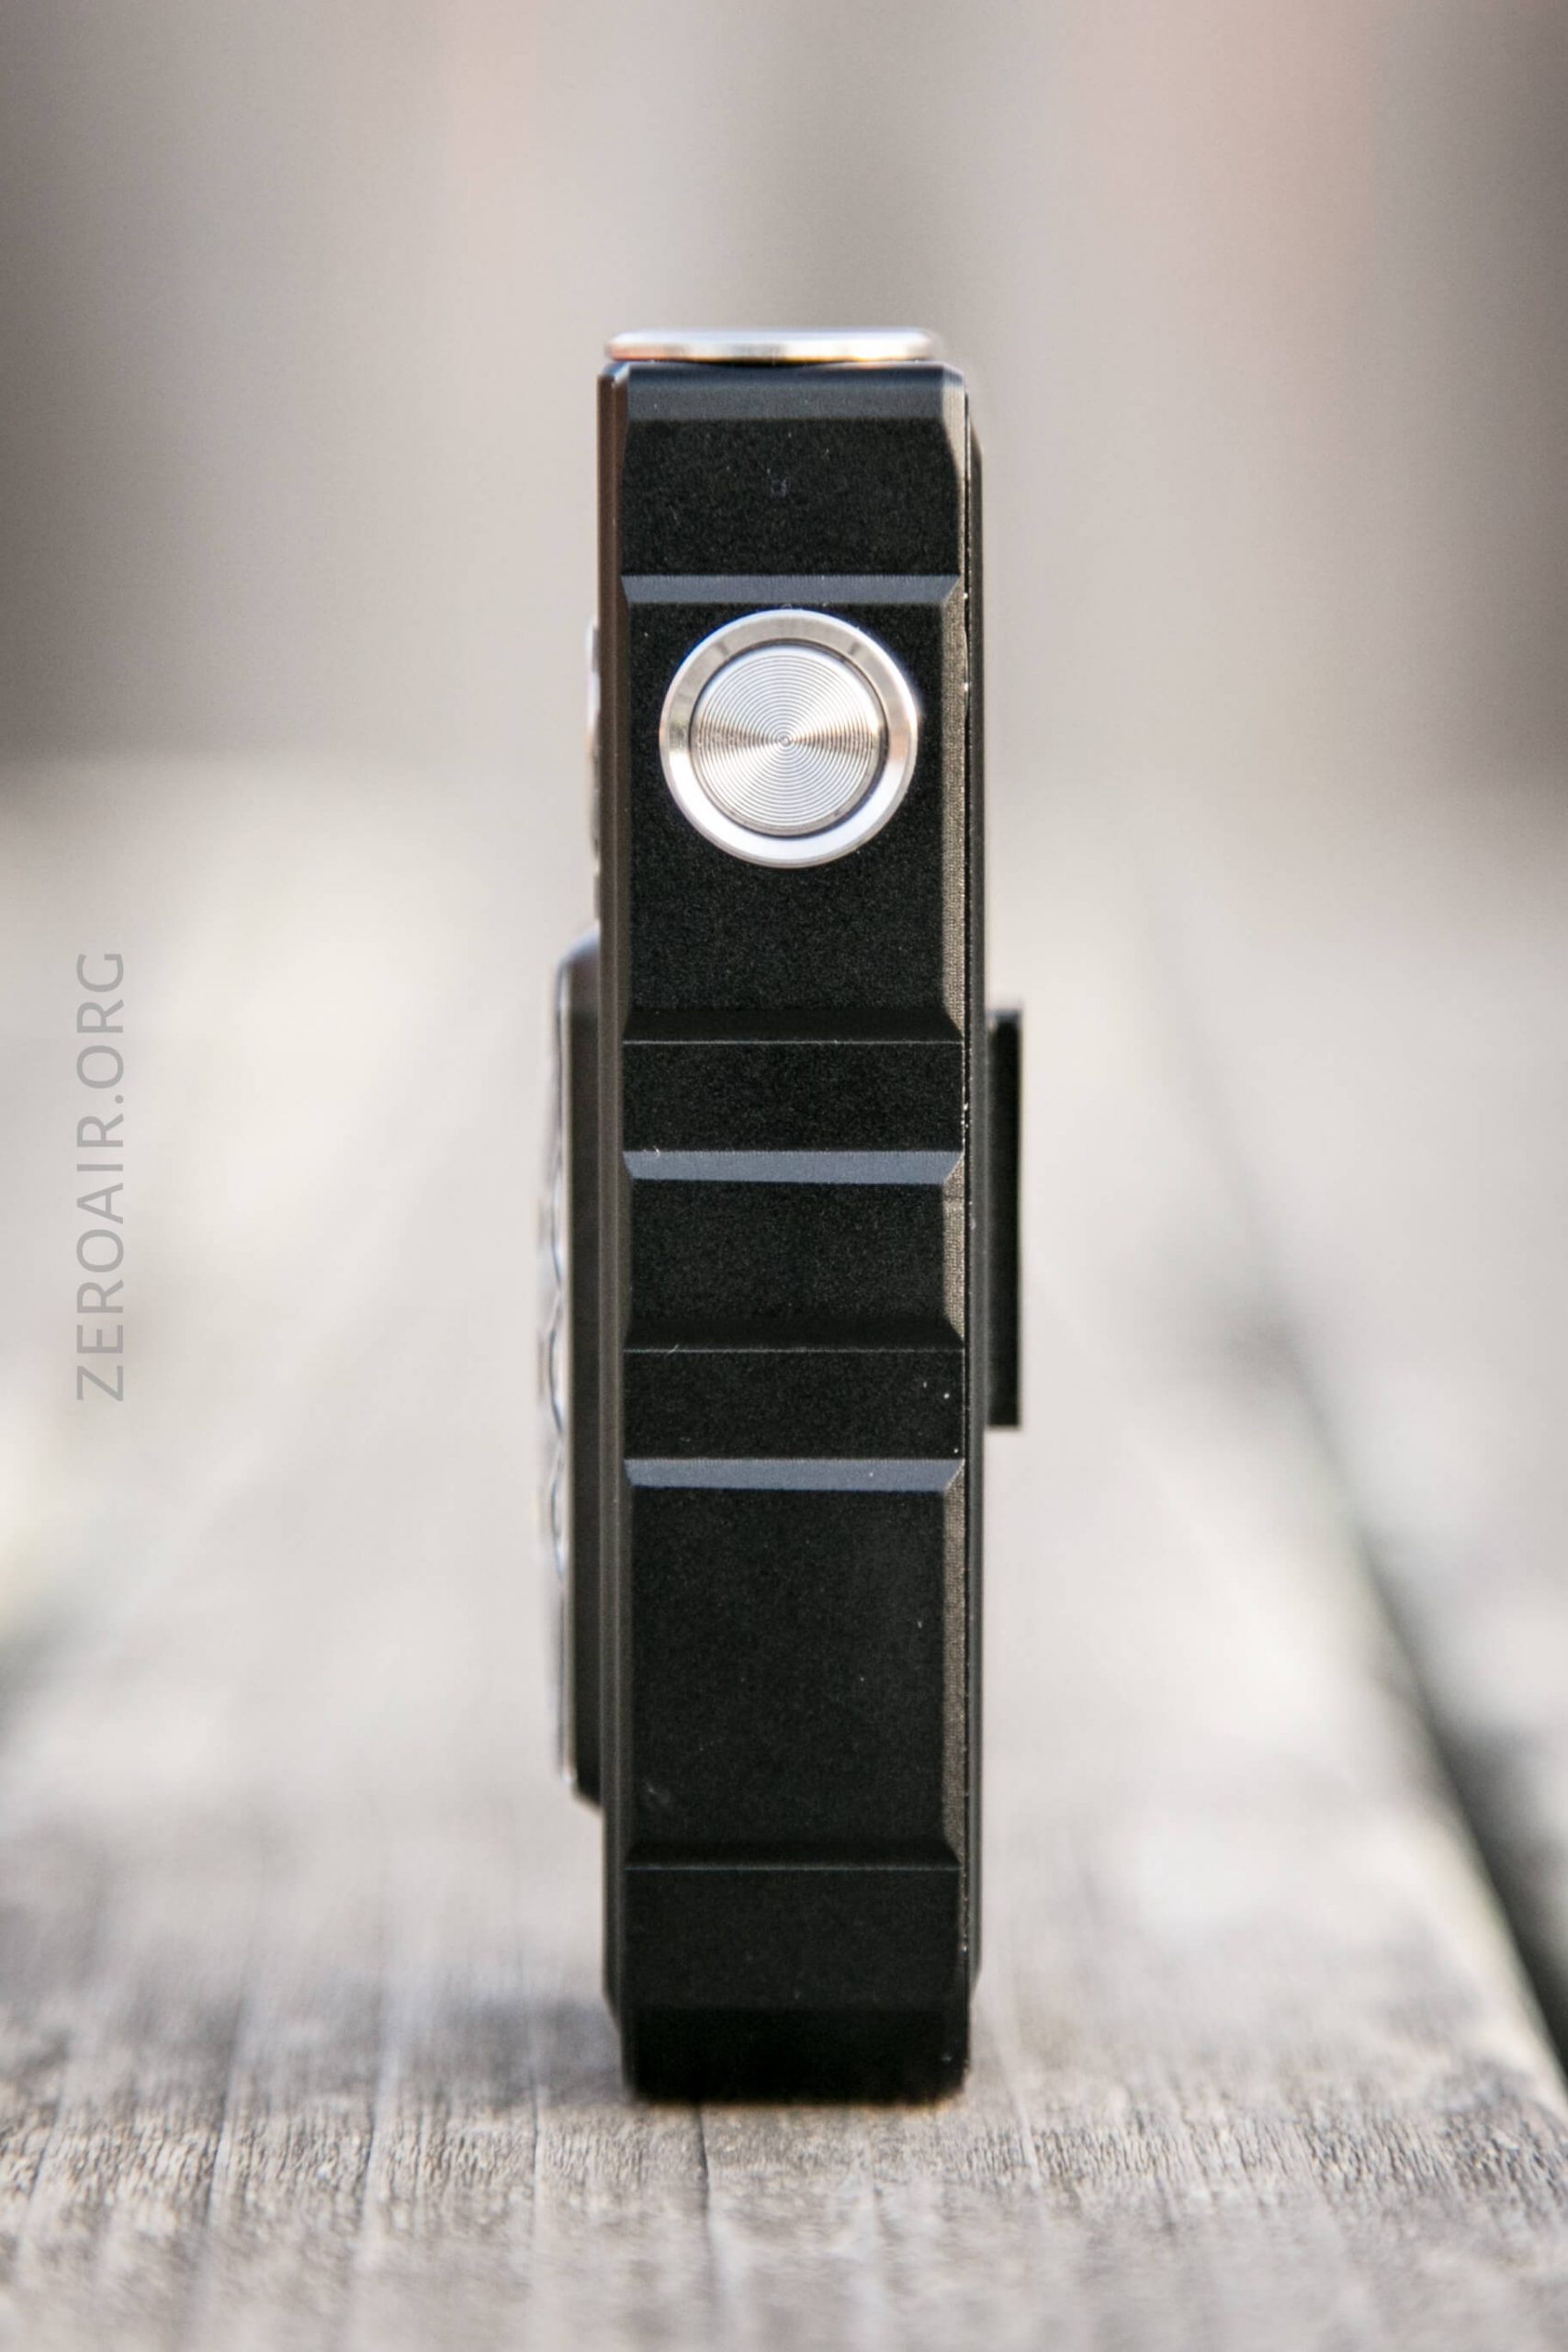
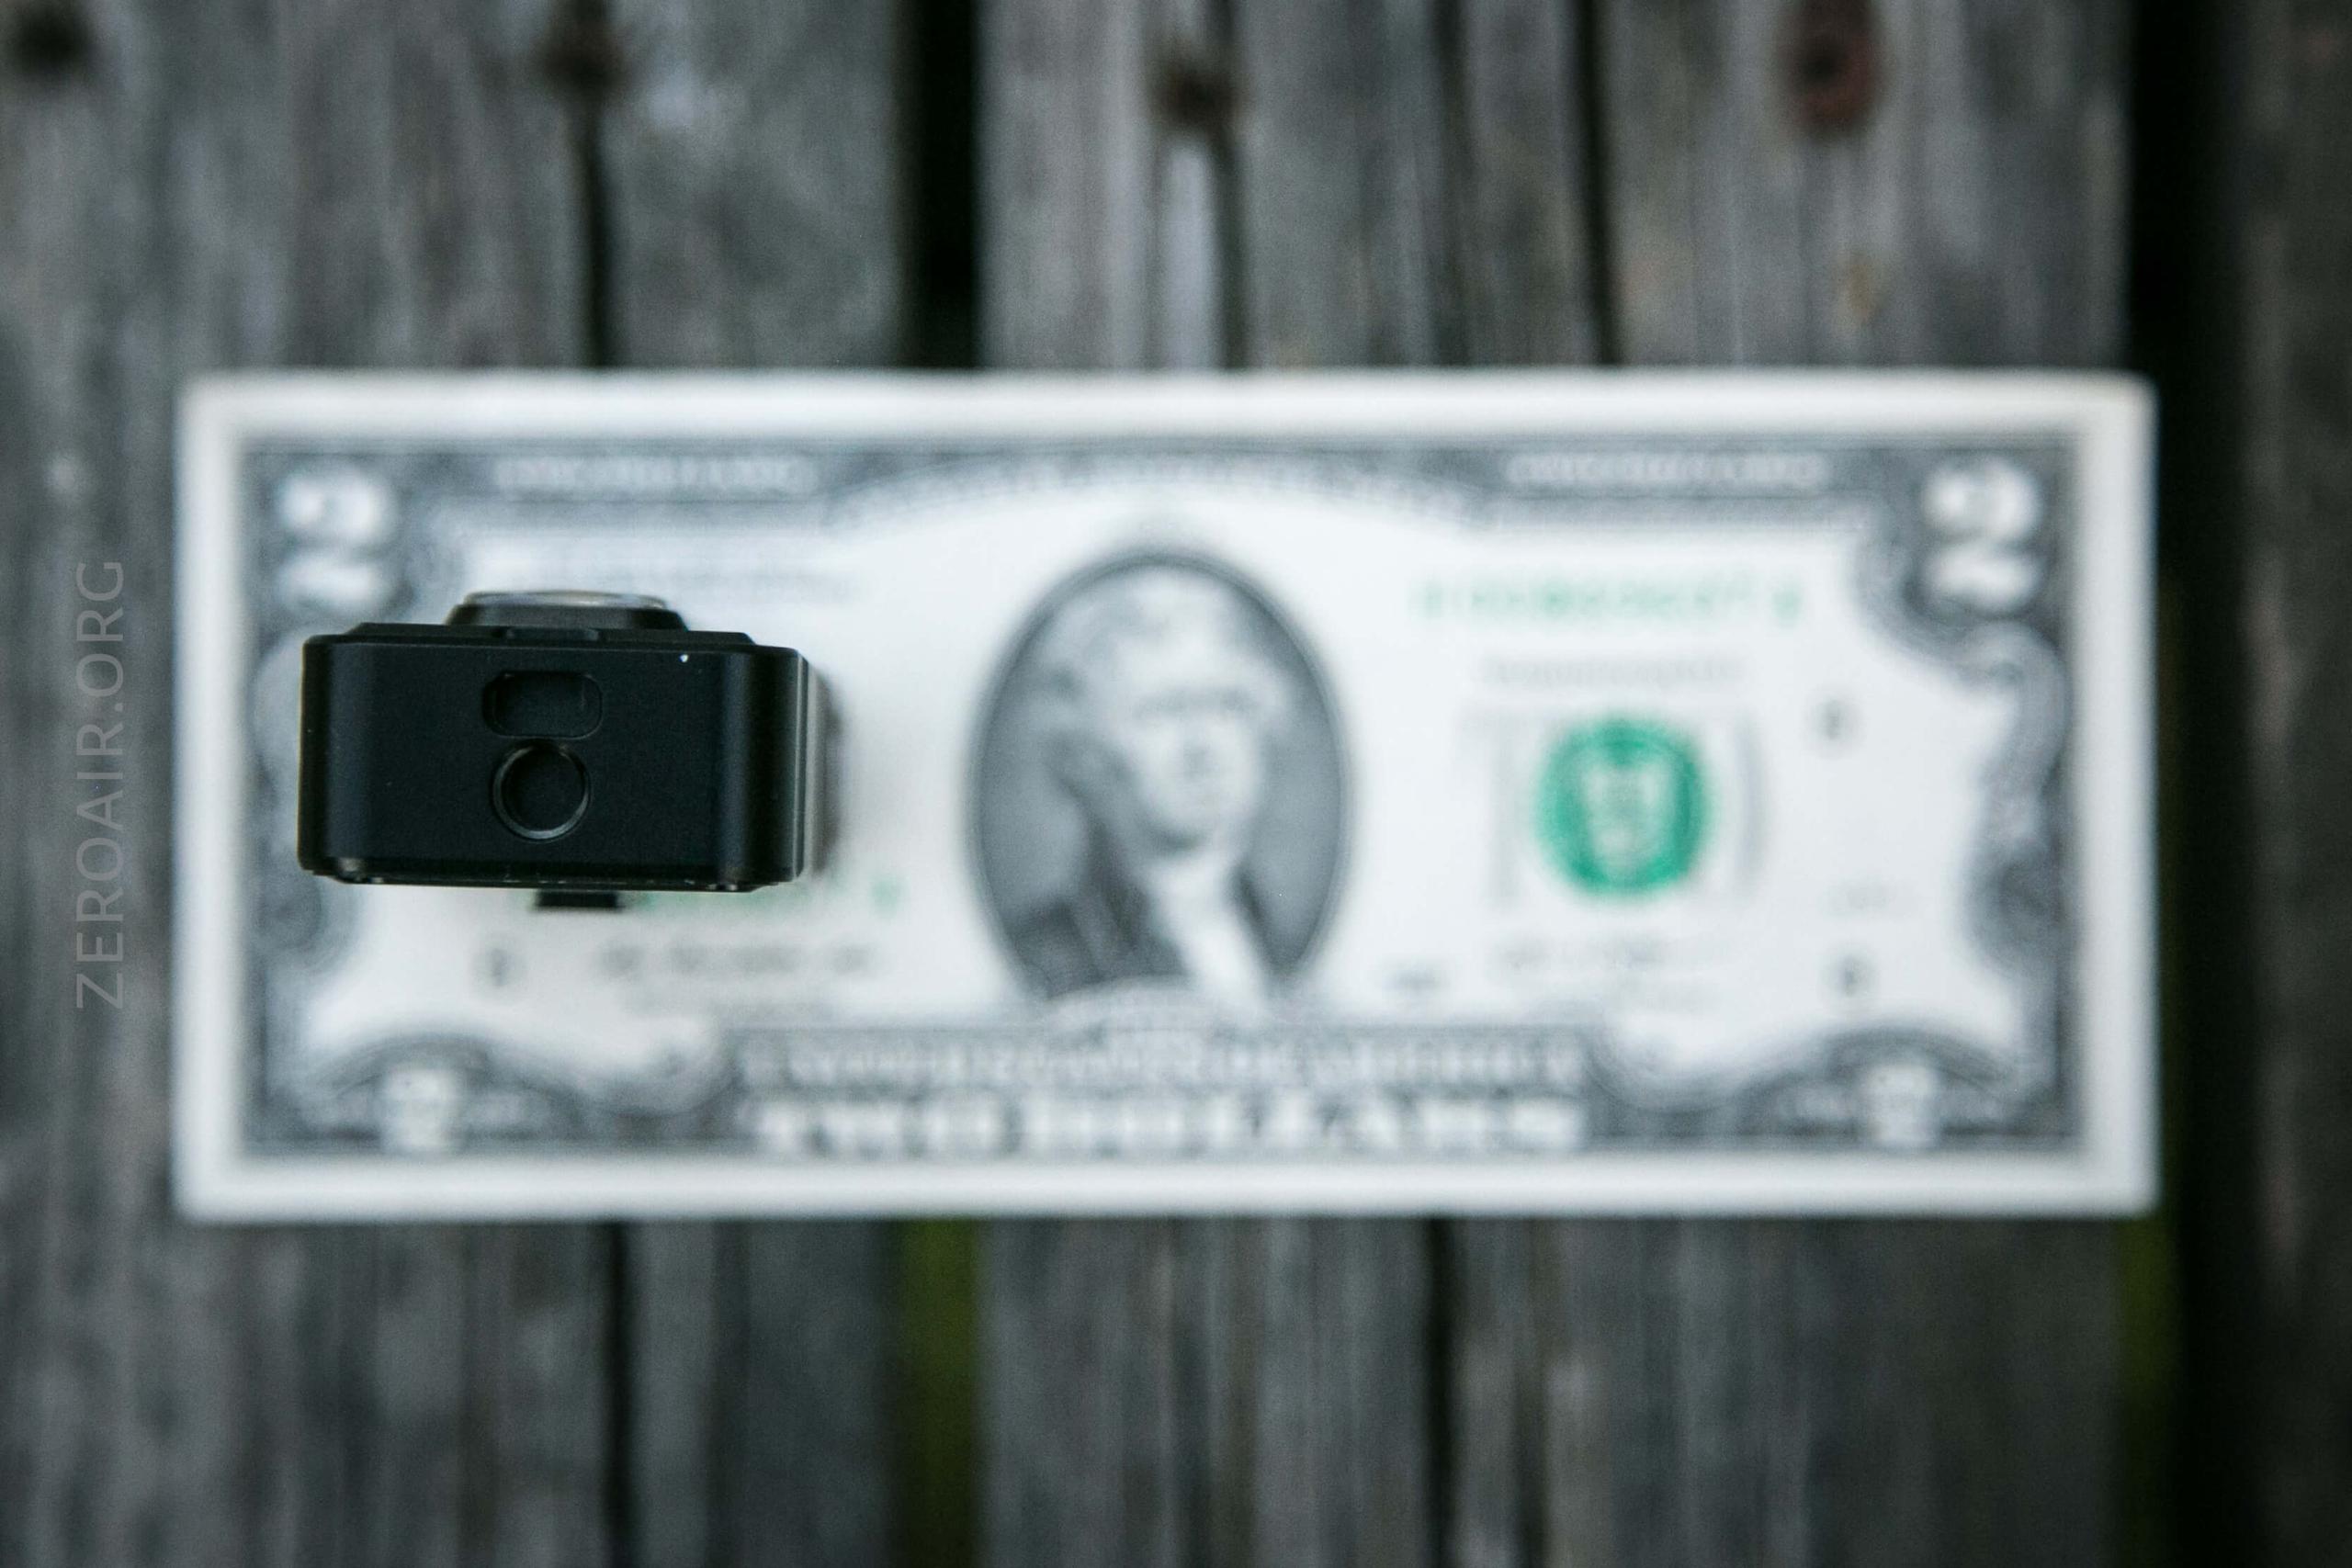
There are two switches on the E200s. The first switch, which is on the same side as the side emitters, controls the front emitters. This one is officially called “Button 1” (and so that’s how I’ll call it, too.)
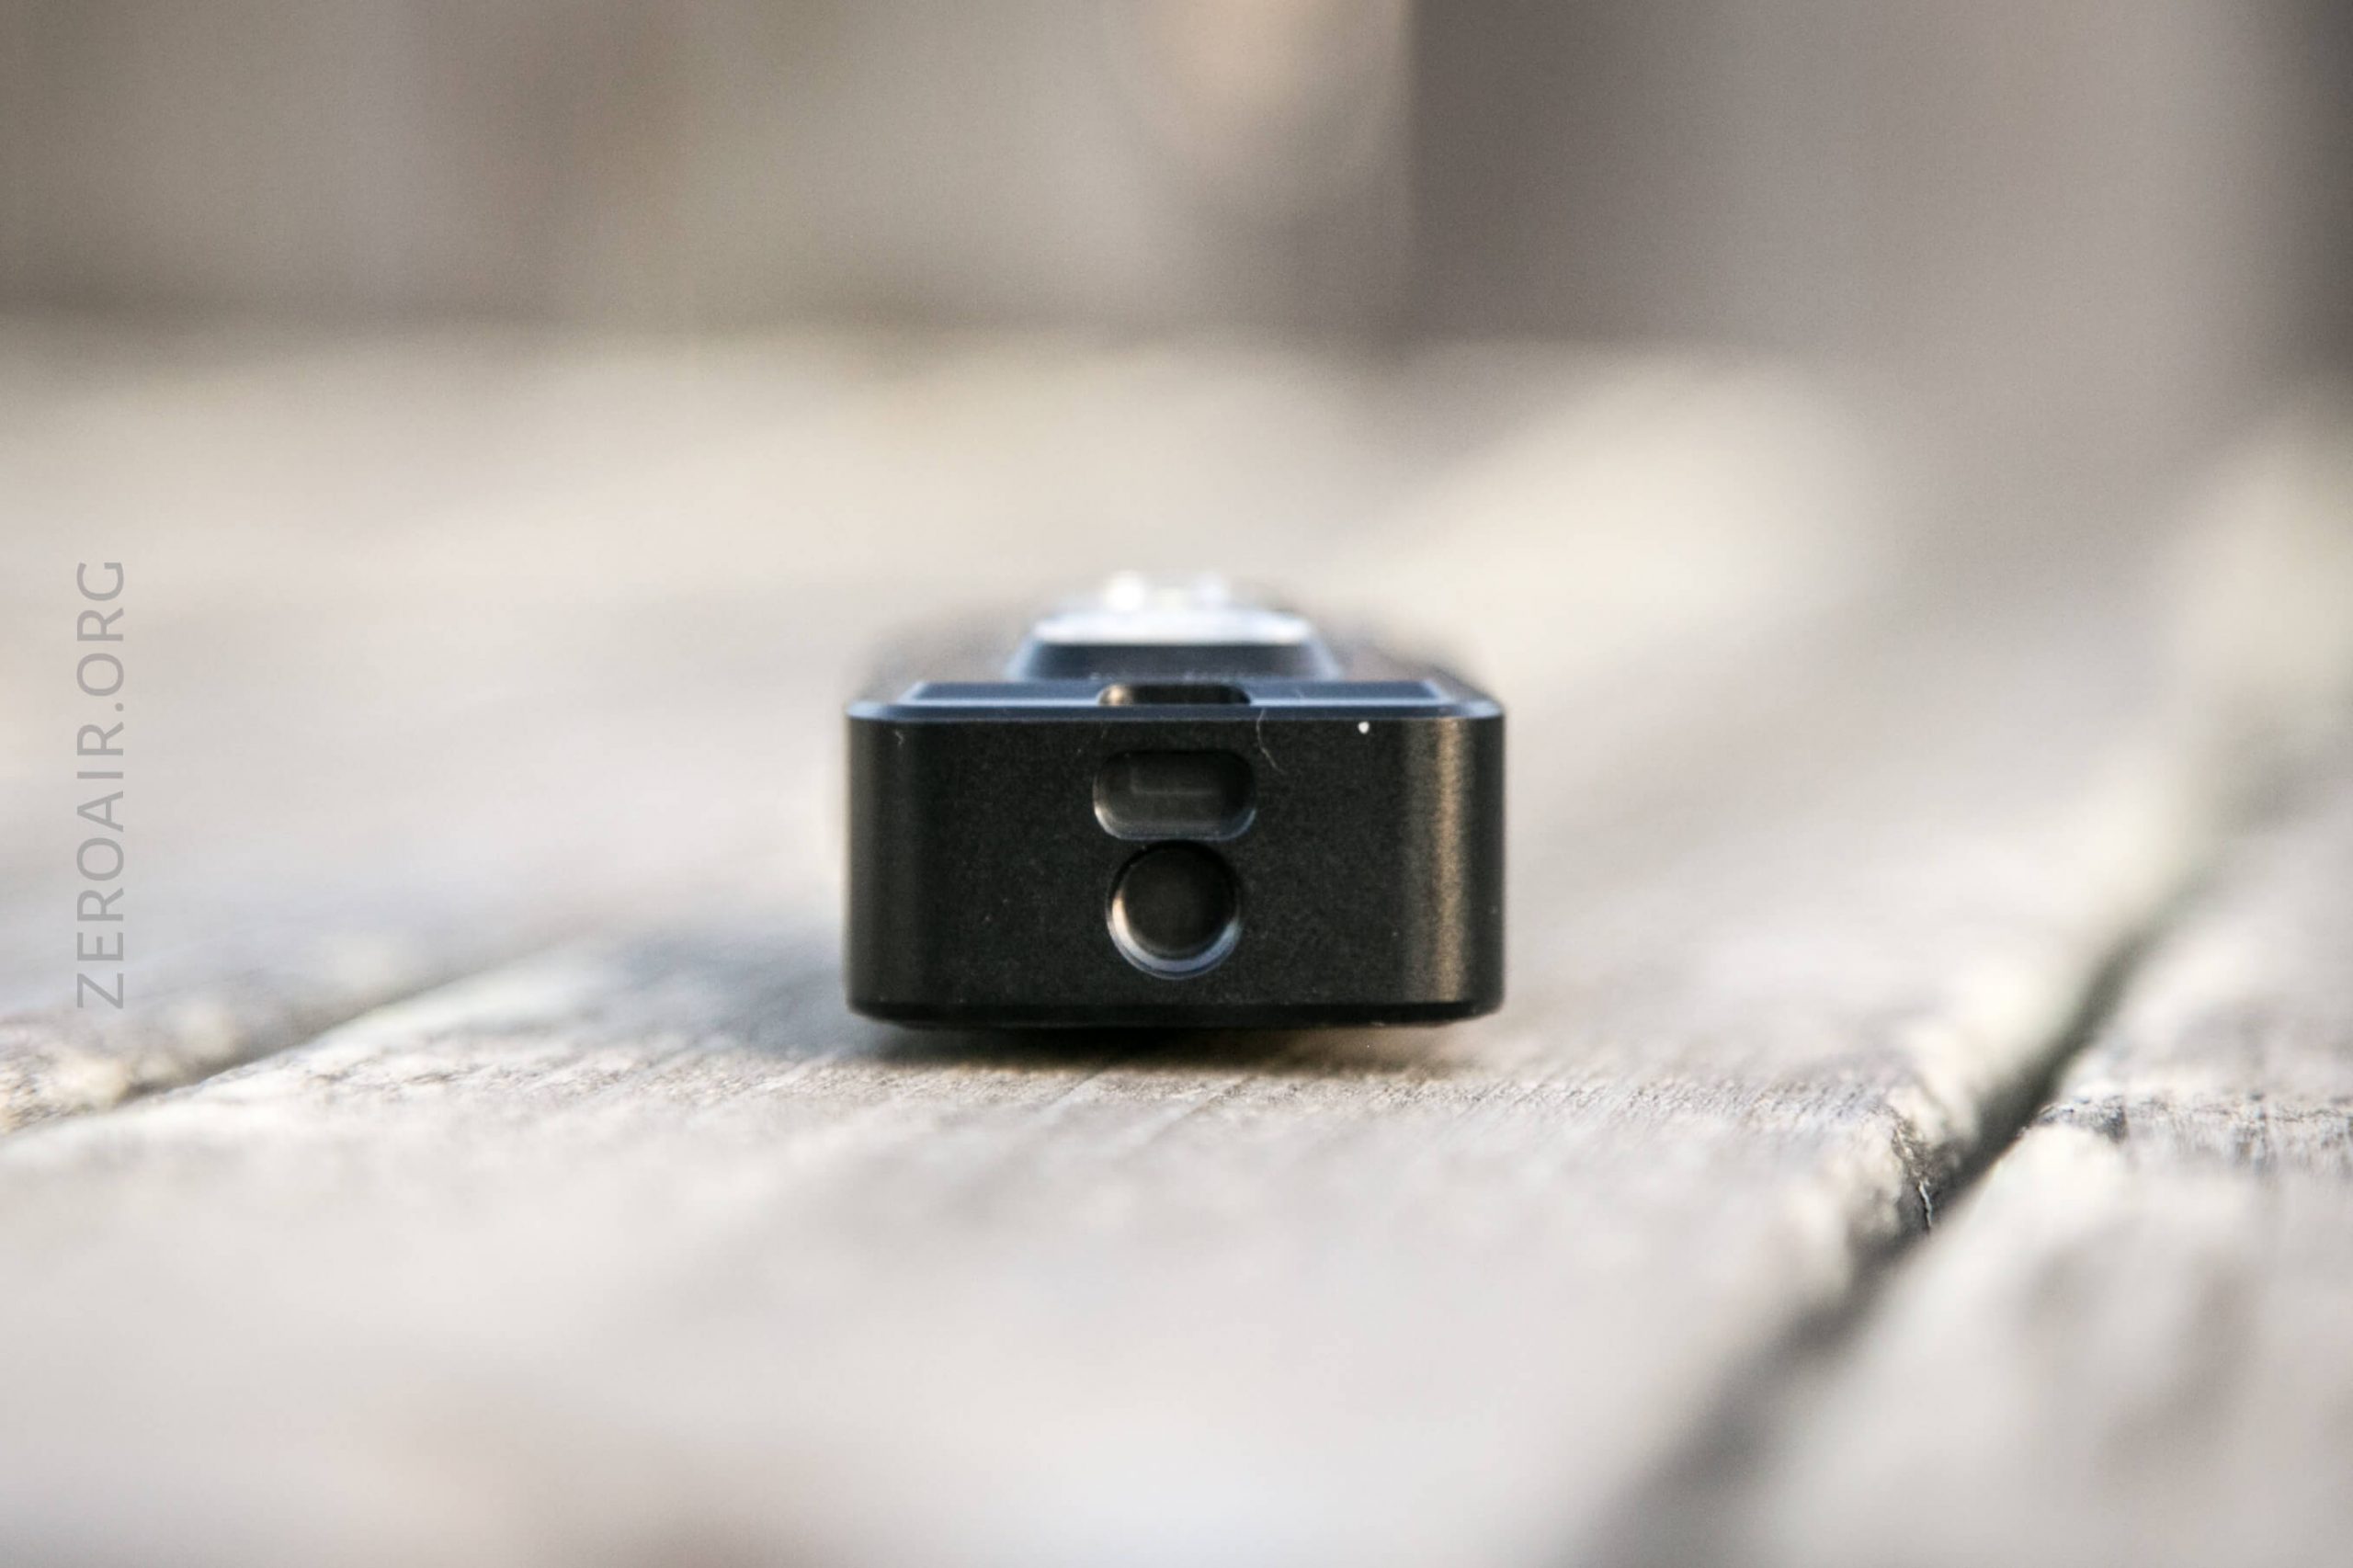
The other switch is exactly the same size and shape and is on the narrow side of the light. This switch controls the side emitters and is officially called “Button 2.”
It might not be immediately easy to remember which button works for which emitters, but just remember: Using Button 1 puts your finger in a place to cover the side emitters, so that’s not the button to use for the side emitters.
Also, the user interface between the two is very similar.
Here’s a user interface table!
| State | Action | Result |
|---|---|---|
| Off | Click Button 1 (B1) or Button 2 (B2) | Battery Check |
| Off | Hold B1 | Starts on Mid (ish) and enters ramping option. Will ramp up and down. |
| Off | Double Click B1 | On (Memorized Mode (any mode the light has been on for >1m)). |
| On, Front (From ramping) | Click B1 | Off |
| On, Front (From Double Click) | Click B1 | Mode Advance (LMHT direction) |
| On, Front (From Double Click) | Hold B1 | Off |
| Off | Triple Click B1 | Strobe |
| Strobe, Front | Click B1 | Strobe advance (Strobe, SOS) |
| Strobe, Front | Hold B1 | Off |
| Off | Hold B2 | Momentary High (Side) |
| Off | Double Click B2 | On (Side, Low) |
| On, Side | Click B2 | Mode advance (LMH) |
| On, Side | Hold B2 | Off |
| On, Either | Double Click | No action |
| On, Either | Click the “Other” button | Light works per that other button’s user interface and emitters |
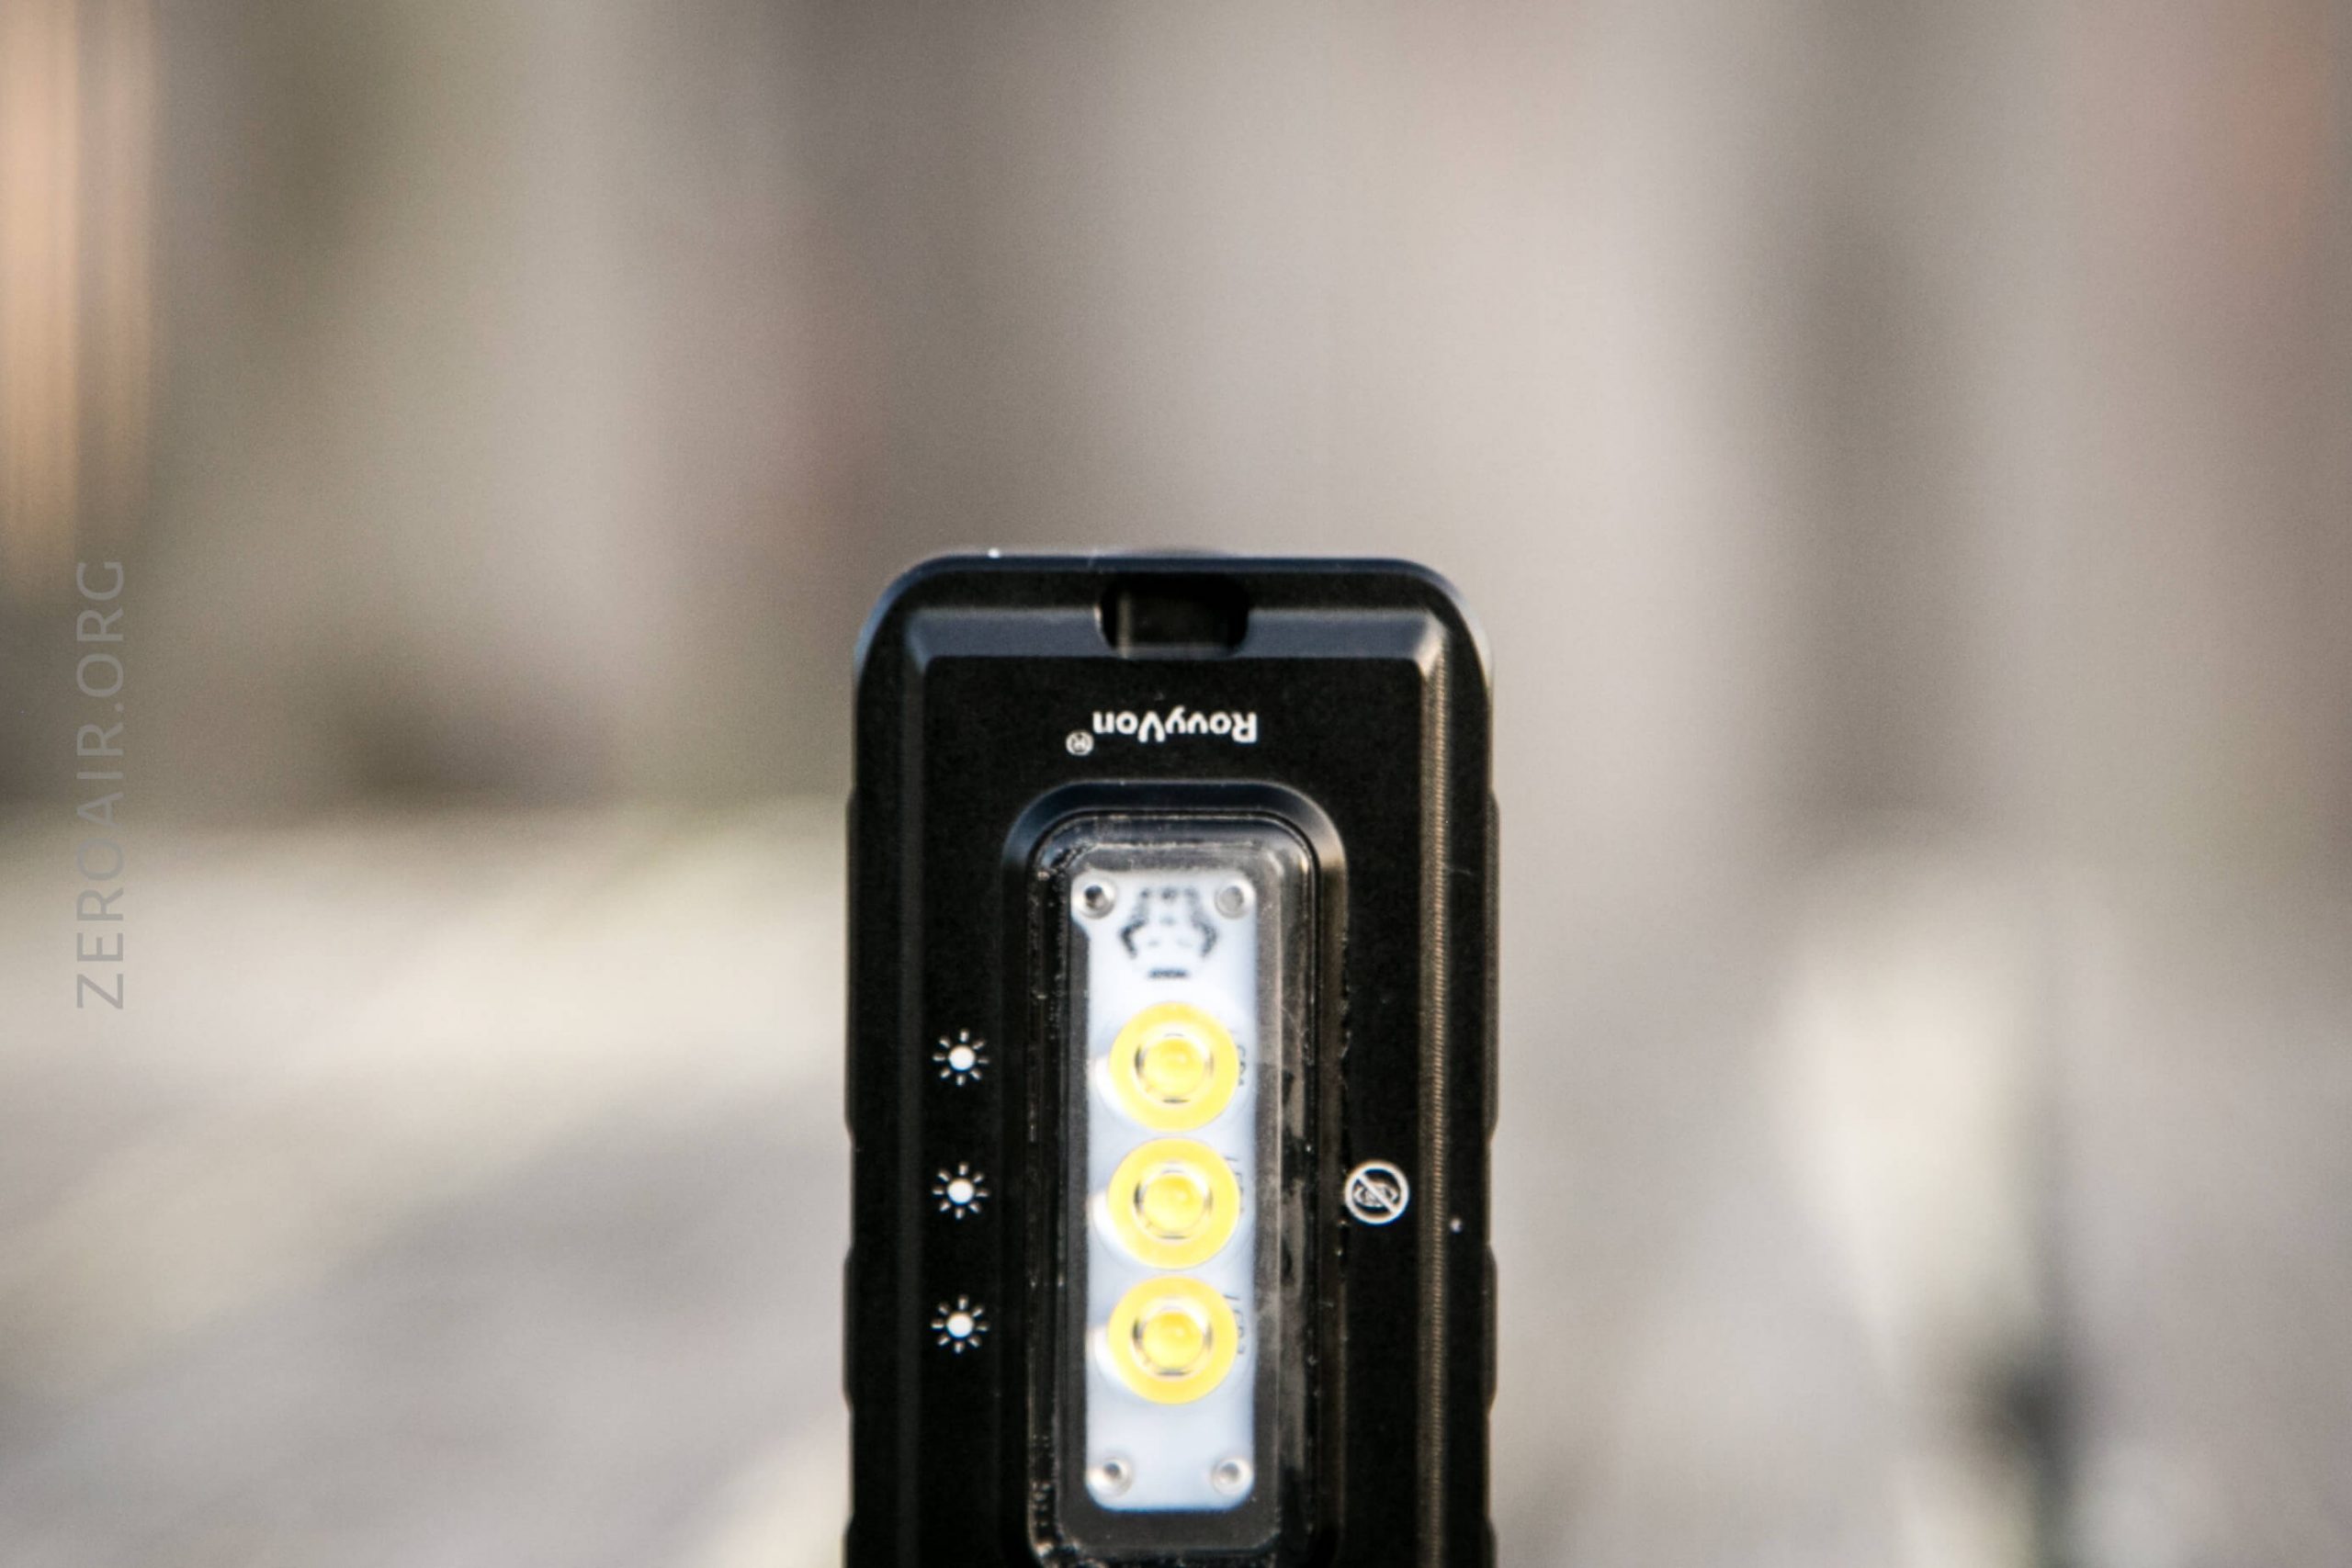
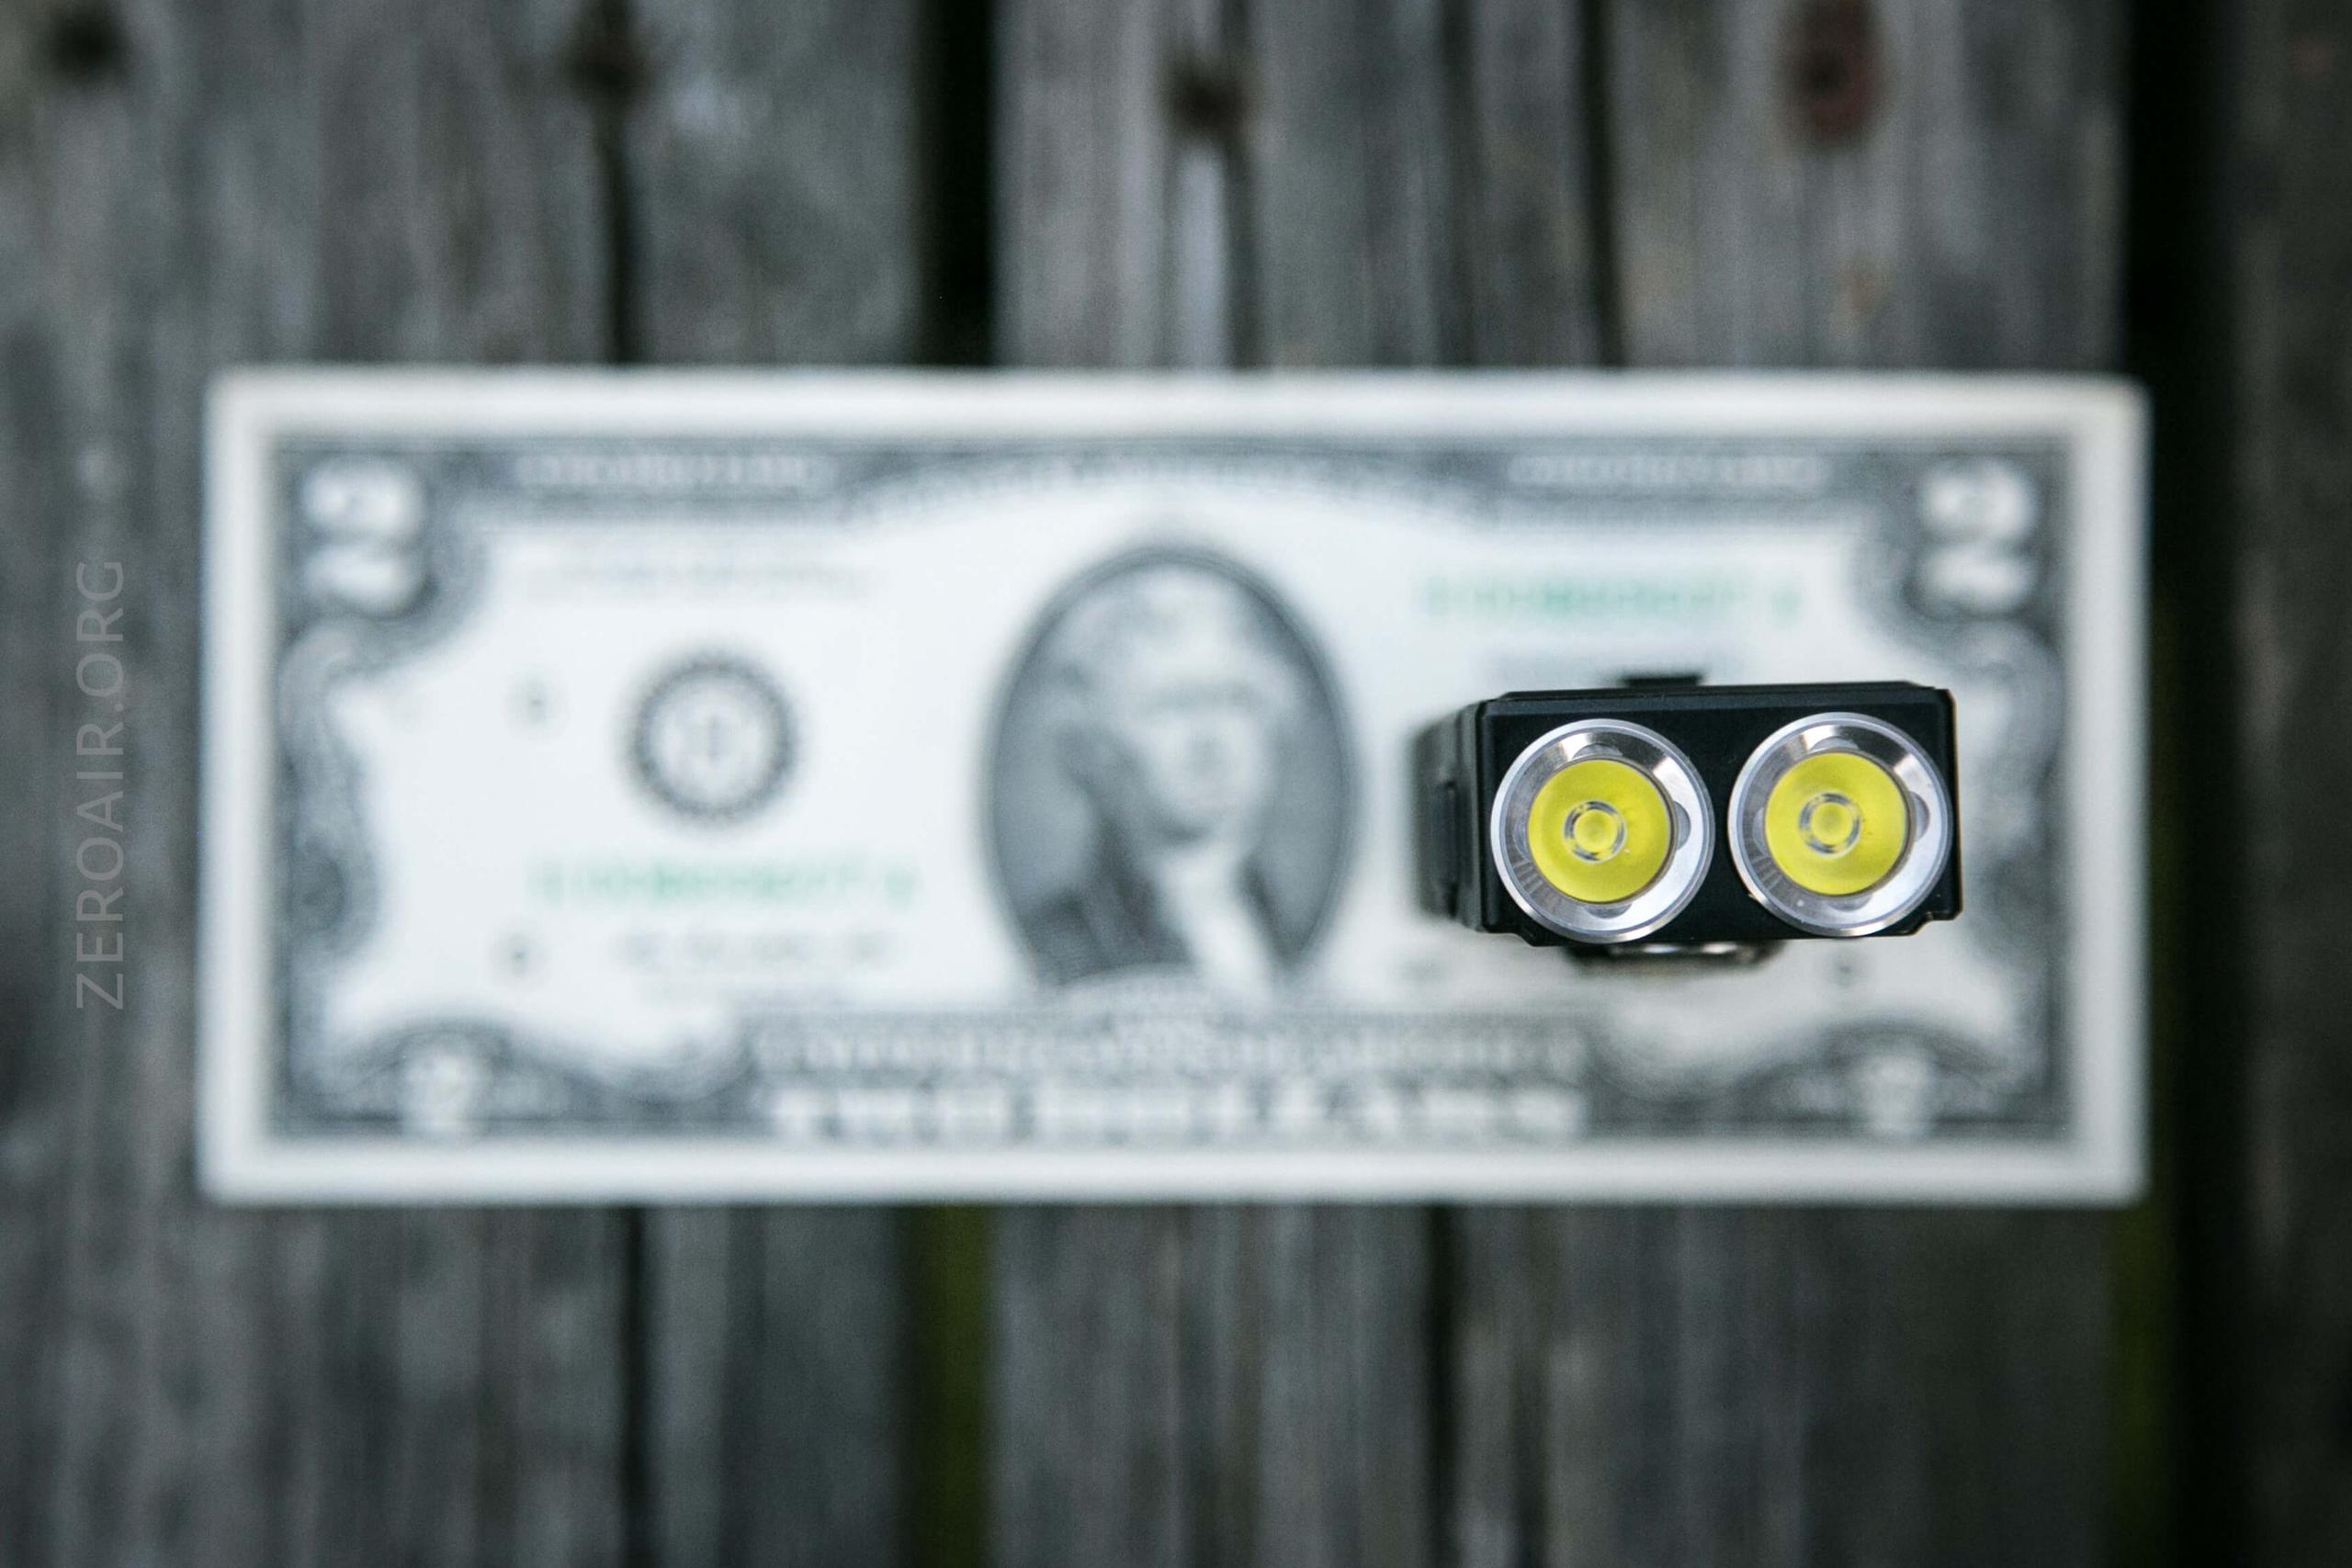
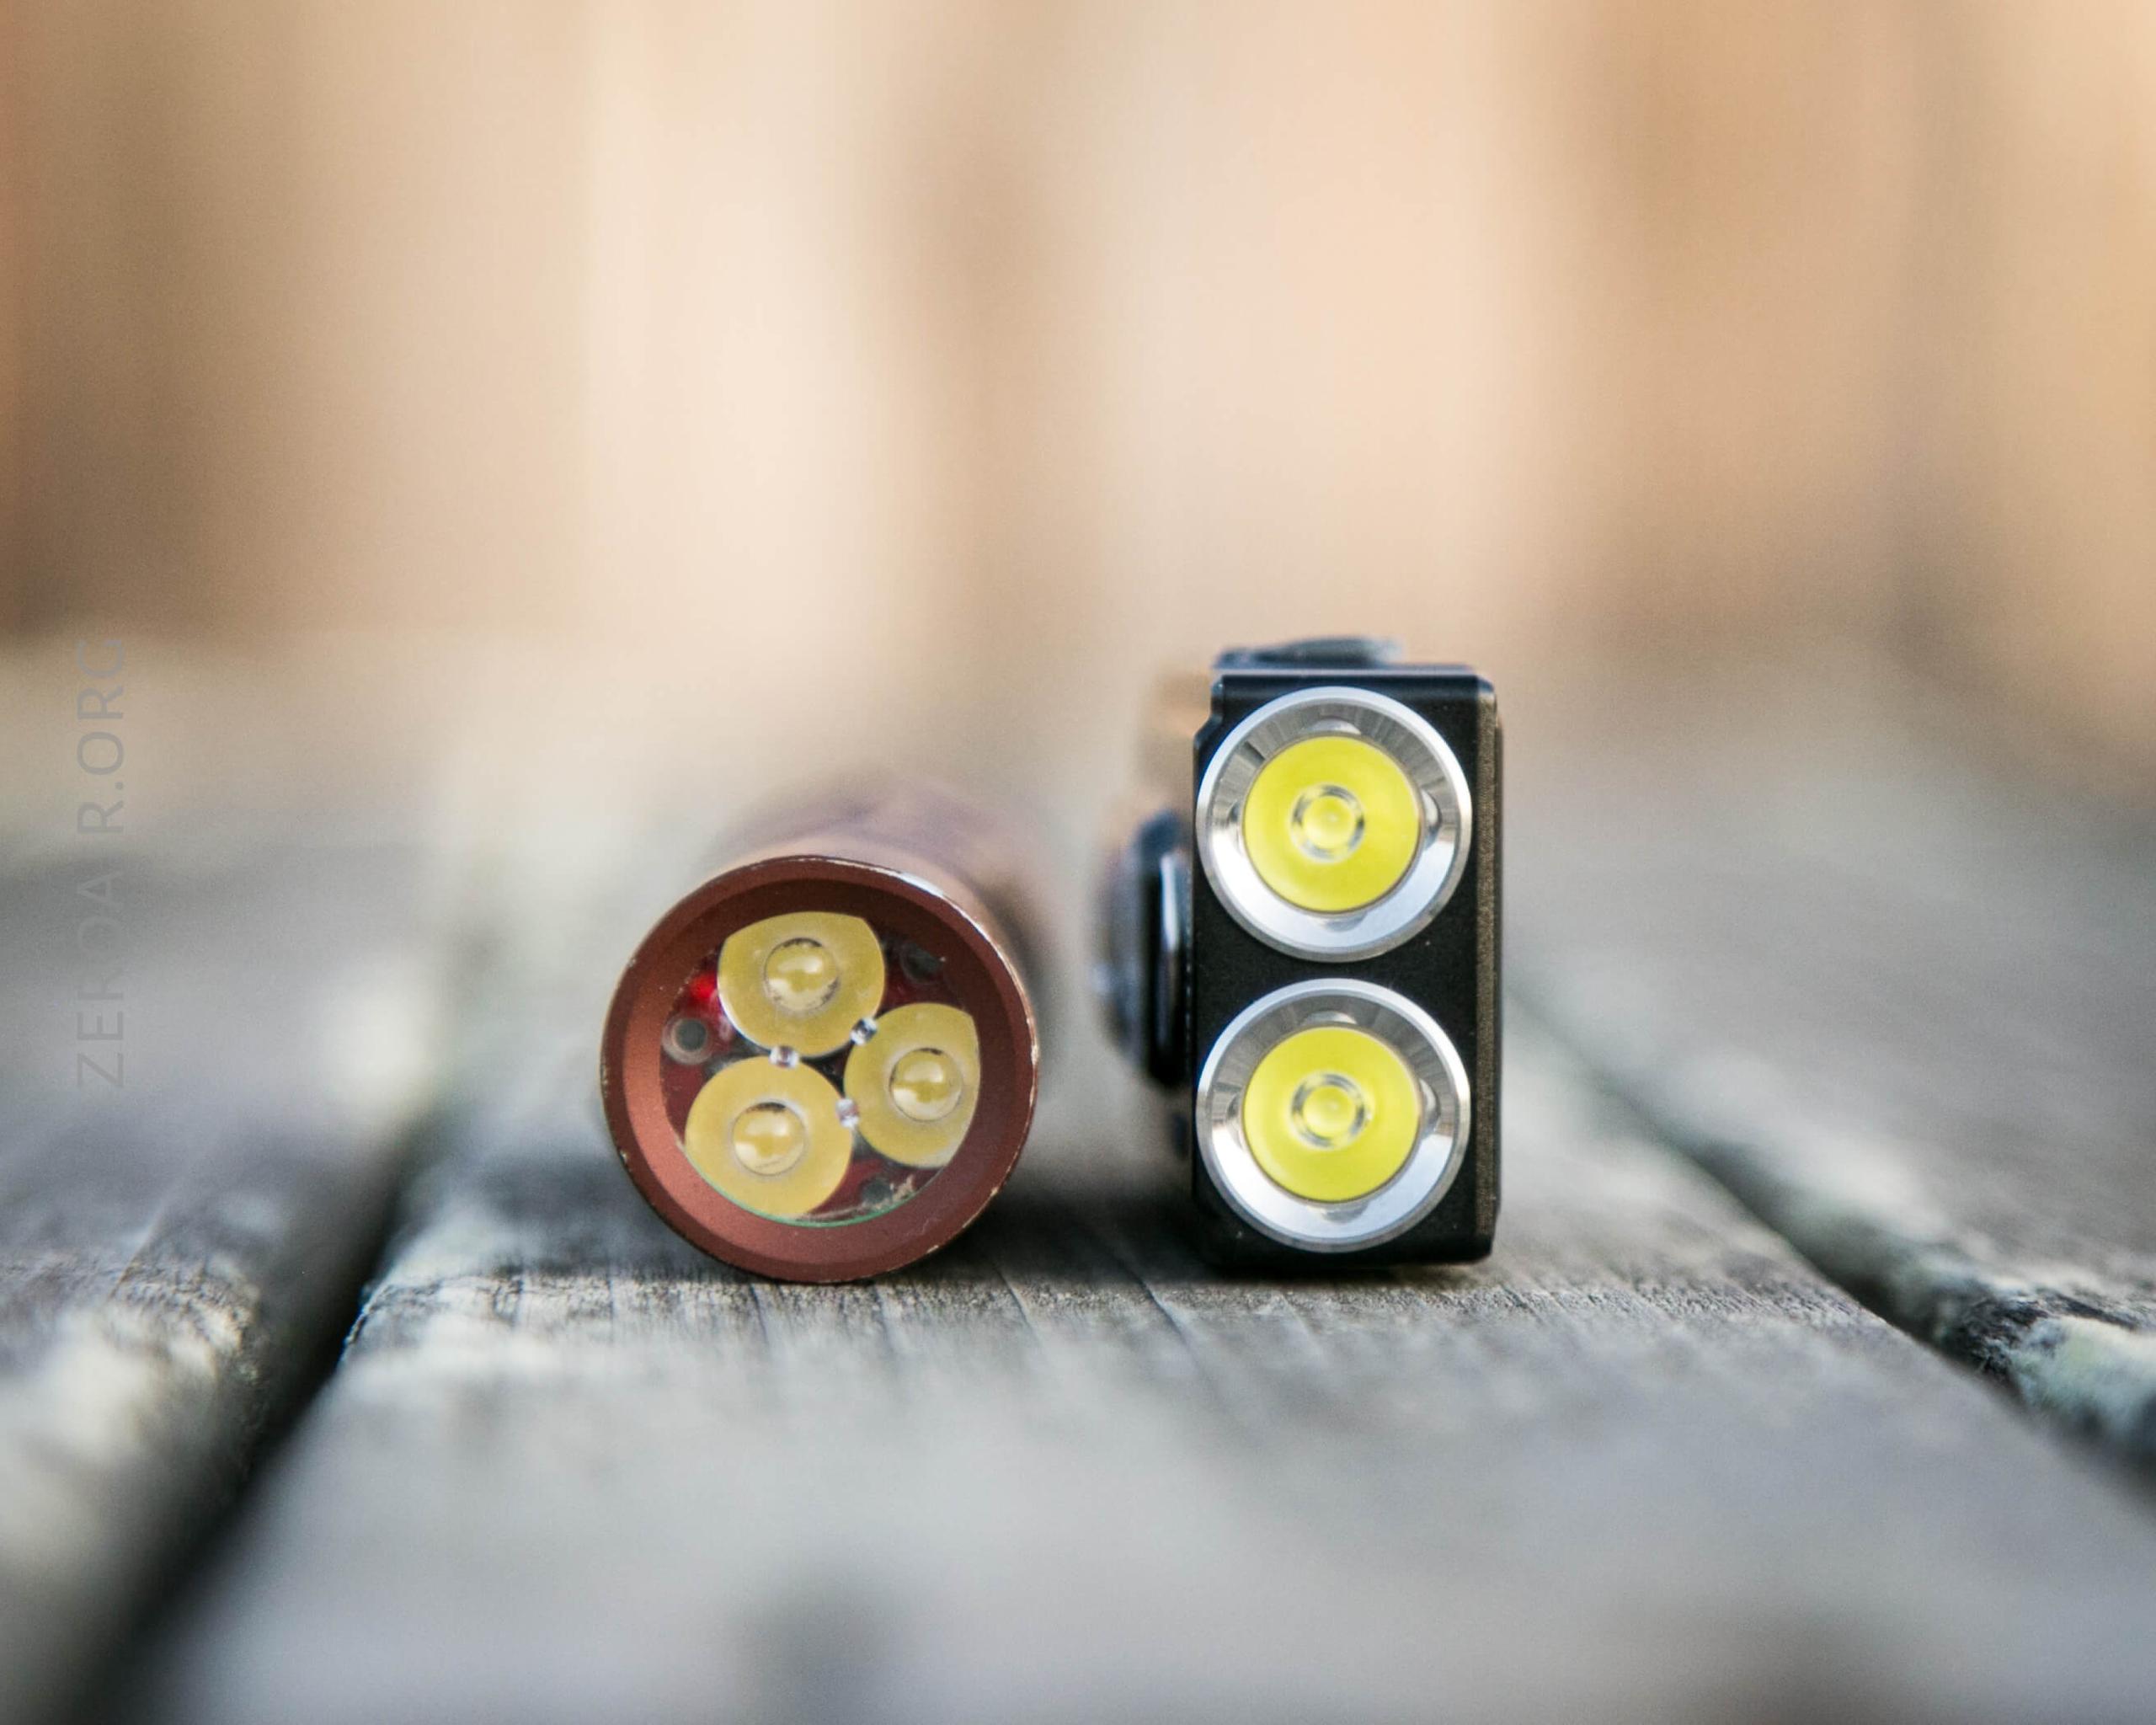
LED and Beam
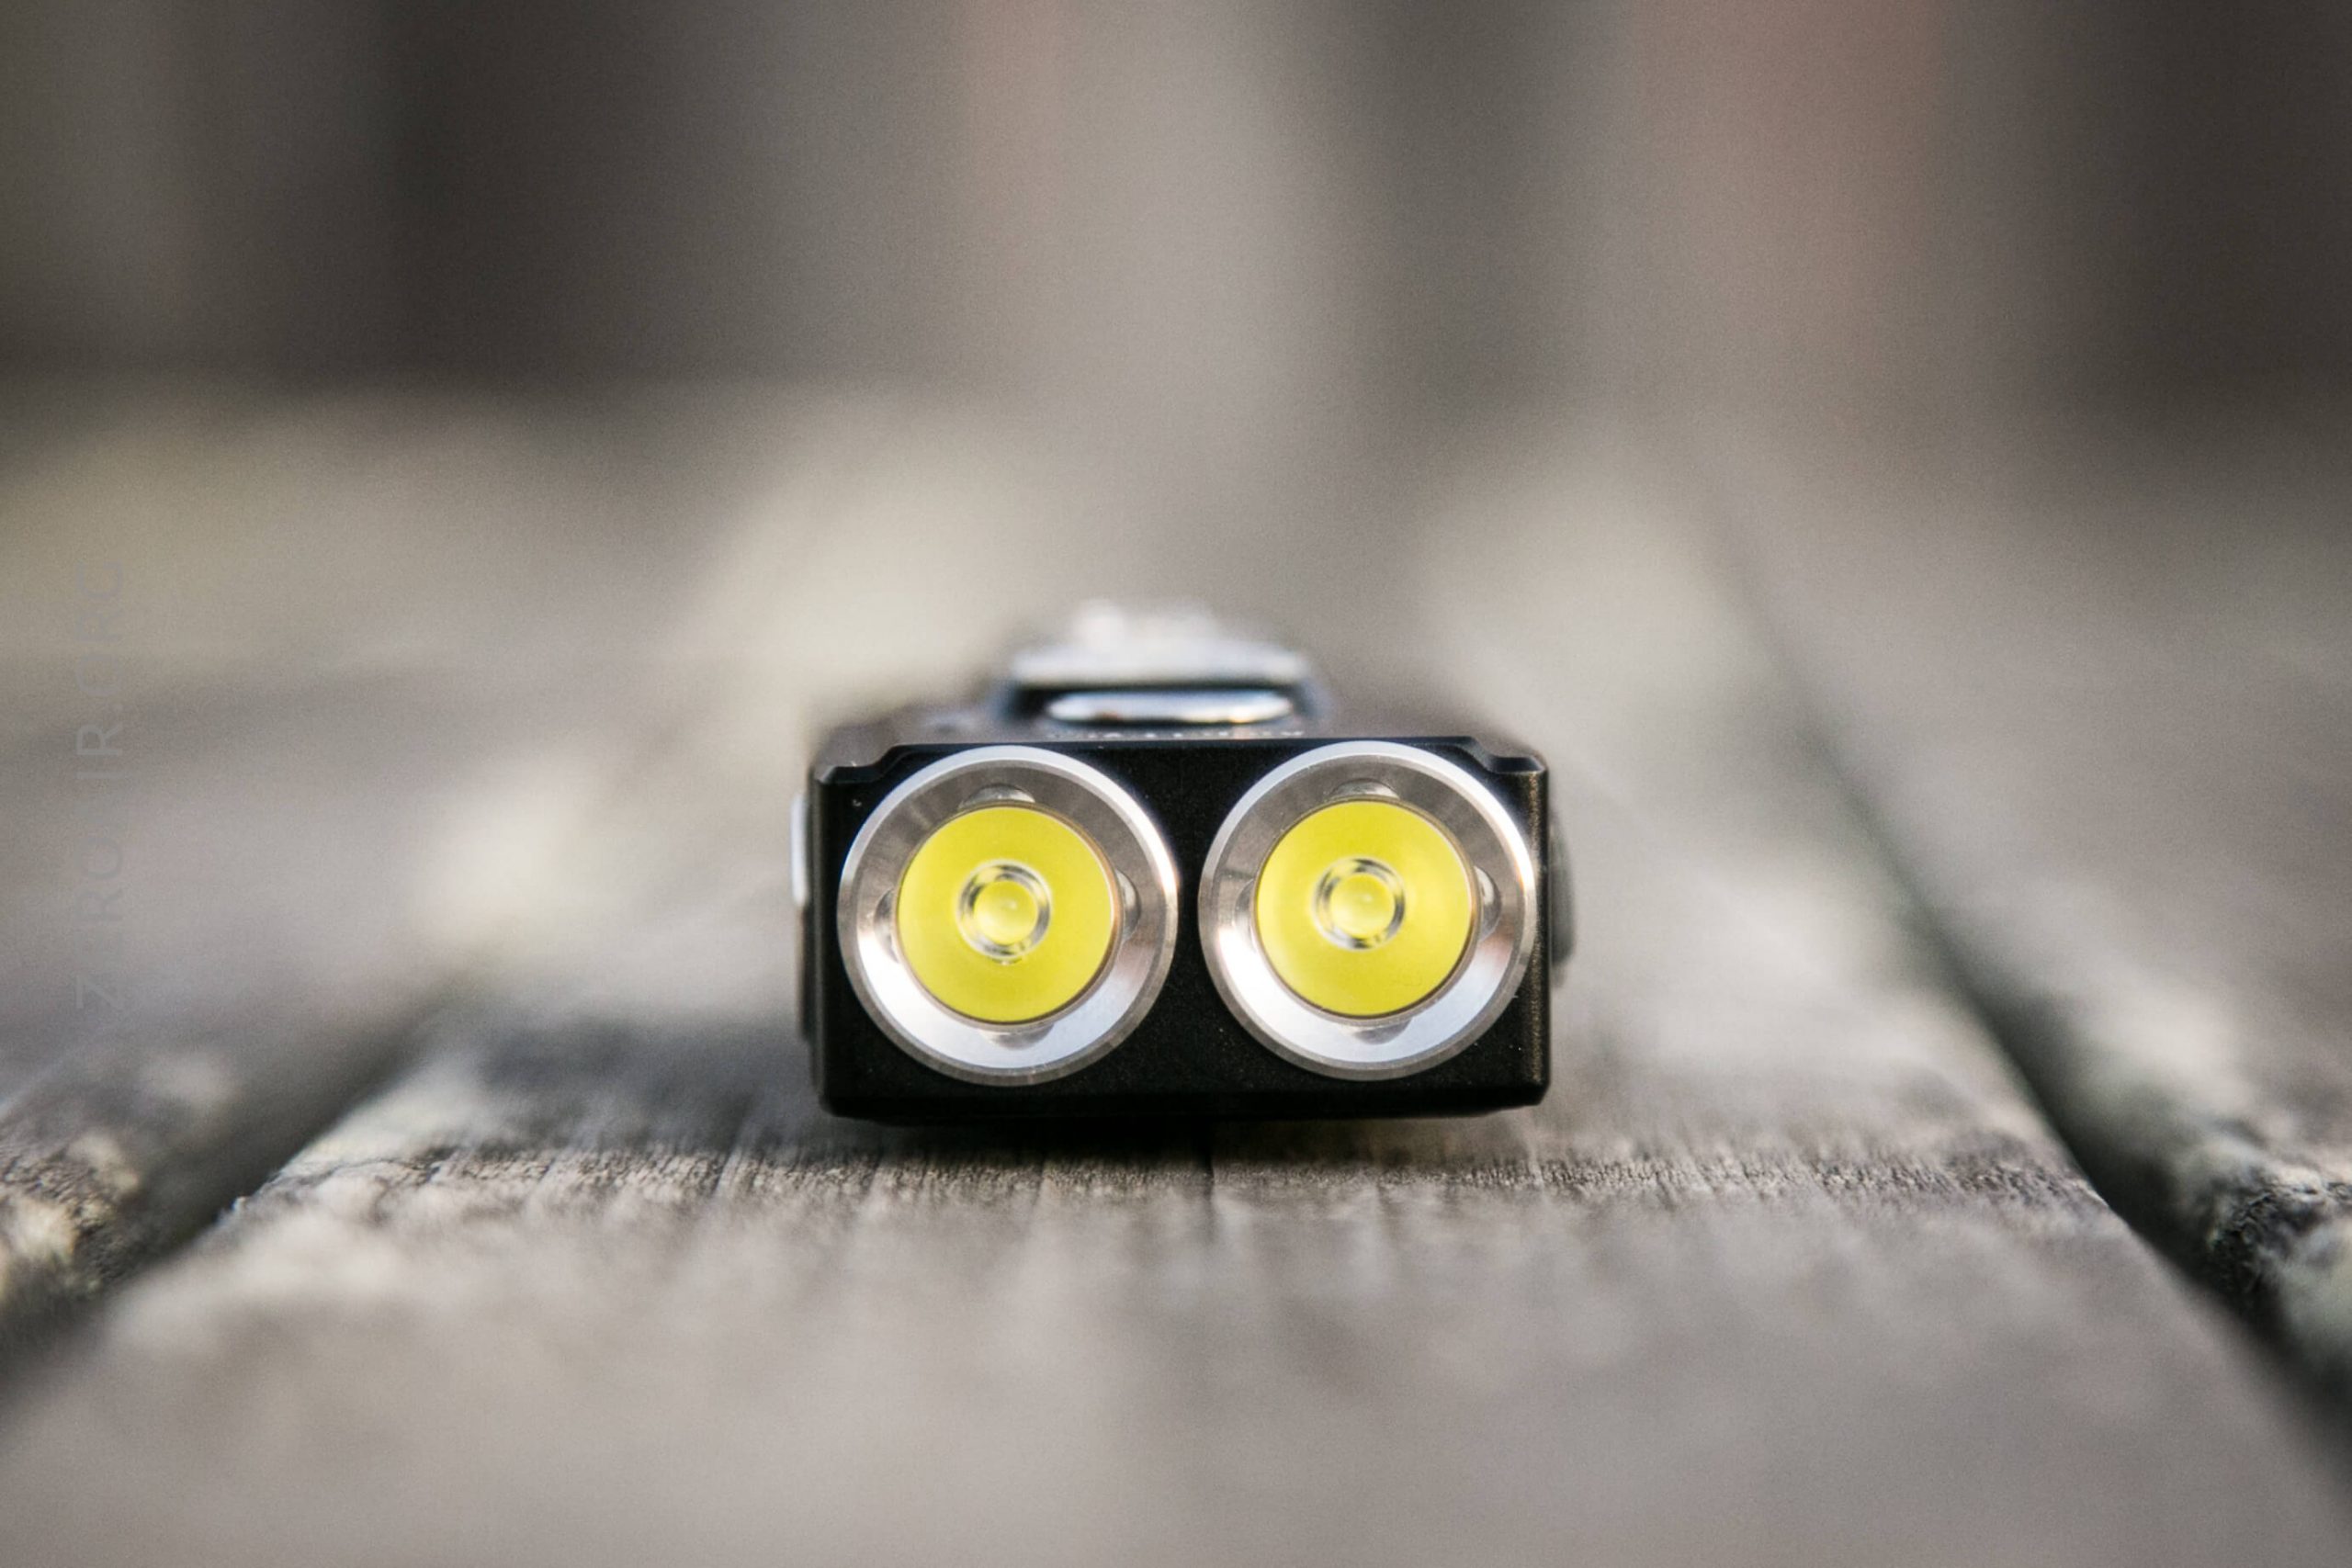
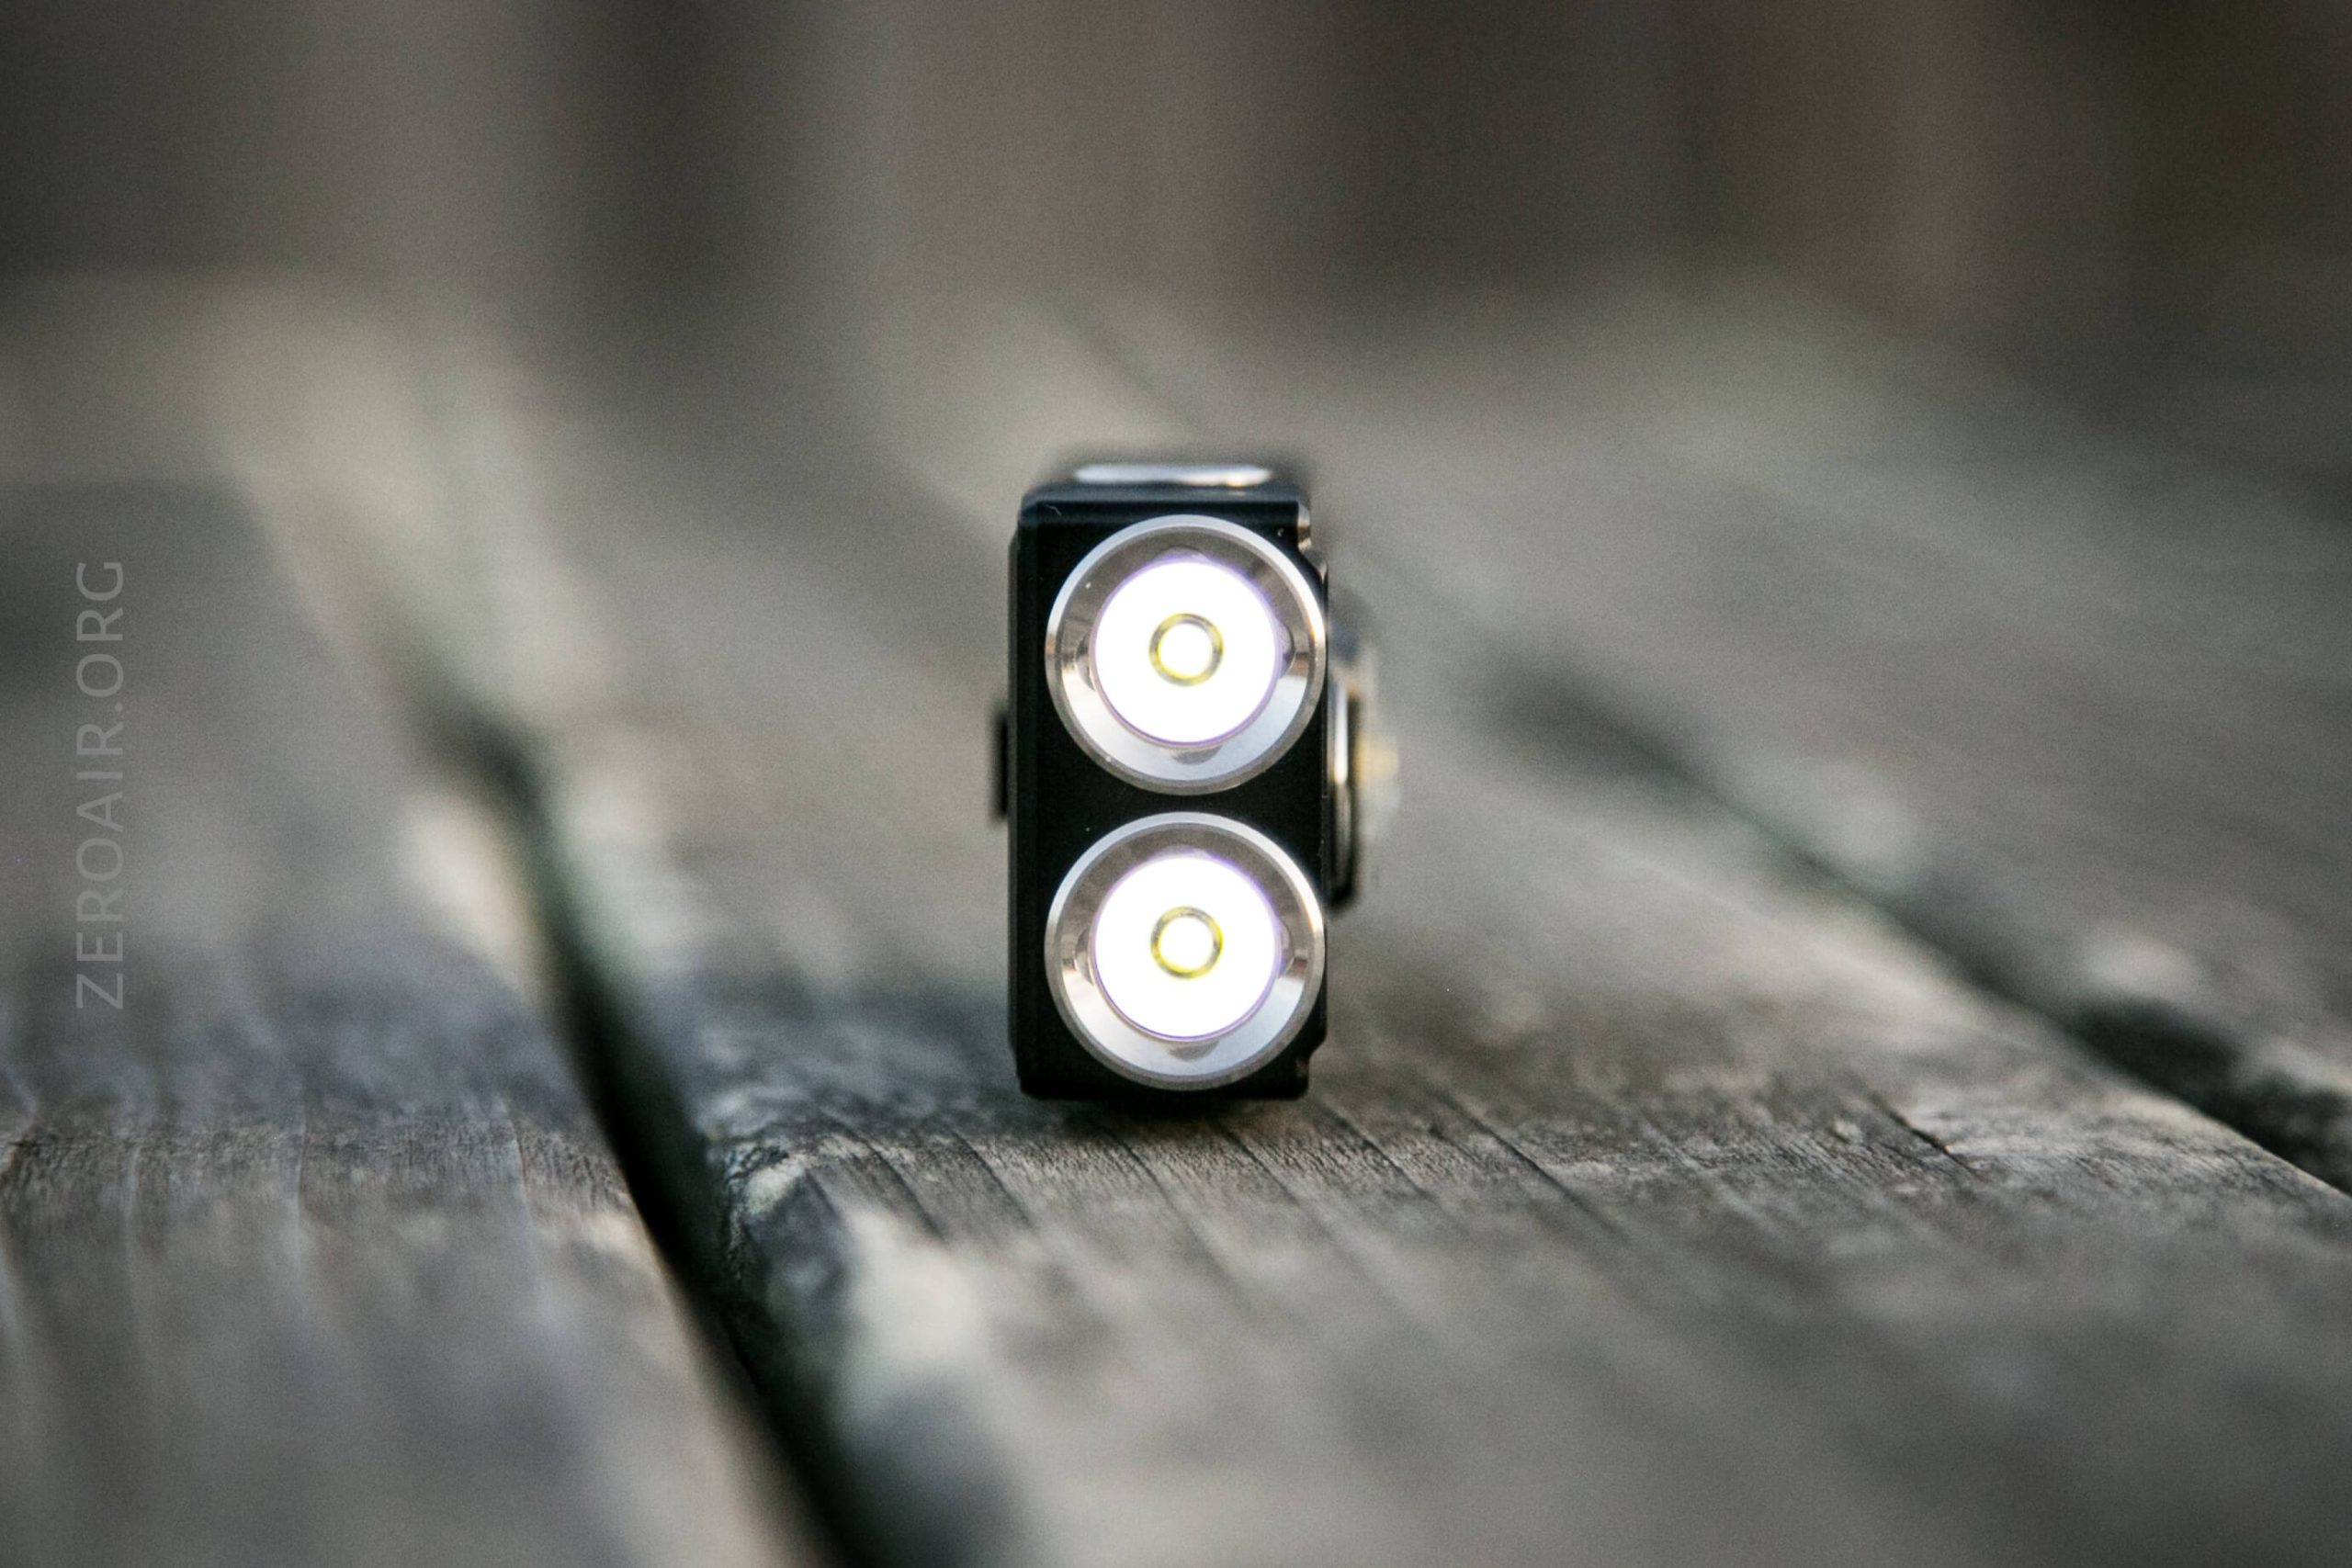
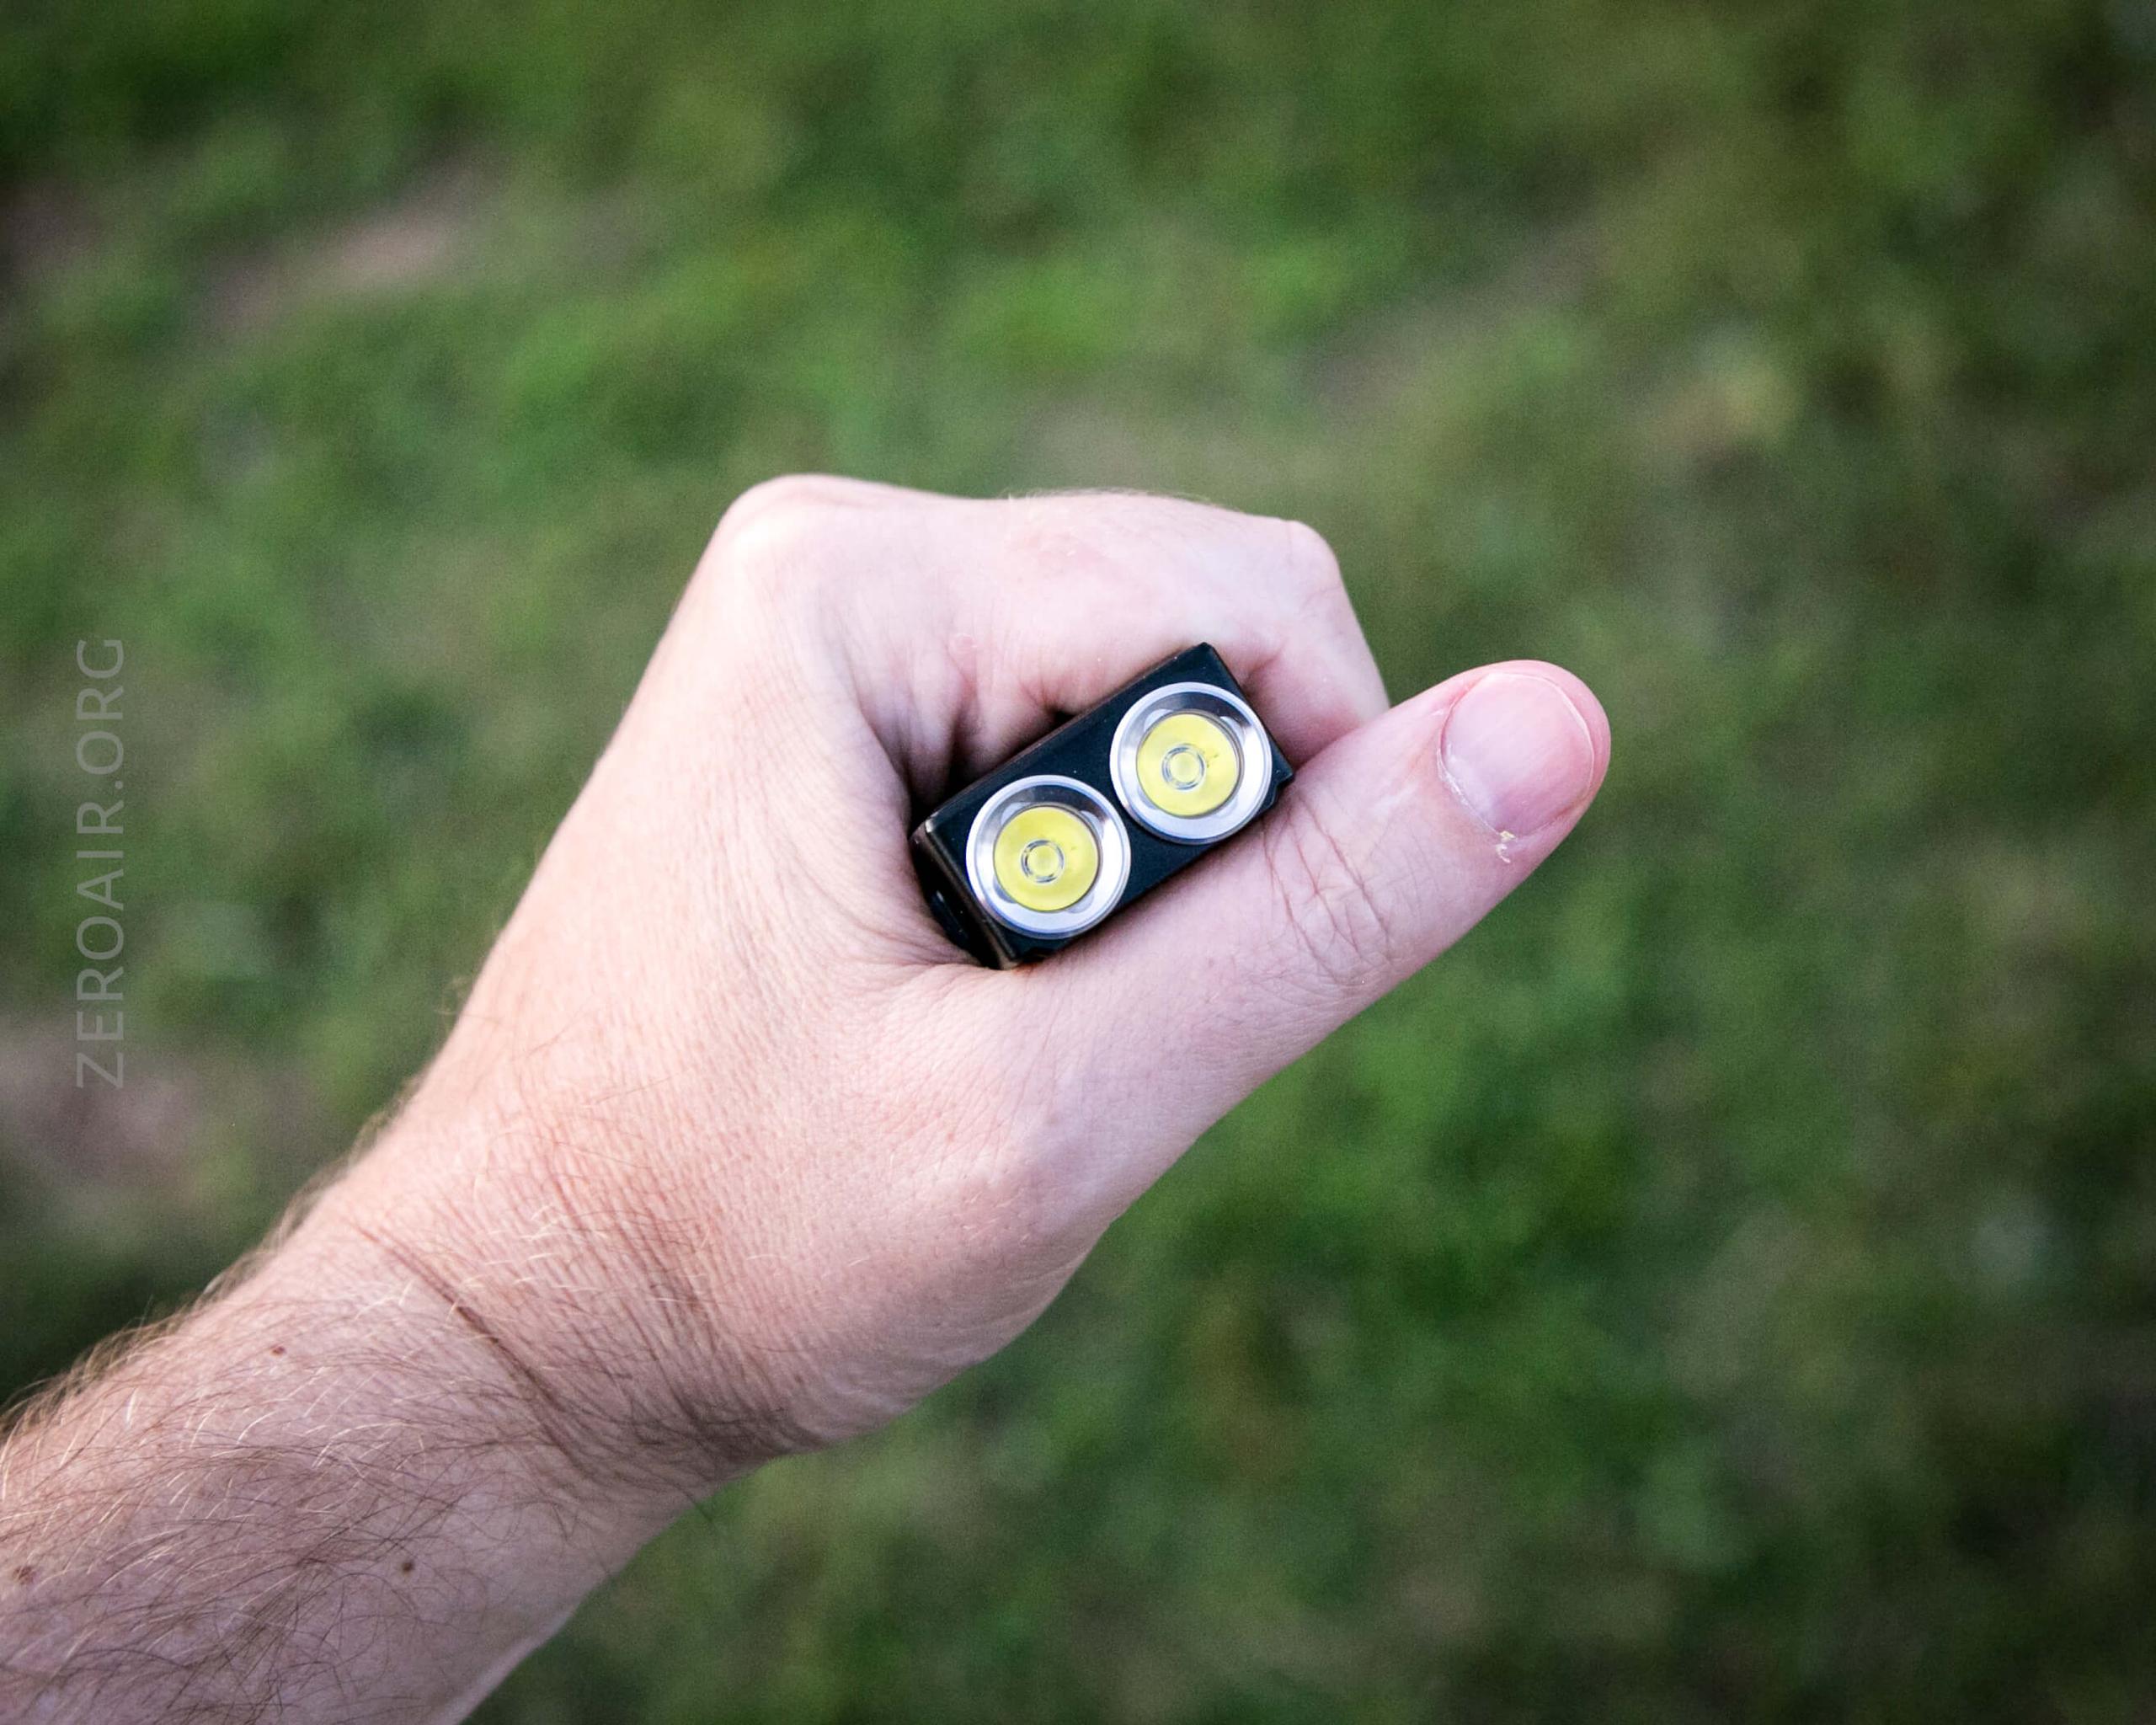
There are 5 emitters in the E200s. They’re all Cree XP-G3. These two seen below are the “Front” emitters and always operate concurrently. These front emitters are 6500K – cool white in fact.
The other emitters are also Cree XP-G3, but they’re NW at 5000K. These are much better to my tastes.
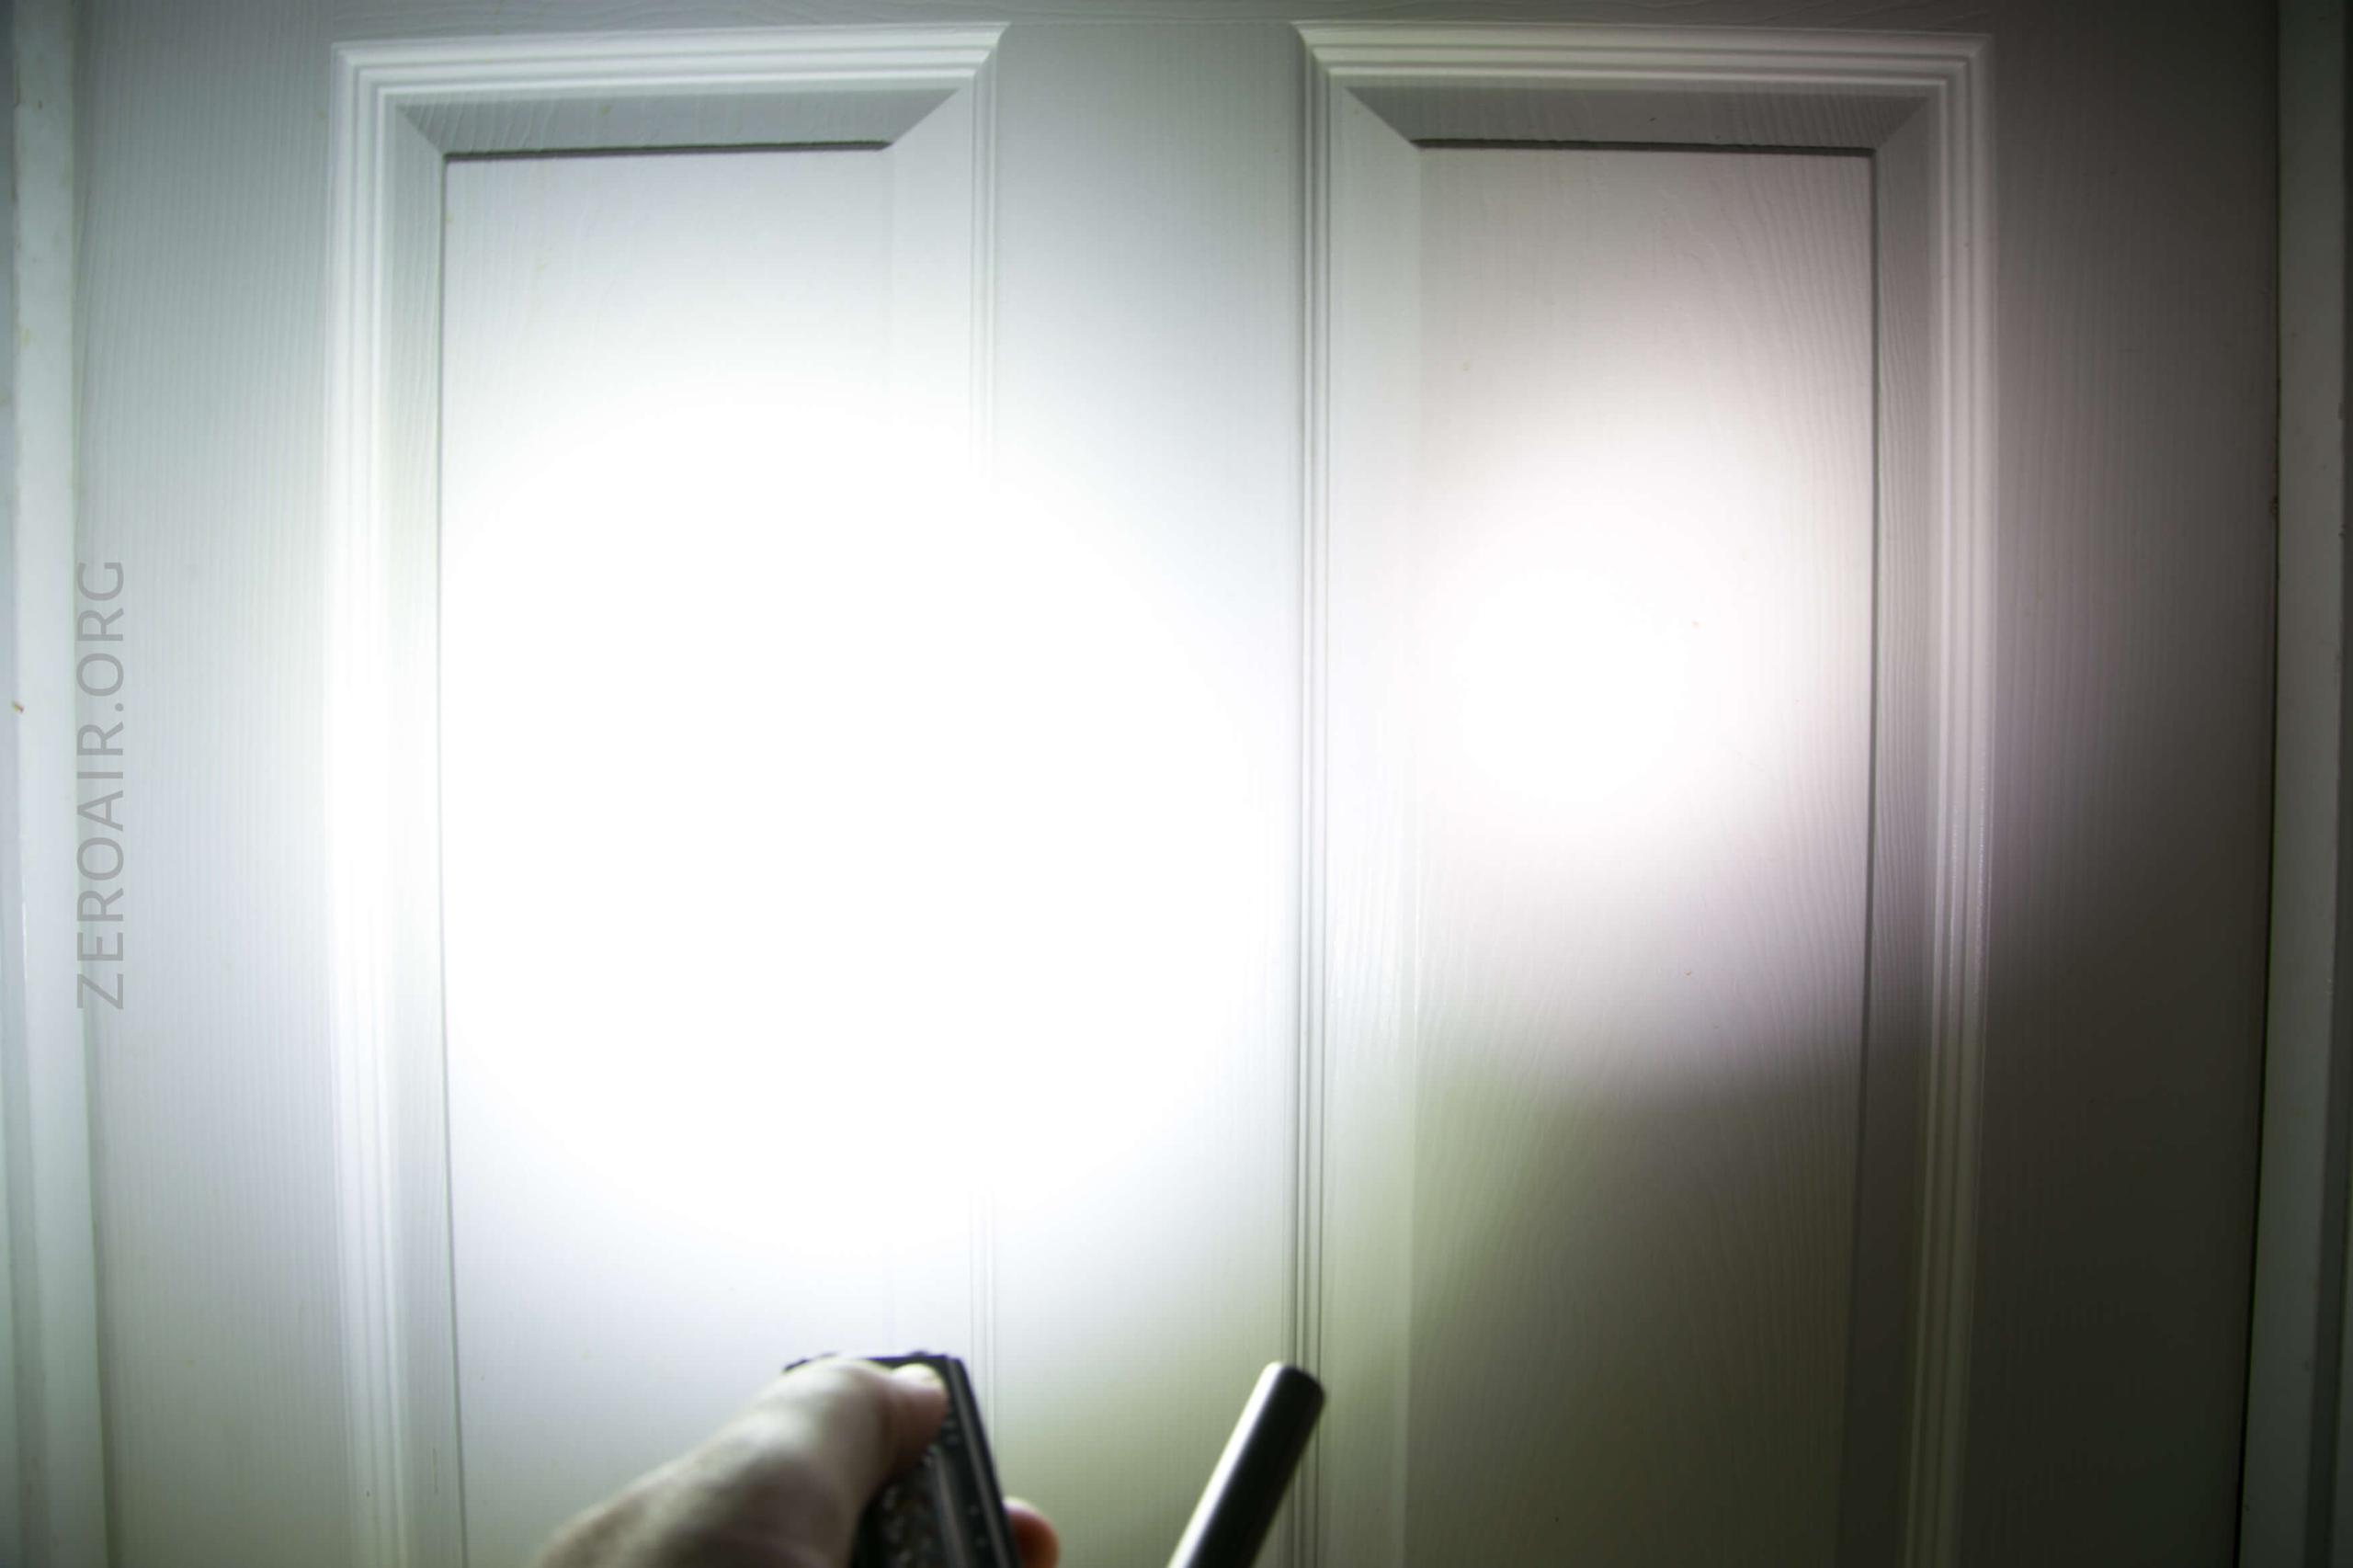
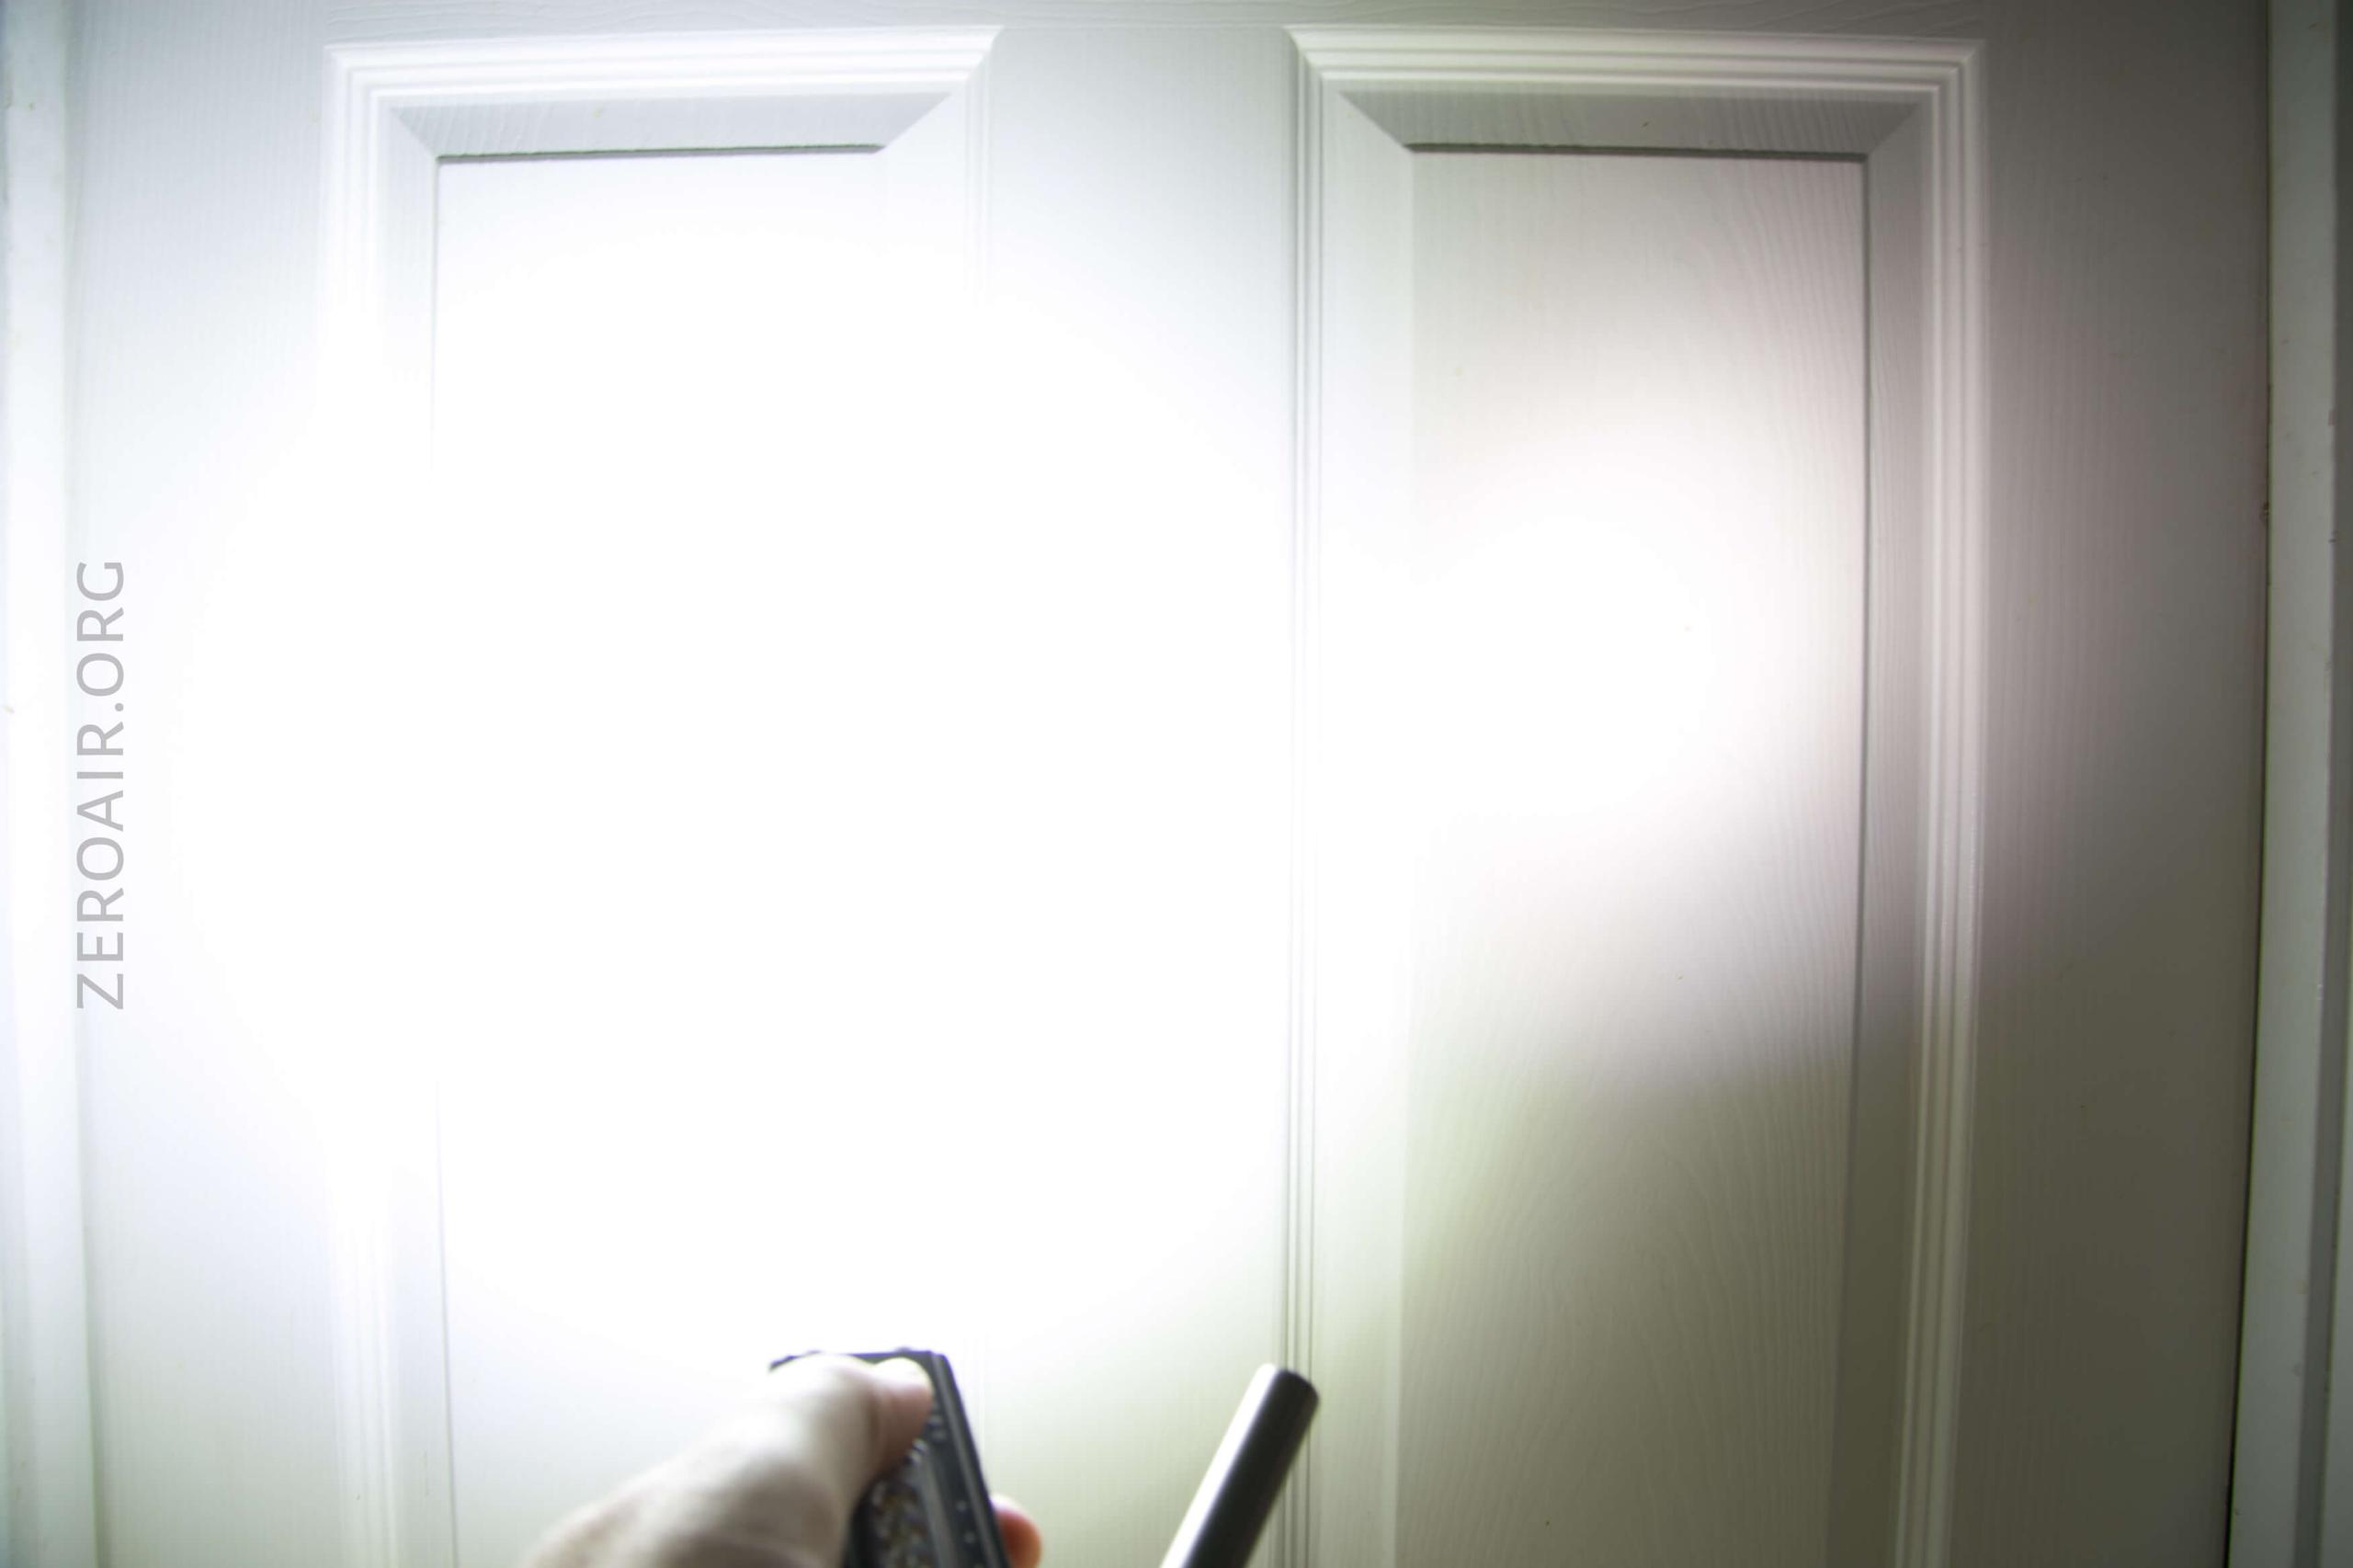
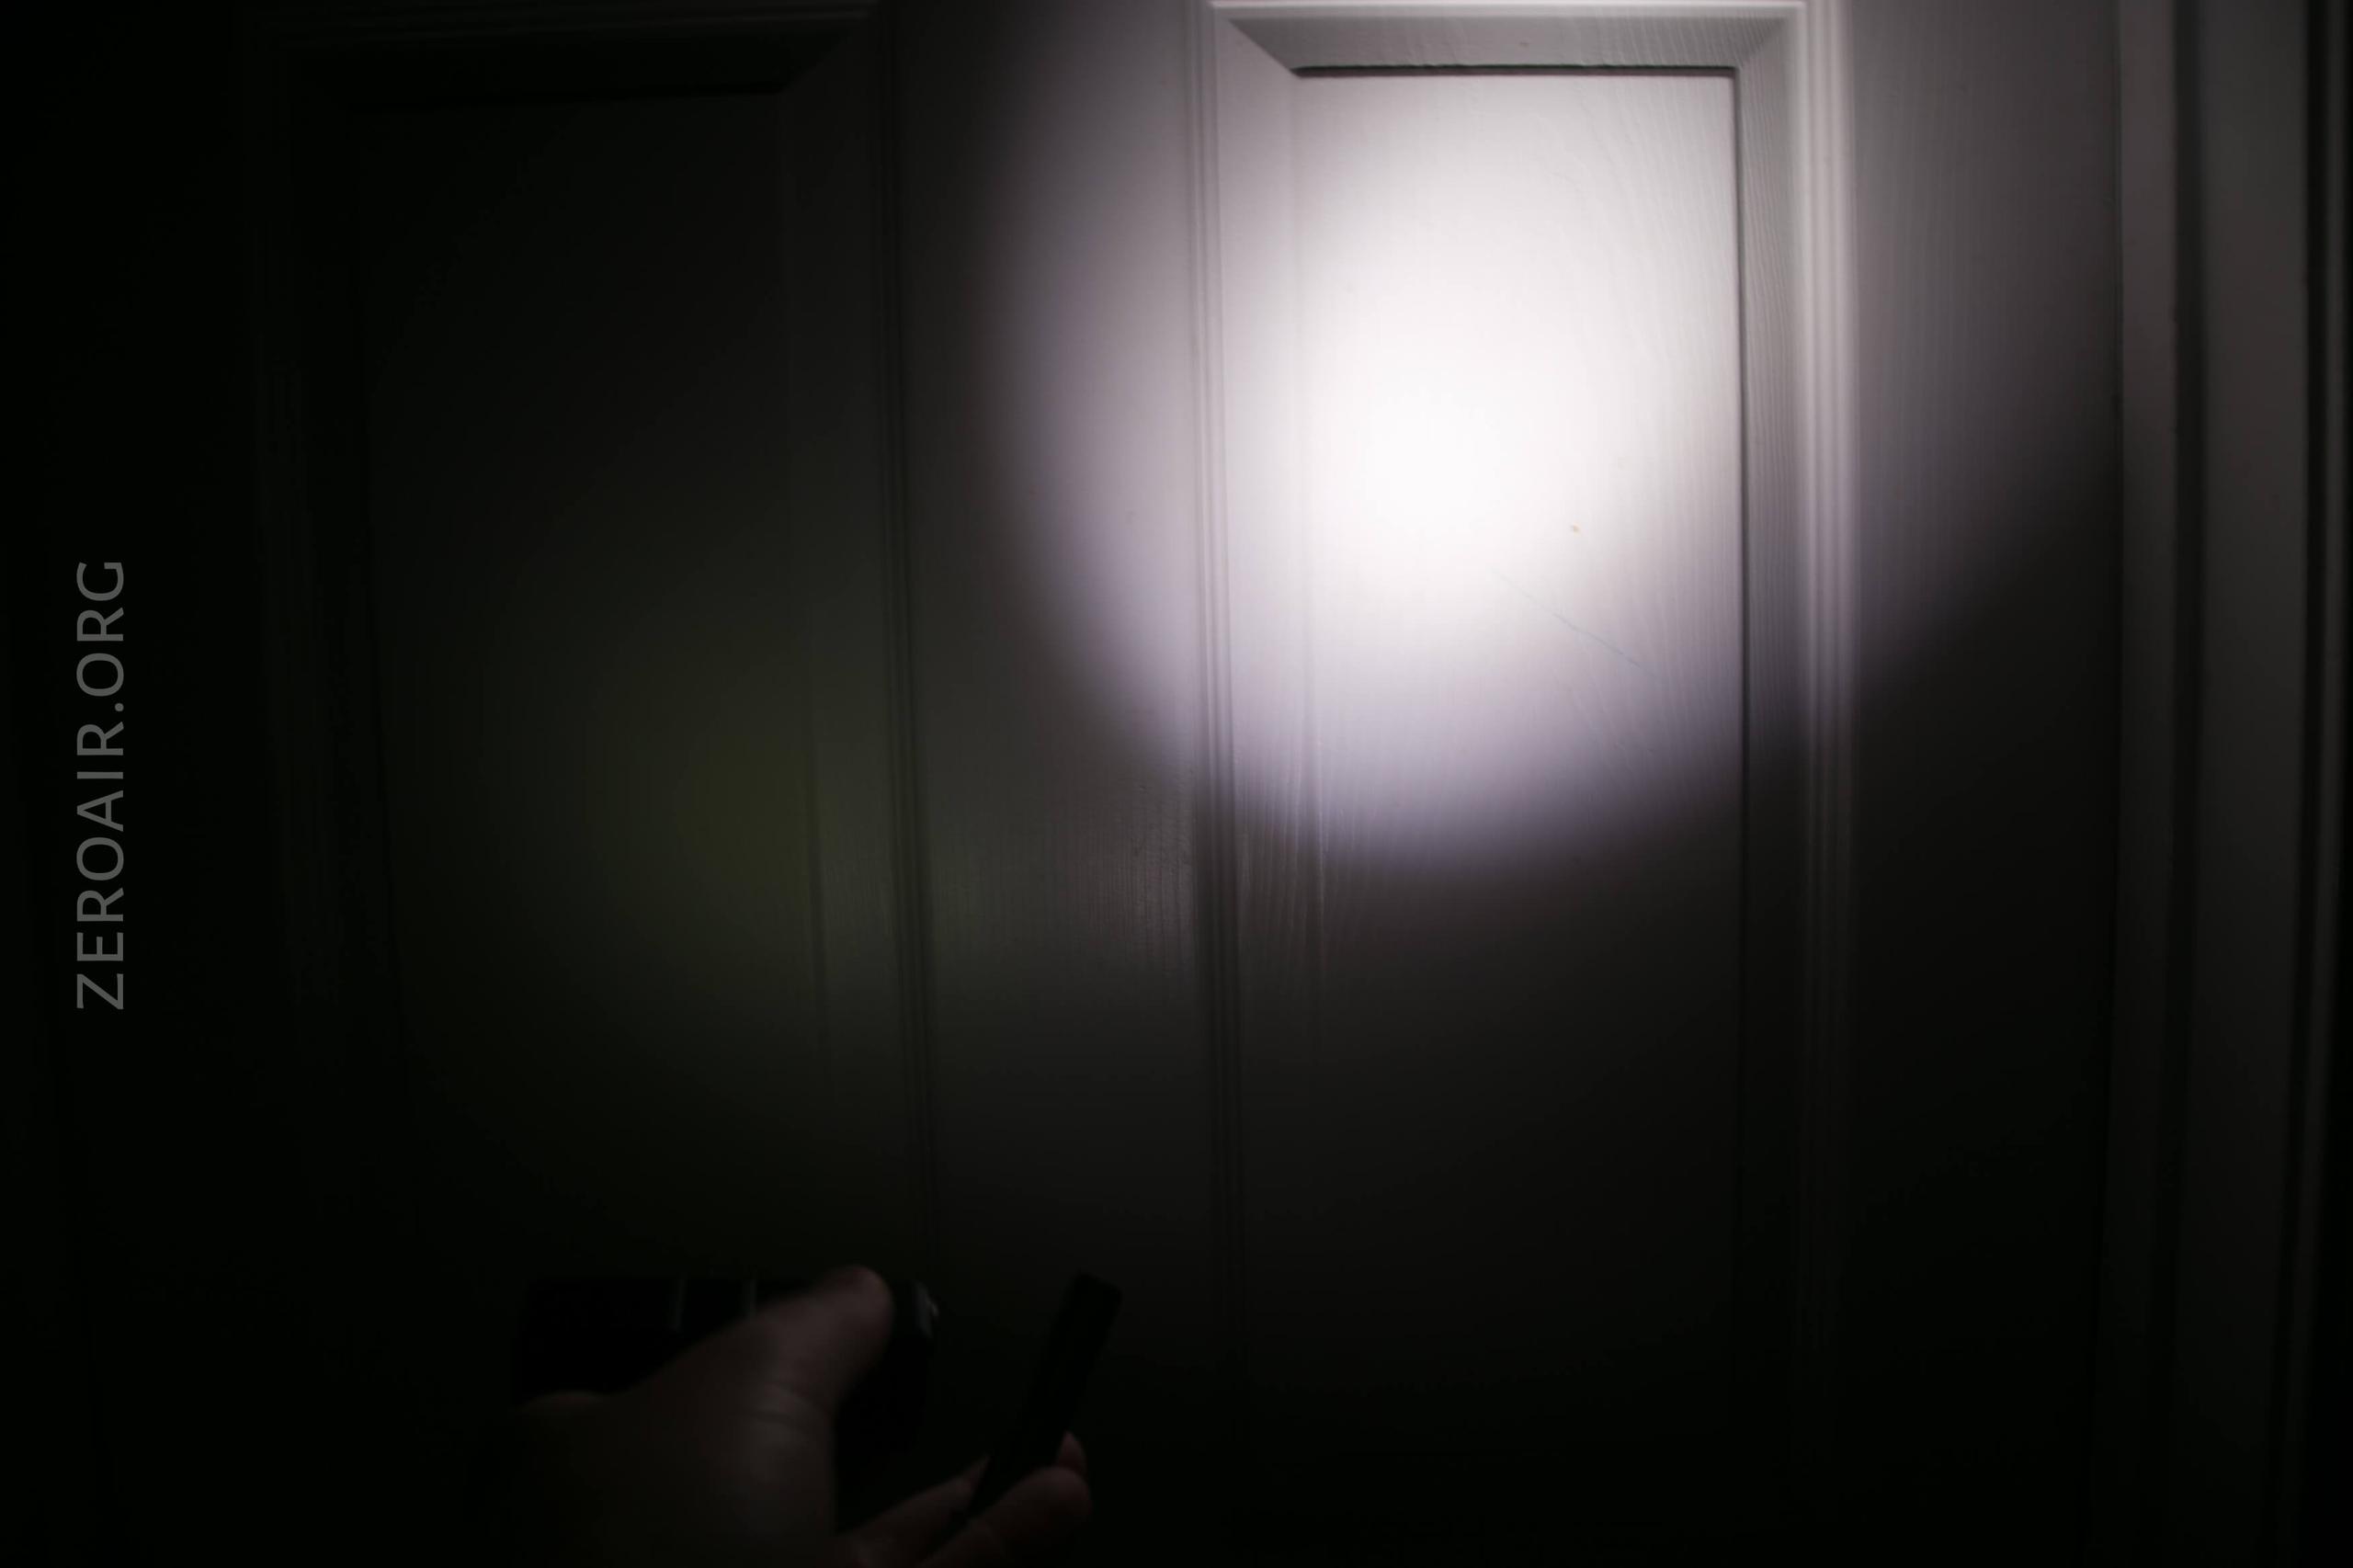
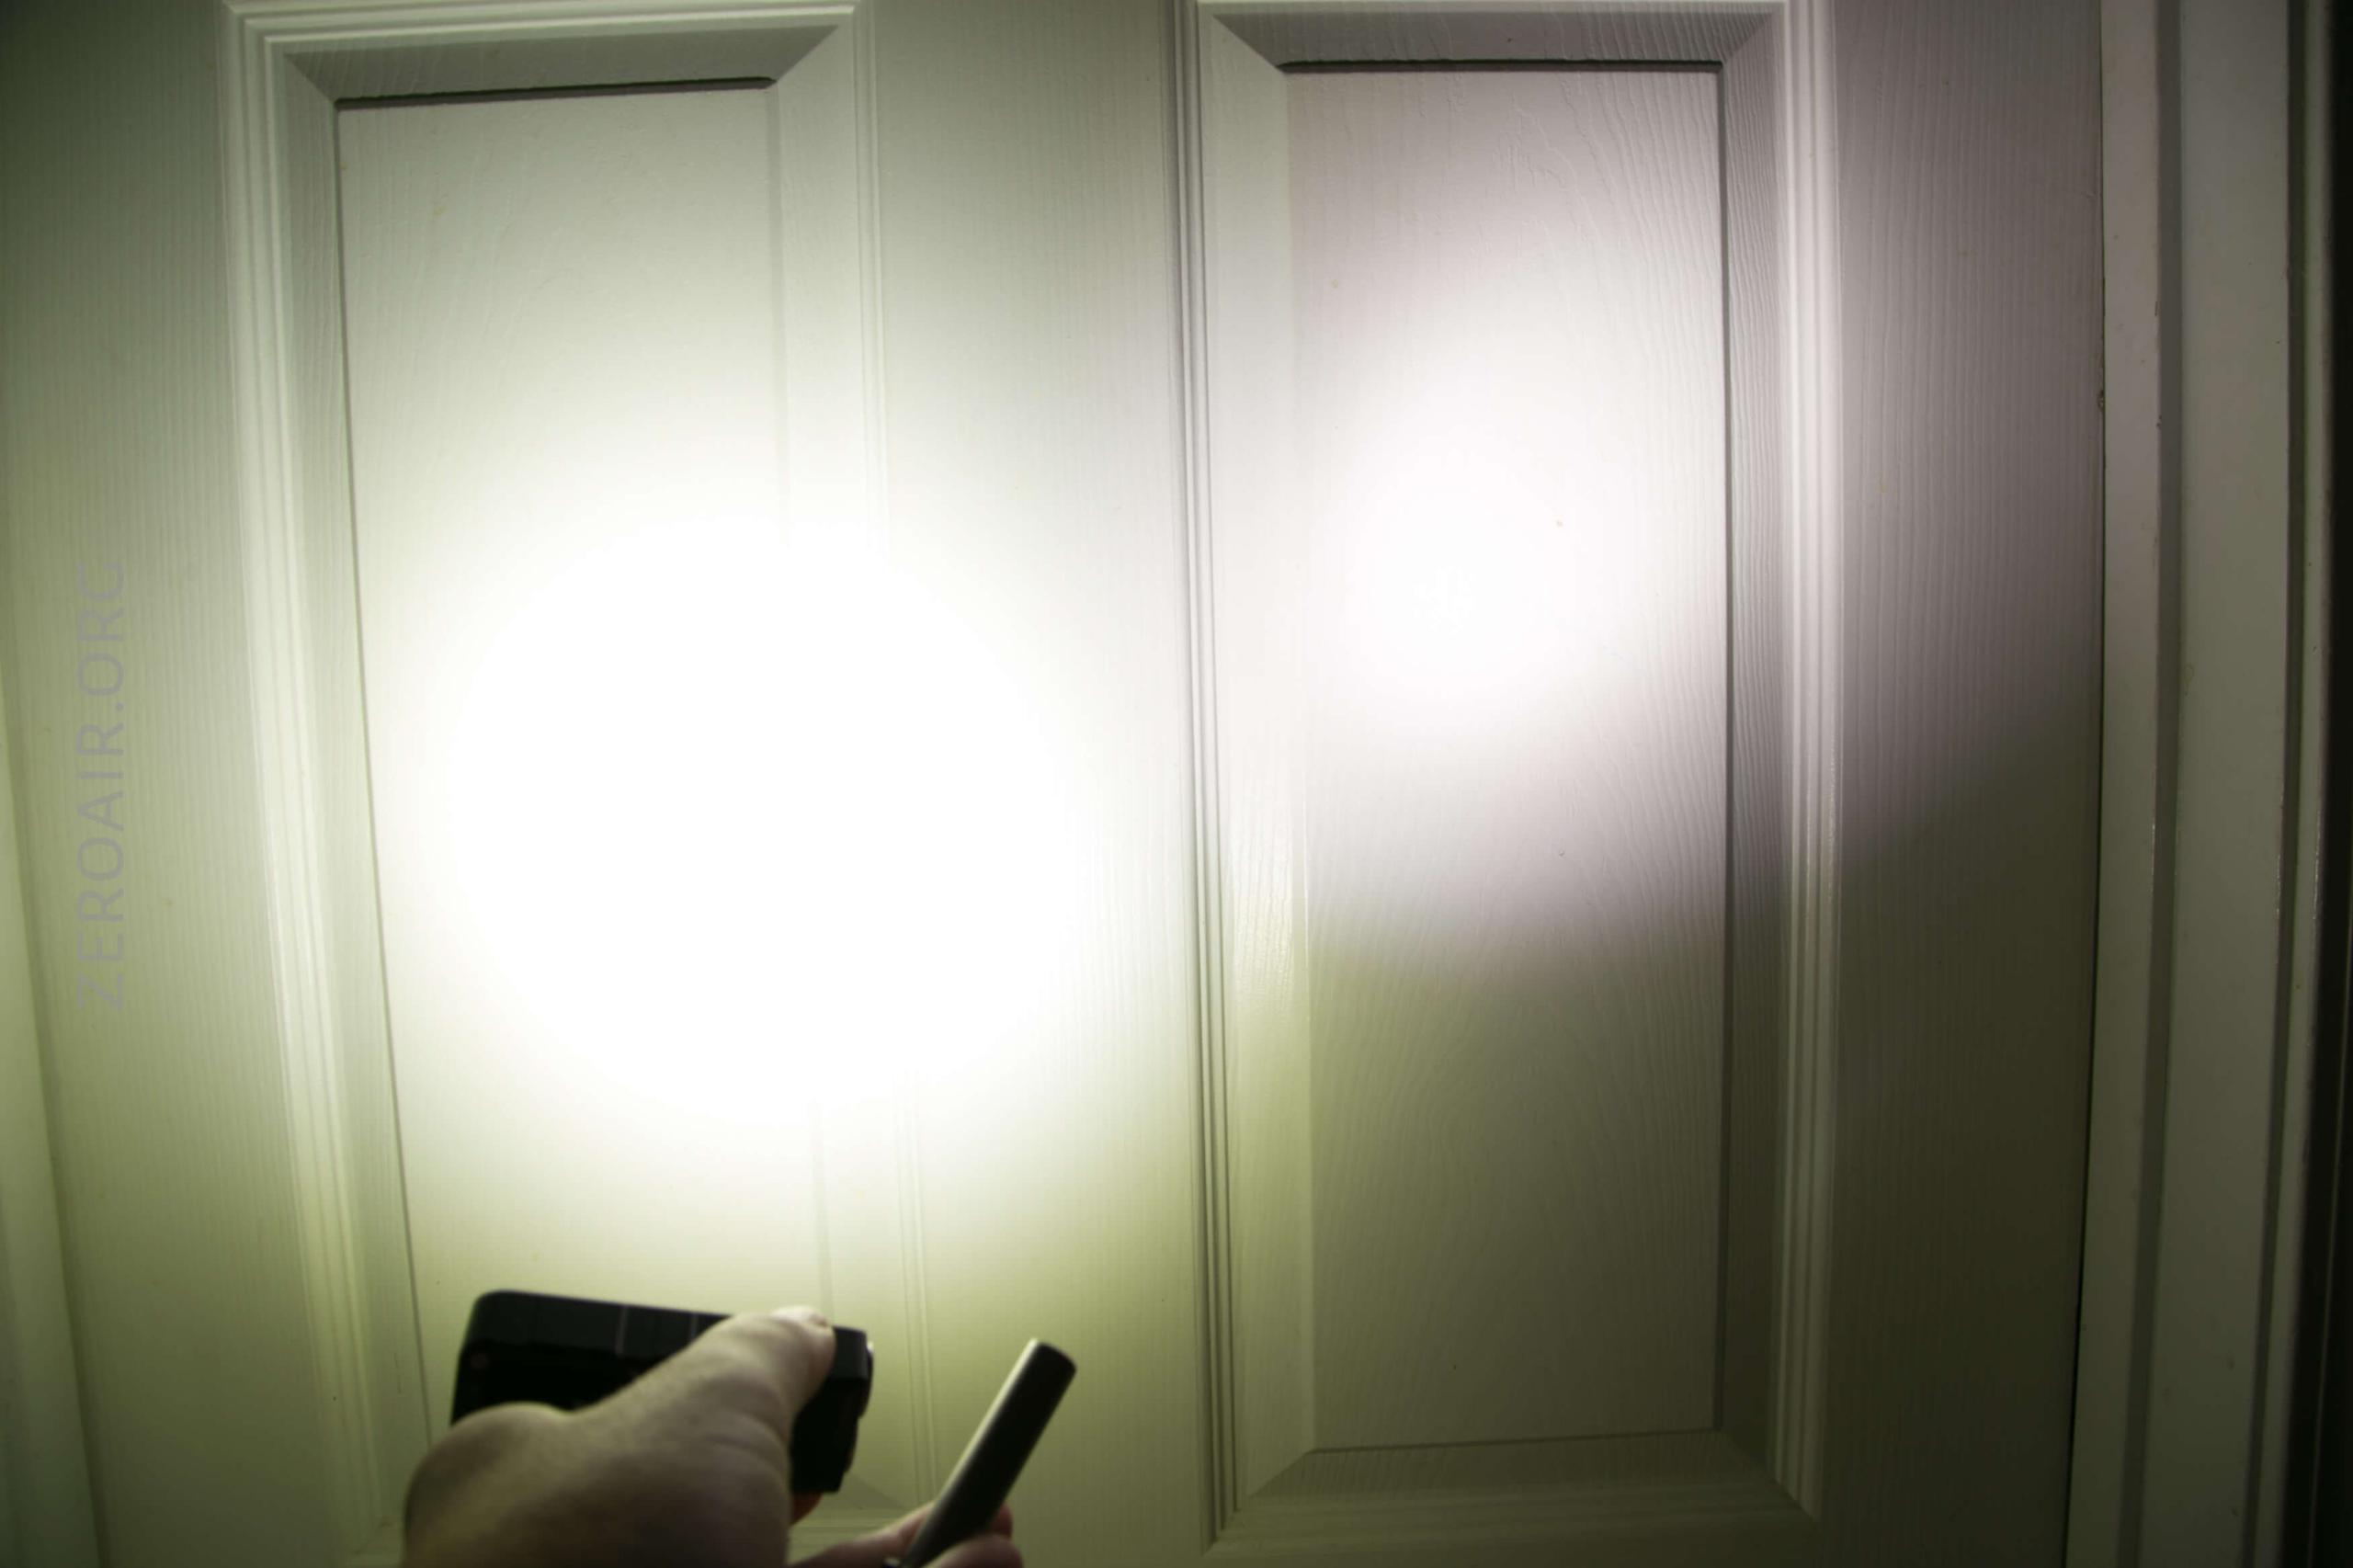
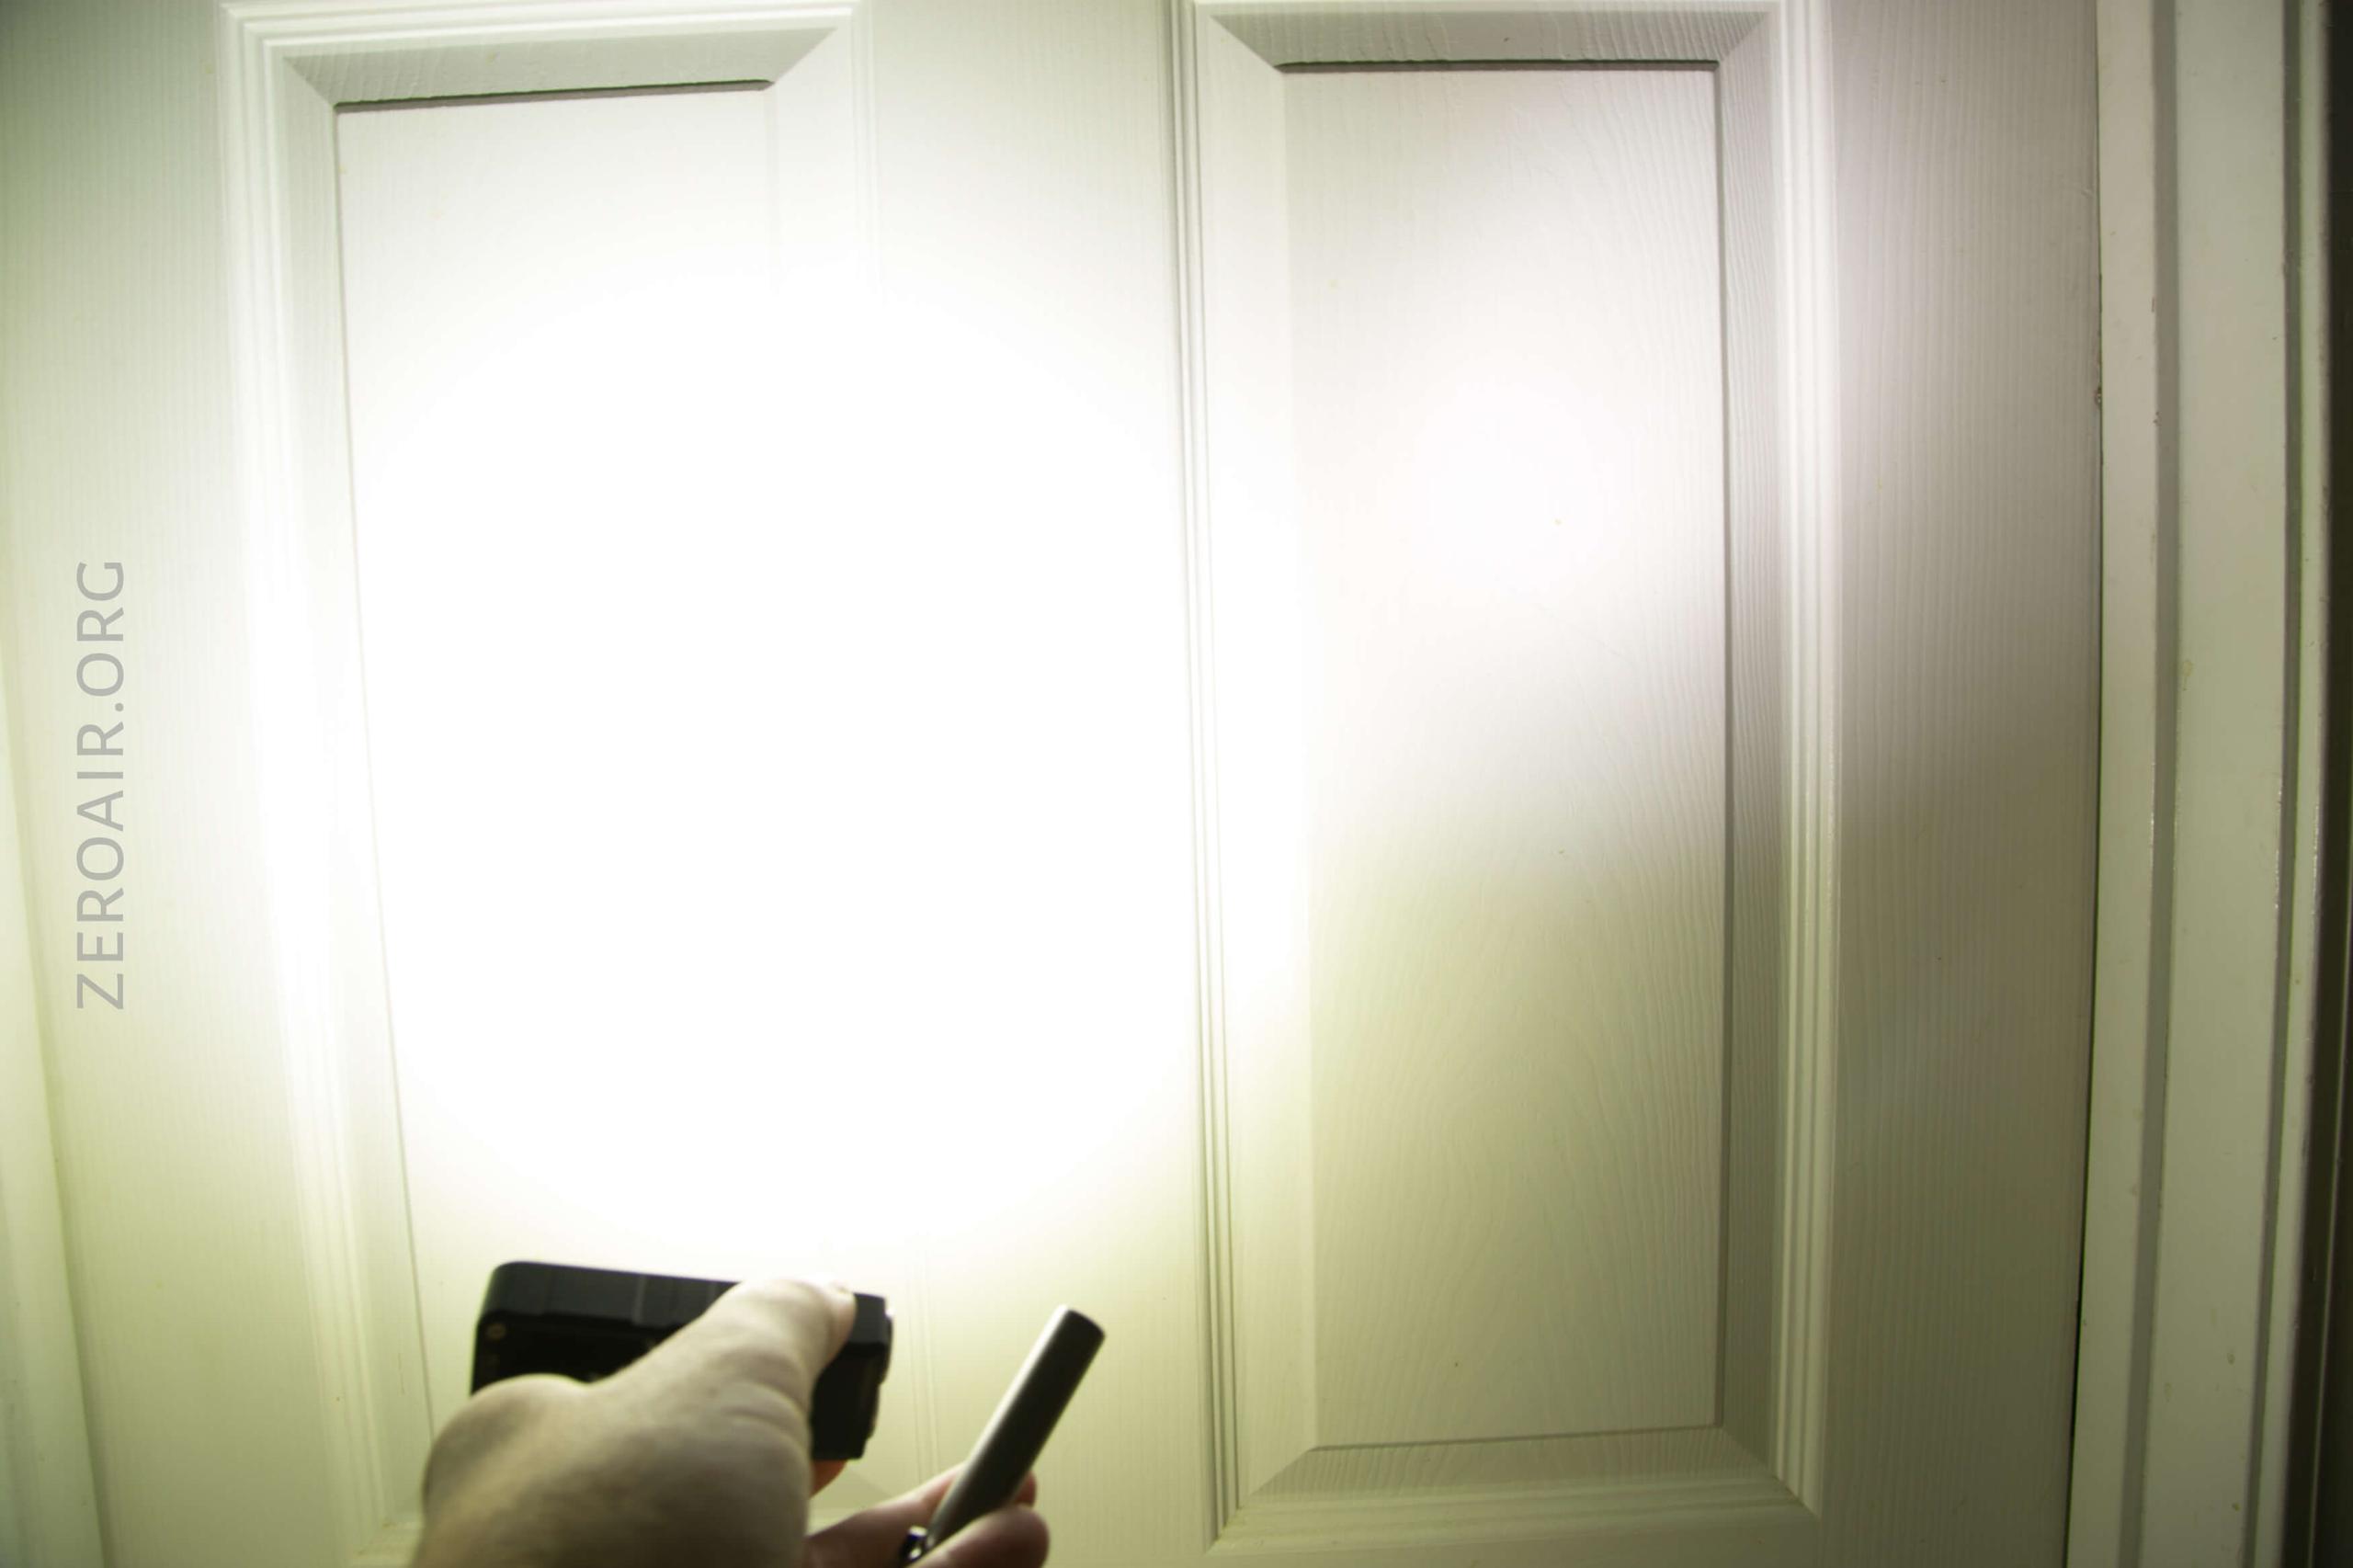
Beamshots
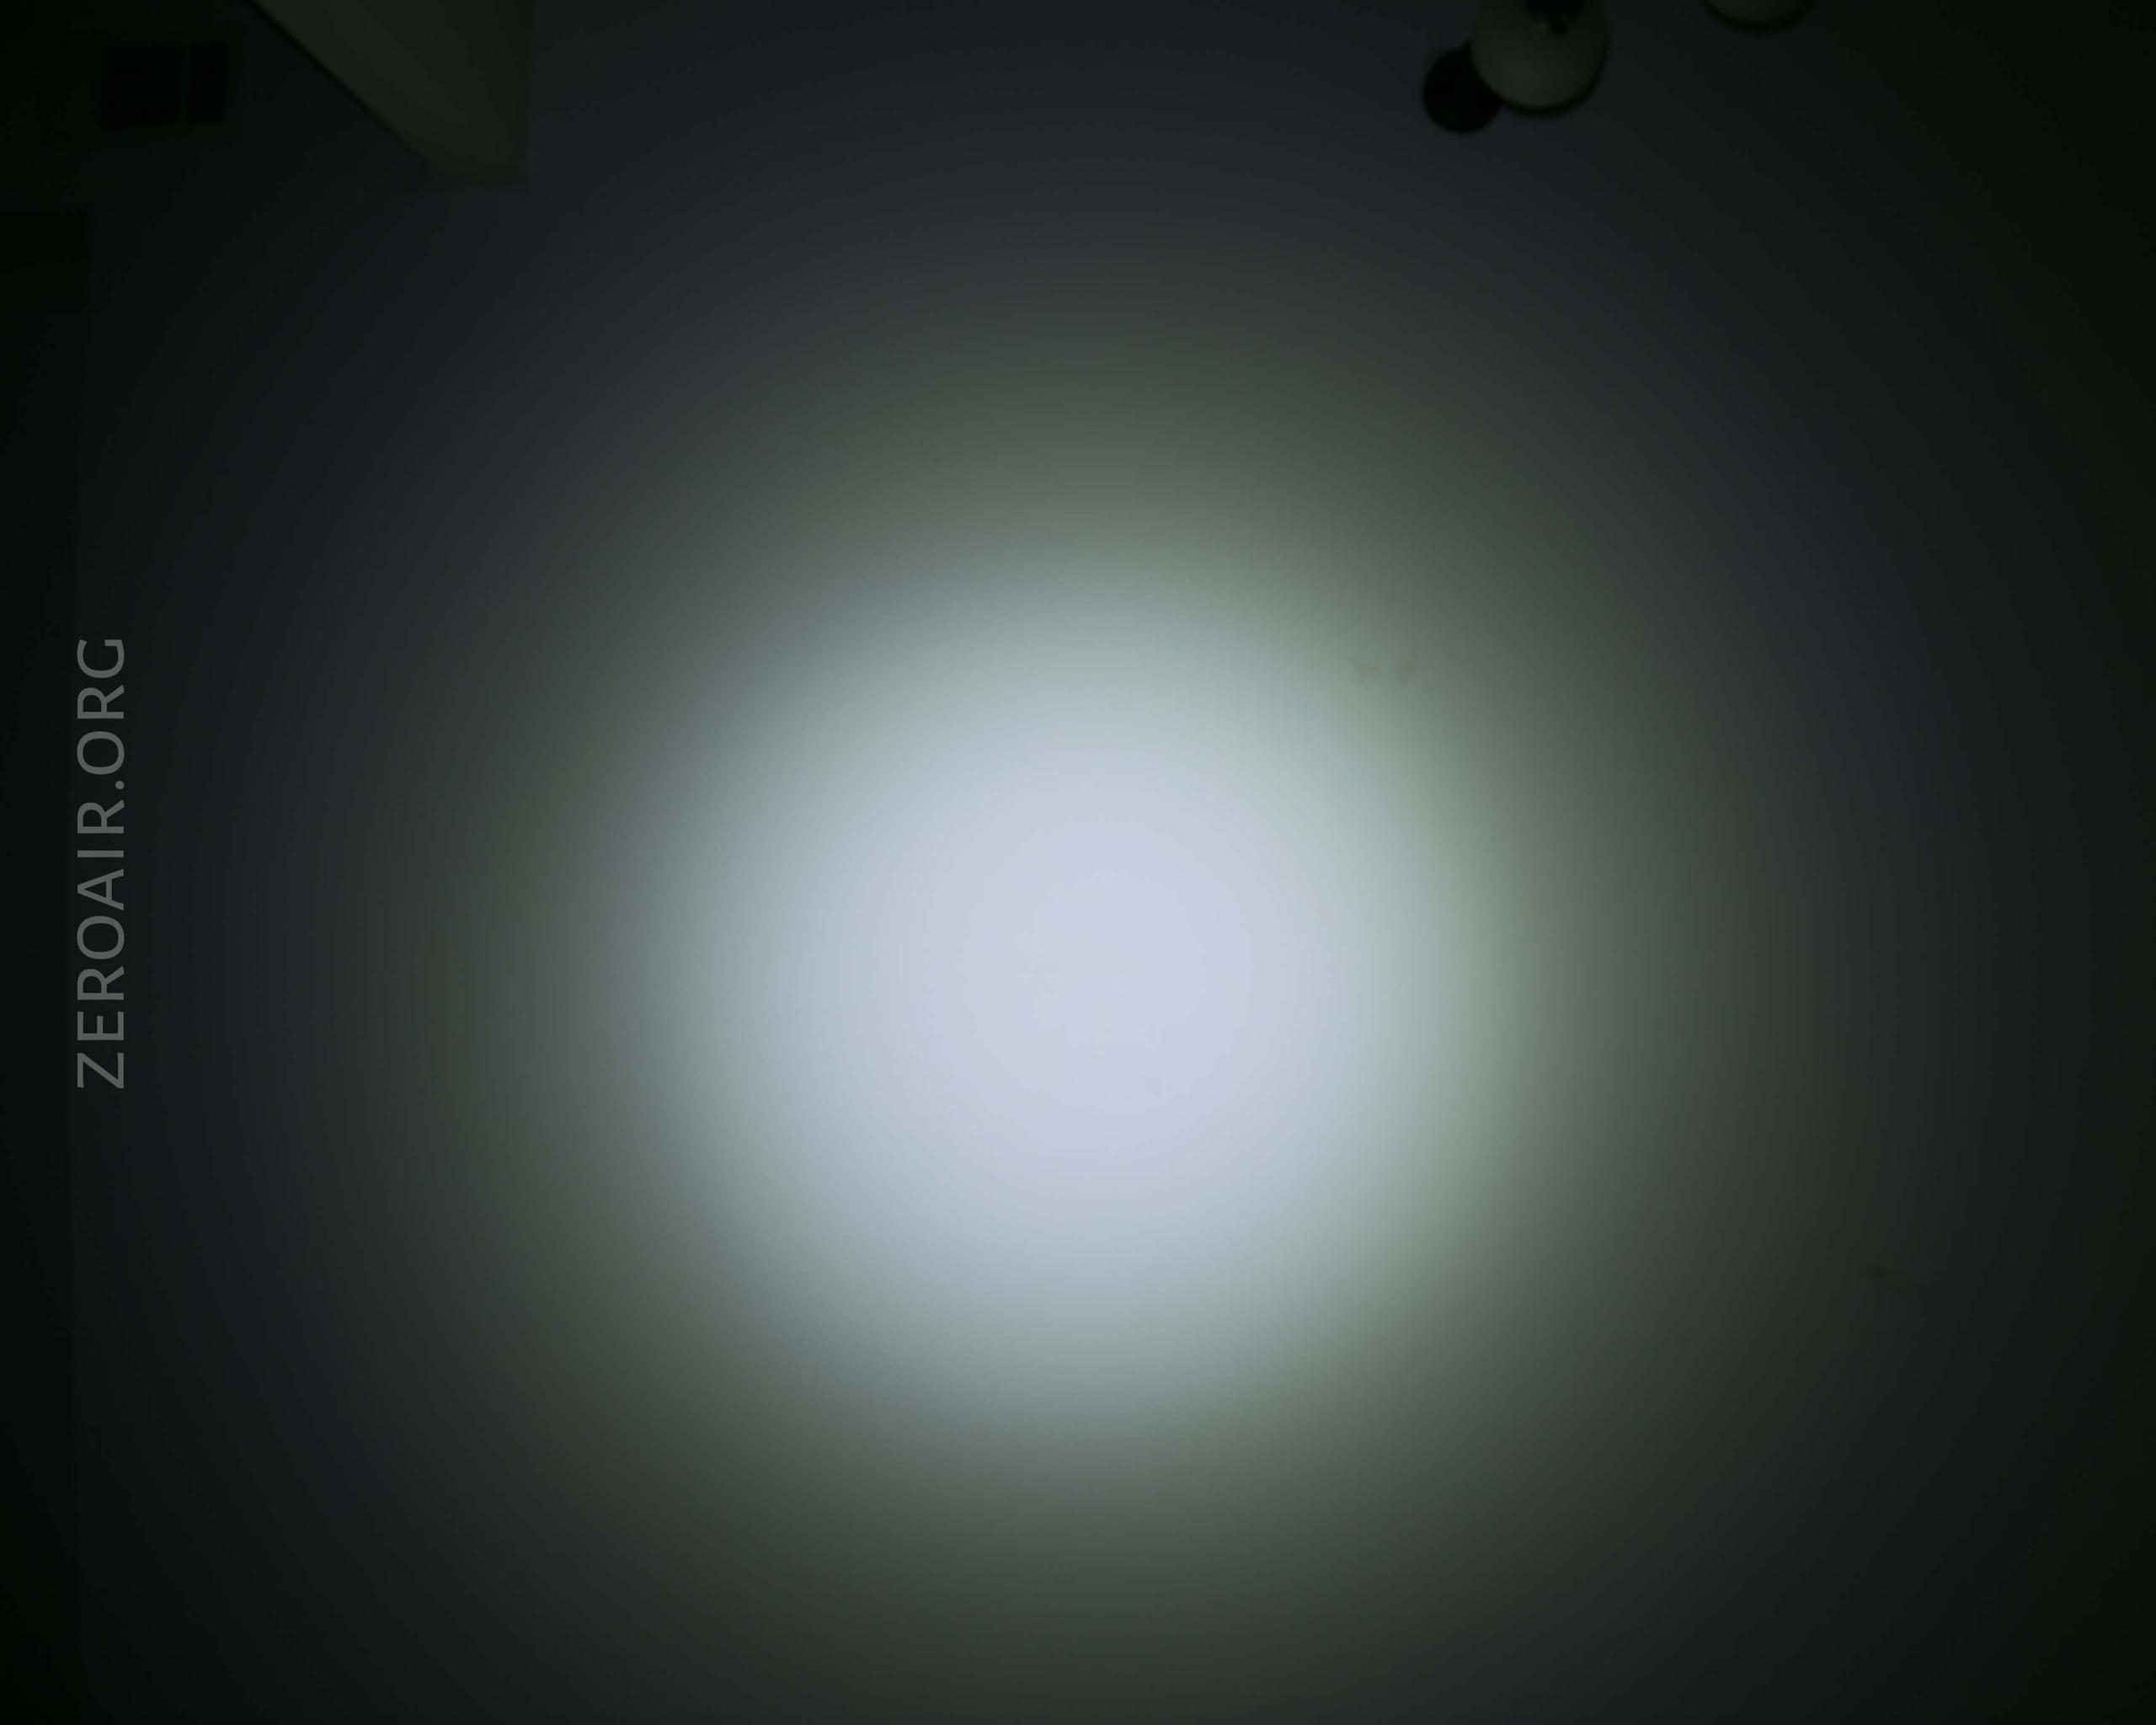
These beamshots always have the following settings: f8, ISO100, 0.3s shutter, and manual 5000K exposure. These photos are taken at floor level, and the beam hits the ceiling around 9 feet away.
Front, 6500K:


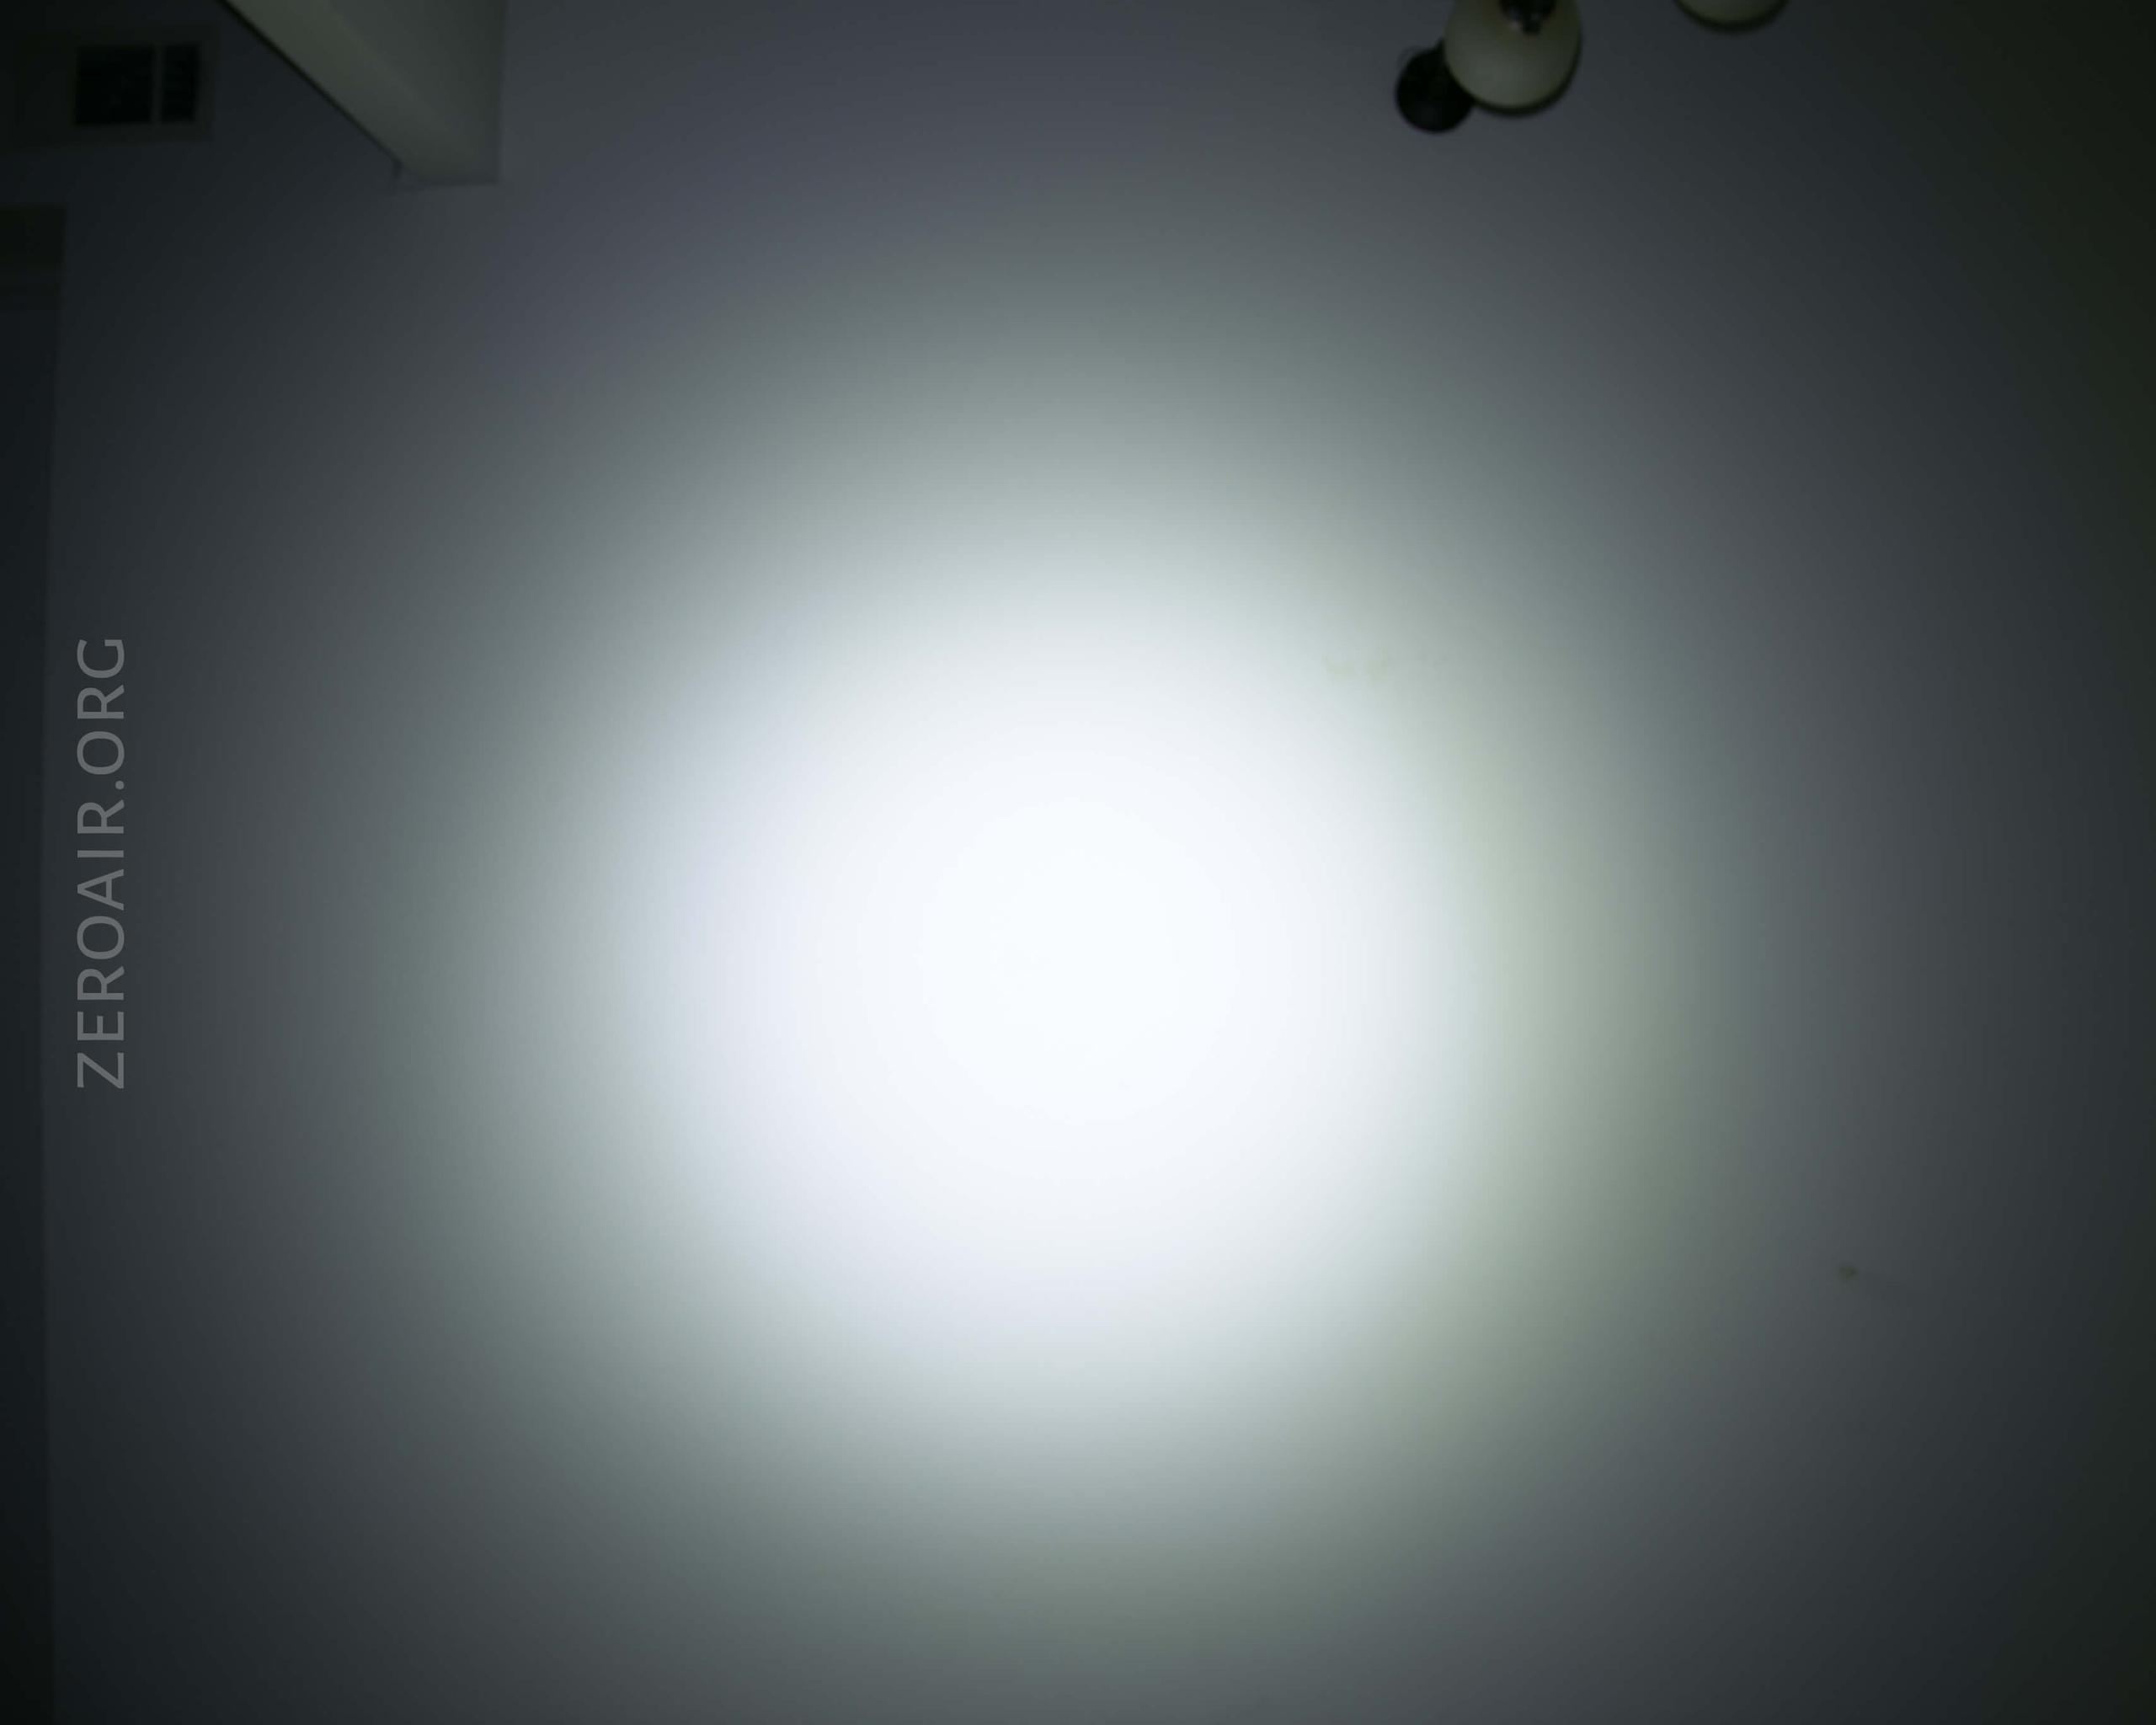
Side, 5000K:


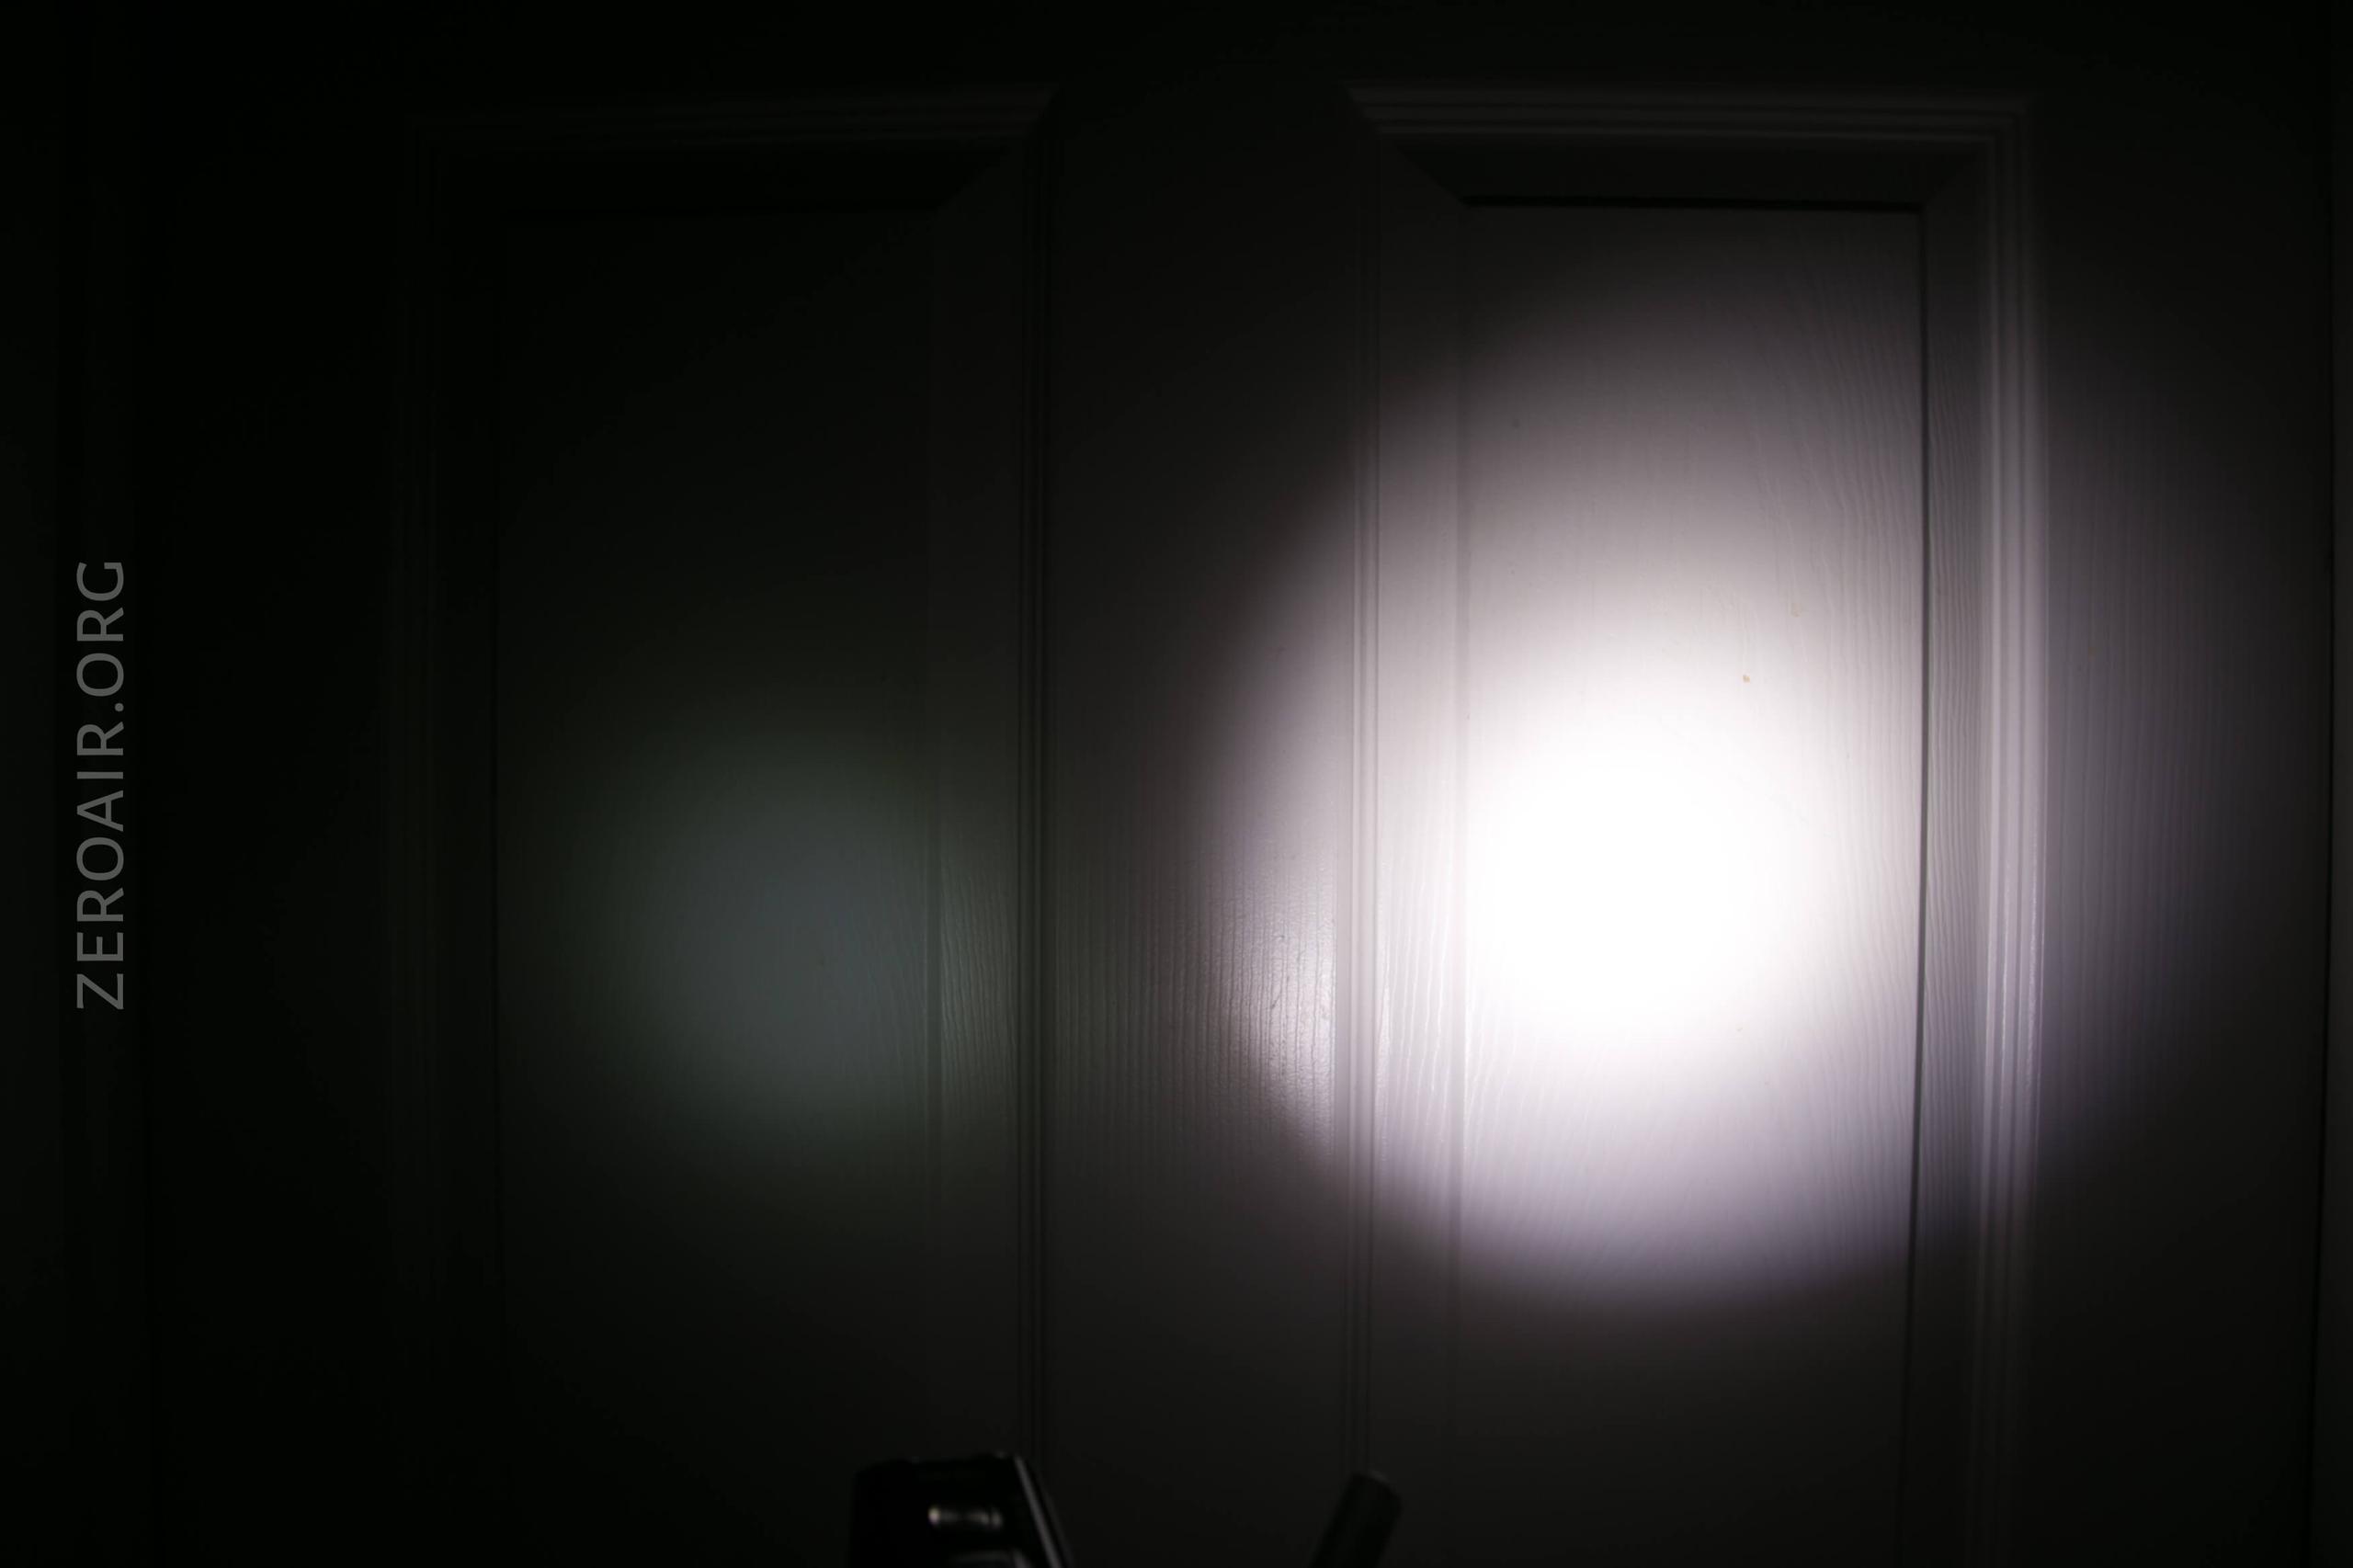
Tint vs BLF-348 (KillzoneFlashlights.com 219b version) (affiliate link)
I keep the test flashlight on the left and the BLF-348 reference flashlight on the right.
Front: 6500K:
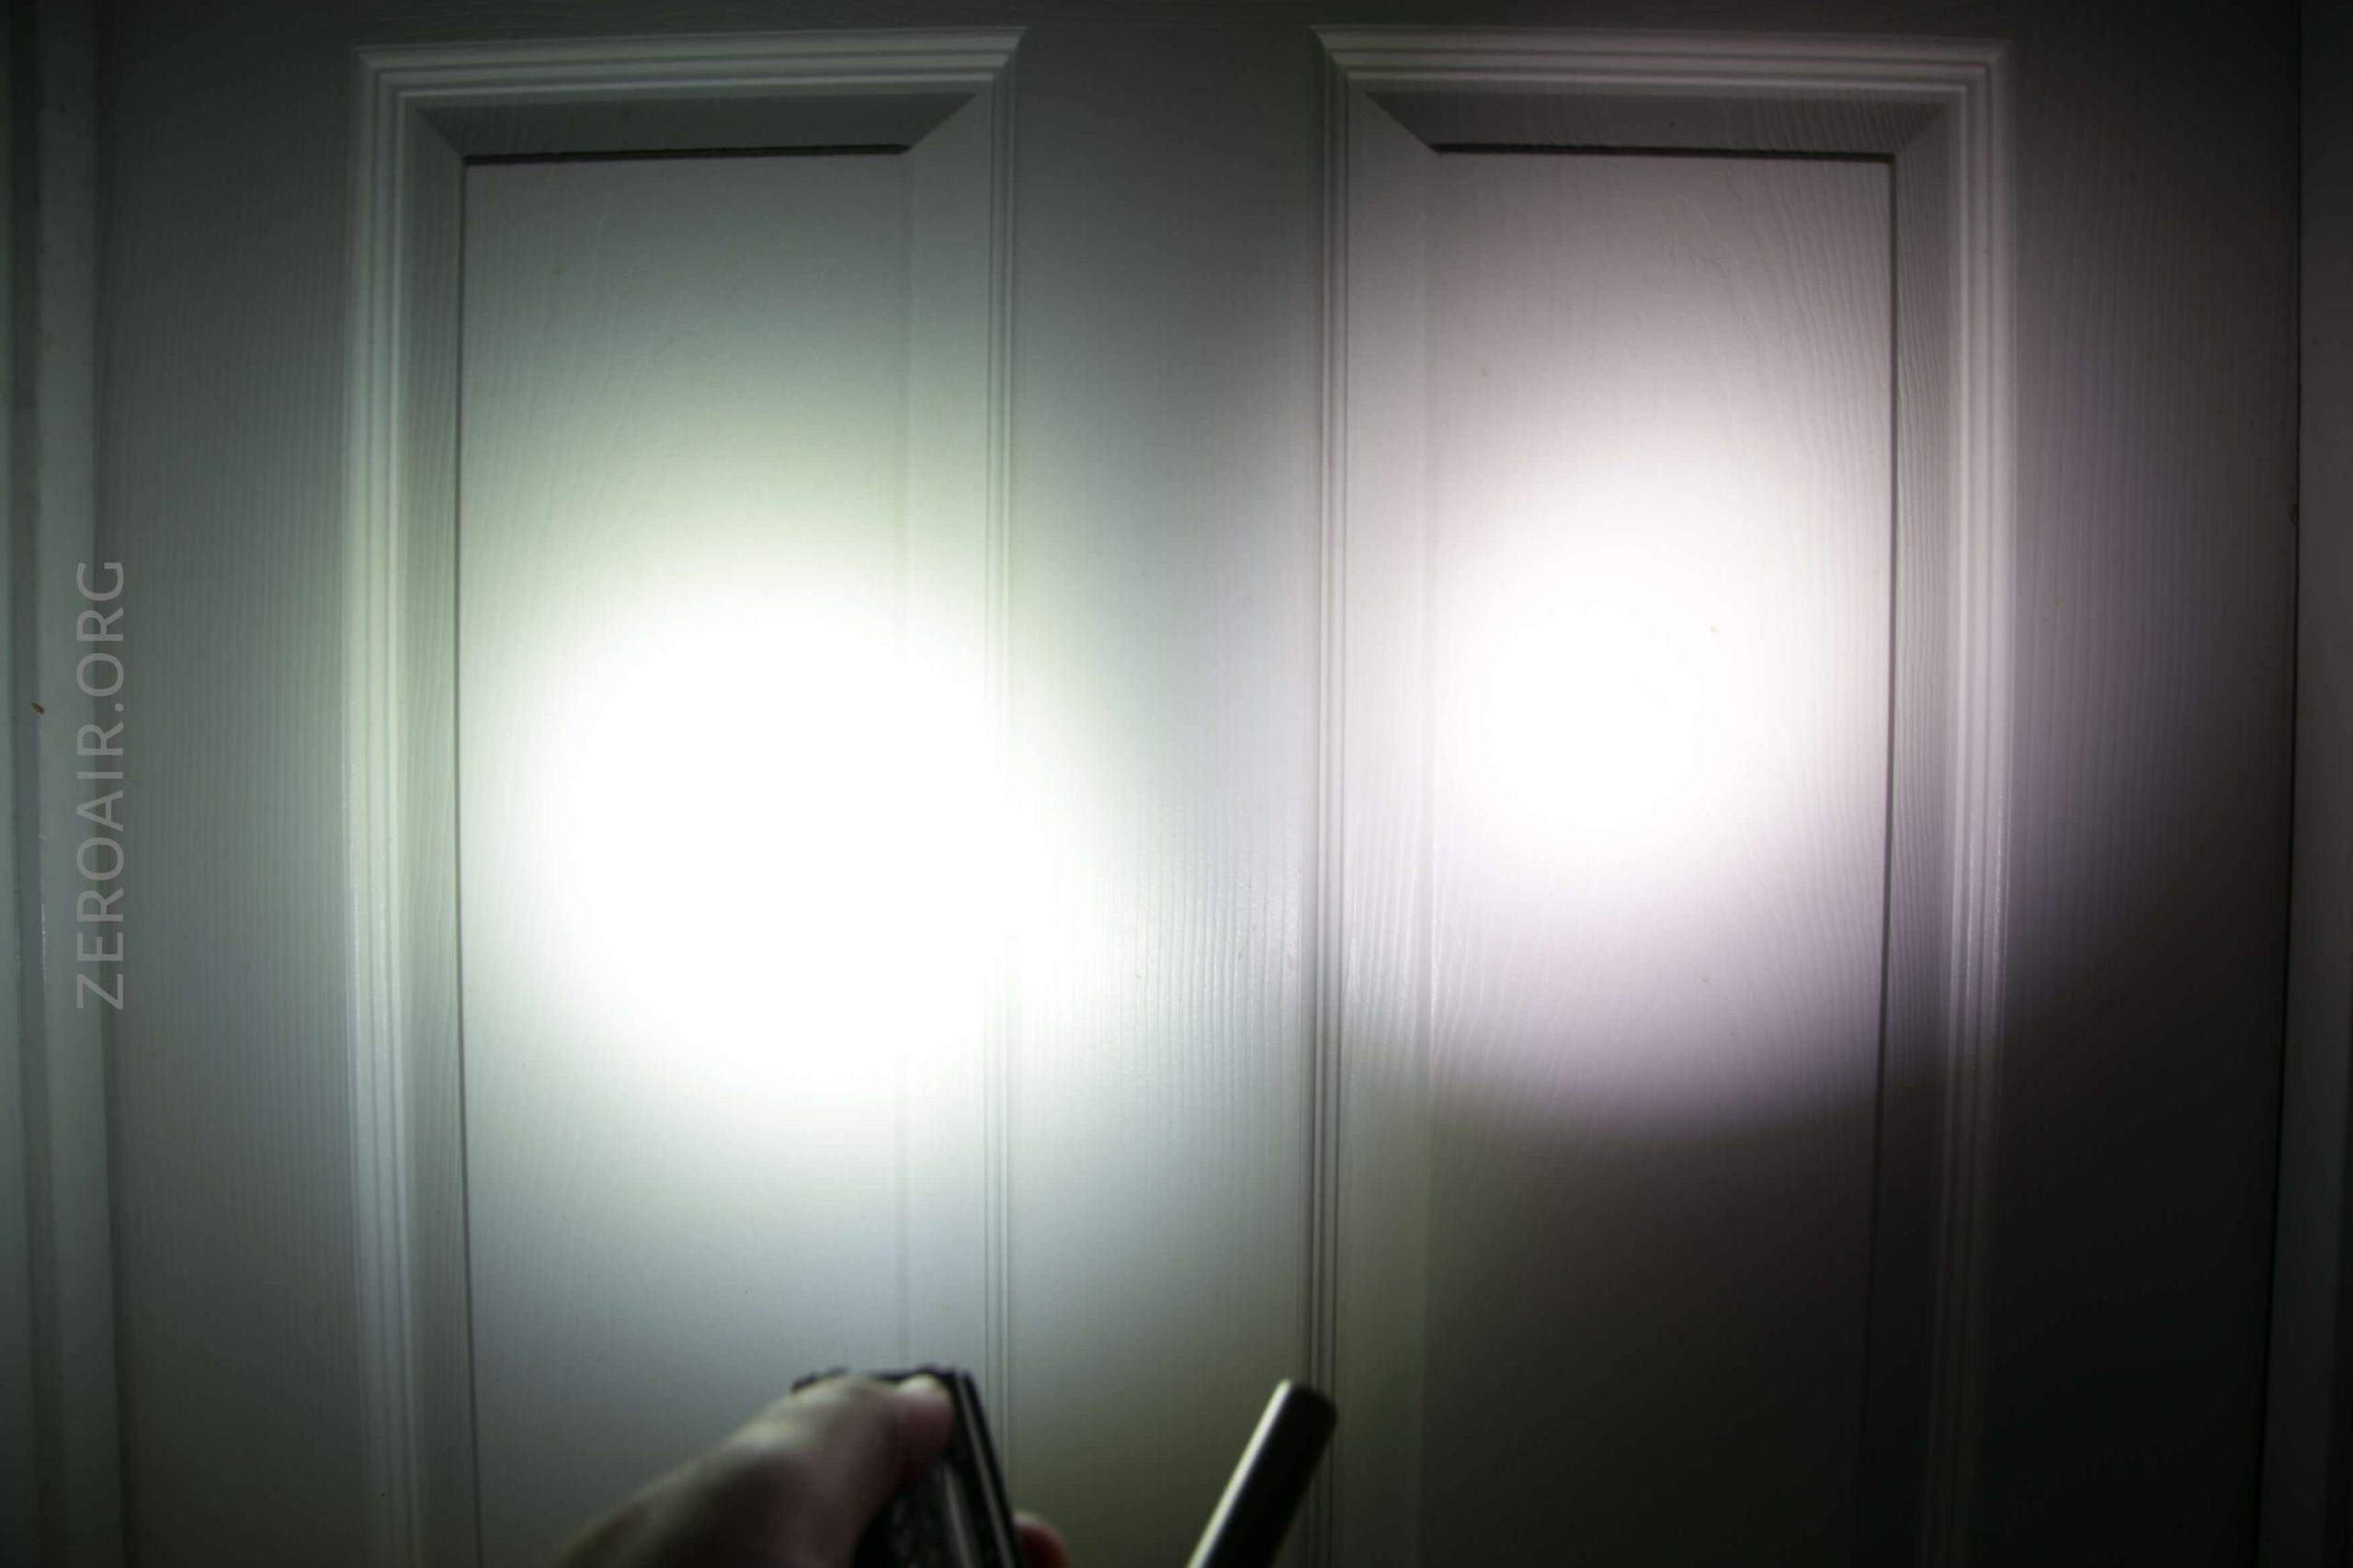
Side: 5000K:
I compare everything to the KillzoneFlashlights.com 219b BLF-348 because it’s inexpensive and has the best tint!
Conclusion on the RovyVon E200s Angel Eyes Flashlight
What I like
- Dual switches
- Ramping user interface is a nice touch
- 5000K sidelights
- Versatile UI
What I don’t like
- 6500K front emitters
- Nonreplaceable battery
- Won’t lie flat
- Side emitters are under a permanent lens, which will scratch because of exposure
Notes
- This light was provided by RovyVon for review. I was not paid to write this review.
- This content originally appeared at zeroair.org. Please visit there for the best experience!
- Use my amazon.com referral link if you’re willing to help support making more reviews like this one!
- Please support me on Patreon! I deeply appreciate your support!
Discover more from ZeroAir Reviews
Subscribe to get the latest posts sent to your email.