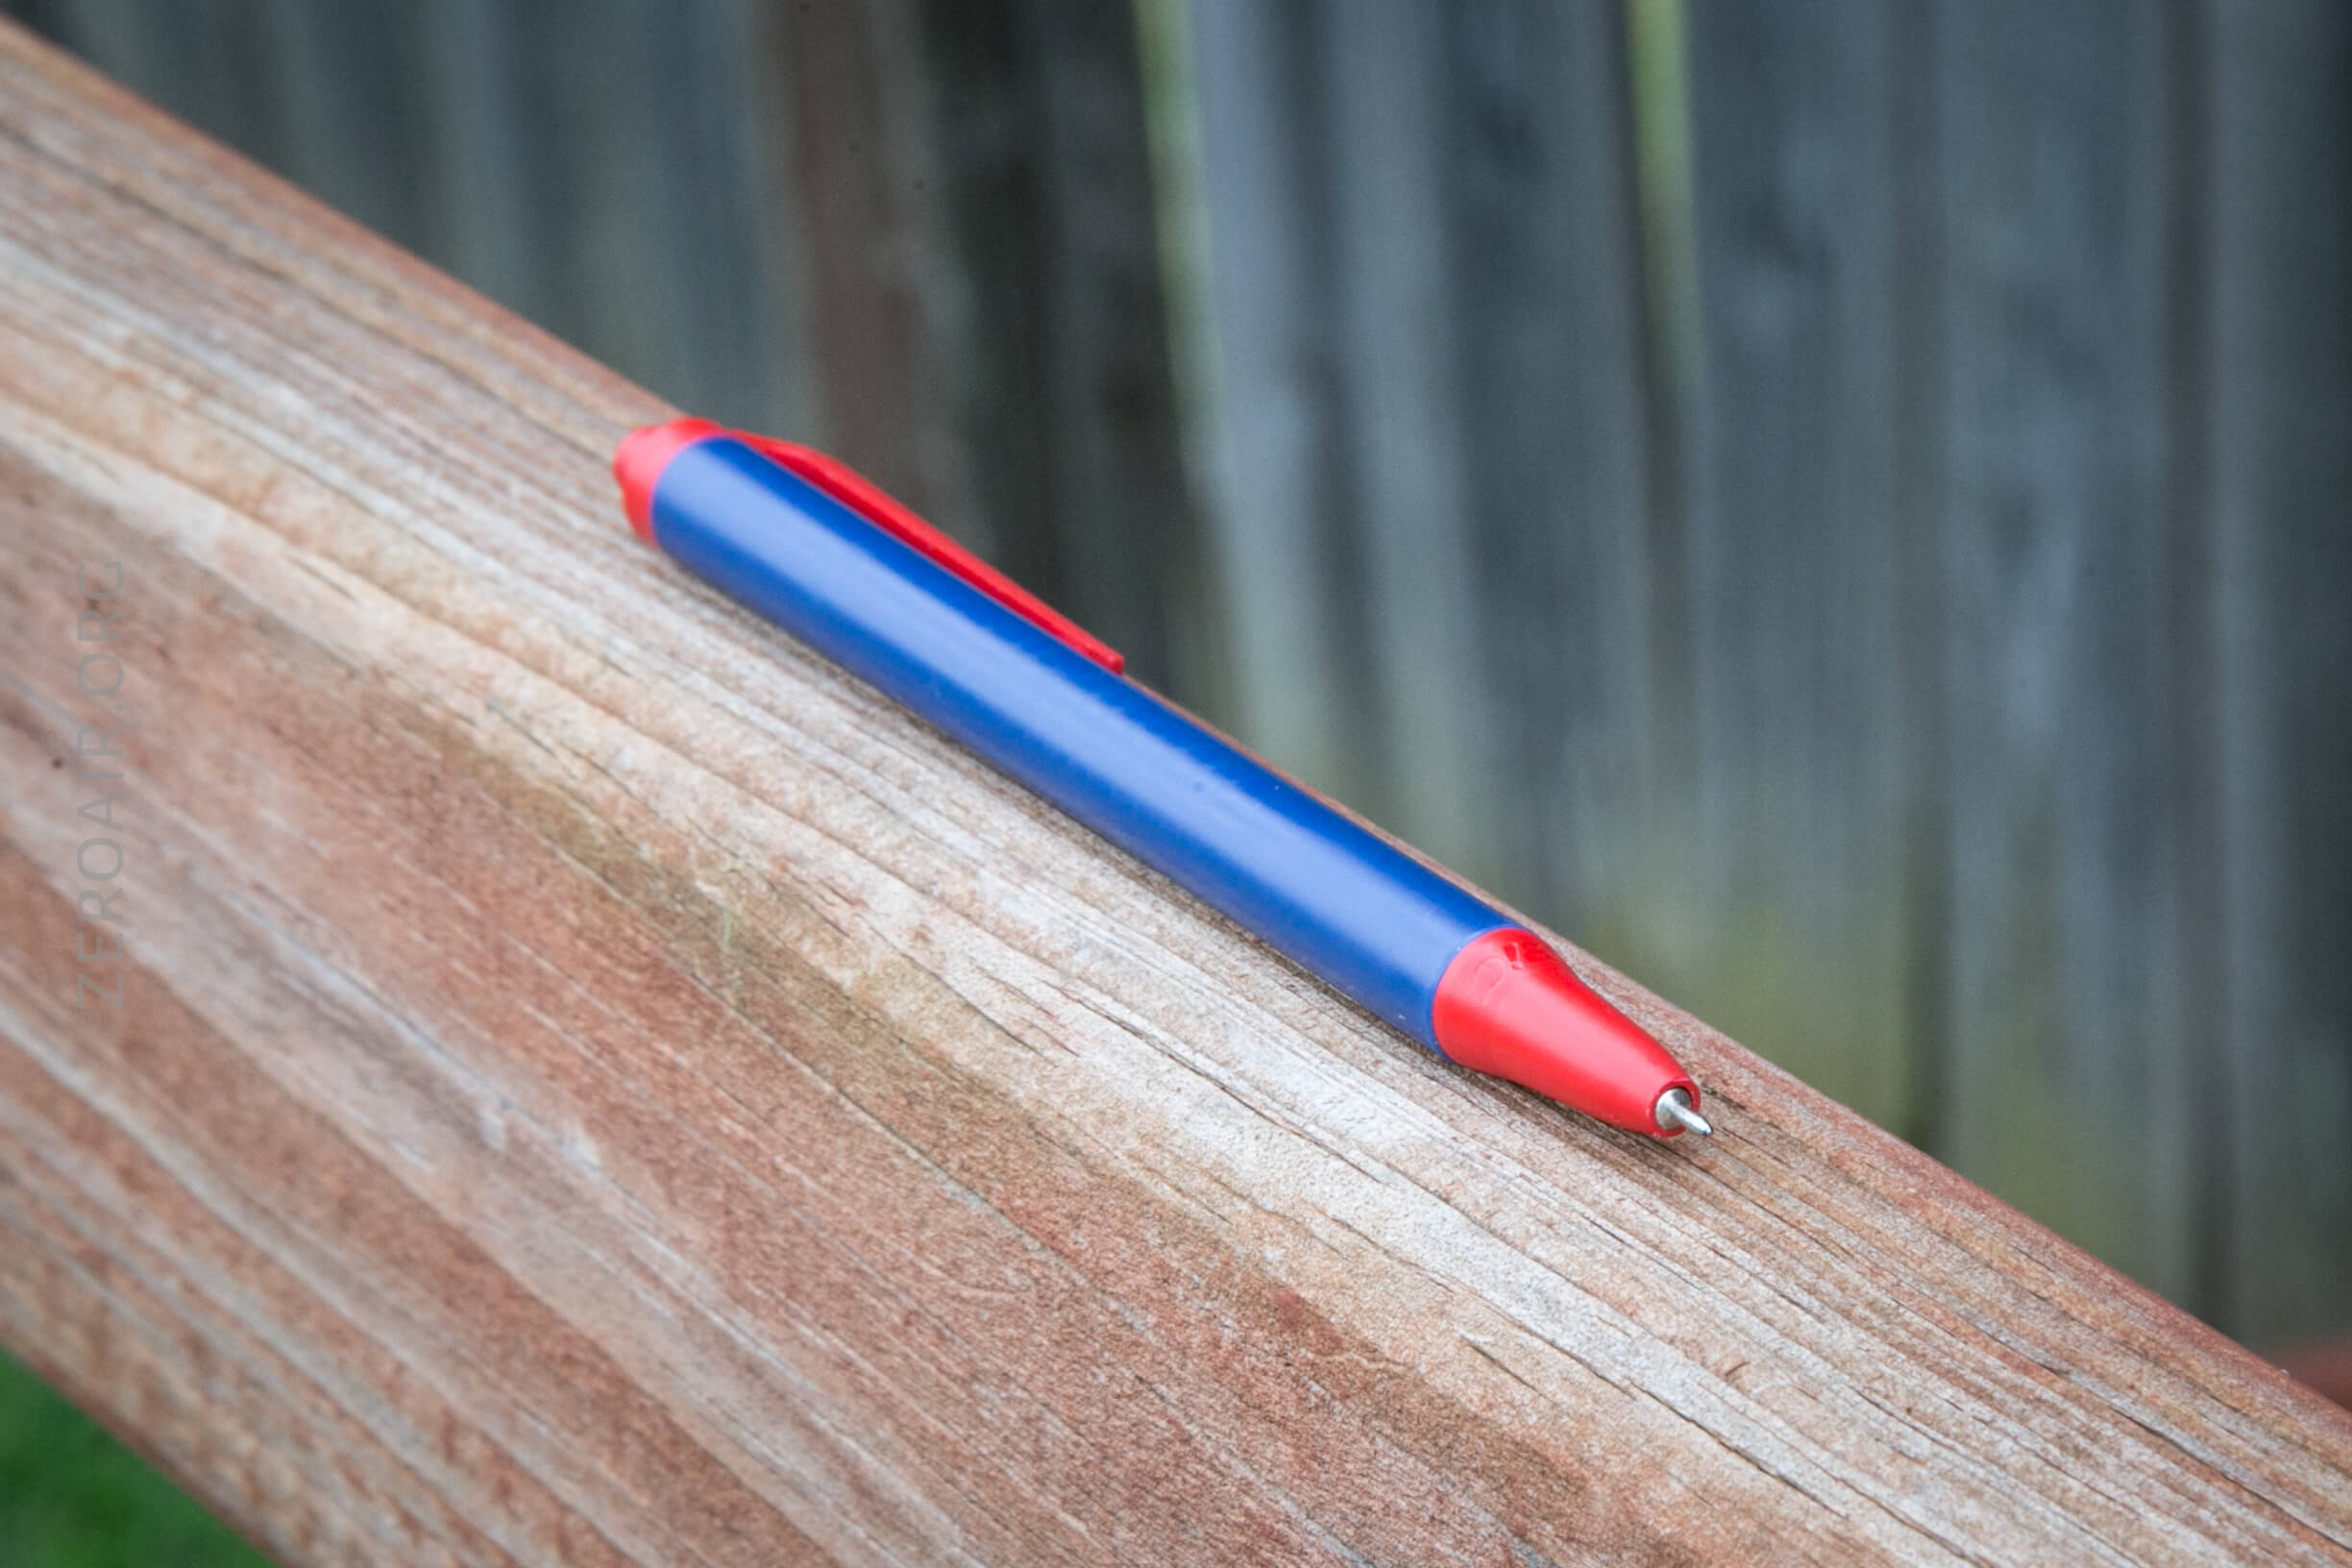
How Do I: Customise a Bic Clic Stic EDC Pen
One of my favorite mods is not flashlight-related – it’s shortening and upgrading a Bic Clic Stic EDC pen! I add magnets and a different refill, too. Read on!
Disclaimer:
- This process permanently modifies one Bic Clic Stic pen
- These are small magnets. Do not ingest magnets, despite how delicious the name “donut magnets” implies they are.
- Treat this as a learning experience – there are other off-the-shelf pens that might suit you even better.
- There will be some Amazon referral links in this post.
- Build this at your own risk!
Quick Thoughts
If you don’t need a 0.5mm writing point, then there’s probably not a lot of point to this mod. If you don’t find regular Bic Clic Stic pens too long, then there’s probably not a lot of point to this mod. If you don’t love the ubiquity of the Bic Clic Stic pen and the almost-certain availability in a colorway that supports your favorite [thing], then there’s probably not a lot of point to this mod. If you don’t find the novelty of your pen having two “strong enough” magnets inside the barrel, then there’s probably not a lot of point to this mod.
But if any one of those things appeals to you, then you’ll probably want one of these pens.
Not So Quick Thoughts
Overview
My handwriting is messy. Like messy messy. I can’t even read it most of the time. Other people wonder what language it is. A fine-point pen isn’t the solution to this problem, but a bold pen absolutely confounds it. The second point is that I can’t really abide useless length in a pen. It’s hard to say much more without it sounding like a euphemism, but a lot of it has to do with how an item rides in my pocket. I’ll leave it at that.
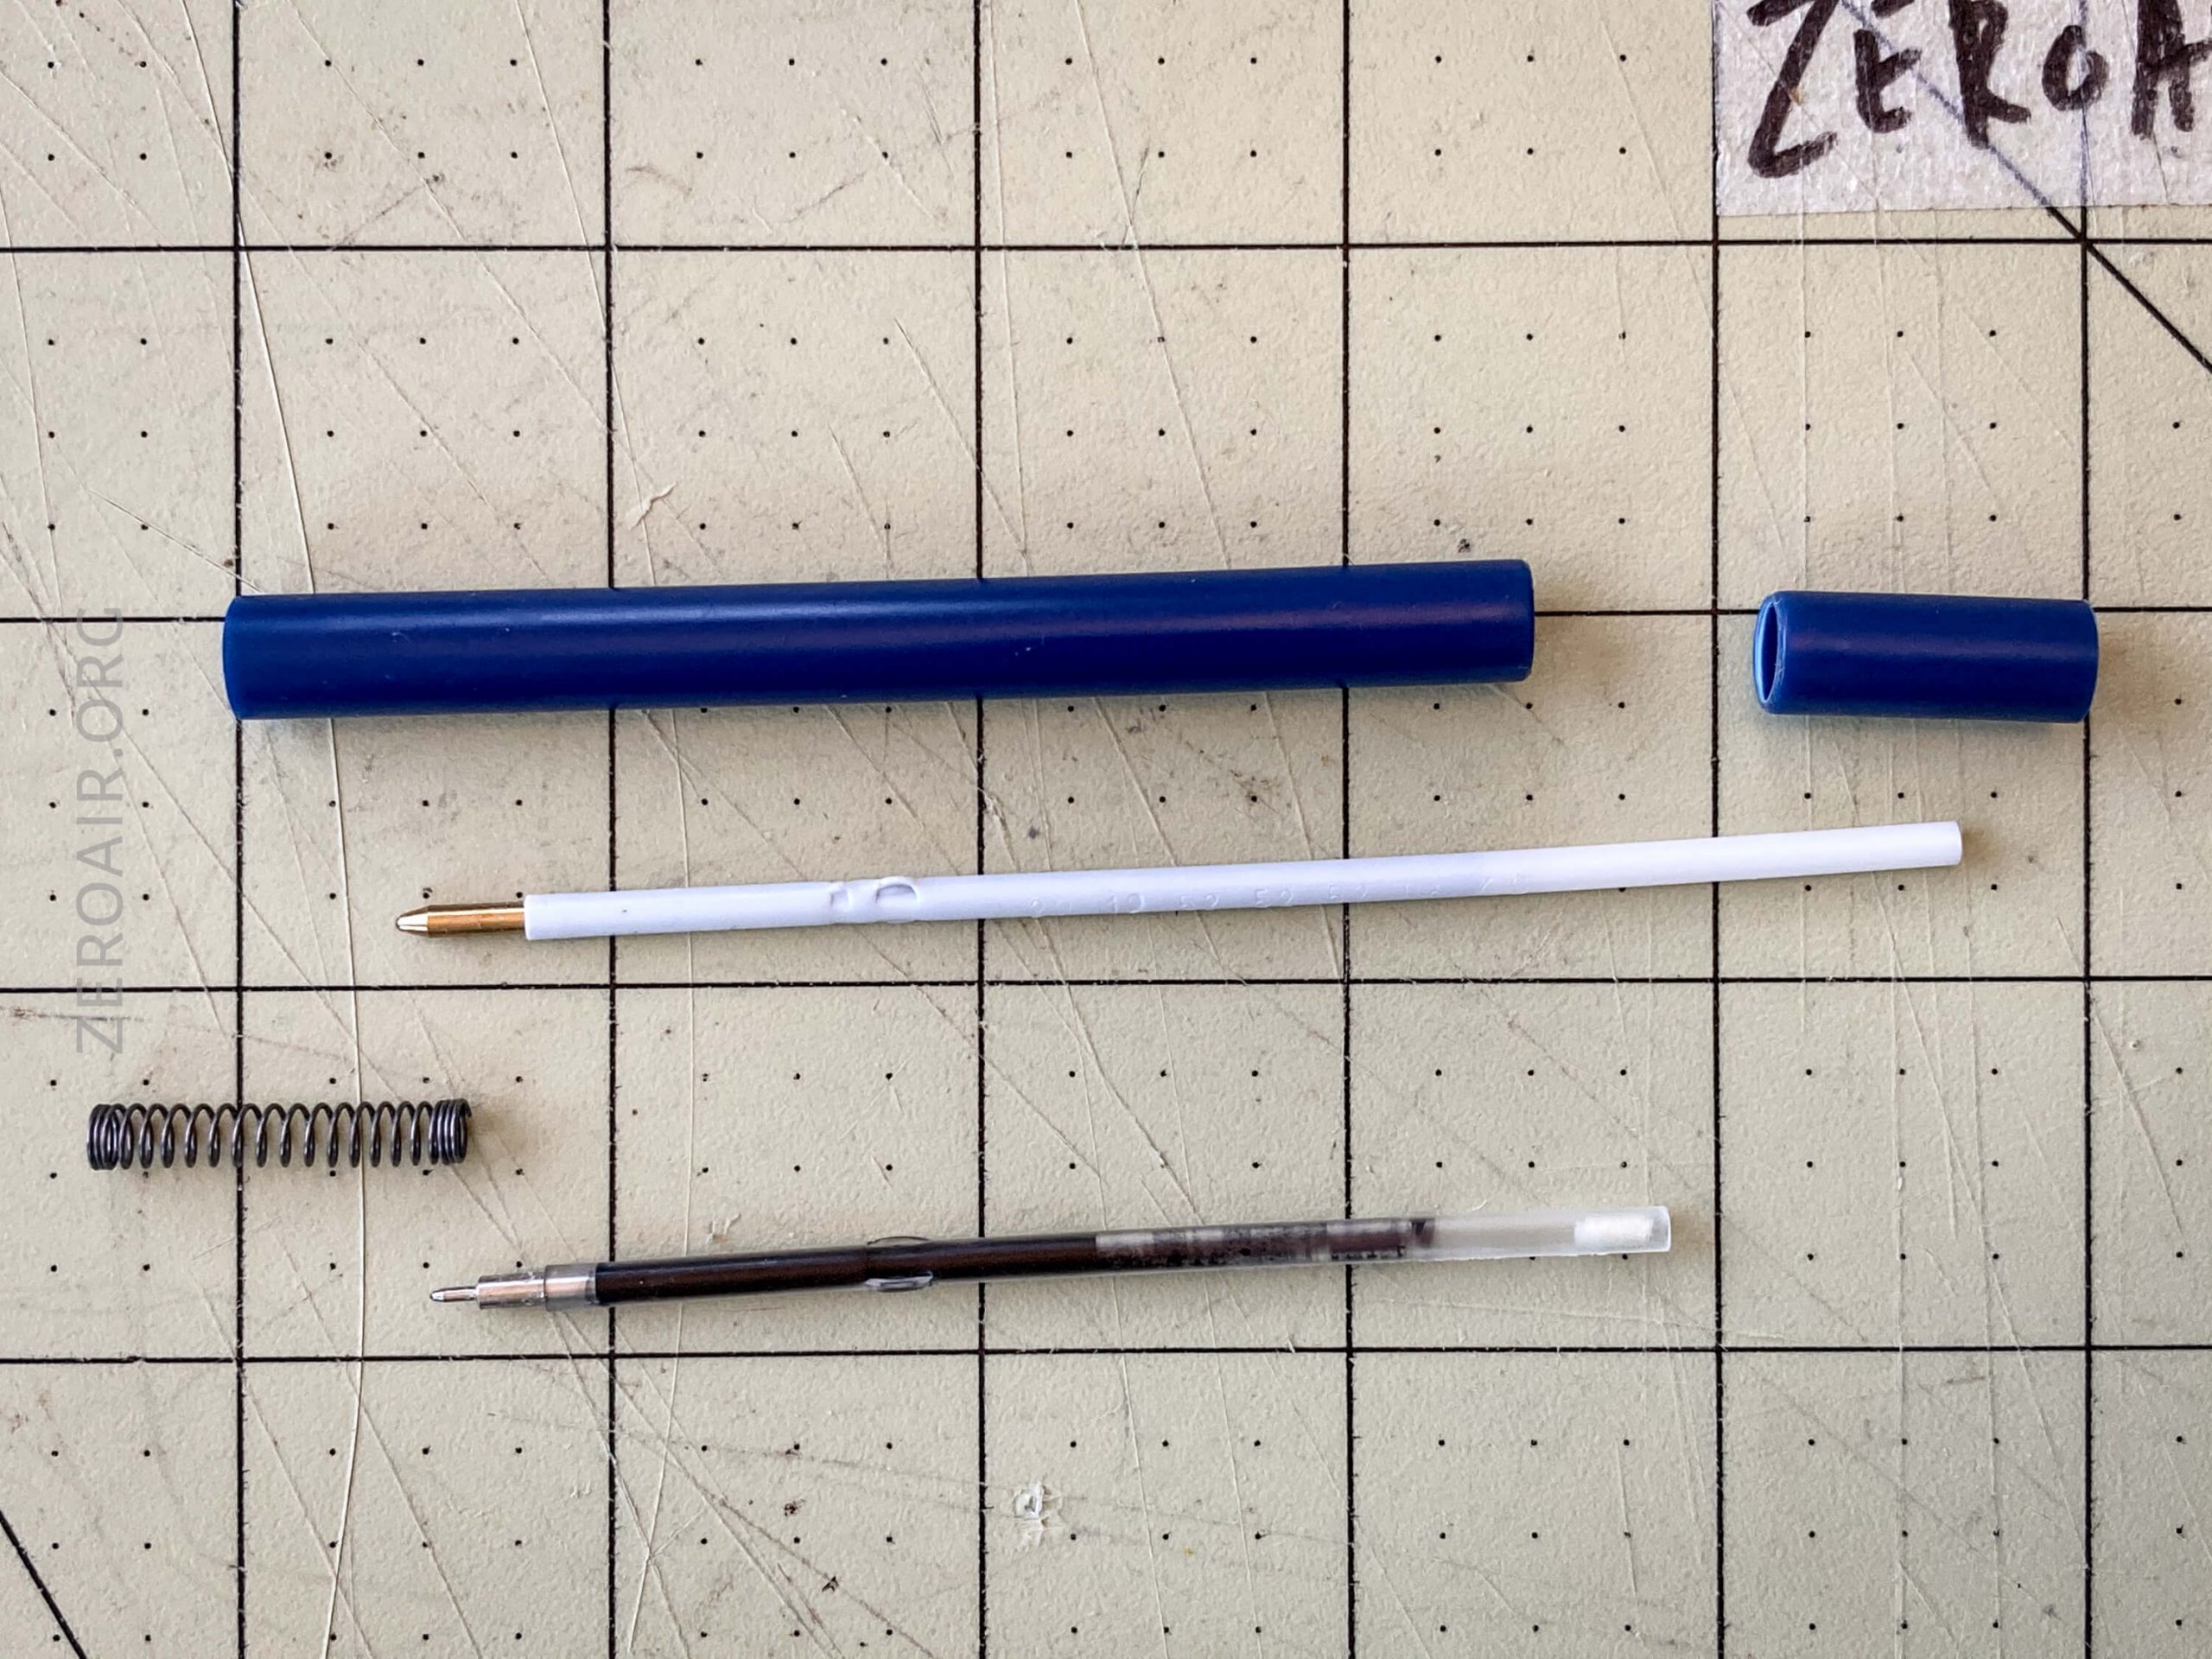
Price and Parts List
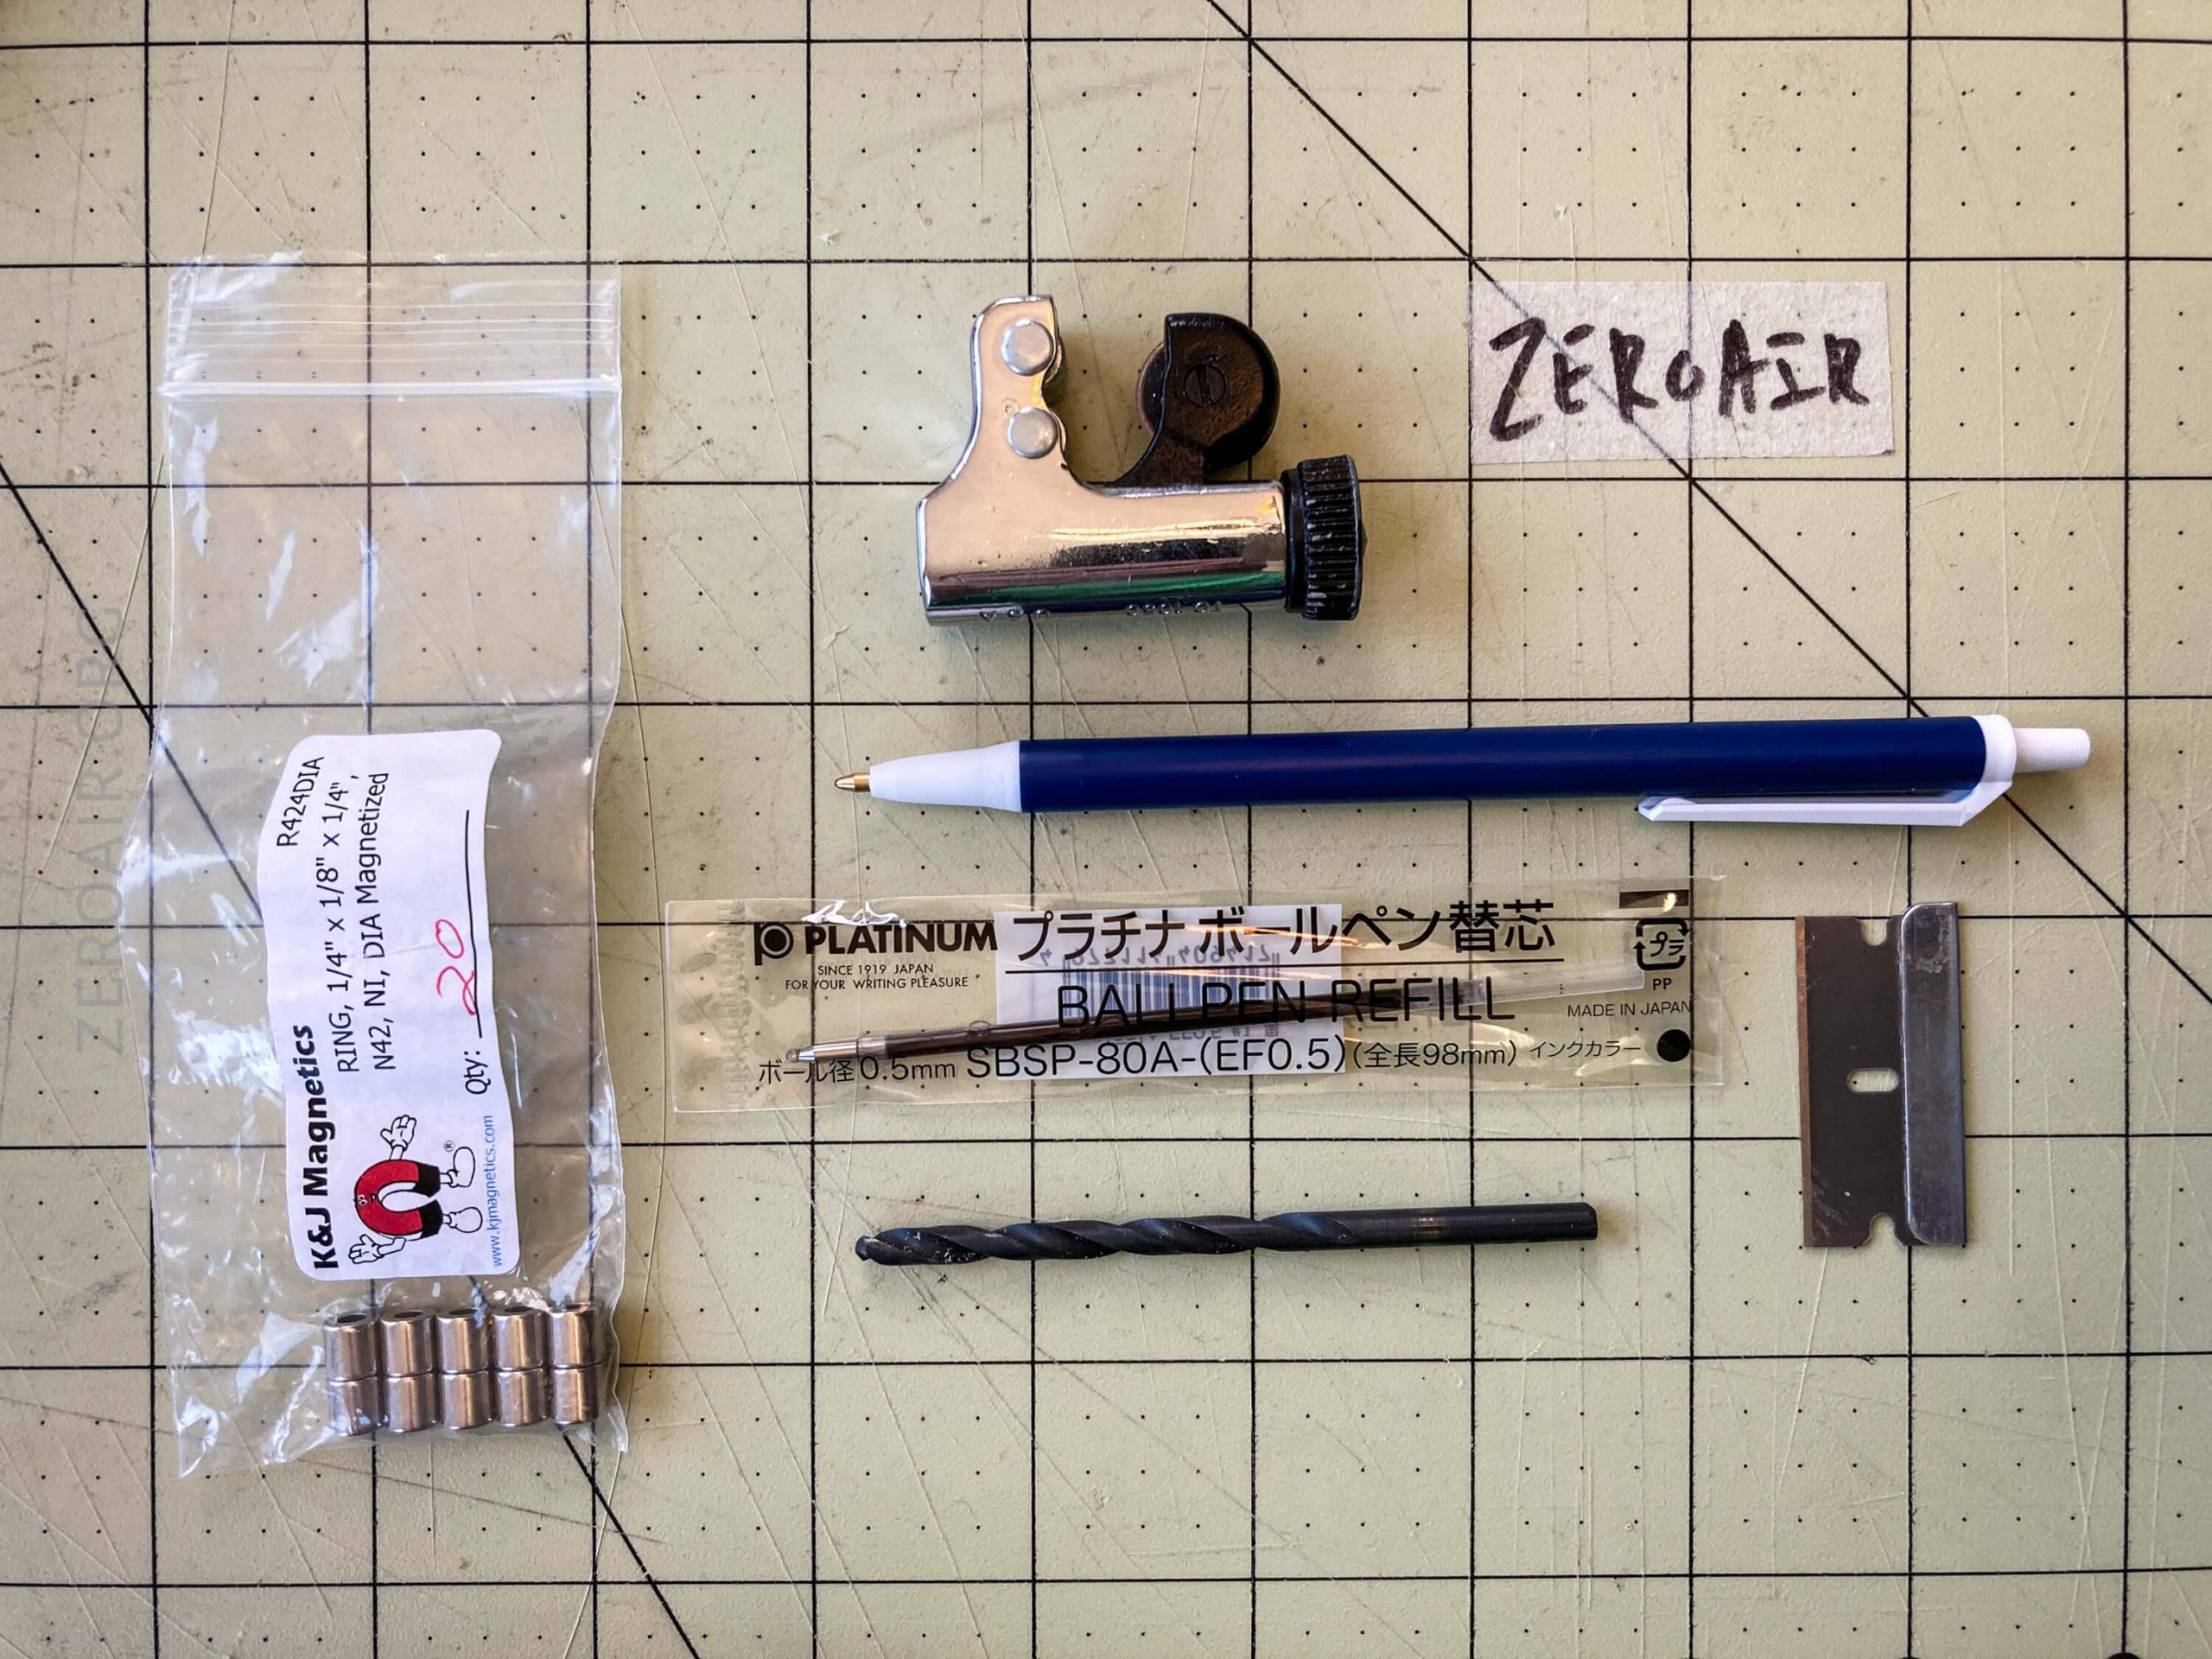
- $5 (or free), Bic Clic Stic Pens
- $0.61 each (2 recommended), K&J Magnetics R424DIA Neodymium Ring Magnet
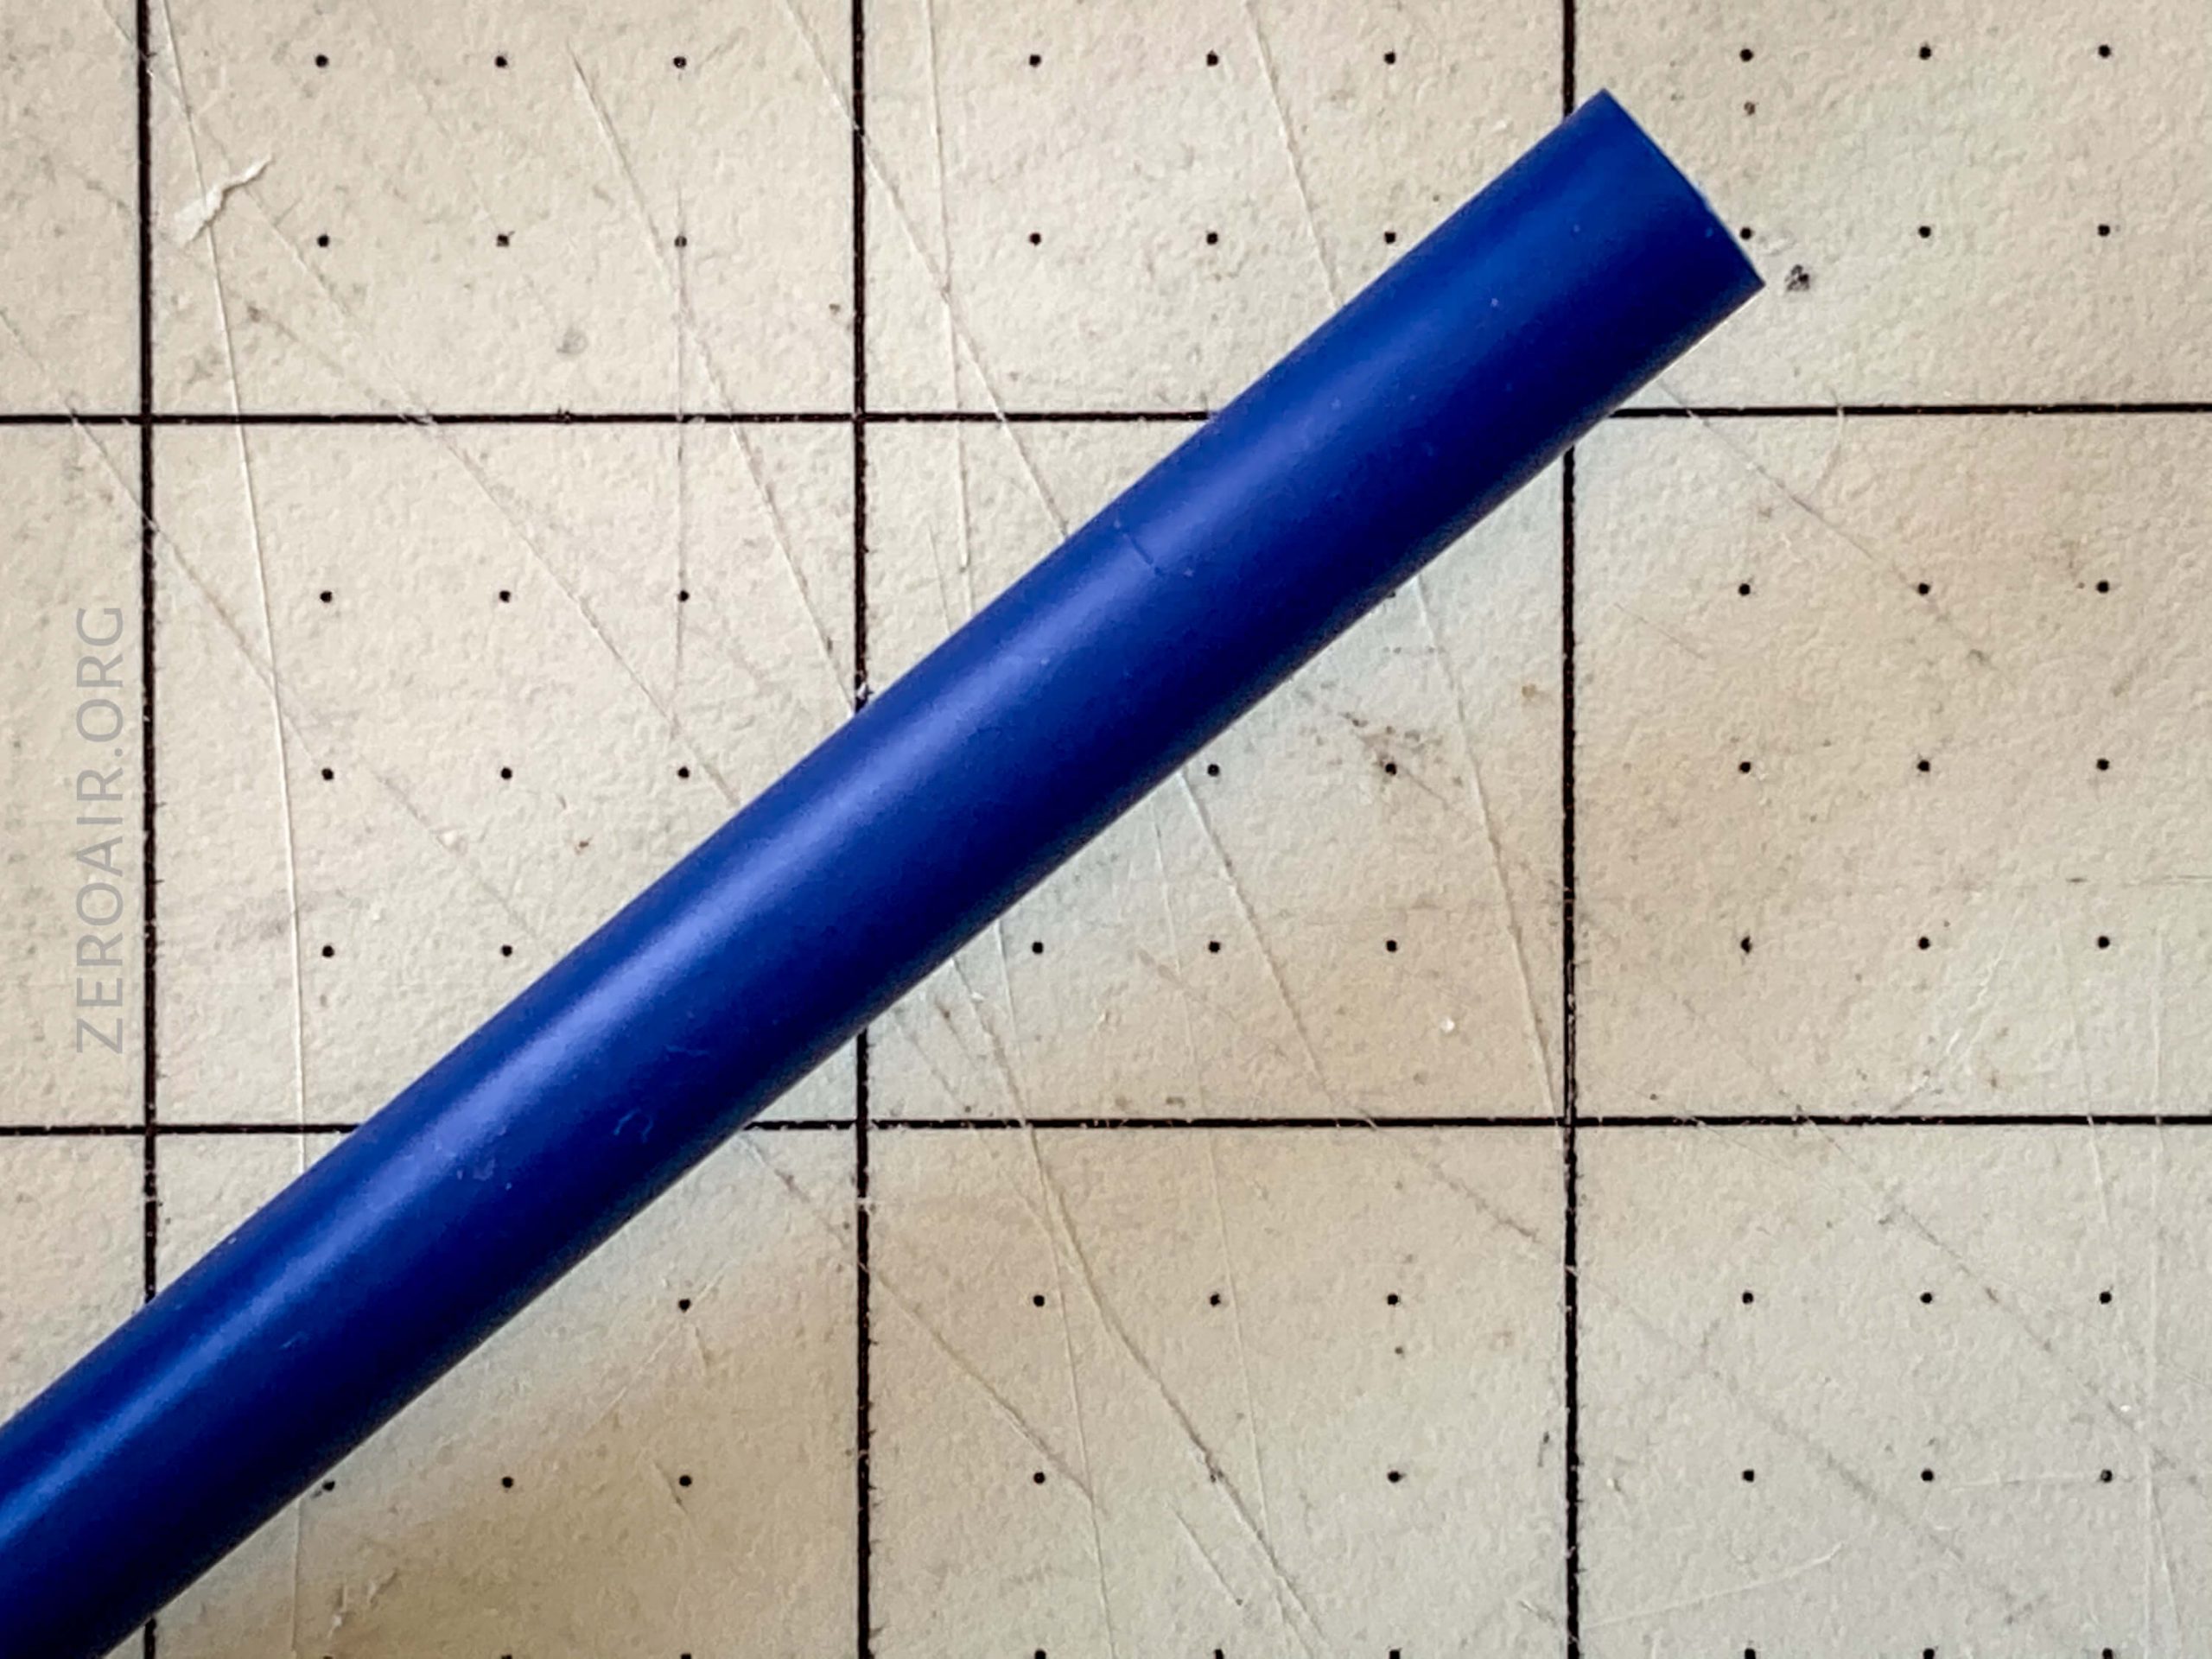
- $6.99 for 6, Ohto 895NP 0.5mm Black Oil-based Ink Refill (note this is not what’s pictured above – I realized after the fact that I was out of the Ohtos!! Gotta buy more)
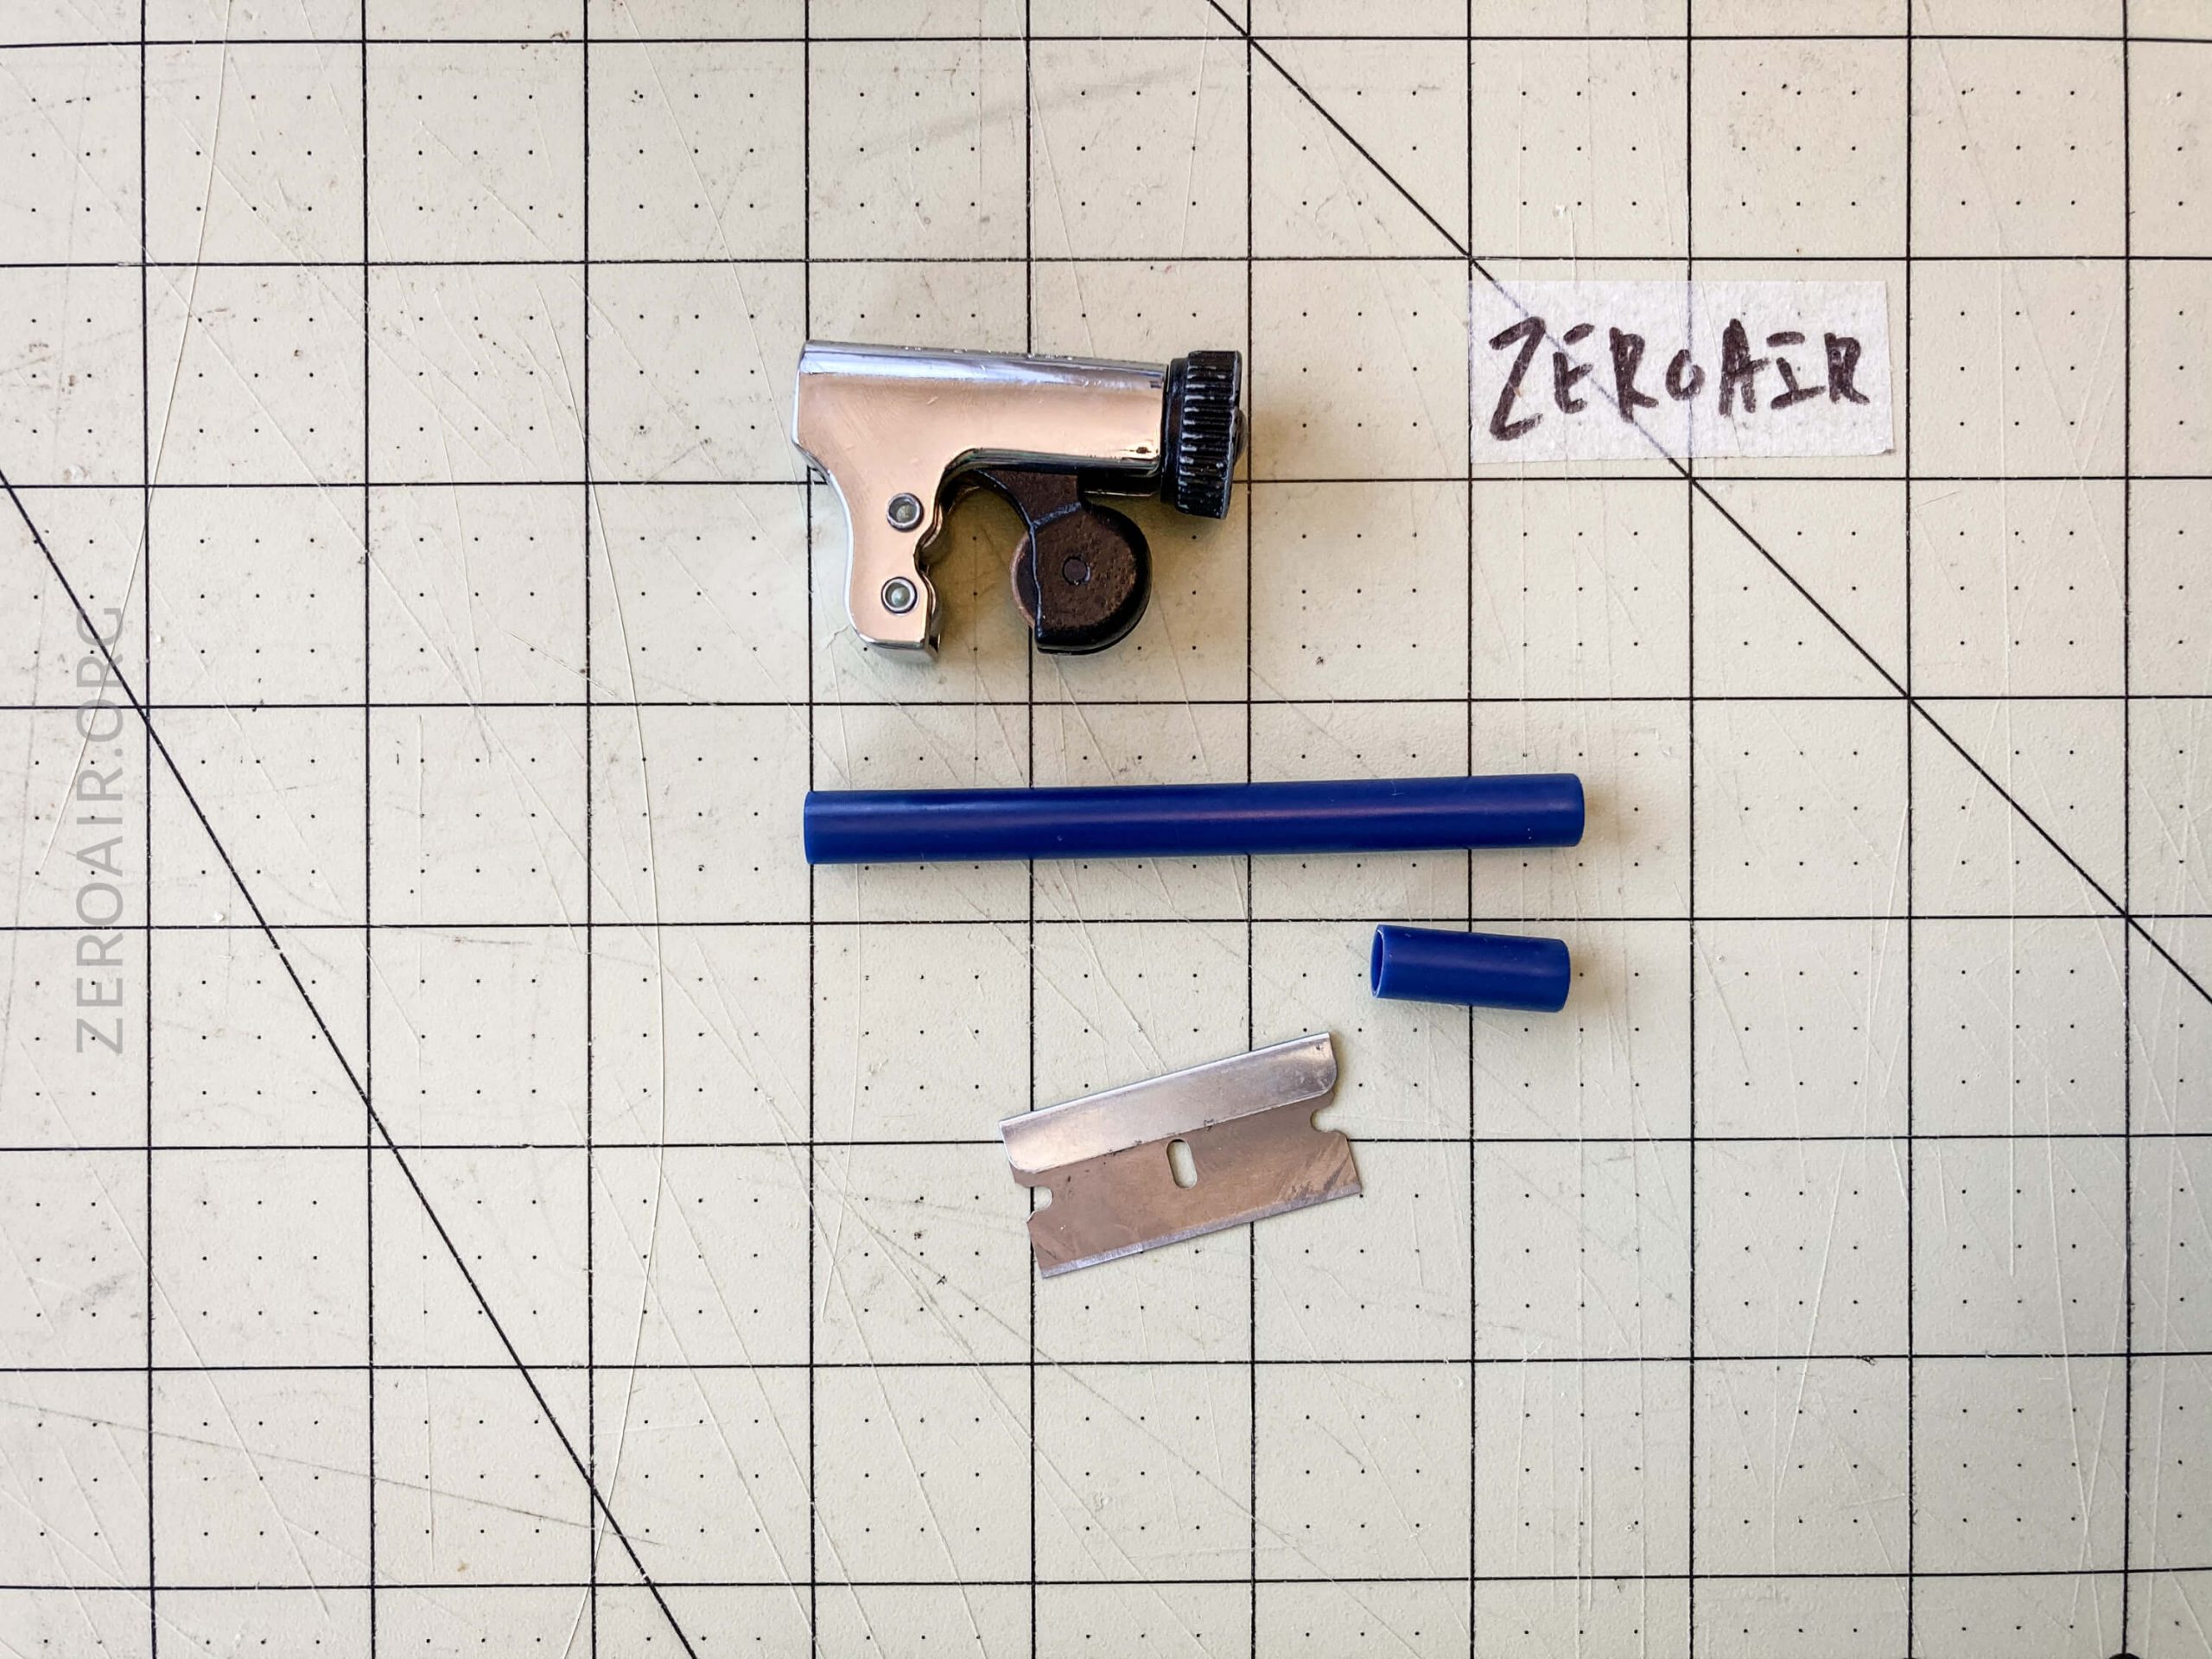
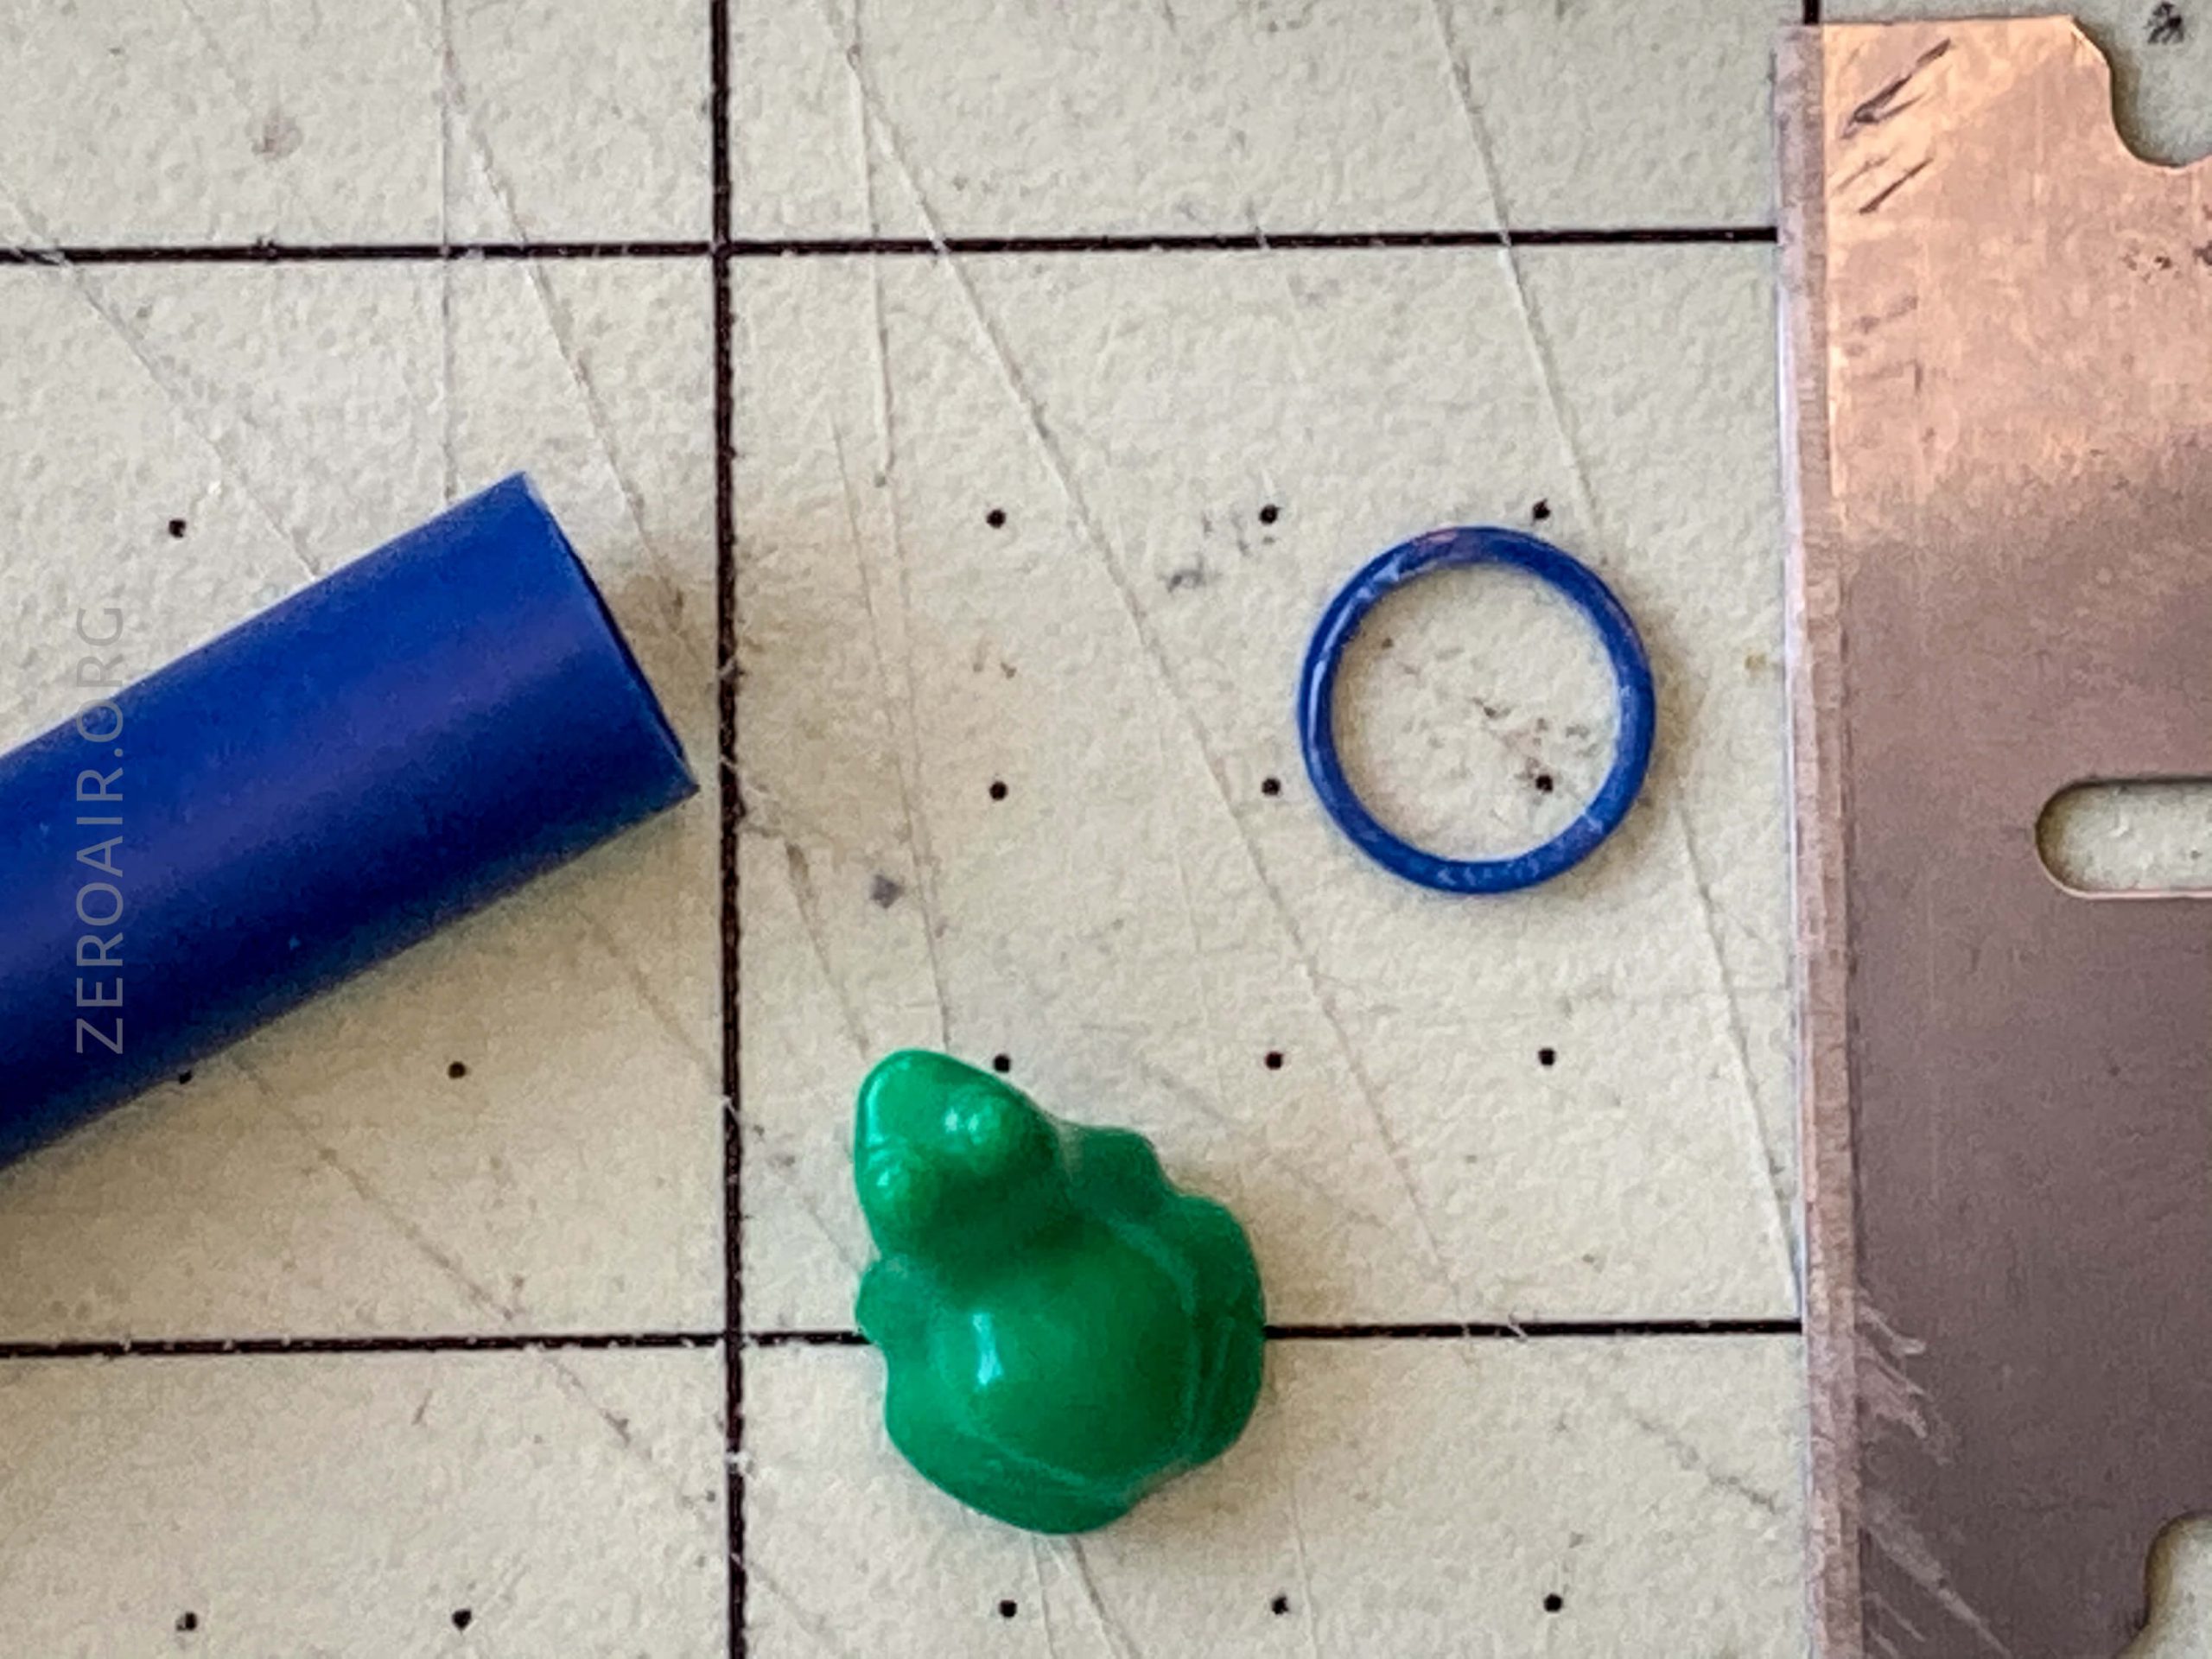
Things that are nice to have for this build (and shown above):
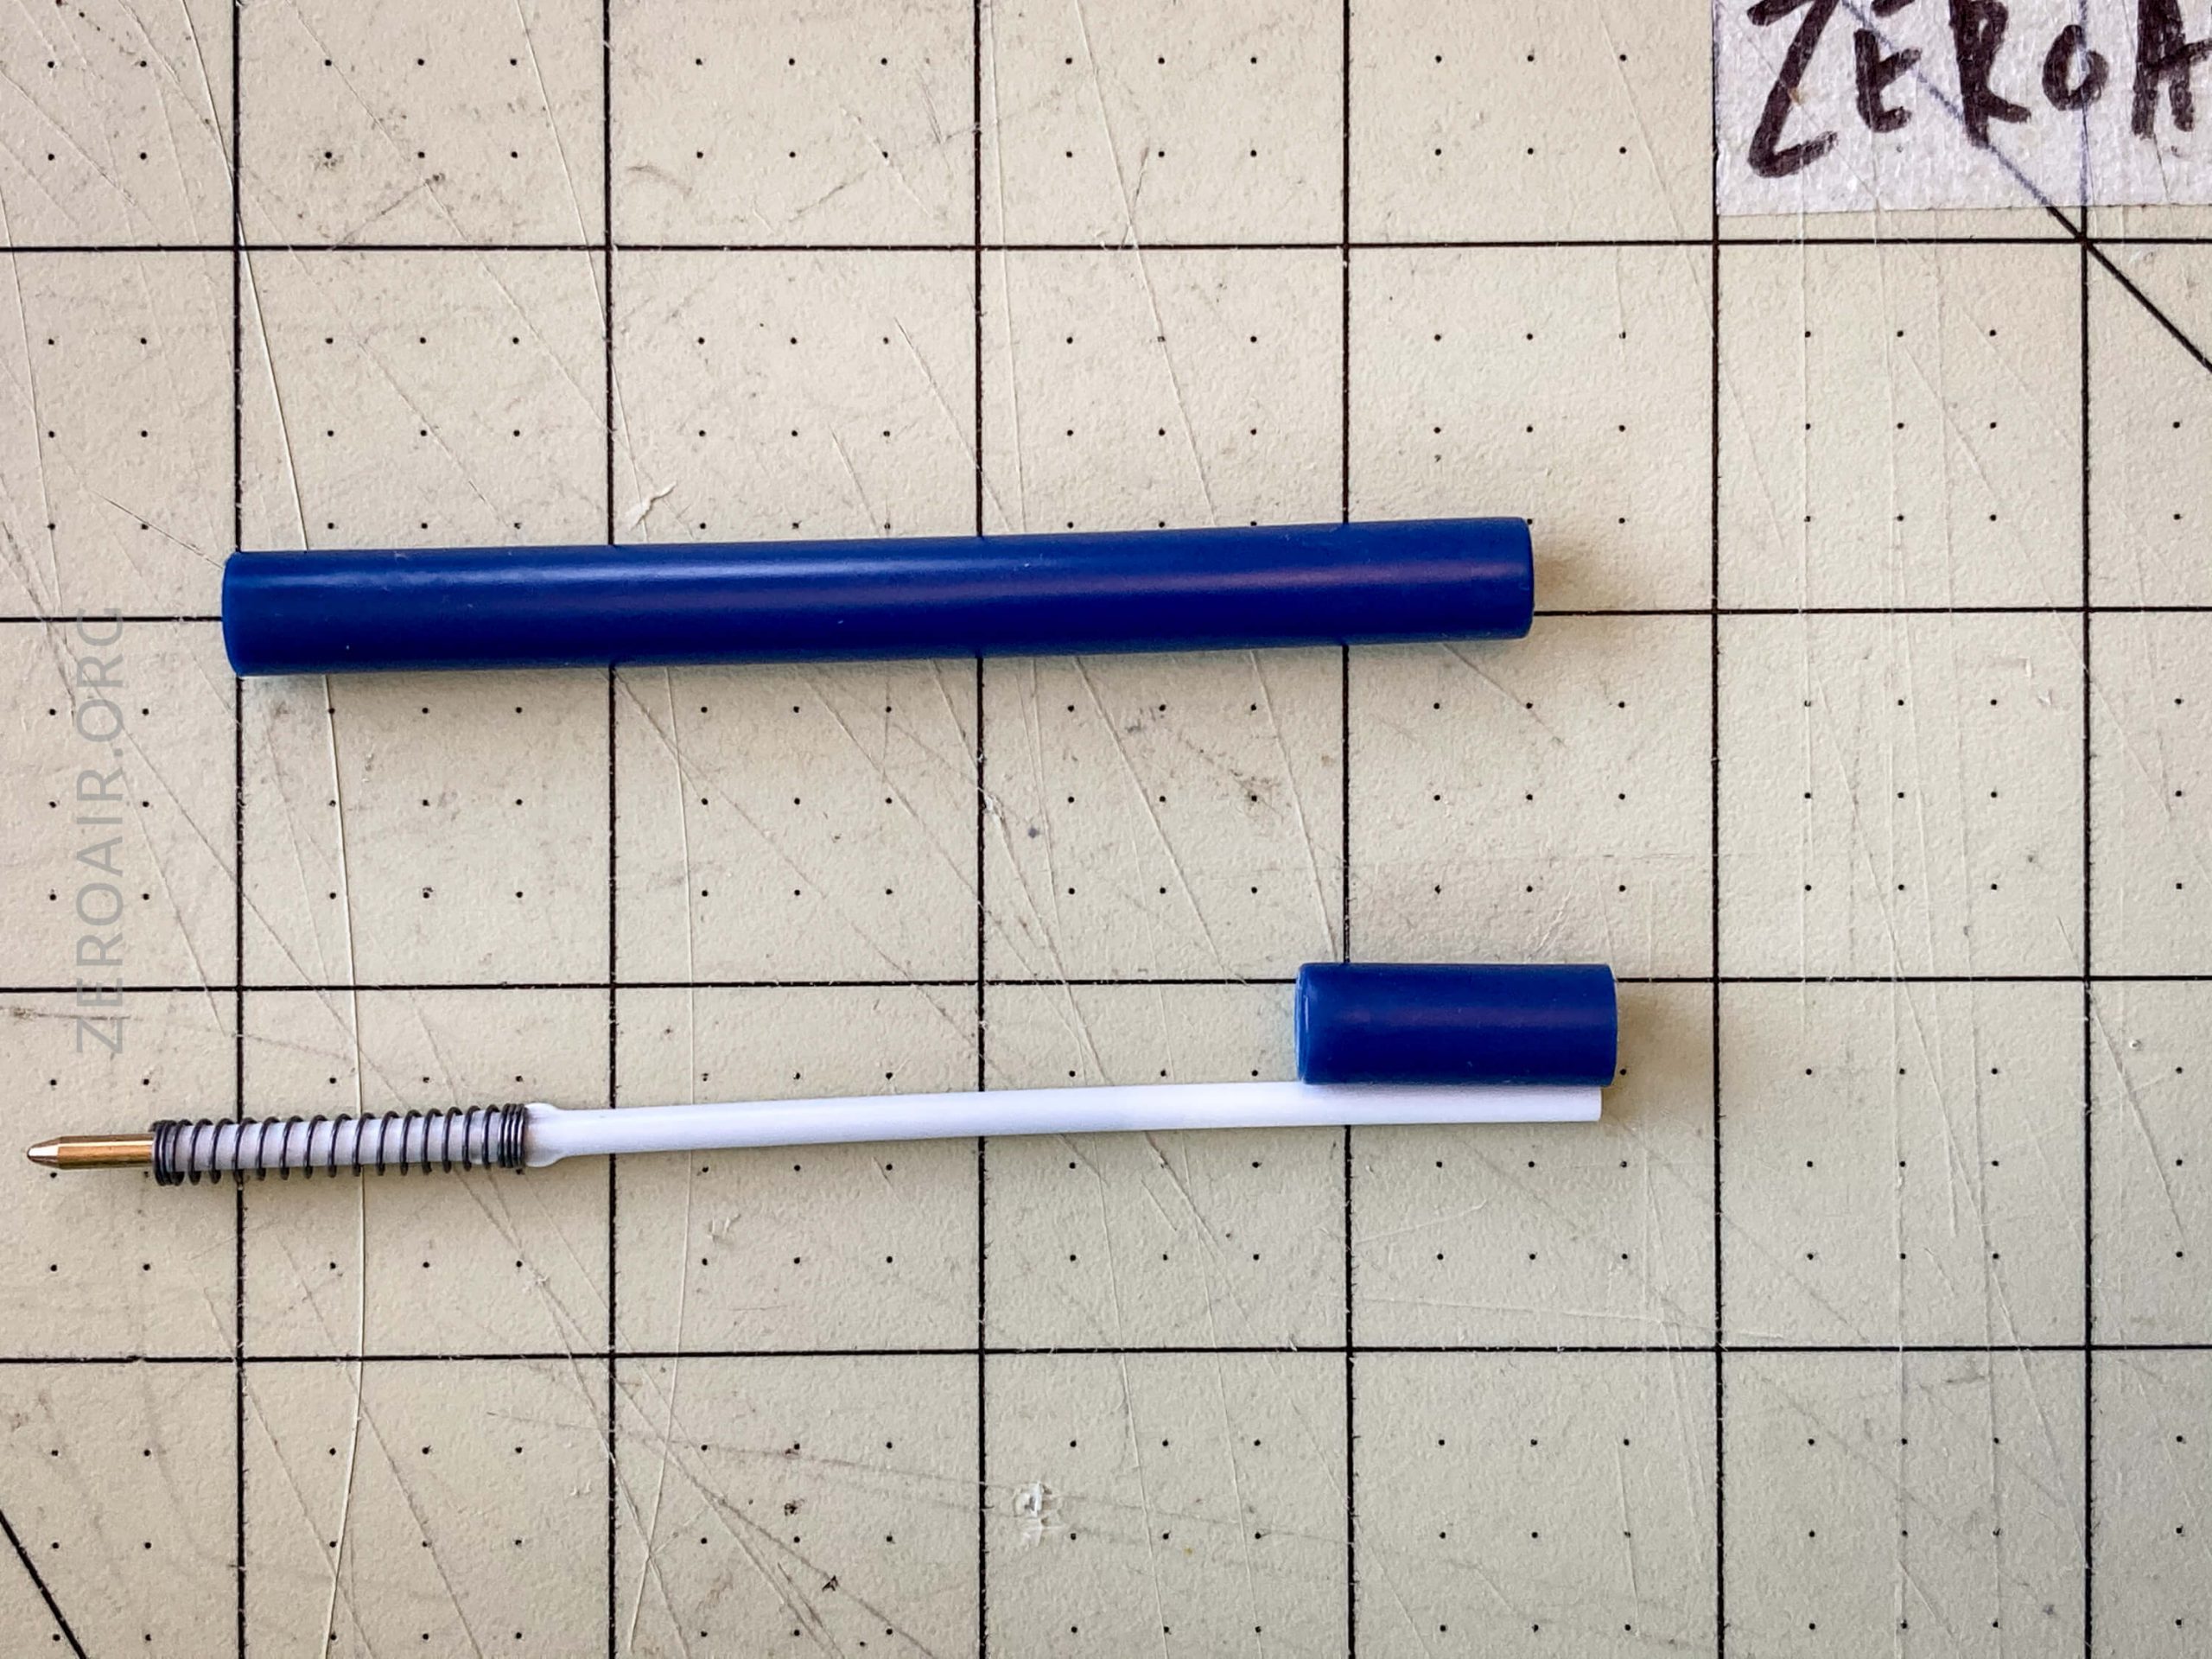
Size
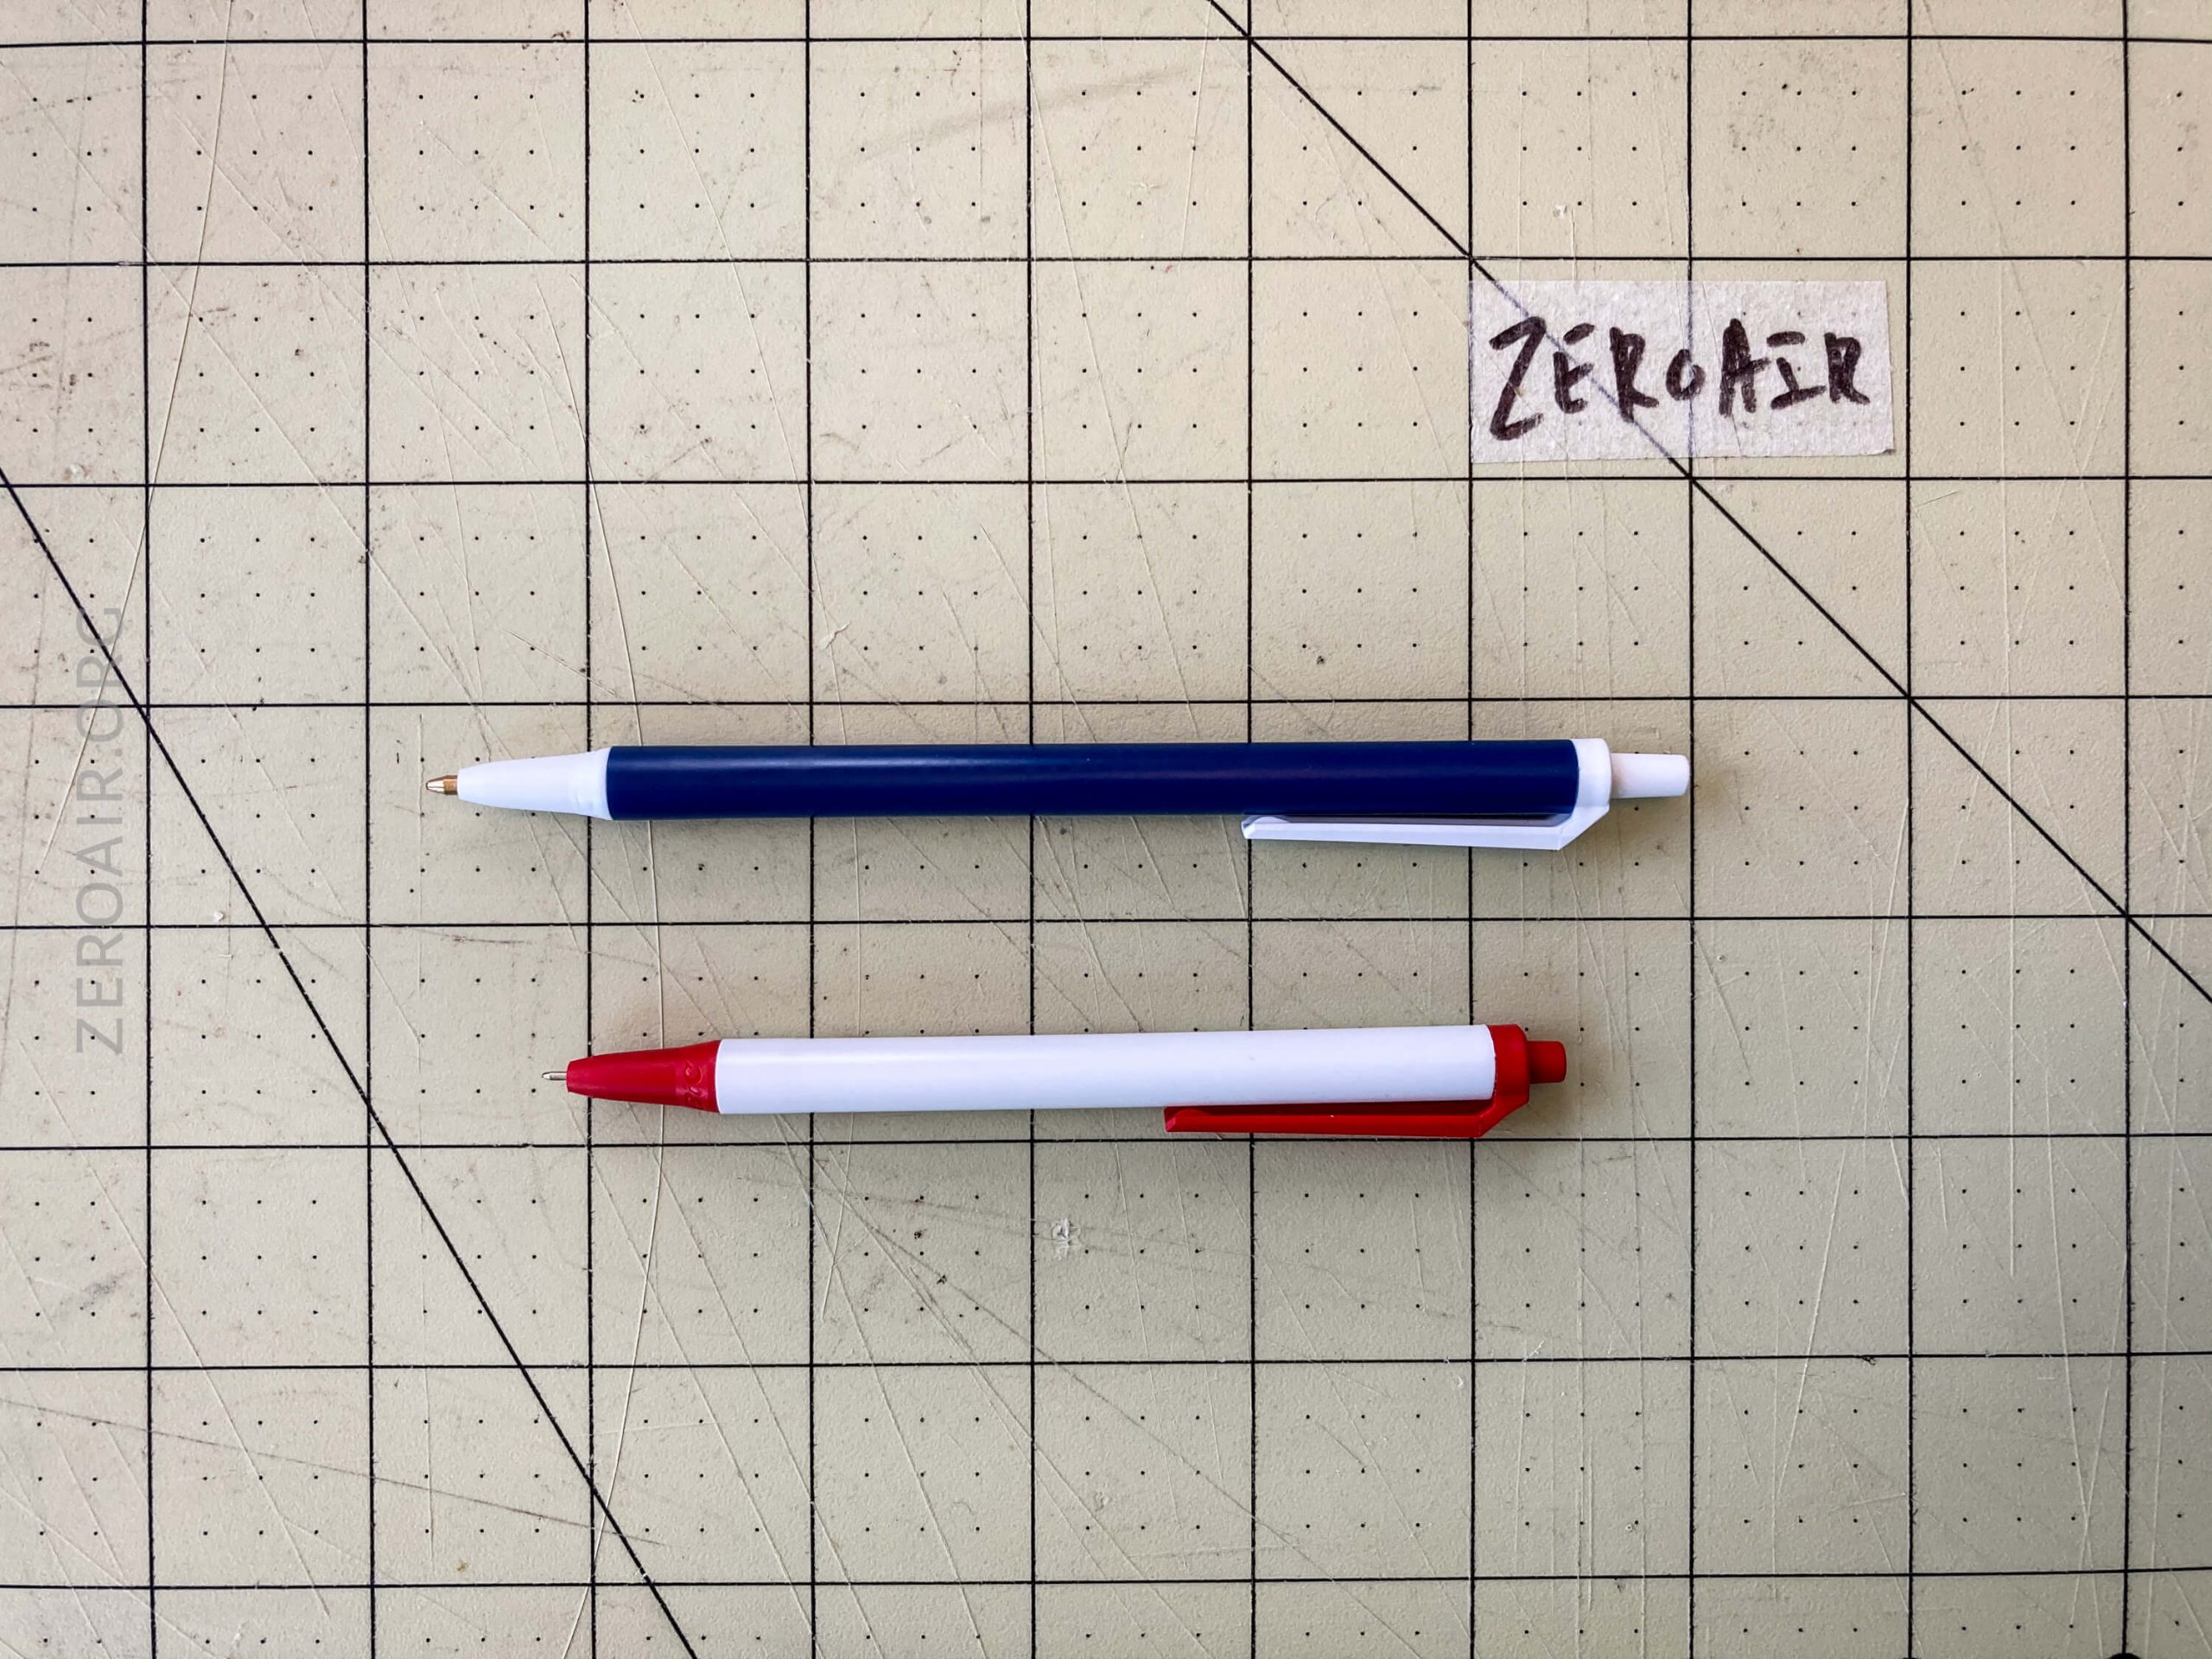
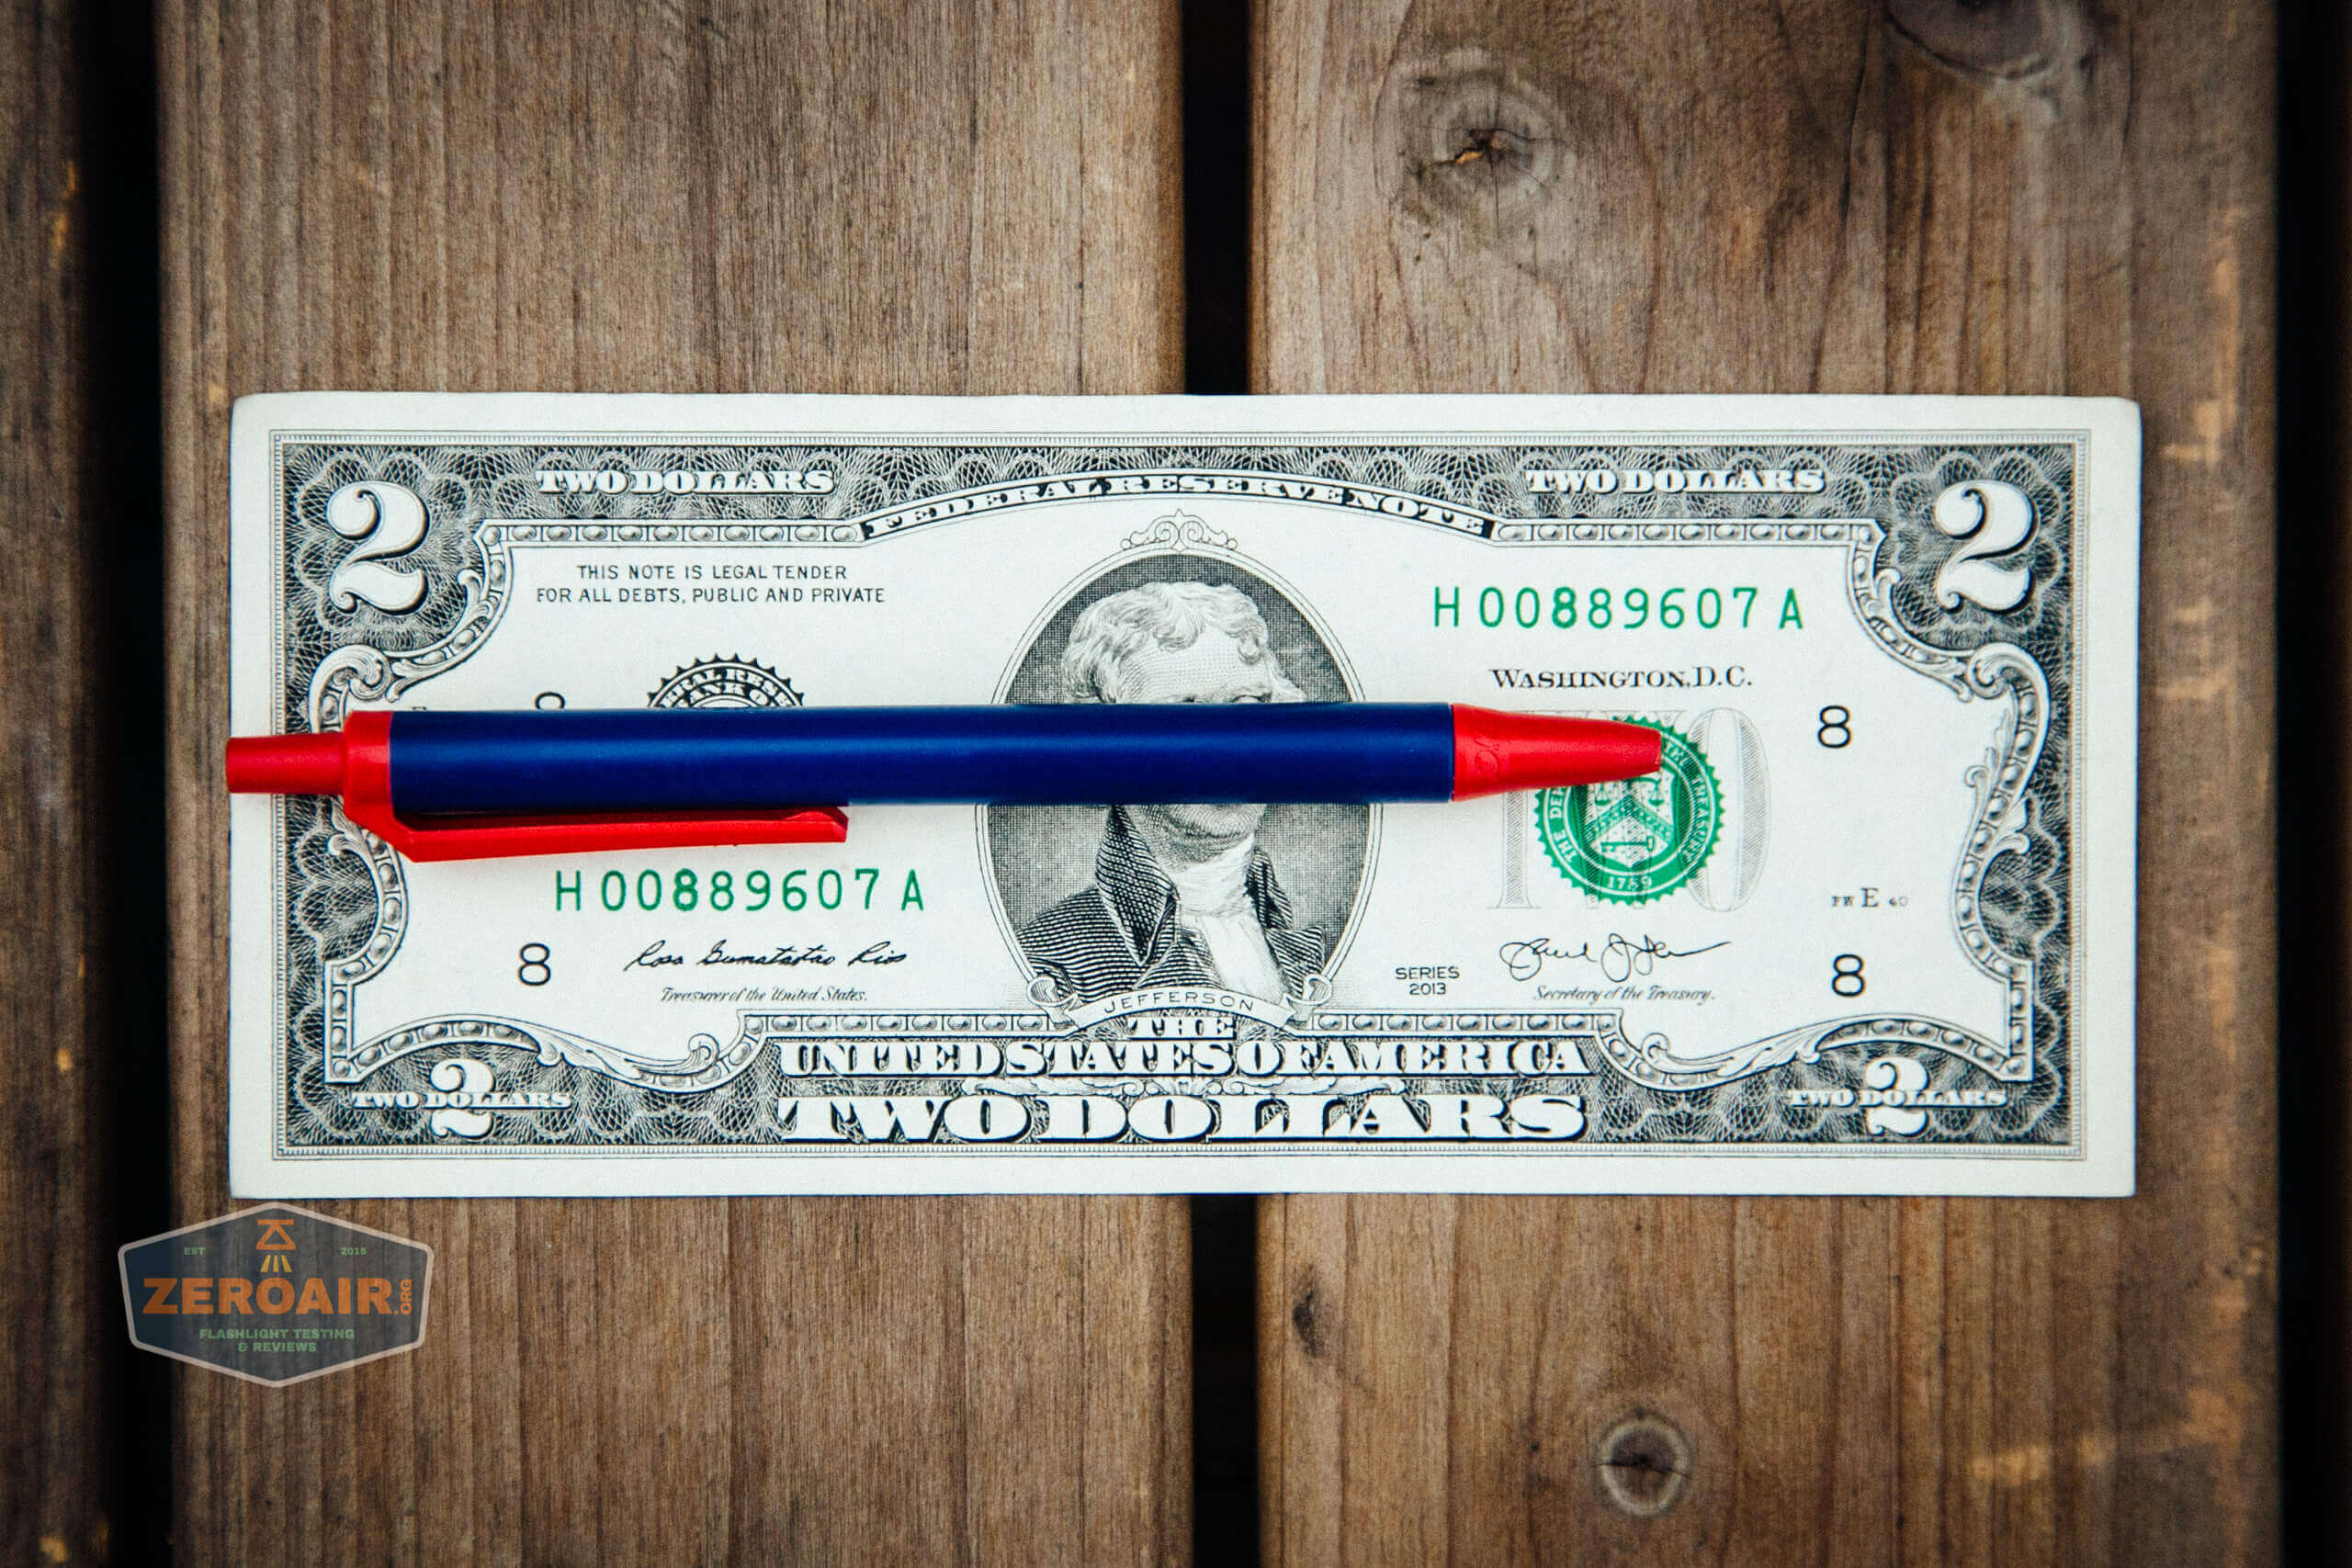
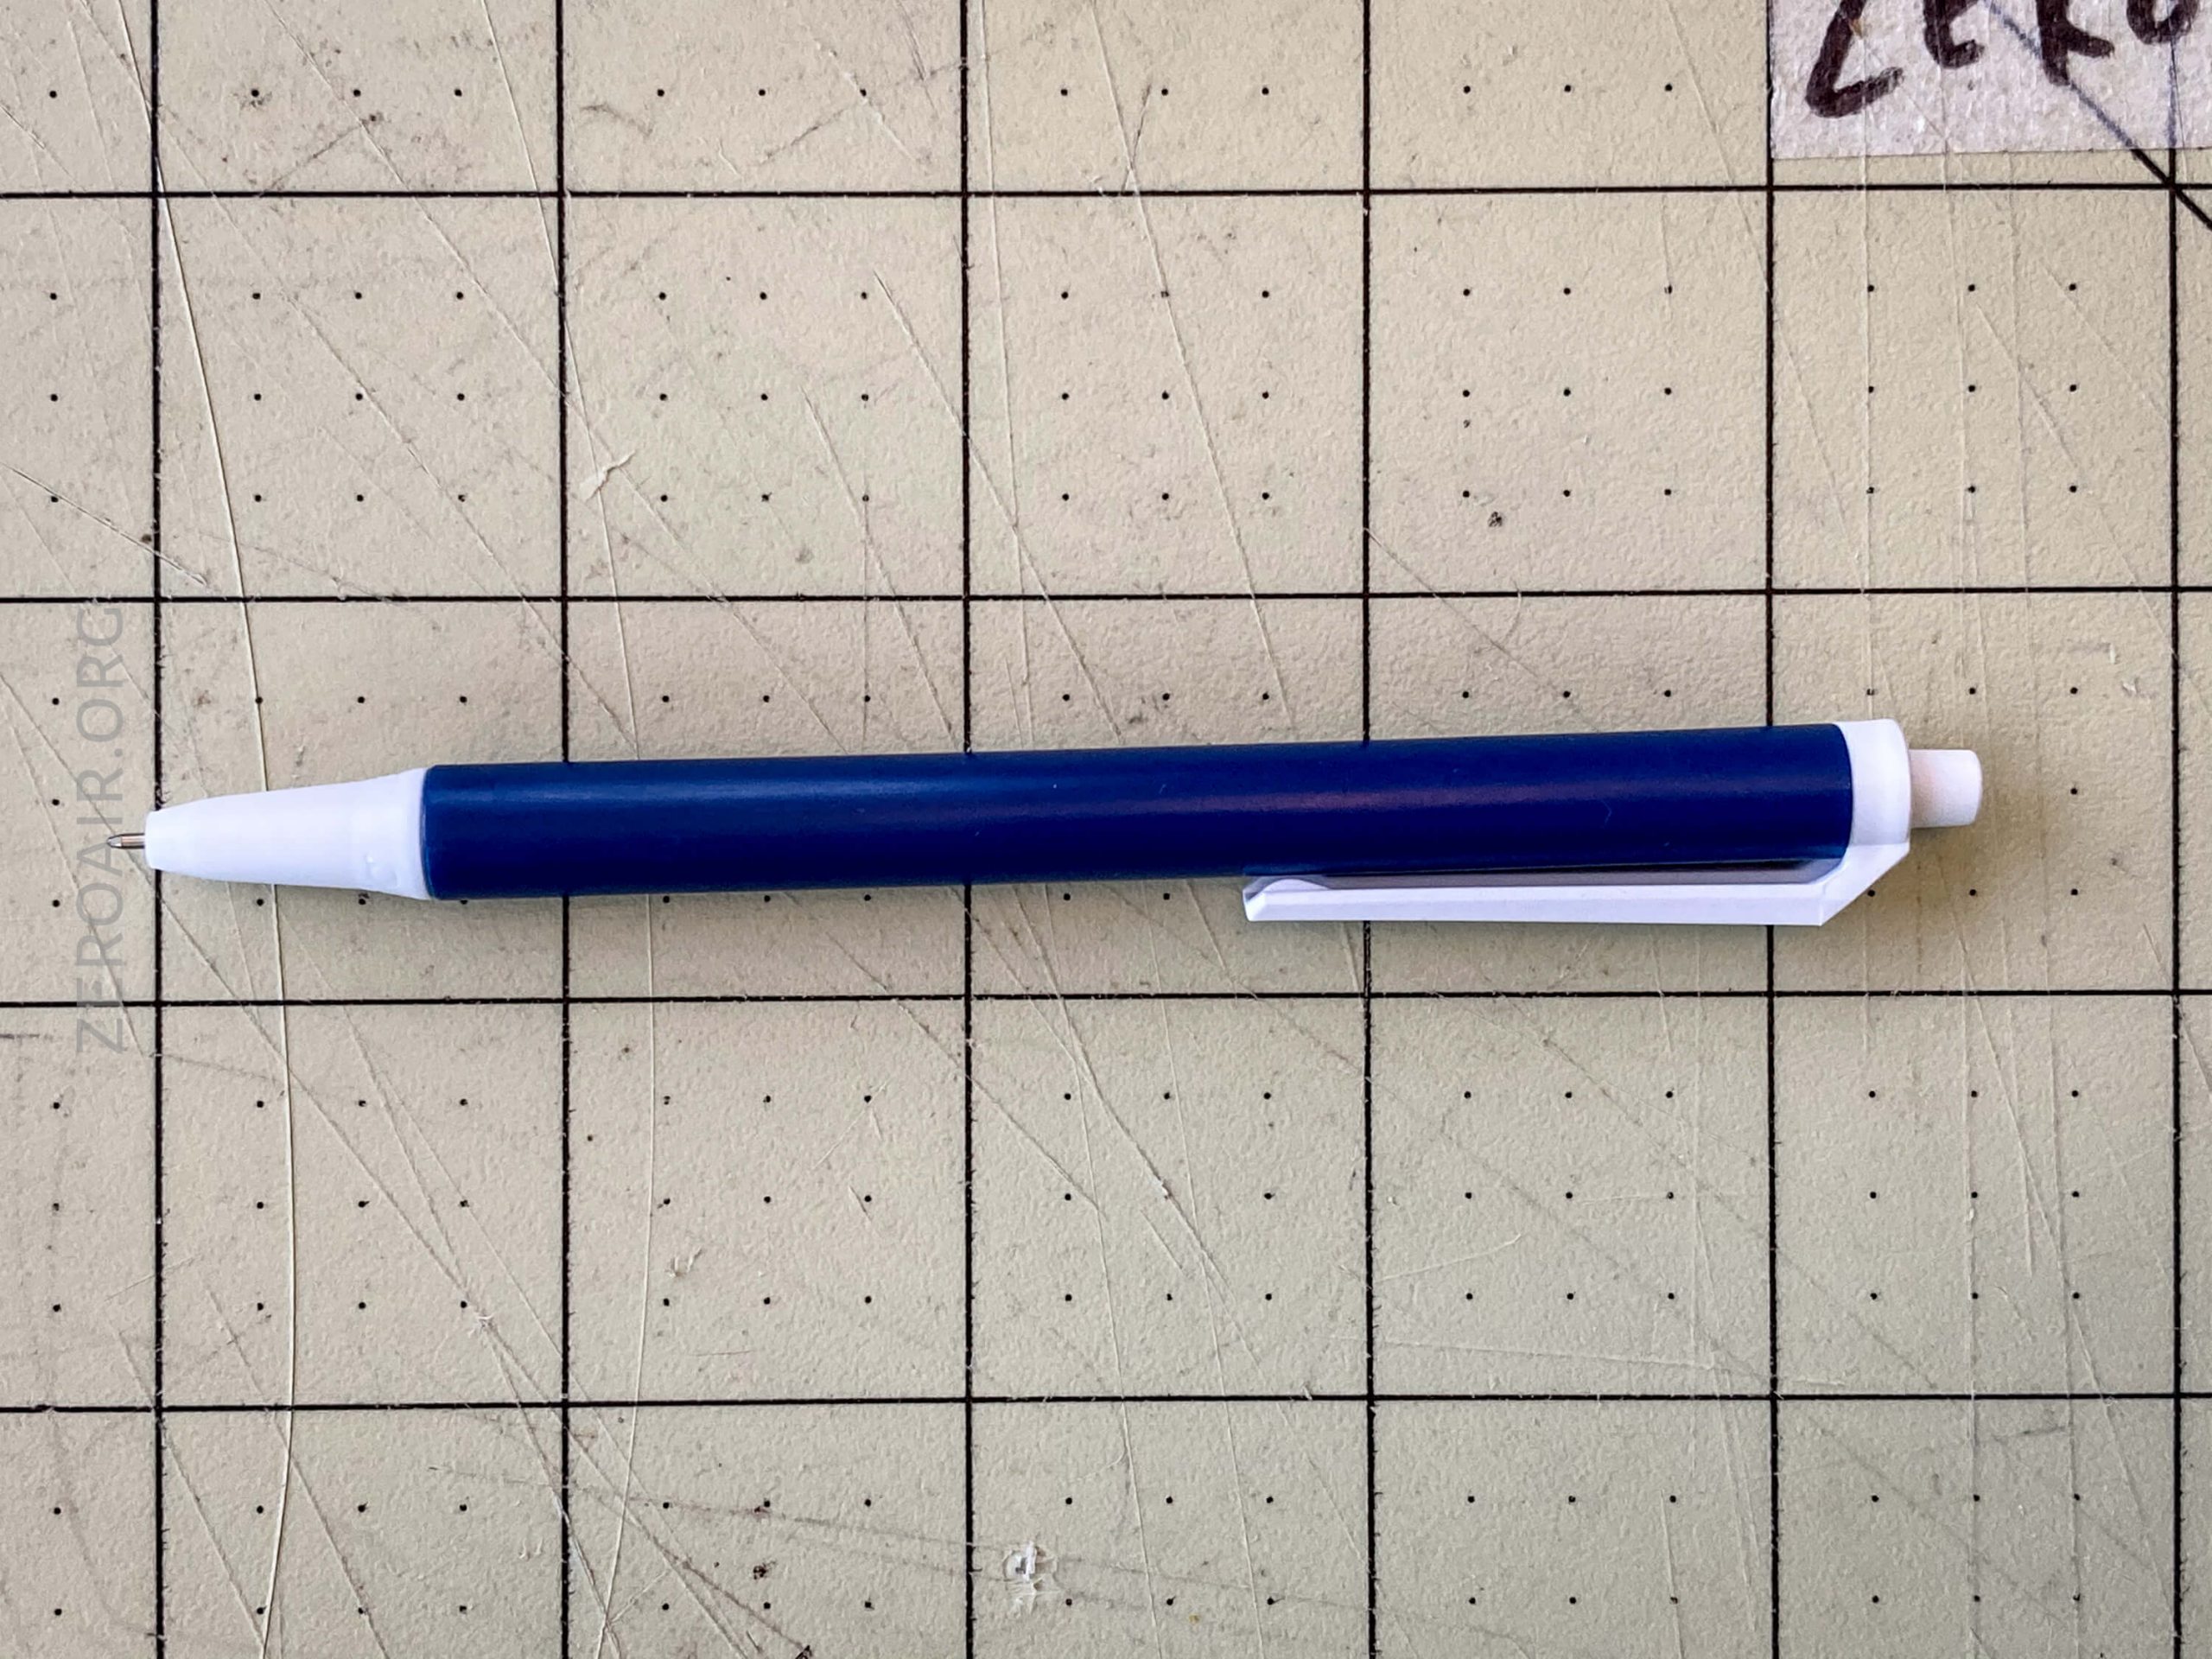
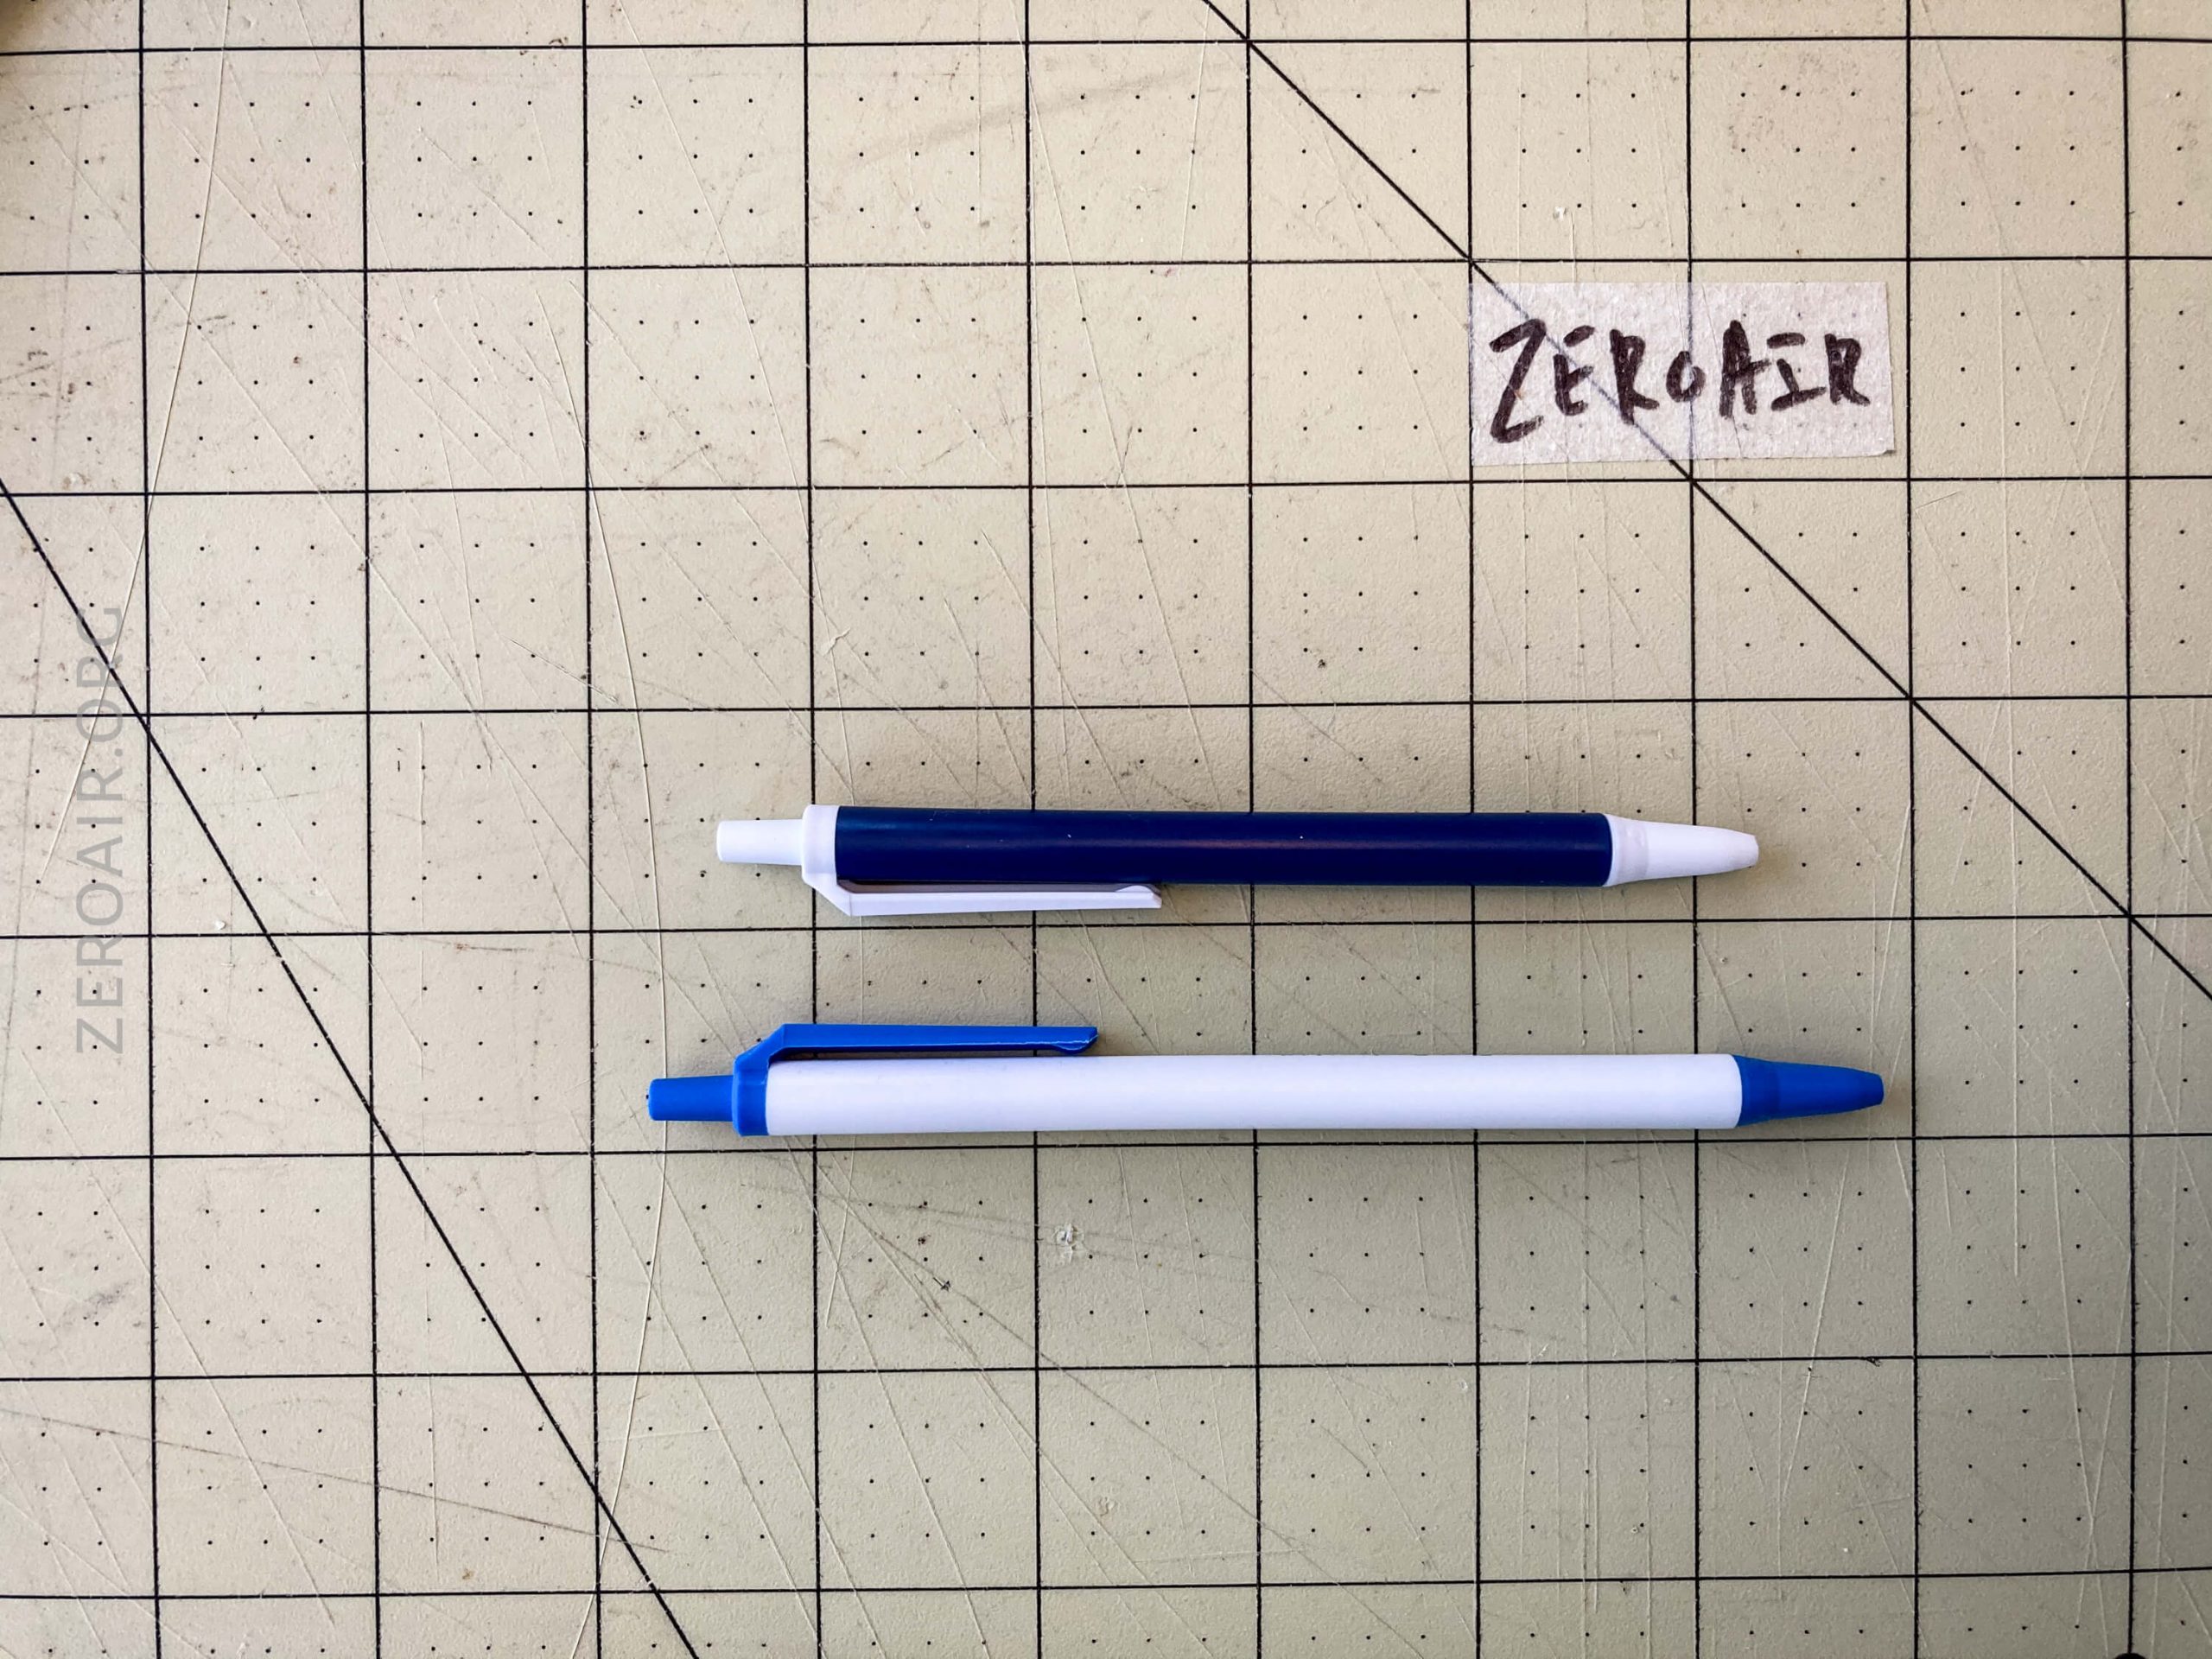
One of the major points of this mod is going from the top size to the bottom size.
Tip to tip, the stock pen is 138mm in length (“closed”). The modded version is around 117mm, but you can vary this to your liking.
The stock pen weighs 4g, and the version modified as shown increases in weight to 6g. It’s a very small weight, but as a percentage, it’s a massive increase! If you feel 6g is still too low, add more donut magnets!
Build Log
Ultimately, the steps are:
- Shorten the pen
- Bore the tip minimally
- Slip magnets over the ink
- Install replacement ink
- Put the pen back together
But below is a more photographic display of those steps, with more thoughts, of course. 😀
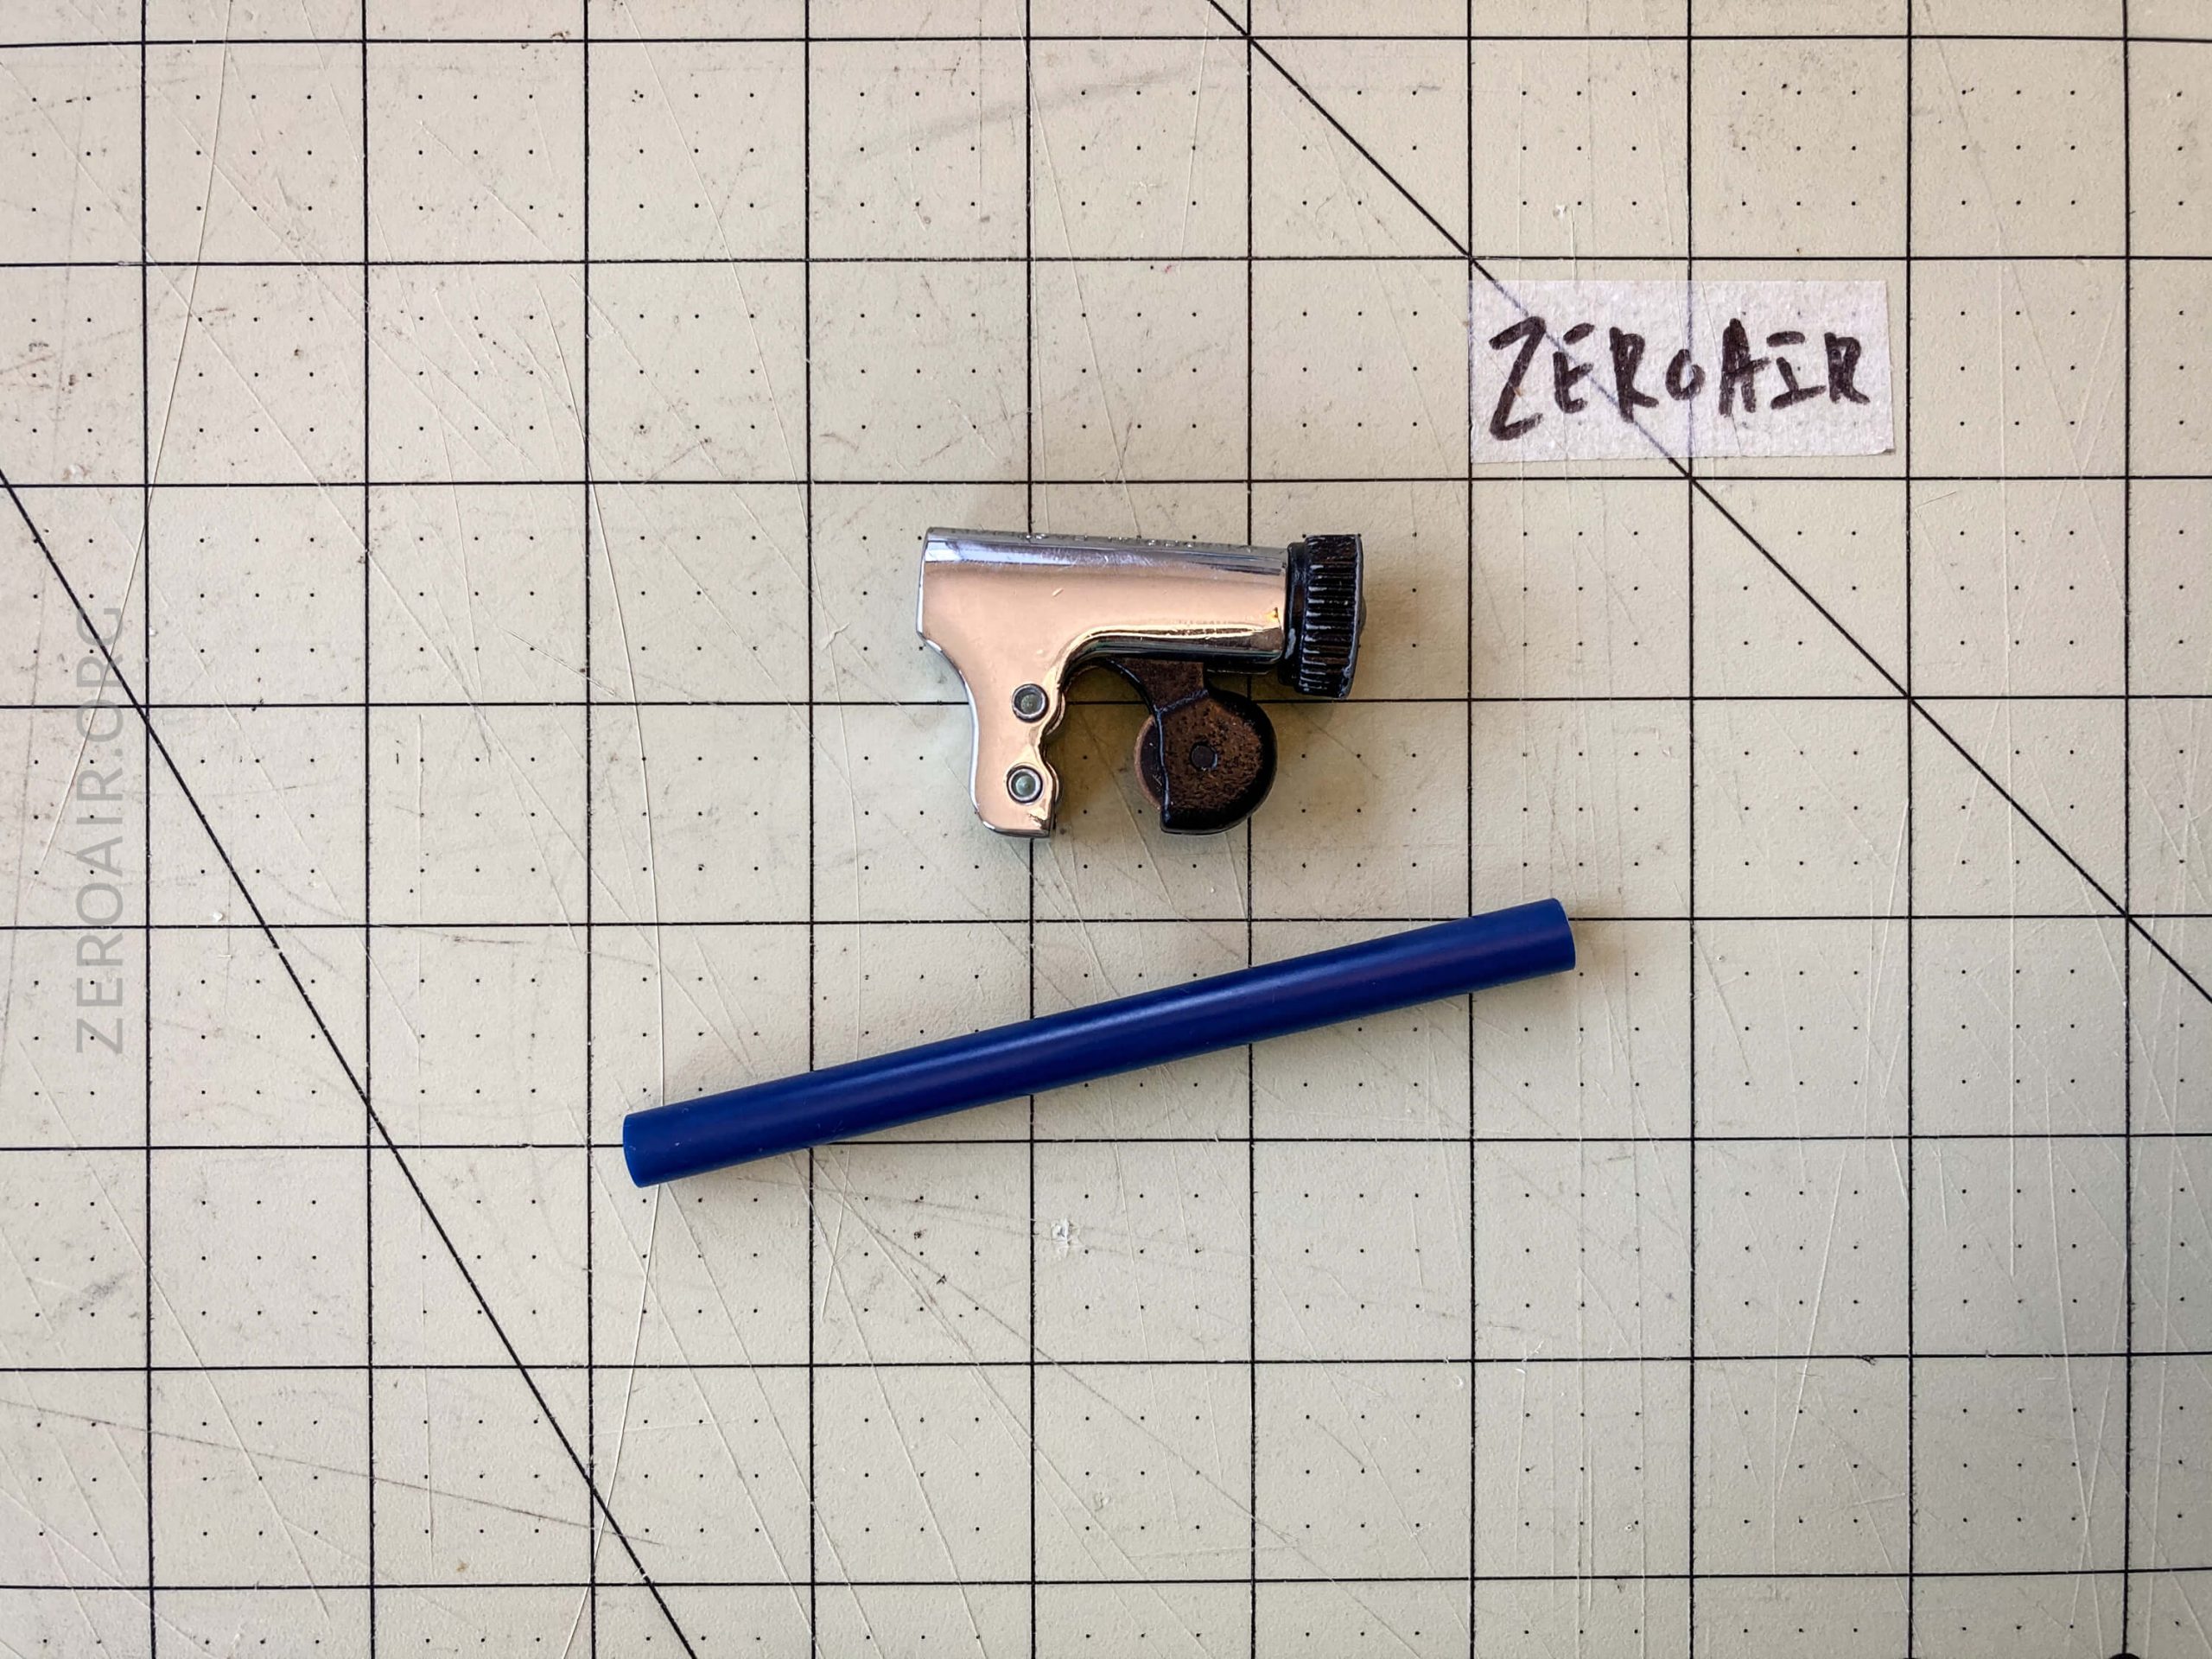
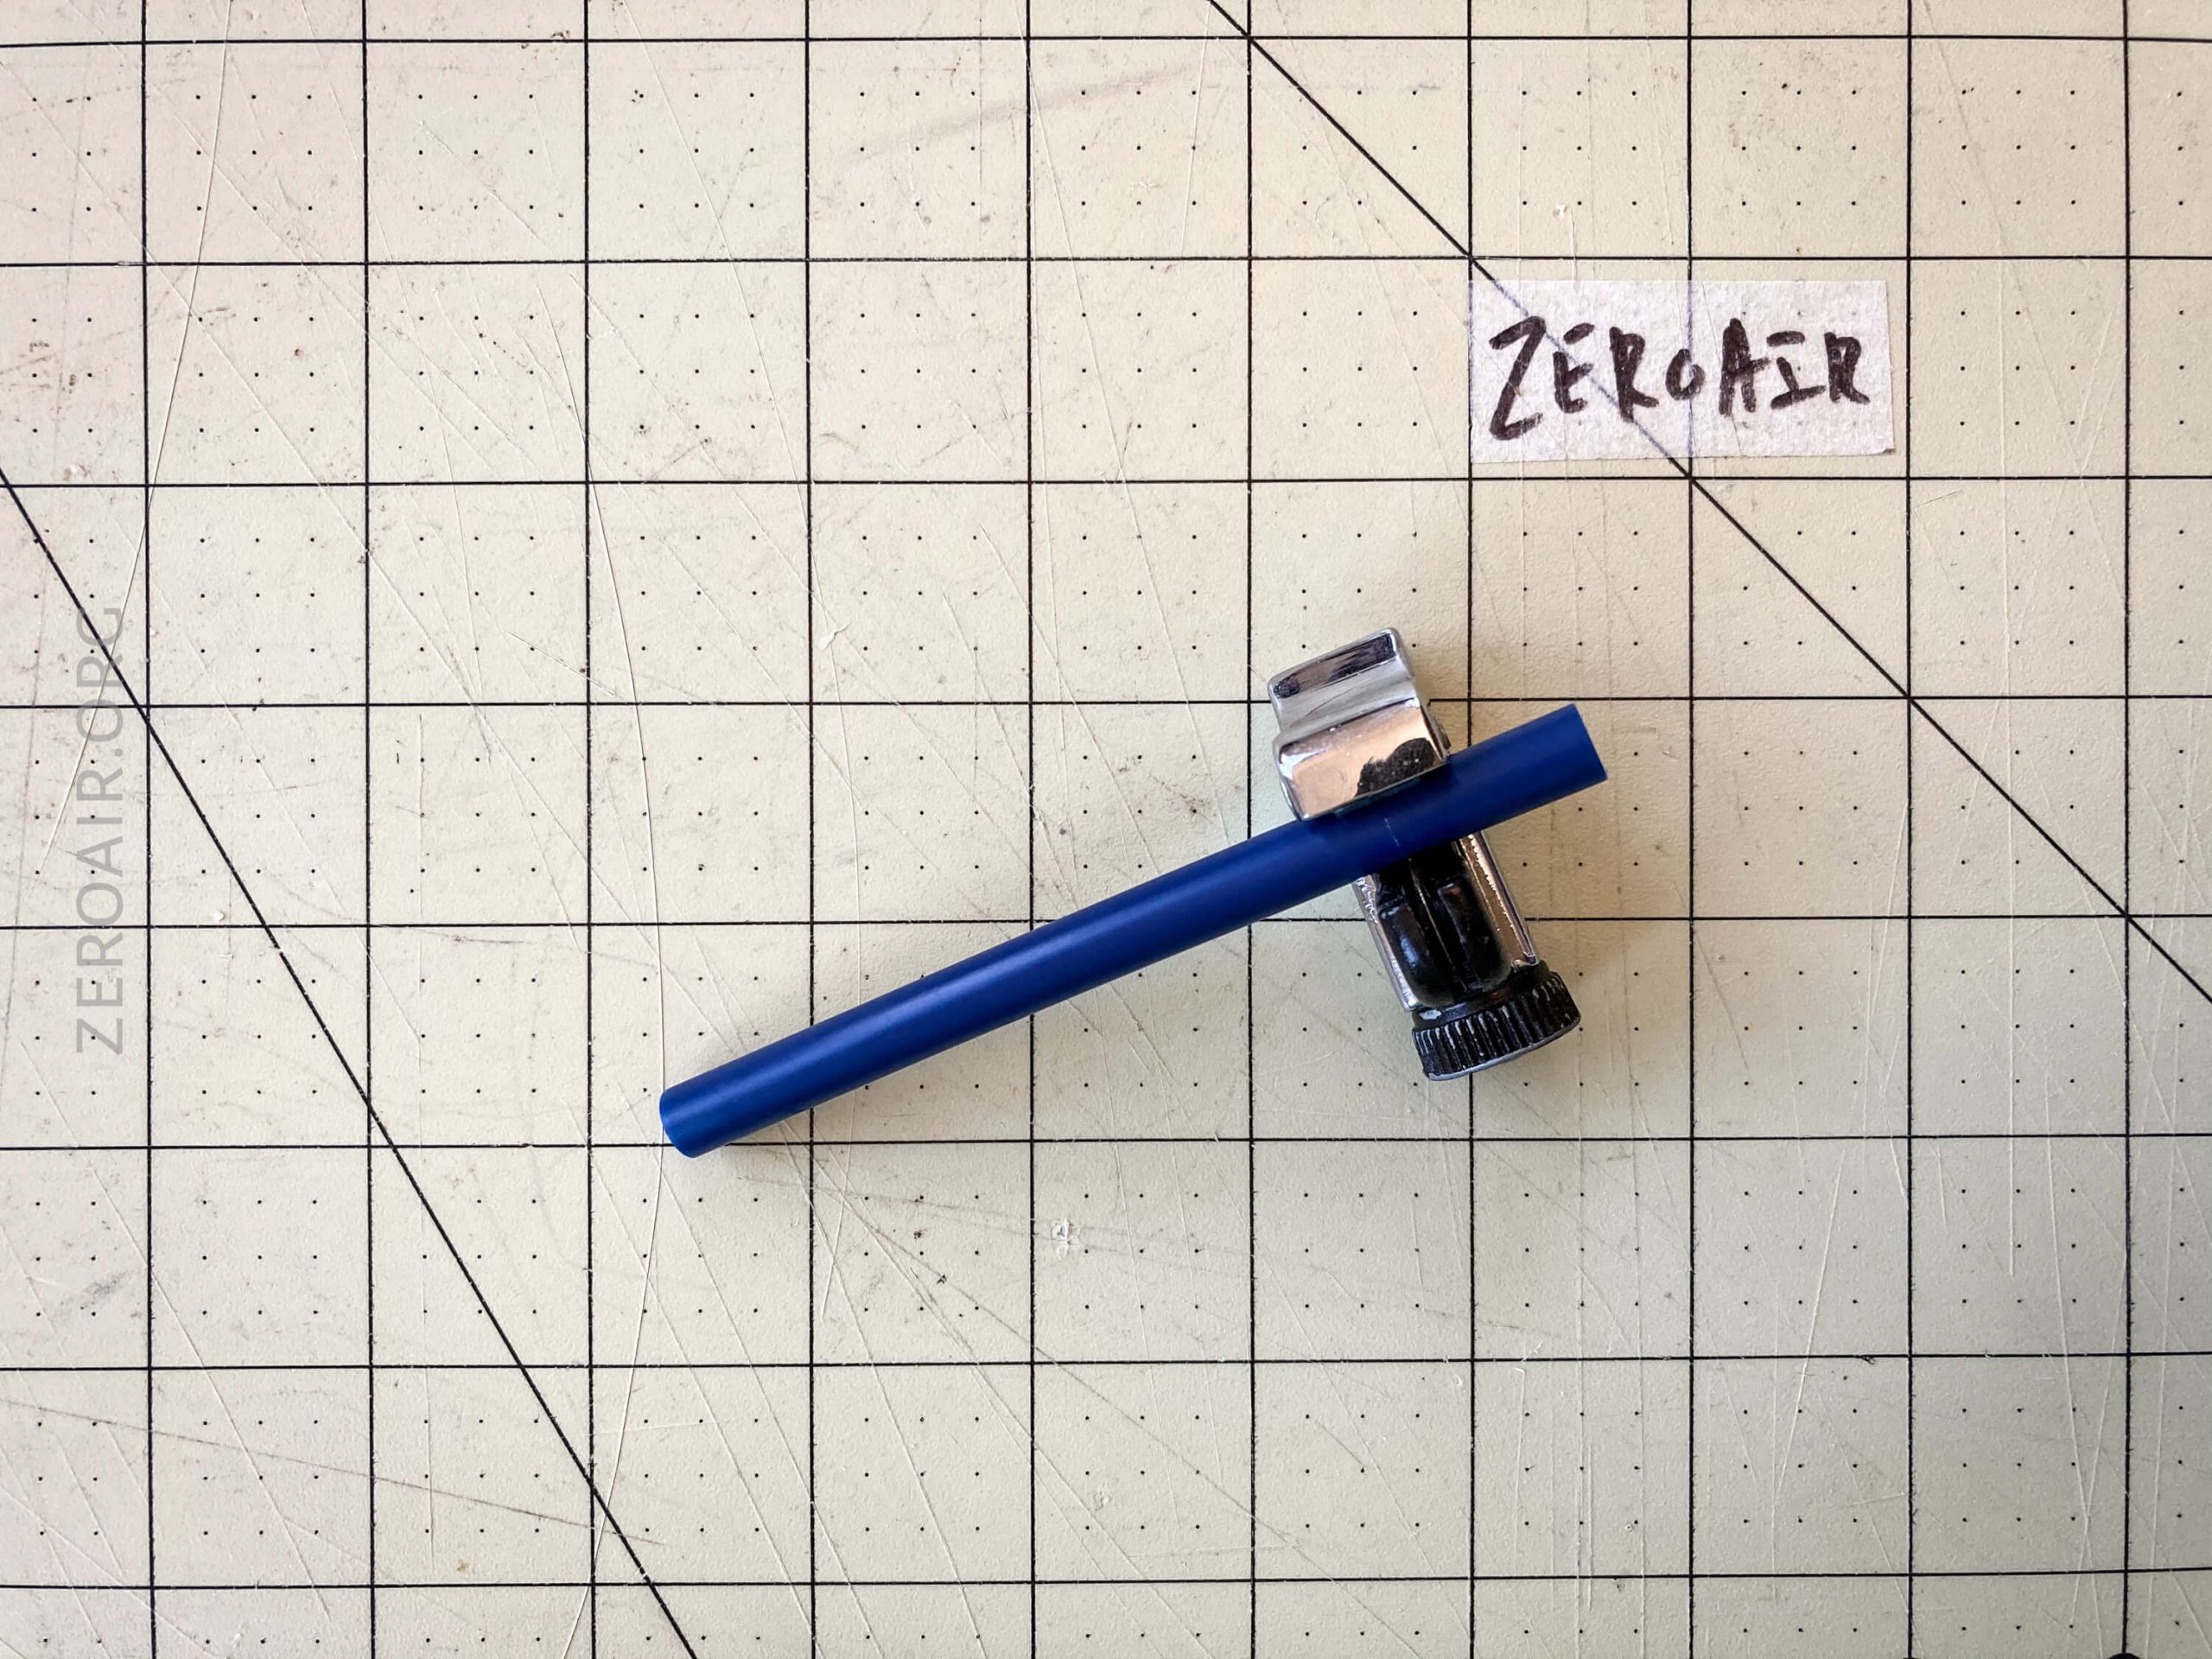
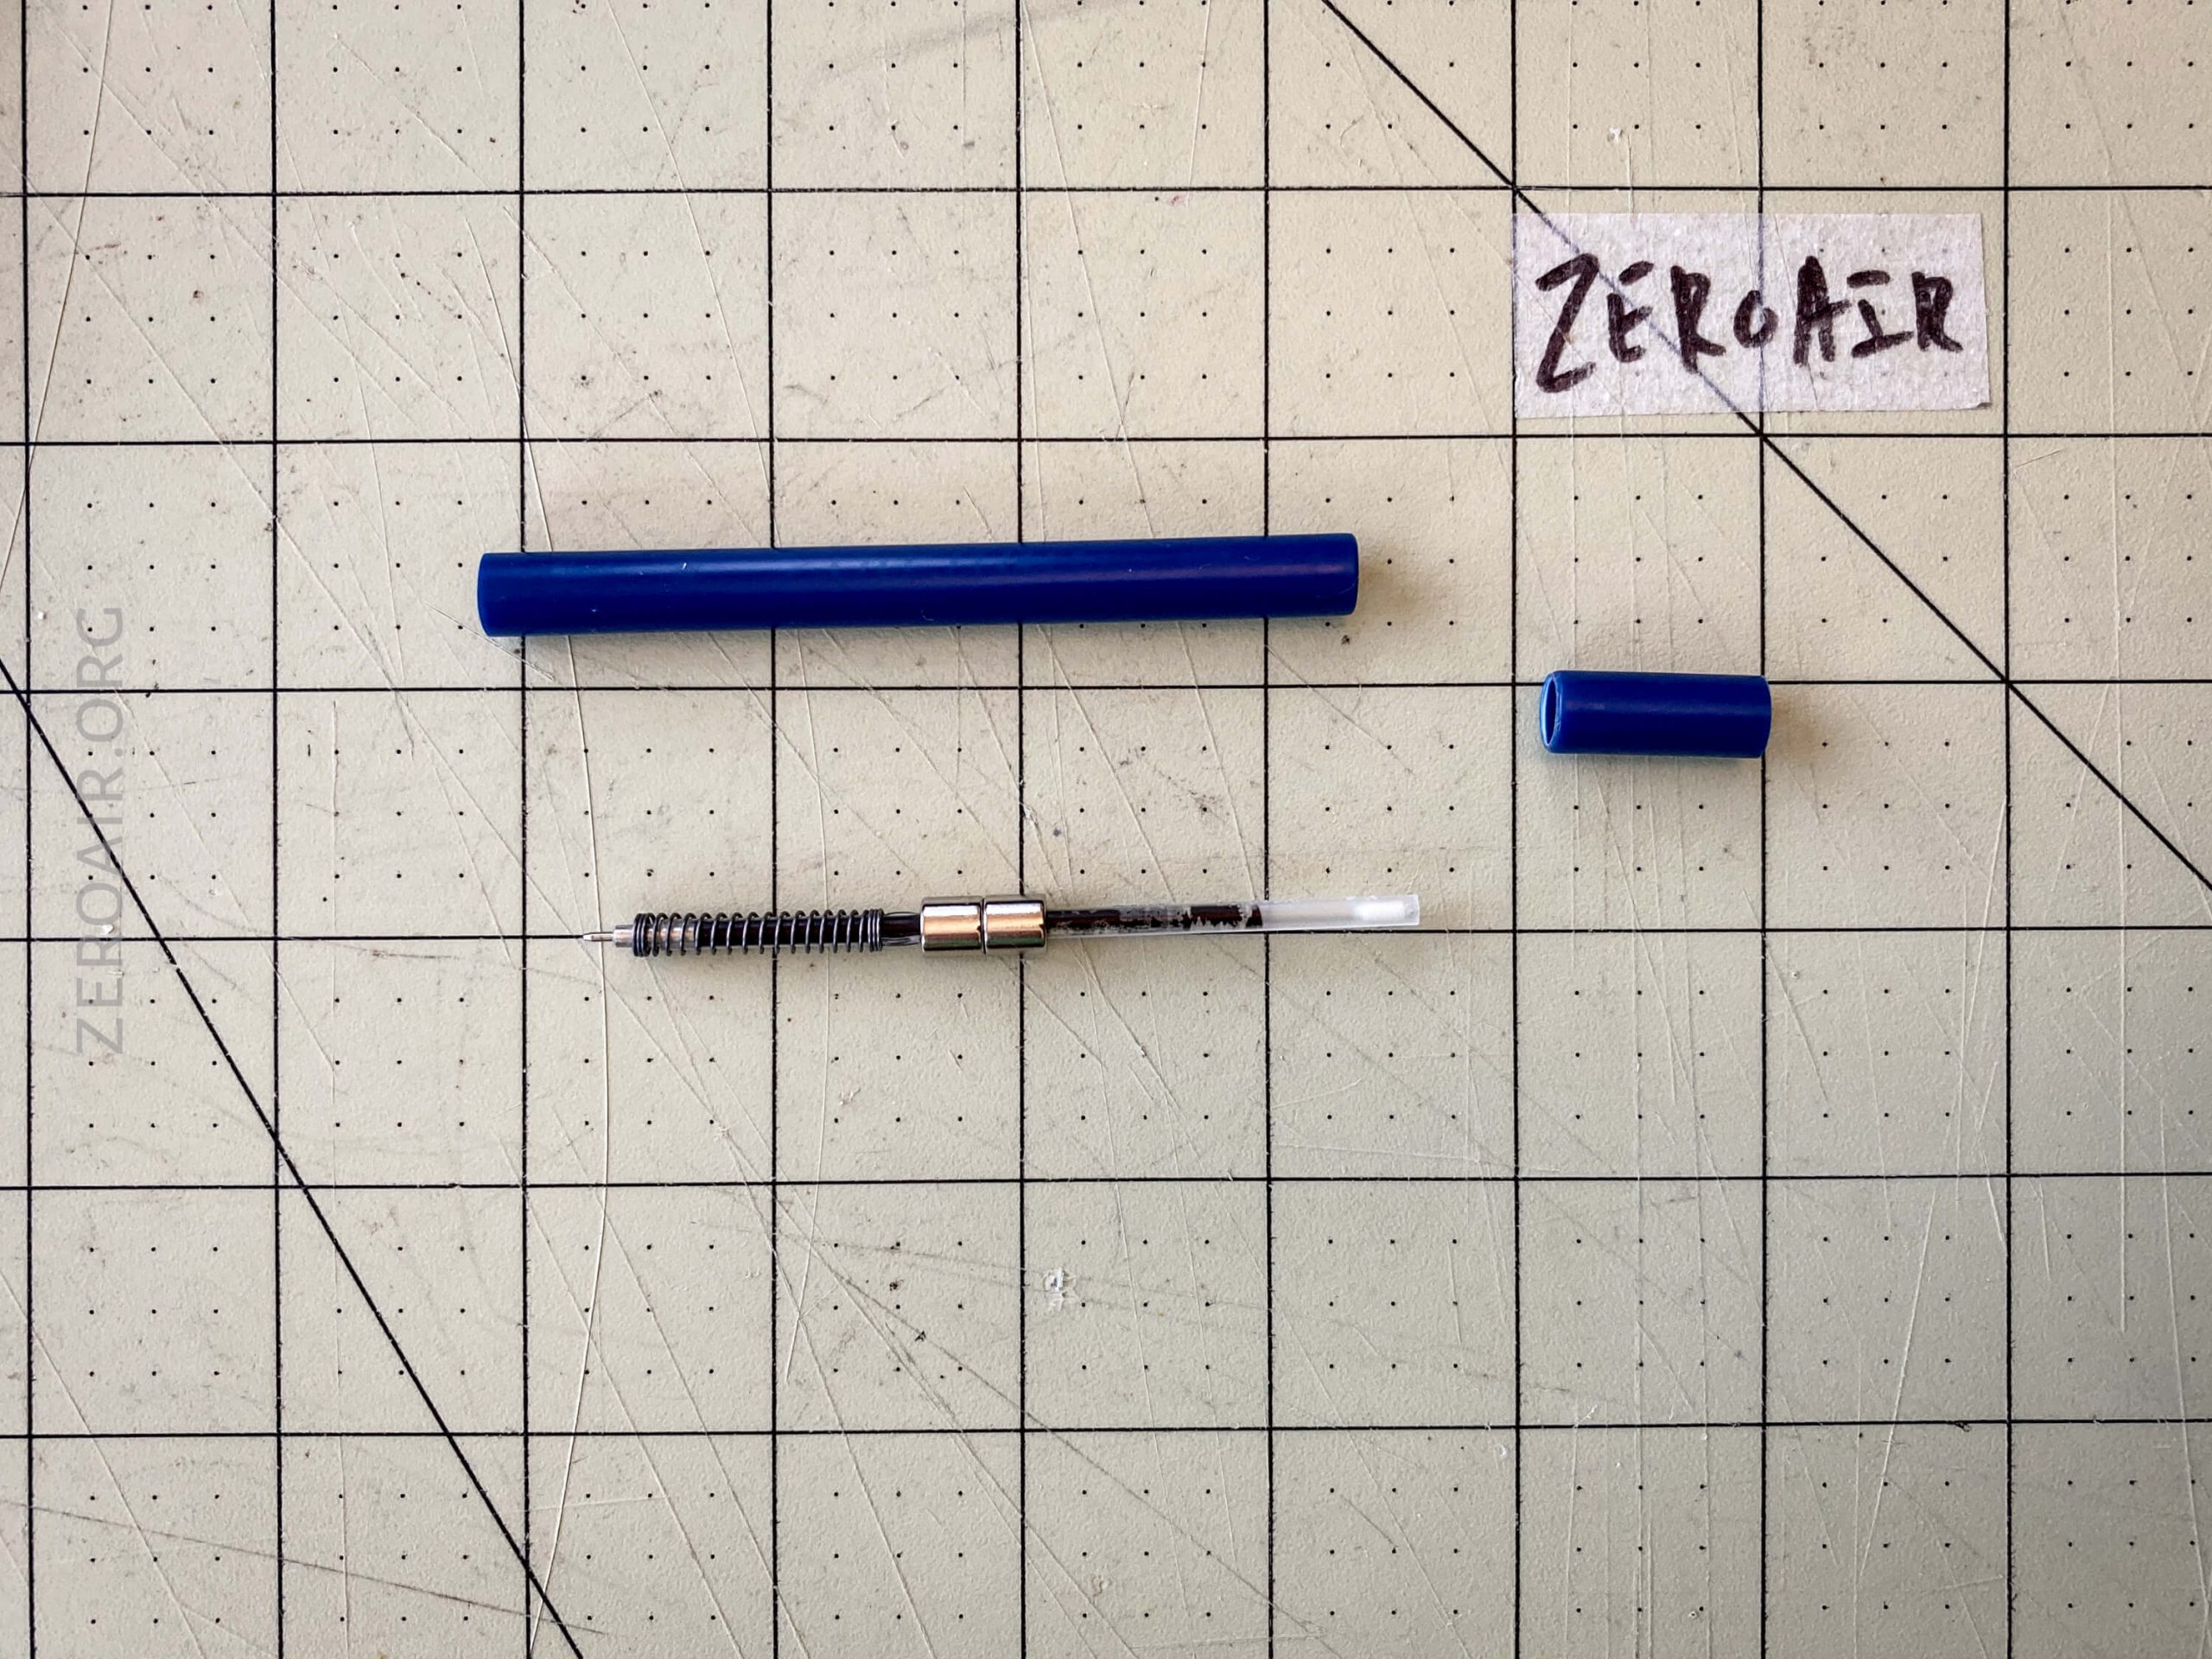
Disassemble the pen!
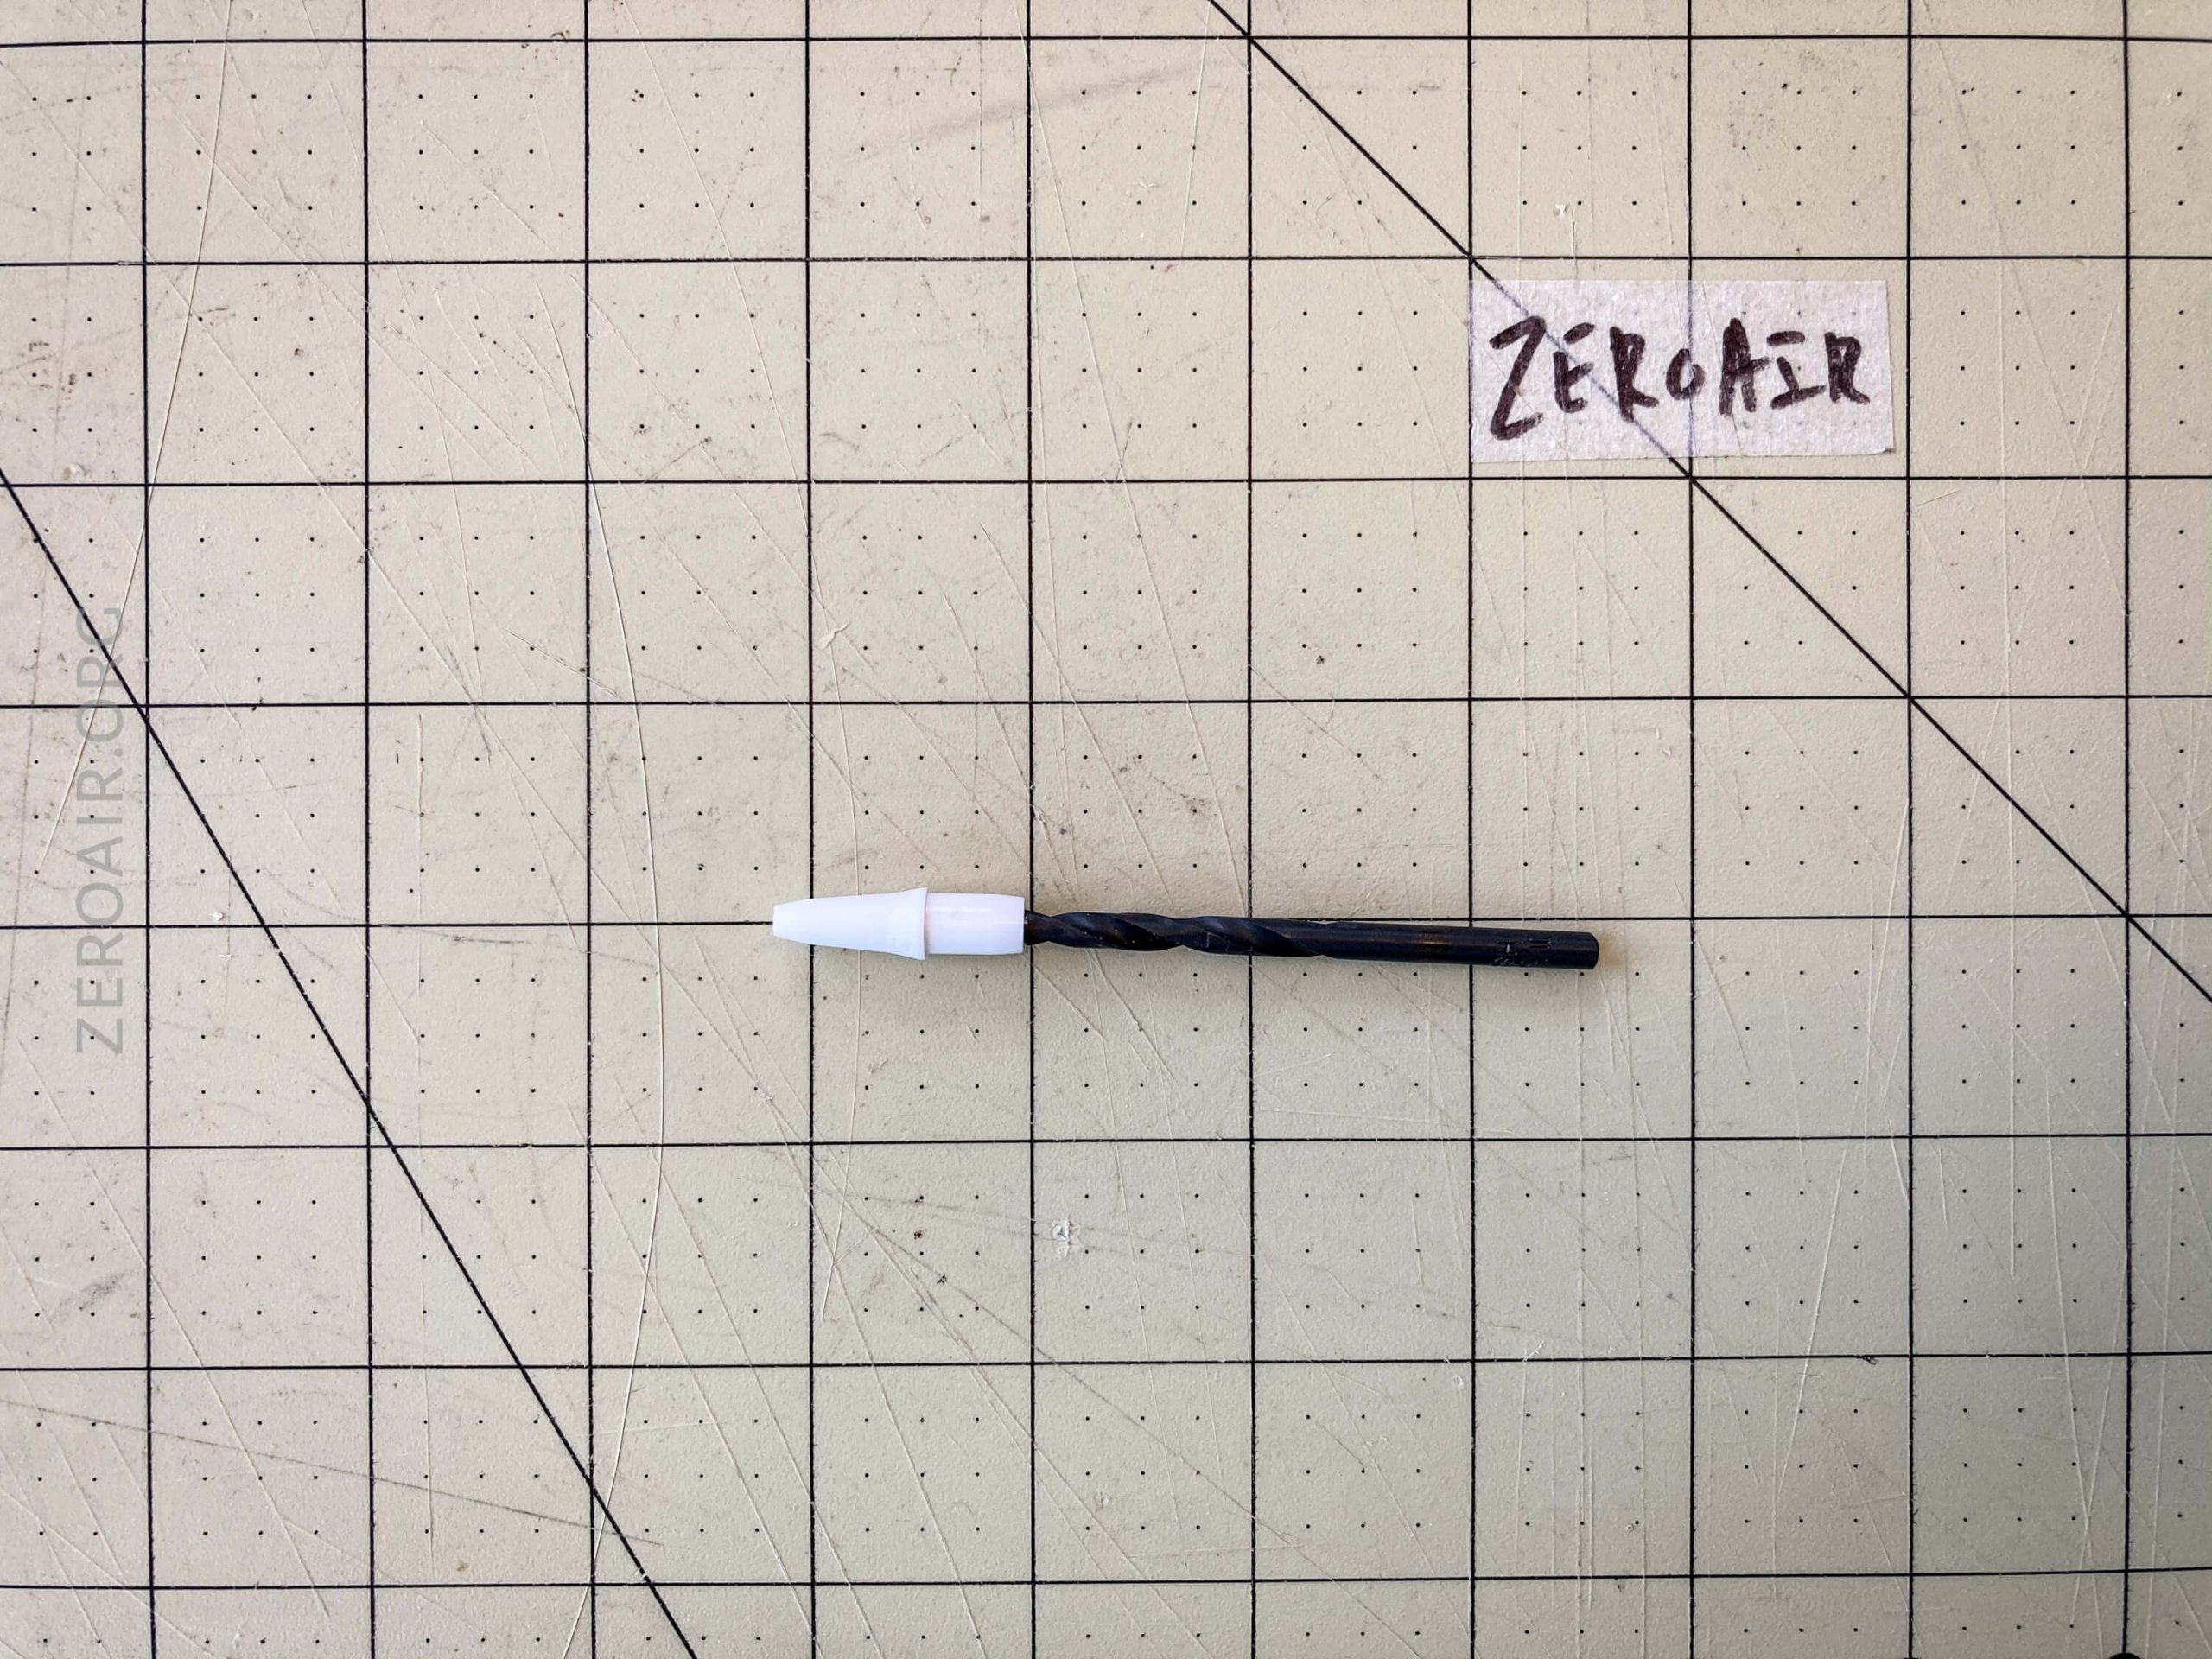
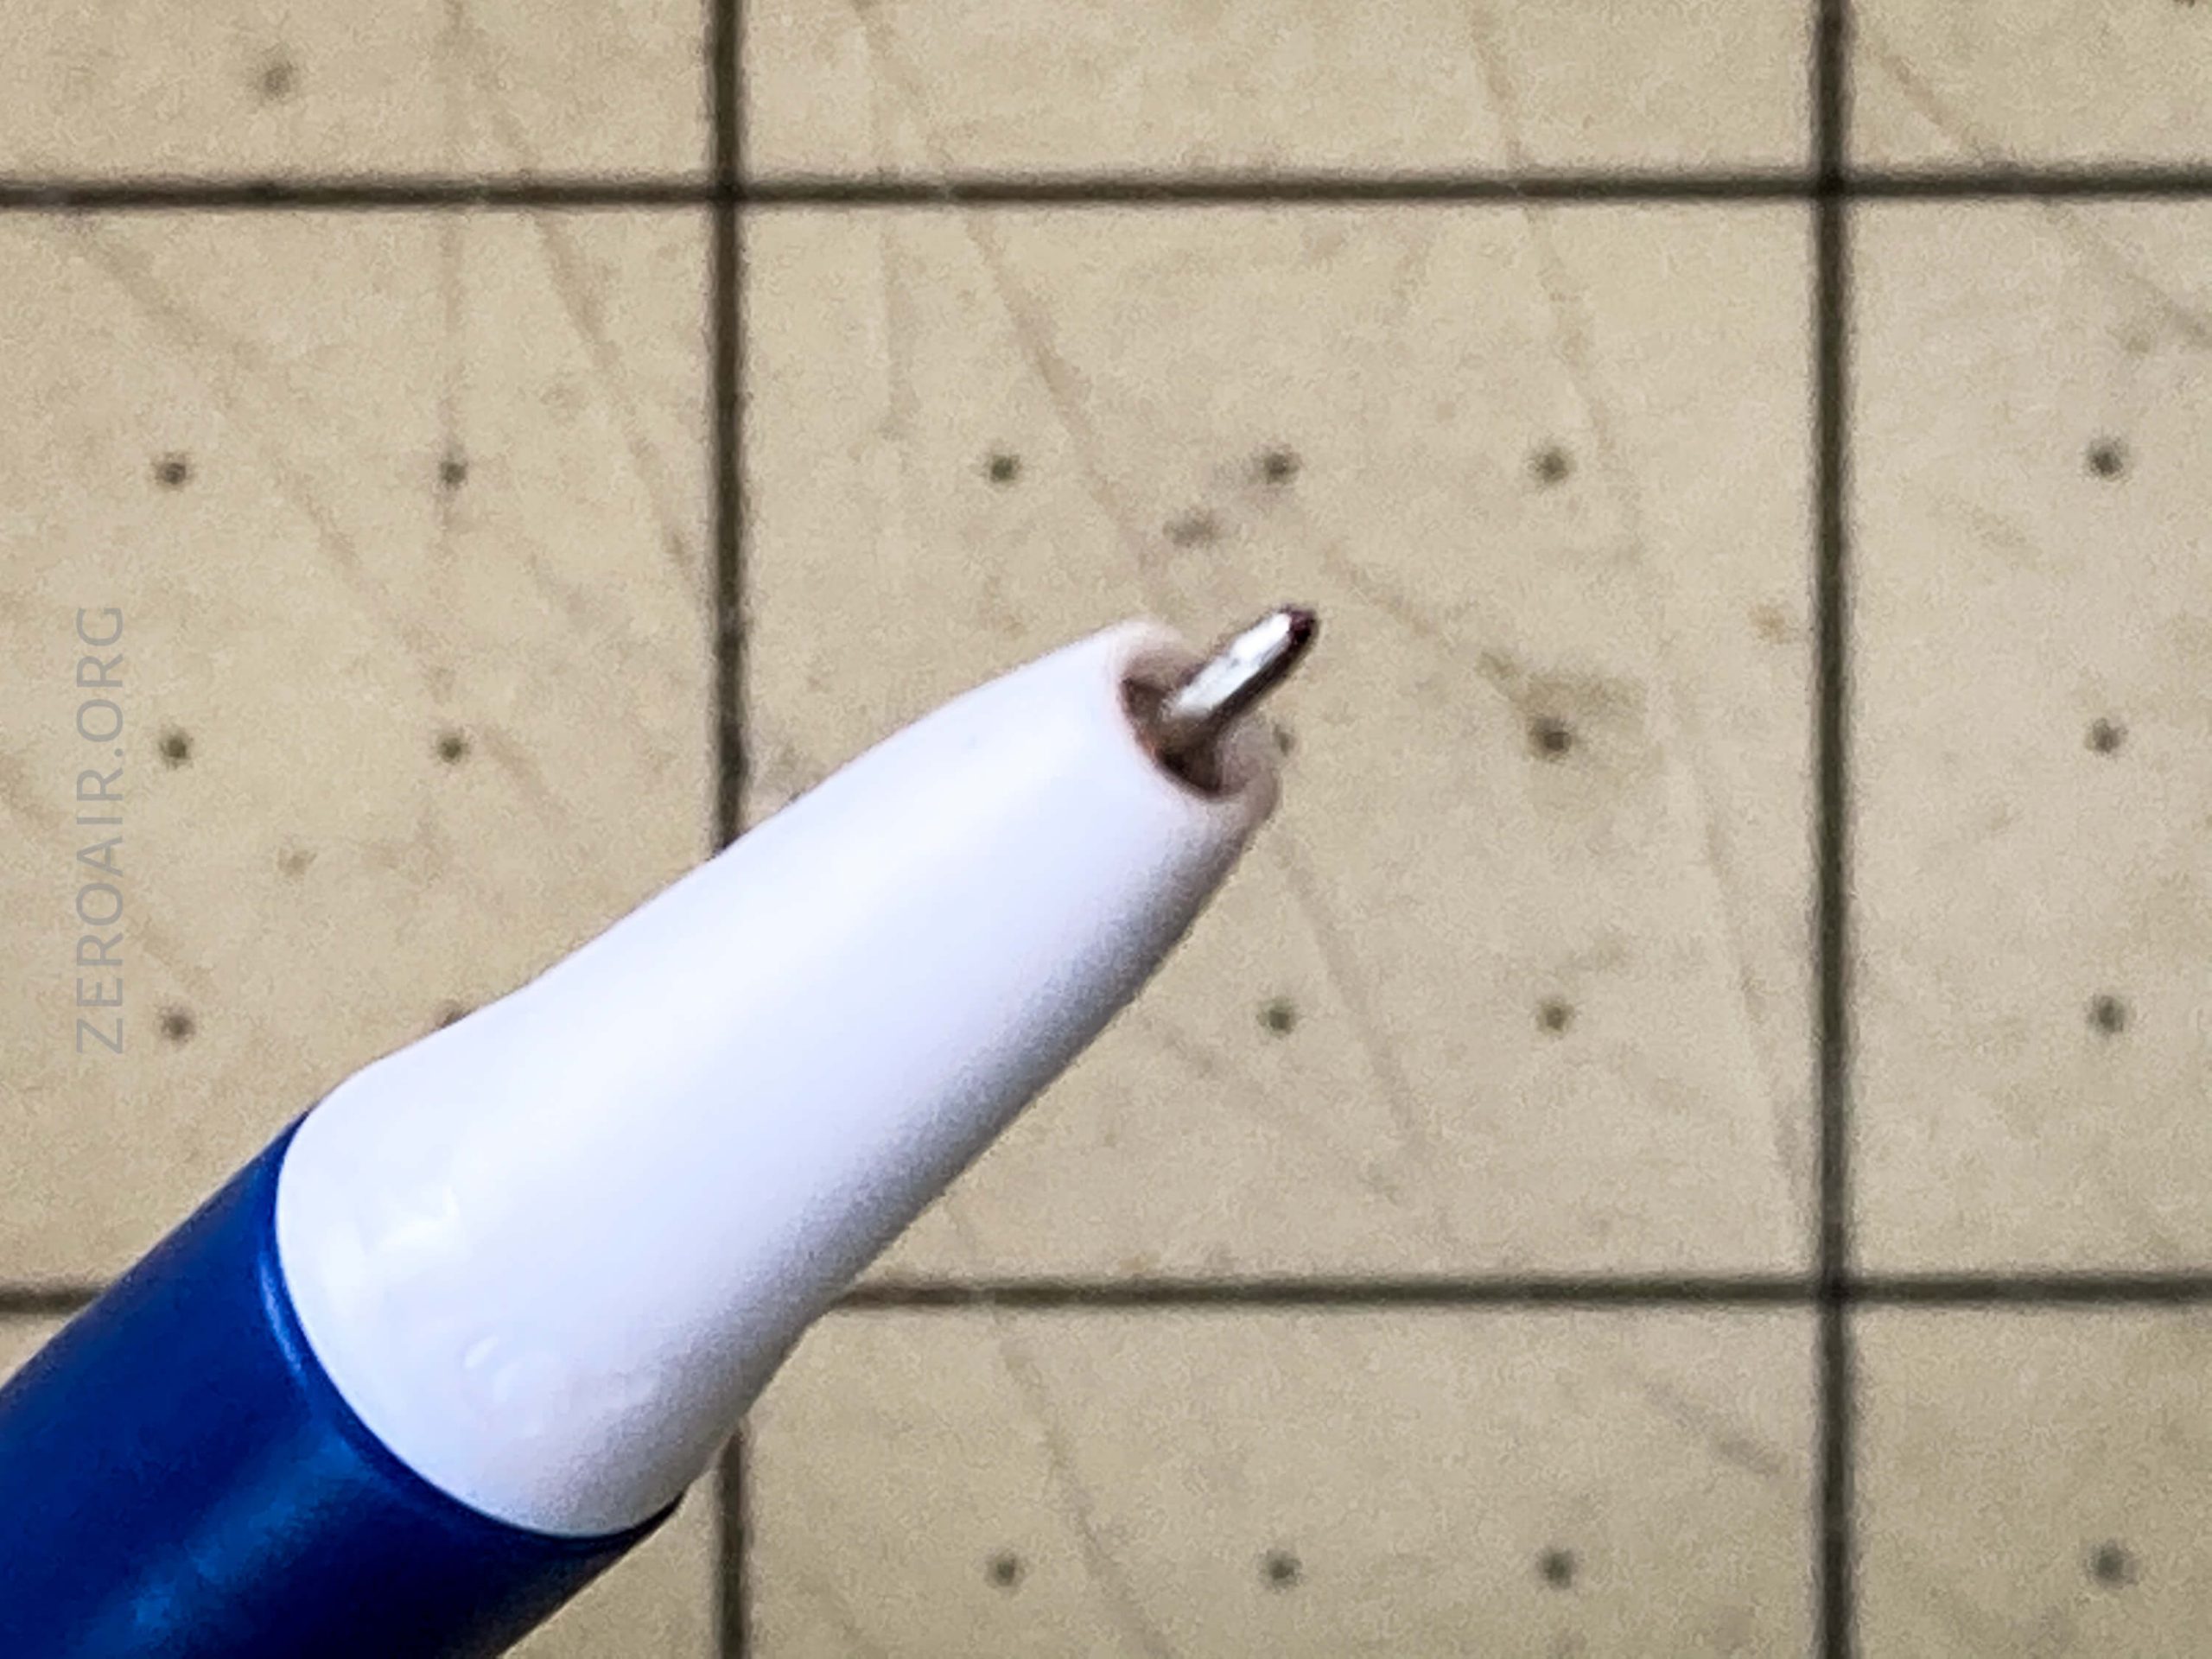
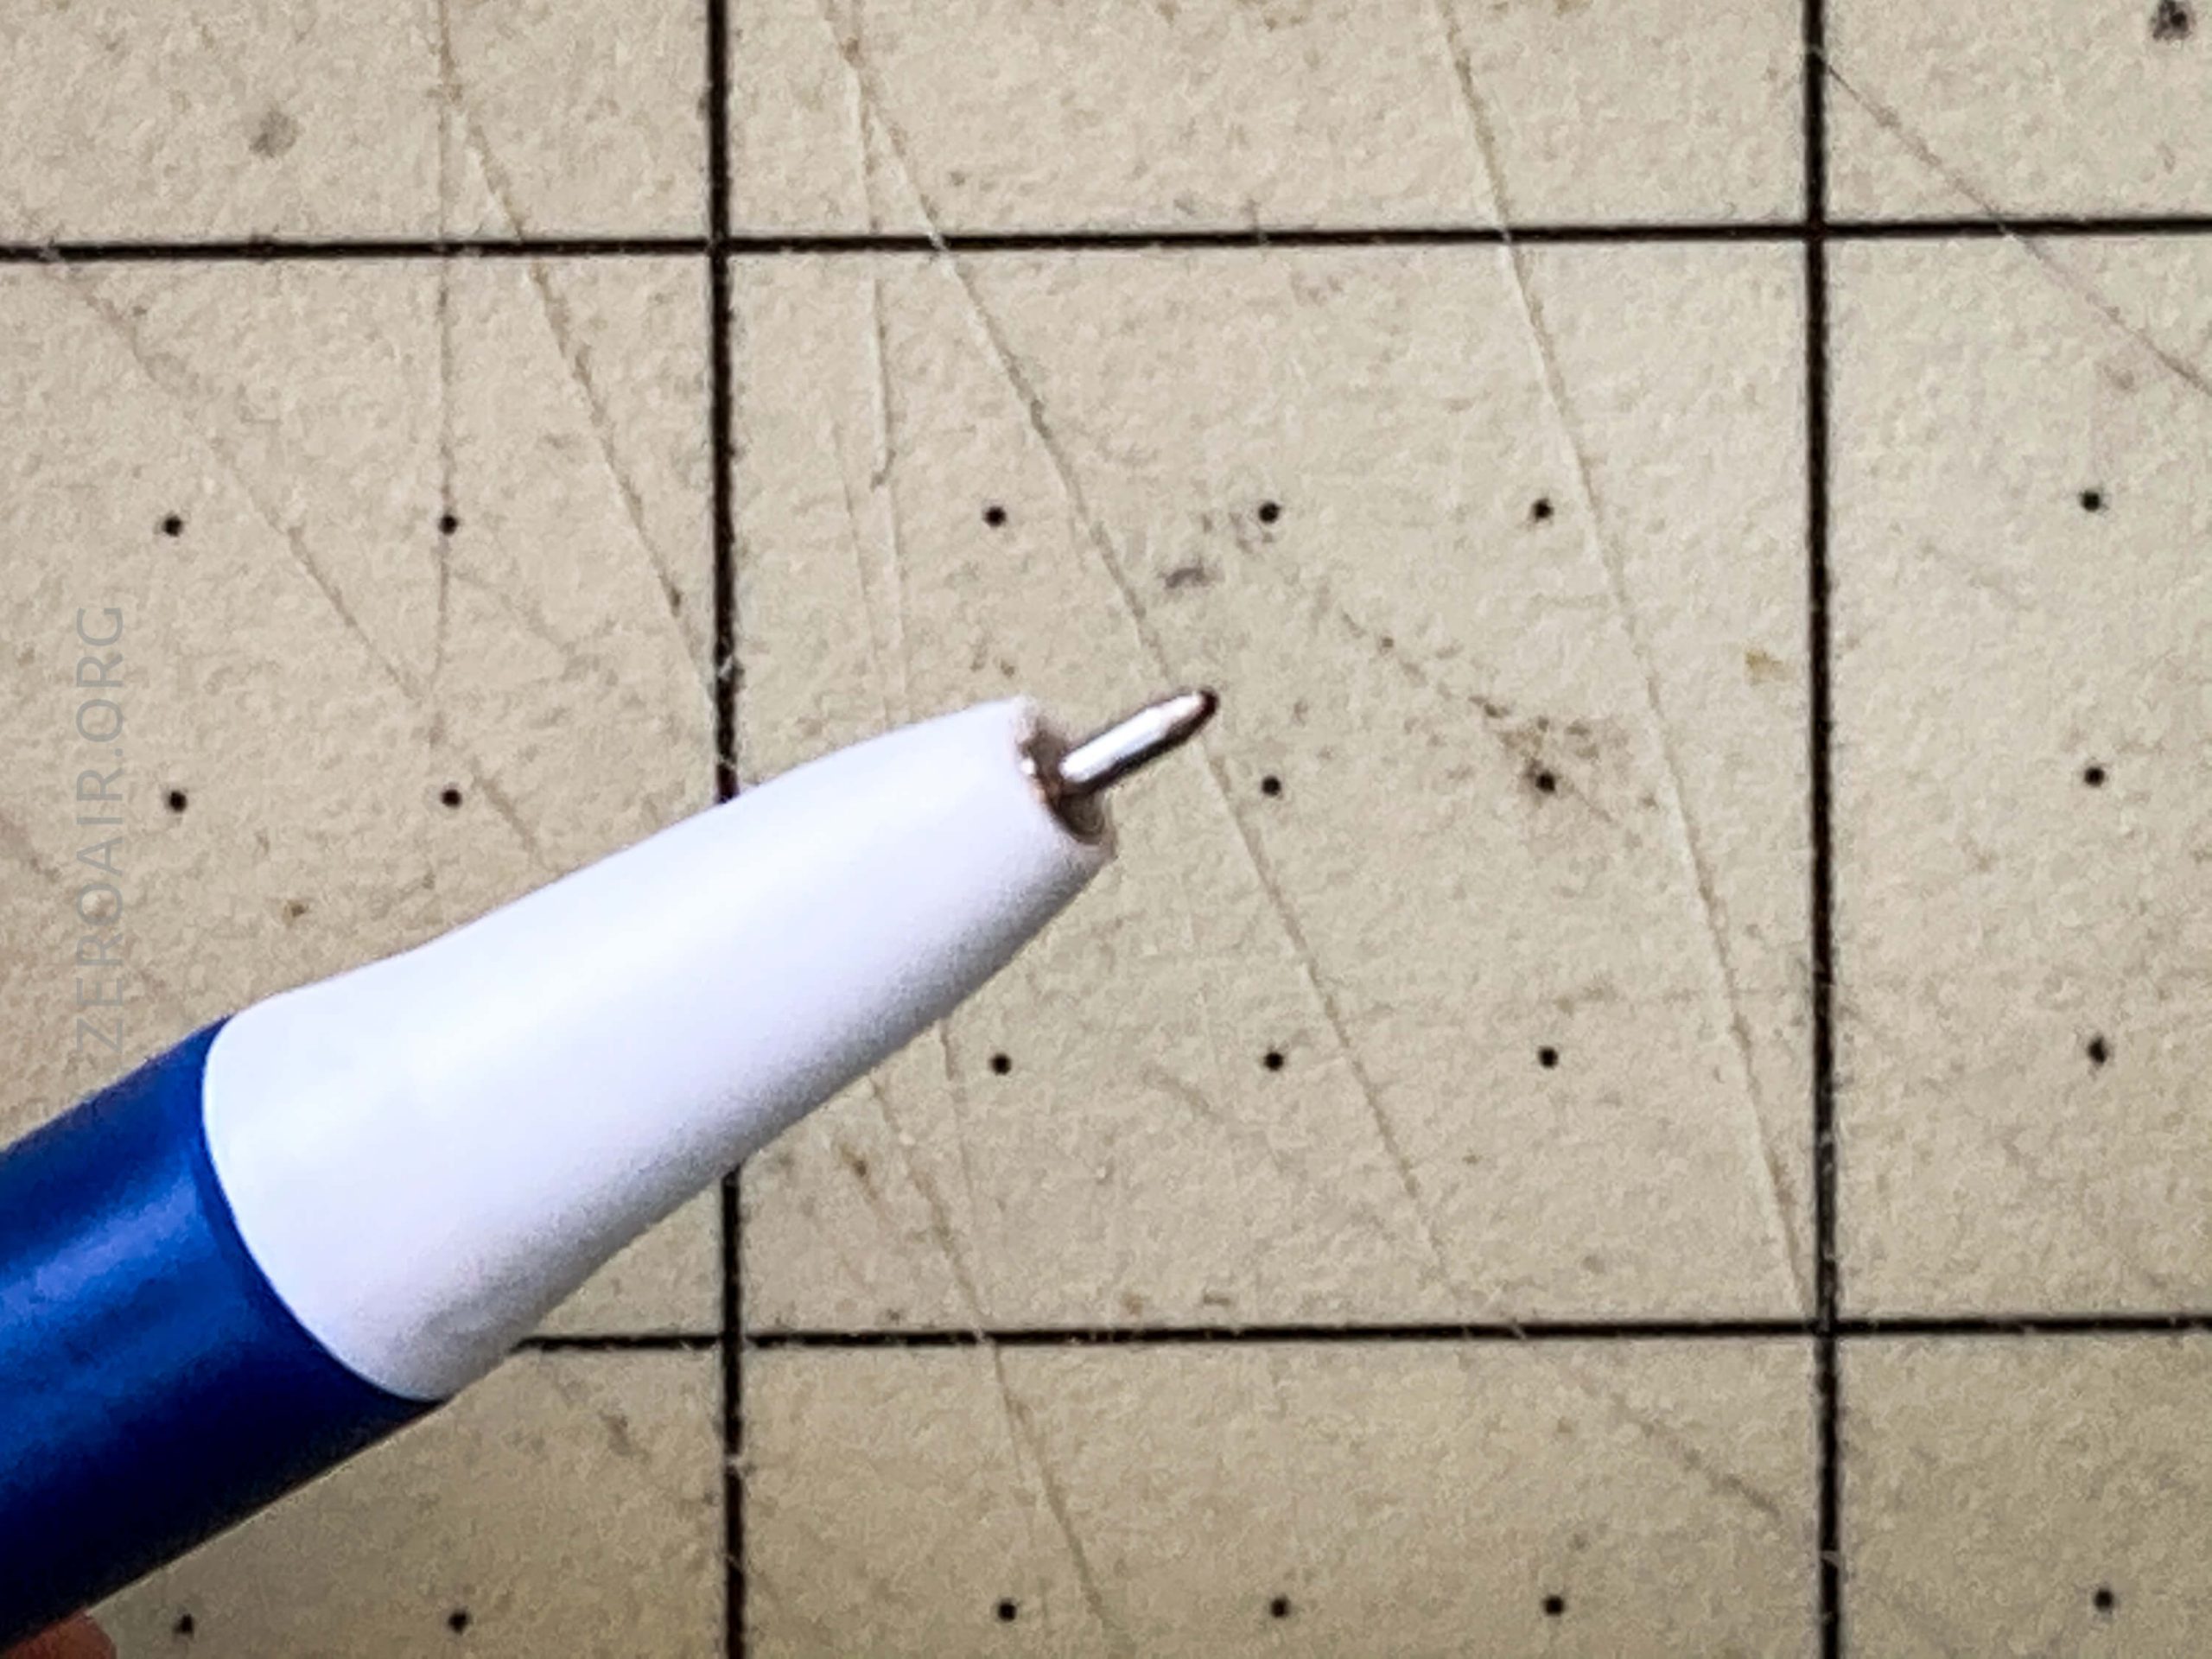
Prepare to bore the tip of the Bic Clic Stic pen.
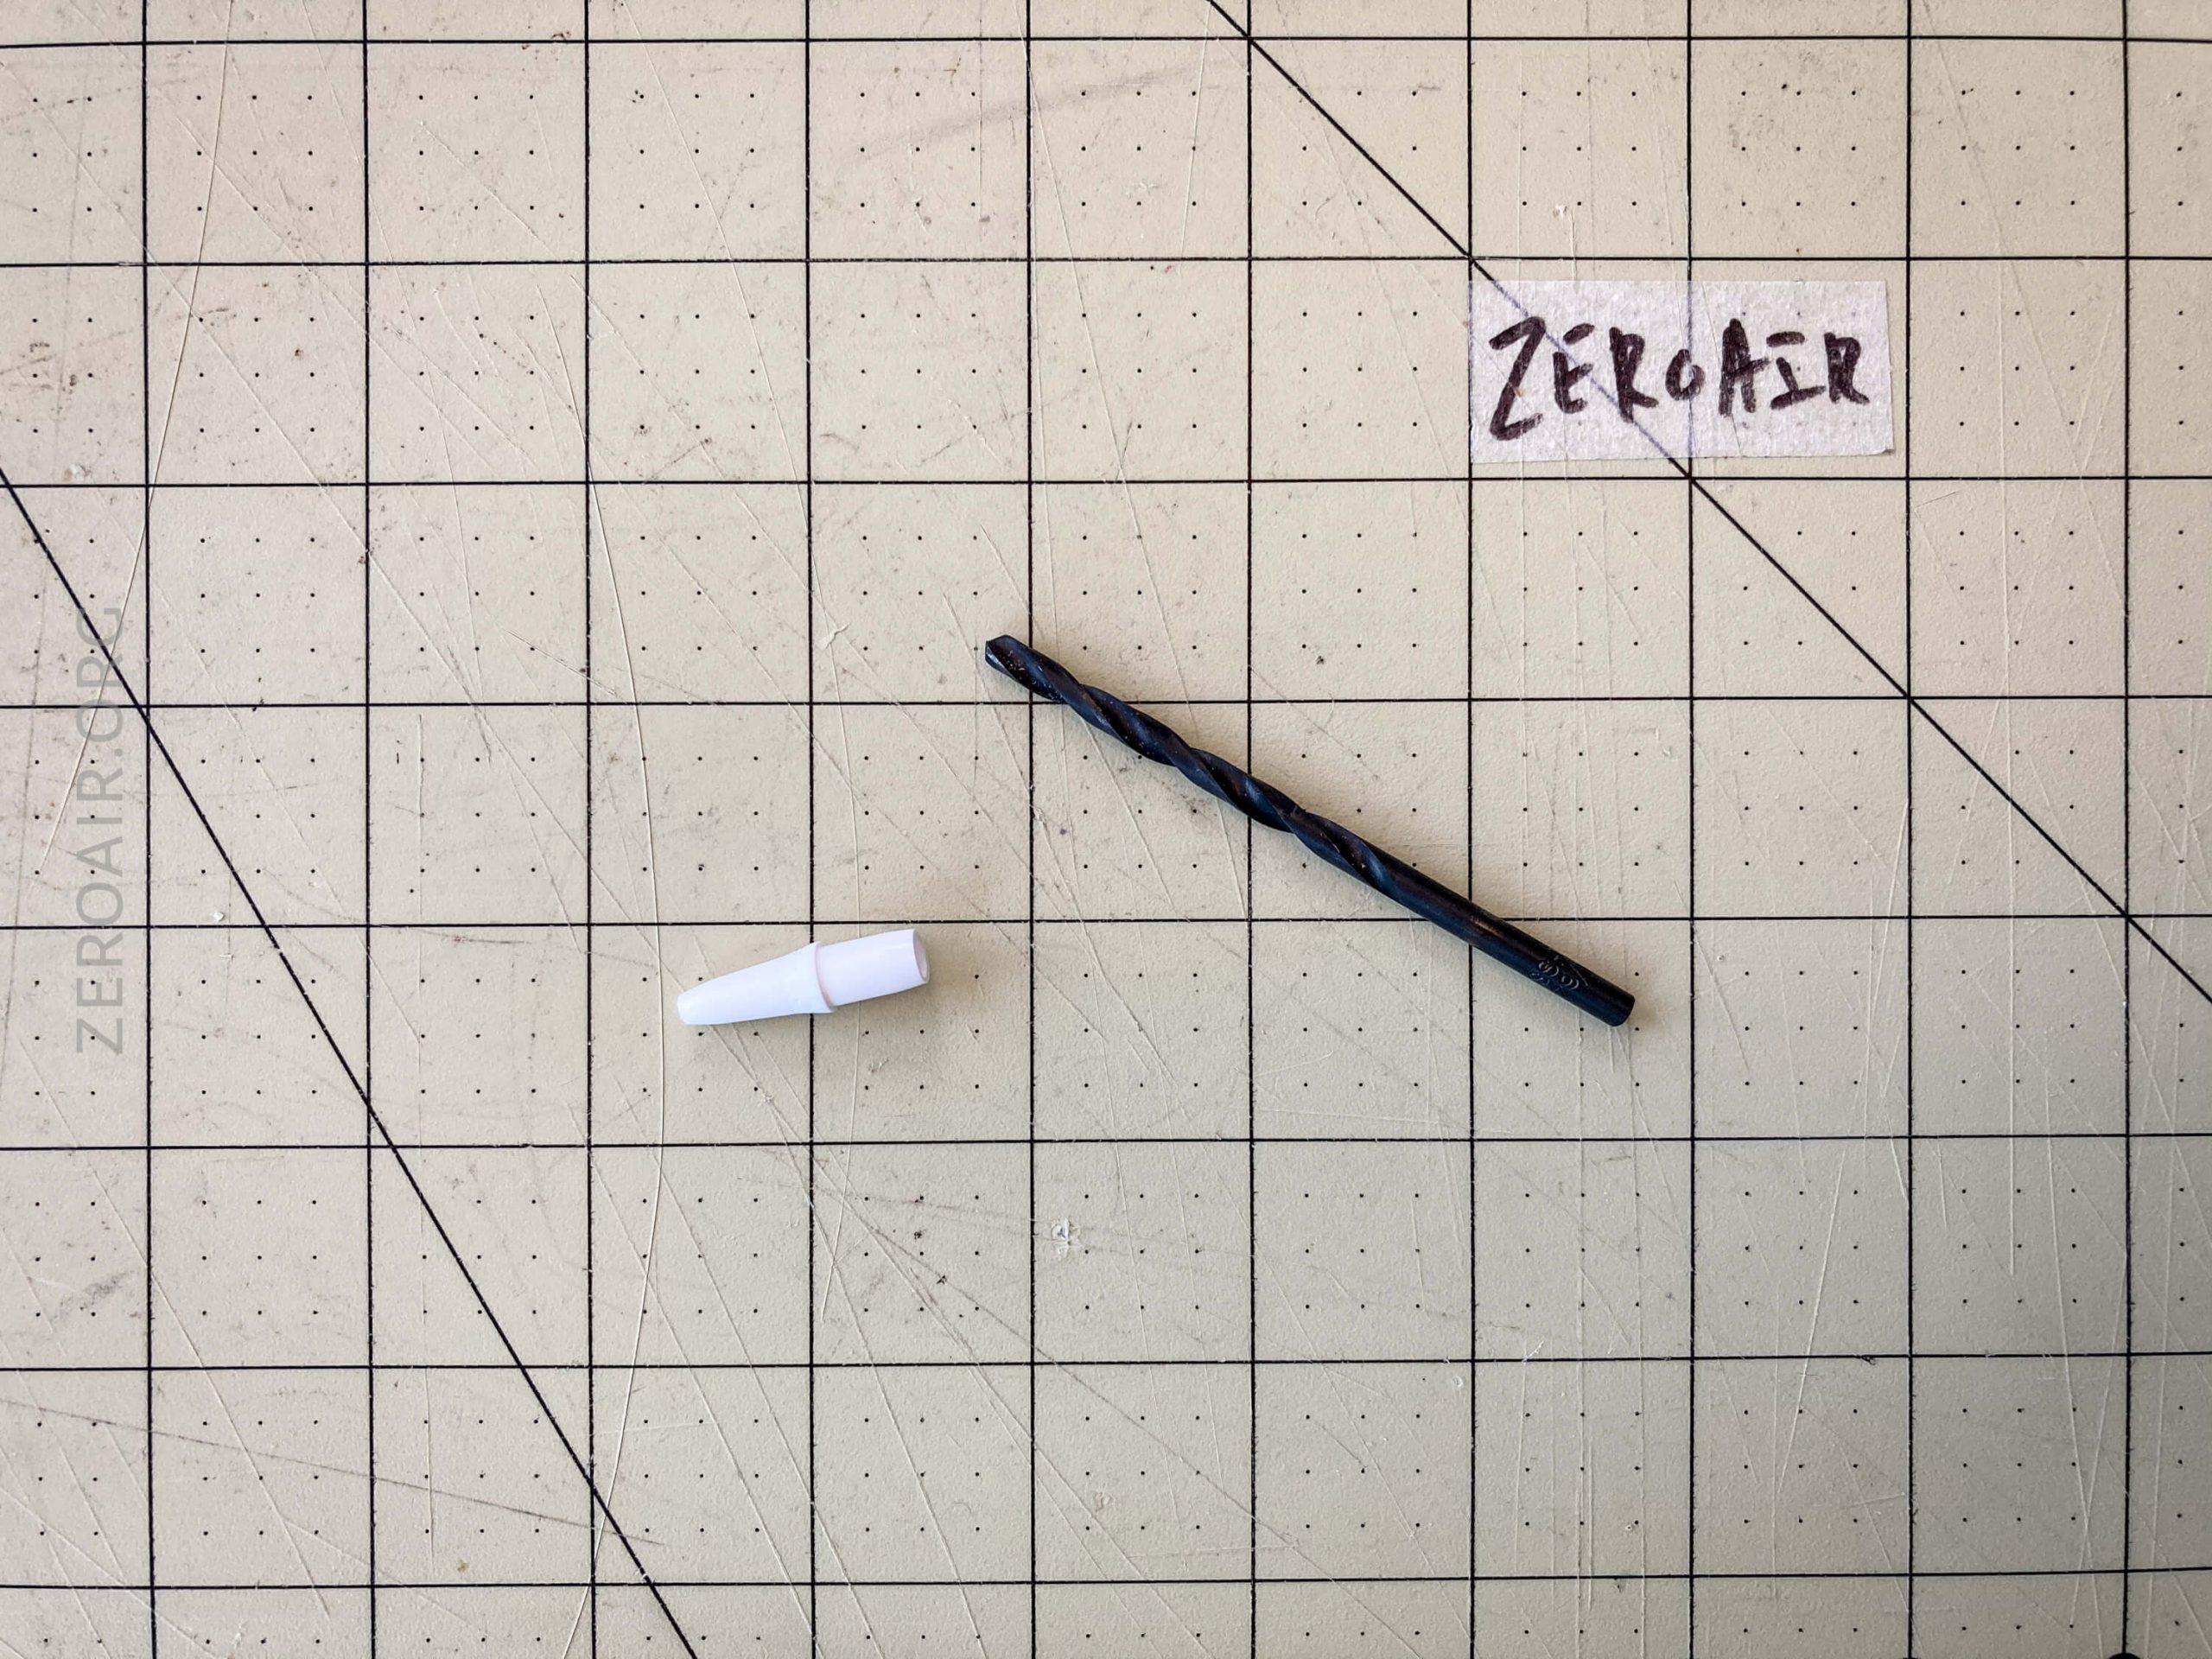
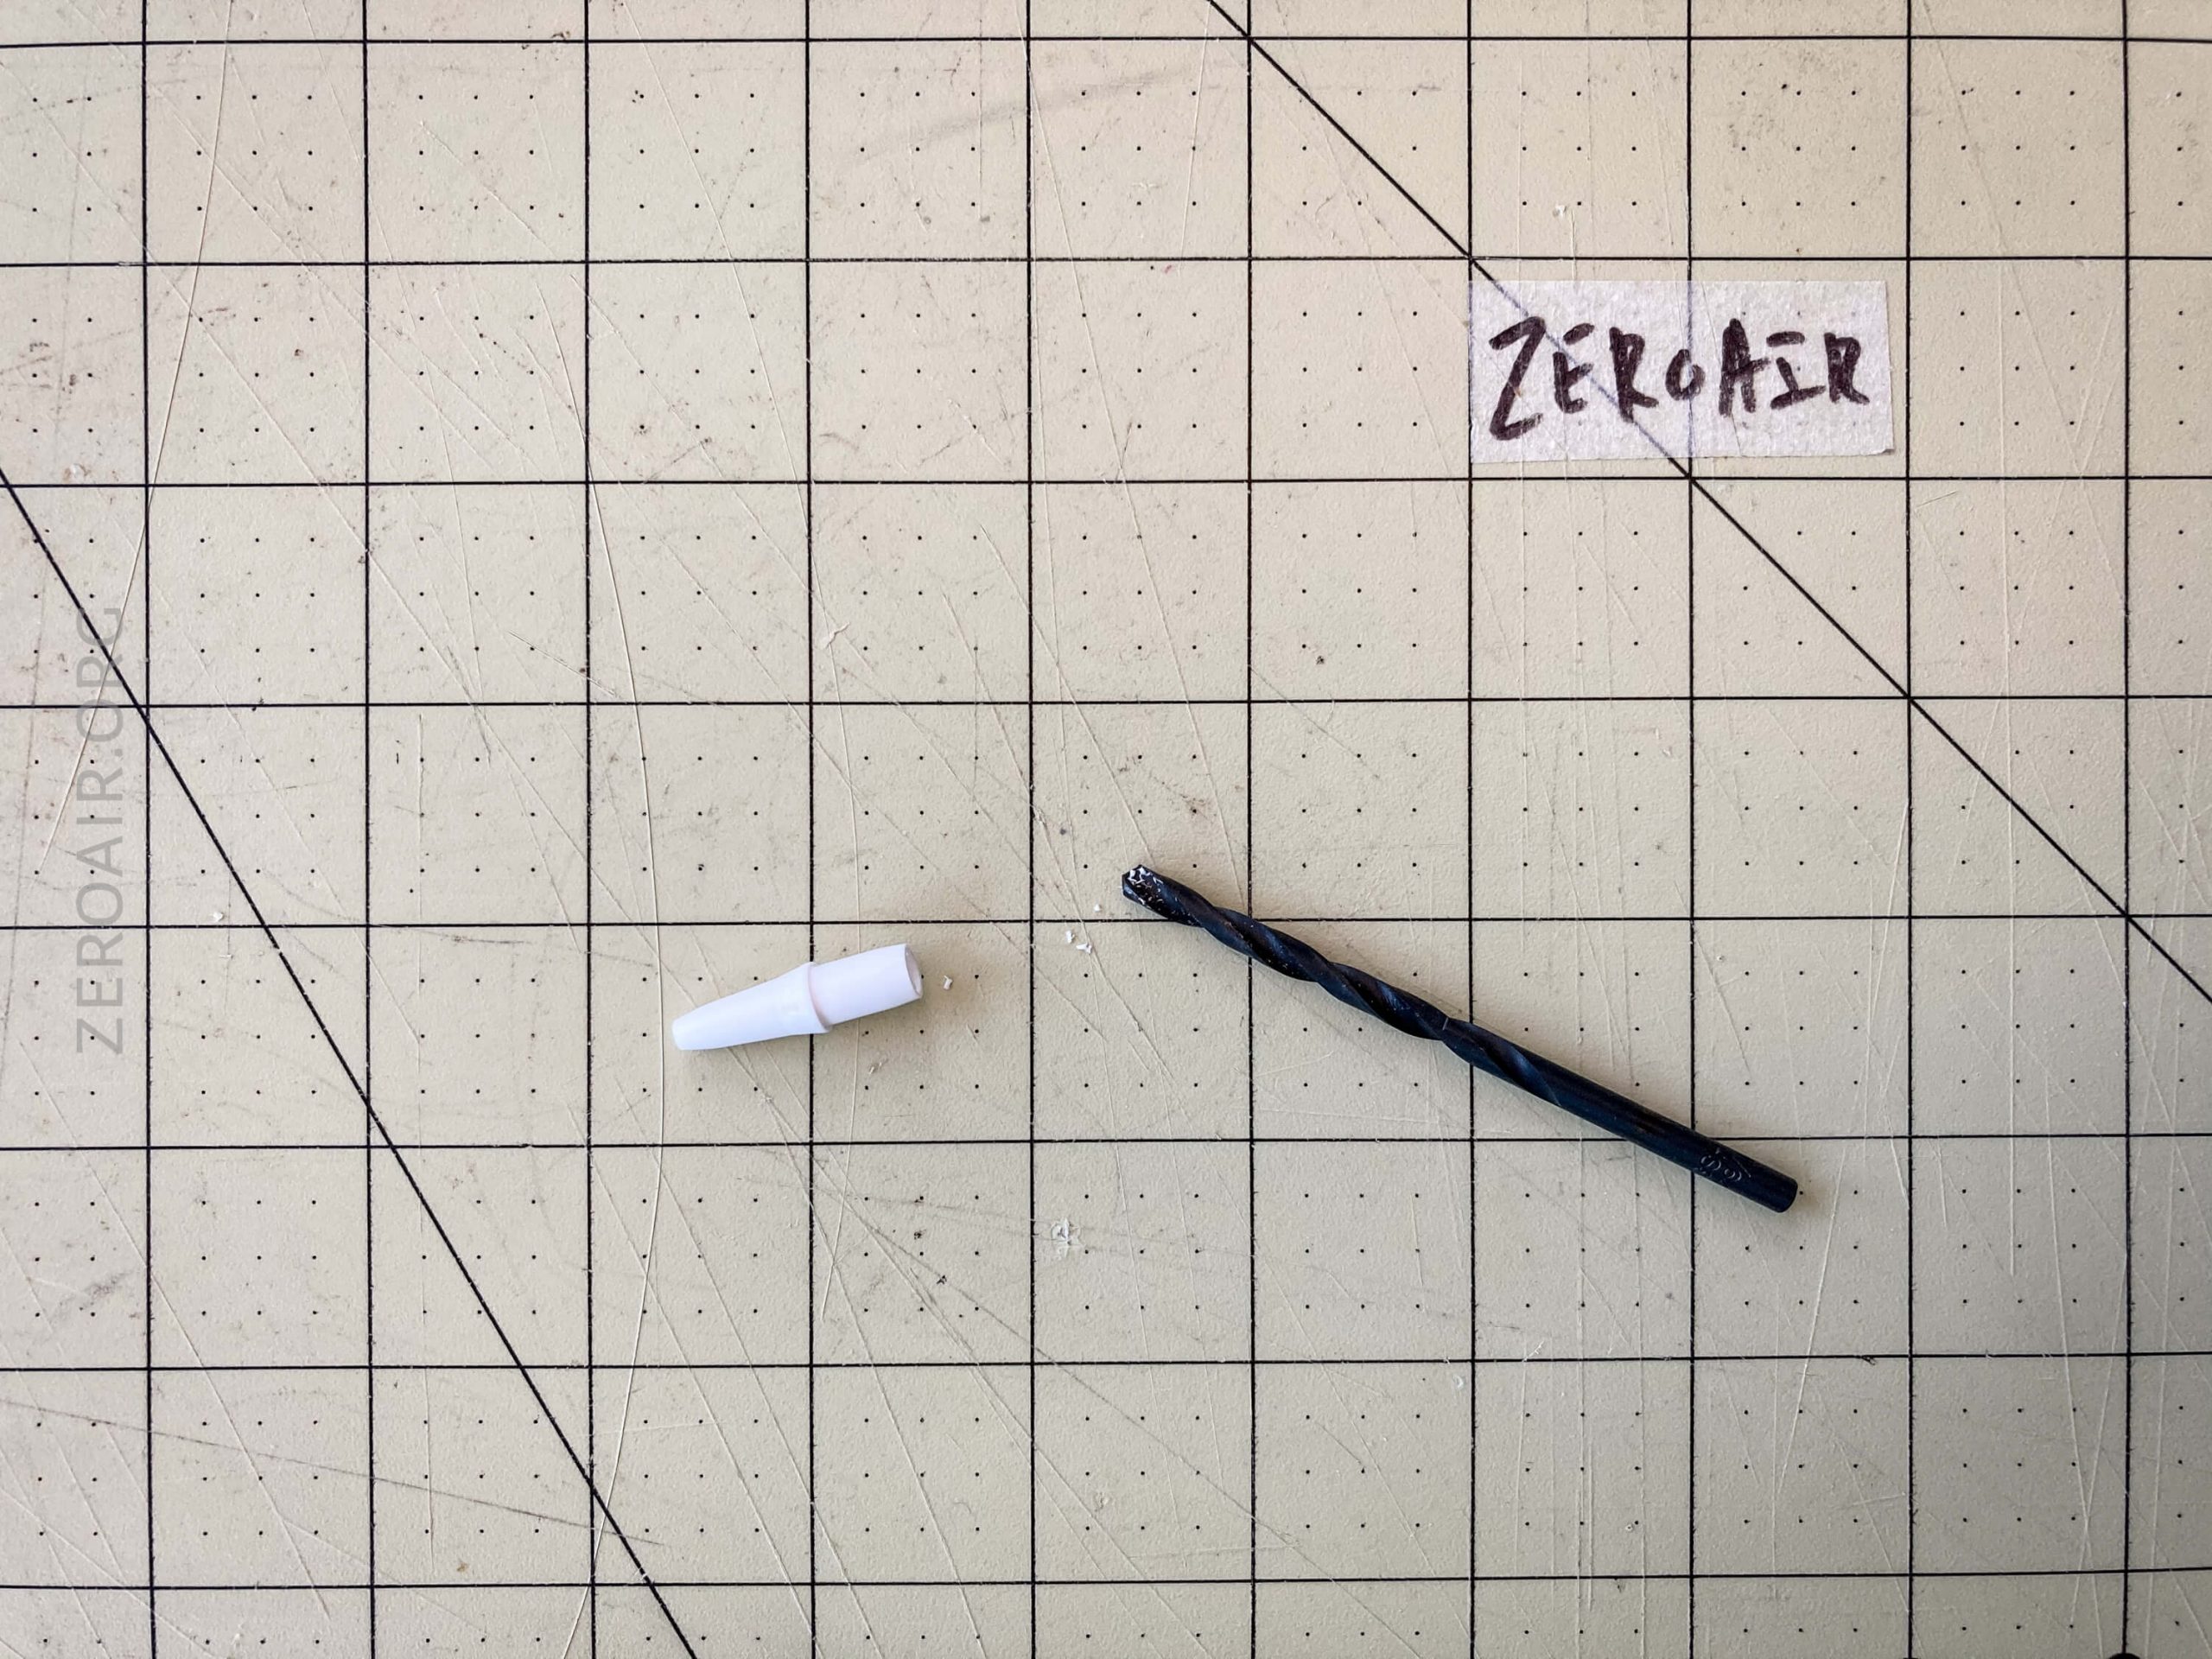
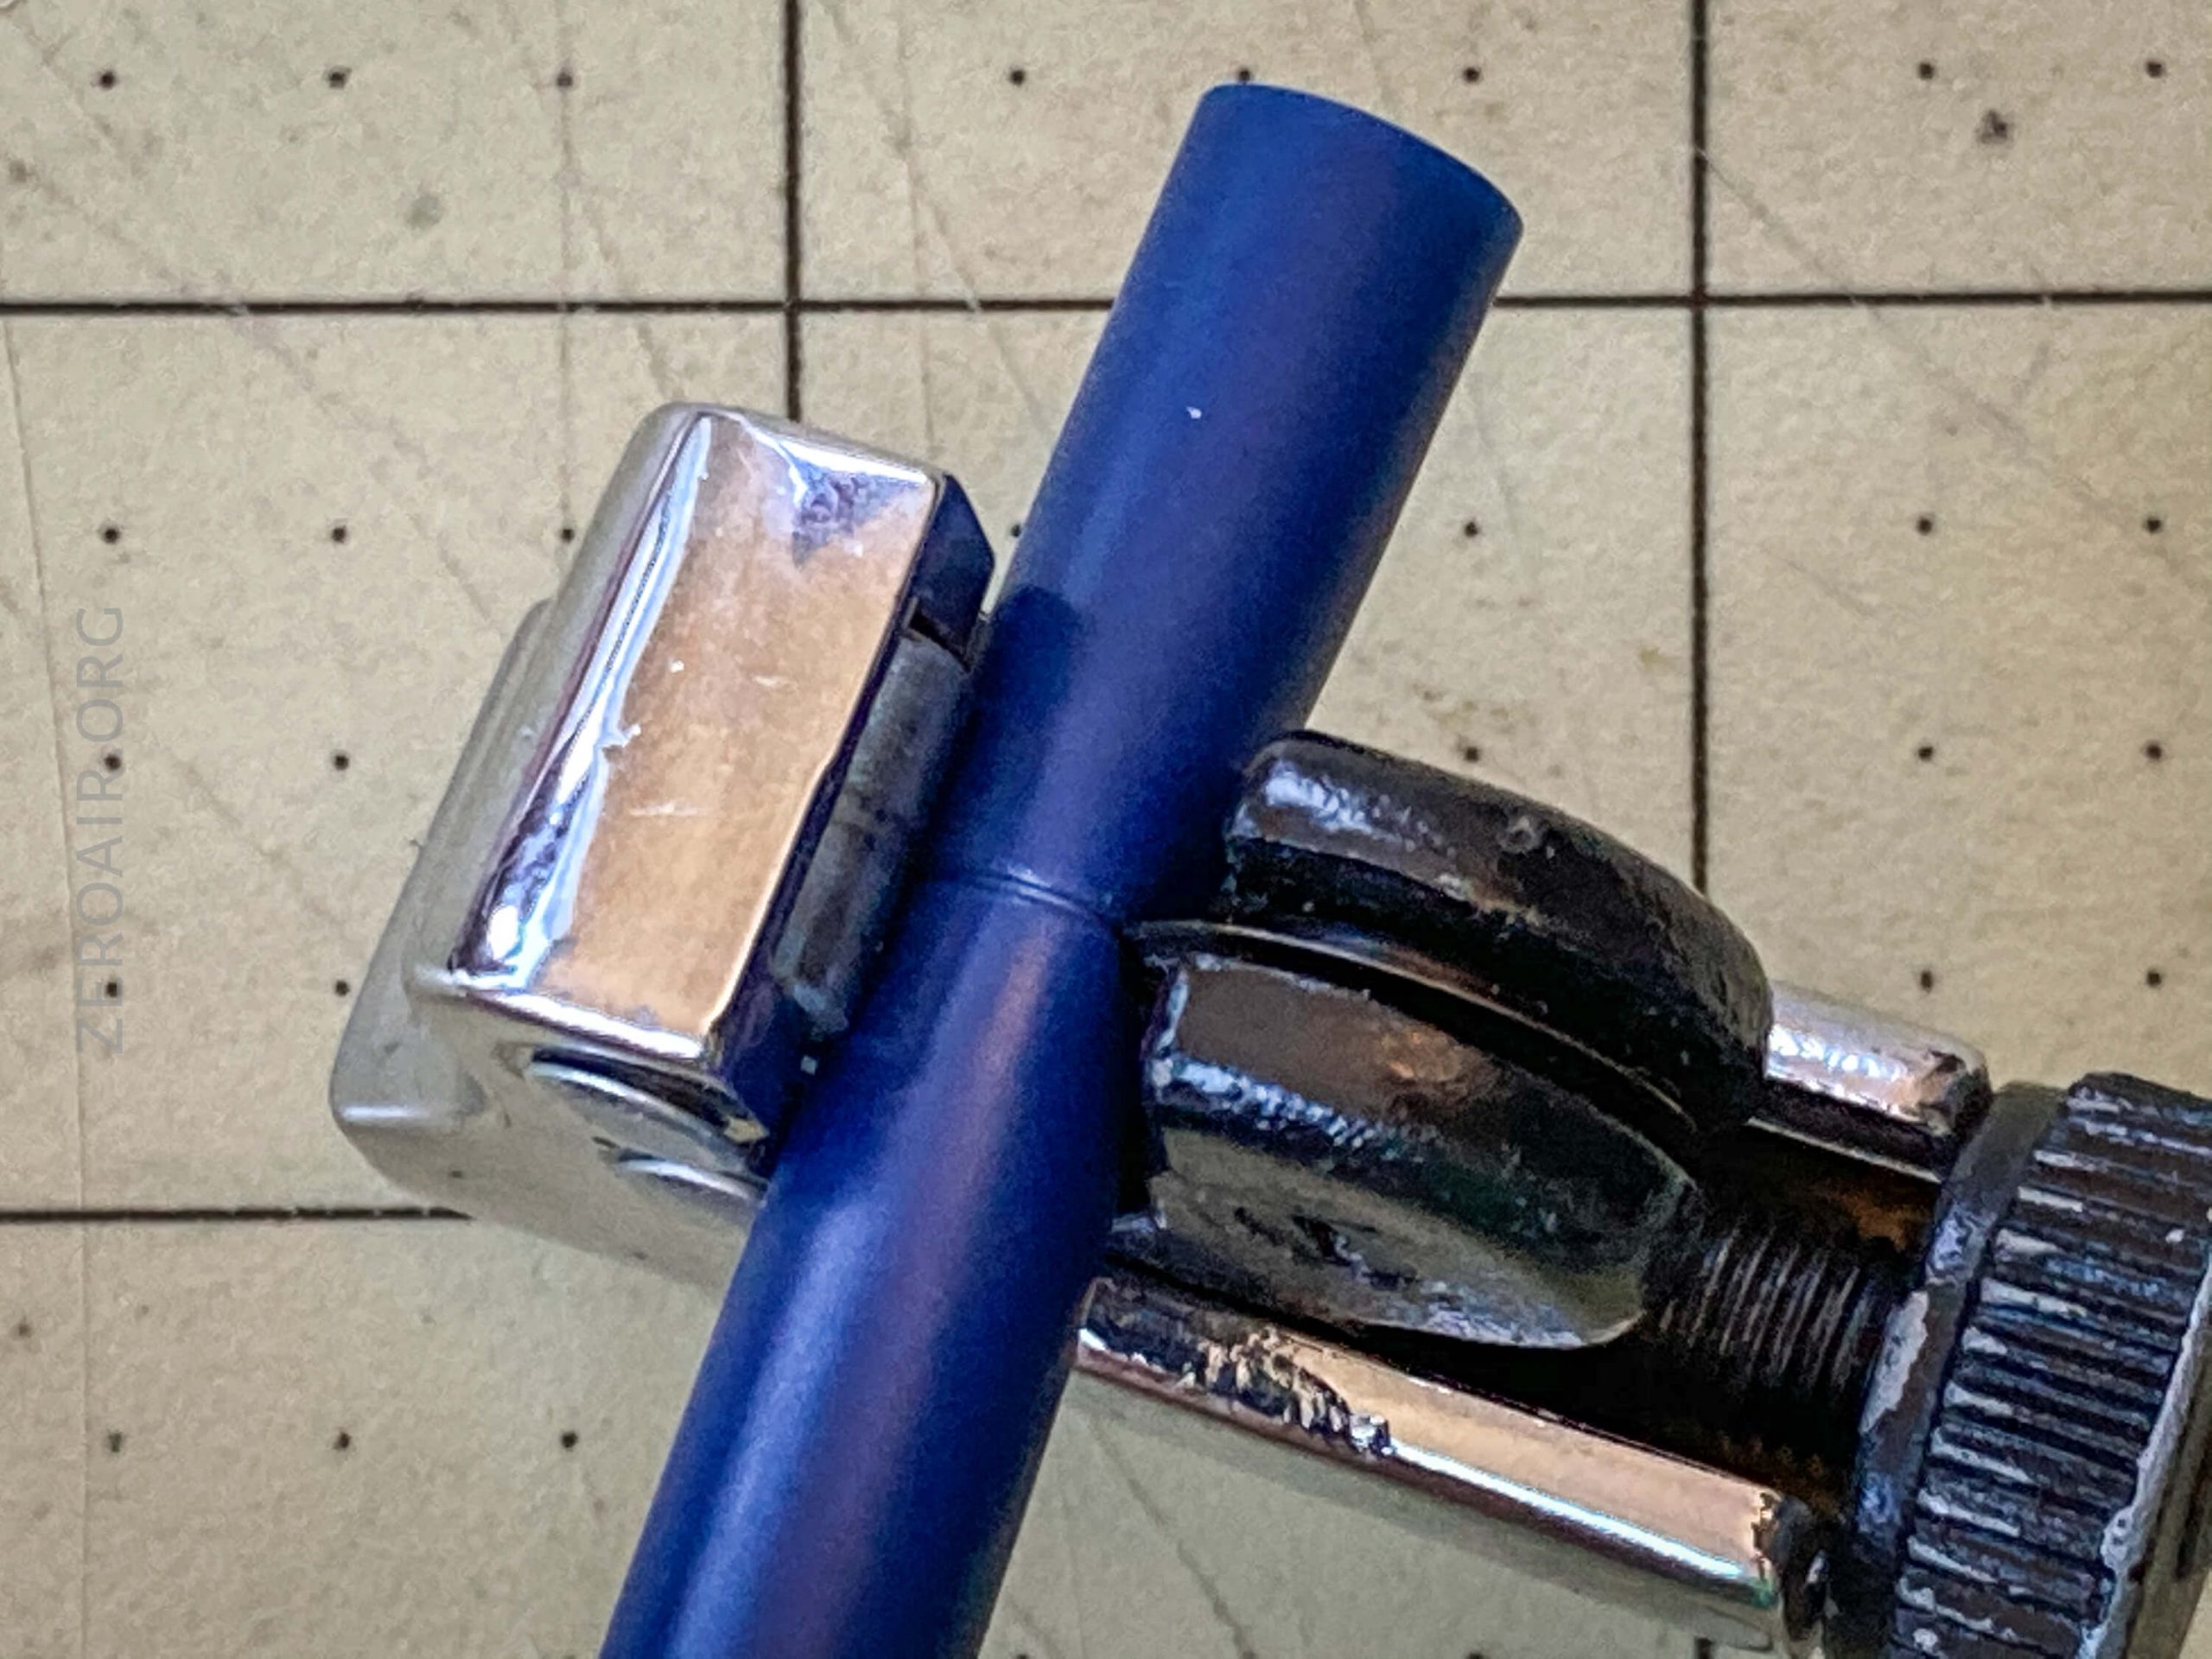
Bore that tip! Don’t use a drill; just do this by hand. And don’t remove much material! Just a bit – it’s always possible to remove more if the action isn’t exactly right.
This step is fairly easy for me, but if you read here often, you’ll know I’m an expert at boring. womp womp.
Below is approximately how much I removed. It’s just not much at all!!
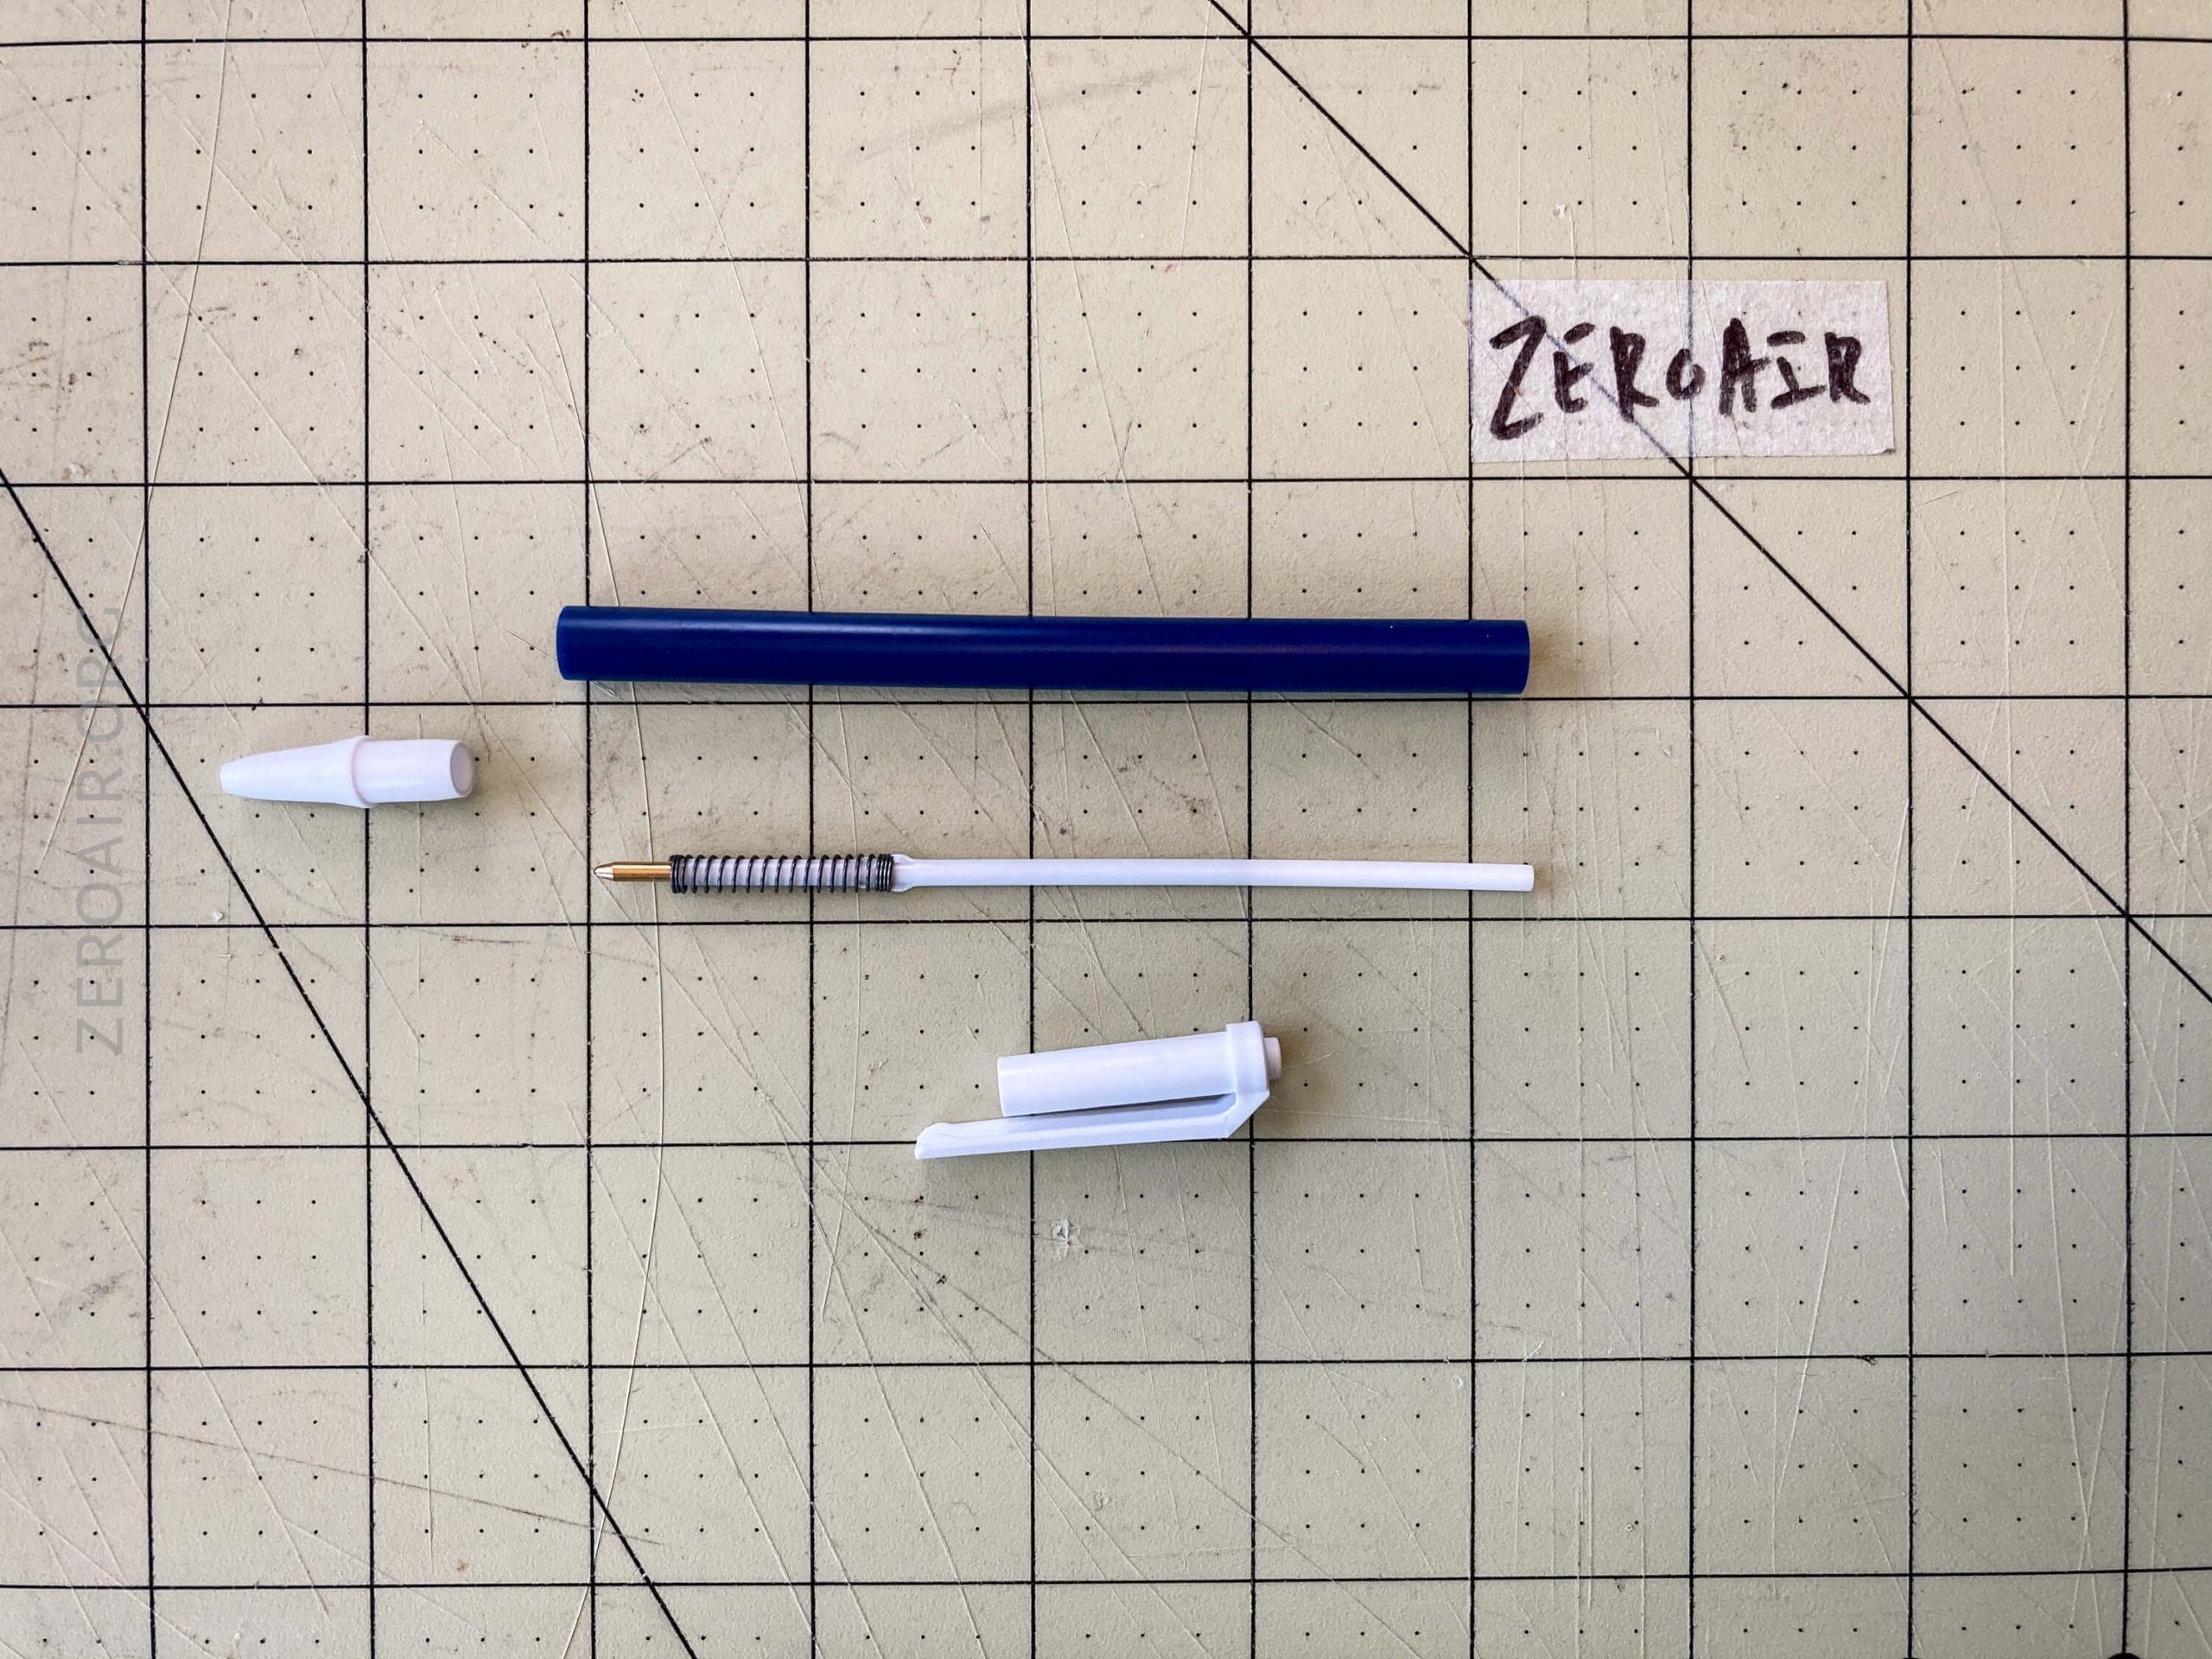
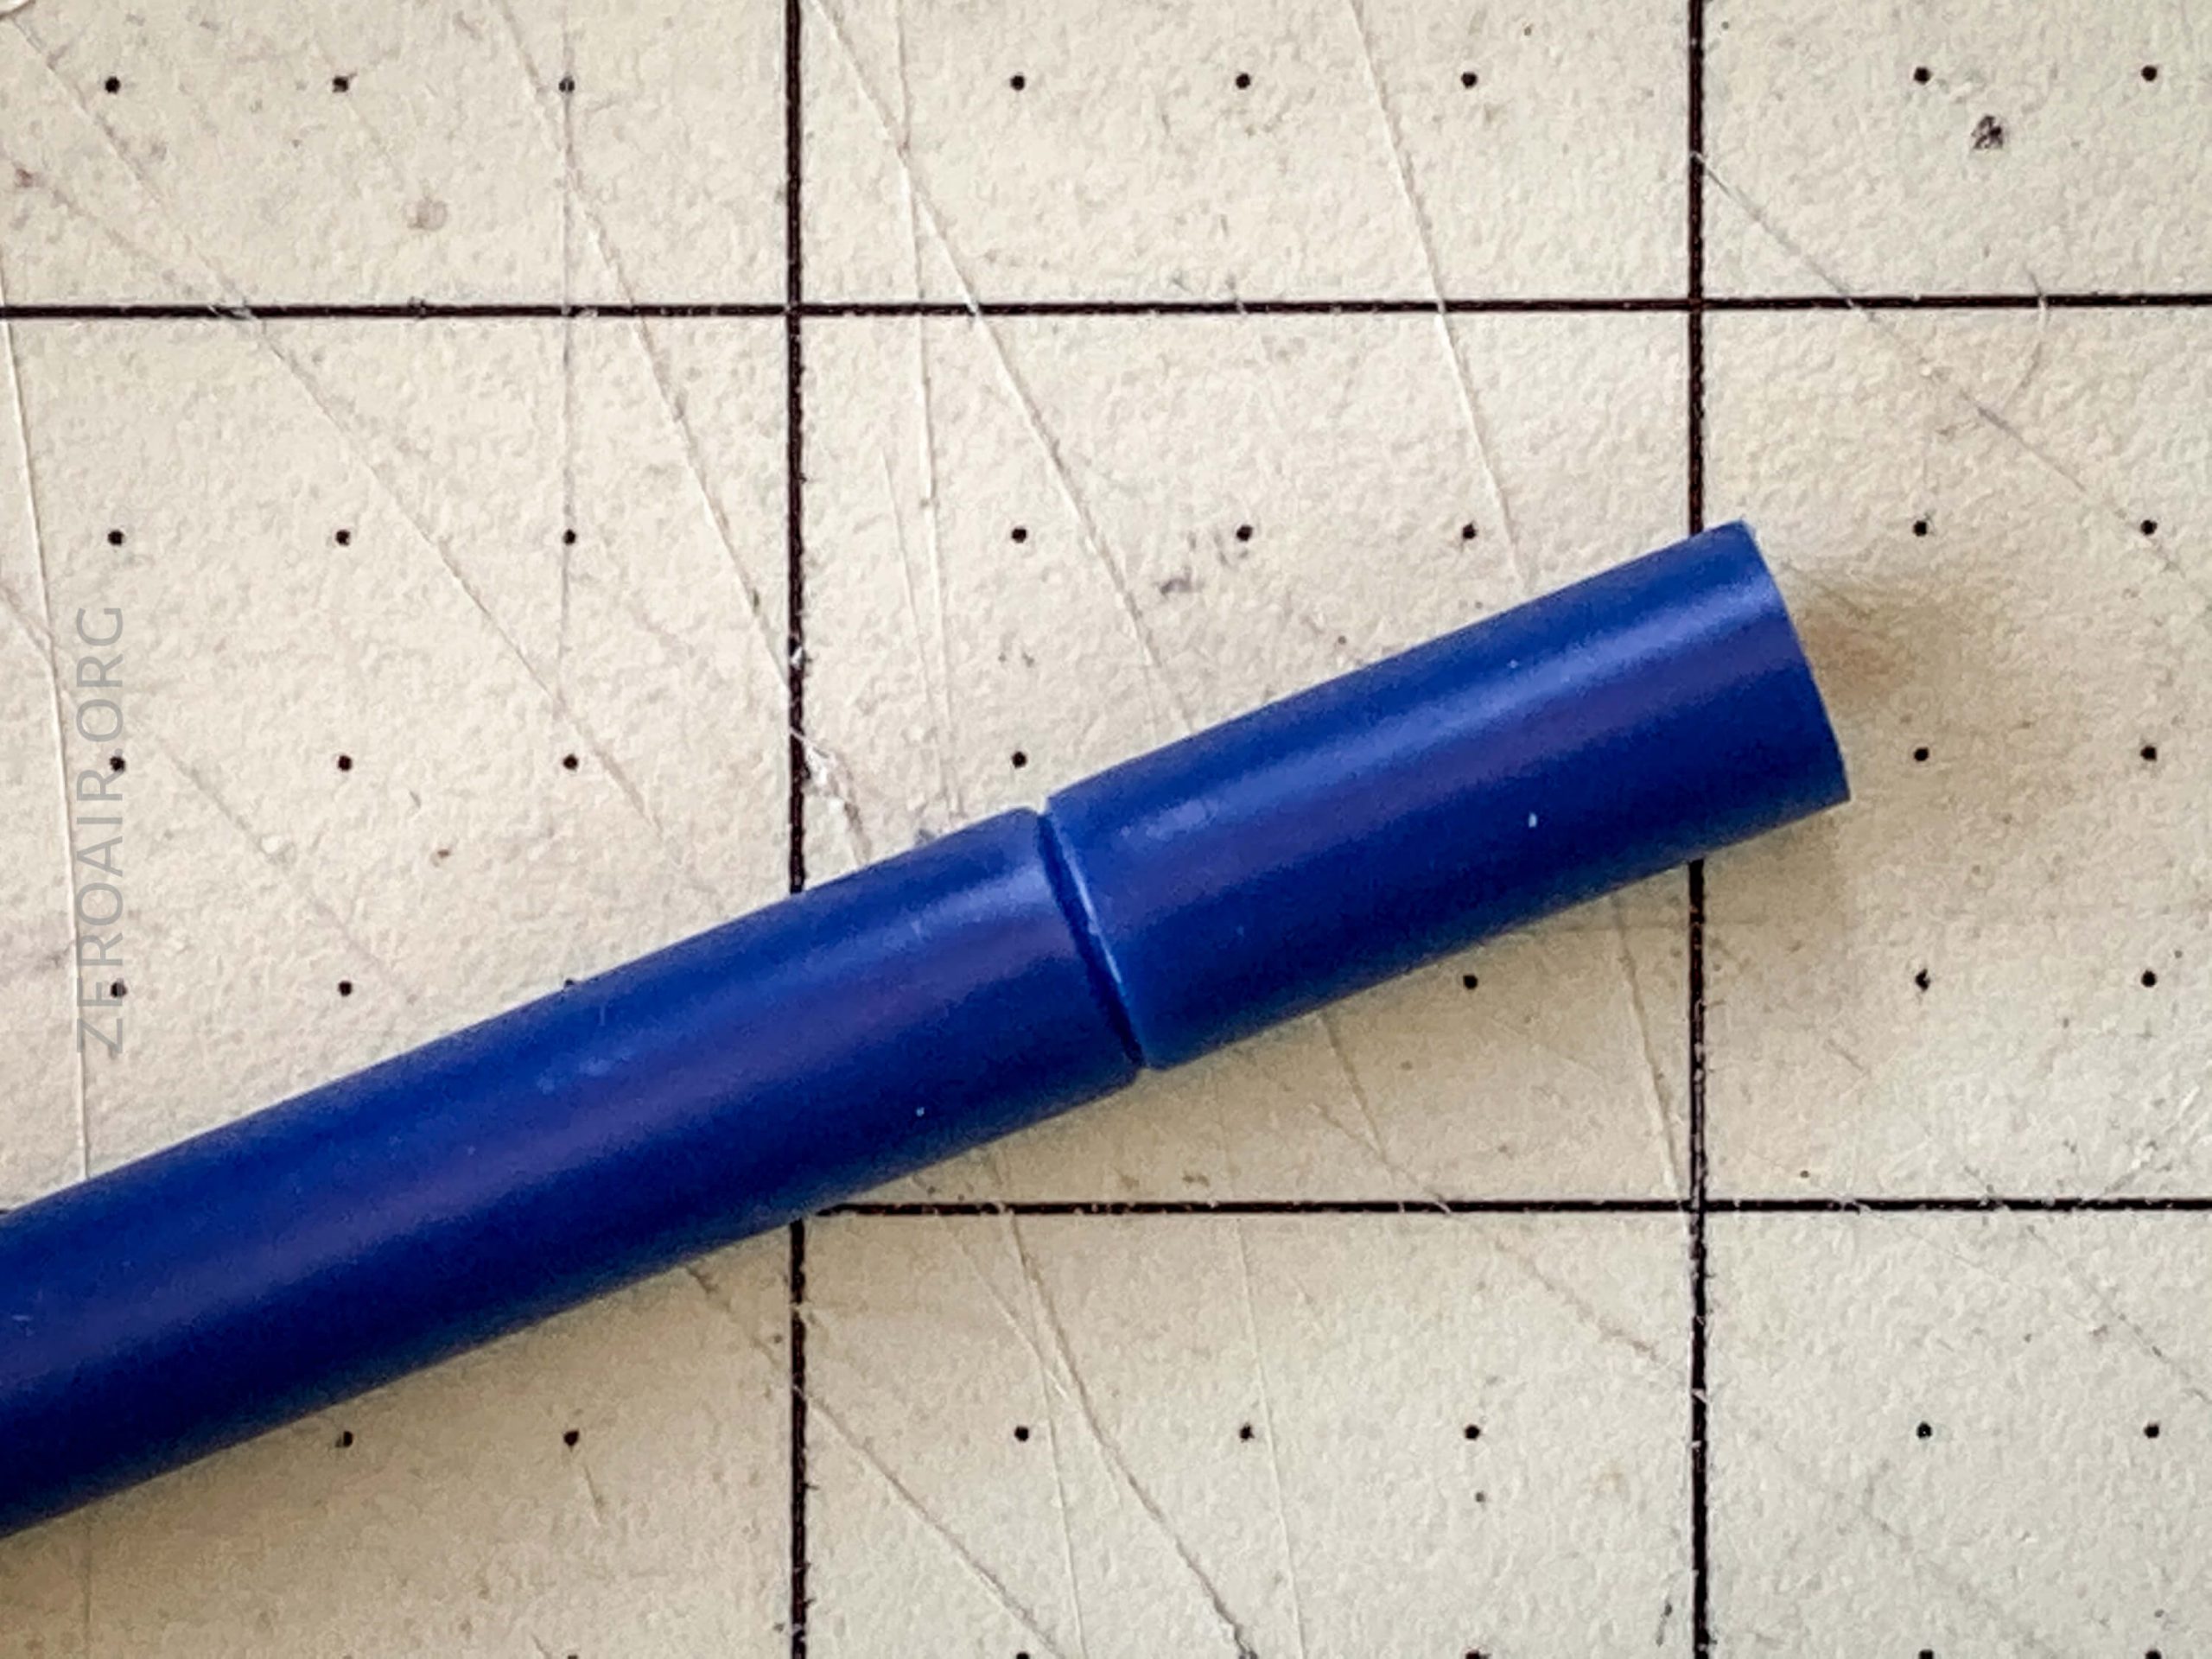
Now let’s turn our attention to this barrel. This is the stock length. We want a shorter length – you don’t have any choice in this matter because the replacement refill is shorter than the stock. So you’ll have to shorten the barrel at least enough to accommodate that refill.
In my case, I know what length I want. So I just lined up an existing modded pen to this longer barrel and marked it with a razor blade. You’ll want to do some trial and error, but I’m removing approximately 20-25mm. You’ll almost certainly want to play around with this, and you’ll see why later!
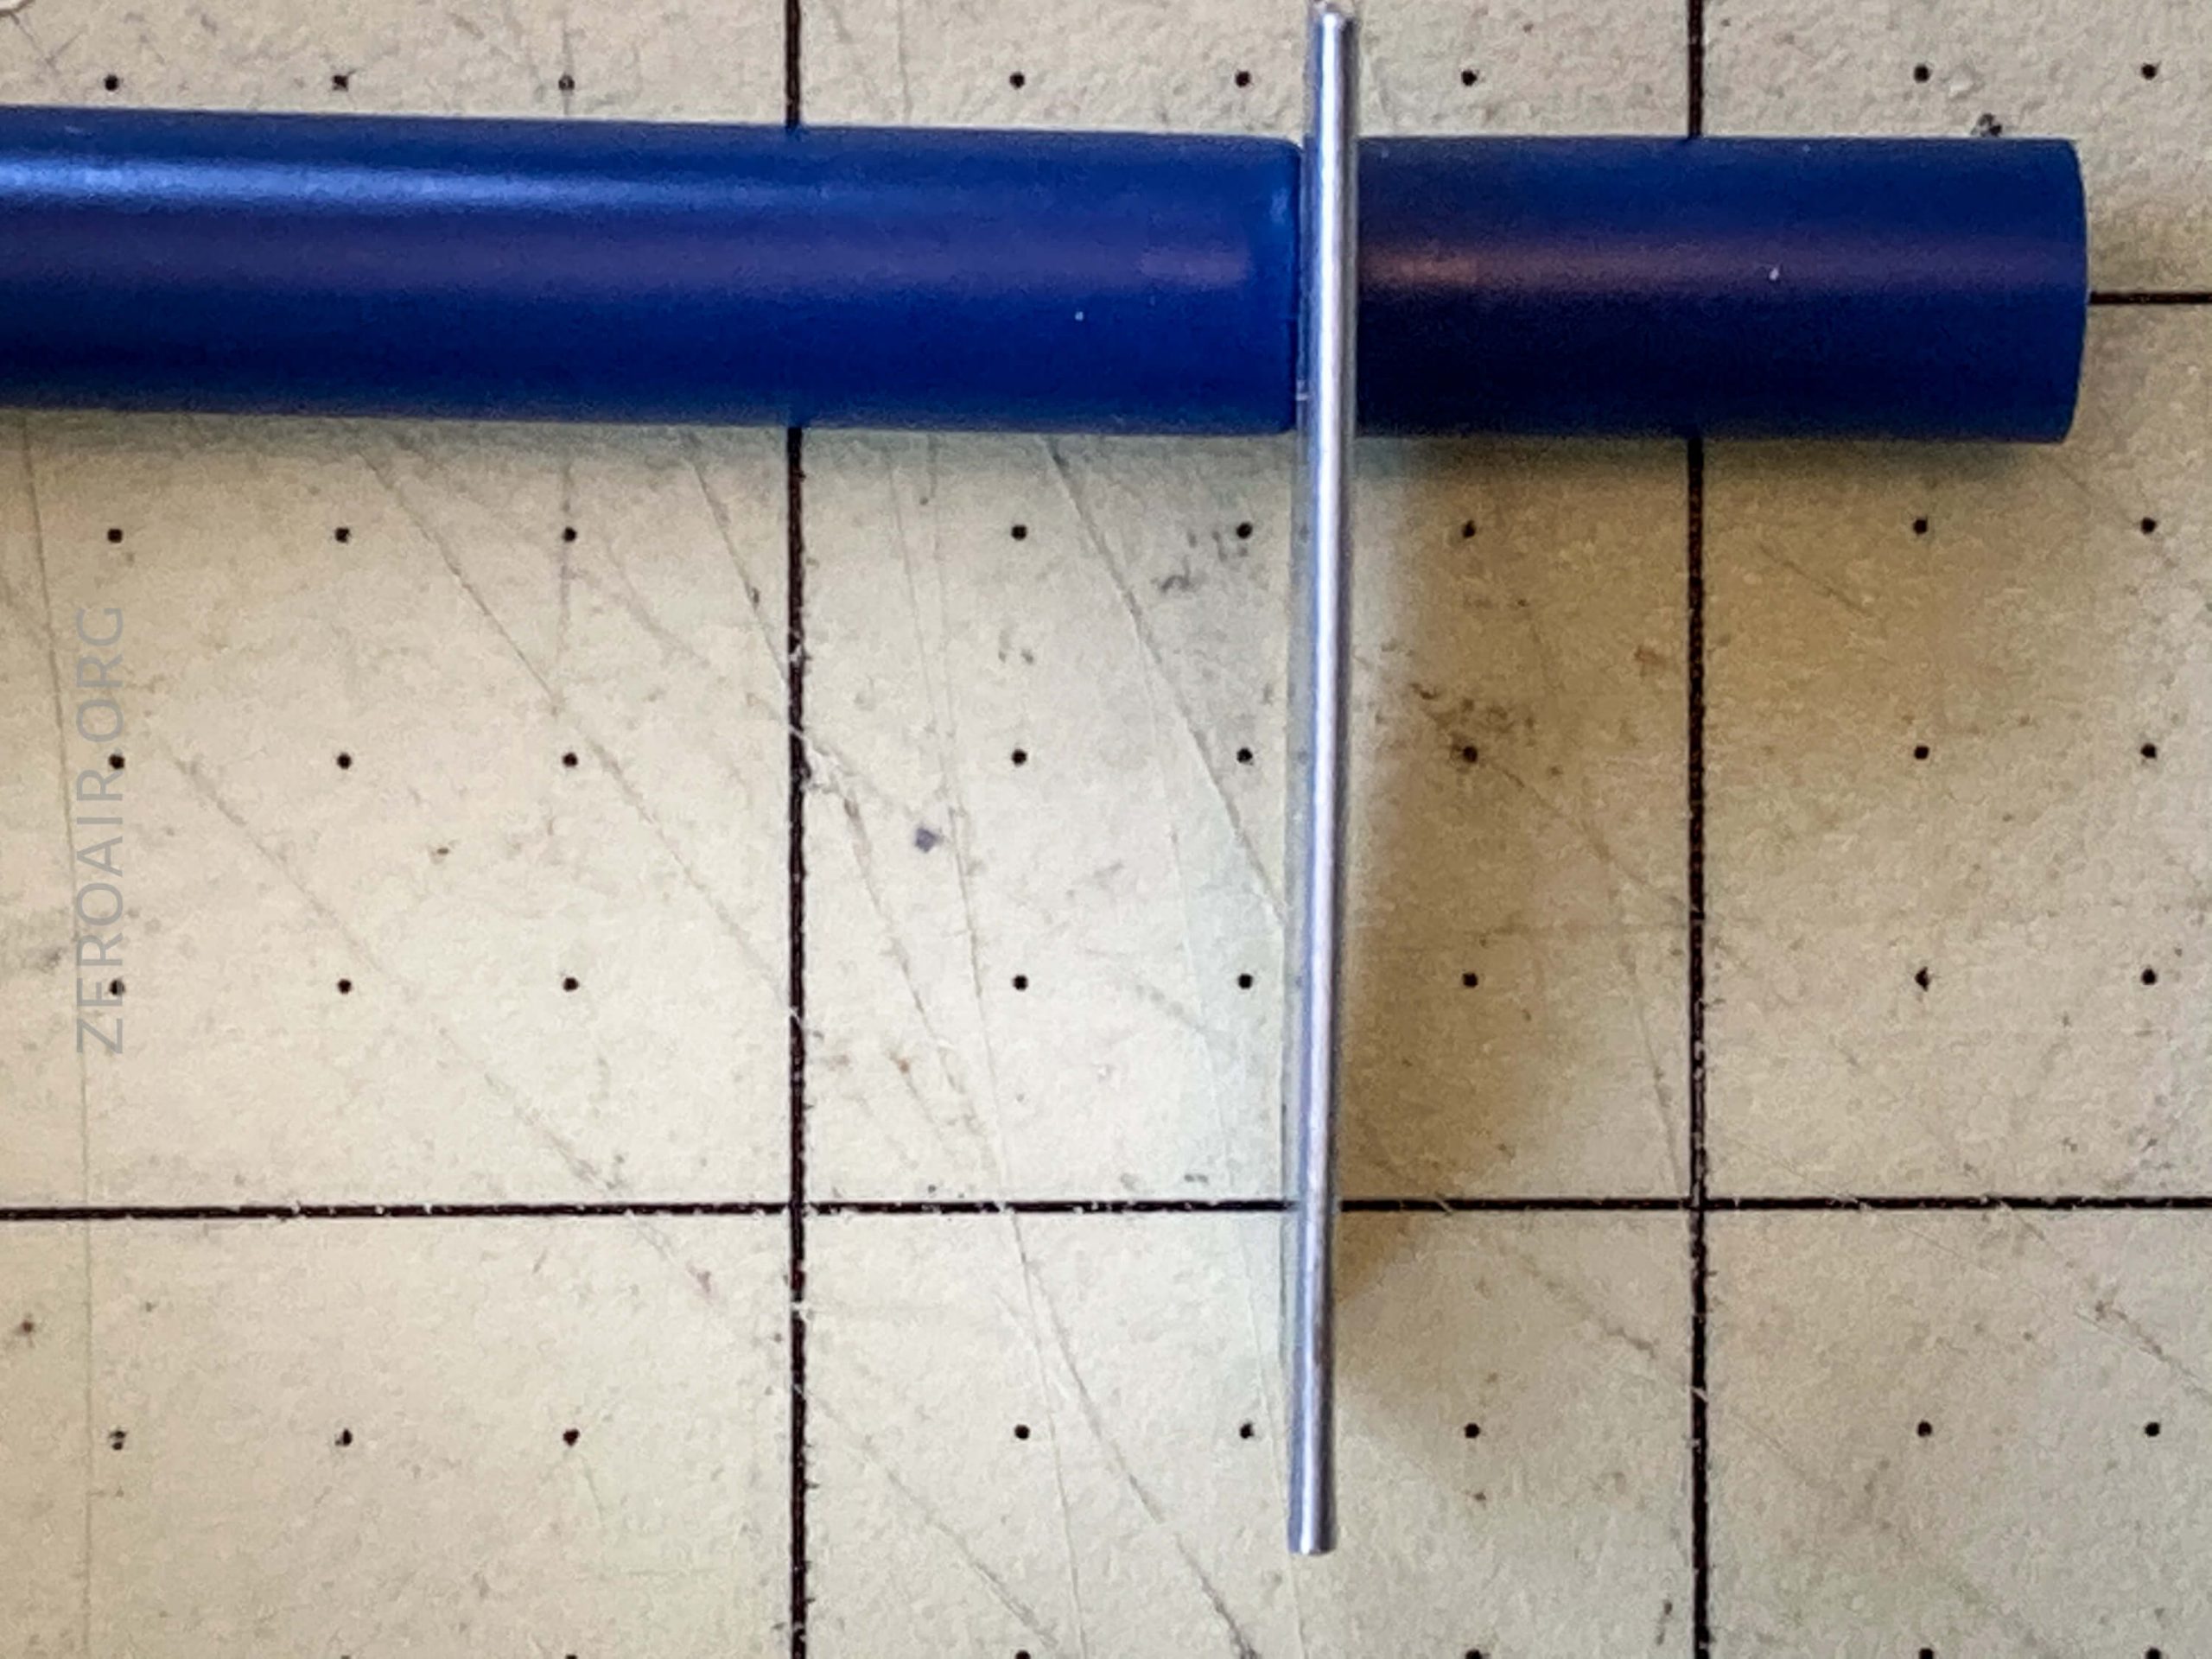
I use a pipe cutter to further mark deeply where I intend to cut.
This step isn’t required, but it helps get a perfectly straight cut.
The pipe cutter will likely not fully cut the pen; that’s fine. If you have a PVC cutter, that’ll probably work even better (though in my experience, they don’t provide perfectly straight cuts).
Mark that body!
You’ll want to stop when you have a clean line, but with some depth. More on that later. I think the pipe cutter is actually directional, and I haven’t accounted for that in this cut. One side is curved, and one side is straighter. If you were cutting pipe, you’d want the straight side as the “keep” side. But here it’s less important. The straight/flat side will probably look better in the end product. The curve/squished side will likely give you a better fit.
Break out that straight razor. Unfortunately, this razor is not sided. That is – a chisel grind would probably work better (like what looks to be on the pipe cutter I used), but what we have here, instead of on the razor blade, is a Scandi grind or full wedge. Not a big deal, it works either way!
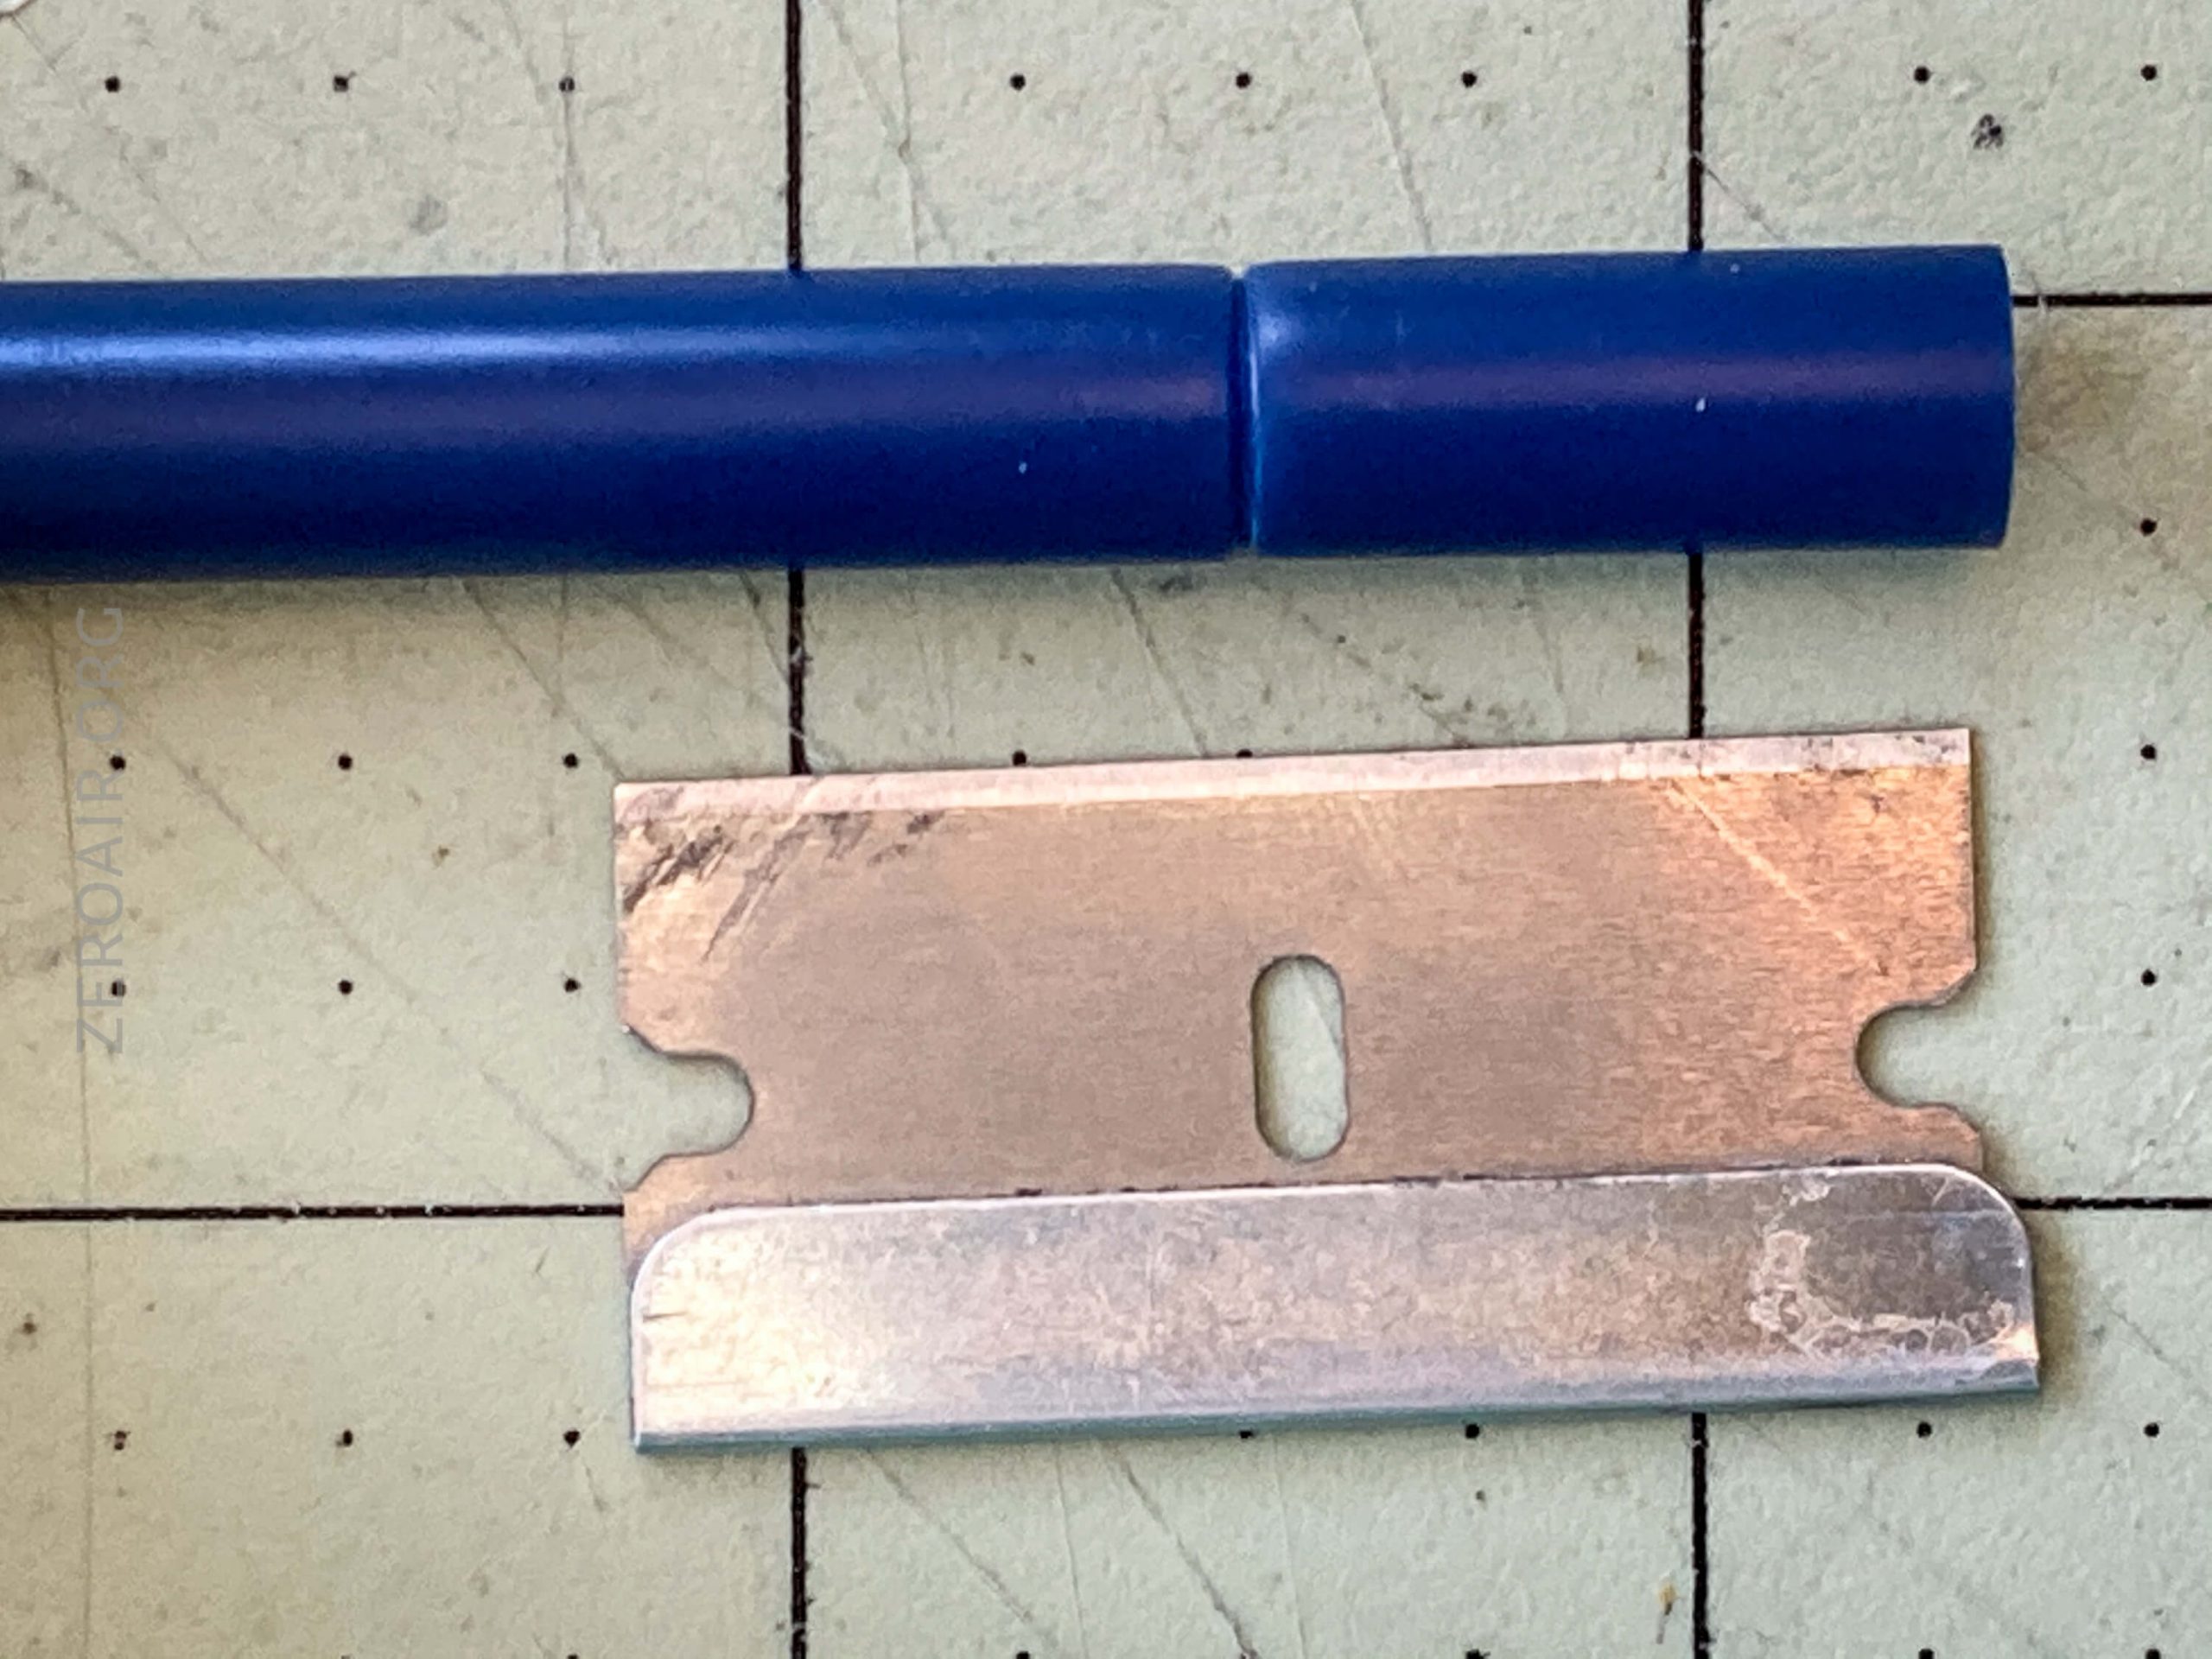
Cut that barrel!
It’s magic.
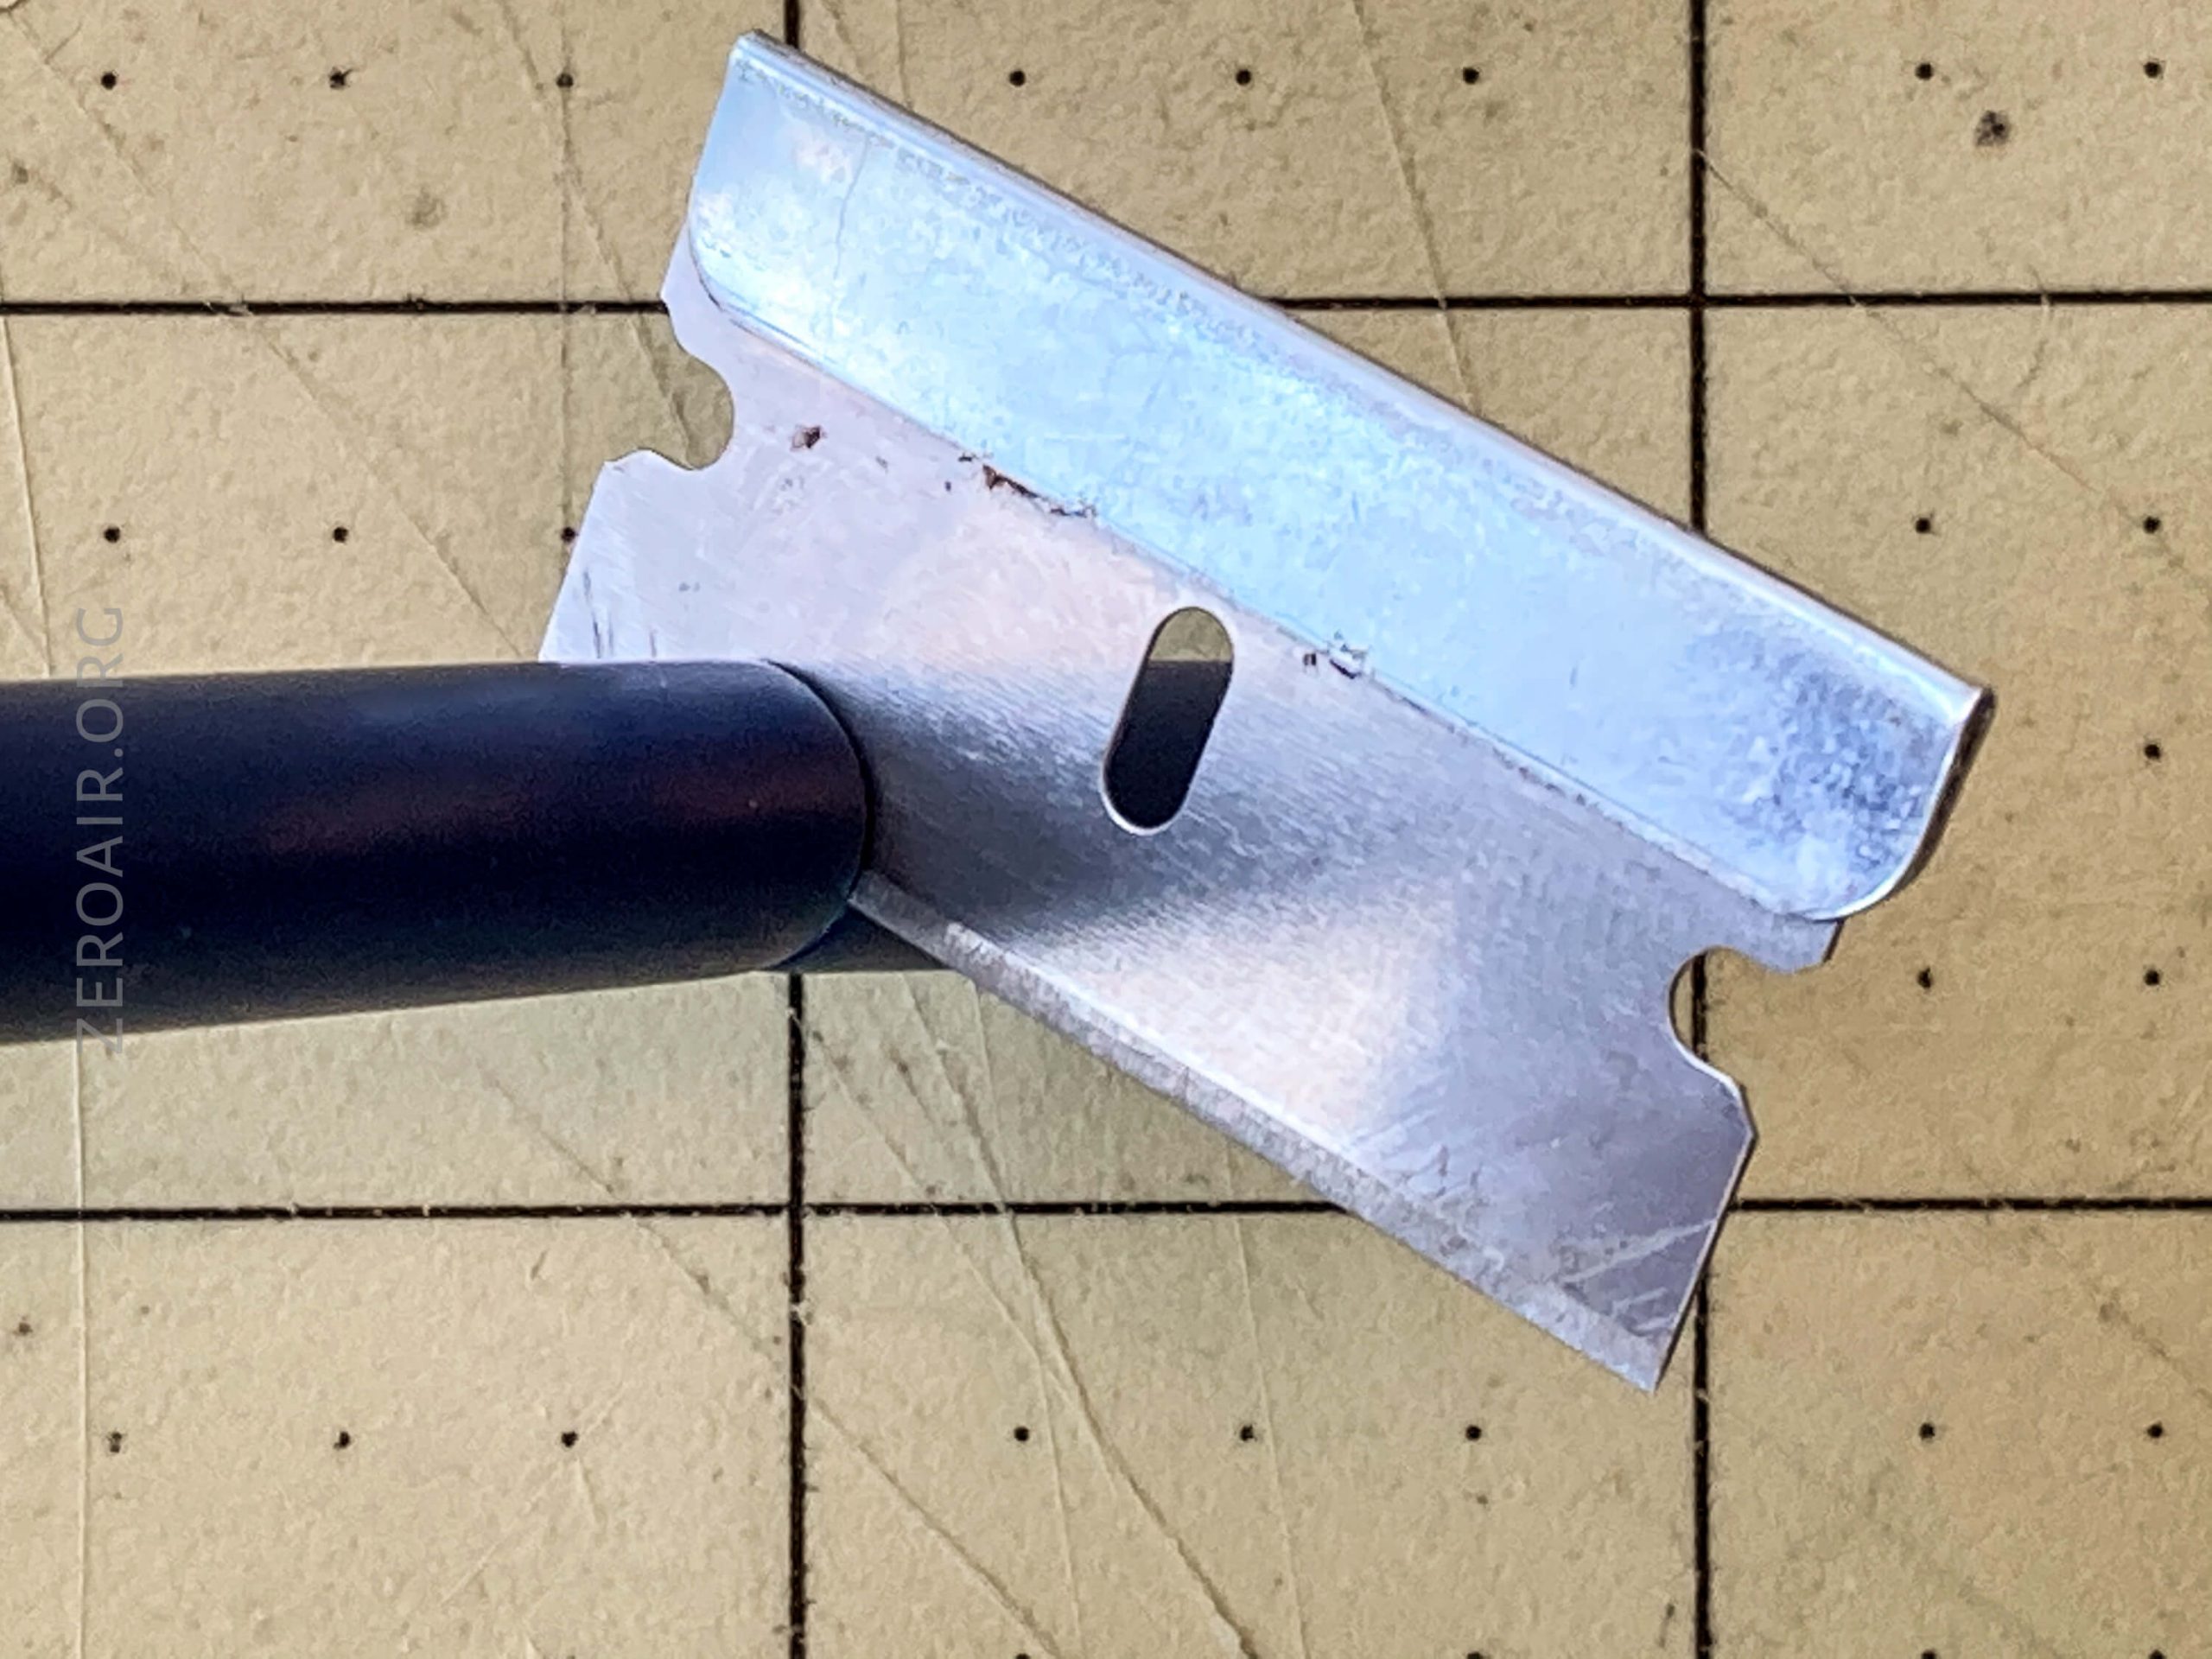
Cutting the barrel this way should provide you with a very clean and straight cut.

I’ve made pens out of that leftover bit. They’re very hard to use.
The barrel ends up with a slight lip on the inside. That’s actually great because it makes the fit on the tip (this should be your tip end!) tighter!
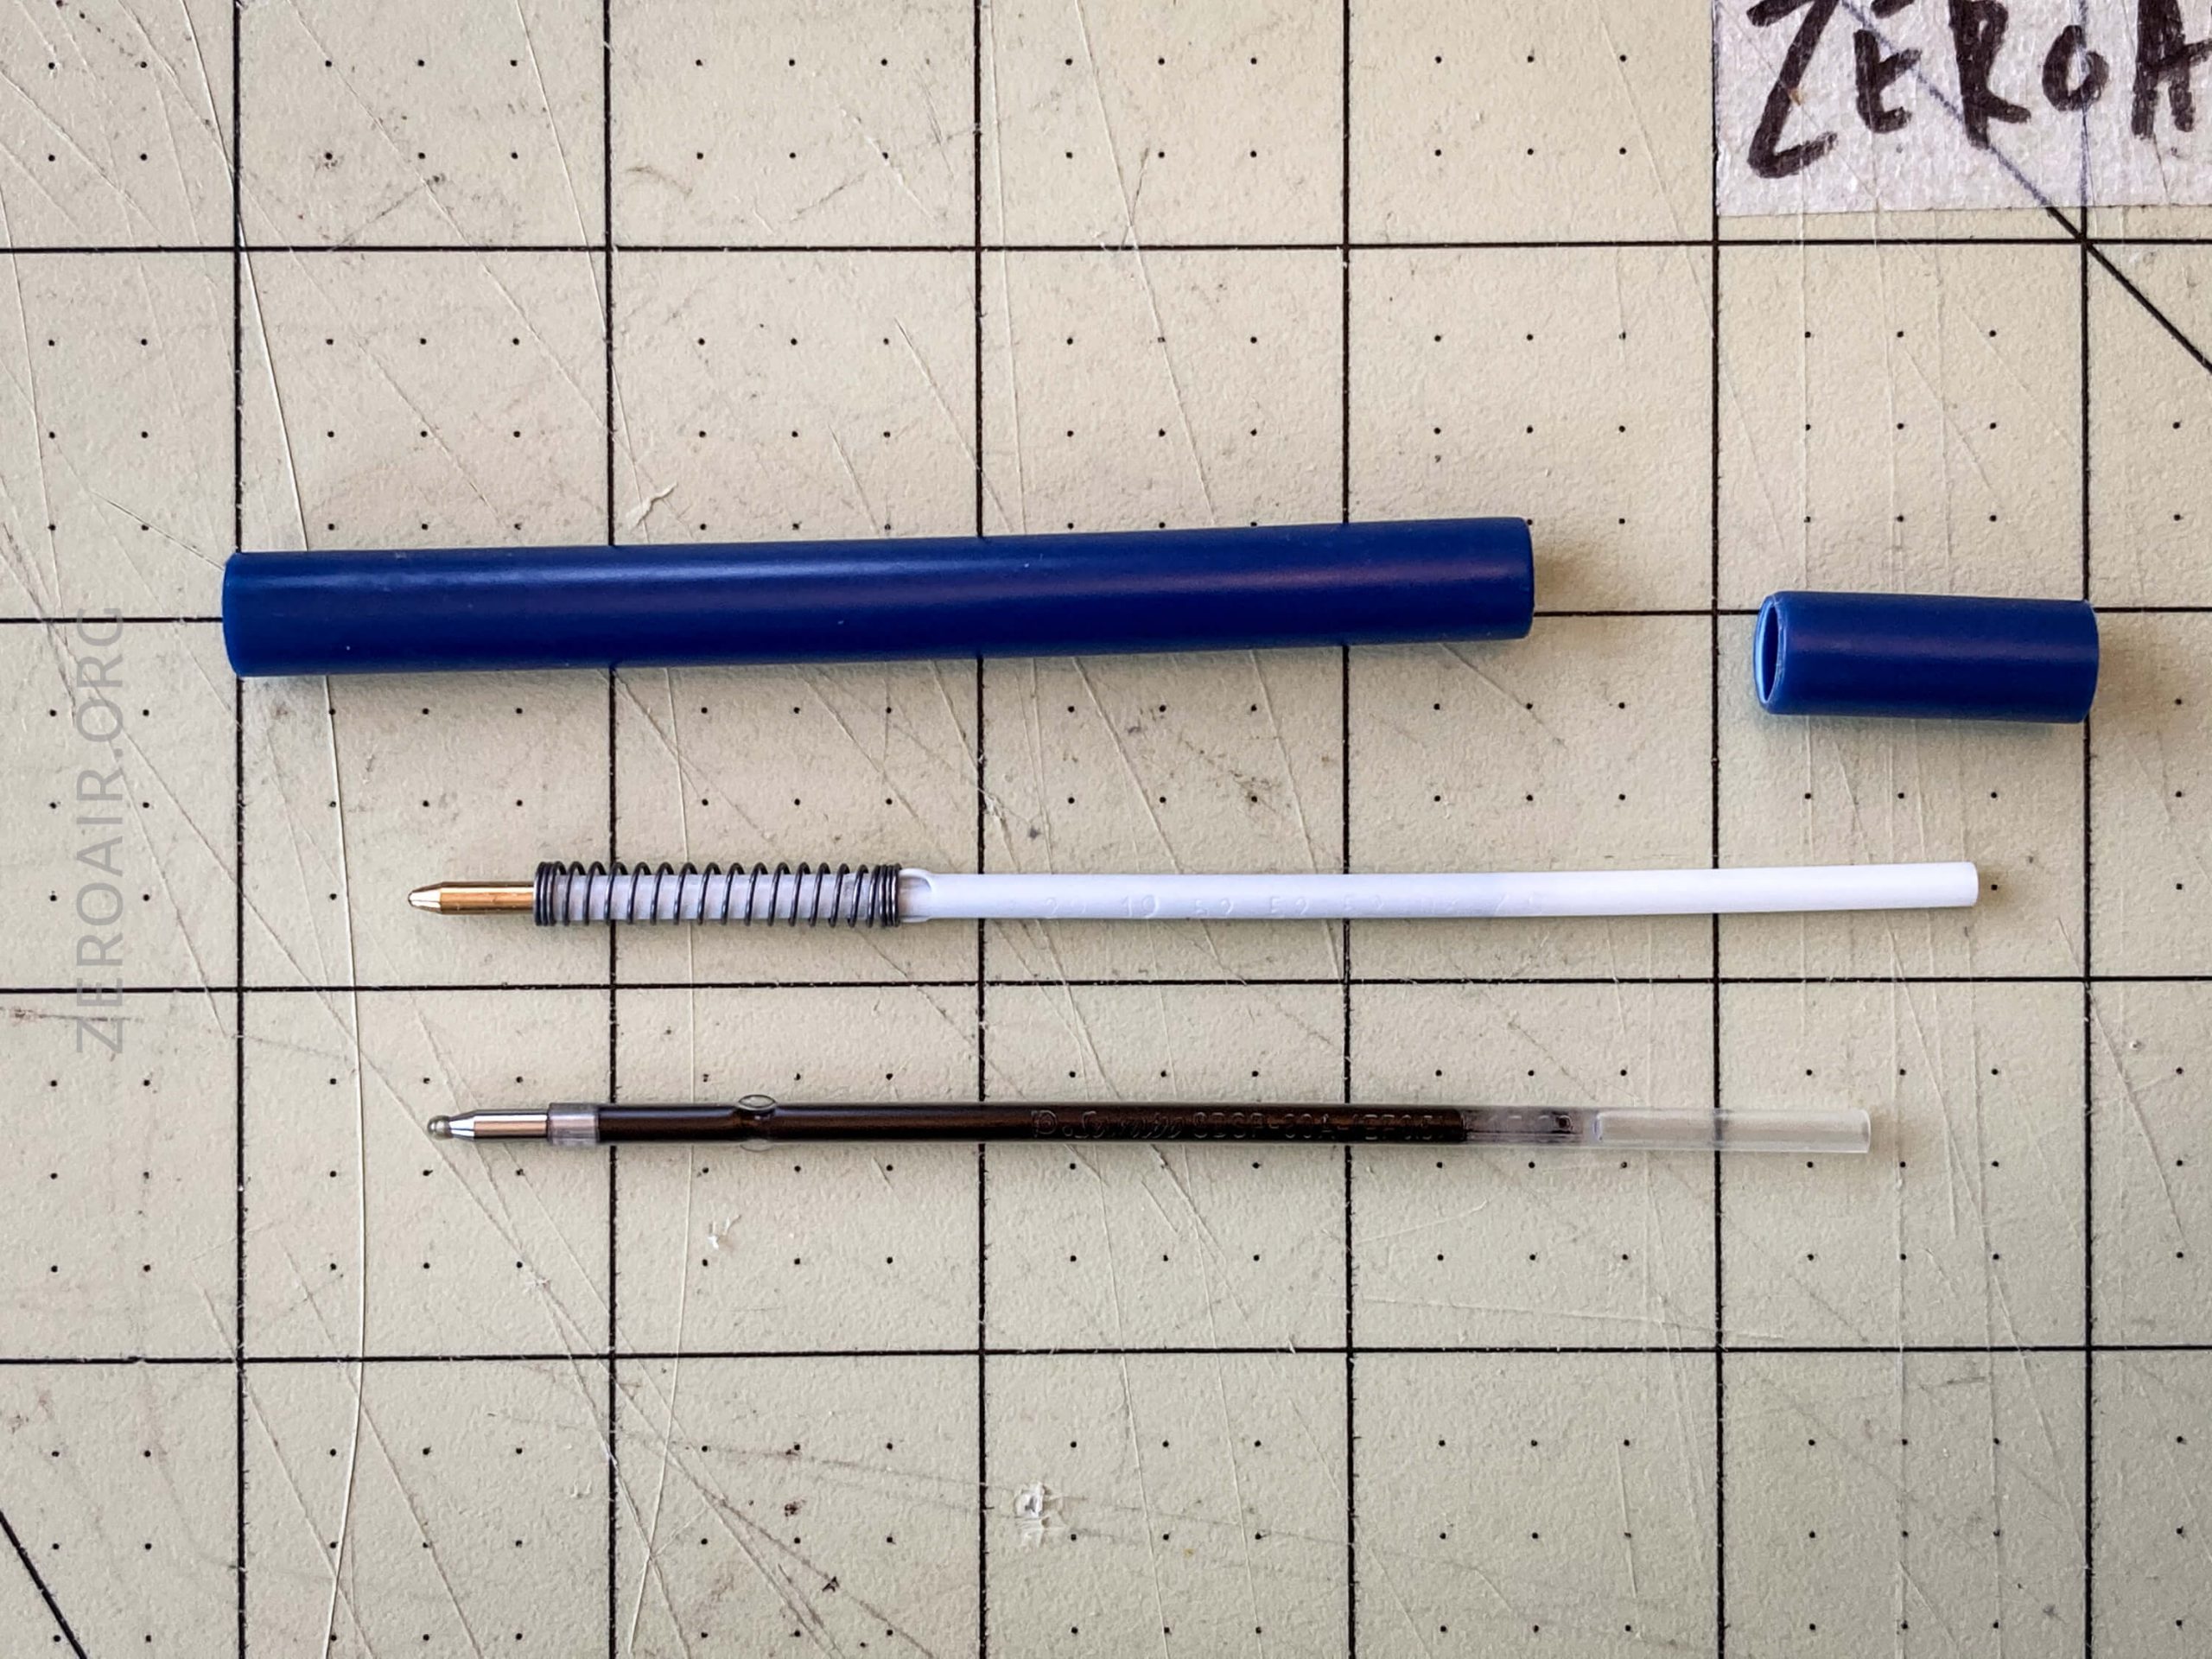
Now, if you wish to do this mod but keep the stock ink, that’s cool. We can still be friends. But you’ll need to shorten the stock ink. Shorten it by exactly how much you shortened the barrel, and you should be good to go. Use the cut-off part as a guide.
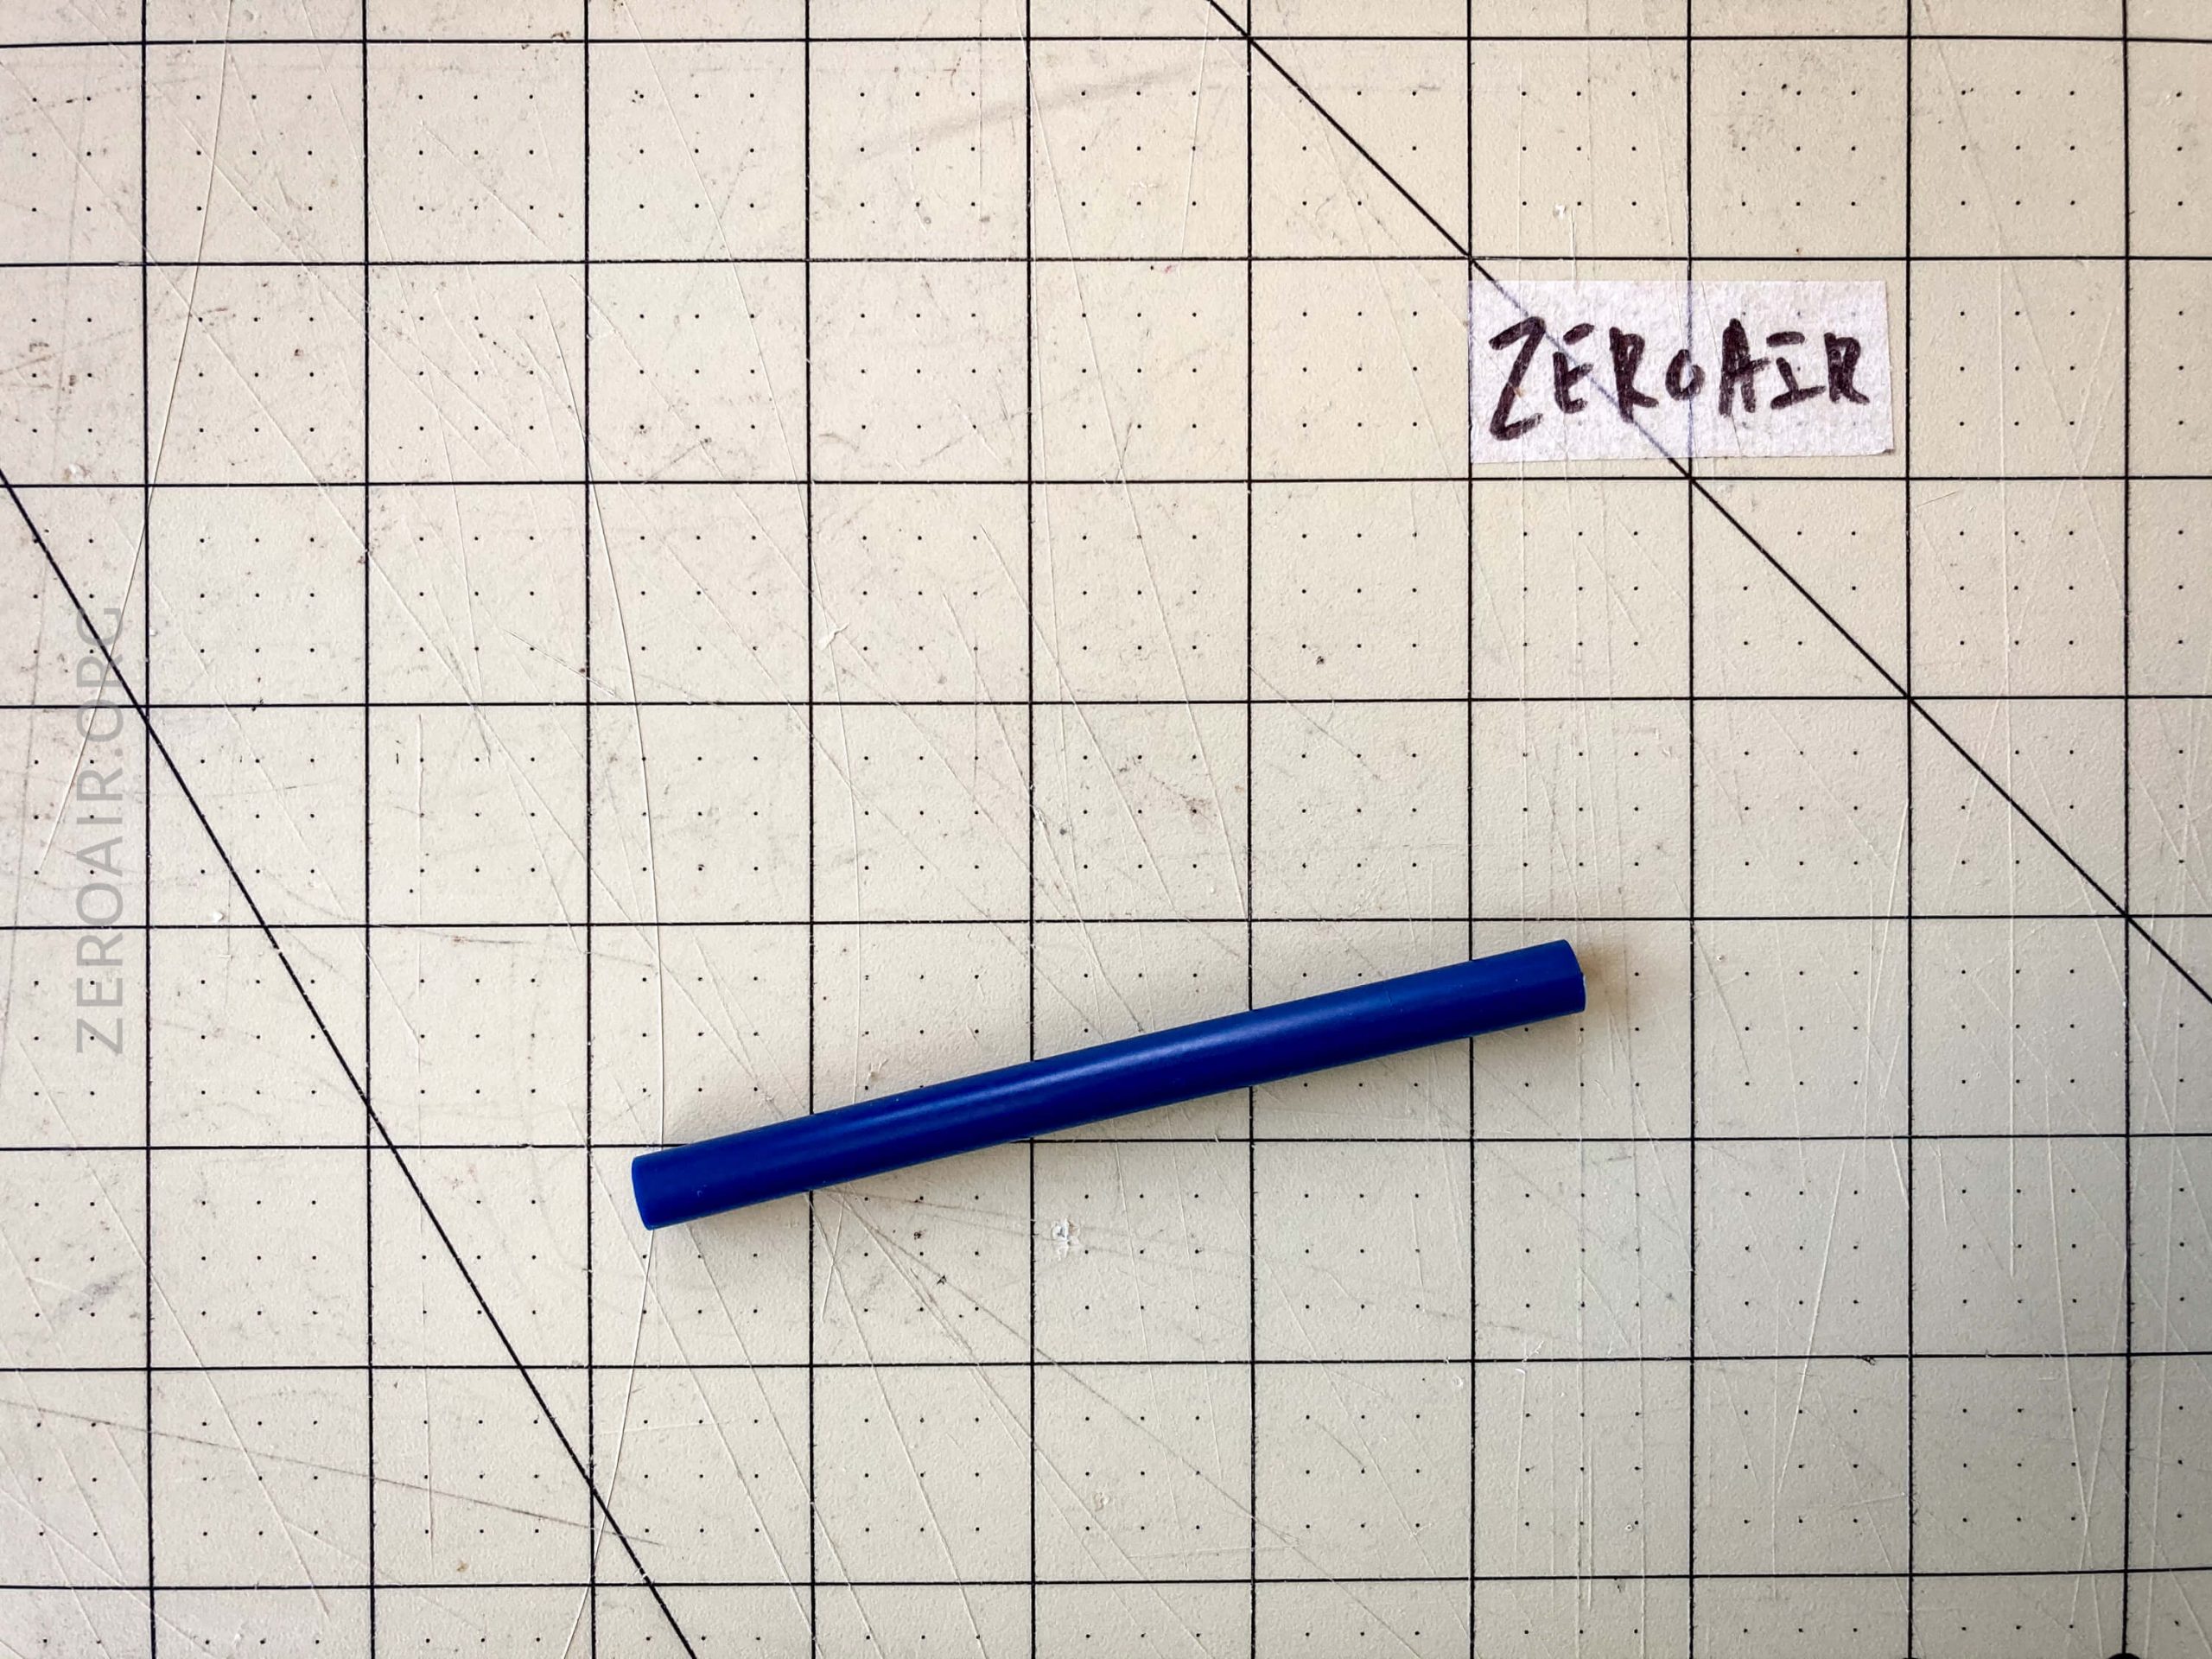
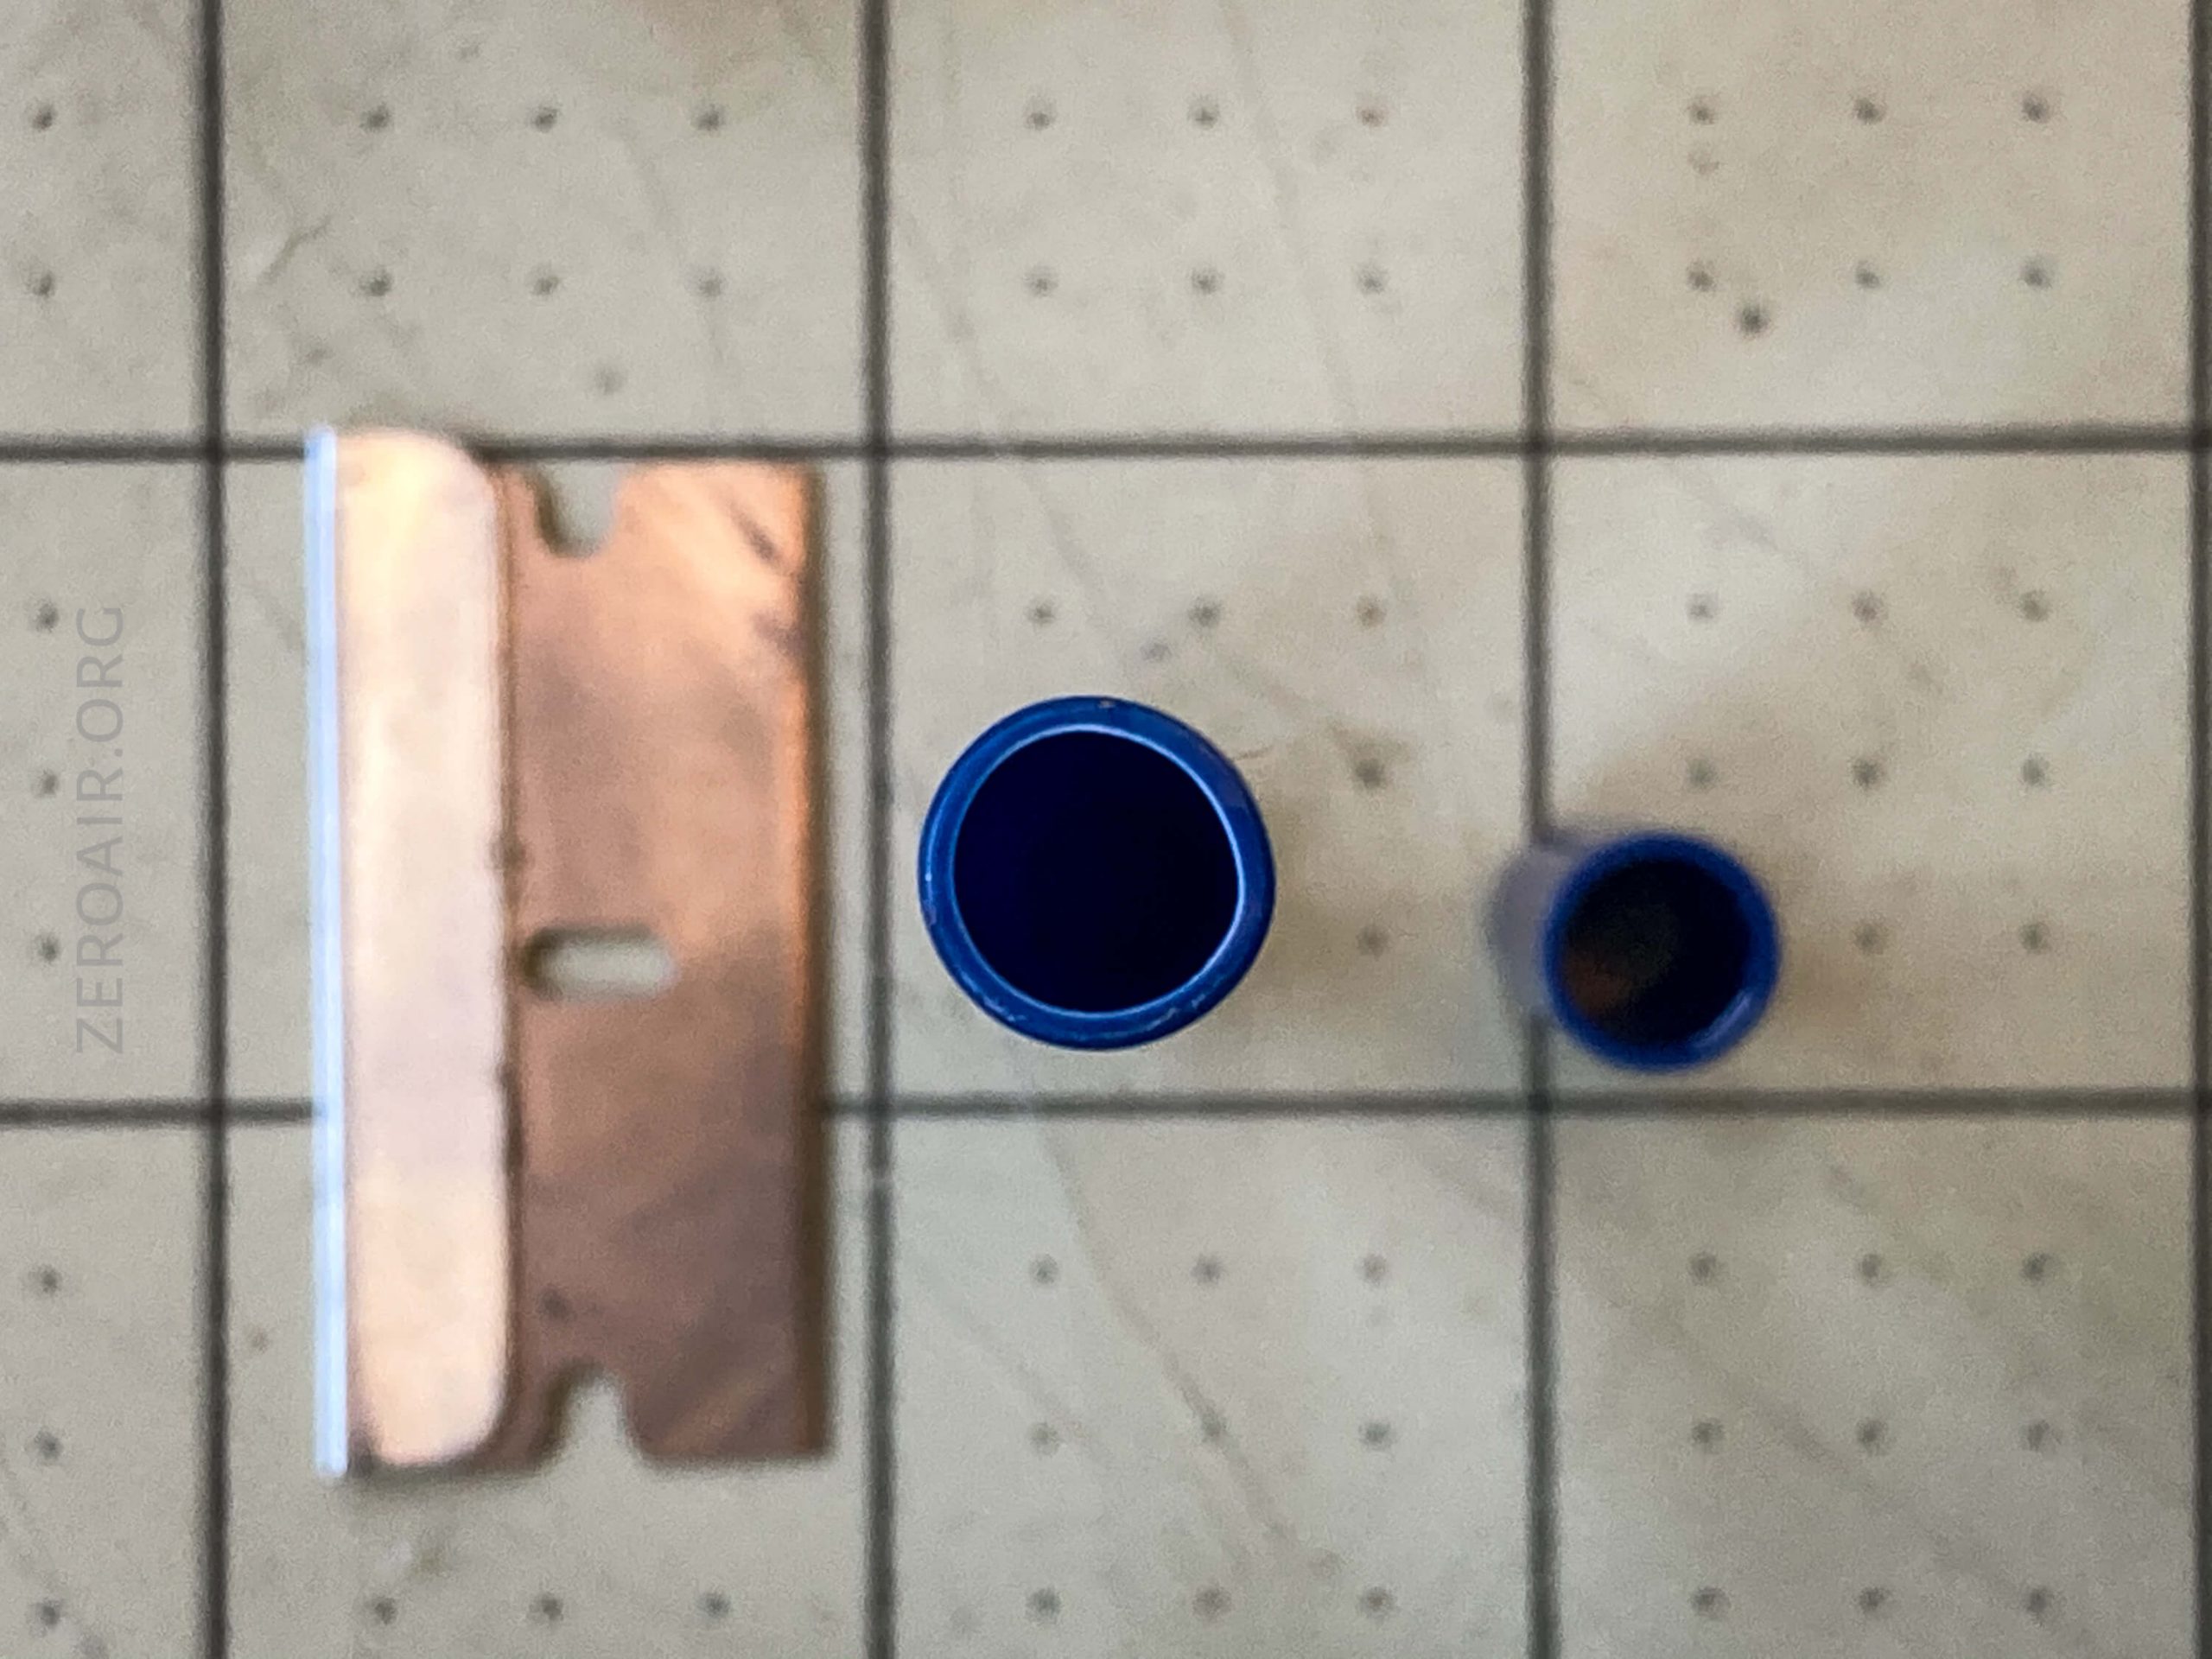
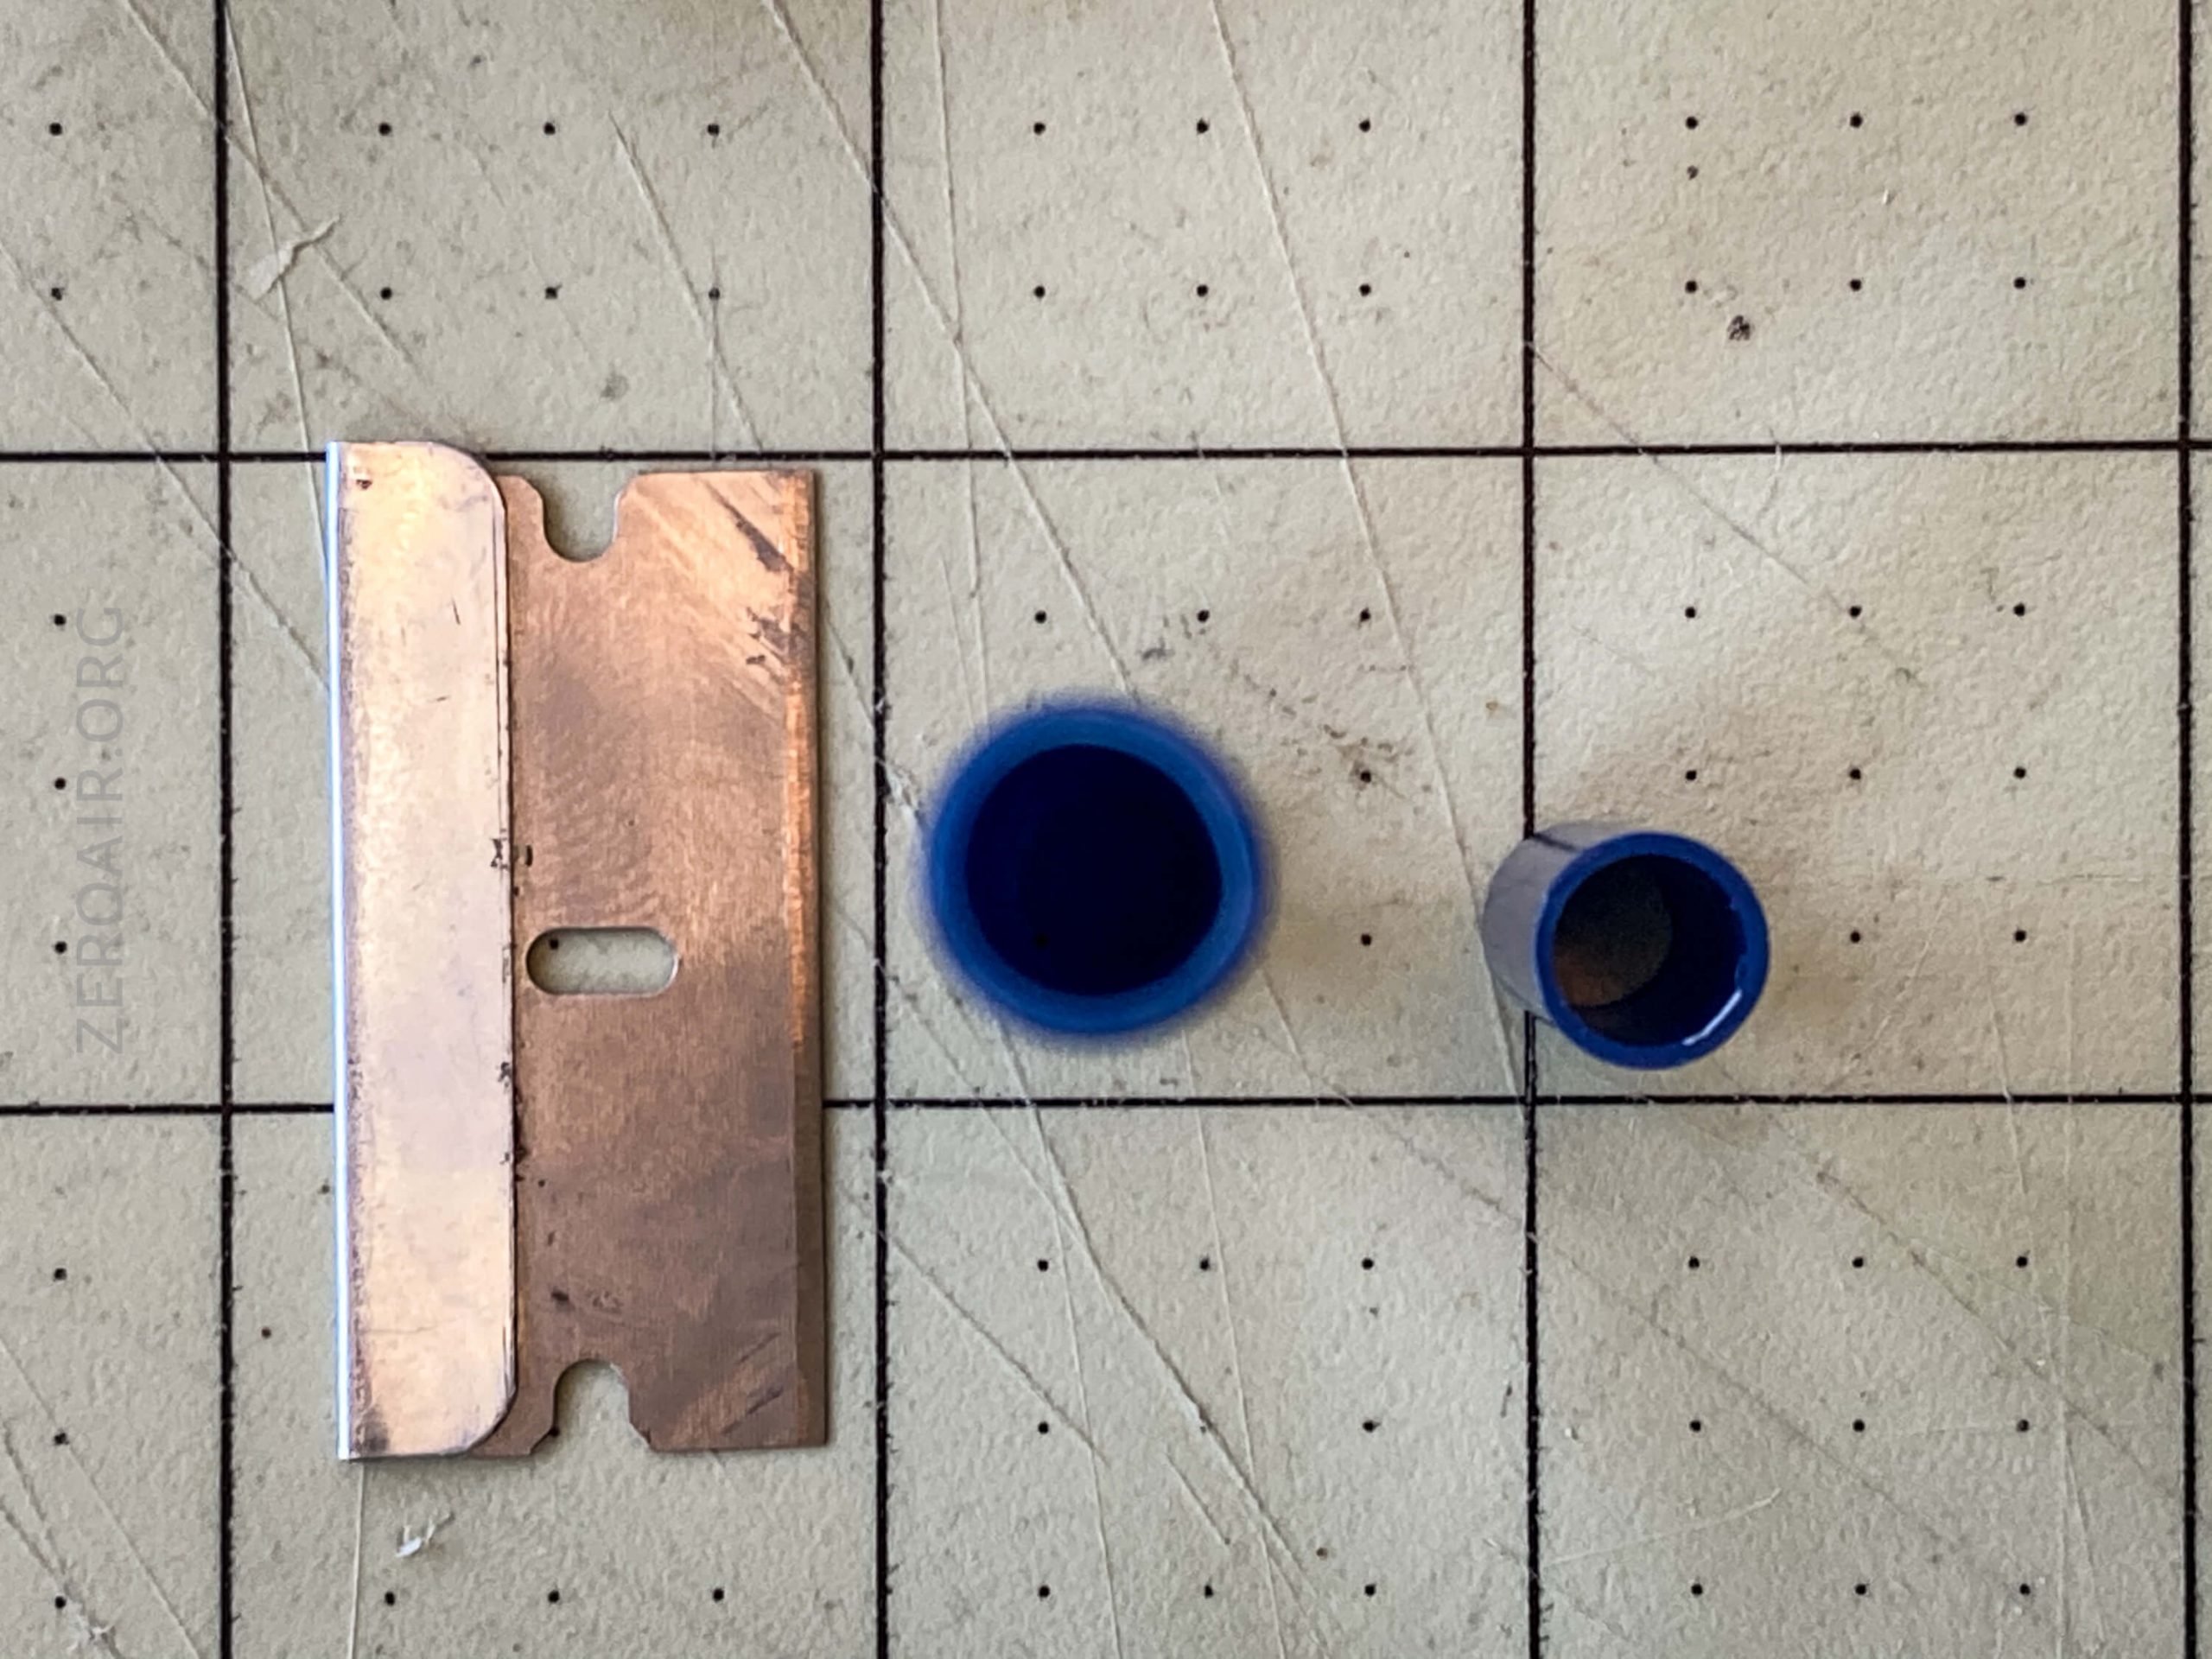
If you wish to proceed, then trash that stock ink, which is around 1.0mm. There are finer versions of this pen, but they’re still not as fine as I want. Break out the replacement! (NOT what is pictured below!)

It was exactly at this point that I realized the replacement I had is not the replacement I wanted (I went through a bunch of inks to get the right one….). So disregard what you see in this picture, and keep reading.
We’ll be reusing this stock spring. I should find some fancy, expensive titanium spring or whatever, I guess, to kick this up a notch. But this one works great anyway. Again, that’s the wrong replacement refill.
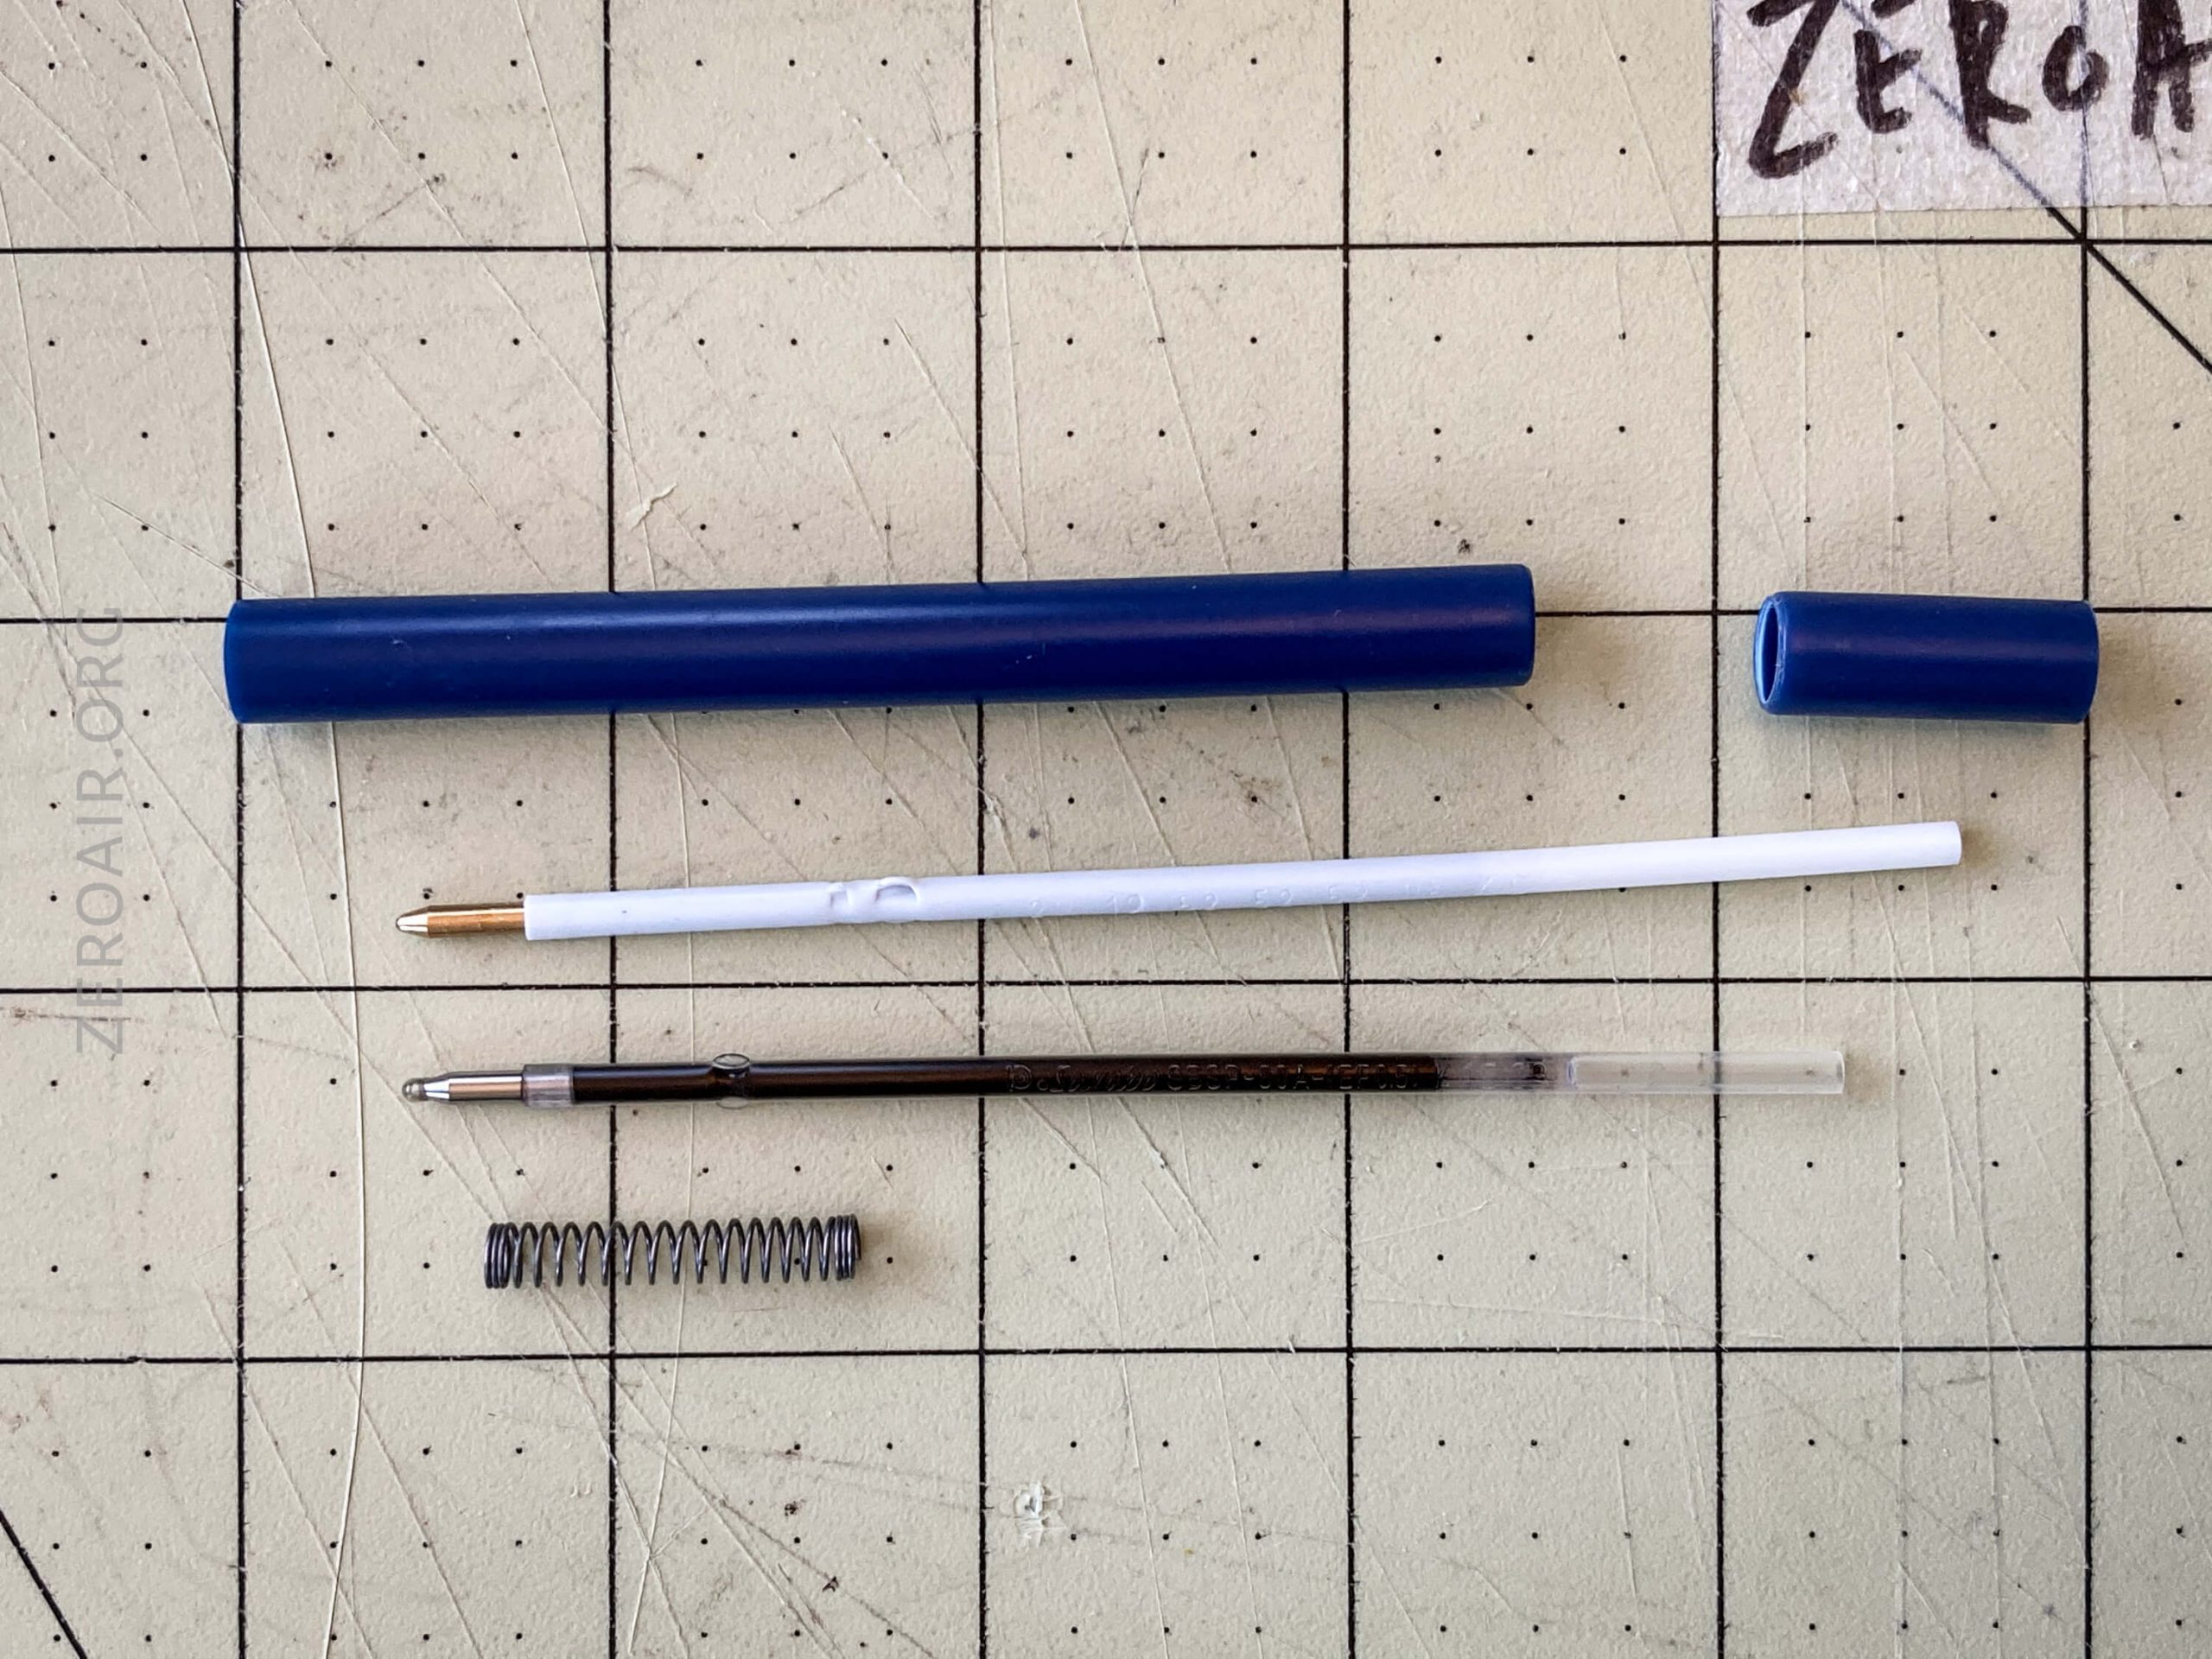
Install spring! Again, that’s the wrong replacement refill.
Alright, so I’ll just pull the OHTO from my current modded pen. From now on, the ink is “the right” ink.
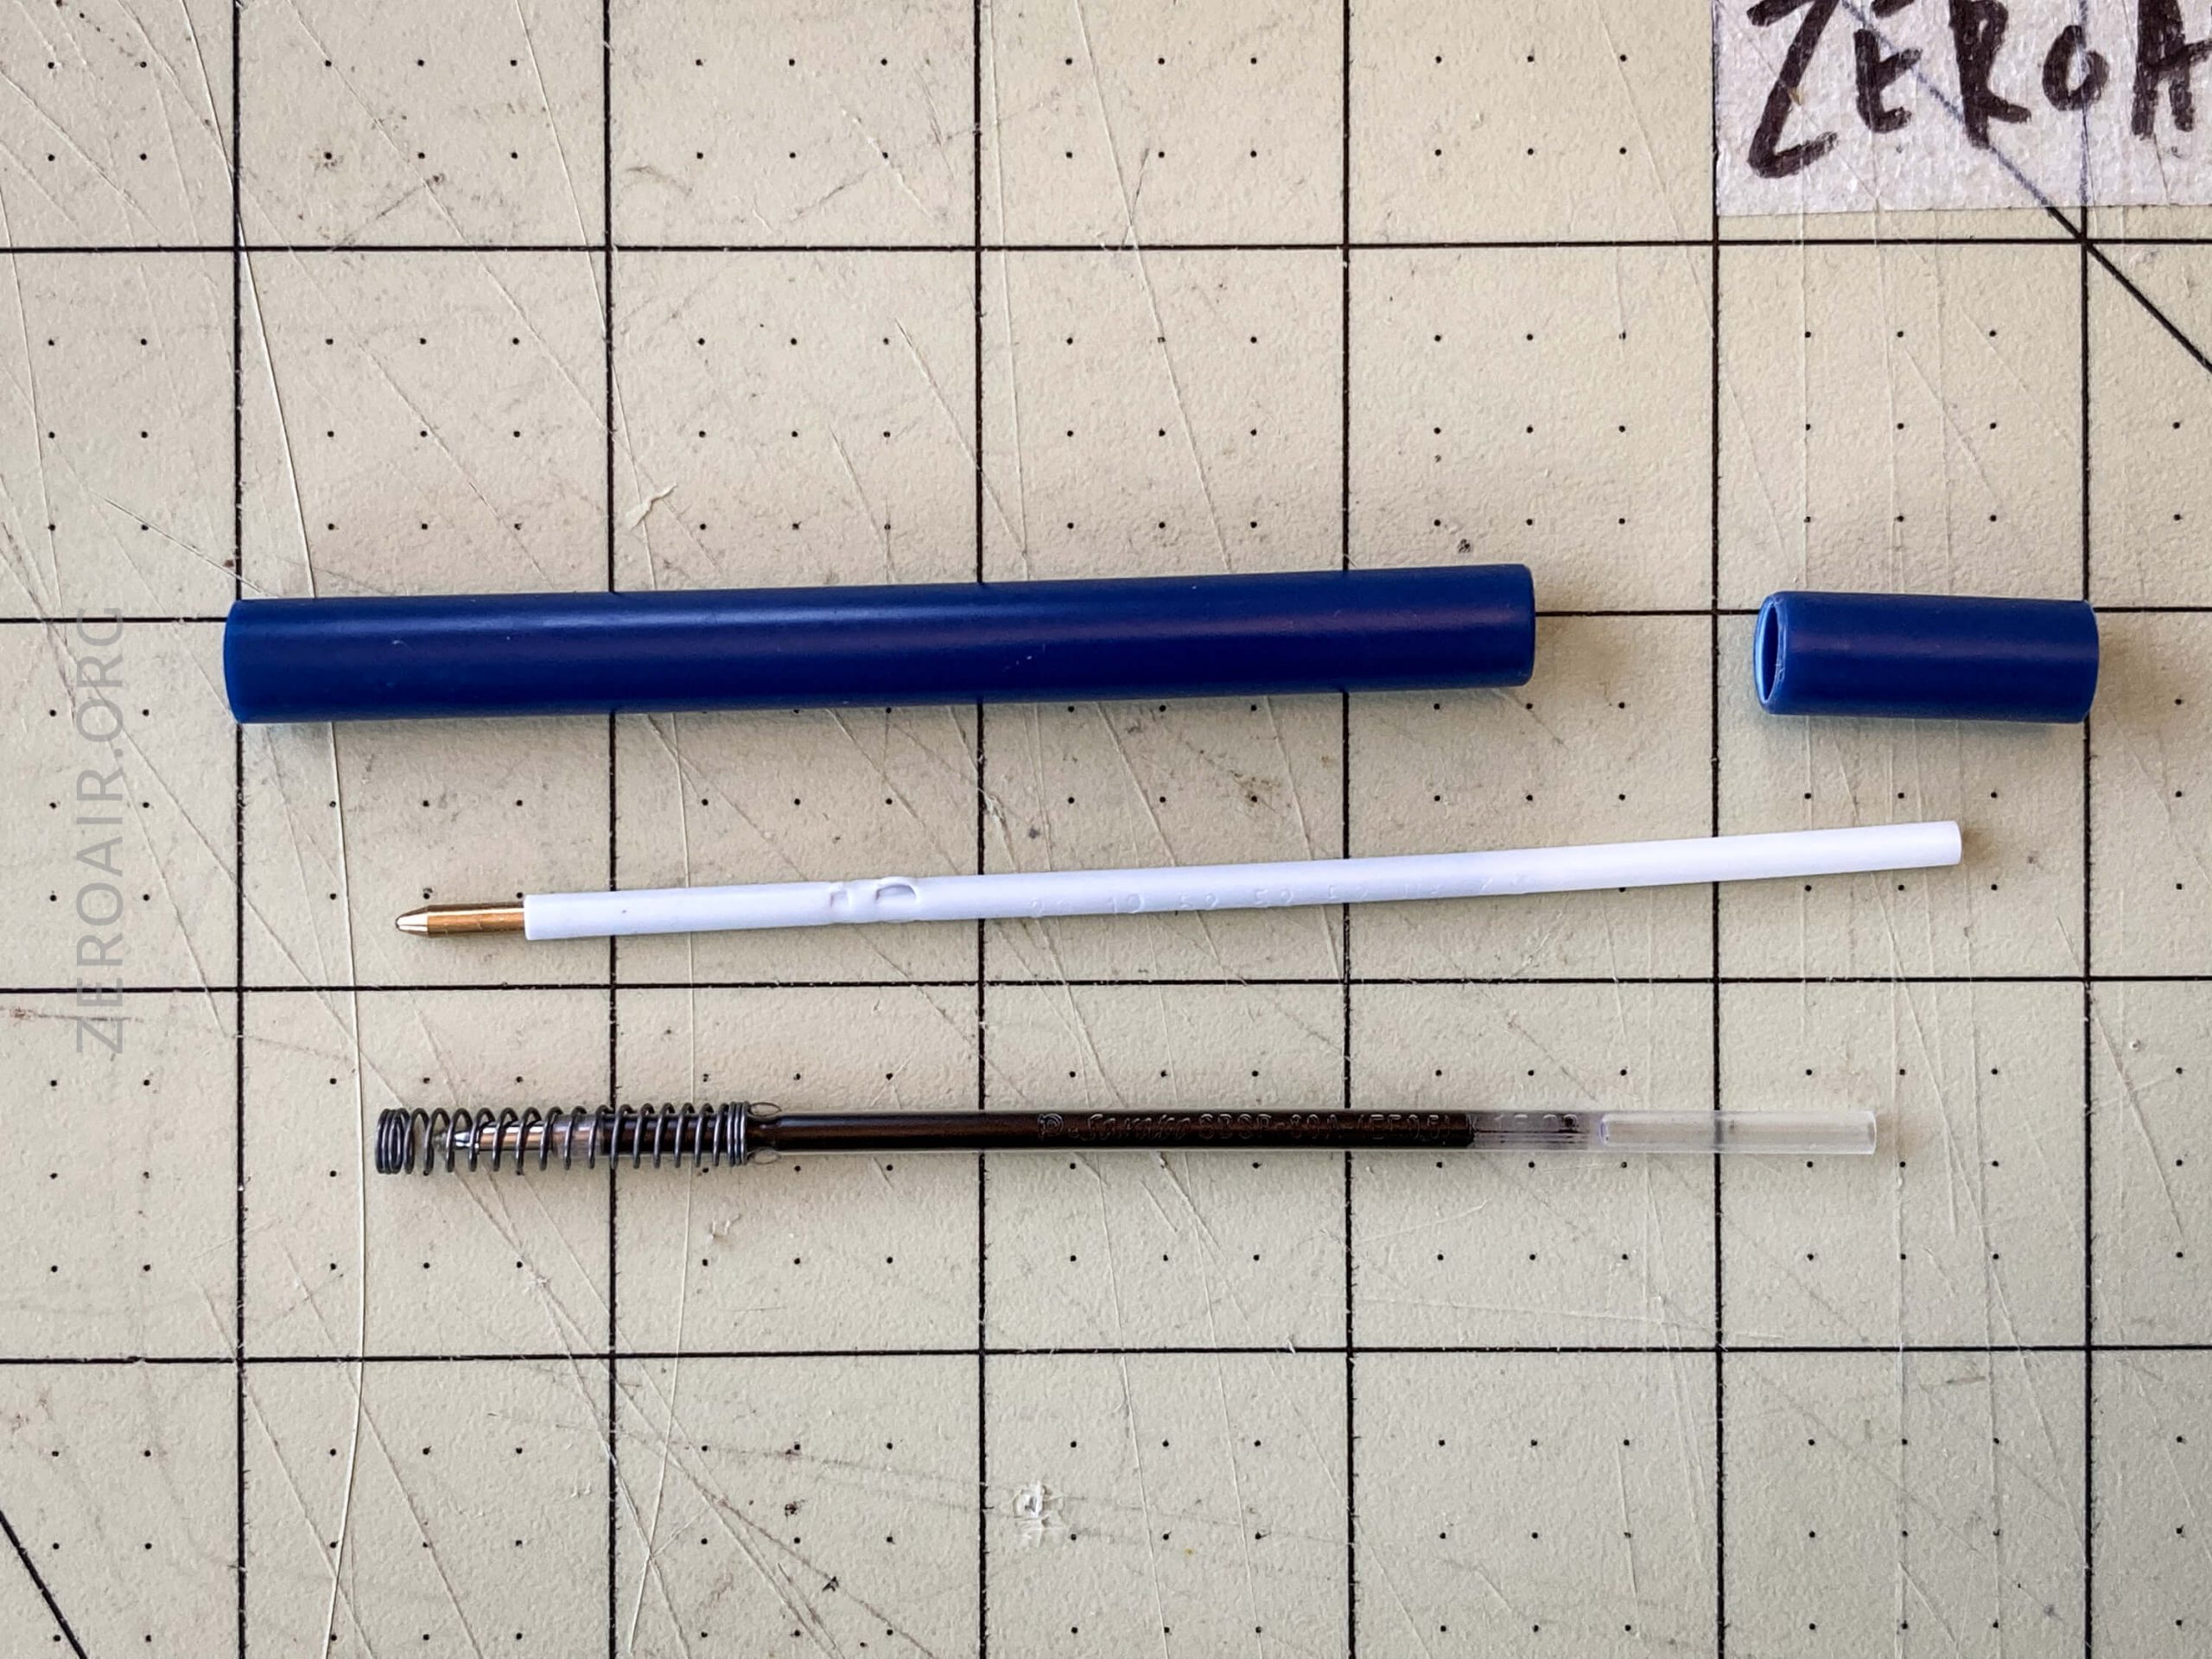
Install that spring on the right ink. Break out those magnets!!
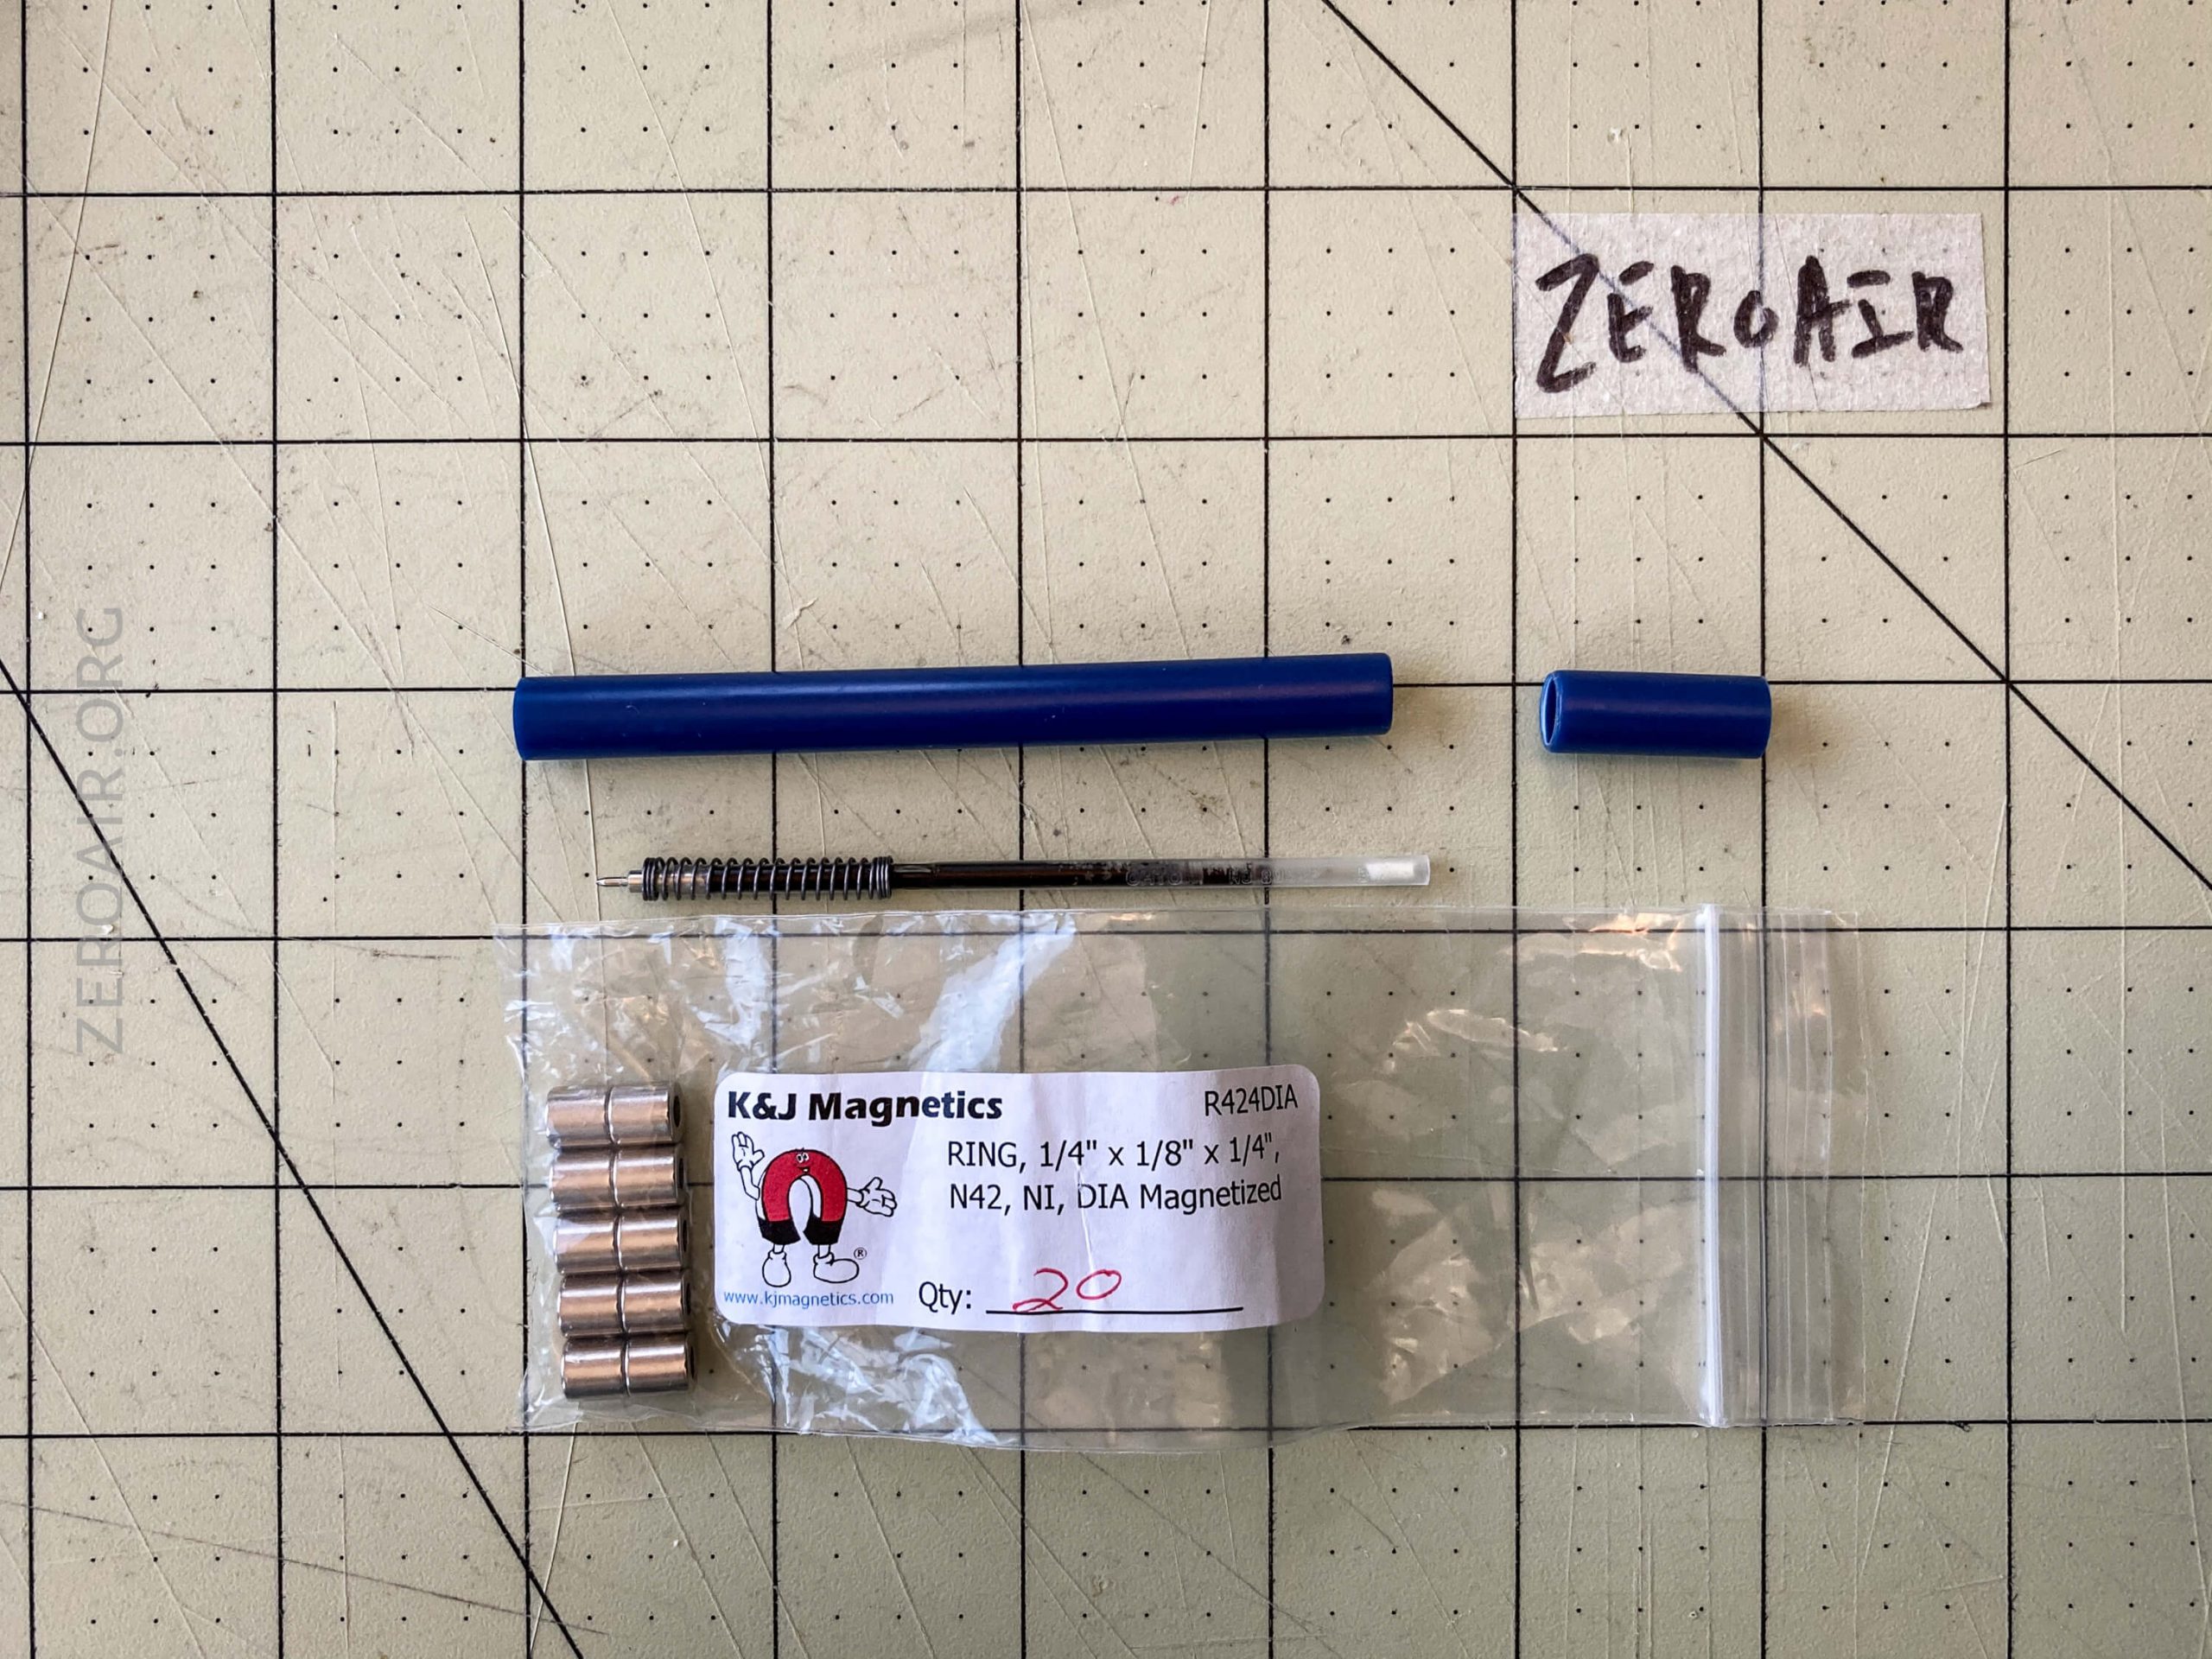
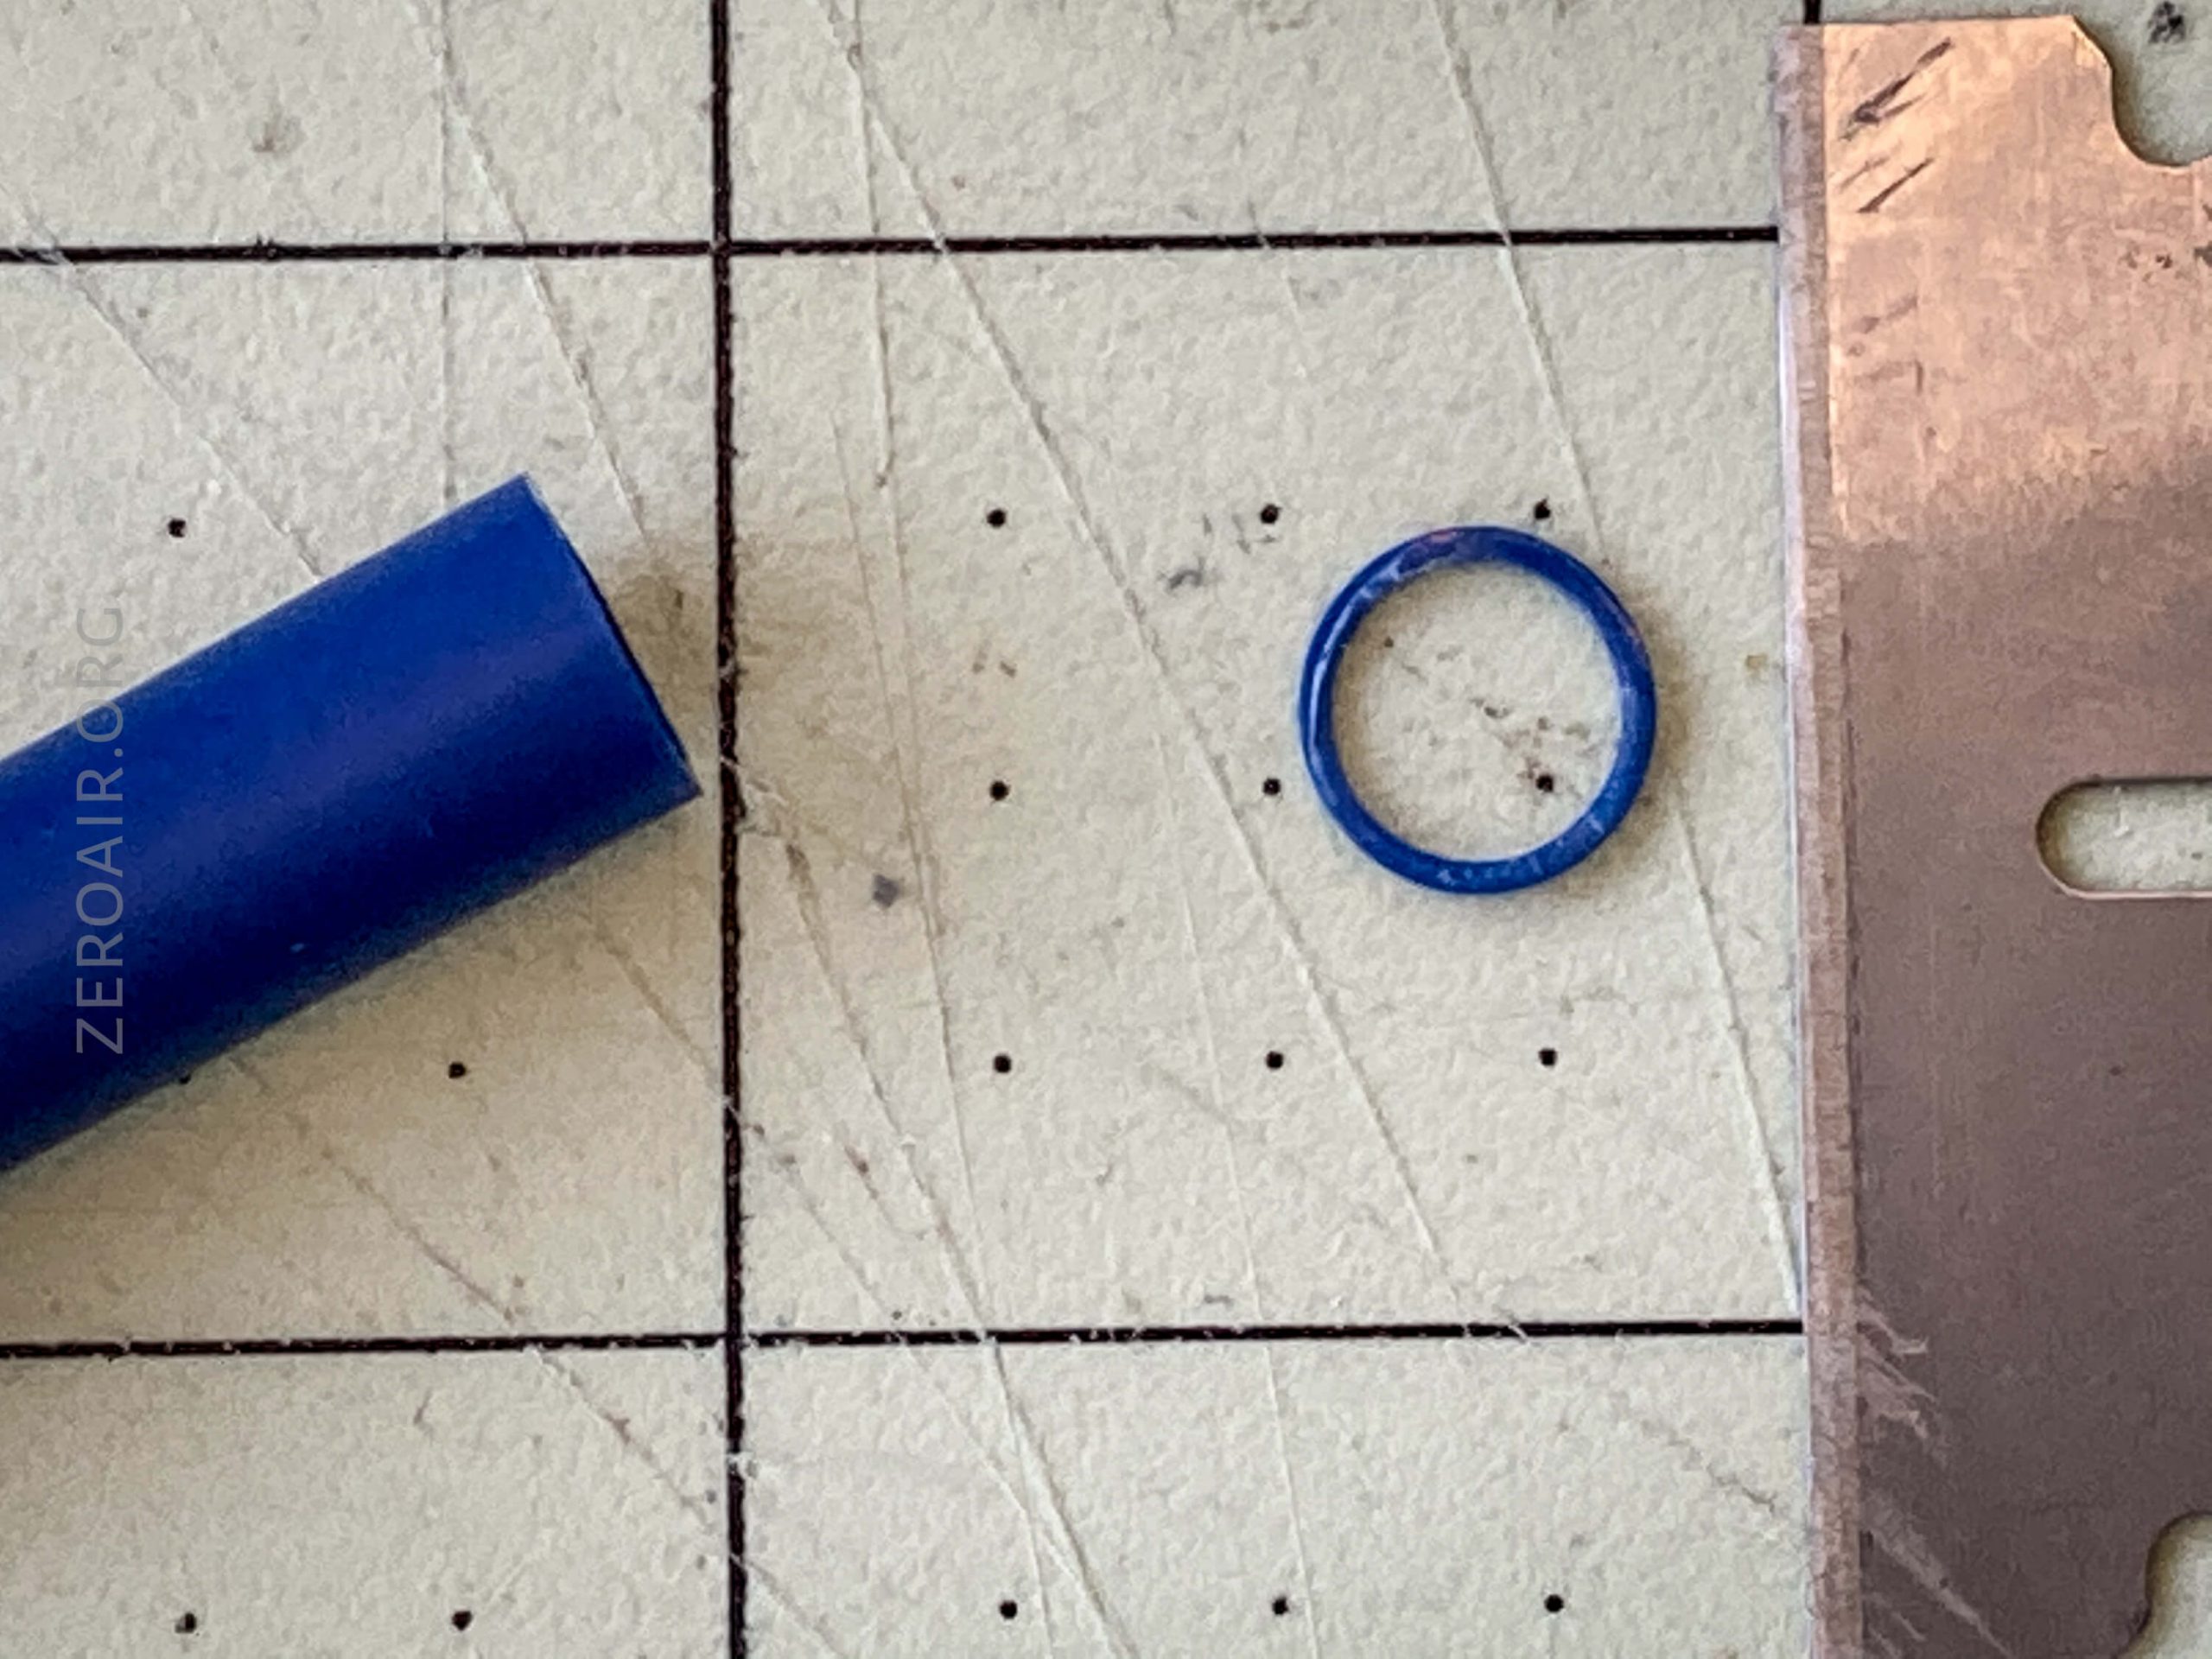
These are R424DIA (1/4″ od x 1/8″ id x 1/4″ thick) NdFeB, Grade N42, Ni-Cu-Ni (Nickel) plated “donut” magnets. There are probably others you could use, but consider these vetted. Also, I’ve had great experiences with K&J Magnetics, so they come highly recommended, too. I can’t say these are actually Grade N42. But they’re good enough – and their magnetic properties aren’t all we want them for.
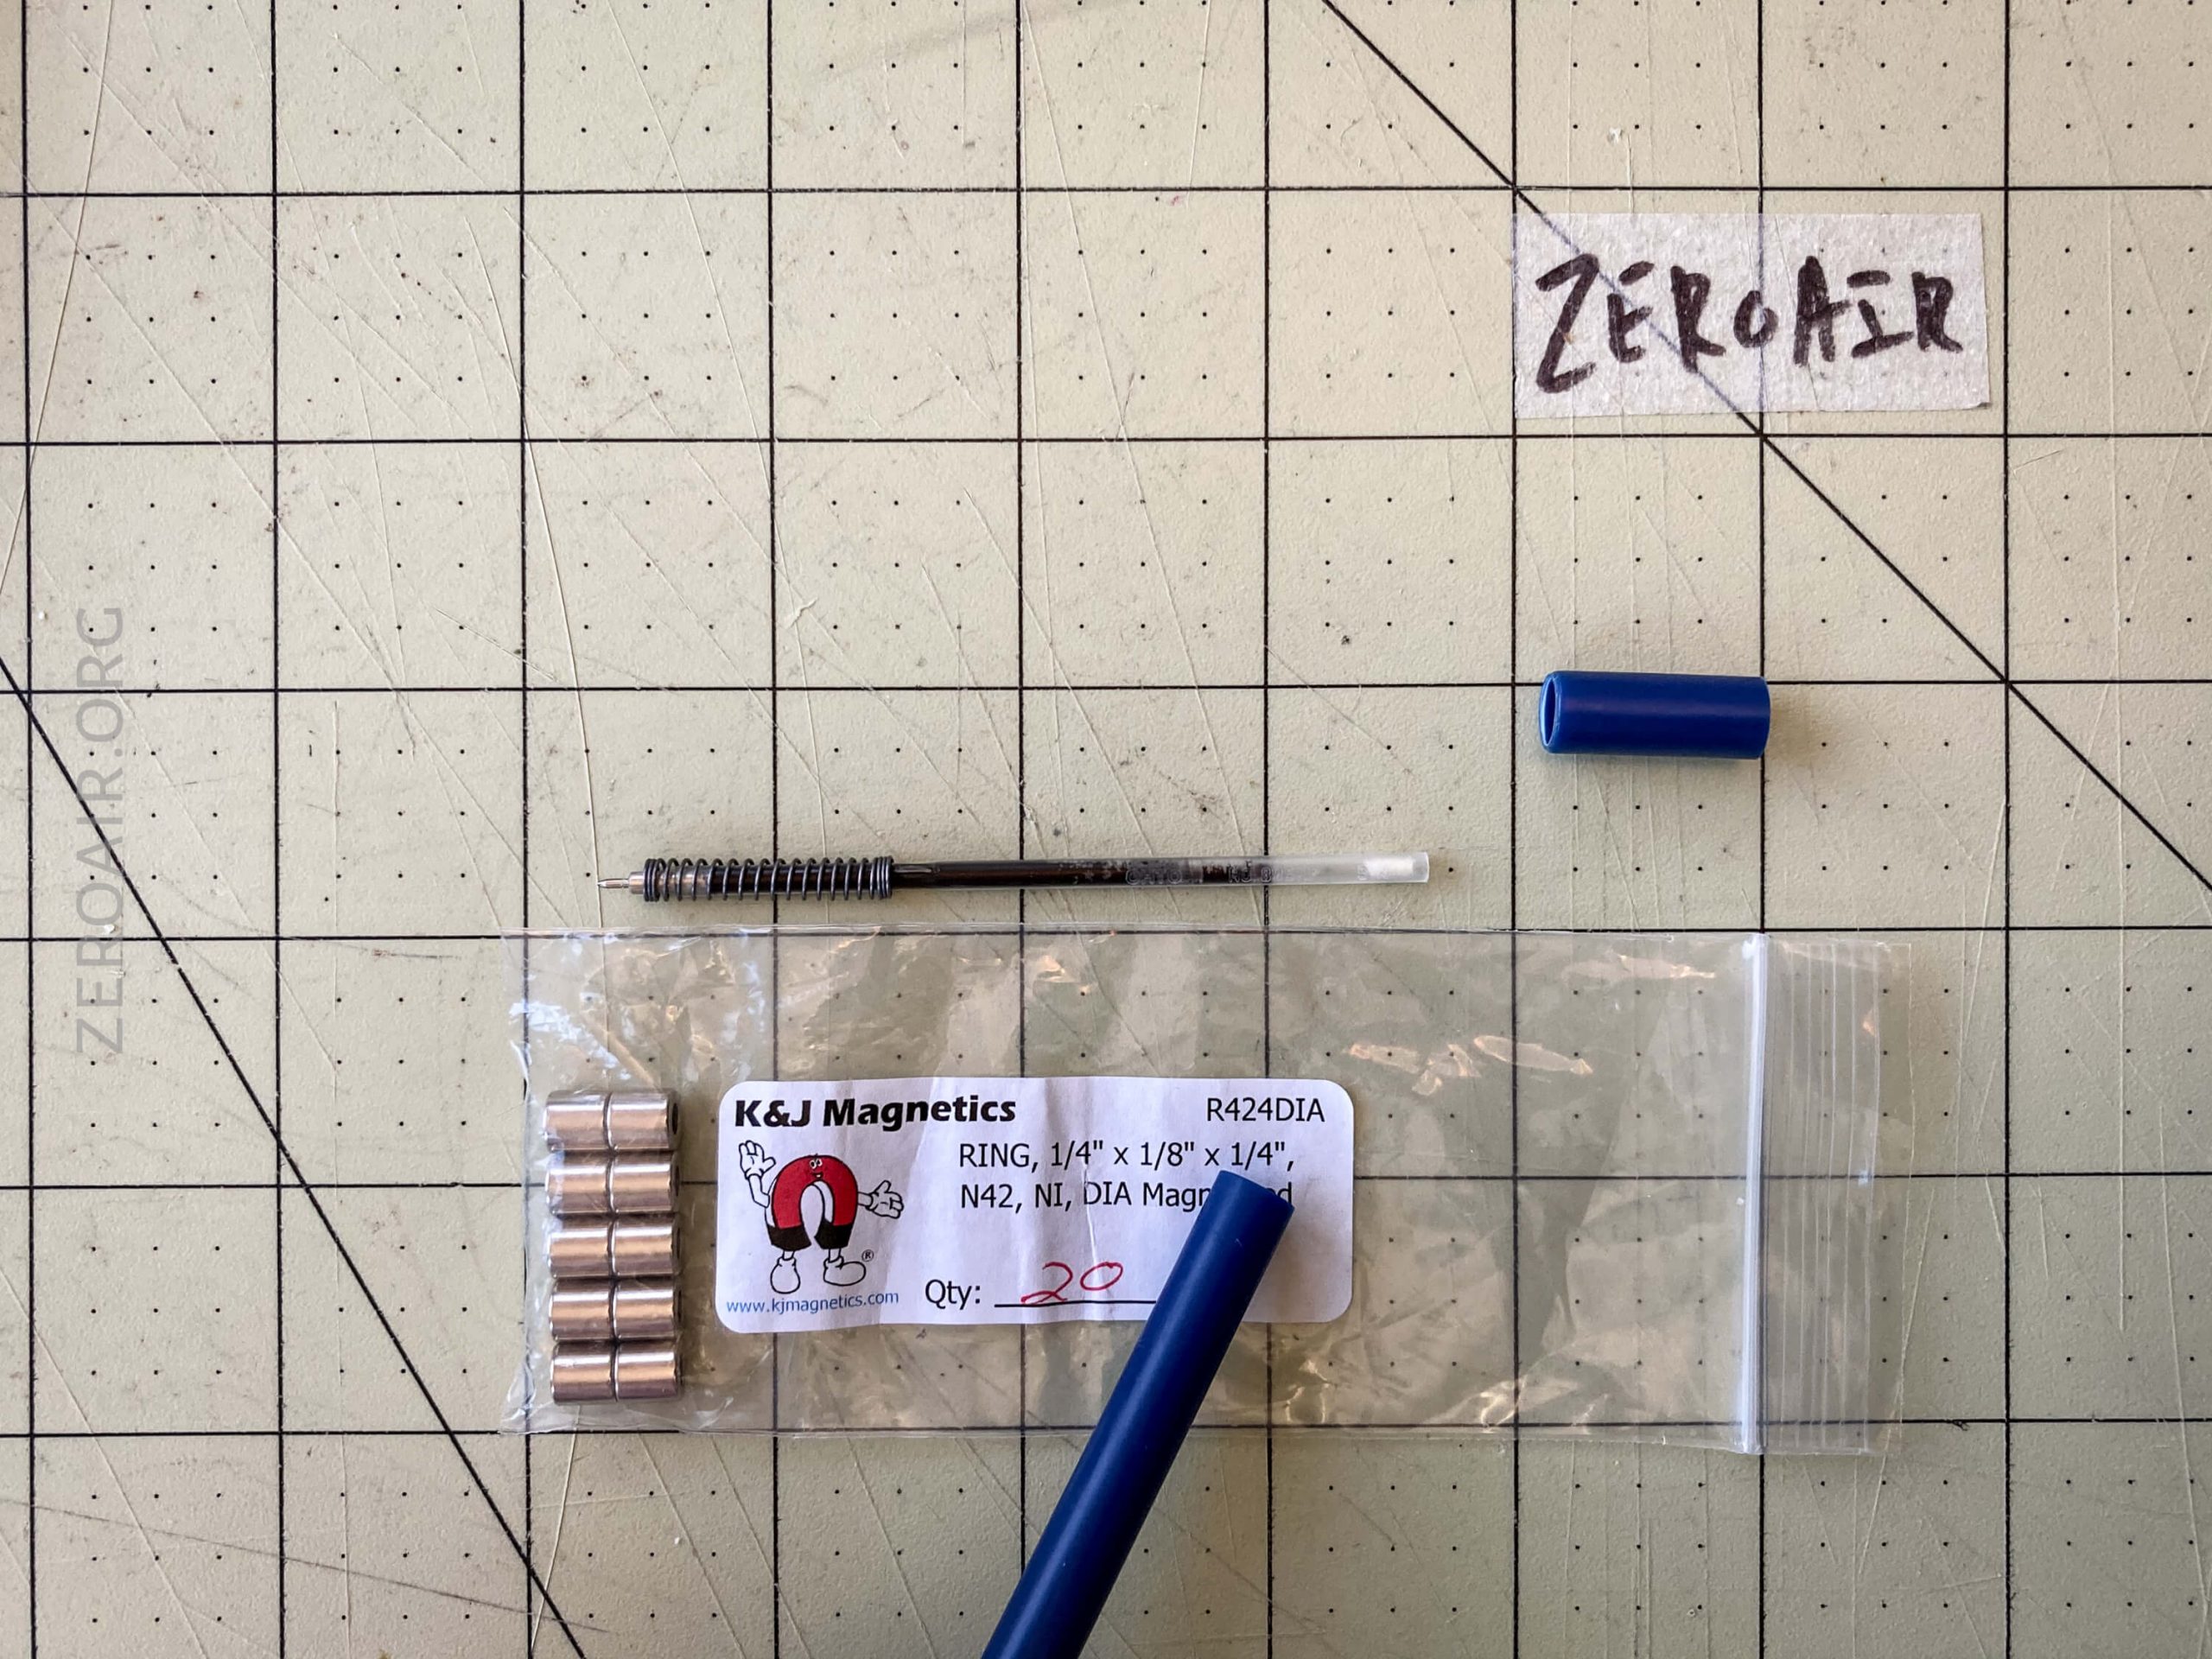
I use just two. But I order them by the tens or twenties… Buy yourself a bunch! Then use as many as you want.
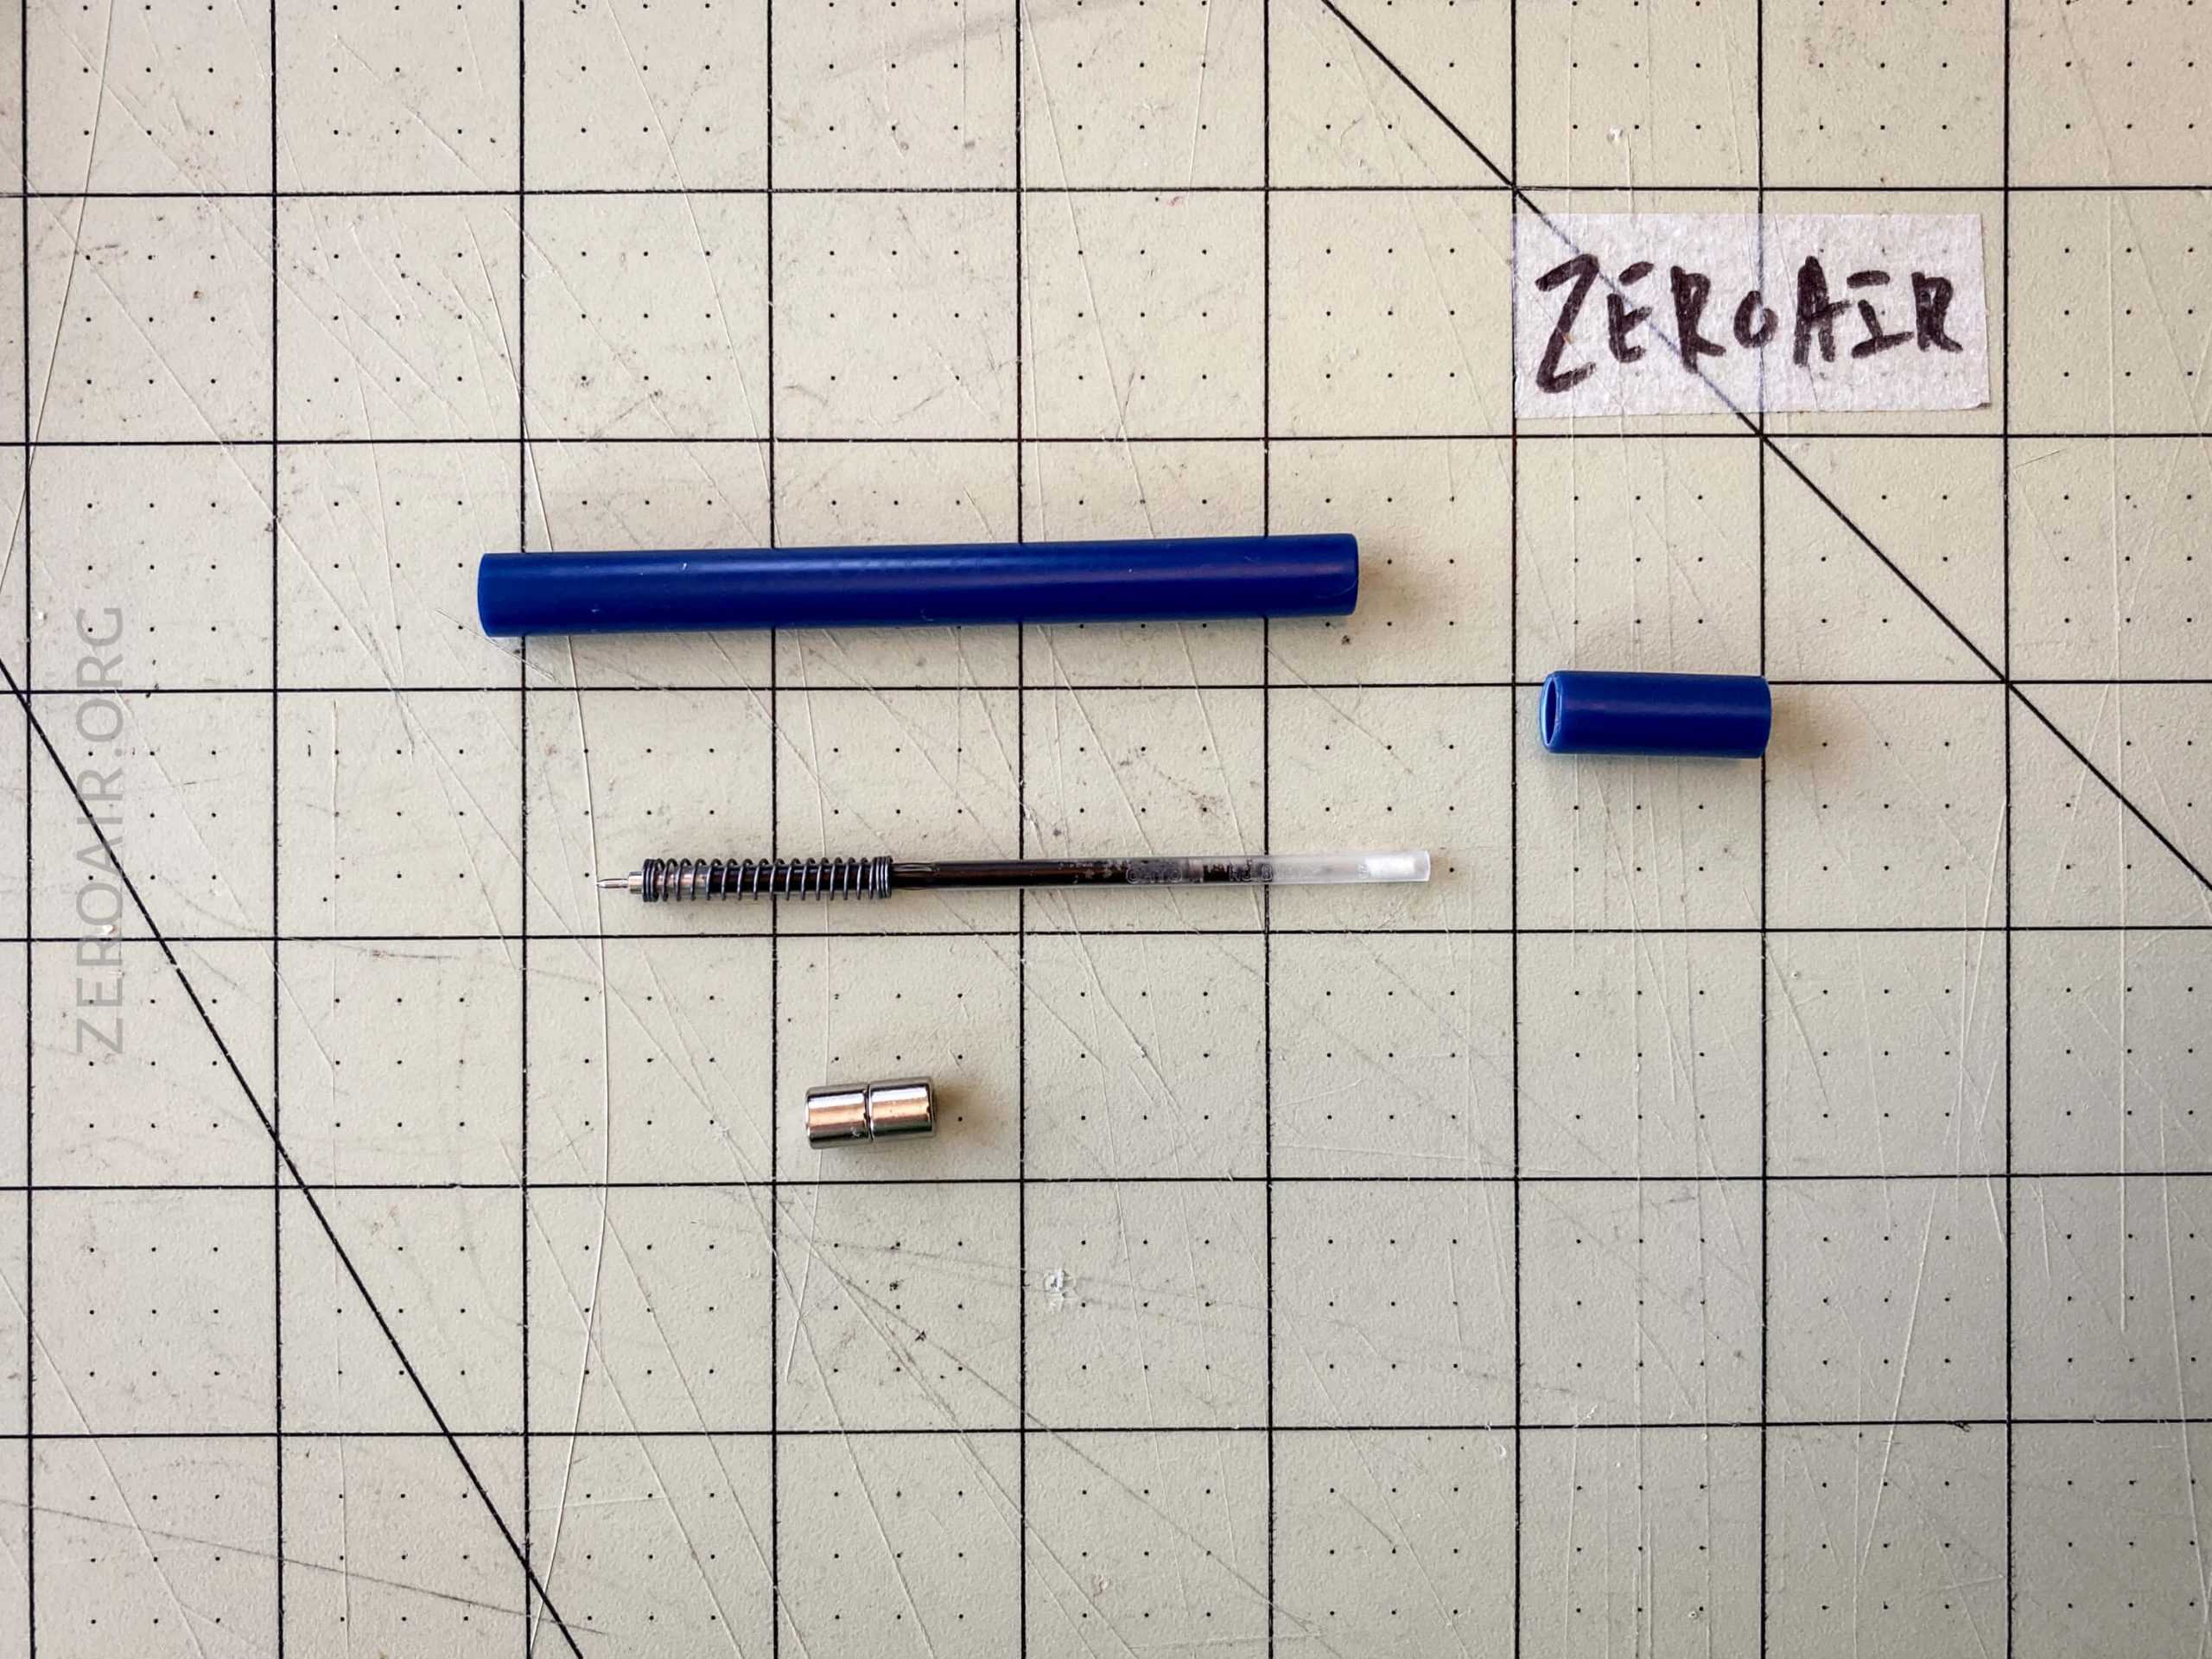
Throw them on the ink! Use two or more, up to however many will fit. I use these magnets for multiple reasons. First, they set the weight at a better point for me. The pen has a better balance, and the extra weight is important. And having magnets always handy is immeasurably more beneficial than you would initially imagine!
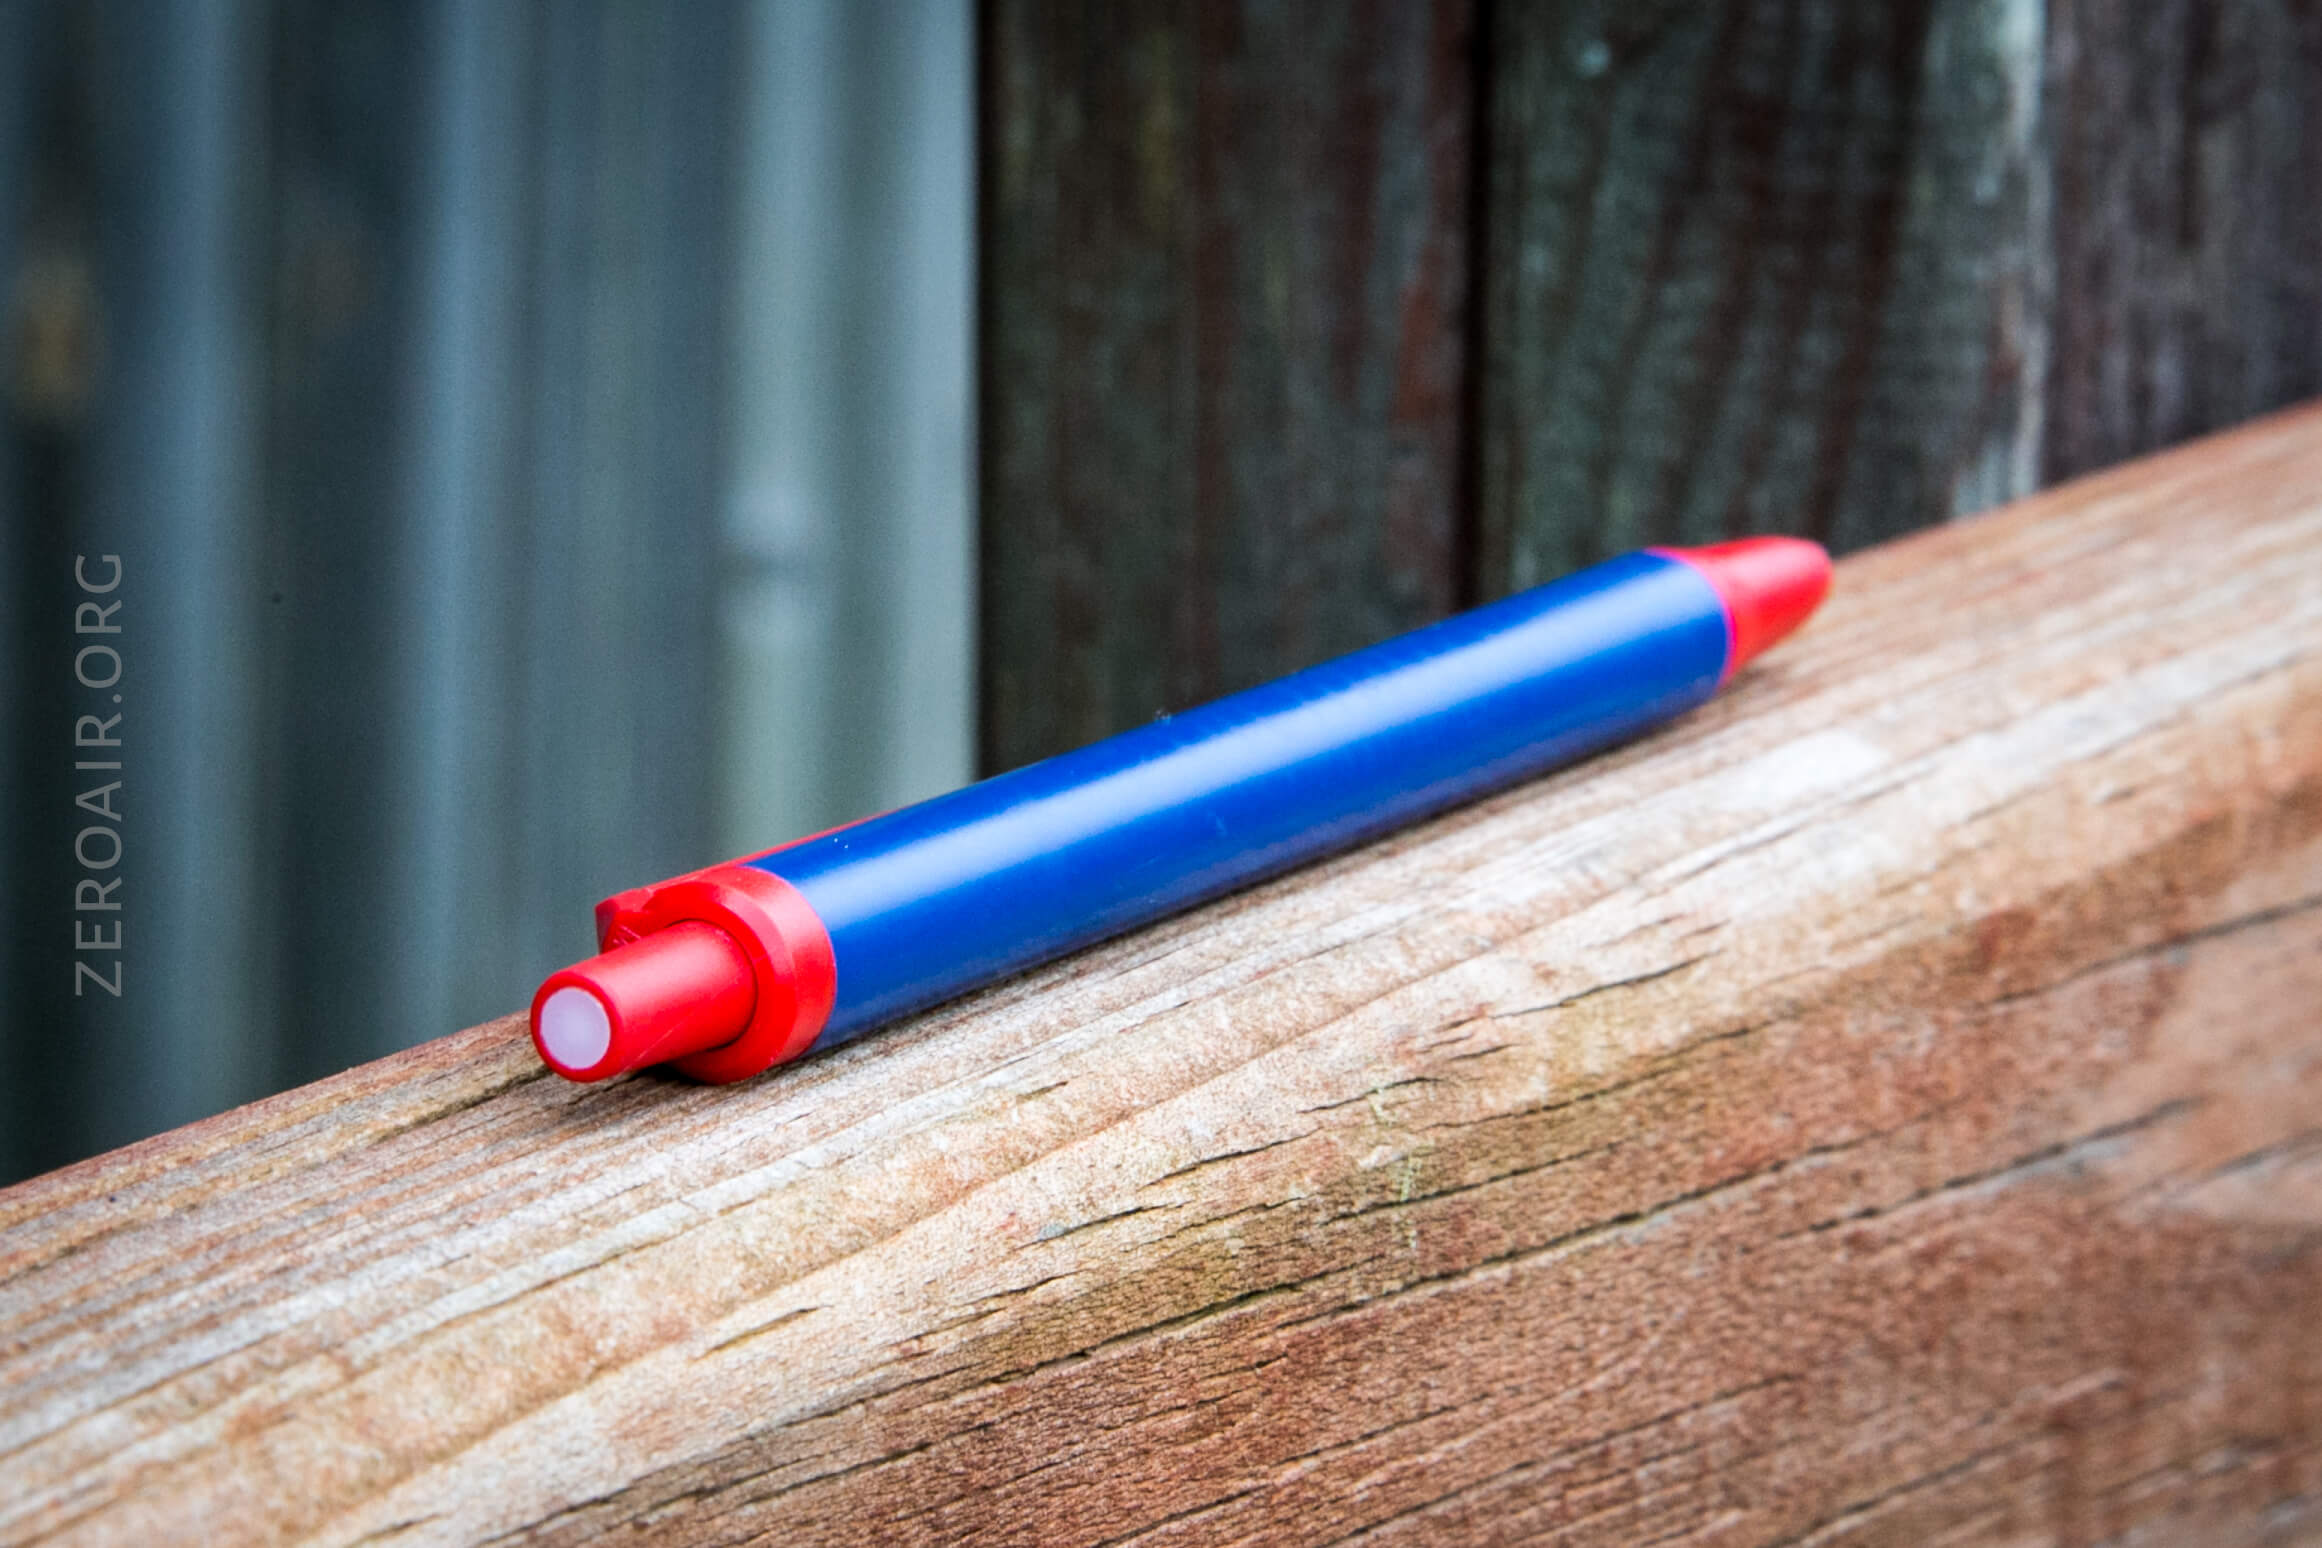
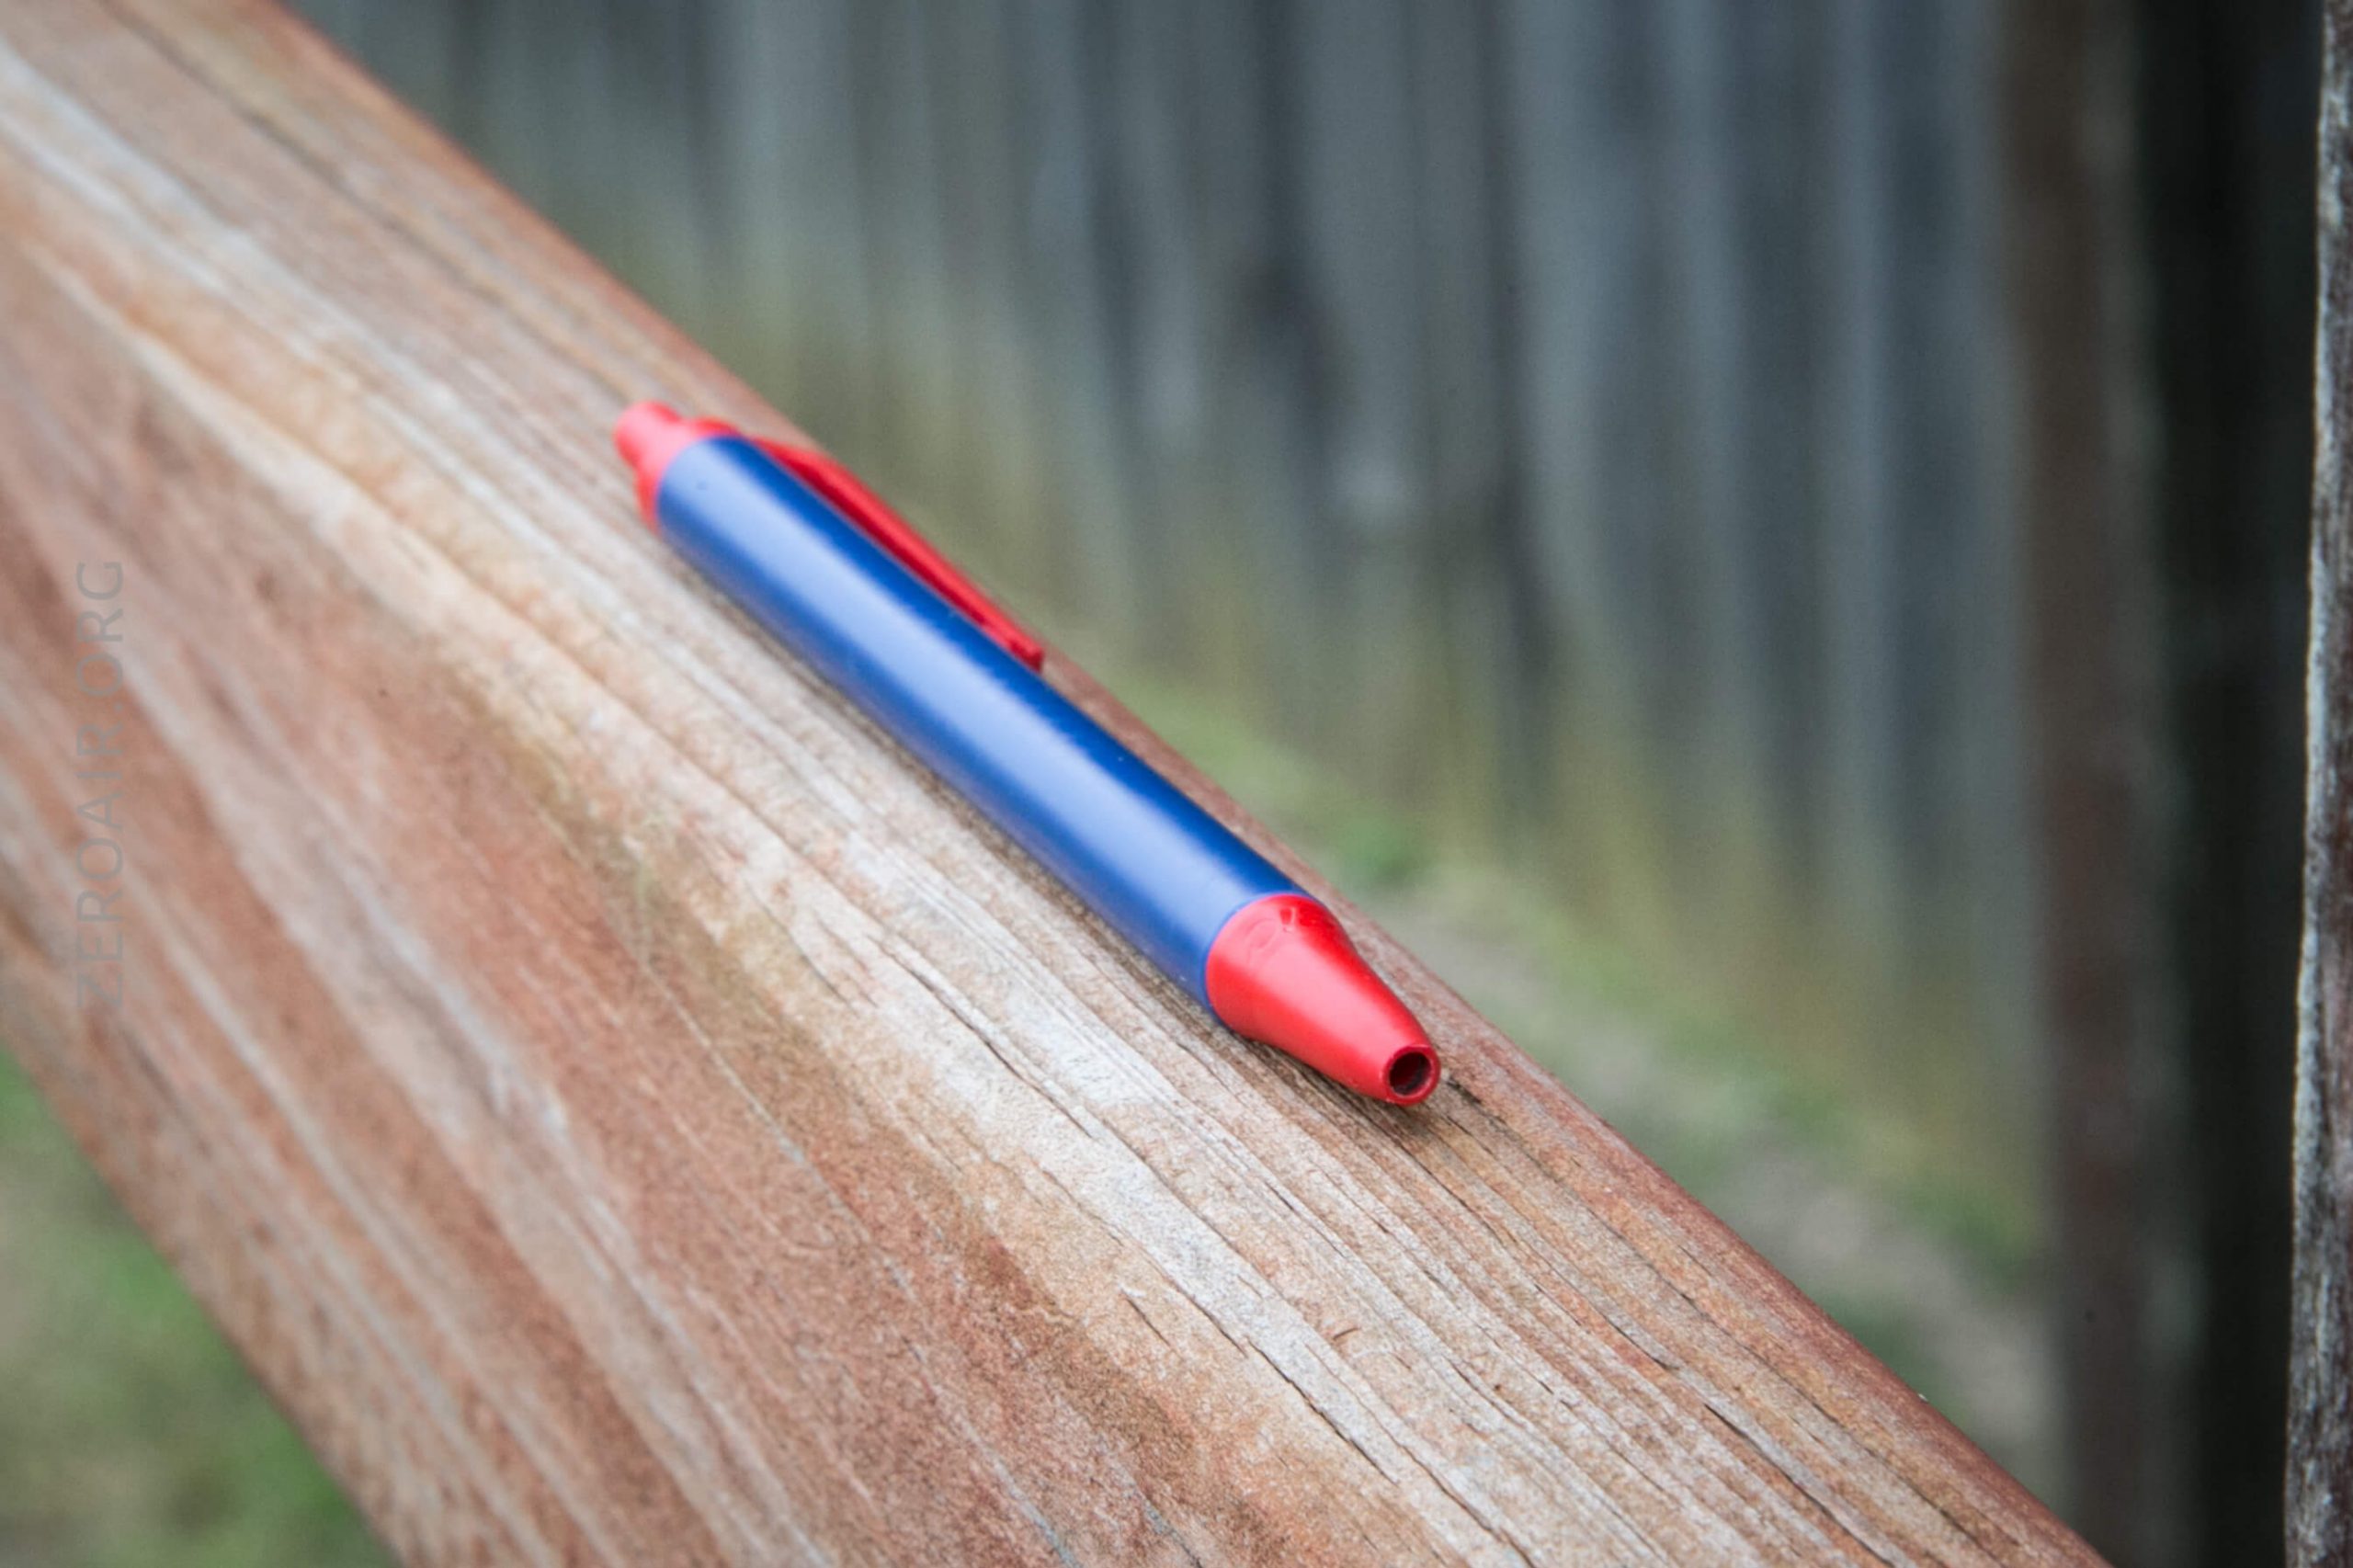
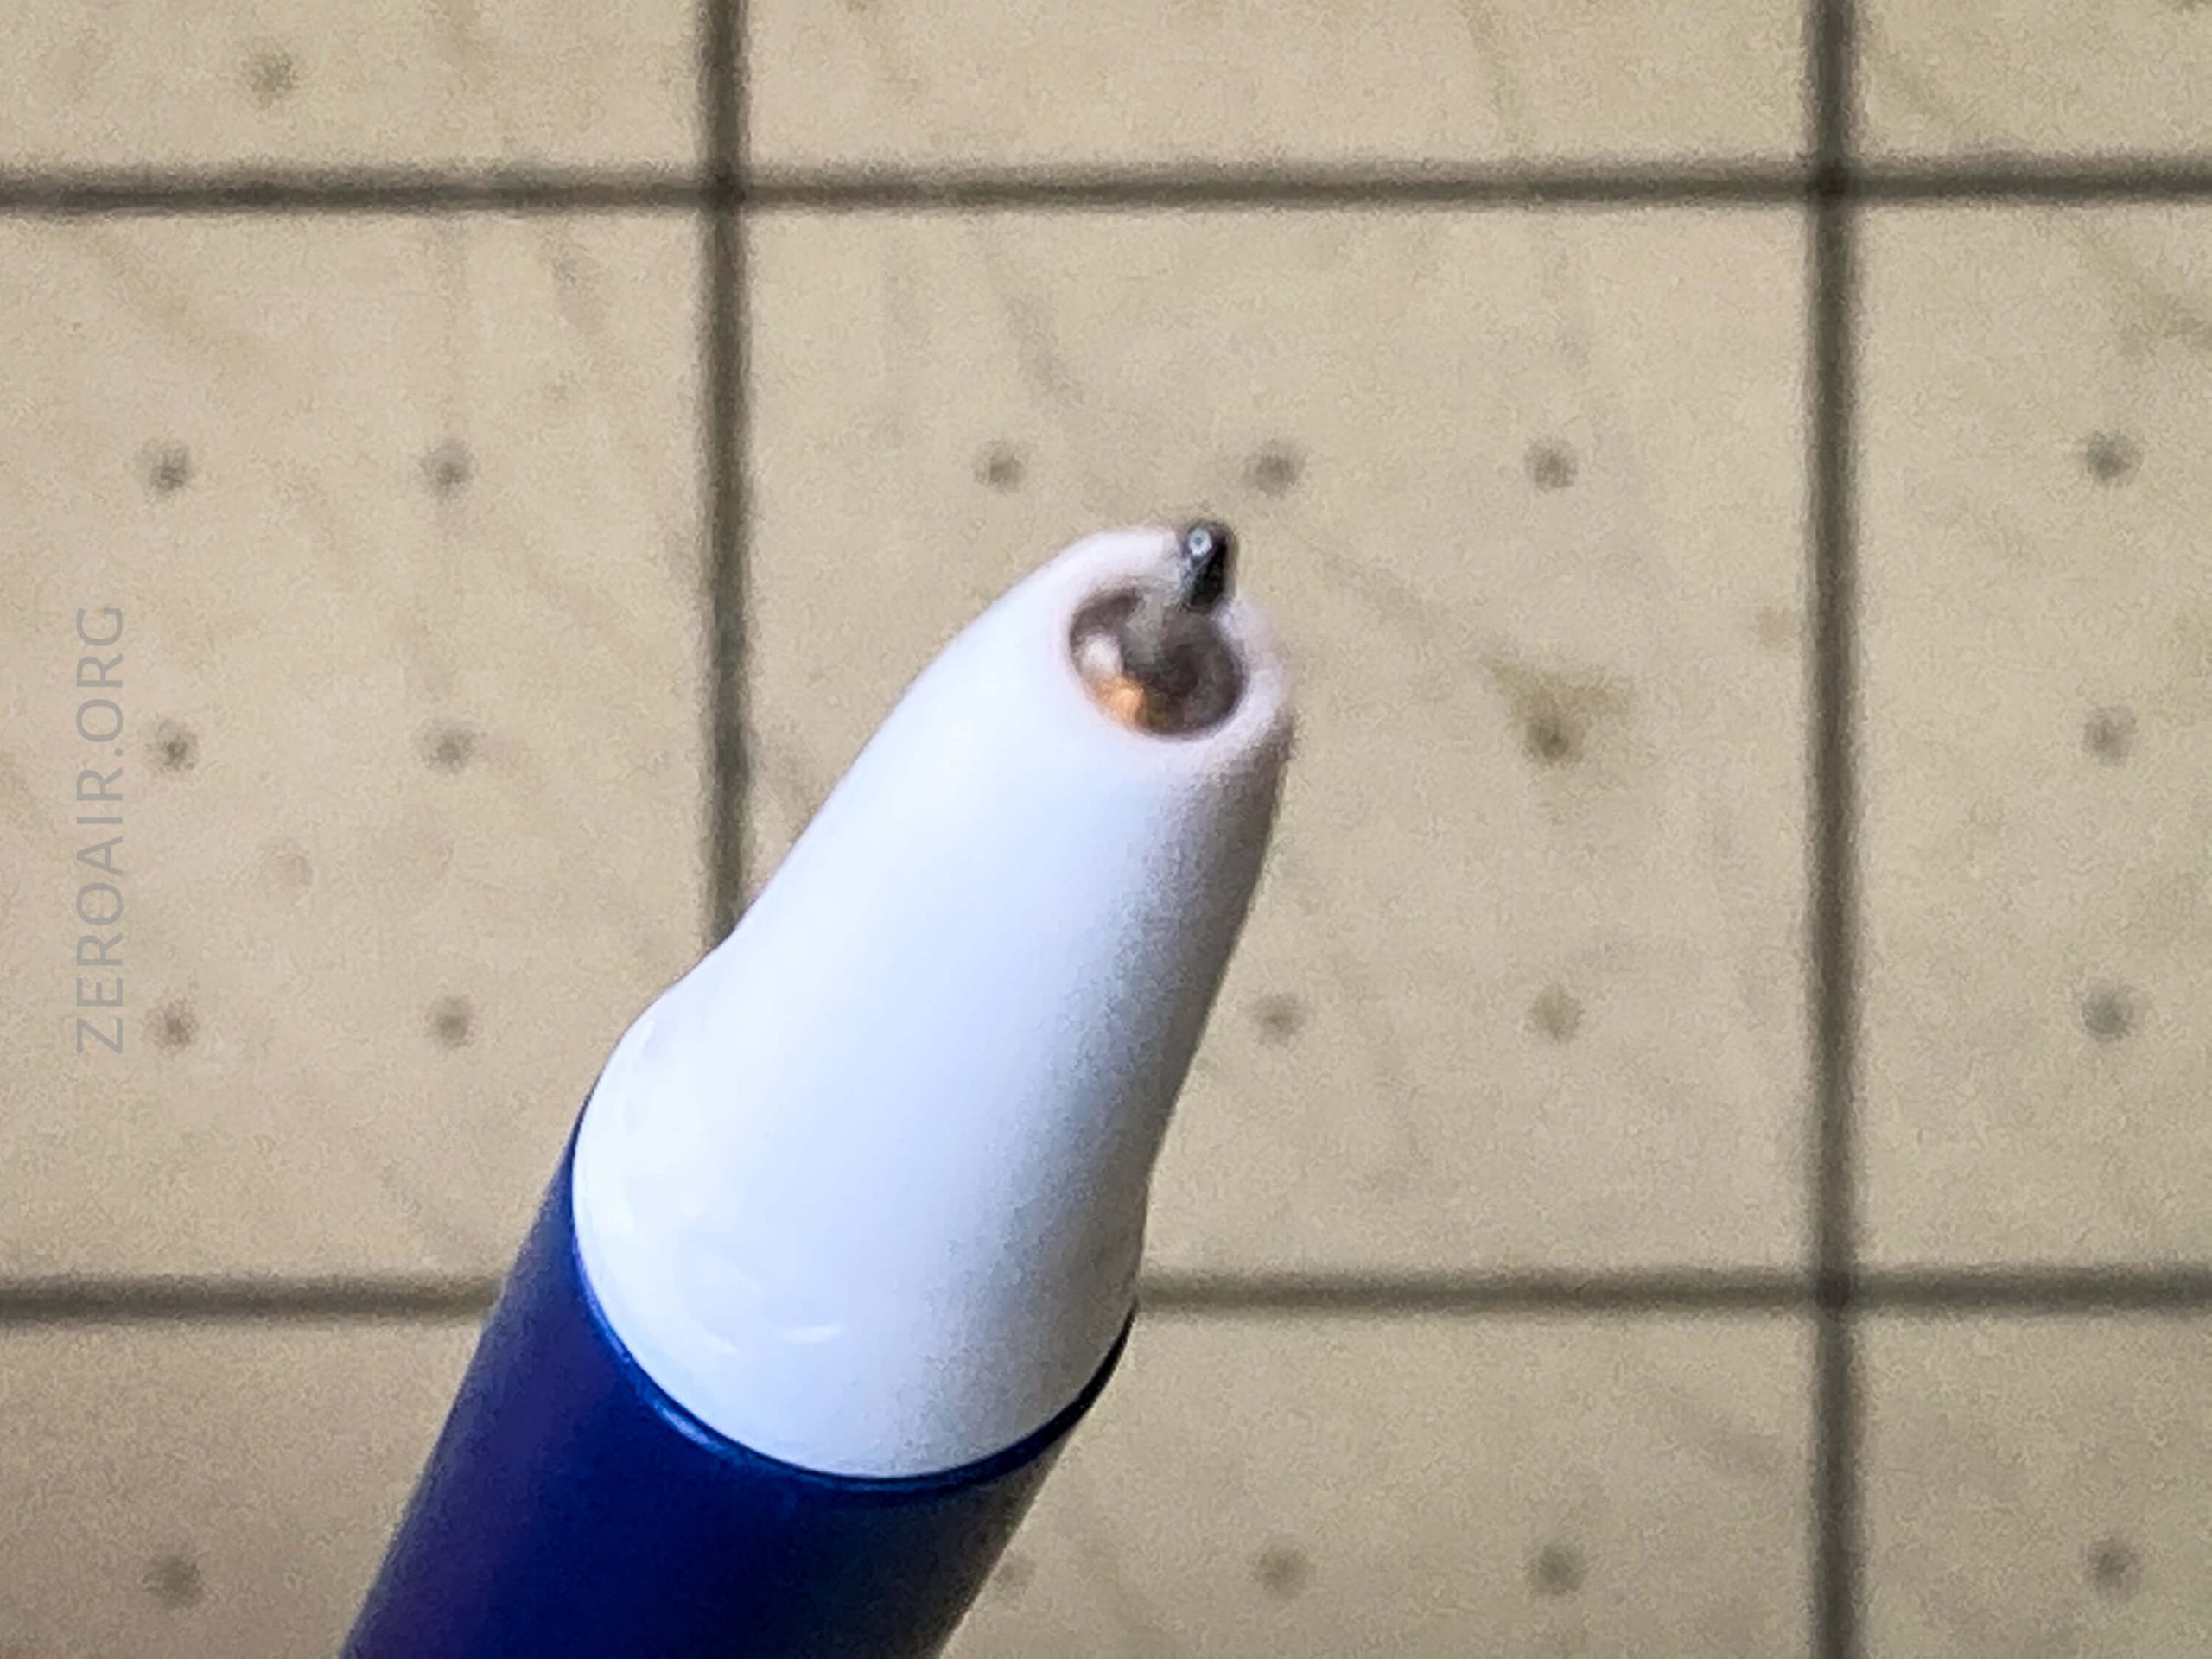
Install the previously modified tip. I put this tip on the cut end because the tip is the part most likely to wander out of the tube when the pen is “open.” The open position is the writing position, and also the position where the spring is being compressed.
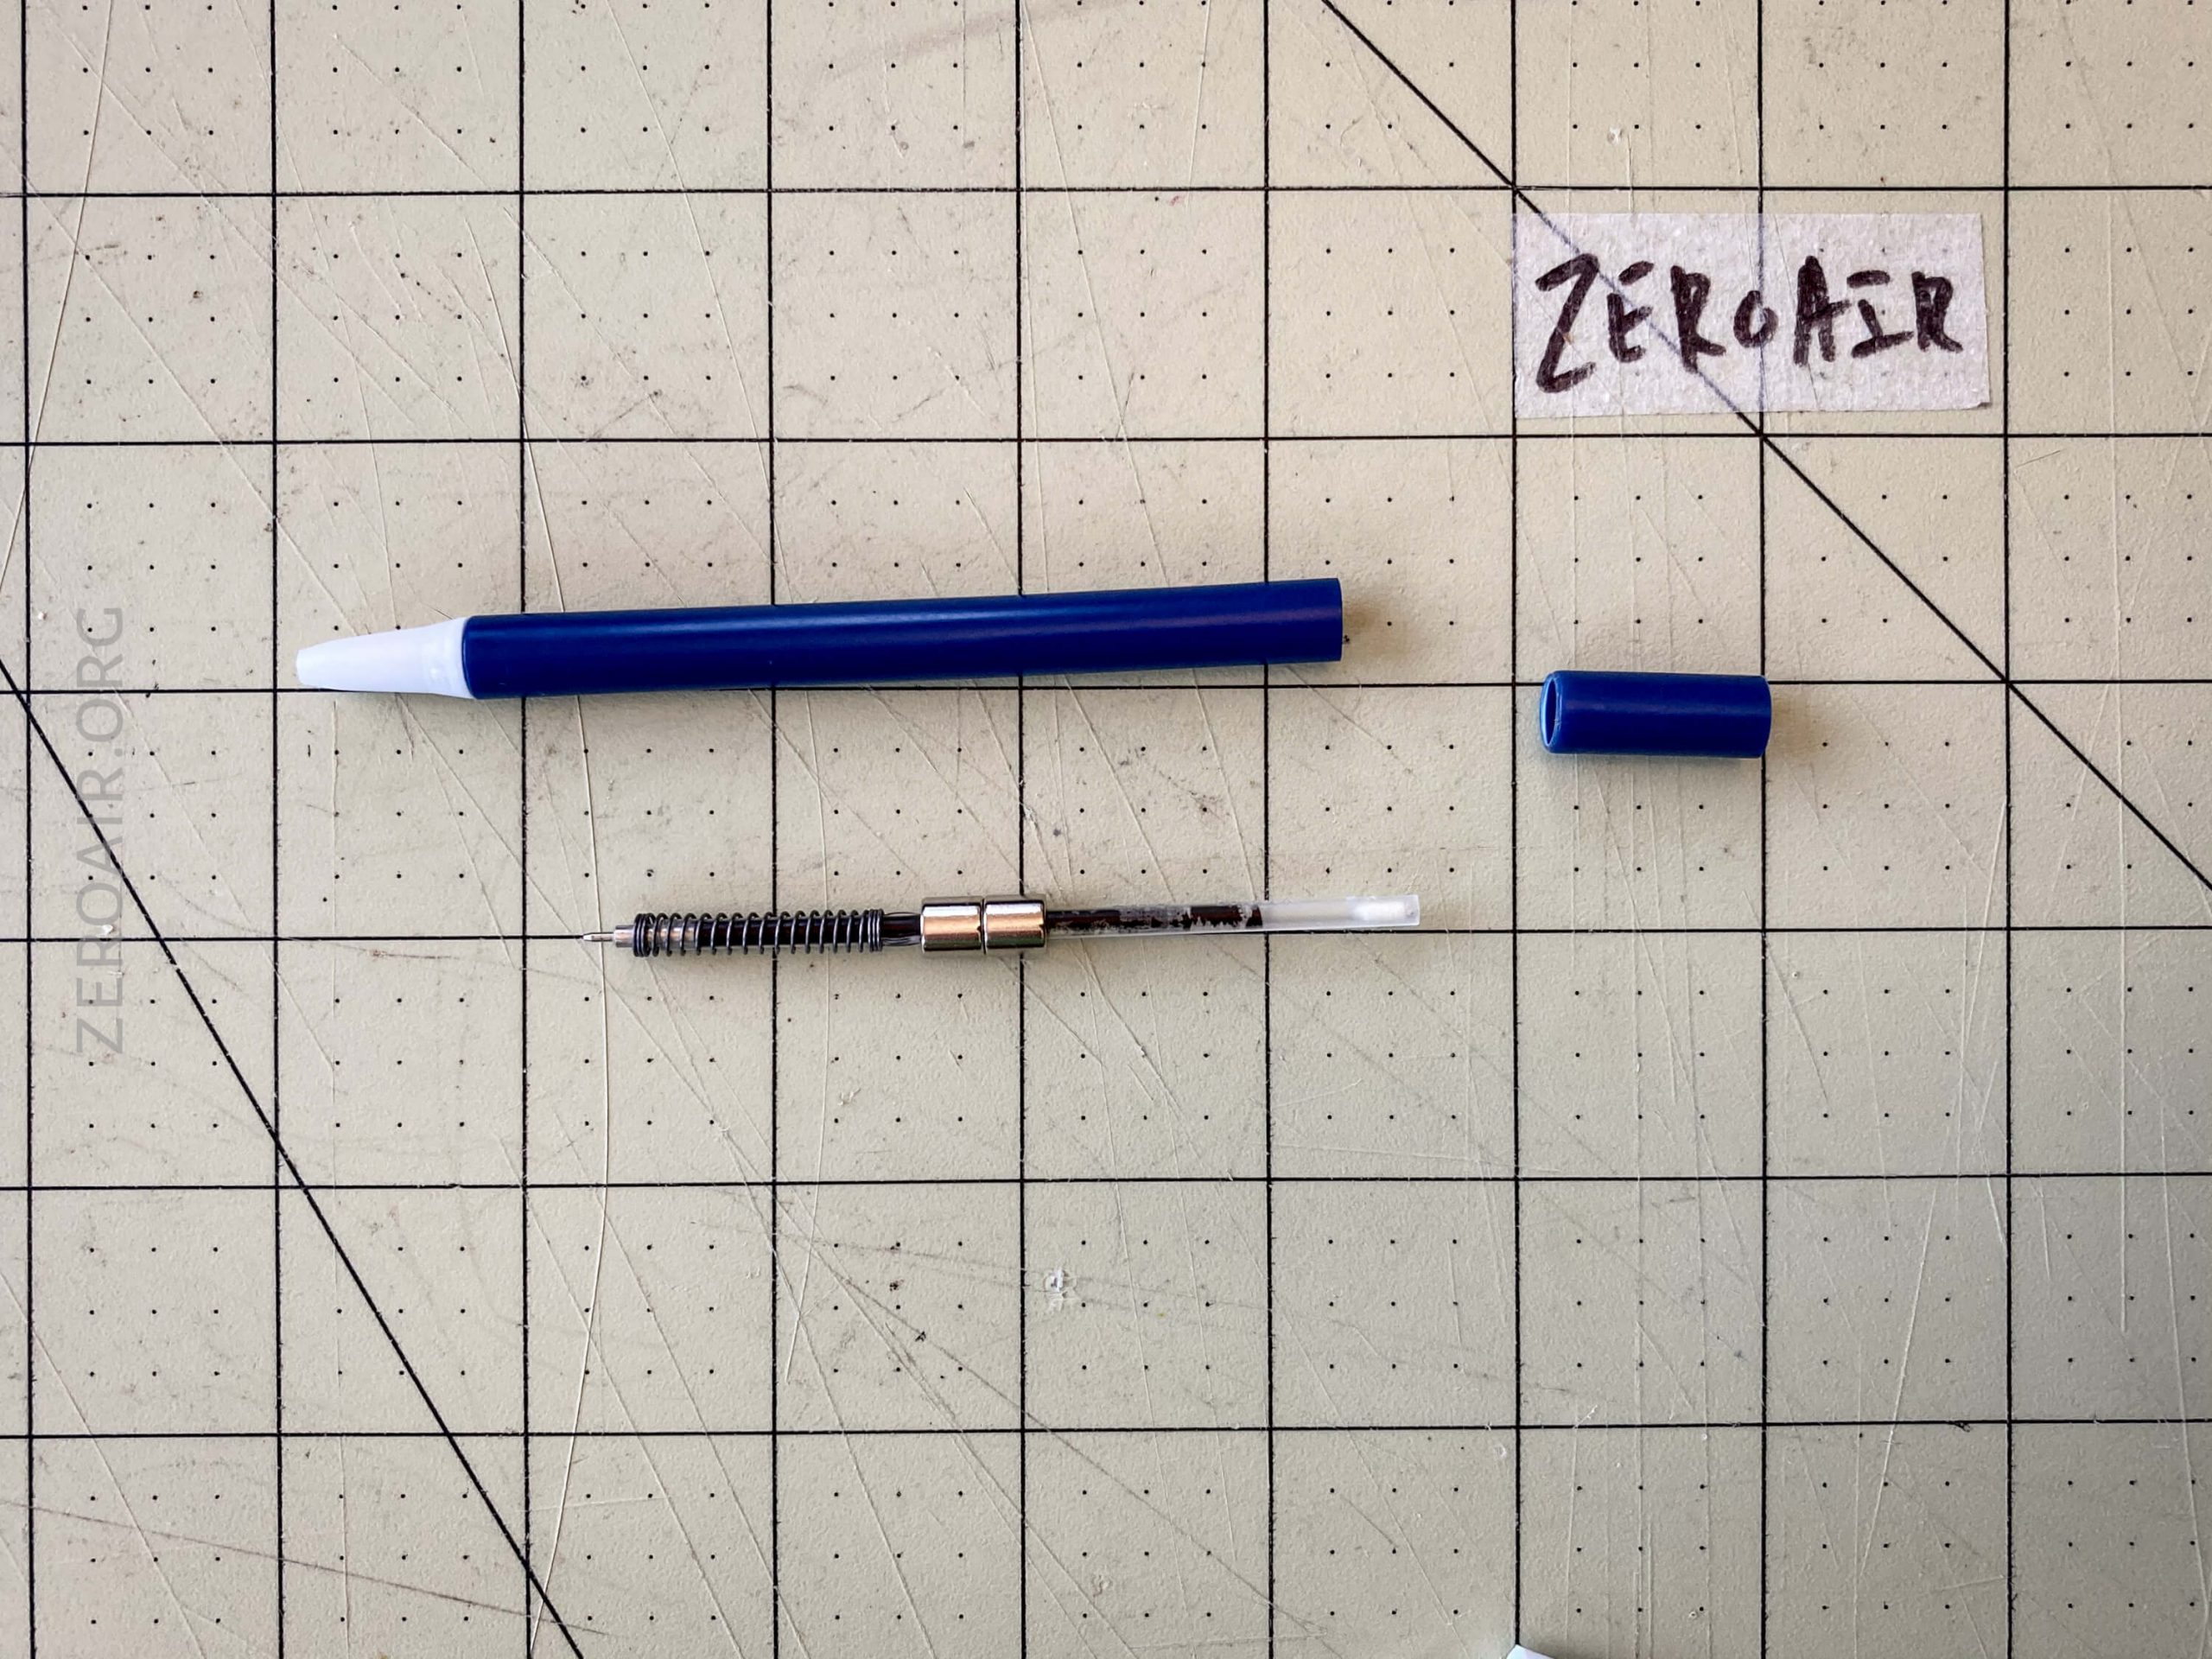
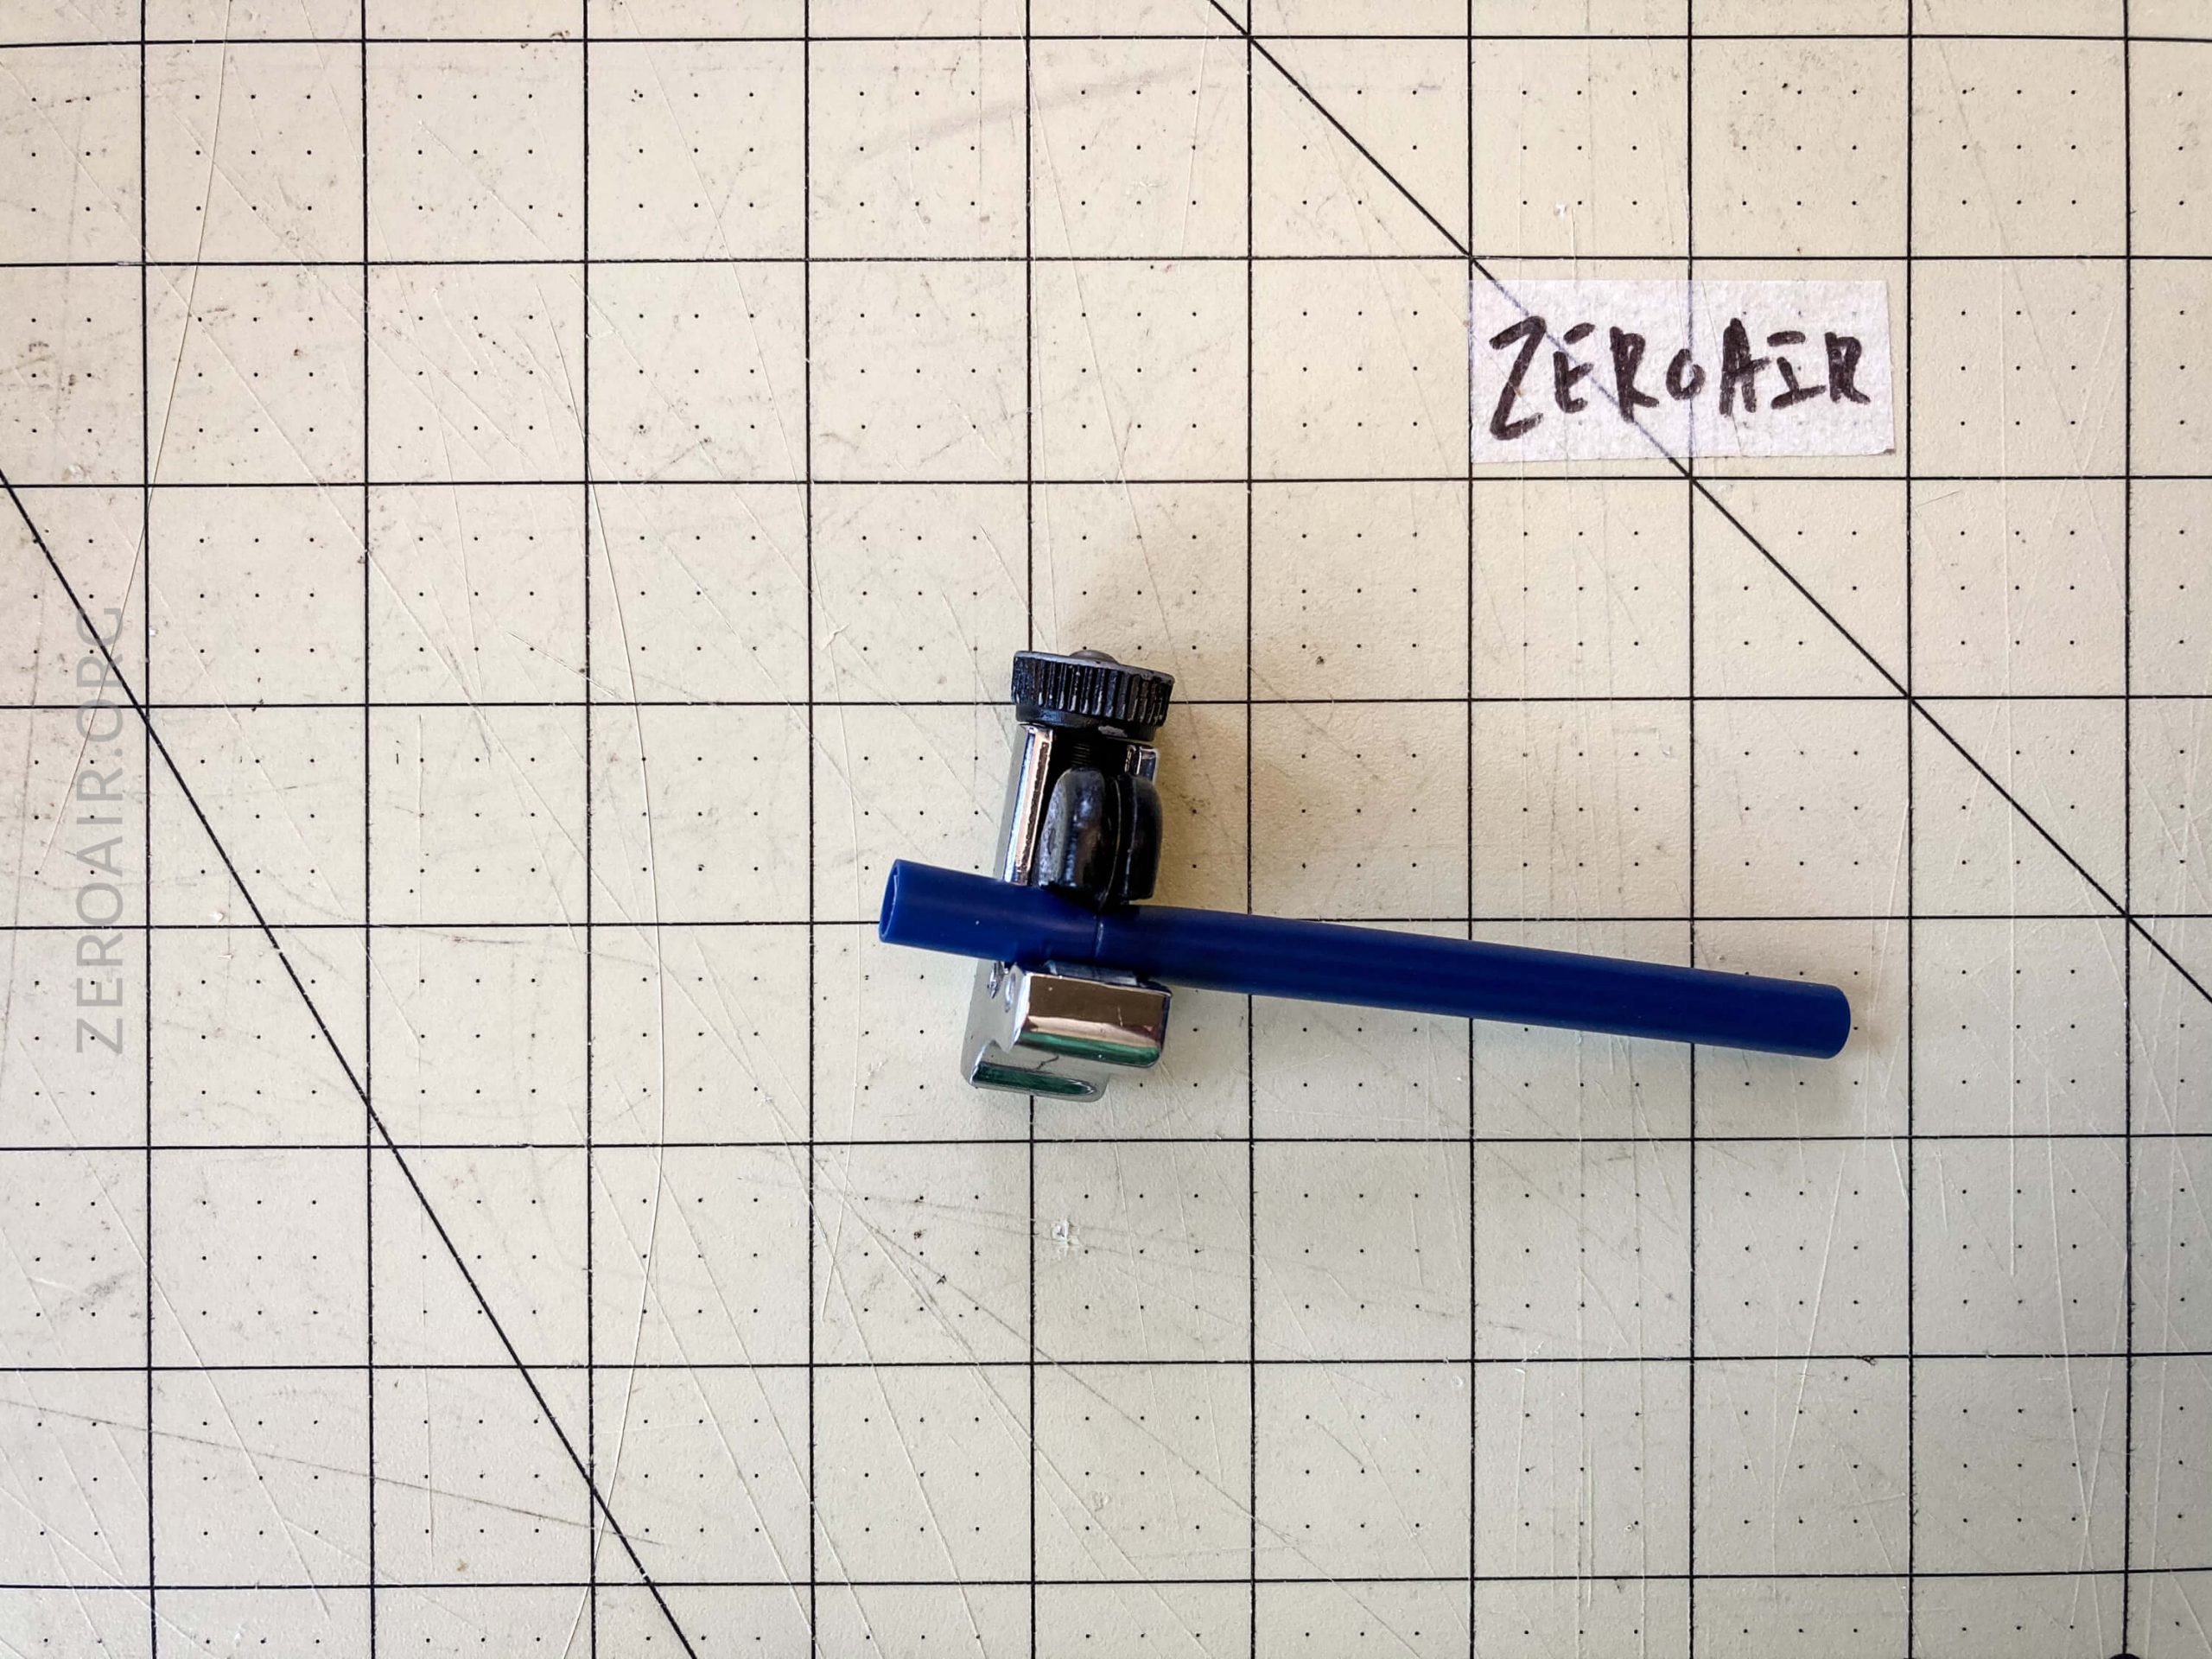
Get out all of your parts!
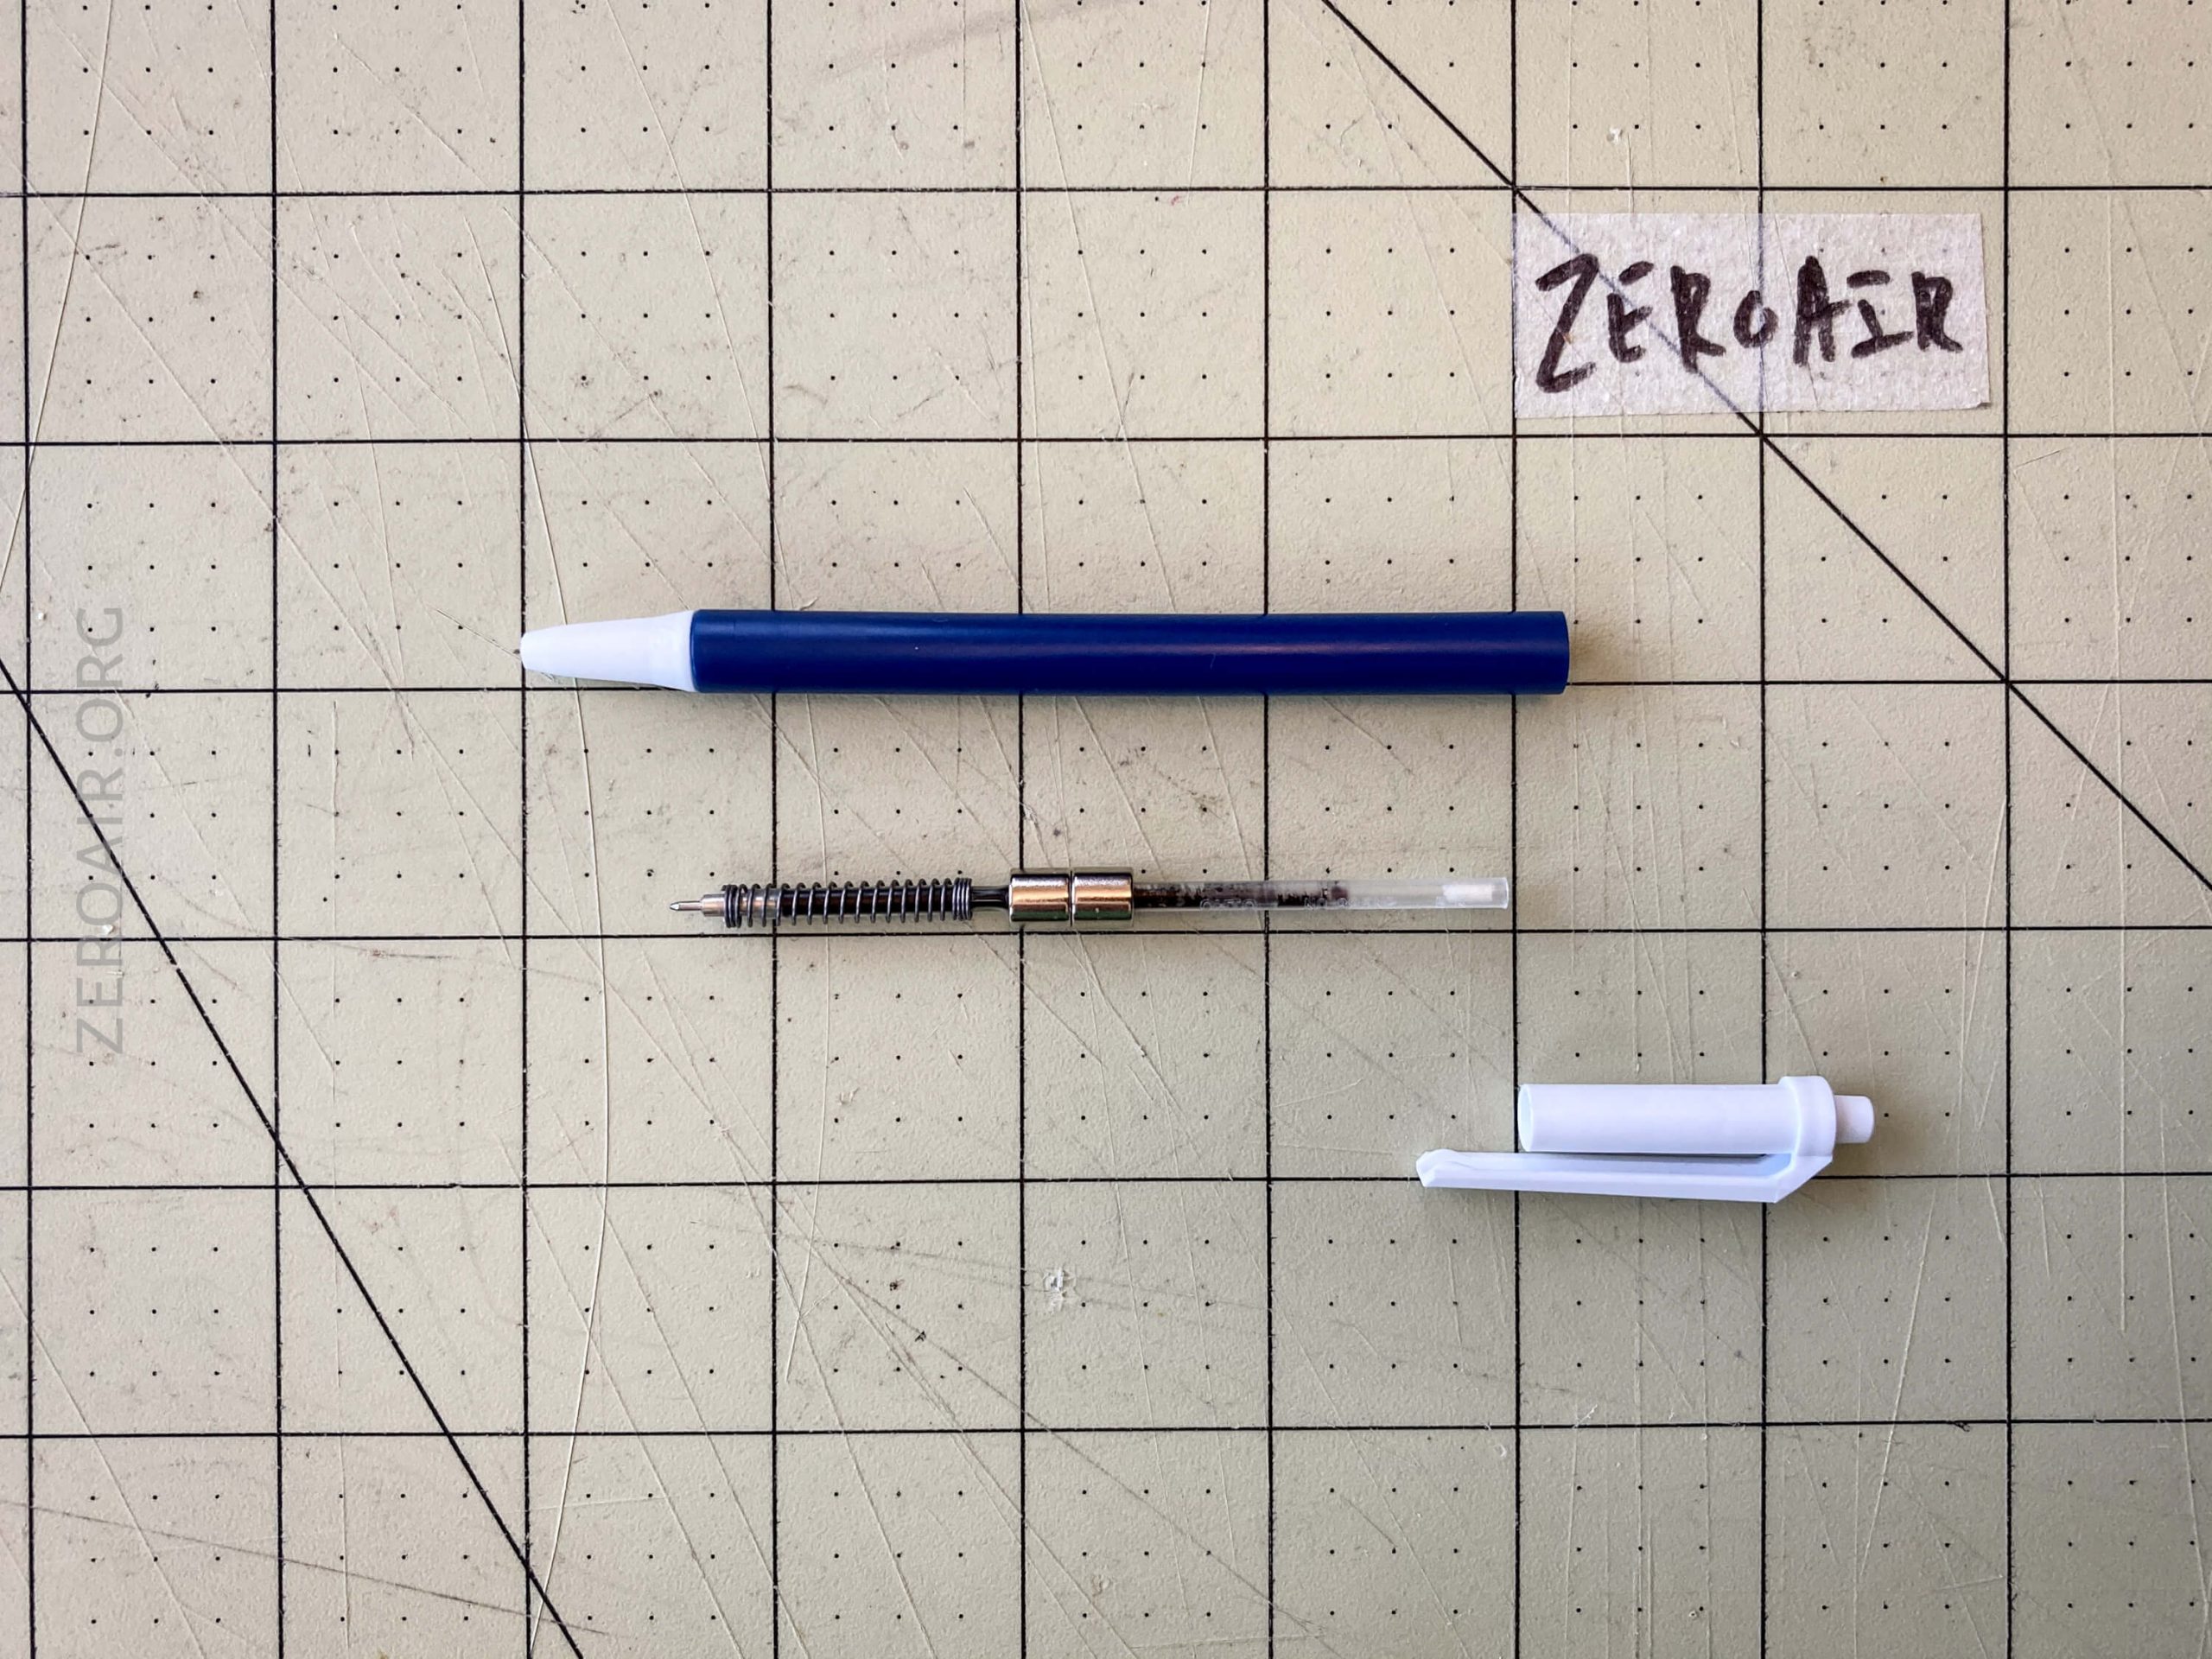
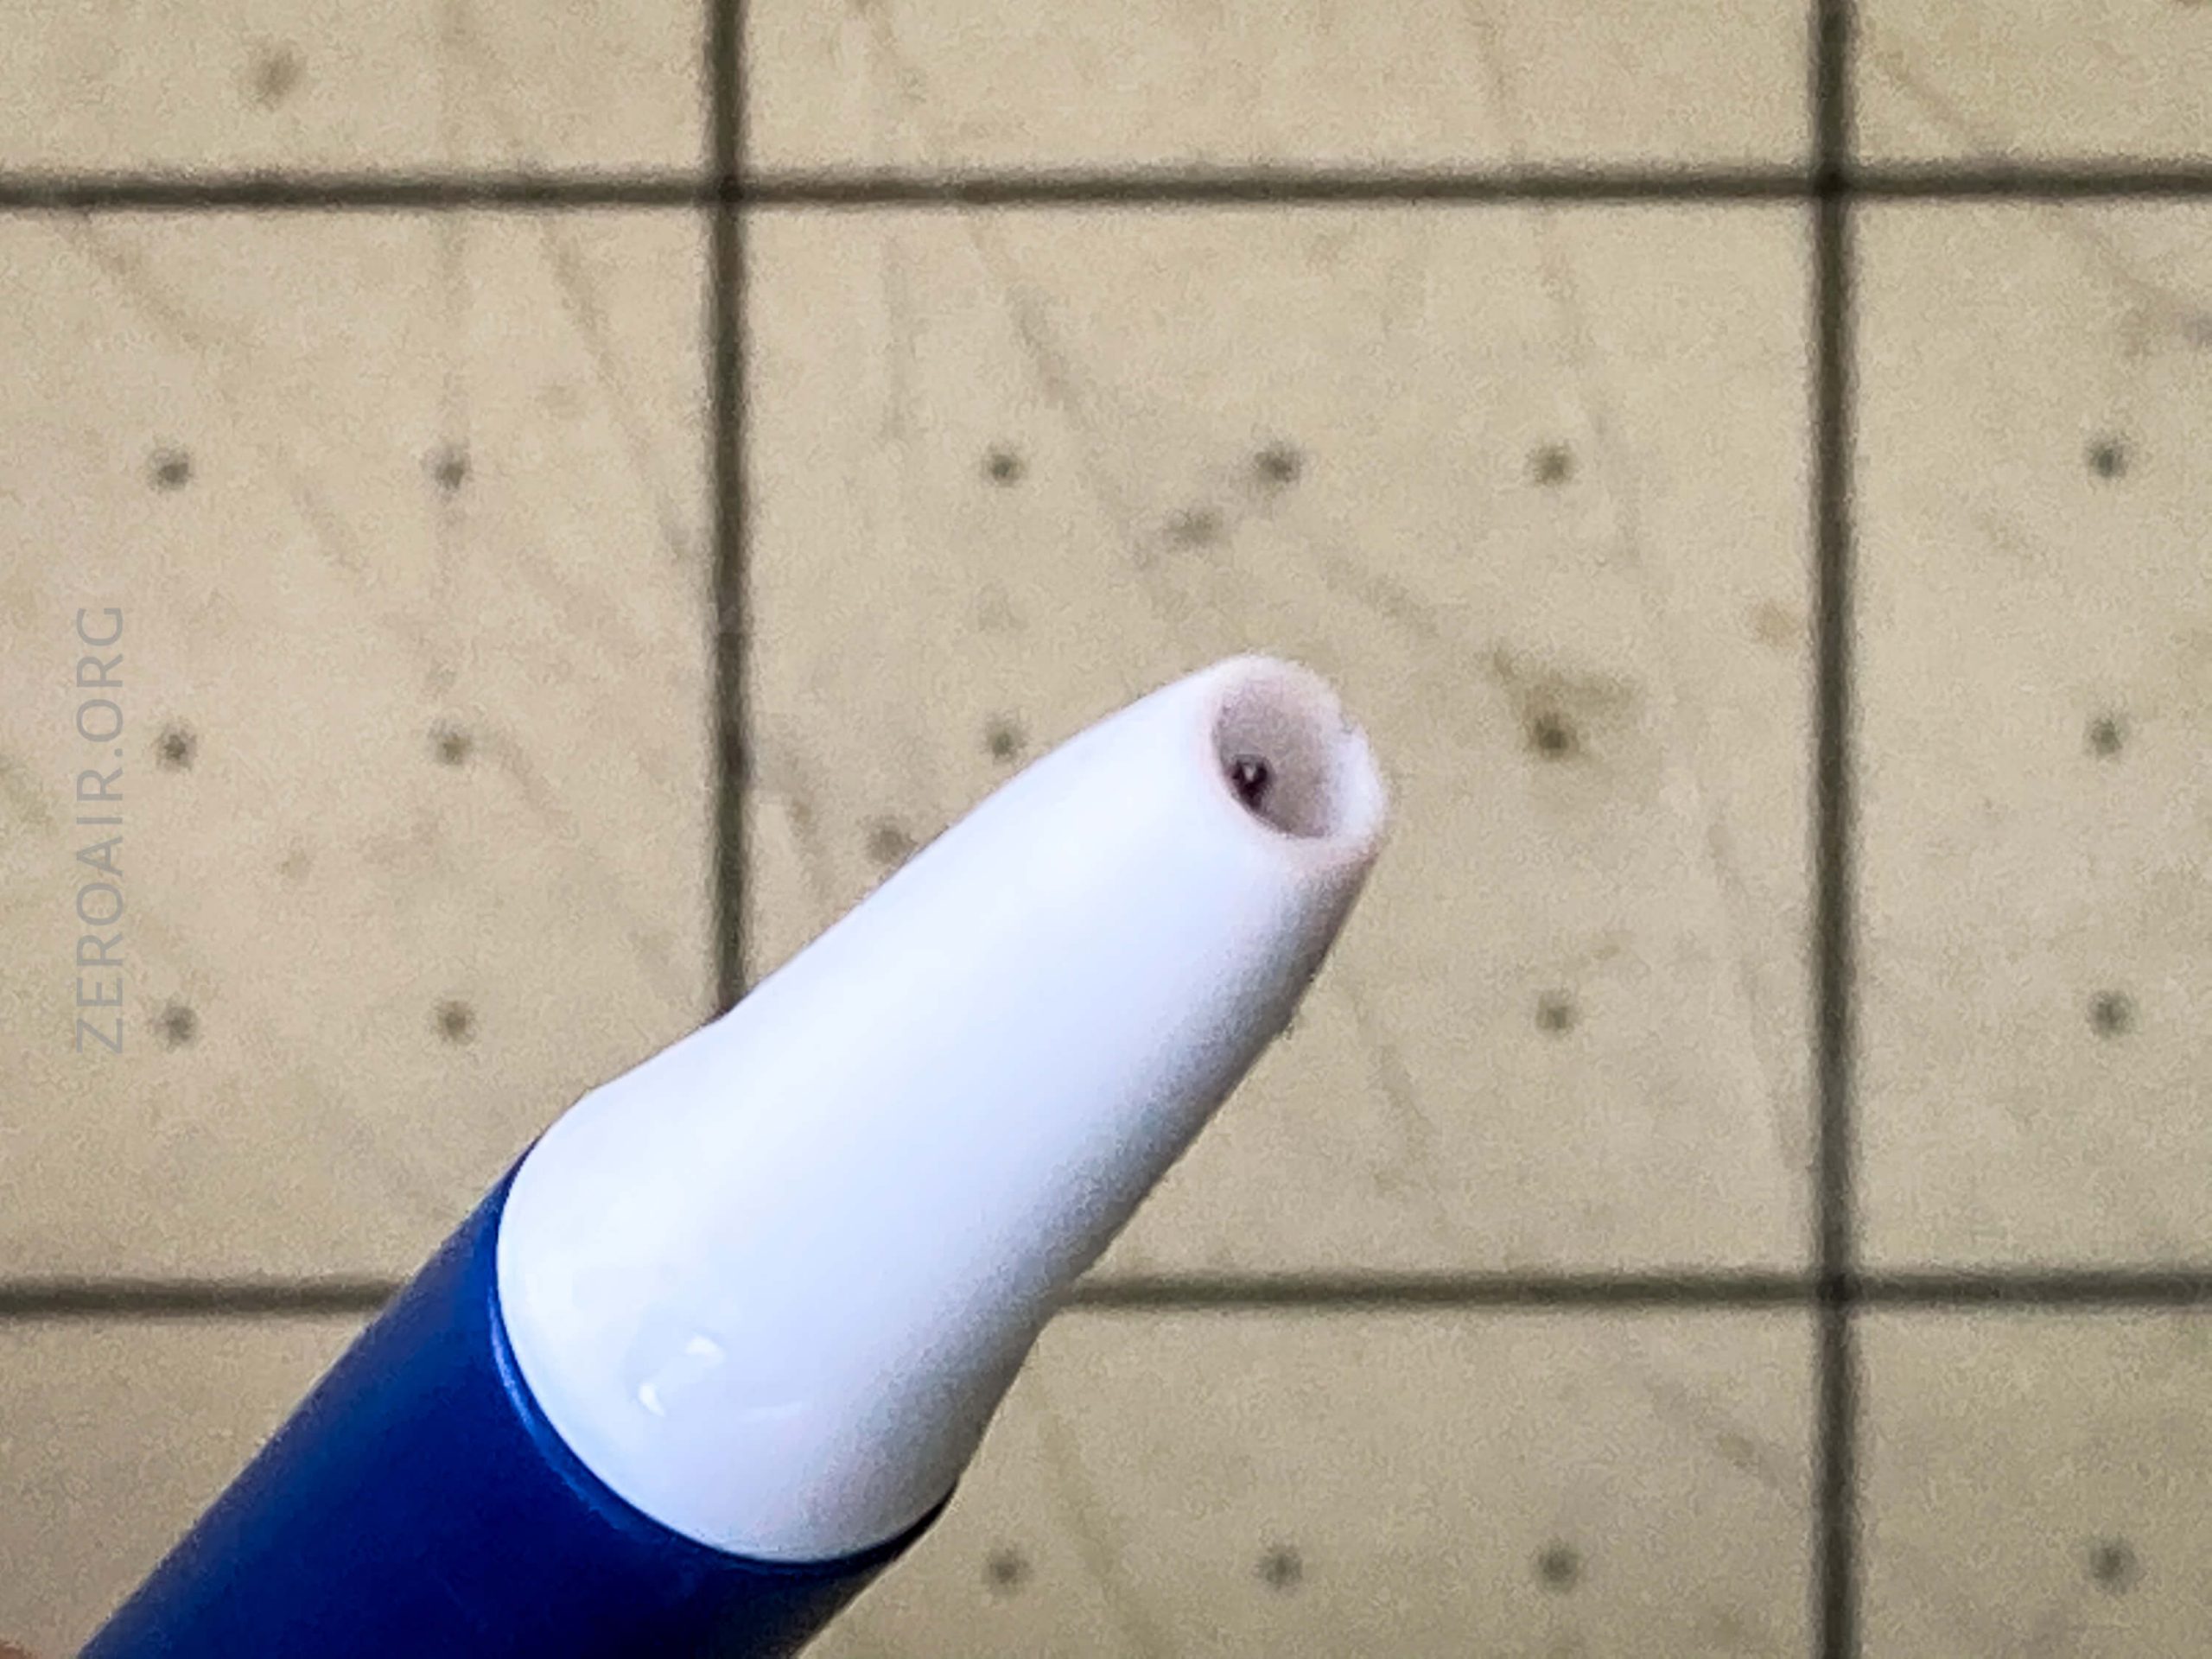
Install that ink!
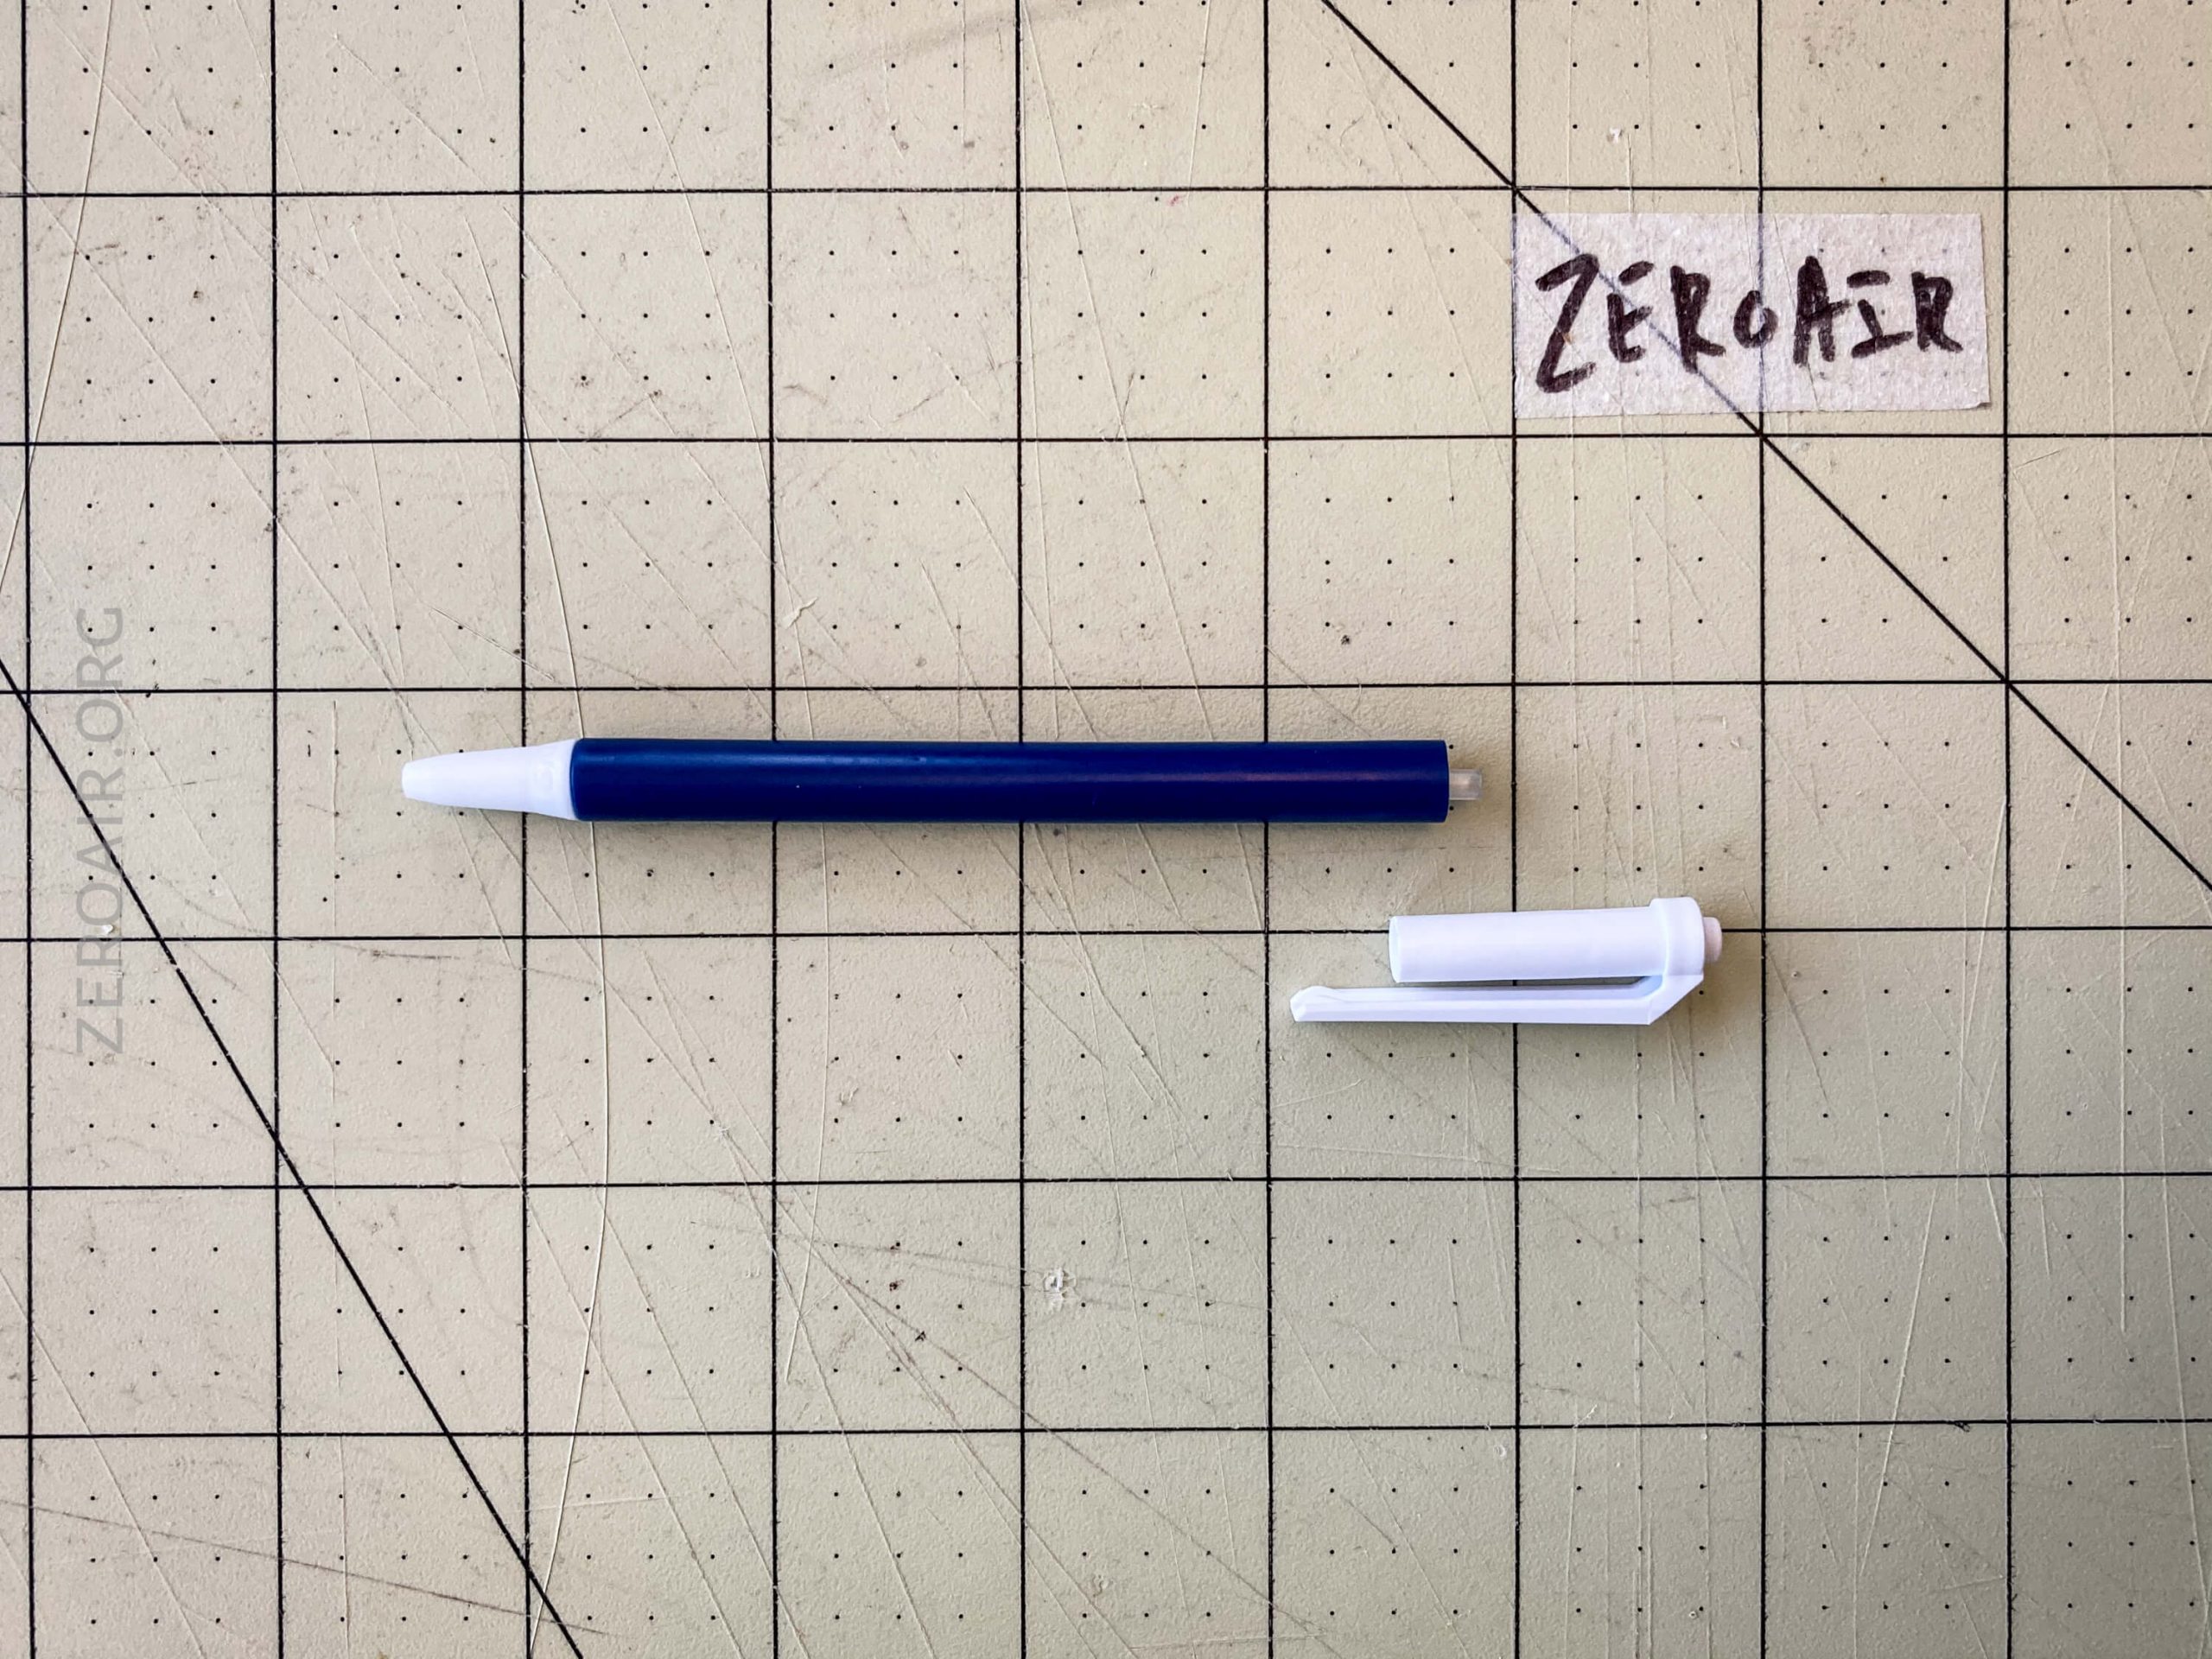
Install that clicky!

Boom now you have a ZeroAir version of the Bic Clic Stic Pen!!
Troubleshoot That Pen
It’s unlikely that you’ll get the dimensions perfect the first time. In my example above, the tip was “too long” (in reality, it means the ink refill is “too short”).
Unfortunately, this is the worst side of things and means that the pen barrel must be shortened. If it were the other way around – clicky action doesn’t click twice and/or the tip doesn’t stay out – then that’s an easier fix – shorten the ink.
But in this case, we have to shorten the barrel a little. I estimated about 1mm off the barrel would do it. And 1mm is too short to mark with the pipe cutter, so I just went rogue and cut it straight off with the razor blade. I got super lucky, and it was perfectly 1mm all the way through, but … don’t expect that to happen every time. The LEGO frog helped.
The thicker part of the tip should be exactly at the end of the plastic pen tip. As seen below, I was lucky and got it exactly right the second time.

Another problem you might find is that the action isn’t perfect – if it’s not a length problem, then it’s probably a need to bore the tip out more.
And Finally
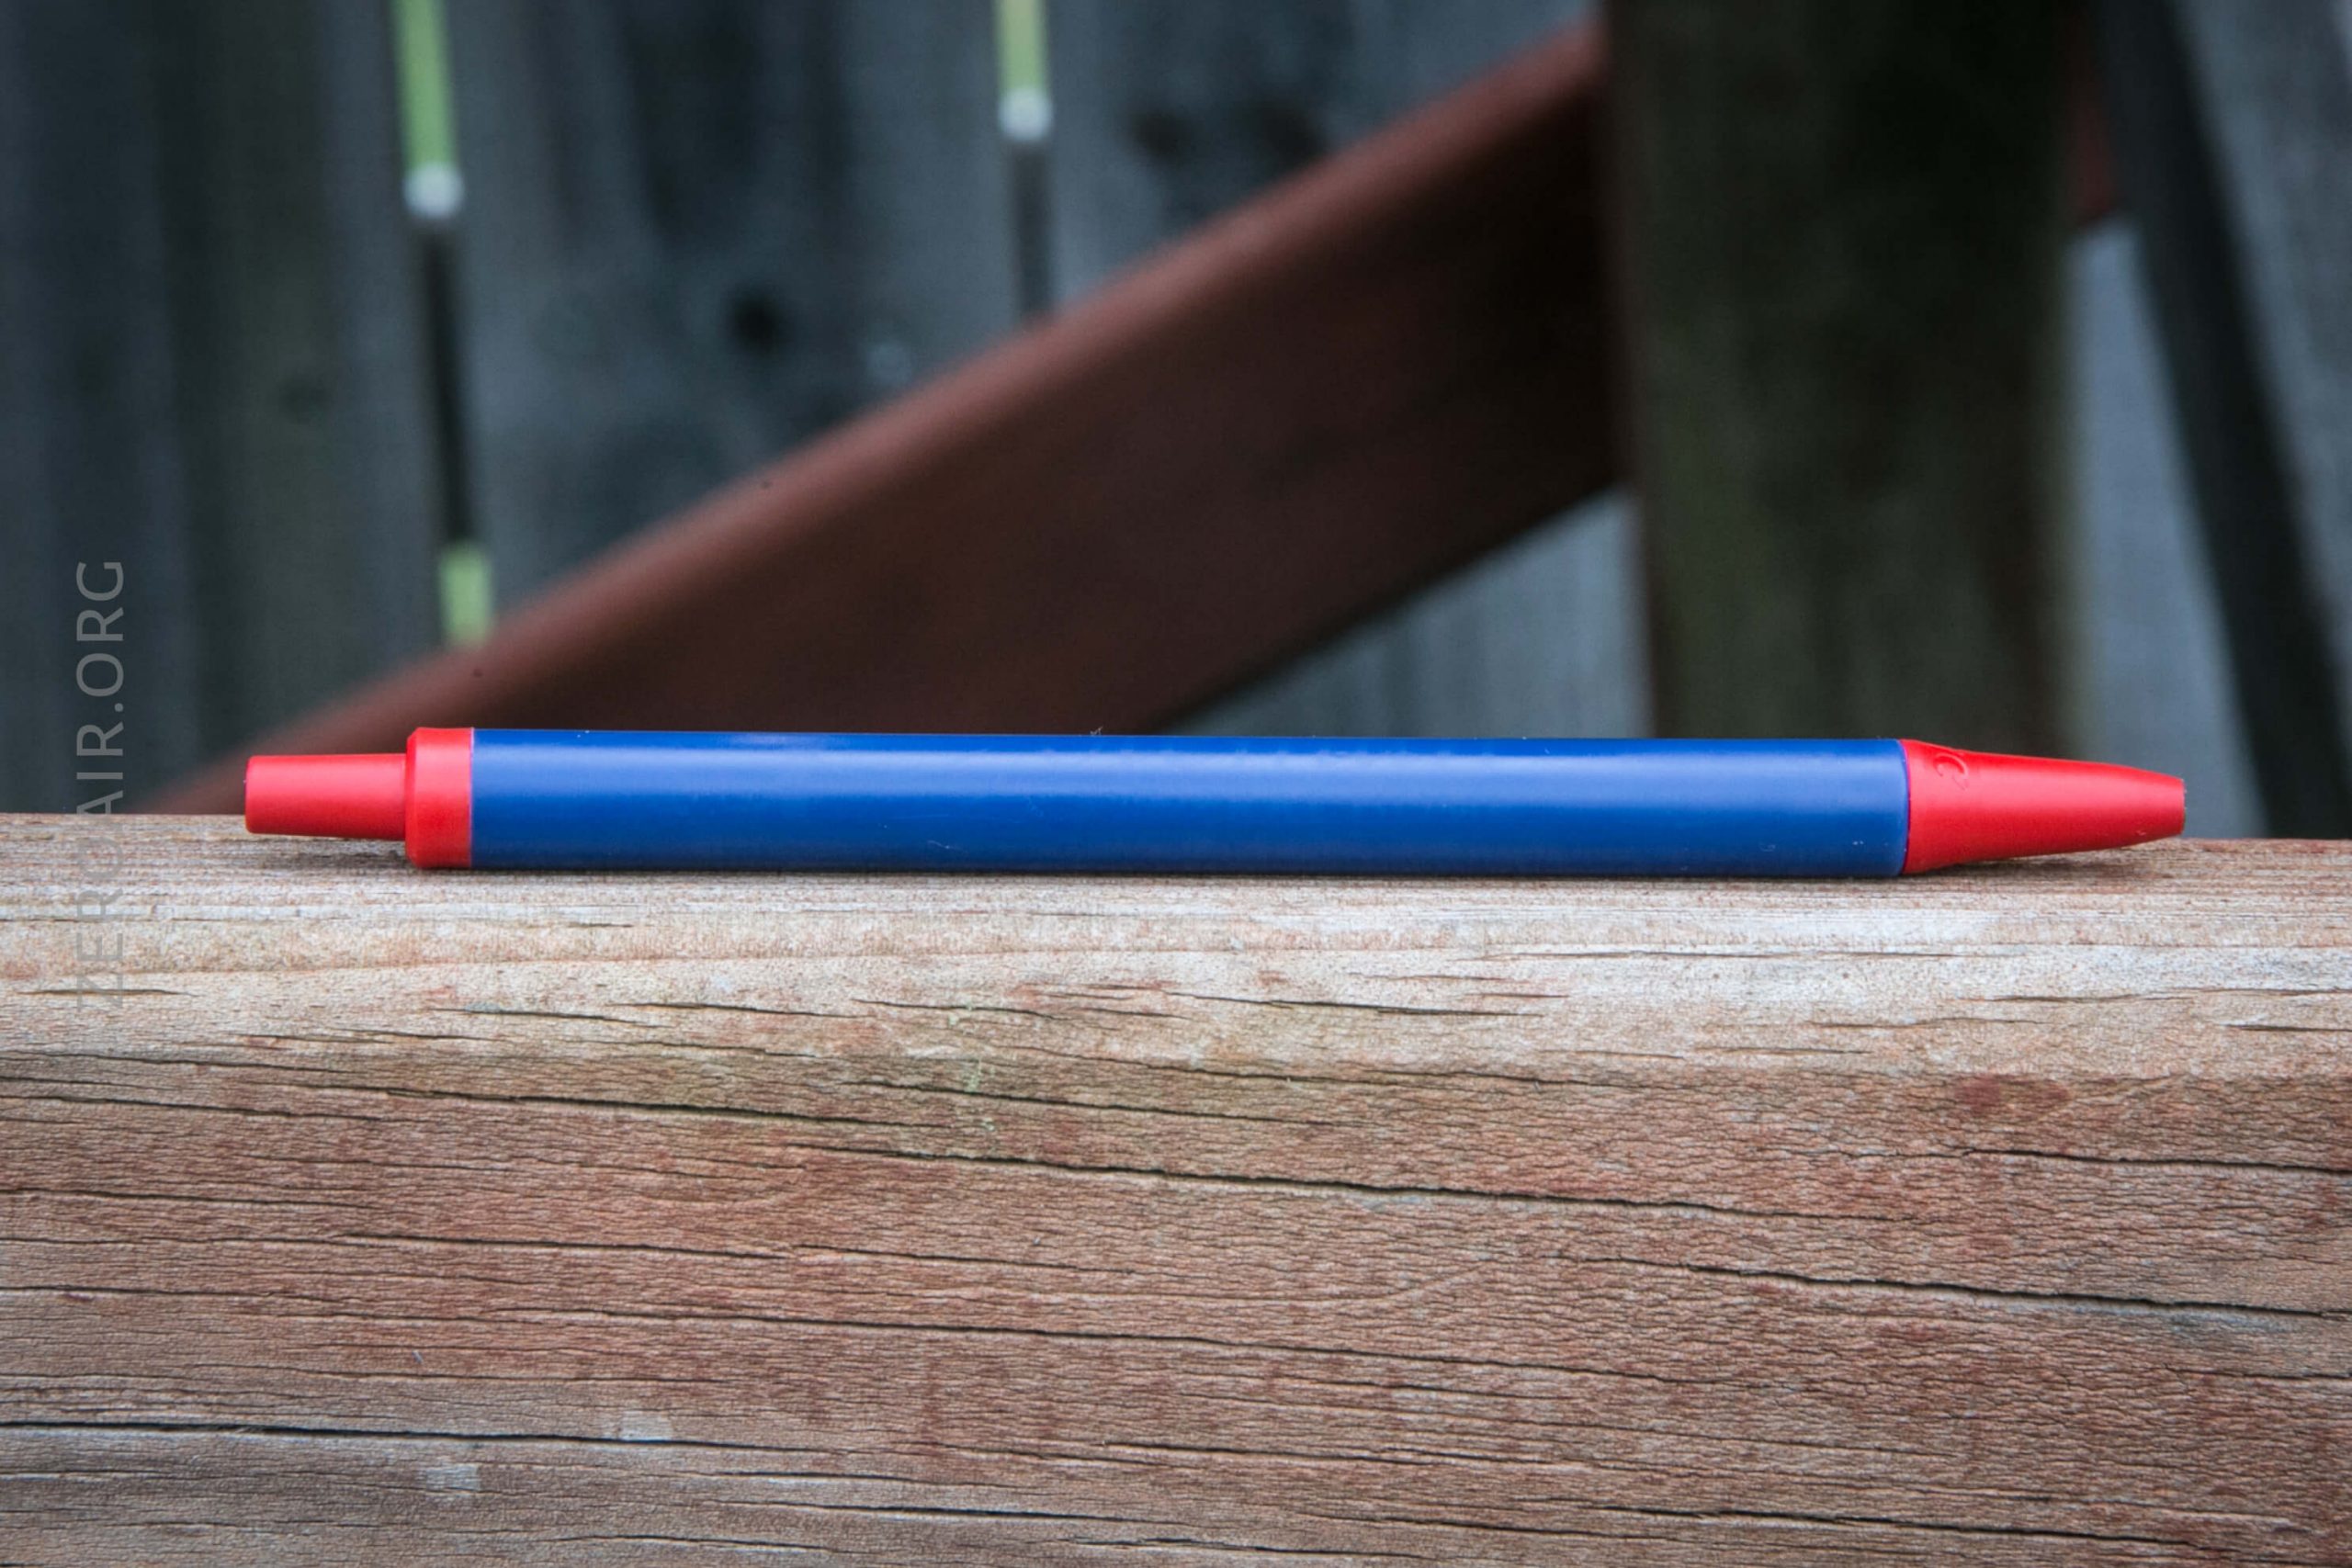
Finally a complete and working modified pen.
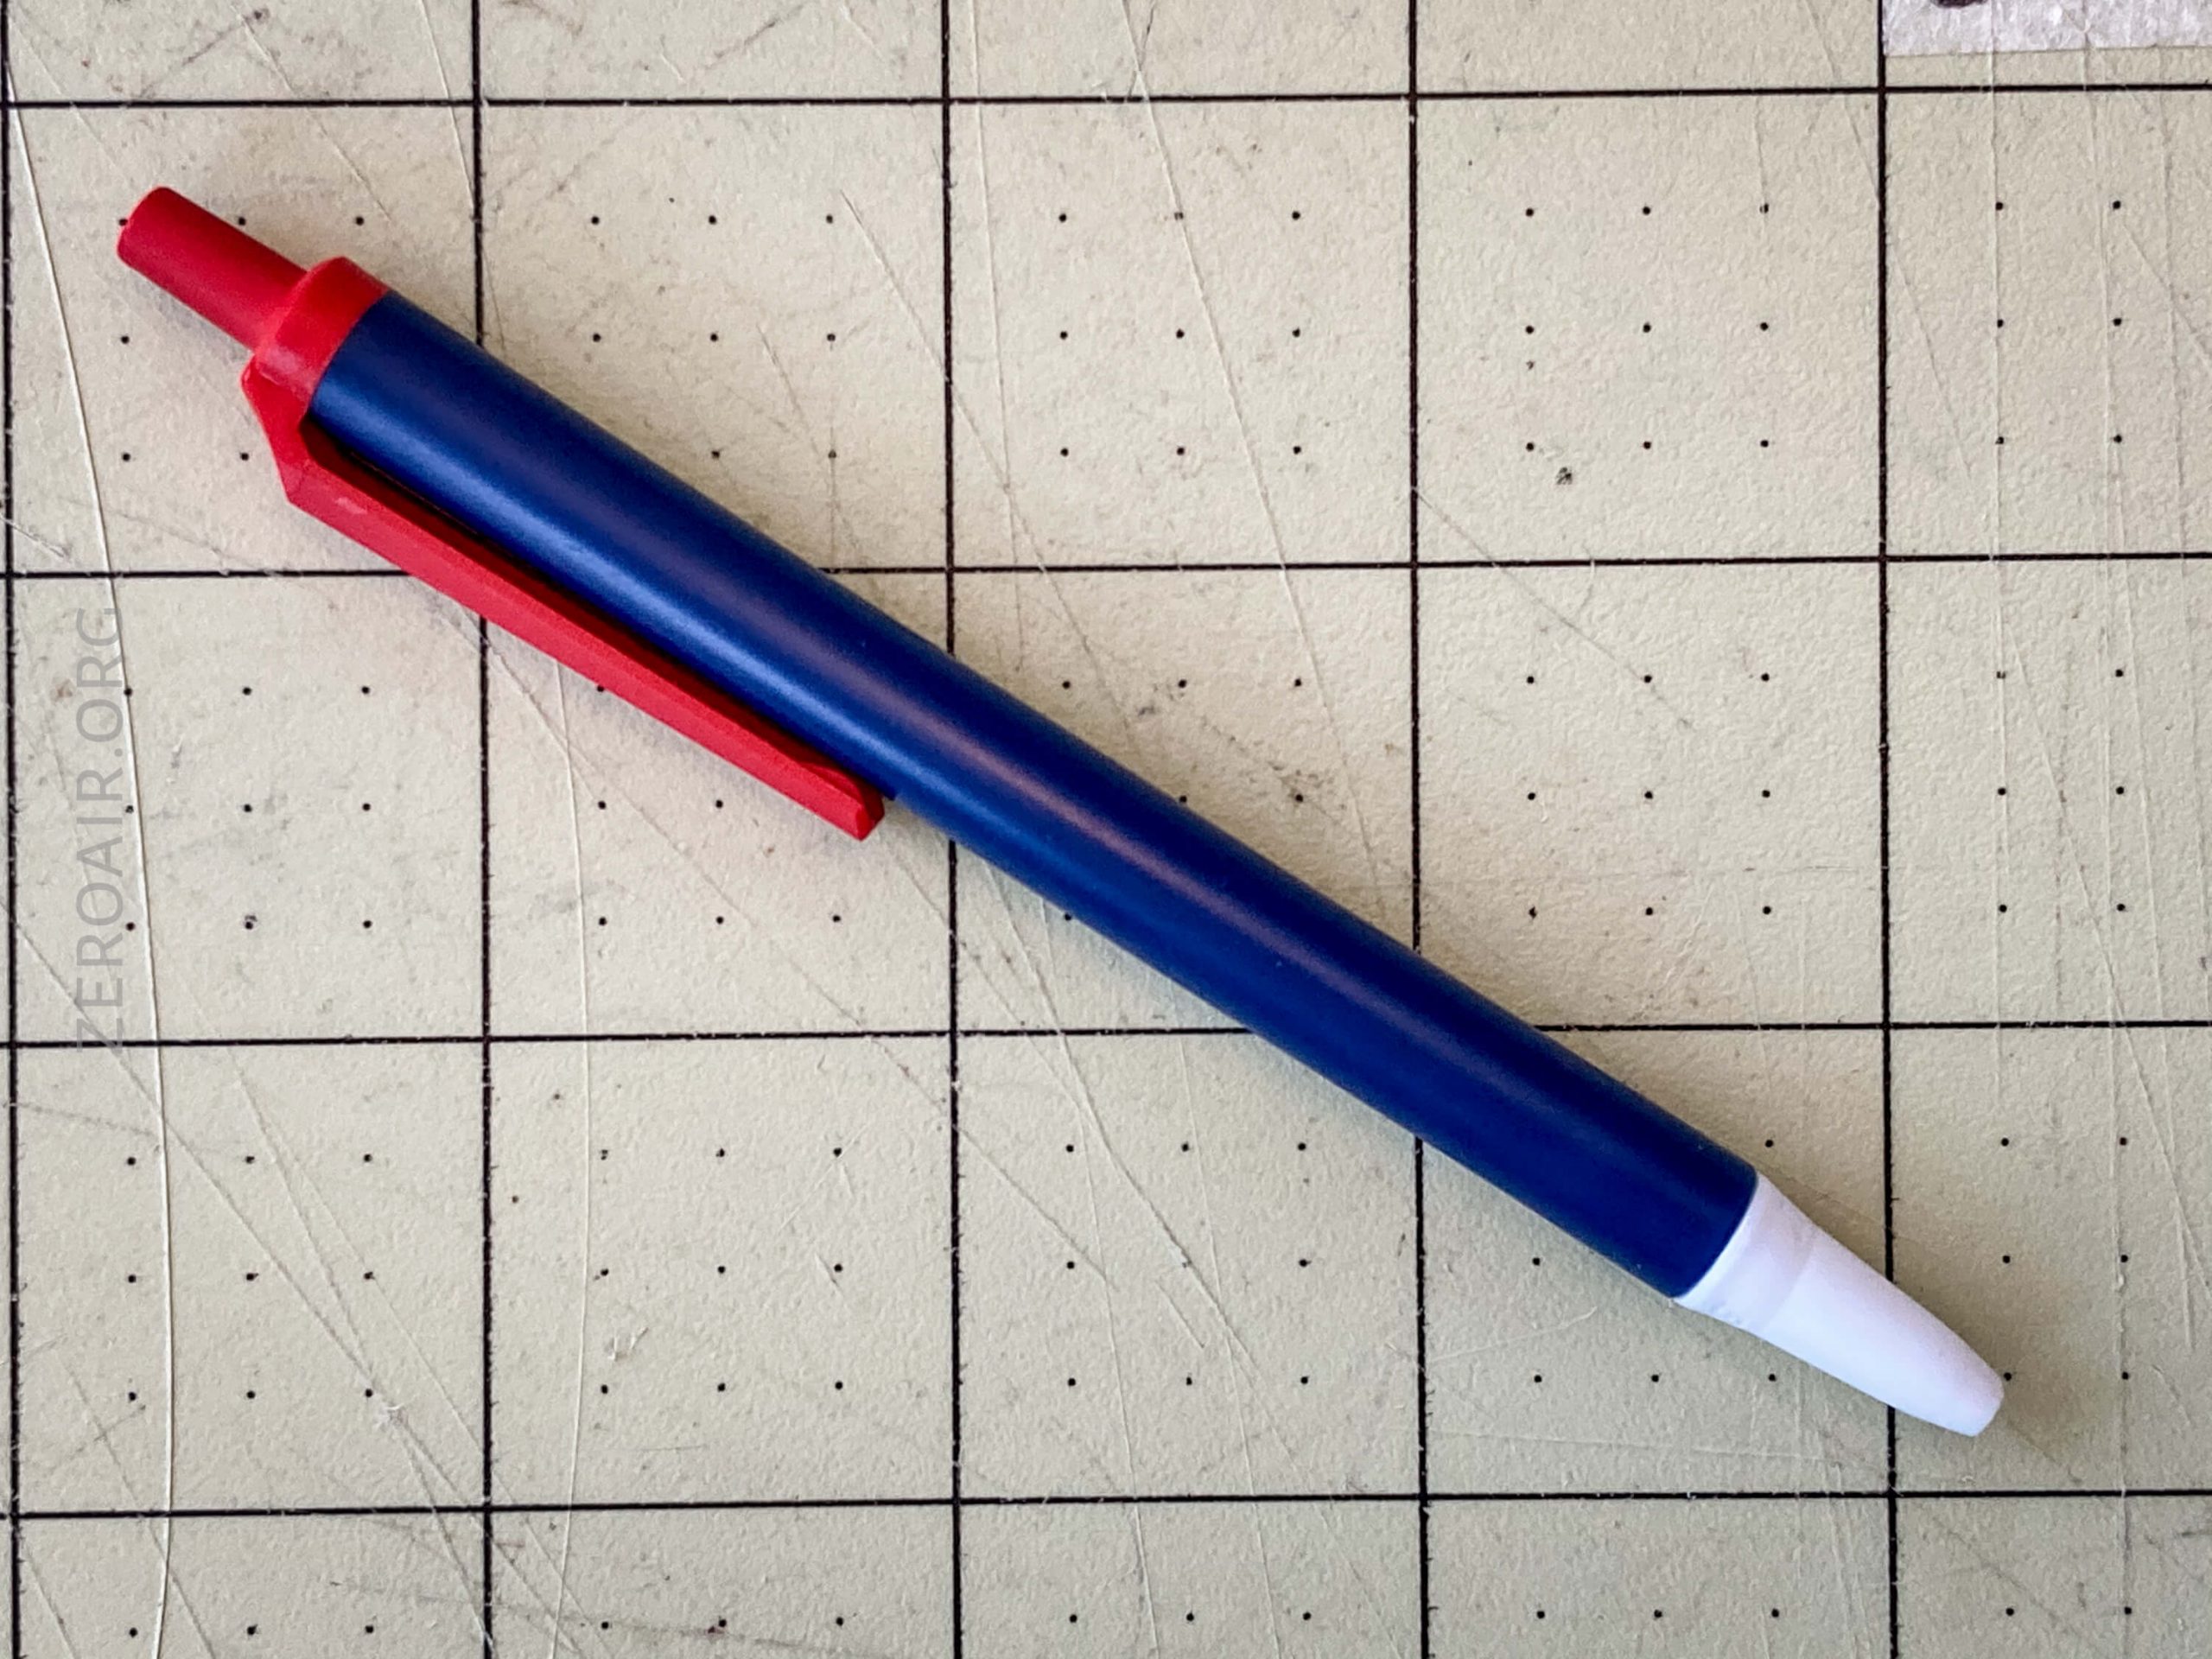
I threw on some other parts (from my other mod) and now have a #redwhiteandblue modded pen!
User Interface and Operation
Seriously, if you don’t know how to use a Bic Clic Stic then you aren’t doing this mod (lol!). But let’s hear some of that good, good clicky action.
The full before and after:
After Slow-Mo. Oooohhhh yeaaaahhhhhh.
Just the after.
The clicky does not really change at all. That’s in part because we’re using the same spring and clicky, but also because the replacement ink has the tabs (spring holders) at approximately the same distance as stock.
Future Changes/ Ideas for you
I honestly wouldn’t change anything about this pen. I used to want a metal version, but then I got a metal version (from Scout Leather Co.) and did the above mods. Unfortunately, the barrel being metal means it can’t be as tight, and the tips always get pushed out against the spring. So it’s brass, and it’s awesome, but it’s unusable. 🙁
Conclusion
What I like
- Magnets!
- Shortened size
- The “what’s this??” that a modified ubiquitous pen provides
- Added weight
- The 0.5mm nature of the ink
What I don’t like
- You might not find the clip to be perfect. I have tried shortening it but it just doesn’t work right that way. You’ll likely have to rotate the pen so that the clip is “up,” but that’ll be automatic after a day.
Notes
- This pen and all the parts were provided by me. I was not paid to write this post.
- This content originally appeared at zeroair.org. Please visit there for the best experience!
- Use my amazon.com referral link if you’re willing to help support making more reviews like this one!
- Please support me on Patreon! I deeply appreciate your support!
Discover more from ZeroAir Reviews
Subscribe to get the latest posts sent to your email.
What do the magnets do? Is it just to add weight?
Anything magnets can do. Most usually I temporarily store the pen on something the magnets will stick to. A clipboard is a great example.
But yes, they’re also great for adding weight.
Yeah Ive got some of these! there pretty sweet.
I saw a picture of a stubby little pen on I think a flashlight page, and asked the guy about it and he told me the parts to get(same stuff) and explained how to do it. Neat seeing it somewhere again.
I almost forget about them exept they are stuck all over the house lol.
Yep, that was very likely me. 🙂 I’ve walked people through the process before (possibly on instagram).
Pingback: Tactile Turn Safety First Pen Review - ZeroAir Reviews
Pingback: Goodbye 2020, Welcome 2021! - ZeroAir Reviews