Hanko Machine Works Total Tesseract Trident in Brass Flashlight Review
This is the Hanko Machine Works (HMW, or just “Hanko”) Trident “Total Tesseract” in brass, my own unusual light for a Fun Fund Friday review. Read on!
Hanko Machine Works Total Tesseract Trident Official Specs and Features
There’s not really an official page for this light. There’s a Facebook group, which you can see here. That page won’t lead directly to product information, necessarily, though.
Versions
The Trident as a product is a whole line of lights – I’m not sure it’s even possible to mention them all. There’s the Total Tesseract (seen here), the Full Twist, the Reactor, and the Gunner Grip. The light is also often sold as a combination of finishes – Gunner Grip body with Full Twist head, for example.
Price
The retail price for these Hanko Tridents is $800. Actually, $800 is called “table price”; that’s the price you’d pay the maker for one. That is, if you can get one. Two are offered each week on the Facebook page mentioned above. The two offered are usually identical and seem to be a random metal and a random finish. They’re offered in the form of “Sign Up Sales” – on that Facebook post, you say “in,” and after a day or so, the maker selects (randomly) two “winners” who then pay for one light each.
Most purchases, however, are made on the secondary market, where prices vary wildly and often incredibly.
And yes, this light does cost eight hundred dollars. It’s not a typo.
Short Review
These lights are spectacular. Are they spectacular in some way that another triple isn’t? Read on to see if testing affects how you think, but my best “short review” of these is to simply say that I have purchased four of them. I like and enjoy them that much.
Let me add that I’m not going to try to convince you this light is or isn’t worth $800, and I’m not going to say you should or shouldn’t buy or want one. They simply are what they are. I enjoy them as a flashlight that doubles as a bit of pocket jewelry. That may completely not be your jam, and that is ok.
Long Review
The Big Table
| Hanko Machine Works Total Tesseract Trident (Brass) | |
|---|---|
| Emitter: | Nichia 219c (High CRI) |
| Price in USD at publication time: | $800.00 |
| Cell: | 1×18350 |
| Turbo Runtime | High Runtime |
| LVP? | Yes |
| Switch Type: | Mechanical |
| On-Board Charging? | No |
| Claimed Lumens (lm) | – |
| Measured Lumens (at 30s) | 1199^ |
| Candela per Lumen | 3.7 |
| Claimed Throw (m) | – |
| Candela (Calculated) in cd (at 30s) | 379lux @ 3.765m = 5372cd |
| Throw (Calculated) (m) | 146.6^ |
| All my Hanko reviews! | |
^ Measurement disclaimer: Testing flashlights is my hobby. I use hobbyist-level equipment for testing, including some I made myself. Try not to get buried in the details of manufacturer specifications versus measurements recorded here; A certain amount of difference (say, 10 or 15%) is perfectly reasonable.
What’s Included
- Hanko Machine Works Total Tesseract Trident Flashlight
- Steel Flame pocket clip
The pocket clip ships attached to the light, and while I might not always mention that as a separate bullet point for every light (since it’s attached), I will in this case. More on that later.
Package and Manual
No photo of the package and manual because there are neither. These lights ship in a bit of pipe insulation, which is inside a Small Flat Rate Priority box. There’s no certificate of authenticity or anything else with the light. You can make of this what you will. I personally would prefer to have a nice COA of some sort. (Deadwood Custom Works gets this right by having a laser-etched card with their lights.)
While there is no manual with the light, I can provide you with a flow chart I made long ago for the stock driver in any new Trident sold today (and for the last long while). Look in the user interface section for that chart!
Build Quality and Disassembly
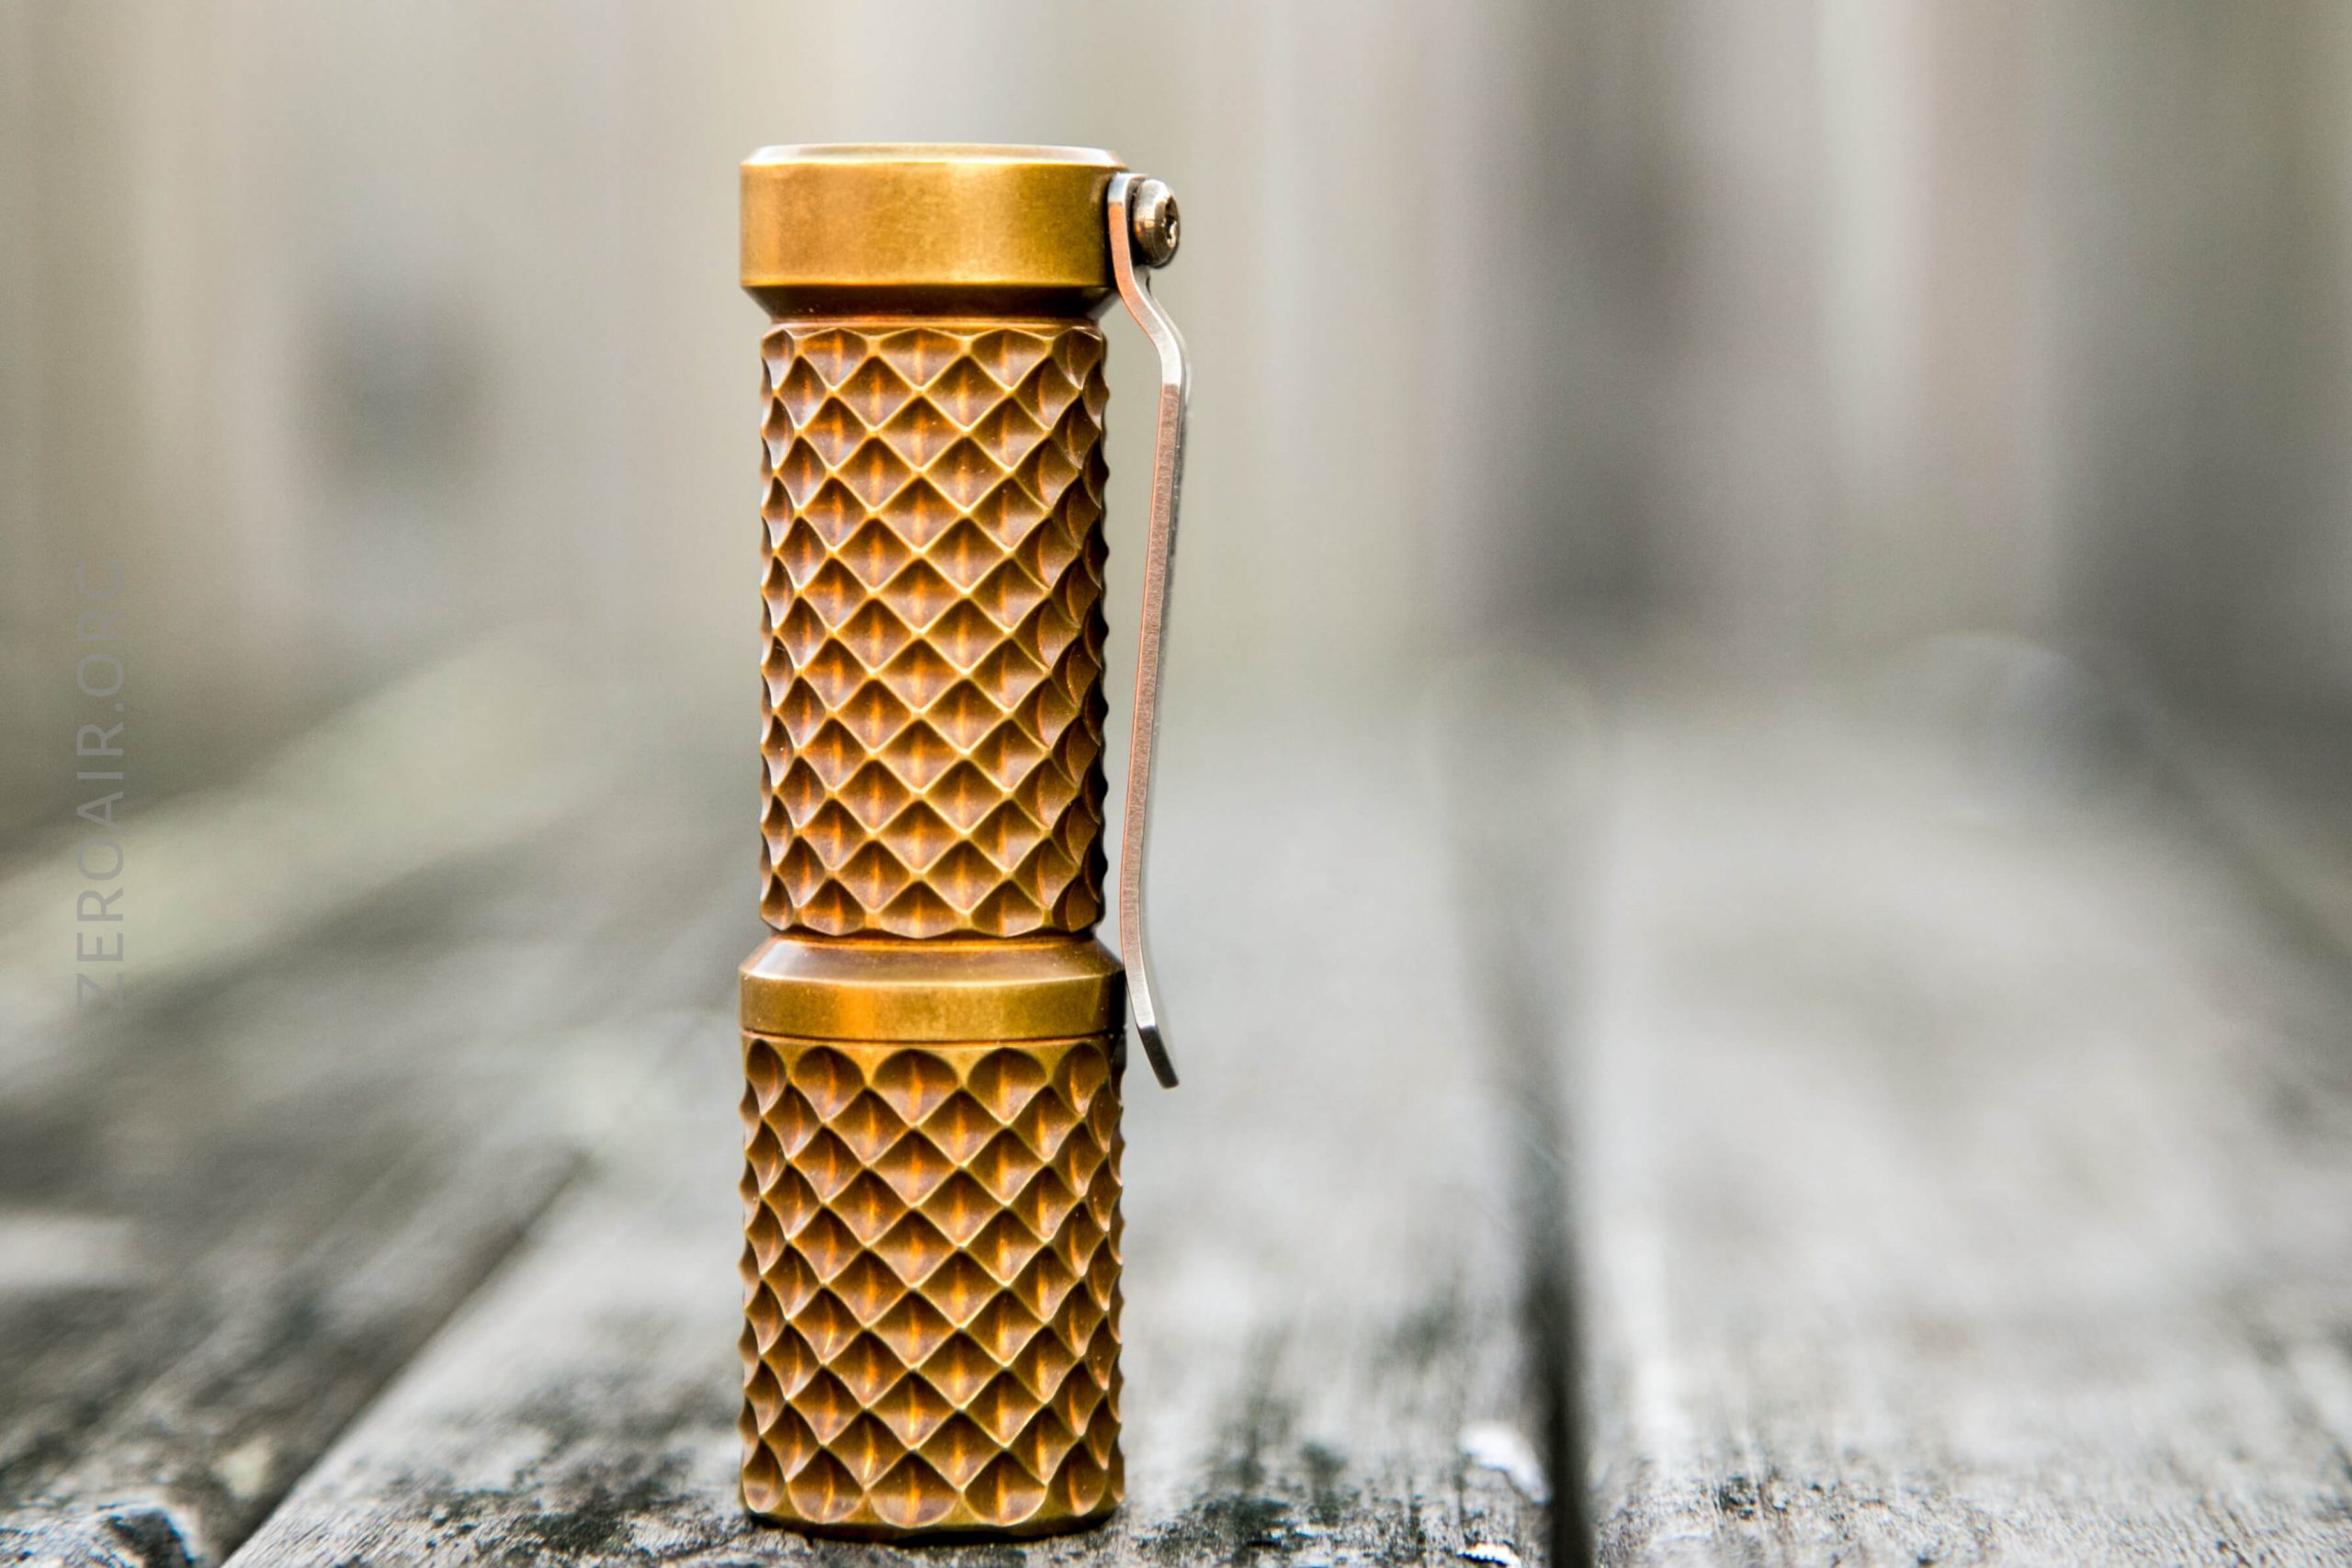
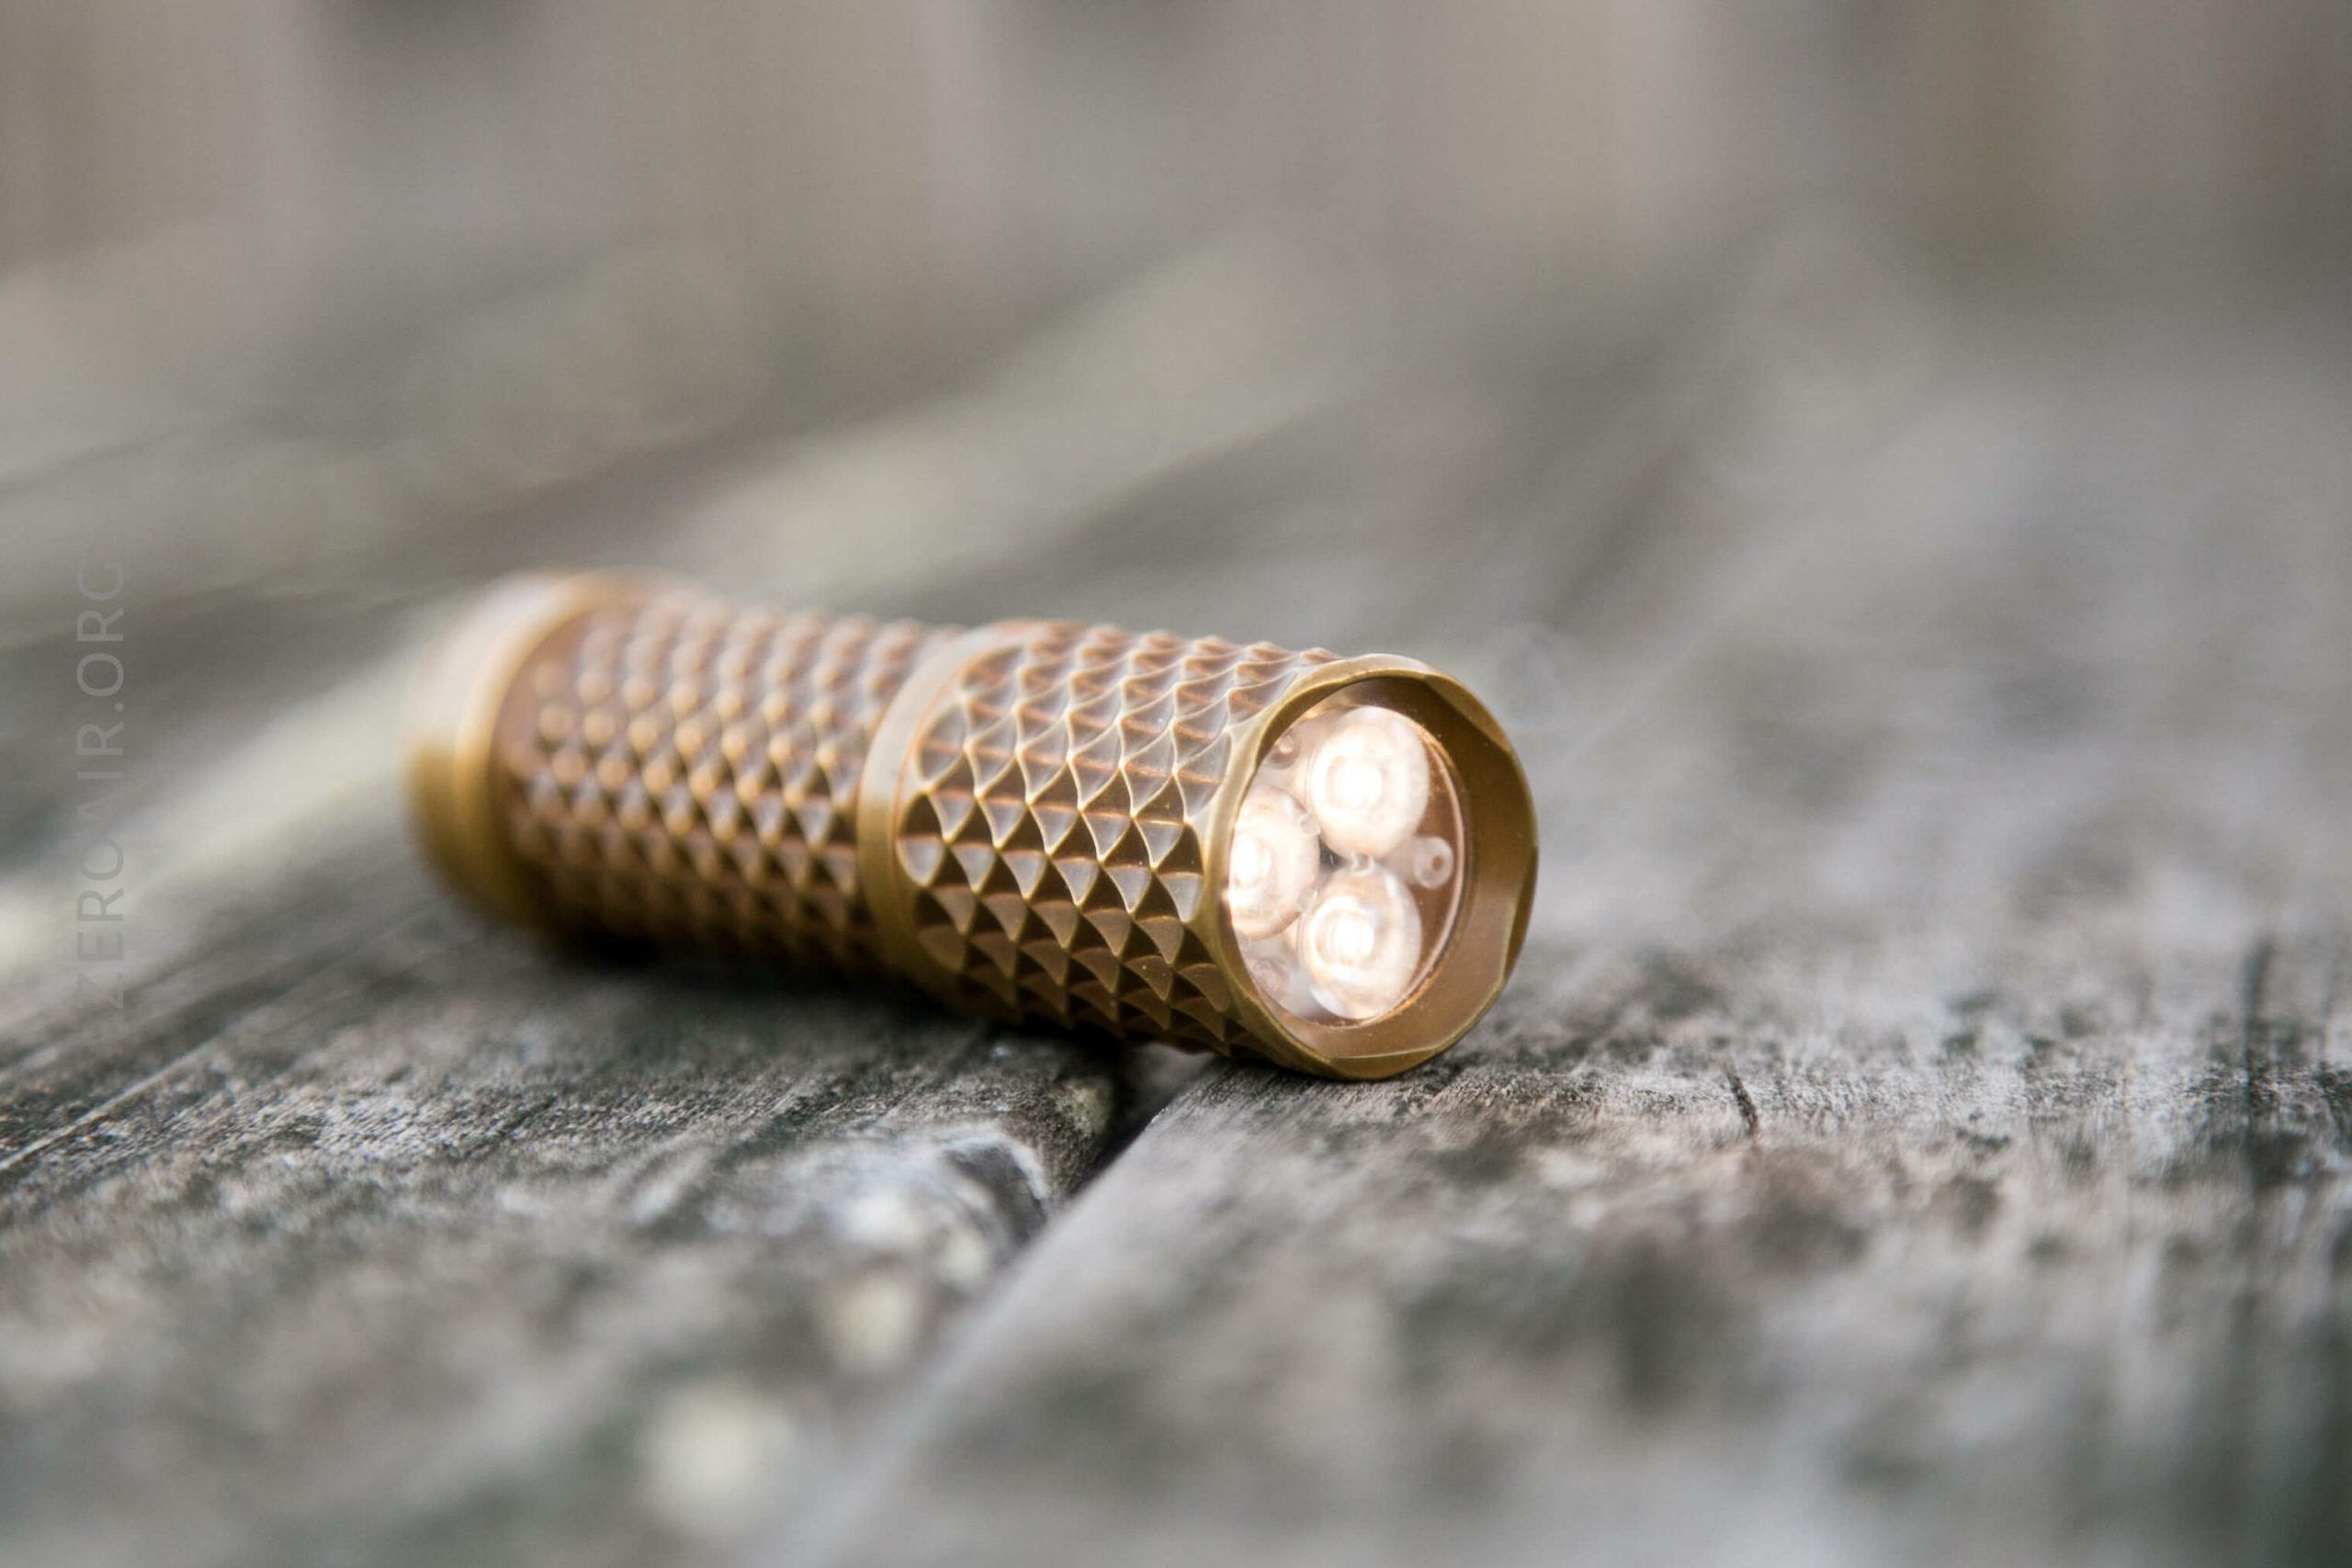
The build of the Hanko Machine Works Total Tesseract Trident is very fine. Jeff Hanko finishes these impeccably, and things that aren’t perfect do not leave his shop.
The Total Tesseract is the second newest finish – the most recently released was the Reactor (which I was lucky enough to snag in titanium).
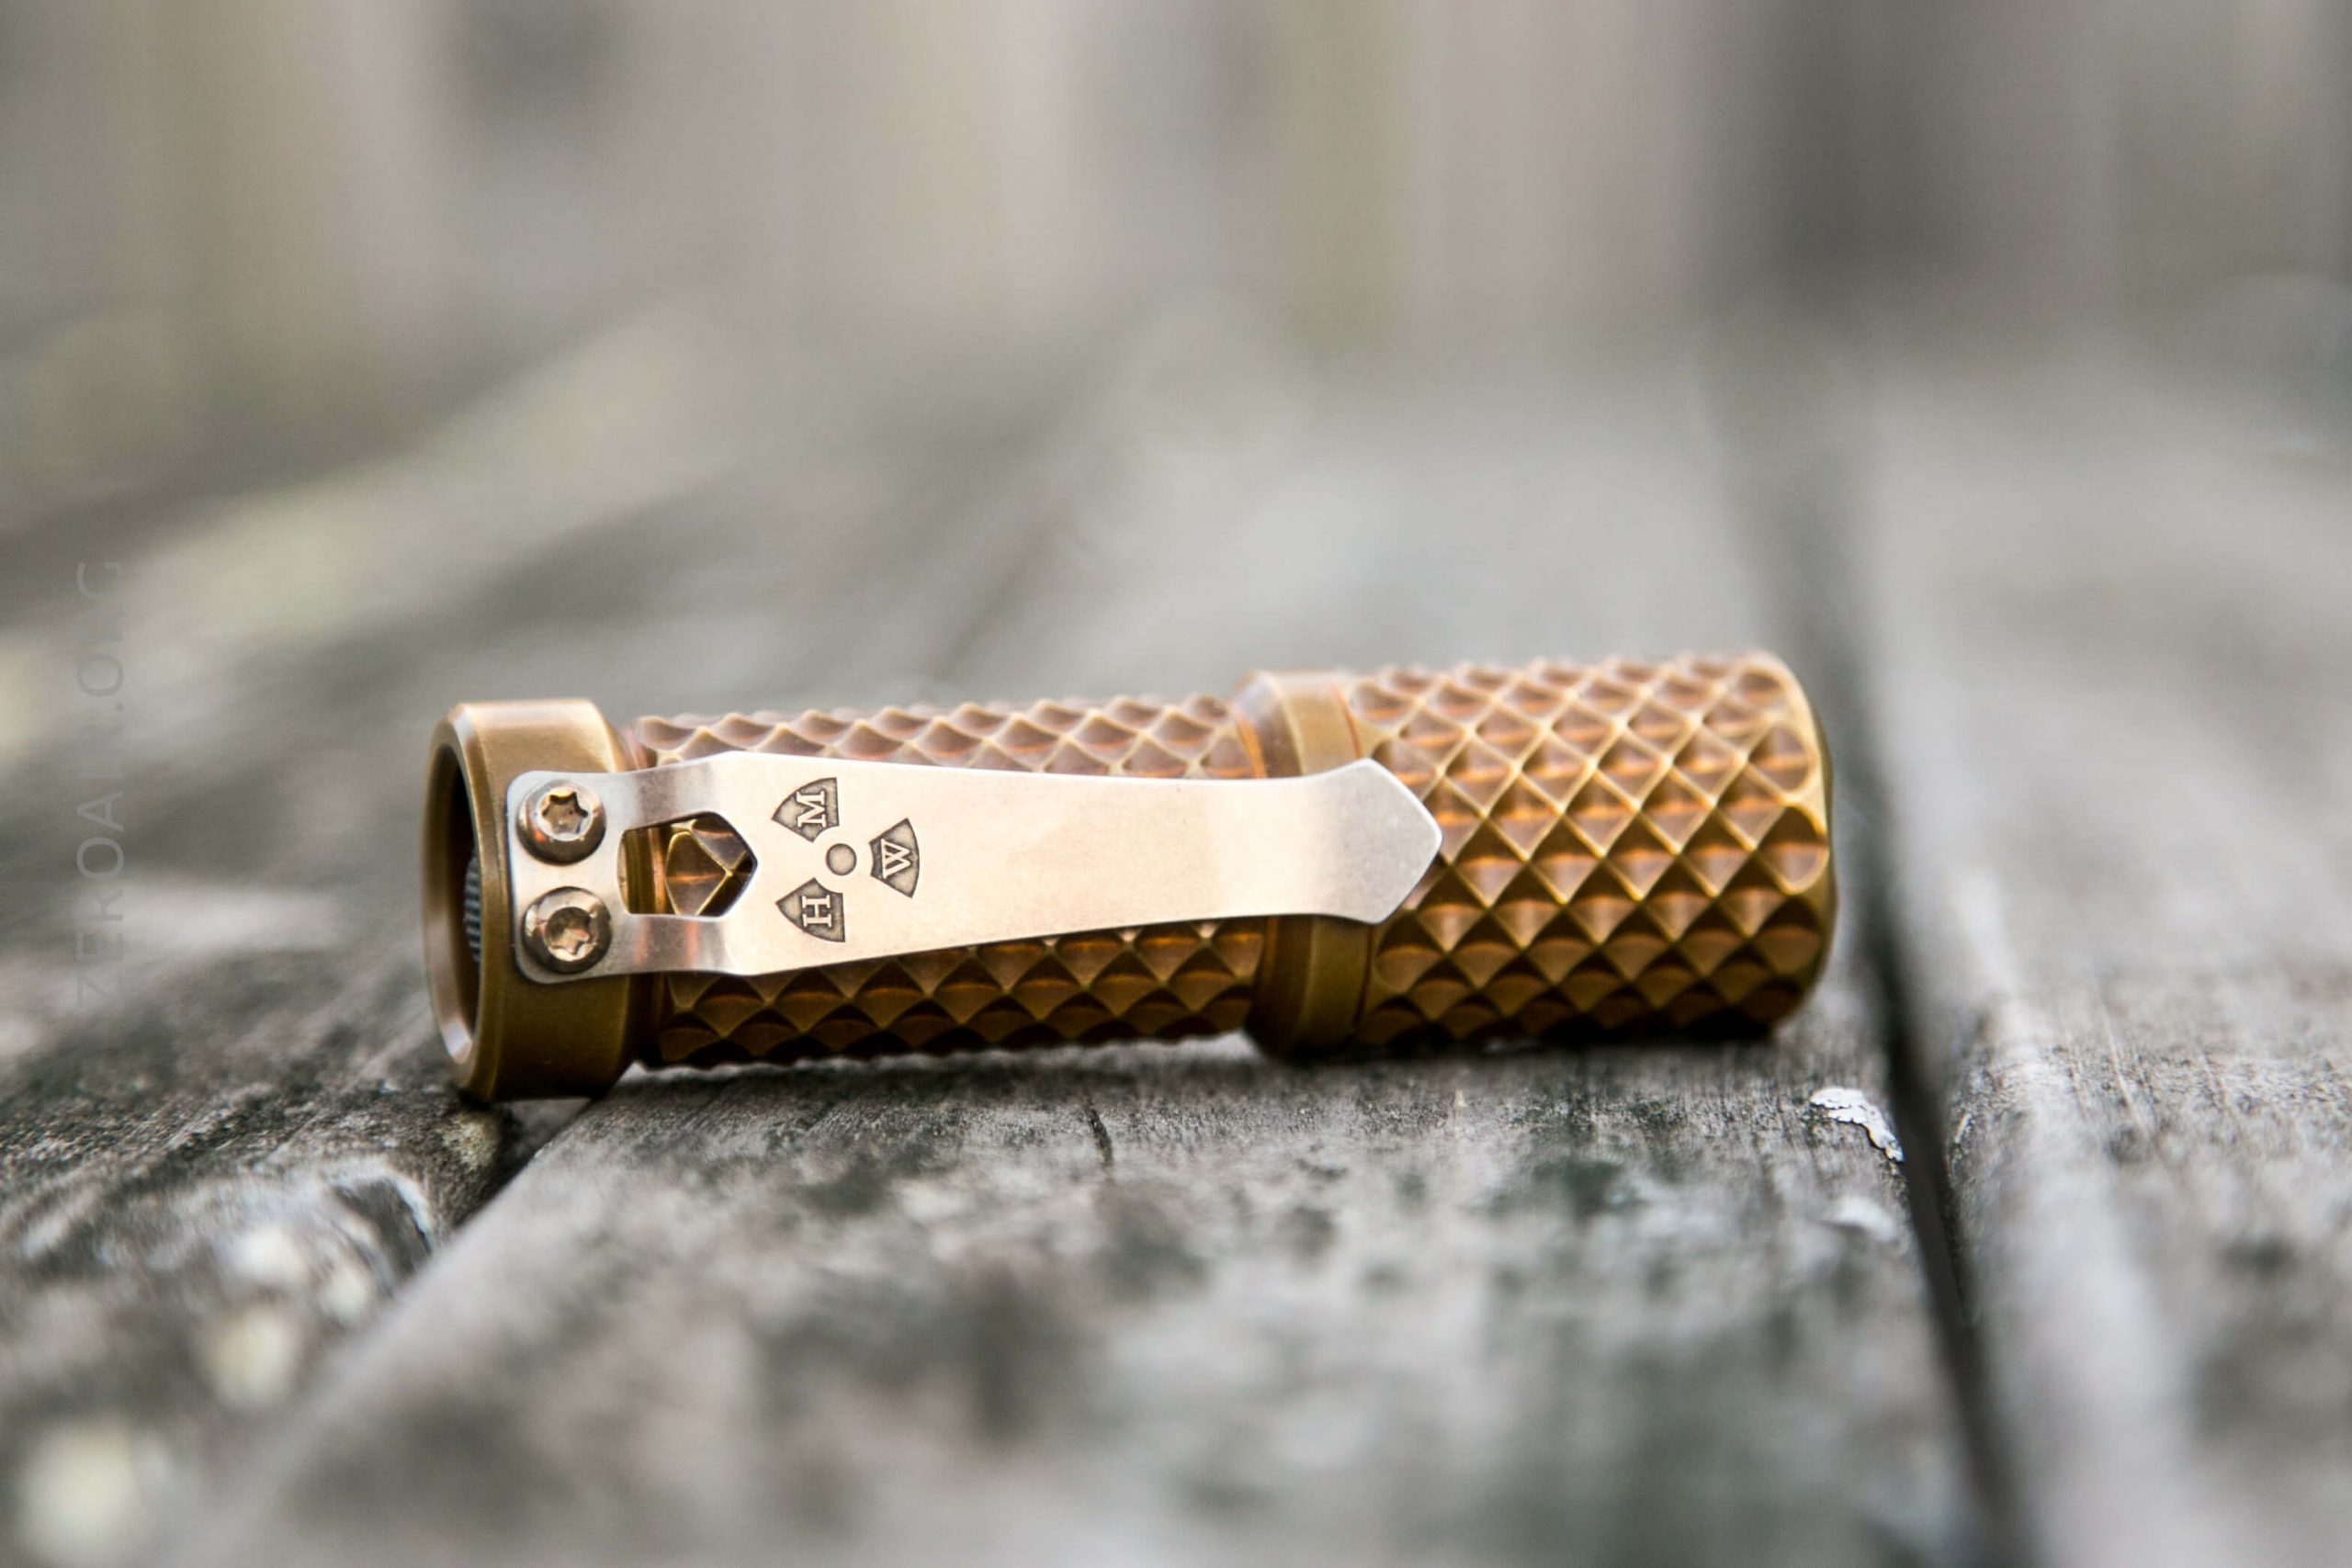
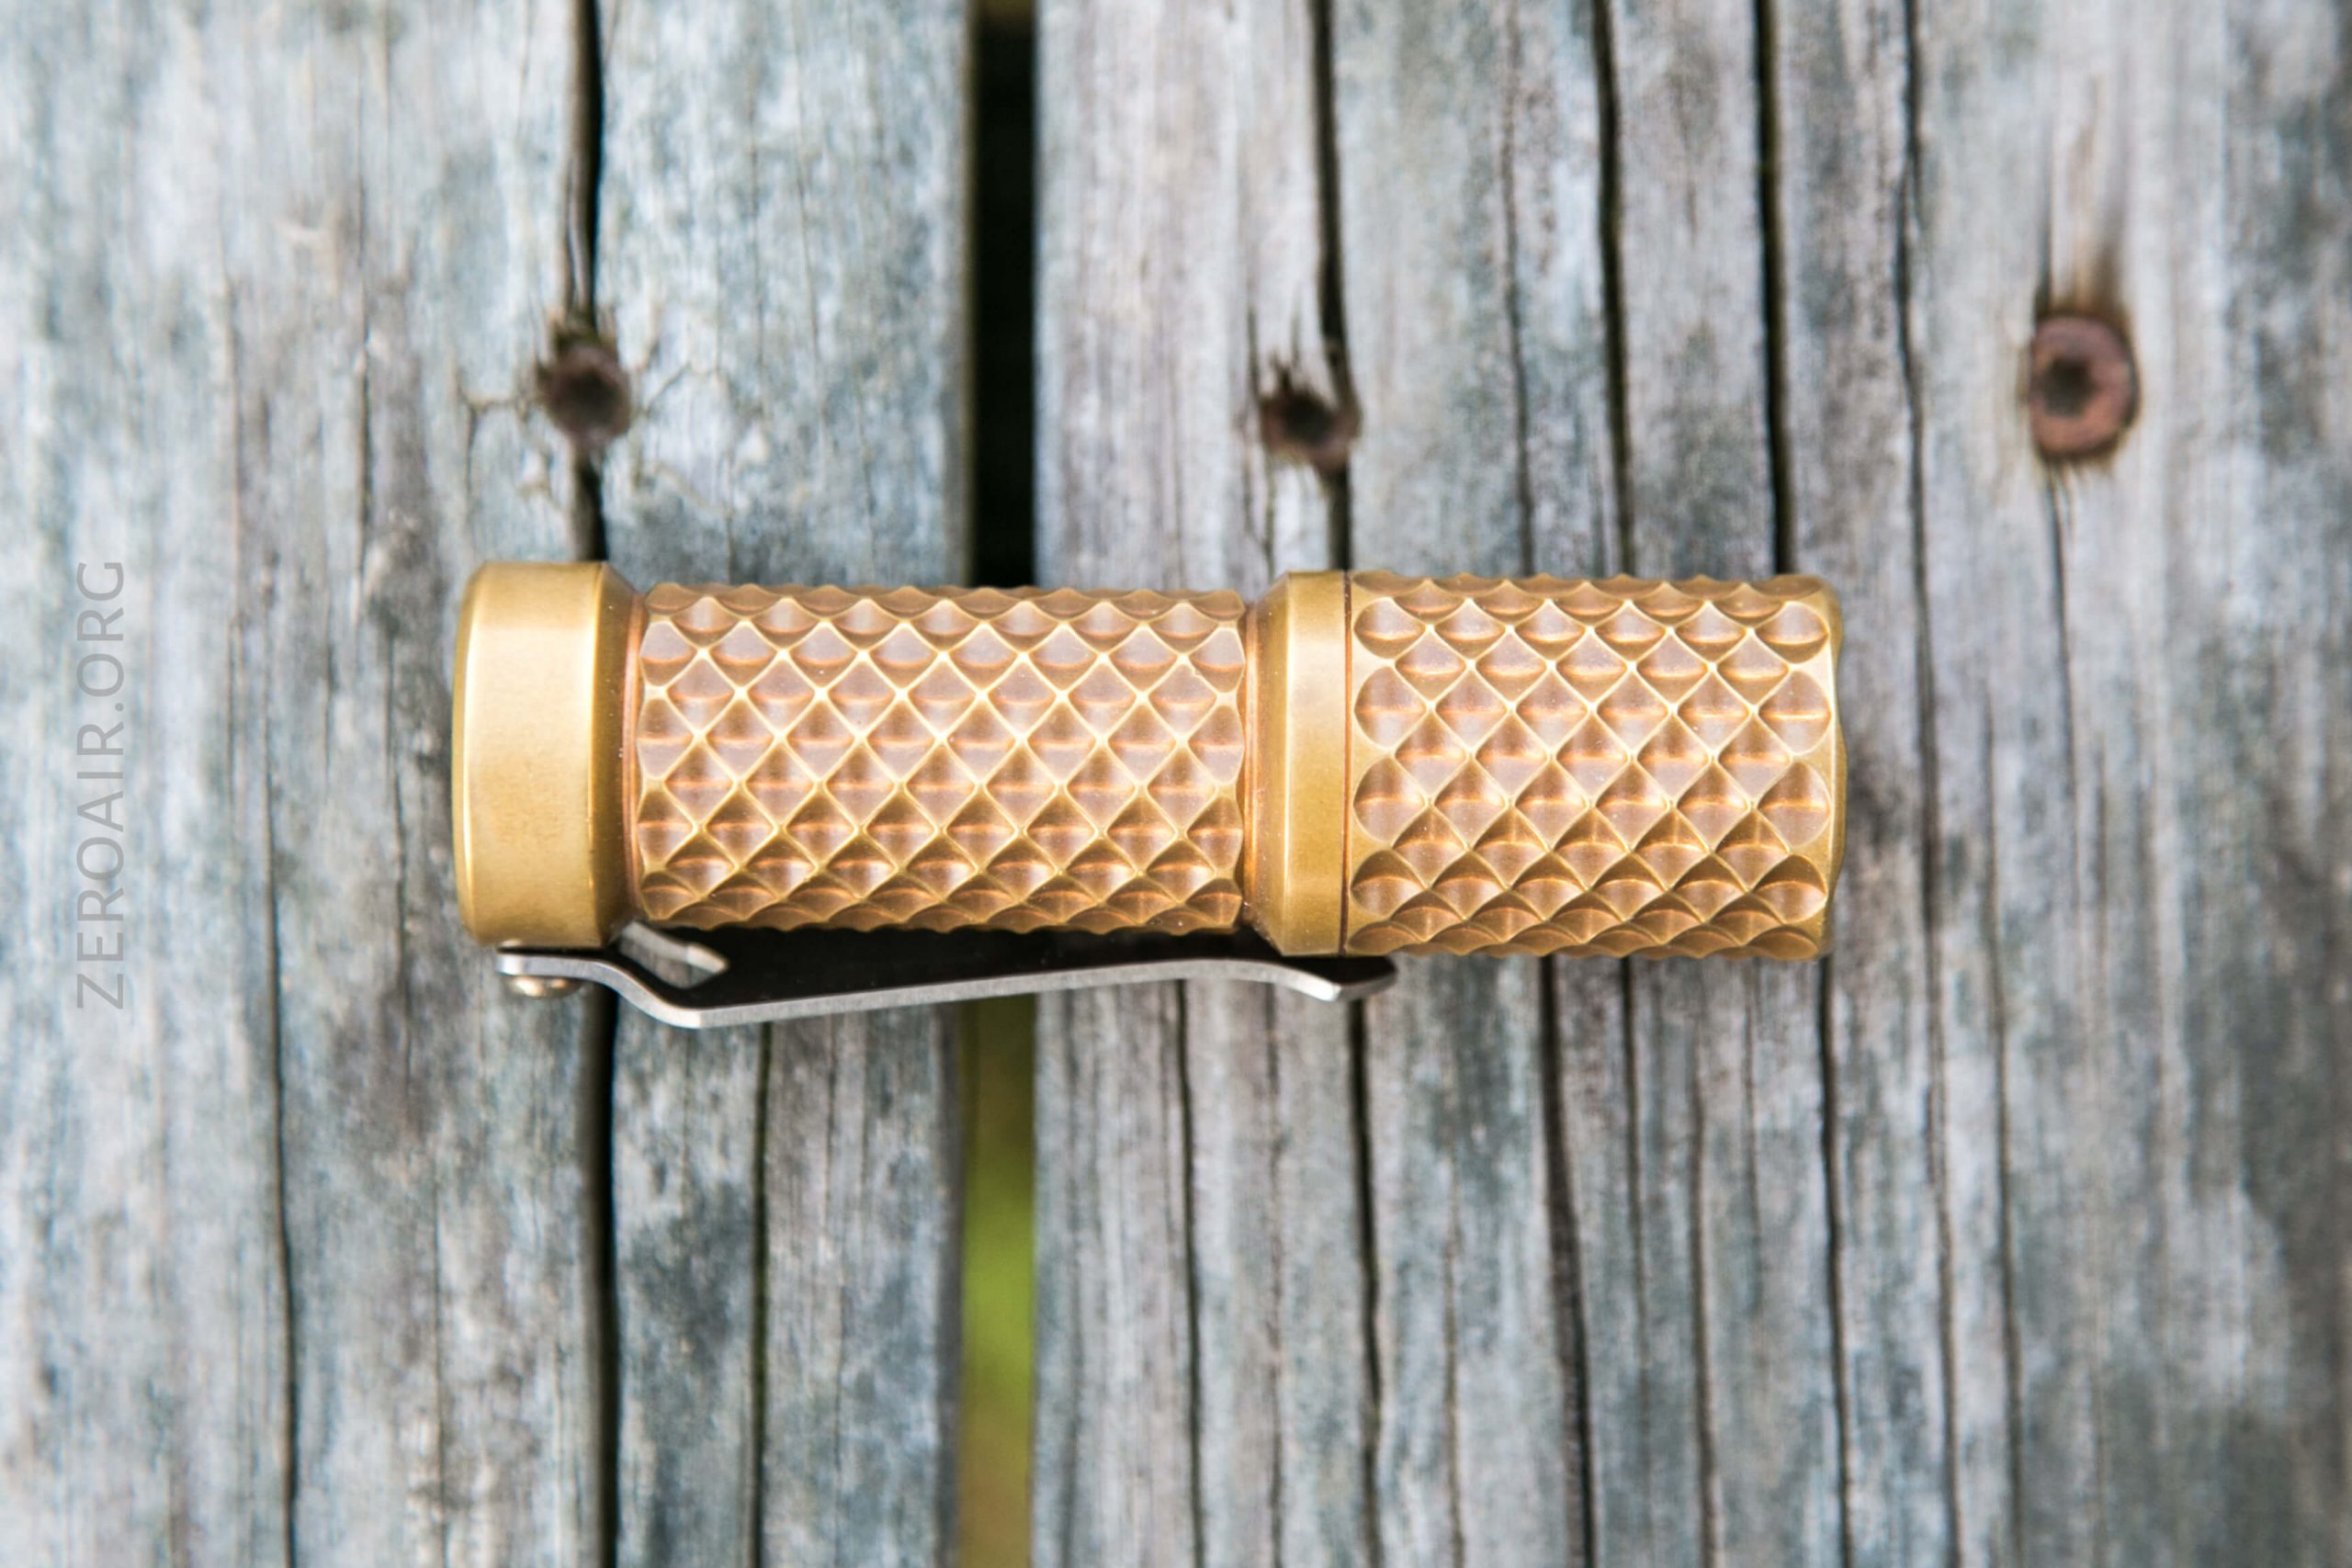
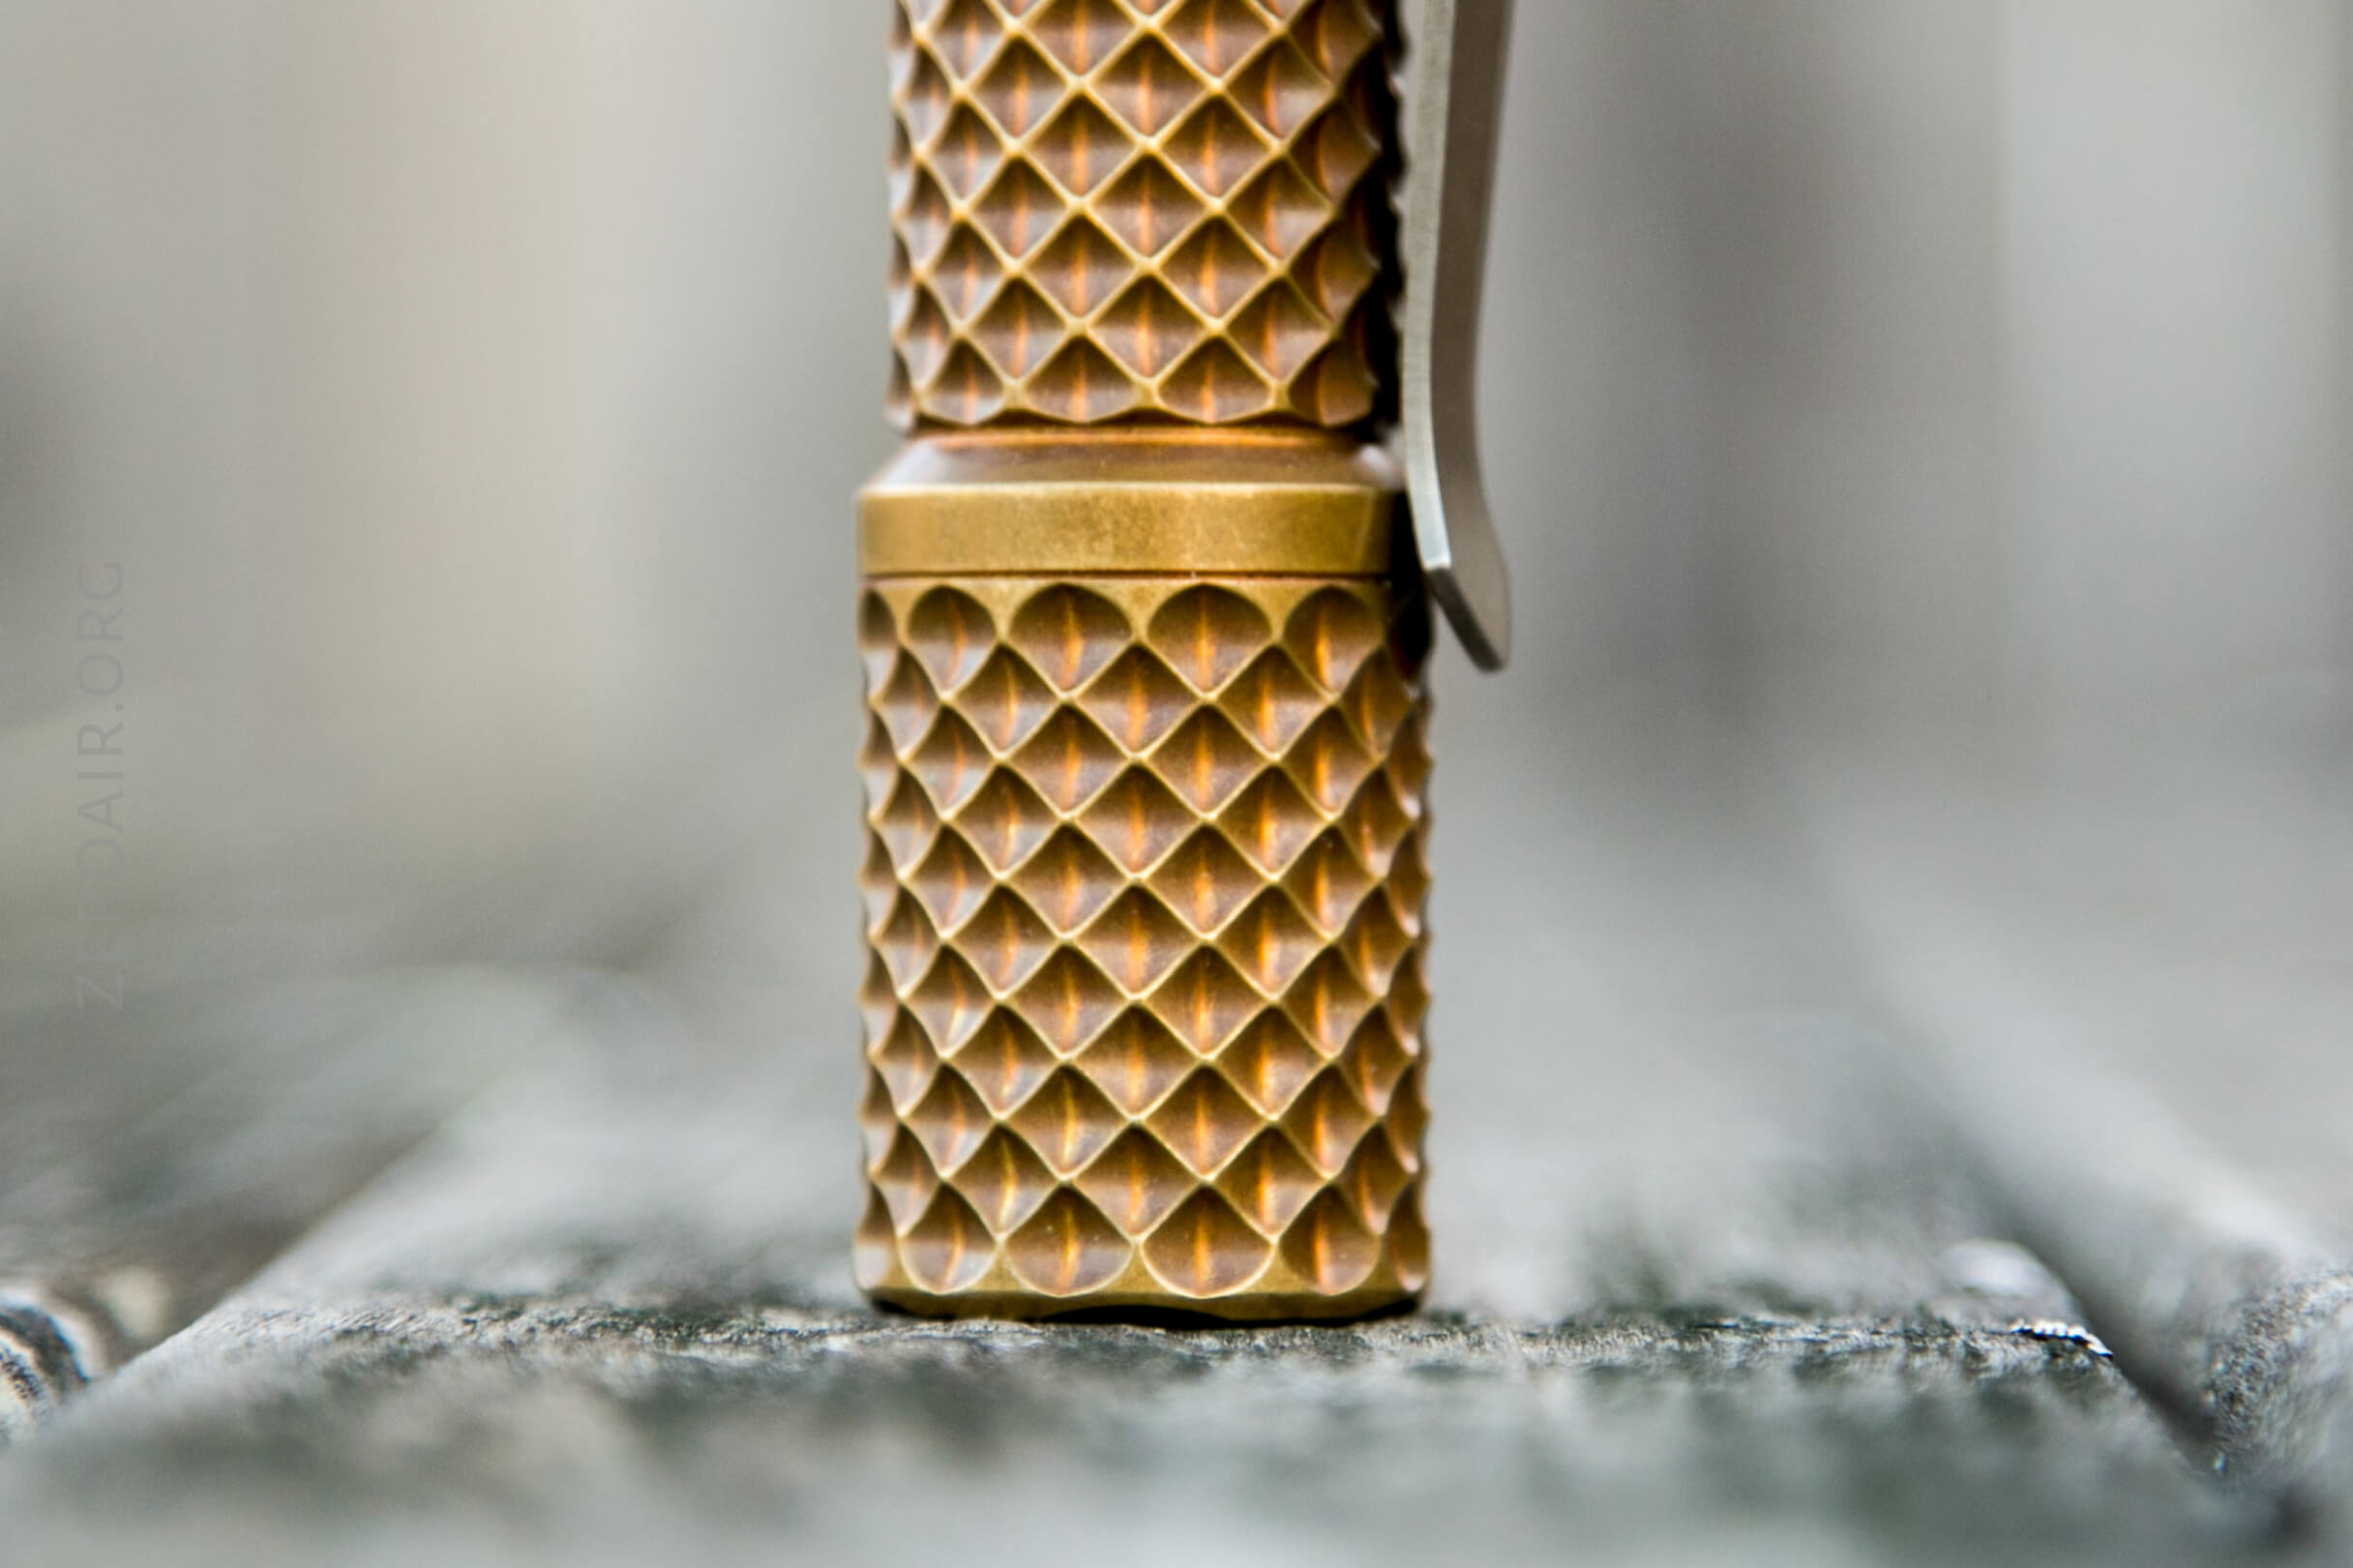
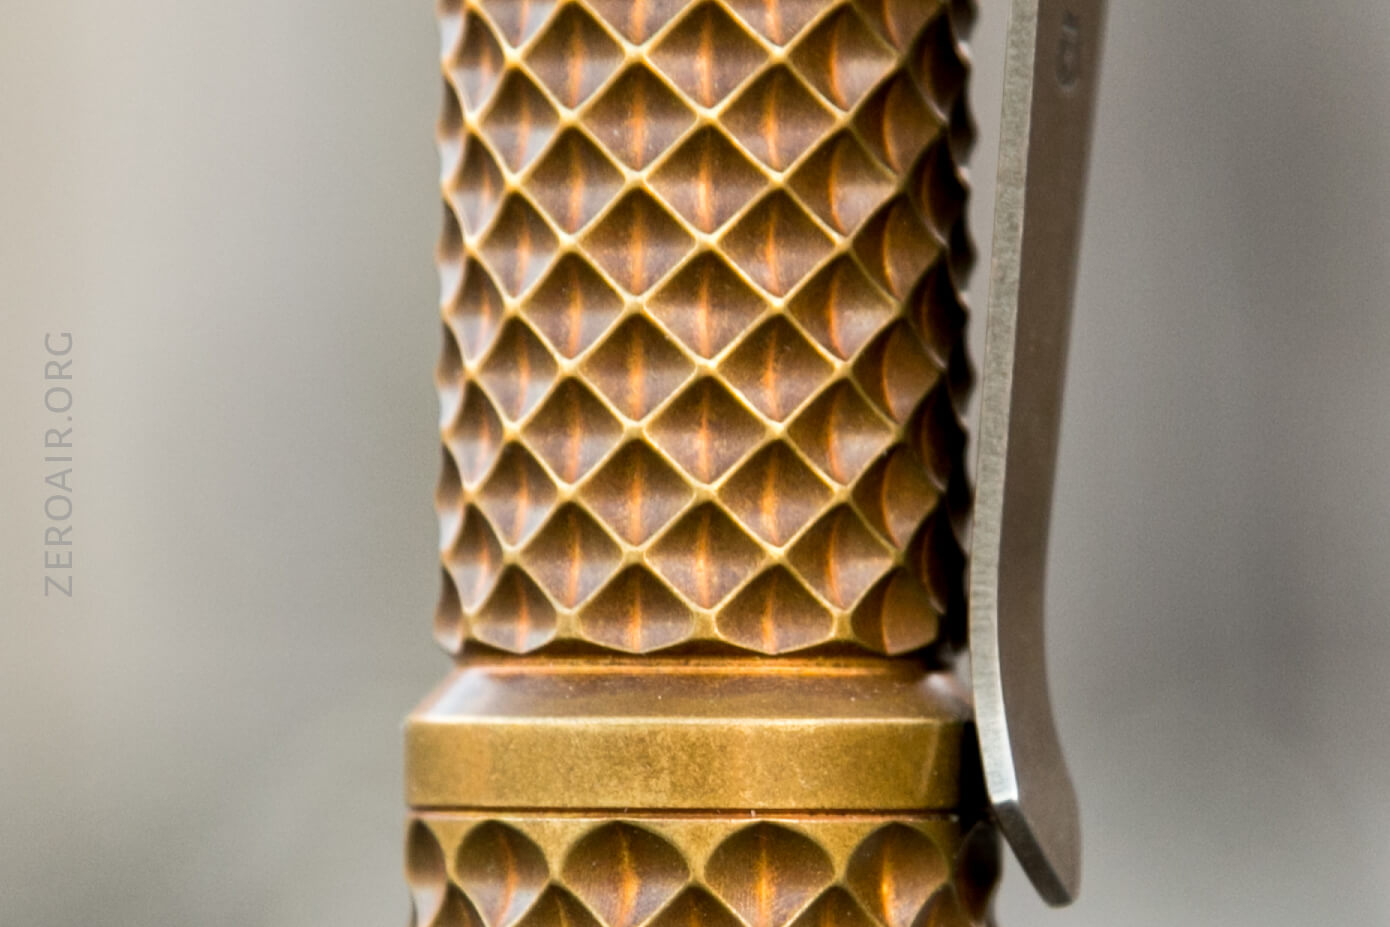
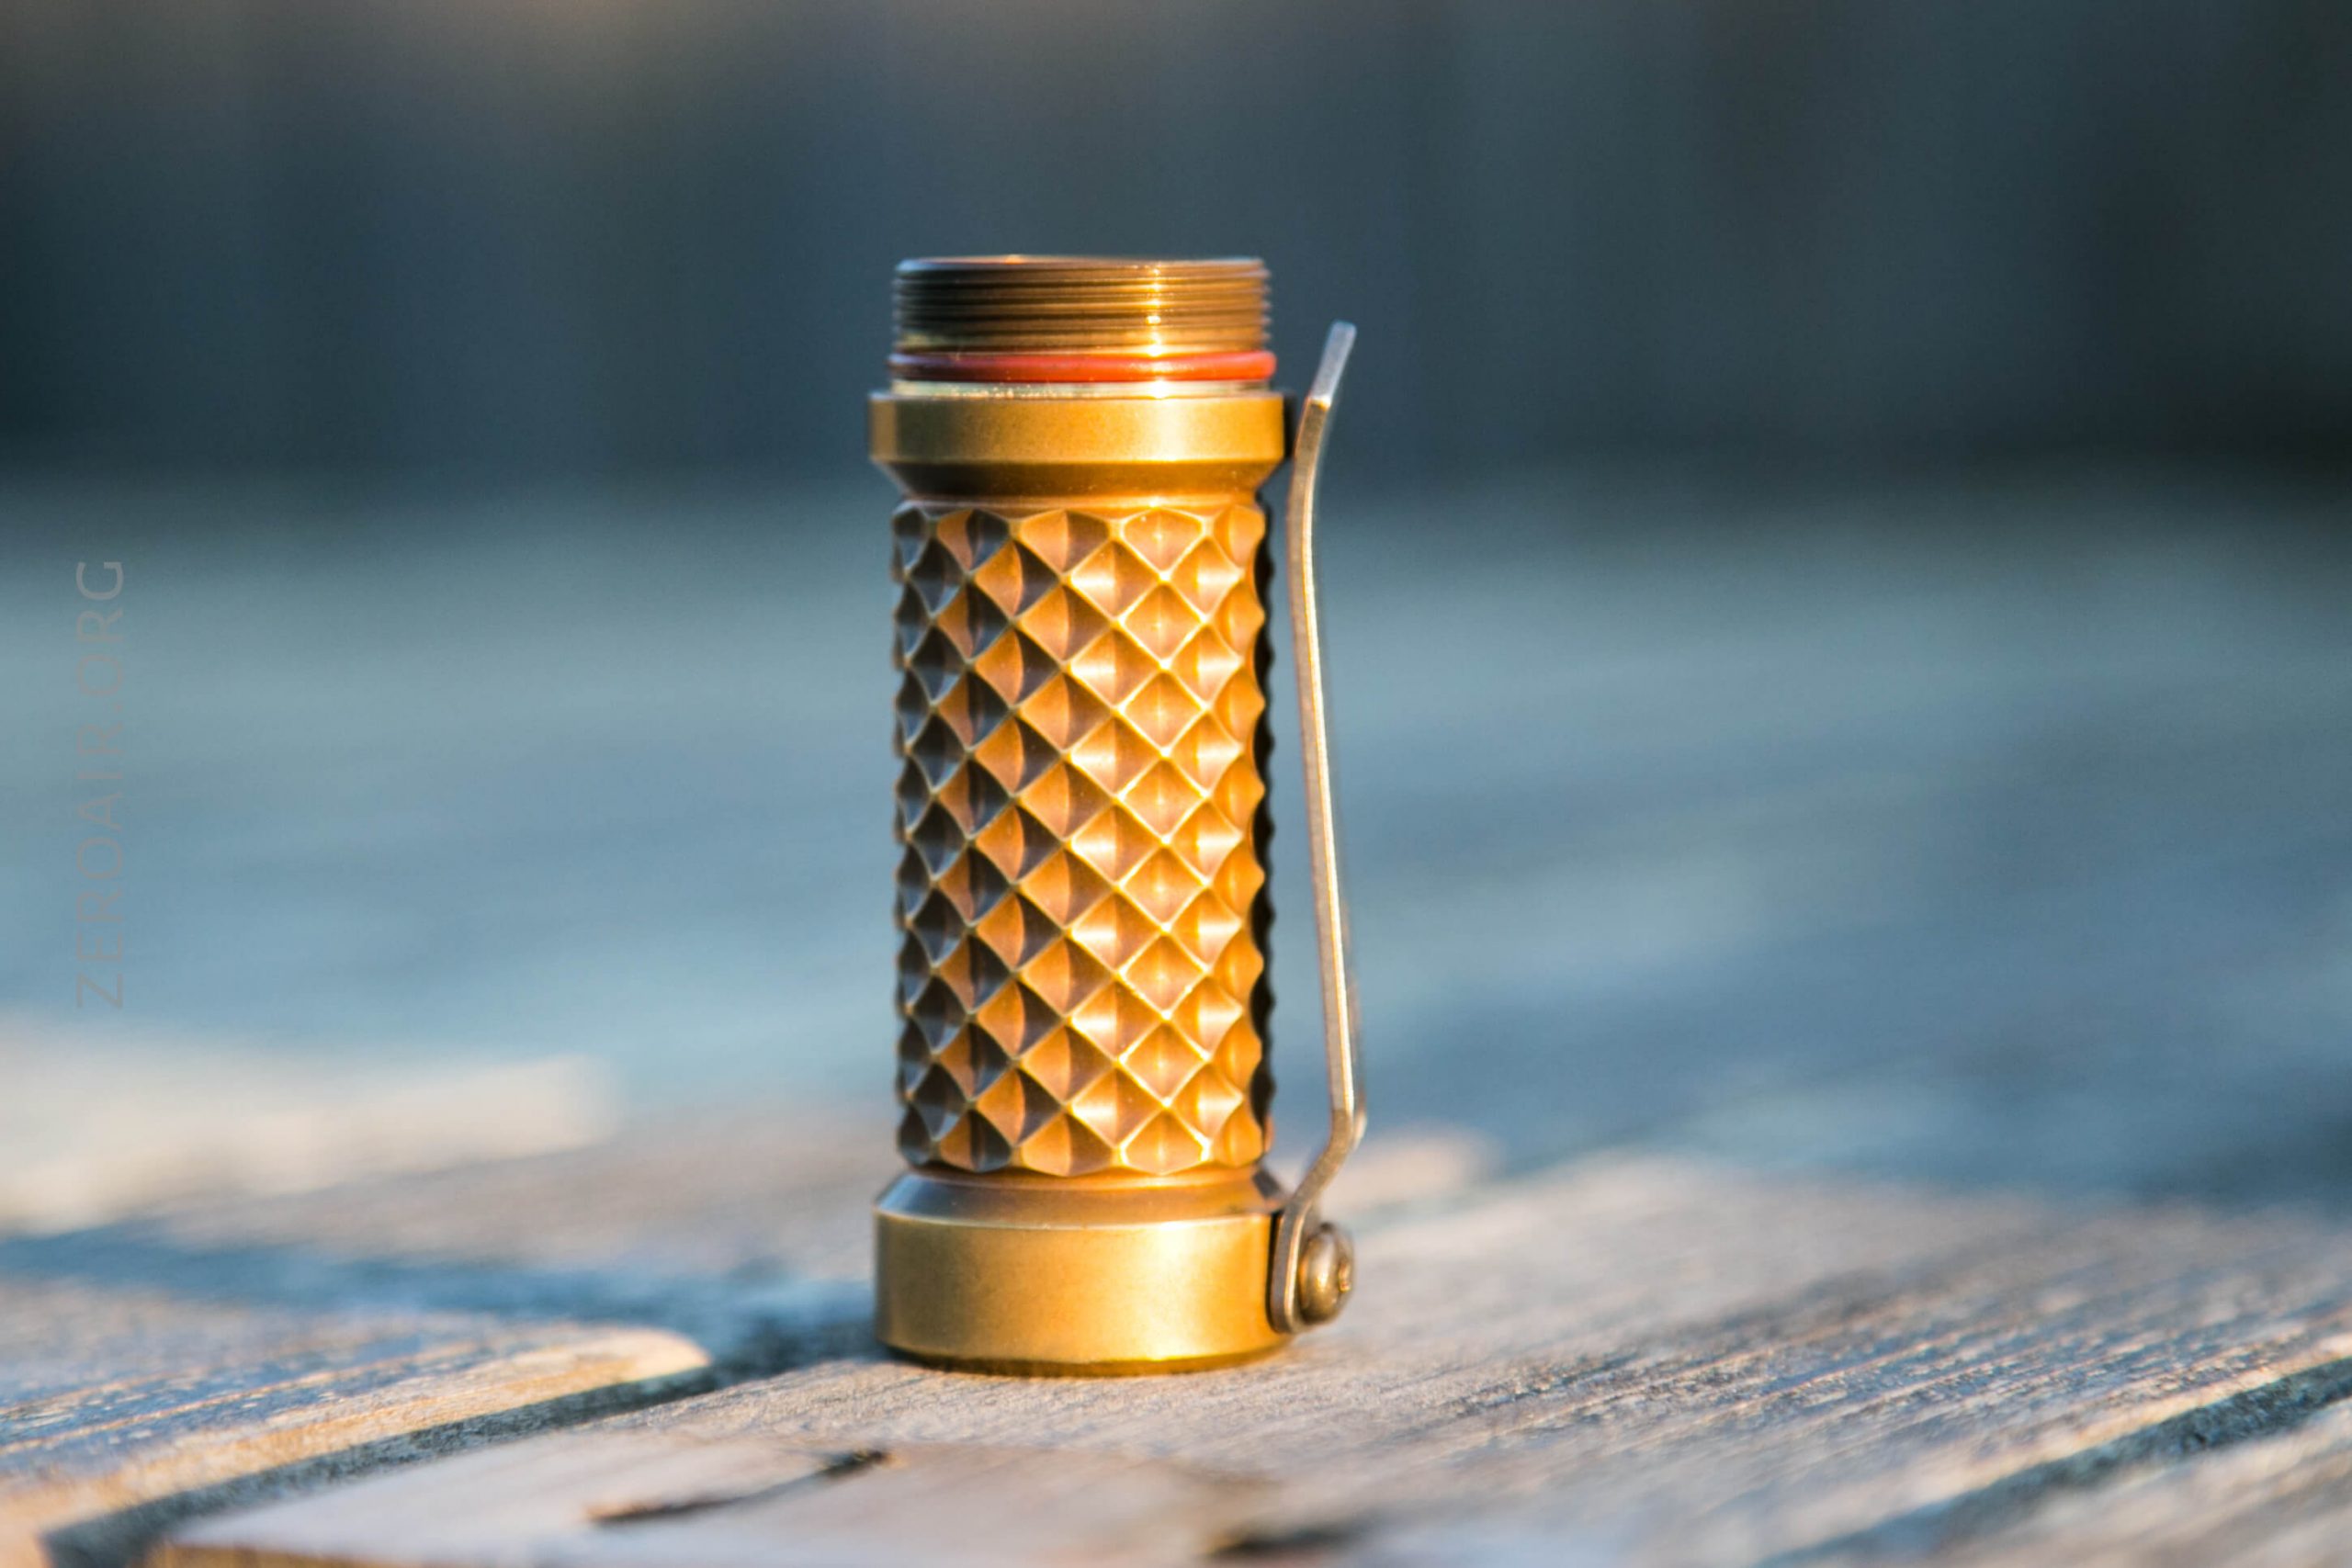
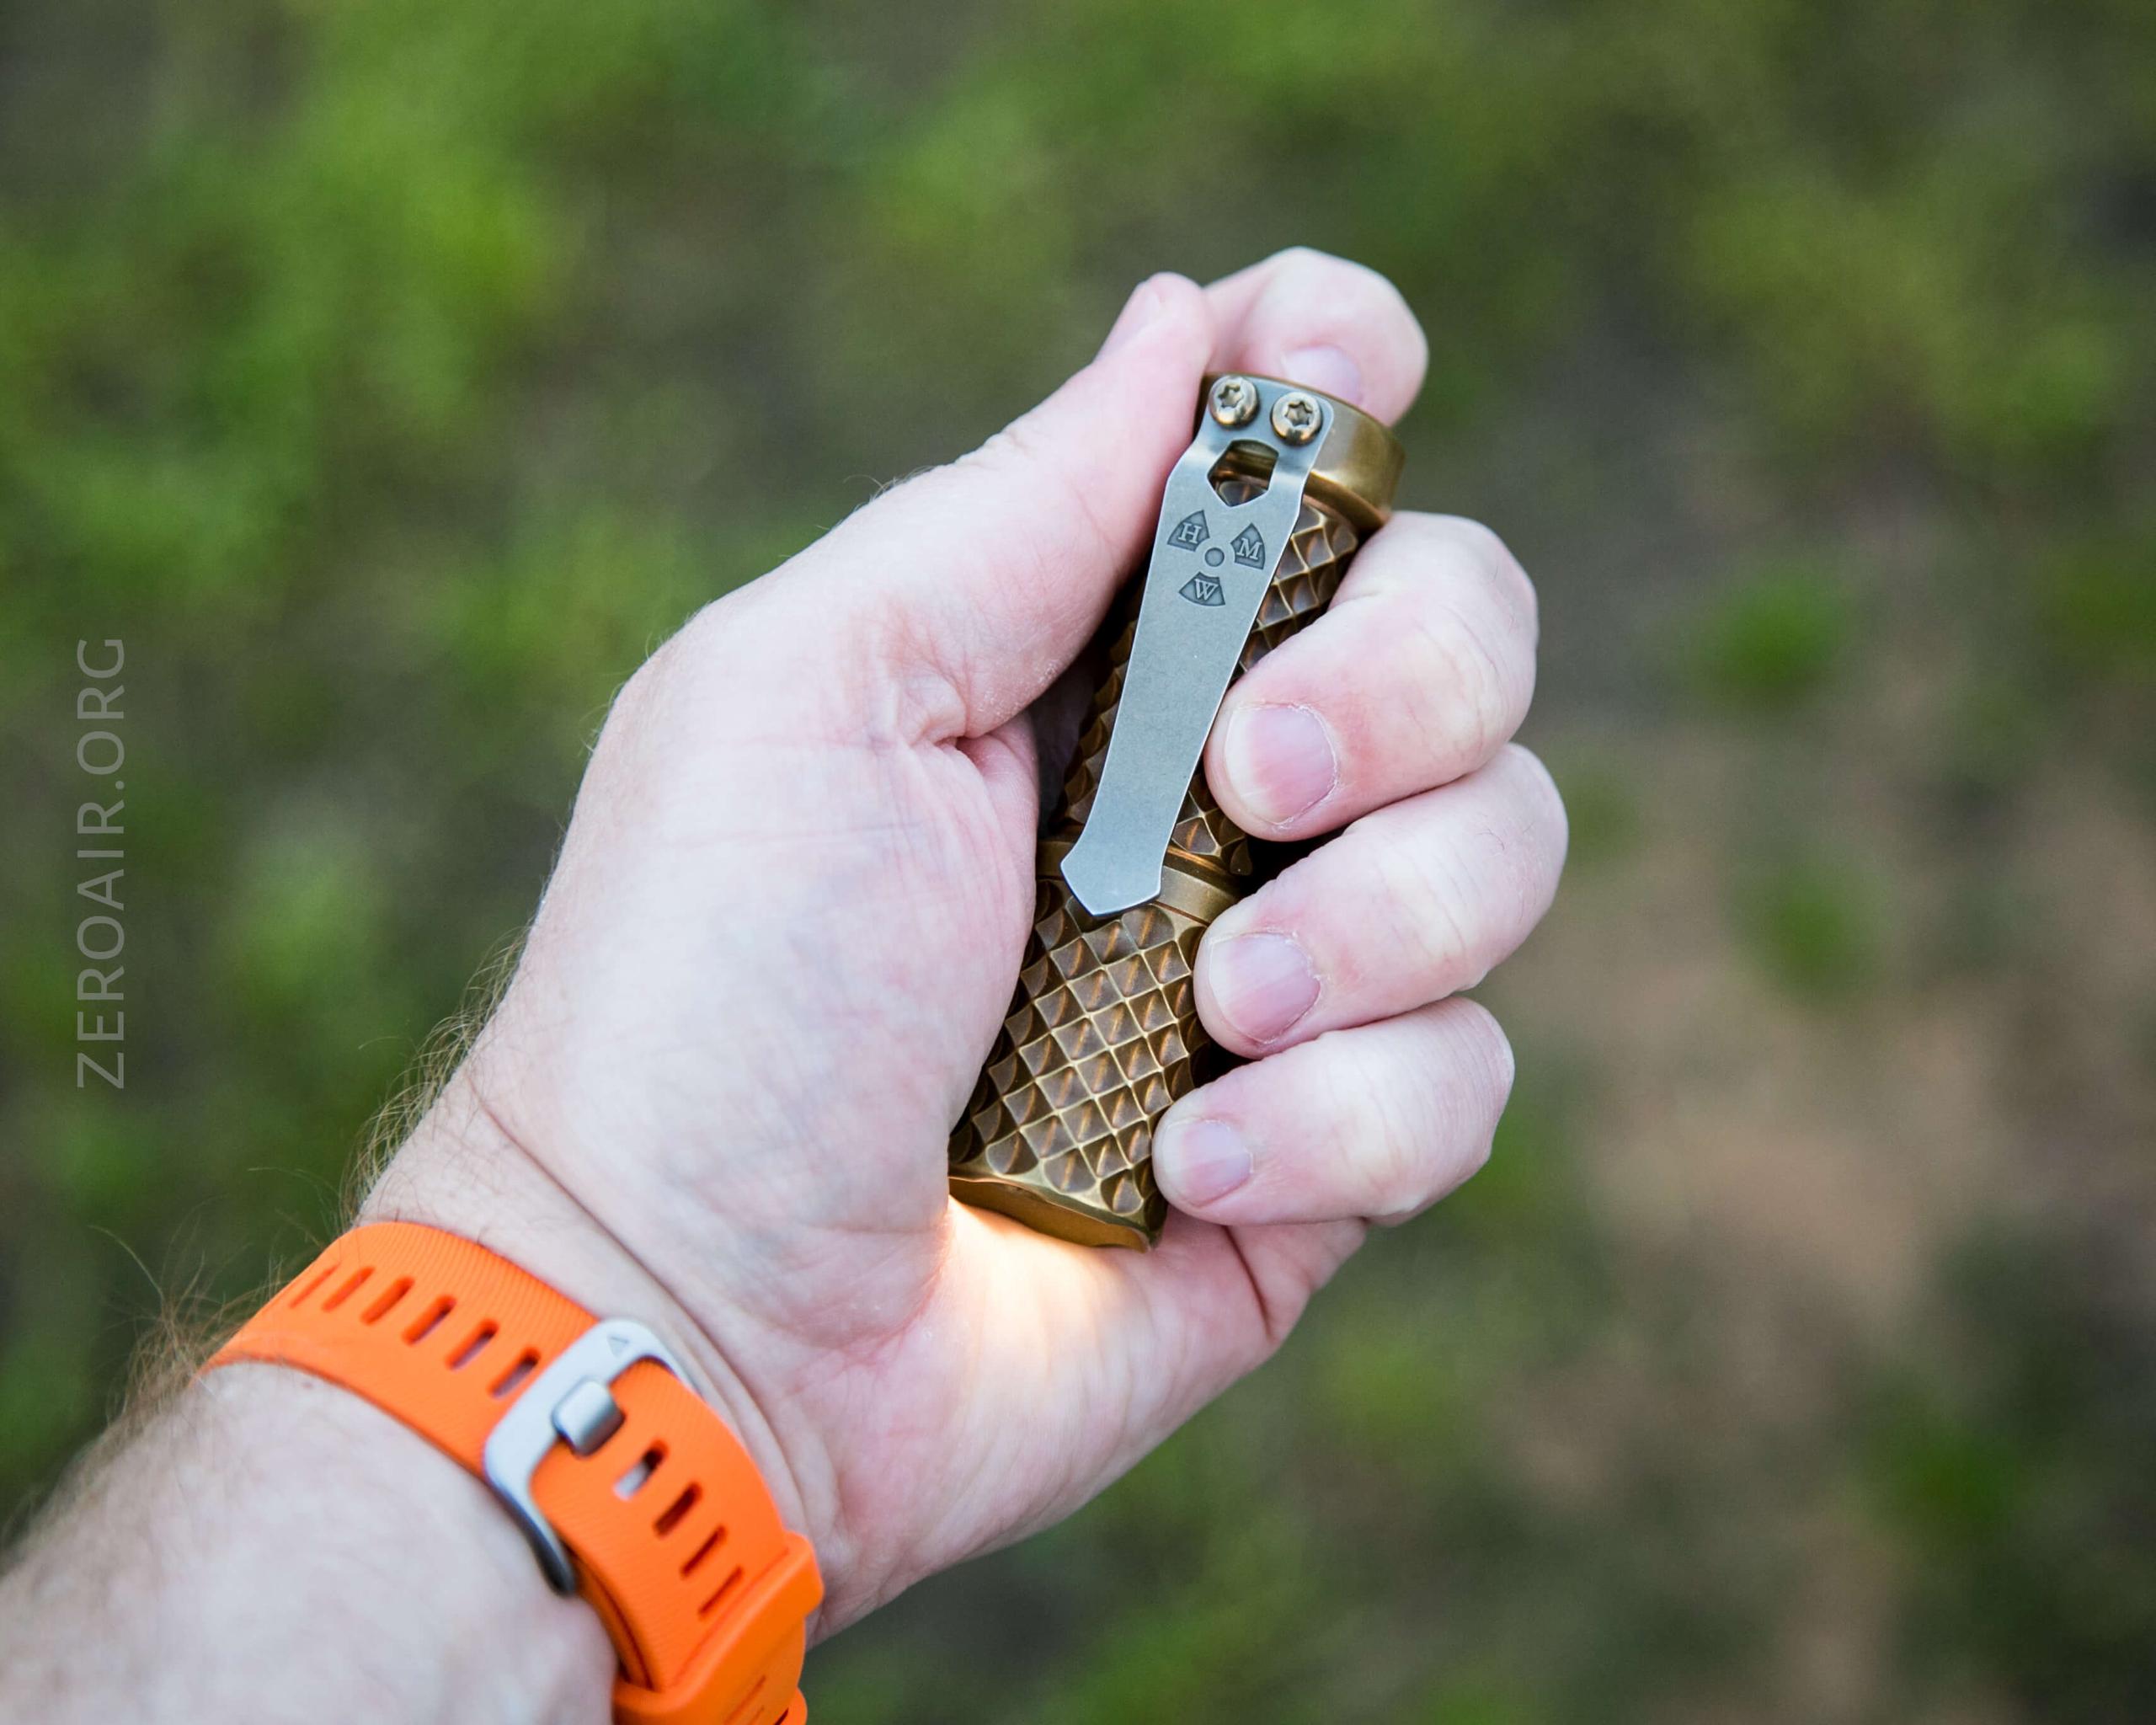
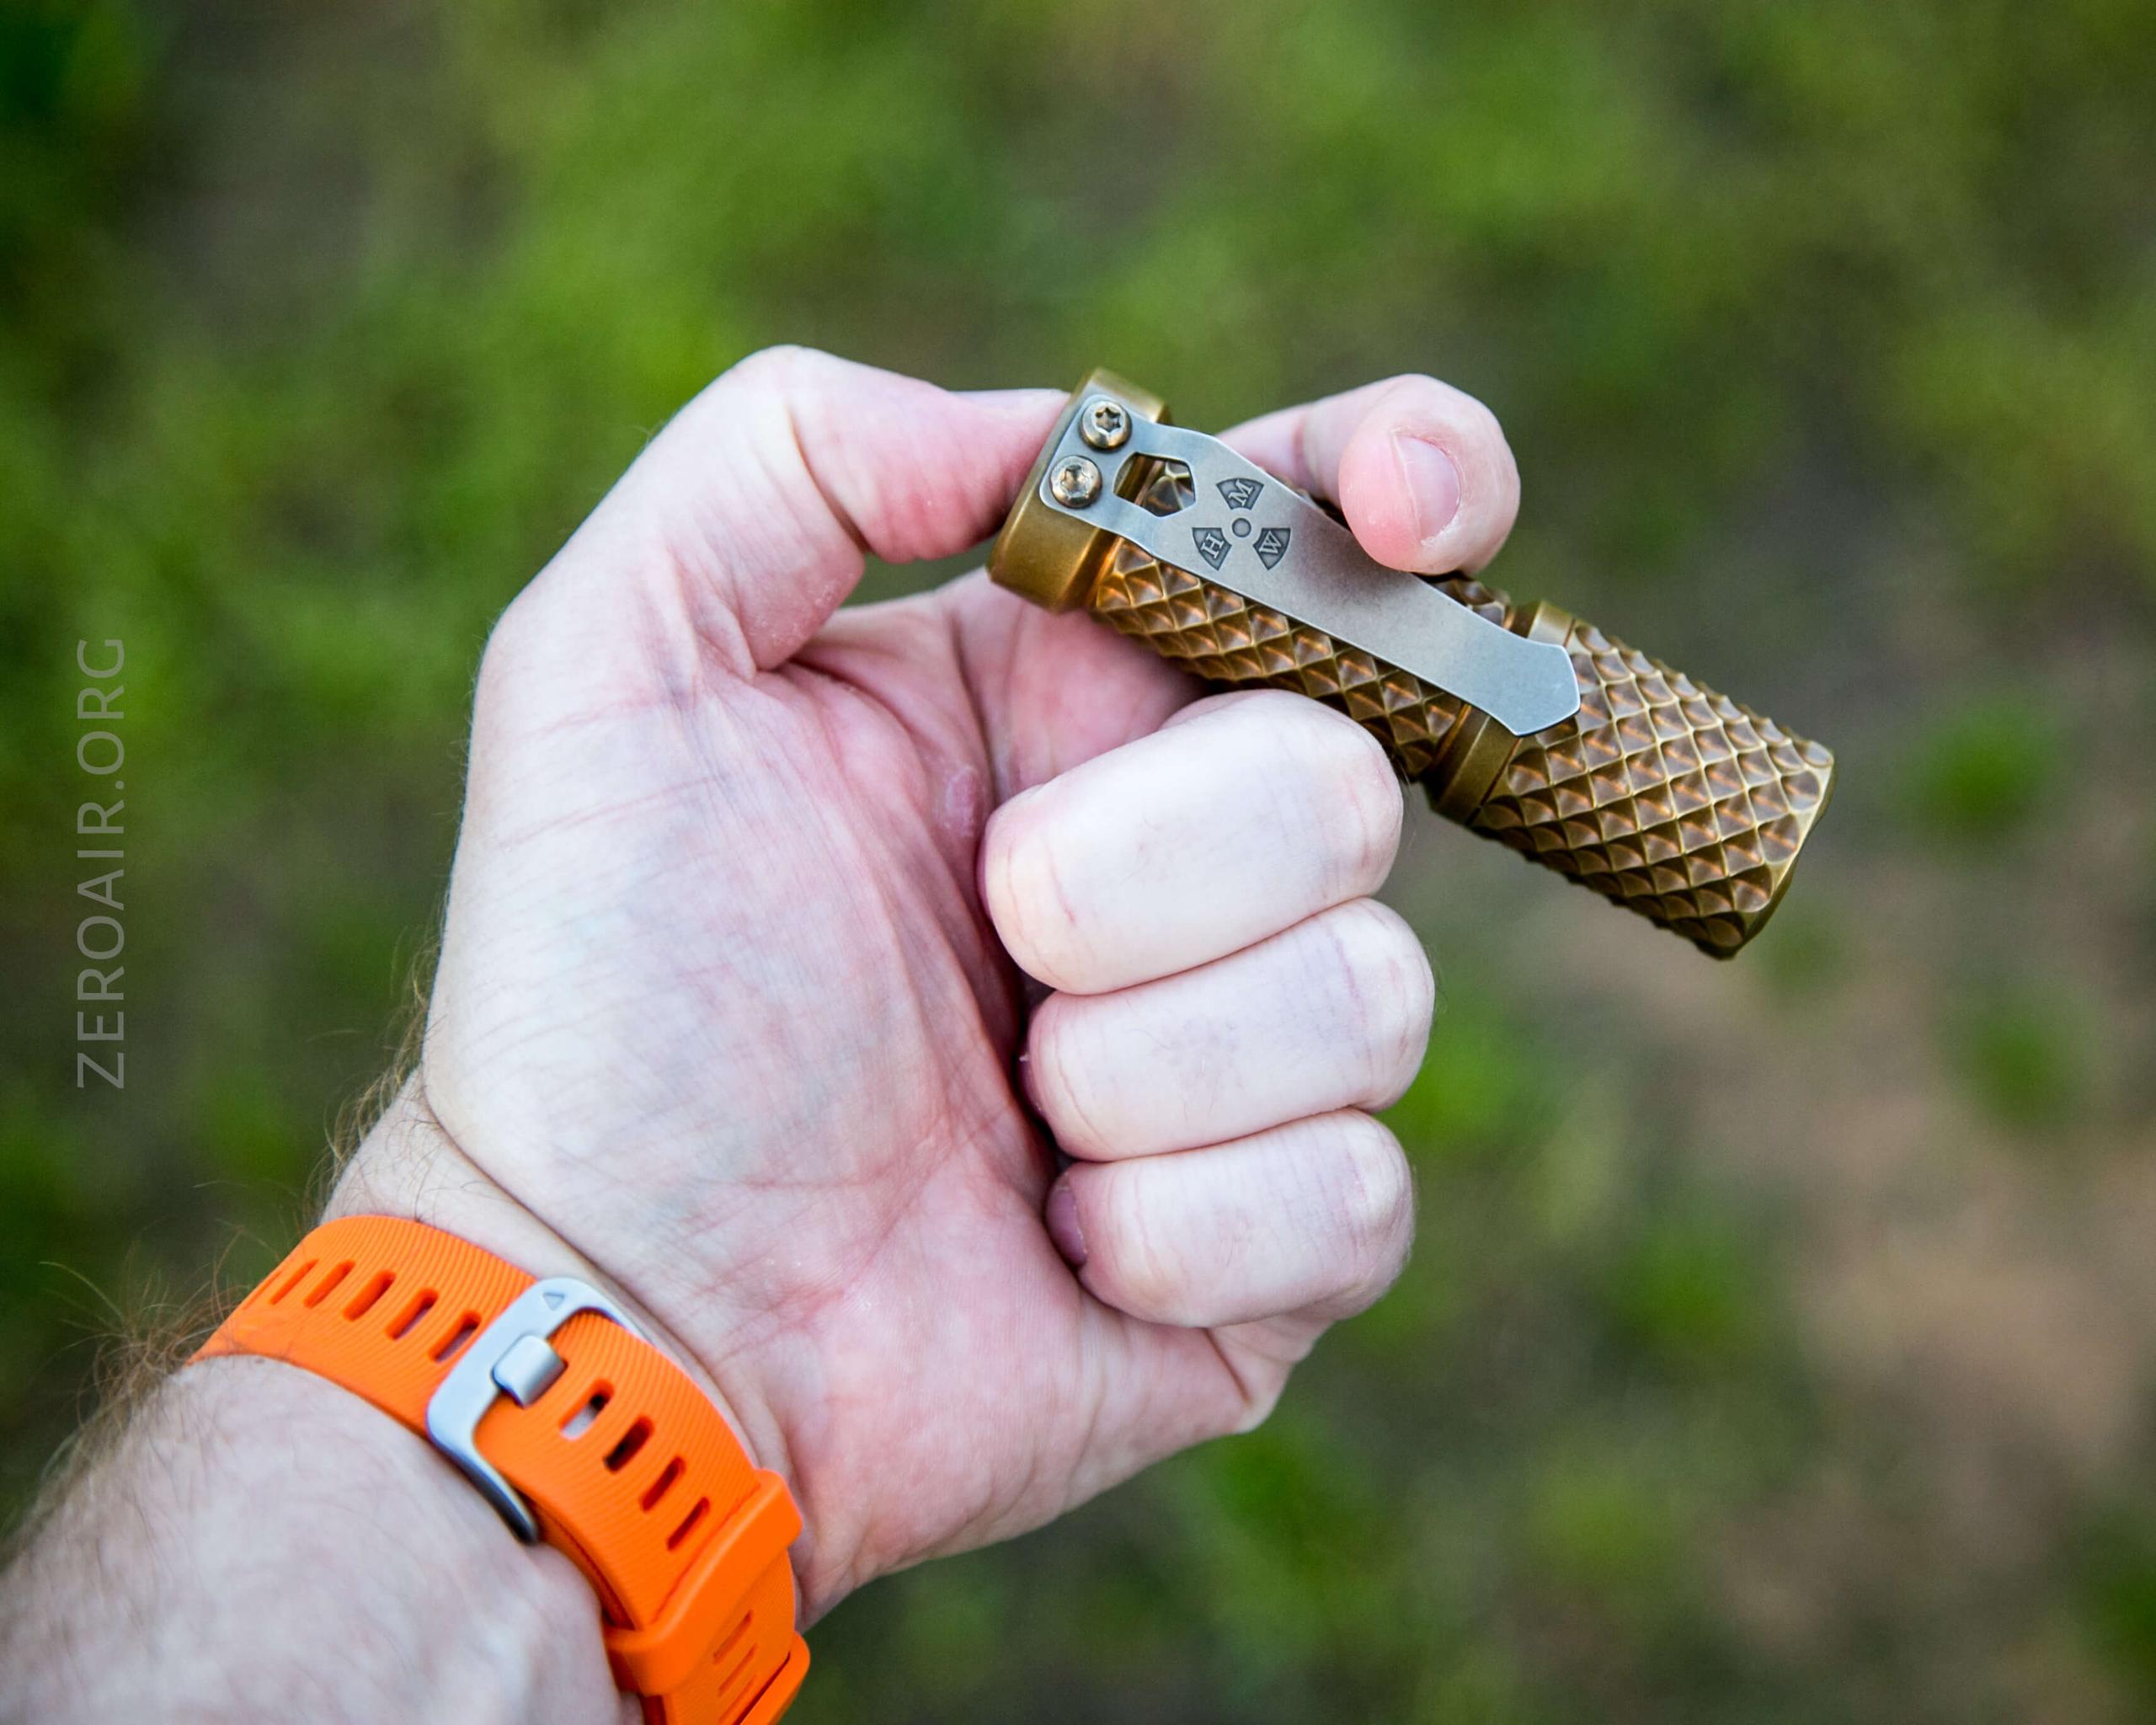
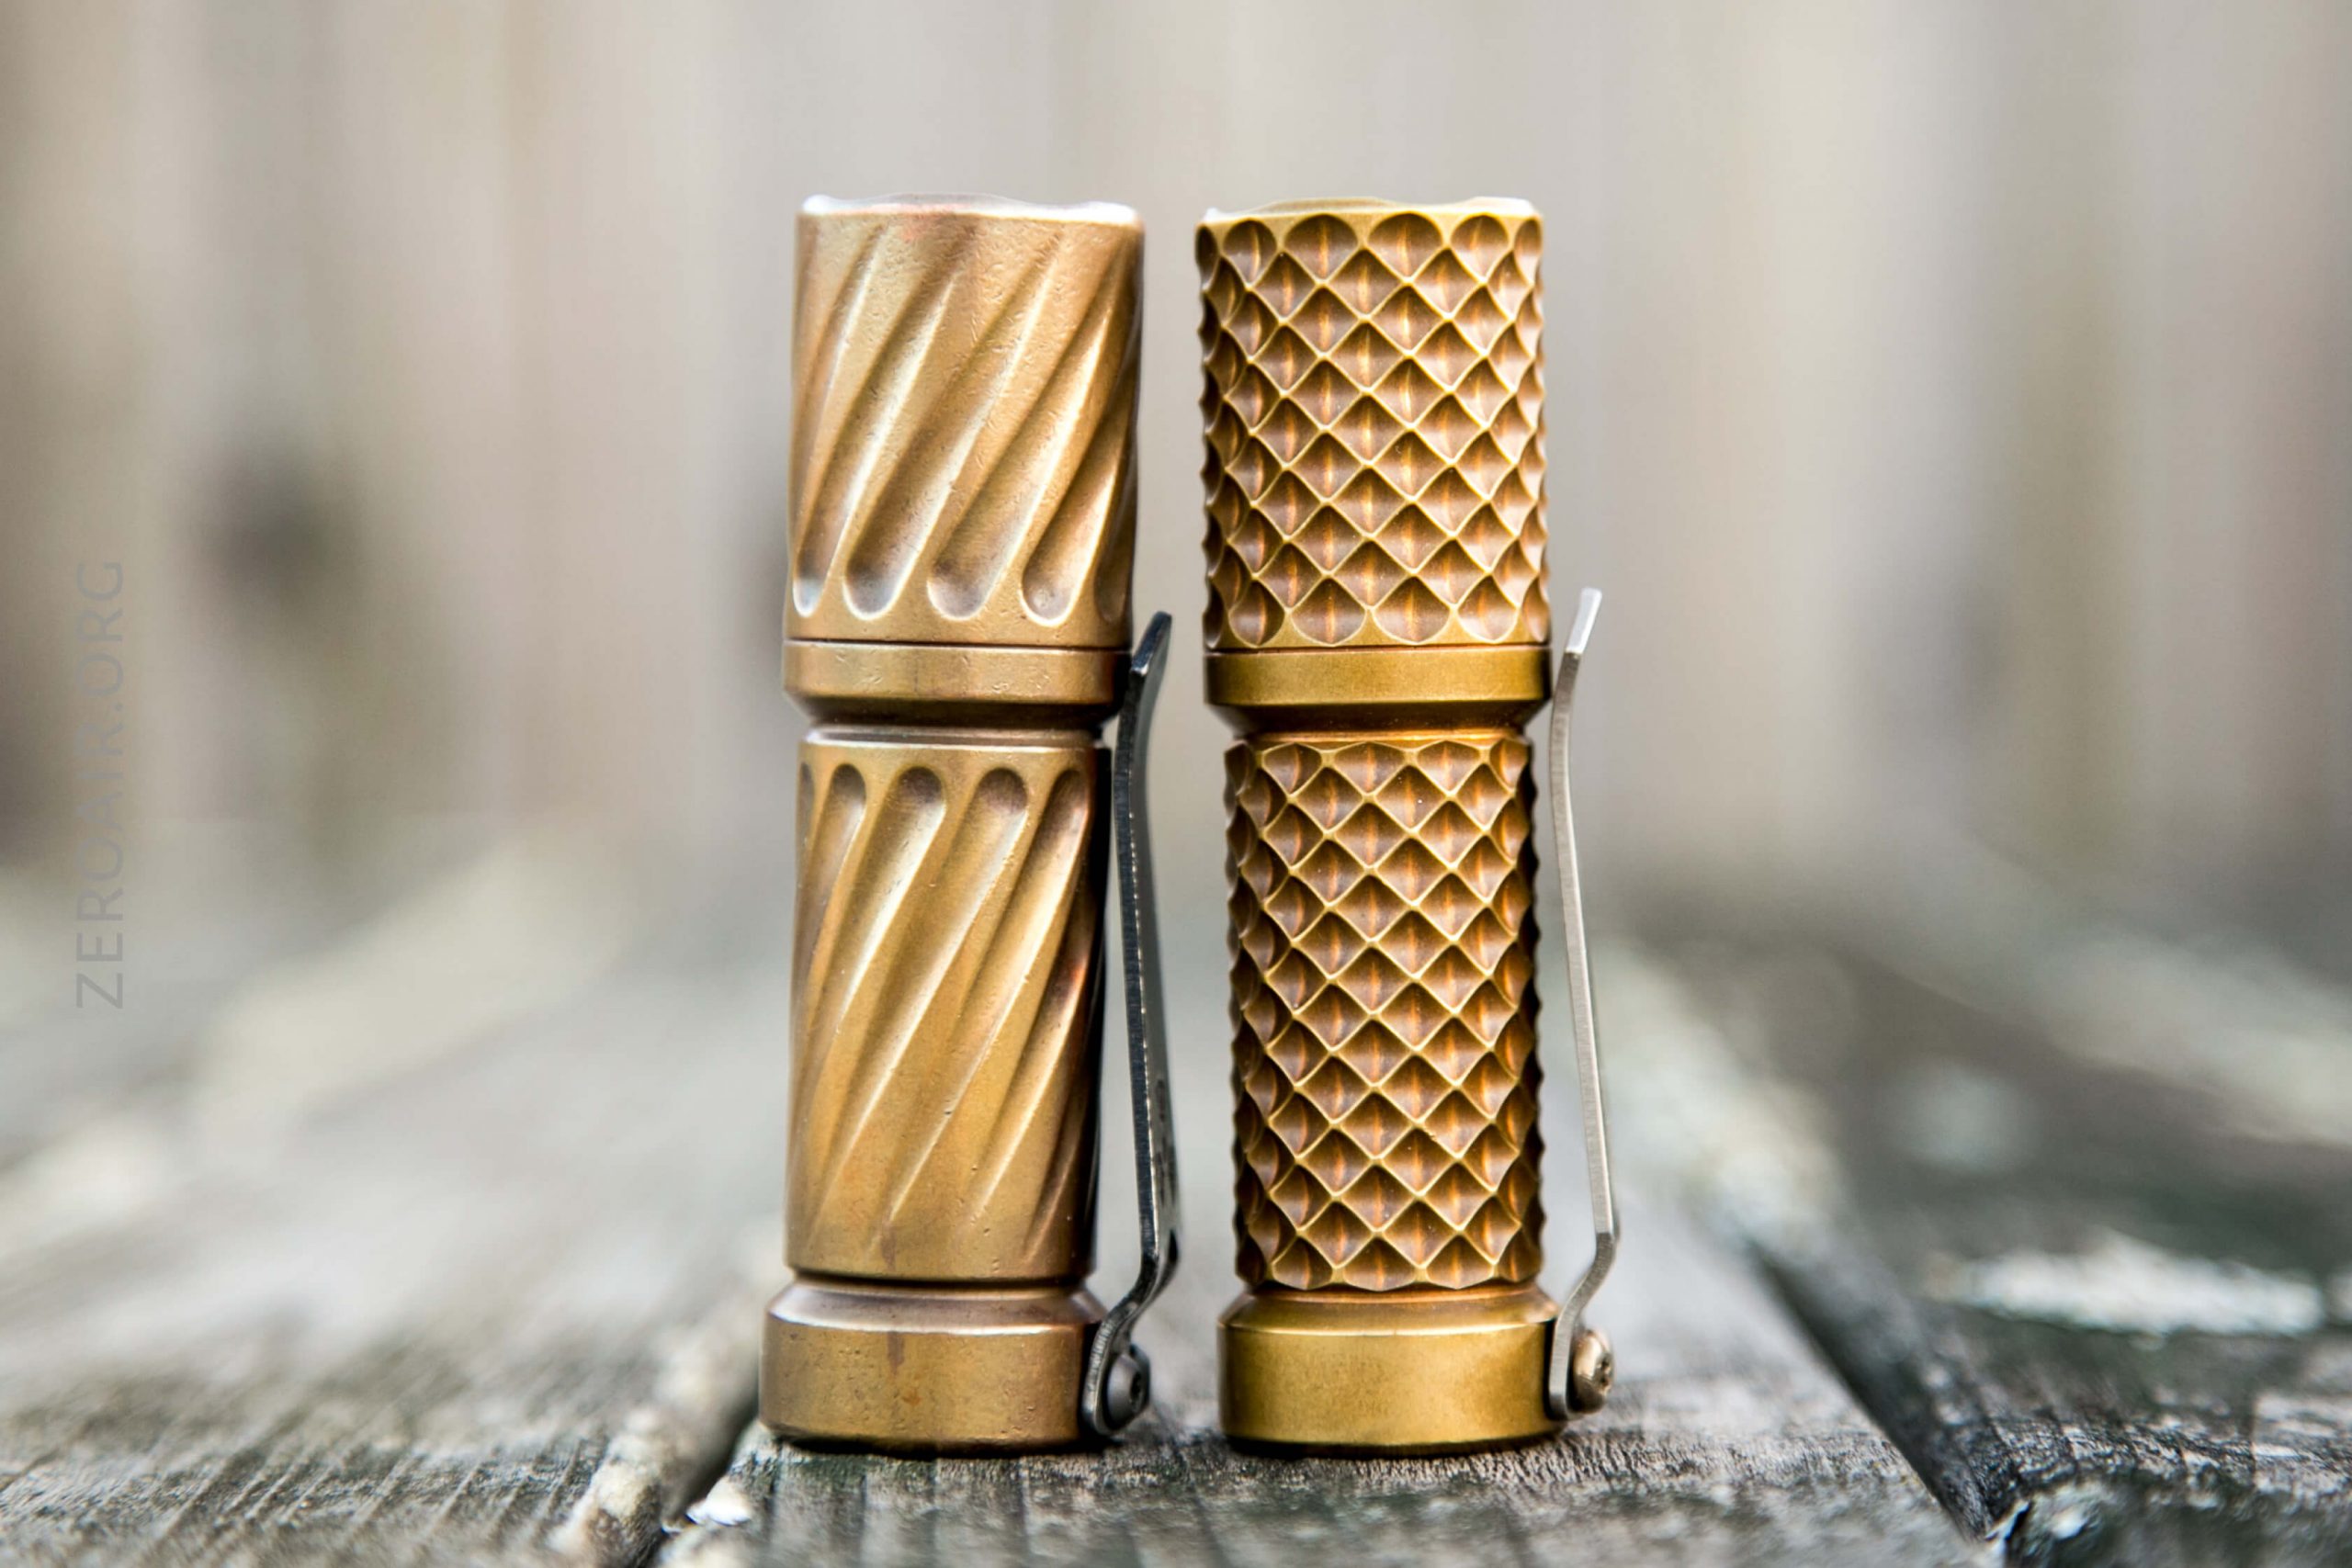
The Total Tesseract has no knurling, but a finish that is very grippy. Body and head are covered with these indentations milled into the brass, which peak and add grip.
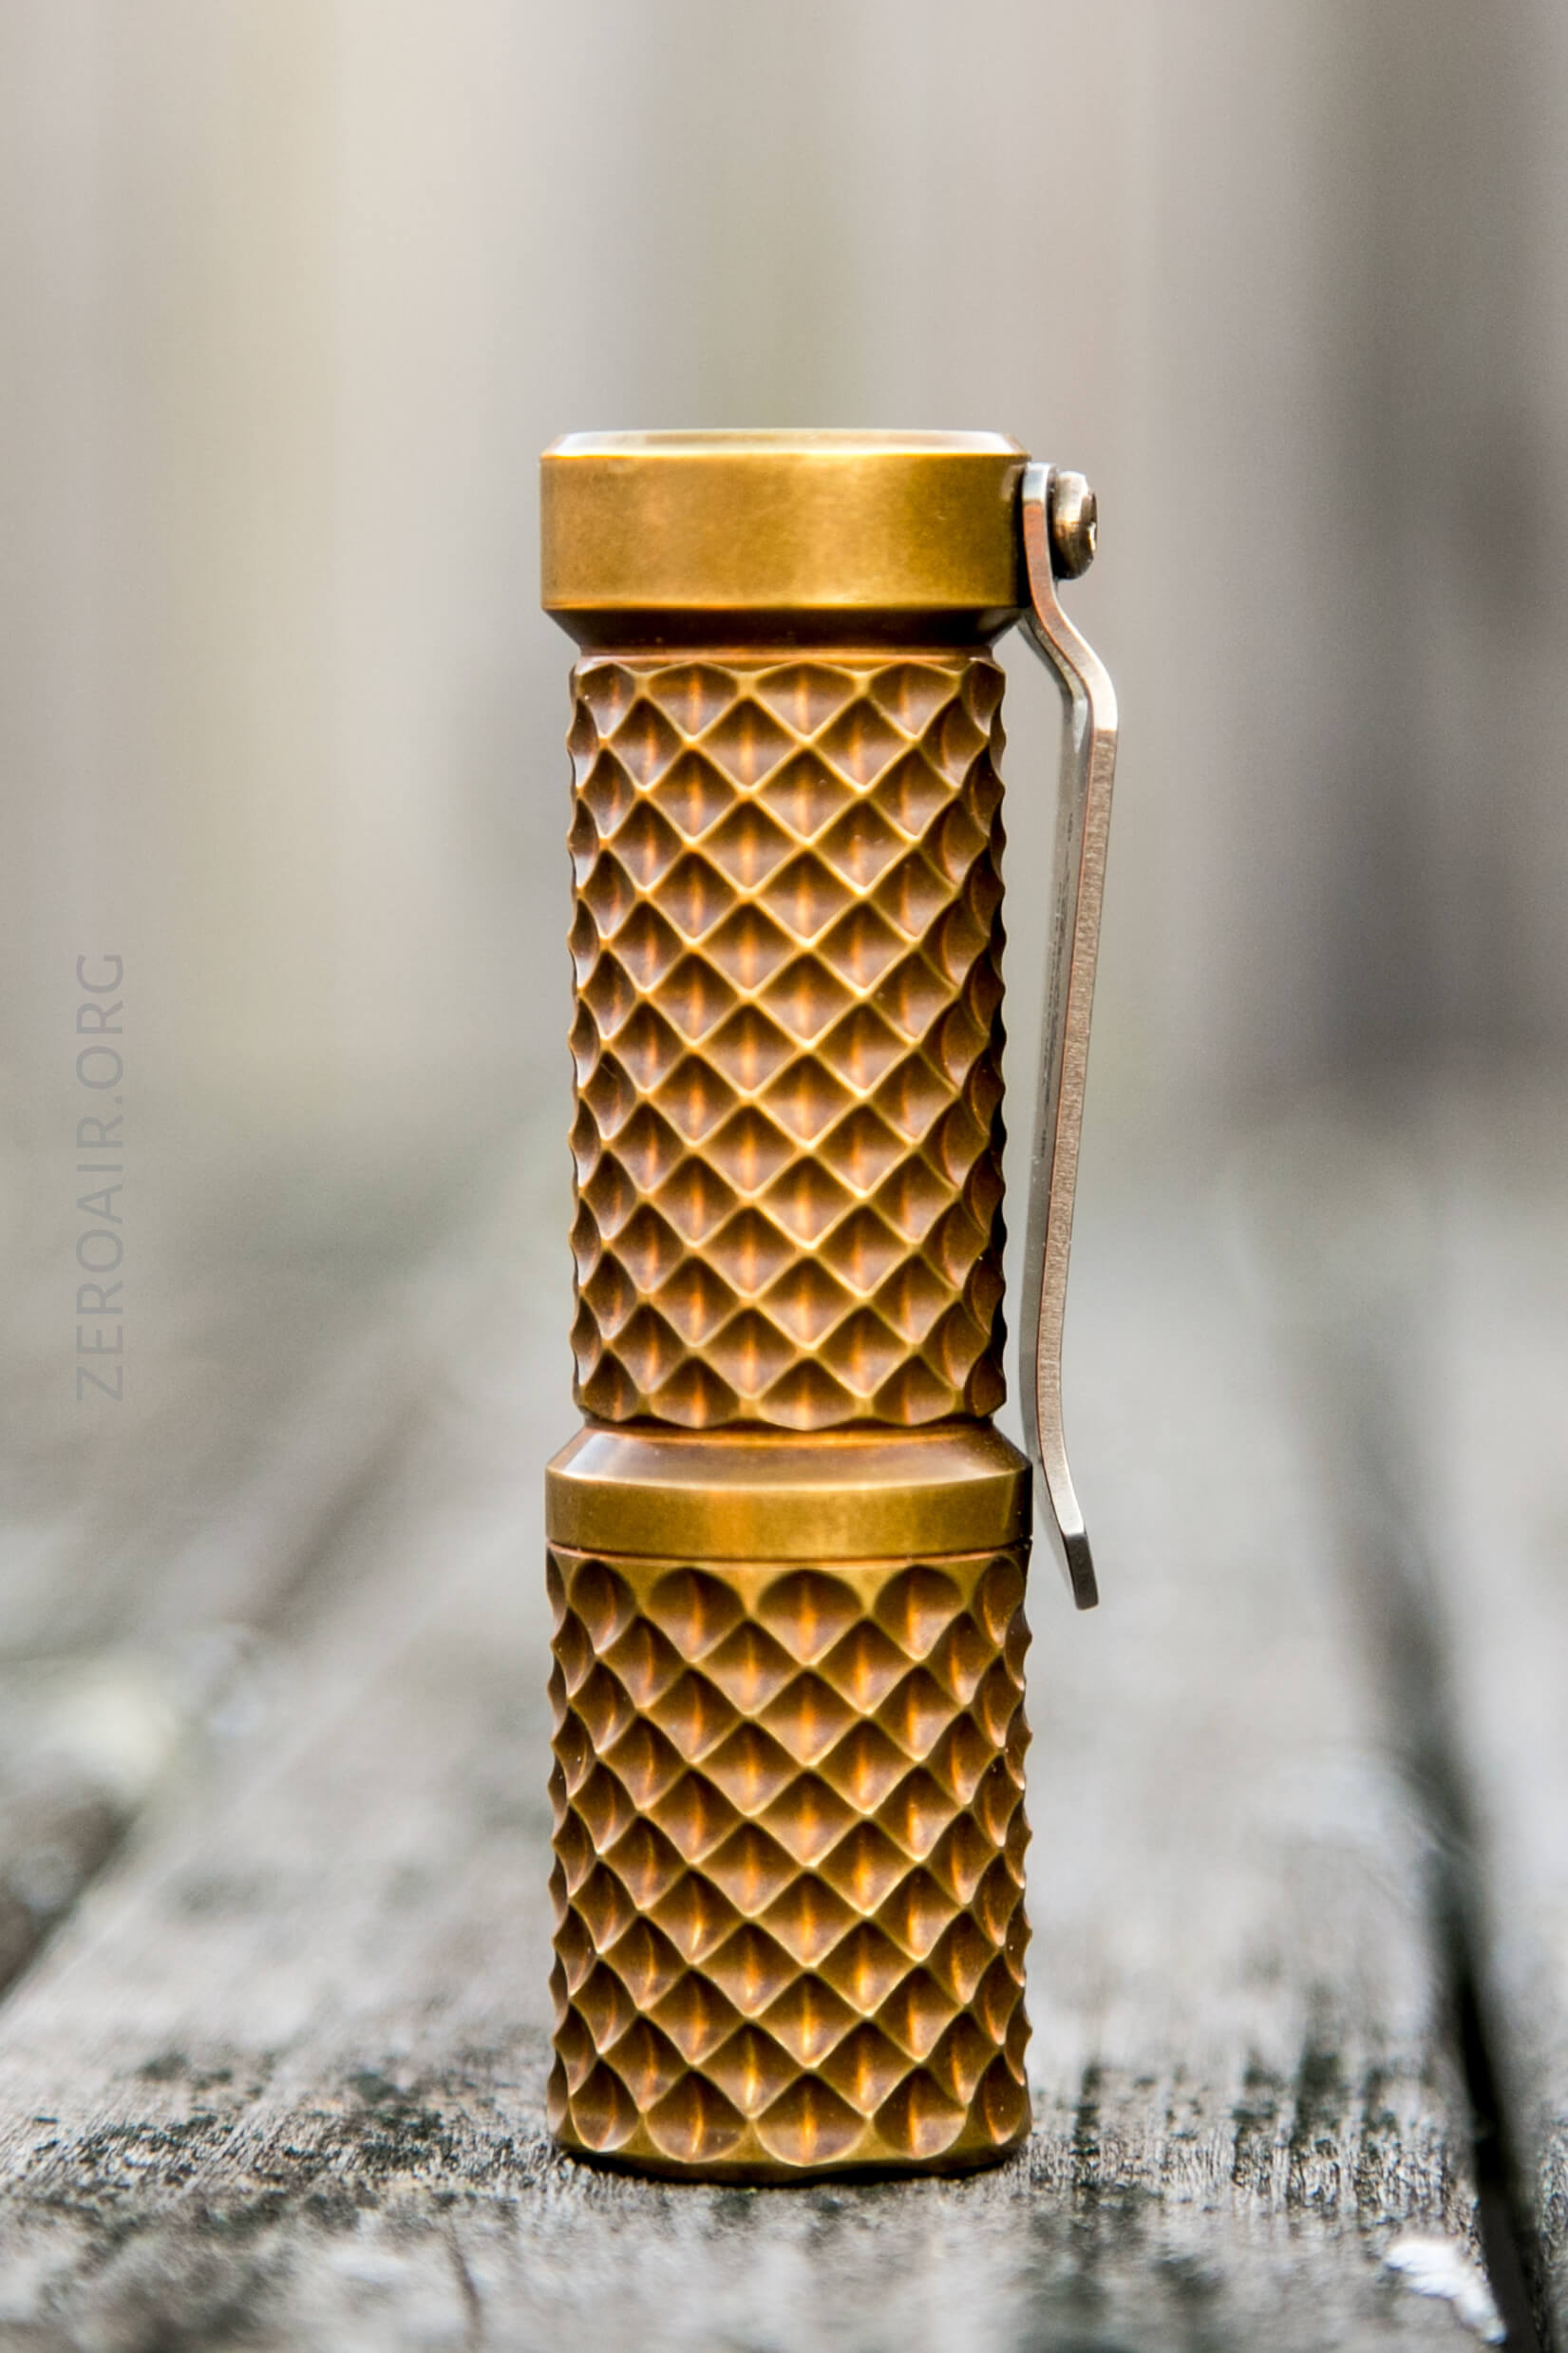
One thing I like very much about the Trident is the bezel. Yes, the bezel is one piece with the head, but the bezel is fluted just a very small bit. But it’s enough that when headstanding, just a bit of light is visible. This is a feature I really like in this style of light, and something often overlooked.
The tail is unadorned. Often (or at least “sometimes”) tritium slots are added in this area (below).
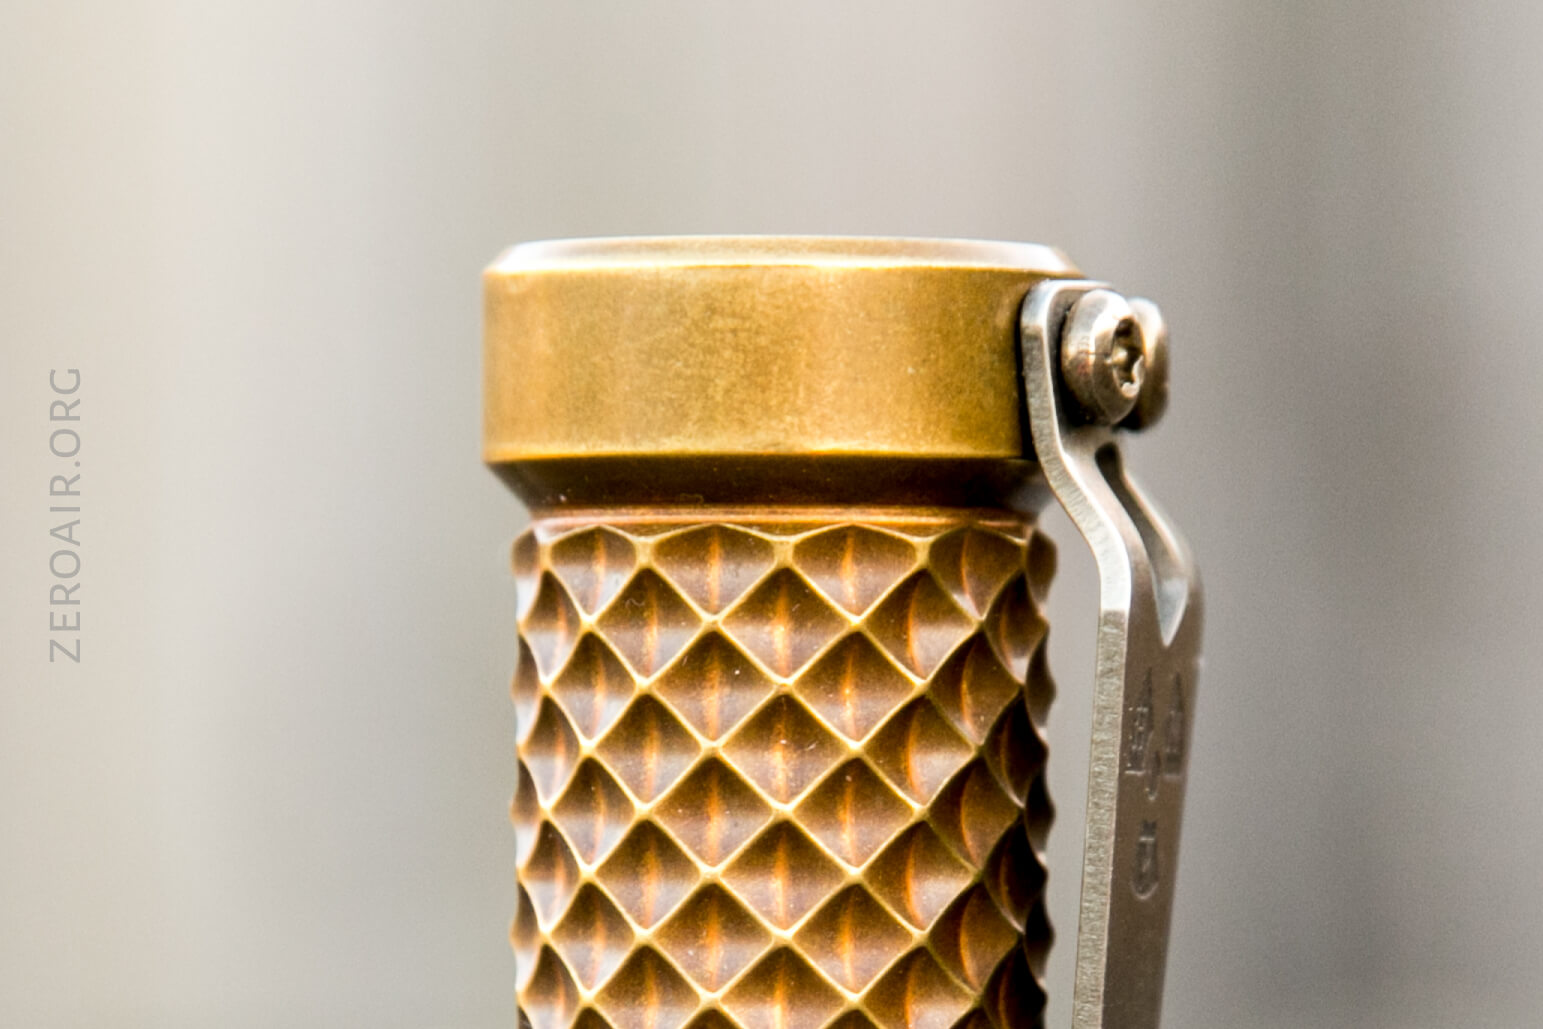
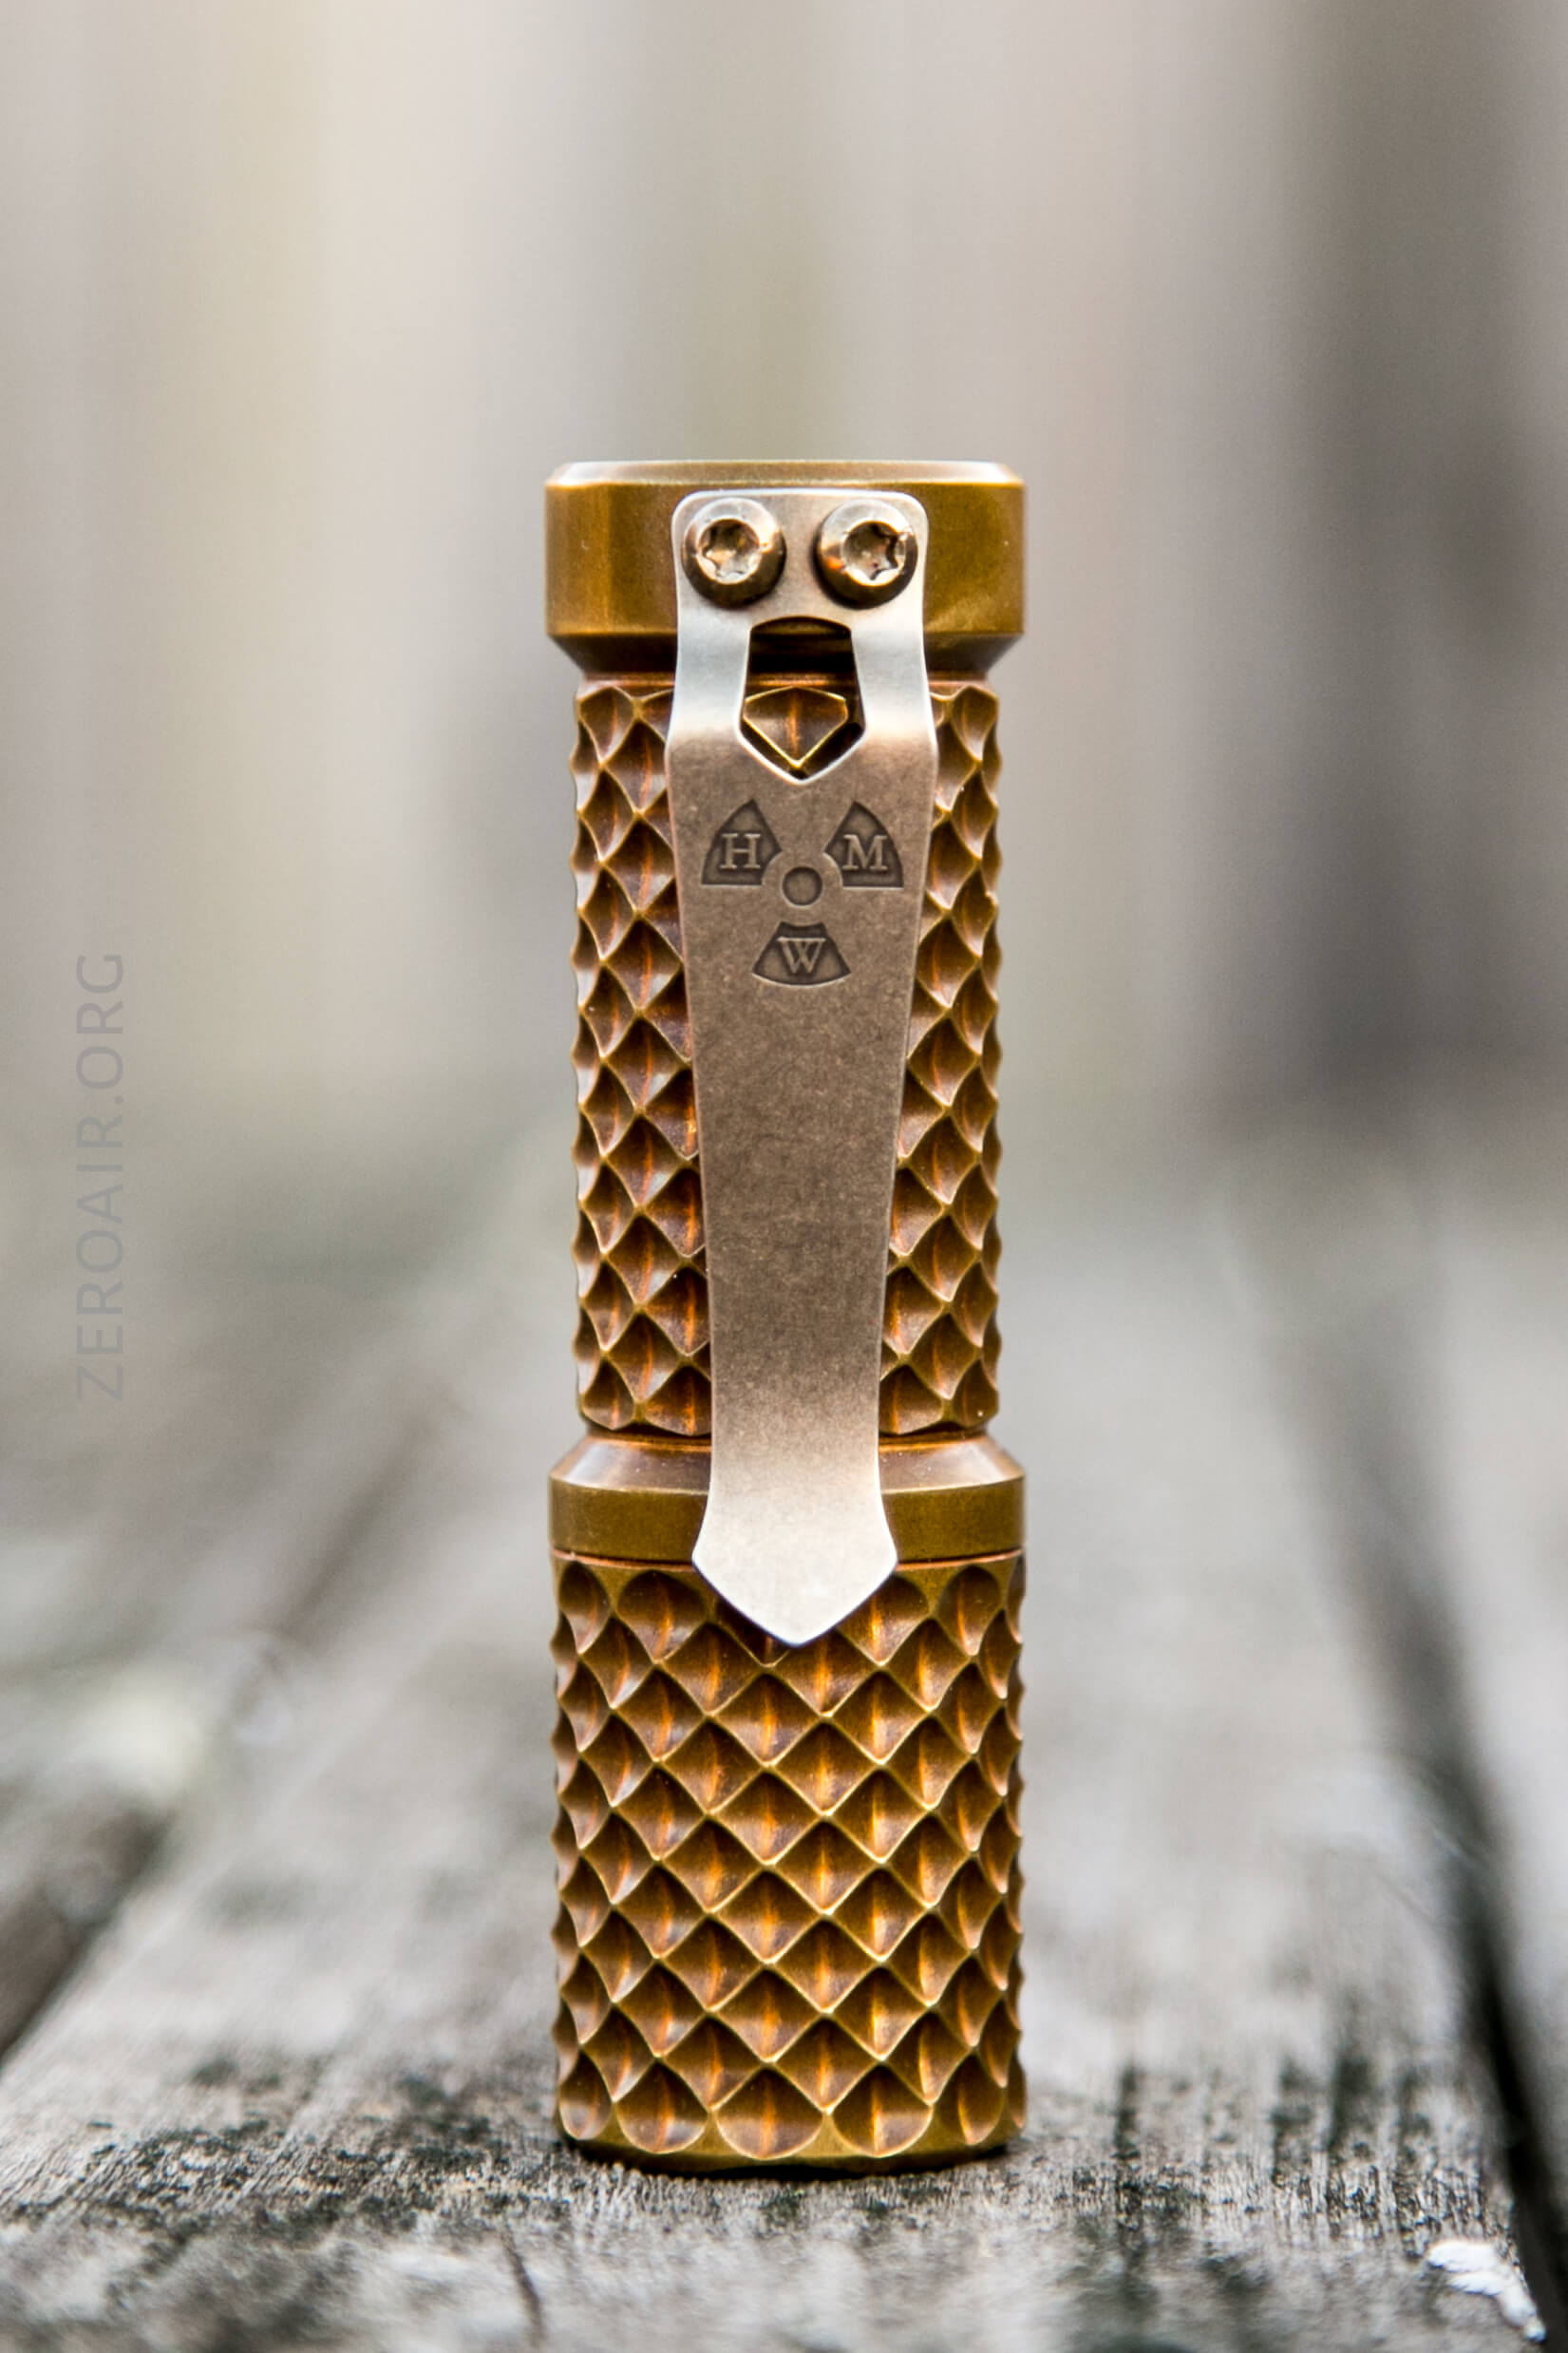
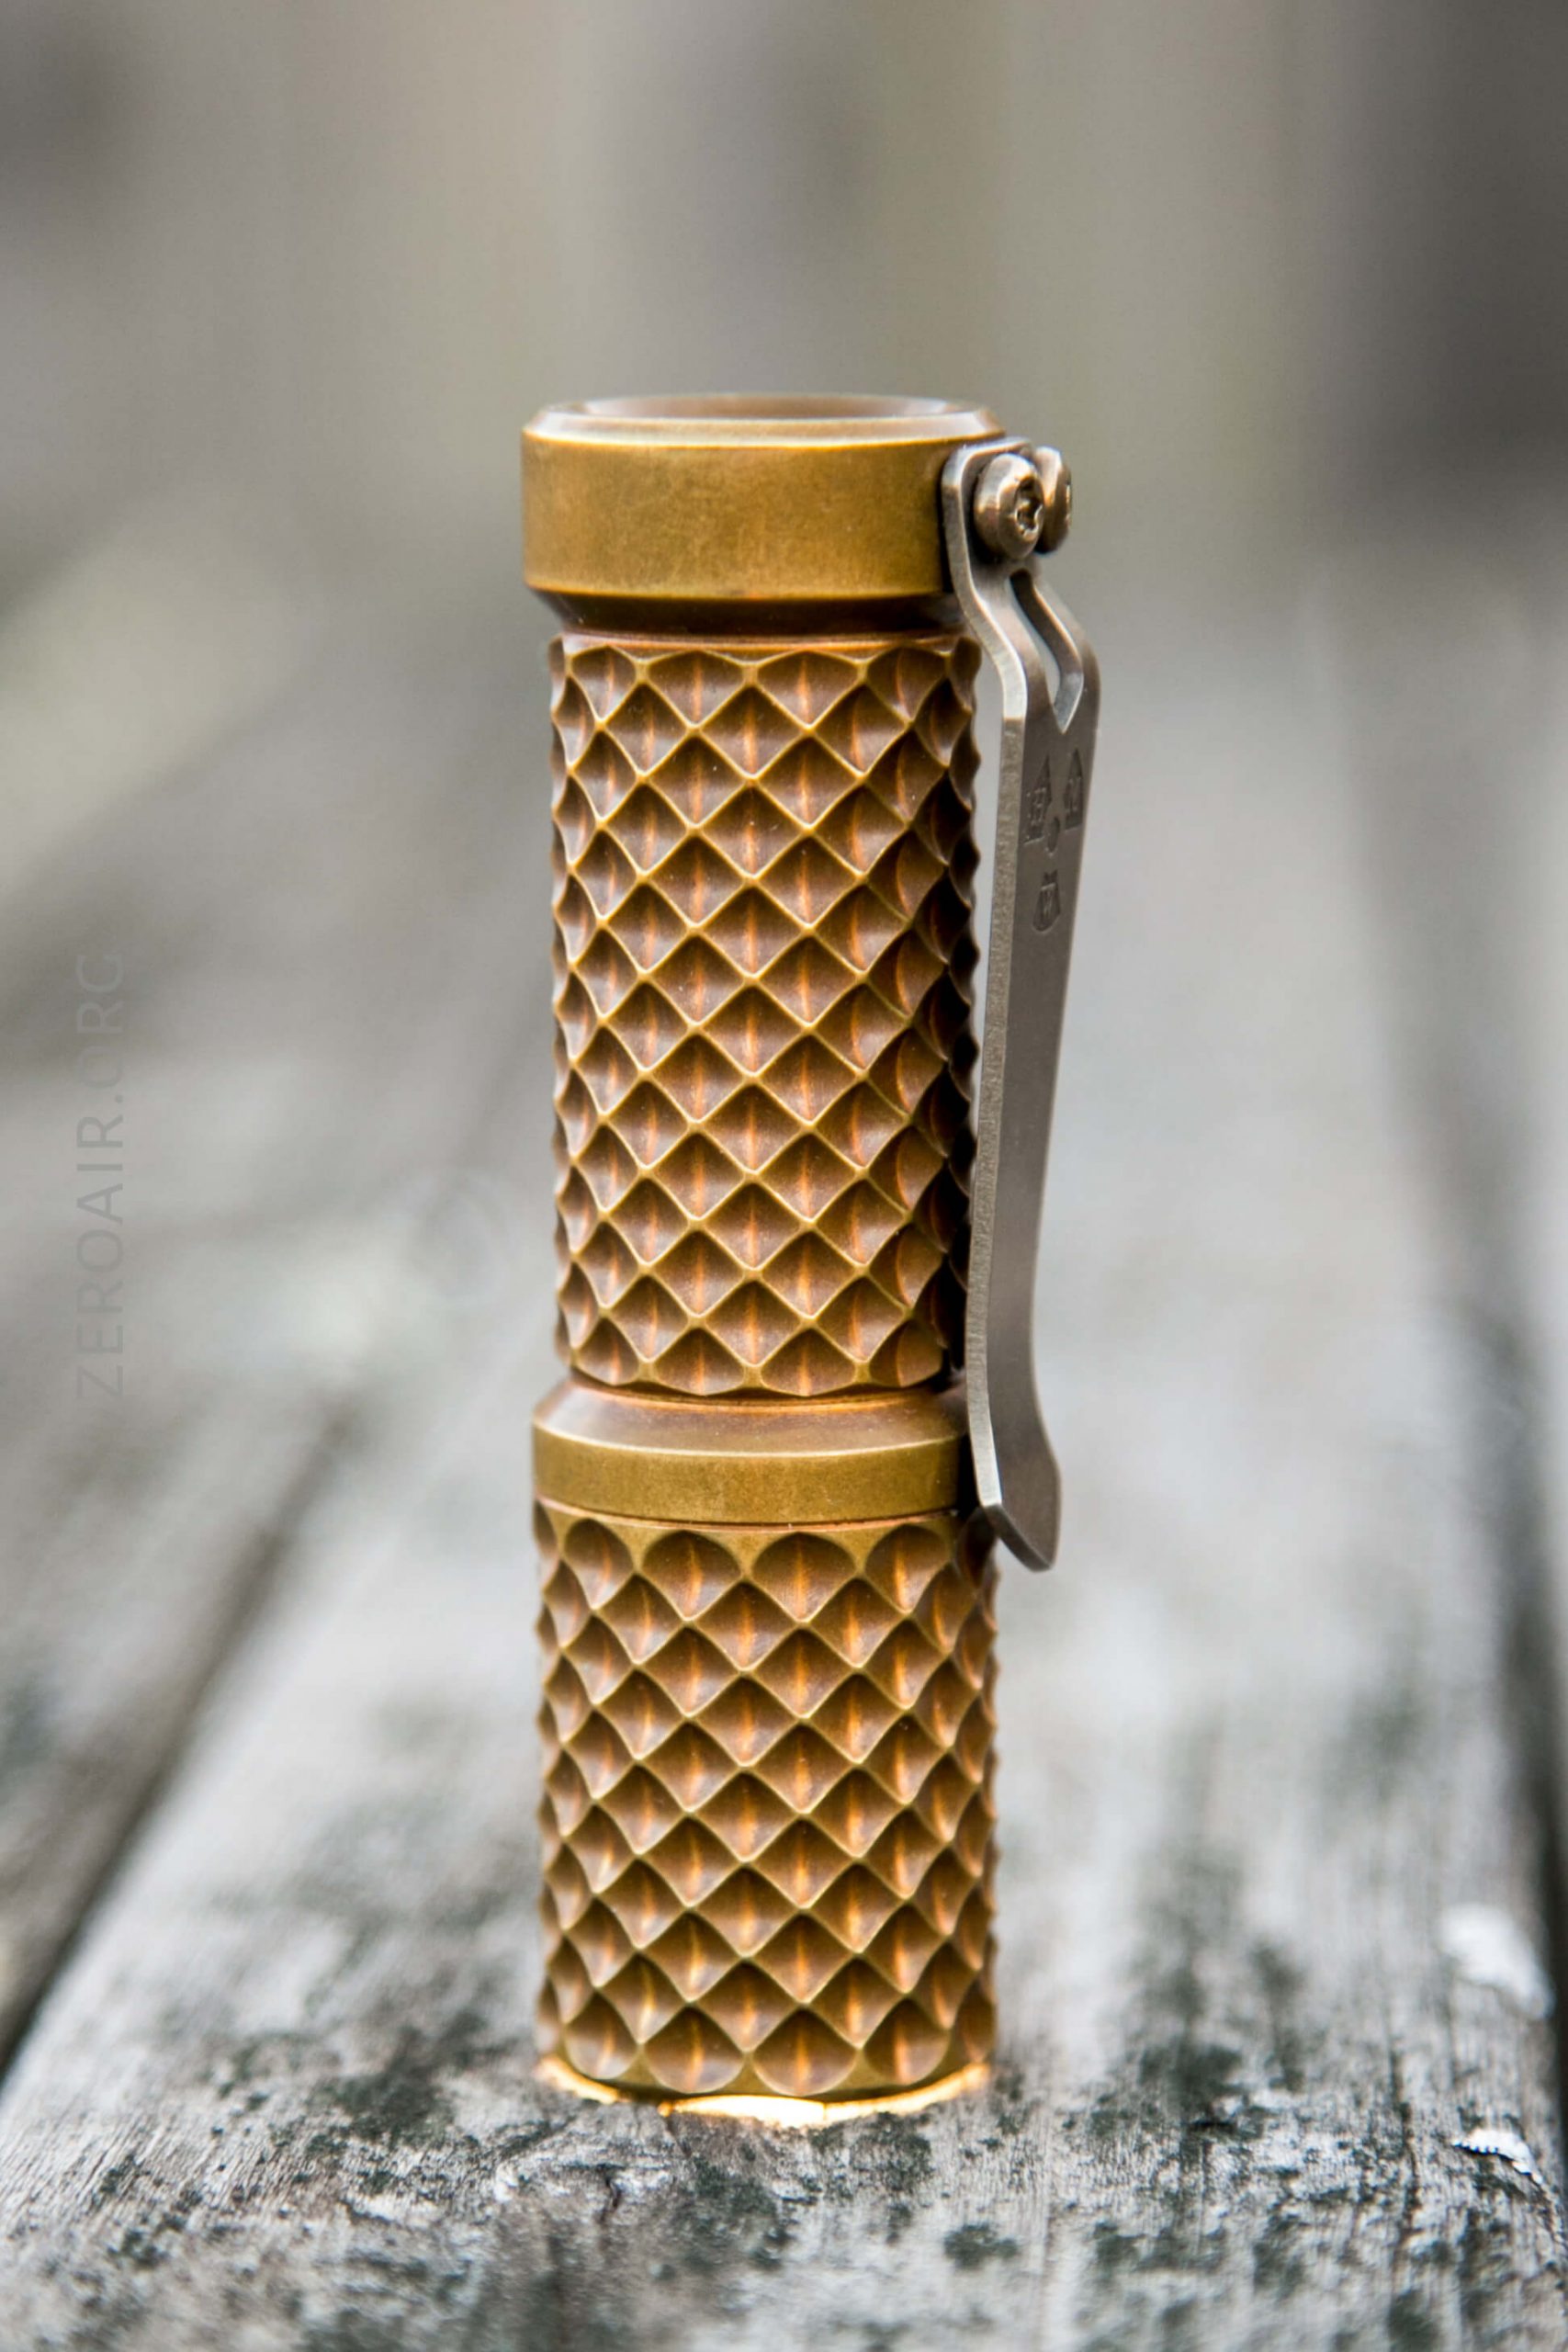
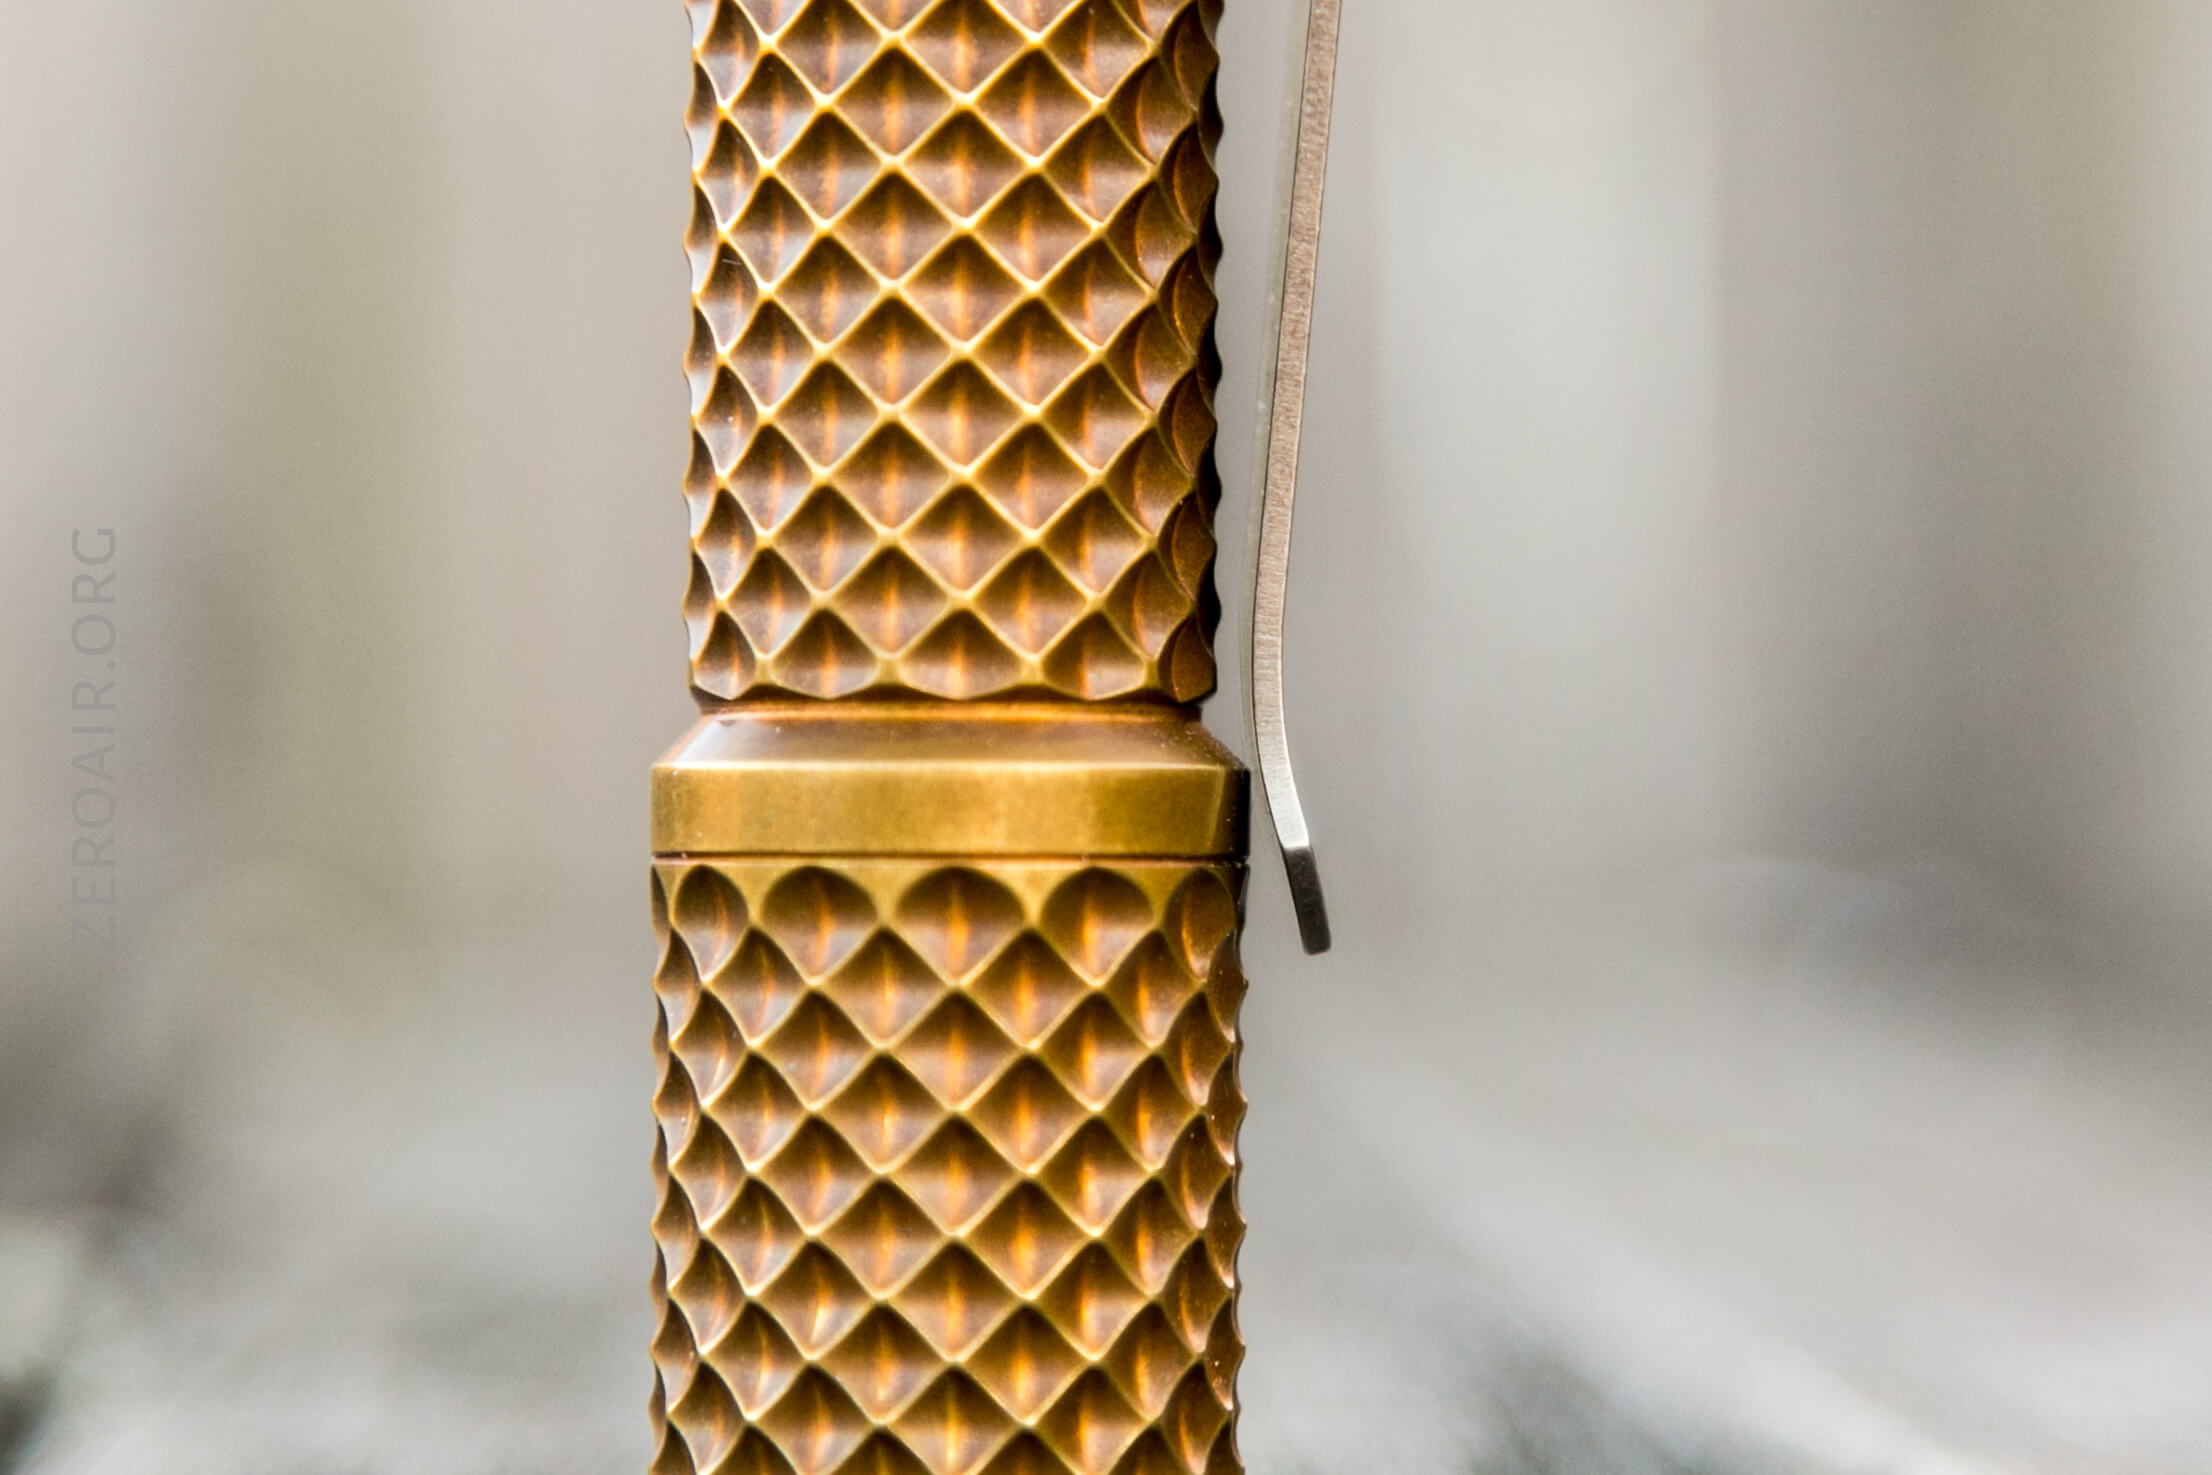
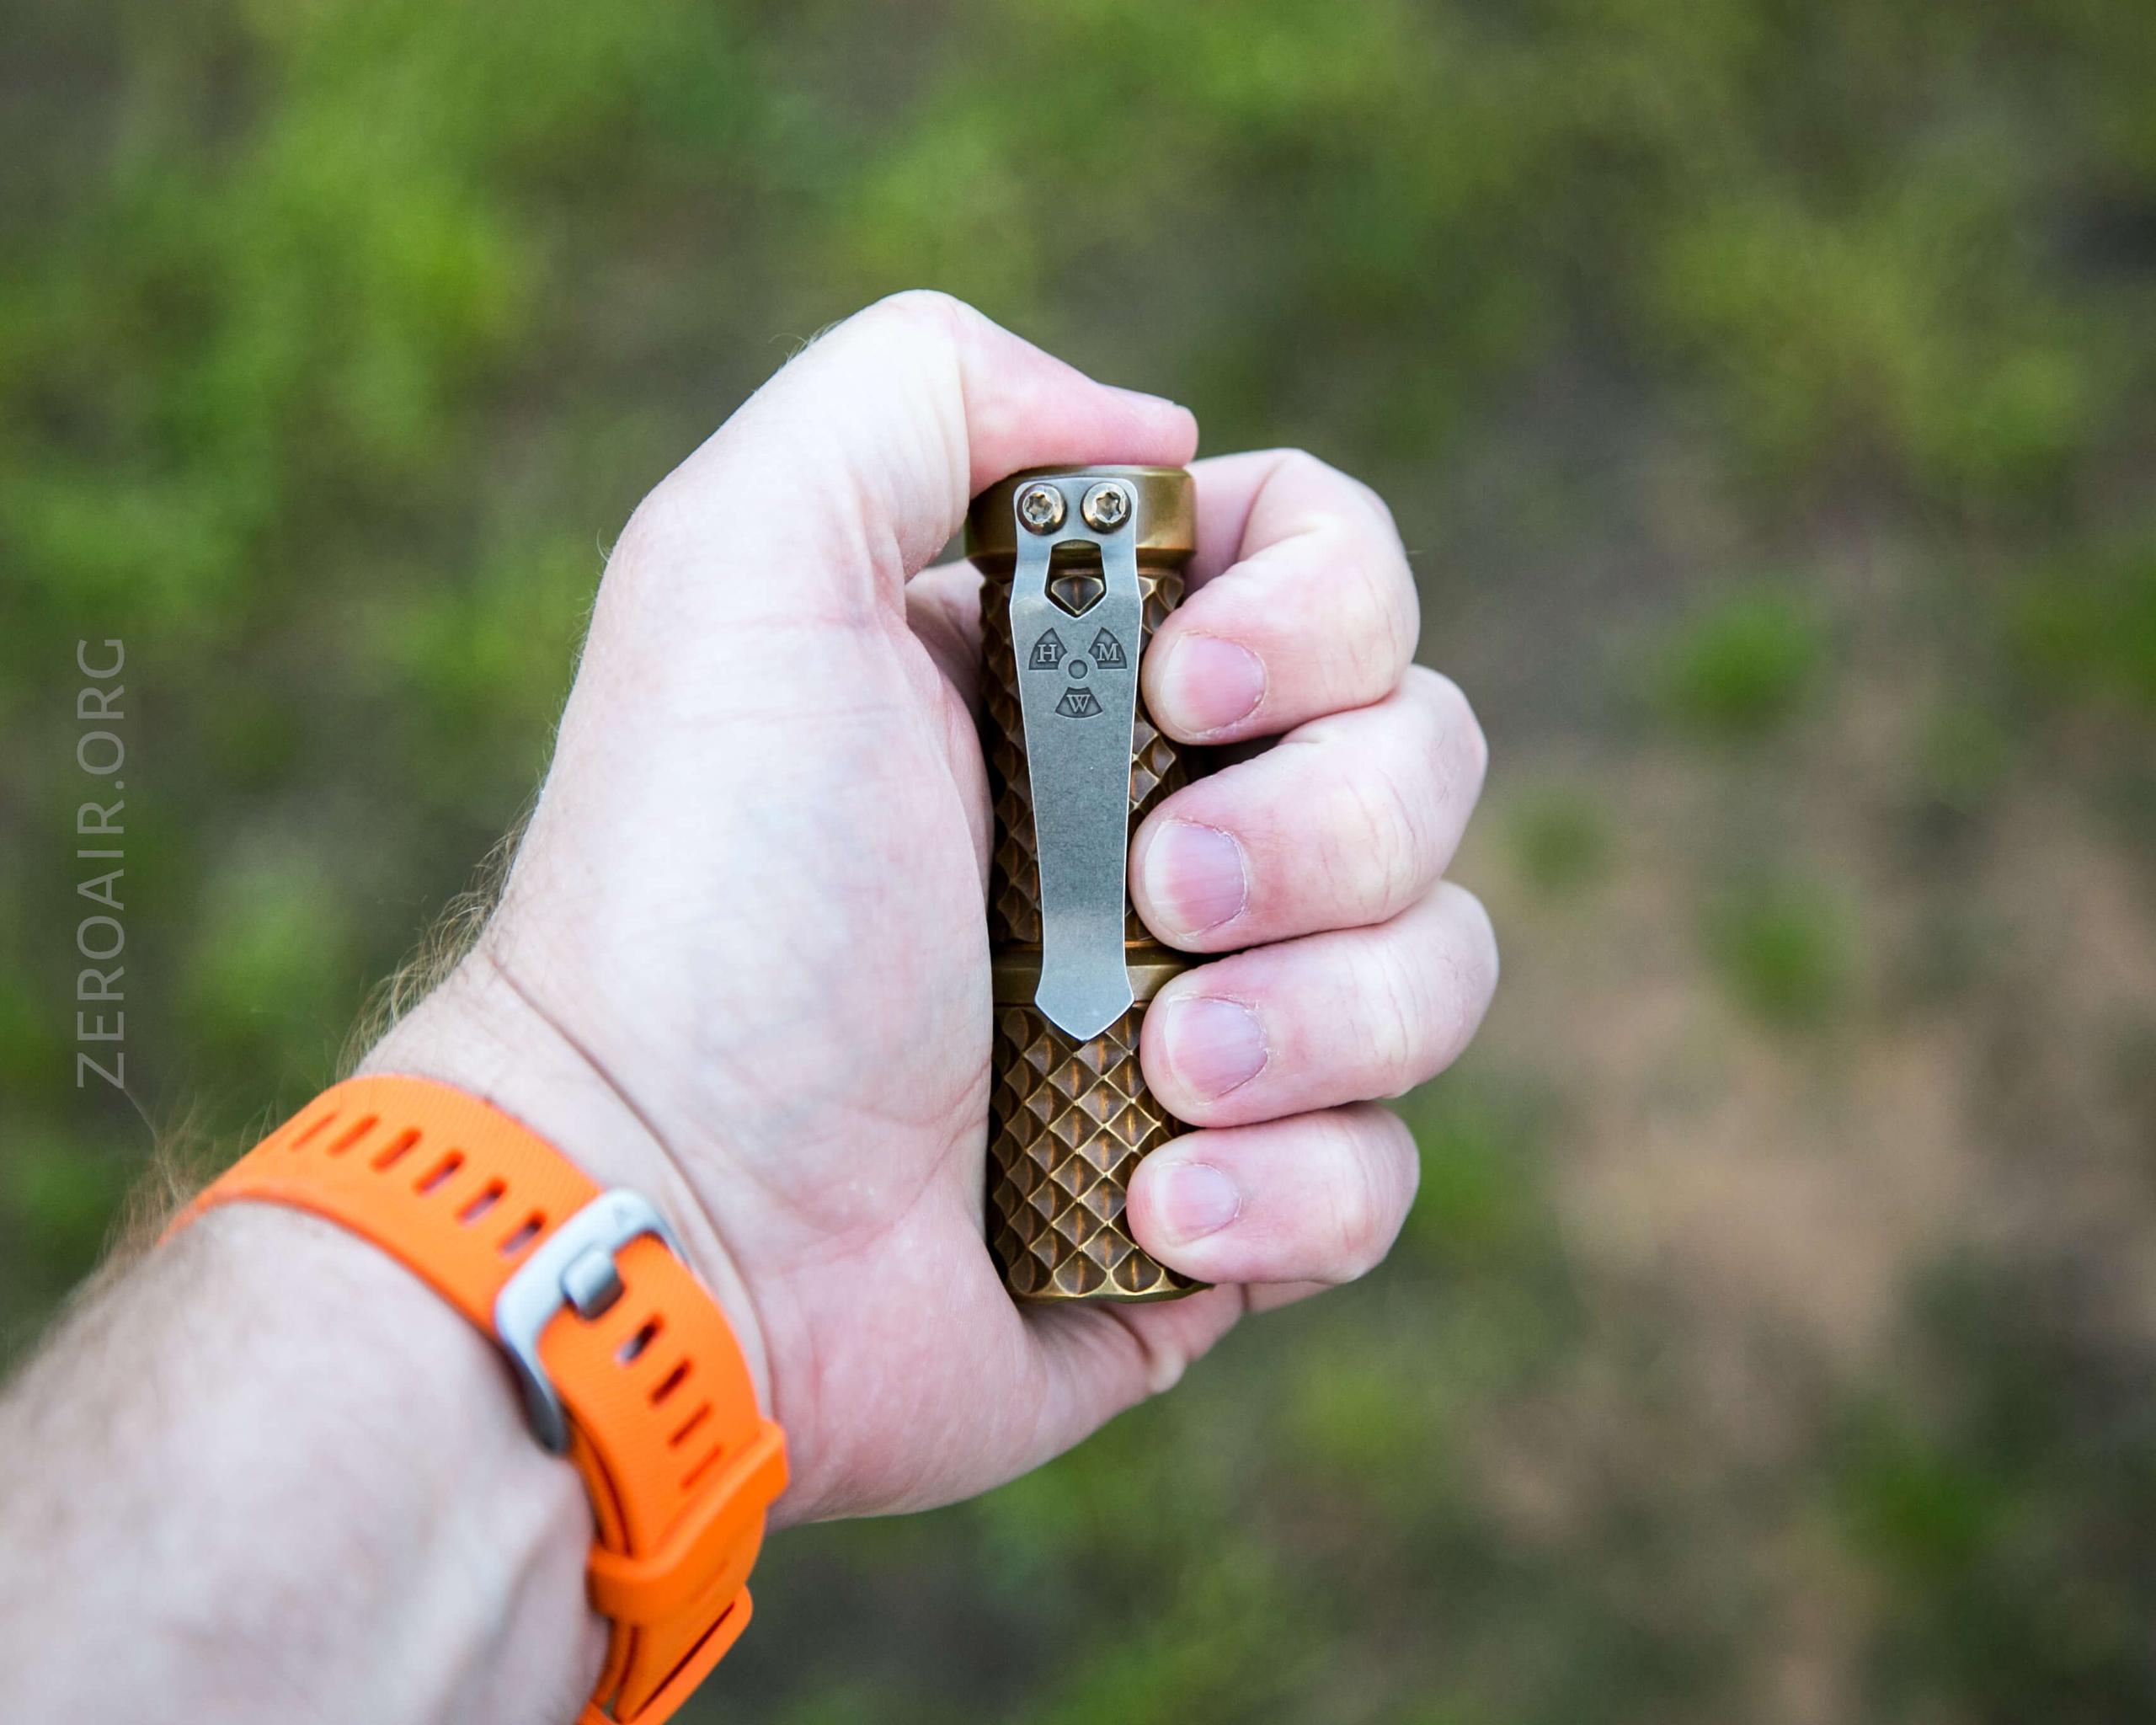
Who knows if Hanko planned for this (but let’s be honest – probably), but notice how the pocket clip doesn’t line up arbitrarily to the body grooves. The window in the clip frames the body grooves perfectly.
One design aspect of the Trident (all Tridents) is that the clip touches the shoulder of the body just where it should. Not early, and not late – it doesn’t contact where it interferes with unscrewing the head.
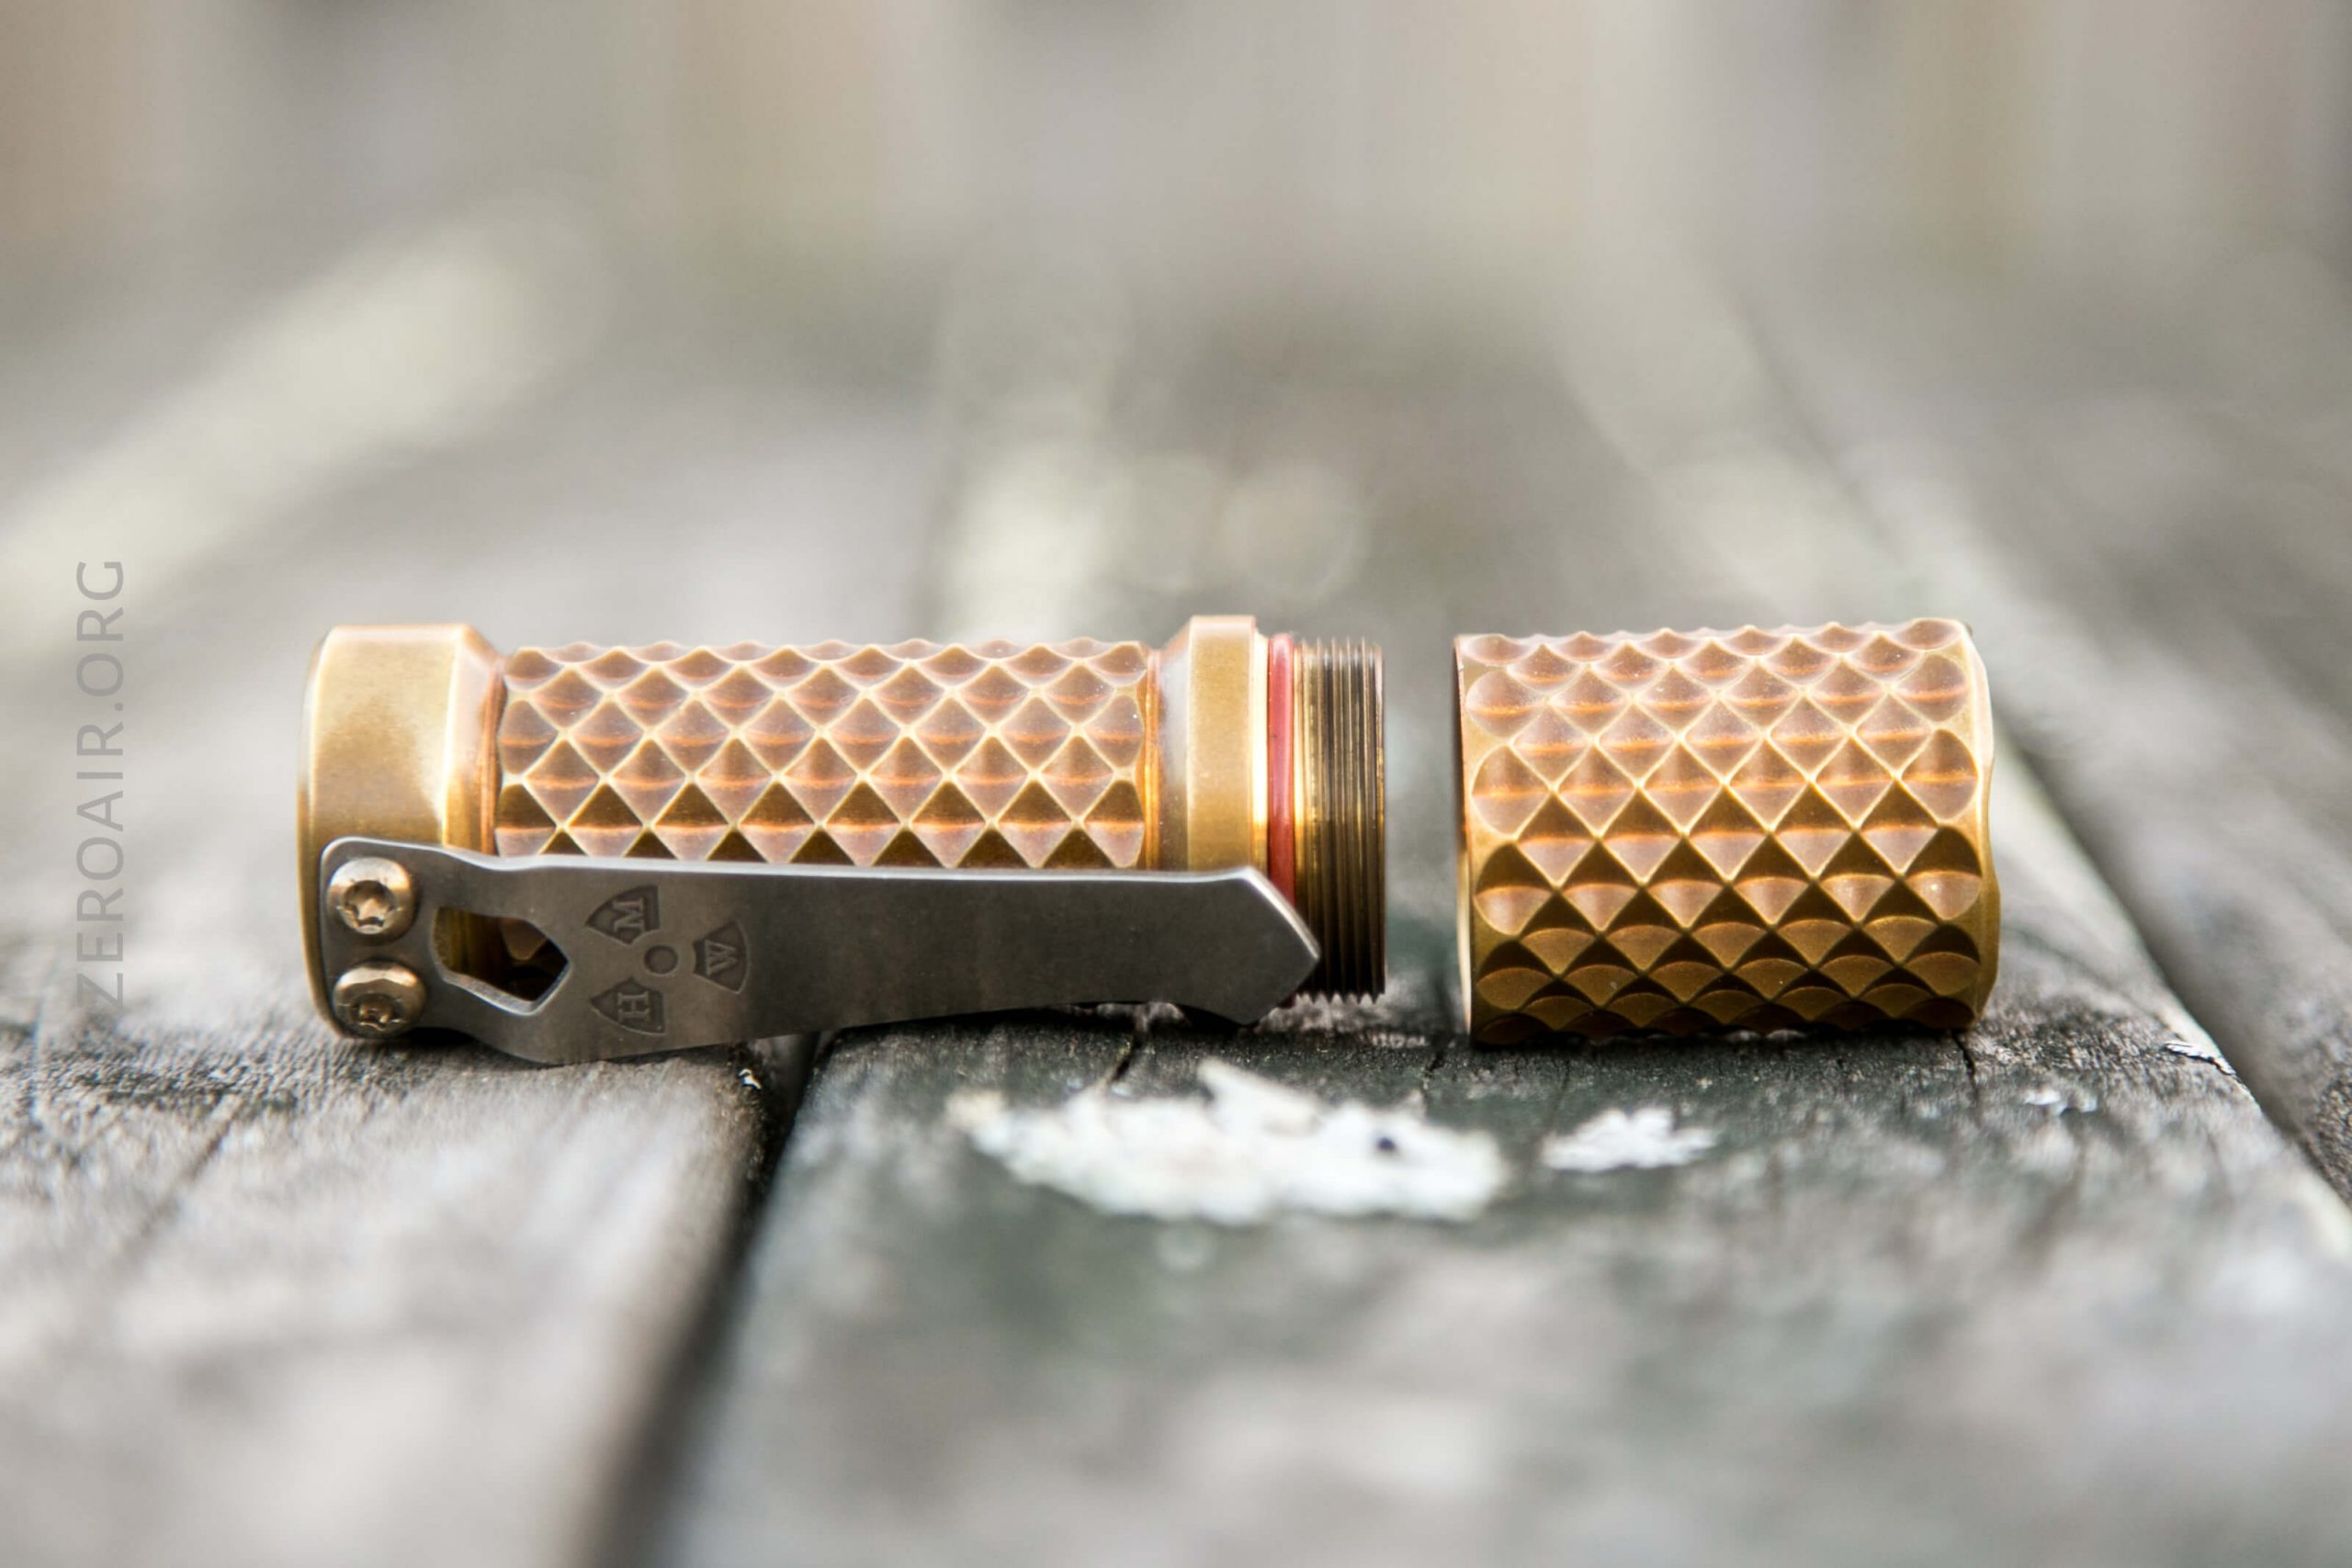
The threads on the Trident are triangle cut, not too long (around 3.25 turns to remove). They’re unanodized, because nothing on the light is anodized. Hanko does “finish” some lights, but all that information is a trade secret. But it’s not anodization. 😀
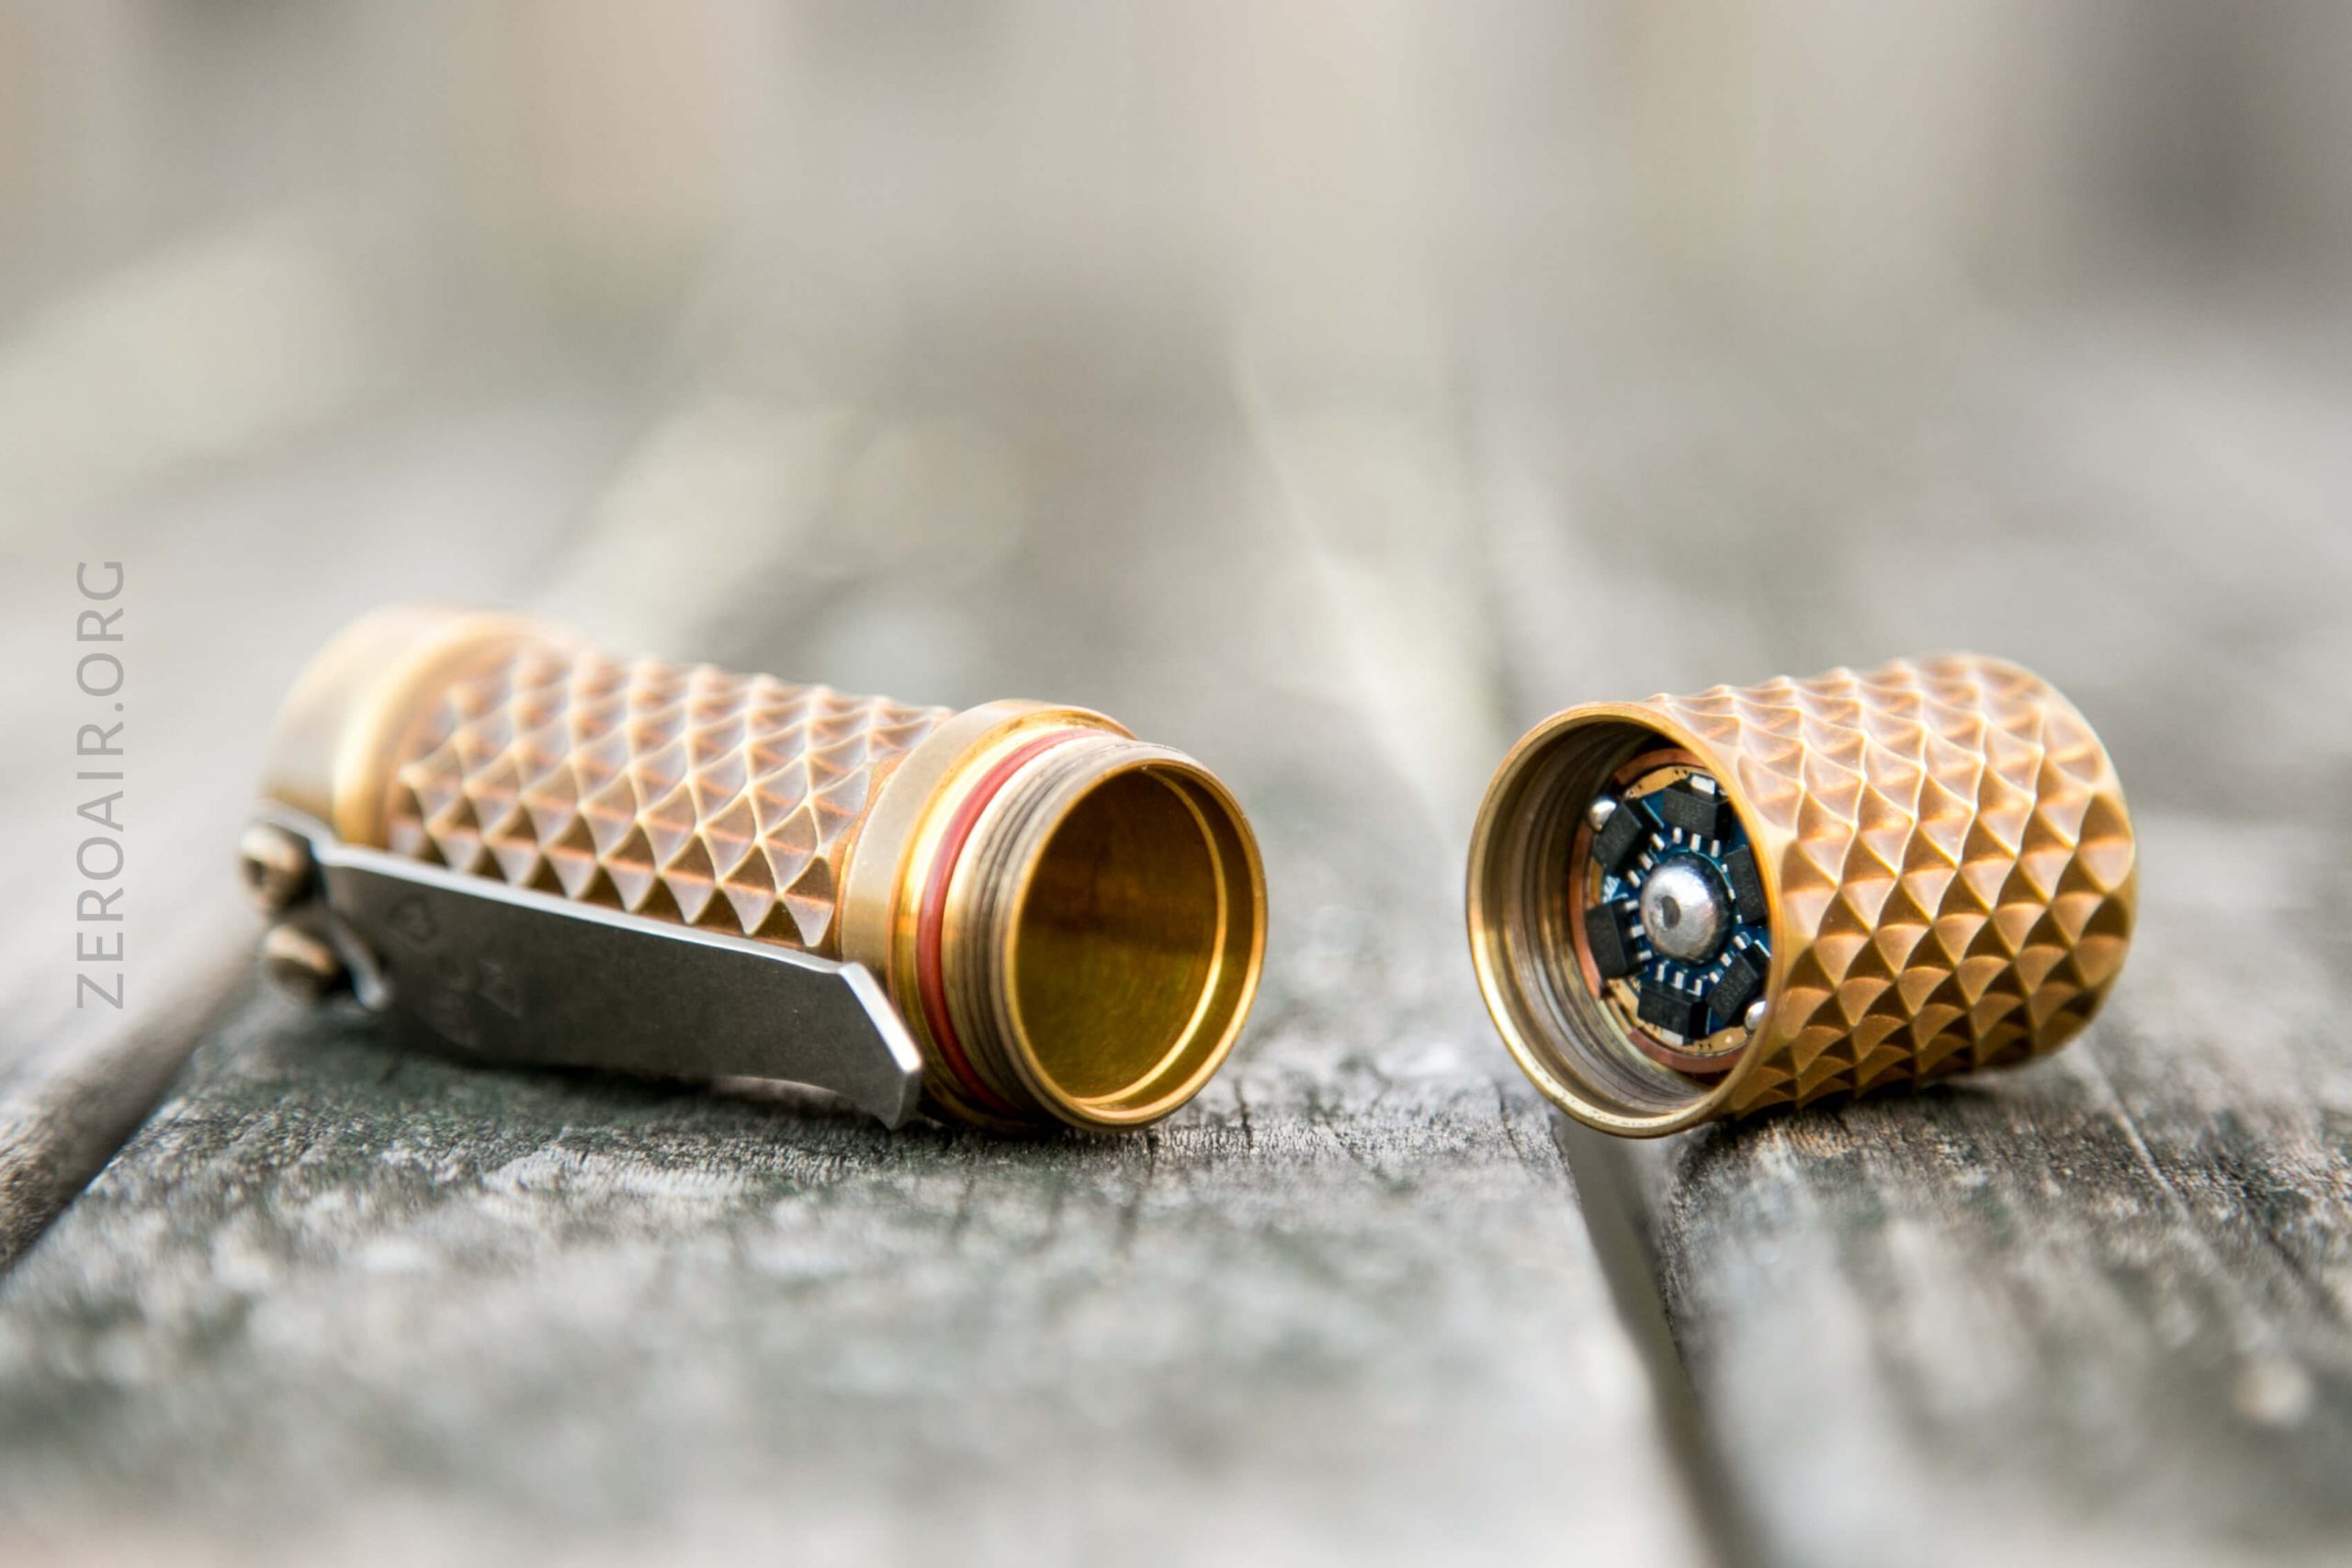
The 18350 that this light uses fits as it should. No slop. There’s room but no slop.
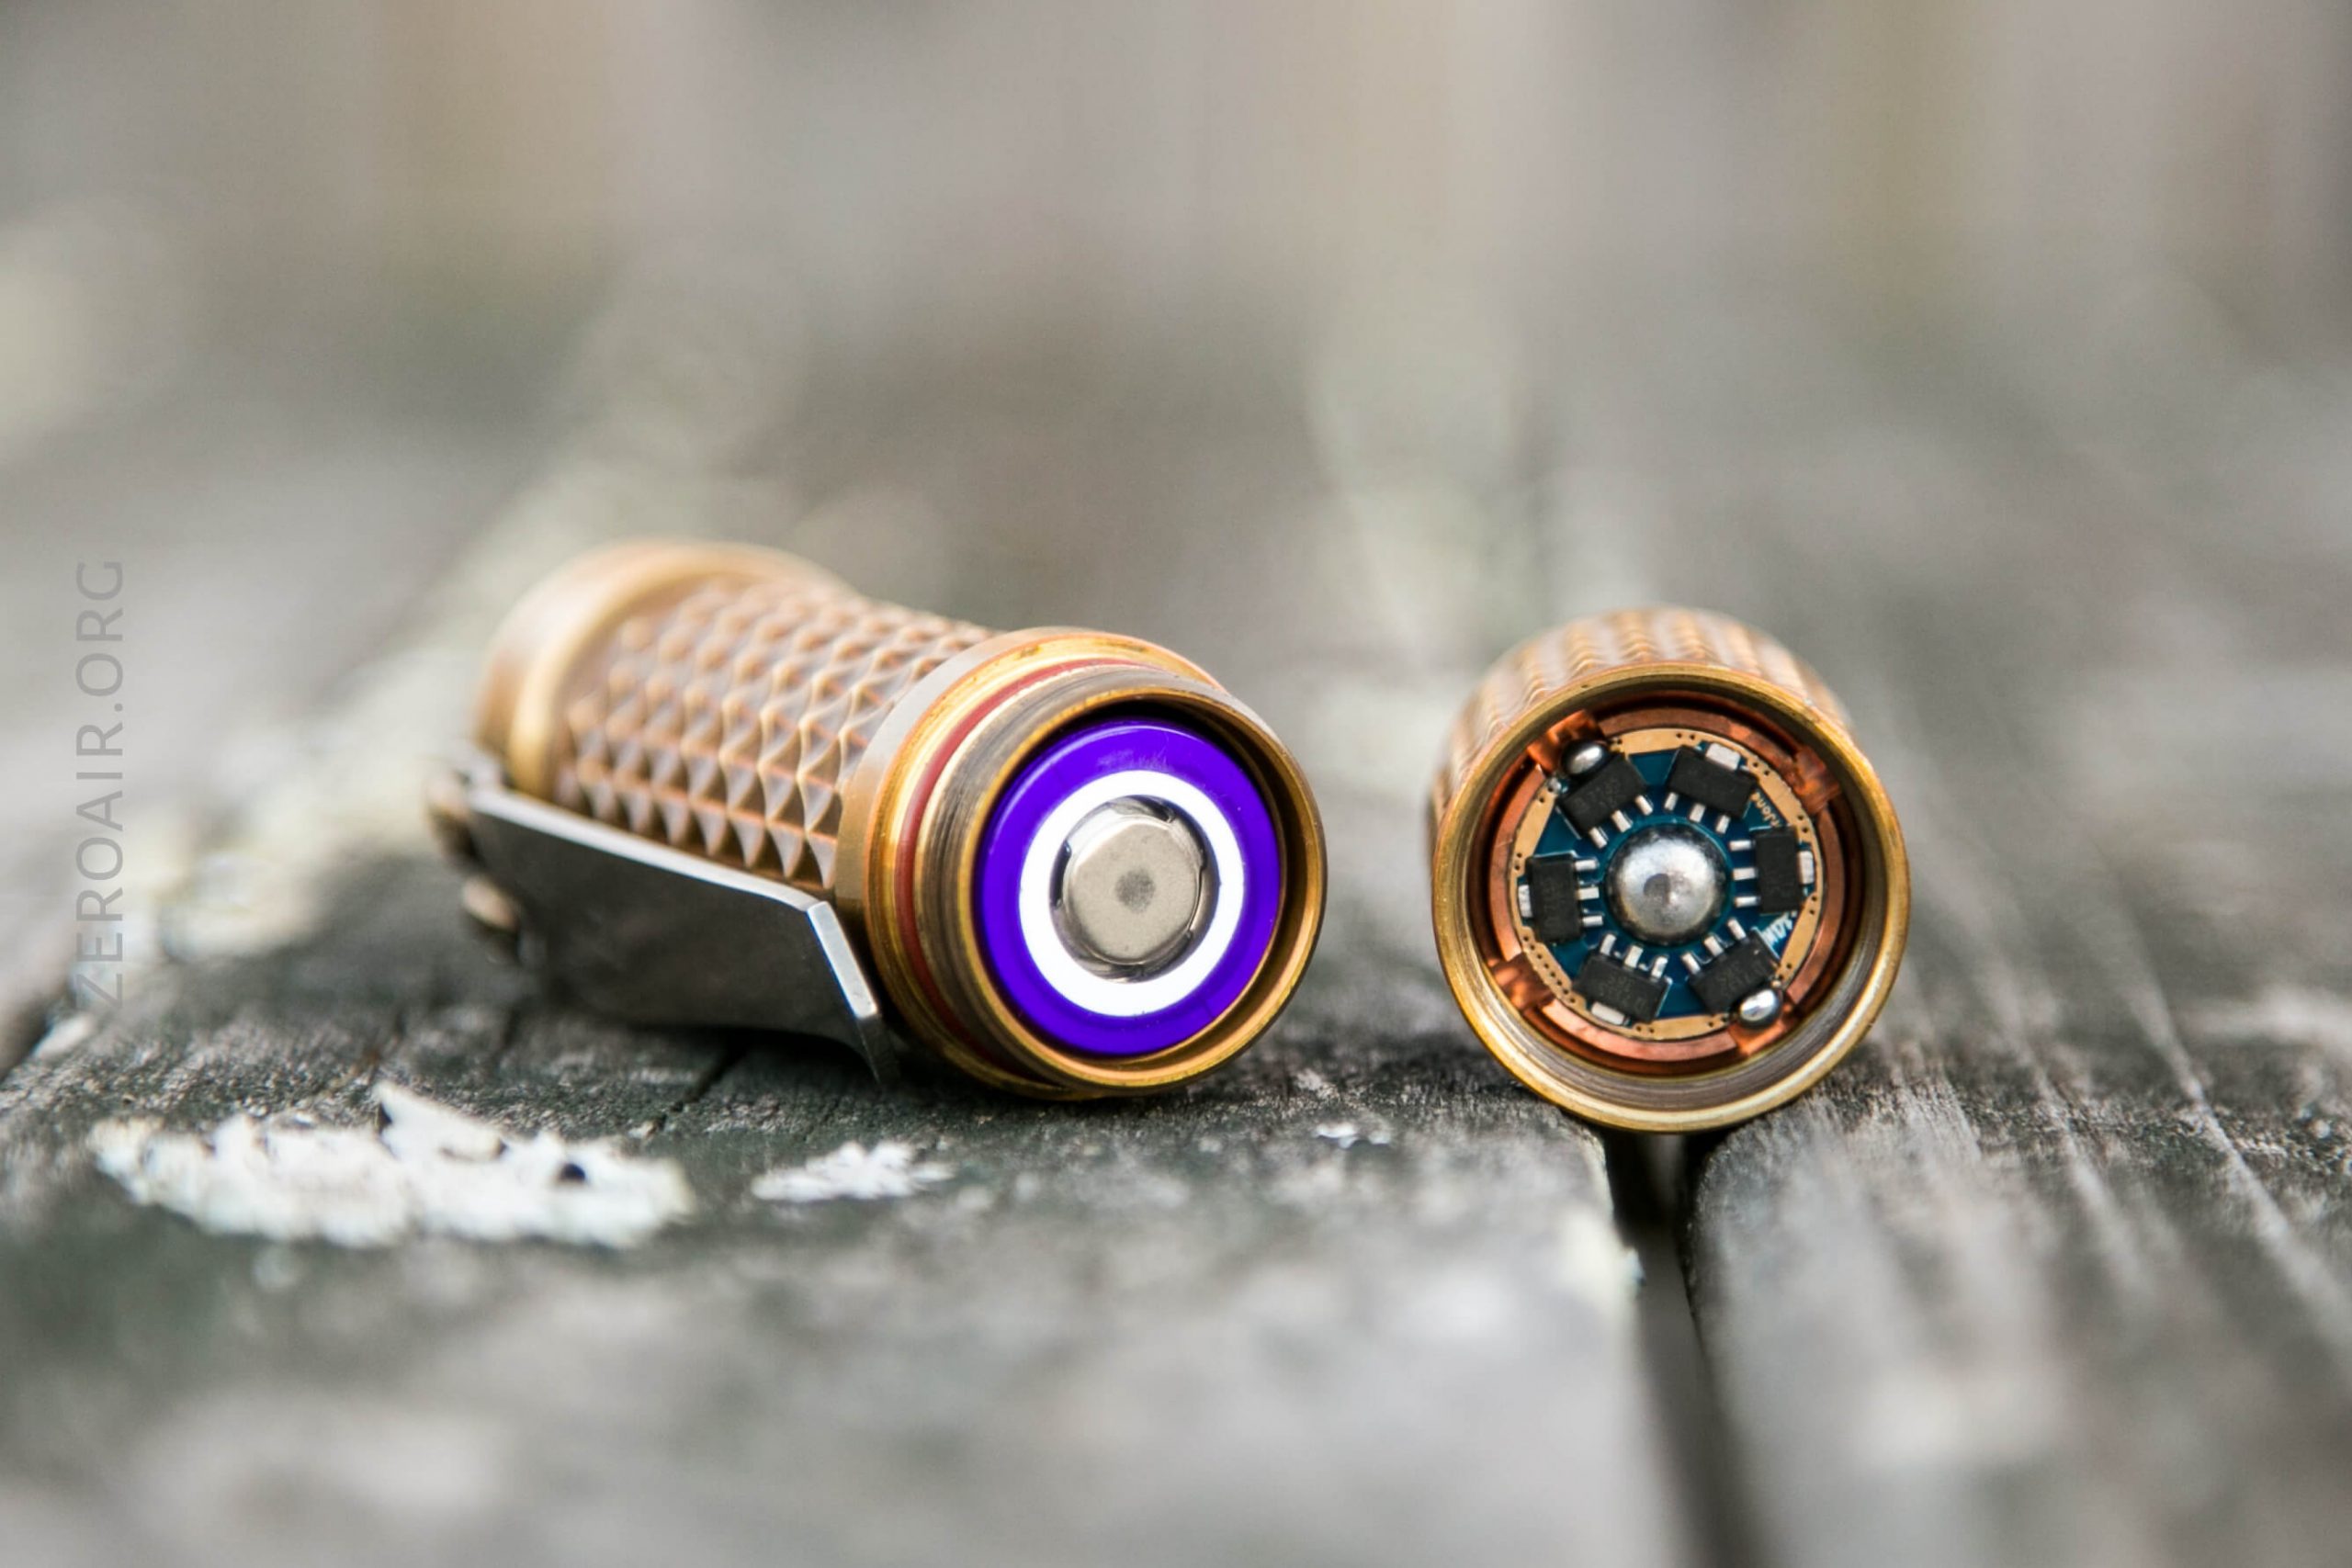
The tail end of this light has a spring. The engine has what looks to be a solder blob (on this model), but on other Tridents in my collection, there’s a little button instead of this domed bit.
The light is two parts – head and tail. The tail does not disassemble (the switch screws into the body.)
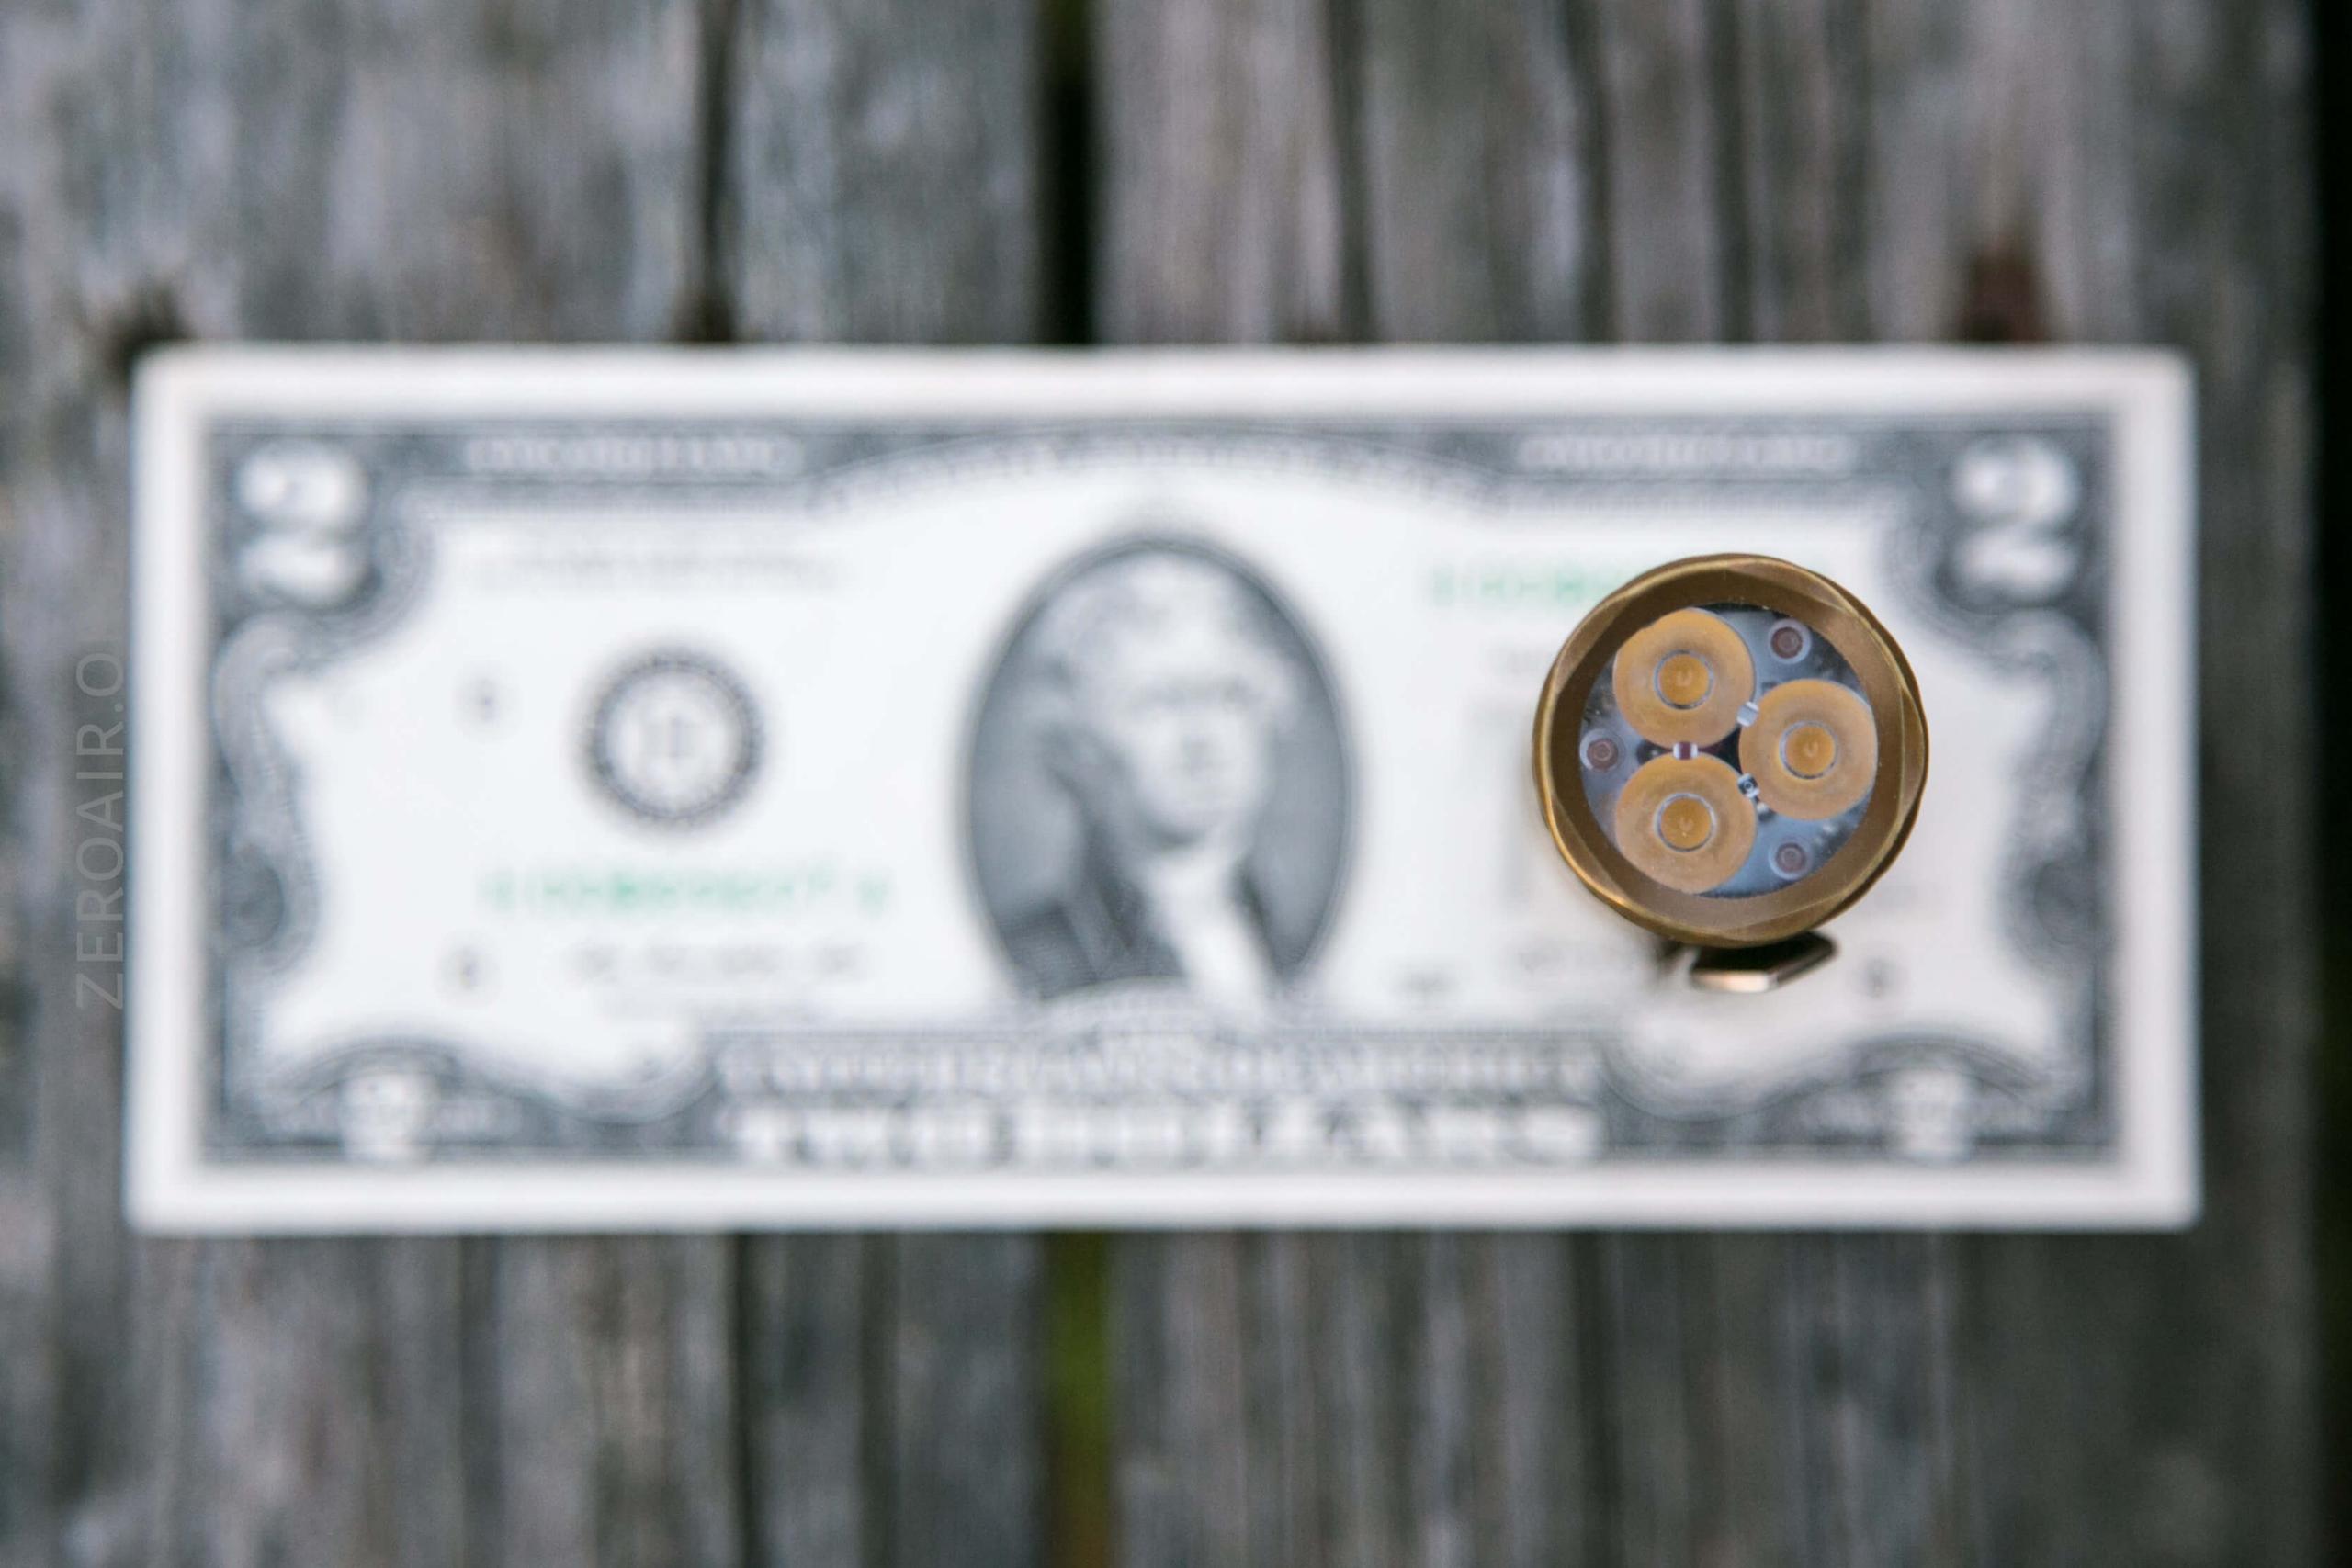
The engine consists of a copper pill, which is special and a bit unusual, a driver (both of which can be seen below), an MCPCB (which holds the emitters), an optic, and a sapphire lens.
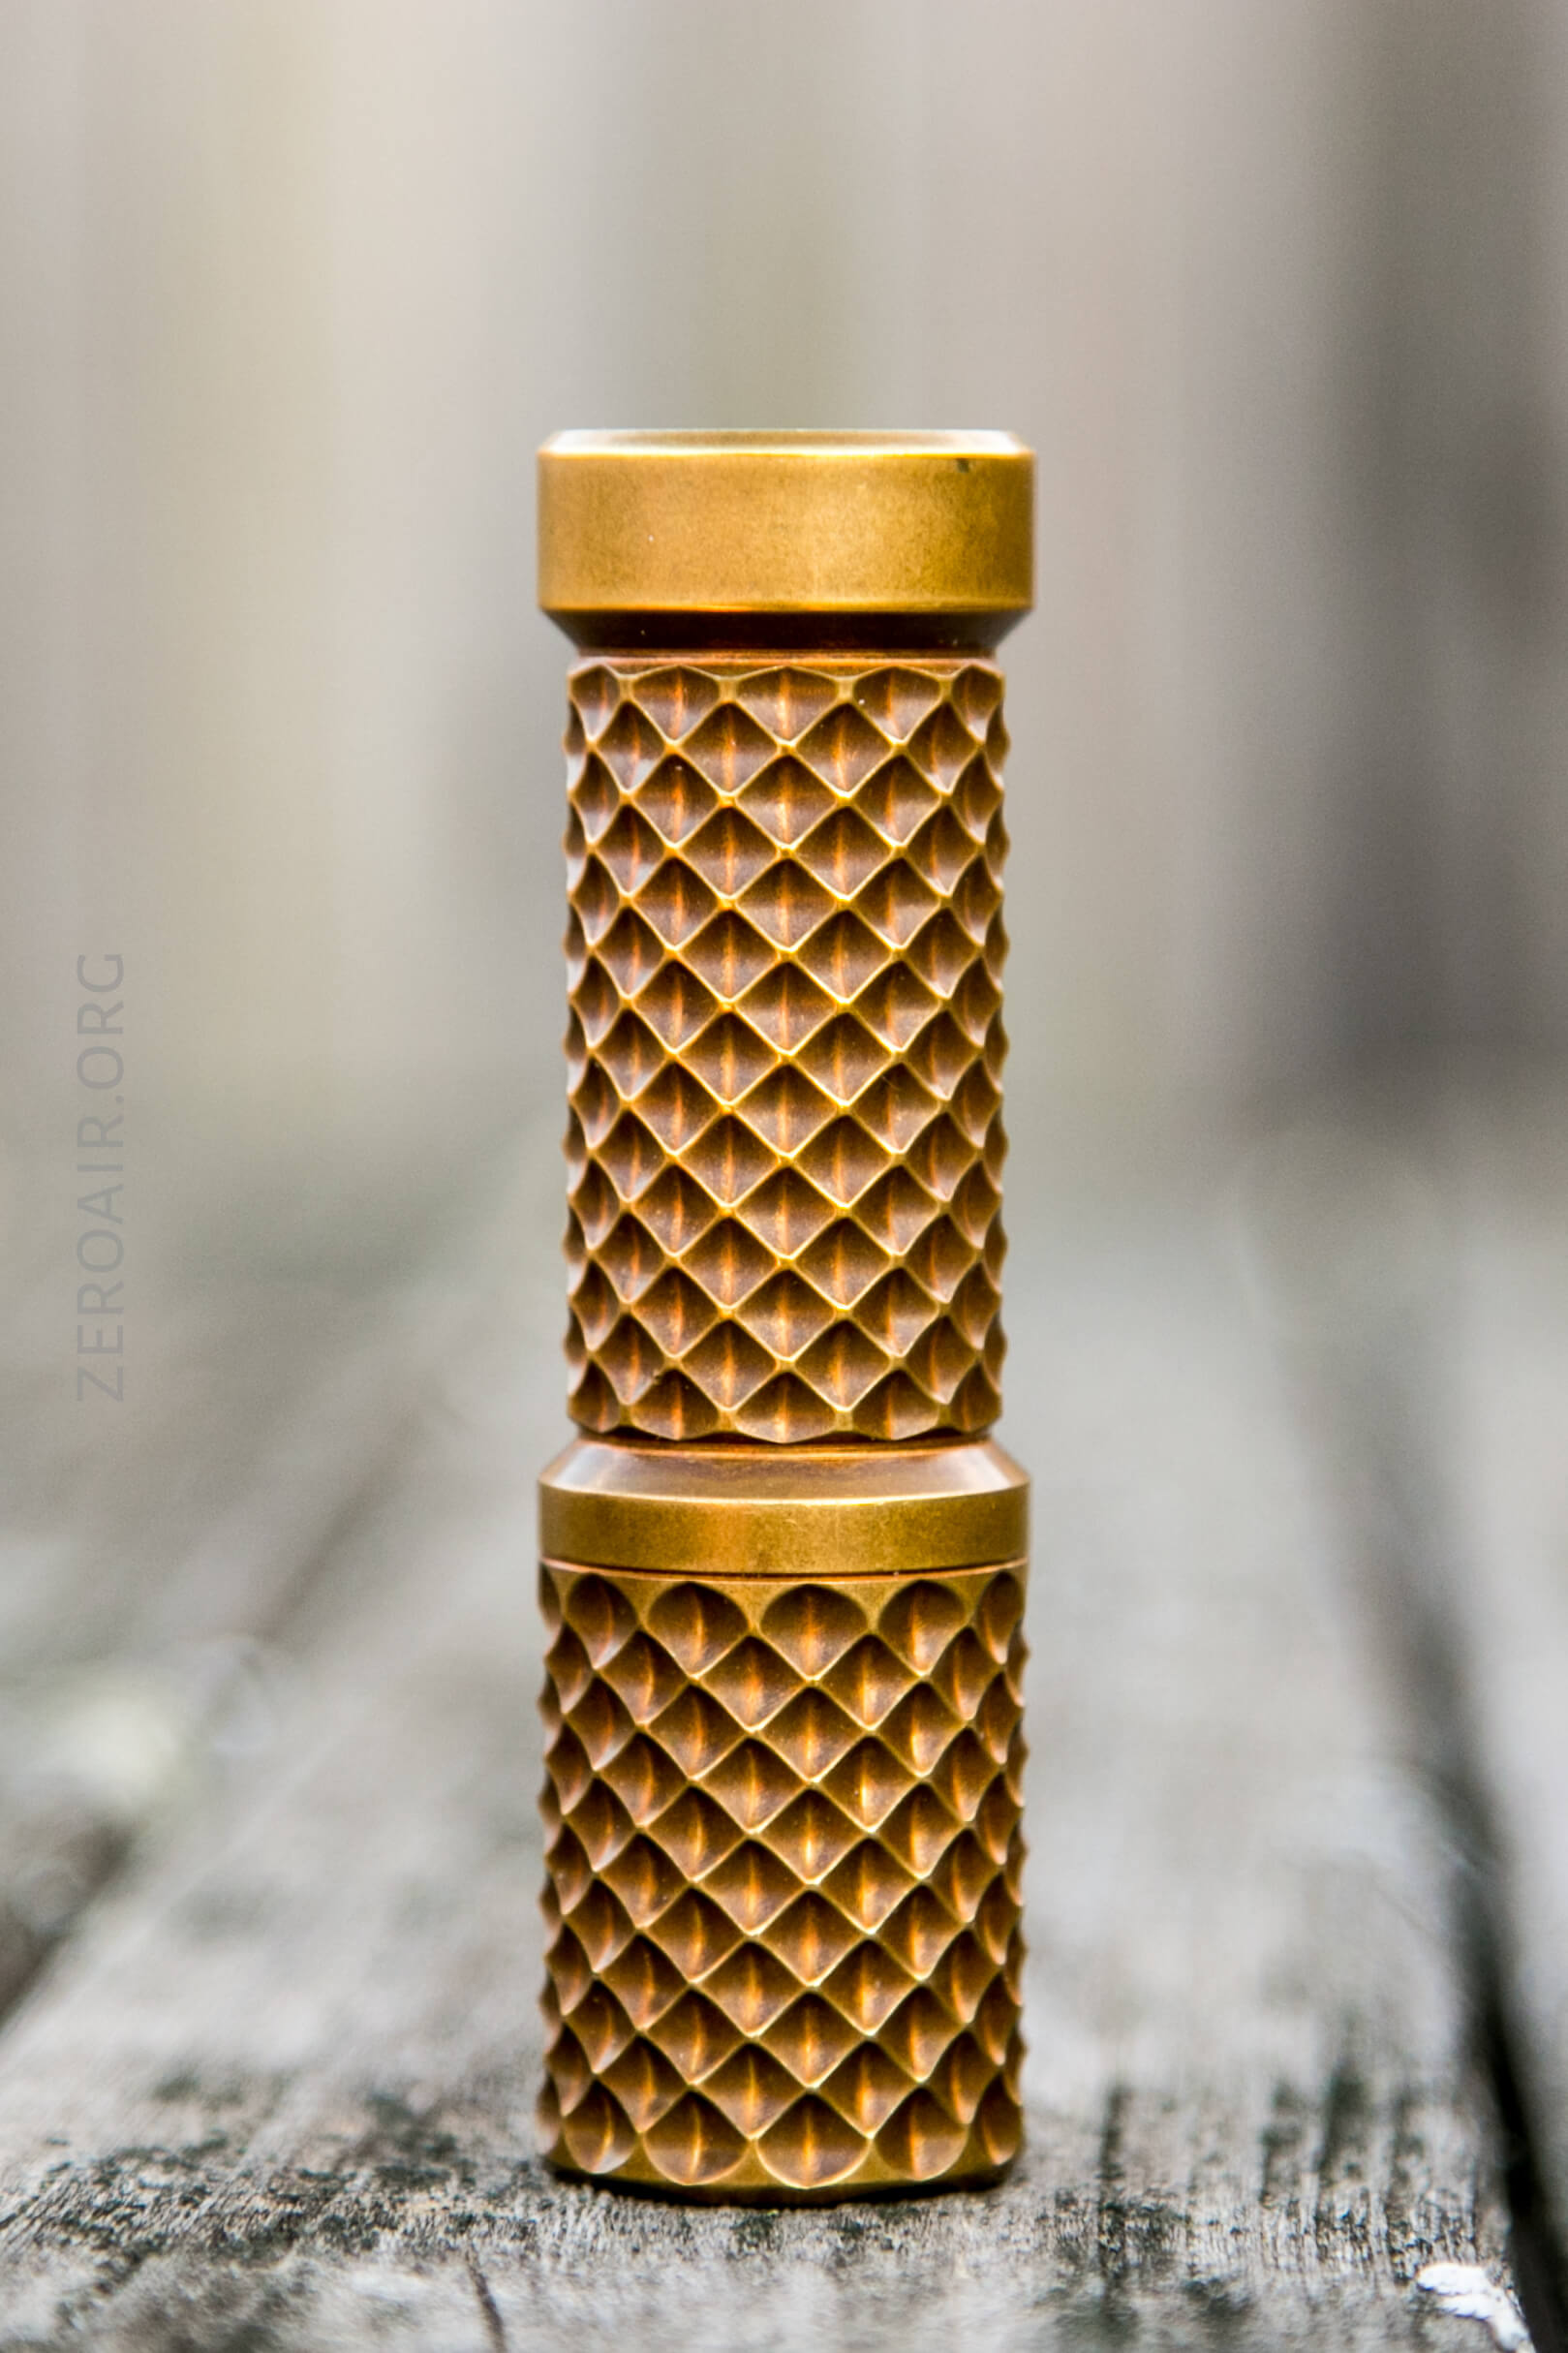
One more point regarding build quality.
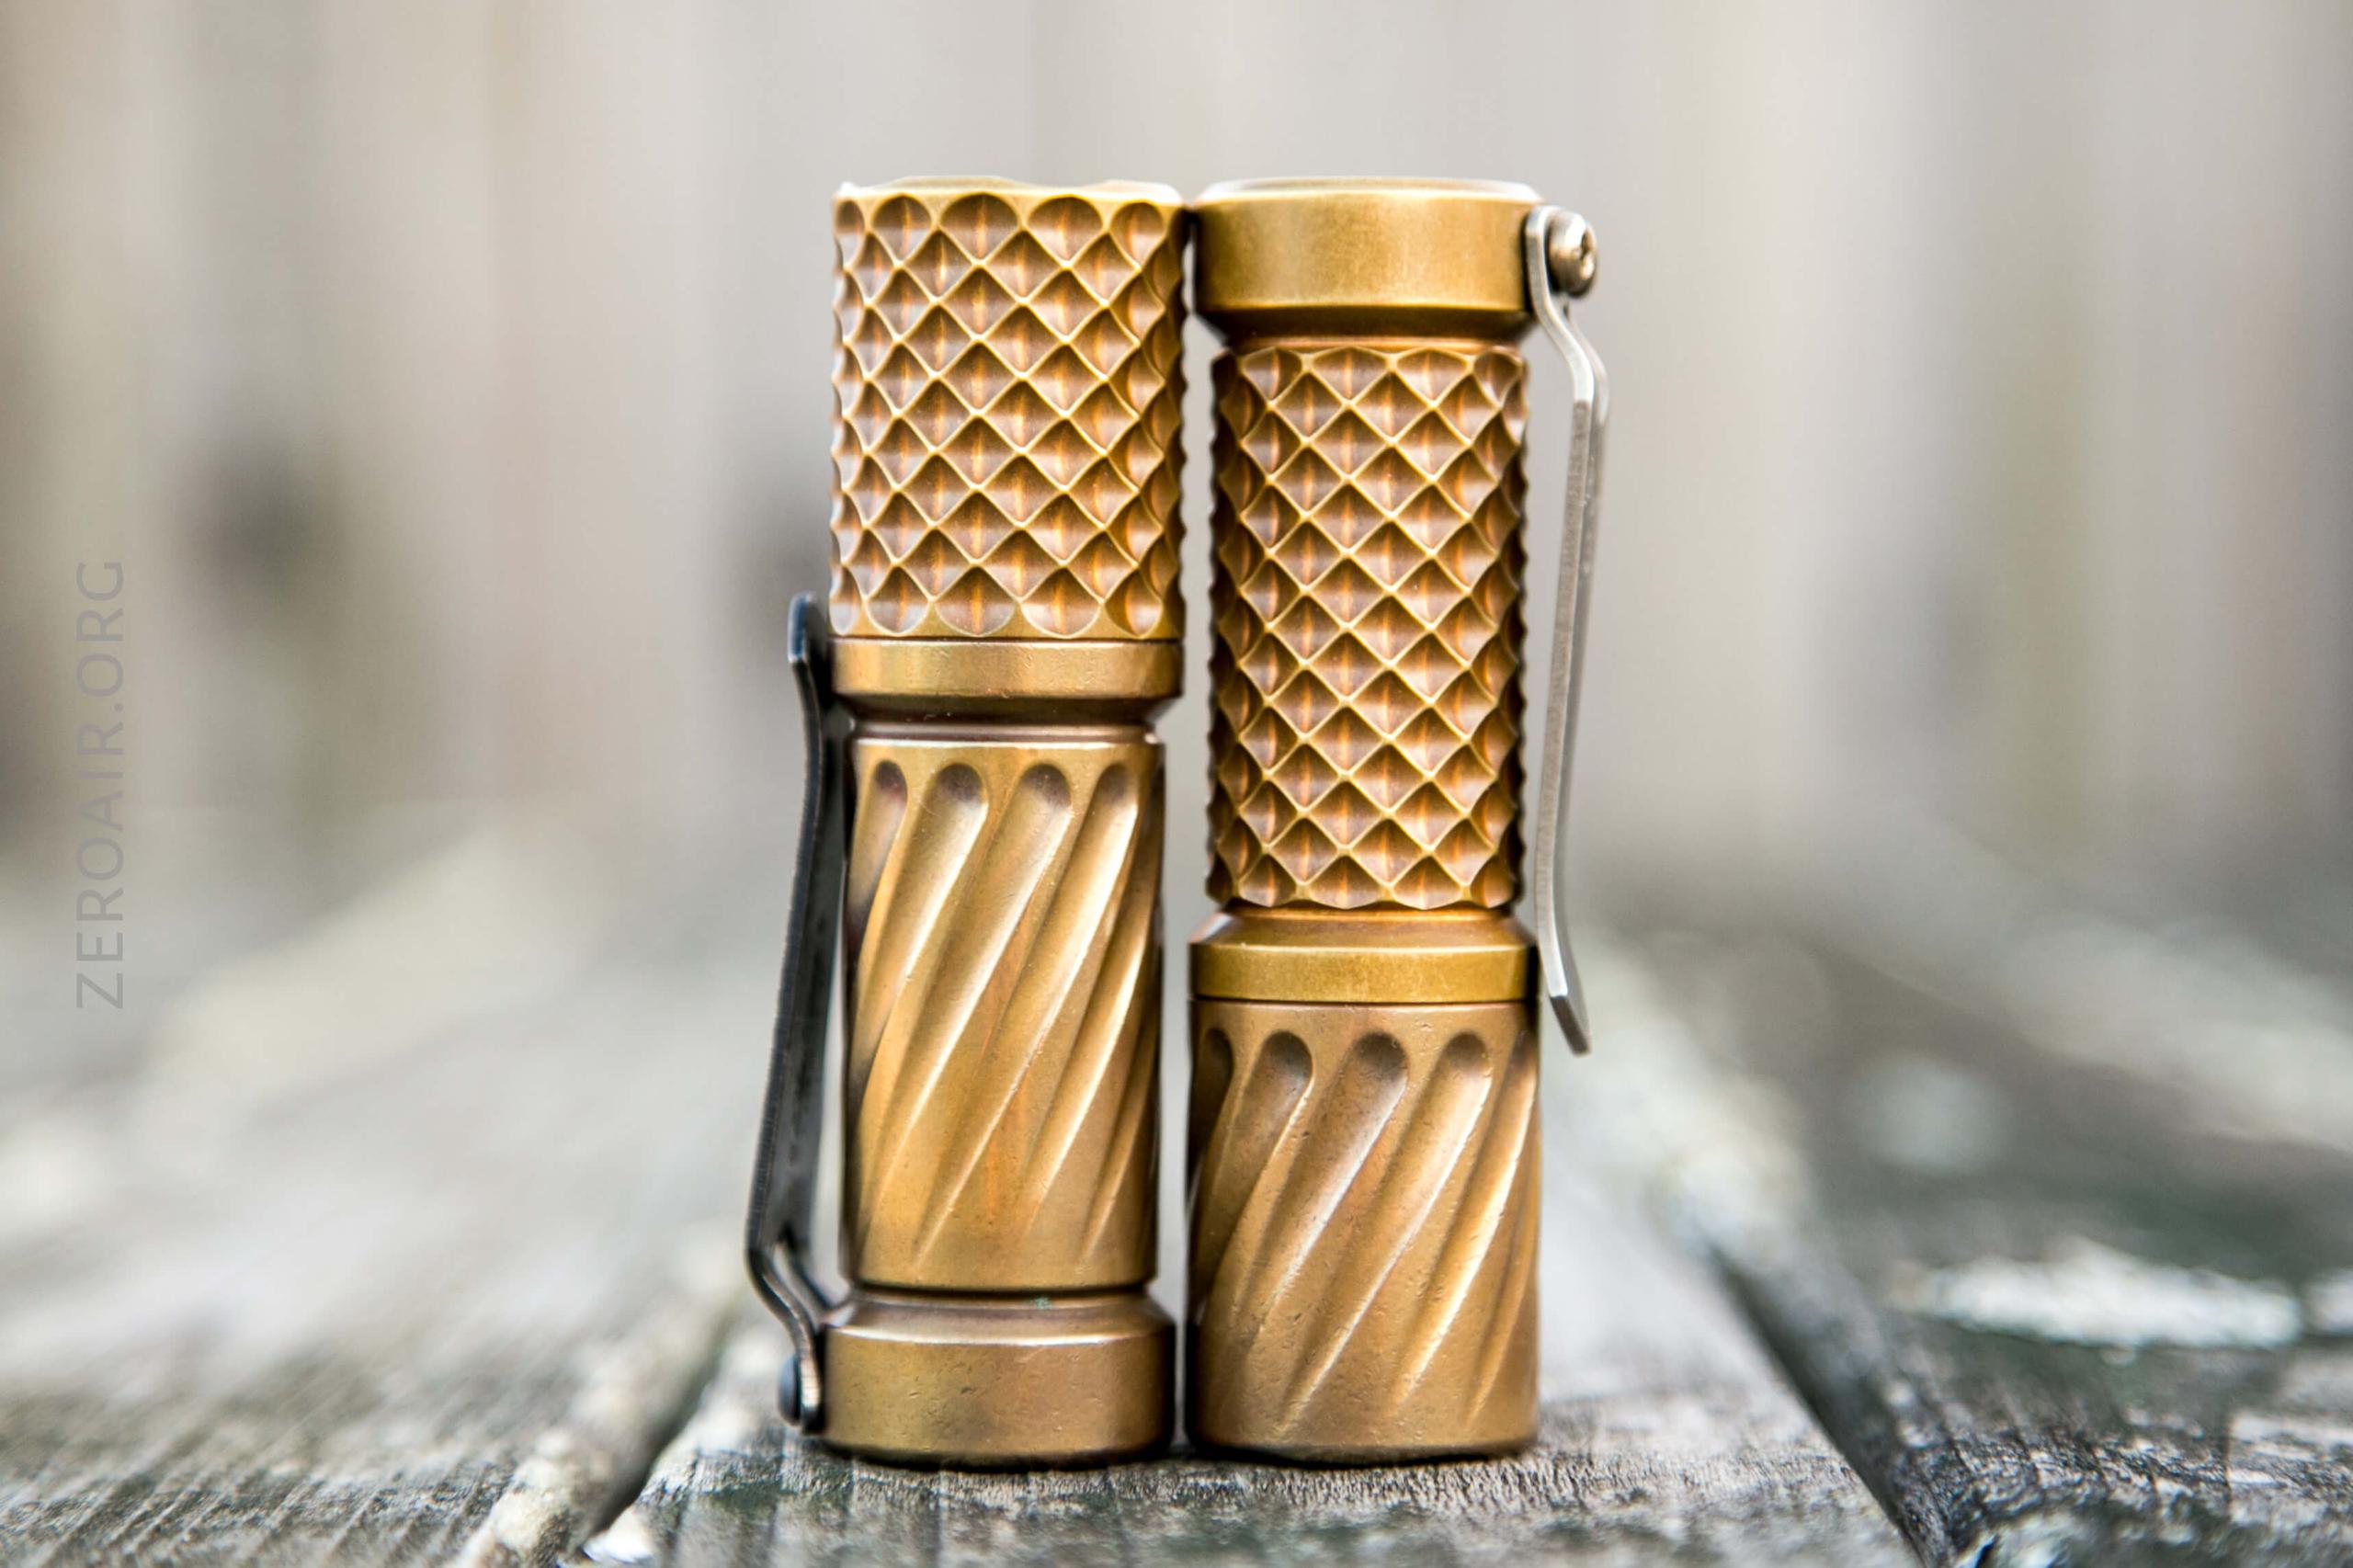

Here are two Tridents (one Full Twist and this Total Tesseract) fit together perfectly. Aside from giving some fun options and possibilities among various Tridents, it’s a sign of good build quality that they fit together exactly.
One final point about the Tesseract. It’s very modifiable. The driver can be changed to something like the Dragon. The emitters can be changed to anything you might want. I personally have a number of engines – including a Nichia 219b with H17f, a Dragon (LH351d and green secondary), a [very custom] Lux-RC 371d driver (also Nichia 219b), and a custom engine with a single Cree XP-L HI (4000K) by Sigma Customs. All of these are separate purchases and not many of them are inexpensive (or even all that accessible), but it’s possible.
Engine
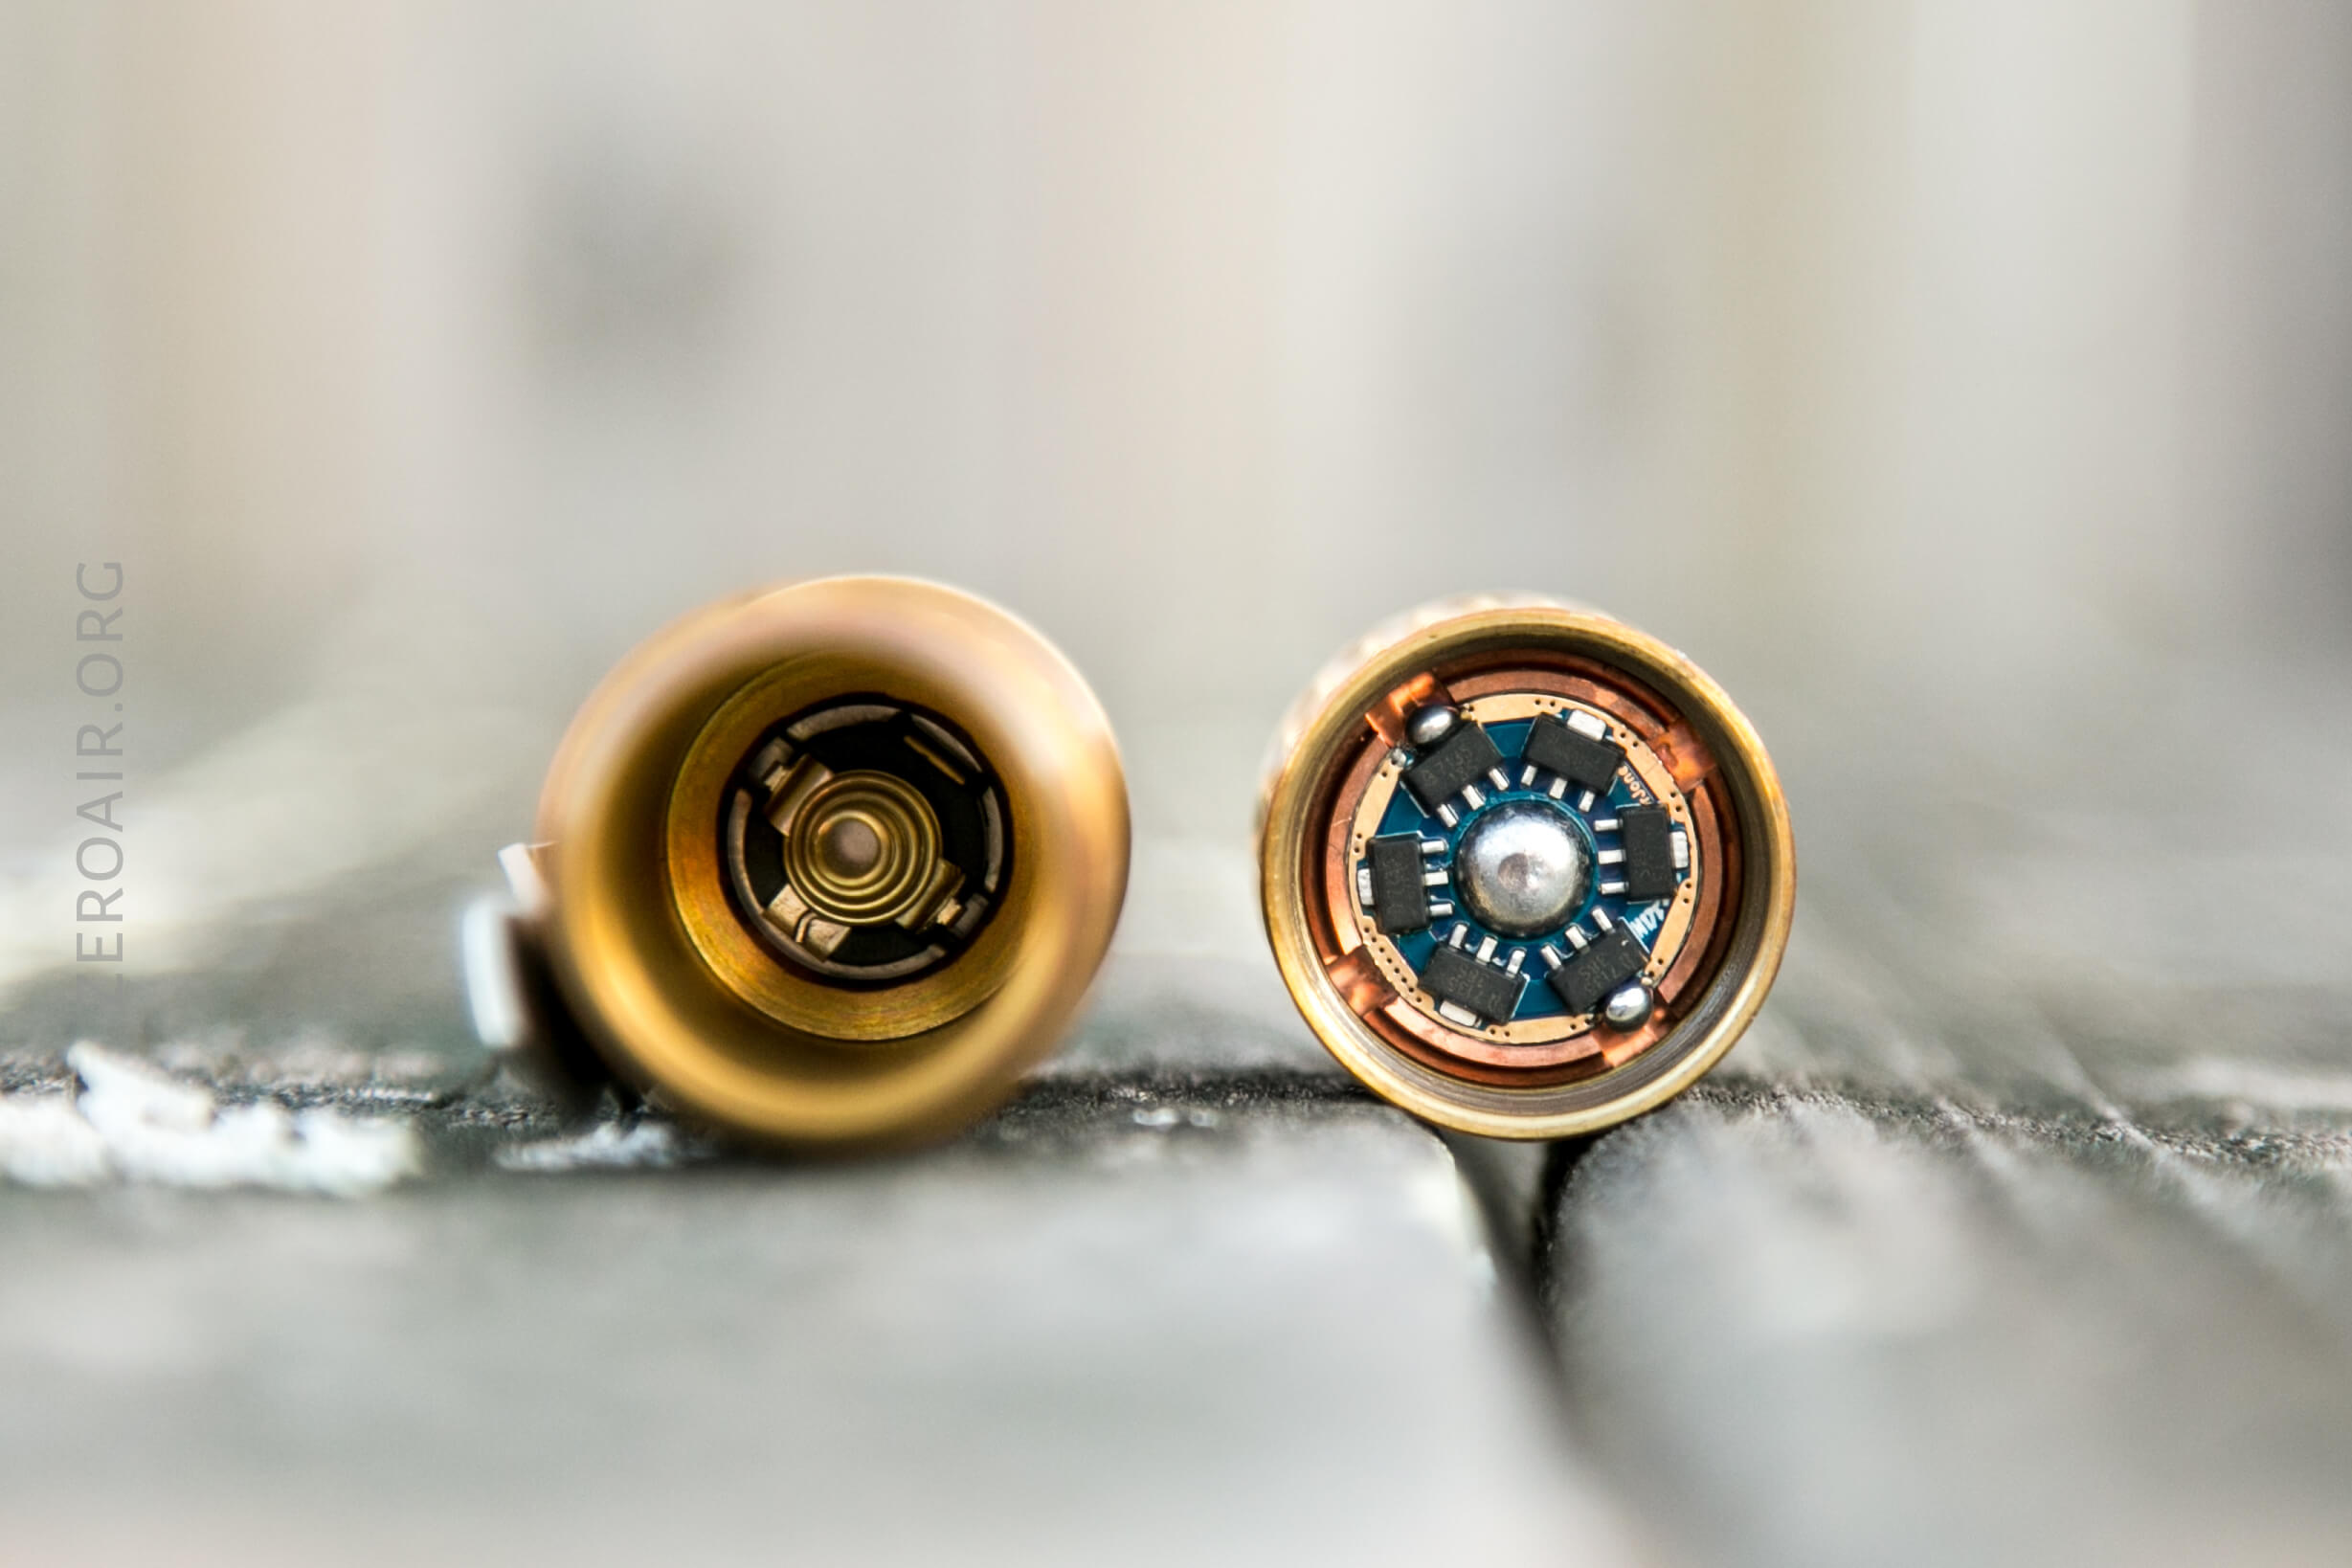
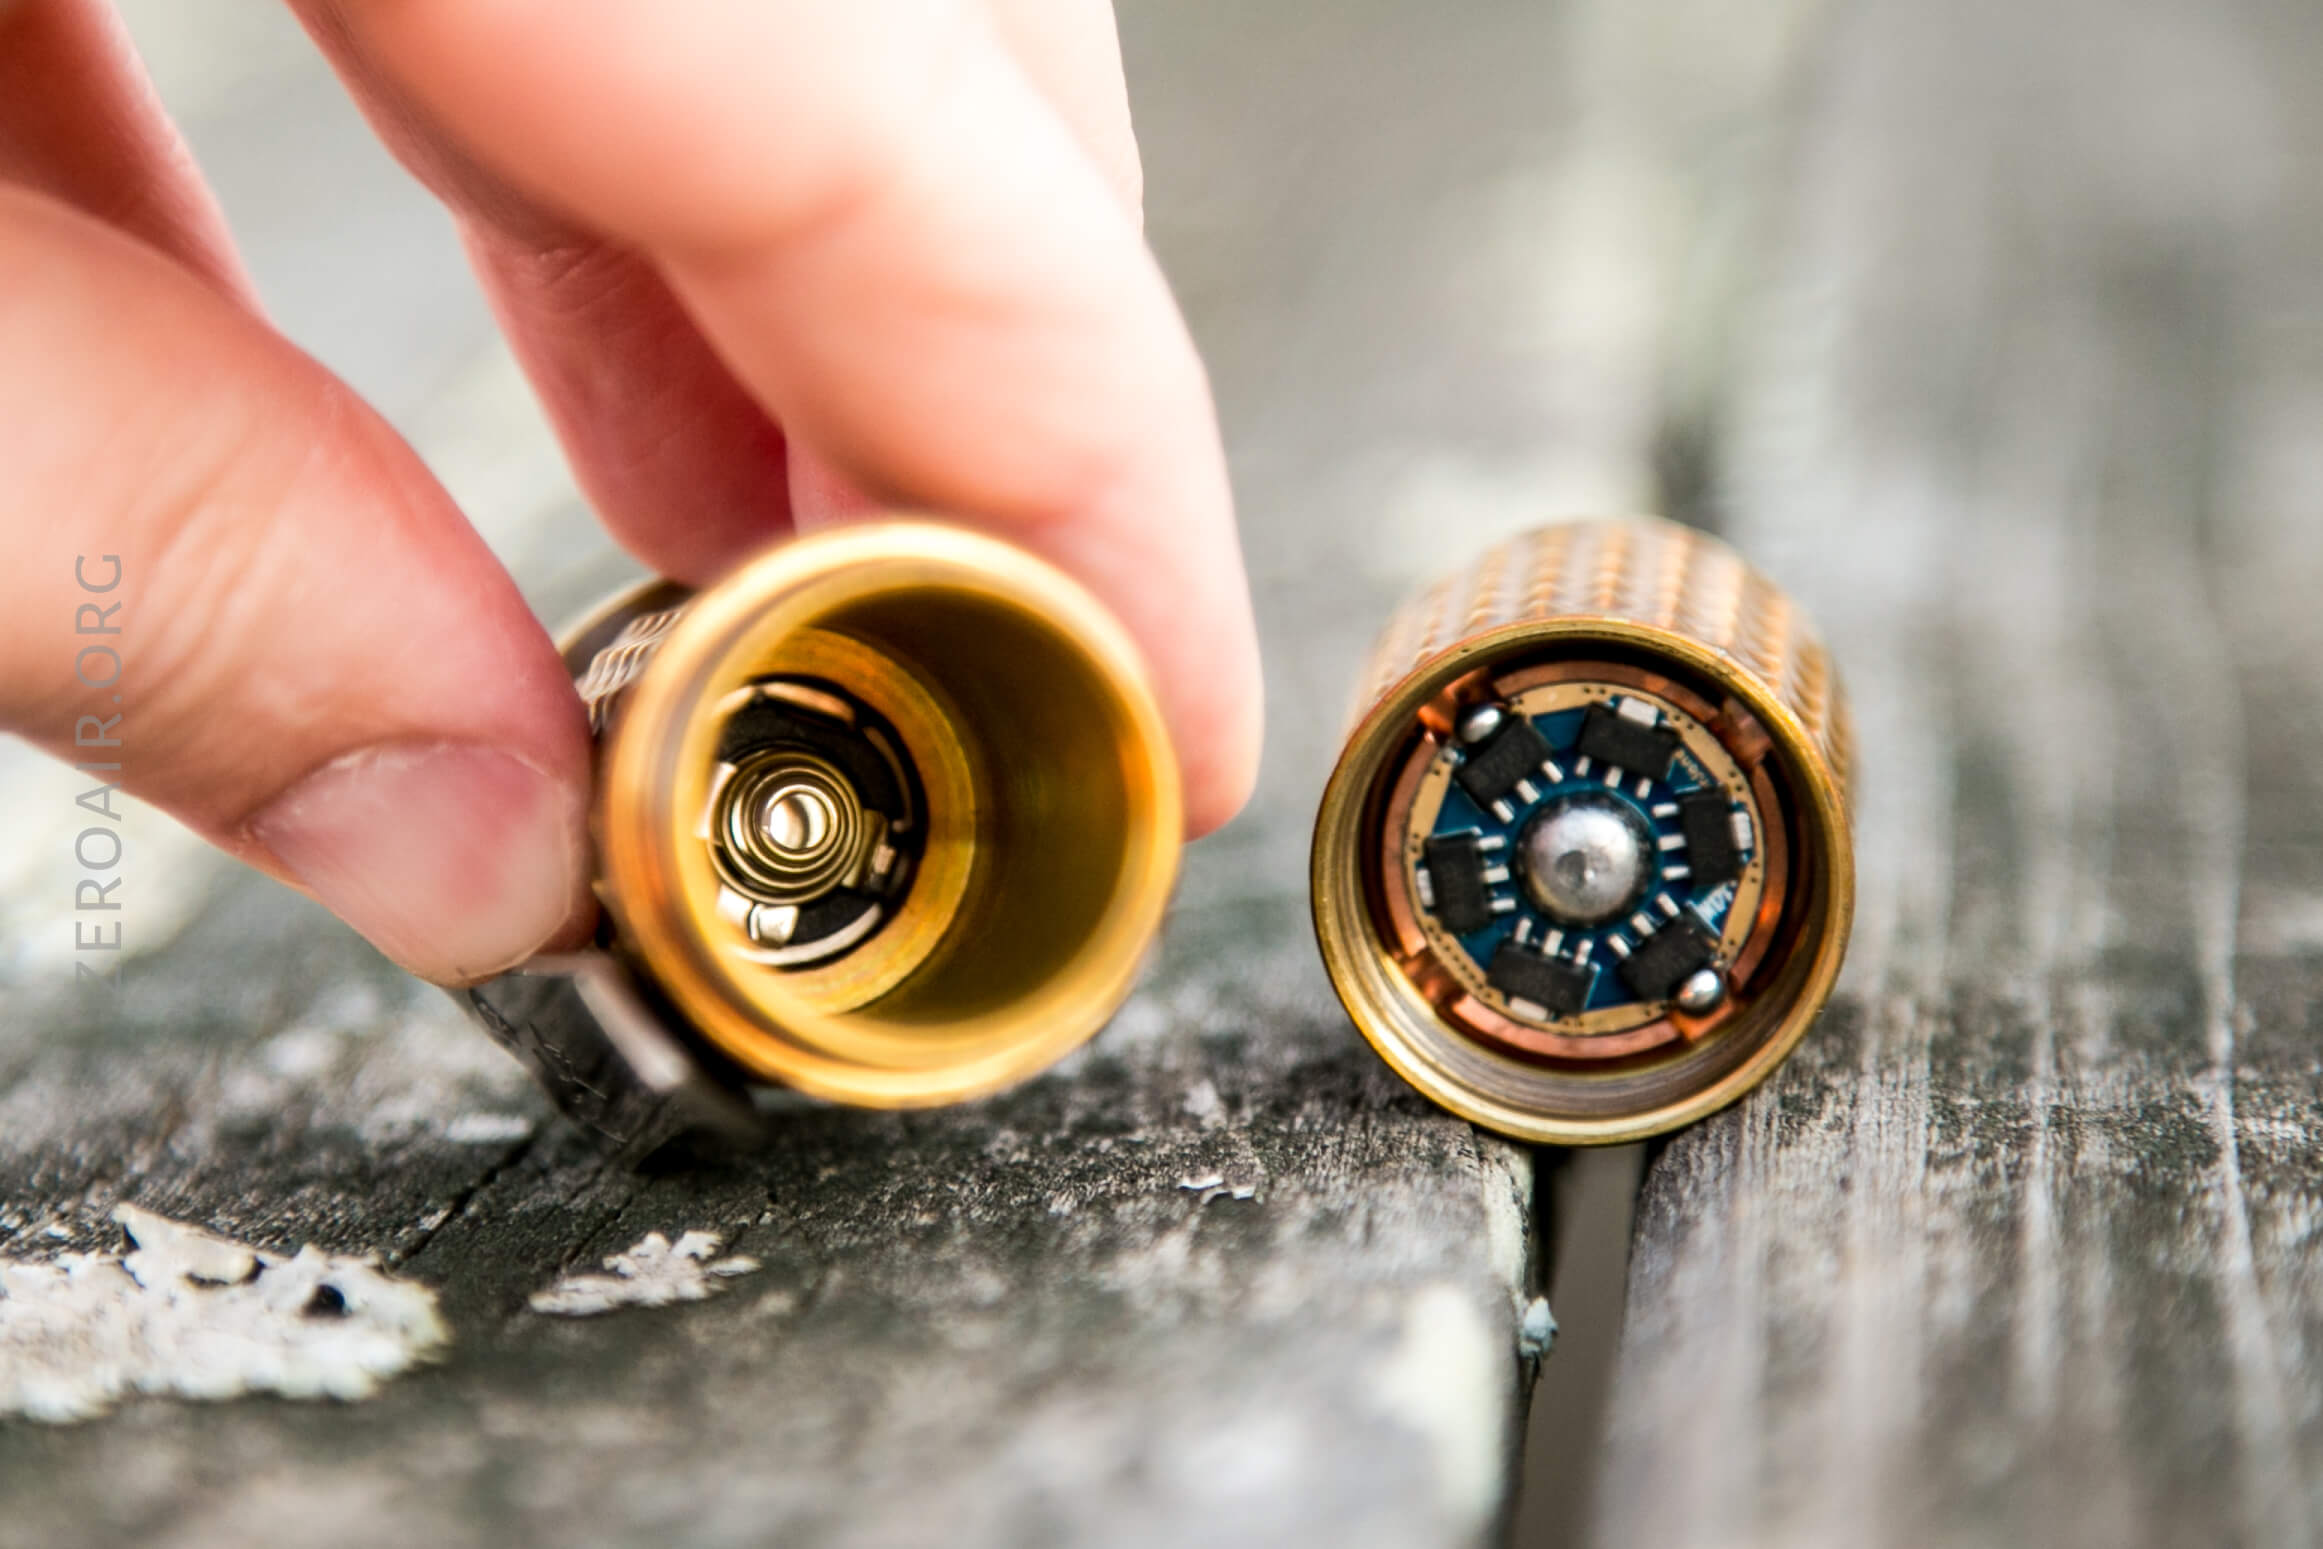
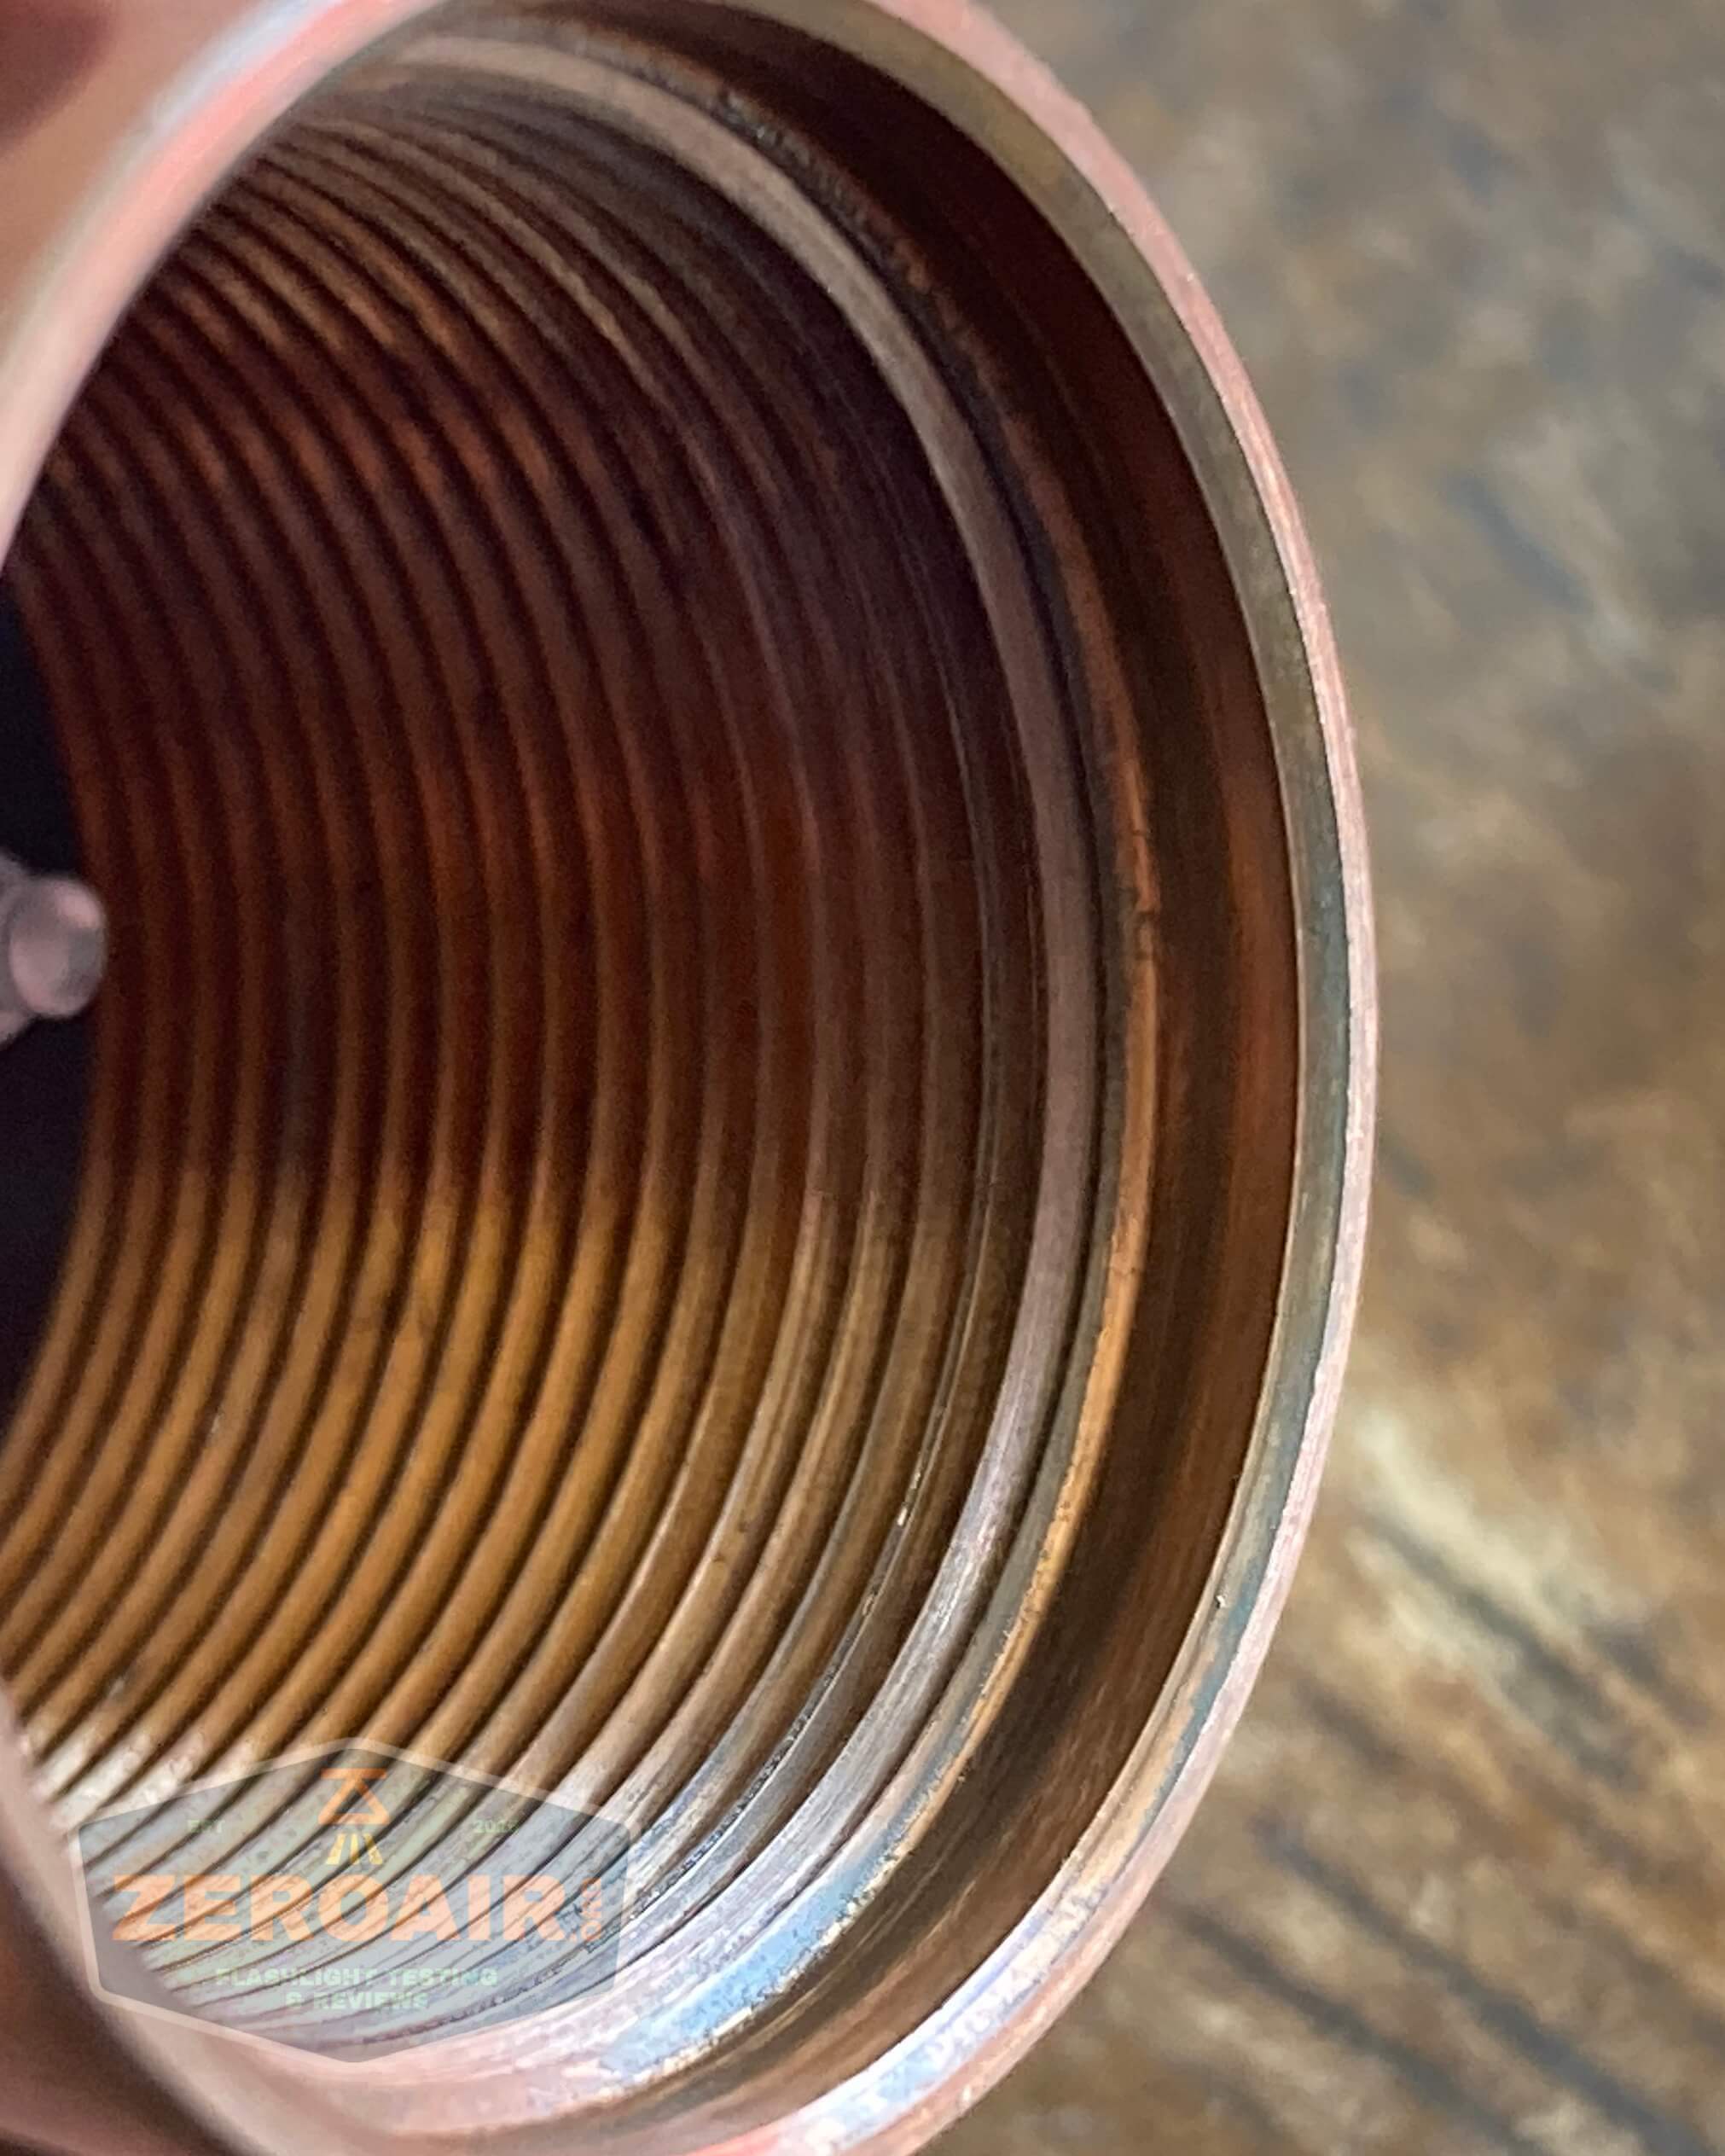
The pill just unscrews. It’s threaded into the body in the normal threading direction (no tricks up the sleeve). It’s not soldered in or anything magical. Here are some pill shots:
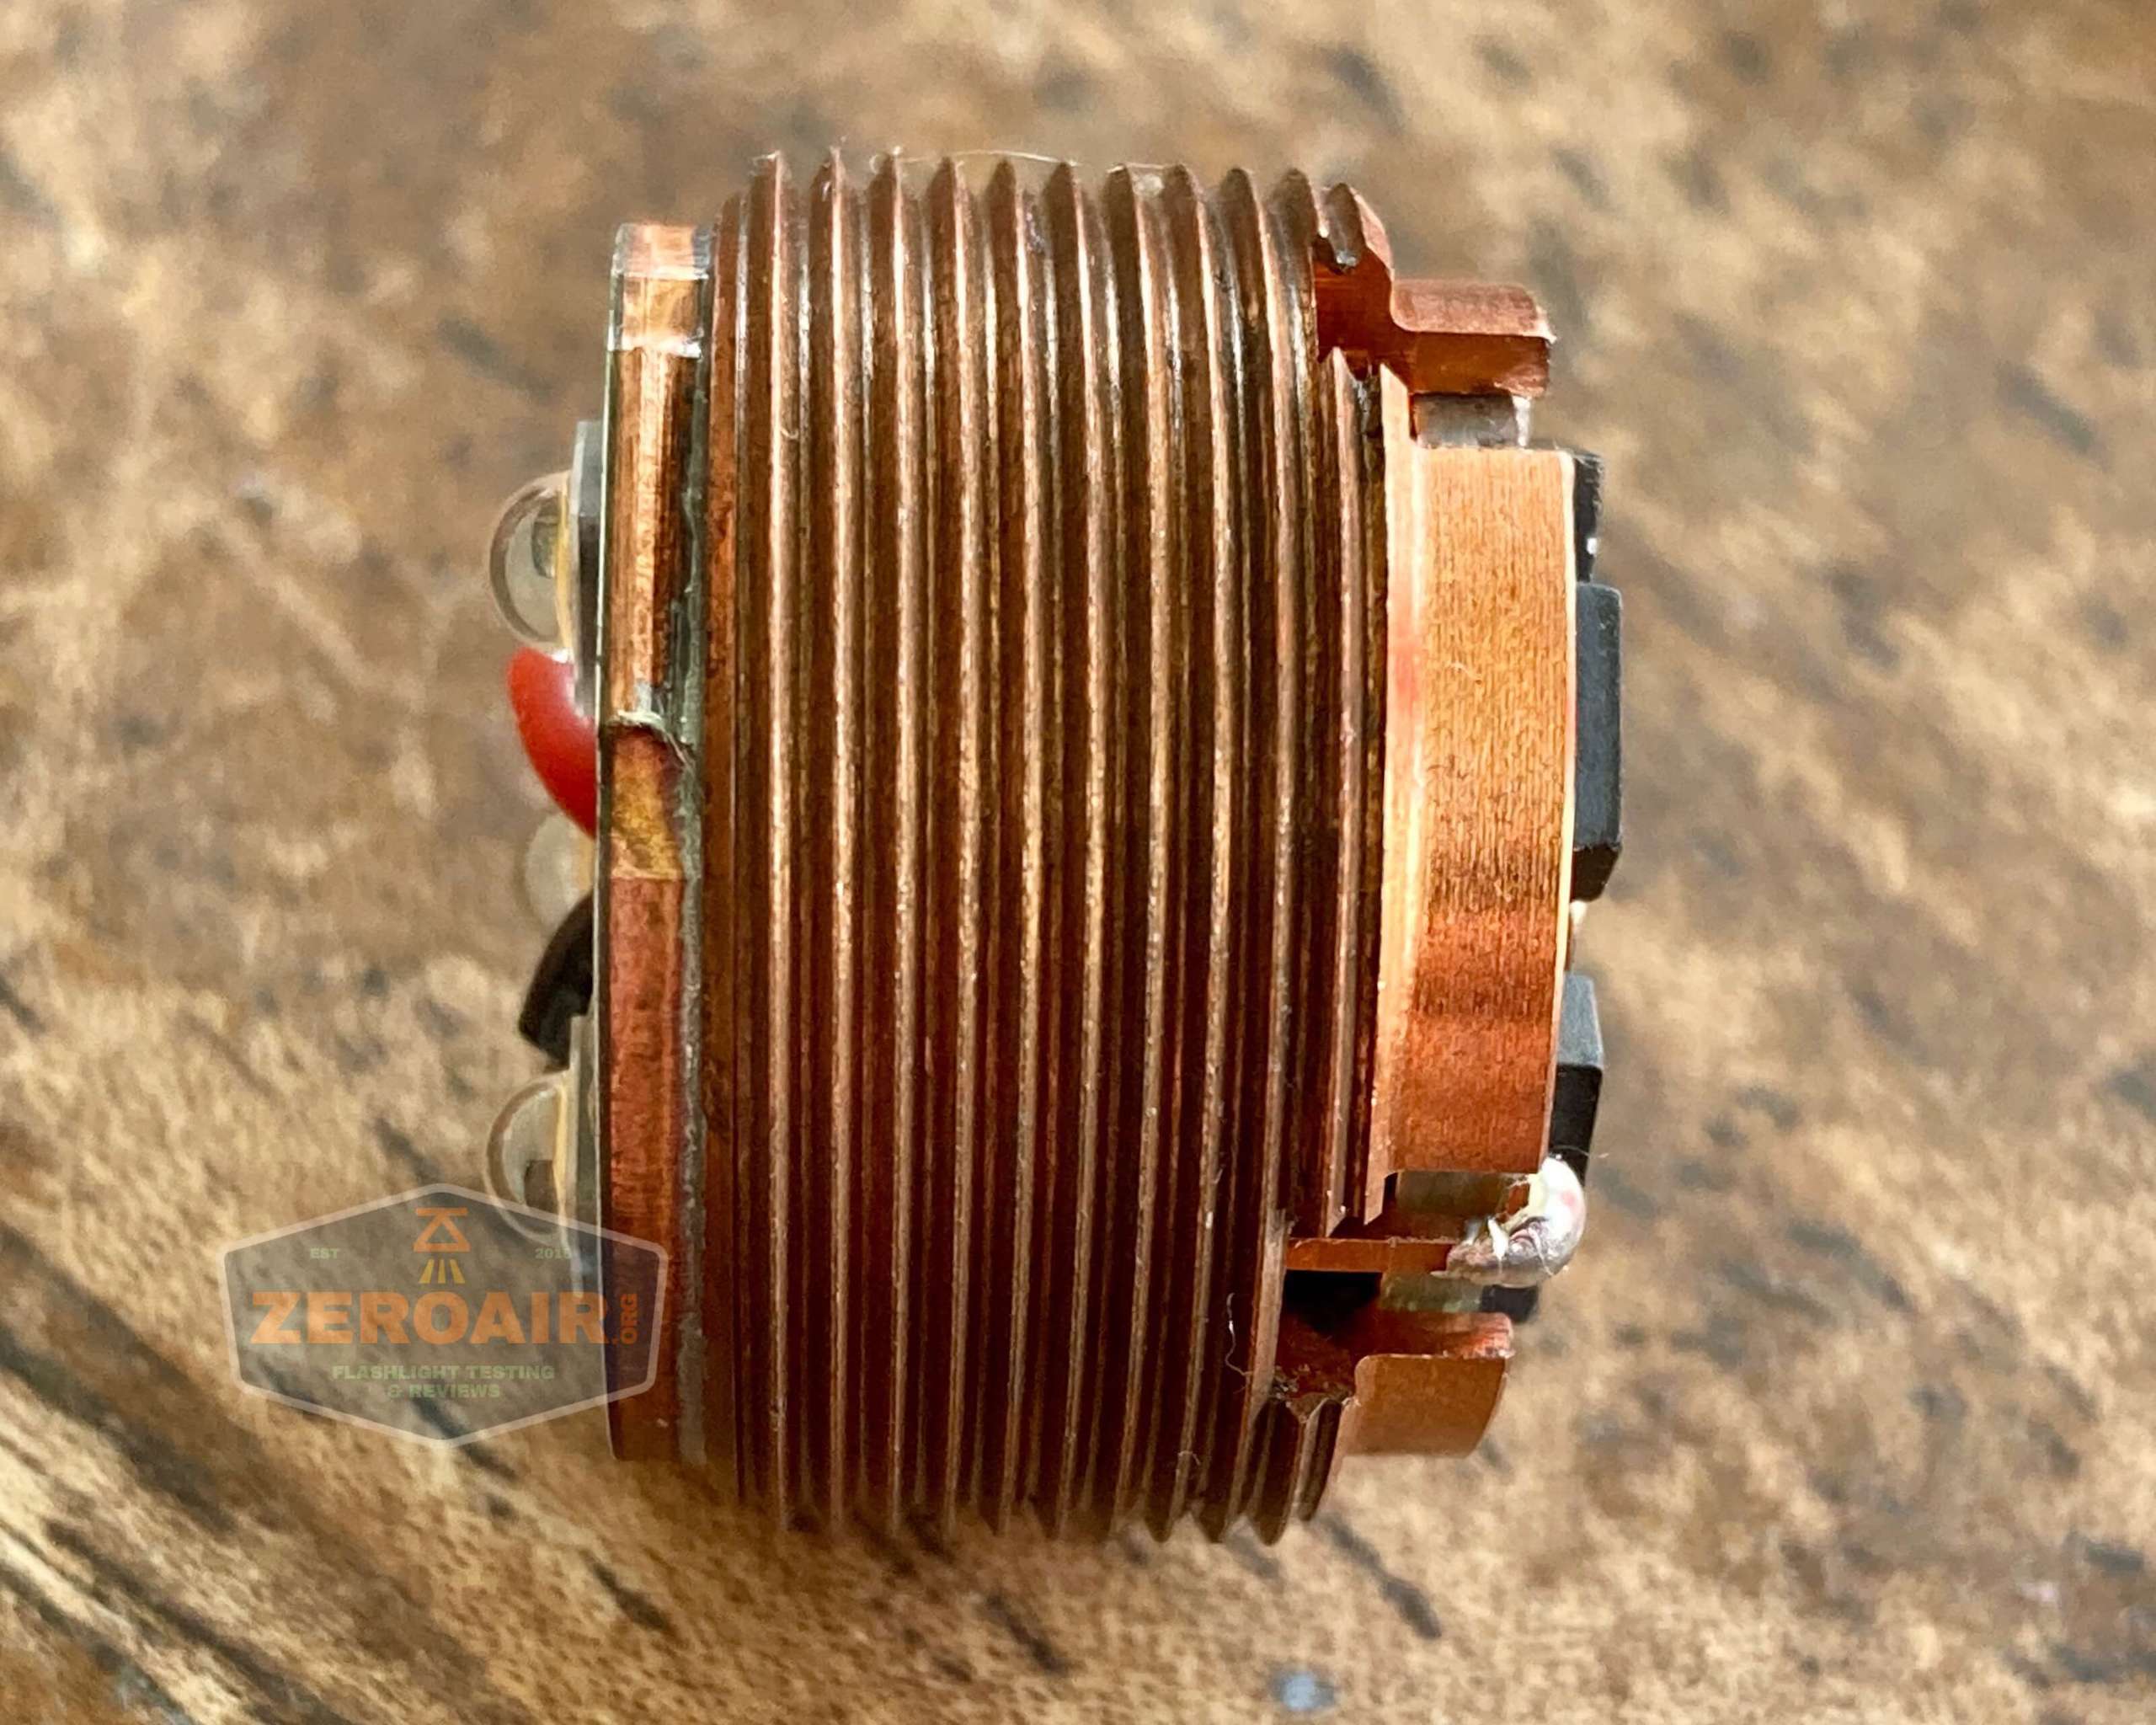
These pills are a little bit special. Getting them out of the light is easy, but actually swapping the guts on the pill is more challenging.
Note (below) that there’s a little gap, with a copper arm sticking up to the edge of the driver. This is the solder point – the driver (far right, below) is soldered to the pill (the big copper chunk). Other makers do this in other ways, but none of them as eloquently as is seen here. It is my understanding that Jeff Hanko invented this technique (and as far as I know, is still the only maker to do it this way).

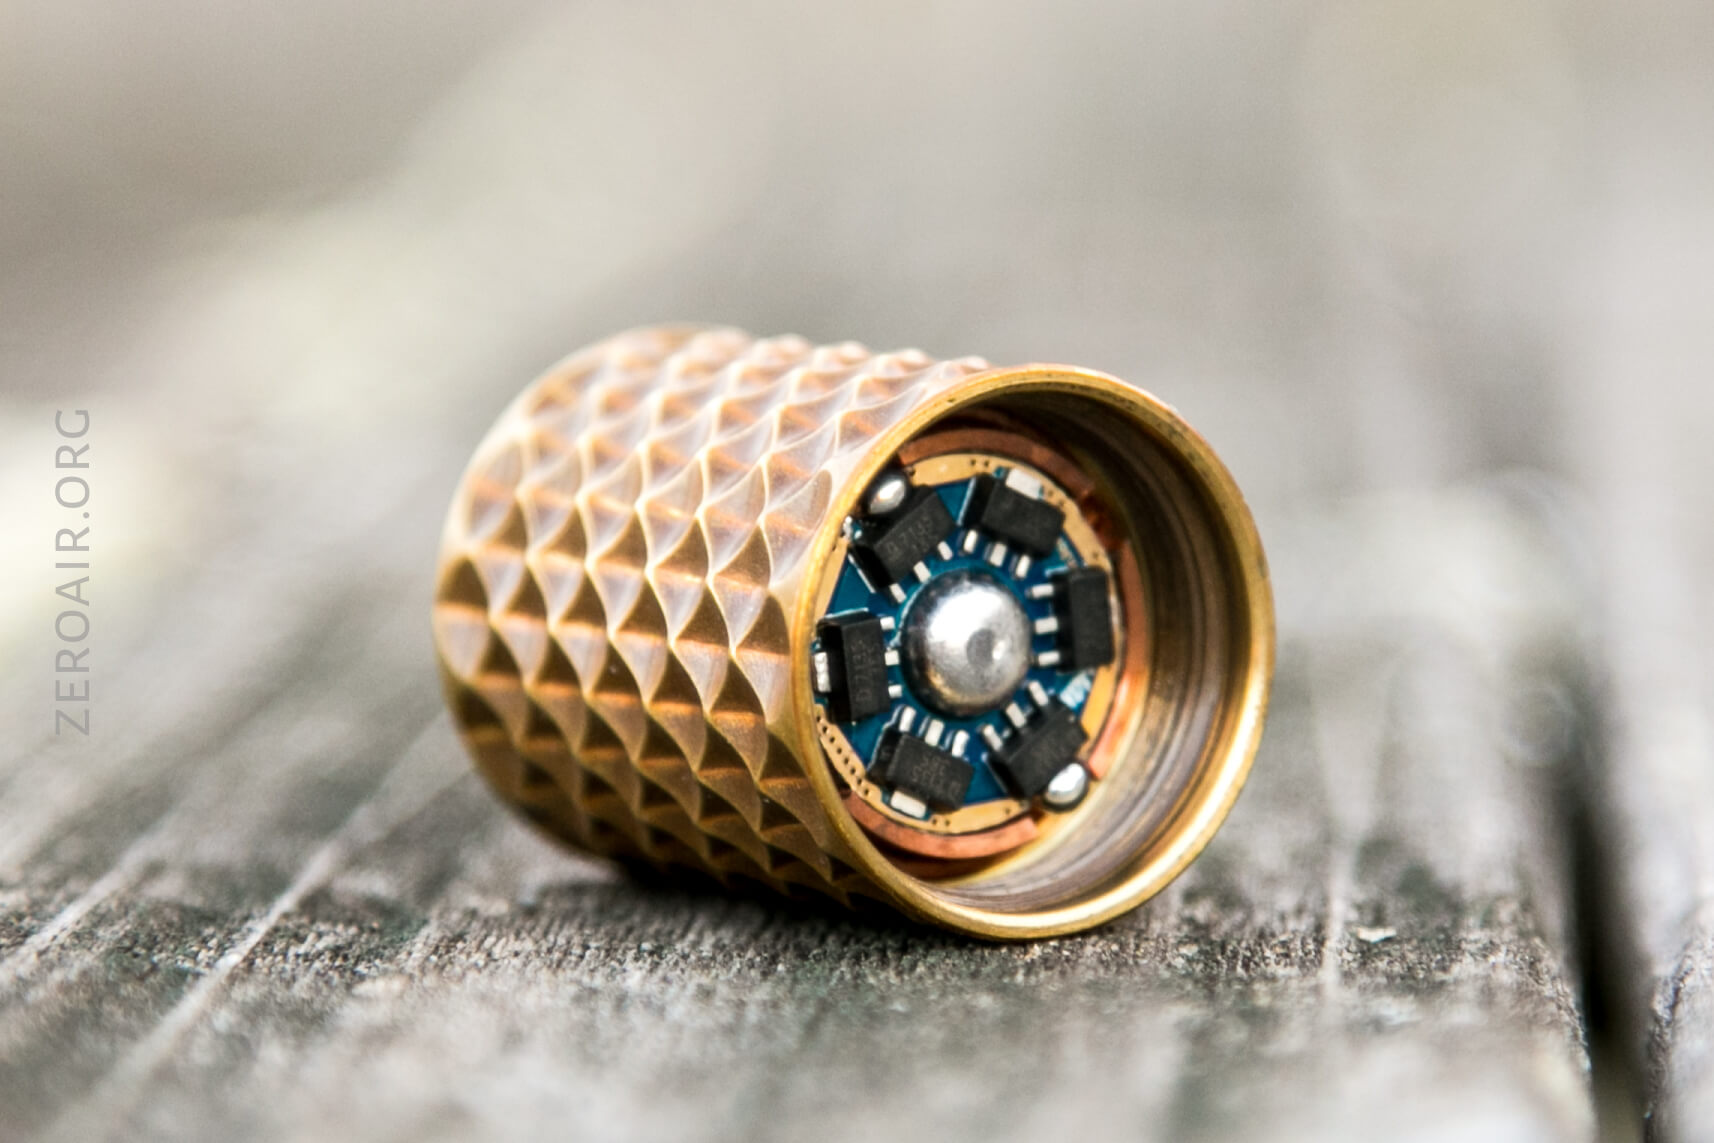
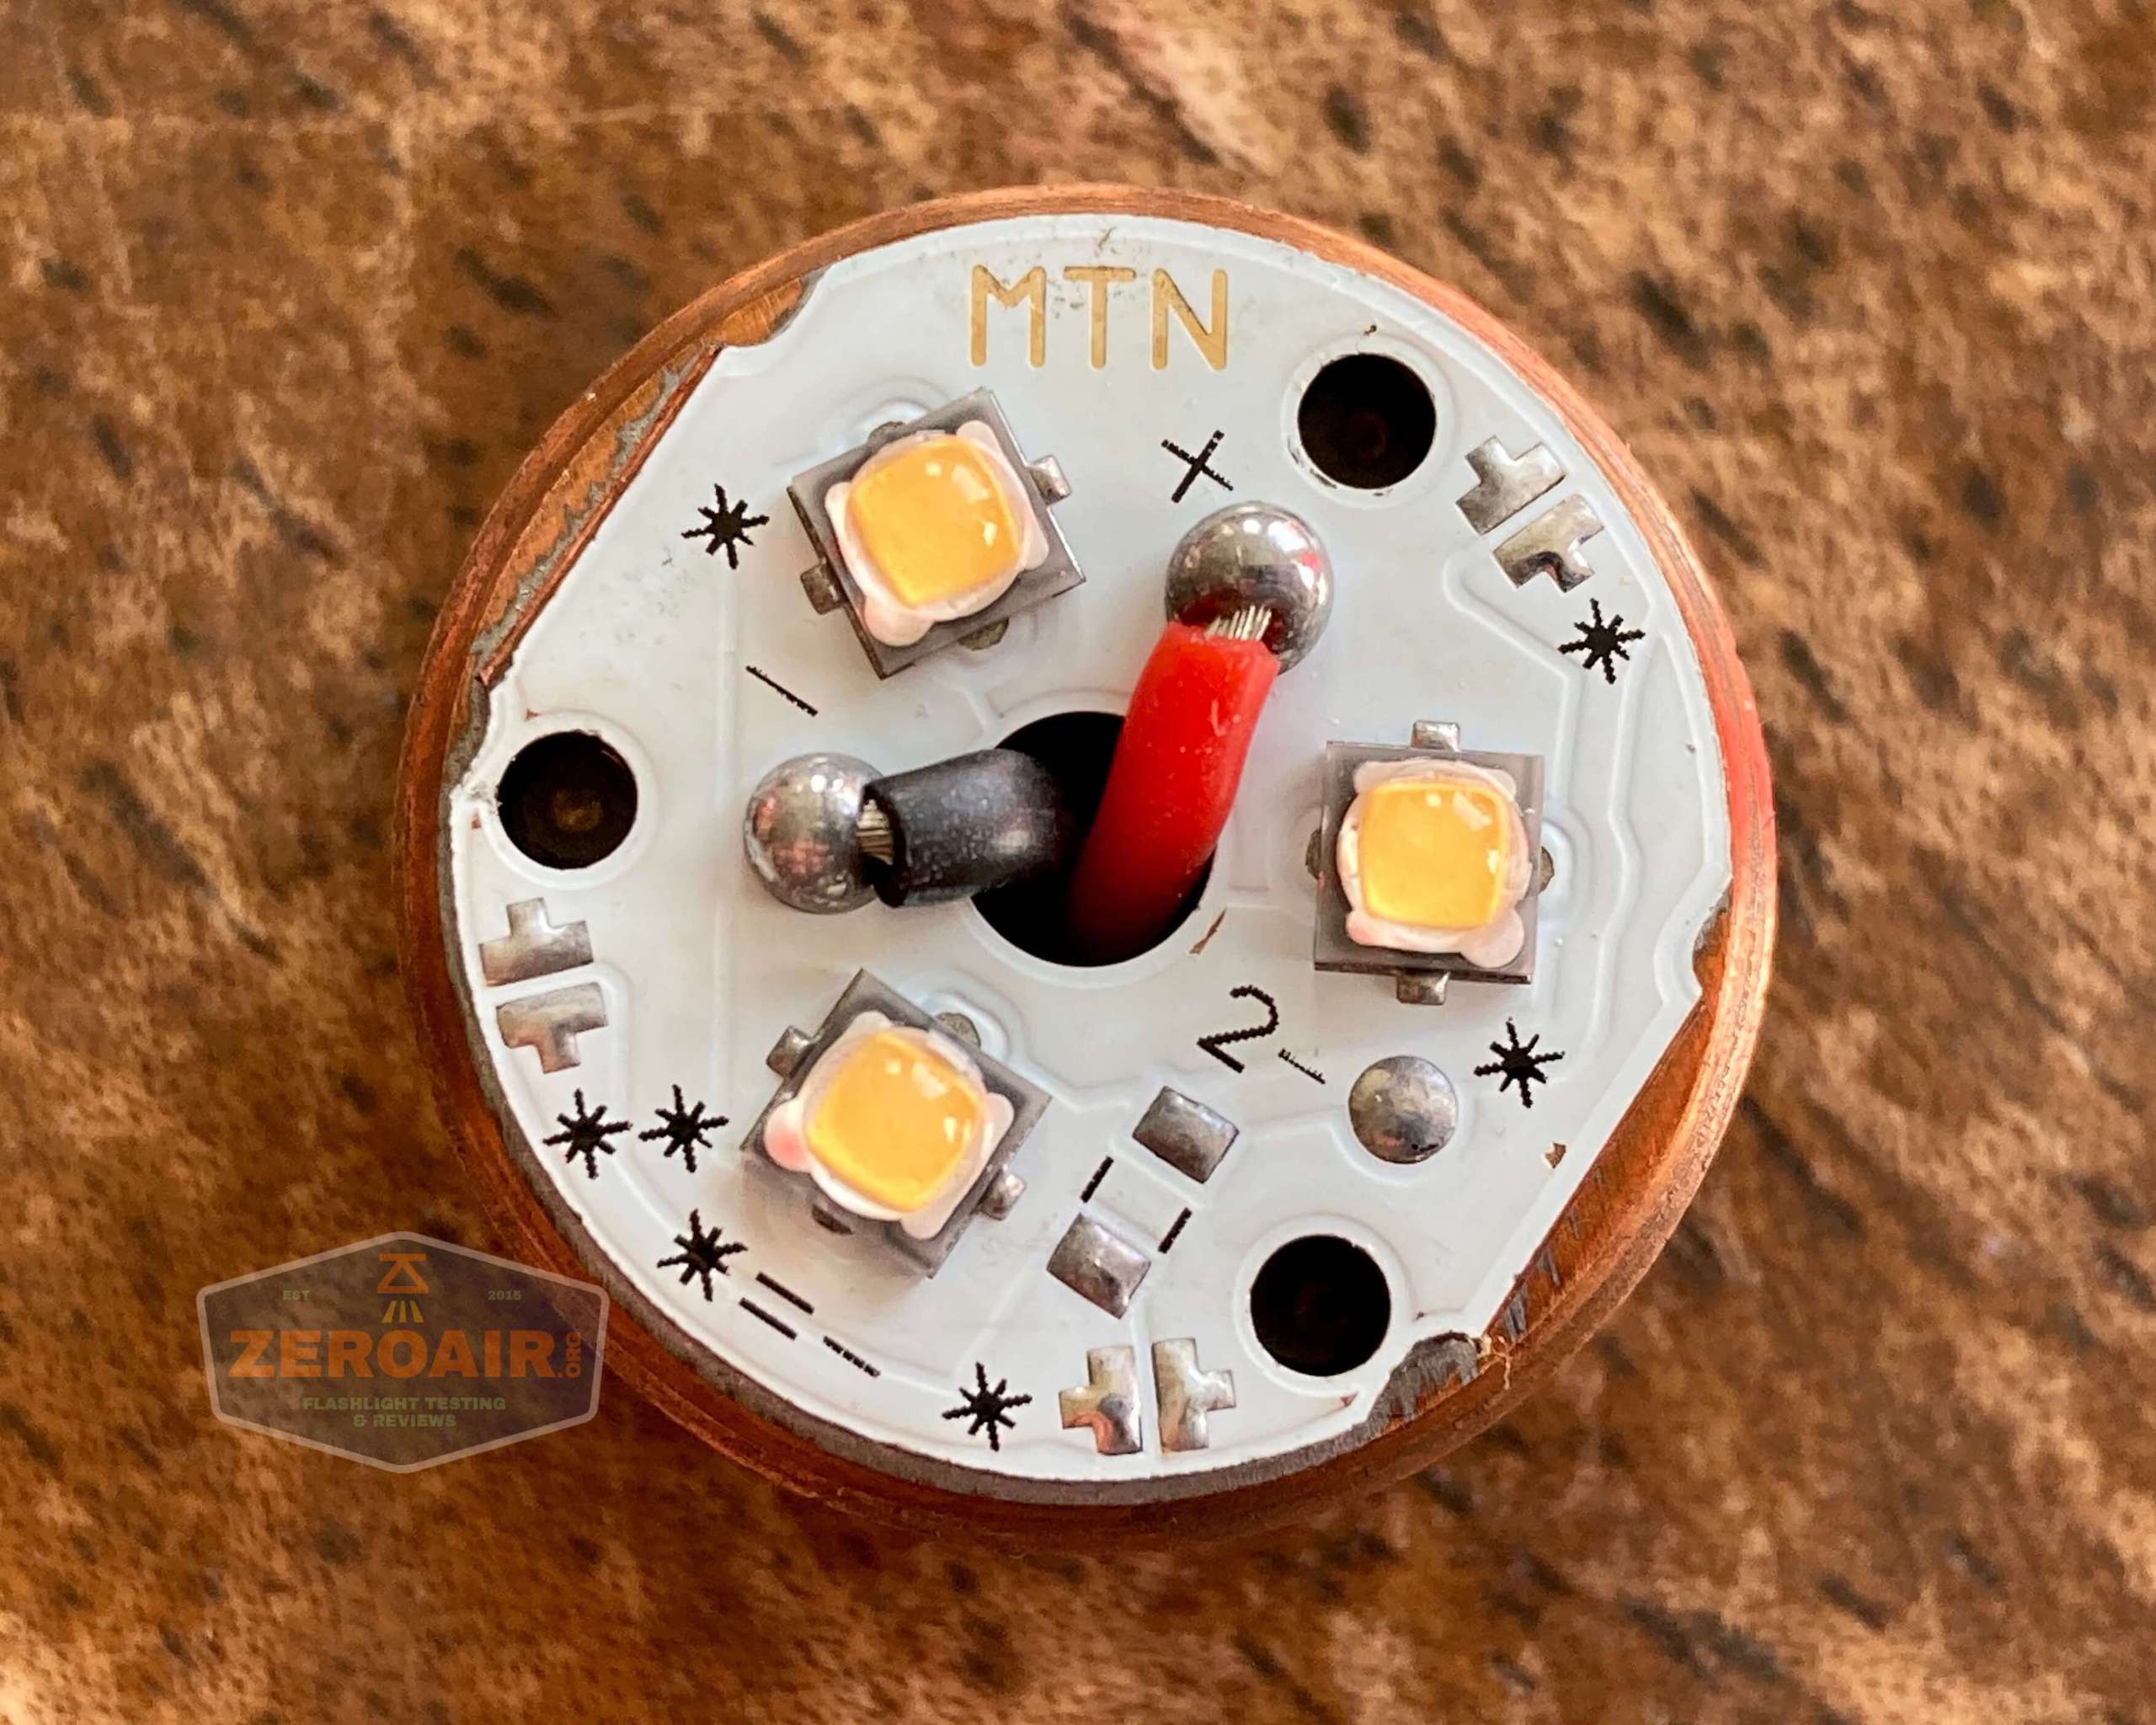
Here’s the other side of the pill, which has the MCPCB and drivers. What you see here is a MTN board with Nichia 219c emitters. There are wires coming through the center of the pill for contact. Probably the hardest part of swapping the MCPCB from a stock Hanko is that Hanko solders the MCPCB to the pill. Removing it requires heating the pill hot enough to melt the solder…. Another option is thermal adhesive, which is probably an easier solution, but it’s hard to say if it’s better.
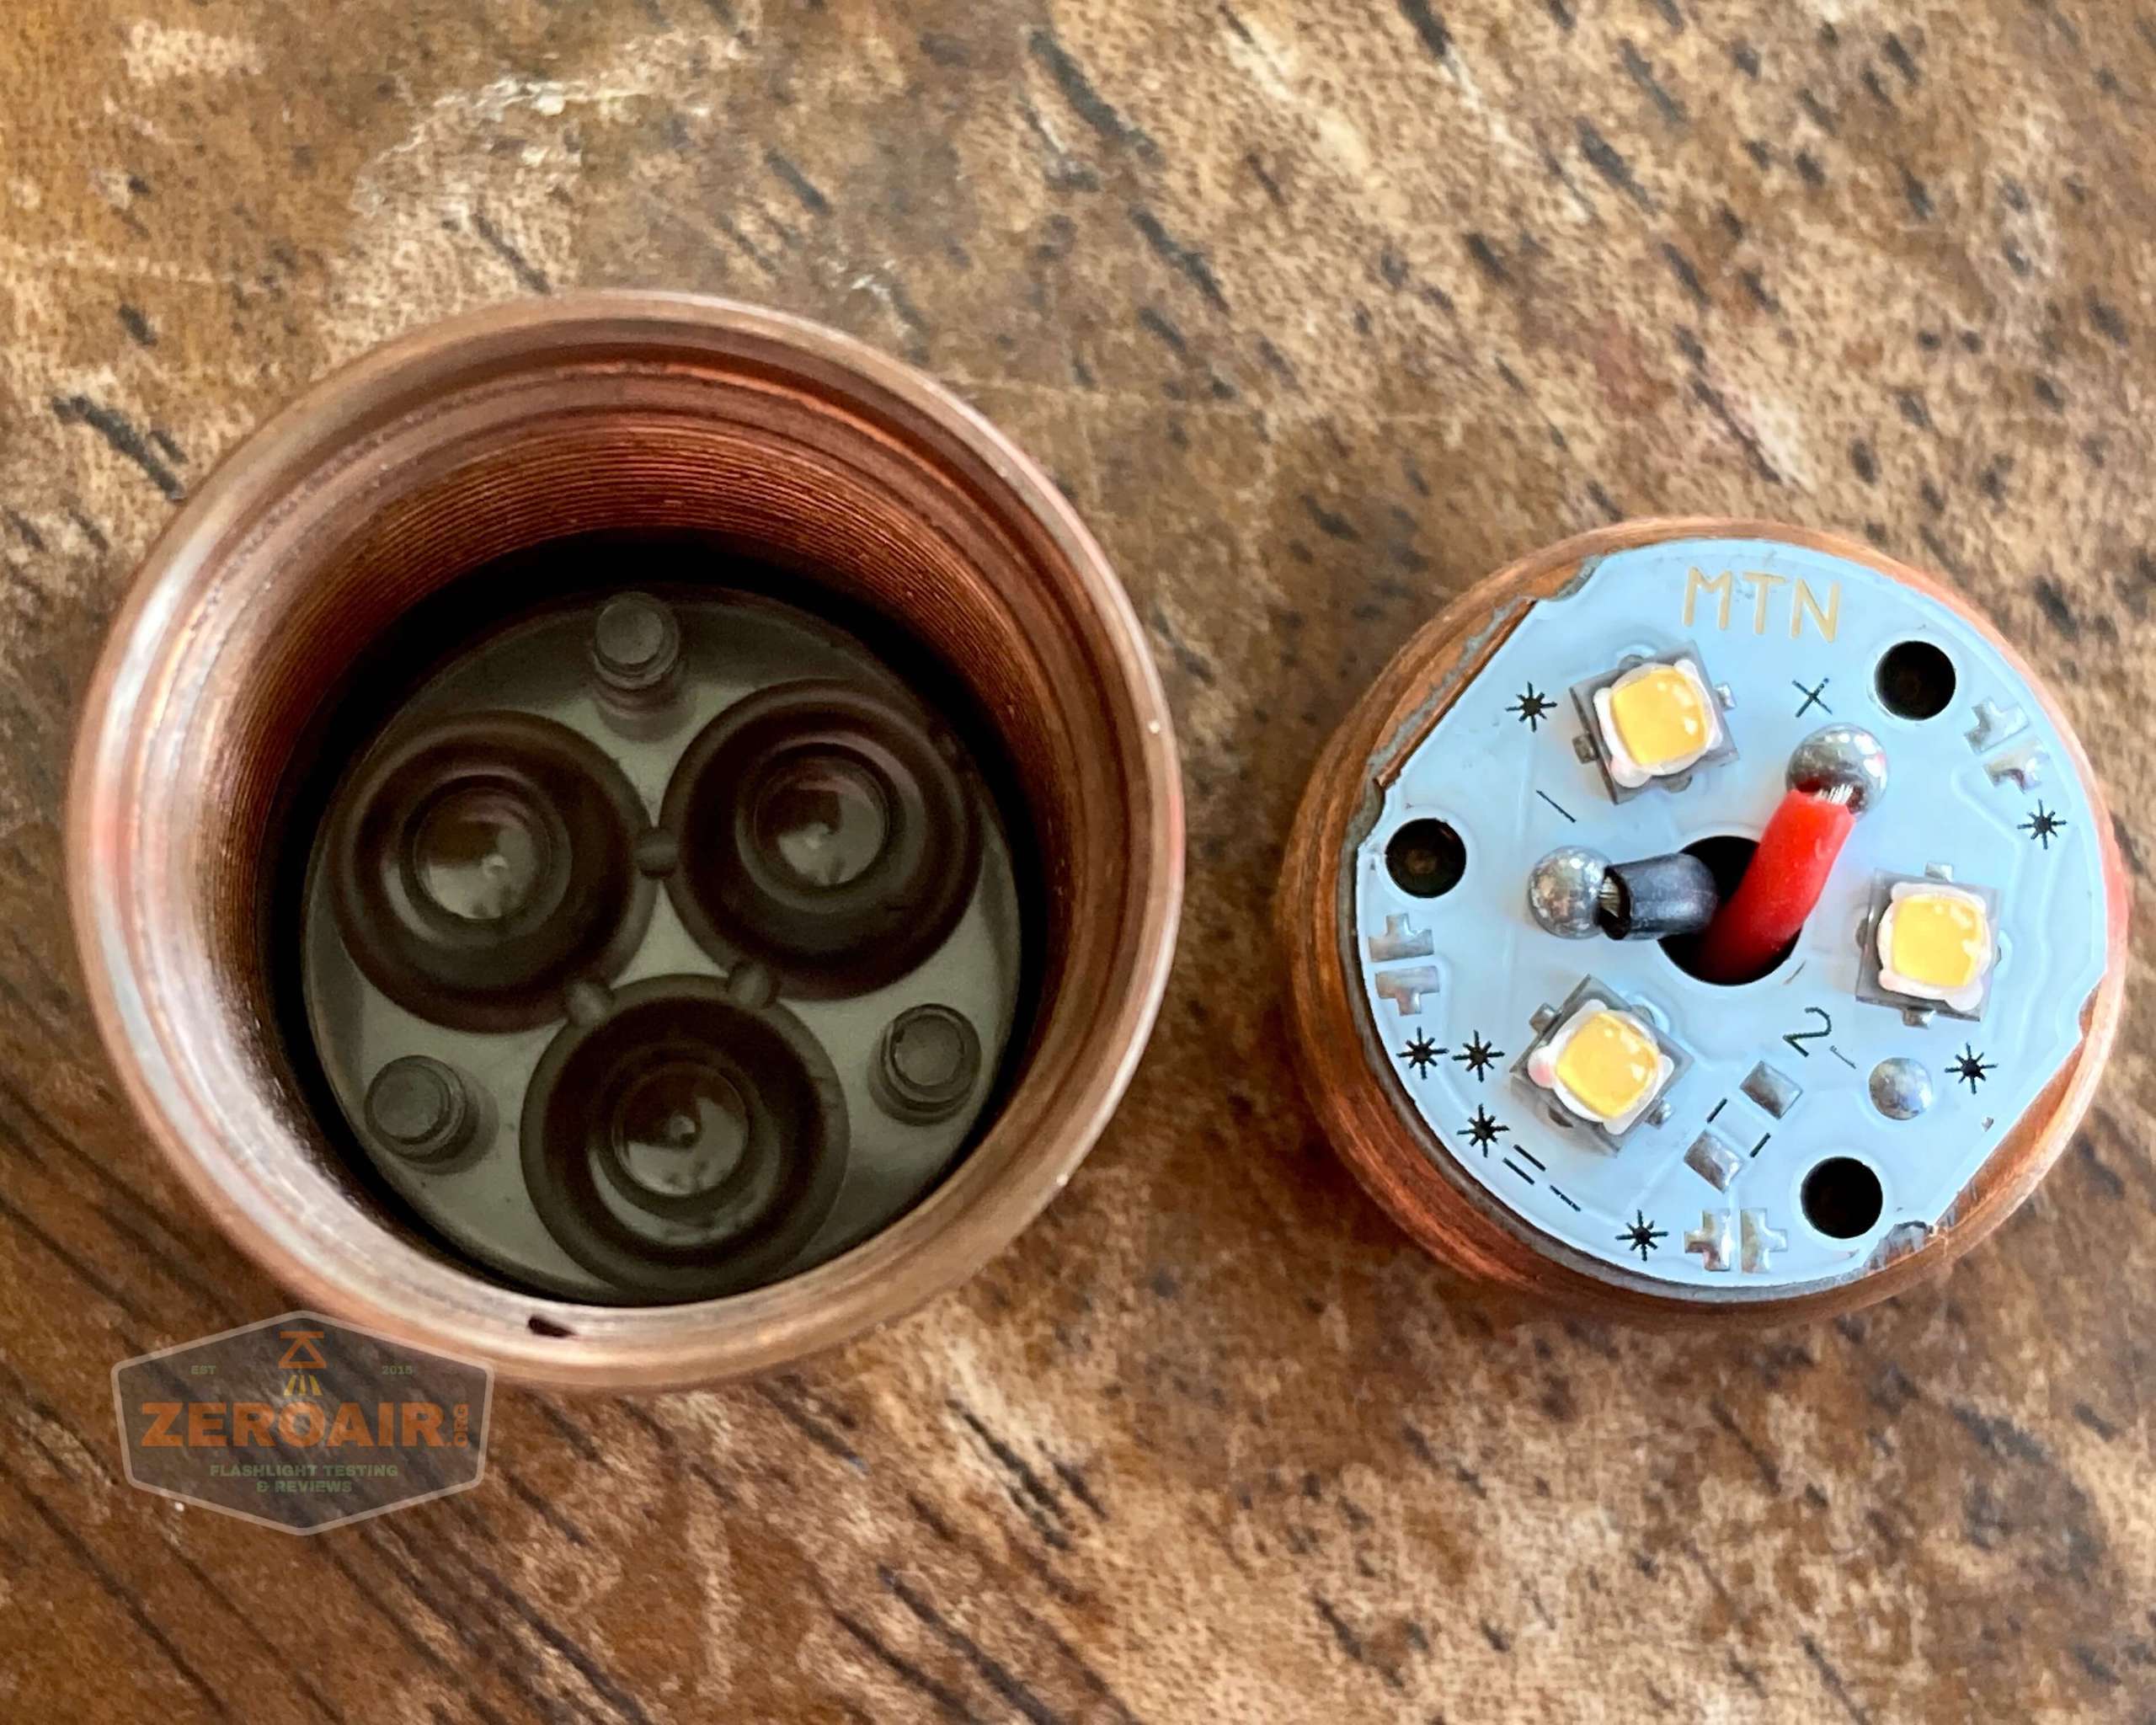
All of this “light engine” screws directly into the pill. Below is actually a copper Full Twist, not the Brass Total Tesseract from this review. But it’s all the same setup. When putting the parts together, you want to have the optic (seen at left below) on the engine already.
Here’s my small army of engines. The most red one is what used to ship on these lights – just a qlite fairly boring driver. The top center is the Dragon board by CWF. Bottom enter is the H17f with Nichia 219c. And black, far right is a custom engine I bought on Facebook, which has 3000K Nichia 219b emitters and an H17F driver. The pill on this one is not stock Hanko, but still fits and works perfectly.
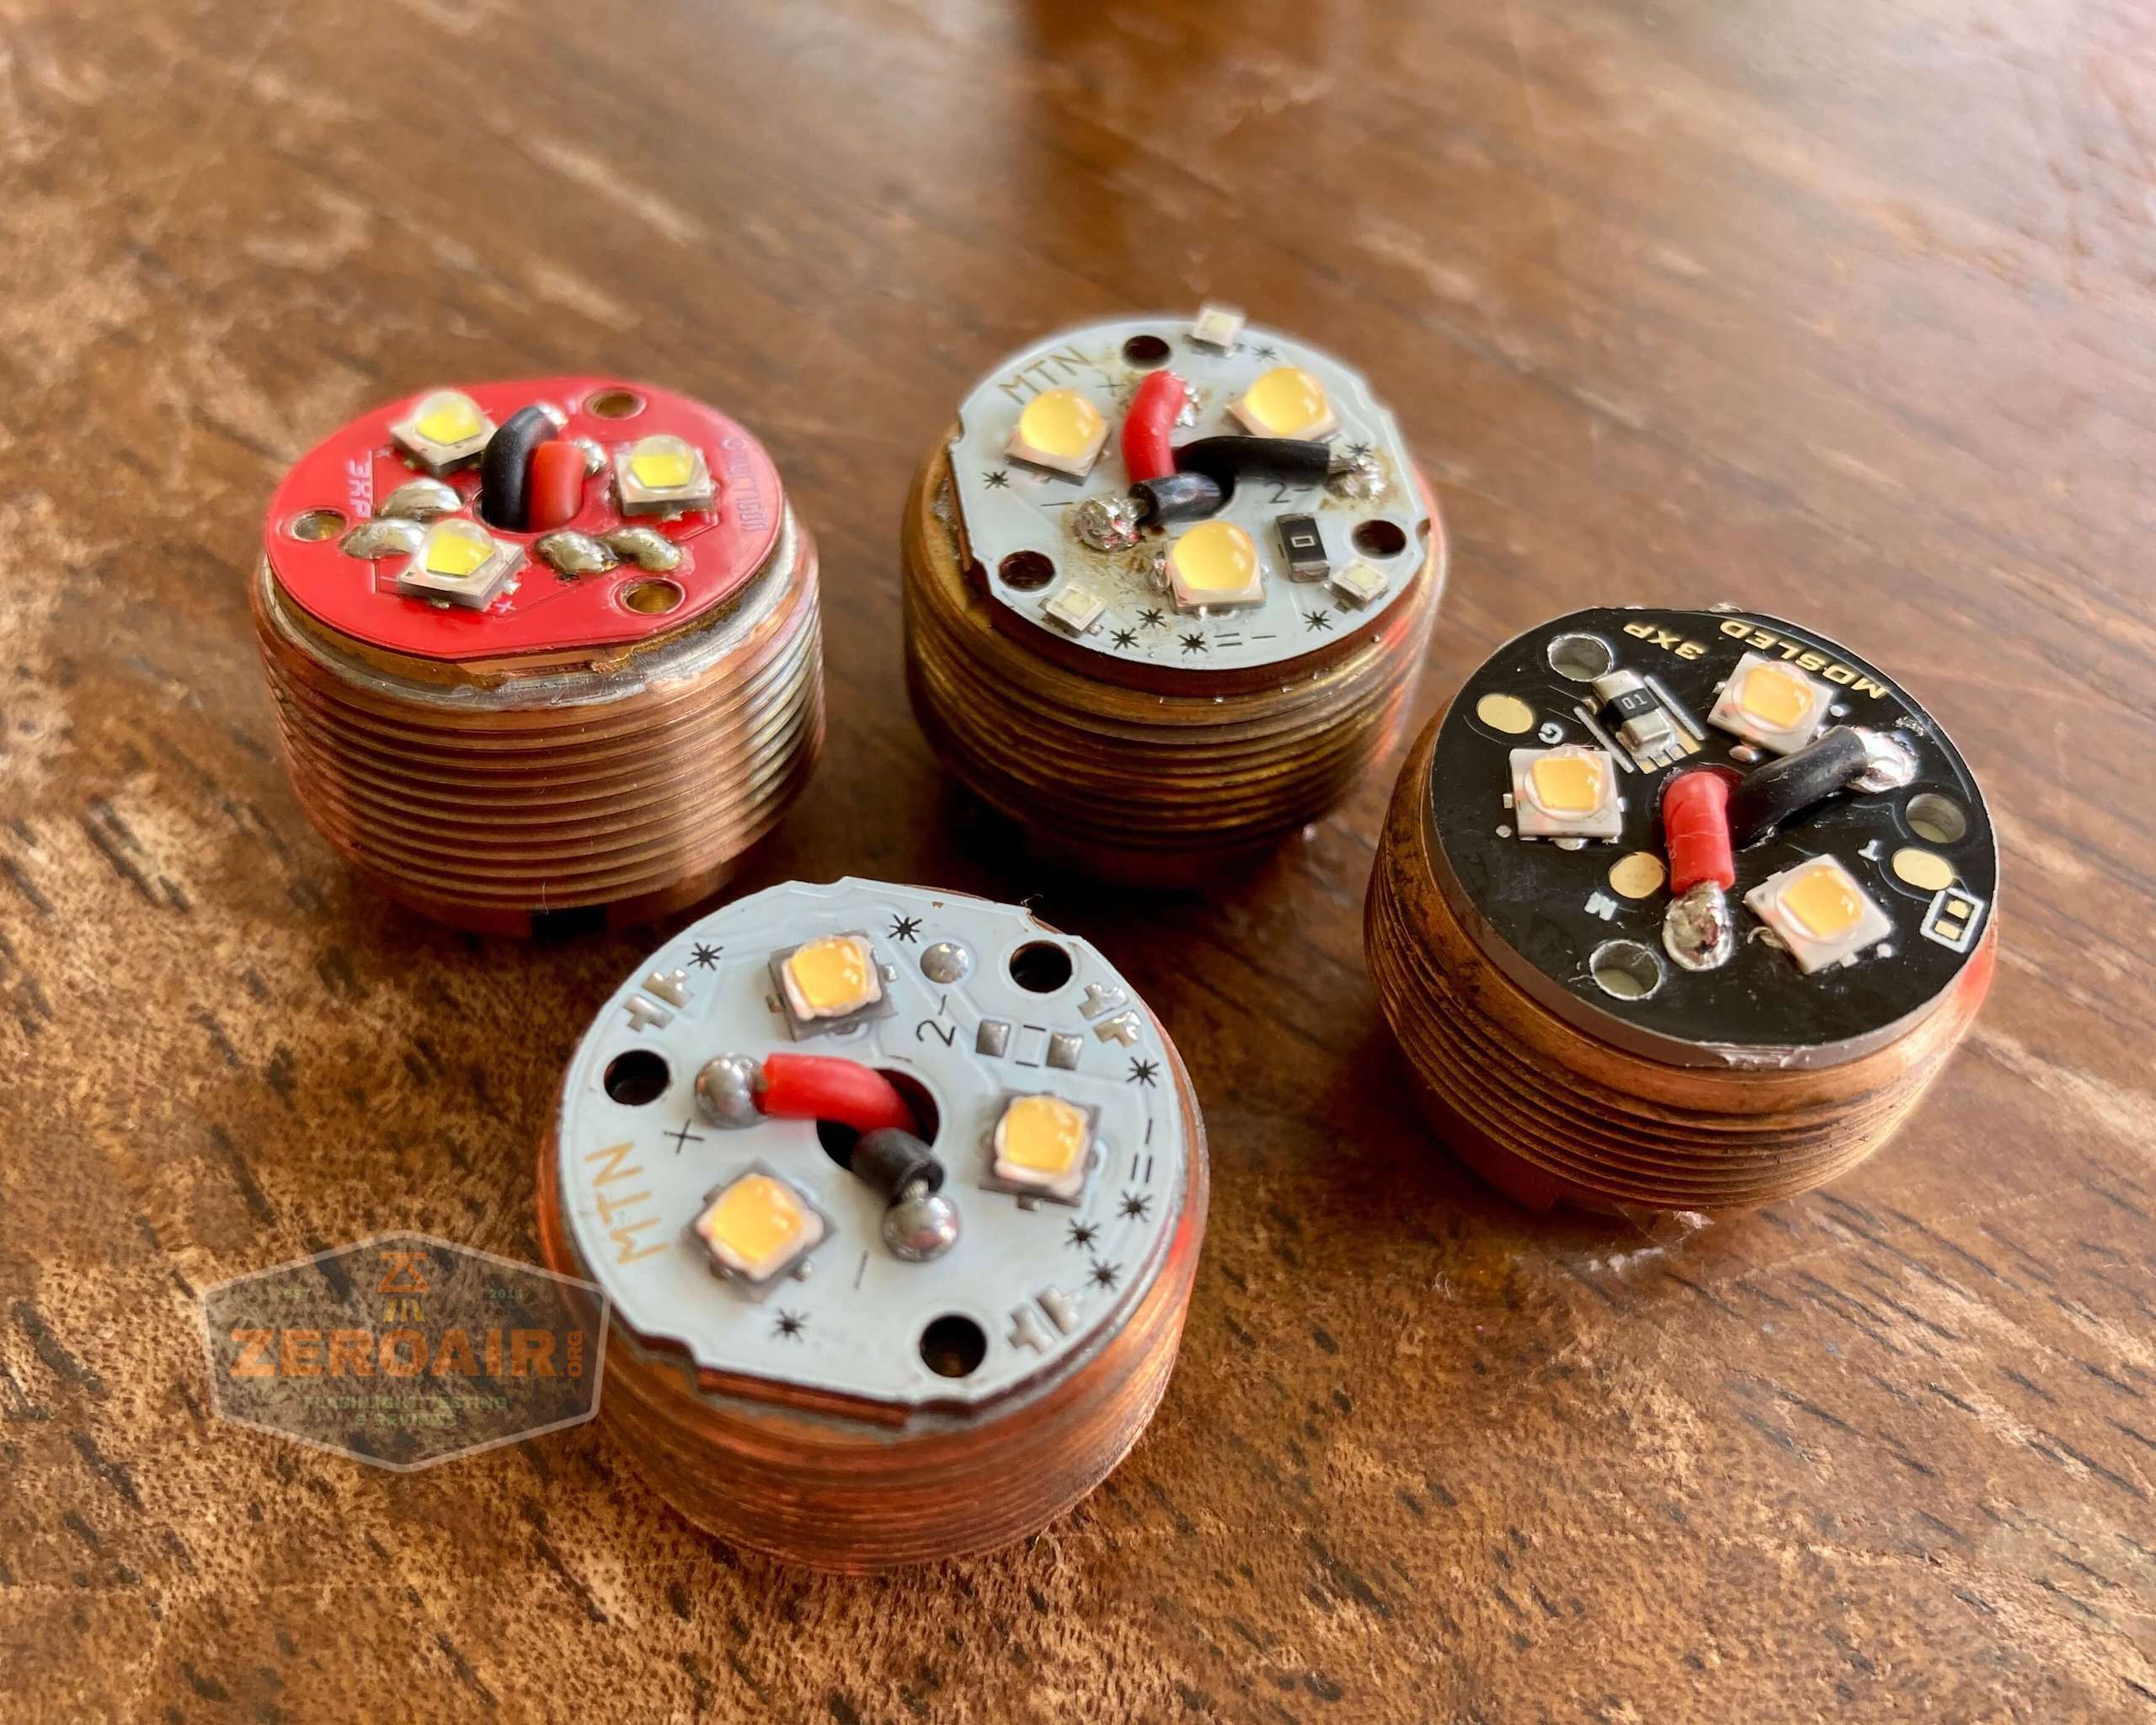
Not pictured is my Lux-RC 371d engine – it’s actually a bit special. That driver is a one-piece board (emitters and driver components on one side of one board (!!!)), and the wires do not go up through the center. So a pill must be modified to have wires going through the side to make good contact. Also, a battery contact replacement should be made – it’s not a simple swap of engines.
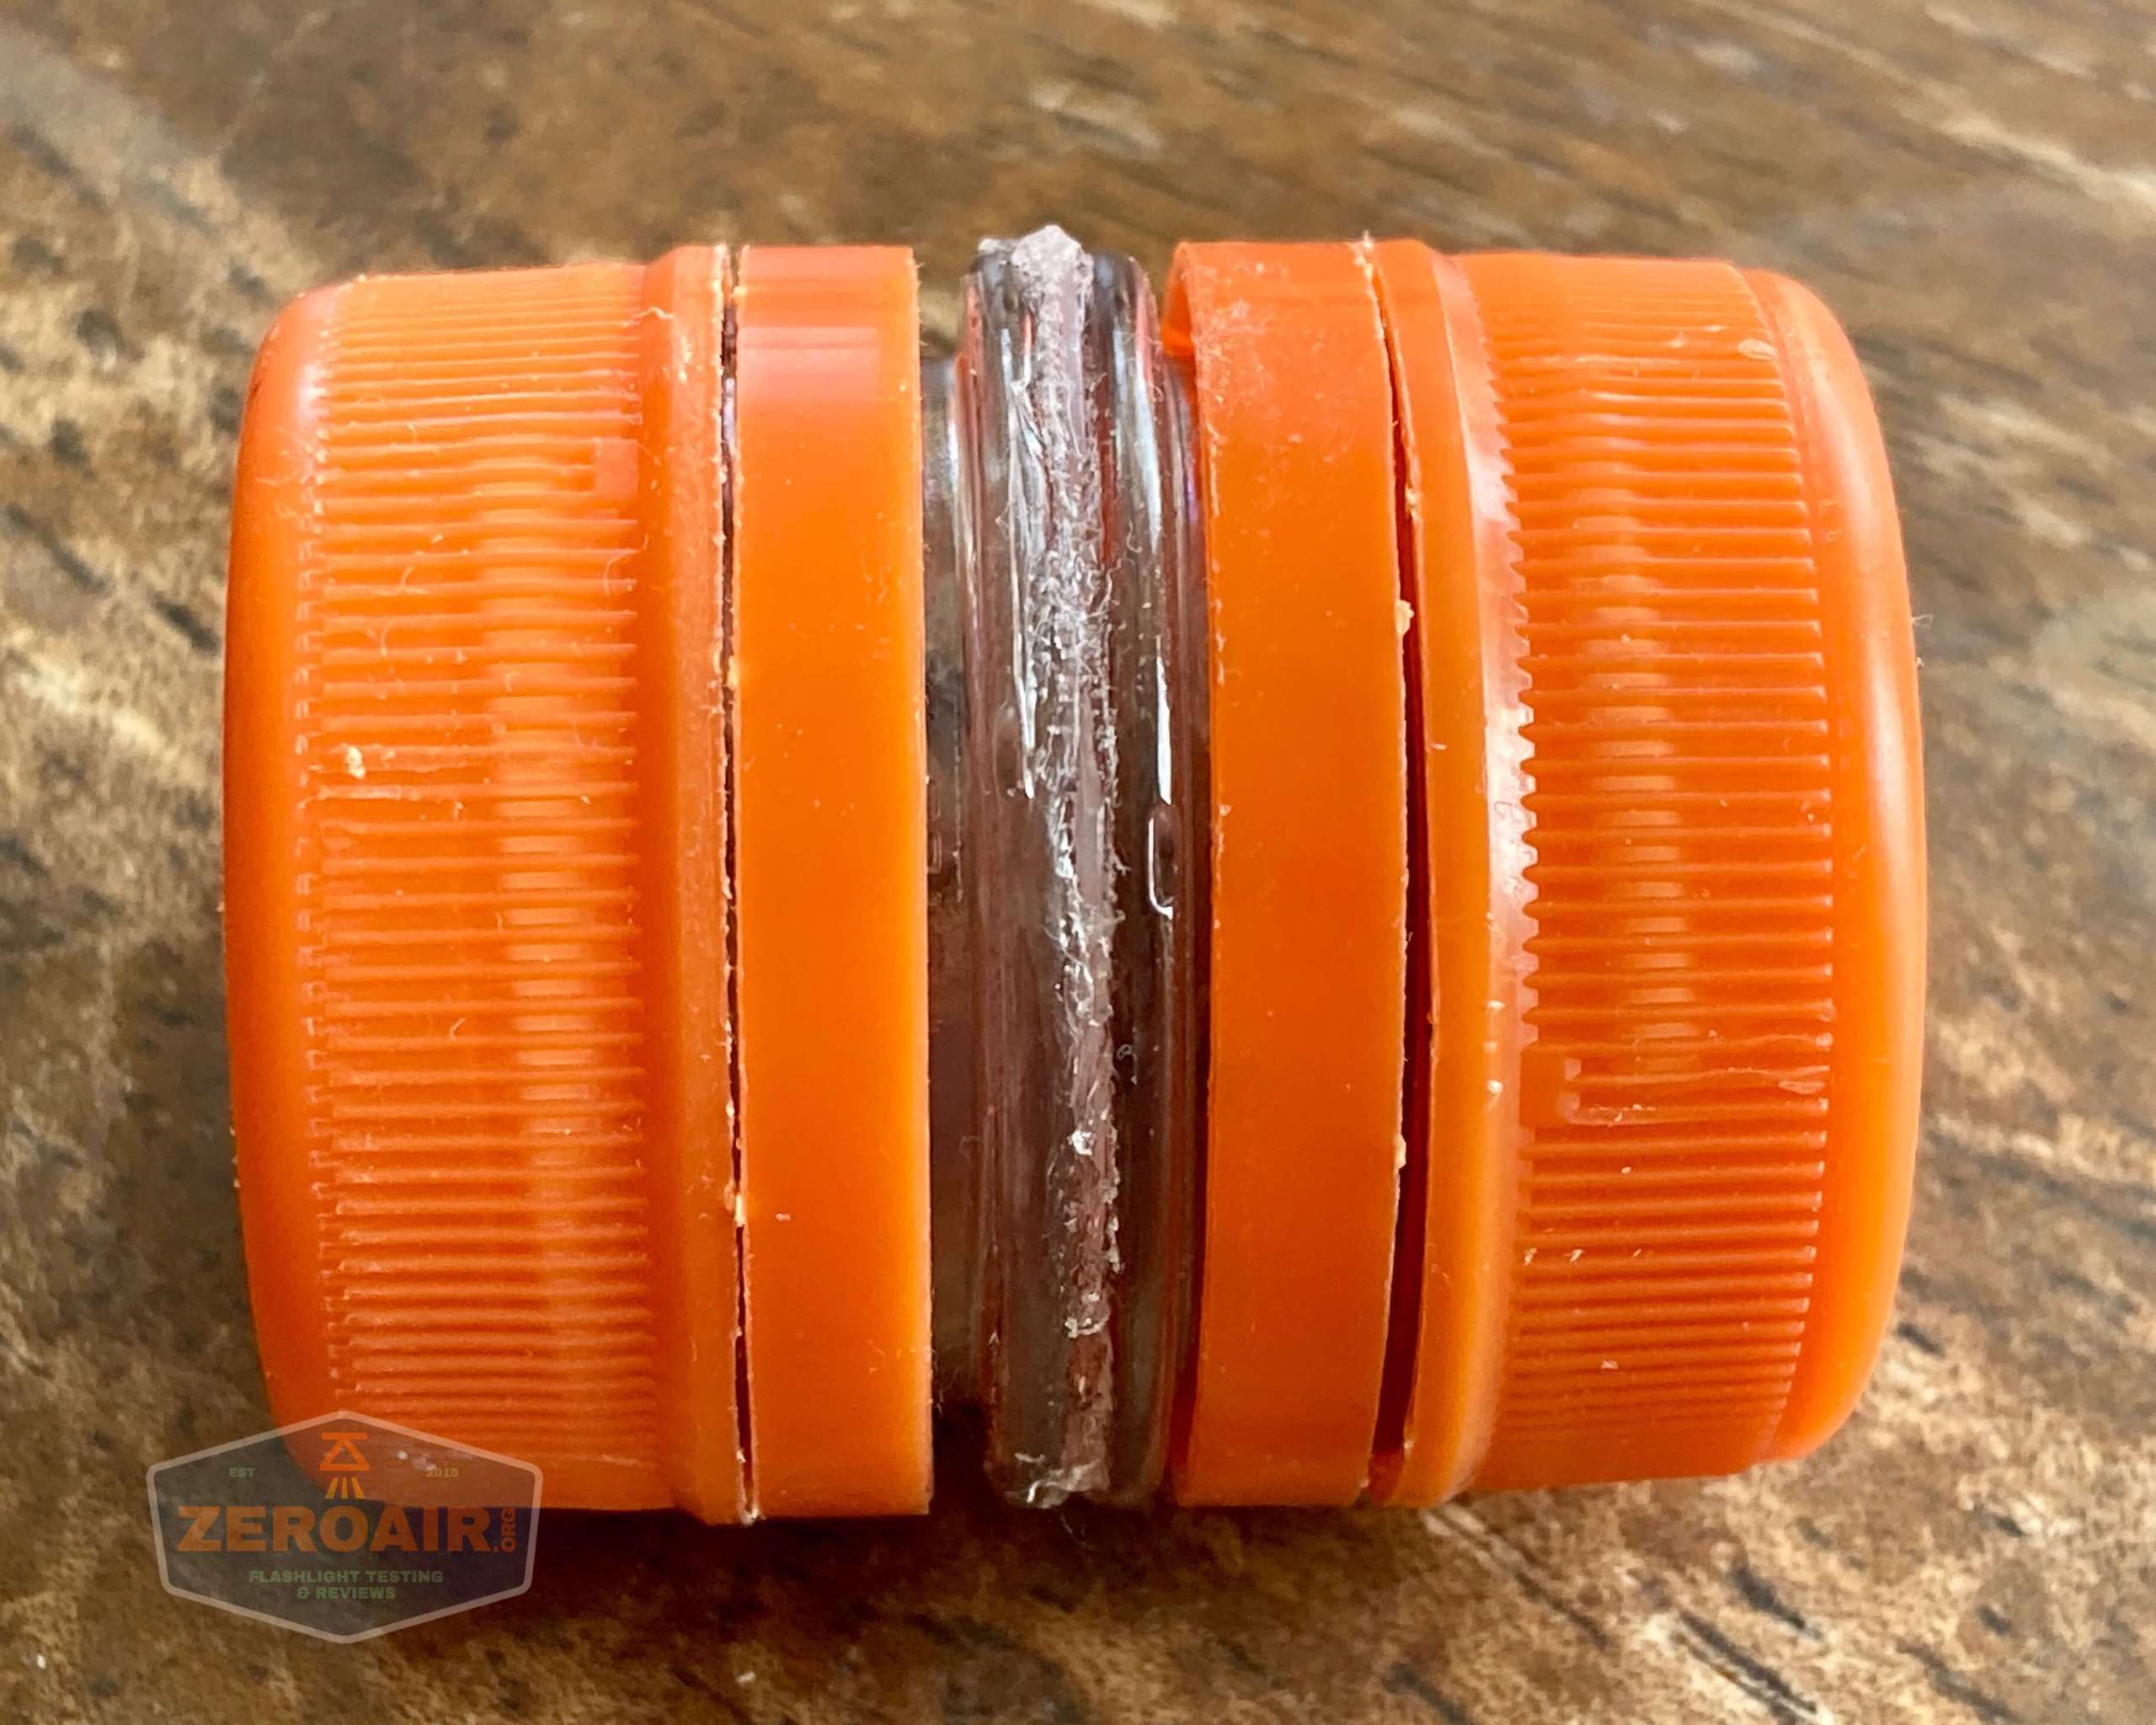
Also, a fun note on how I store these engines (when not in a light). I make these little containers that suit them perfectly.
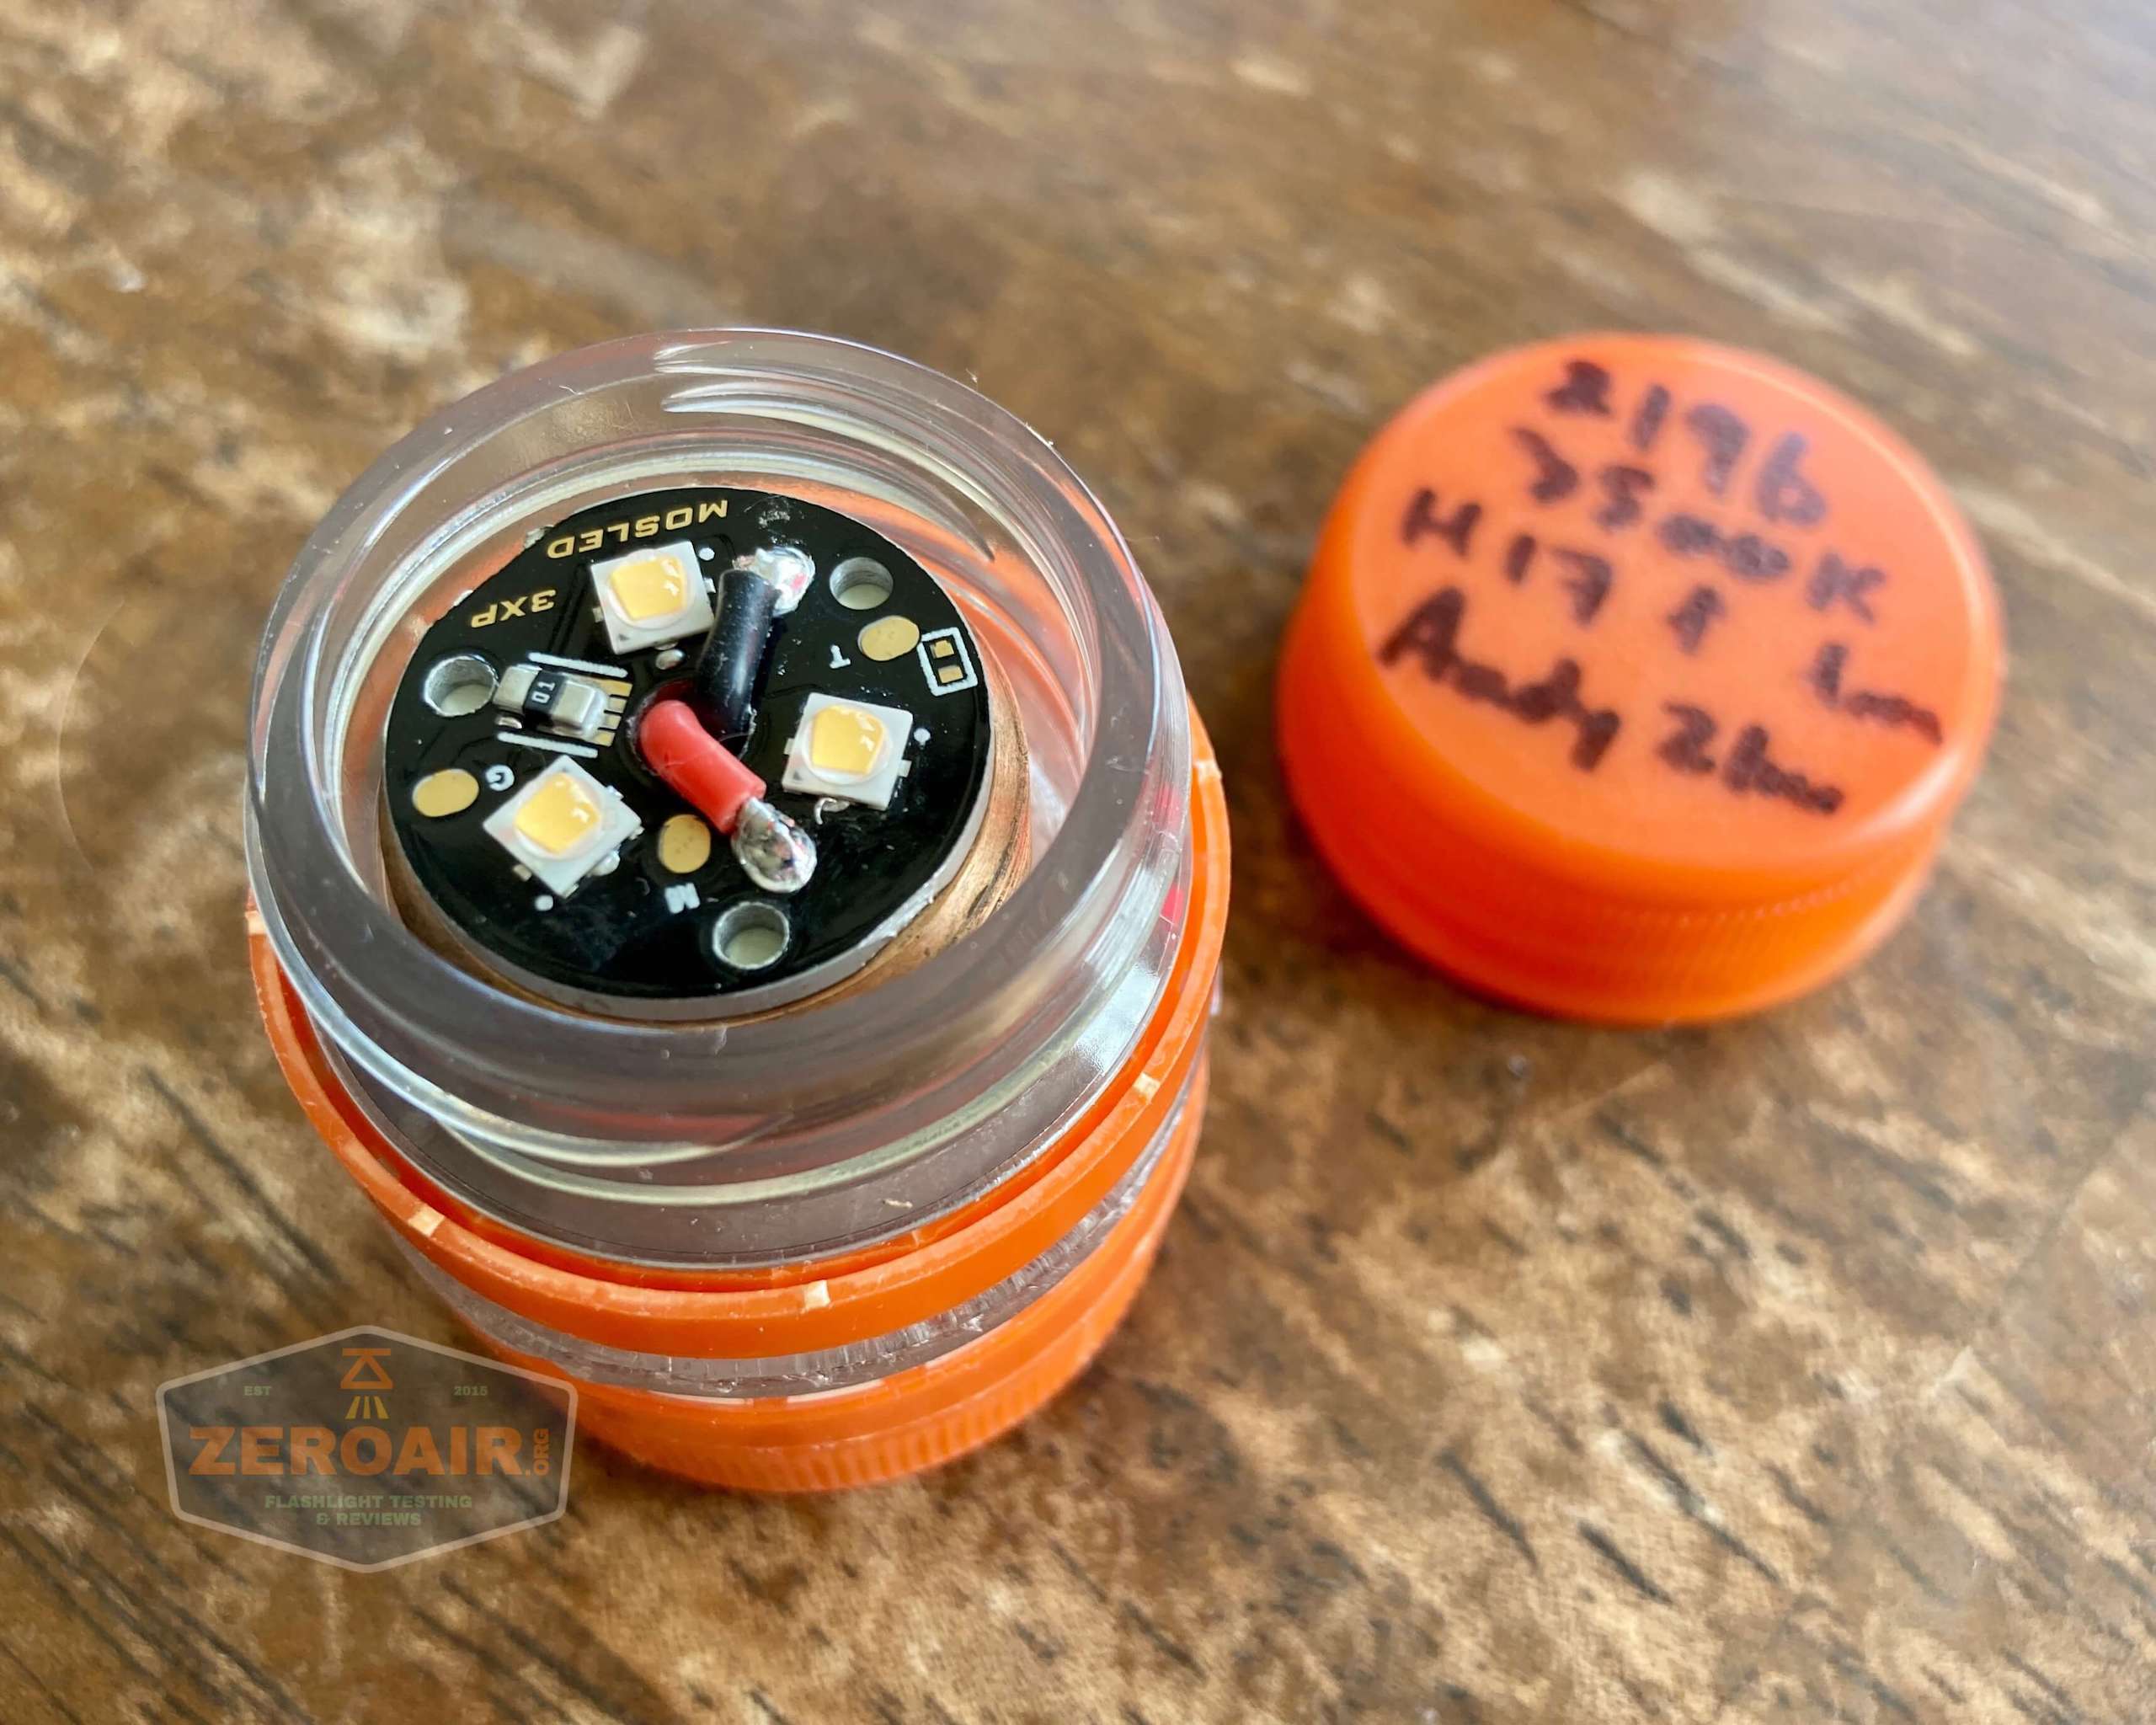
No secret what it is – Gatorade bottle tops glued together! I typically divide them right in the middle (in the glued area) with some clear plastic (usually milk jug plastic). Lots of people use film canisters, which are great too. But these are fun! Anyone interested in a How Do I…. make these things?
Scan
I have a pretty fun scanner, and I threw this light onto that scanner. So for your enjoyment, here’s a ridiculous resolution scan of the brass Total Tesseract Trident!

Size and Comps
I measure this light at the following:
Tail diameter: 25.2mm
Body diameter: 22.7mm
Head diameter: 25.2mm
Length: 88.2mm
Stock (copper pill and h17f triple) and with no cell, this light weighs 139g.
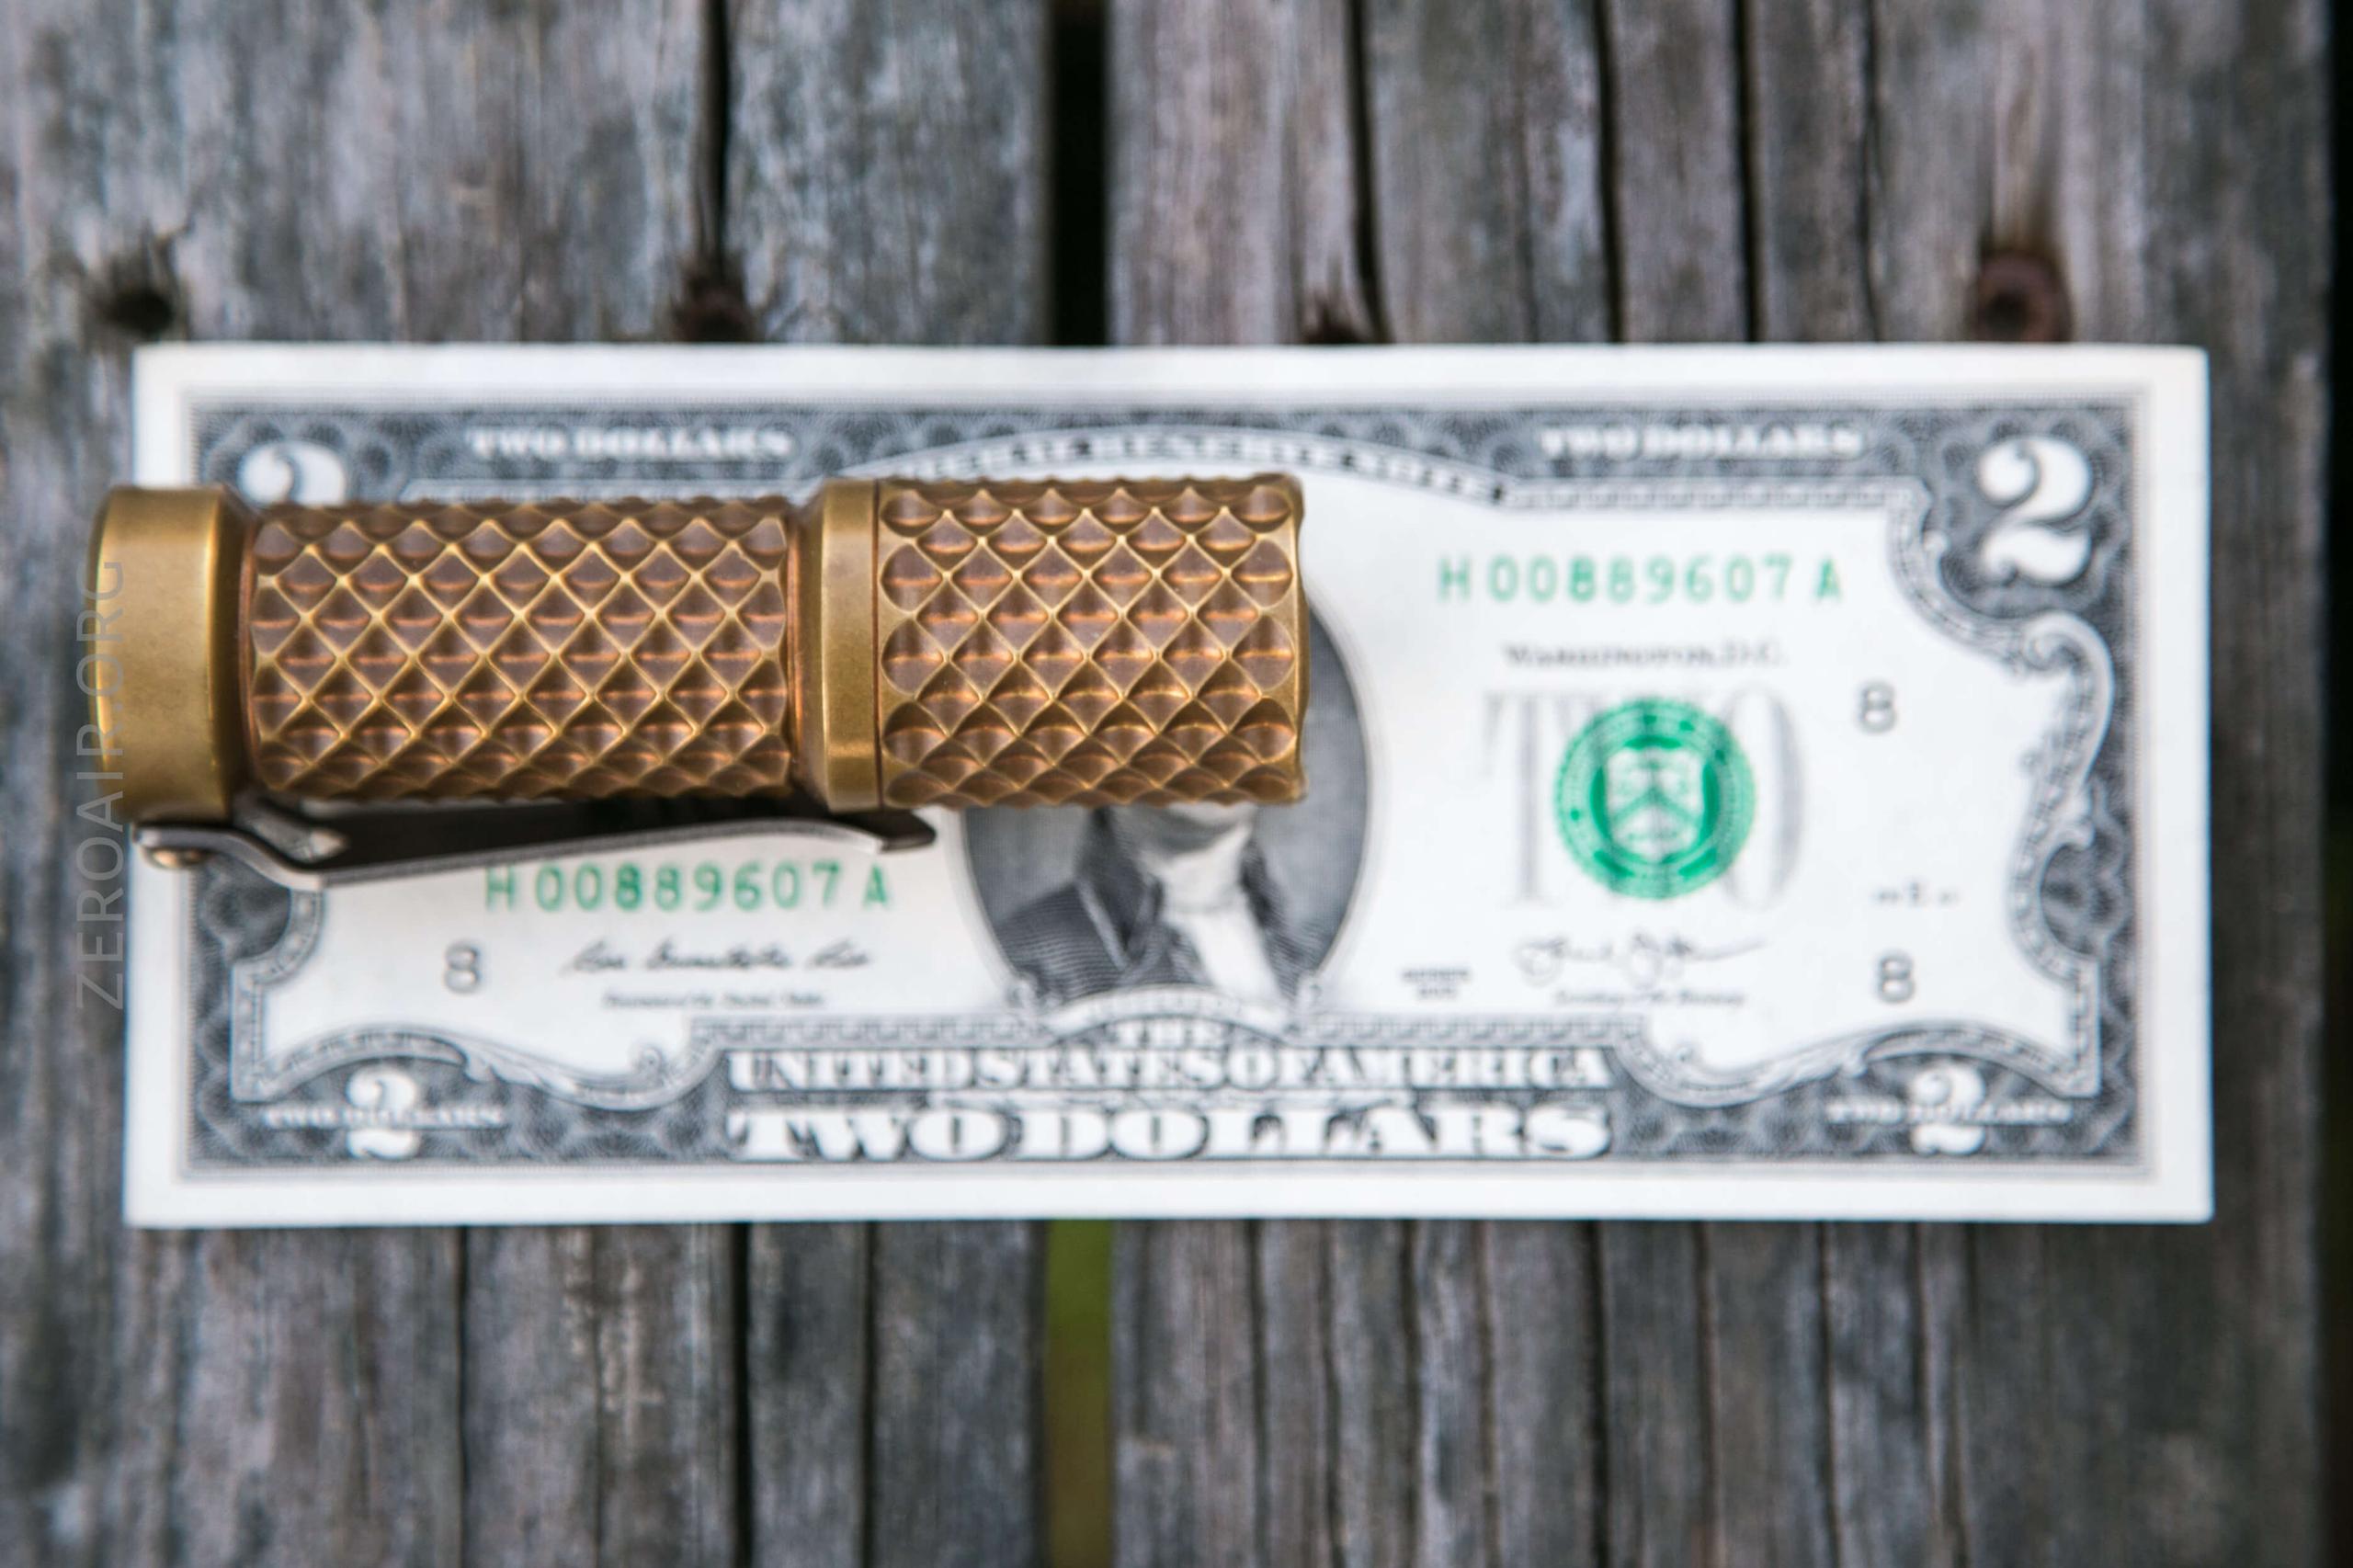
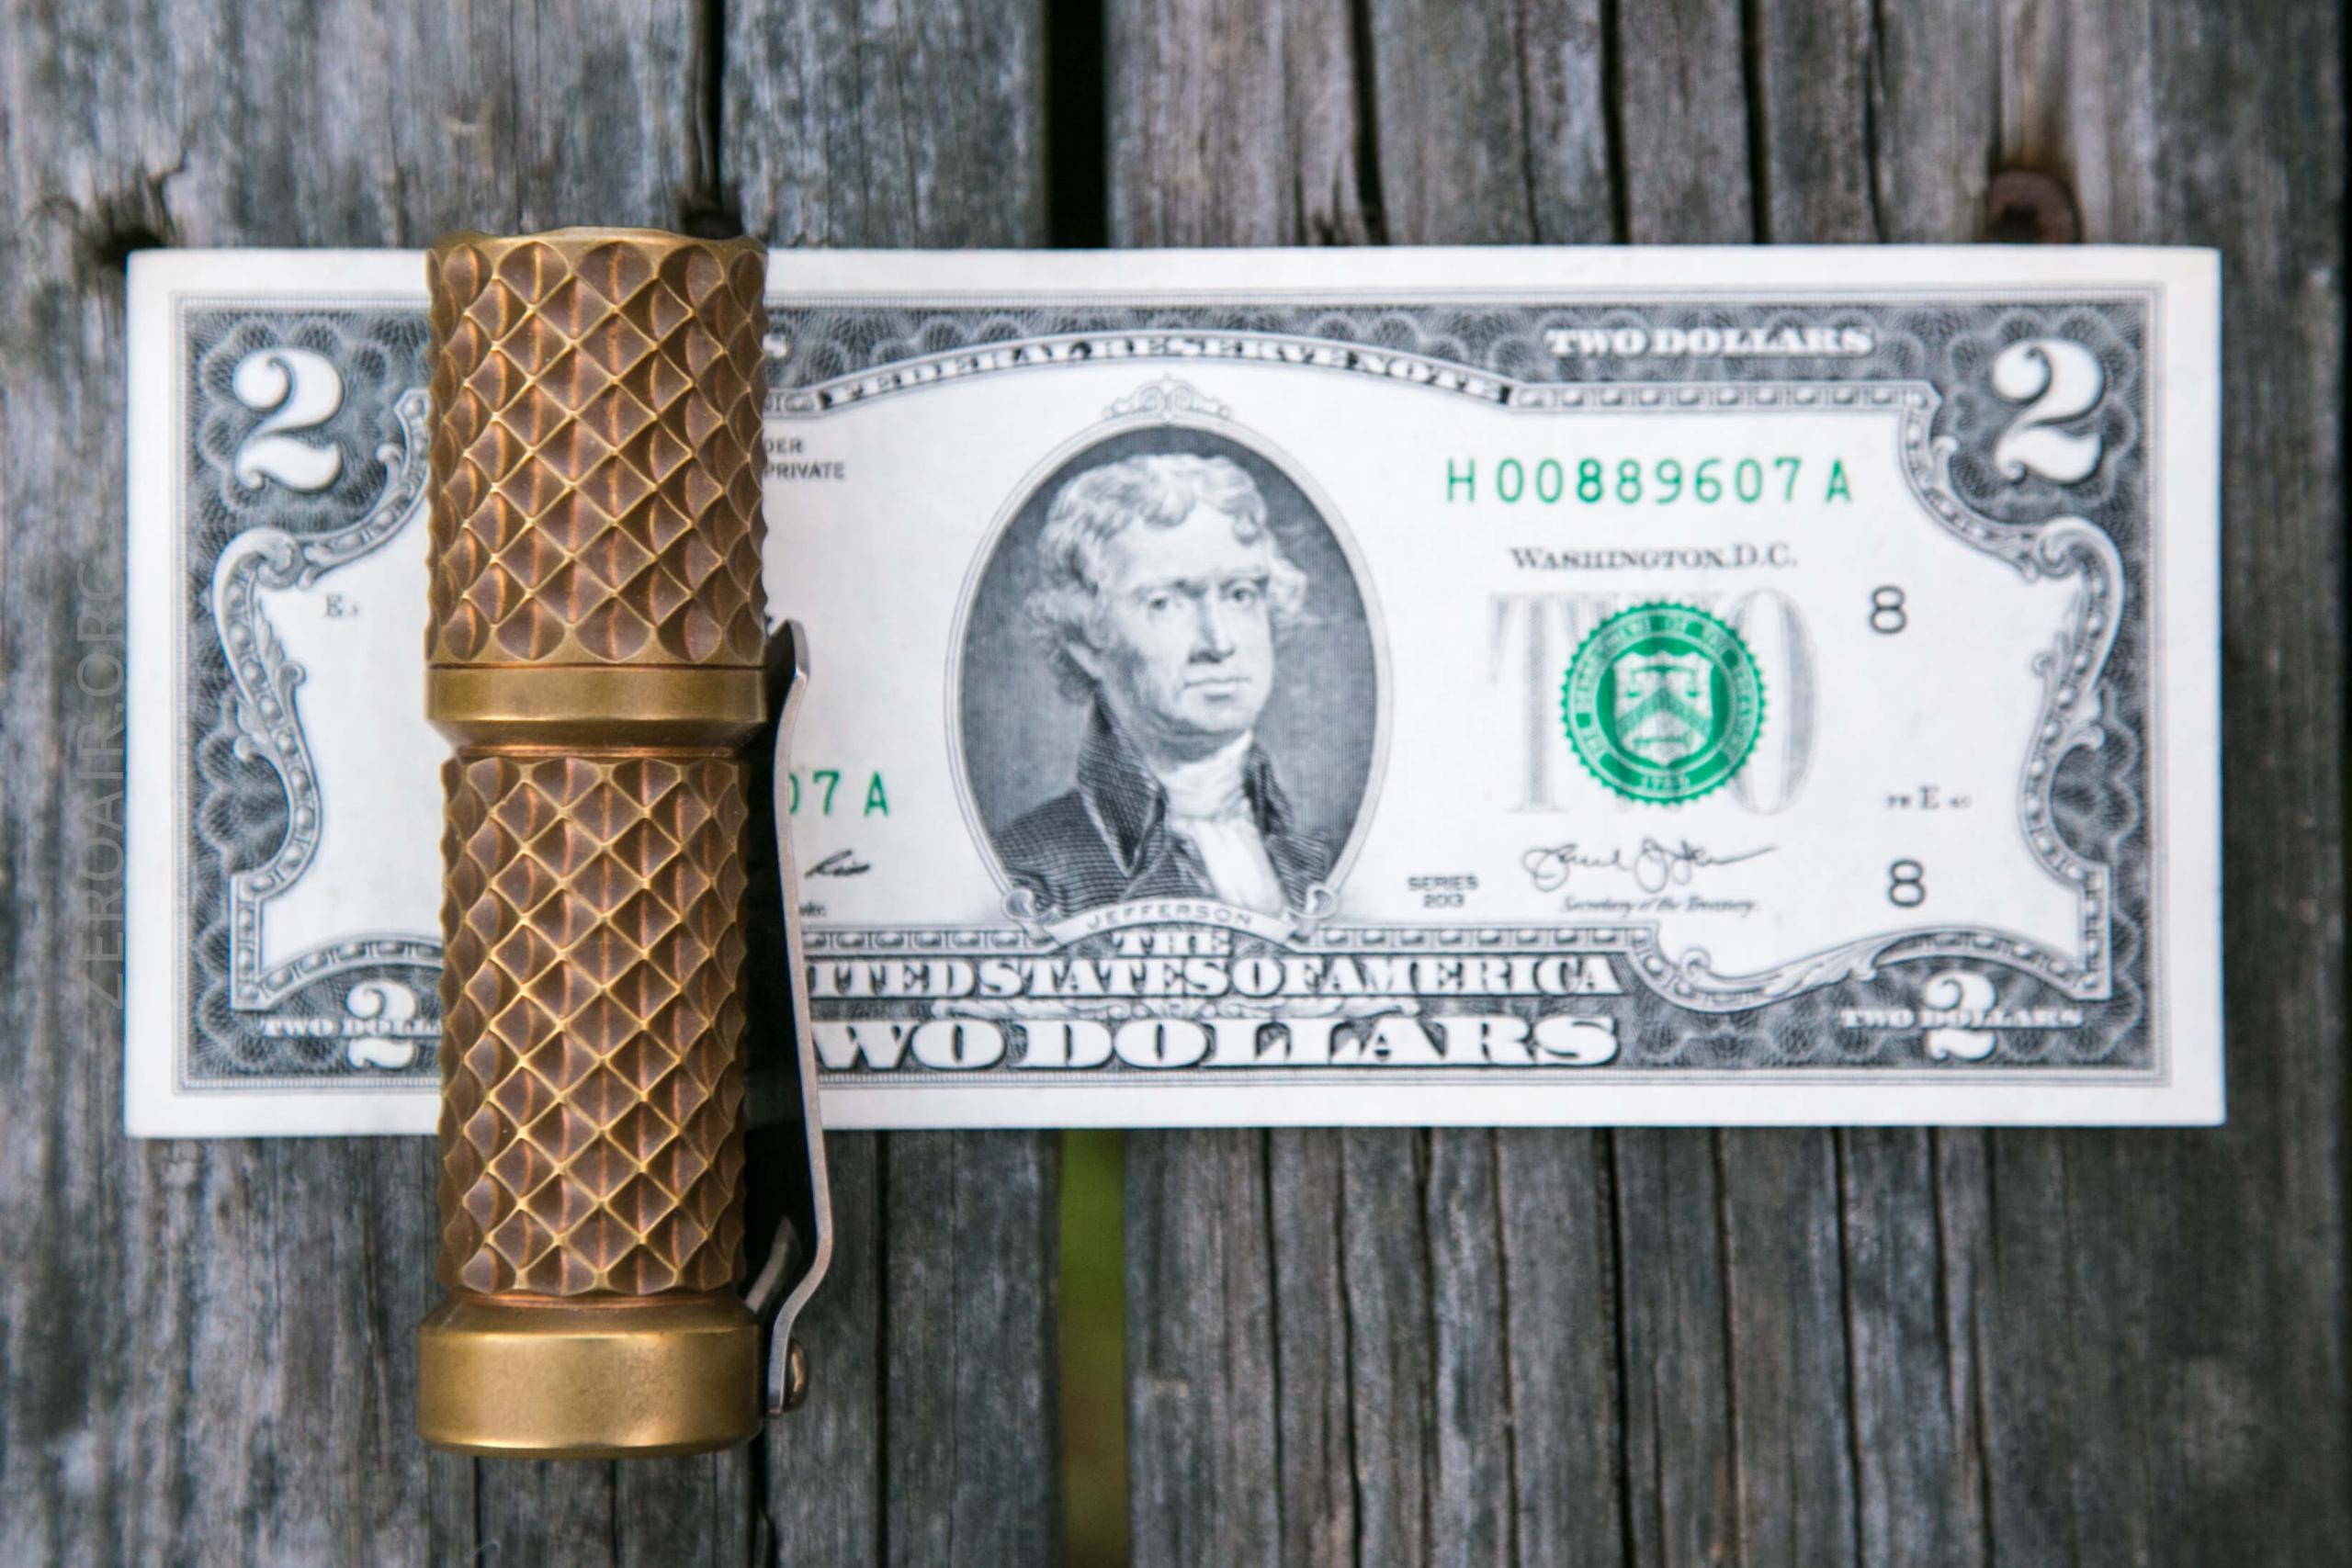
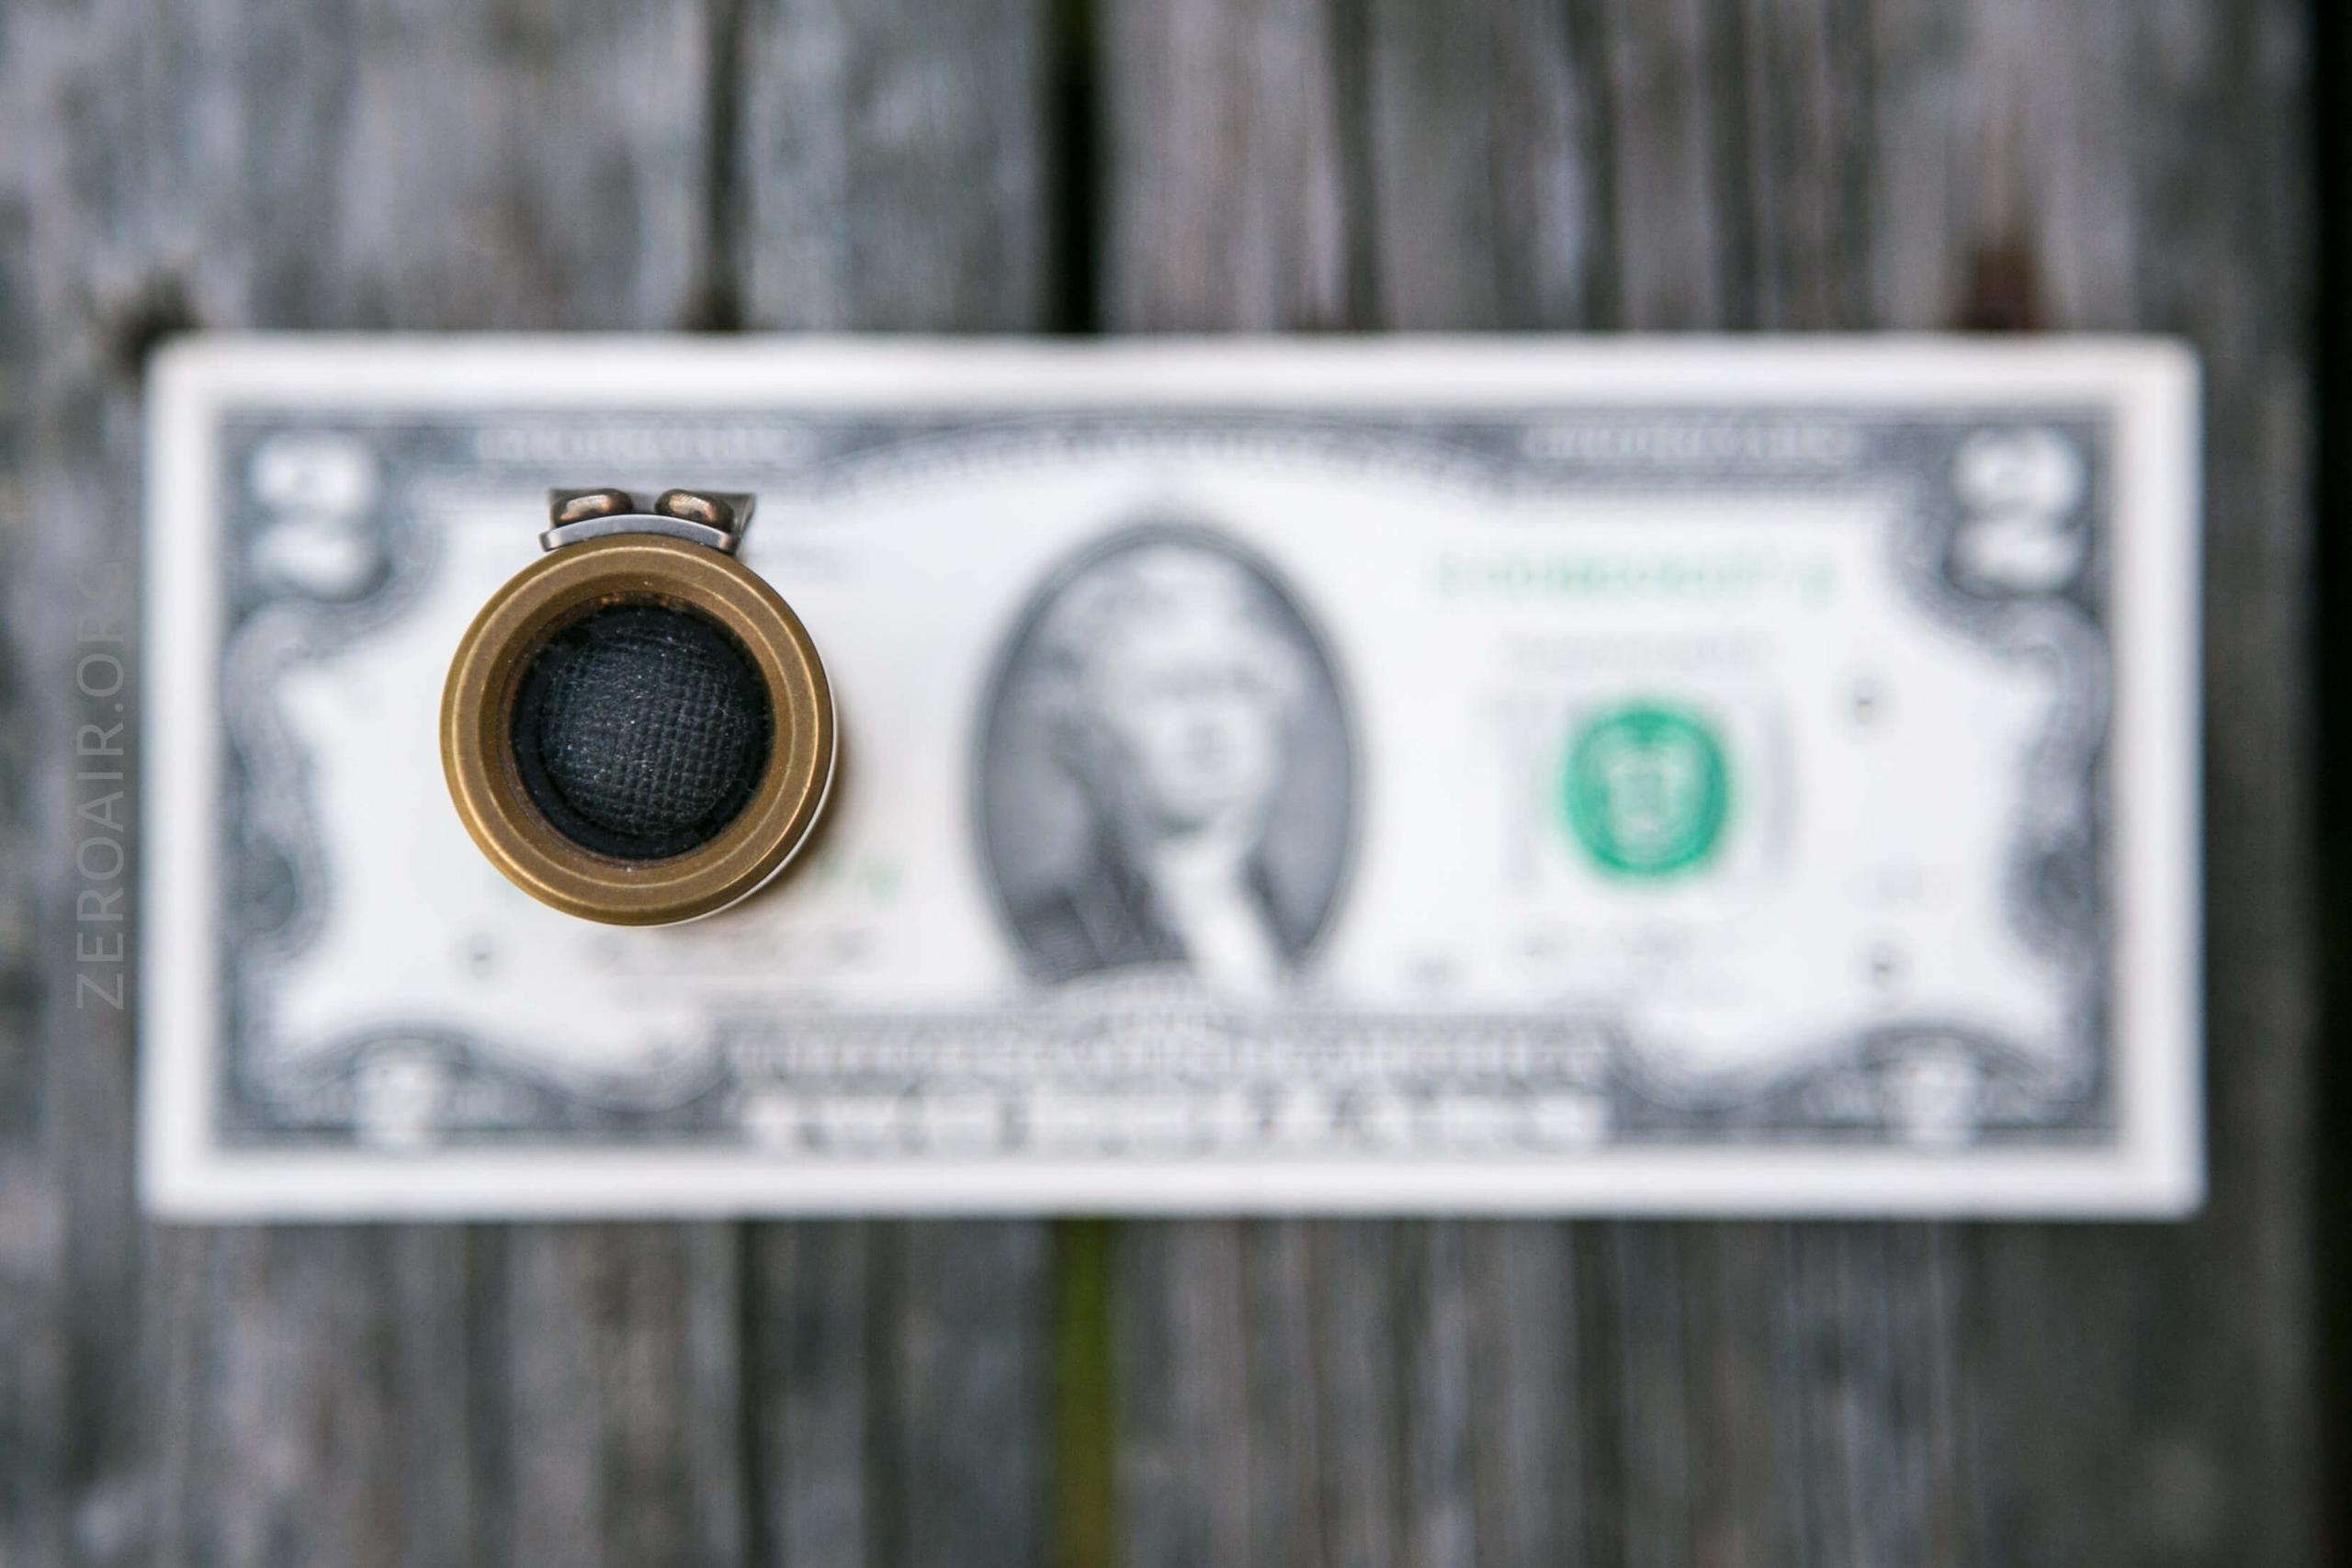
I’ve been doing this for a good long while now. First two shots of the light on a bill. Then “head down,” which almost all lights will do. But if a light will also tailstand, you’ll be able to see it just like the above shot.
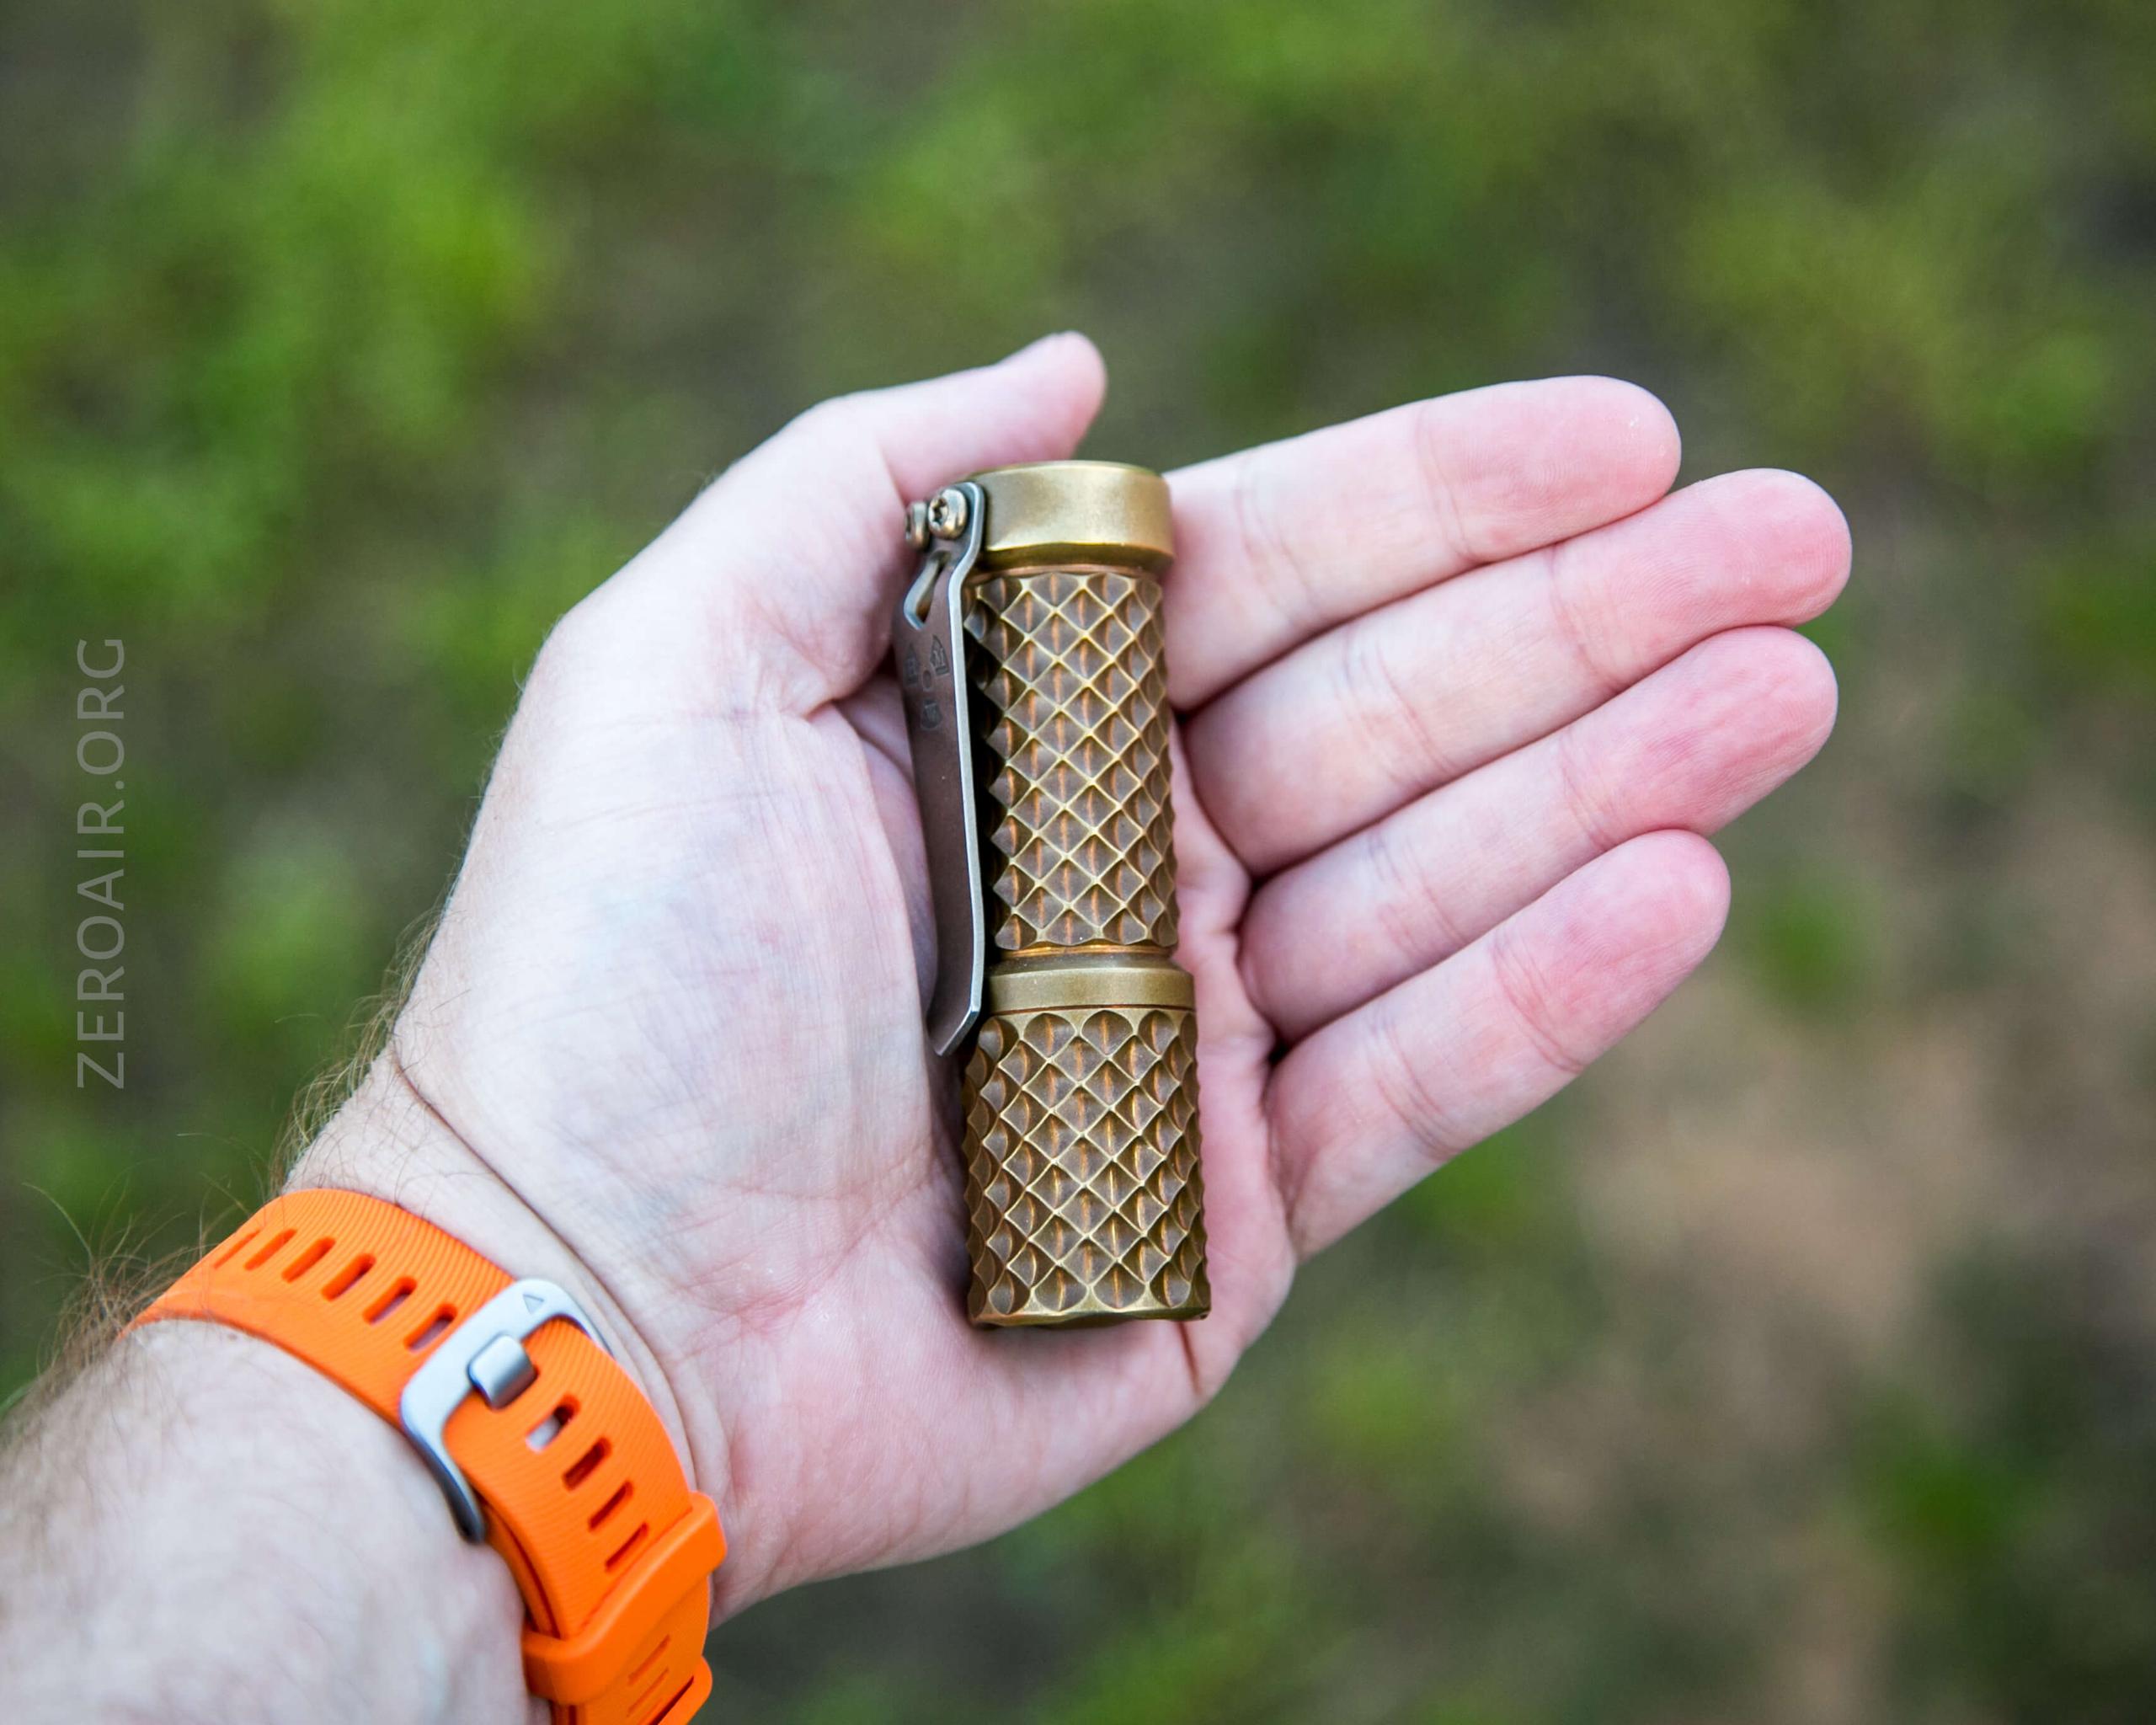
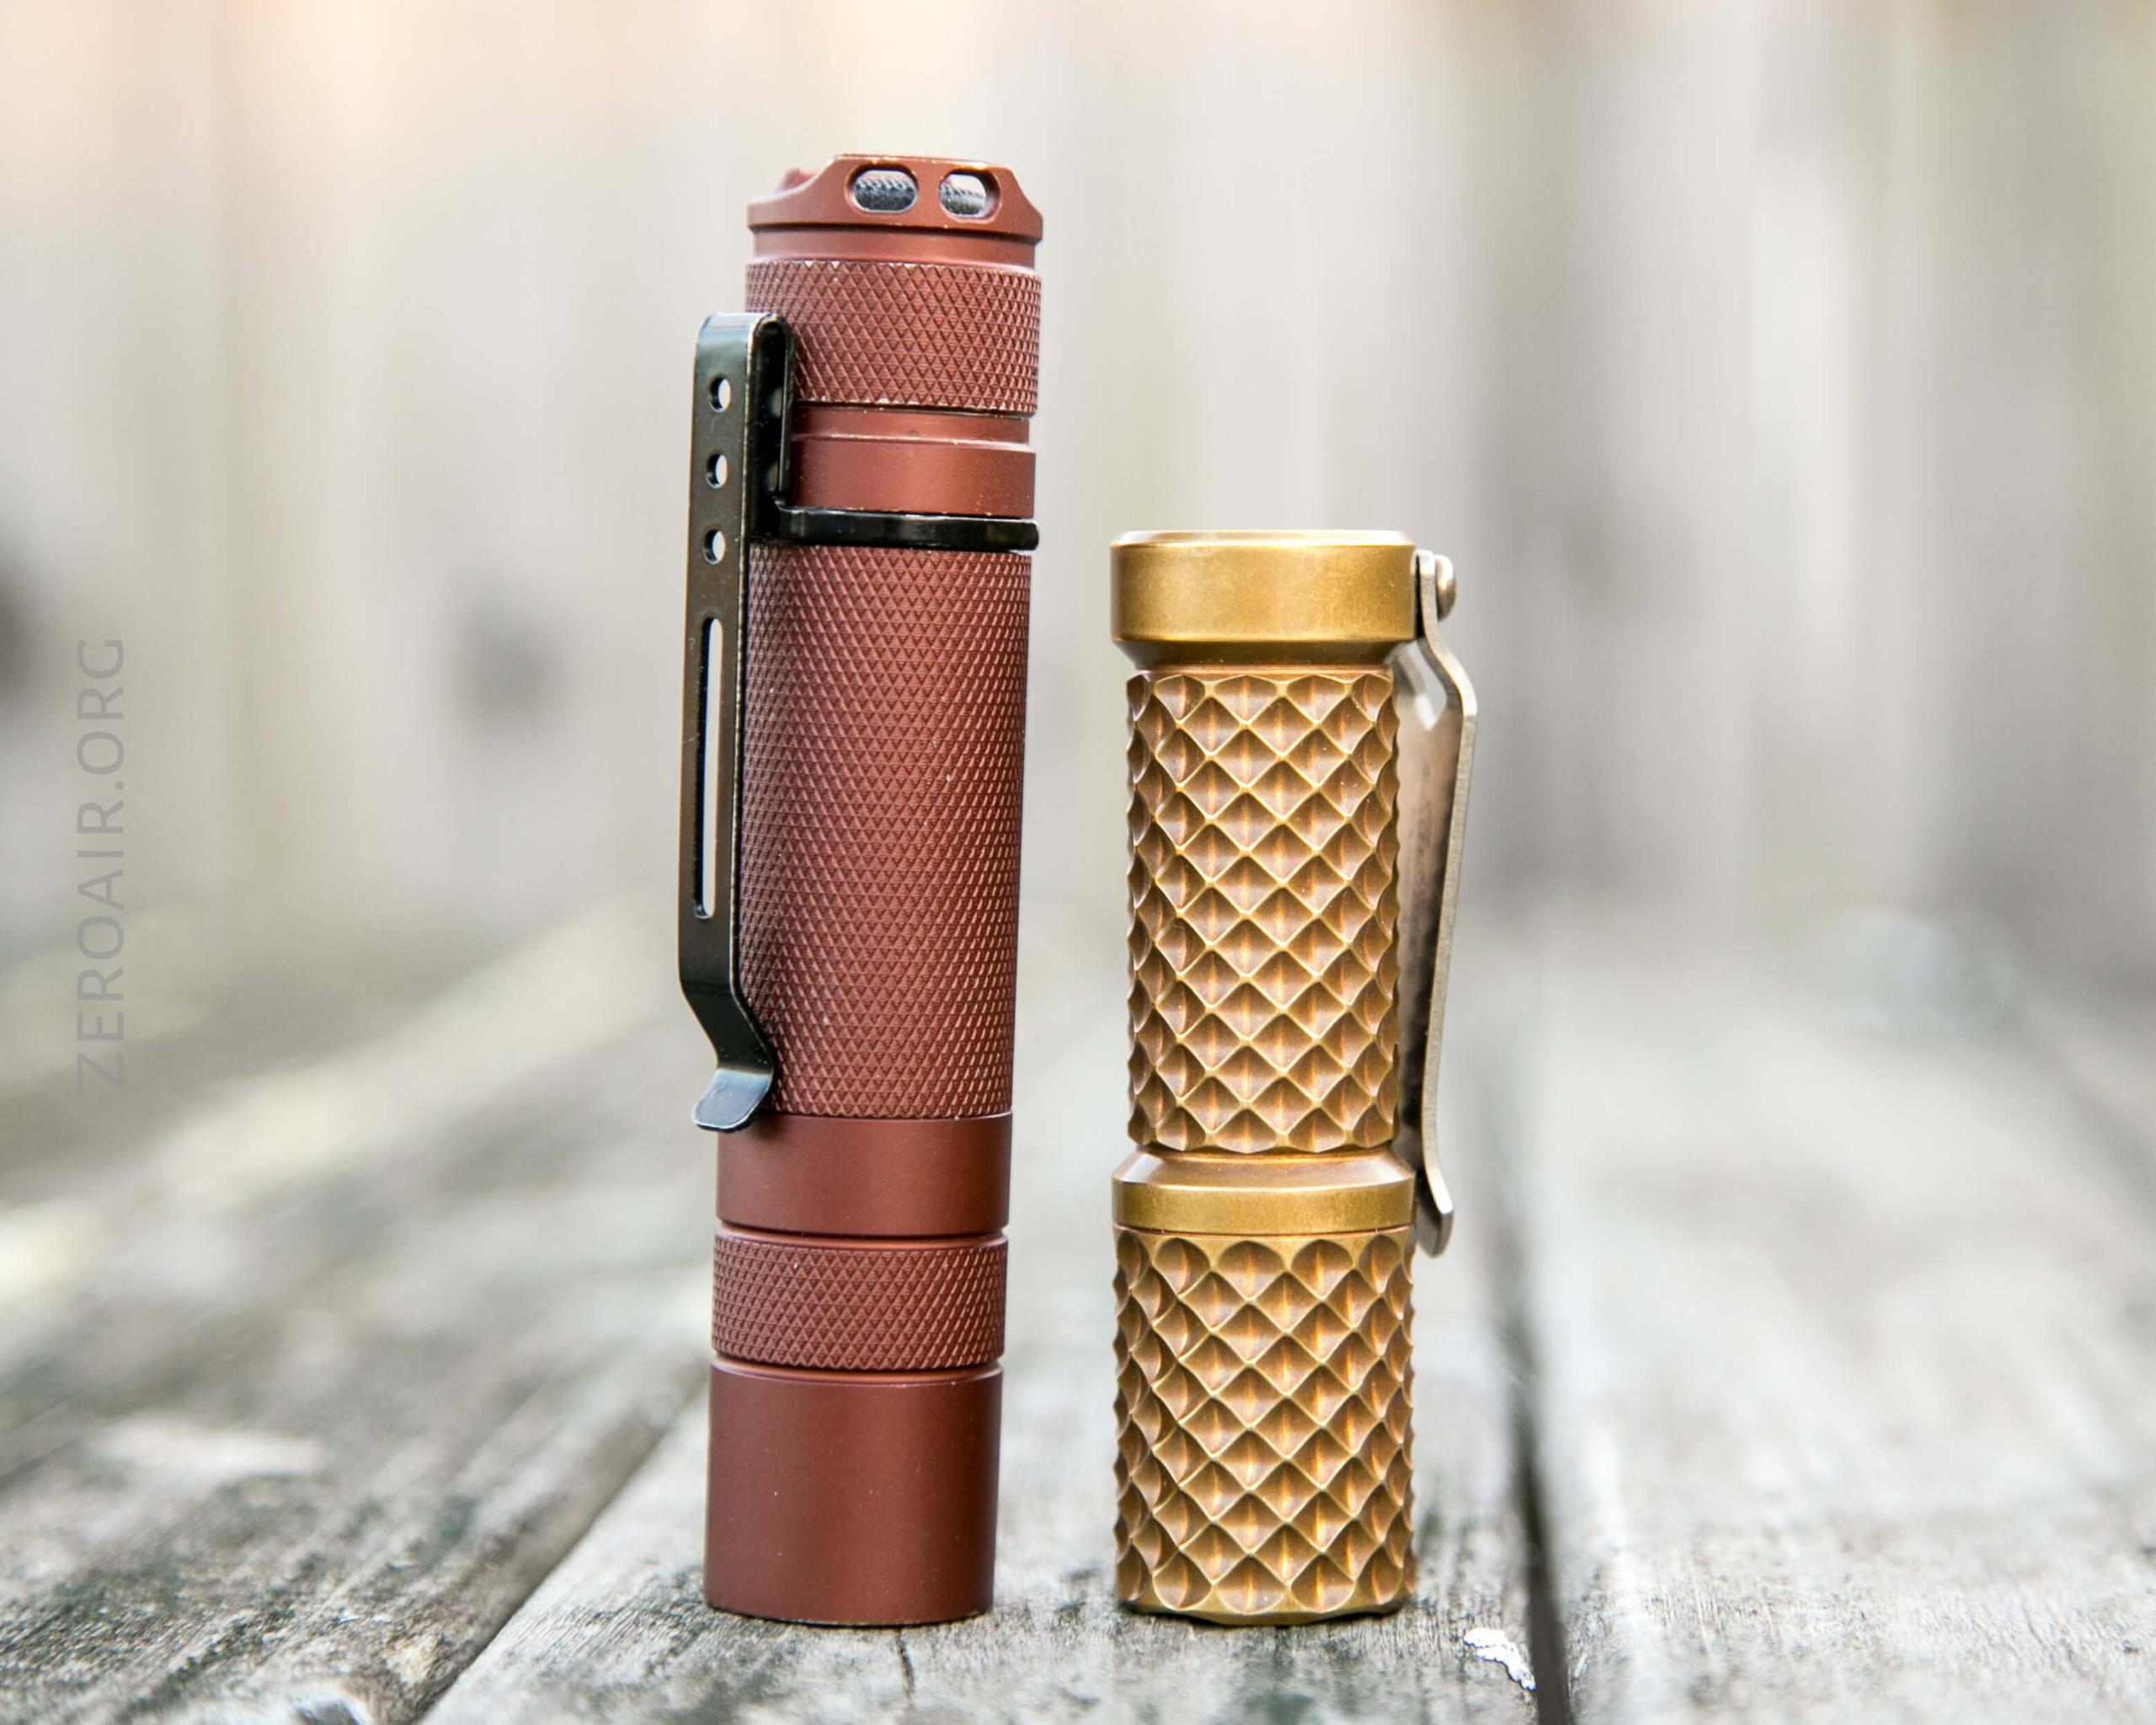
This isn’t the smallest 18350 light, but the size is still great for EDC.

All the Tridents are the same size.
Retention and Carry
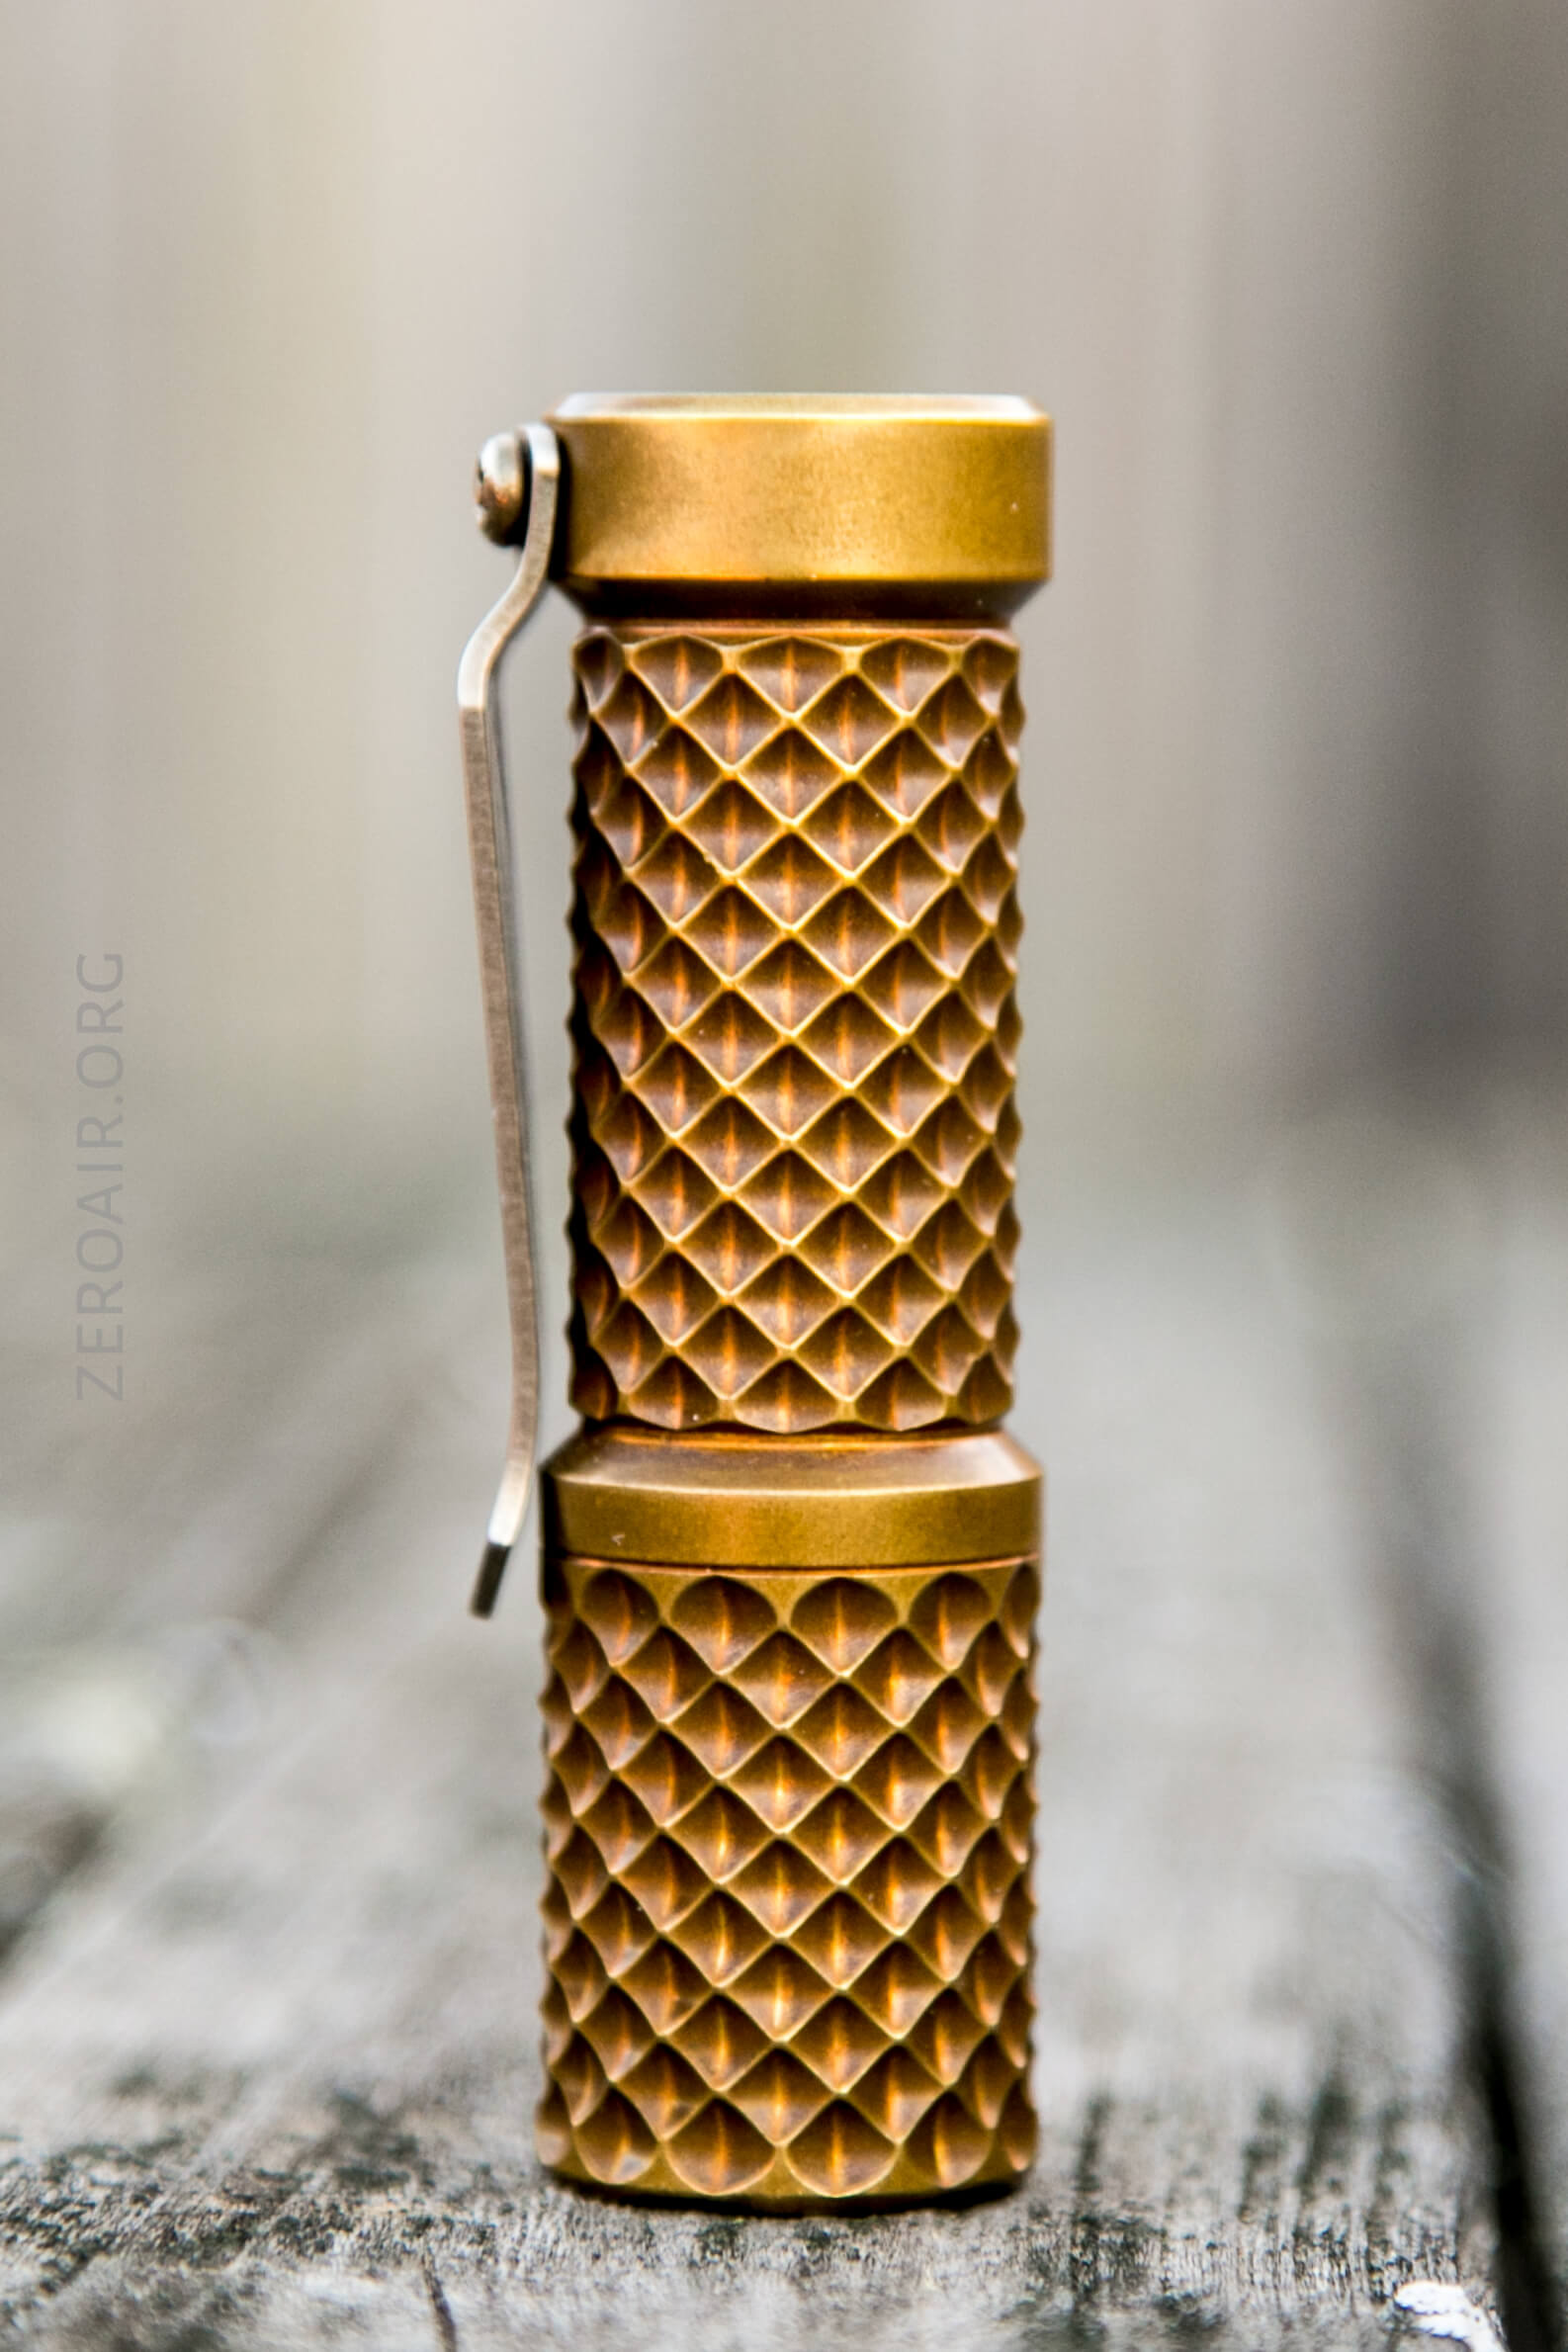
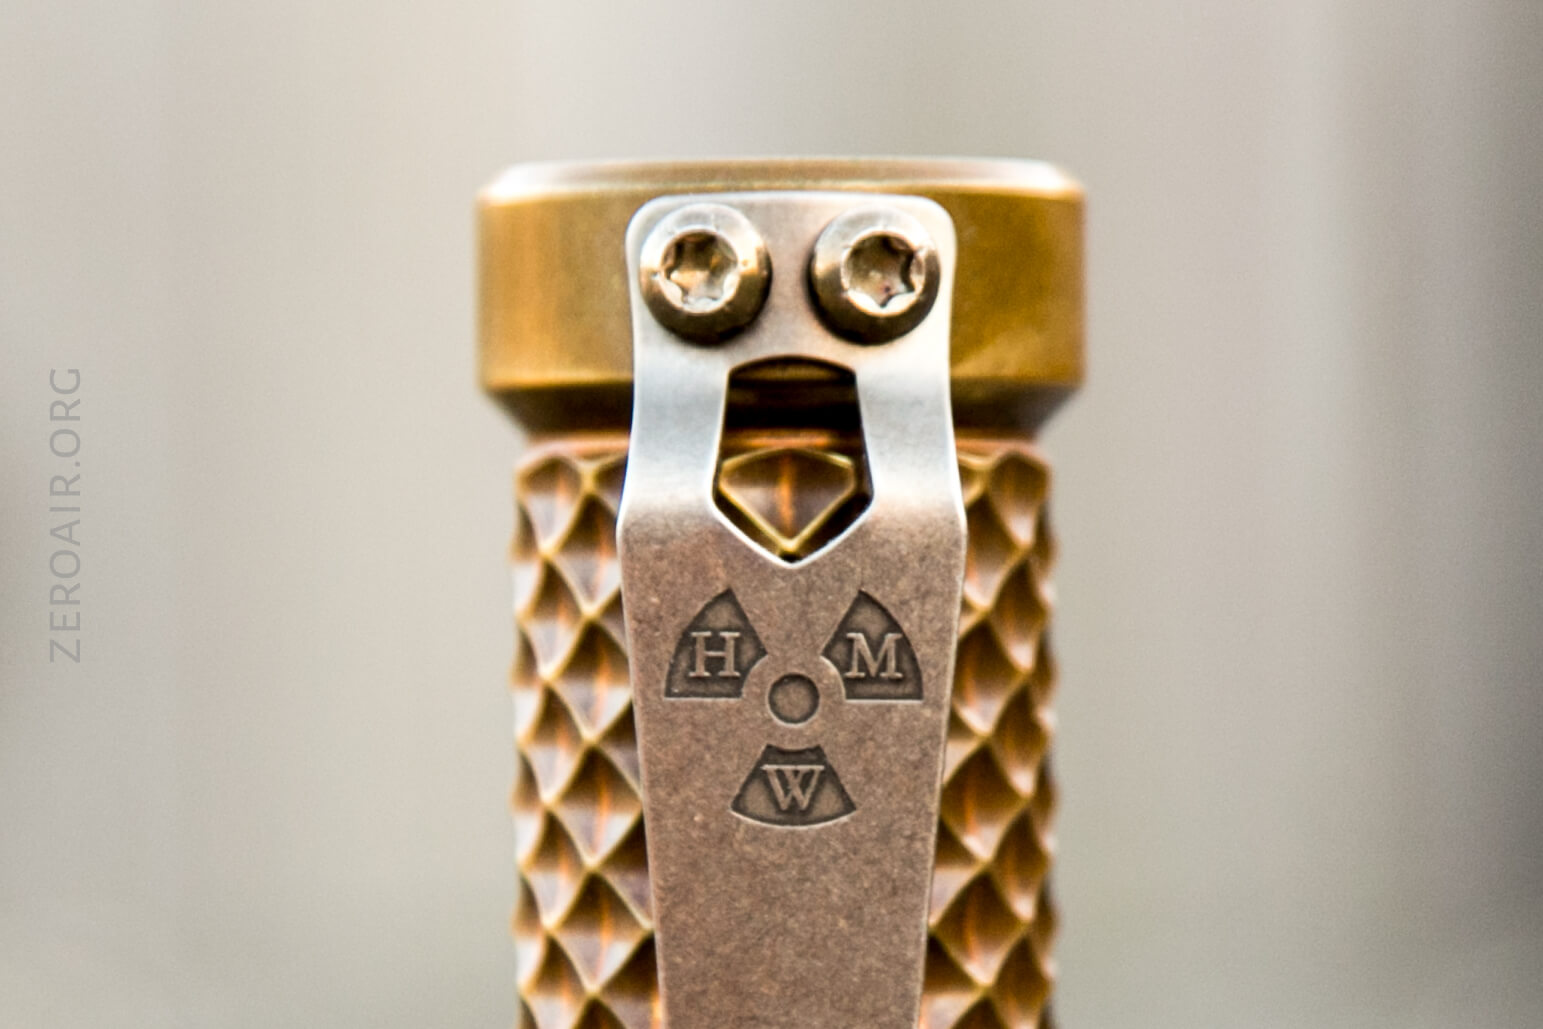
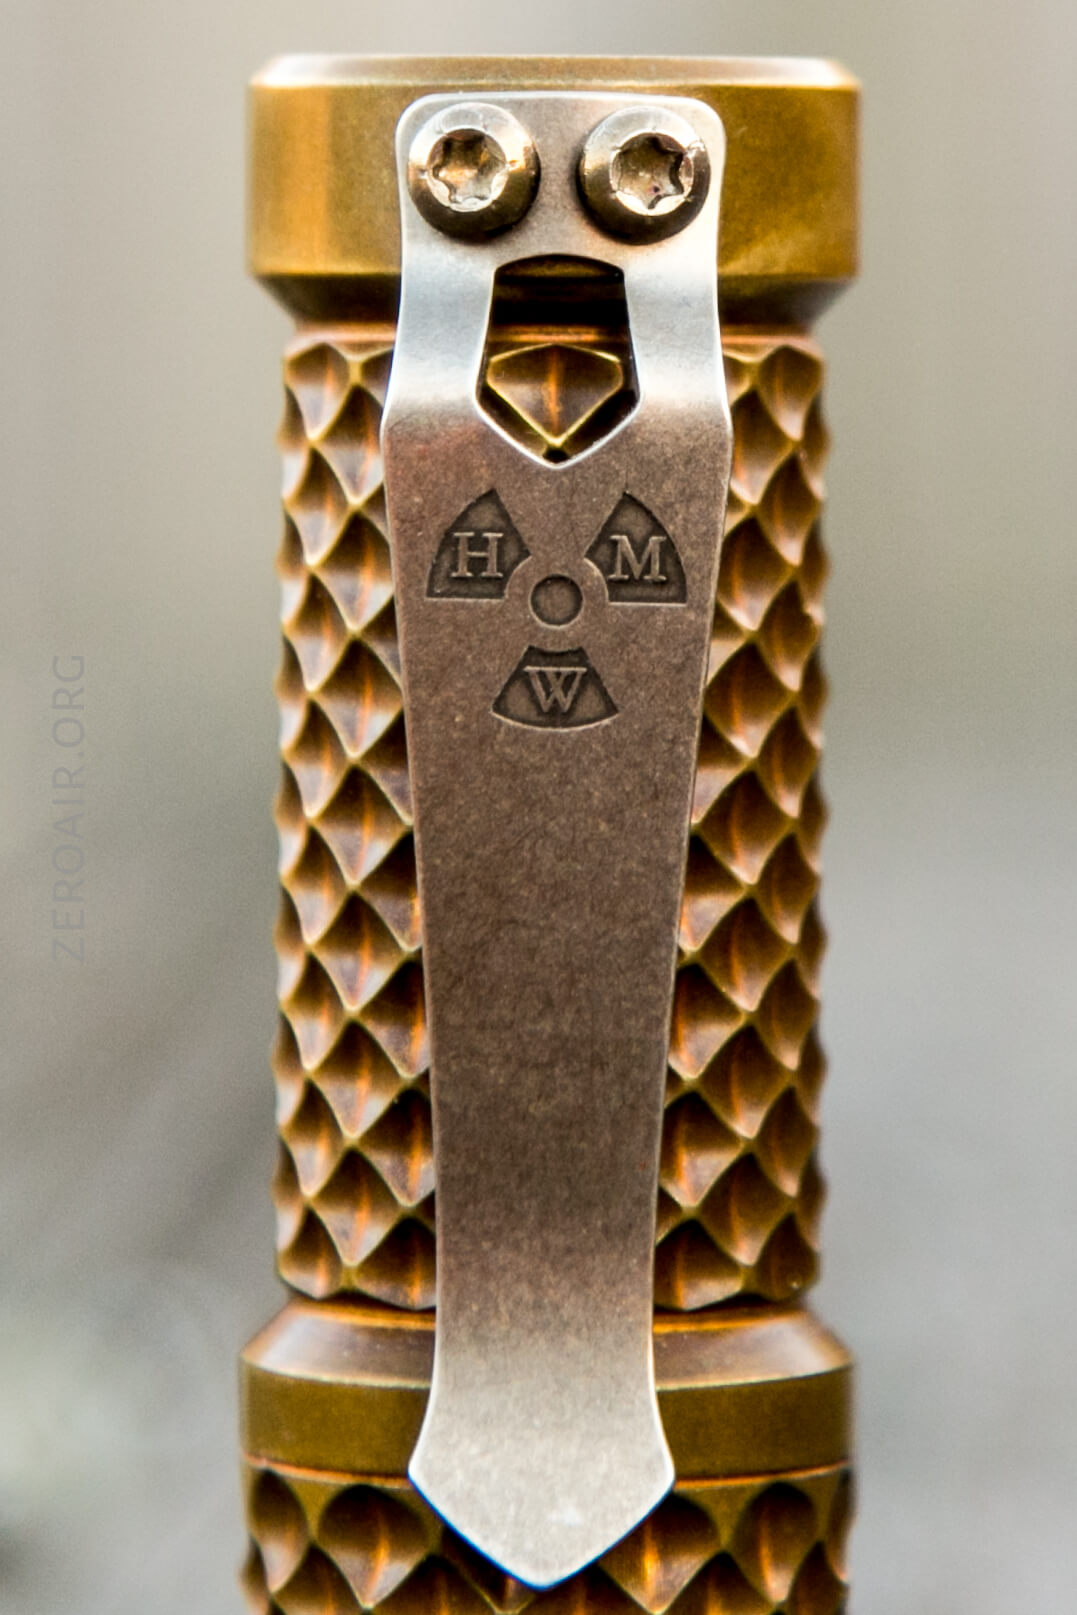
Tridents ship with a steel pocket clip, which is attached with two Torx screws. This isn’t just any clip – it’s a Steel Flame clip. Steel Flame makes all sorts of (mostly Skull-adorned) clips, but for HMW, they make this (and a few other finishes) “plain” clips.
As stated above, this clip fits the Trident perfectly, as if designed for the light. Or as if the light was designed for it. Or maybe the two evolved together, and this light and this clip are the grandfathers of the EDC lights as we know them today.
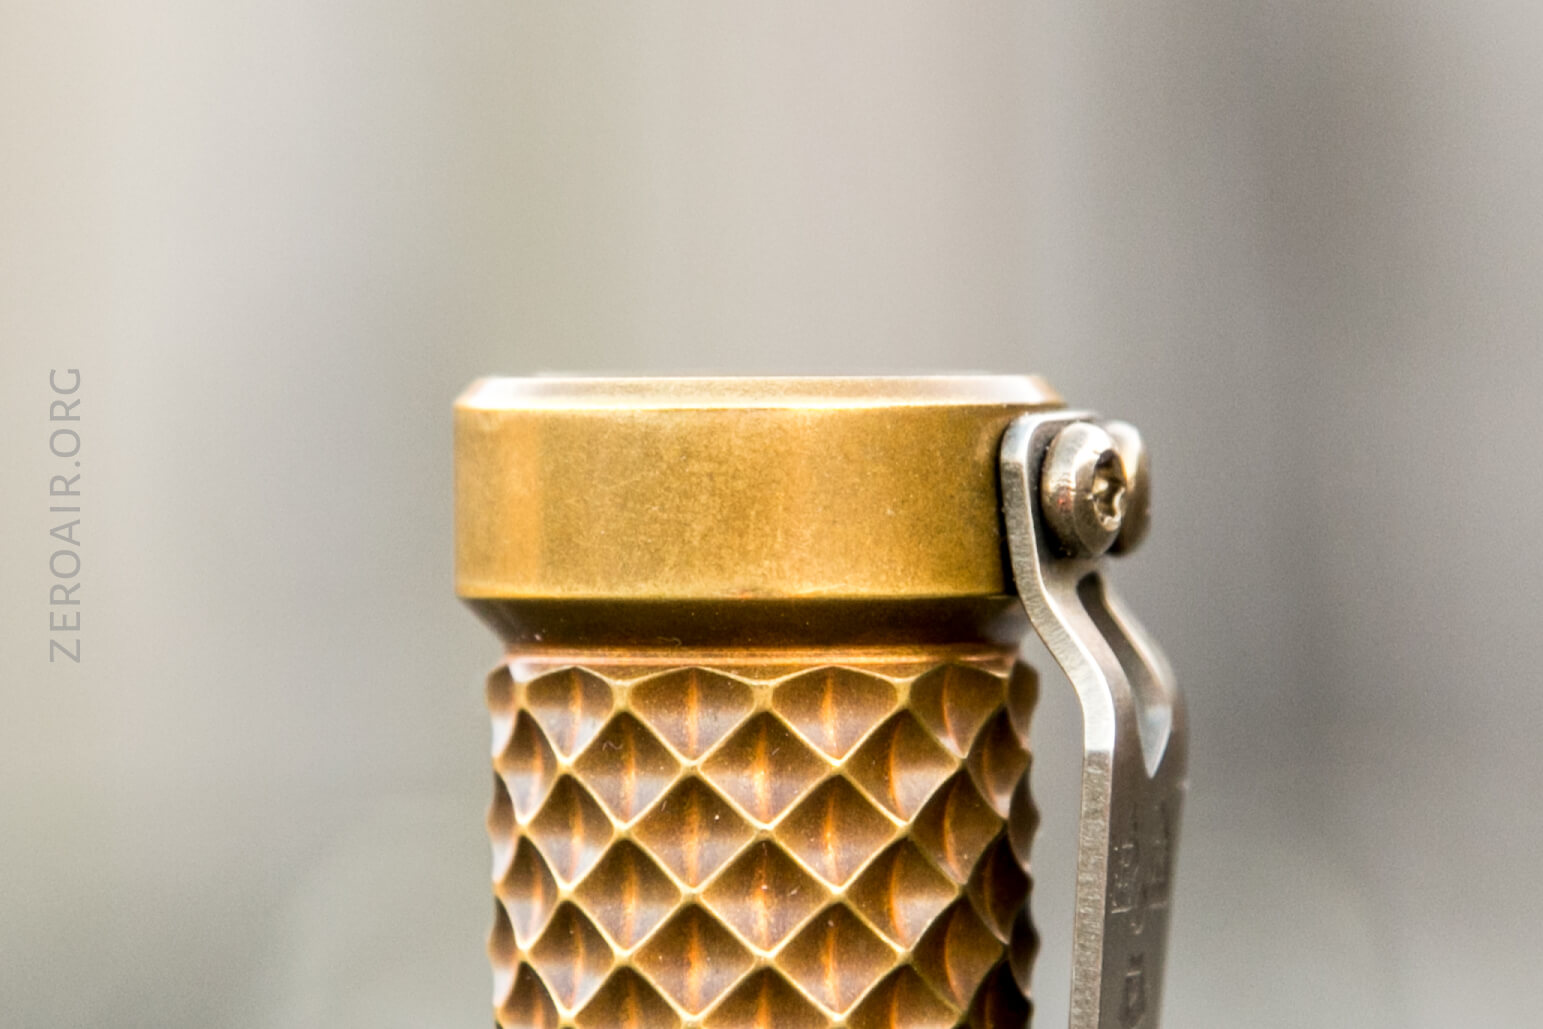
I’ve had hit-or-miss success with the clips being bent perfectly. The first Trident I got had around a 1mm gap between the body and the lower part of the clip (seen below), and from time to time, this would “vibrate” or “rattle” against the body. It’s fixable easily (remove the clip and “tighten” it), but I think it’s actually designed this way. Not to rattle, but to just not touch the body here.
As this is a Steel Flame pocket clip, you can be assured that any other Steel Flame flashlight clip will fit these lights. The hole spacing is right, and the fit is right, too.
There are no other means of carrying for the Trident included or intended.
Power and Runtime
Tridents are powered by a single lithium-ion cell. The body shown here is for a single 18350, and 18650 versions have been made, but are very rare. Unlike other lights like the TorchLAB BOSS, there isn’t an option to run this light as an 18350/18650, broadly speaking. I would love to see that as an option, and even more so, I’d love to get my hands on an 18650 version. Just for giggles (since day-to-day, the 18350 is plenty for my needs).
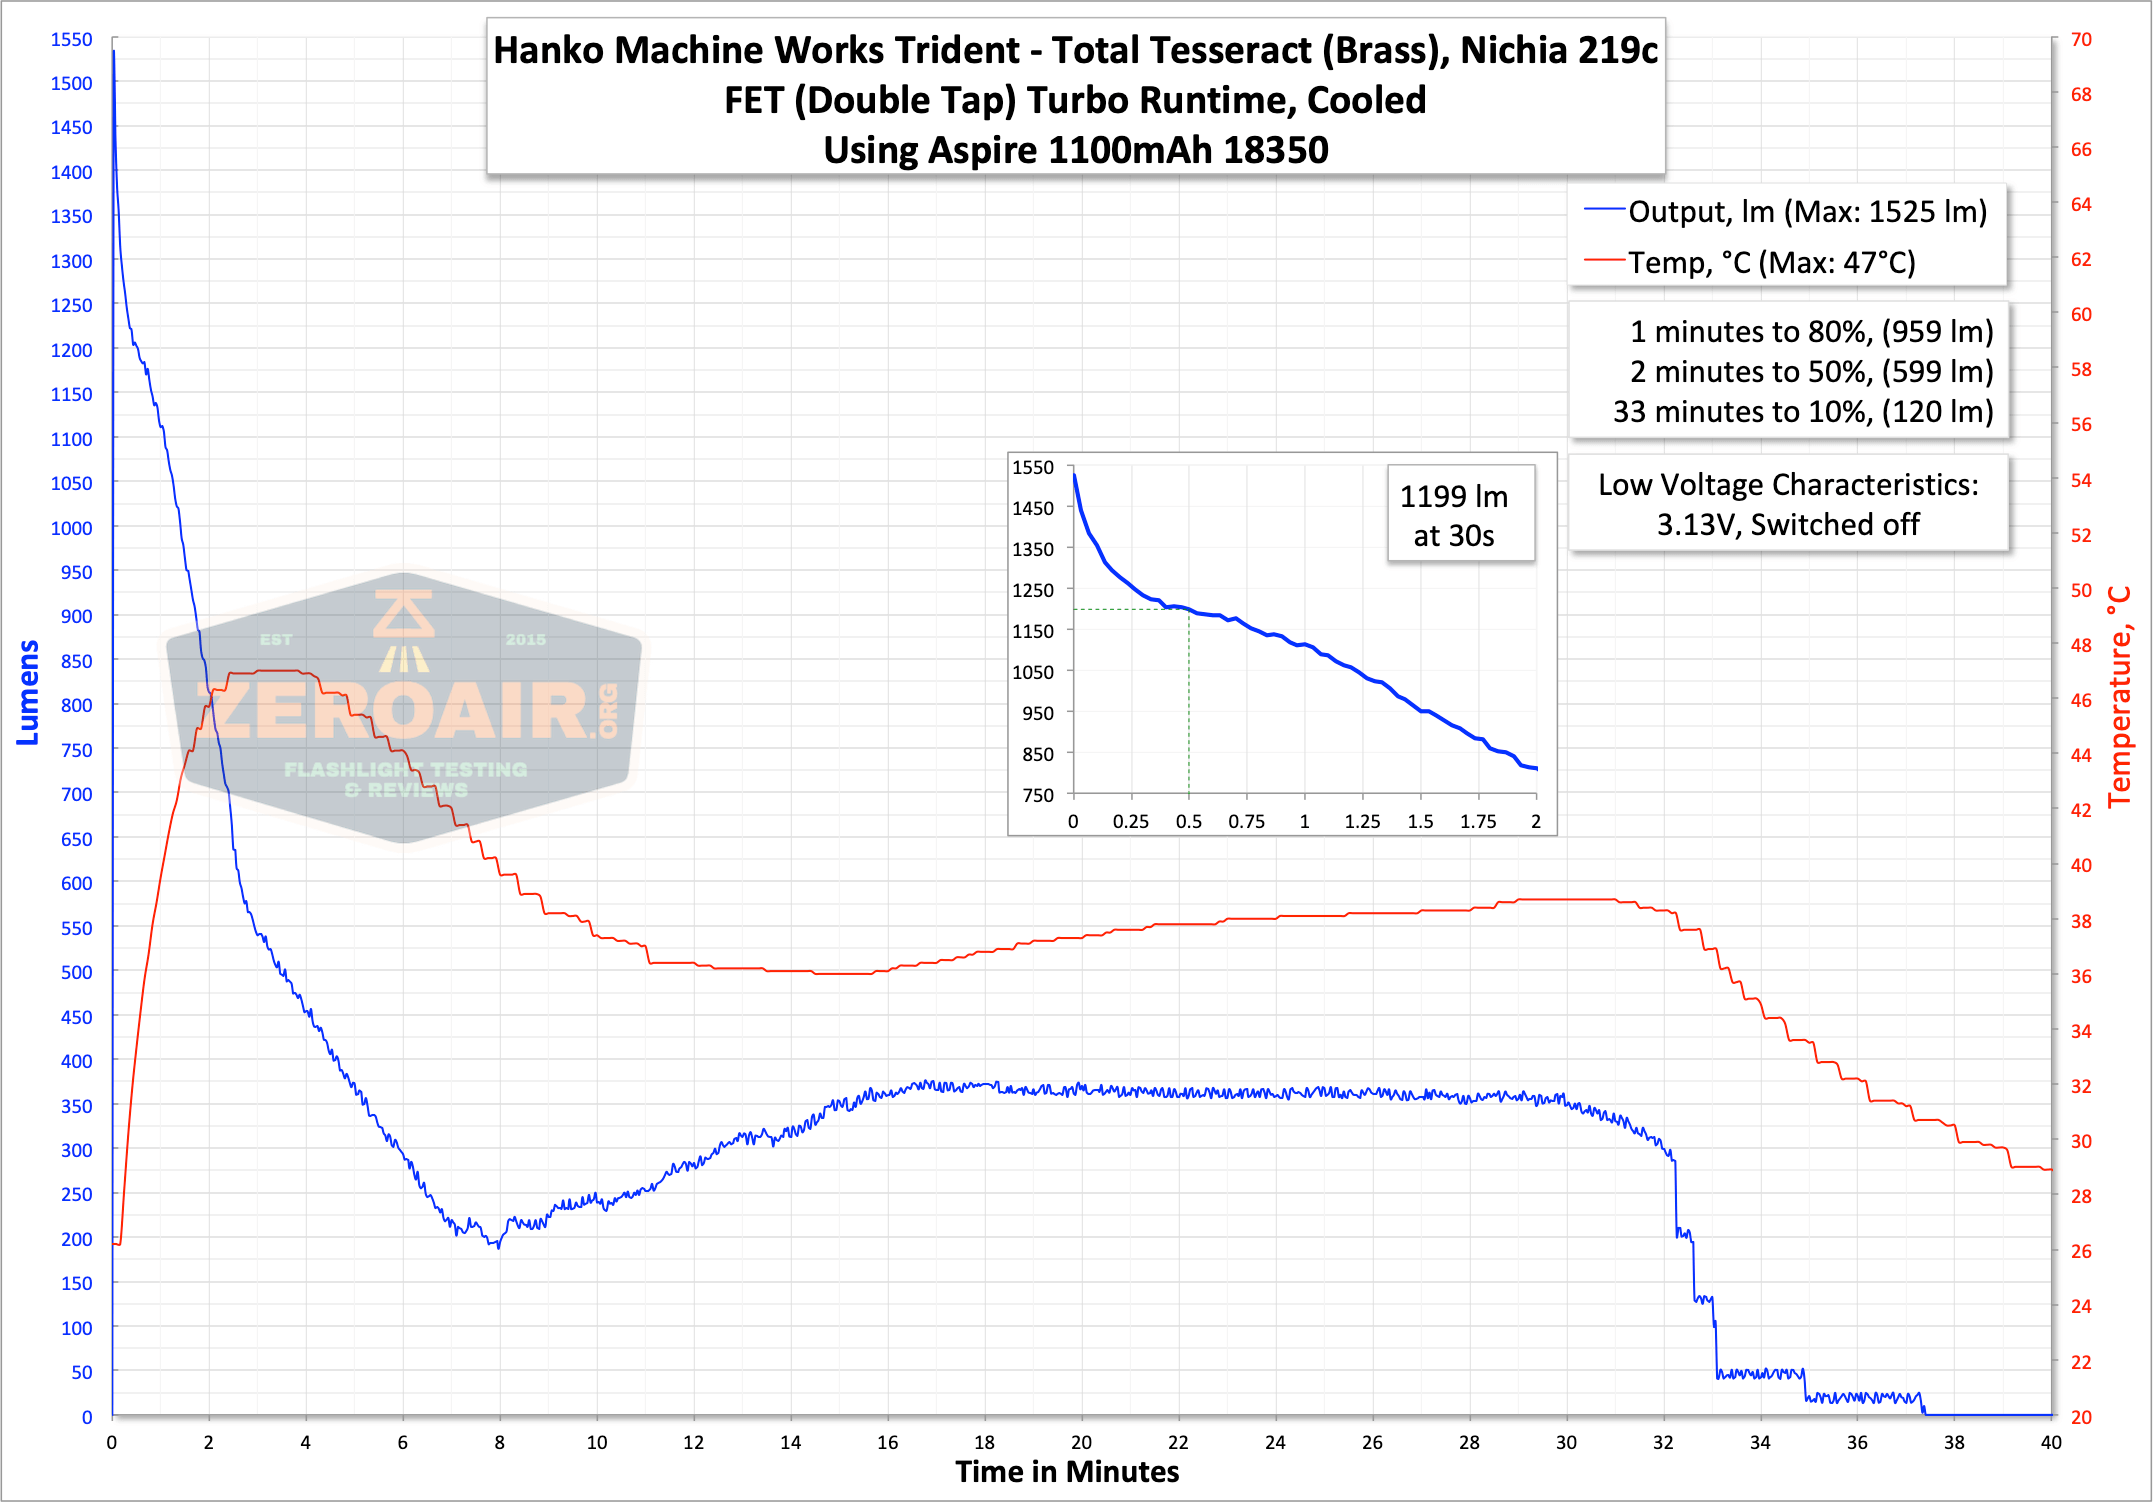
Here are a couple of runtimes. As I have stated before regarding the H17f, these tests are pretty ambiguous since you can set the light up in so many ways. So these tests are more of a technical exercise than anything specifically useful. Except that the first test below demonstrates my maximum output as tested – around 1199 lumens at 30s (and falling off fairly quickly). This will be largely dependent upon the cell tested – I was using what I considered a very capable Aspire cell. If you have a better cell, you’ll likely have better output. Output in this mode is full FET, which basically shorts the cell through the emitters.
In my original posting of this review, I had mistakenly not accessed this mode. I always forget (eek) that h17f has a Turbo mode that is accessed by double-tapping the switch. My original test (showing around 500 lumens) was the “High” you get to by cycling through the modes. This turbo (below) isn’t accessed that way. My mistake on that, but here is the corrected data. This is much more reasonable, 1200 lumens, with an at-startup output of over 1500 lumens!
Here are the other two original runtimes – High and Medium. 500 lumens for high makes much more sense.
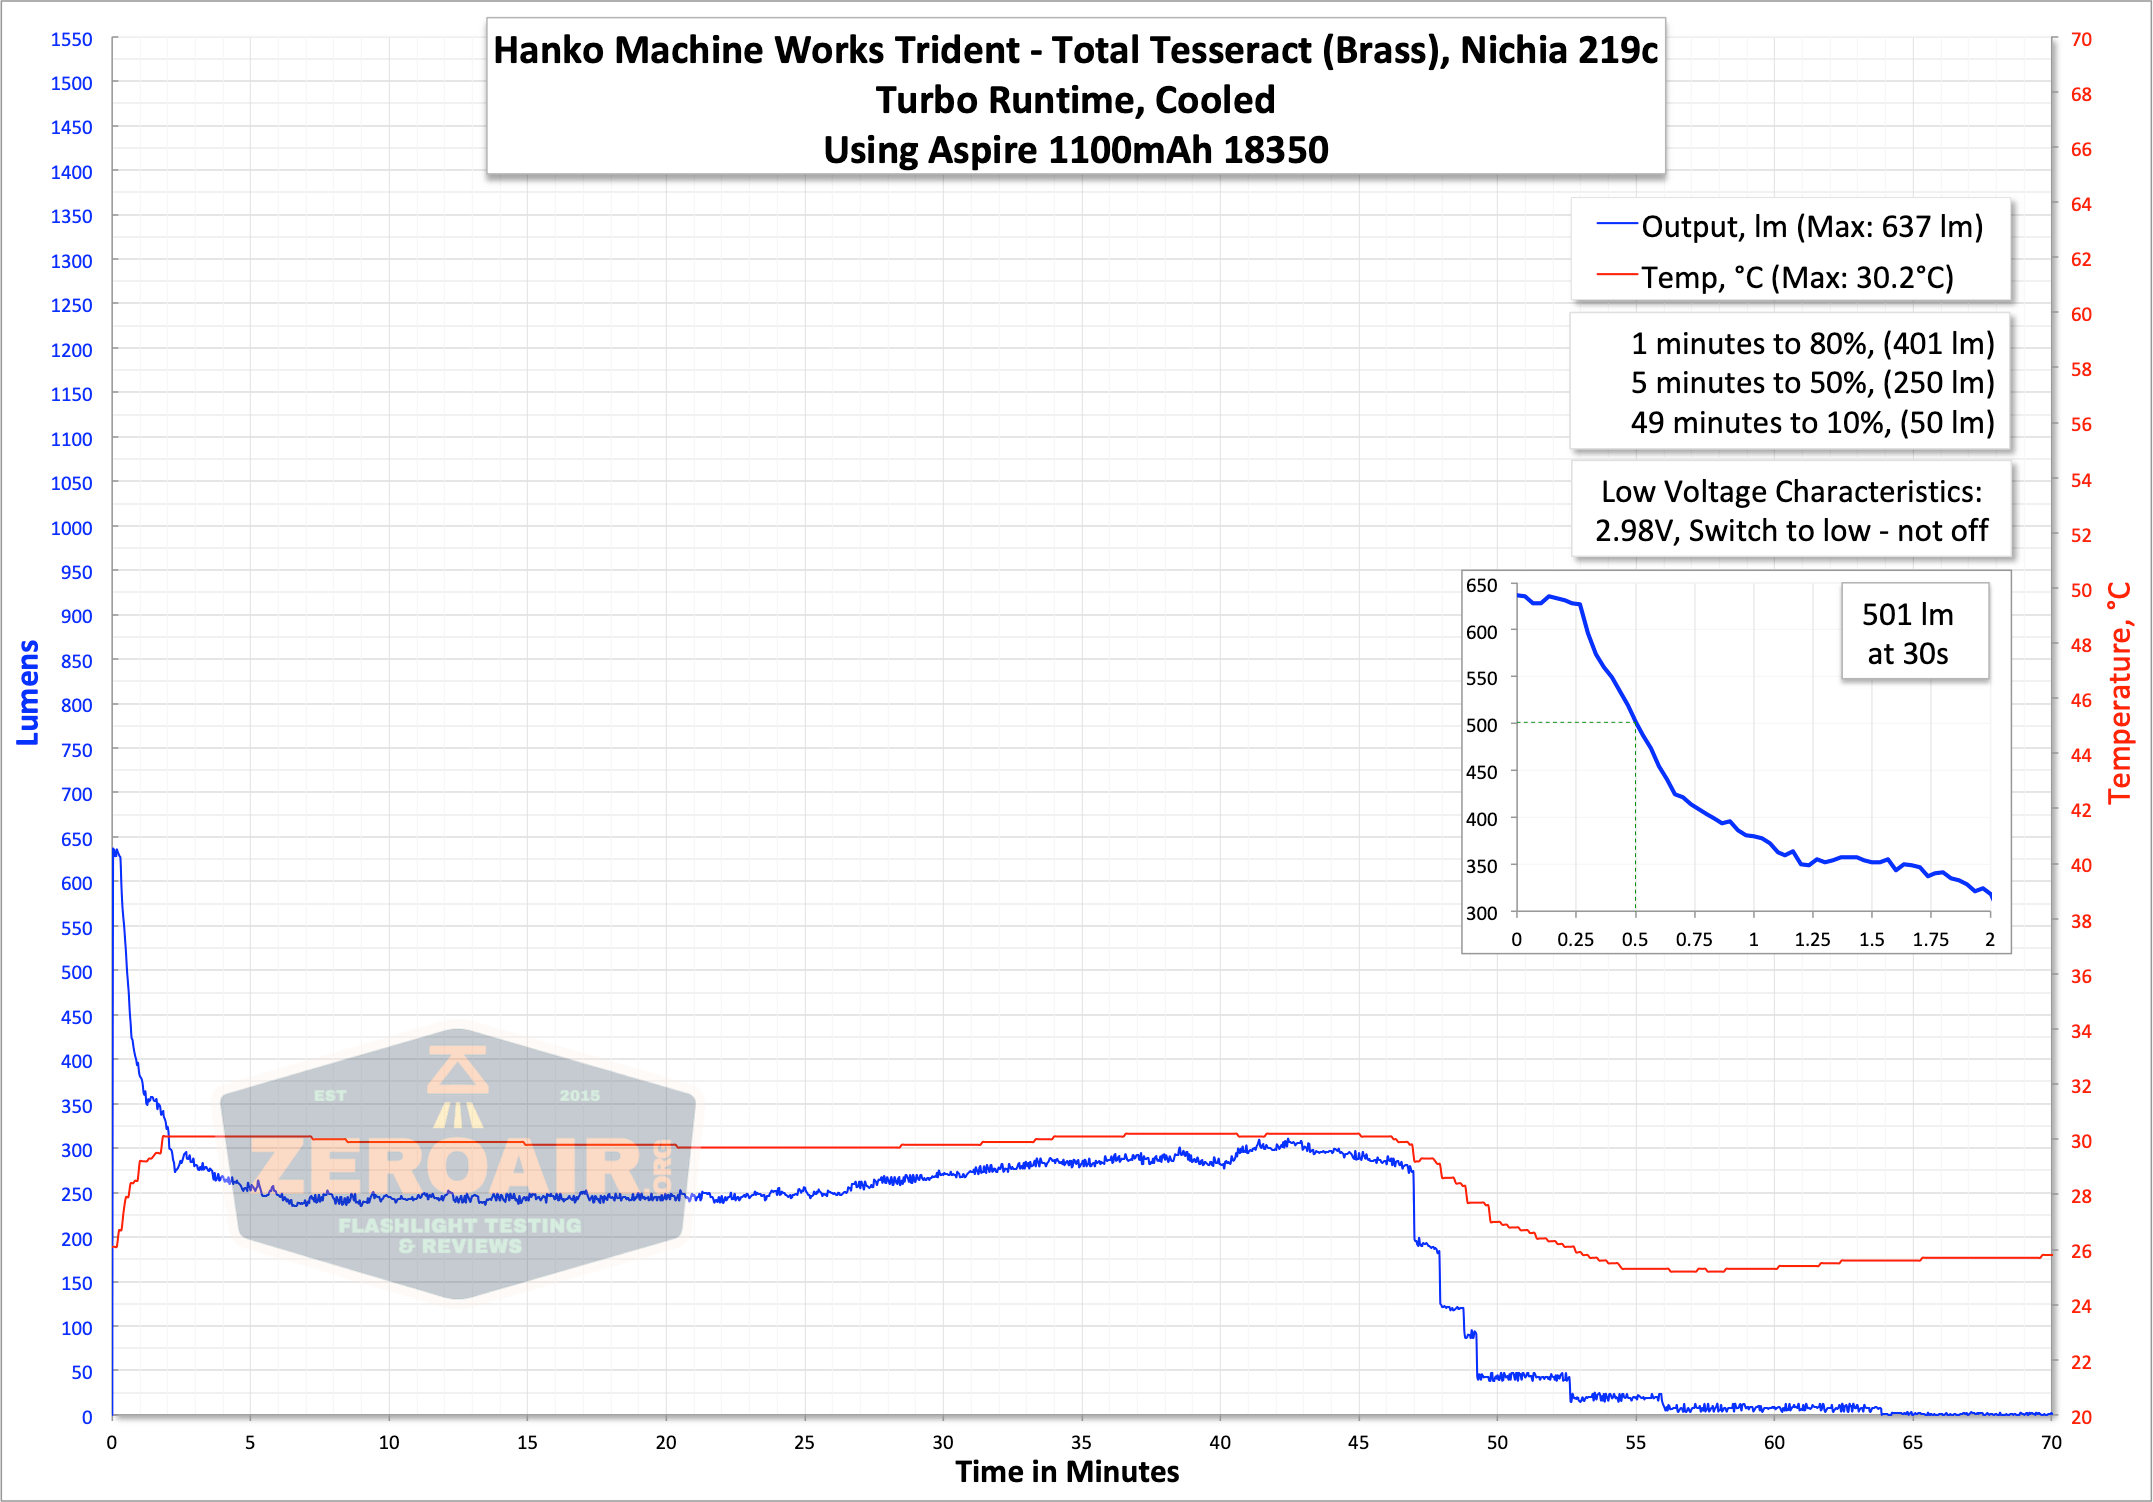
Medium is fairly well-regulated, as you can see below.
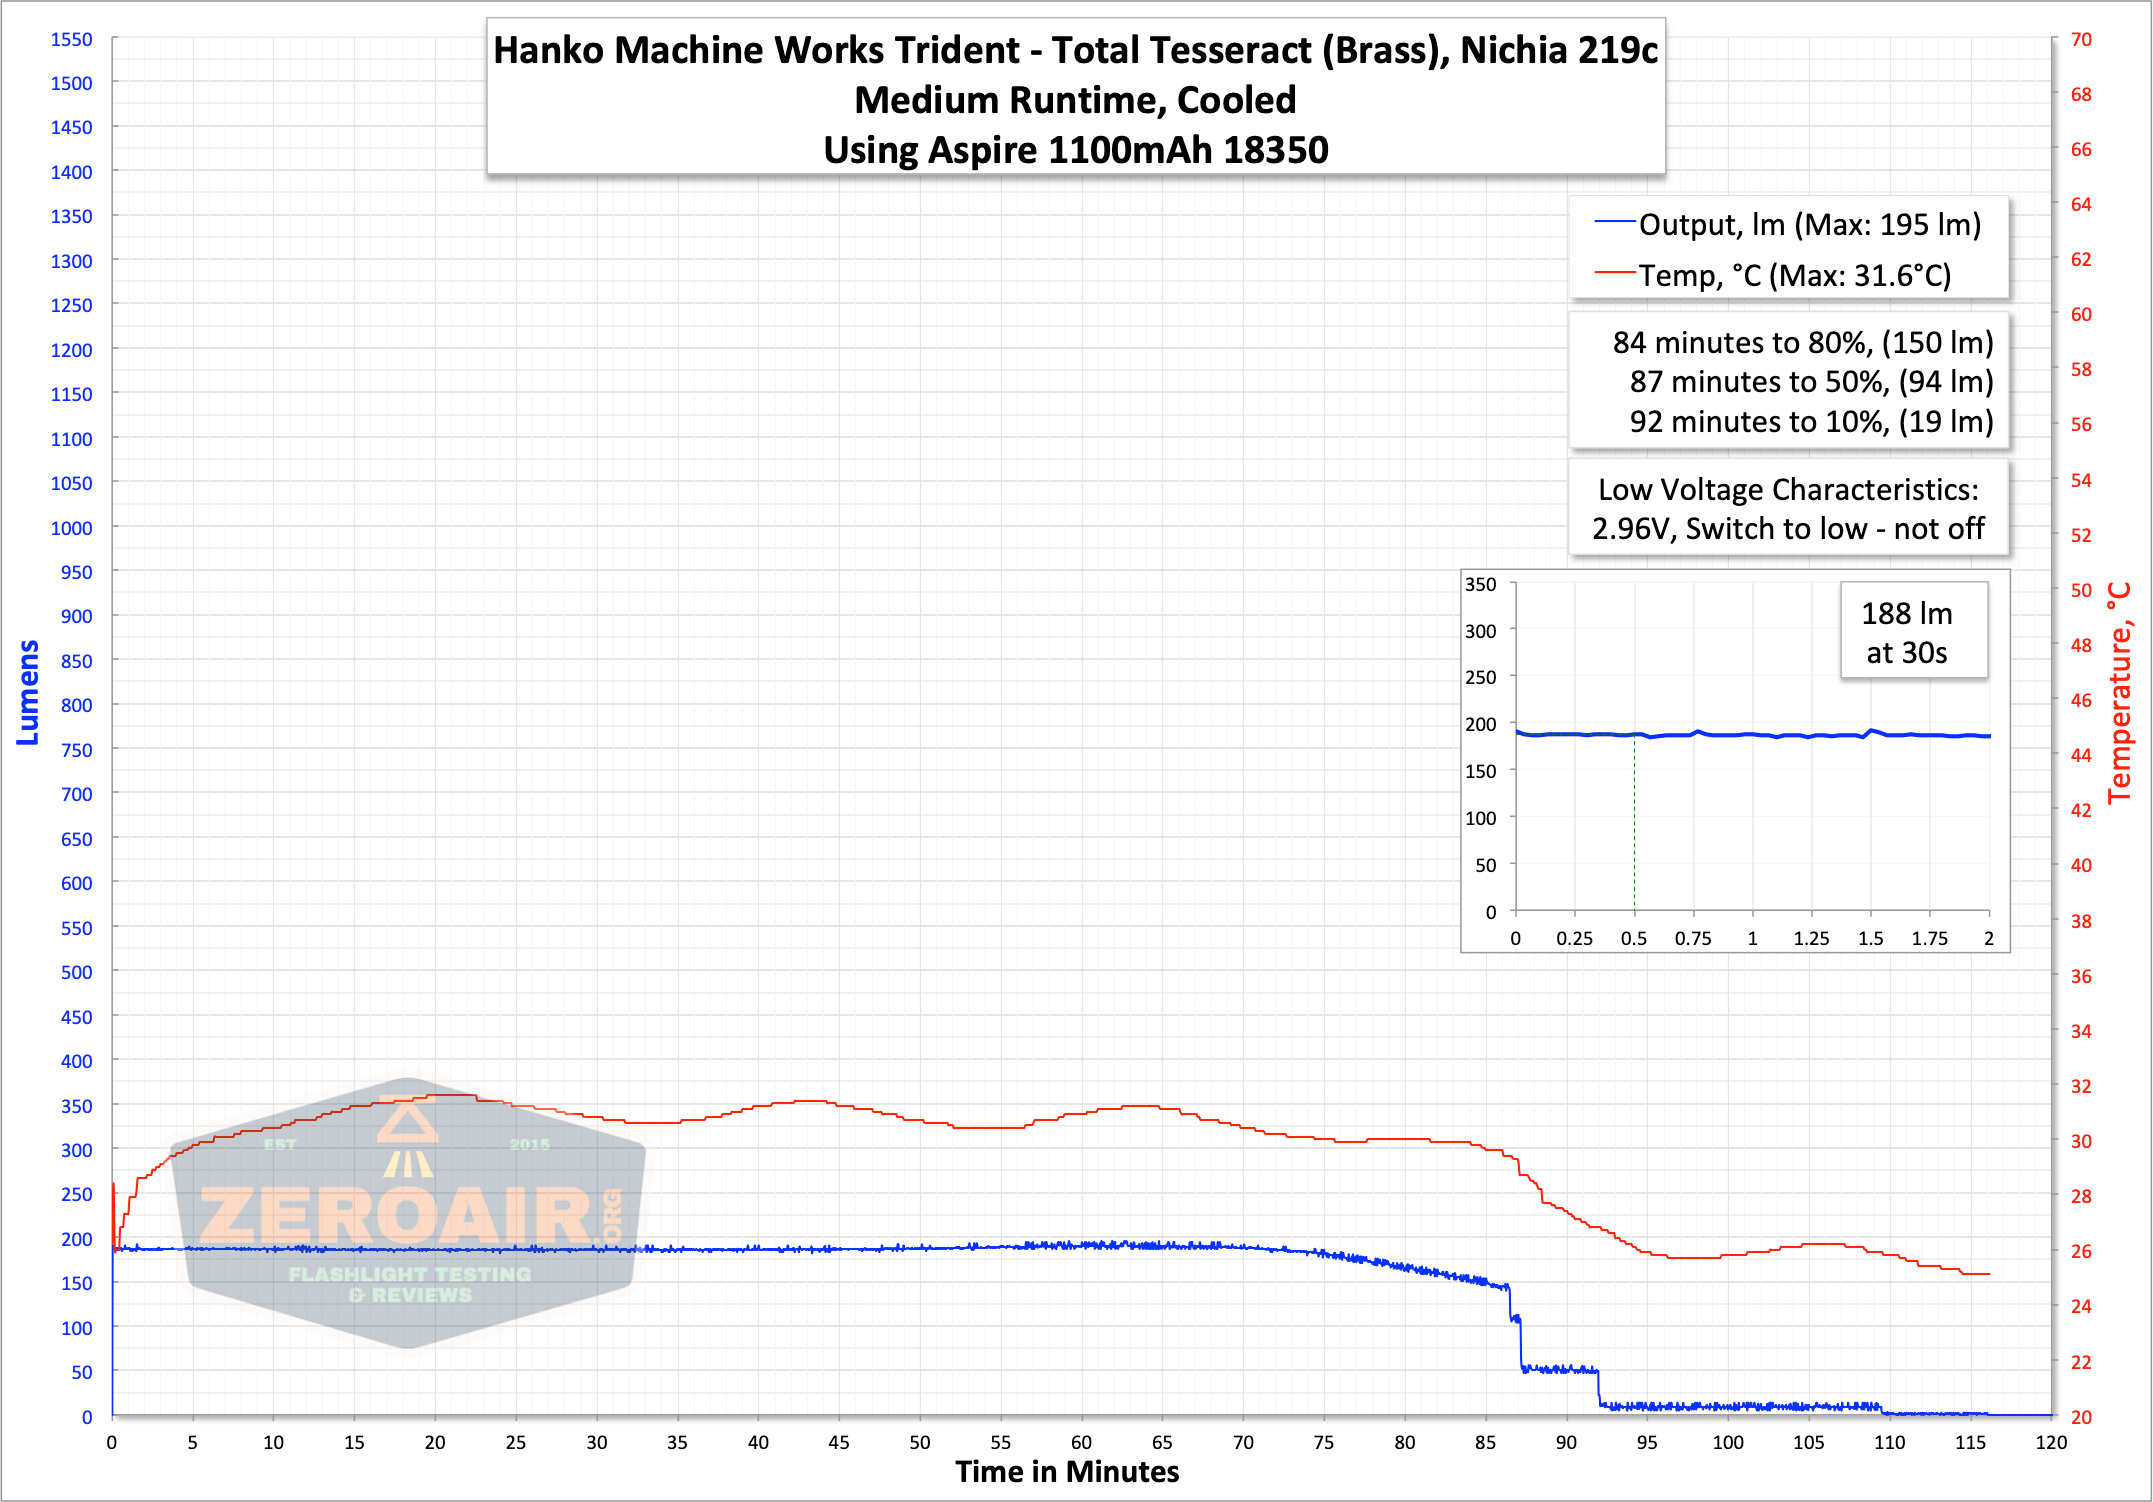
When testing with my bench power, I did see the light shut off at around 2.8V, which is good LVP.
Modes and Currents
| Mode | Mode Claimed Output (lm) | Claimed Runtime | Measured Lumens | Tailcap Amps |
|---|---|---|---|---|
| Turbo | – | – | 1199 | 8.20 |
| High | – | – | 501 | 3.02 |
| Medium | – | – | 188 | 0.82 |
| Low | – | – | 35 | 0.13 |
| Lowest | – | – | ~ | 0.01 |
Pulse Width Modulation
The H17f driver uses PWM, that’s no secret. I do not notice it by eye, however. Turbo (far right) is FET output and doesn’t use PWM.
 Here you can see a “baseline” – a chart with almost no light hitting the sensor.
Then there’s the Ultrafire WF-602C flashlight, which has some of the worst PWM I’ve seen. It’s so bad that I used a post about it to explain PWM! Here are multiple timescales (10ms, 5ms, 2ms, 1ms, 0.5ms, 0.2ms) to make comparing this “worst” PWM light to the test light easier. That post also explains why I didn’t test the WF-602C at the usual 50us scale.
User Interface and Operation
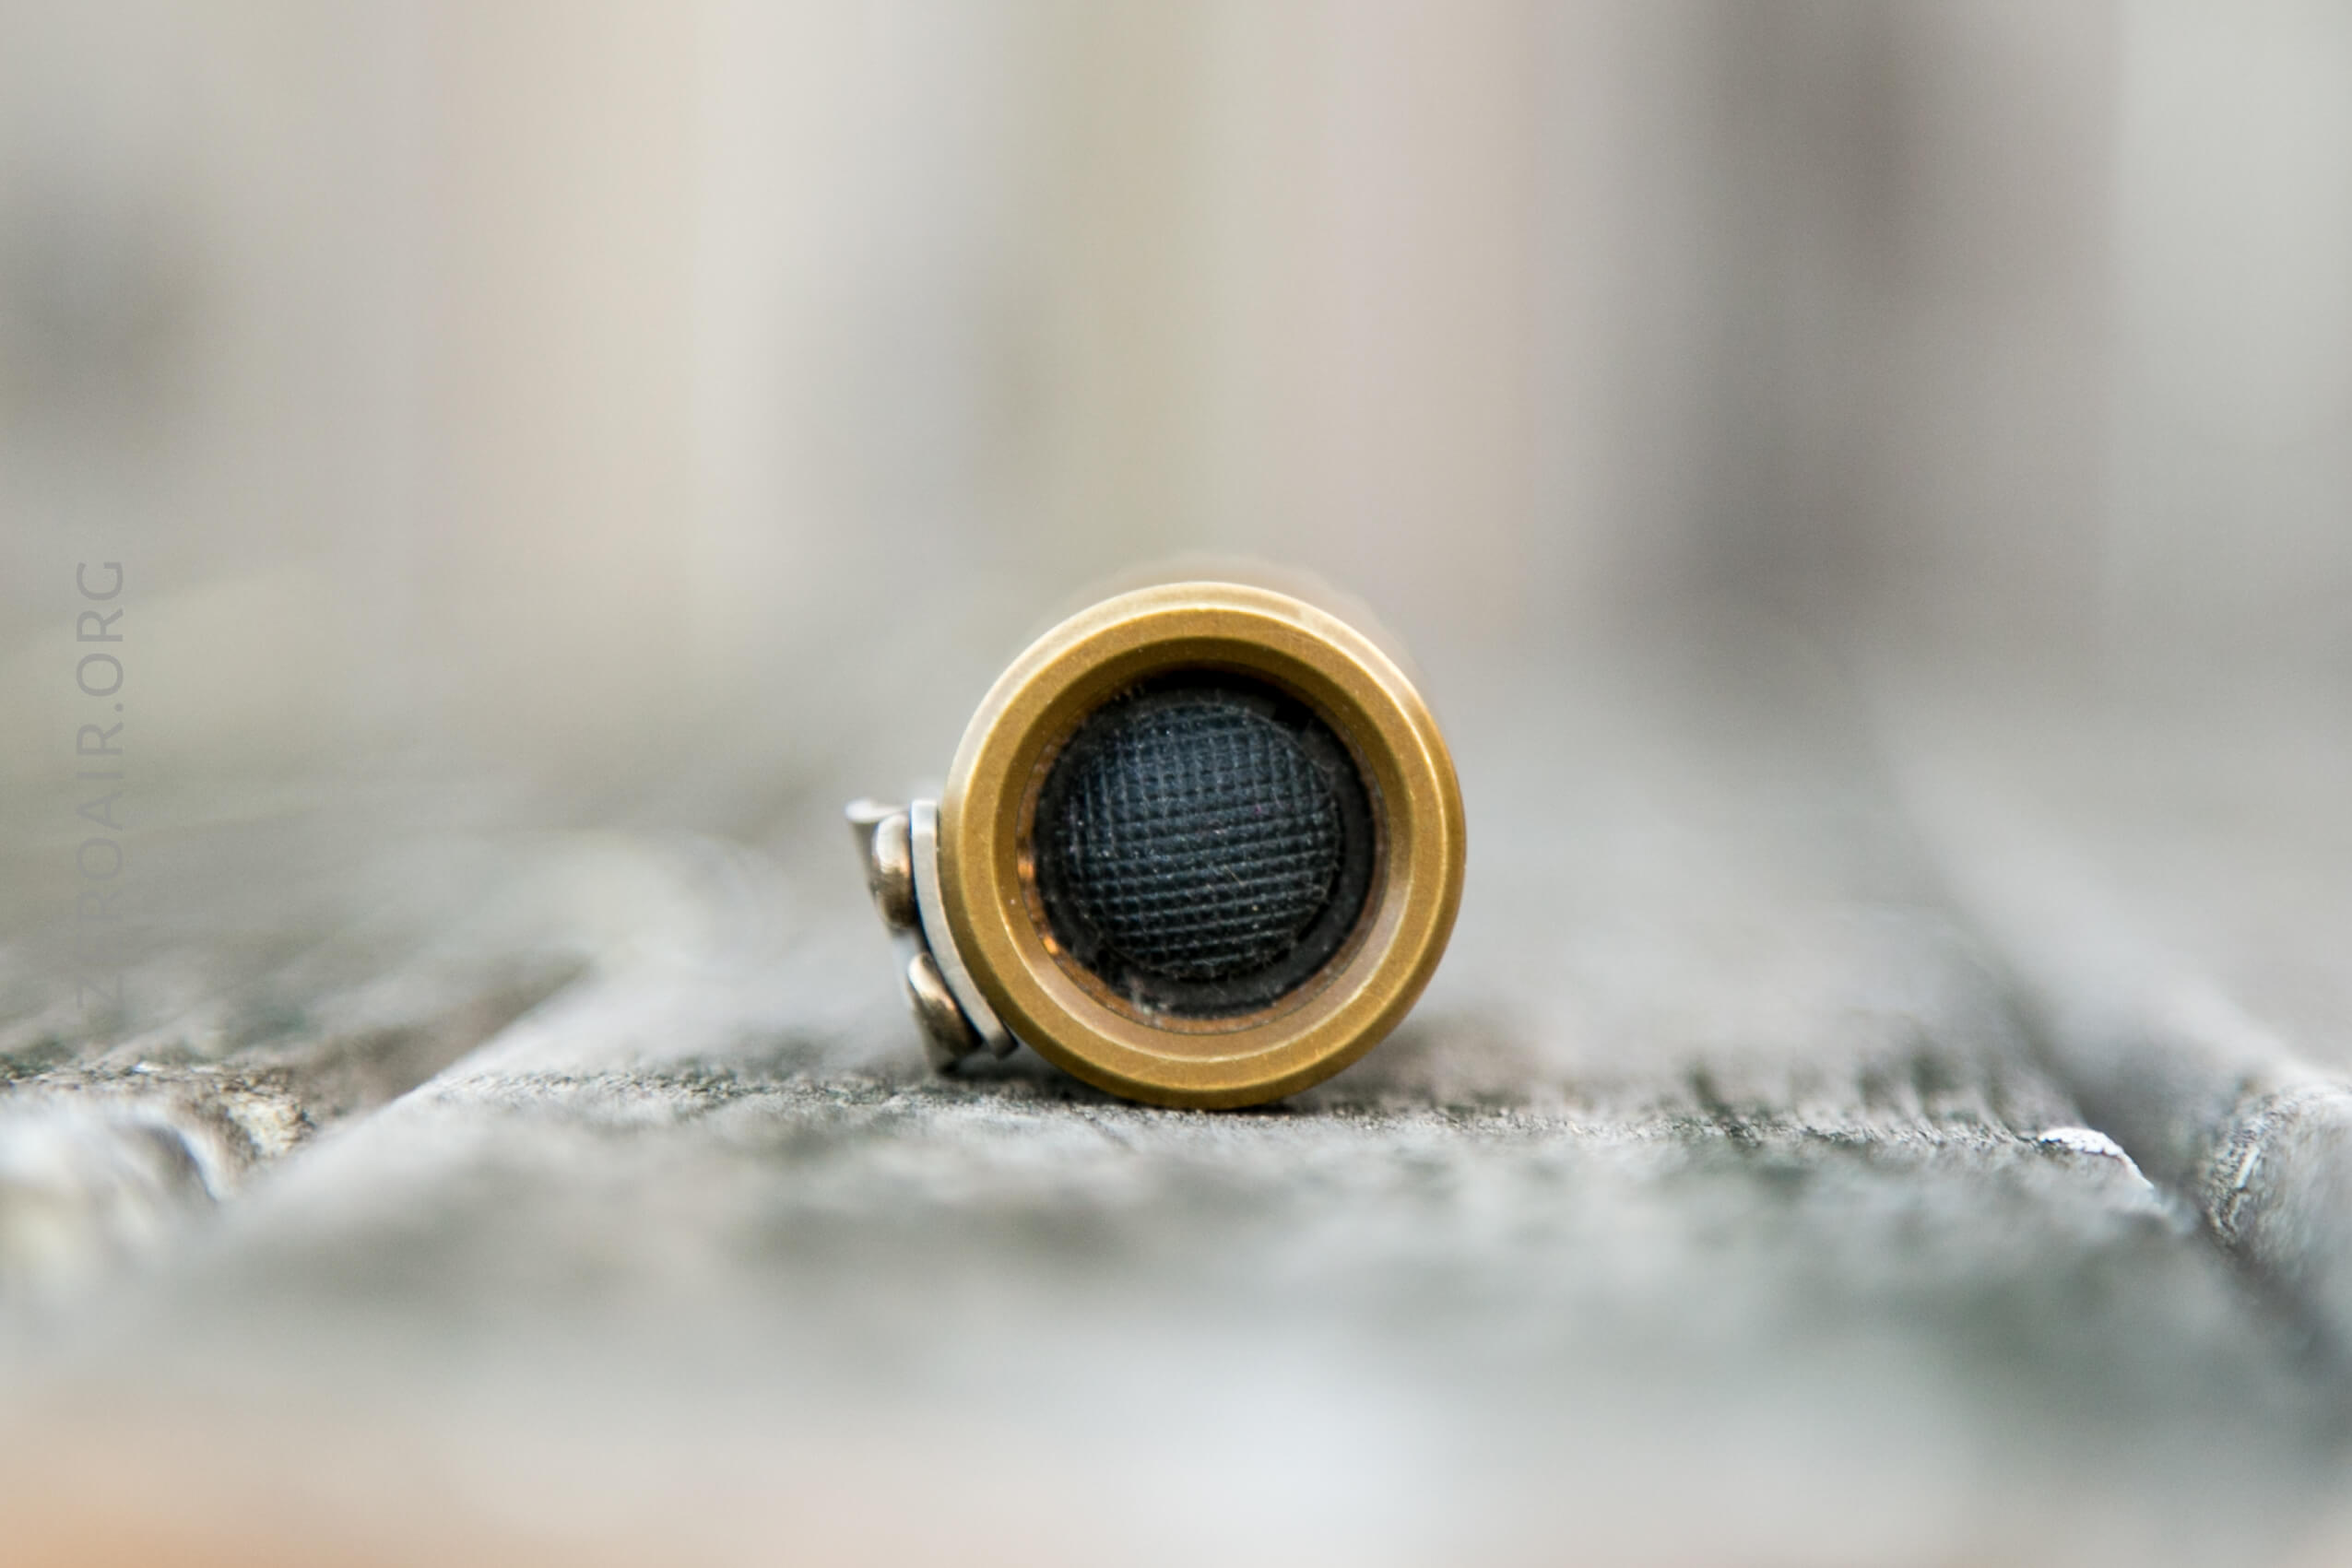
The switch is a forward clicky mechanical switch. This means it’s possible to use the switch as a momentary switch. It’s big, clicky, and knurled. The switch itself is an actual McClicky.
I will note that the light will tailstand easily – the bezel around the switch is tall enough to allow to sit fully flush on a surface.
I don’t have a user interface table for you, but I do have a flow chart that was made for another H17f light, and is applicable for this one too.
Depending on how you have your H17f configured, you may or may not have mode memory on. I absolutely never use mode memory if given the choice. So for my Hanko, I can tap and hold for momentary, or tap tap tap tap through the modes to get to the mode I want and then fully click to turn the light on at that mode. I can also double-tap for the FET Turbo (which is the mode I almost always forget about!). These are all “from Off” actions, since once the switch is clicked on, the only thing that one can do is click again for off.
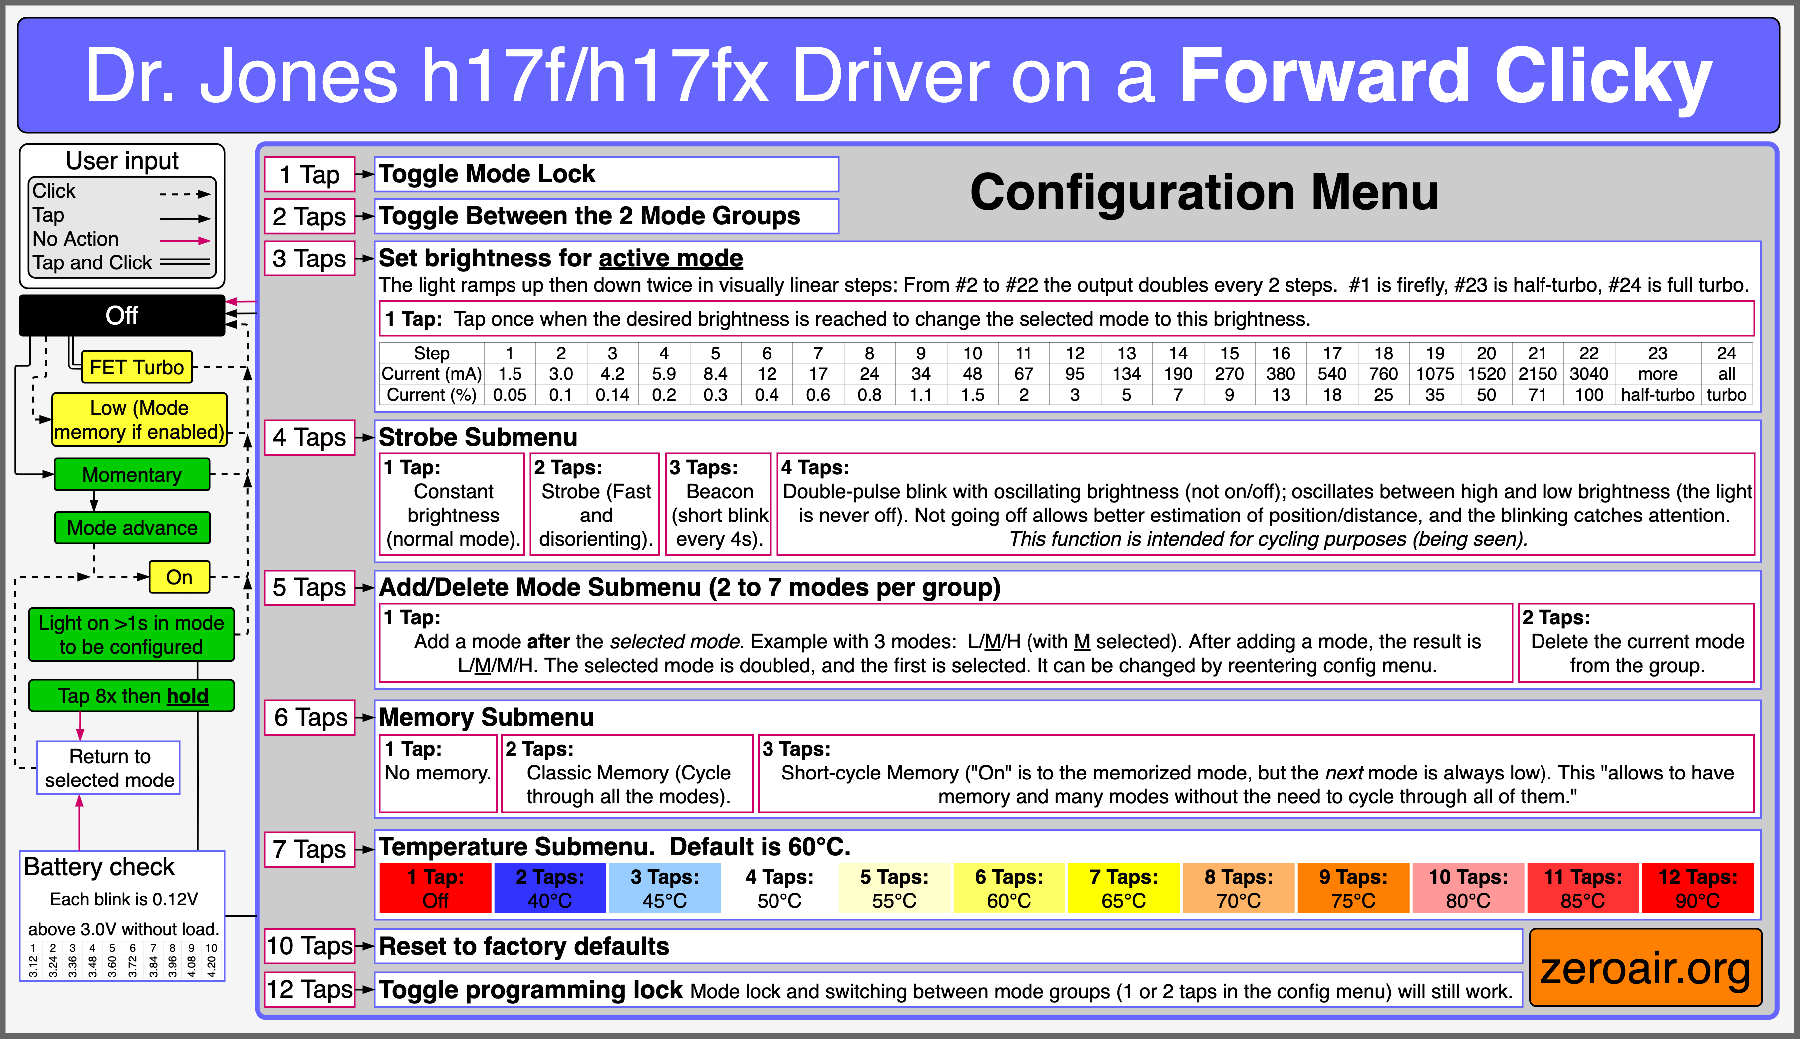
I had occasion to use that flow chart quite a bit while messing around with this light, and I have to say, it’s pretty useful. I even printed one for my desk.
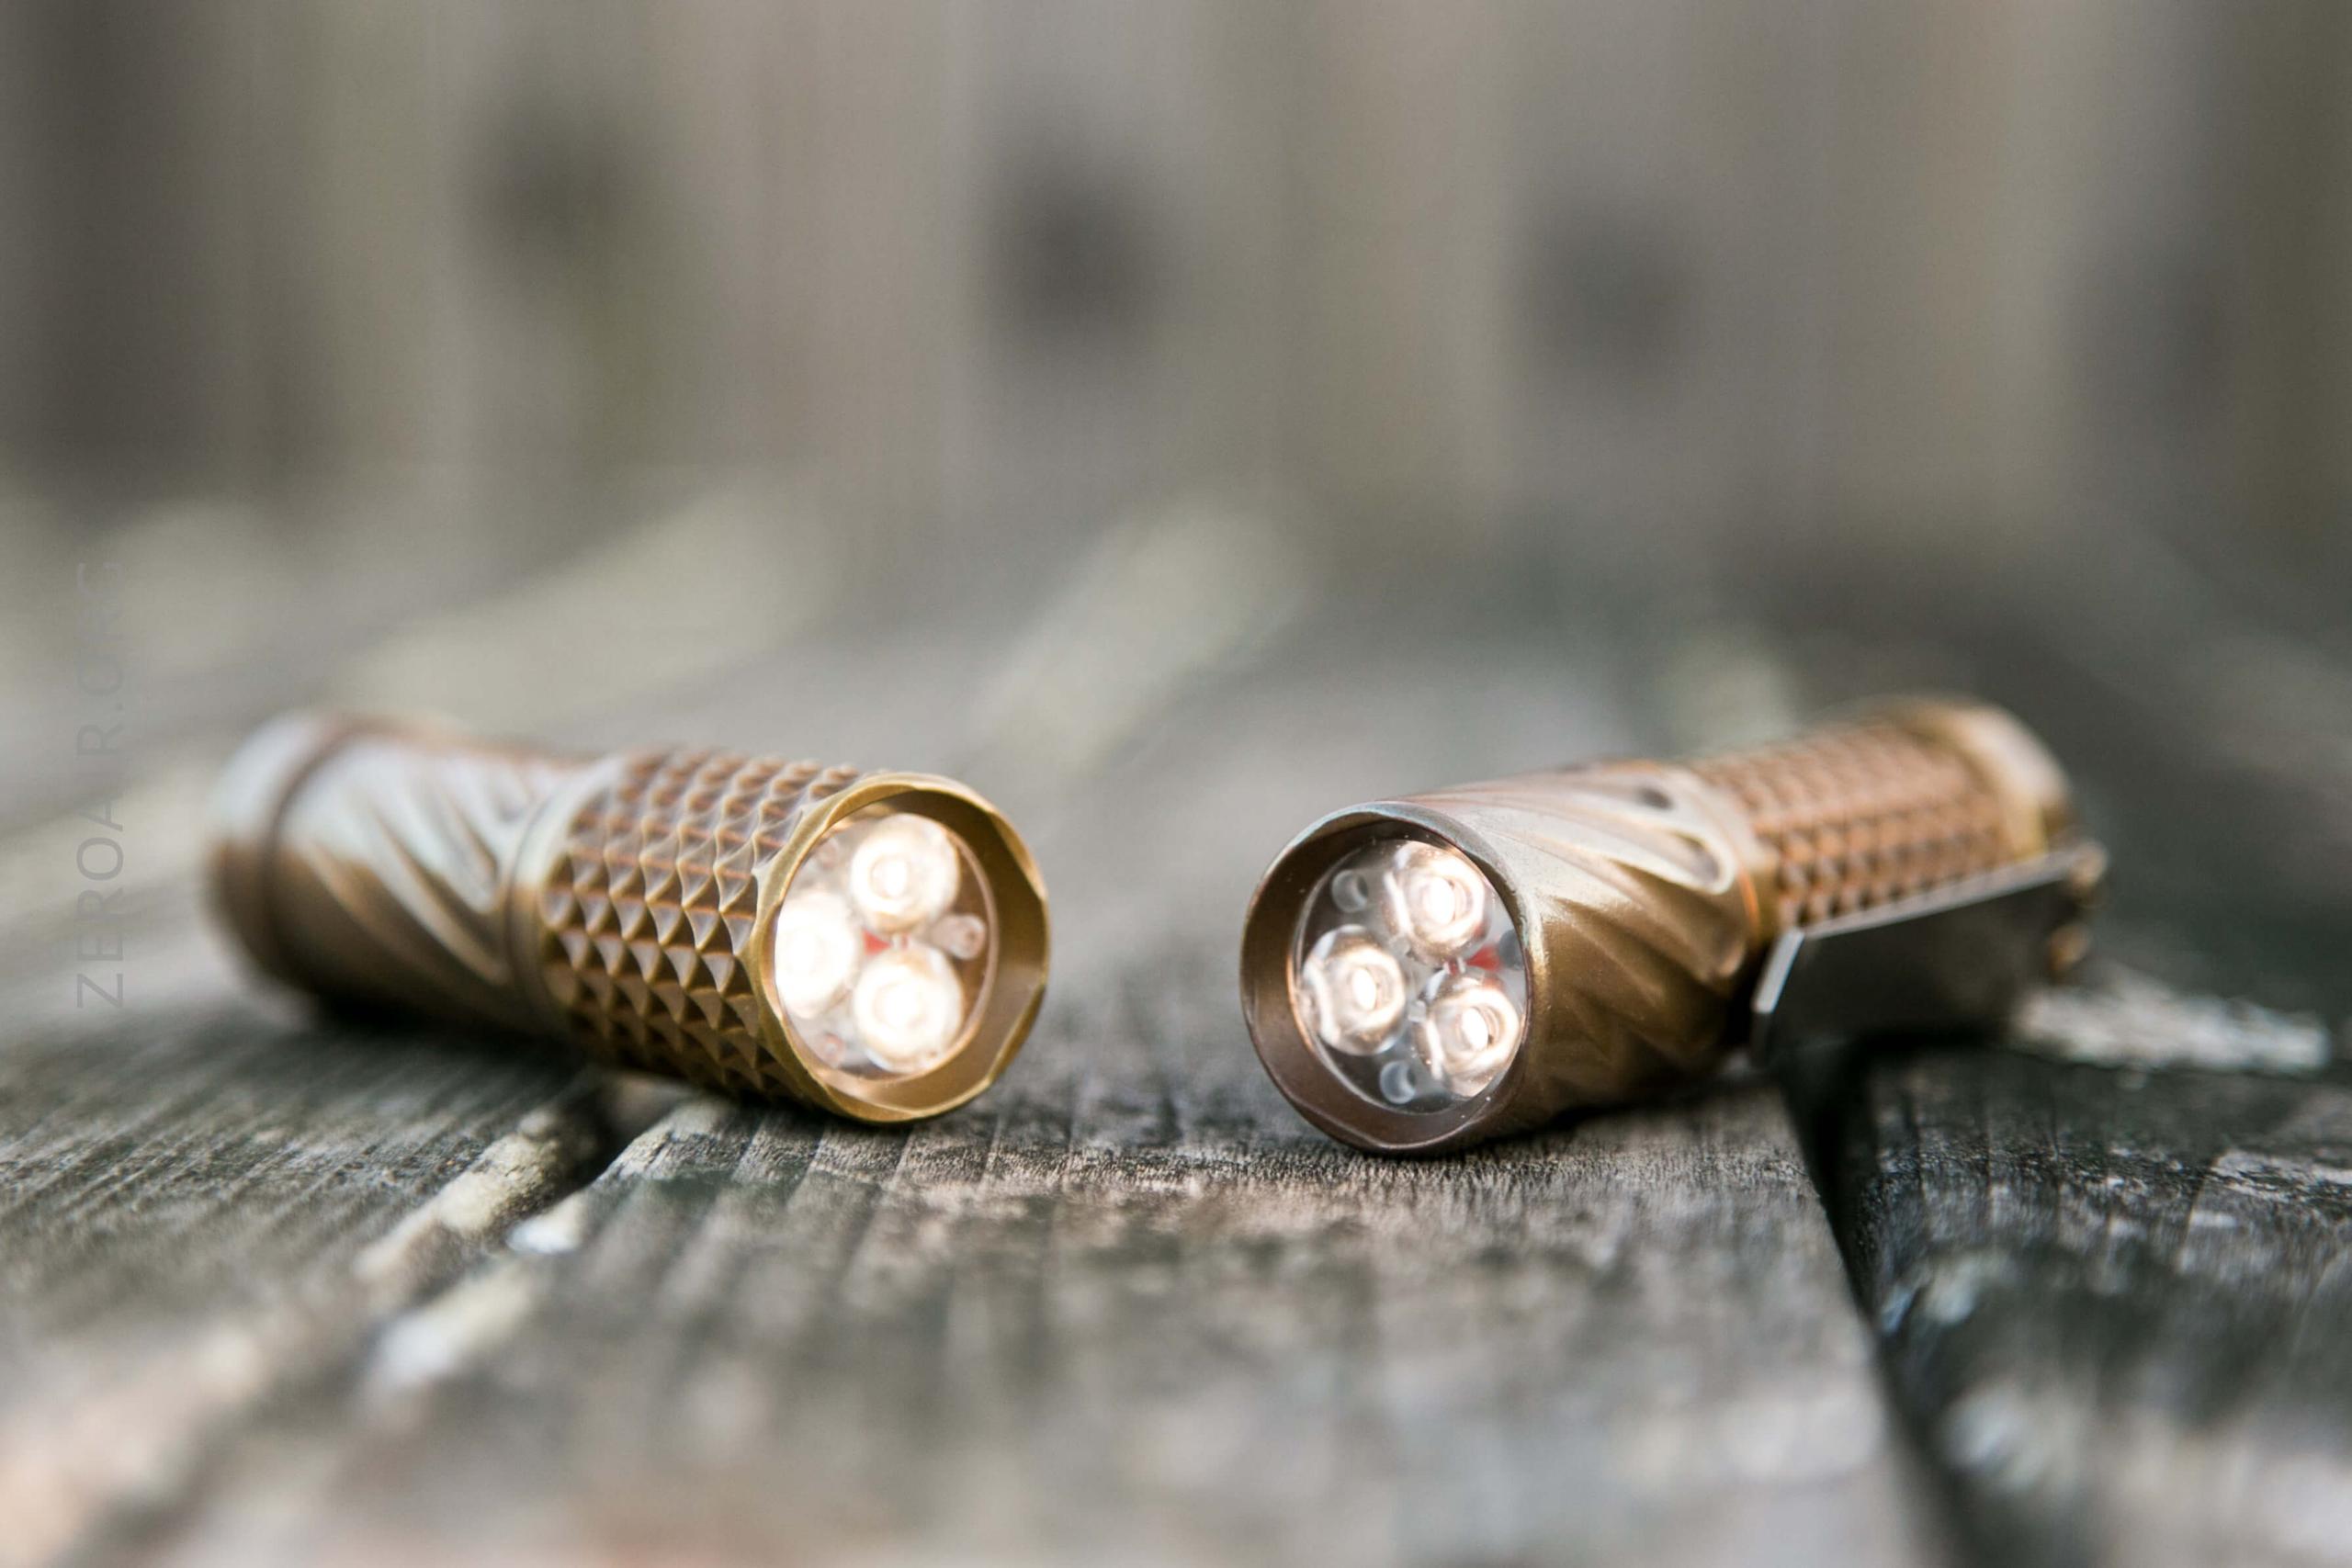
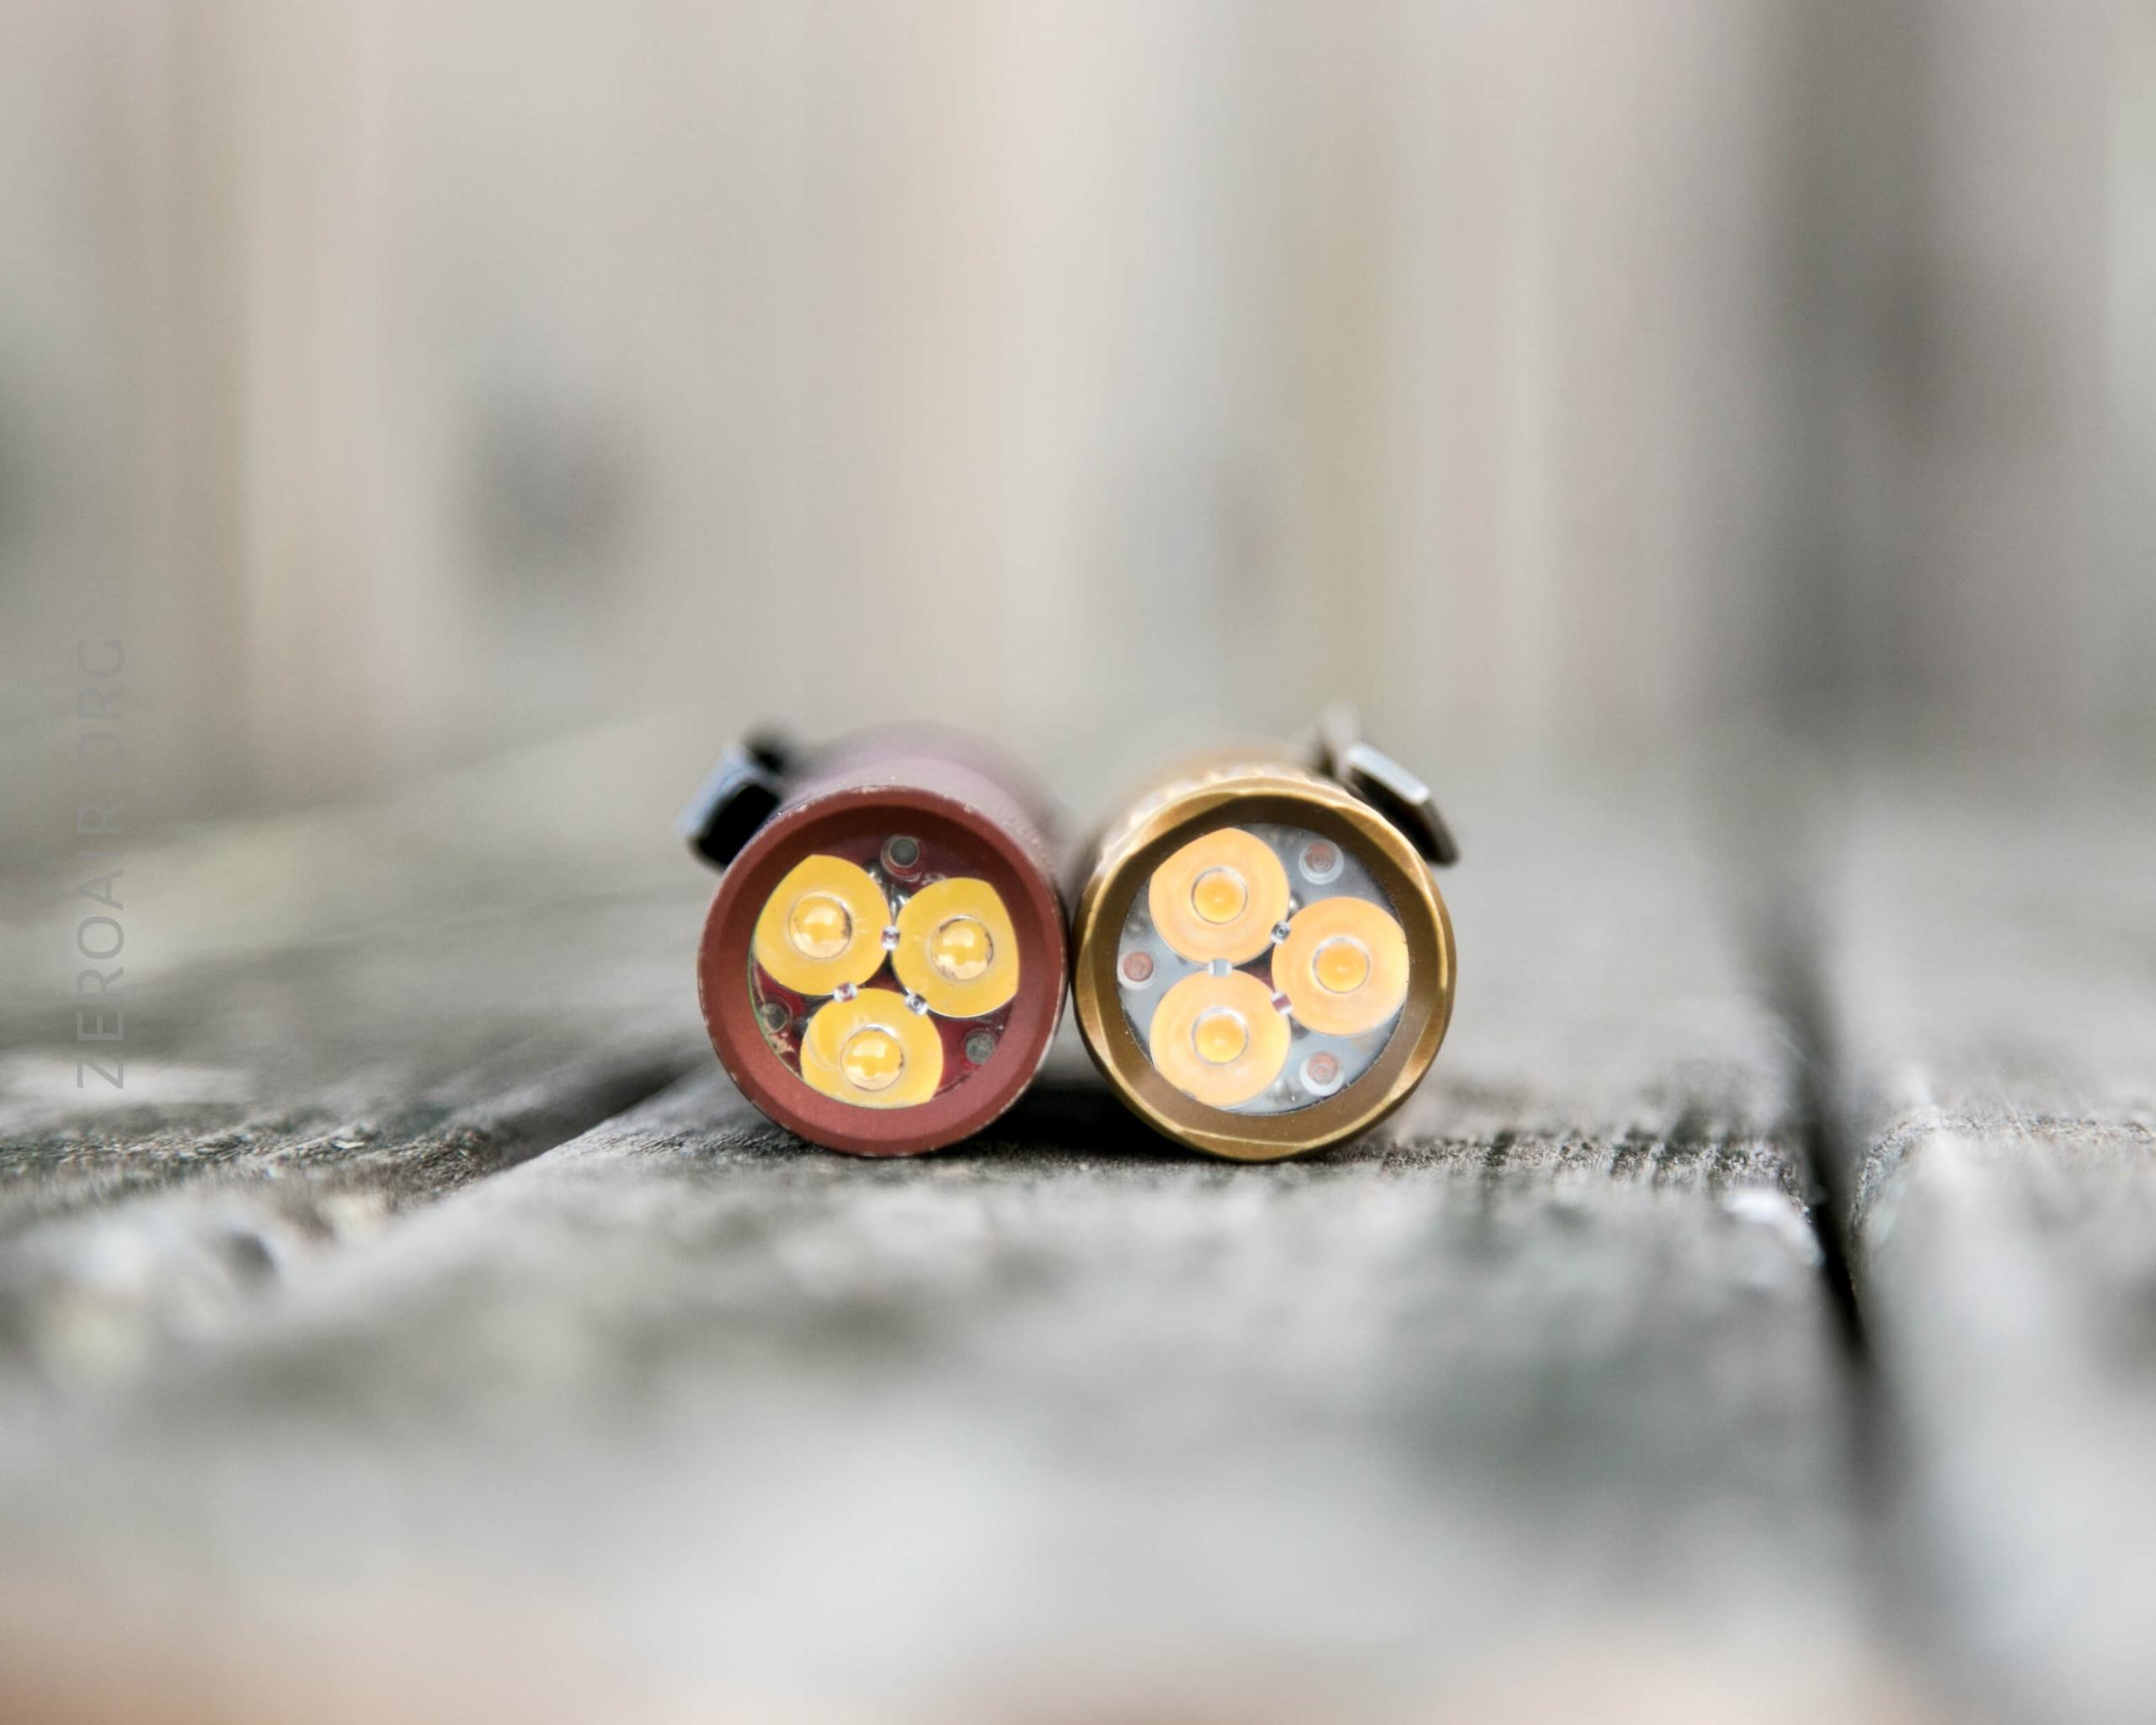
LED and Beam
This Trident uses Nichia 219c emitters, and there are three of them in there – a triple. These emitters have an optic as well, which provides a beam that has a hotspot but rolls off into smooth output.
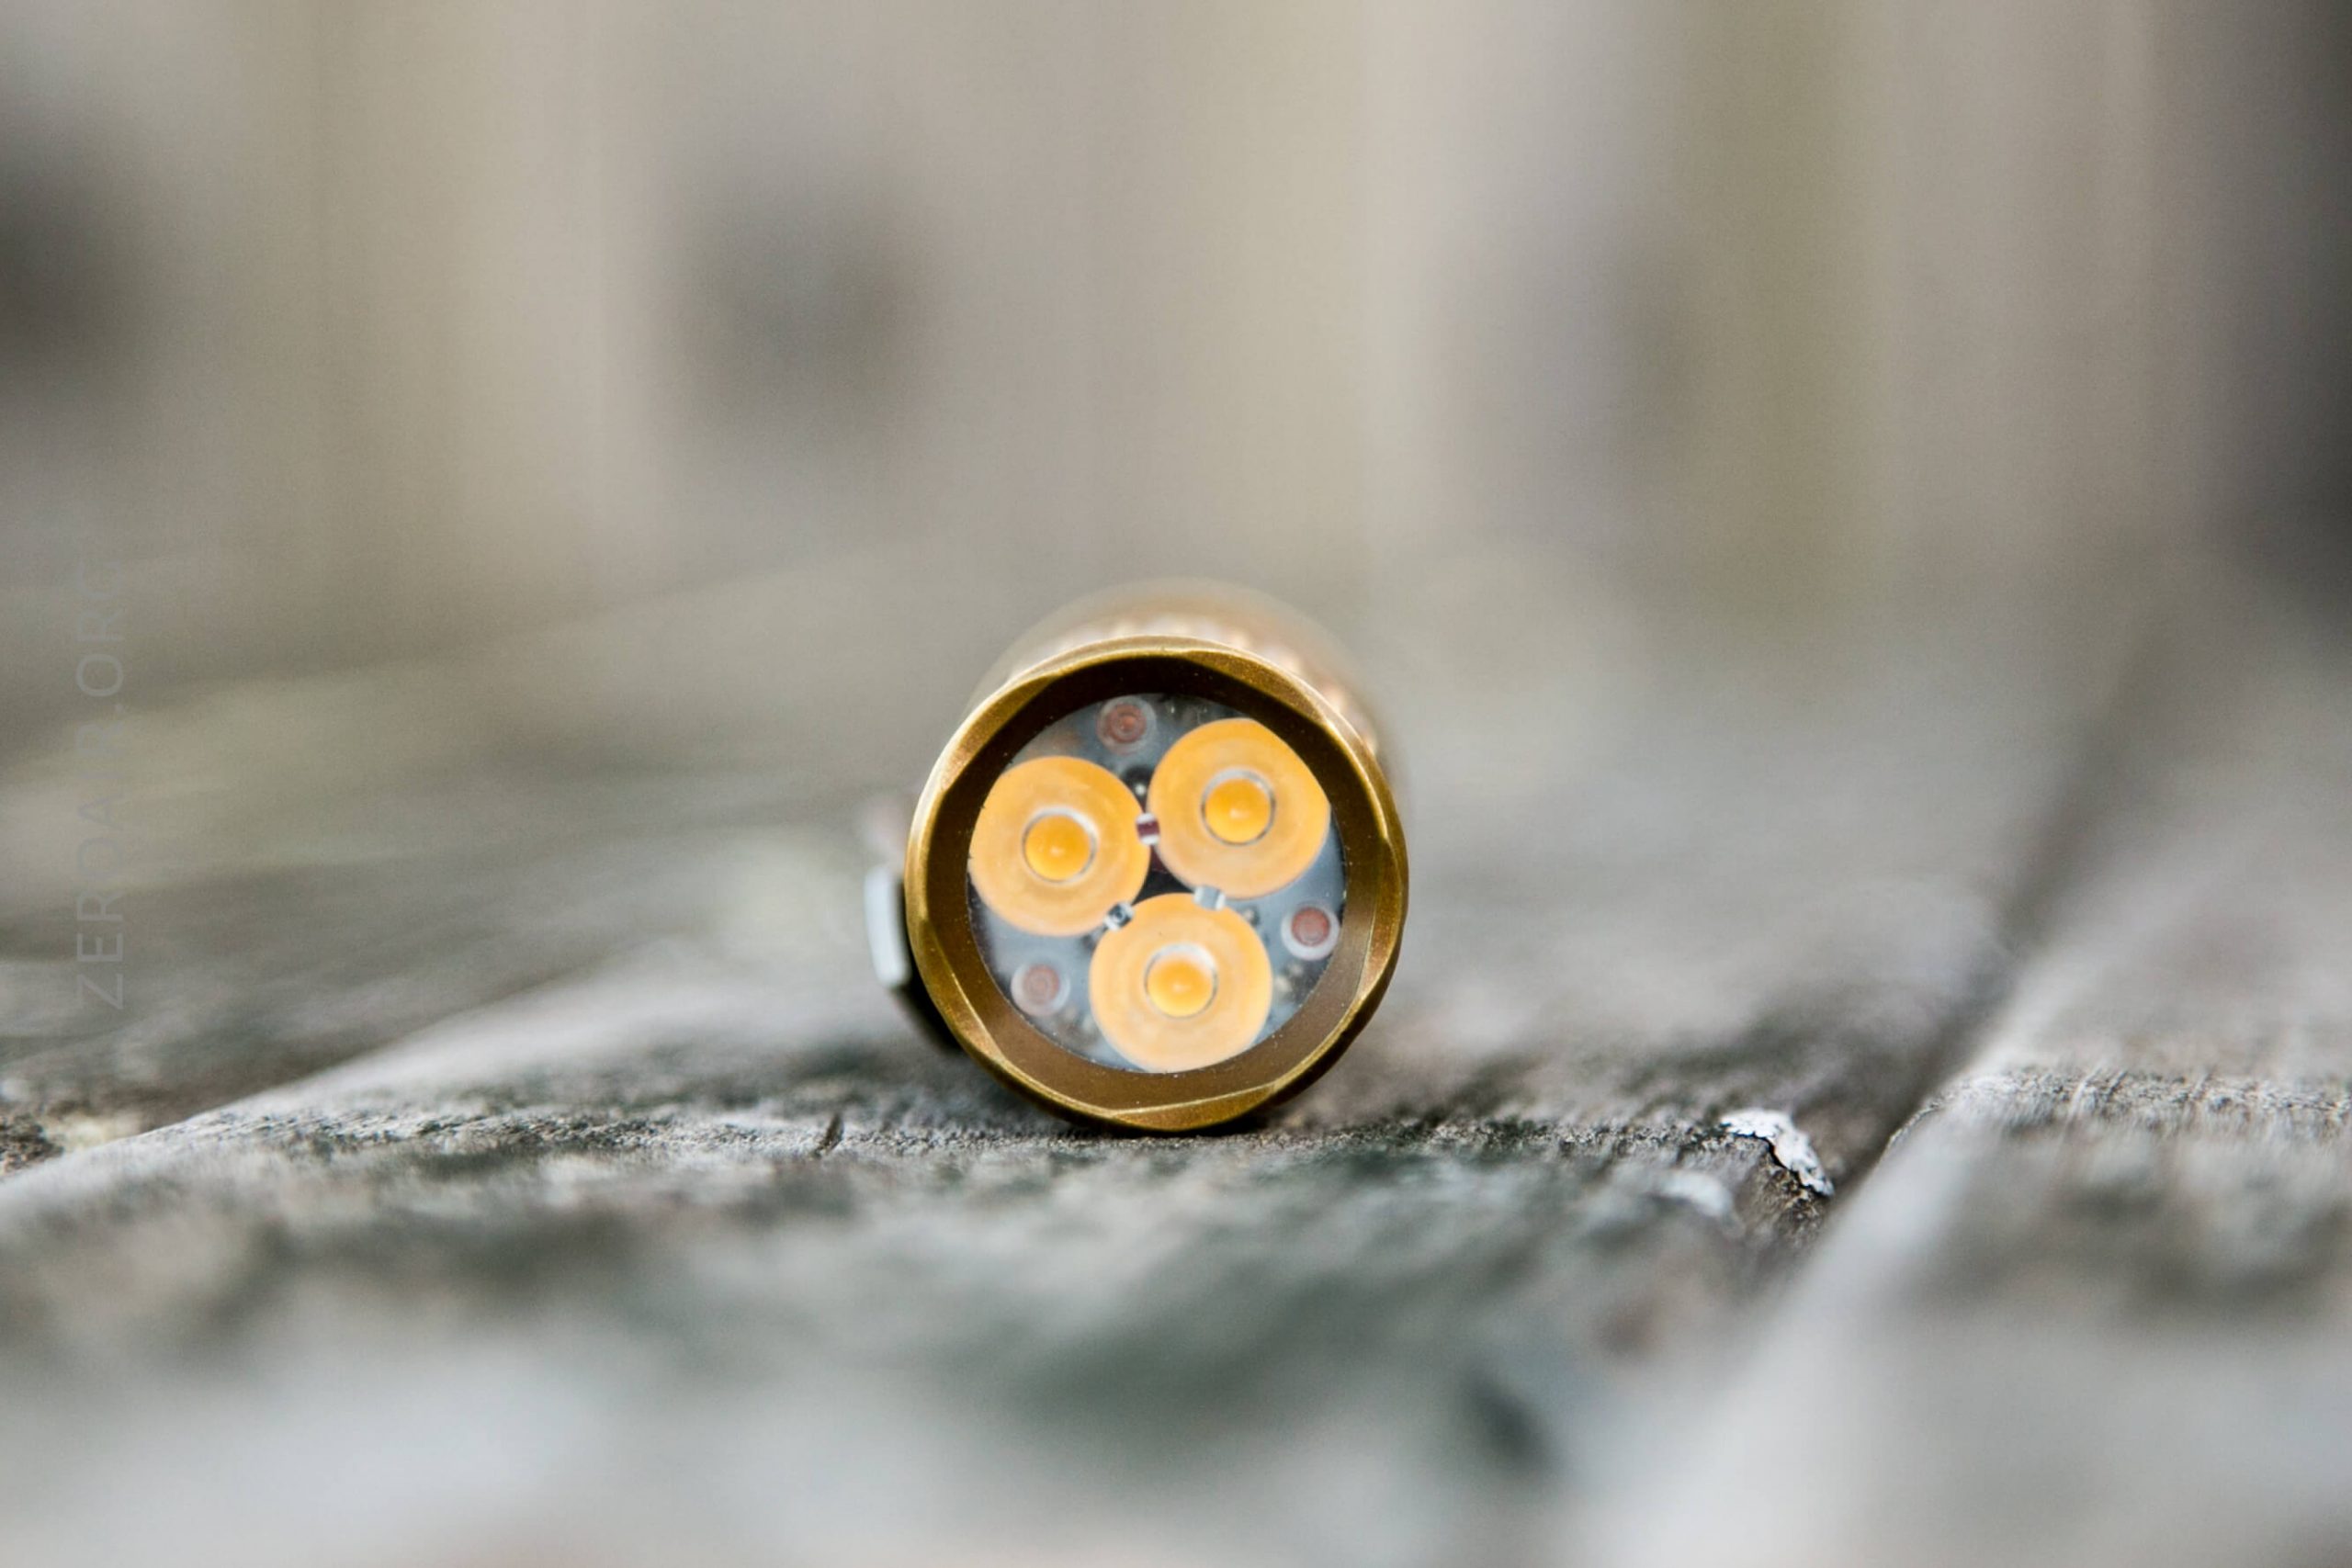
Another thing I like about the bezel (the reliefs were the first, which I mentioned way above) is that the bezel – and the whole light – is not overly bulky. Often on these types of lights, the bezel ends up obscuring much of the optic, which in turn affects the beam shape and is likely causing light losses… But the Trident allows for a maximum amount of the optic to be revealed.
With the stock MCPCB, there’s room for a glow gasket. Glow gaskets are cheap fun, so I highly recommend them!
Beamshots
These beamshots always have the following settings: f8, ISO100, 0.3s shutter, and manual 5000K exposure. These photos are taken at floor level, and the beam hits the ceiling around 9 feet away.


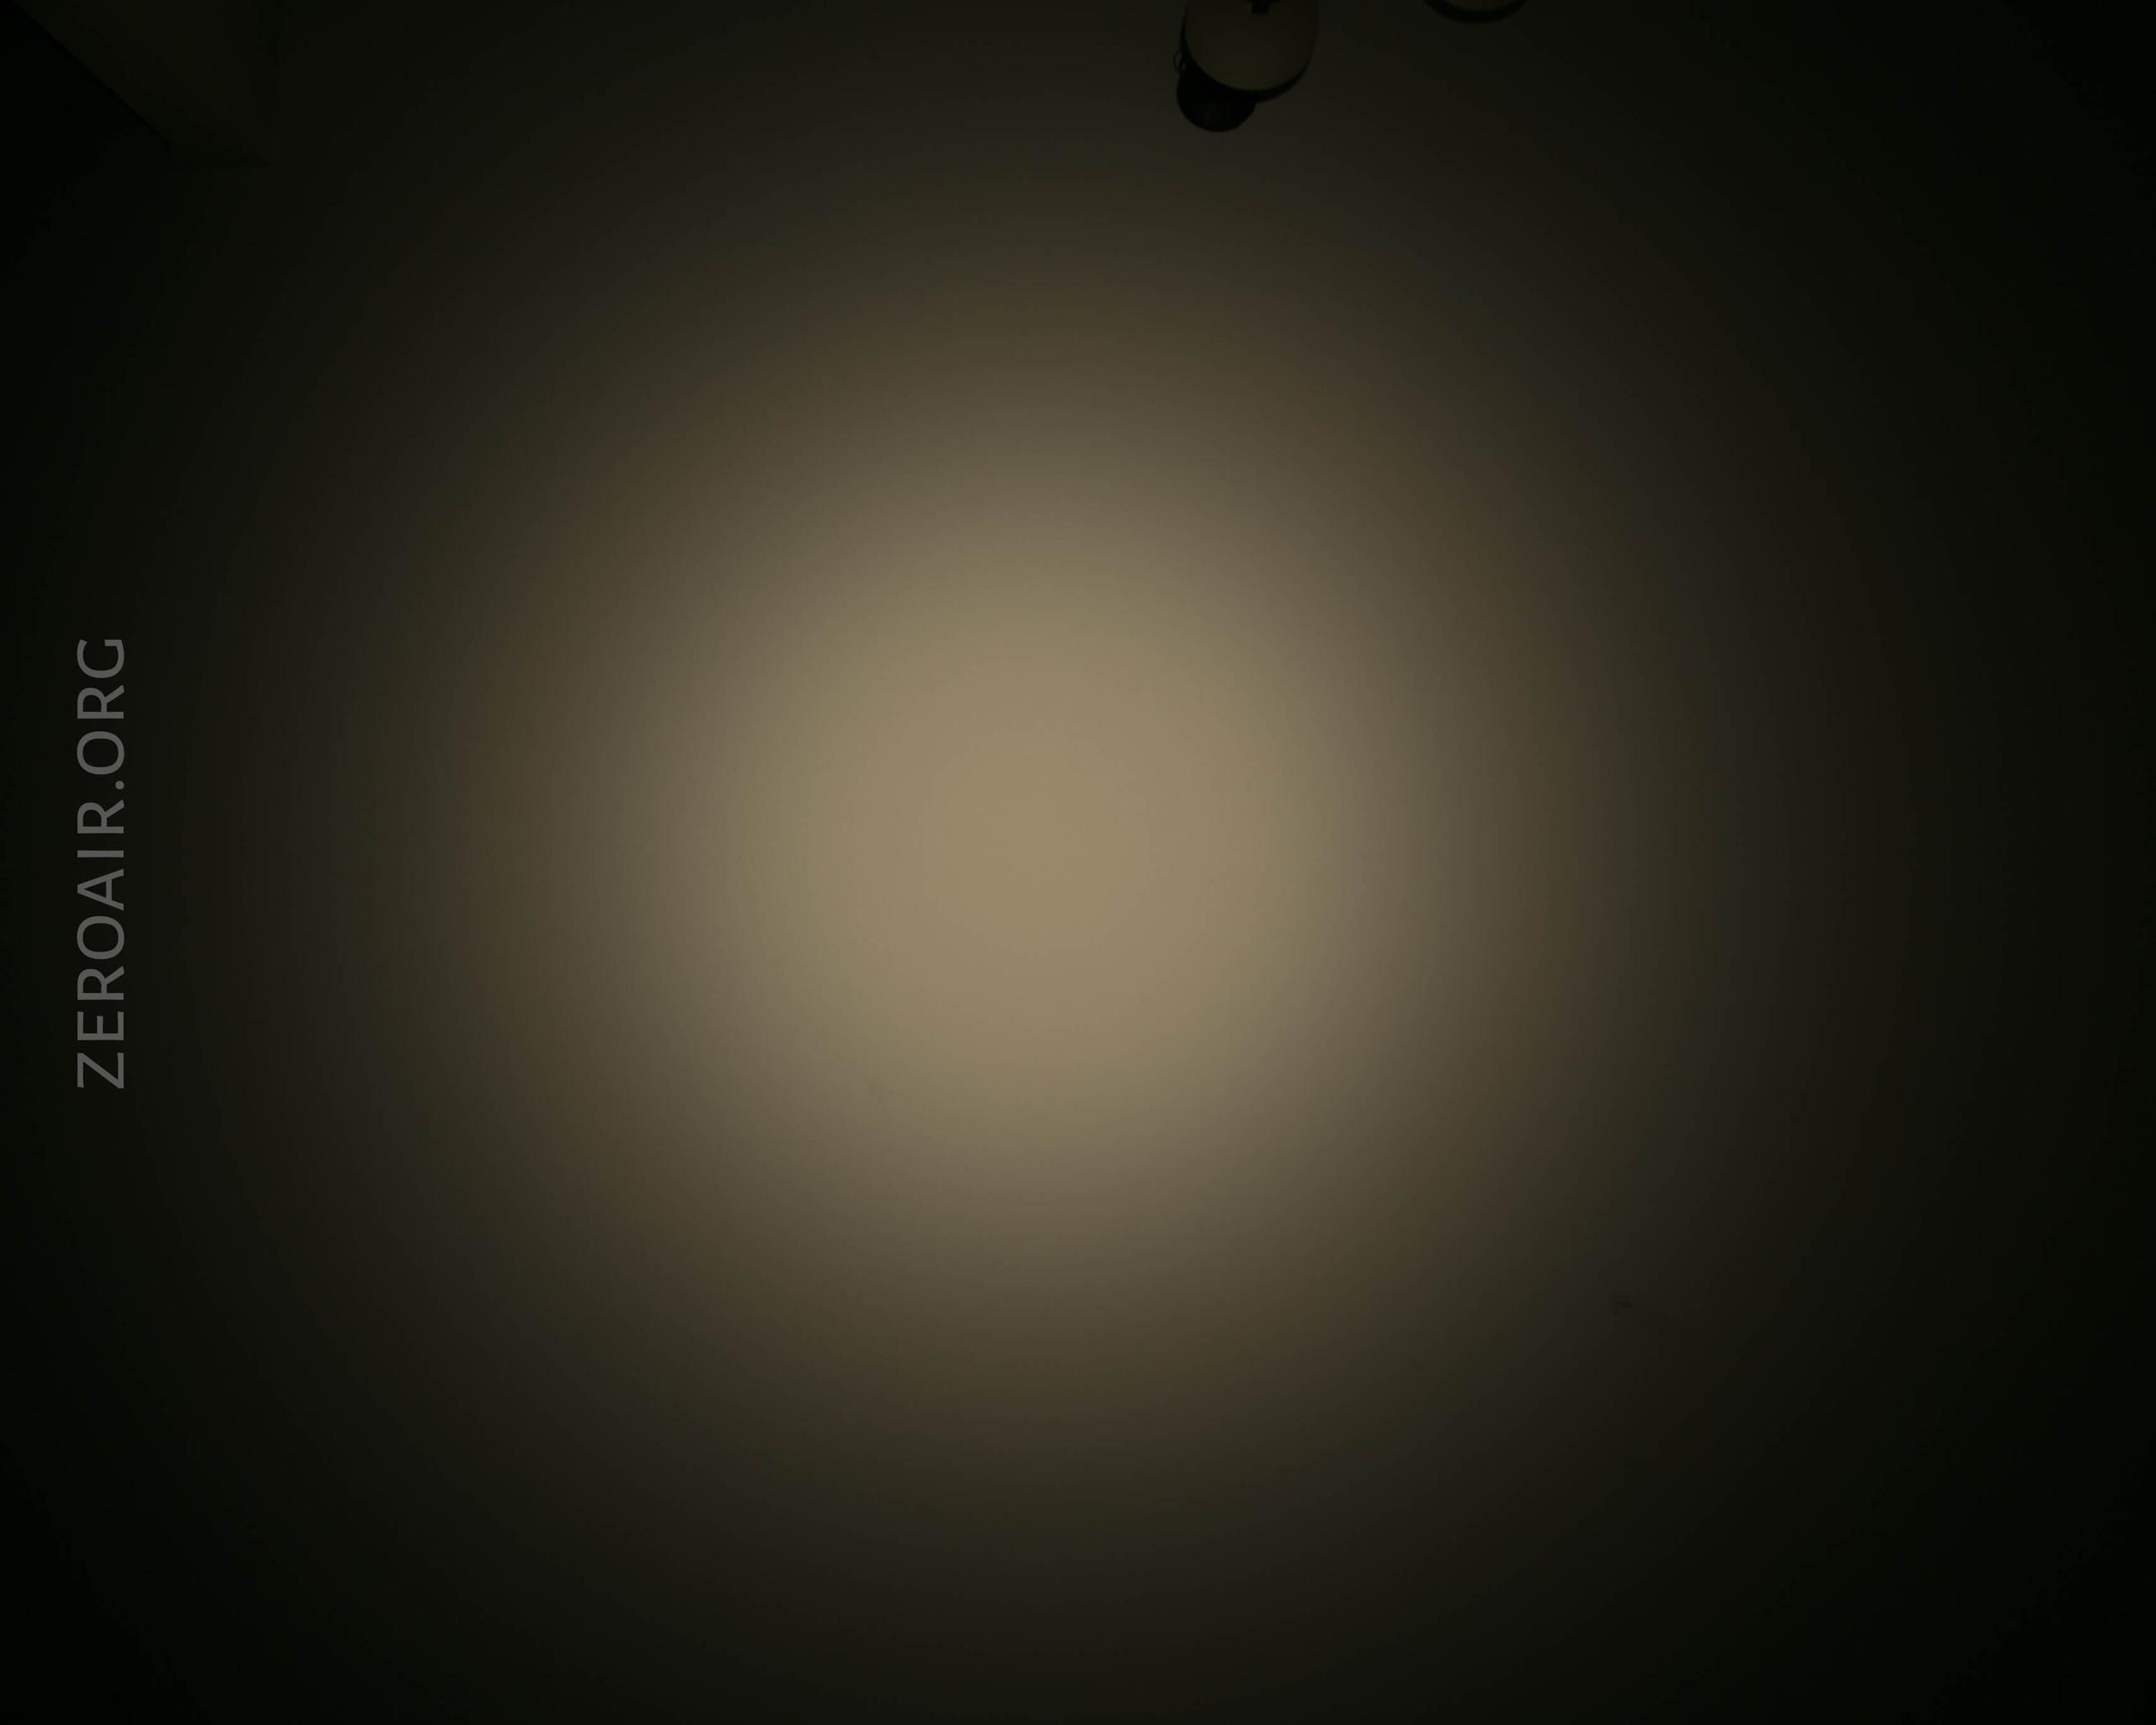
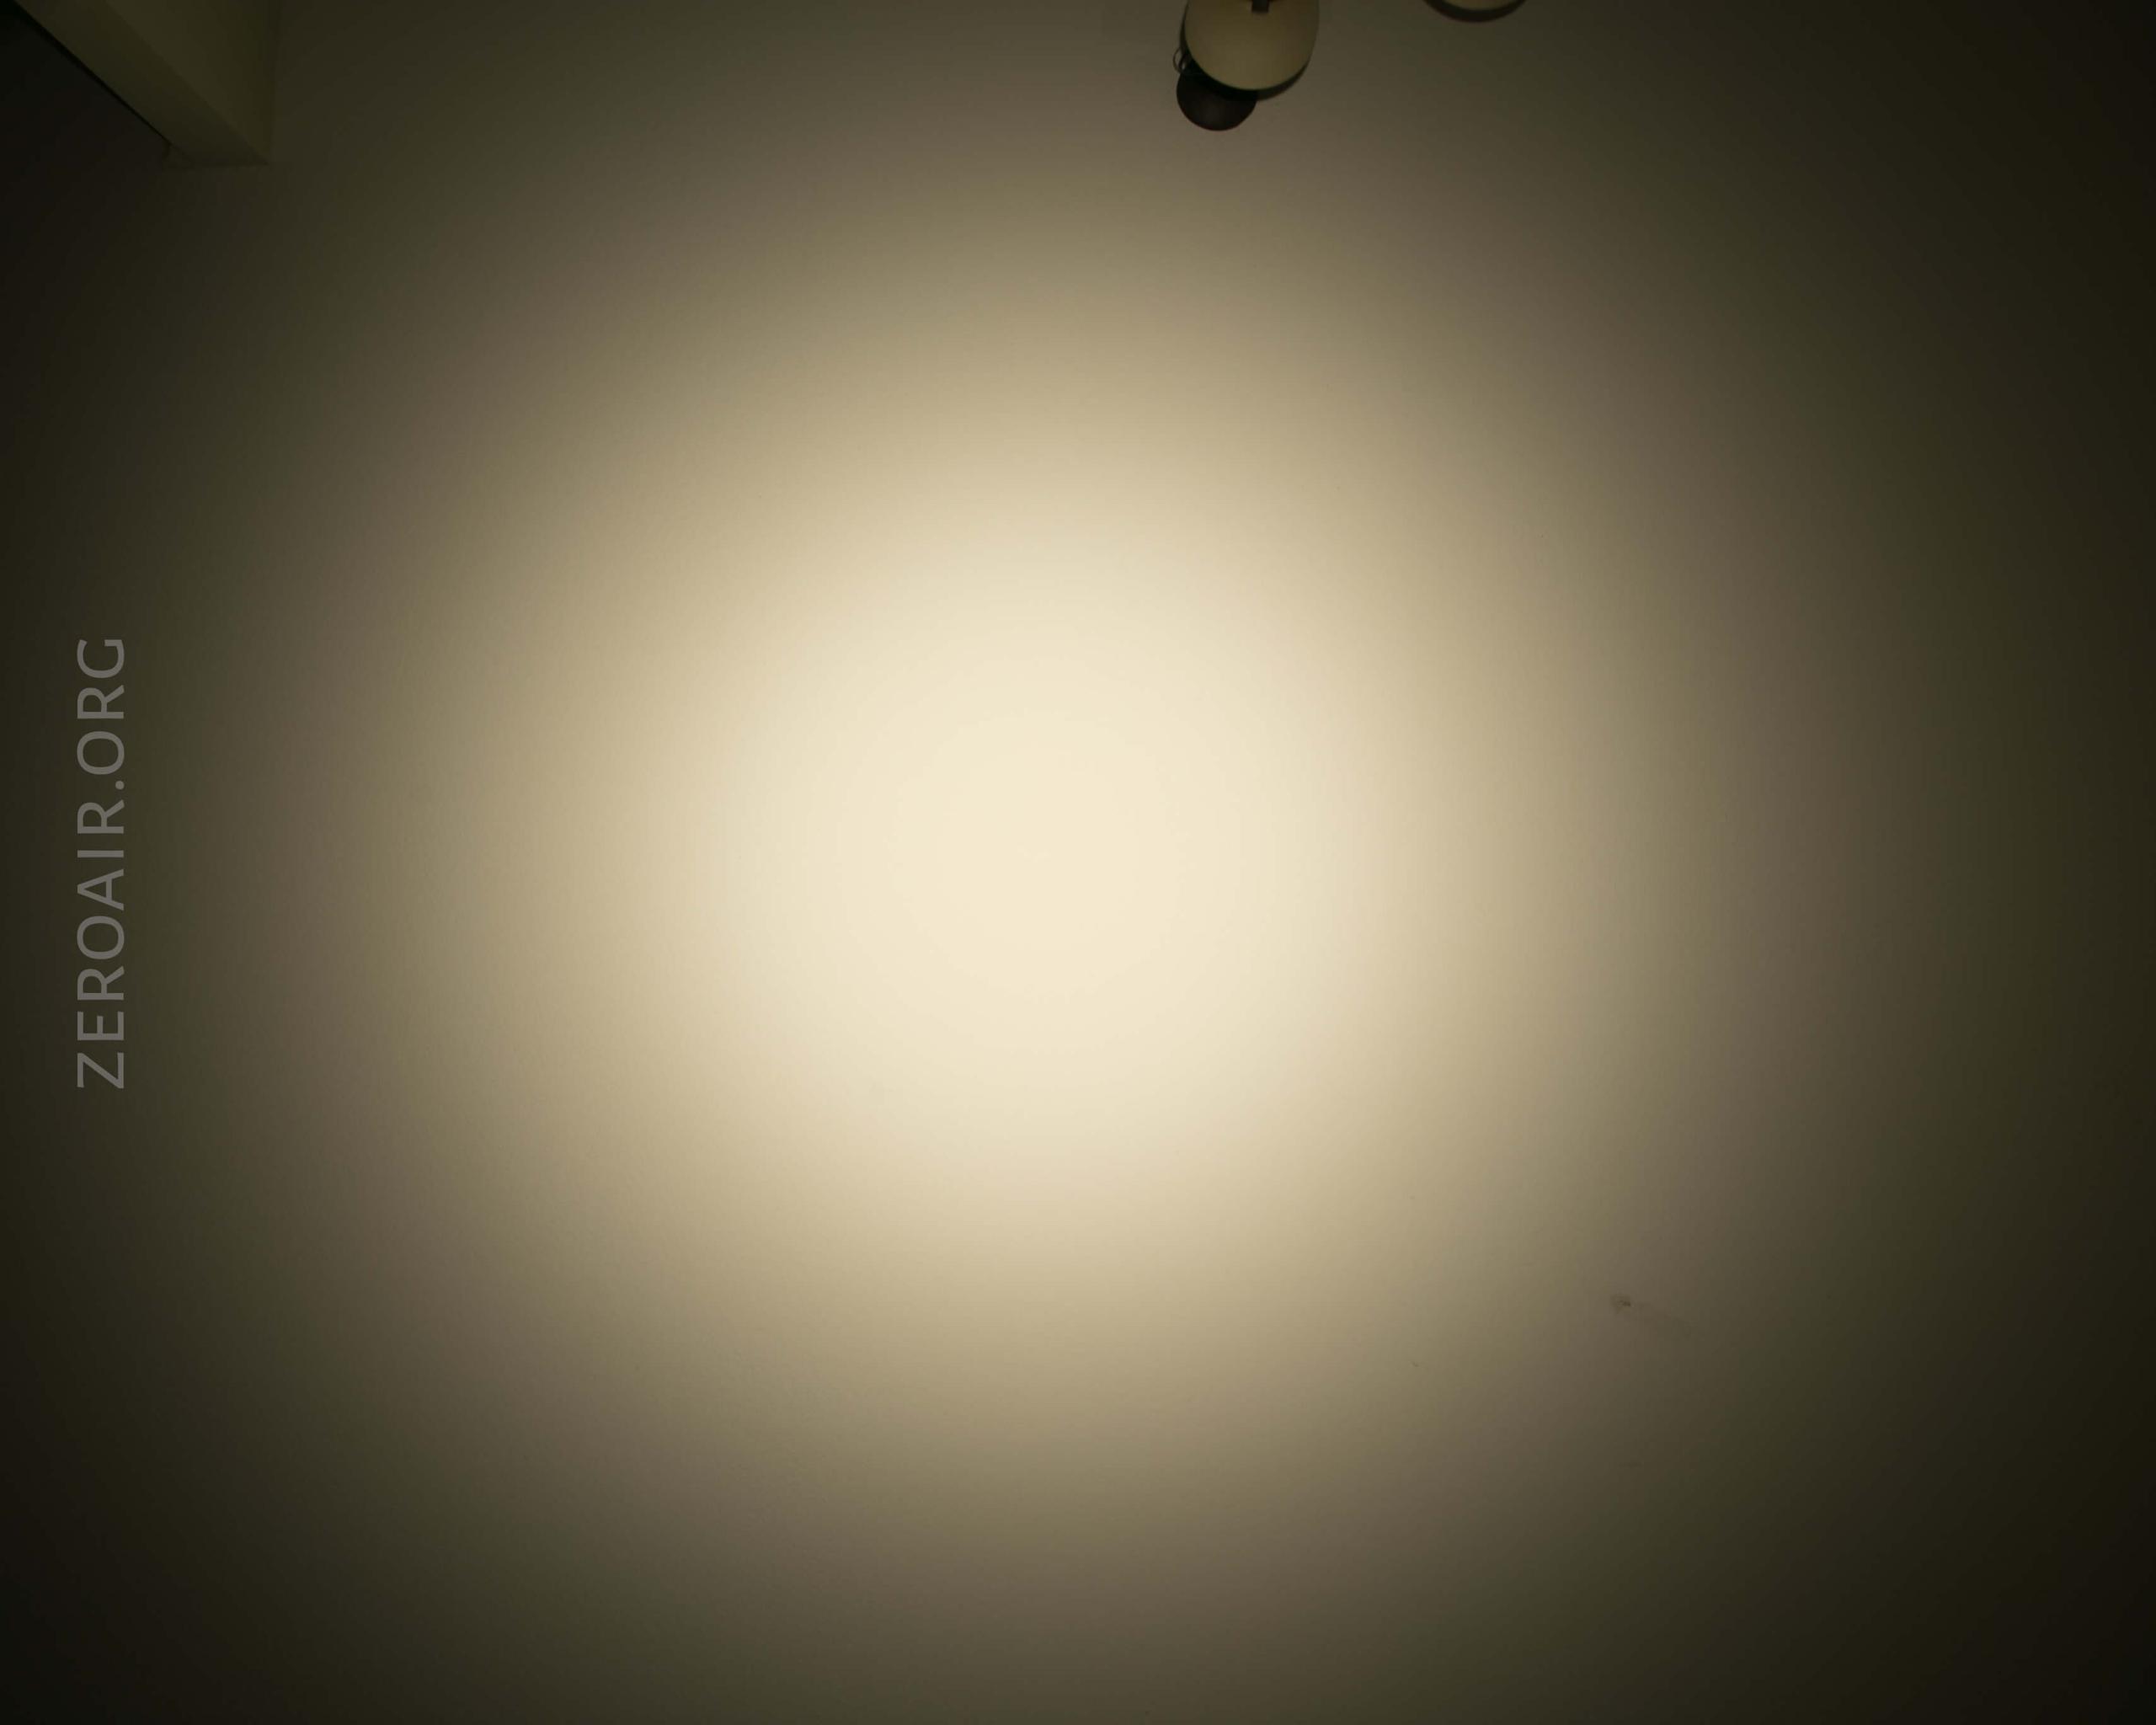
Tint vs BLF-348 (KillzoneFlashlights.com 219b version) (affiliate link)
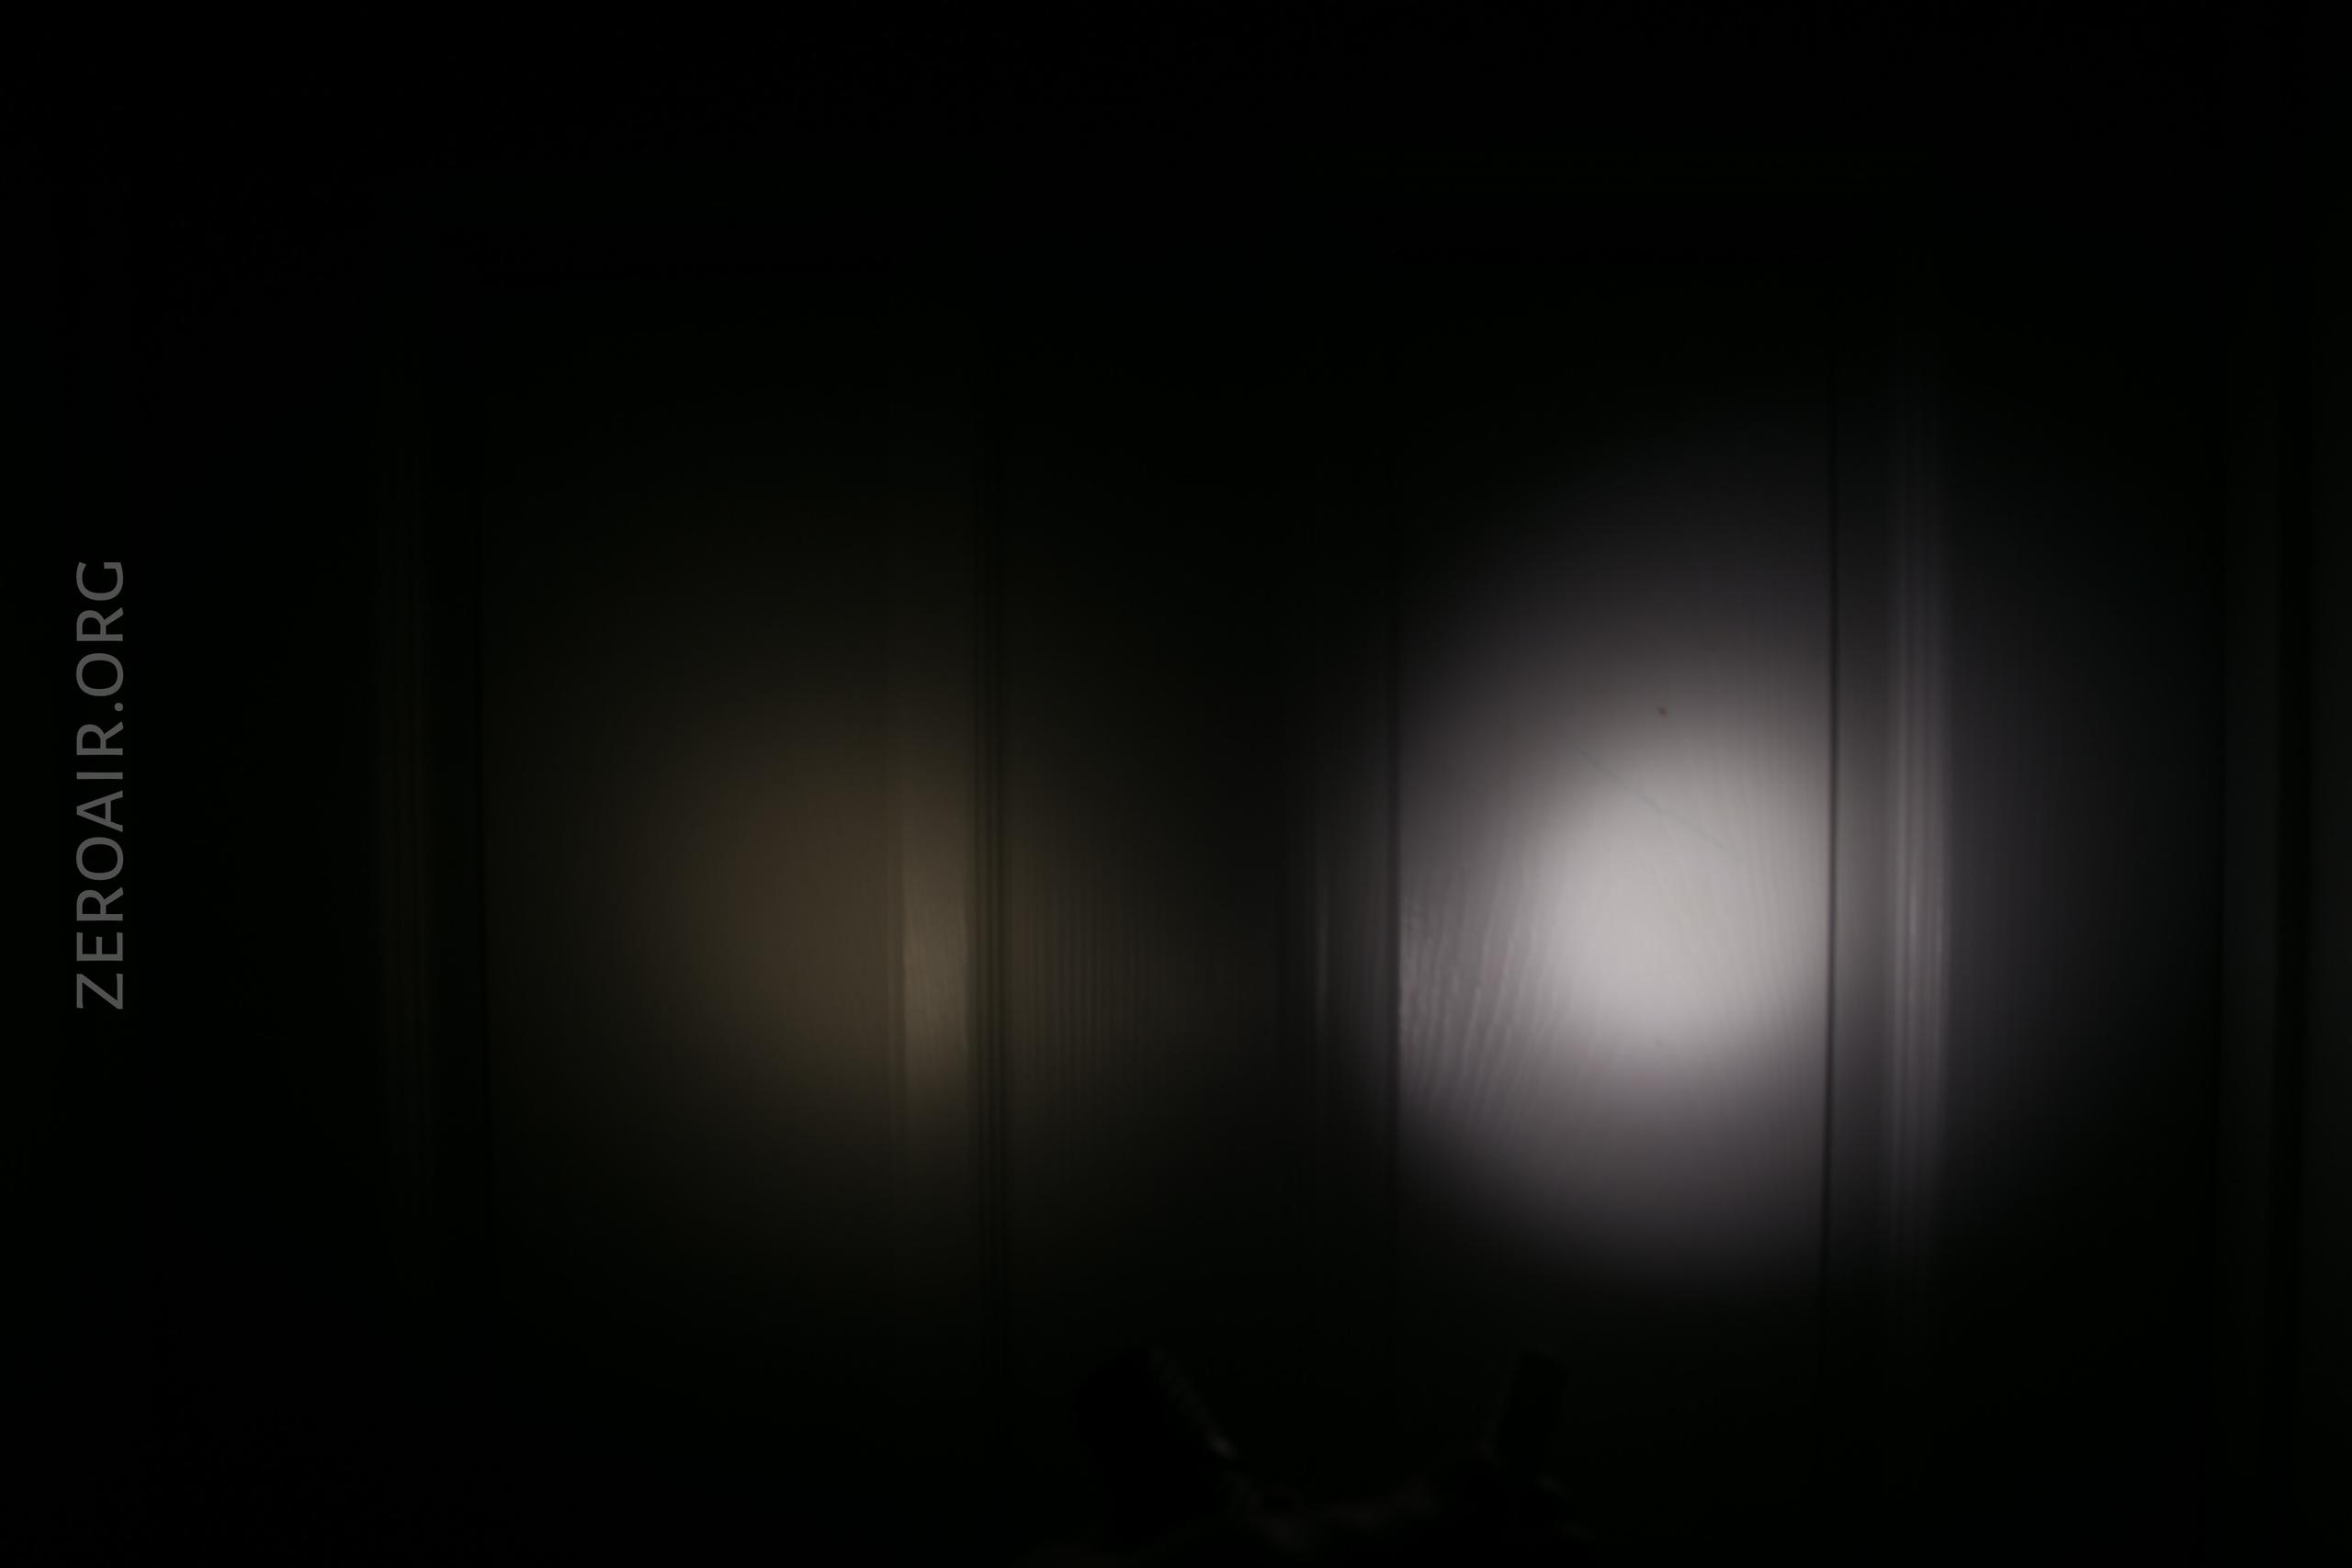
I compare everything to the Killzone 219b BLF-348 because it’s inexpensive and has the best tint!
Conclusion
What I like
- Fantastic build quality
- Uses Dr. Jones H17f, programmable driver
- Interchangeability of parts shows great build quality
- The pocket jewelry-ness of it
- Collectability
- The Hanko club (“club”) is a great group of people, generally fun to be involved with
- Ability to adorn the light further (add tritium vials, add various pocket clips), making it even more pocket jewelry
What I don’t like
- The price
- Sign-up-Sales
- Cell isn’t included
- No certificate of authenticity
- Packaging is entirely focused on the light, but should be focused on the user, too
As I said elsewhere, I’m not trying to sell you on the light. You can make up your own mind whether it’s worth buying for yourself or not. I have purchased multiple of these lights, and I’m pleased with the purchases!
Notes
- This light was provided by me for review. I was not paid to write this review.
- This content originally appeared at zeroair.org. Please visit there for the best experience!
- Use my amazon.com referral link if you’re willing to help support making more reviews like this one!
- Please support me on Patreon! I deeply appreciate your support!
Discover more from ZeroAir Reviews
Subscribe to get the latest posts sent to your email.
8?! You own 8? After reading your review and seeing the pictures, I want one.
No, just four!
All 4 from the lottery!?
Wow – you are very lucky! After reading all your reviews, I finally jumped the gun on the secondary market for my first Hanko! And then tried my luck at this weeks lottery too…
Is there space in the head for a sapphire lens? I read Jeff started putting sapphire lenses in all new tridents, so wondering if it can be installed on older builds.
No no, not 4 from lottery. Two from lottery (I think) and the rest from secondary market. So at least one from lottery (maybe 2), and the rest used.
I ….. think there’s space in the head for sapphire lens? I don’t really think the switch from not-sapphire to sapphire was a design change, it was just a parts change.
Does the current optic on your Hanko have a “lens” on top of the Carclo optic? Btw, you should do a review of all 4 Hanko’s!
Yes, all of mine have a lens atop the Carclo optic.
They’re all so functionally similar that aside from the modifications I’ve done, they’d practically be the same reviews…. Basically just a post’s worth of photos of the item. Is that worth reading?
Pingback: Goodbye 2020, Welcome 2021! - ZeroAir Reviews