Olight Warrior Mini Camo Flashlight Review
The Olight Warrior Mini Camo has Olight’s 2-stage switch (like the M2R Warrior Pro). I put this dual switch 18650 light through some testing!
Official Specs and Features
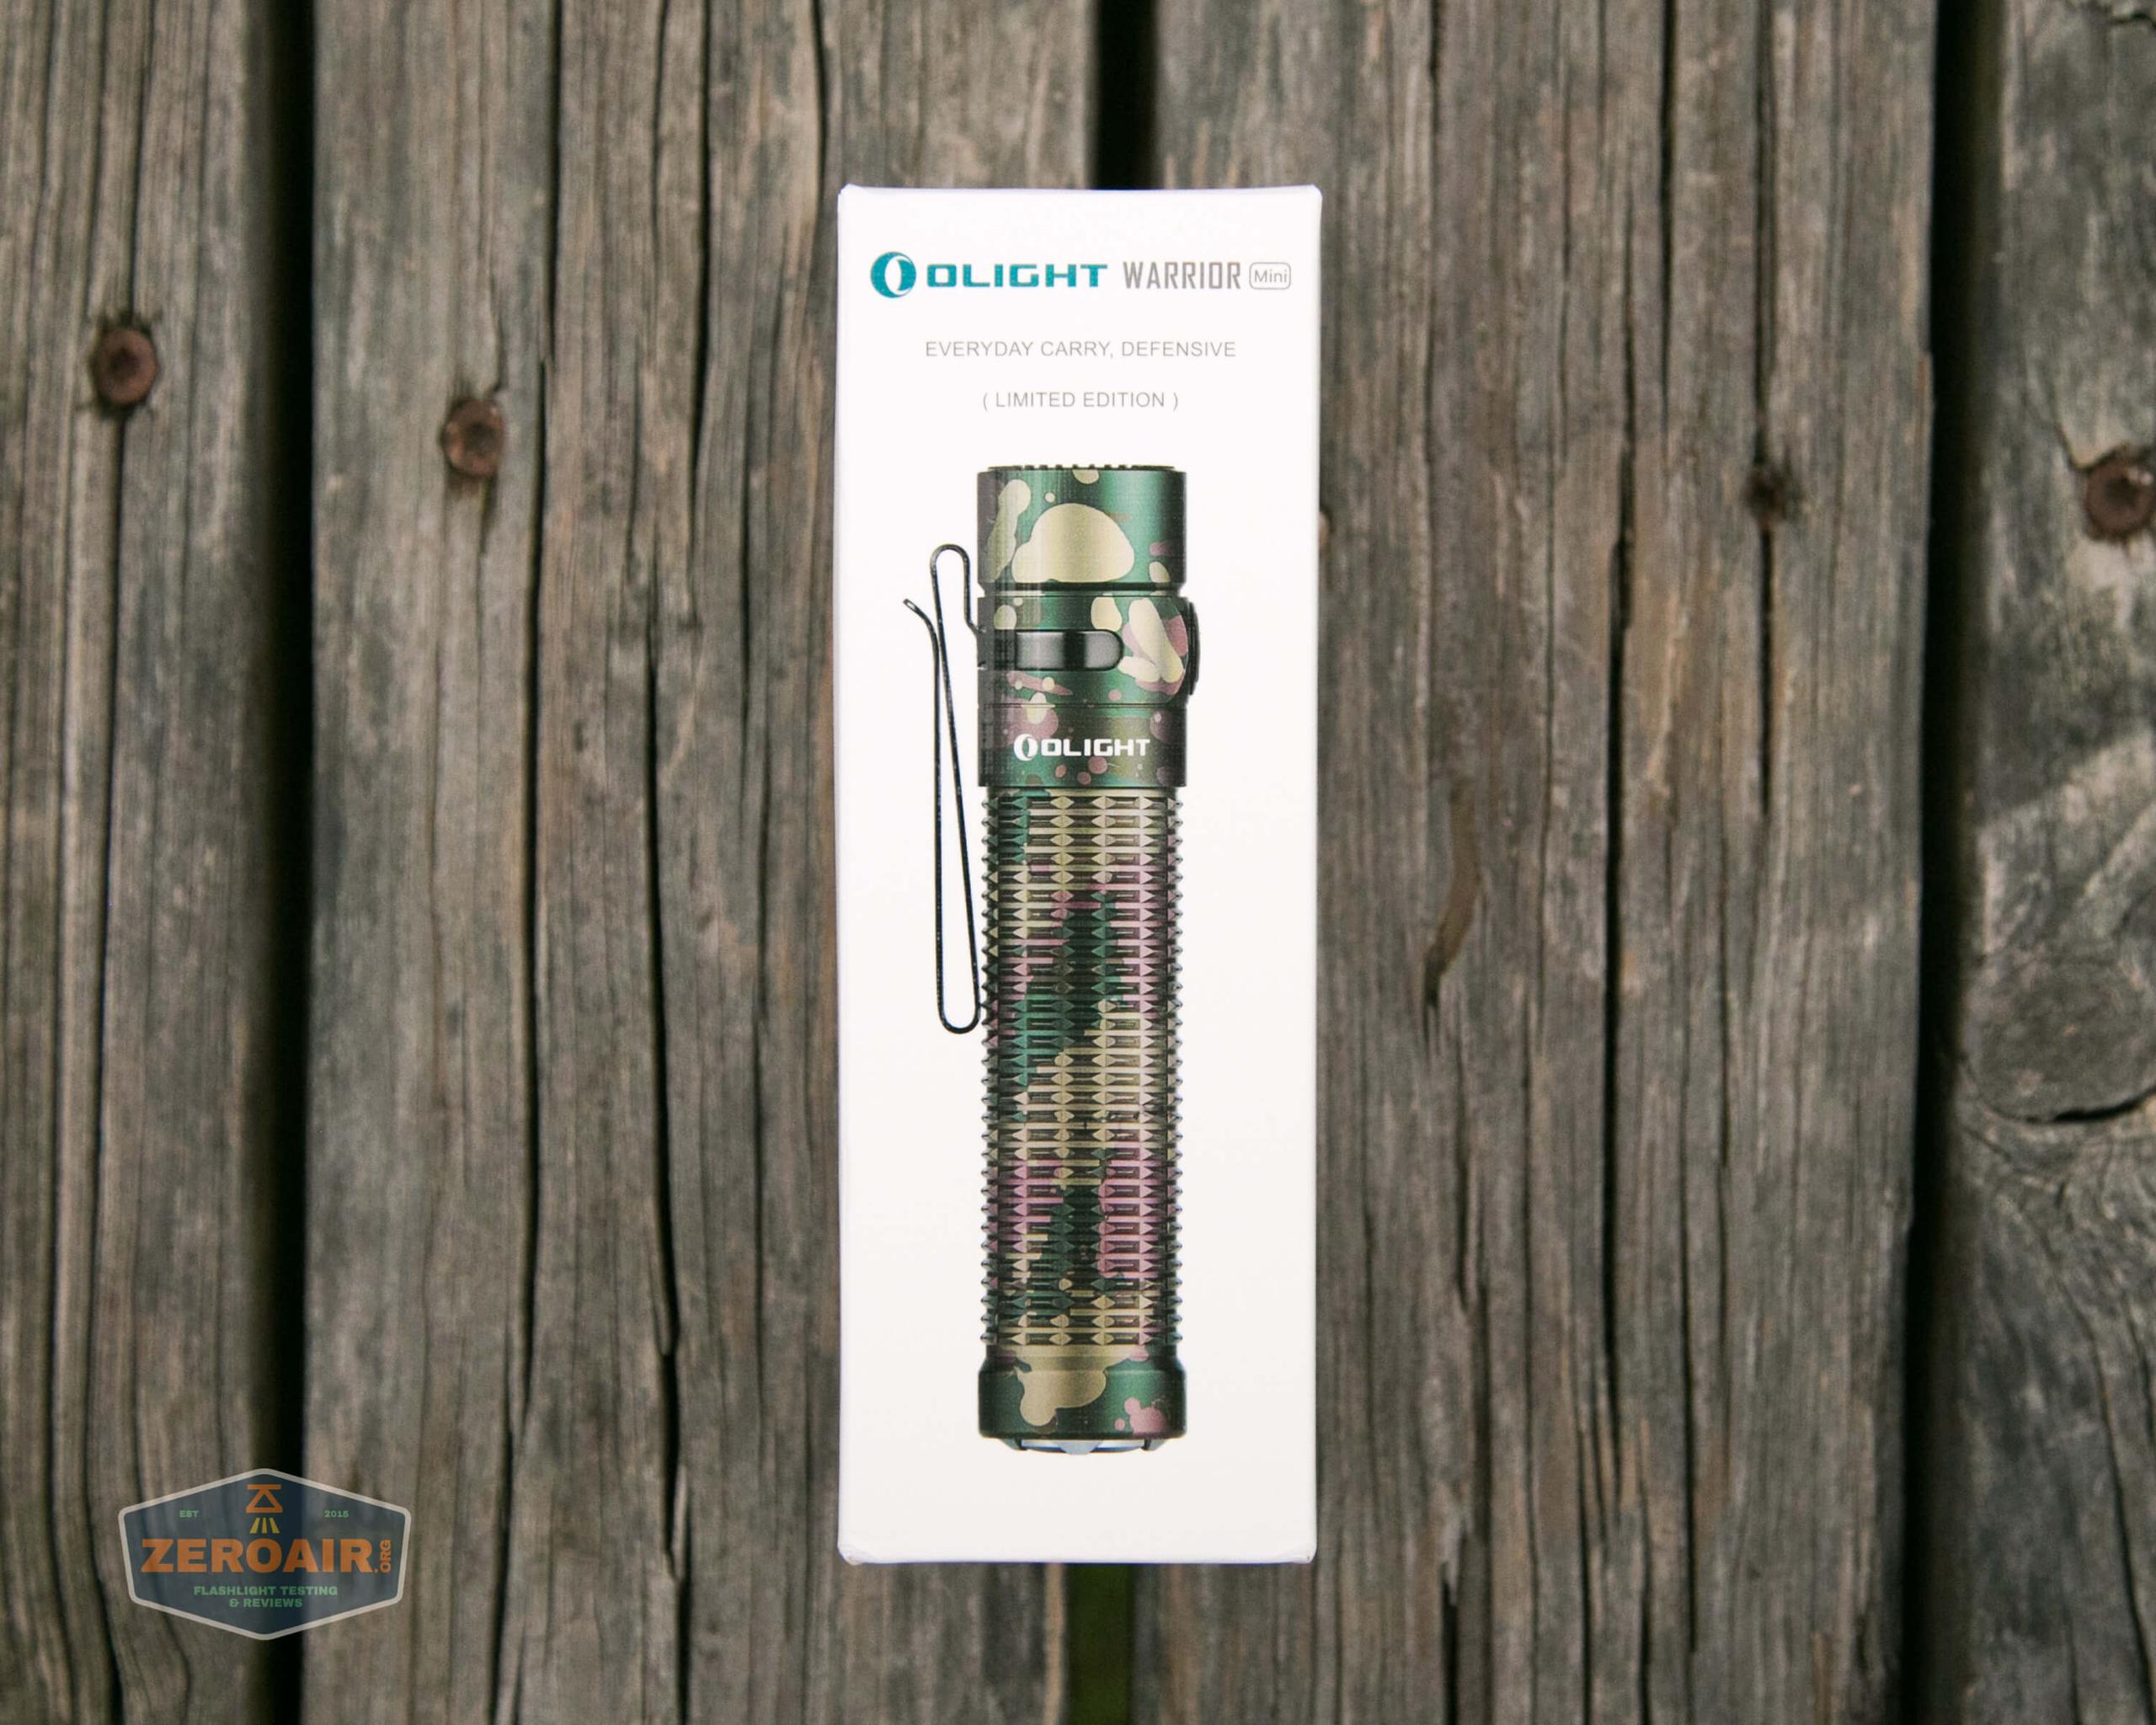
Here’s a link to the Olight Warrior Mini Camo product page.
Versions
There’s only one version of the Warrior Mini, but it’s available in three colorways – Black, Desert Tan, and Camouflage (seen here).
Price
These are going for $62.97 at the moment because of a massive sale Olight’s having! Buy yours through this referral link to help me and to tell Olight that sending me lights for review is useful!
Olight’s also having a flash sale (which corresponds to the release of this review, actually!) Here are some details. All of those links are referral links.
Flash sale date: 8:00 pm September 24th -11:59pm September 25th EDT, lasting 28 hours;
Warrior Mini Black or Desert Tan, 30% off (MAP: $79.95; Sales price:$55.97)
Bundle: Warrior Mini Black or Desert Tan+ i3T EOS (RED), 40% off (MAP: $101.90; Sale price: $61.14)
Warrior Mini Camouflage (Limited Edition), 30% off (MAP: $89.95; Sales price:$62.97)
Bundle: Warrior Mini Camouflage+ i3T EOS RED, 40% off (MAP: $111.90; Sale price: $67.14);
MEGA PACK, 40% off
Mega Pack A: Warrior mini Black+ Warrior mini Desert Tan+ Warrior mini Camouflage + Perun Mini KIT DT + i3T EOS RED, (MAP: $341.75; Sales price:$205.05);
Mega Pack B: Warrior mini Black+ Perun Mini KIT DT+ i3T EOS RED, (MAP: $171.85; Sales price: $103.11)
Short Review
I didn’t have one of the new Baton series lights, and I always figured the size of those would be perfect. I think this light suits me even better – I loved the 2-stage switch on the M2R Warrior Pro (and still use that light often), and that technology has trickled down to this 18650-sized light. I would rather this light had a different emitter than the 6000-7000K cool white, but there’s potential for changing that, I think. The battery is proprietary but can still be charged in bay chargers. That’s a step in the right direction. Unfortunately, normal 18650 cells don’t work in the light. All in all, I think this is a good light. And the camo is great!
Long Review
The Big Table
| Olight Warrior Mini Camo | |
|---|---|
| Emitter: | Luminus SST40 (6000K-7000K) |
| Price in USD at publication time: | $62.97 at Olight store – referral link! |
| Cell: | 1×18650 |
| Turbo Runtime | High Runtime |
| LVP? | Switch warning |
| Switch Type: | Both |
| Quiescent Current (A): | ? |
| On-Board Charging? | Yes |
| Charge Port Type: | Proprietary Magnetic |
| Chargetime | |
| Power off Charge Port with no cell? | |
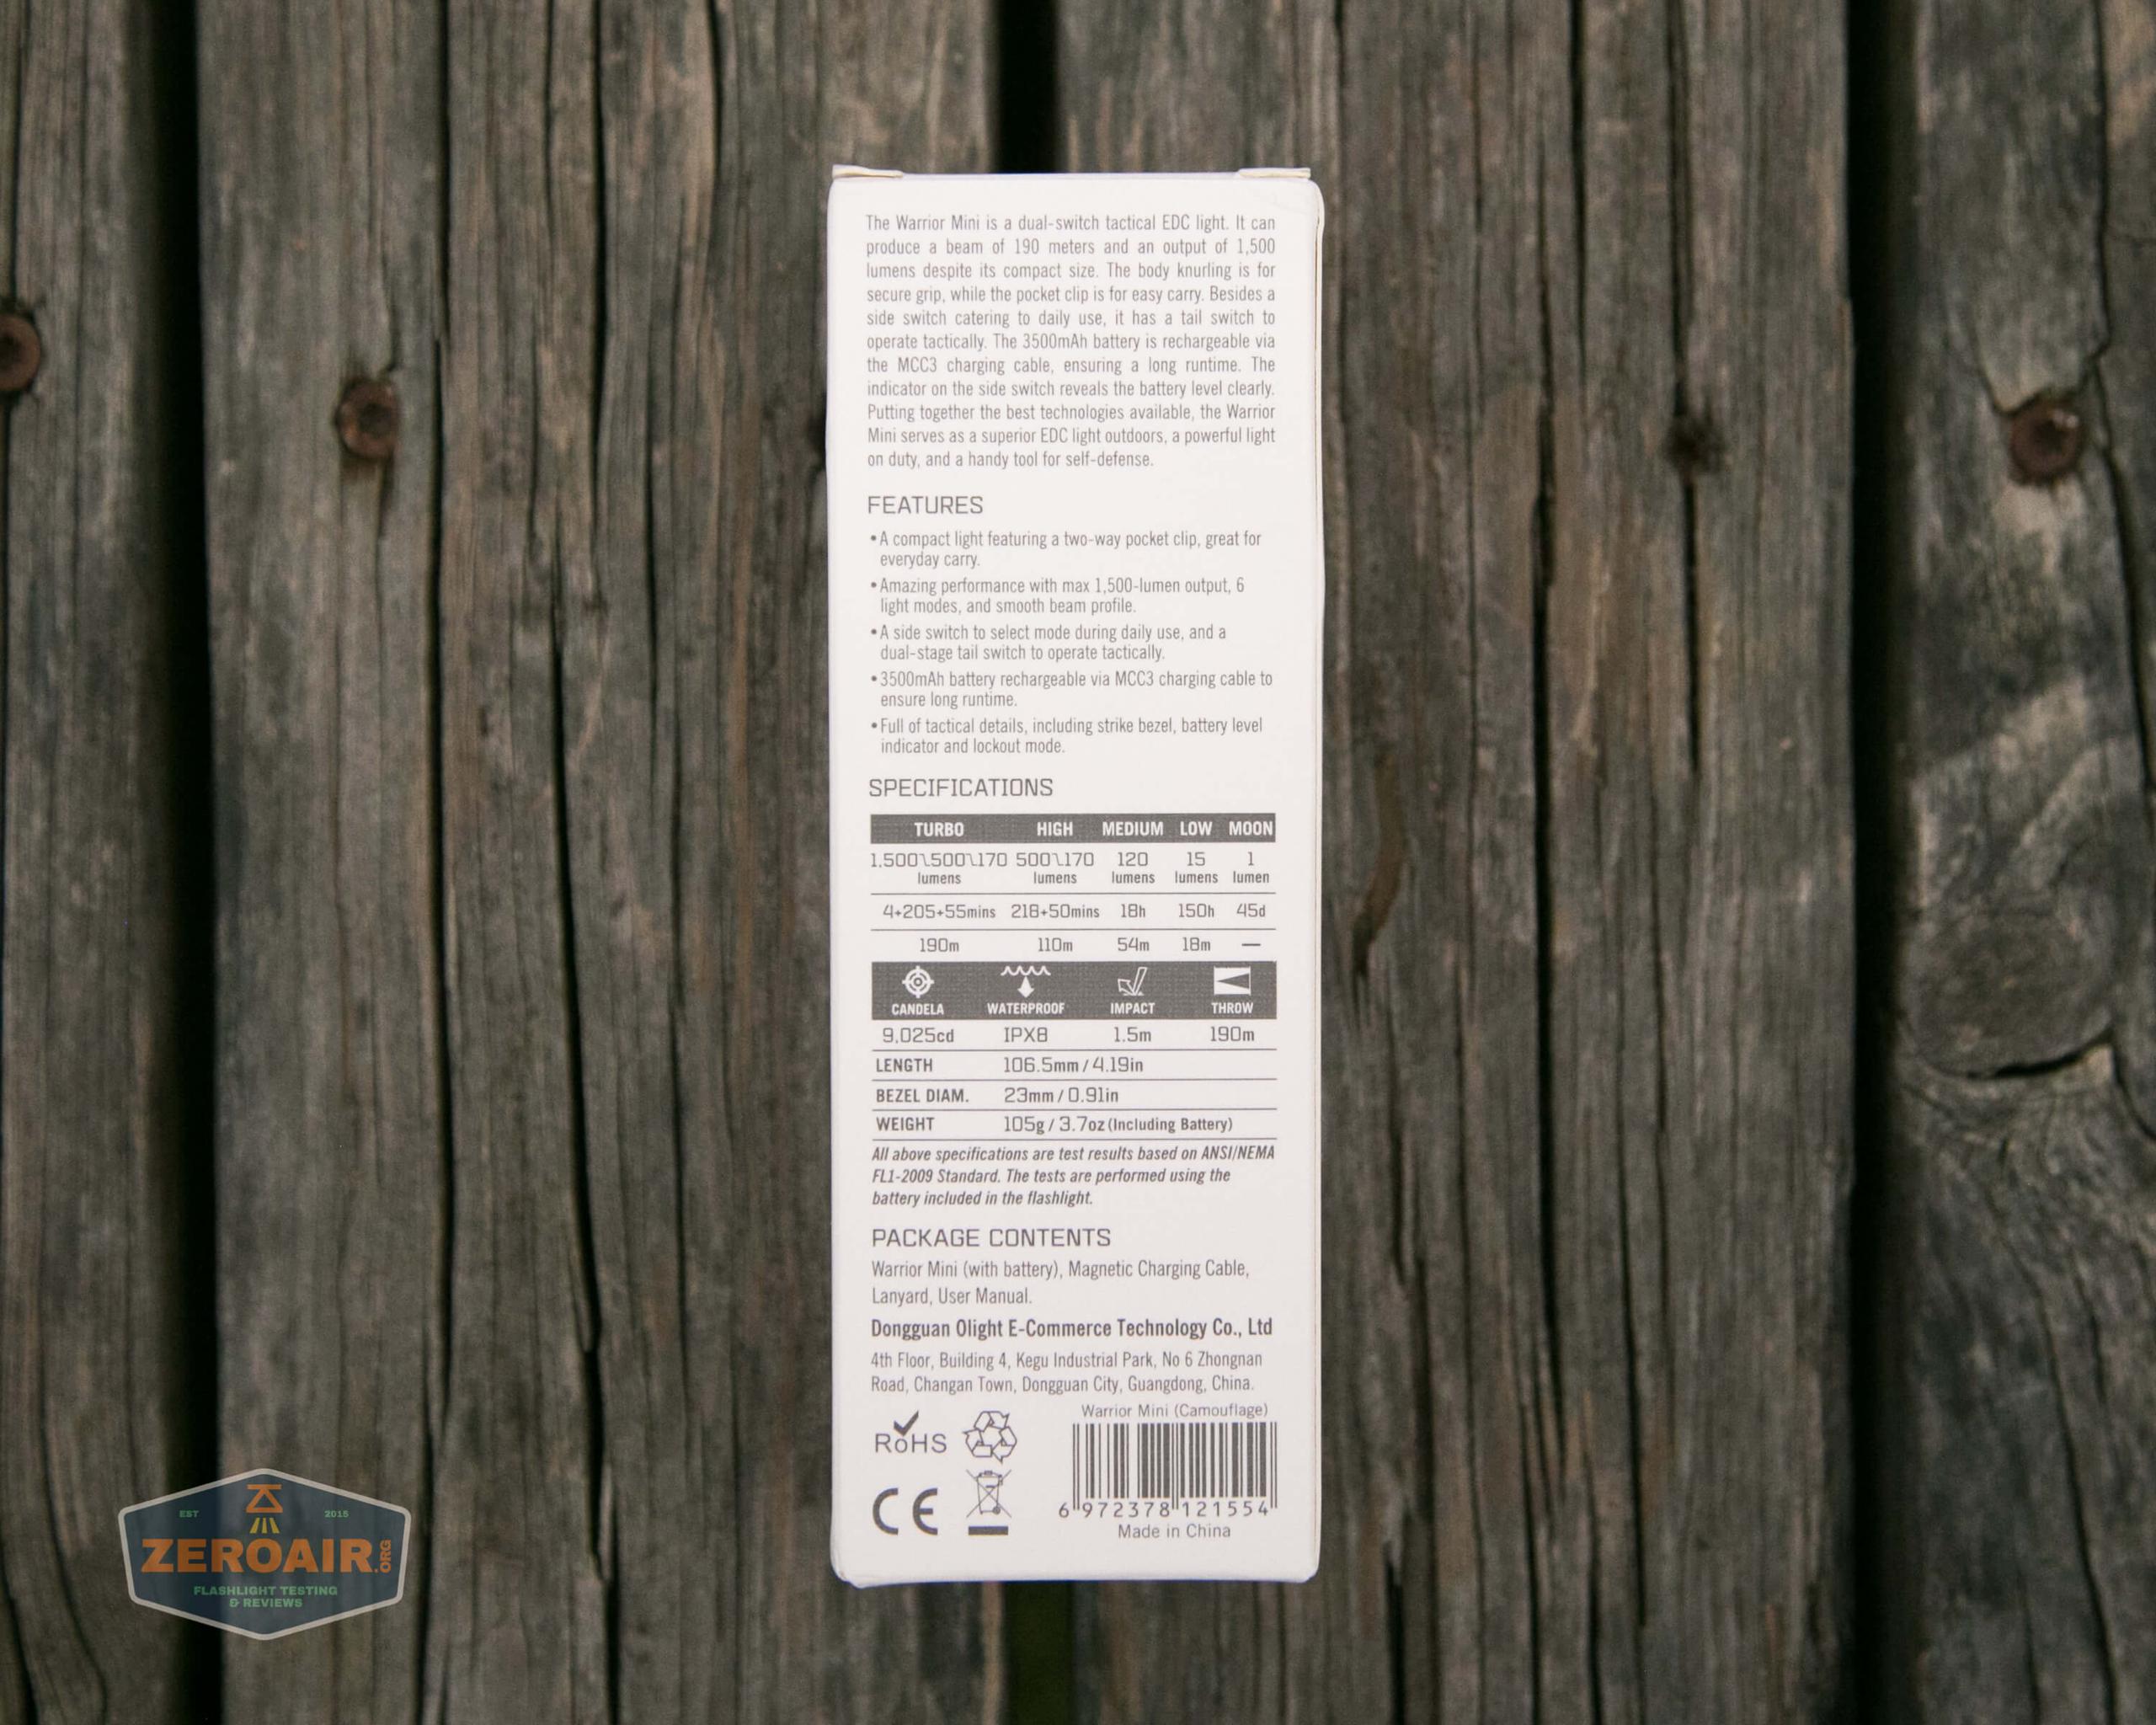
| Claimed Lumens (lm) | 1500 |
| Measured Lumens (at 30s) | 1566 (104.4% of claim)^ |
| Candela per Lumen | 5.5 |
| Claimed Throw (m) | 190 |
| Candela (Calculated) in cd (at 30s) | 417lux @ 5.002m = 10433cd |
| Throw (Calculated) (m) | 204.3 (107.5% of claim)^ |
| All my Olight reviews! | |
^ Measurement disclaimer: Testing flashlights is my hobby. I use hobbyist-level equipment for testing, including some I made myself. Try not to get buried in the details of manufacturer specifications versus measurements recorded here; A certain amount of difference (say, 10 or 15%) is perfectly reasonable.
What’s Included
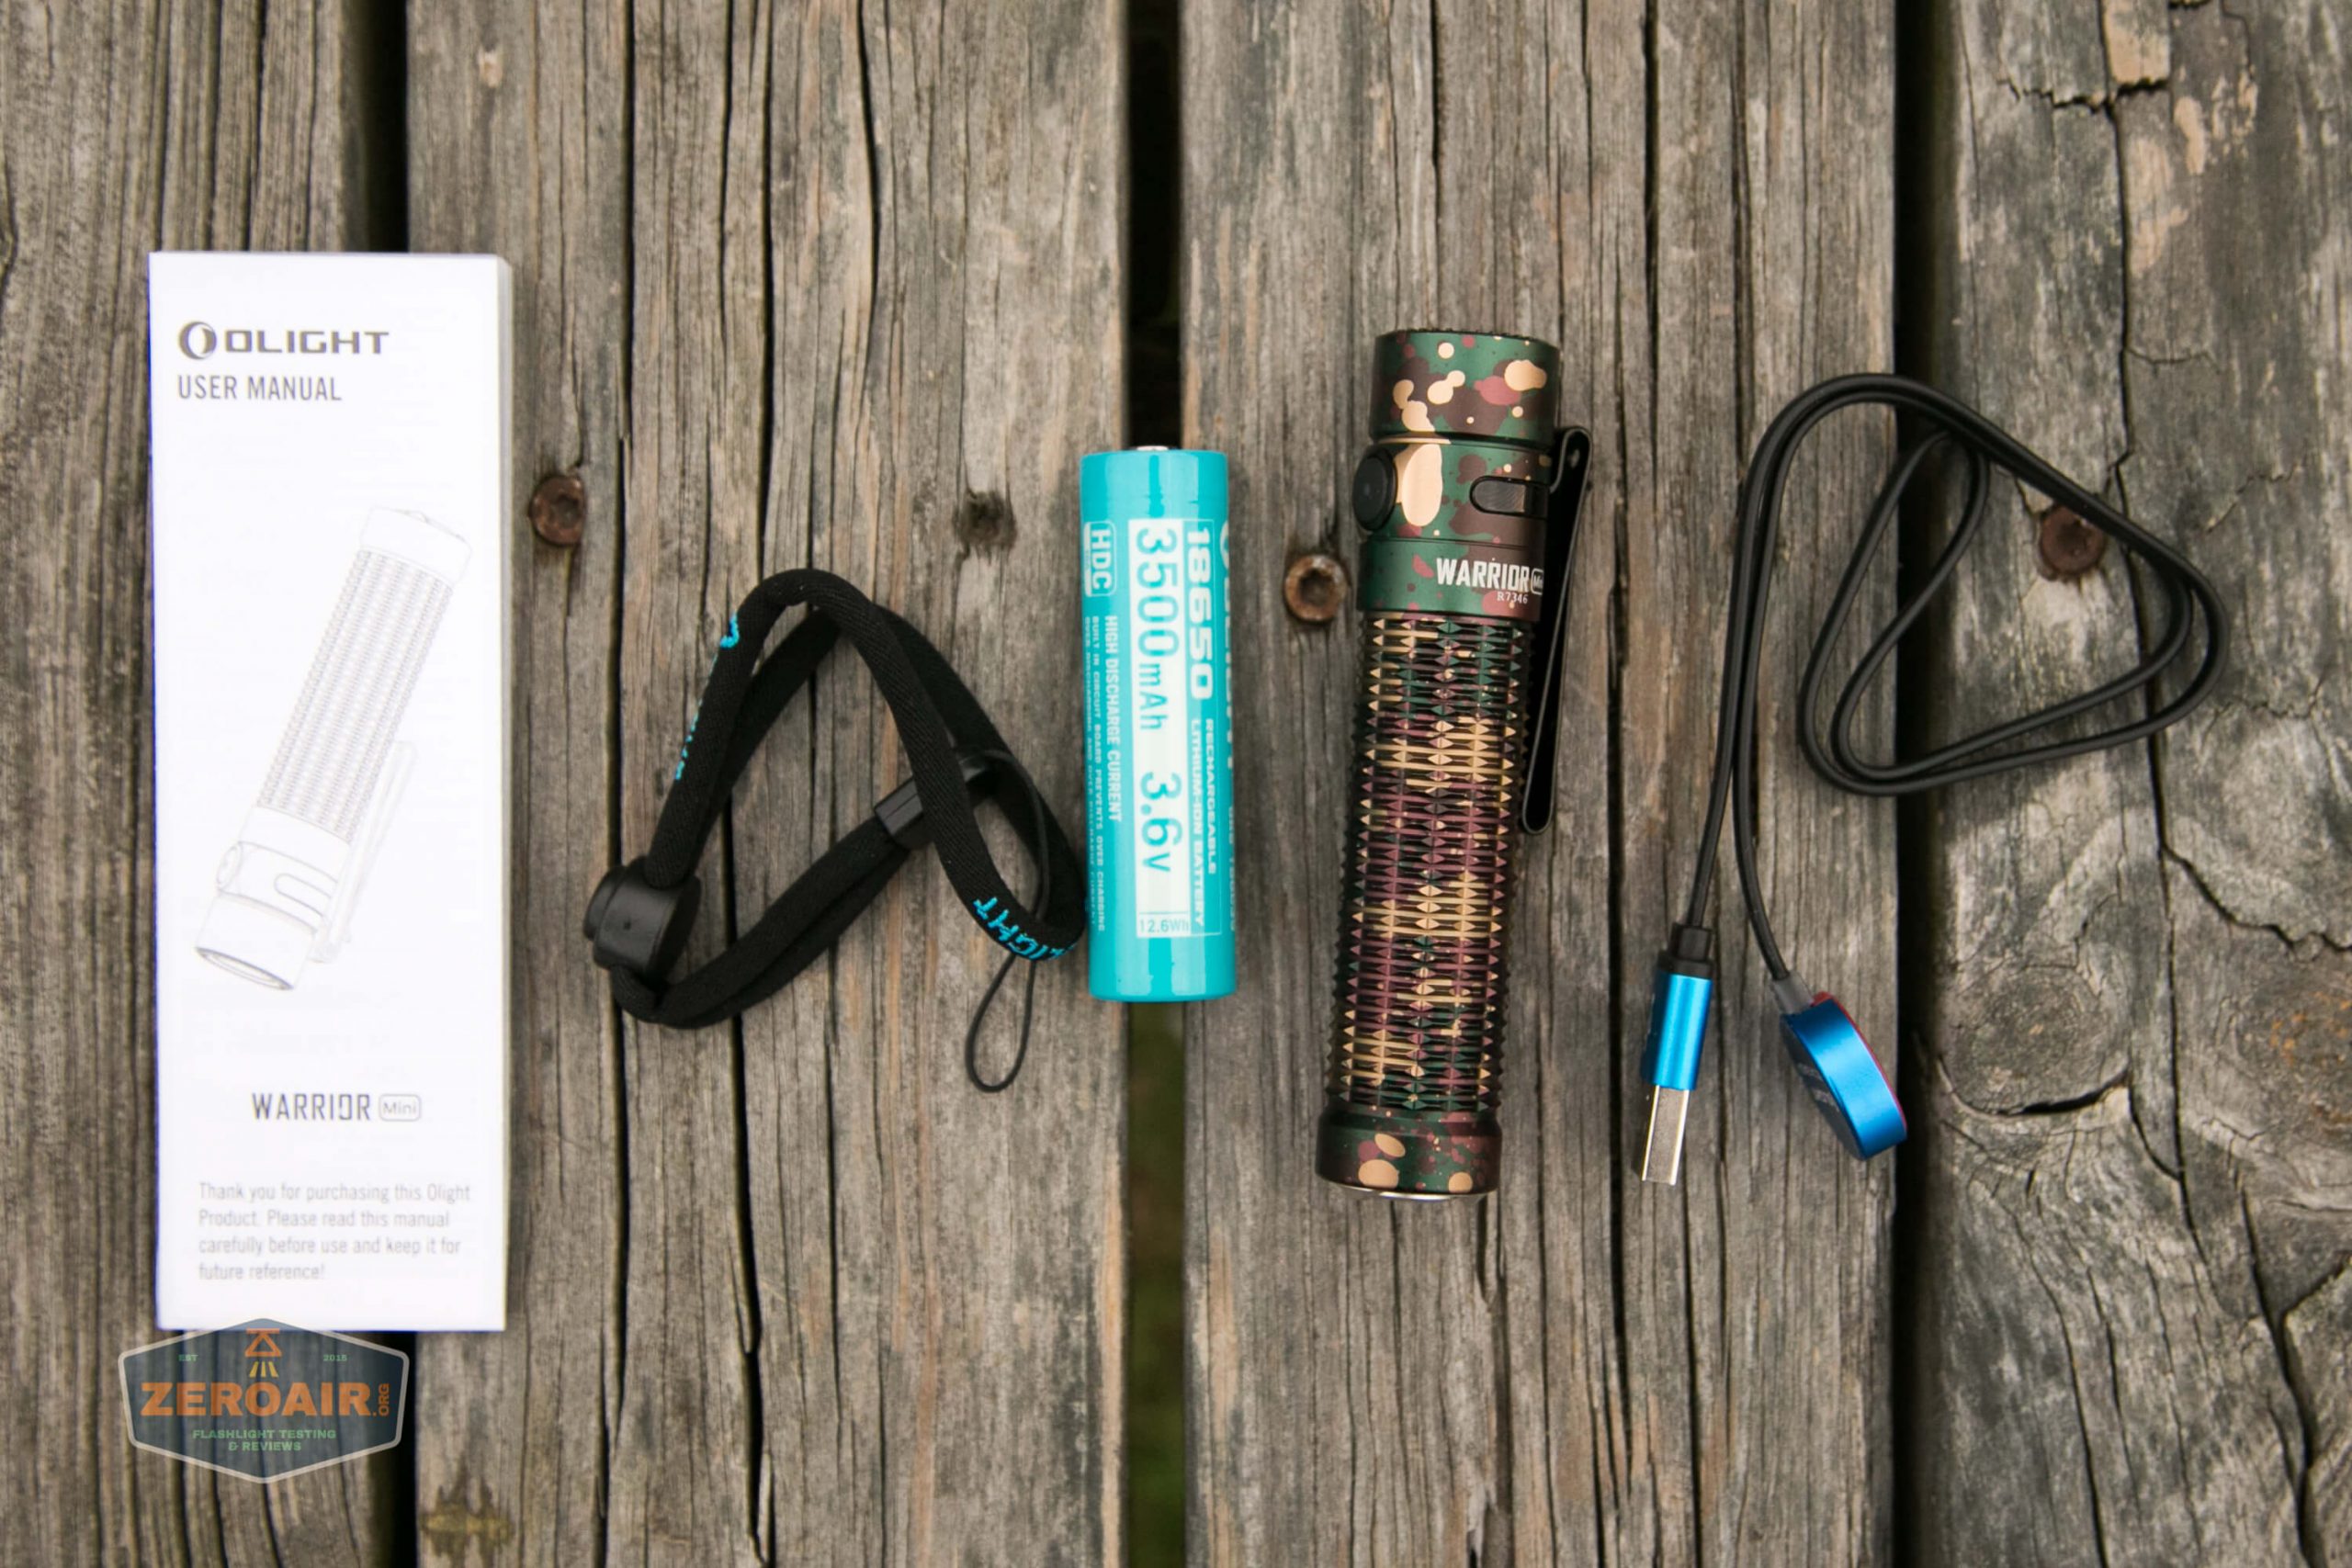
- Olight Warrior Mini Flashlight
- Olight 3500mAh customized 18650
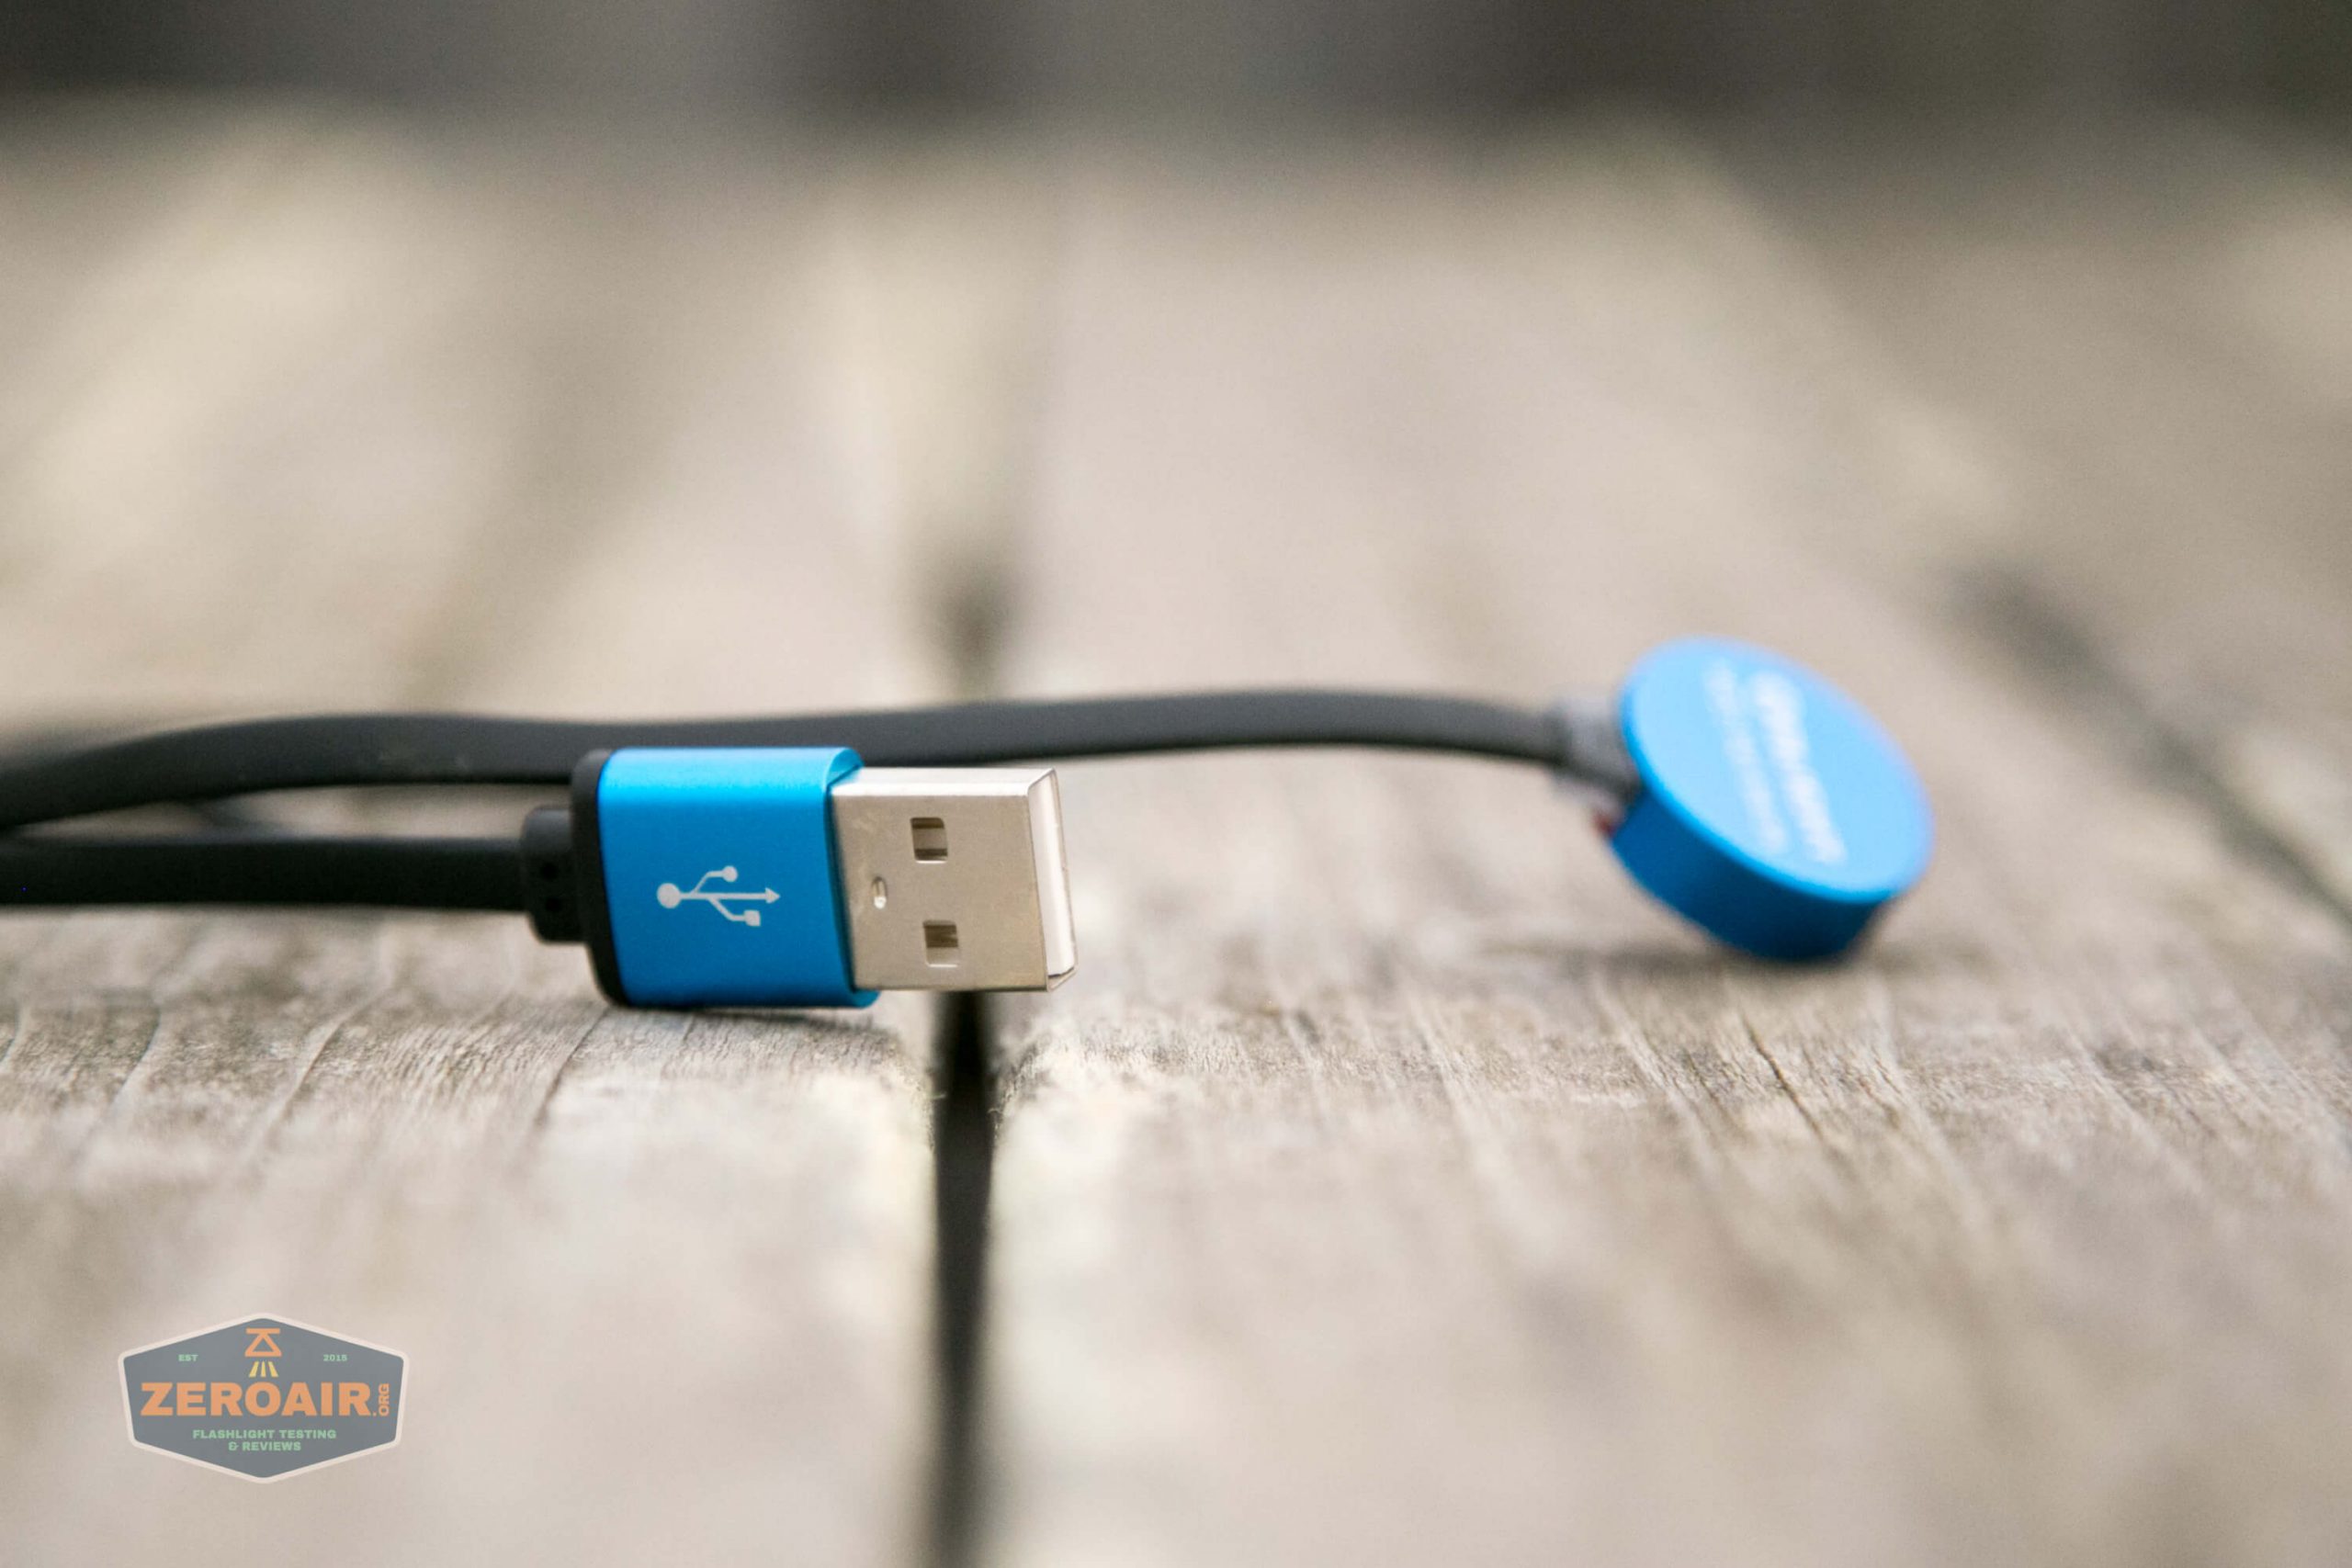
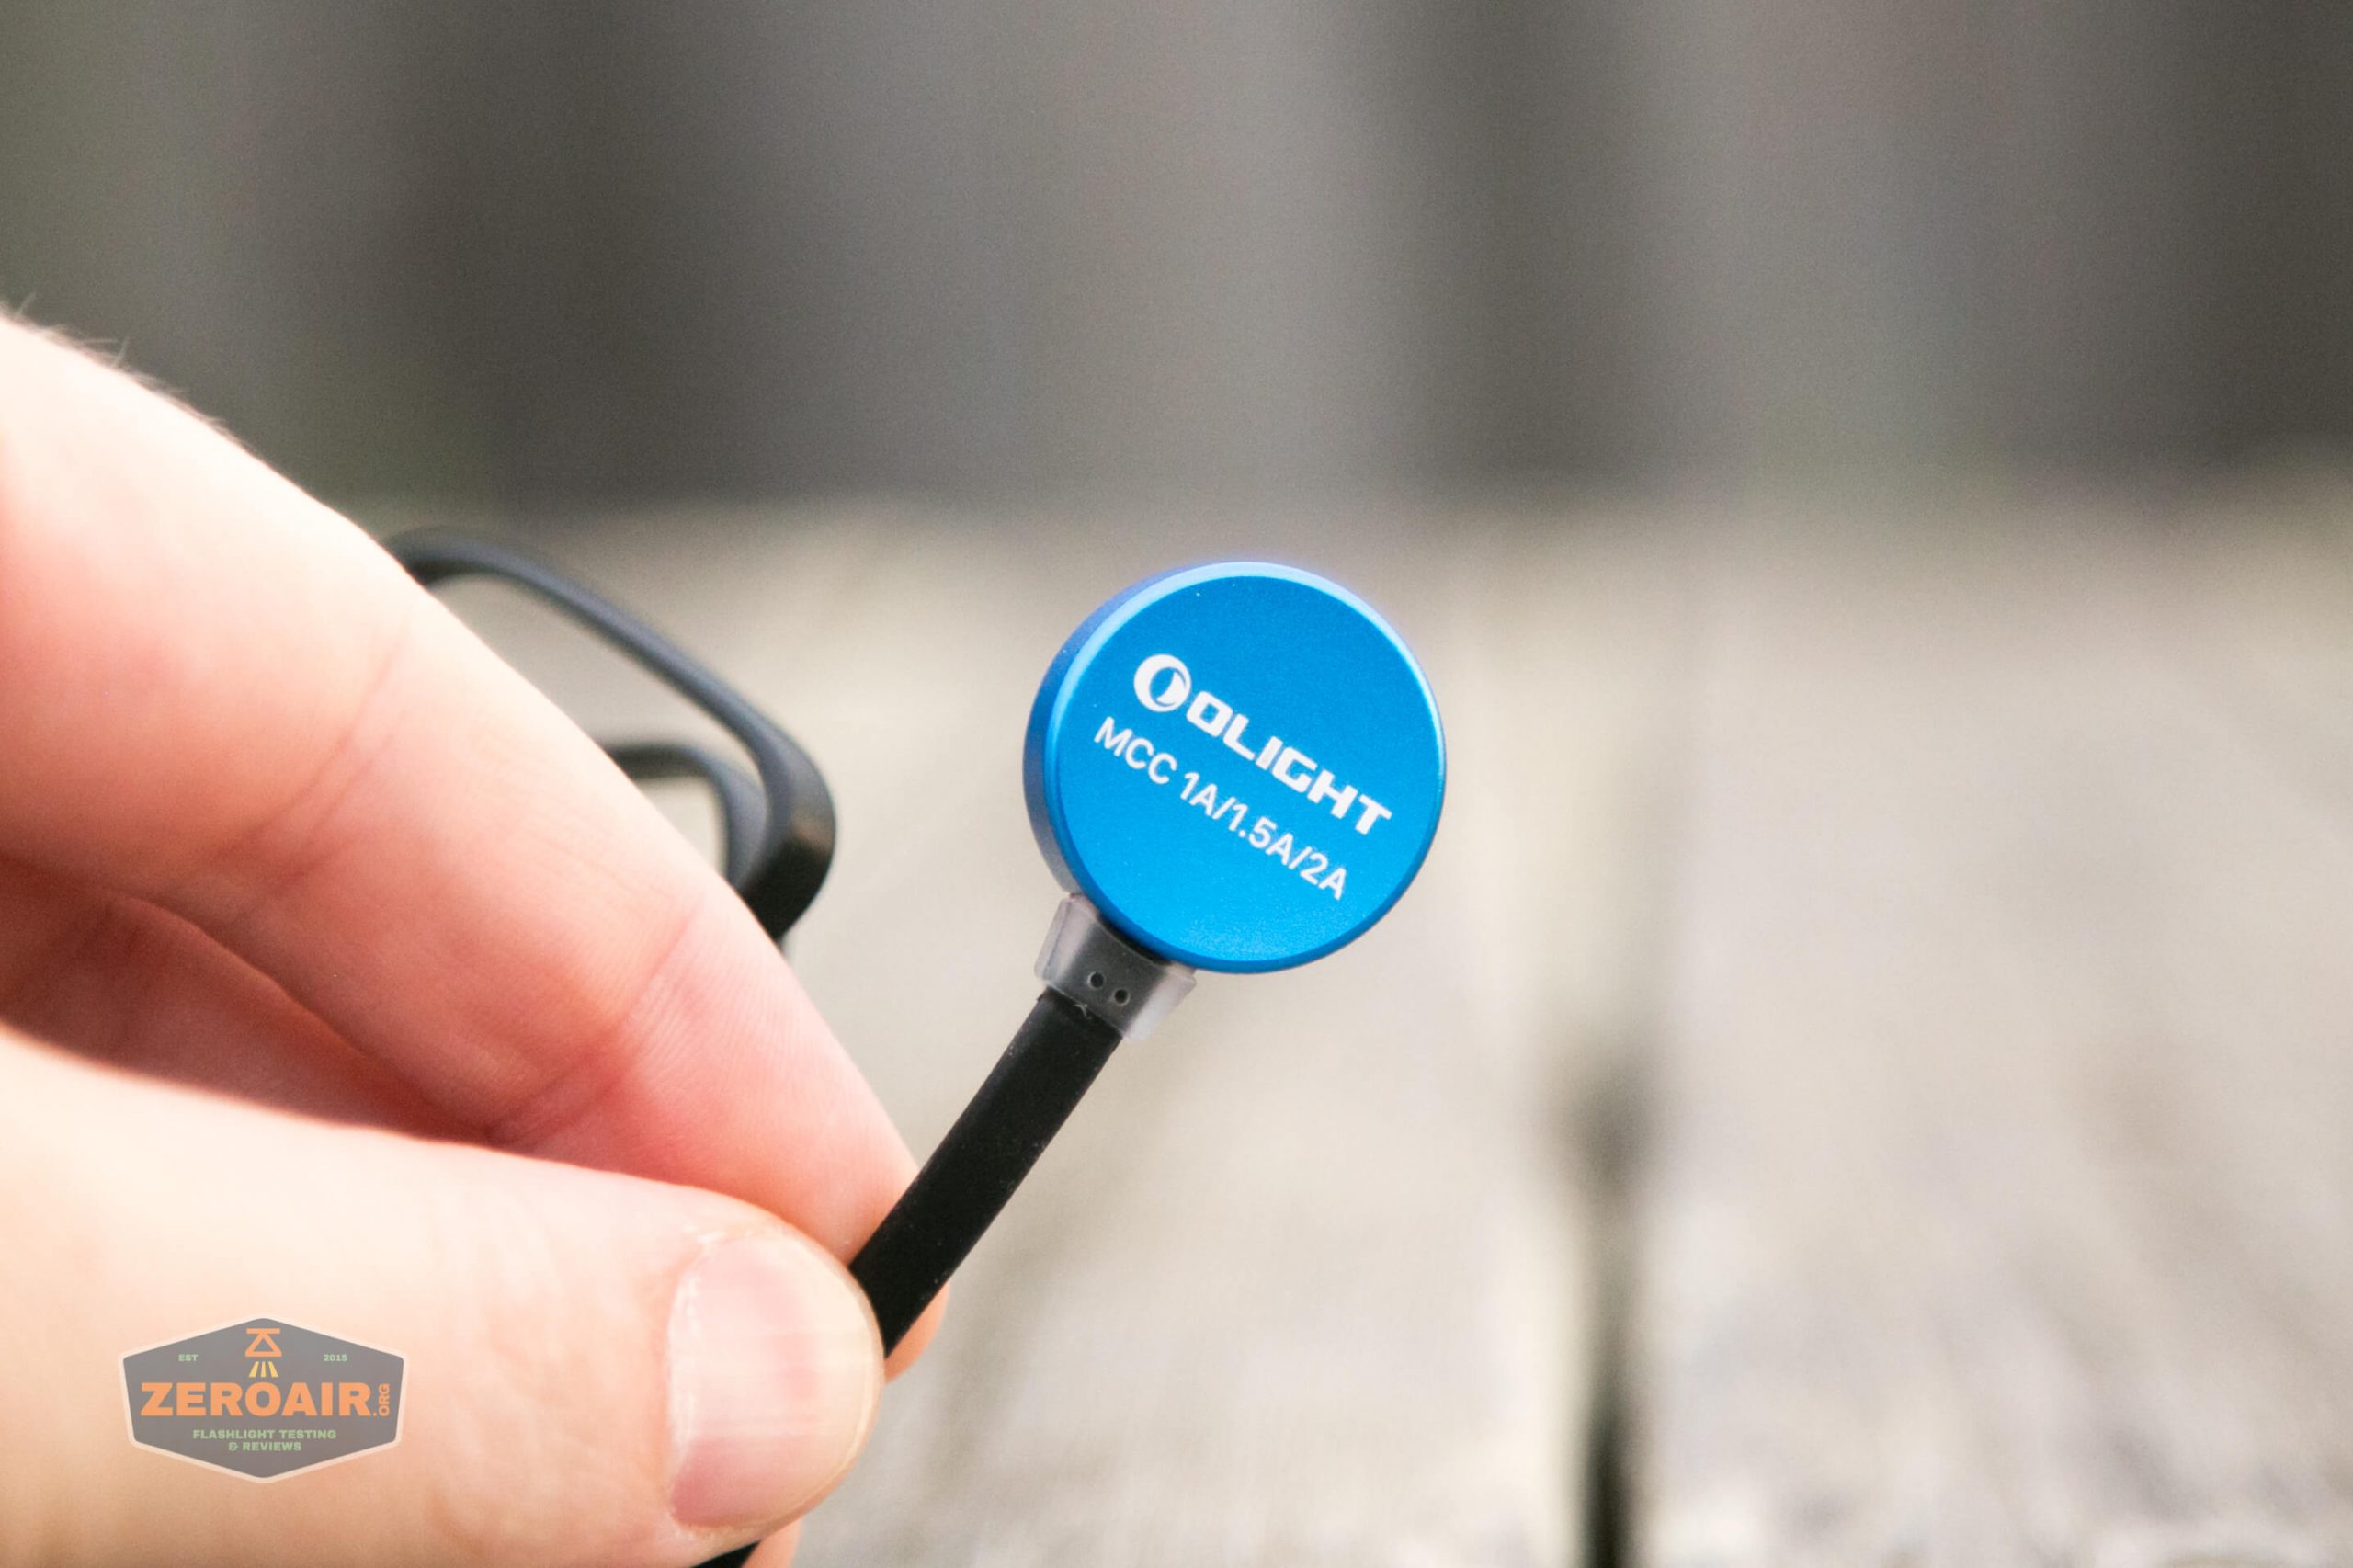
- Olight MCC 1A/1.5A/2A charger (USB to proprietary magnetic)
- Lanyard
- Manual
Package and Manual
Build Quality and Disassembly
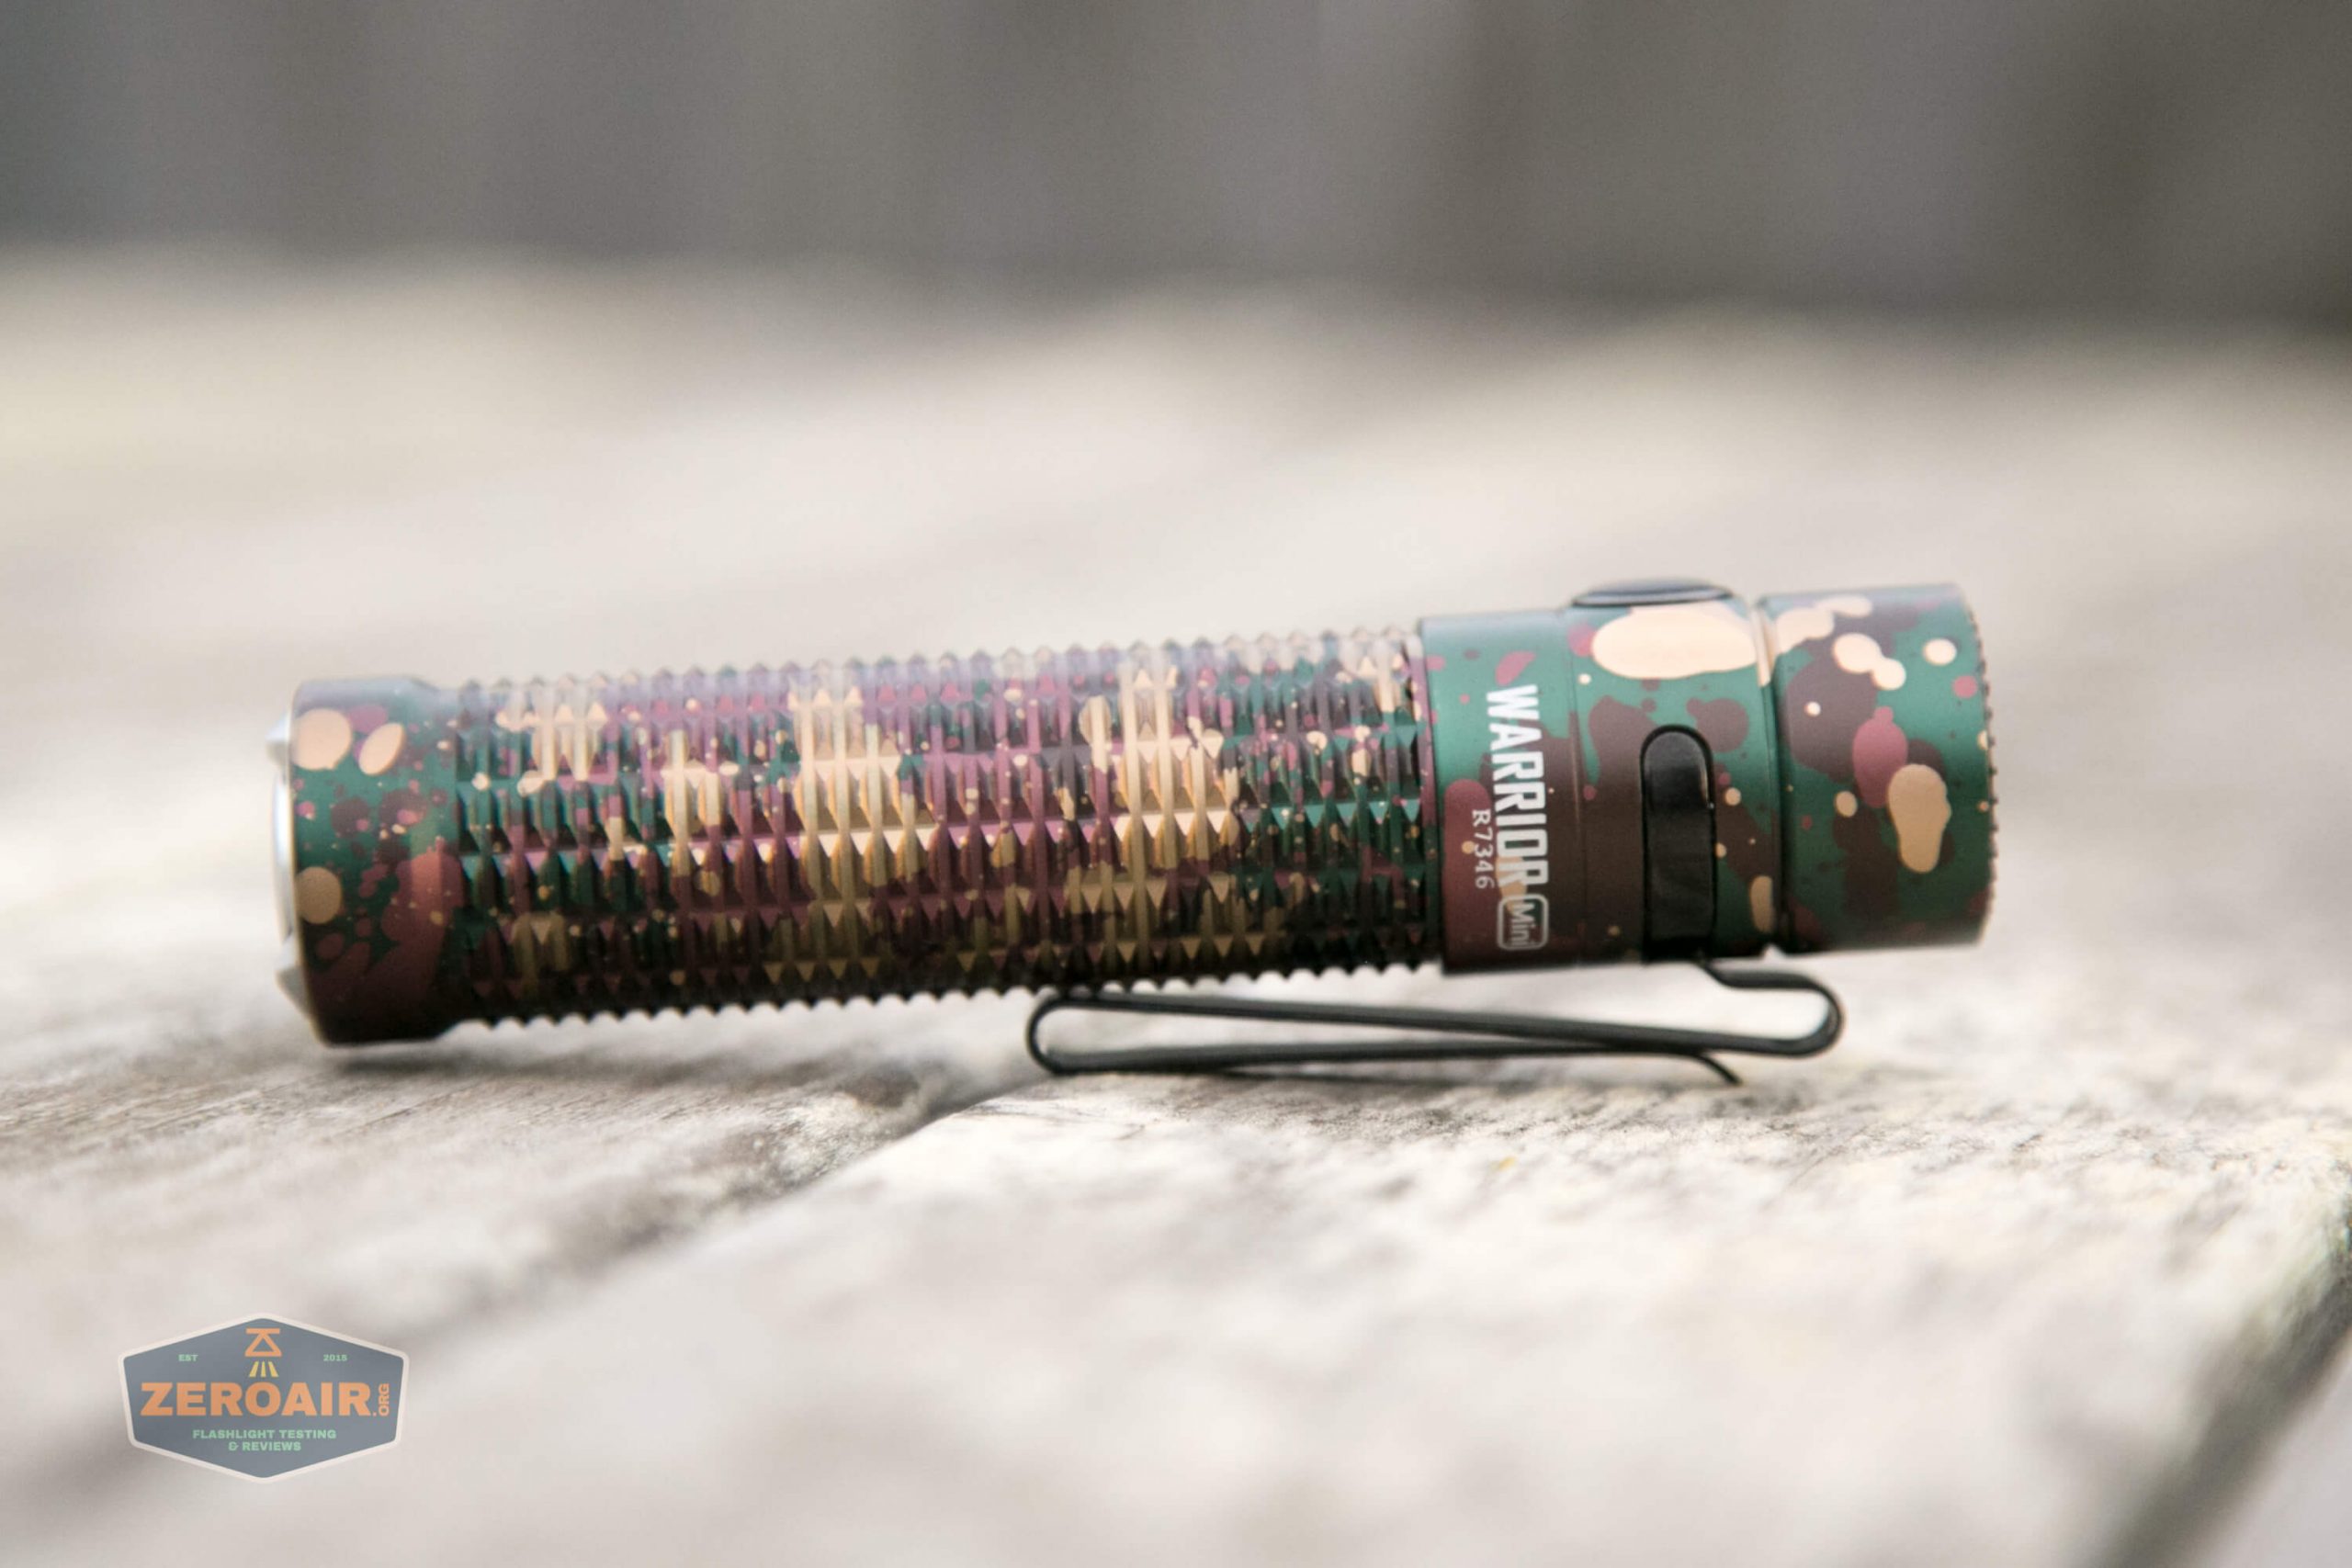
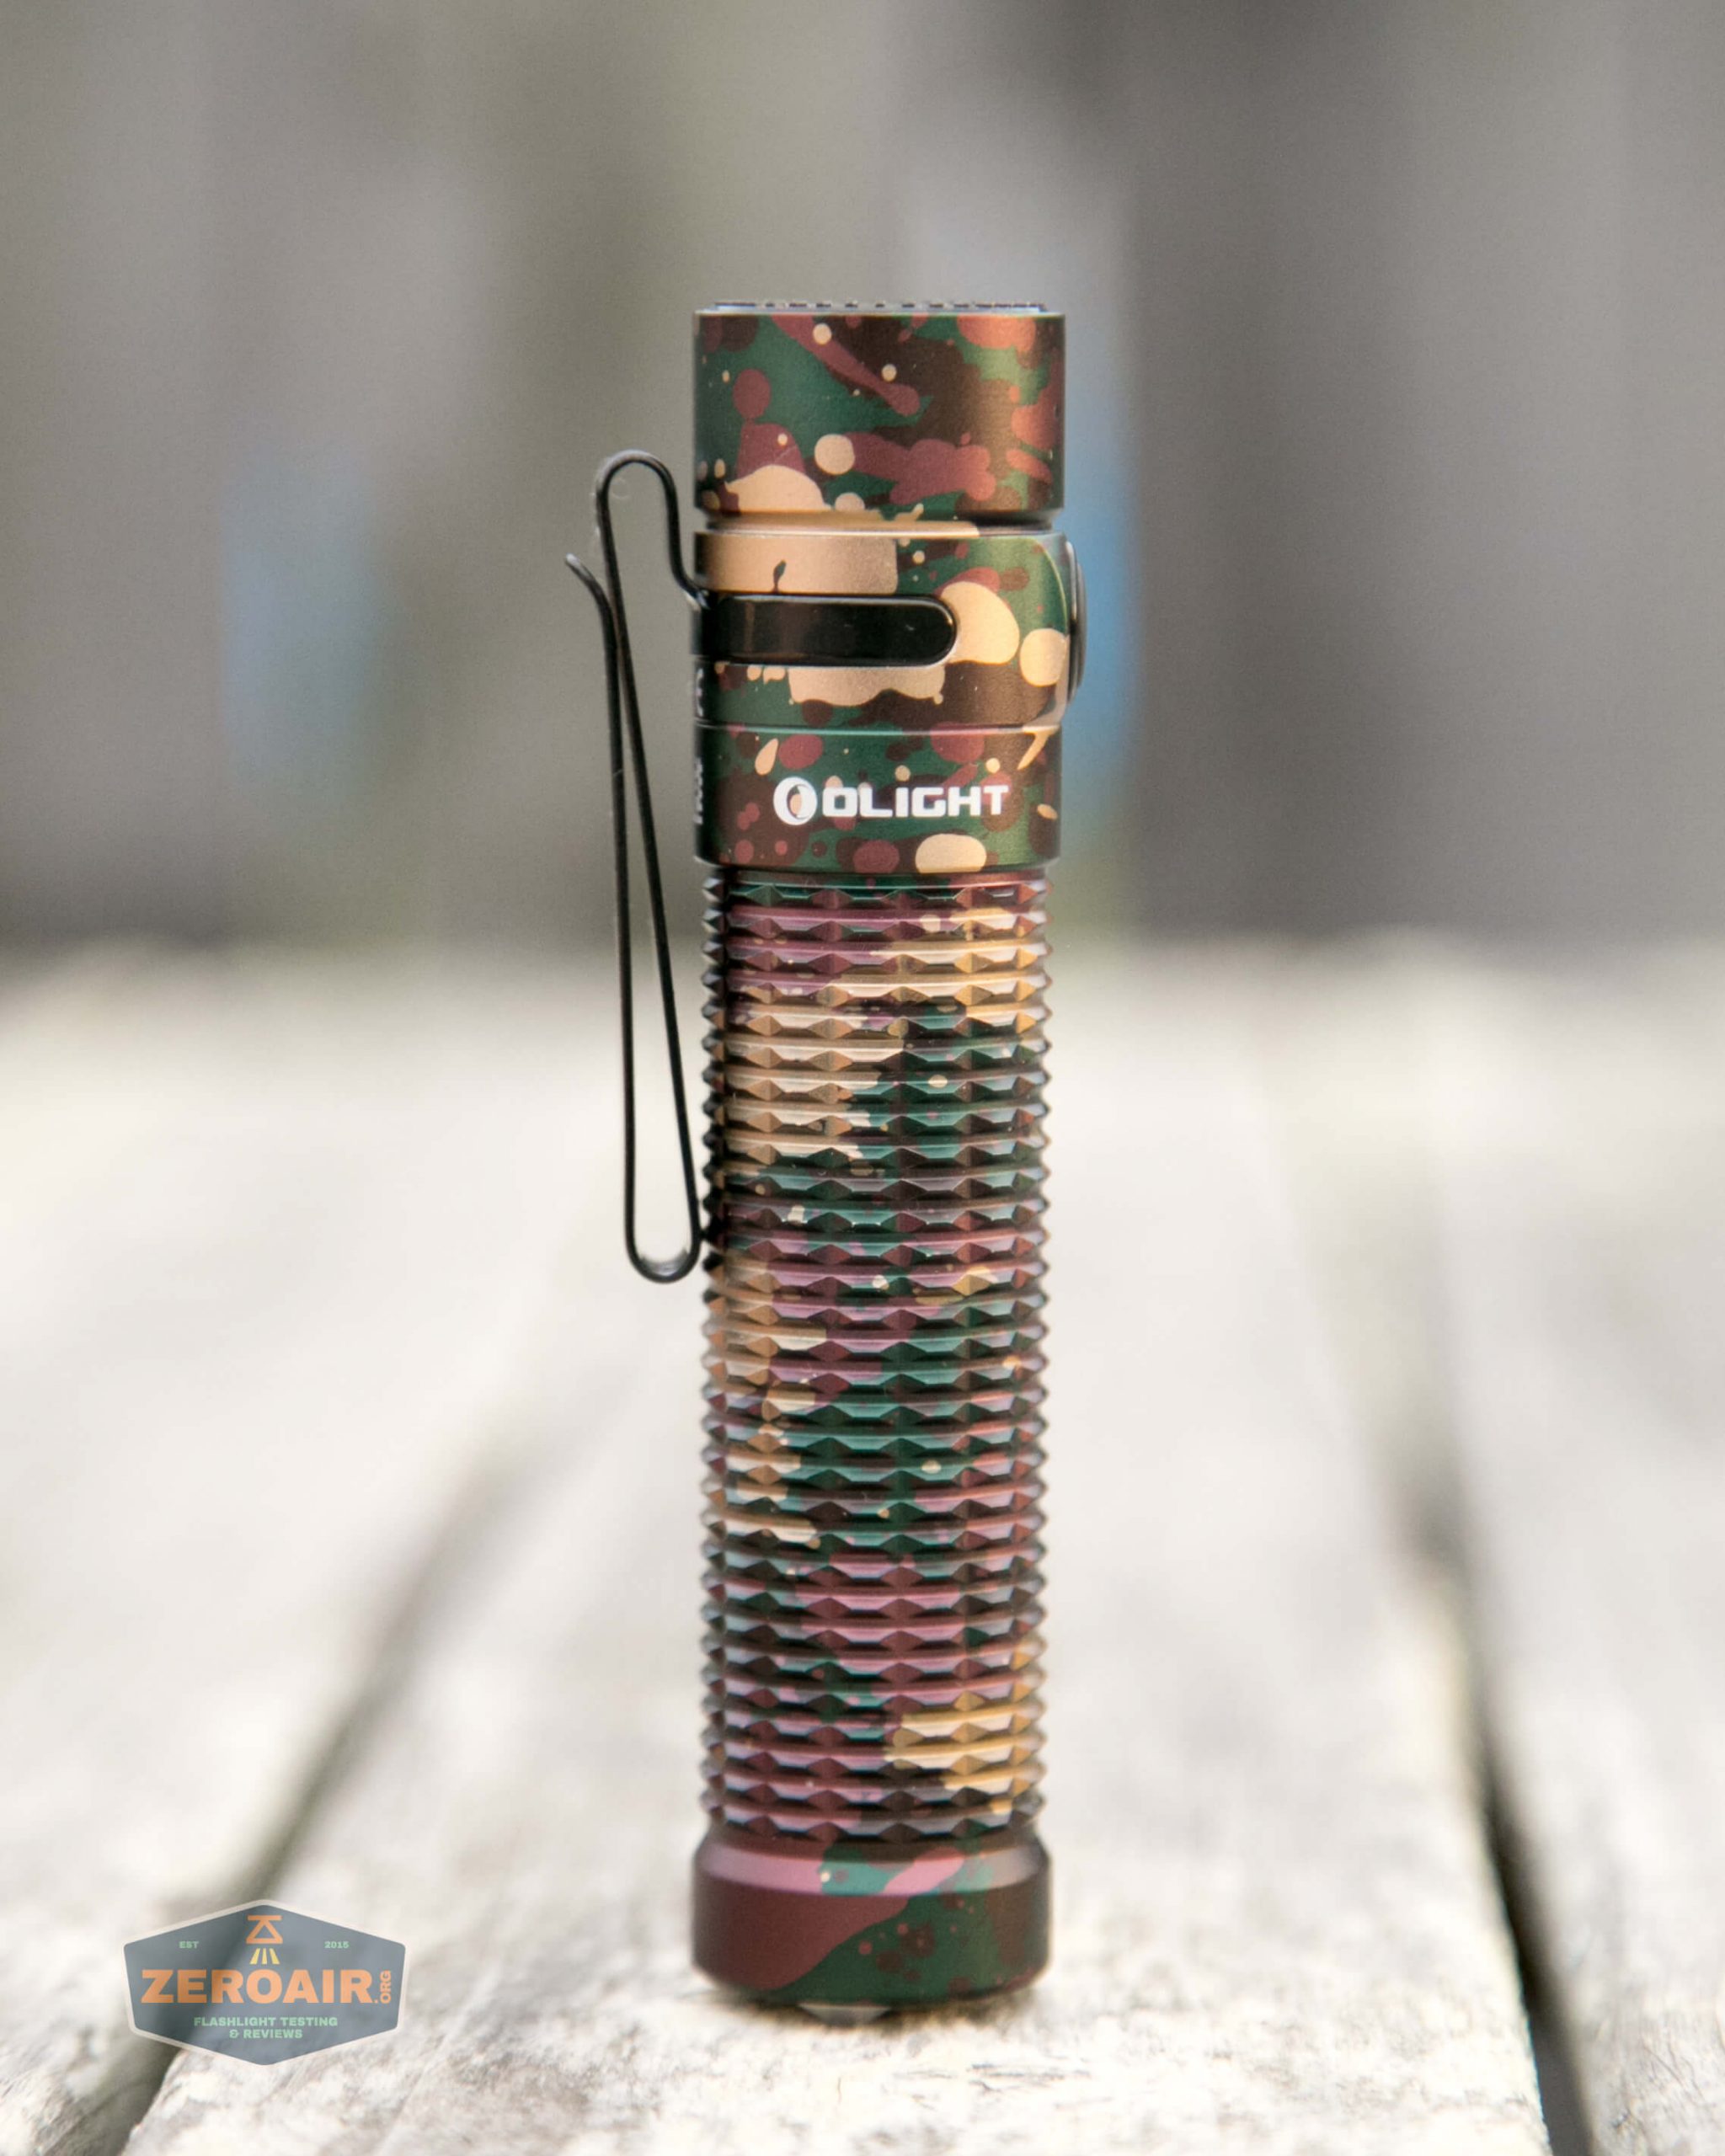
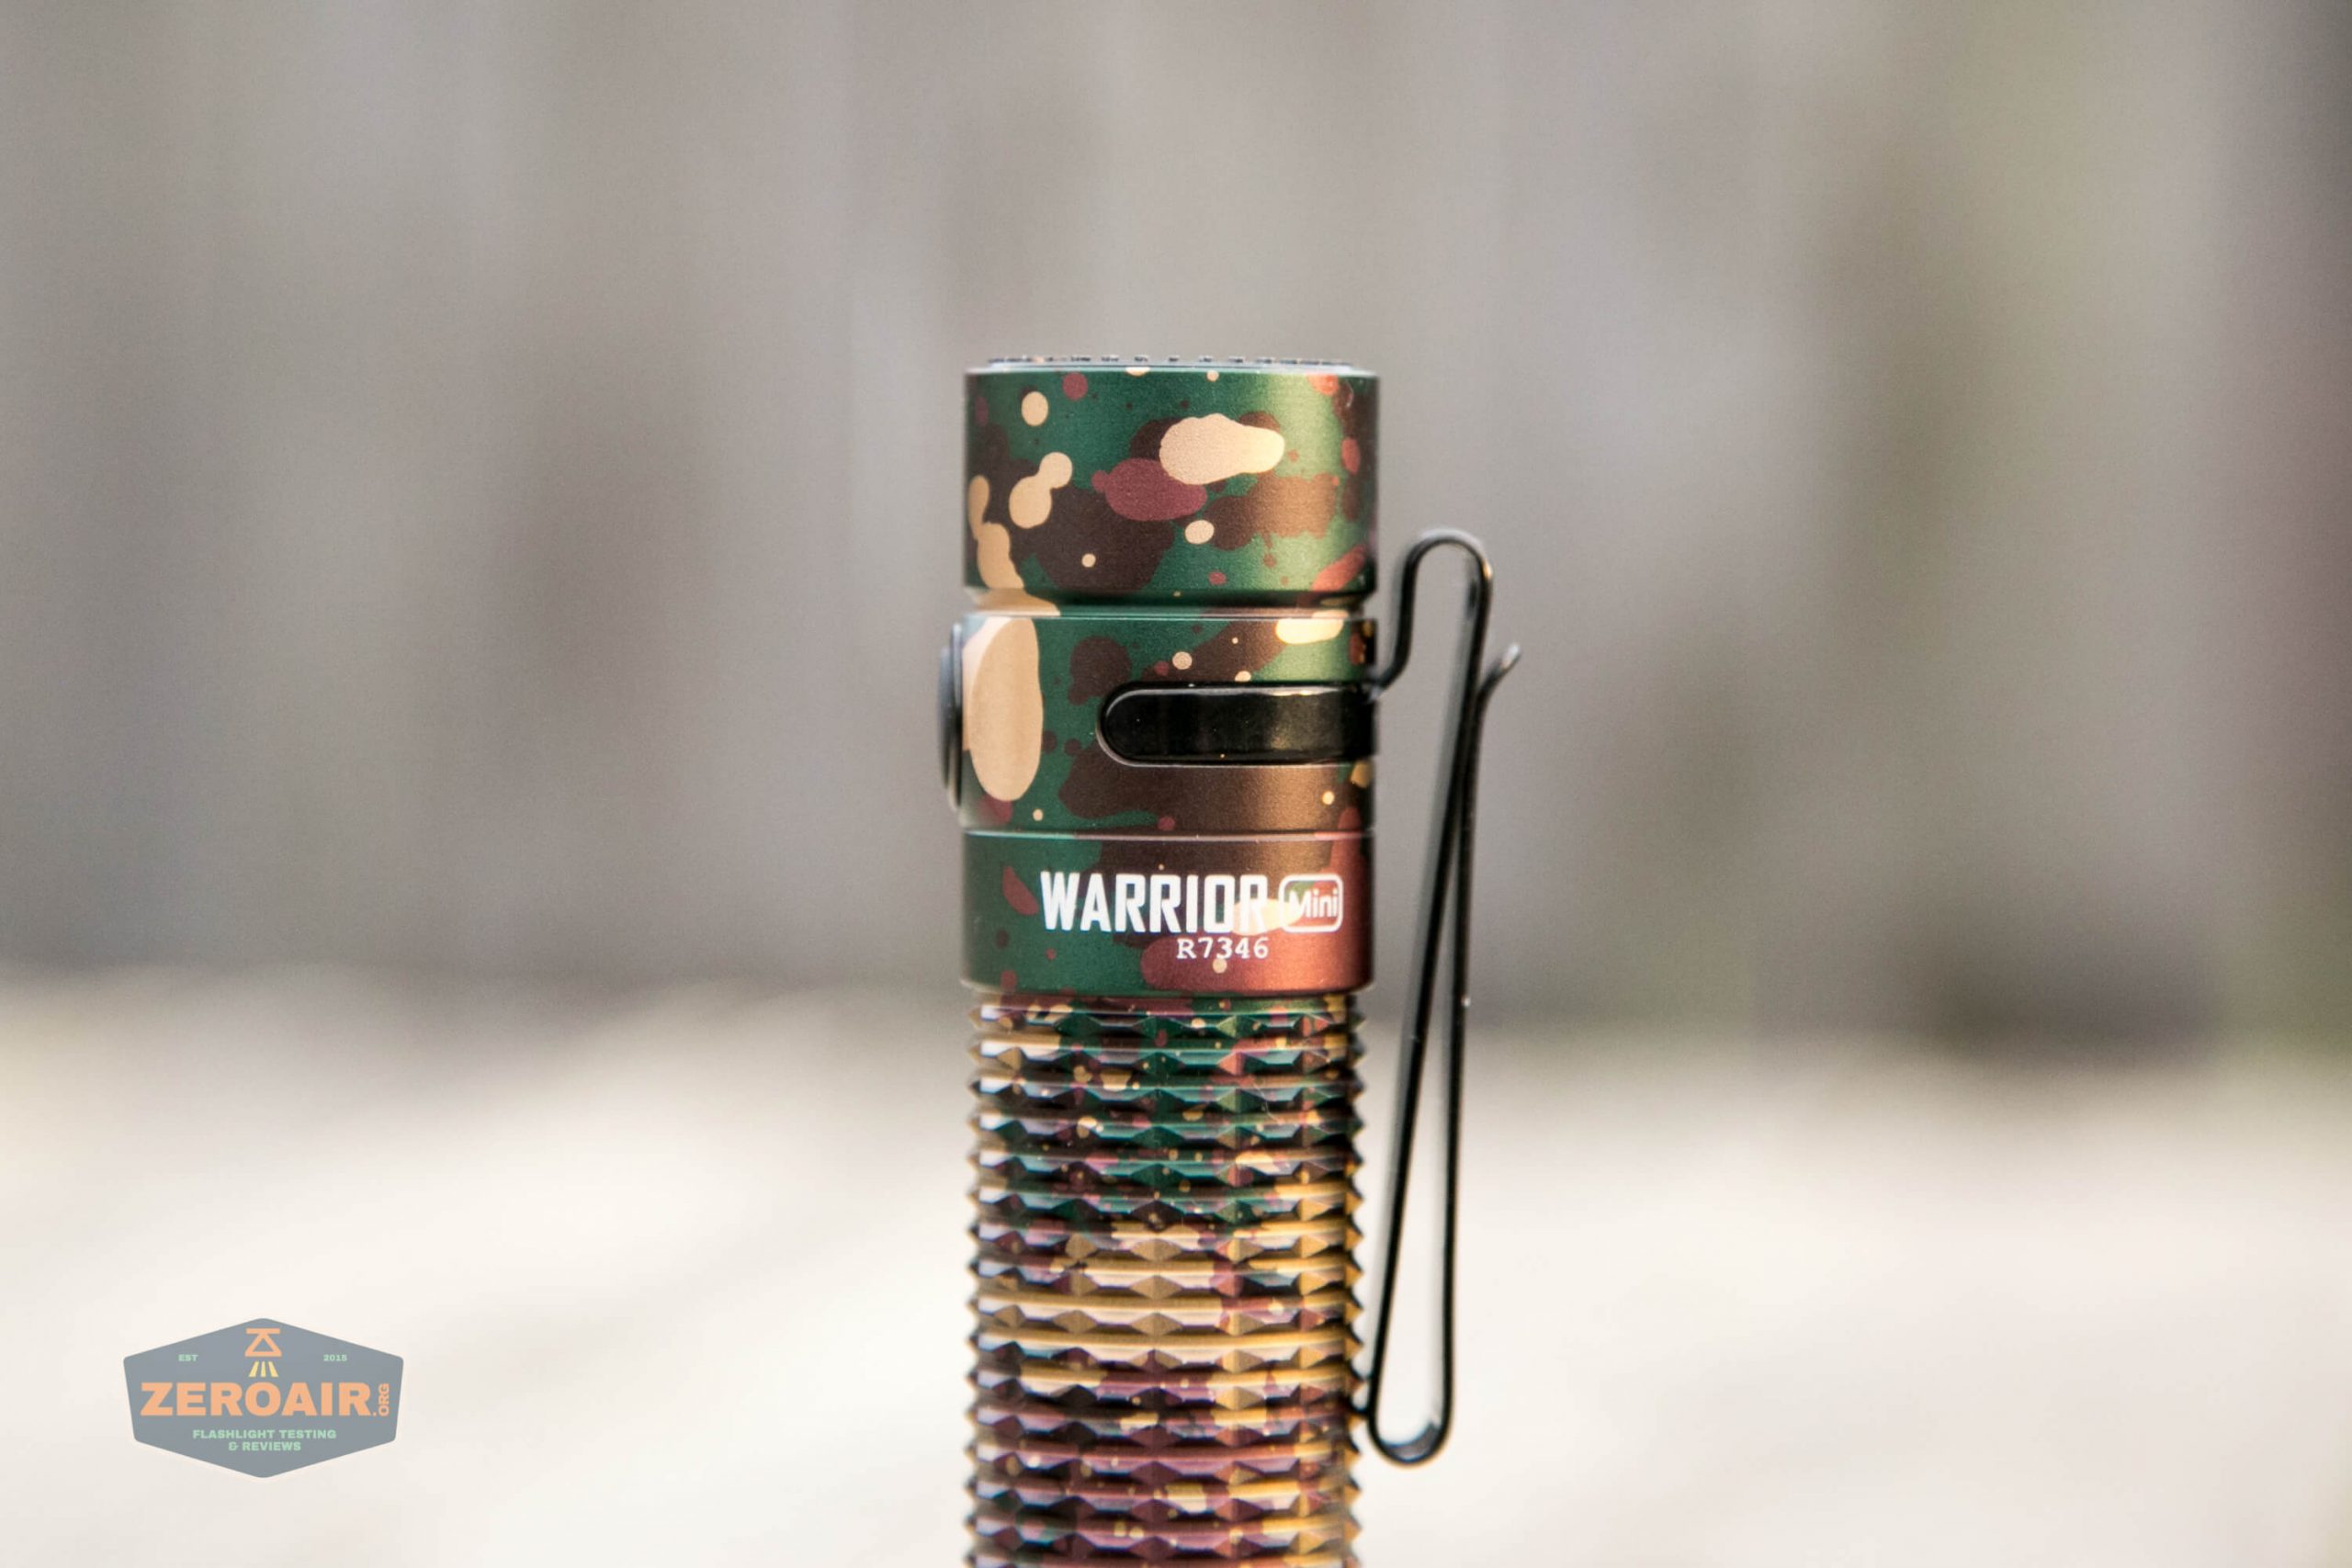
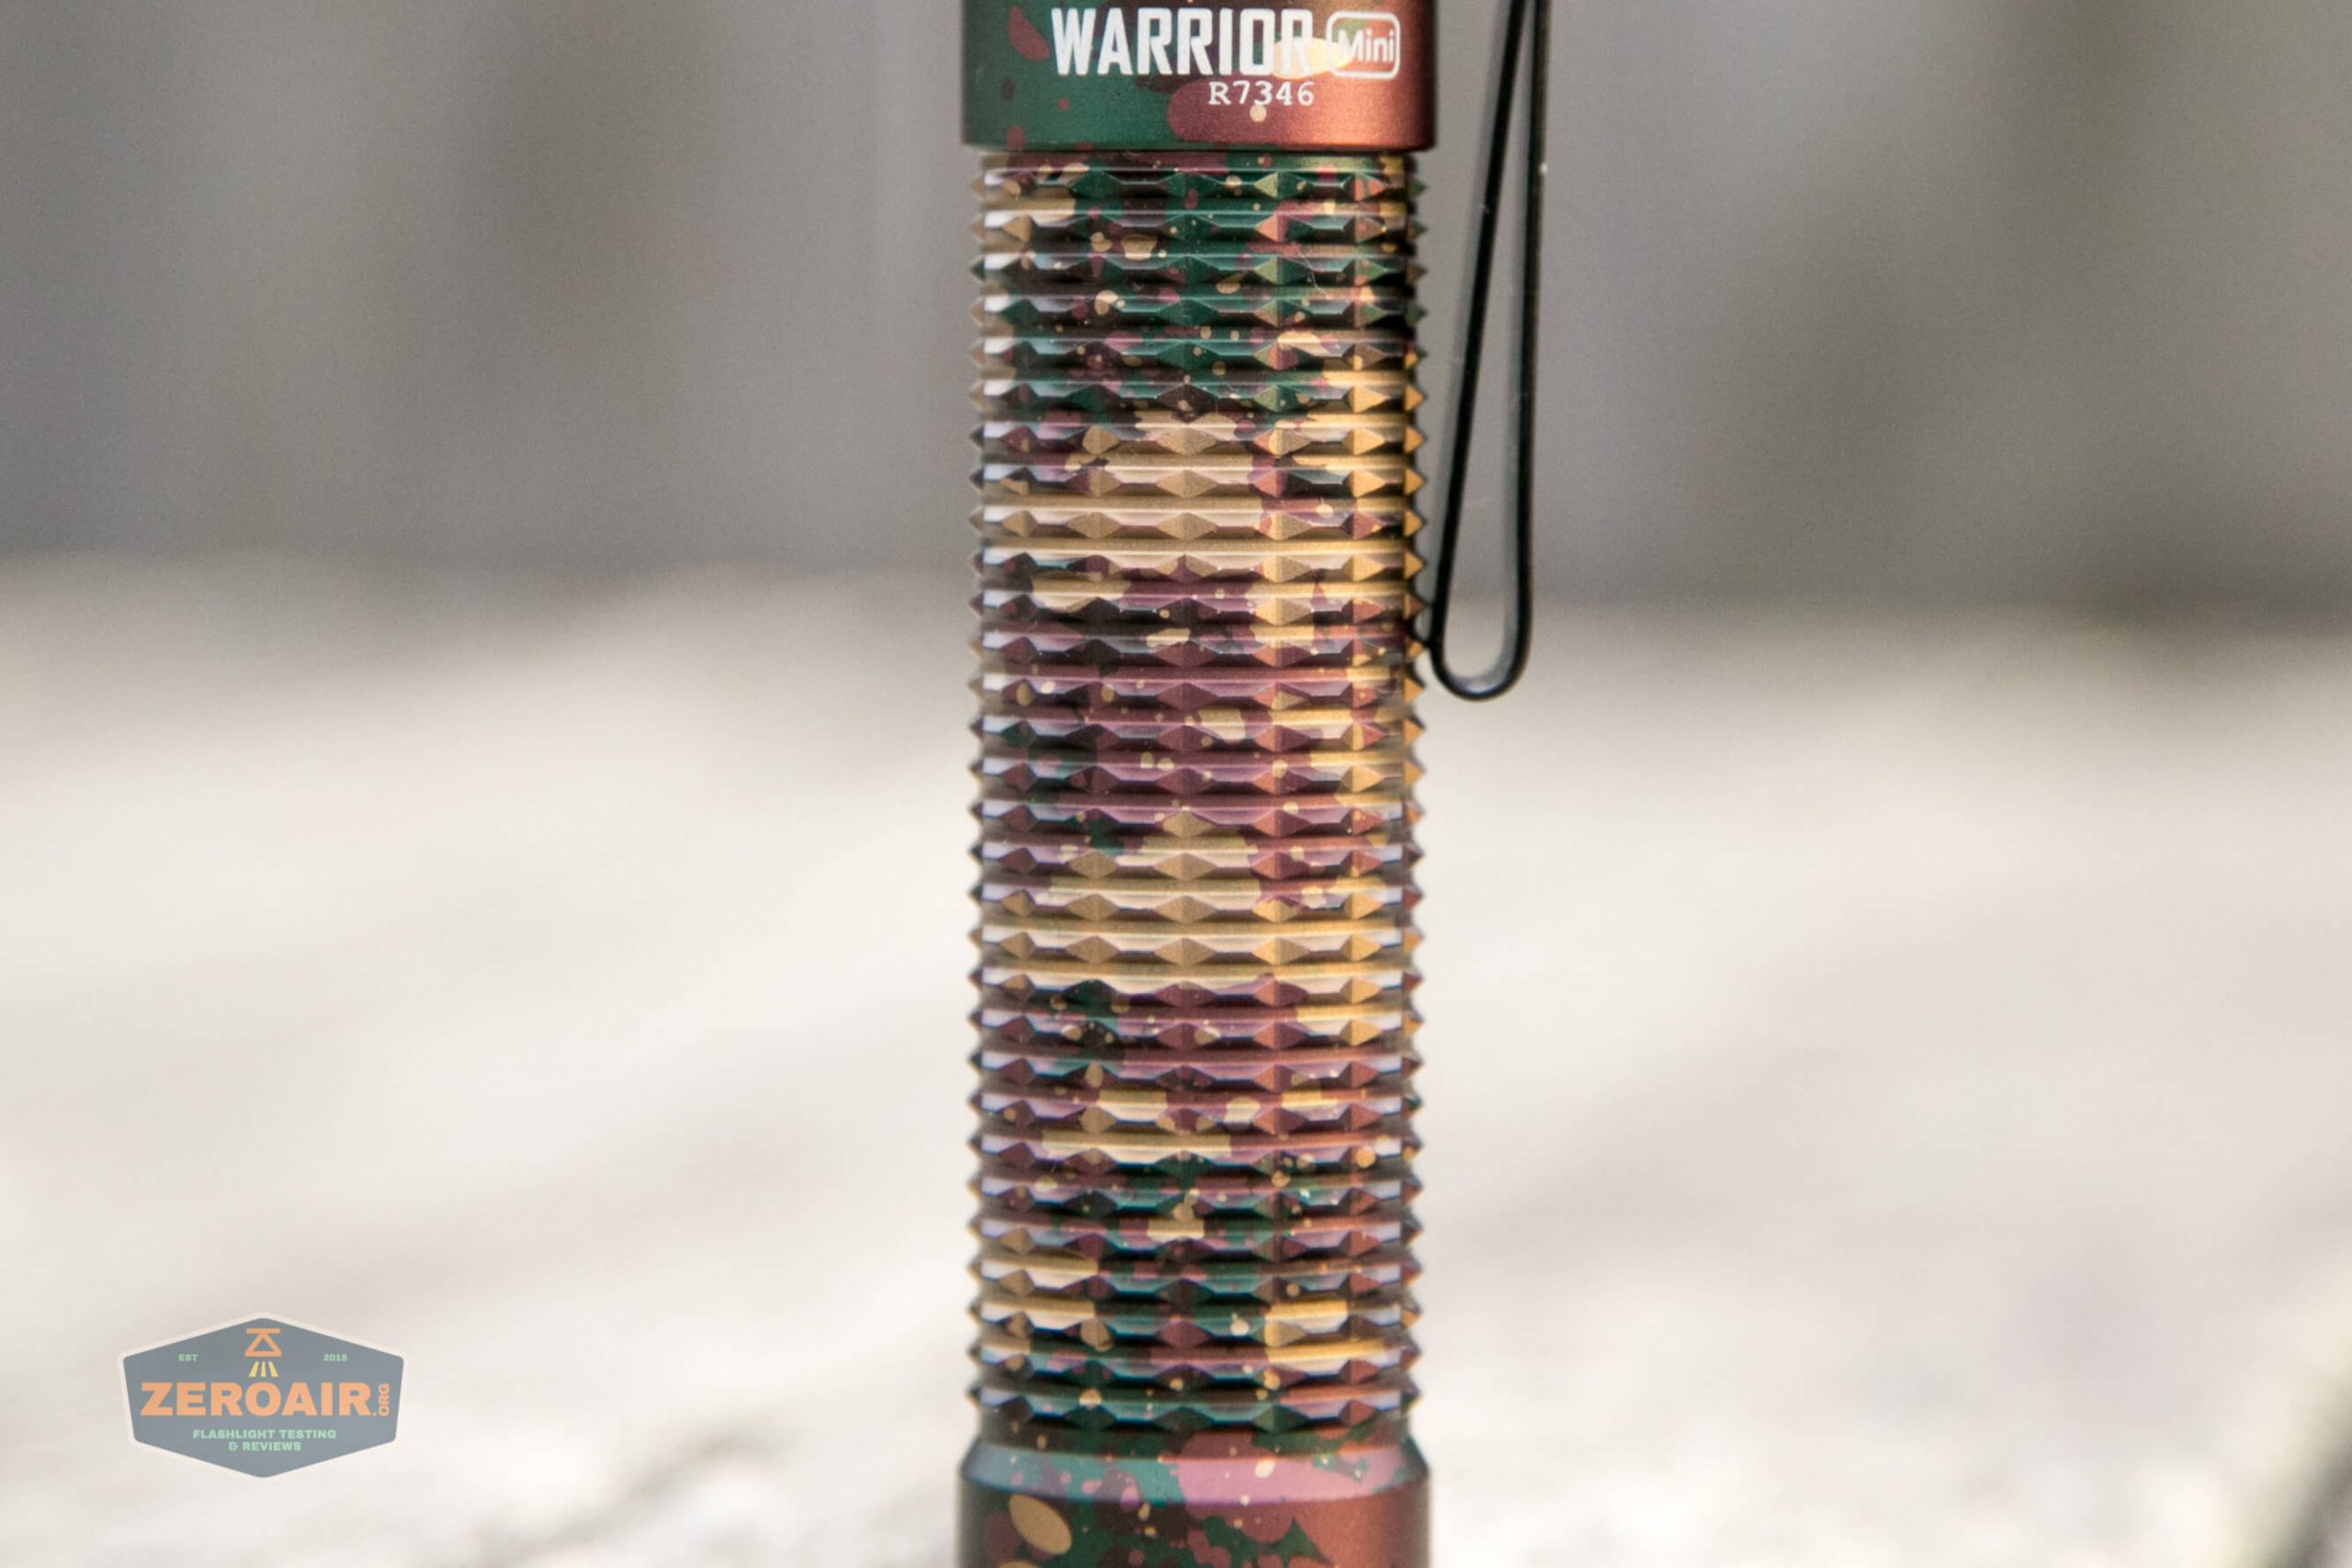
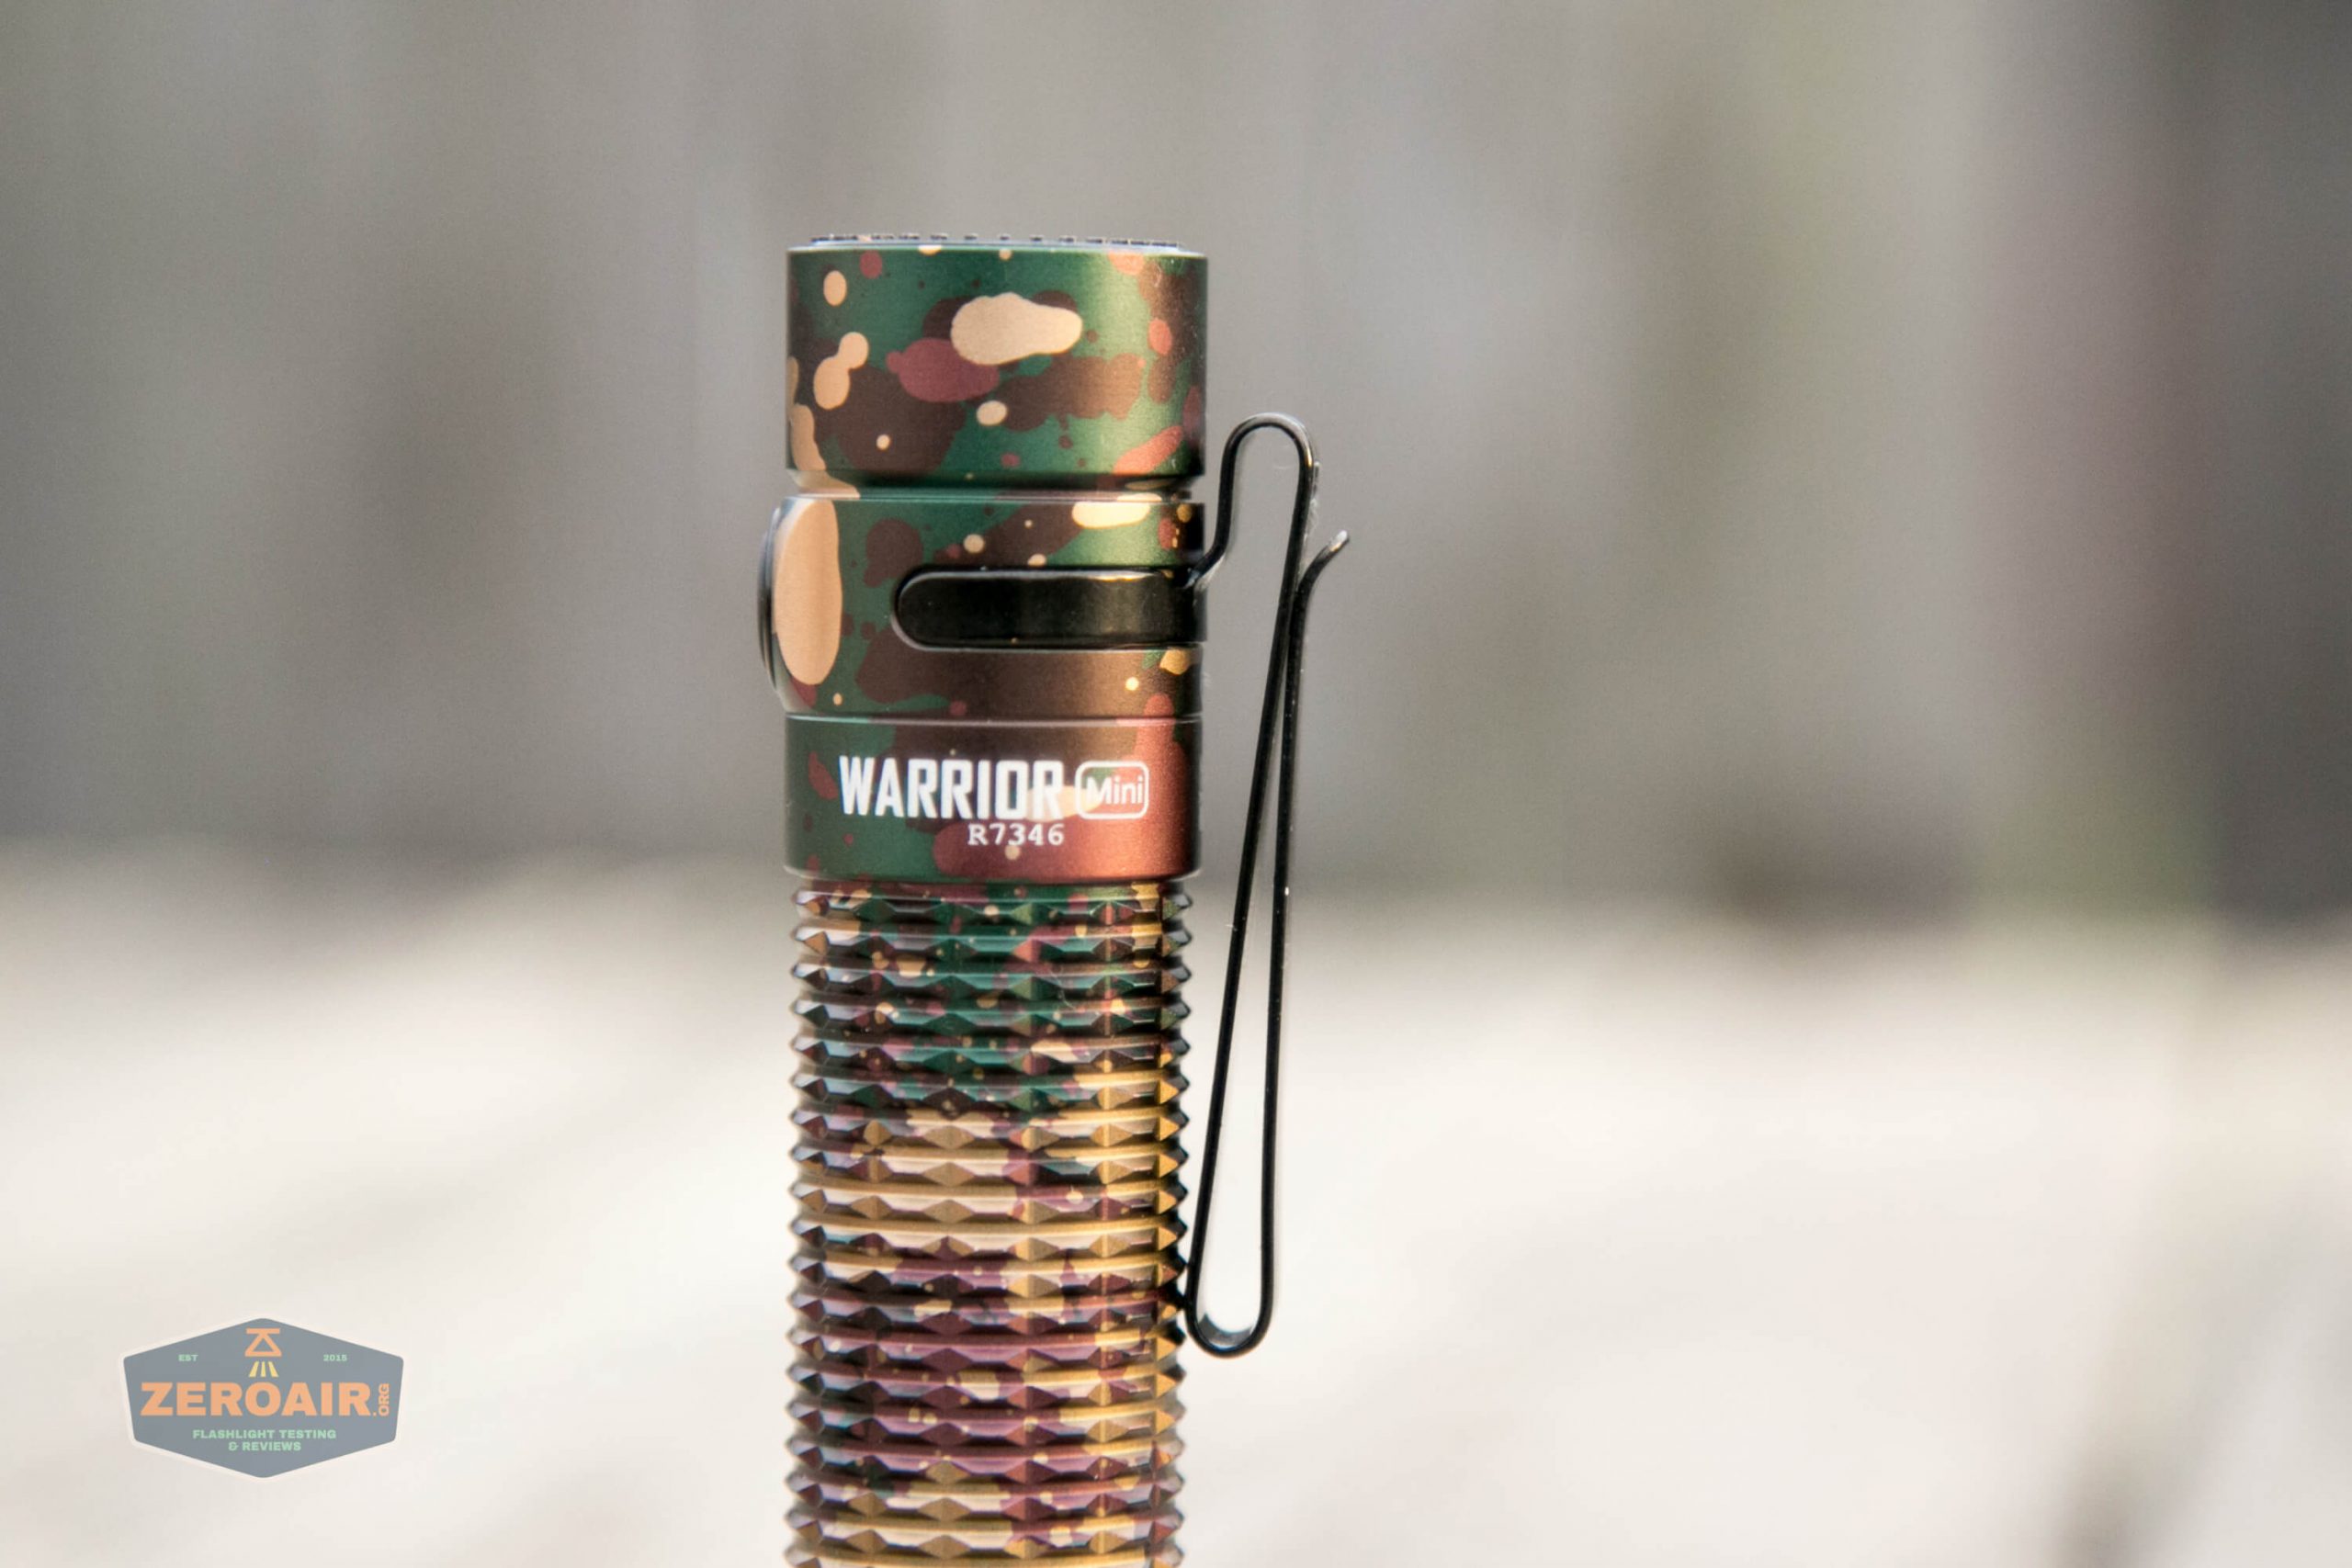
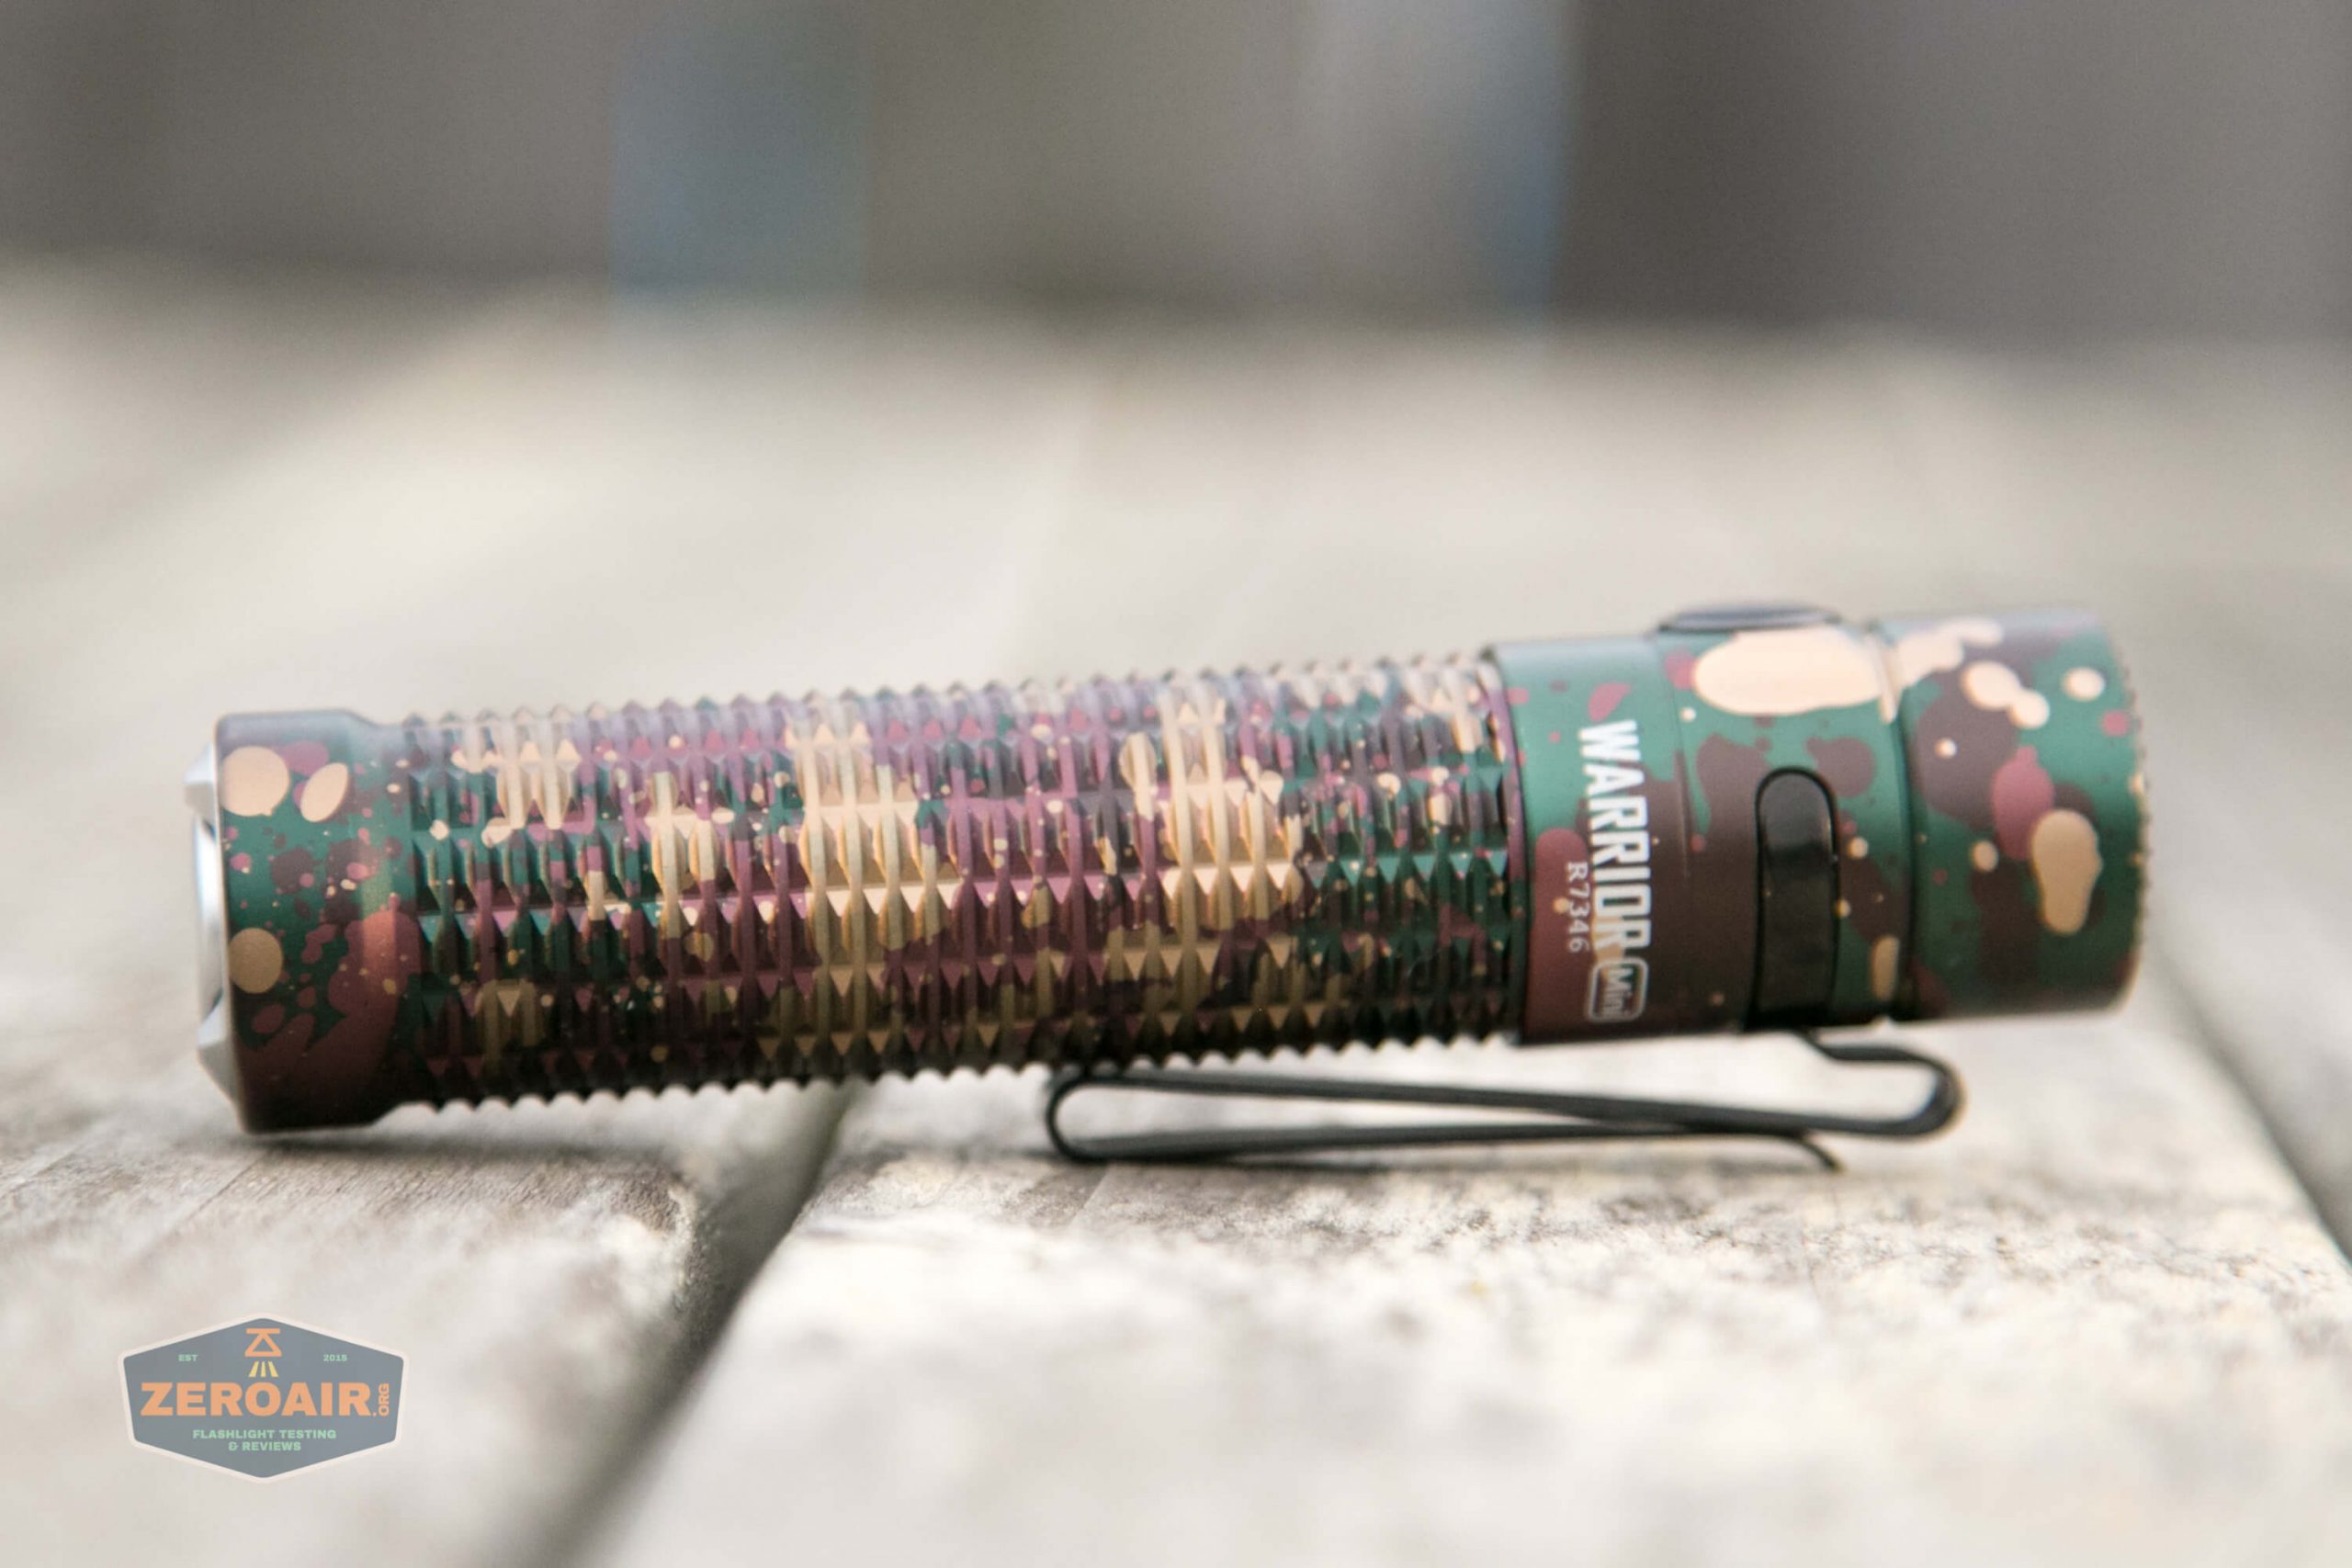
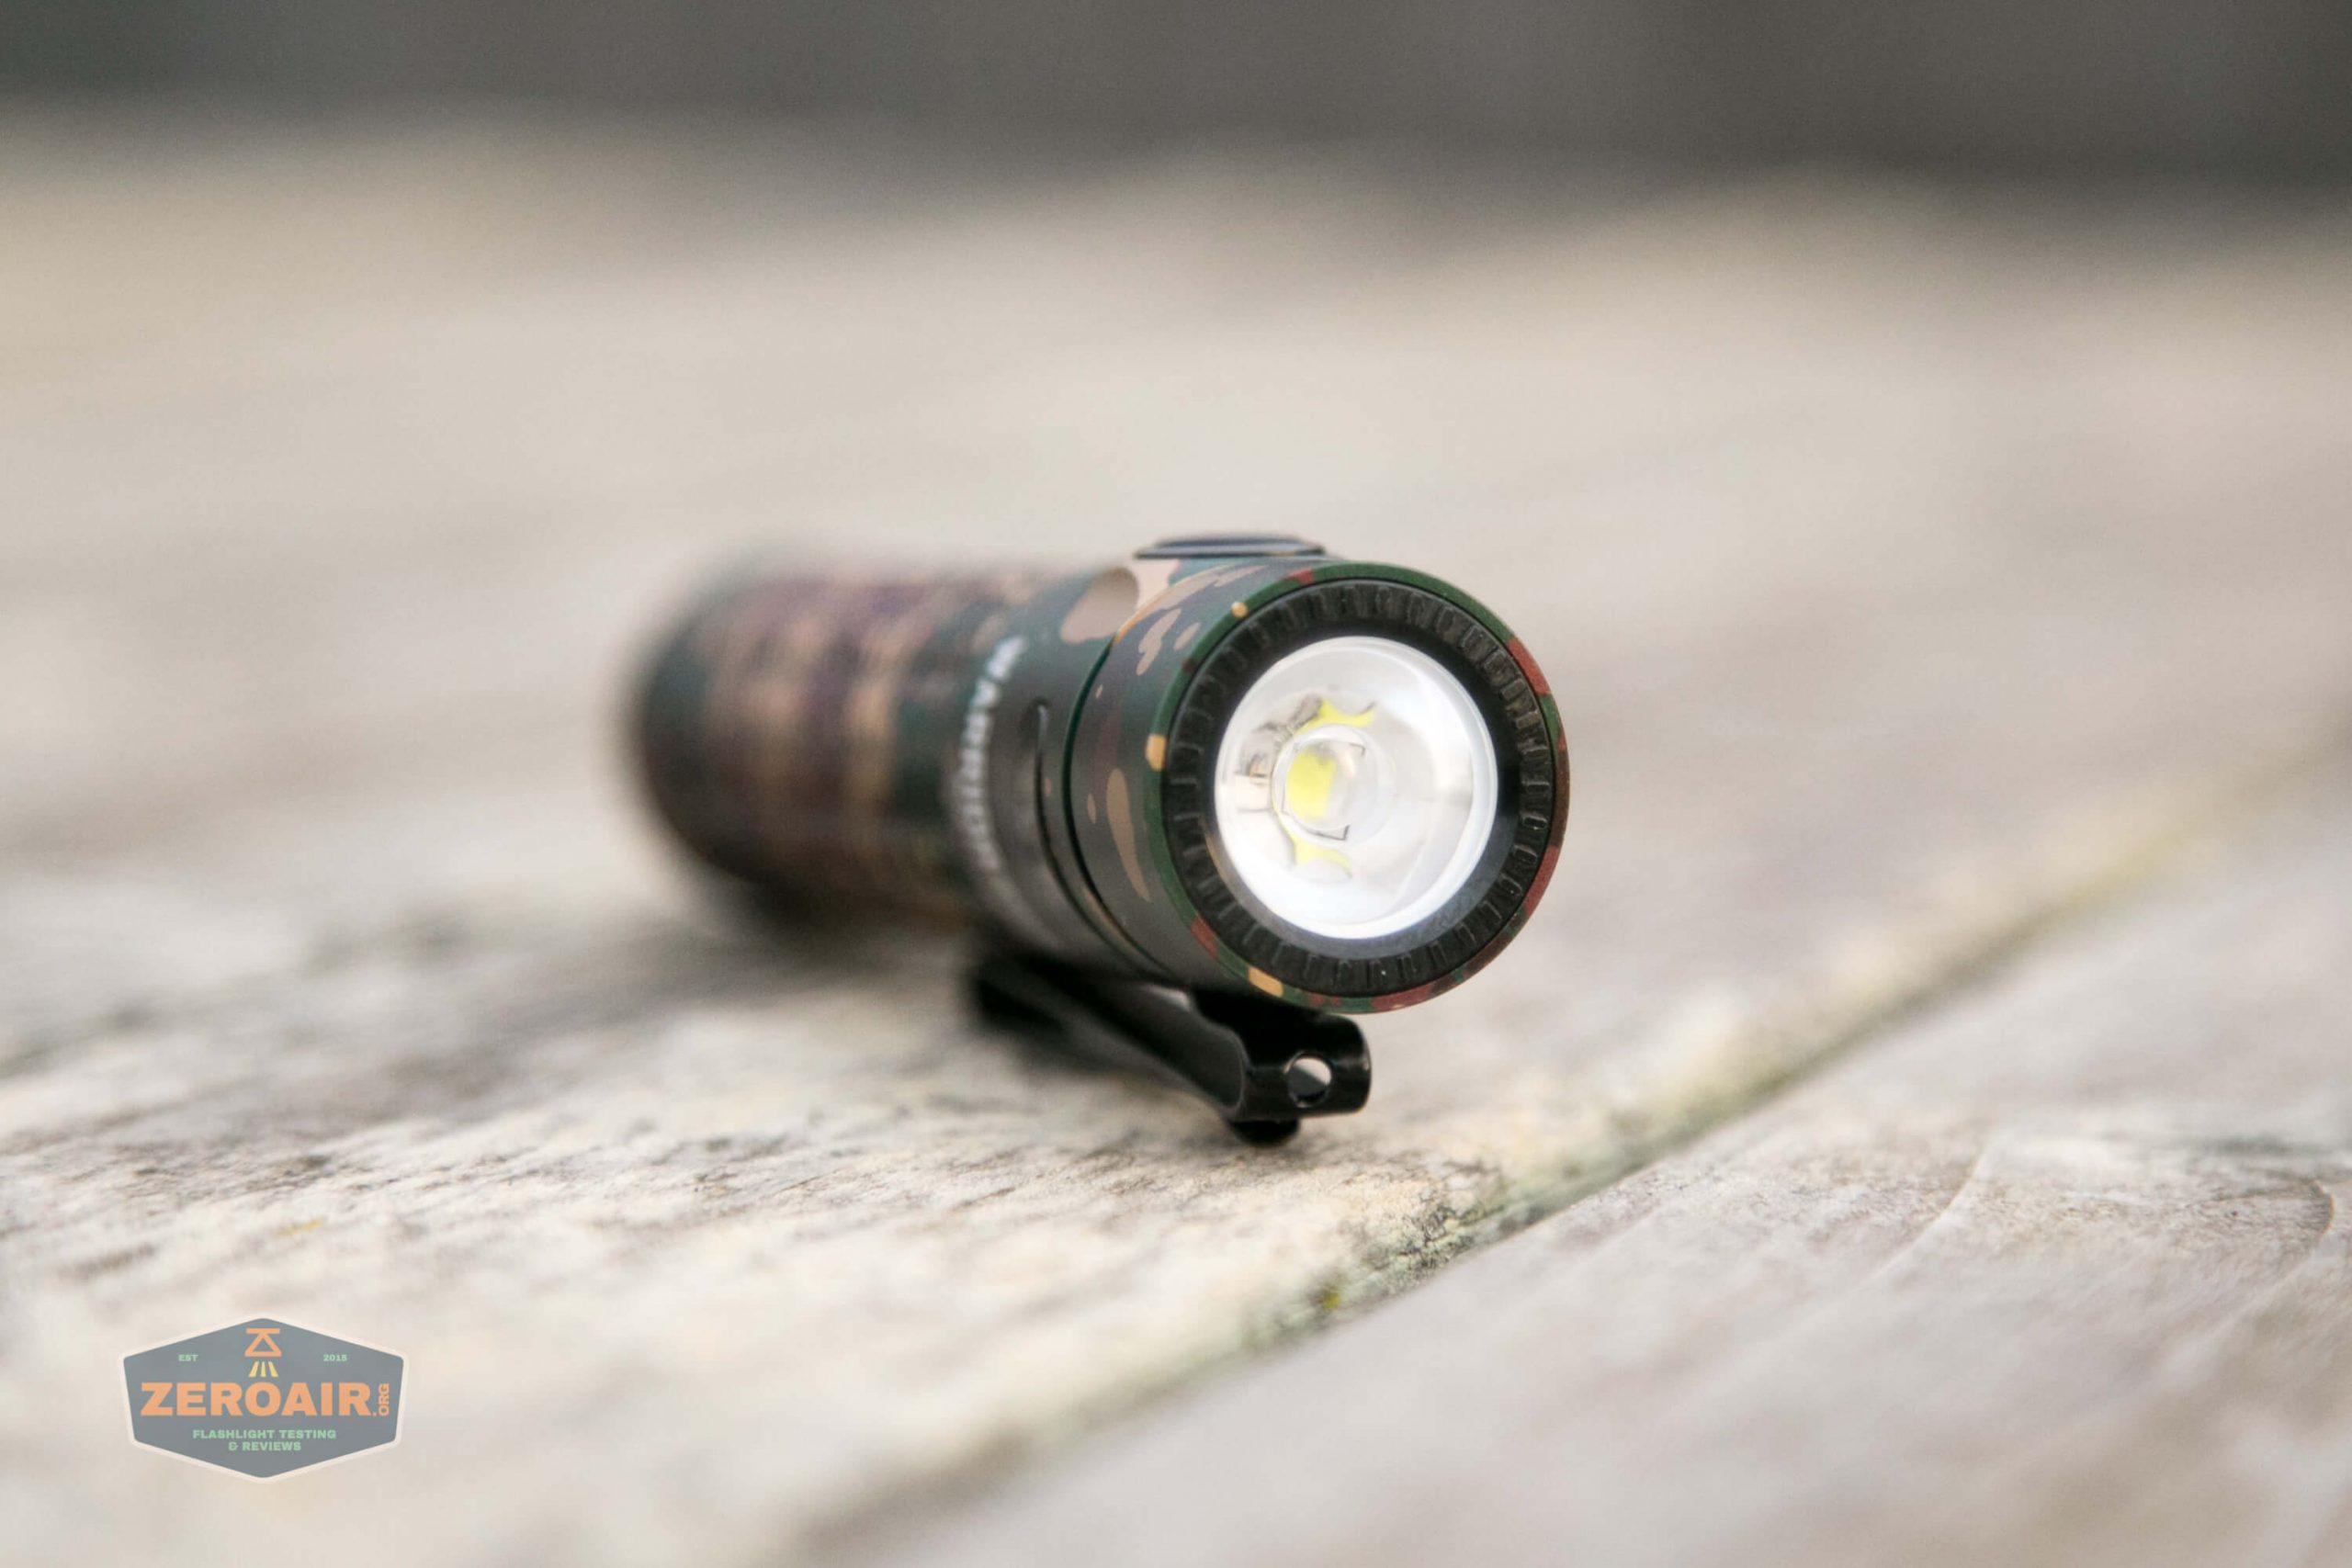
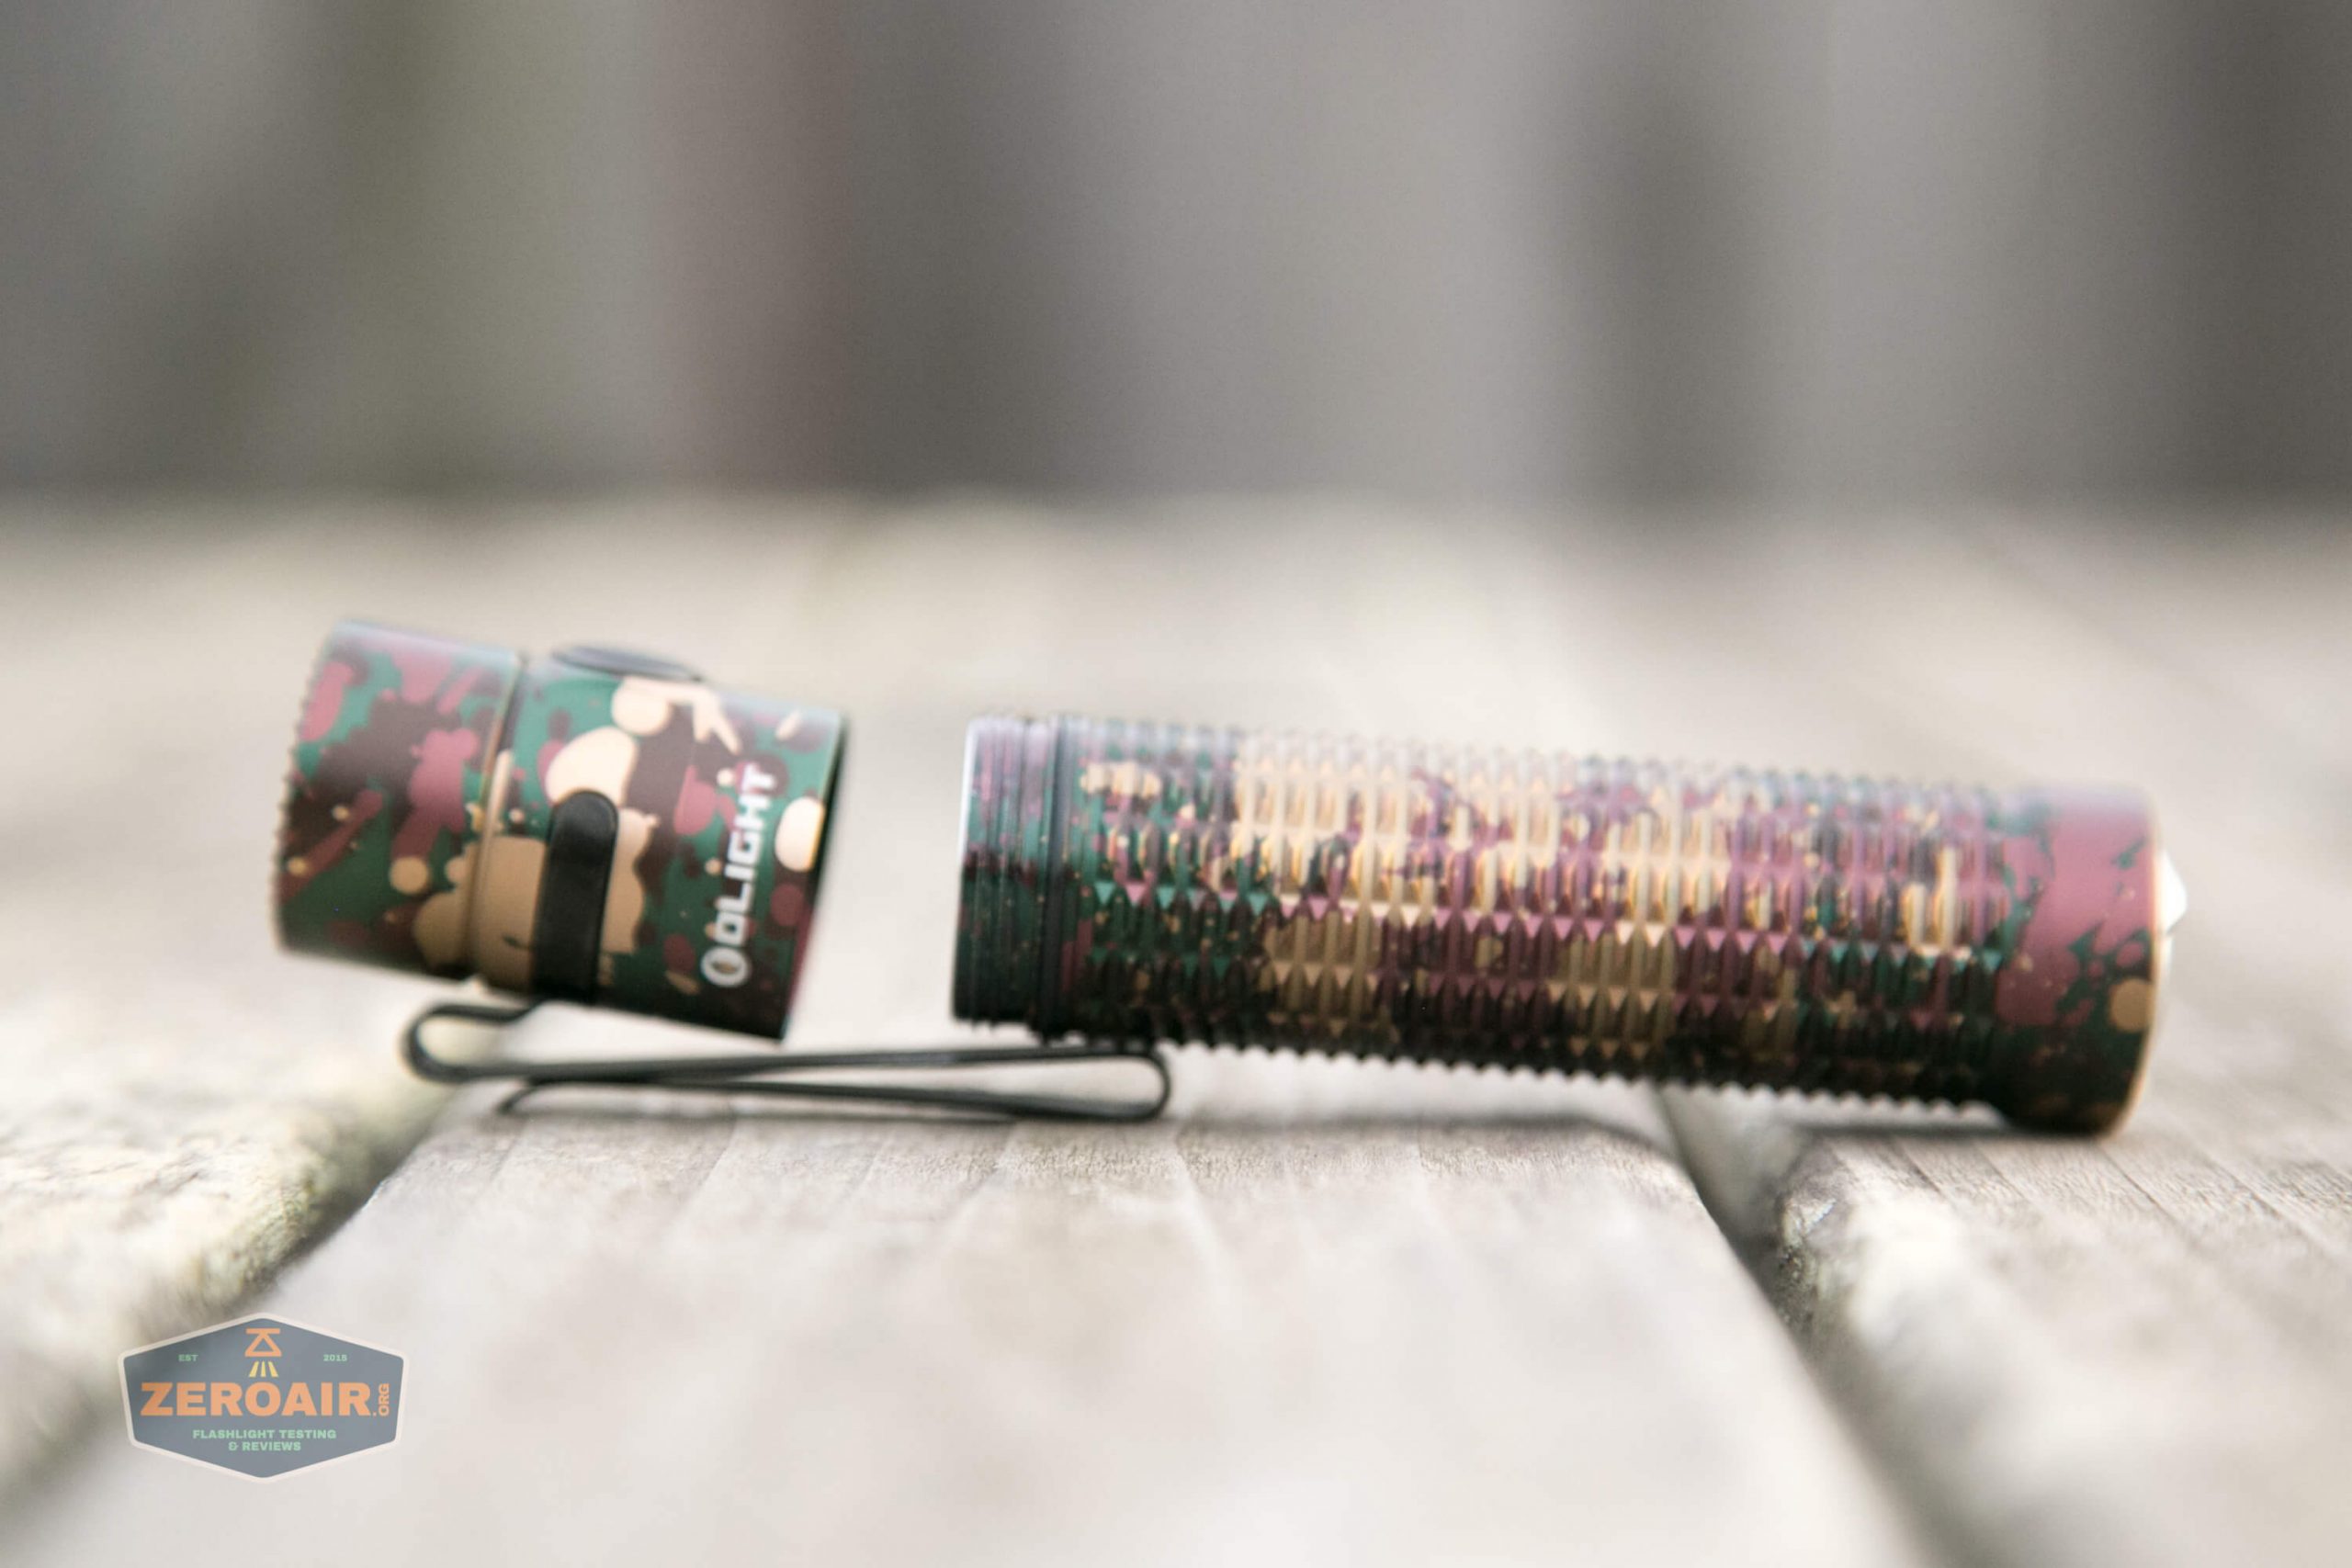
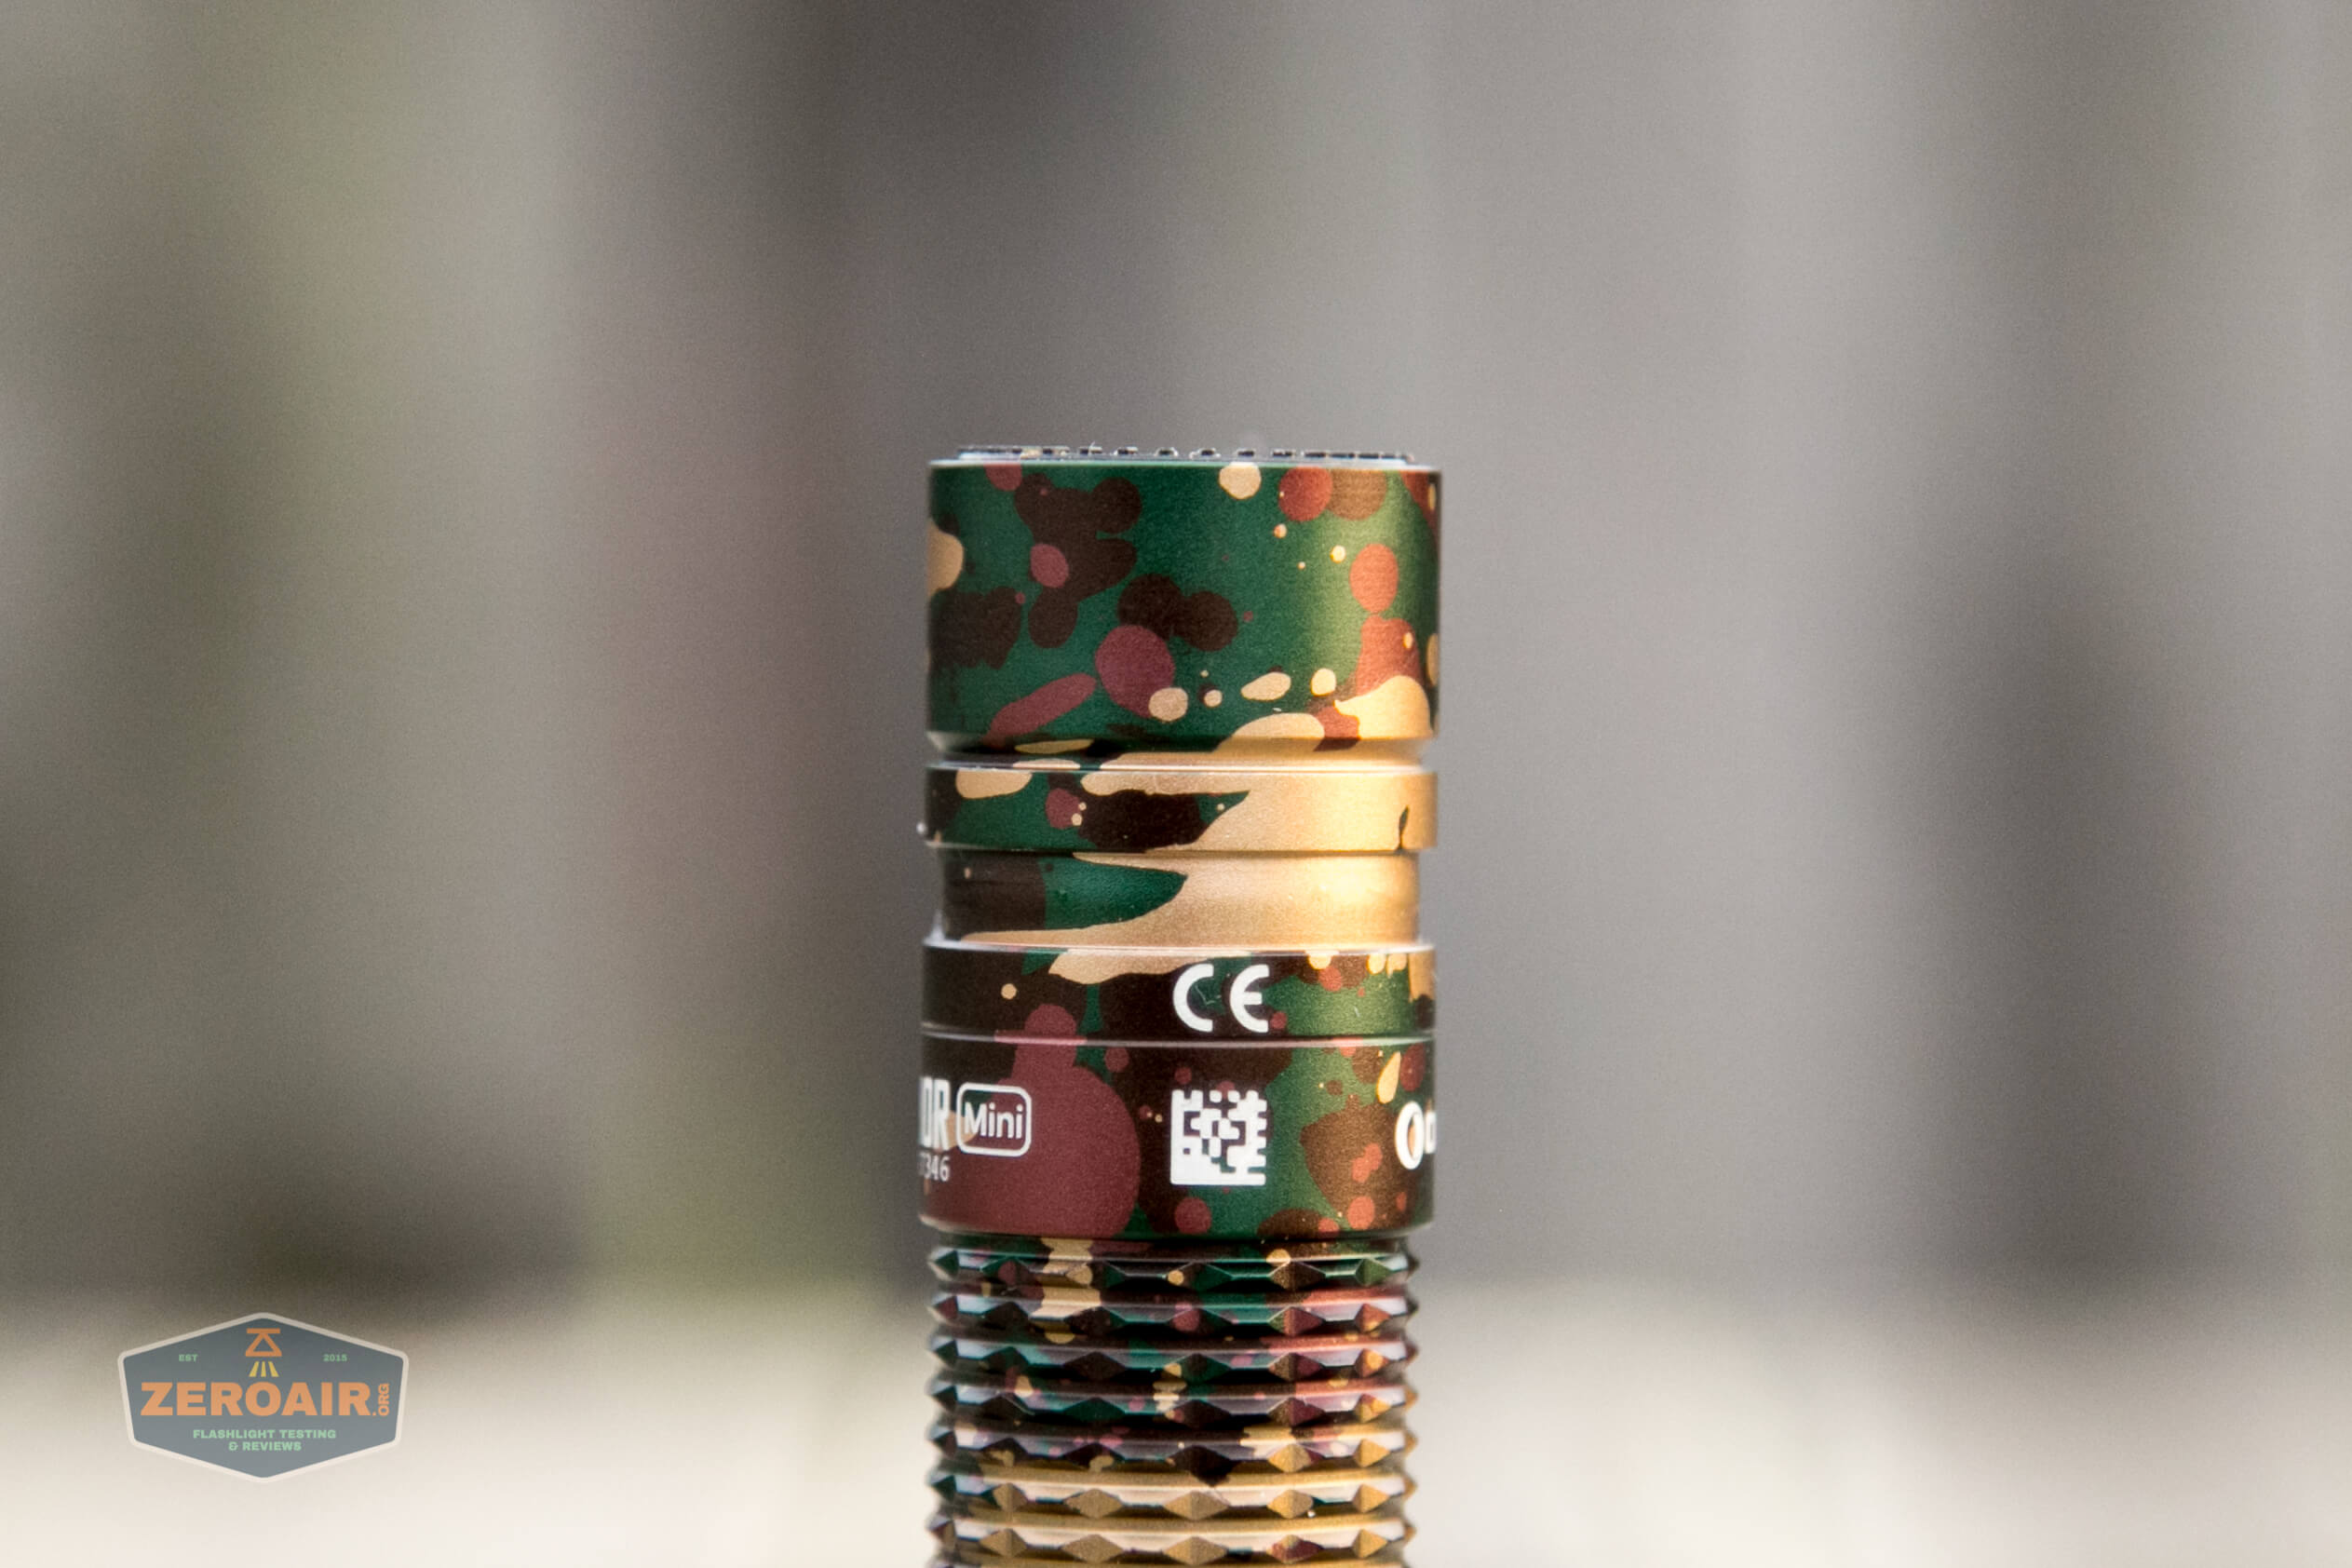
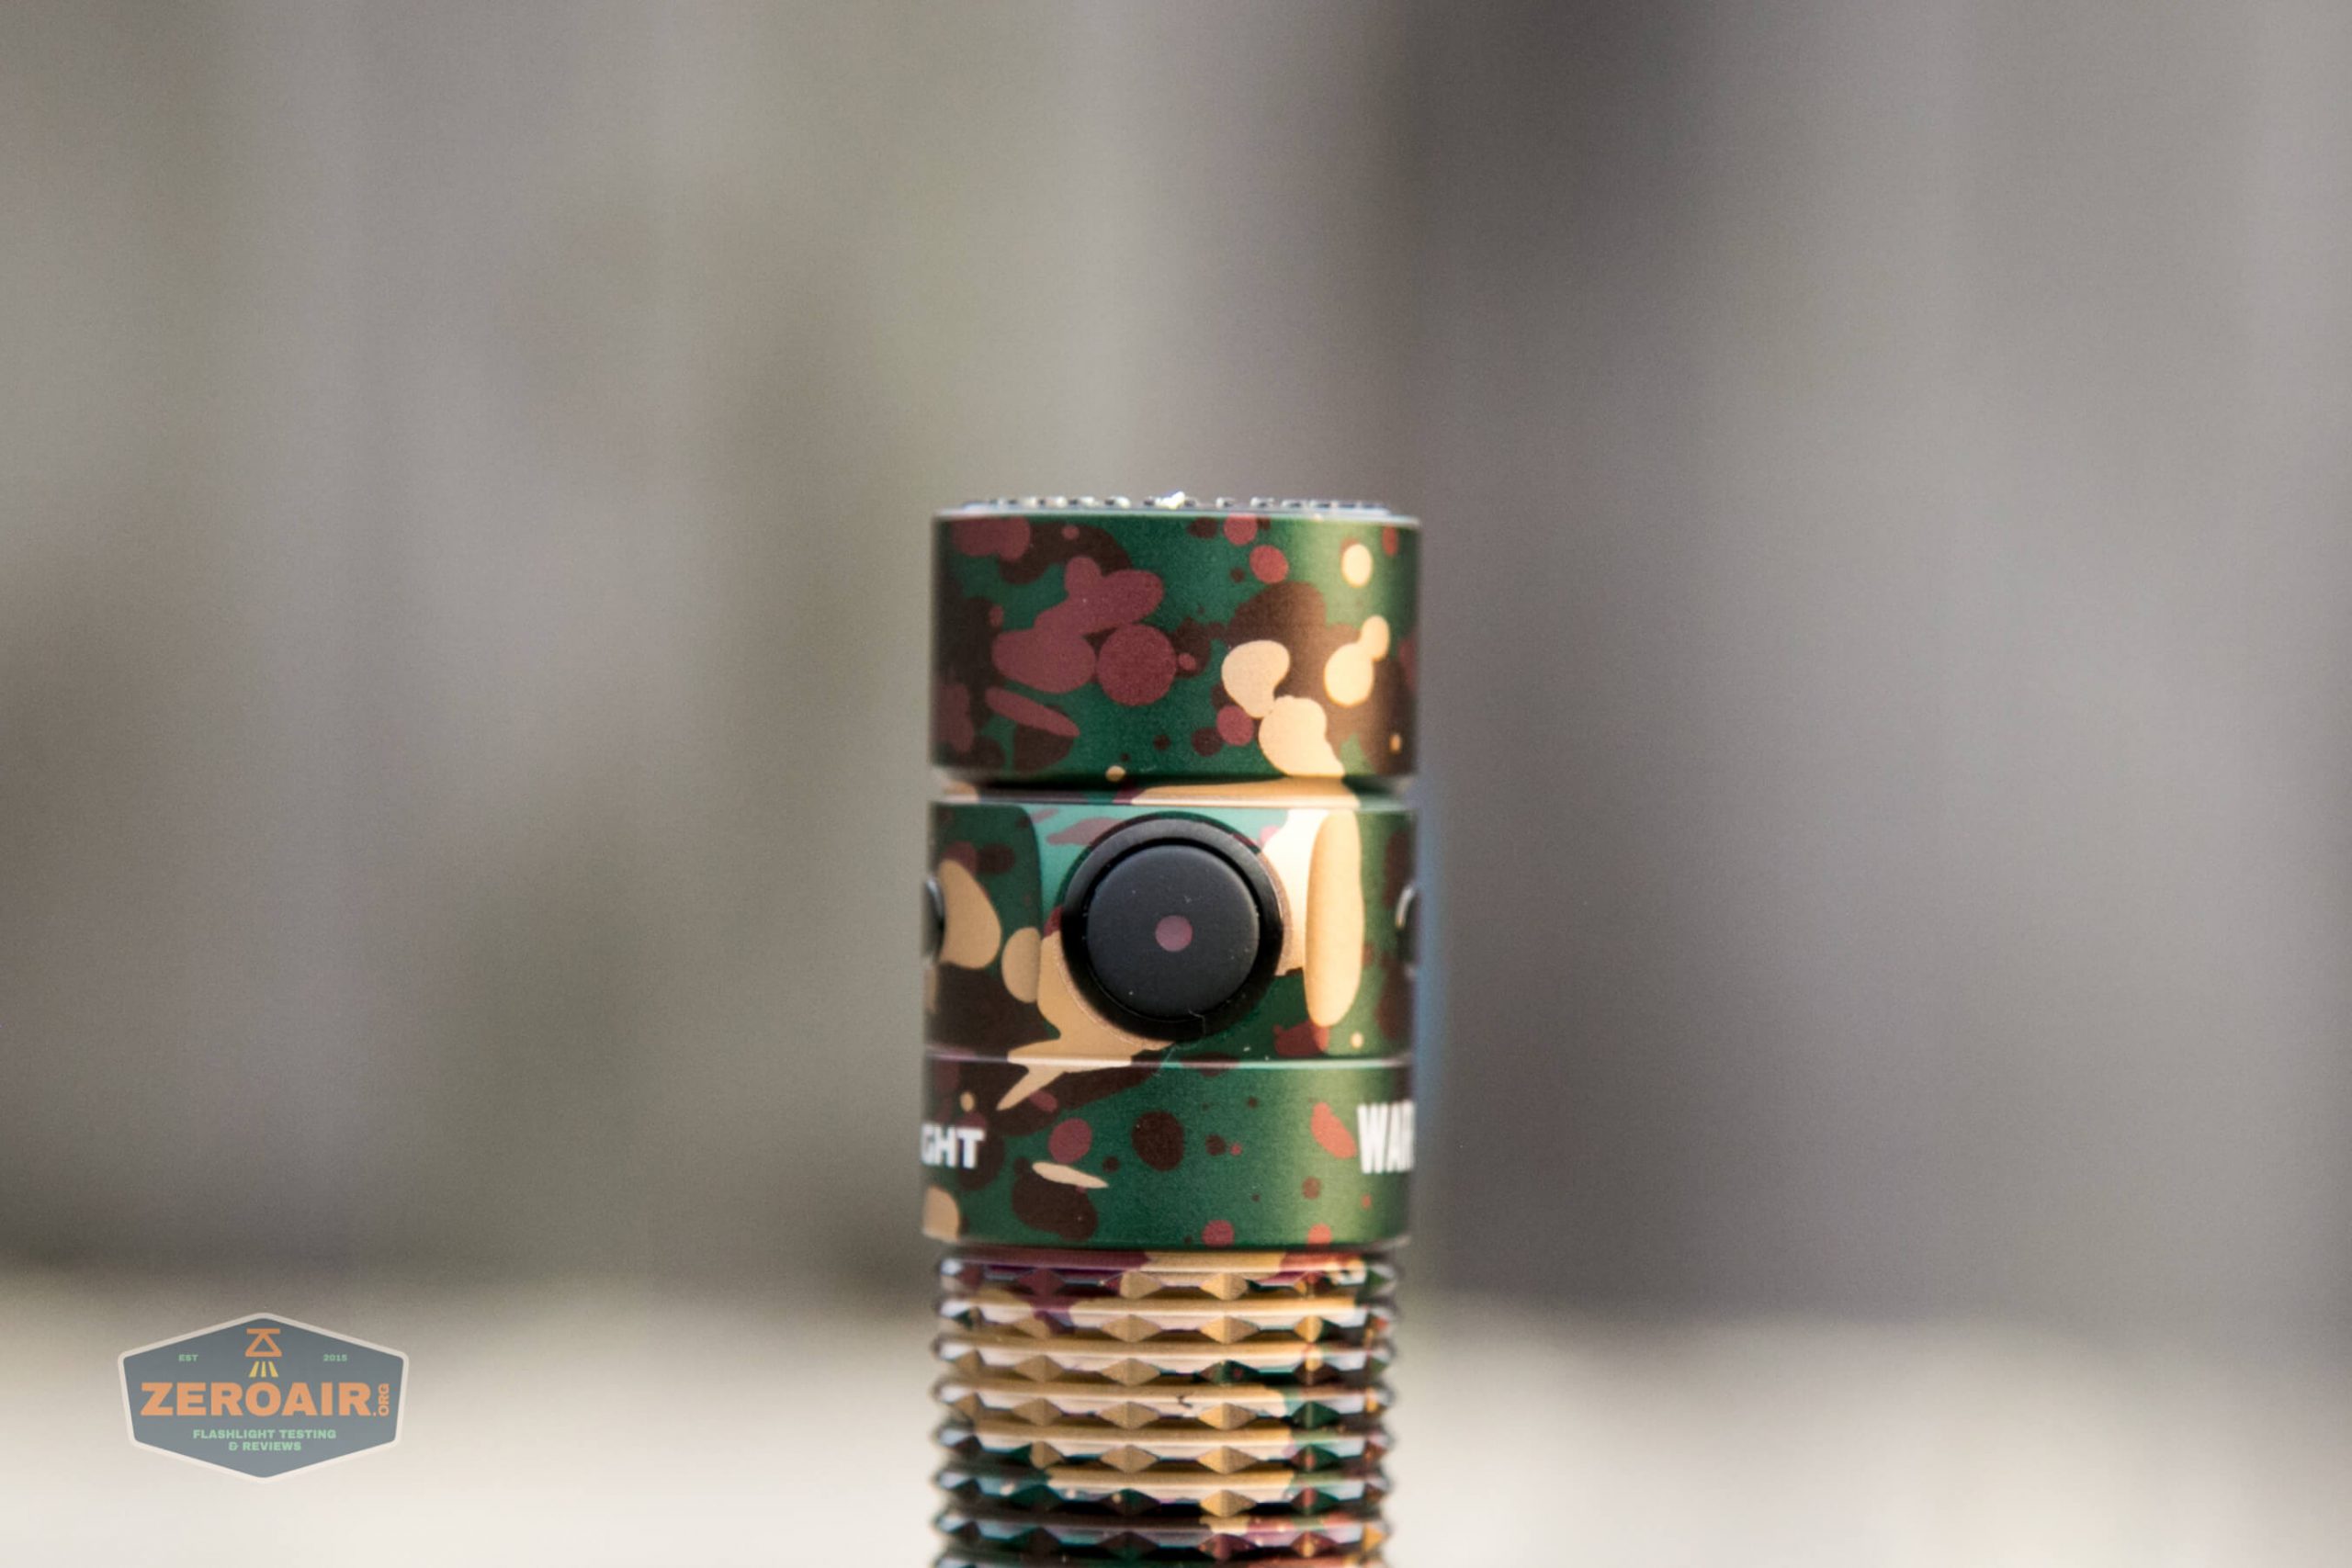
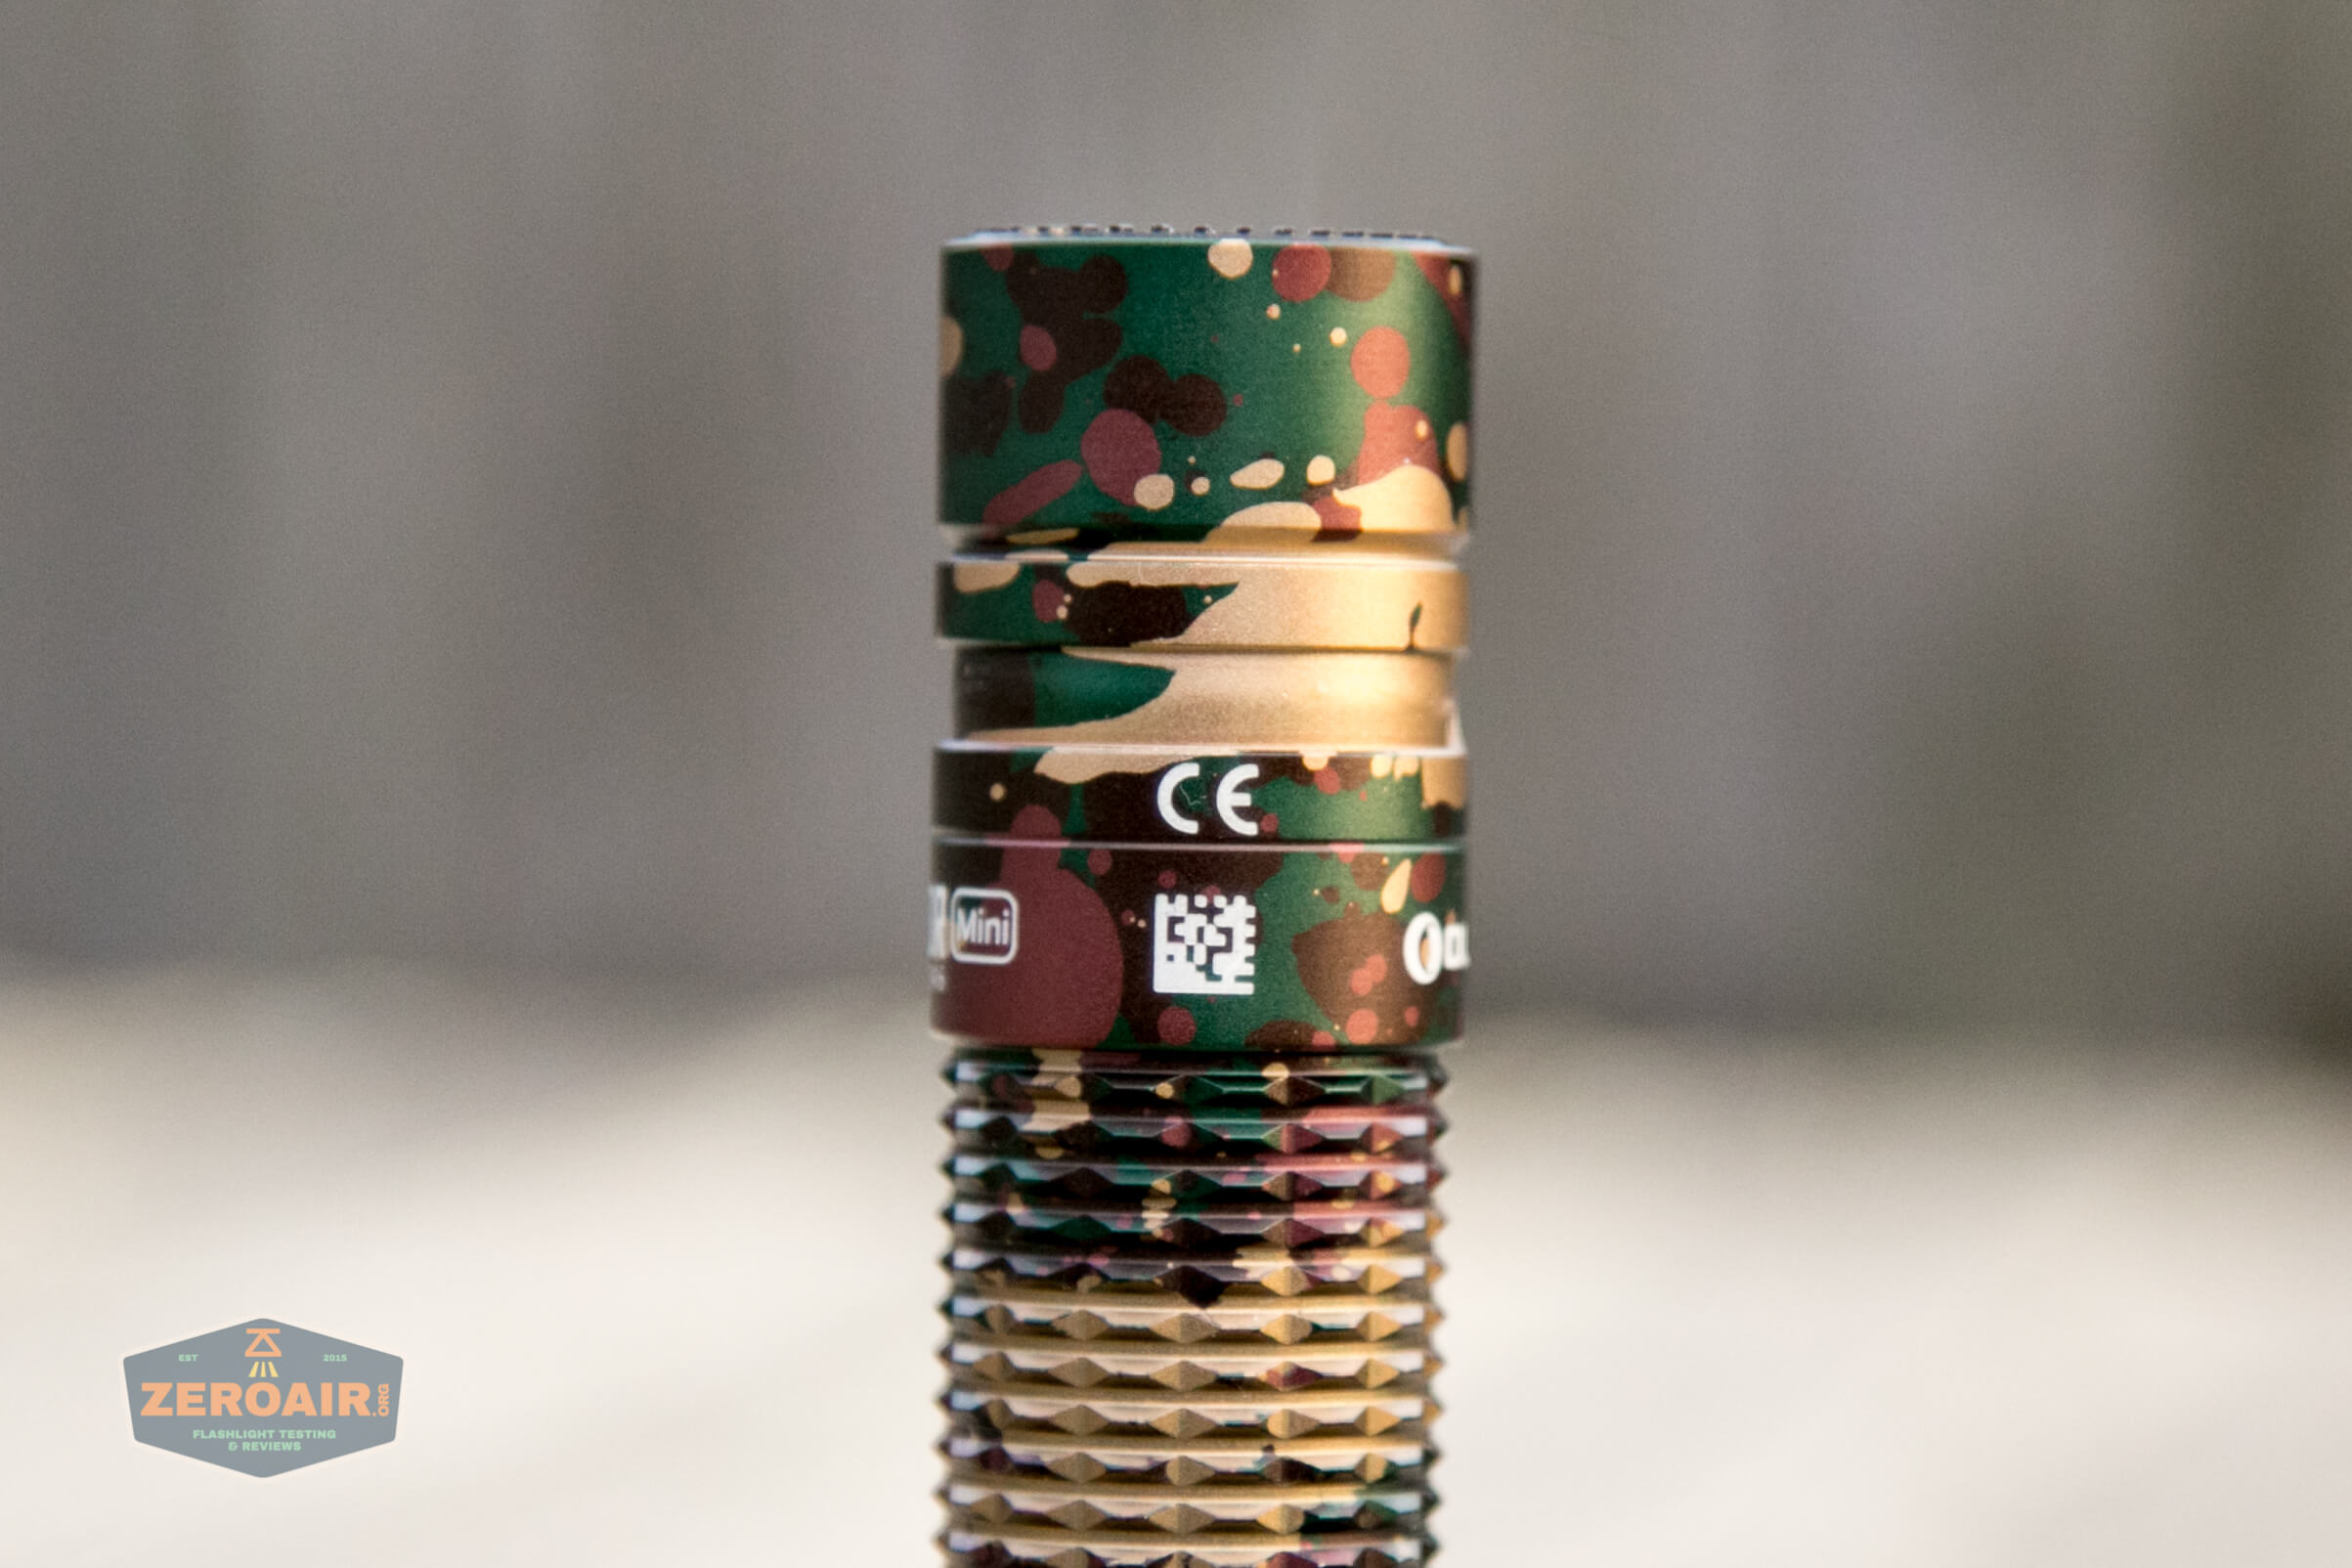
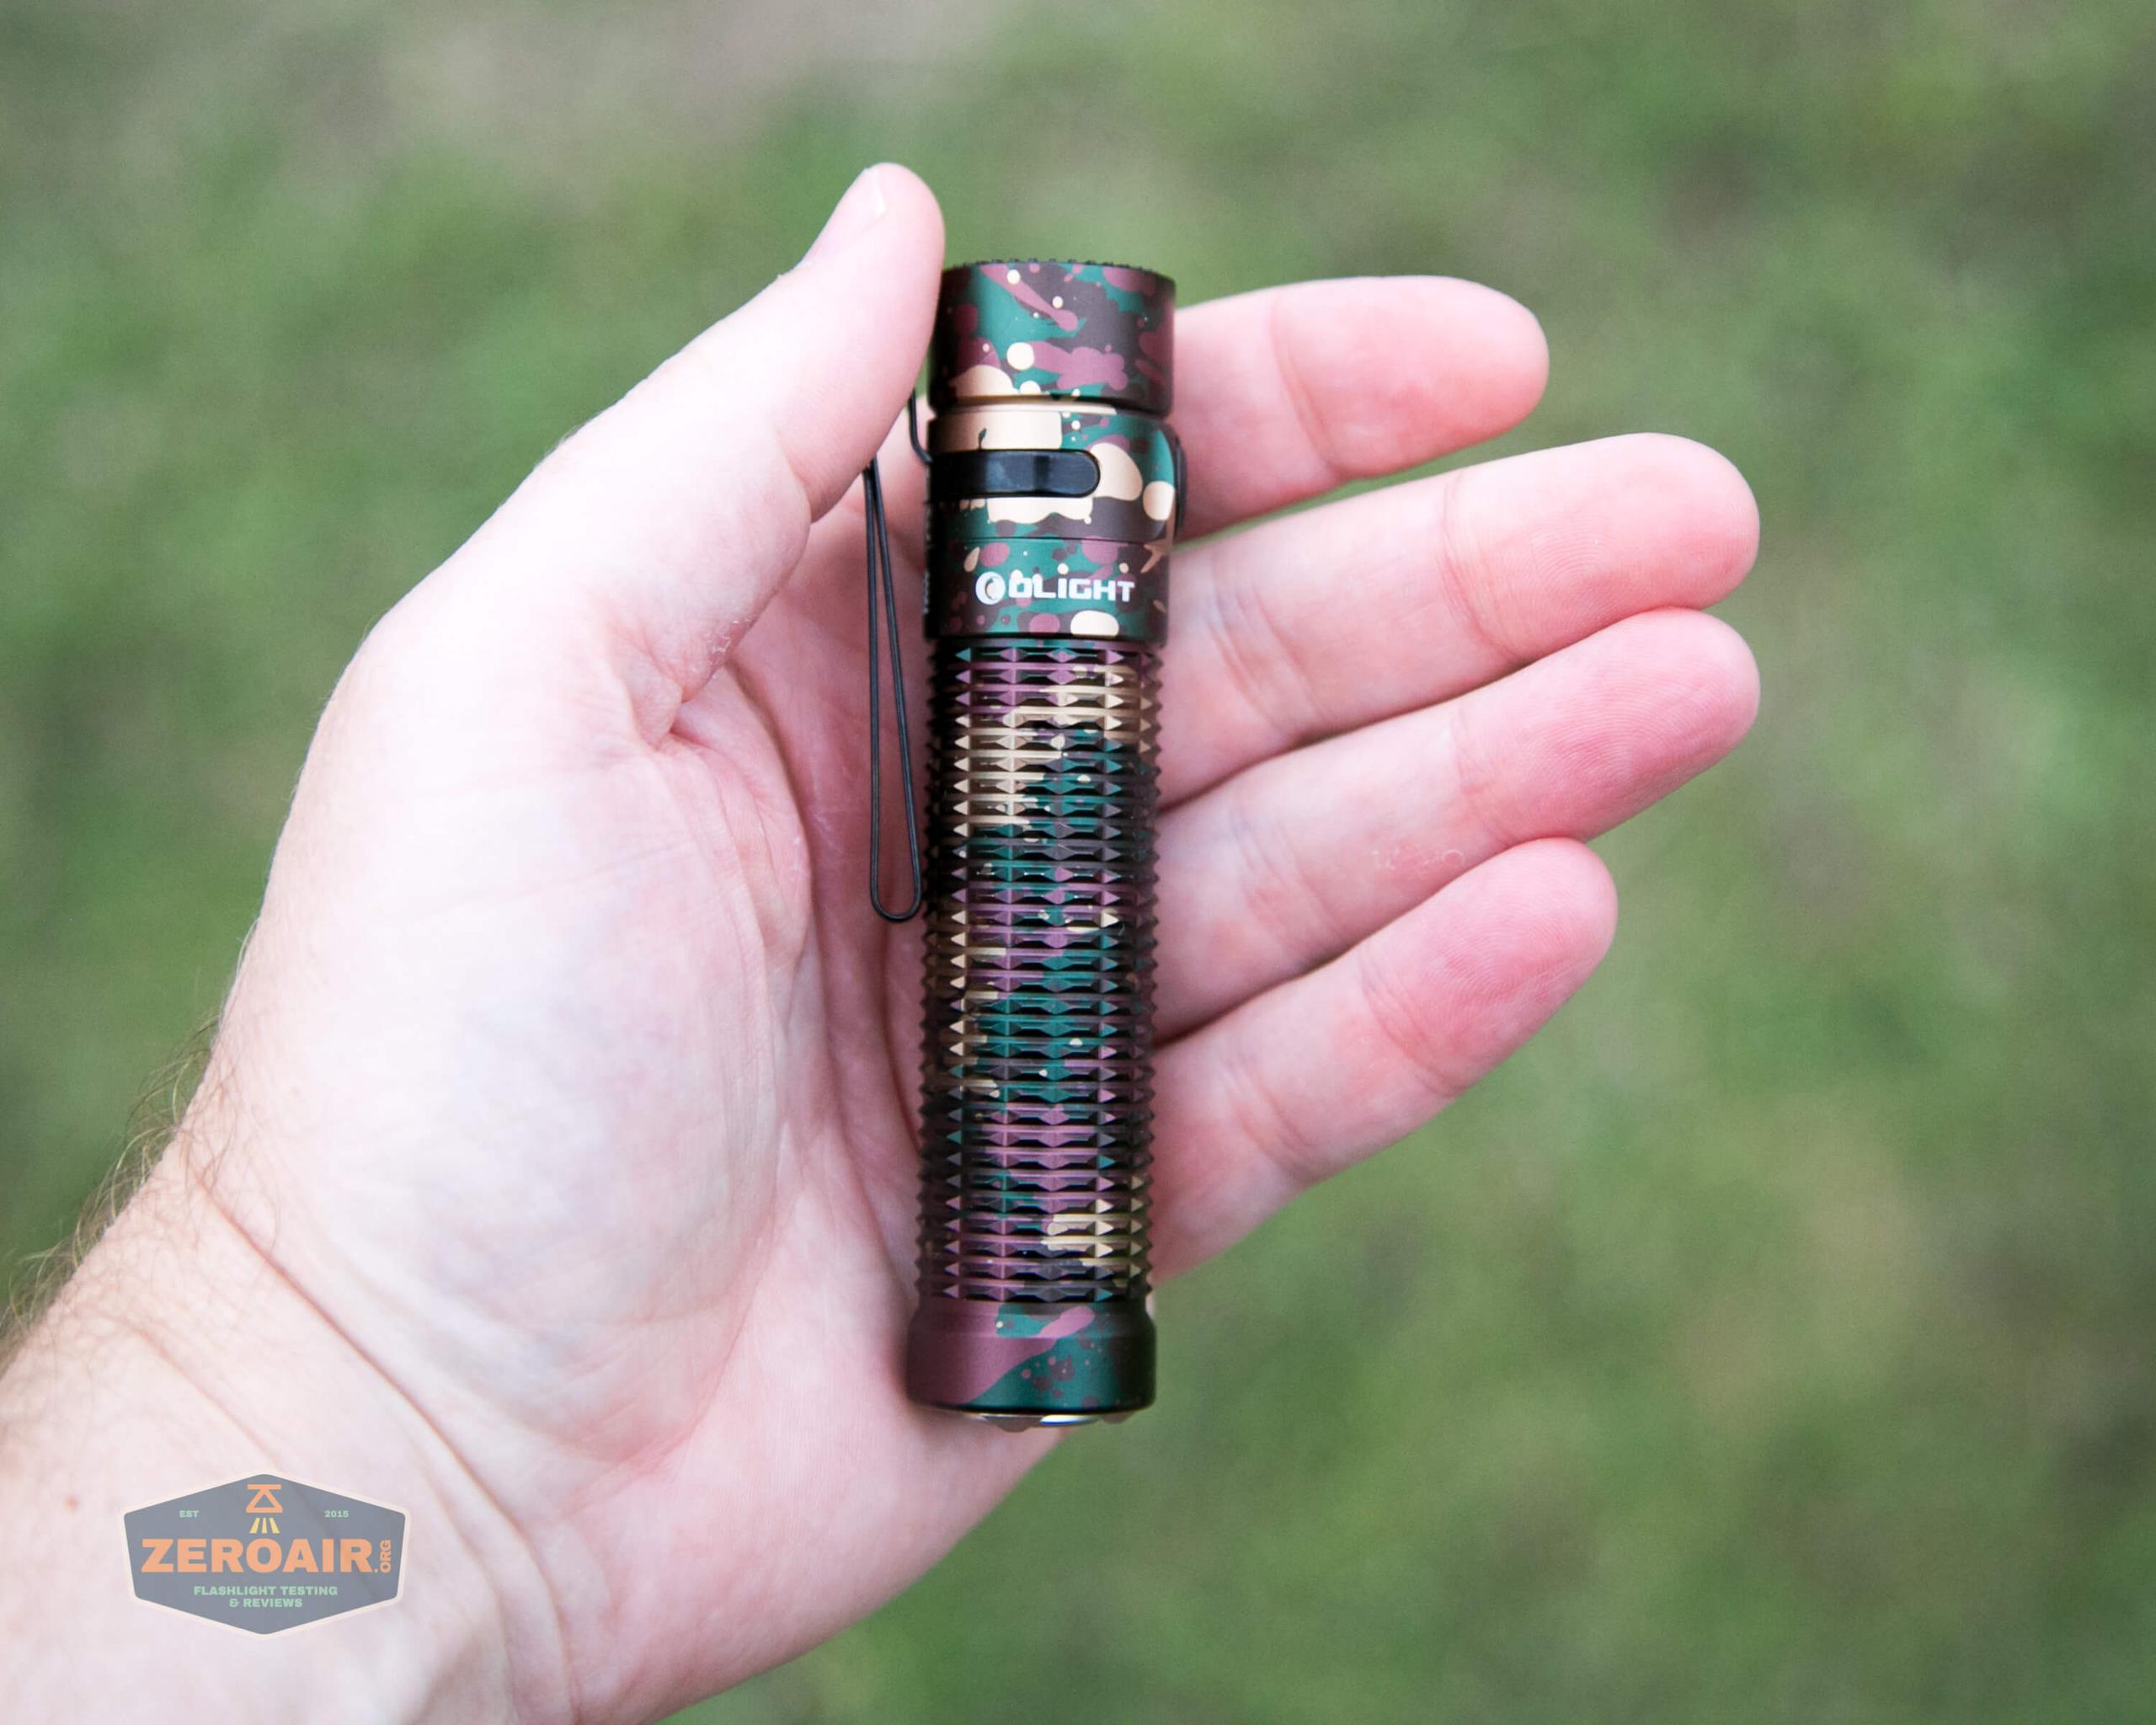
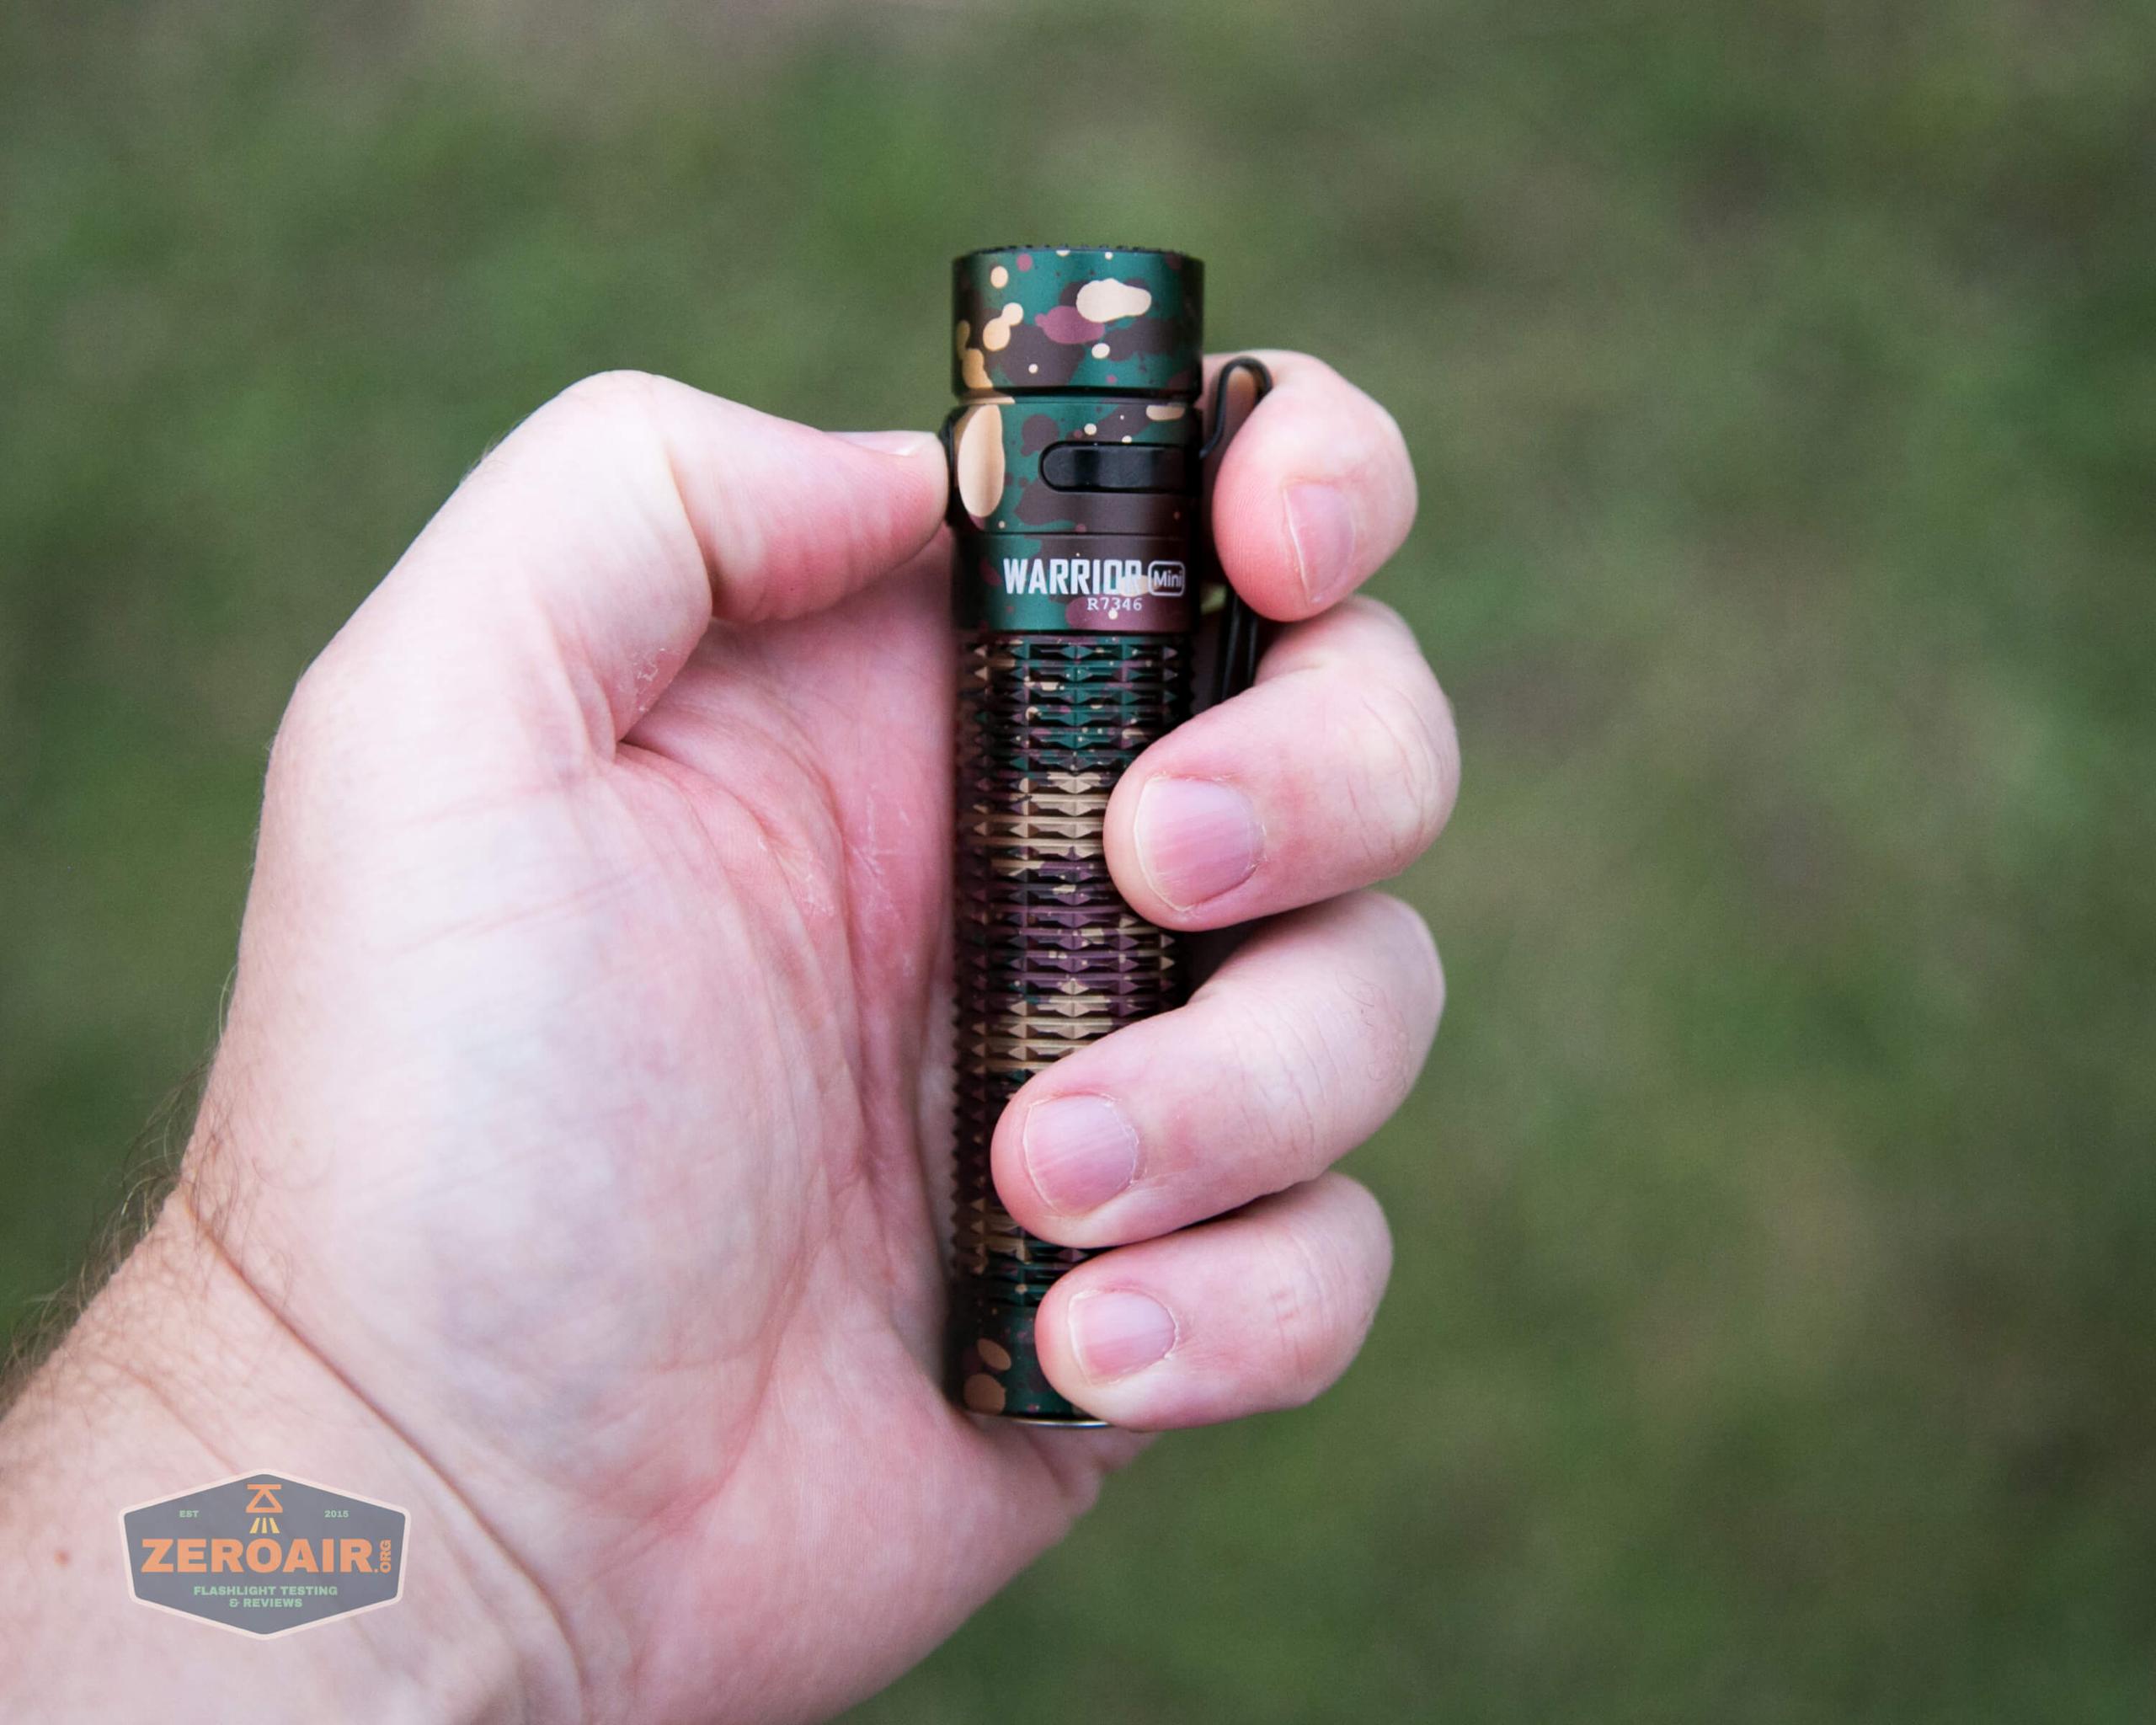
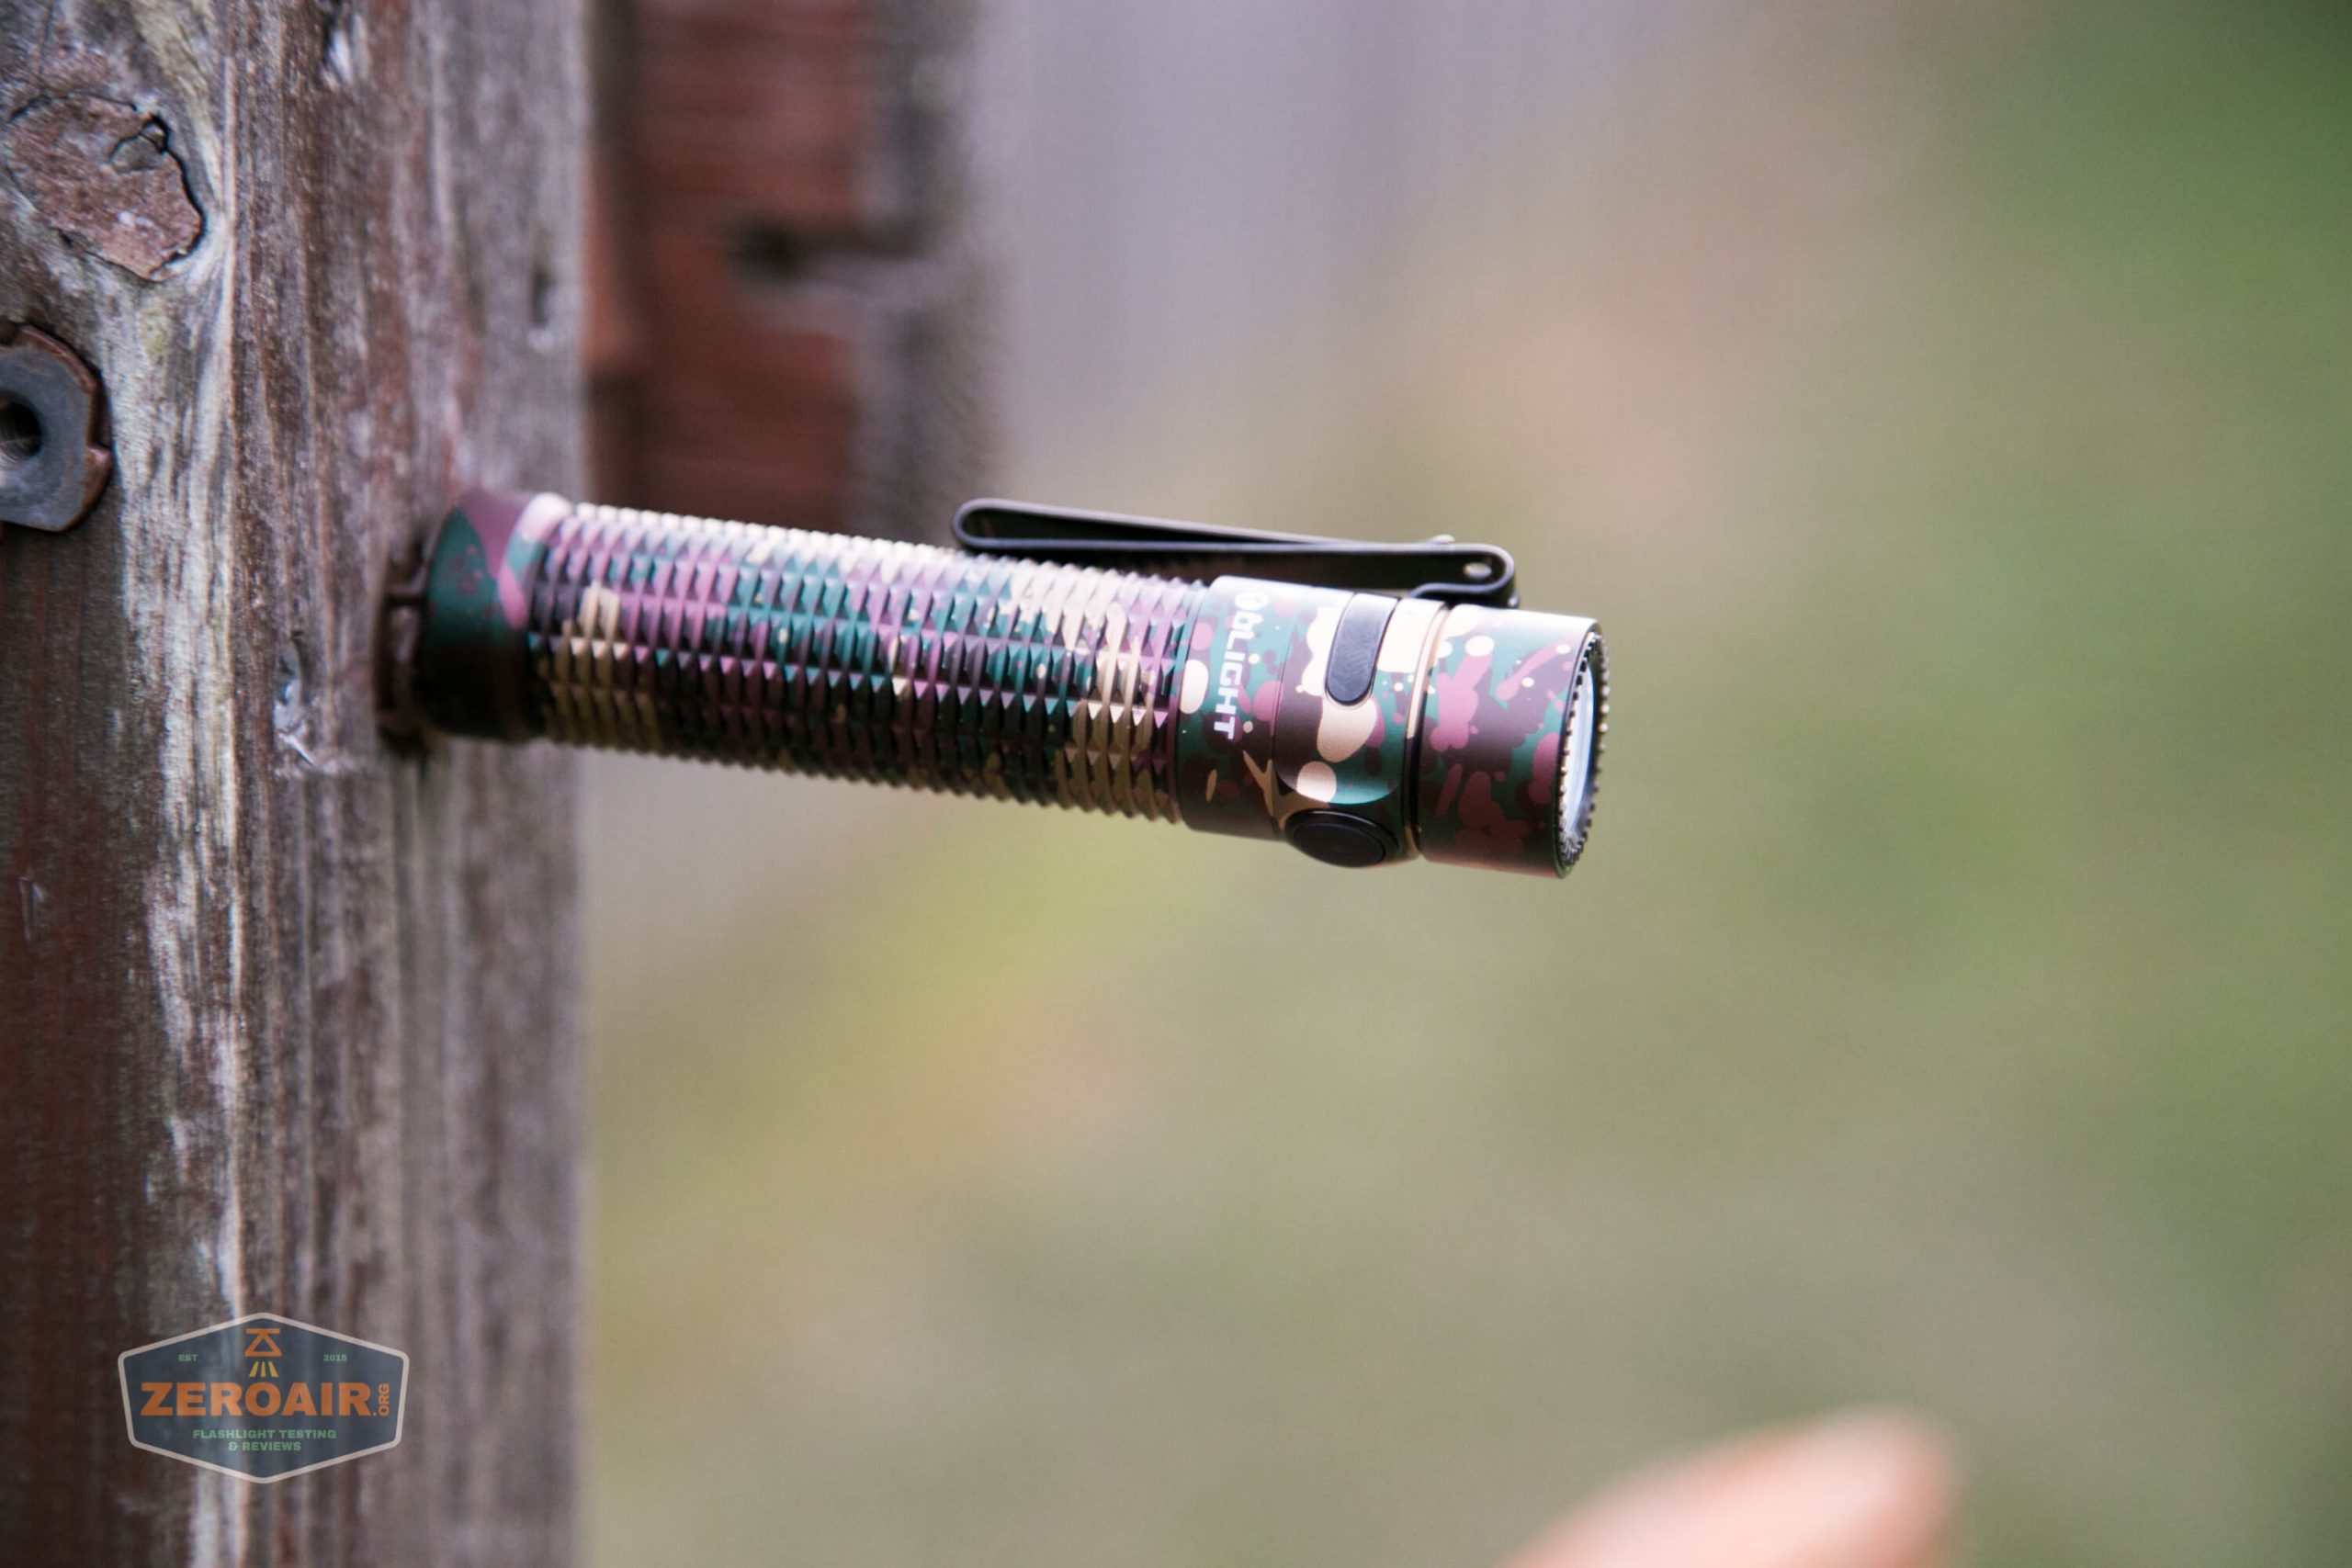
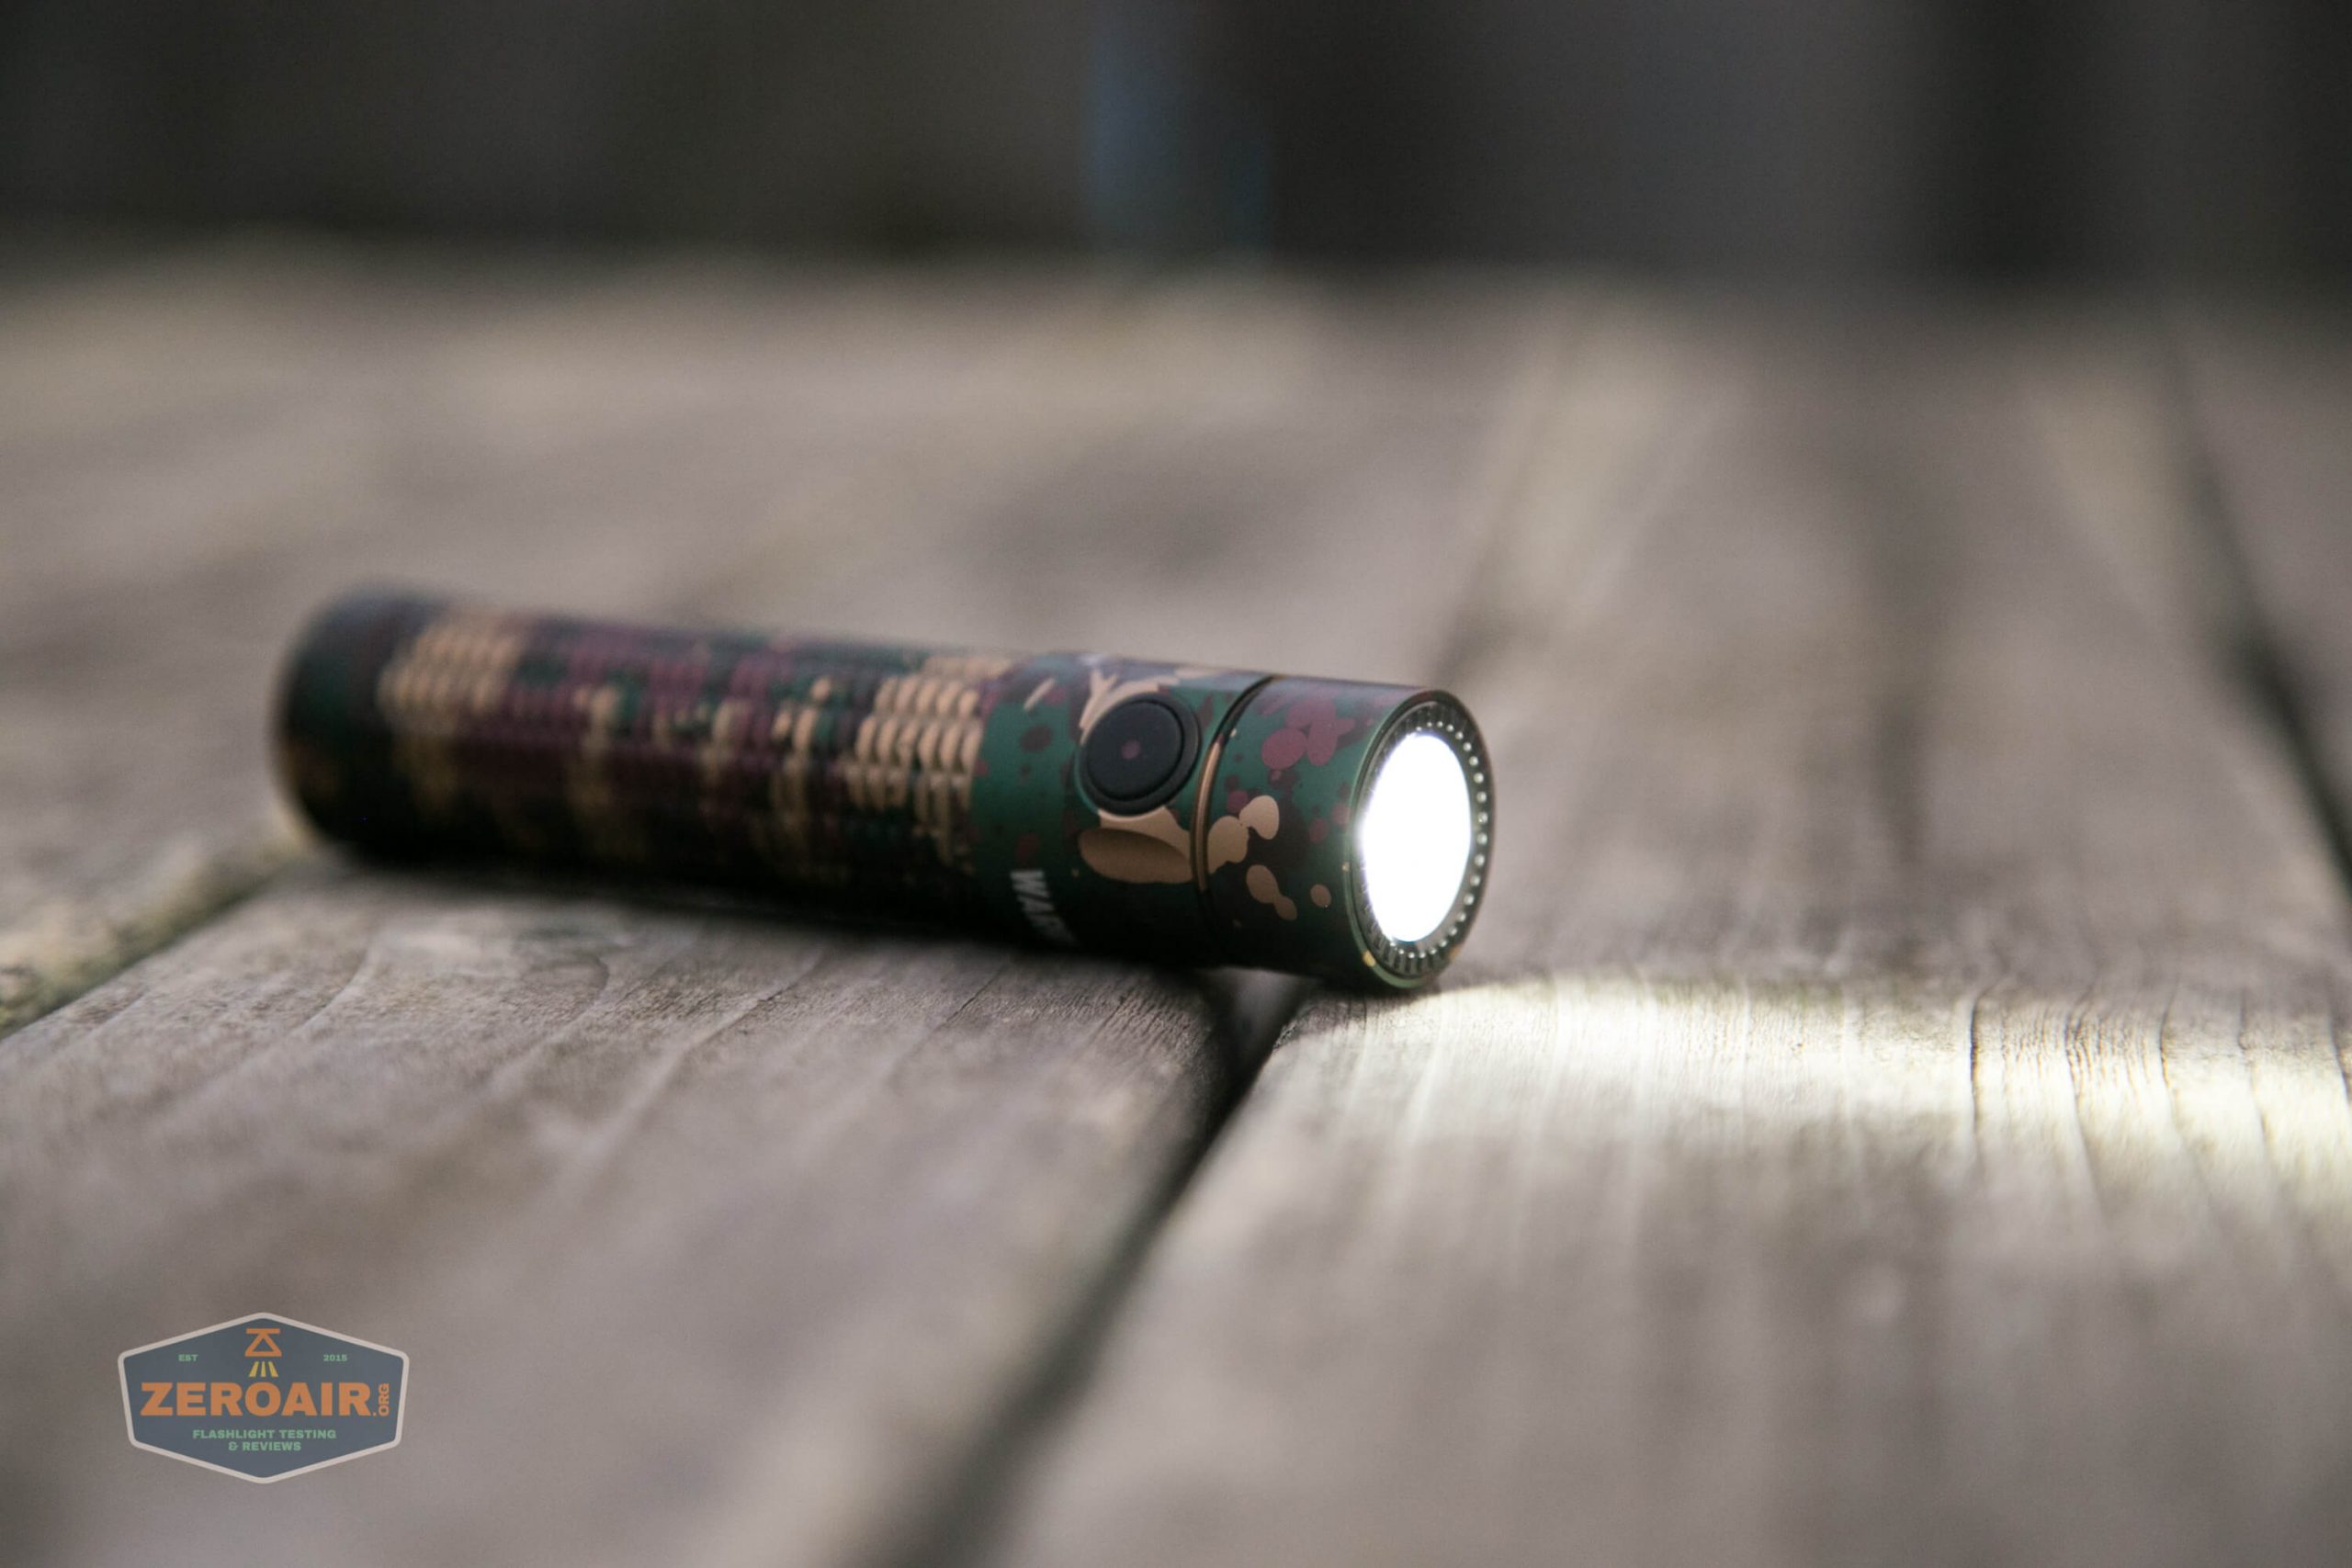
Check out that camo pattern! I would probably be inclined to refer to this as a “splatter” pattern. It’s certainly not any of the standard camo patterns, and many of the blobs of alternating color are just that – actual blobs. On the knurled body, it’s no big deal. But on the head, it’s somewhat noticeable. Not a problem at all for me, but something to notice if you’re a particular camo fan.

The build quality is great.
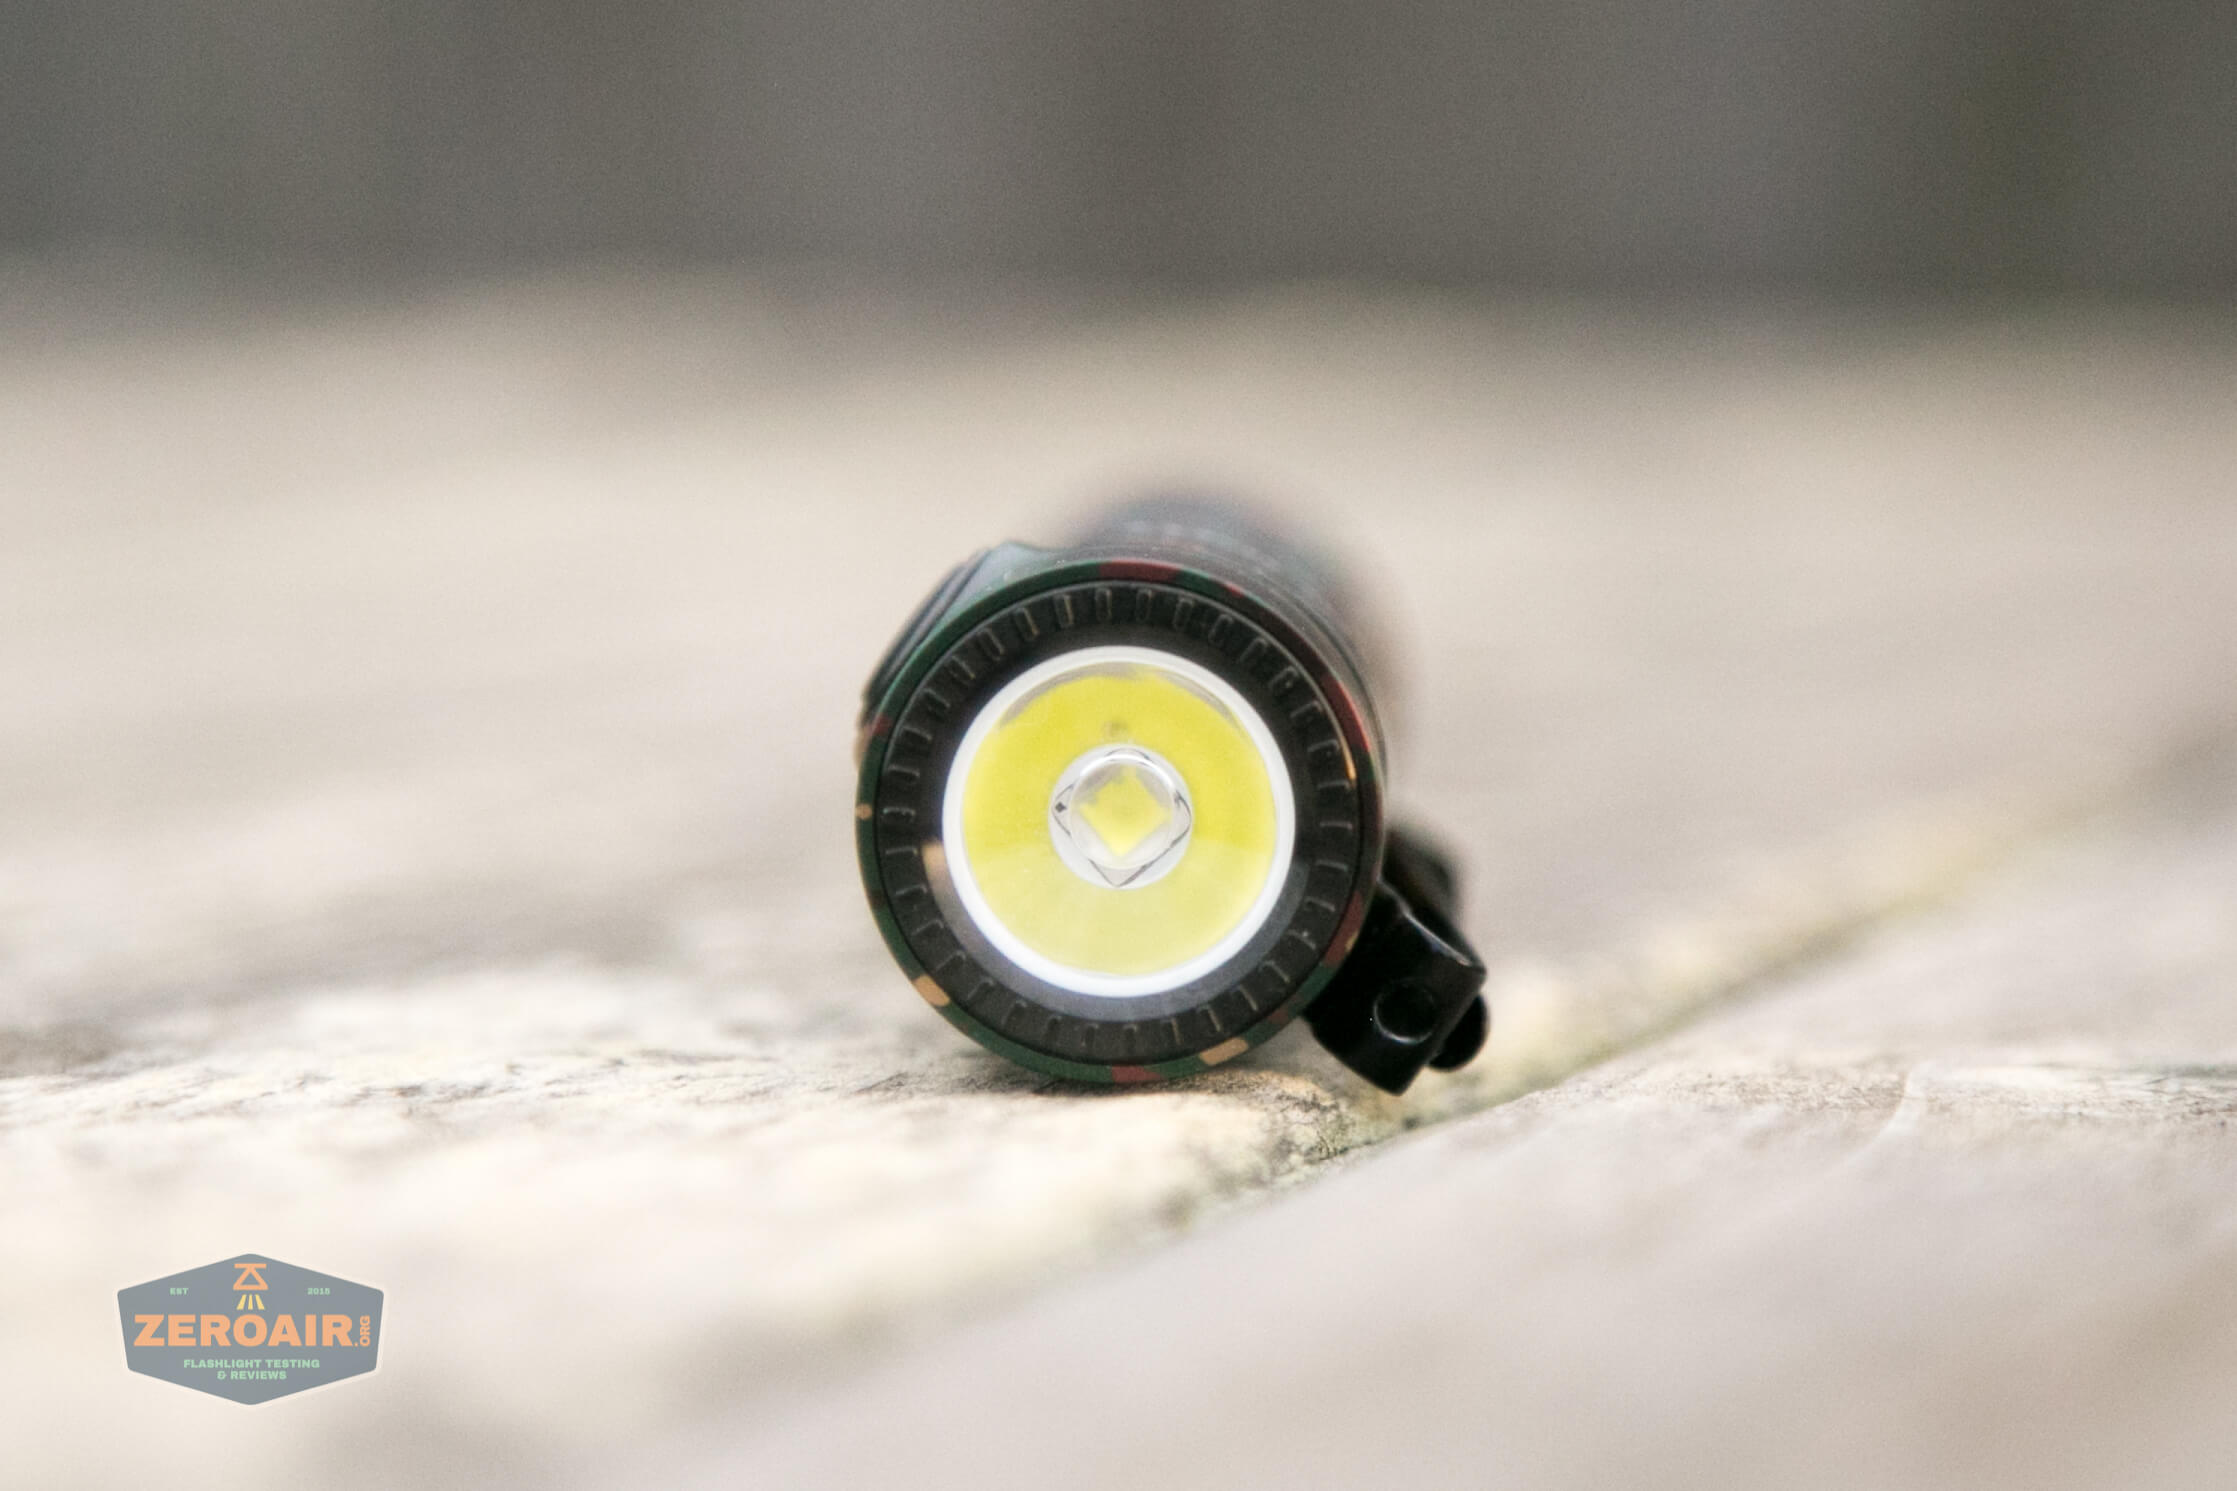
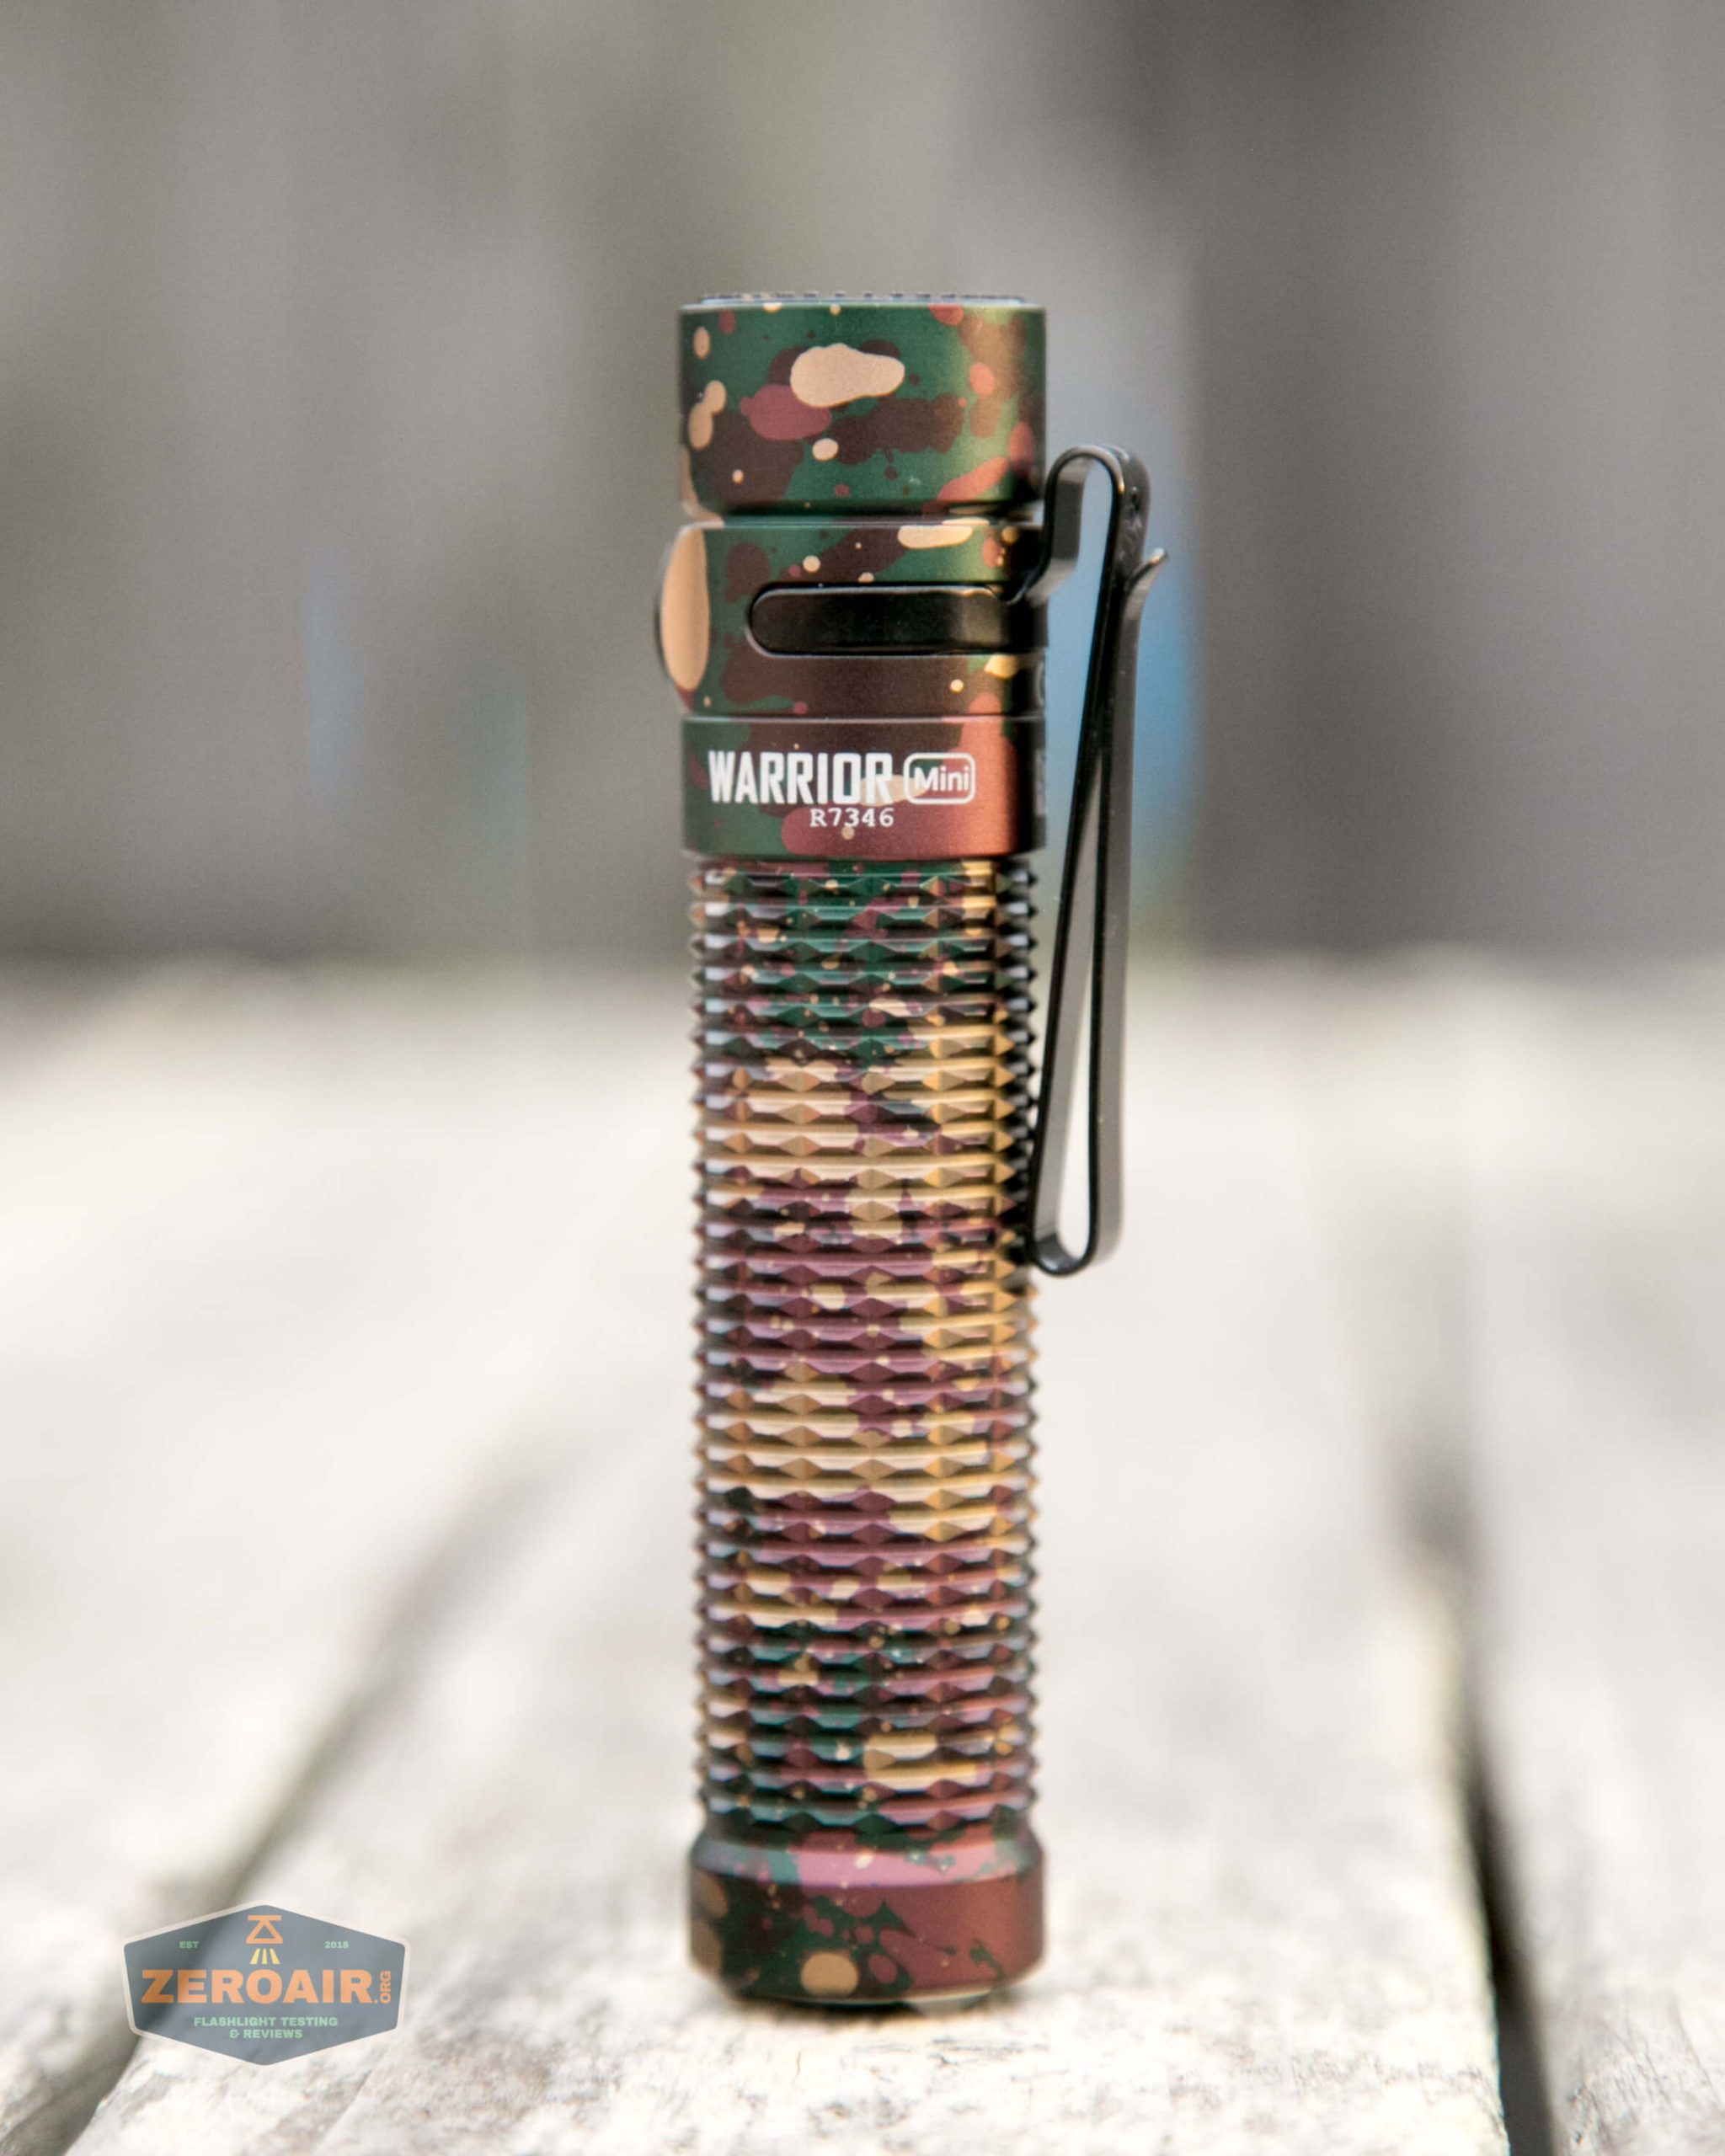
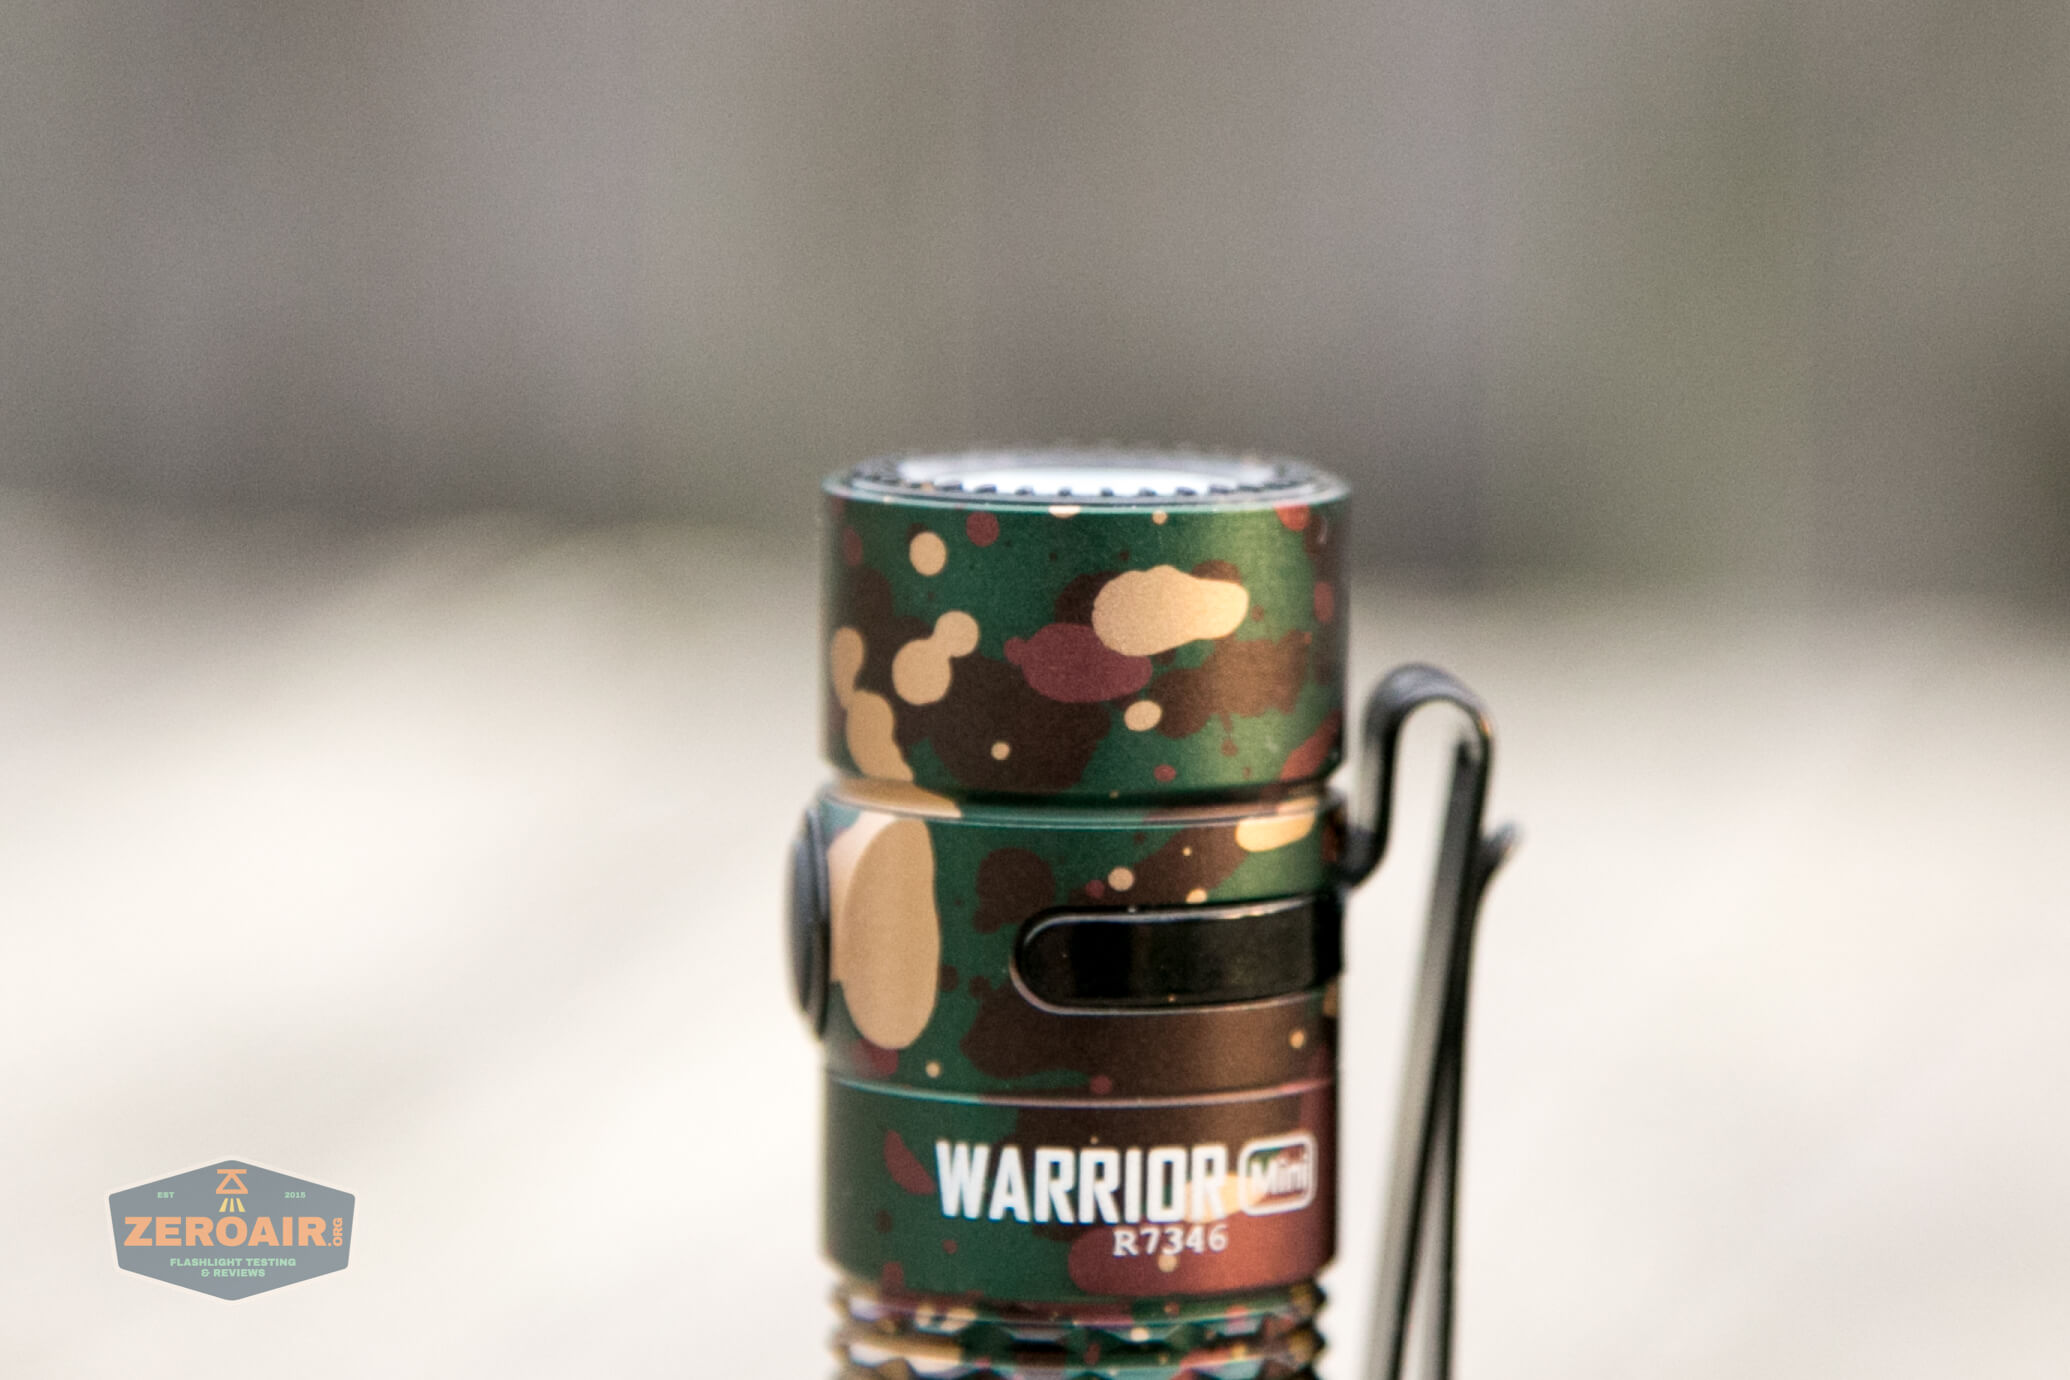
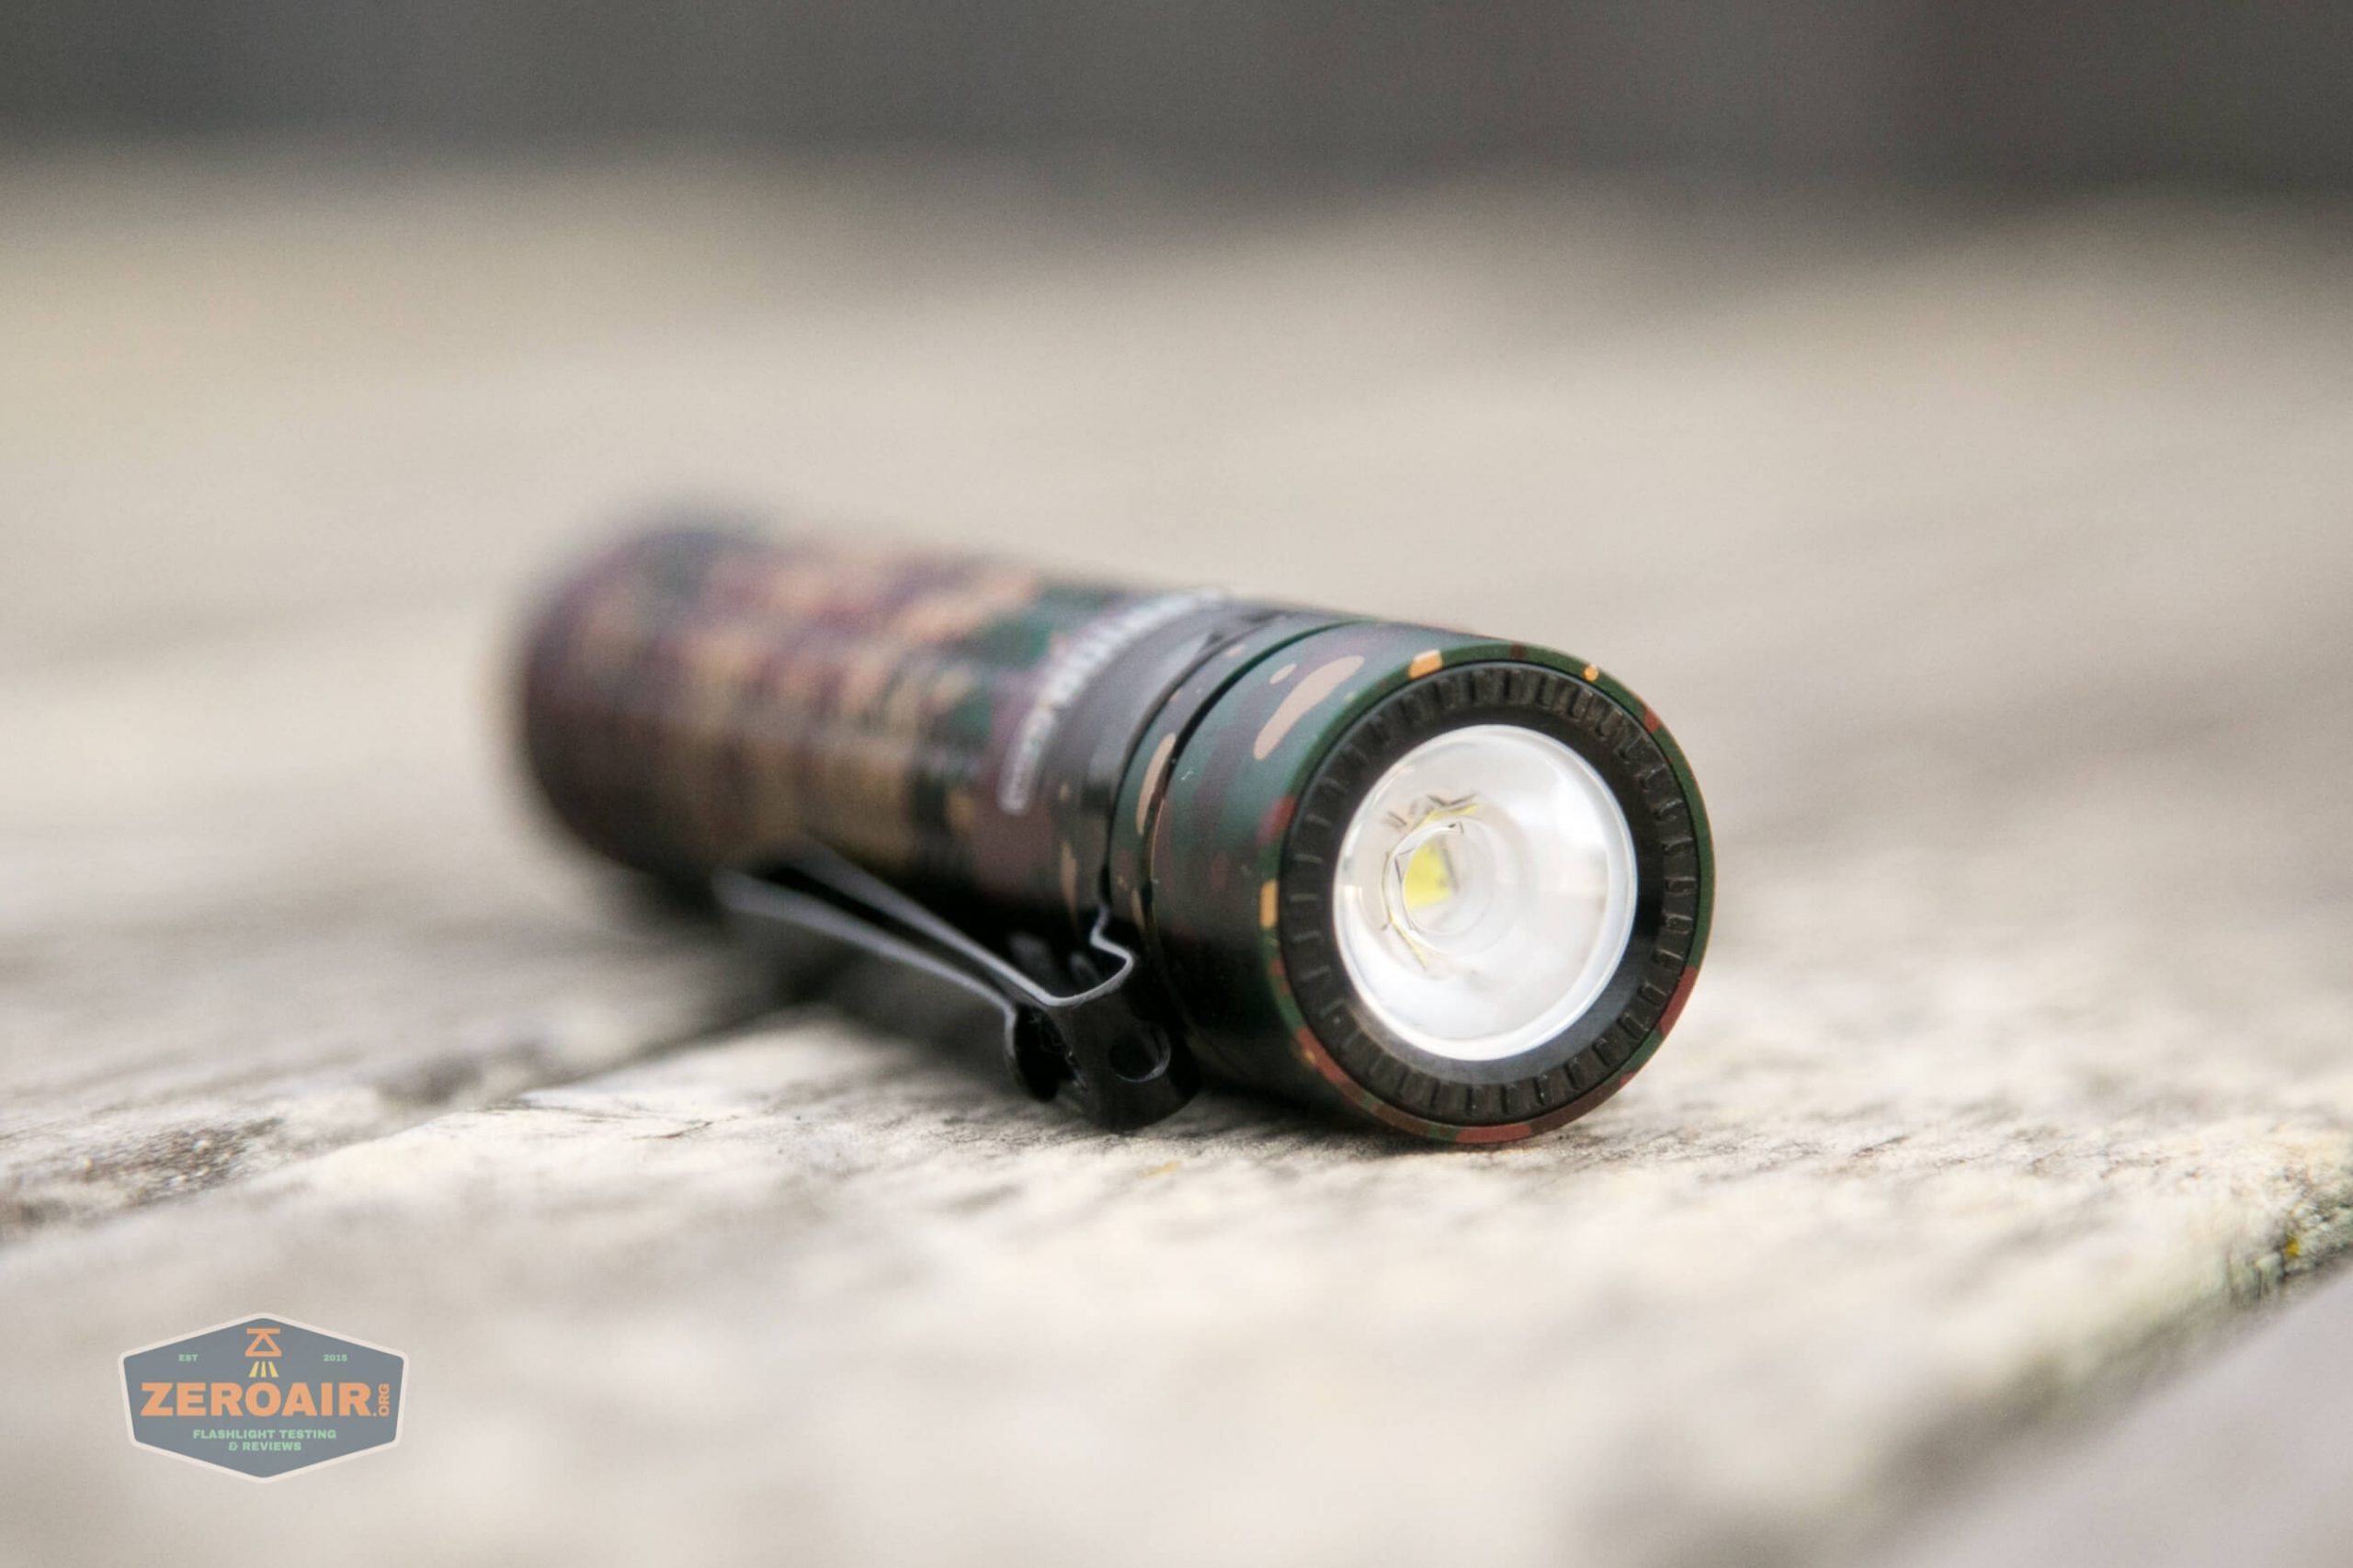
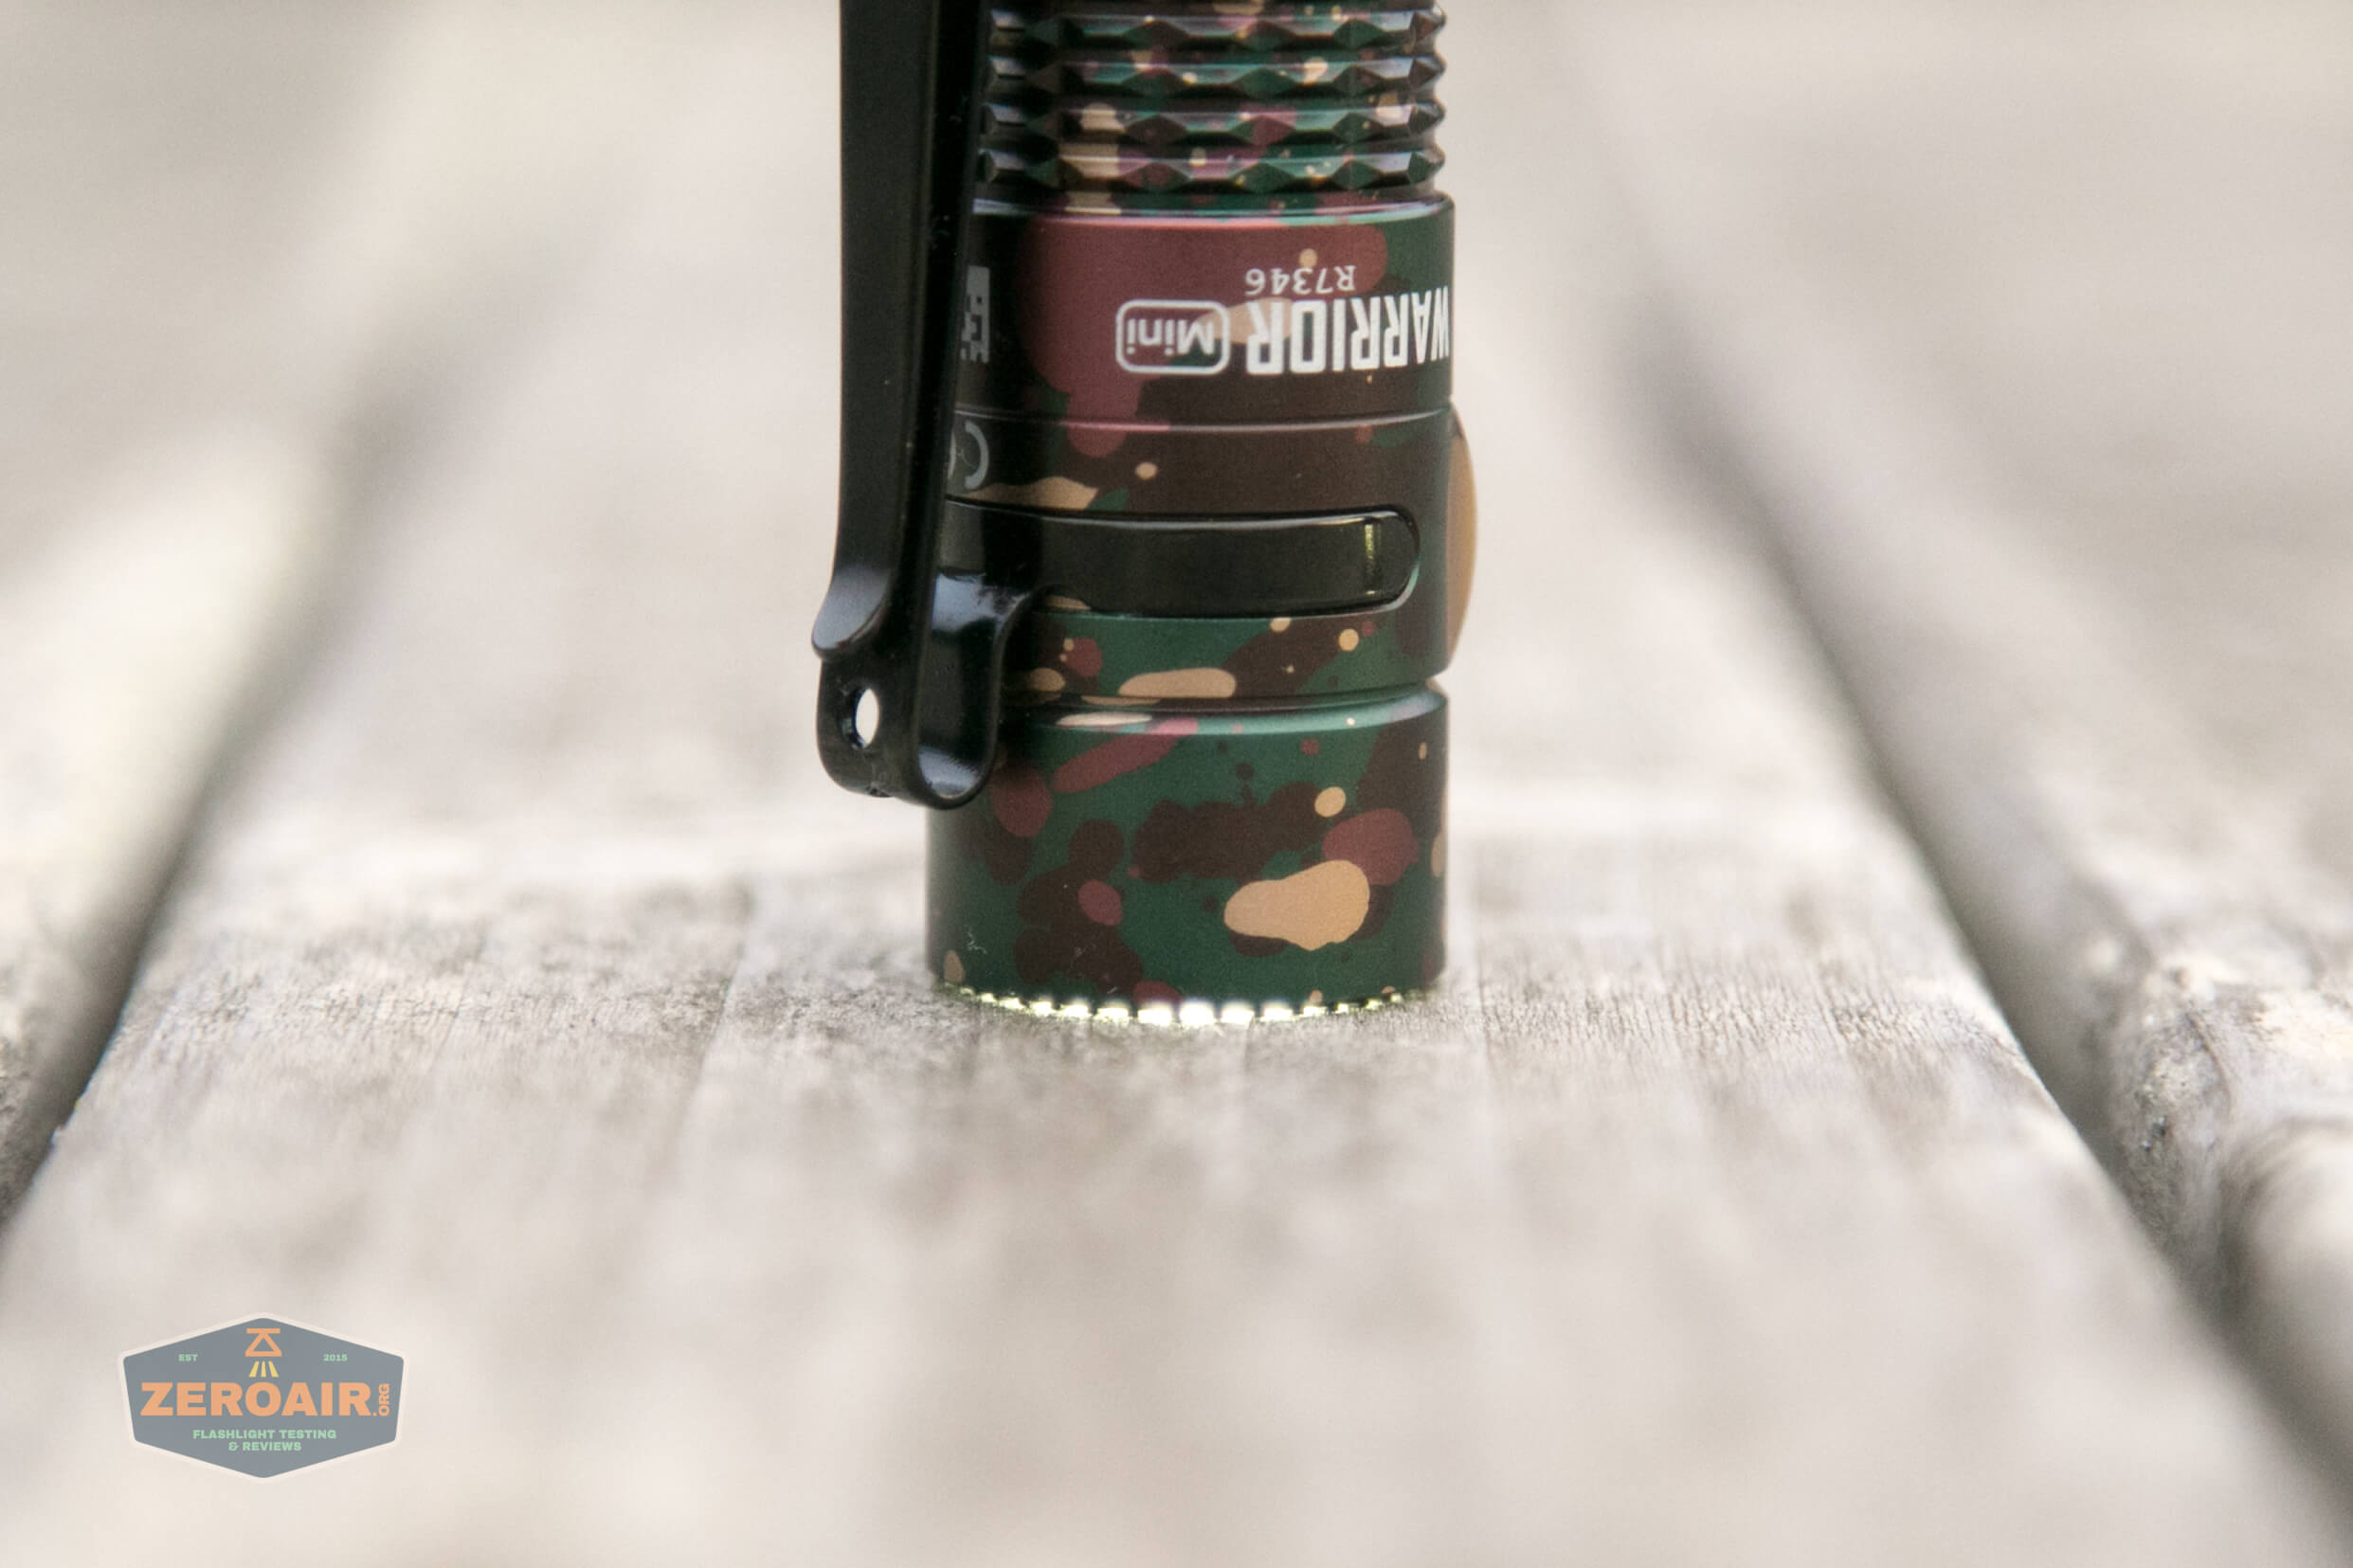
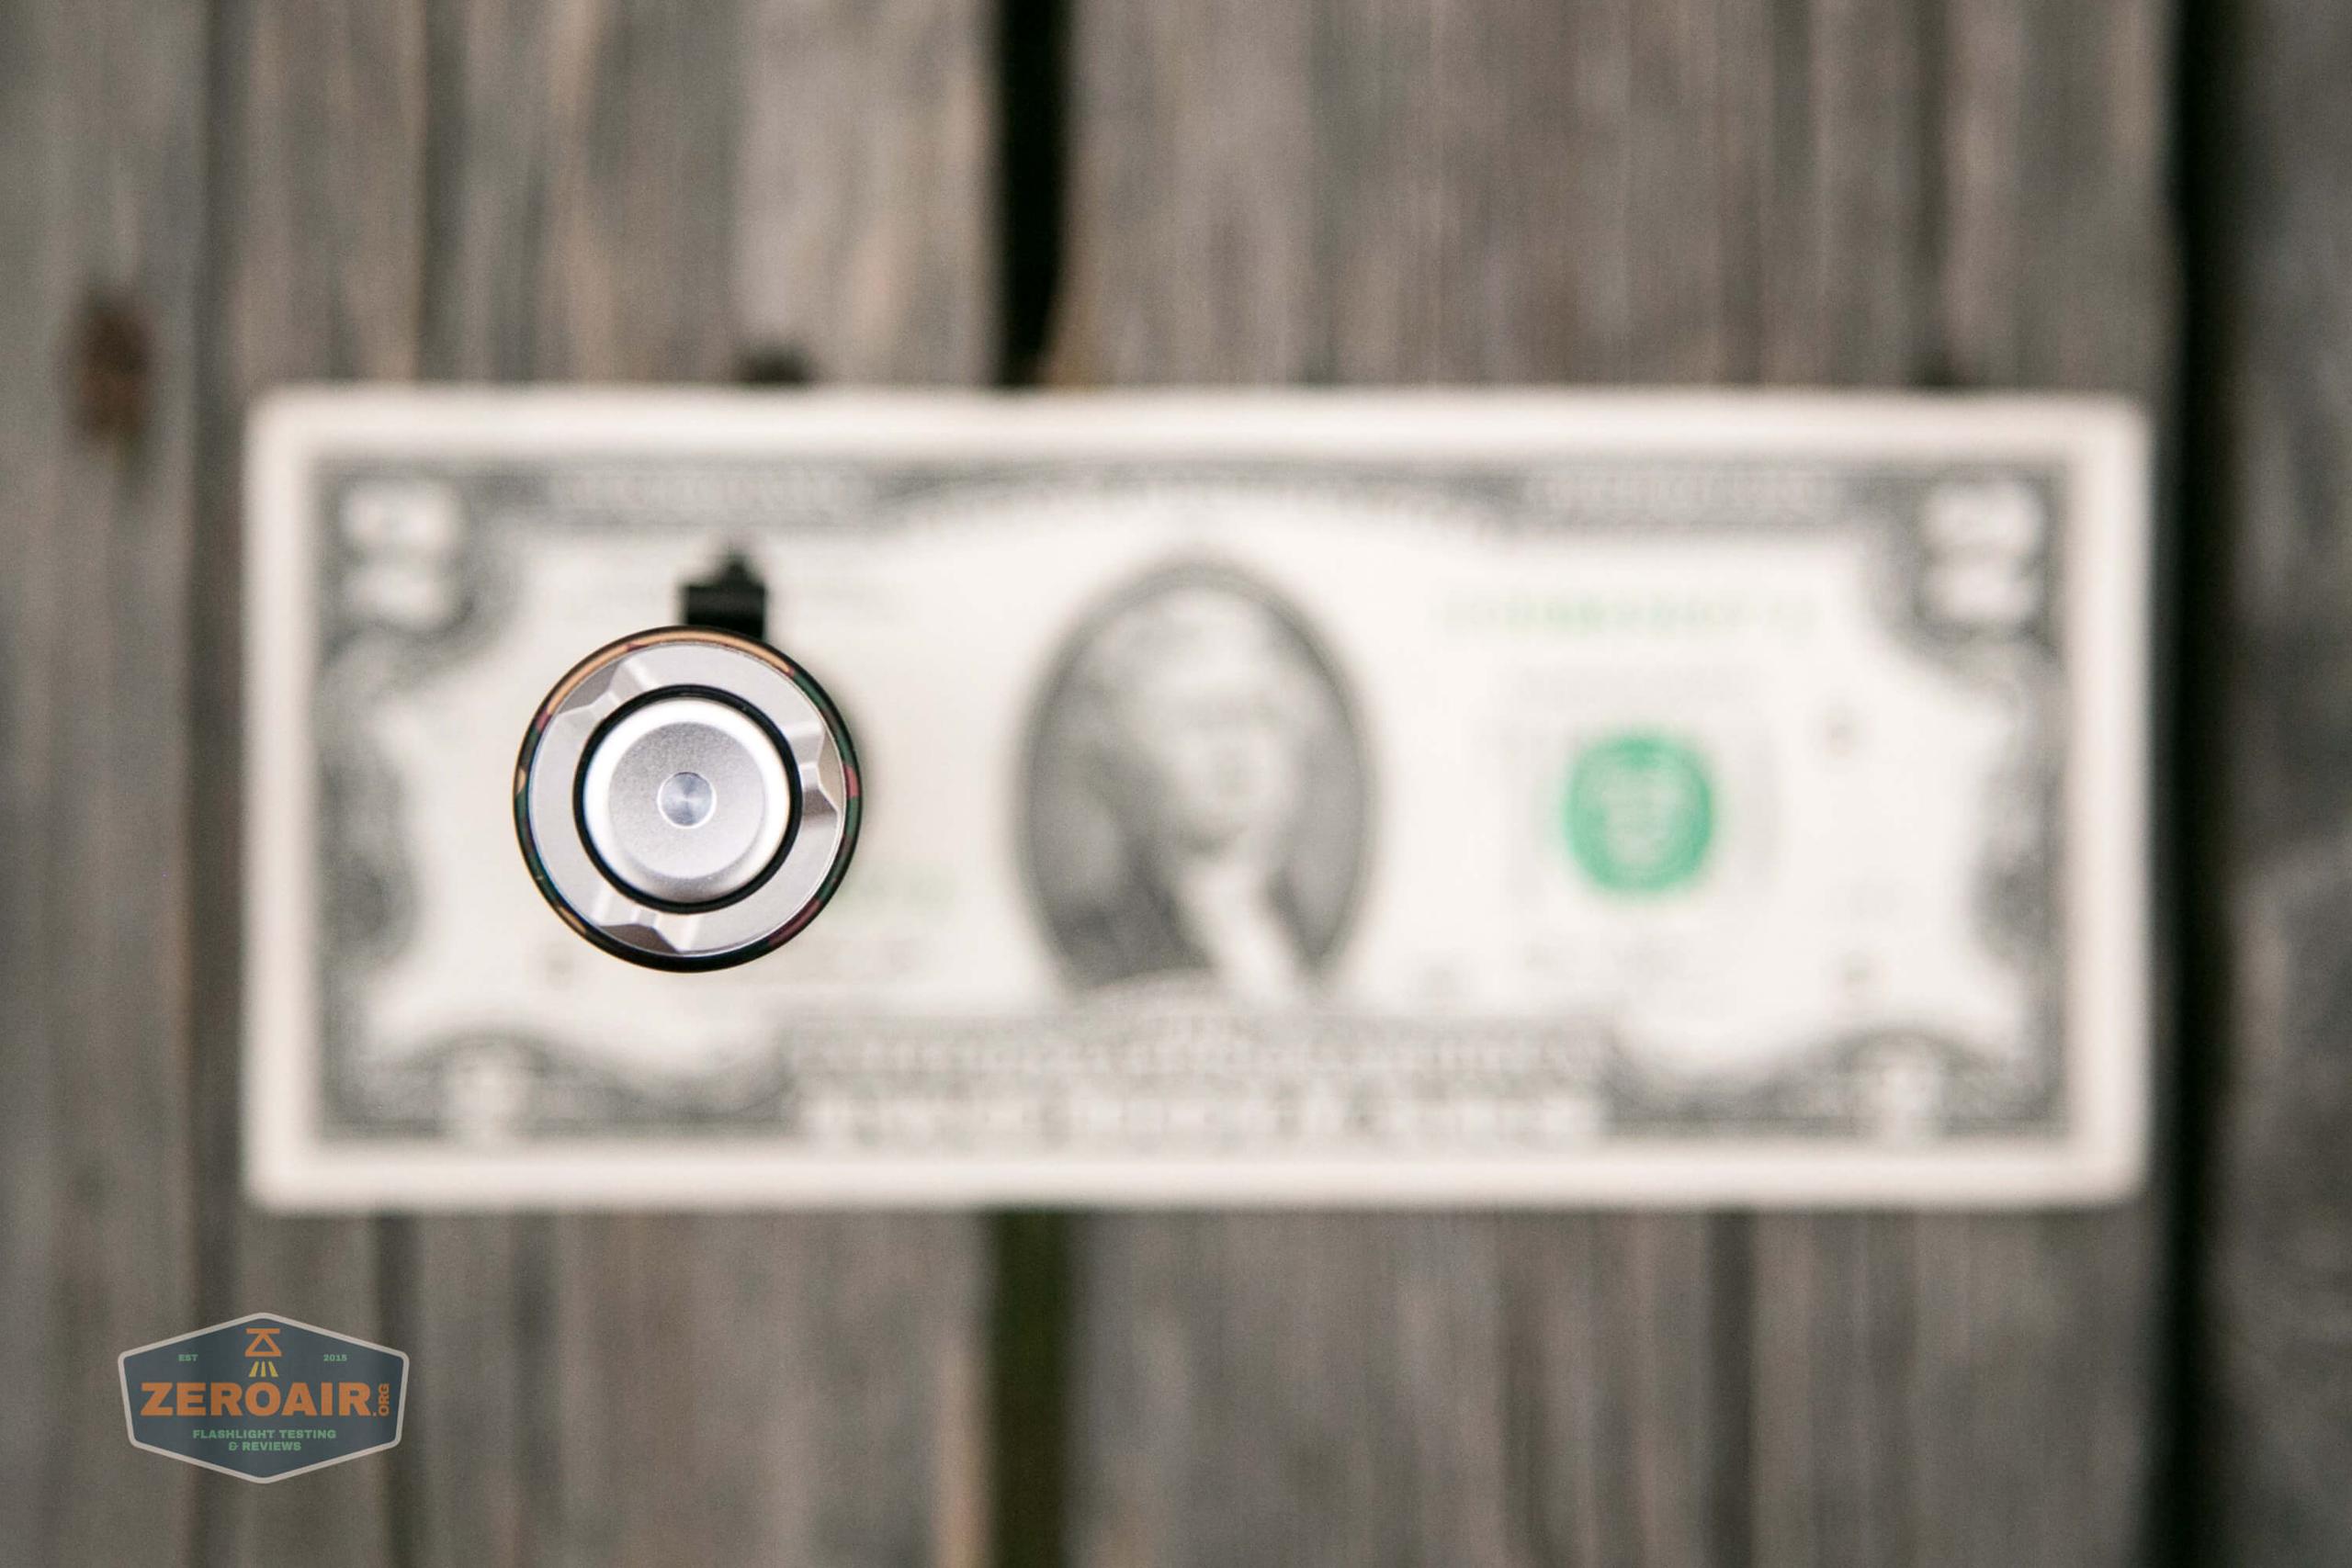
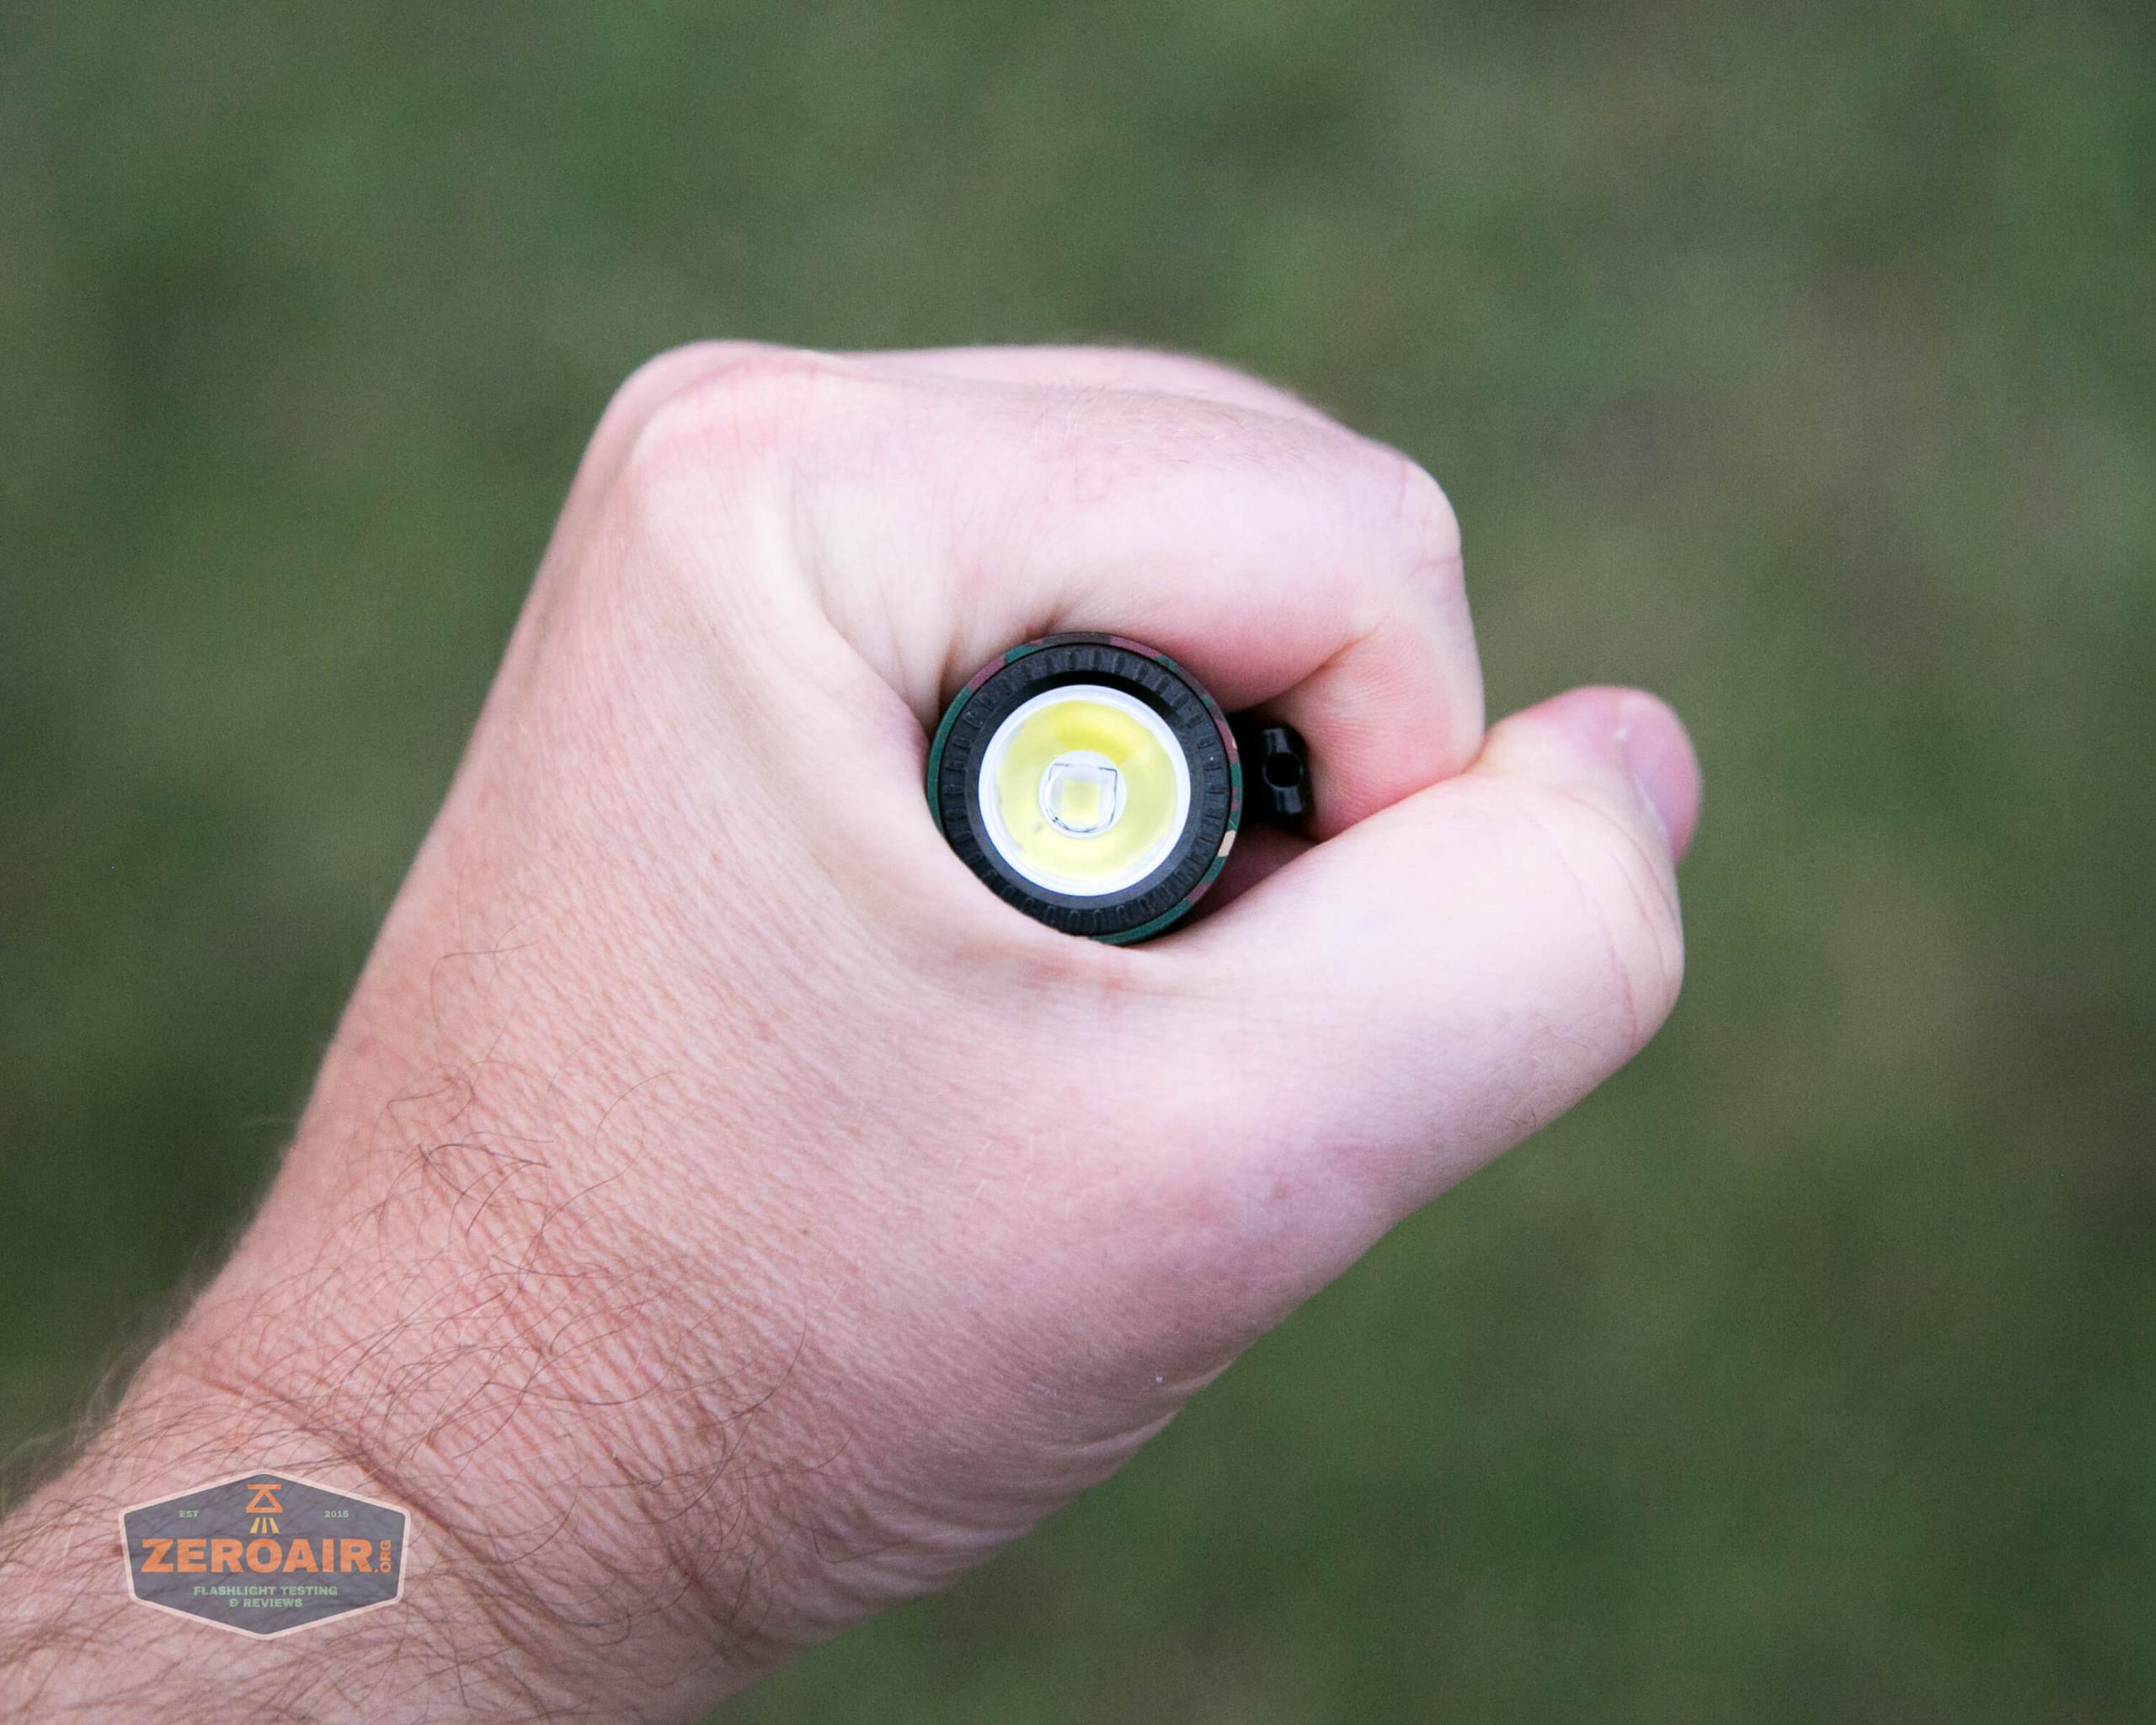
The bezel is a little unusual. It’s not knurled in a typical way. It doesn’t seem to be grippy in a way that’s used for threading (ie, I think it’s press-fit in). It’s just very grippy. All the edges on all those bump-outs are sharp. They’re short, so they’re not sharp in a dangerous way, but sharp in a “grippy” way. I haven’t ever seen a bezel like it.
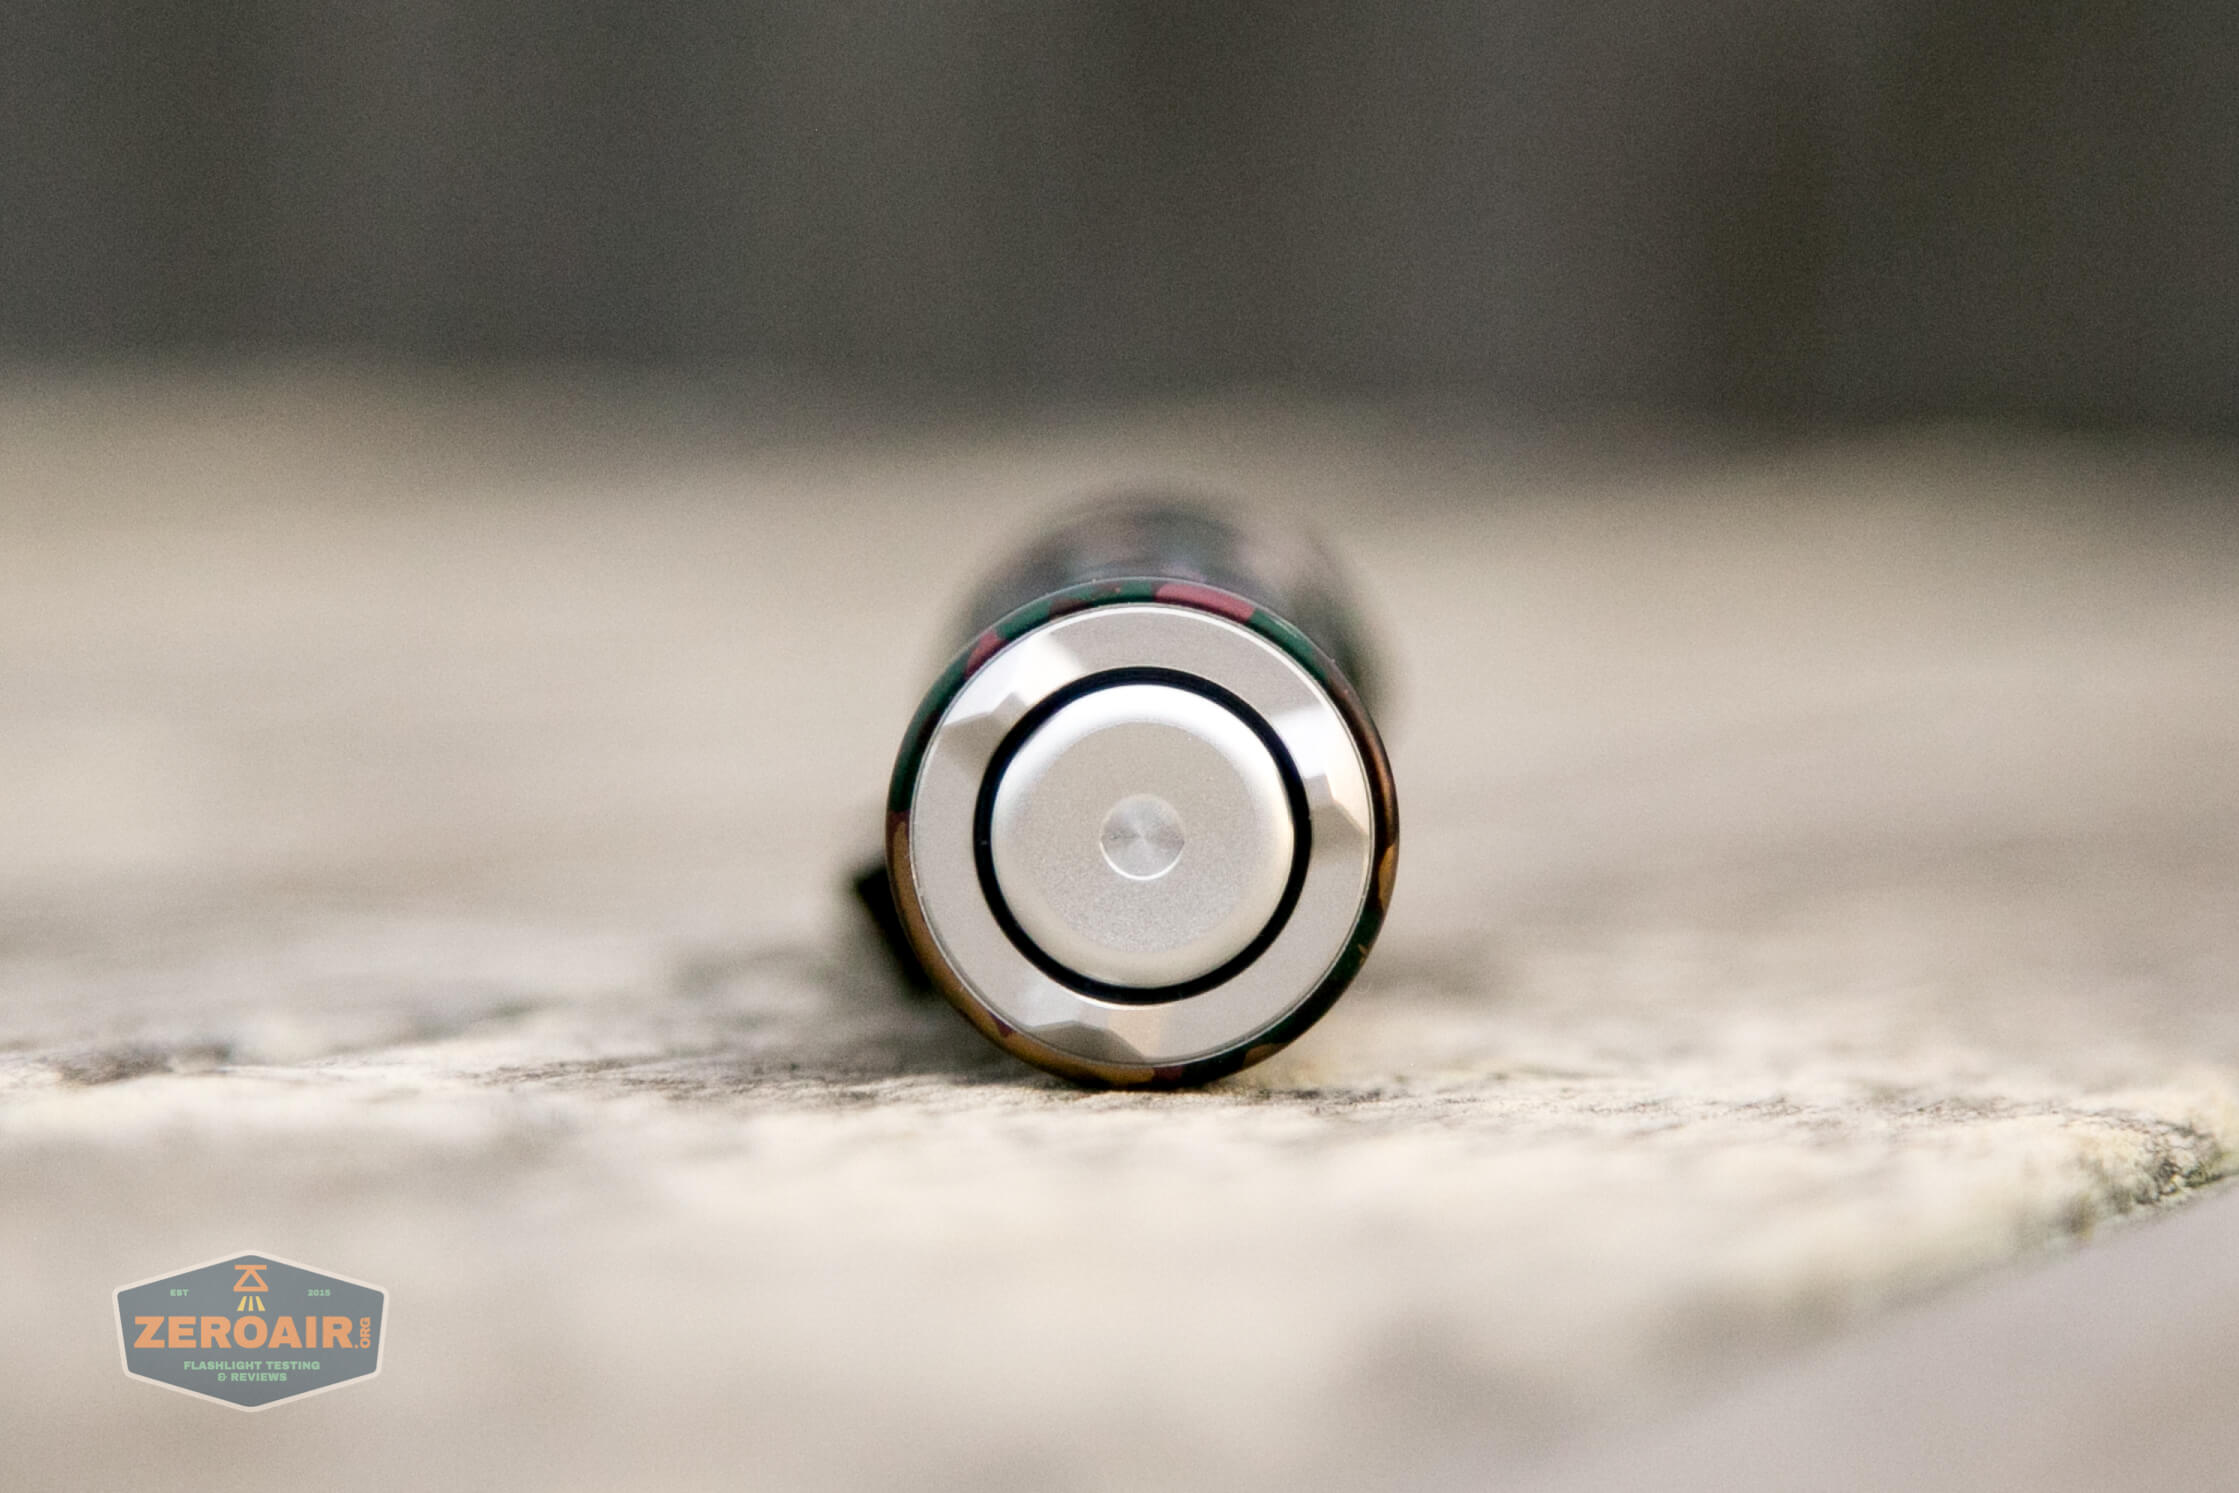
The tail end is all metal since that’s where charging happens. And also switchy, since that’s one of the two switch options.
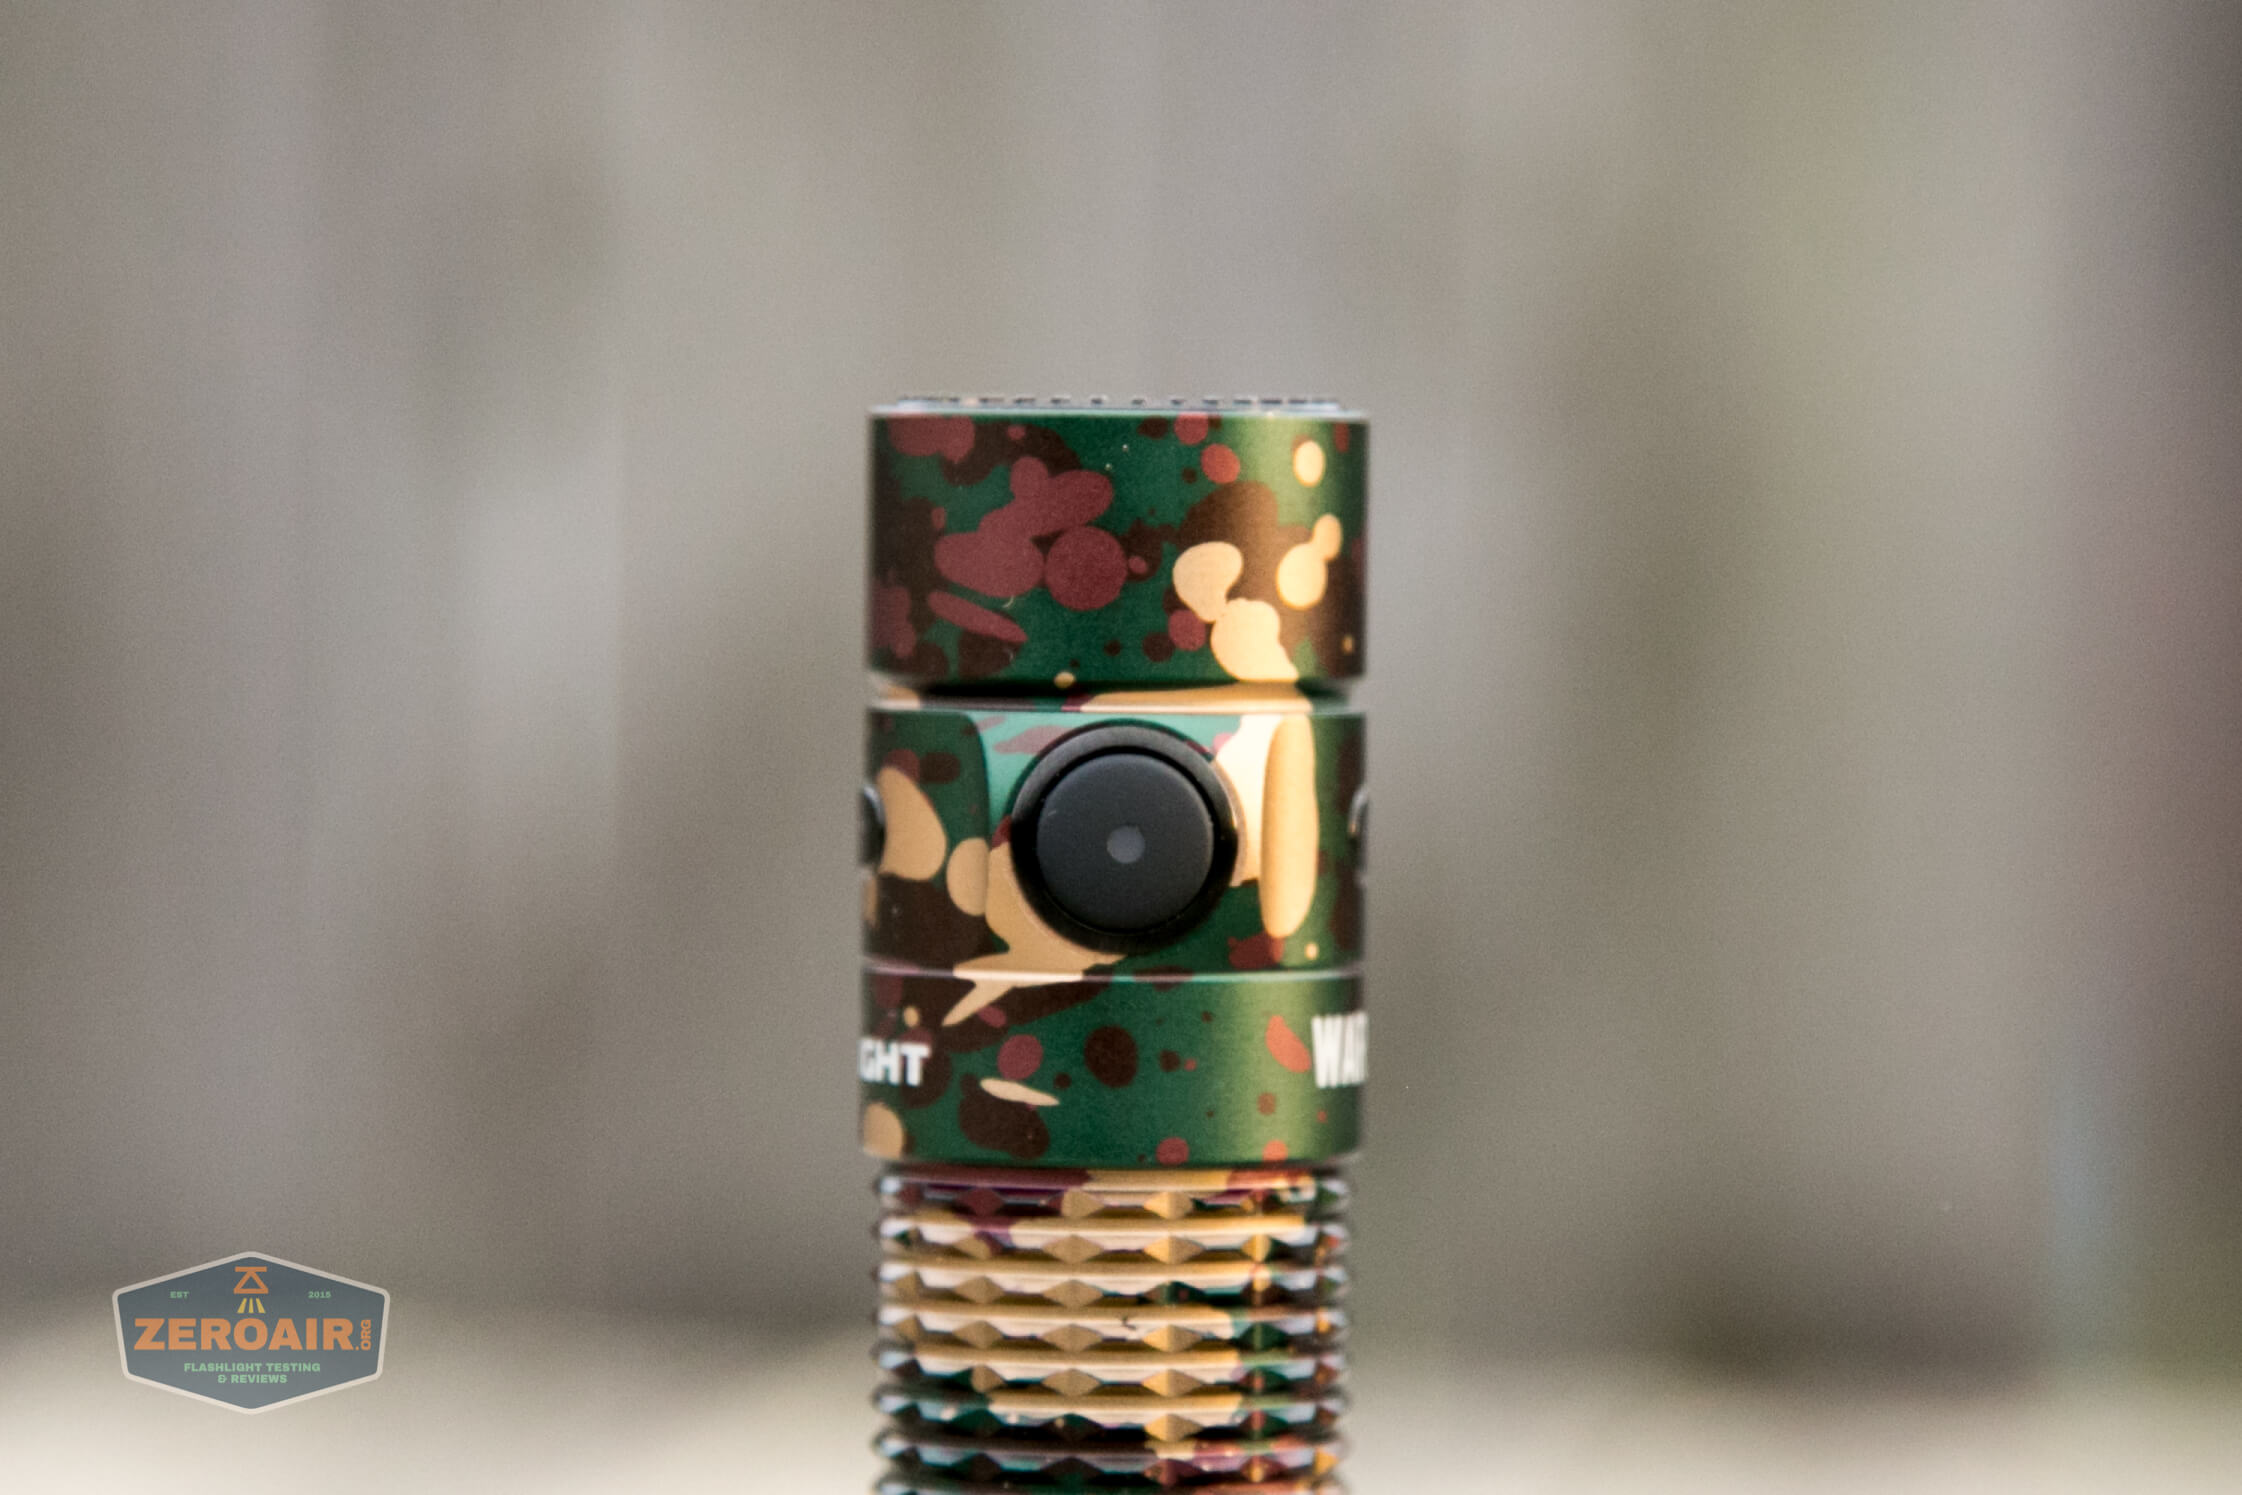
Here’s a better look at the camo. Looks like a four-color pattern – green, dark brown, light brown, and tan. I am not sure what the application method is, but the individual colors are all smooth against each other. That is, it doesn’t feel like one is stacked upon the other.
The light is serialized.
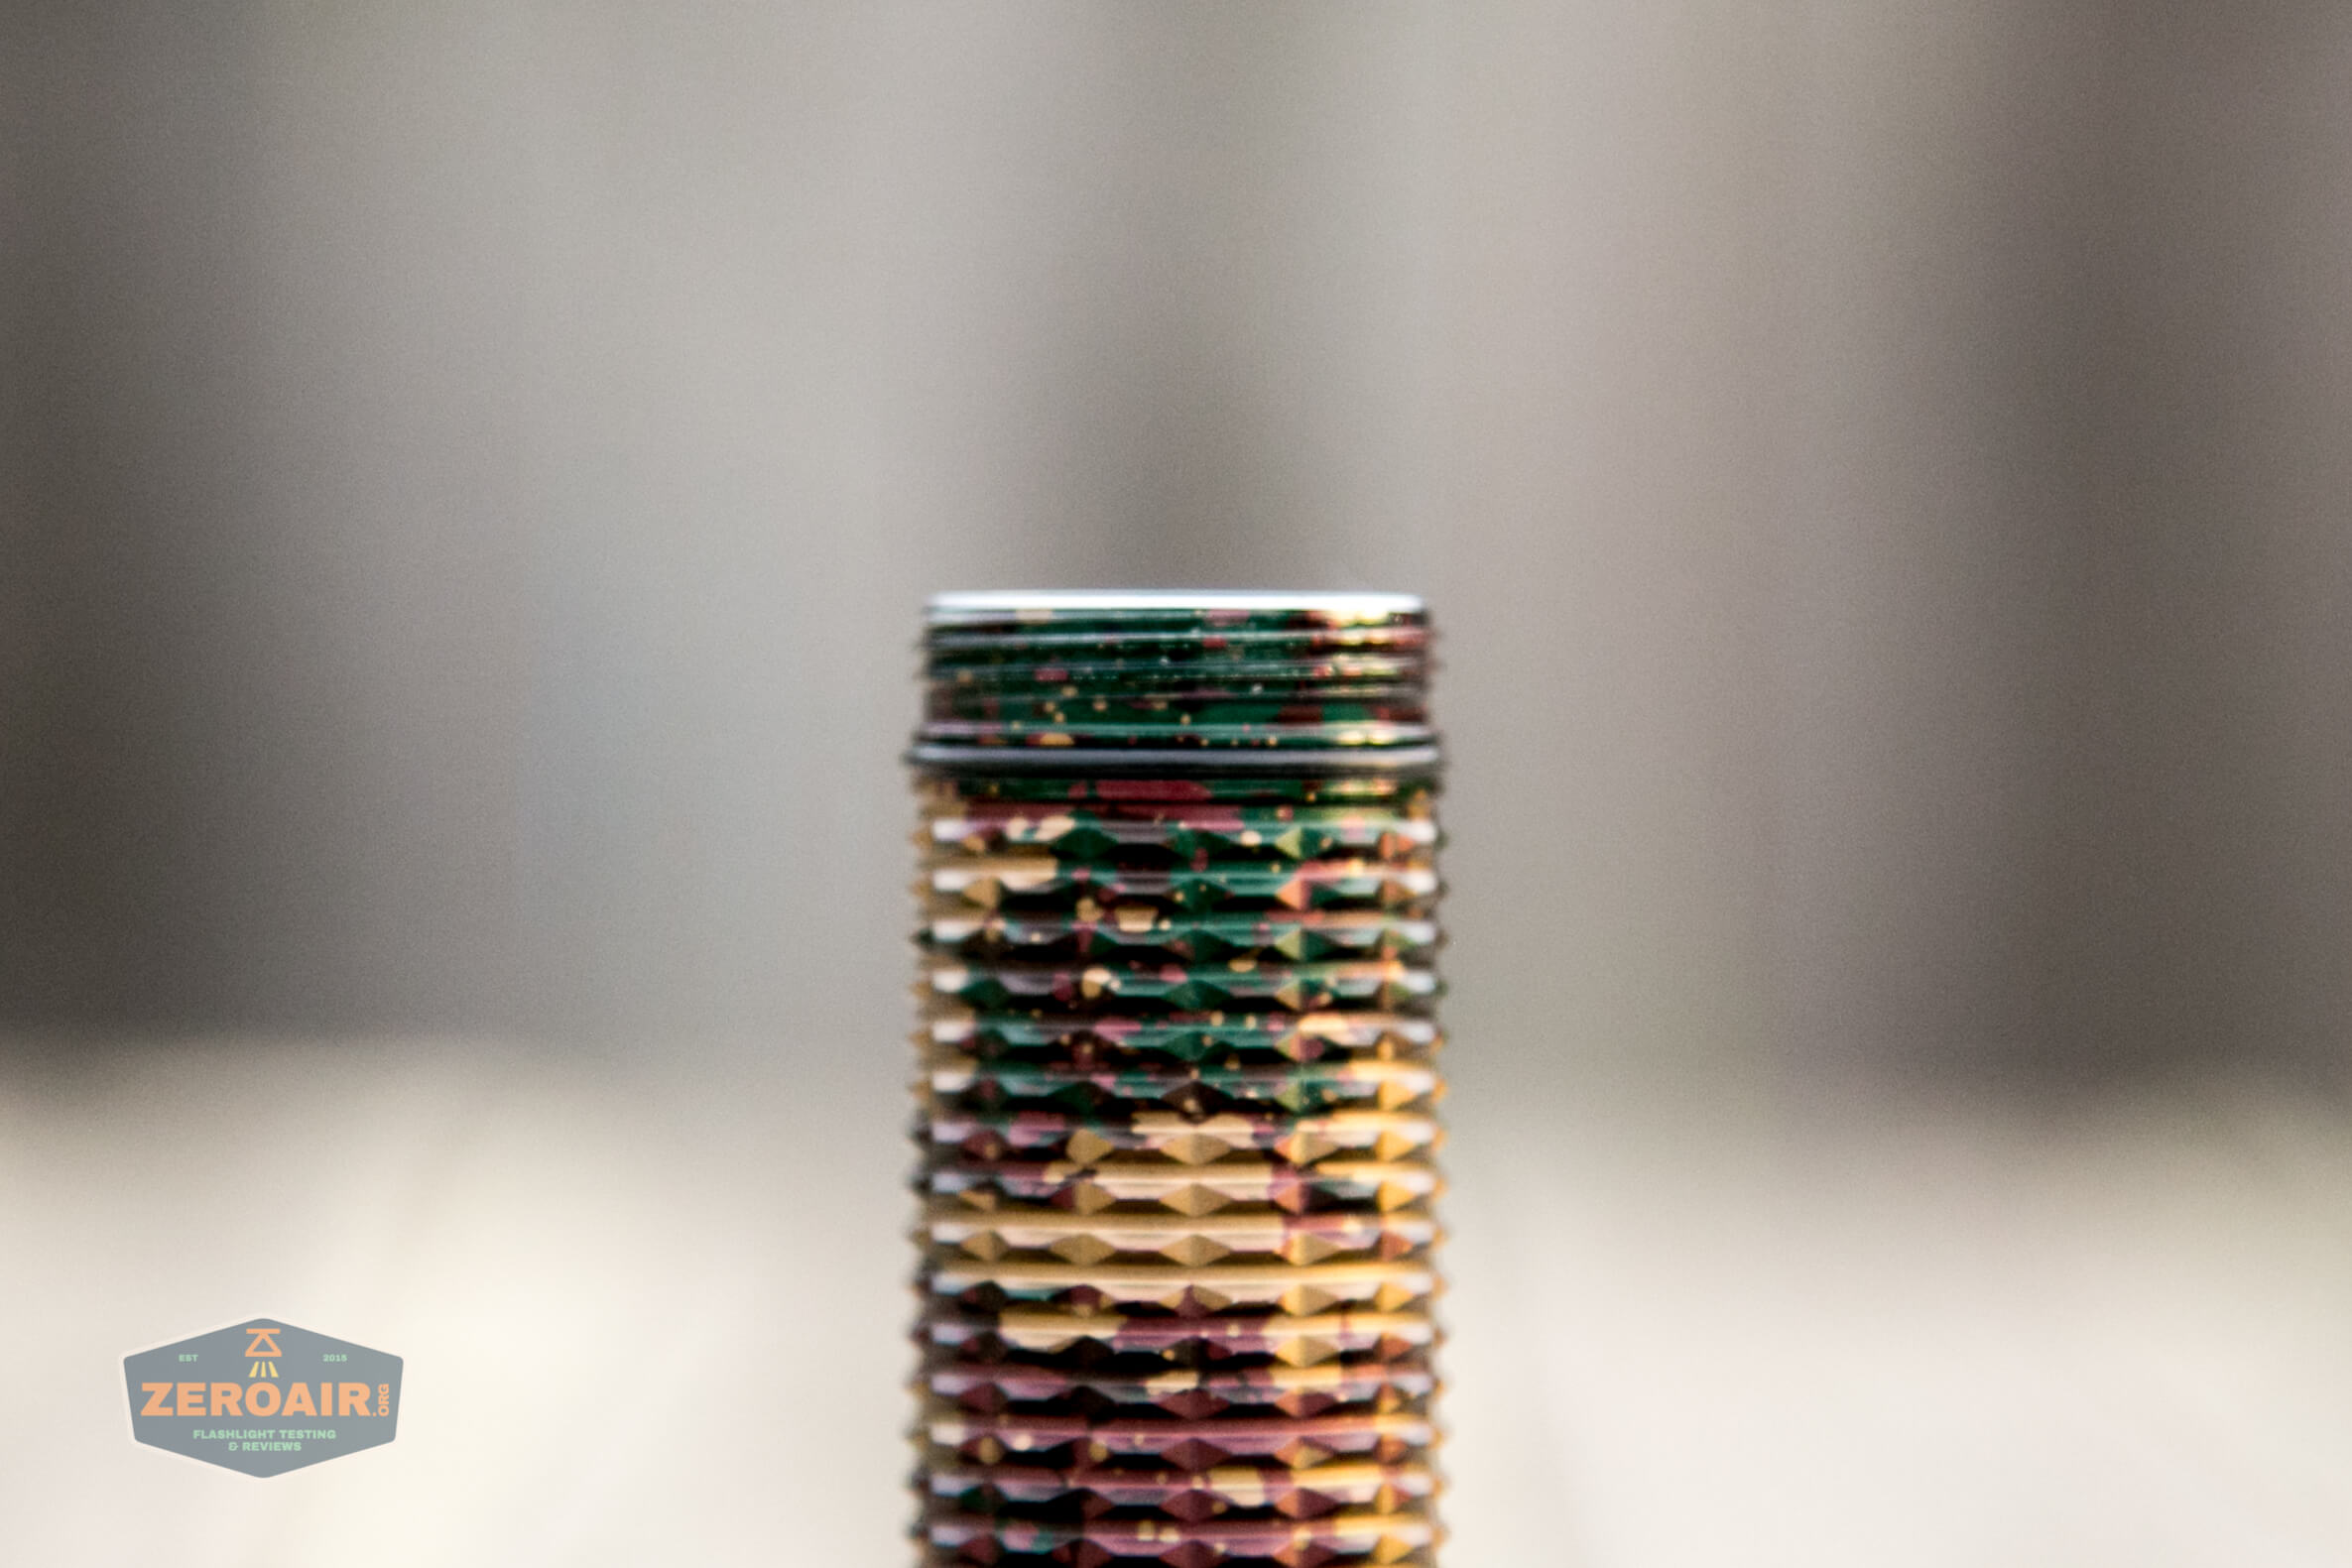
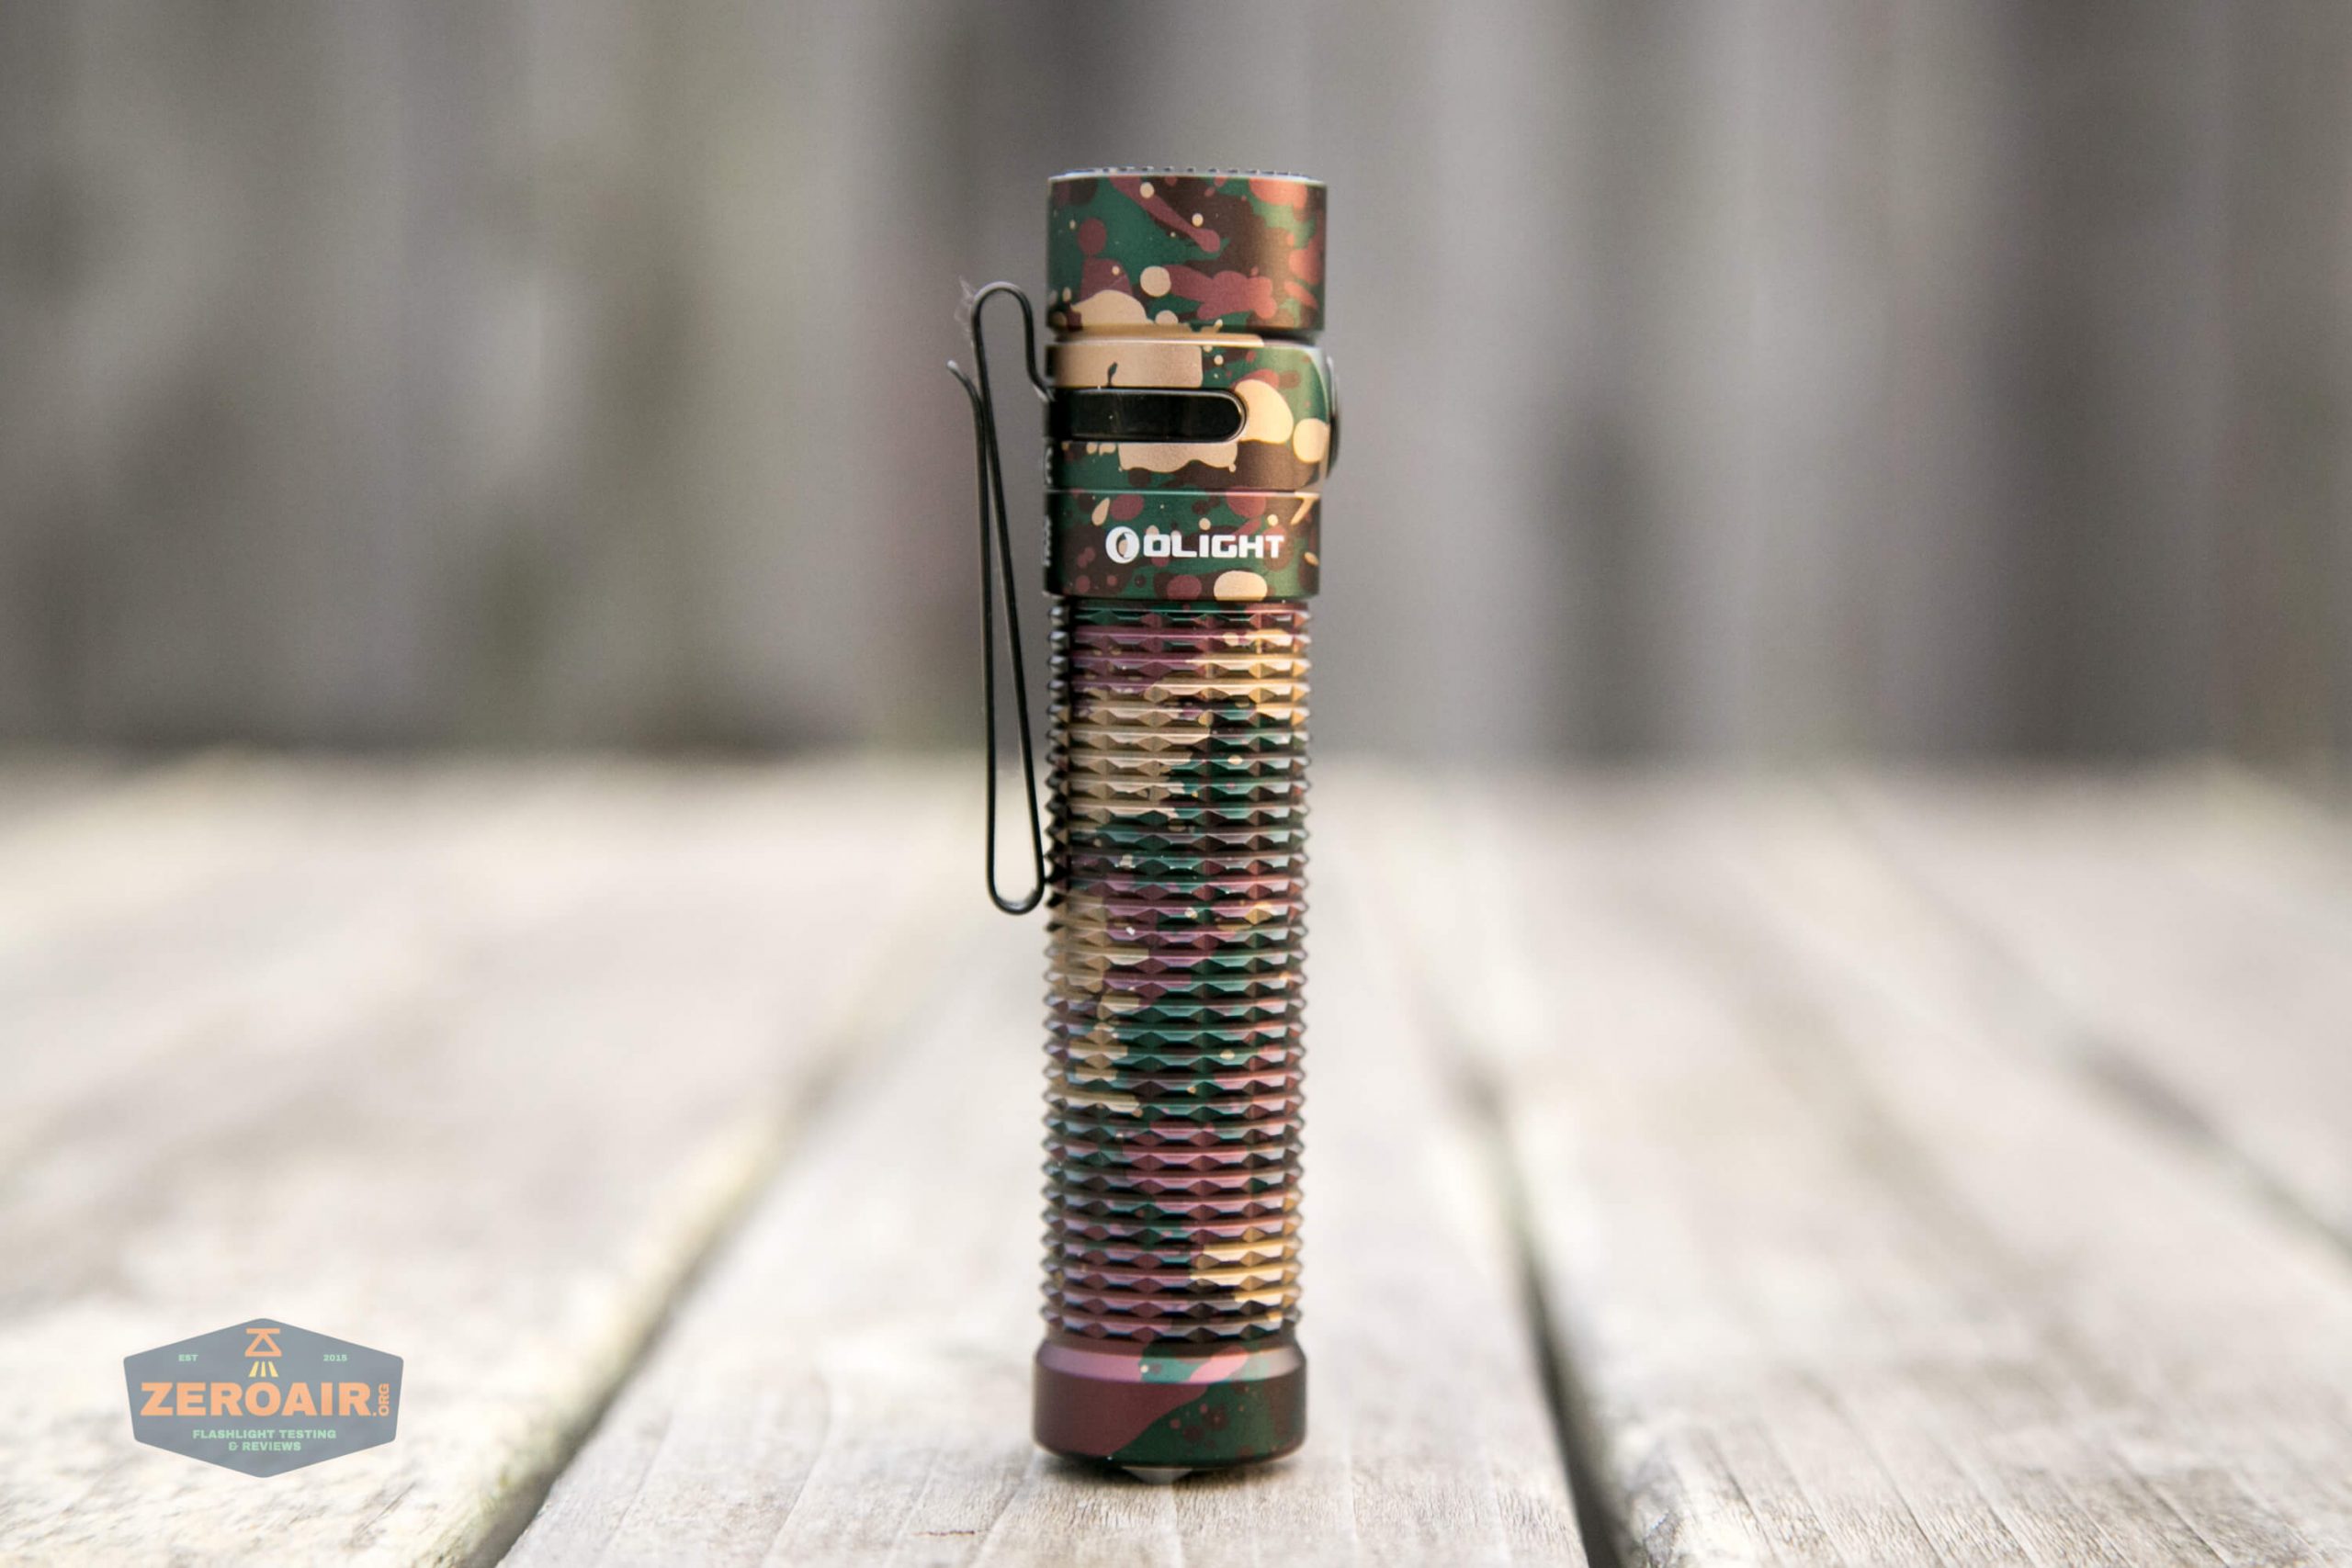
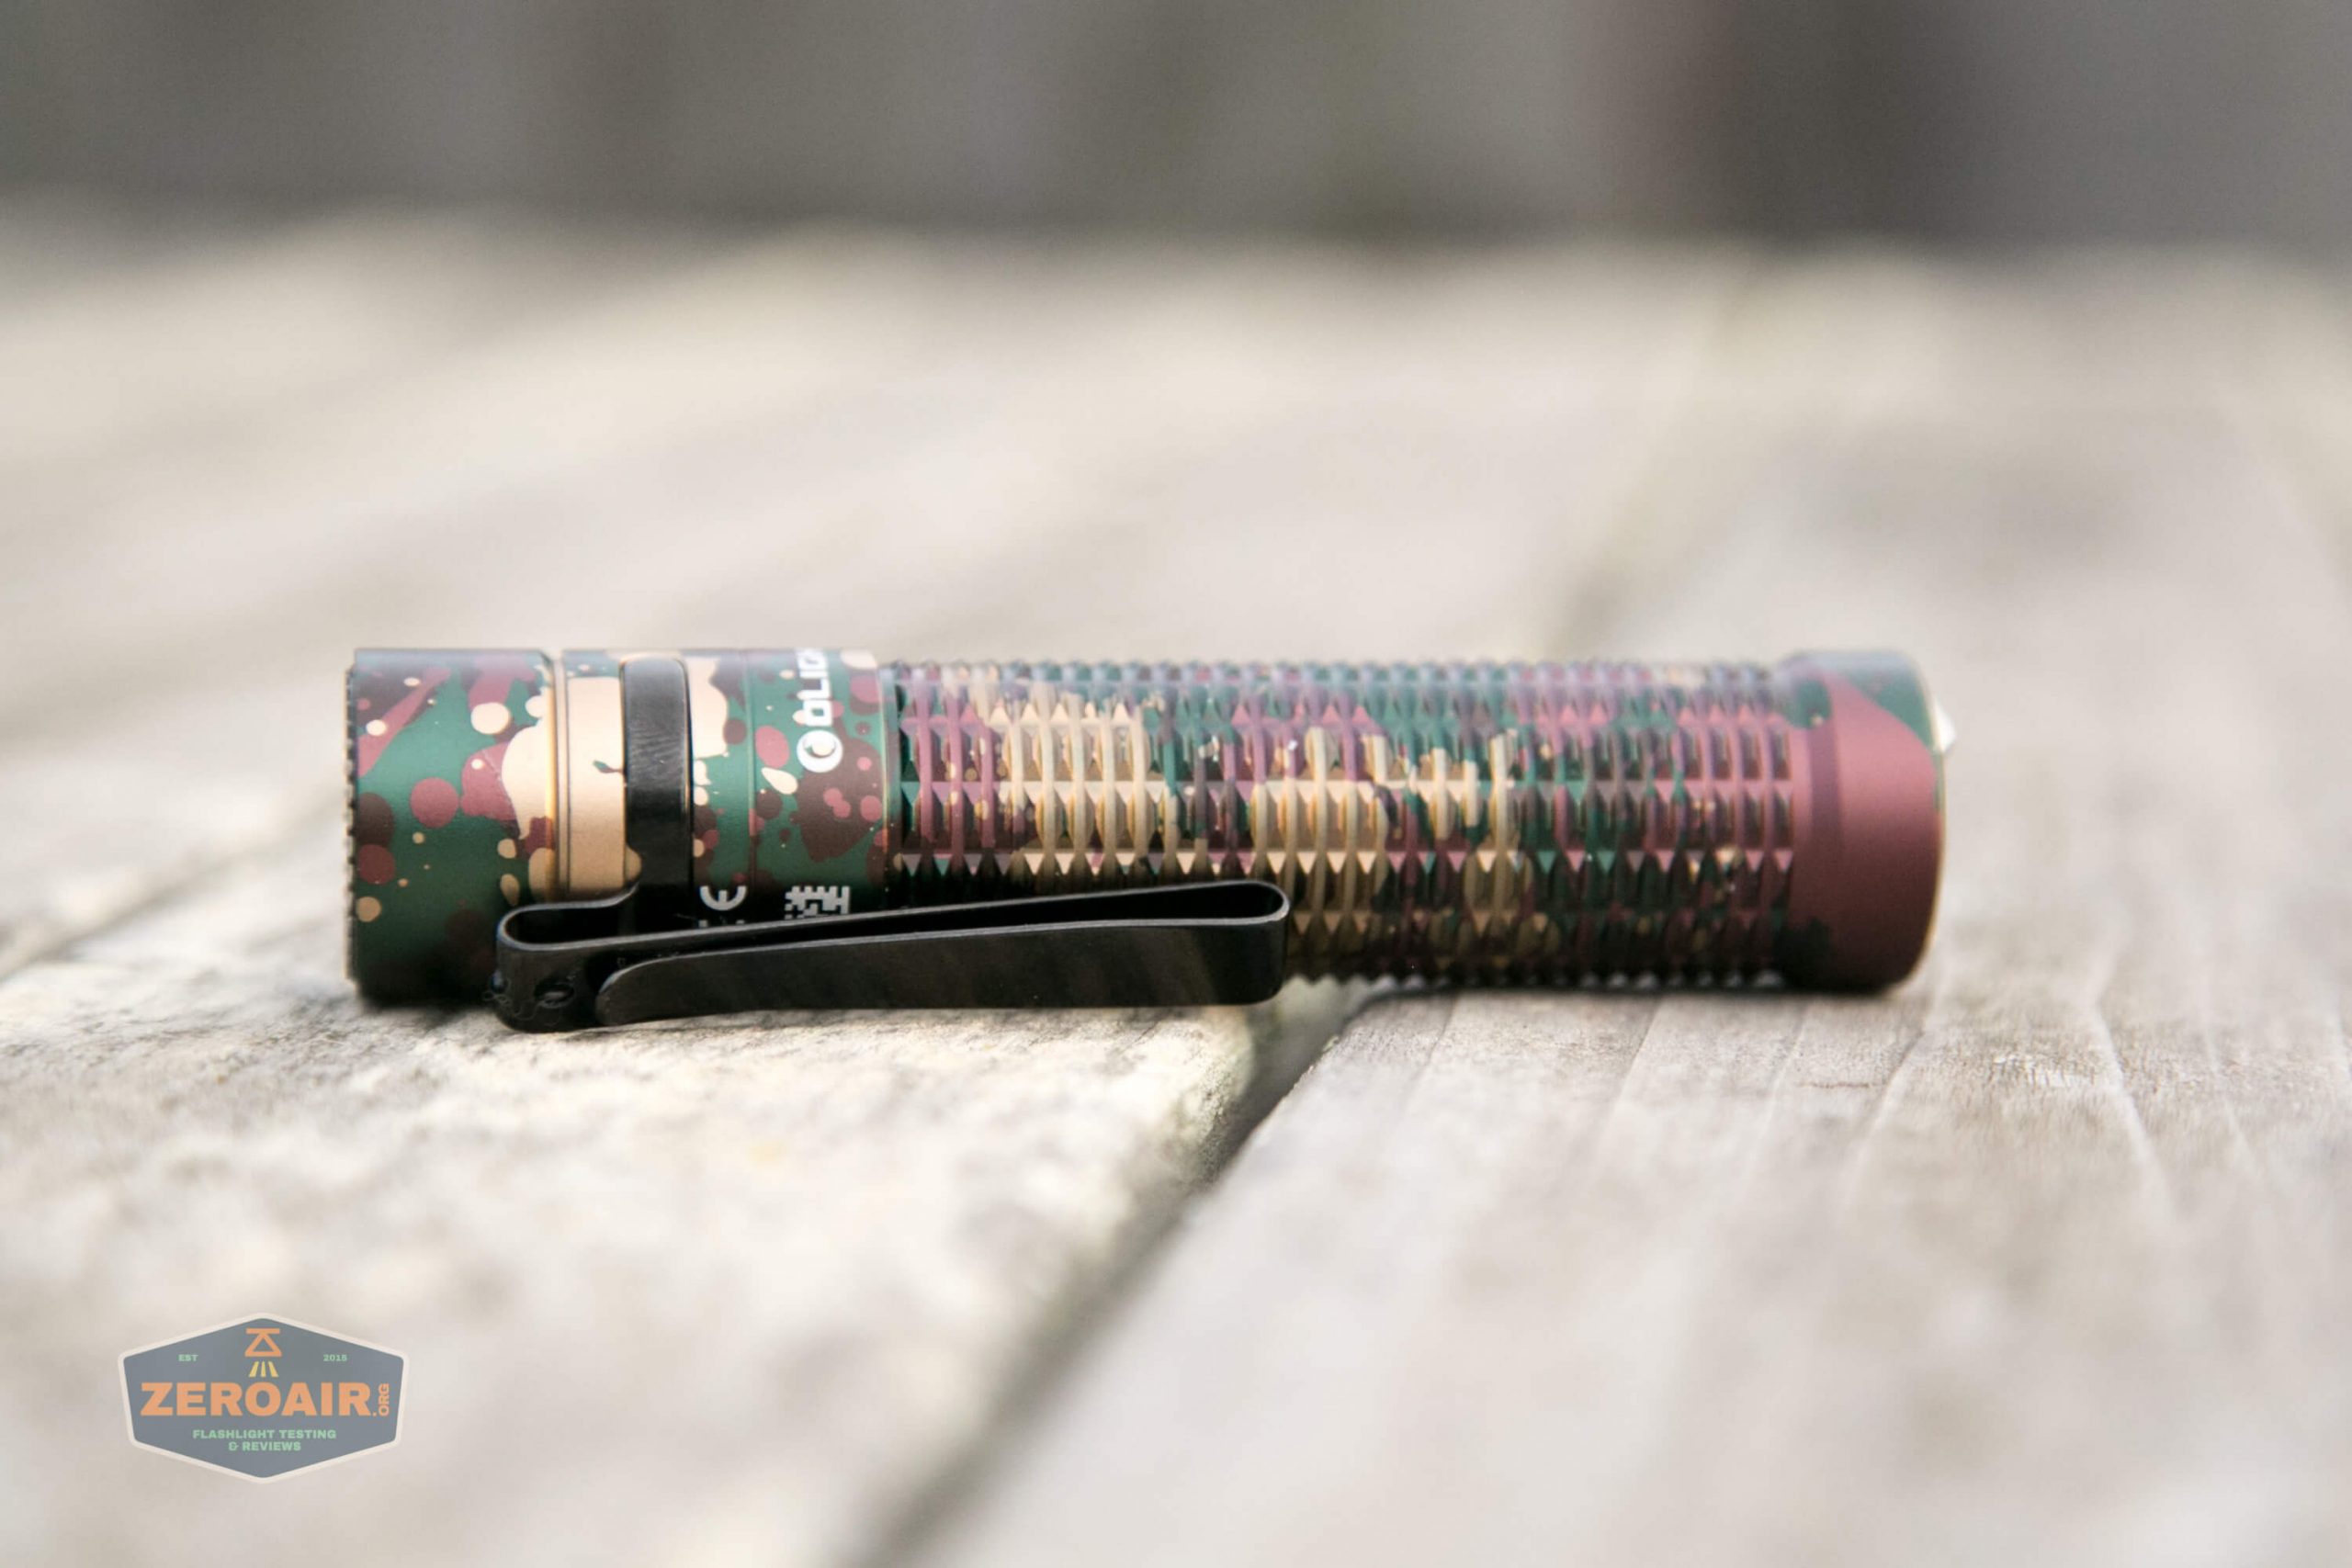
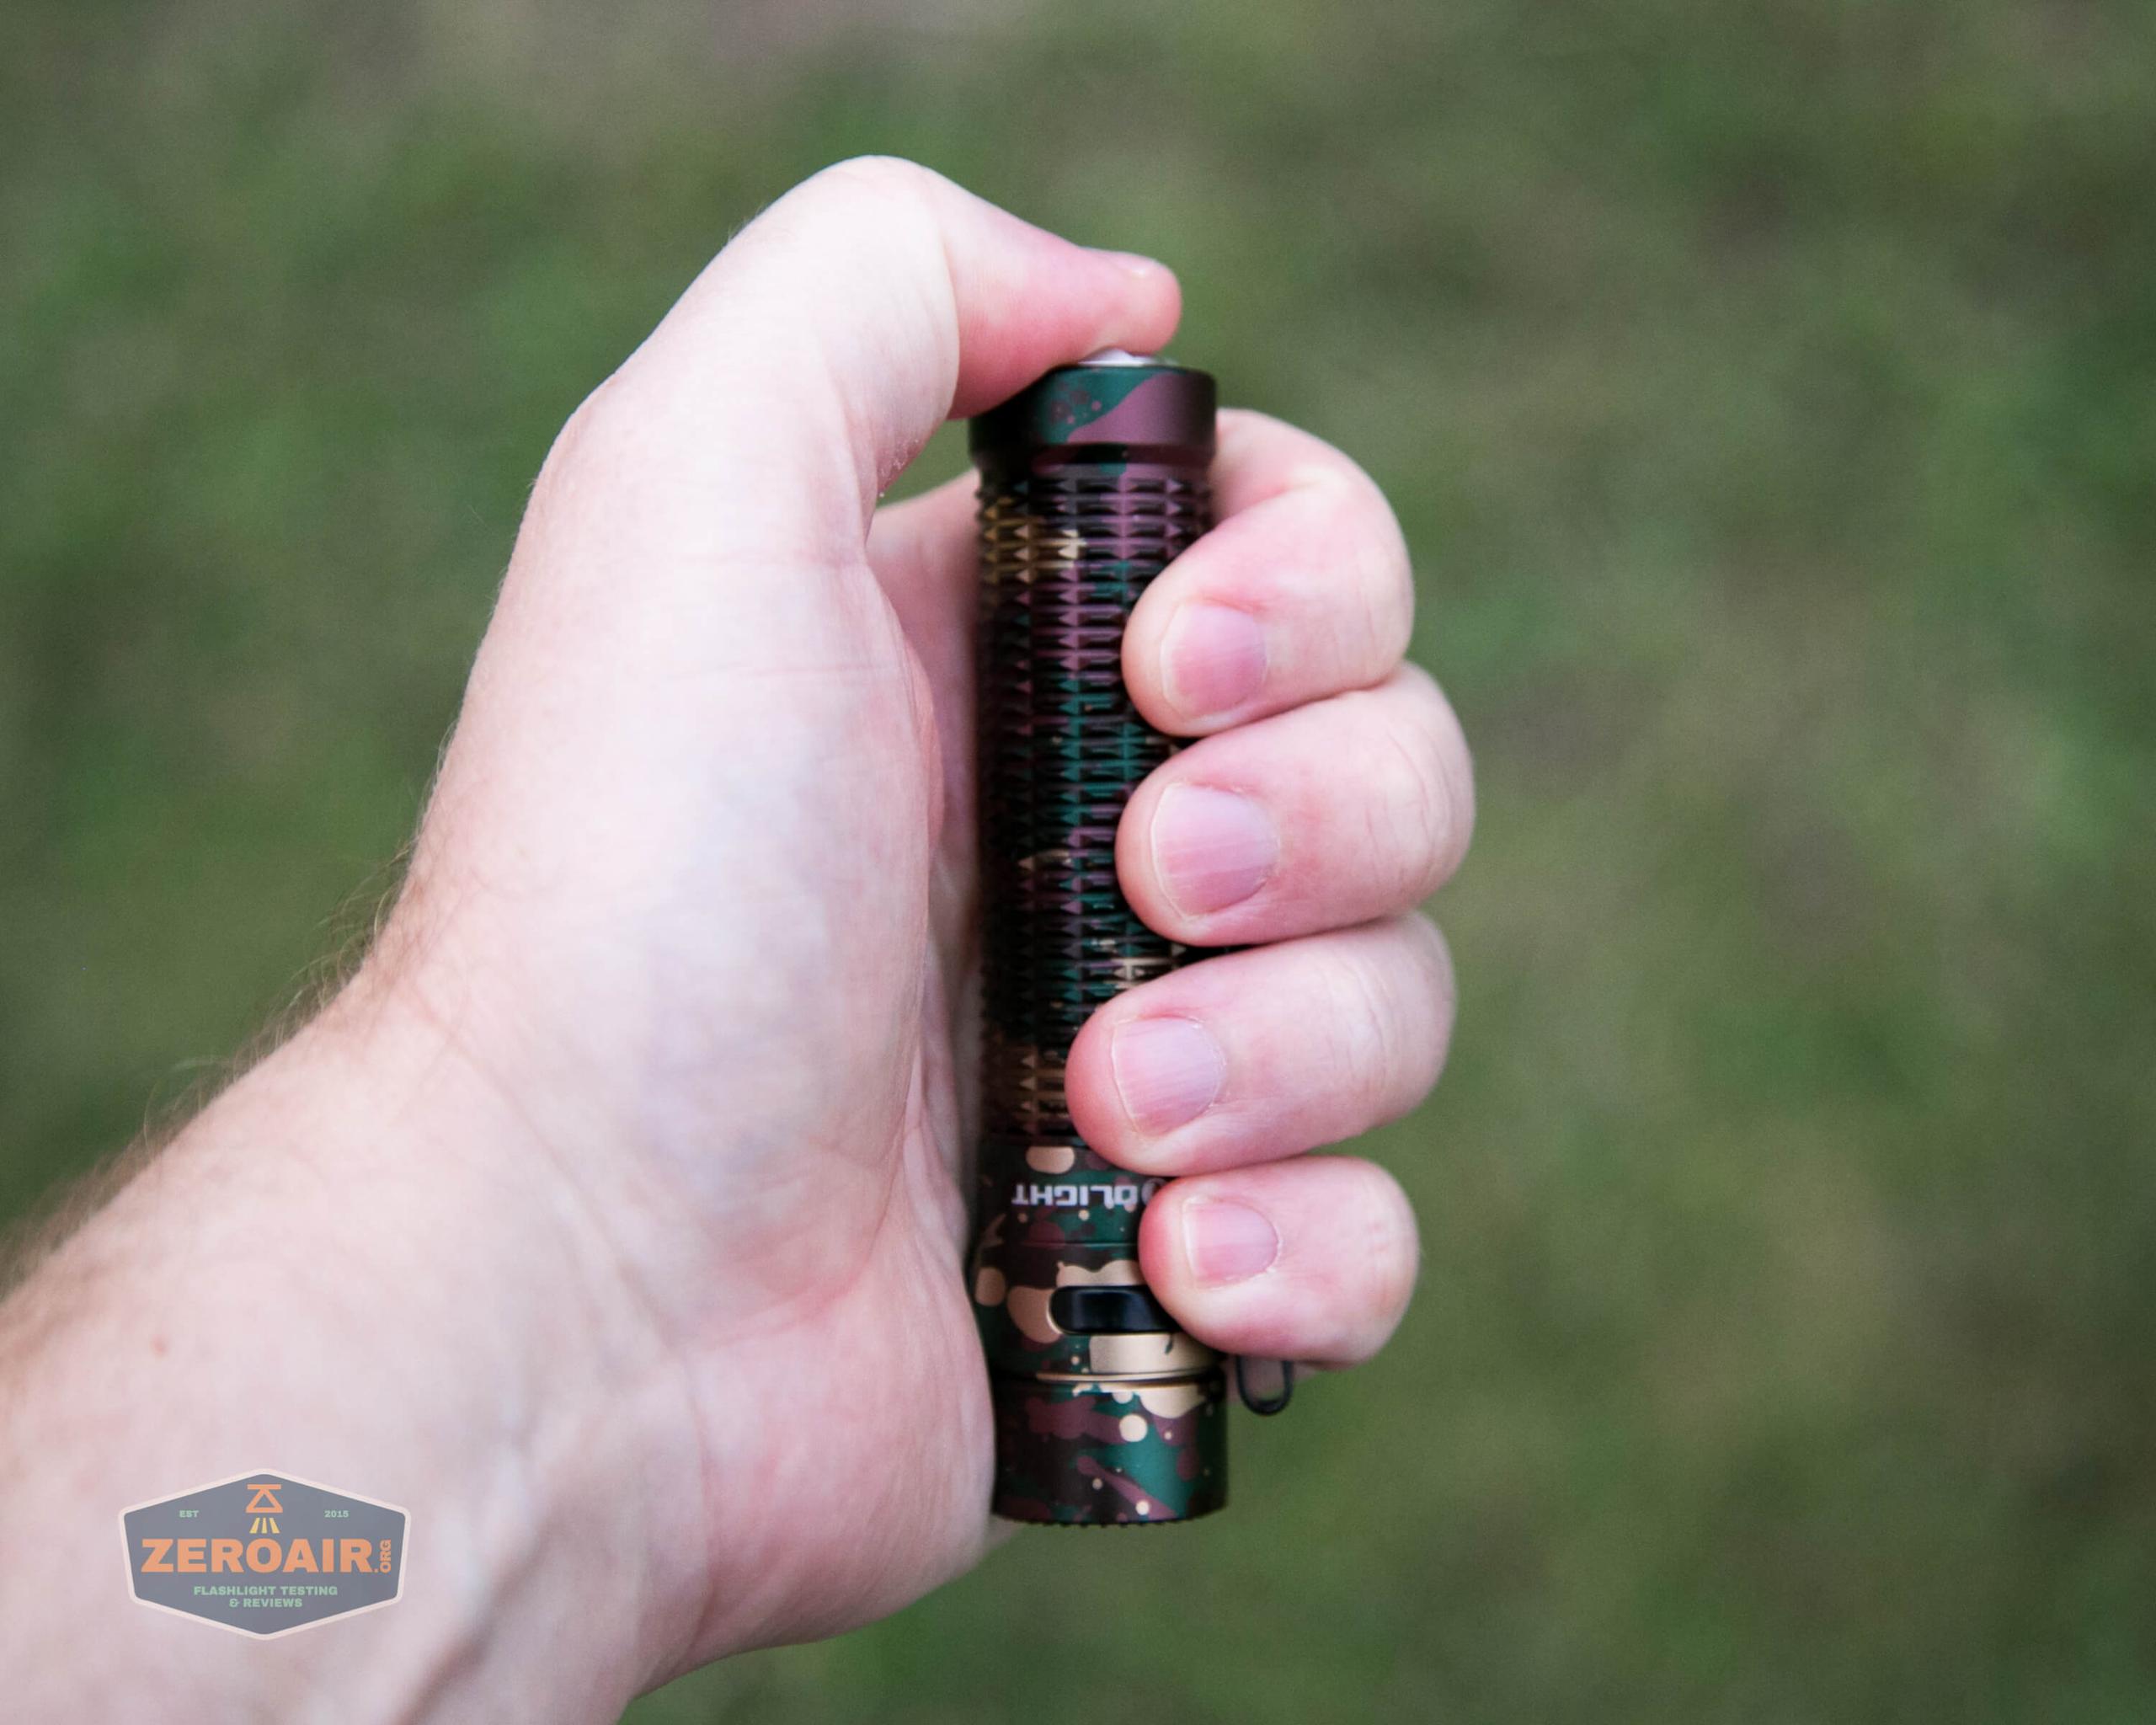
The body has big grippy knurling (which isn’t really knurling). It’s aggressive but not hurtful. Just like the bezel – it’s grippy.
Here’s the best shot of the bezel I can get. You can see that the raised parts are very, very short.
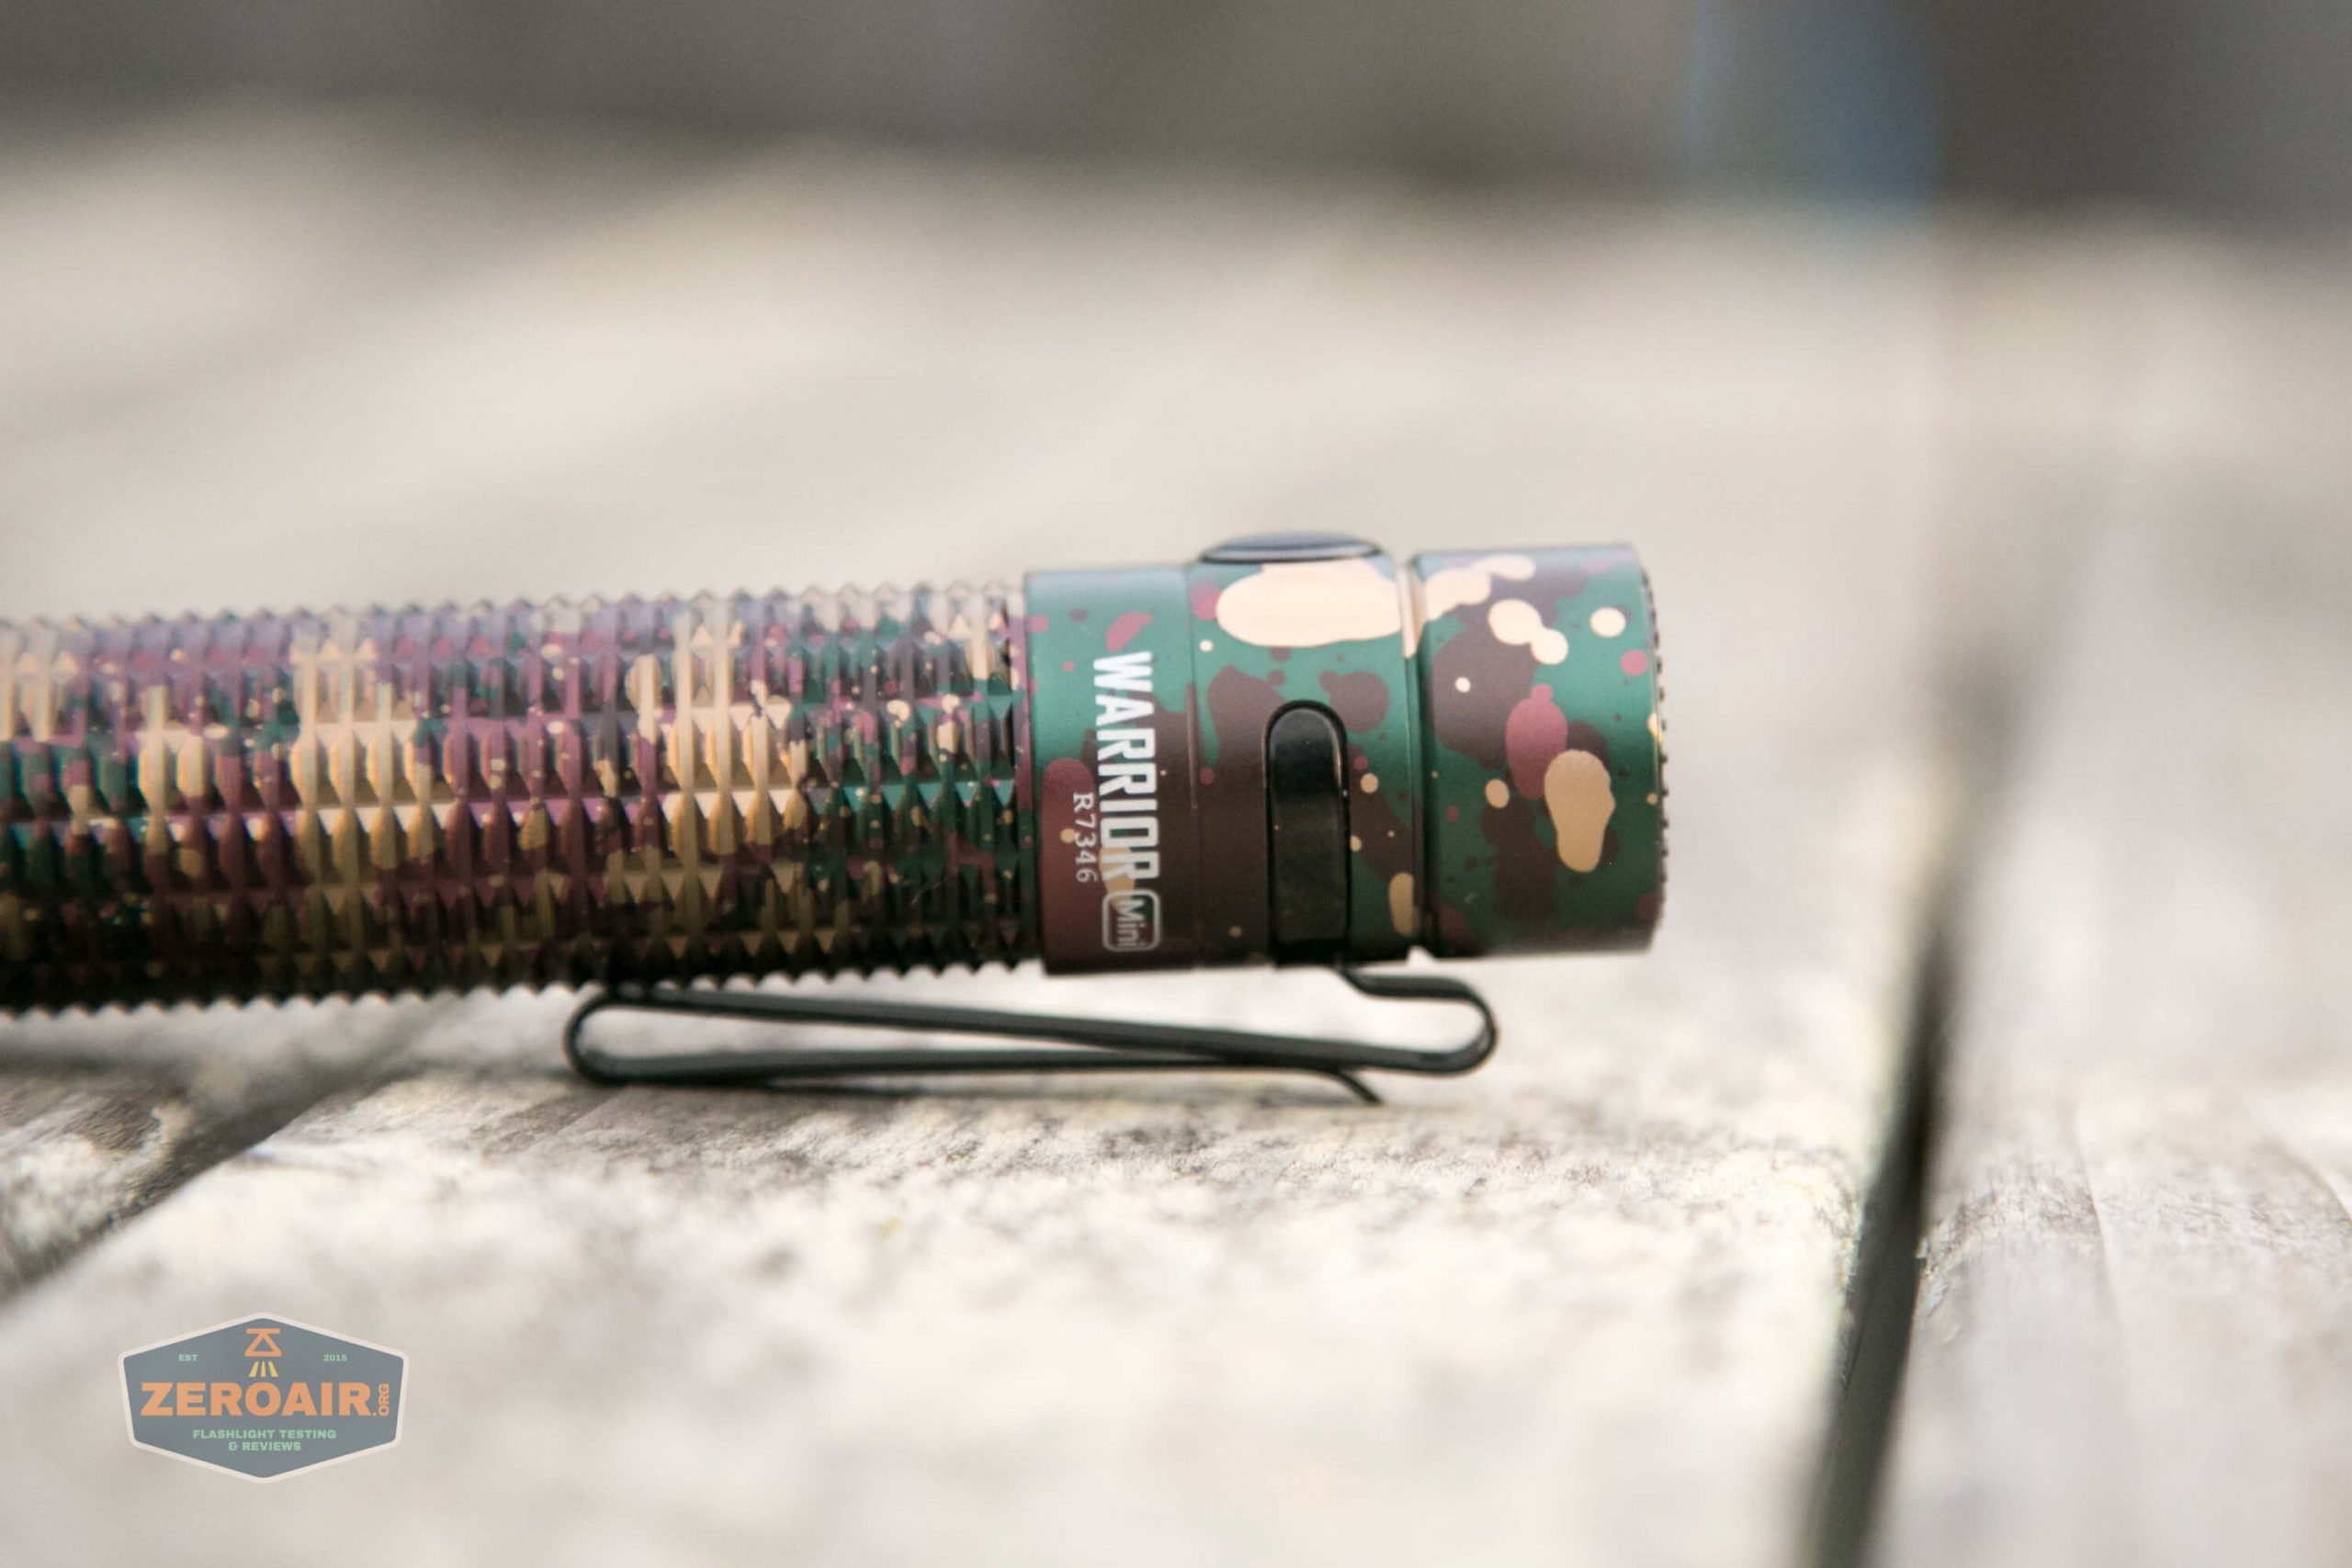
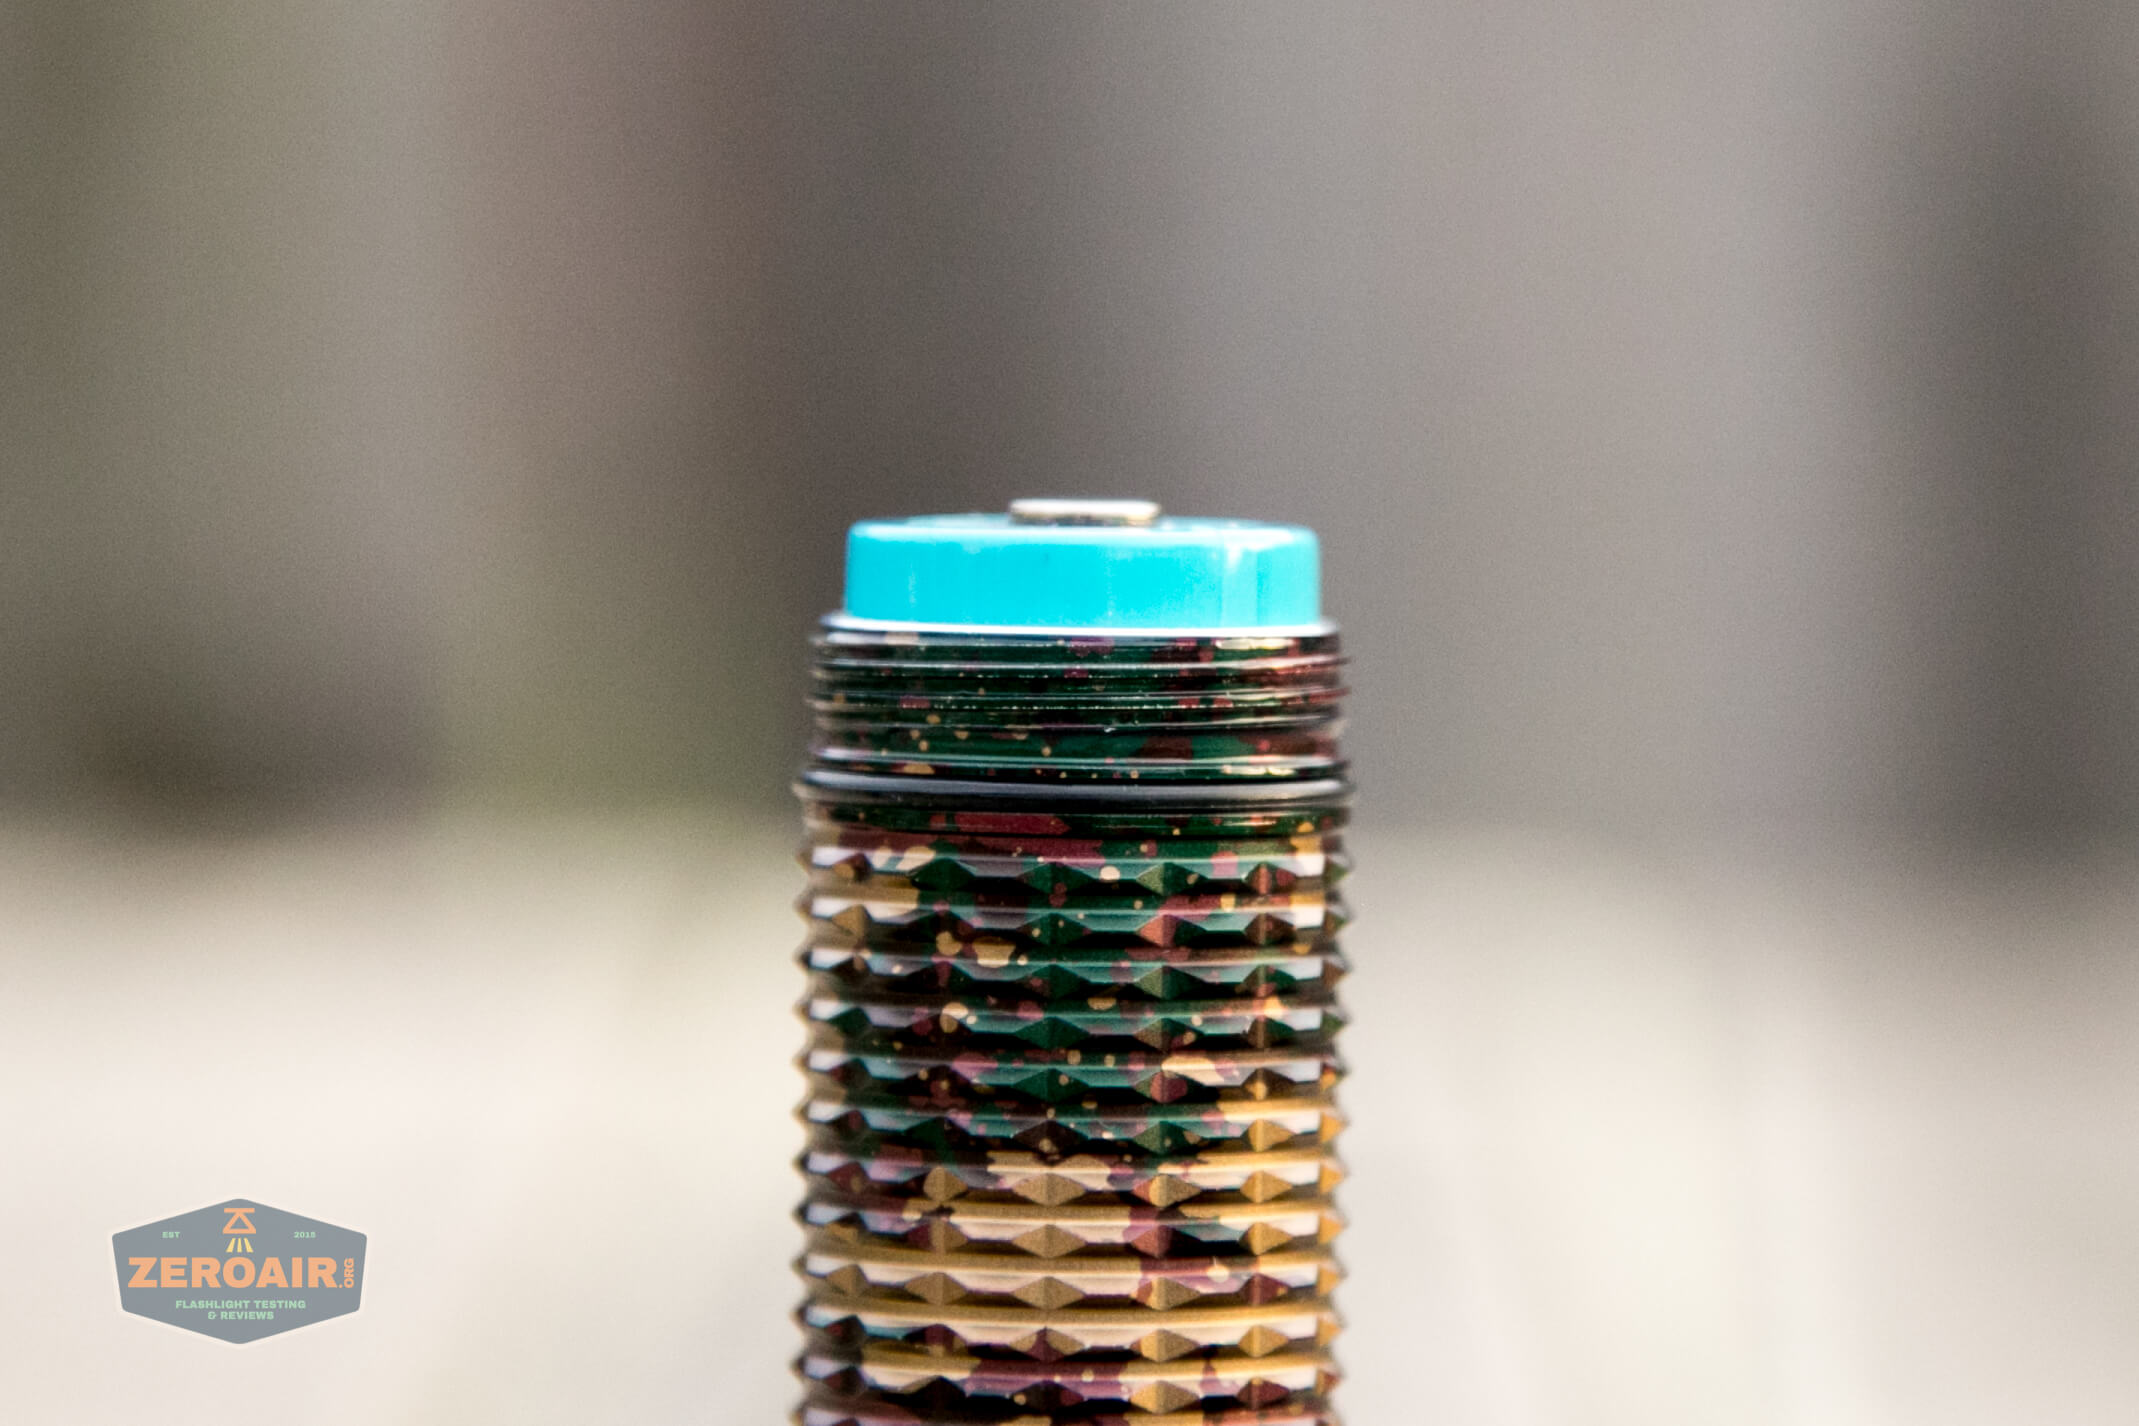
The tailcap has a tripod base so that even with the switch and charge port, the light will still tailstand.
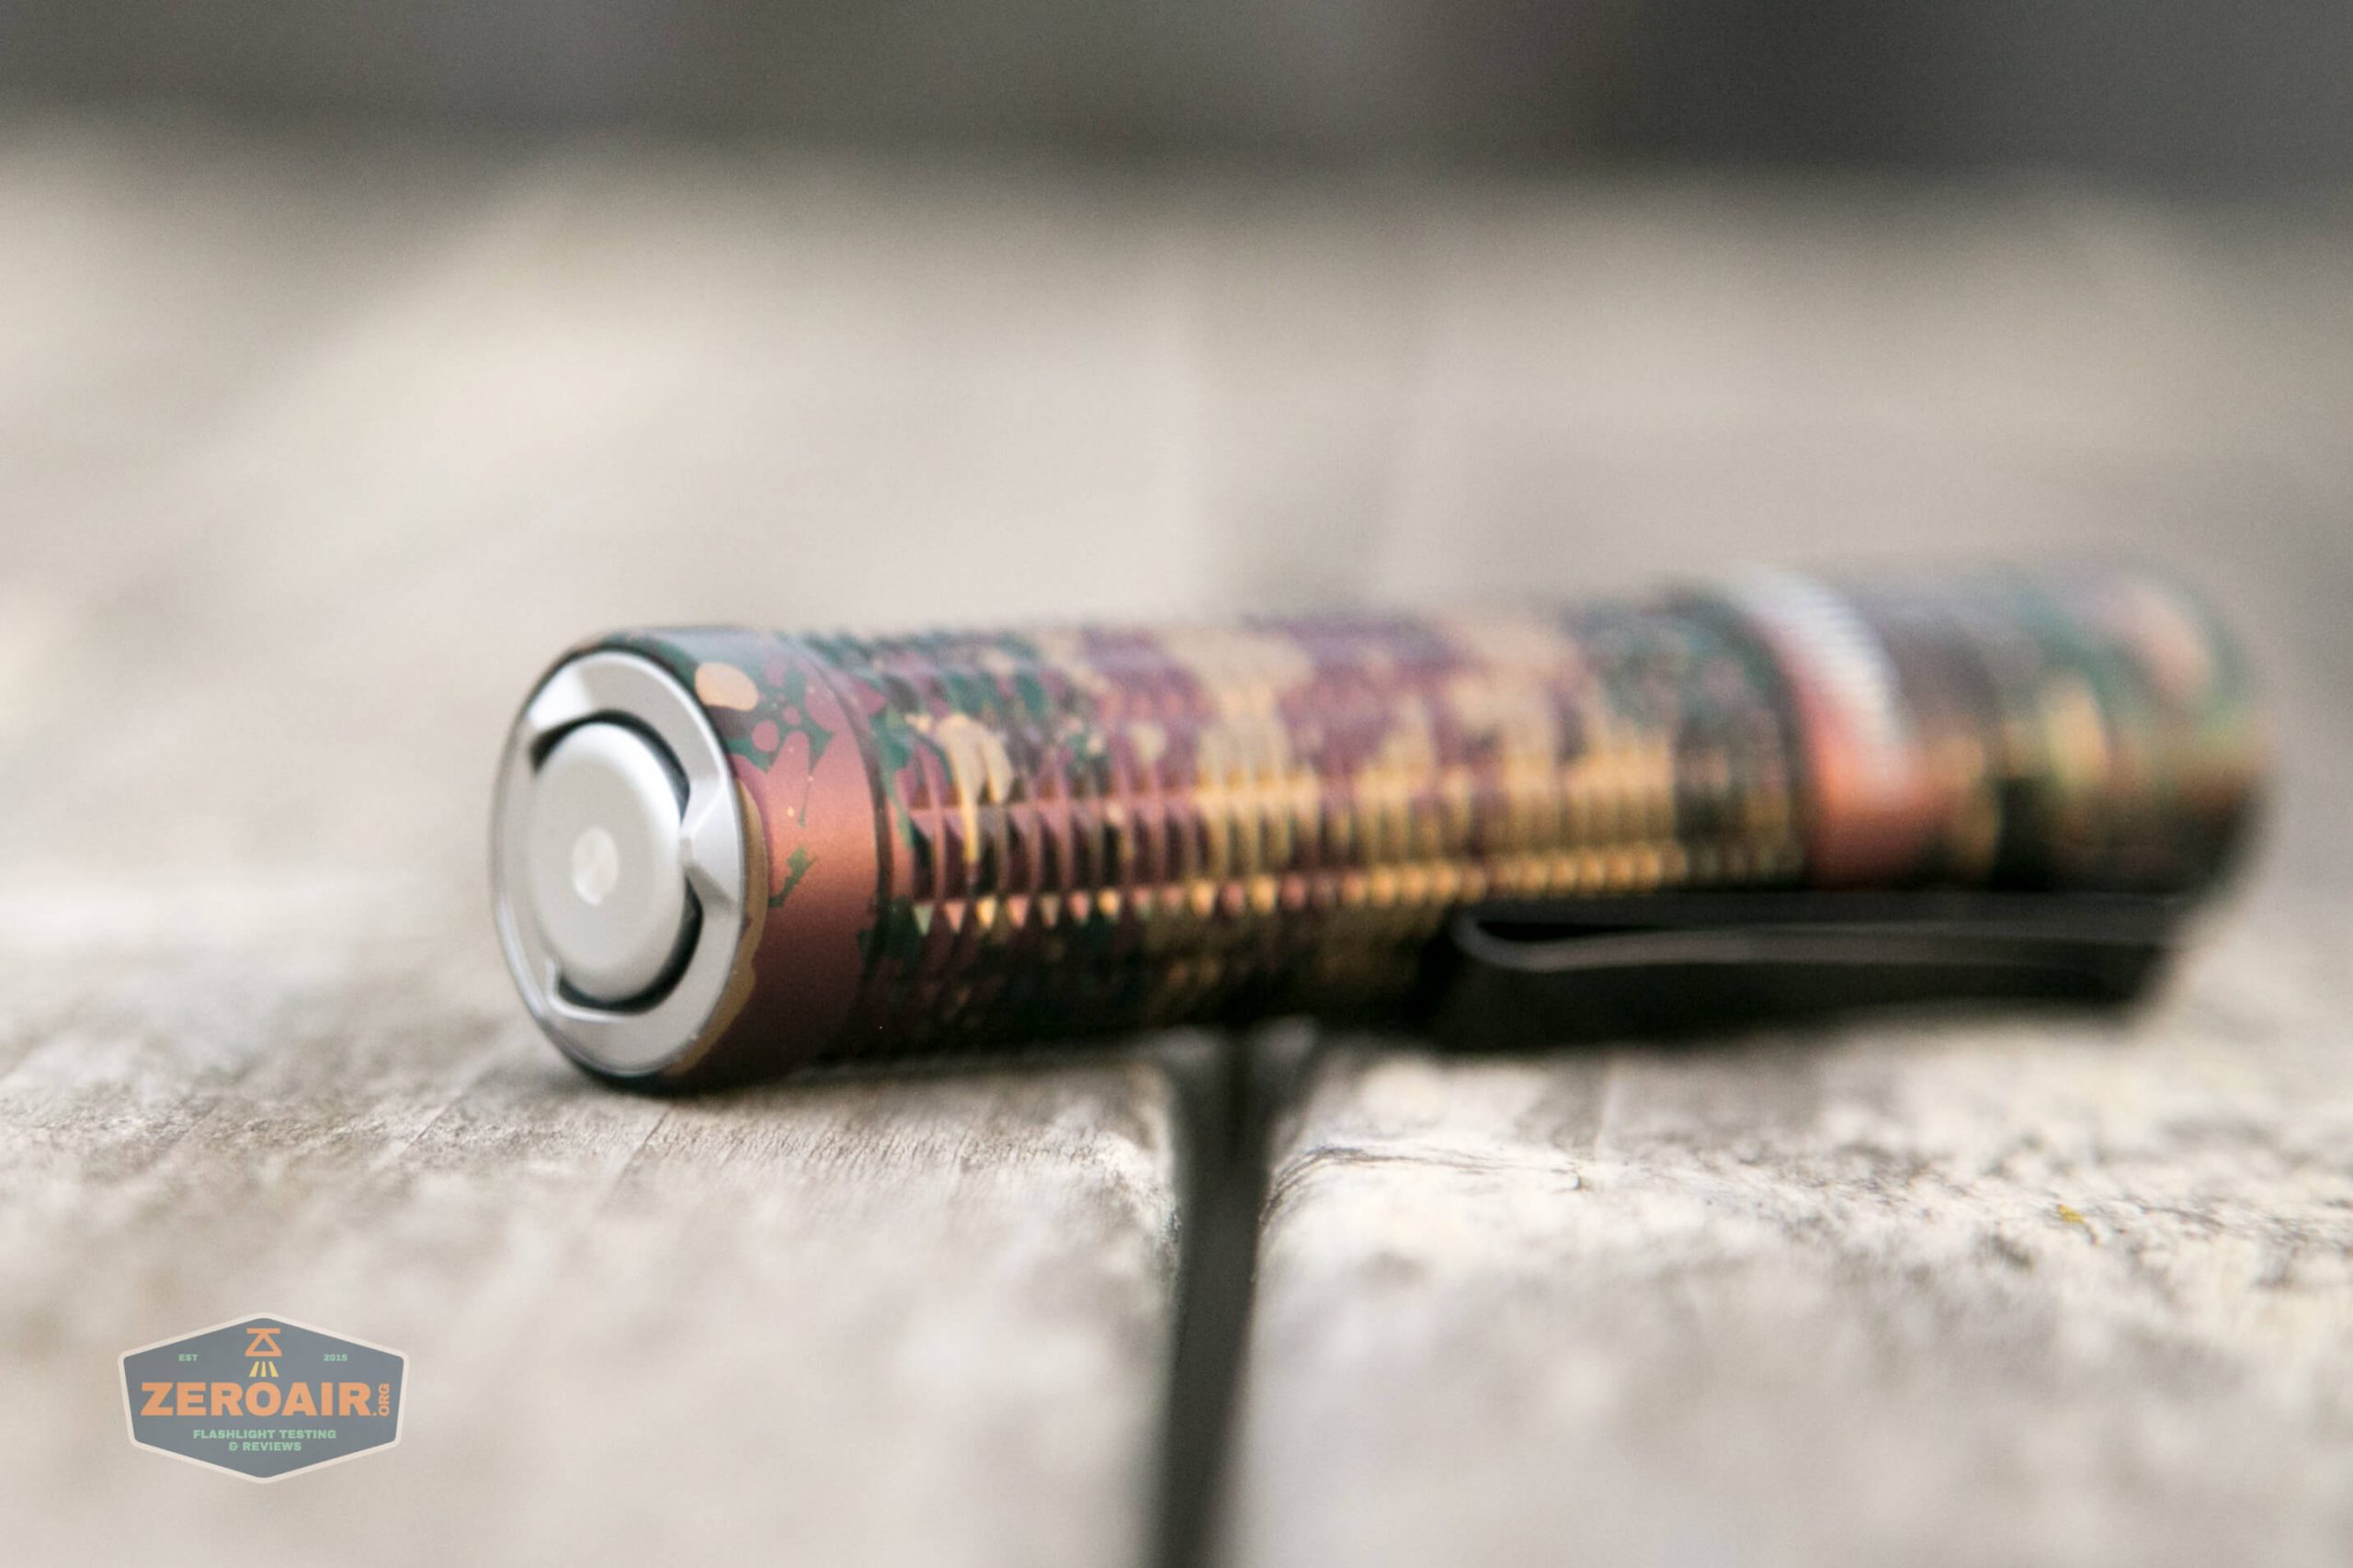
The Warrior Mini will also reliably stand on the charge base.

The head comes off, but there are only two parts; the tail end does not come apart or off.
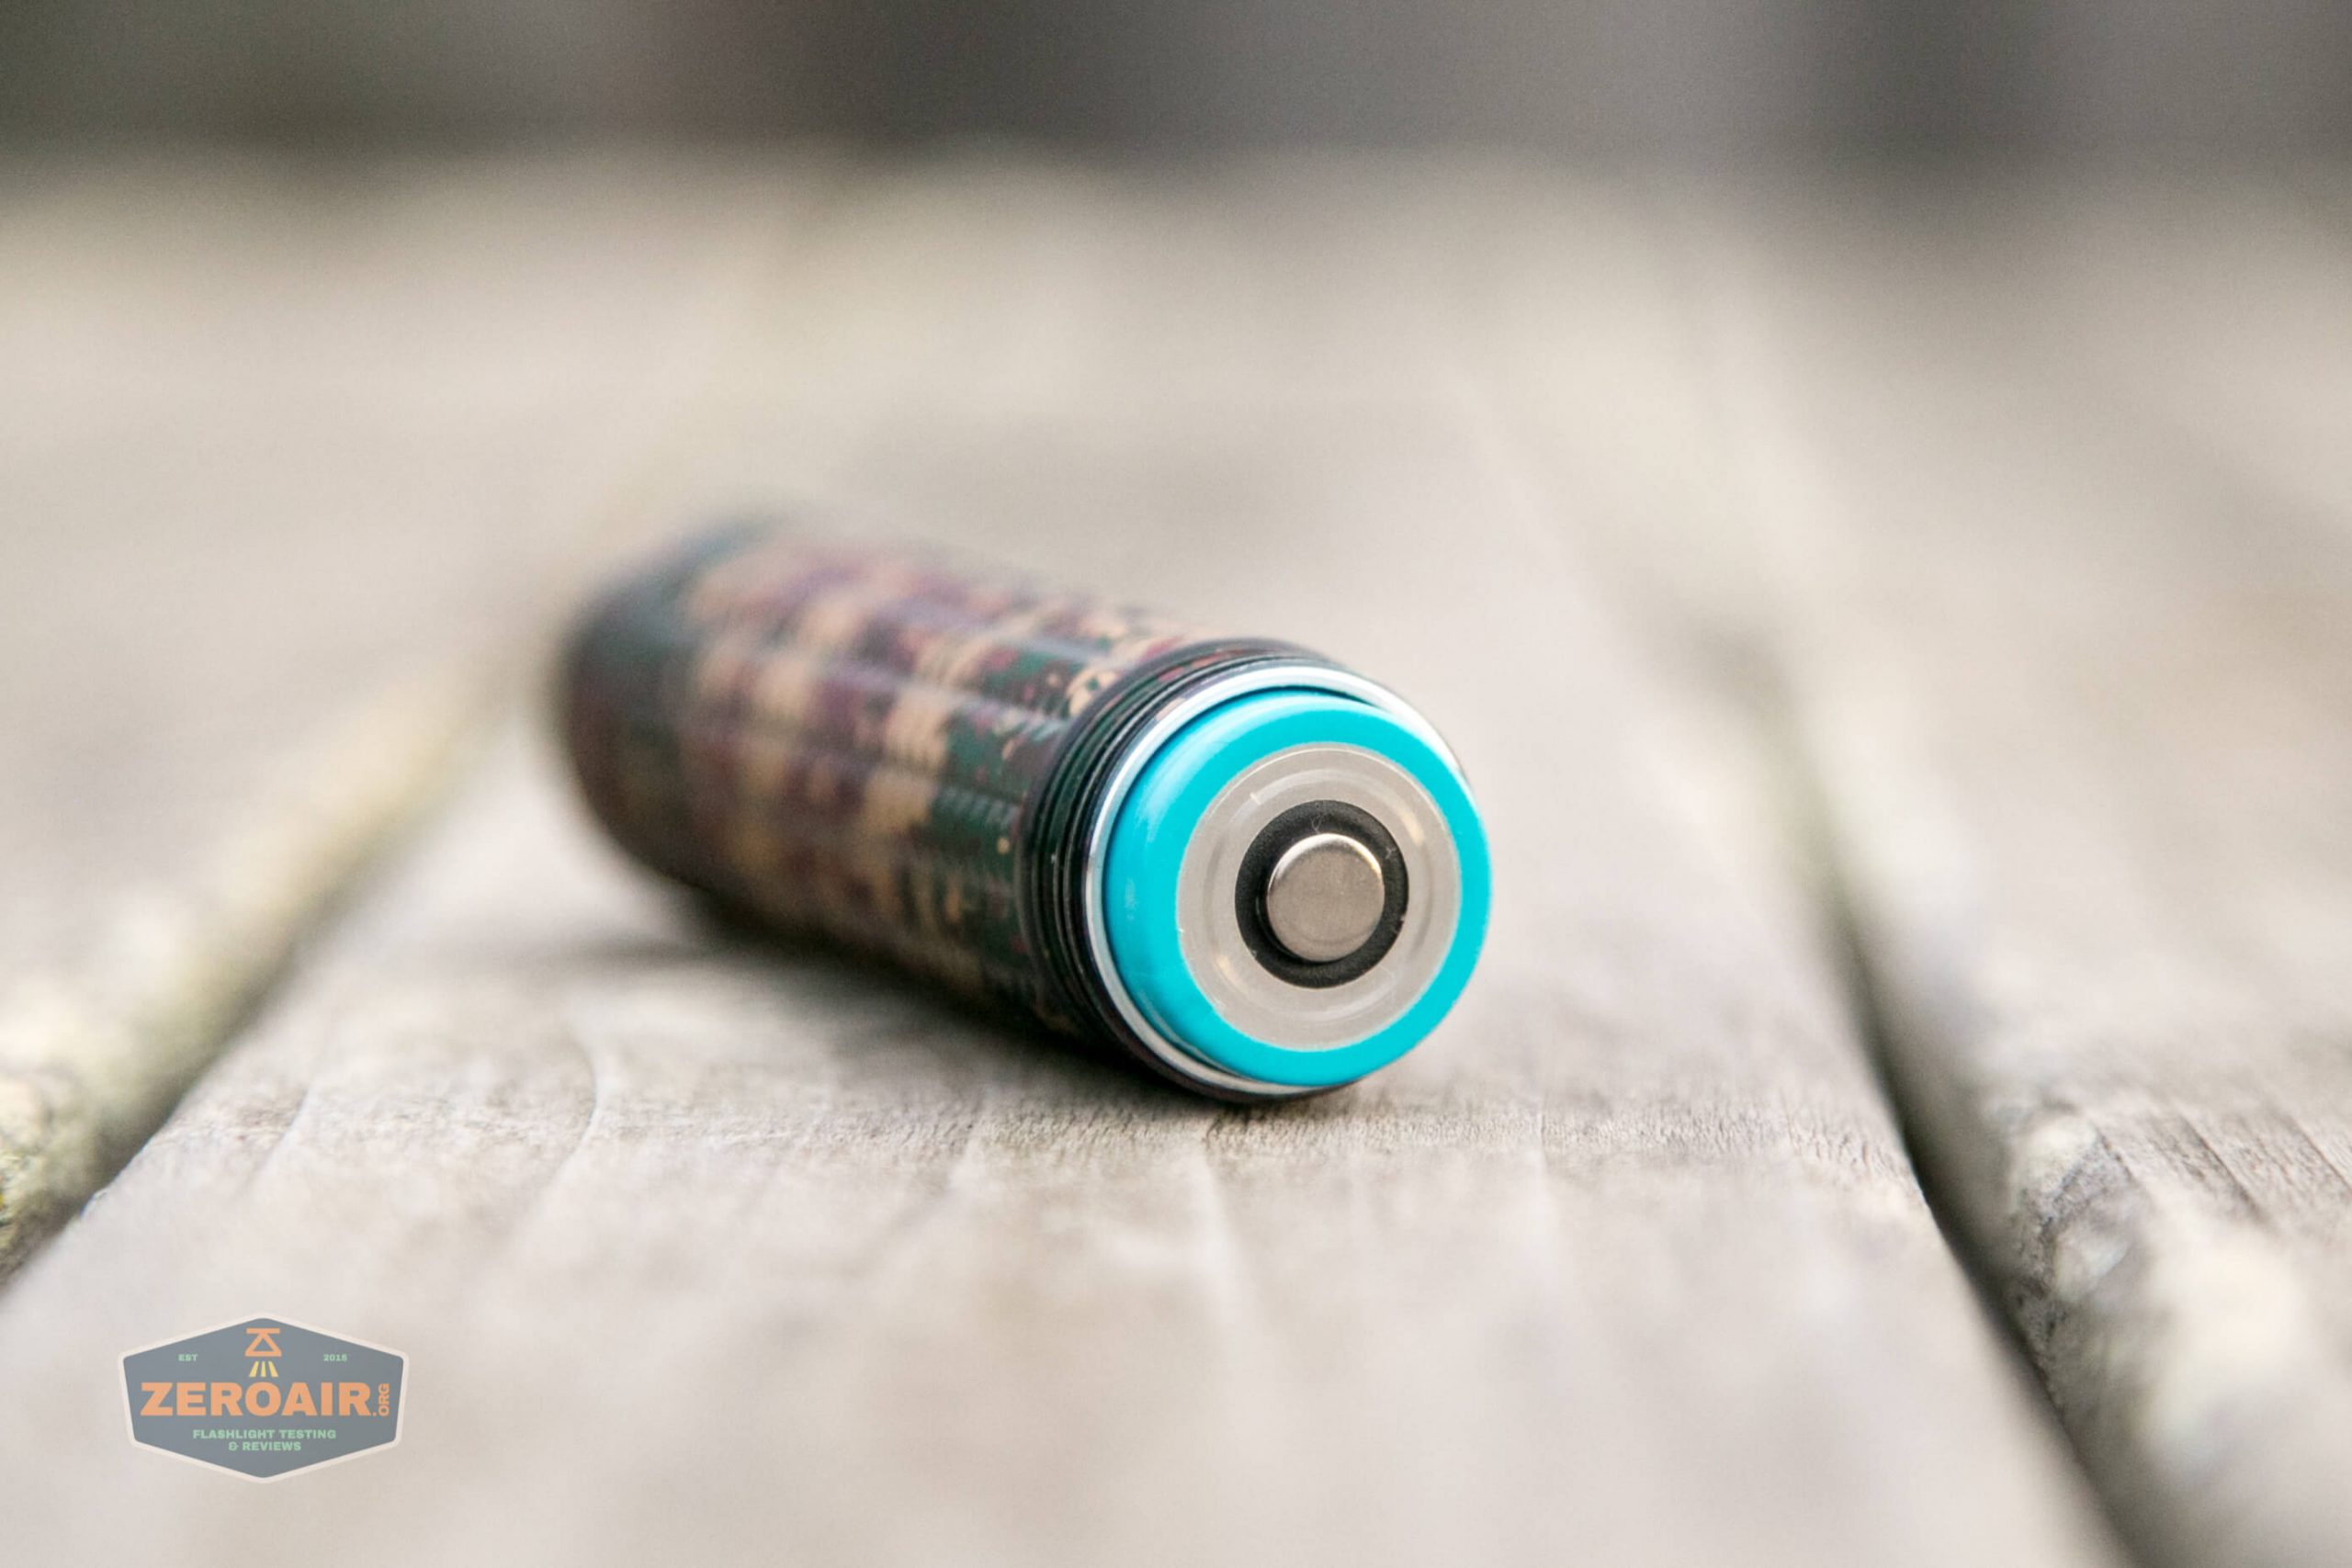
Inside the head, you can see the contacts that make the proprietary customized cell work. There’s a spring for positive contact, and a brass retaining ring for contacting the negative terminal, which is also on the positive end of the cell.
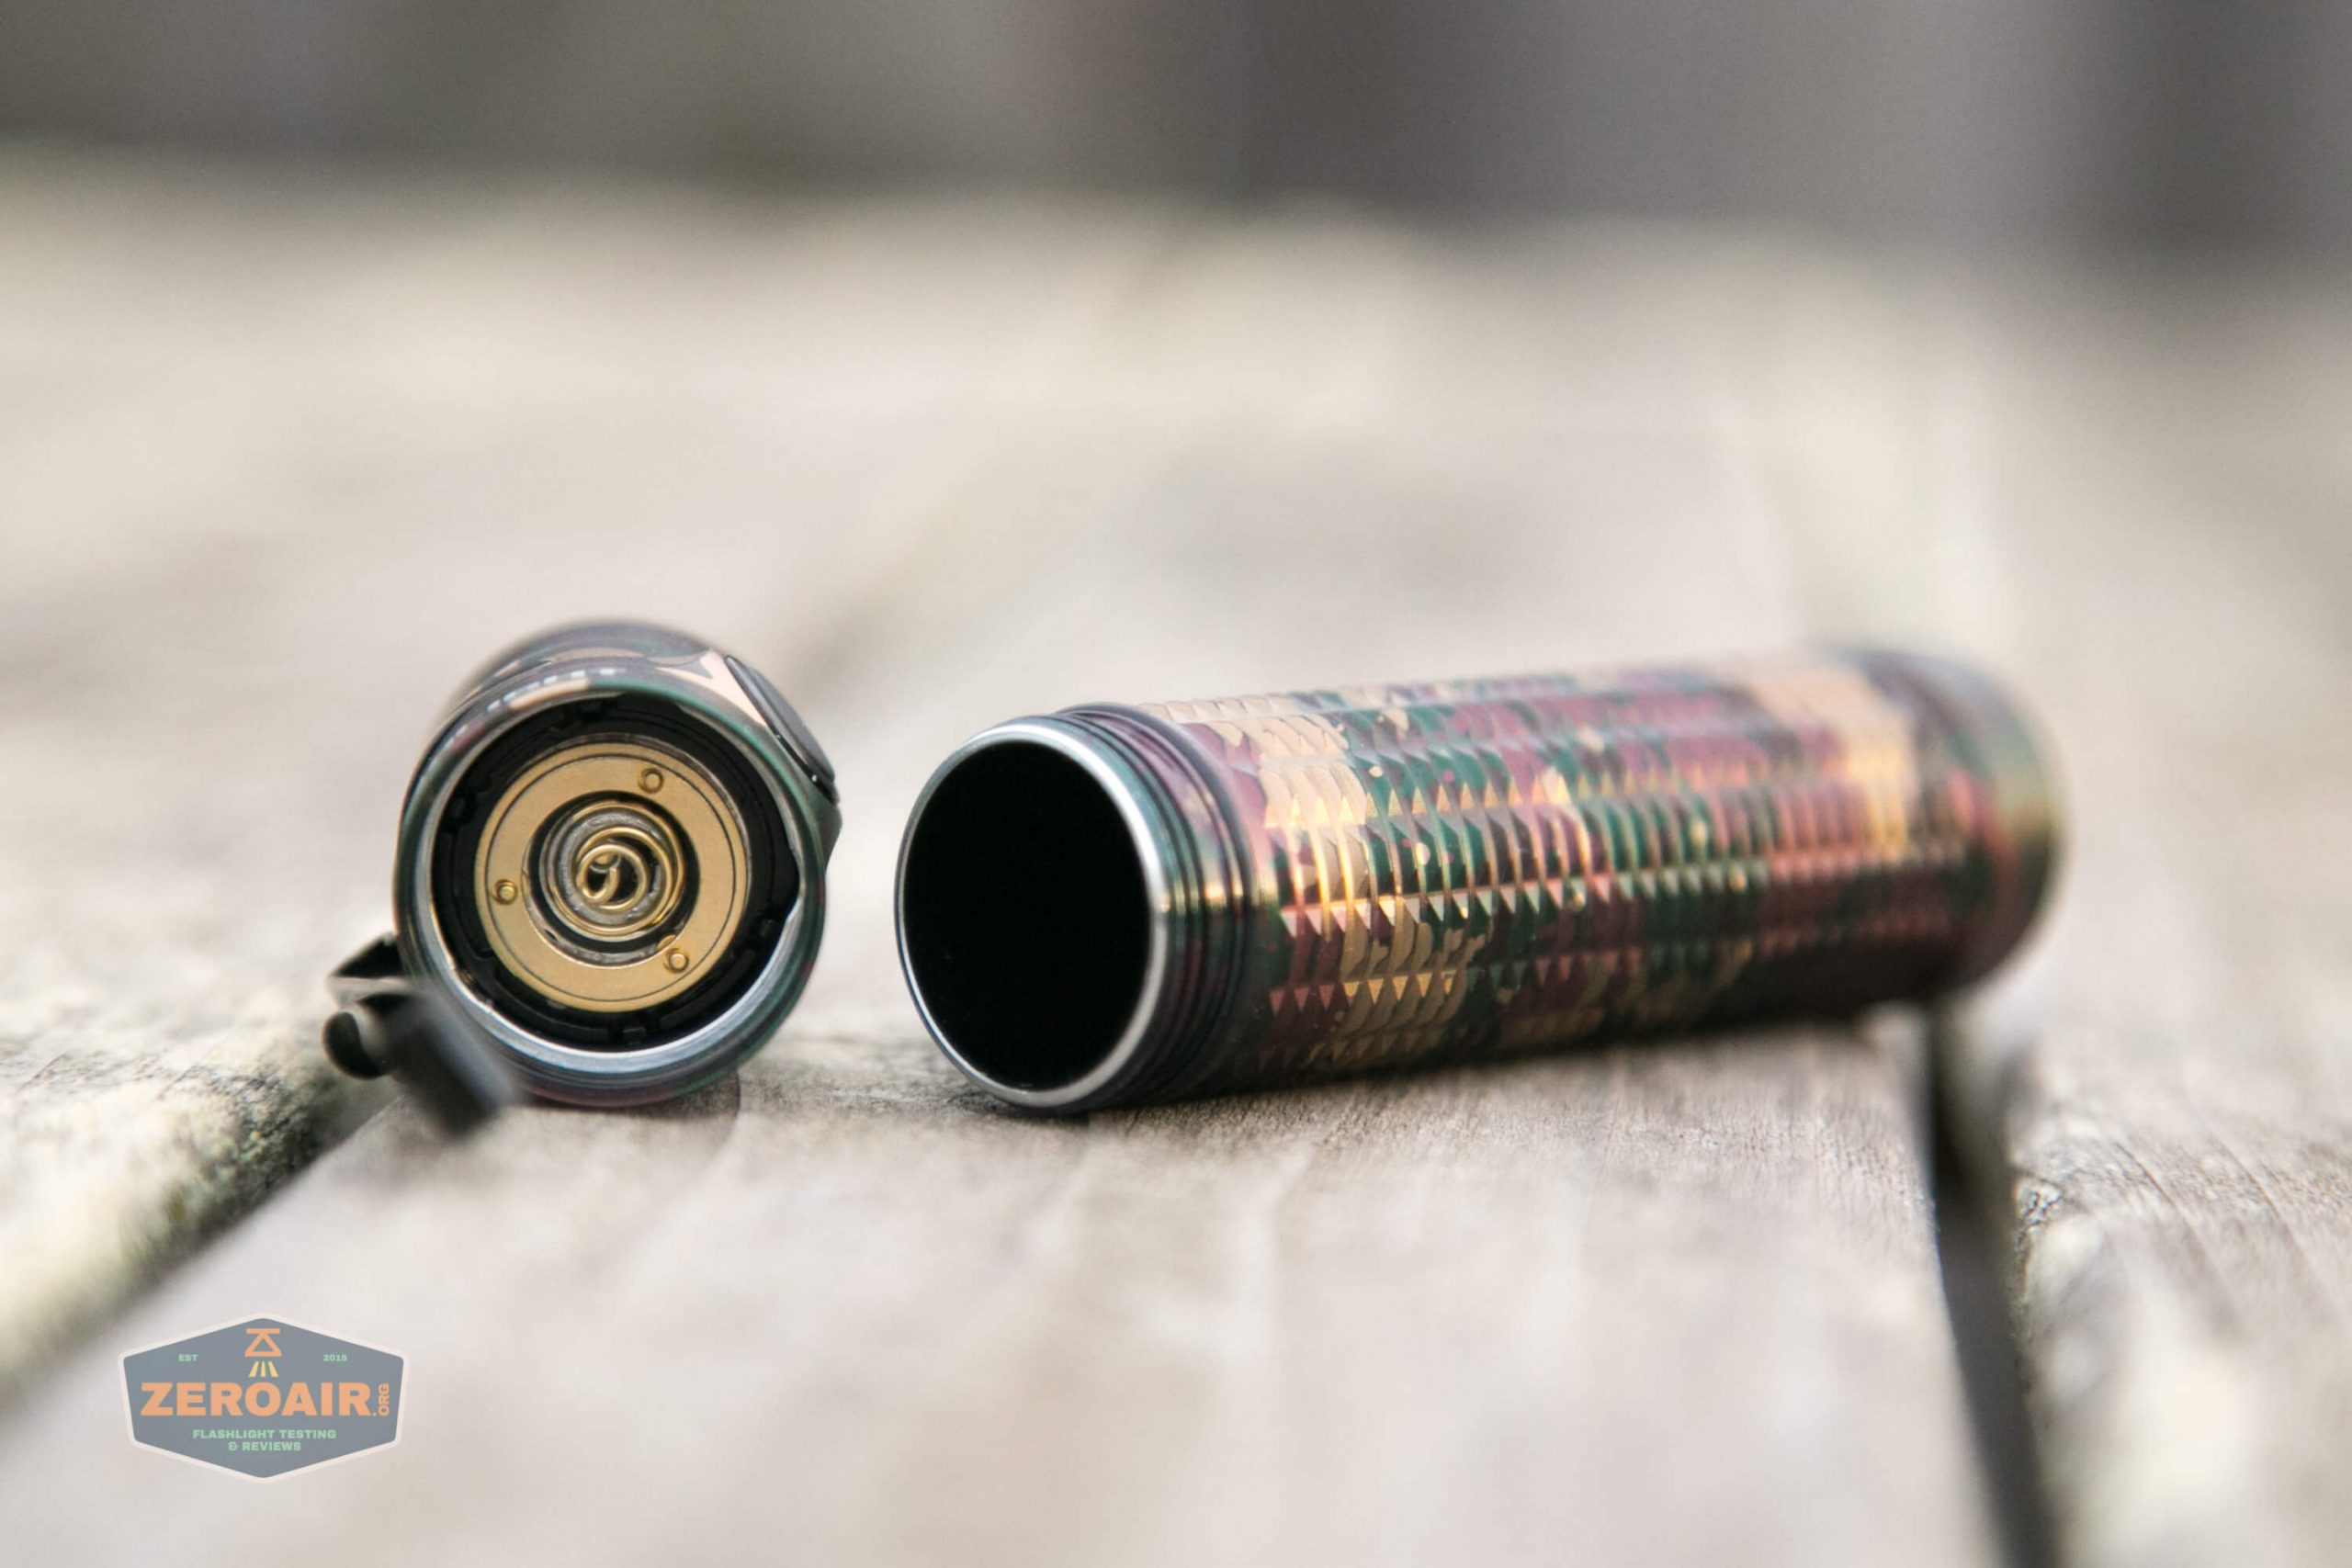
The tail also has a spring and a retaining ring.

The threads are coated (anodized? not sure….), square-cut, and not very long. They are nice threads.

Under the clip maintains the camo finish.
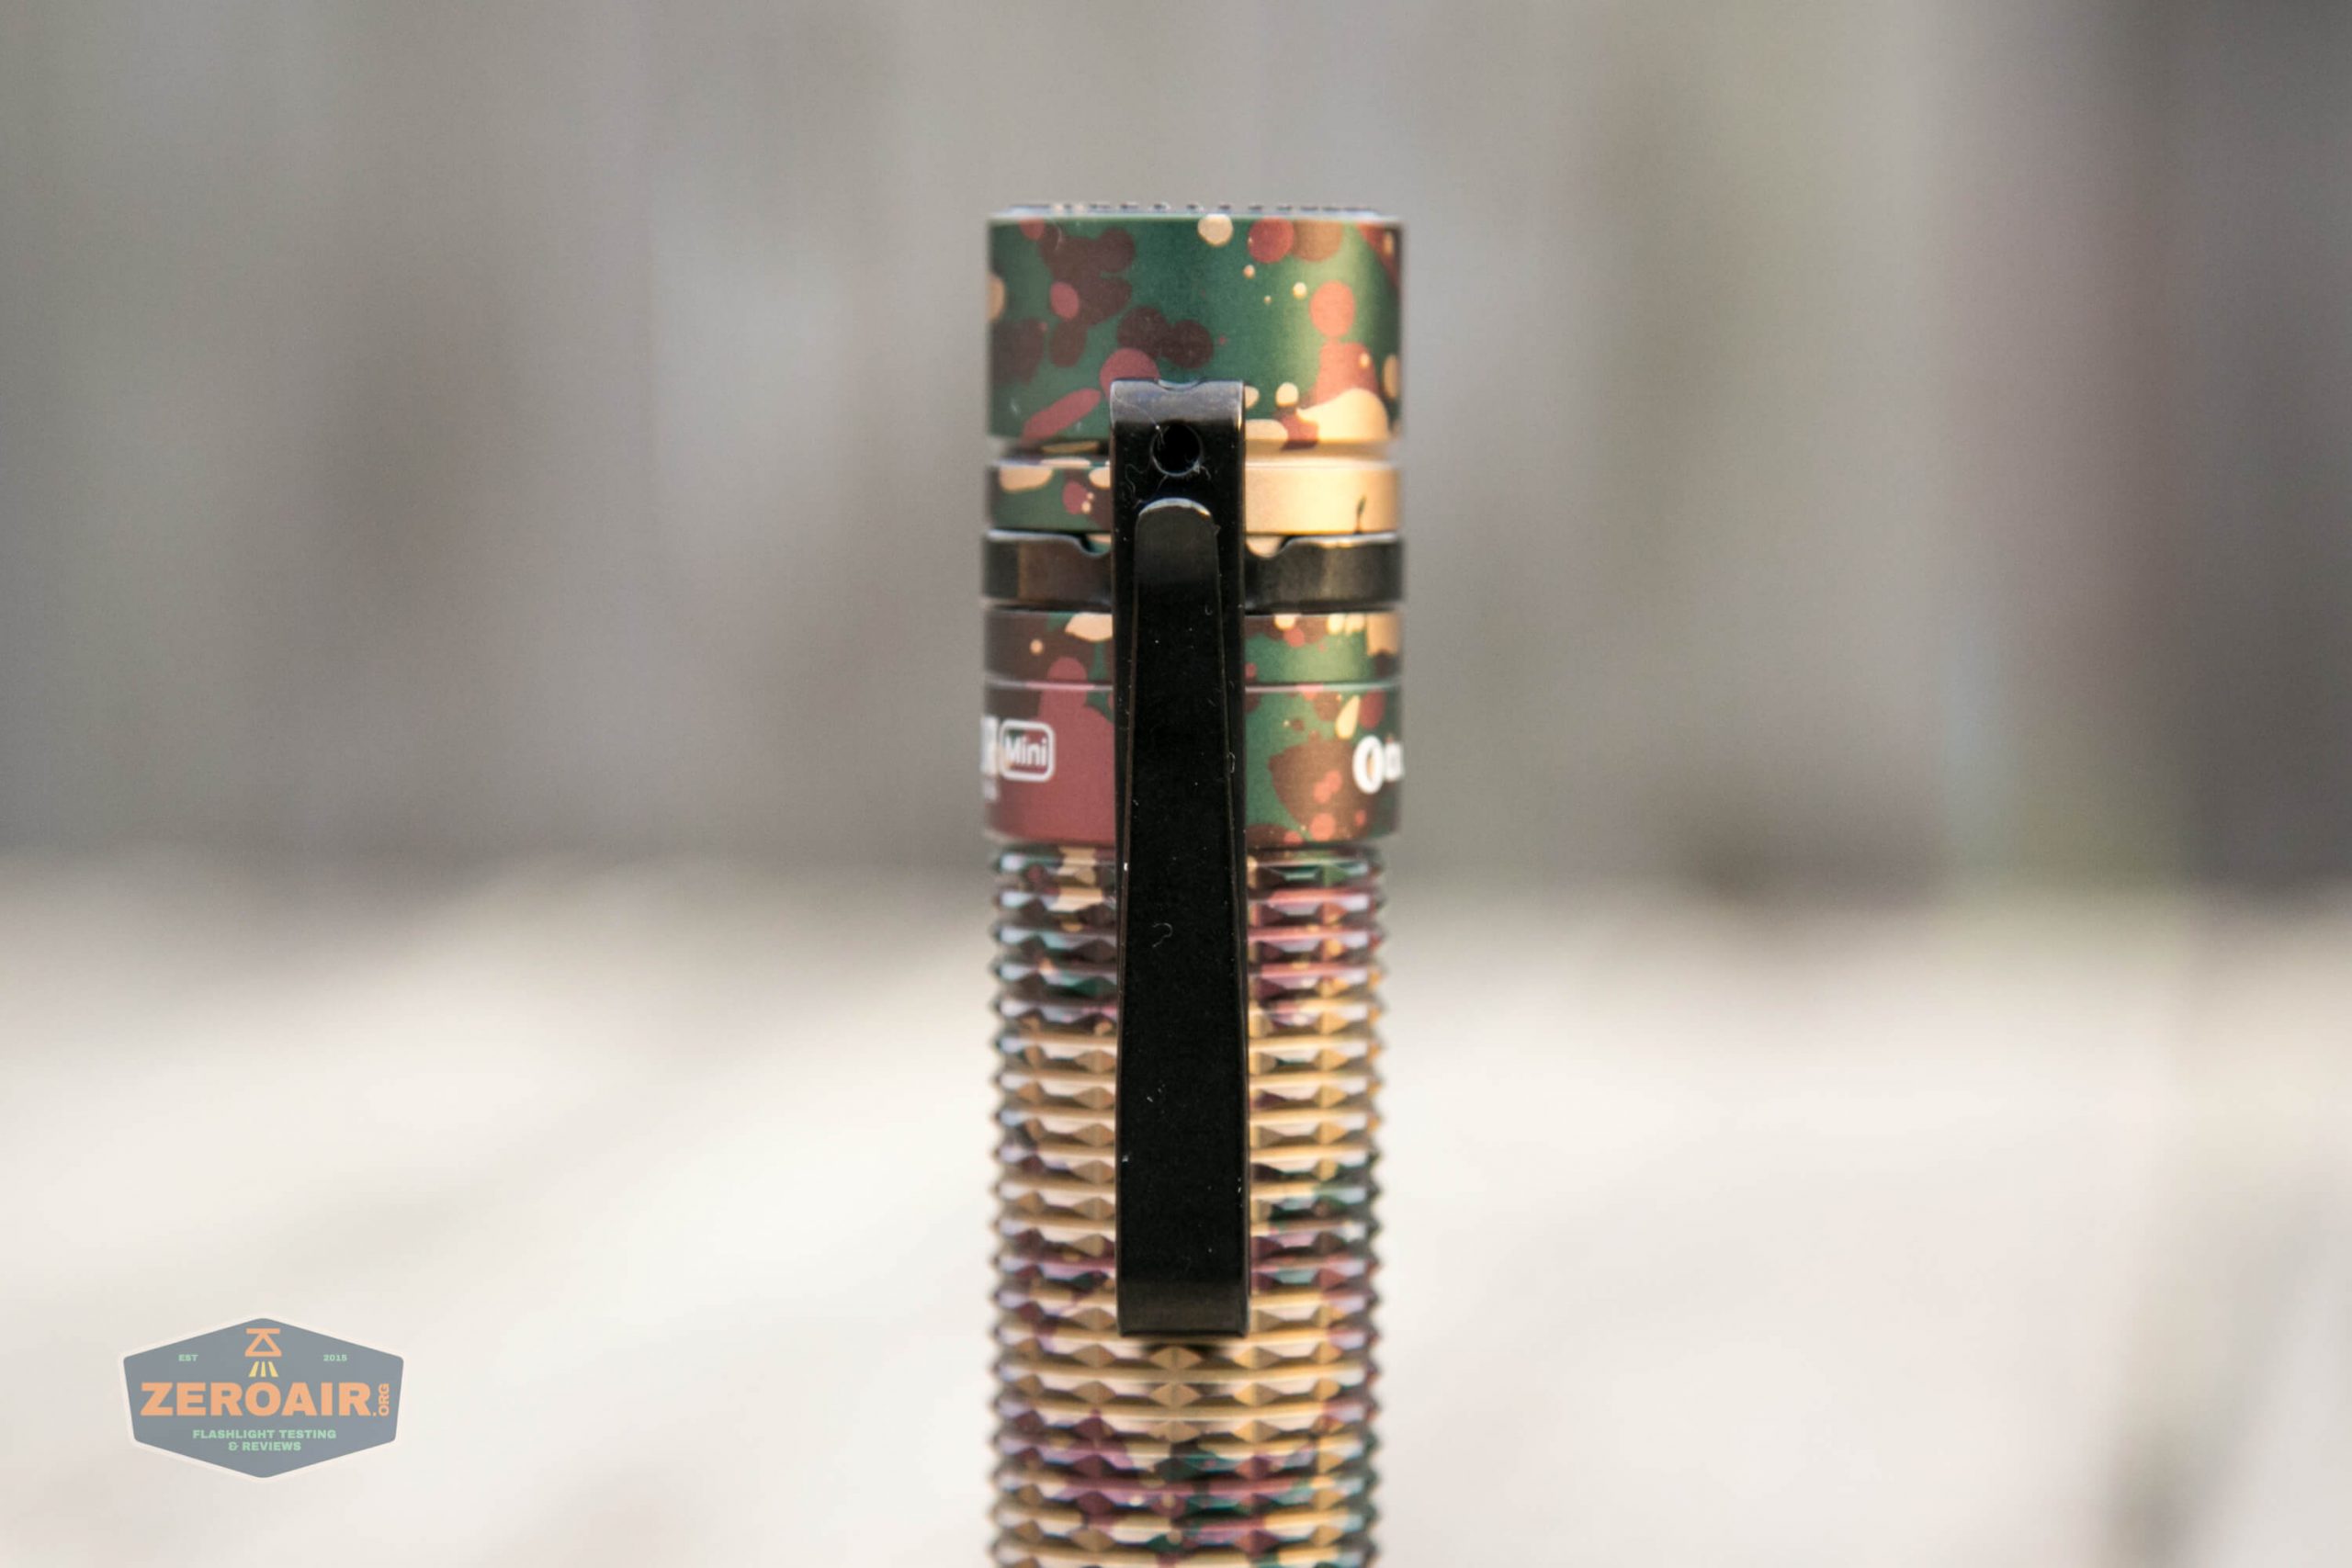
There’s a QR code hidden under the pocket clip, interestingly. I haven’t yet gotten it to scan, to see where it goes.
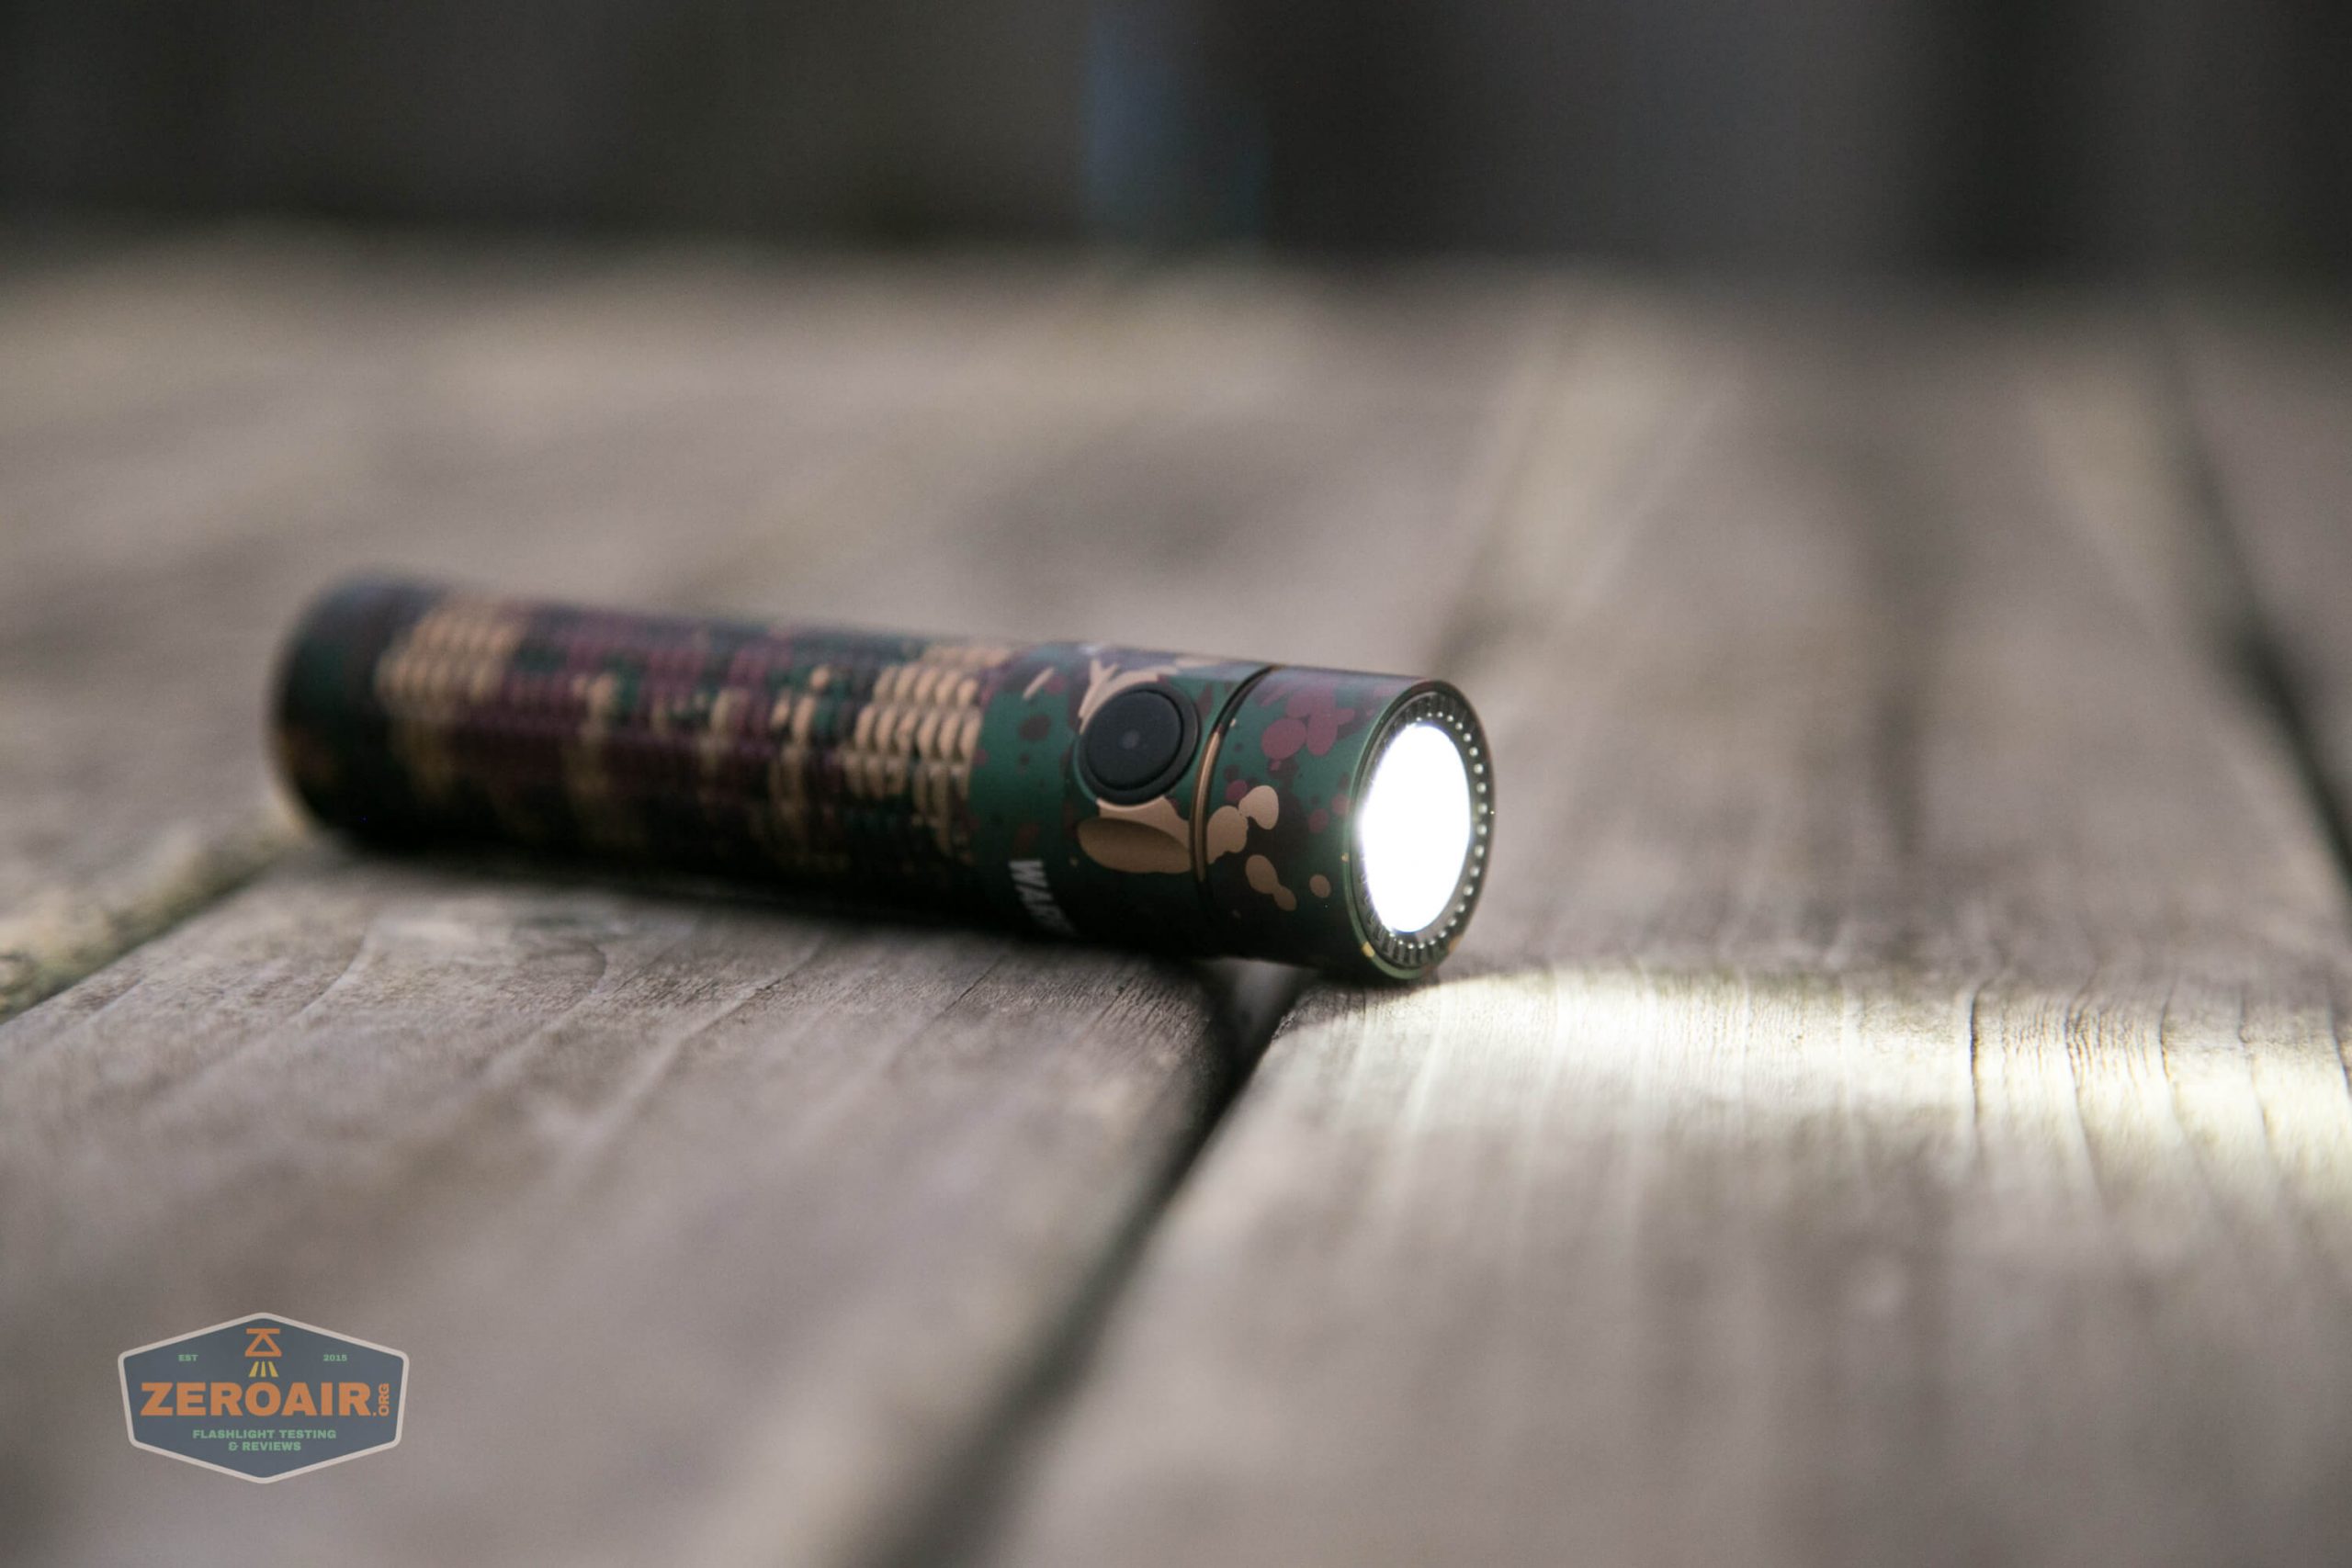
The bezel does provide some relief so that light escapes when headstanding.
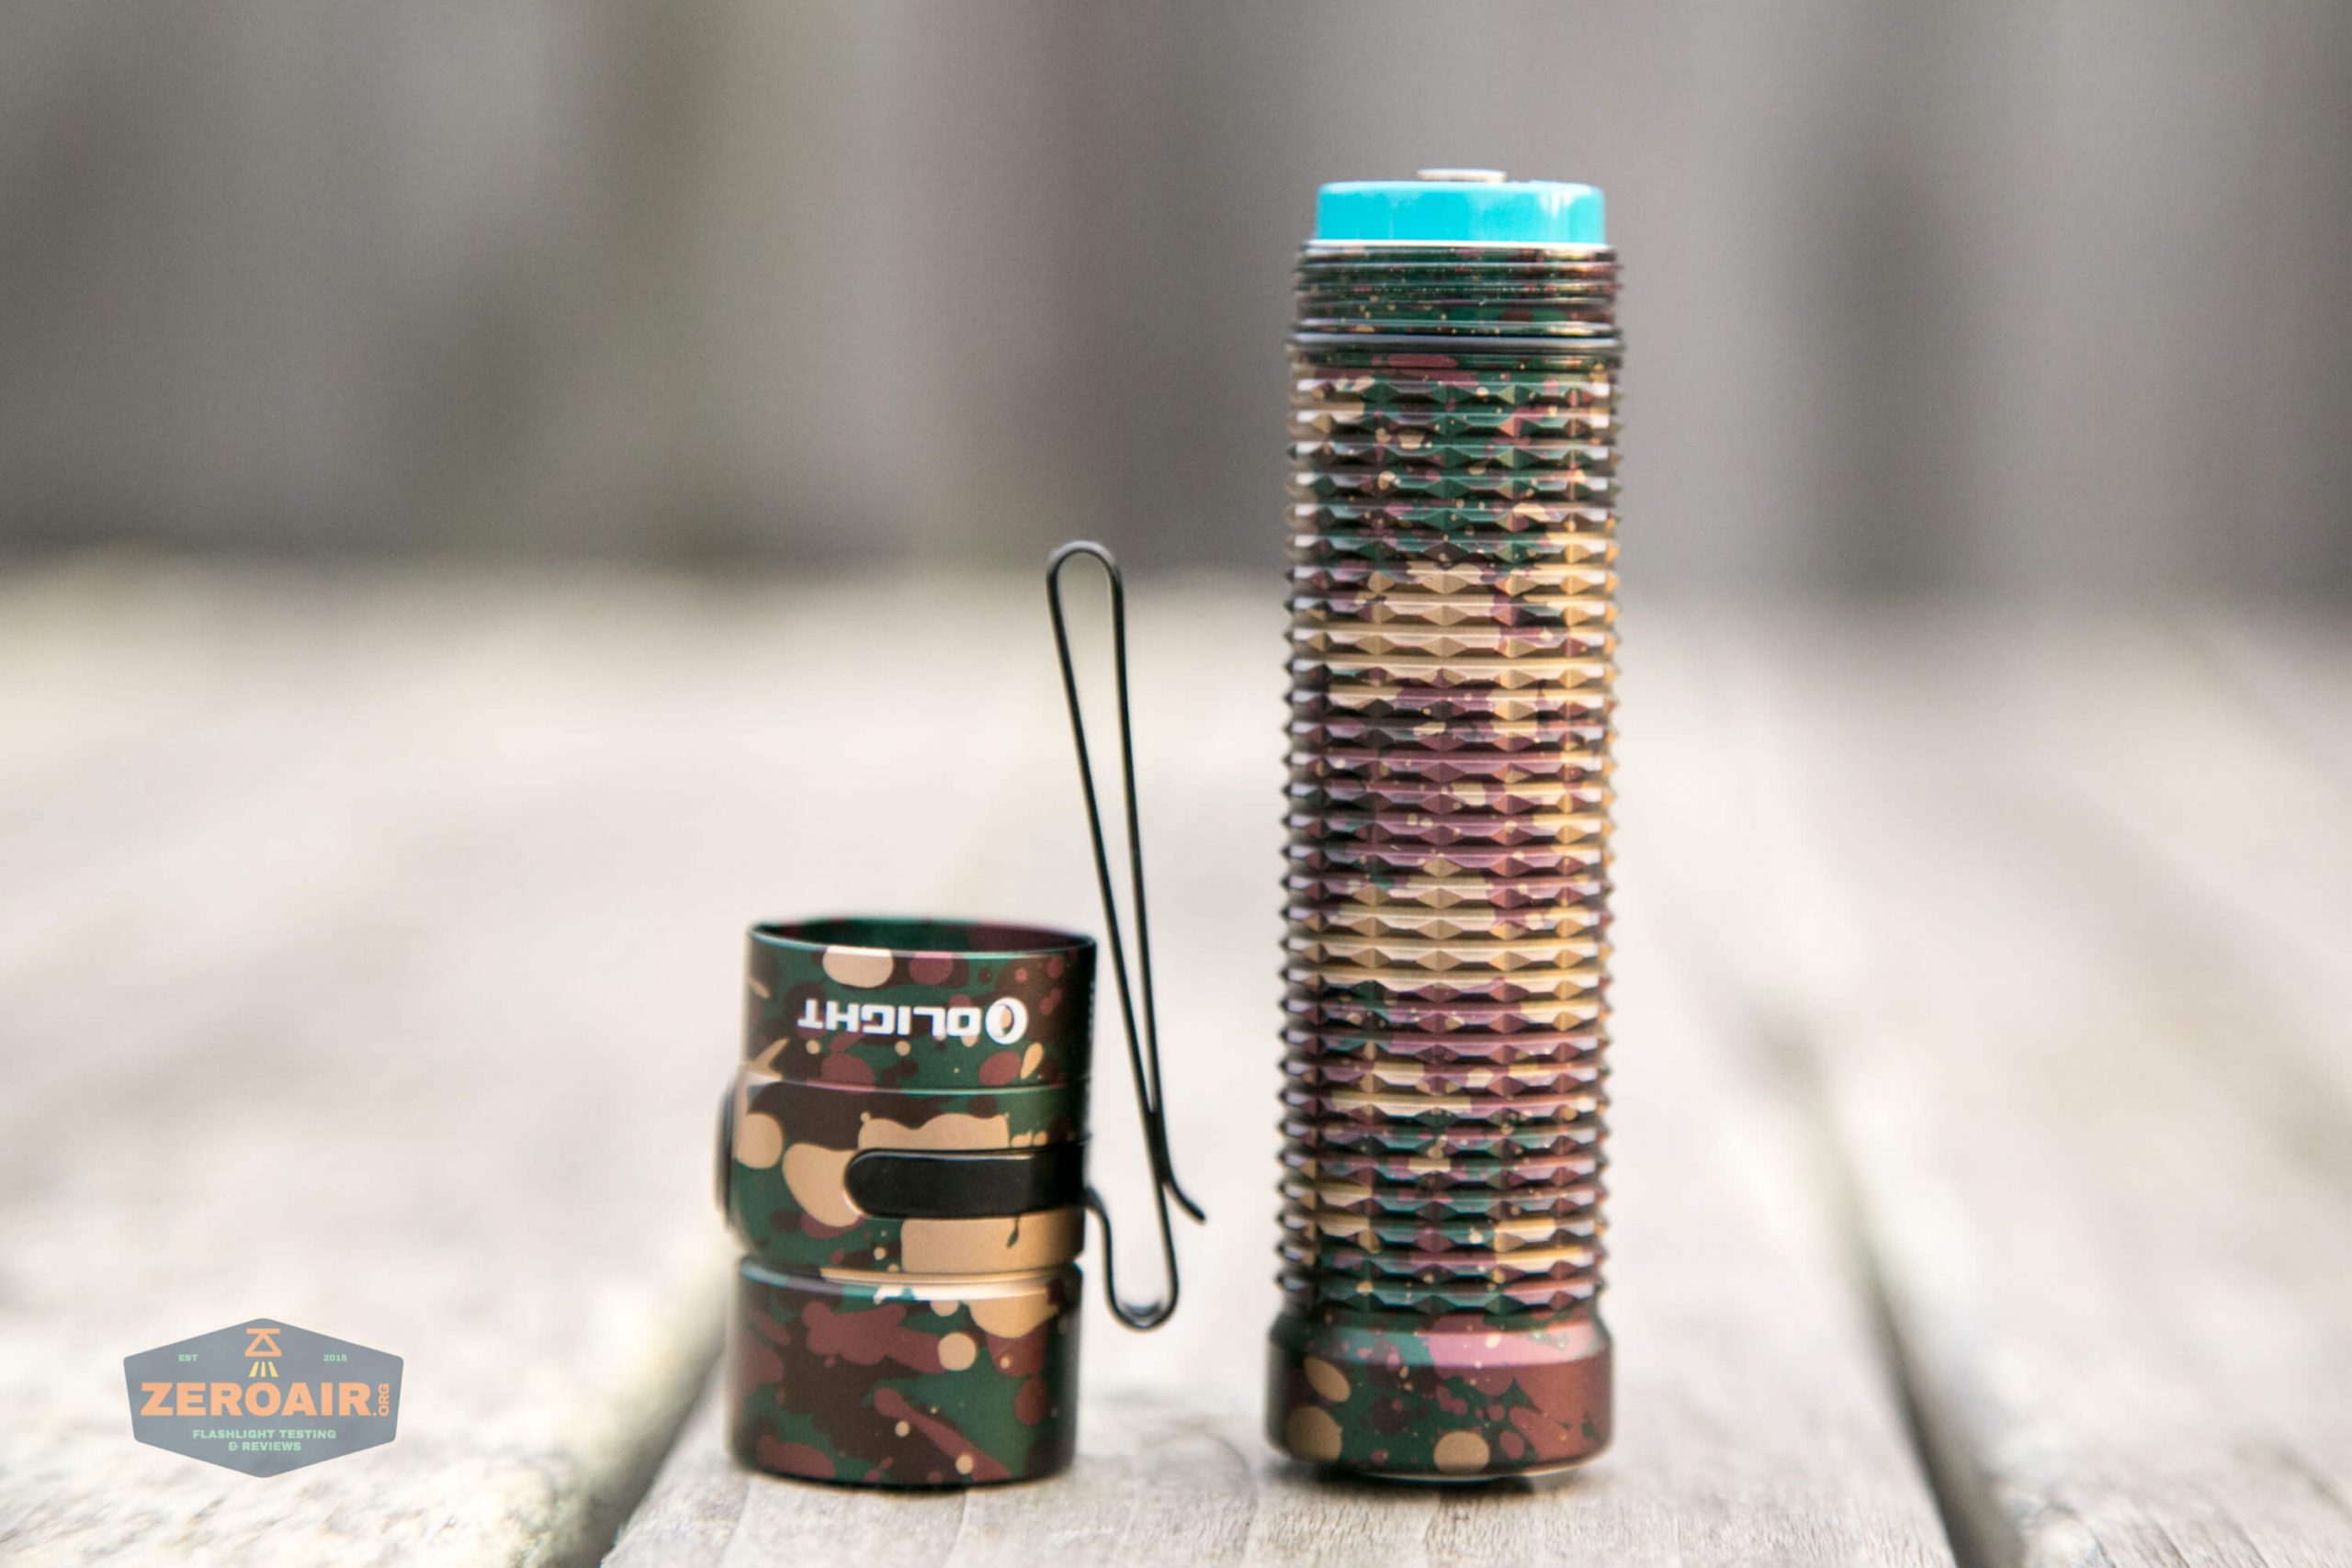
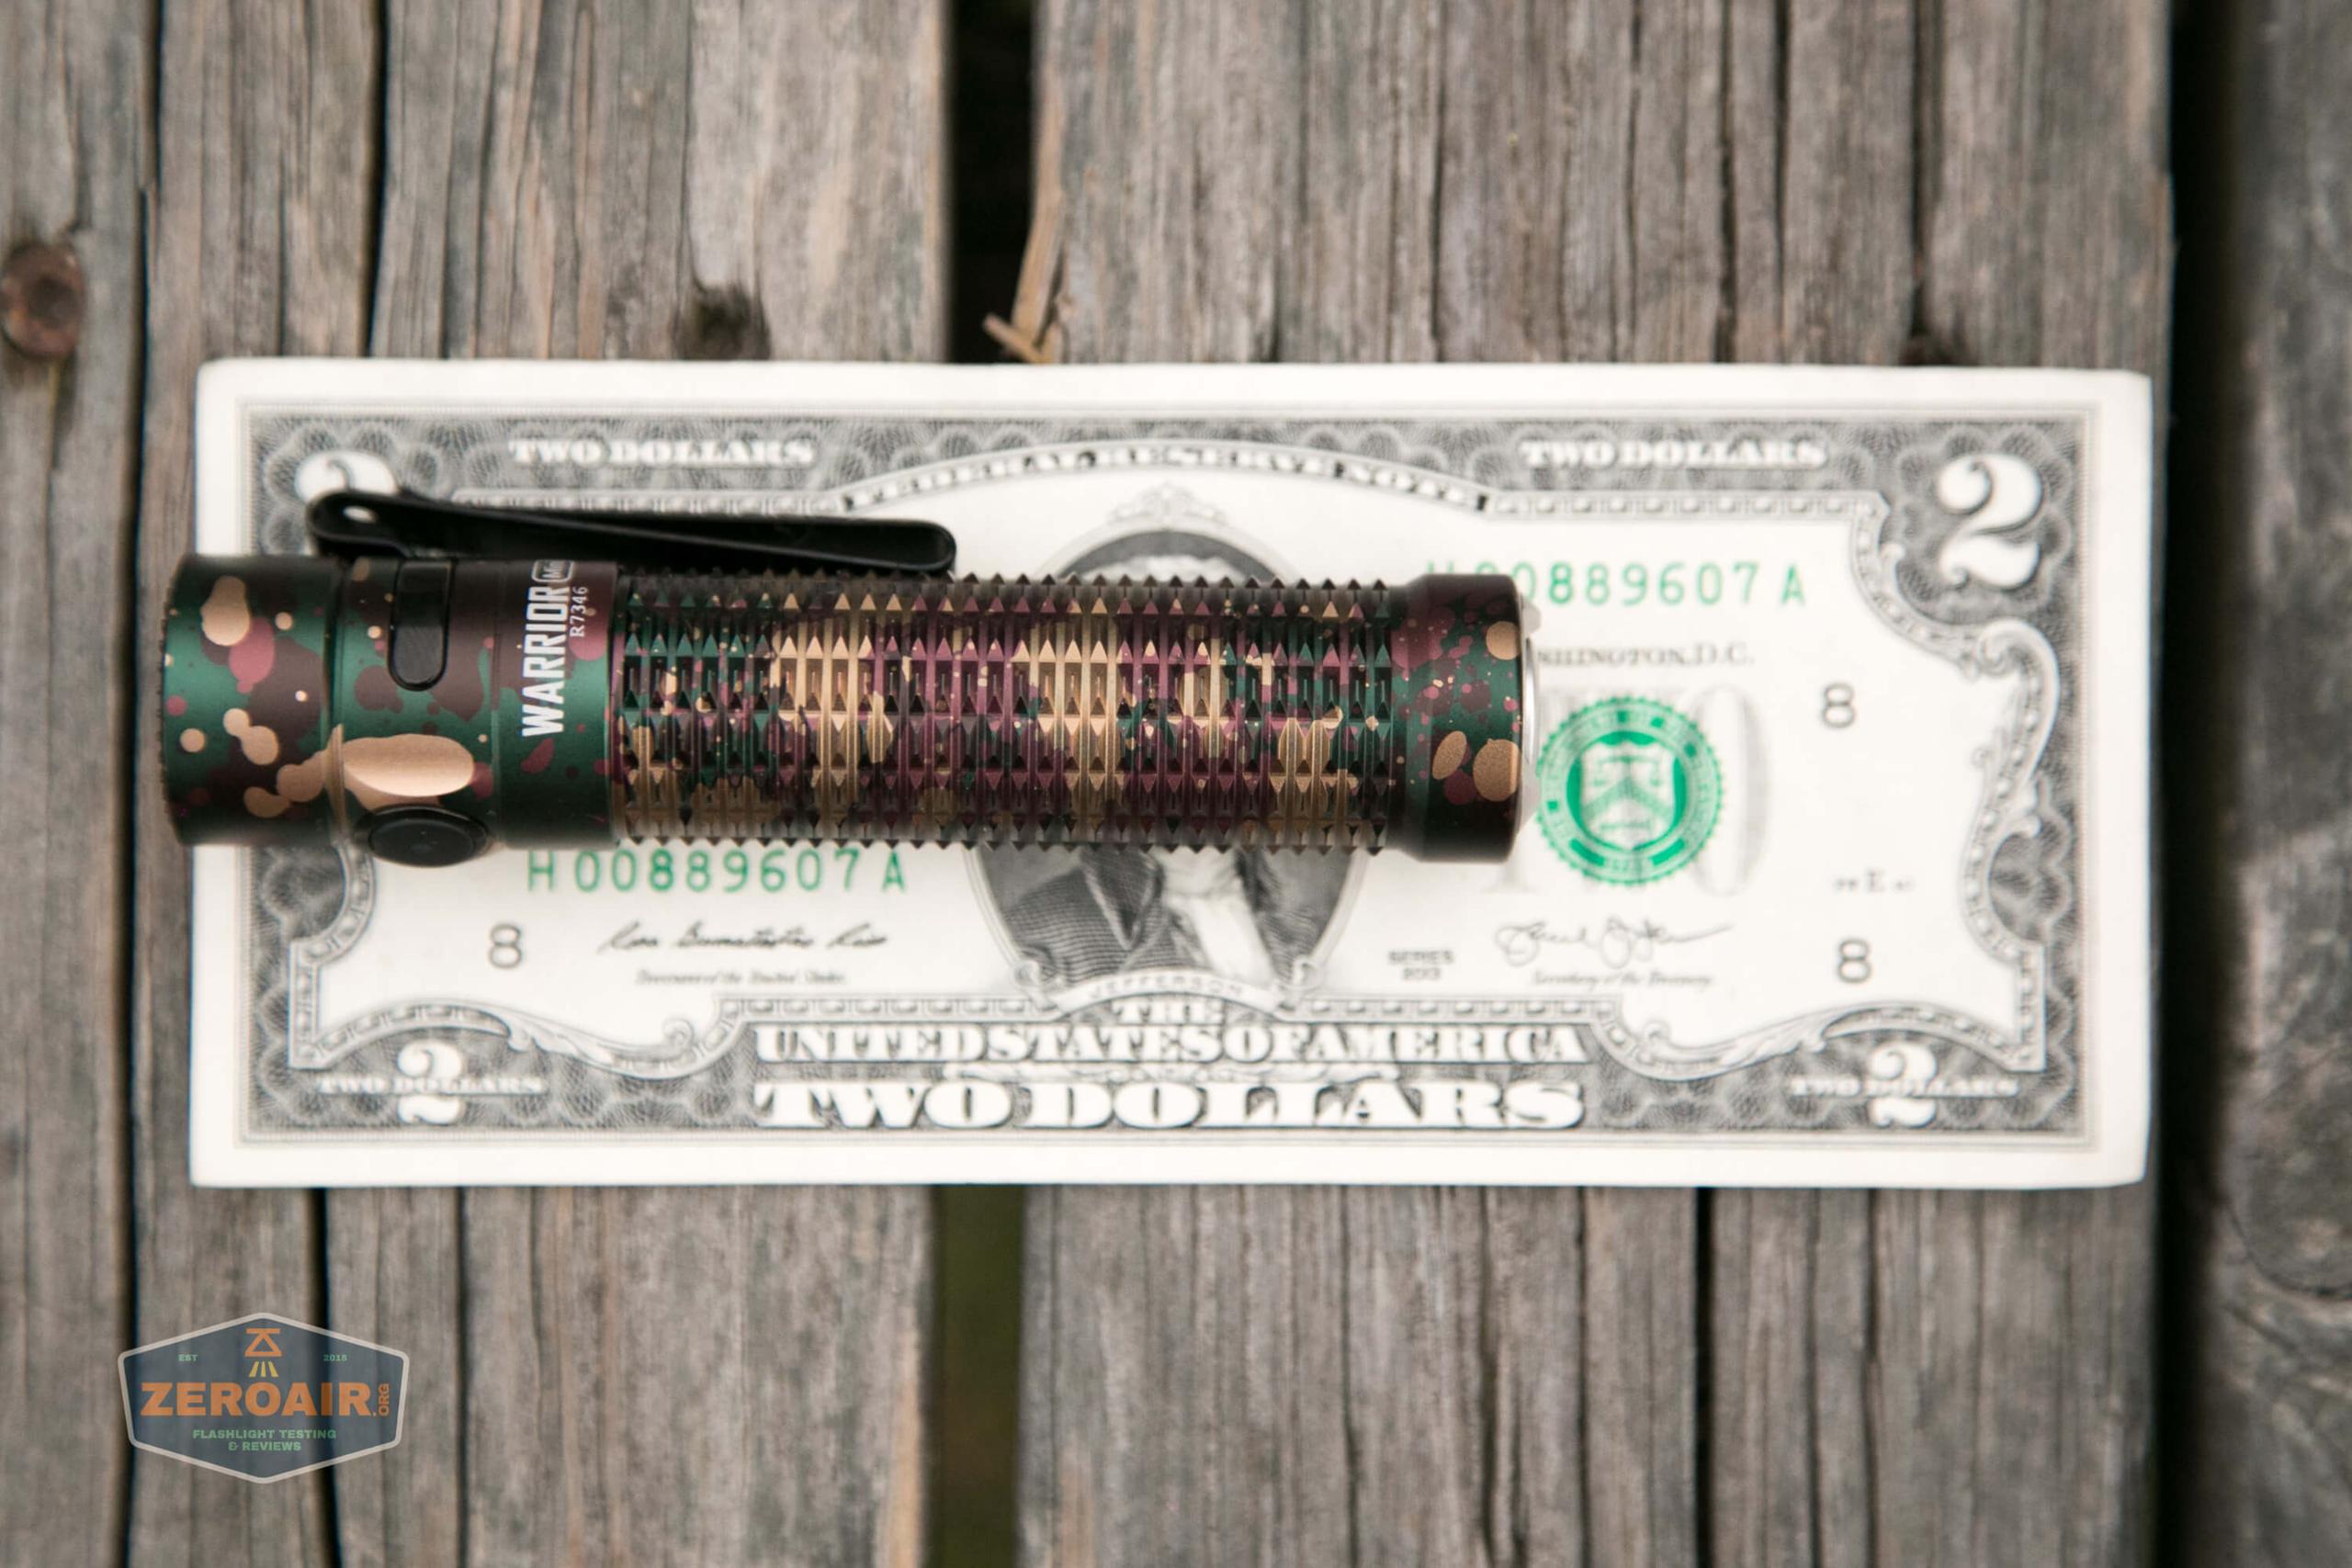
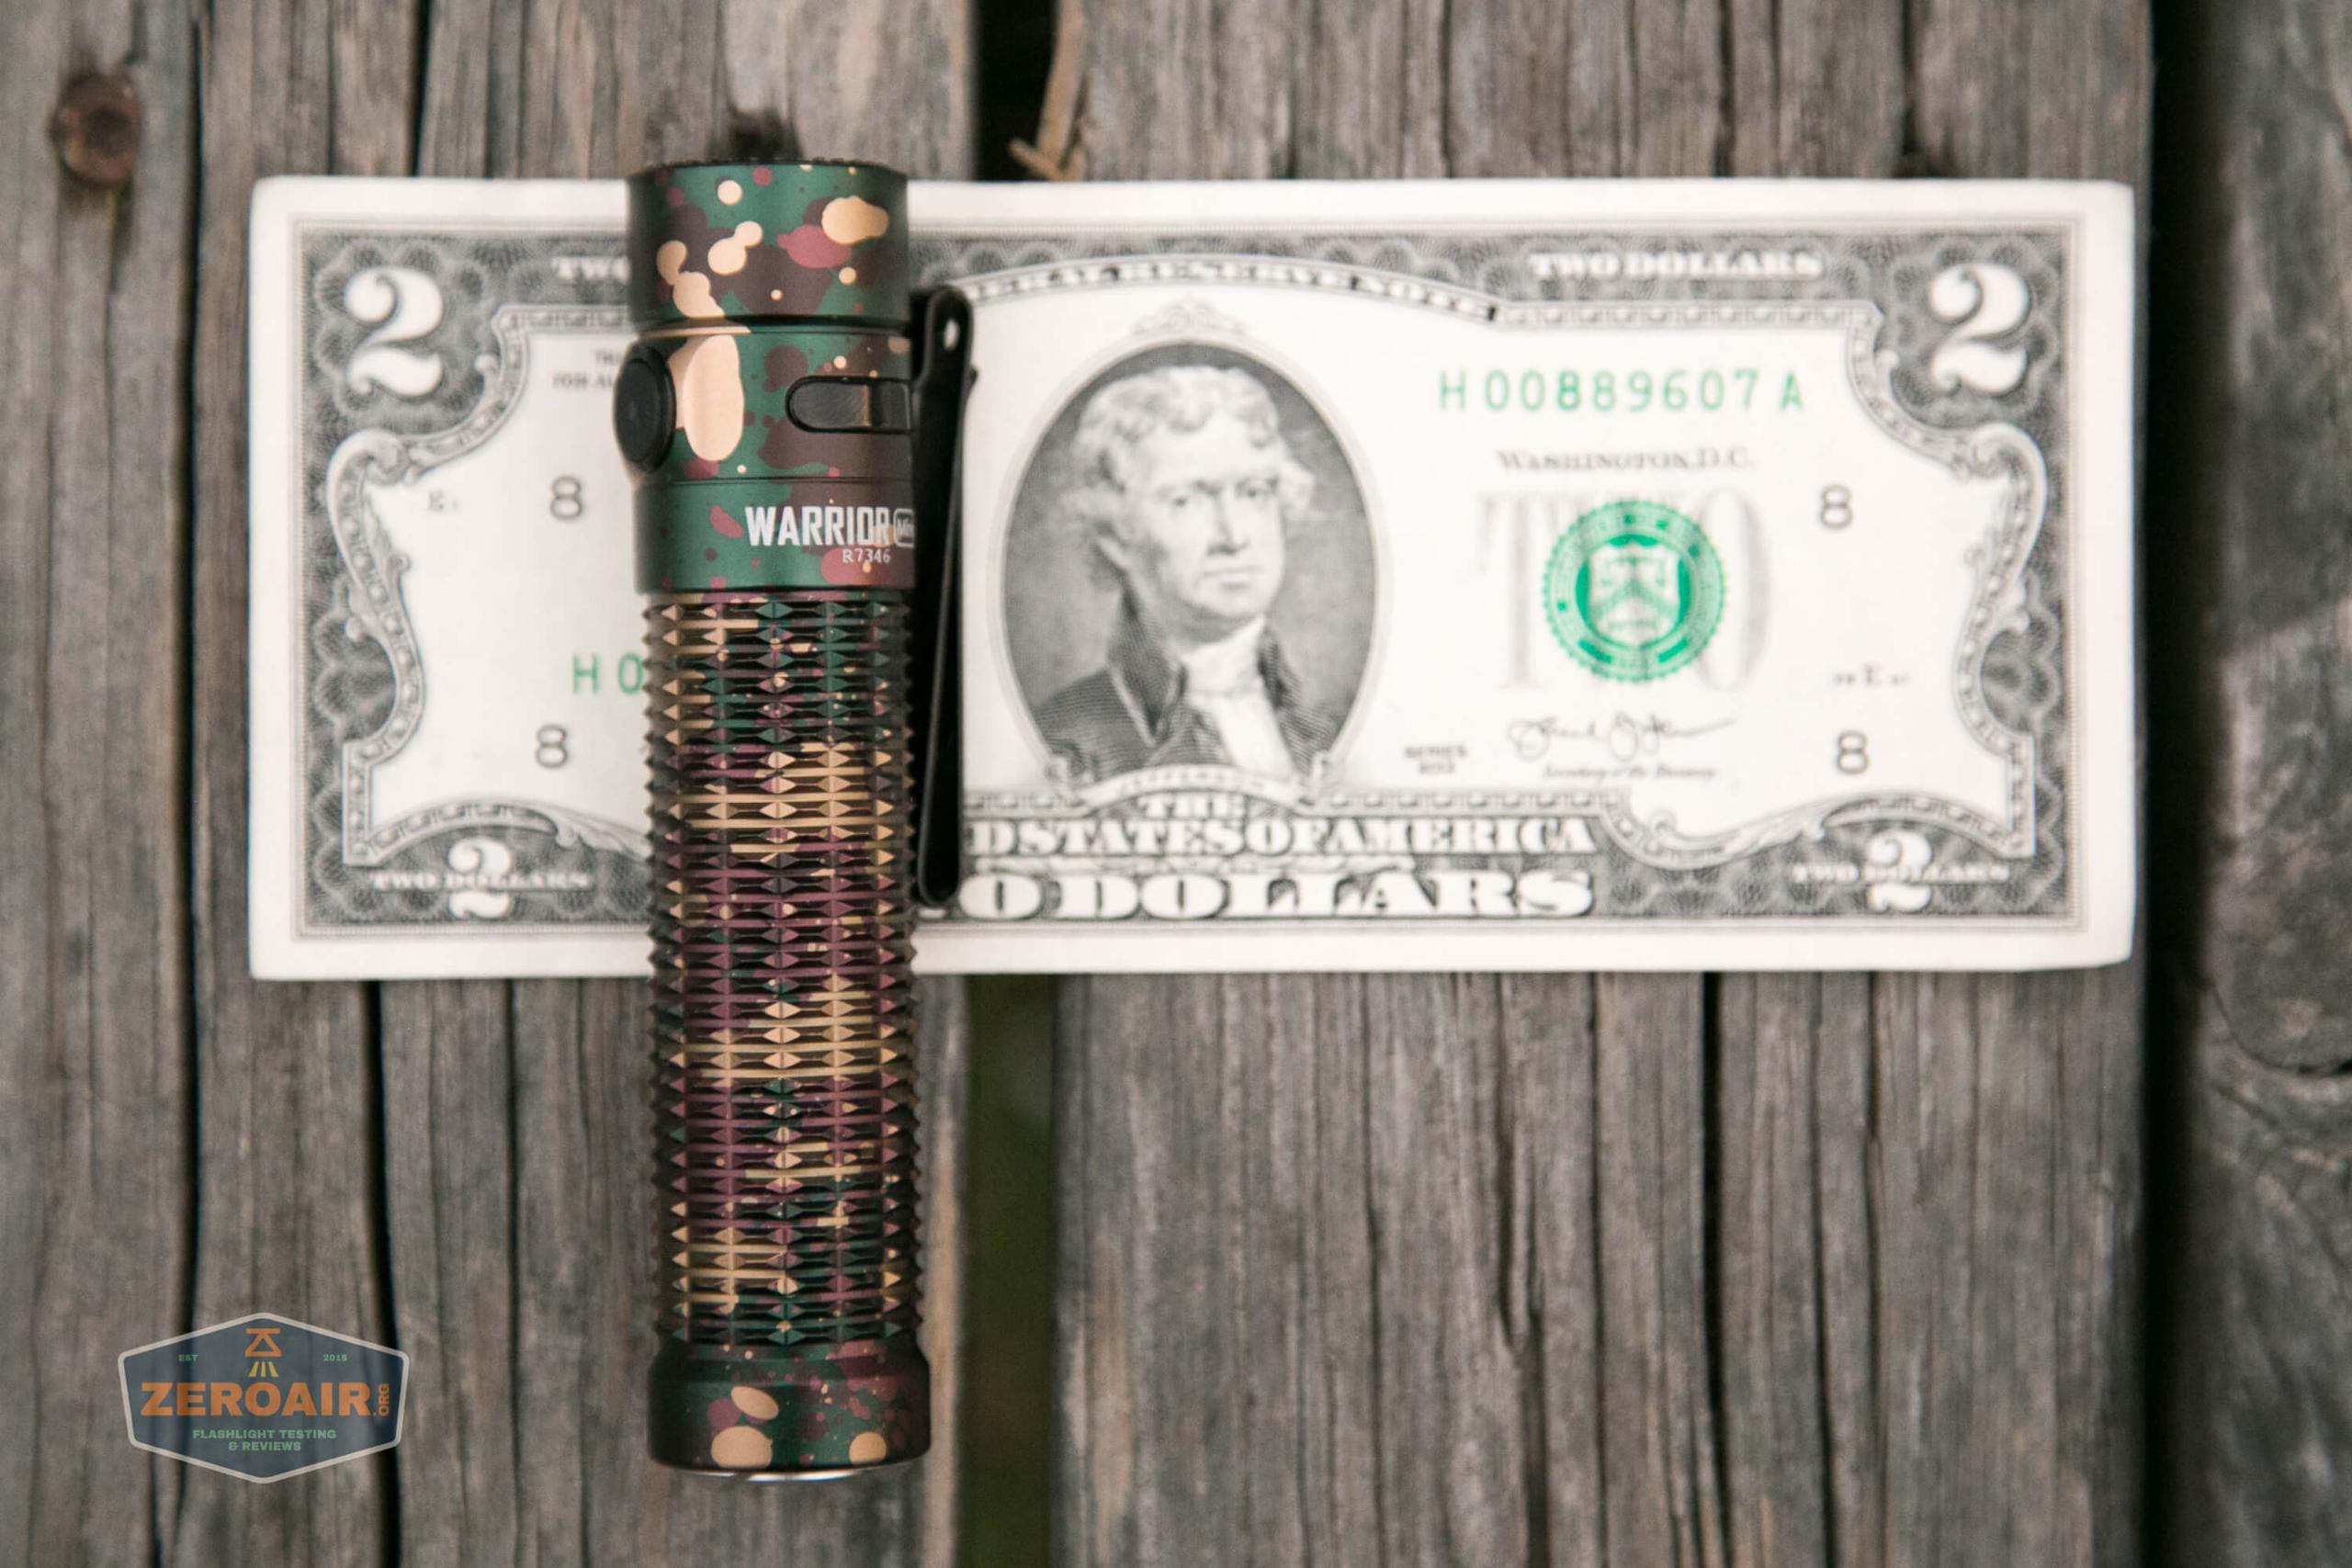
Size and Comps
Weight: 105g
Length: 106.5mm
Head Diameter: 23.0mm
Body Diameter: 23.0mm
If the flashlight will headstand, I’ll try to show it here. If the flashlight will tailstand, I usually show that here, too. This light does both.
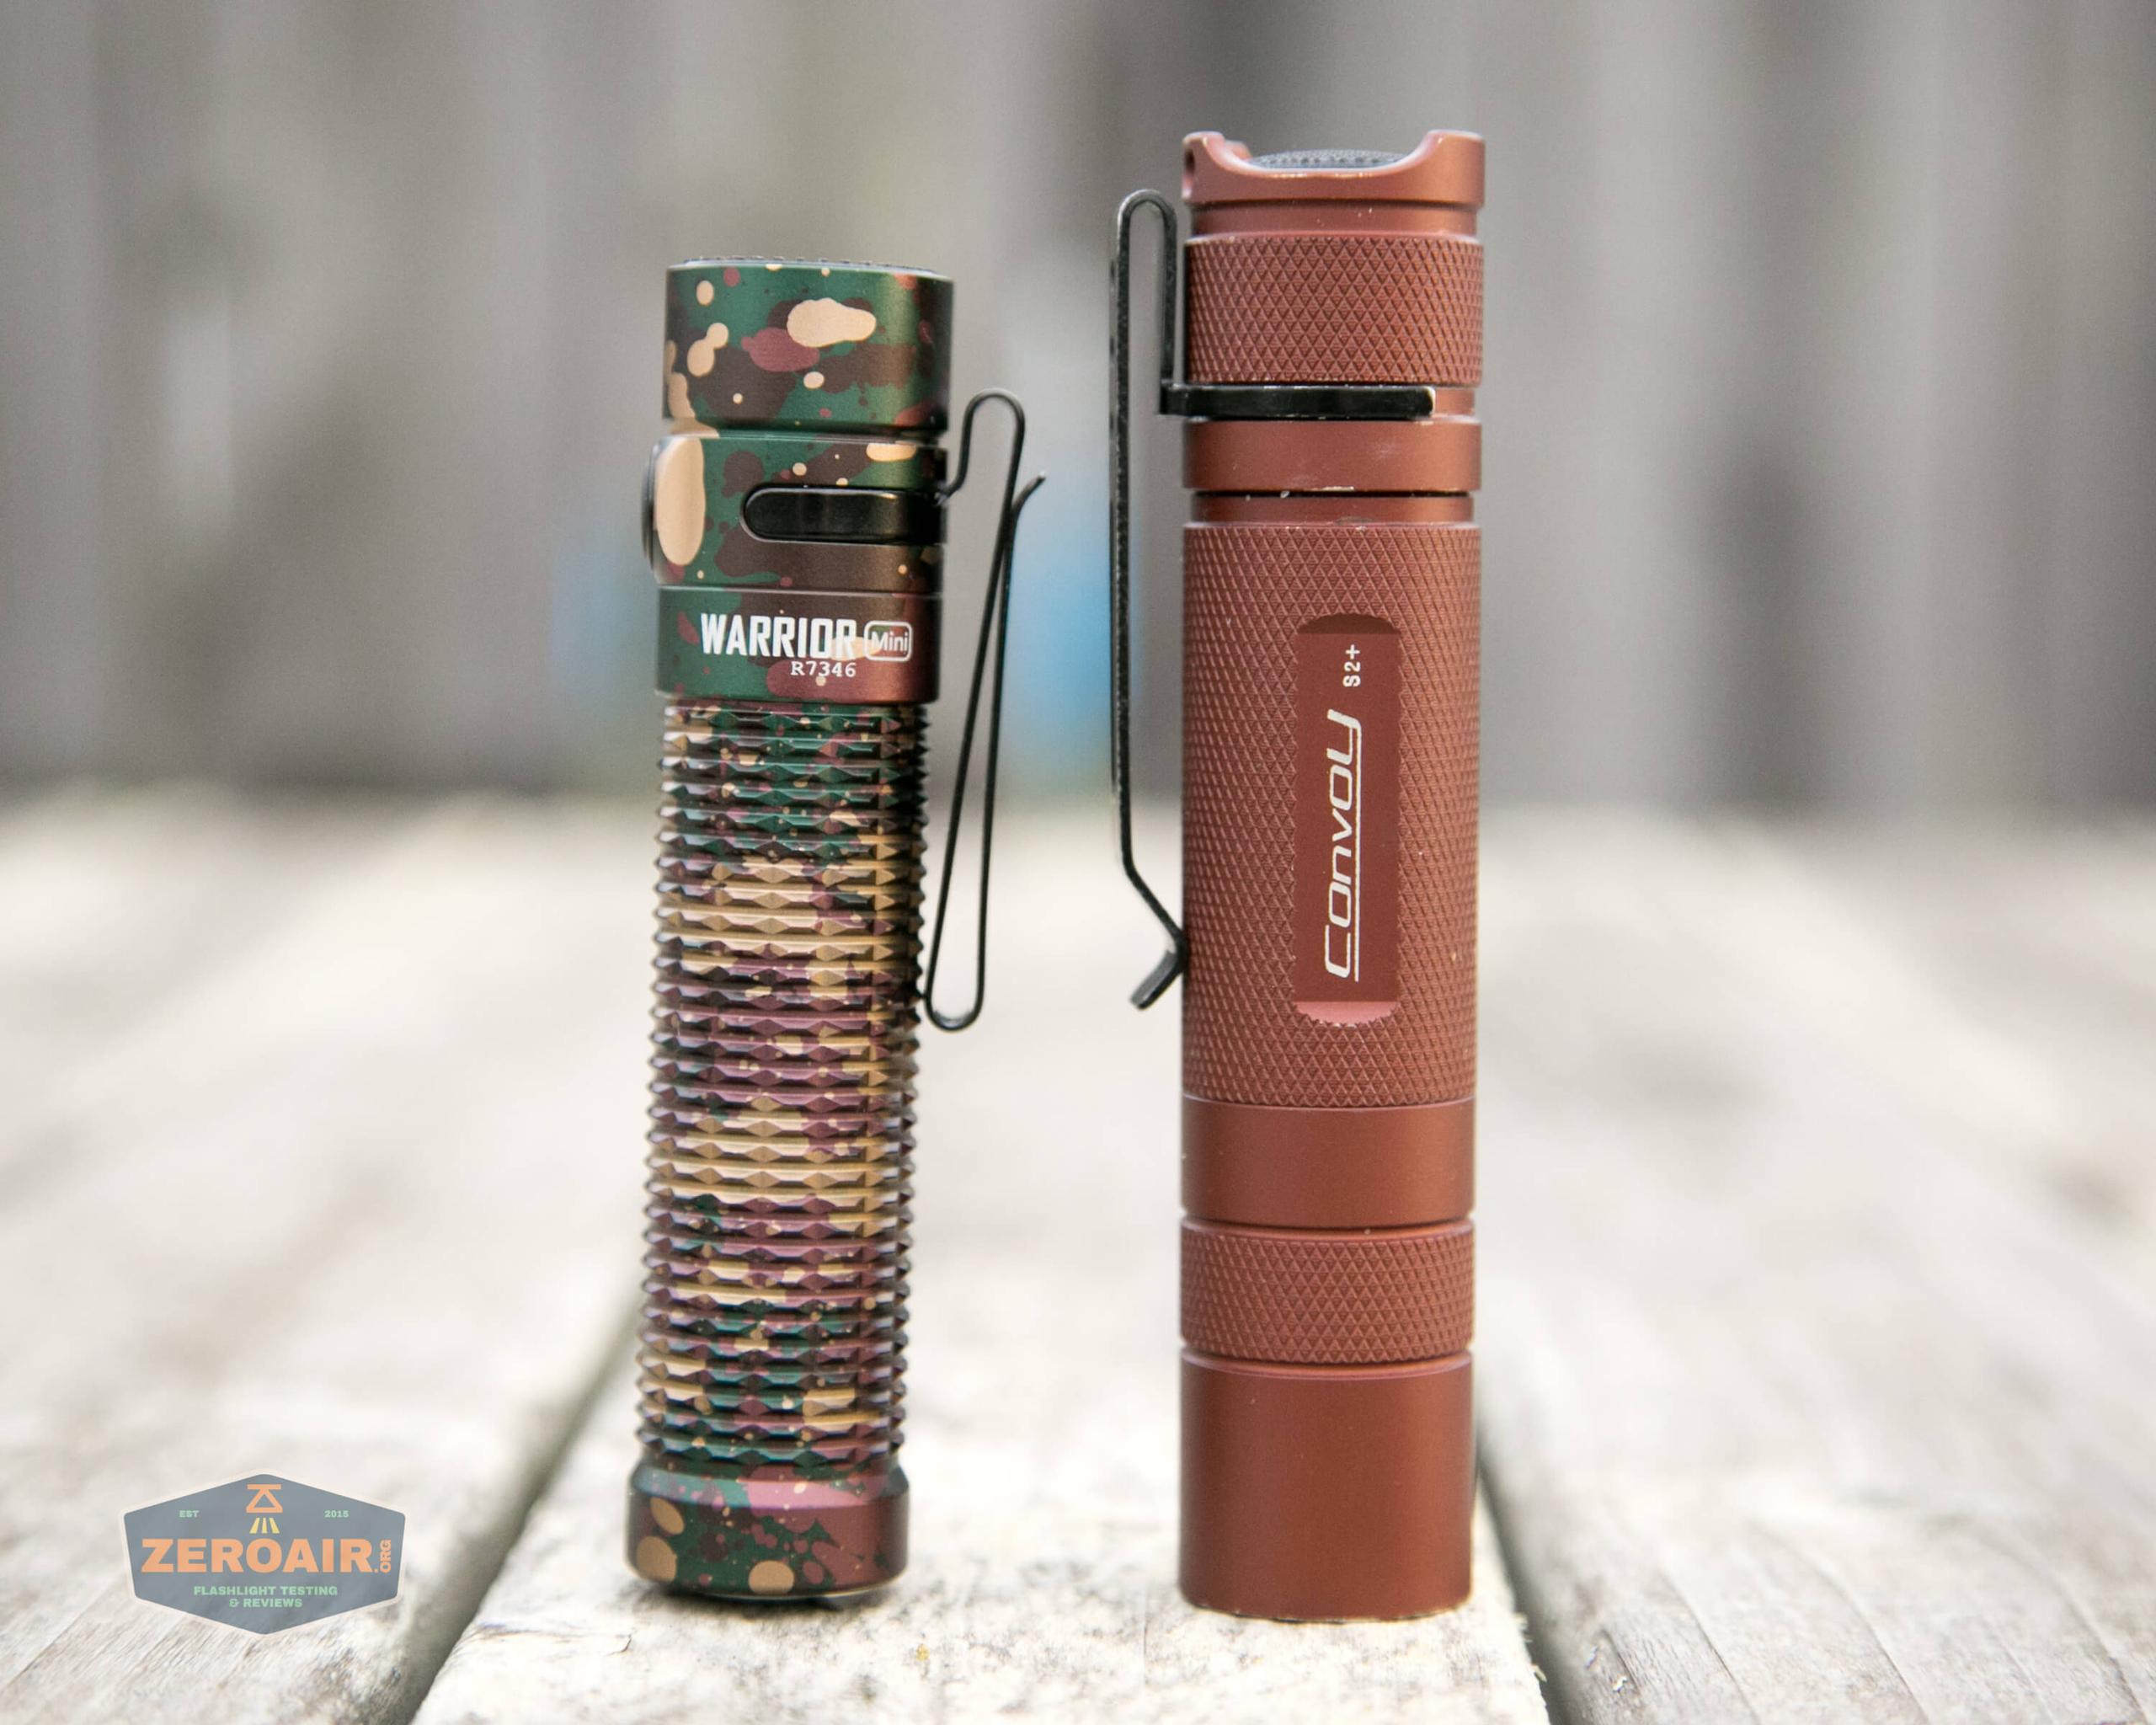
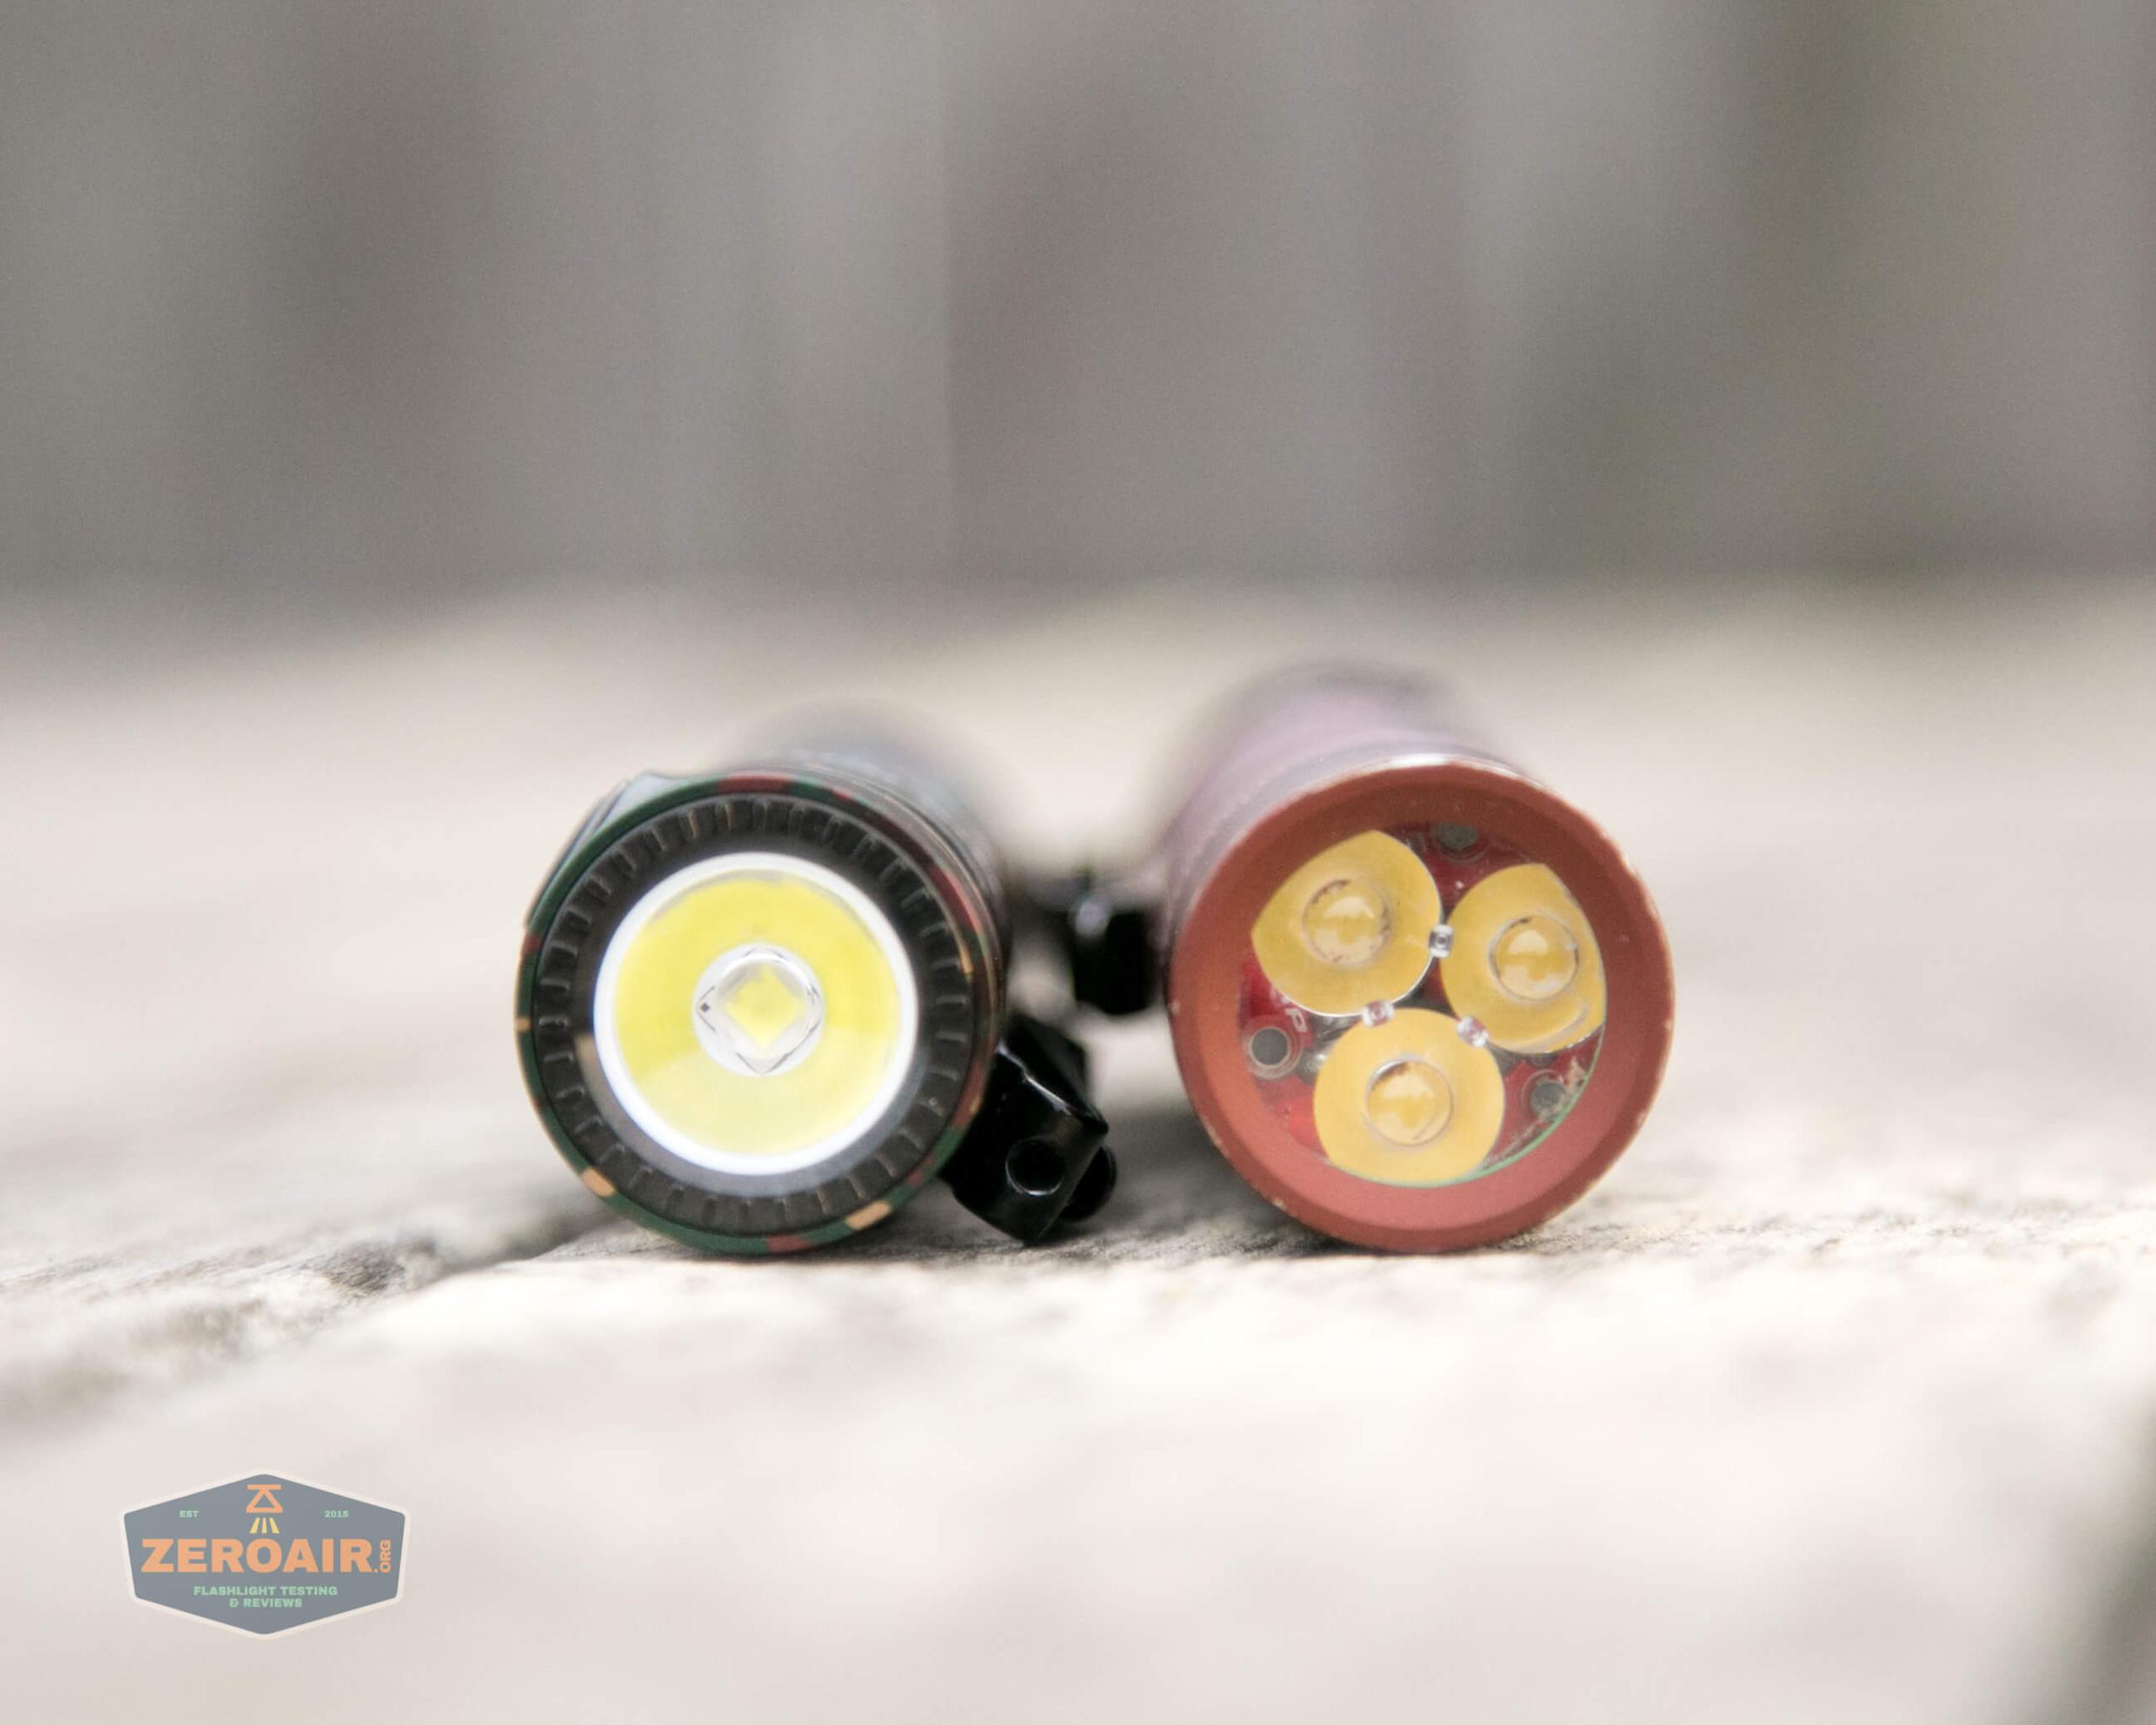
Here’s the test light with the venerable Convoy S2+. Mine is a custom “baked” edition Nichia 219b triple. A very nice 18650 light!
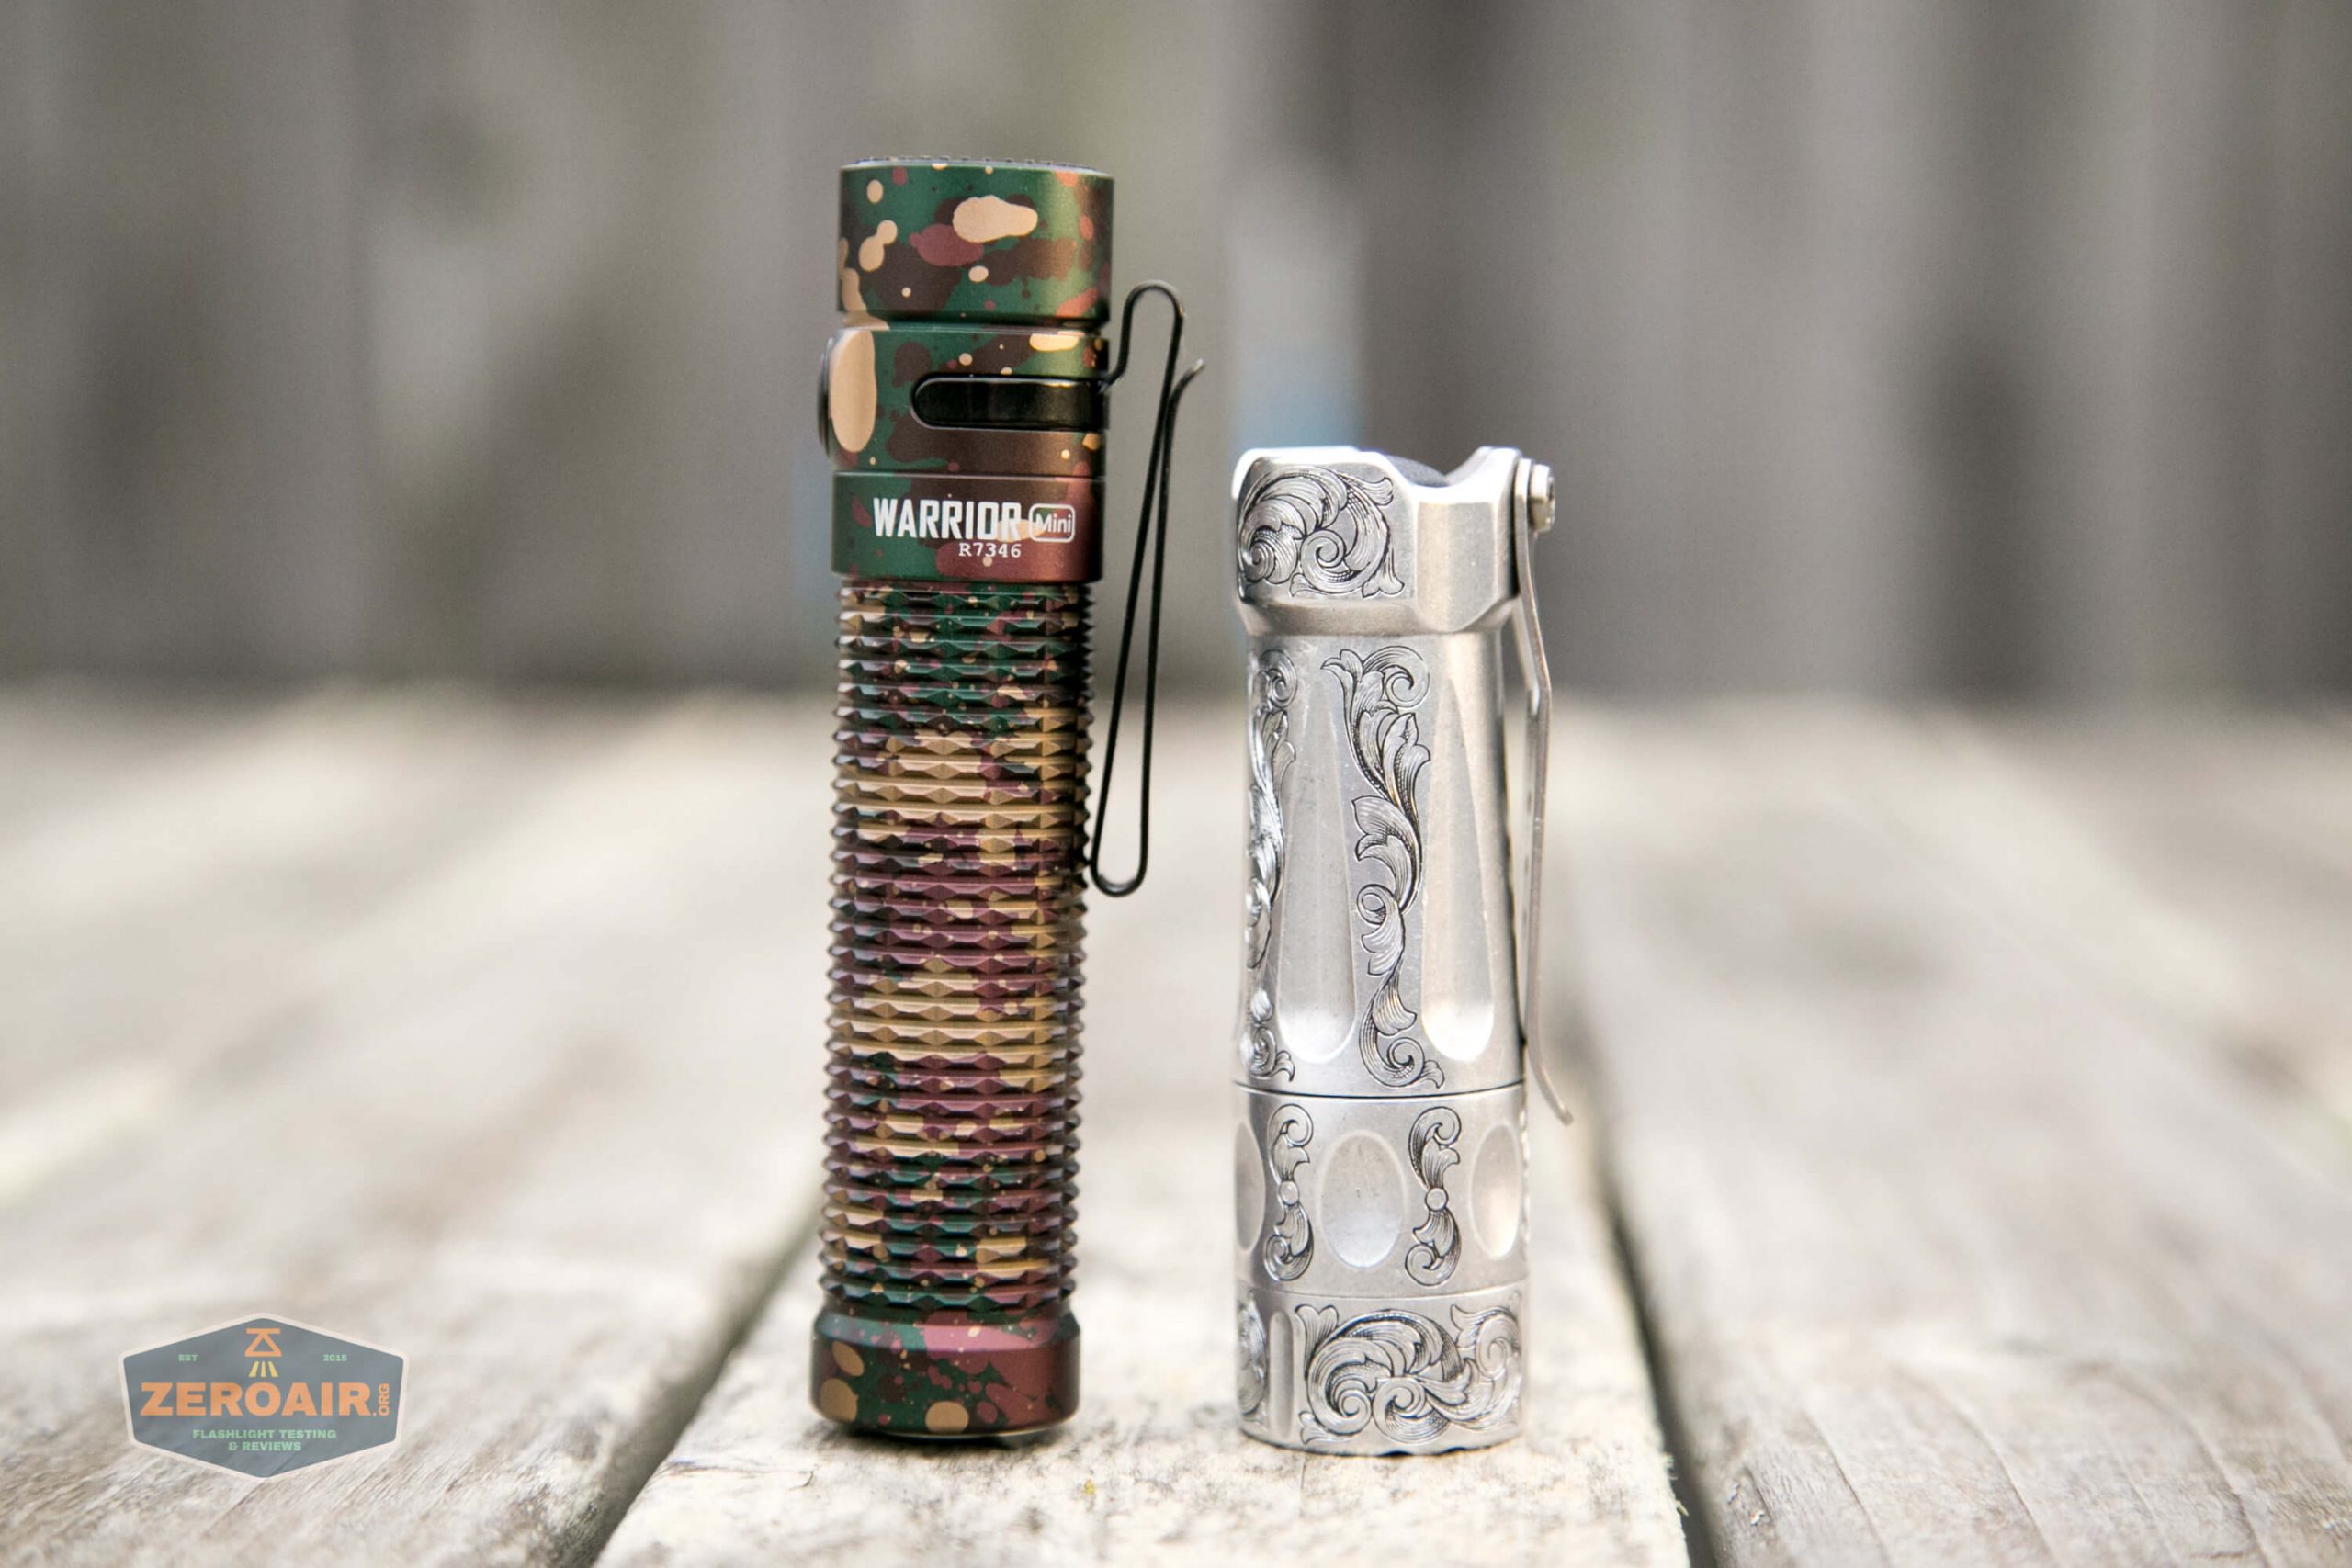
And here’s the light beside my custom-engraved TorchLAB BOSS 35, an 18350 light. I reviewed the aluminum version of the TorchLAB BOSS in both 35 and 70 formats.
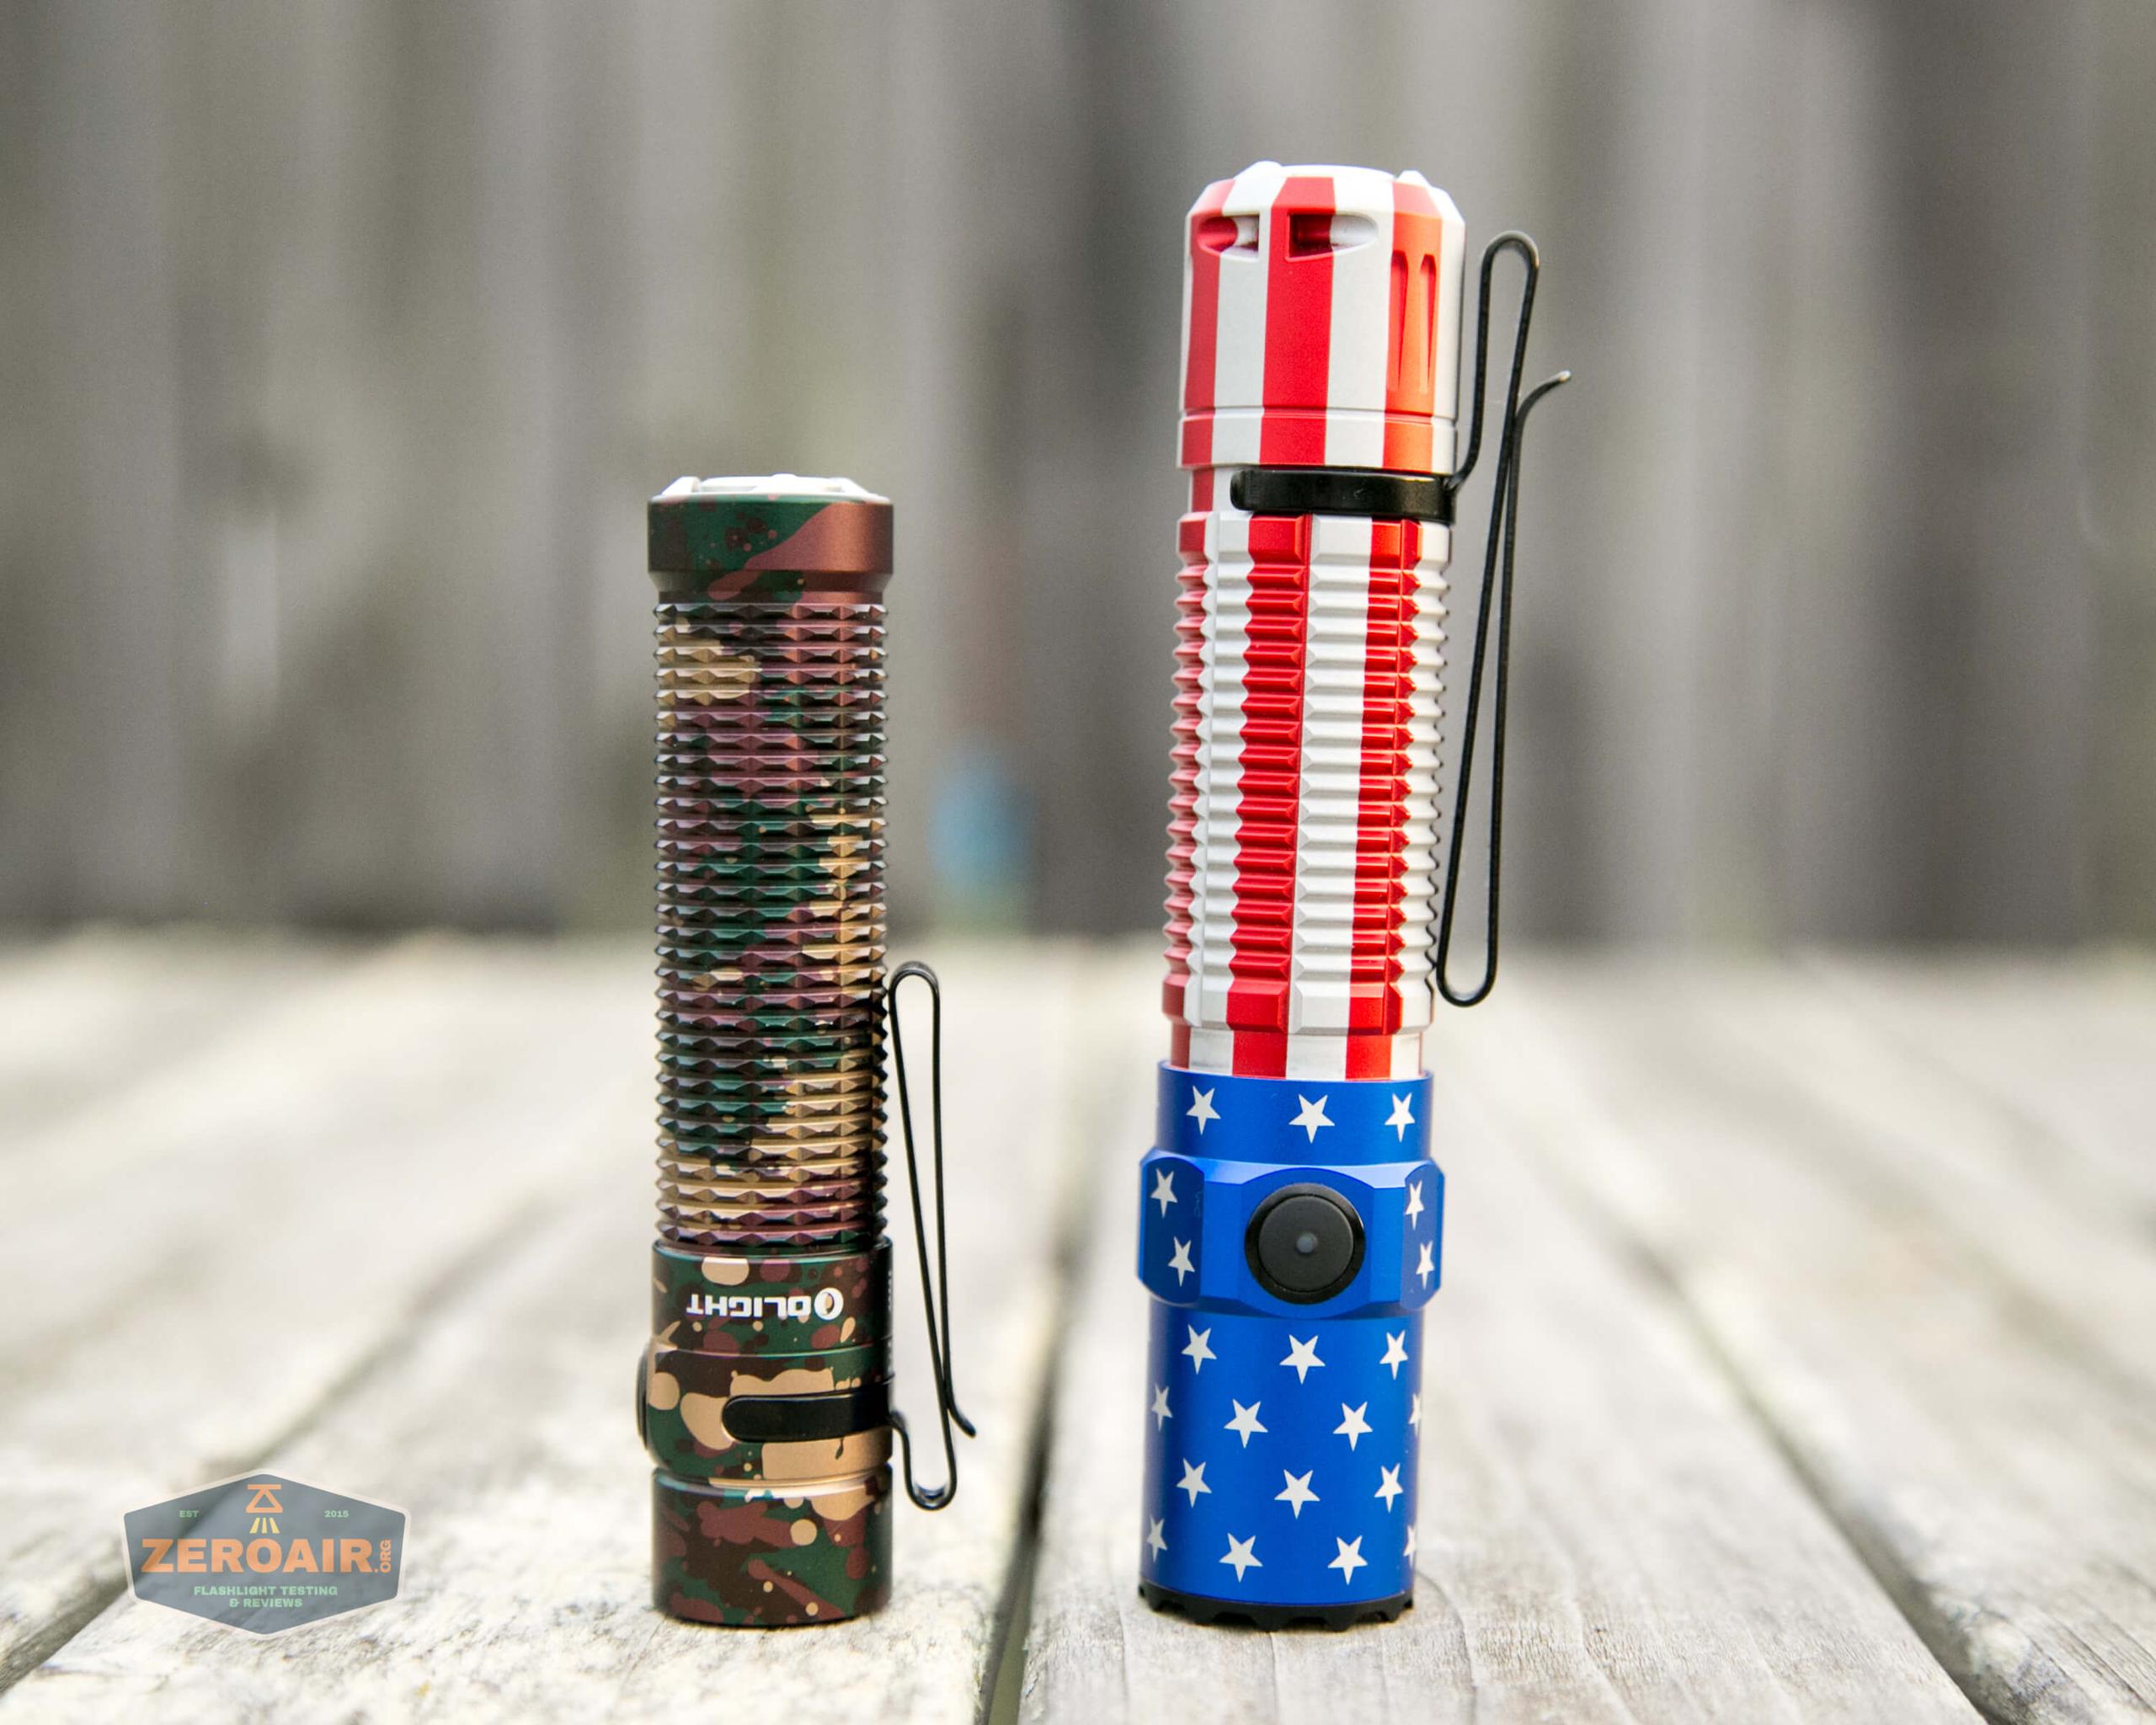
And here’s the Warrior Mini with the M2R Warrior Pro Patriot Edition. The size difference is stark!
Retention and Carry
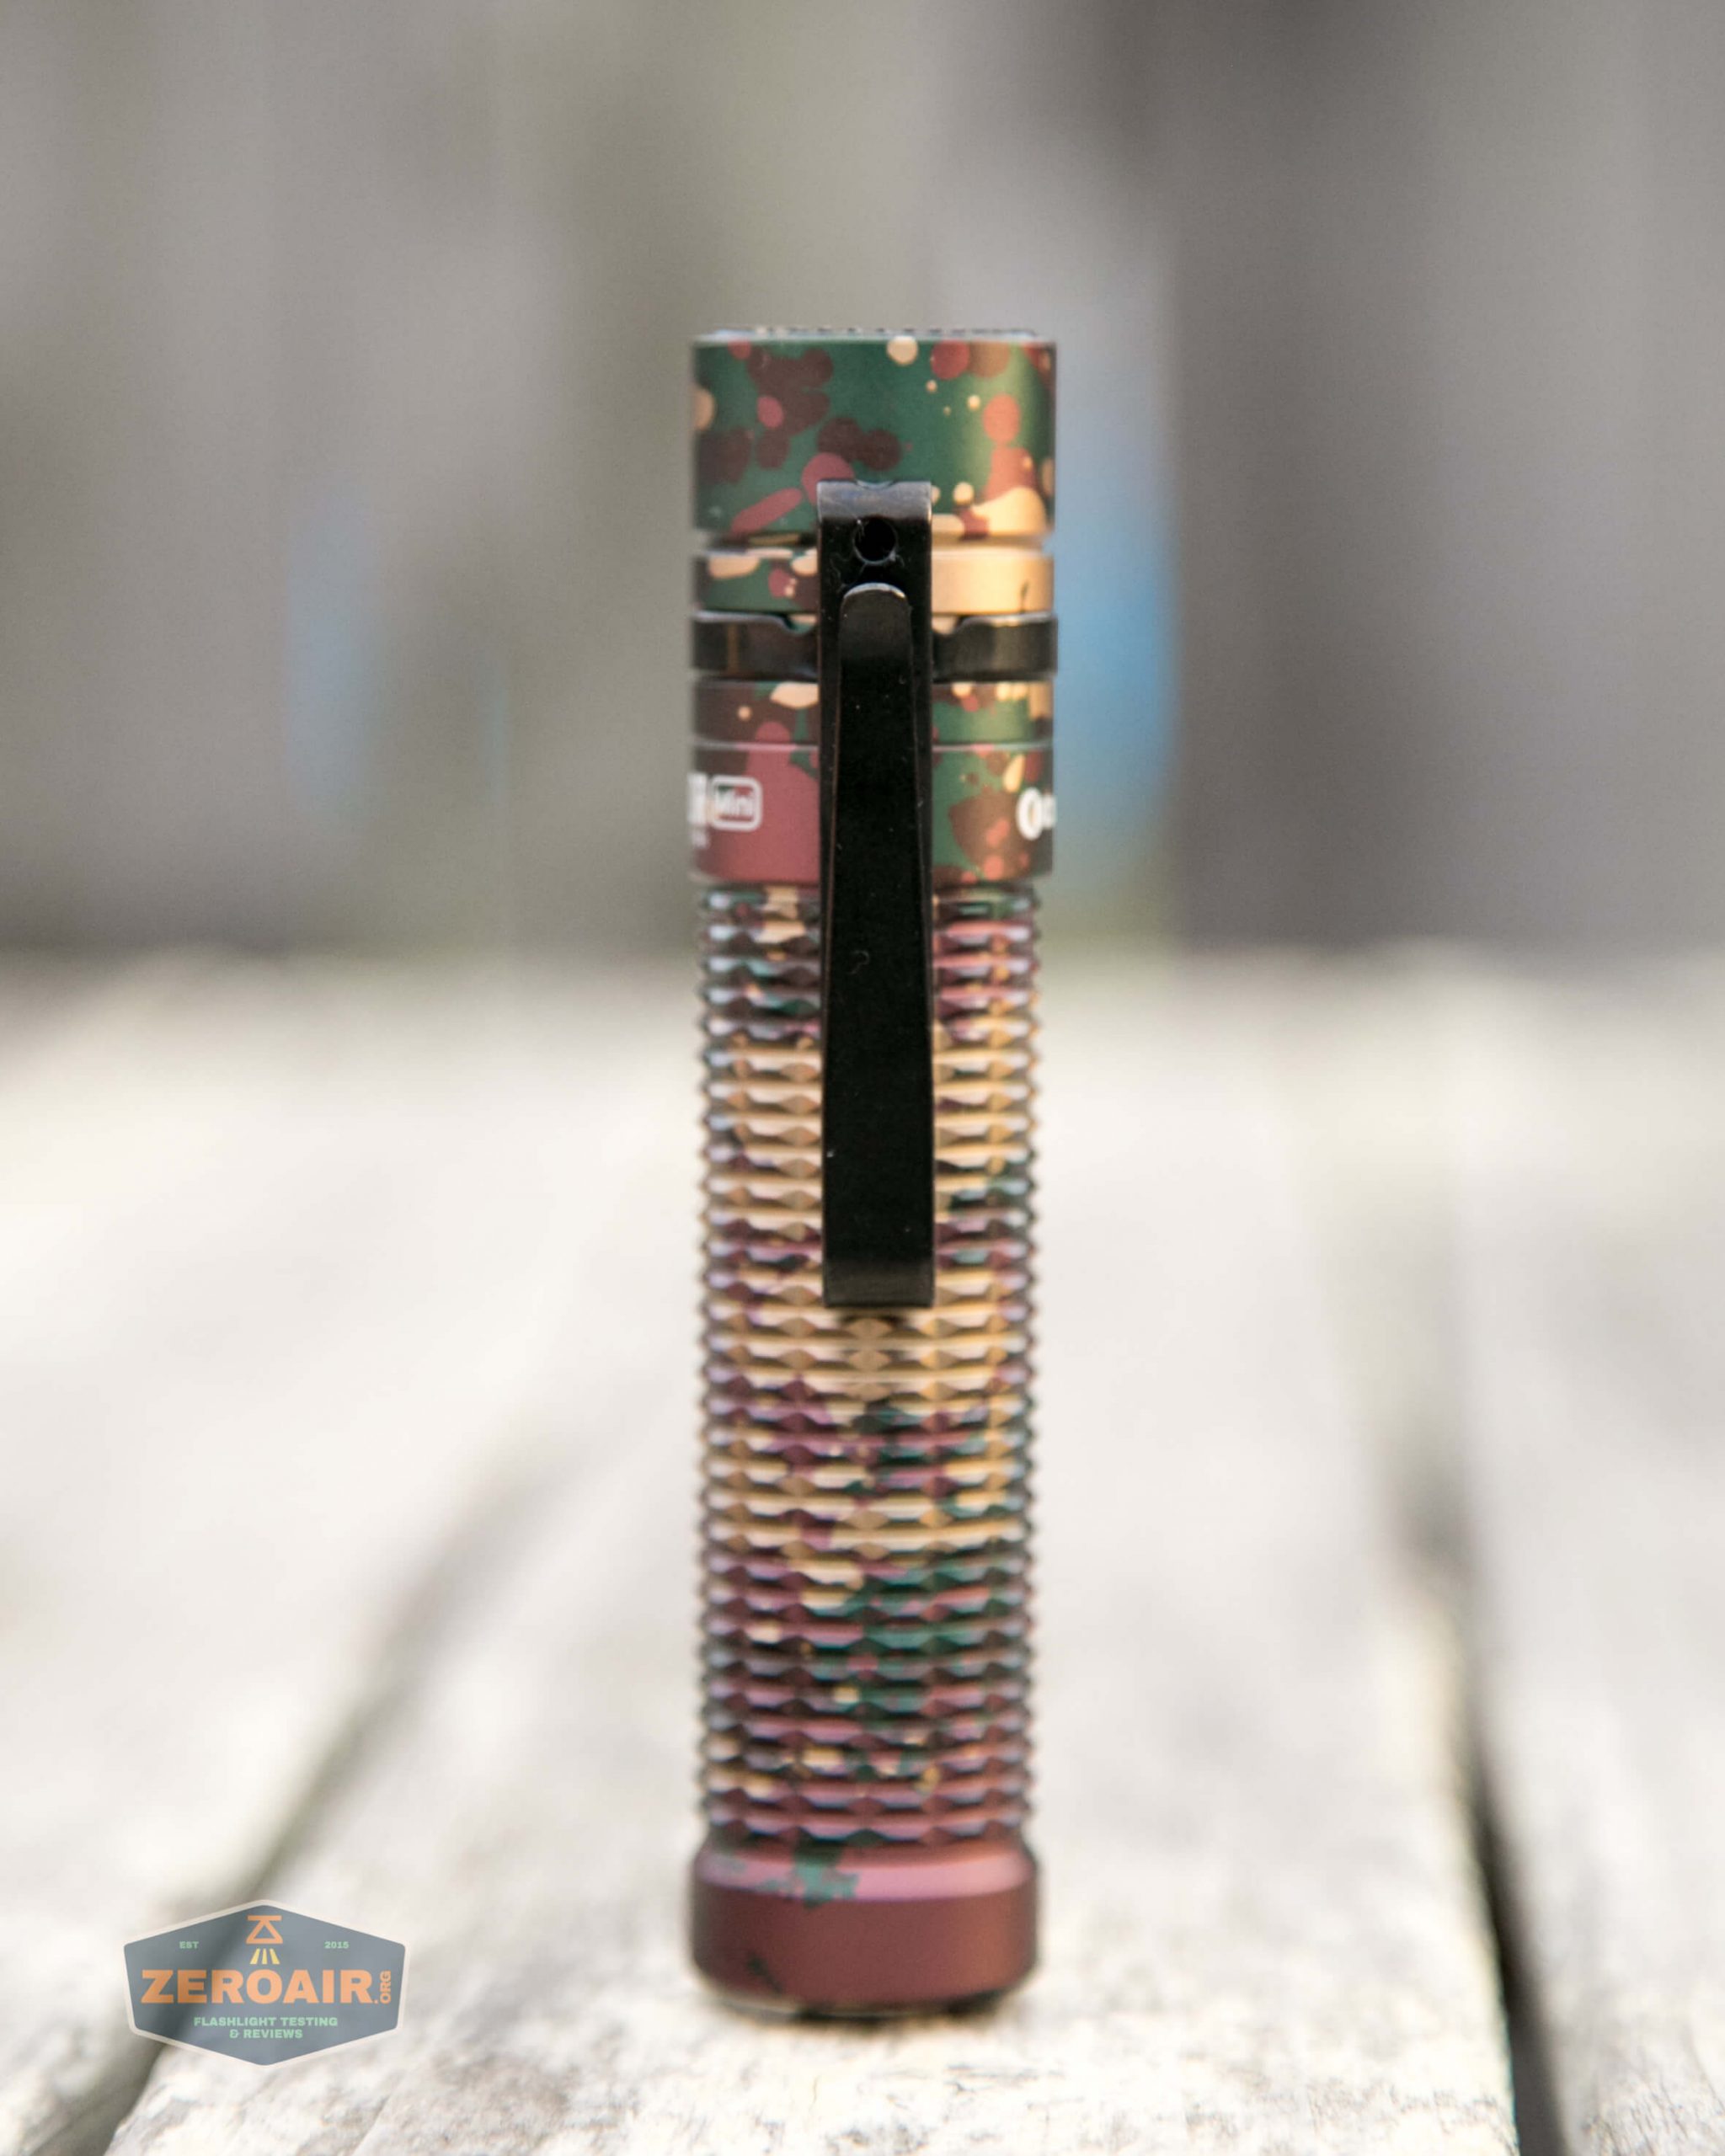
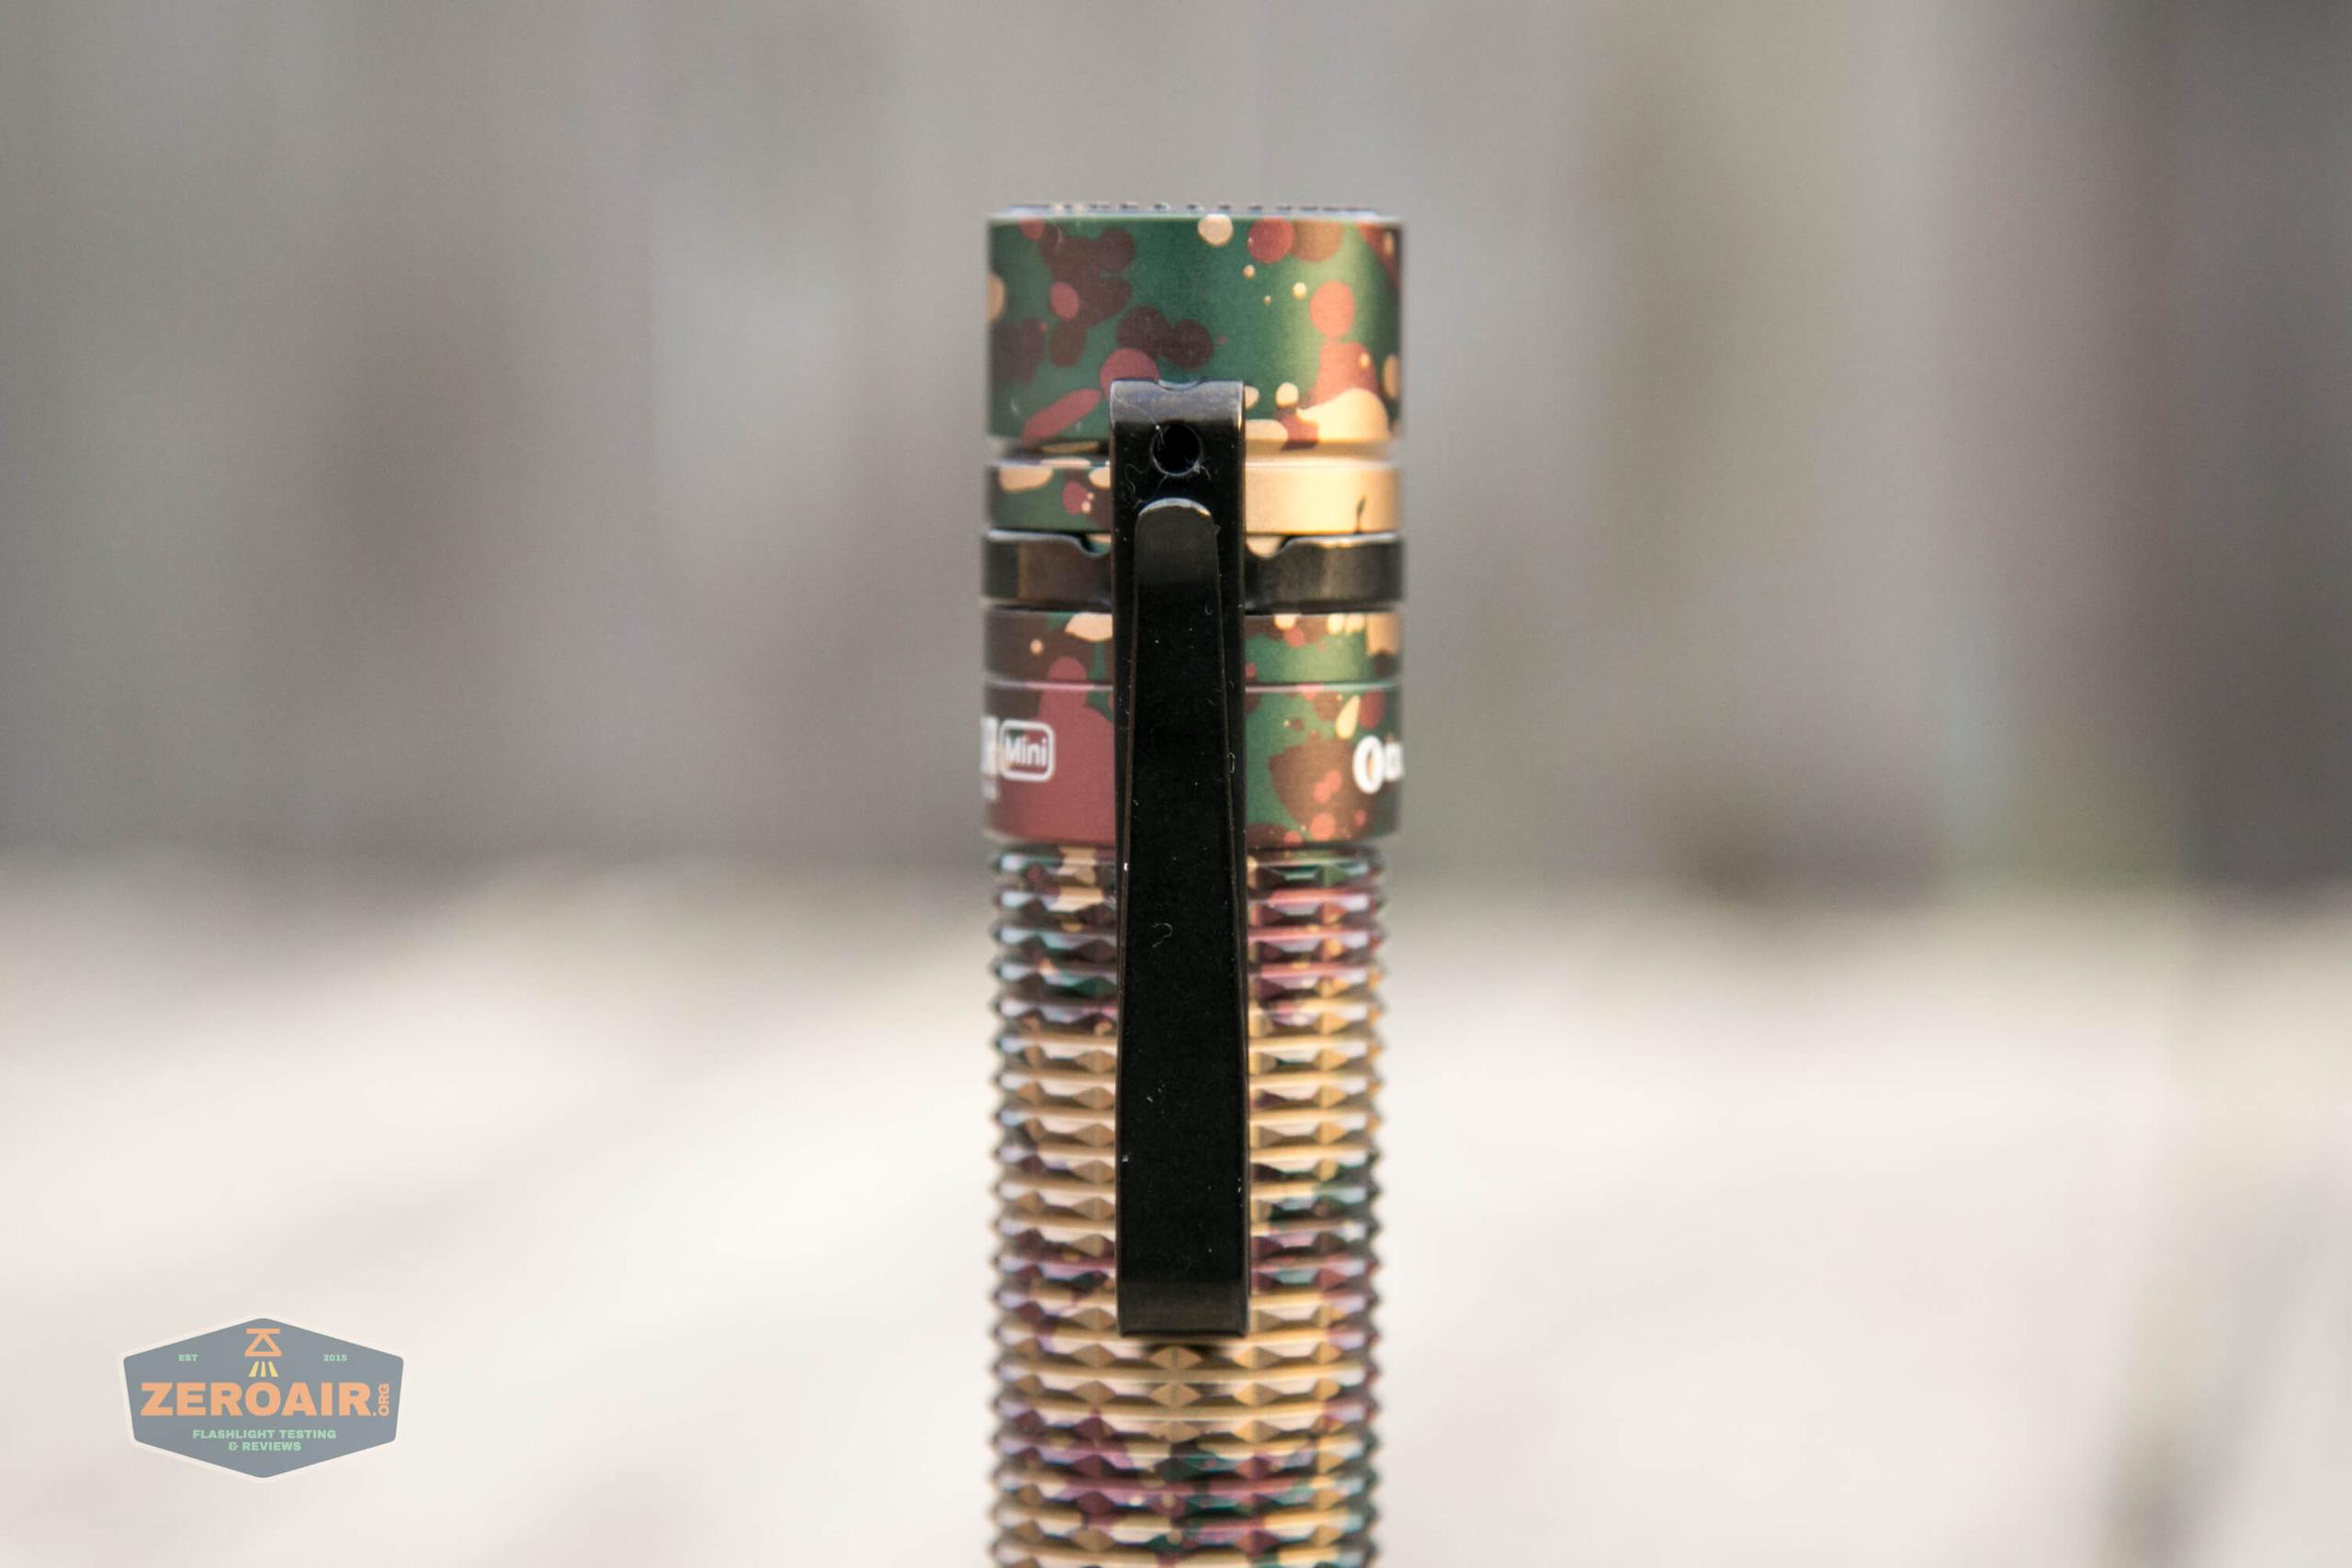
A pocket clip is included and attached. It fits in exactly only one orientation, and is a “two-way” clip.

I don’t usually like these two-way clips, and this one is particularly egregious – carrying this light in the “bezel down” orientation will leave more than half the light out of the pocket. That said, the “normal” orientation for this clip is just fine, and the “second way” of it doesn’t hinder things too much. So just plan to carry it as a bezel-up light.
The clip also has two holes in the shoulder. This is the lanyard (included) attachment point. The lanyard will not attach anywhere else.
The Warrior Mini is suitable for use on the brim of a cap, so it makes a good hatlight too.
The magnet in the charging tail cap is also strong enough to hold the light in a horizontal position.
Power and Runtime
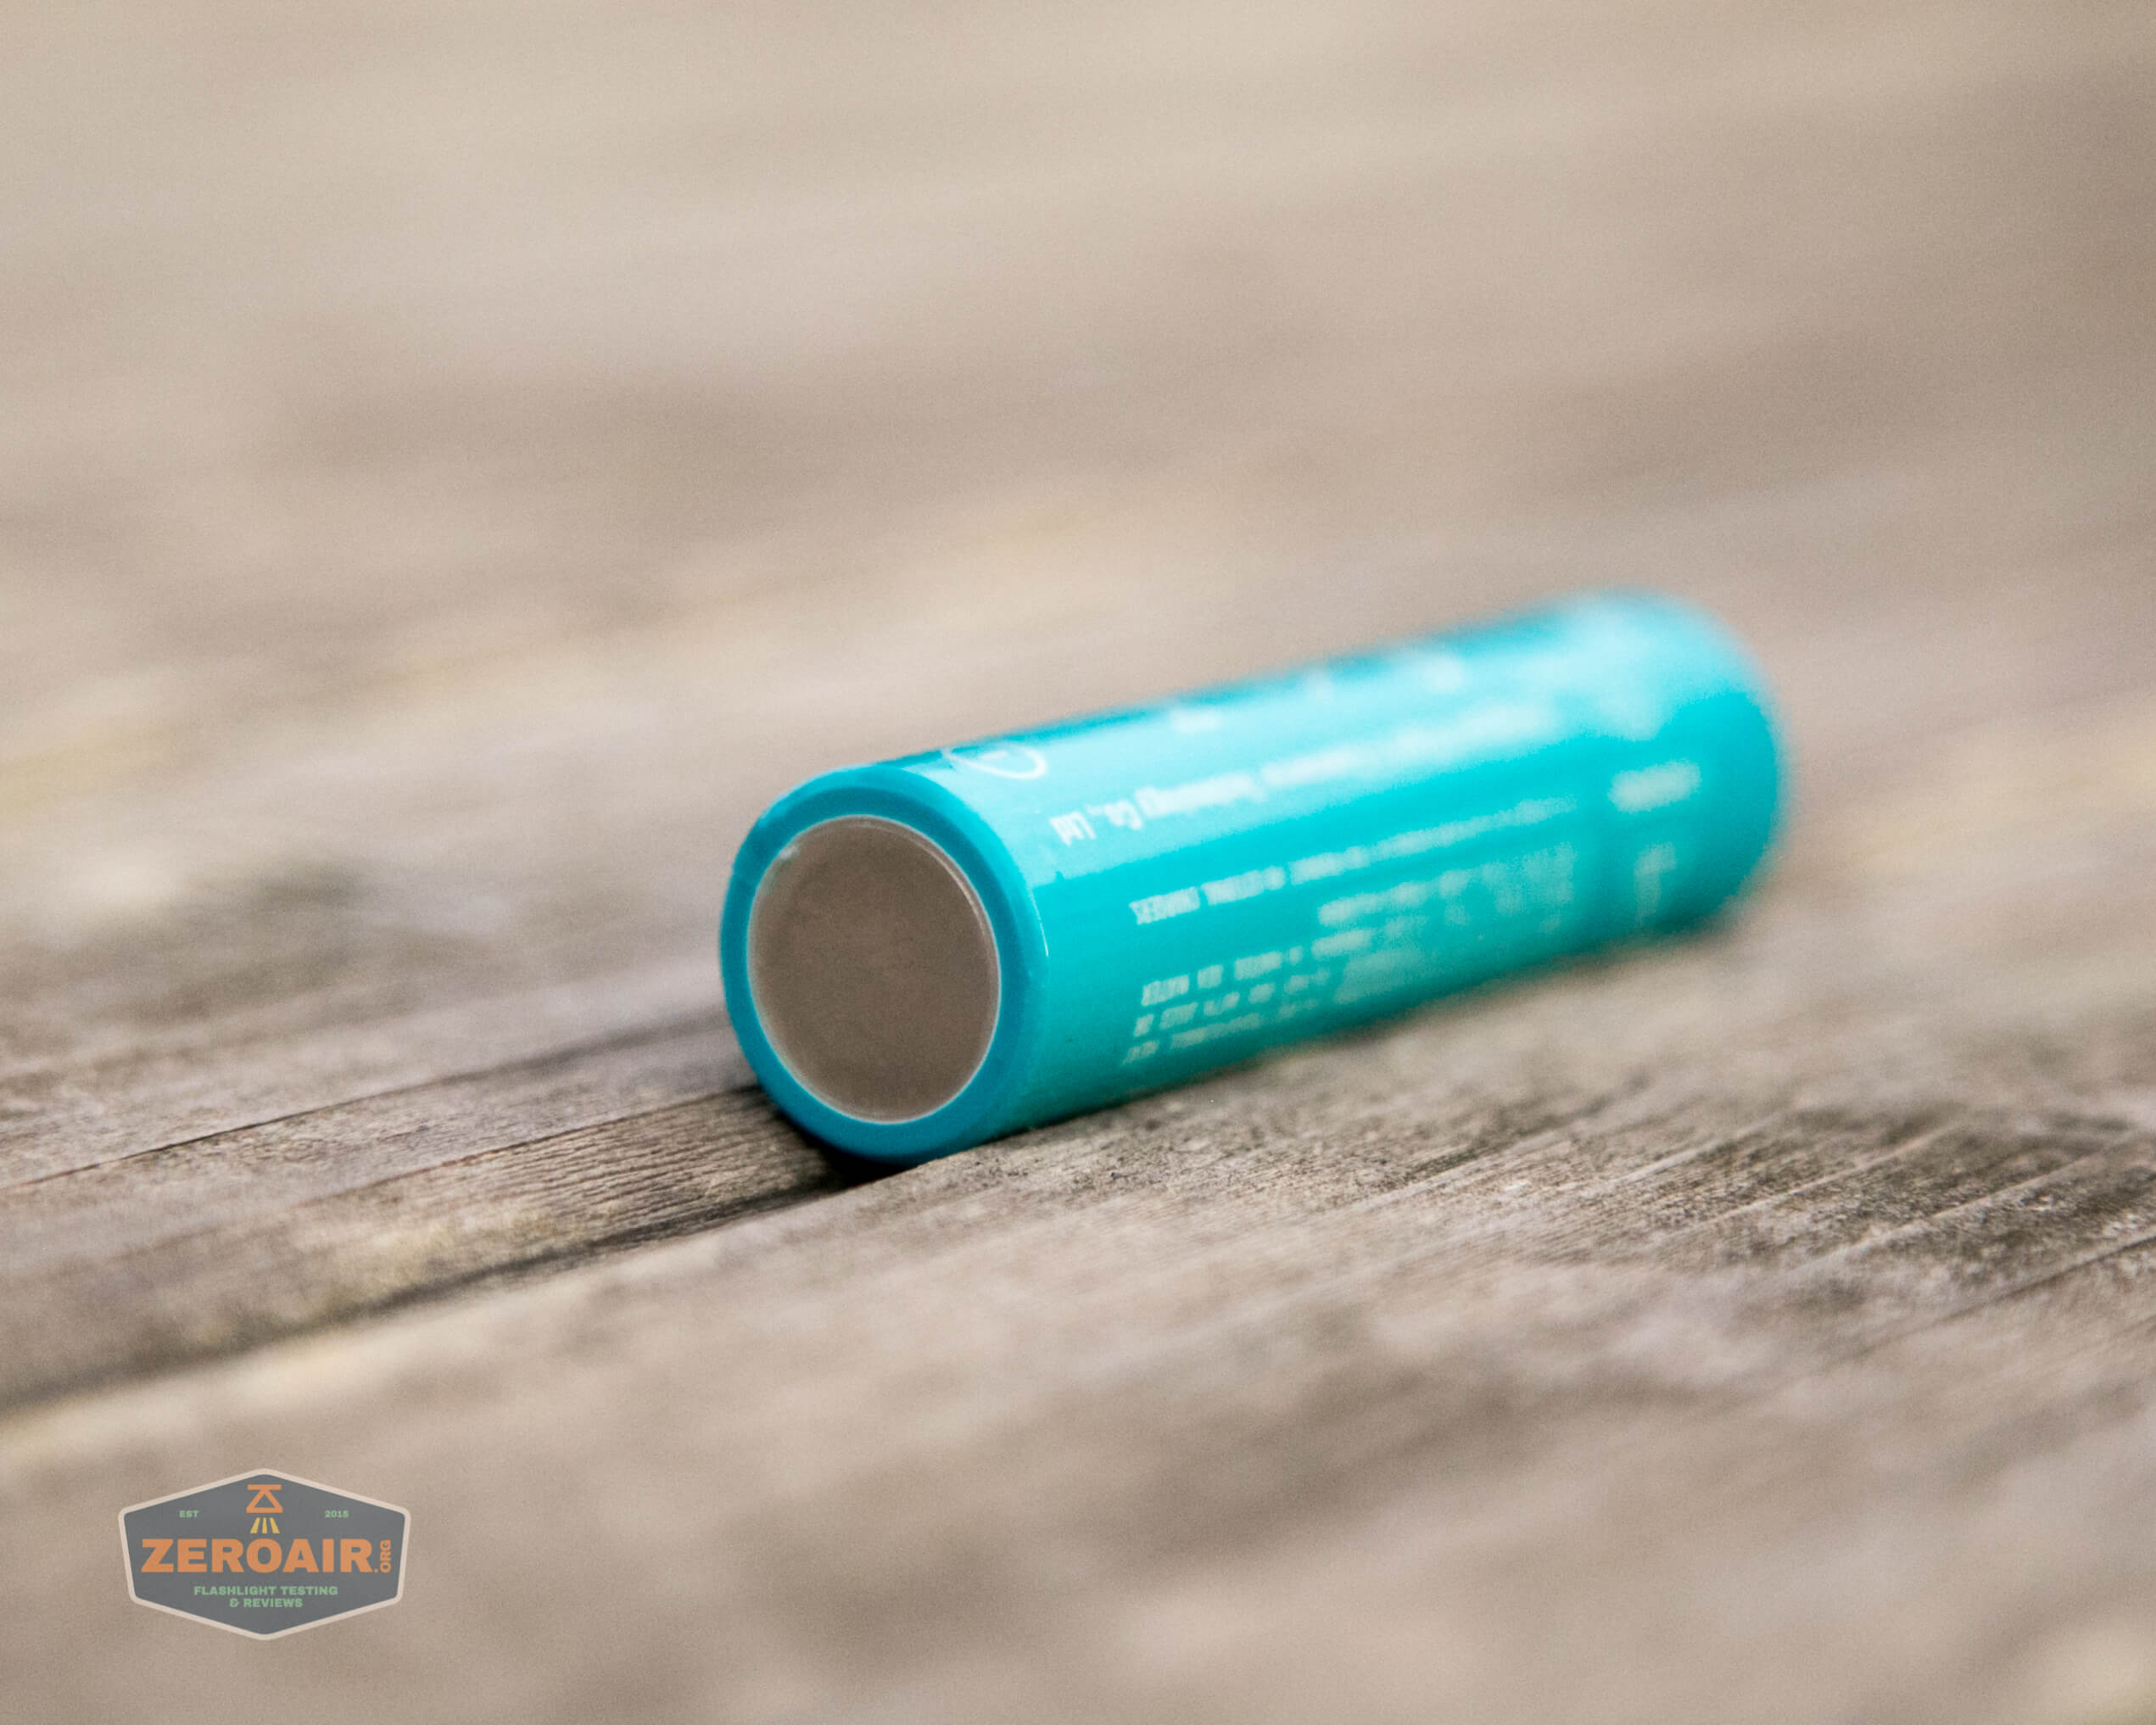
The Olight Warrior Mini is powered by a custom single lithium-ion cell. The appropriate cell is included – a customized 3500mAh 18650.

The “custom” part is seen below – both positive and negative terminals are exposed on the positive end. One interesting aspect and a massive improvement over previous iterations of this type of cell is that the positive terminal is not recessed. This means the cell can charge in a bay-style charger! Unfortunately, that’s where the good news ends: This customized type cell is required for operating the Warrior Mini. This is still a step forward, though.
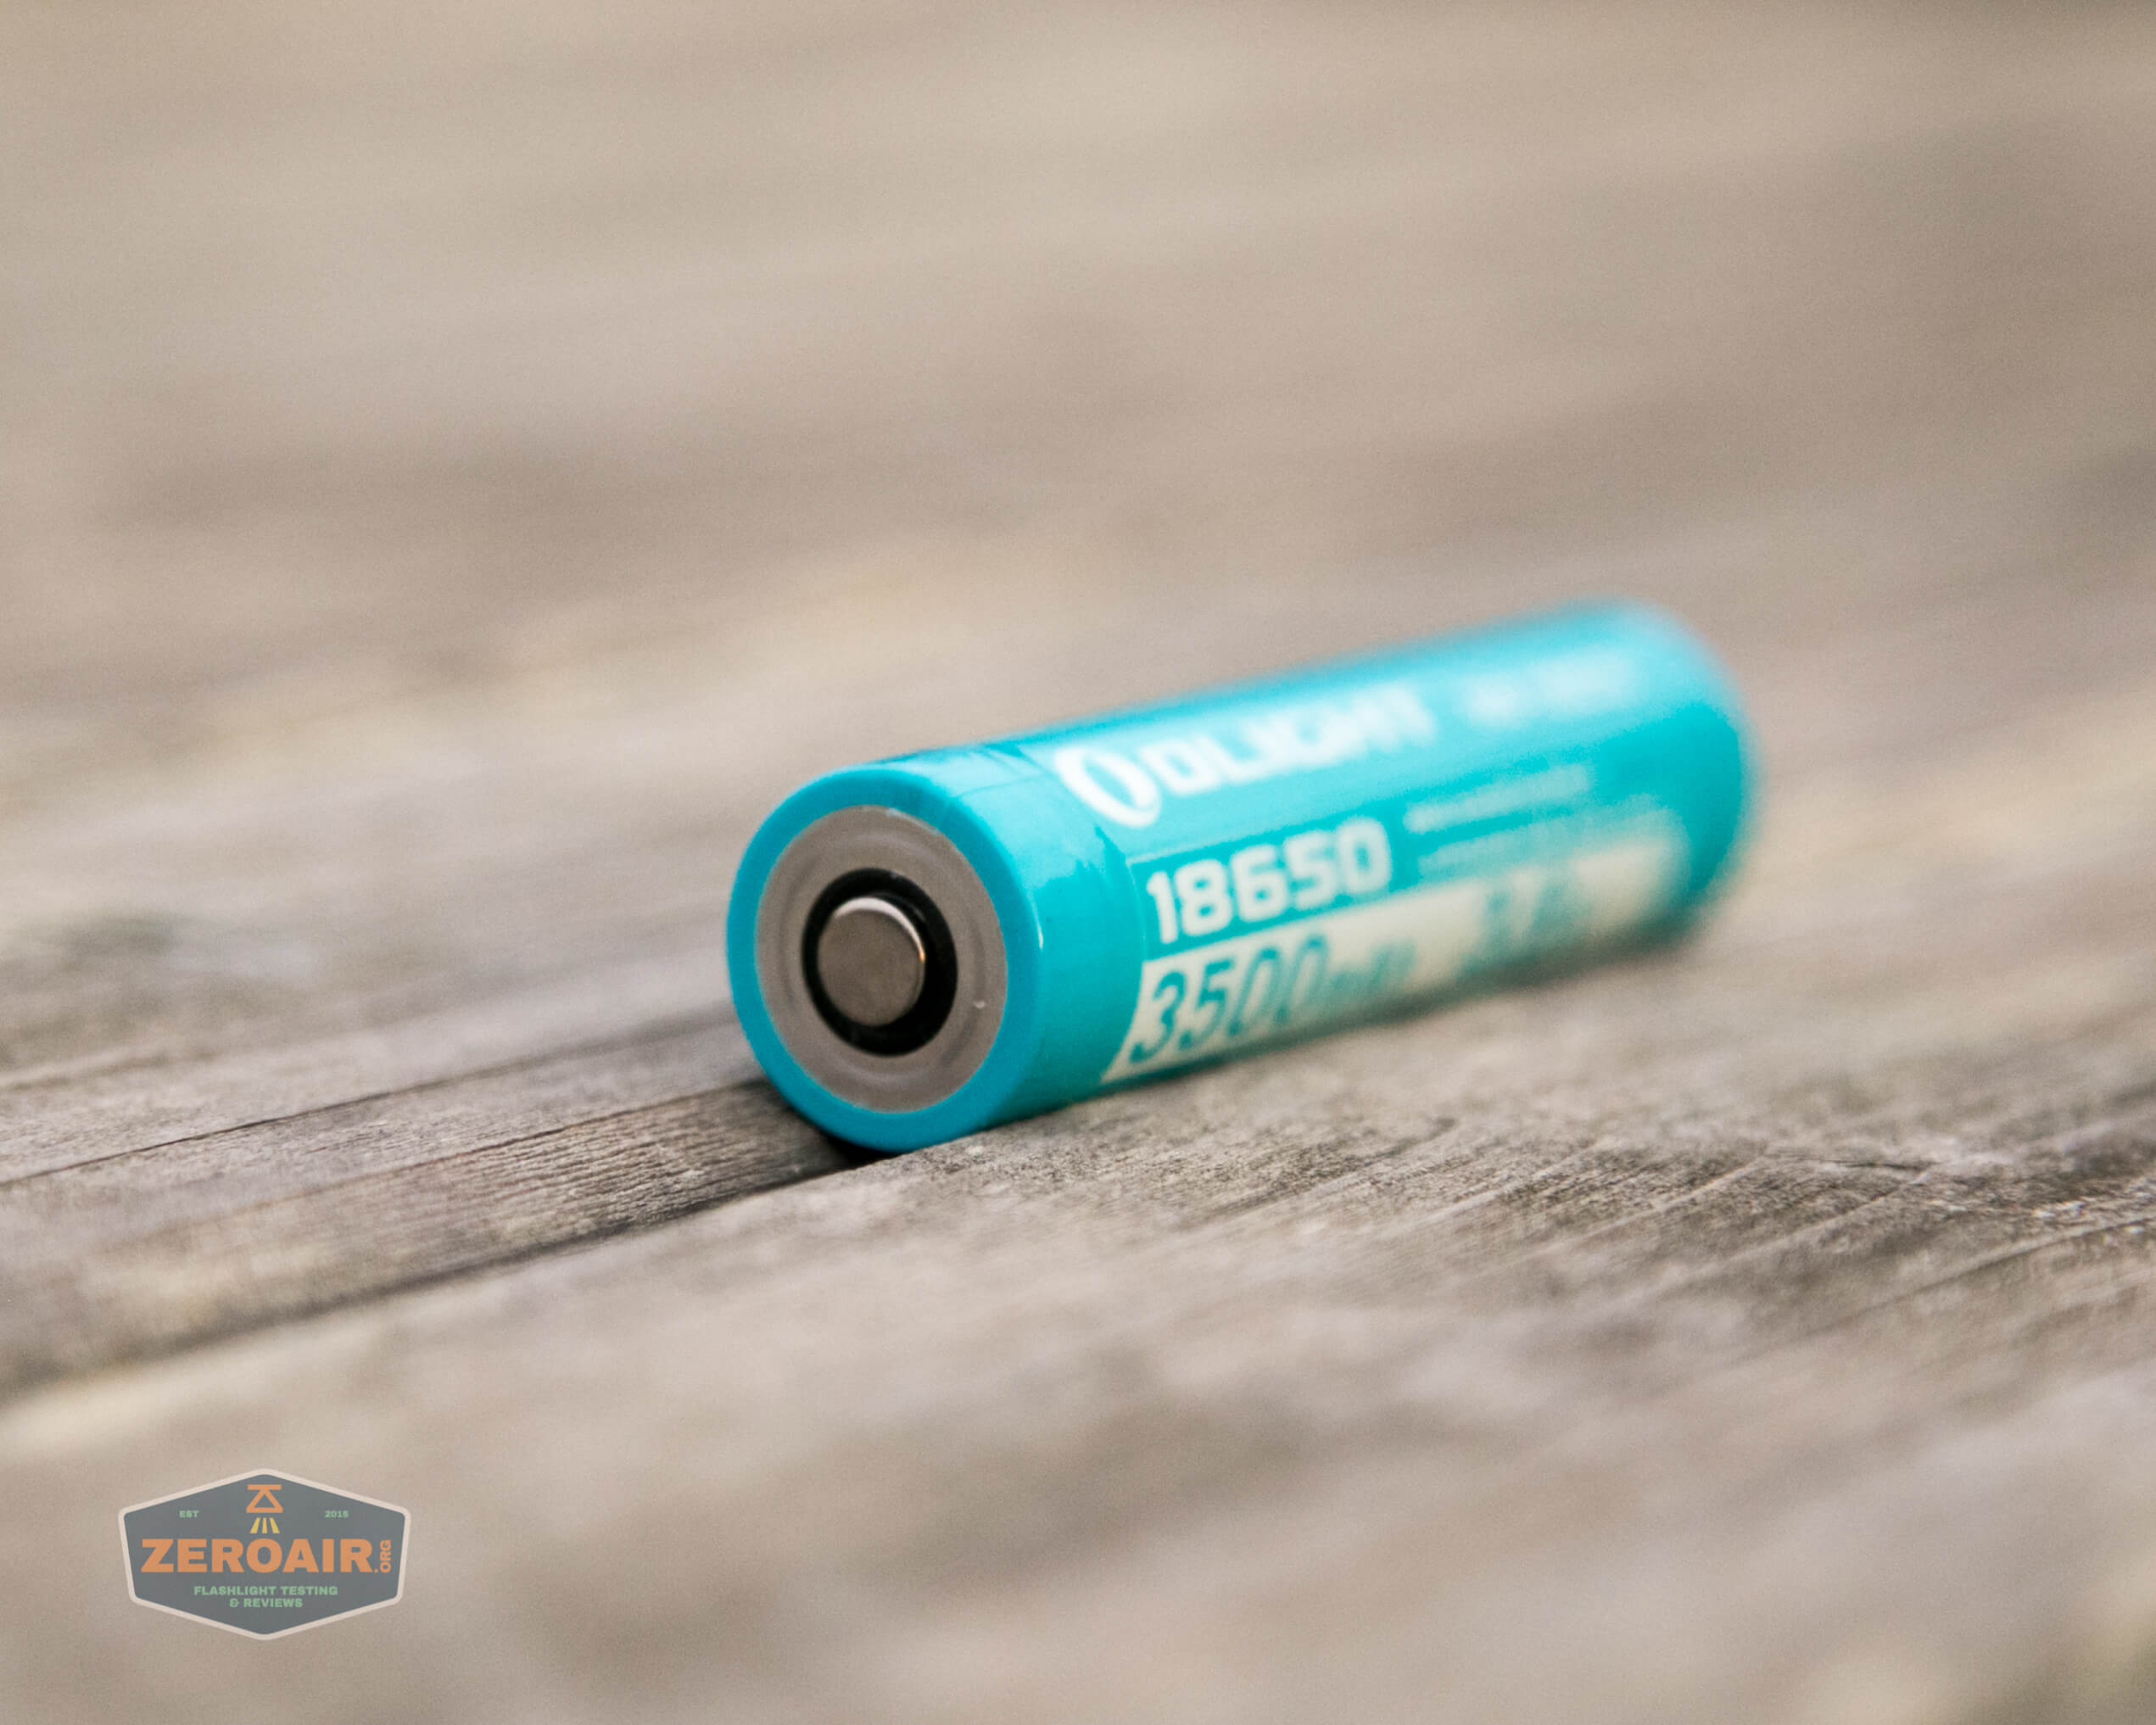

There’s a good bit of cell sticking out of the body when the cell is resting inside.
And the cell goes into the light in the “normal” way – positive terminal toward head. (This is in contrast to some of the other similar Olights, like the S1R Baton II, a light that otherwise looks incredibly similar to the Warrior Mini).
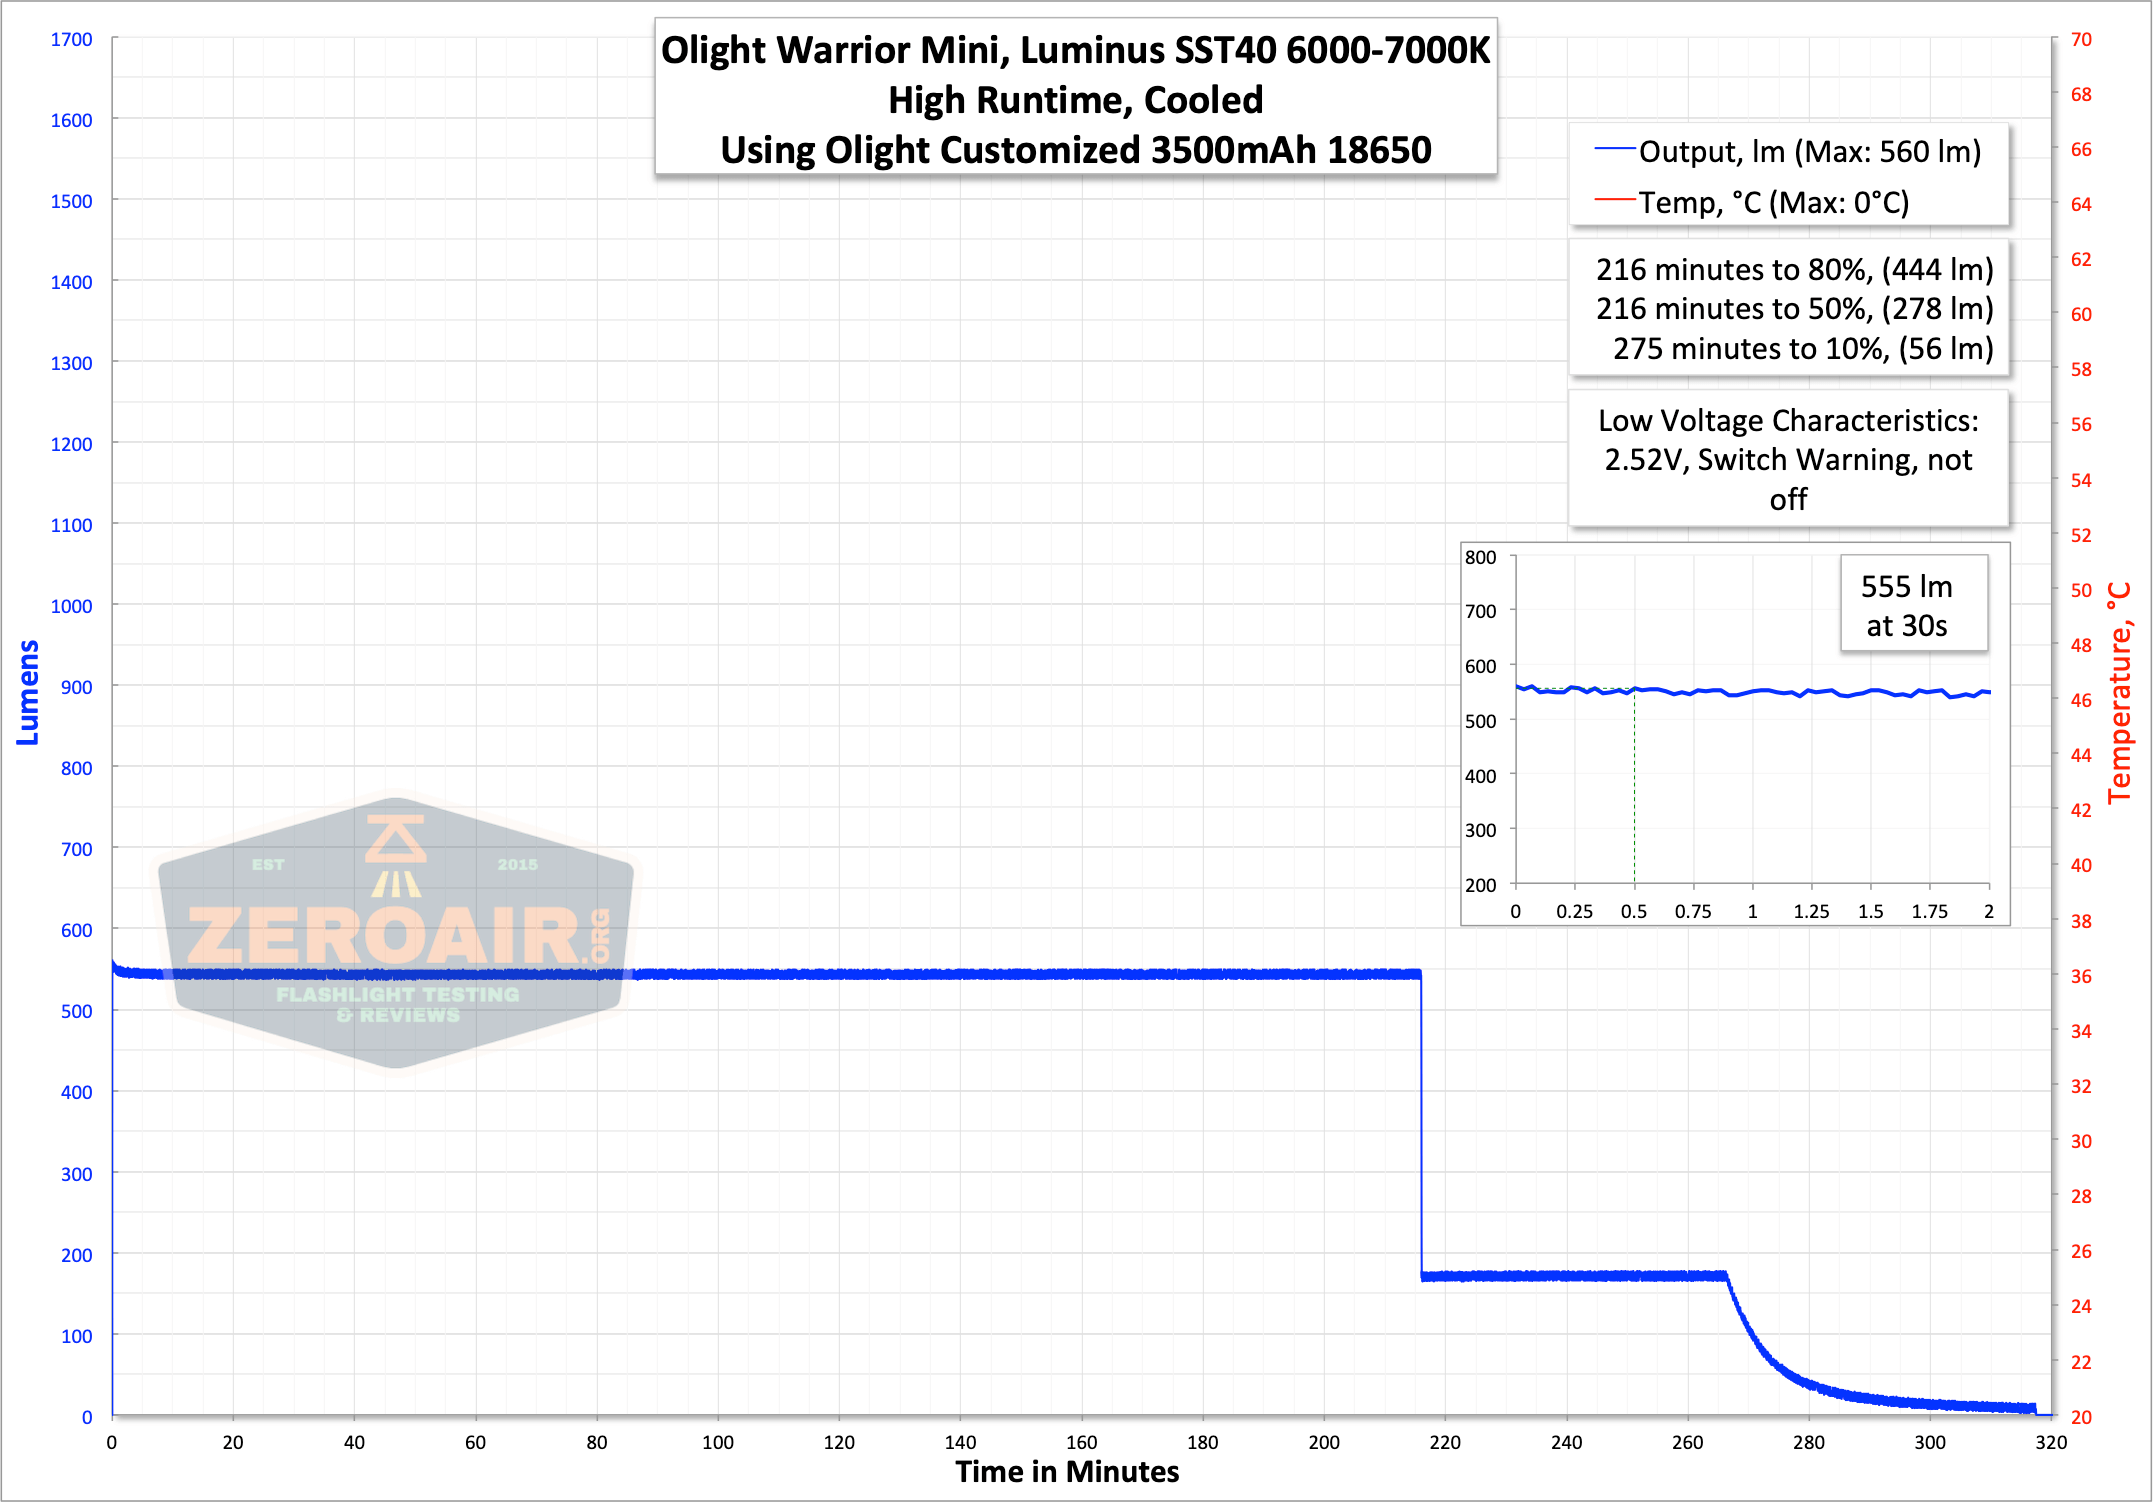
Here are a couple of runtimes. I had intended to run the next mode, but at 18 hours long, my computer can’t really handle that spreadsheet!
Output steps down from an initial 1660 lumens to over 1500 at 30s. In fact, the light stays over 1500 lumens (the official claim) for over 2 minutes. It does warm up while doing this! Once the light steps down, the output is incredibly flat for hours. Then there’s another stepdown, which lasts for under an hour, and then the light begins to decline in output. The switch warns the user of low voltage along the way. First green, then orange, then solid red, then flashing red. I stopped both of the tests seen below at random times, but the cell voltage was (coincidentally) 2.52V each time. This is purely by chance, and the light doesn’t seem to shut off.

The output on High is nicely flat and regulated, at around 555 lumens. Sorry for no temp here – I had the logger running, but the probe wasn’t connected! (In the test above, the logger cells died, and so the log shuts off at around 280 minutes. When I charged those cells, I forgot to reconnect the probe!)
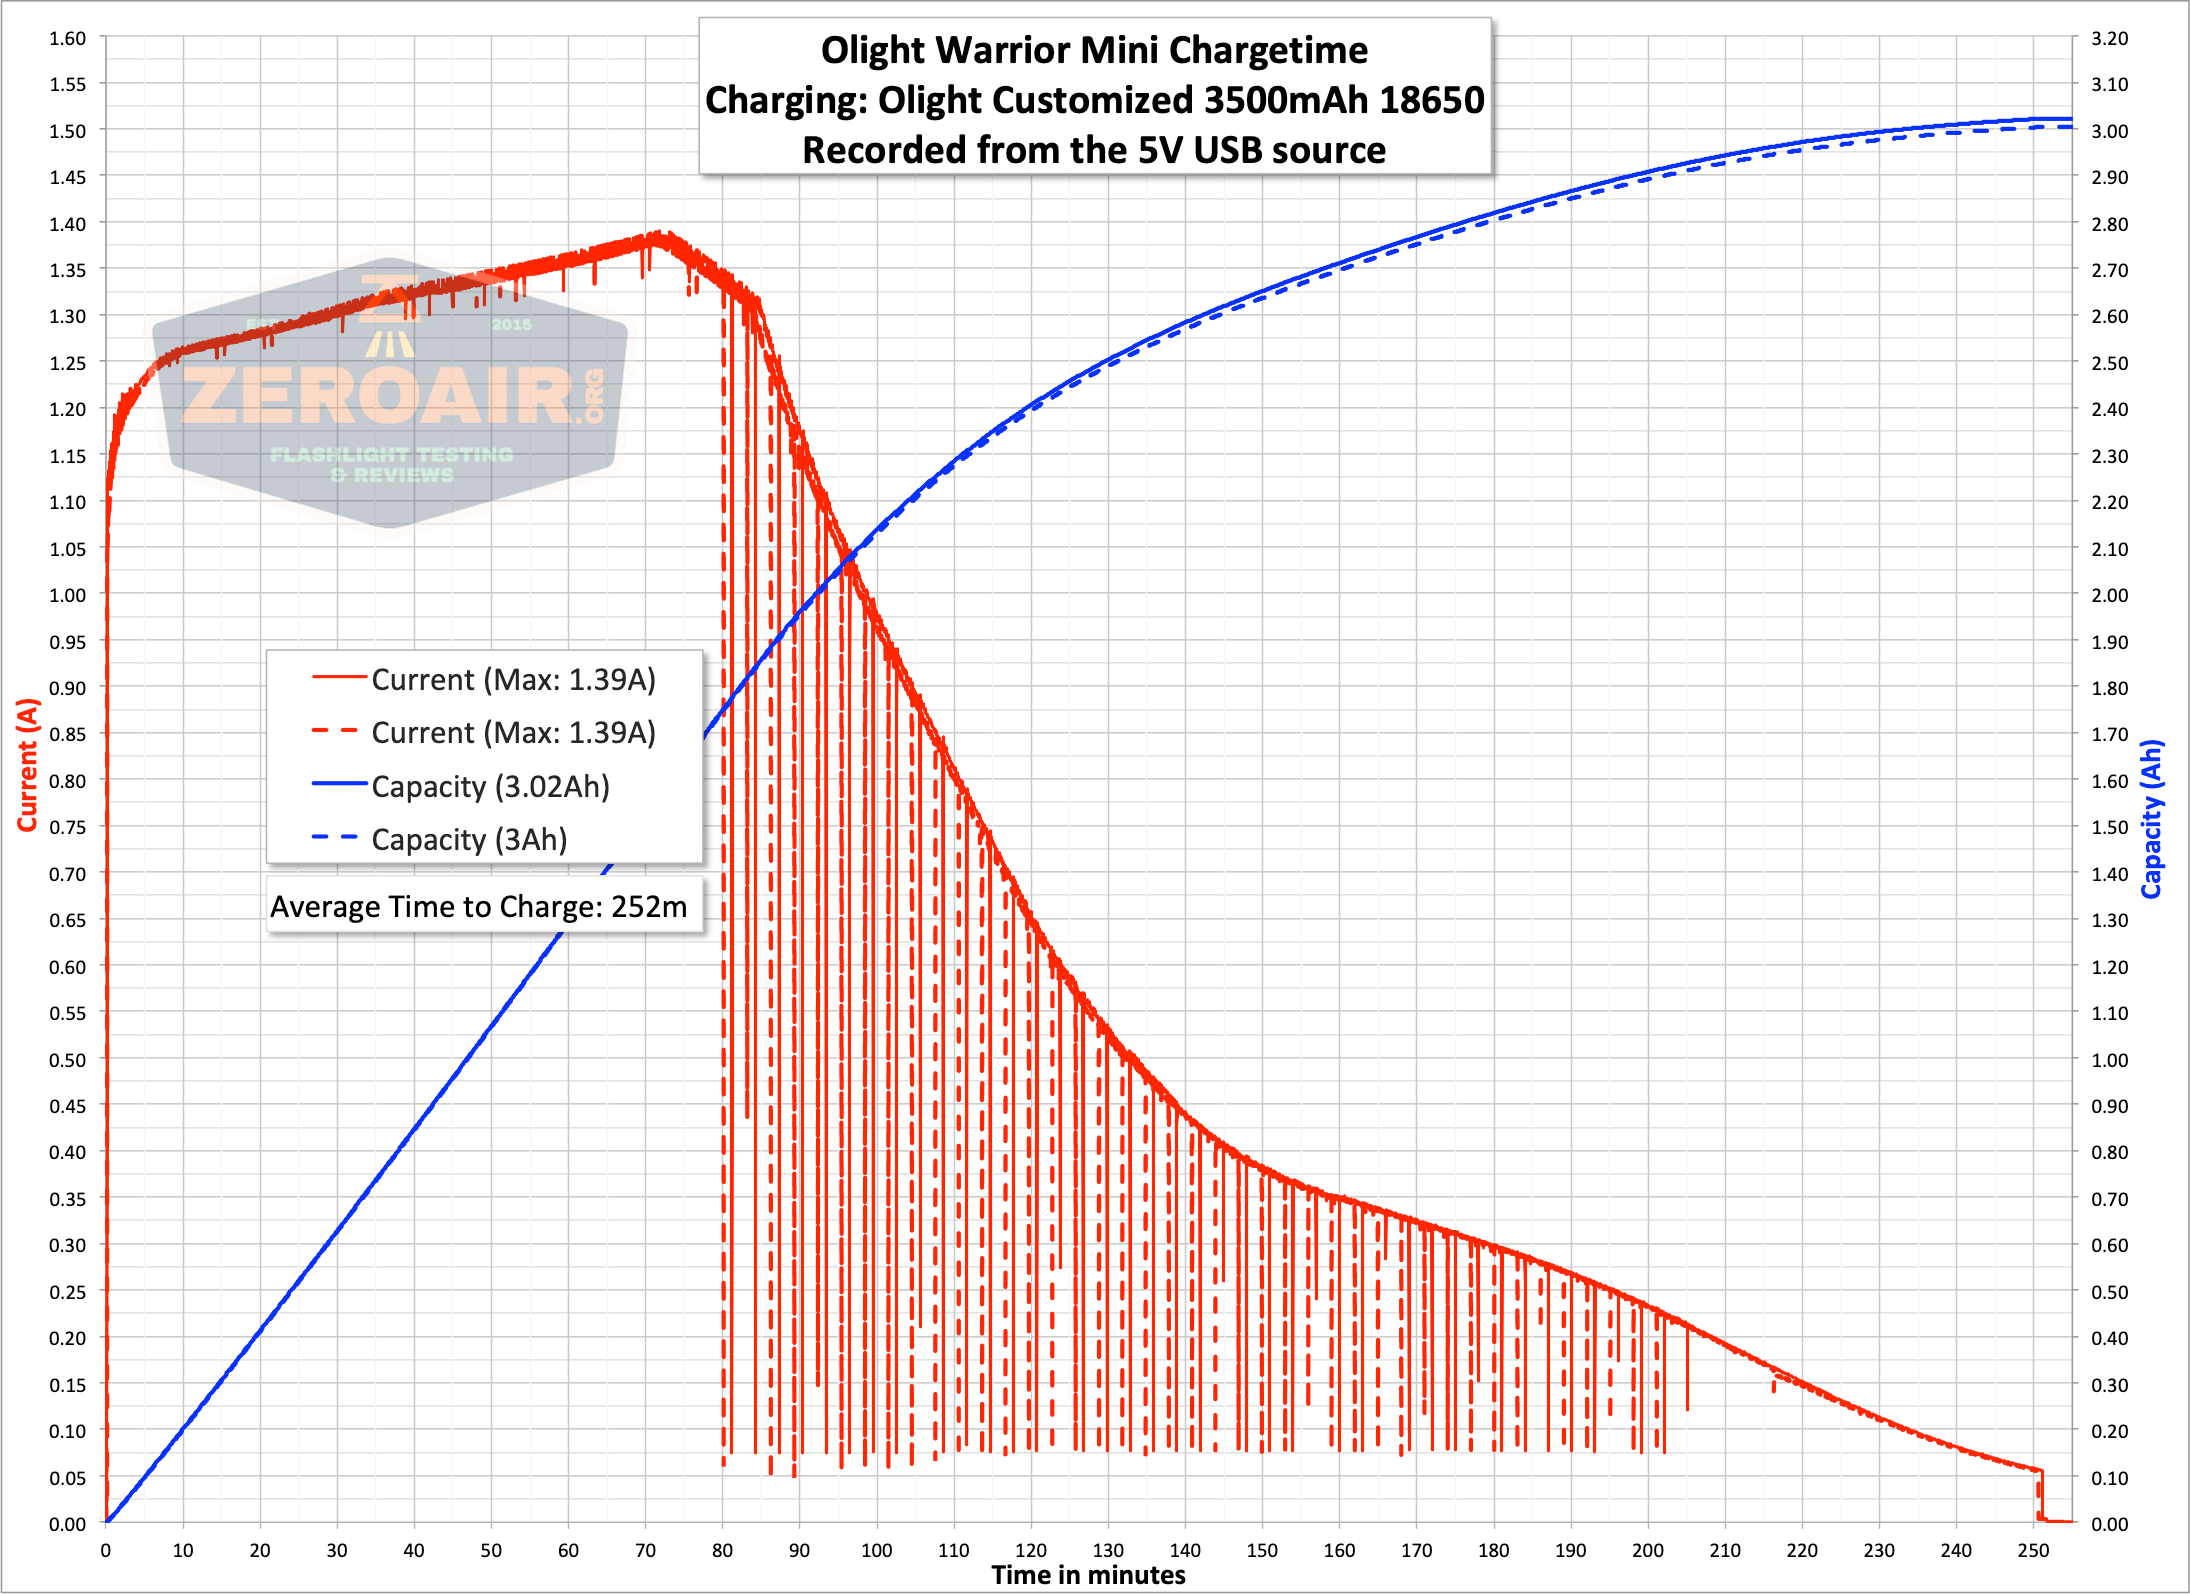
Charging
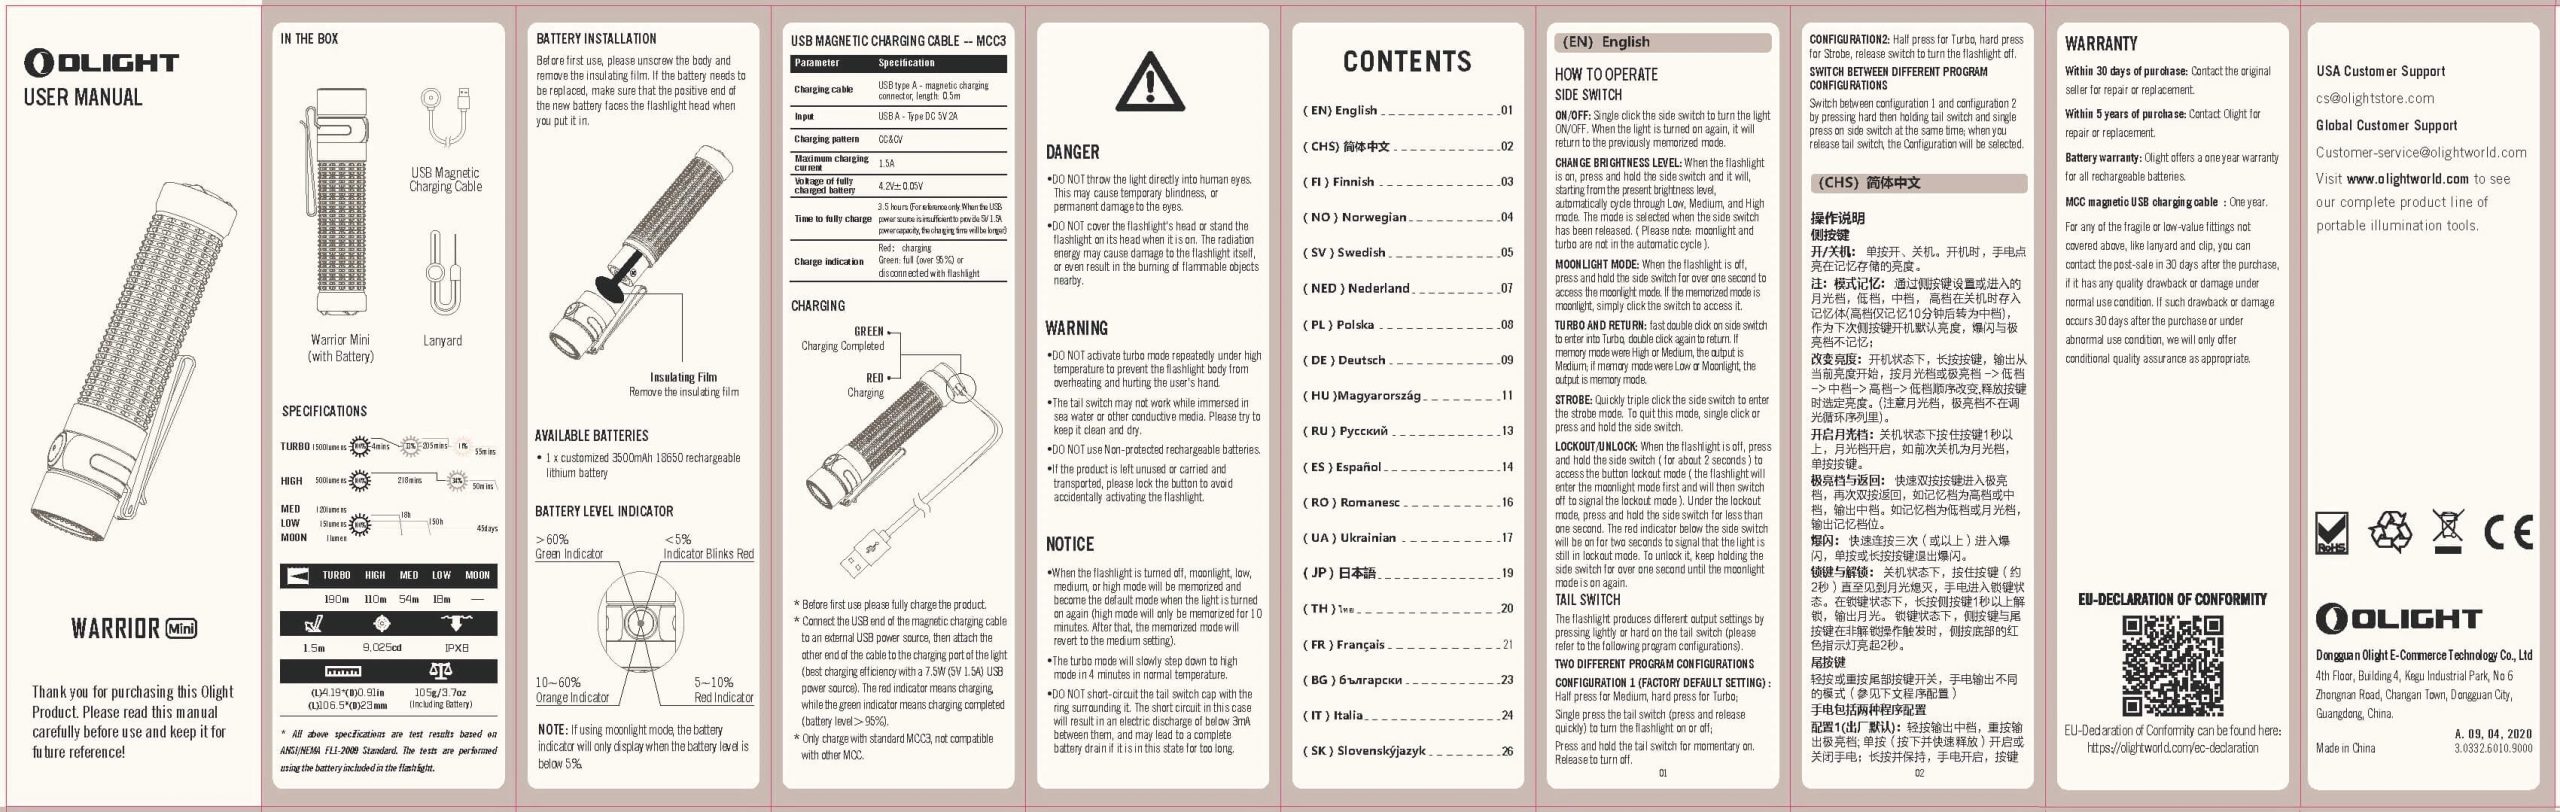
There’s also onboard charging, by way of a magnetic charge base and a magnetic charge connector in the tail (both parts are magnetic!). The charge base is the common Olight MCC, which can charge at 1A, 1.5A, or 2A. As I said above, this cell can be charged in a regular bay charger too!
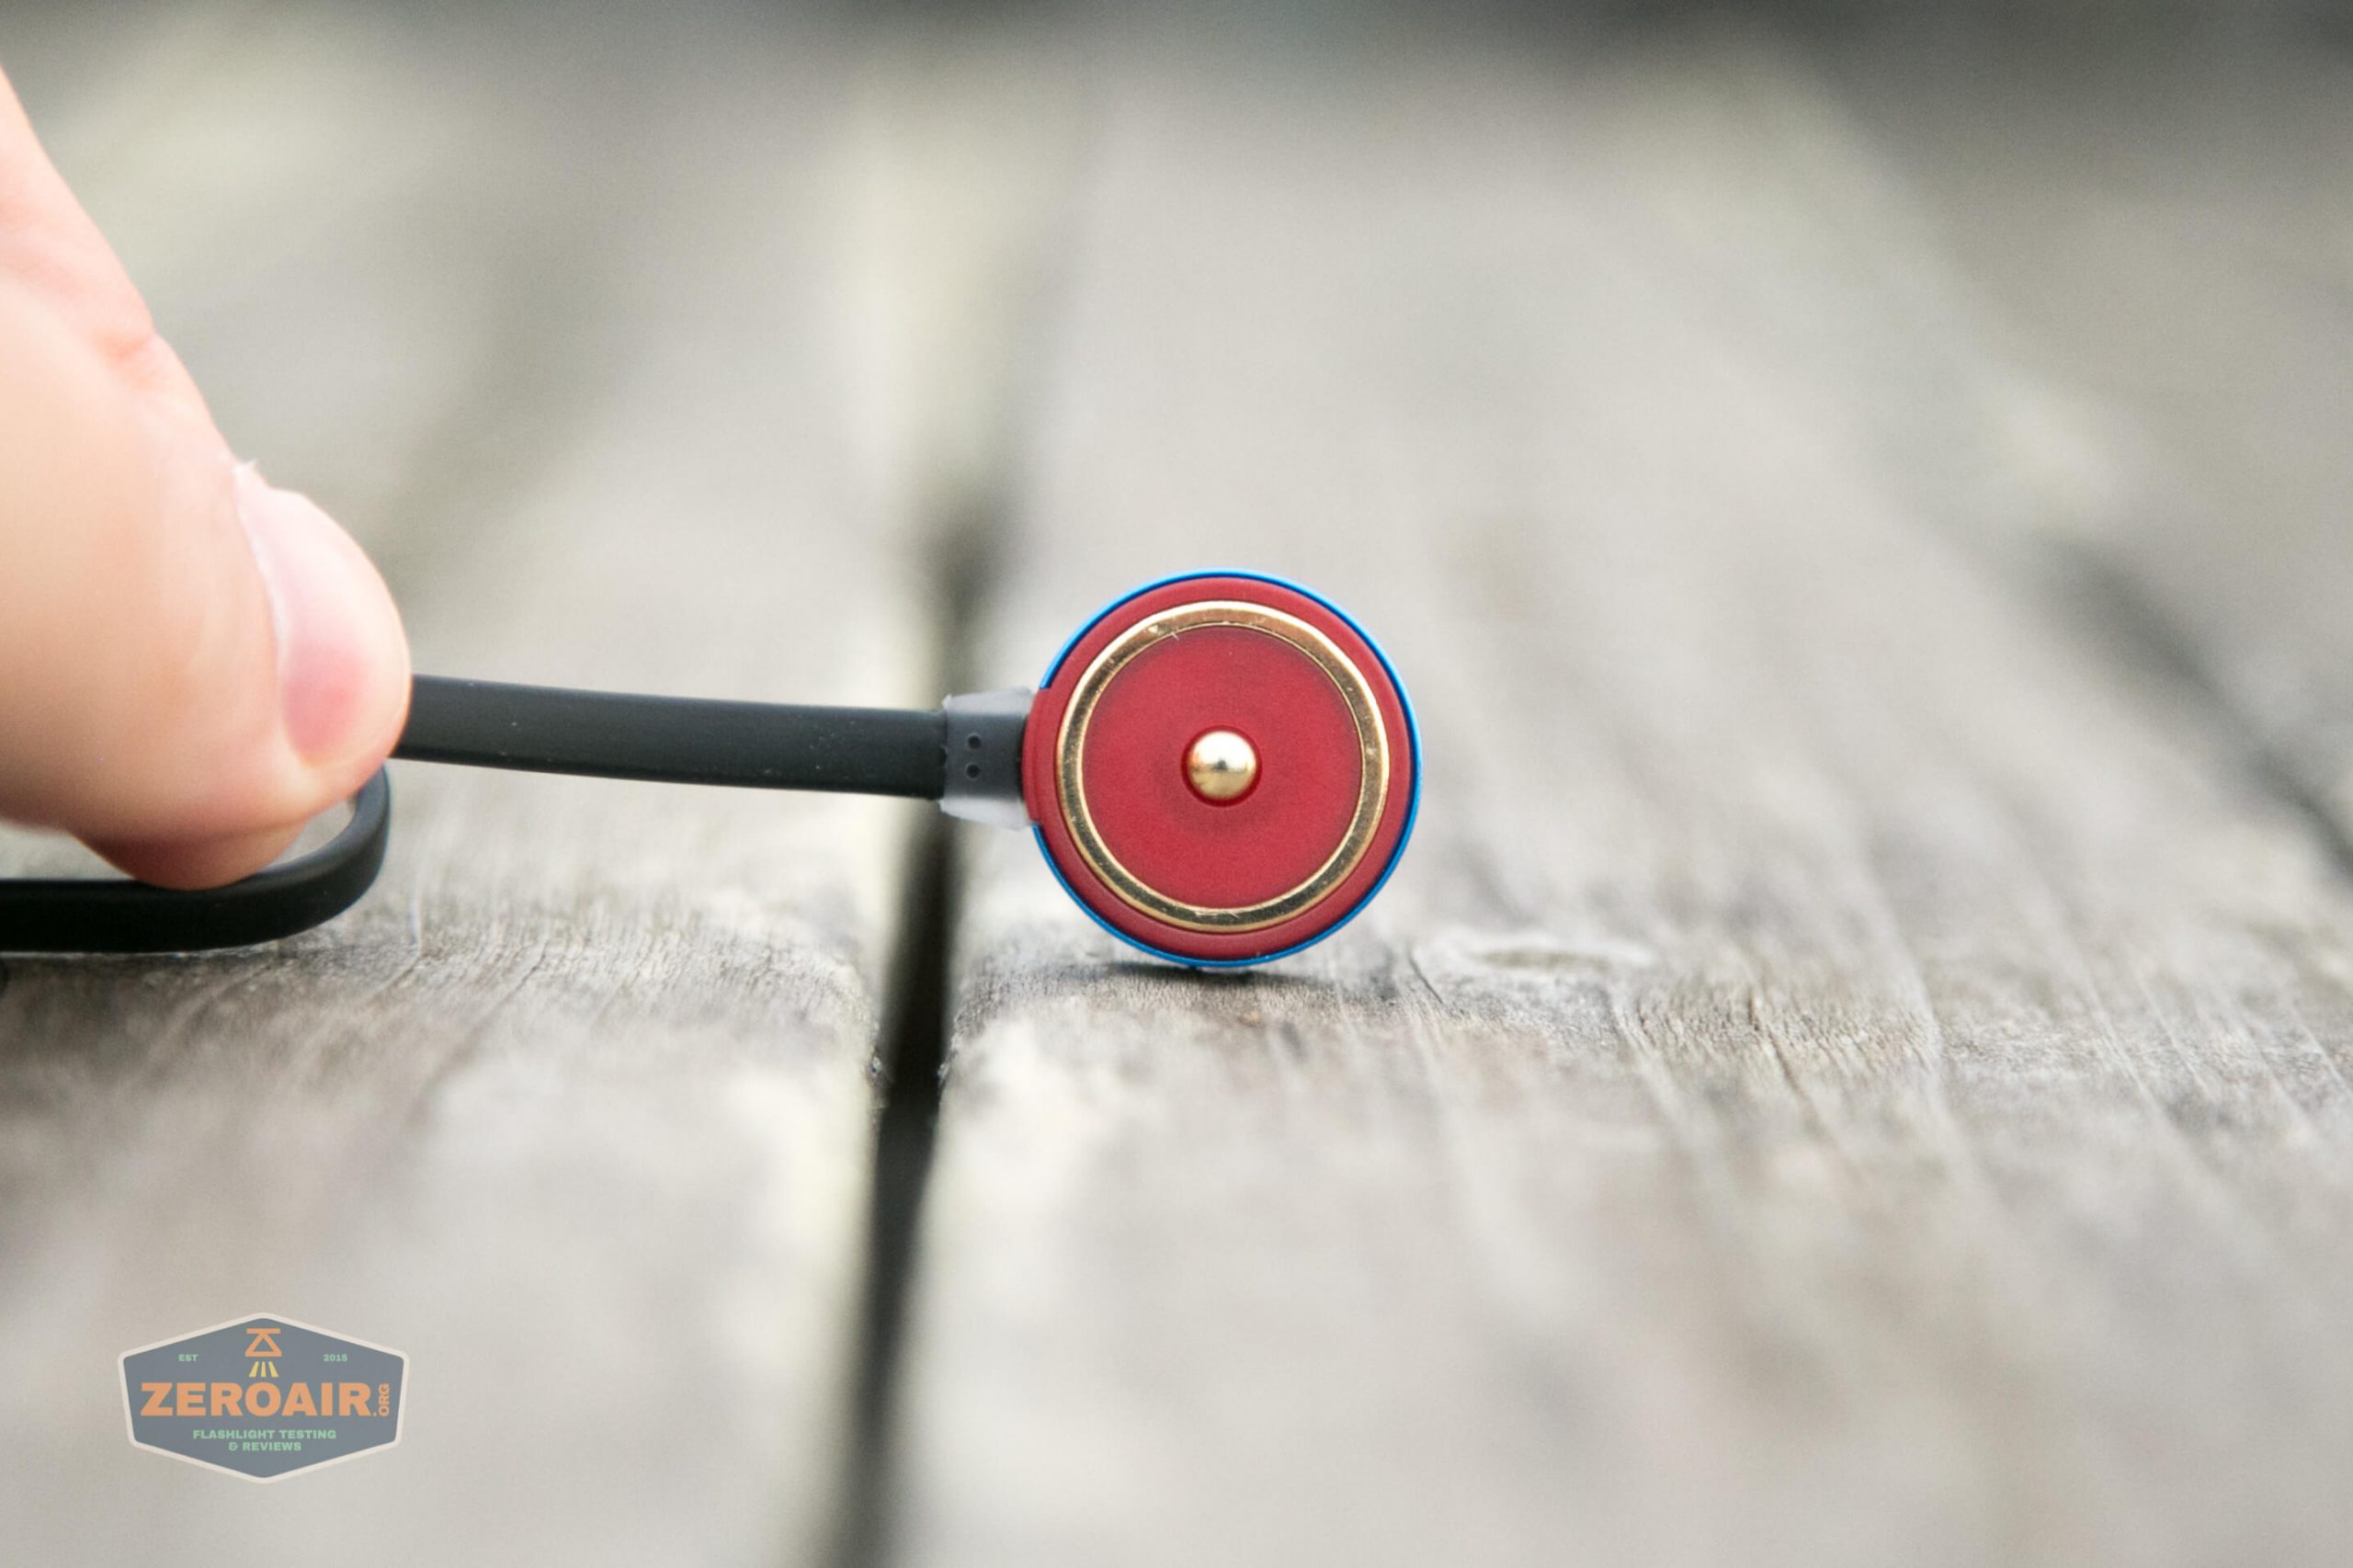
Charging proceeds at well over 1A, and the 3500mAh cell is charged in around 4 hours. The charge base is red when charging, and green when not being used or the cell is “completely charged.” I noted in charge testing that the on the charger would turn green before the trickle CV phase had stopped putting power into the cell.
Modes and Currents
| Mode | Mode Claimed Output (lm) | Claimed Runtime | Measured Lumens | Tailcap Amps |
|---|---|---|---|---|
| Turbo | 1500/500/170 | 4m/205m/55m | 1566 | 3.42 |
| High | 500/170 | 218m/50m | 555 | 0.76 |
| Medium | 120 | 18h | 120 | 0.16 |
| Low | 15 | 150h | 15 | 0.02 |
| Moon | 1 | 45d | – | – (very low) |
Pulse Width Modulation
 Here you can see a “baseline” – a chart with almost no light hitting the sensor.
Then there’s the Ultrafire WF-602C flashlight, which has some of the worst PWM I’ve seen. It’s so bad that I used a post about it to explain PWM! Here are multiple timescales (10ms, 5ms, 2ms, 1ms, 0.5ms, 0.2ms) to make comparing this “worst” PWM light to the test light easier. That post also explains why I didn’t test the WF-602C at the usual 50us scale.
User Interface and Operation
There are two switches on the Warrior Mini. First is the metal tail switch, which is also used in charging.
Next is the indicating side e-switch.
Below is a shot of the red indication on the switch.
Here’s a user interface table! This is the same user interface as is on the M2R Warrior Pro.
| State | Action | Result |
|---|---|---|
| Off | Click Side Switch (SS) | On (Mode Memory) |
| Off | Hold SS | Moon |
| Off | Double Click SS | Turbo |
| Any | Triple Click SS | Strobe |
| On | Click SS | Off |
| On | Hold SS | Mode Advance (L>M>H) (Moon and Turbo are excluded from cycle) |
| Turbo | Double Click SS | Return to previous mode (If previous was “High,” returns to Med) |
| Off | Long Hold SS | Lockout (Technically “Moon then lockout”) |
| Lockout | Click SS | Switch indicating lockout (red for 2s) |
| Lockout | Hold SS | Unlock to Moonlight |
| Any | Hold (“half press”) Tail Switch (TS) | Med (in Config 1, default) Turbo (in Config 2) |
| Any | Click TS | Turbo (in Config 1) Strobe (in Config 2) |
| Off | Hold TS, Click SS | Switch between Config 1 and 2 (there is no confirmation except the modes seen per Config) |
LED and Beam
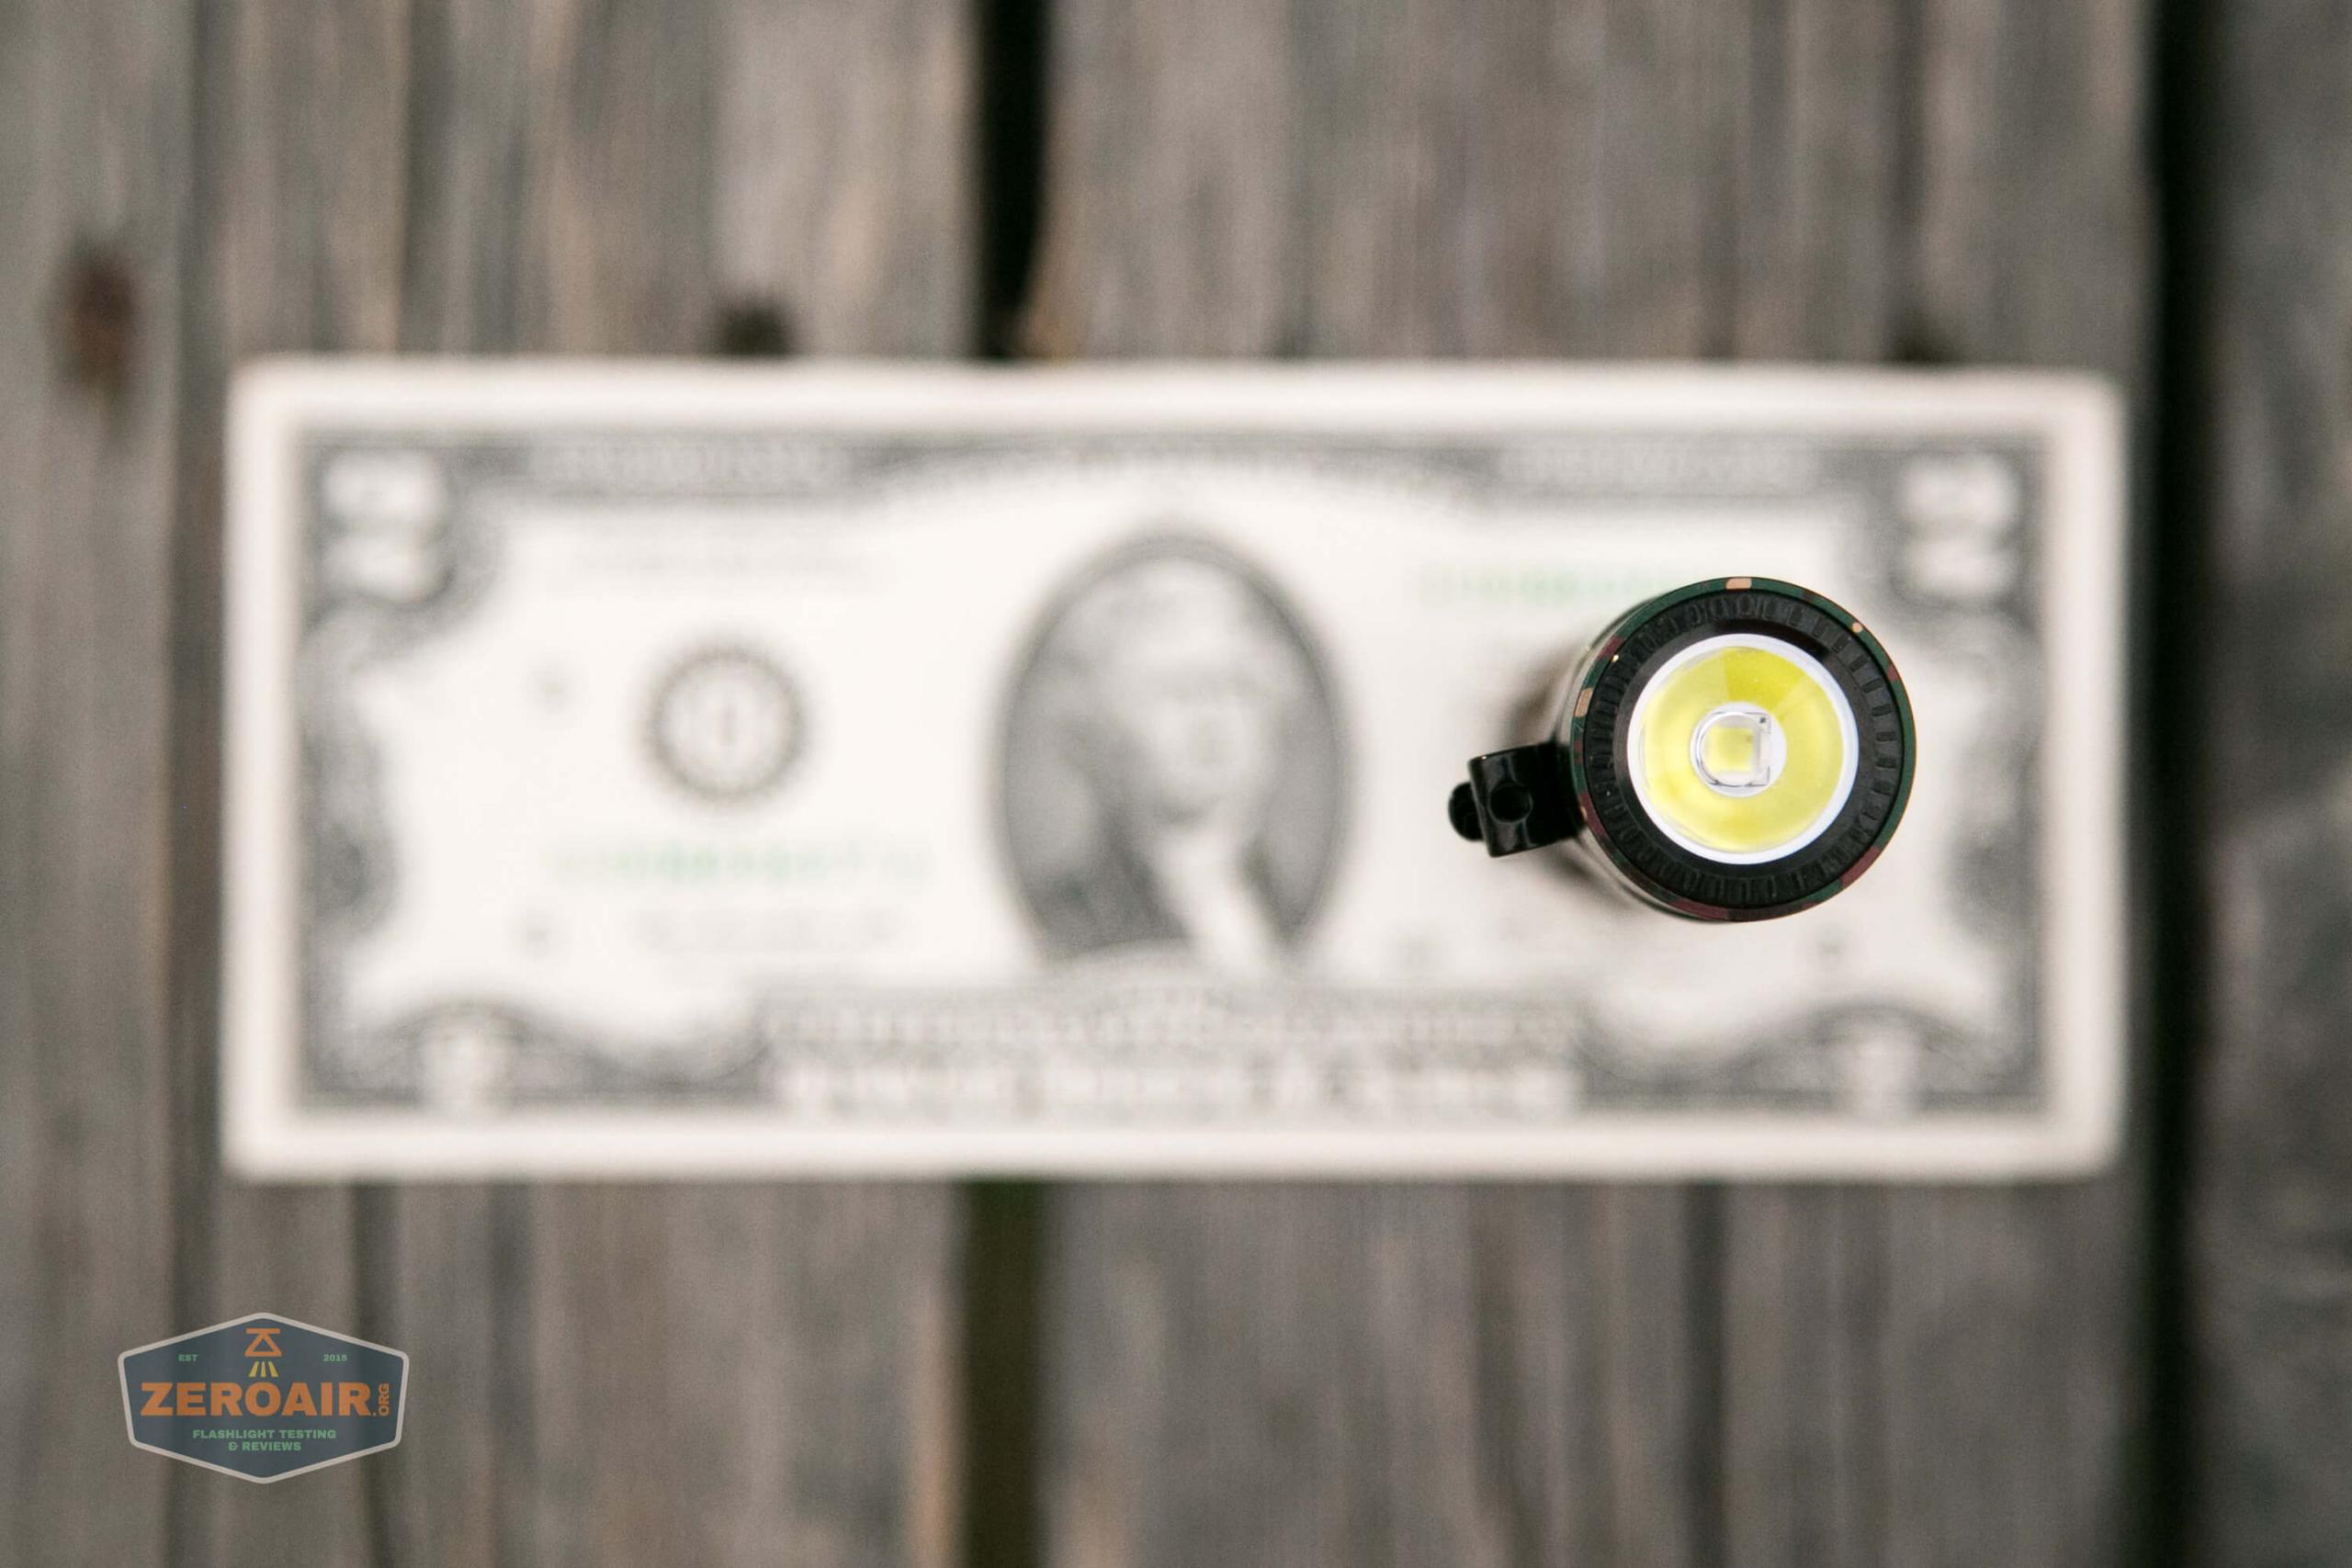
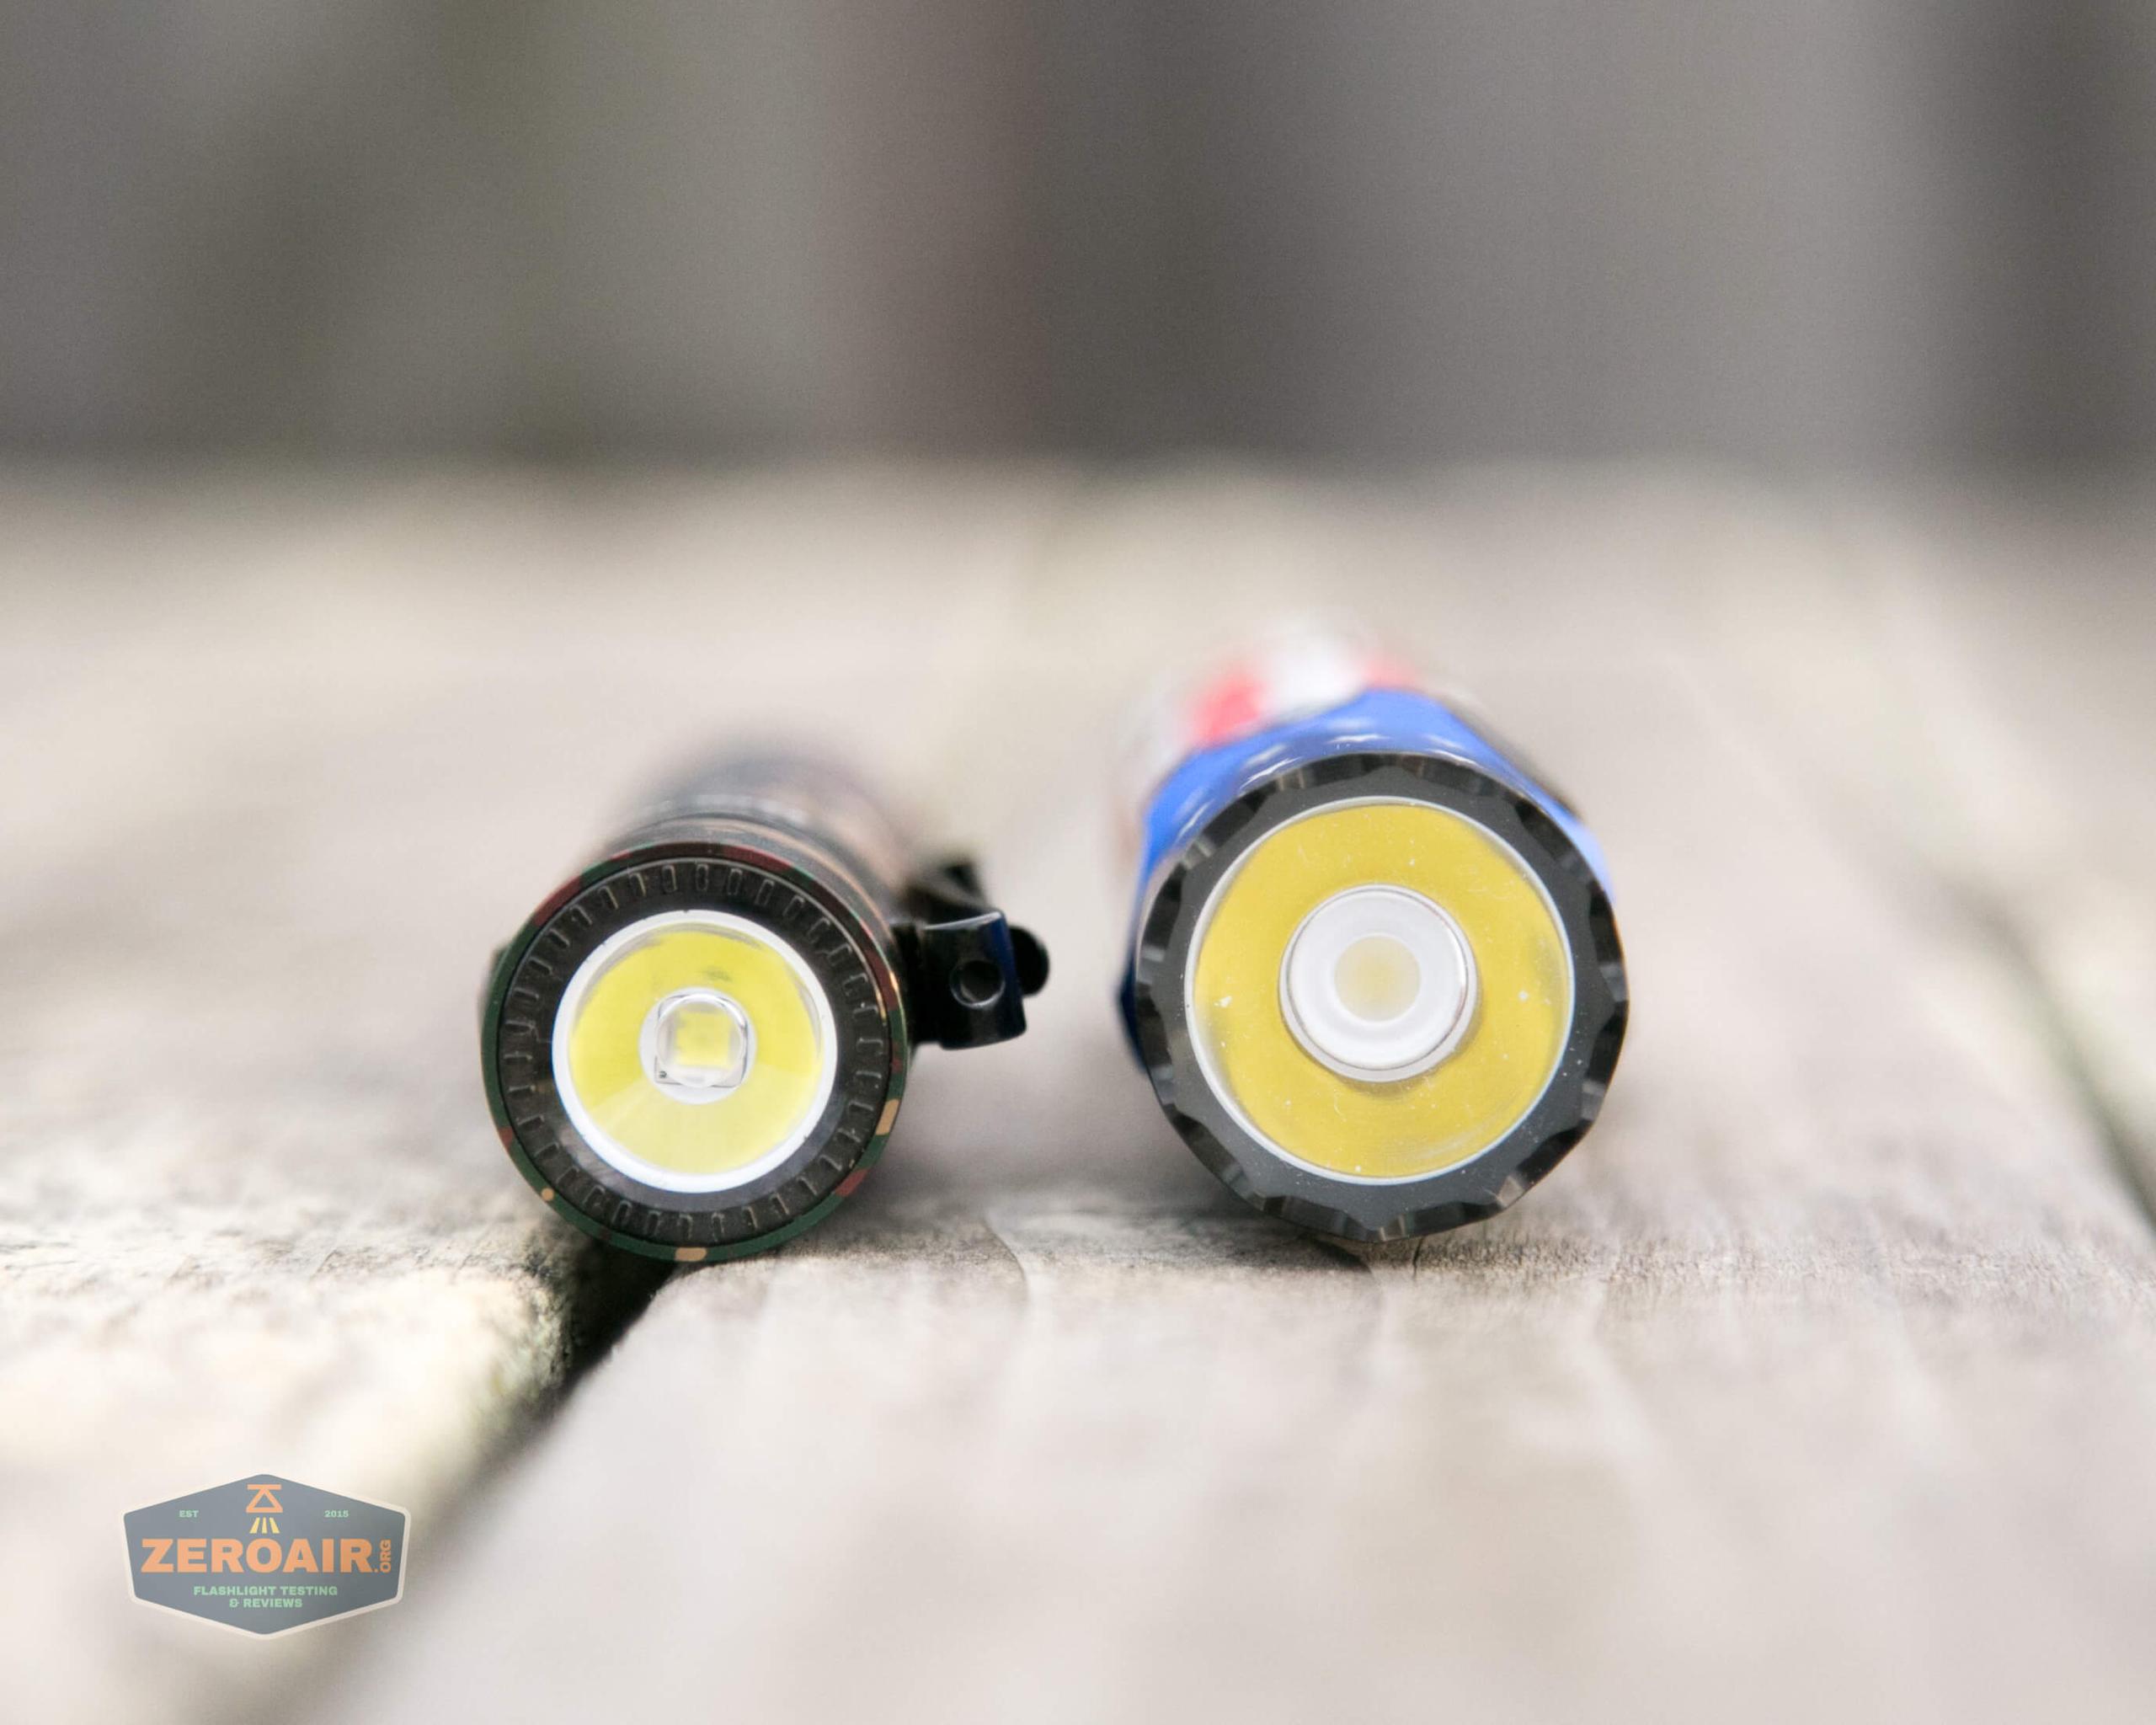
The emitter of choice for this light is a Luminus SST40. The temperature is Cool White, at 6000K-7000K. This emitter is under a TIR, and there is no glass over the TIR.
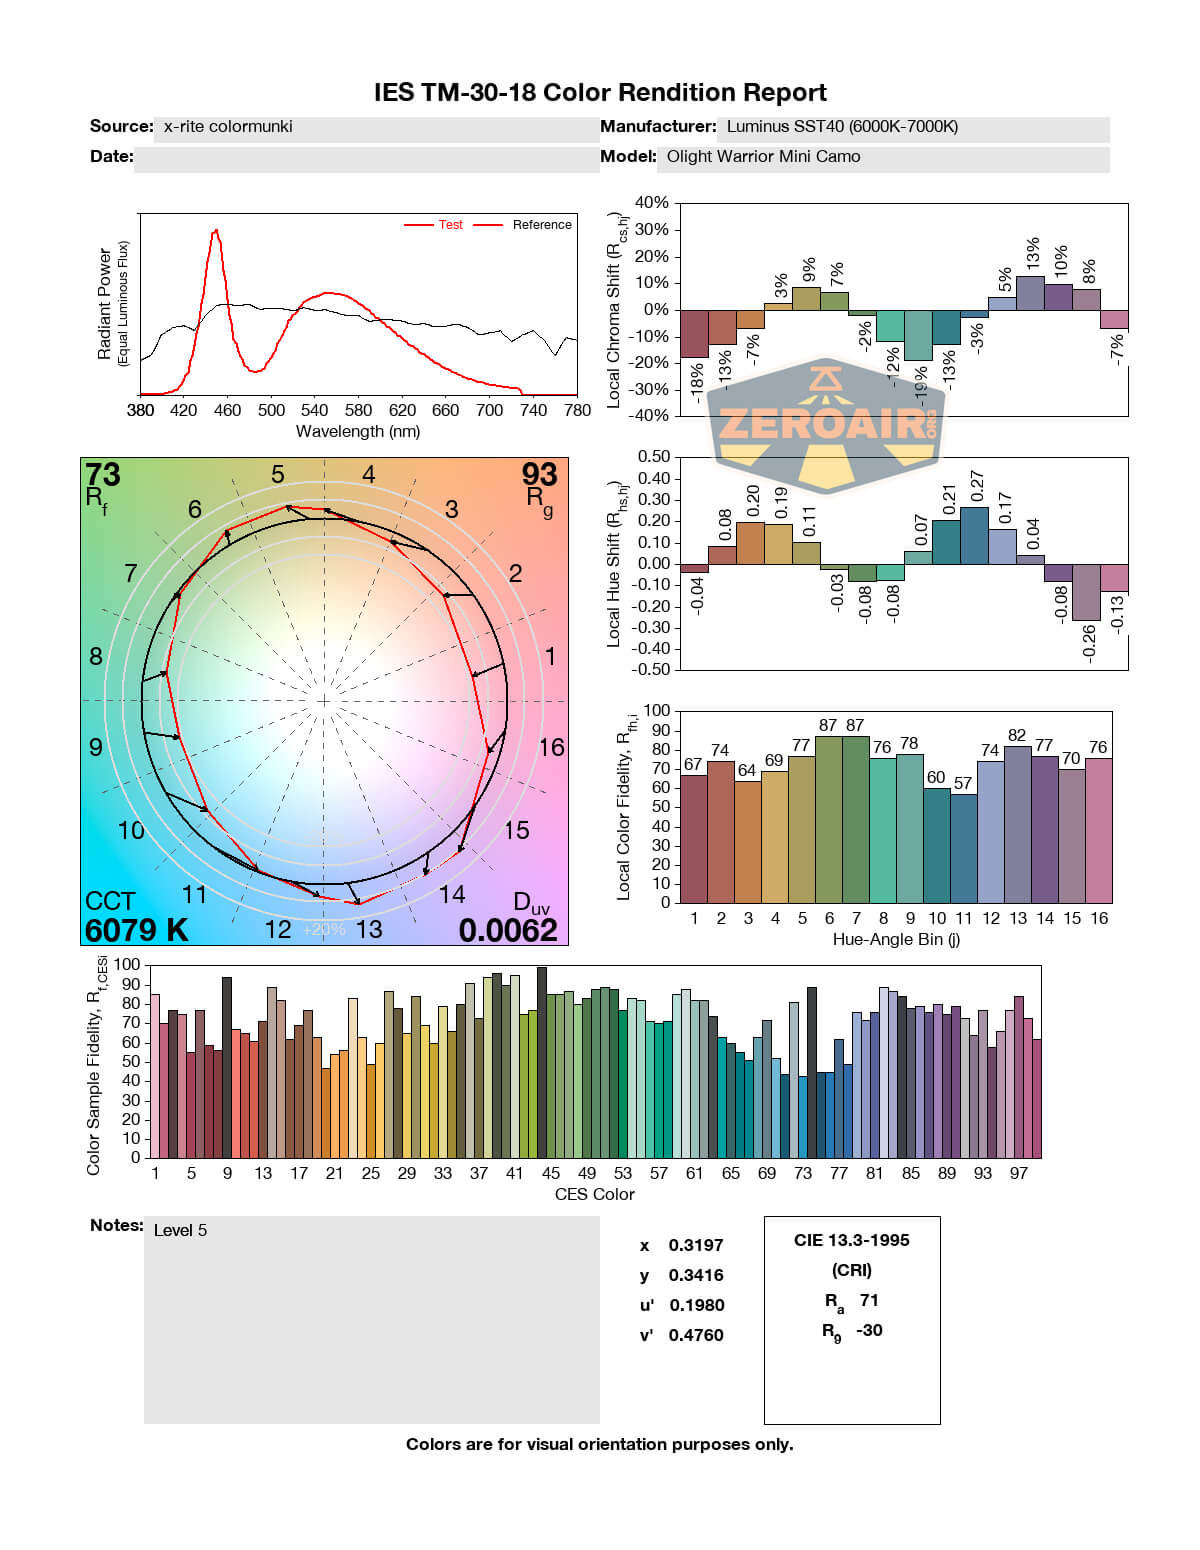
Honestly, the beam is not only cool but also green on the lower modes. On Turbo, I don’t notice it at all.
As stated above, the bezel does allow a tiny bit of light to escape when headstanding.
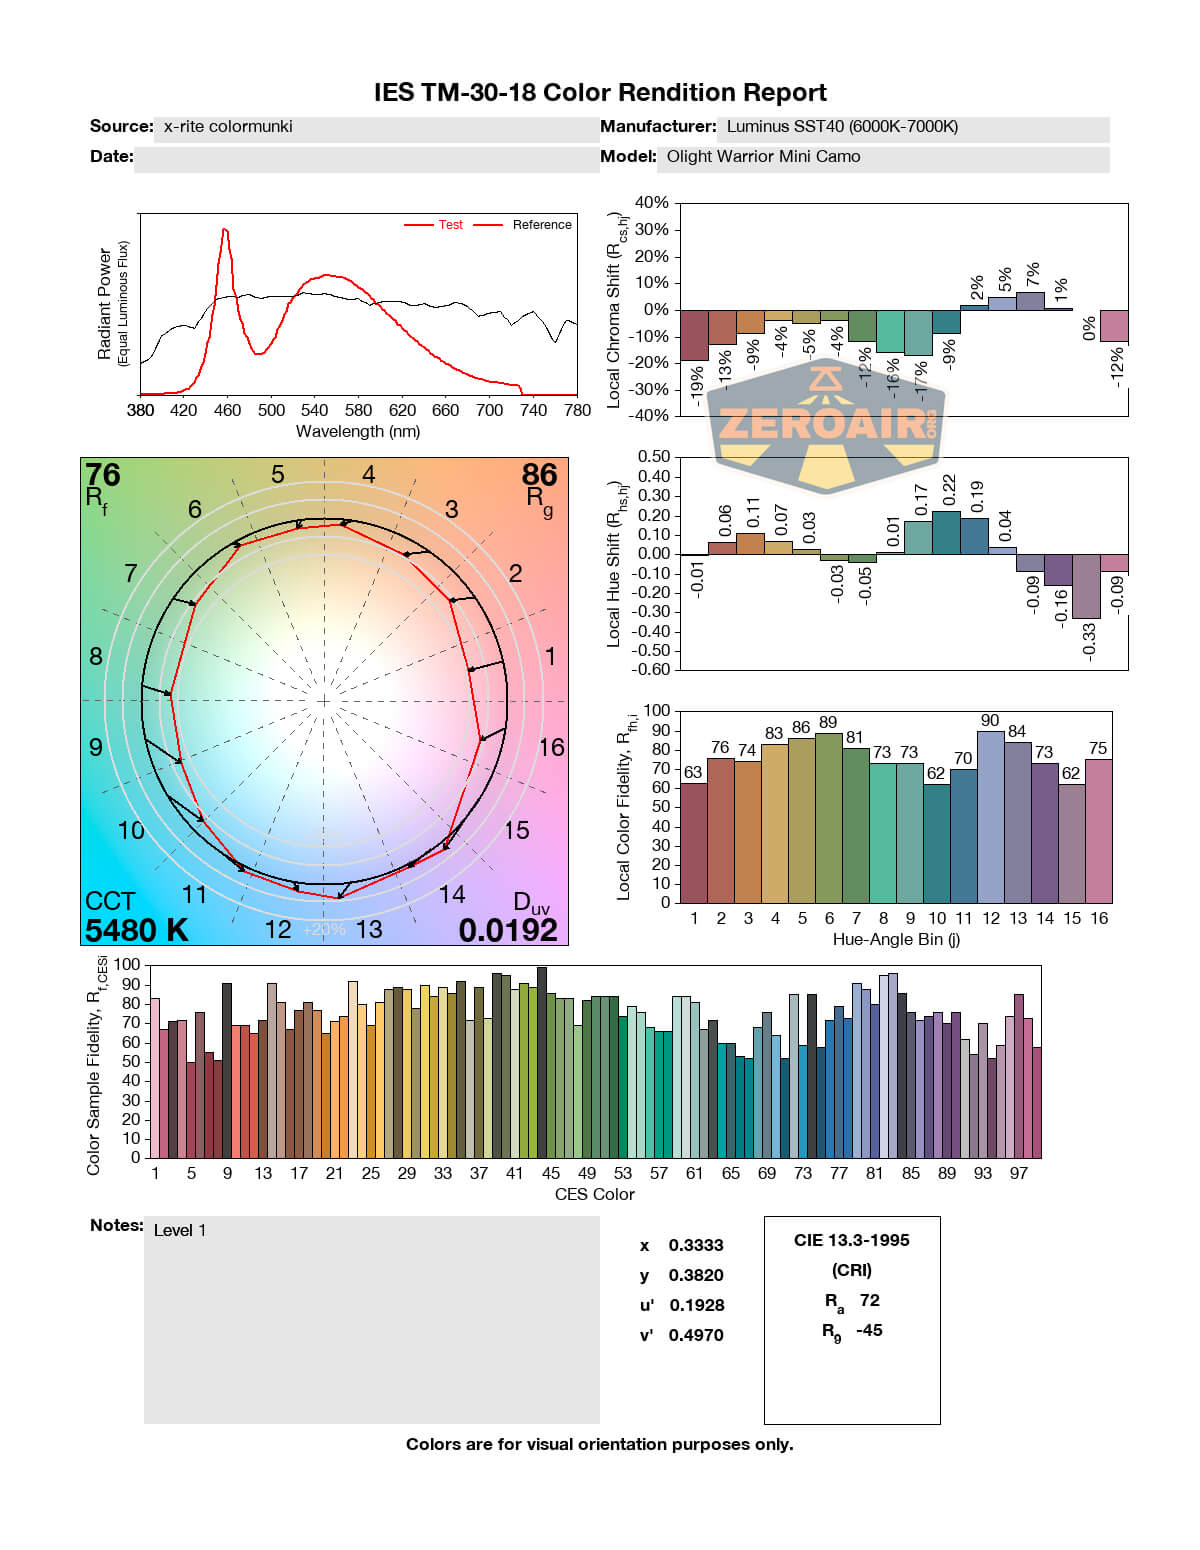
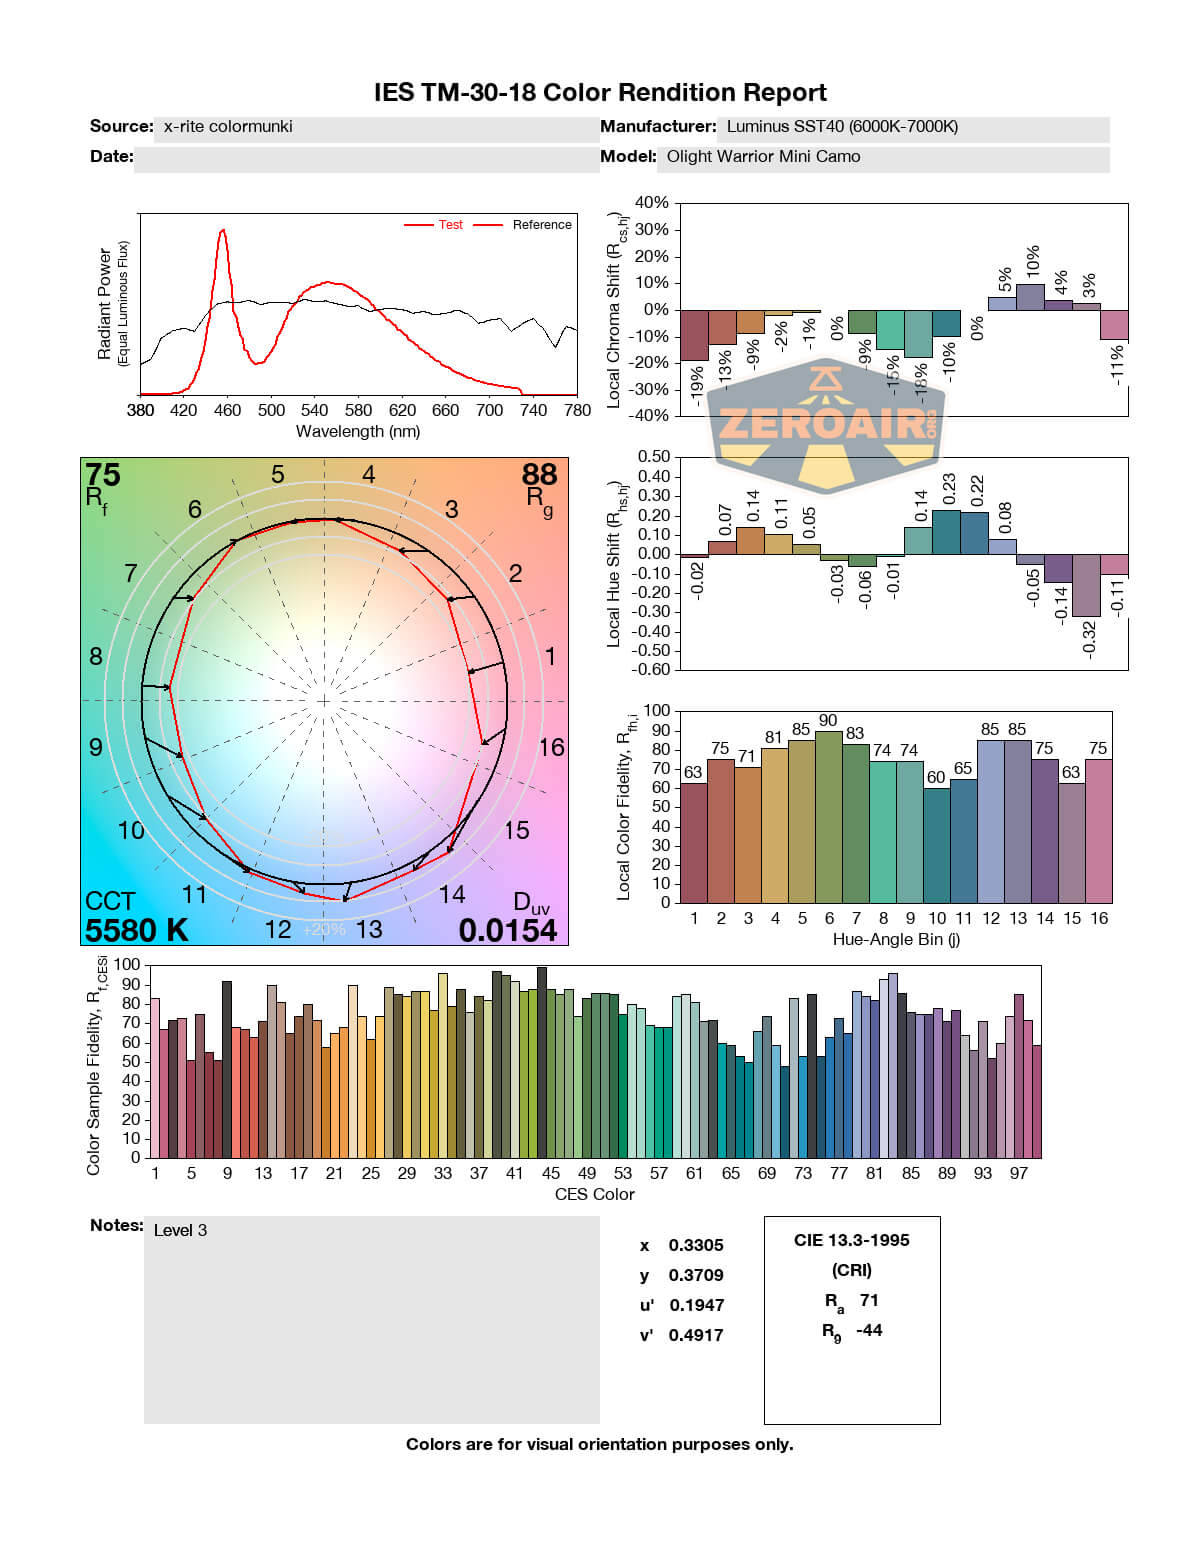
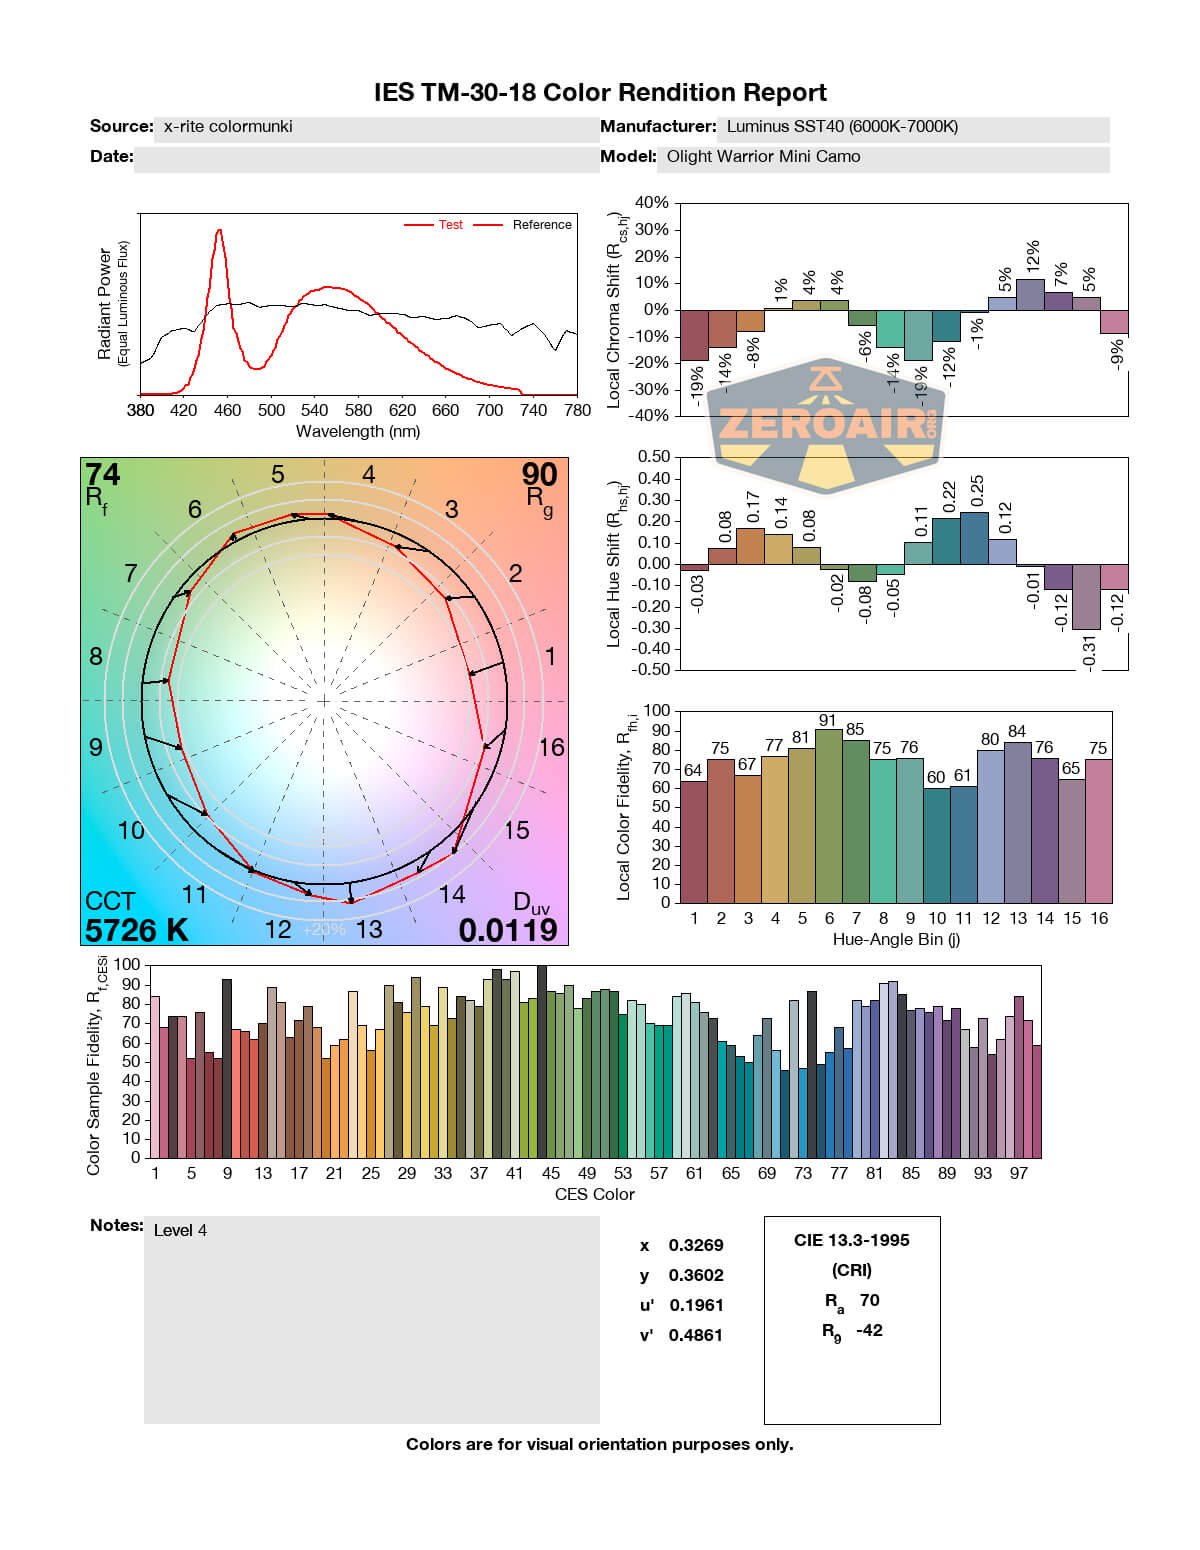
LED Color Report (CRI and CCT)

Beamshots
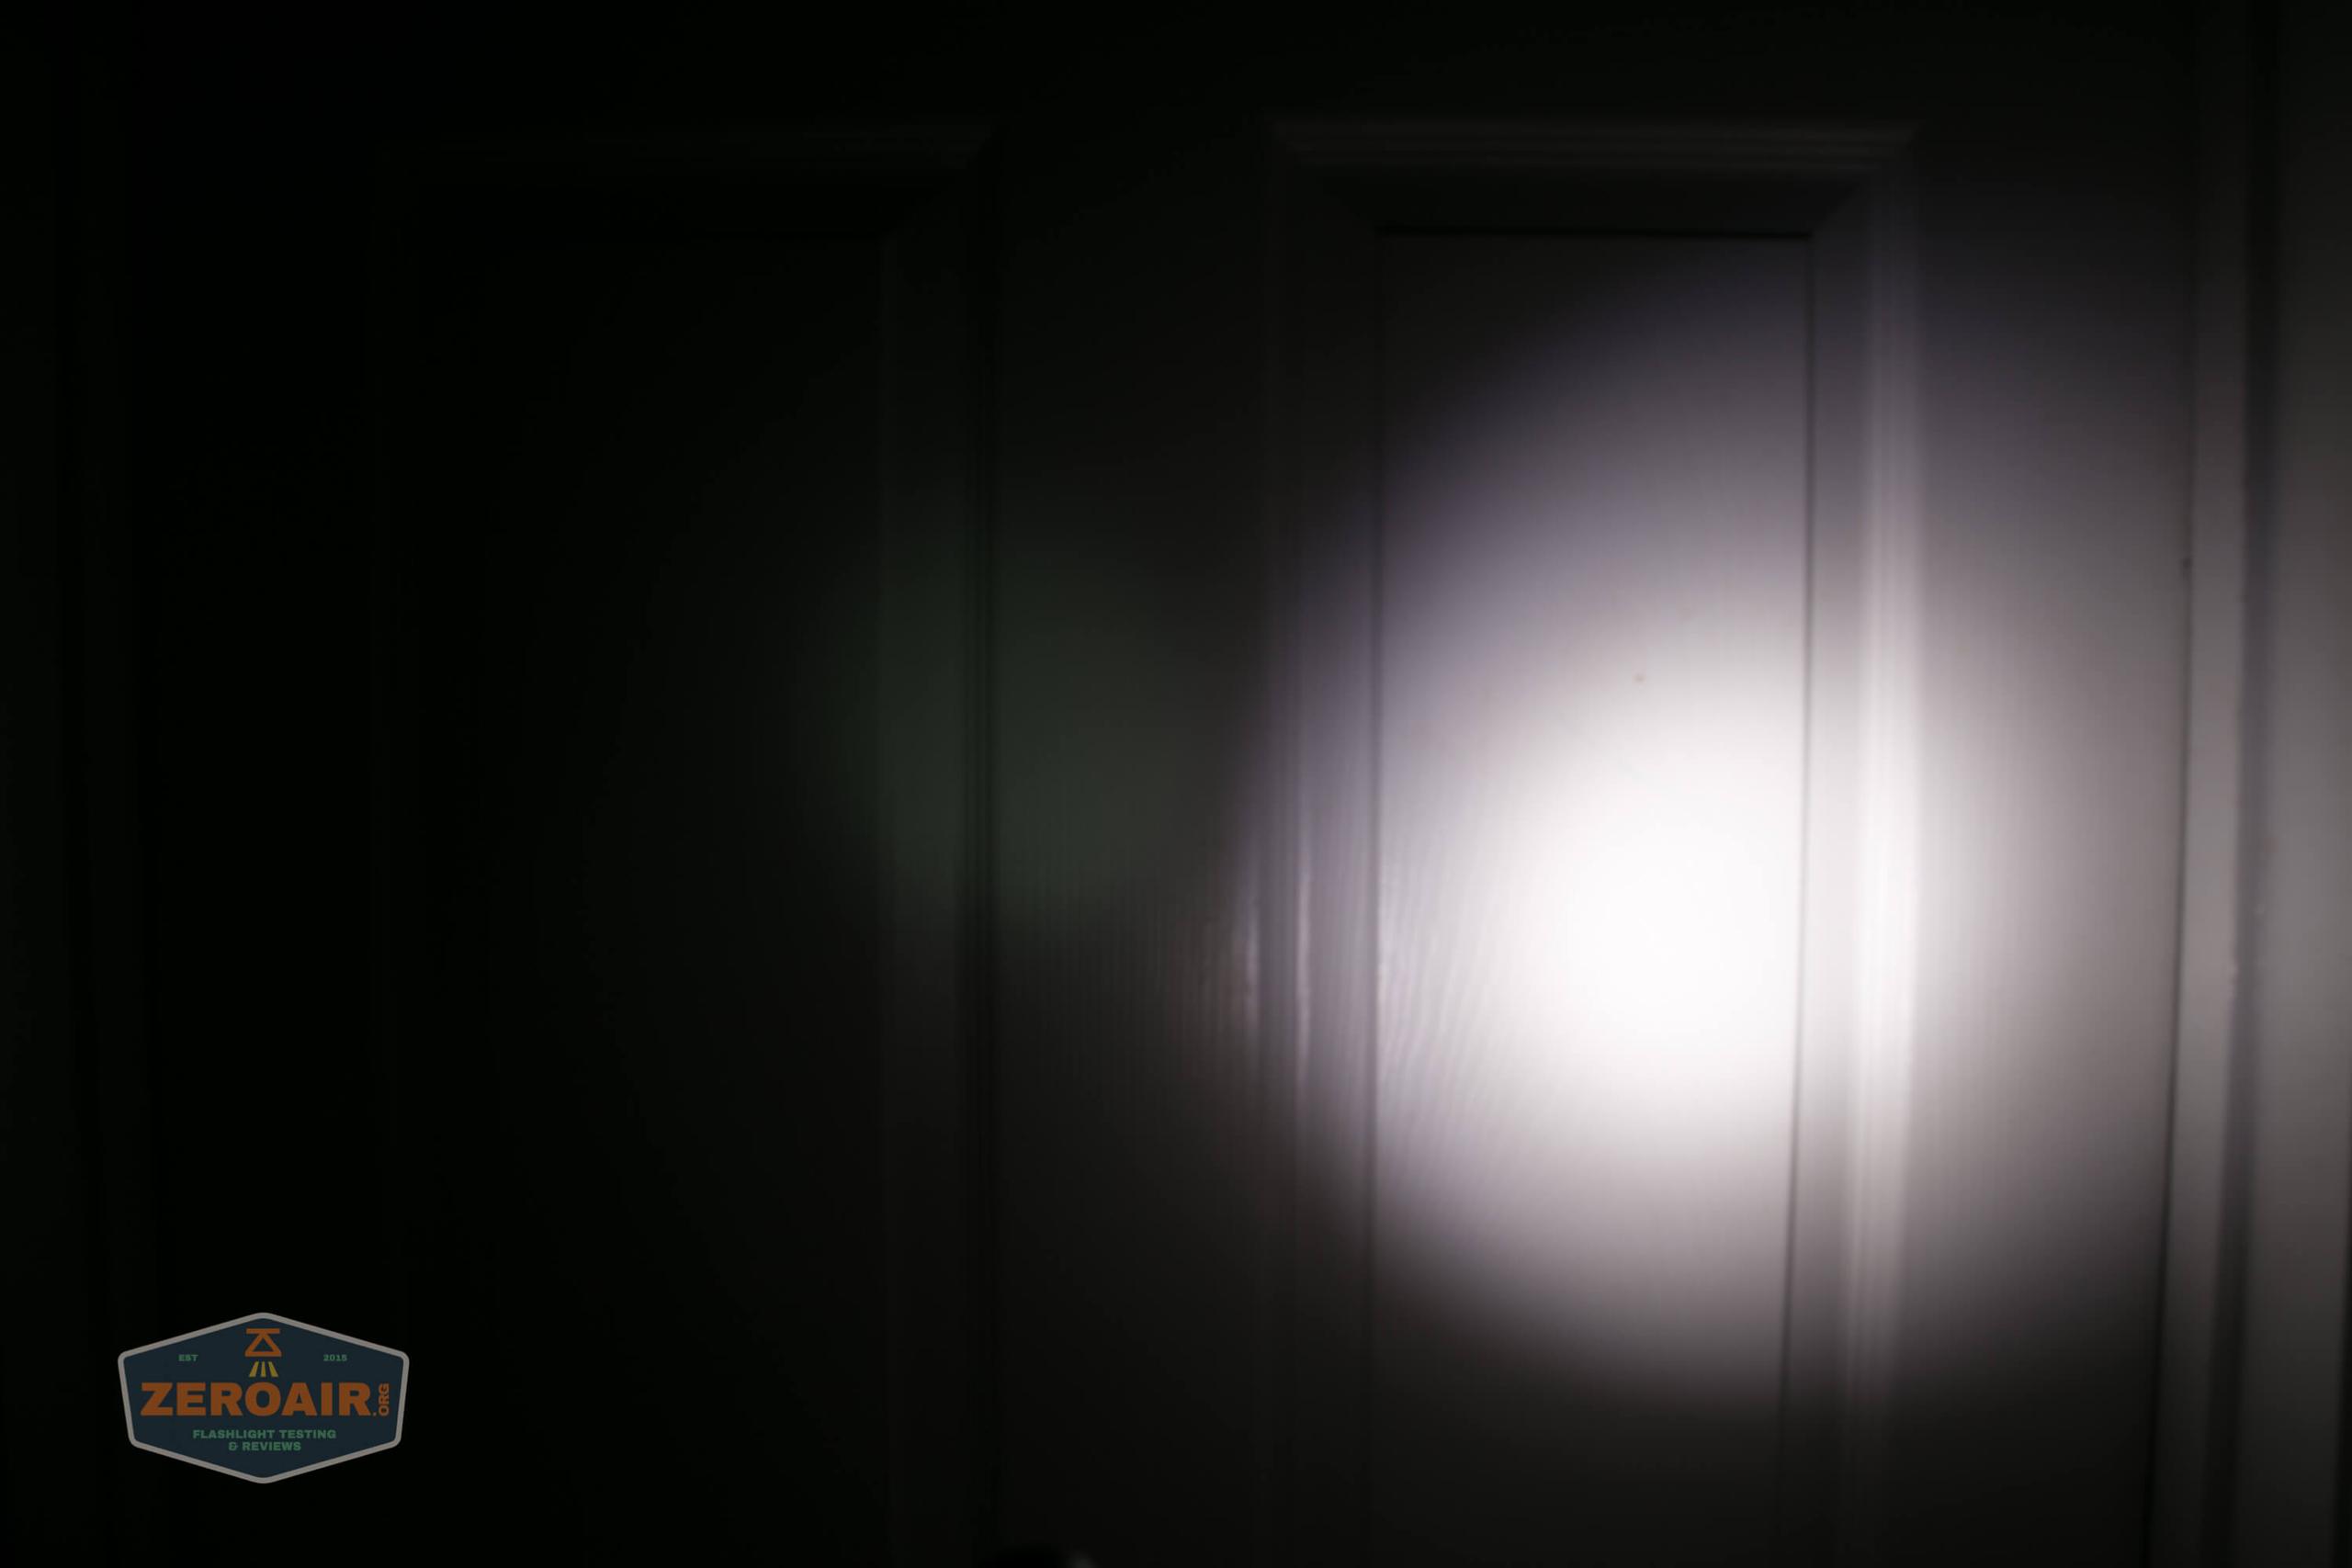
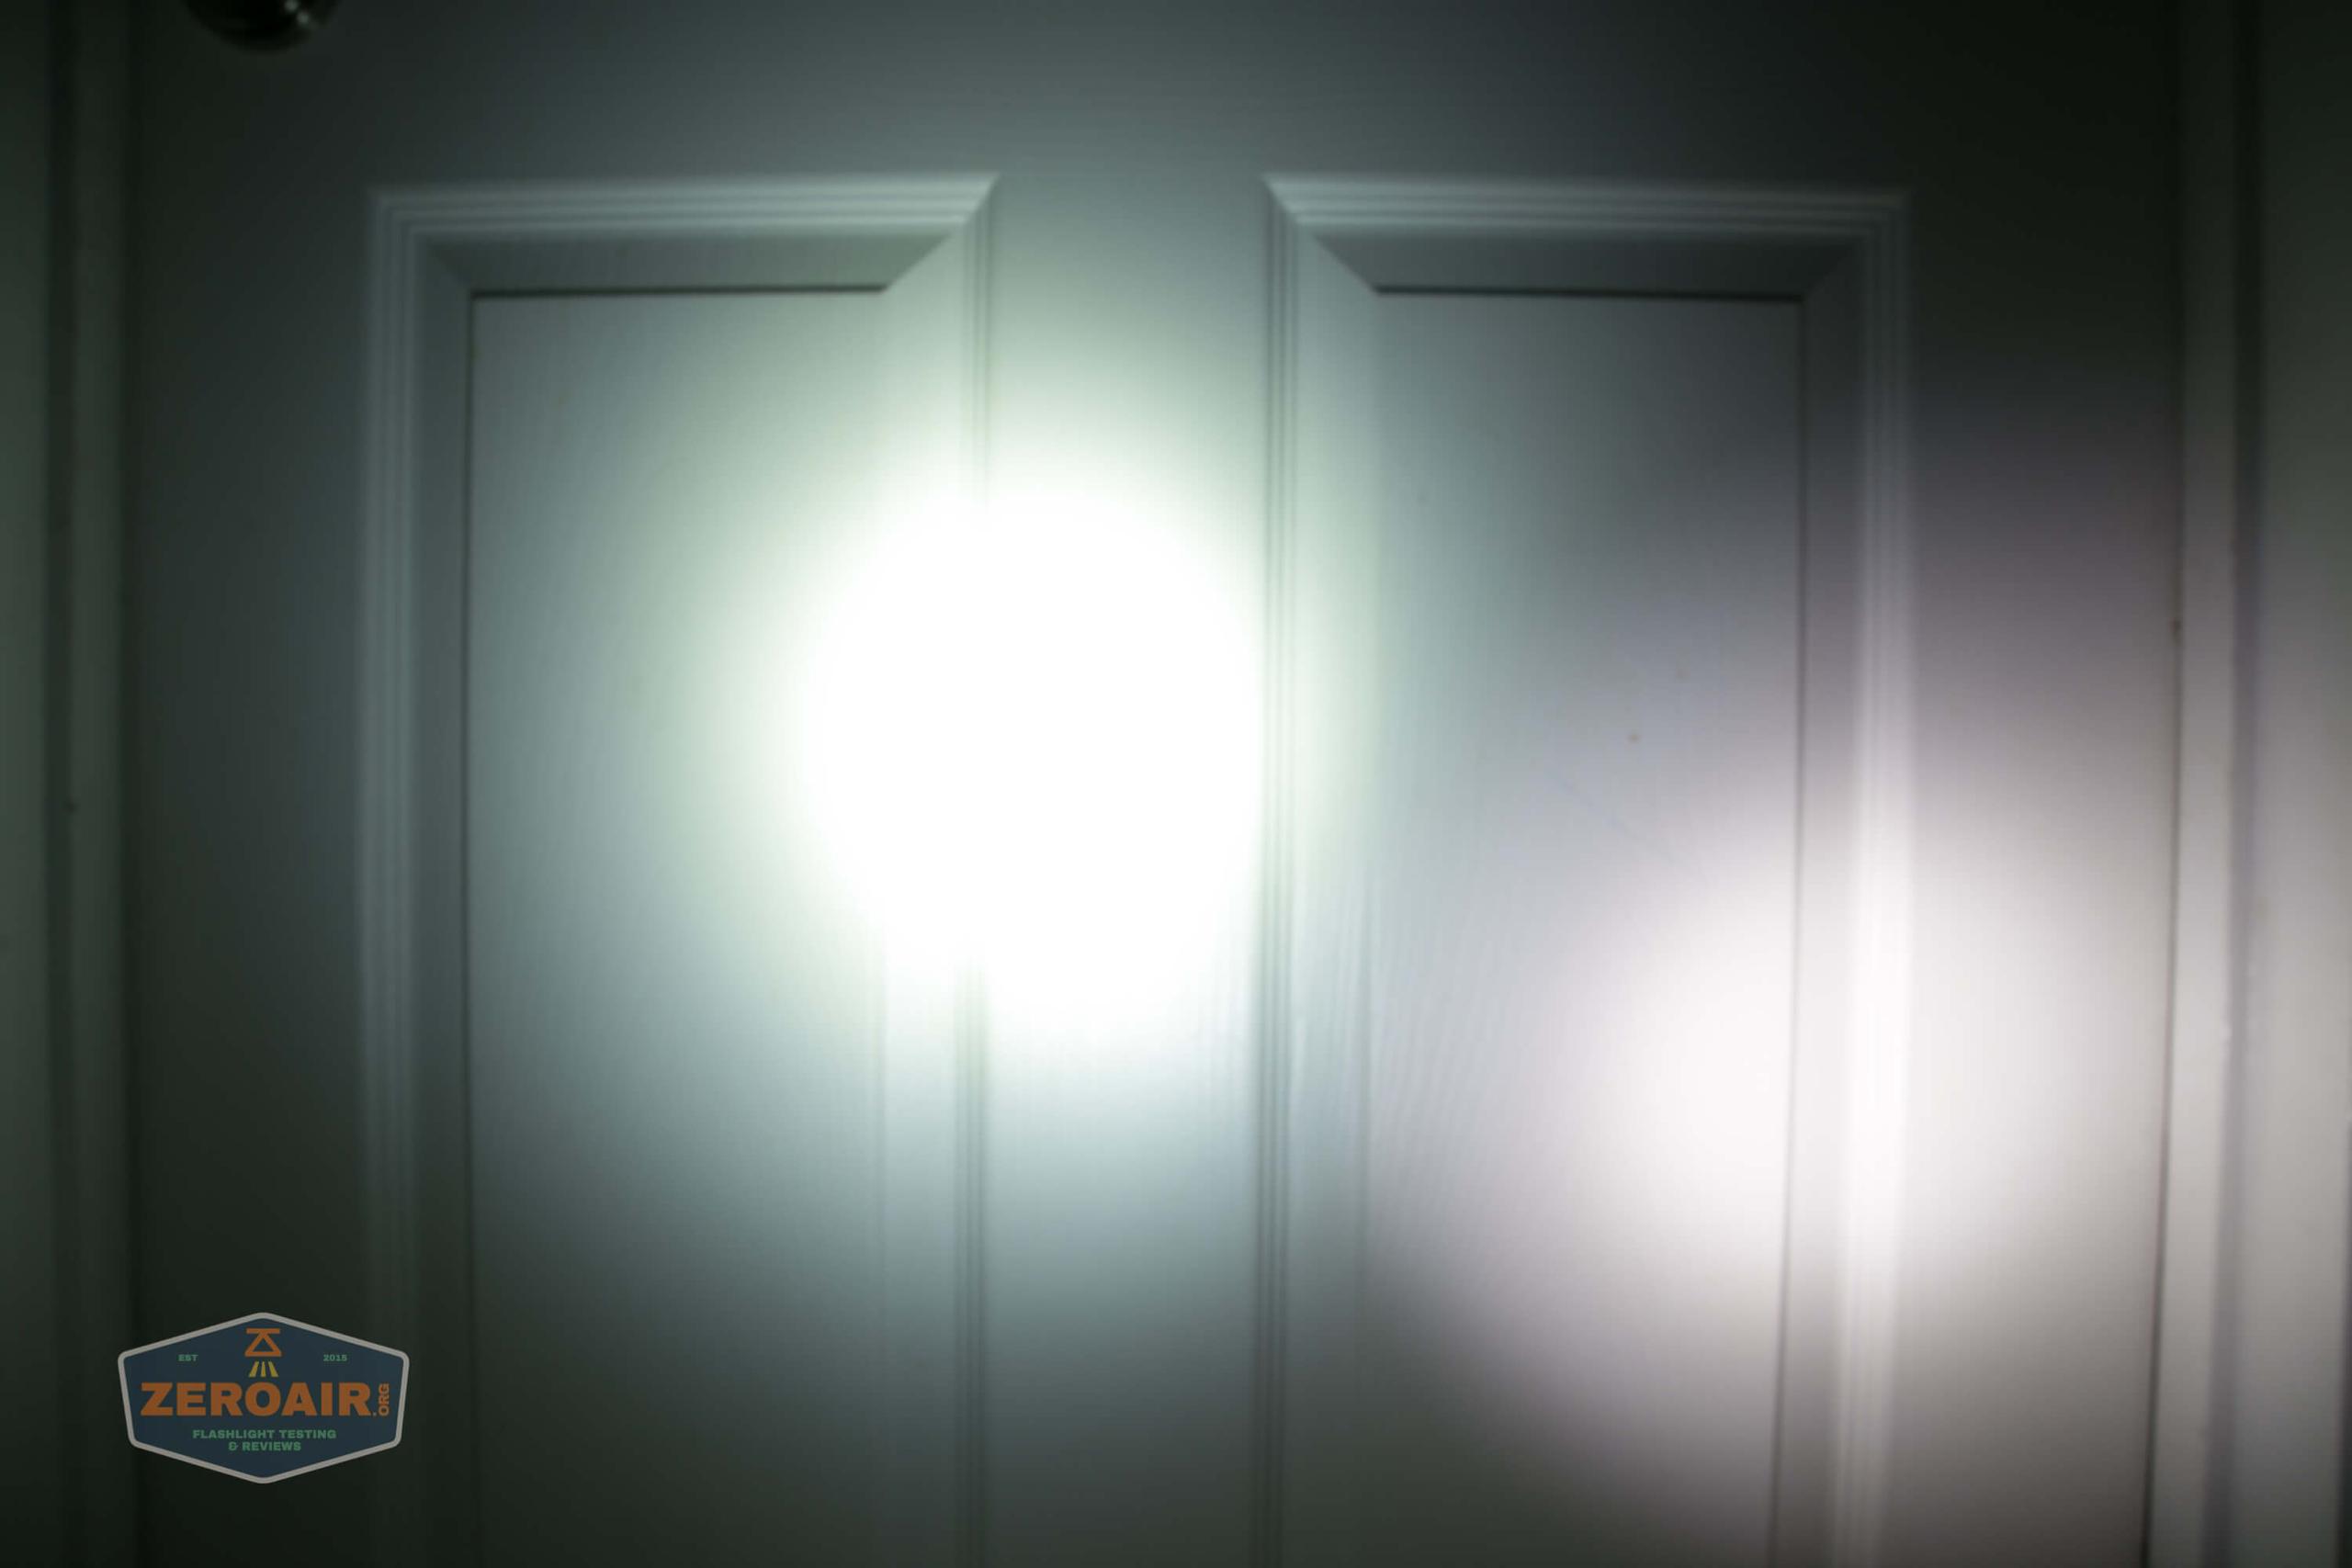
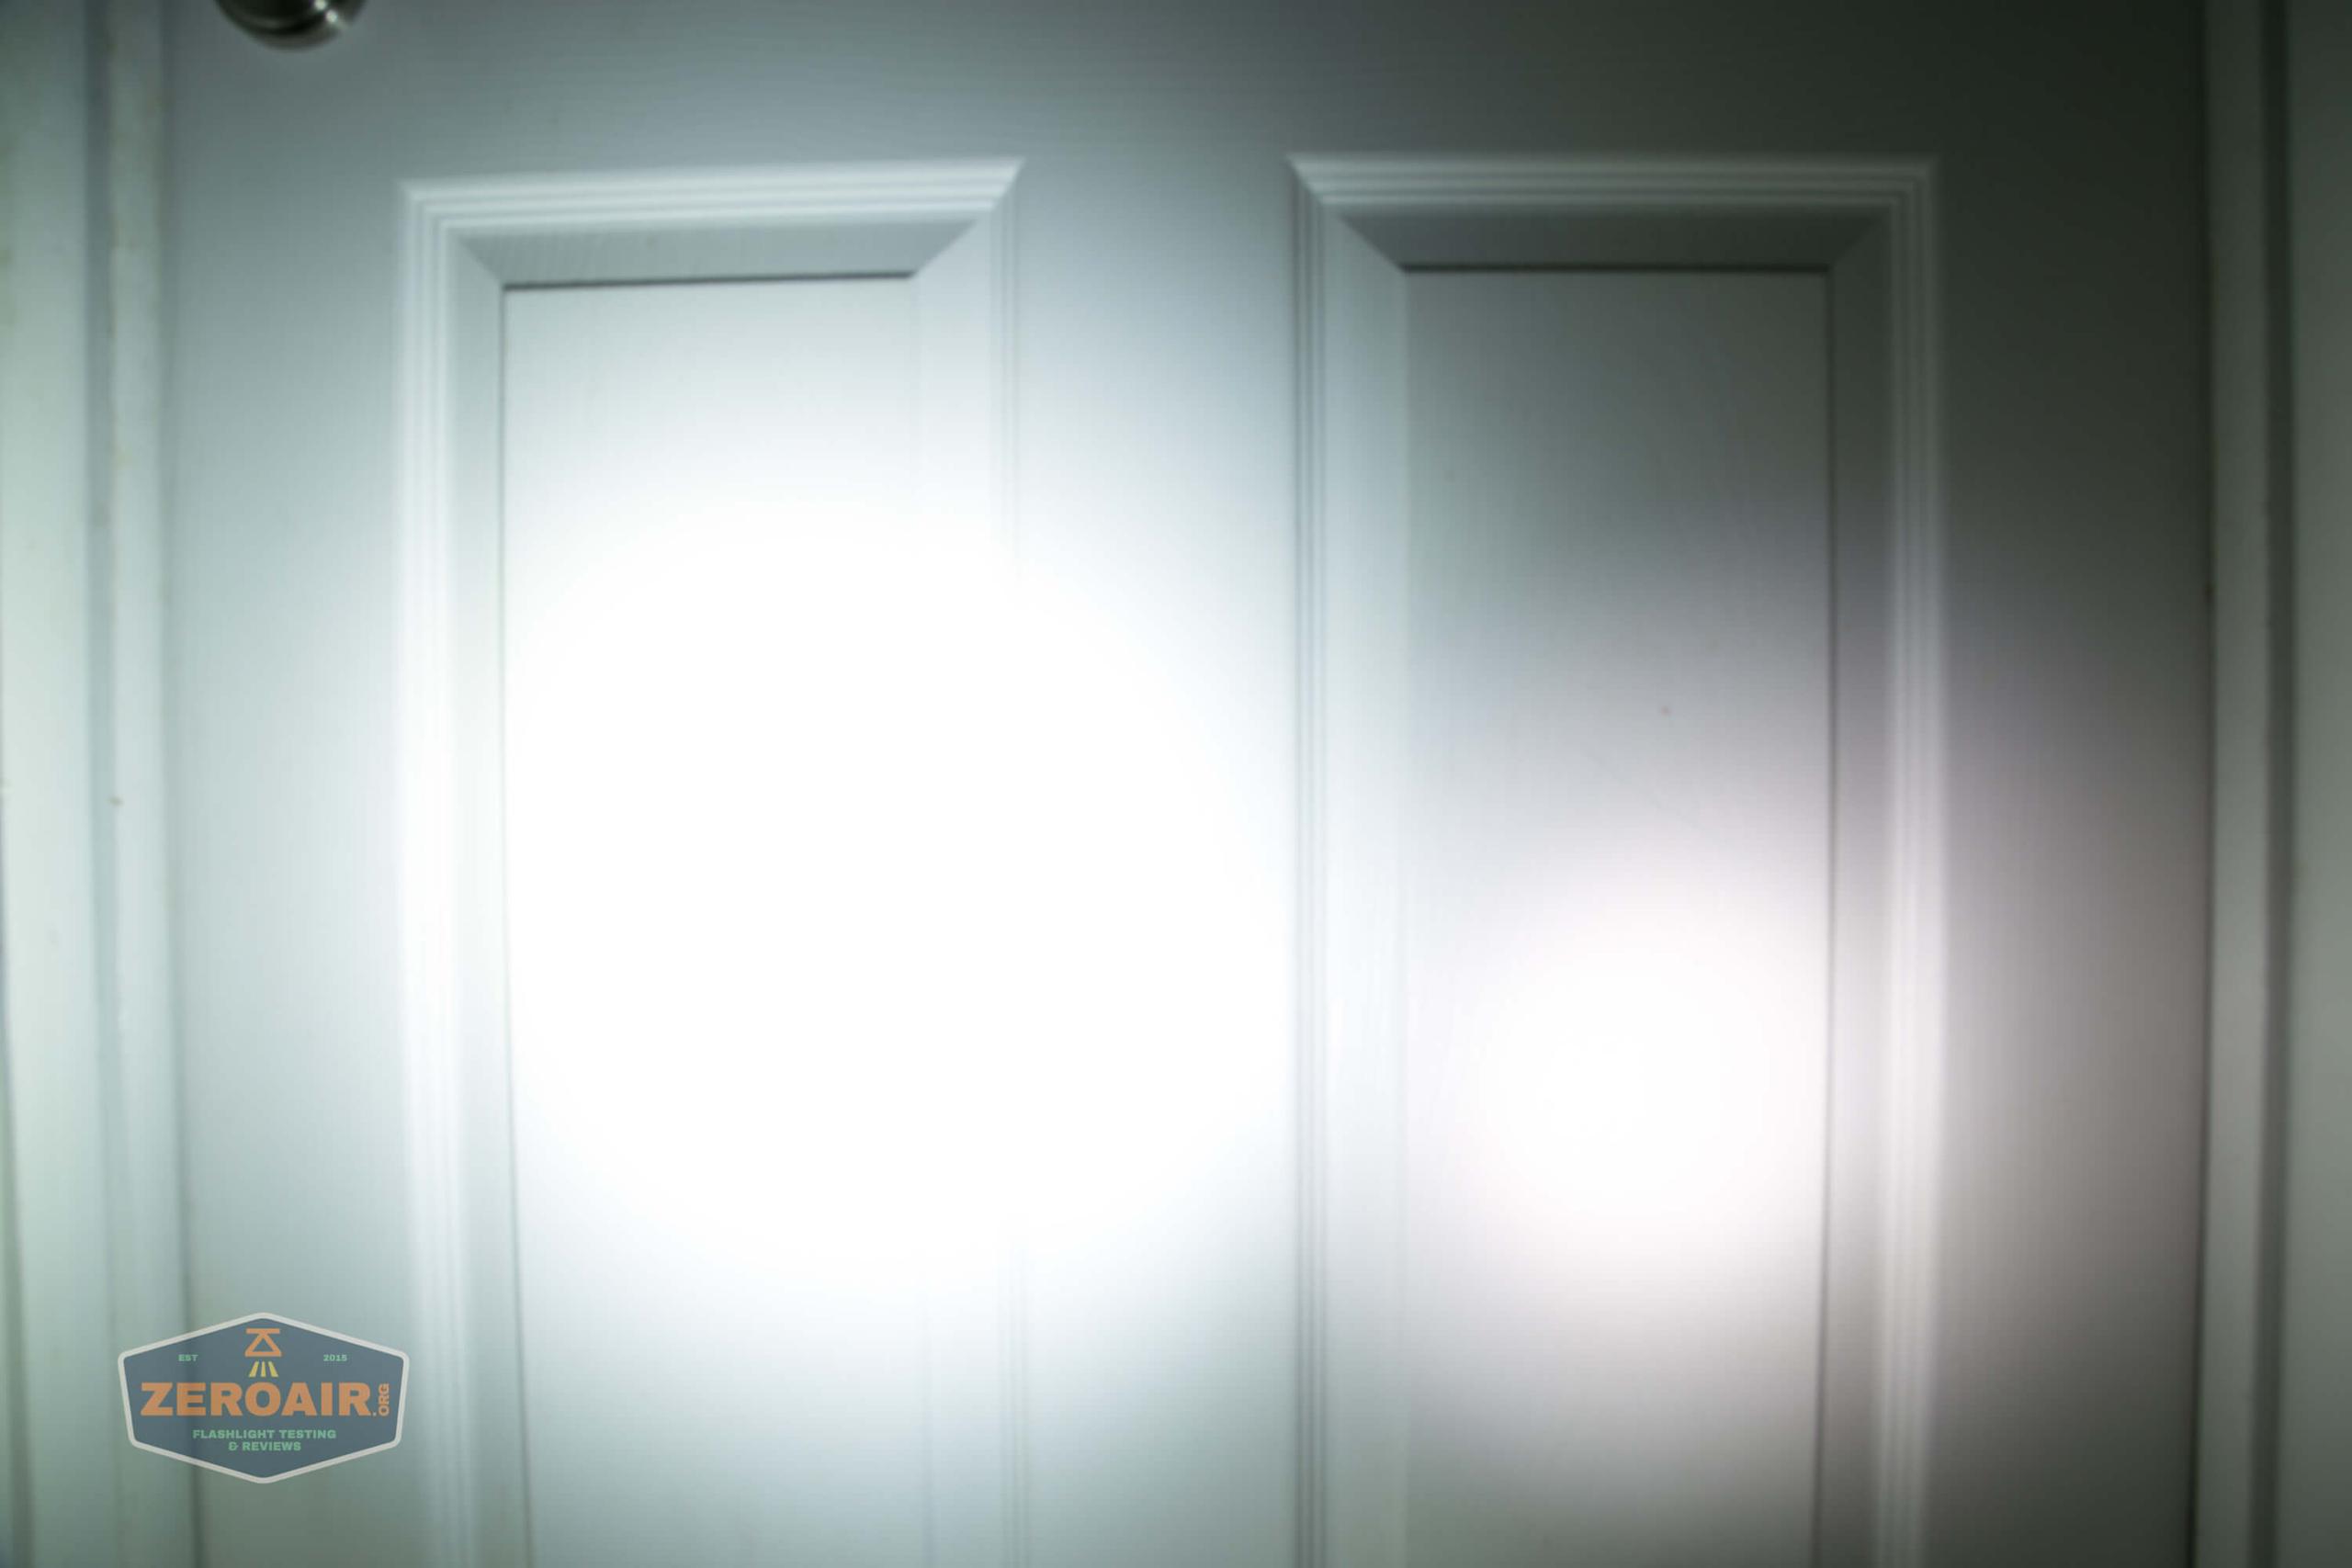
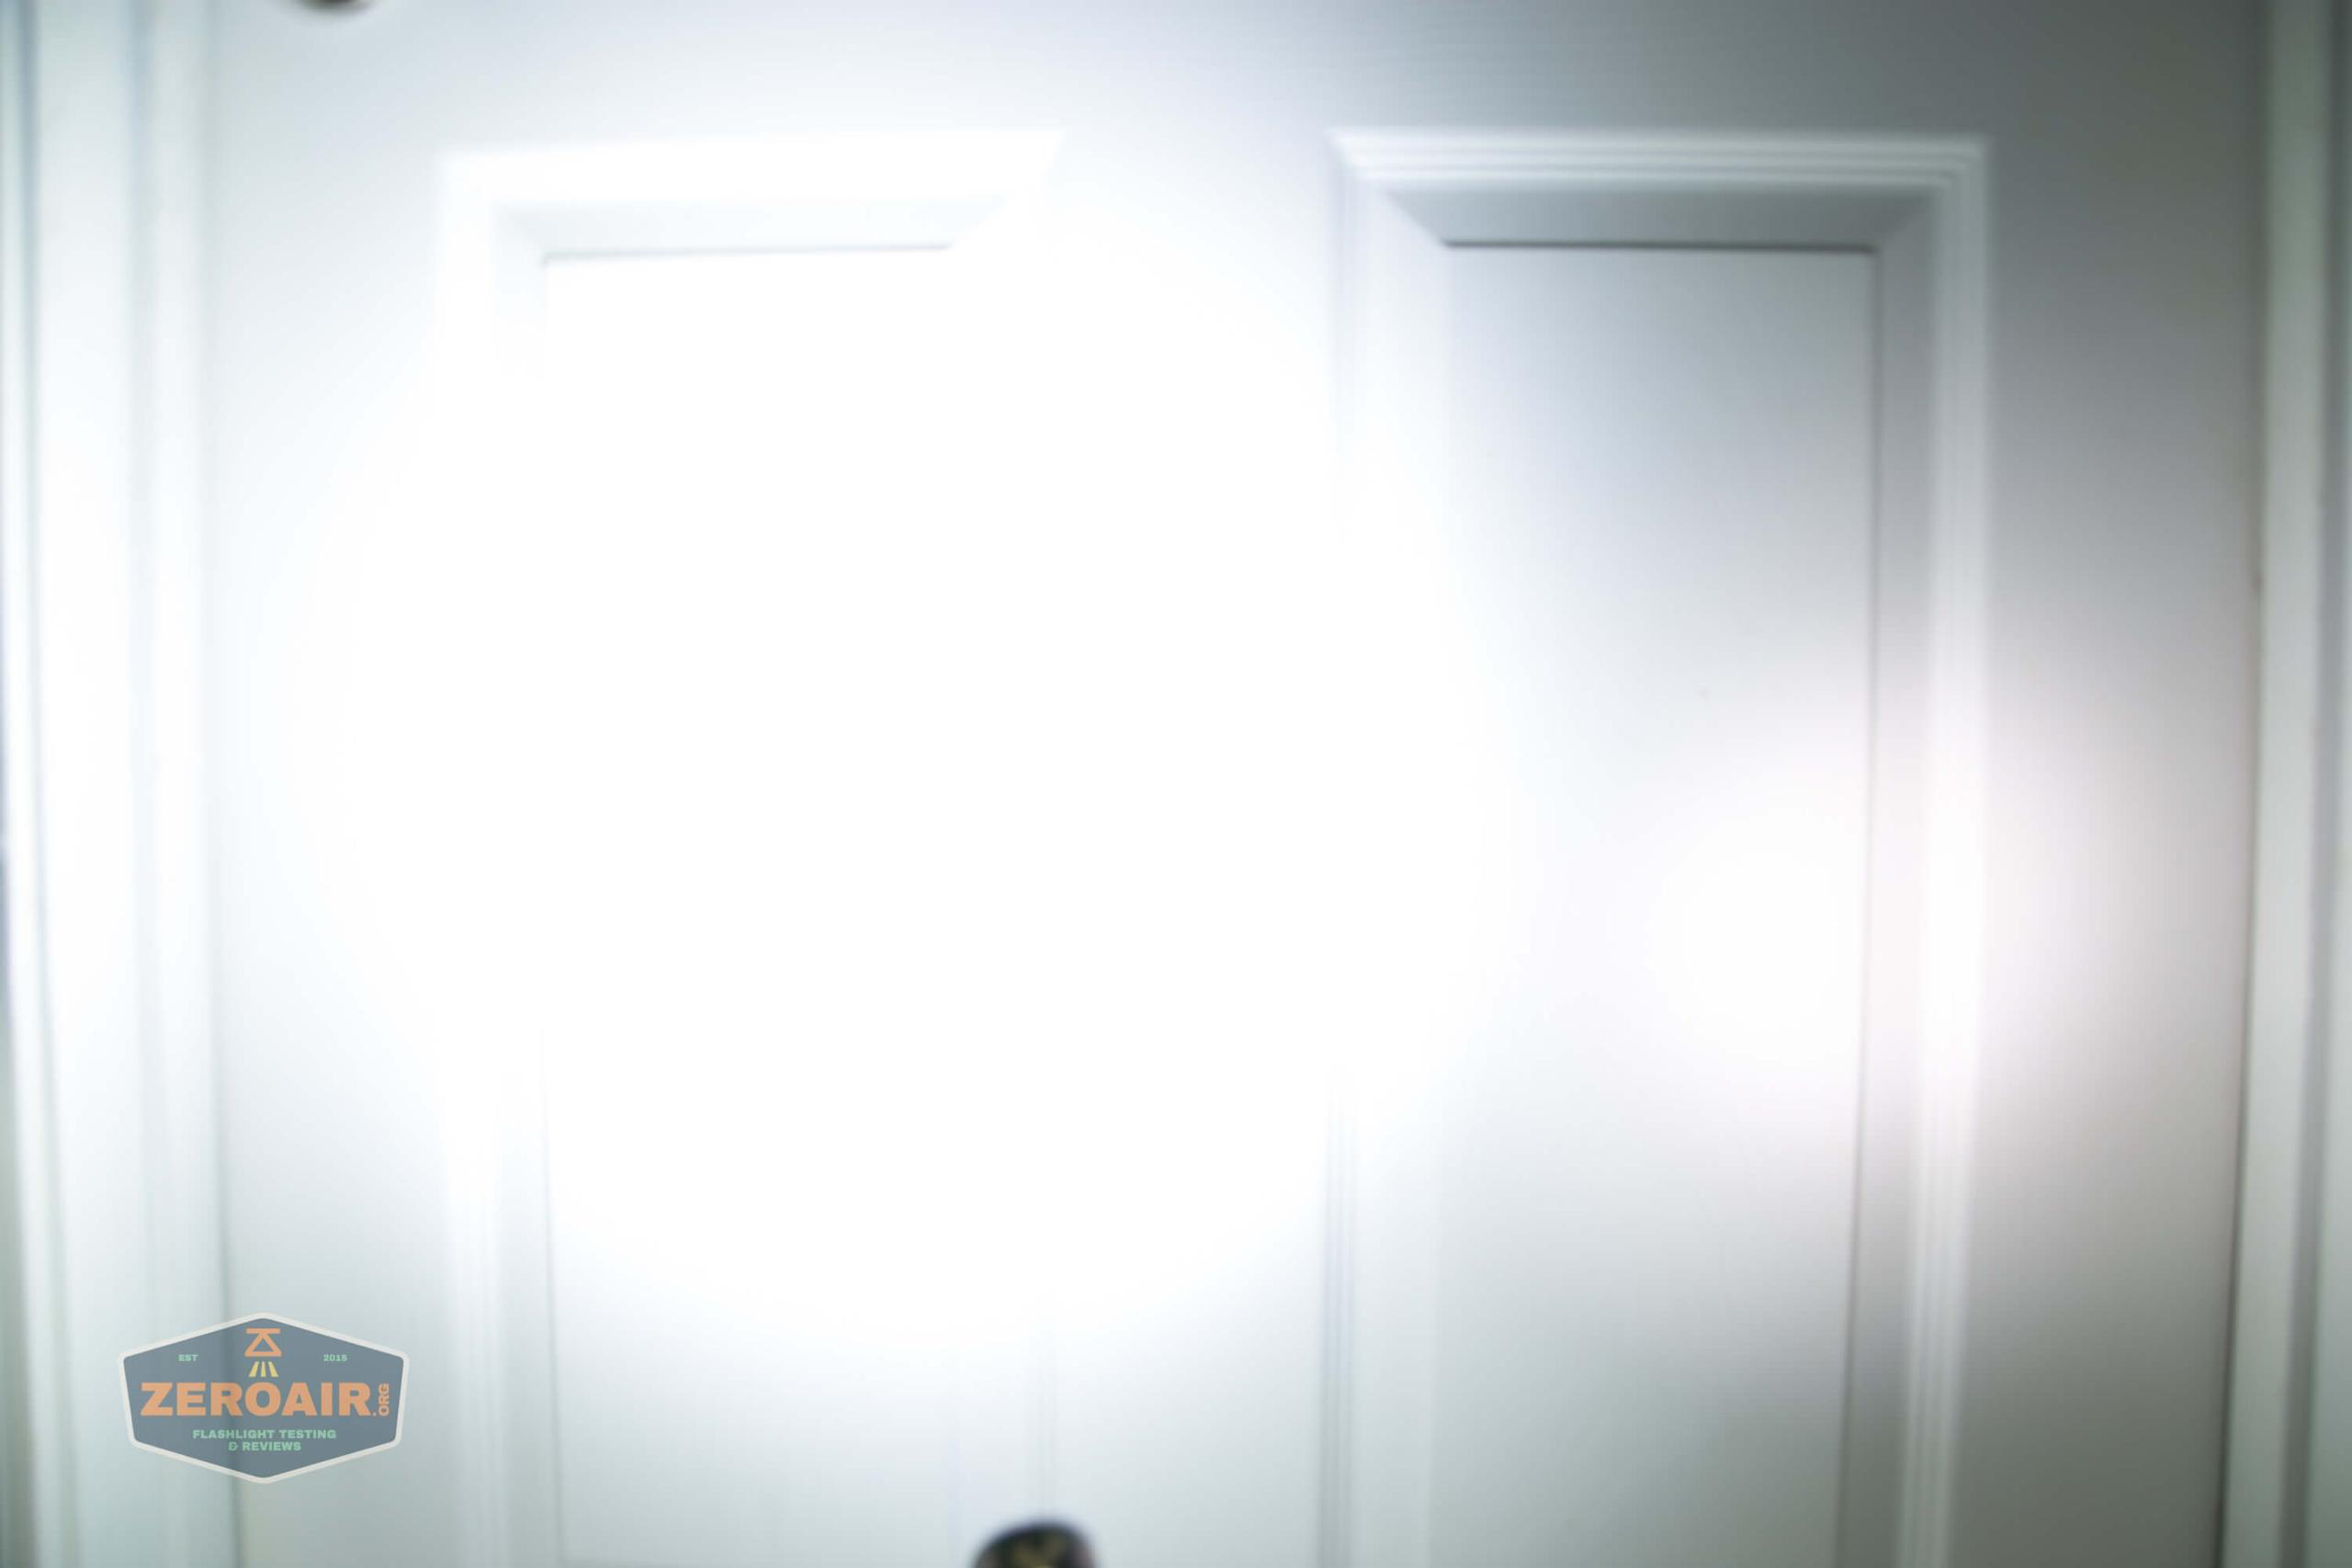
These beamshots always have the following settings: f8, ISO100, 0.3s shutter, and manual 5000K exposure. These photos are taken at floor level, and the beam hits the ceiling around 9 feet away.


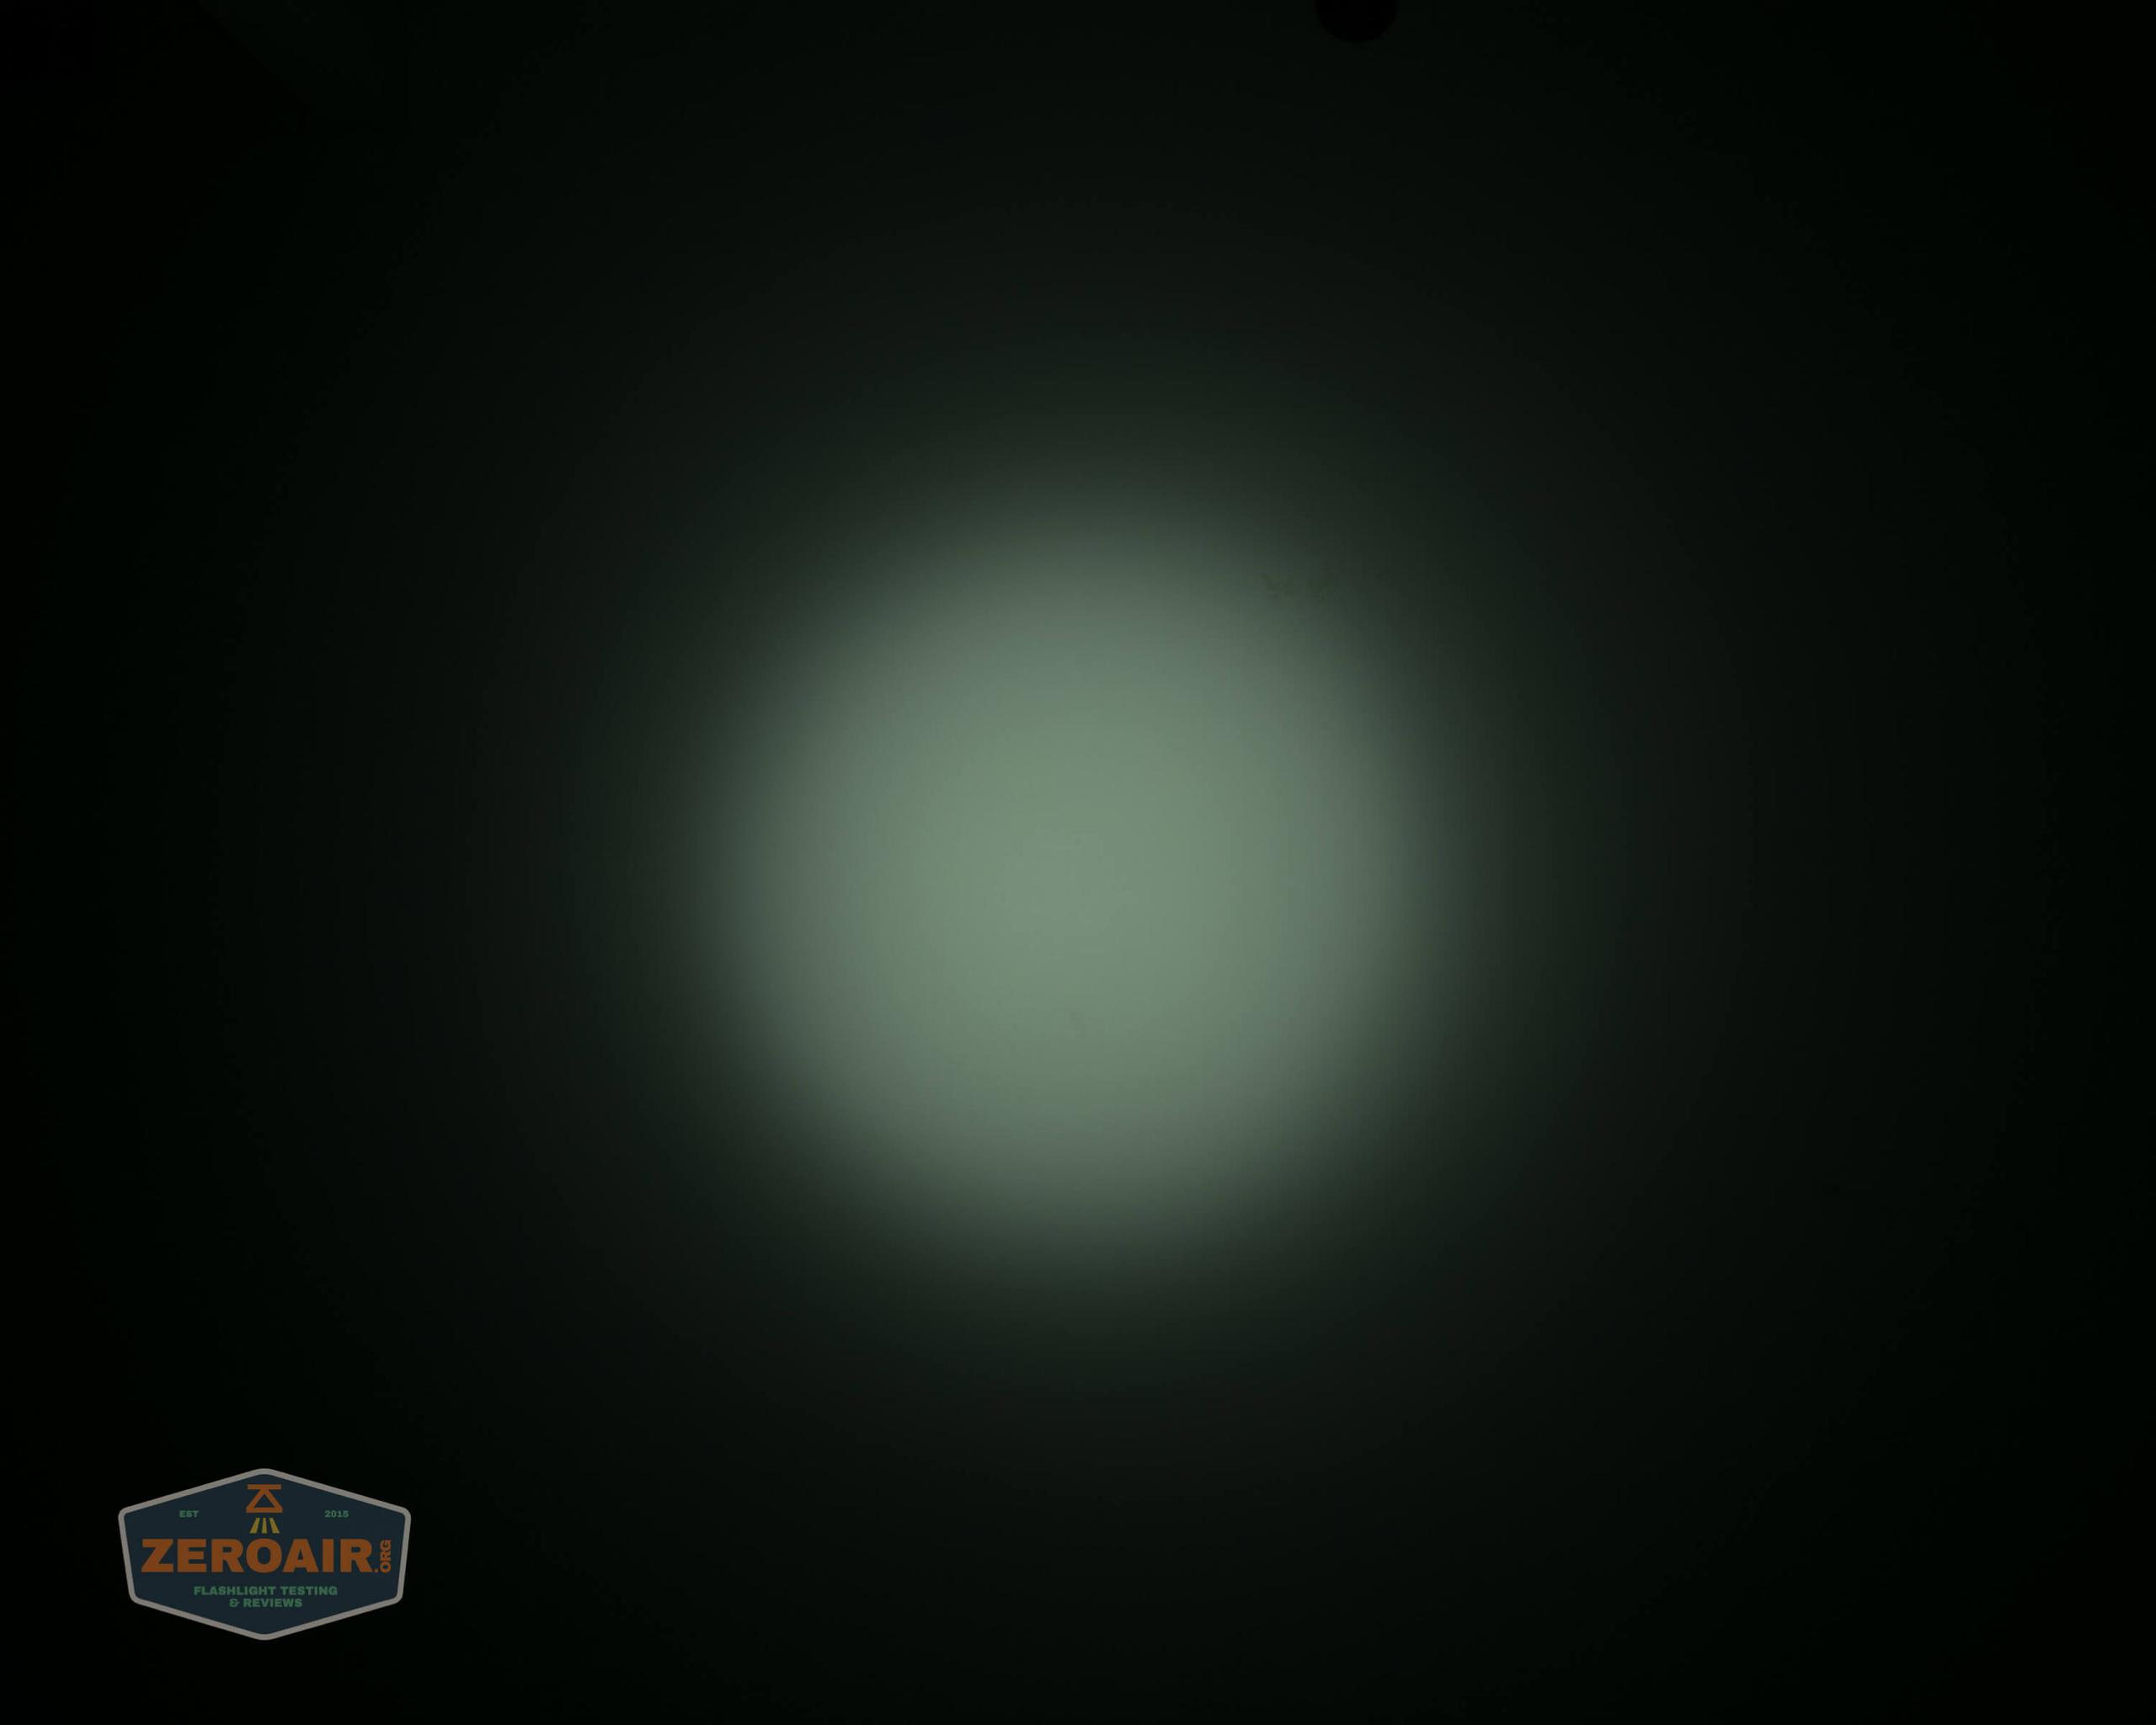
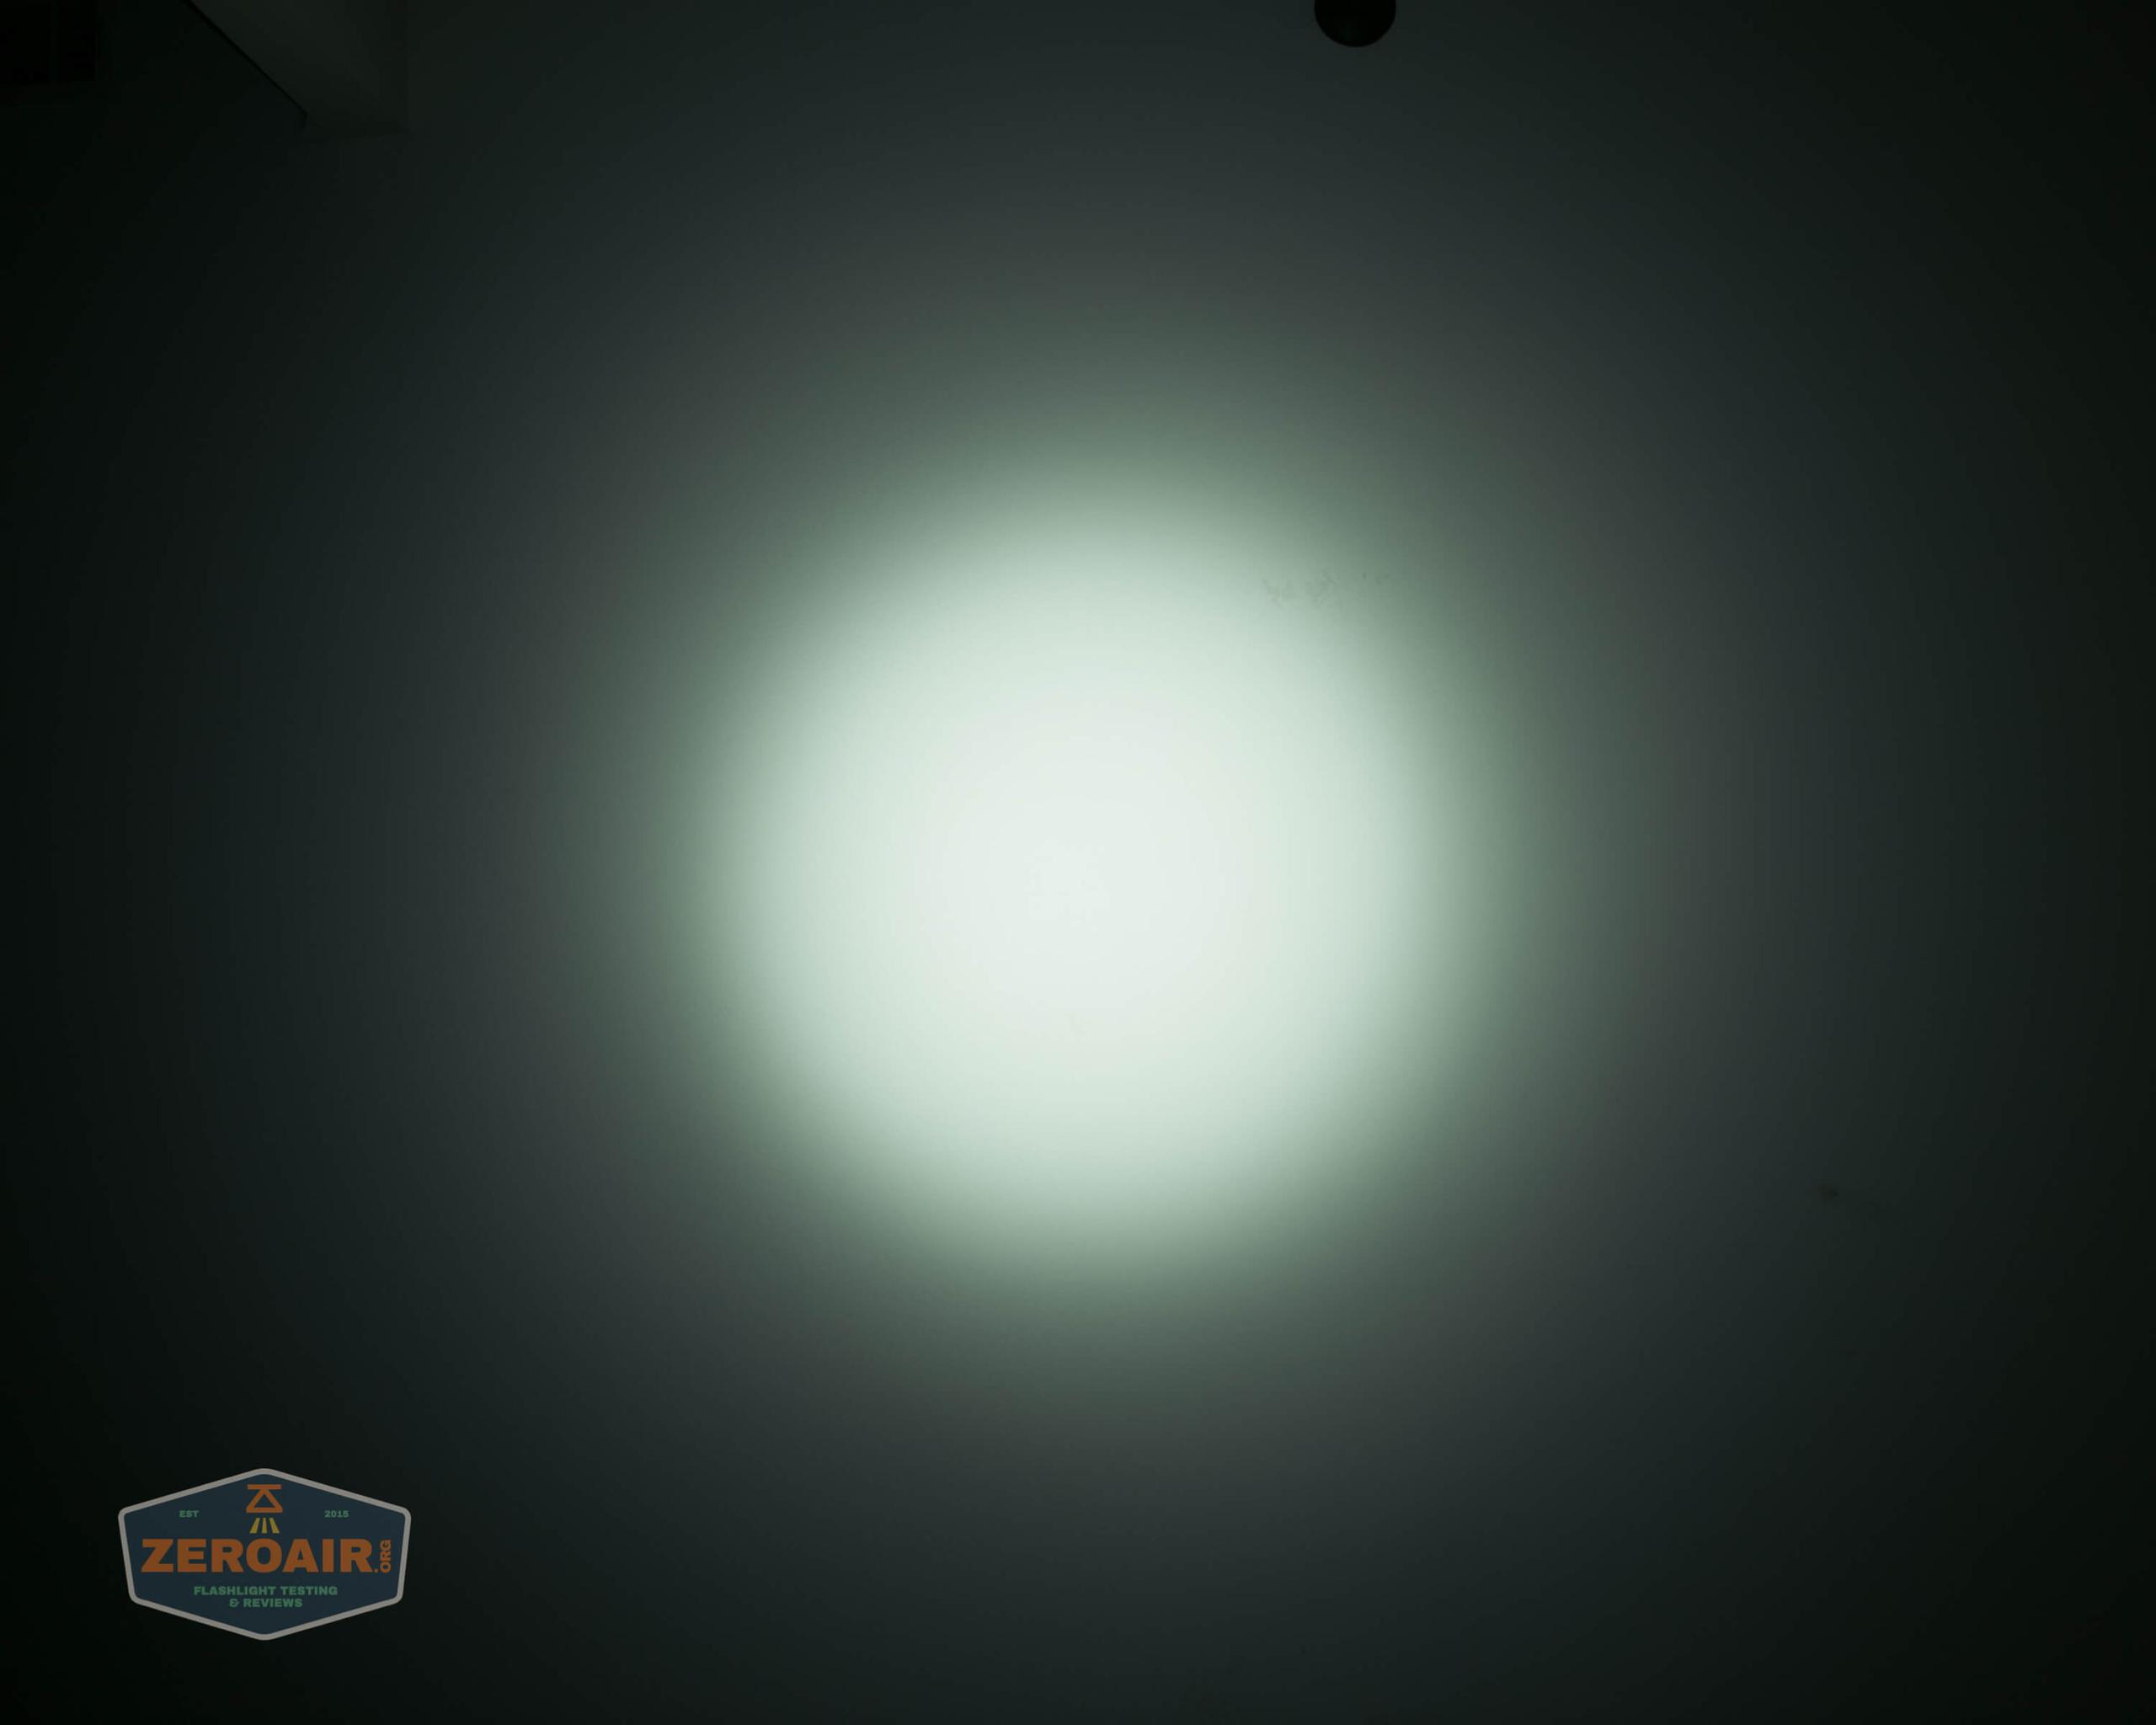
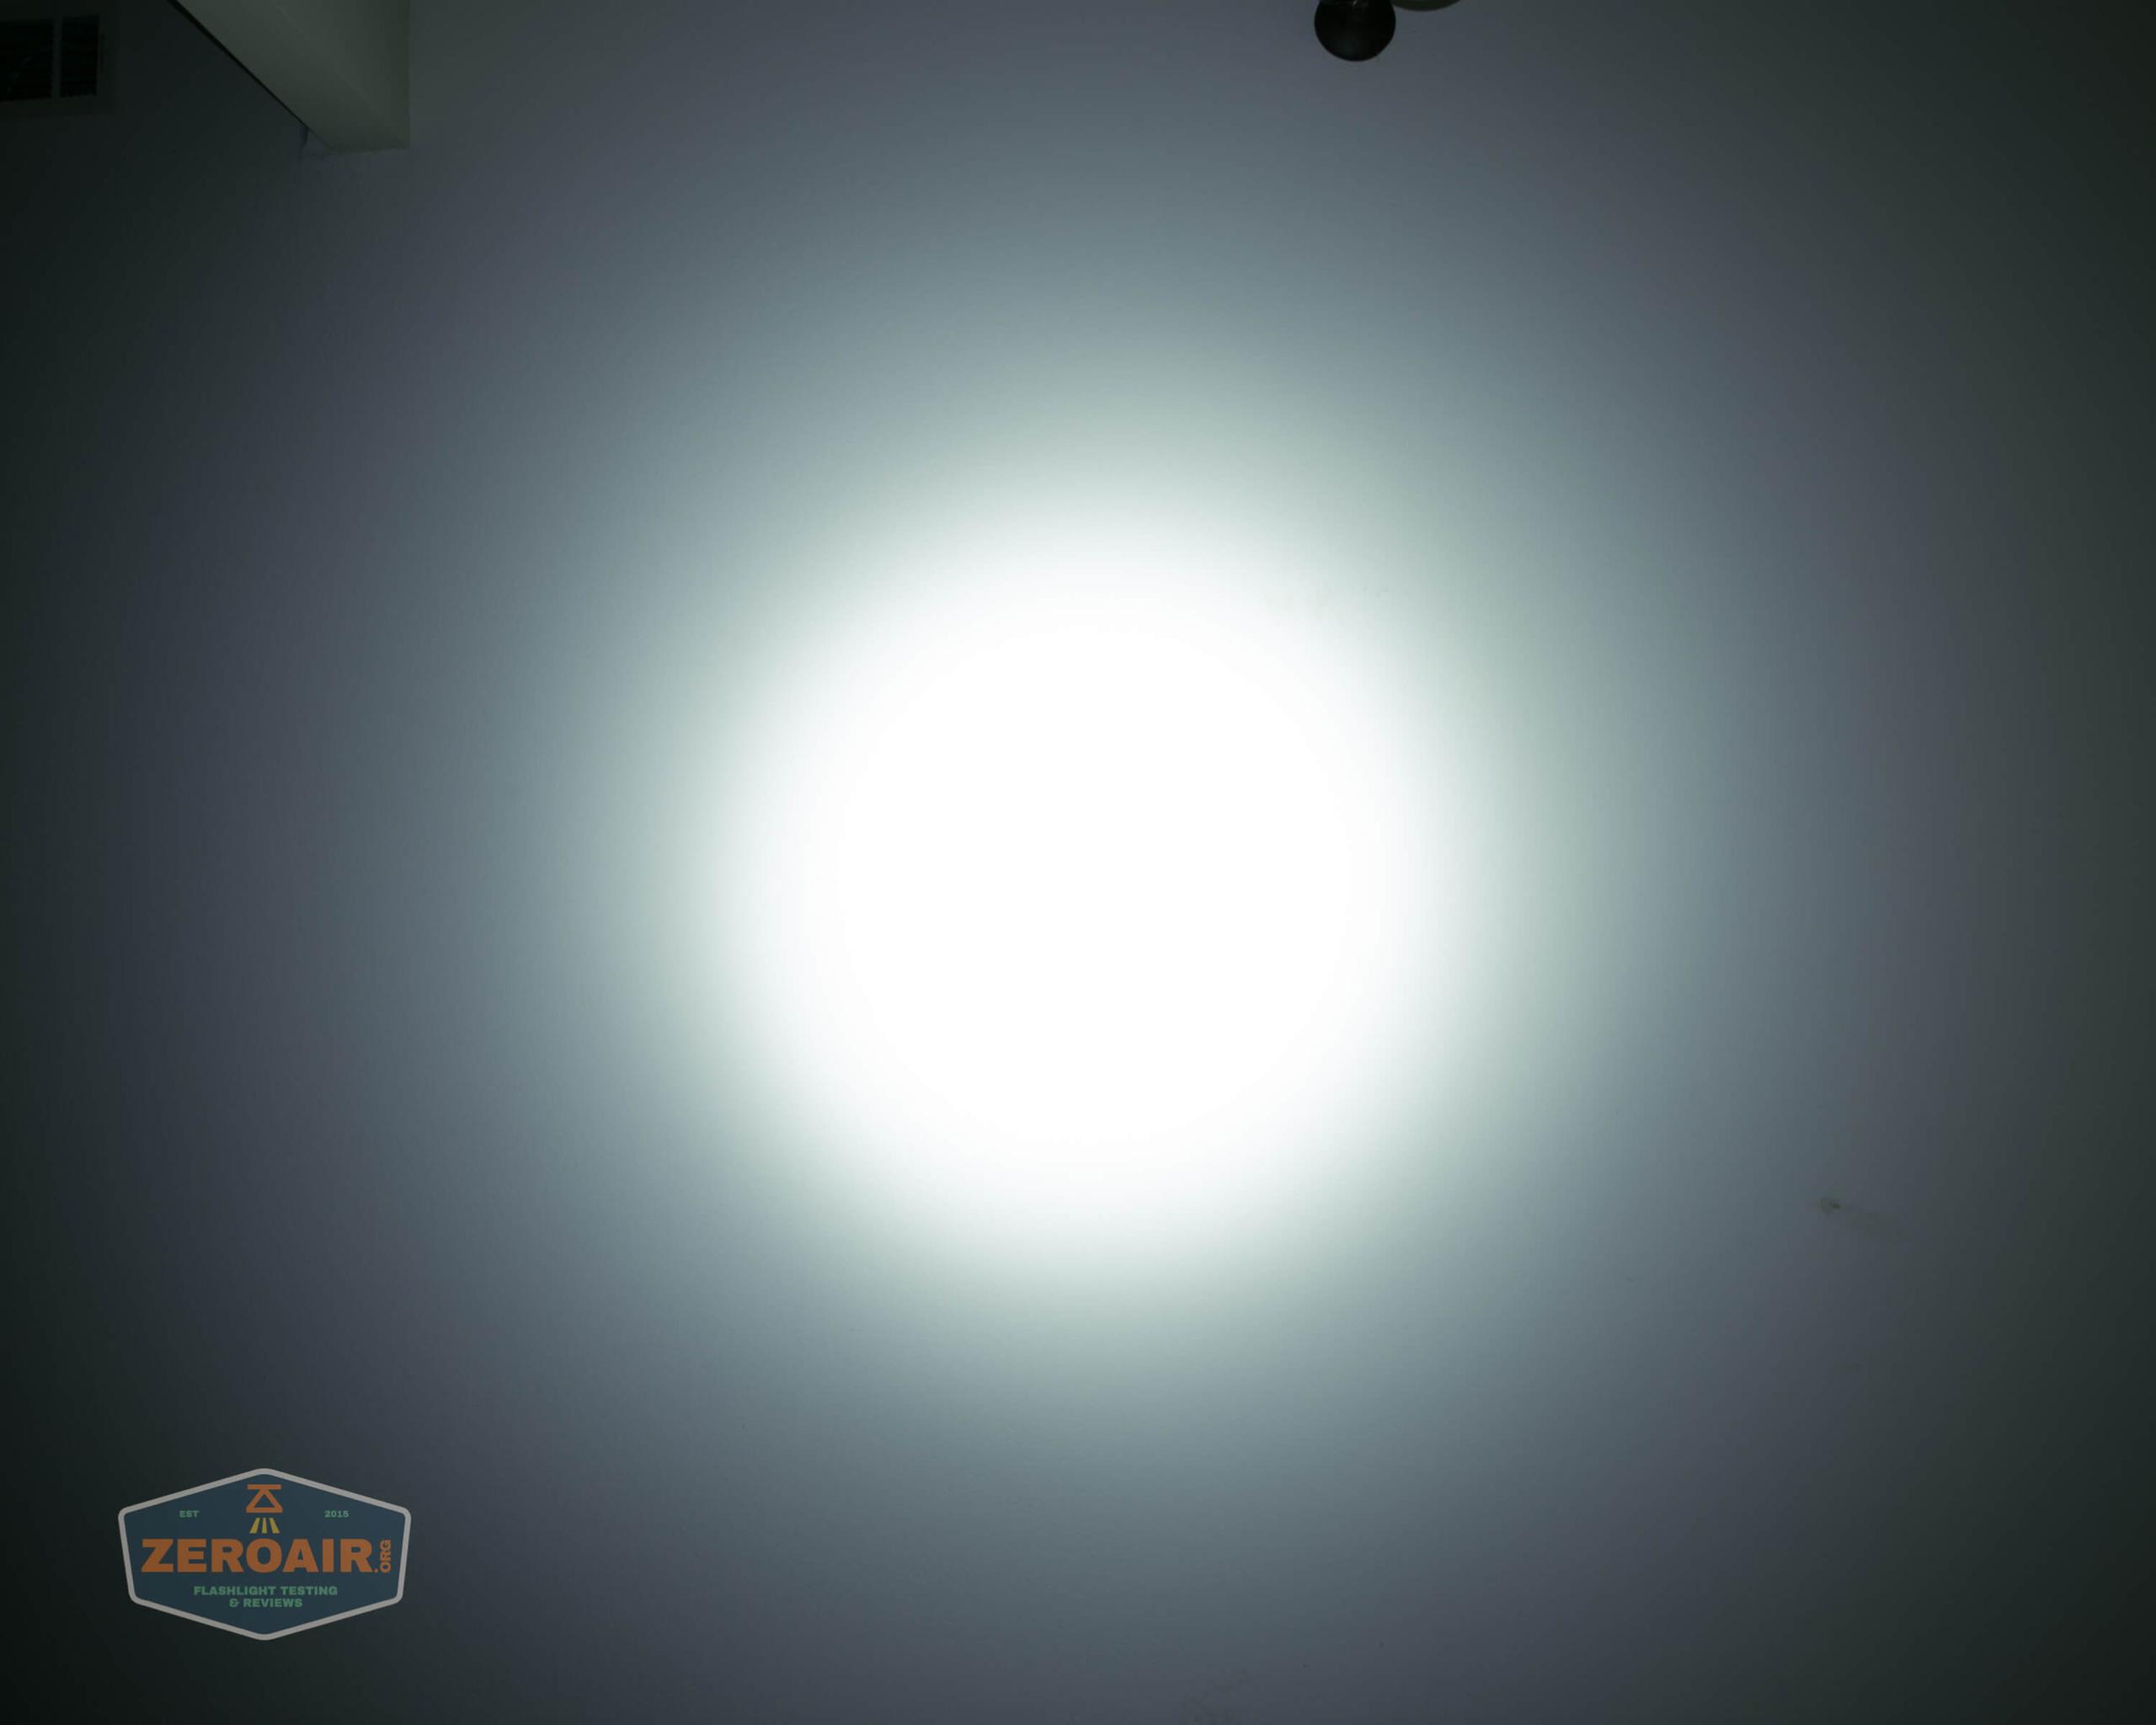
Tint vs BLF-348 (KillzoneFlashlights.com 219b version) (affiliate link)
I keep the test flashlight on the left and the BLF-348 reference flashlight on the right.
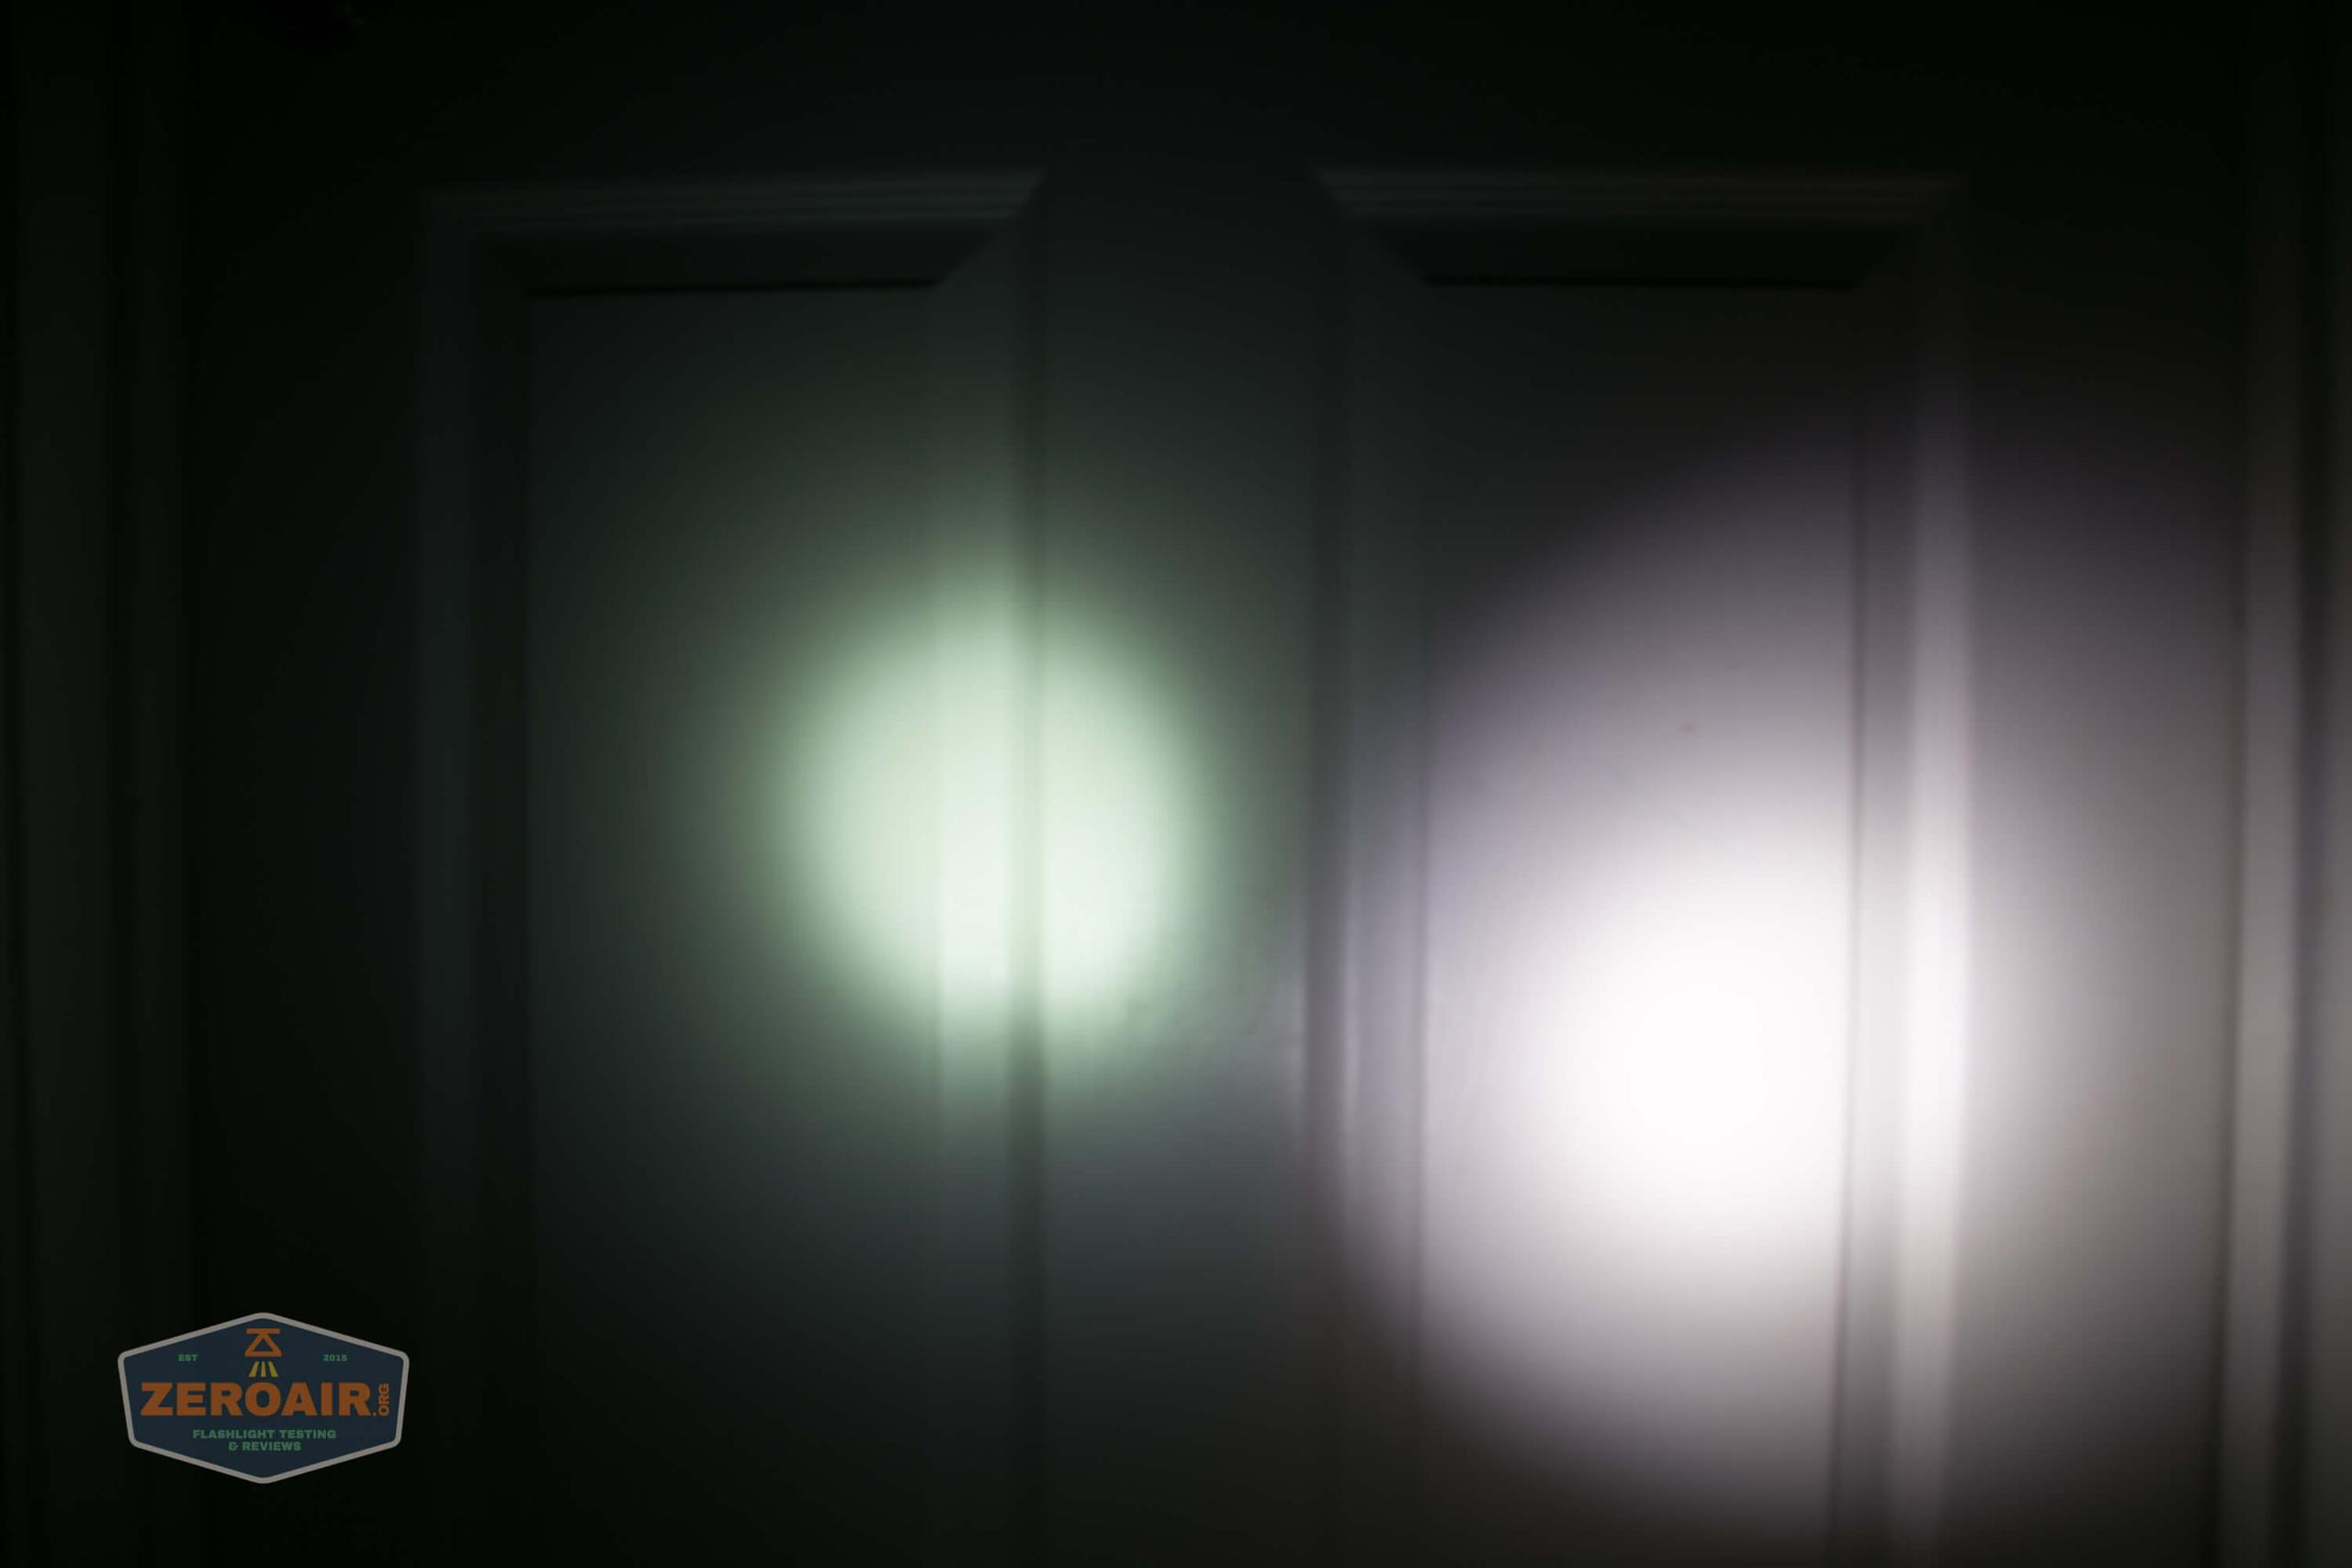
I compare everything to the KillzoneFlashlights.com 219b BLF-348 because it’s inexpensive and has the best tint!
Conclusion
What I like
- Size
- The cell can be charged in a bay charger
- Meets output and throw claims
- Very flat regulation after stepdowns
- The Camo pattern is interesting
- Two-stage switch is good
What I don’t like
- No LVP
- Very cool white emitter
- A proprietary cell is required for the use of light
Notes
- This light was provided by Olight for review. I was not paid to write this review.
- Use my Amazon.com referral link if you’re willing to help support making more reviews like this one!
- Please support me on Patreon! I deeply appreciate your support!
Discover more from ZeroAir Reviews
Subscribe to get the latest posts sent to your email.
Hi..
What if i turn on the light via SS, and while on, I press the TS… What would happen? I hv the M2R, it will turn off after I press the TS.
It’s the same here. The TS has total control over the light. First you’ll hit the lower output, then turbo, then when released, the light will go off. (as with M2R, as you described.)
Pingback: Olight Warrior Mini Spring 2 Flashlight - Is Titanium best for Flashlights? - ZeroAir Reviews