Sofirn SC31 Pro Andúril Flashlight Review
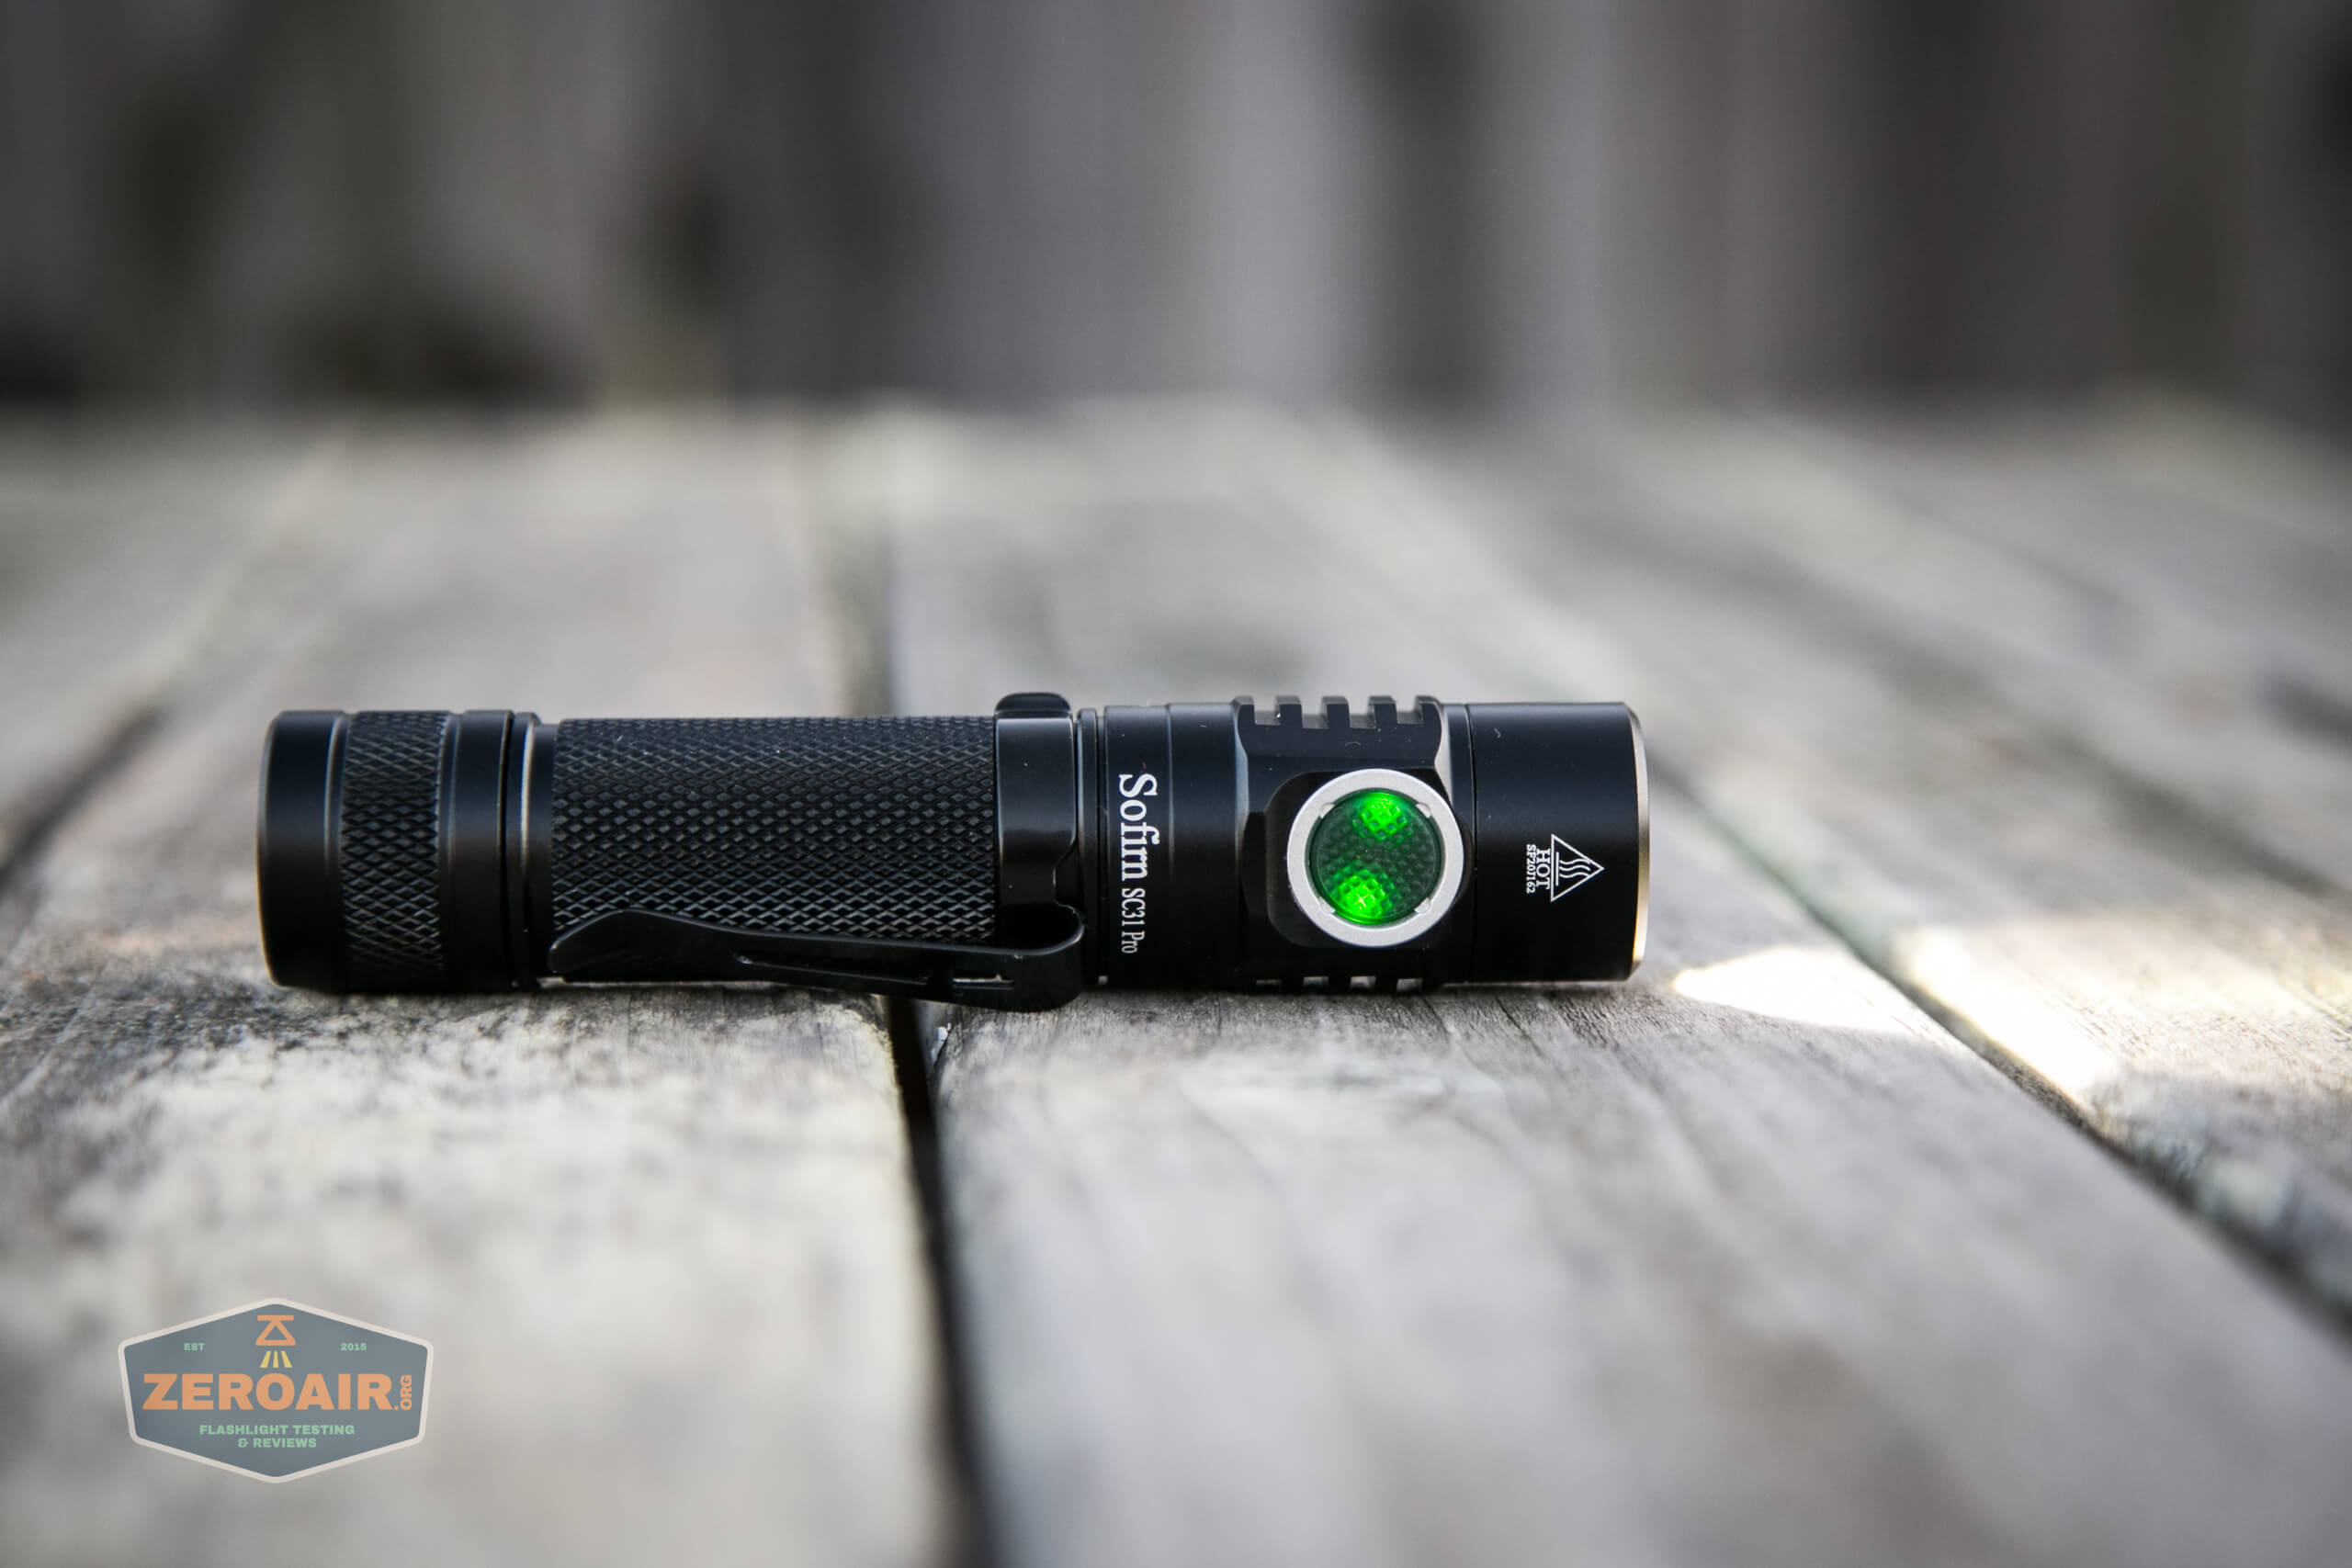
Sofirn dropped the Sofirn SC31 Pro 18650 Andúril flashlight not long ago, and I finally got my hands on one. It’s notable because it’s a very low-cost Andúril light! Read on for some thoughts and testing.
Official Specs and Features
Here’s a link to the official product page.
Versions of the Sofirn SC31 Pro Flashlight
There’s just one body of the Sofirn SC31 Pro, but it’s available for purchase in two emitter temperatures: 6500K (seen here) and 5000K.
Price
Without a cell, this light clocks in at $28 (sale price). Looks like it’s $31.99 right now on Amazon (referral link). The Amazon price, including the cell, is $40.
Short Review
I’d consider this one a good beater light. Inexpensive, Andúril user interface, lighted switch. It’s a good light, especially for the price.
Sofirn SC31 Pro Flashlight Long Review
The Big Table
| Sofirn SC31 Pro | |
|---|---|
| Emitter: | Luminus SST-40 (CW) |
| Price in USD at publication time: | $31.99 on Amazon (referral link) |
| Cell: | 1×18650 |
| Turbo Runtime | High Runtime |
| LVP? | |
| Switch Type: | E-Switch |
| Quiescent Current (mA): | Switch off: 0.05 Switch Low: 0.11 Switch High: 1.57 |
| On-Board Charging? | Yes |
| Charge Port Type: | USB-C |
| Chargetime | |
| Power off Charge Port | With Cell: All modes Without Cell: 6 stepped modes |
| Claimed Lumens (lm) | 2000 |
| Measured Lumens (at 30s) | 1526 (76.3% of claim)^ |
| Candela per Lumen | 7.8 |
| Claimed Throw (m) | 200 |
| Candela (Calculated) in cd (at 30s) | 1000lux @ 3.624m = 13133cd |
| Throw (Calculated) (m) | 229.2 (114.6% of claim)^ |
| All my Sofirn reviews! | |
^ Measurement disclaimer: Testing flashlights is my hobby. I use hobbyist-level equipment for testing, including some I made myself. Try not to get buried in the details of manufacturer specifications versus measurements recorded here; A certain amount of difference (say, 10 or 15%) is perfectly reasonable.
What’s Included
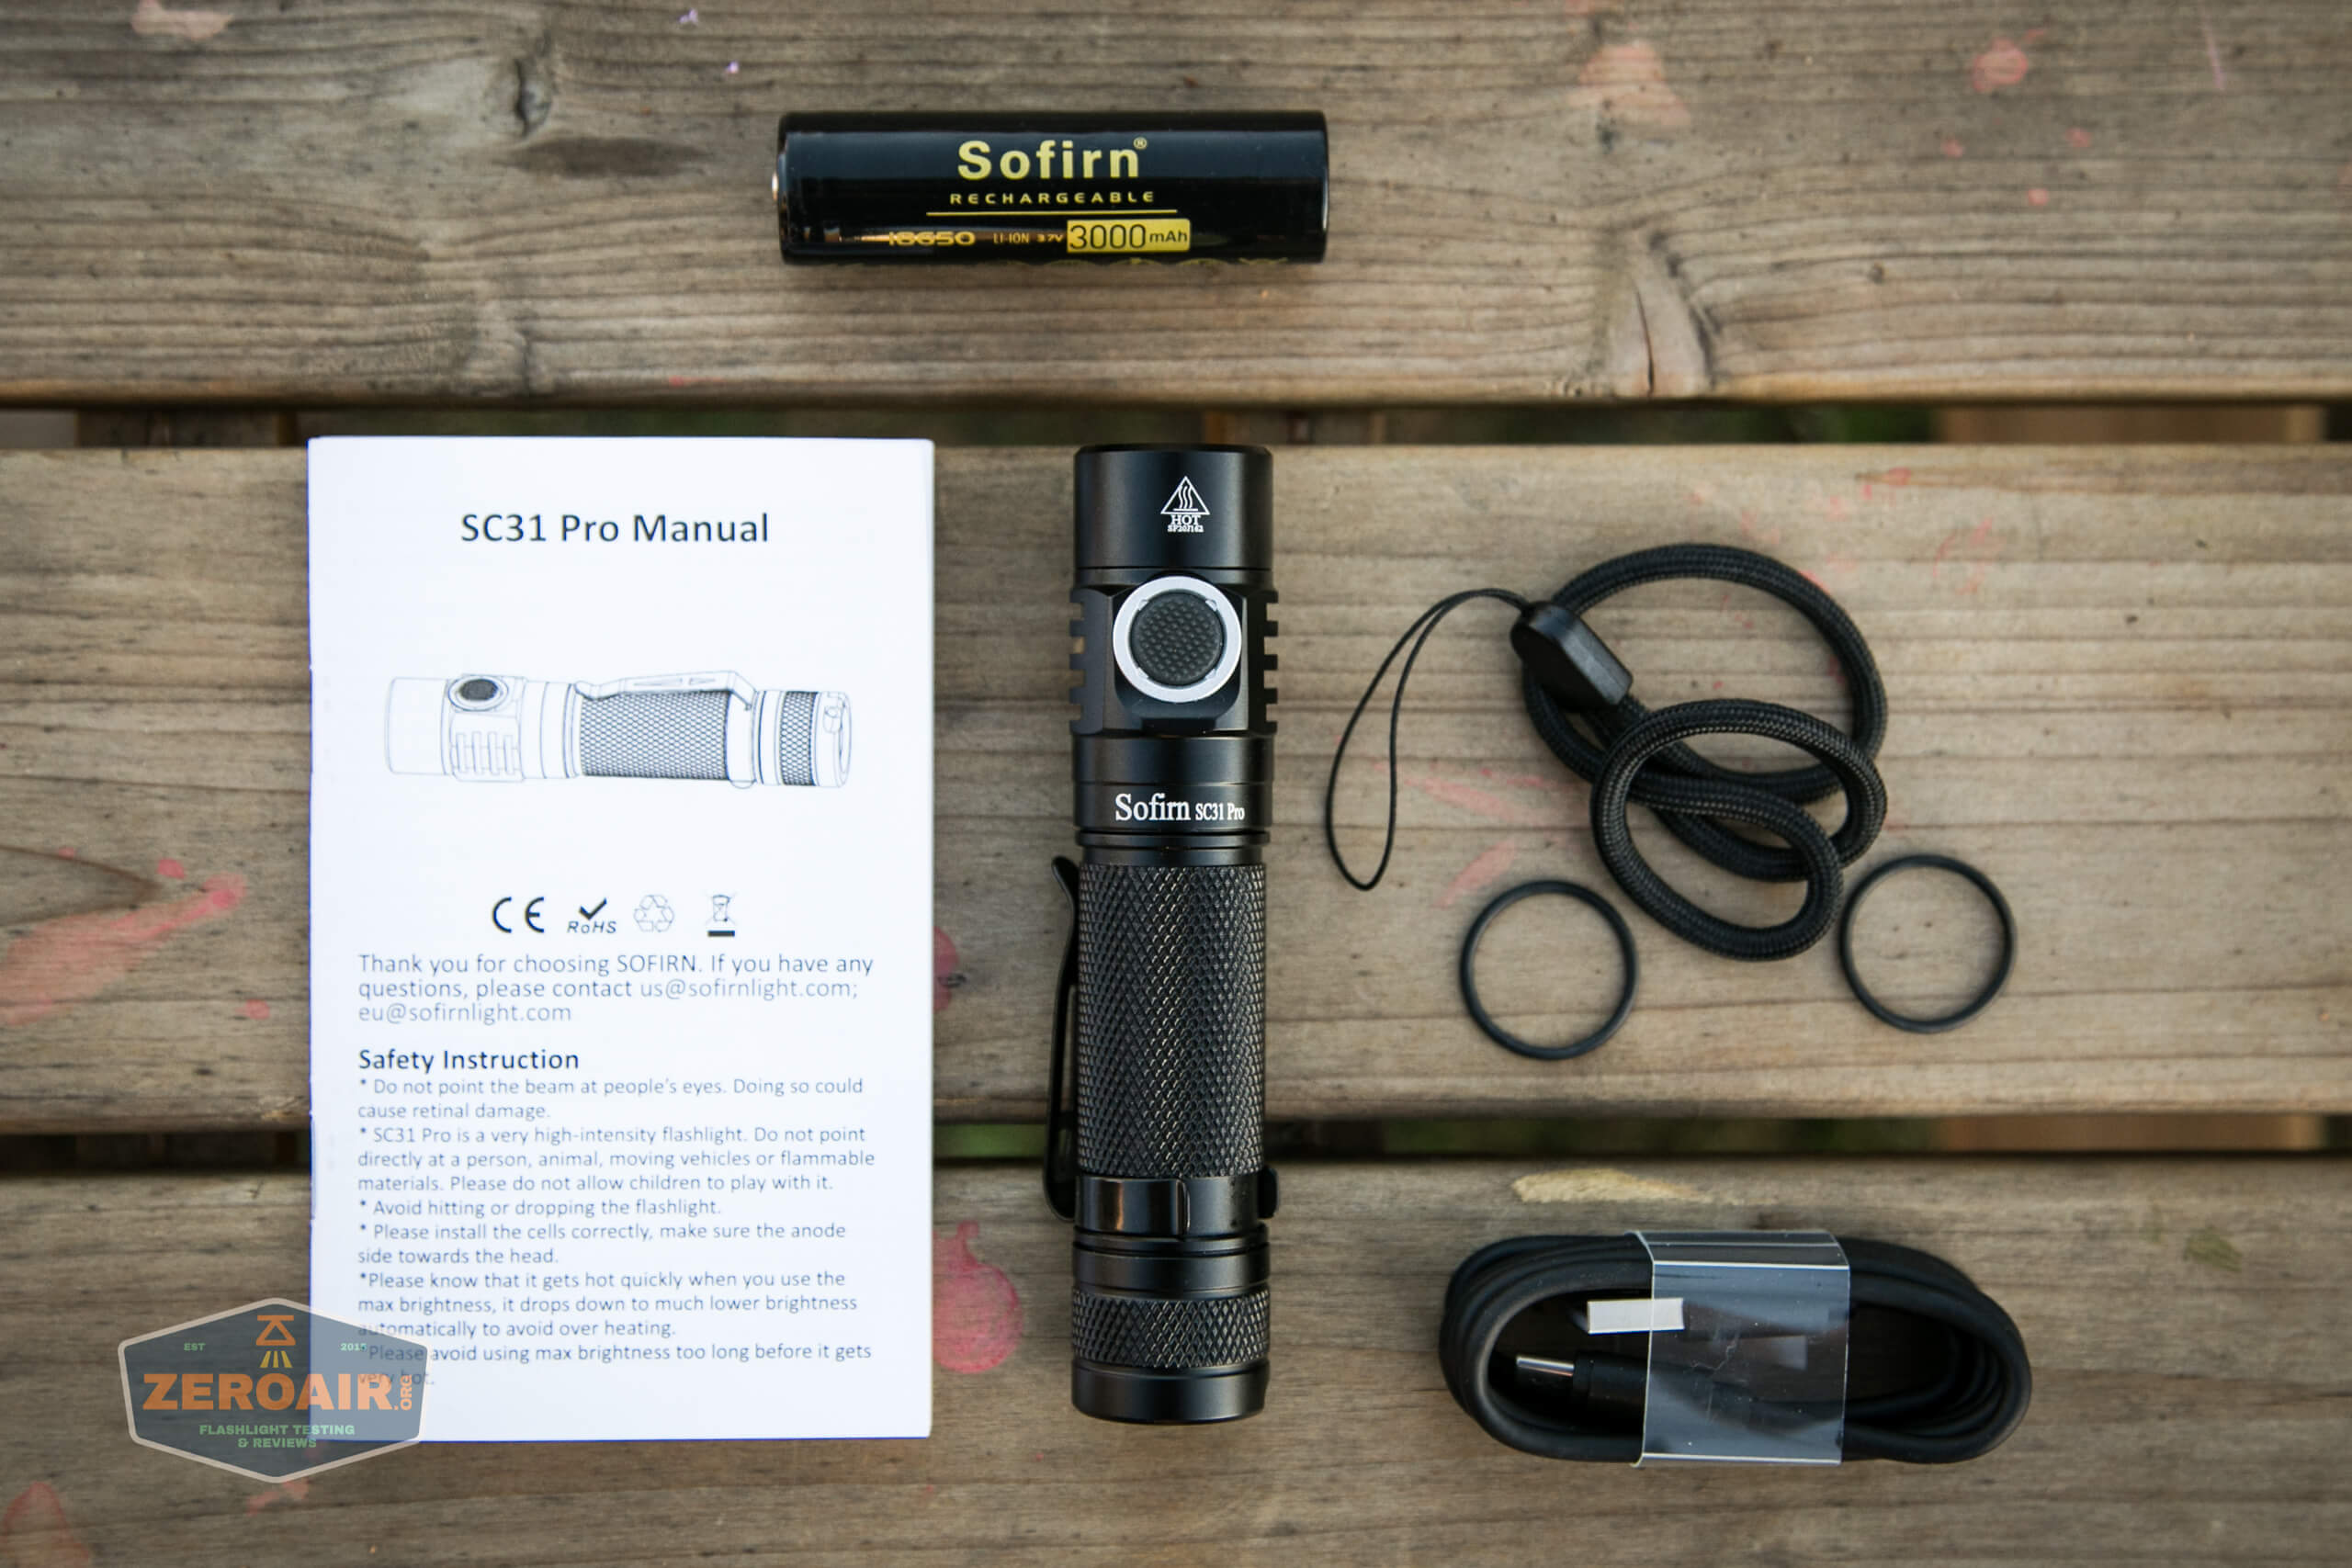
- Sofirn SC31 Pro Flashlight
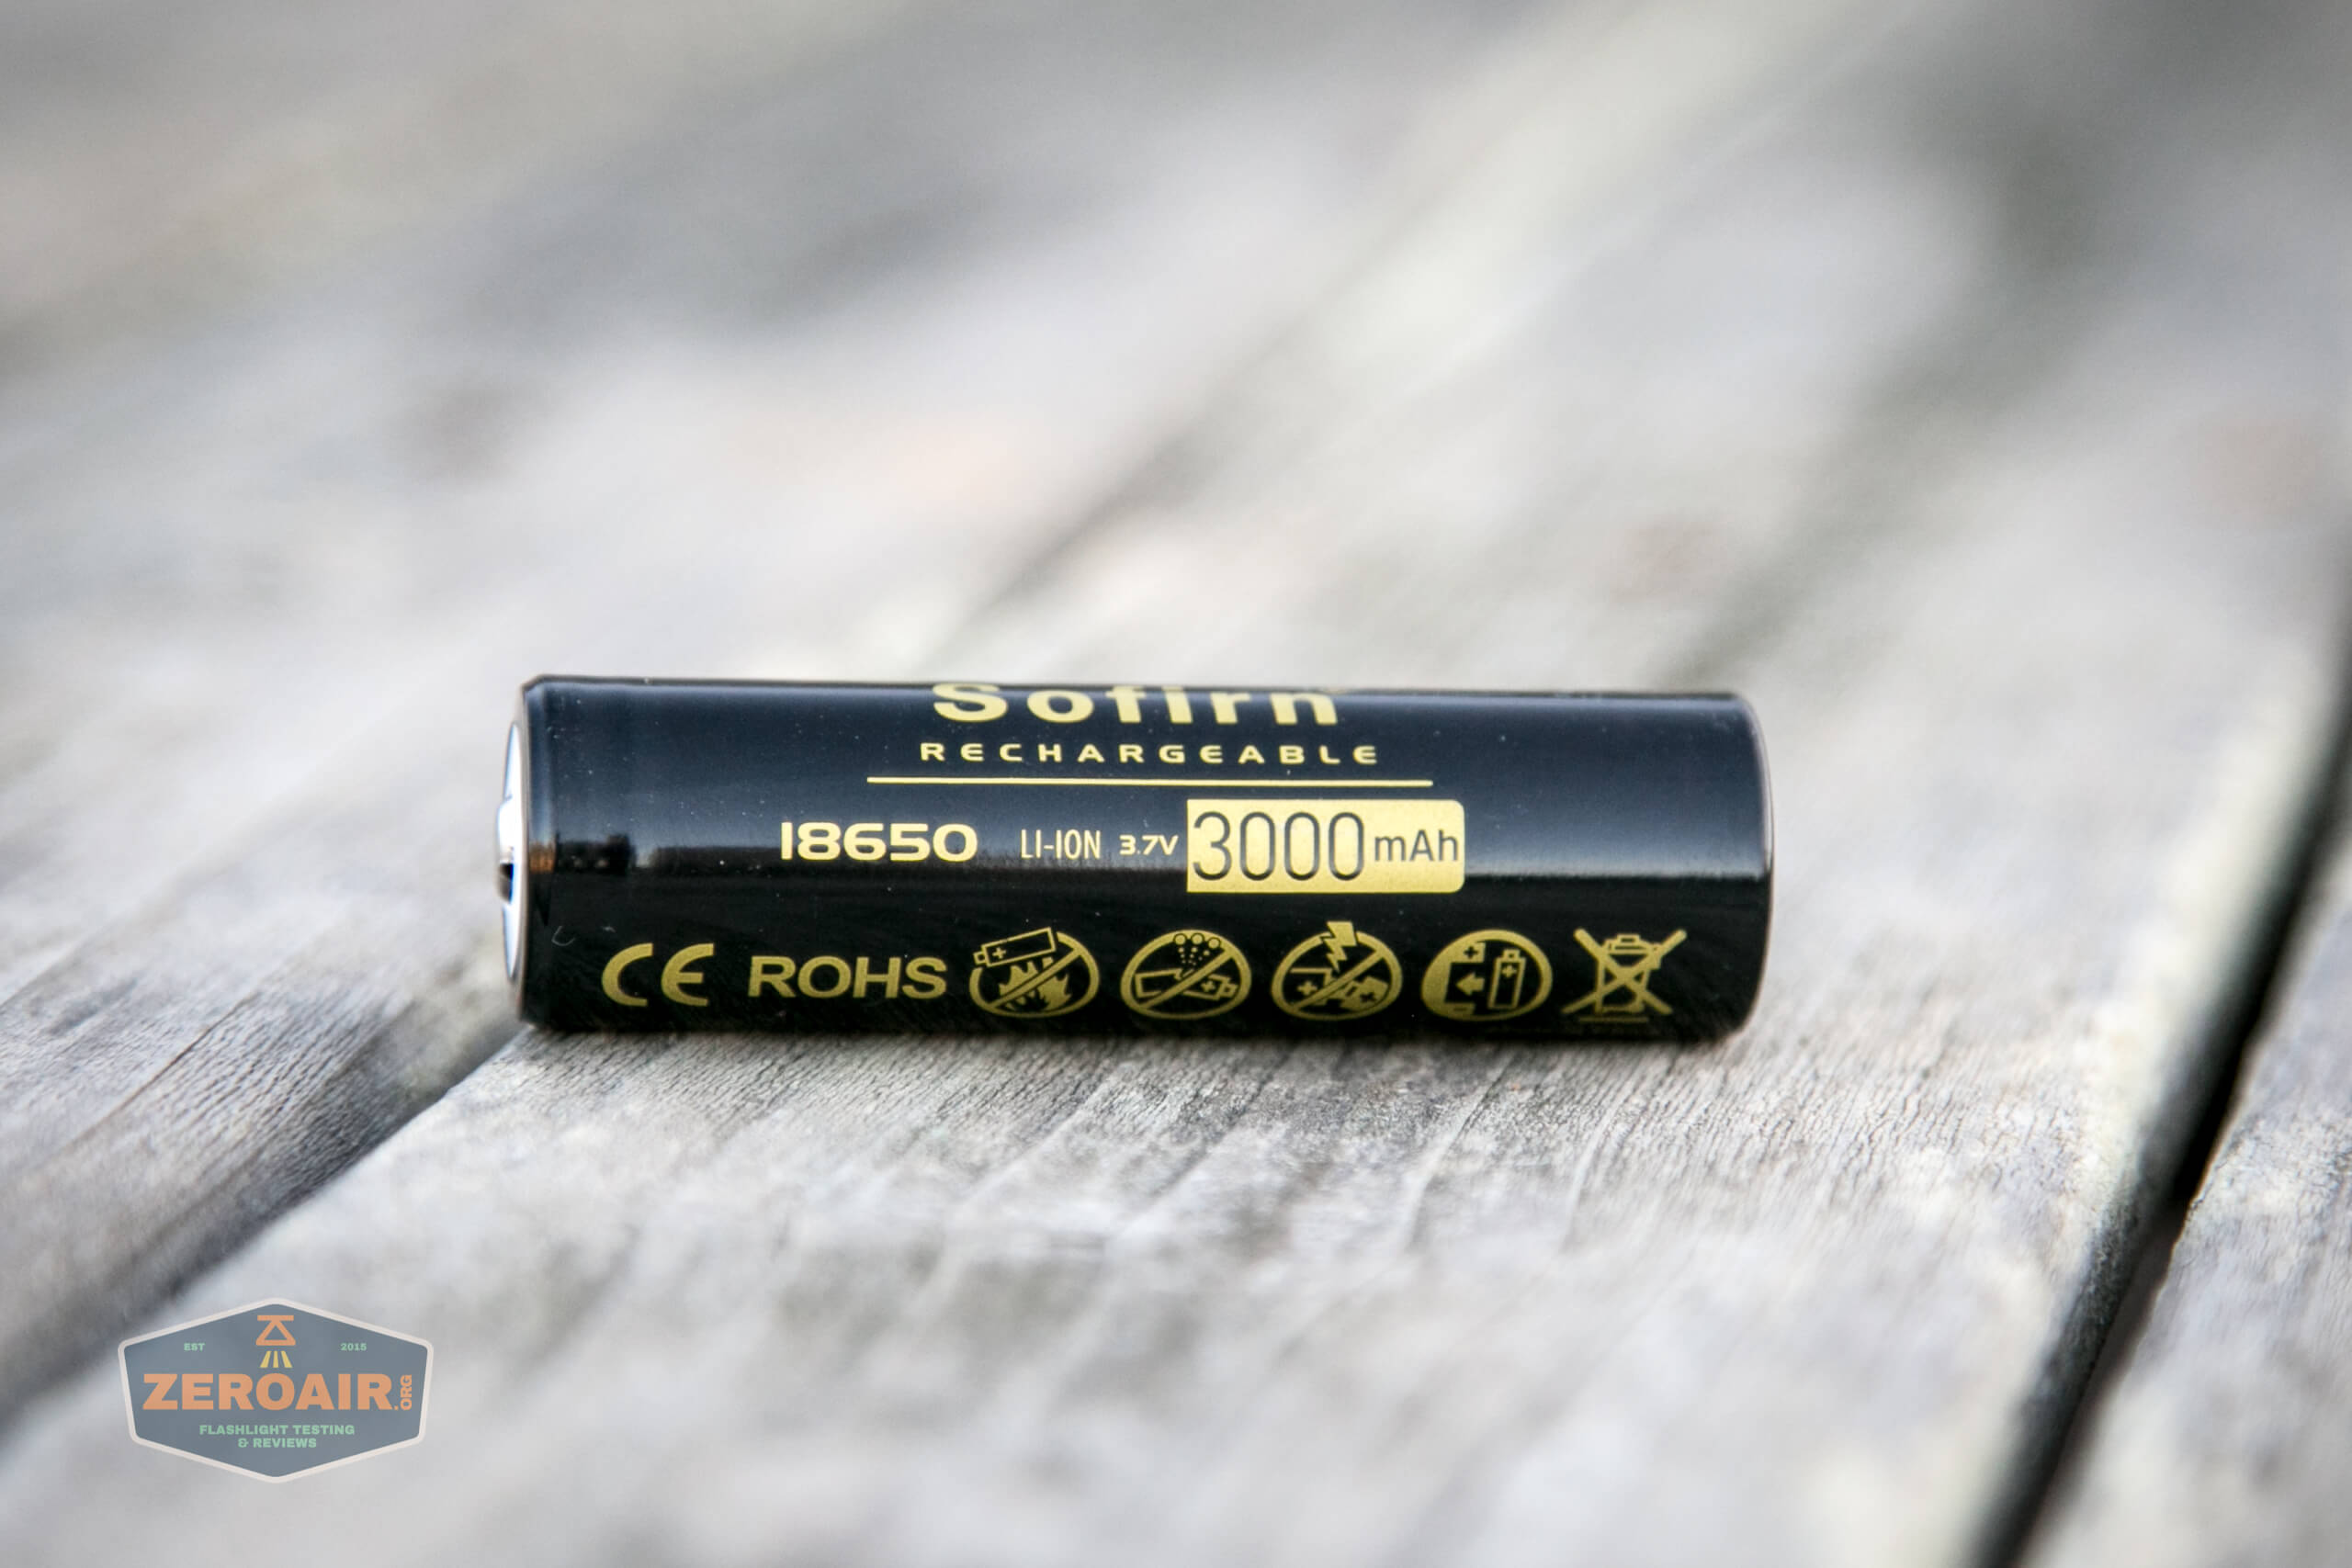
- Sofirn 3000mAh 18650 (button top, standard)
- Spare o-rings (2)
- Lanyard
- Charge cable (USB to USB-C)
- Manual
Package and Manual

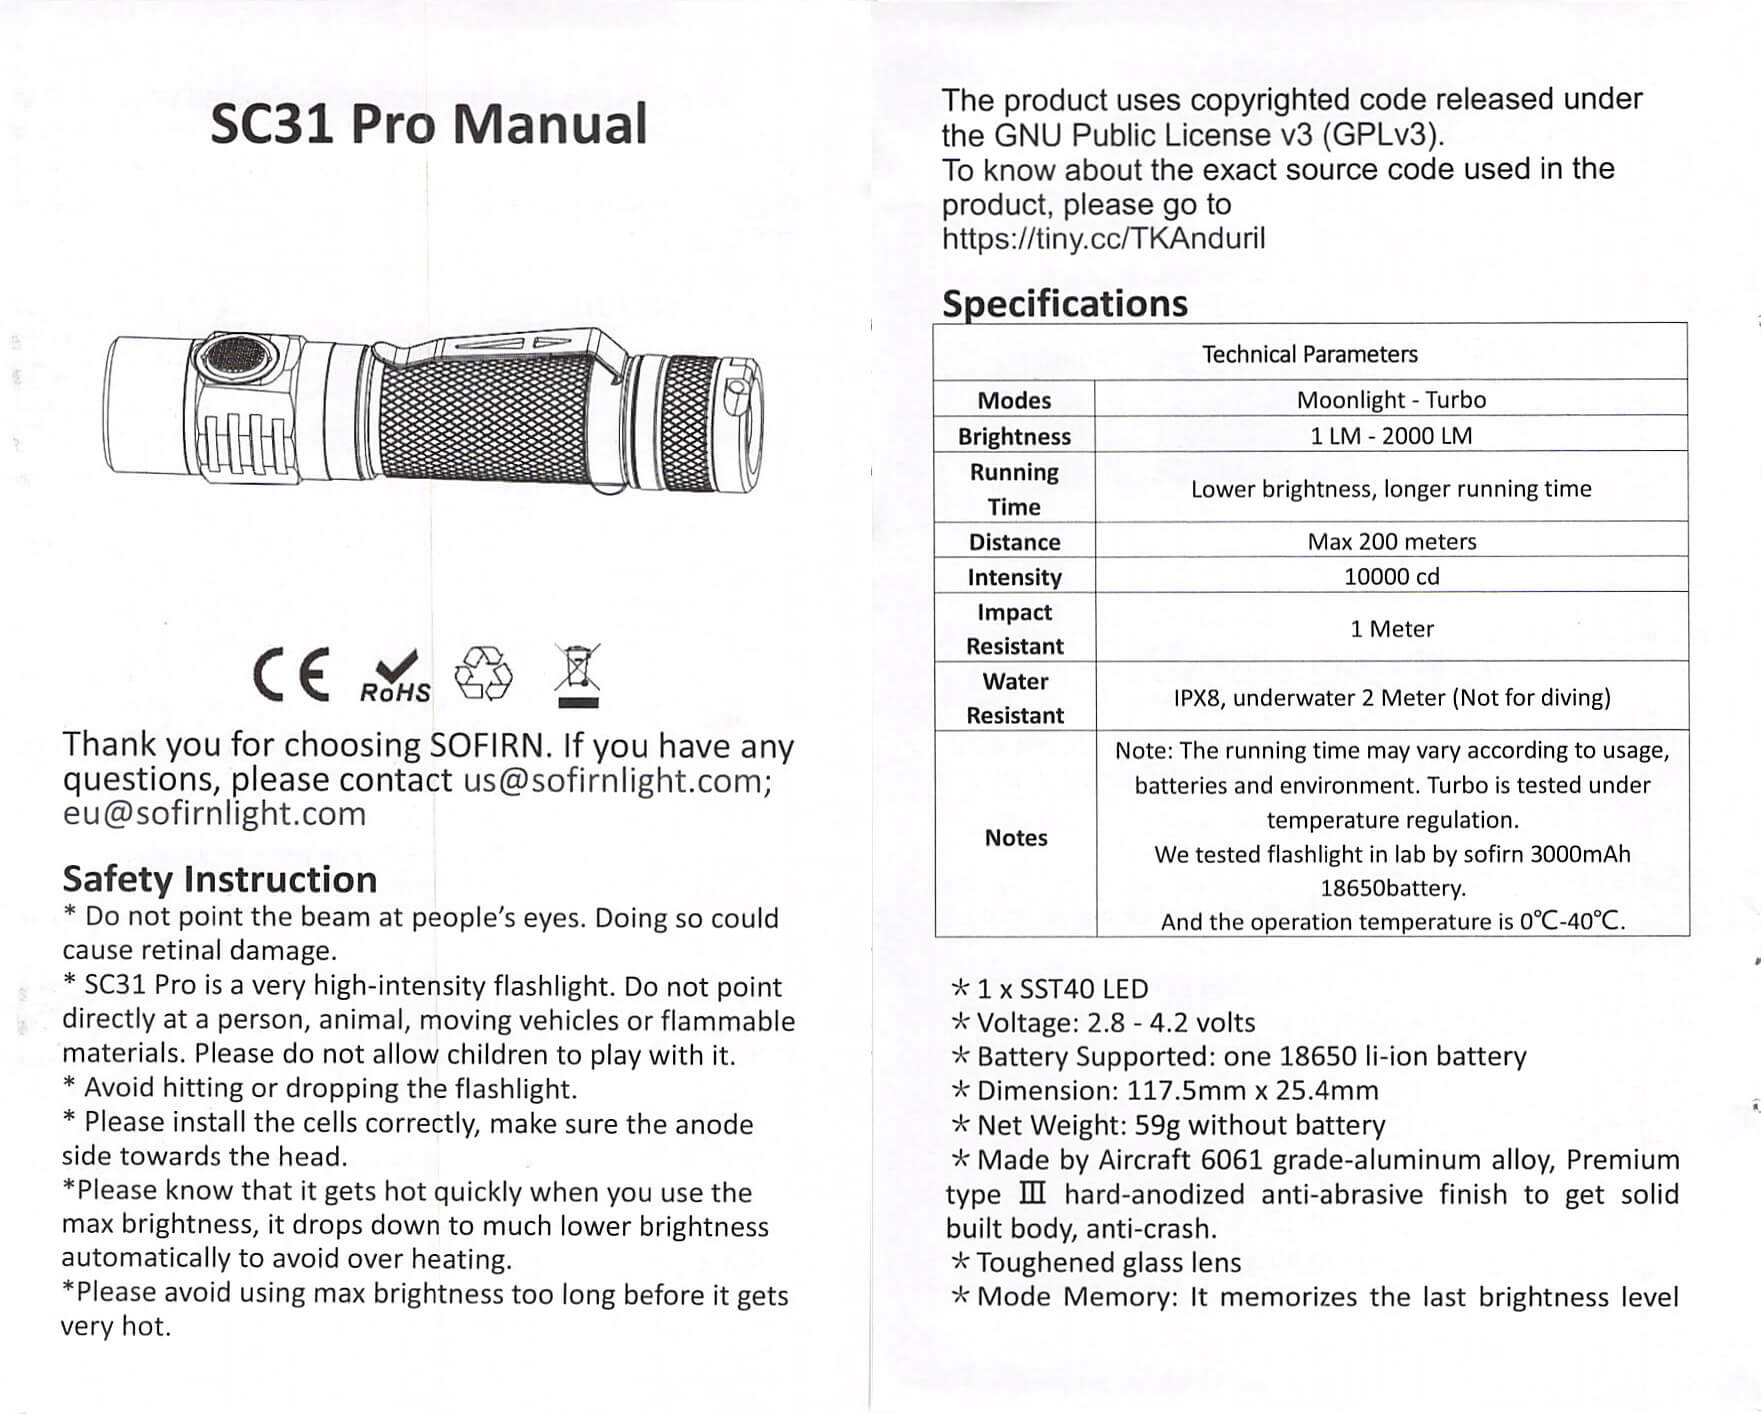
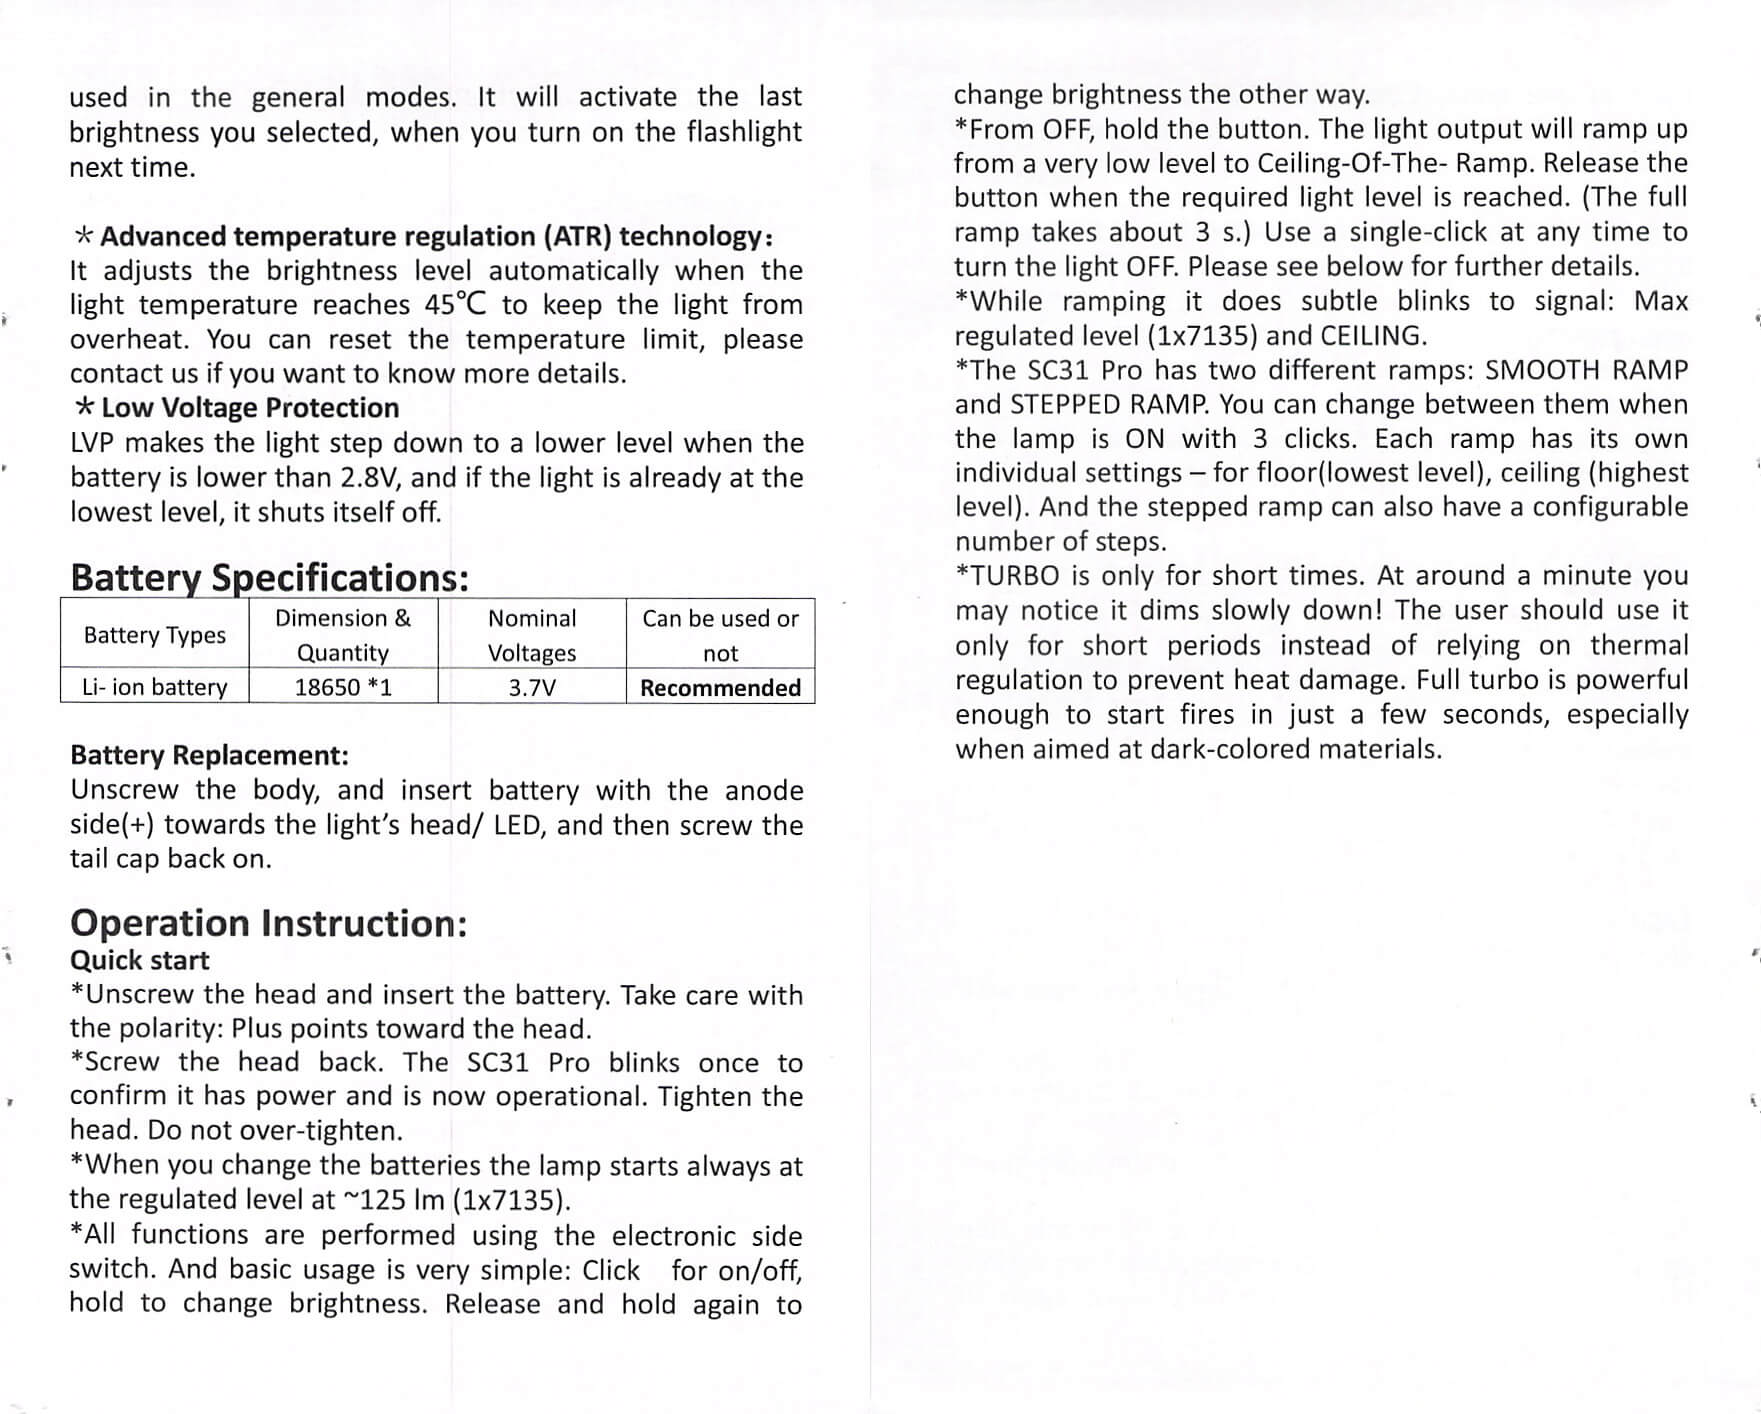
I couldn’t find the manual anywhere else, so here’s a pretty solid copy of all the English pages.

Build Quality and Disassembly

The build quality of the Sofirn SC31 Pro is commensurate with the price. It’s around a $30 light – seems about right. That’s for simply build quality, though. The actual guts of this light (discussed later) put it in a separate (and higher) category.
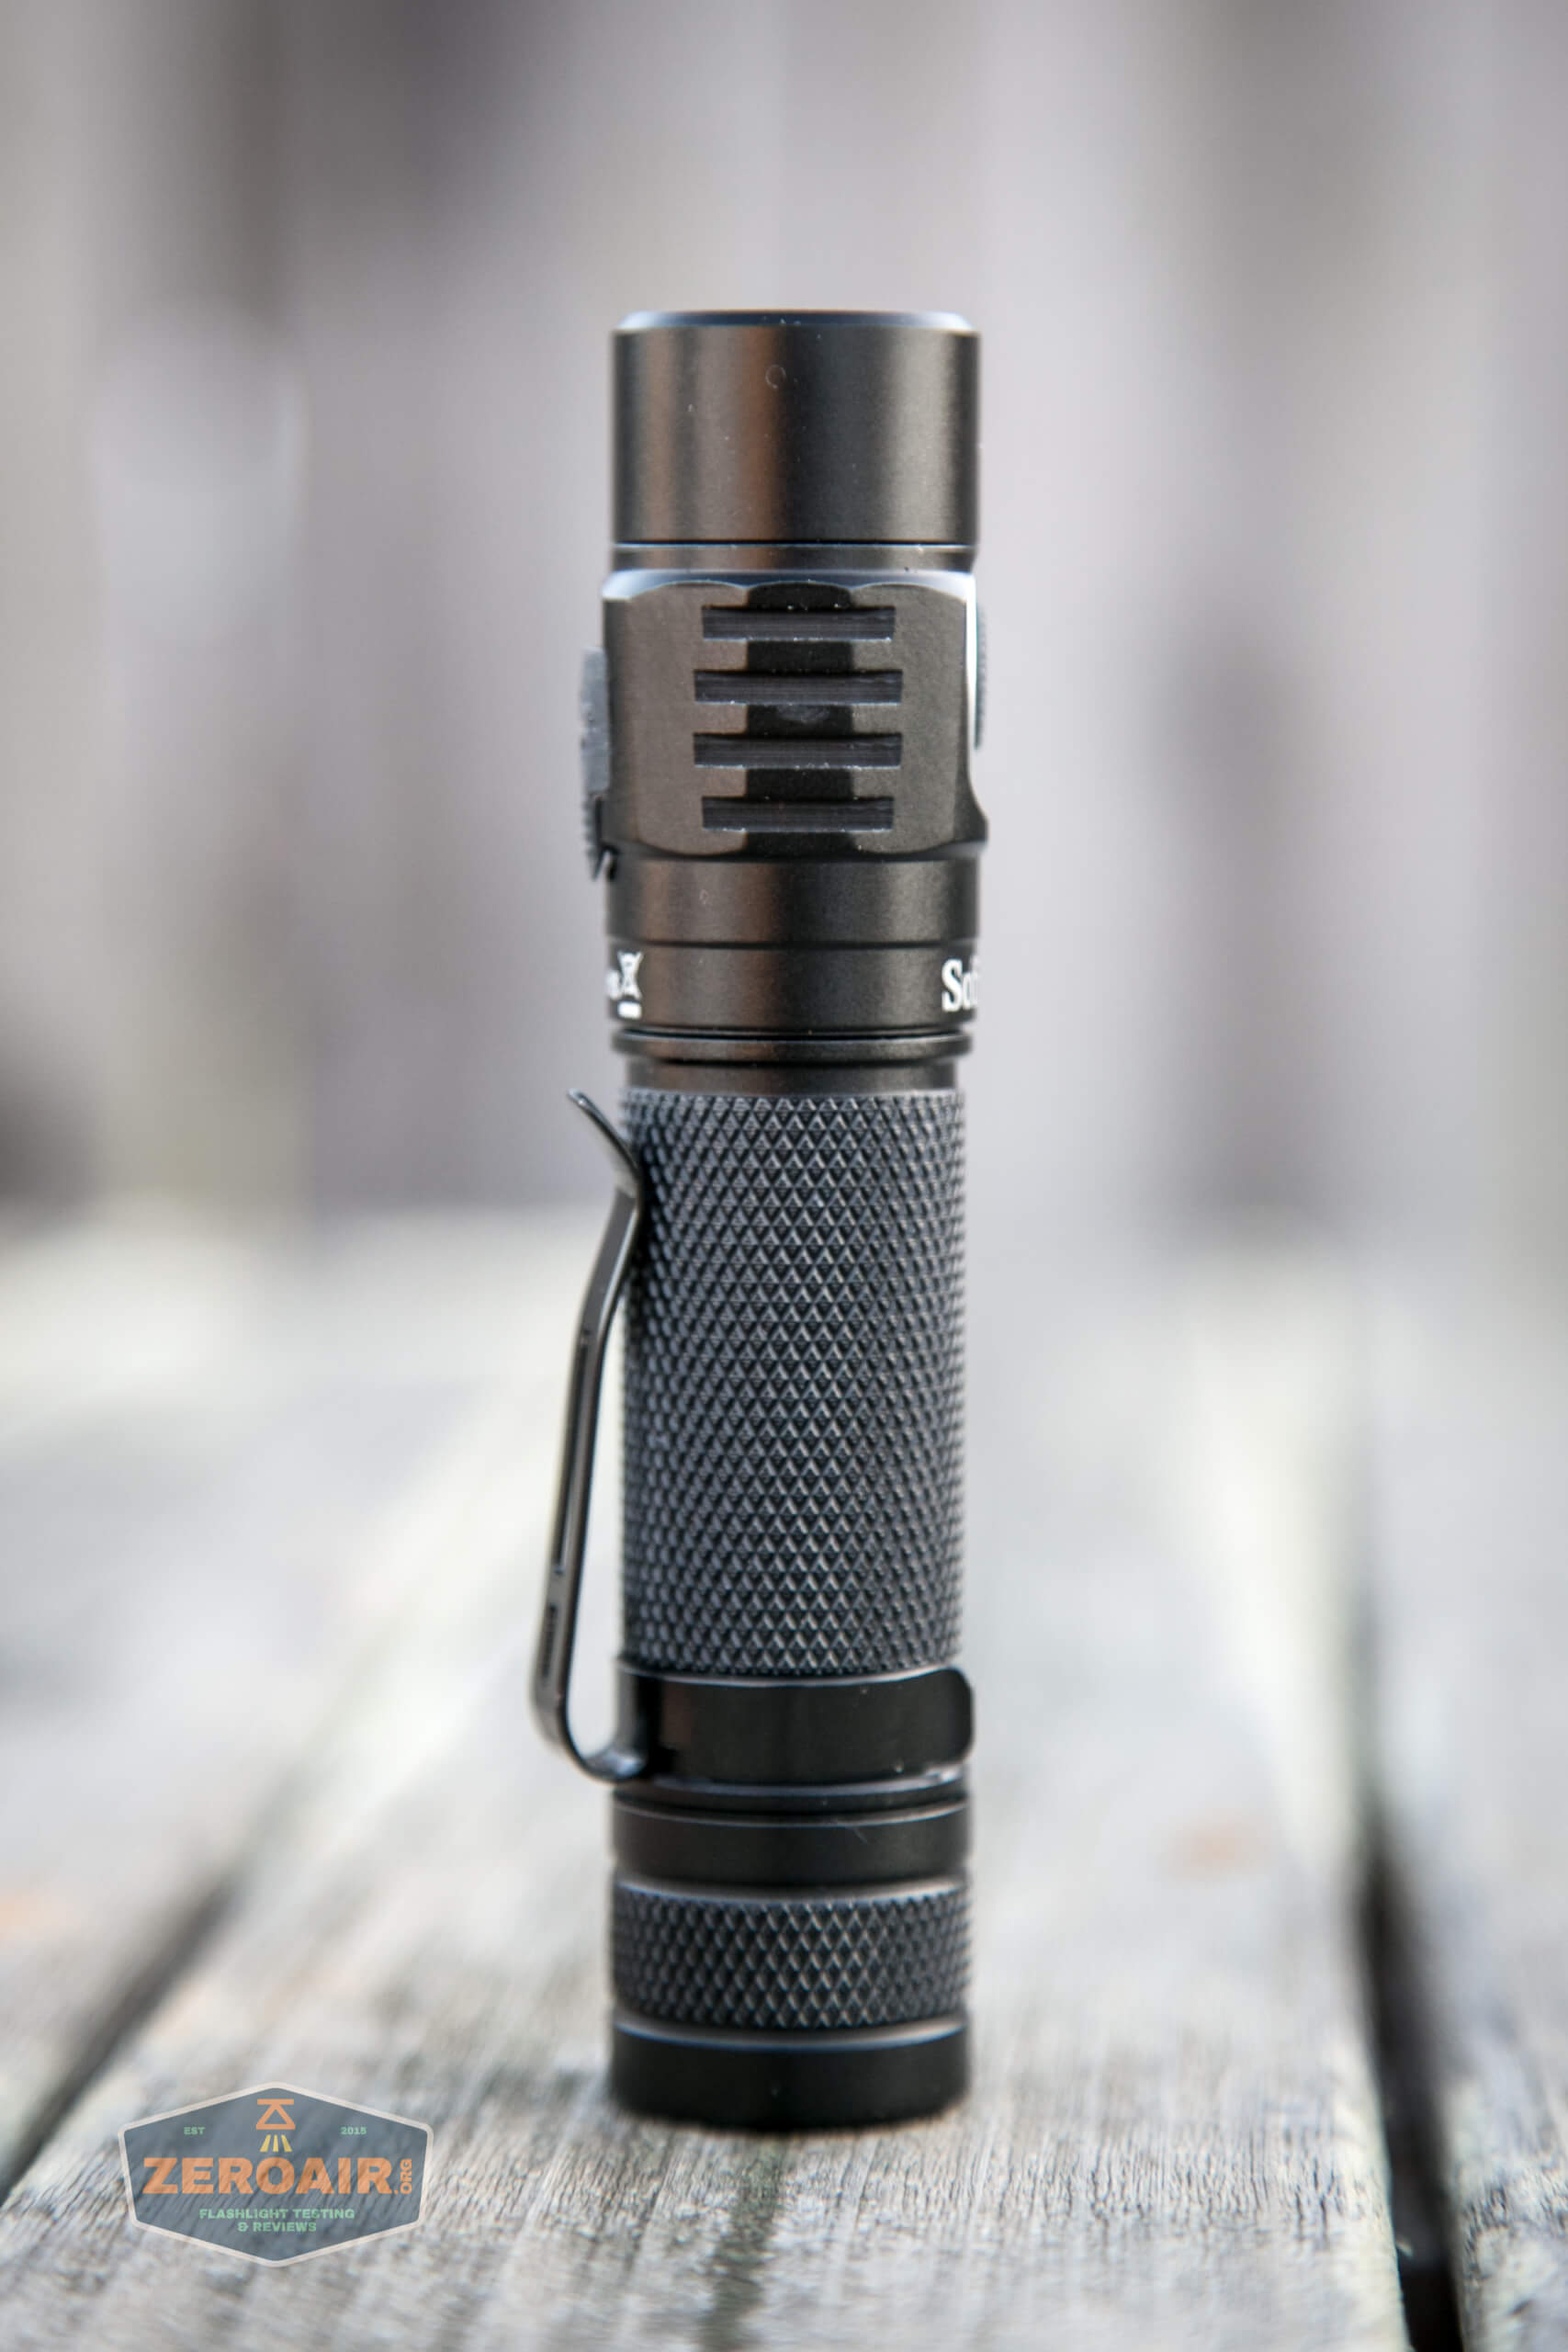


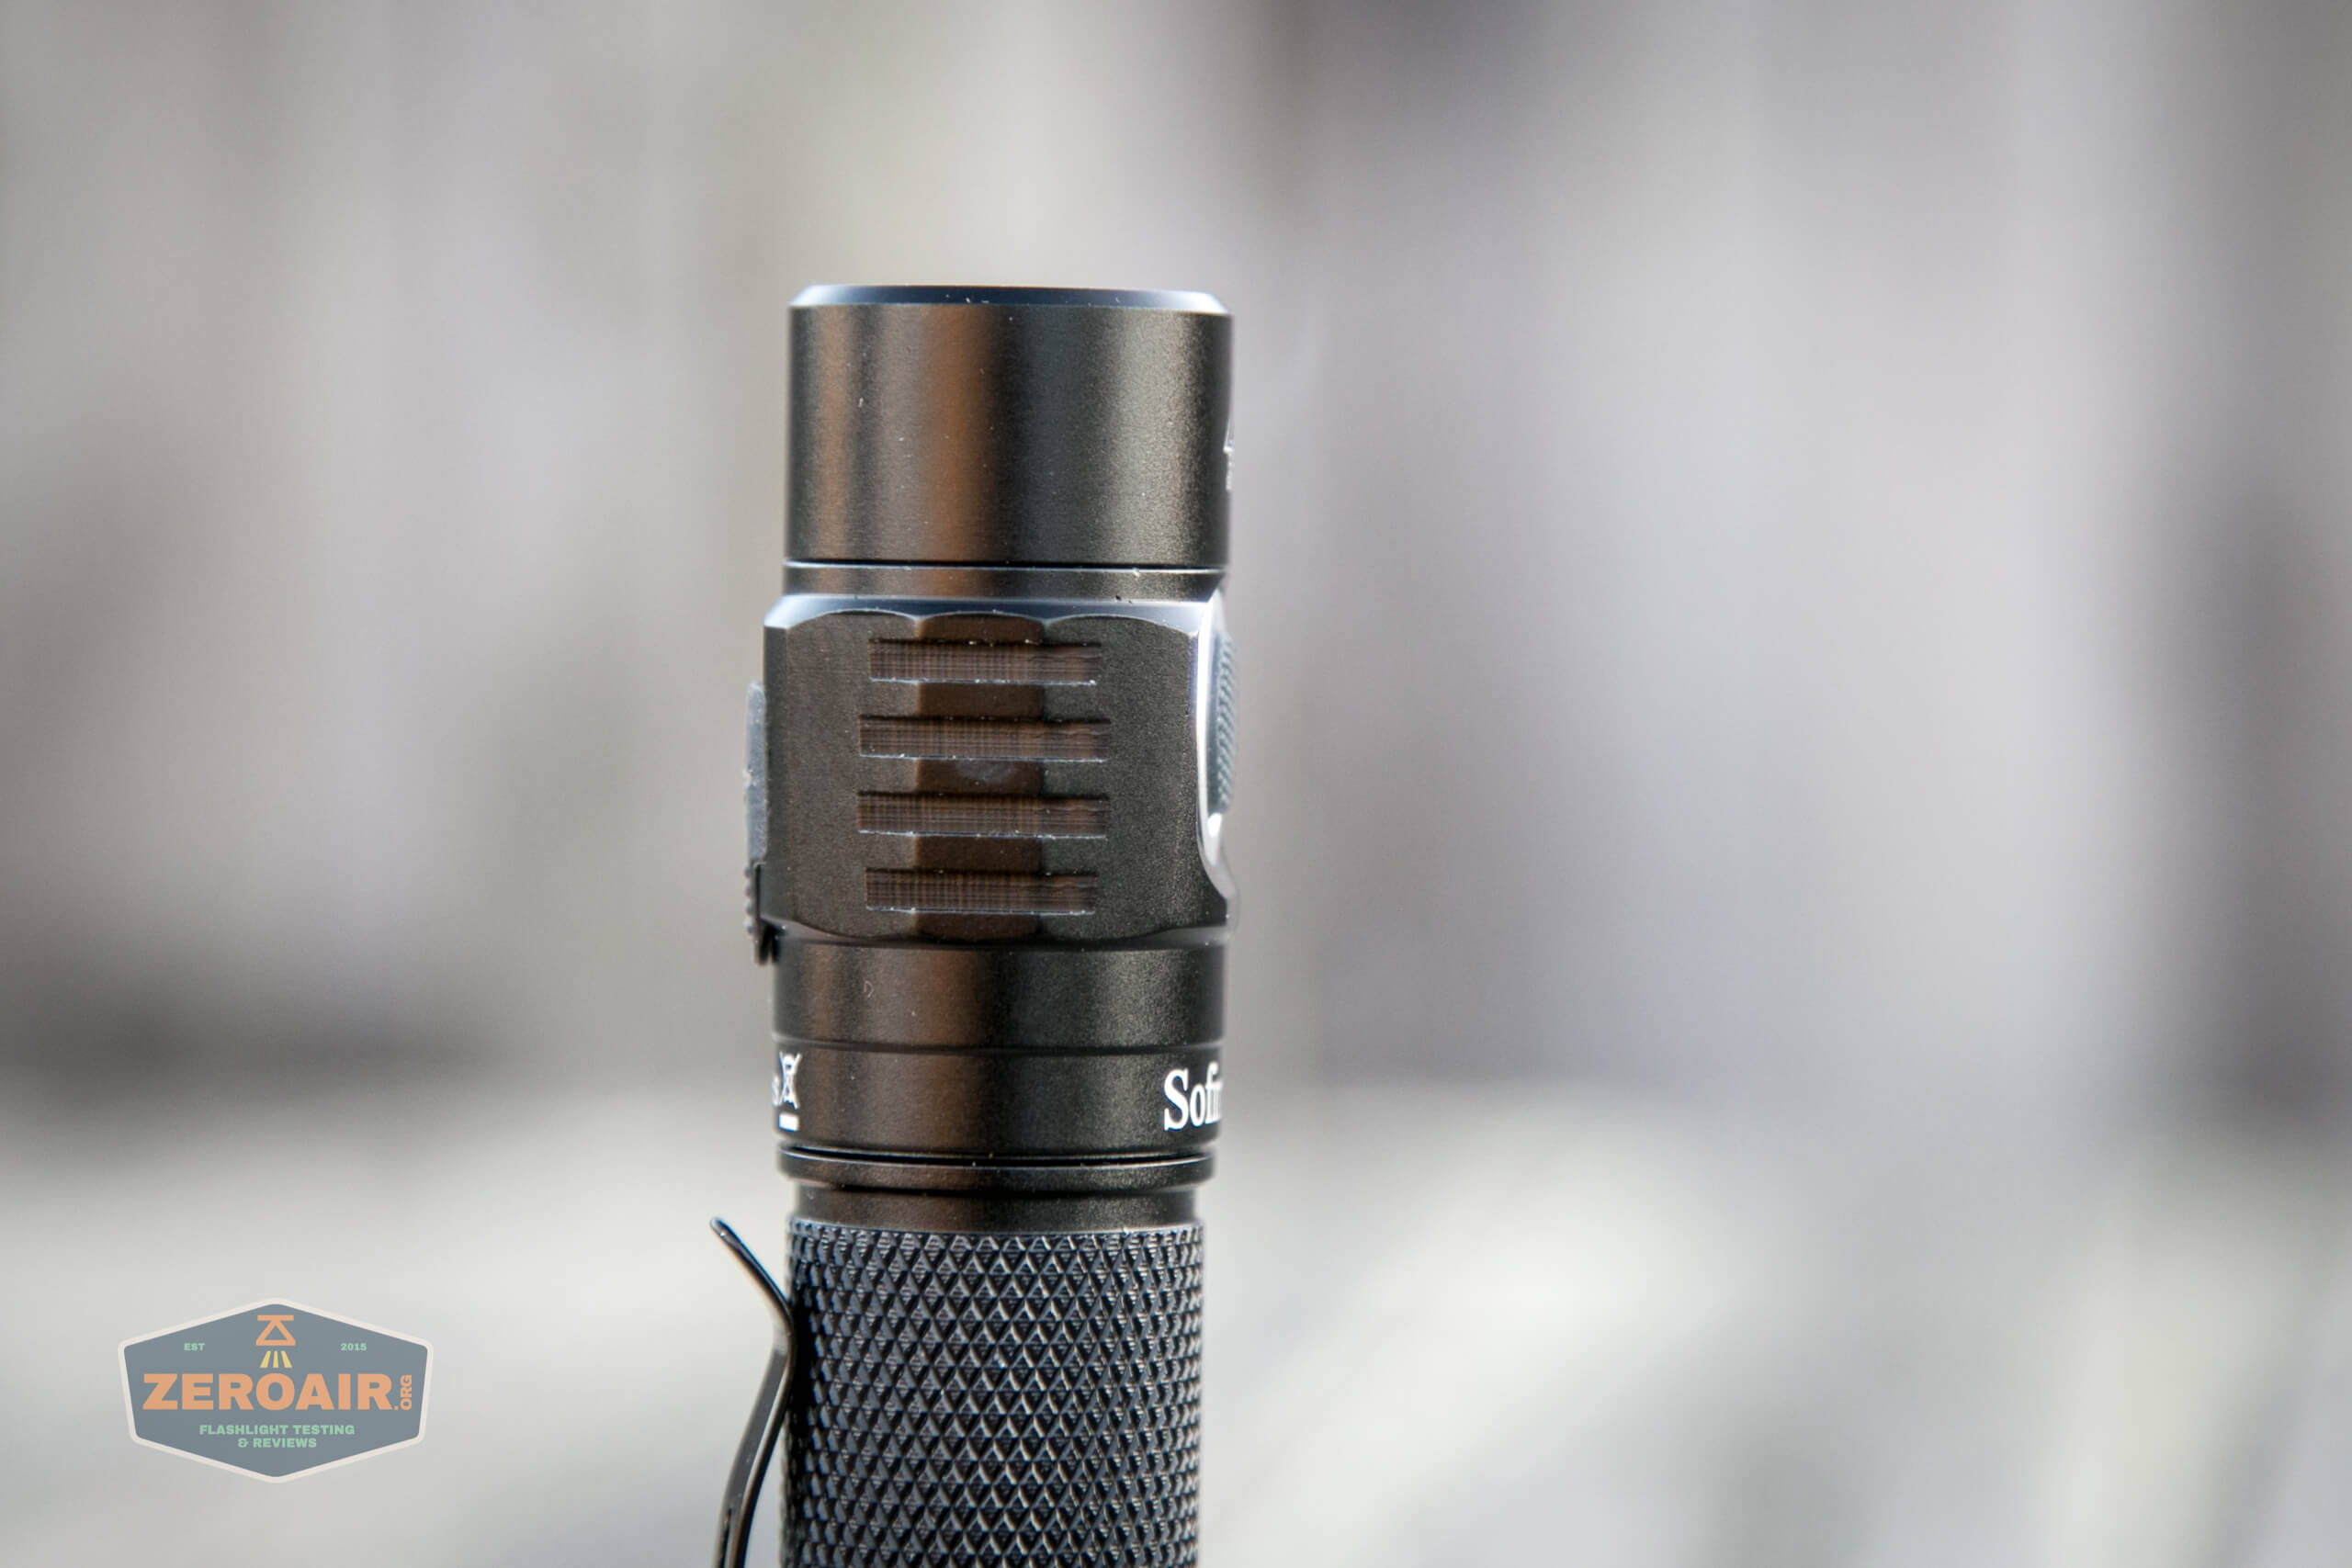
The head has minimal cooling fins and overall retains the “tube light” nature.
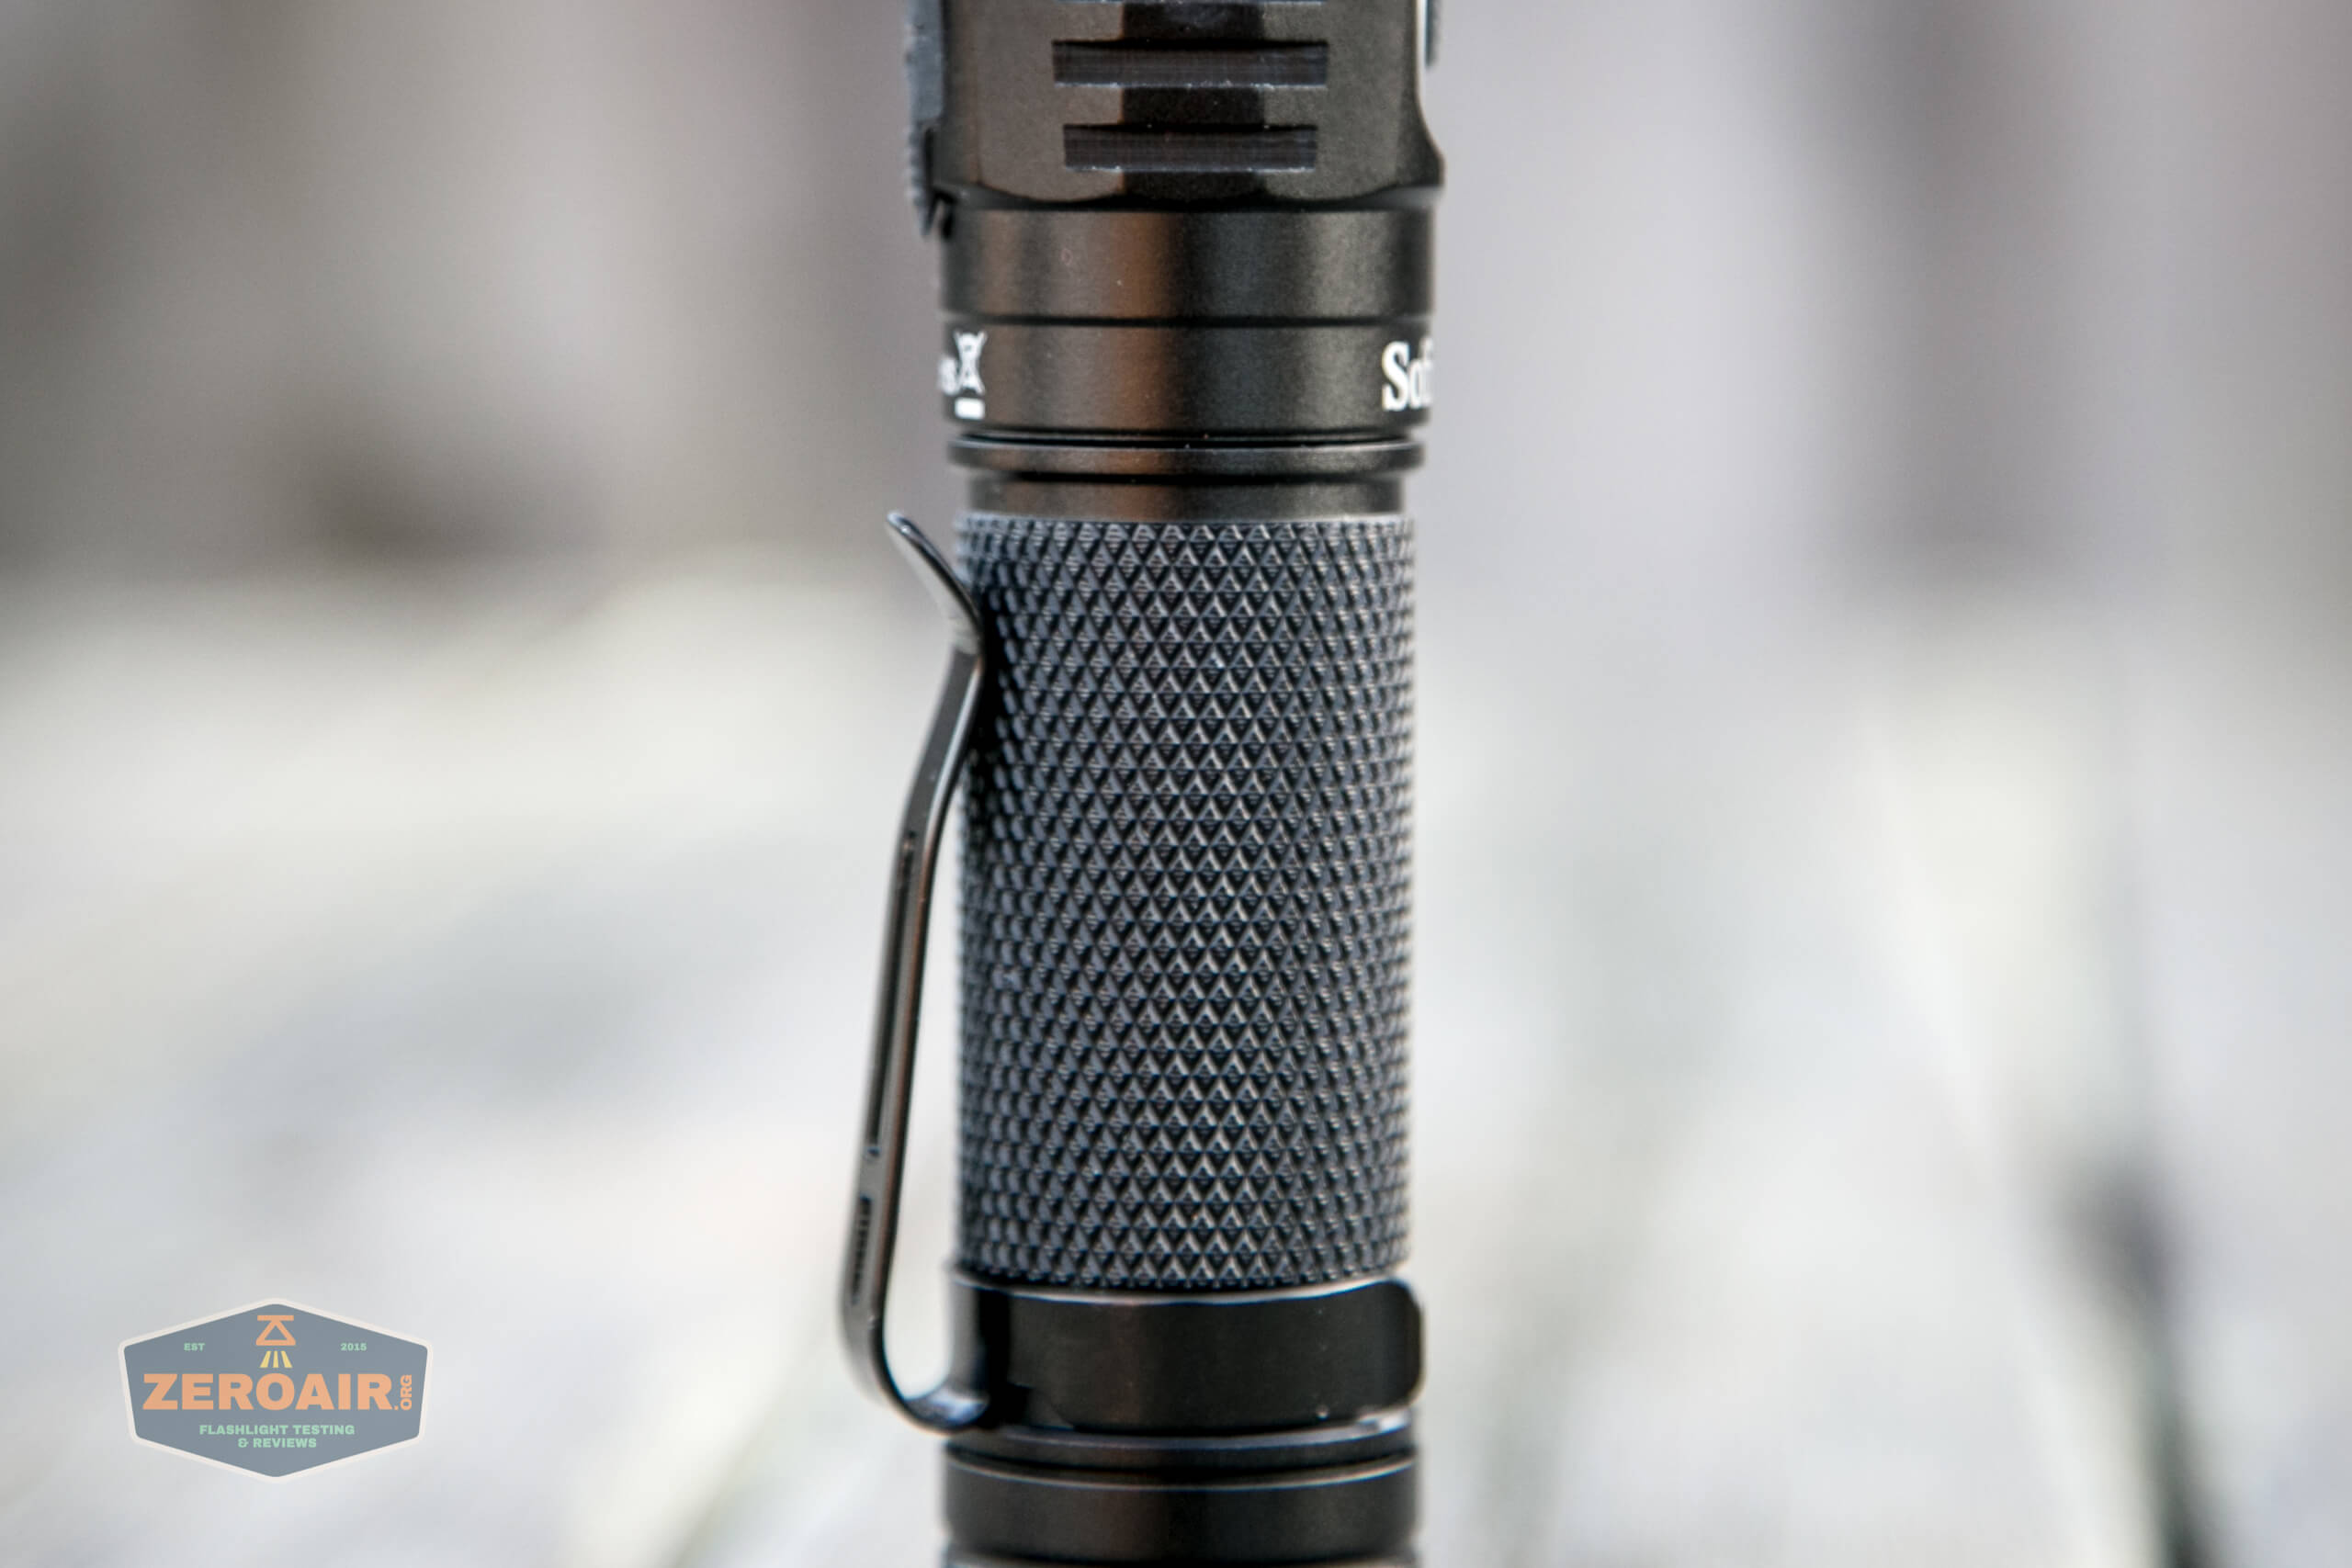
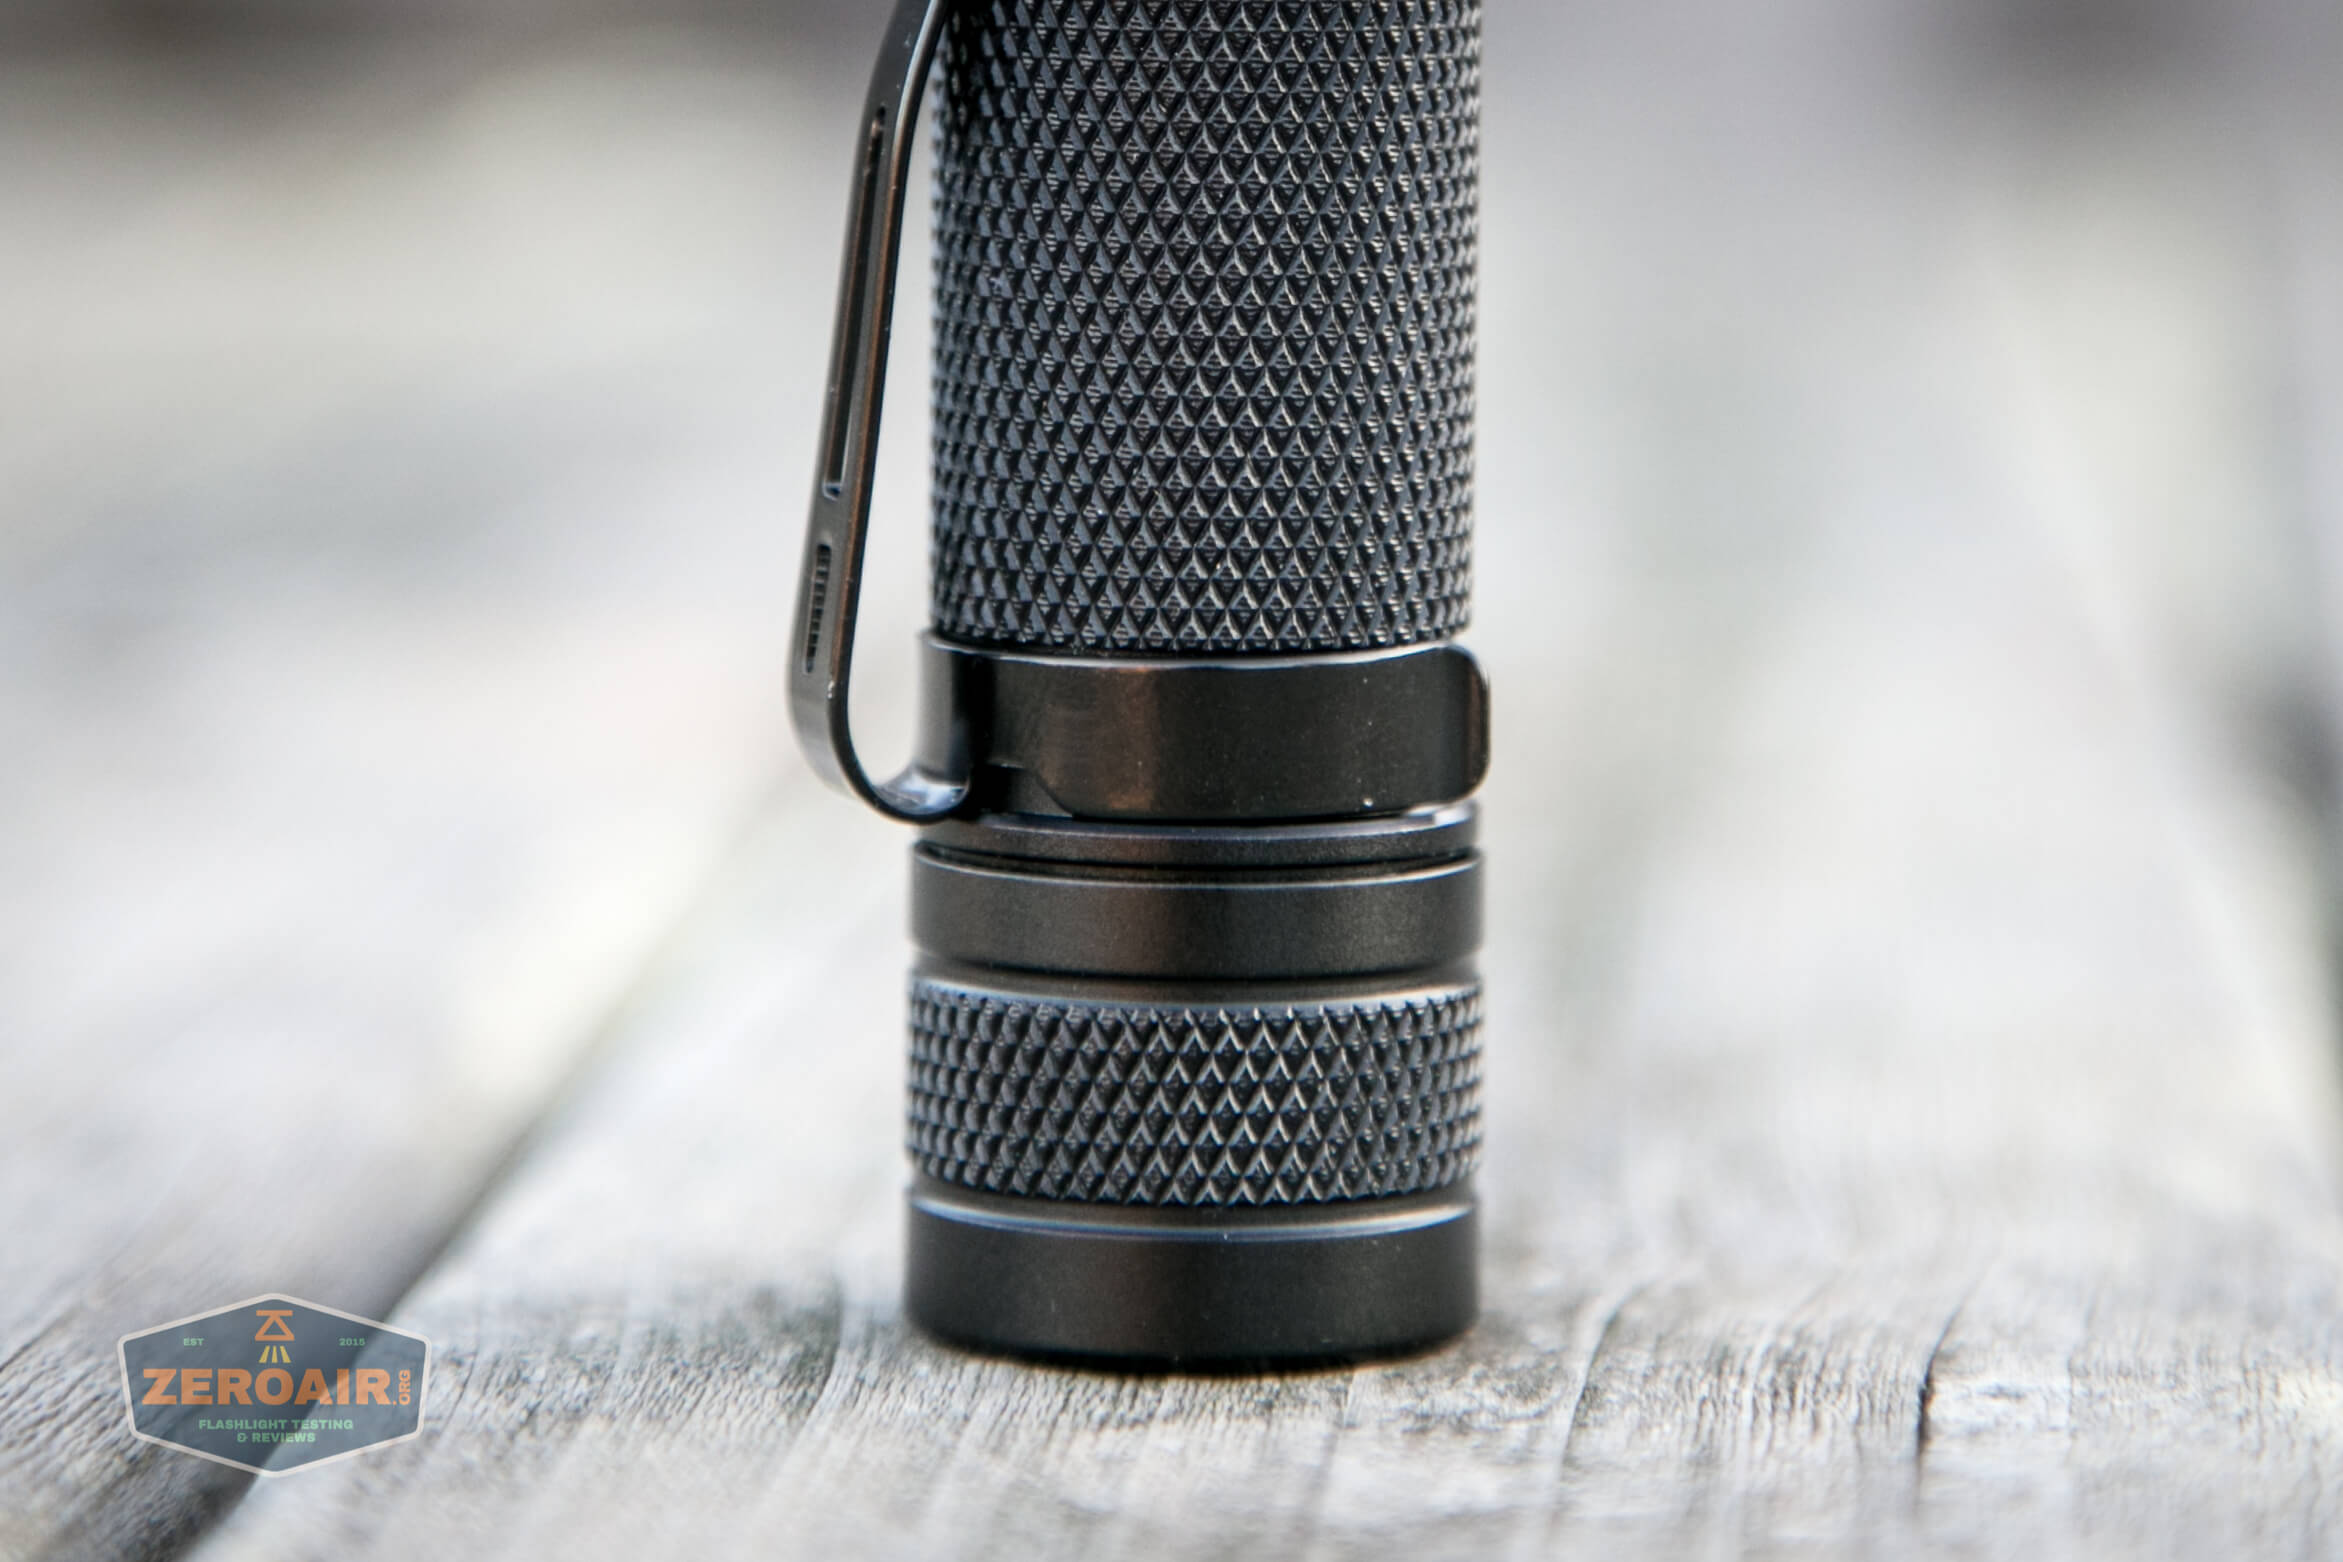
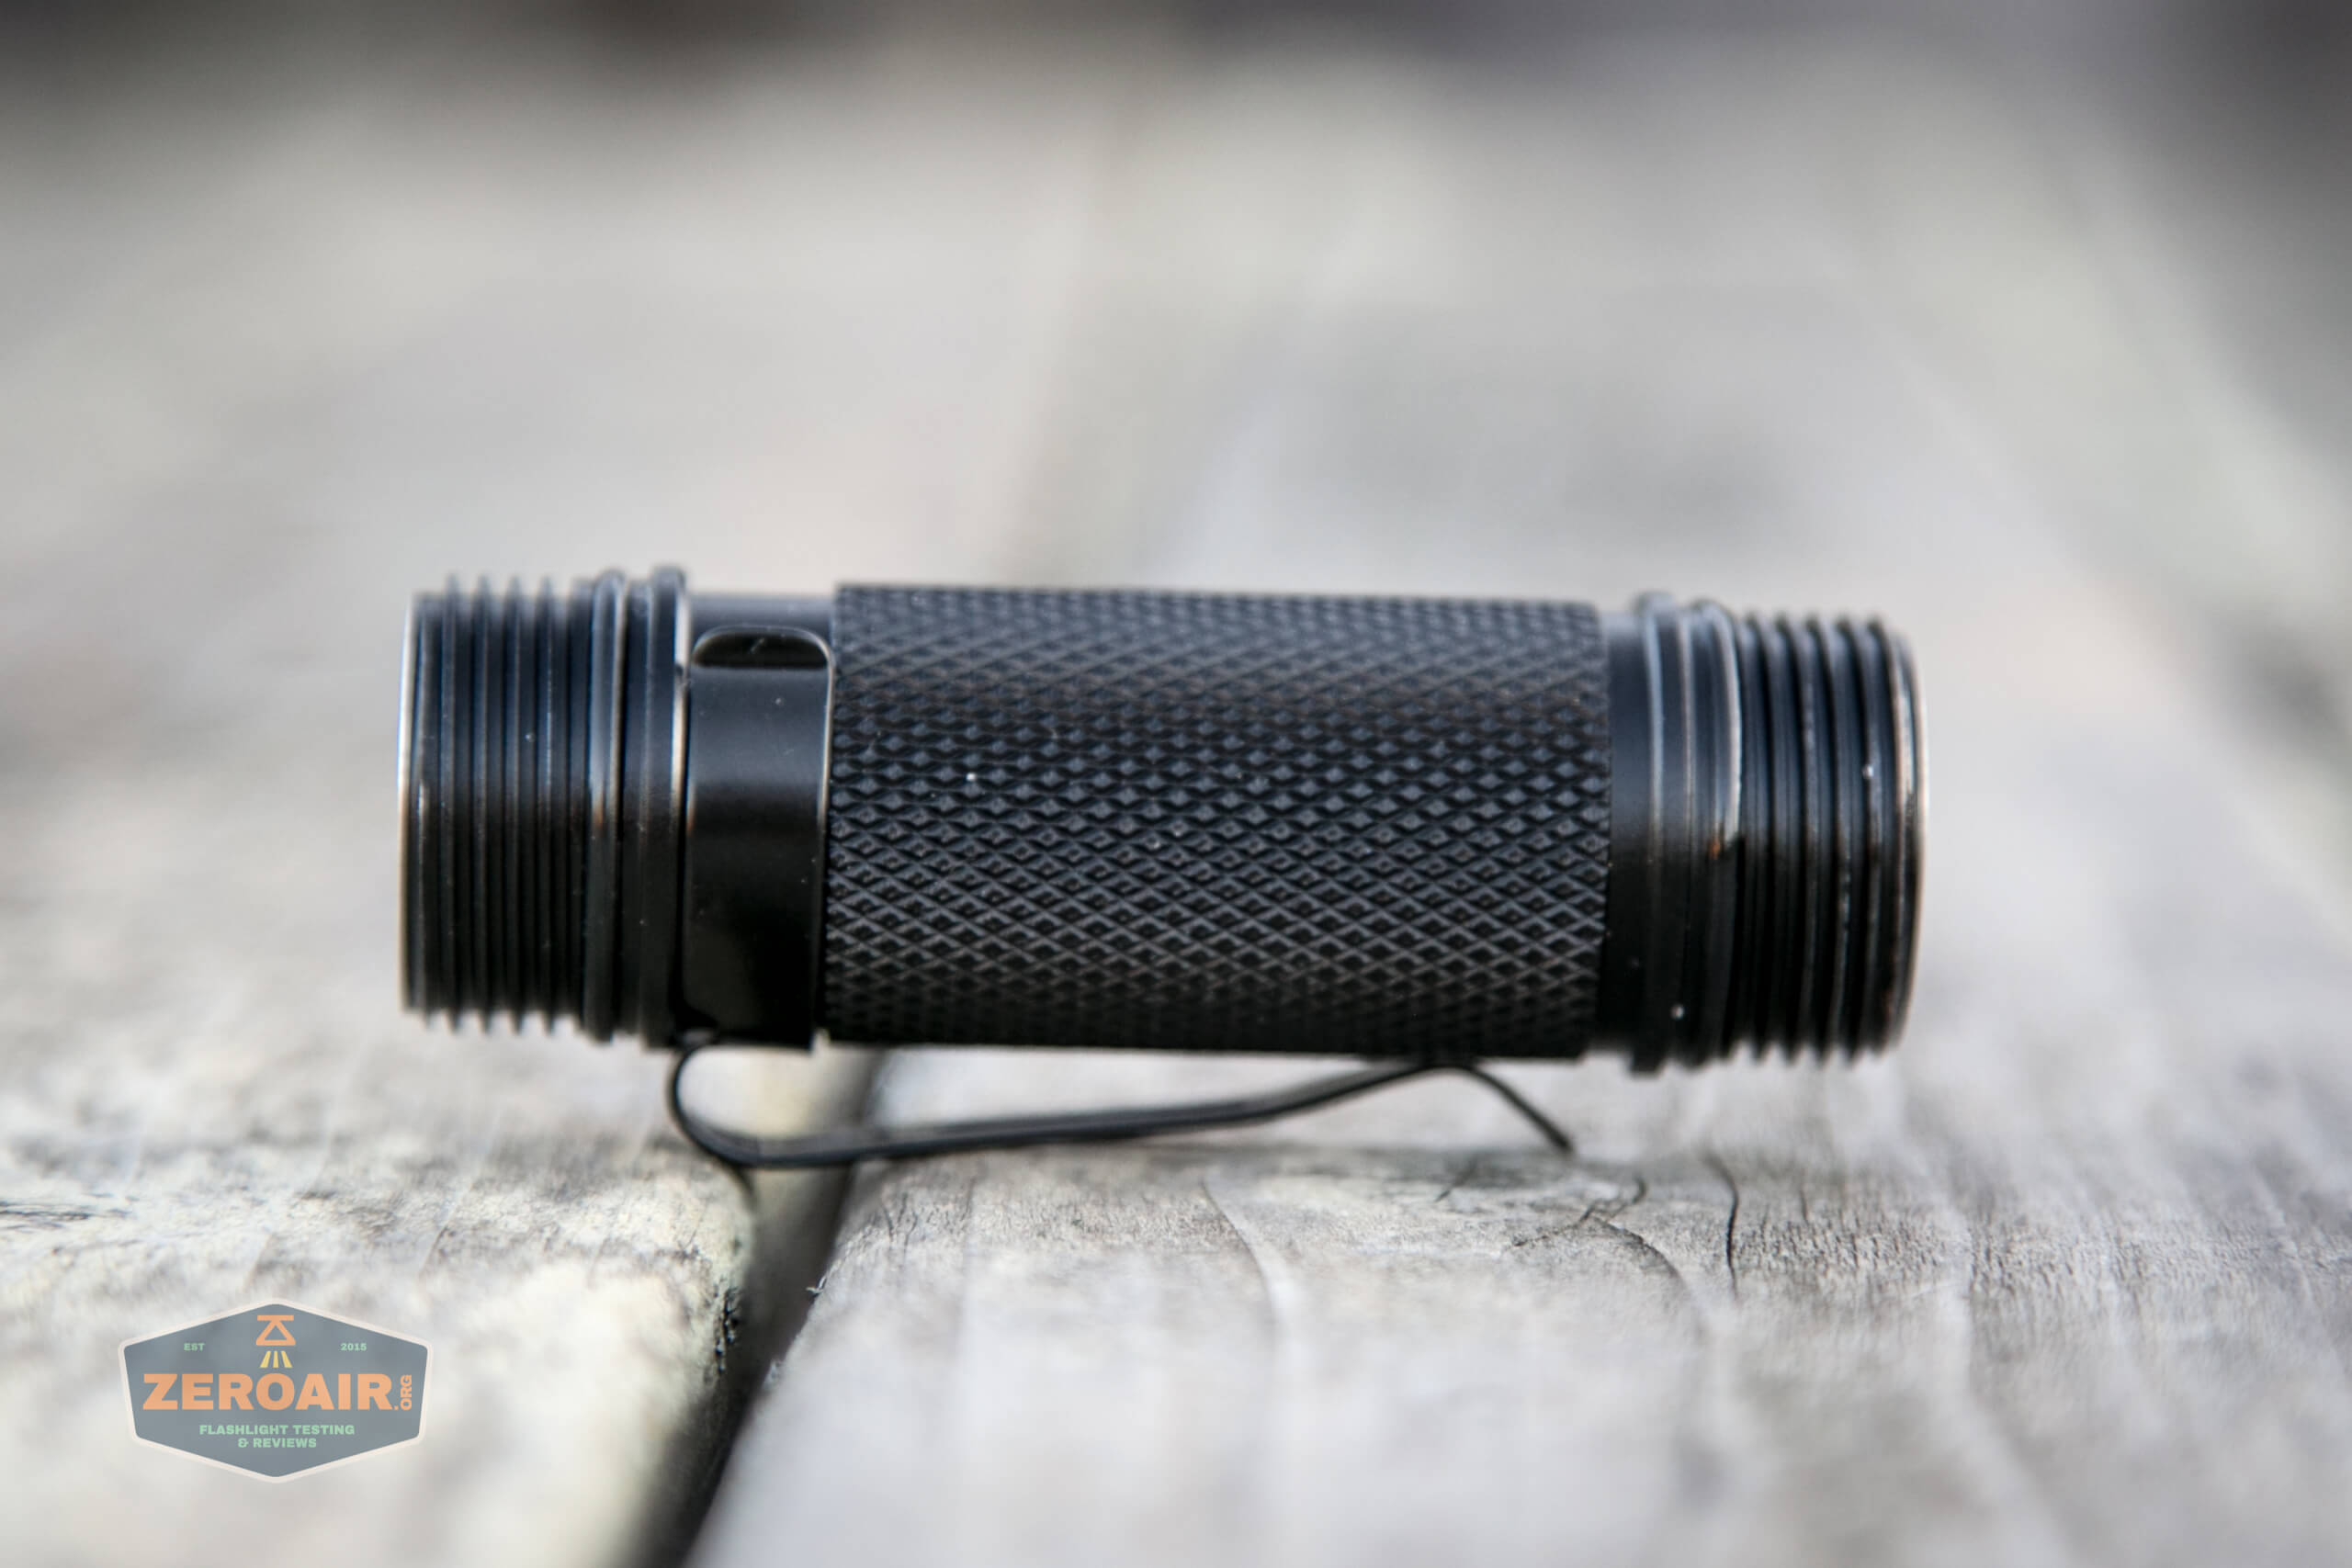
The body has ample knurling, and it’s sharpish.
Even the tailcap smartly has knurling too. This makes it very easy to unscrew.
More on this clip later.
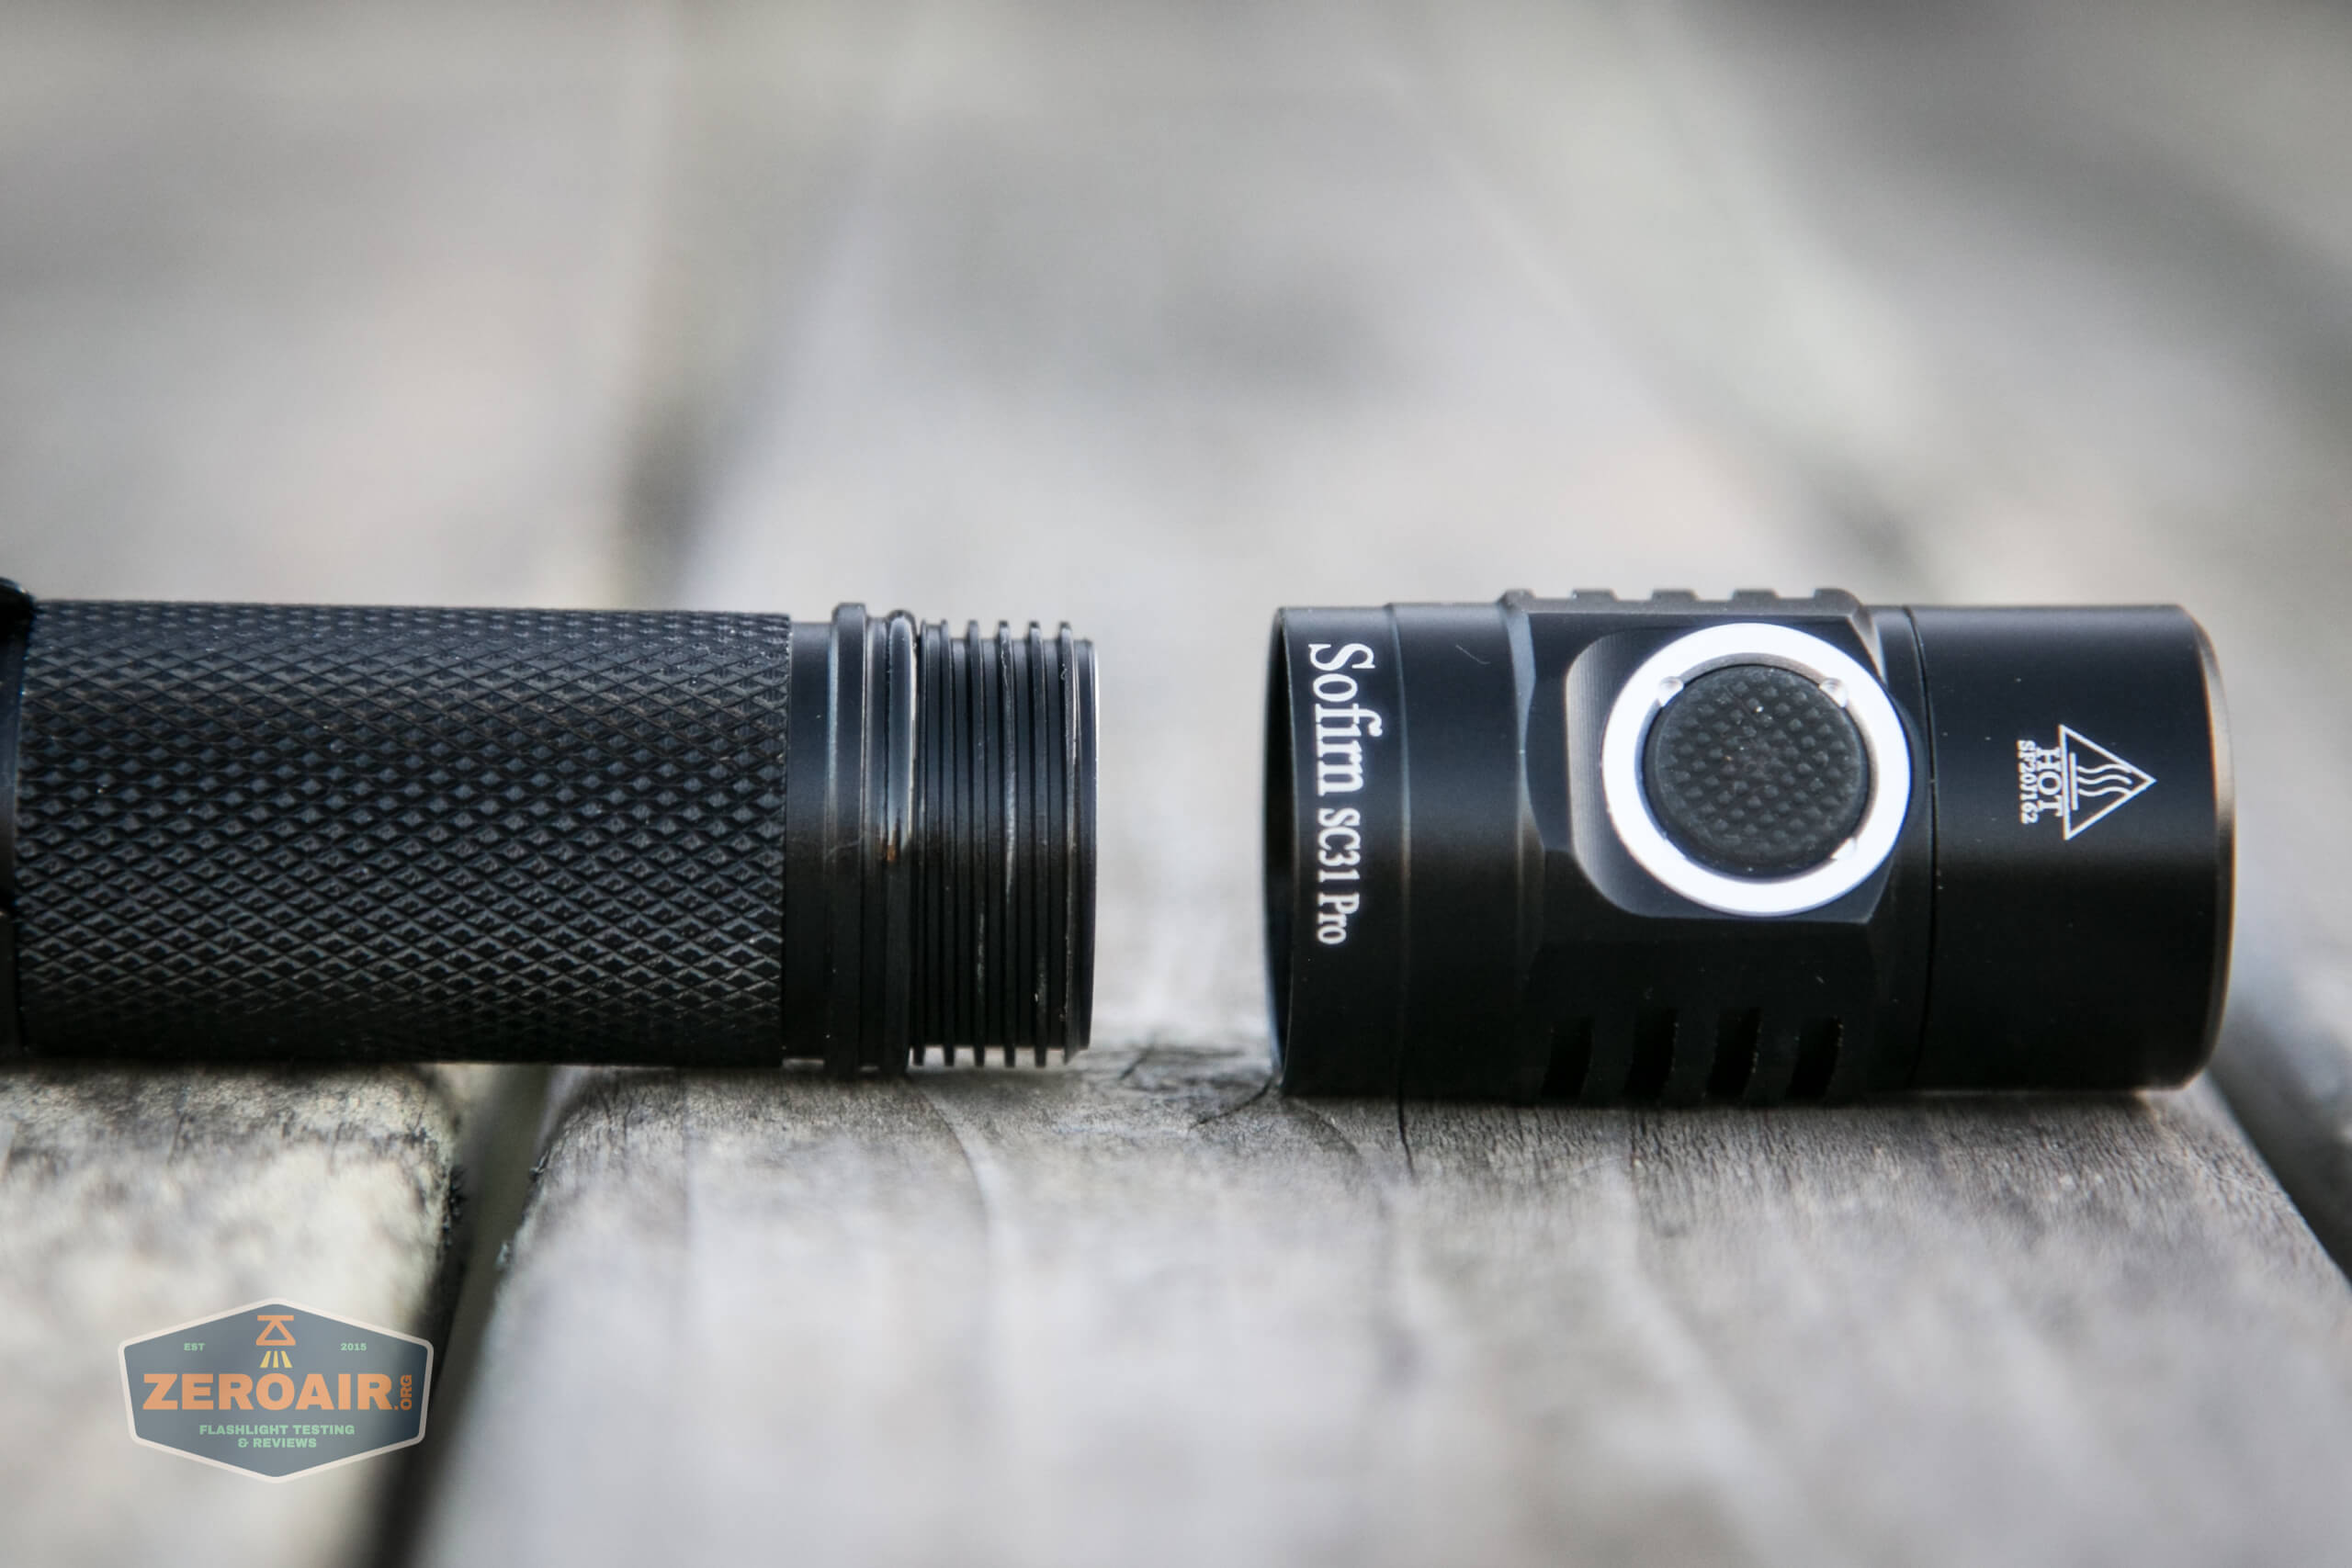
The threads on this light are very smooth. They’re square-cut, sort of long, anodized, and again… very smooth.
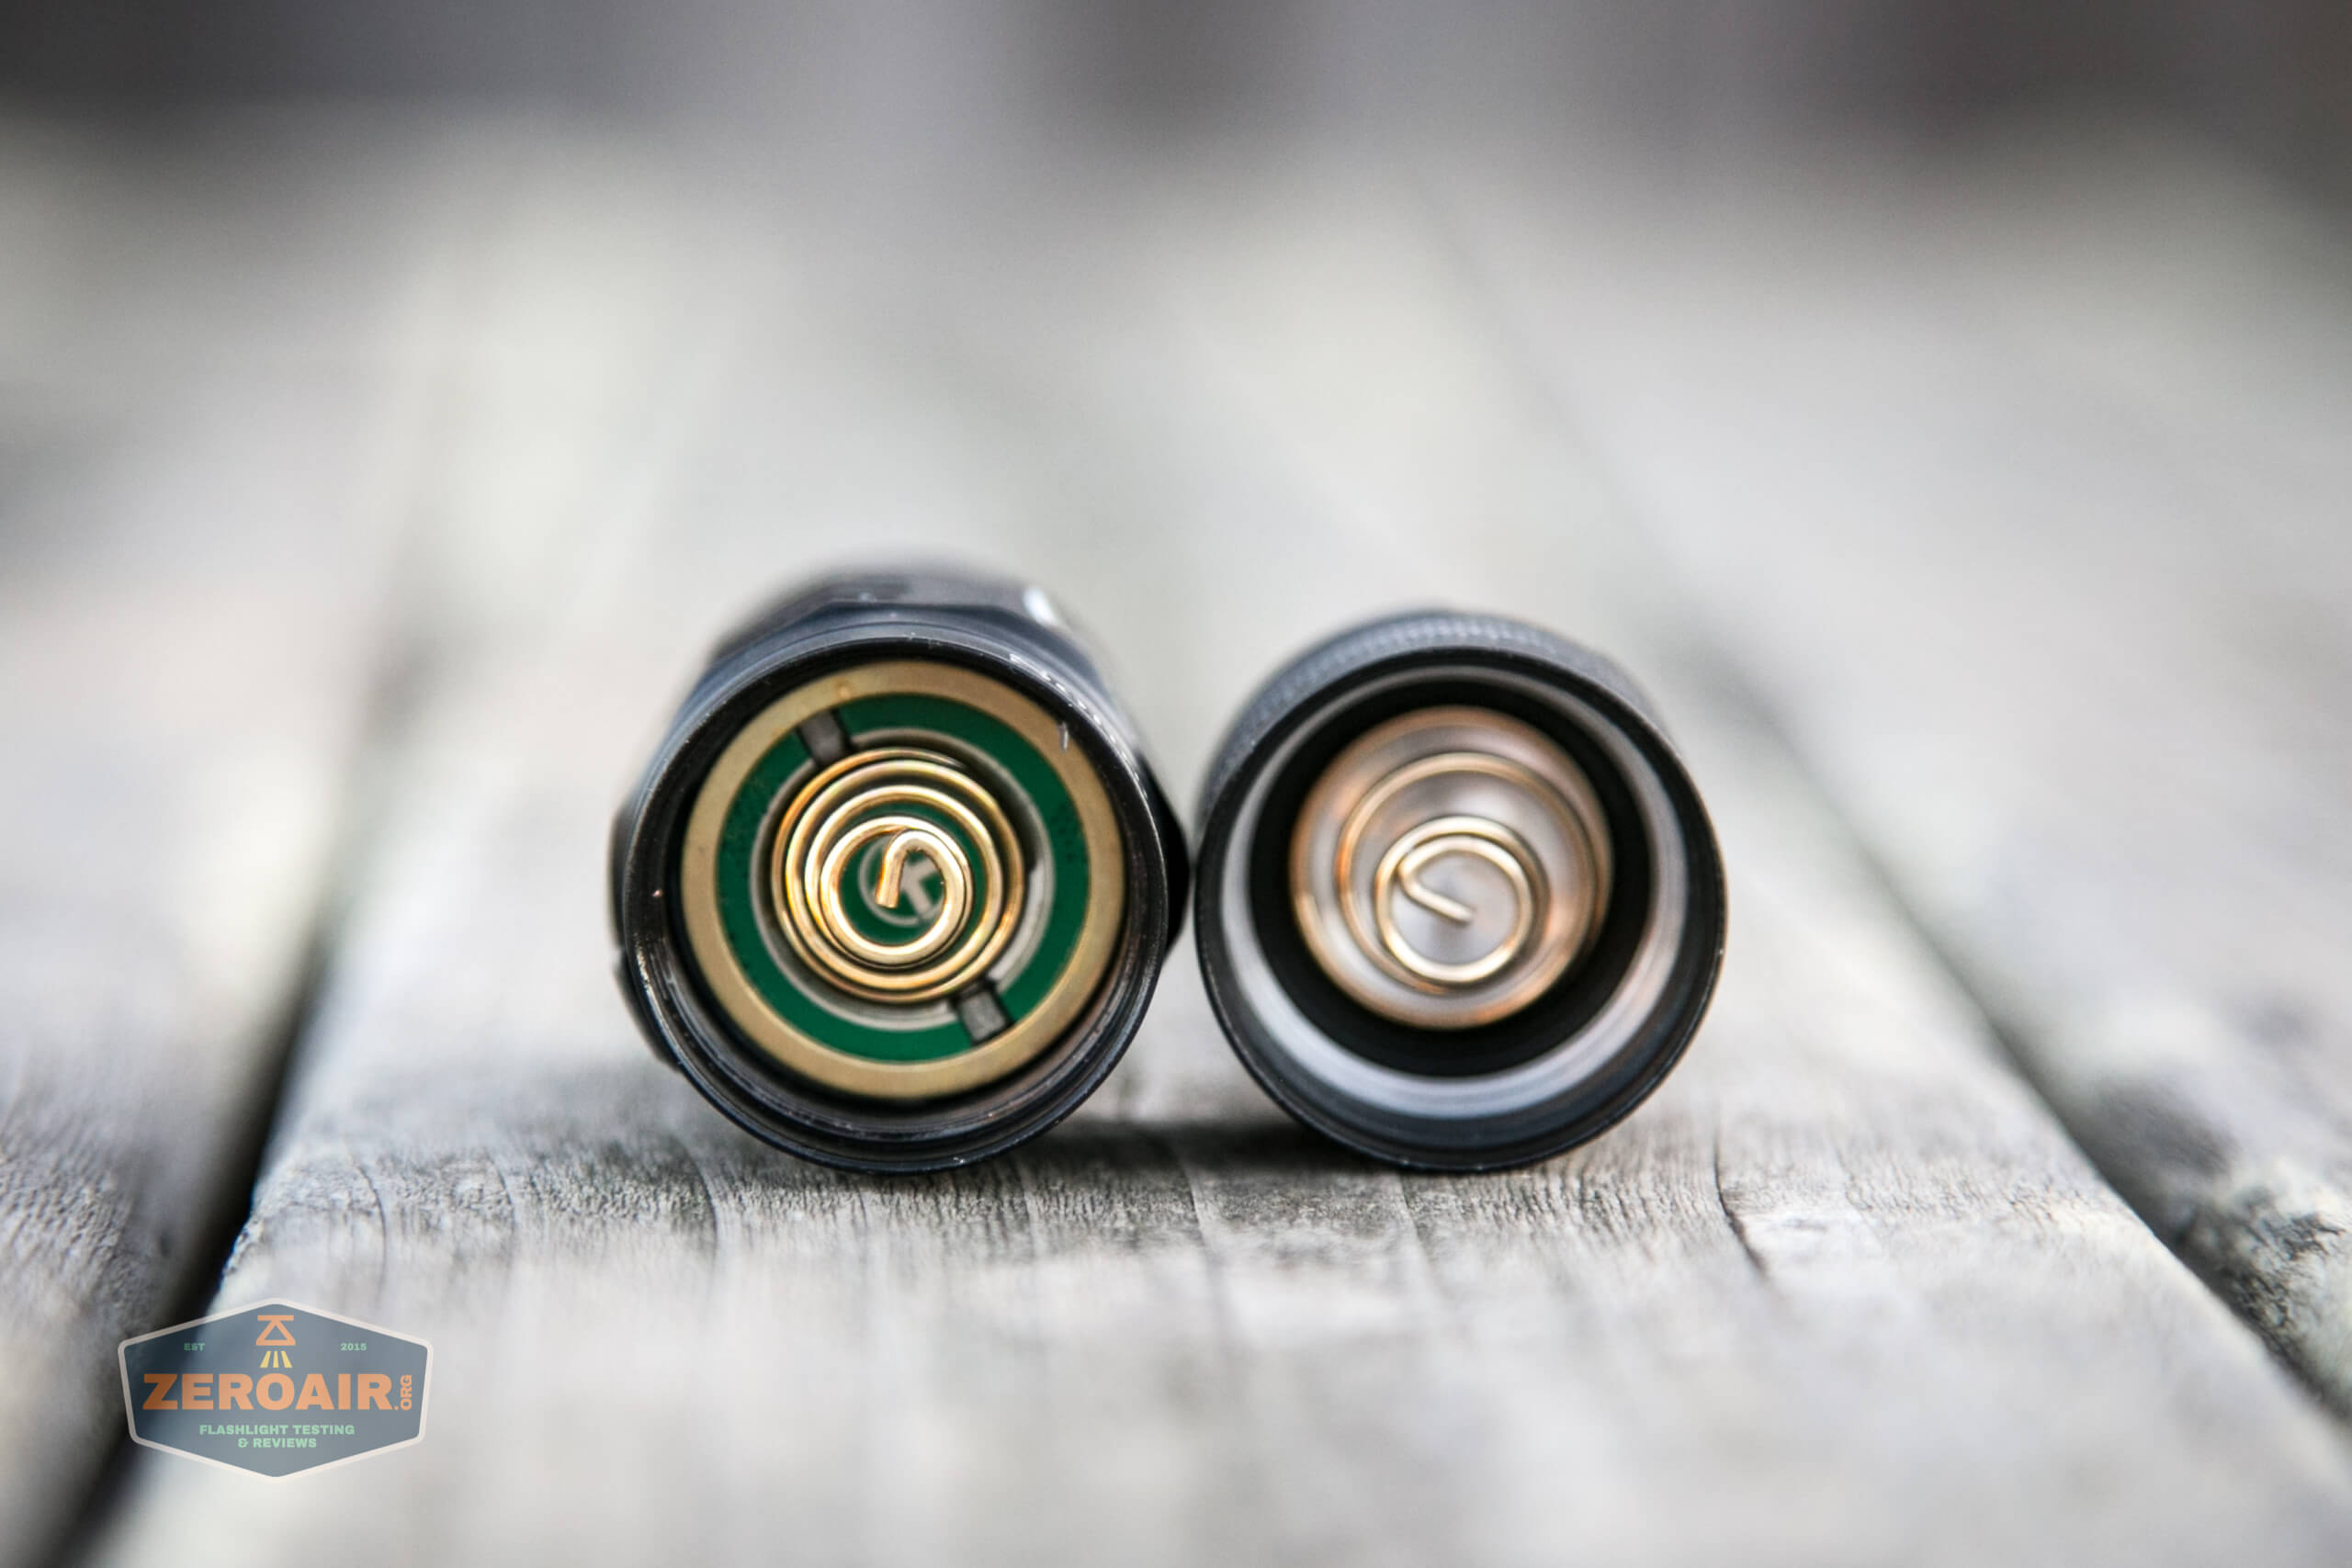
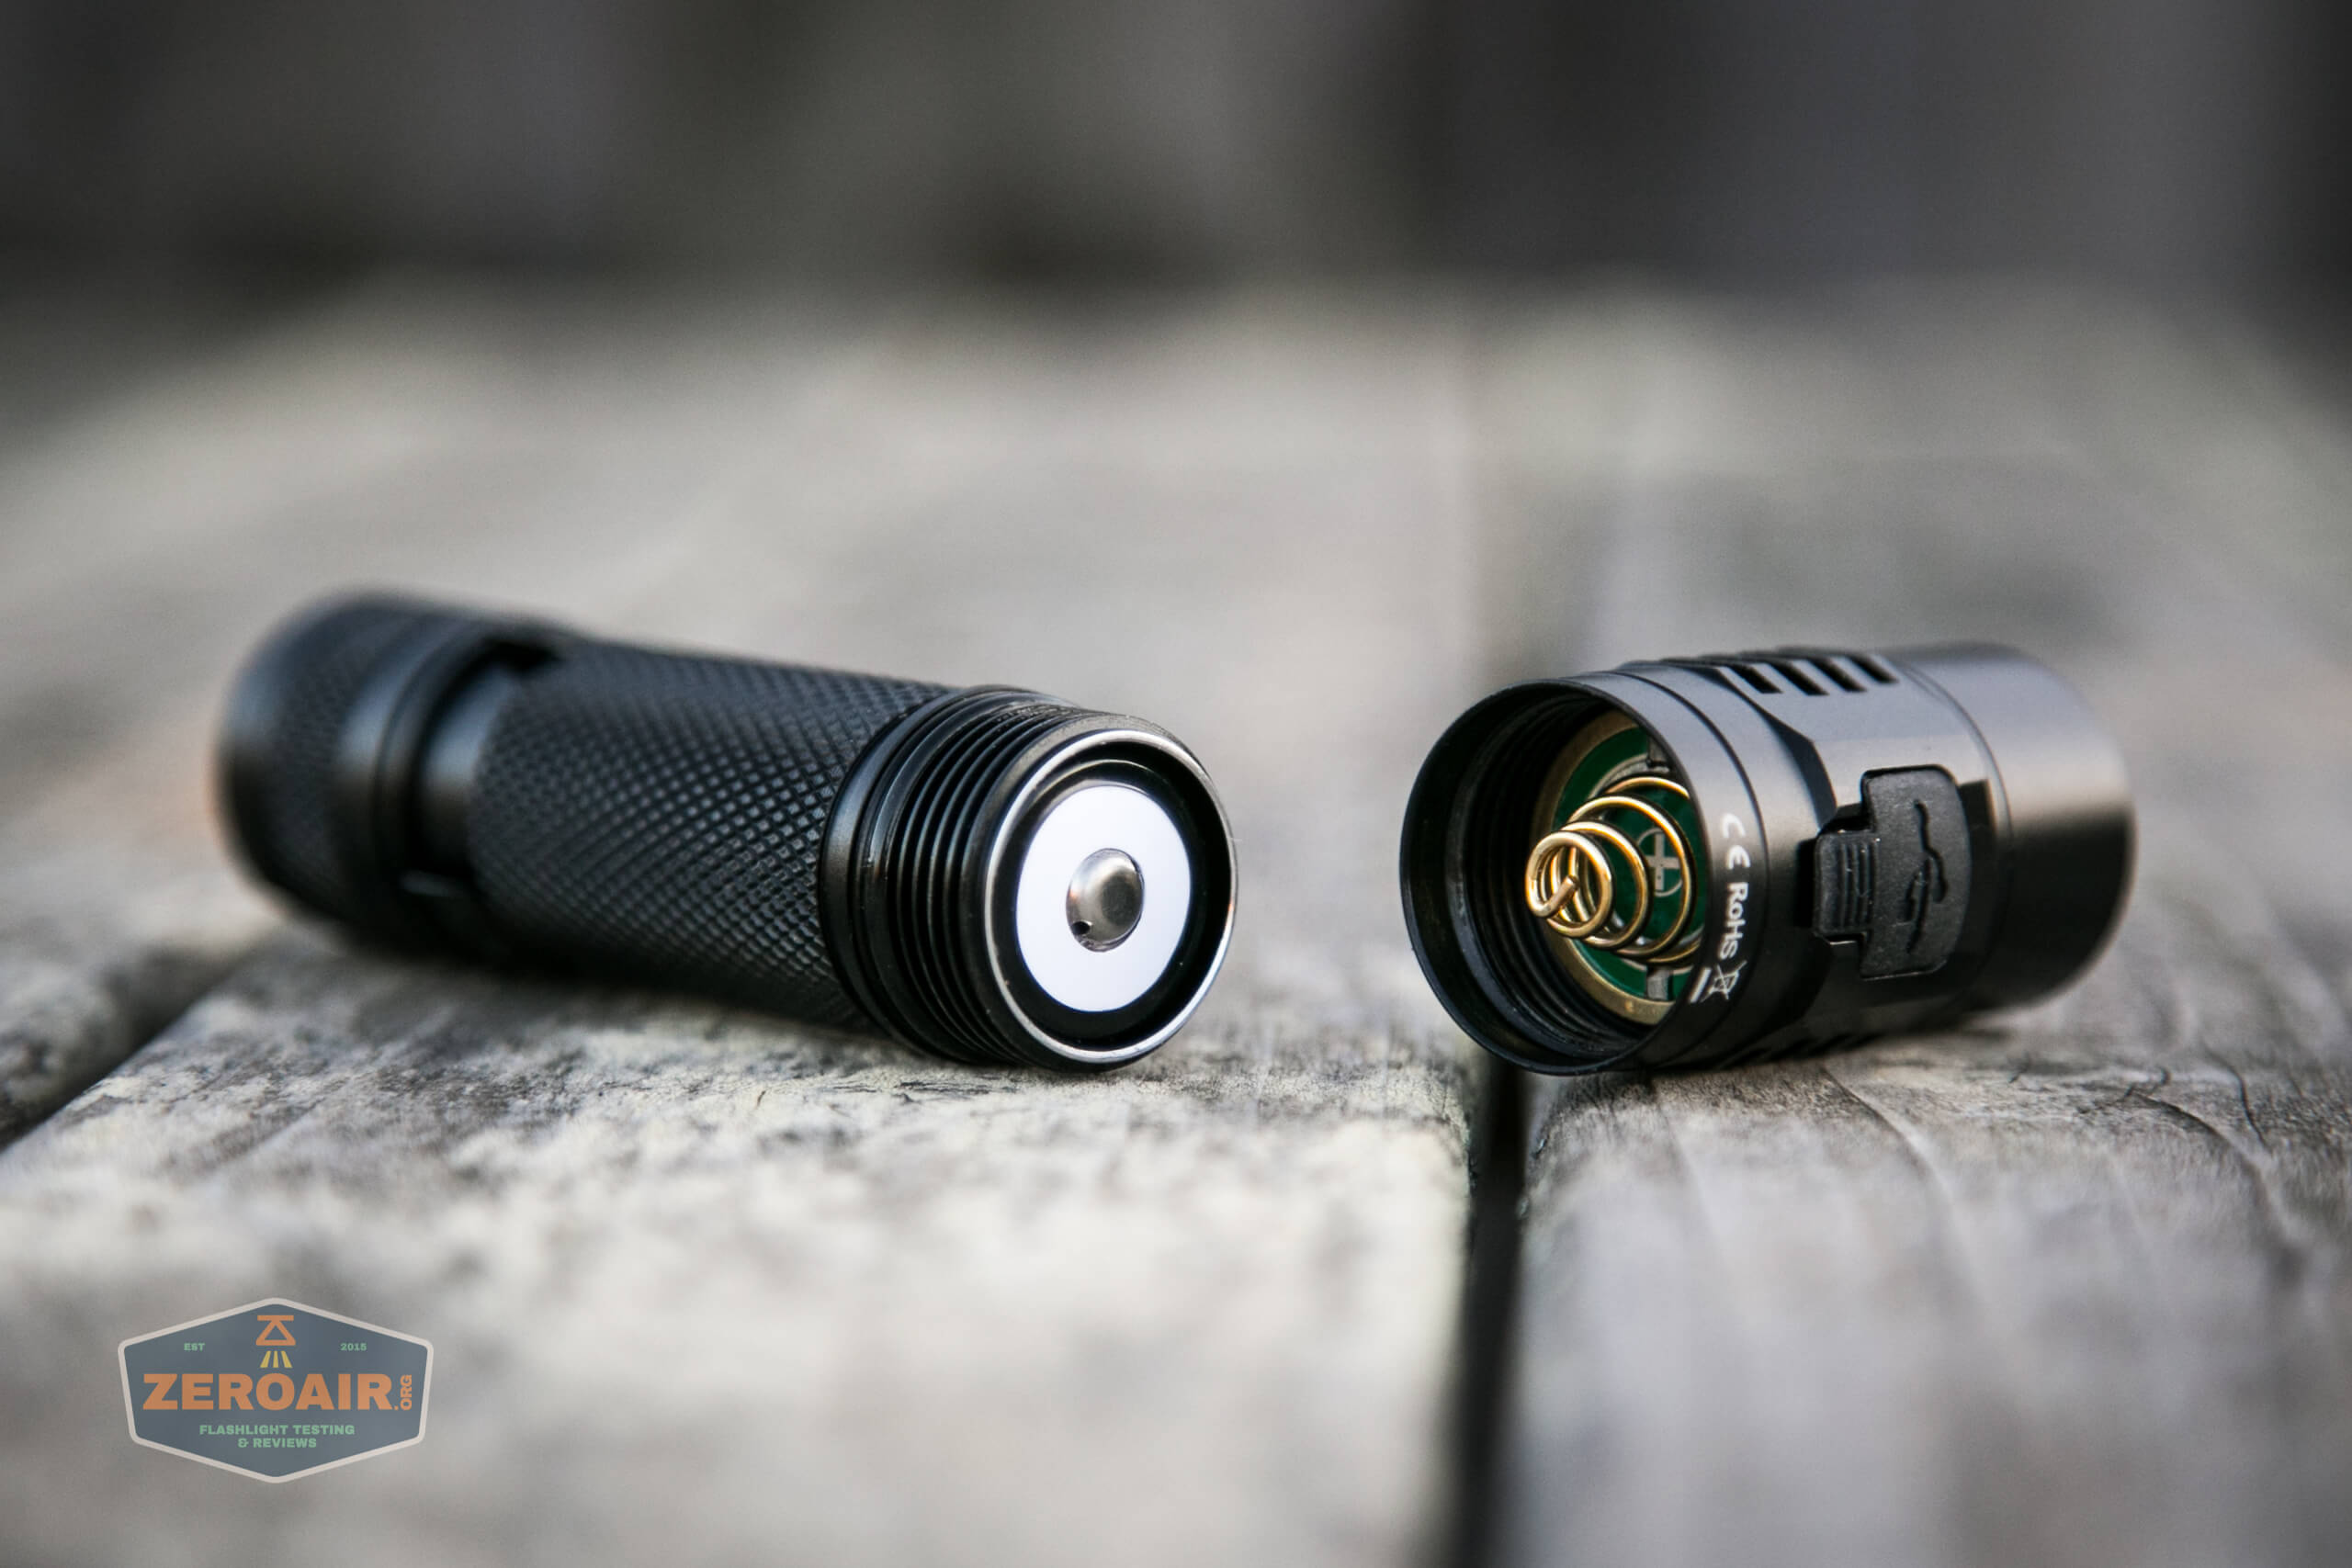
The head end has a nice, thick spring.
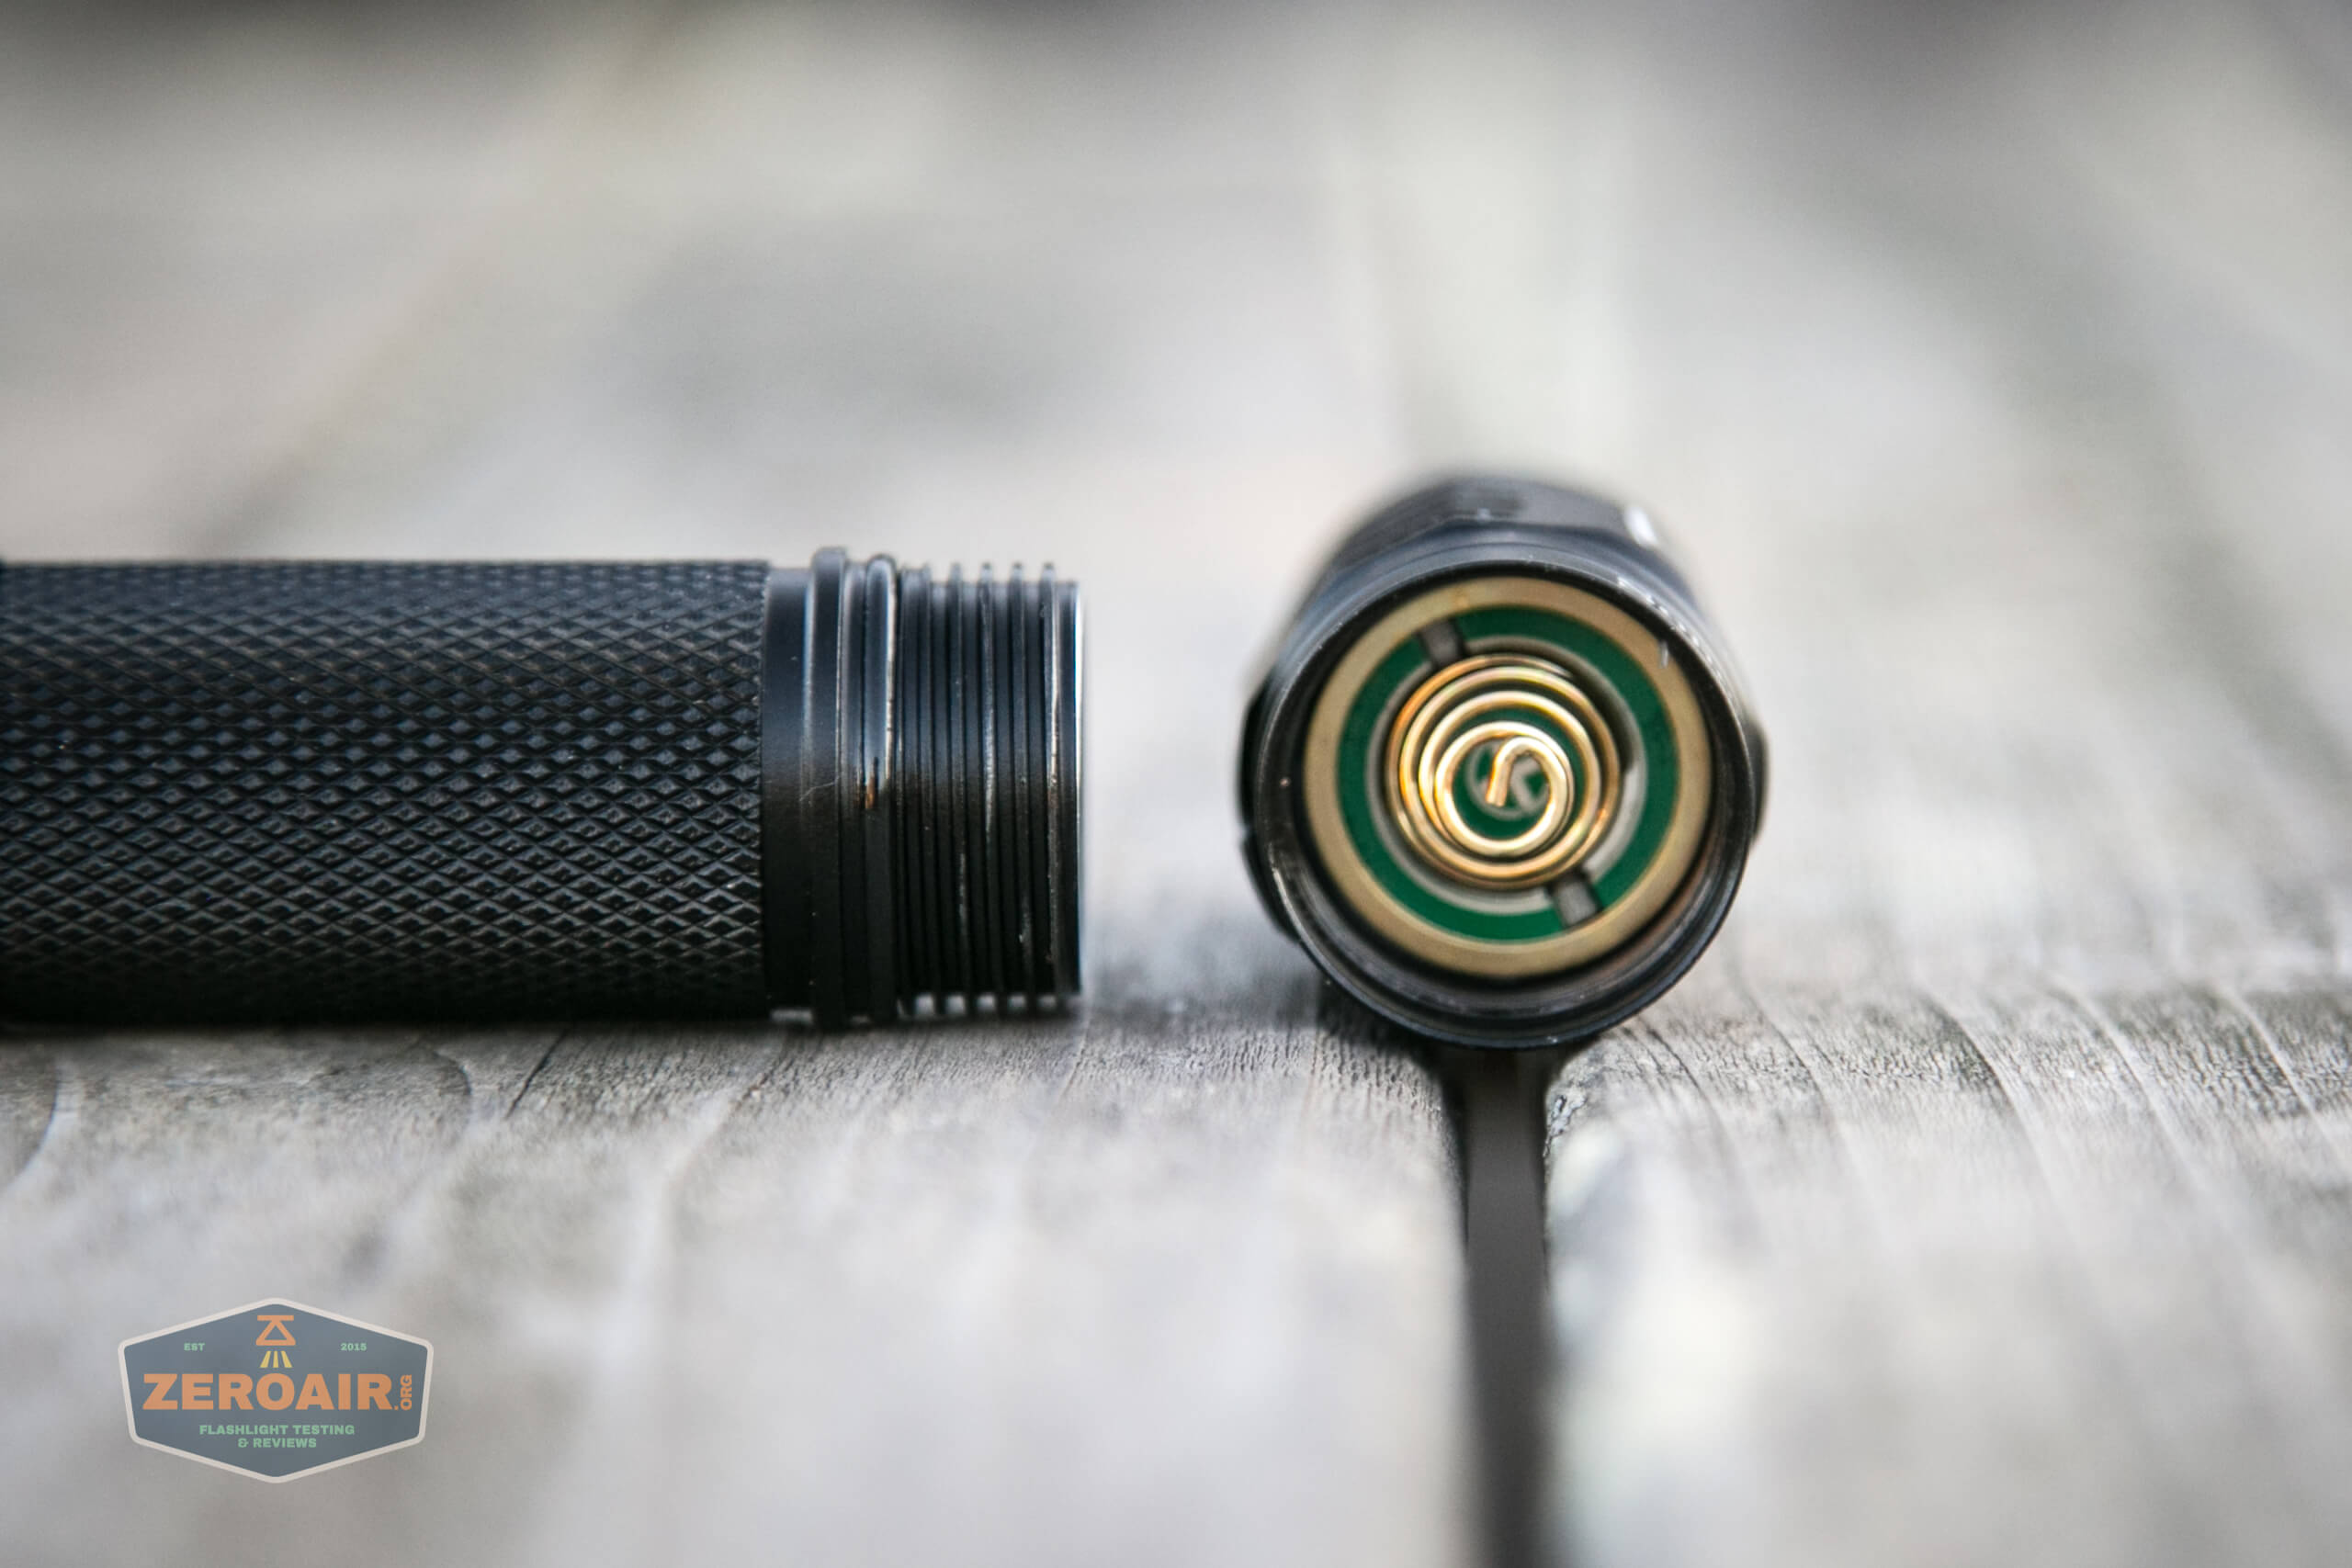
The tail end also has a nice spring.
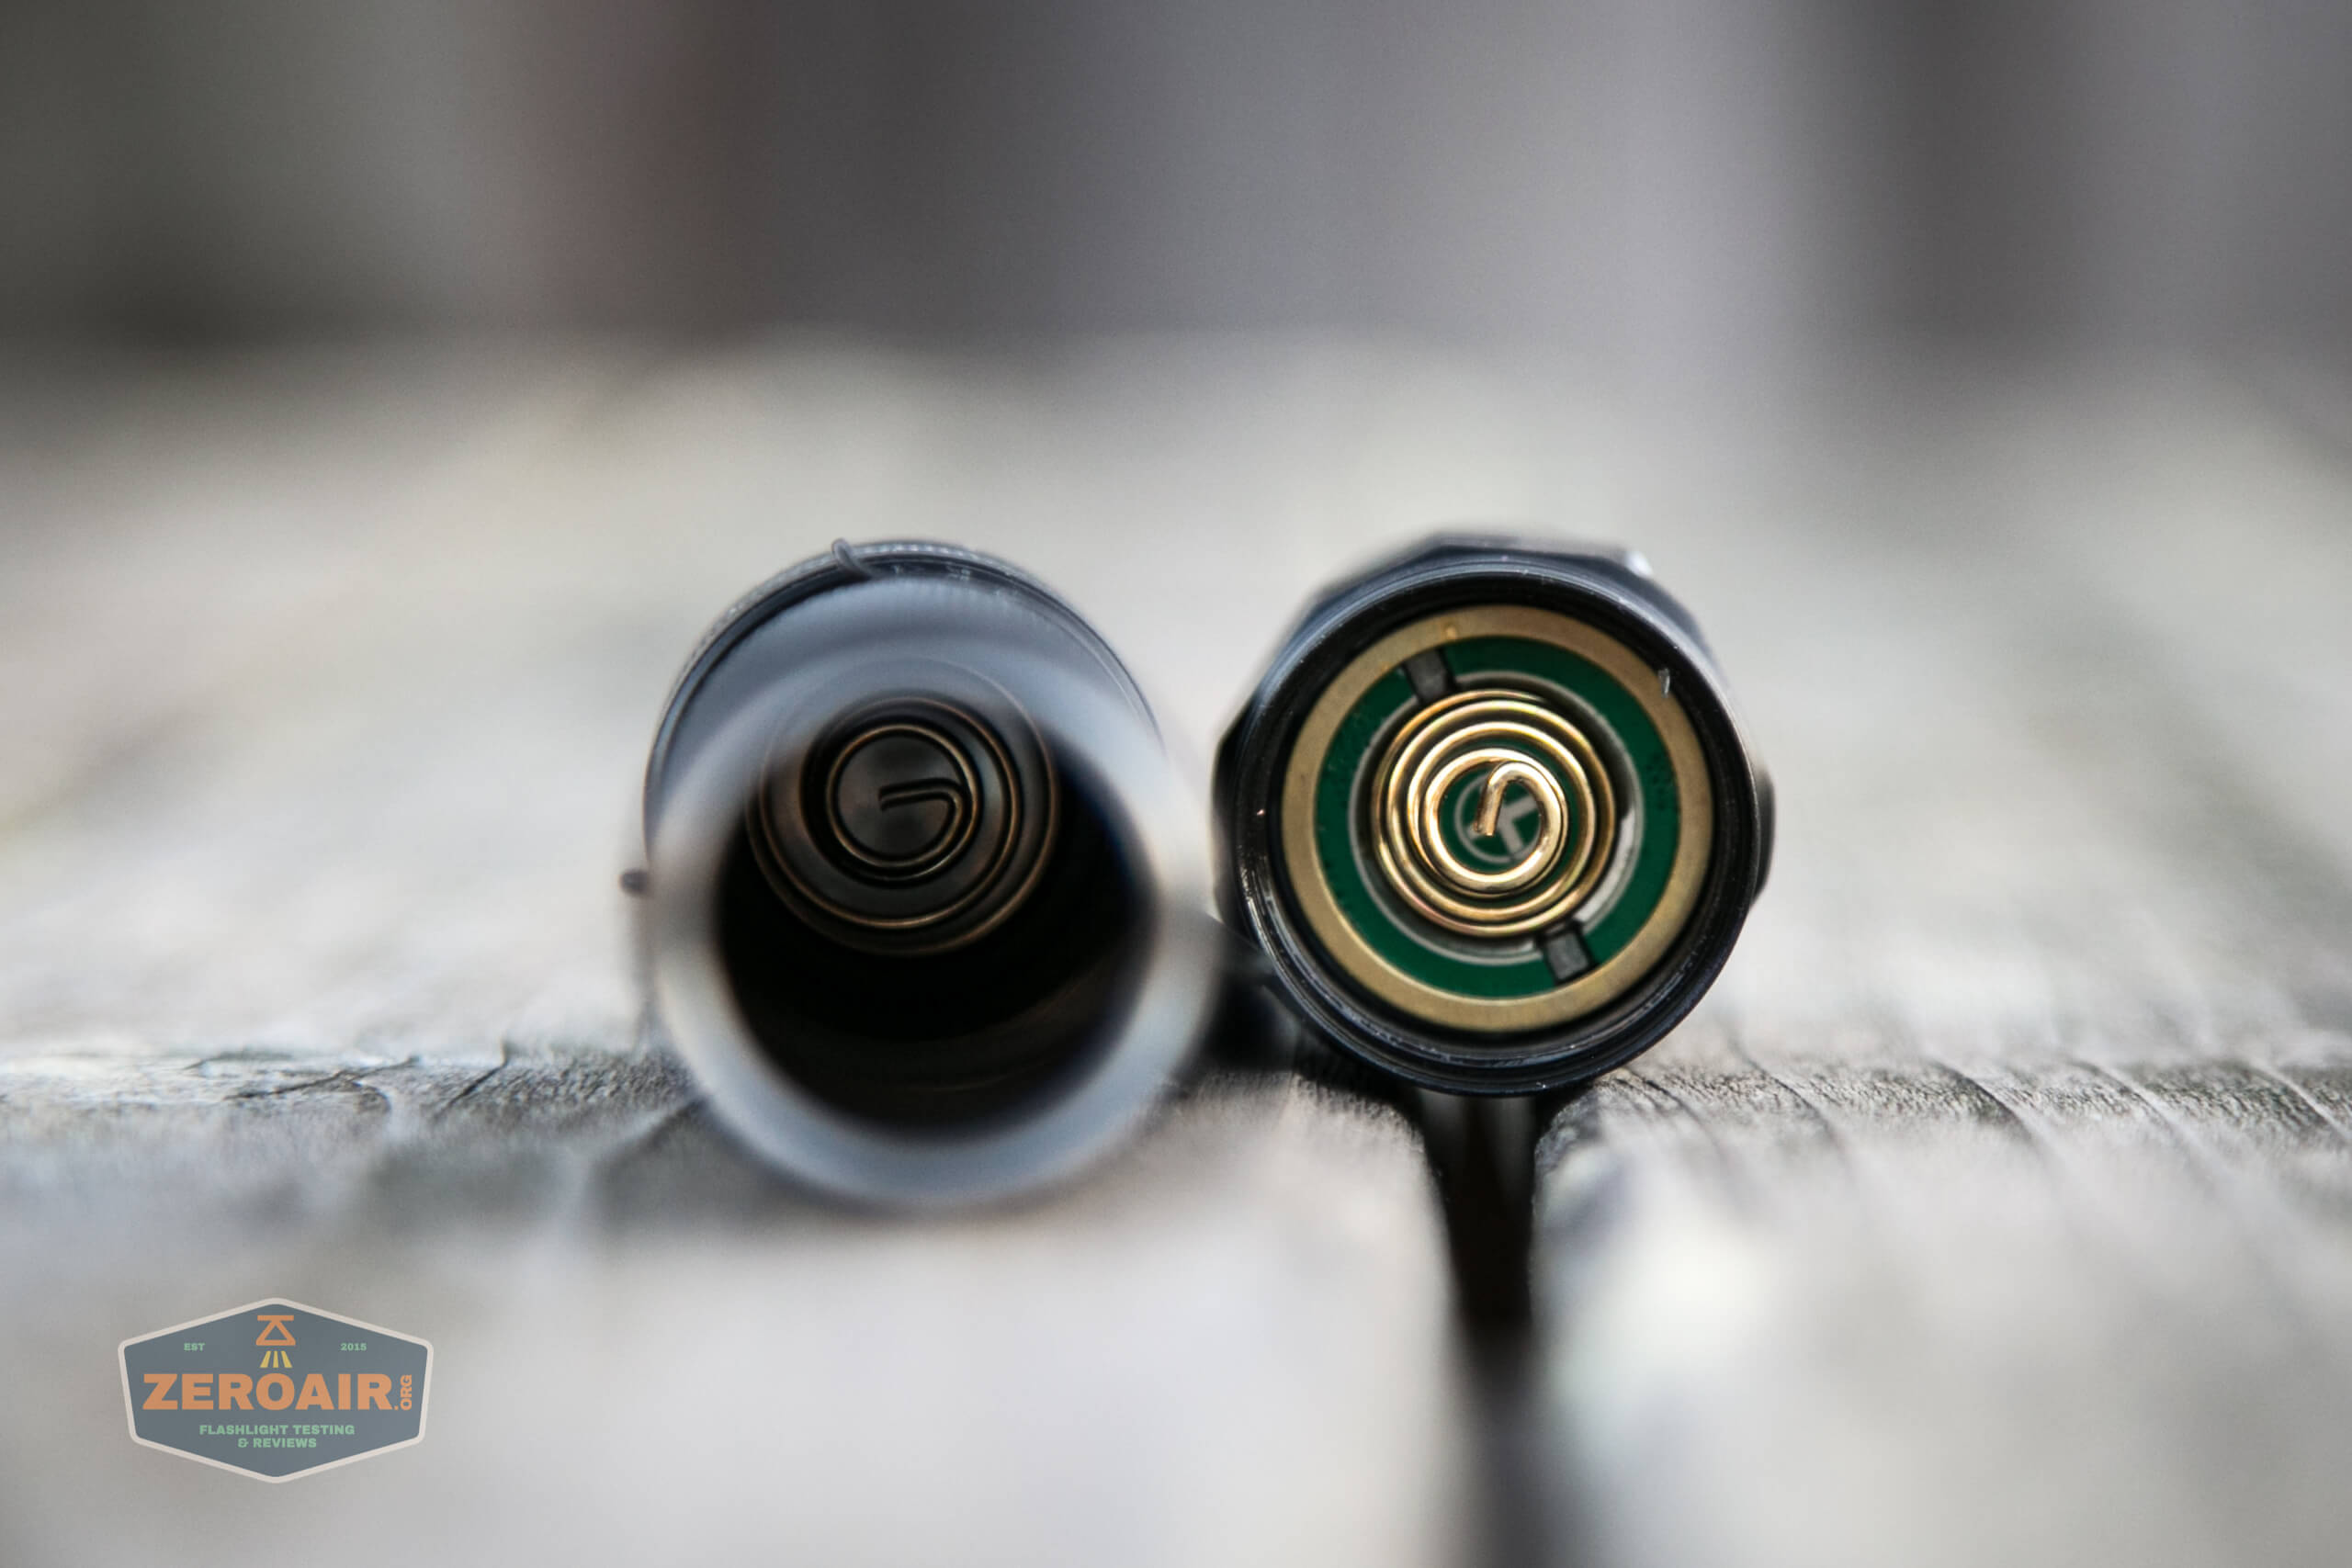
And the cell tube removes fully, too, so here’s a better shot of both springs.
The cell tube is fully removable and also reversible.
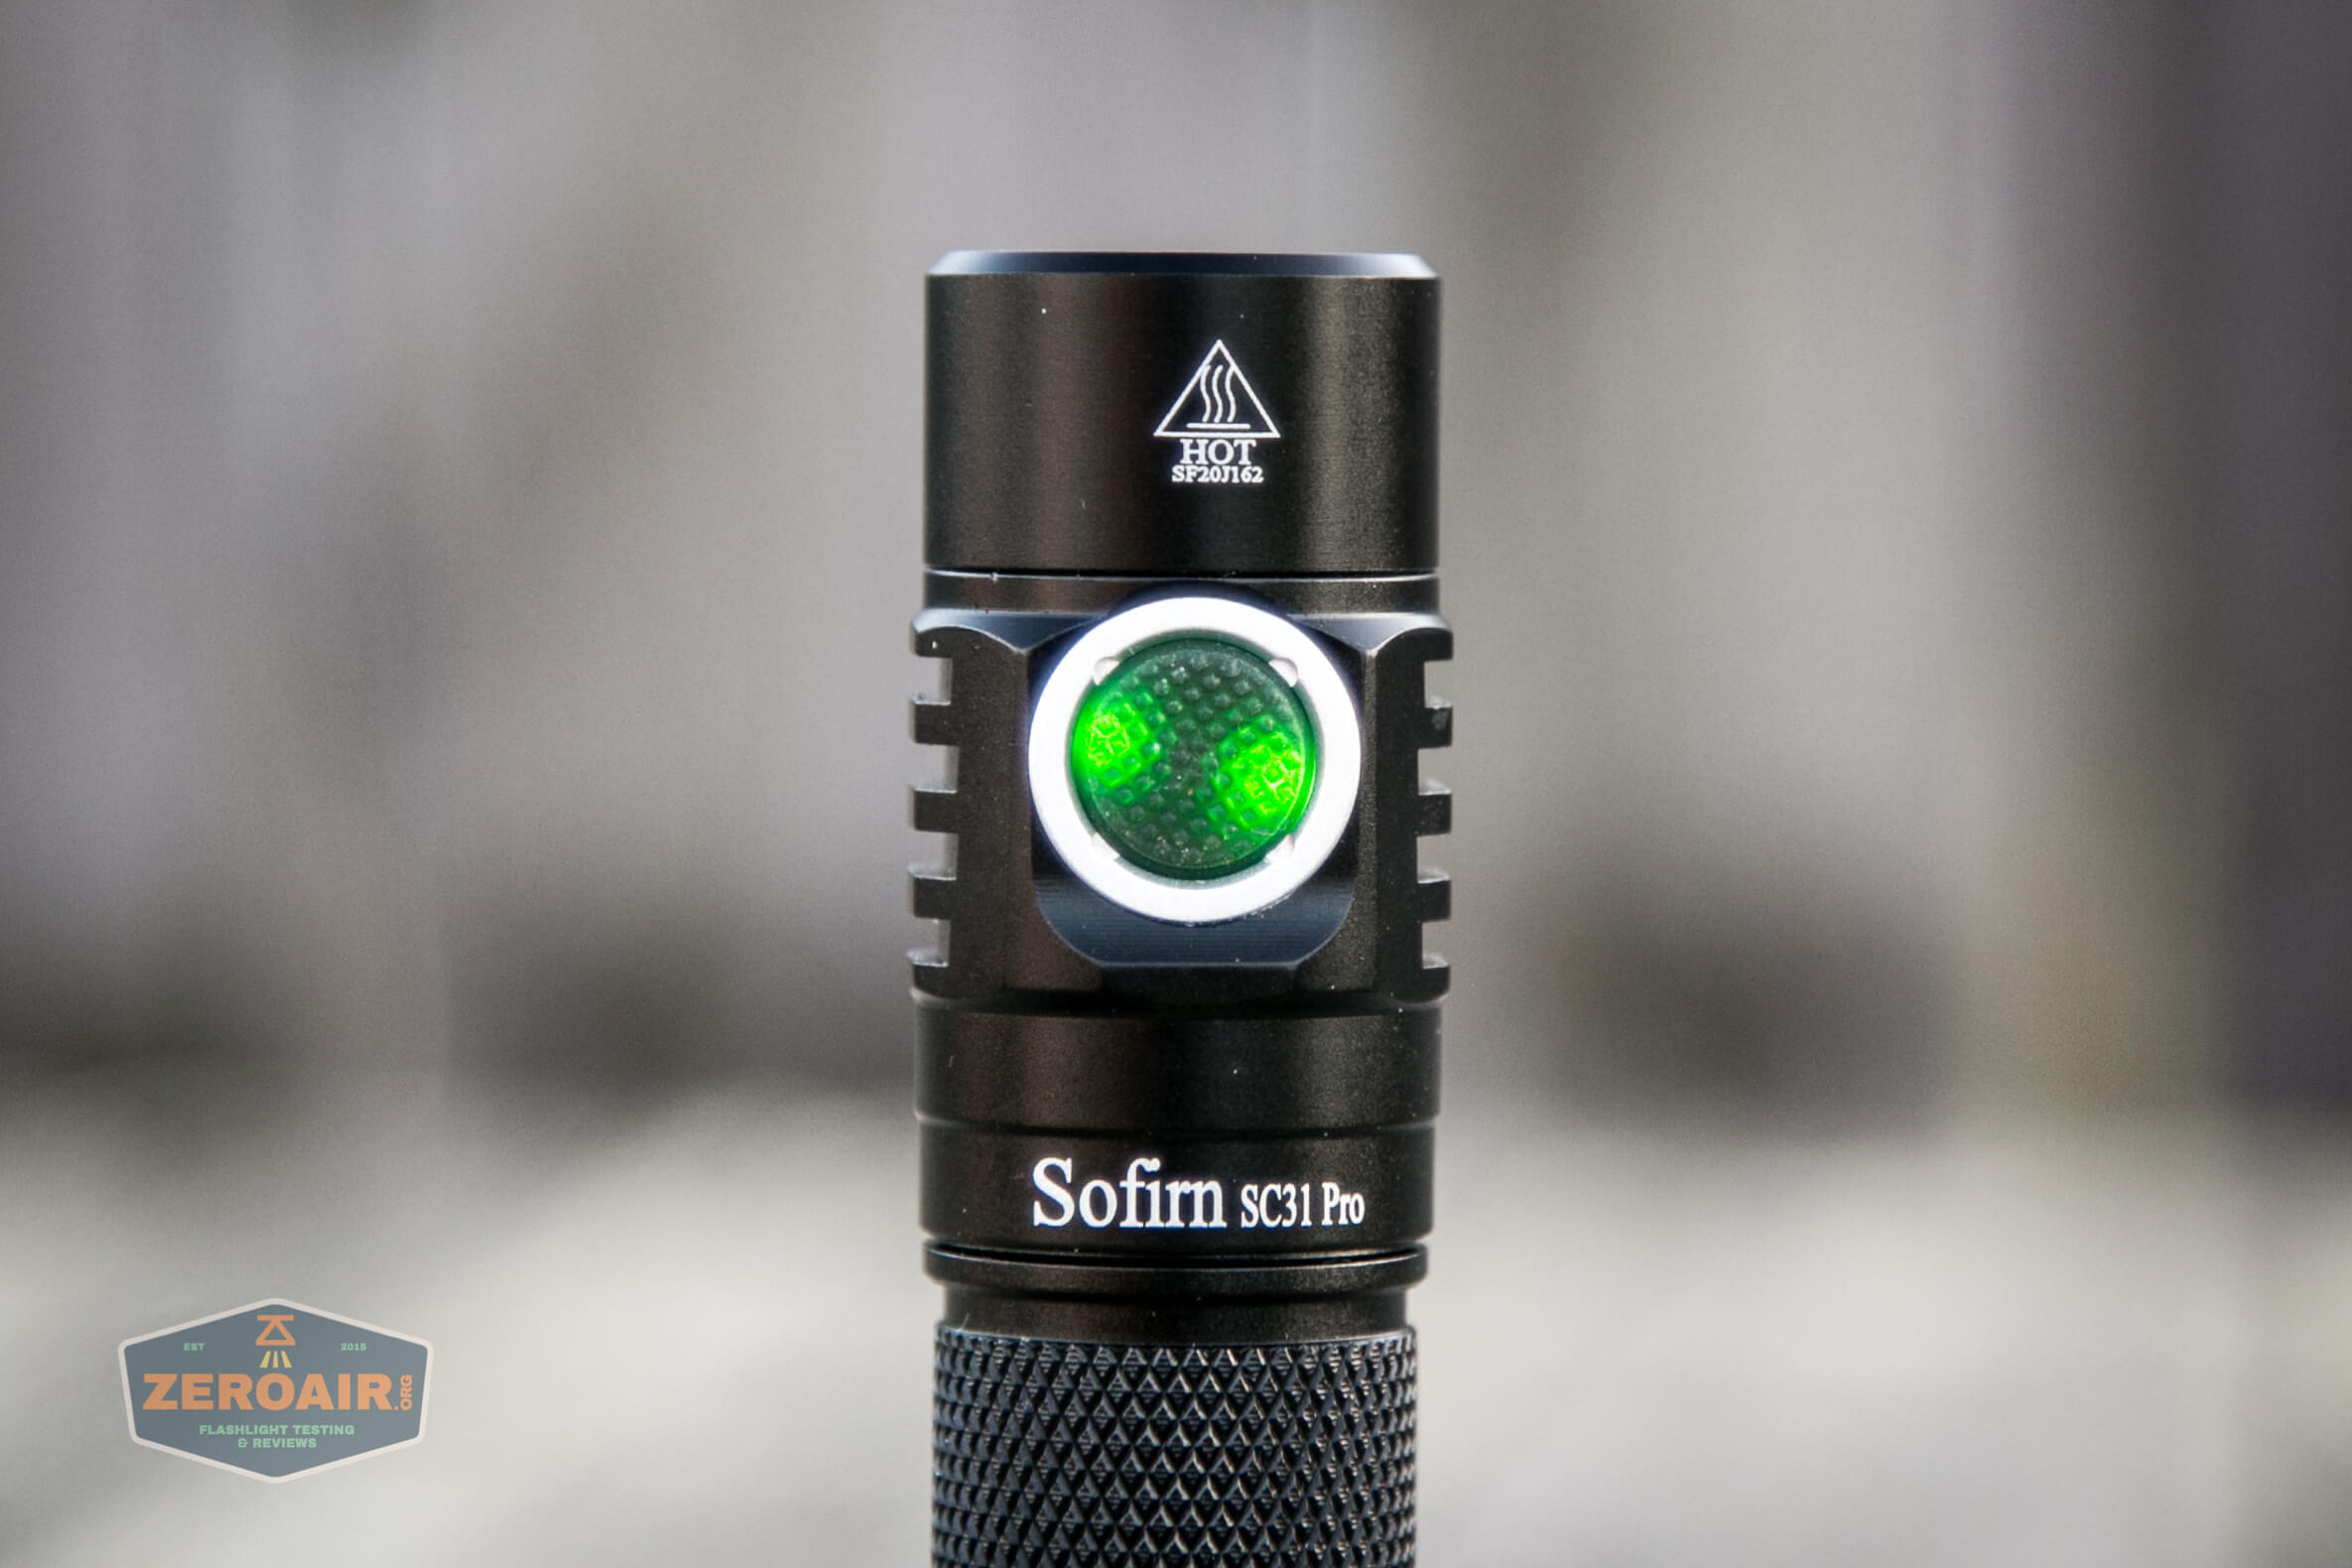
I think this alignment of the switch LEDs is pretty normal… if you’re expecting them to be on… some… other axis, then this might not be the light for you.
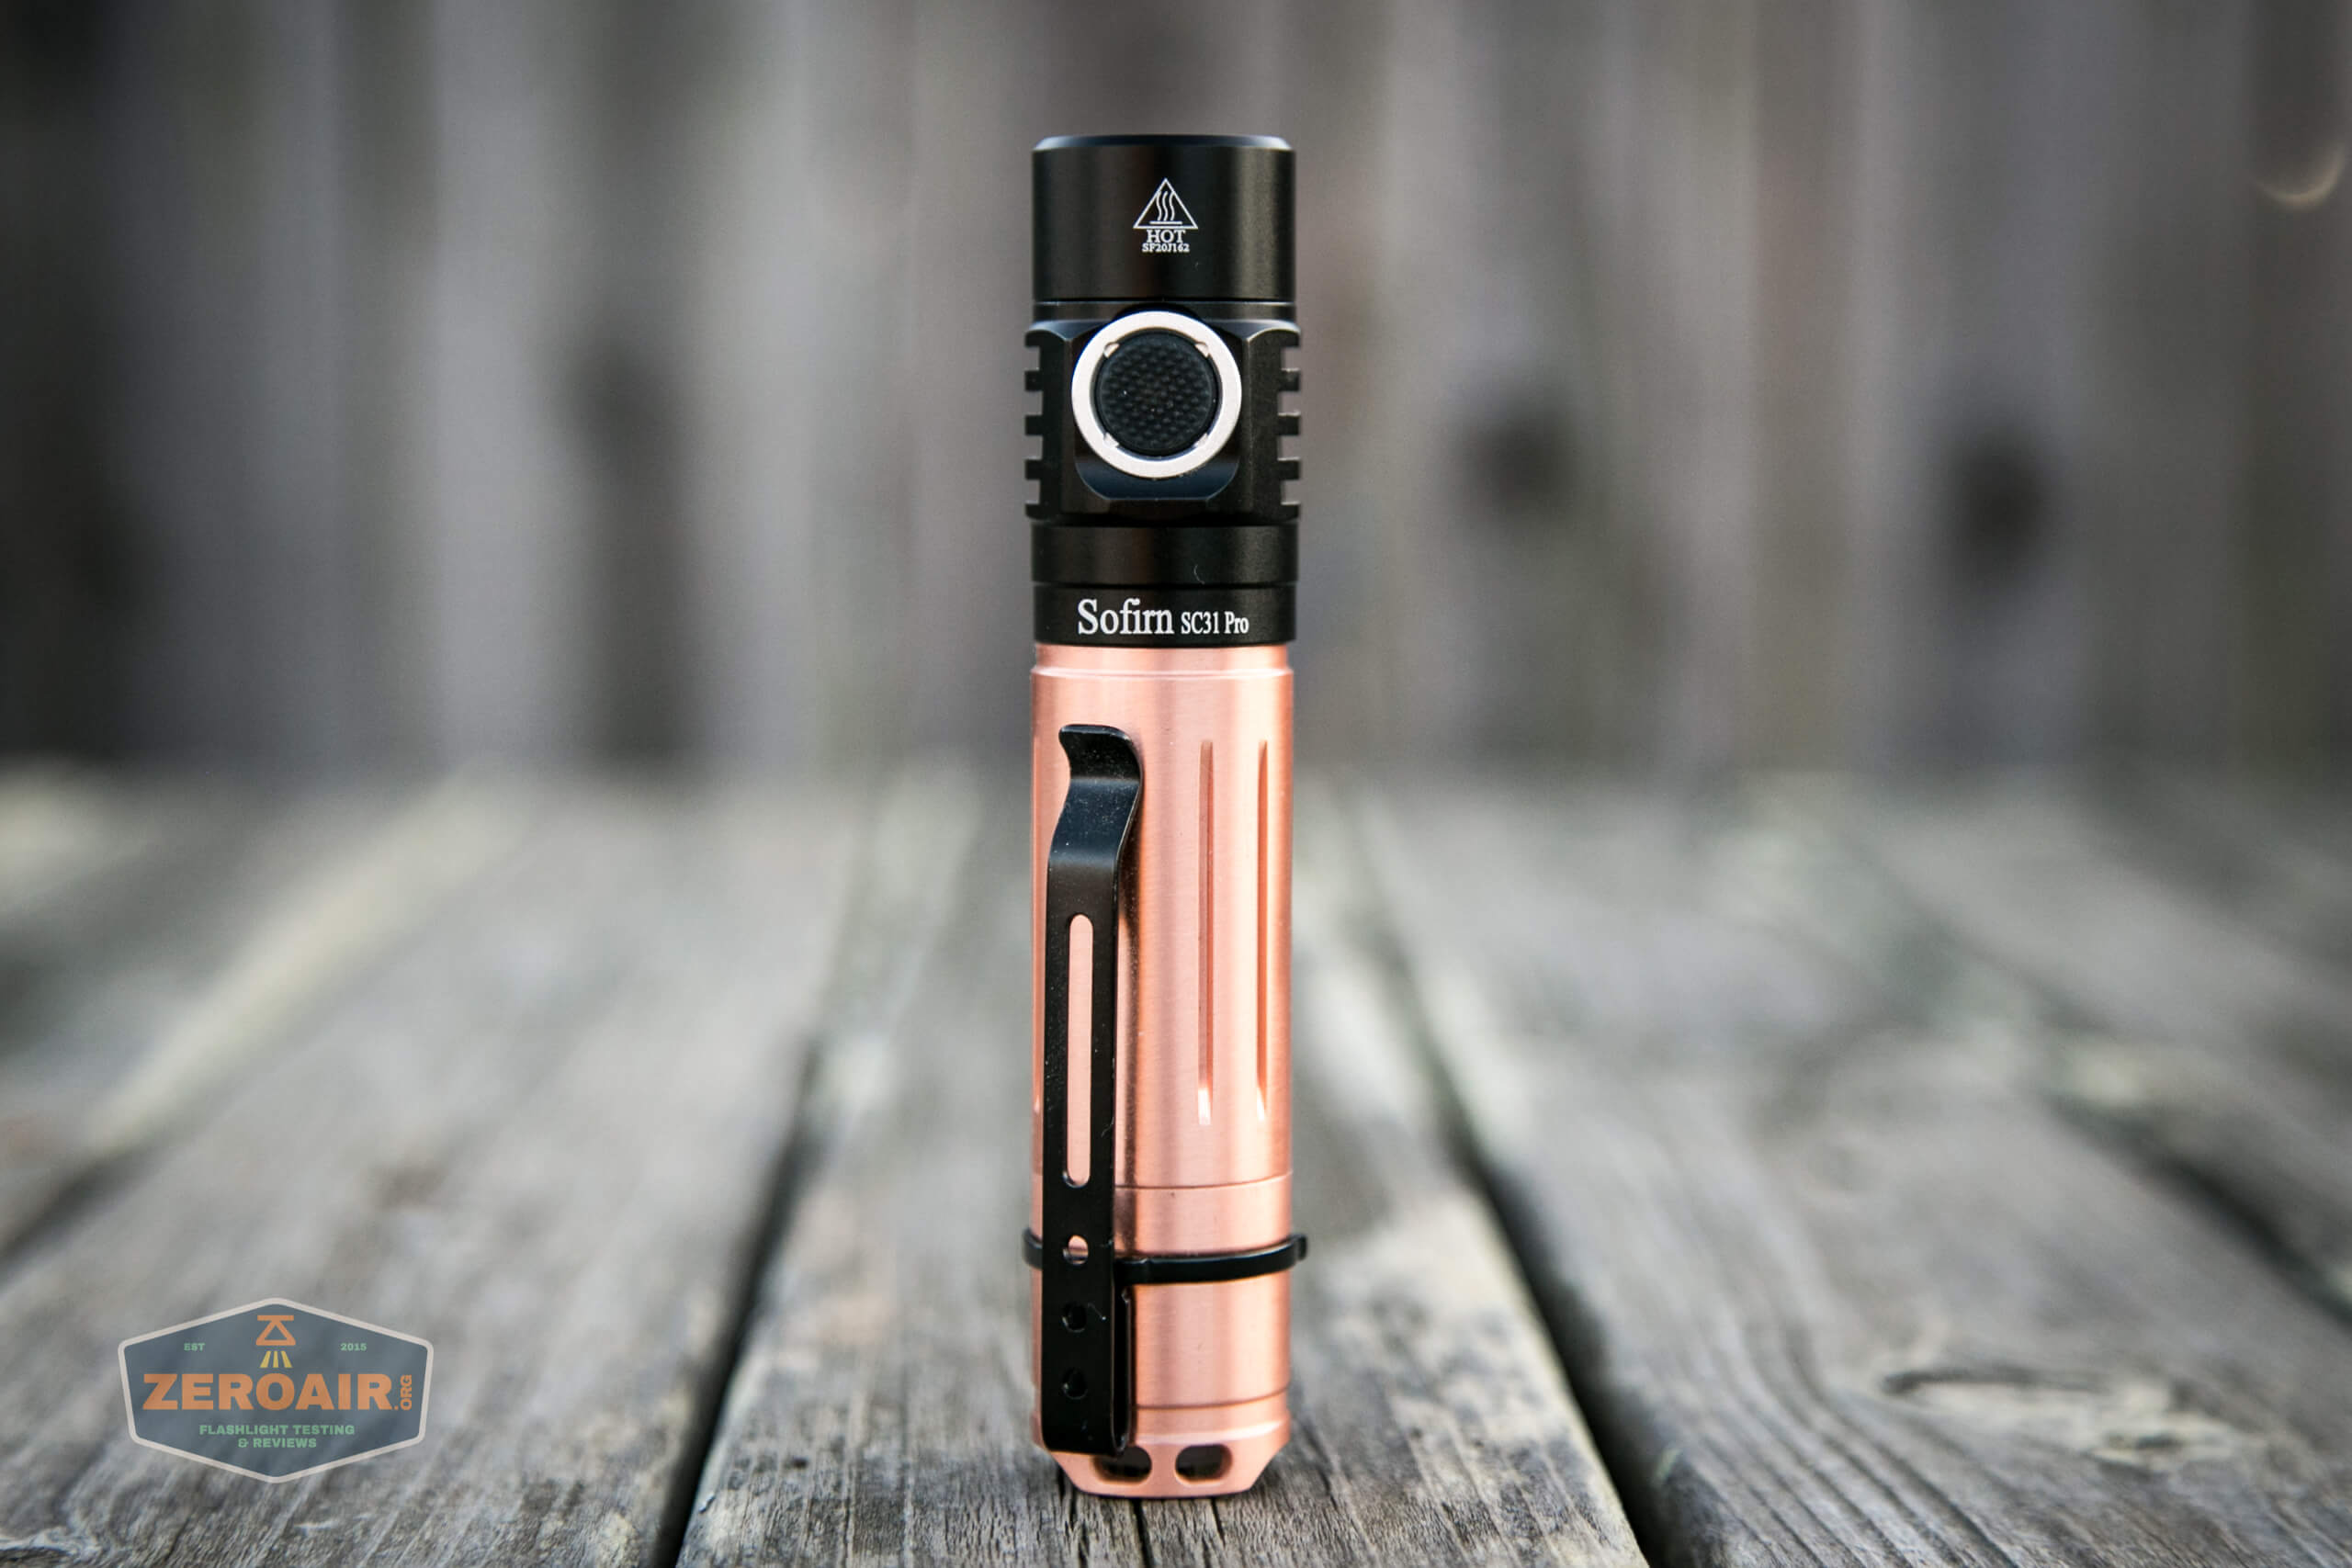
 Not sure what else you thought about those square anodized threads above, but the first thing I thought was “hey, that’s like a new S2+ threading!” I have only one new S2+, and it’s a copper one. And yes, it threads on perfectly. And also YES, it works fully! Sort of a bonus is that you now also have a mechanical tailswitch! (You’ll ask so: No, it doesn’t really work the other way. Yes, it connects electrically, but notice that you’ve taken out all the switches. So no good way to modulate the modes.)
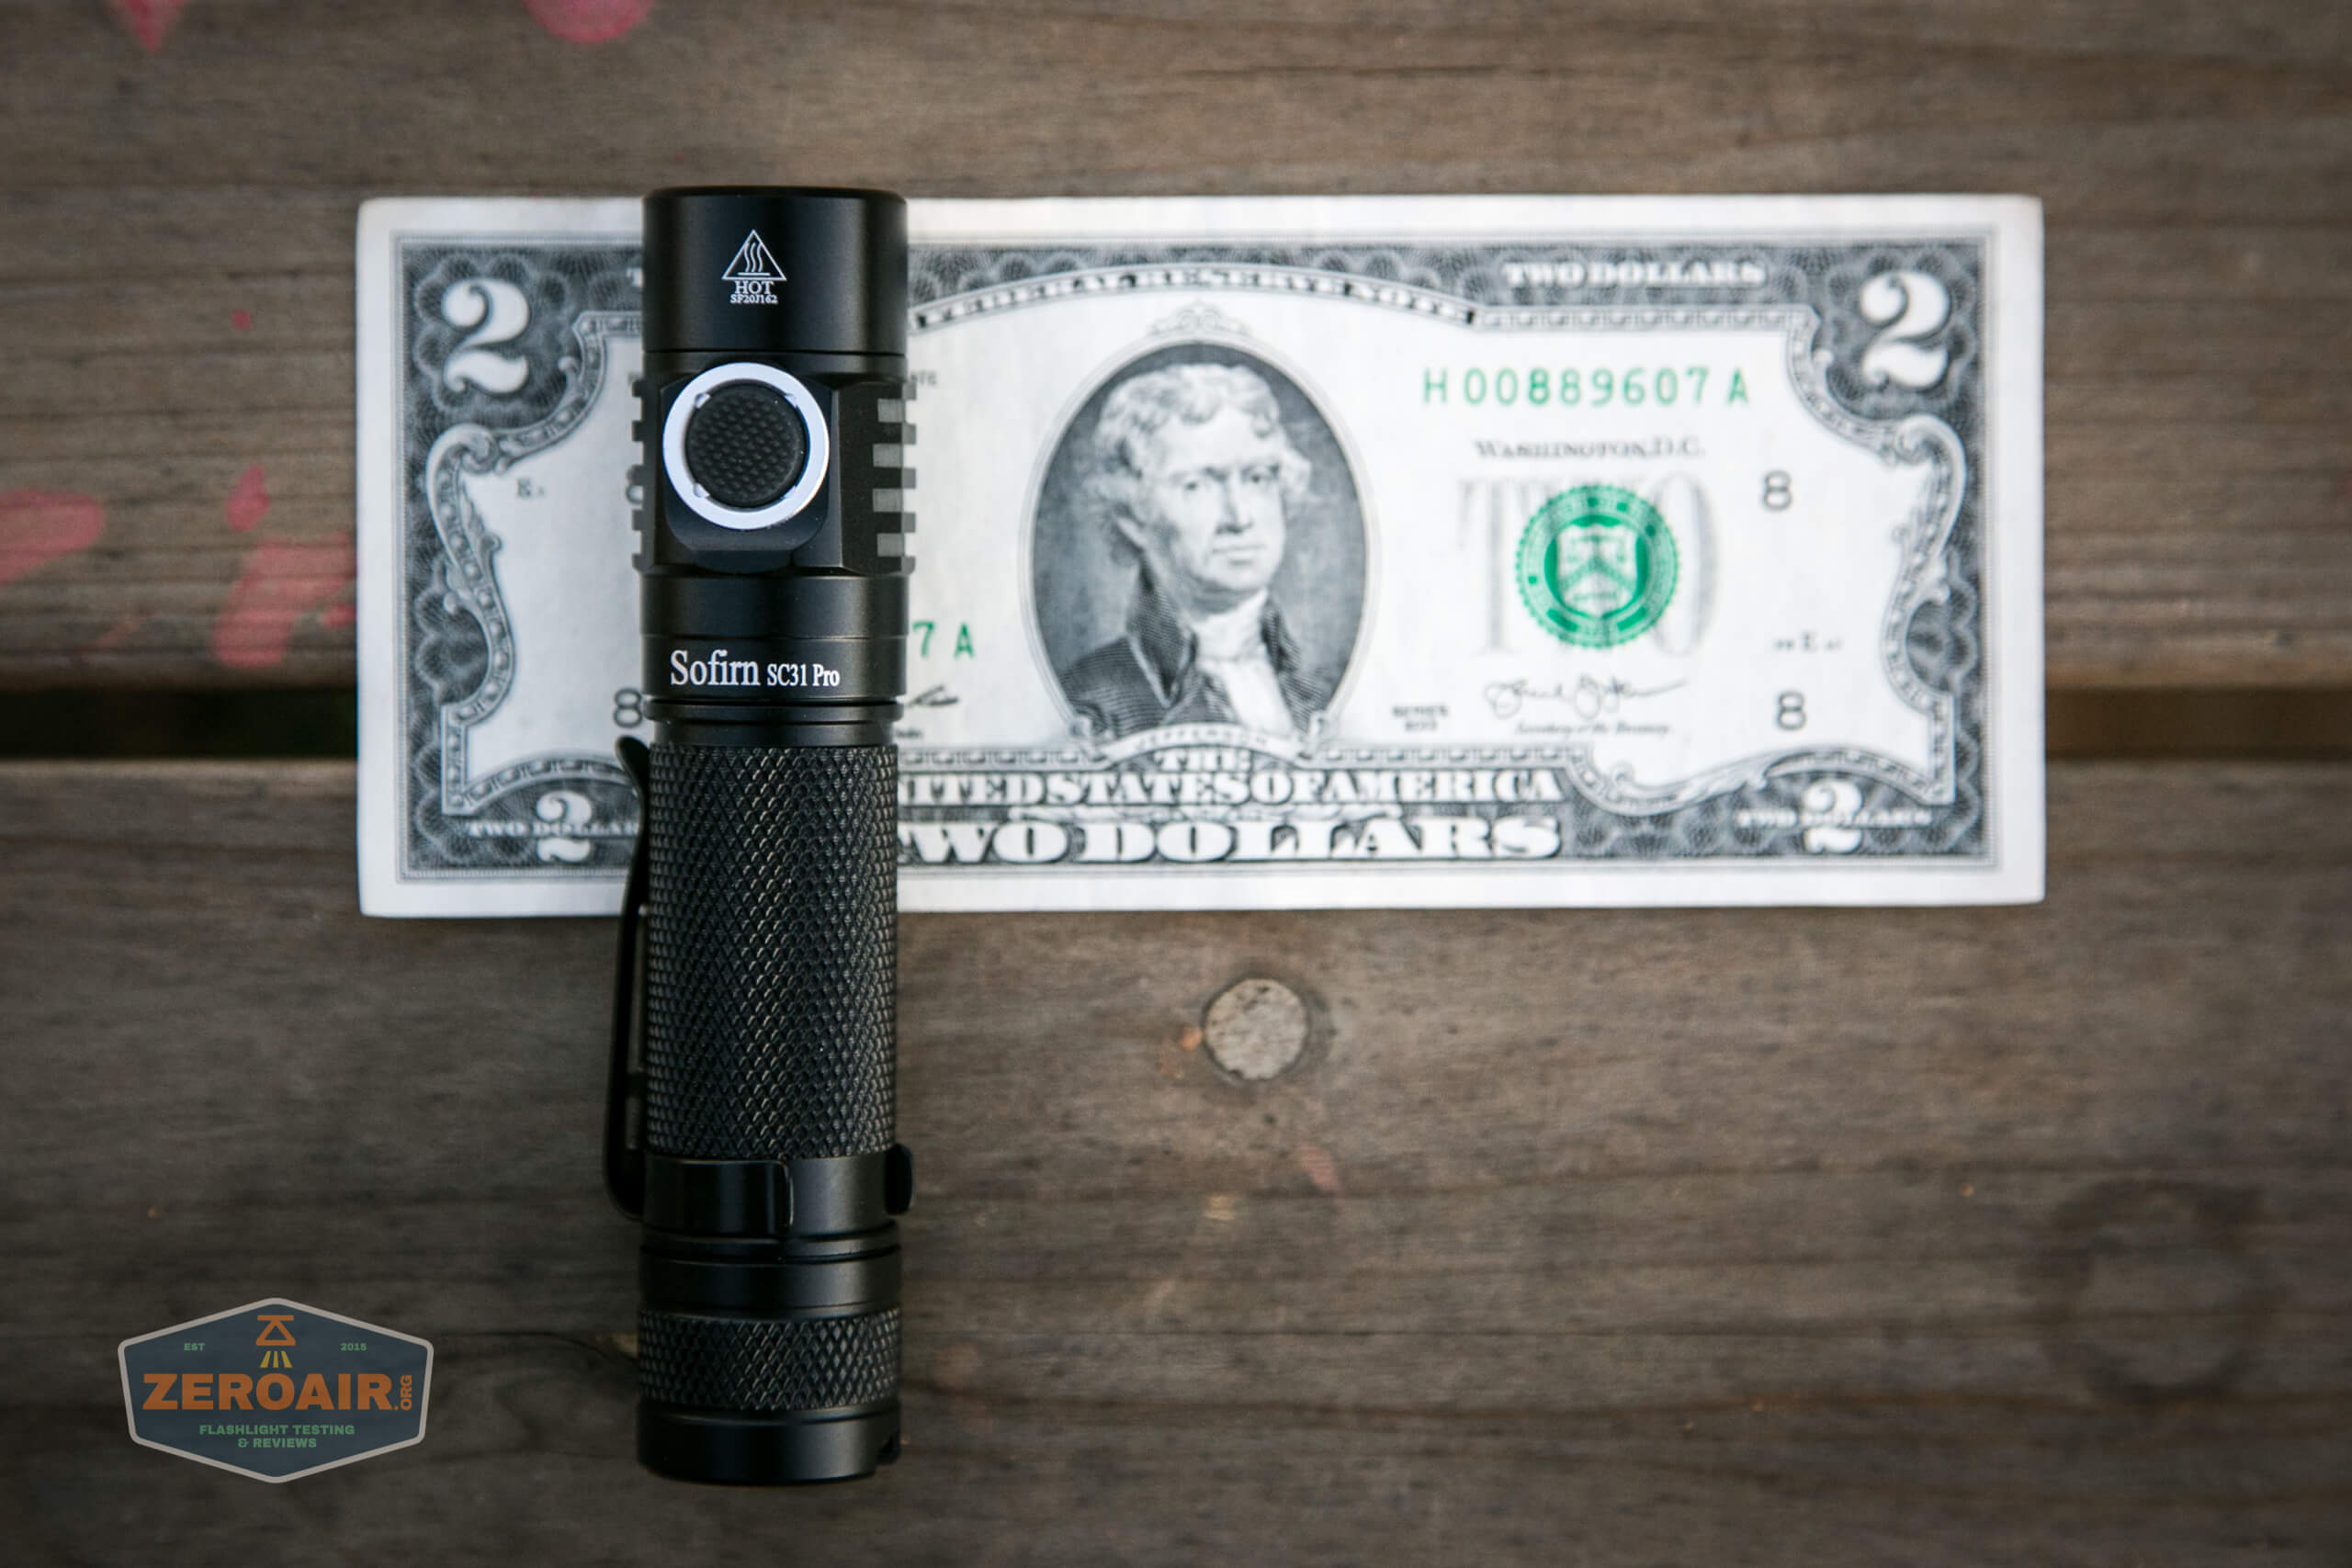
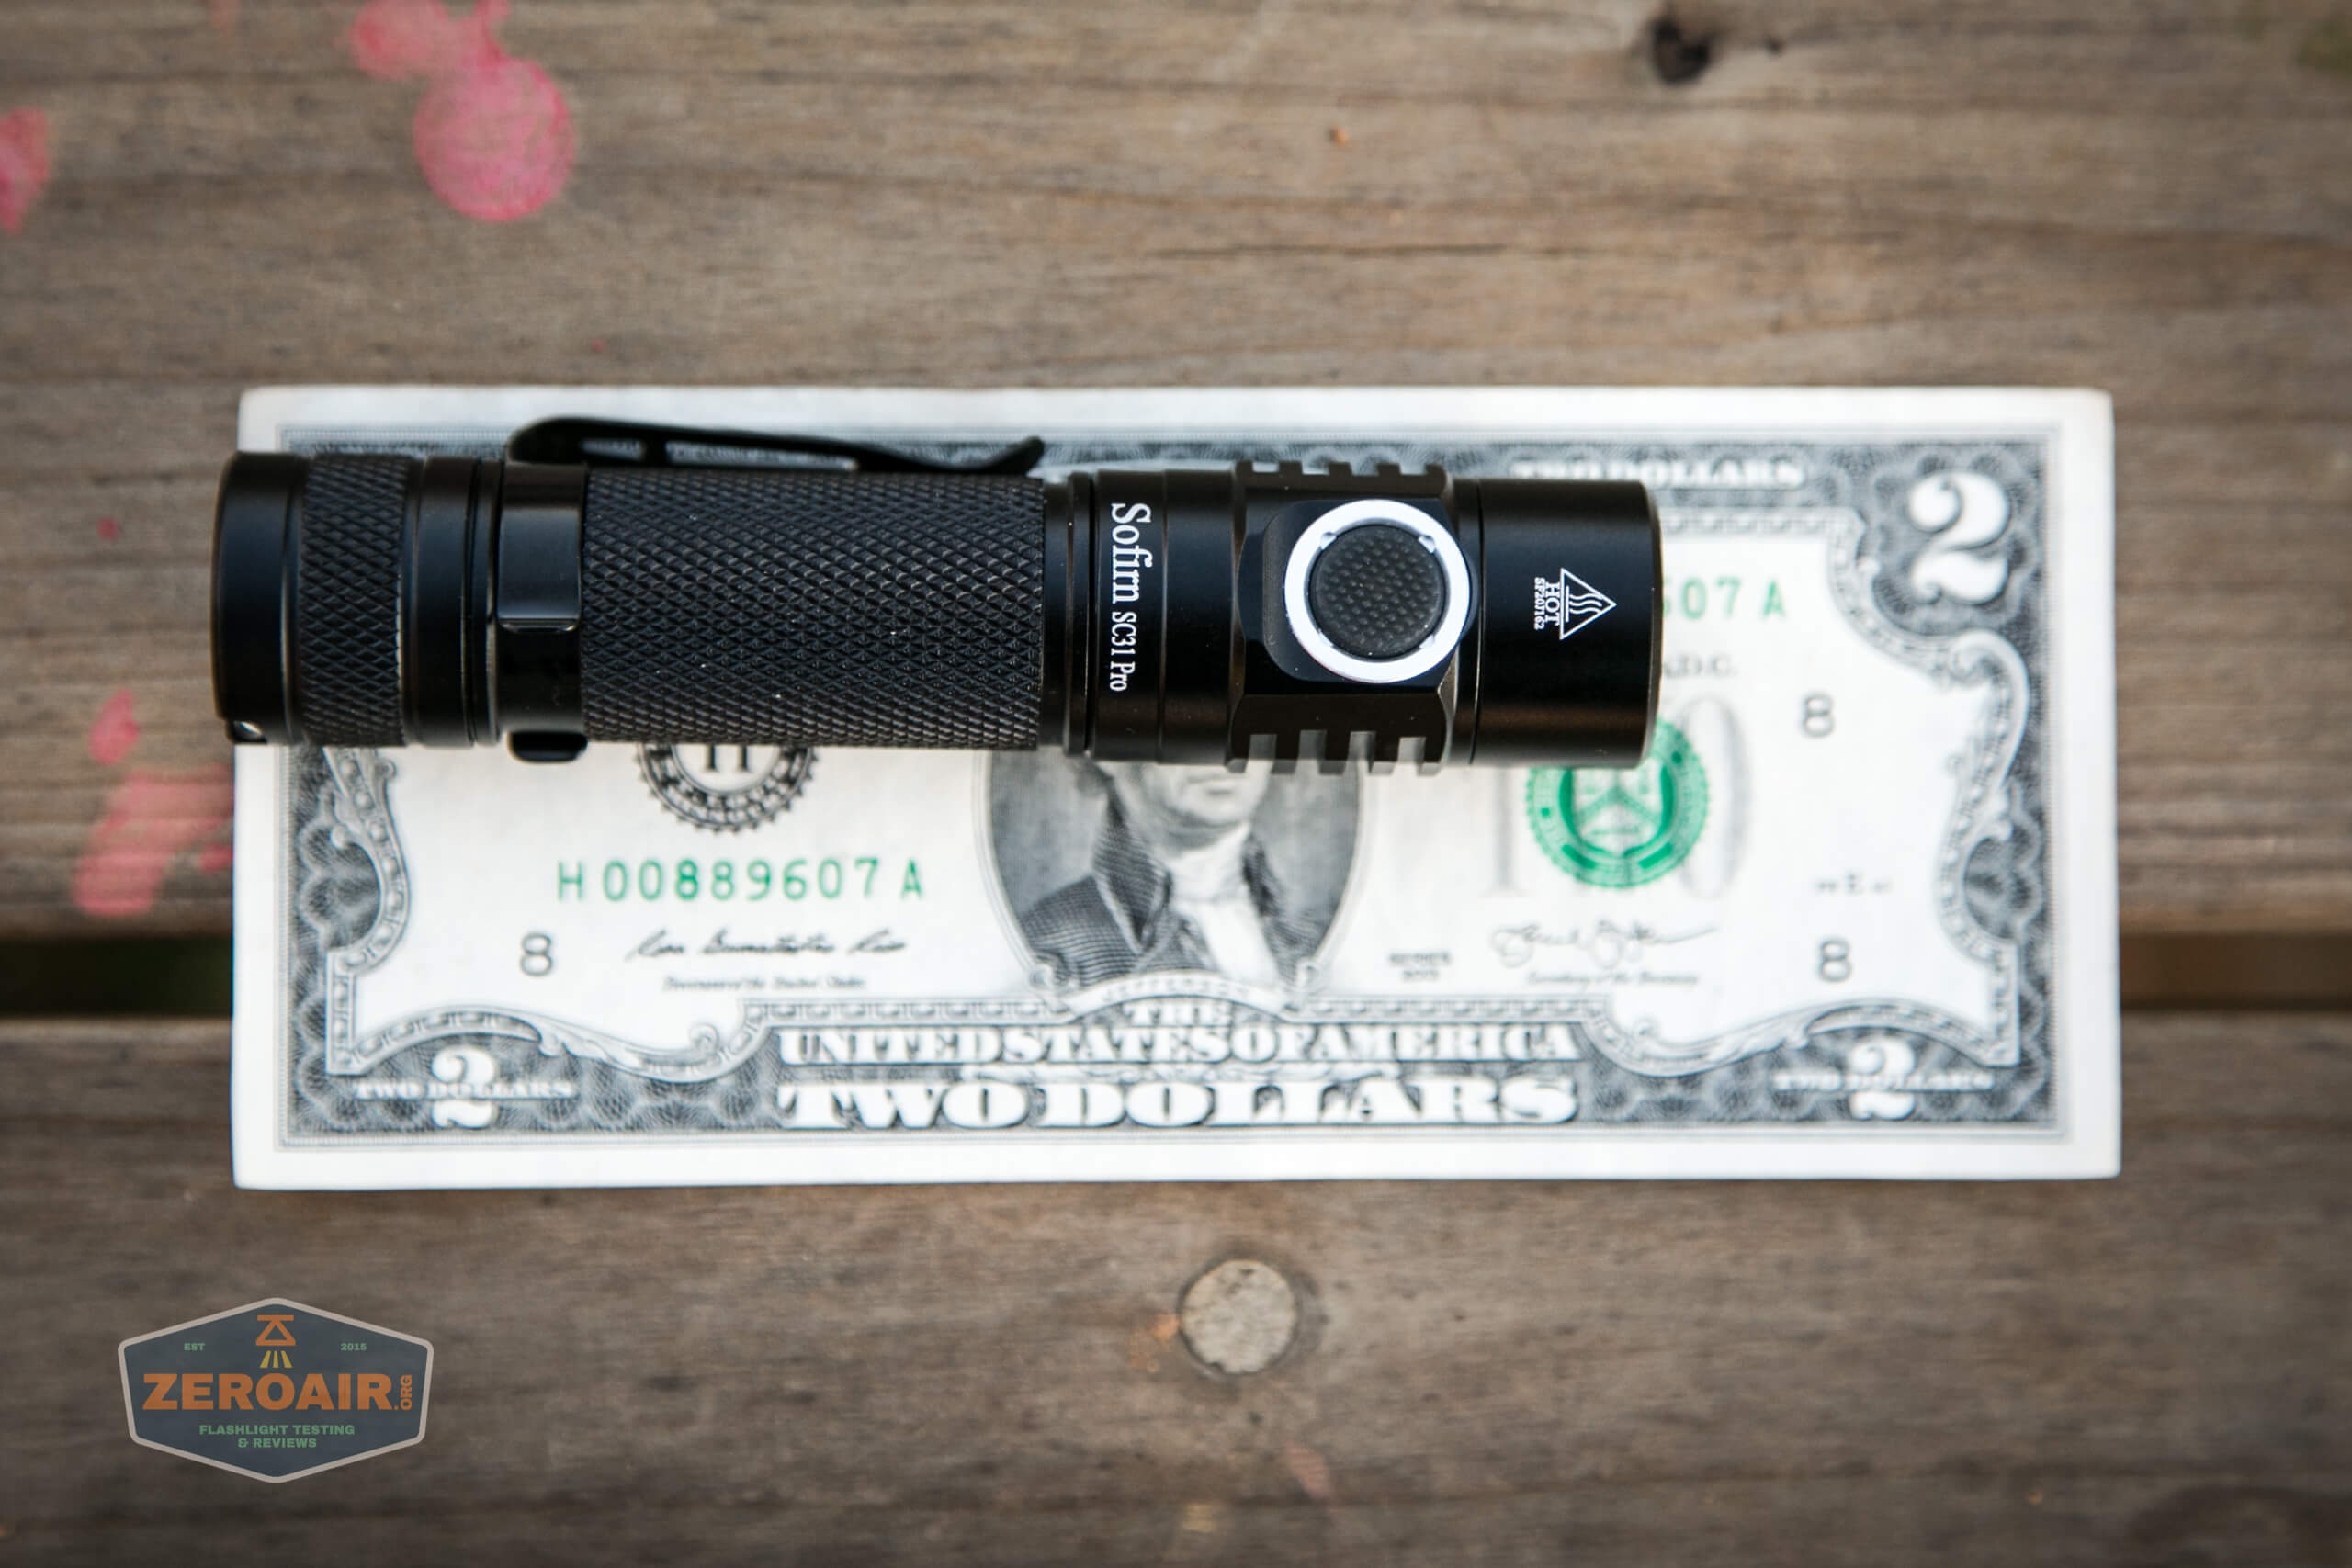
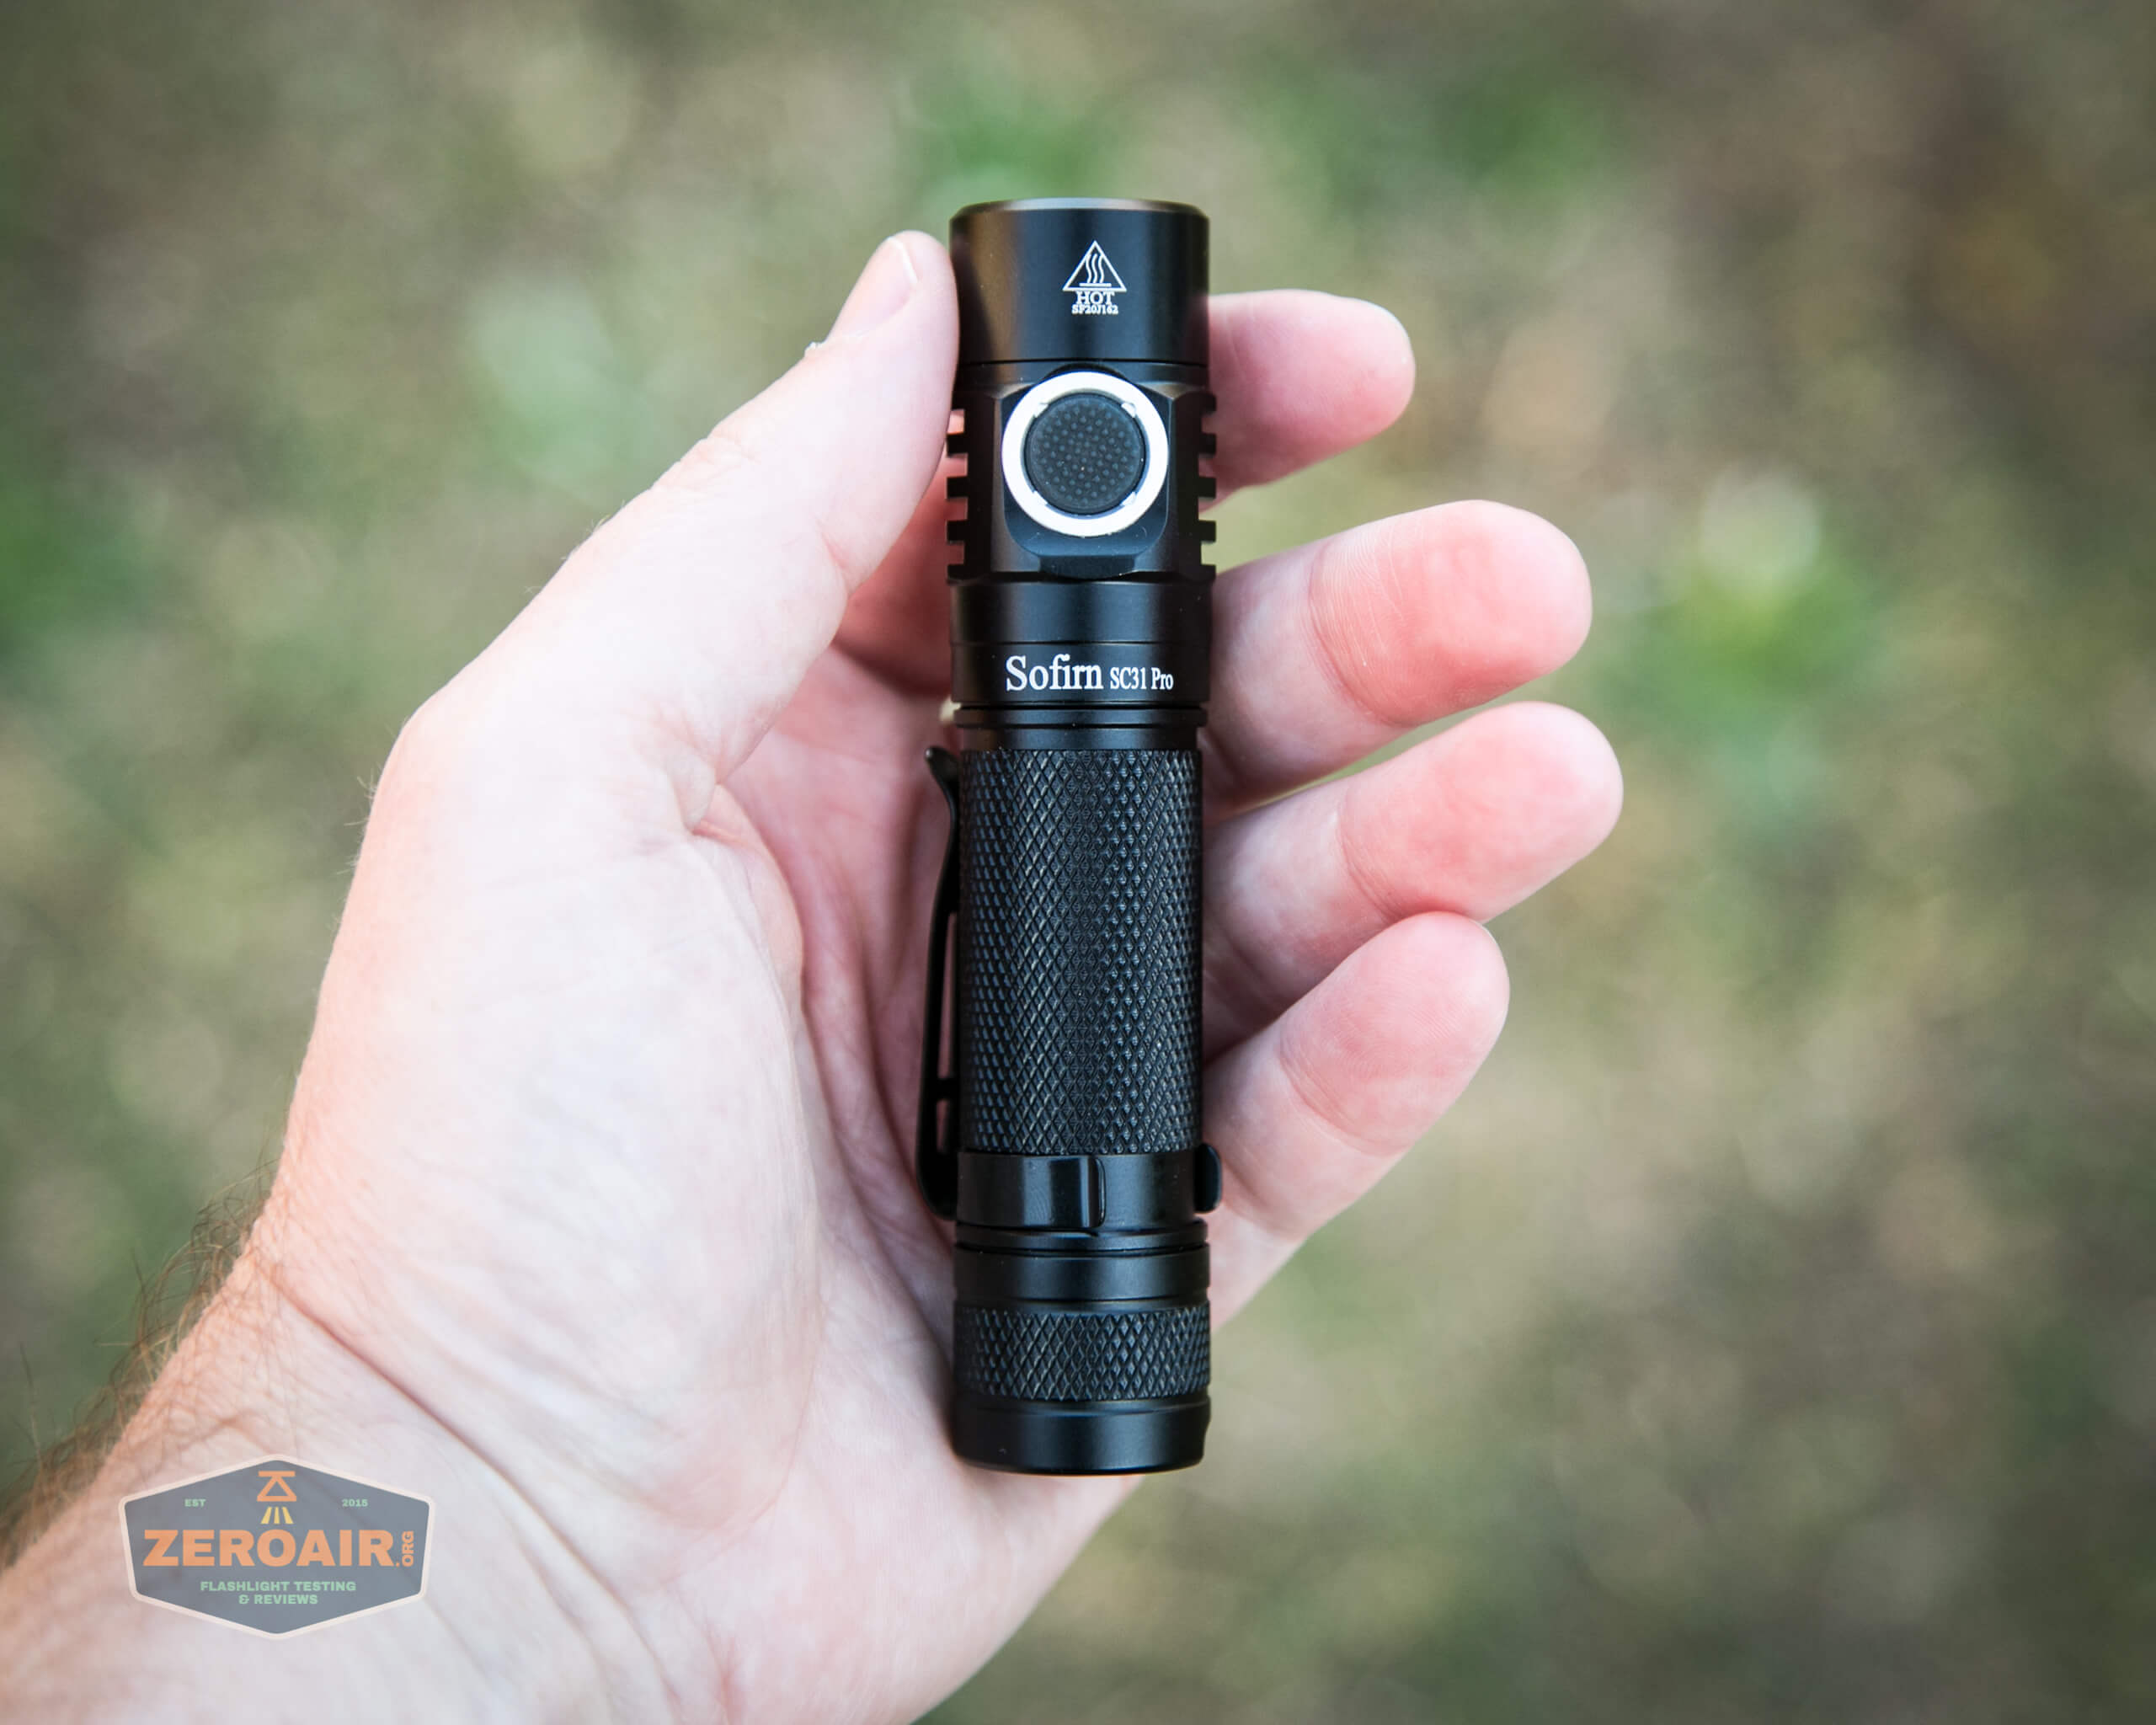
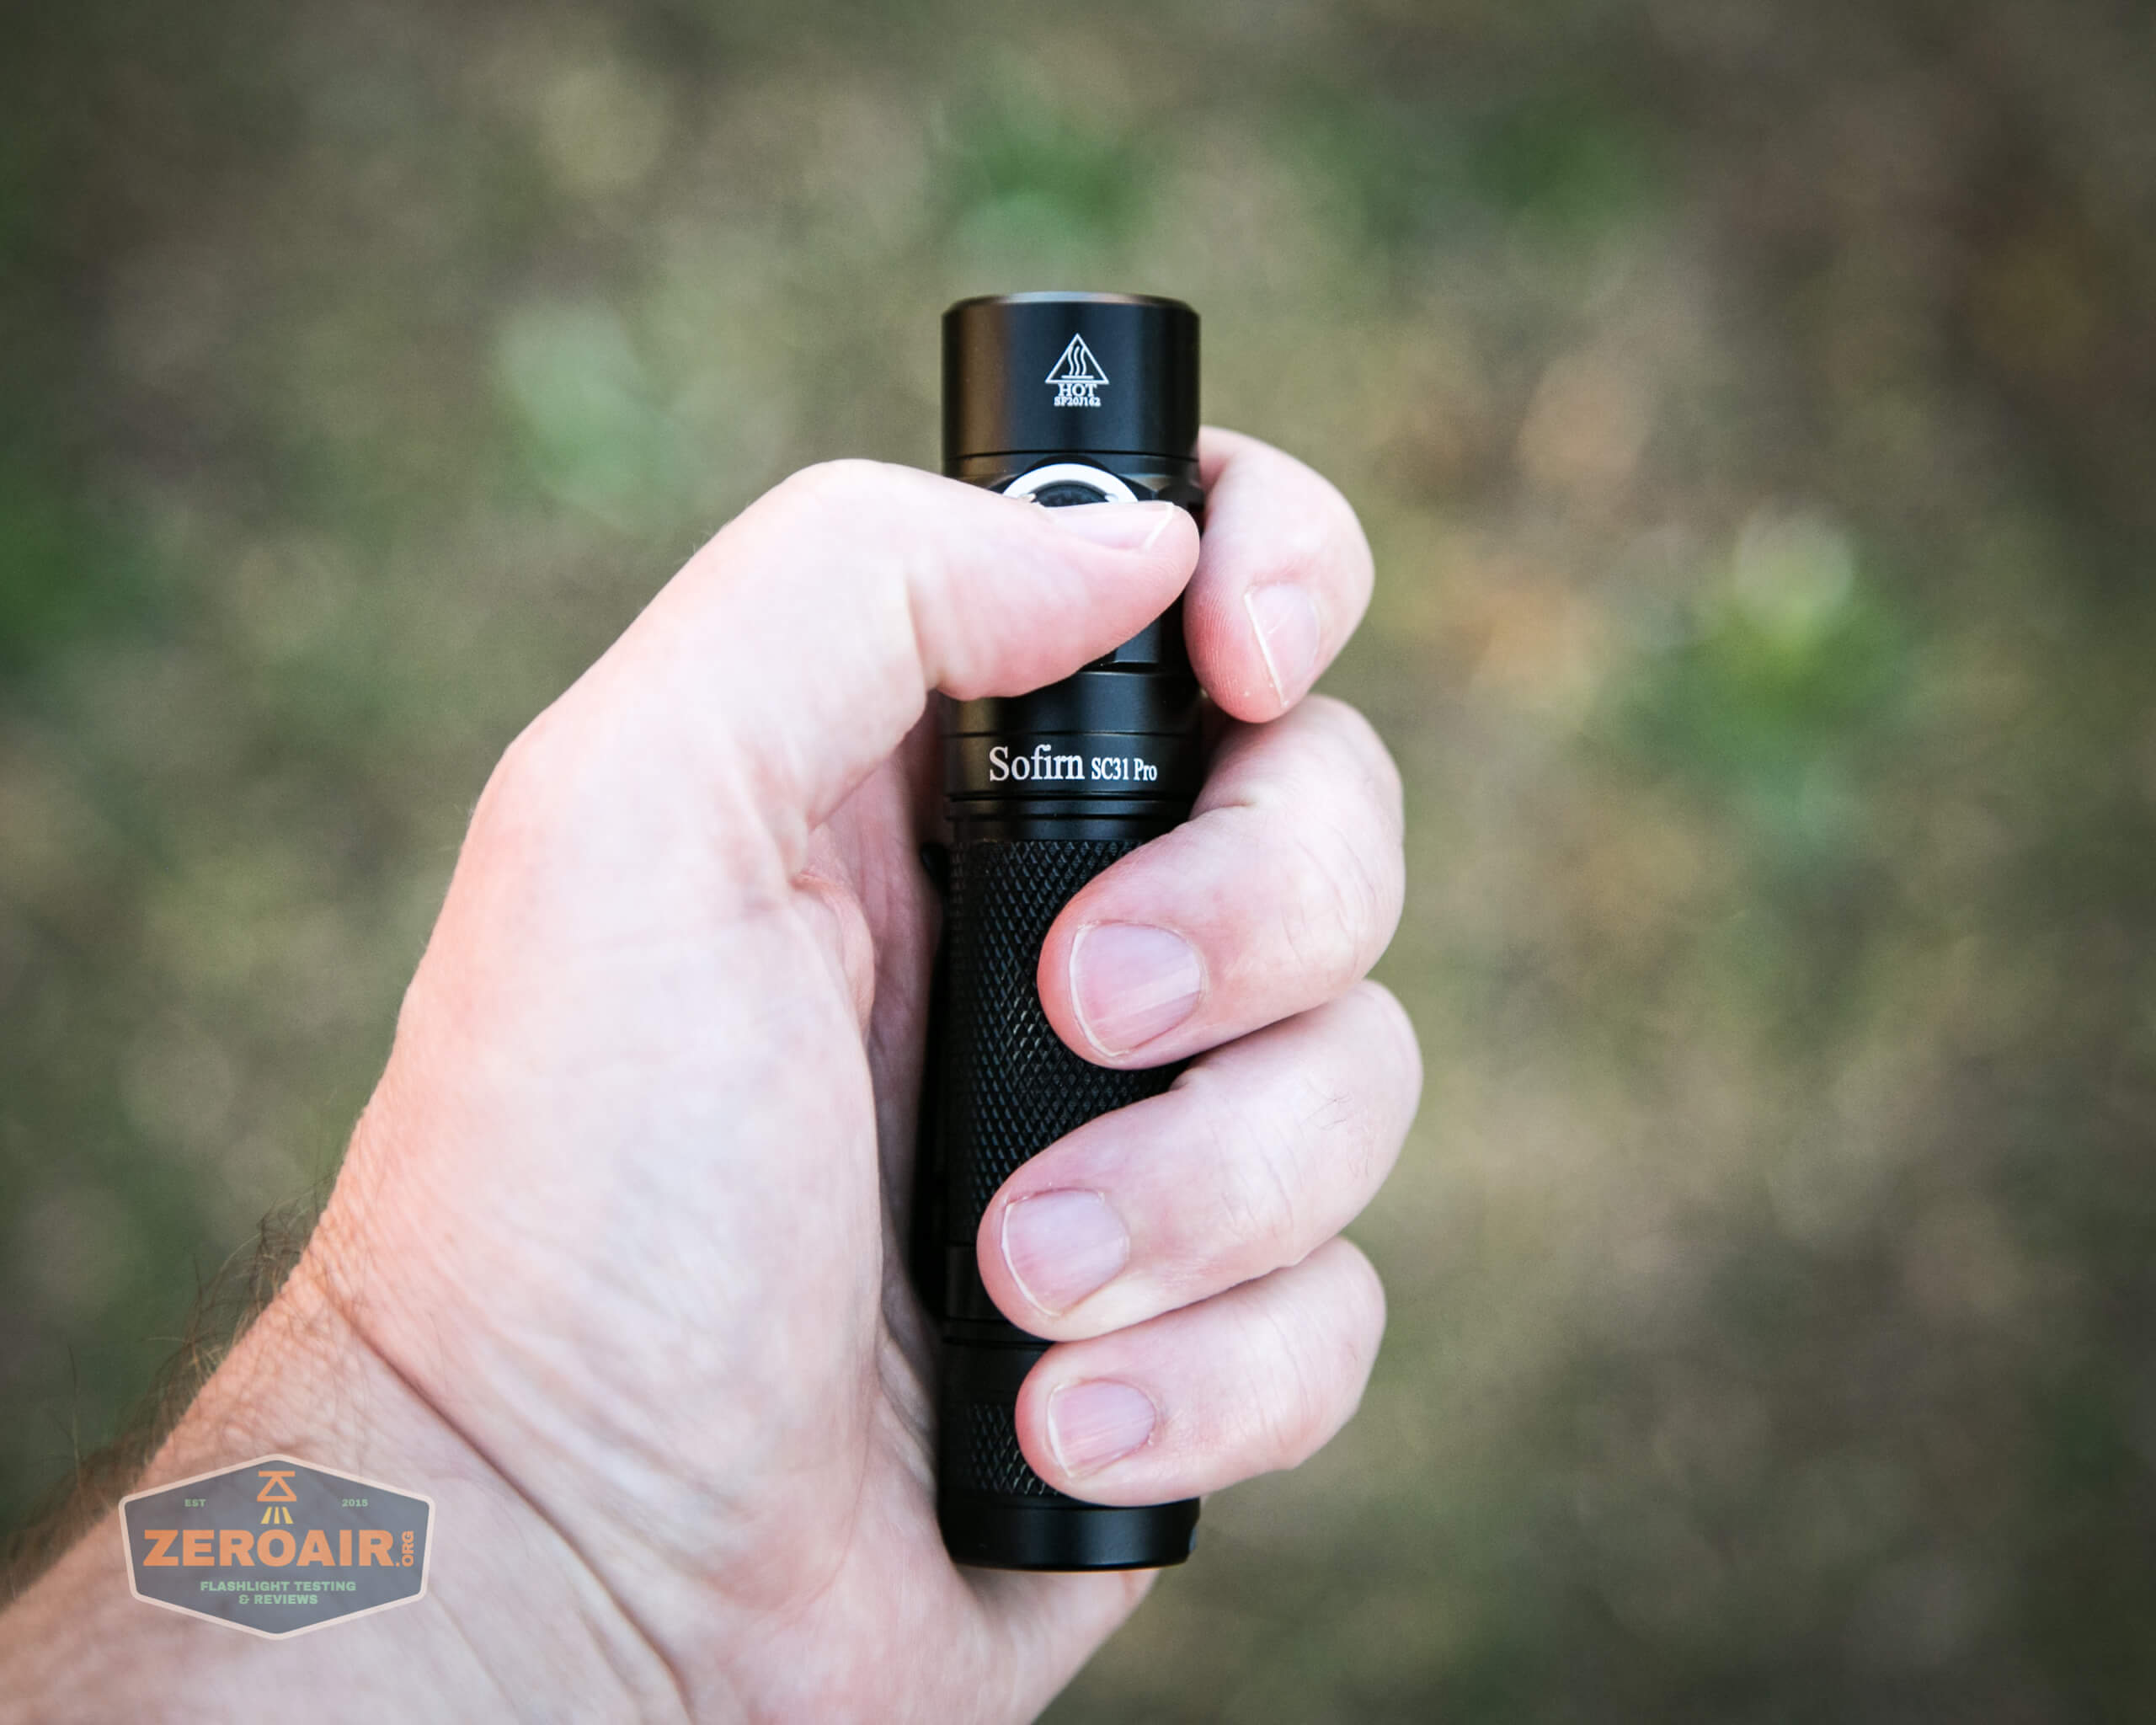
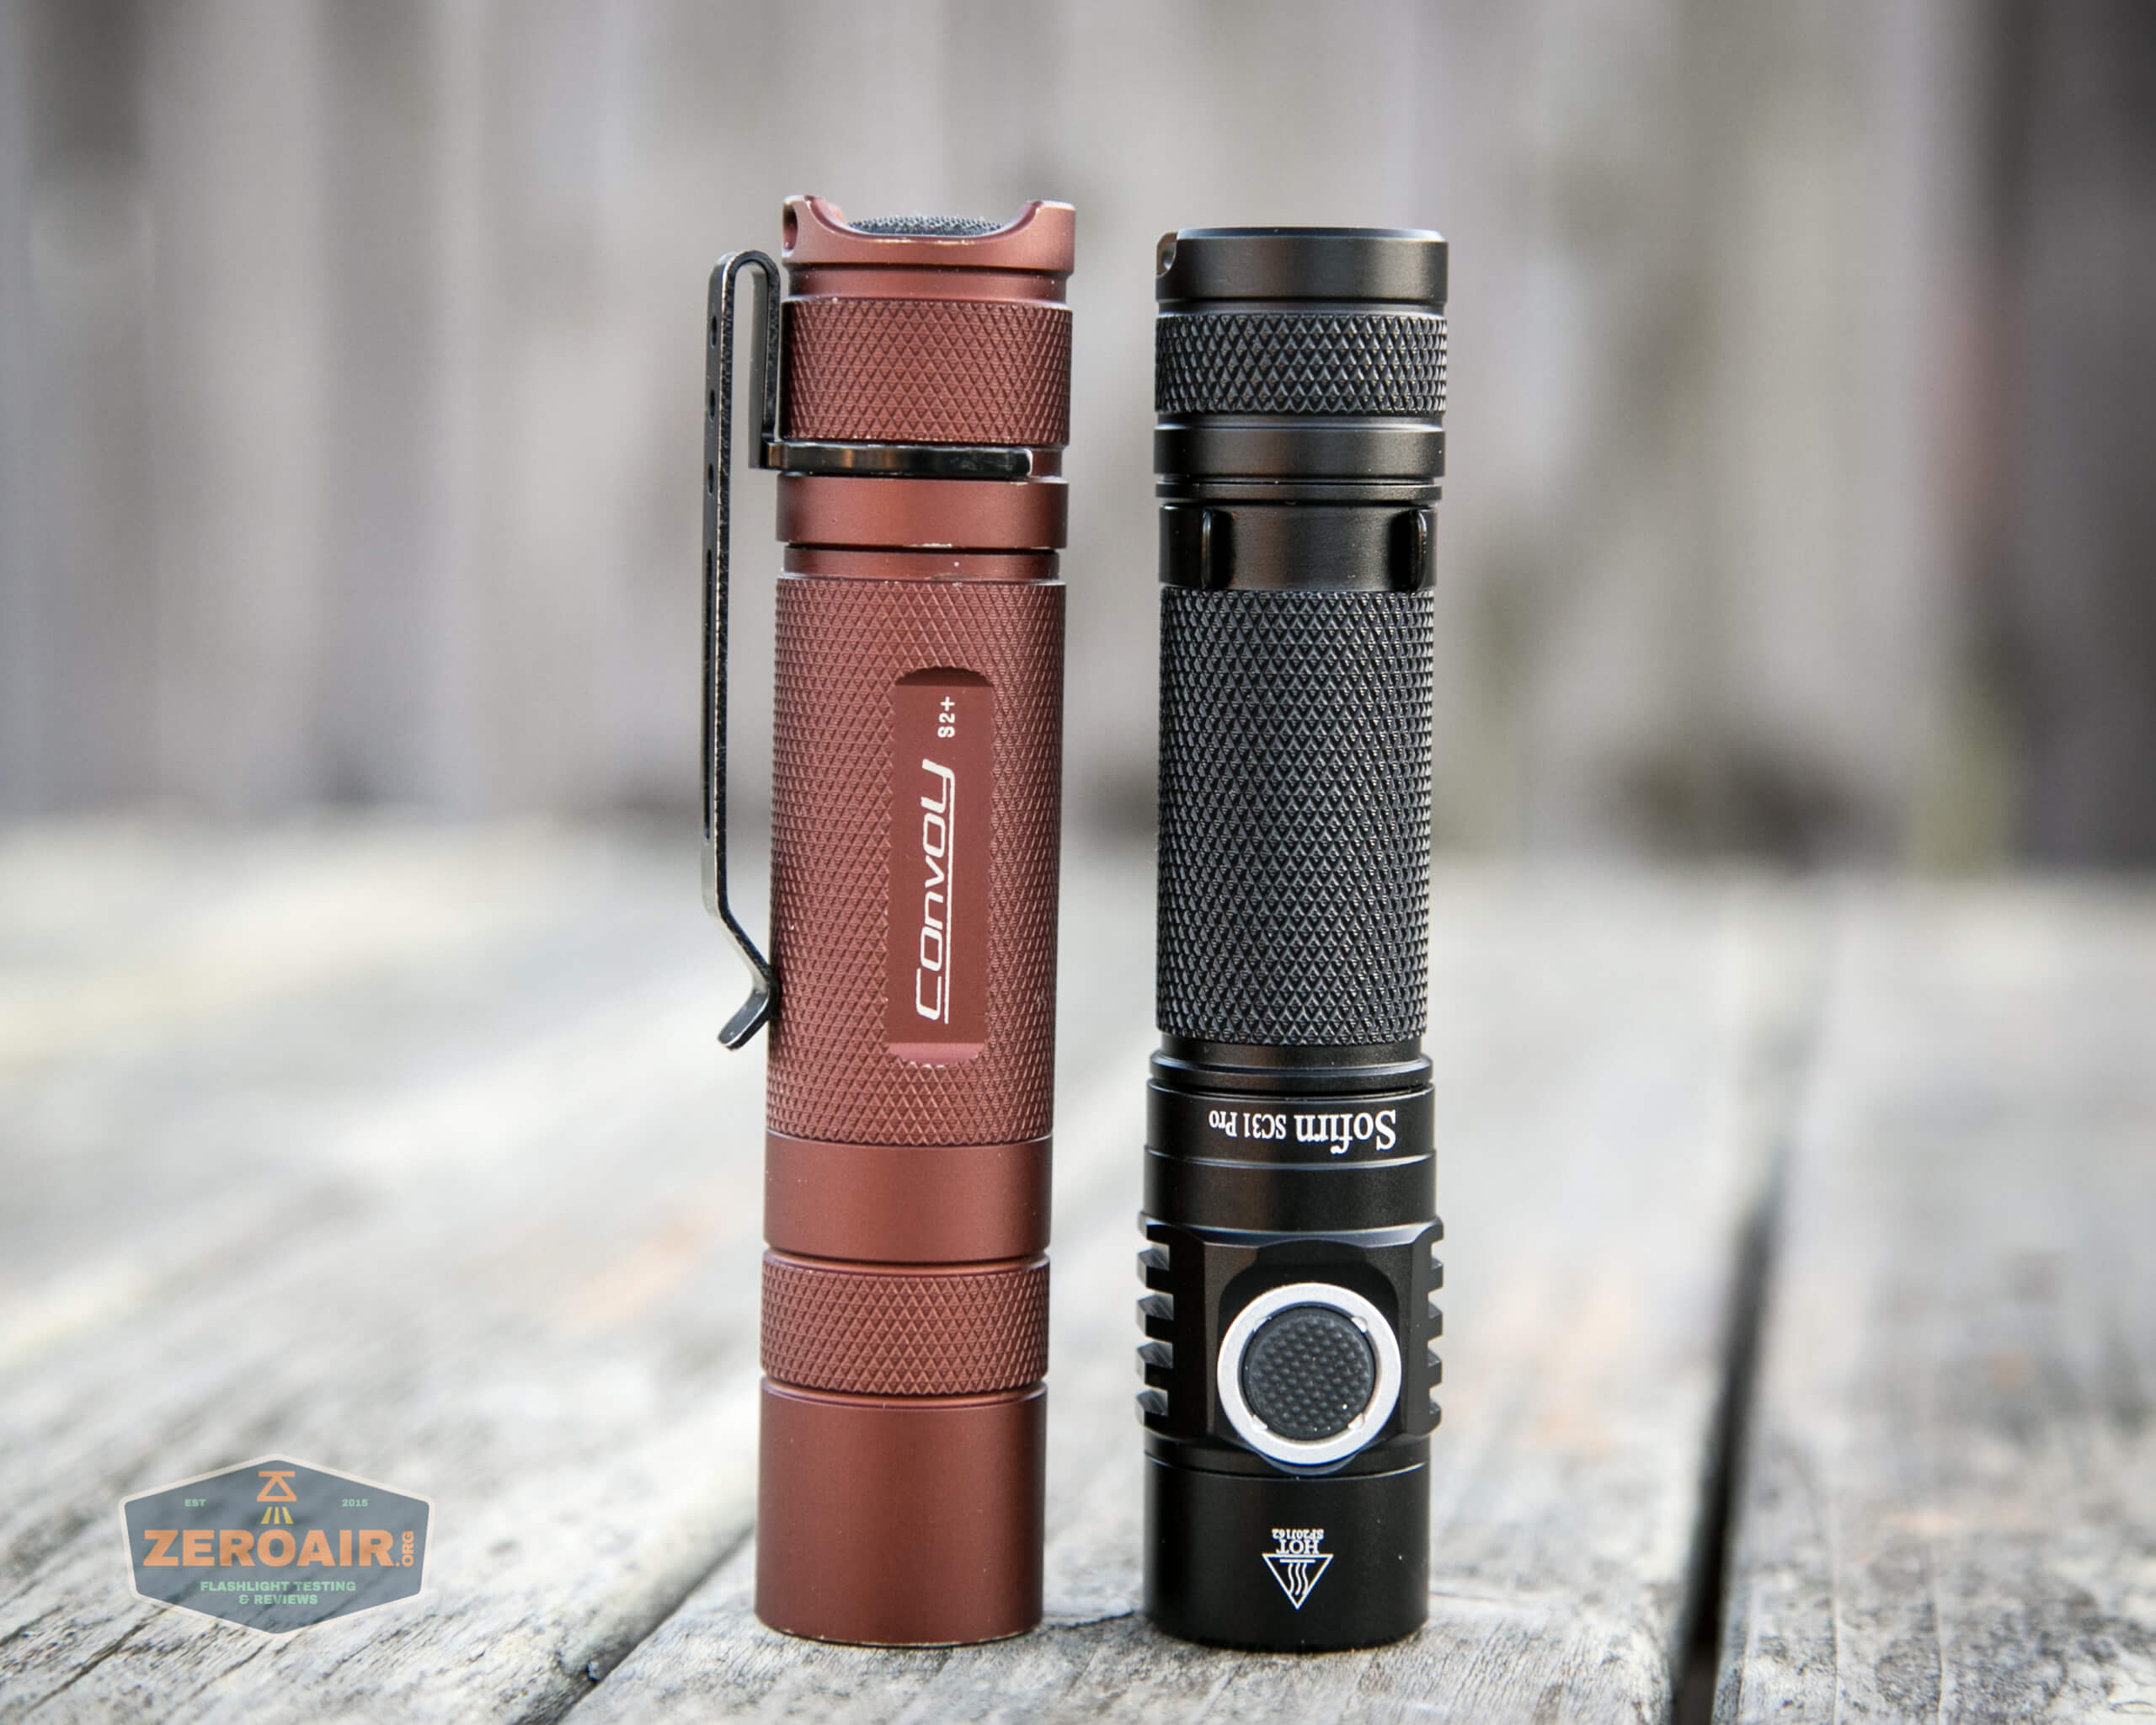
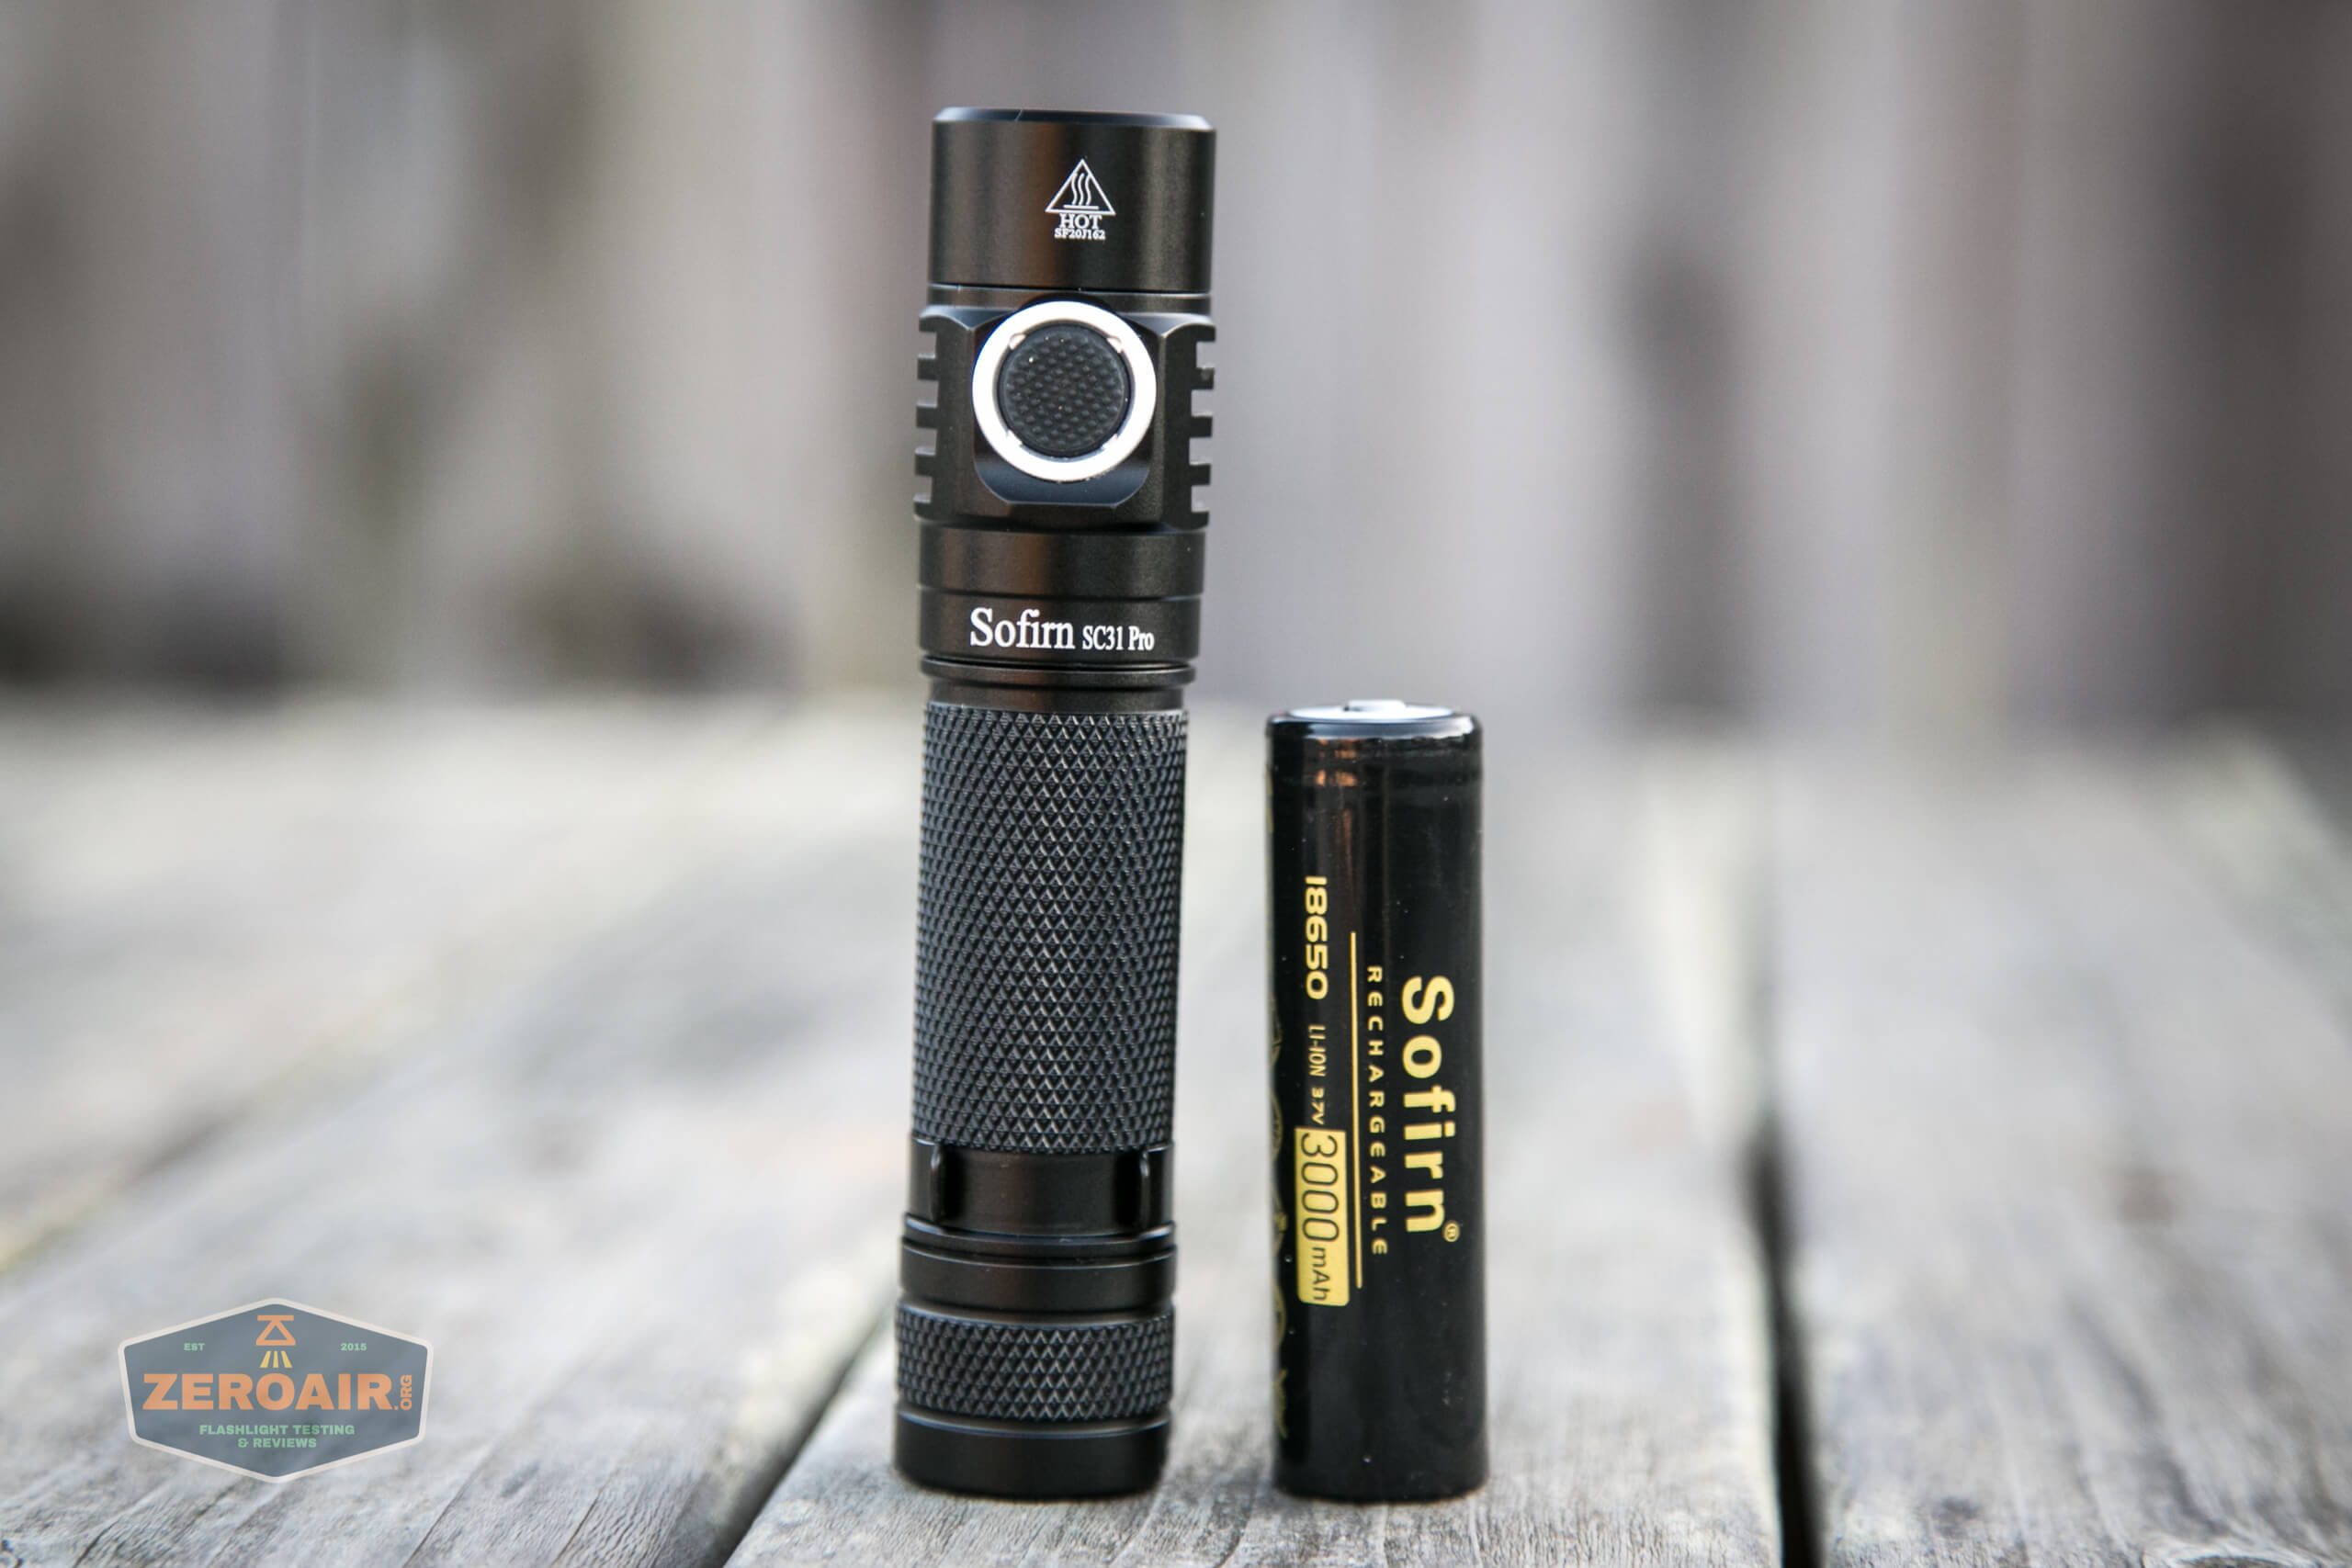
Size and Comps
Dimension: 117.5 mm (length) x 25.4mm (head diameter)
Weight: 59±1 gram (without batteries)
If the flashlight will headstand, I’ll try to show it here. If the flashlight will tailstand, I usually show that here, too.
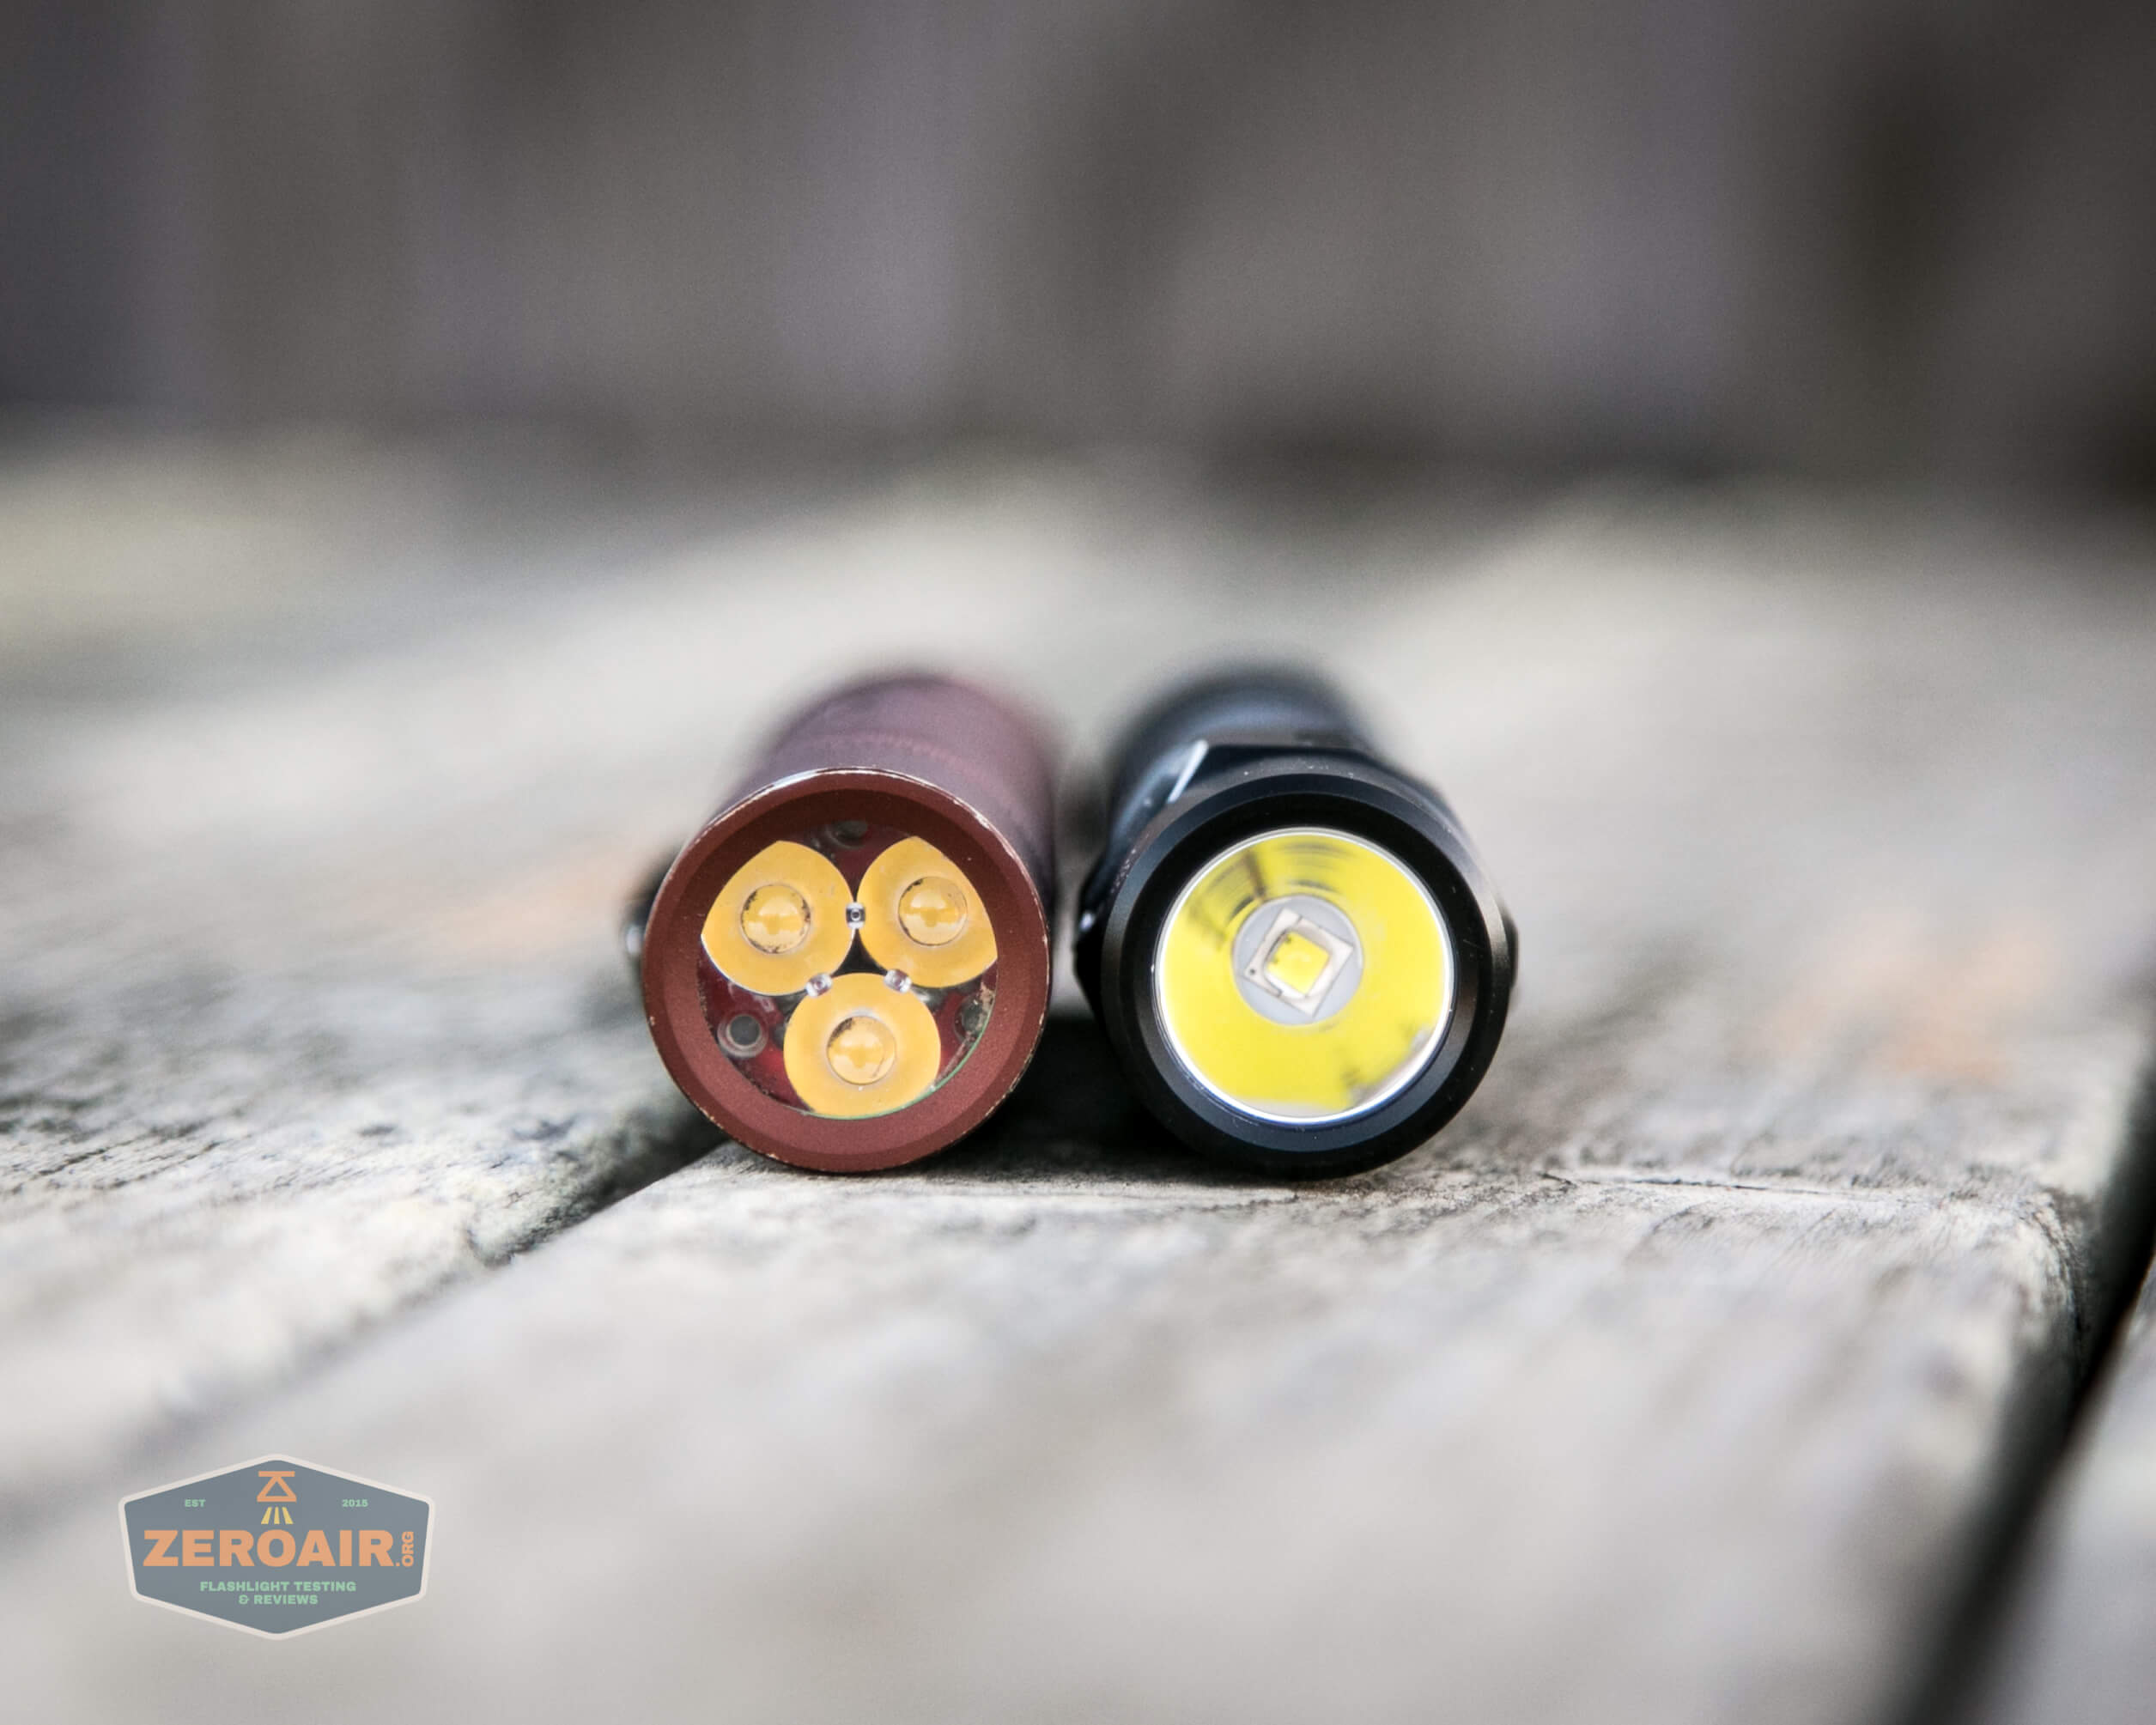
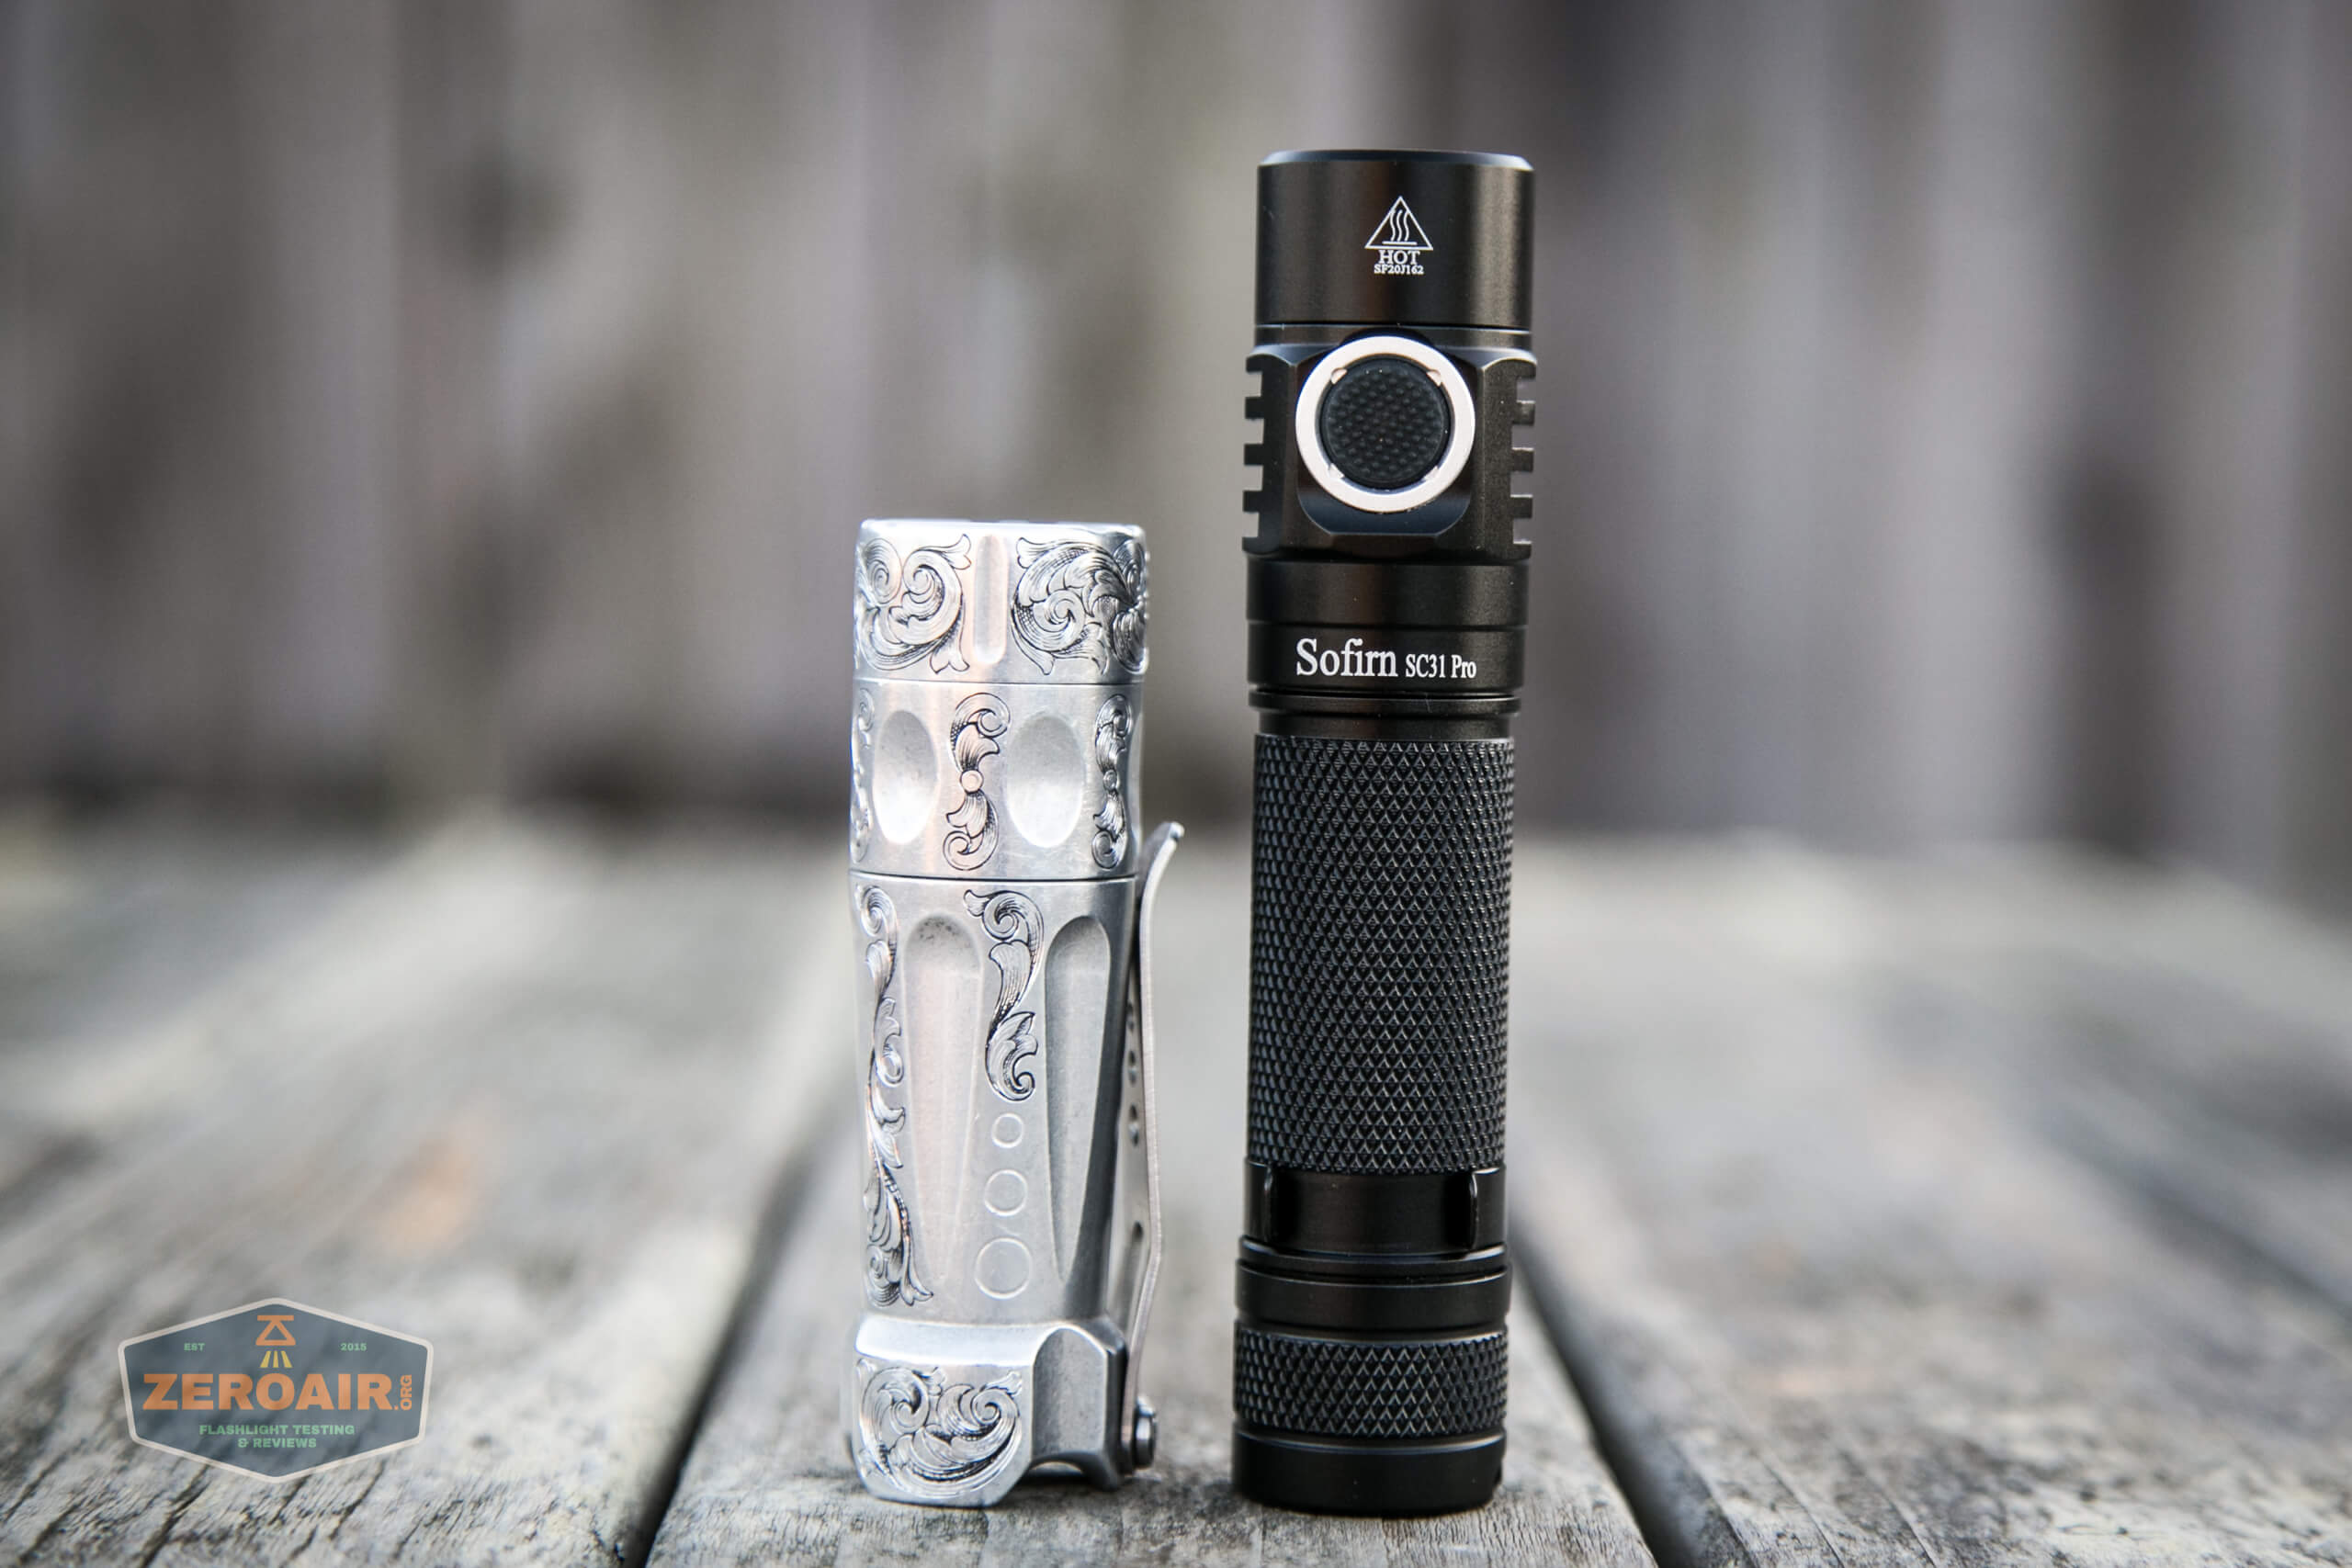
Here’s the test light with the venerable Convoy S2+. Mine is a custom “baked” edition Nichia 219b triple. A very nice 18650 light!
And here’s the light beside my custom-engraved TorchLAB BOSS 35, an 18350 light. I reviewed the aluminum version of that light in both 35 and 70 formats.
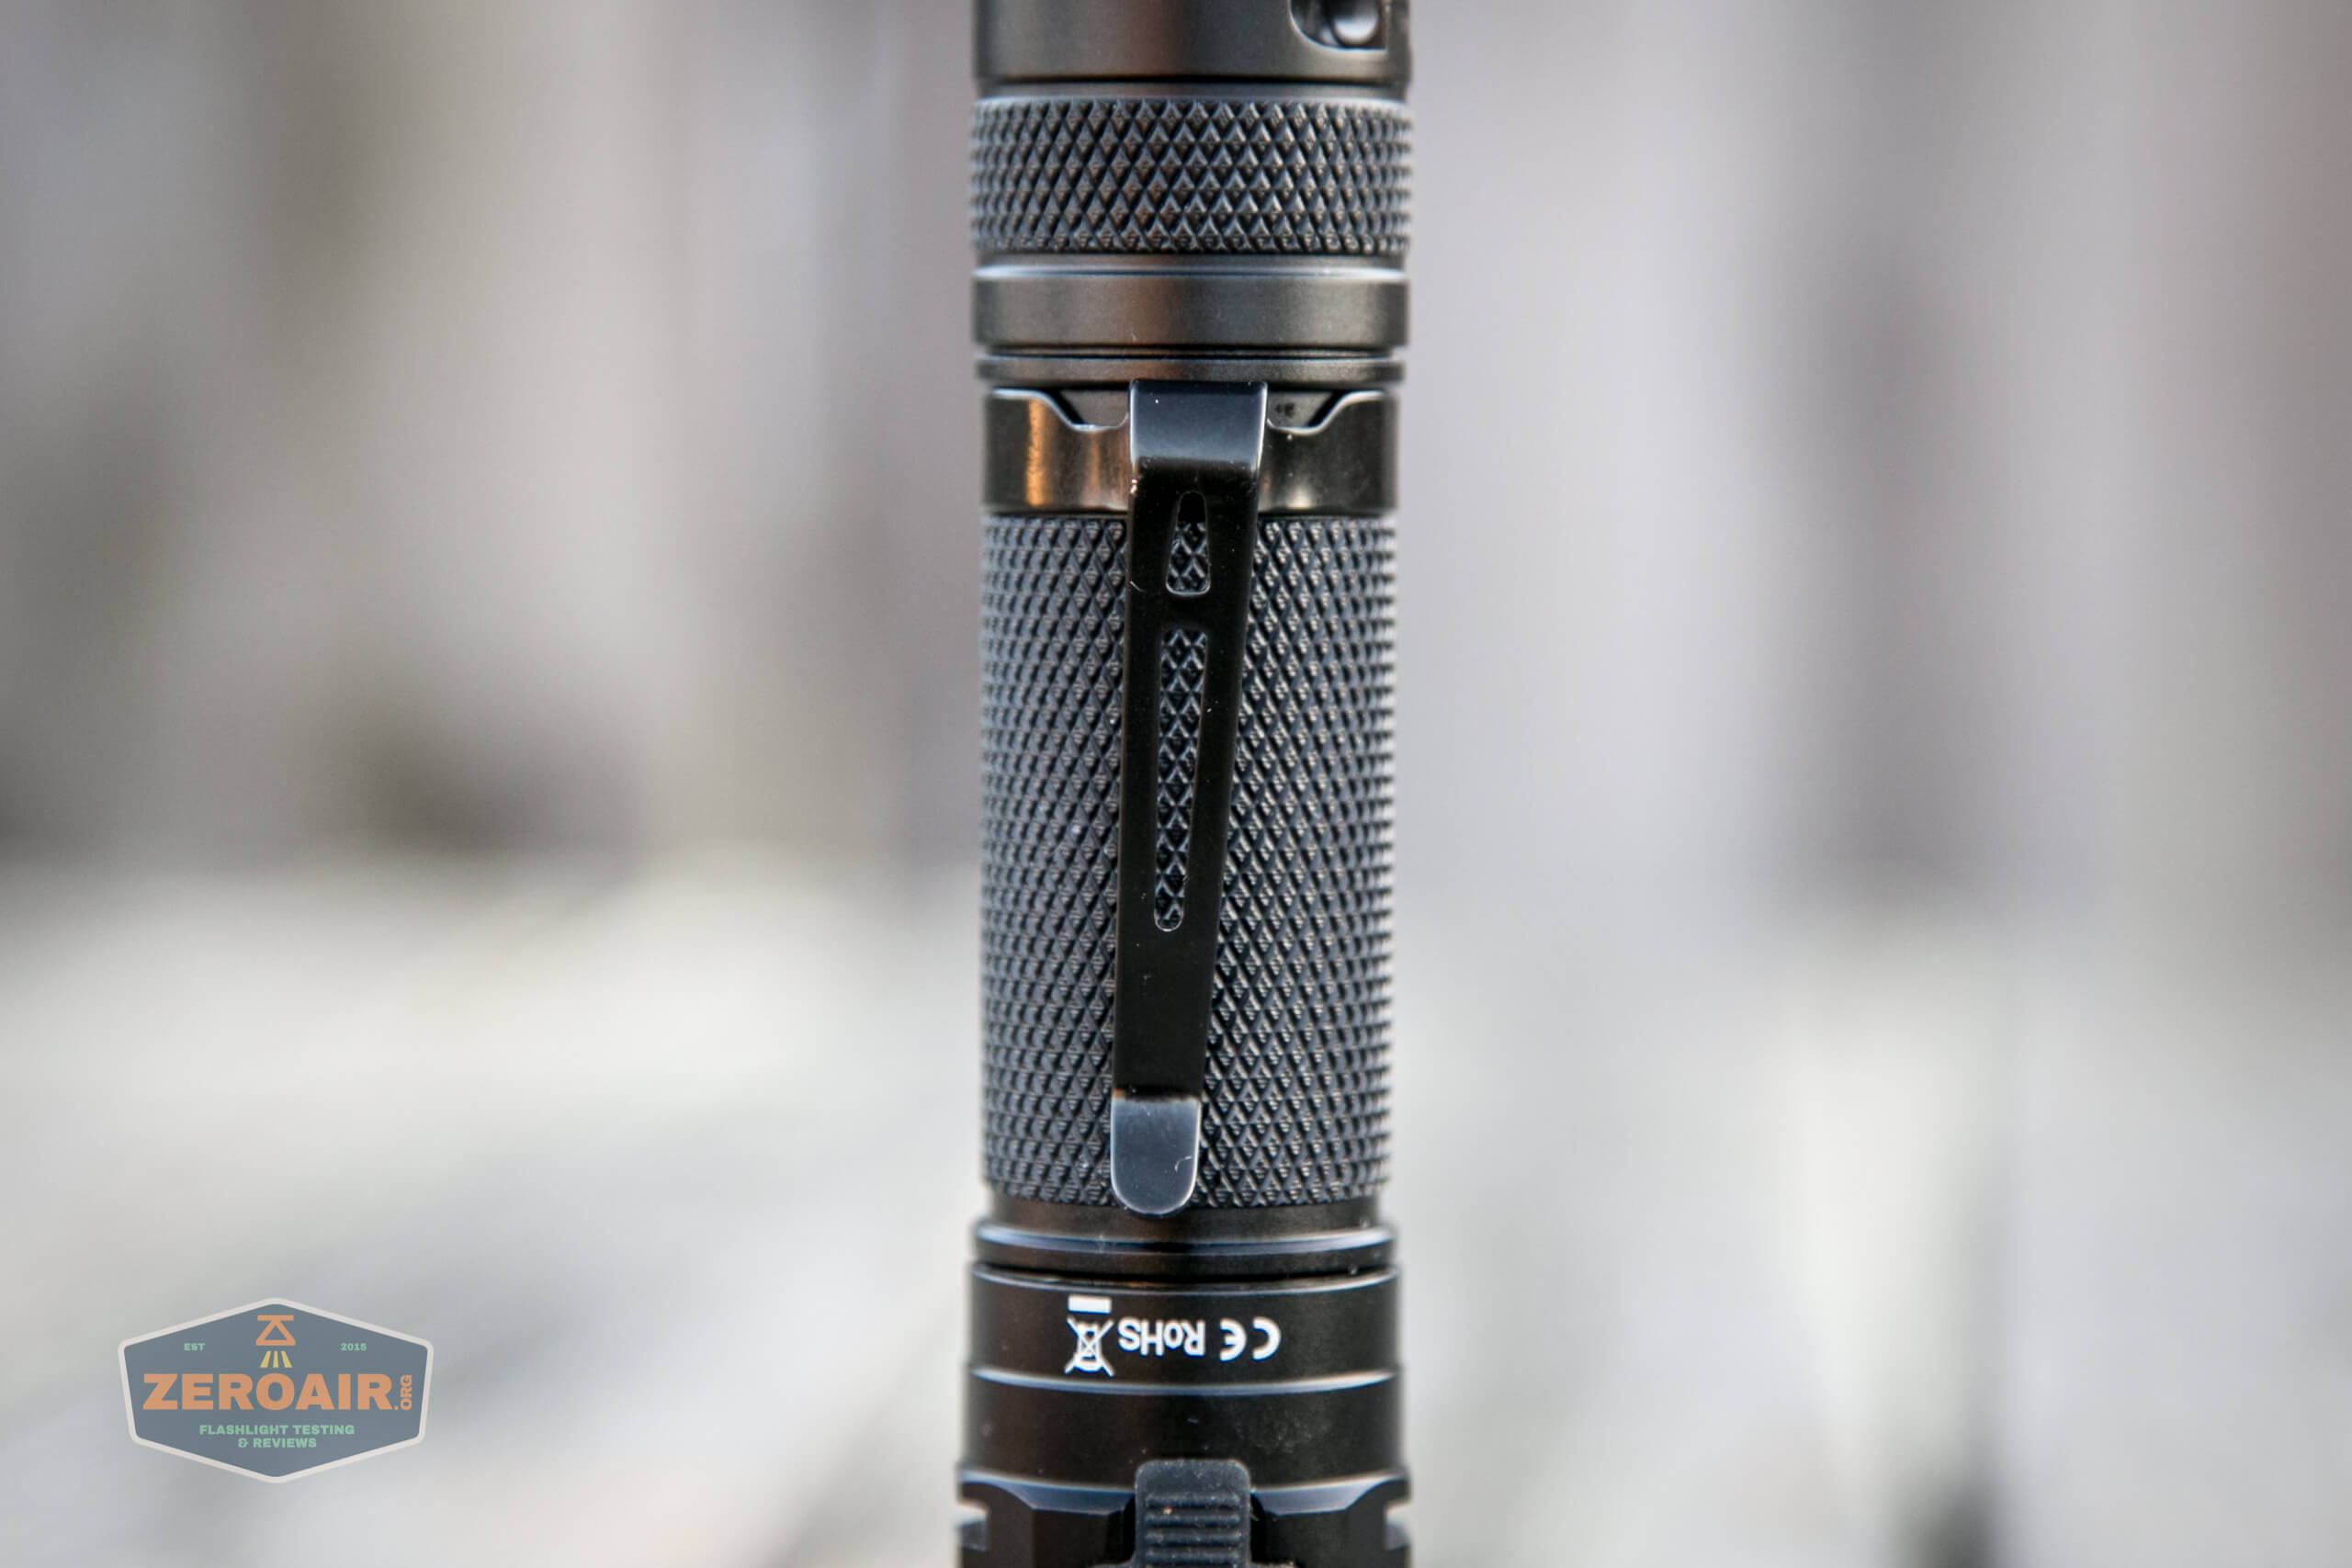
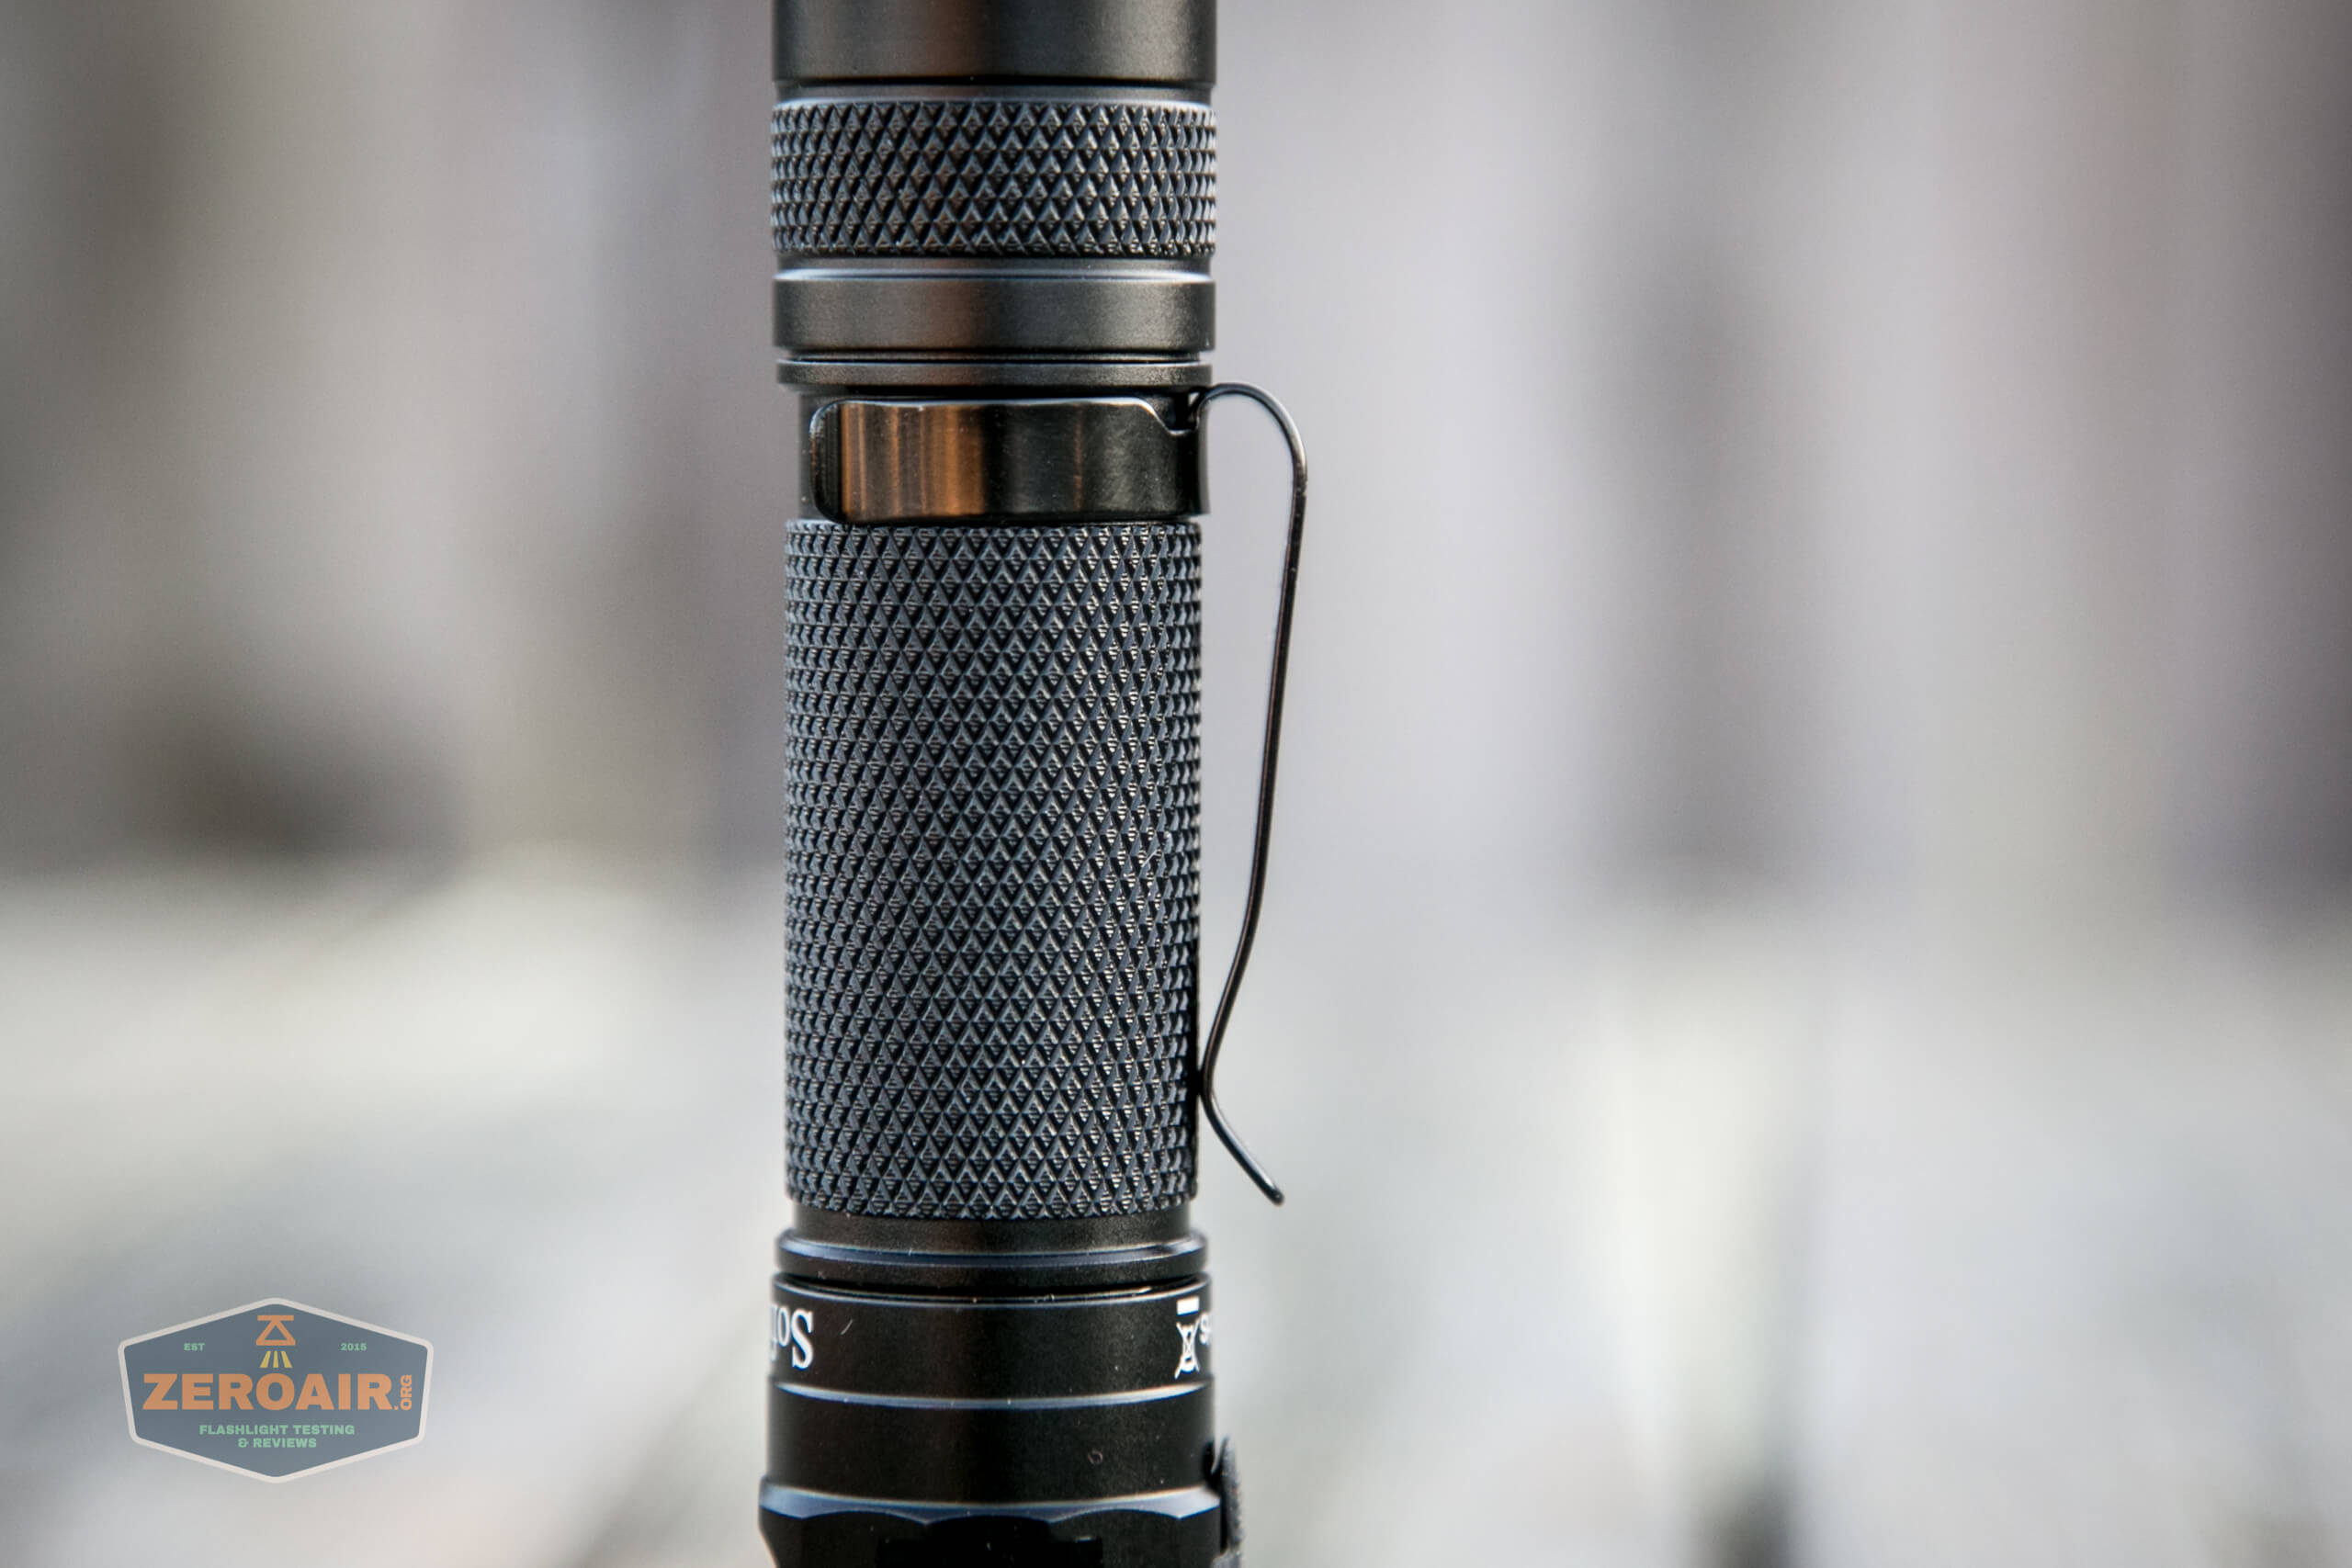
Retention and Carry
A pocket clip comes already attached. It’s the lowest kind of pocket clip (and leads heavily to my opinion of the build quality). It’s a friction-fit clip, and mine is bent all crooked. I could fix it, but really, let’s just get it right the first time! This is not the biggest deal and doesn’t affect functionality.
As I said above, the clip only goes in one spot, but the cell tube is reversible, so the clip can end up on the head or tail end, per your preference.
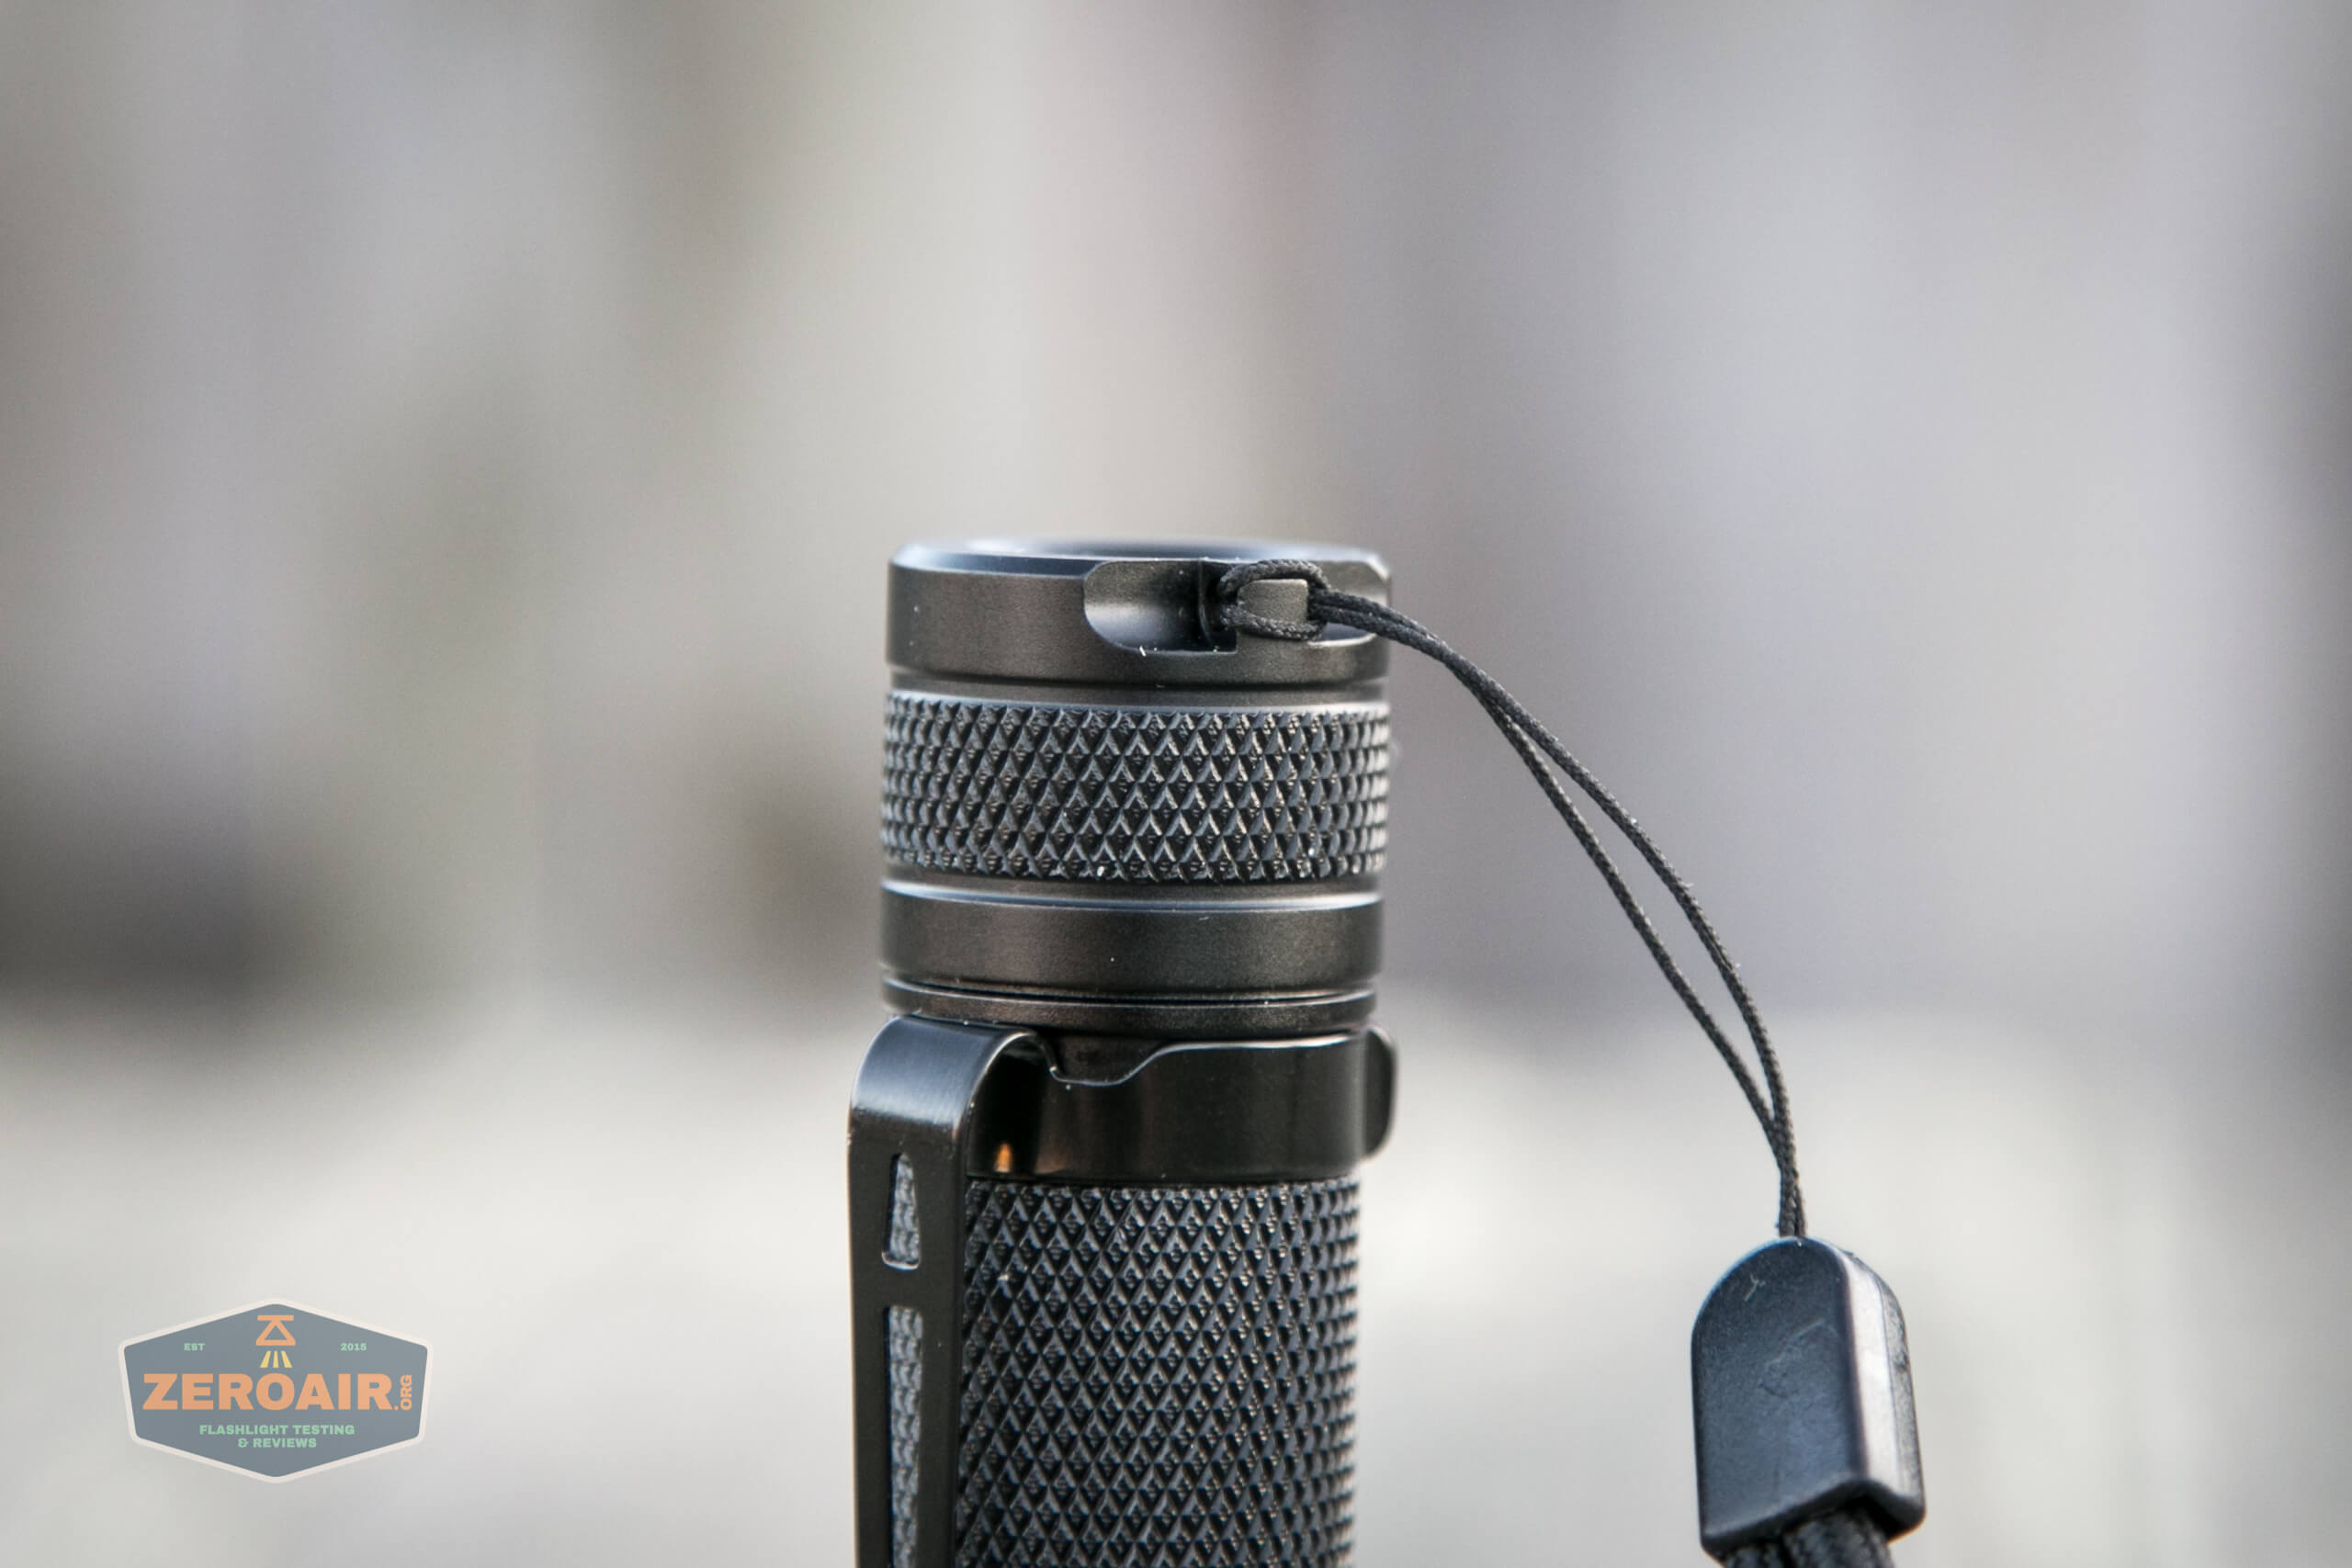
A lanyard is also included and attaches to the tailcap.
The light will also headstand, and there are no “reliefs” to let light out when doing so.
With the reversible cell tube, the light can technically reasonably be used as a hat light.
There is also a magnet tail cap option, but my package did not include that.
Power and Runtime
The SC31 Pro operates on a single lithium-ion cell. I have a package that has a cell included. It’s a 3000mAh button top and is a completely standard cell.
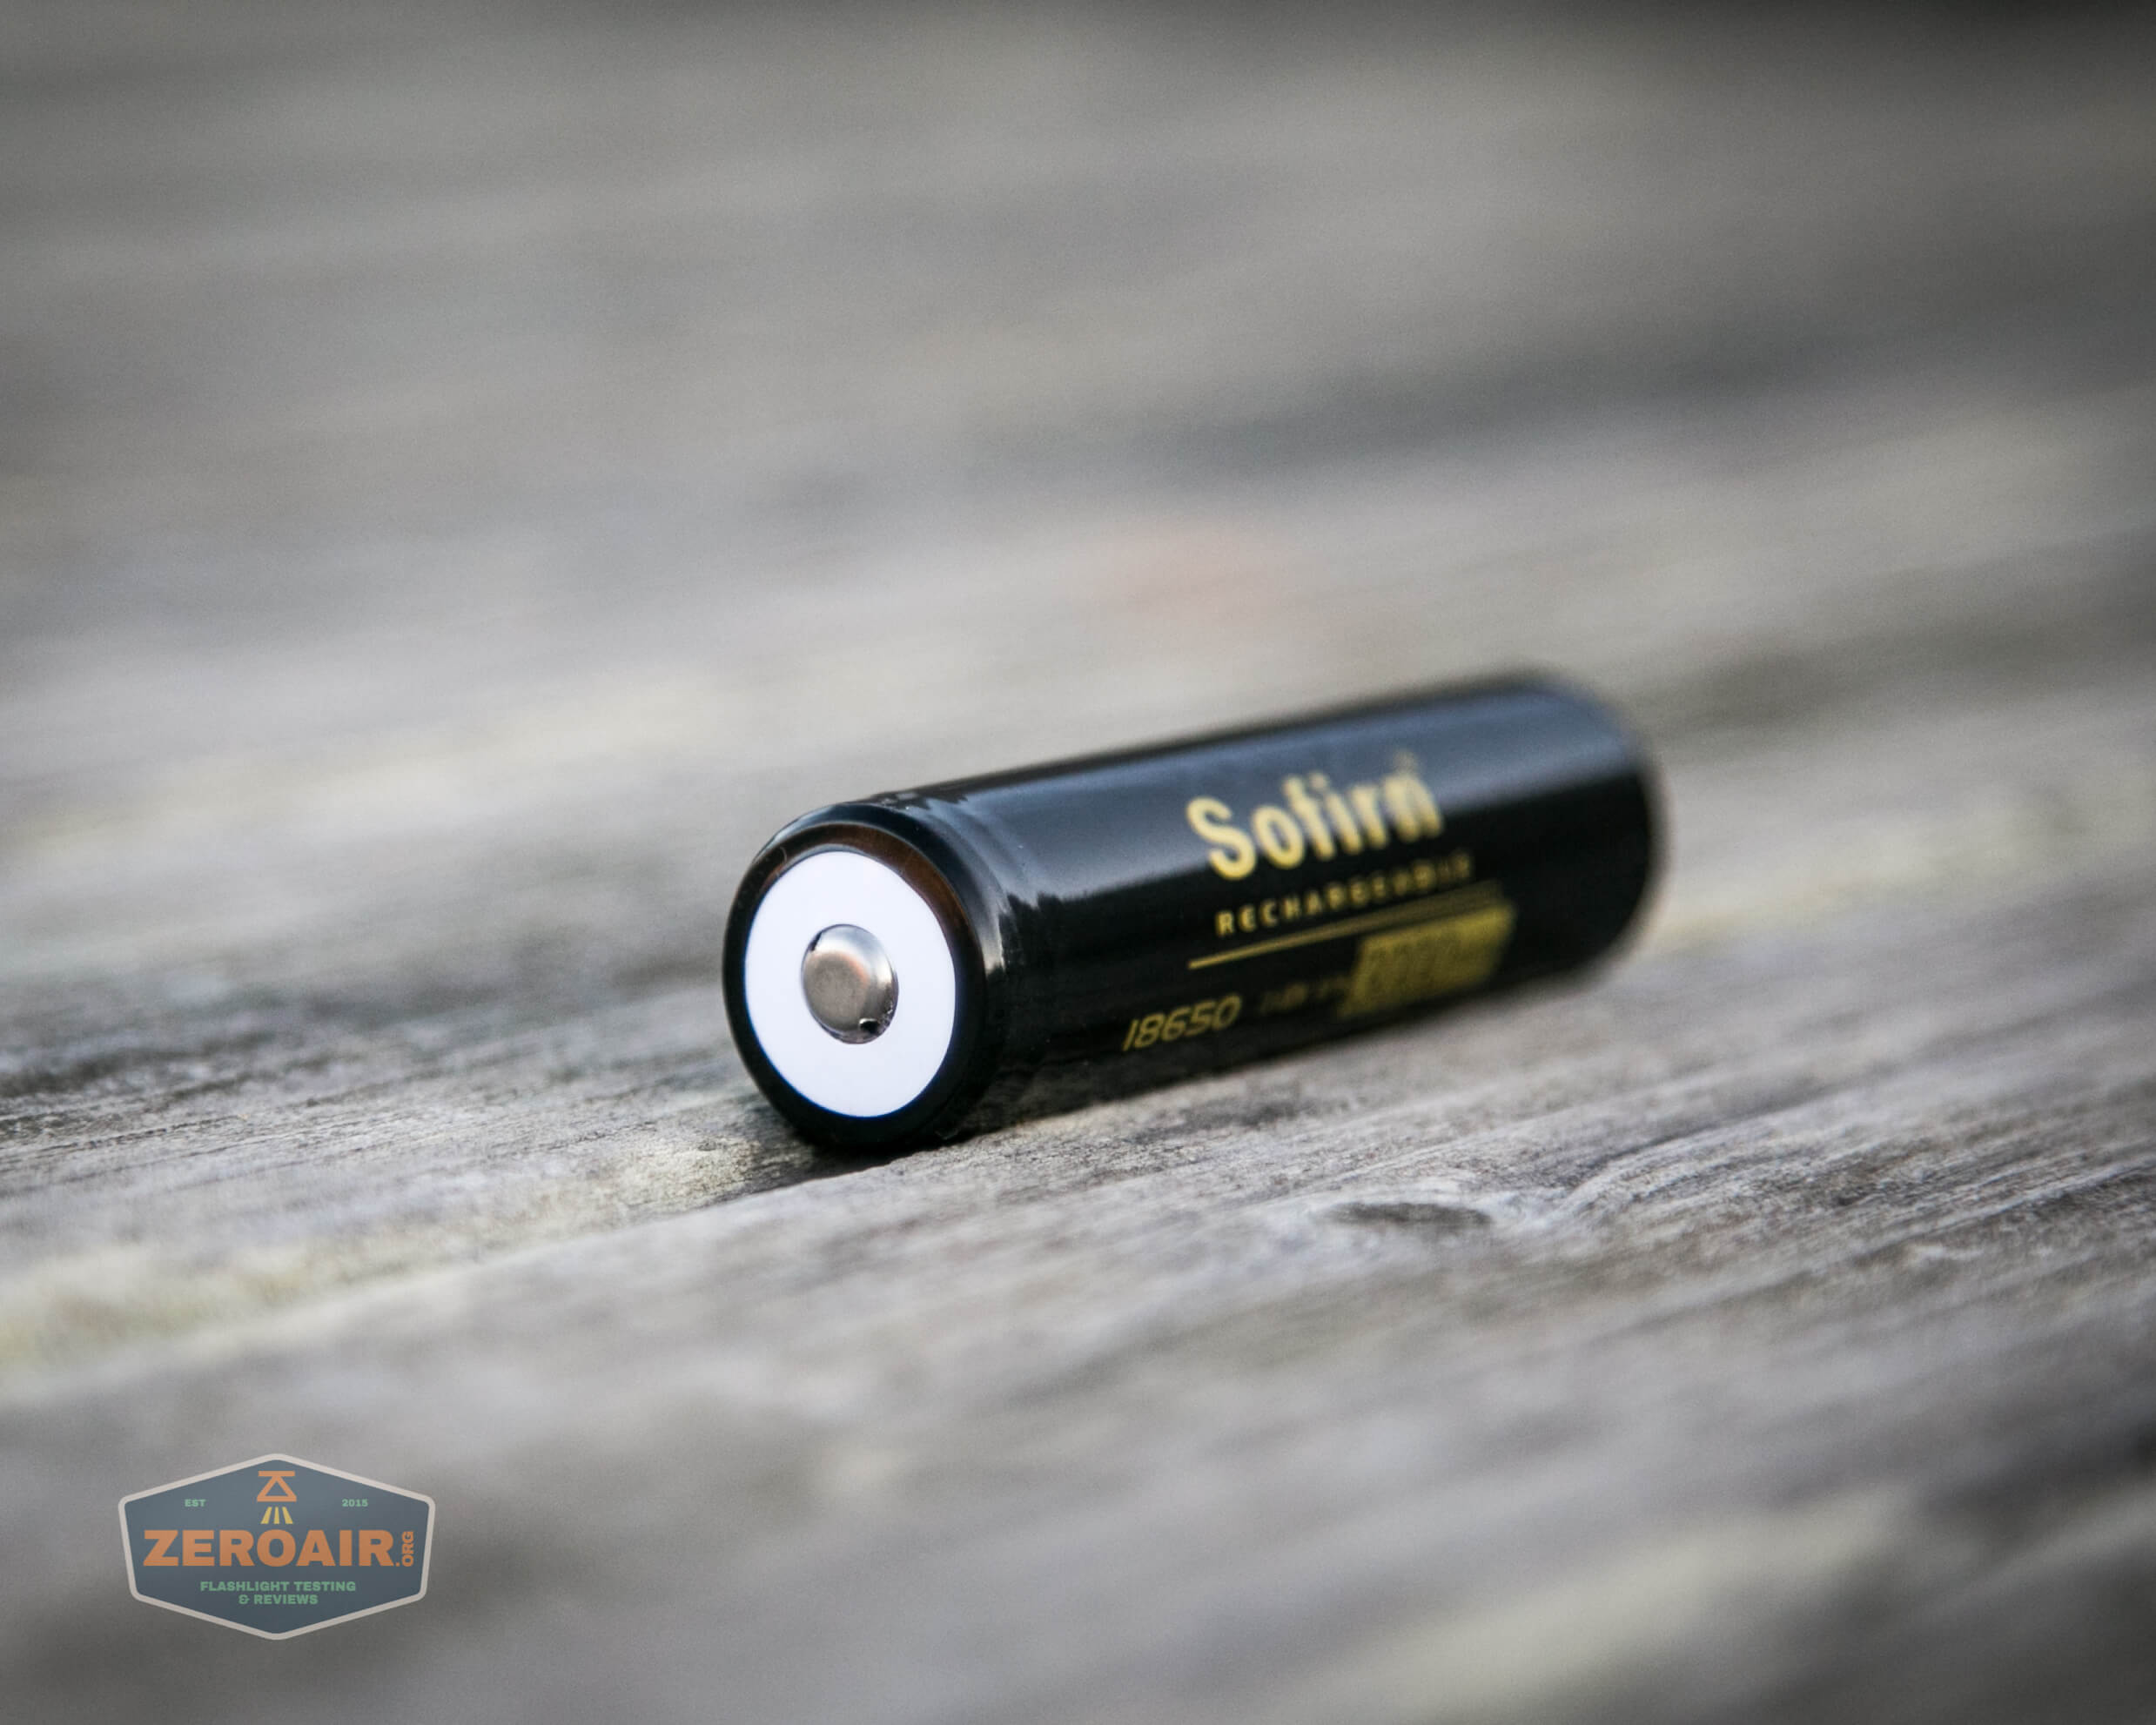

The cell goes into the light in the usual way – positive terminal toward the head.
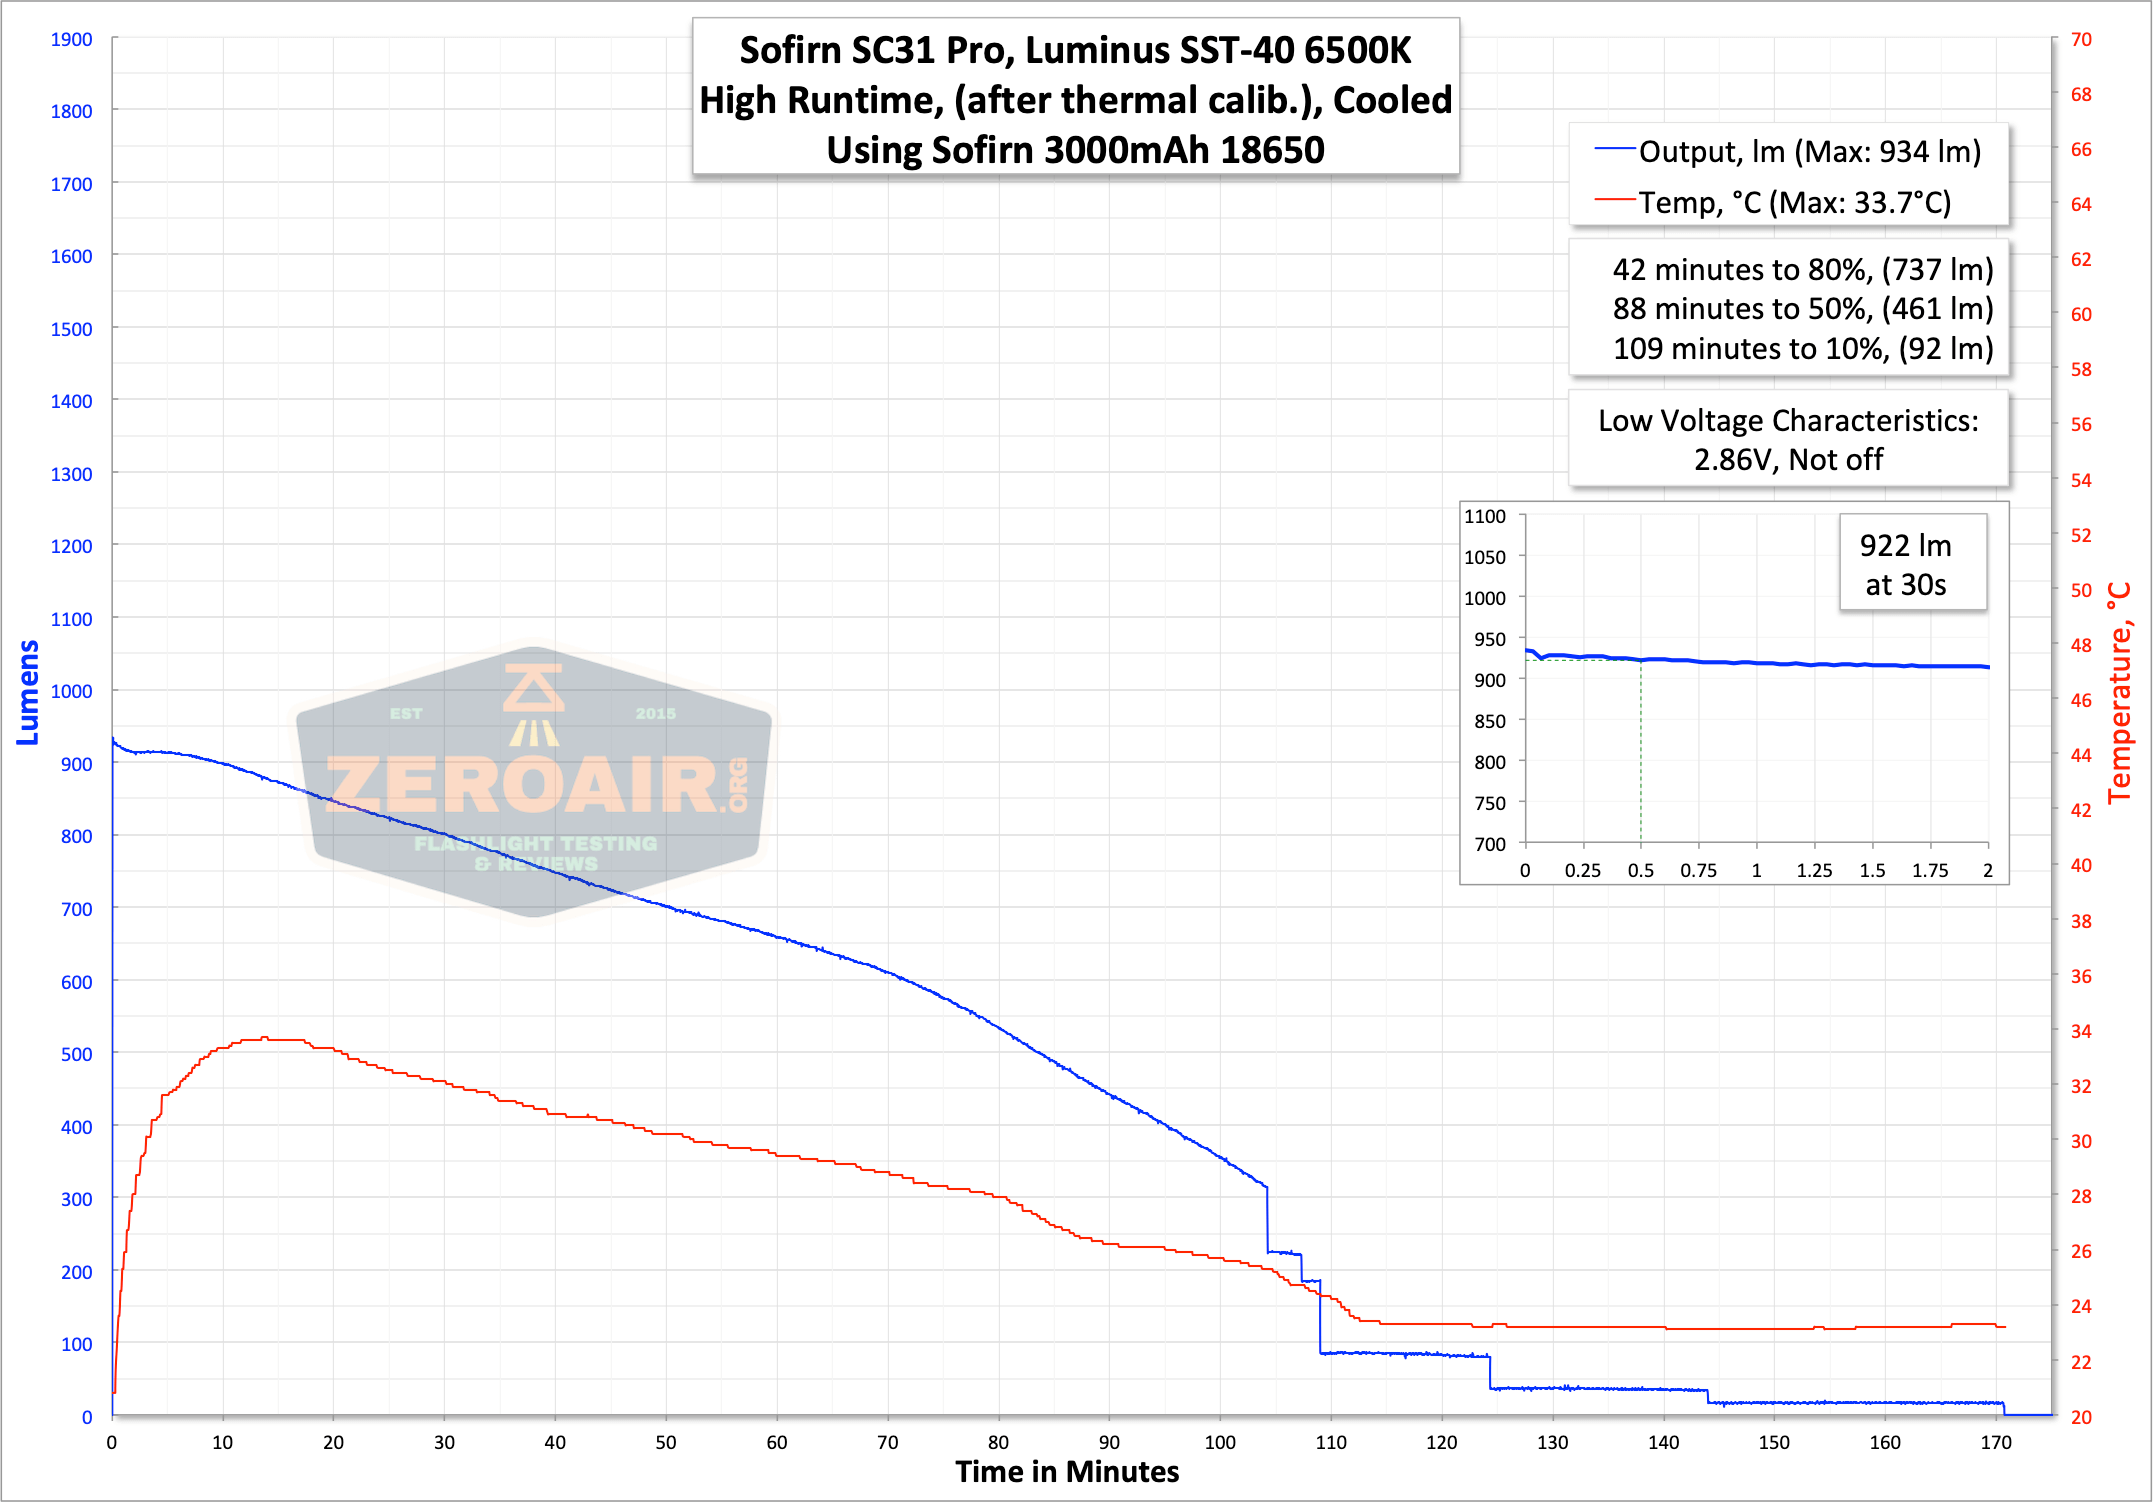
Here are a couple of runtimes. As with most Andúril lights I test, I set the light to the stepped modes and test the two highest modes. First is Turbo (that is, double click when the light is on). The light reaches around 1800 lumens and steps down at ~30s pretty heavily.
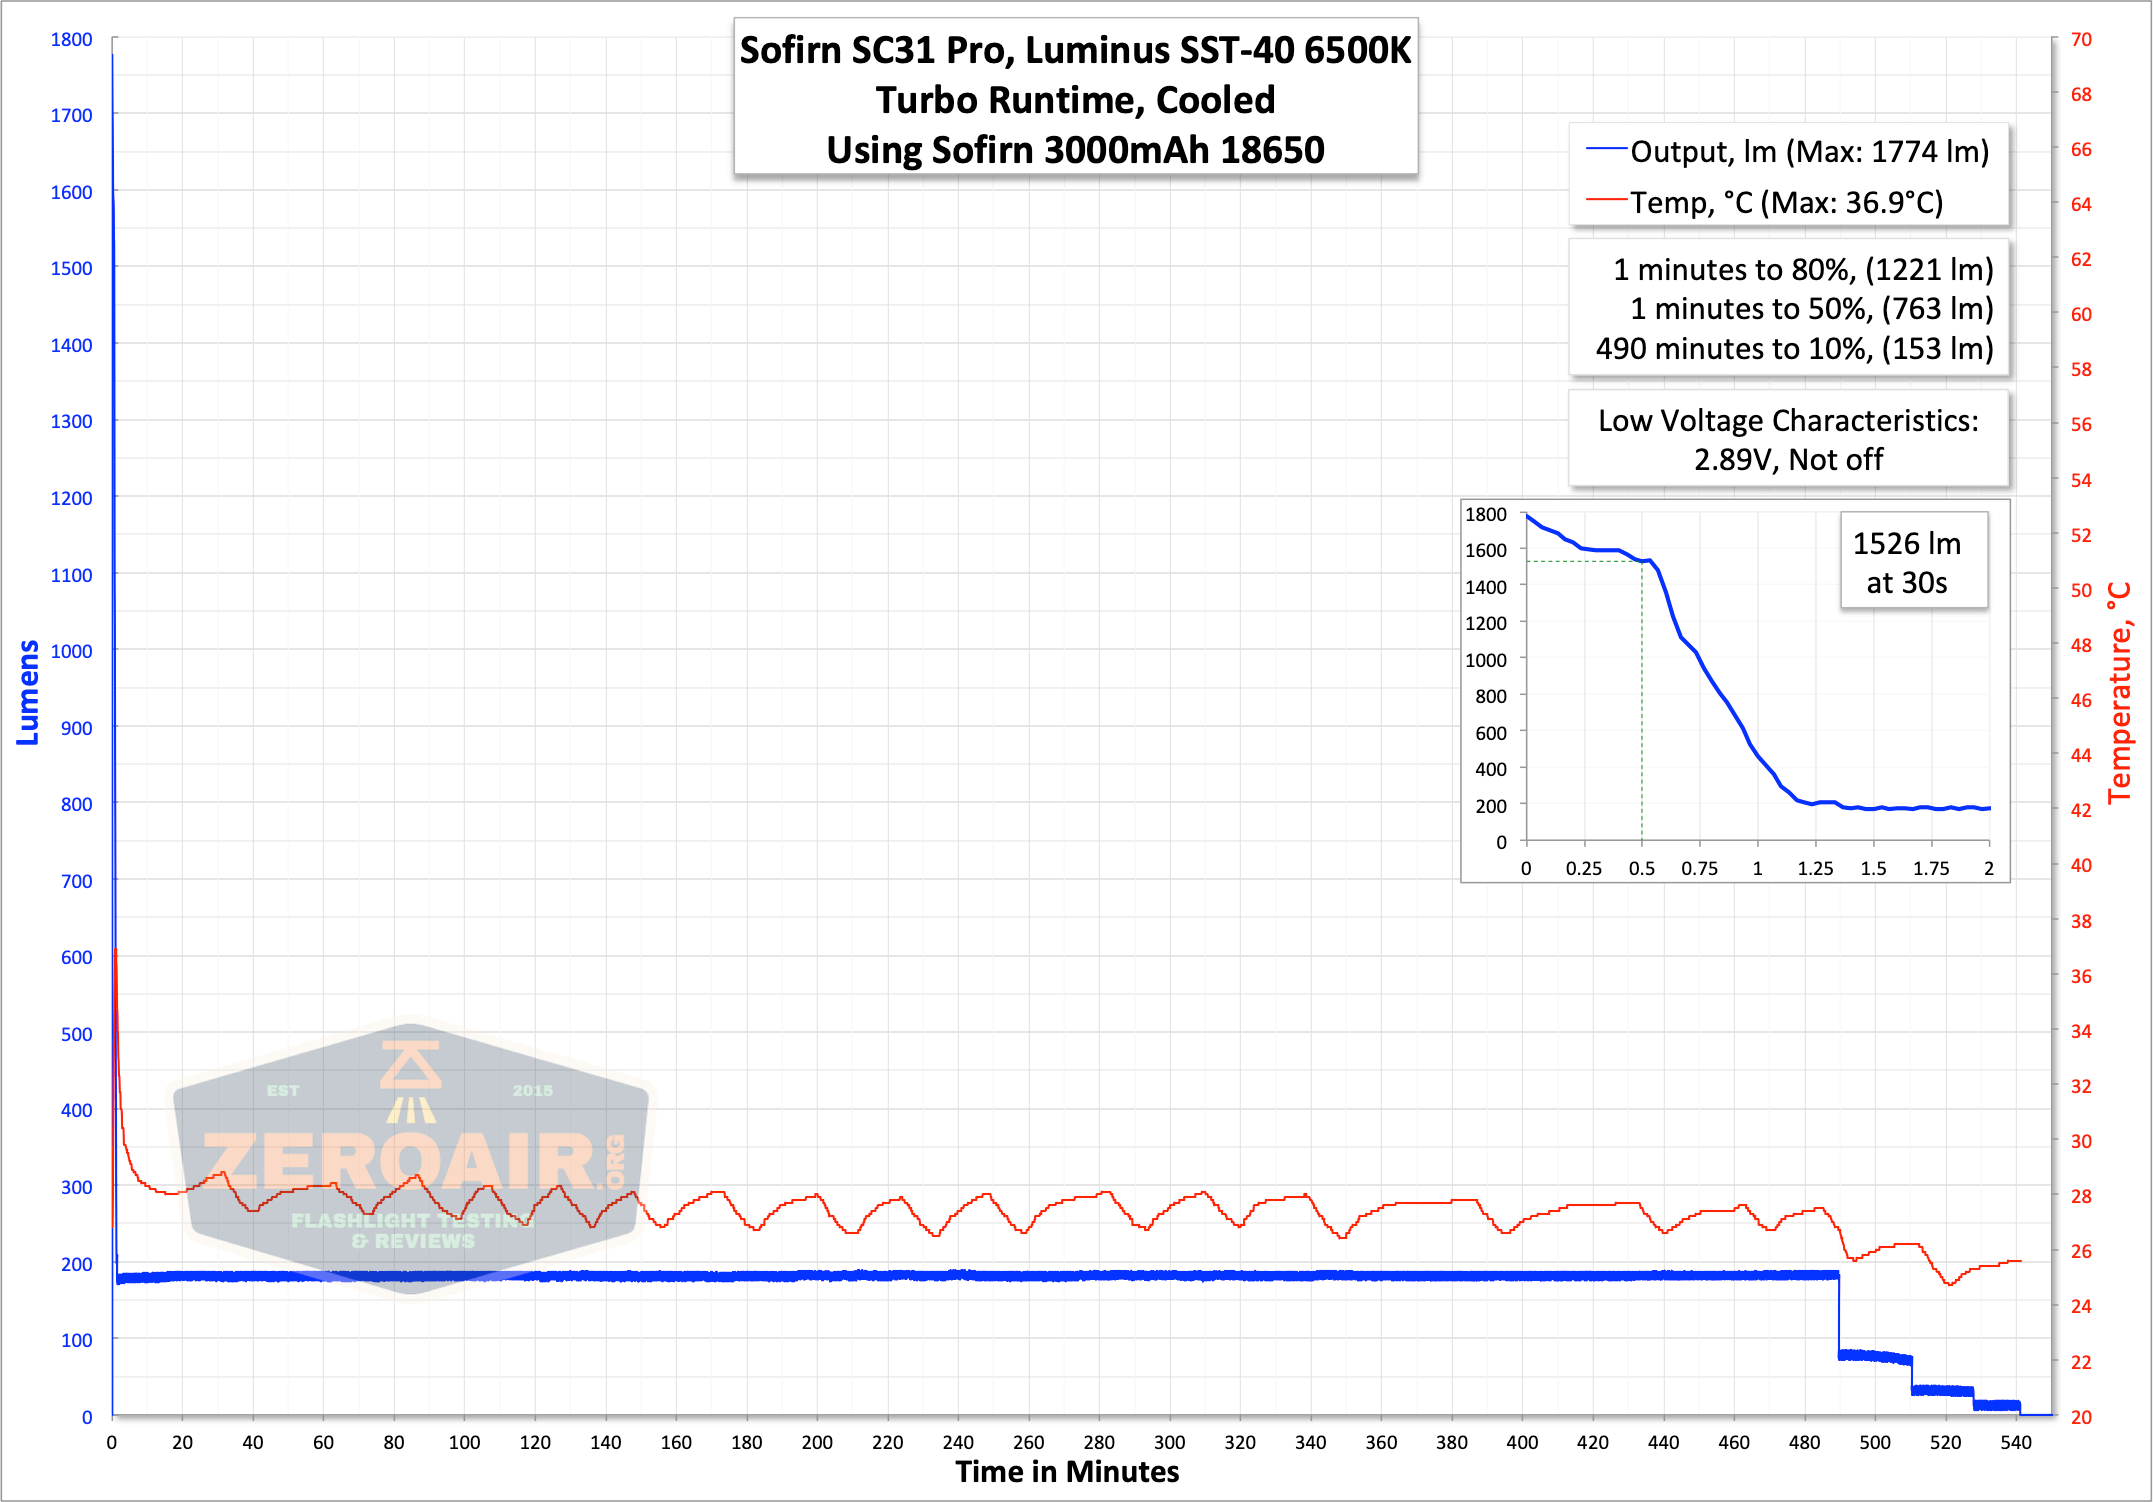
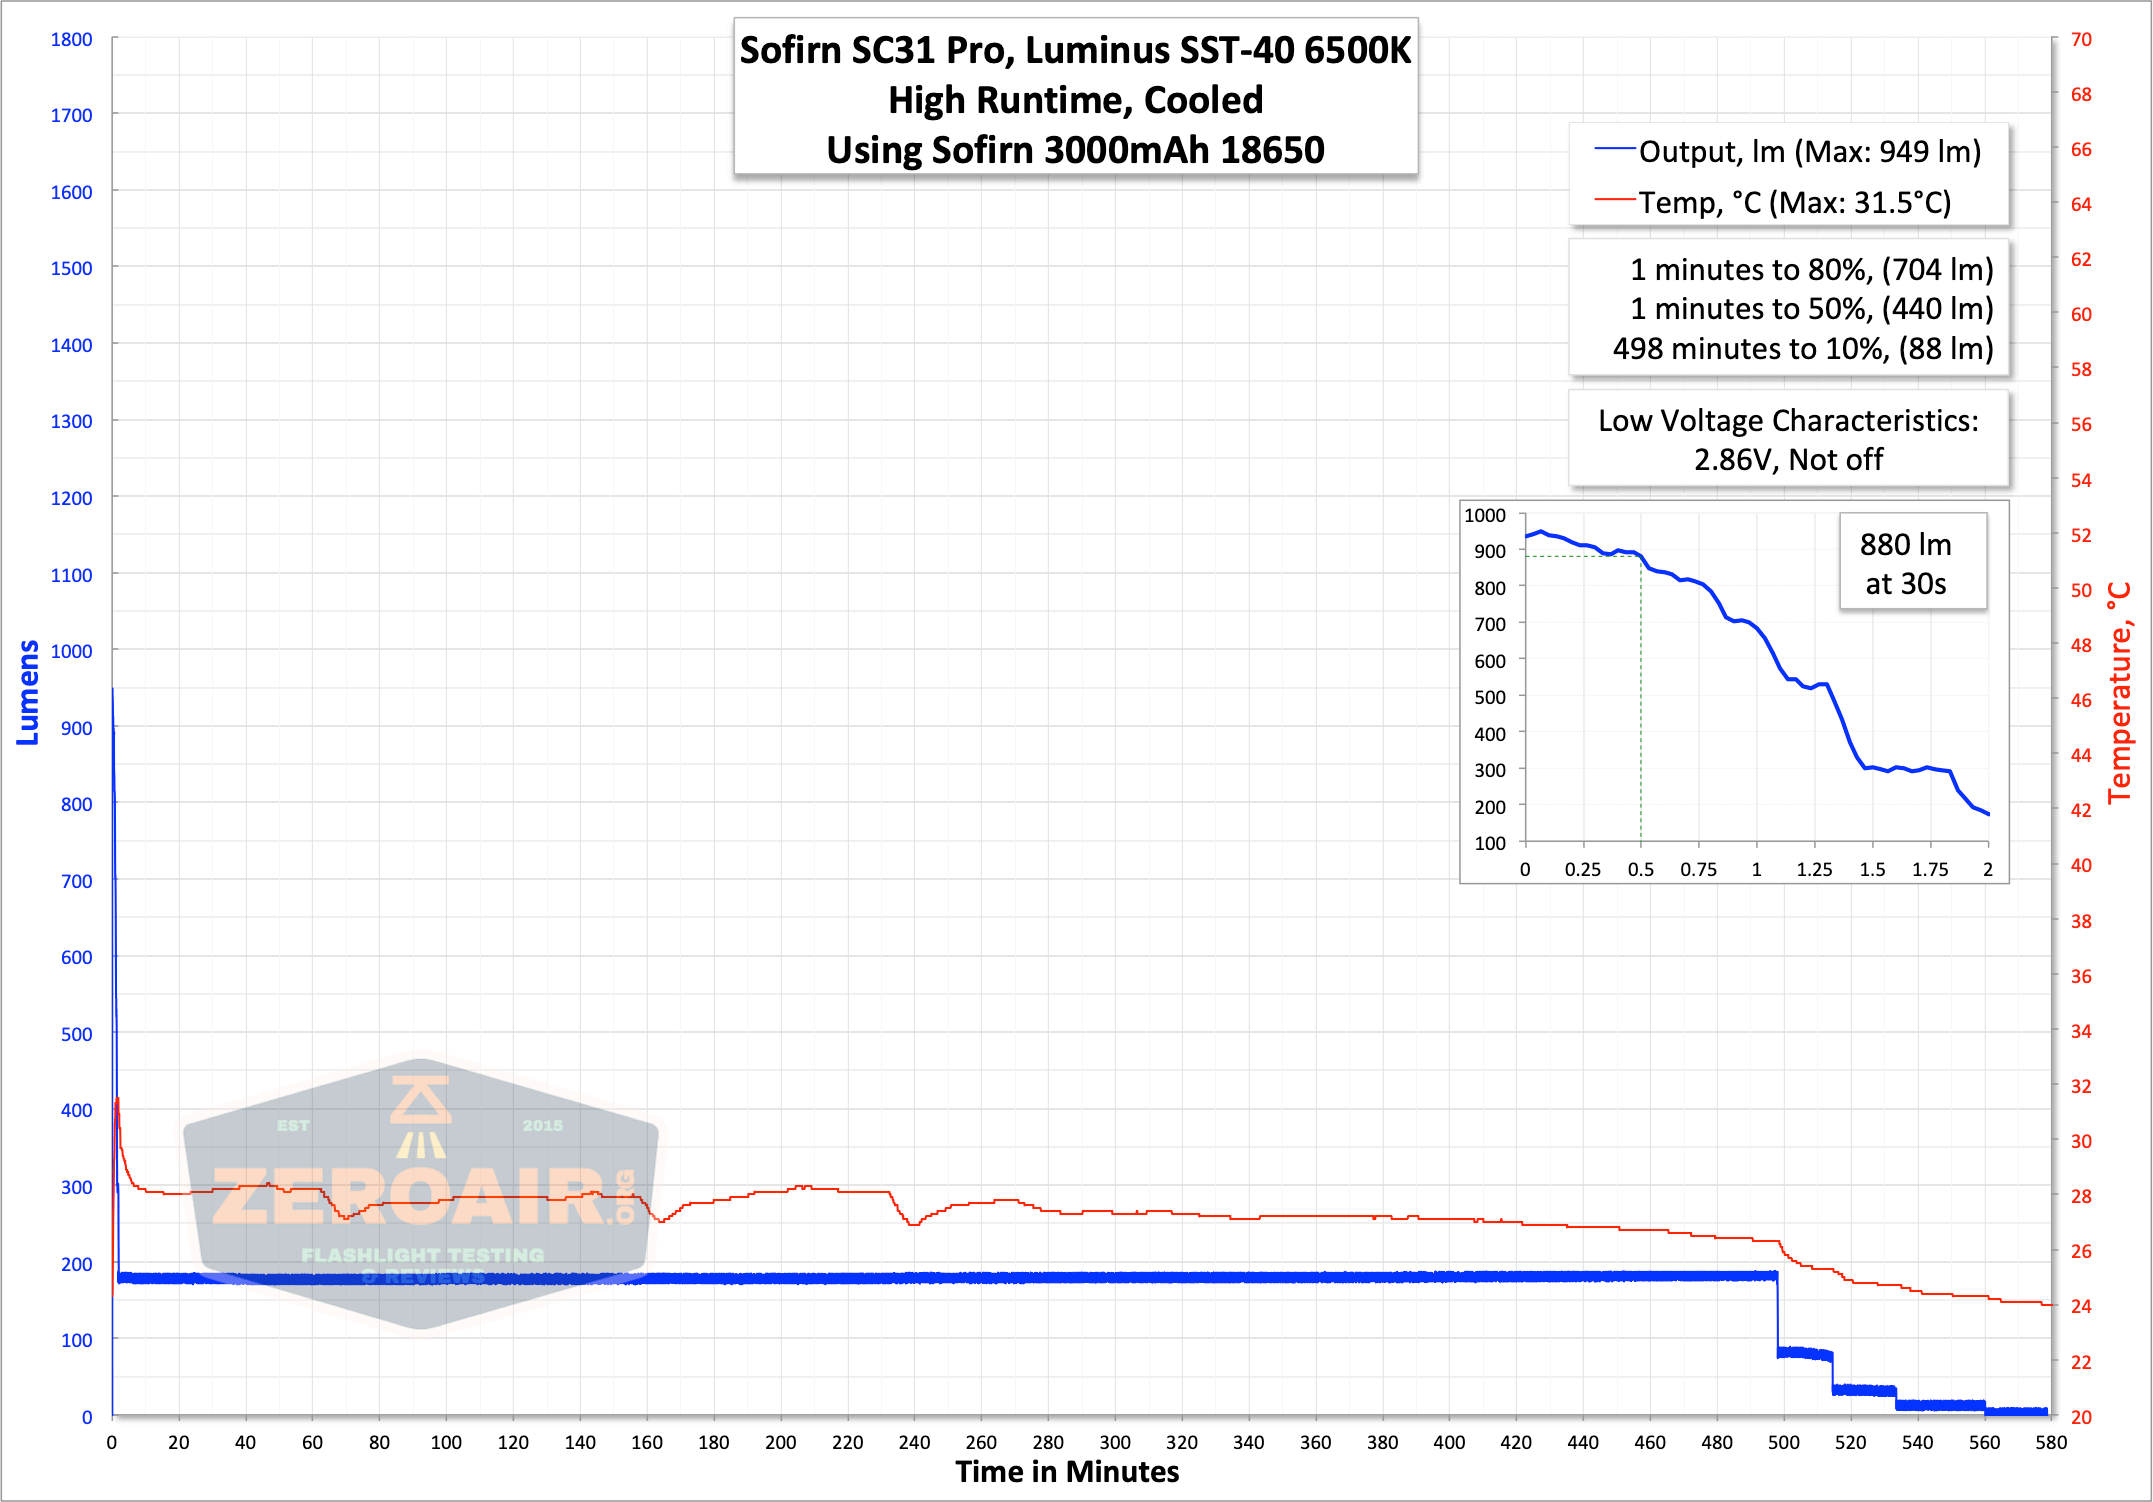
Interestingly, the Highest of the stepped modes also steps down pretty heavily, again to around 200 lumens. I don’t observe low voltage protection when testing with the bench power, but I’m assured Andúril has it!
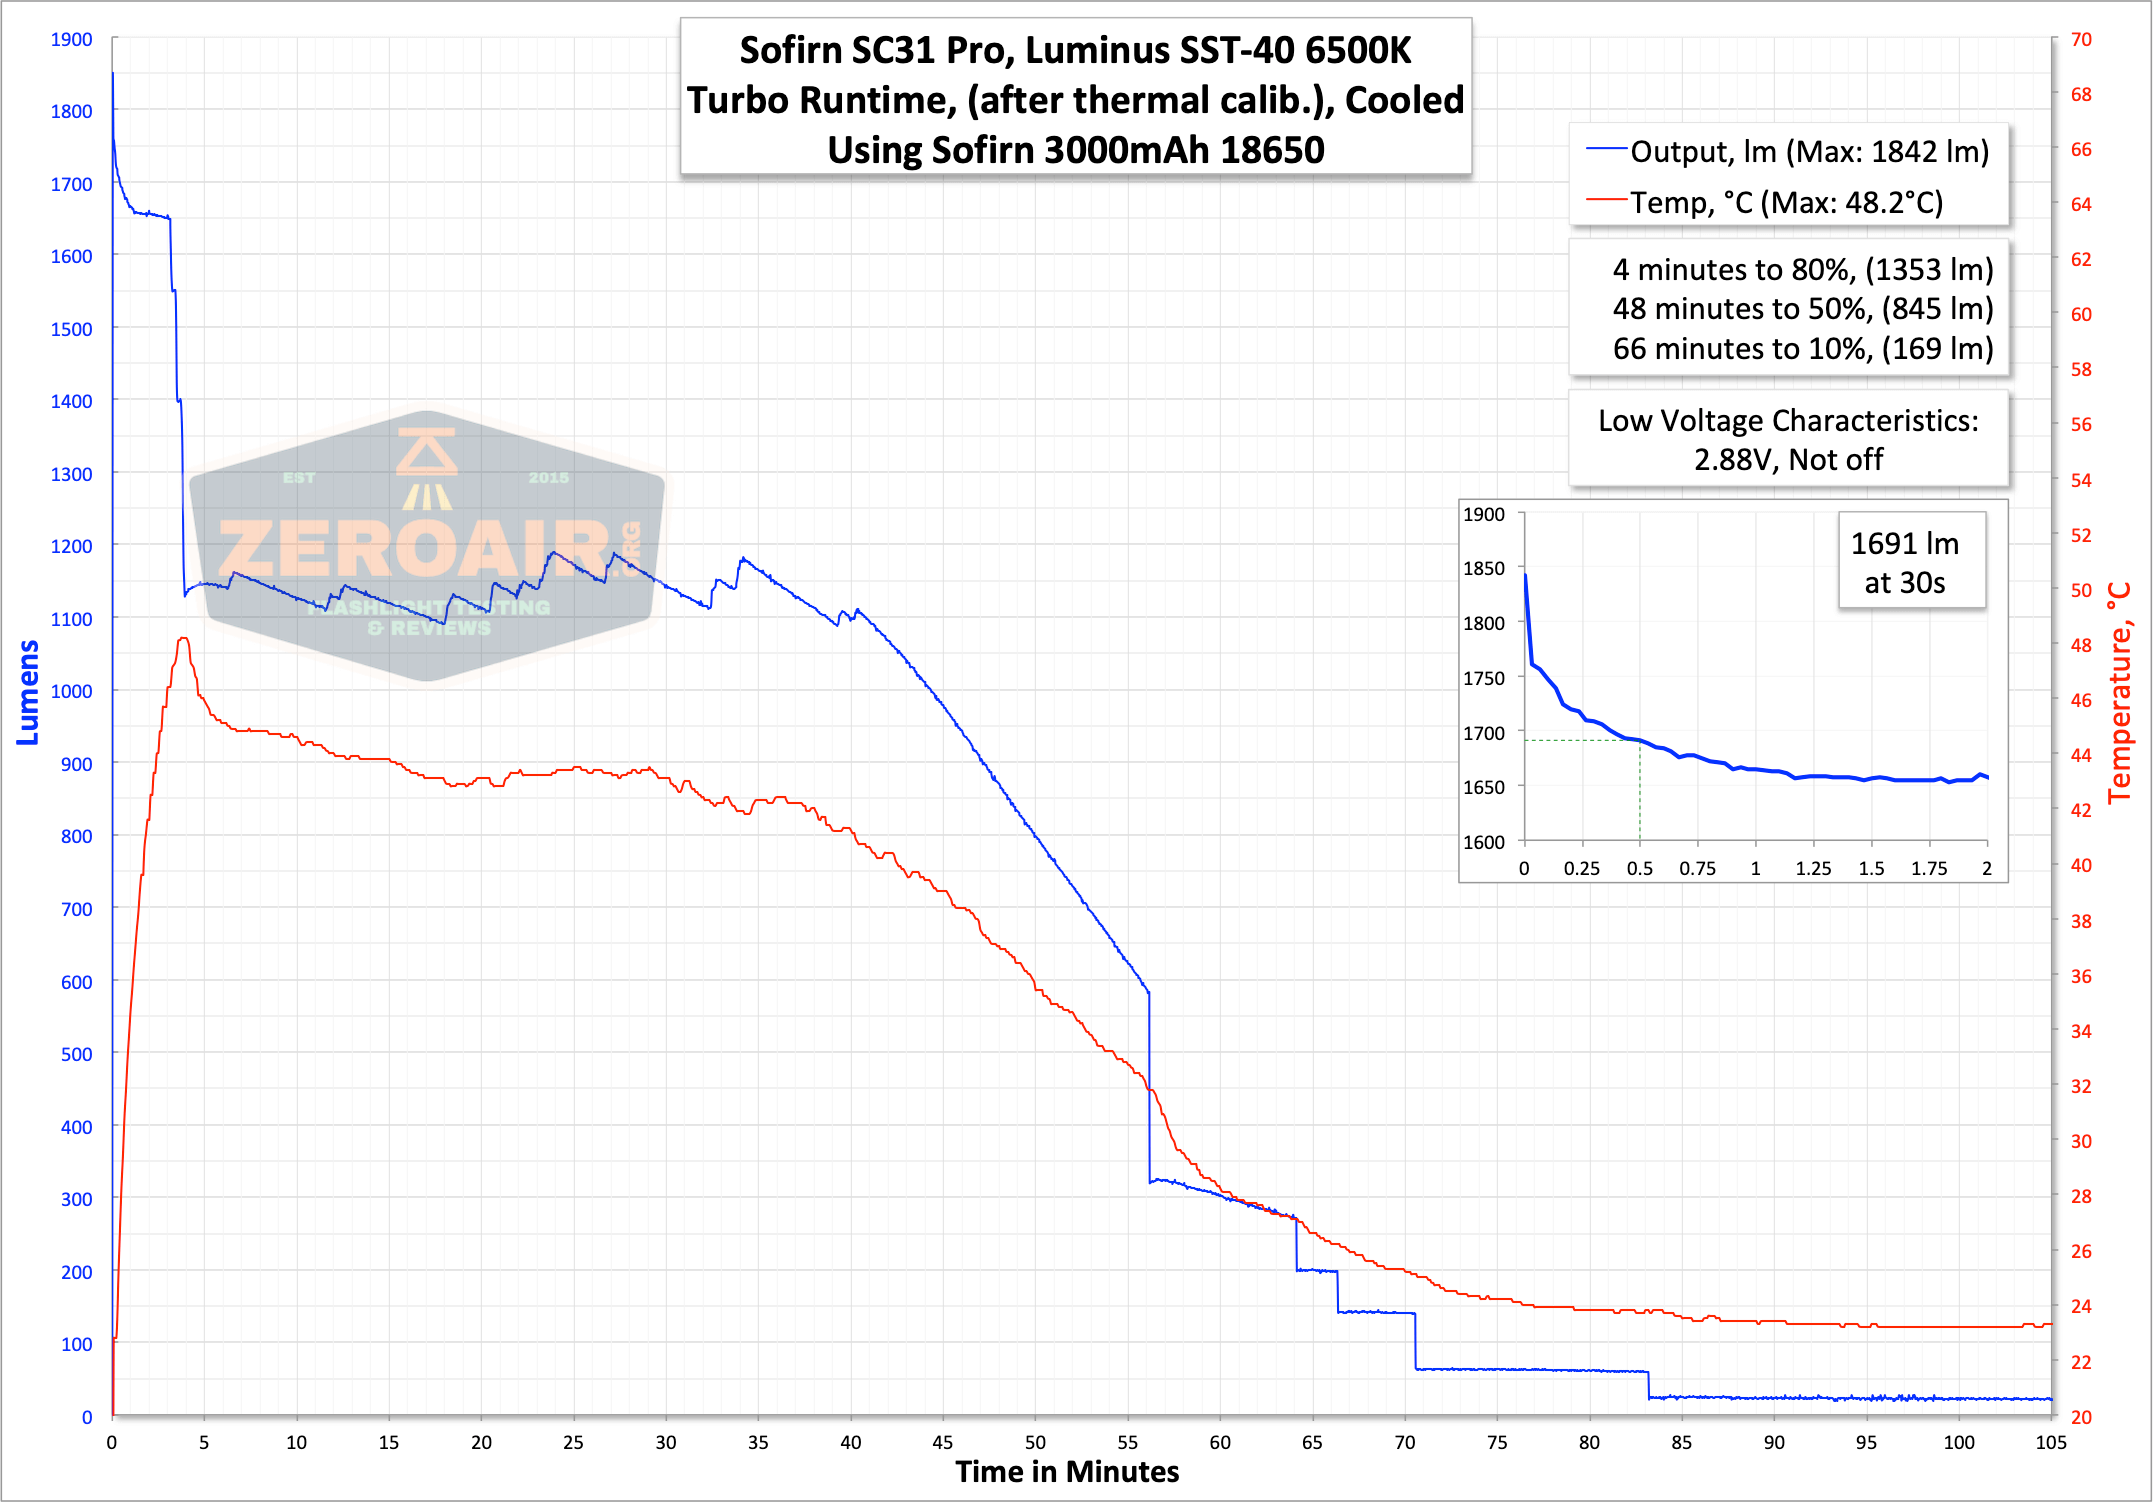
EDIT: Many people have reminded me that often Andúril needs to be calibrated to allow the light to function properly. I don’t disagree, but I also think the light should function correctly out of the box. If it doesn’t, then this isn’t a light suited to beginners, or people unwilling to calibrate. Calibration isn’t hard, but it’s very specific.
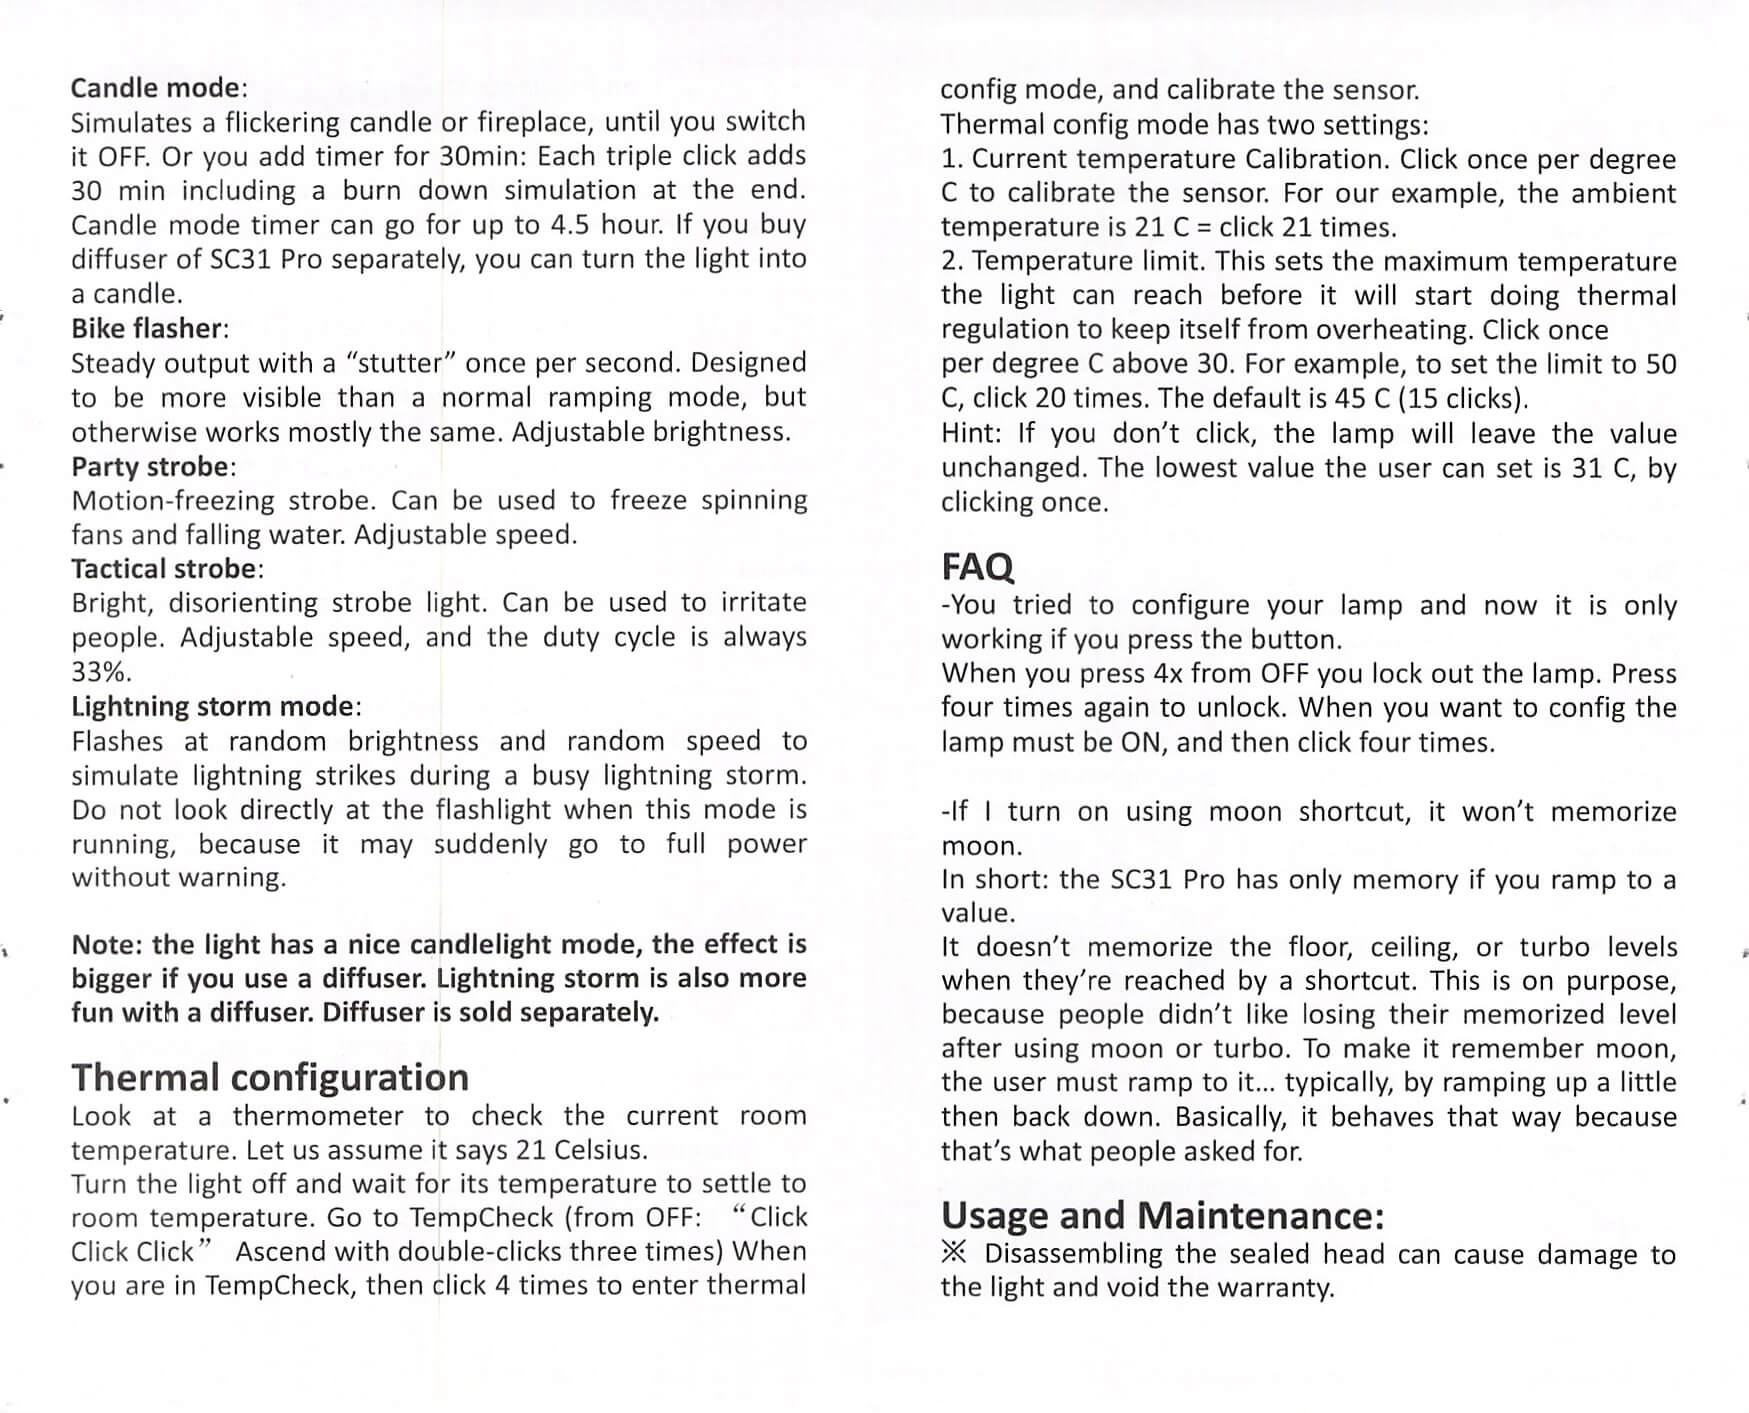
So I calibrated the light. Here’s the graphic that should help with temperature calibration.
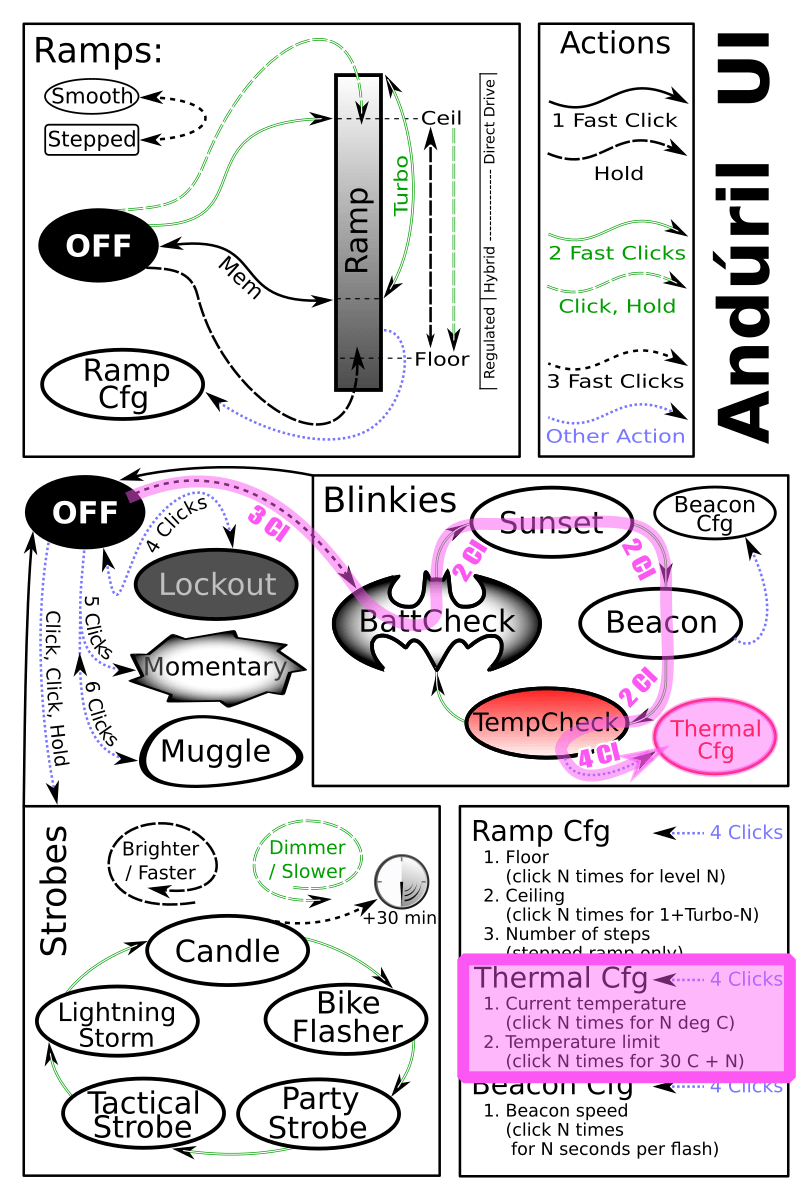
Start with the light off.
Click 3x – this puts you in battery check. Feel free to confirm this by waiting for the battery check output.
Click 2x – this puts you in Sunset.
Click 2x – this puts you in Beacon. I pause here to confirm I’m in Beacon.
Click 2x – this puts you in the Temp check mode.
At this point, wait and see what the calibration is. The light will blink a number of times (the tens number), then blink a number of times to reveal the ones number of the thermal setting, in degrees Celsius. For example, when I checked temperature calibration, the light blinked 4x, then paused, then blinked 1x. But pay attention…. it could have also been 1 blink followed by 4 blinks. Forty-one, or onety four… no… 41°C or 14°C. The latter is more reasonable, so let’s assume it’s 14°C. Even at 14, that’s too low for my room temp, so I’ll need to calibrate the light.
What does that mean, though? It means that the light thinks my room temperature is 14°C or 41°C. That’s far (or very far) off – my room temperature is around 22°C. It also means that there’s only a tiny window of operation before the light hits the thermal ceiling as programmed (probably 50°C, but I’m not sure).
This light definitely needs thermal recalibration. I set the room temperature to [accurate] – 22°C. Then I set the temperature limit to around 55°C. That means there’s a broad range of operating temperatures for the light to work – from room temperature, 22°C, all the way to 55°C.
Once you’re in temperature check (covered above), do the following:
Click 4x. The light will blink 1x and then blink very quickly as an indication that it is willing to accept your input. You can do nothing (aka “wait”) or click the number of degrees C of your room, 1 degree per click. This means that while the light is blinking for my input, I clicked 22x. Now the light knows that this temperature is 22°C. Important!
Click 4x. The light will blink 2x and then blink very quickly as an indication that it is willing to accept your input. You can do nothing (aka “wait”) or click the number of times you wish for the thermal ceiling minus 30. For example, if you wish to set the ceiling to 55°C (as I did), then you click 55-30, or 25x. Now thermal calibration is complete.
After doing all this, I reran two output tests, which can be seen below.
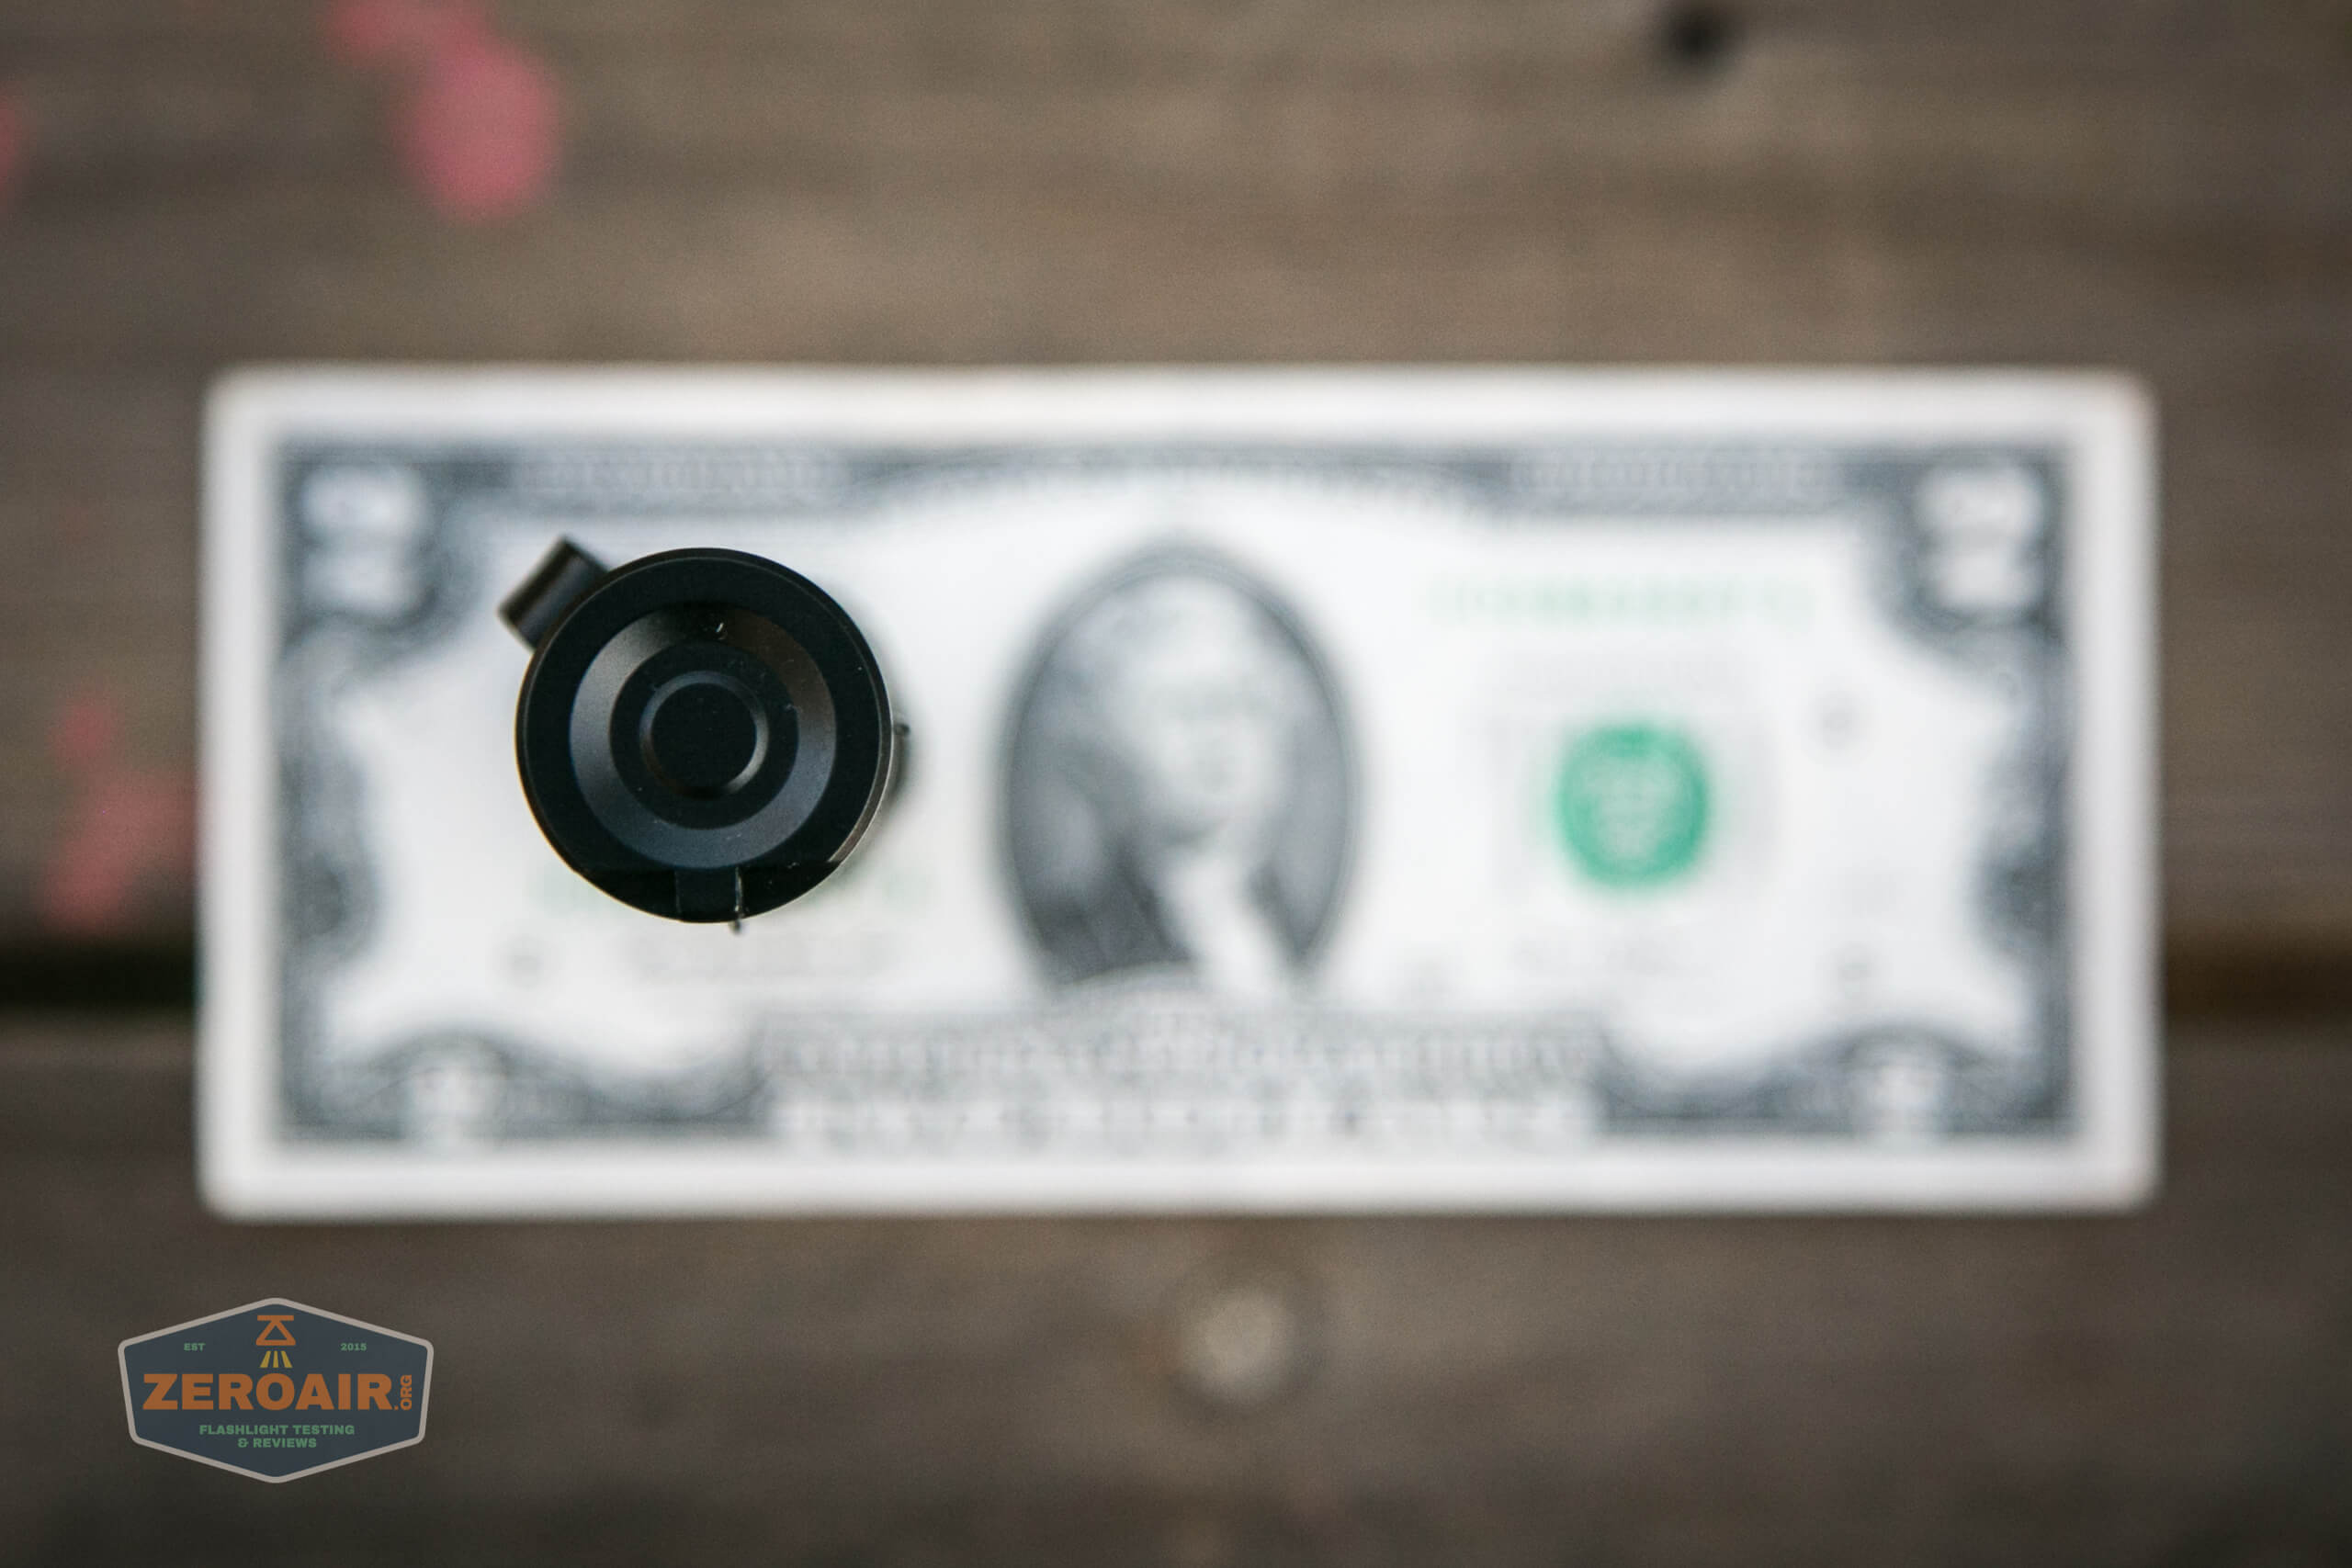
Charging
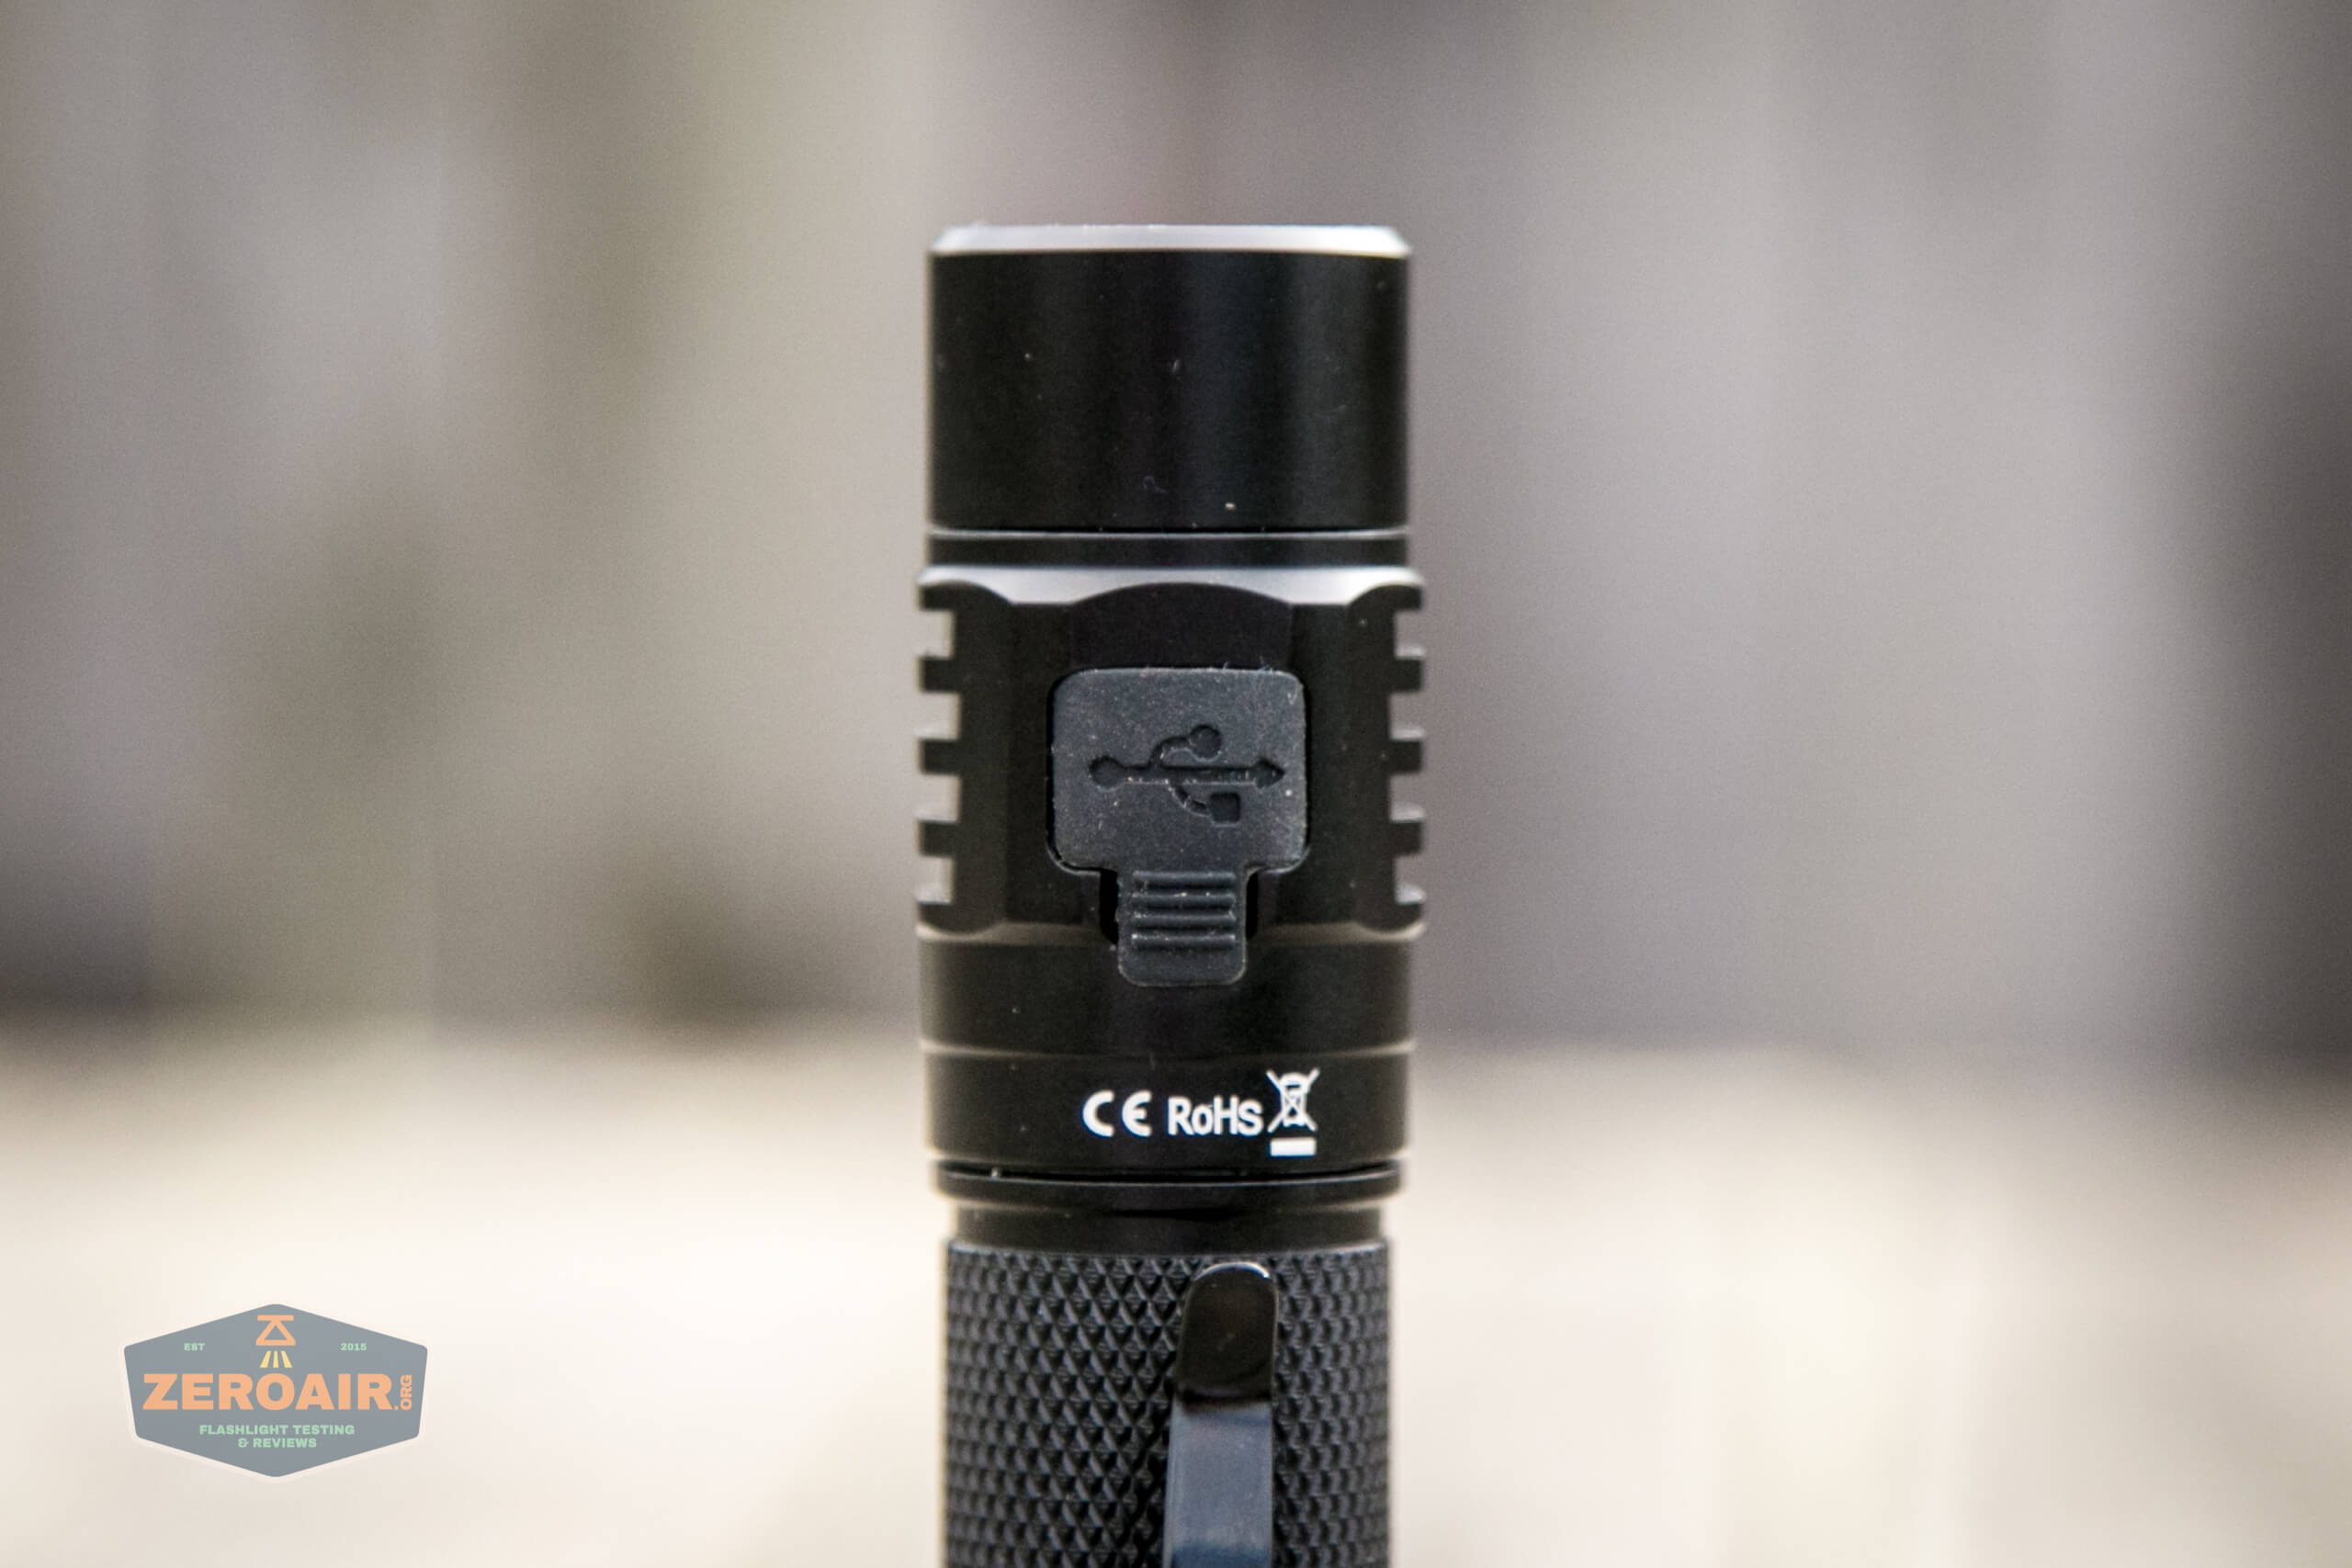
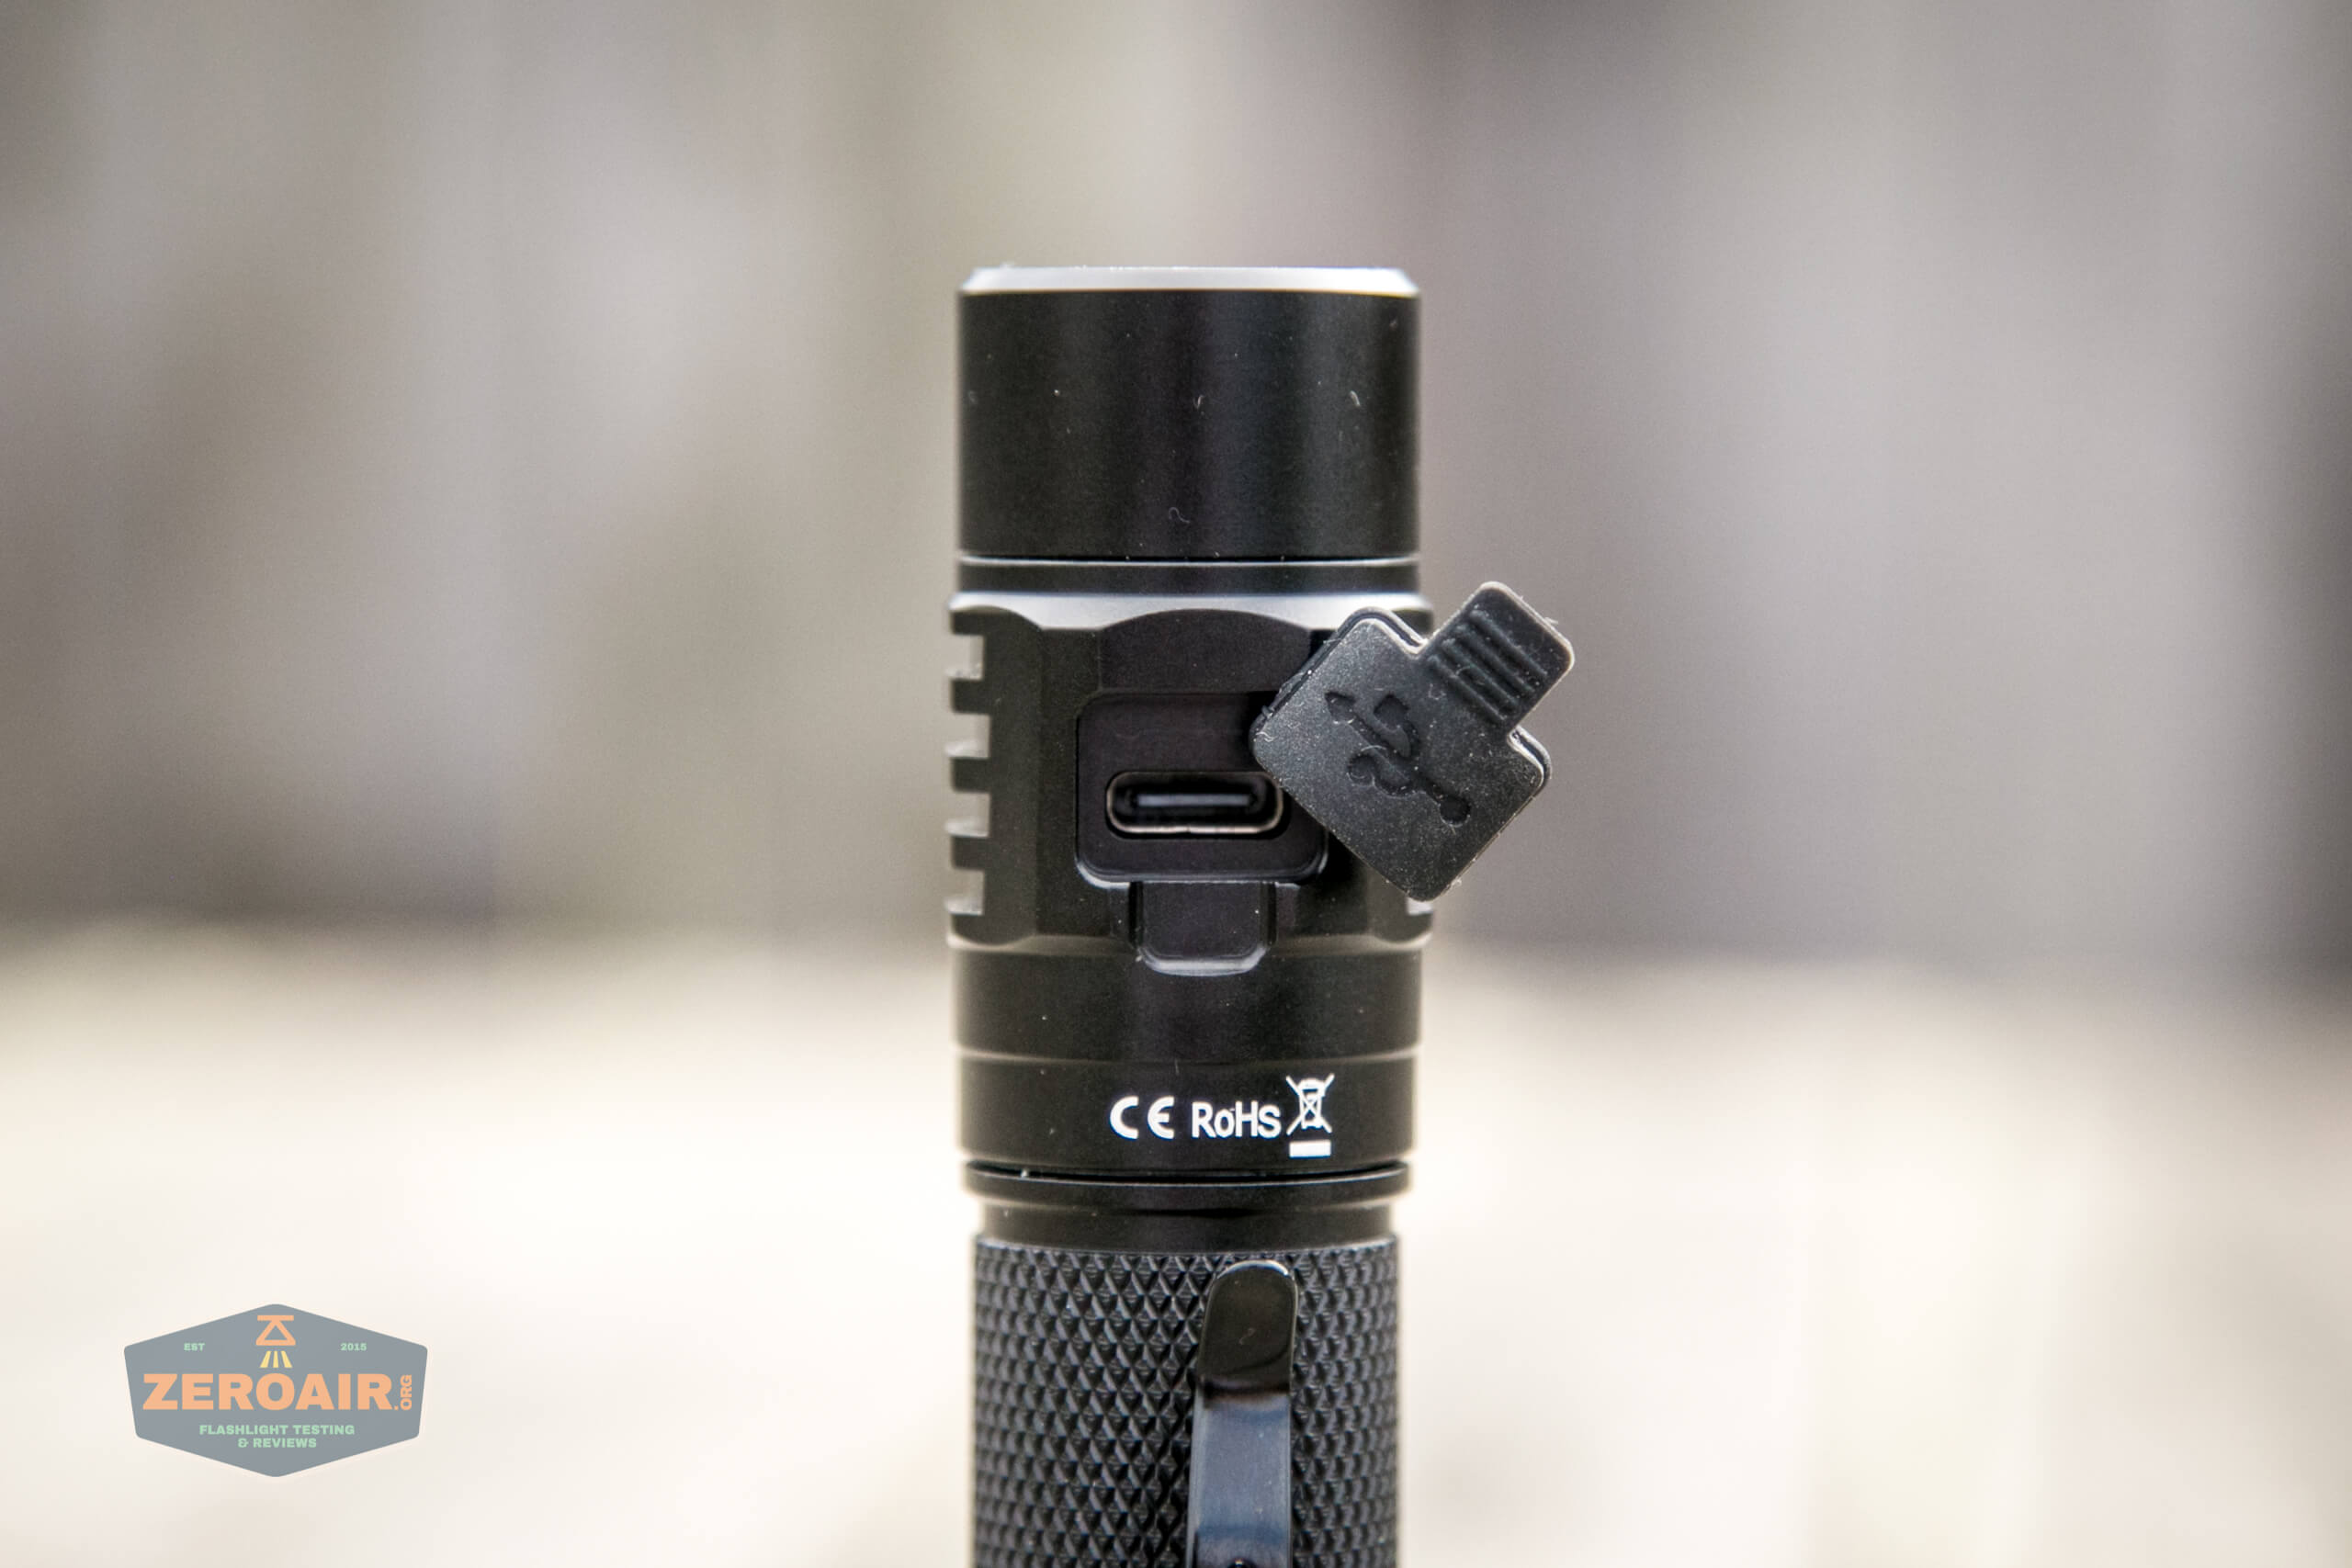
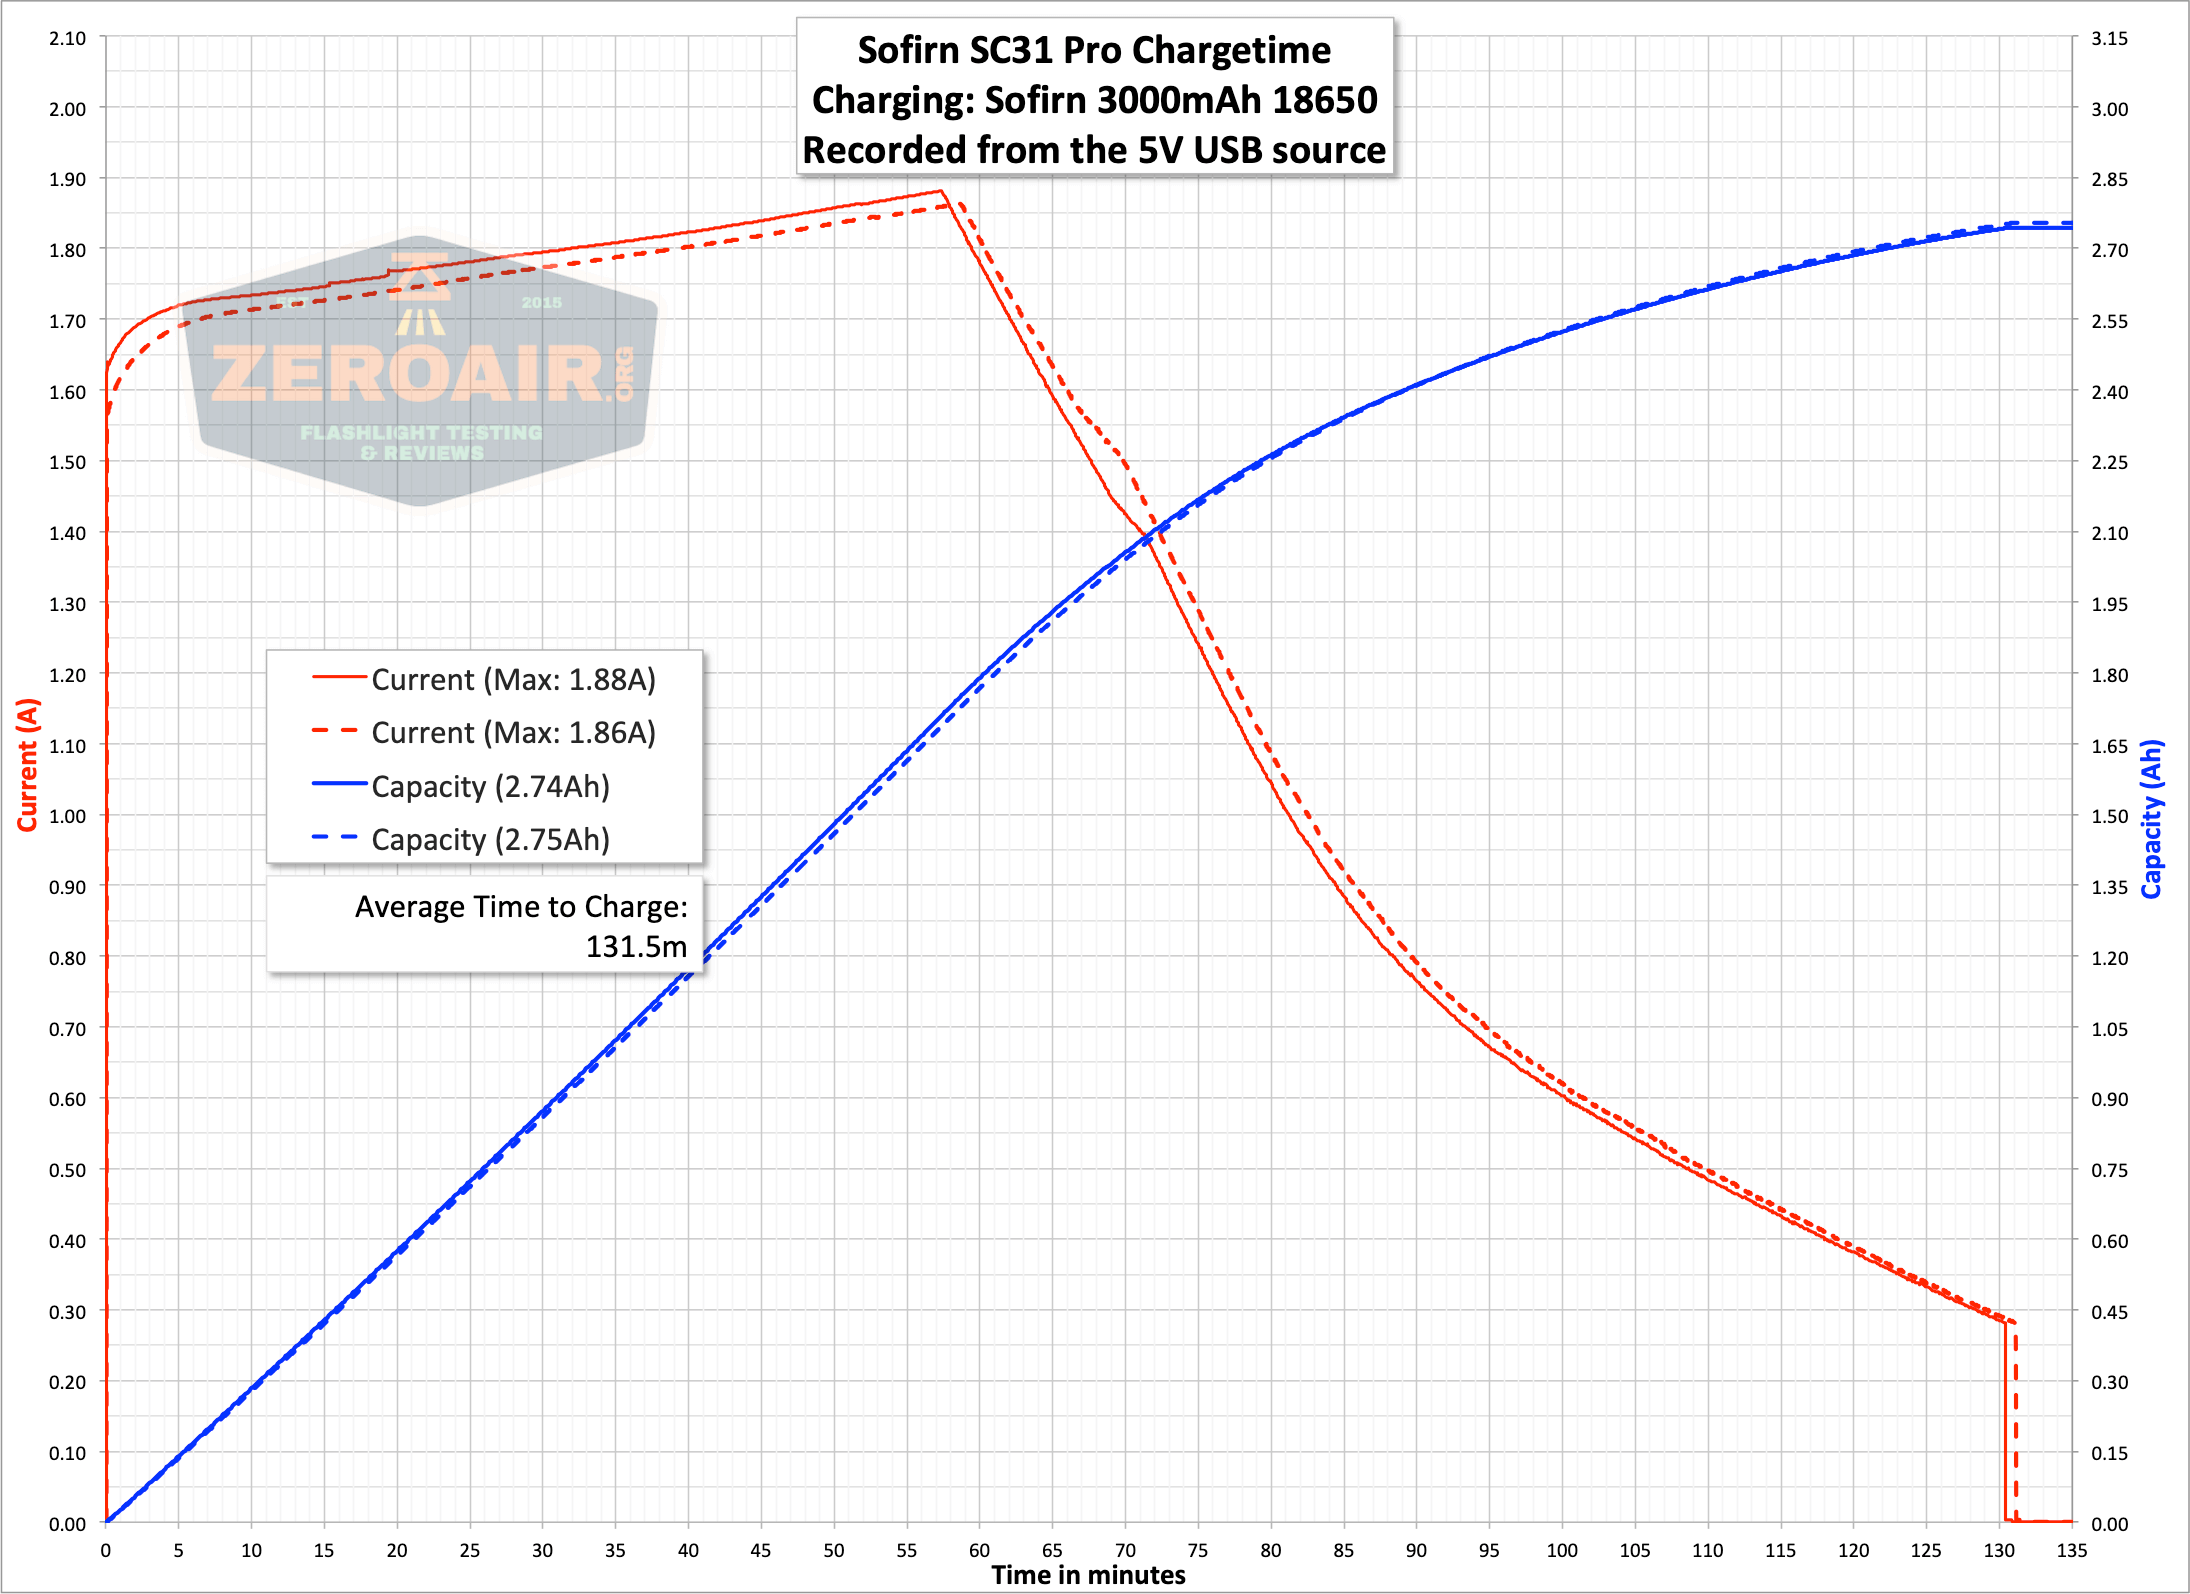
The SC31 Pro also has built-in charging, by way of a USB-C port in the head. The charge port cover is thick and fits in very firmly, and is quite nice.
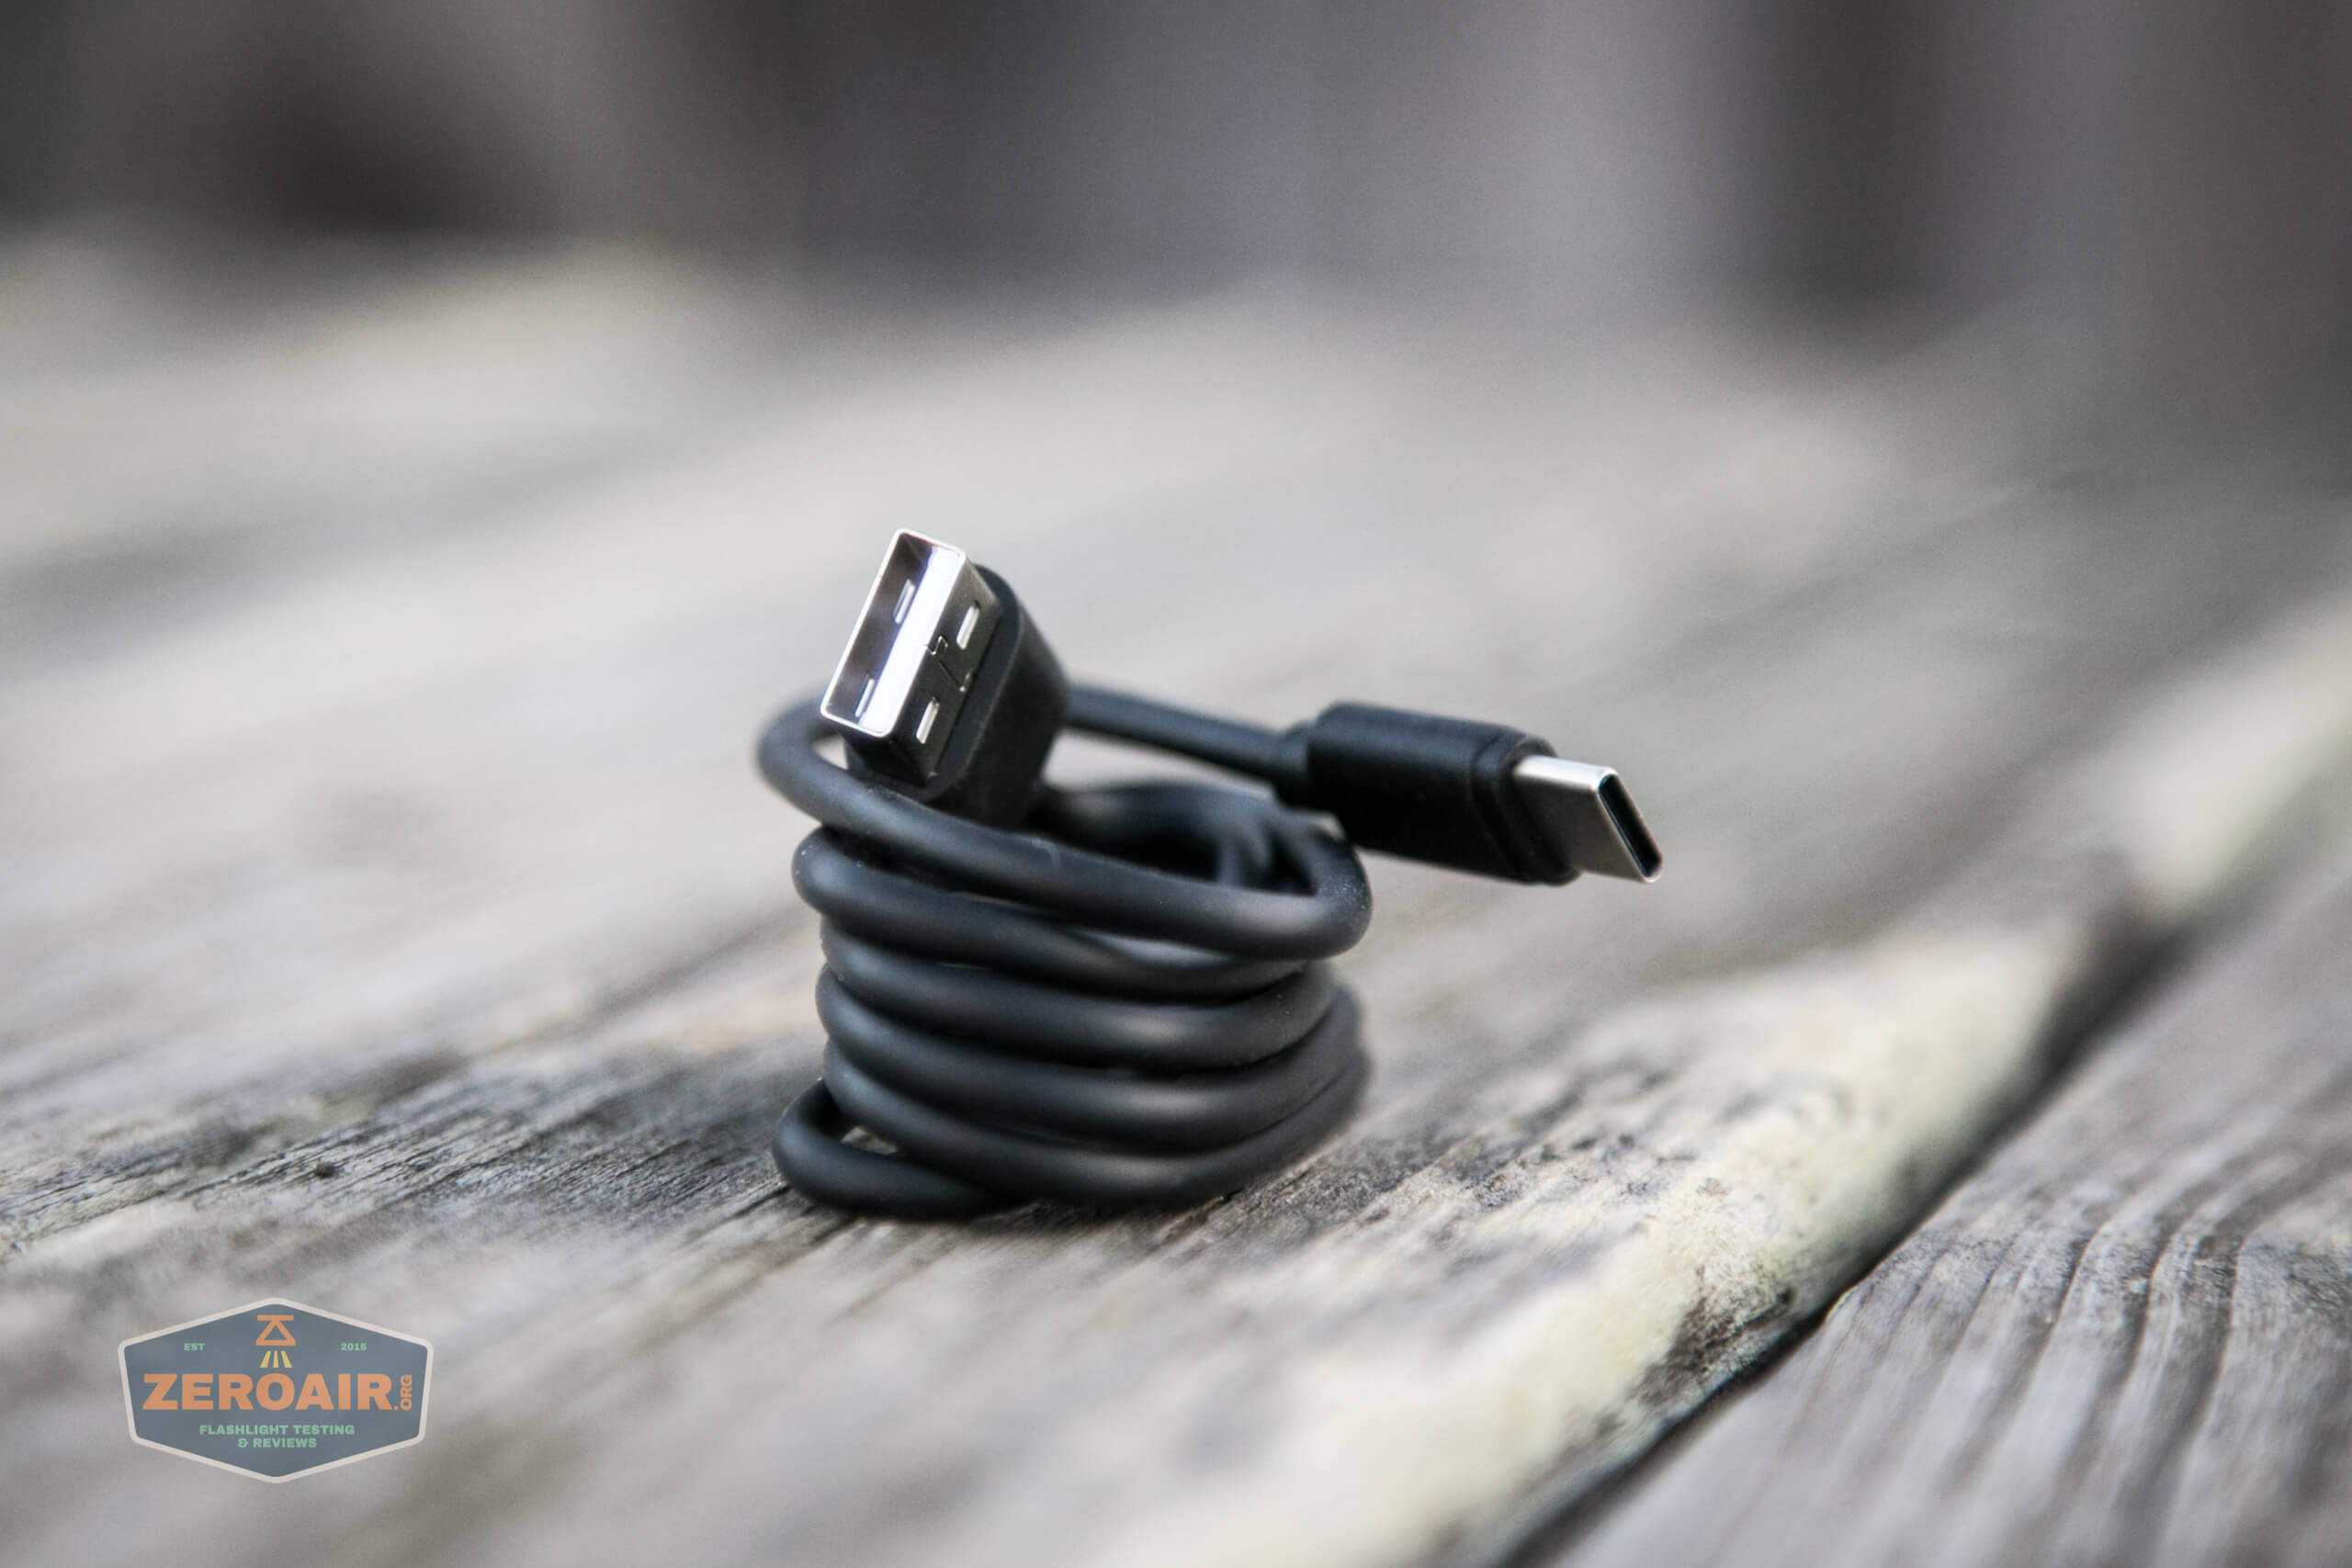
An appropriate cable is included. USB to USB-C.
Charging is a respectable ~2A, and takes just over 2 hours.
Modes and Currents
| Mode | Mode Claimed Output (lm) | Claimed Runtime | Measured Lumens | Tailcap Amps |
|---|---|---|---|---|
| 9 | 2000 | – | 1691 | 6.80 (and rapidly declining) |
| 8 | – | – | 922 | 2.40 (and rapidly declining) |
| 7 | – | – | 648 | 1.34 |
| 6 | – | – | 371 | 0.73 |
| 5 | – | – | 214 | 0.44 |
| 4 | – | – | 103 | 0.20 |
| 3 | – | – | 41 | 0.08 |
| 2 | – | – | 5 | 0.02 |
| 1 | – | – | ~ | ~ |
Pulse Width Modulation
Andúril lights (that aren’t the linear drive as the Emisar D4V2 with E21A is) have PWM, we know this. It’s not bad enough that I notice it, though (surprisingly; it’s pretty slow on low!)
You’ll note 9 test modes below (while there are only 7 stepped modes). Since the ramped low is much lower than the stepped mode’s low, I’ve included it. The right-most is the “double click turbo.”
 Here you can see a “baseline” – a chart with almost no light hitting the sensor.
Then there’s the Ultrafire WF-602C flashlight, which has some of the worst PWM I’ve seen. It’s so bad that I used a post about it to explain PWM! Here are multiple timescales (10ms, 5ms, 2ms, 1ms, 0.5ms, 0.2ms) to make comparing this “worst” PWM light to the test light easier. That post also explains why I didn’t test the WF-602C at the usual 50us scale.
User Interface and Operation
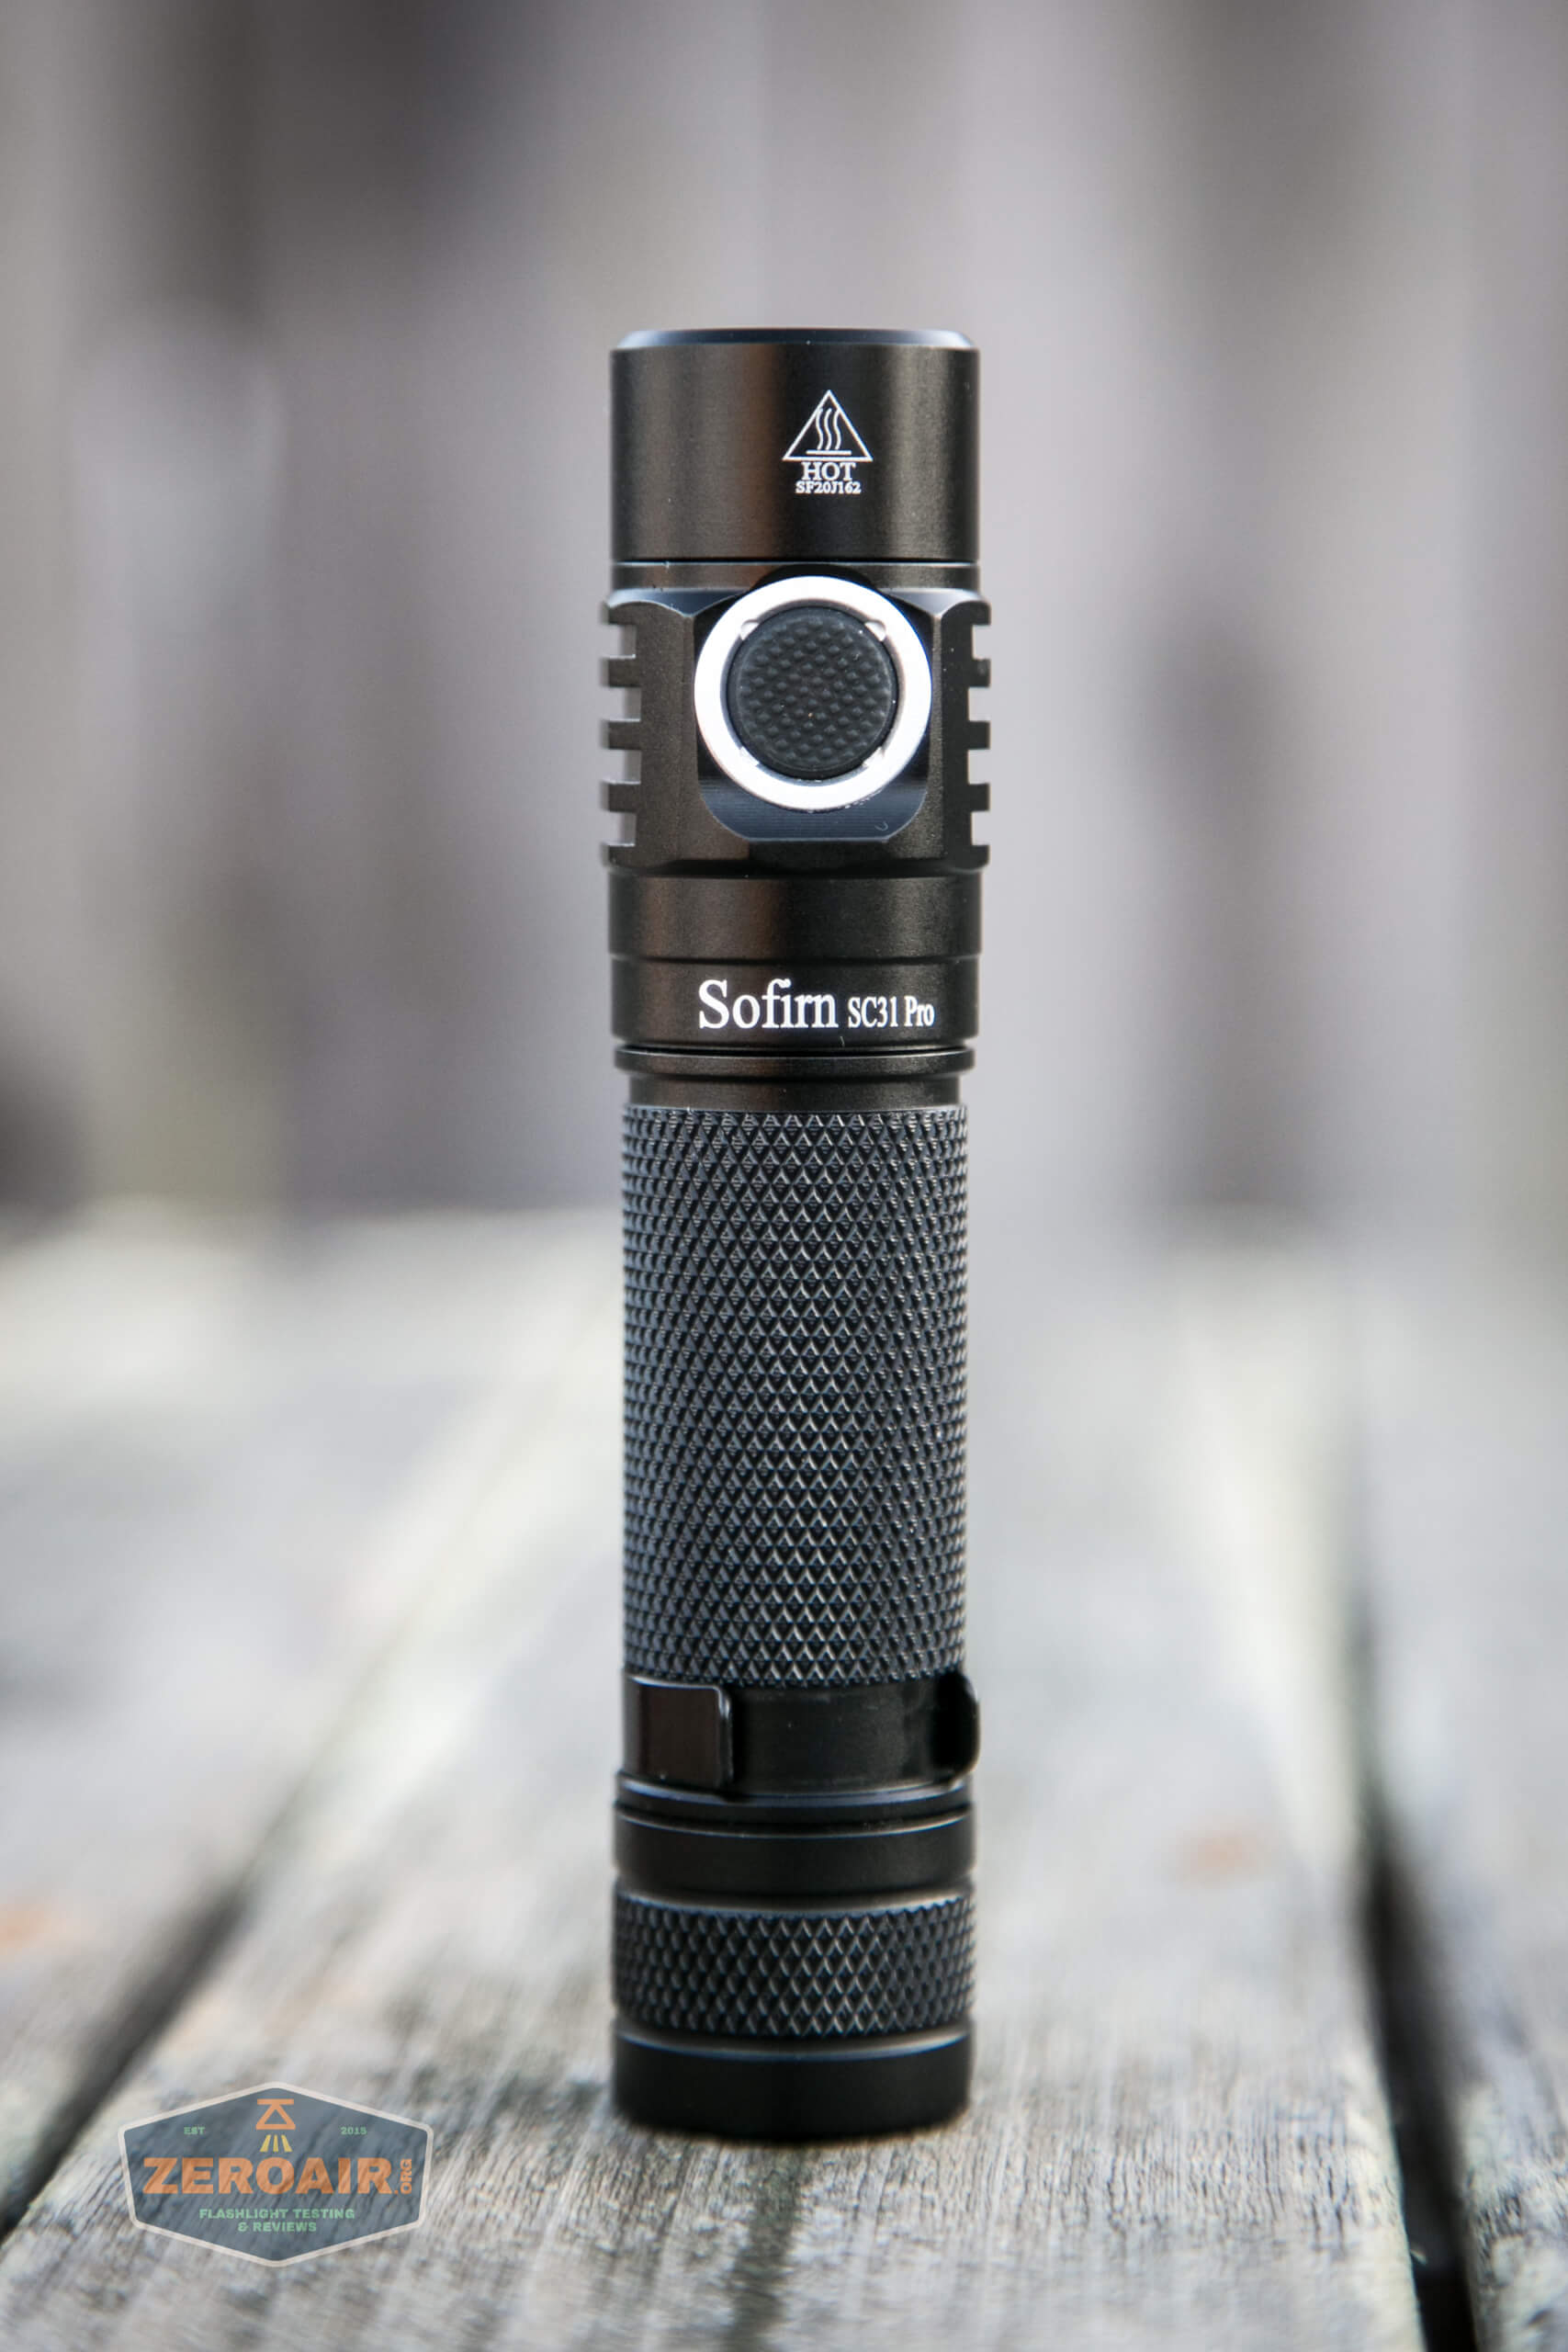
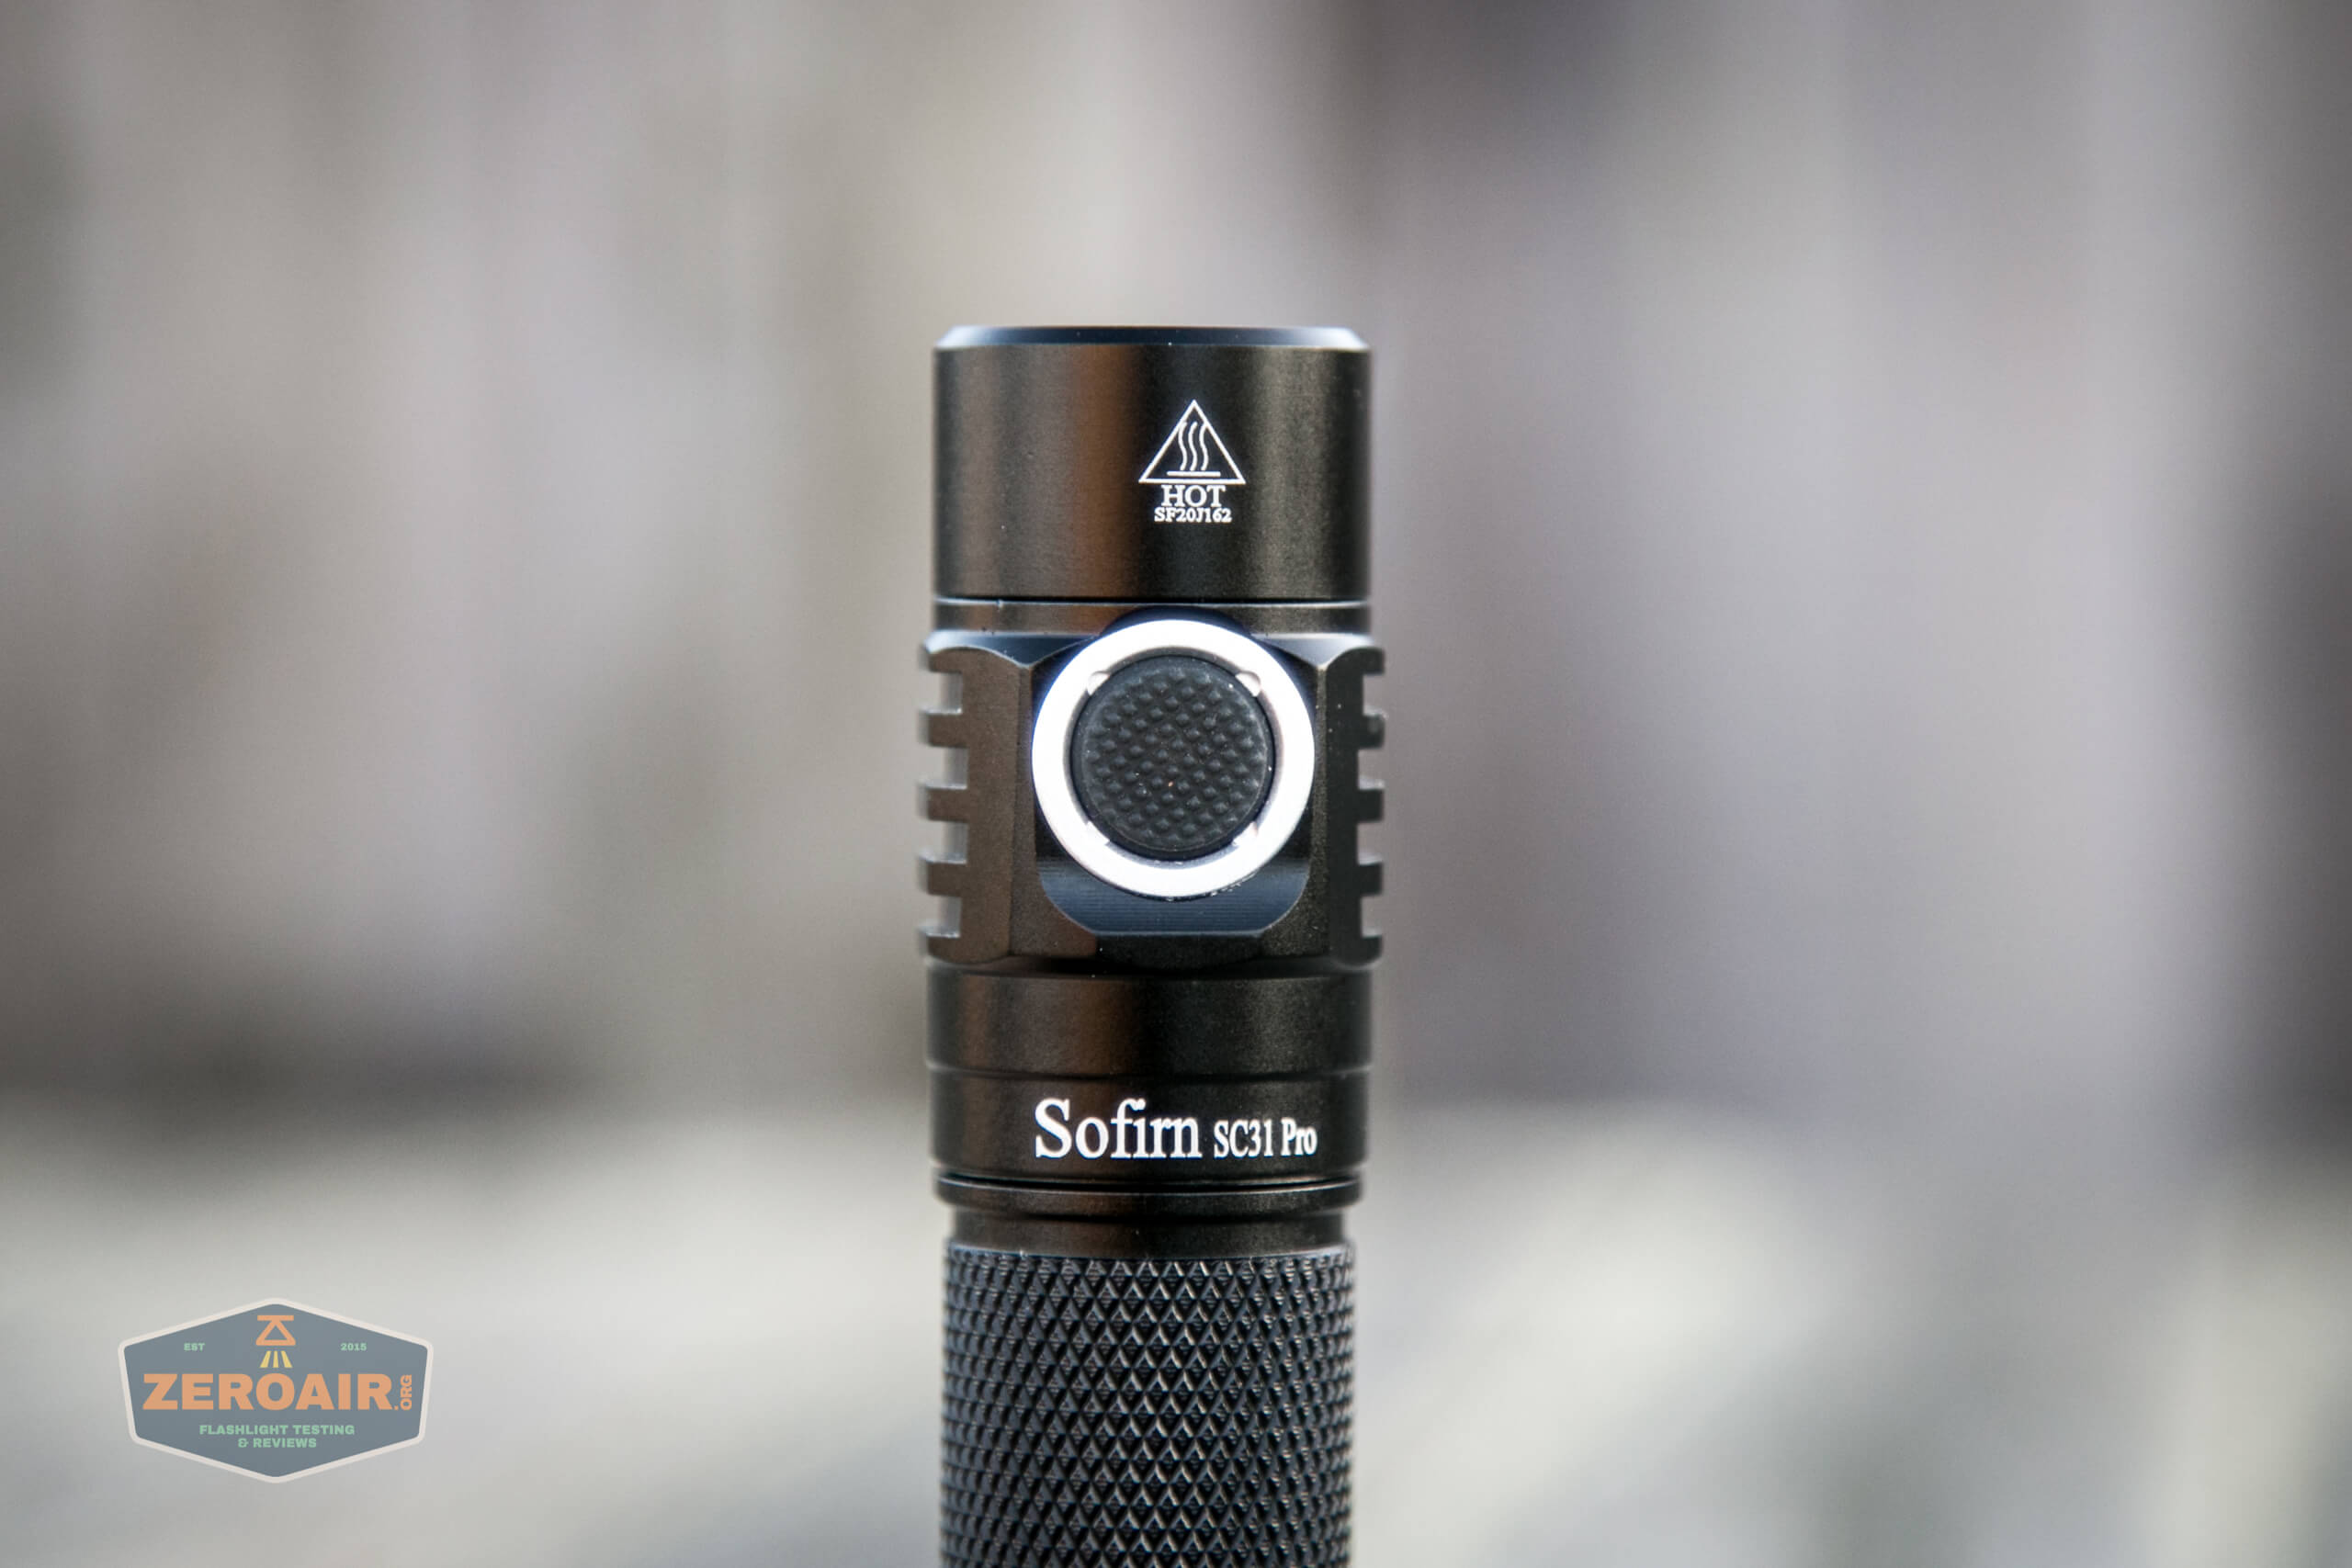
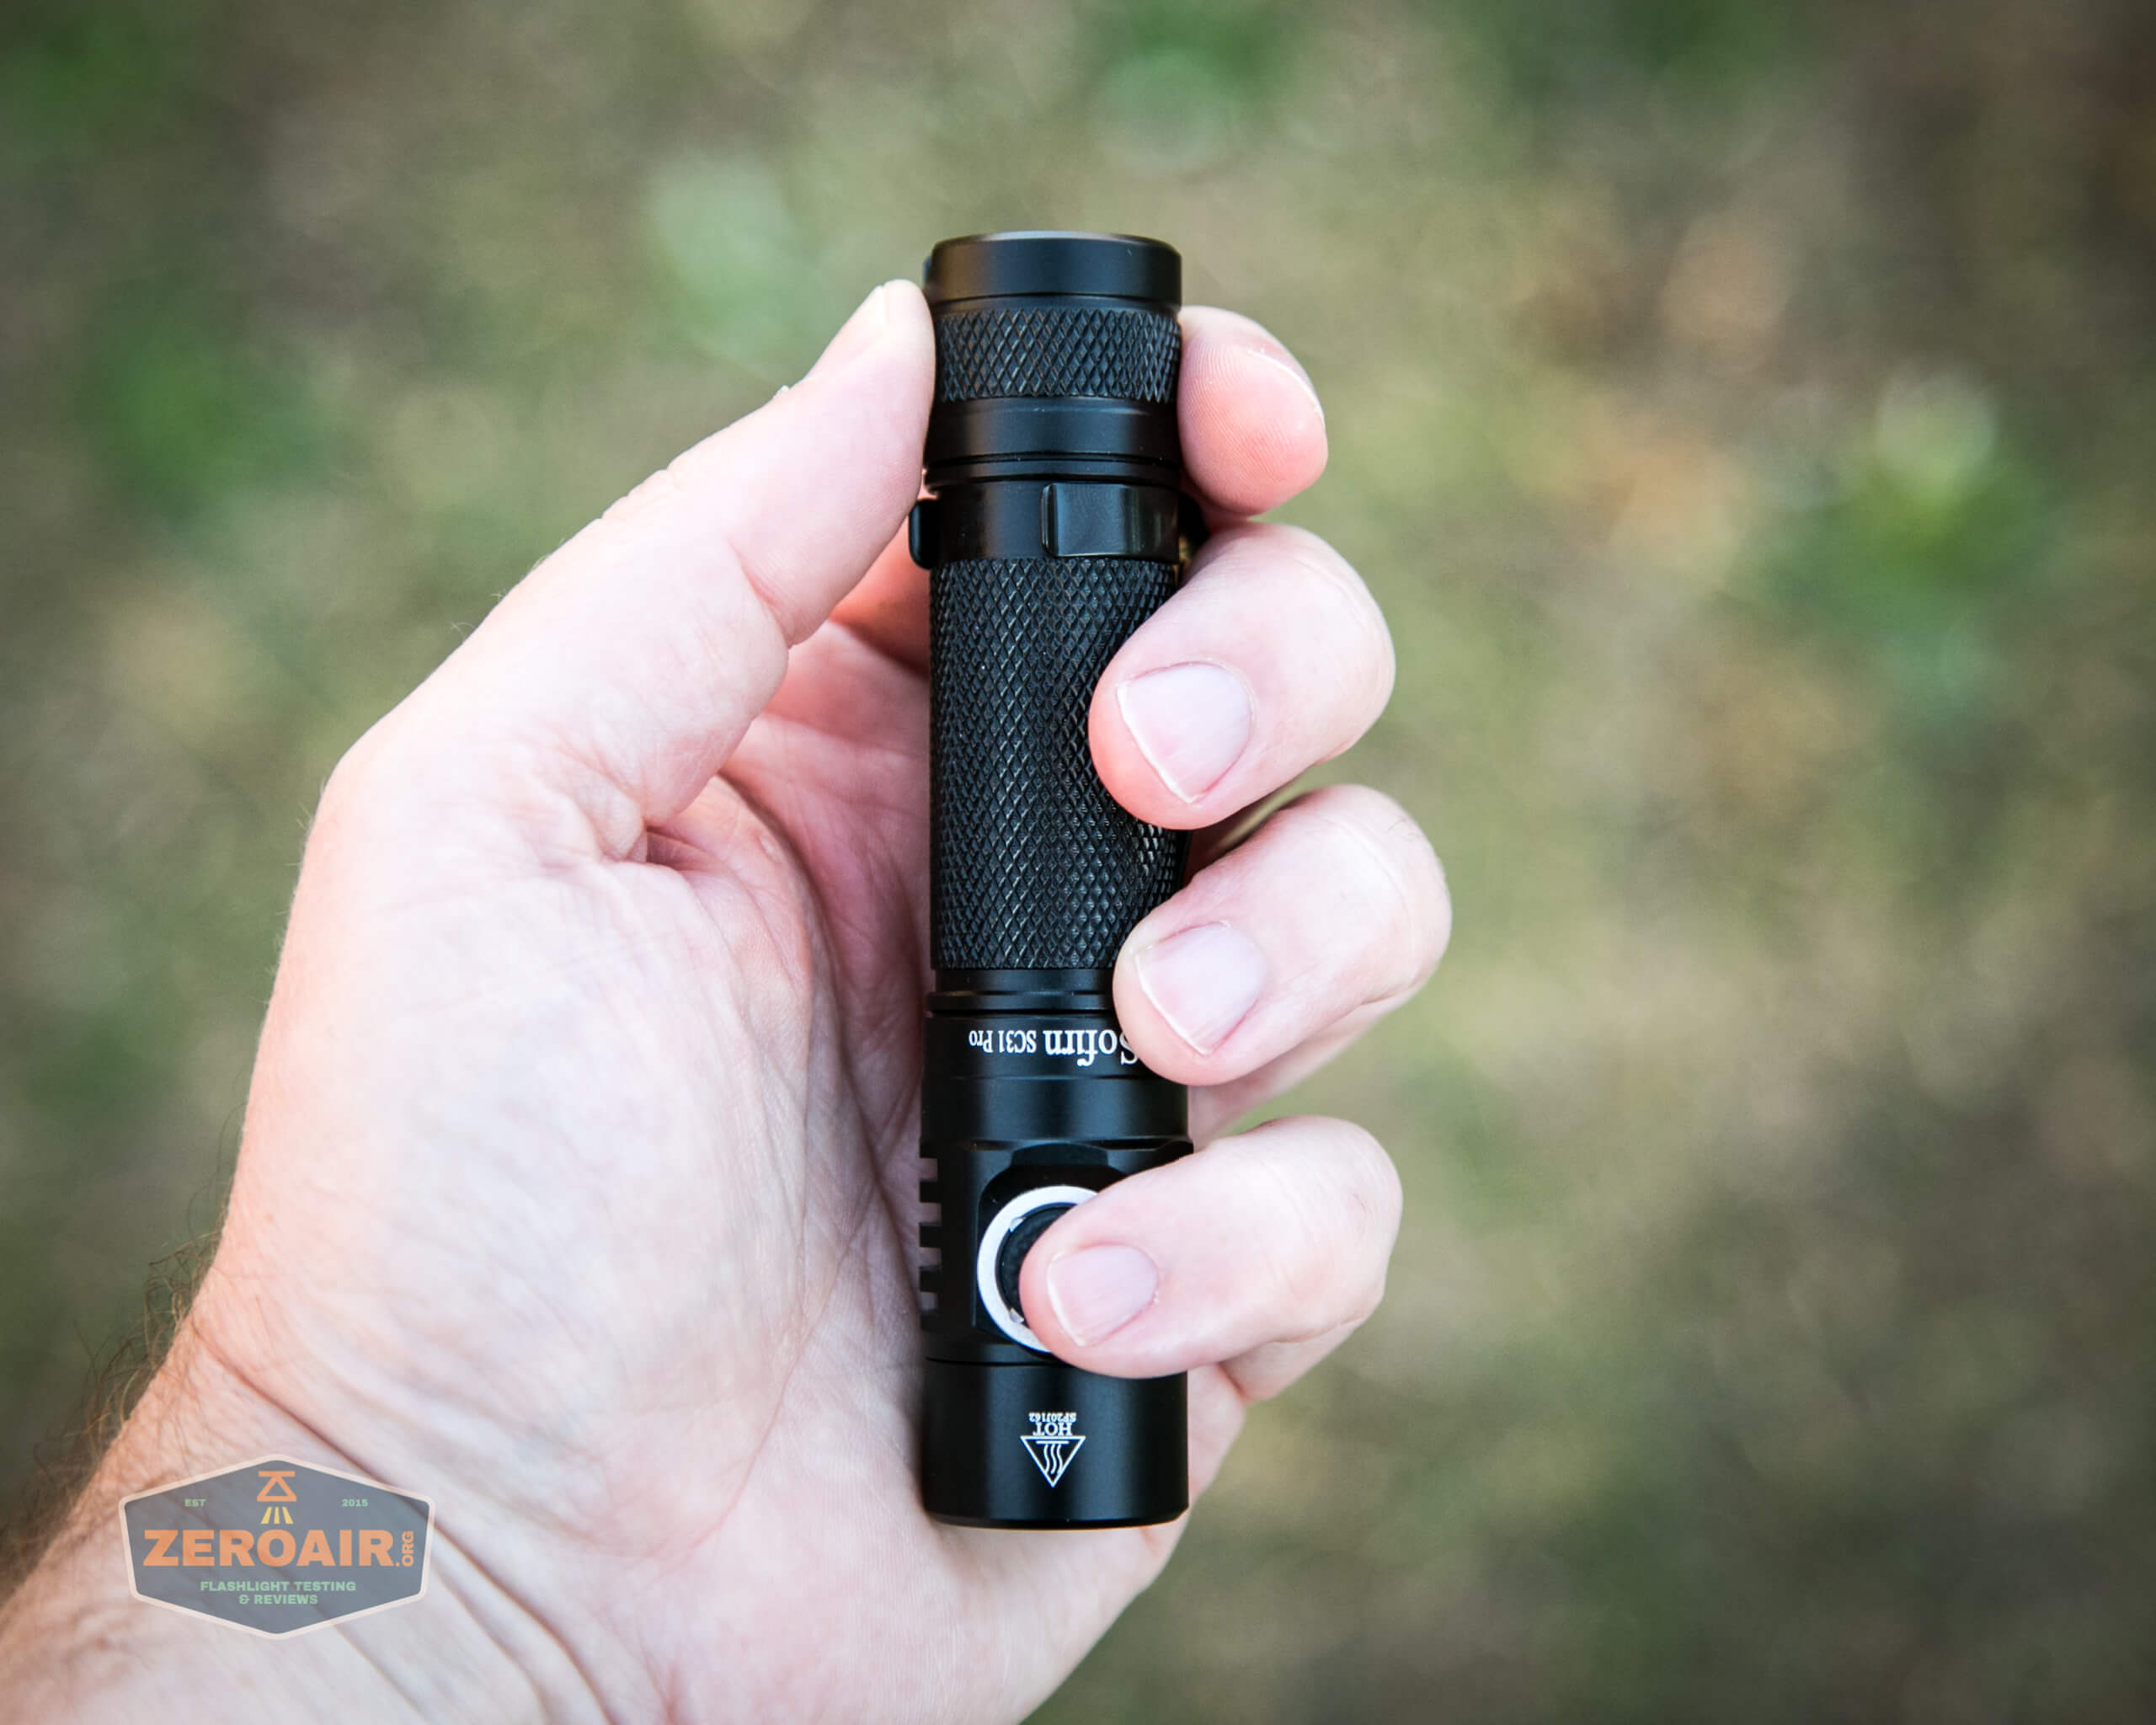
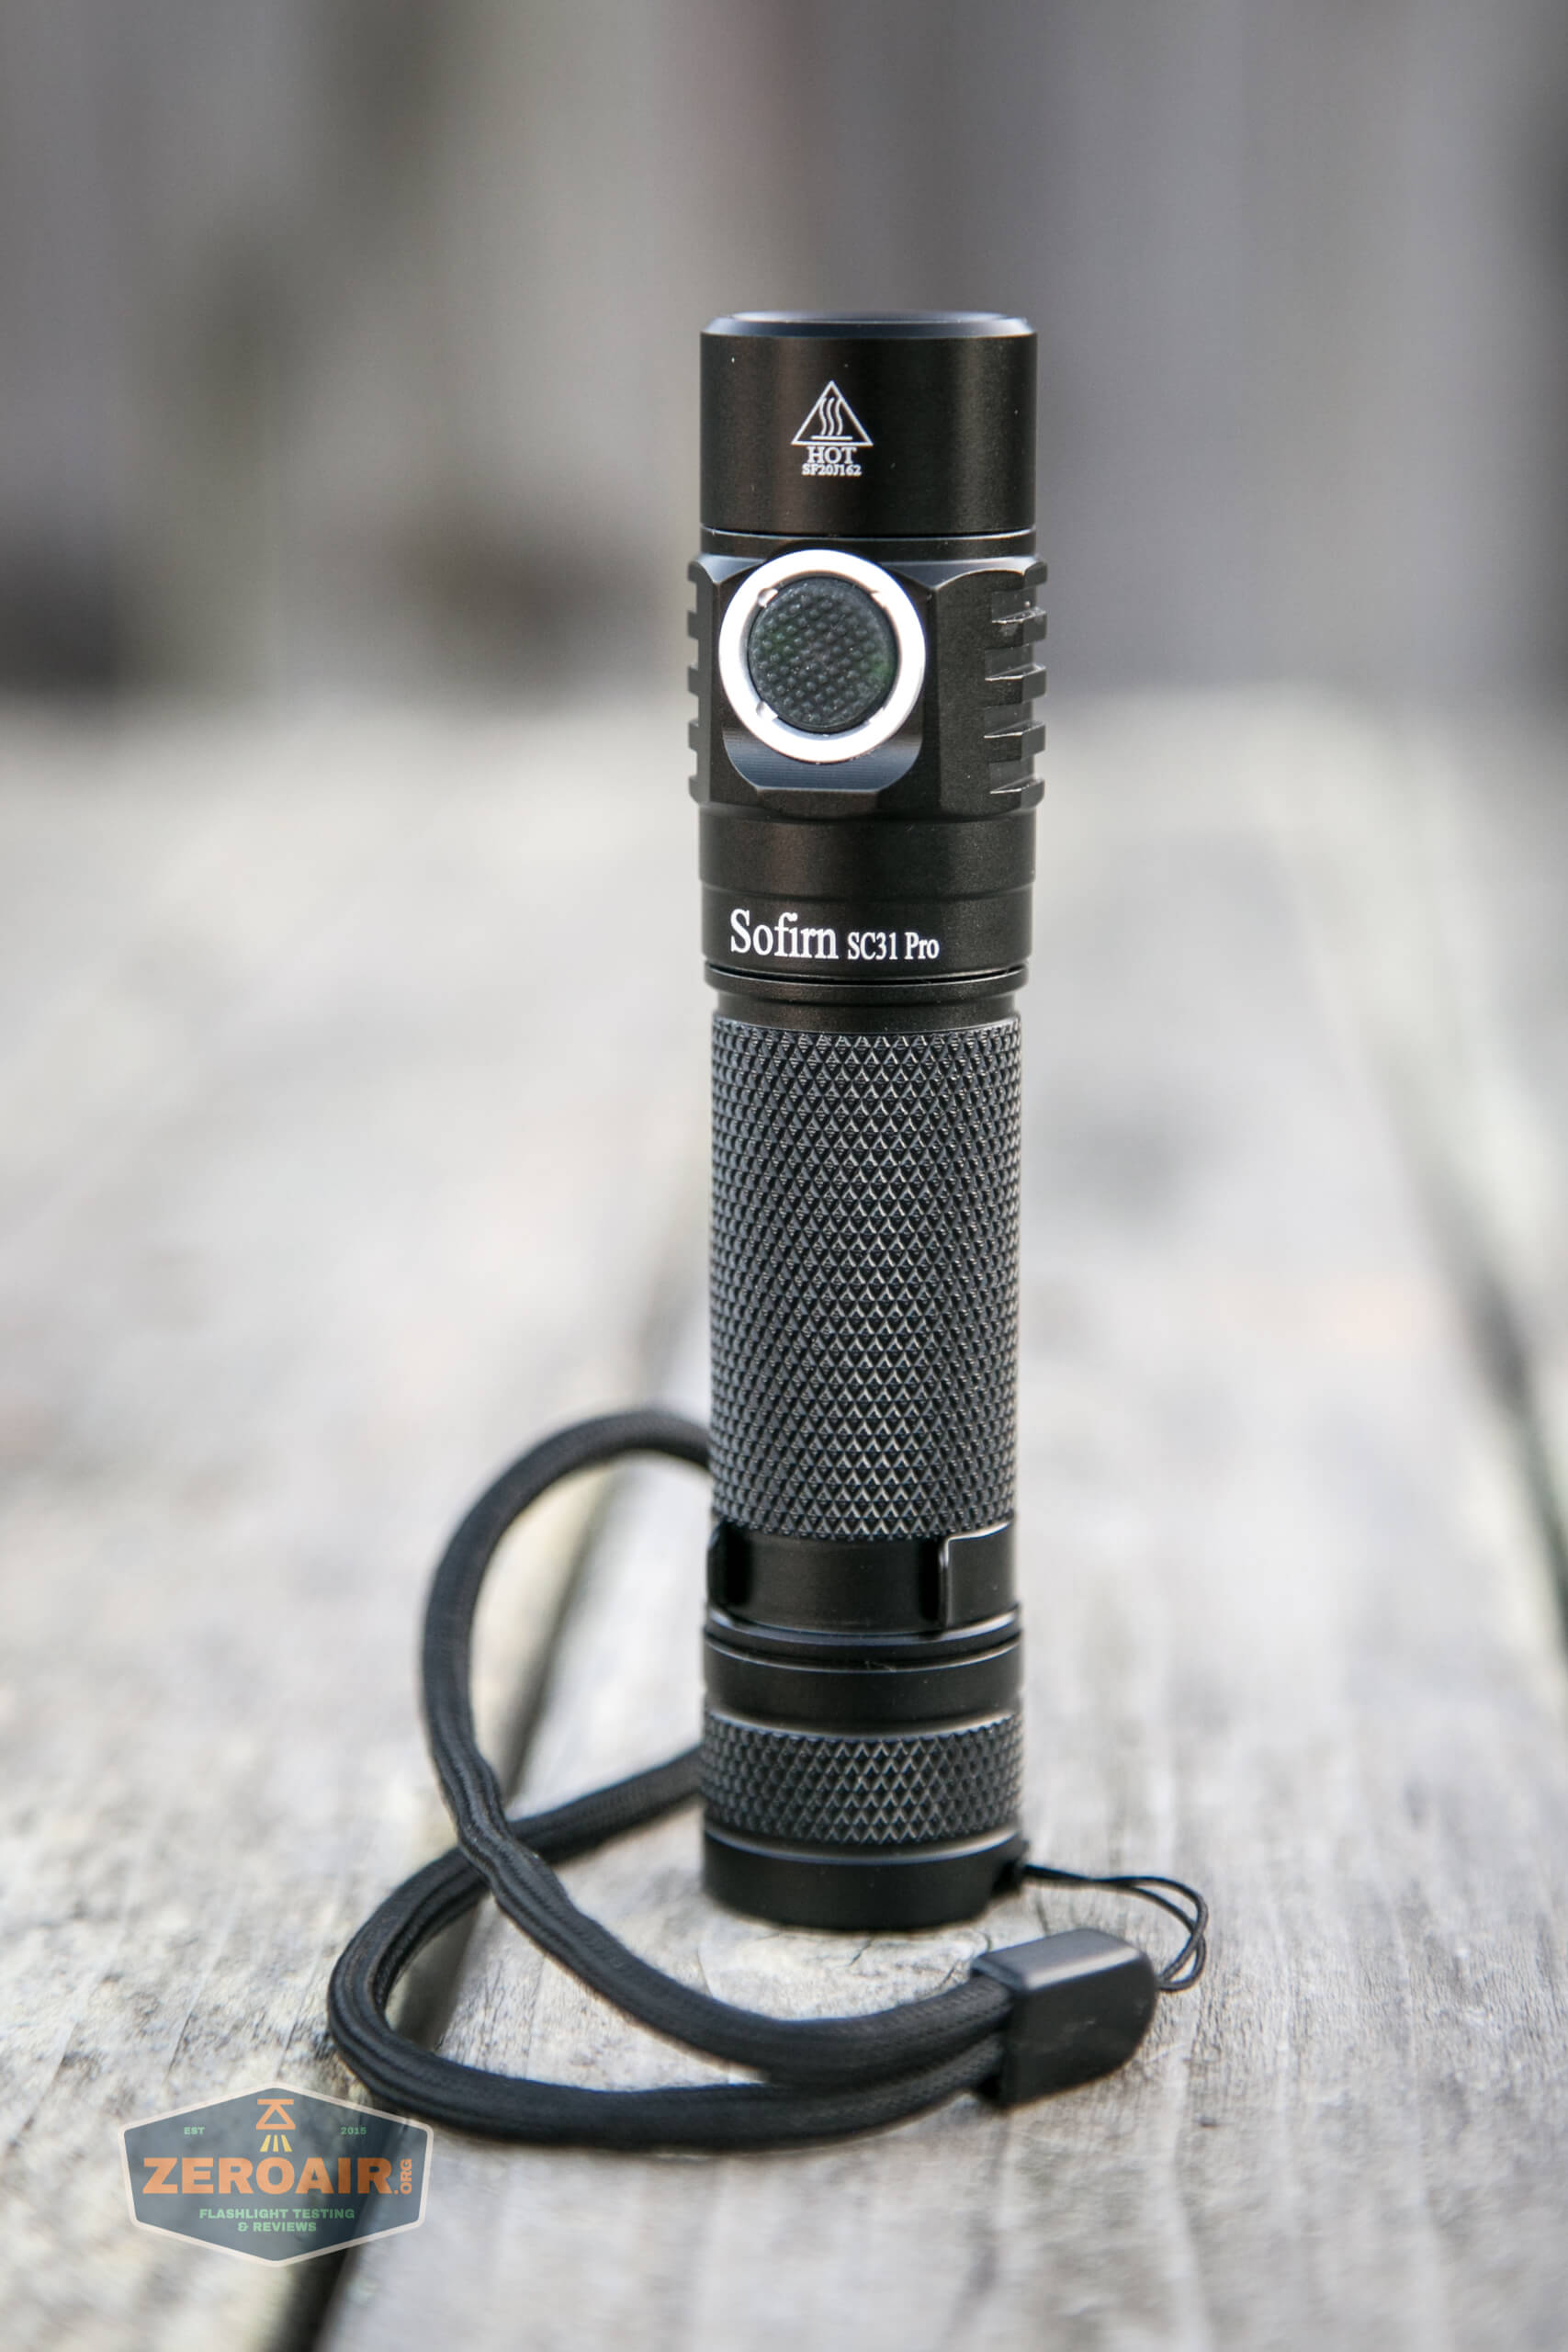
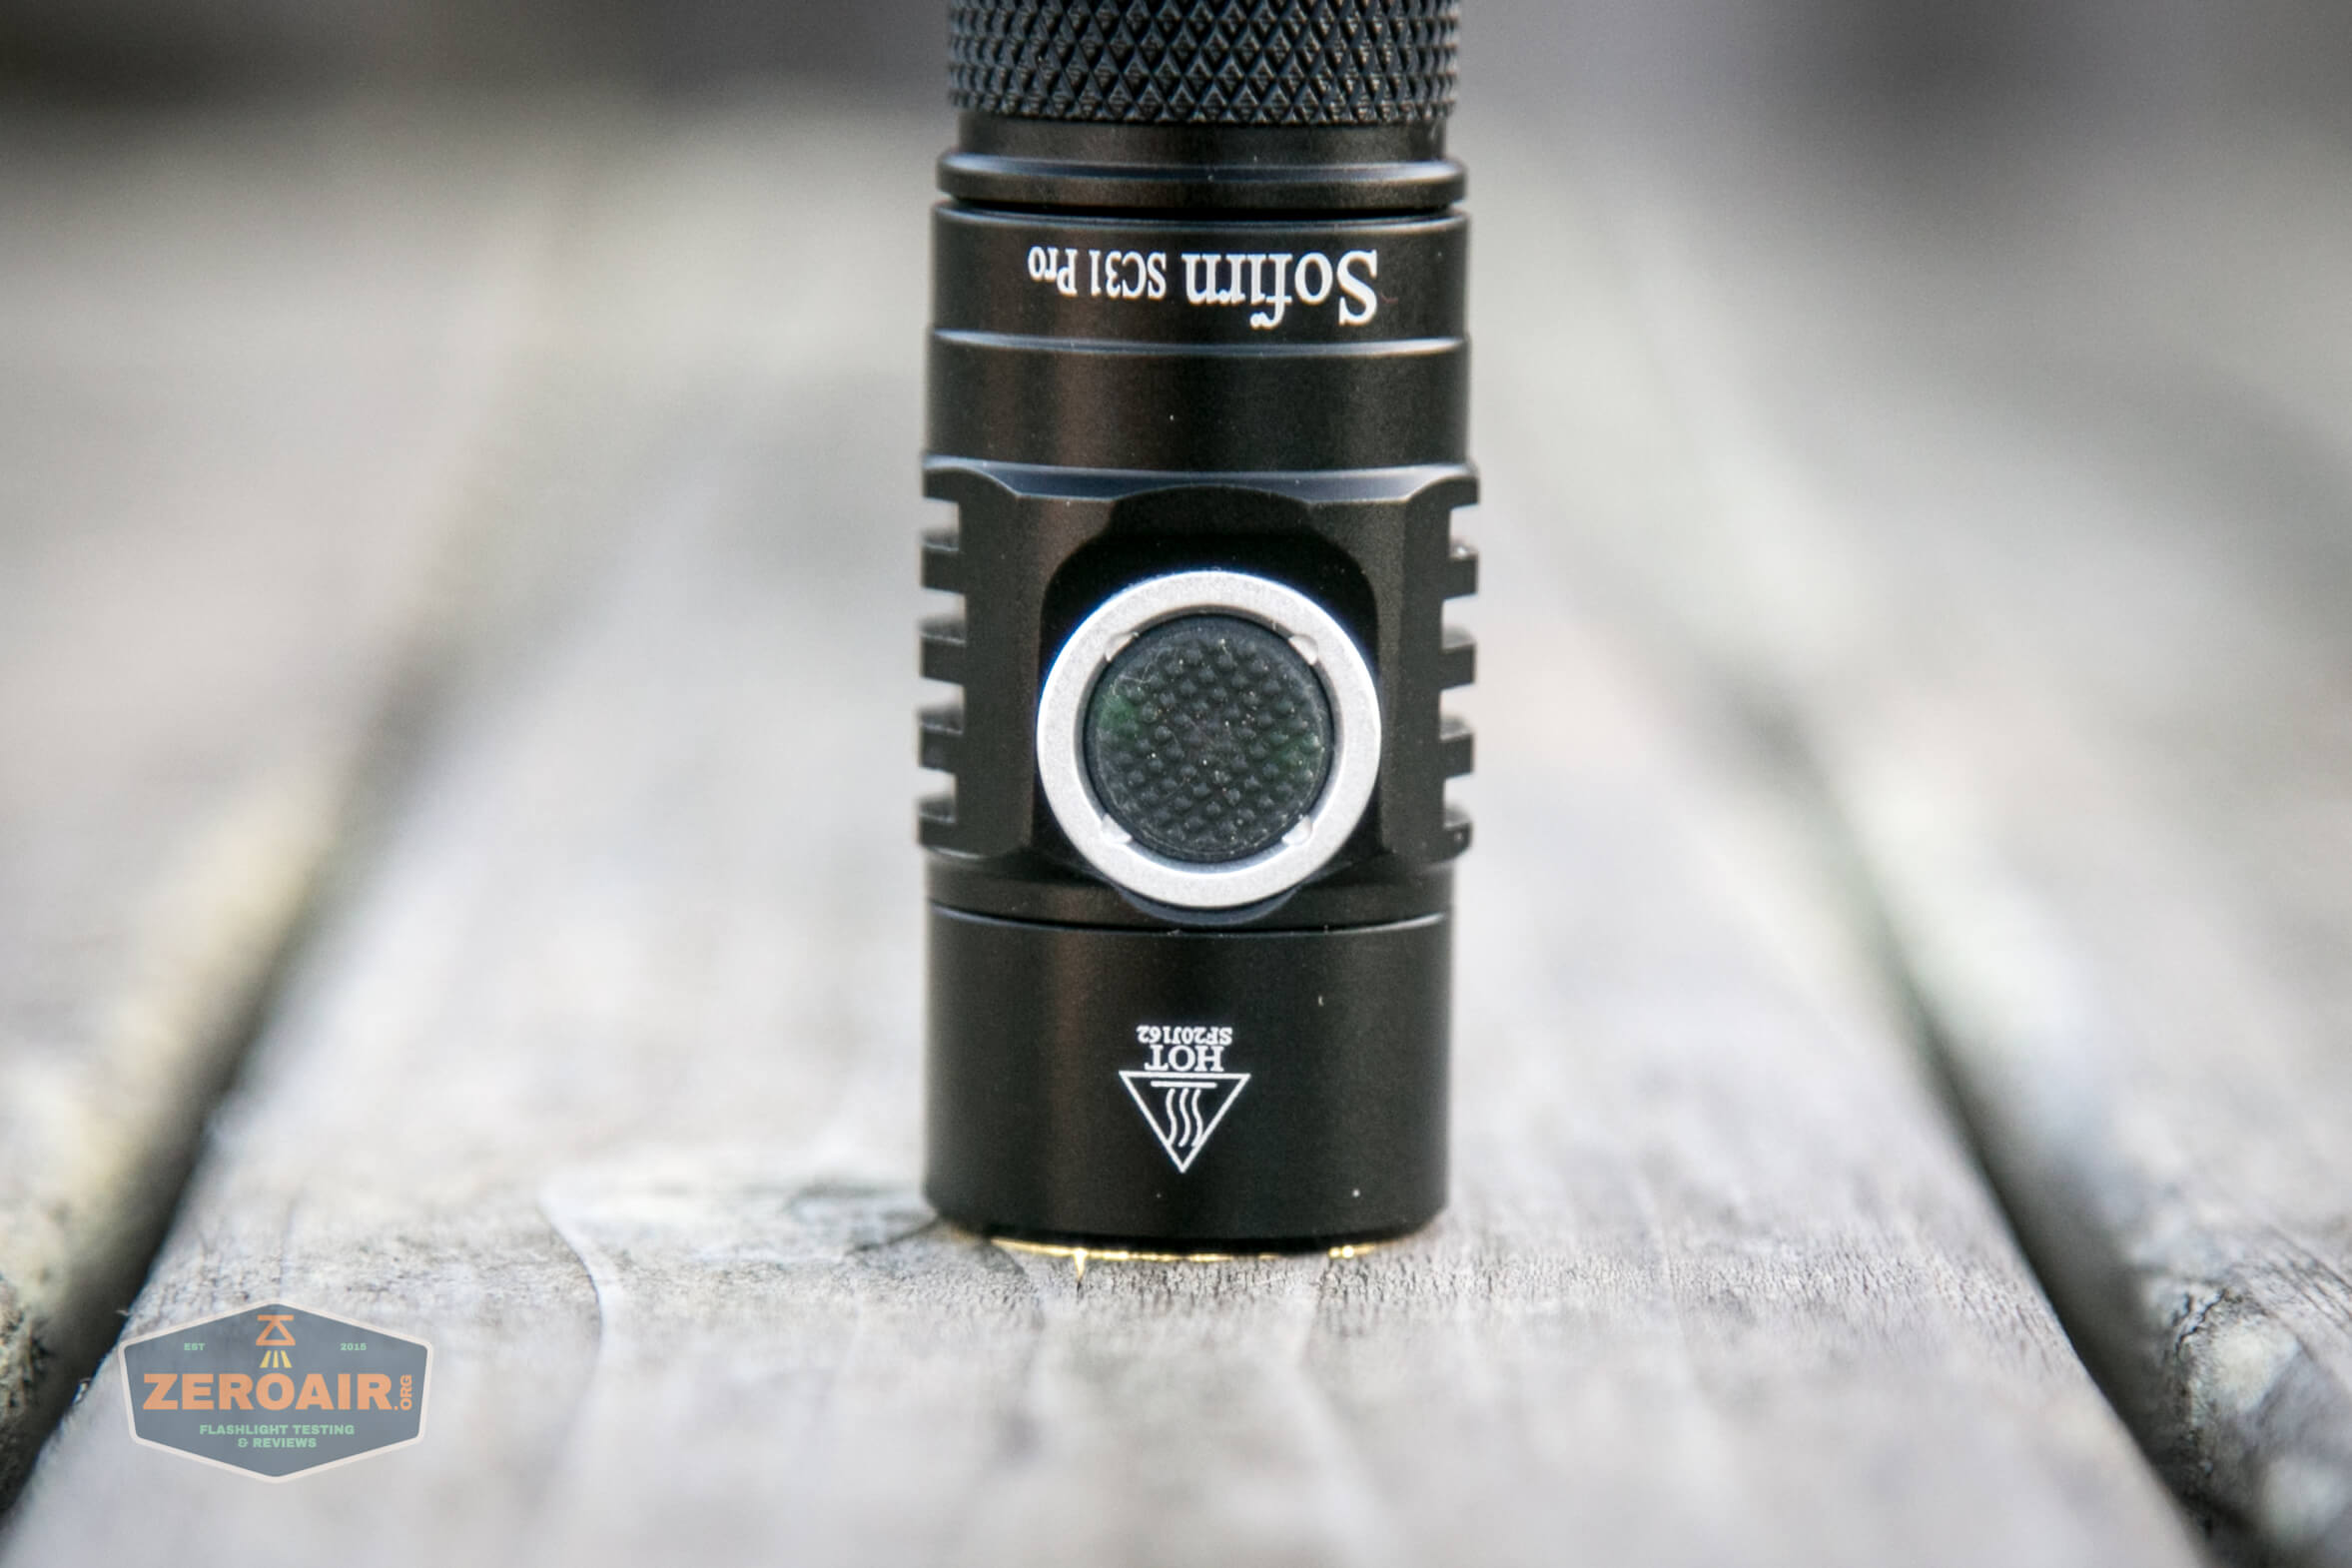
A single switch controls the SC31 Pro. This switch is an indicating e-switch and bigger than is typical for this type of light. It’s also very textured and quite easy to differentiate from the charge port cover (which is on the opposite side of the head).
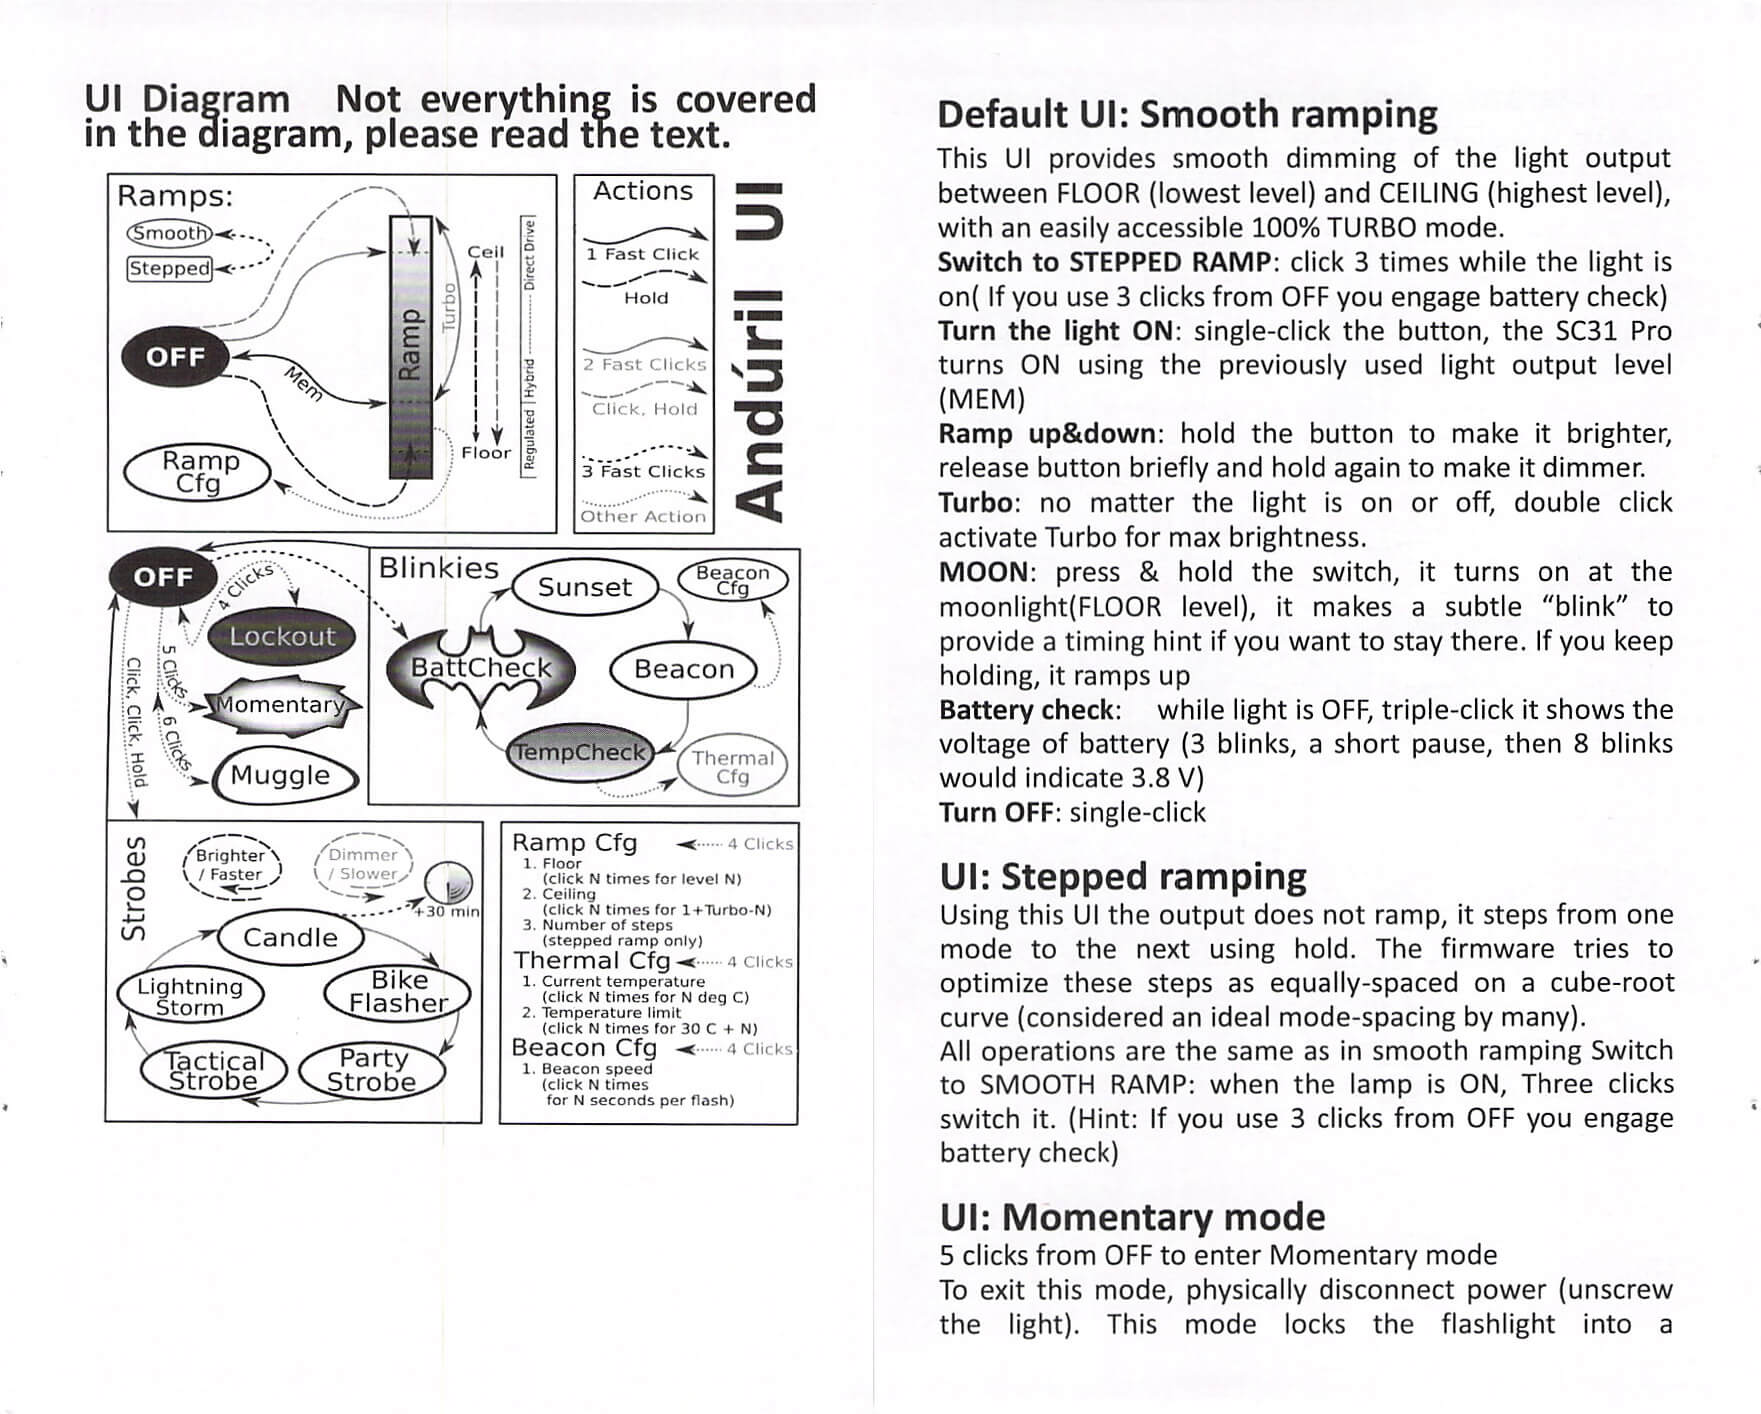
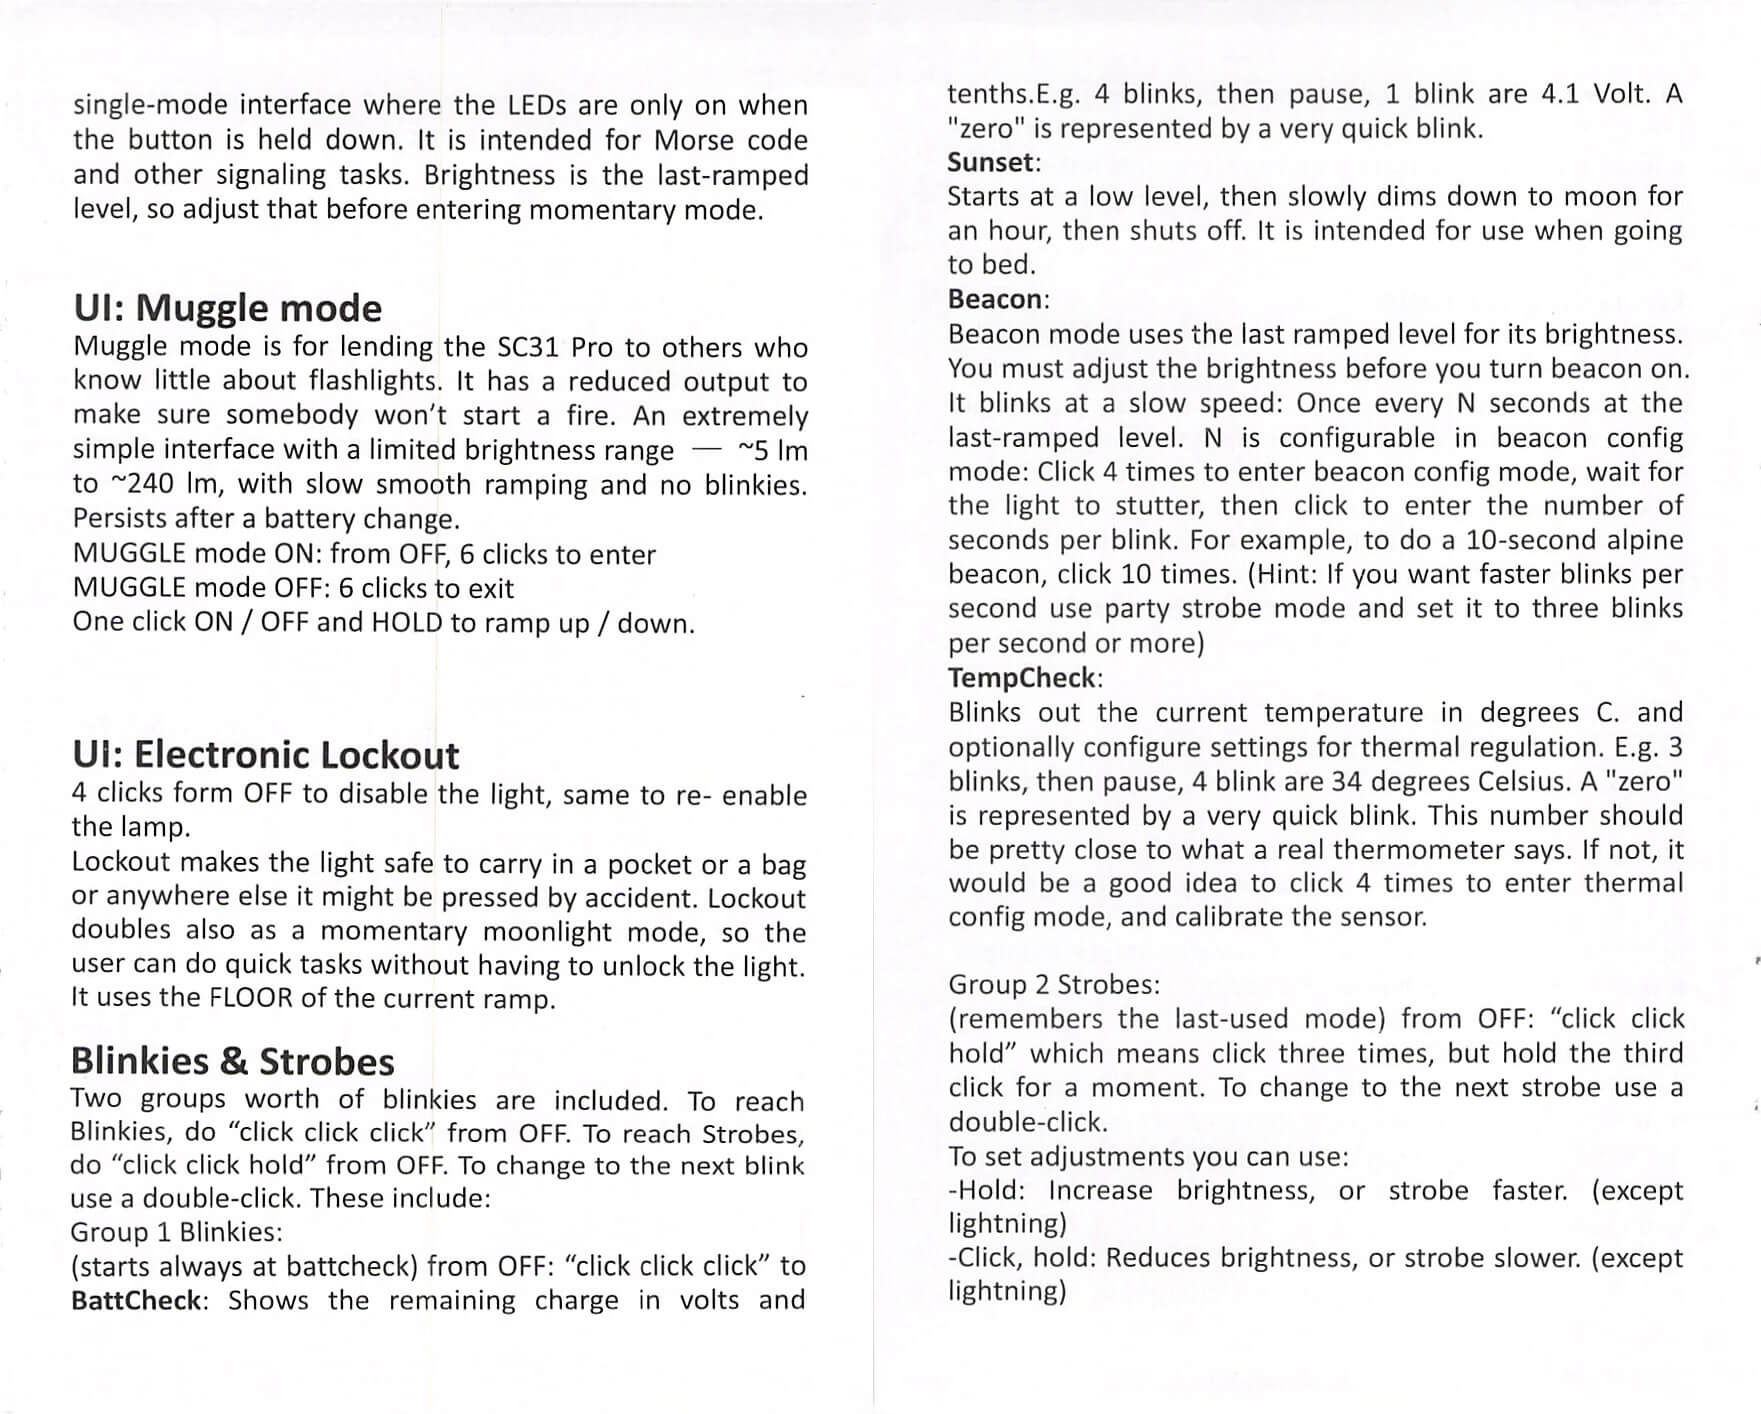
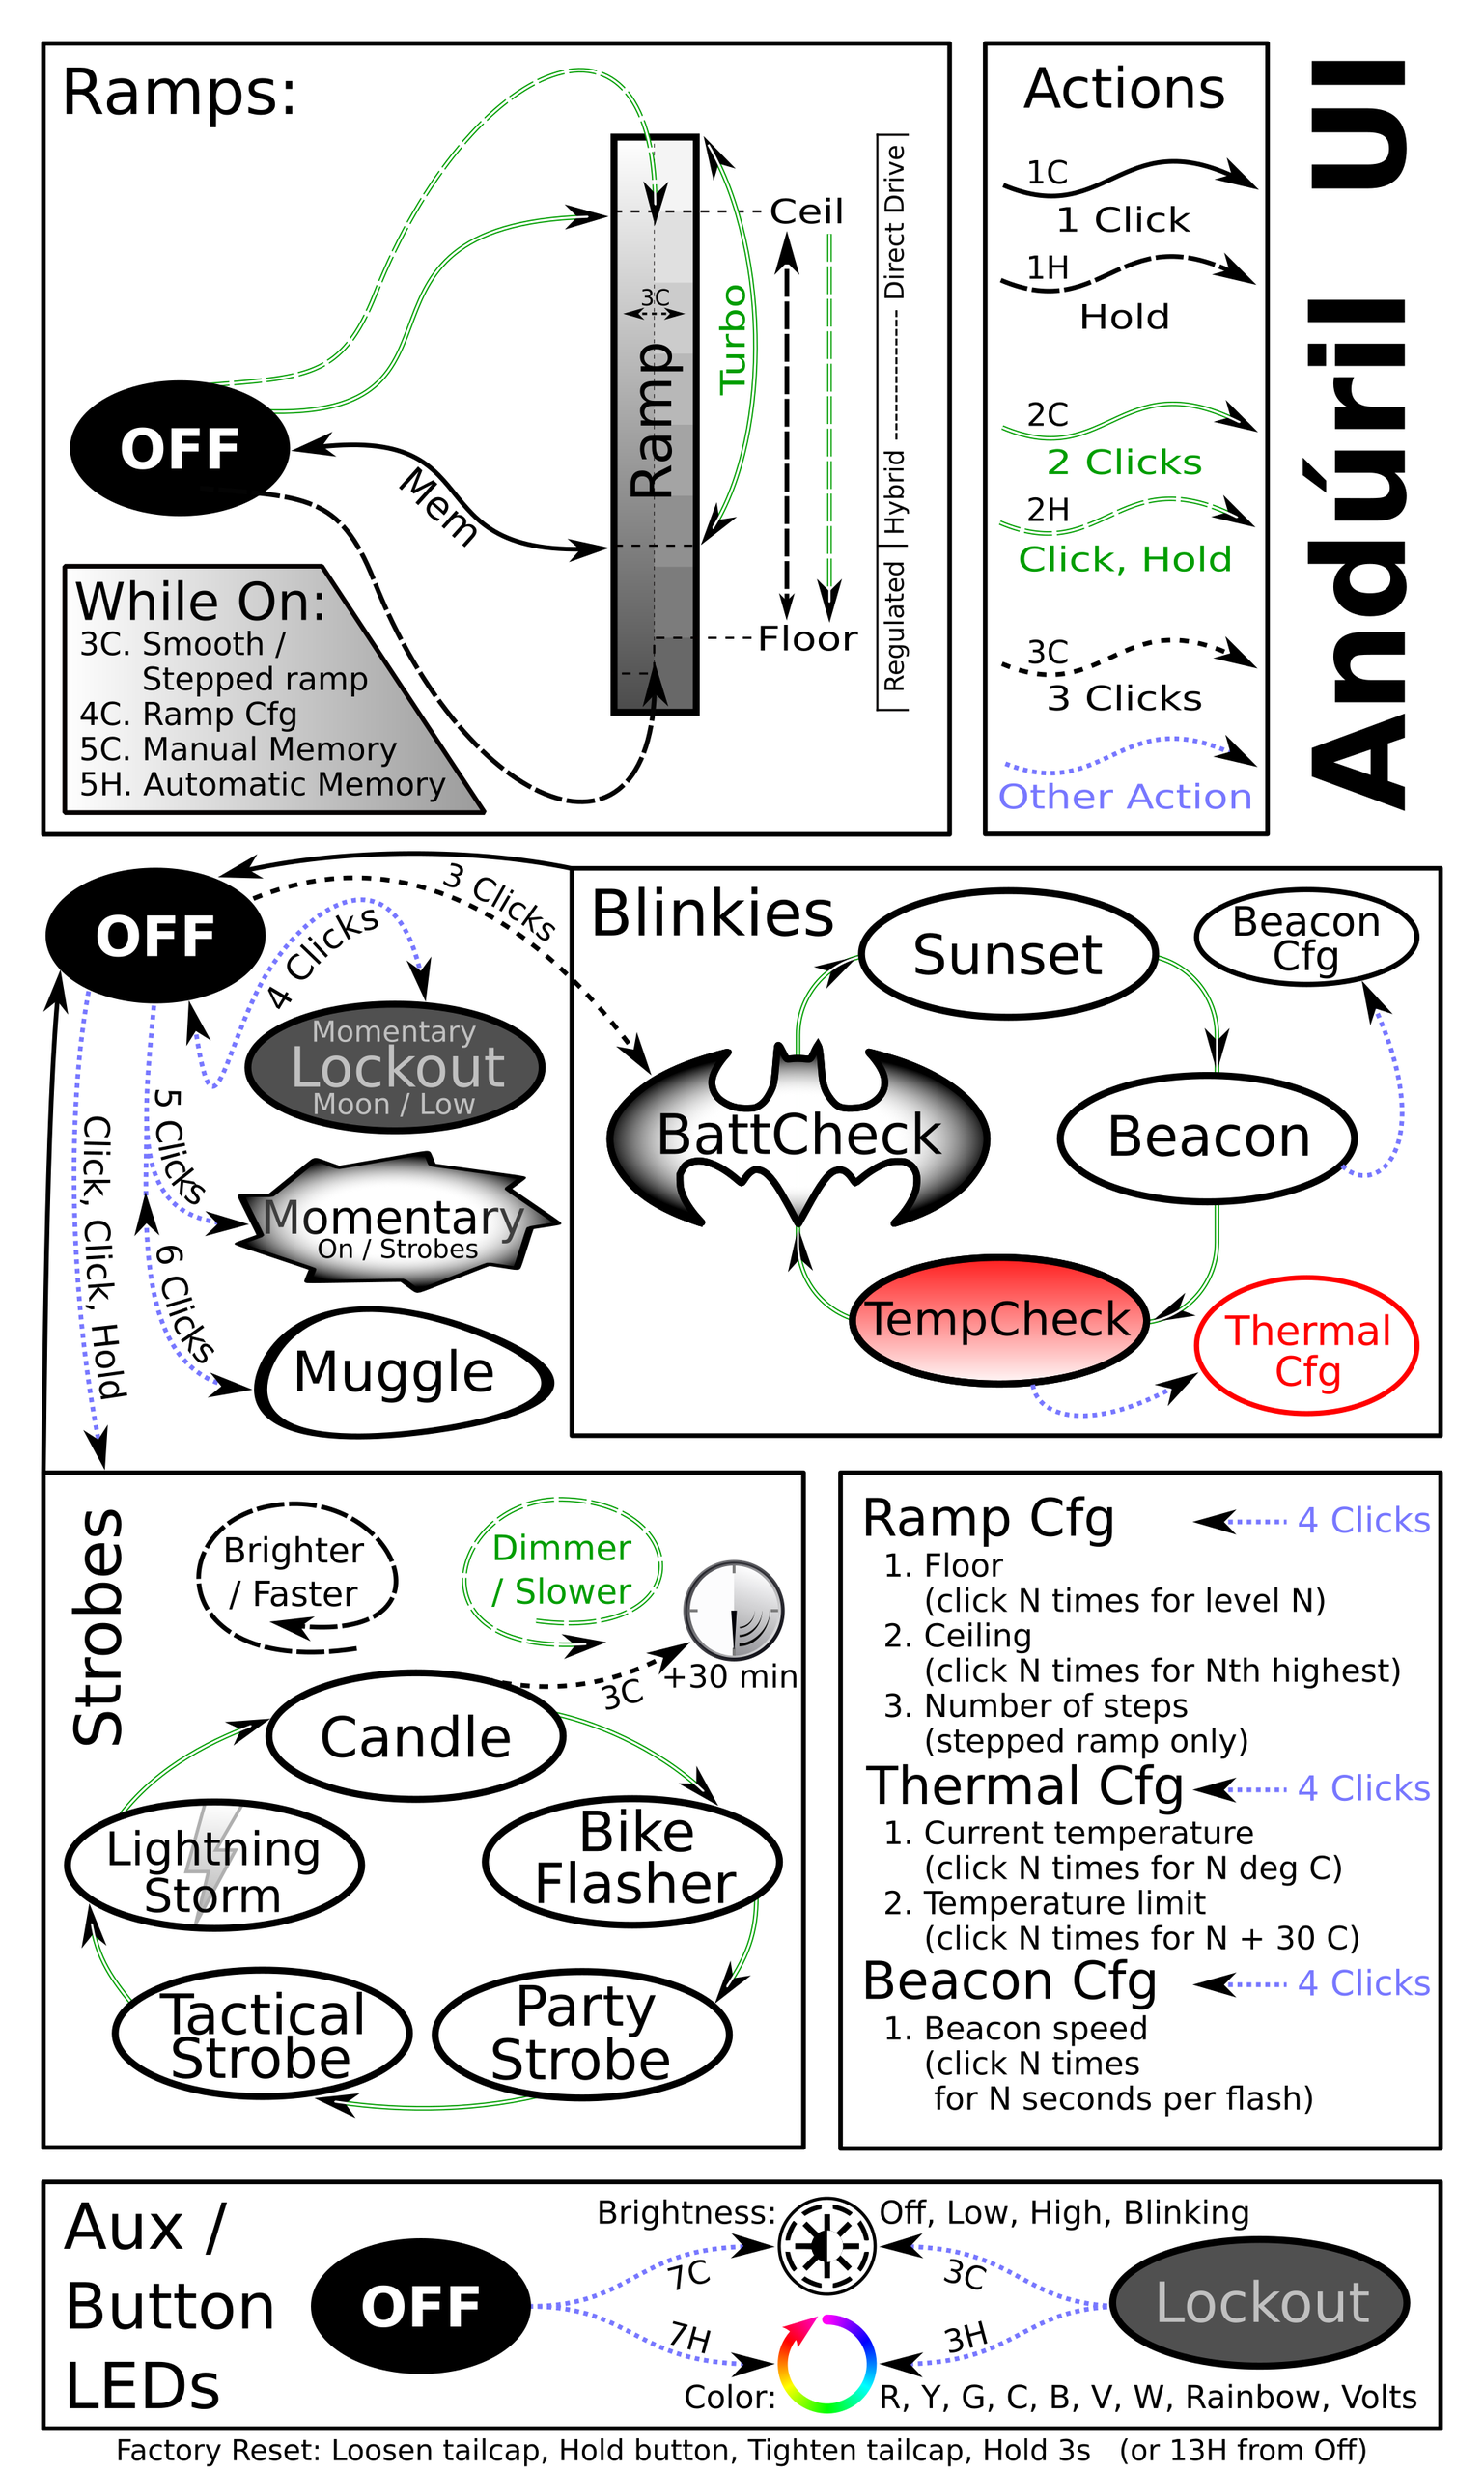
This light ships with Andúril by ToyKeeper. Andúril is a fantastic UI and extremely versatile! The product page even specifies the Andúril version: 2020-03-18. That’s pretty good attention to detail!
The switch has brightness settings and can also do some “breathing” type features. It does seem to be green only, so the Andúril features used to change the switch color don’t do anything here.
First off, here’s the user interface chart made by ToyKeeper.
Here’s my user interface table! This table doesn’t cover the aux and switch LEDs, but they’re somewhat configurable too.
| State | Action | Result |
|---|---|---|
| Off | Hold | On (Low) |
| Off | Click | On (Mode Memory) |
| Off | Click 2x | Highest Hybrid Mode |
| Off | Click 3x | Blinkie Mode Group |
| Off | Click 4x | Lockout |
| Off | Click 5x | Momentary |
| Off | Click 6x | Muggle |
| Off | Click, Click, Hold | Strobe Group (Mode Memory Strobe) |
| Strobe Group | Click 2x | Strobe Cycle (Candle > Bike Flasher > Party Strobe > Tactical Strobe > Lightning Storm) |
| Blinkie Mode Group | Click 2x | Blinke Cycle (Sunset > Beacon > TempCheck > BattCheck) |
| On | Click 3x | Switch between Stepped and Smooth Ramp |
| On | Click 4x | Ramp Configuration |
| TempCheck | Click 4x | Thermal Configuration |
| Beacon | Click 4x | Beacon Configuration |
| Lockout | Click 4x | Off |
| Strobe Group | Click | Off |
| (Basically) On | Click | Off |
| Candle | Click 3x | 30-minute timer to off |
| Strobe Group | Hold | Heighten selected mode (Make faster or brighter) |
| Strobe Group | Click, Hold | Lessen selected mode (Make slower or dimmer) |
| On | Click 2x | FET Turbo |
| Ramp Configuration | [Wait for Single flash] Click N time for level N. | Selection of the “Low” you like best by clicking 1, 2, 3, etc. where 1, 2, 3, etc are different levels of low. |
| Ramp Configuration | [Wait for the Second flash] Click N time for 1+Turbo-N. | Selection of the “Ceiling” you like best by clicking 1, 2, 3, etc. where 1, 2, 3, etc are different Ceiling levels. |
| Ramp Configuration | [Wait for the Third flash] Click for how many steps you want in Stepped mode. | Sets Number of Steps. |
| Thermal Configuration | [Wait for the First flash] Click for N times for N degrees C. | Displays Current Temperature. |
| Thermal Configuration | [Wait for the Second flash] Click for N times for 30C + N. | Sets Temperature Limit. |
| Beacon Configuration | [Wait for the First flash] Click for N times N seconds per flash | Sets Beacon Speed. |
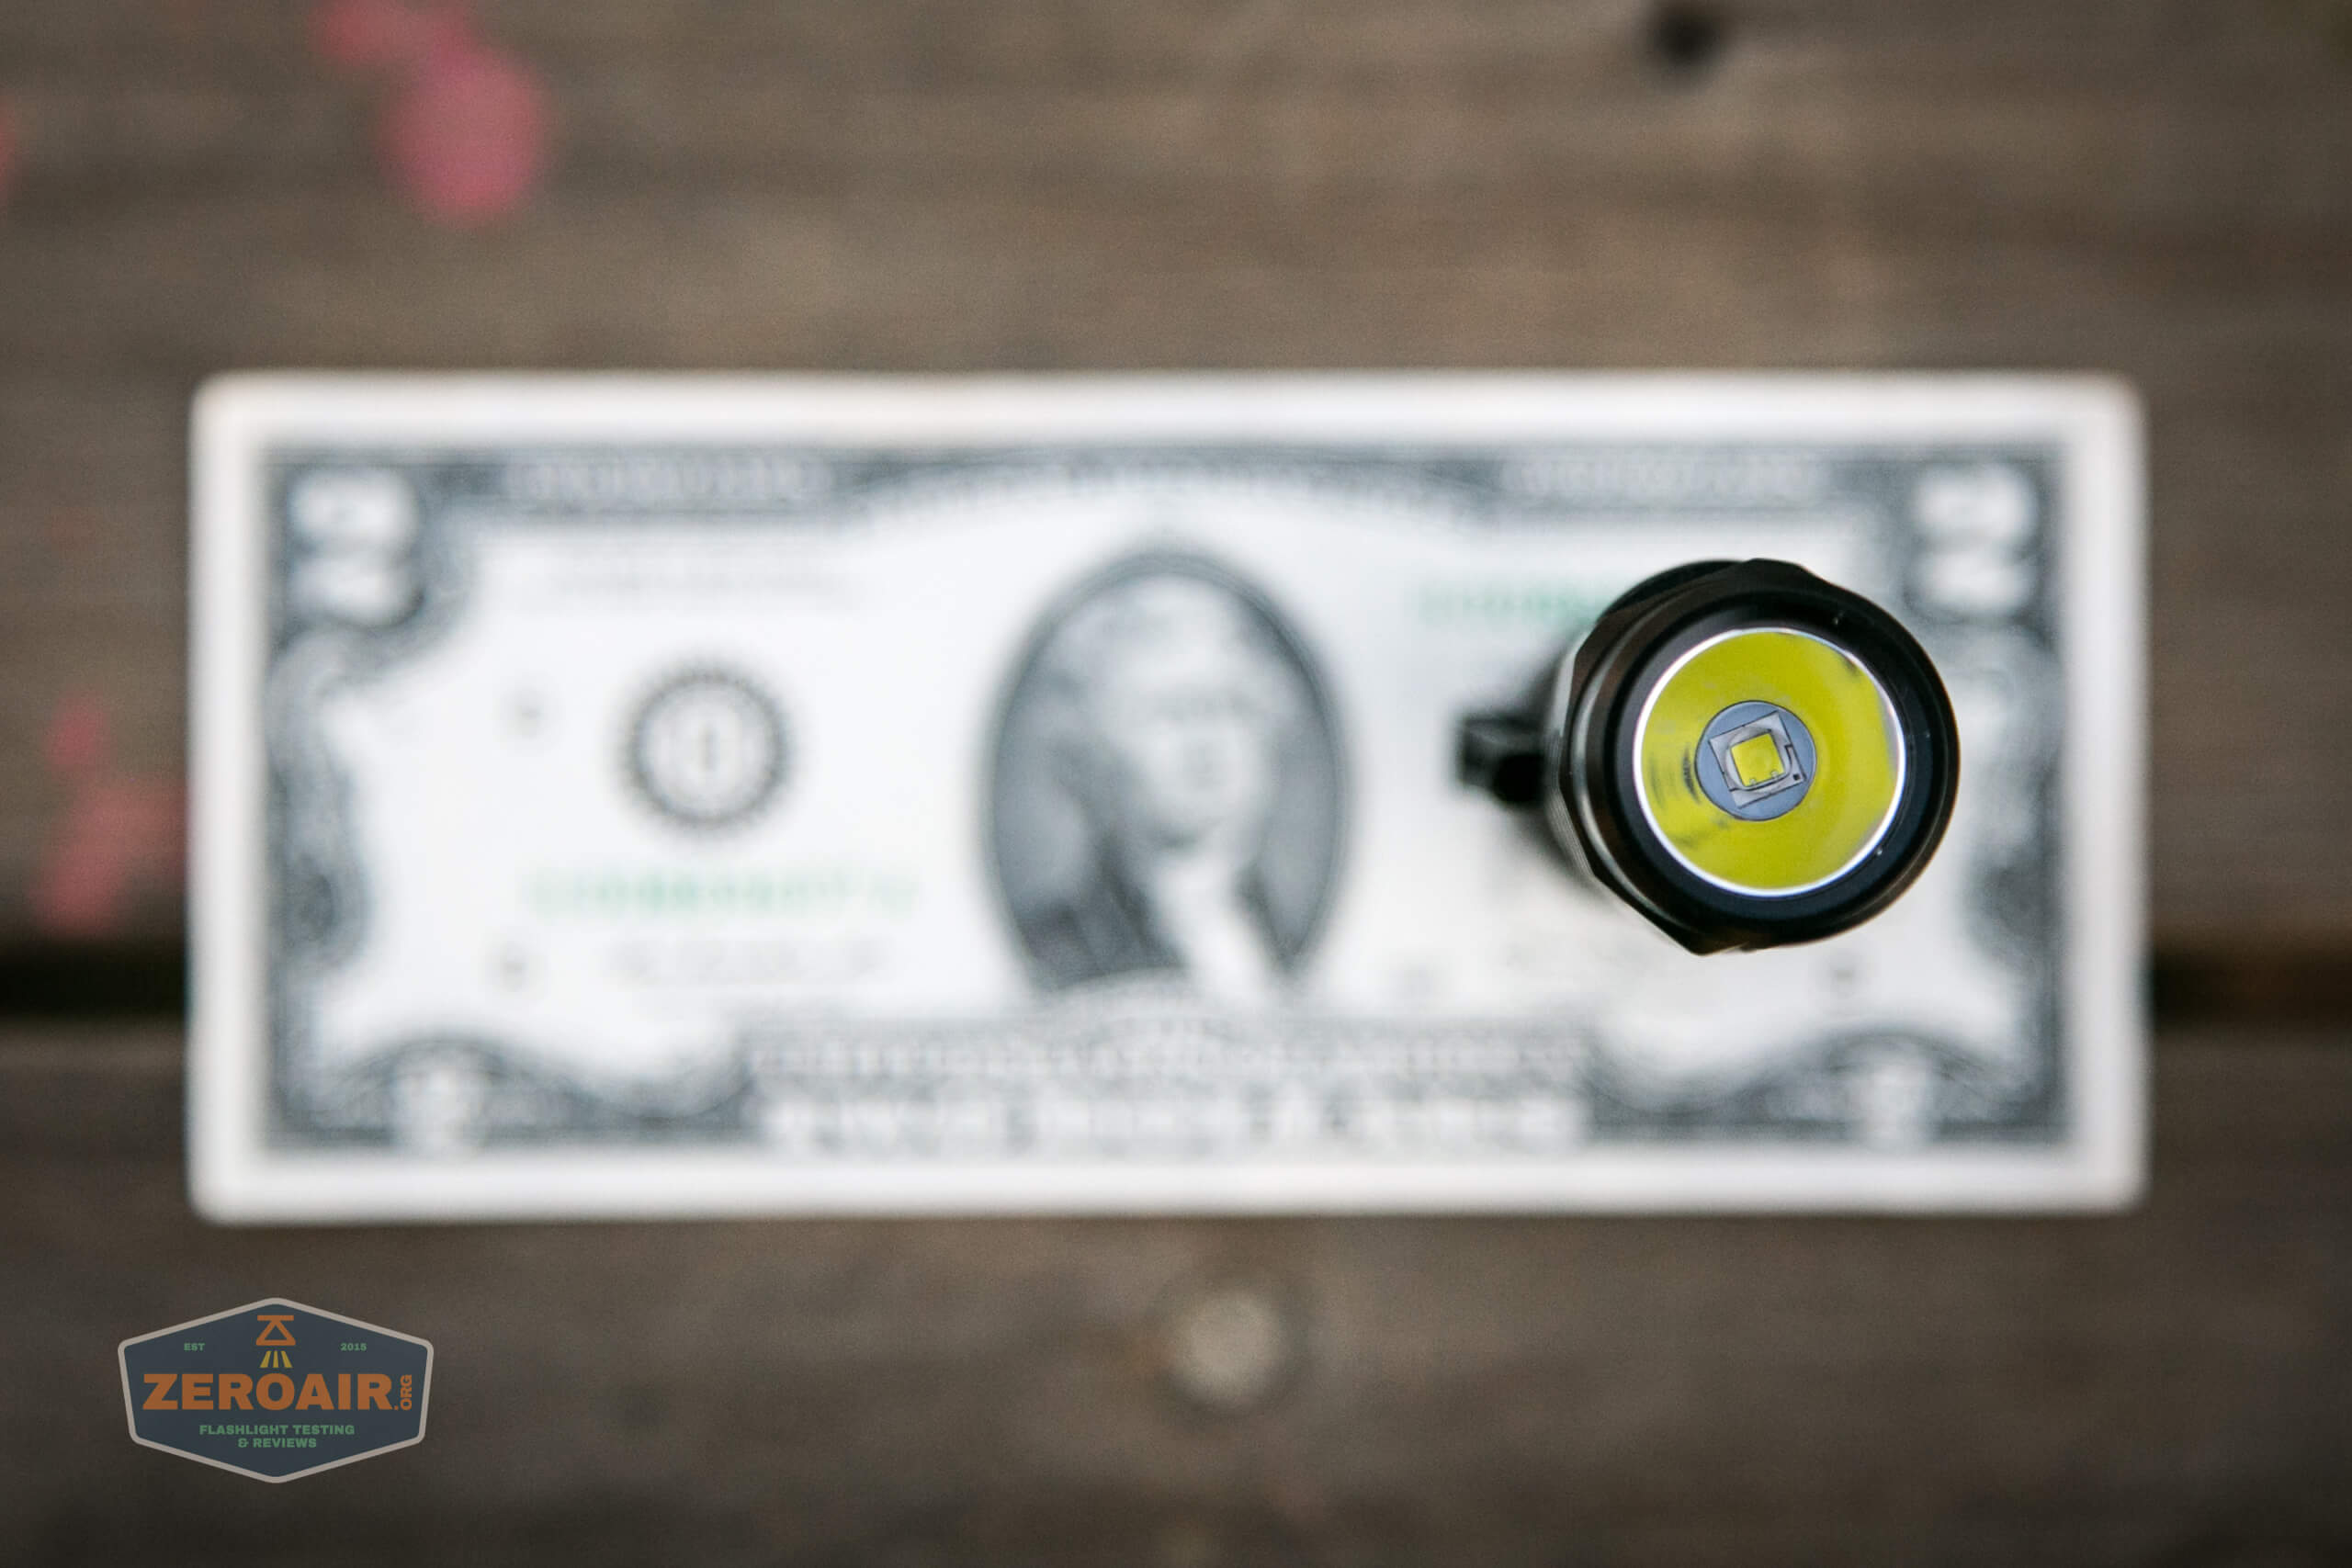
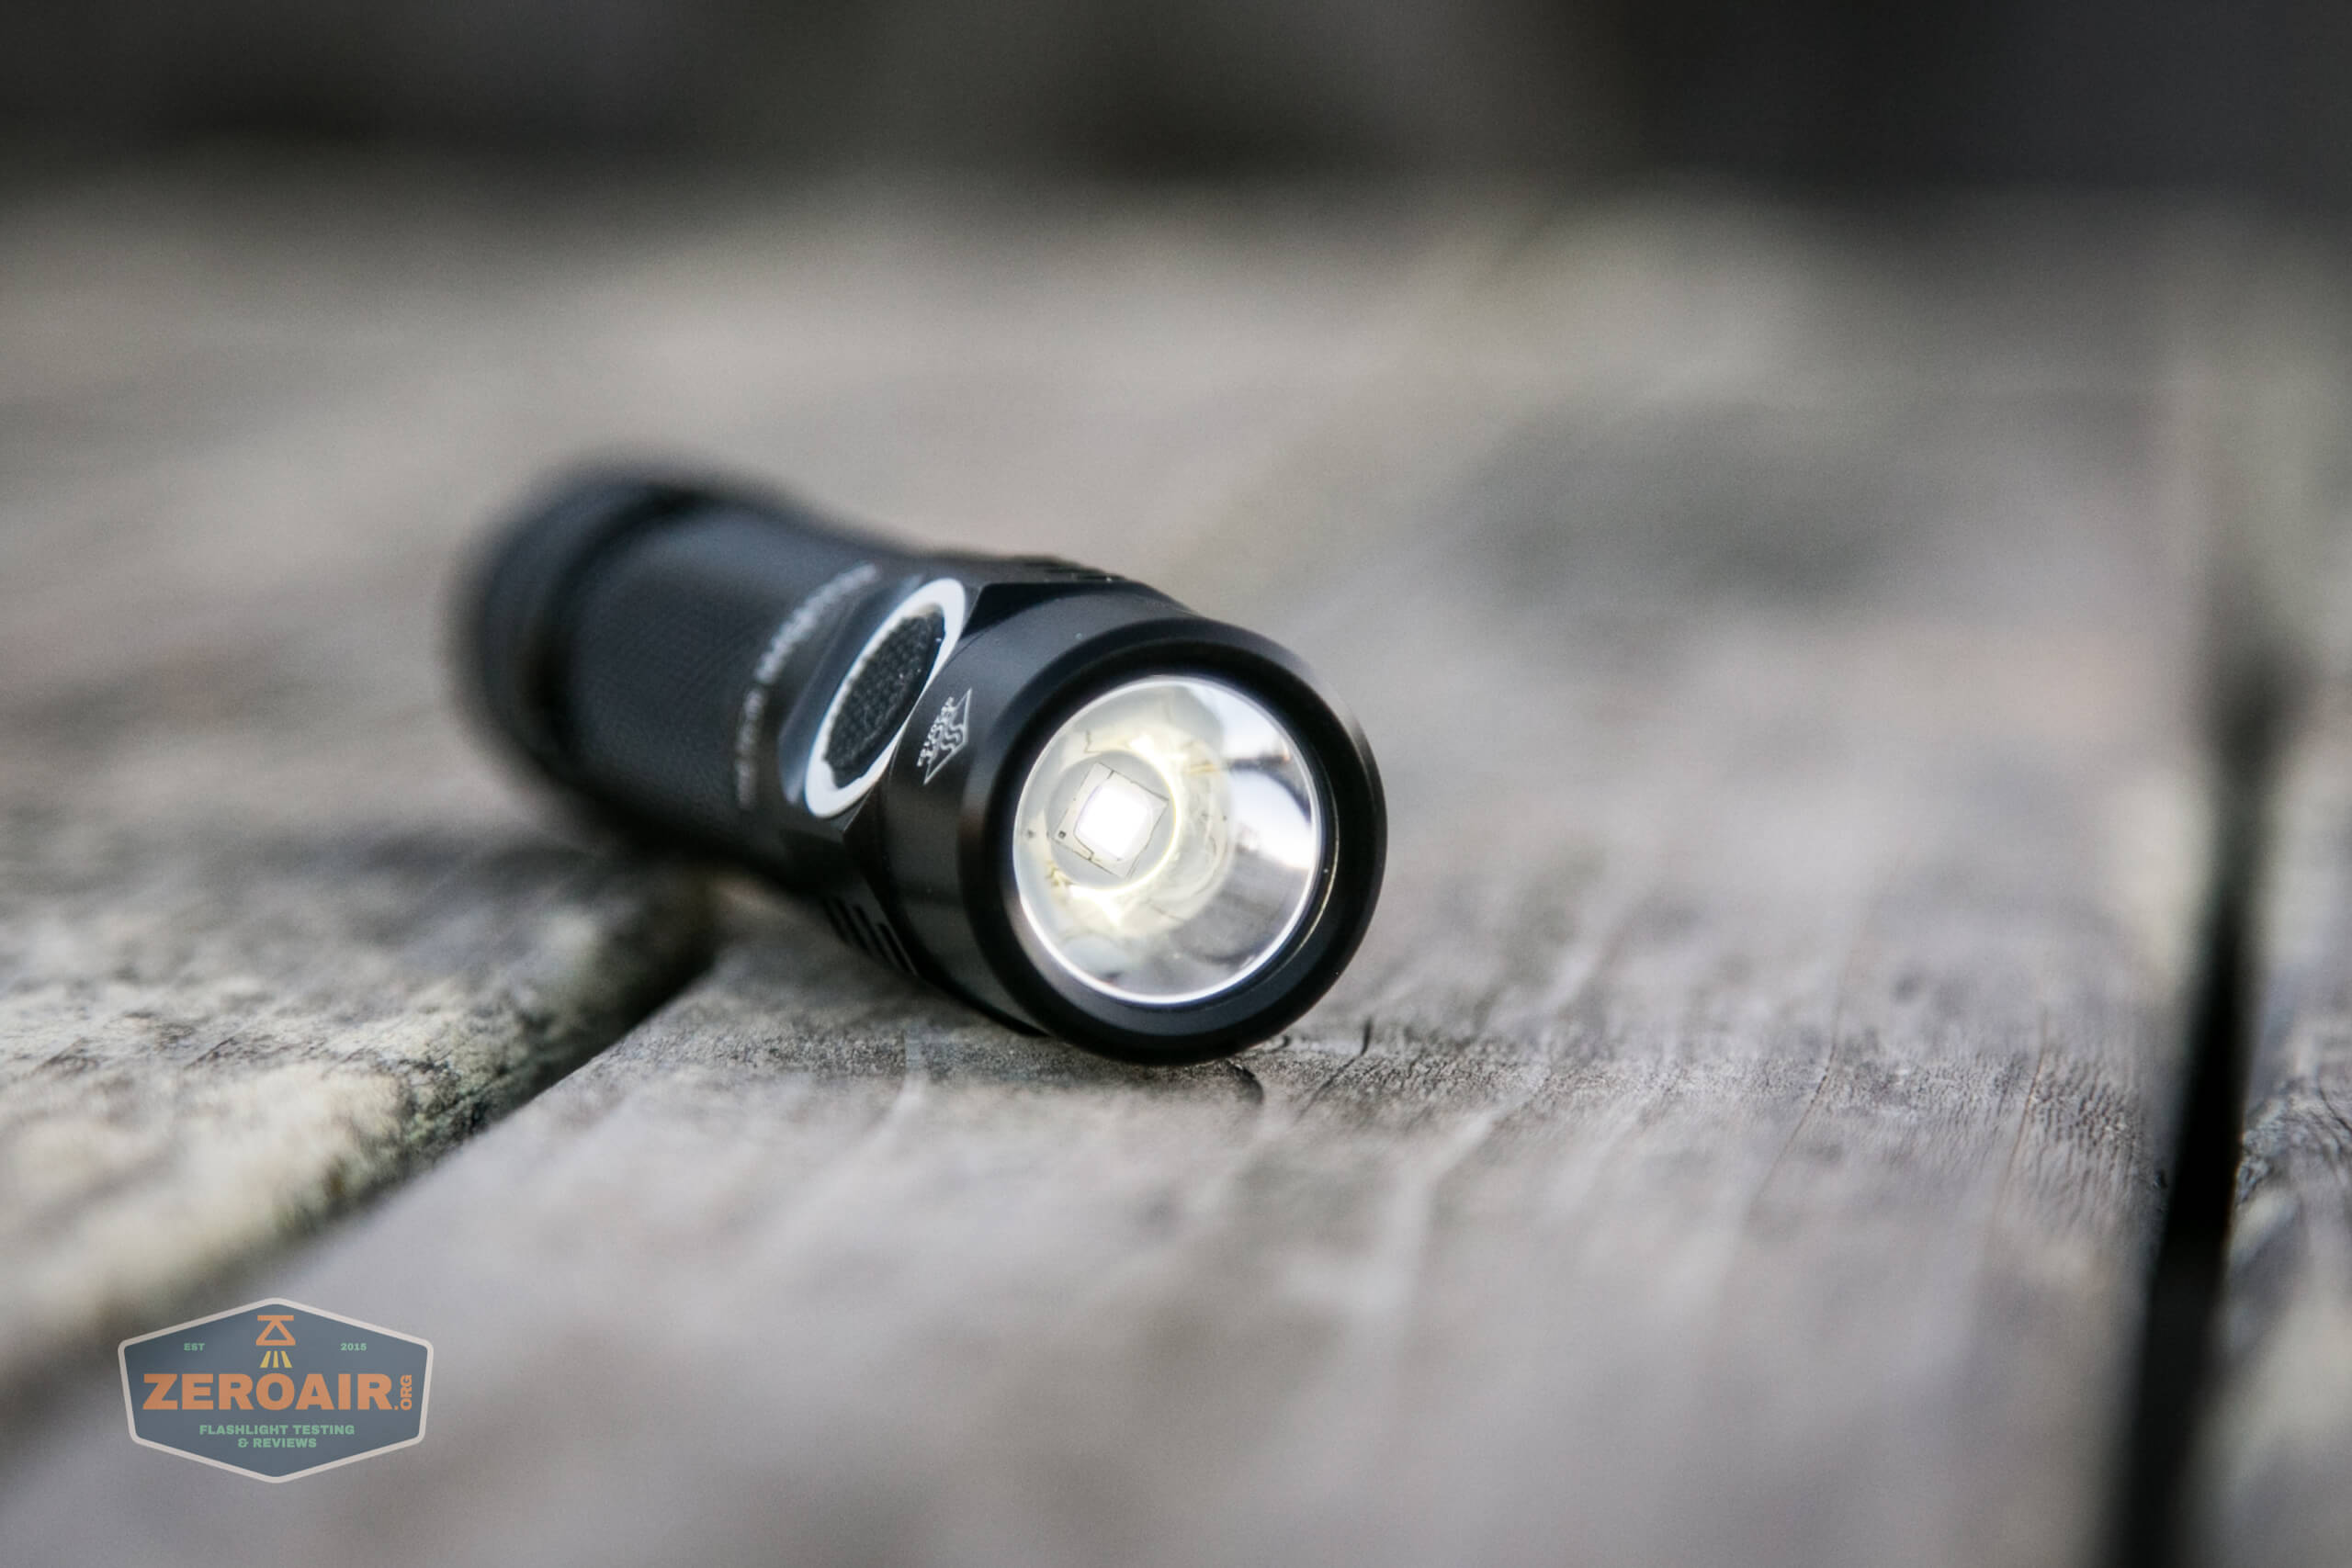
LED and Beam
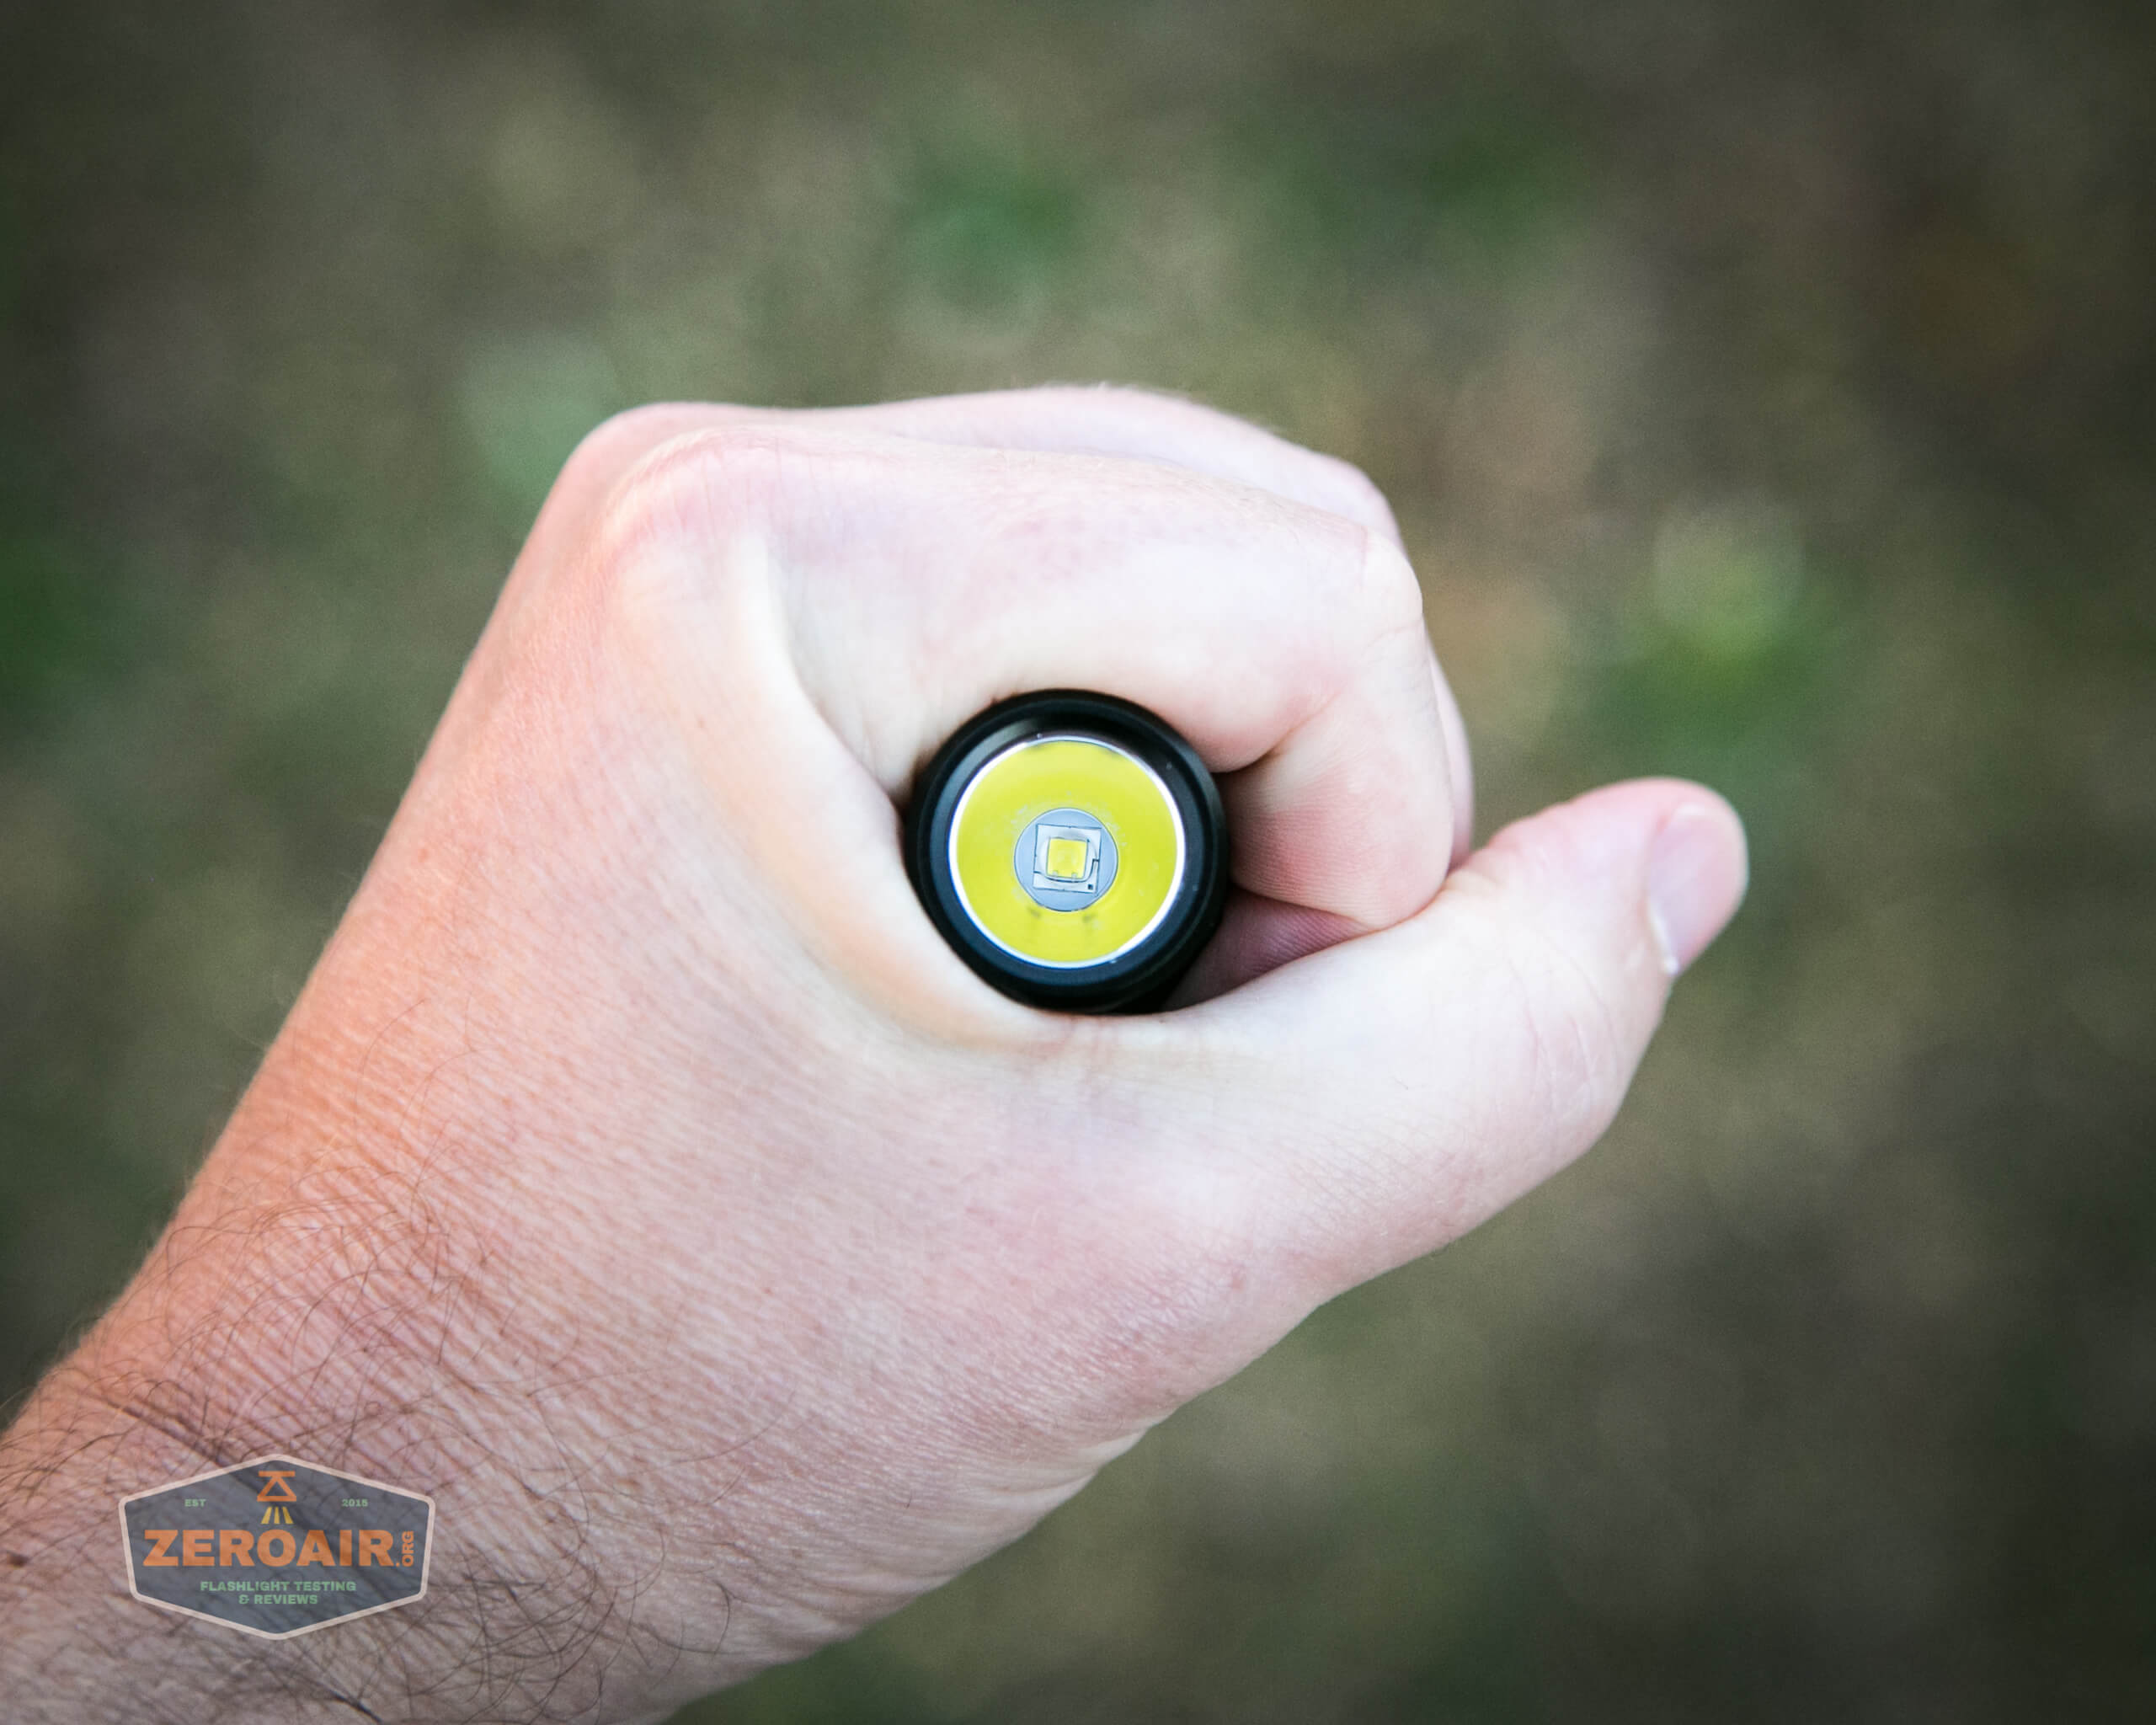
The emitter used here is a Luminus SST-40, and my sample is 6500K temperature. There’s also a 5000K version, which I recommend you buy unless you hate everything about life.
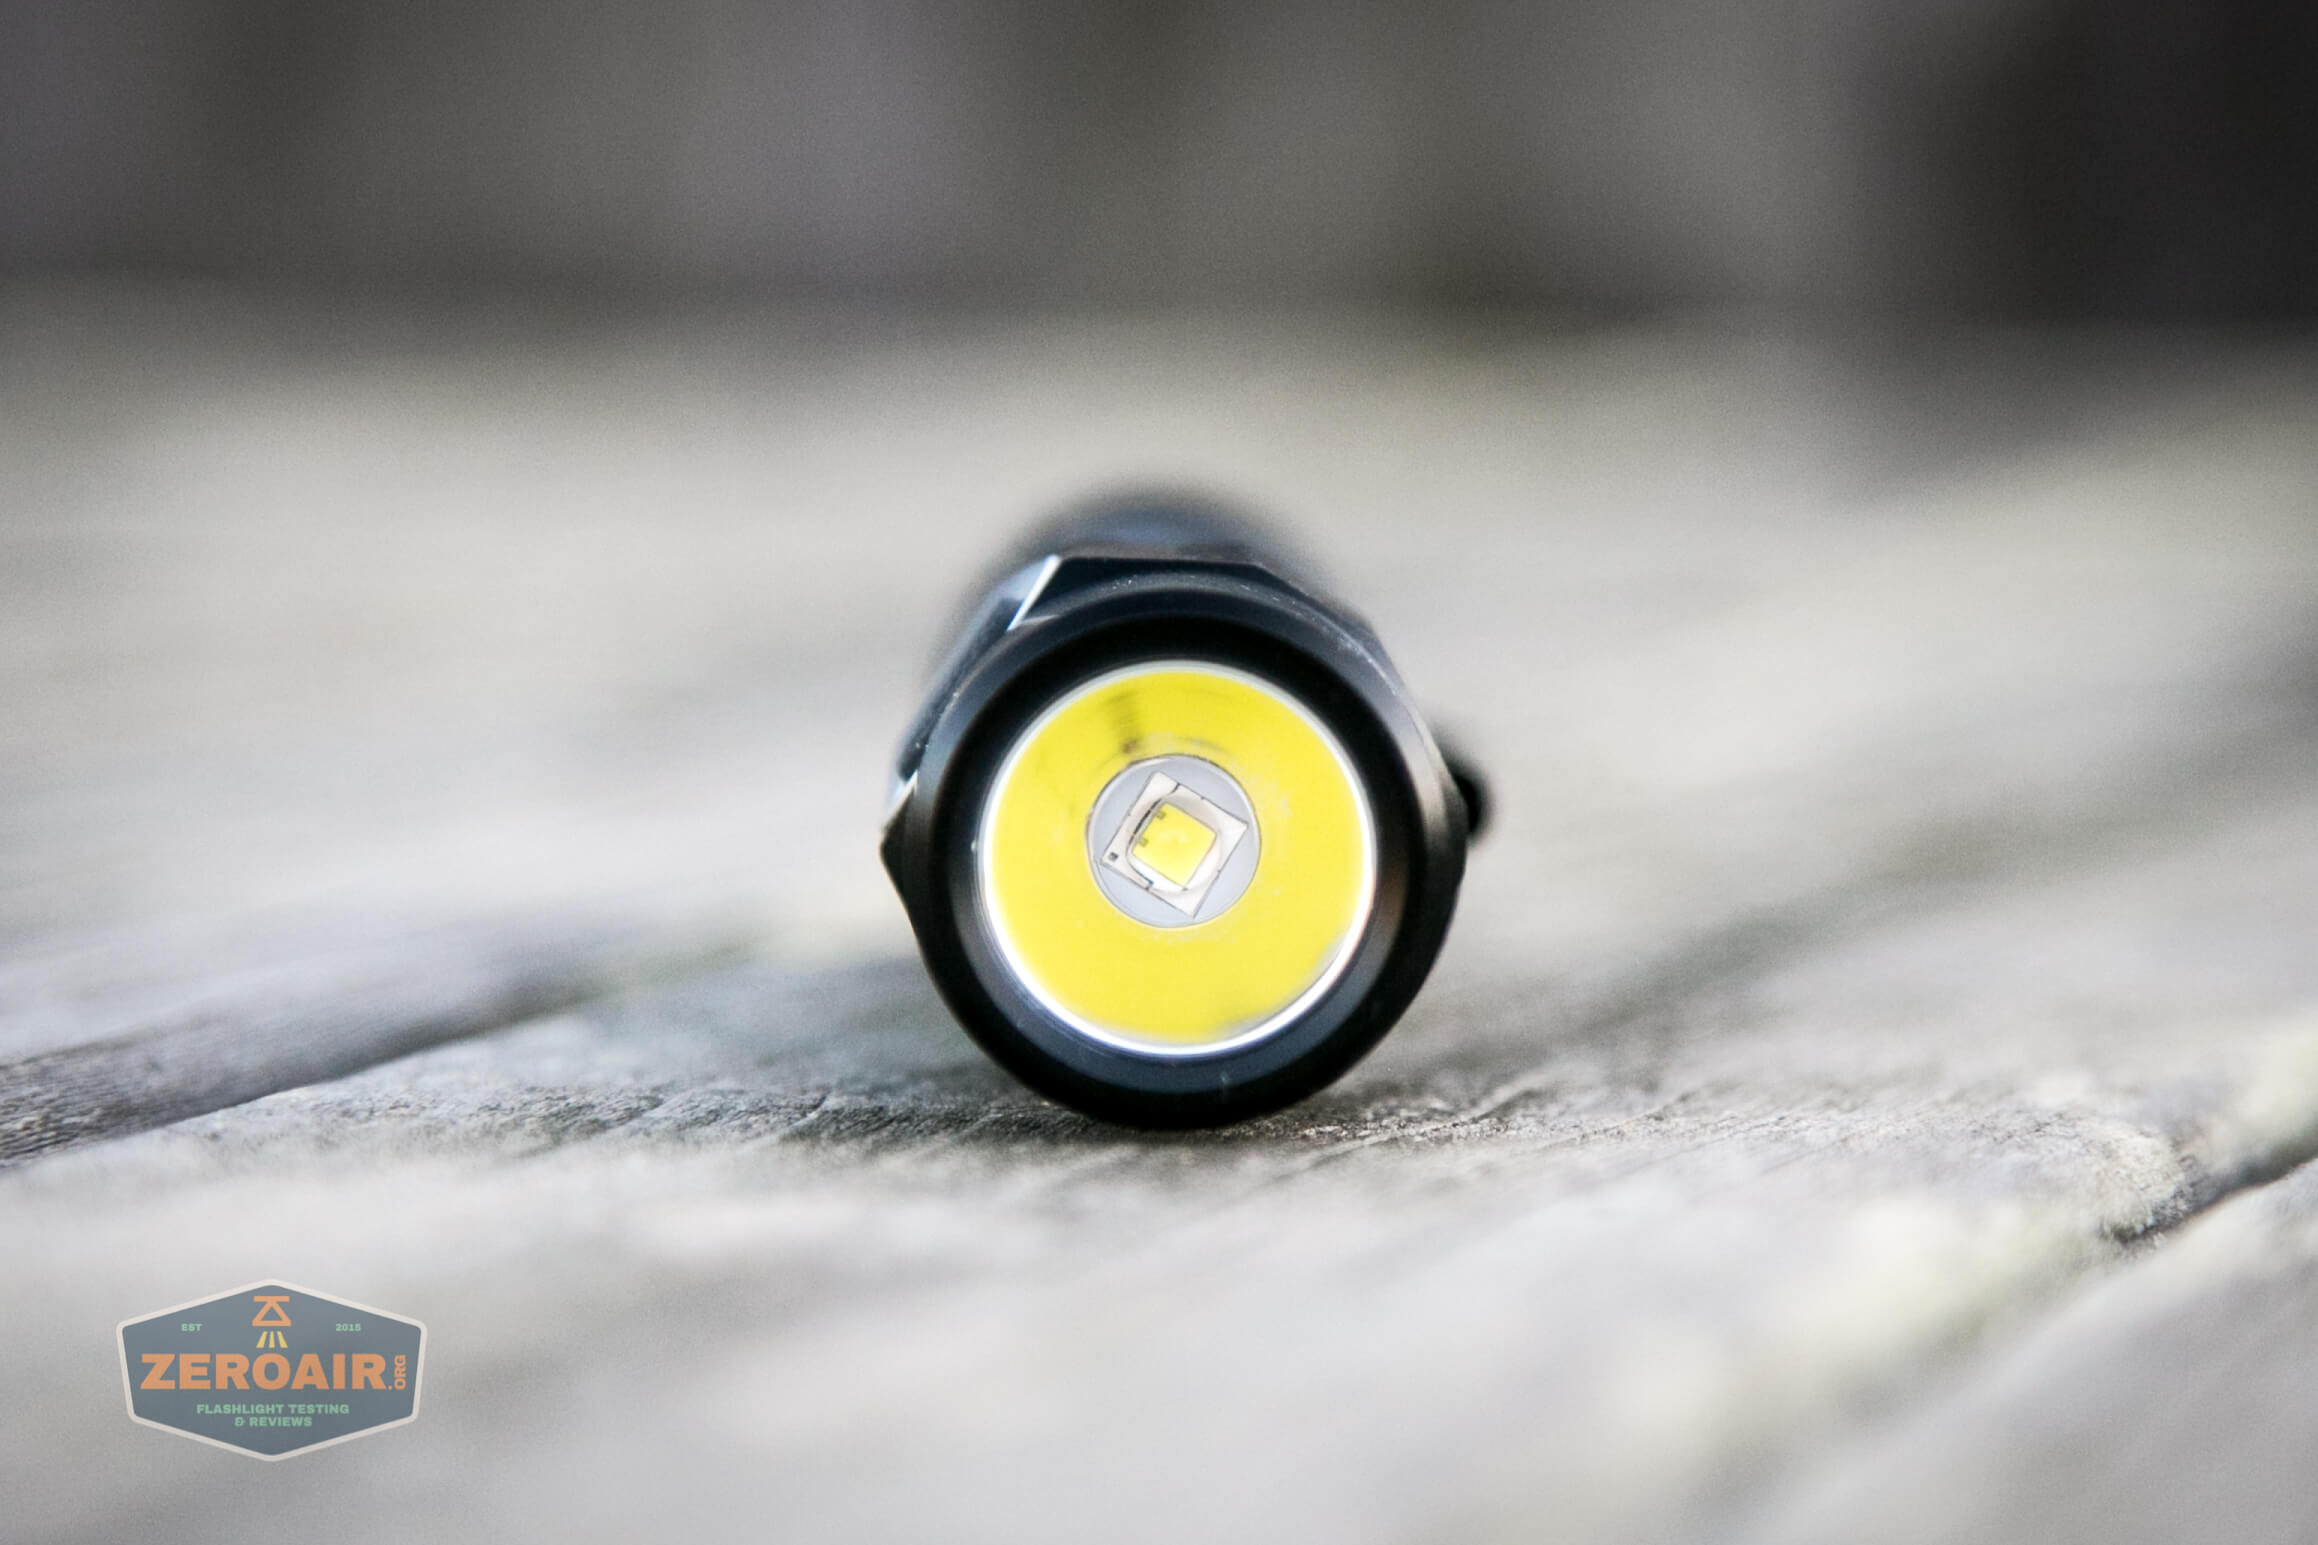
The reflector used is a smooth, moderate-depth reflector.
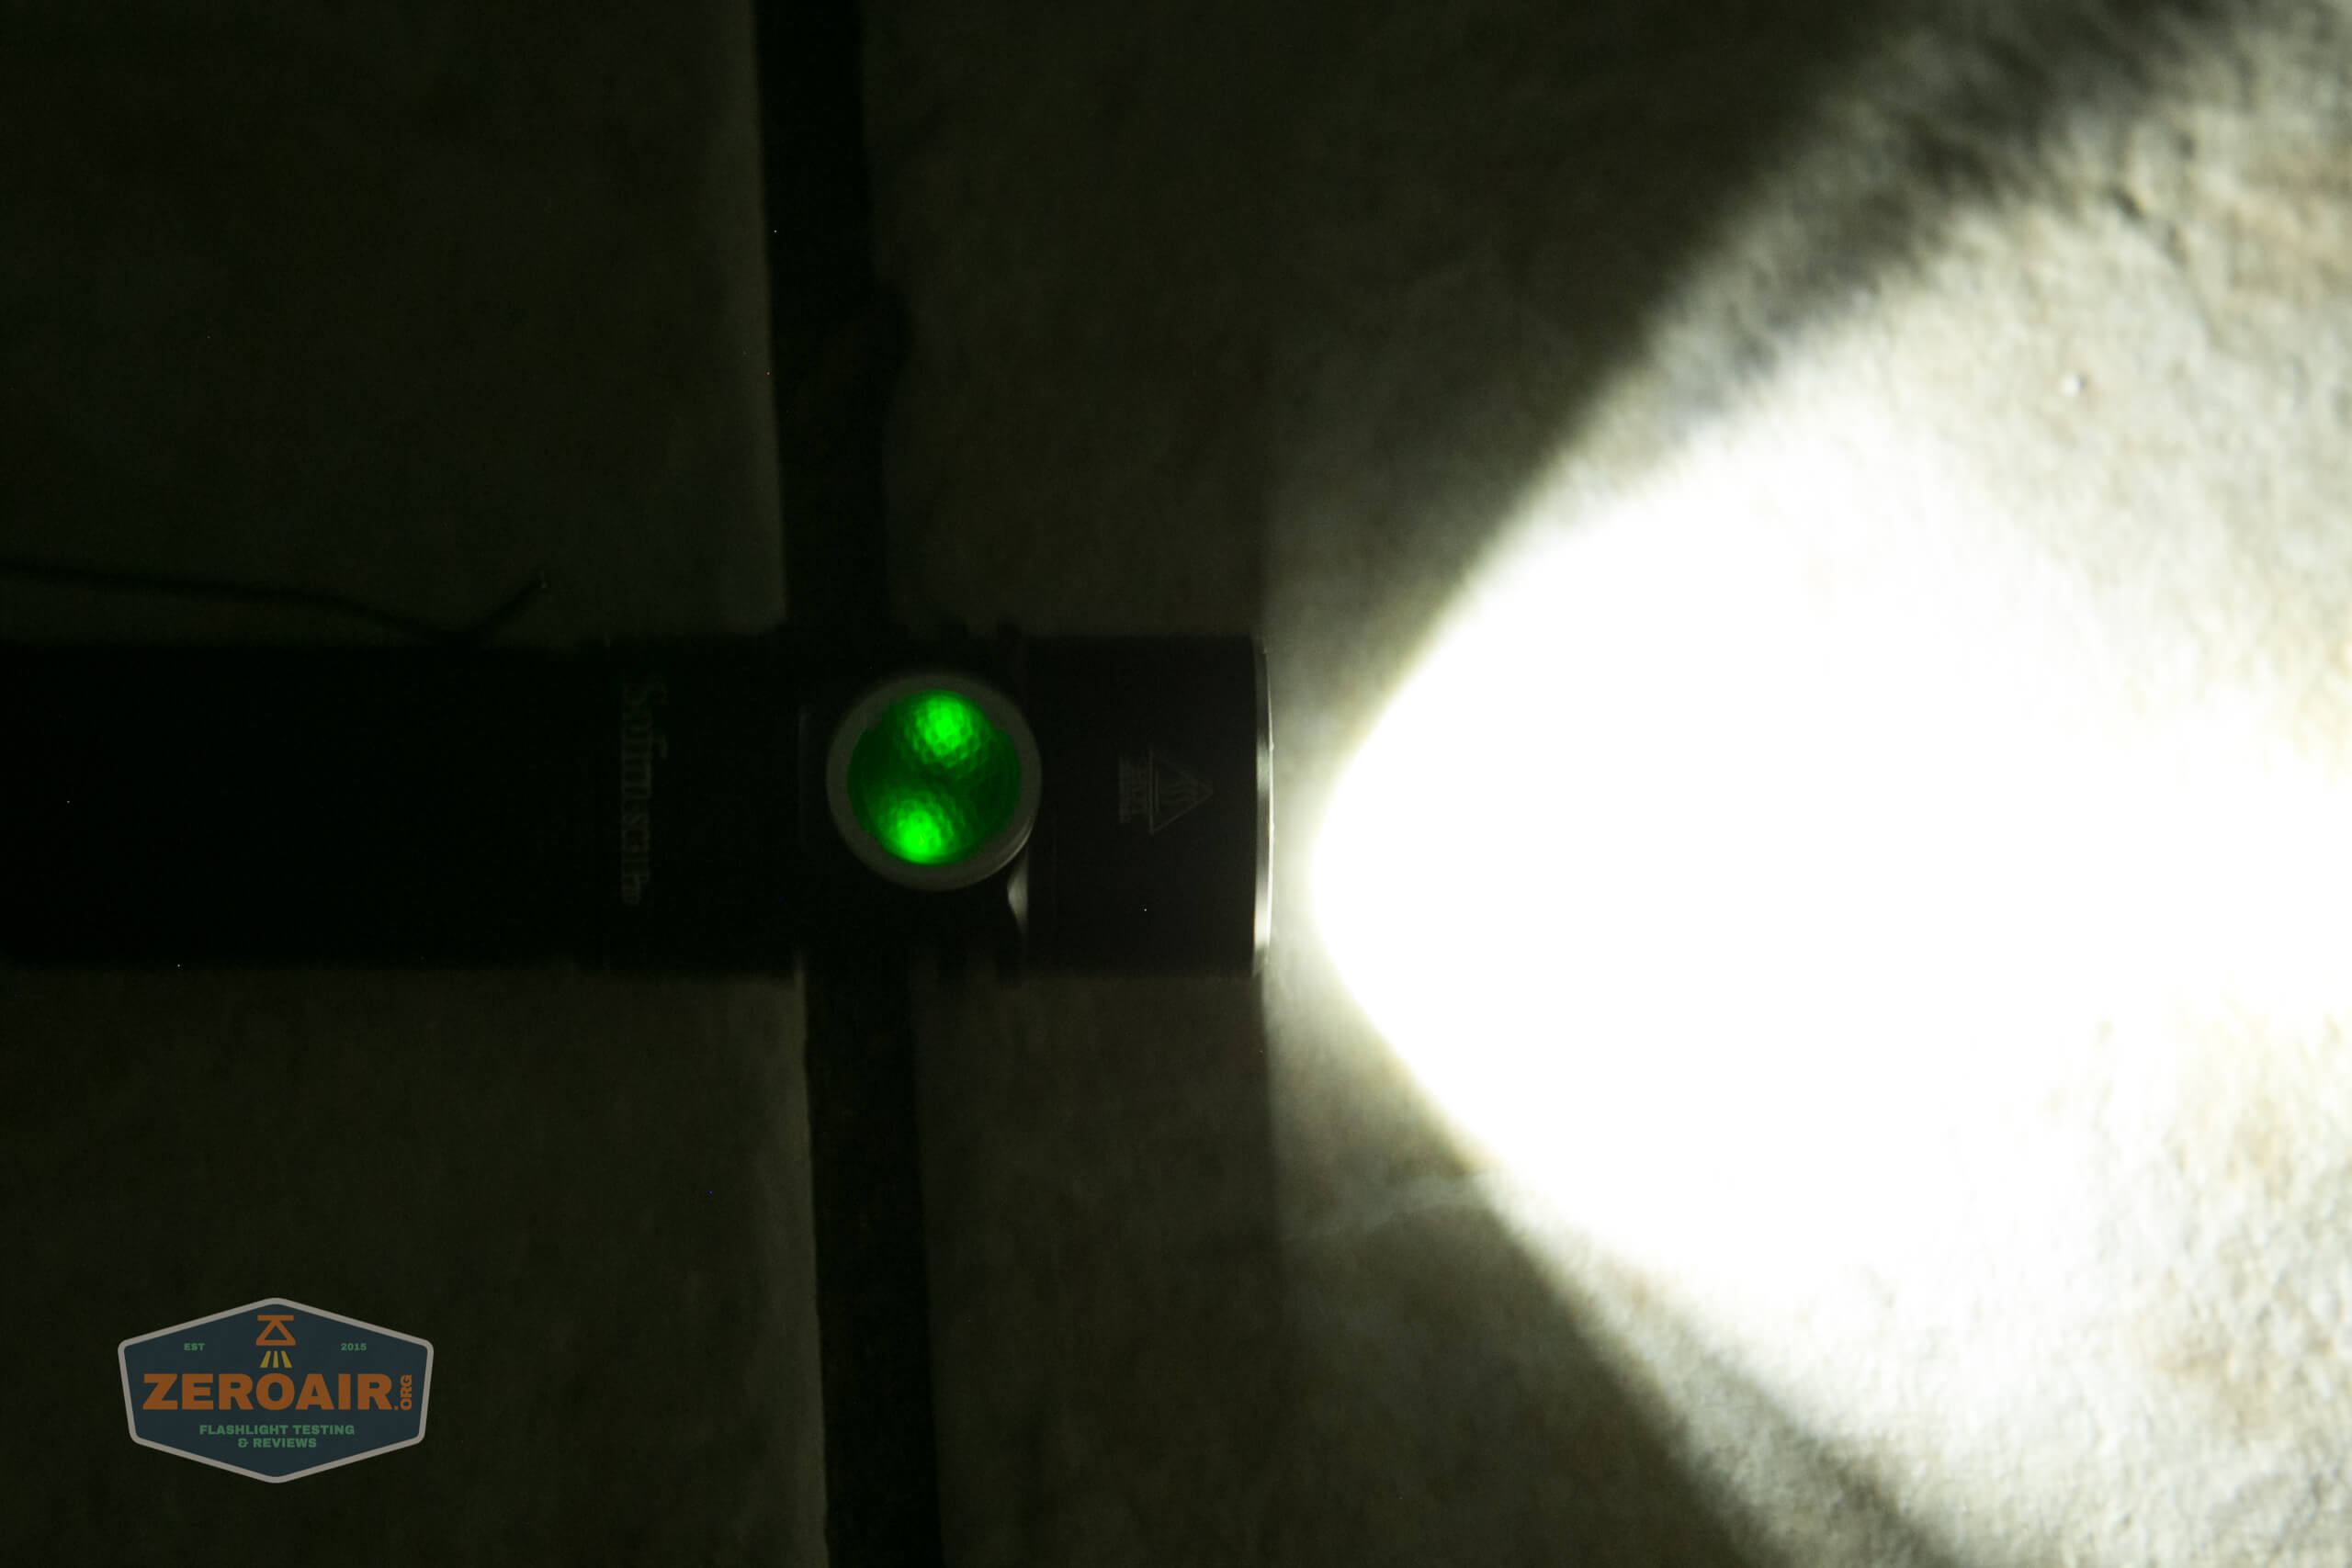
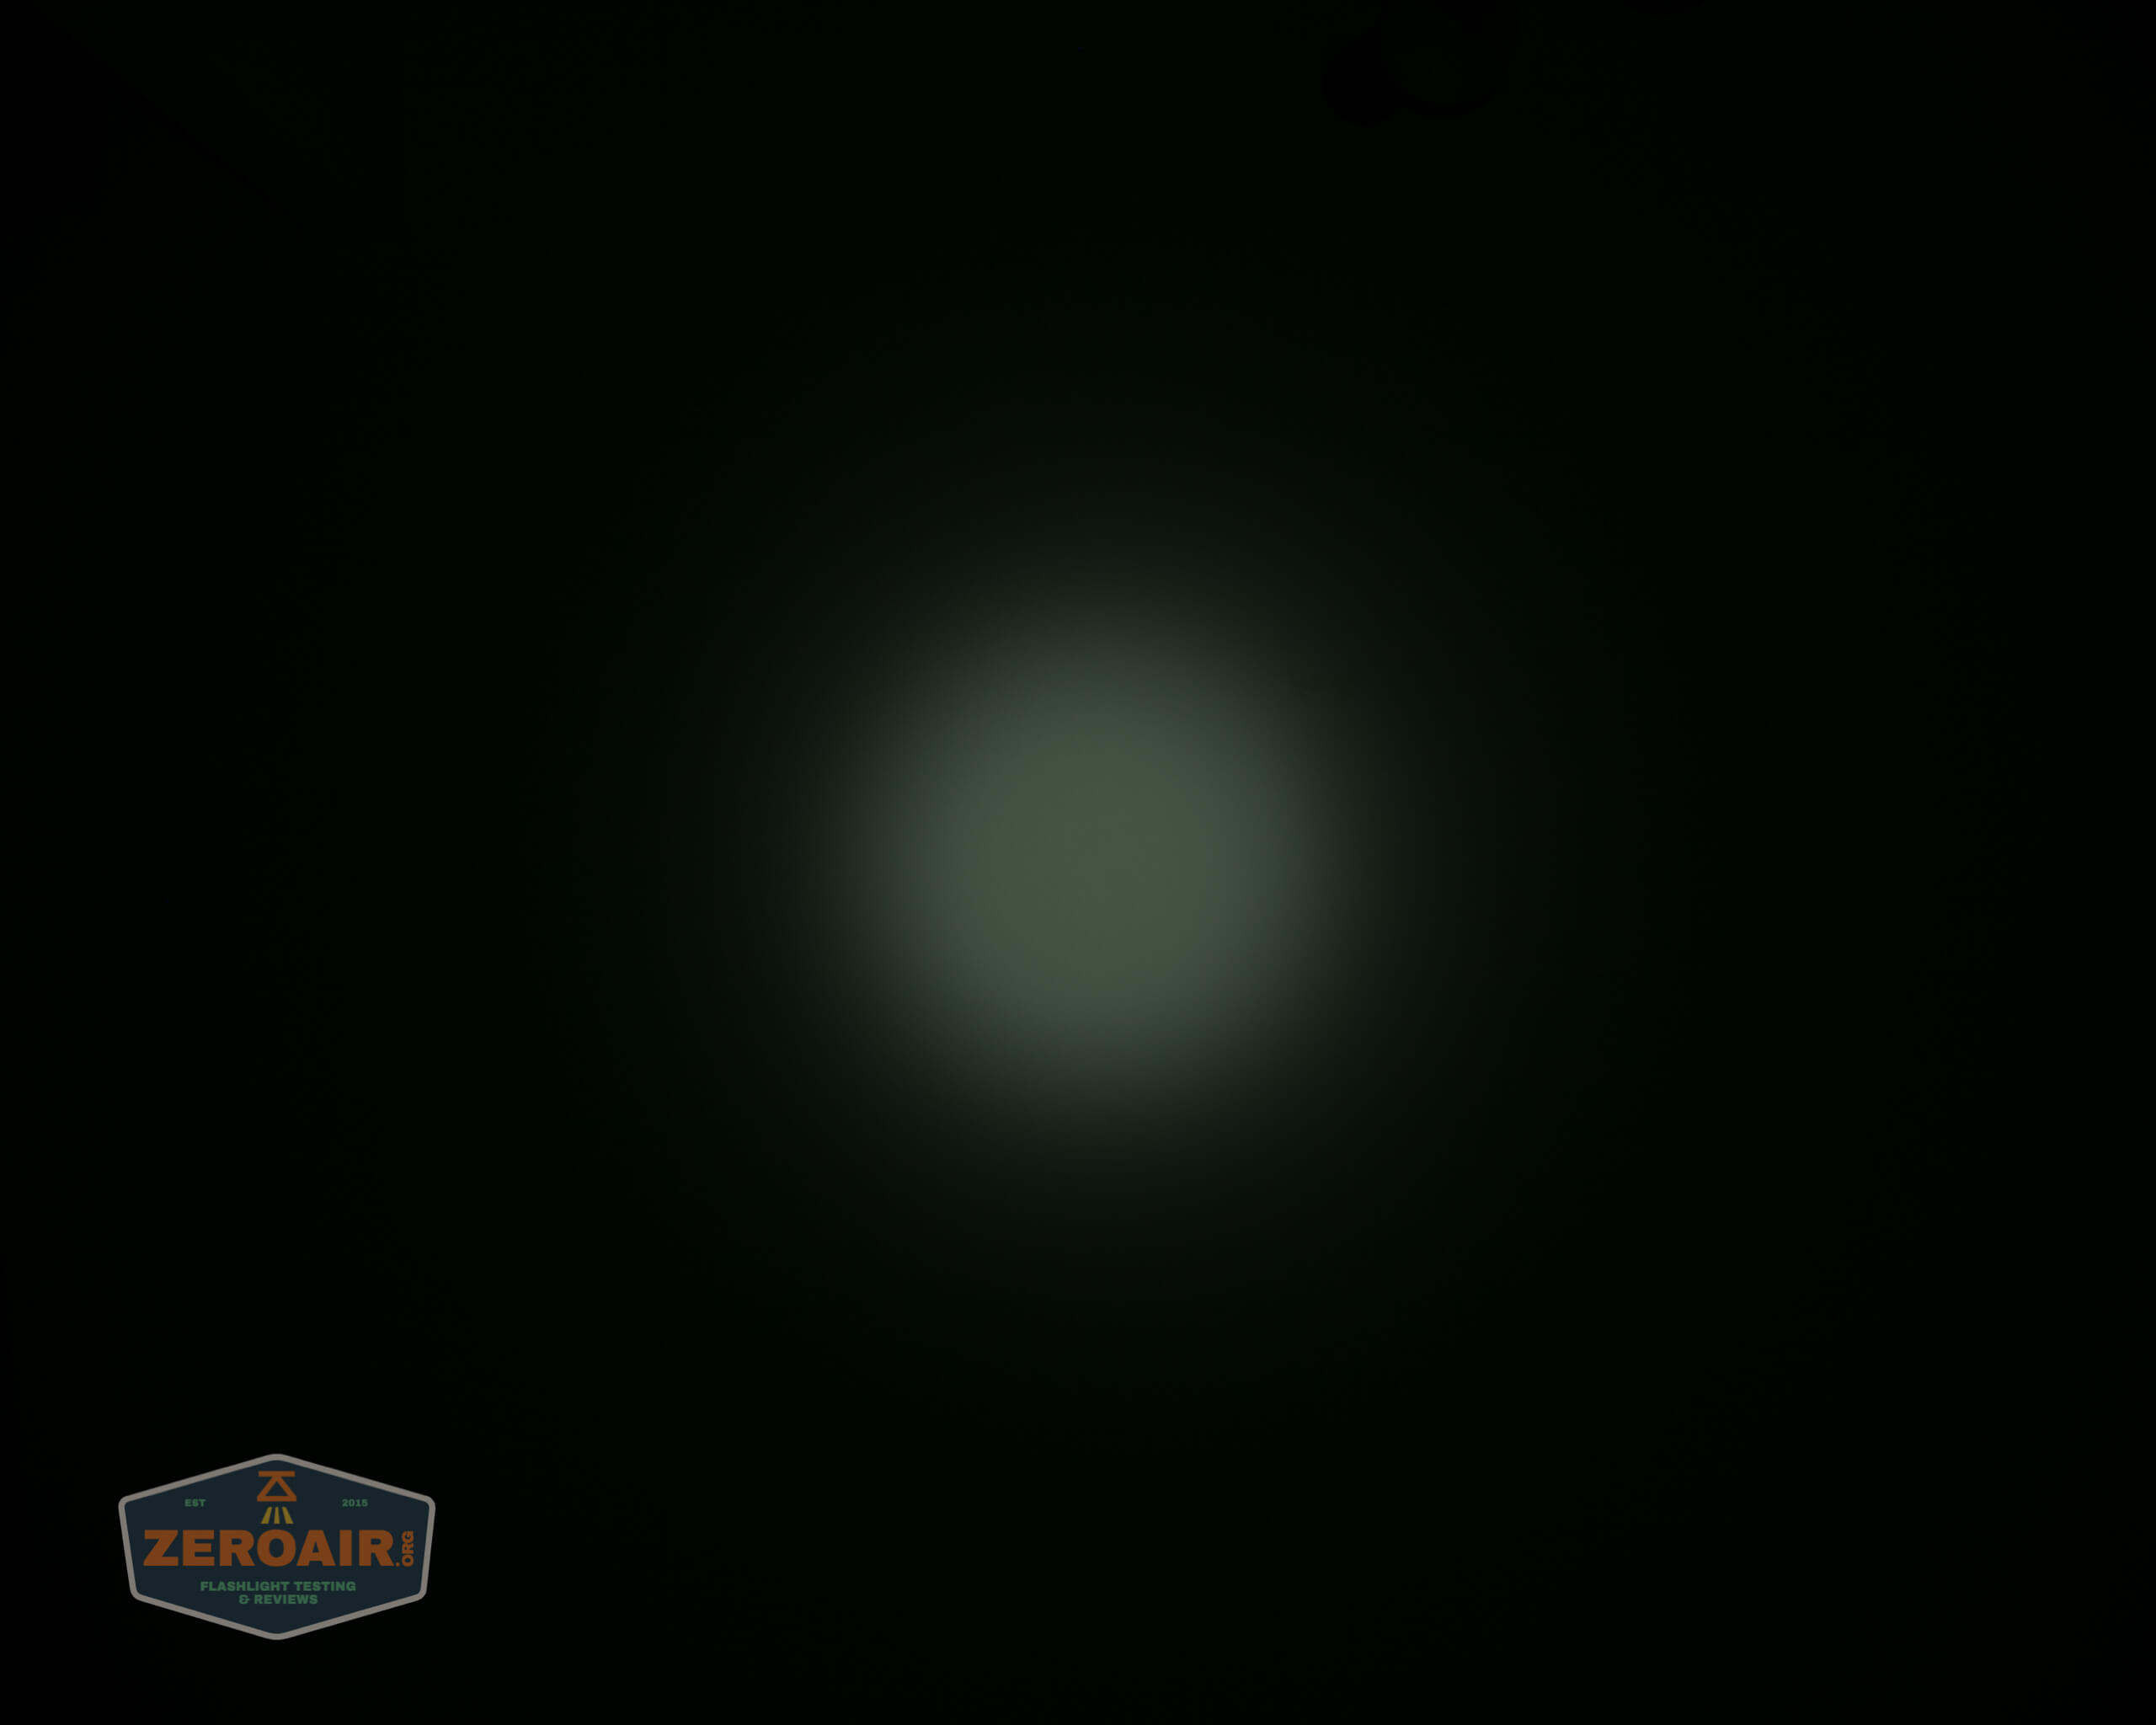
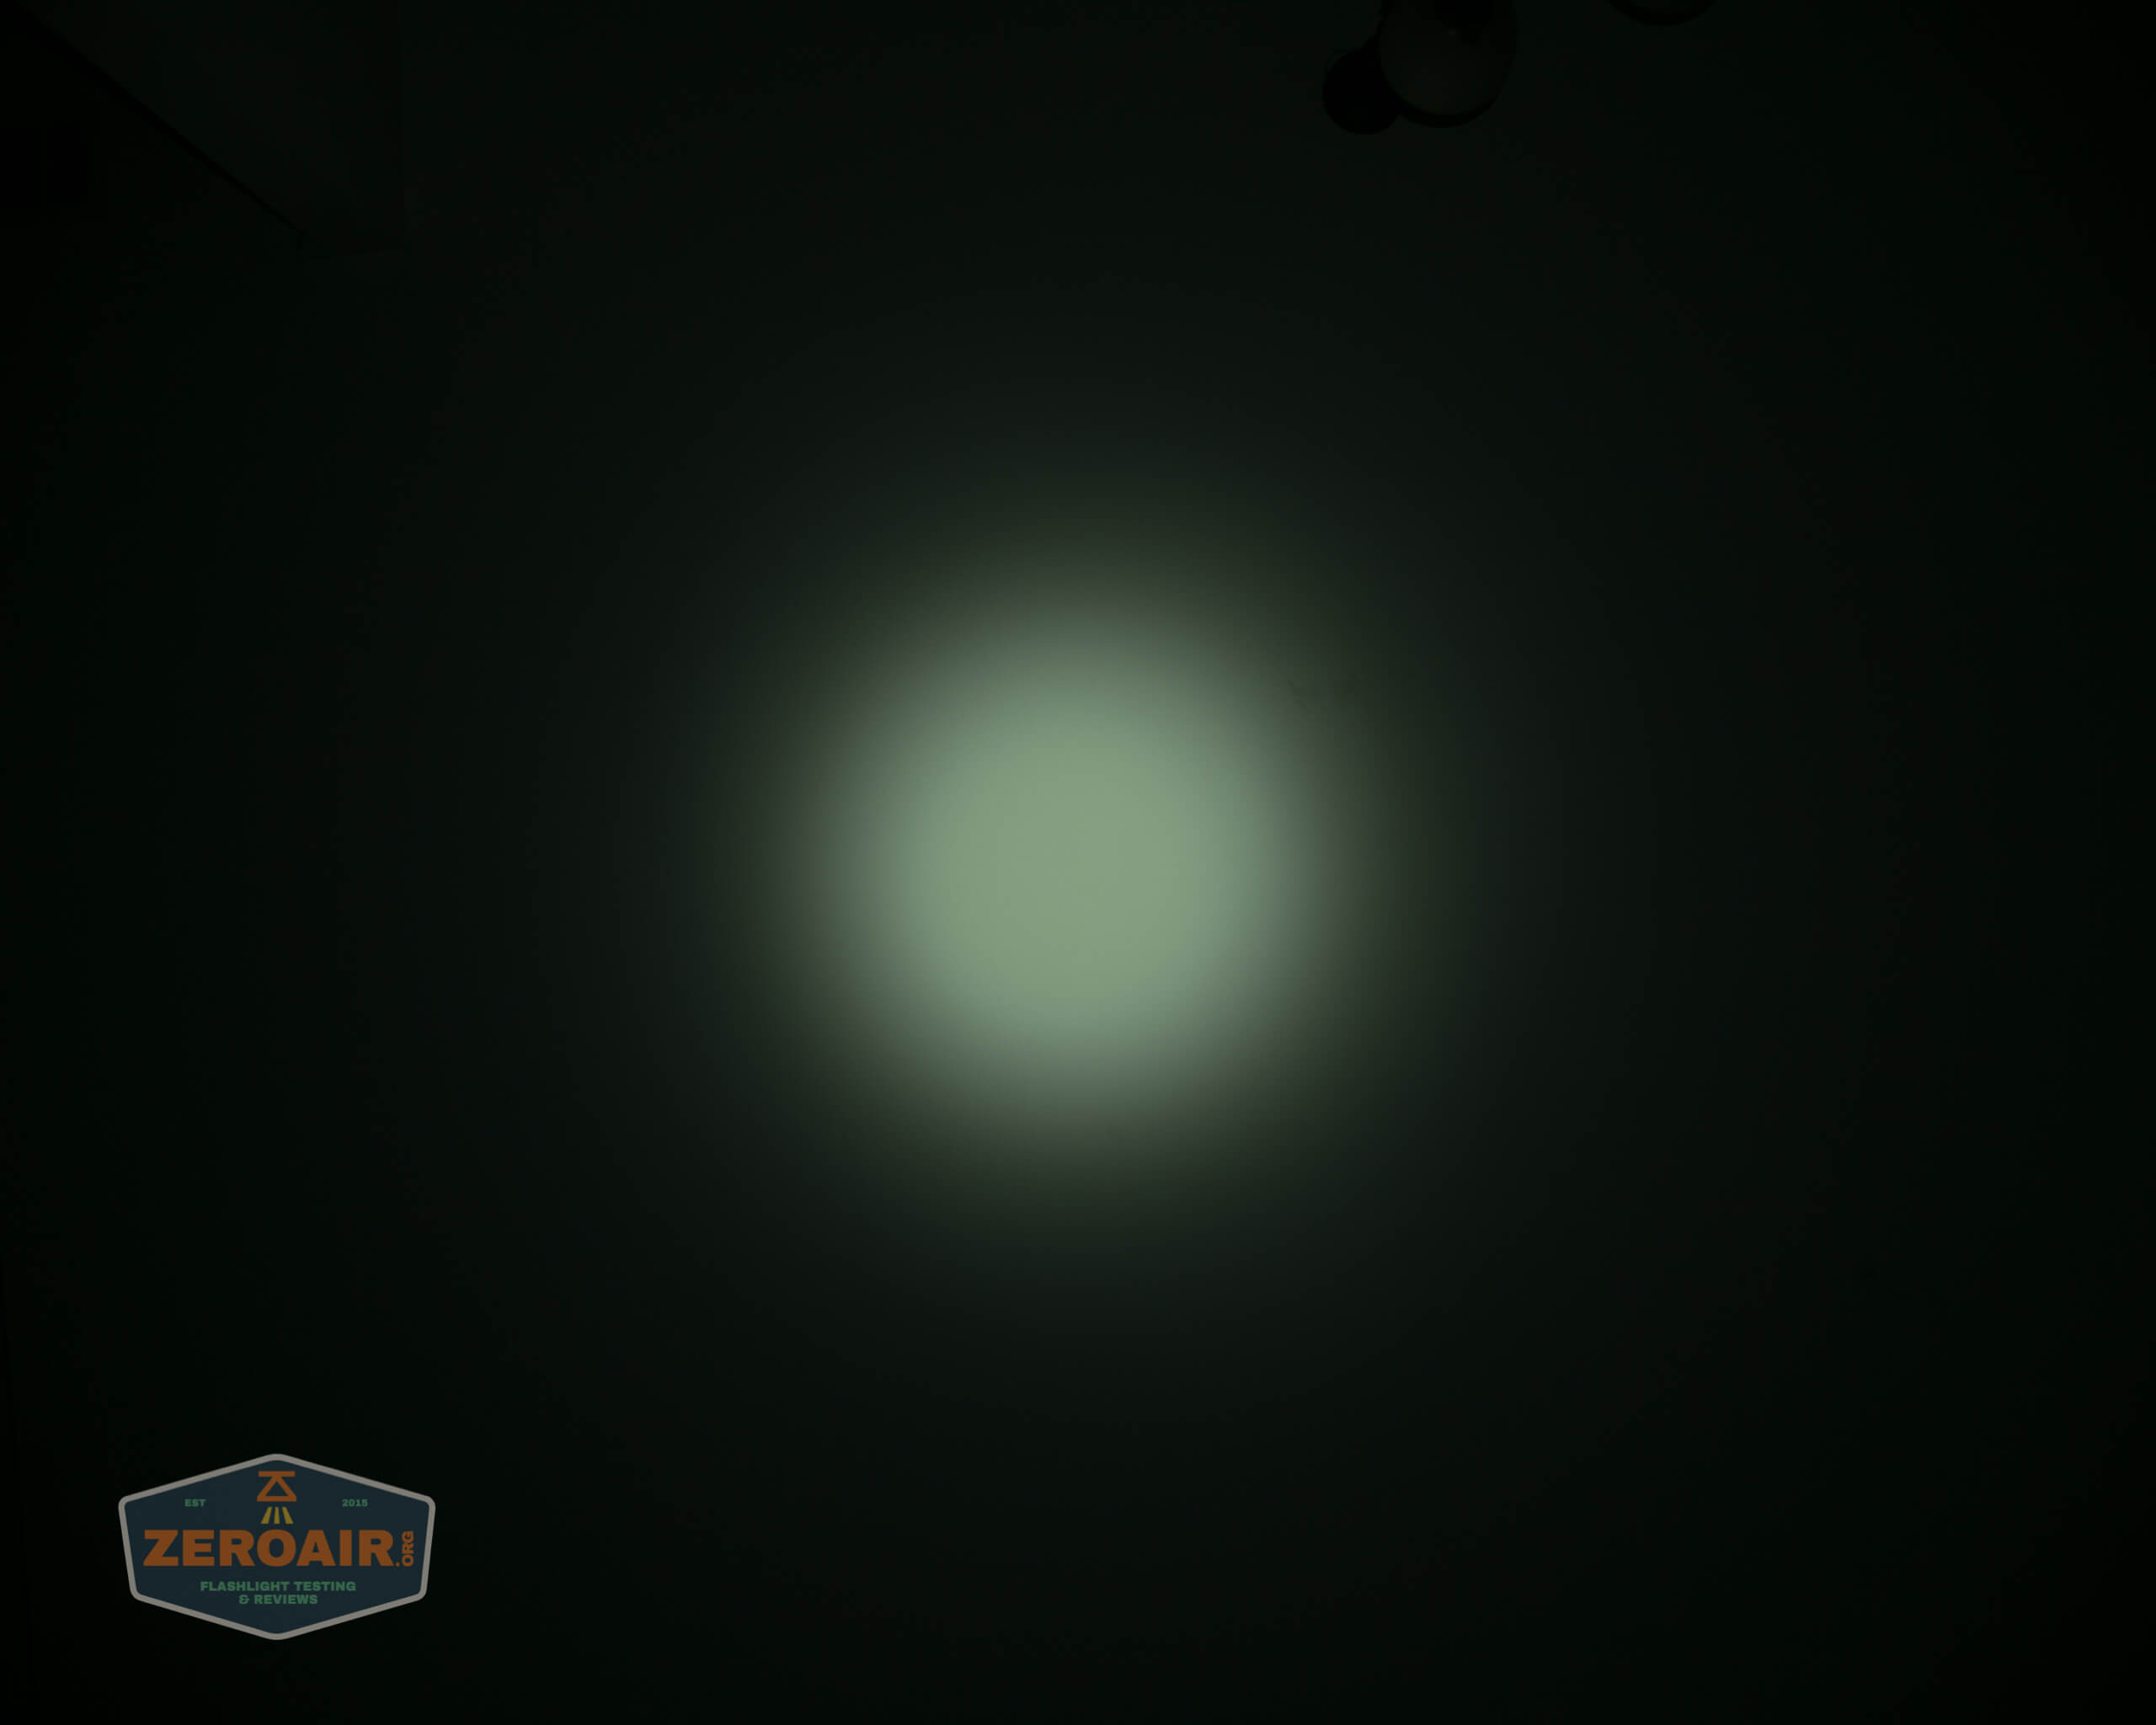
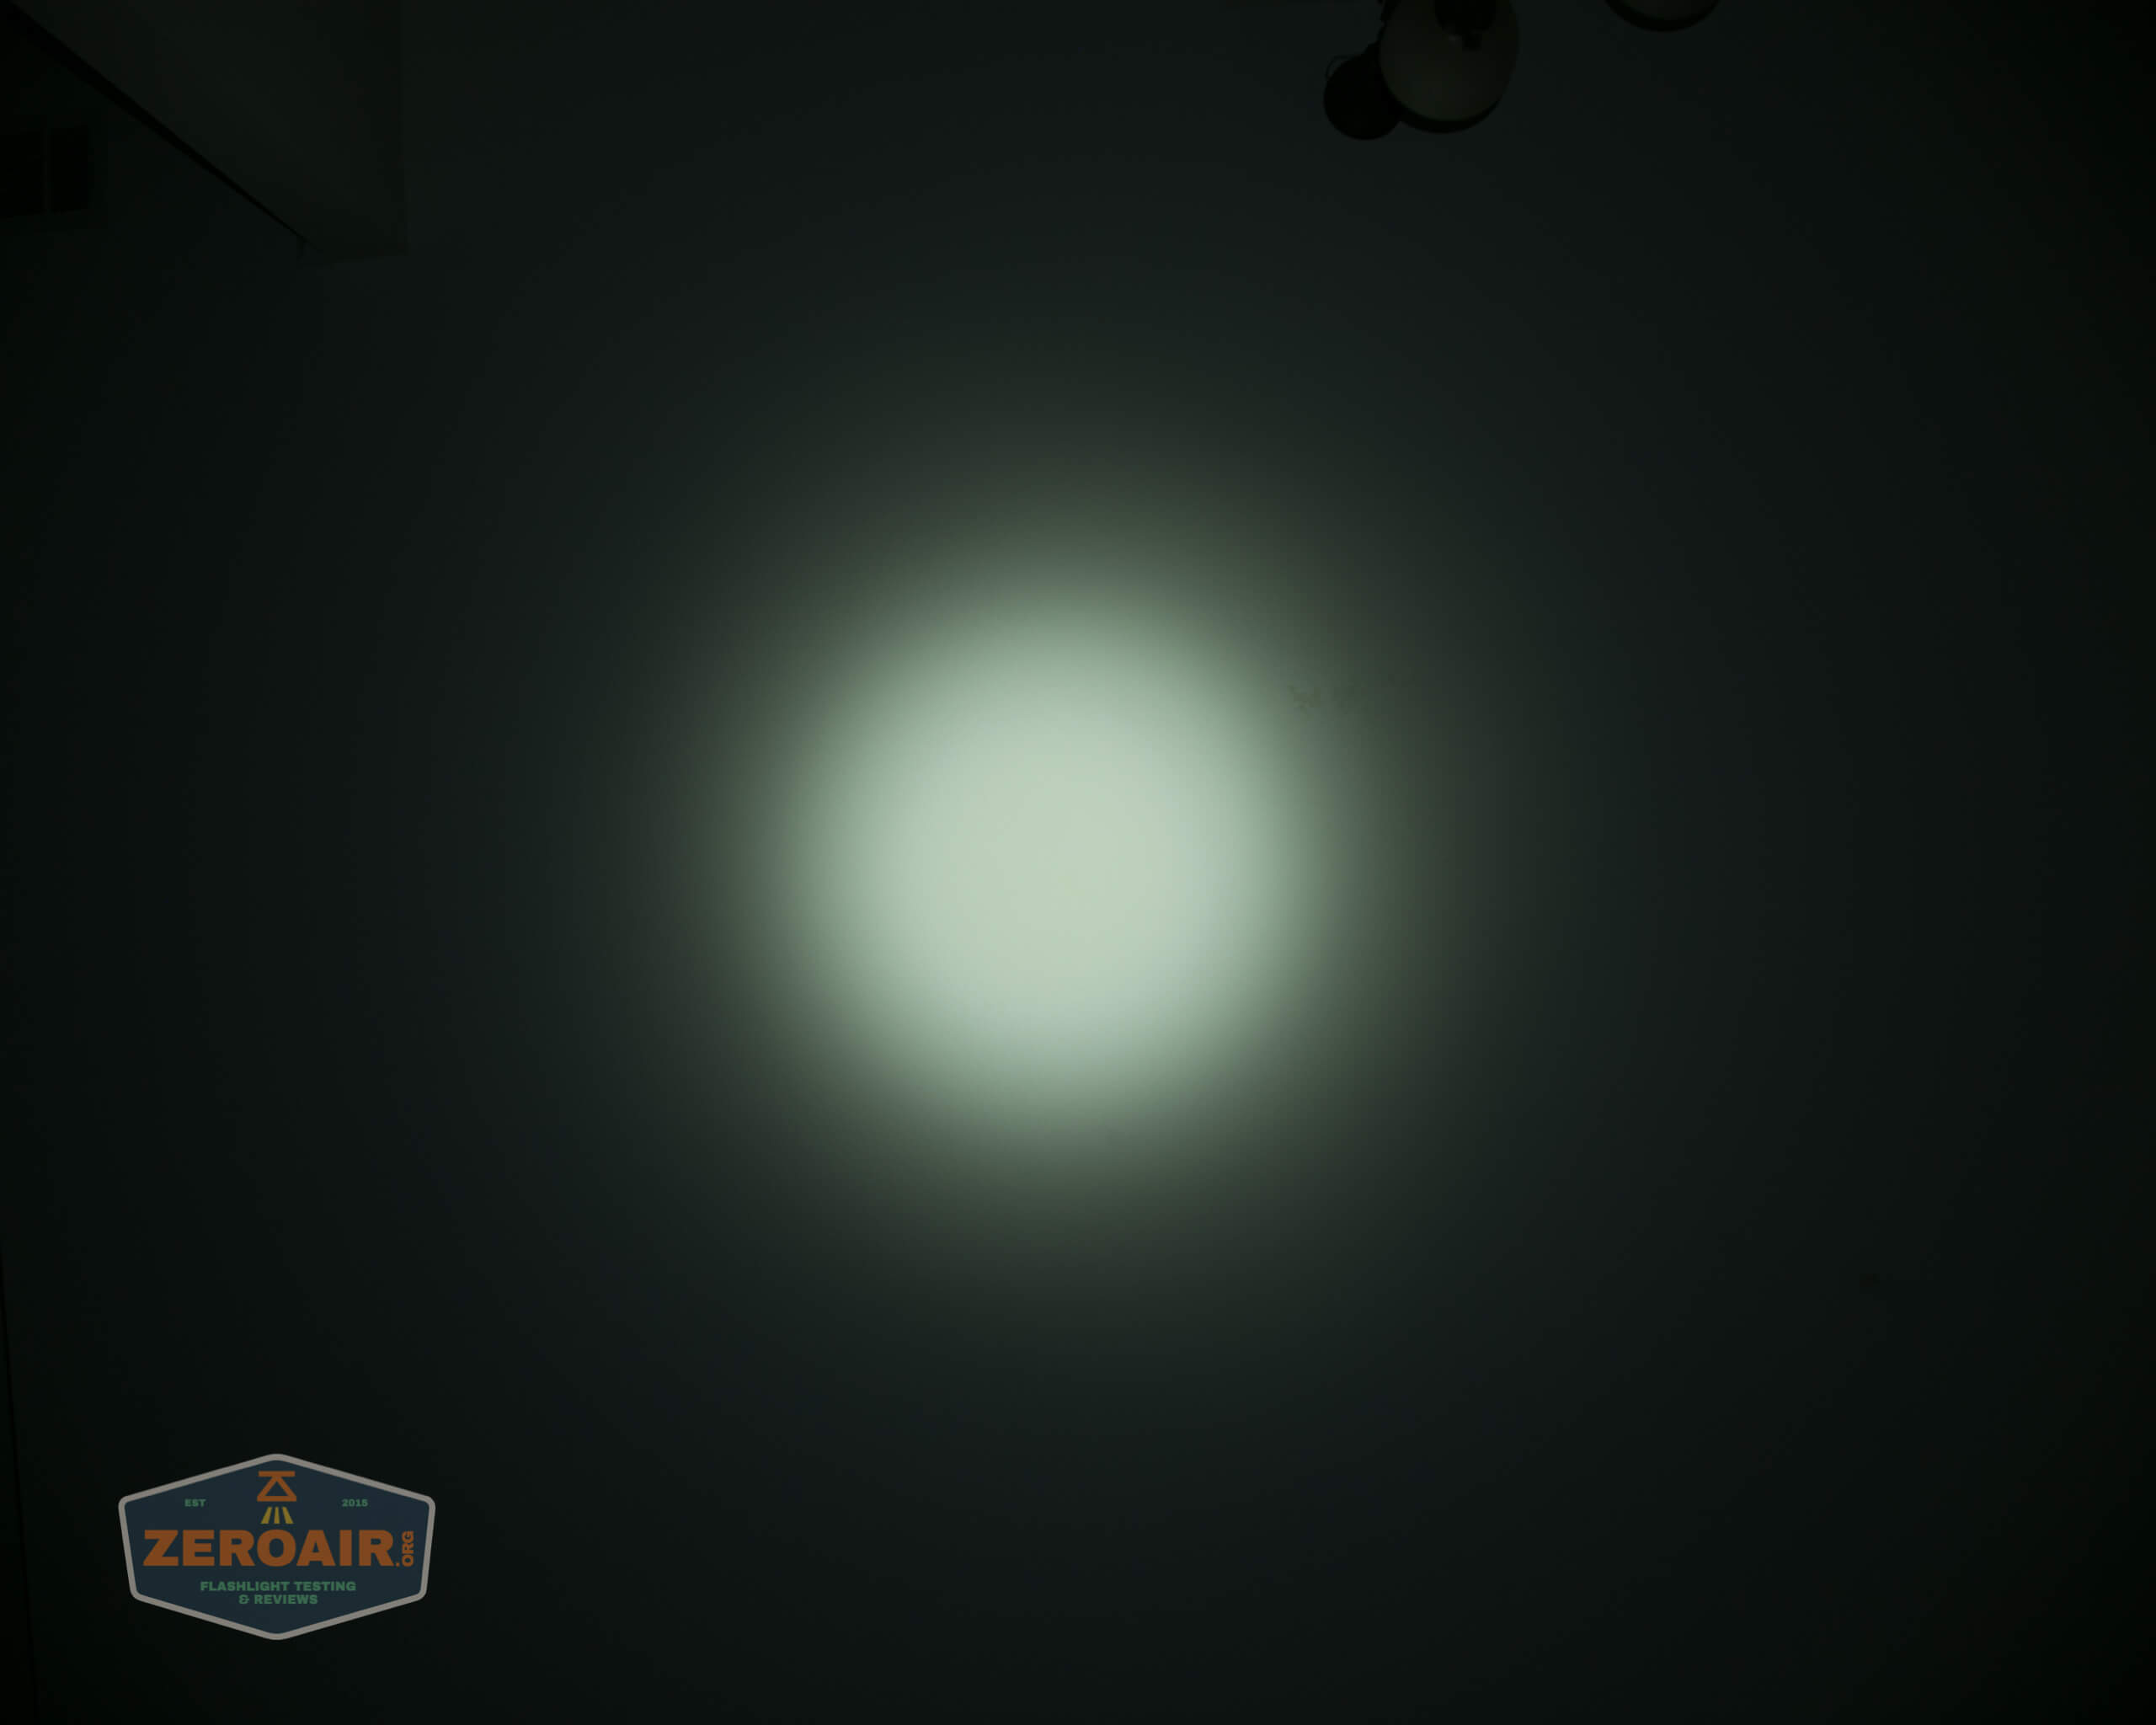
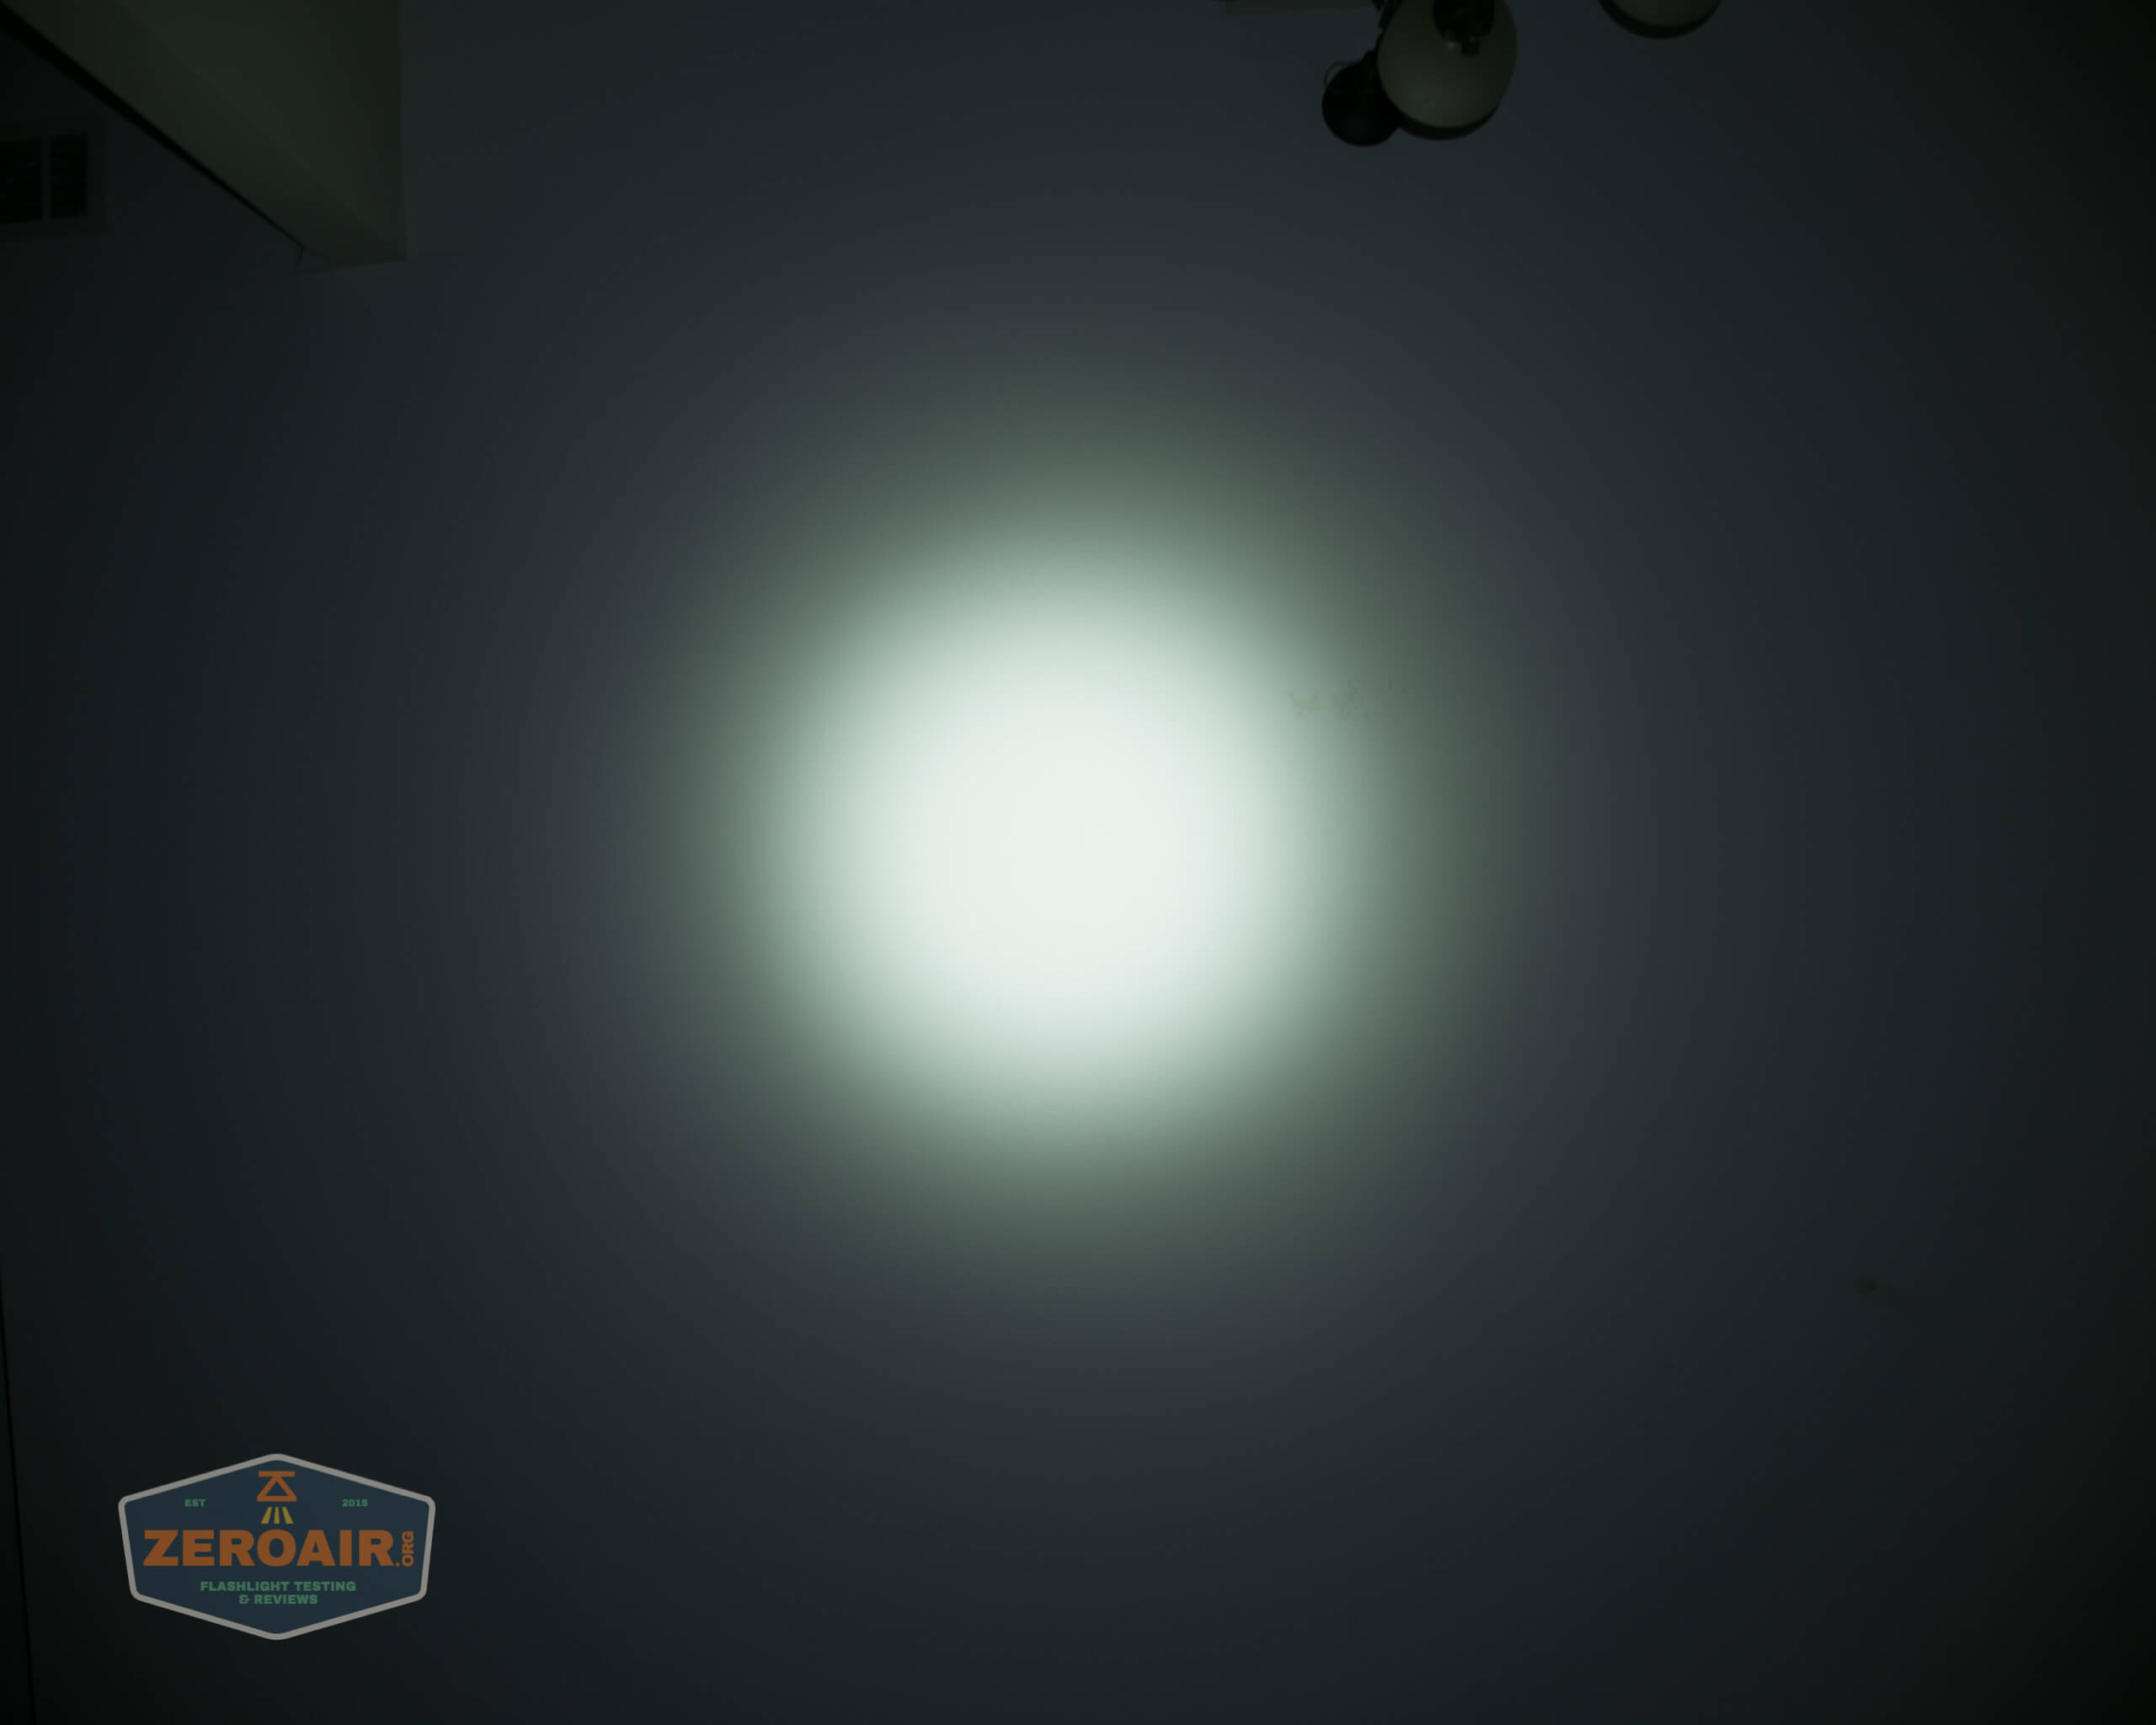
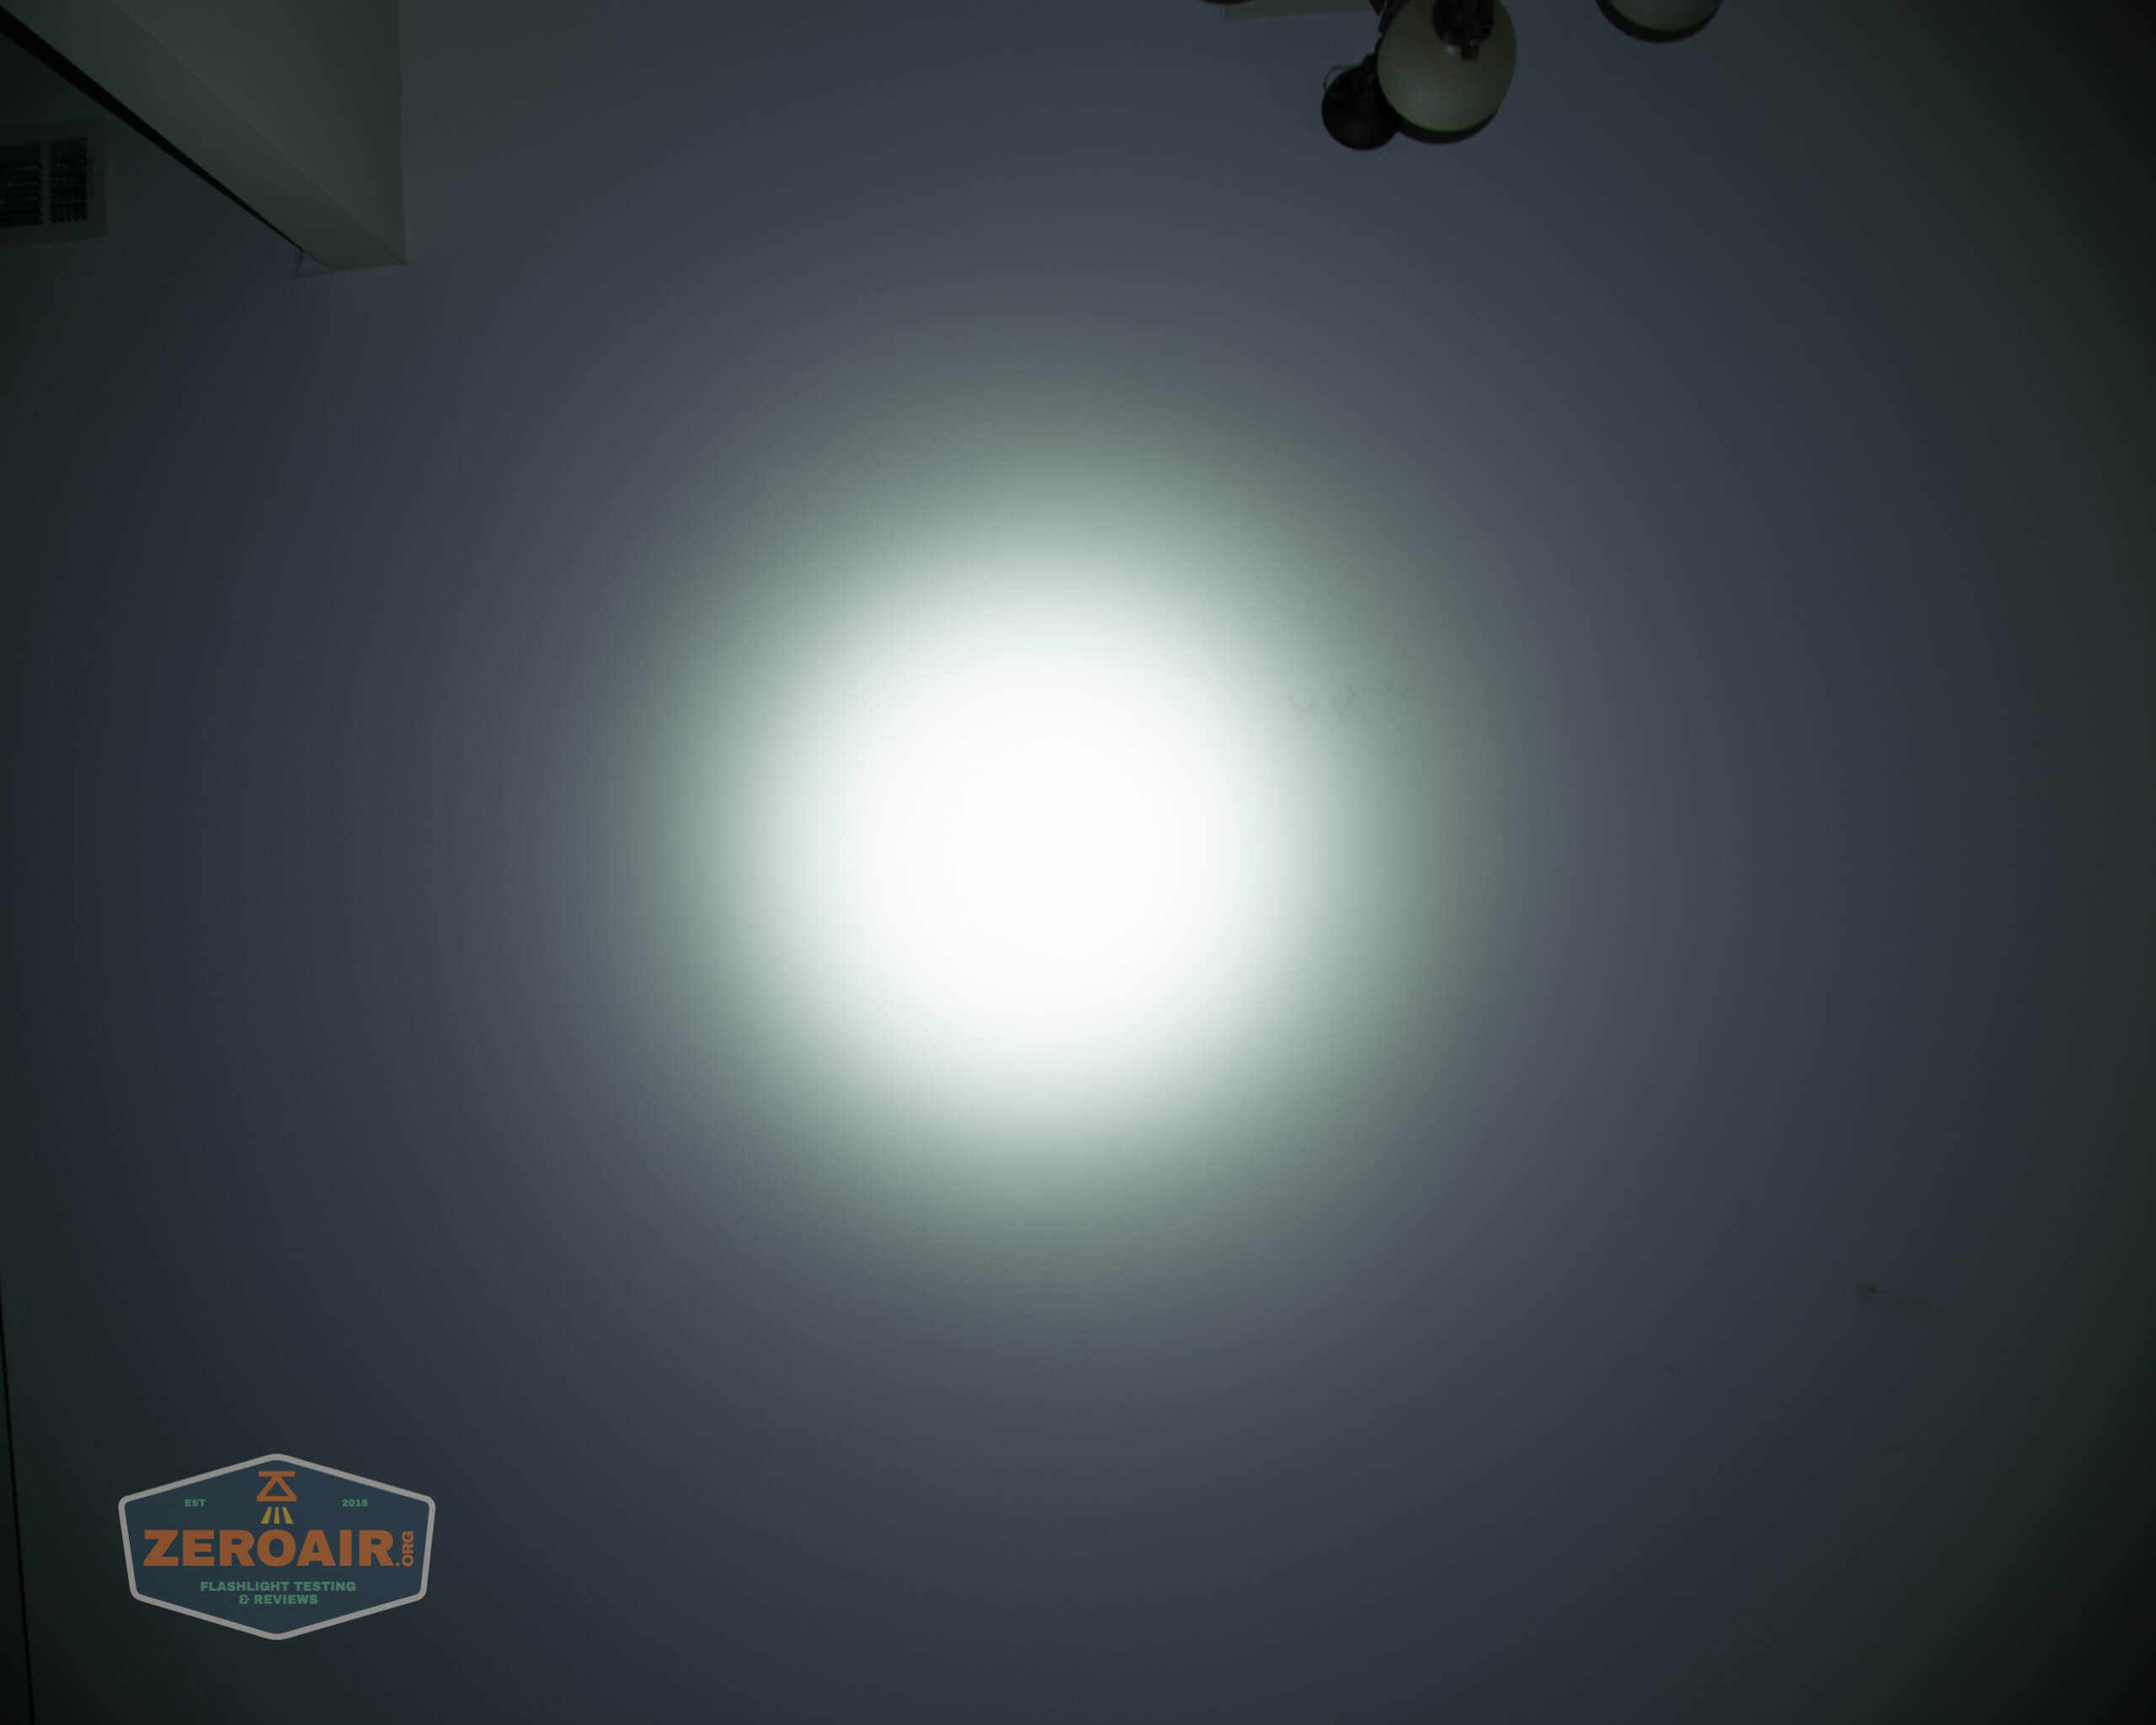
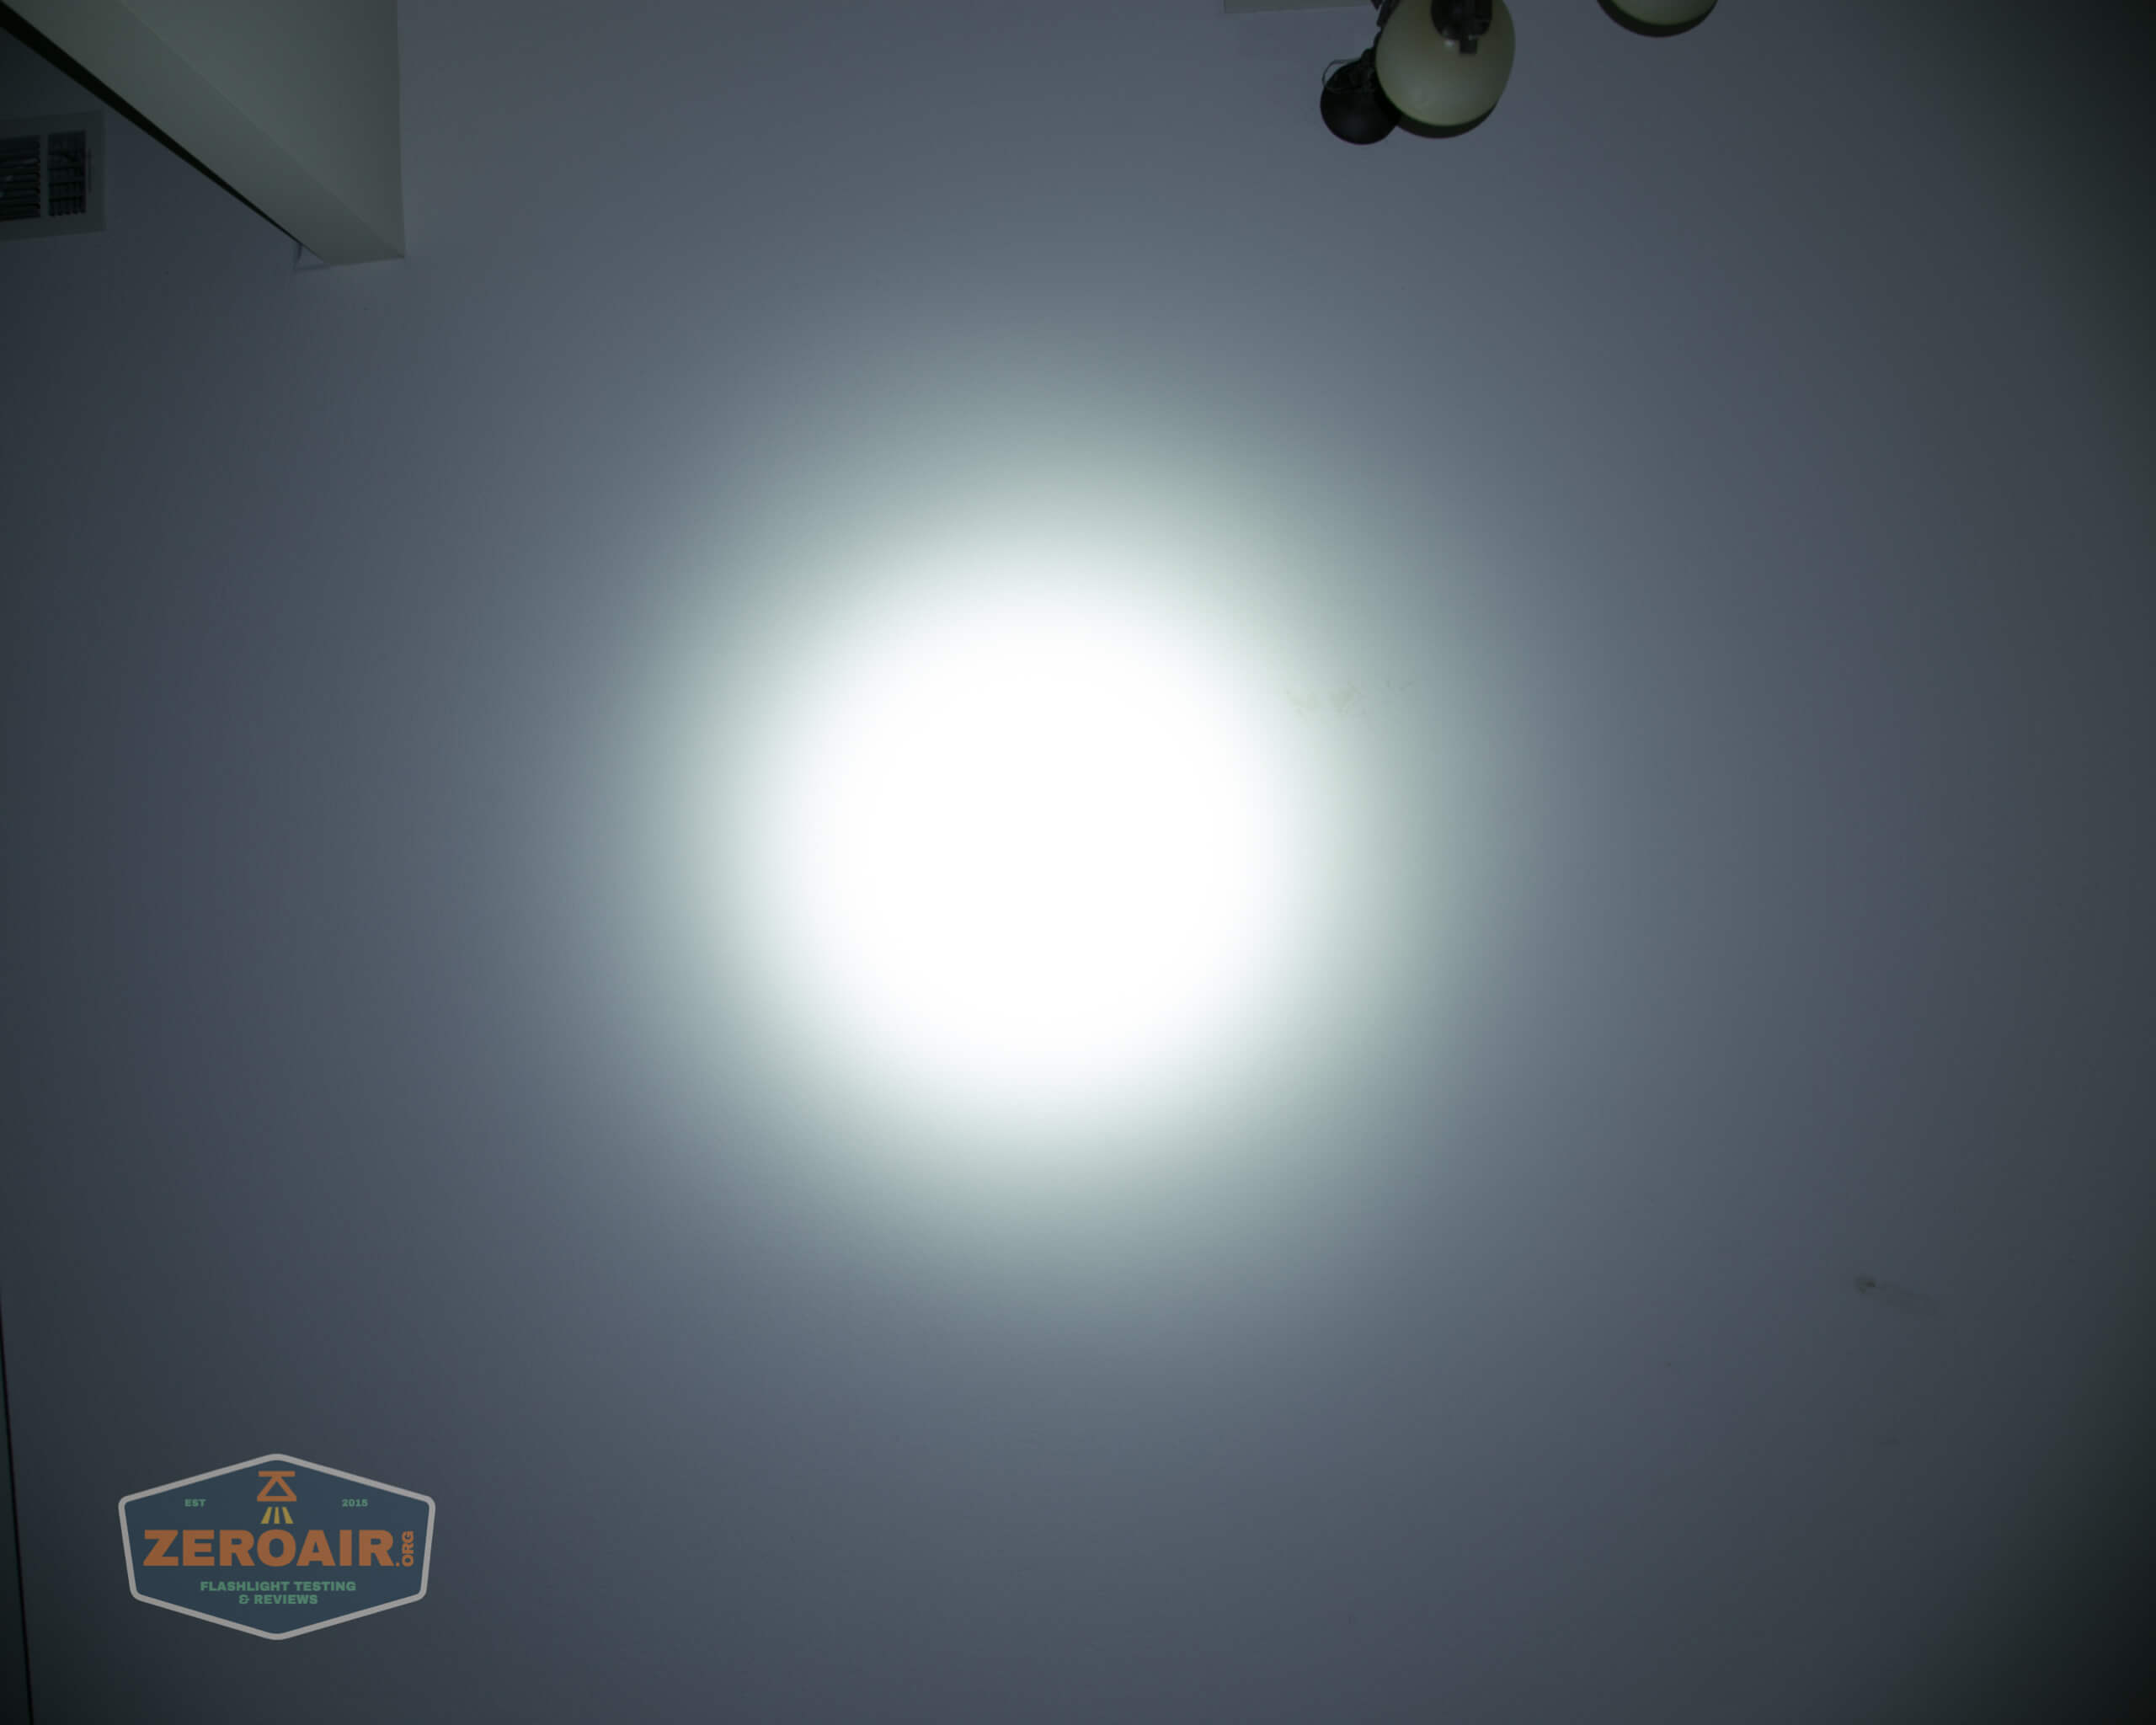
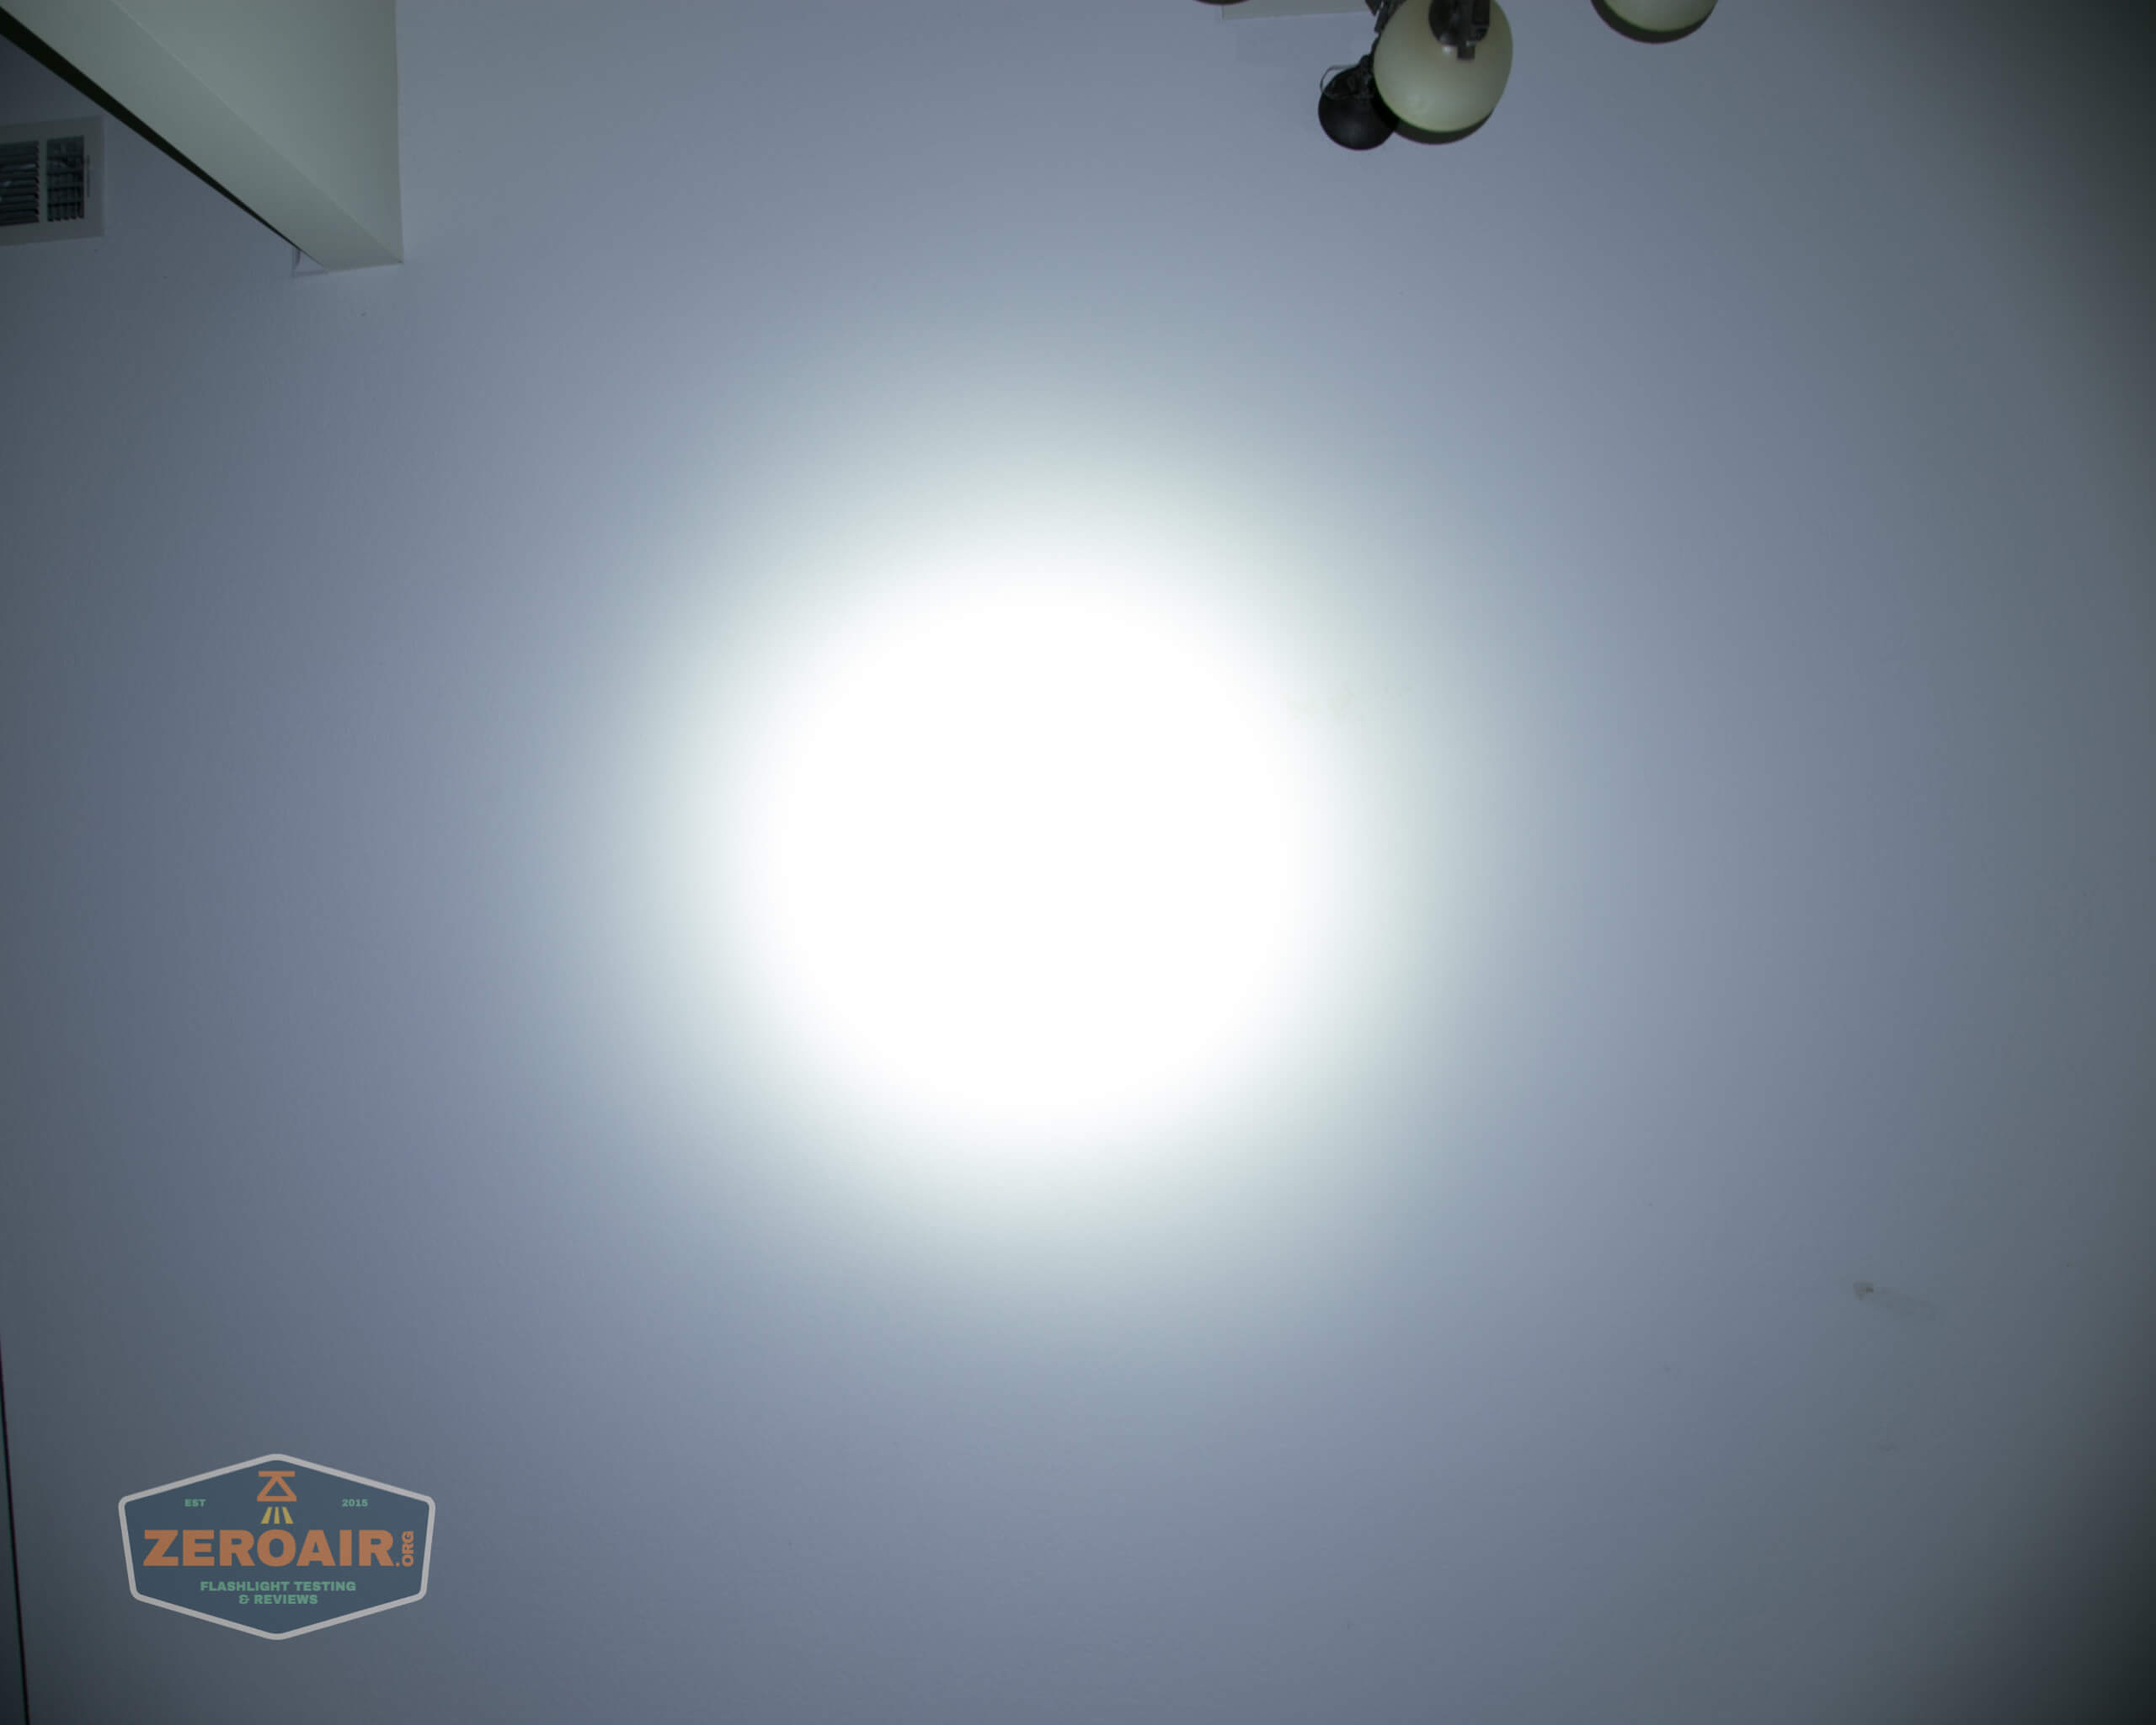
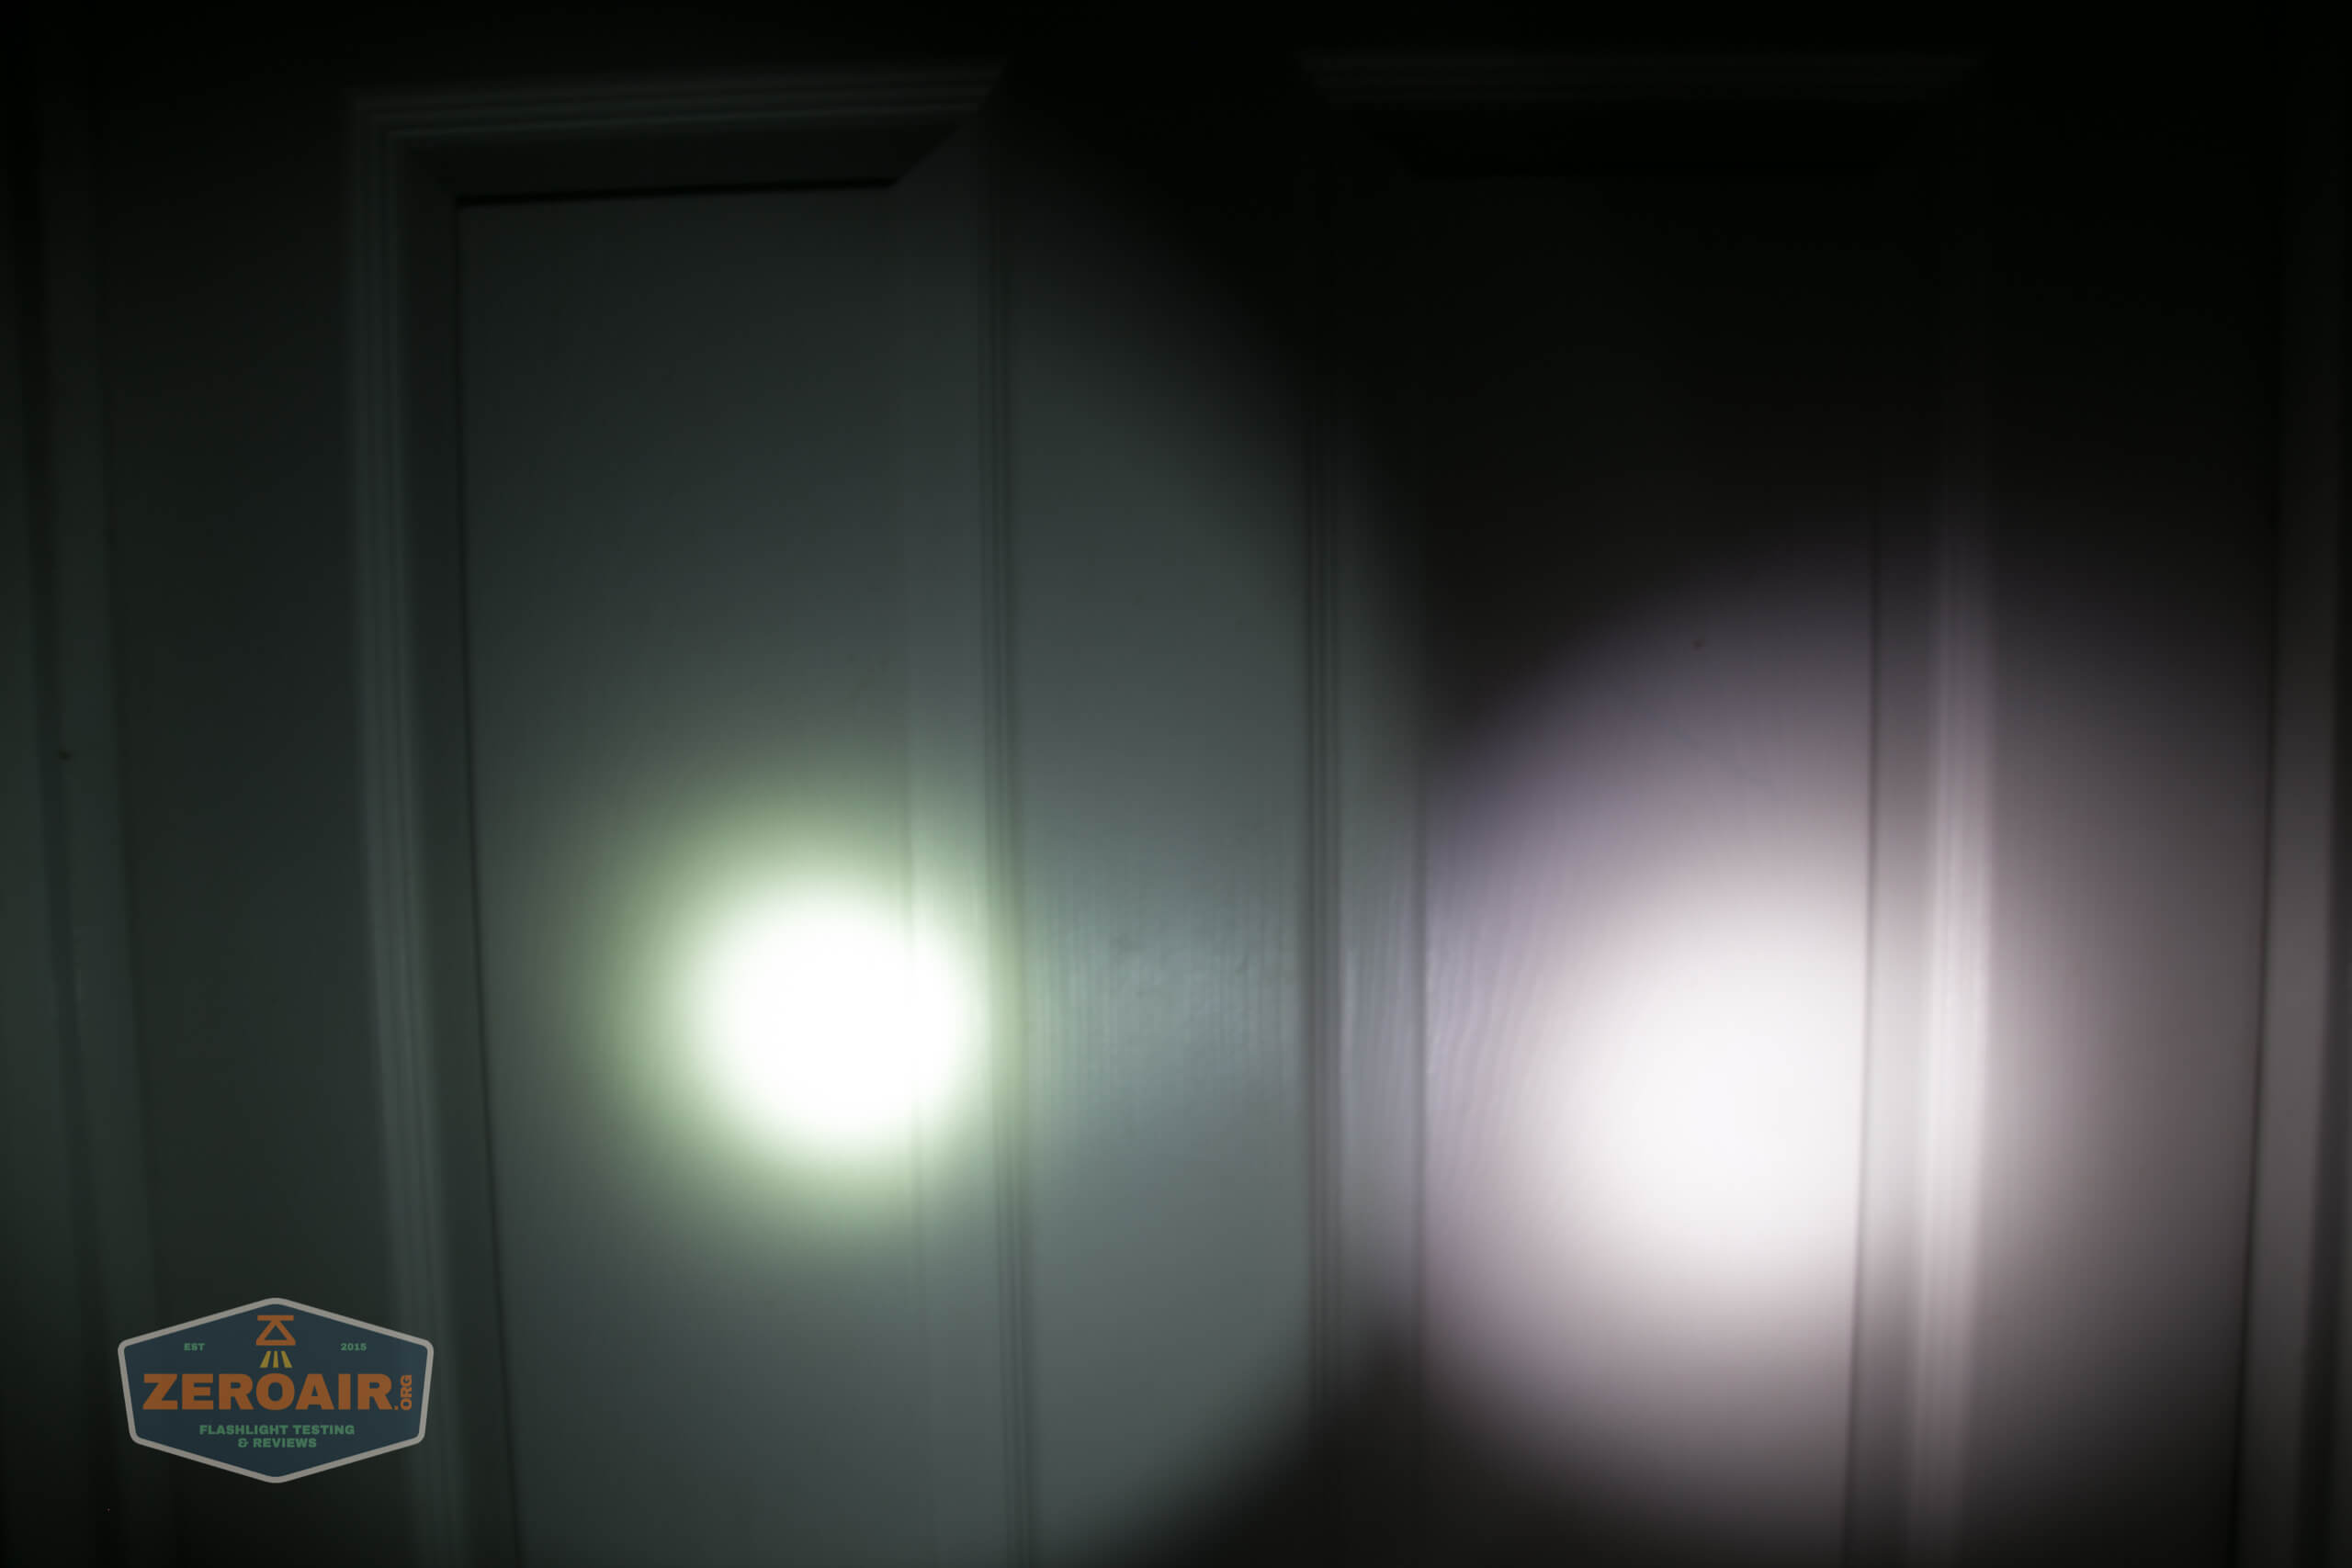
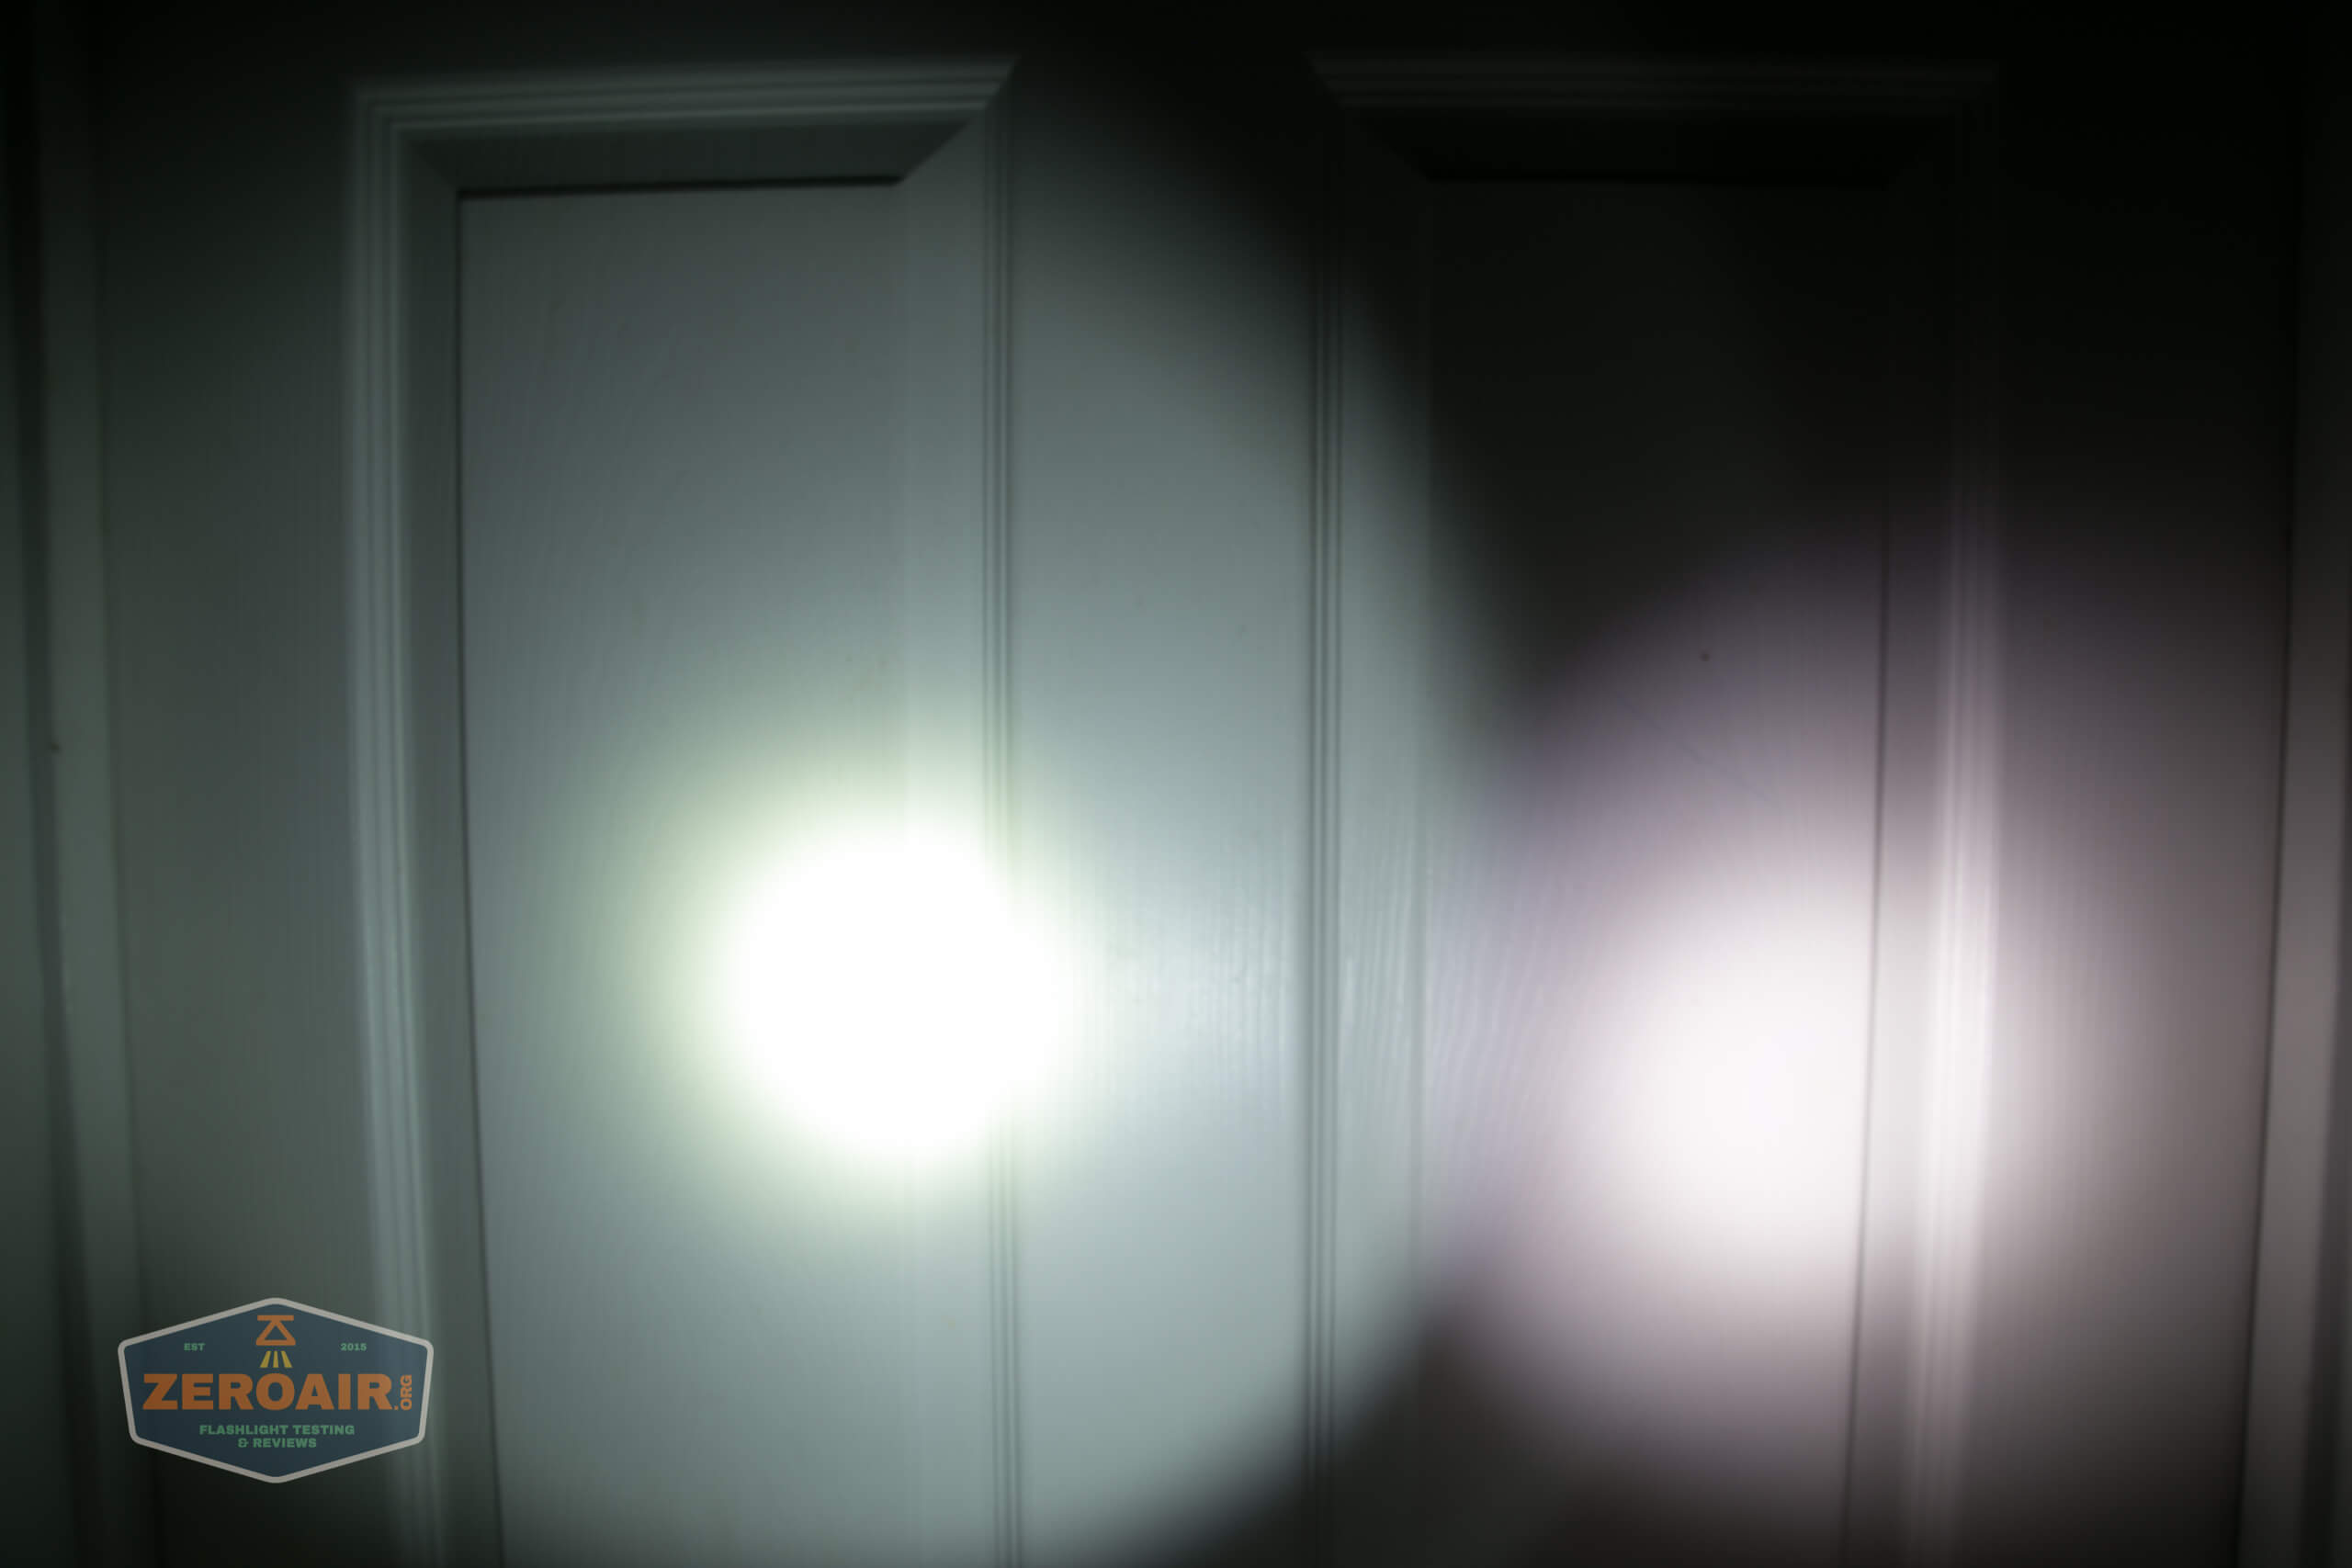
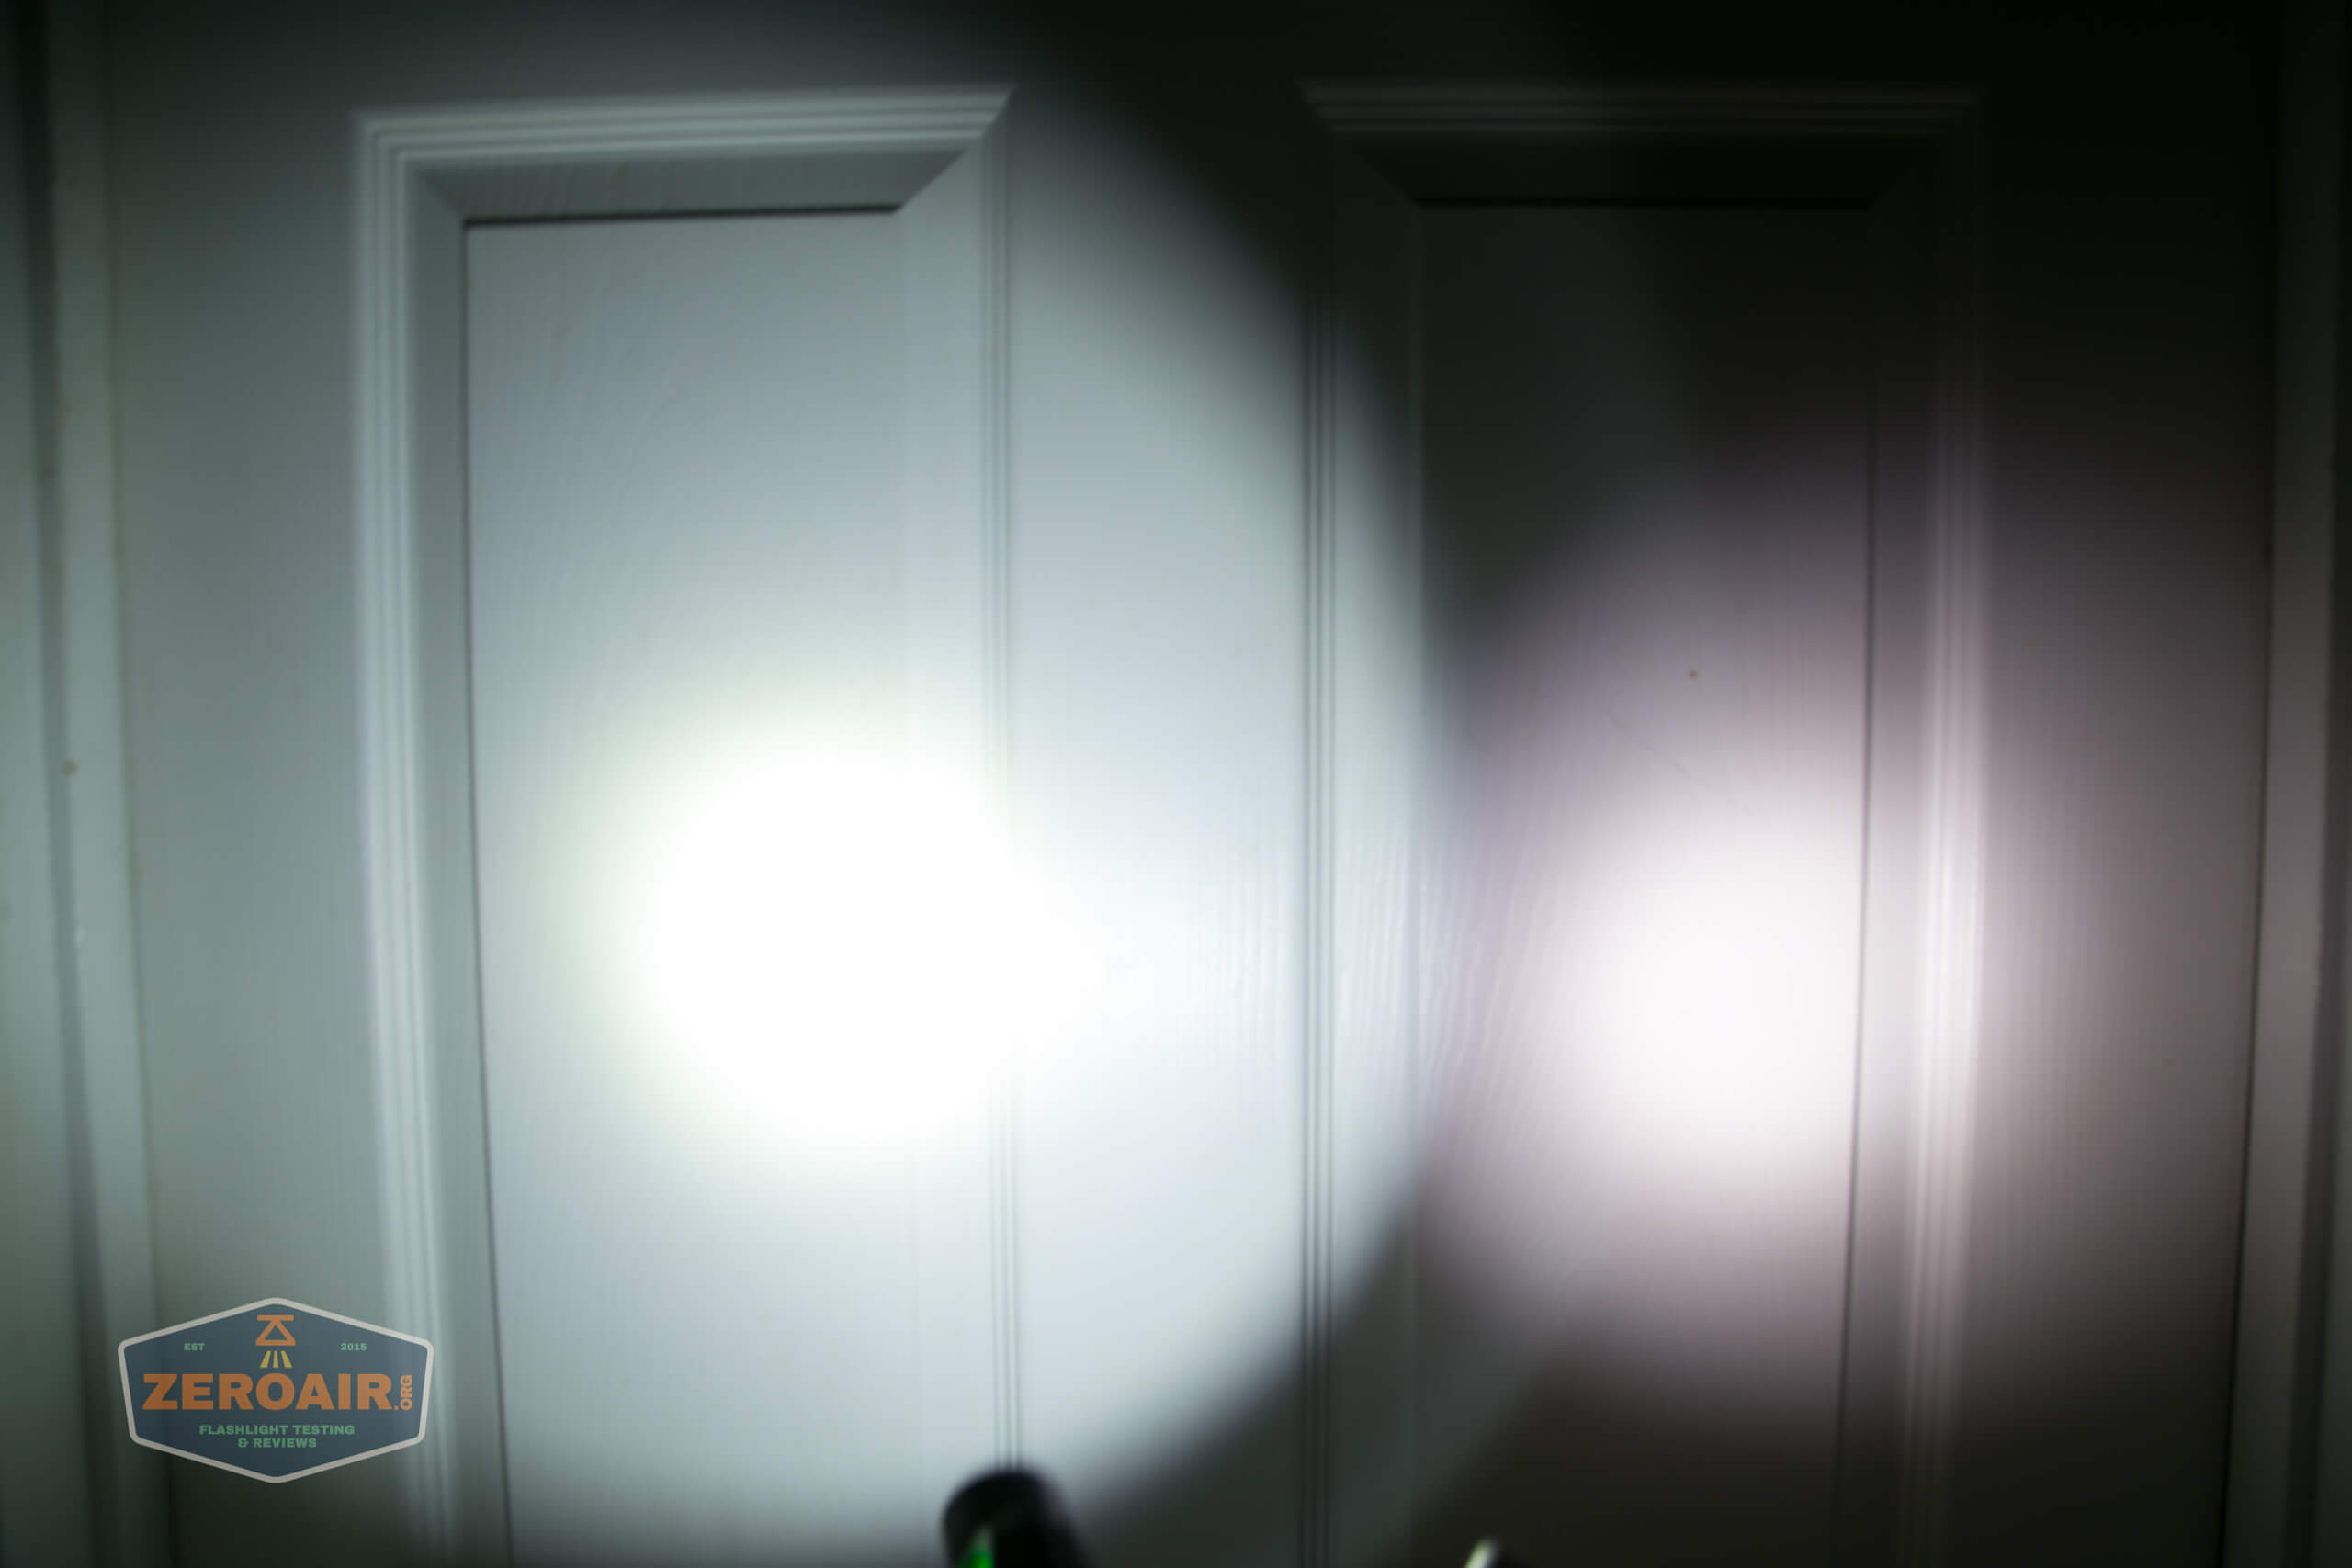
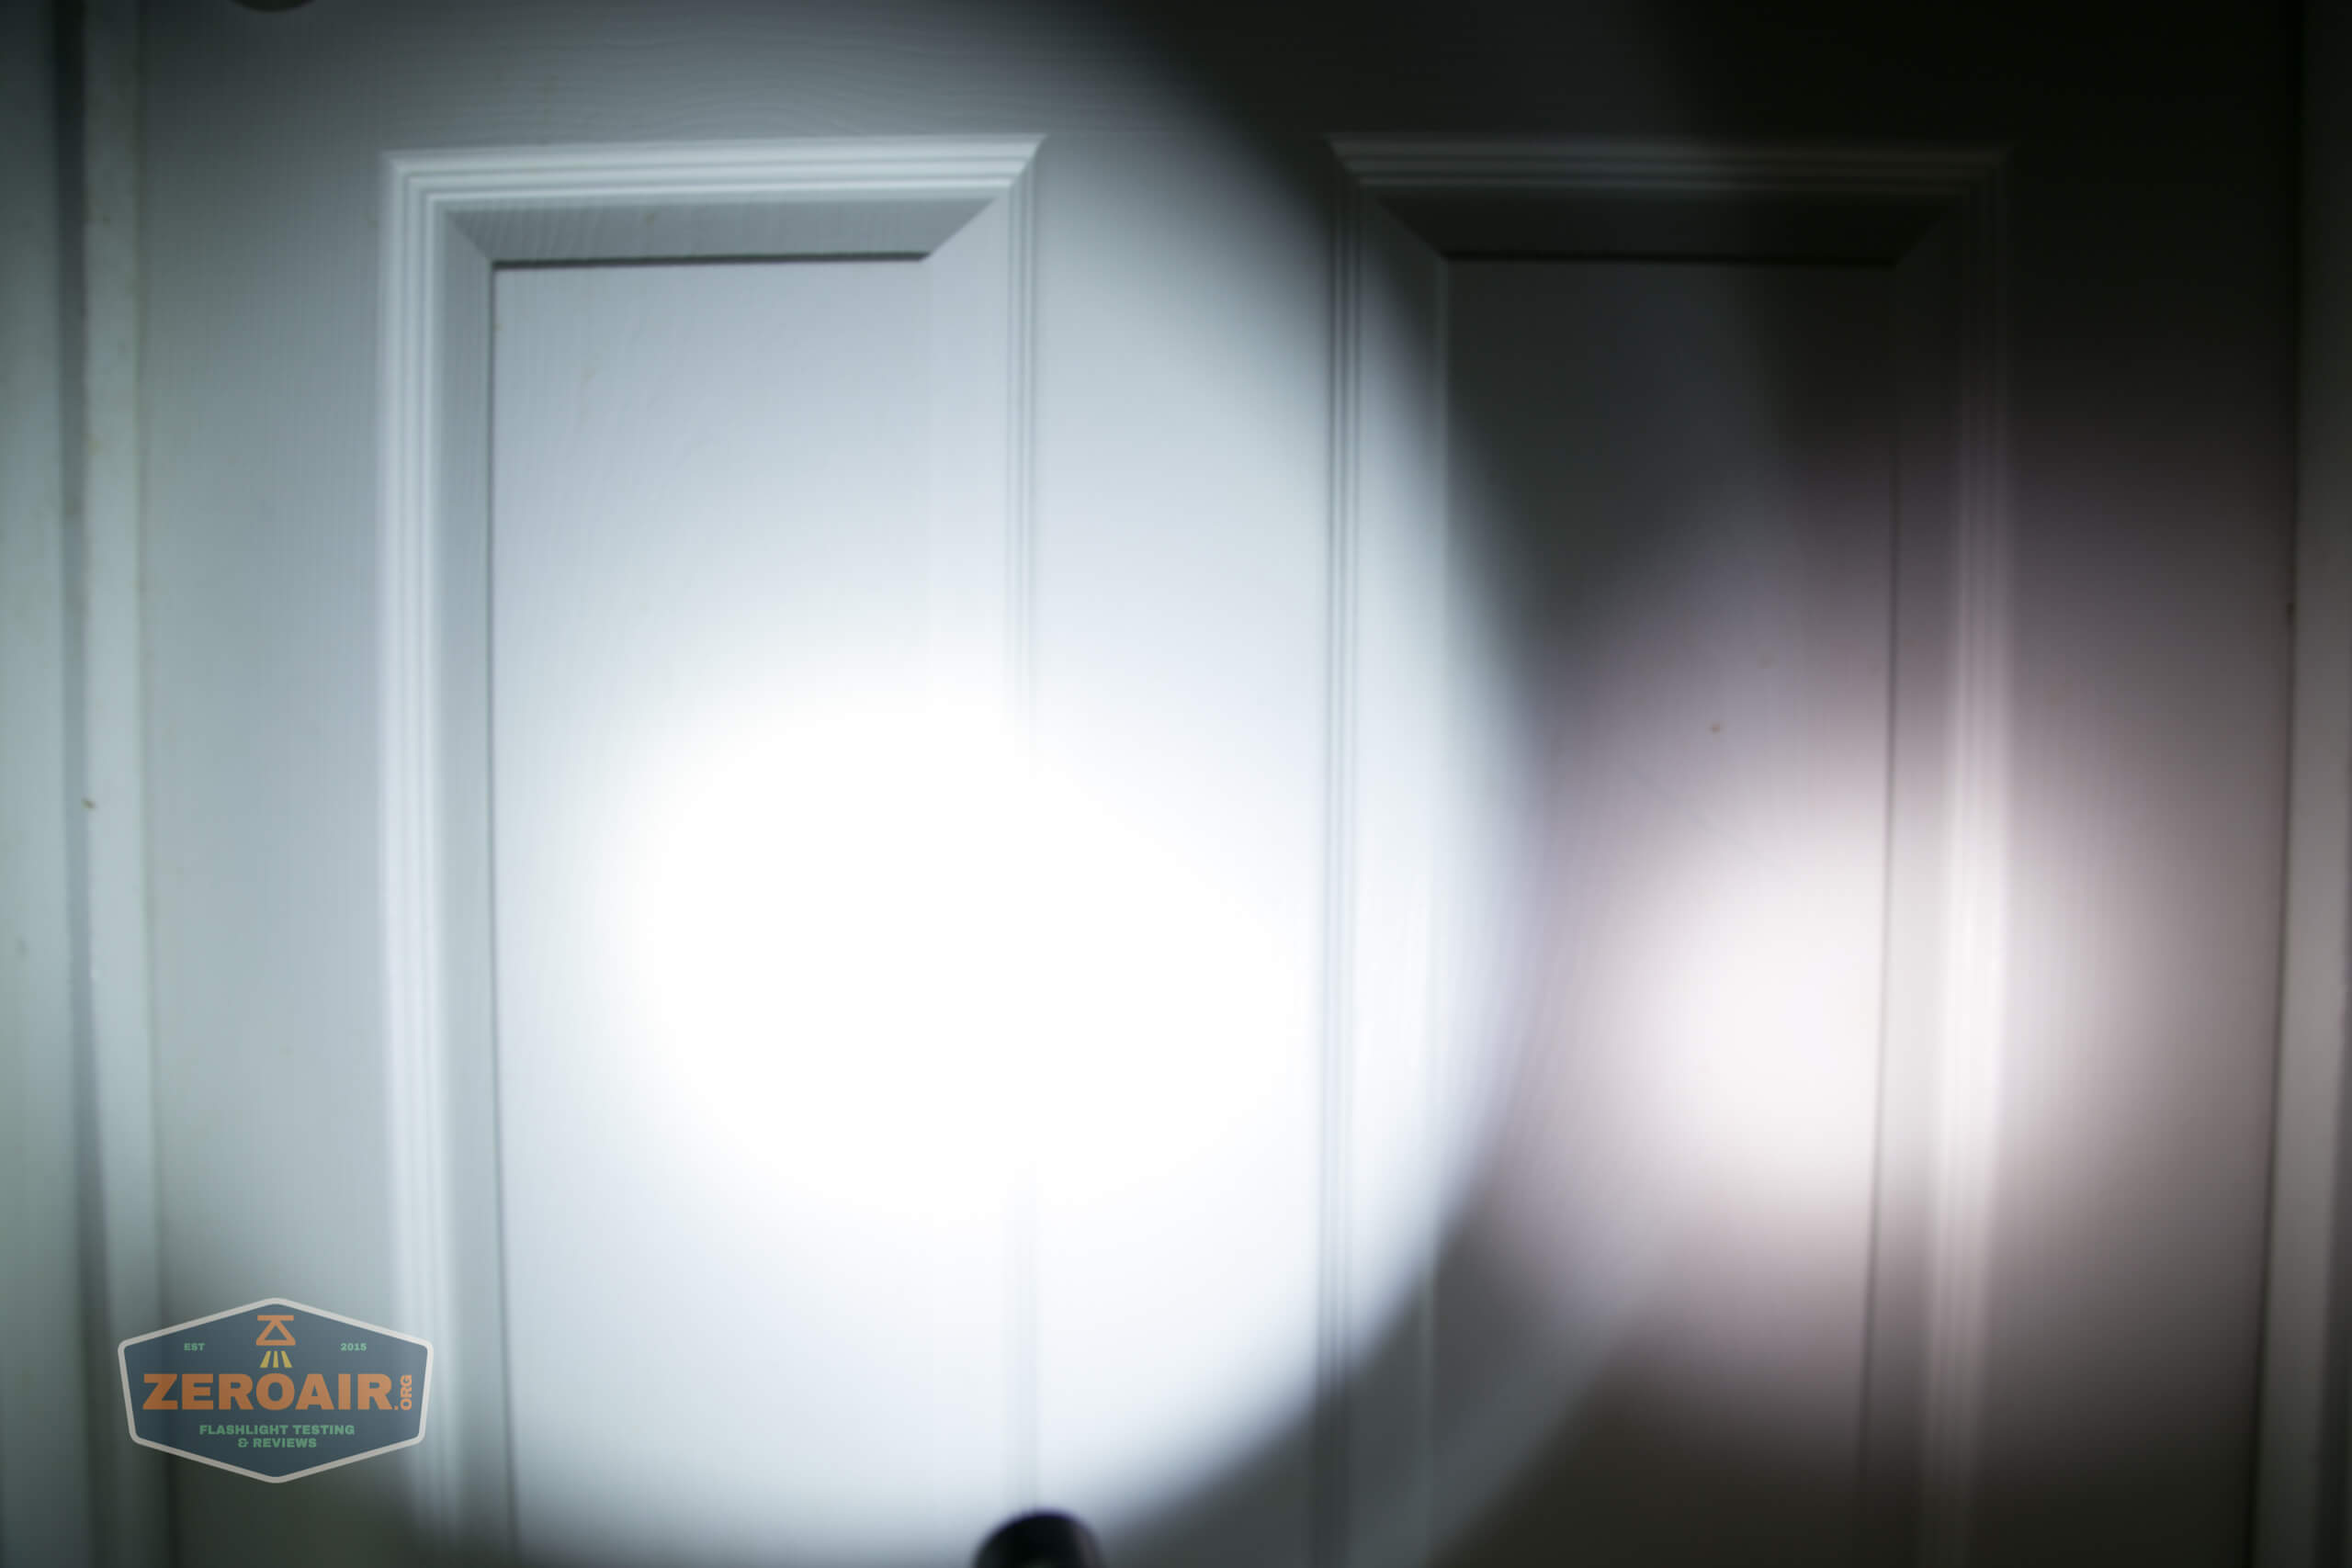
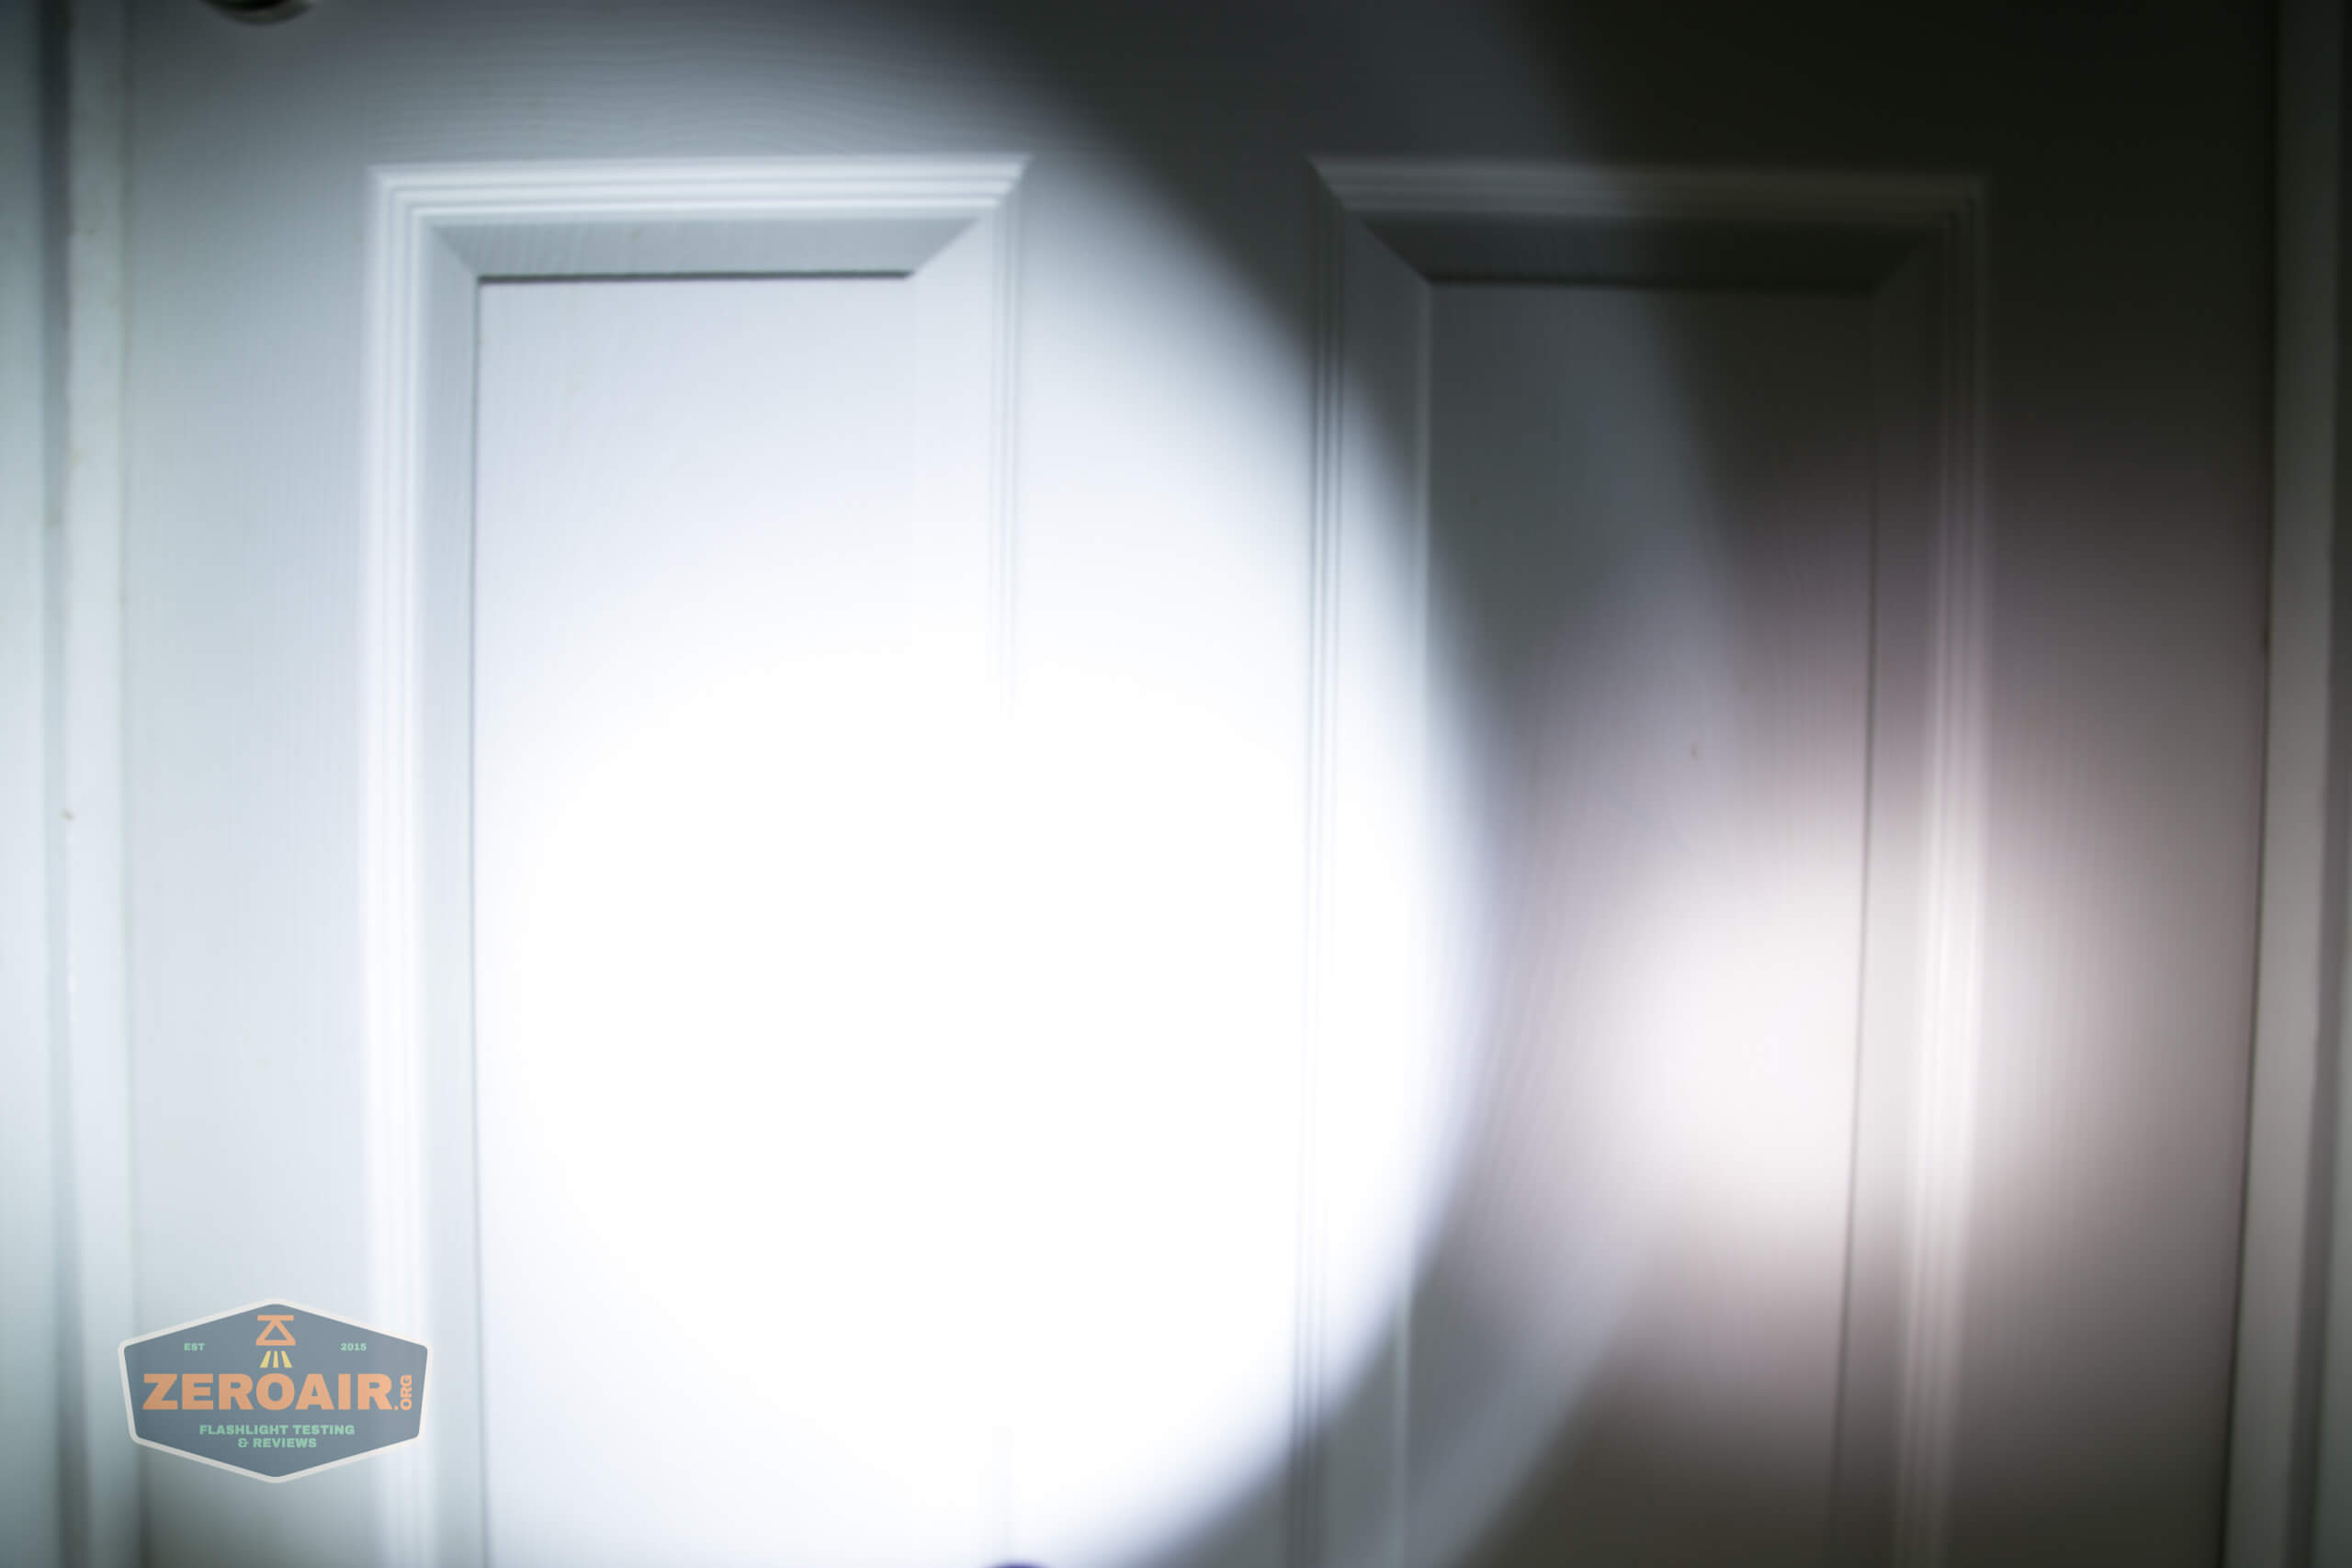
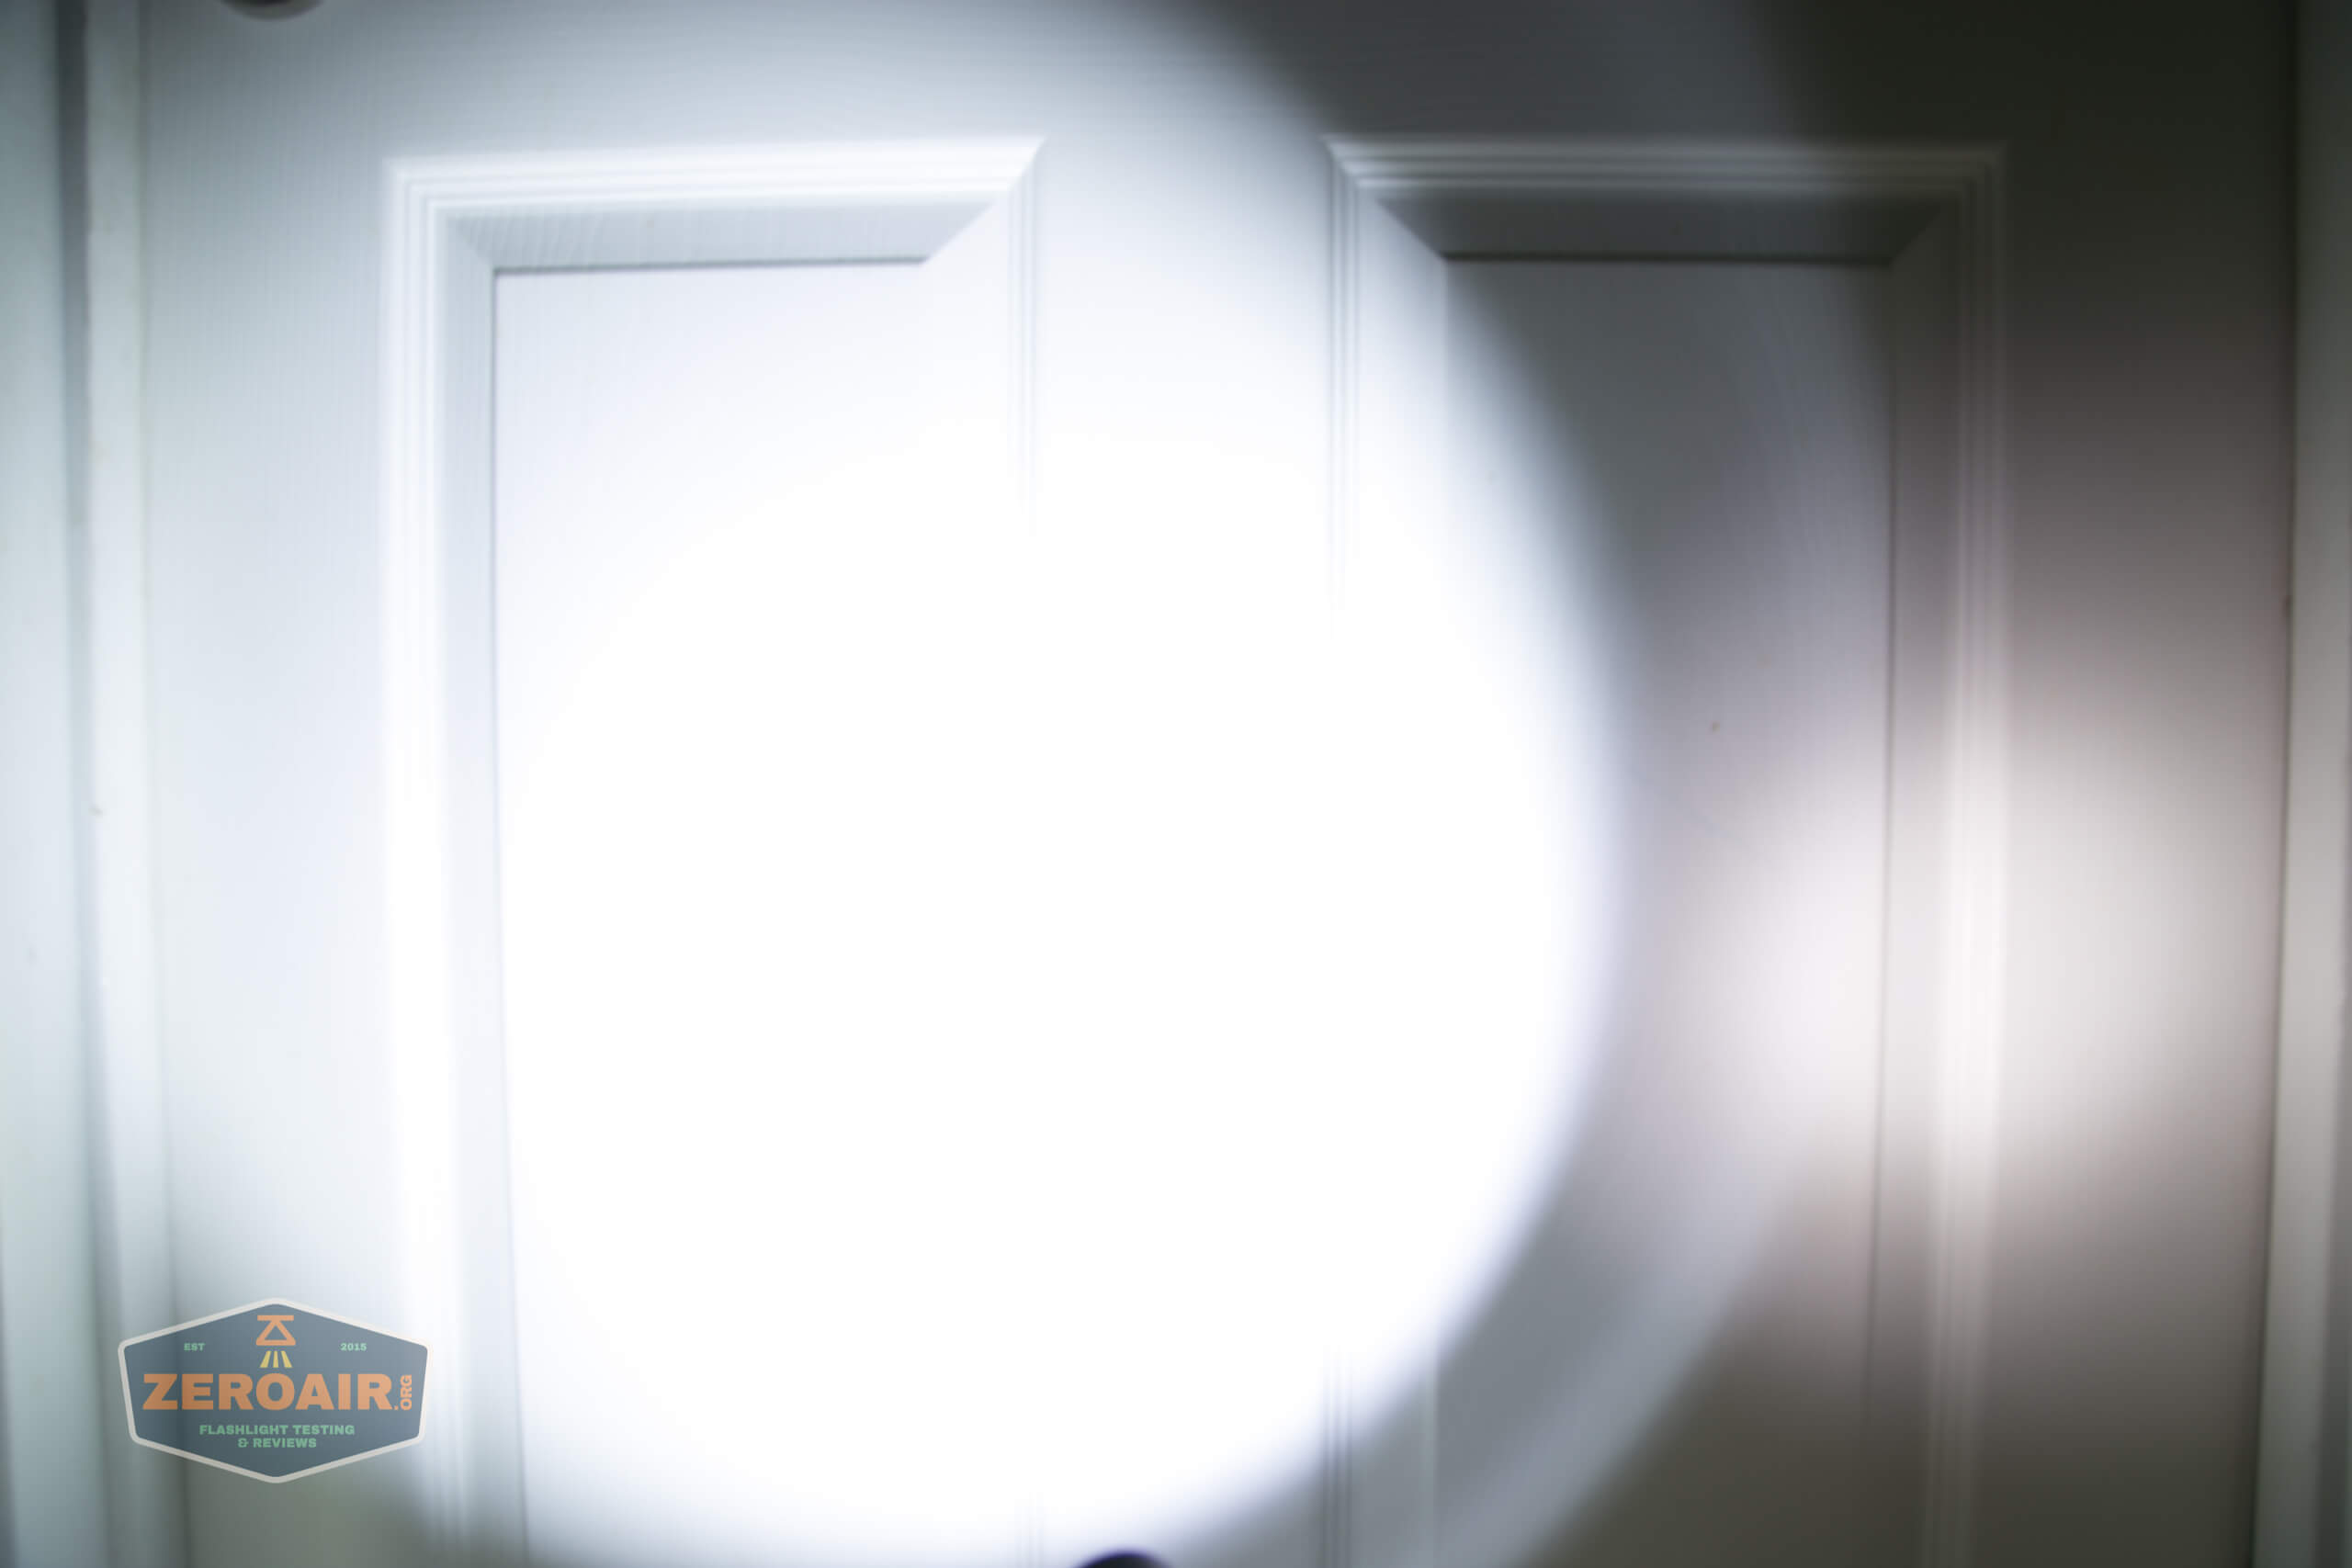
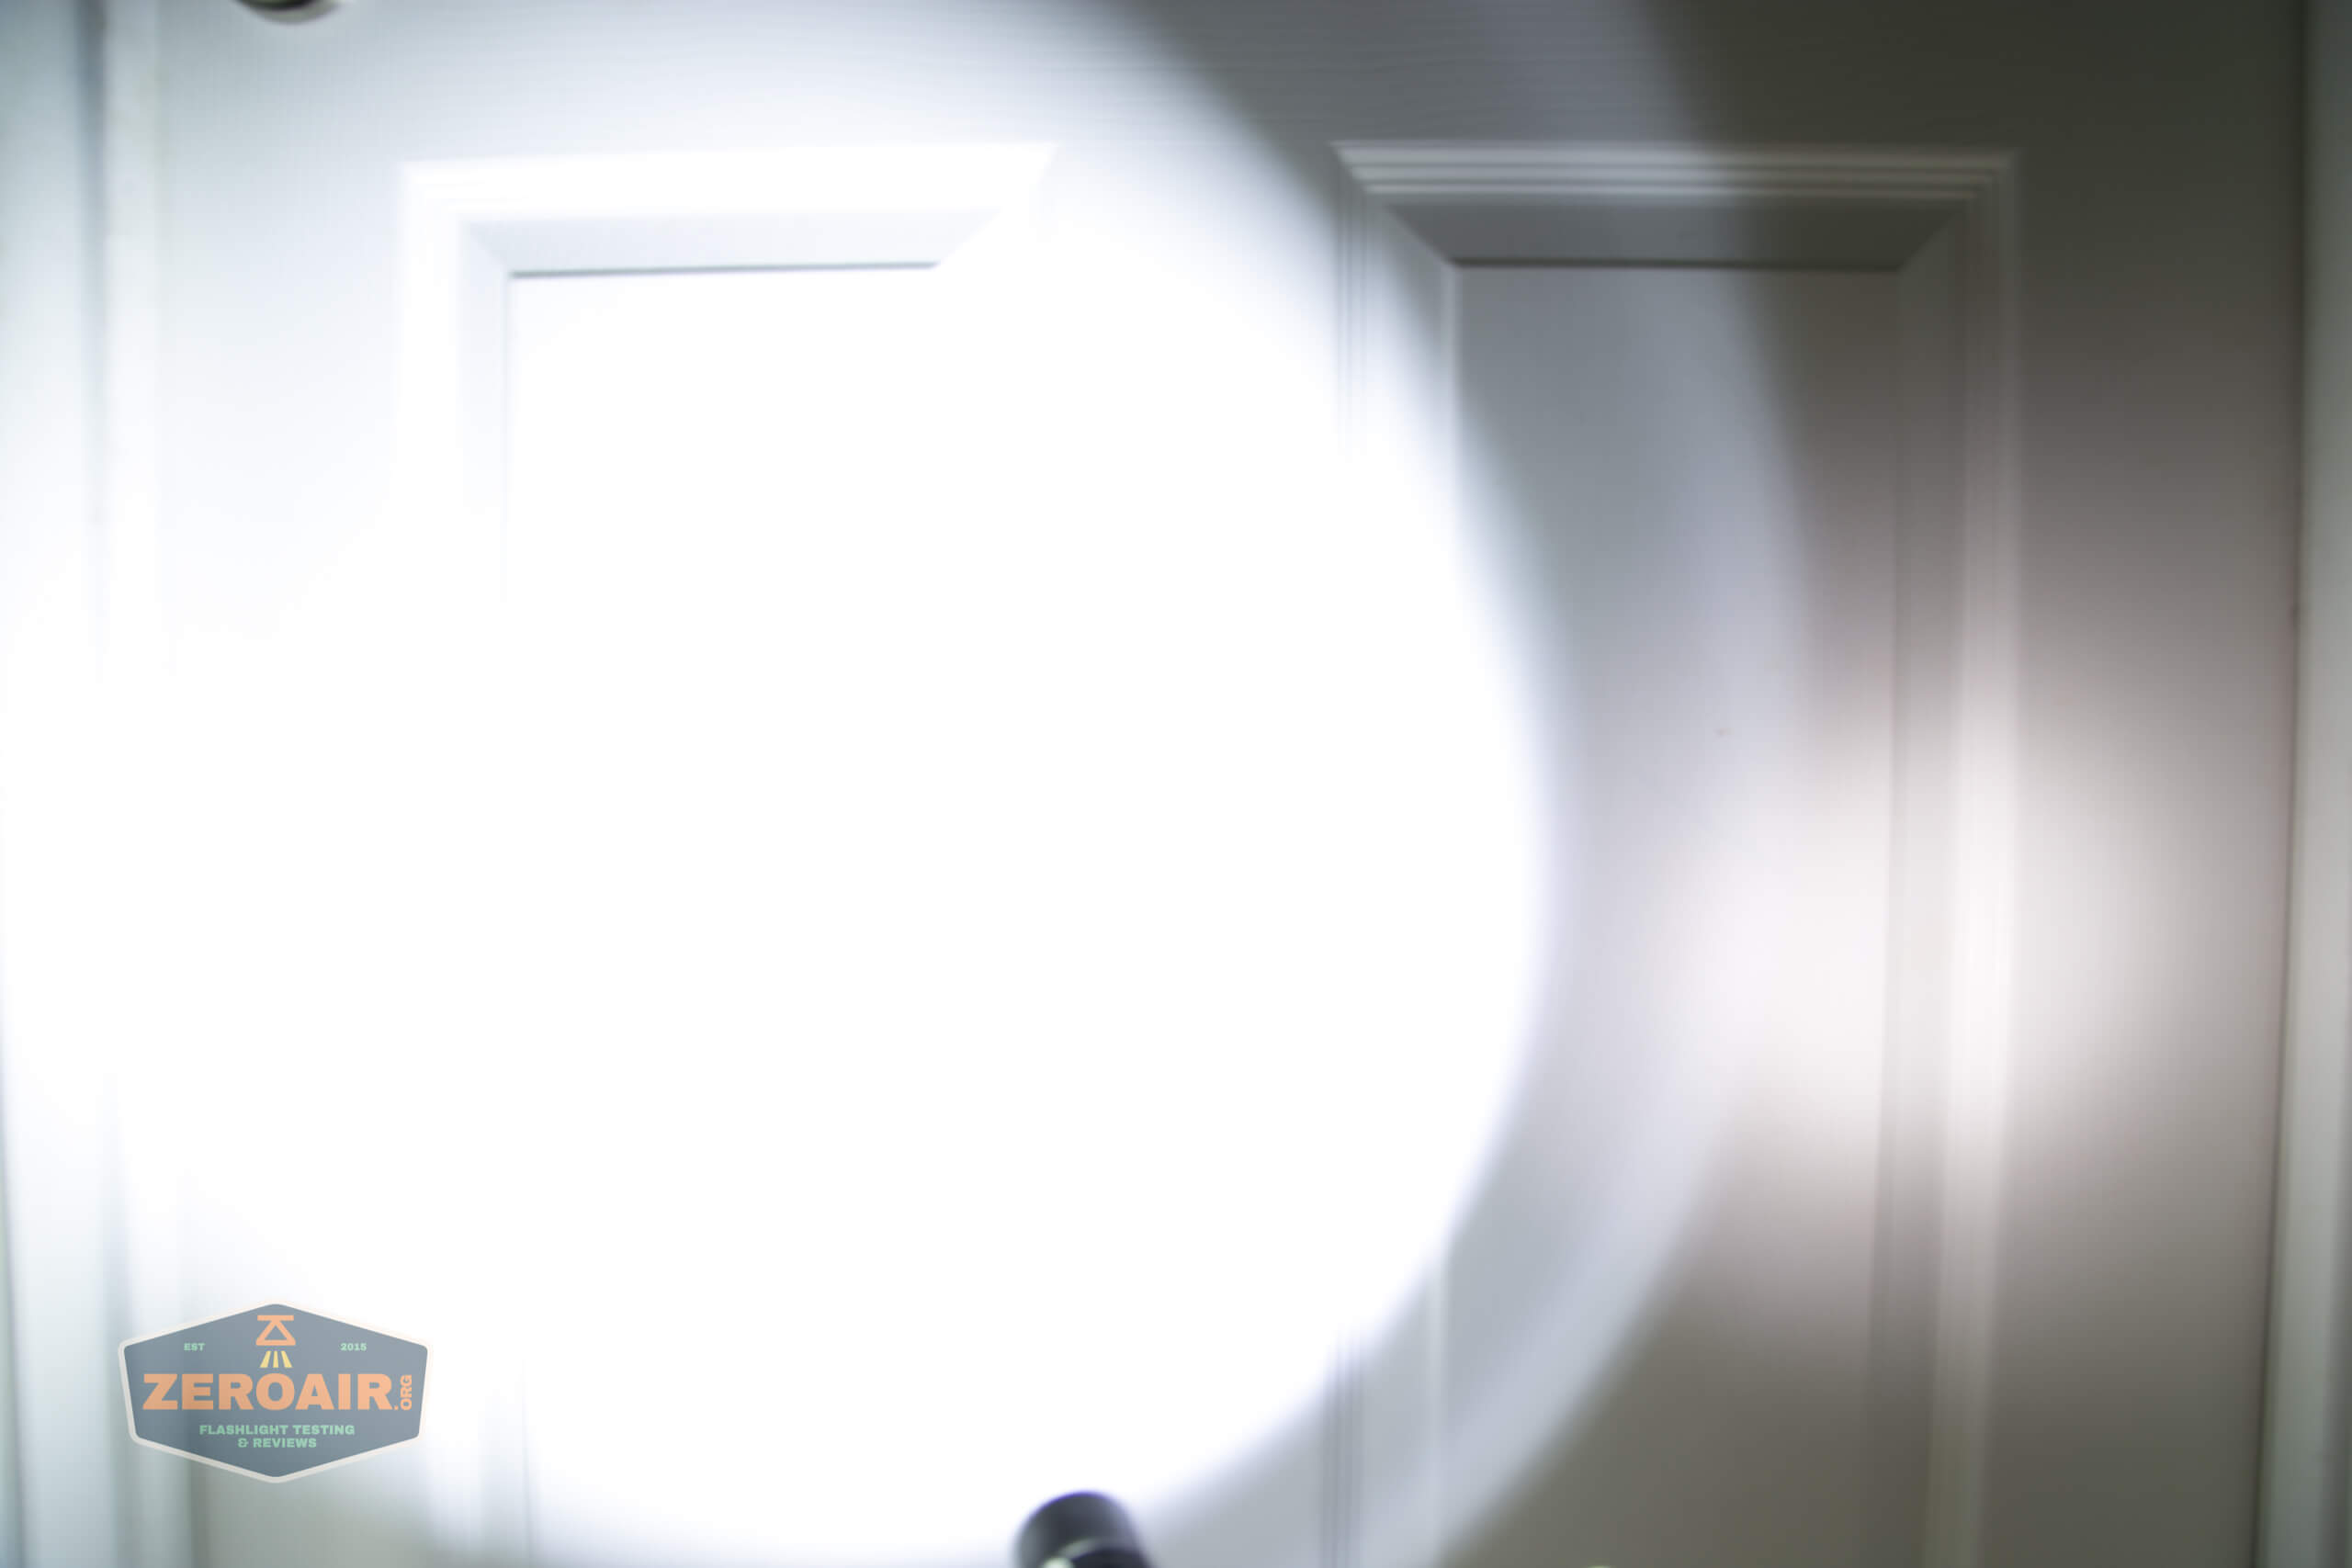
Beamshots
These beamshots always have the following settings: f8, ISO100, 0.3s shutter, and manual 5000K exposure. These photos are taken at floor level, and the beam hits the ceiling around 9 feet away.
I normally test only in stepped mode. However, the ramped output offers a much lower low, so the first mode below is actually the lowest of the ramped. Then the next 7 modes are the stepped options, and the rightmost is the [double click to] Turbo.


Tint vs BLF-348 (KillzoneFlashlights.com 219b version) (affiliate link)
I keep the test flashlight on the left and the BLF-348 reference flashlight on the right. As stated above: I normally test only in stepped mode. However, the ramped output offers a much lower low, so the first mode below is actually the lowest of the ramped. Then the next 7 modes are the stepped options, and the rightmost is the [double click to] Turbo.
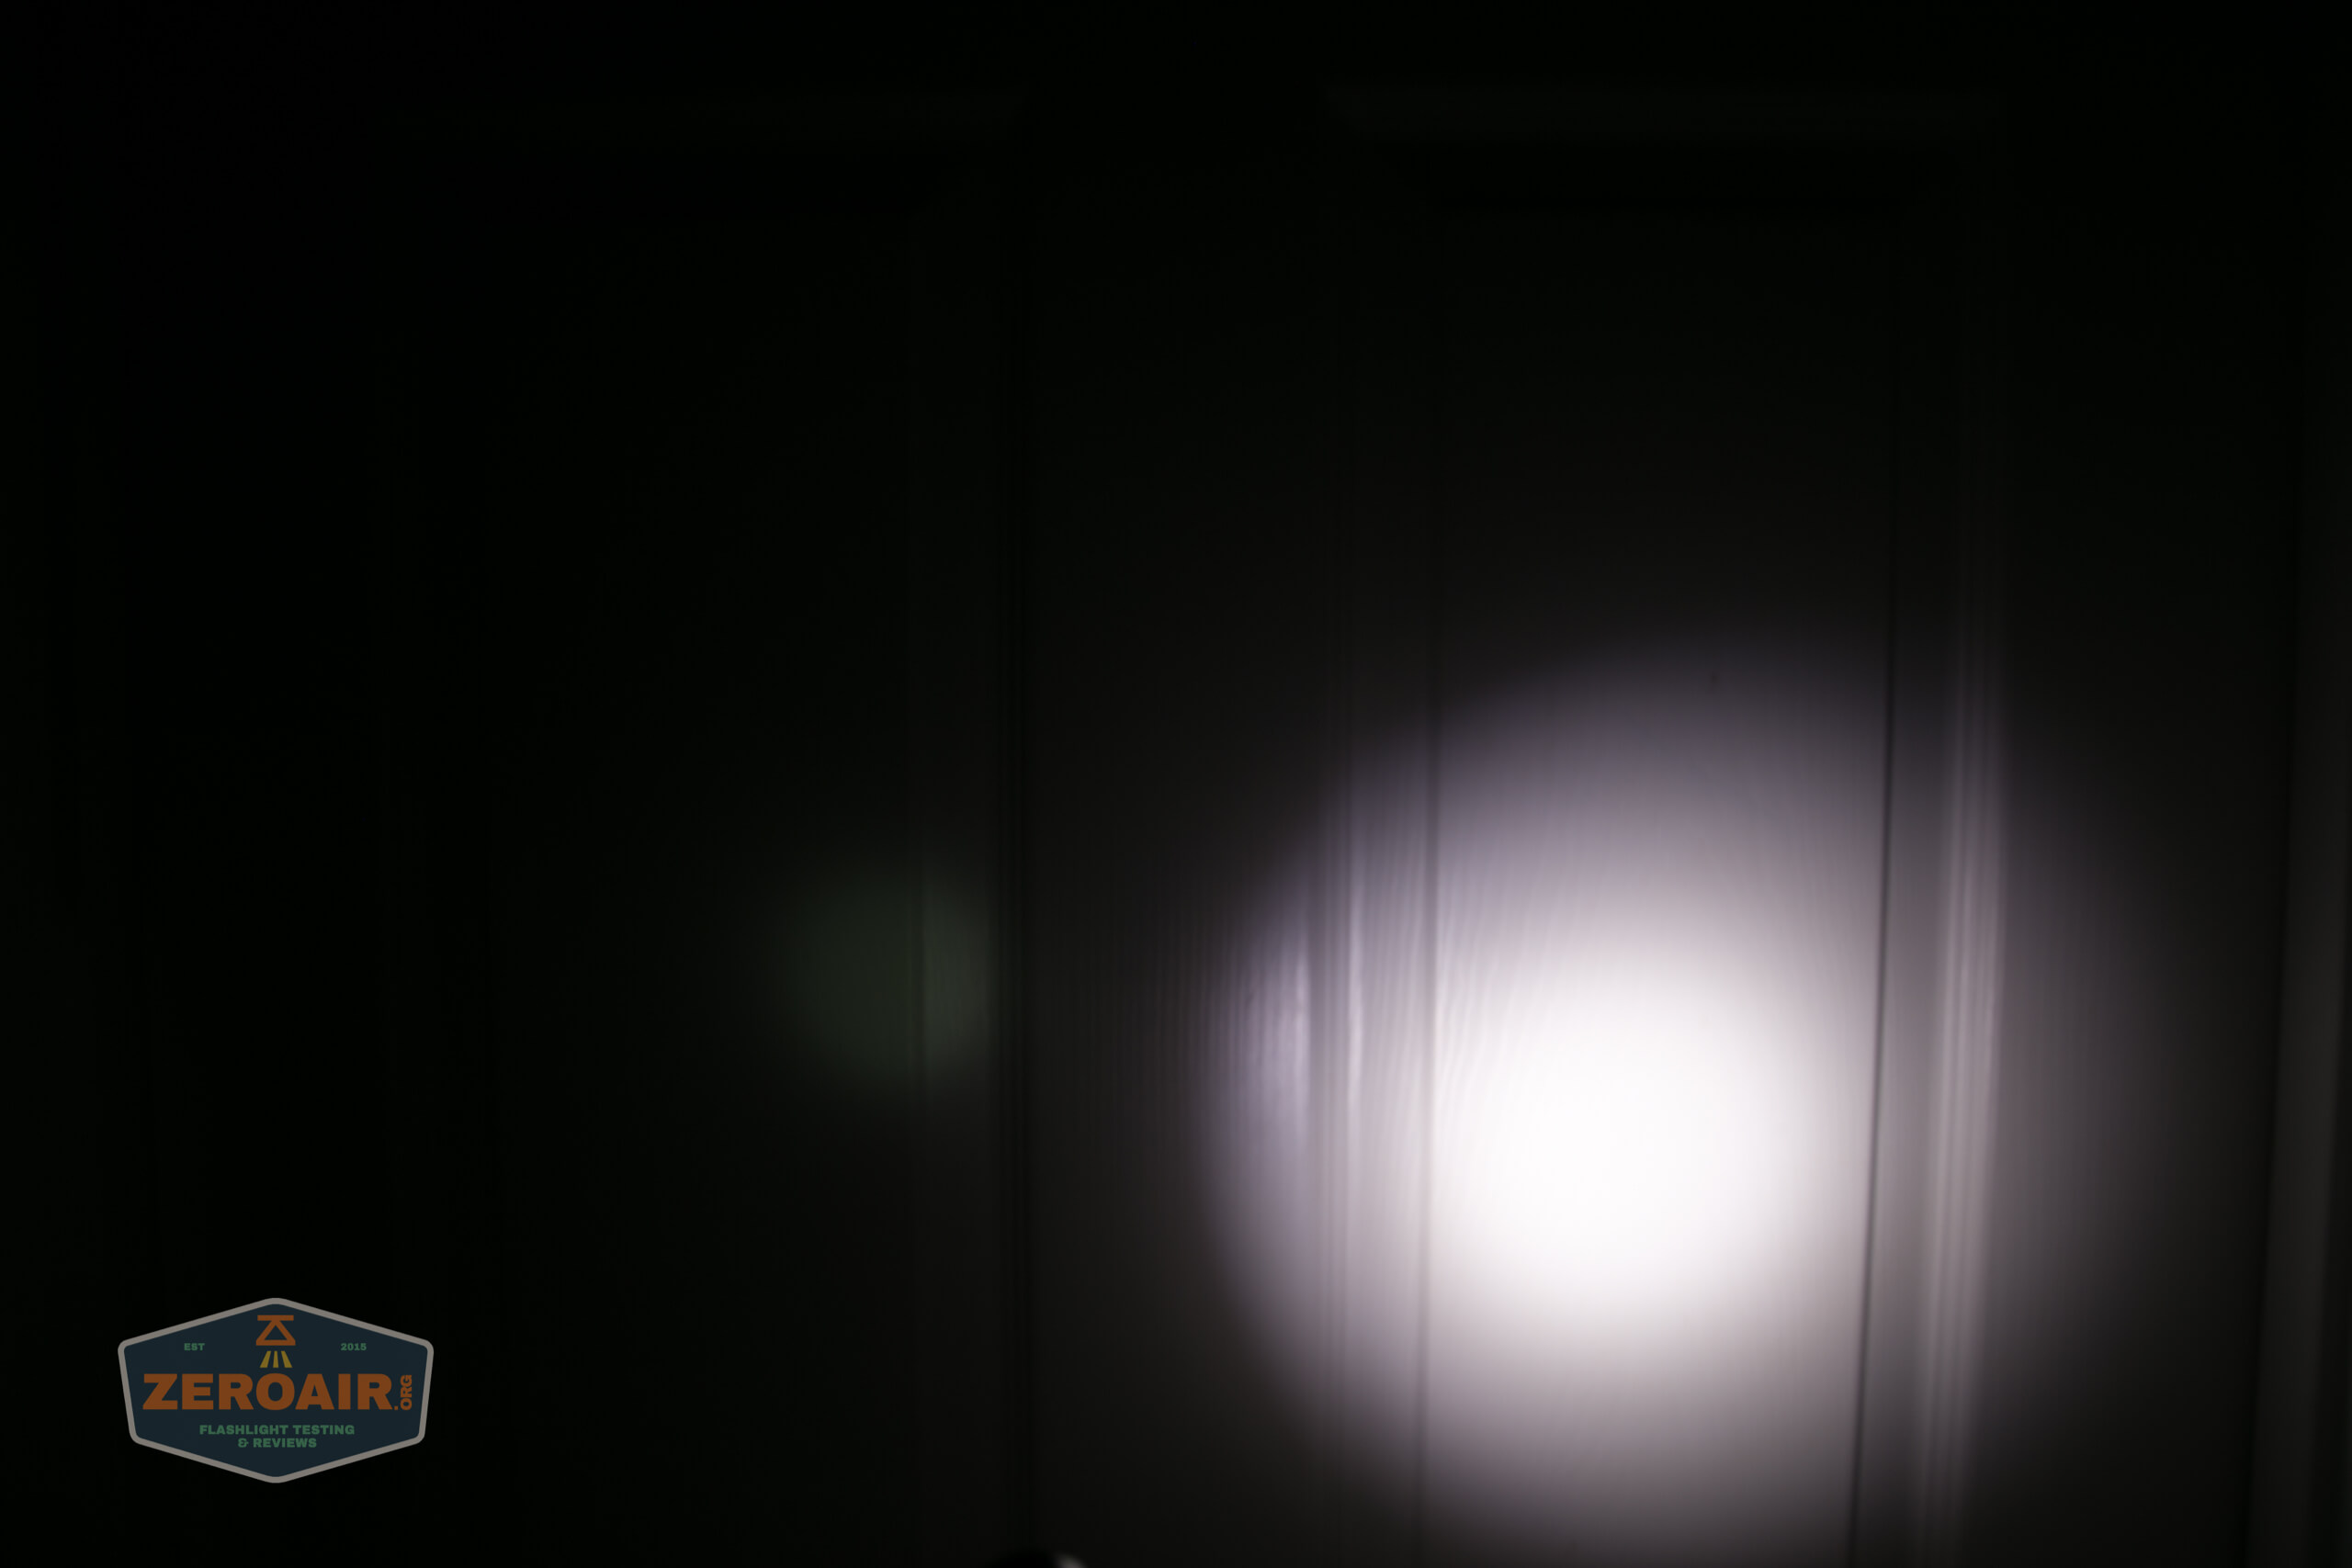
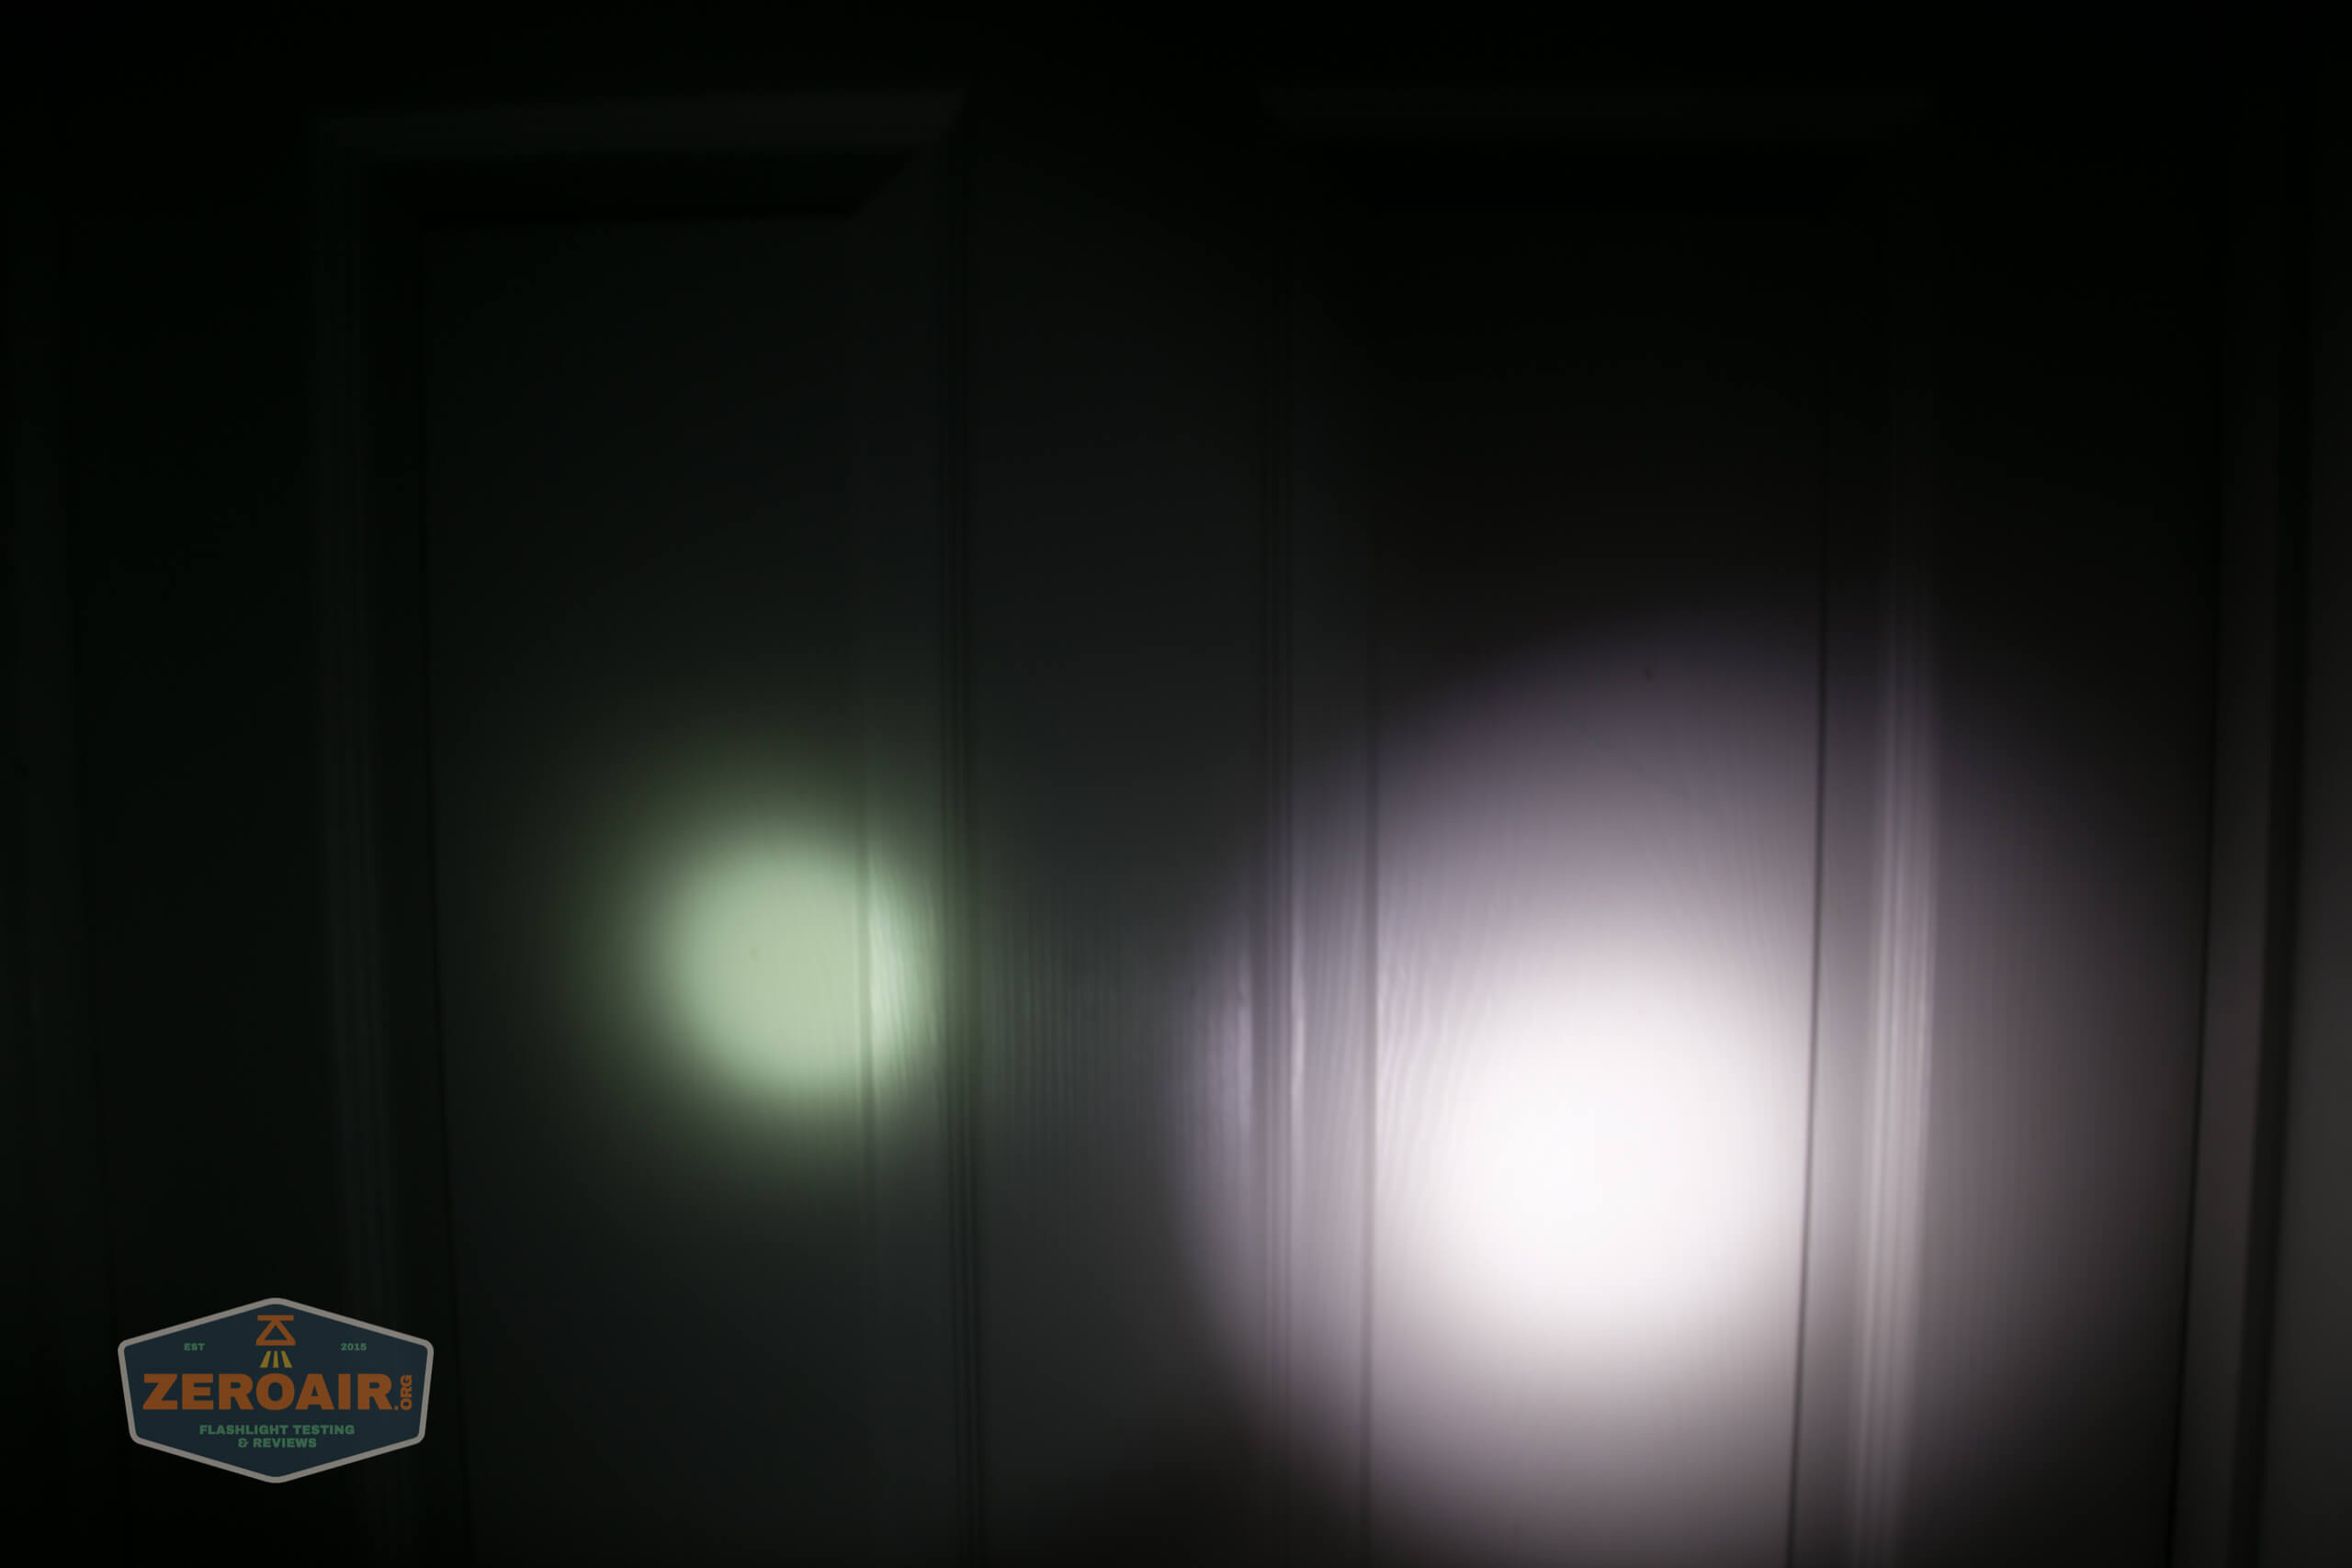
I compare everything to the KillzoneFlashlights.com 219b BLF-348 because it’s inexpensive and has the best tint!
Conclusion on the Sofirn SC31 Pro Flashlight
What I like
- Very low price for solid build quality and Andúril!
- Versatile lighted side switch
- 5000K SST-40 option
- Cell is included
- Utilizes USB-C charging (and cable is included)
What I don’t like
- Mine’s 6500K
- The pocket clip needs to be adjusted
Notes
- This light was provided by Sofirn for review. I was not paid to write this review.
- This content originally appeared at zeroair.org. Please visit there for the best experience!
- Use my amazon.com referral link if you’re willing to help support making more reviews like this one!
- Please support me on Patreon! I deeply appreciate your support!
Discover more from ZeroAir Reviews
Subscribe to get the latest posts sent to your email.
That offset green light would bug me, but for the price and Anduril, it might be worth it 🙂
I saw a review of this light on budgetlightforum, and they noticed a similar fast dropoff on turbo, but after going through the thermal calibration procedure, it both stayed at turbo for longer and stayed at a higher brightness level long-term. It’s possible your light needs the same calibration done on it.
Yes, I did test it at default temperature calibration setup. I should probably calibrate it and run at least one more test. I will probably do that this week.
After reading your lovely review, I felt like I’ve owned this flashlight touché! Appreciate your hard work! Oh yea, may I know what’s the dimension at the area for the pocket clip insertion? I’ve just ordered this flashlight and I thought of getting a separate 2way clip for it.
Again, great review
I measure this way:
Clip arms: 6.73mm
Body diameter at clip: 21.18mm
Clip arm acceptance height on body: 6.93mm
Hope that helps!
That is more than enough sir.
Thank you so much, much appreciated.
Great review. The UI table you created is very useful. Very nice photos as well
Thanks!
How do you turn OFF the two small green side switch led’s when flashlight if off?
According to the Anduril docs, 7 clicks starting from the “off” state will cycle you to the next aux led mode. The usual modes are off -> low -> high -> blink -> off, so if it defaults to “low”, you’ll have to do three sets of 7 clicks to get to the “off” mode.
You strongly recommend the 5000k version over the 6500k, is there such big difference and what could that be?
I’m very very new to the flashlight business and wanted to makre sure I grab the better out of the two 😛
I would say there’s a big difference between 5000K and 6500K, yes. 5000K will be much more toward the “neutral white” side of things, and 6500K will appear much more cool white.
Total output of the 6500K will probably be greater. If simple output is your goal, you’ll likely get more lumens out of a 6500K temperature than the 5000K, all other things being equal. But the difference is almost certainly not going to be perceptible.
Do you think i could use it for crab fishing? it would only be submerged a few inches under water, not more than 10 inches deep. I know that any light with a port for charging is at risk, but what if i tightly wrapped it with some tape? I will be cleaning the sc31 with clean water after i get out of the sea for sure!
Maybe? You’re right about the charge port – I’d pick a light for your purpose that didn’t have a charge port. This one is rated to IPX8 though, which sounds like enough for your purpose.
Calling this a beater is kind of a backhanded compliment, no? That usually means something old with major issues already not just something inexpensive and durable
No, it means something inexpensive that works like it should work and like you expect it to, that you won’t mind replacing if you love it too hard.
No it has a negative connotation especially if you’re taking about a new item. It’s inexpensive because of the condition it’s in. You can “beat” it because it is on its last legs anyway. Something can be reliable and inexpensive without being a beater.
Alright.
Being a beater is also a badge of honor because that means the thing is reliable enough and effective enough to use under harsher conditions. There is a market out there for reasonably priced products that get the job done and Sofirn seems to be focused on it. Their designs are utilitarian and unassuming and are clearly designed to be used rather than just collected for their aesthetics.
If you’re reviewing a flashlight you should also run a test with a higher current cell to show any hidden potential.
Got one but I wasn’t a fan of the beam pattern. The bezel can be unscrewed by leaving the torch on turbo long enough to heat the glue.
There’s enough space in there for an optic to fit in.
The 5000k tint is okay, probably better than XHP50.2 5000k.
Parts from the SP40 are interchangeable so you can use the 18350 tube or the magnetic tailcap.
Thanks for your work, some hours ago I wasn’t aware that torchlights with a controller, Anduril firmware and configuration even exist ^^
I’ve bought the SC31 Pro because my new Wuben L50 was getting on my nerves after two walks with my dog in the dark because of it’s size and tailswitch. So I quickly decided to buy the SC31 without big research. I don’t need all the features and muggle mode fits me well….but at least I did the thermal configuration following your instruction and know how to make the thing blink or burn like the sun 😀
The tiny paper manual I got by Sofirn is not so good/clear.
Hope the manual presented here helps!
Pingback: Sofirn SC31T Tactical Flashlight Review - ZeroAir Reviews
Pingback: Goodbye 2021, Welcome 2022! - ZeroAir Reviews
Hi, do you know if the head of this light can be disassembled? I’d like buy one but not a big fan of the beam profile myself. I’d like to swap the led for a culpm1 or sft40 emitter for more throw, do you think this would be possible? thank you
Sofirns are typically very modification-friendly. I do not know if the specific mods you are interested in are possible.
Ok cool, thank you for your reply. As another commenter mentioned they were able to screw off the bezel after heating it up to possibly fit an optic so surely that would allow access to the emitter, I love all the other features of this light so I think I’ll take a chance and order anyway and see how I get on. Thanks again