

Convoy S2+ UV Flashlight Review
MohrLumens.com sent a Convoy S2+ UV flashlight for review. I don’t often have a use for UV lights, but this one’s well equipped and a nice specimen. Read on!
Convoy S2+ UV Flashlight Official Specs and Features
Here’s a link to the official product page.
Versions
There’s only one version. But it’s a “new” style Convoy S2+ so you could pretty much kit this out however you wanted. Pocket clip, magnet, short body, different color body…etc. There are plenty of options if you want to go that route, as long as you remember this is a square thread body!
Price
When available, these go for around $26.95 at MohrLumens.com. They look to be sold out at the moment! Also note that this review includes an accessory filter, which is an additional $1.95.

Convoy S2+ UV Flashlight Short Review
I have never owned a UV light that has the ZWB2 filter, and I have to say, it makes a world of difference. I like that this is just one mode – I’m not sure why you’d really need modes on a UV light. I wish it was just a little more floody, though.
Convoy S2+ UV Flashlight Long Review
What’s Included

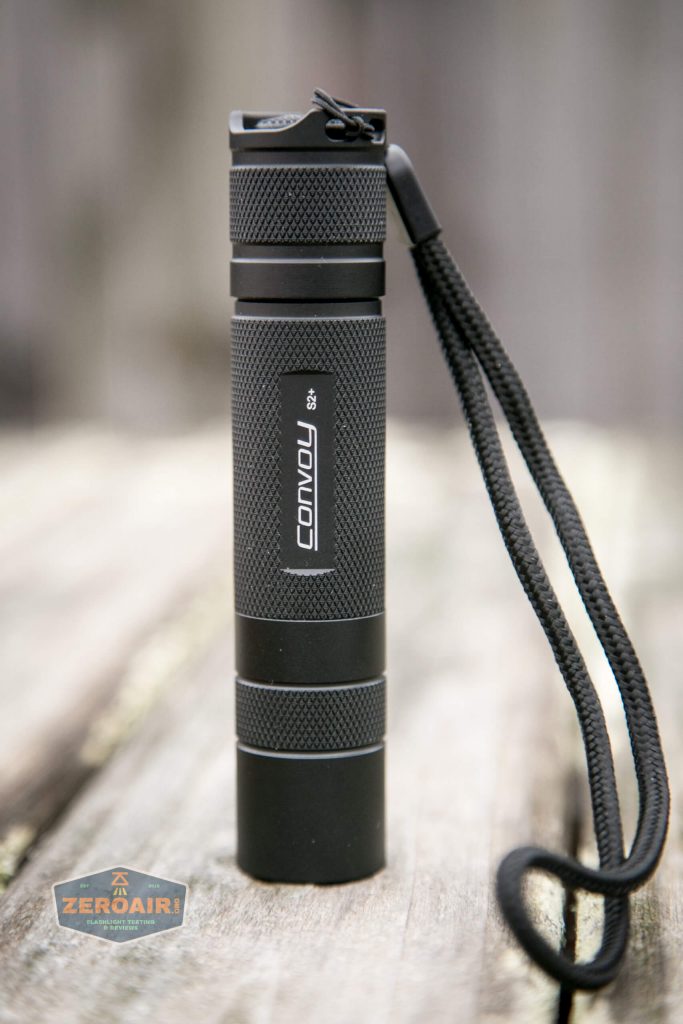
- Convoy S2+ UV Flashlight – 18650 sized
- Lanyard
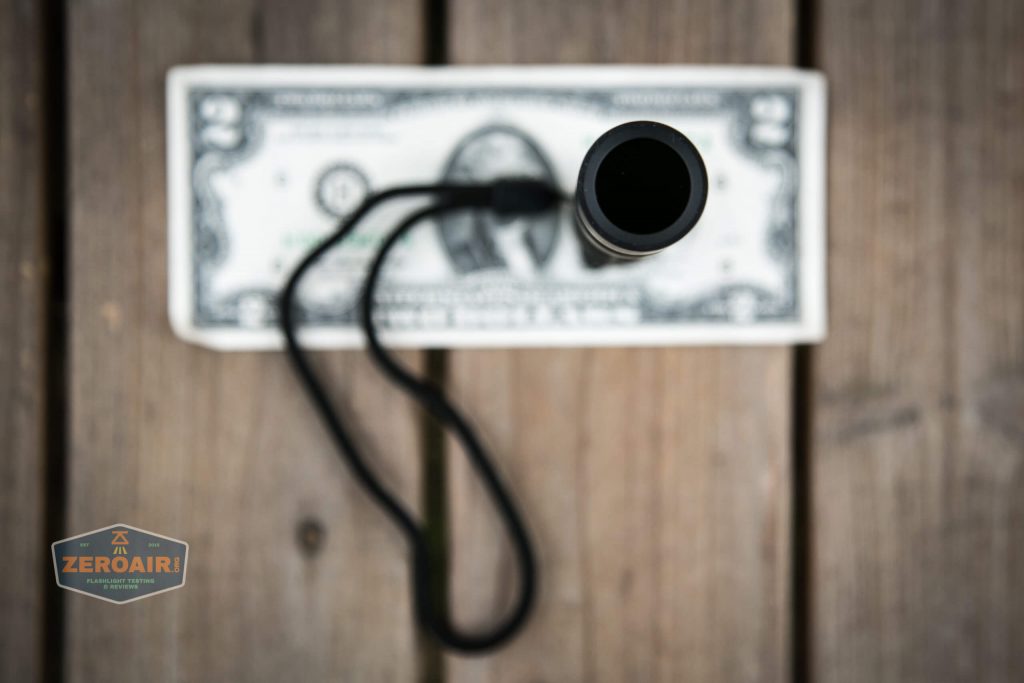
A separate purchase, but included with this review is the ZWB2 filter. Above, you will see the clear lens, not the ZWB2. You’ll need to install your ZWB2 yourself, but that’s very simple. Only requires tweezers for unscrewing the pill.
Package and Manual

Just the Convoy box. There is no manual!
Build Quality and Disassembly

Convoy is very highly regarded by flashlight enthusiasts for having great build quality and low prices. This S2+ UV is really no exception.
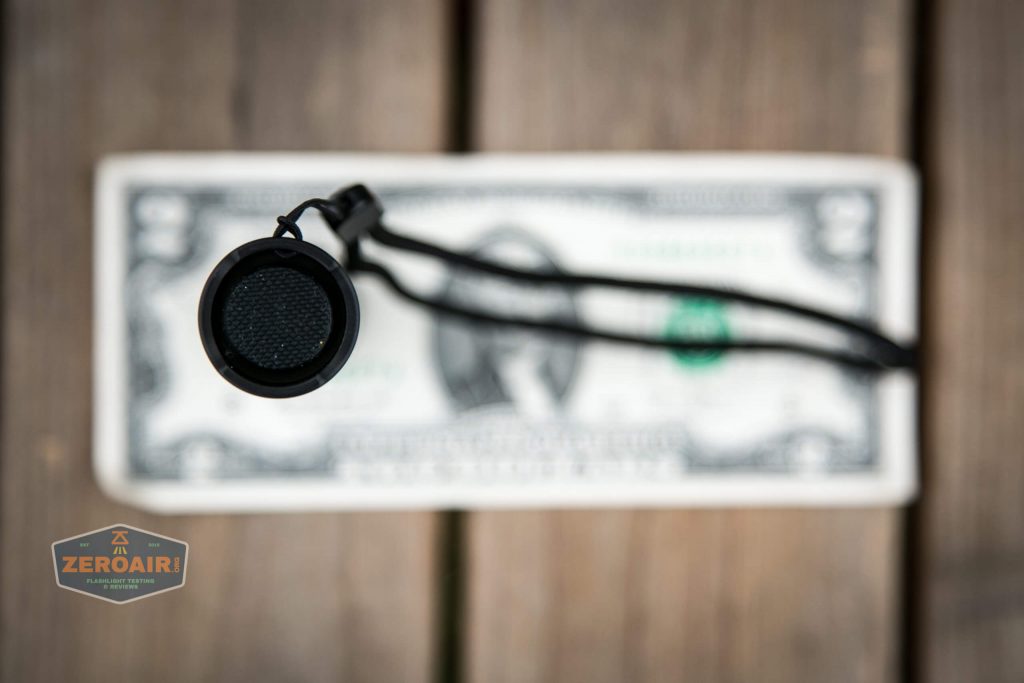
The ZWB2 is of course a very interesting addition to the UV flashlight. The point of the filter is to remove visible spectrum light and leave only the UV. It does that well, as far as I can tell by eye.
But another very nice thing about this is that it makes the light very easily identifiable. You pick up this light and glance at this front end, and you immediately know this is your UV Convoy S2+.


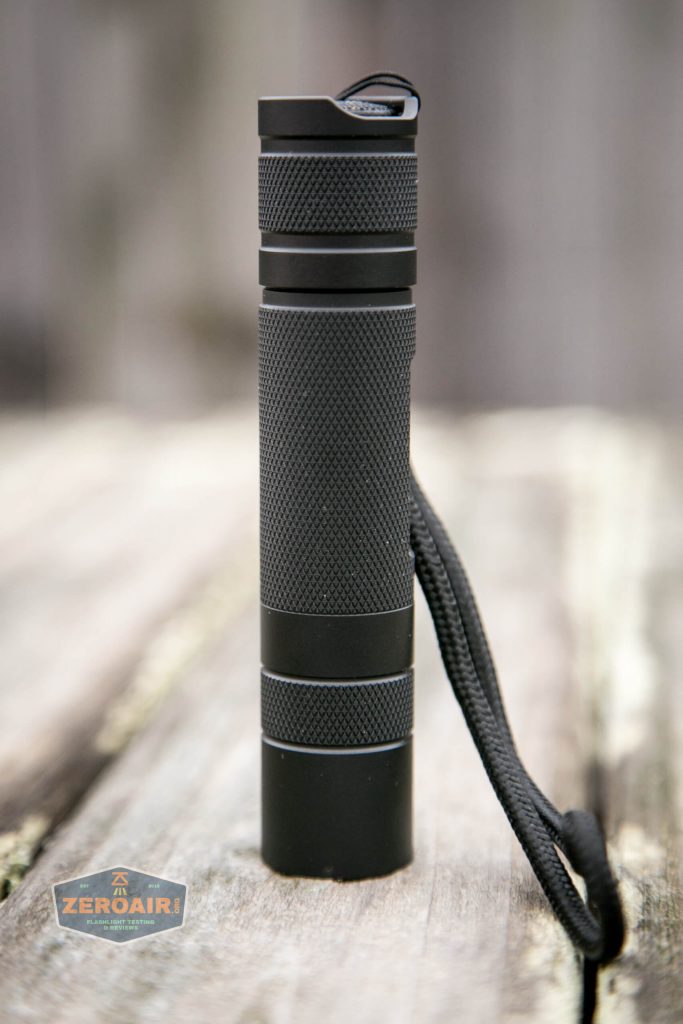
This host is exactly the same as other S2+ flashlights. No real surprises here.


There’s plenty of knurling all over the light, and it’s well done.


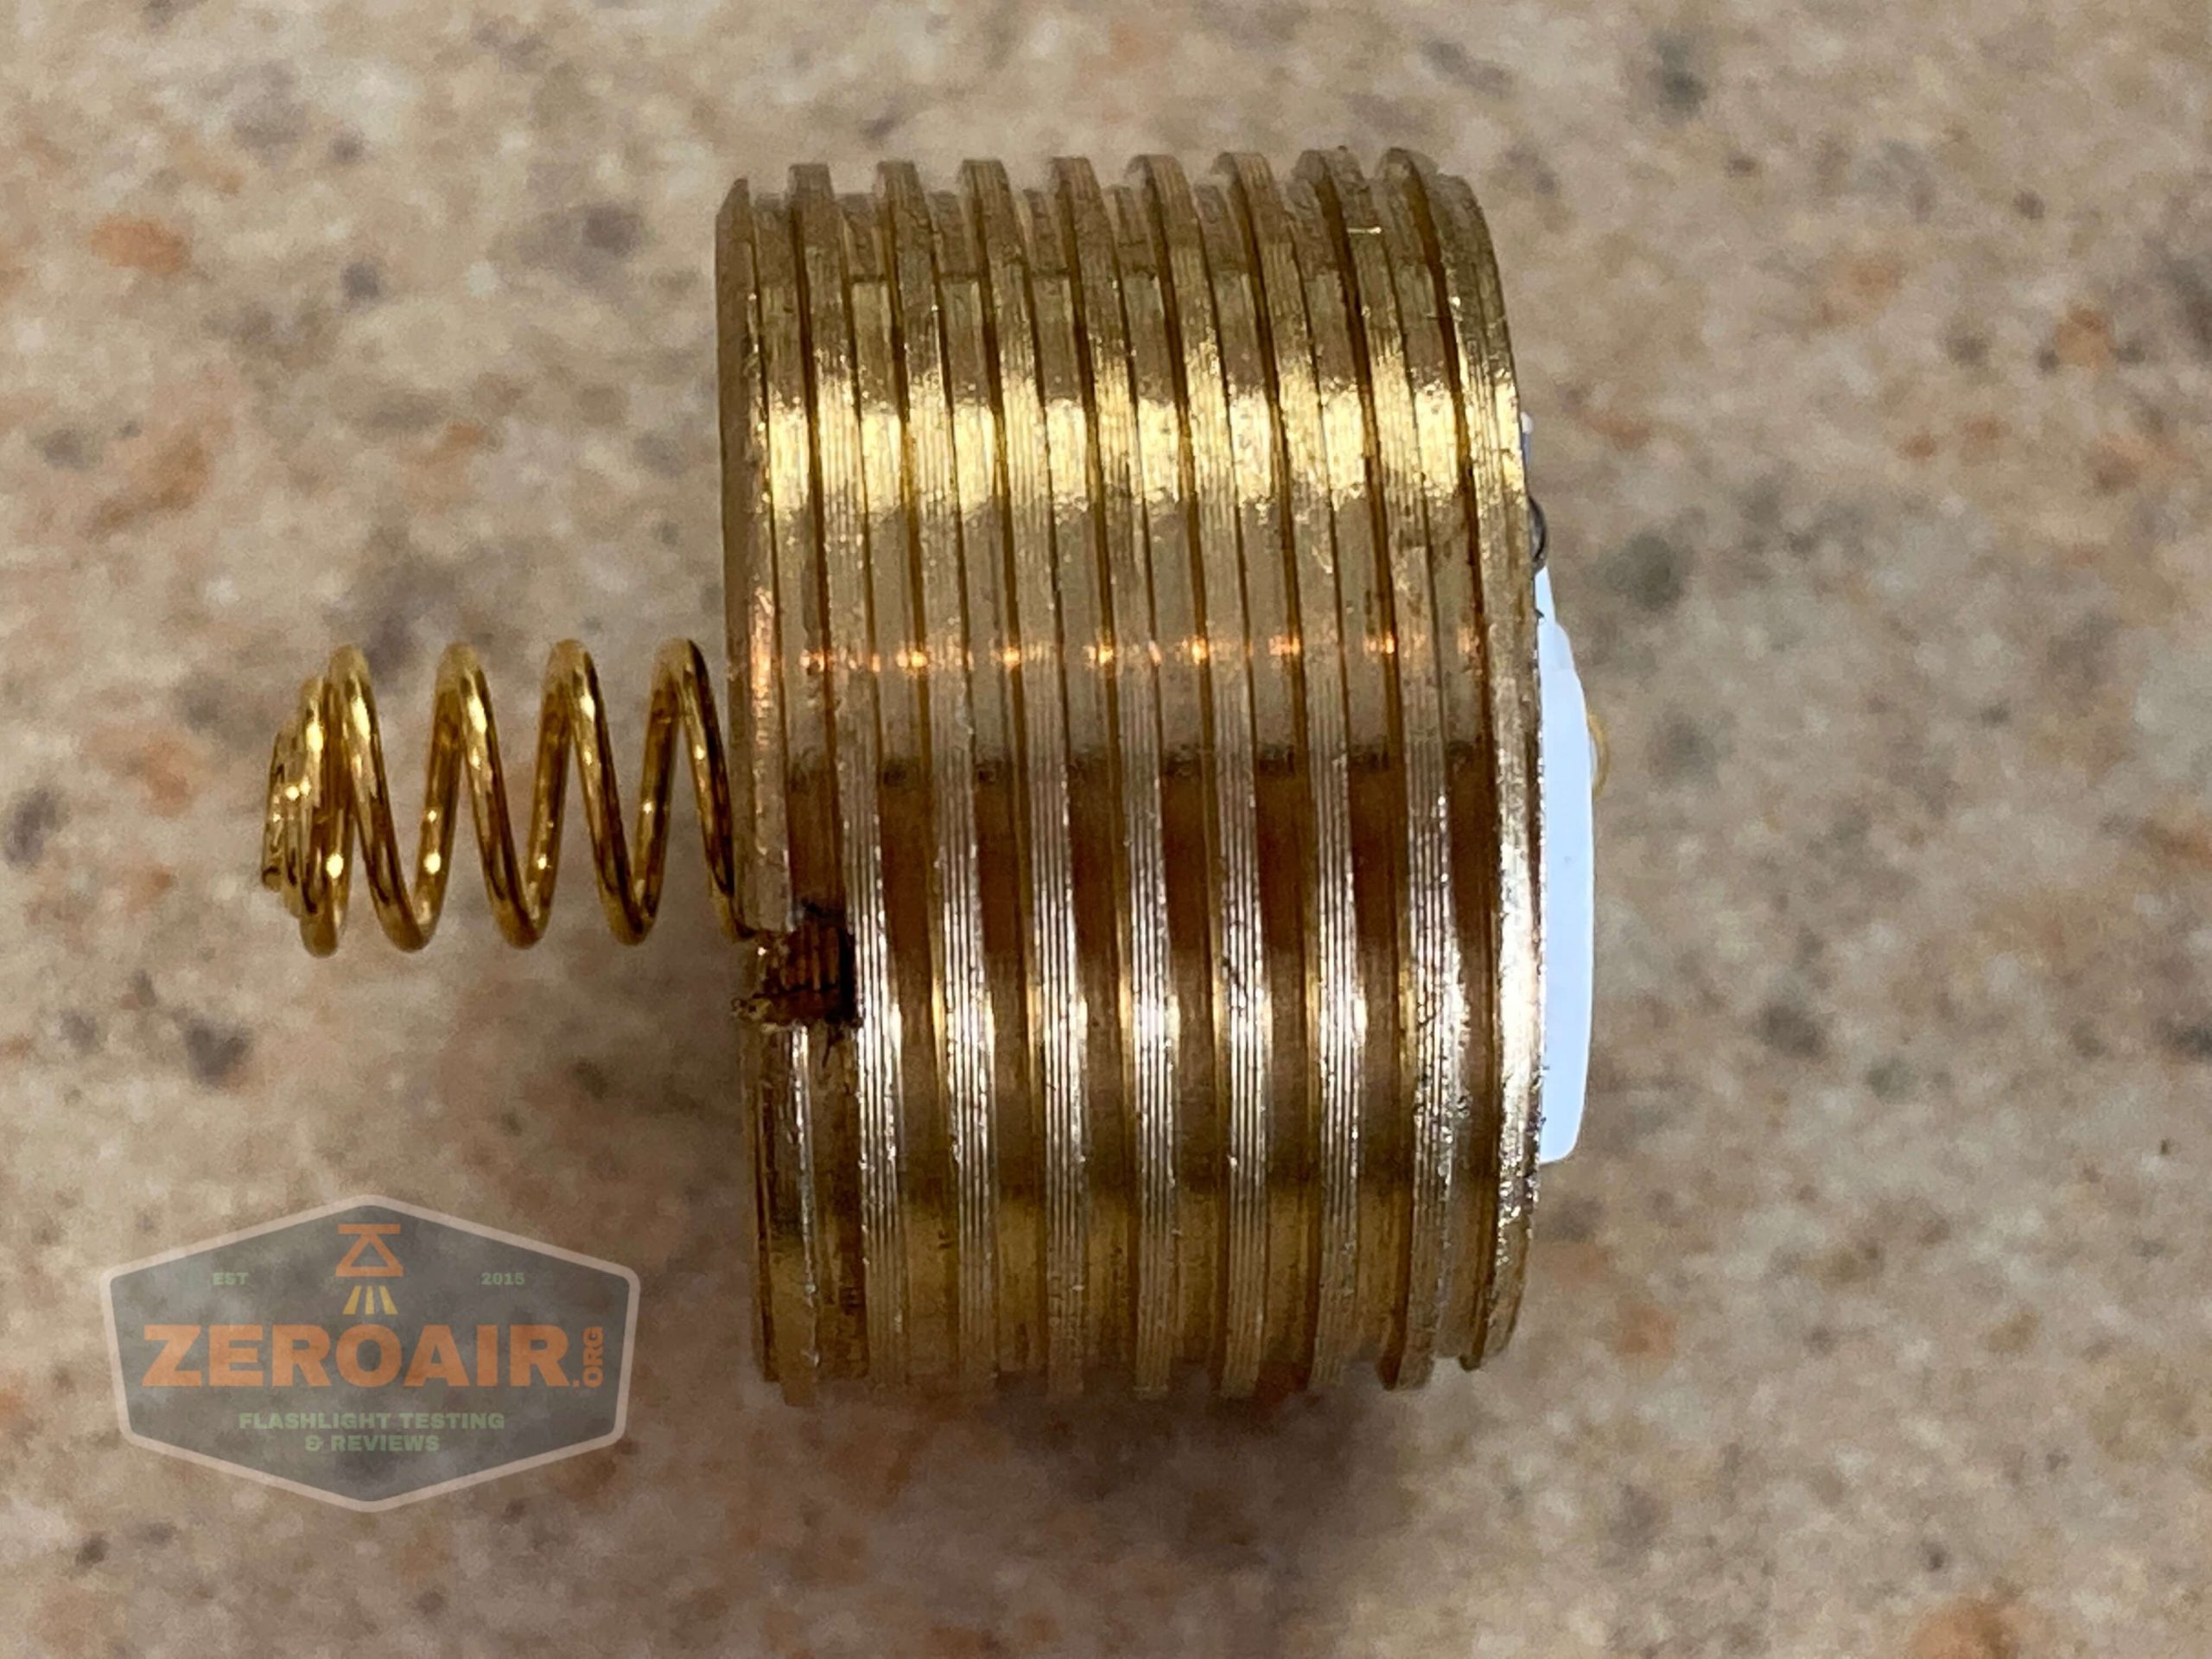
This is the new style S2+. The threads are square-cut! That’s important – you will not be able to thread the emitter parts into your old style (triangle thread) S2+ bodies.


As typical, one end has unanodized threads (head) and one has anodized (tail). Both are square-cut.


The parts in both head and tail have springs and also screw in and out easily with the help of tweezers or a similar tool.


This is a joke photo of course – a very shorty short S2+ like this doesn’t exist.

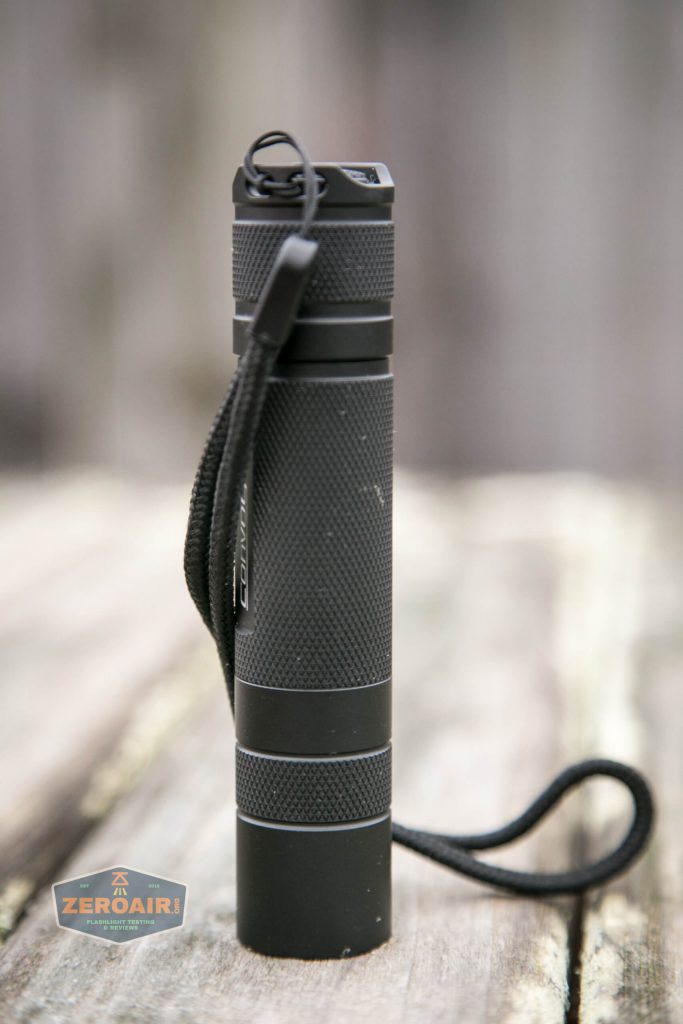
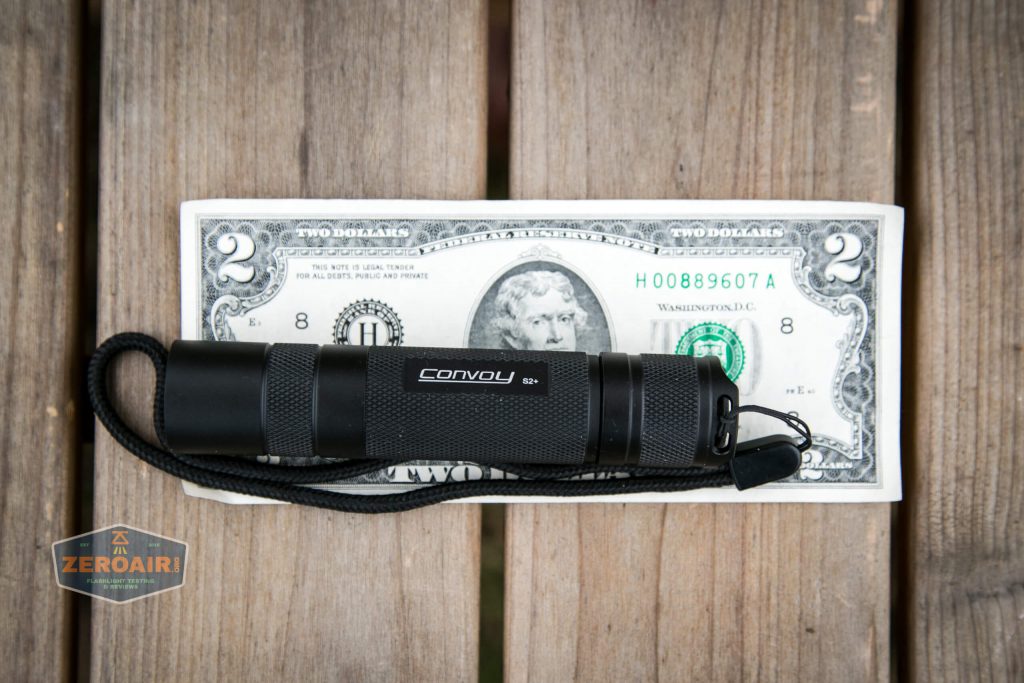
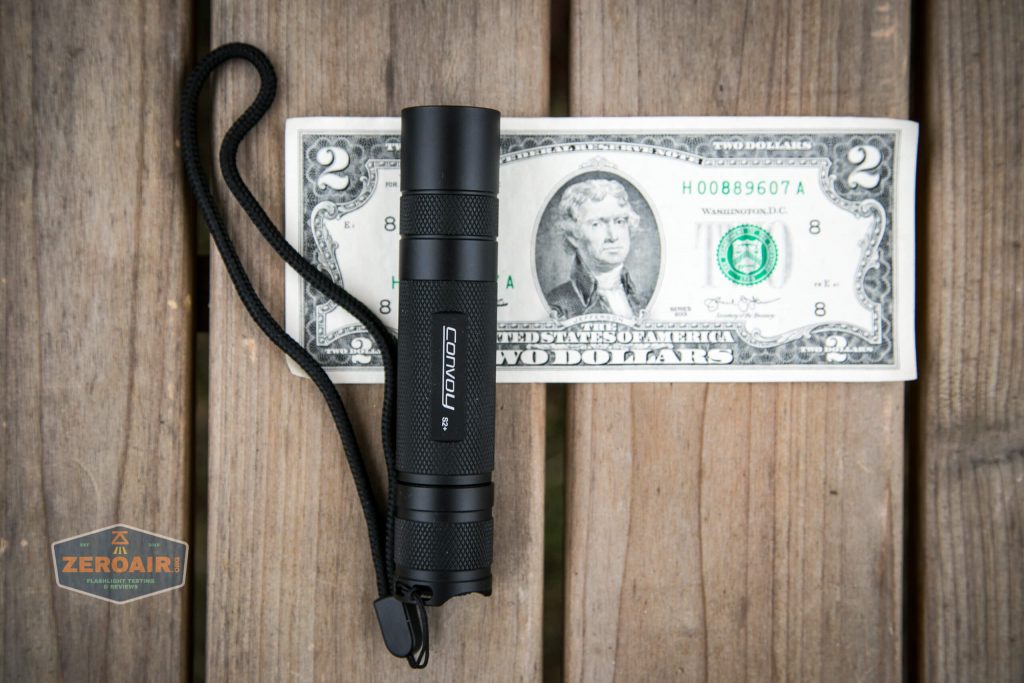
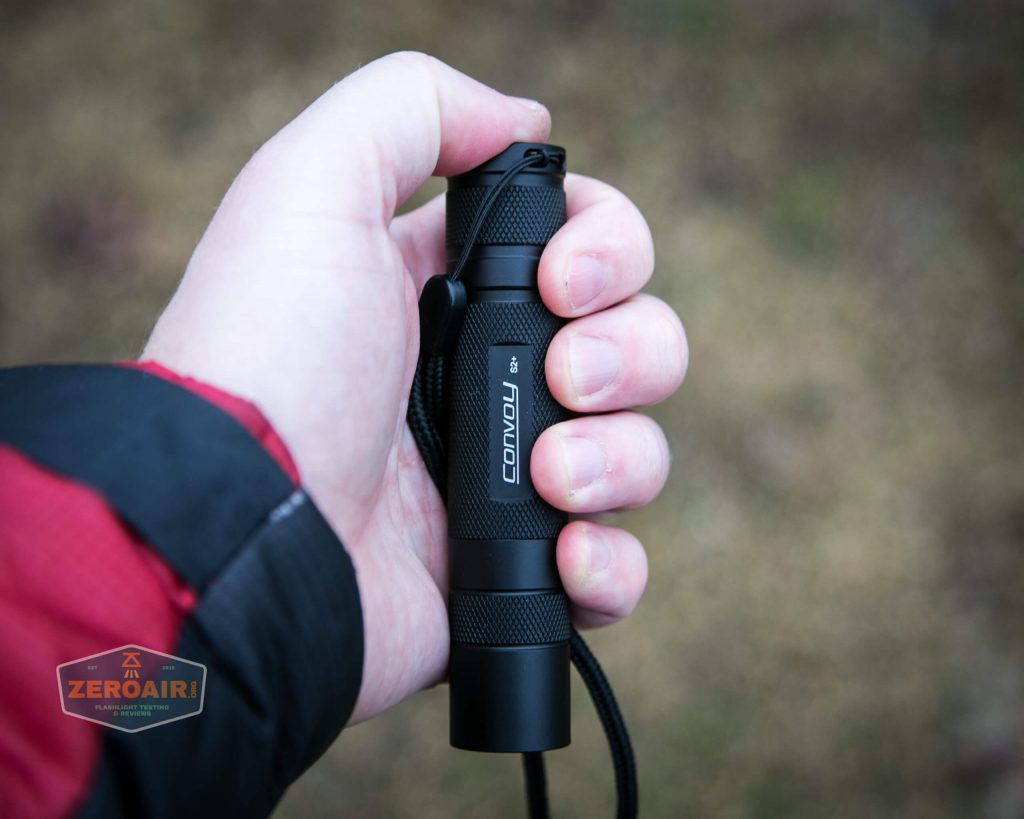
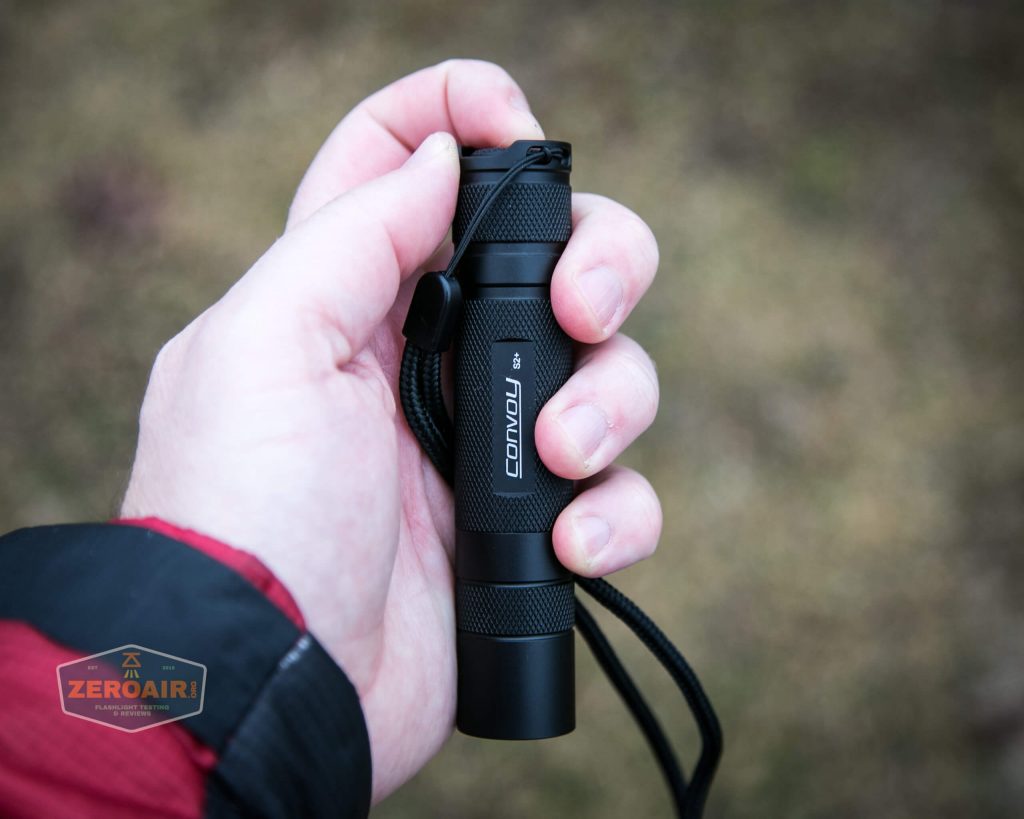
Size and Comps
Same as my other reviewed S2+.
- Length: 118 mm
- Width: 24.1 mm
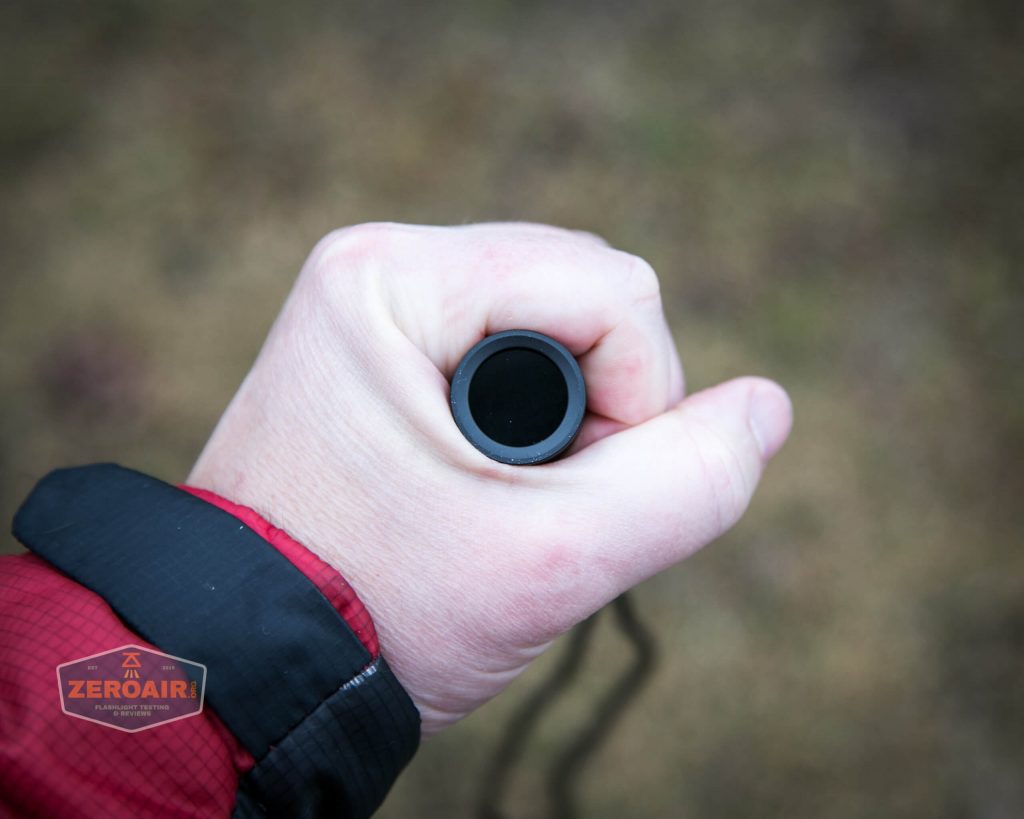
If the flashlight will headstand, I’ll show it here (usually the third photo). If the flashlight will tailstand, I’ll show that here, too (usually the fourth photo).

Here’s the test light with the venerable Convoy S2+. Mine’s a custom “baked” edition Nichia 219b triple. A very nice 18650 light.
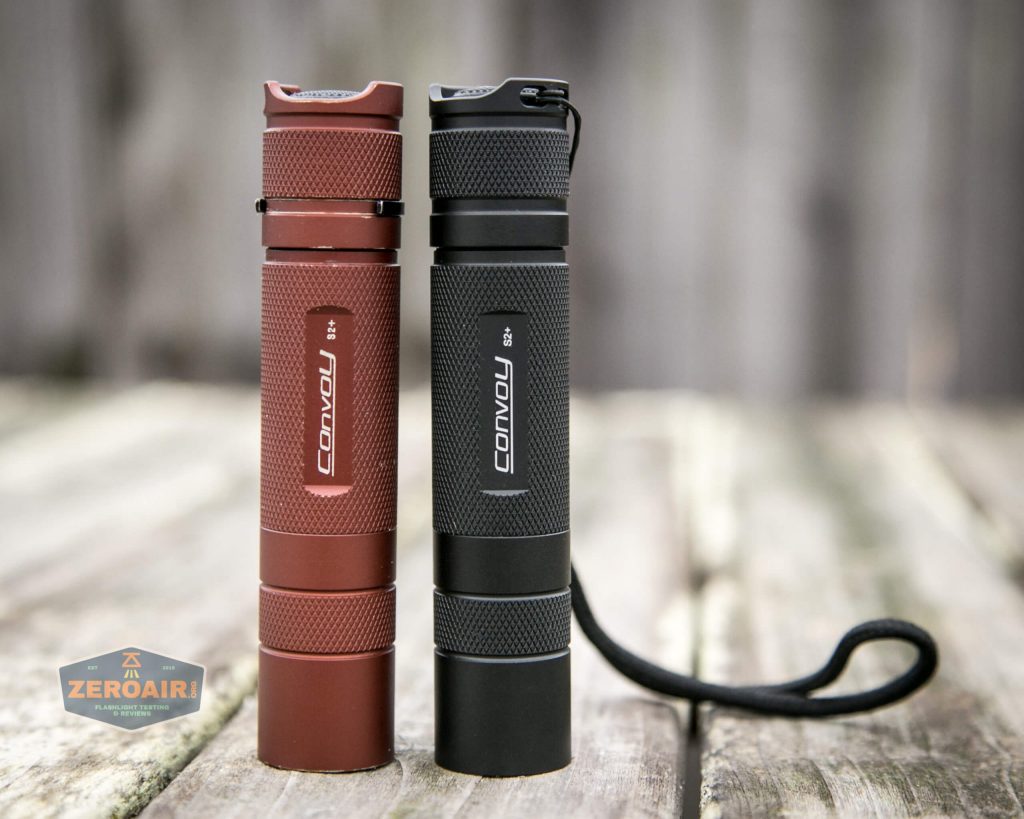
And here’s the light beside my custom engraved TorchLAB BOSS 35, an 18350 light. I reviewed the aluminum version of that light in both 35 and 70 formats.

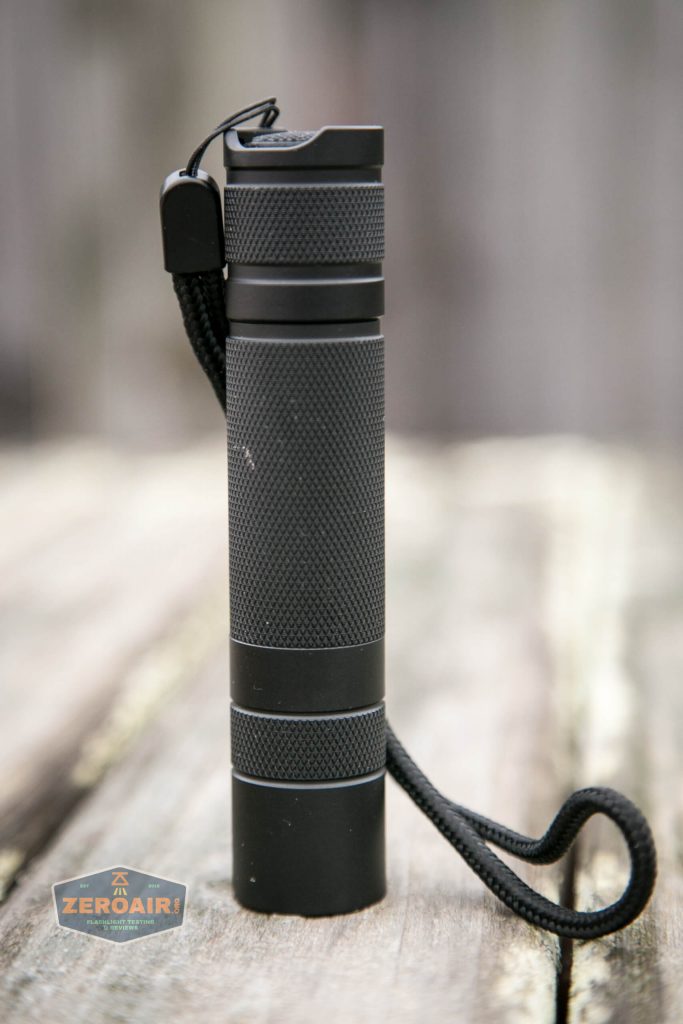
Retention and Carry
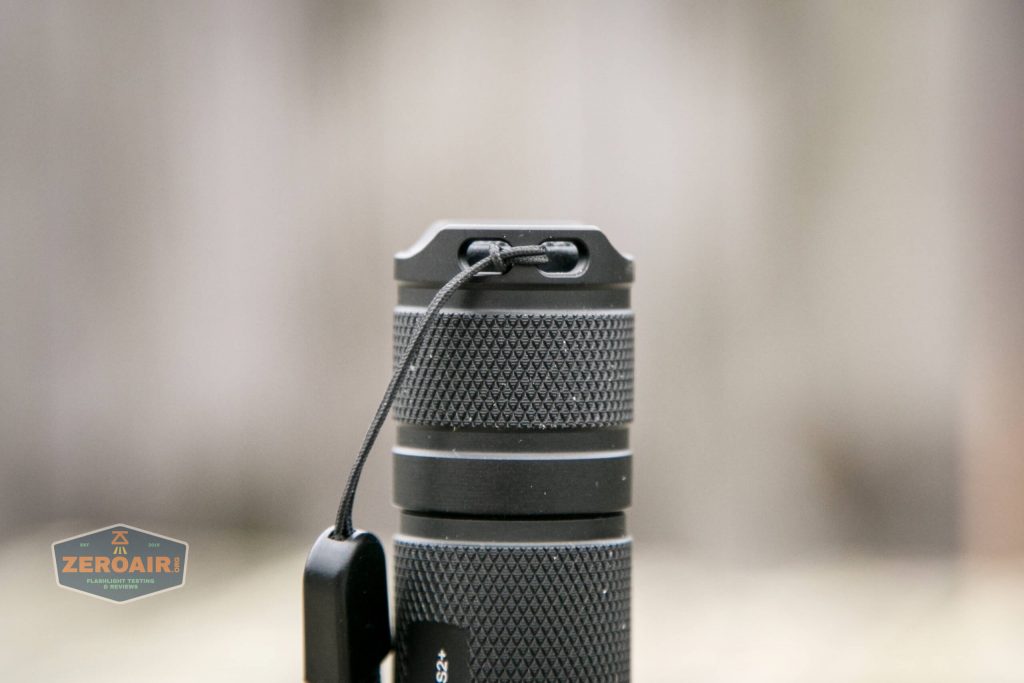
What ships with the Convoy S2+ UV flashlight is only a lanyard.
MohrLumens.com installs the lanyard the right way. And I think this involves removing it from stock, and putting it on right – small touch but thoughtful.
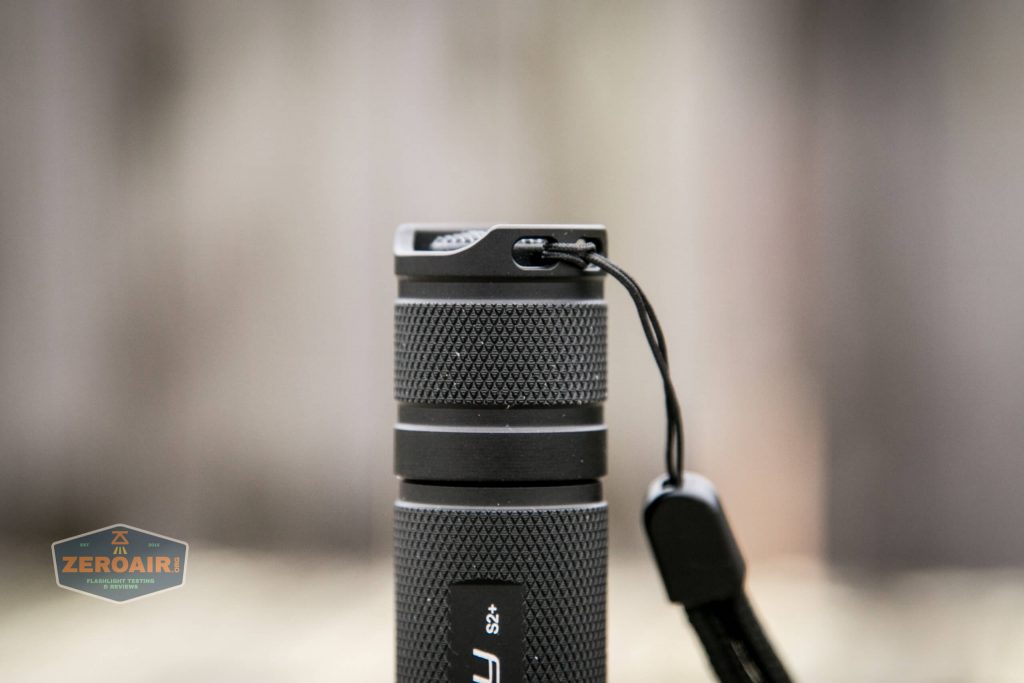
While it’s not included, it’s still a standard Convoy S2+ – you can buy separately a friction fit clip, a screw in clip, and a magnet. I prefer the friction fit clip!
Power and Runtime
The Convoy S2+ UV flashlight is powered by a single lithium-ion cell. This body is for 18650 cells, and any type of cell will work because of springs on both head and tail.
The cell is installed in the usual way, with the positive terminal toward the head.
Unfortunately, I don’t have any runtime tests for you. The range for my lux meter does not include the wavelength of this UV emitter, and as such is completely unresponsive to the output.
However on bench power testing can tell you that the output is unregulated, and will just trend downward as the cell voltage drops. Also based on testing with the bench power, I do not see any evidence of low voltage protection.
Modes and Currents
| Mode | Mode Claimed Output (lm) | Claimed Runtime | Measured Lumens | Tailcap Amps |
|---|---|---|---|---|
| On | – | – | – | 1.01 |
Pulse Width Modulation
No PWM on the single output mode!

Here you can see a “baseline” – a chart with almost no light hitting the sensor.
Then there’s the Ultrafire WF-602C flashlight, which has some of the worst PWM I’ve seen. It’s so bad that I used a post about it to explain PWM! Here are multiple timescales (10ms, 5ms, 2ms, 1ms, 0.5ms, 0.2ms) to make comparing this “worst” PWM light to the test light easier. That post also explains why I didn’t test the WF-602C at the usual 50us scale.
User Interface and Operation
Convoy uses a forward clicky on the S2+ UV flashlight. The switch has a nice big pad and is very easy to actuate. It’s also very clicky!
Here’s a user interface table!
| State | Action | Result |
|---|---|---|
| Off | Click | On |
LED and Beam
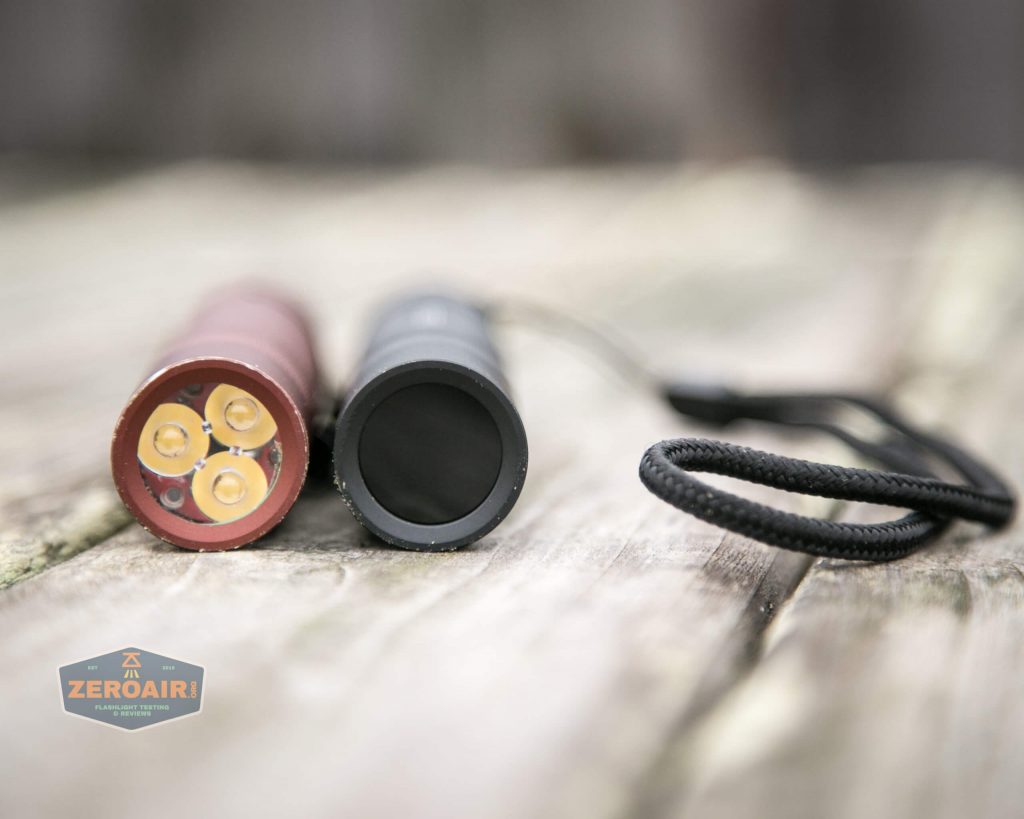
The emitter is a Nichia UV365. Zak thinks it’s a Nichia 276c, and I believe that.
The flashlight ships with a light orange peel reflector, which you can see below.
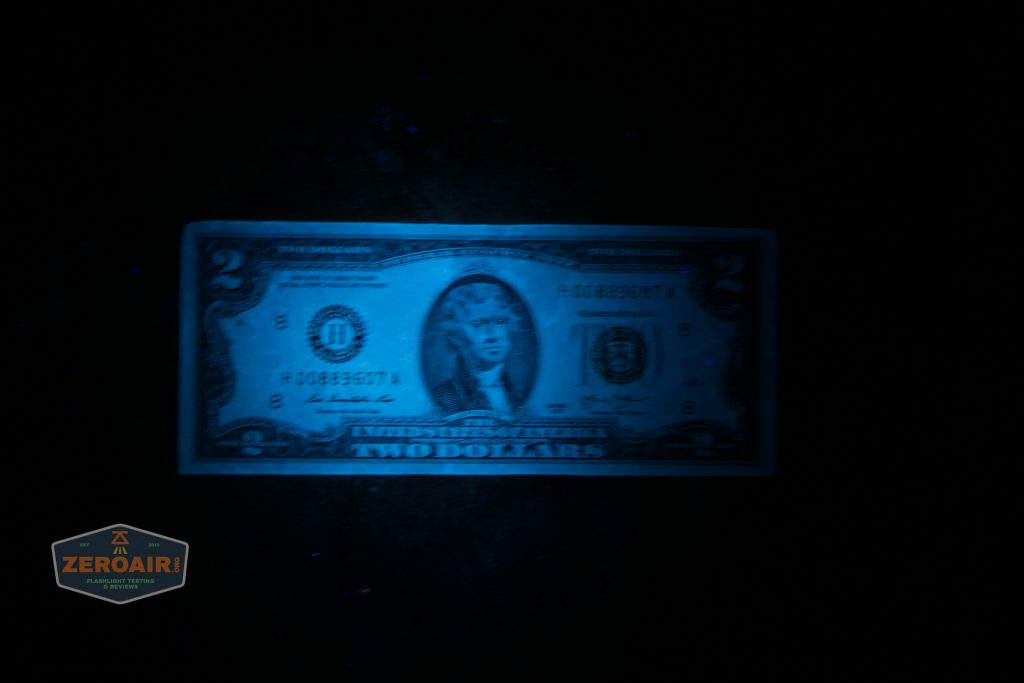
These beamshots always have the following settings: f8, ISO100, 0.3s shutter, and manual 5000K exposure. These photos are taken at floor level, and the beam hits the ceiling around 9 feet away.
Surprisingly, the ceiling didn’t light up at all – I suppose my paint isn’t UV reactive at all. Other stuff at a similar distance would light up, however.

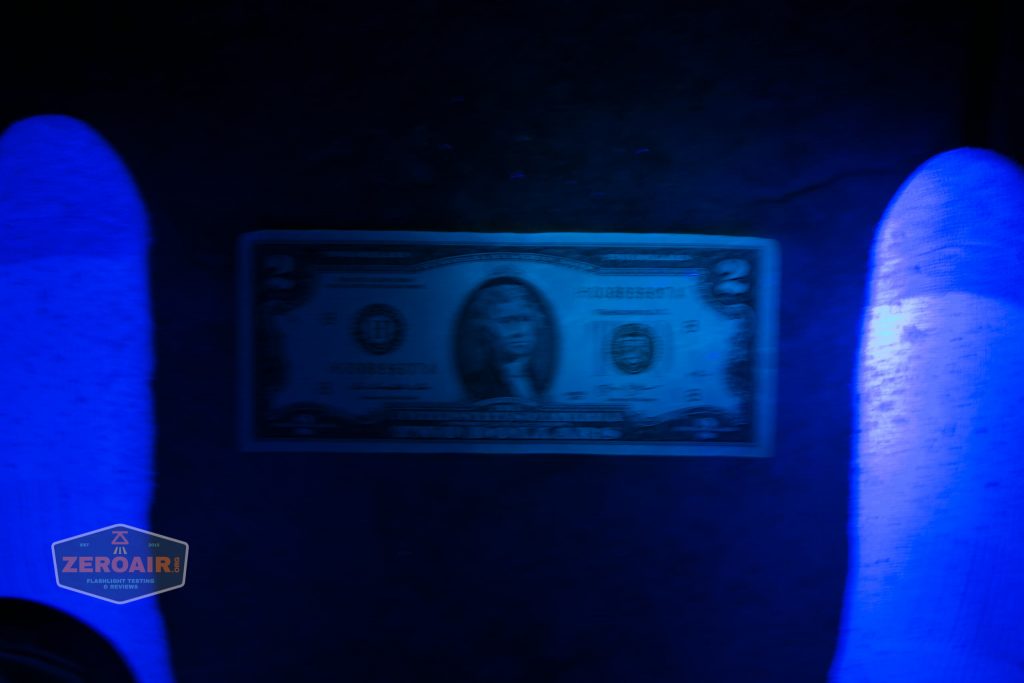
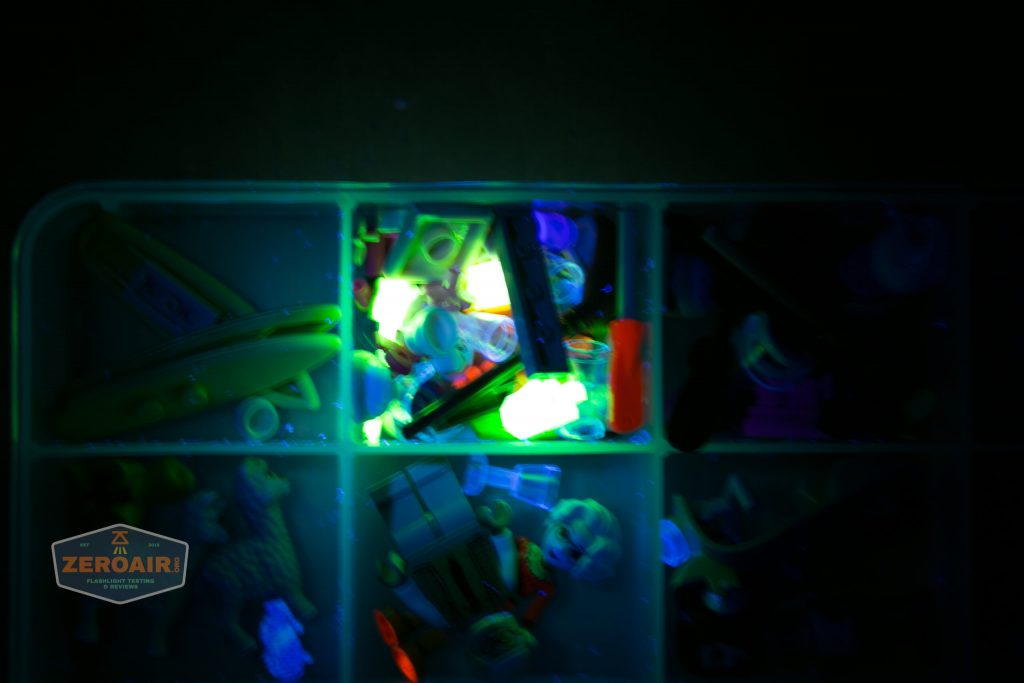
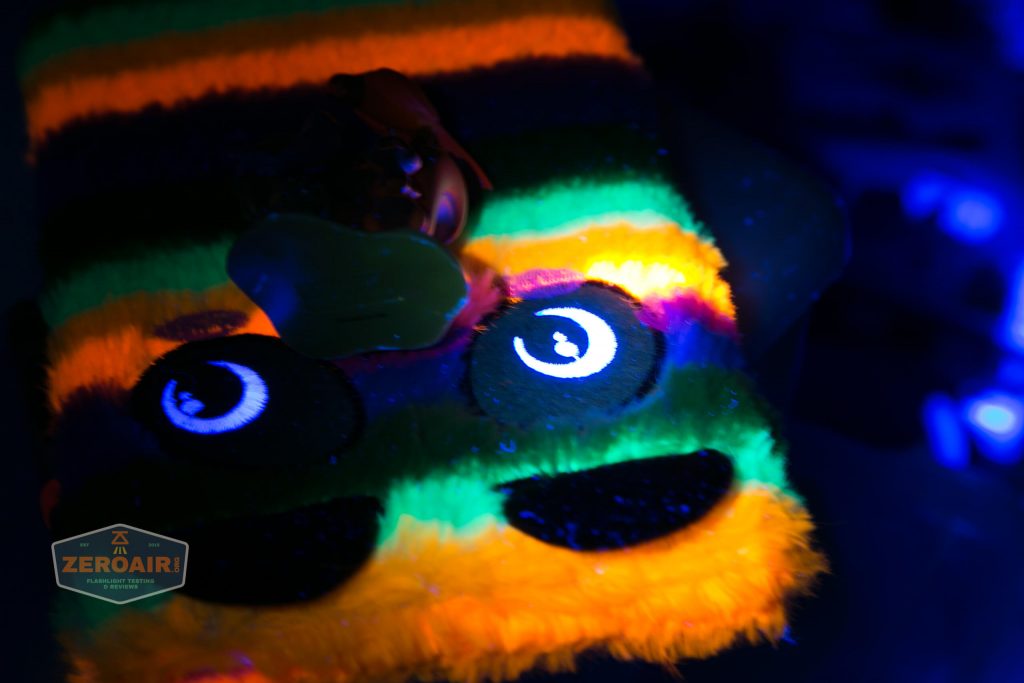
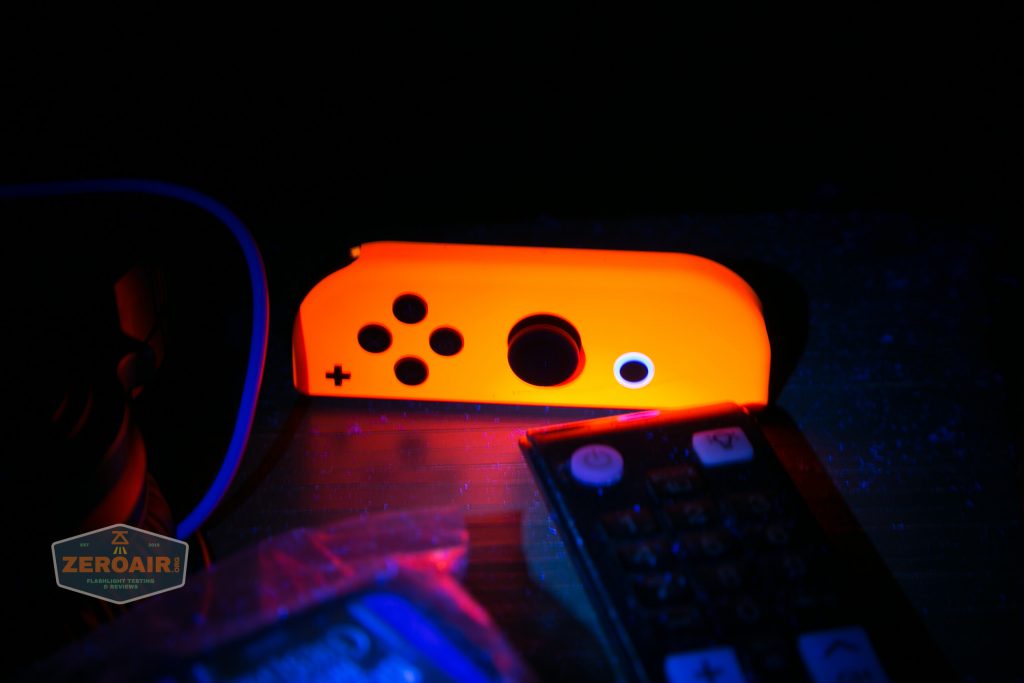
Here are a few random photos of stuff being UV excited…. I will be honest here – I am super sensitive to UV and I get a headache after very minimal exposure. So for all these photos, I was wearing UV blocking glasses. I would recommend you do the same. Even if it doesn’t bother you, at least you’ll be protecting your eyes from UV exposure.

Tint vs BLF-348 (KillzoneFlashlights.com 219b version) (affiliate link)
I keep the test flashlight on the left and the BLF-348 reference flashlight on the right.

I compare everything to the KillzoneFlashlights.com 219b BLF-348 because it’s inexpensive and has the best tint!
Conclusion
What I like
- Good Convoy S2+ build quality
- Low price
- ZWB2 filter really makes this a standout UV flashlight
What I don’t like
- Unregulated output
- No low voltage protection
Notes
- This light was provided by MohrLumens.com for review. I was not paid to write this review.
- This content originally appeared at zeroair.org. Please visit there for the best experience!
- For flashlight-related patches, stickers, and gear, head over to PhotonPhreaks.com!
- Please use my amazon.com referral link to help support zeroair.org!
They are cool lights. I converted my S2+UV to a shorty also. I use a spare 16340 cell in it. It does not draw much power, so it’s fine.
Exactly! A shorty would be a great option. And you’re right – 1A isn’t all that heavy of a draw.
Pingback: Sofirn SP31 UV 18650 Flashlight Review - ZeroAir Reviews
Any thoughts on changing the driver to a regulated one?
Which other 365uv flashlights out there are regulated?
Don’t you think the S2+ bundles the UV light too much? I think for a UV flashlight I would rather have a flood light so I can example large surfaces up close and with the UV light spread evenly. The only UV floodlight I have seen the the Jaxman U1C but it’s expensive and I suspect it uses a 367nm LED and might not be regulated either. I even considered adding a 60 degree lens to the convoy S2+ UV but the lens might be made of a non-uv tolerant material. It would have to tolerate 365nm UV-light, would have to fit in the flashlight together with a zwb2 filter, and would have to pass enough 365nm UV light through.
I see zero need to change the driver. The spill light around the focused beam is quite effective. The picture in the review is not really representative of what it looks like in person. Try this photo:
https://i.imgur.com/LVgy8Z5.jpeg
You can examine things closely by using the spill light and shine the hotspot off to the side so it’s brightness does not interfere.
thanks. that last photo makes me feel better about getting this flashlight. I want to see carpet to check for pet pee. Hoping to illuminate about 3 to 4 foot square at once when holding the light about 3′ above the floor.