
Fenix LR40R Rechargeable 12000 Lumen Flashlight Review
The Fenix LR40R Rechargeable 12000-lumen flashlight offers both spot and flood, USB-C charging, and powerbank features. Absolutely impressive! So many features! Read on!
Official Specs and Features
Here’s a link to the Fenix LR40R Rechargeable 12000-lumen flashlight product page.
Versions
There’s just one version of the Fenix LR40R. There is at least one other very similar model, though. The LR50R is very similar, and also claims 12,000 lumens, but has just four emitters and deeper reflectors for each.
Price
The price of the Fenix LR40R rechargeable 12000-lumen flashlight is $269.95.
Fenix LR40R Rechargeable Flashlight Short Review
My mind was a little blown by all the features this light packs. A throw emitter. Eighteen spot emitters. Very good USB-C charging. Not just USB-A powerbank capability, but also power delivery powerbank ability (up to 12V!). This light offers so much! And does it all very well, too.
Long Review
The Big Table
| Fenix LR40R Rechargeable 12000-Lumen Flashlight | |
|---|---|
| Emitter: | Both |
| Price in USD at publication time: | $269.95 |
| Cell: | 4×18650 (Included battery pack) |
| Turbo Runtime Graph | |
| LVP? | Switch indicator, switched to low output |
| Switch Type: | Dual E-Switch |
| Quiescent Current (mA): | ? |
| On-Board Charging? | Yes |
| Charge Port Type: | USB-C |
| Charge Graph | |
| Power off Charge Port | Lowest two Spot modes |
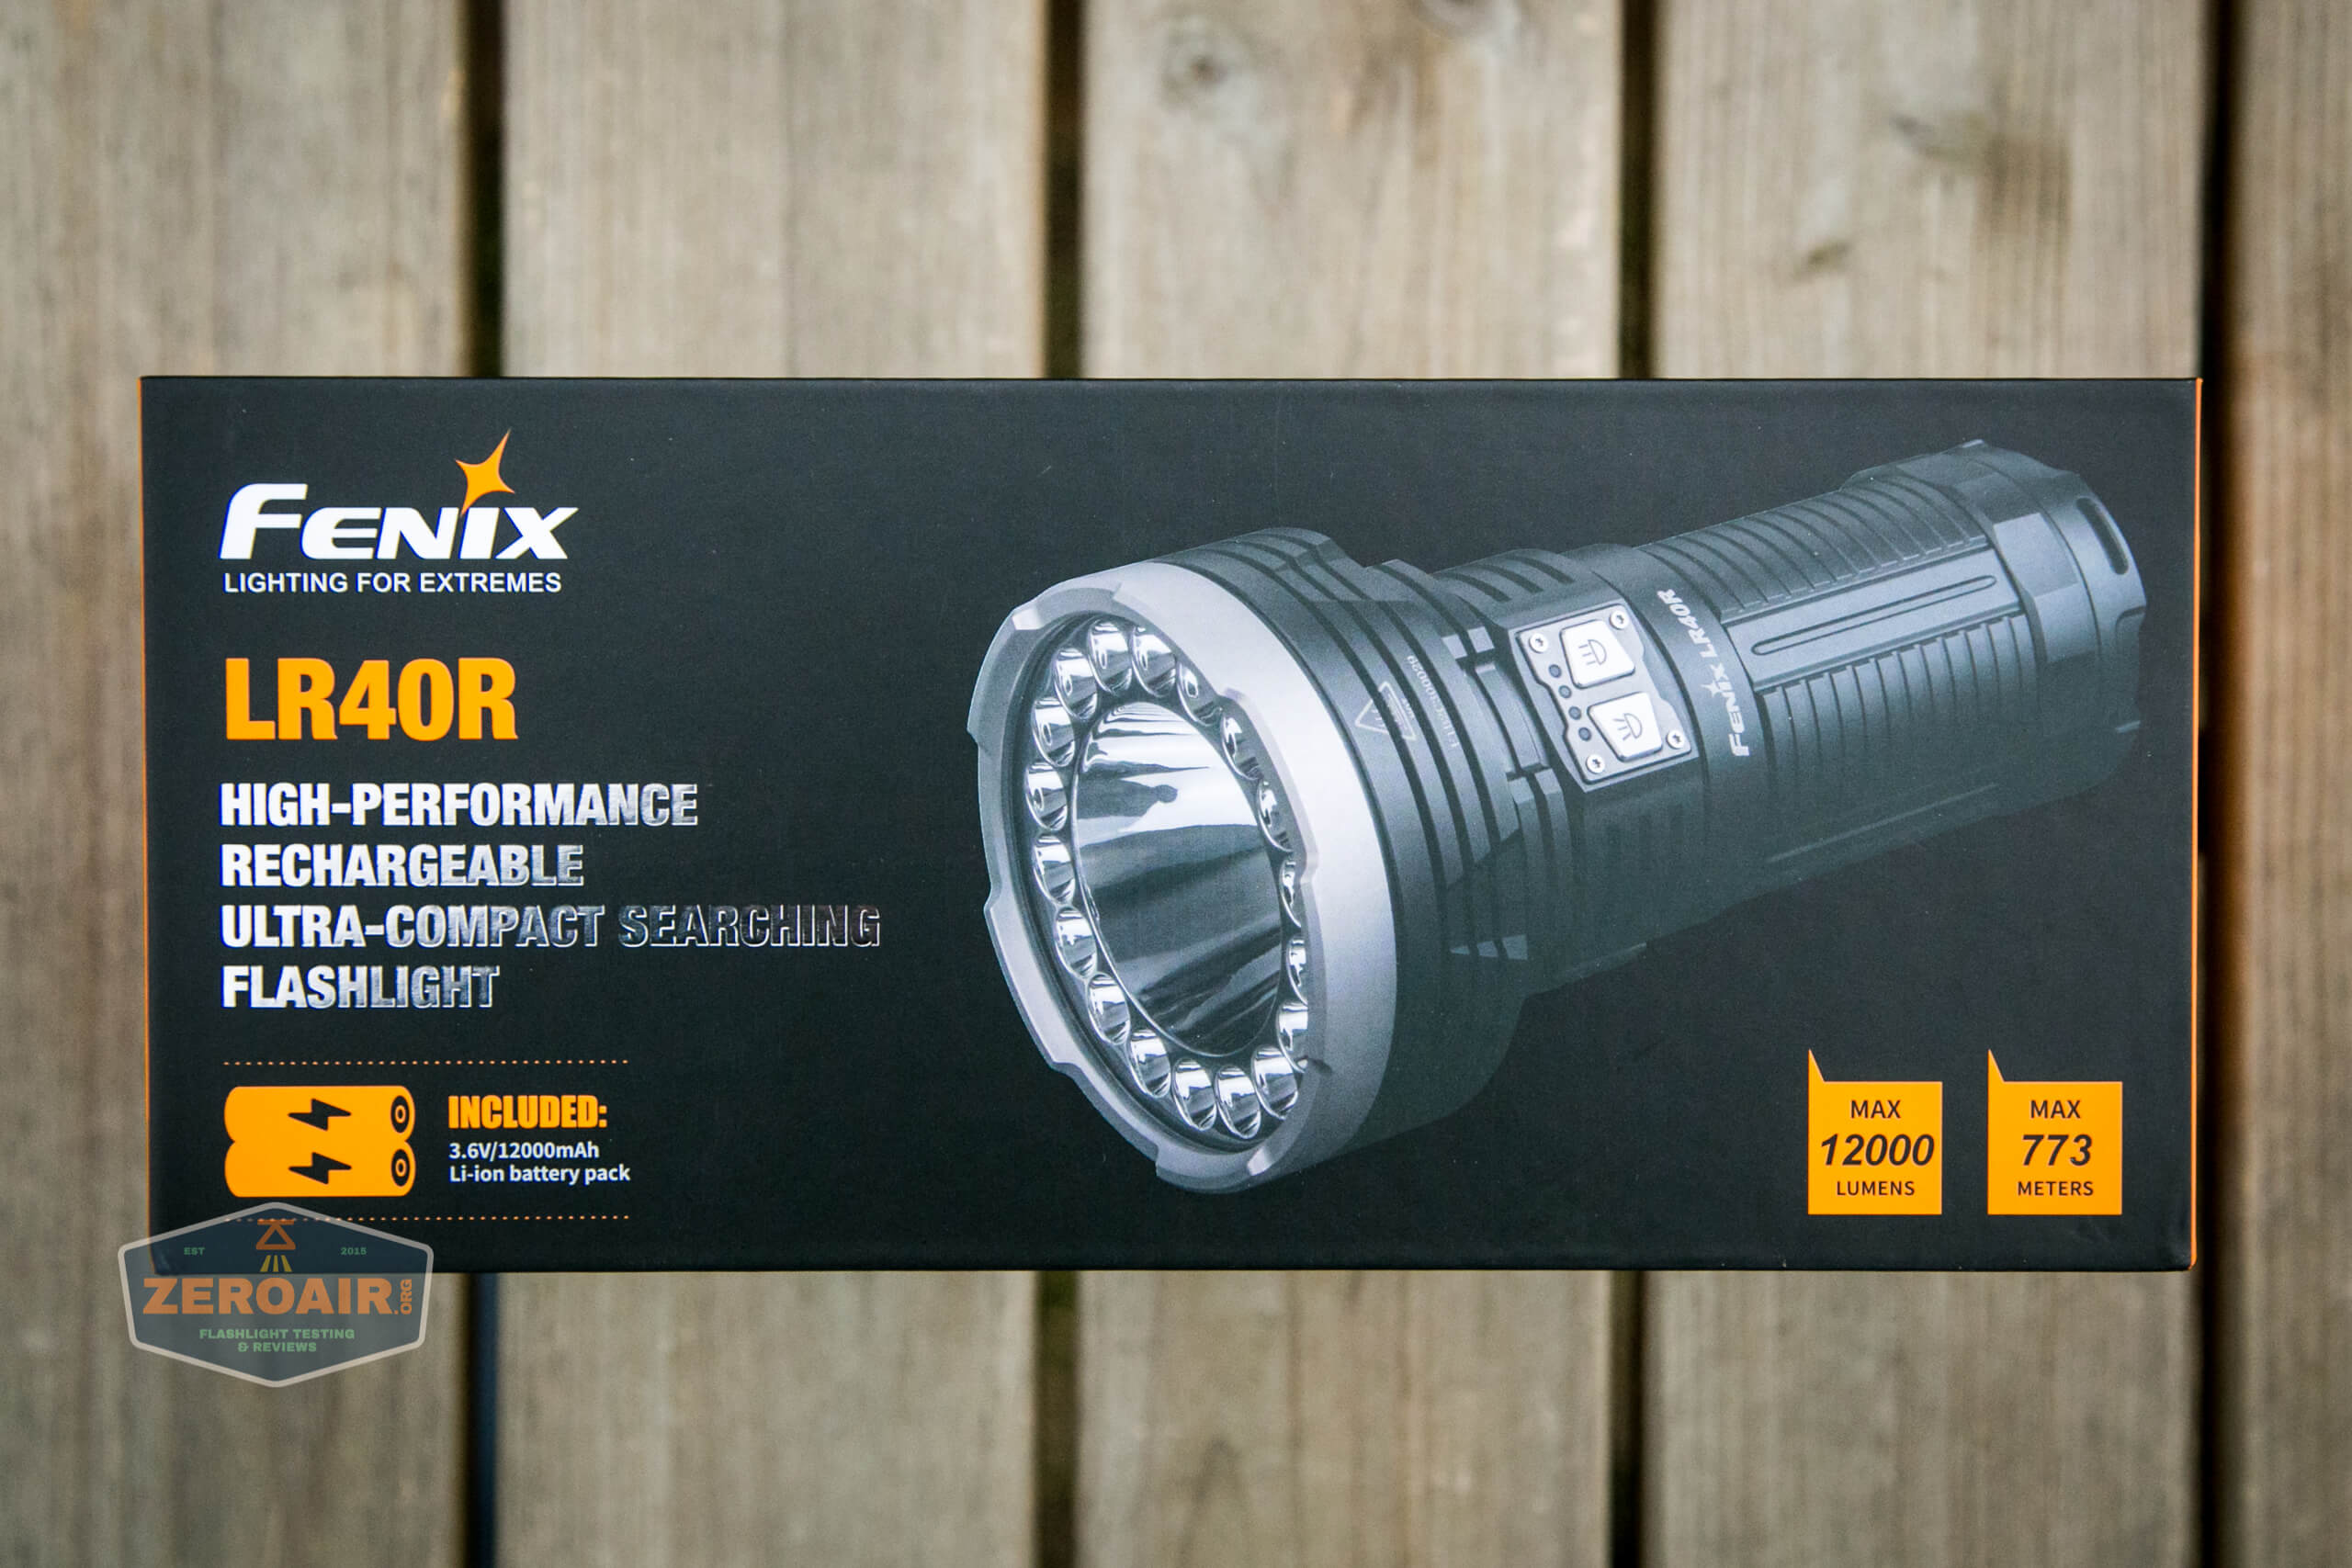
| Claimed Lumens (lm) | 12000 |
| Measured Lumens (at 30s) | 9414 (78.5% of claim)^ |
| Candela per Lumen | 26.7 |
| Claimed Throw (m) | 773 |
| Candela (Calculated) in cd (at 30s) | 4220lux @ 6.049m = 154411cd |
| Throw (Calculated) (m) | 785.9 (101.7% of claim)^ |
| All my Fenix reviews! | |
| Fenix LR40R Rechargeable 12000-Lumen Flashlight | |
|---|---|
| Emitter: | Cree XP-G3 (Flood) |
| Price in USD at publication time: | $269.95 |
| Cell: | 4×18650 (Included battery pack) |
| Turbo Runtime Graph | High II Runtime Graph |
| LVP? | Switch indicator, switched to low output |
| Switch Type: | Dual E-Switch |
| Quiescent Current (mA): | ? |
| On-Board Charging? | Yes |
| Charge Port Type: | USB-C |
| Charge Graph | |
| Power off Charge Port | Lowest two Spot modes |
| Claimed Lumens (lm) | 11000 |
| Measured Lumens (at 30s) | 8449 (76.8% of claim)^ |
| Candela per Lumen | 3.3 |
| Claimed Throw (m) | 410 |
| Candela (Calculated) in cd (at 30s) | 1190lux @ 5.168m = 31783cd |
| Throw (Calculated) (m) | 356.6 (87% of claim)^ |
| All my Fenix reviews! | |
| Fenix LR40R Rechargeable 12000-Lumen Flashlight | |
|---|---|
| Emitter: | Cree XP-L HI (Spot) |
| Price in USD at publication time: | $269.95 |
| Cell: | 4×18650 (Included battery pack) |
| High Runtime Graph | |
| LVP? | Switch indicator, switched to low output |
| Switch Type: | Dual E-Switch |
| Quiescent Current (mA): | ? |
| On-Board Charging? | Yes |
| Charge Port Type: | USB-C |
| Charge Graph | |
| Power off Charge Port | Lowest two Spot modes |
| Claimed Lumens (lm) | 1000 |
| Measured Lumens (at 30s) | 1052 (105.2% of claim)^ |
| Candela per Lumen | 115.8 |
| Claimed Throw (m) | 640 |
| Candela (Calculated) in cd (at 30s) | 3160lux @ 6.044m = 115435cd |
| Throw (Calculated) (m) | 679.5 (106.2% of claim)^ |
| All my Fenix reviews! | |
^ Measurement disclaimer: Testing flashlights is my hobby. I use hobbyist-level equipment for testing, including some I made myself. Try not to get buried in the details of manufacturer specifications versus measurements recorded here; A certain amount of difference (say, 10 or 15%) is perfectly reasonable.
What’s Included
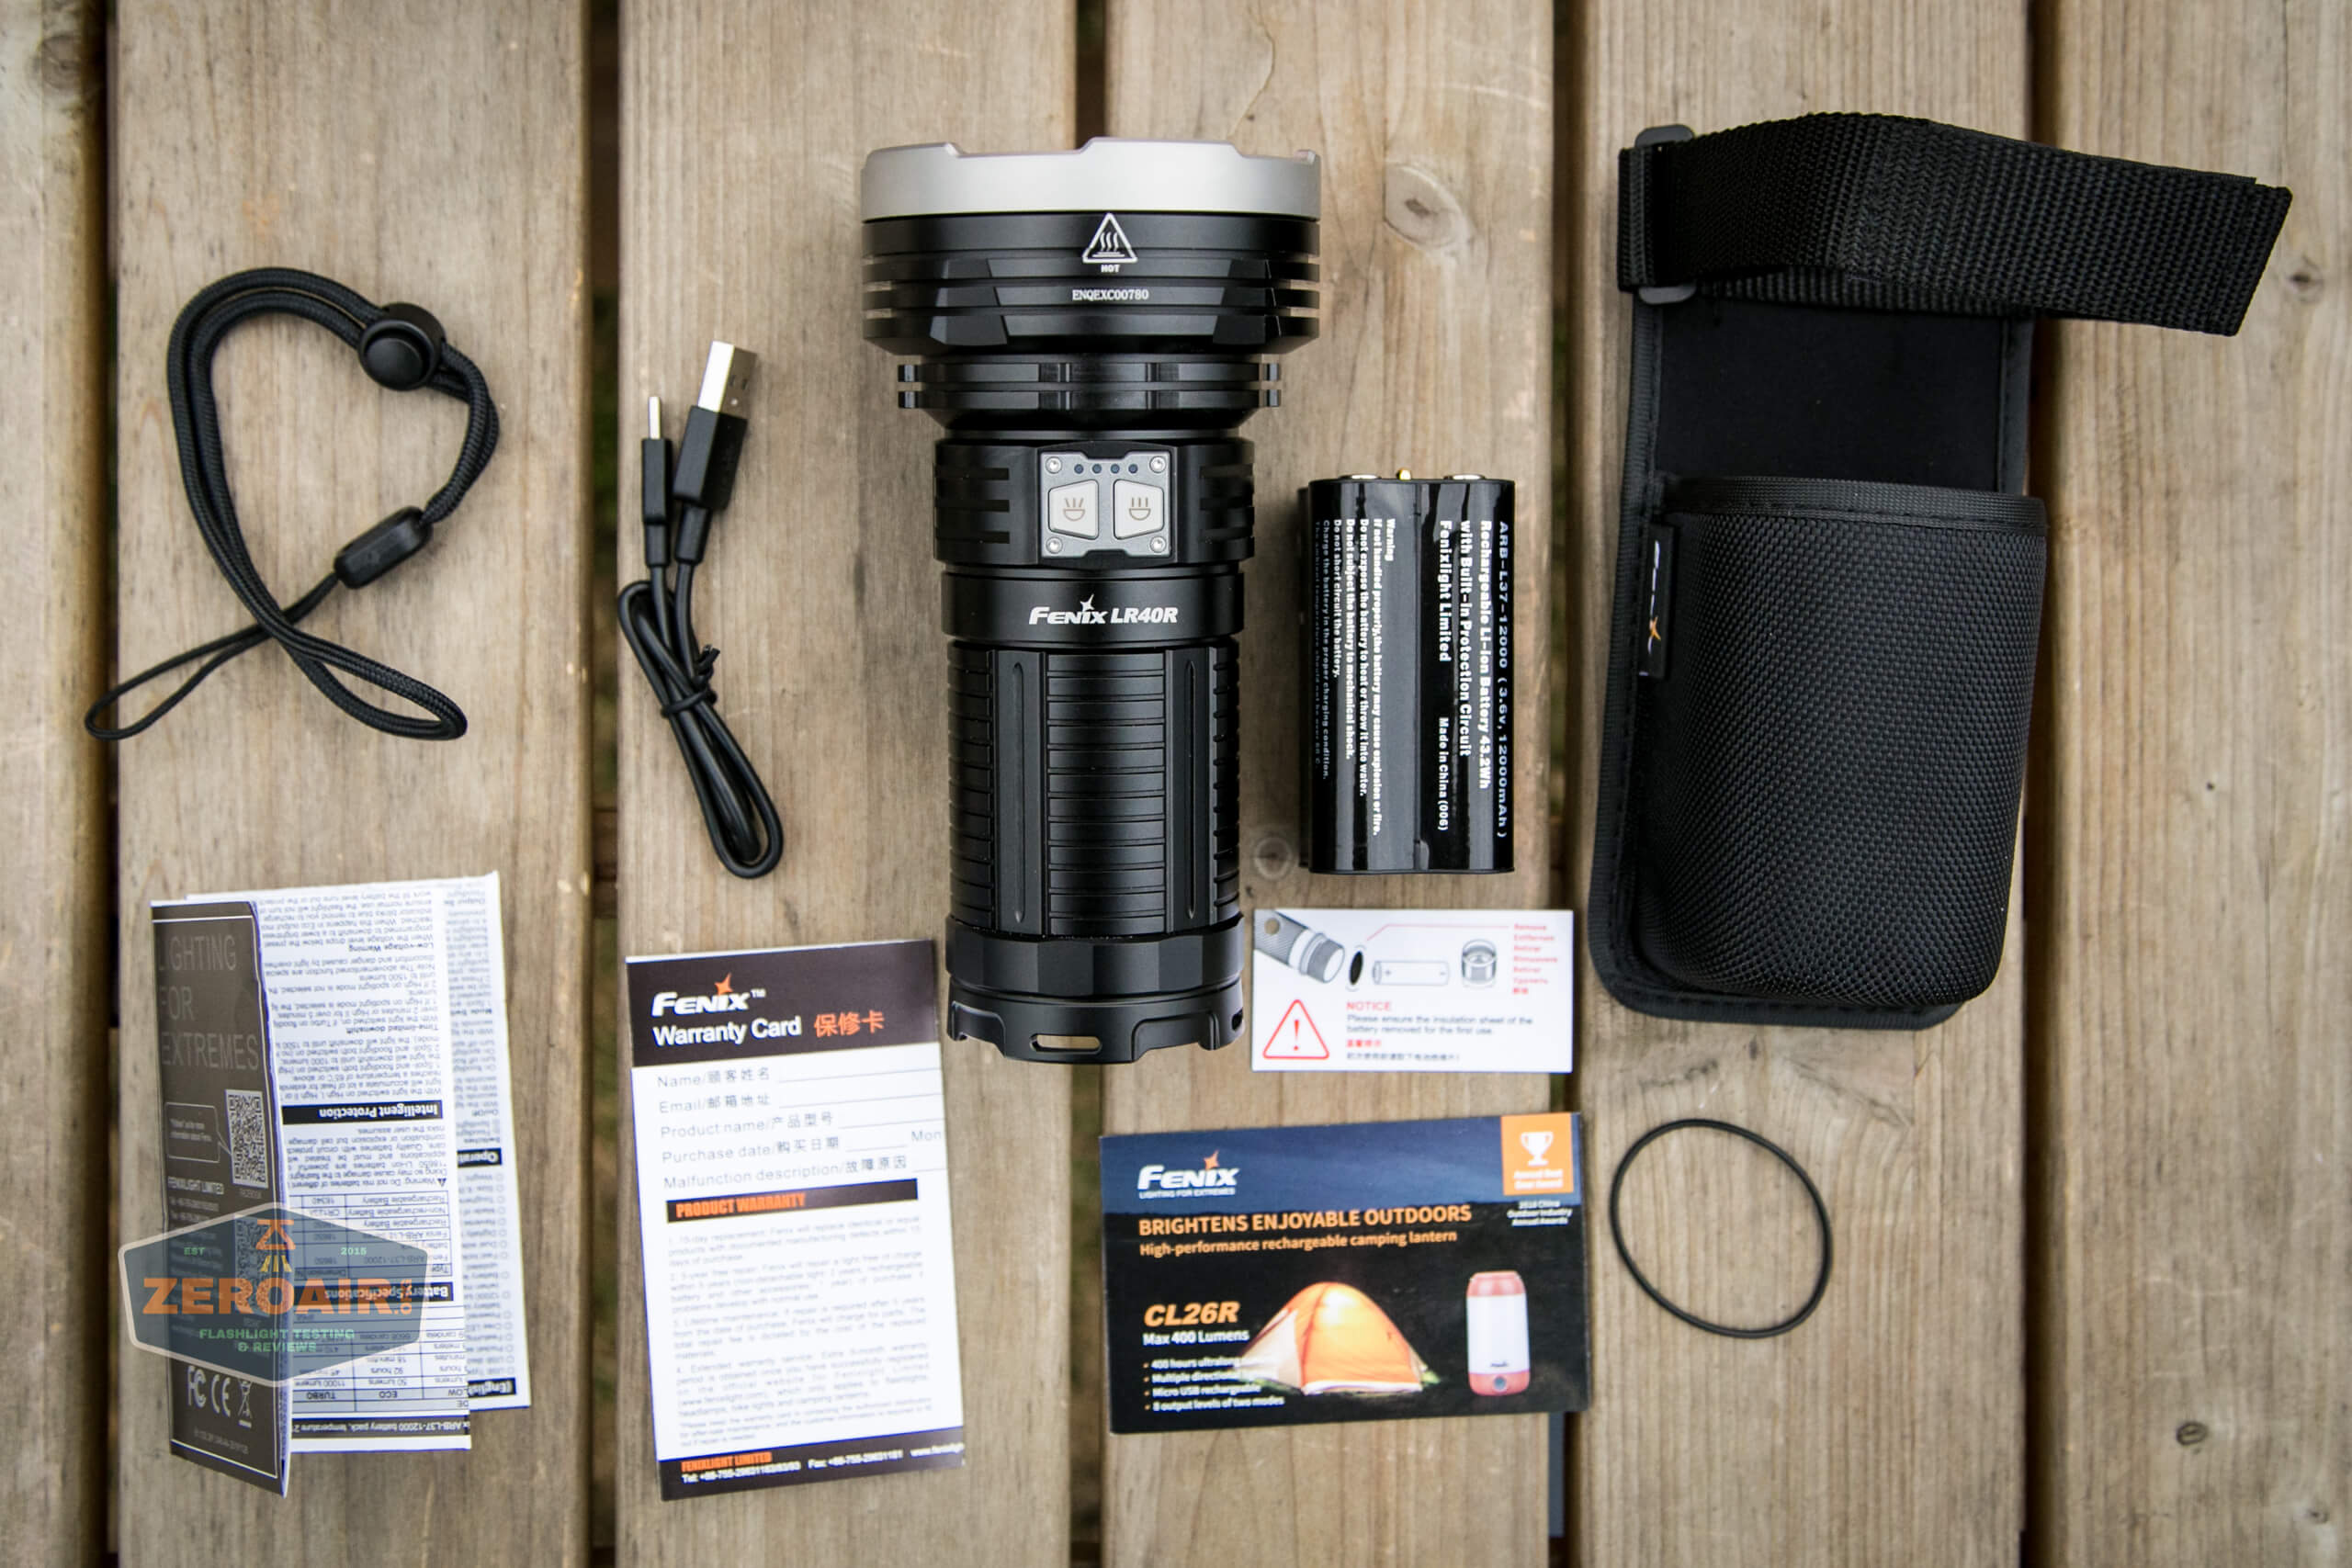
- Fenix LR40R Rechargeable 12000 Lumen Flashlight
- Fenix ARB-L37-12000 Rechargeable Li-ion Battery Pack
- Charge cable (USB to USB-C)
- Lanyard
- Nylon carry pouch (formed, not soft)
- Spare o-ring
- Manual etc
Package and Manual
Build Quality and Disassembly
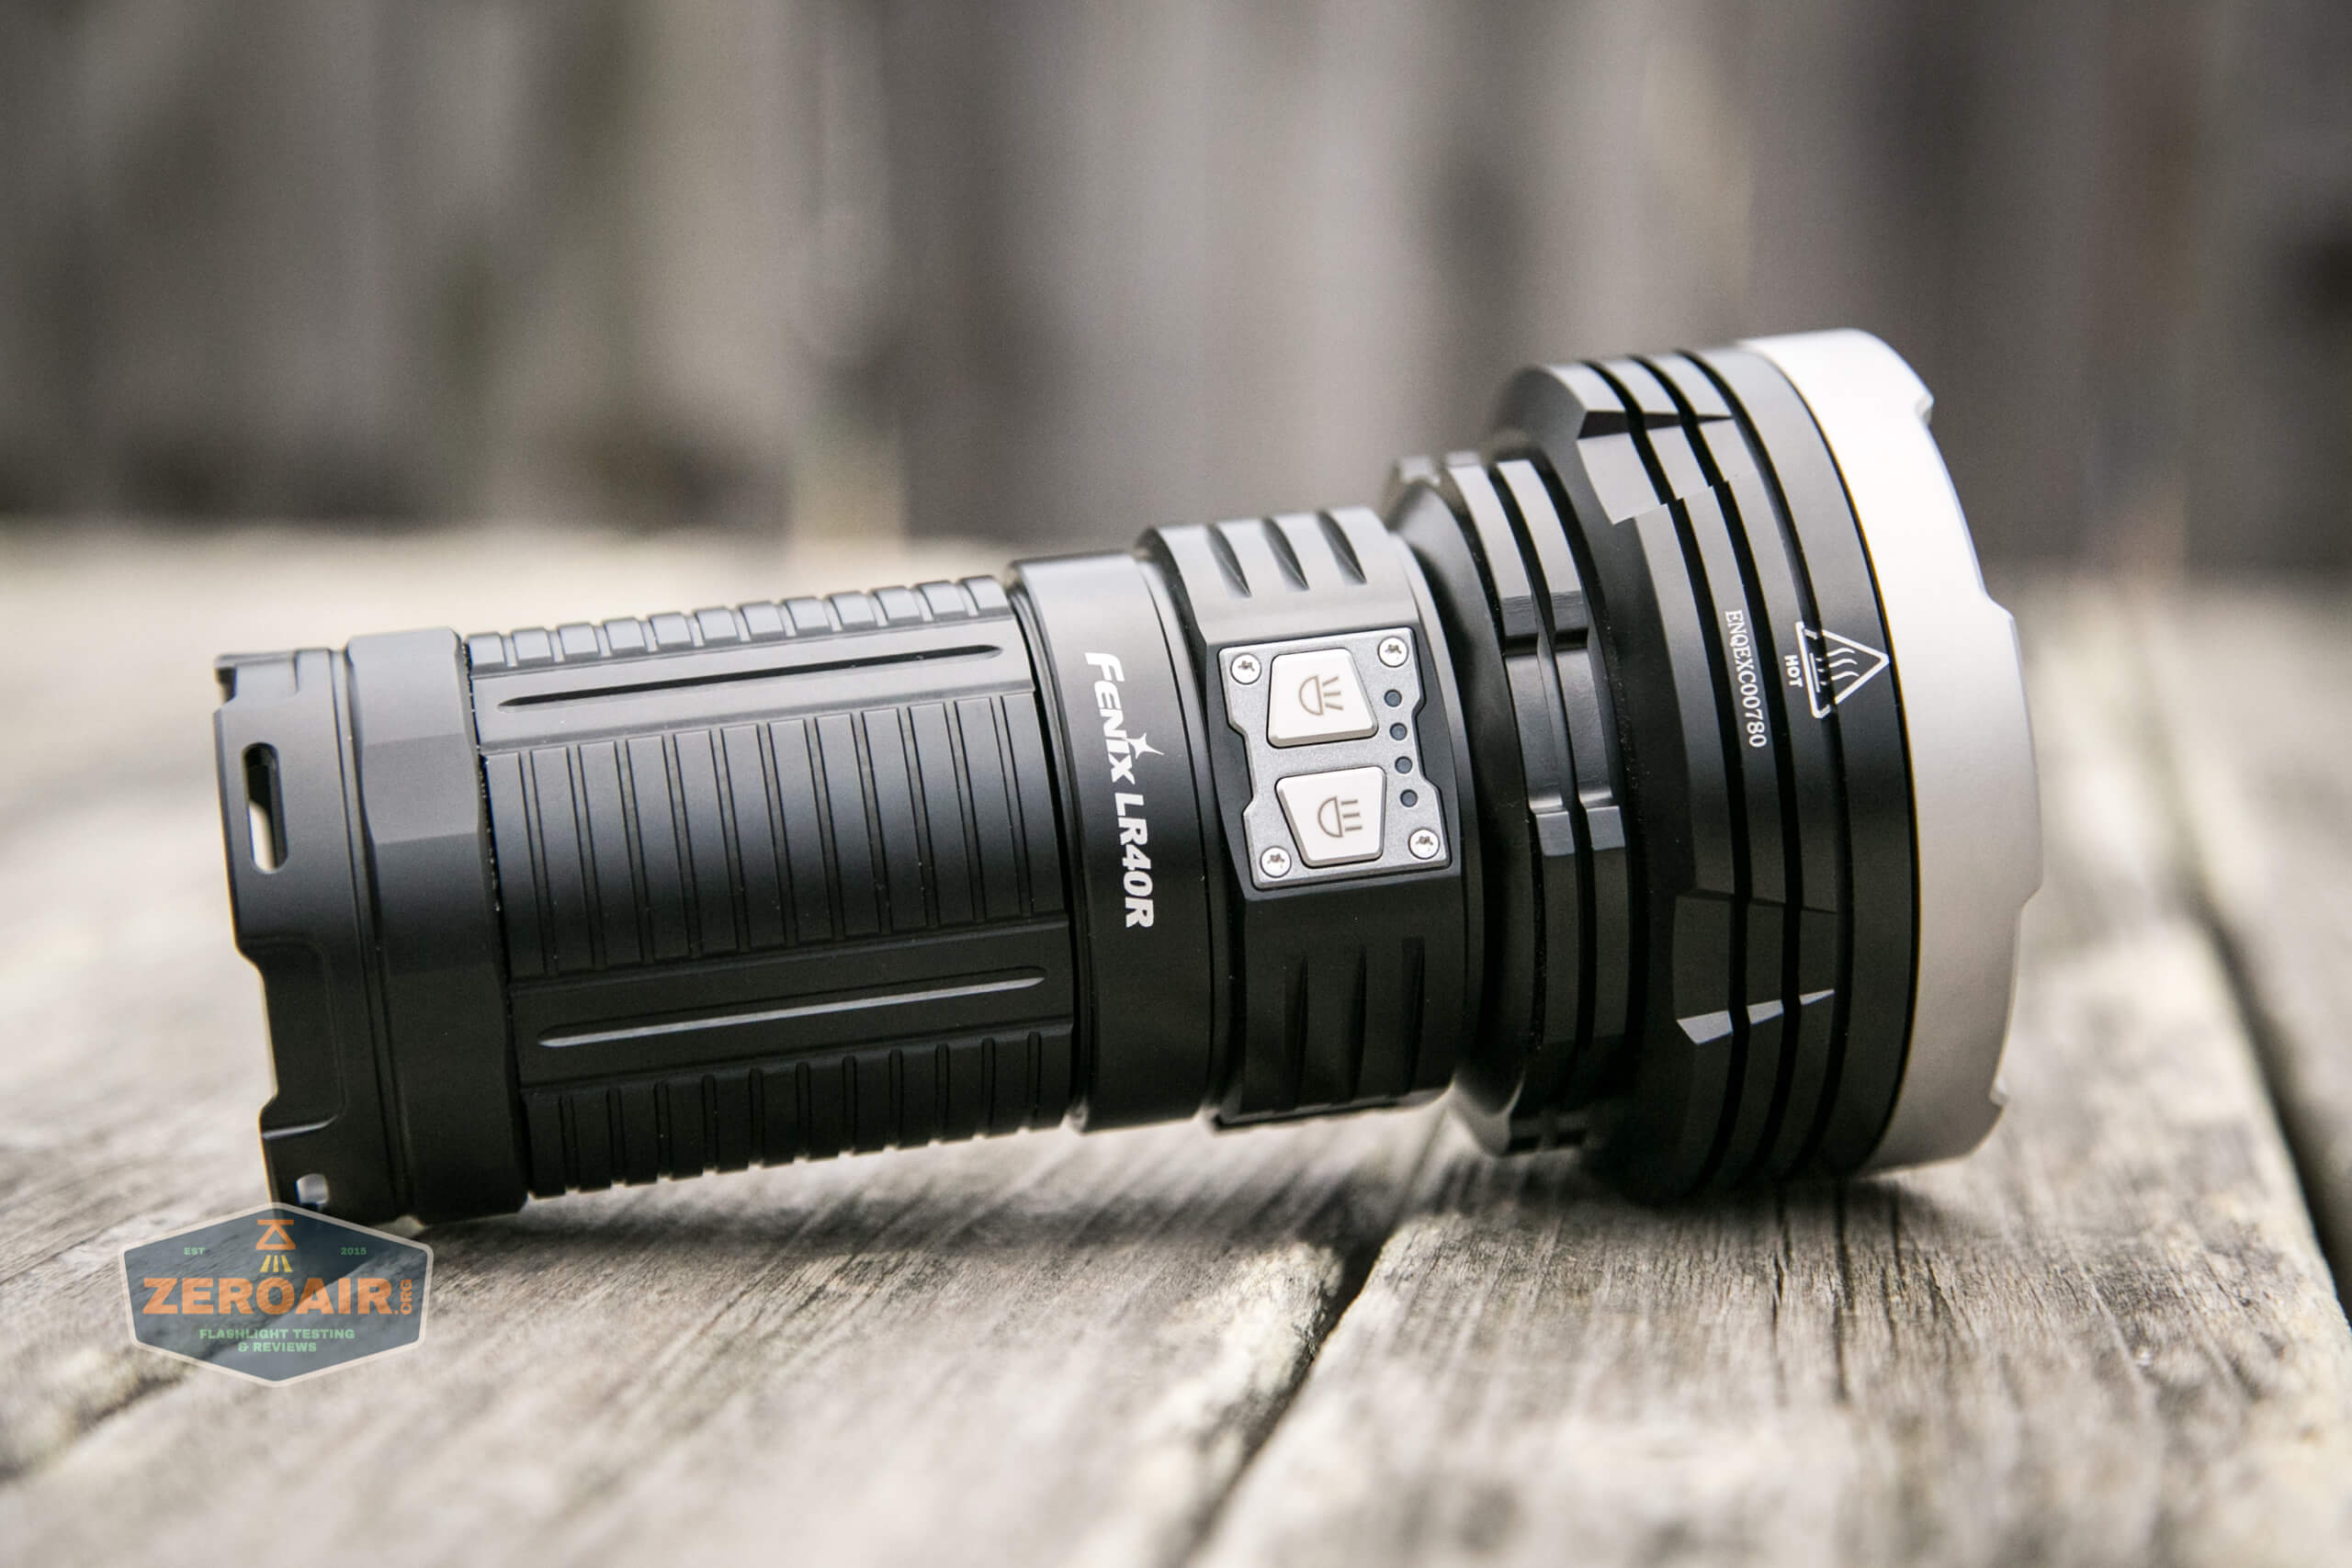
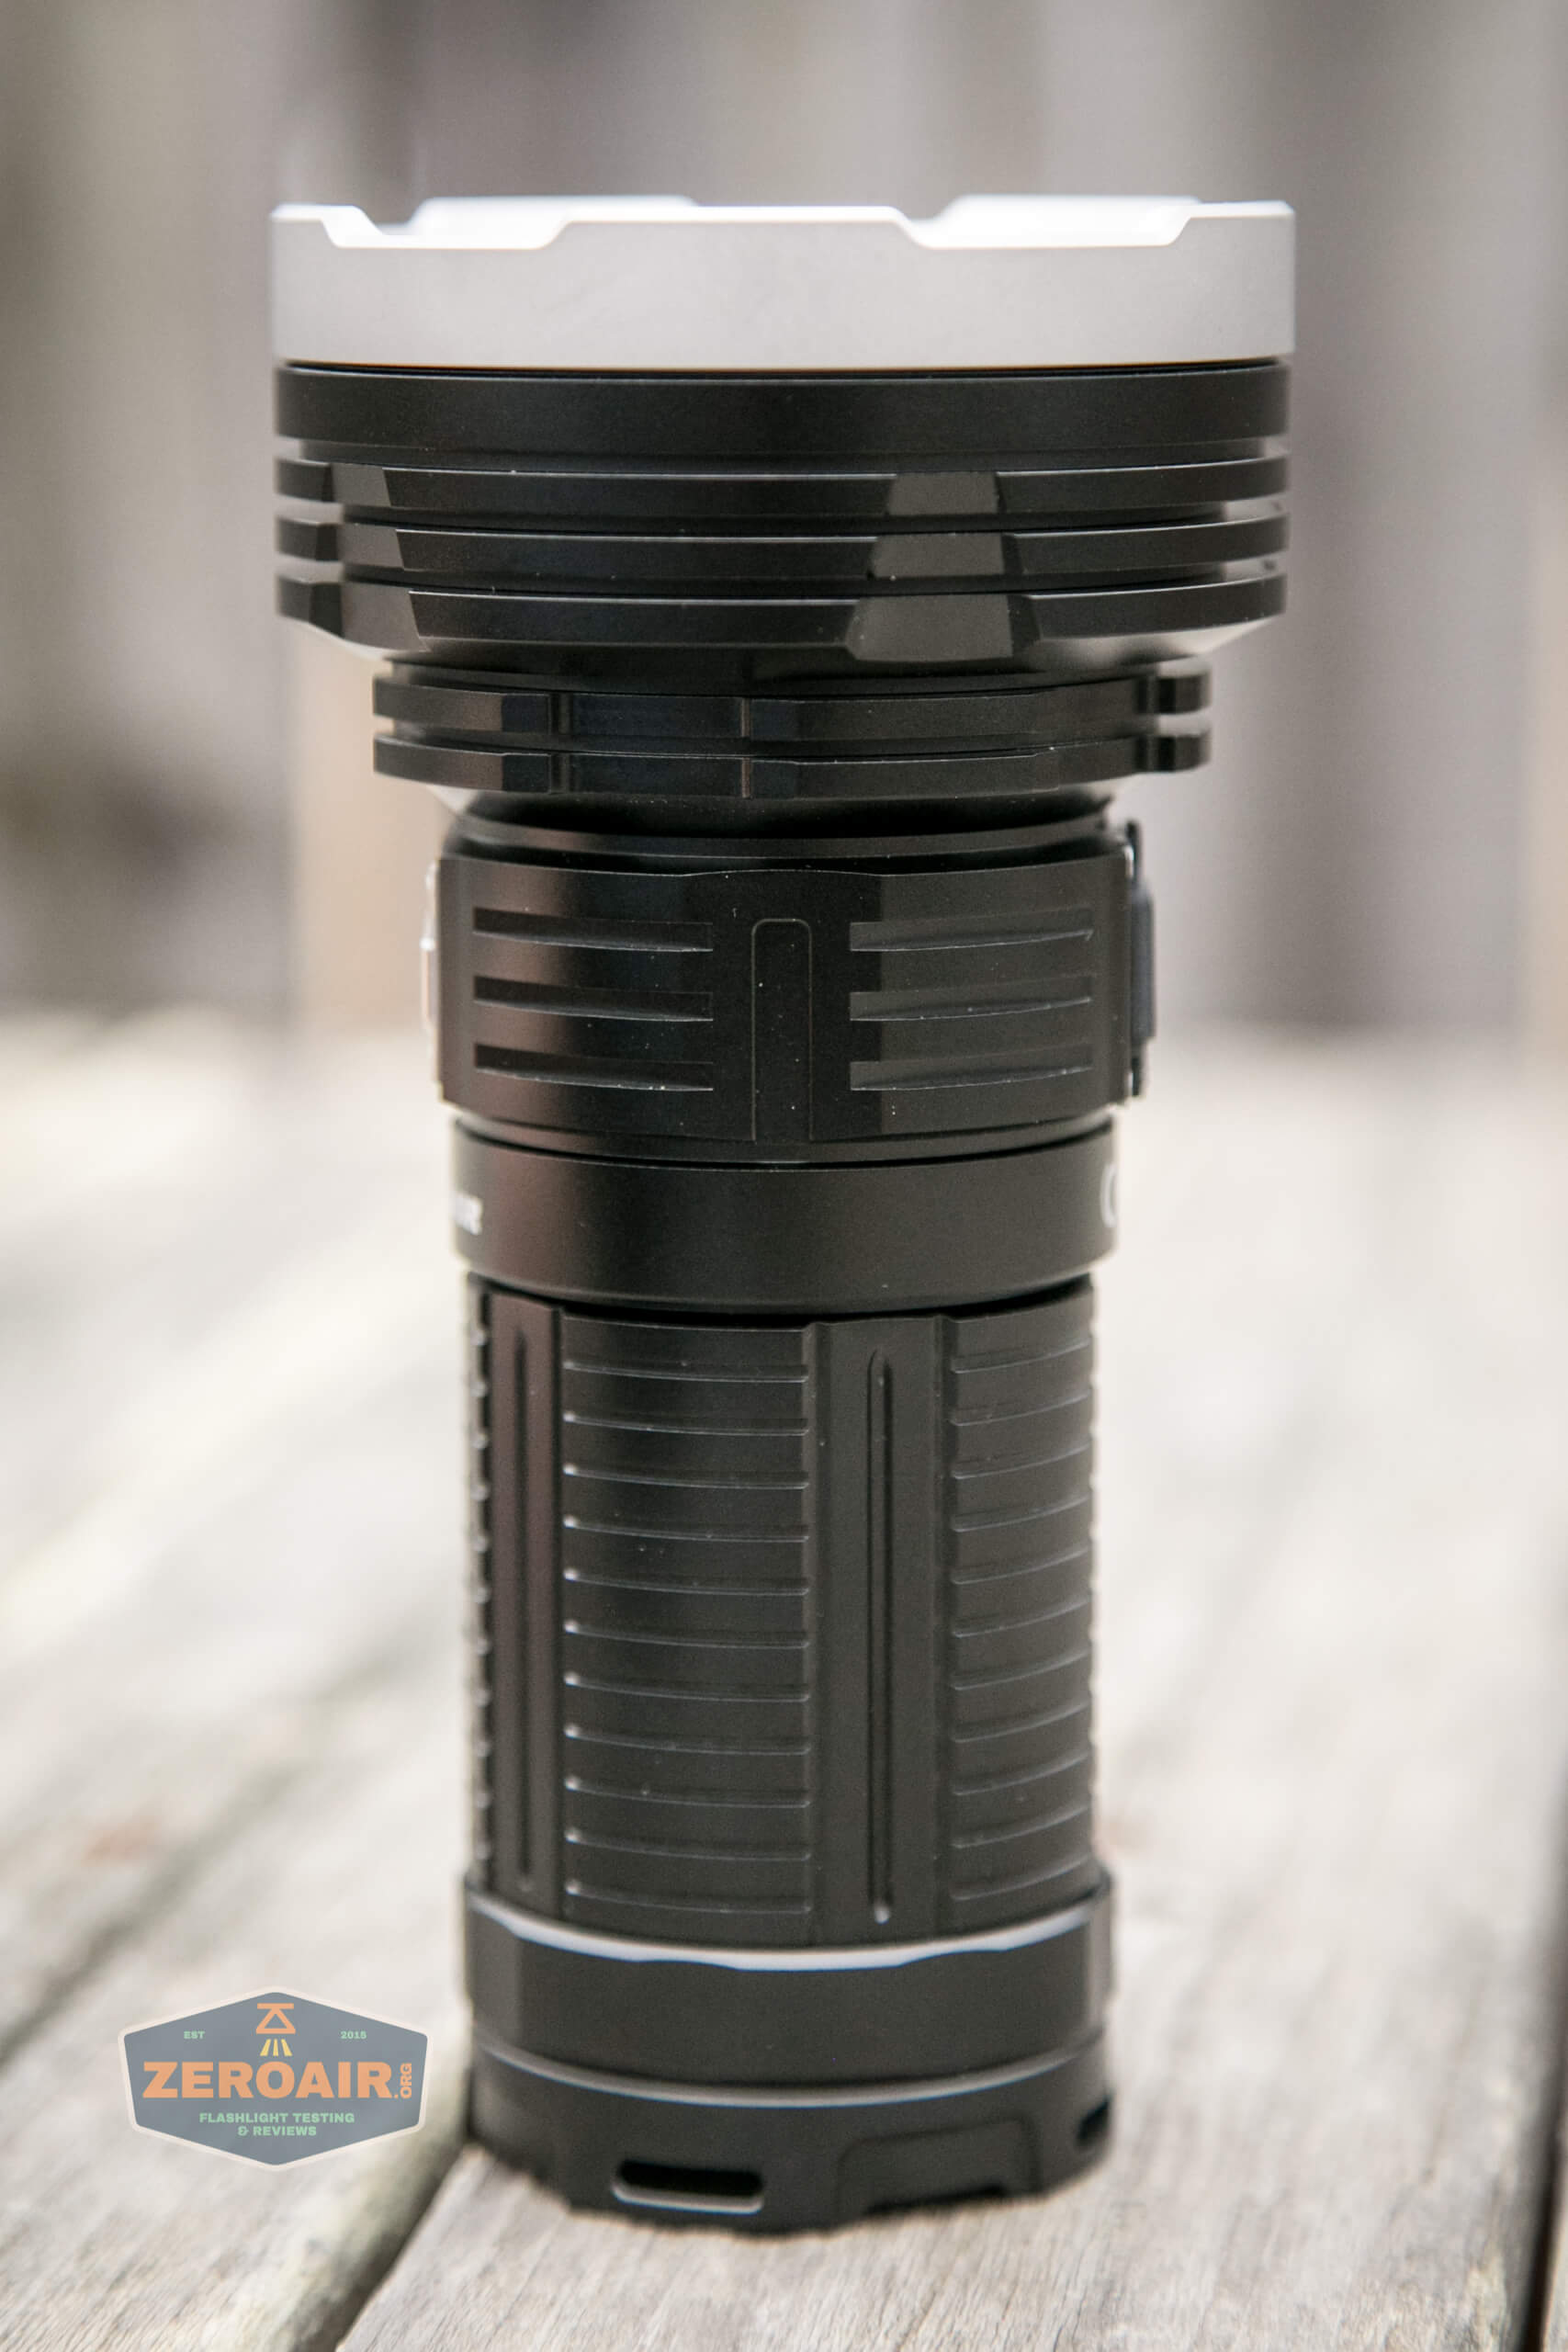
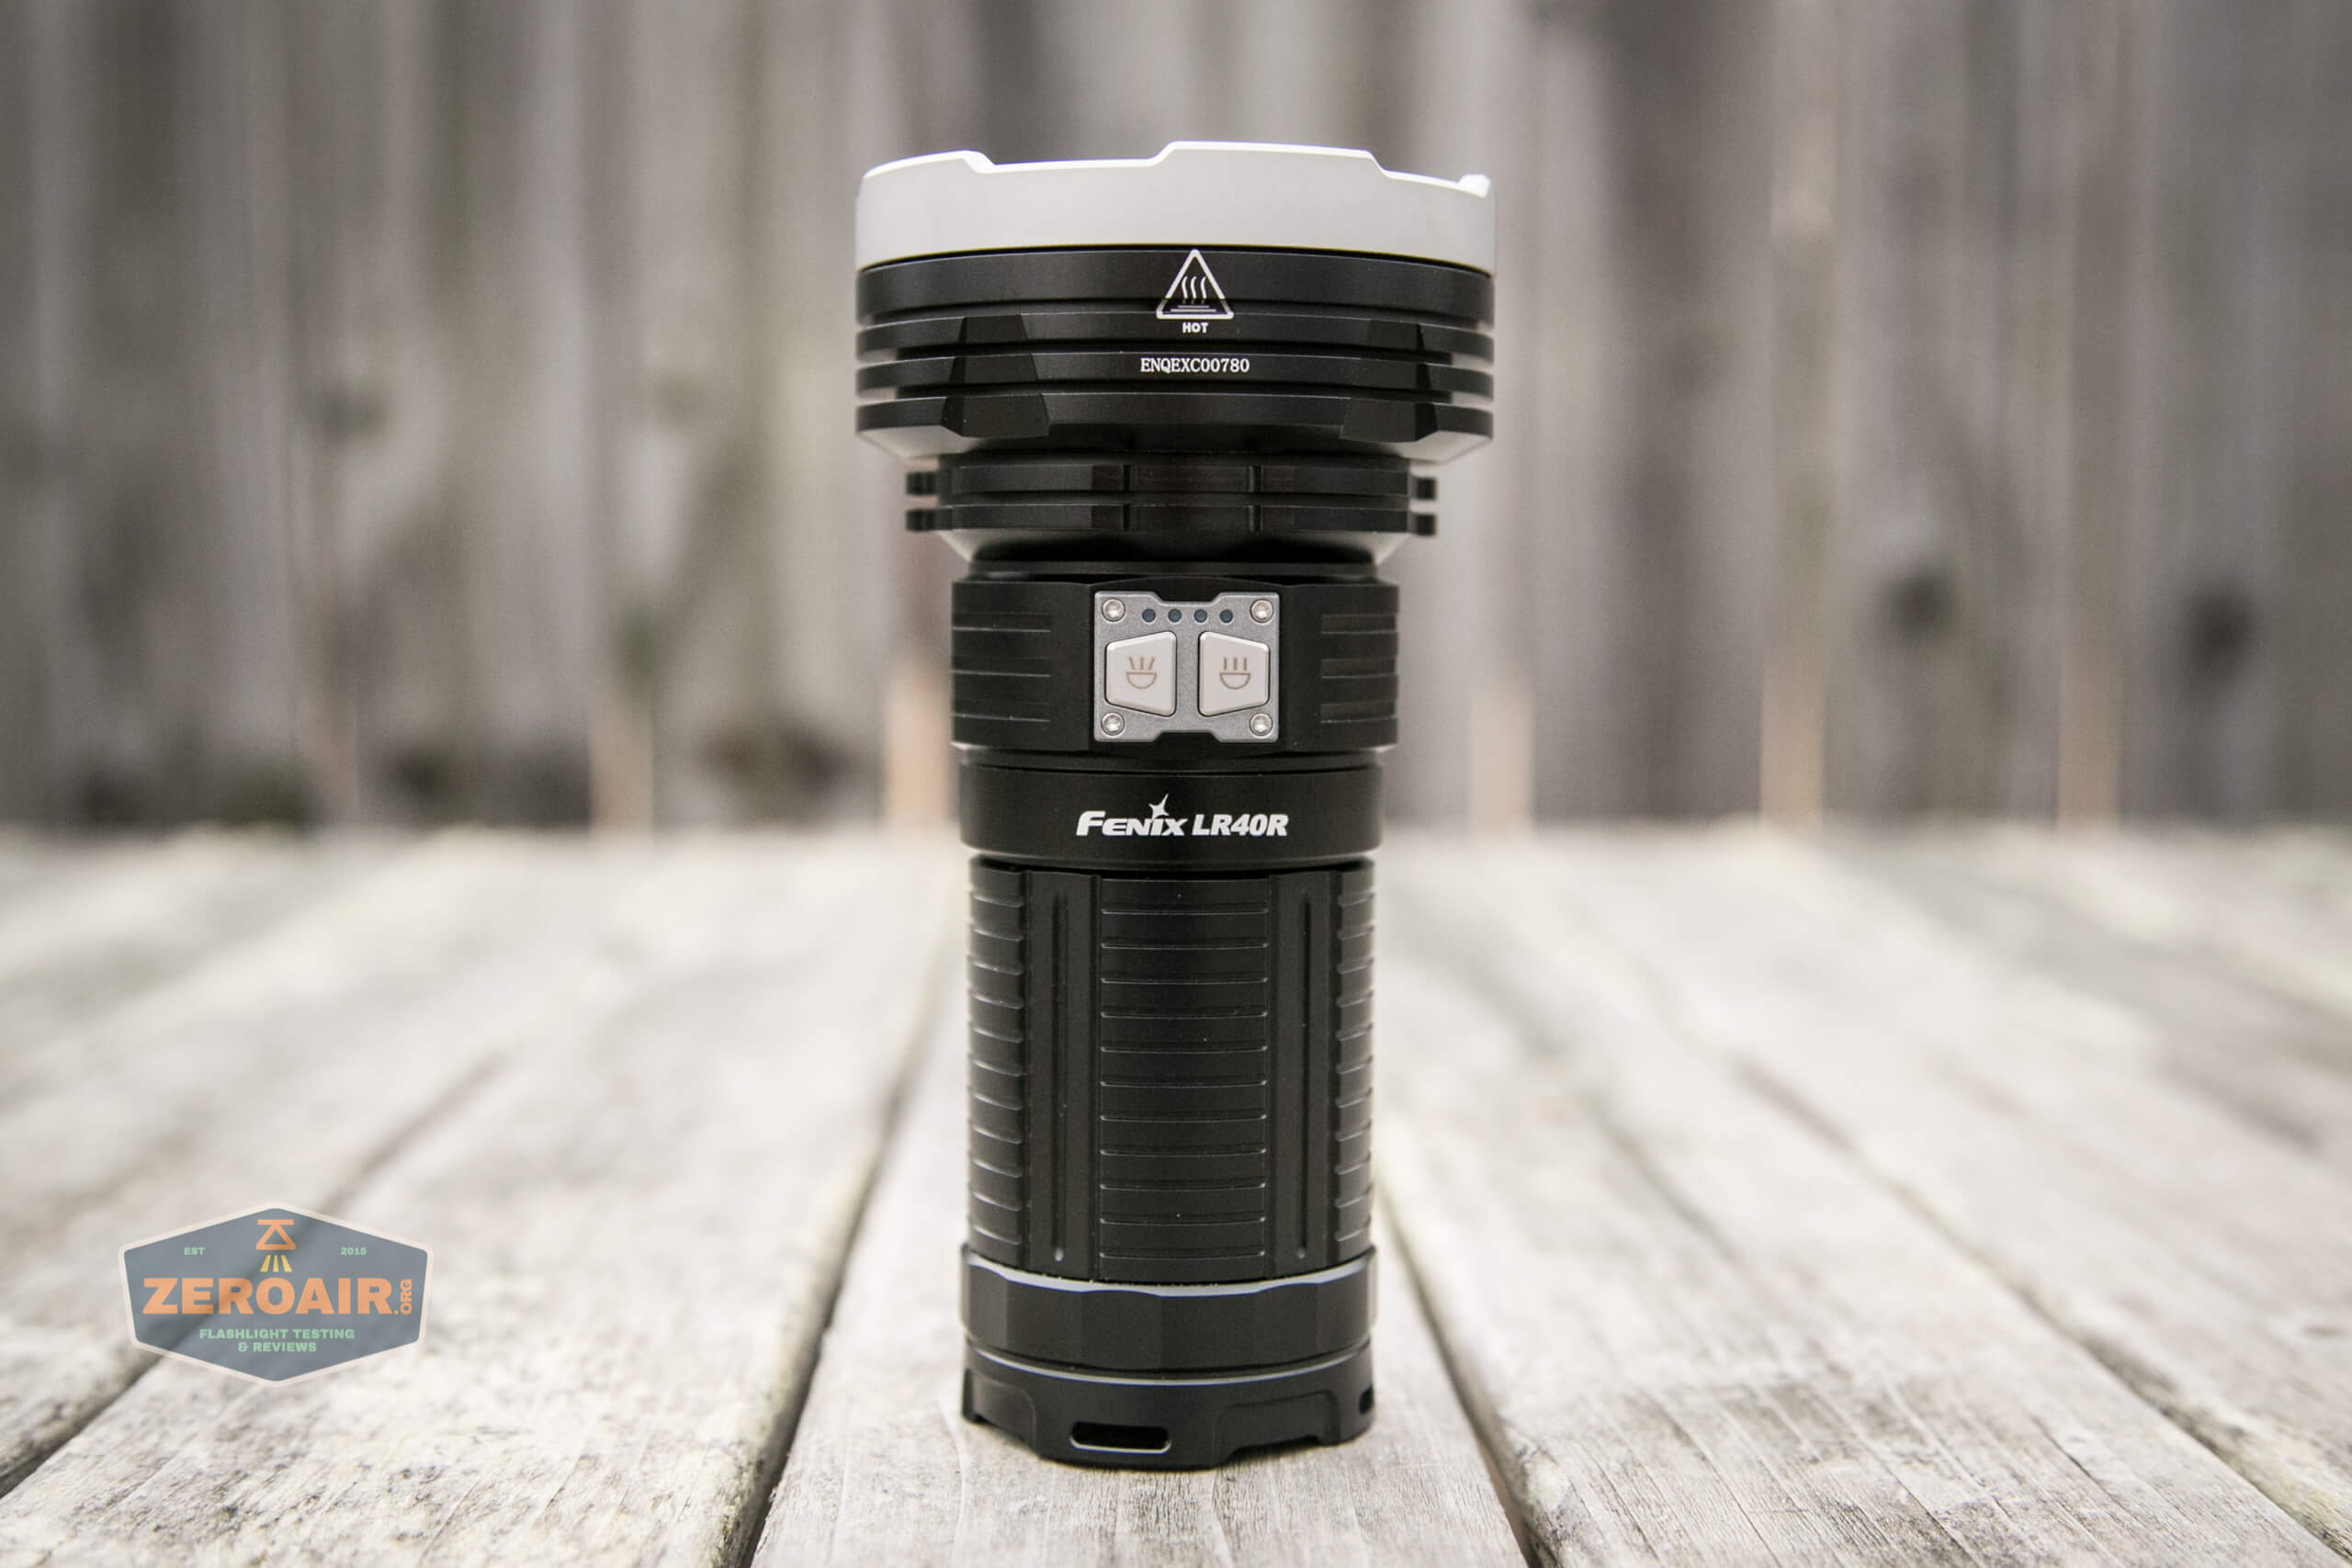
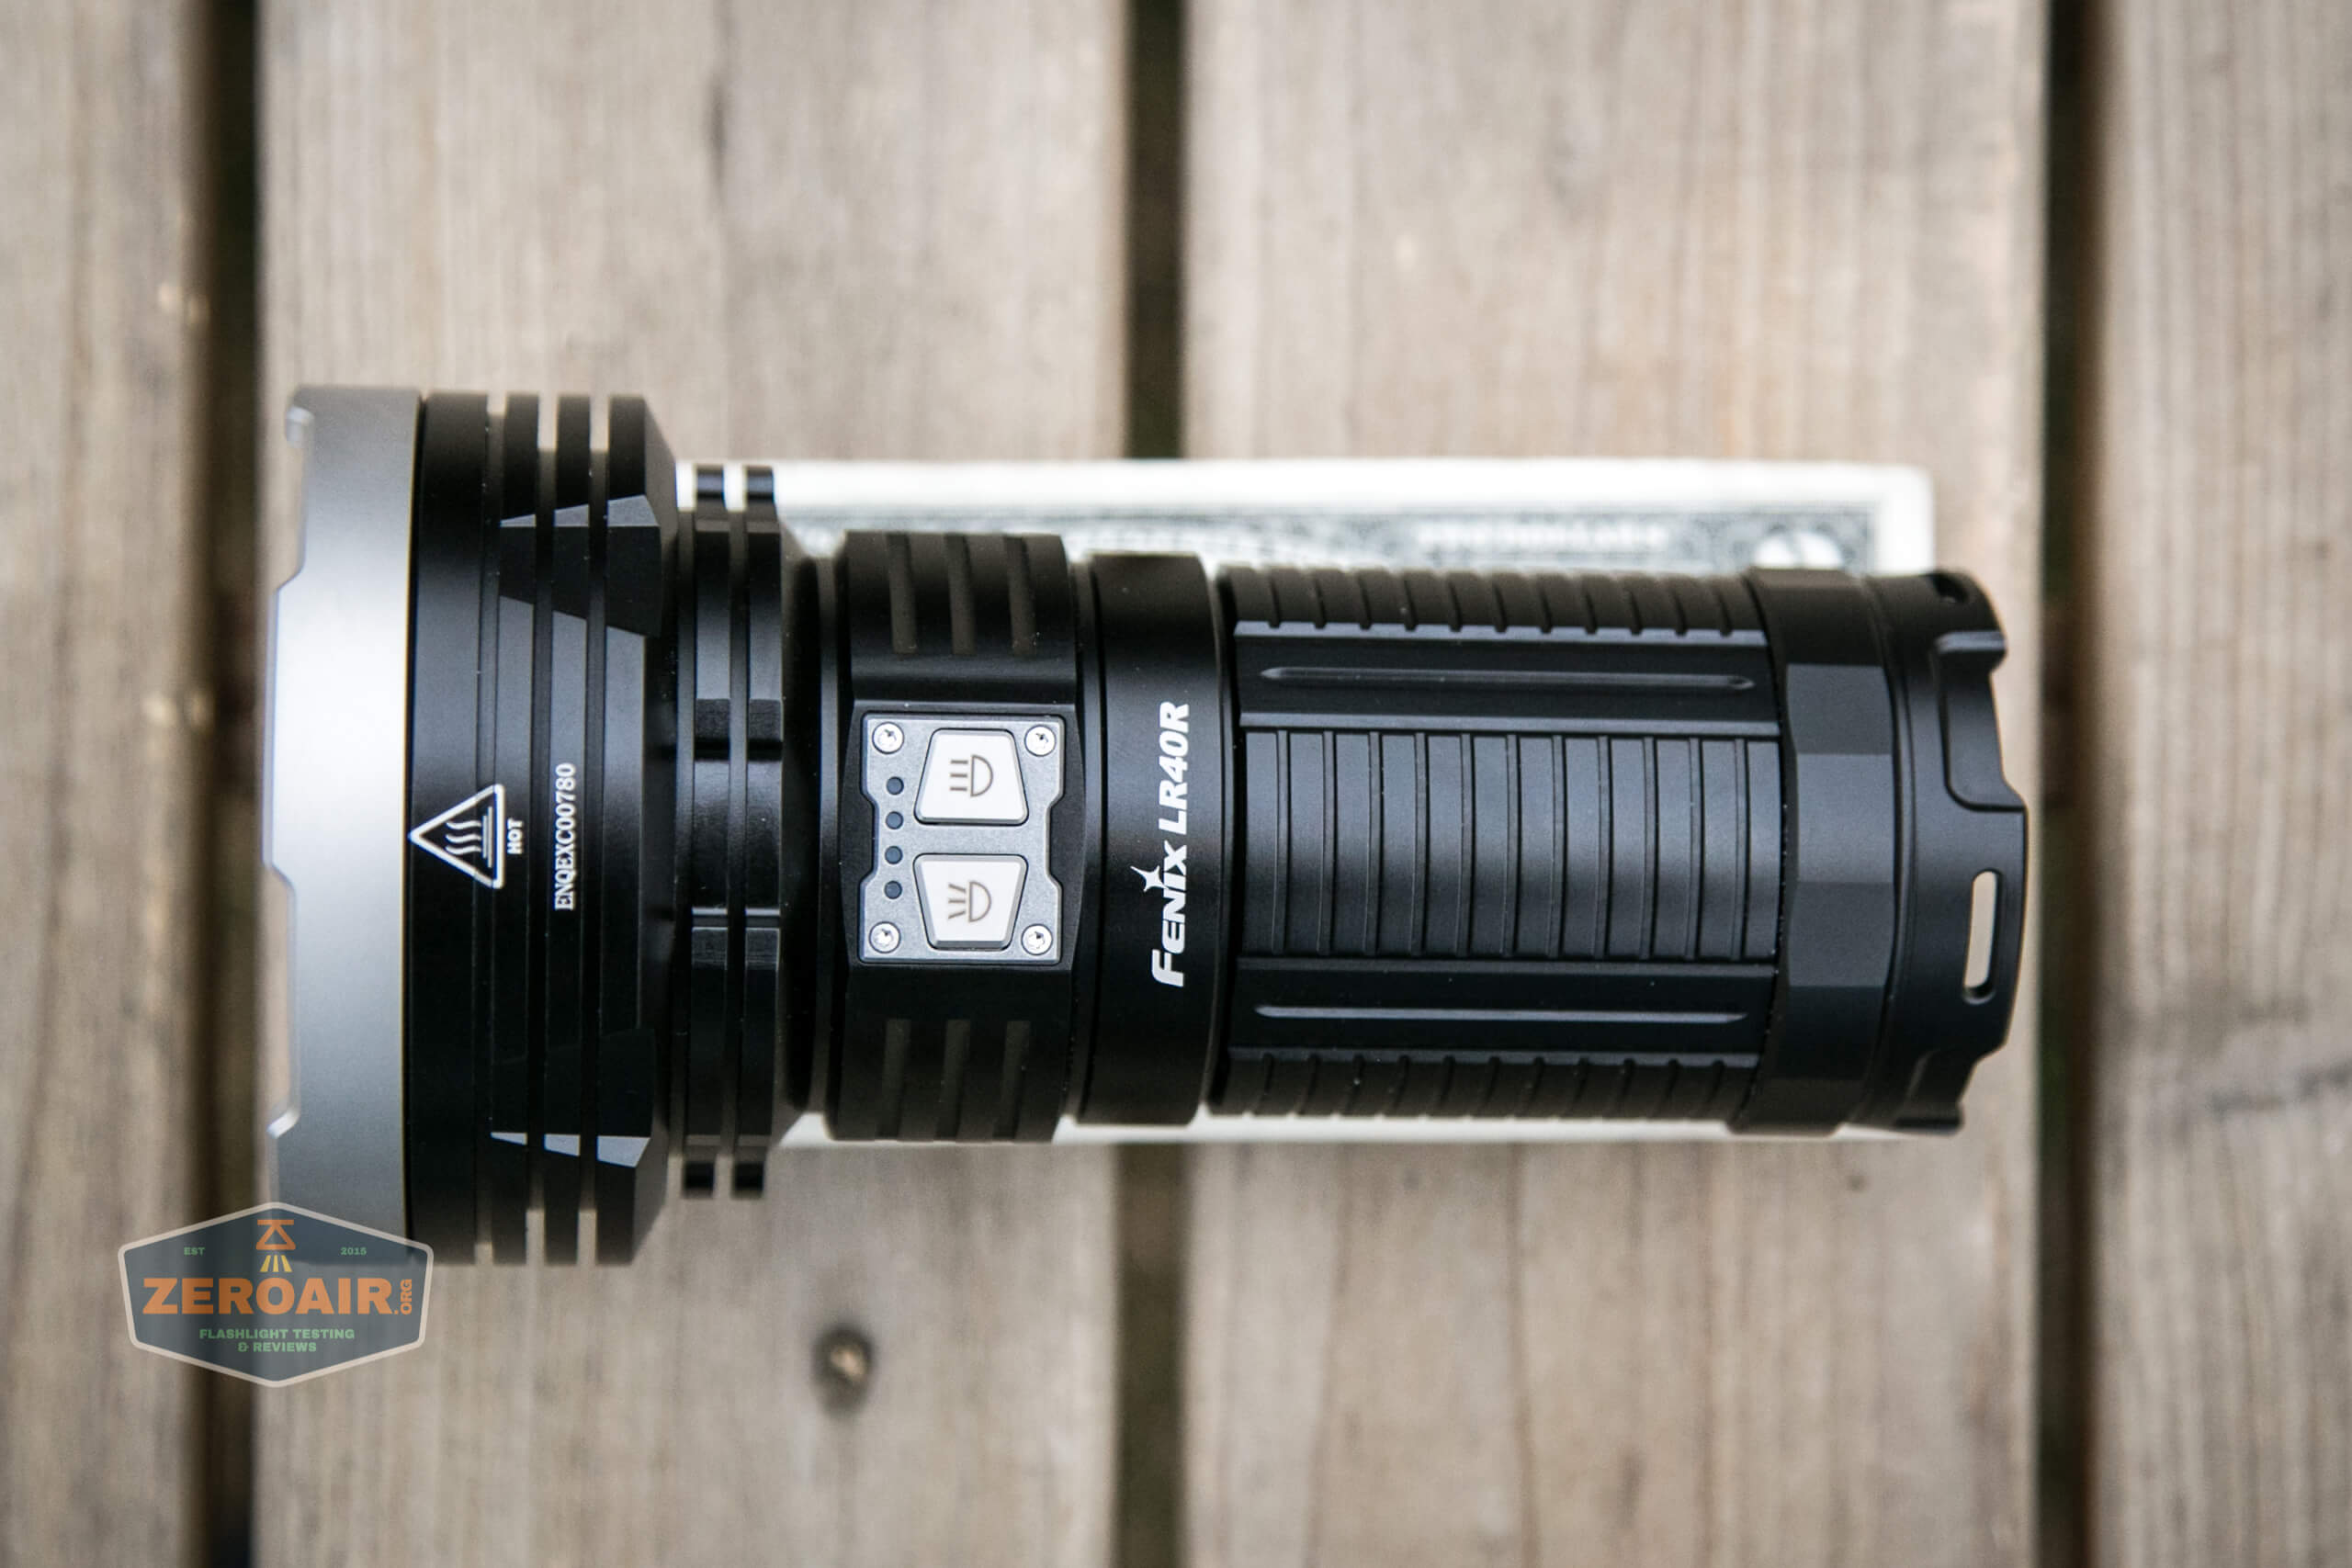
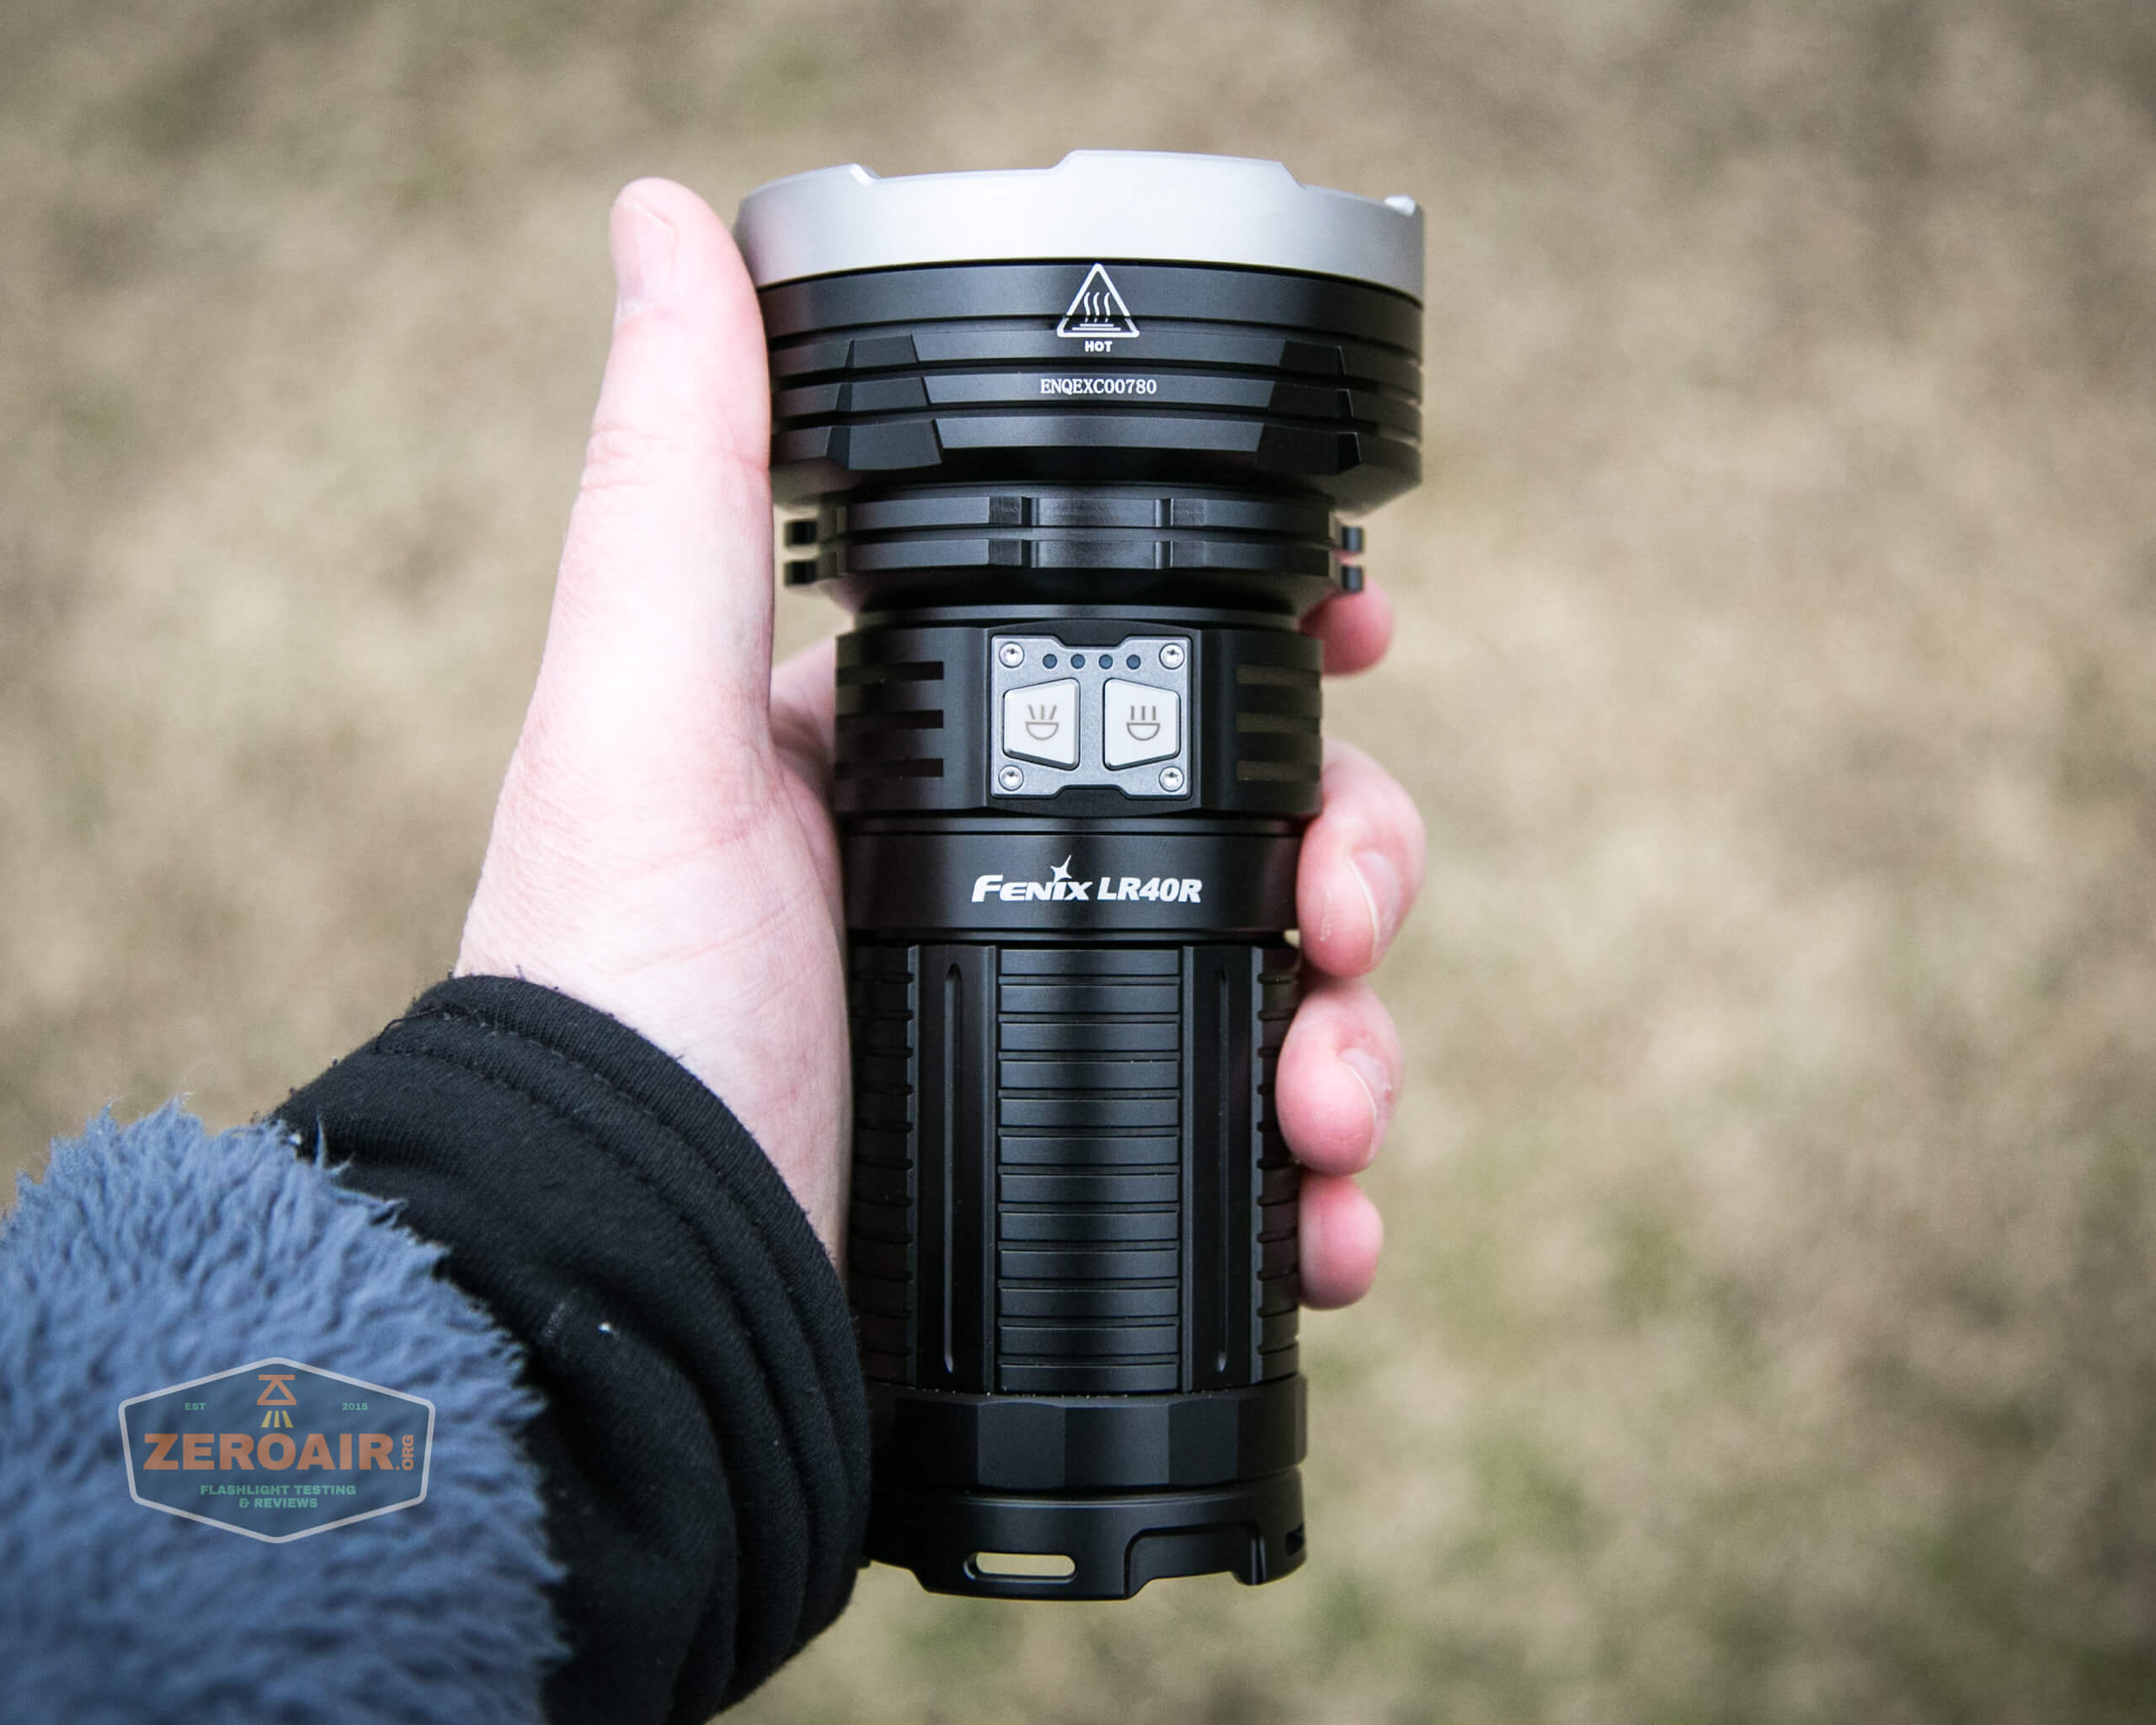
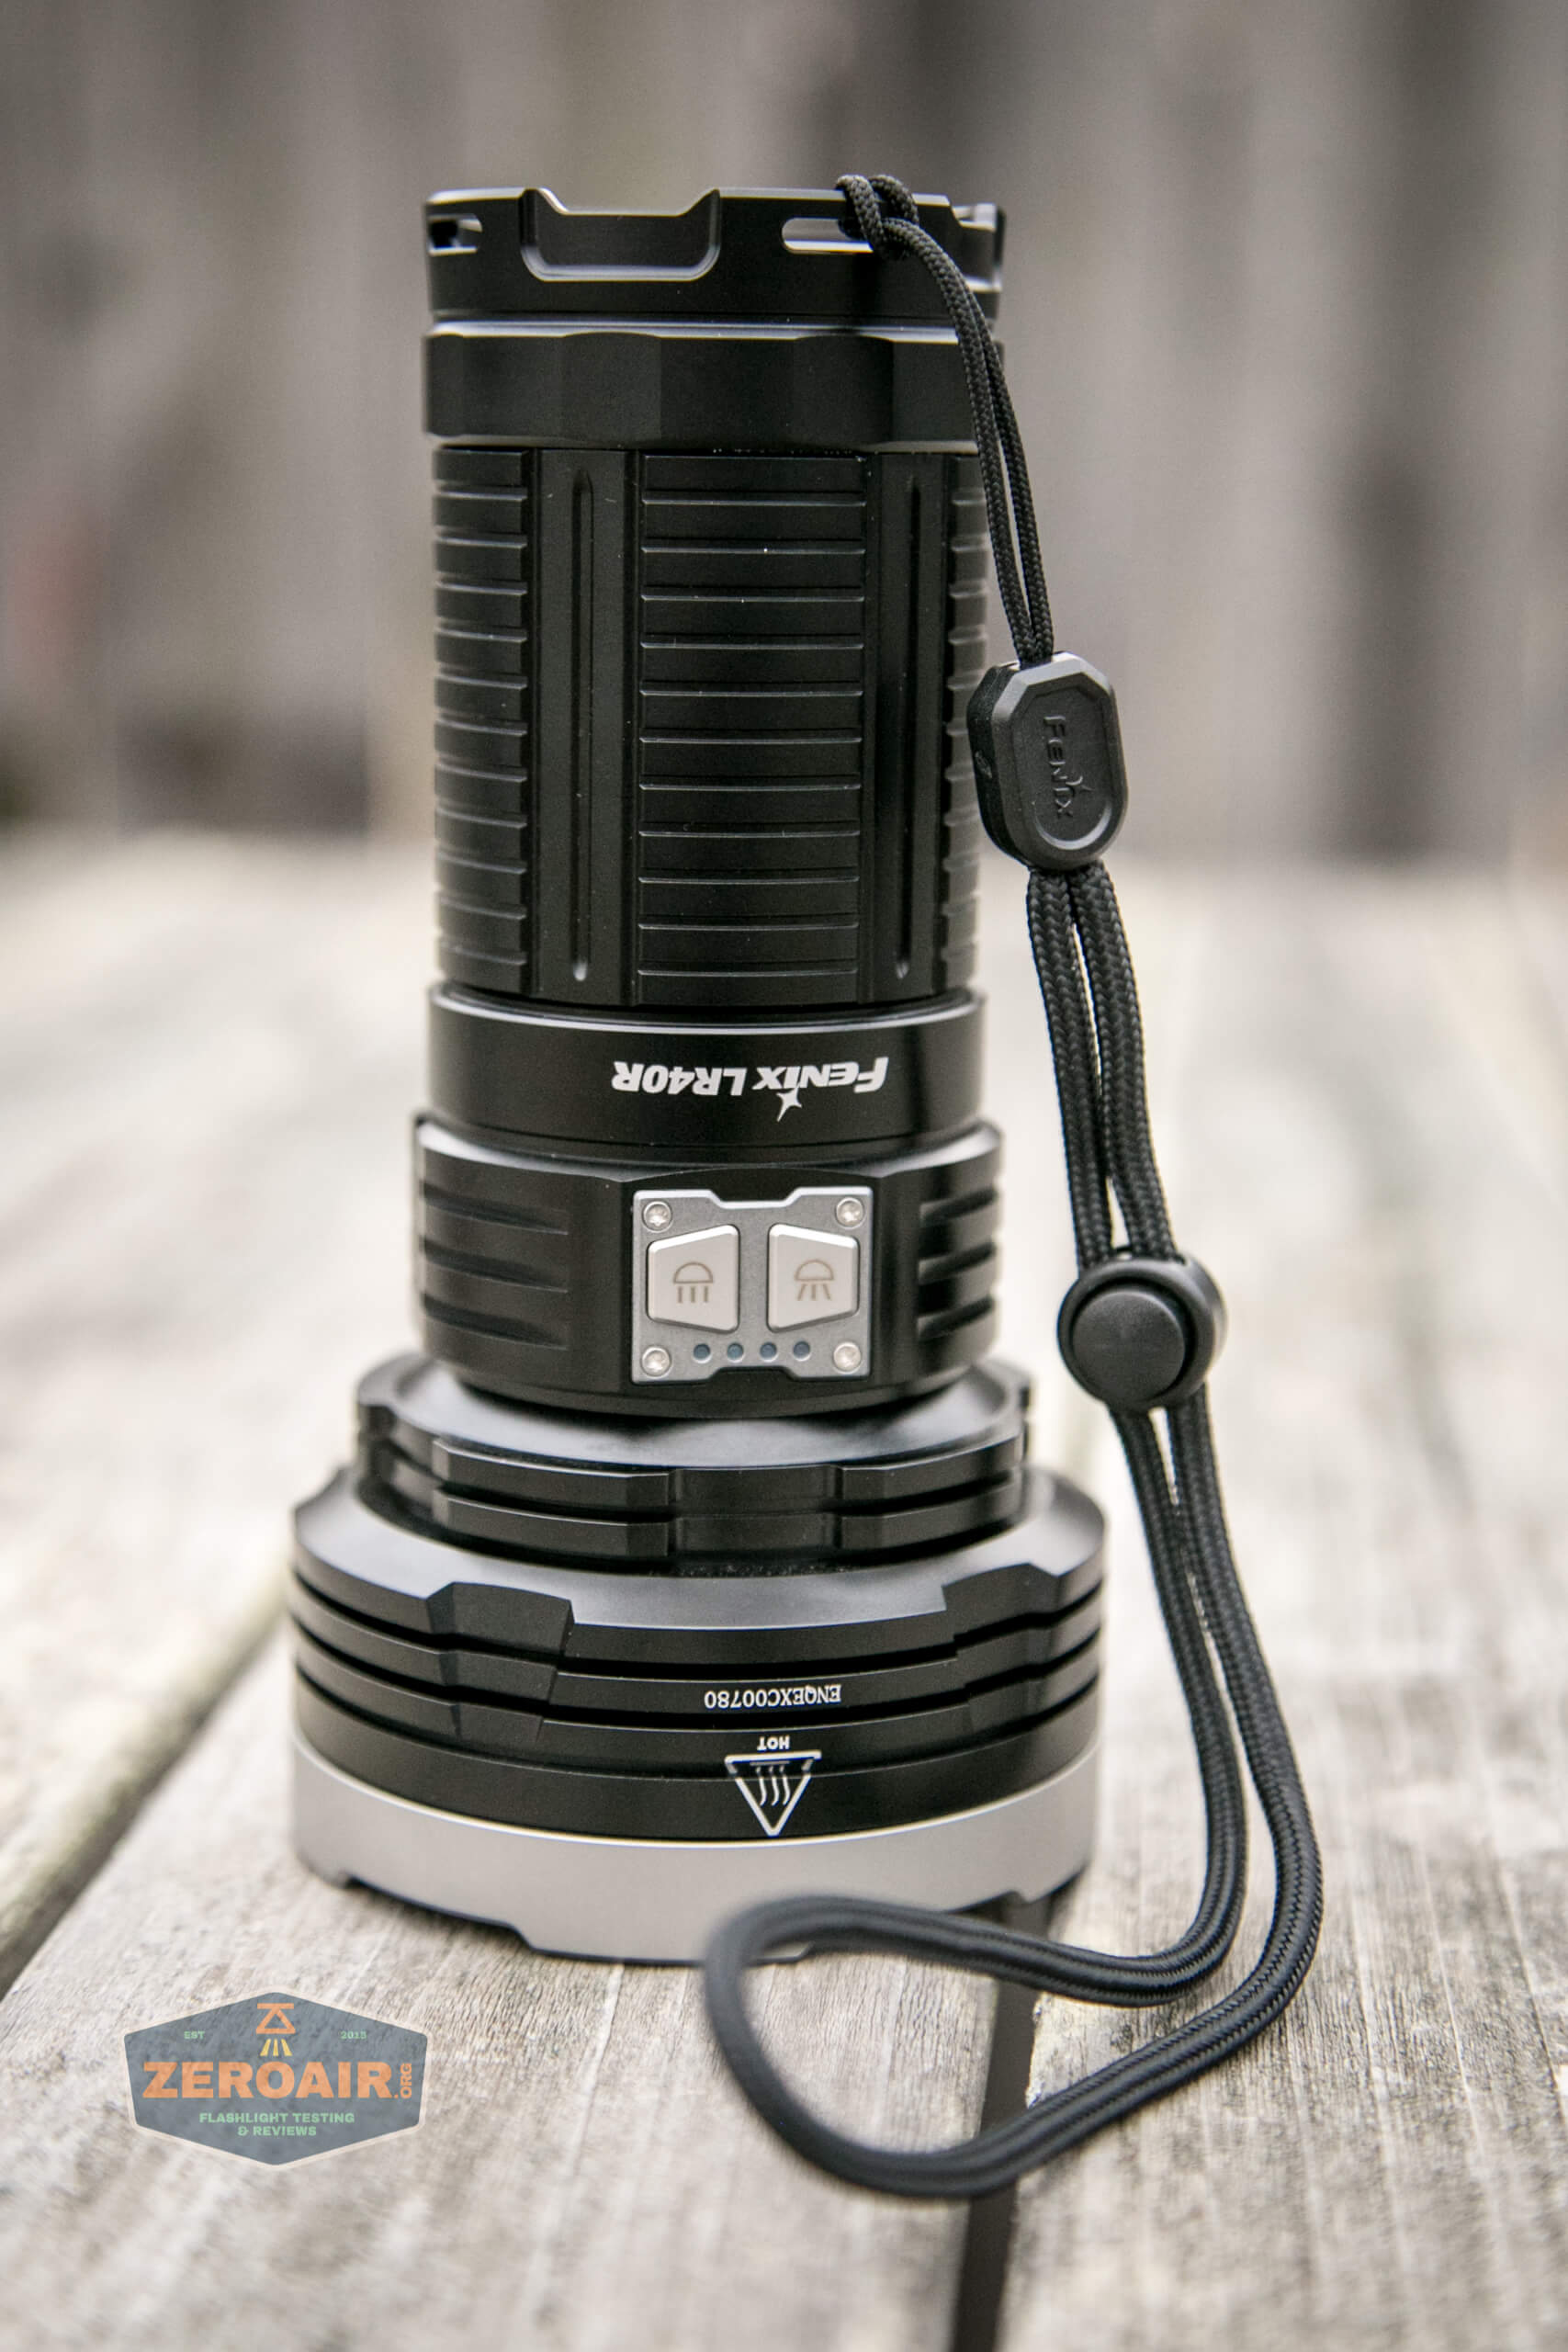
Off the top, let me say that the build quality of the LR40R is great. It’s sturdy (heavy, as it should be). Everything that should be smooth is smooth. Everything that should be accessible is. The switch sits up just the right amount. The charge port cover sits just right. There’s just so much “right” here.
For a can light, the LR40R offers some unusual features, too. So many features. More on that later.
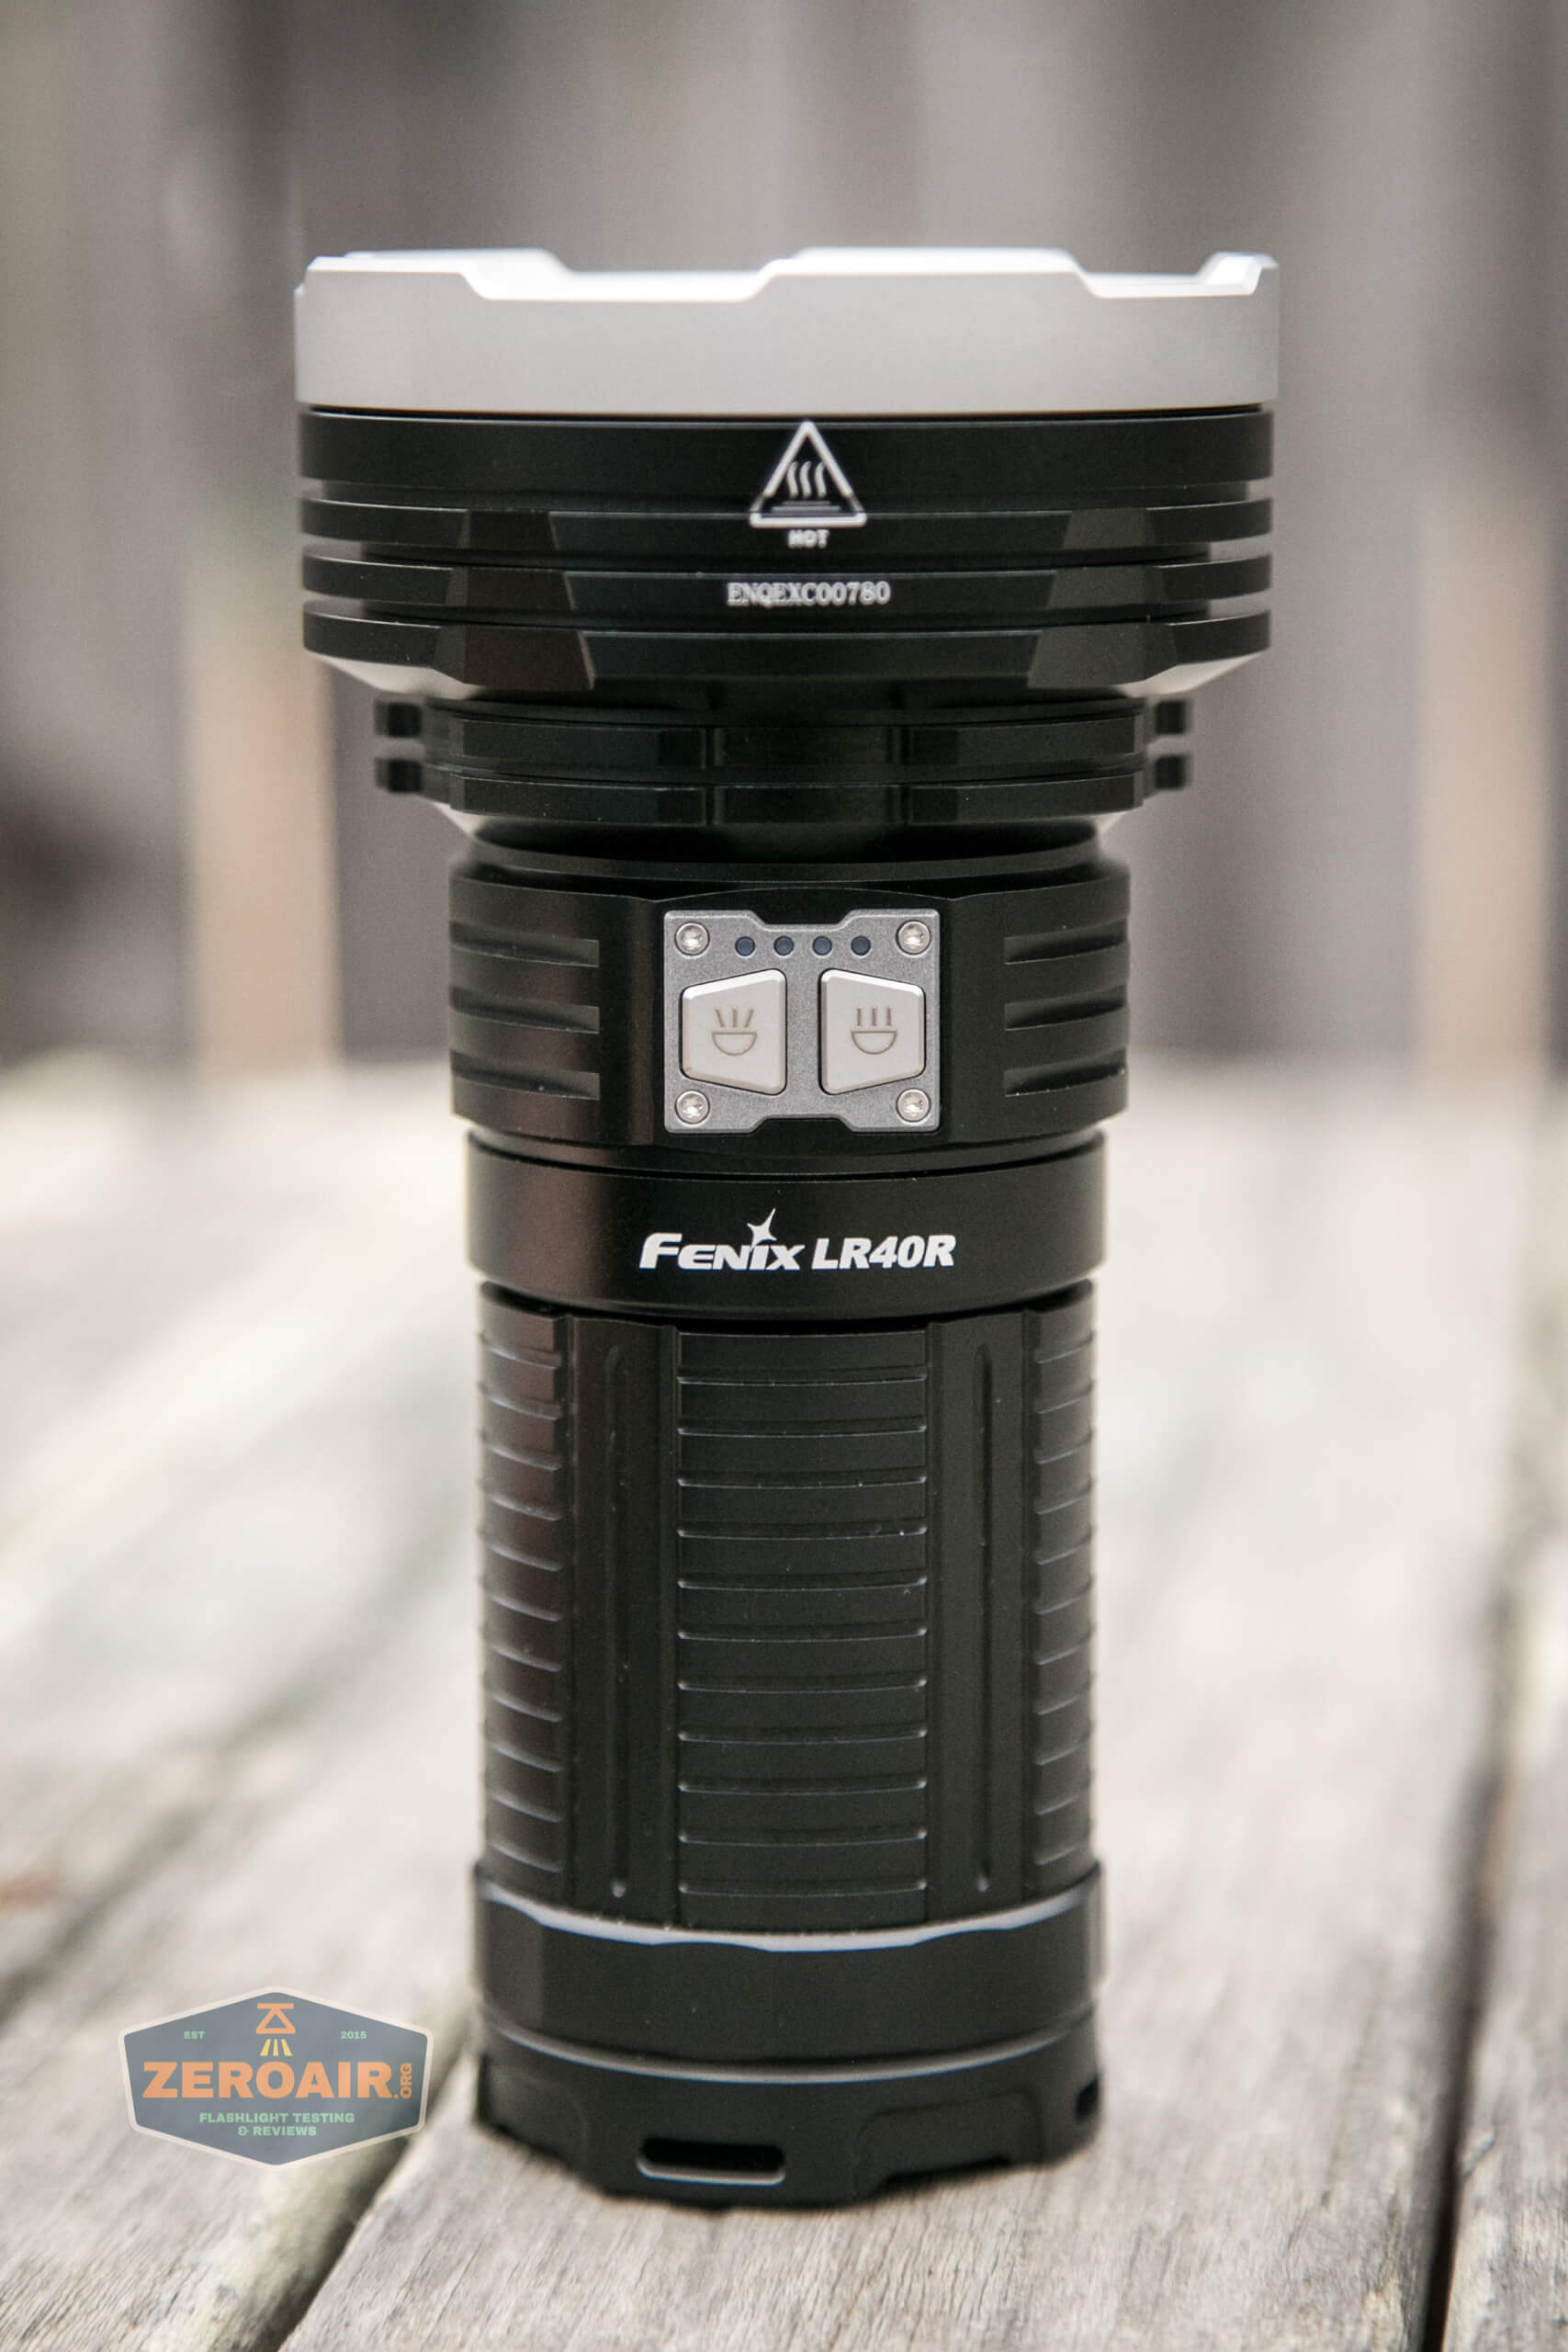
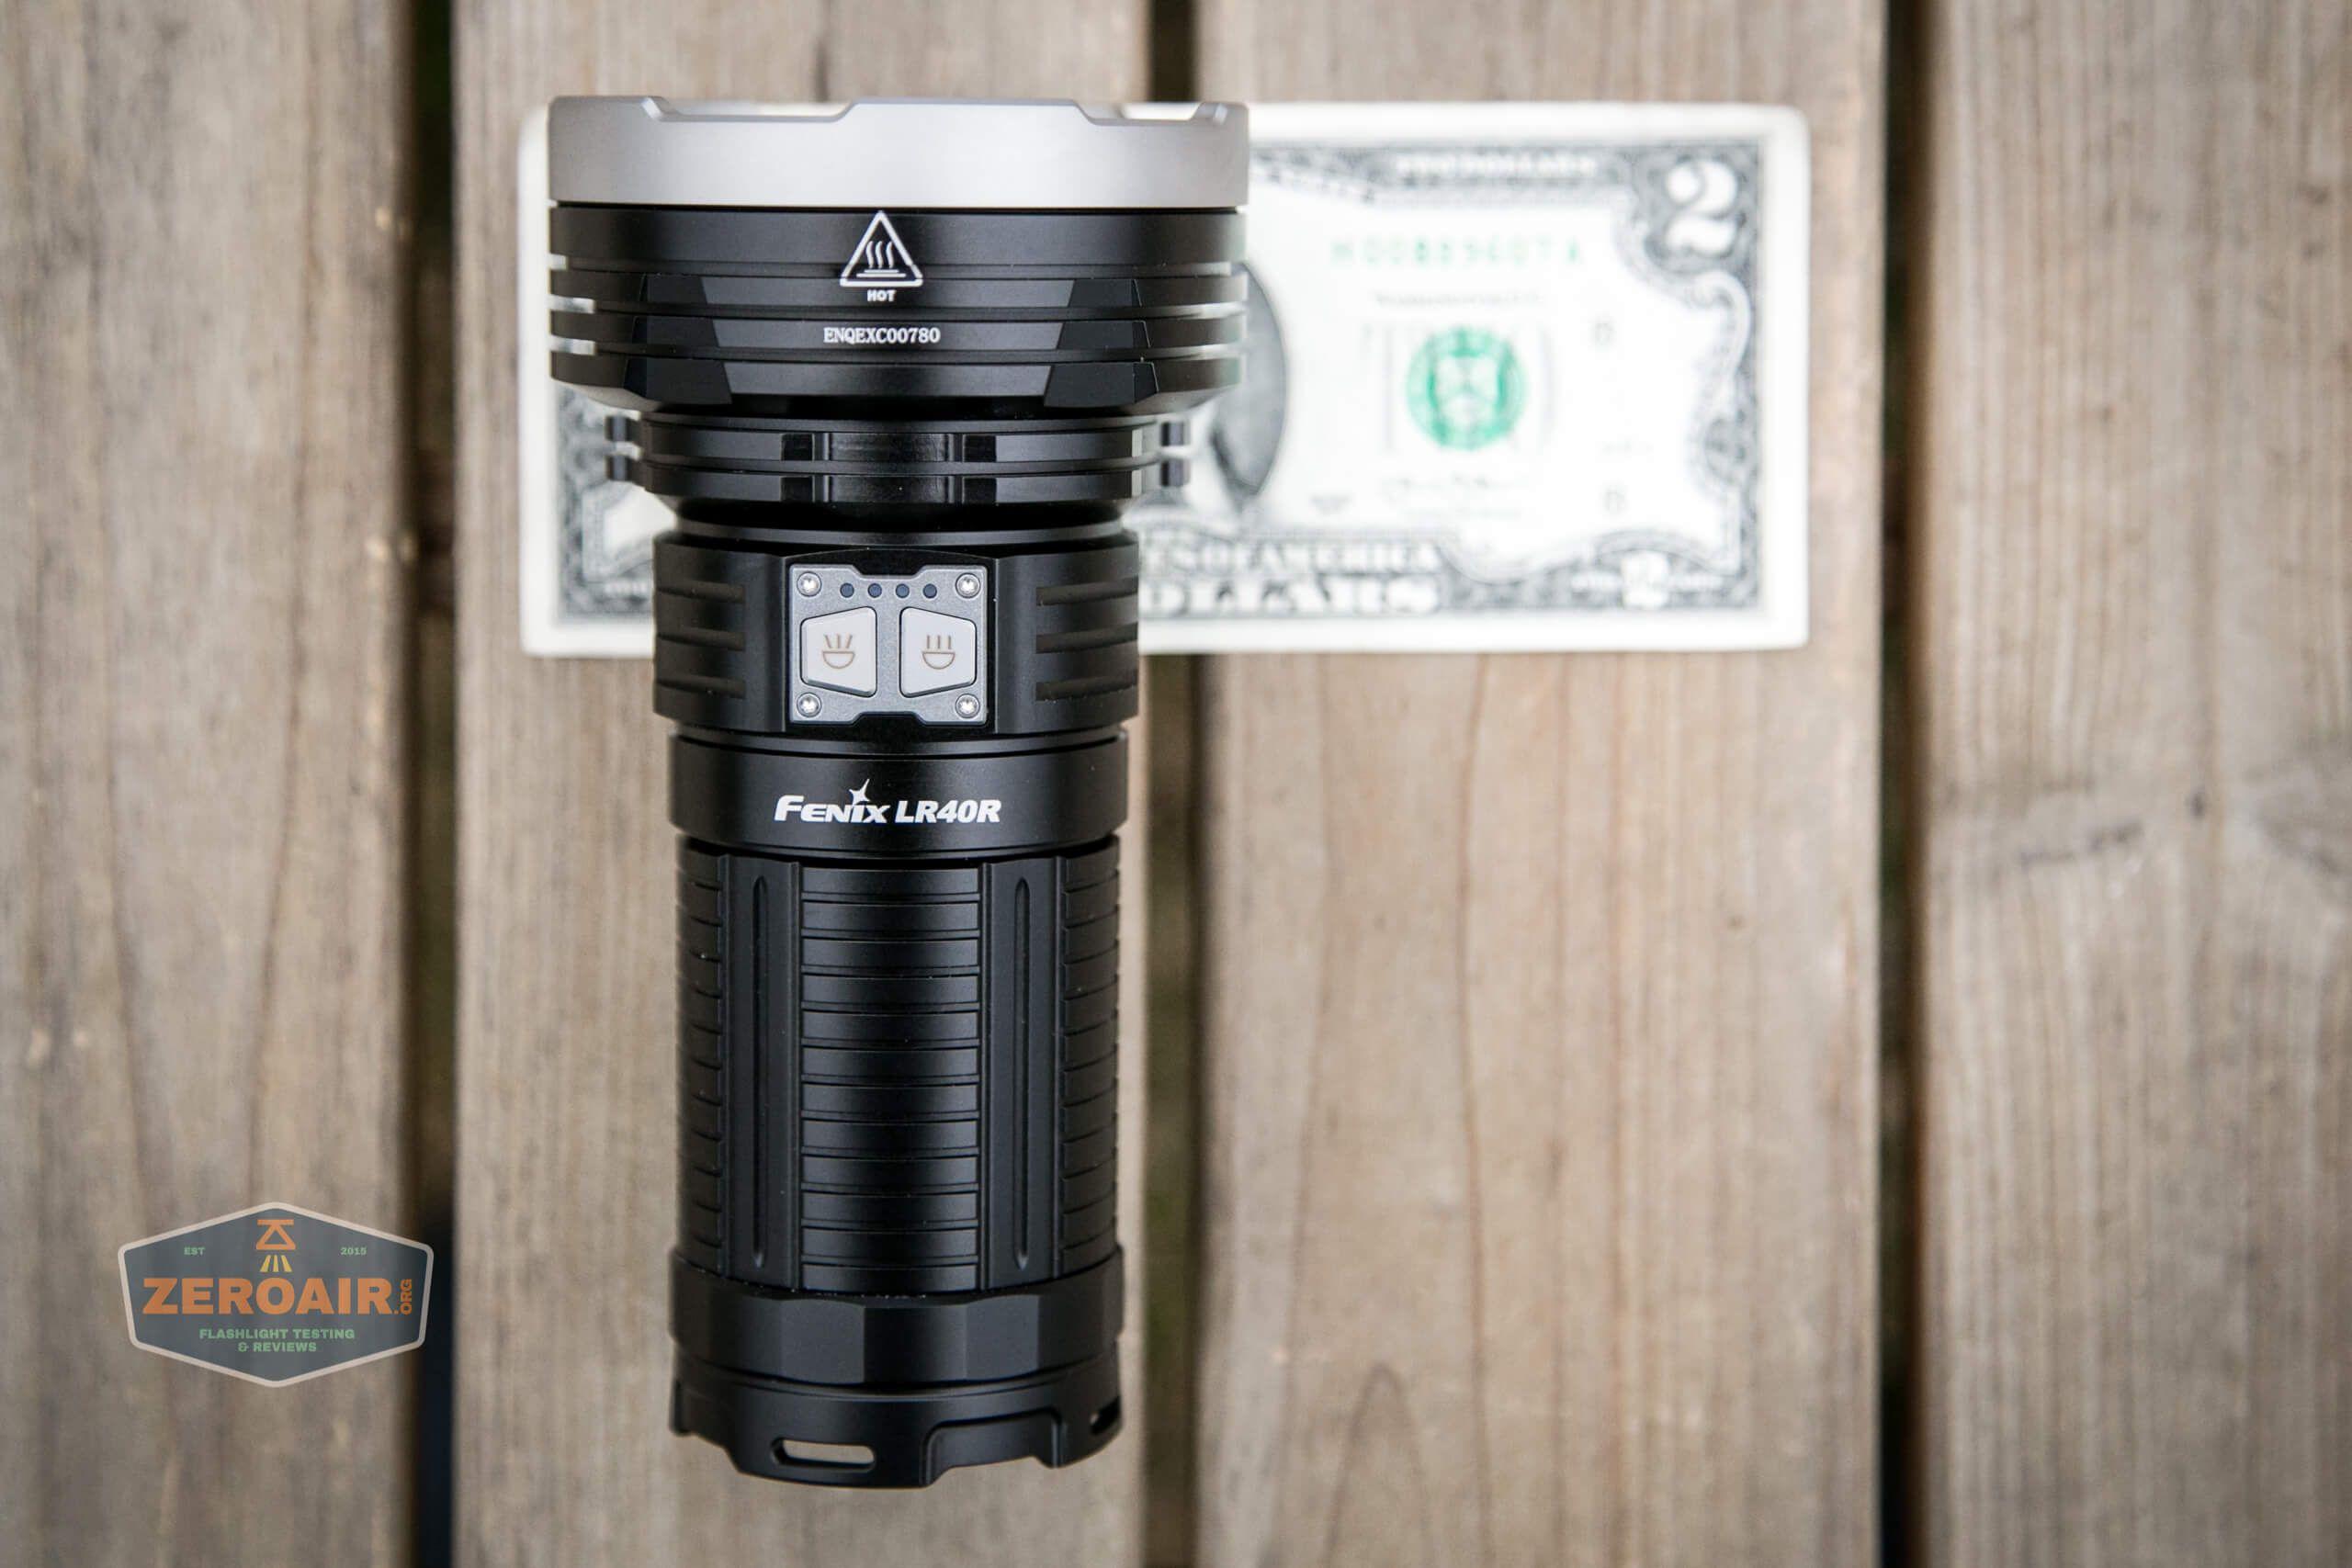
From the top down, have a look. First, the bezel has reliefs – it’s not a “flush” bezel.
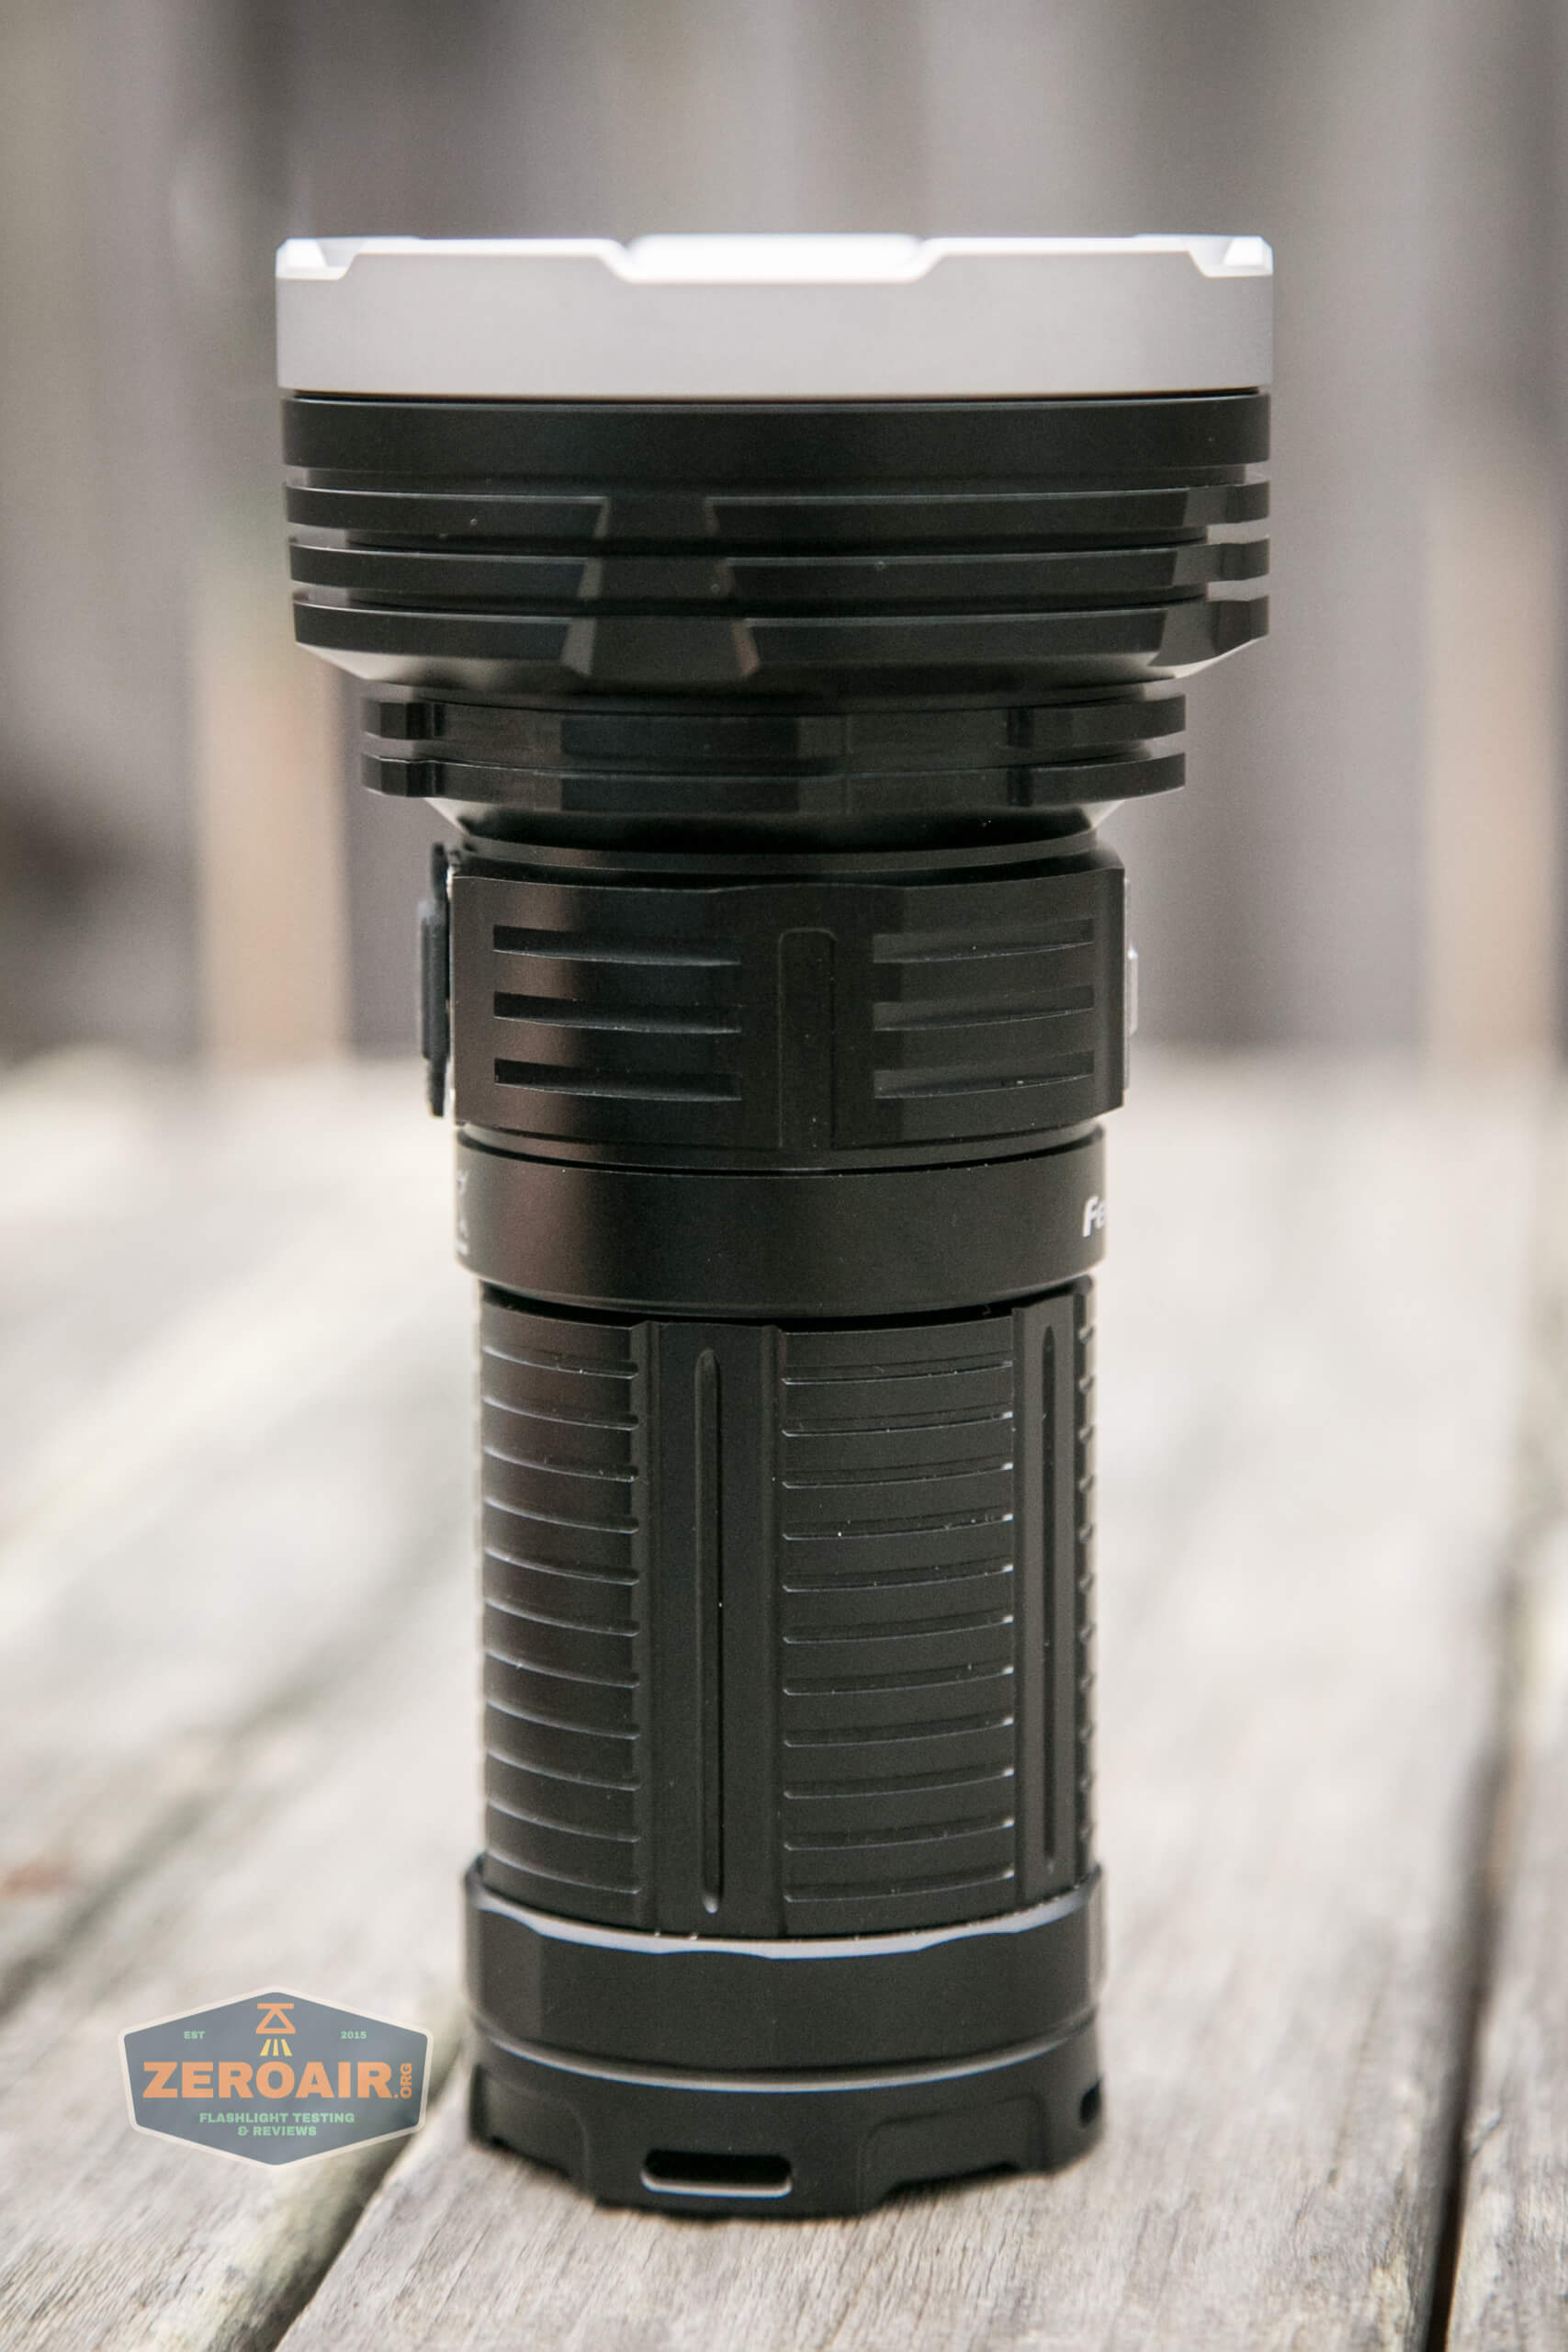
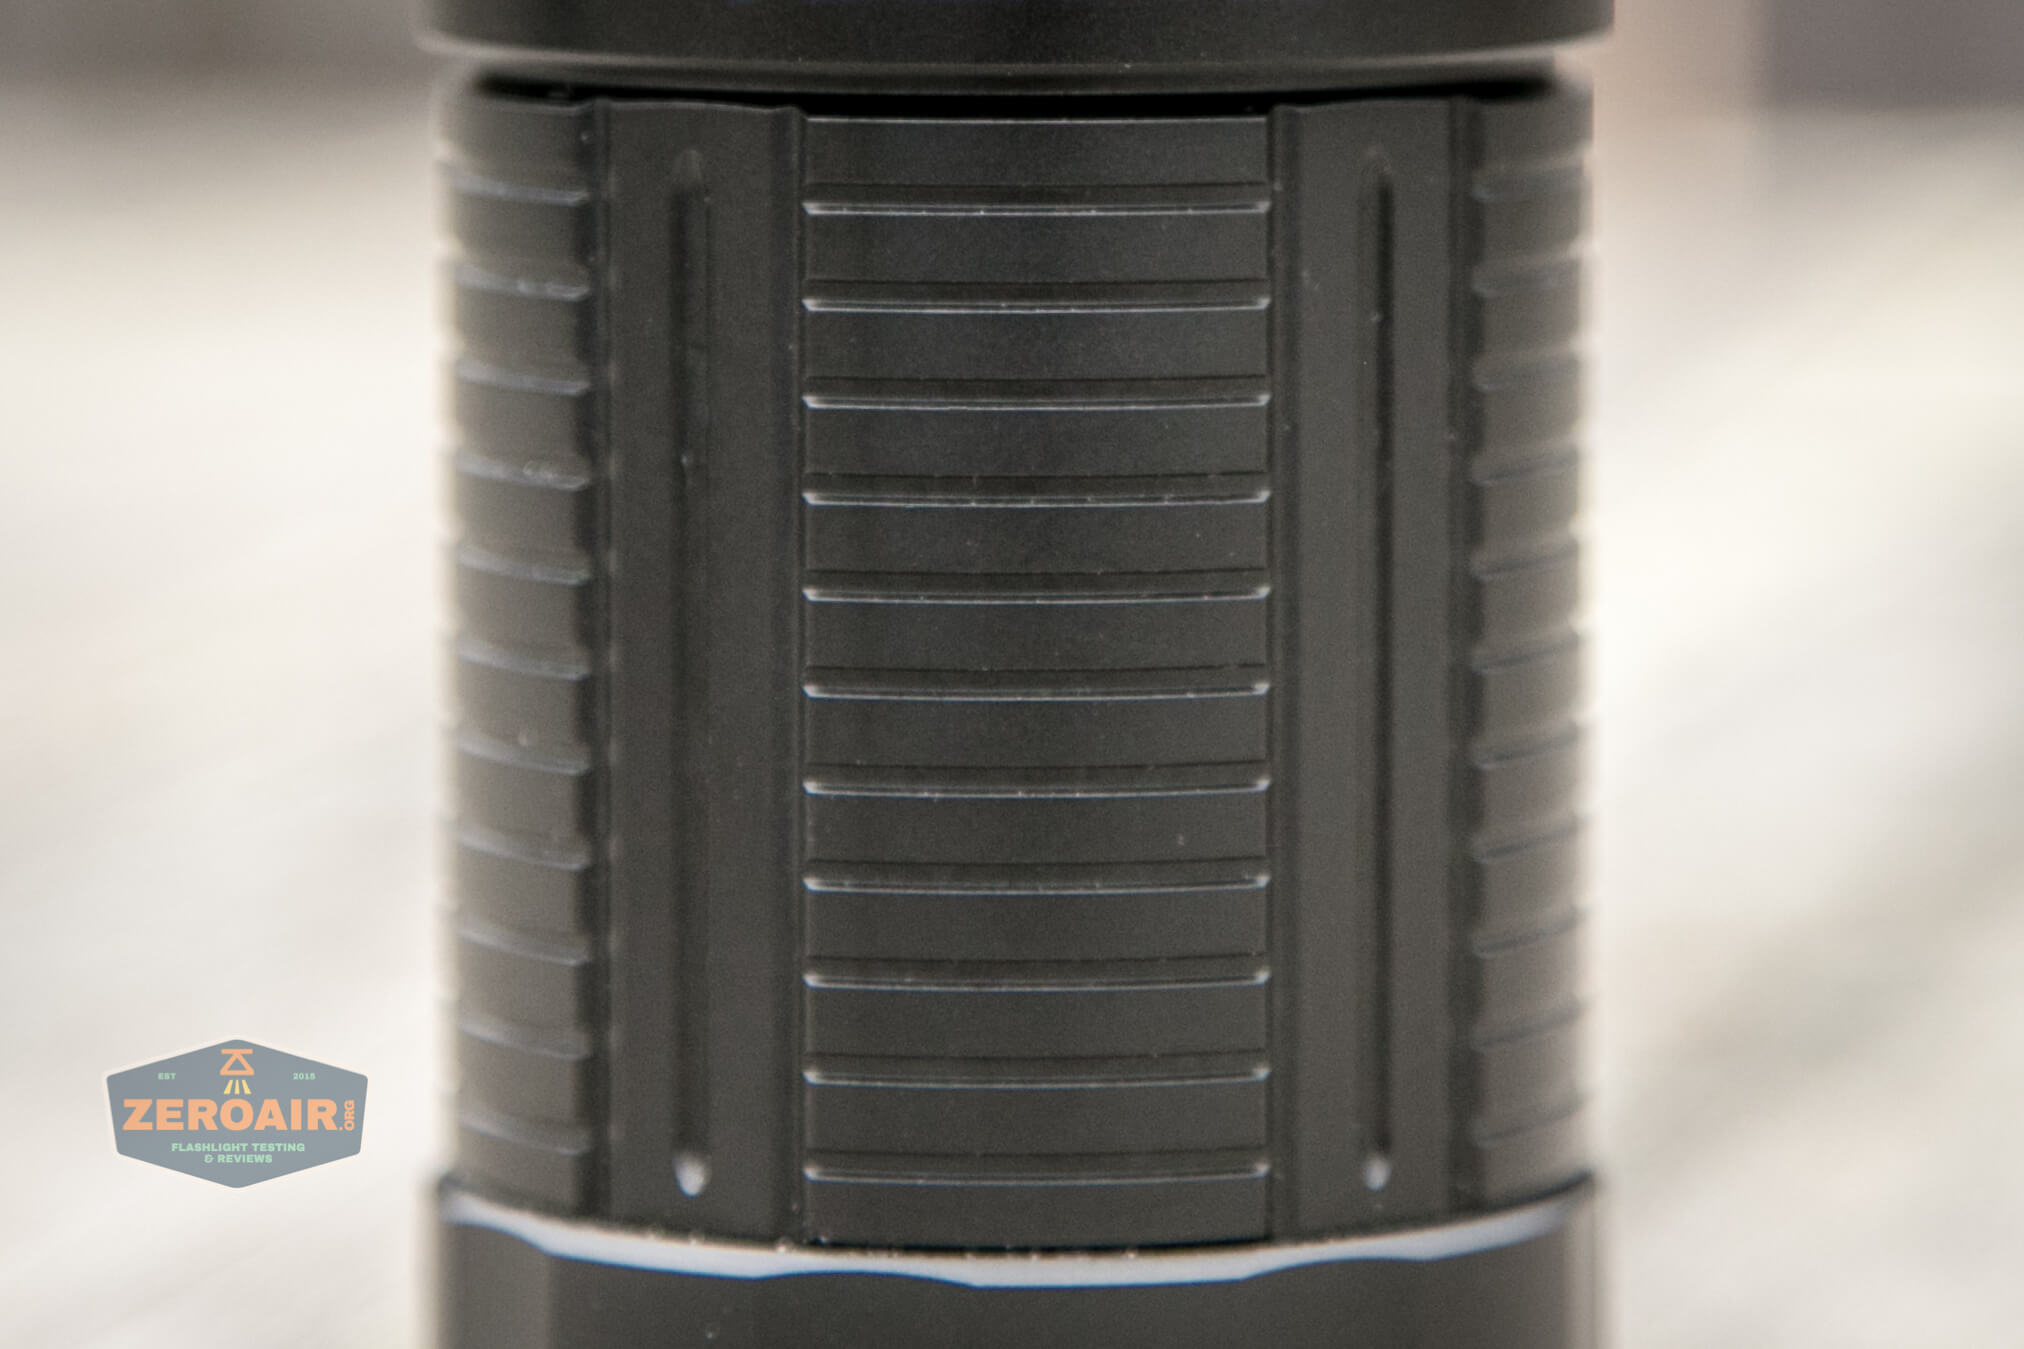
The cooling fins extend all the way from the head down to the switch area. Some of them are moderately deep, too, offering great cooling capability.
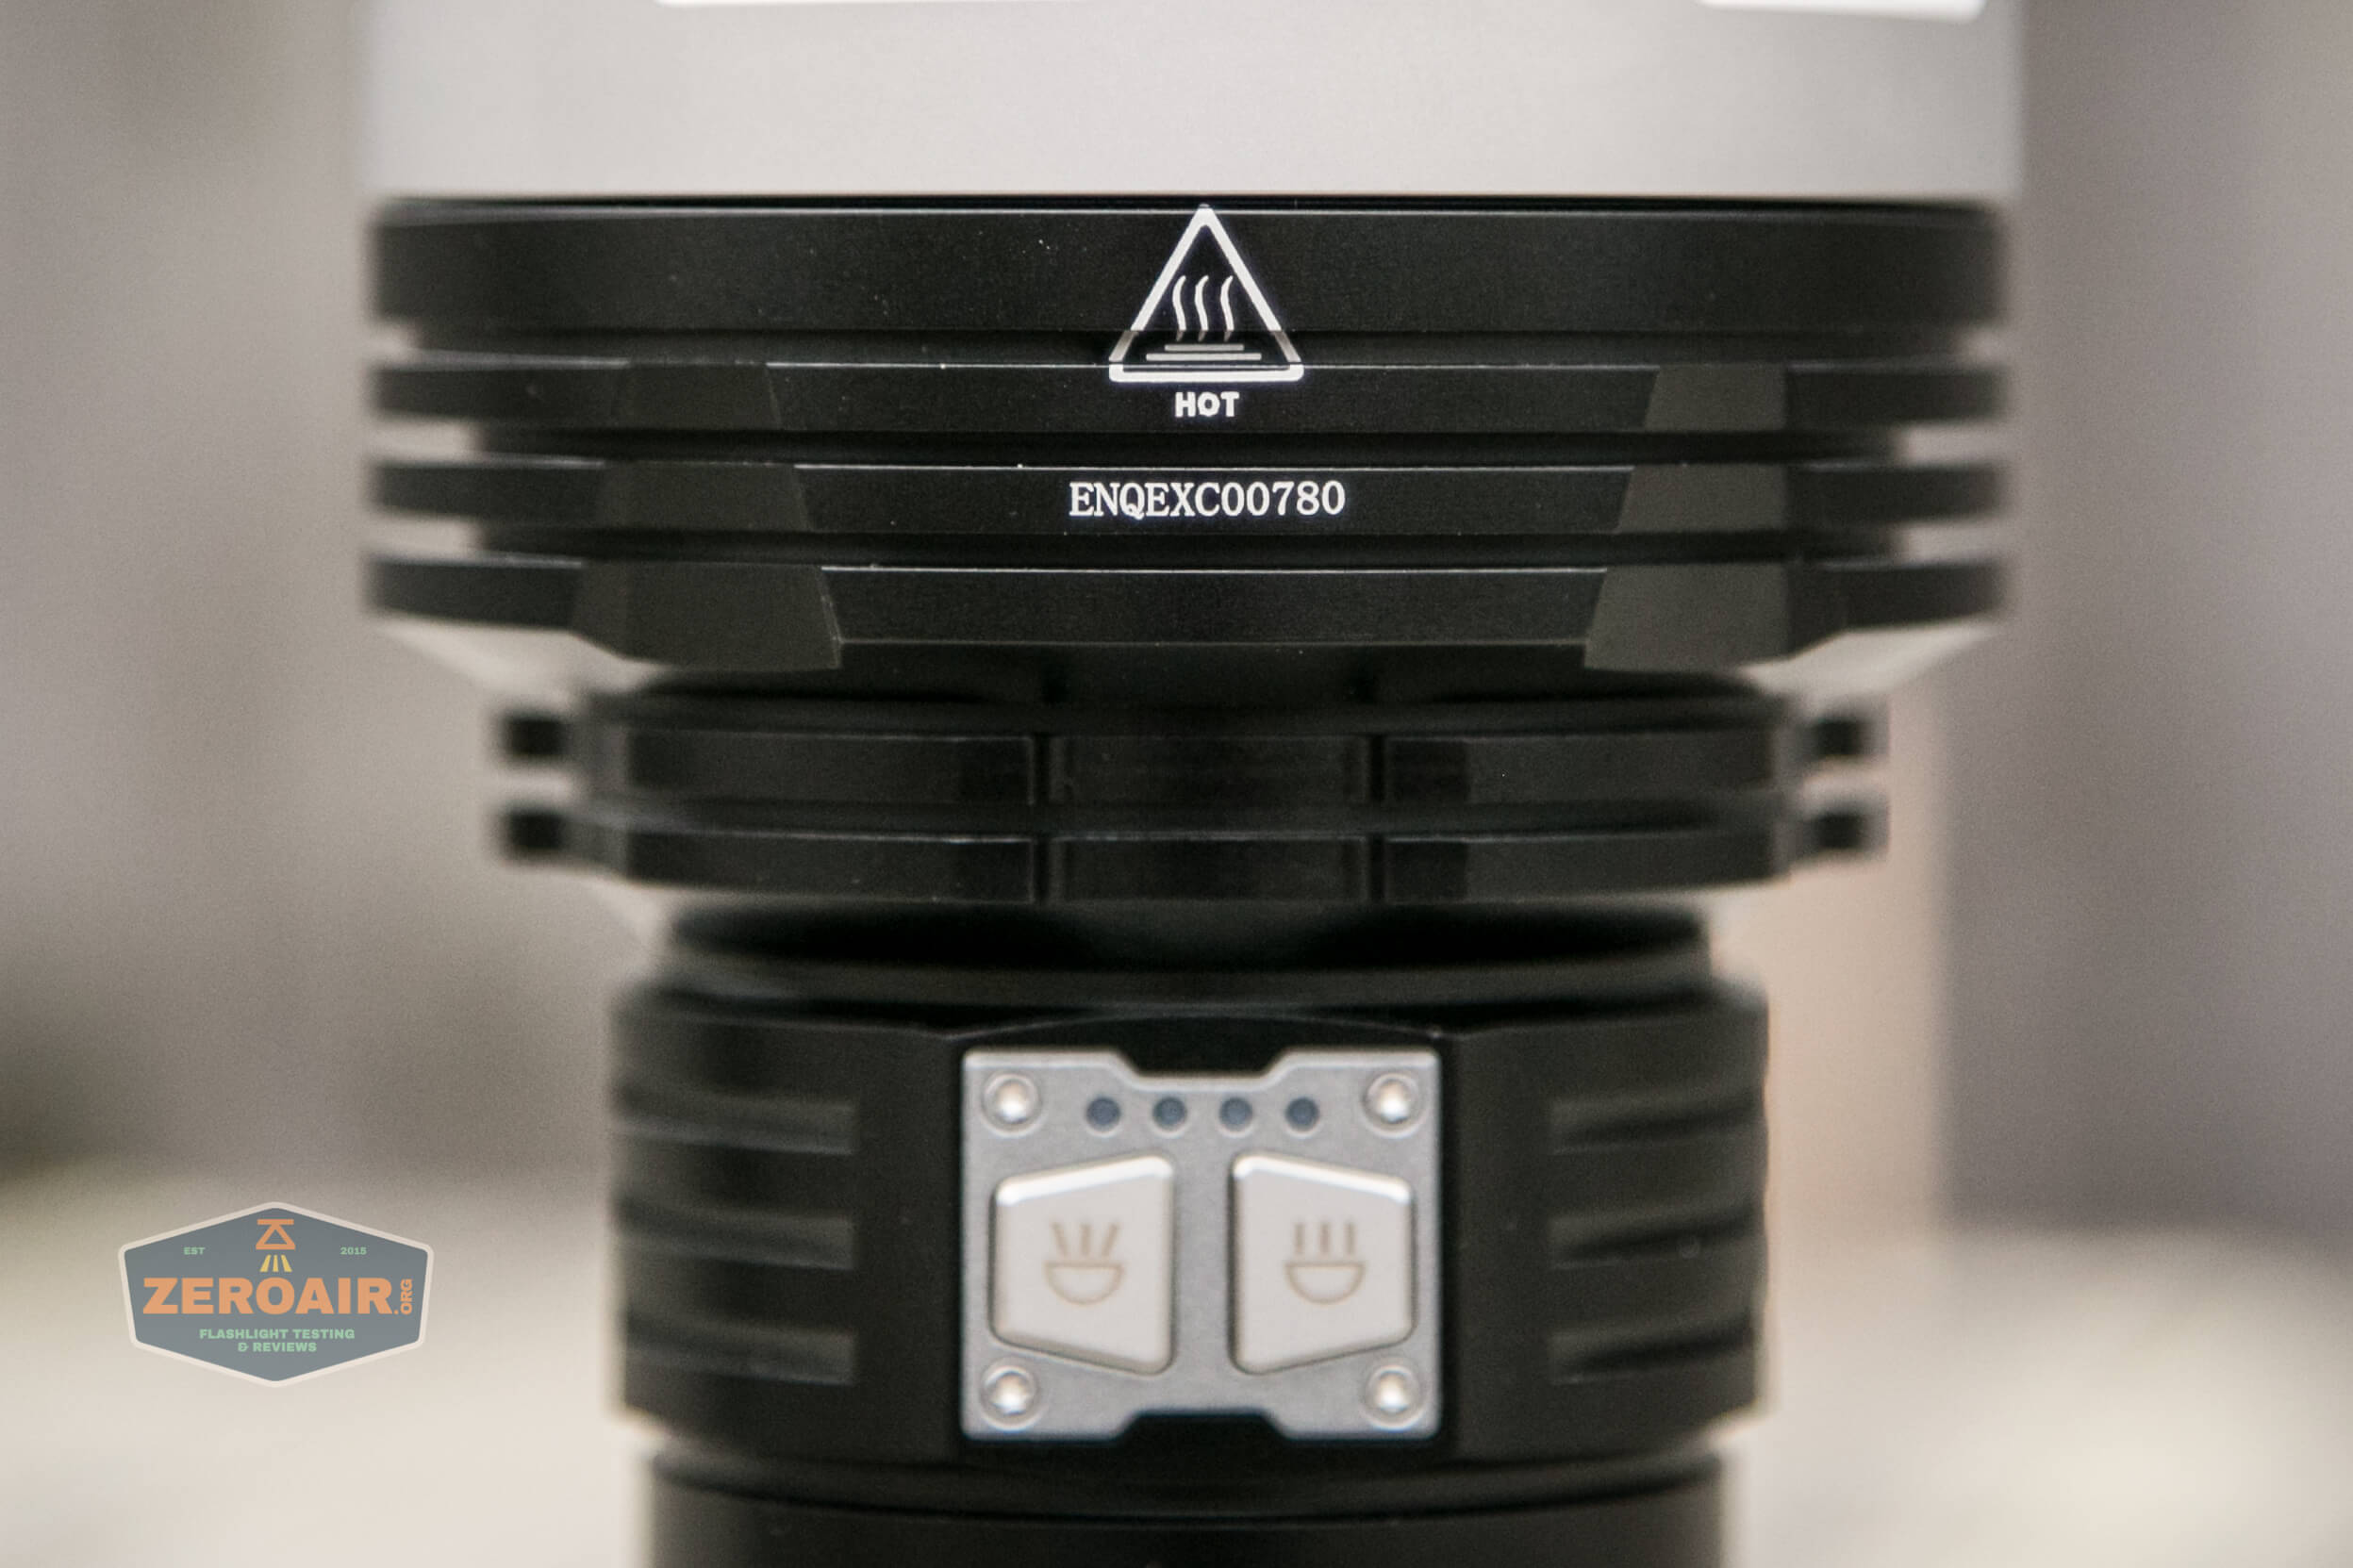
The switch area is on the head, exactly opposite to the charge port. More on this later, but note that the flood and spot have separate switches. This light operates like two flashlights!
The battery tube is mostly featureless.
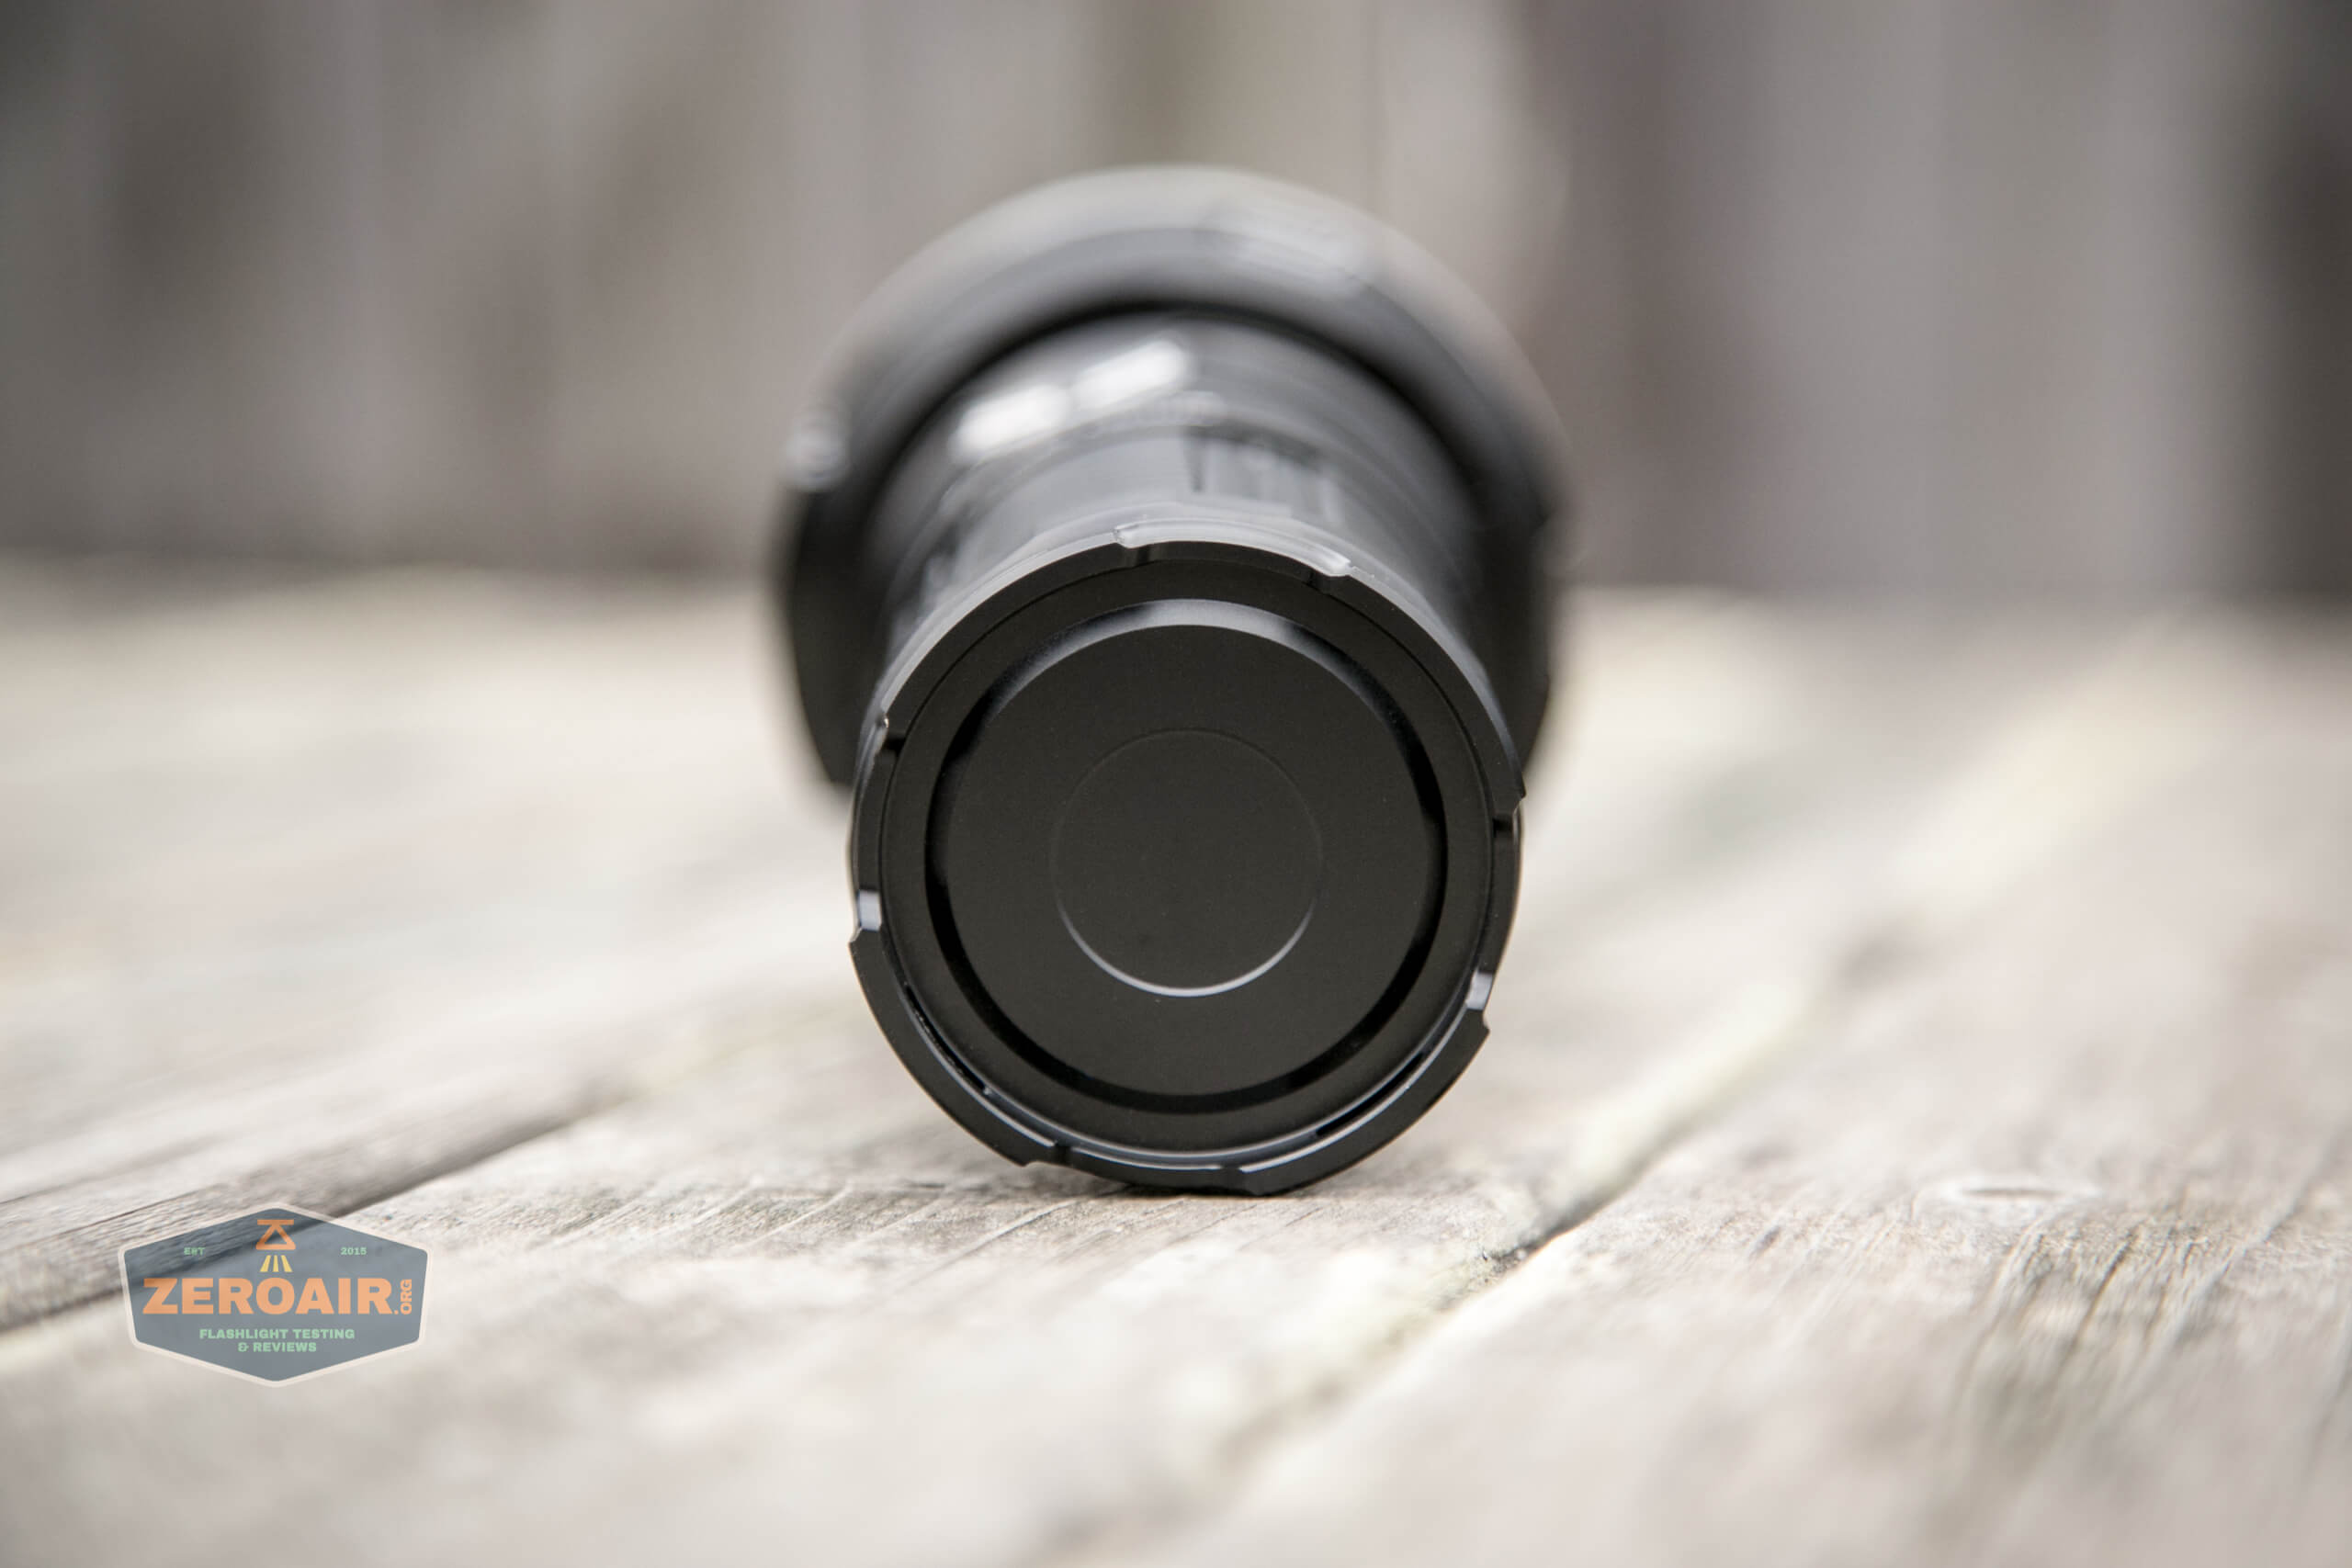
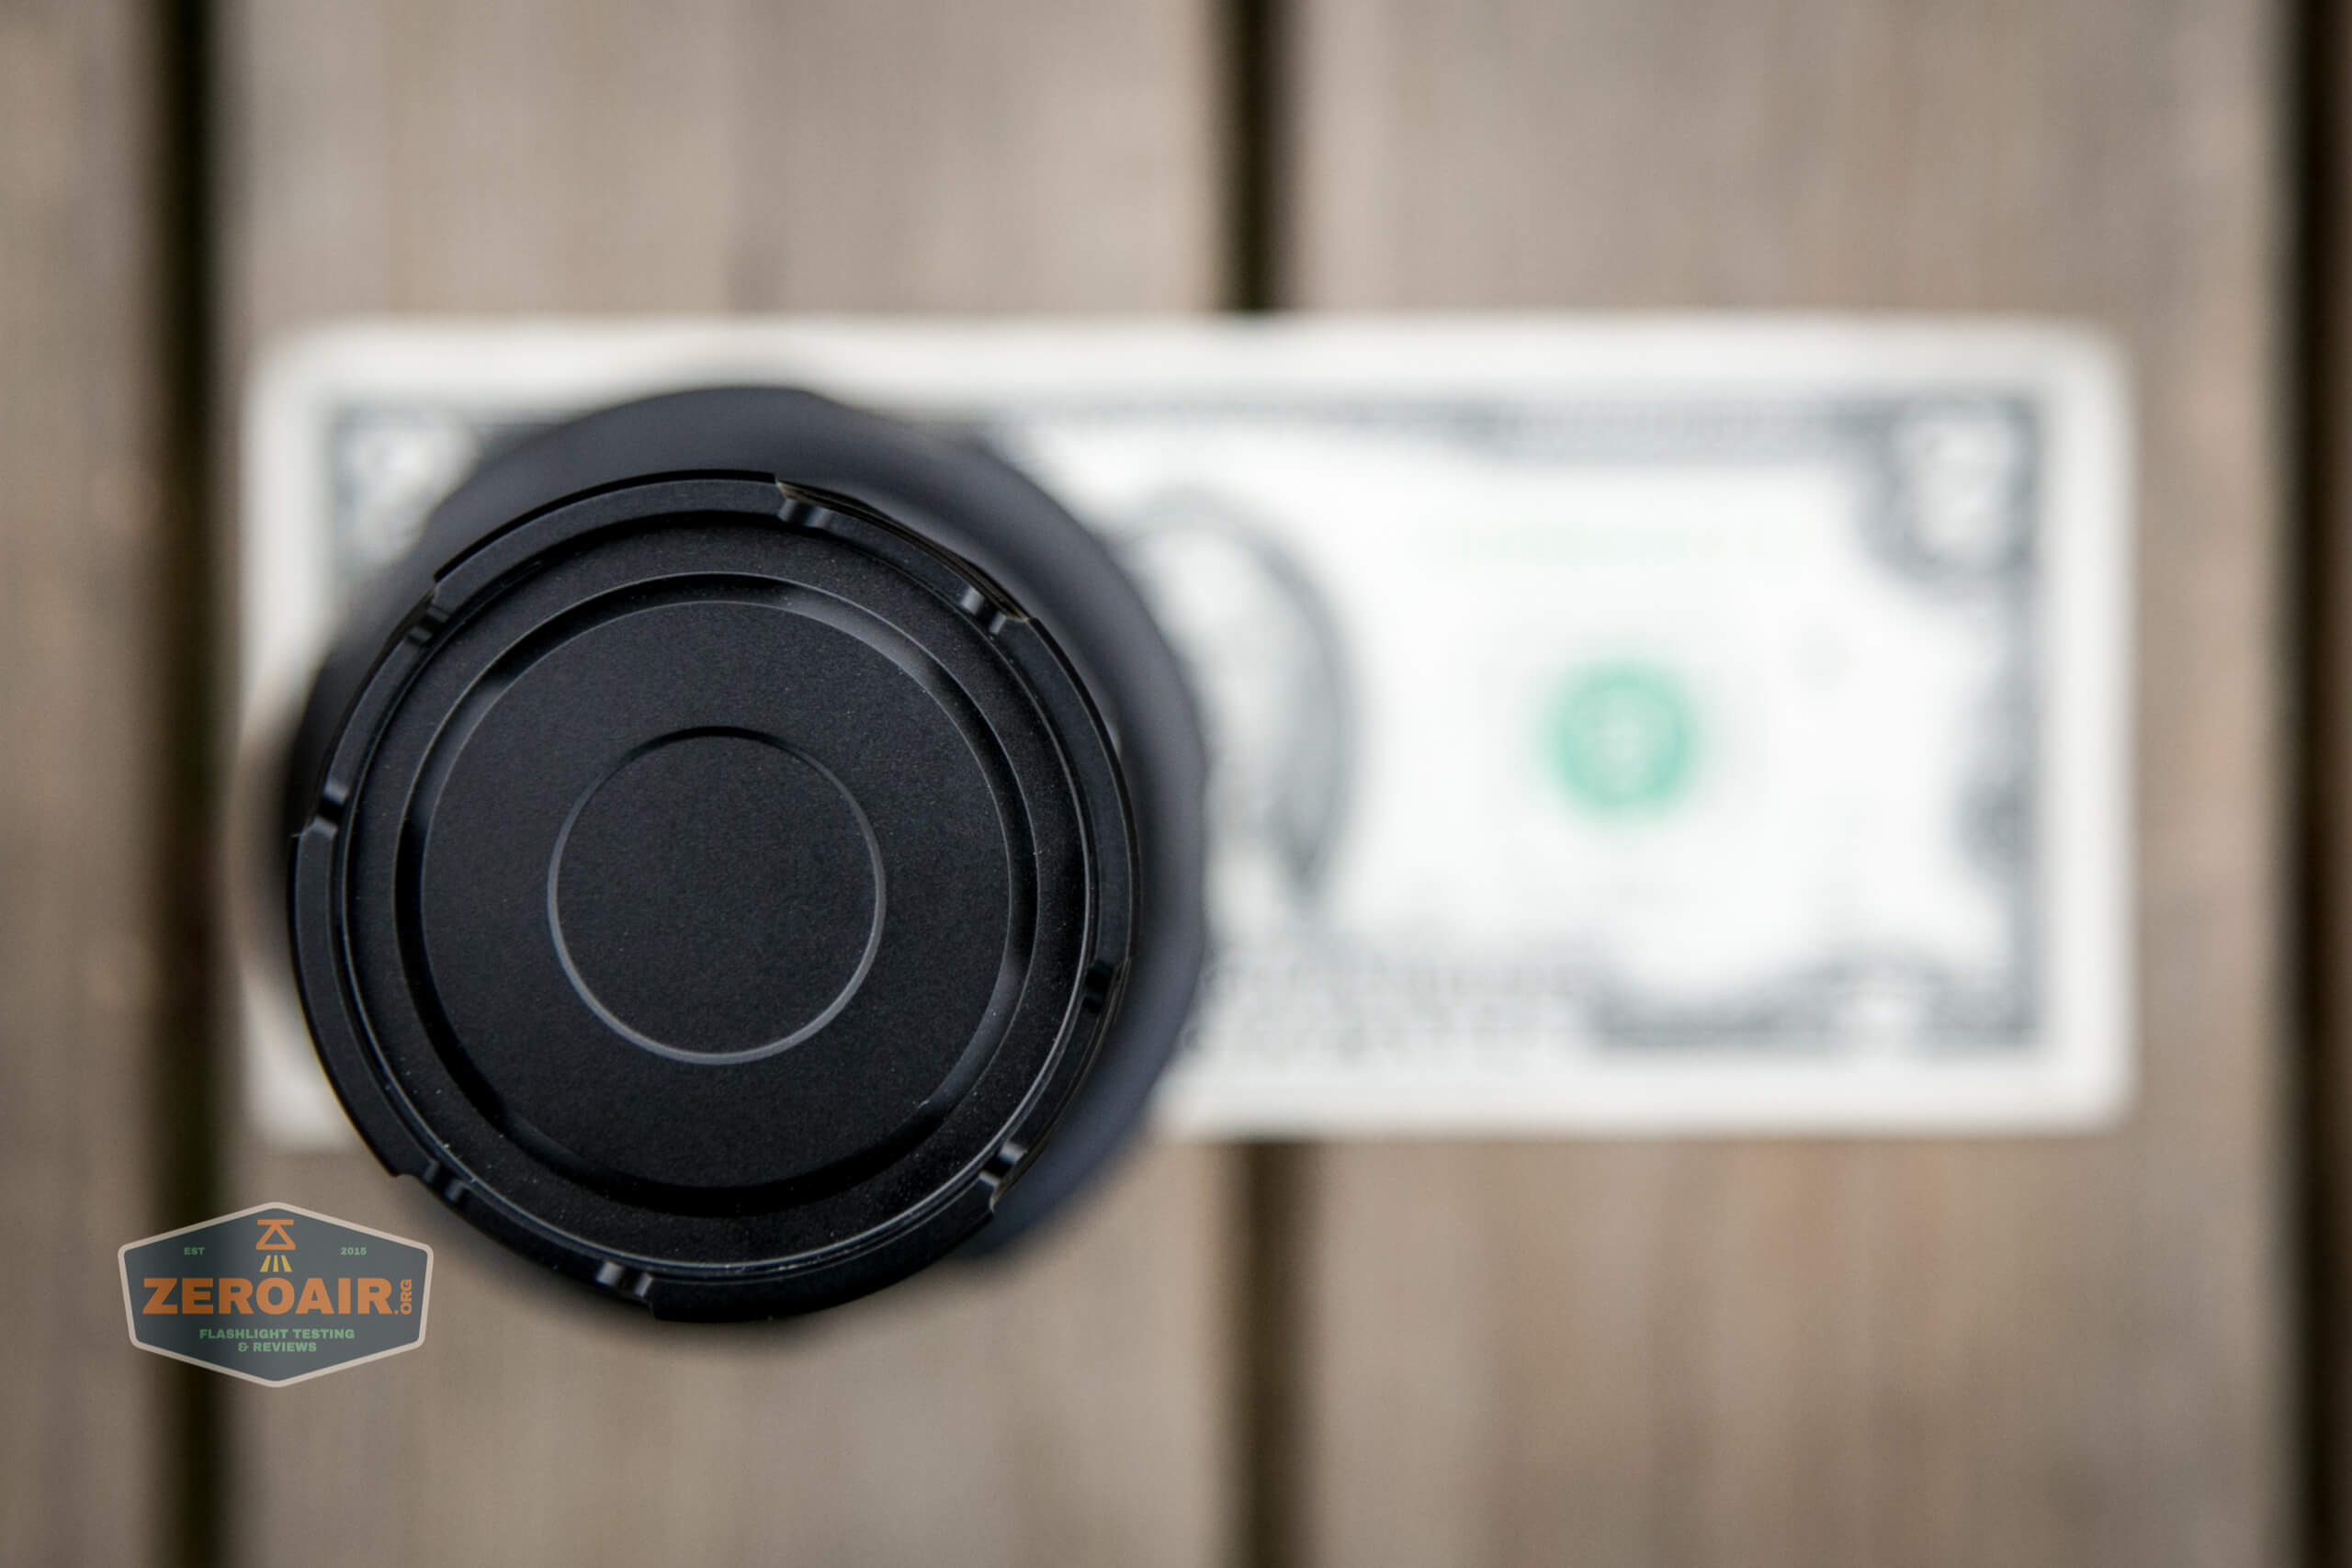
Here you can see the tailcap, which isn’t removable.

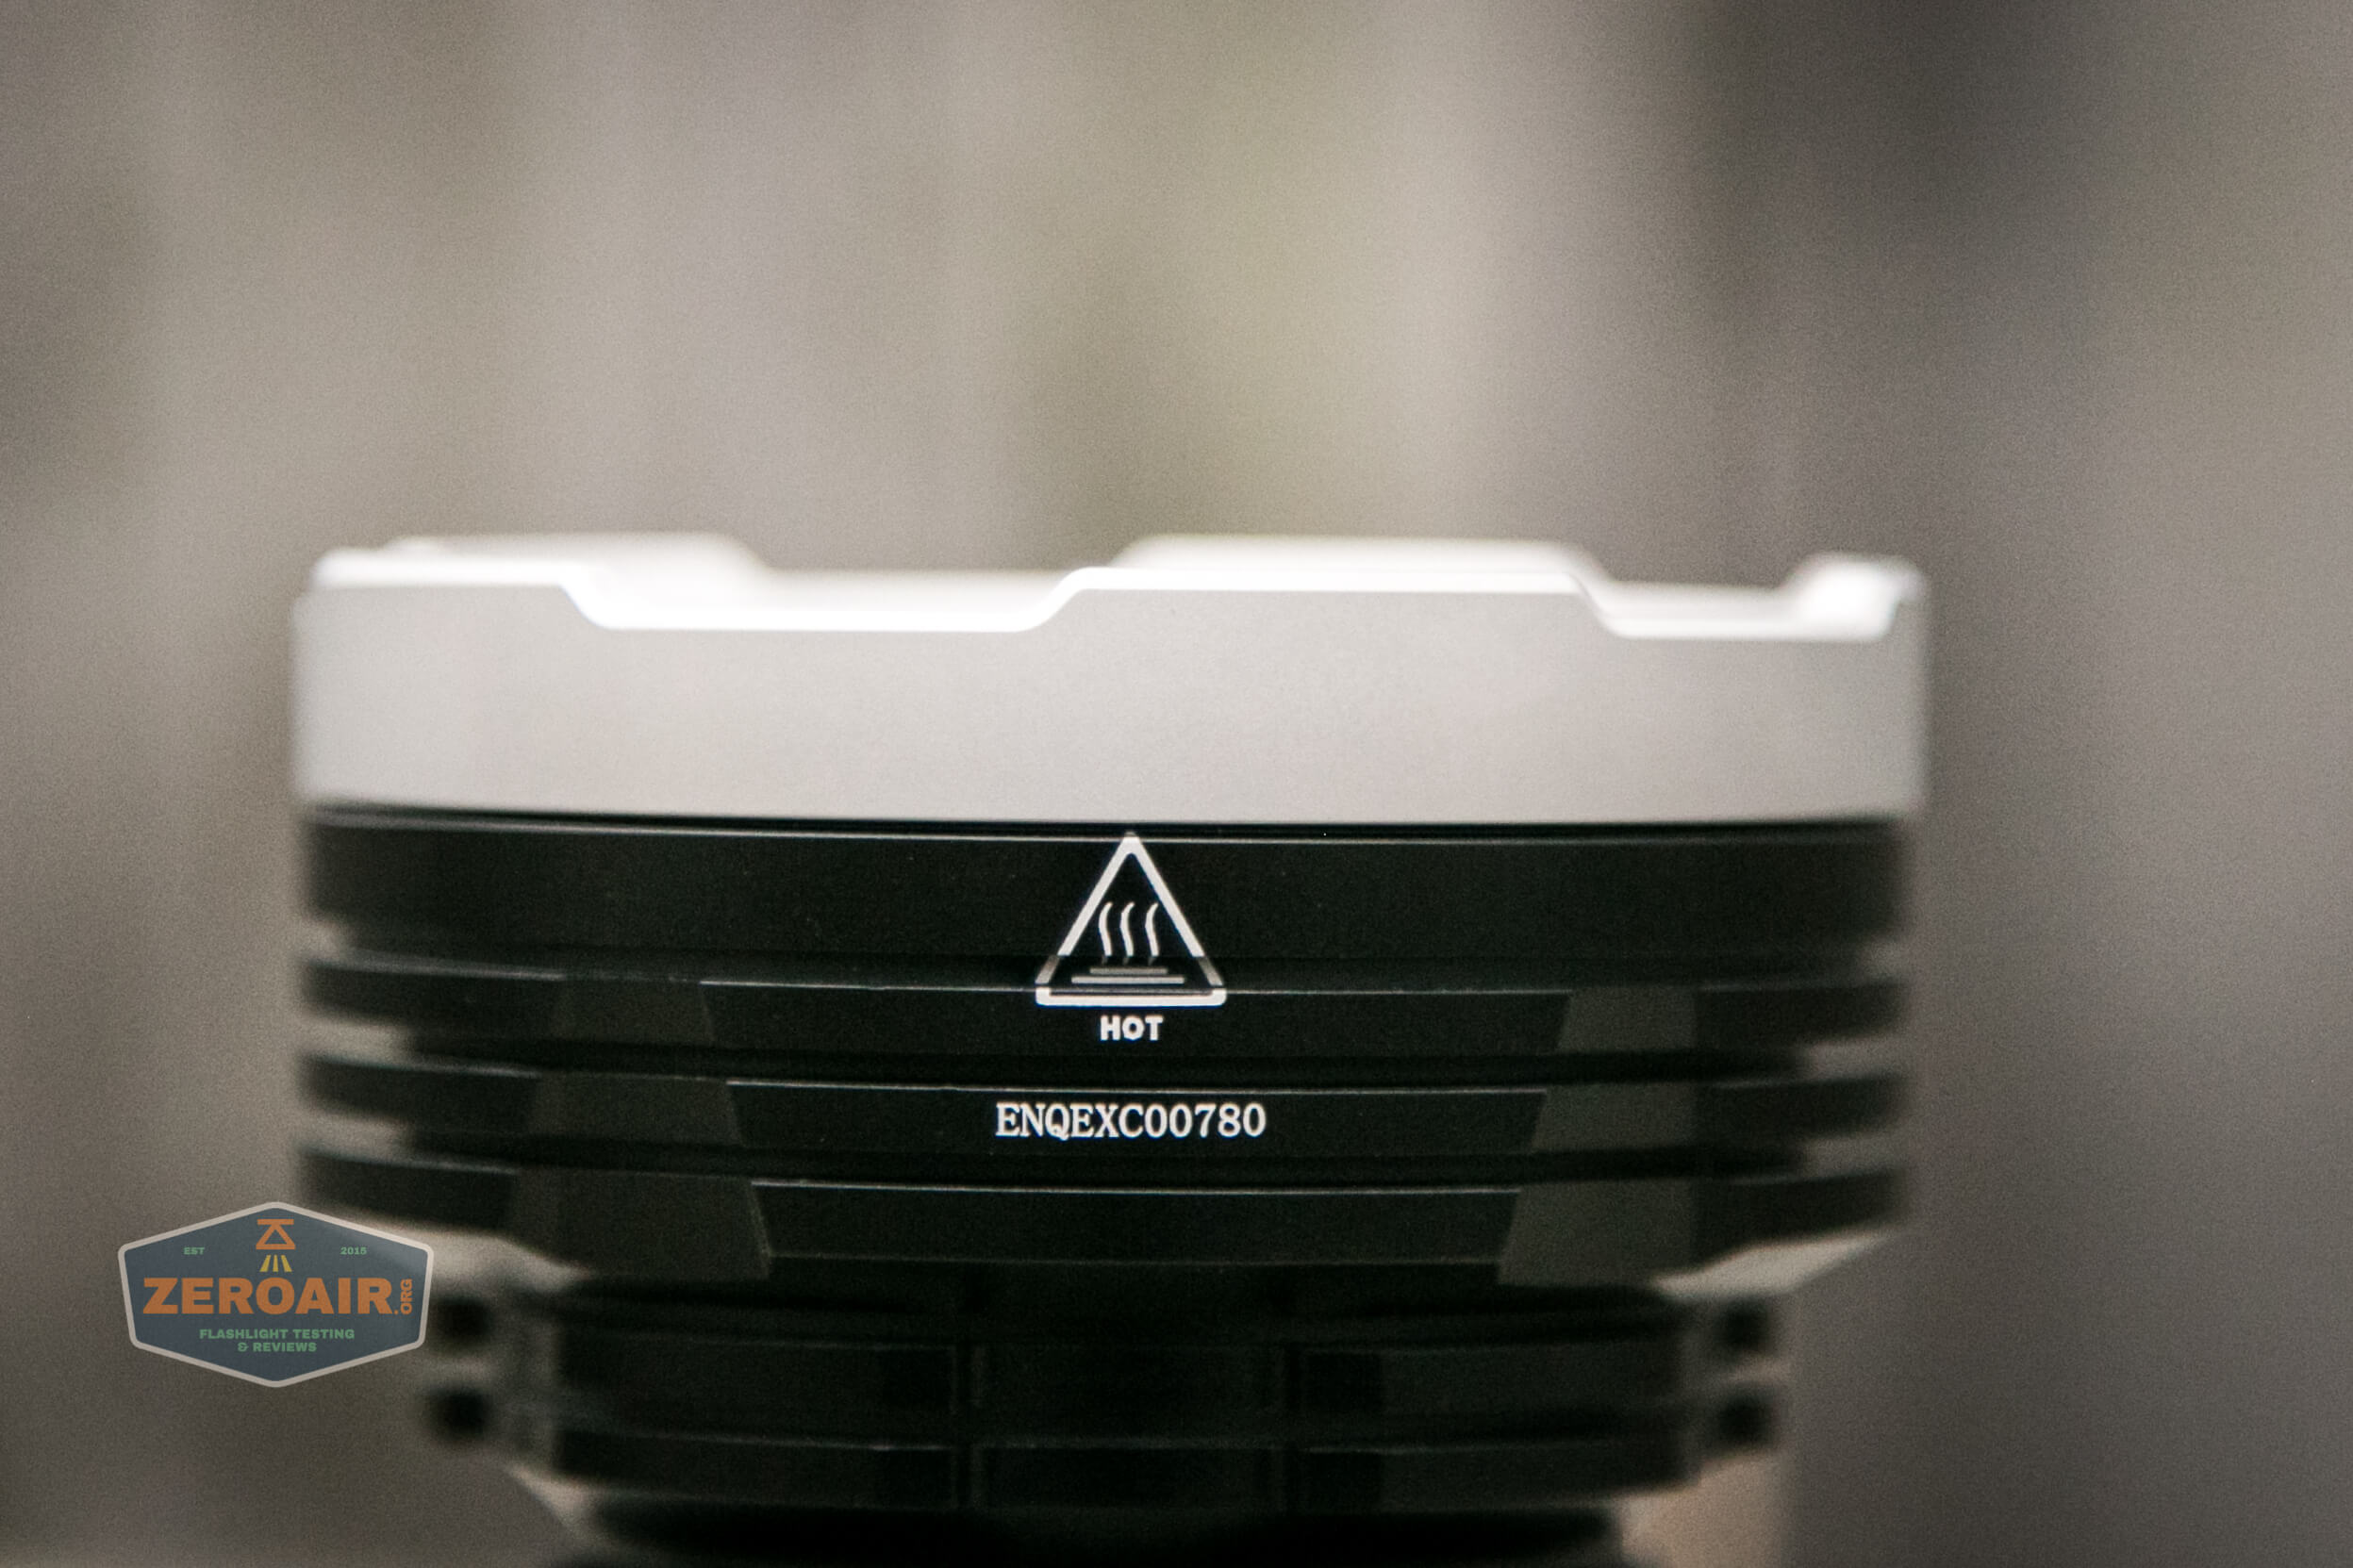
More details on the cooling fins. Those around the head, where most of the heat will be generated by the flood emitters, are deep.
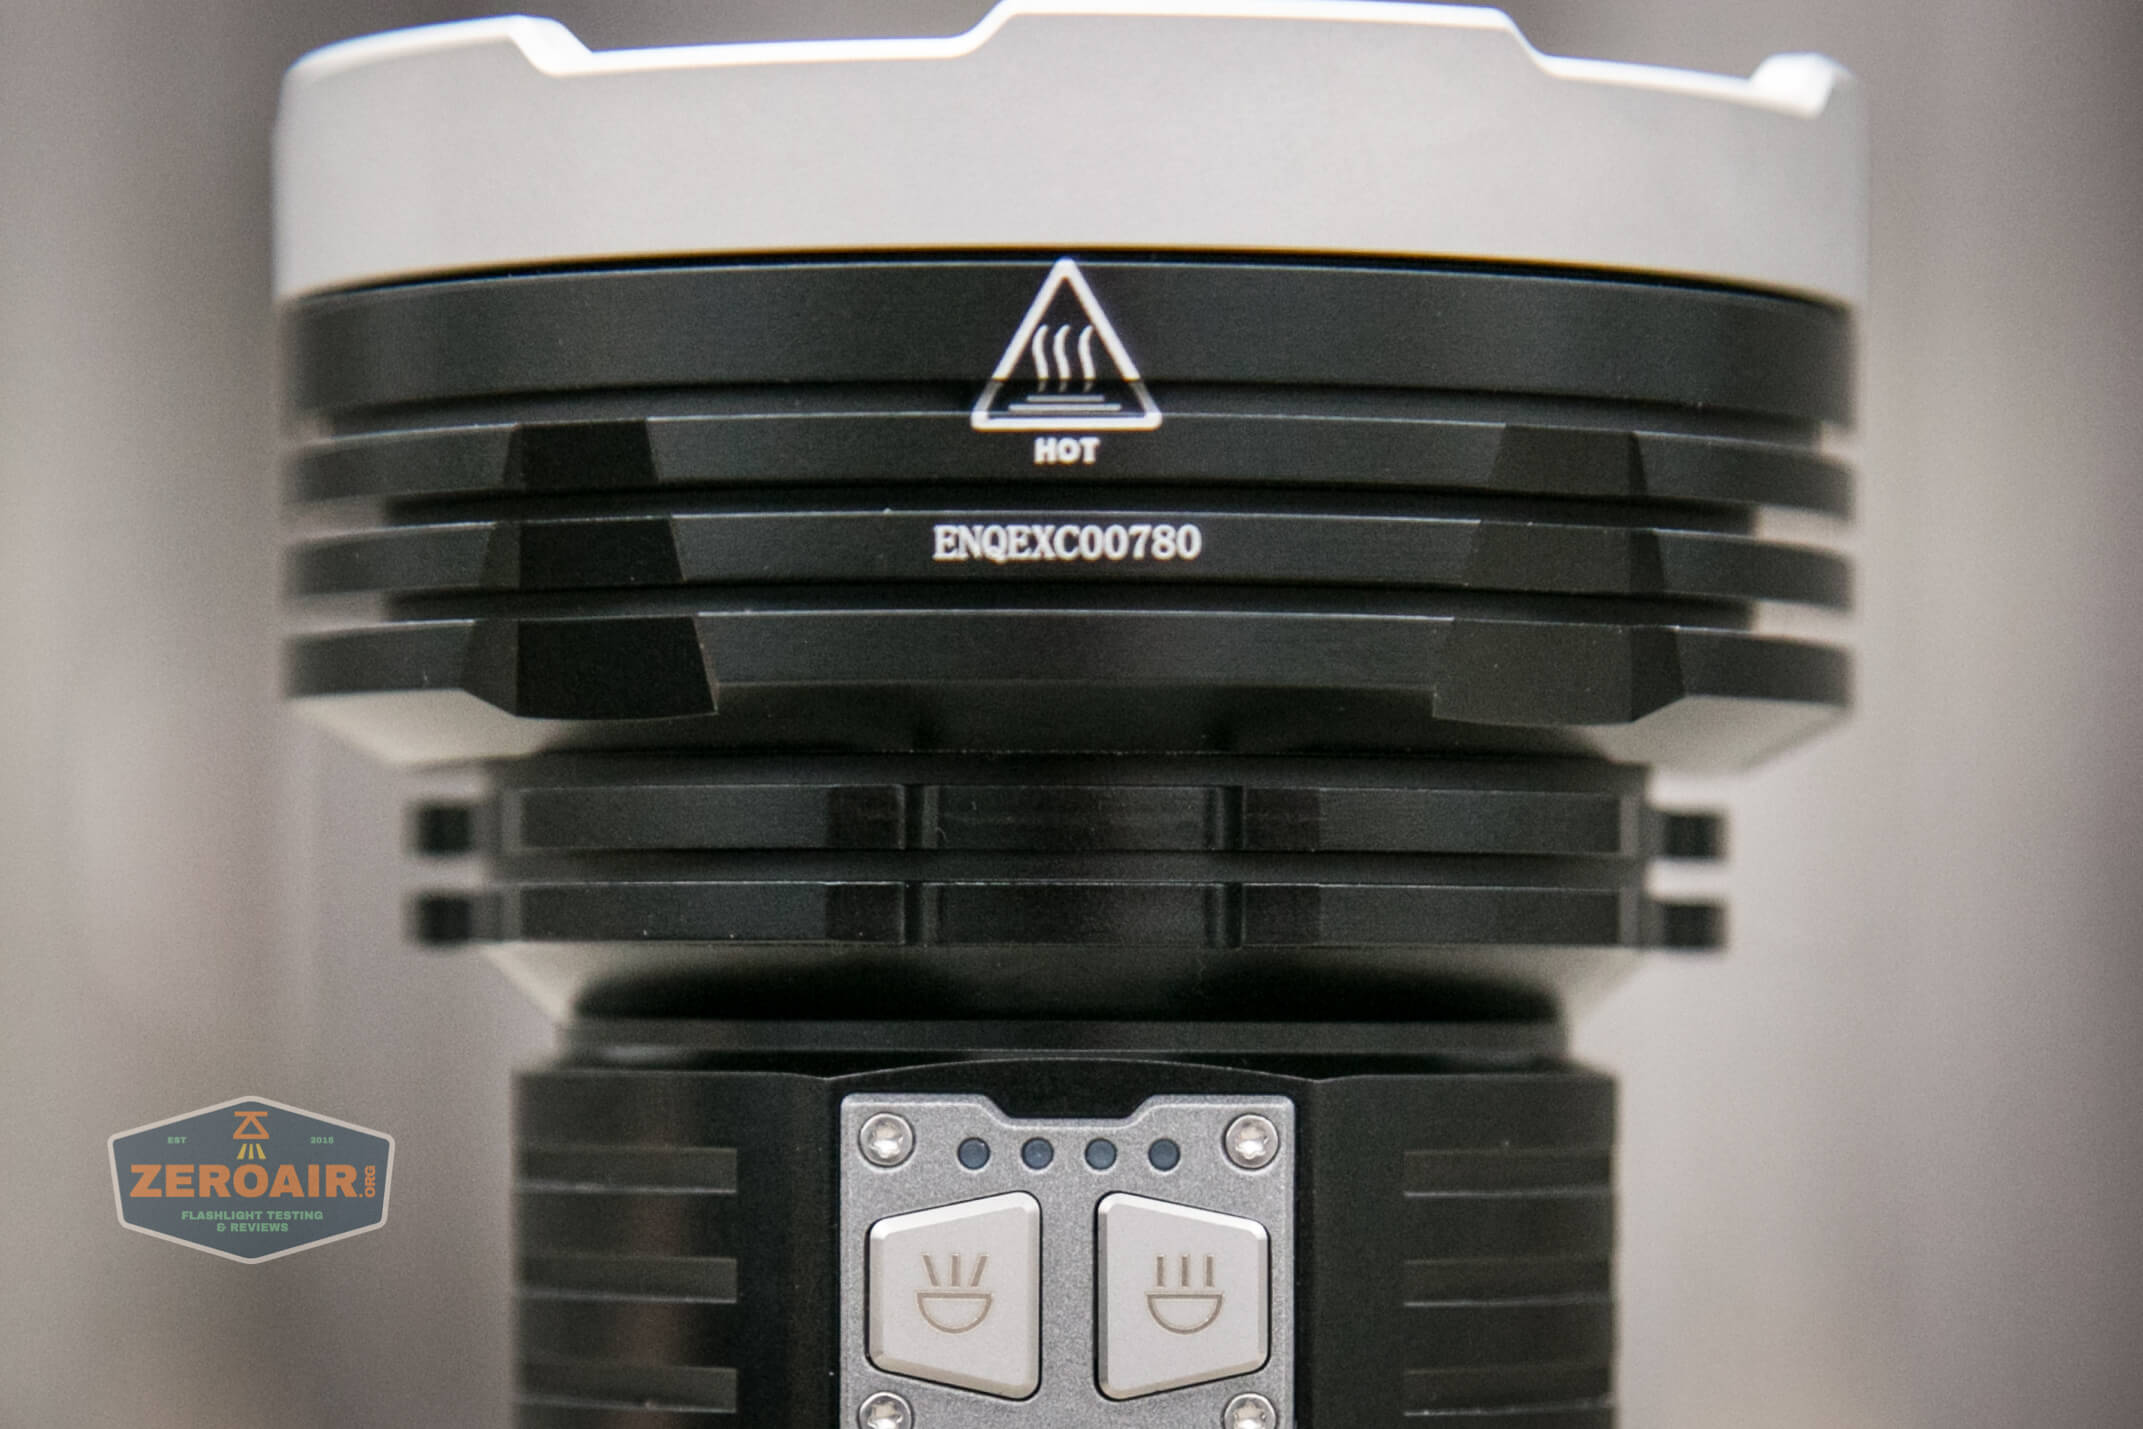
Cooling fins around the switch and charge port (approximate depth of the spot emitter) aren’t quite as deep.
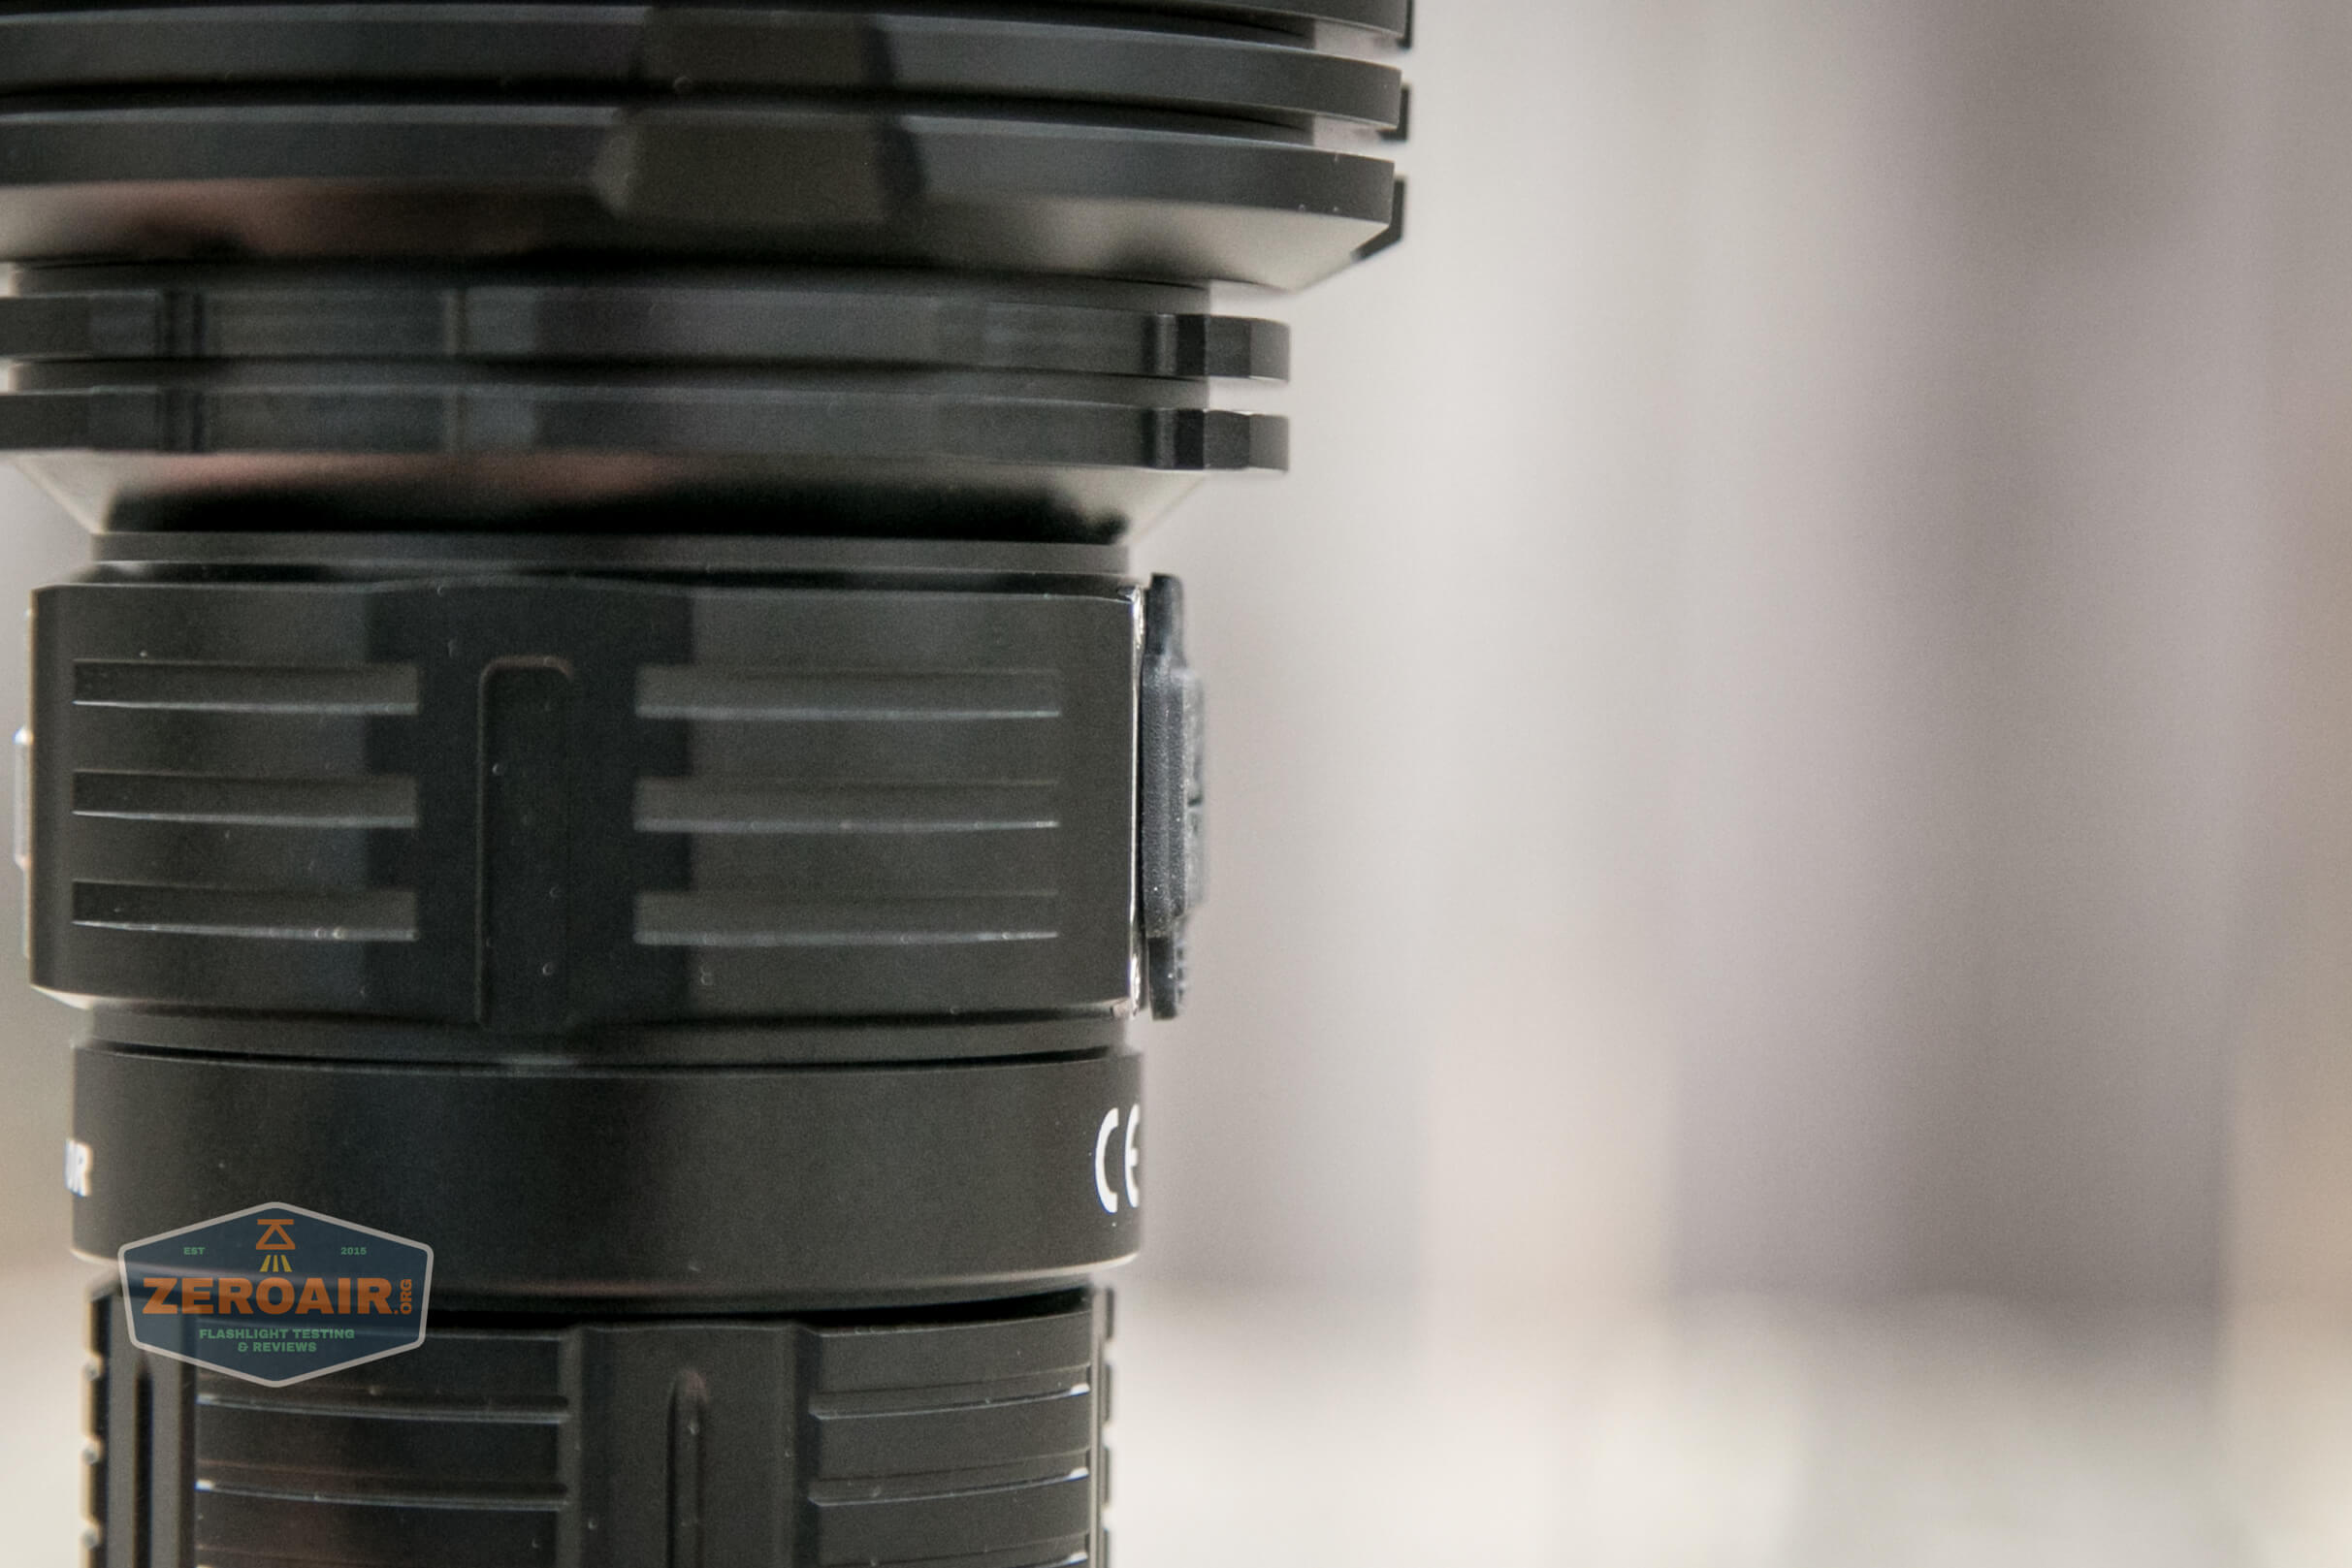
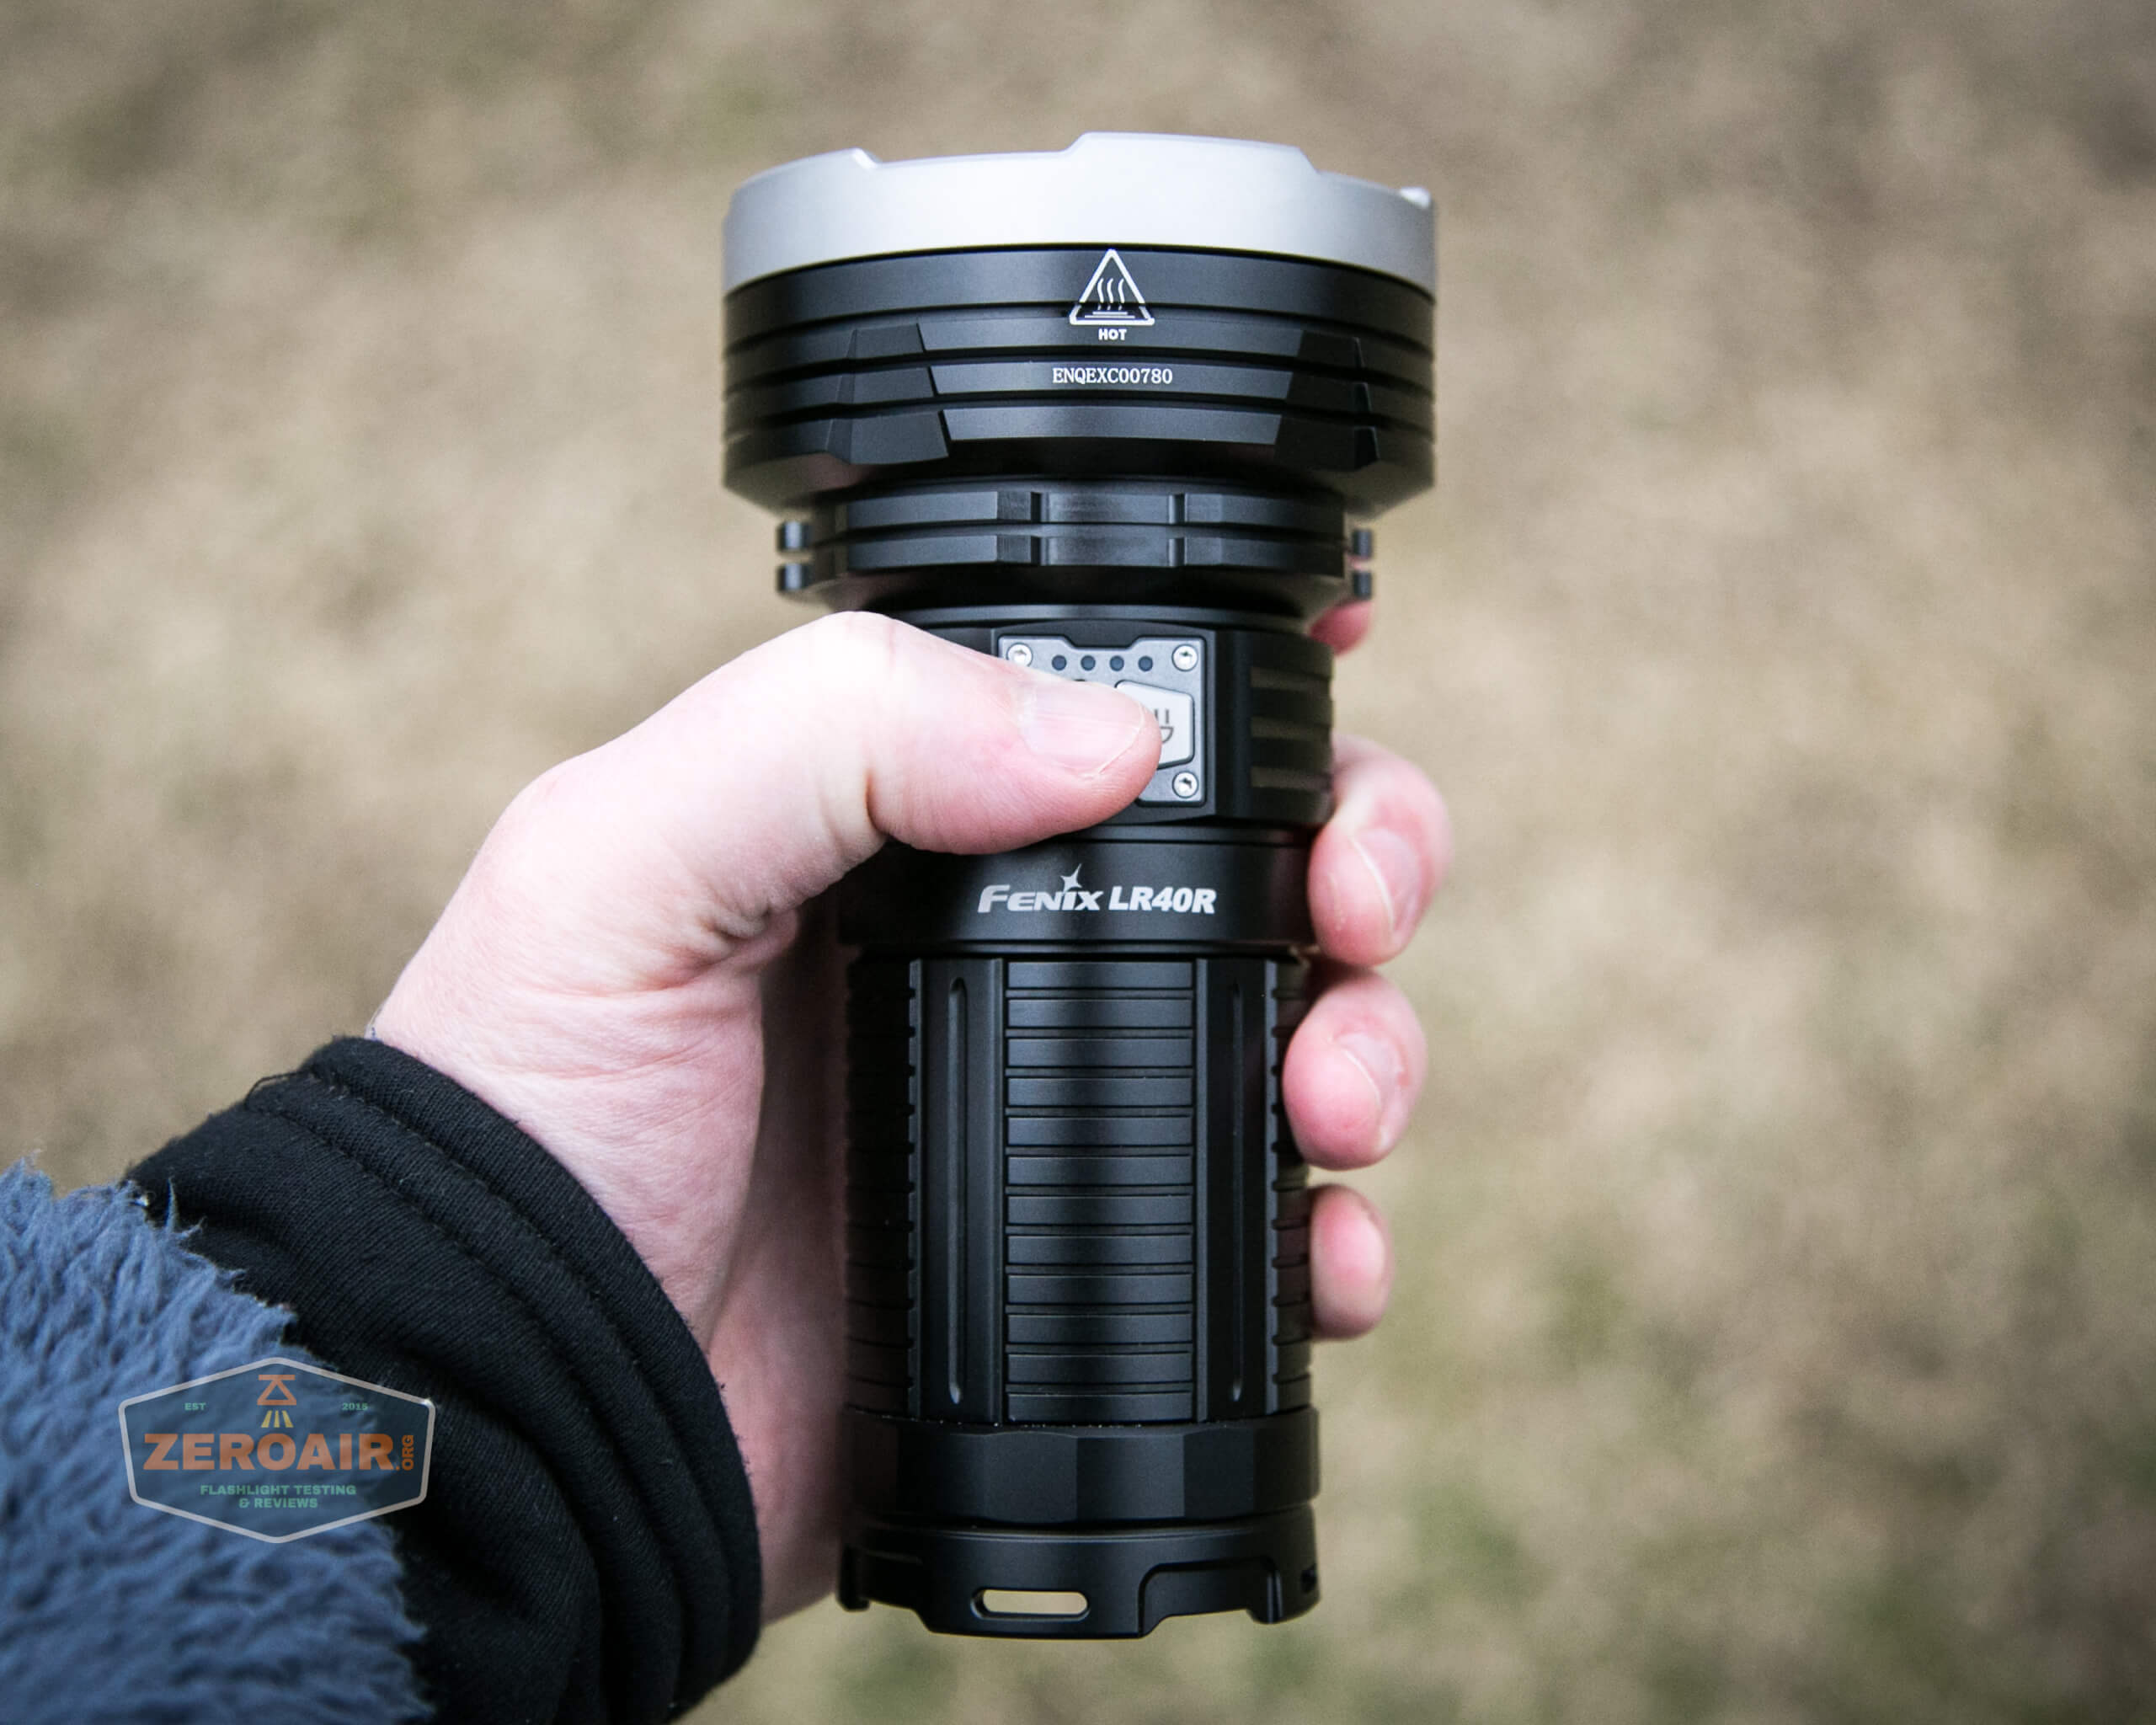
Both switches sit a little proud.
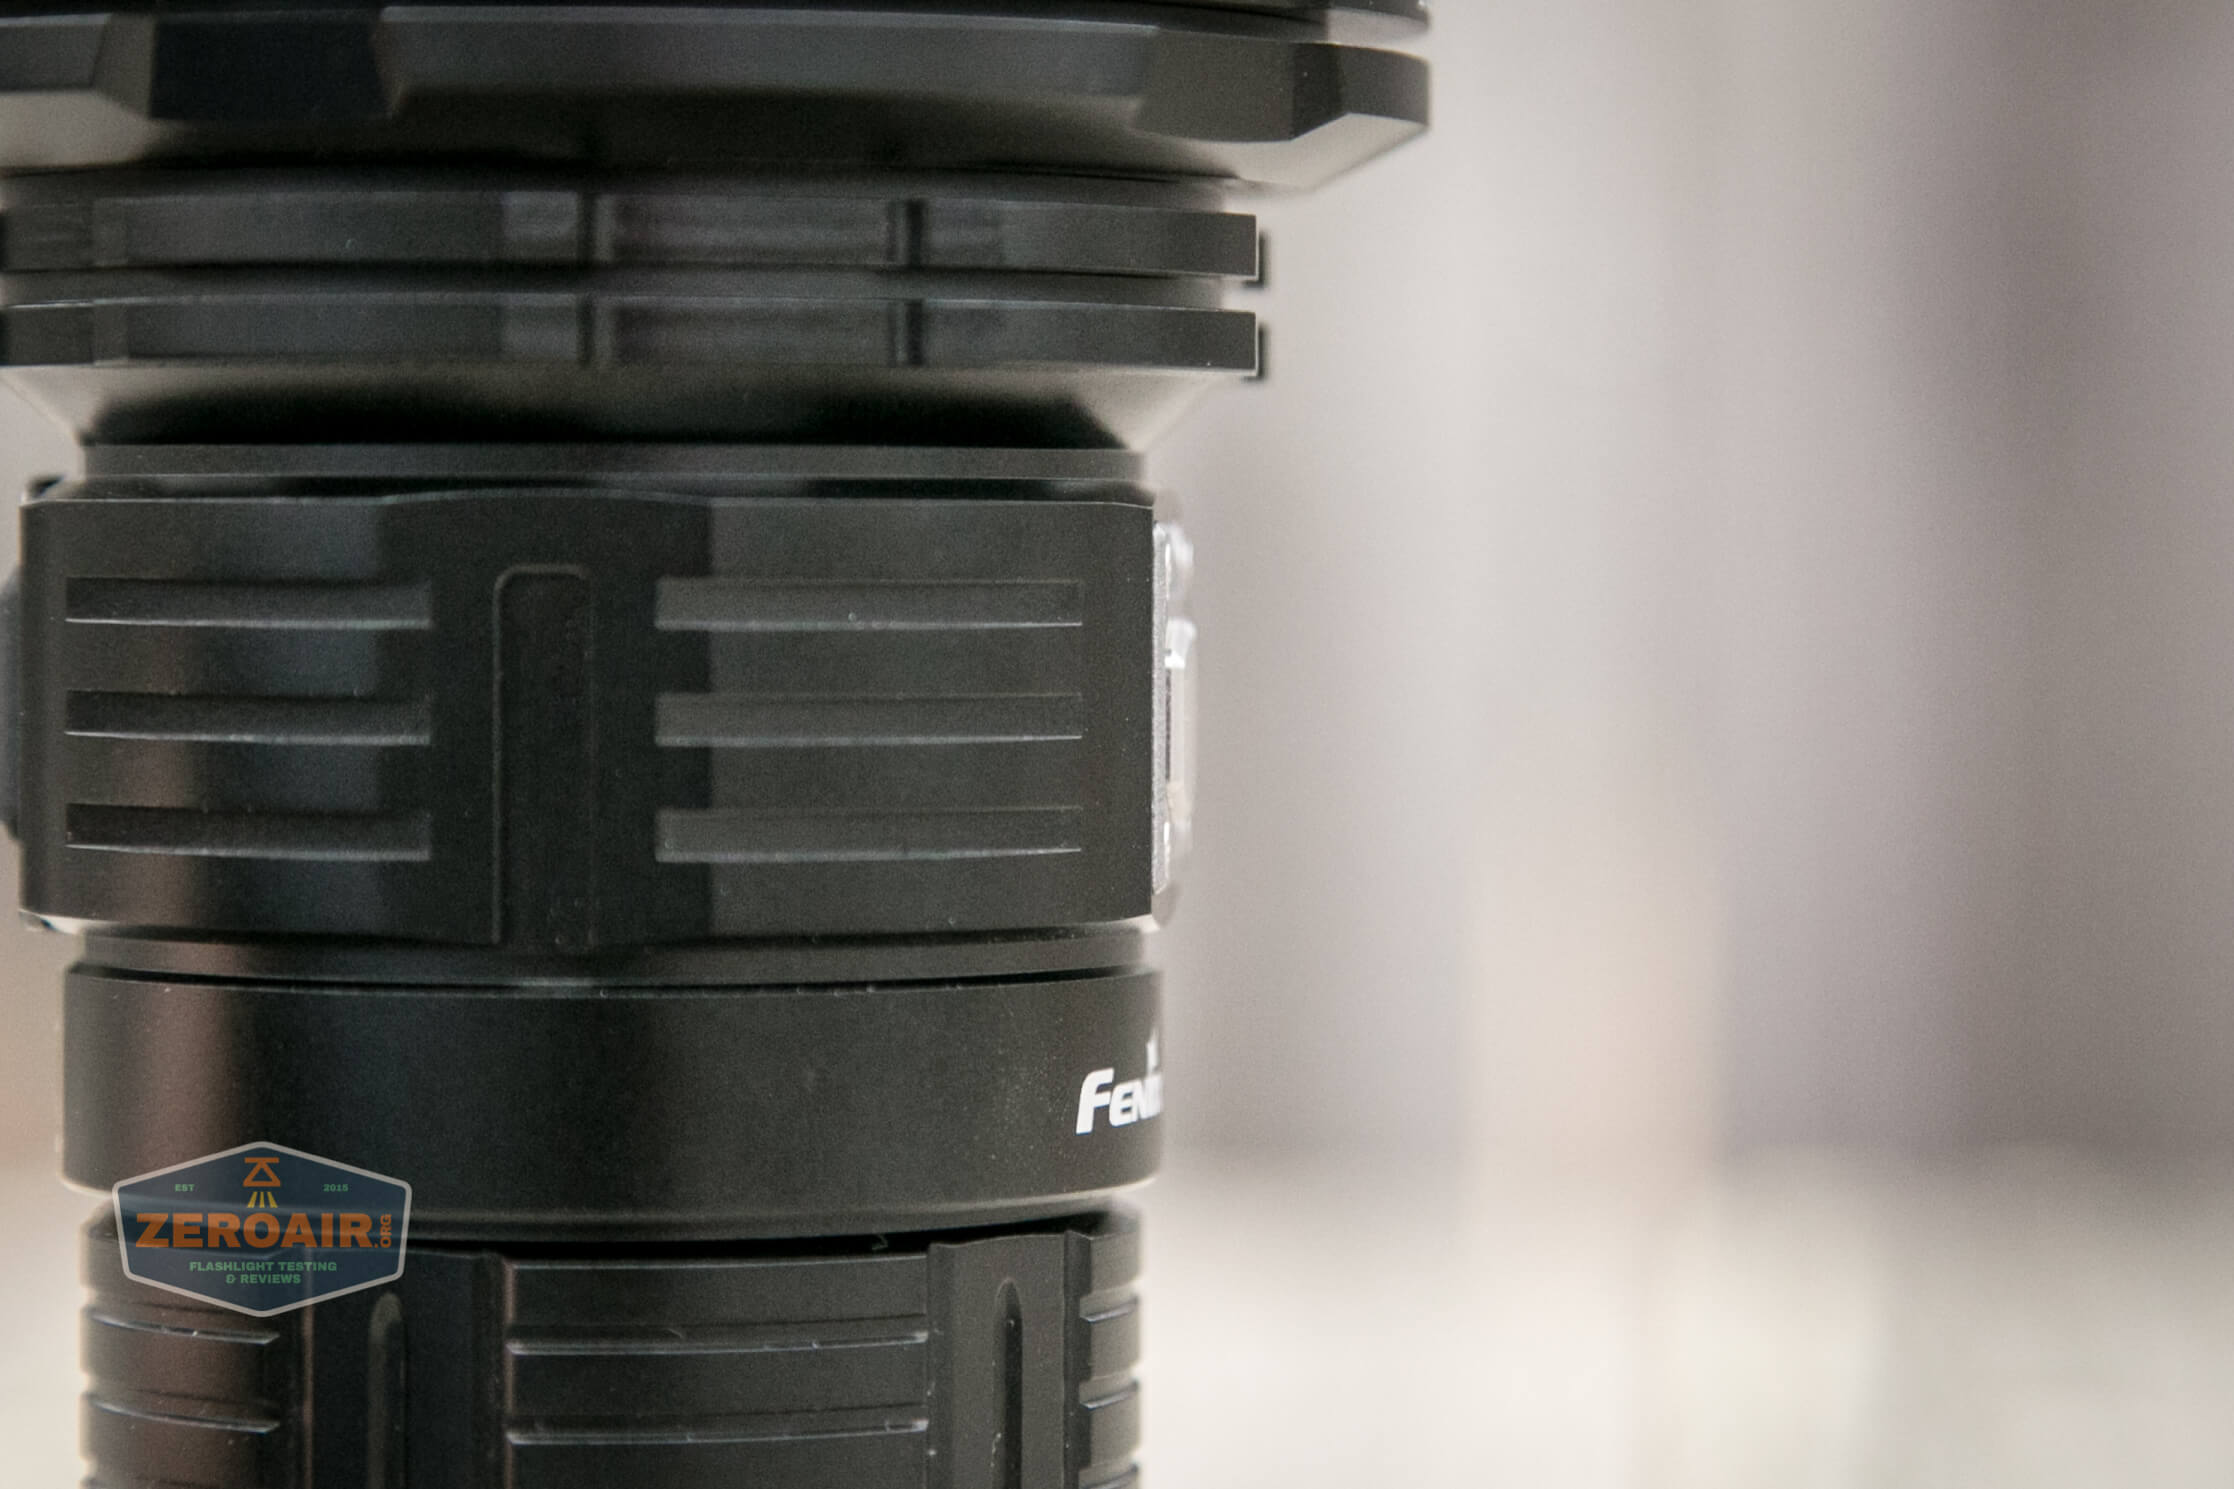
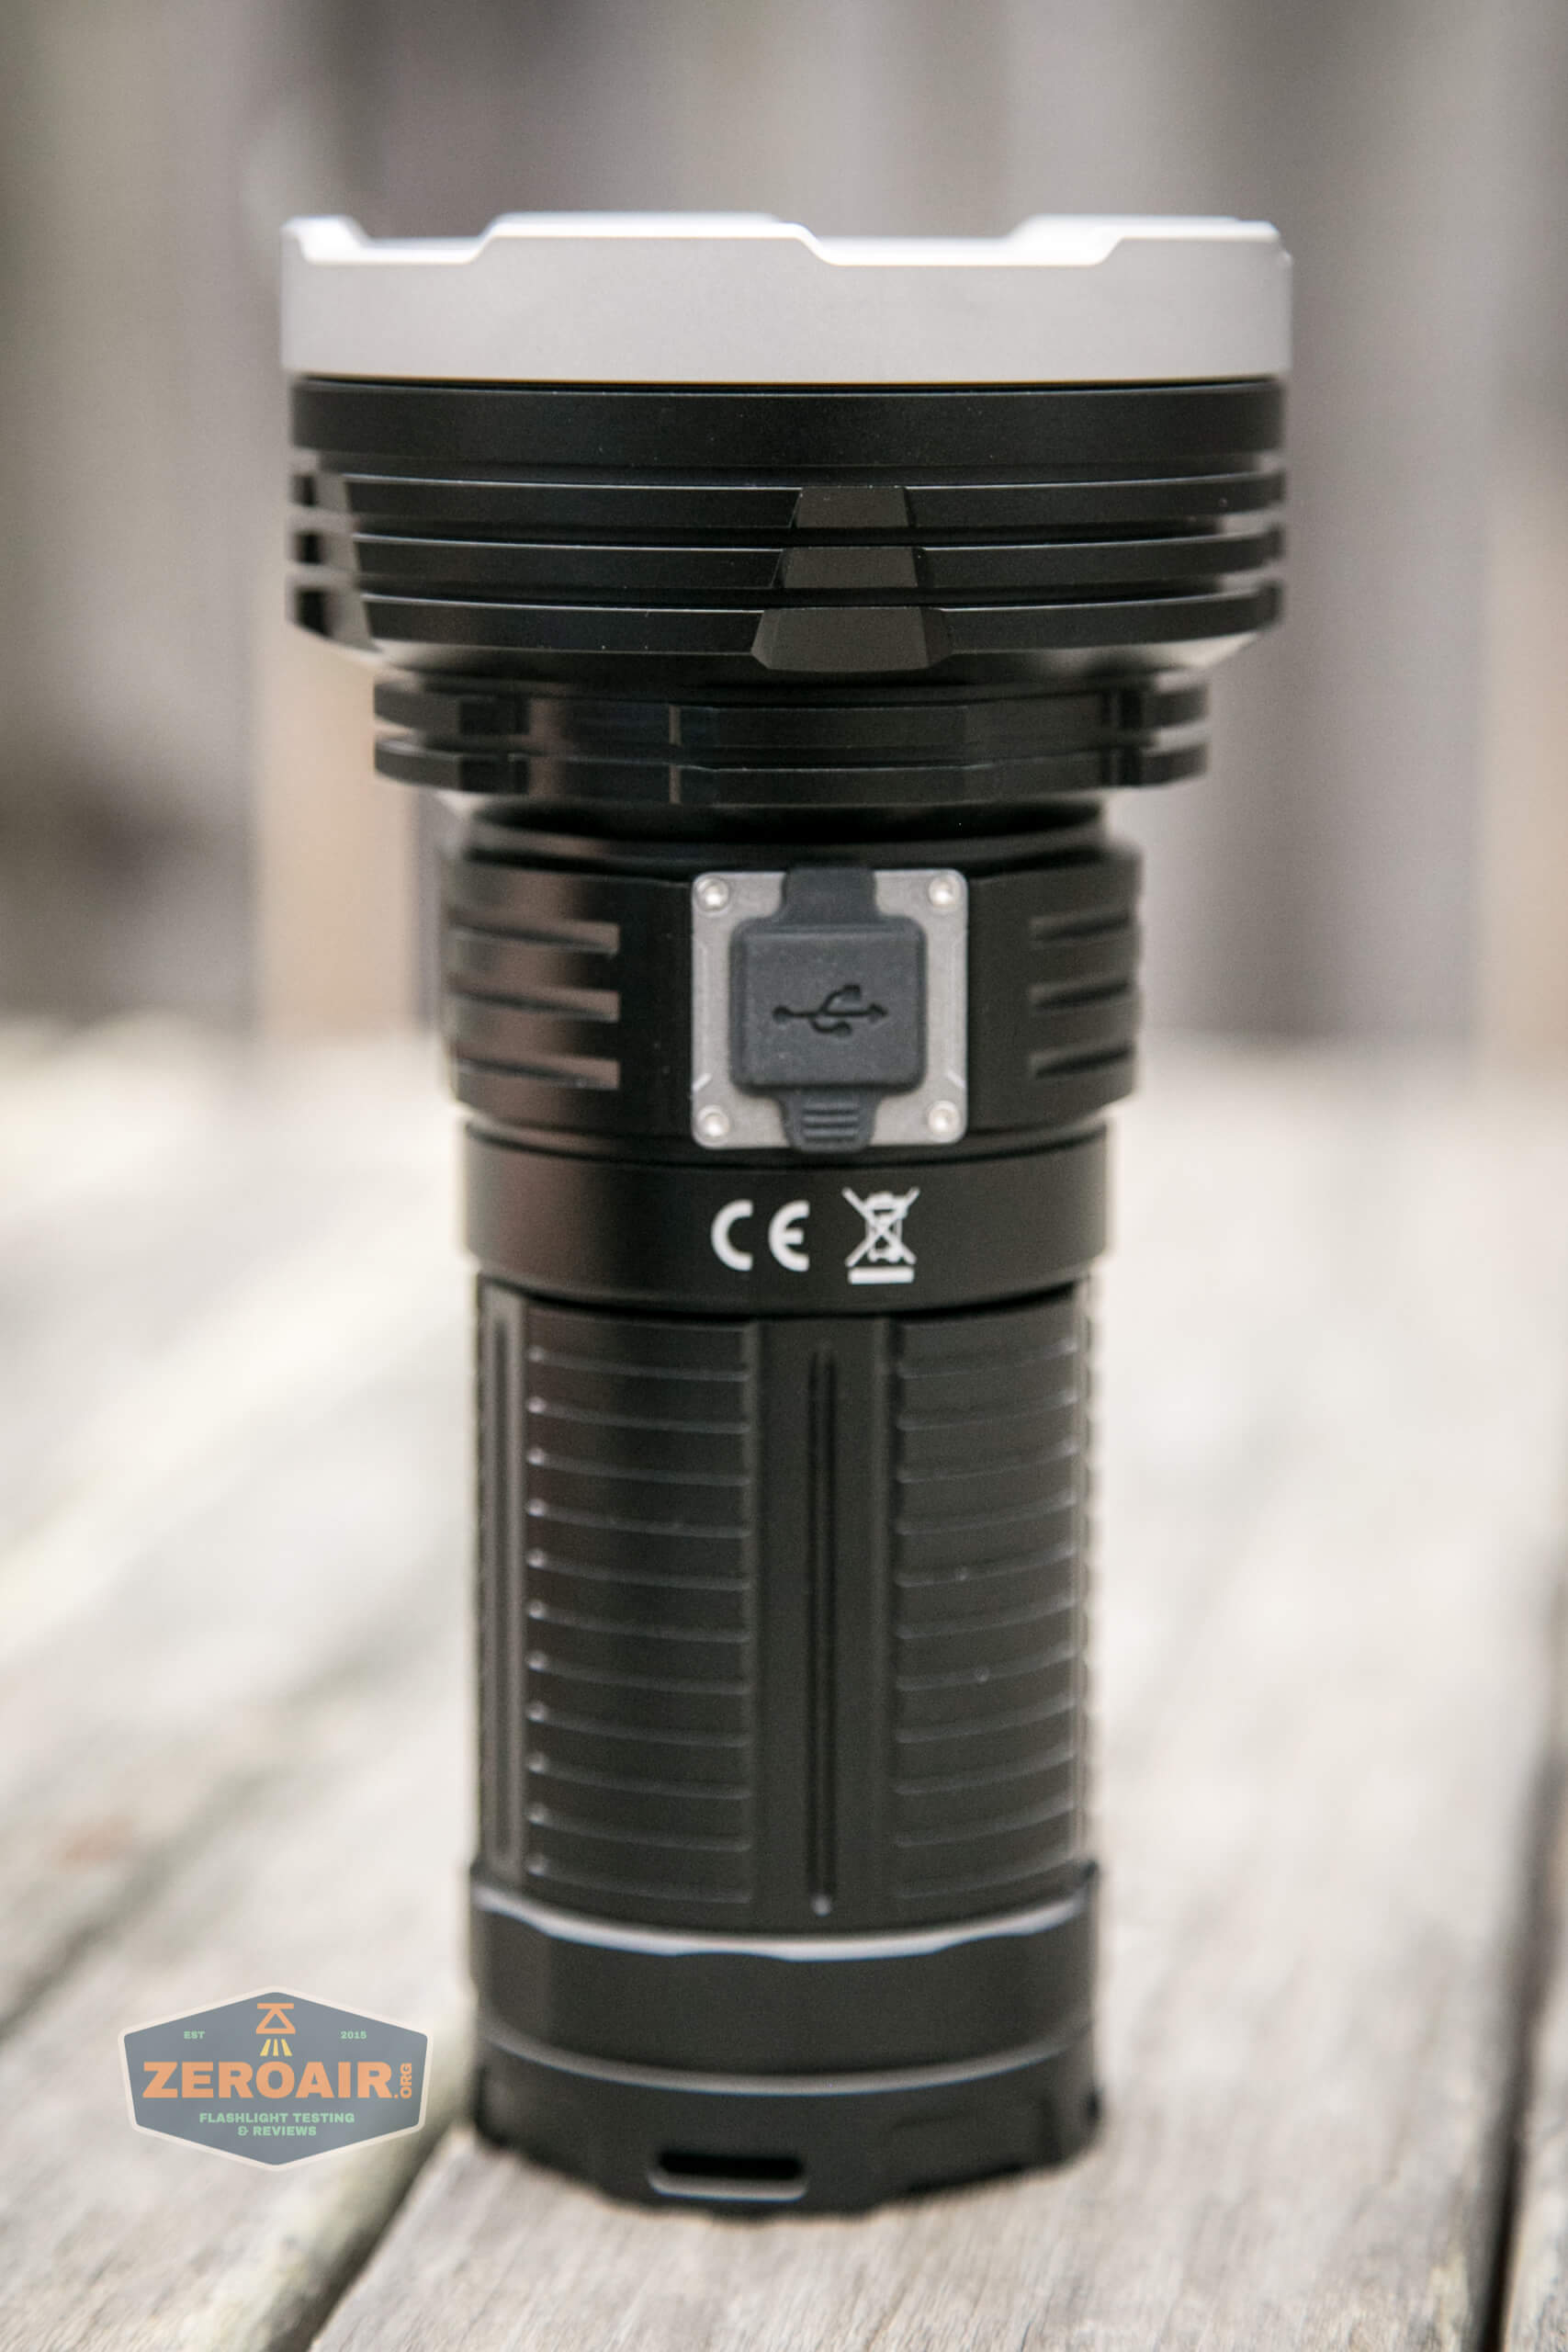
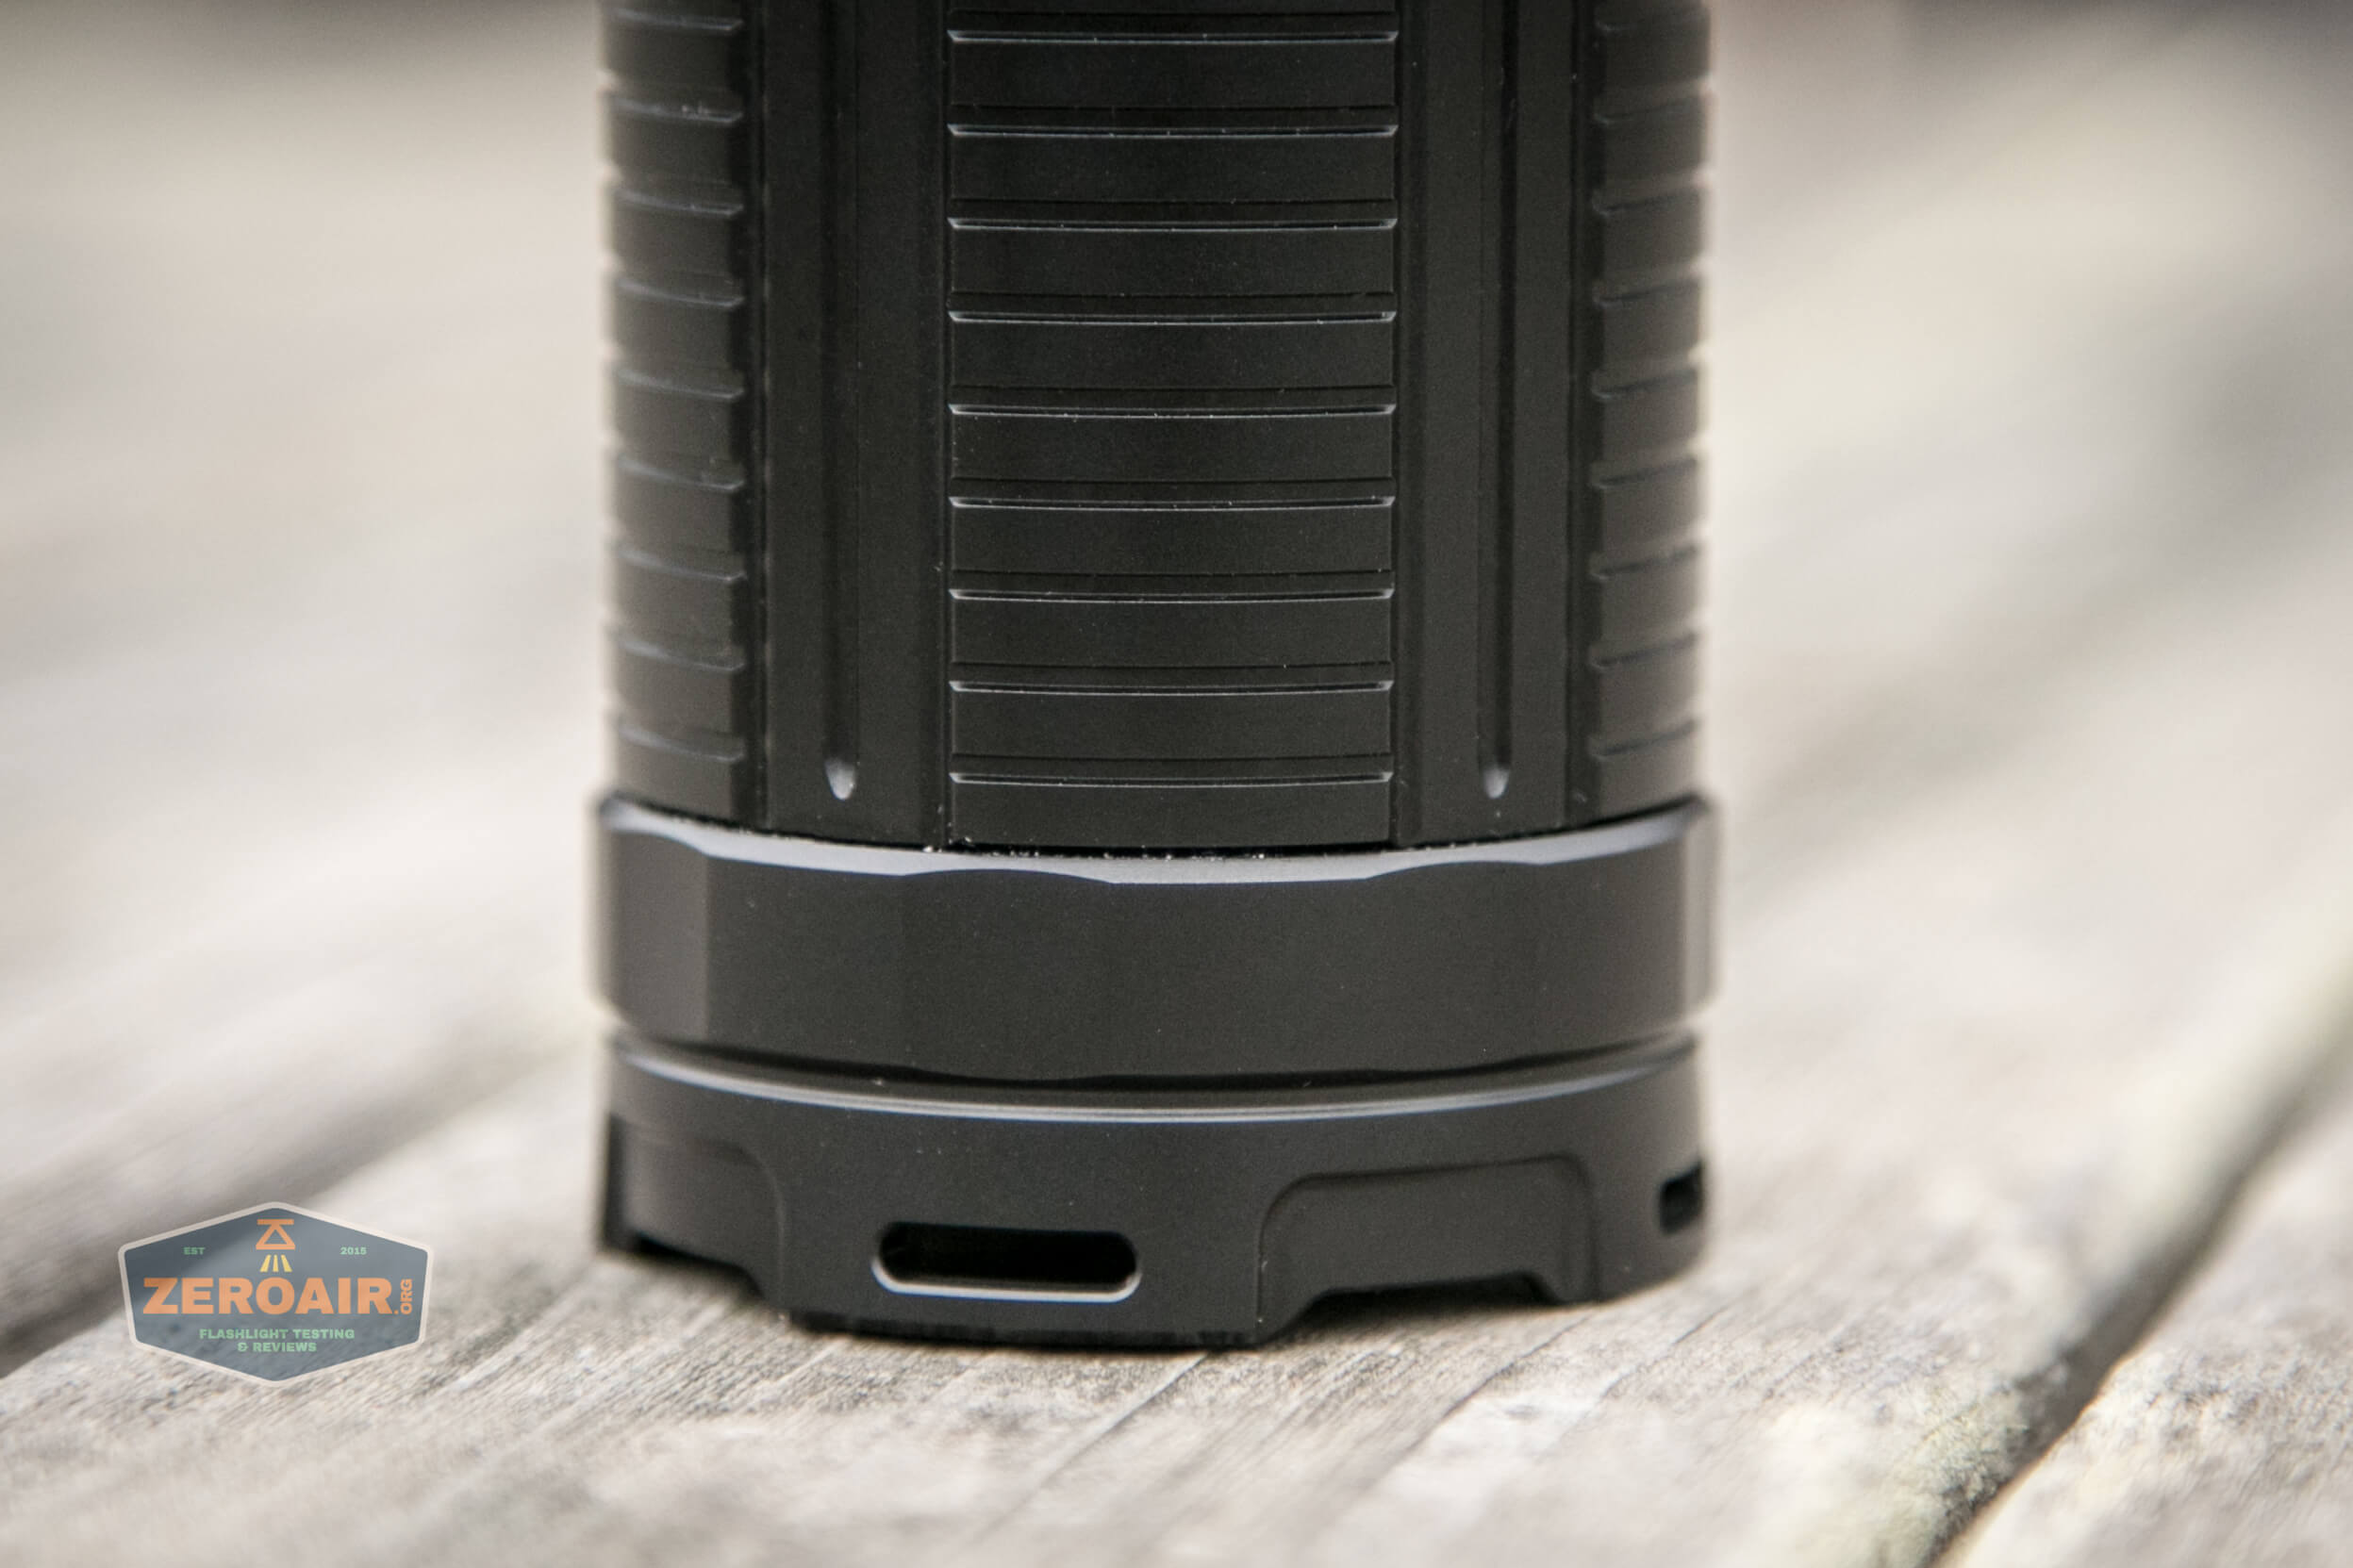
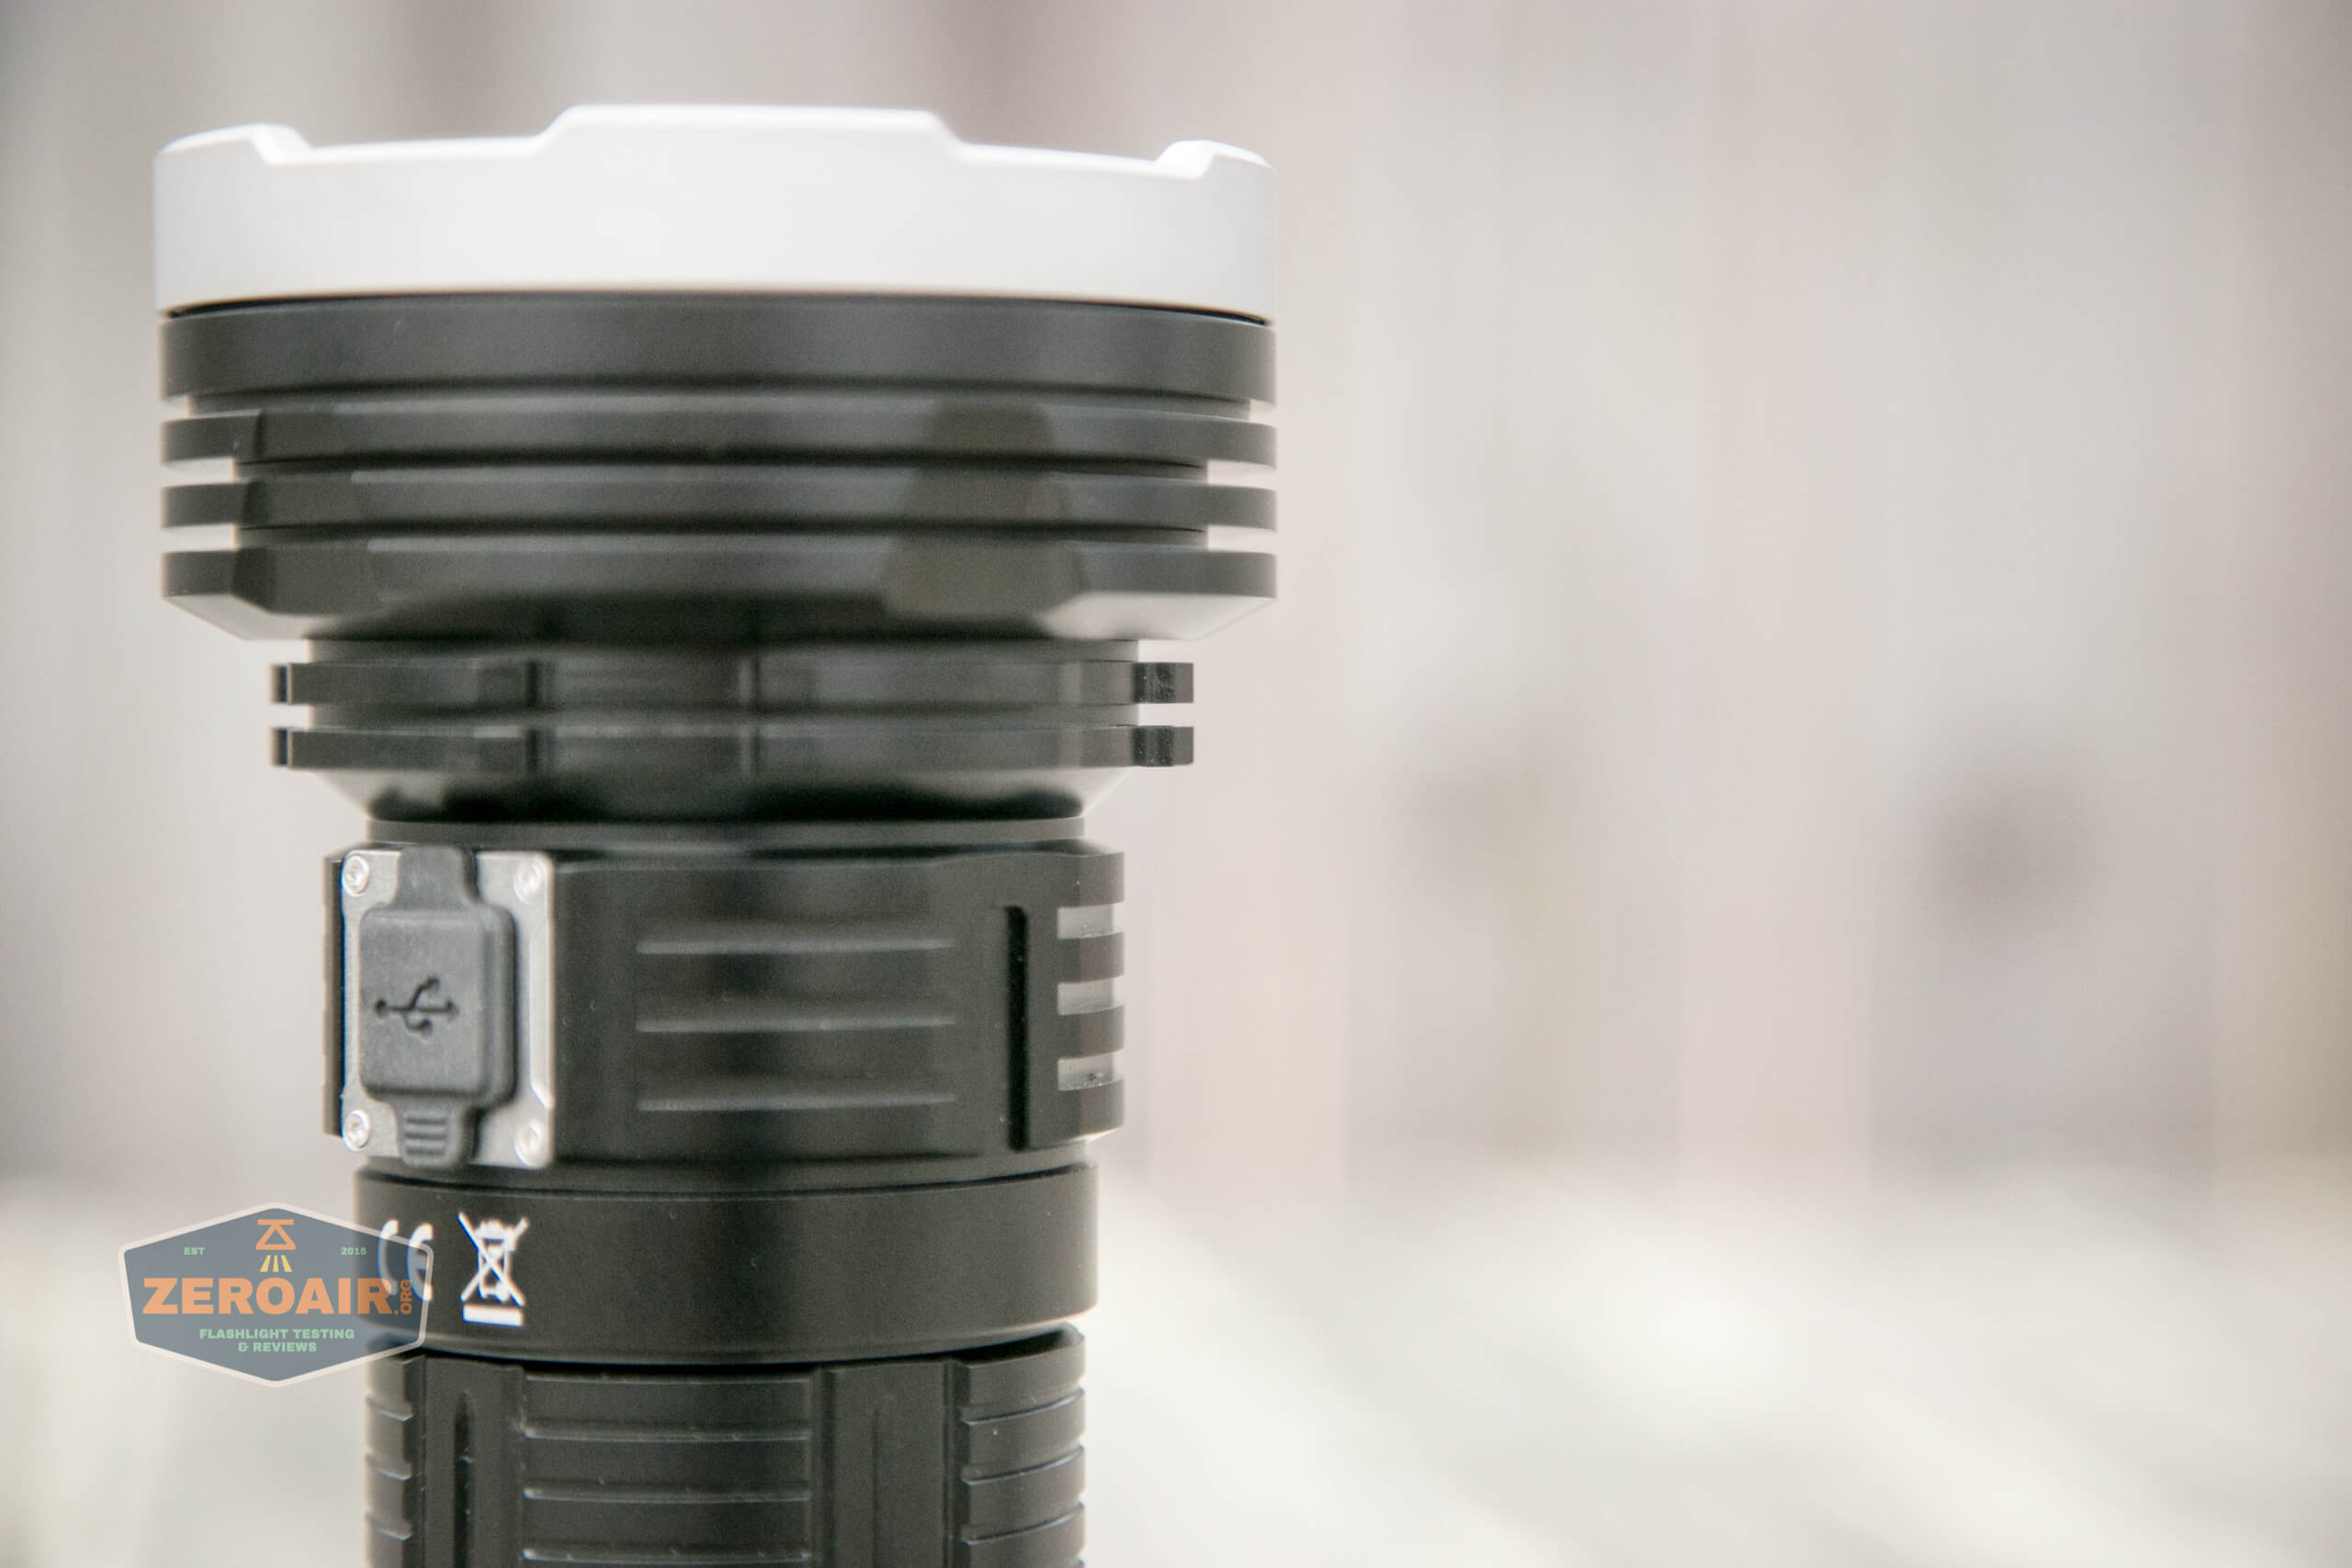
Fortunately, the charge port has a very accessible press-in cover. Sometimes I have to fight with these things, but this one is a pleasure to use.
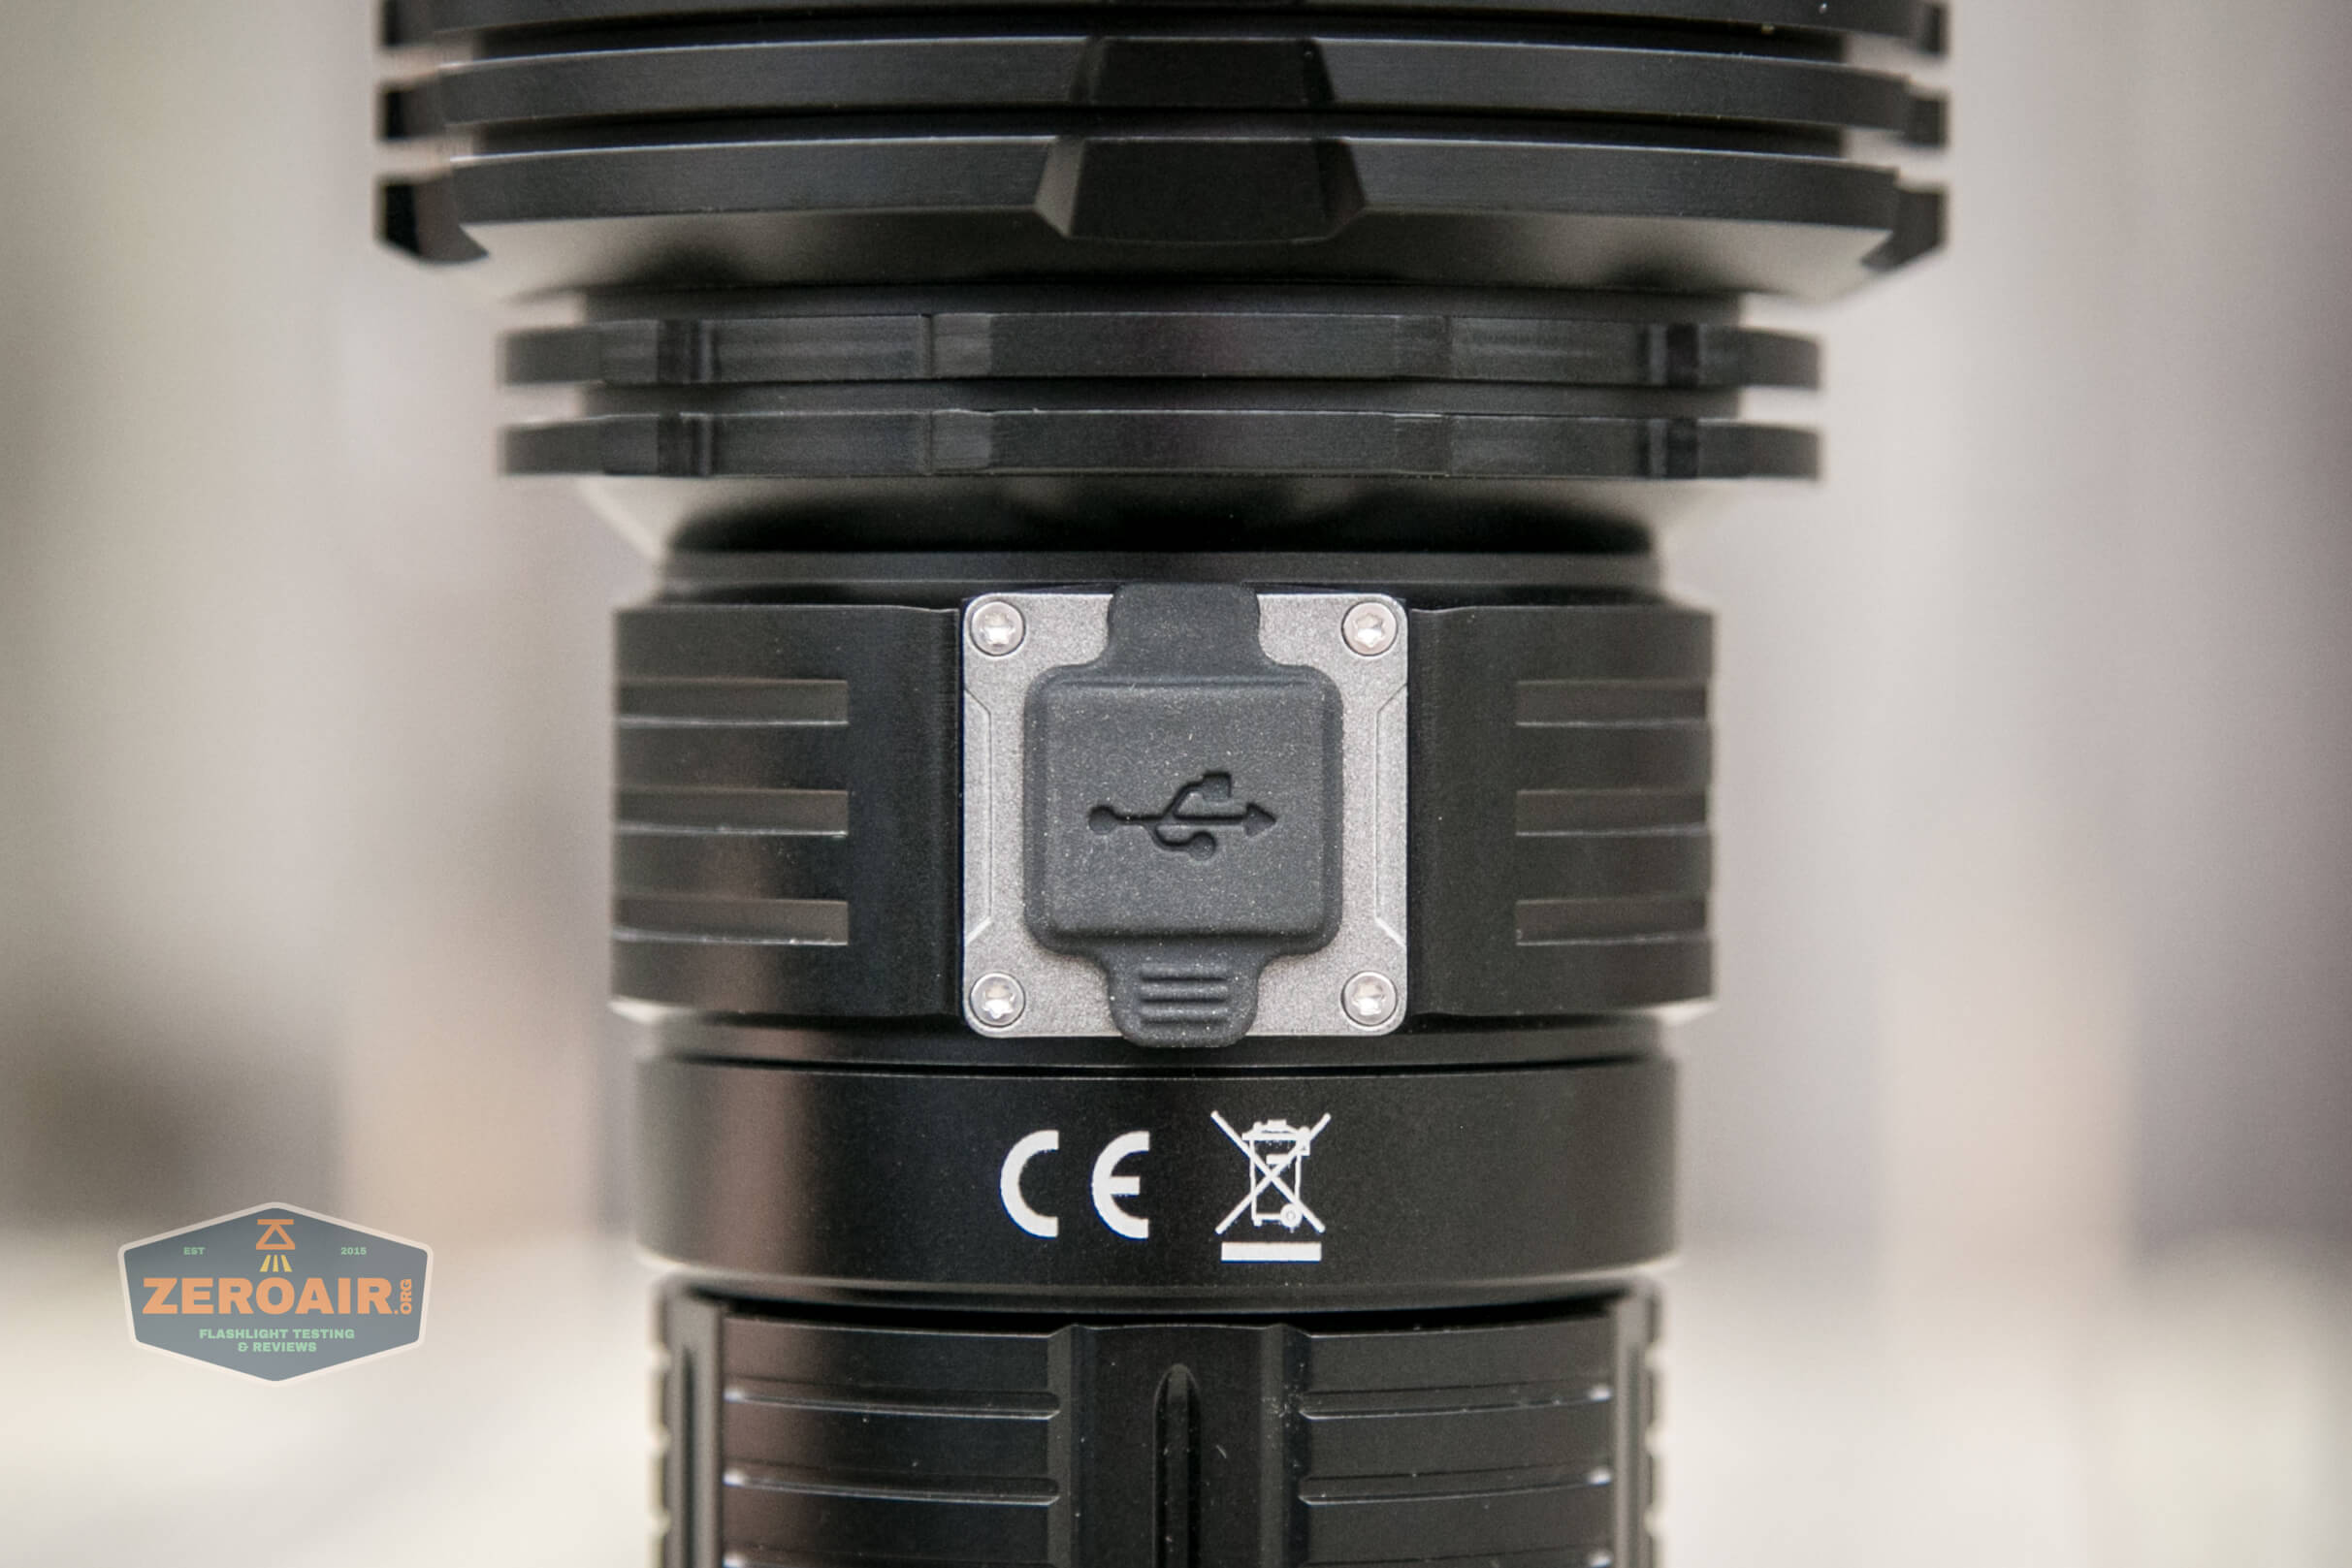
It’s proud too.
Under this cover are the USB-C charging port and the USB-A powerbank port.

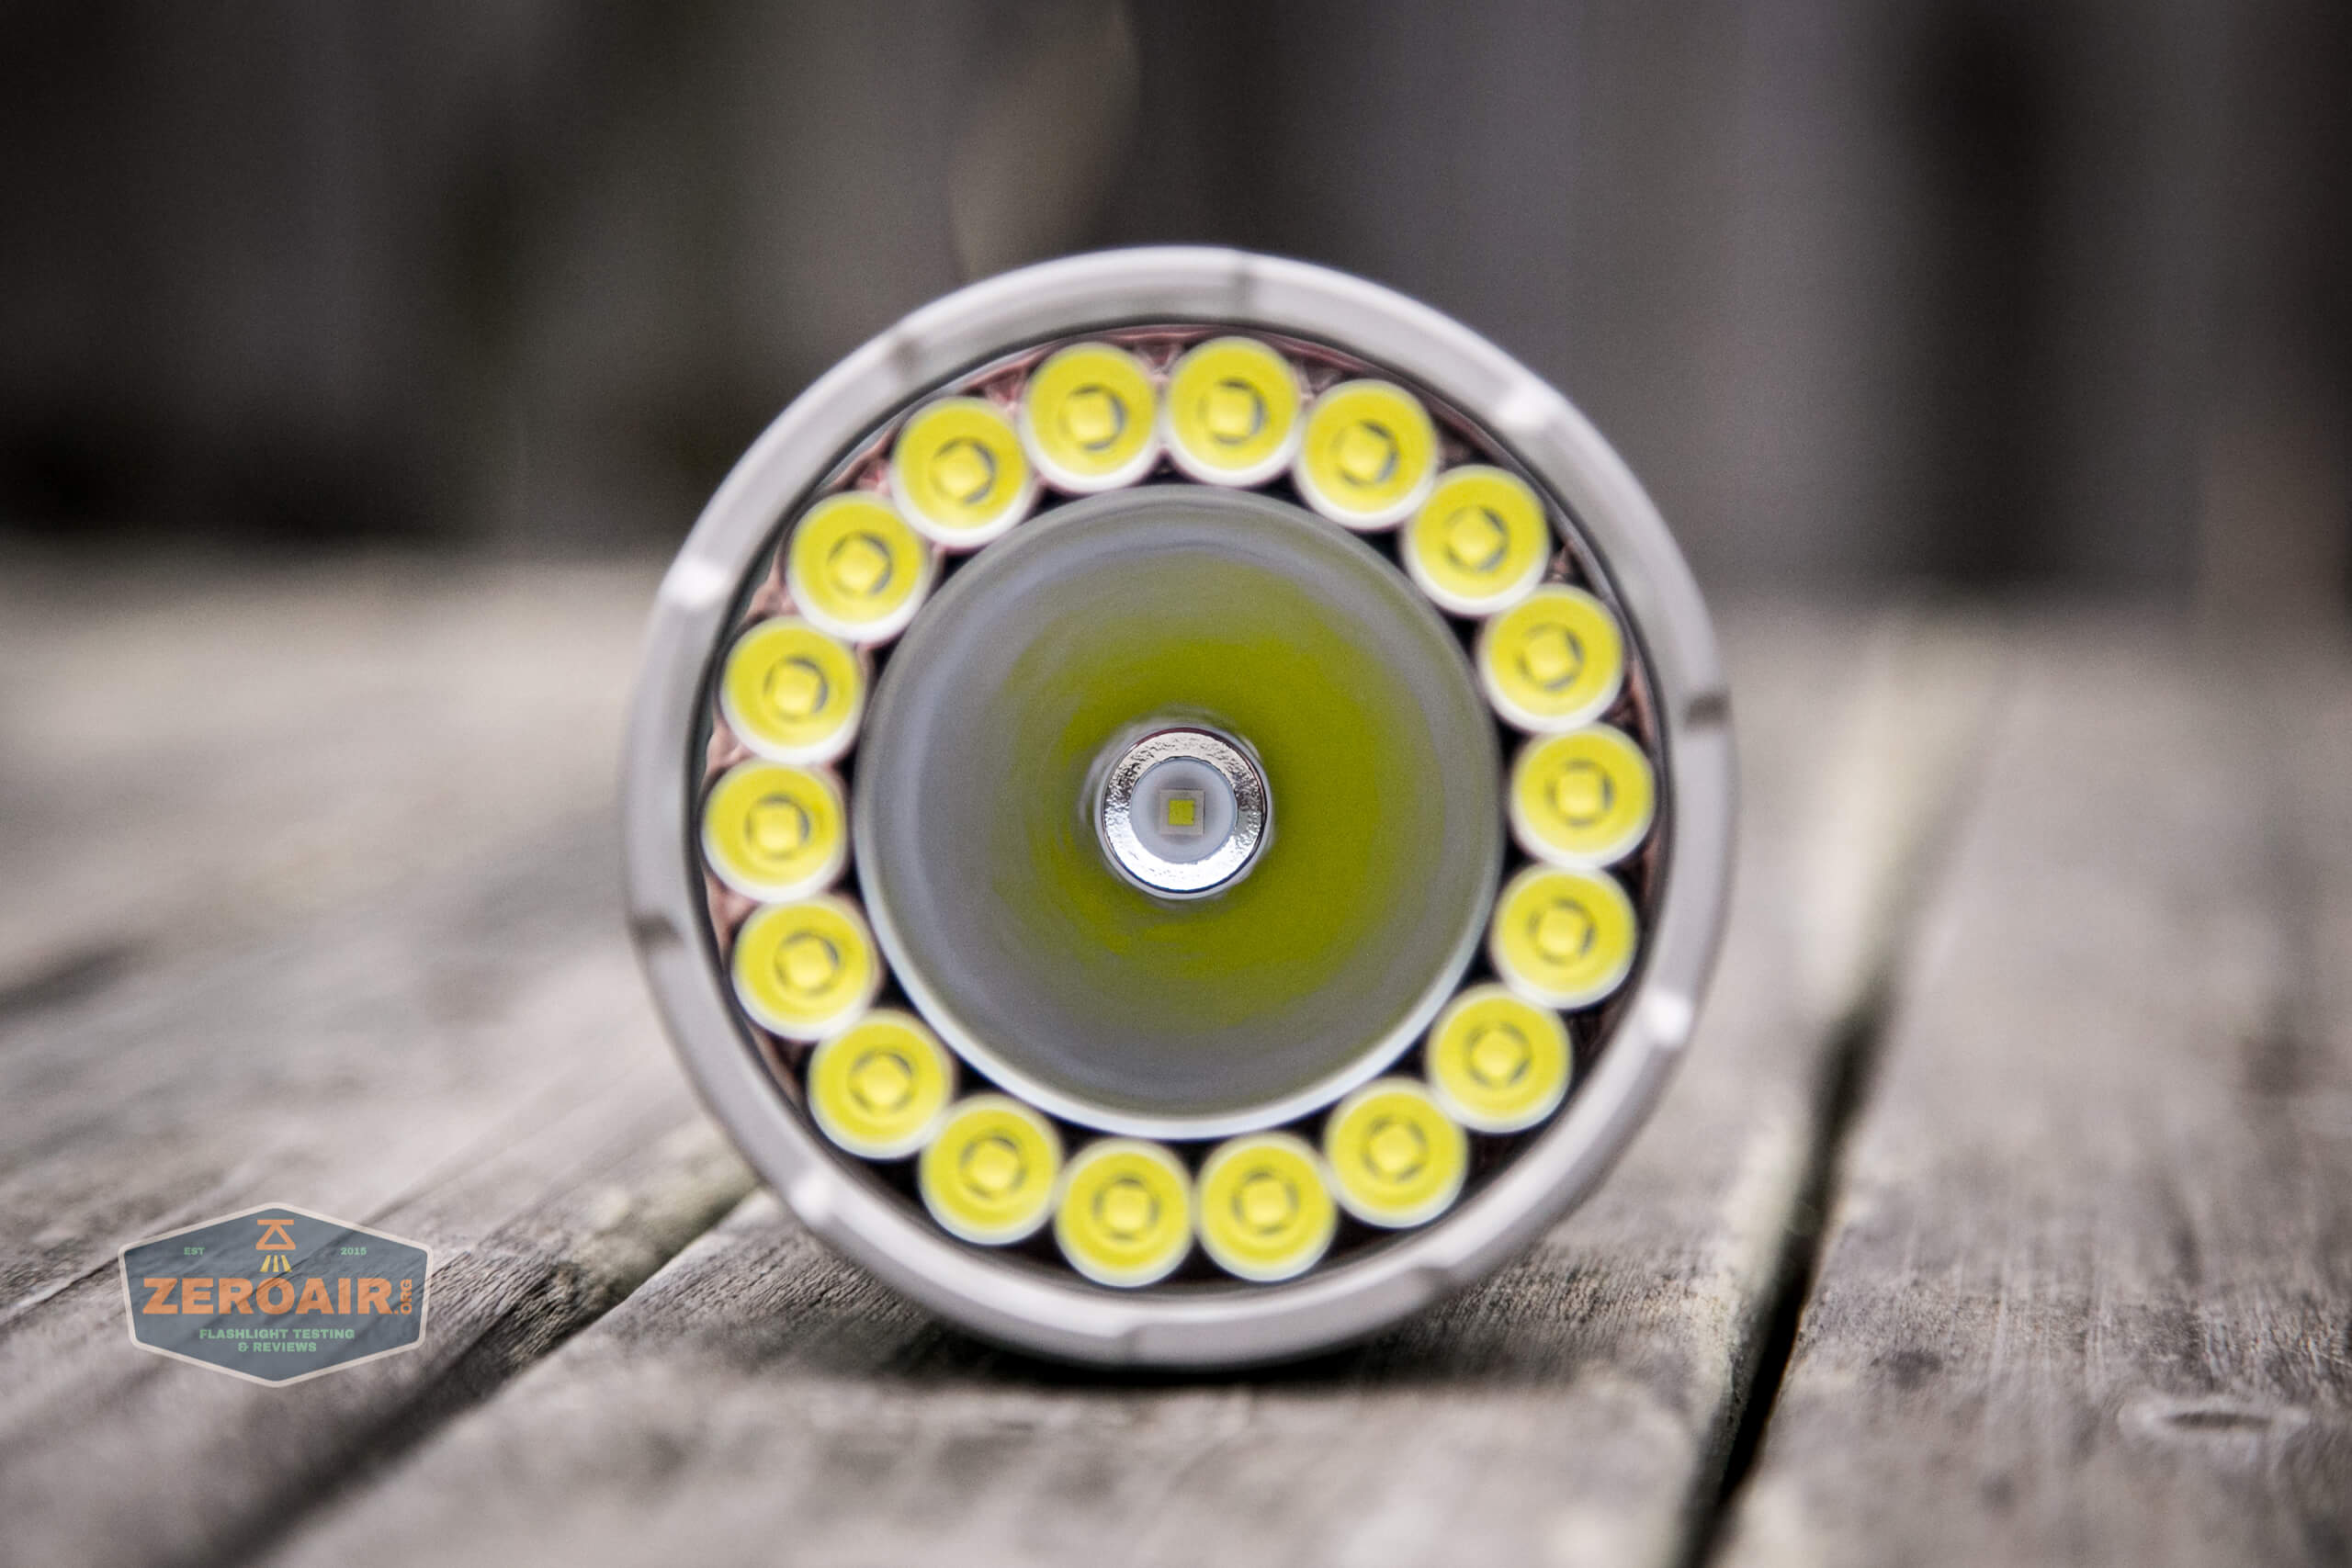
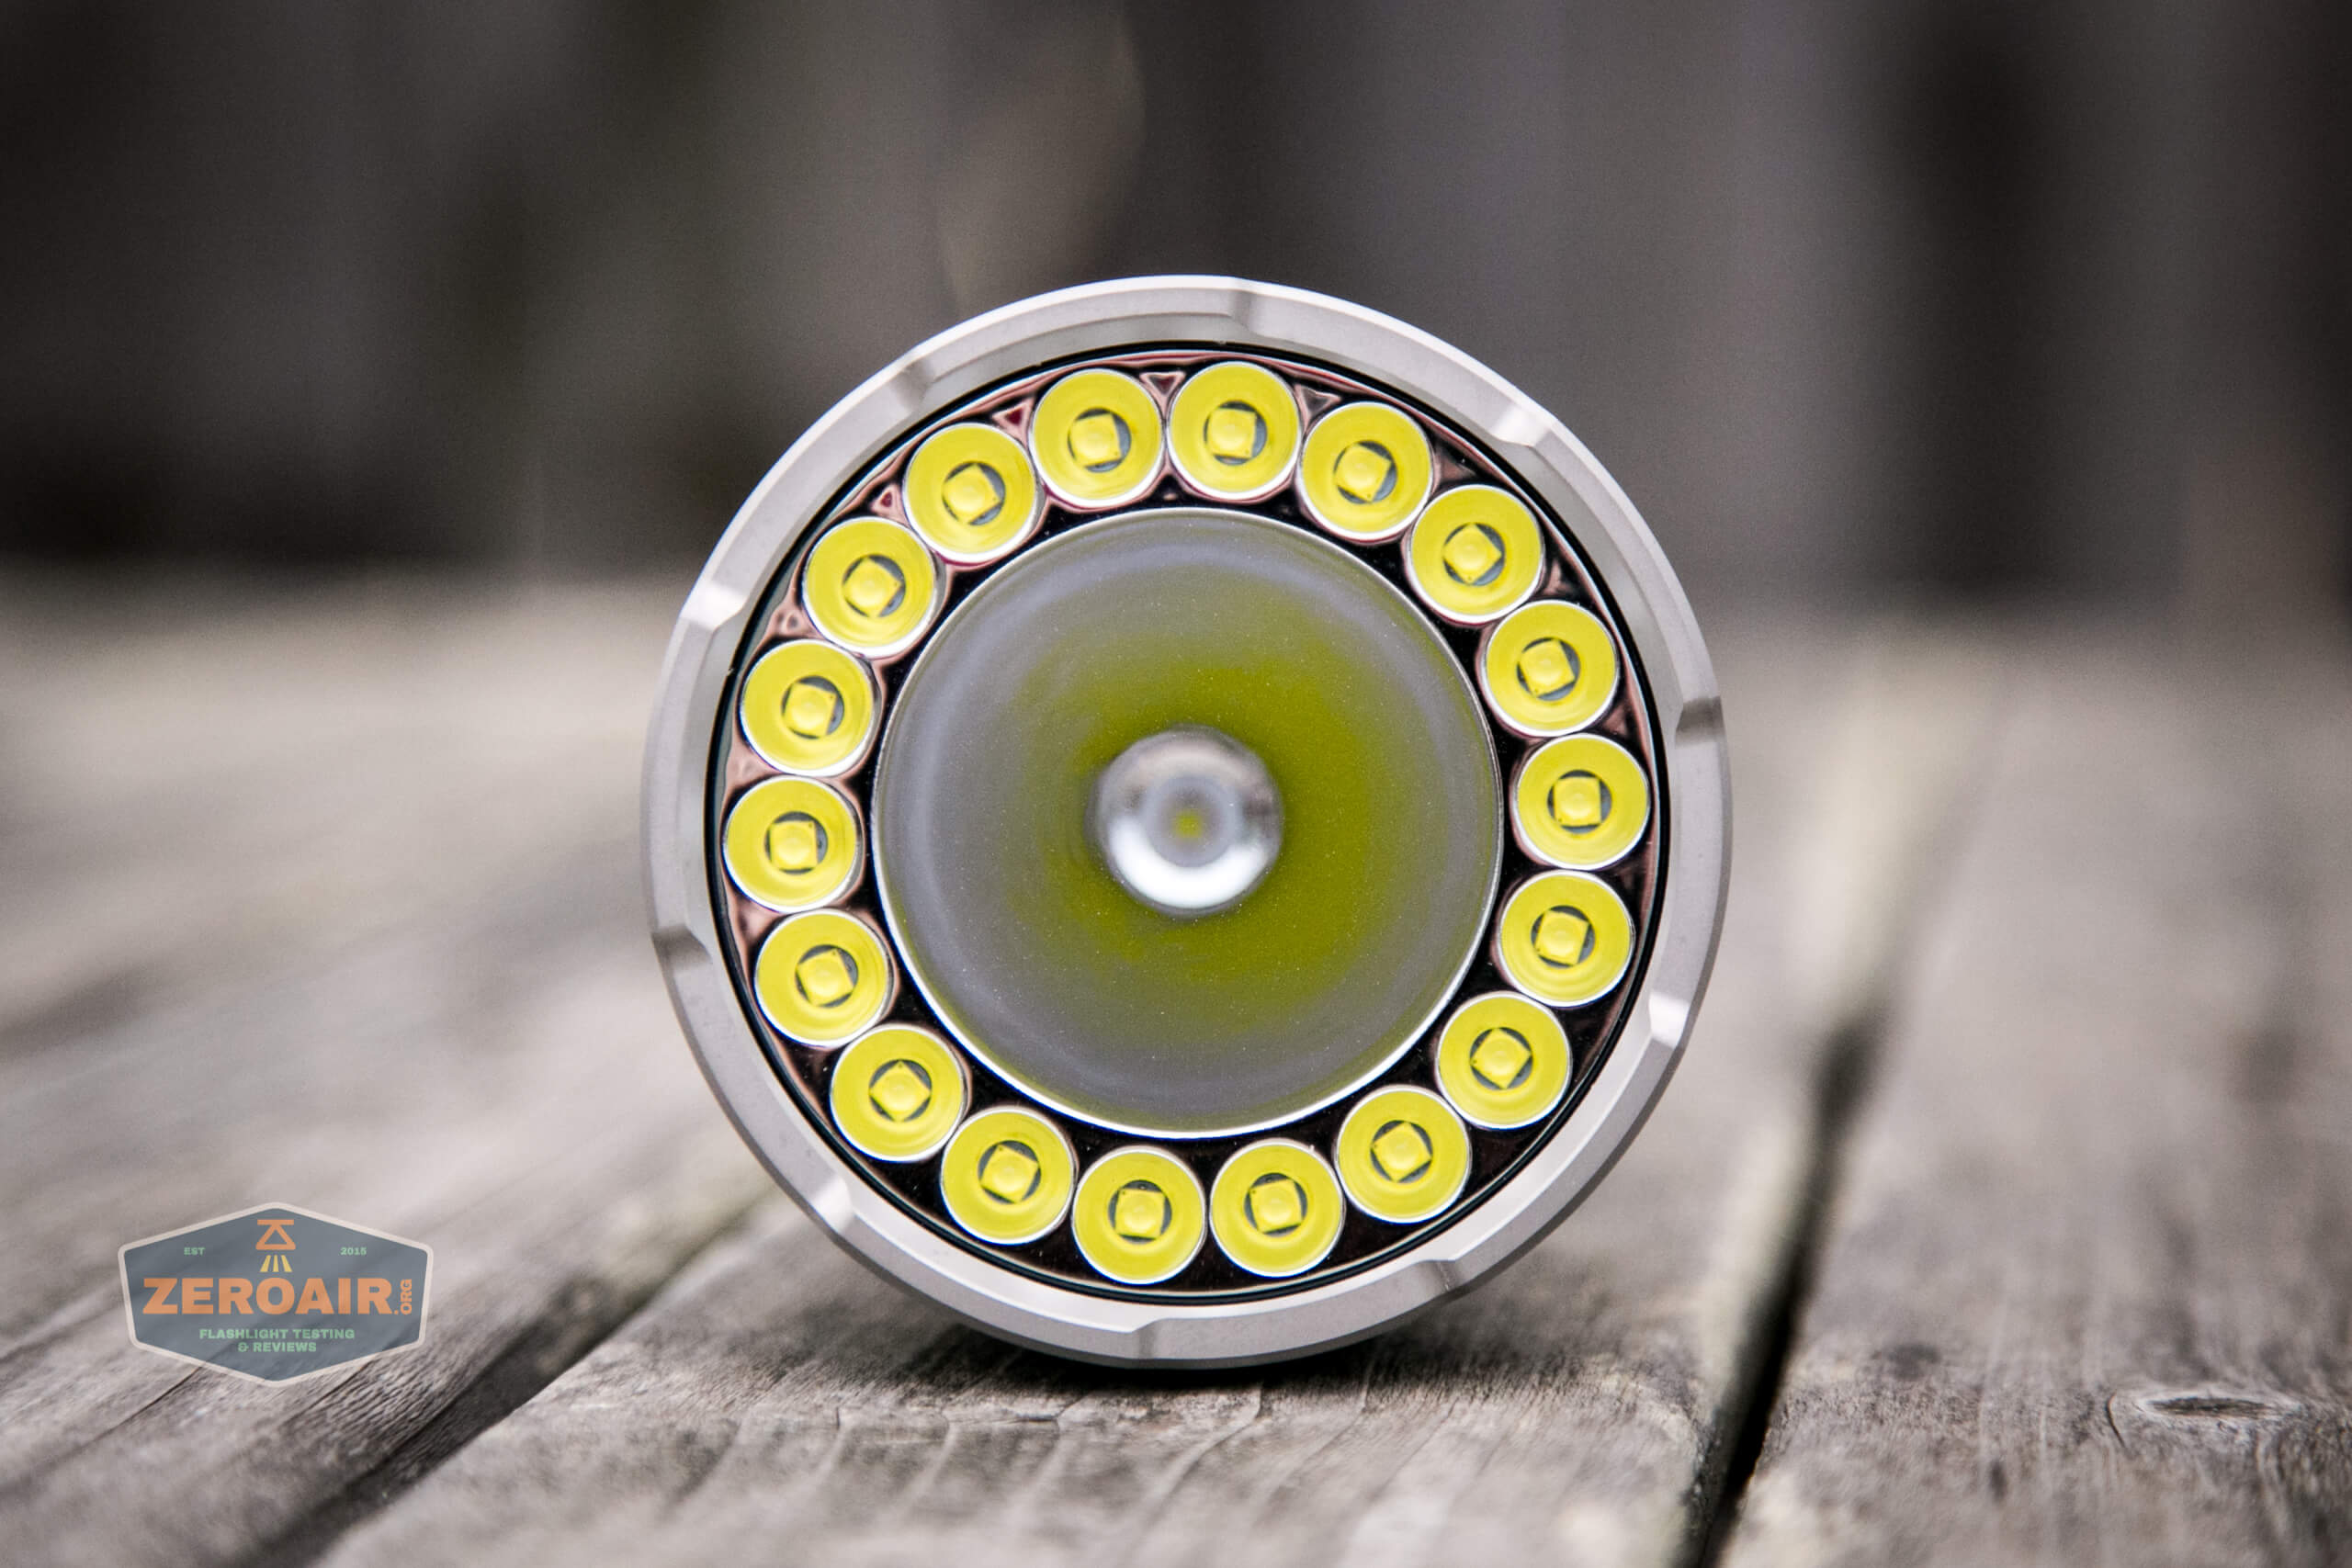
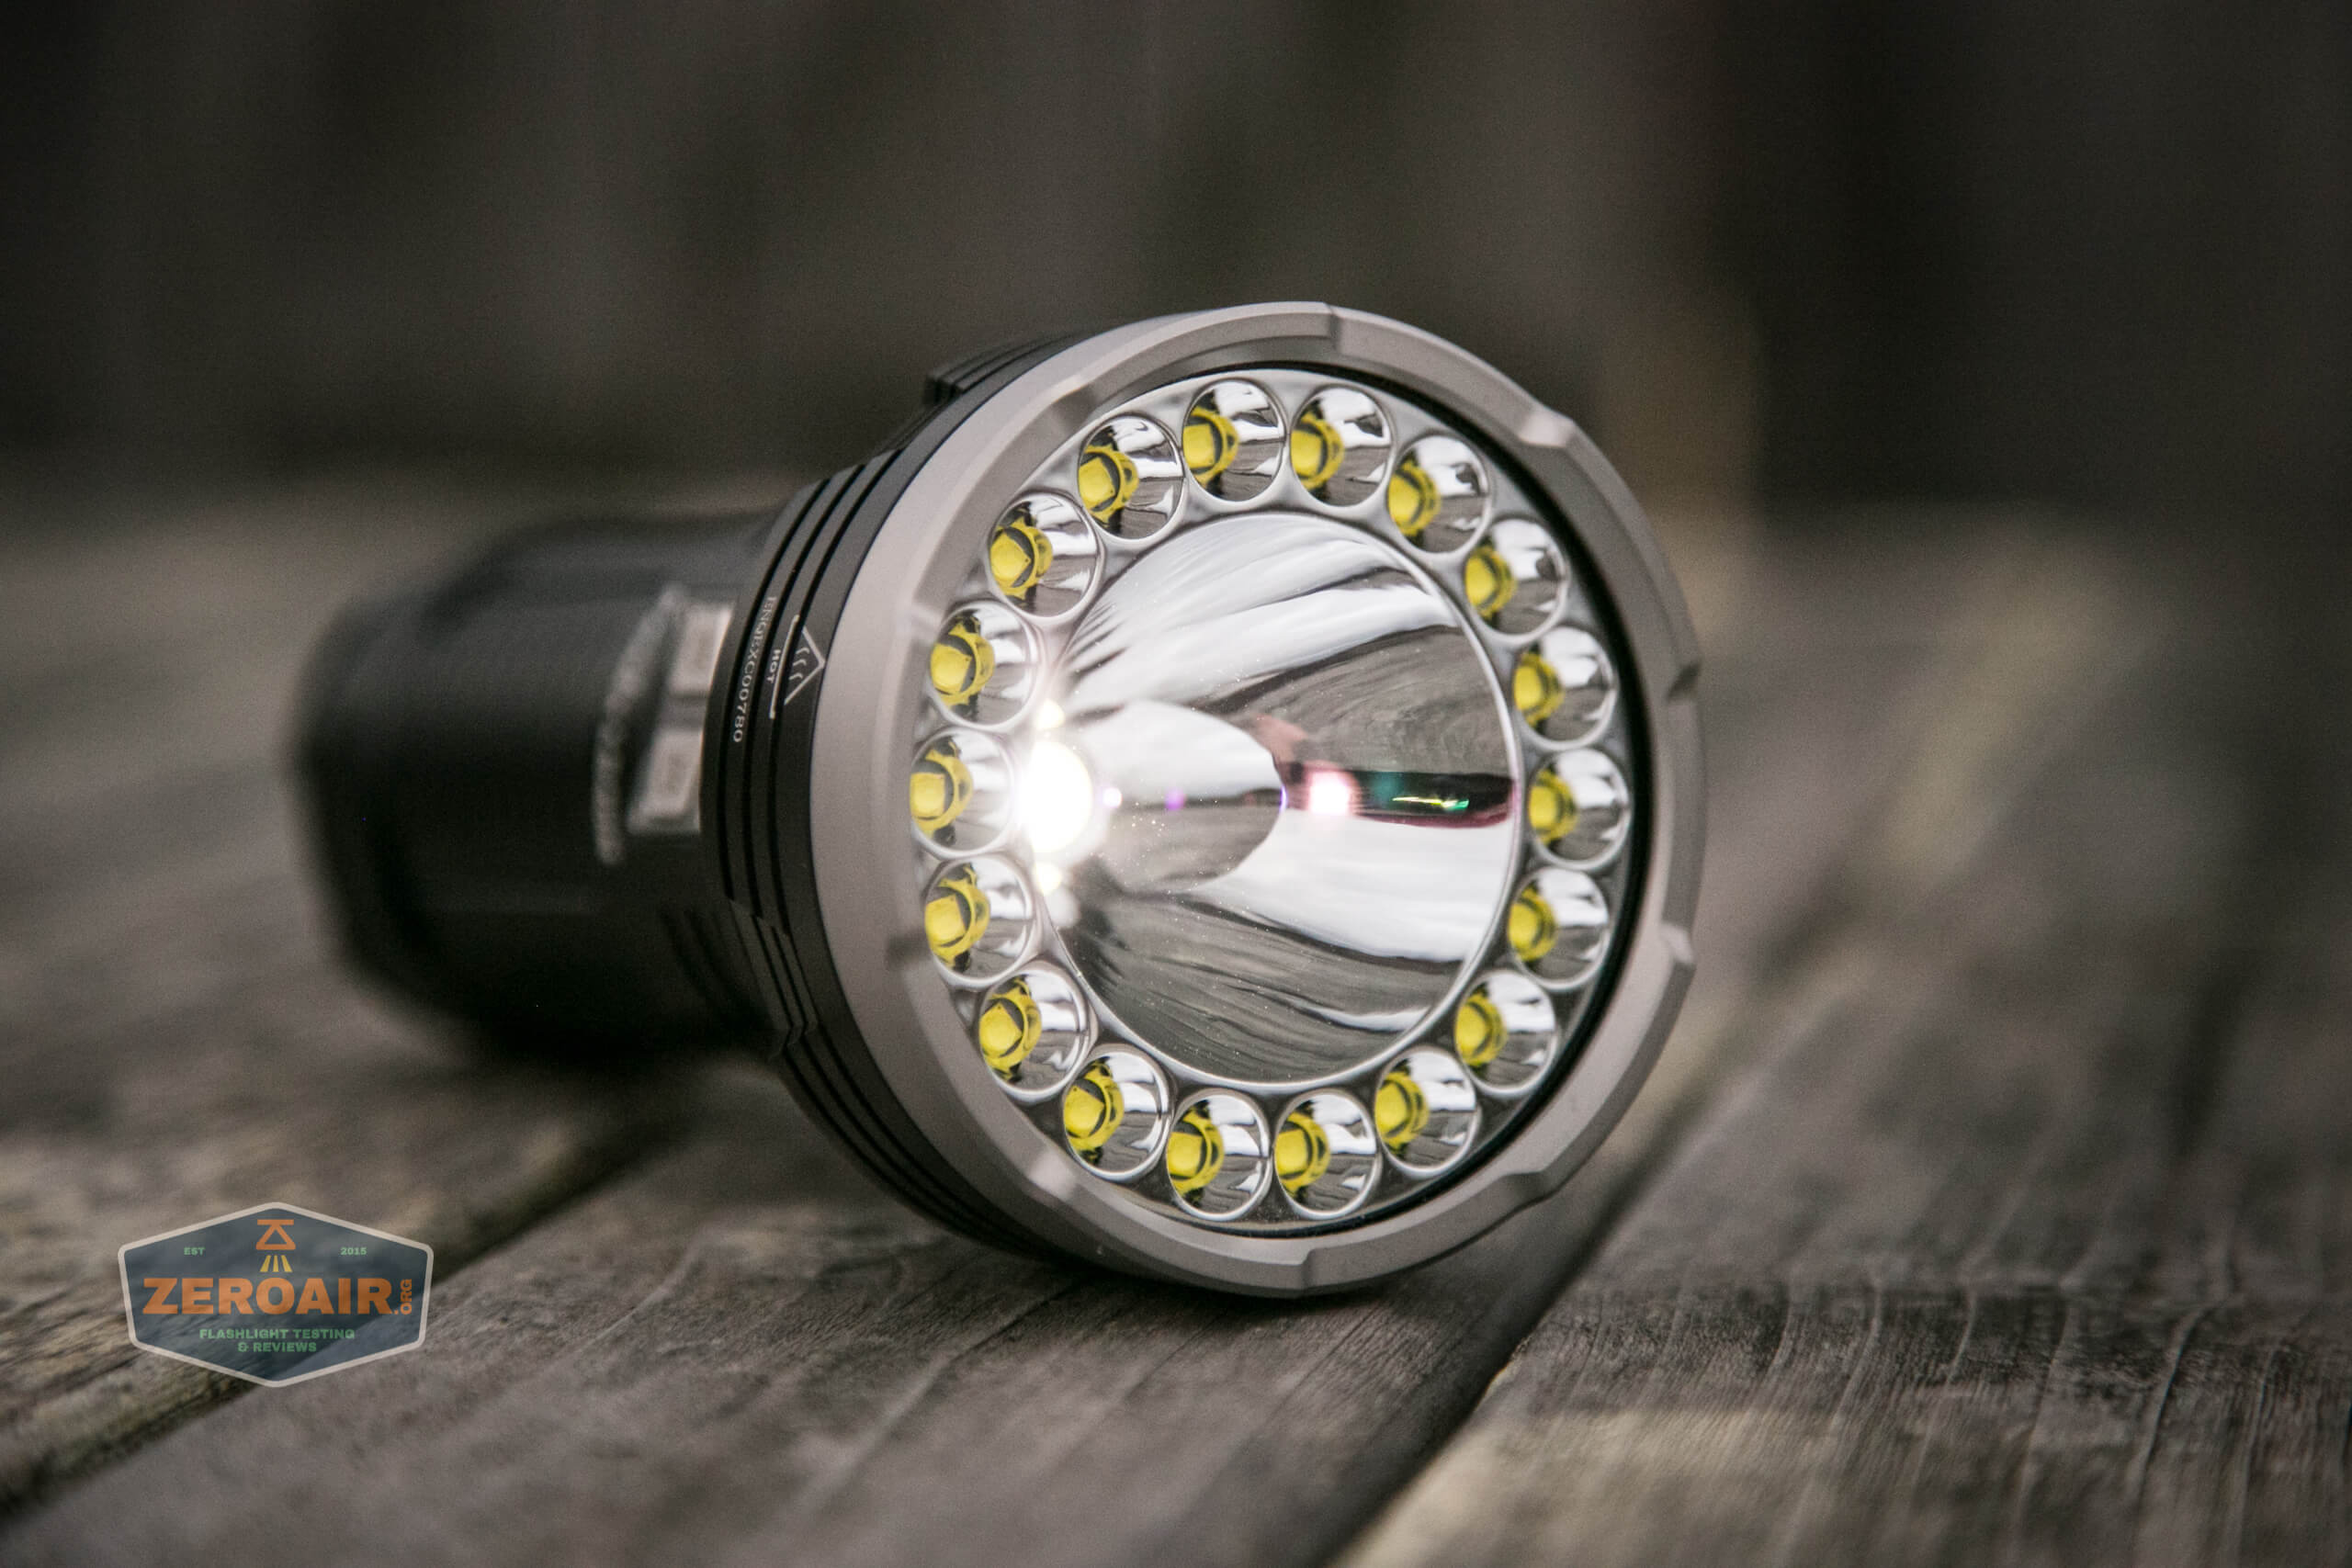
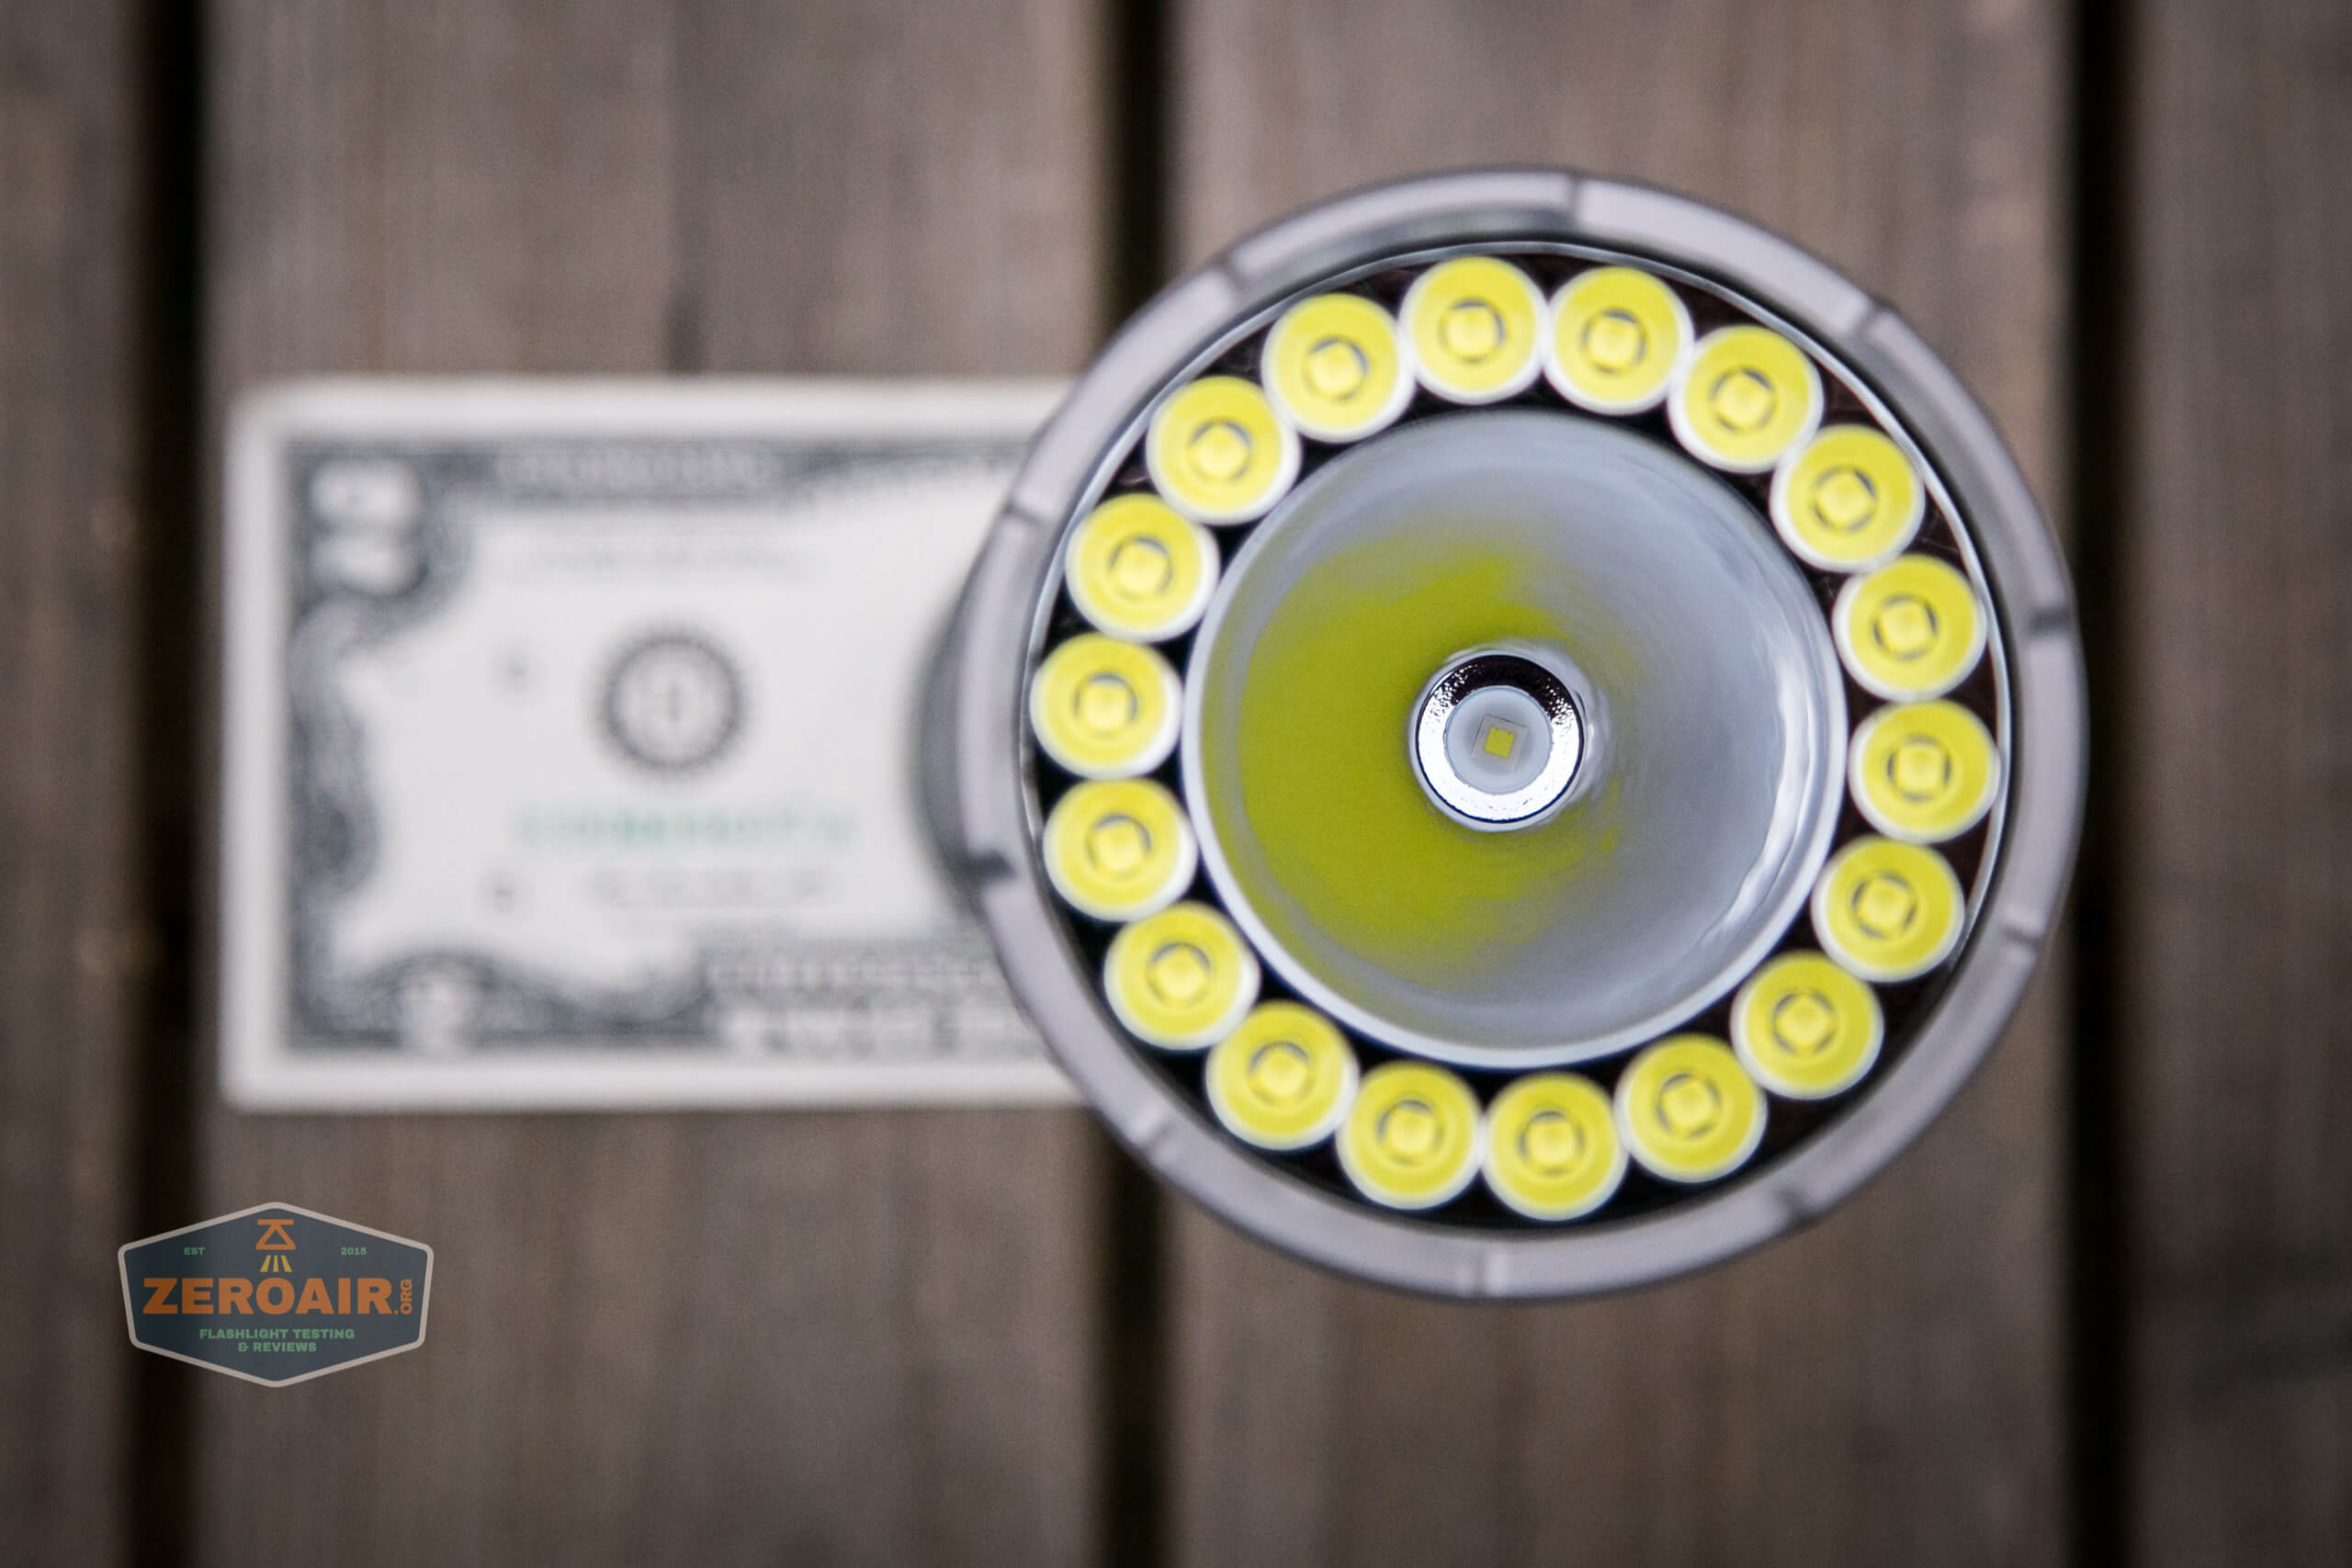
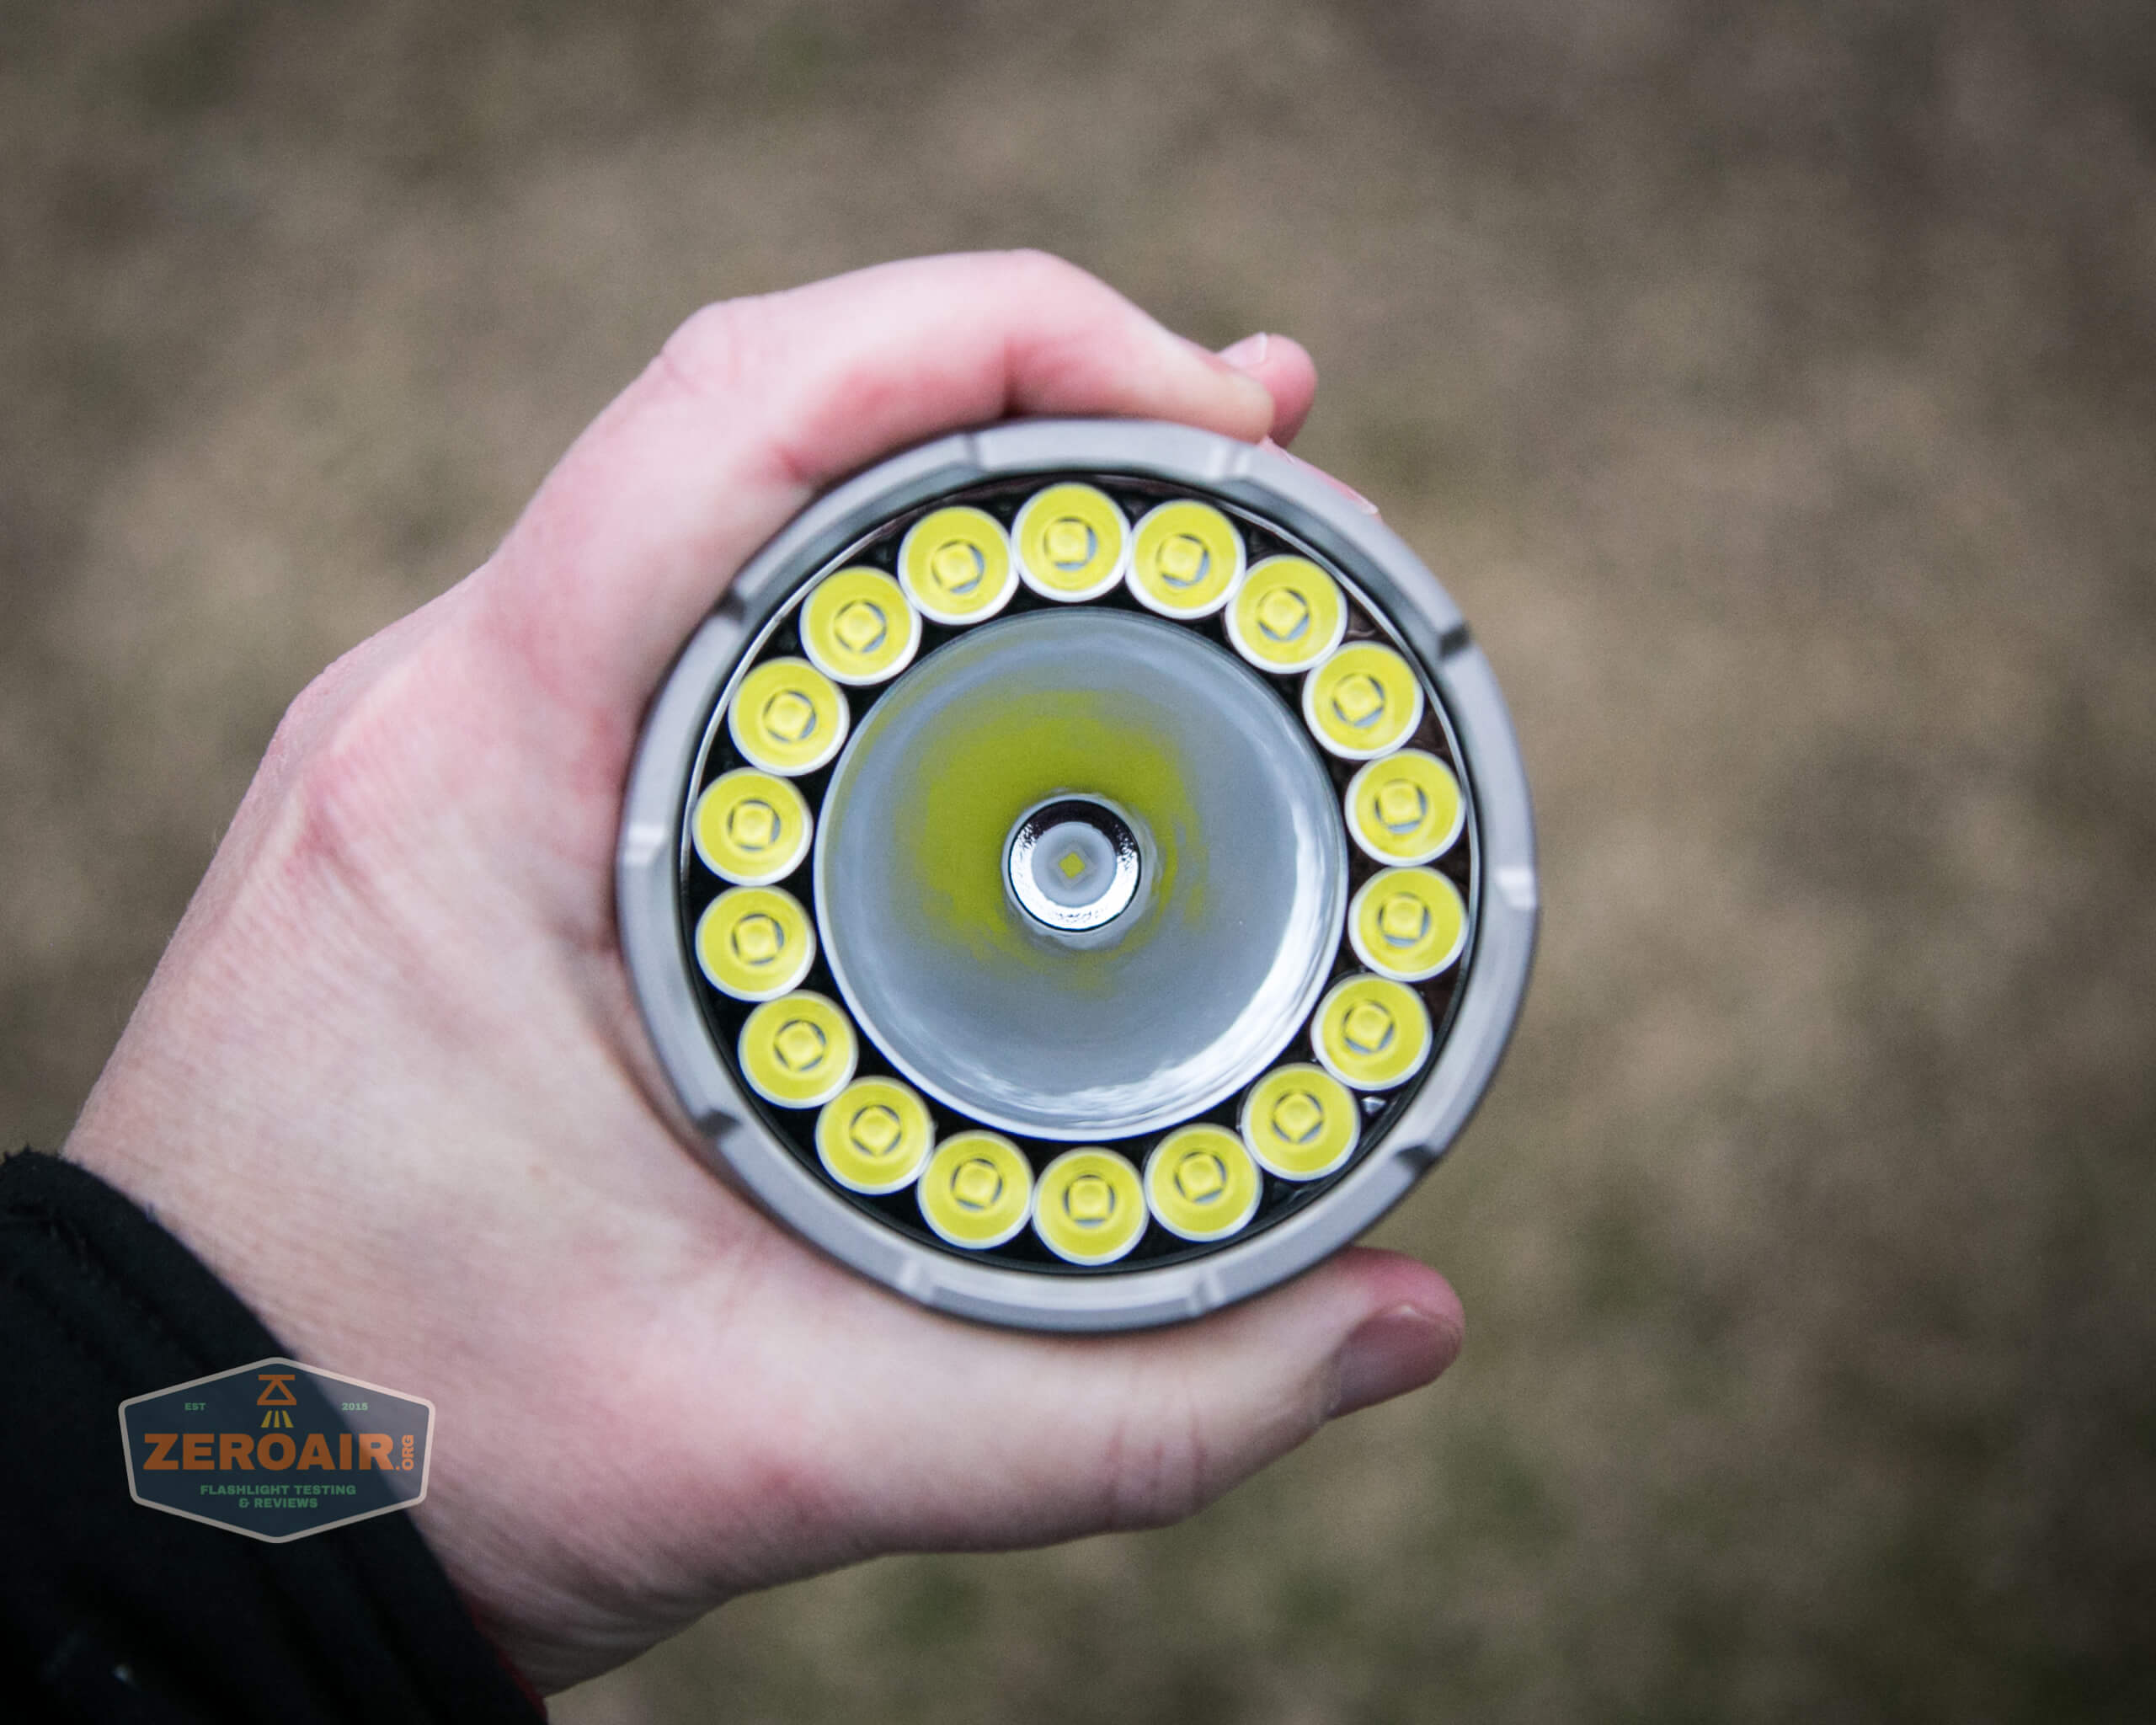
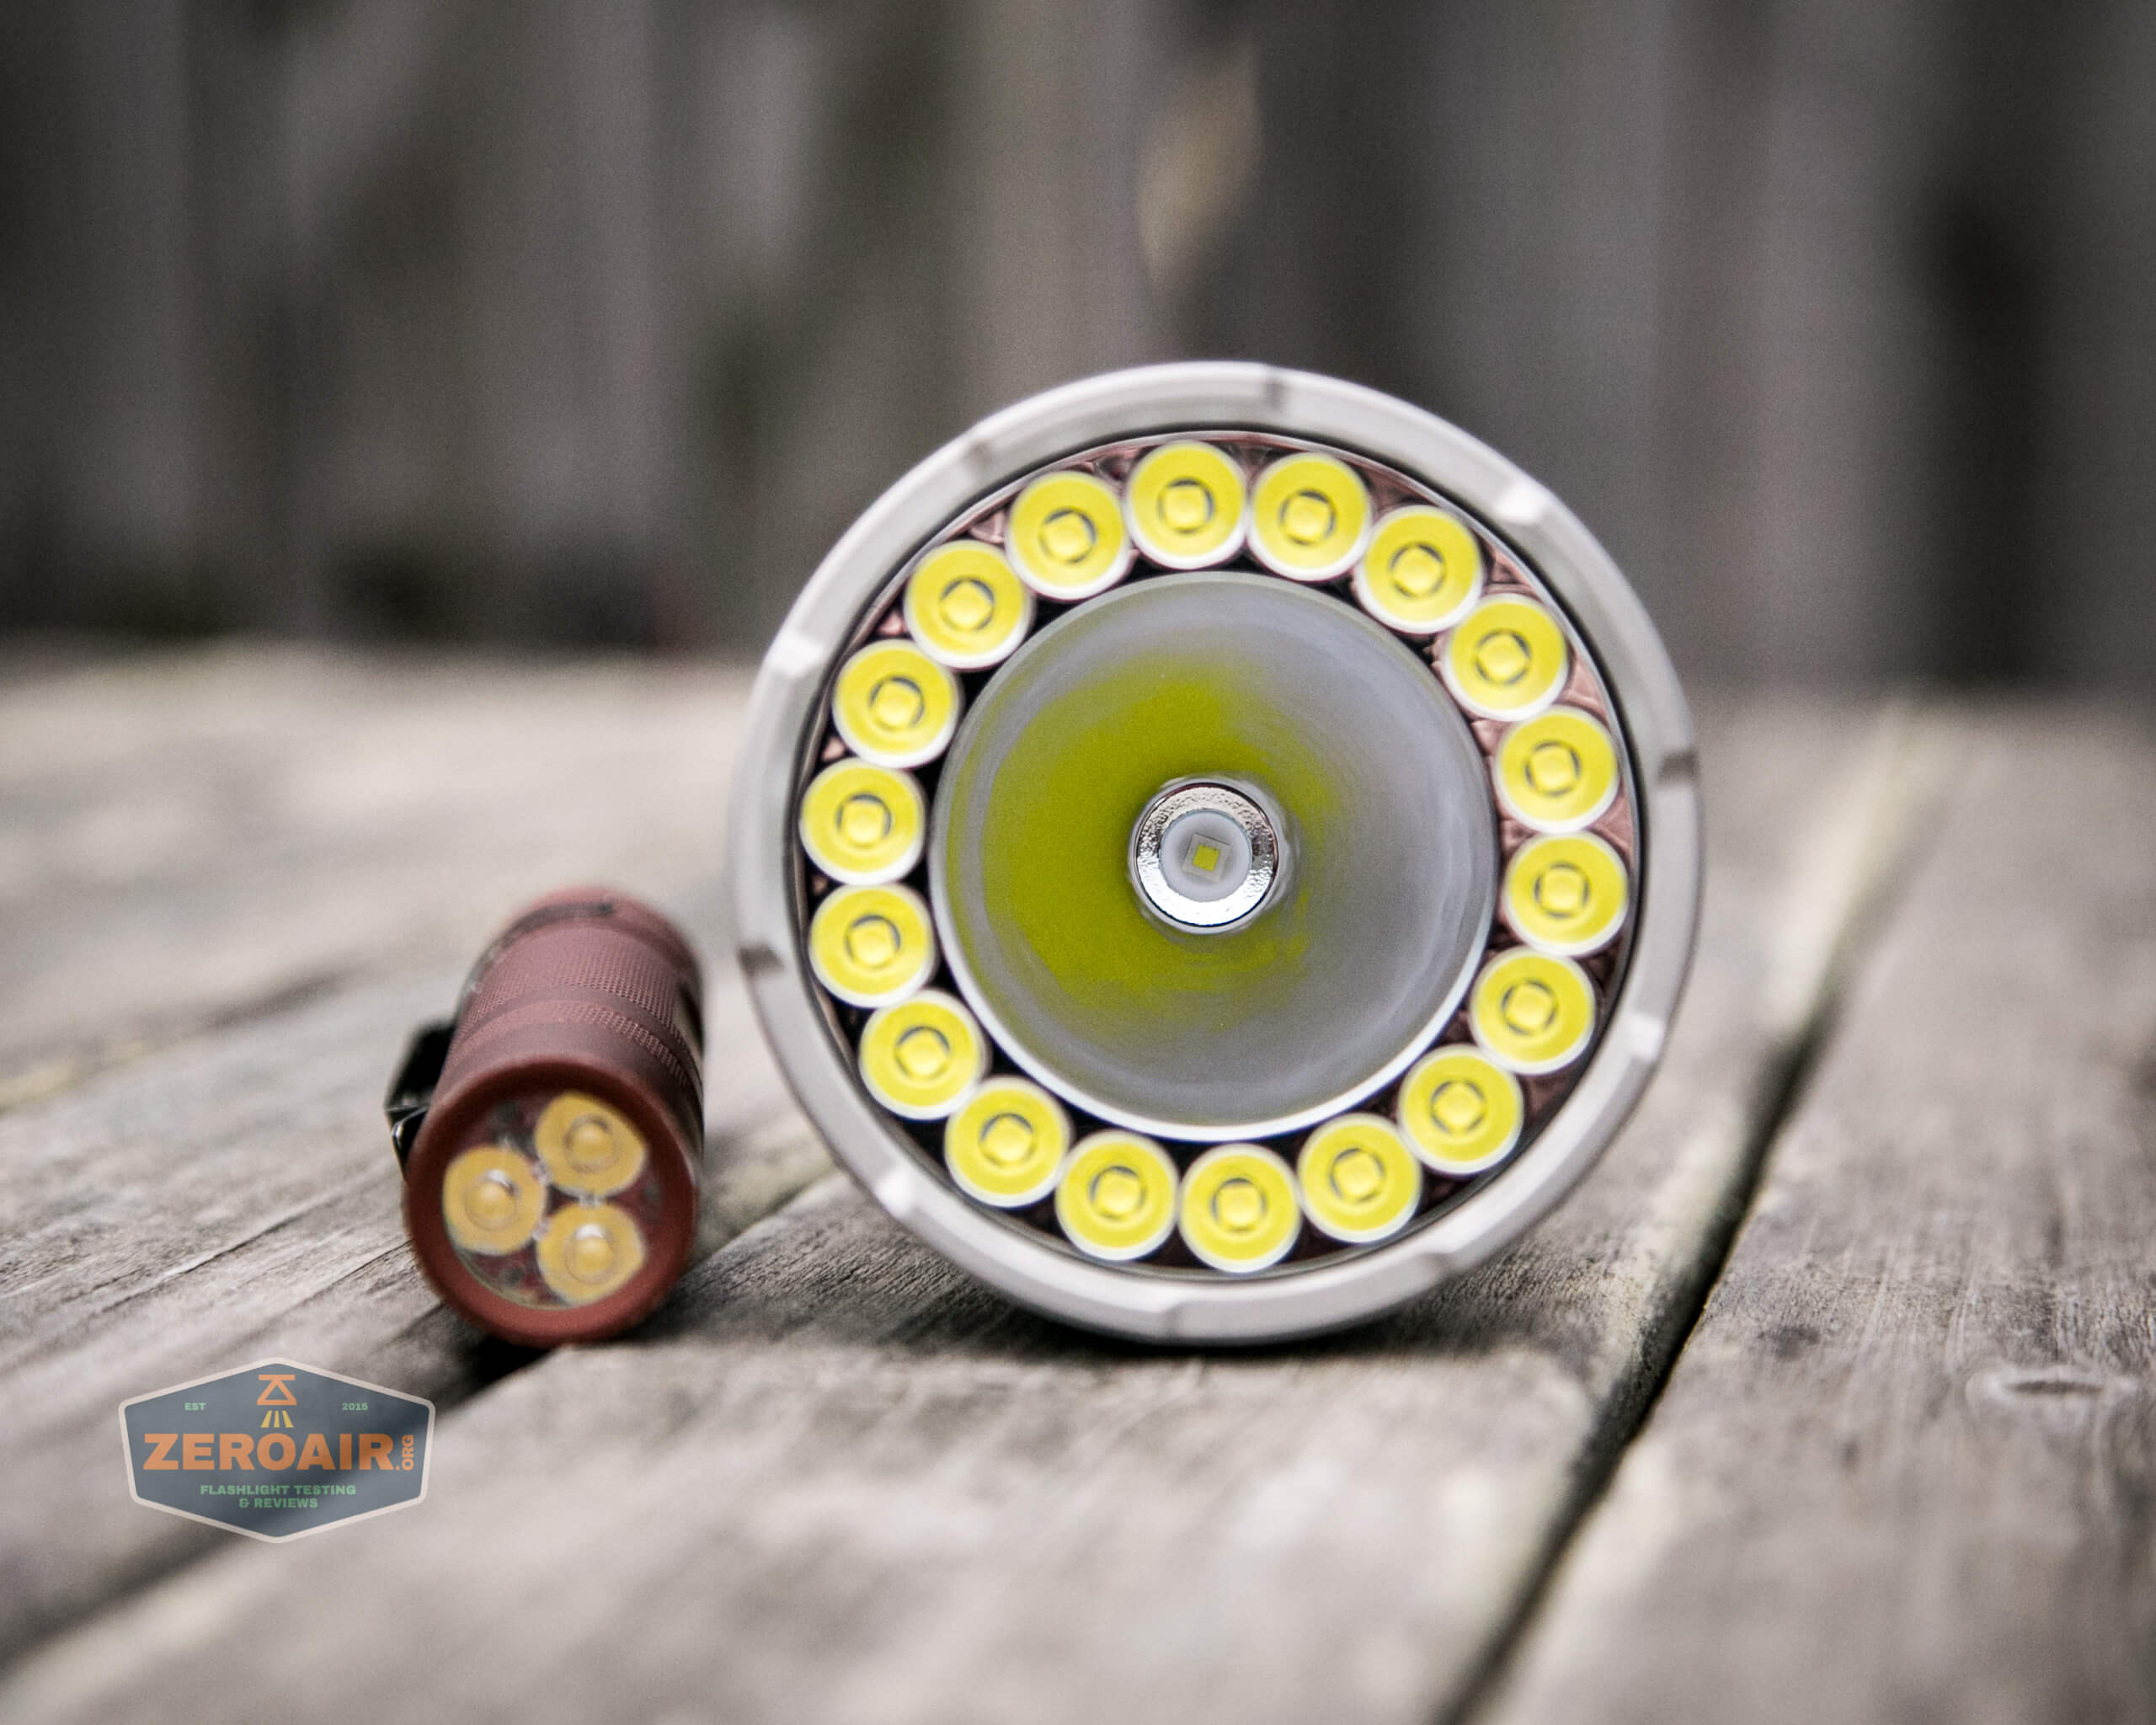
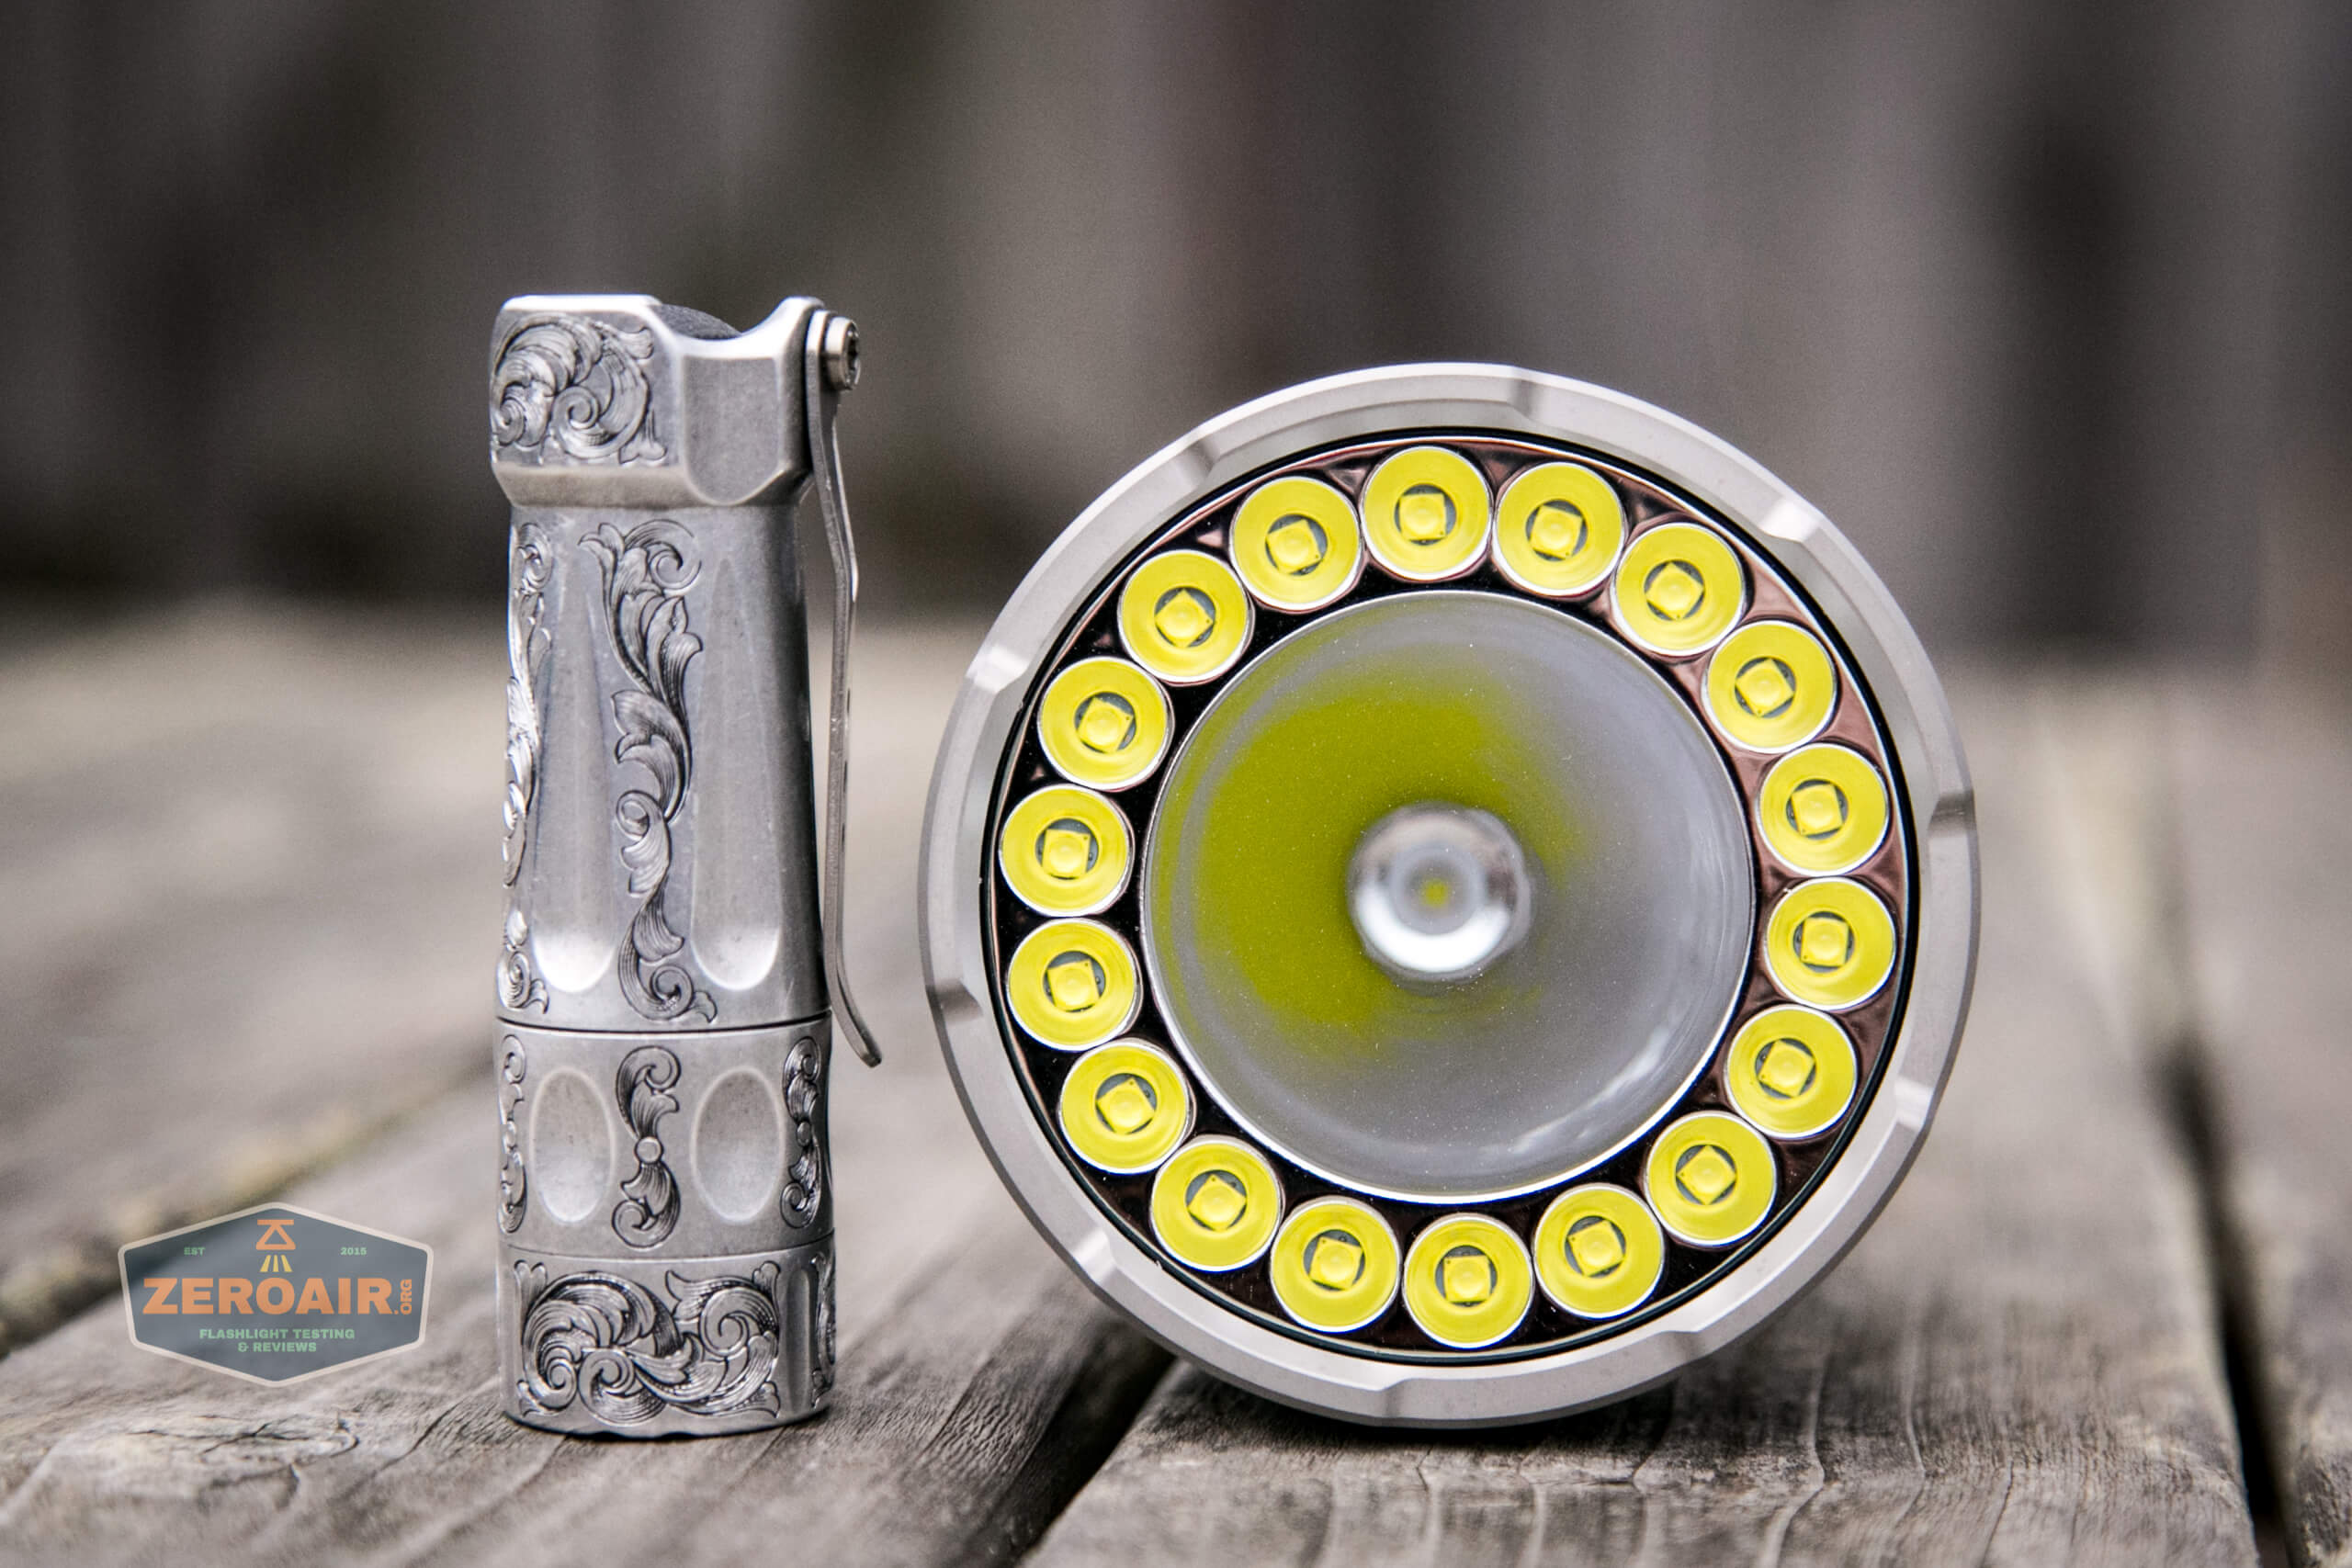
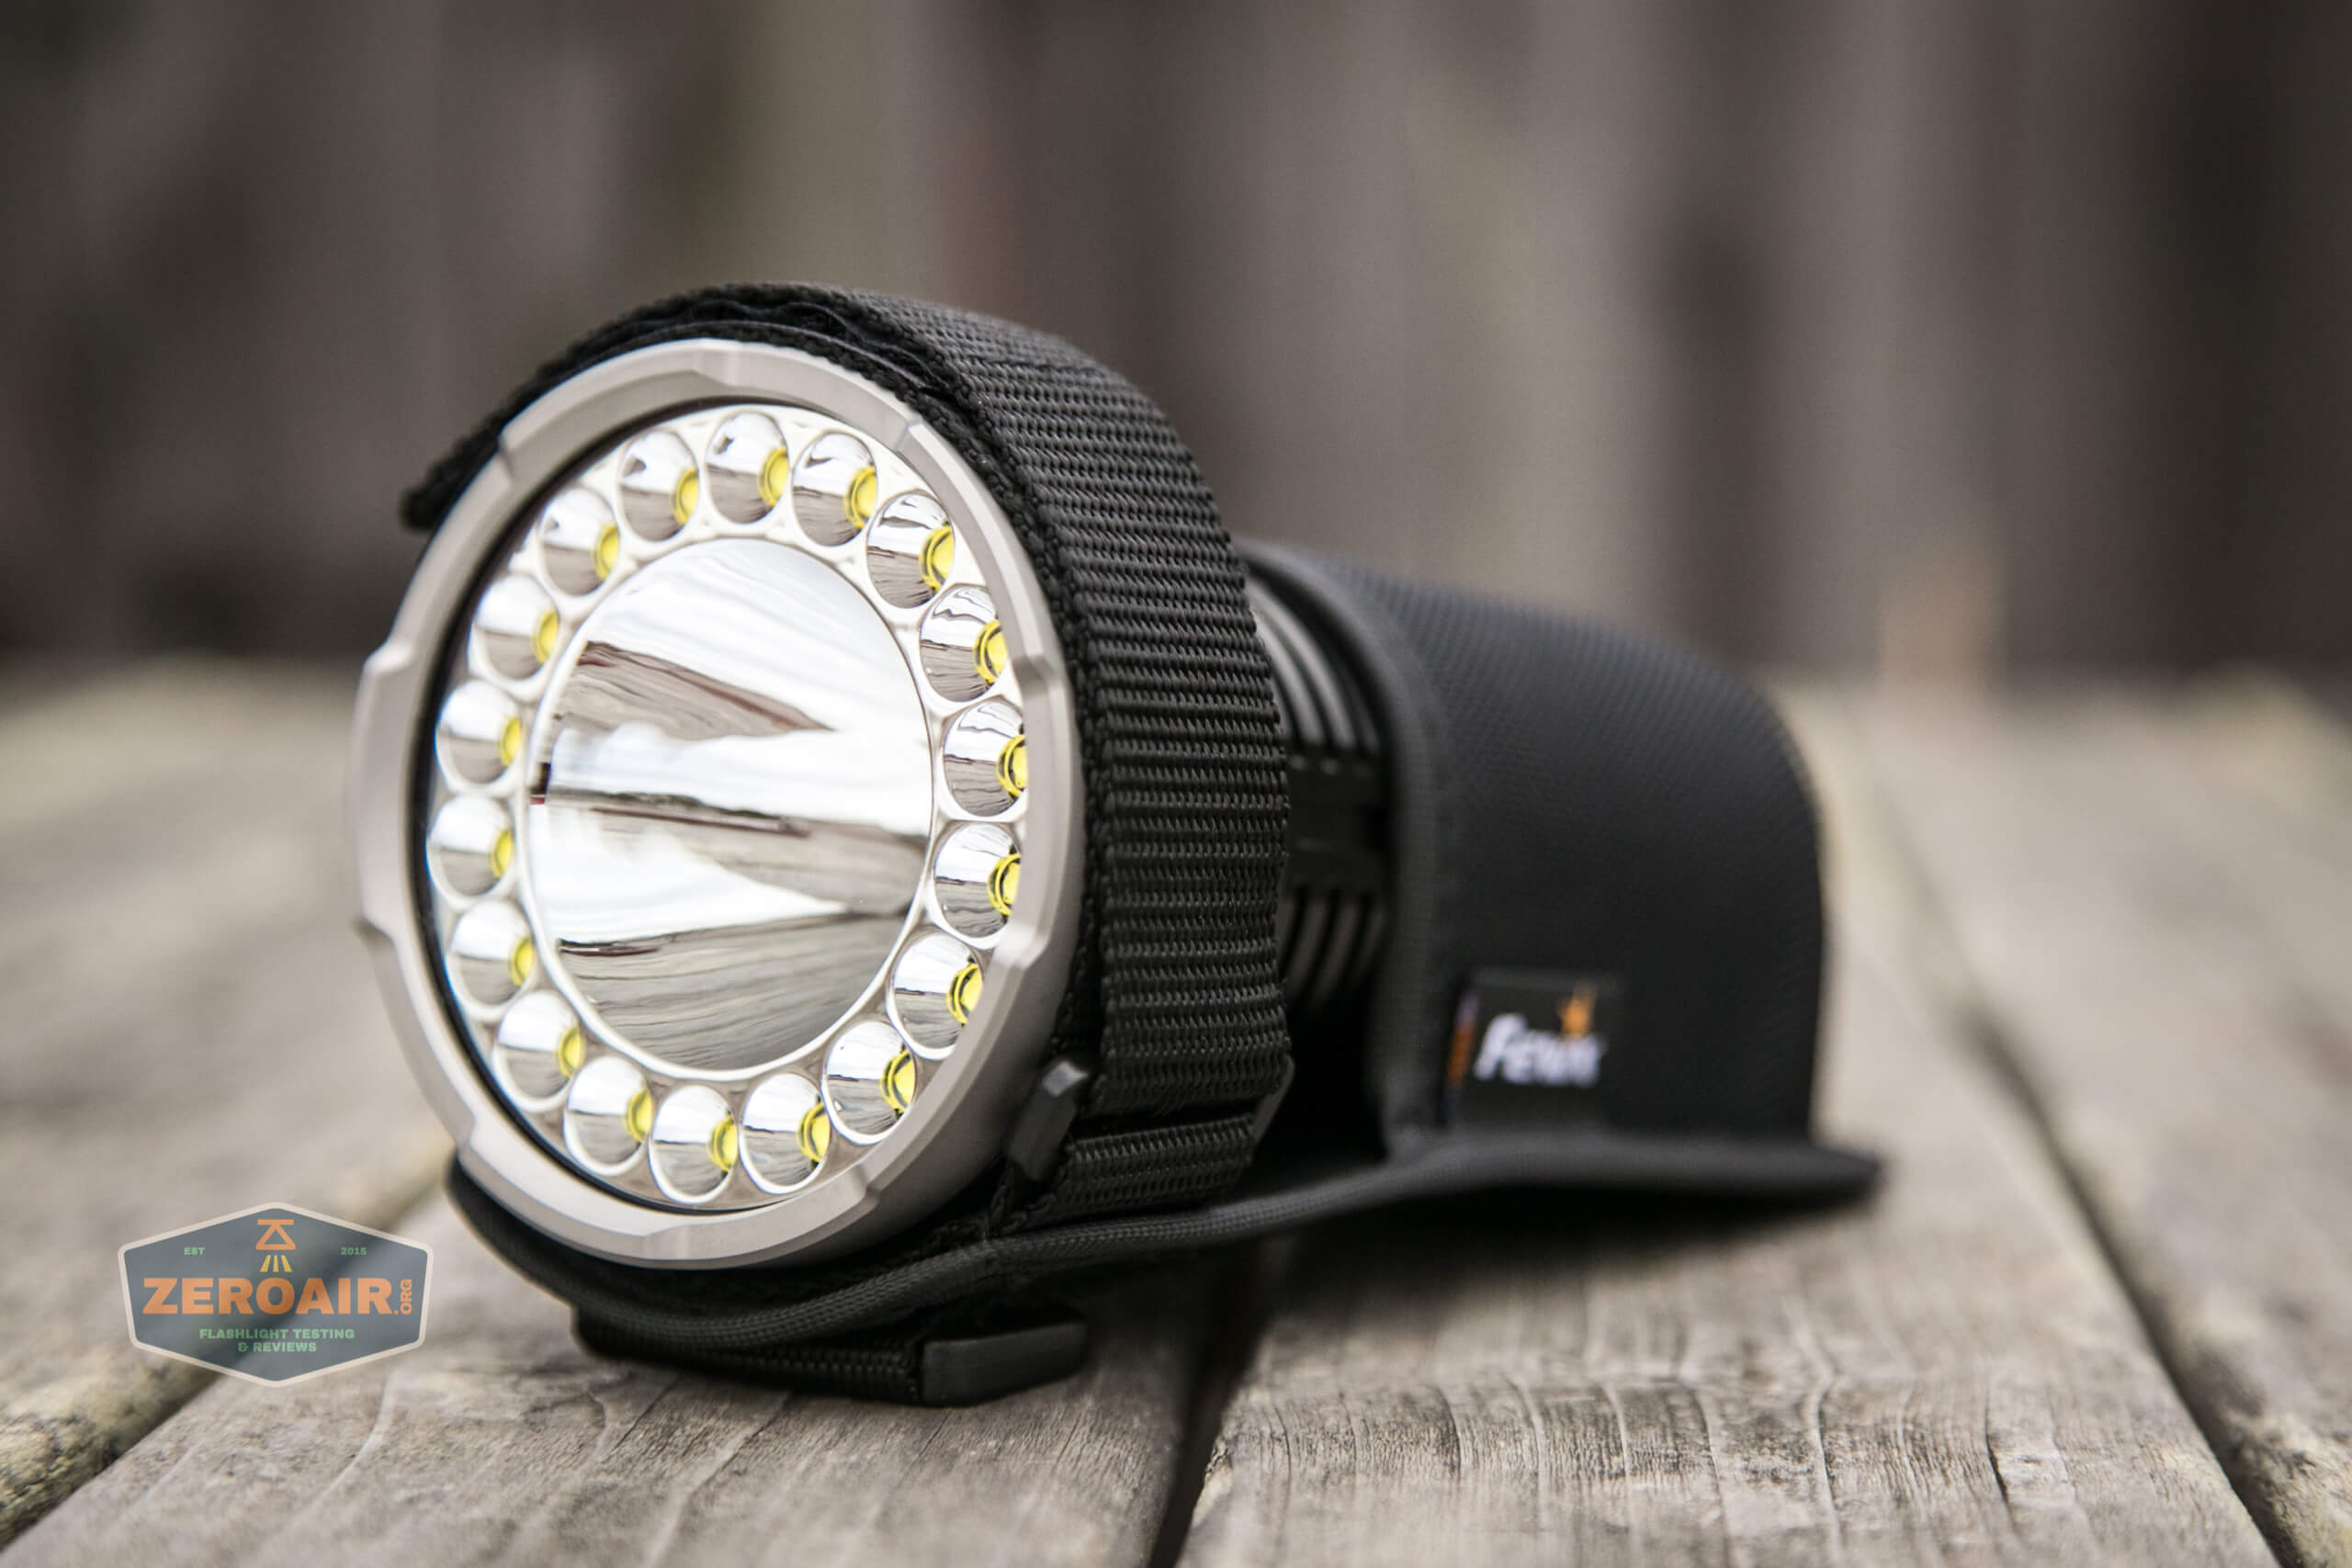
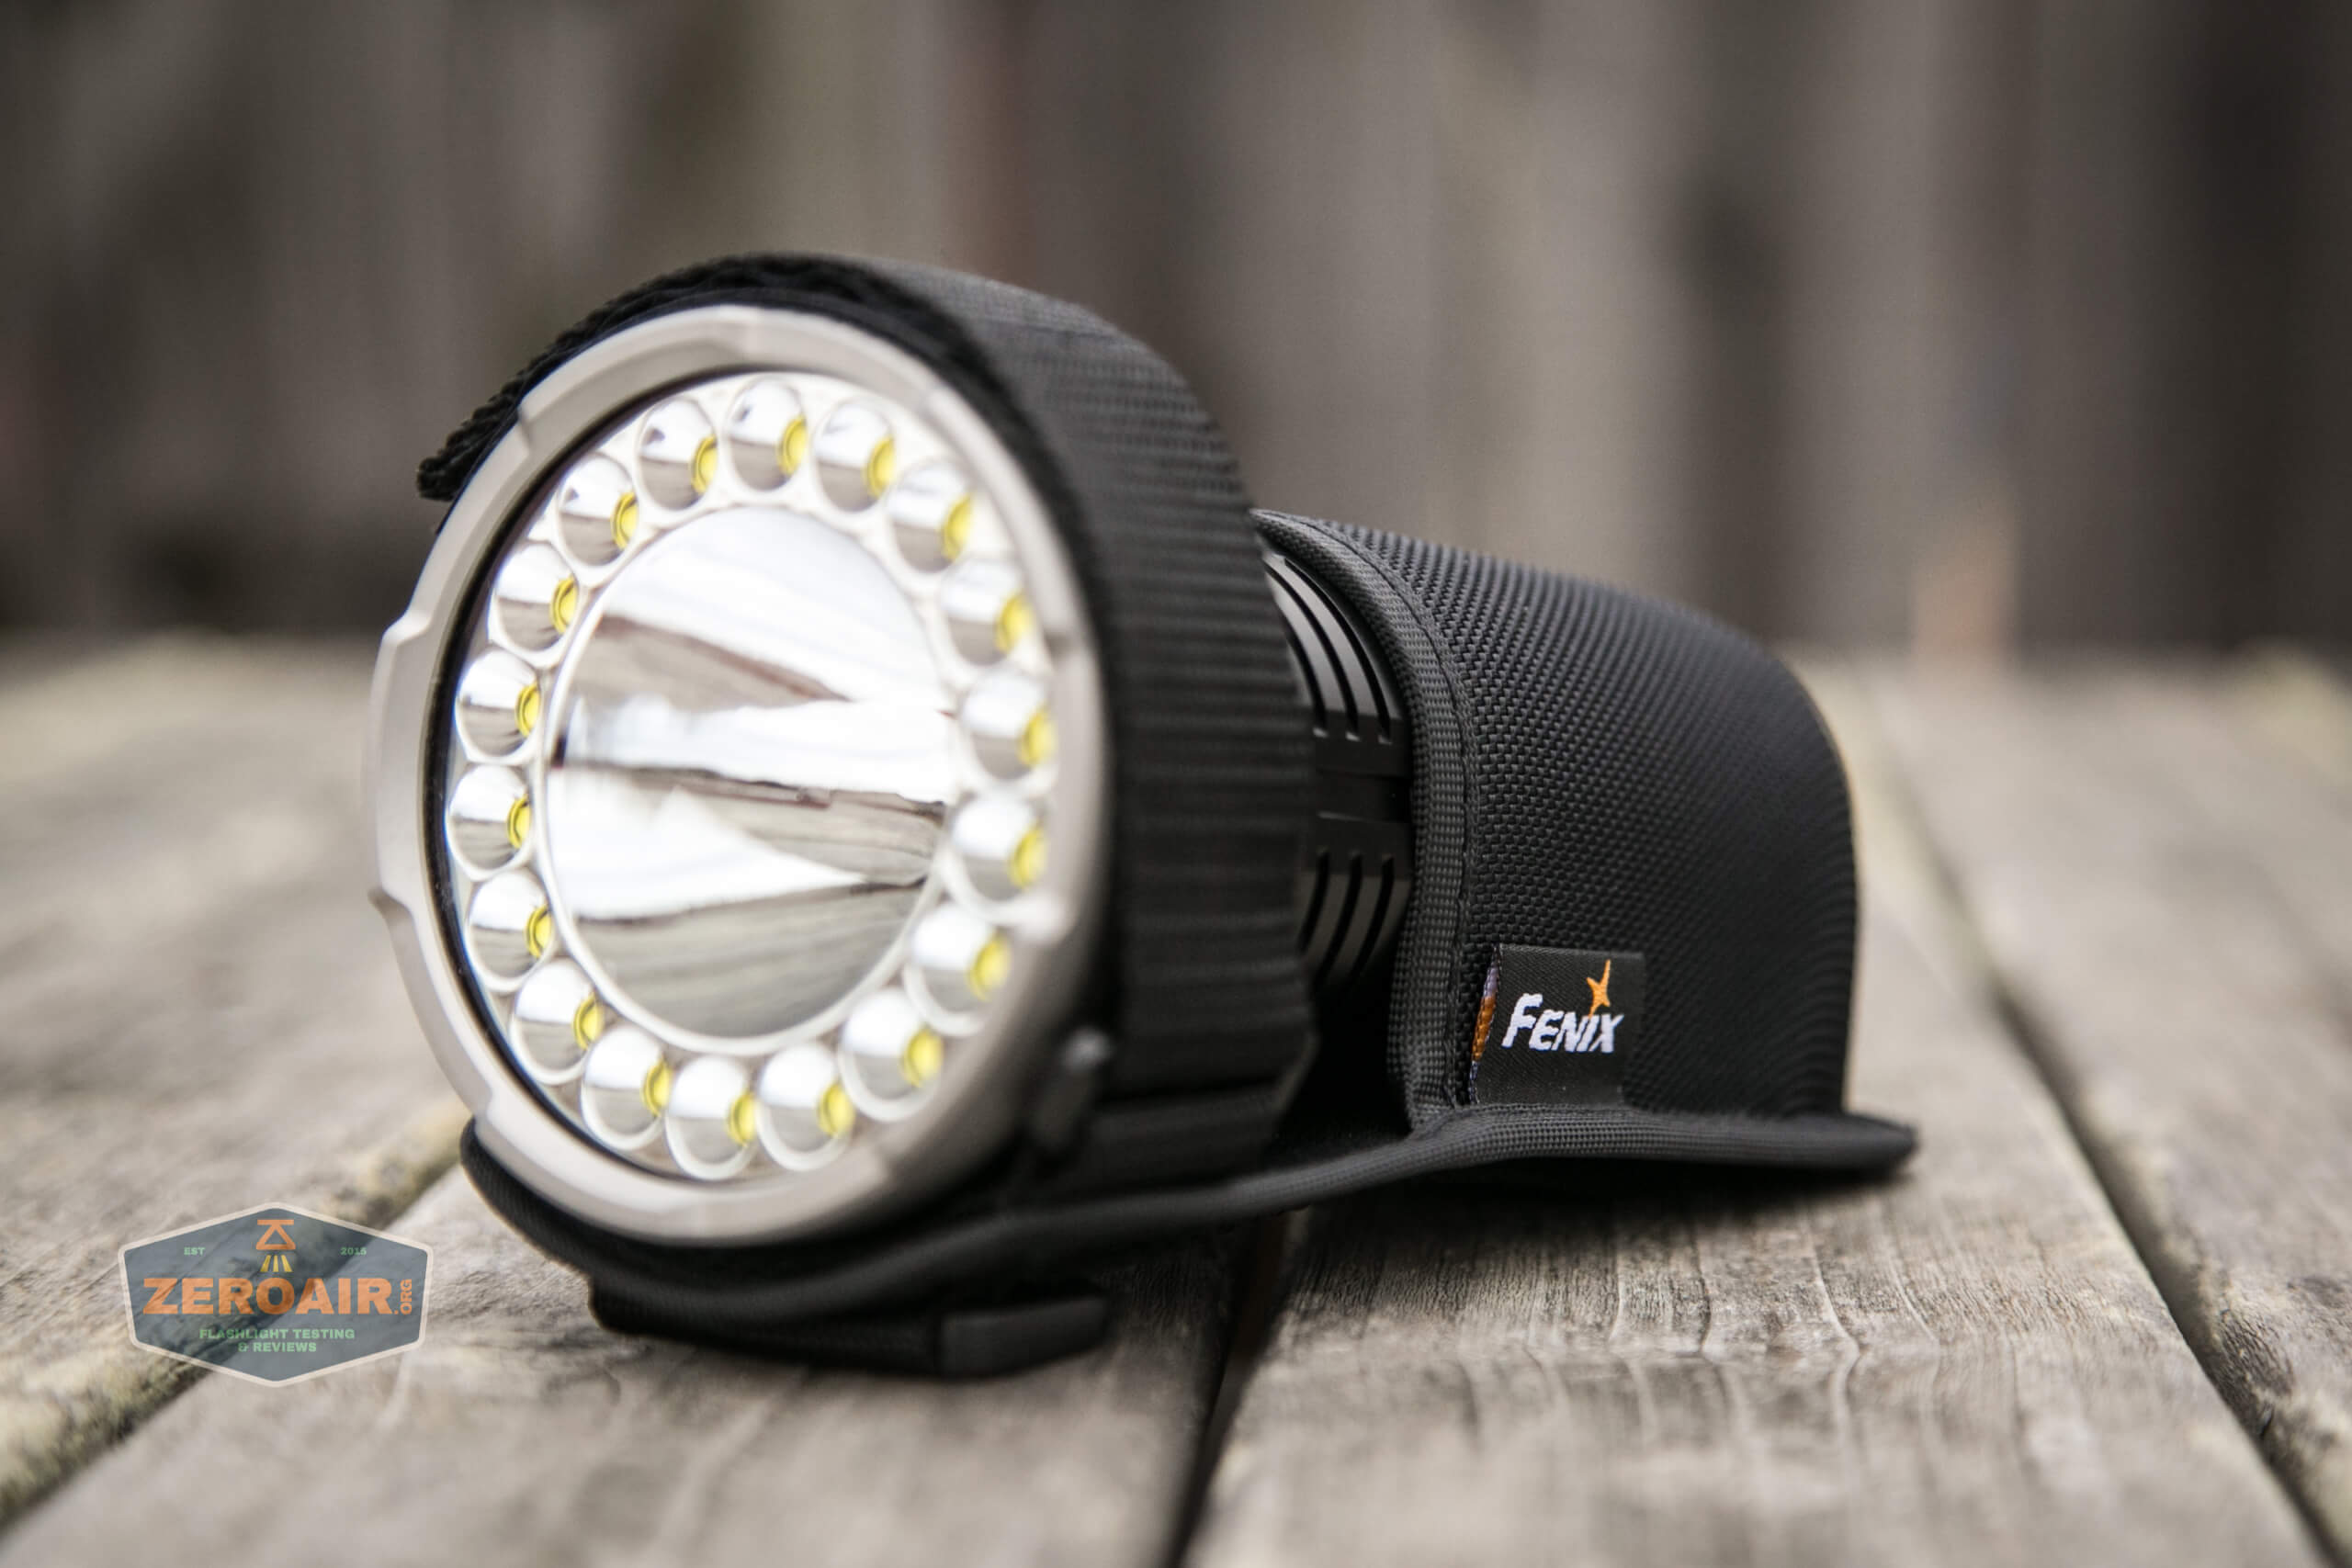
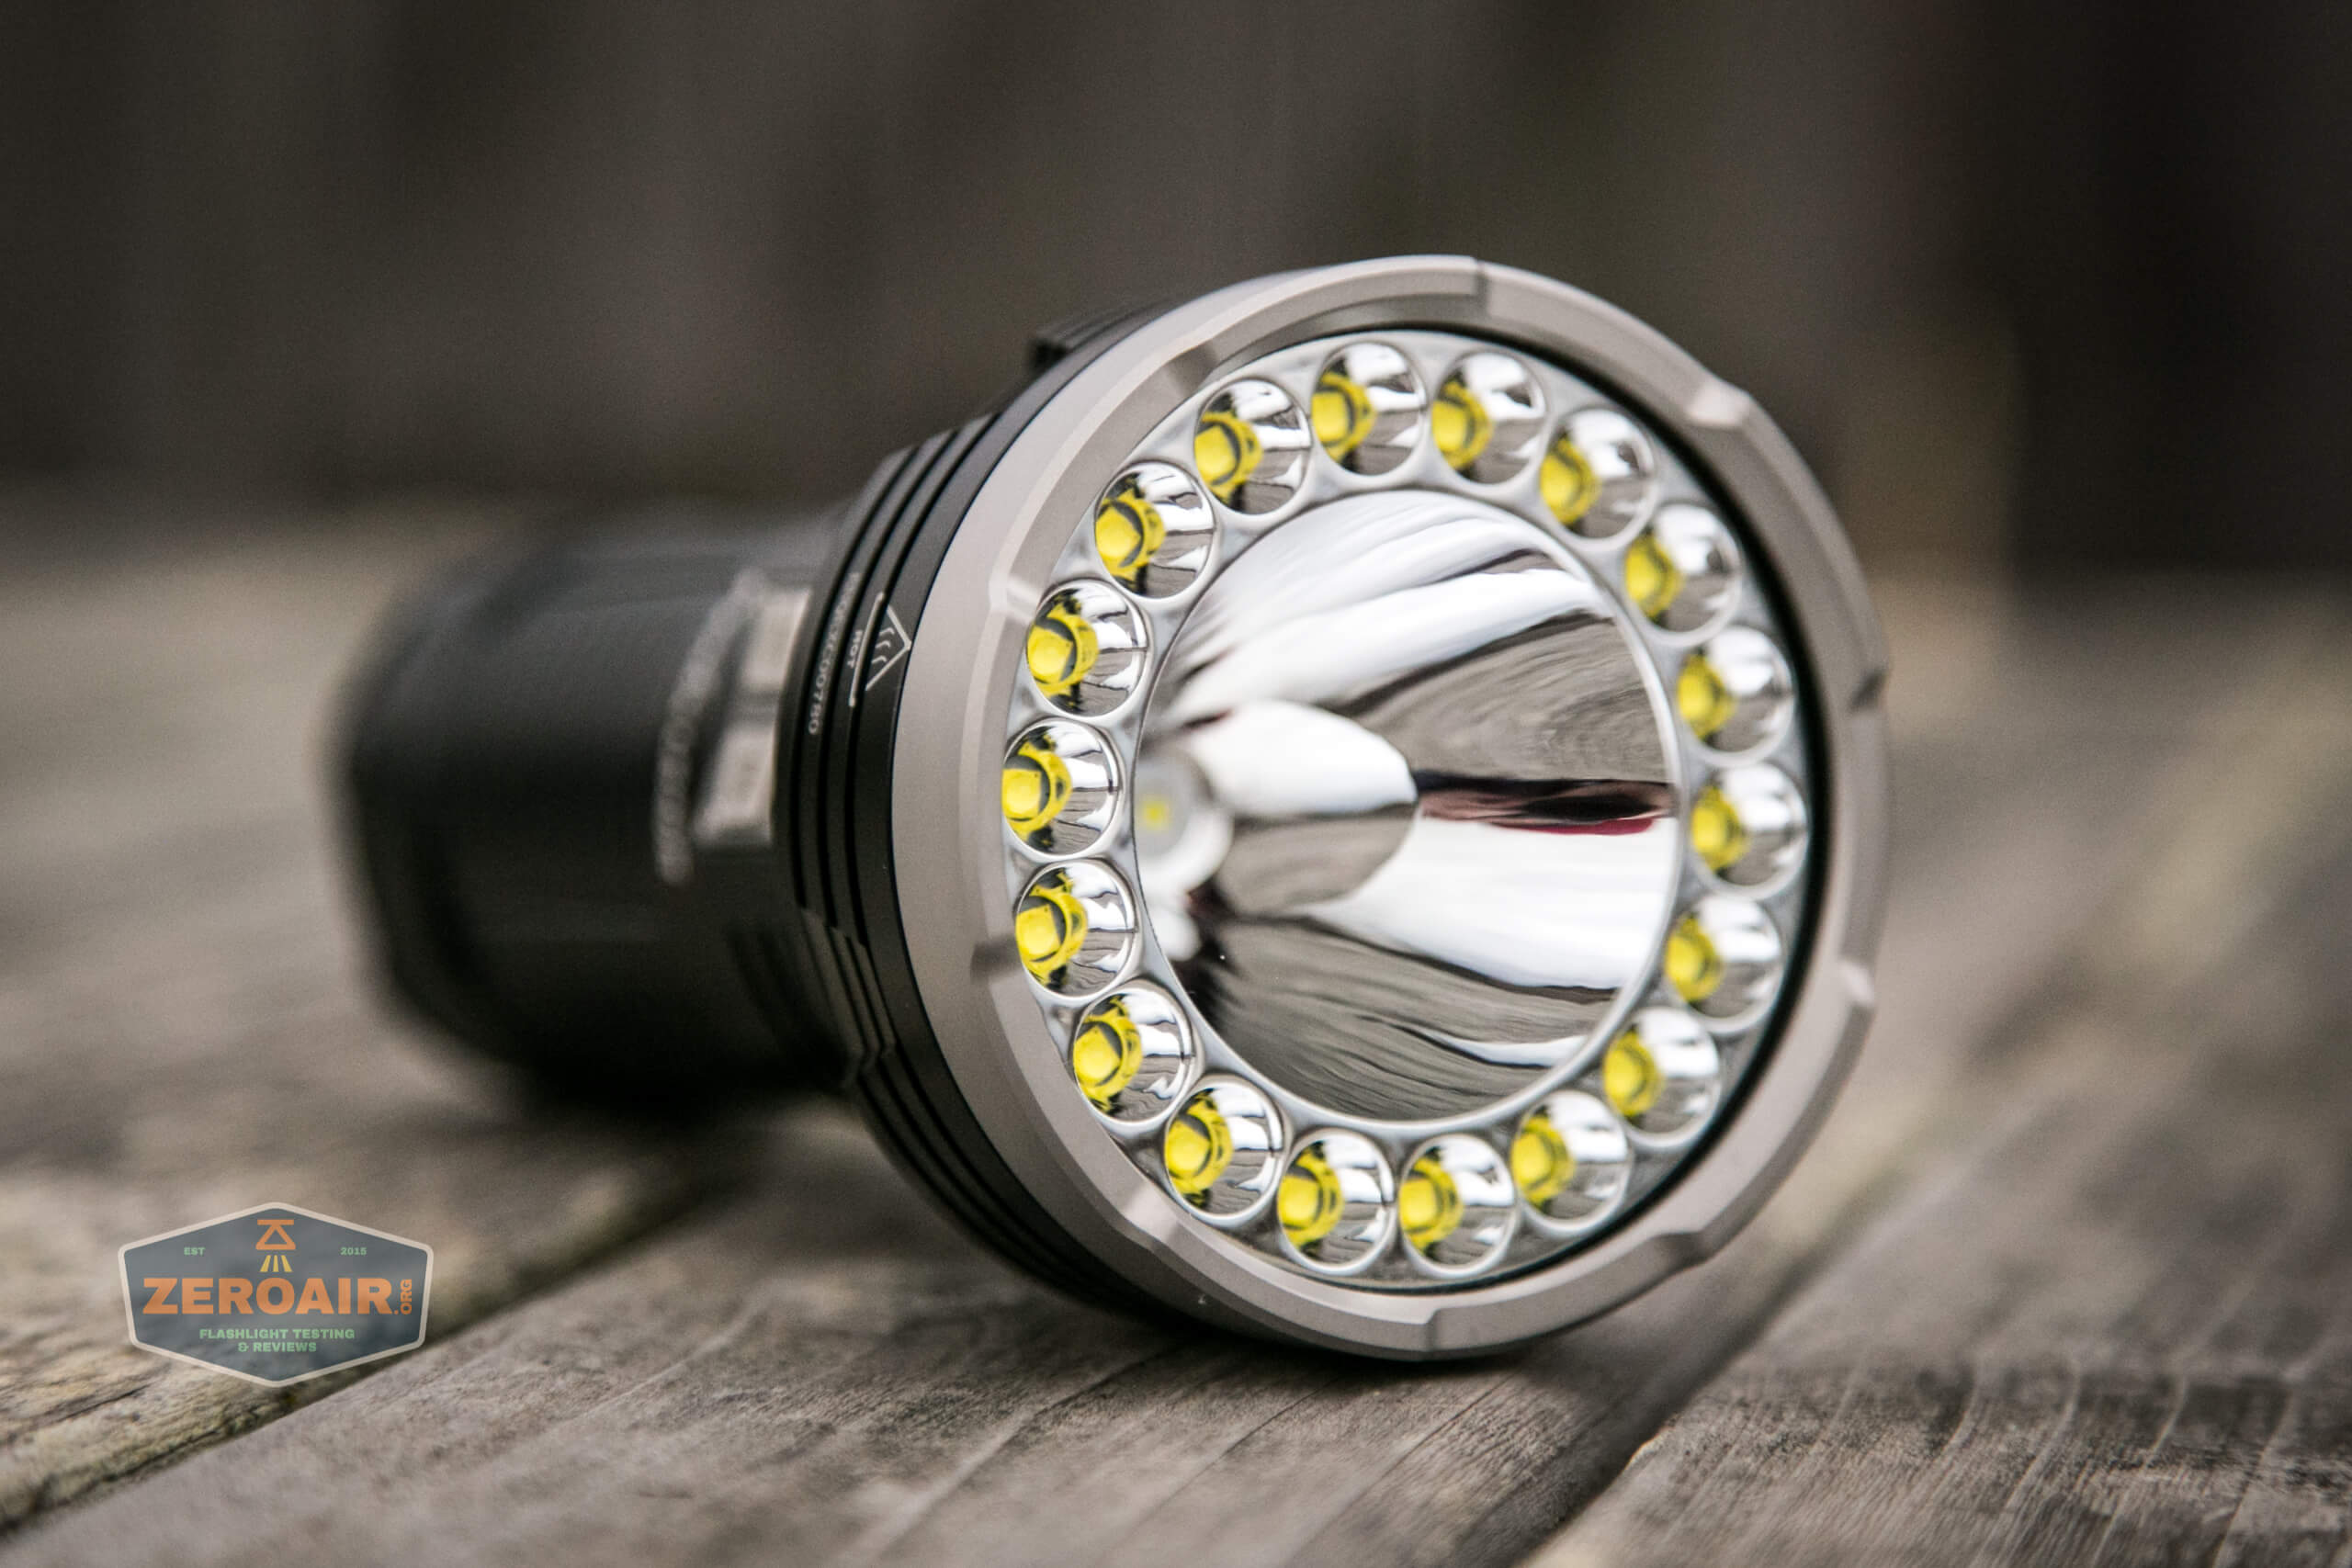
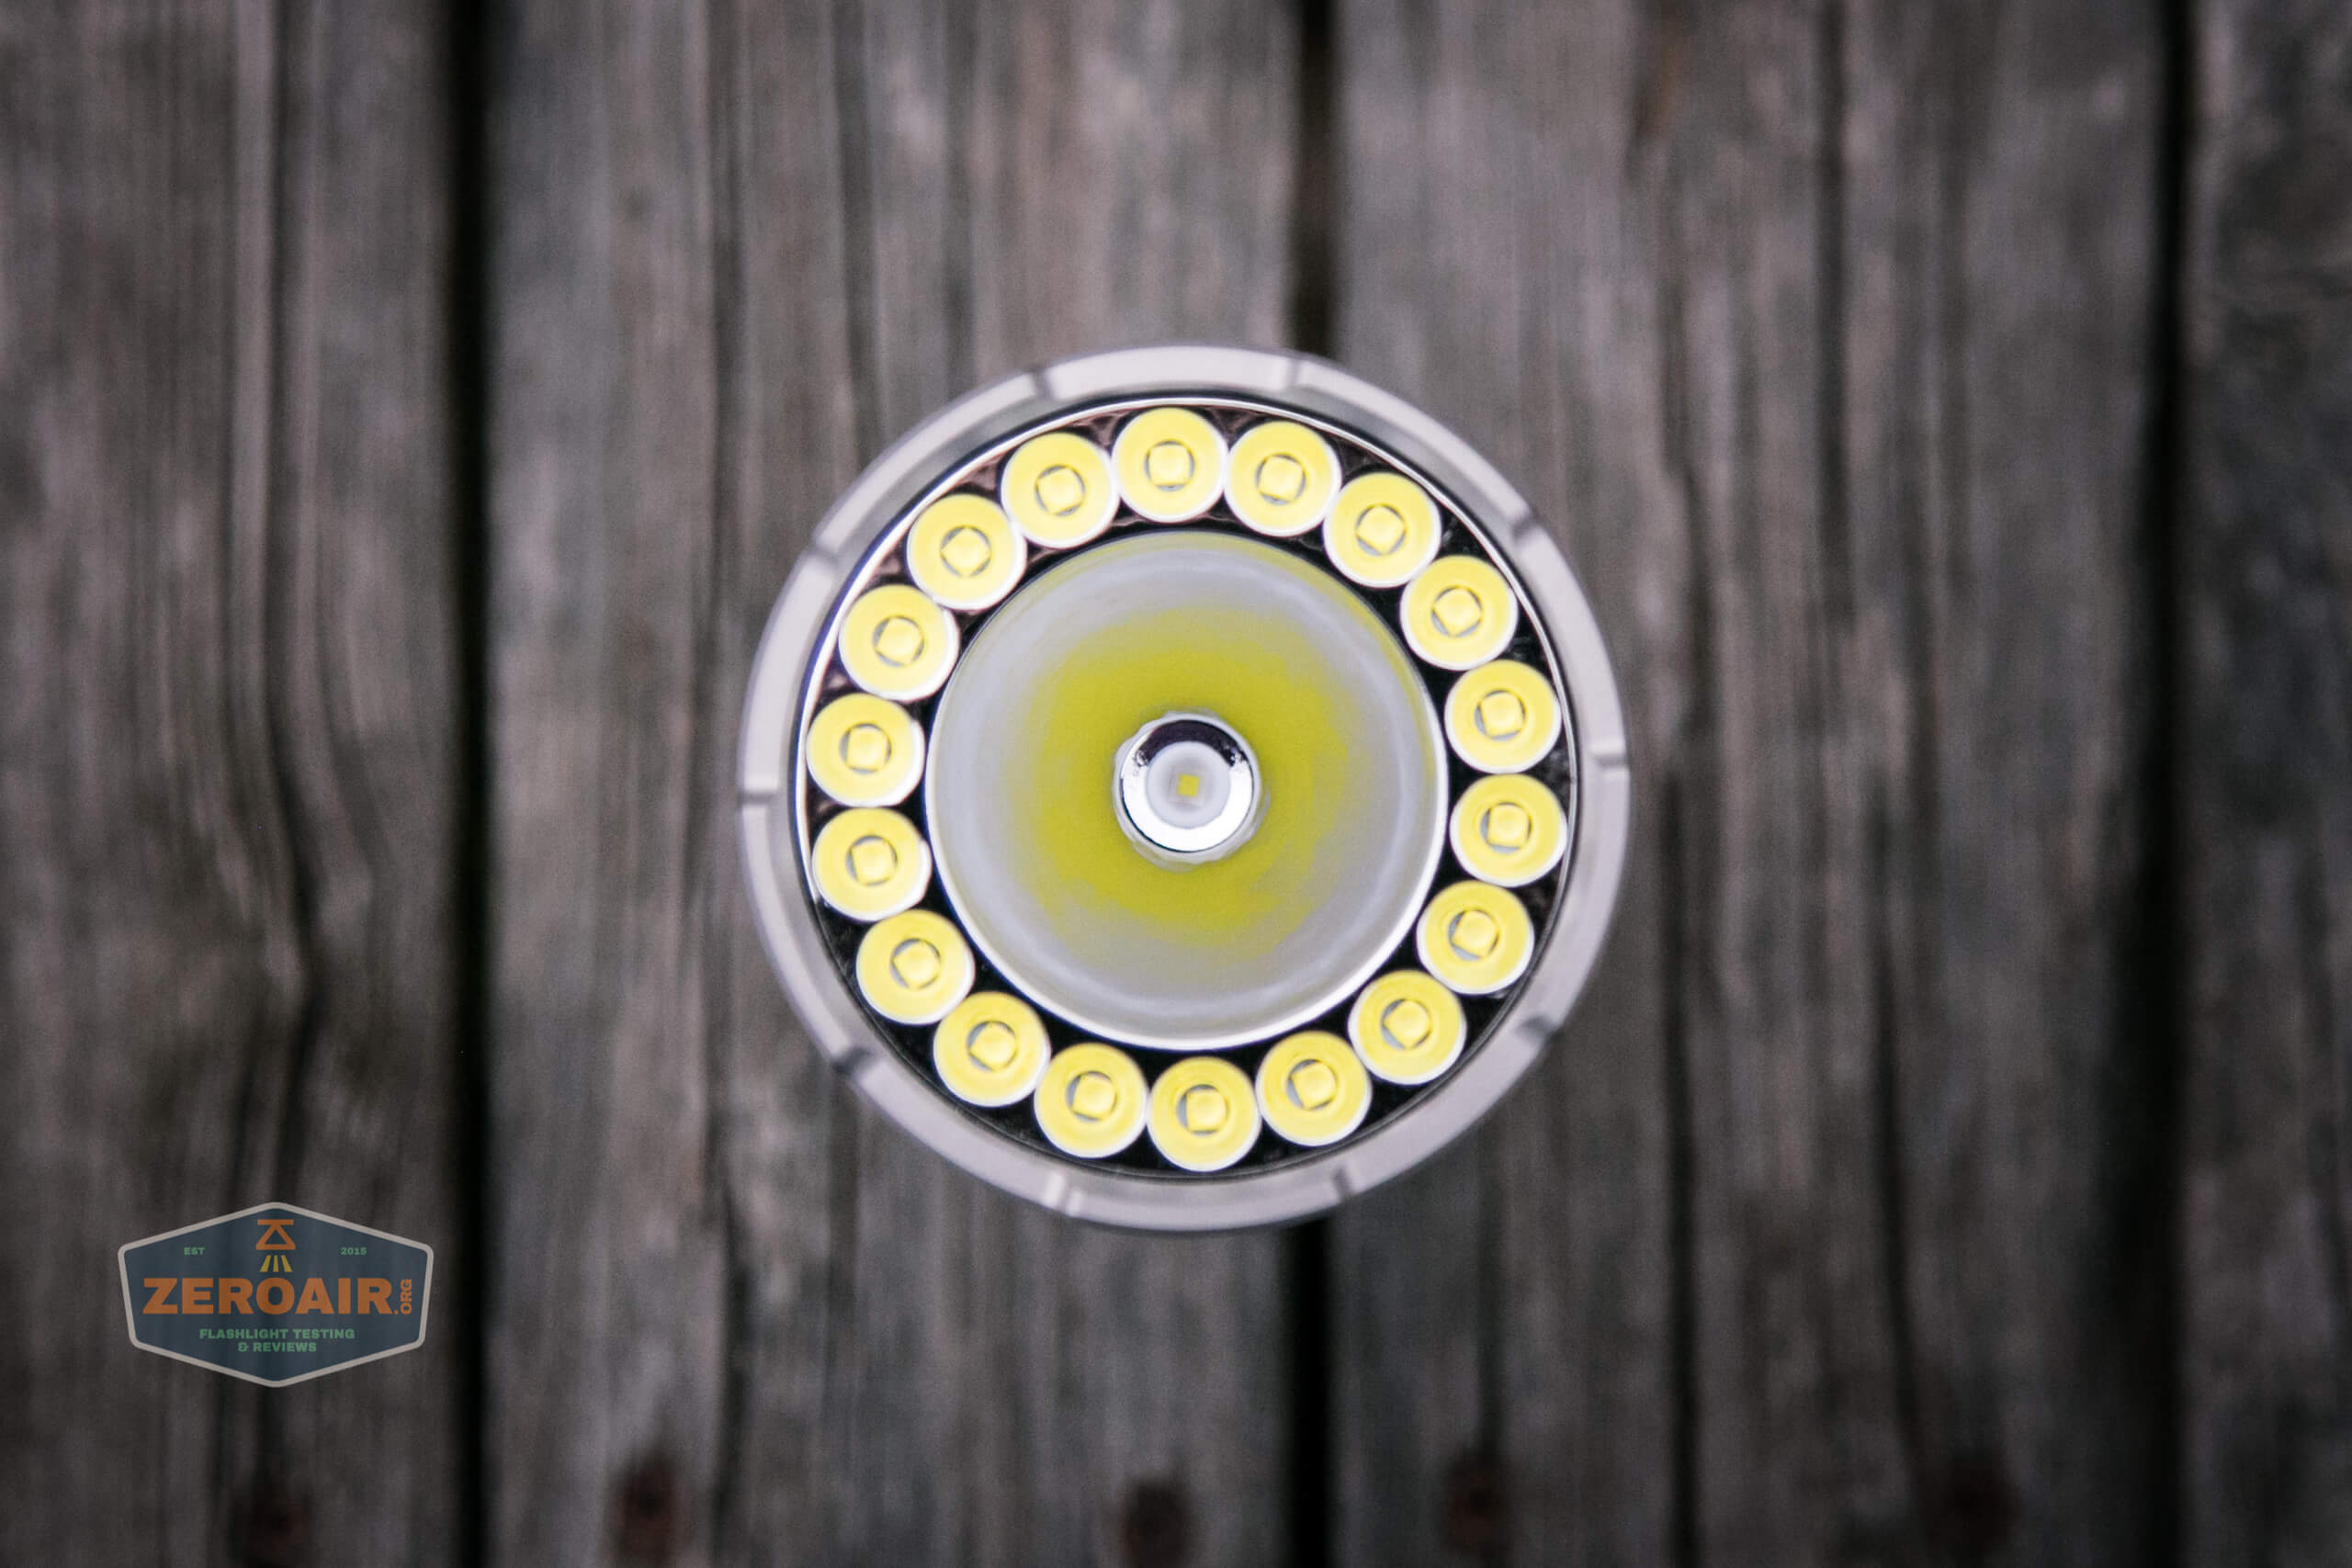
In the center is the spot emitter, a Cree XP-L HI. The ring of 18 emitters around the edge is Cree XP-G3.
As stated above, the bezel has some features, which means when placed head down, light will escape.

Fenix provides a battery with this purchase. More on this later. This is 4×18650 cells.
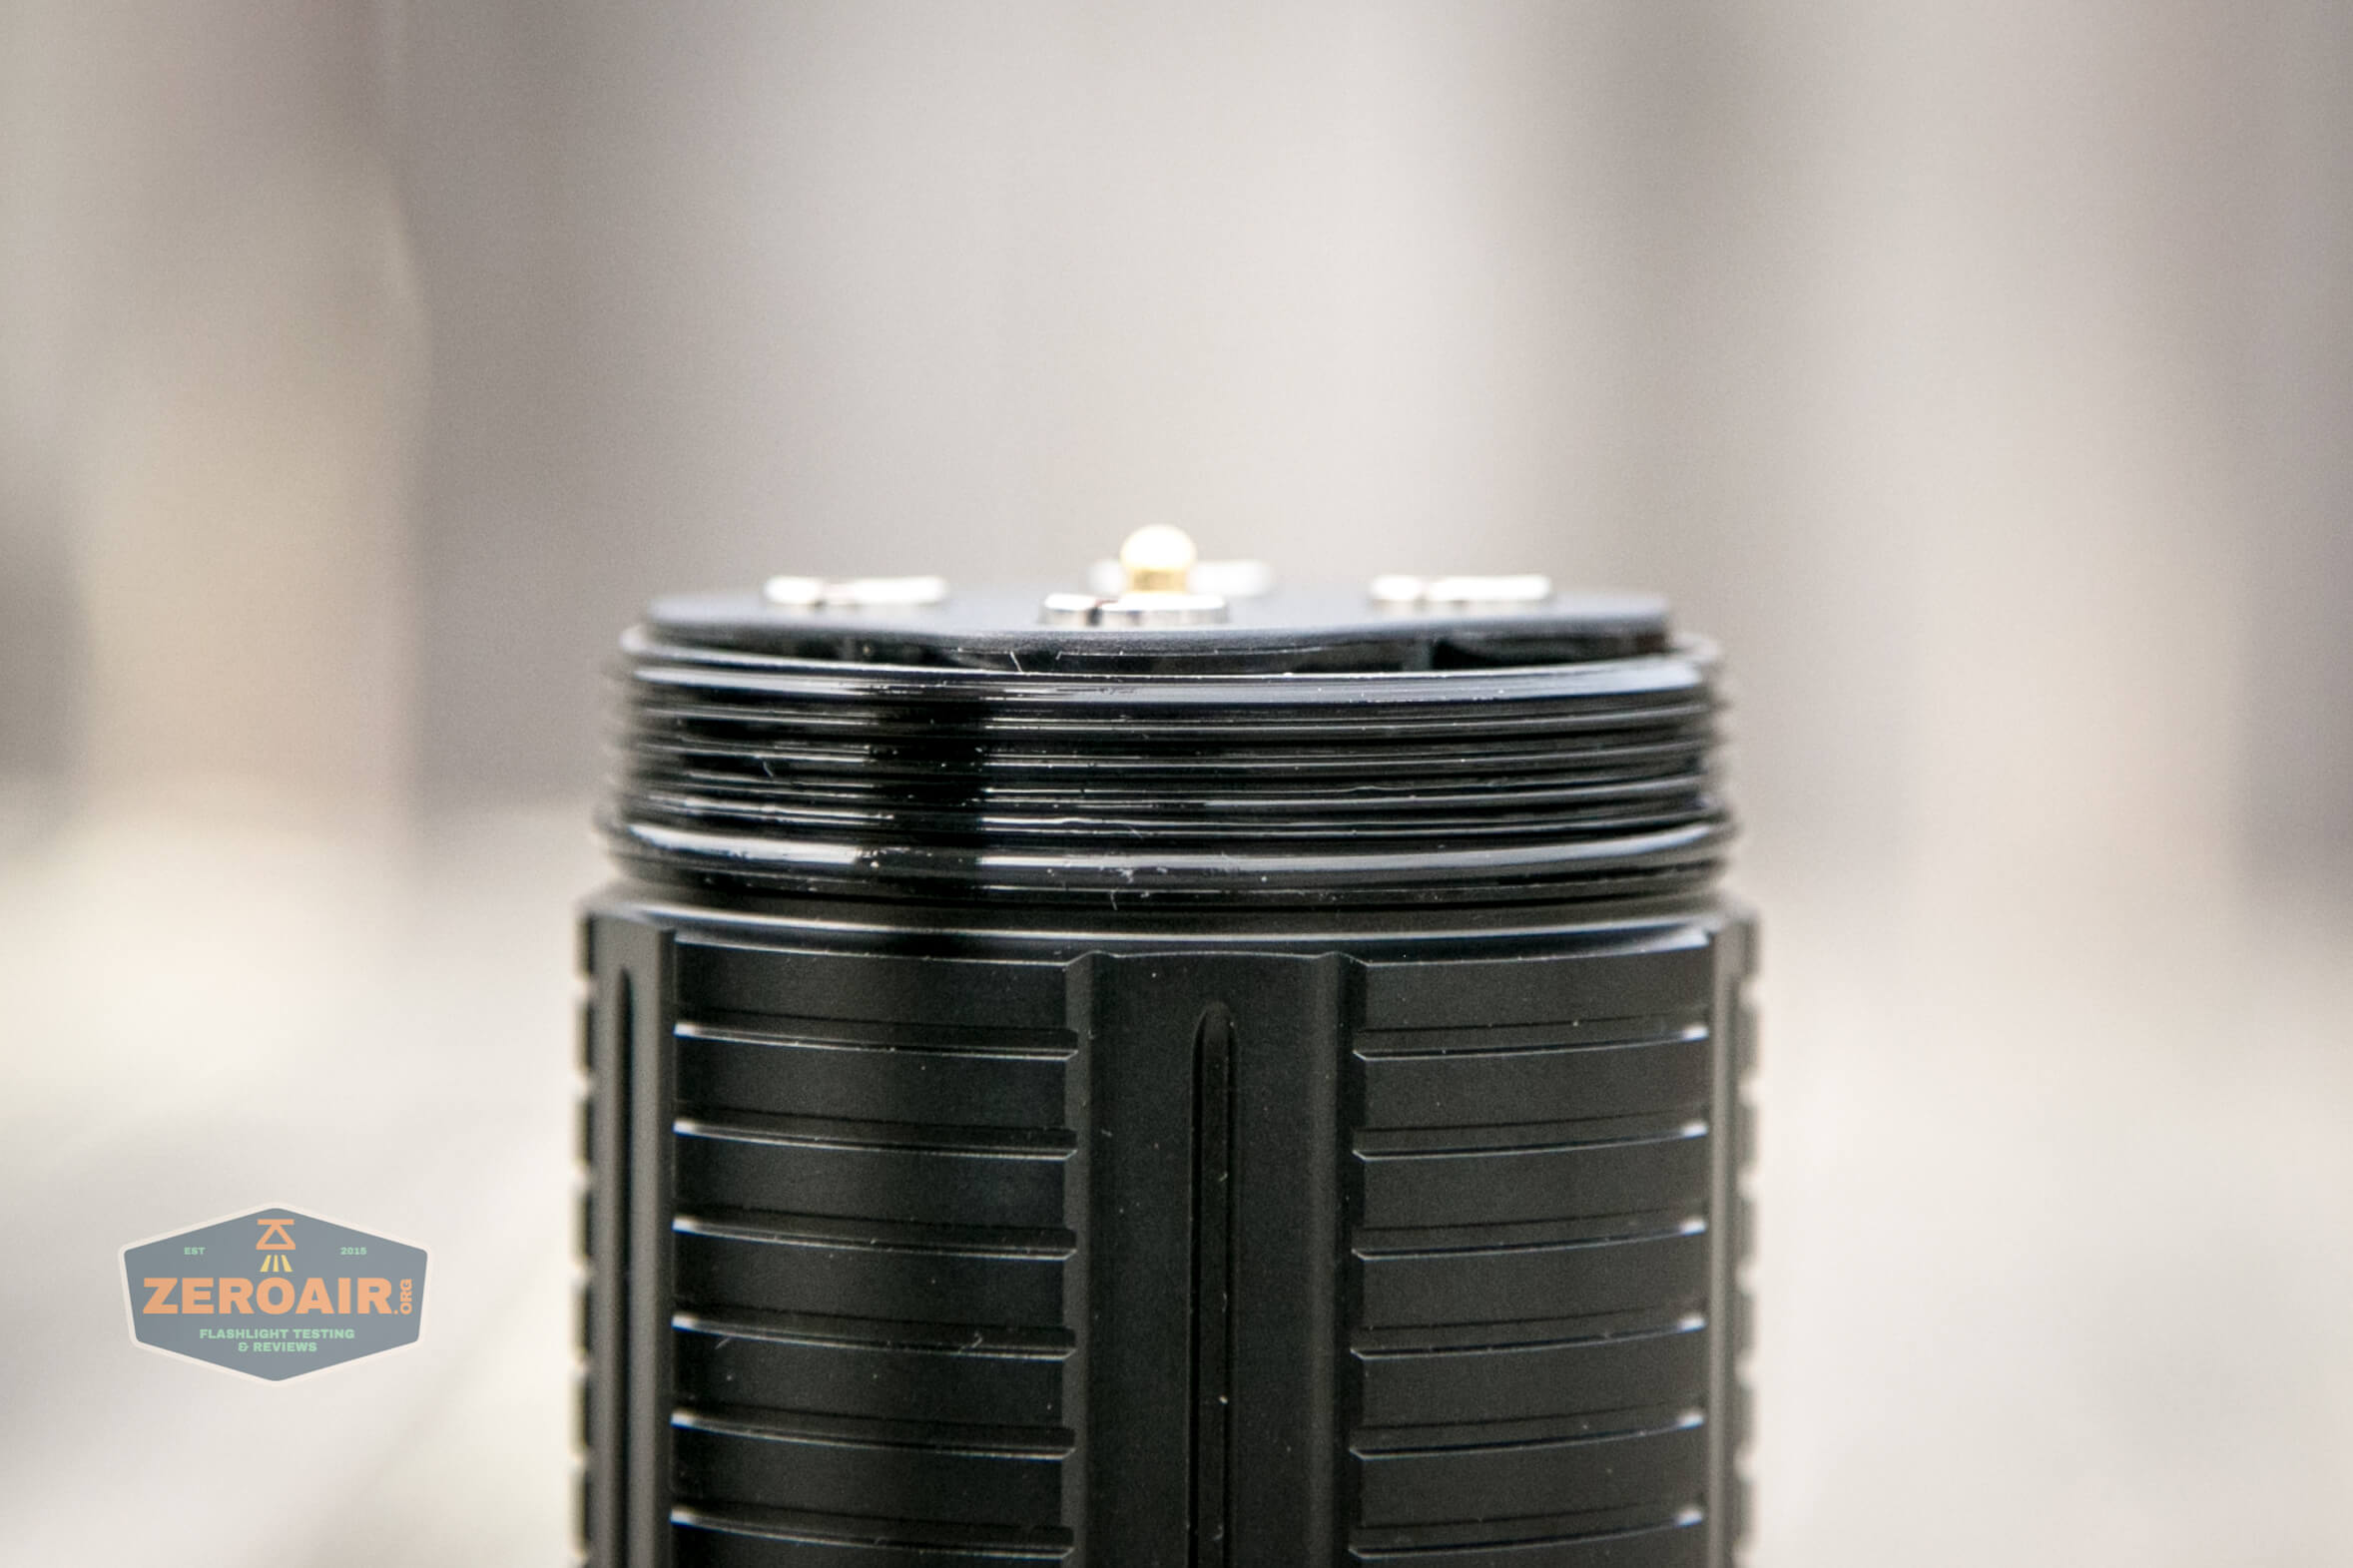
The only part I was able to disassemble on this light was simply removing the head from the body. The threads here are very smooth and not very long. They’re anodized, square-cut, and easy to start. The bezel or the tailcap doesn’t remove (at least easily, or without other tools.)

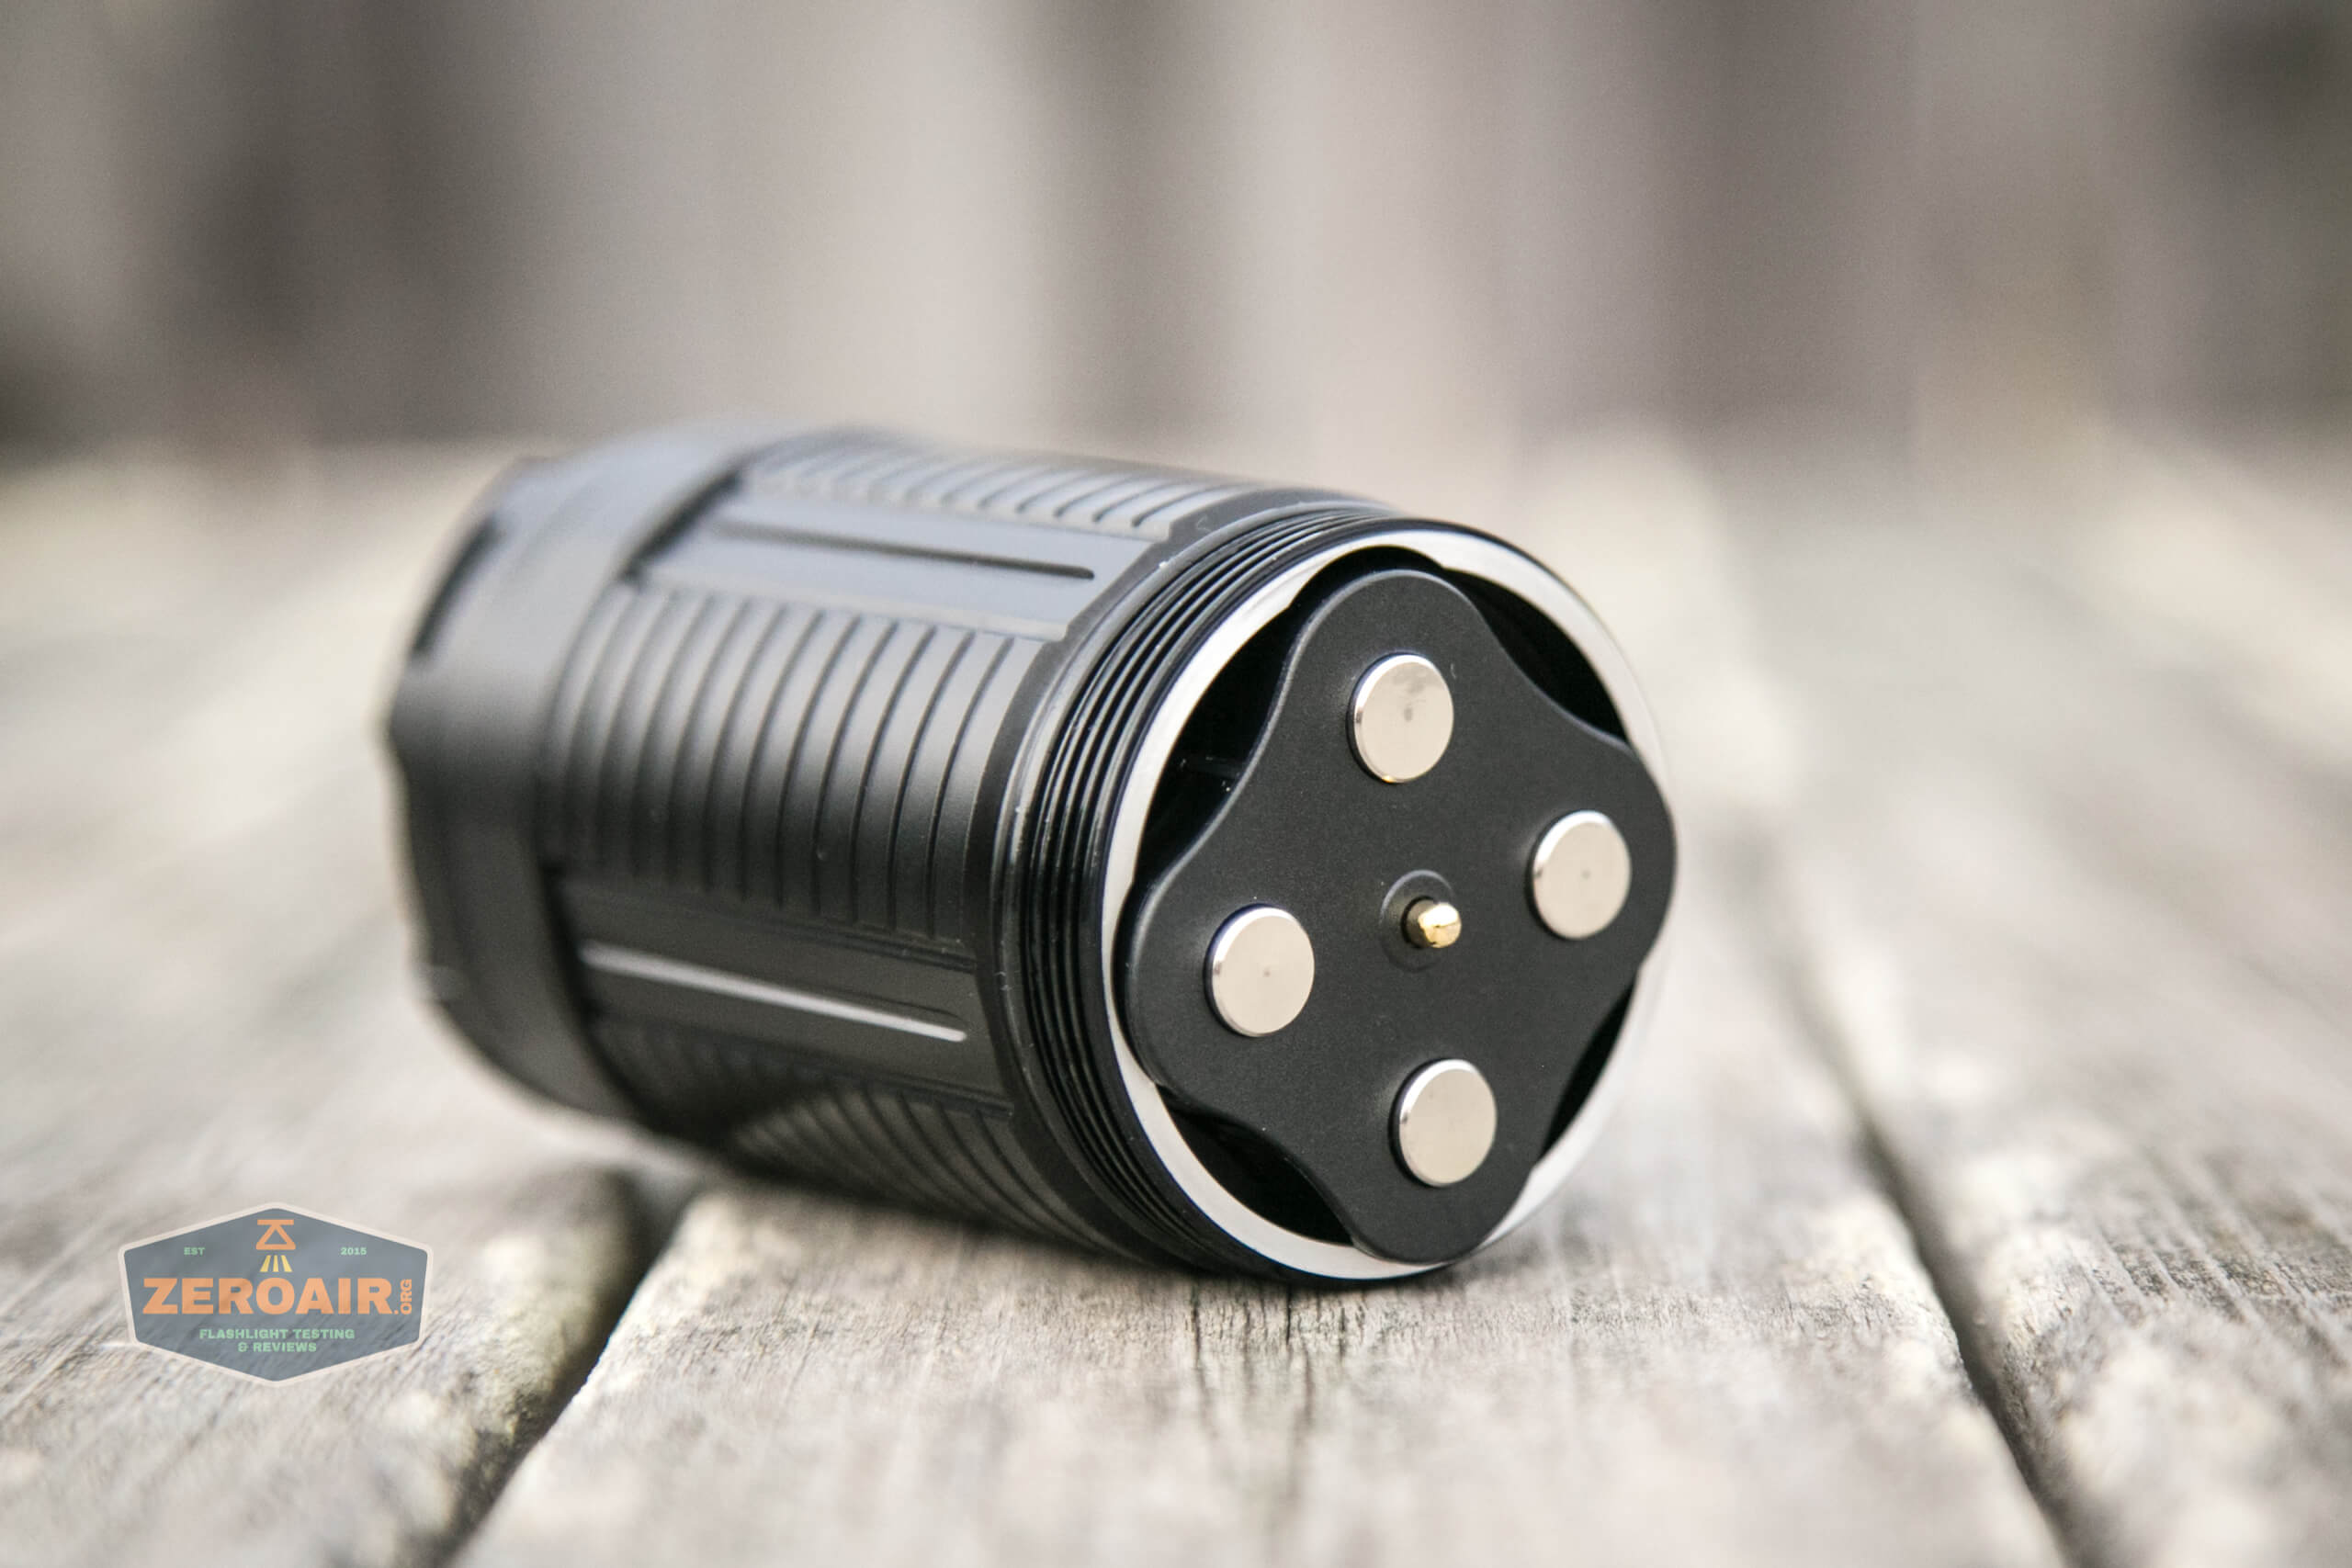
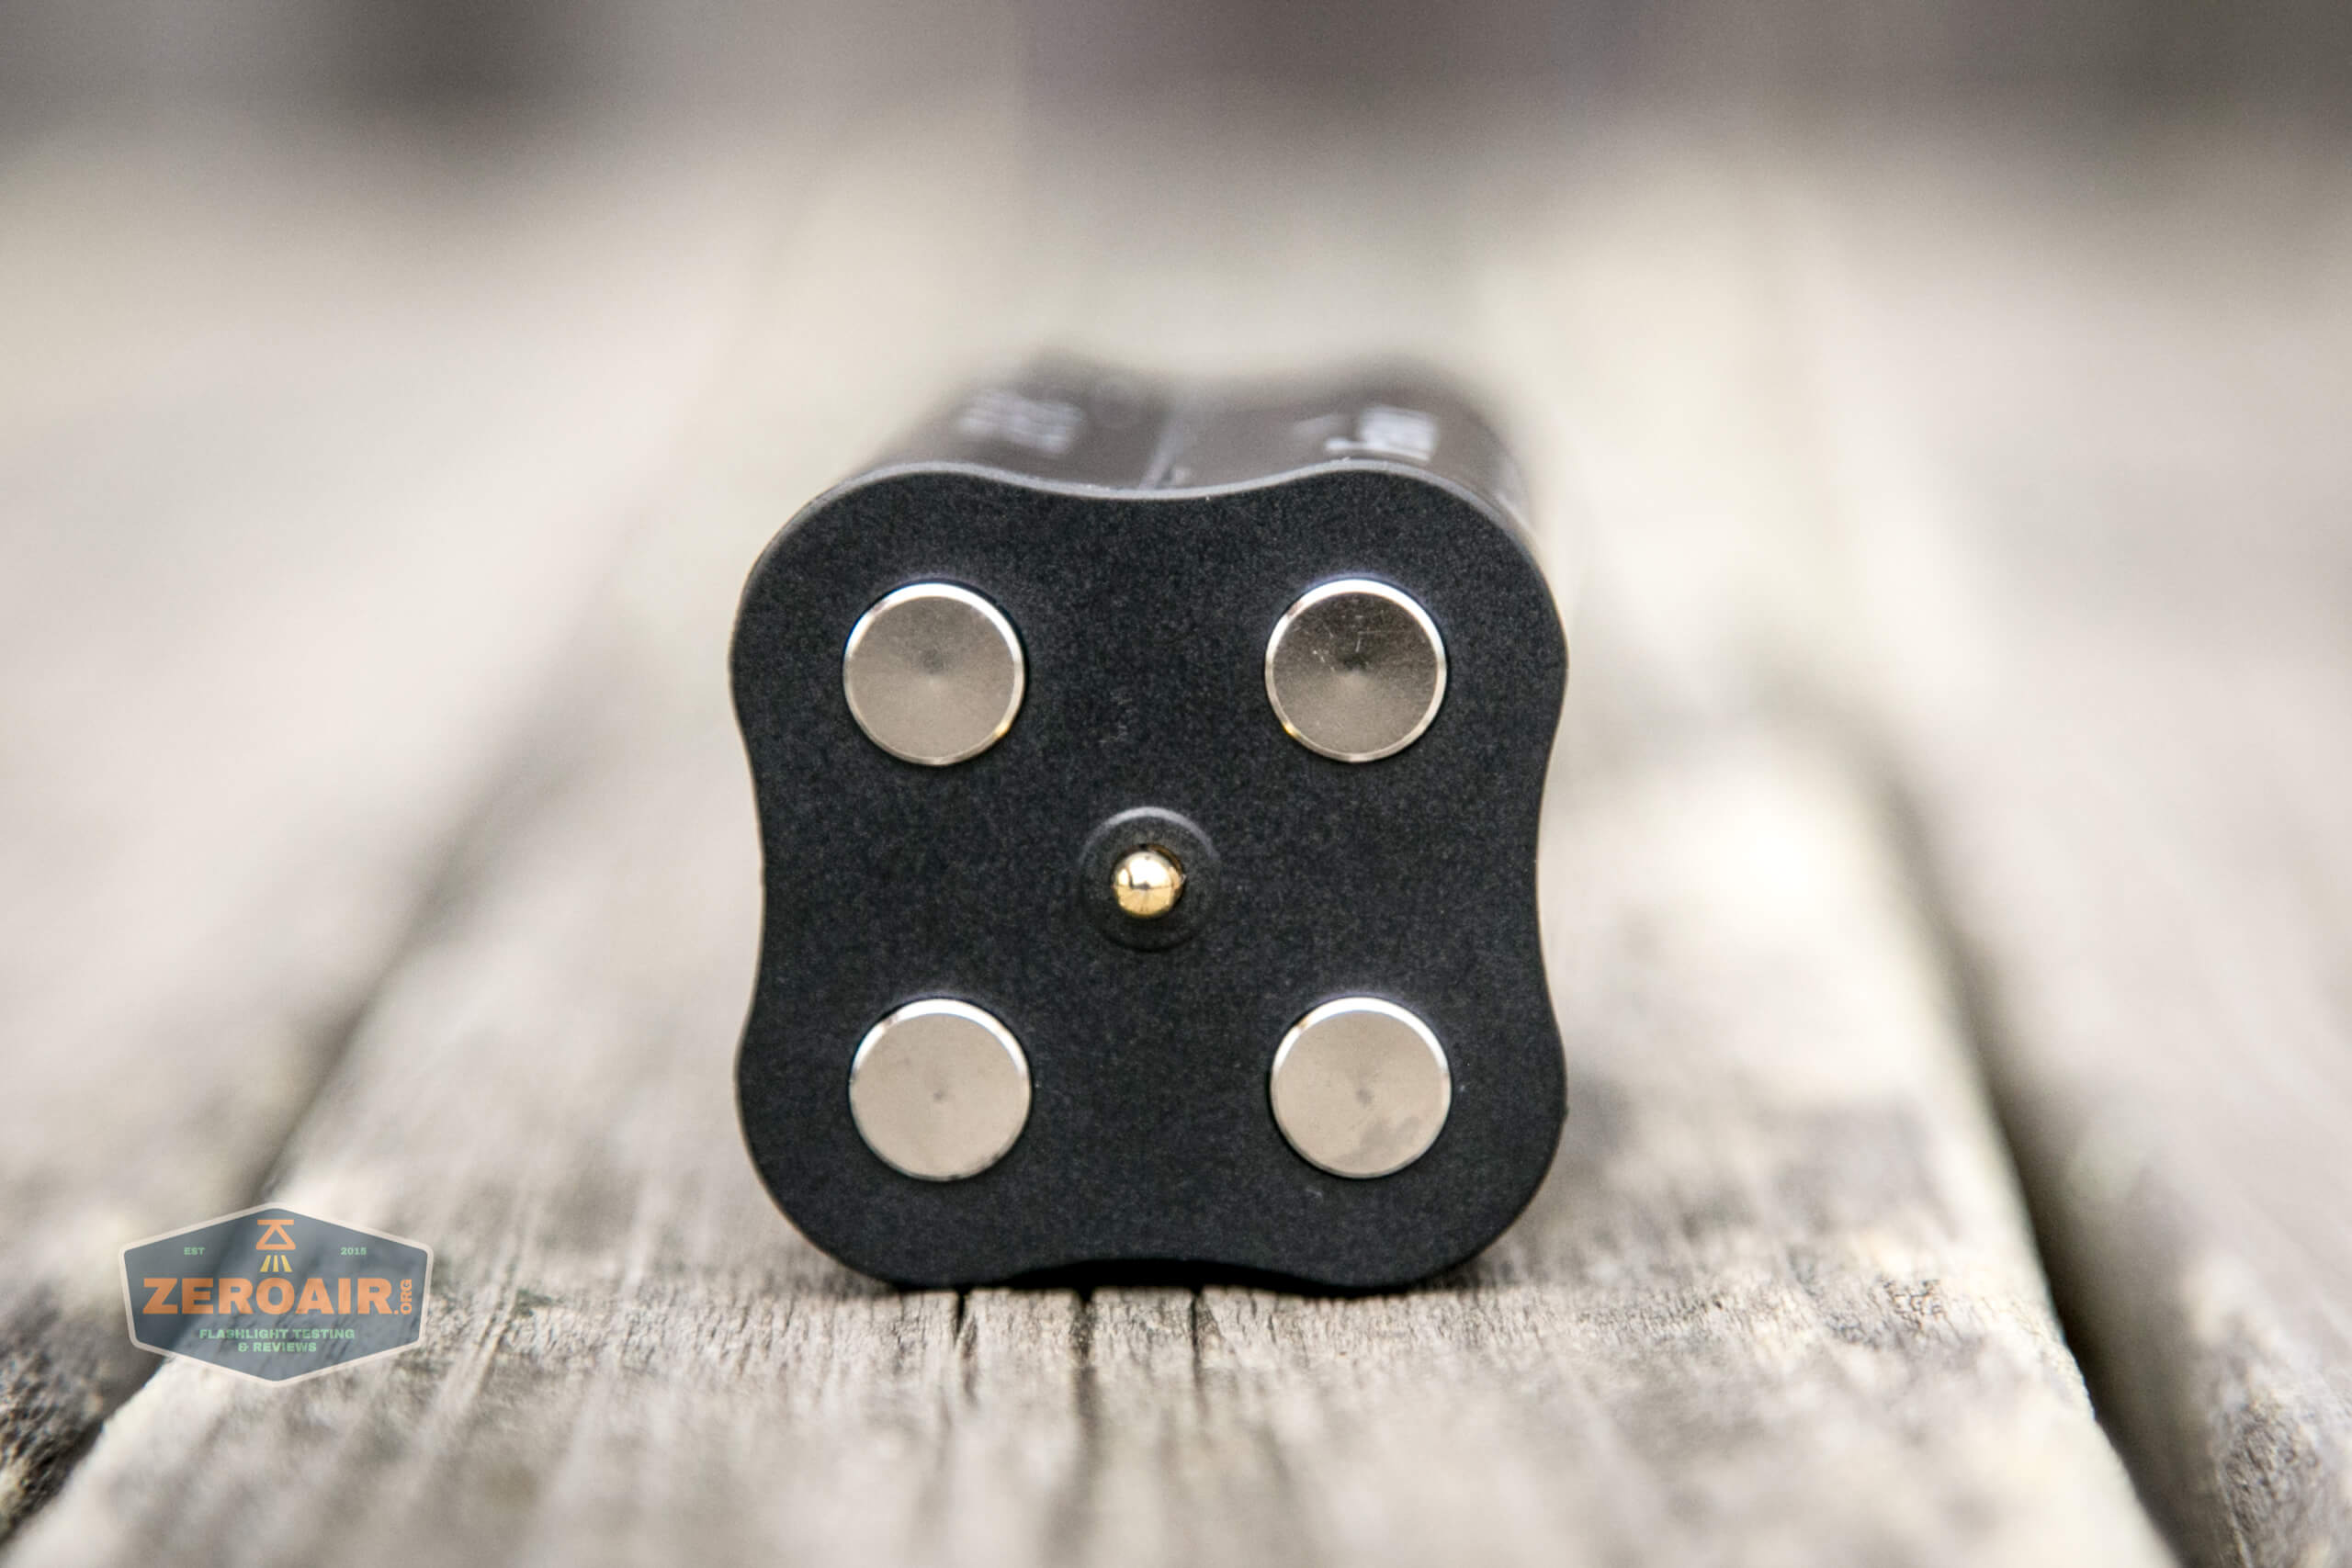
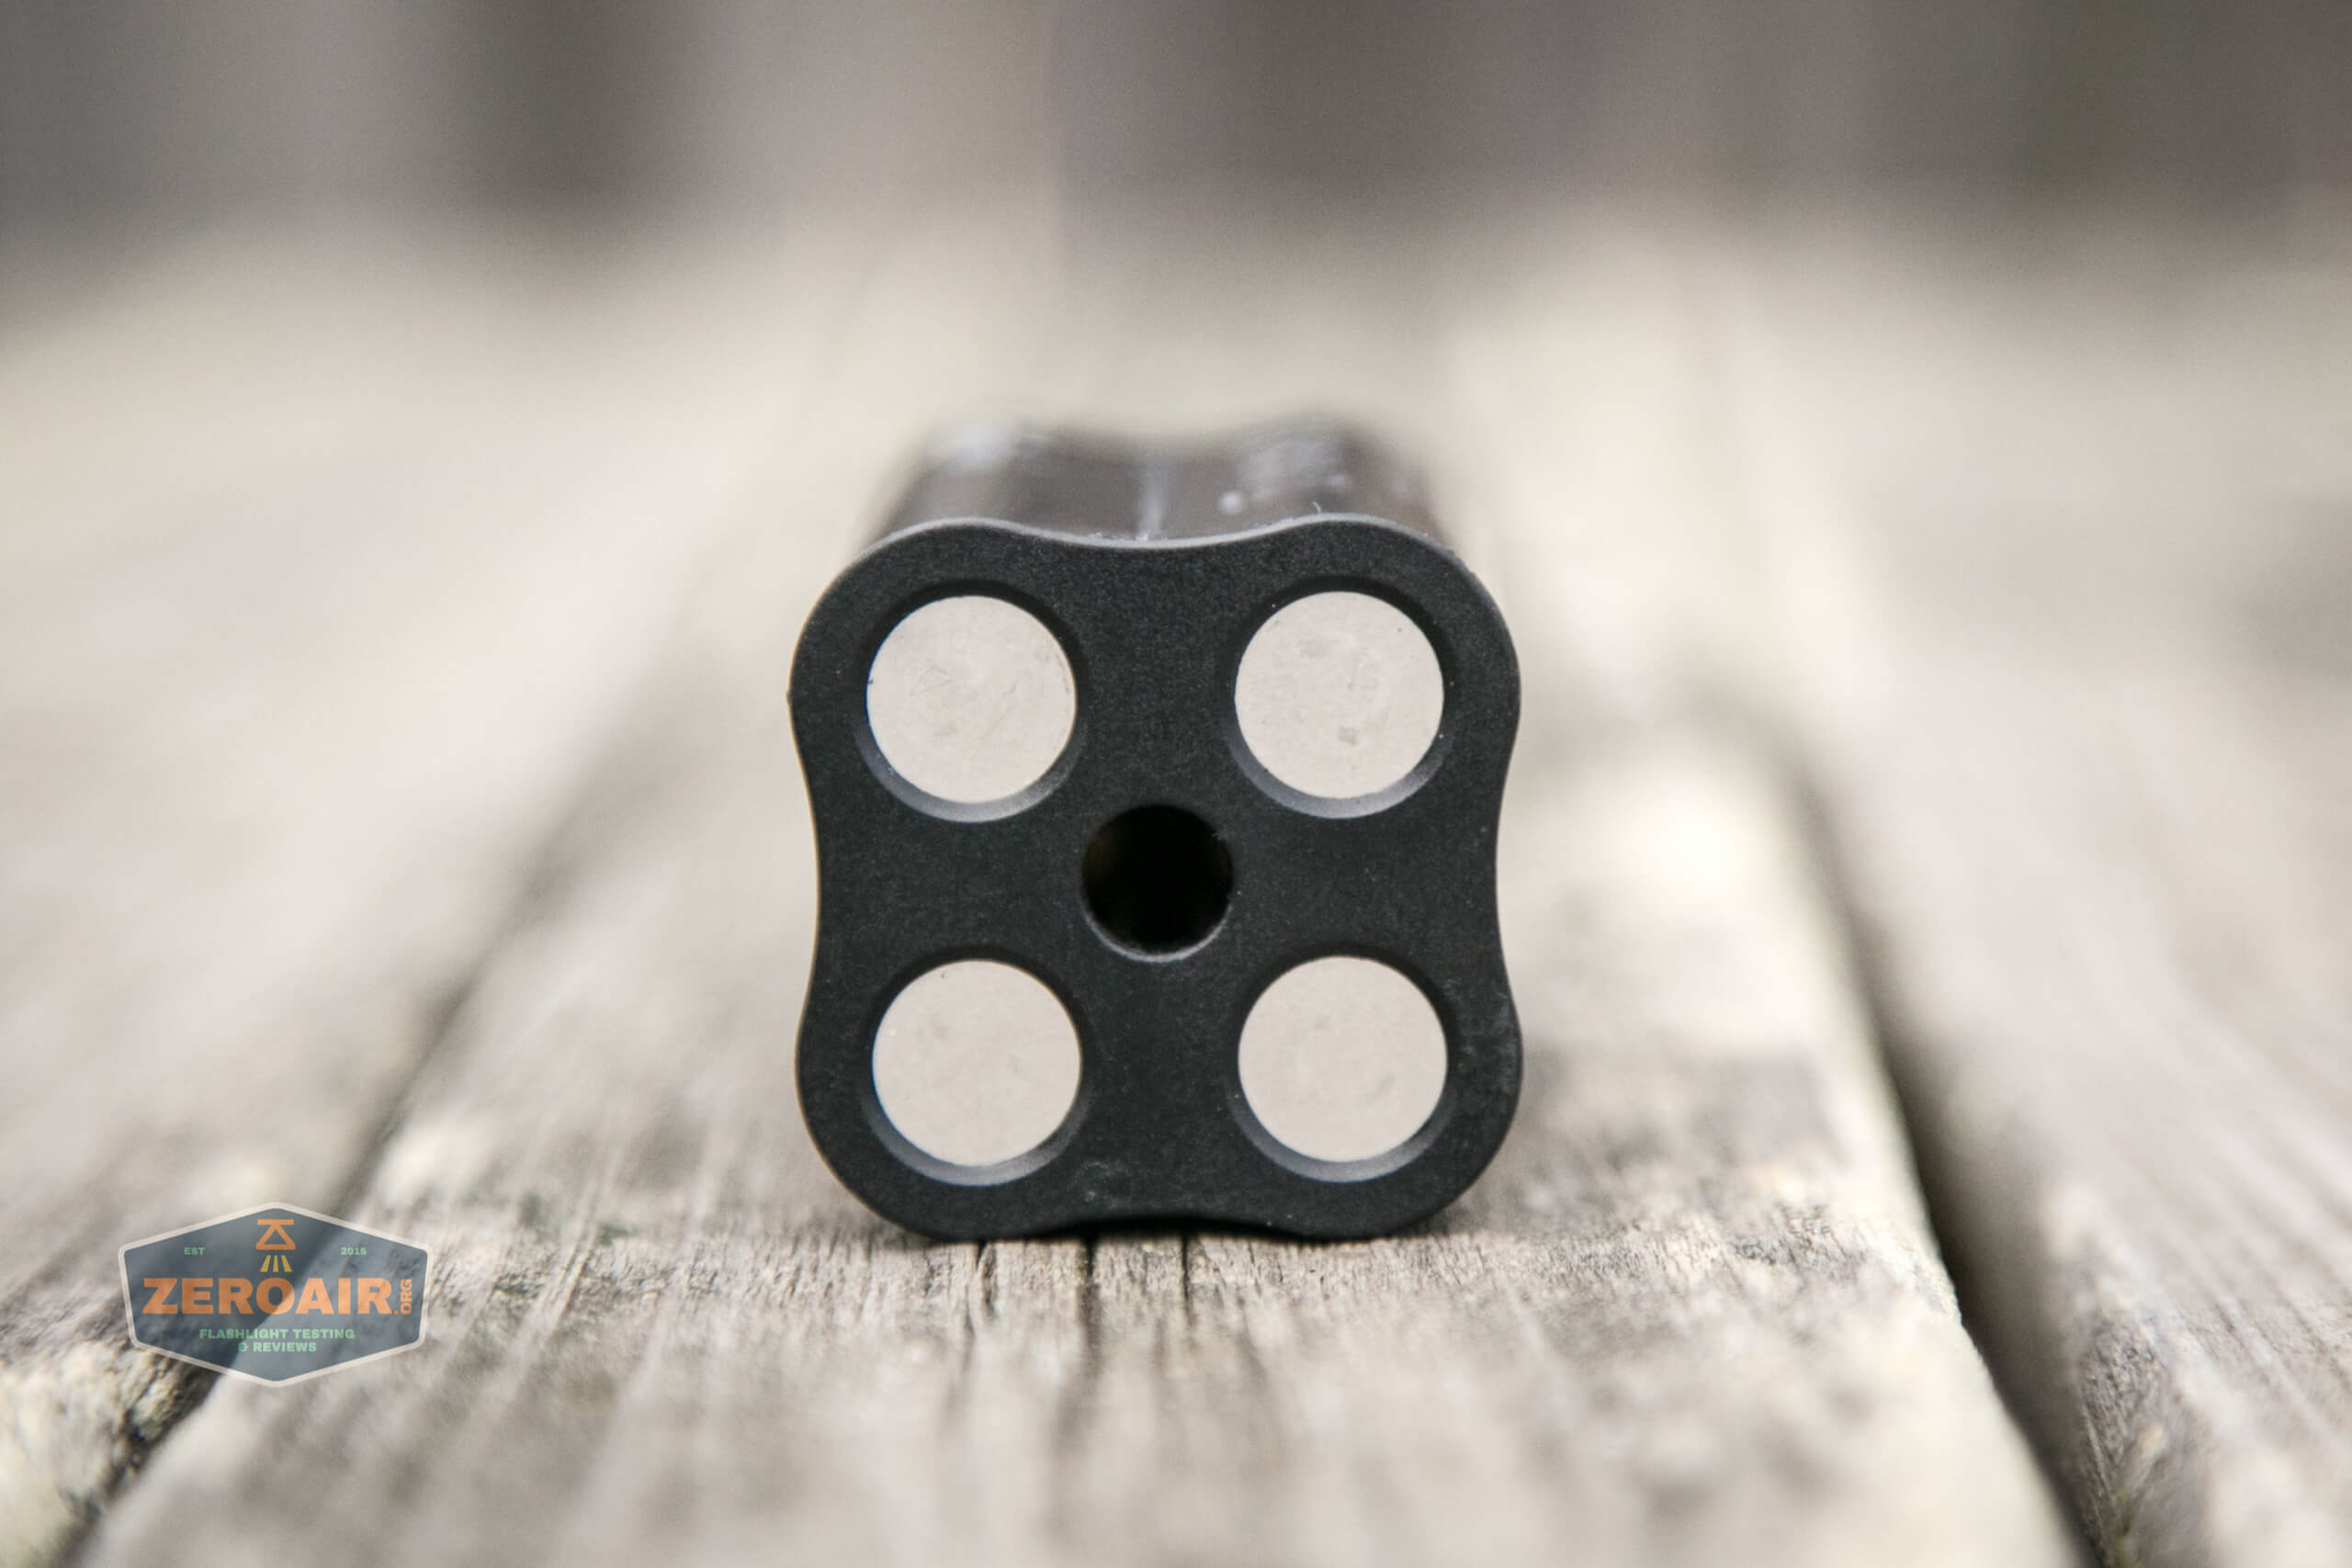
Looking into the cell tube, you see a nice feature. That center peg will prevent incorrect installation of the battery.
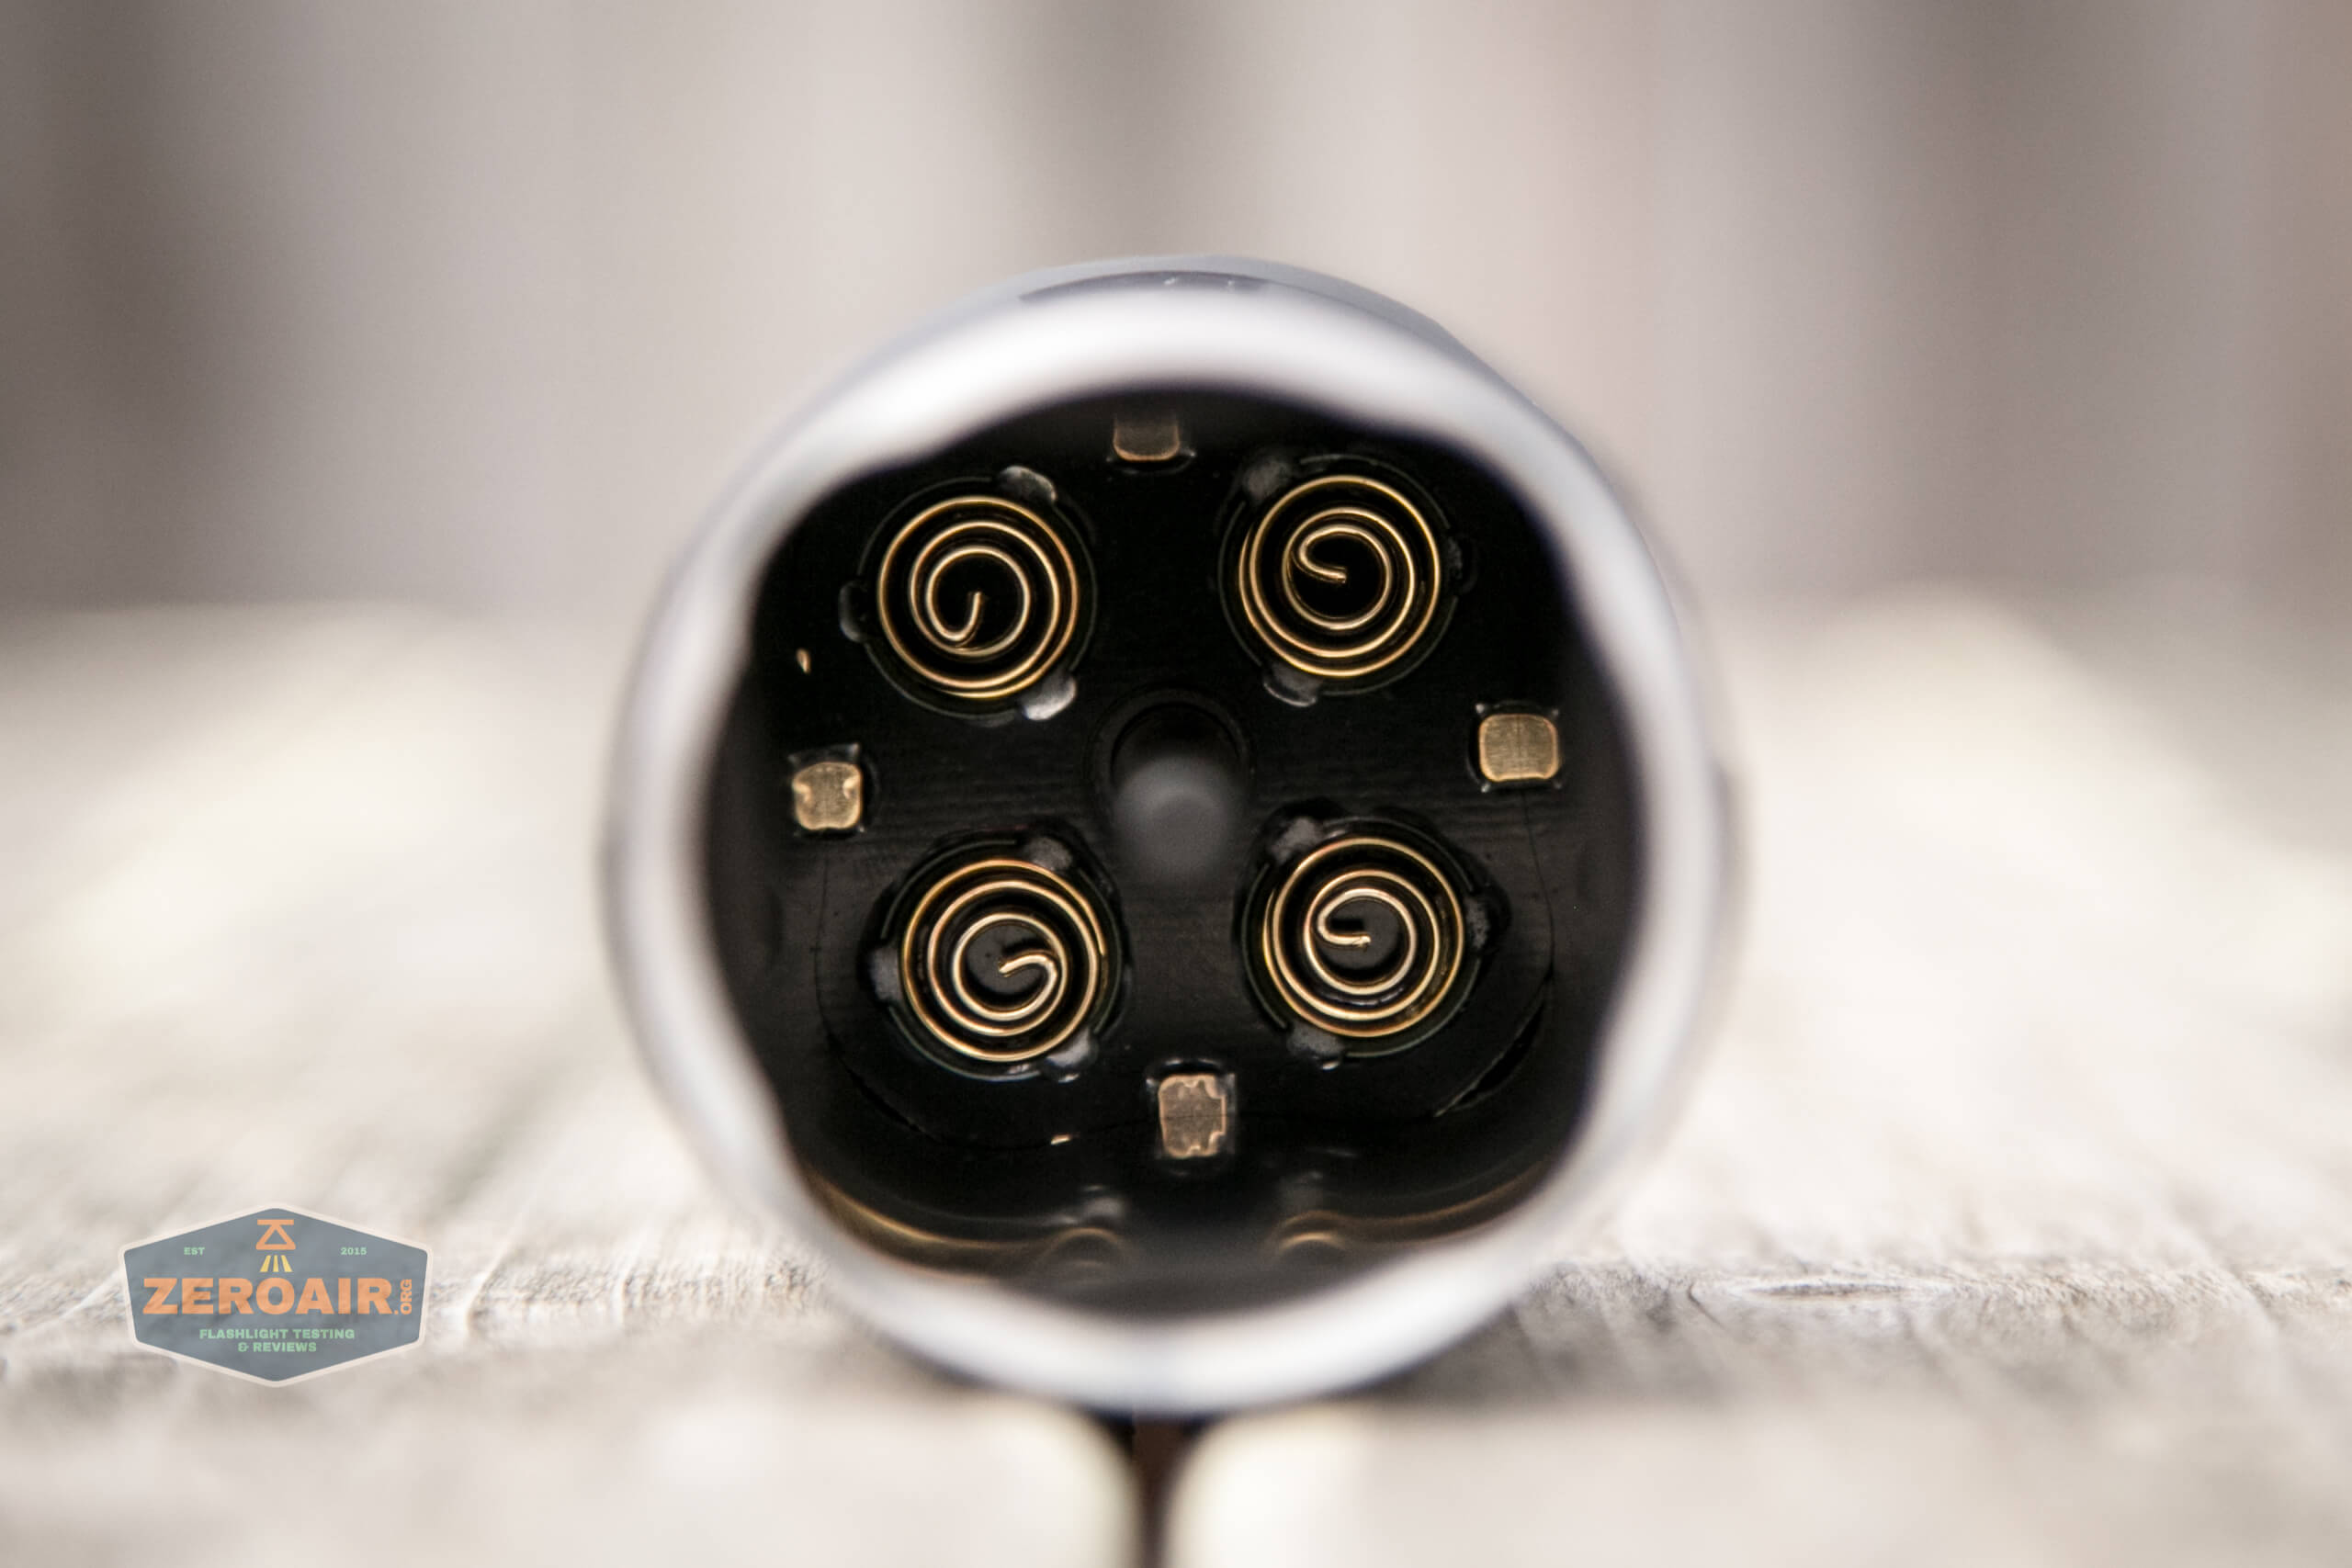
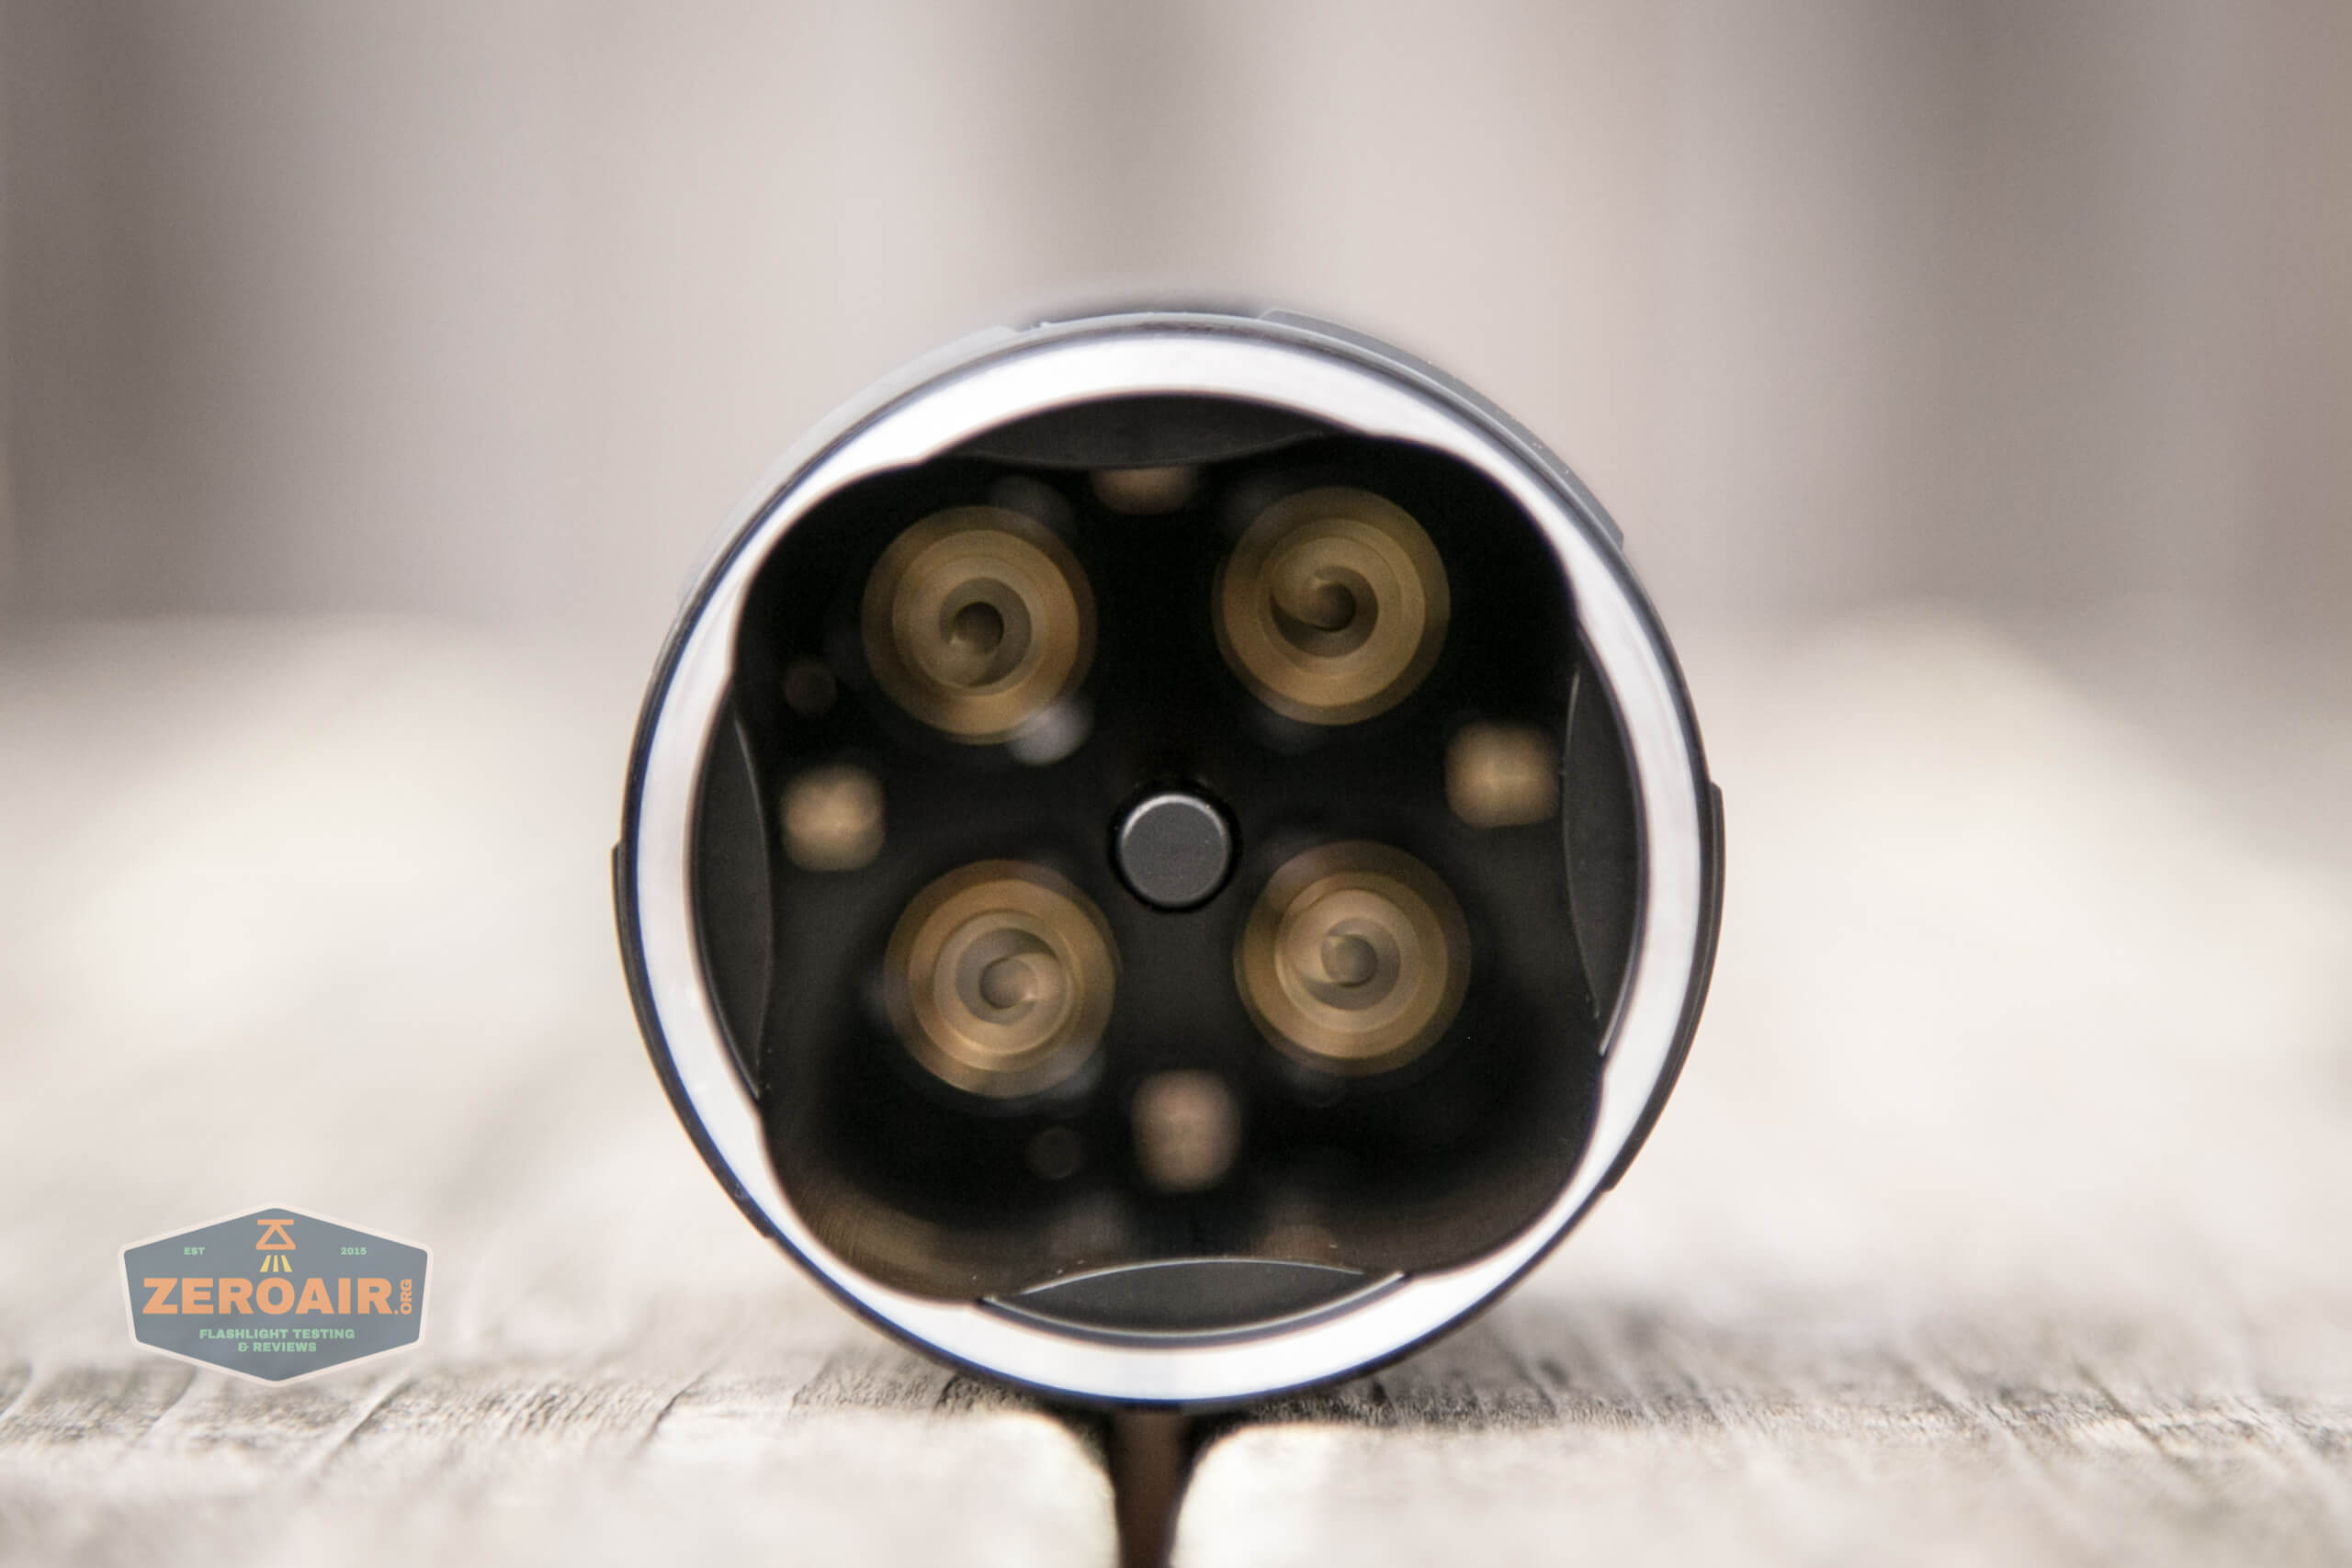
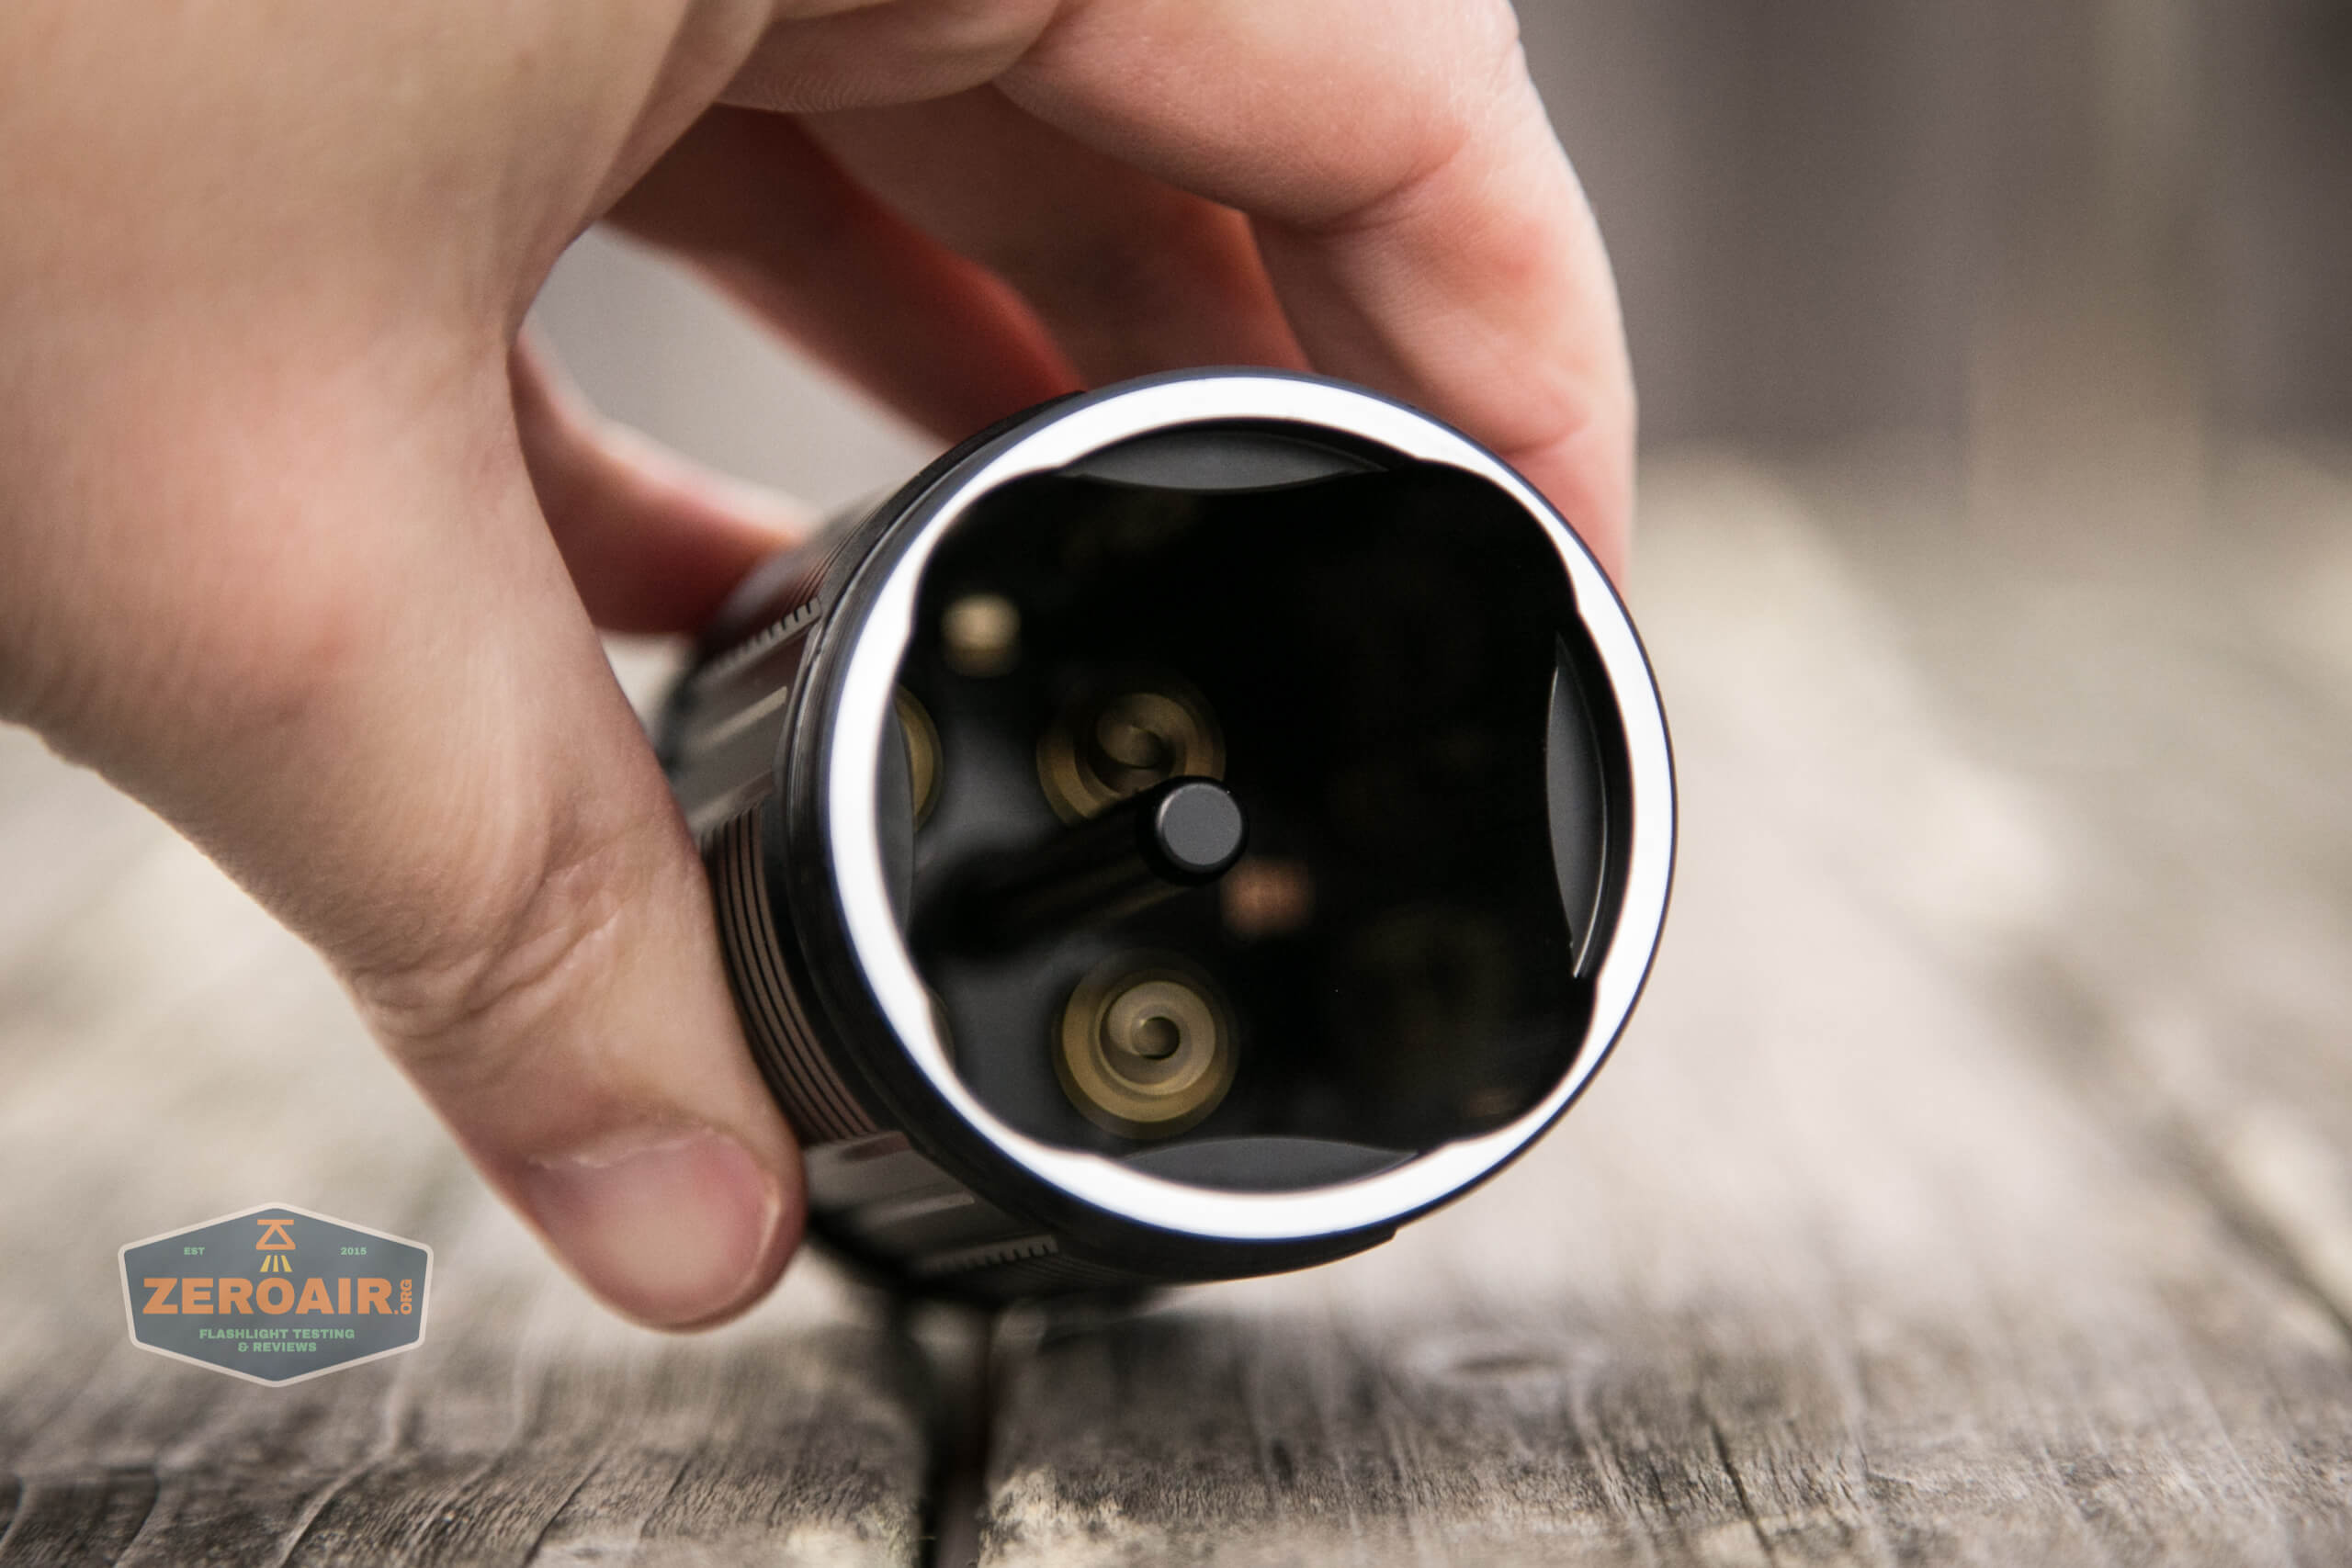
At the base of the cell tube, you can also see four springs. It is possible to use your own 18650 cells in this light, with an asterisk (more later). Fenix recommends their 18650 cells (4 ARB-L18 18650 rechargeable batteries) if you aren’t using the provided battery.
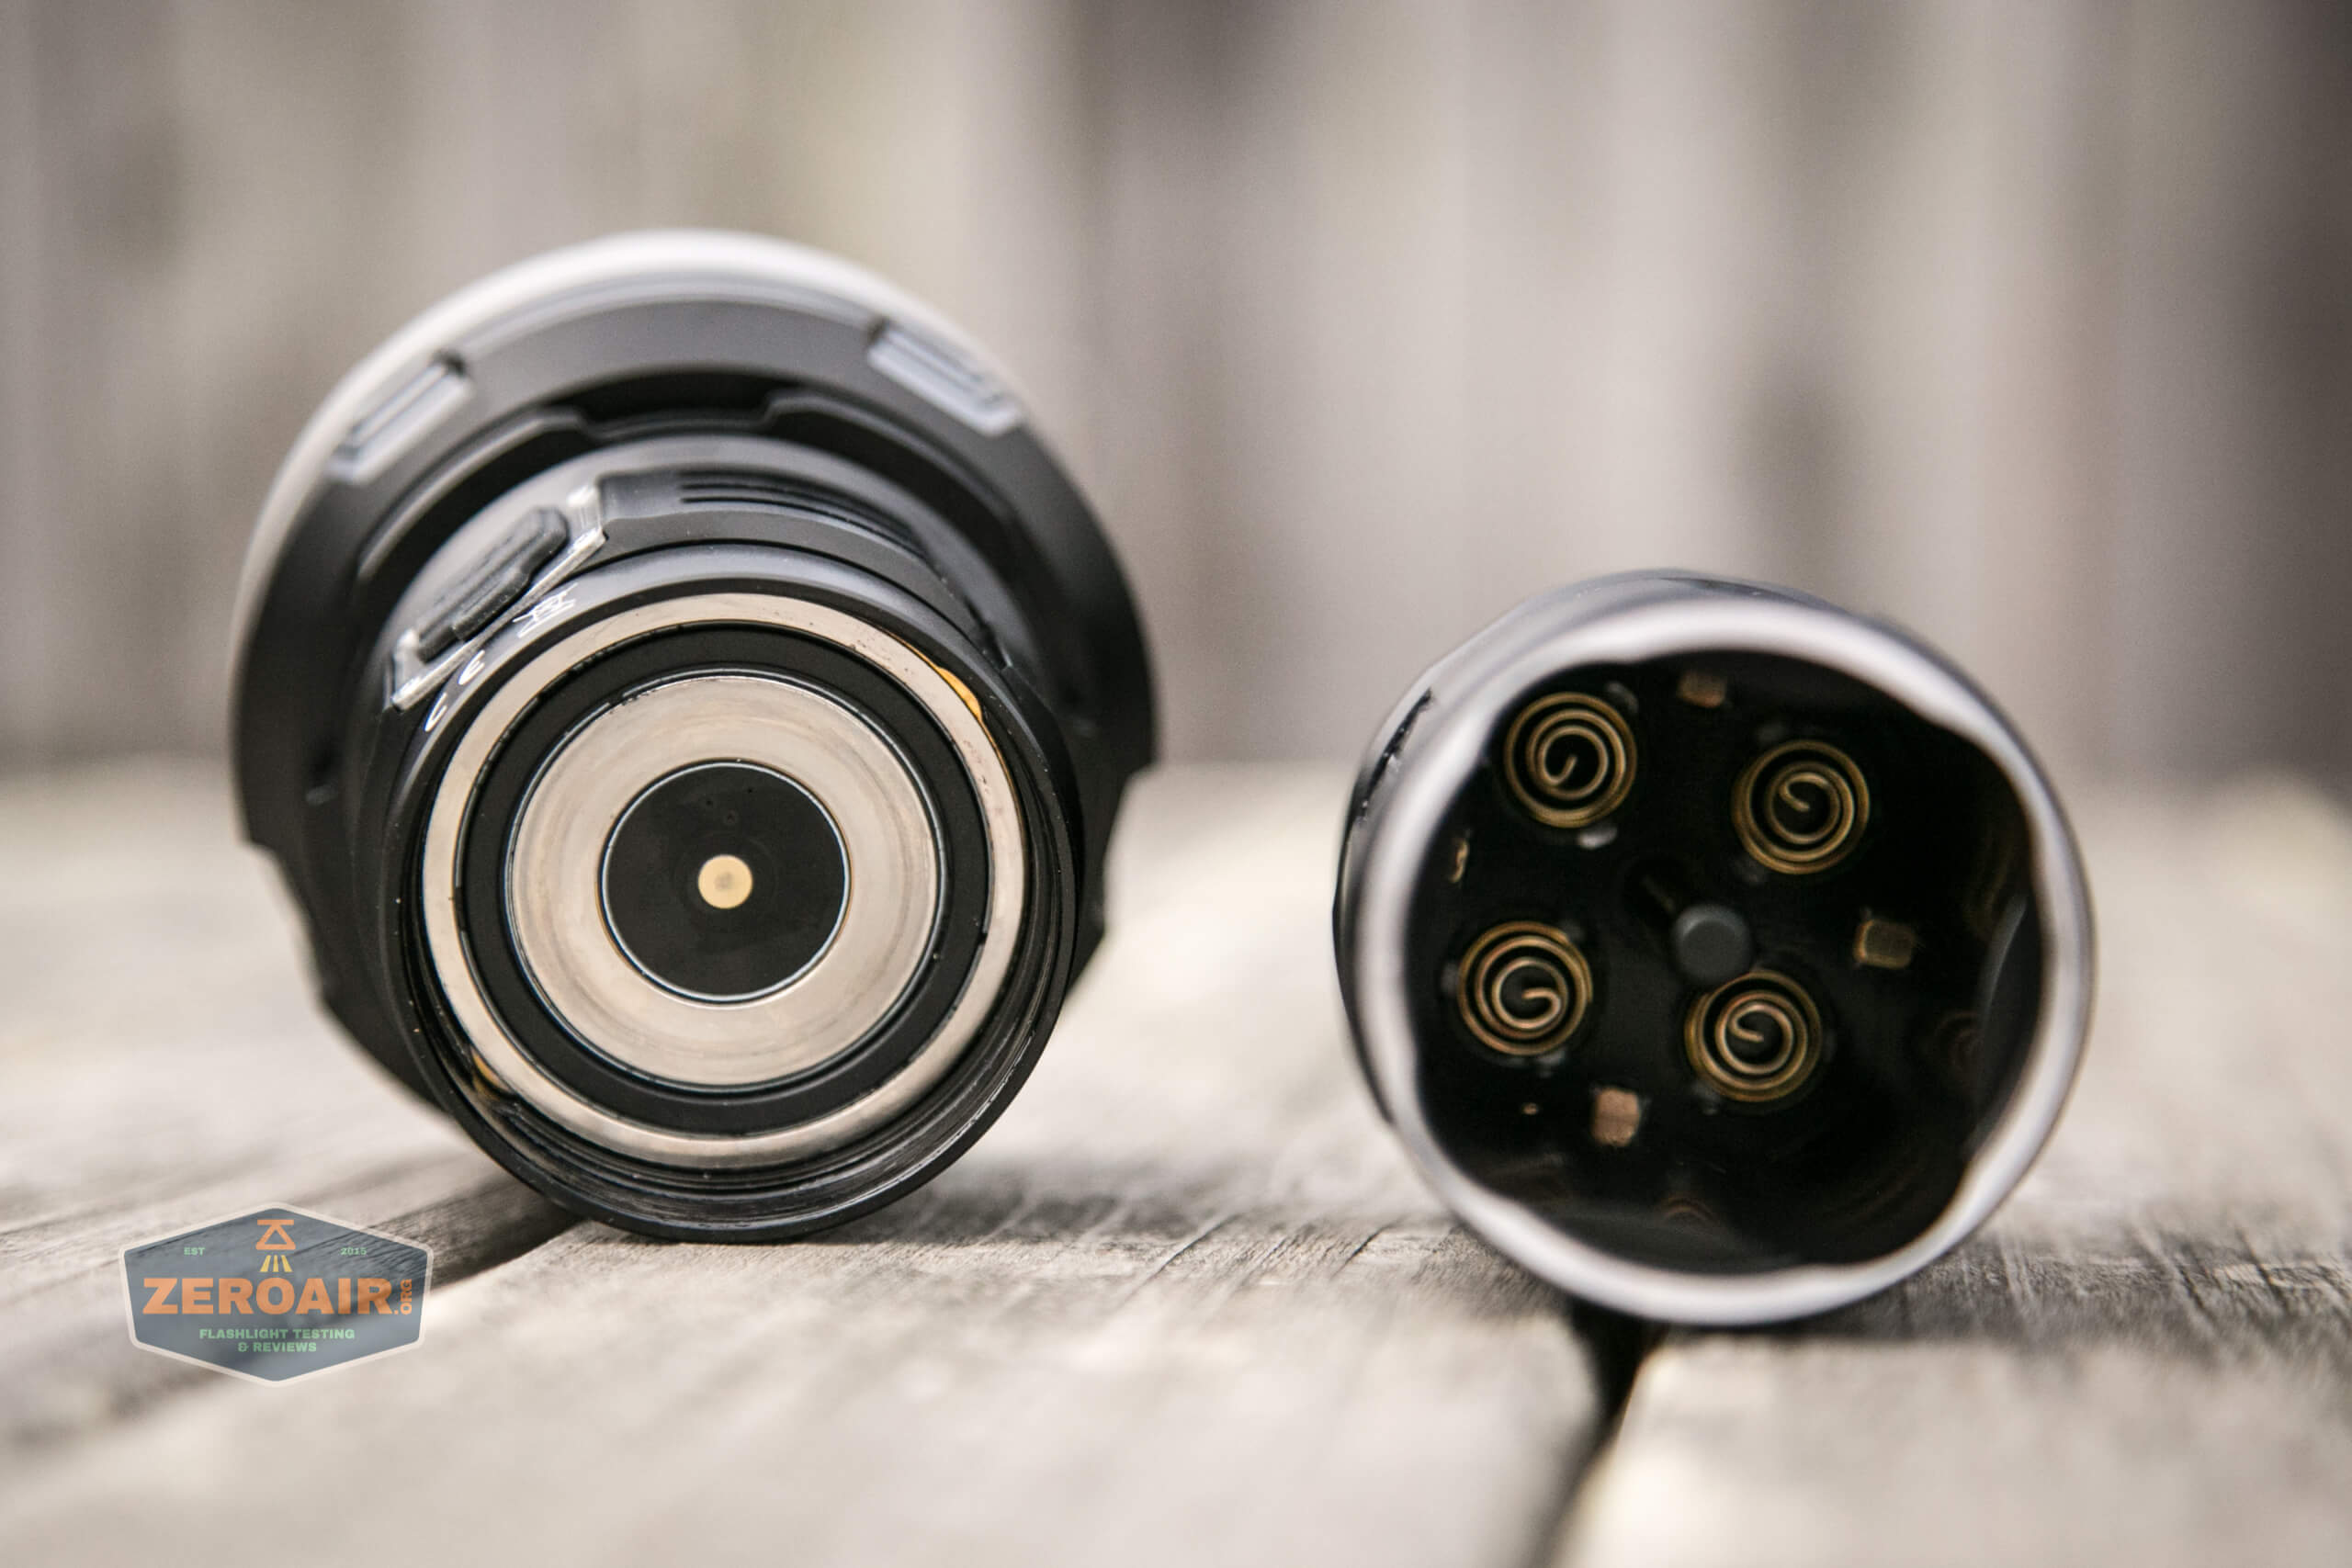
The head doesn’t have any springs. But note that there is an “extra” contact point here (right in the center).

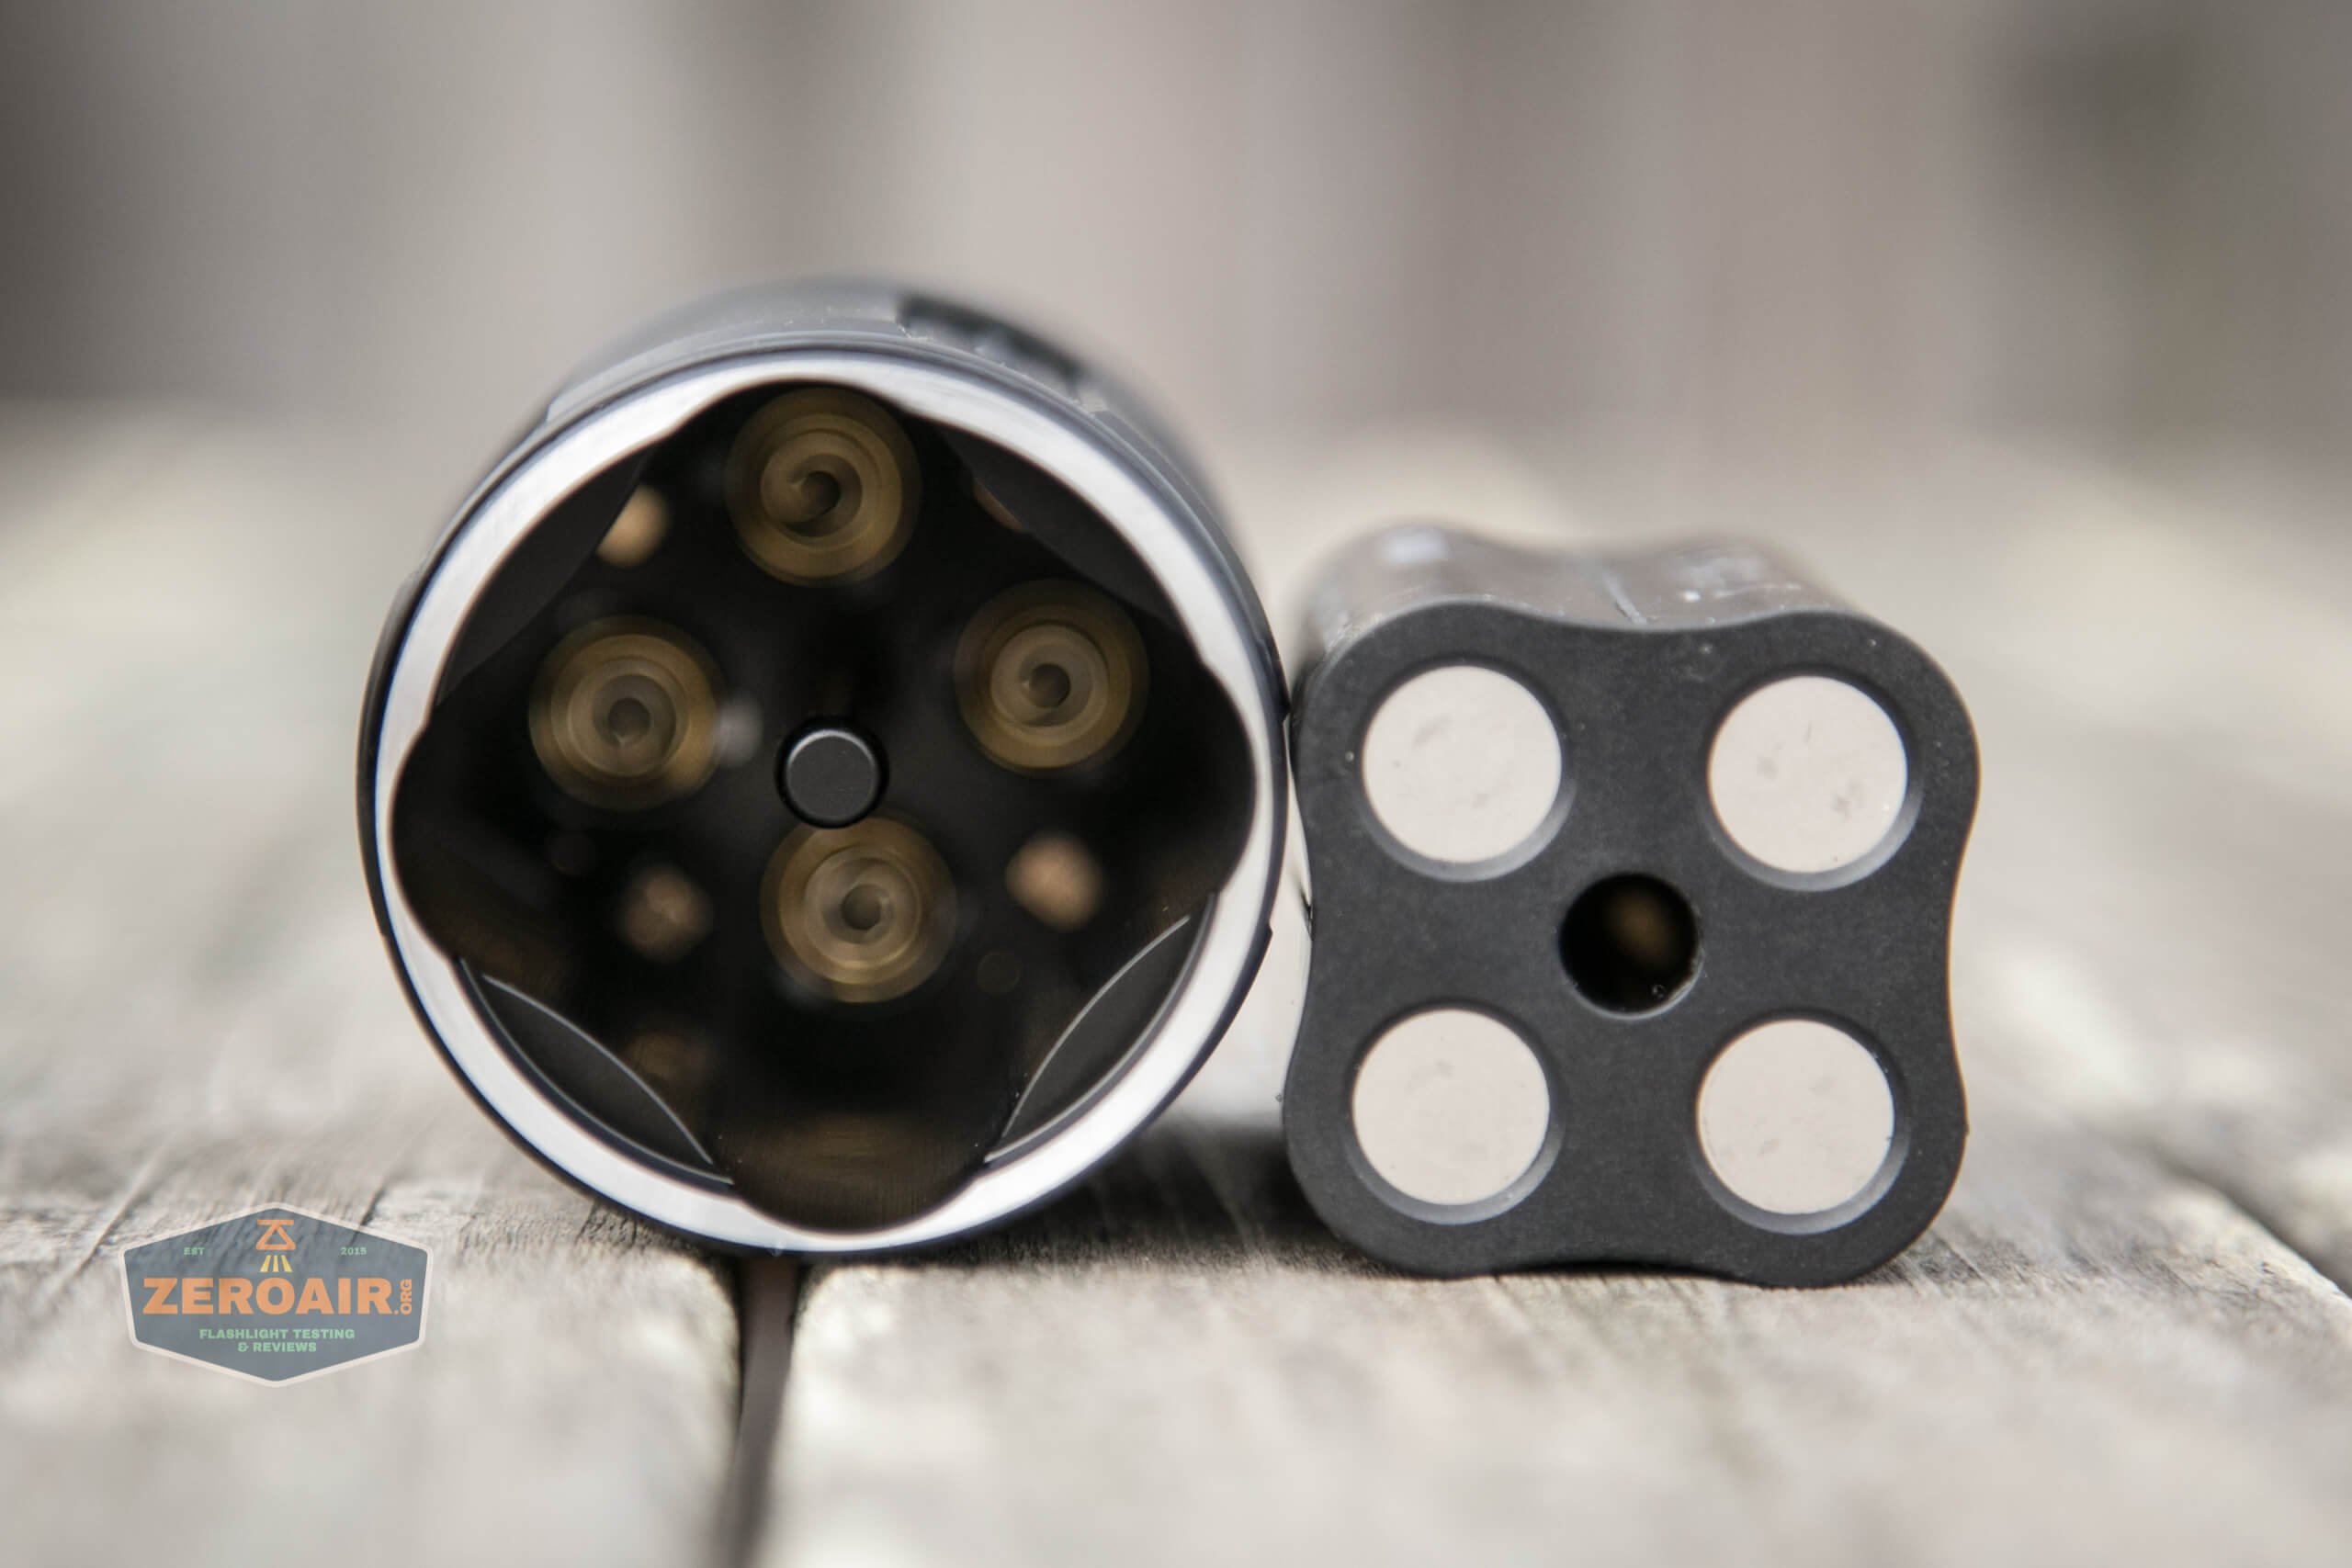
The battery only works in one way (both electrically and physically), but it isn’t keyed. As long as positive is up, it’ll fit.
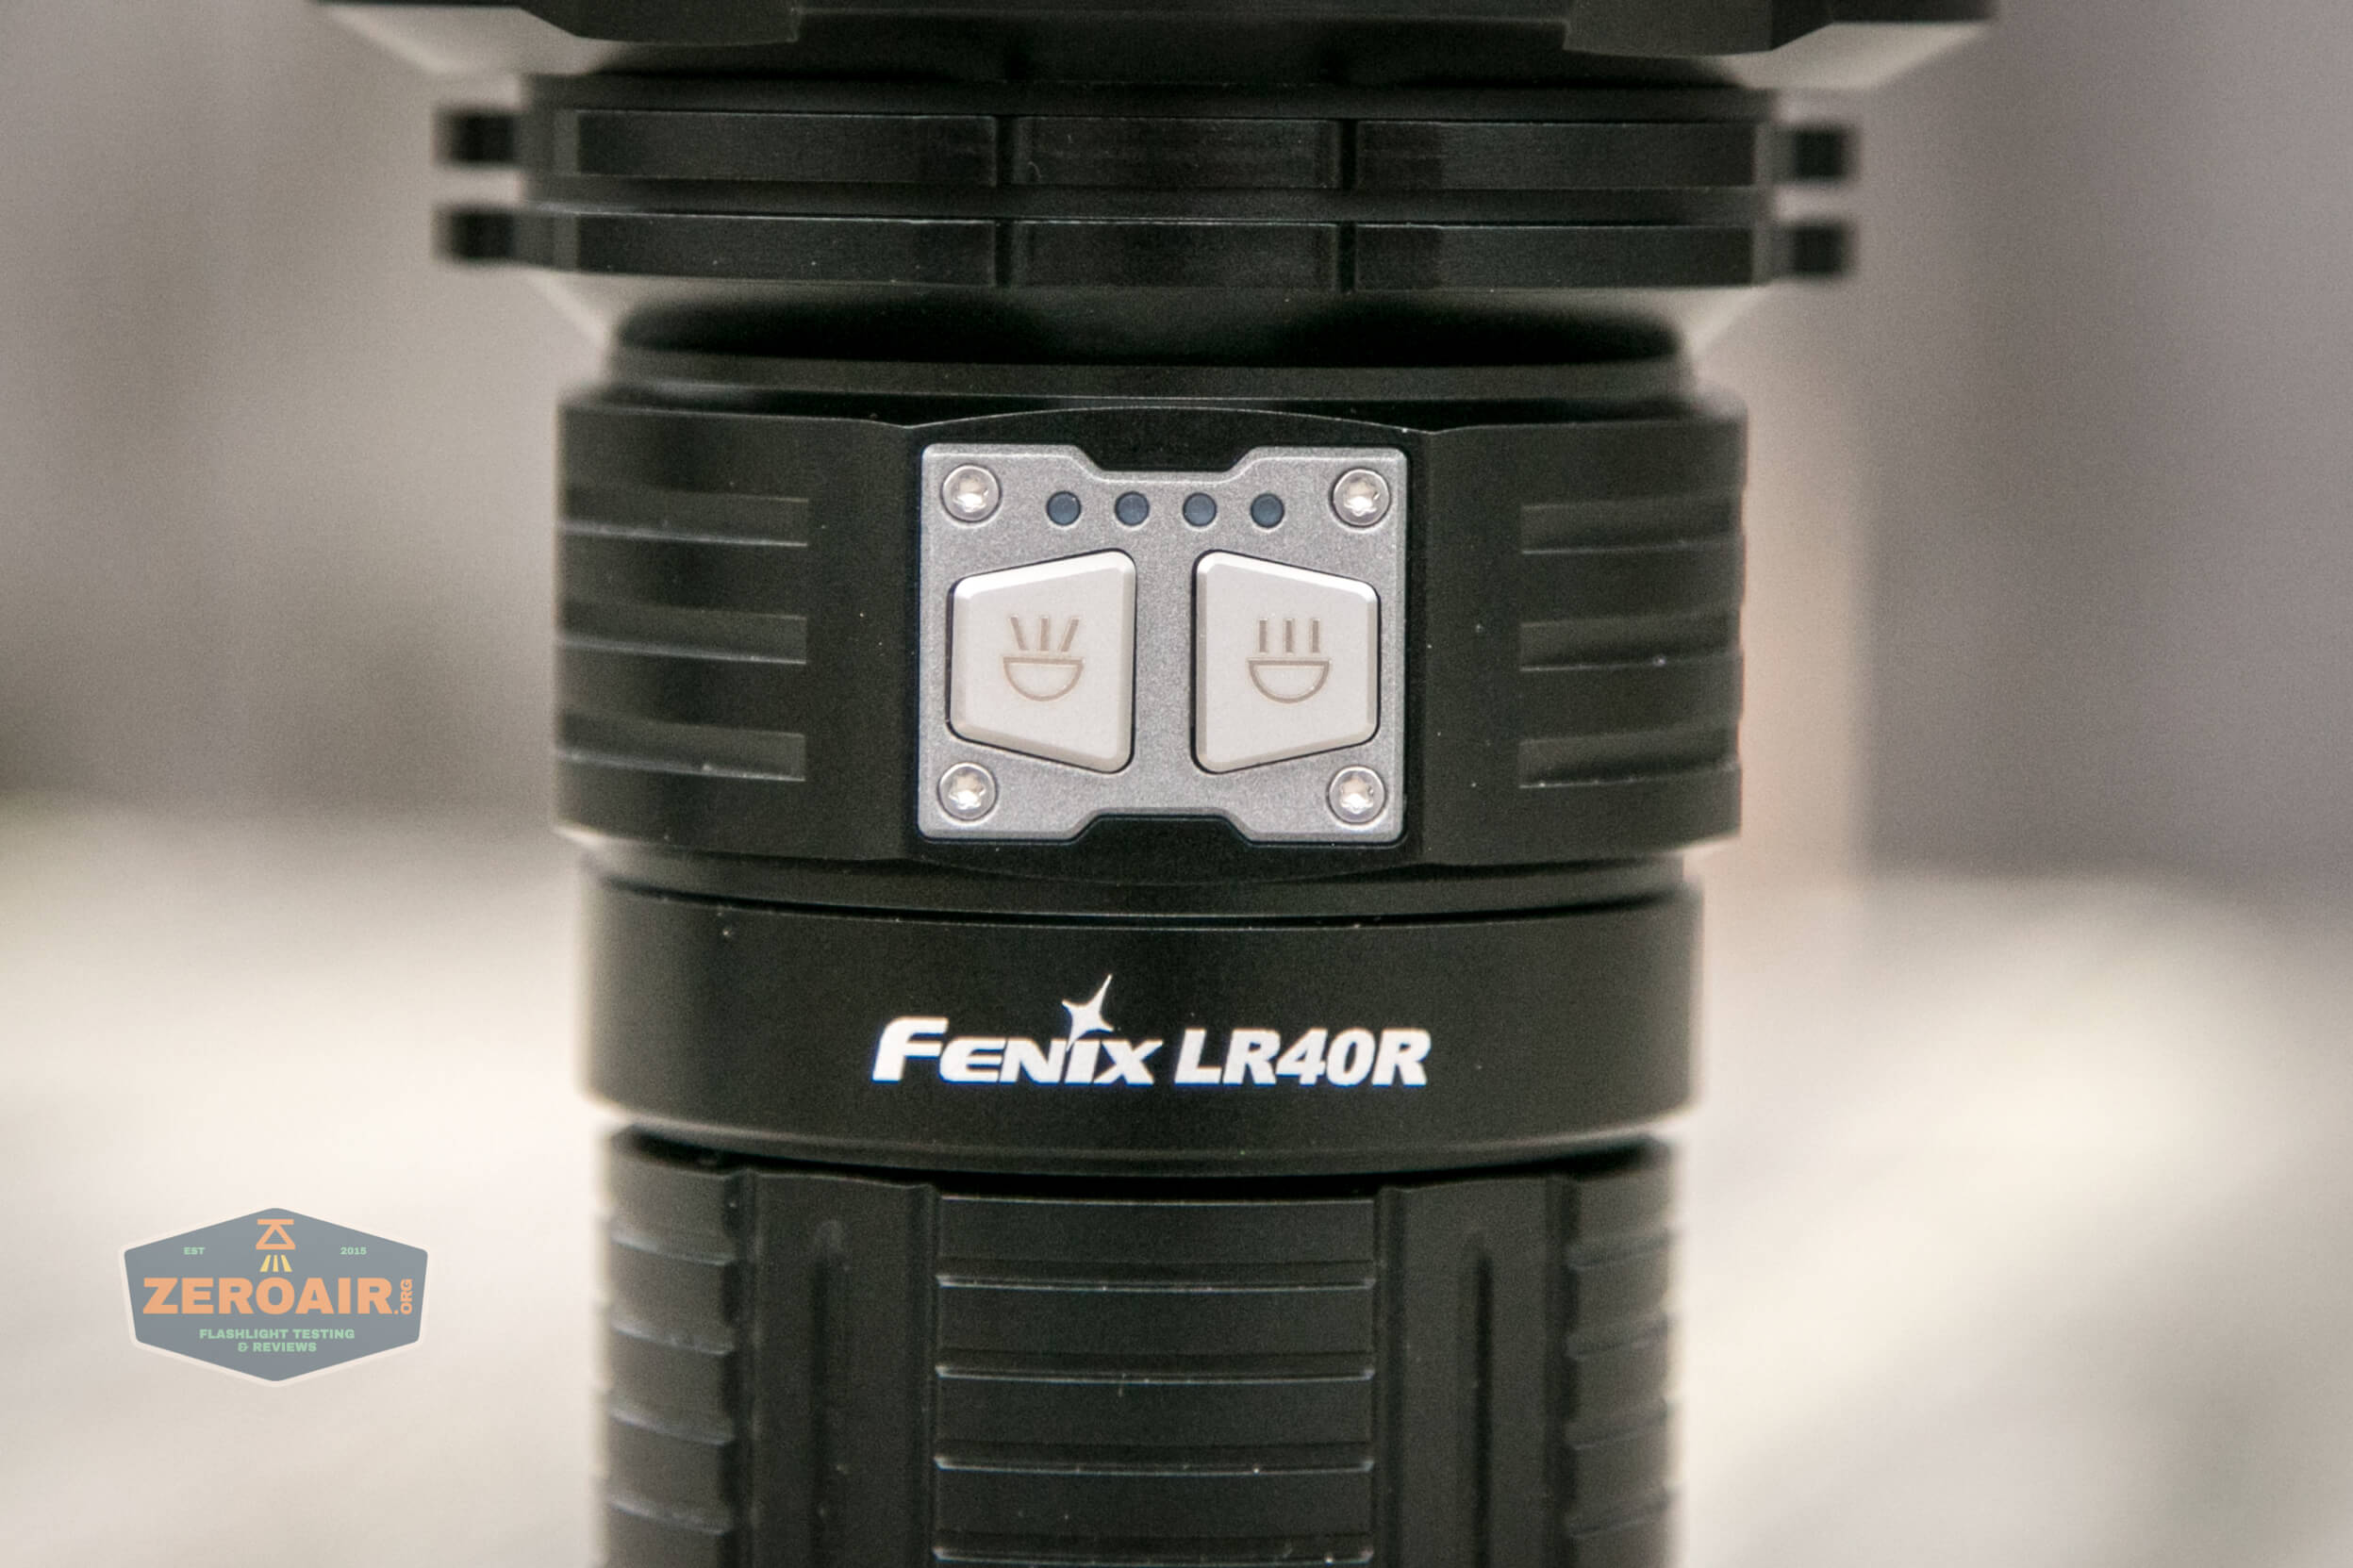
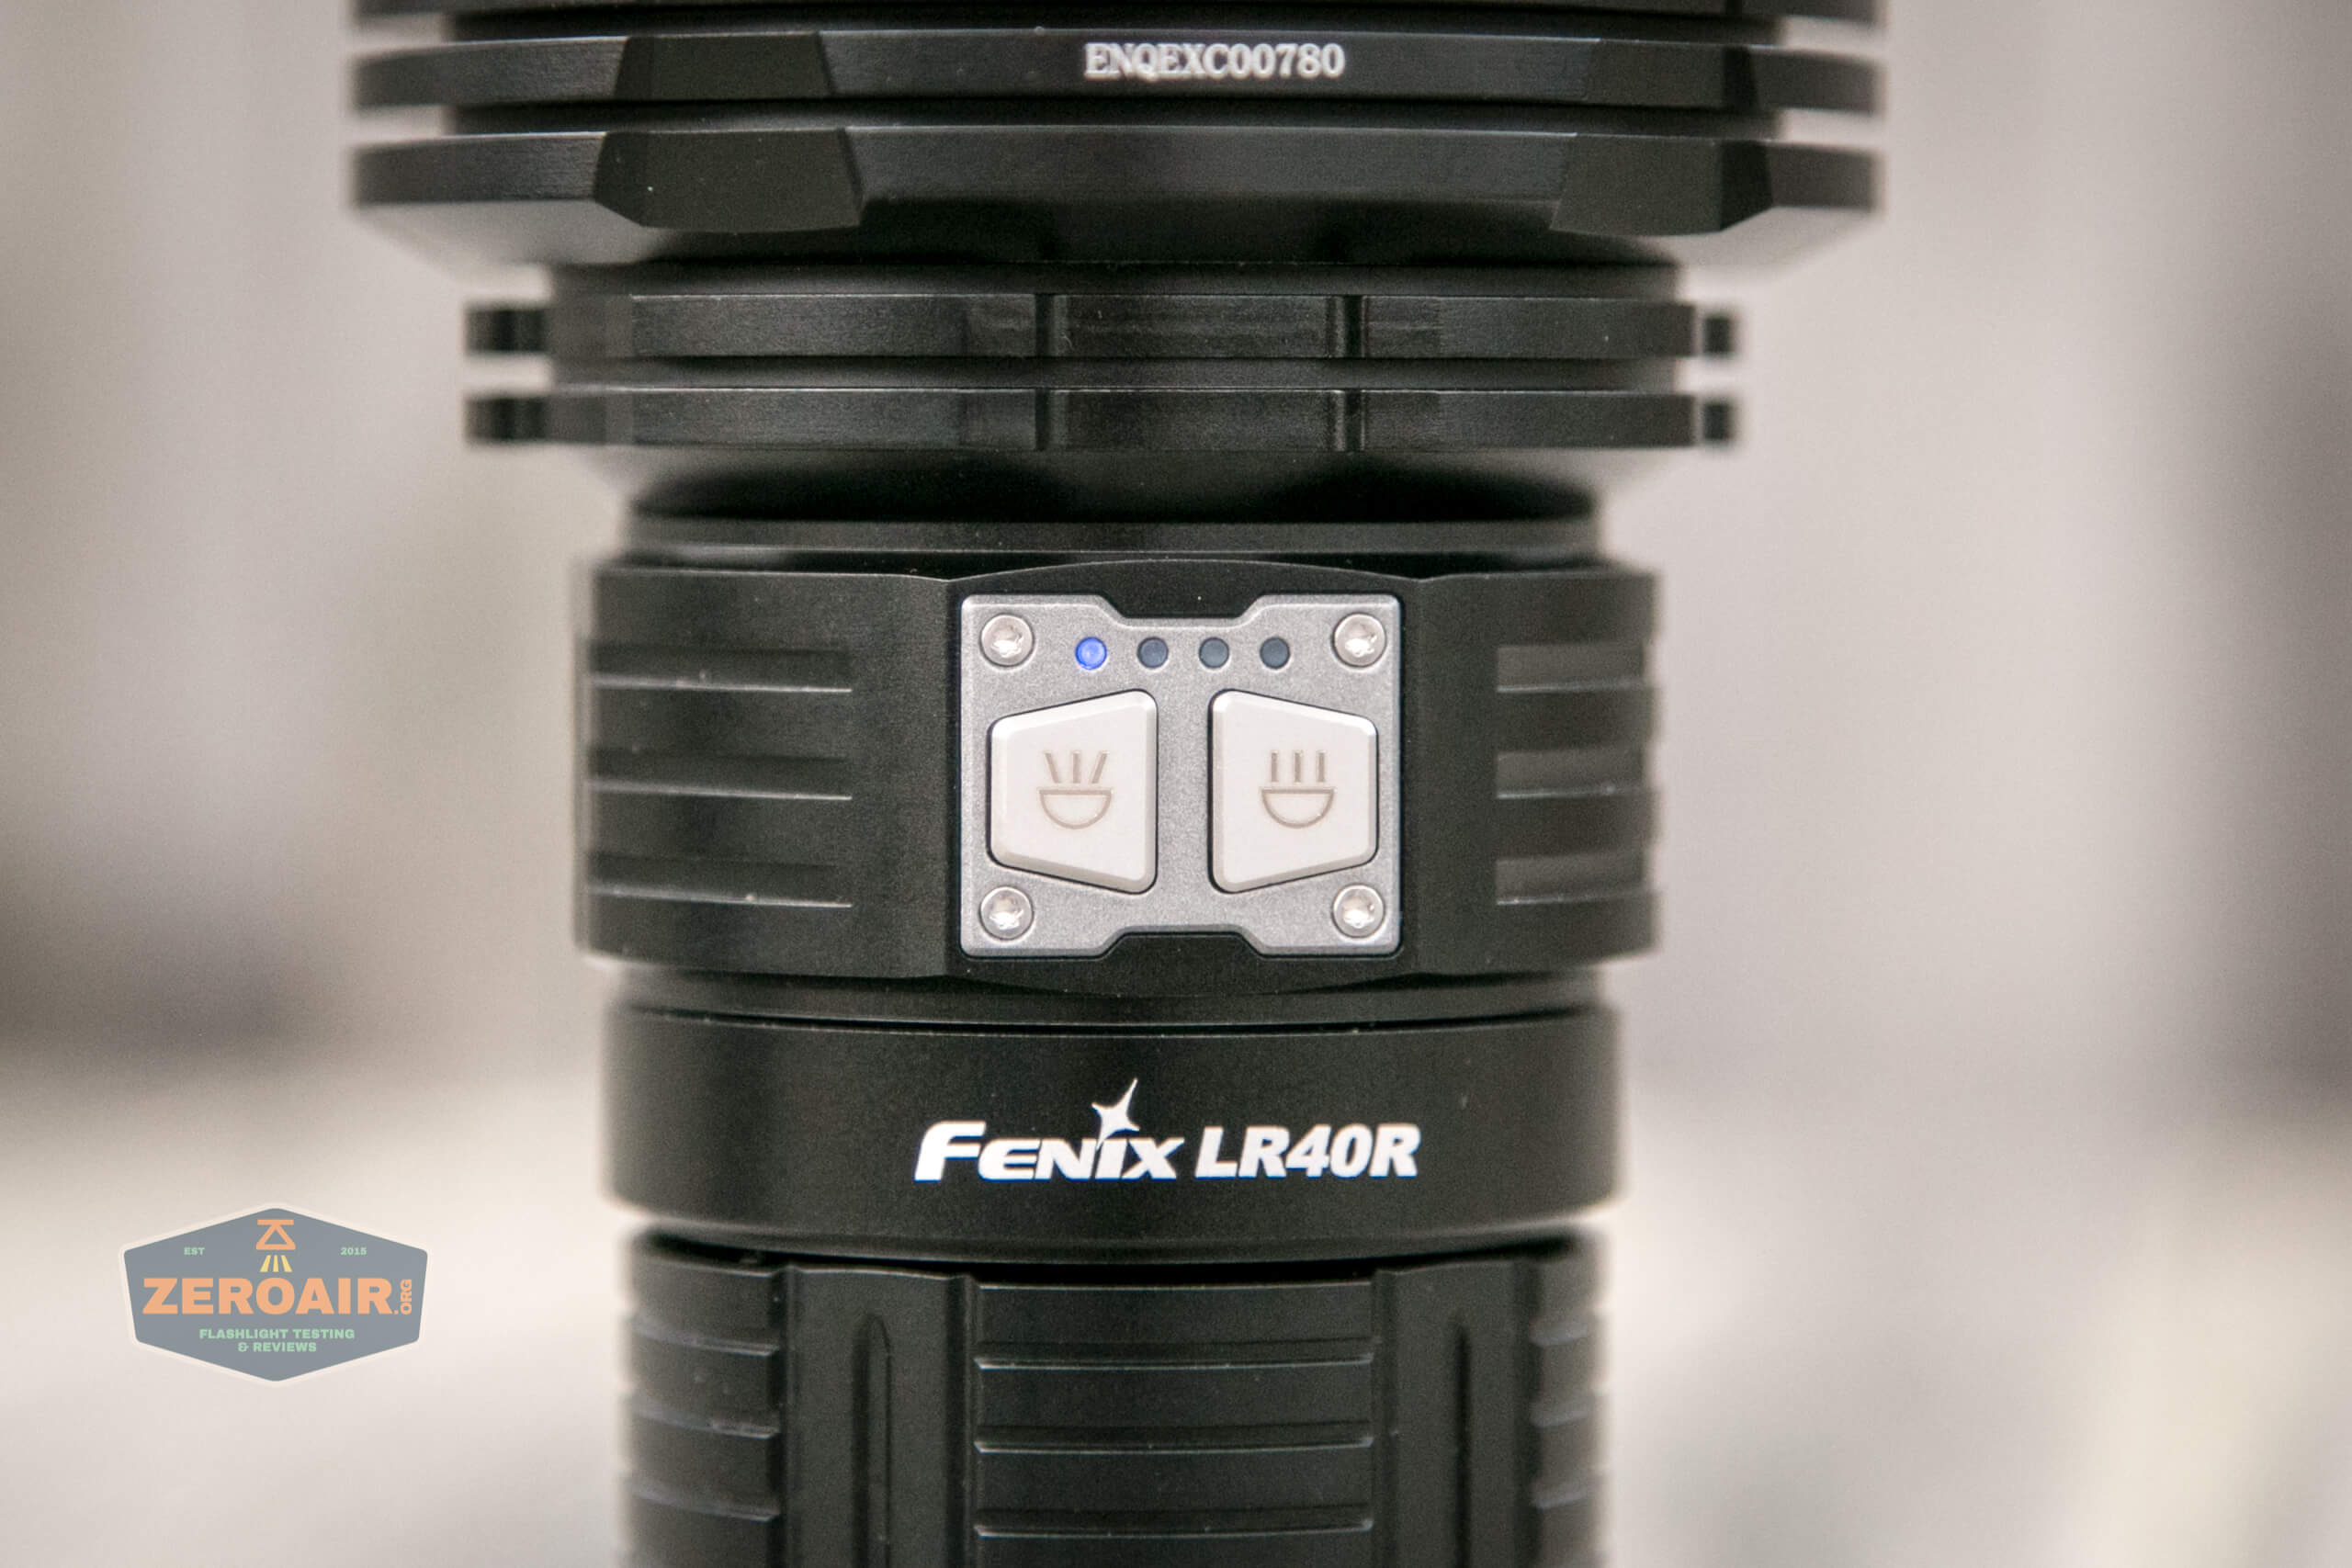
Above the switch is a four-LED indicator. I’m still calling this a “switch indicator” since it’s built right in with those two switches.
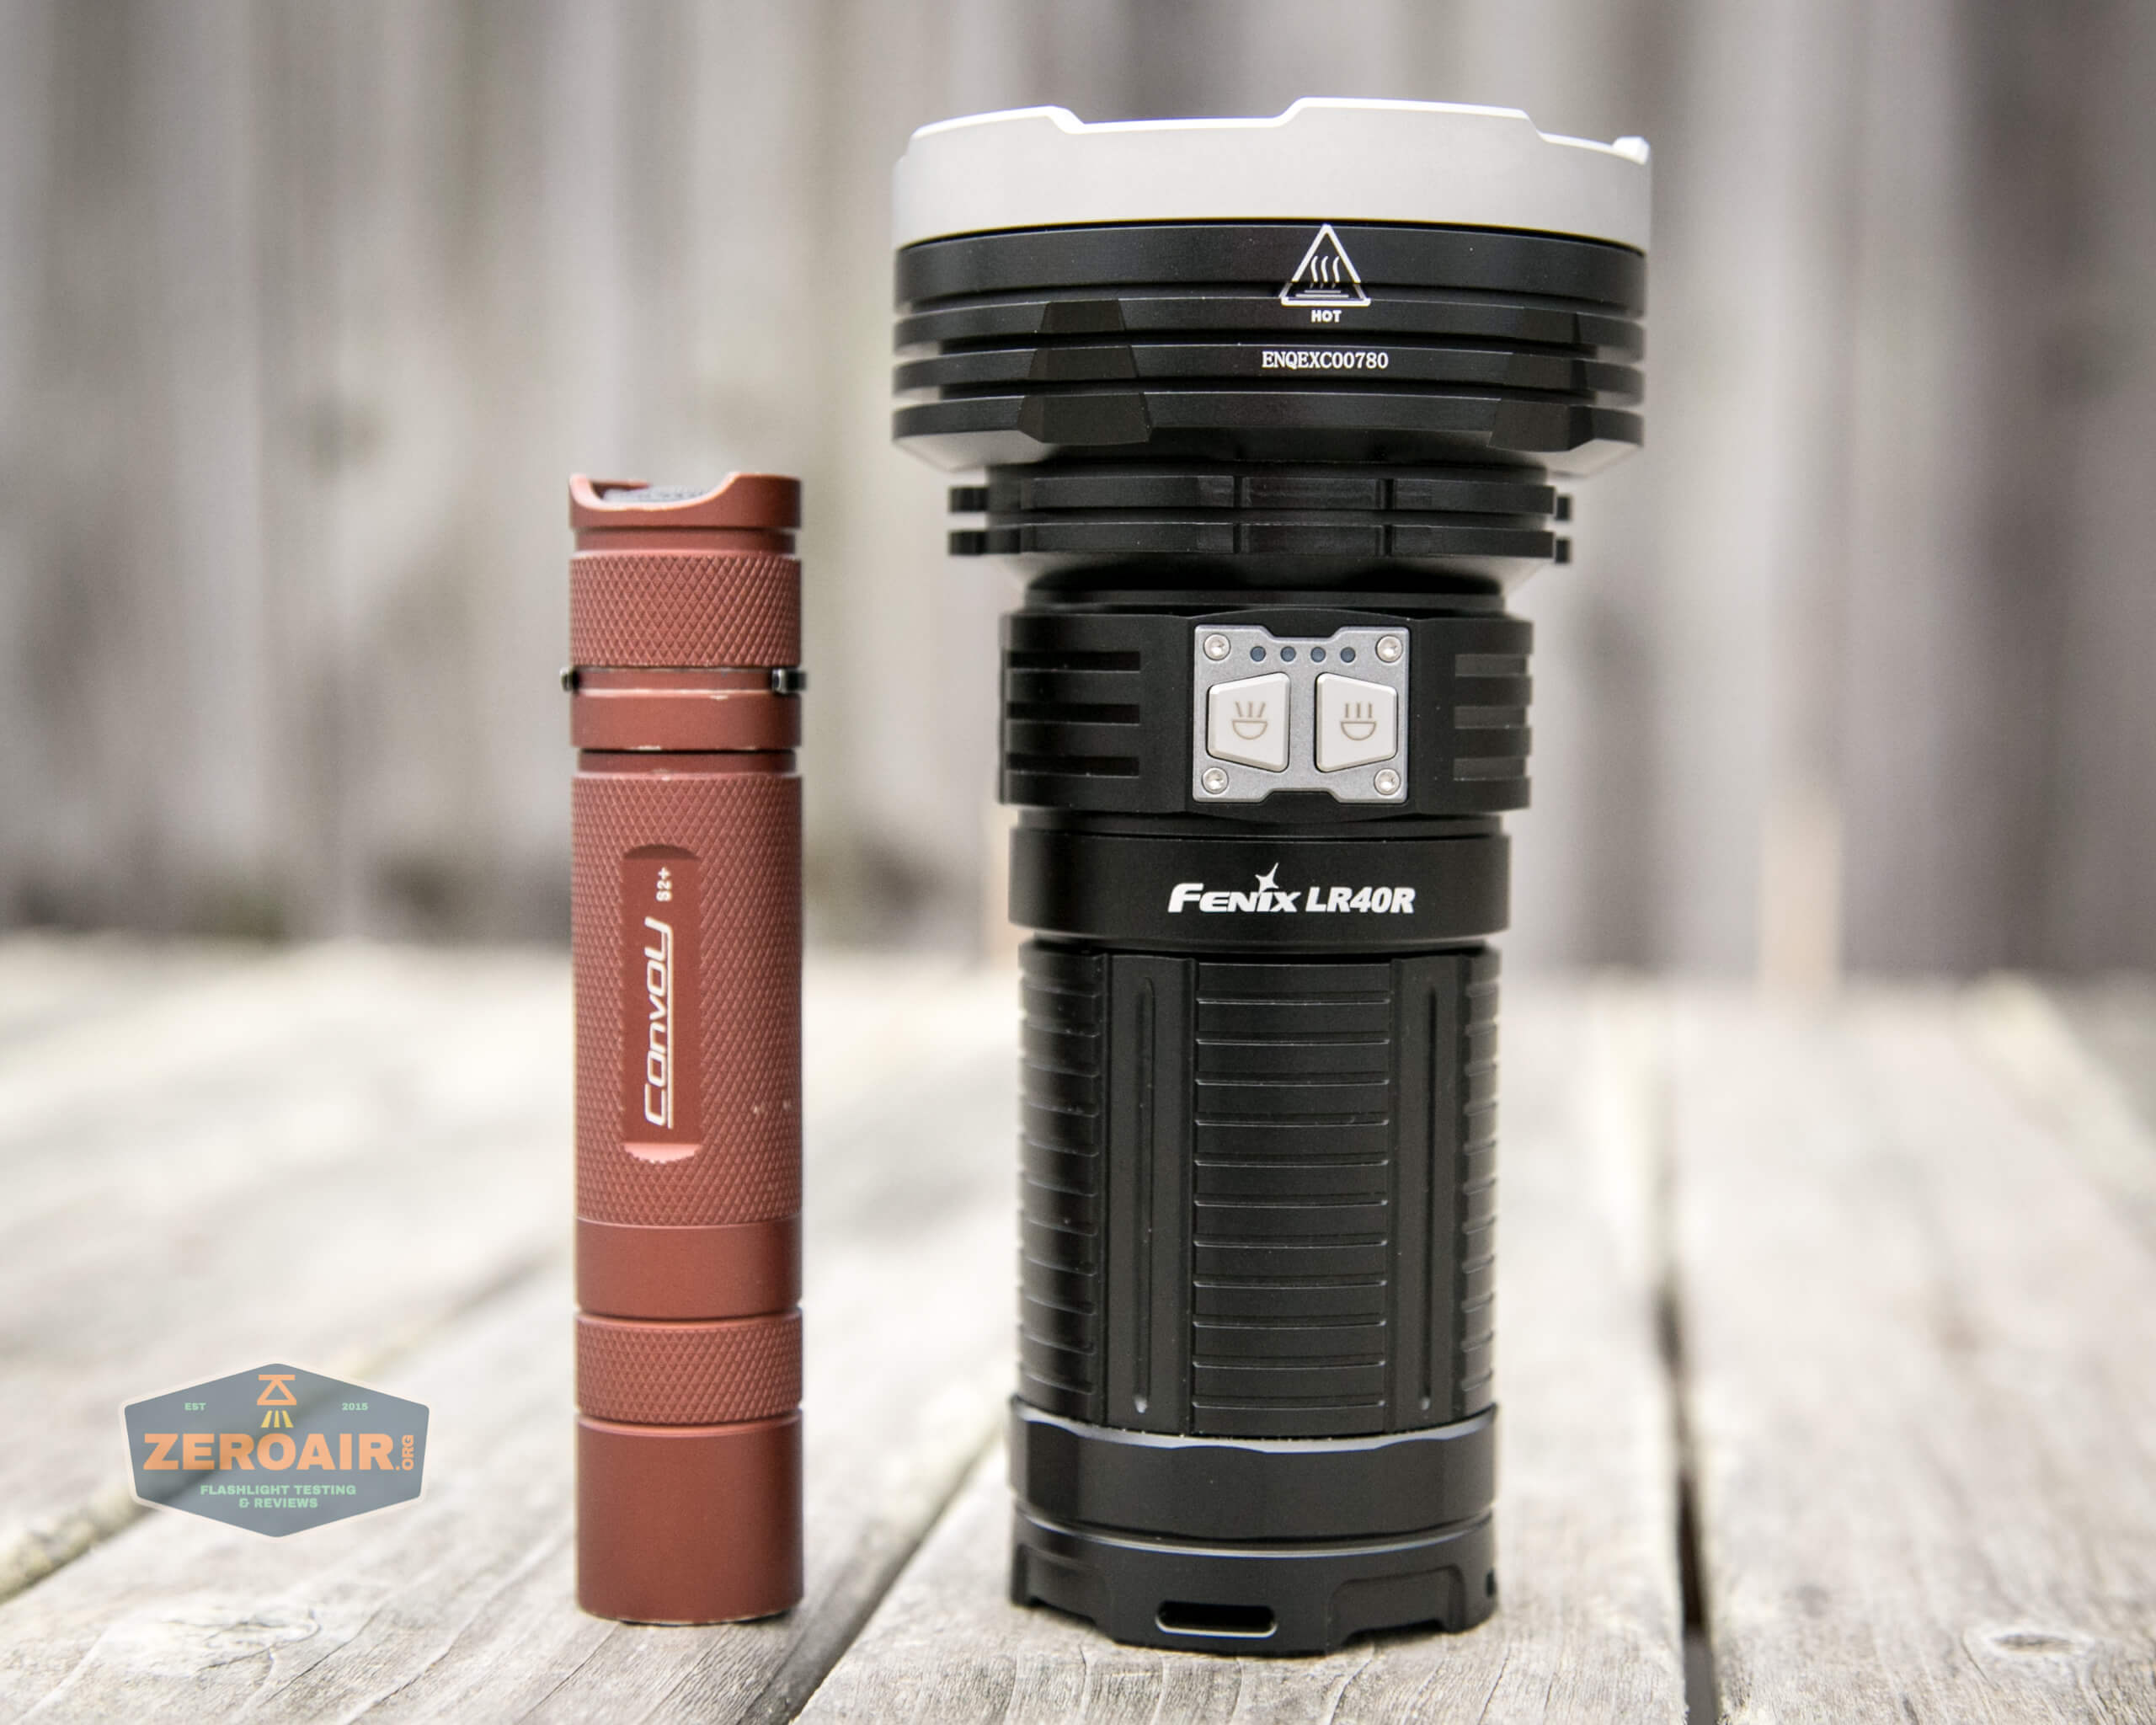
Size and Comps
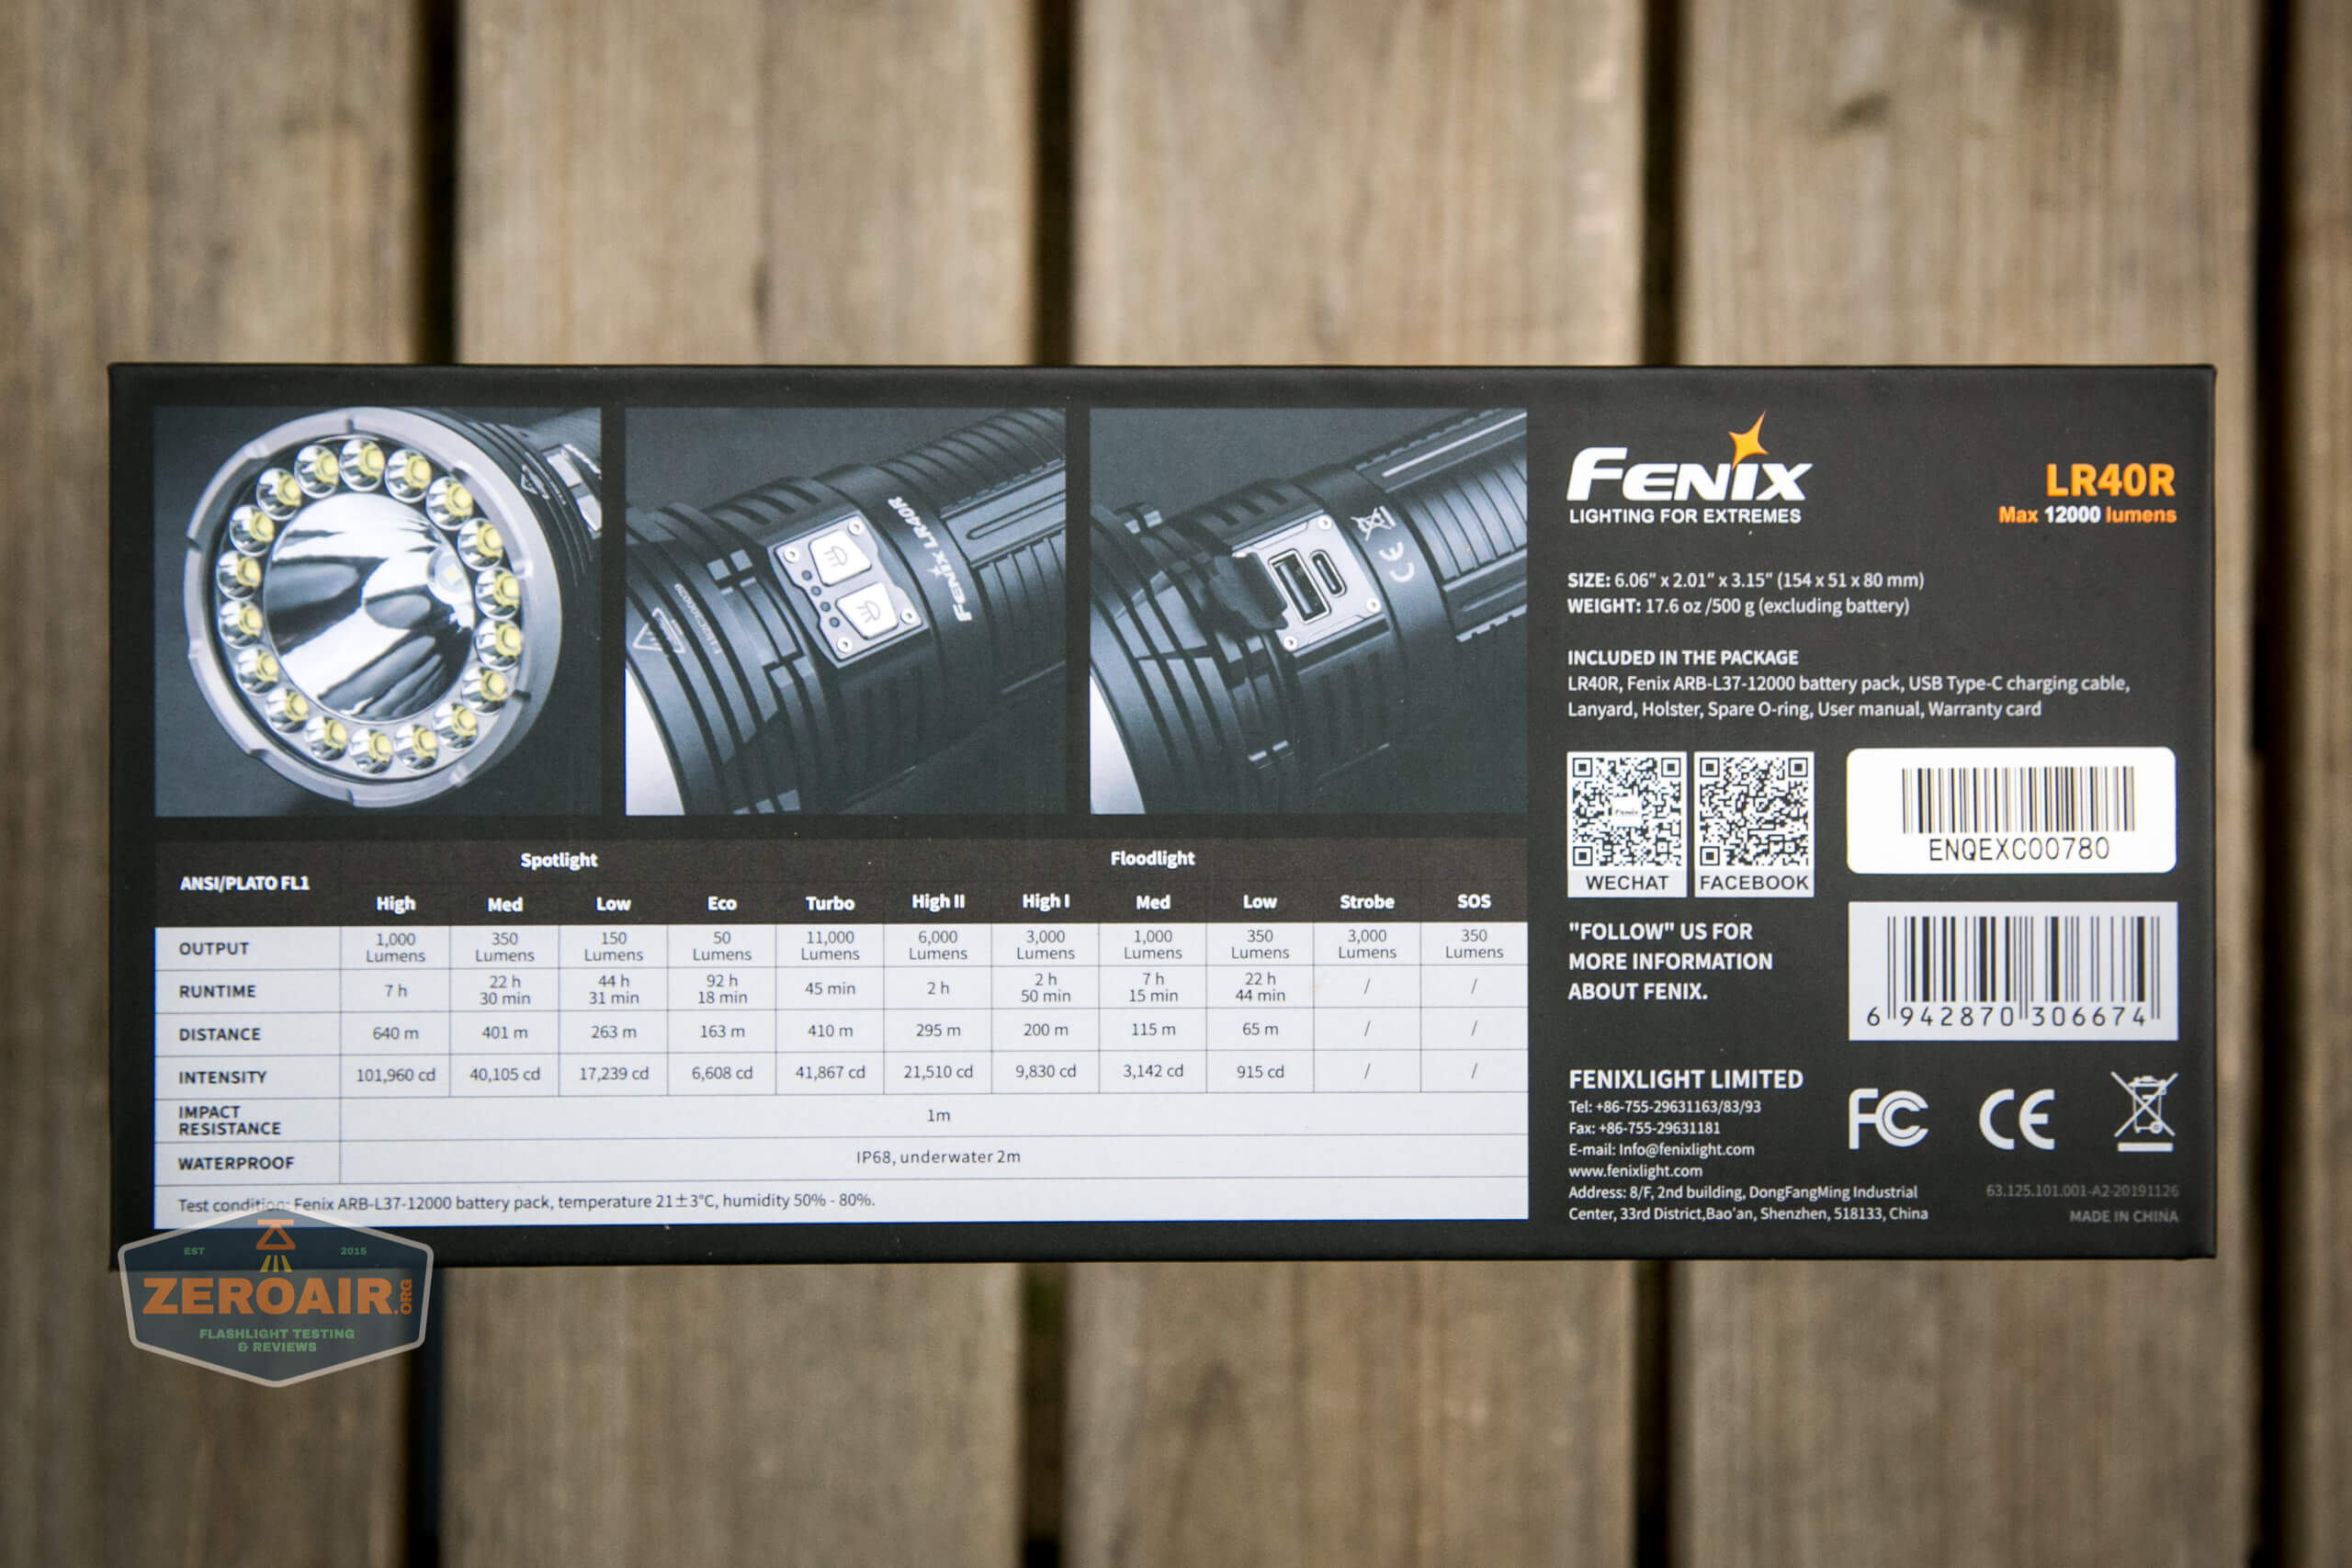
Officially 154mm x 80mm x 51mm. And without the battery, the light weighs 500g.
If the flashlight will headstand, I’ll try to show it here. If the flashlight will tailstand, I usually show that here, too.

Here’s the test light with the venerable Convoy S2+. Mine’s a custom “baked” edition Nichia 219b triple. A very nice 18650 light.
And here’s the light beside my custom-engraved TorchLAB BOSS 35, an 18350 light. I reviewed the aluminum version of that light in both 35 and 70 formats.
Retention and Carry
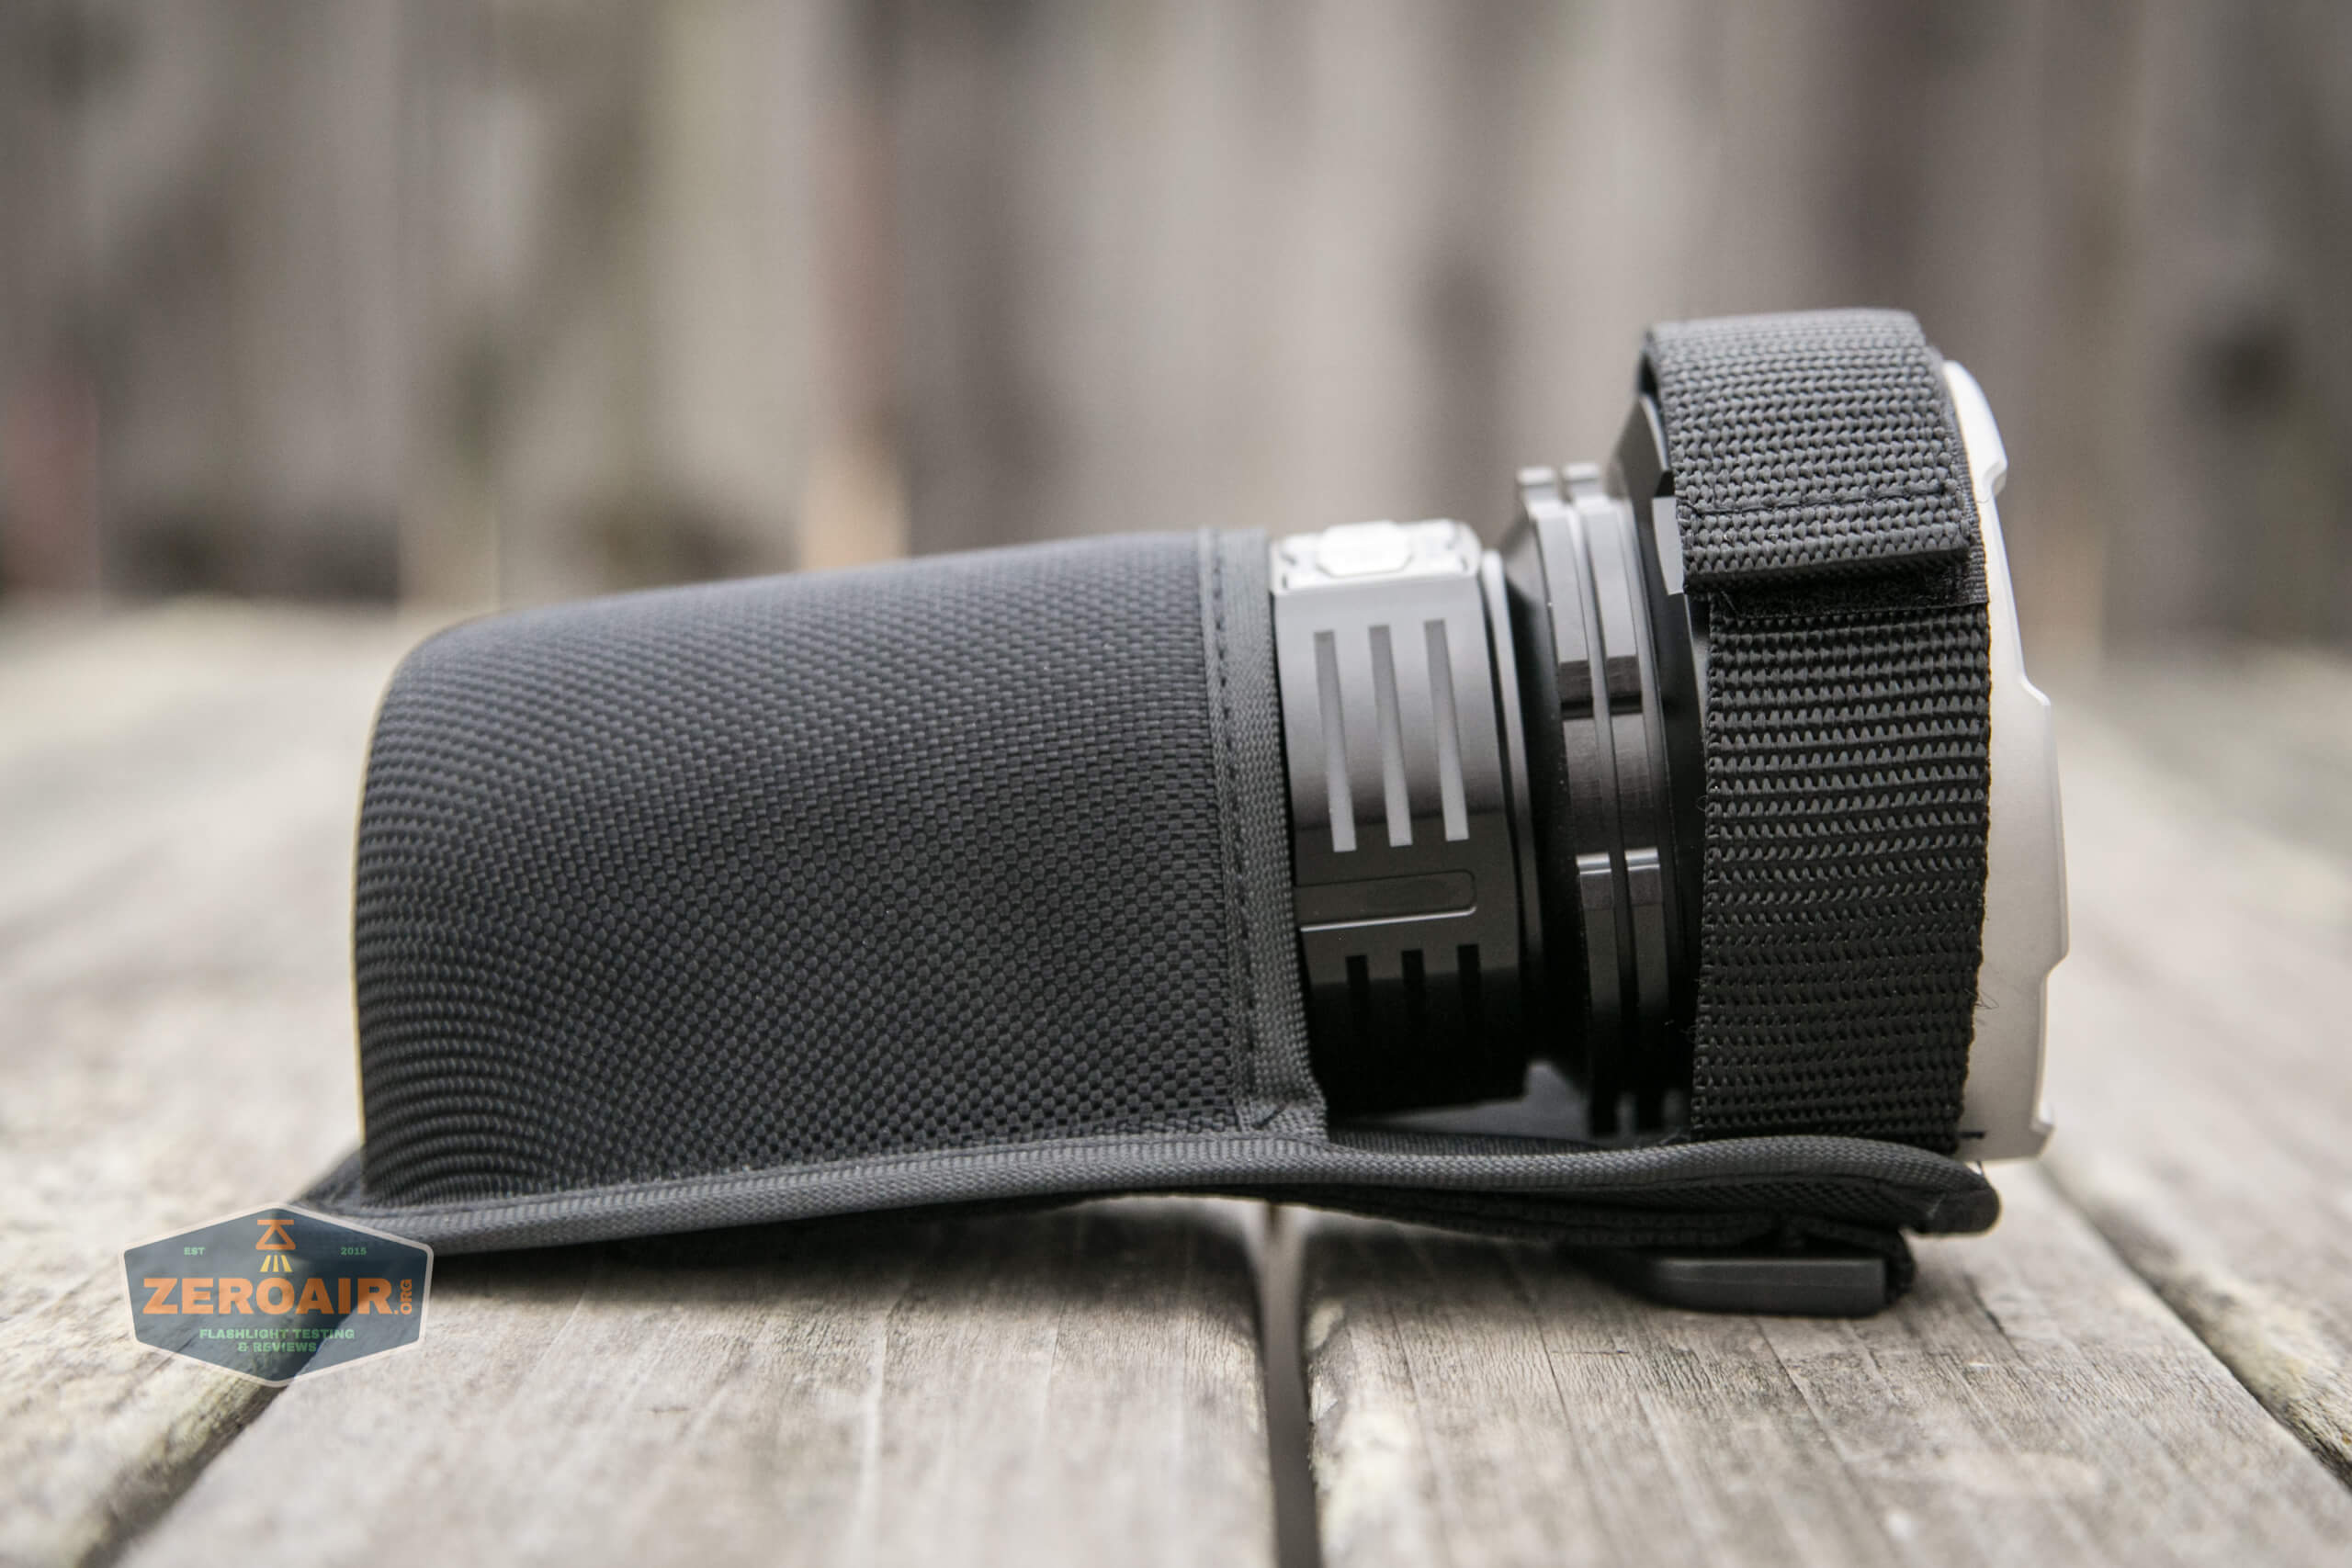
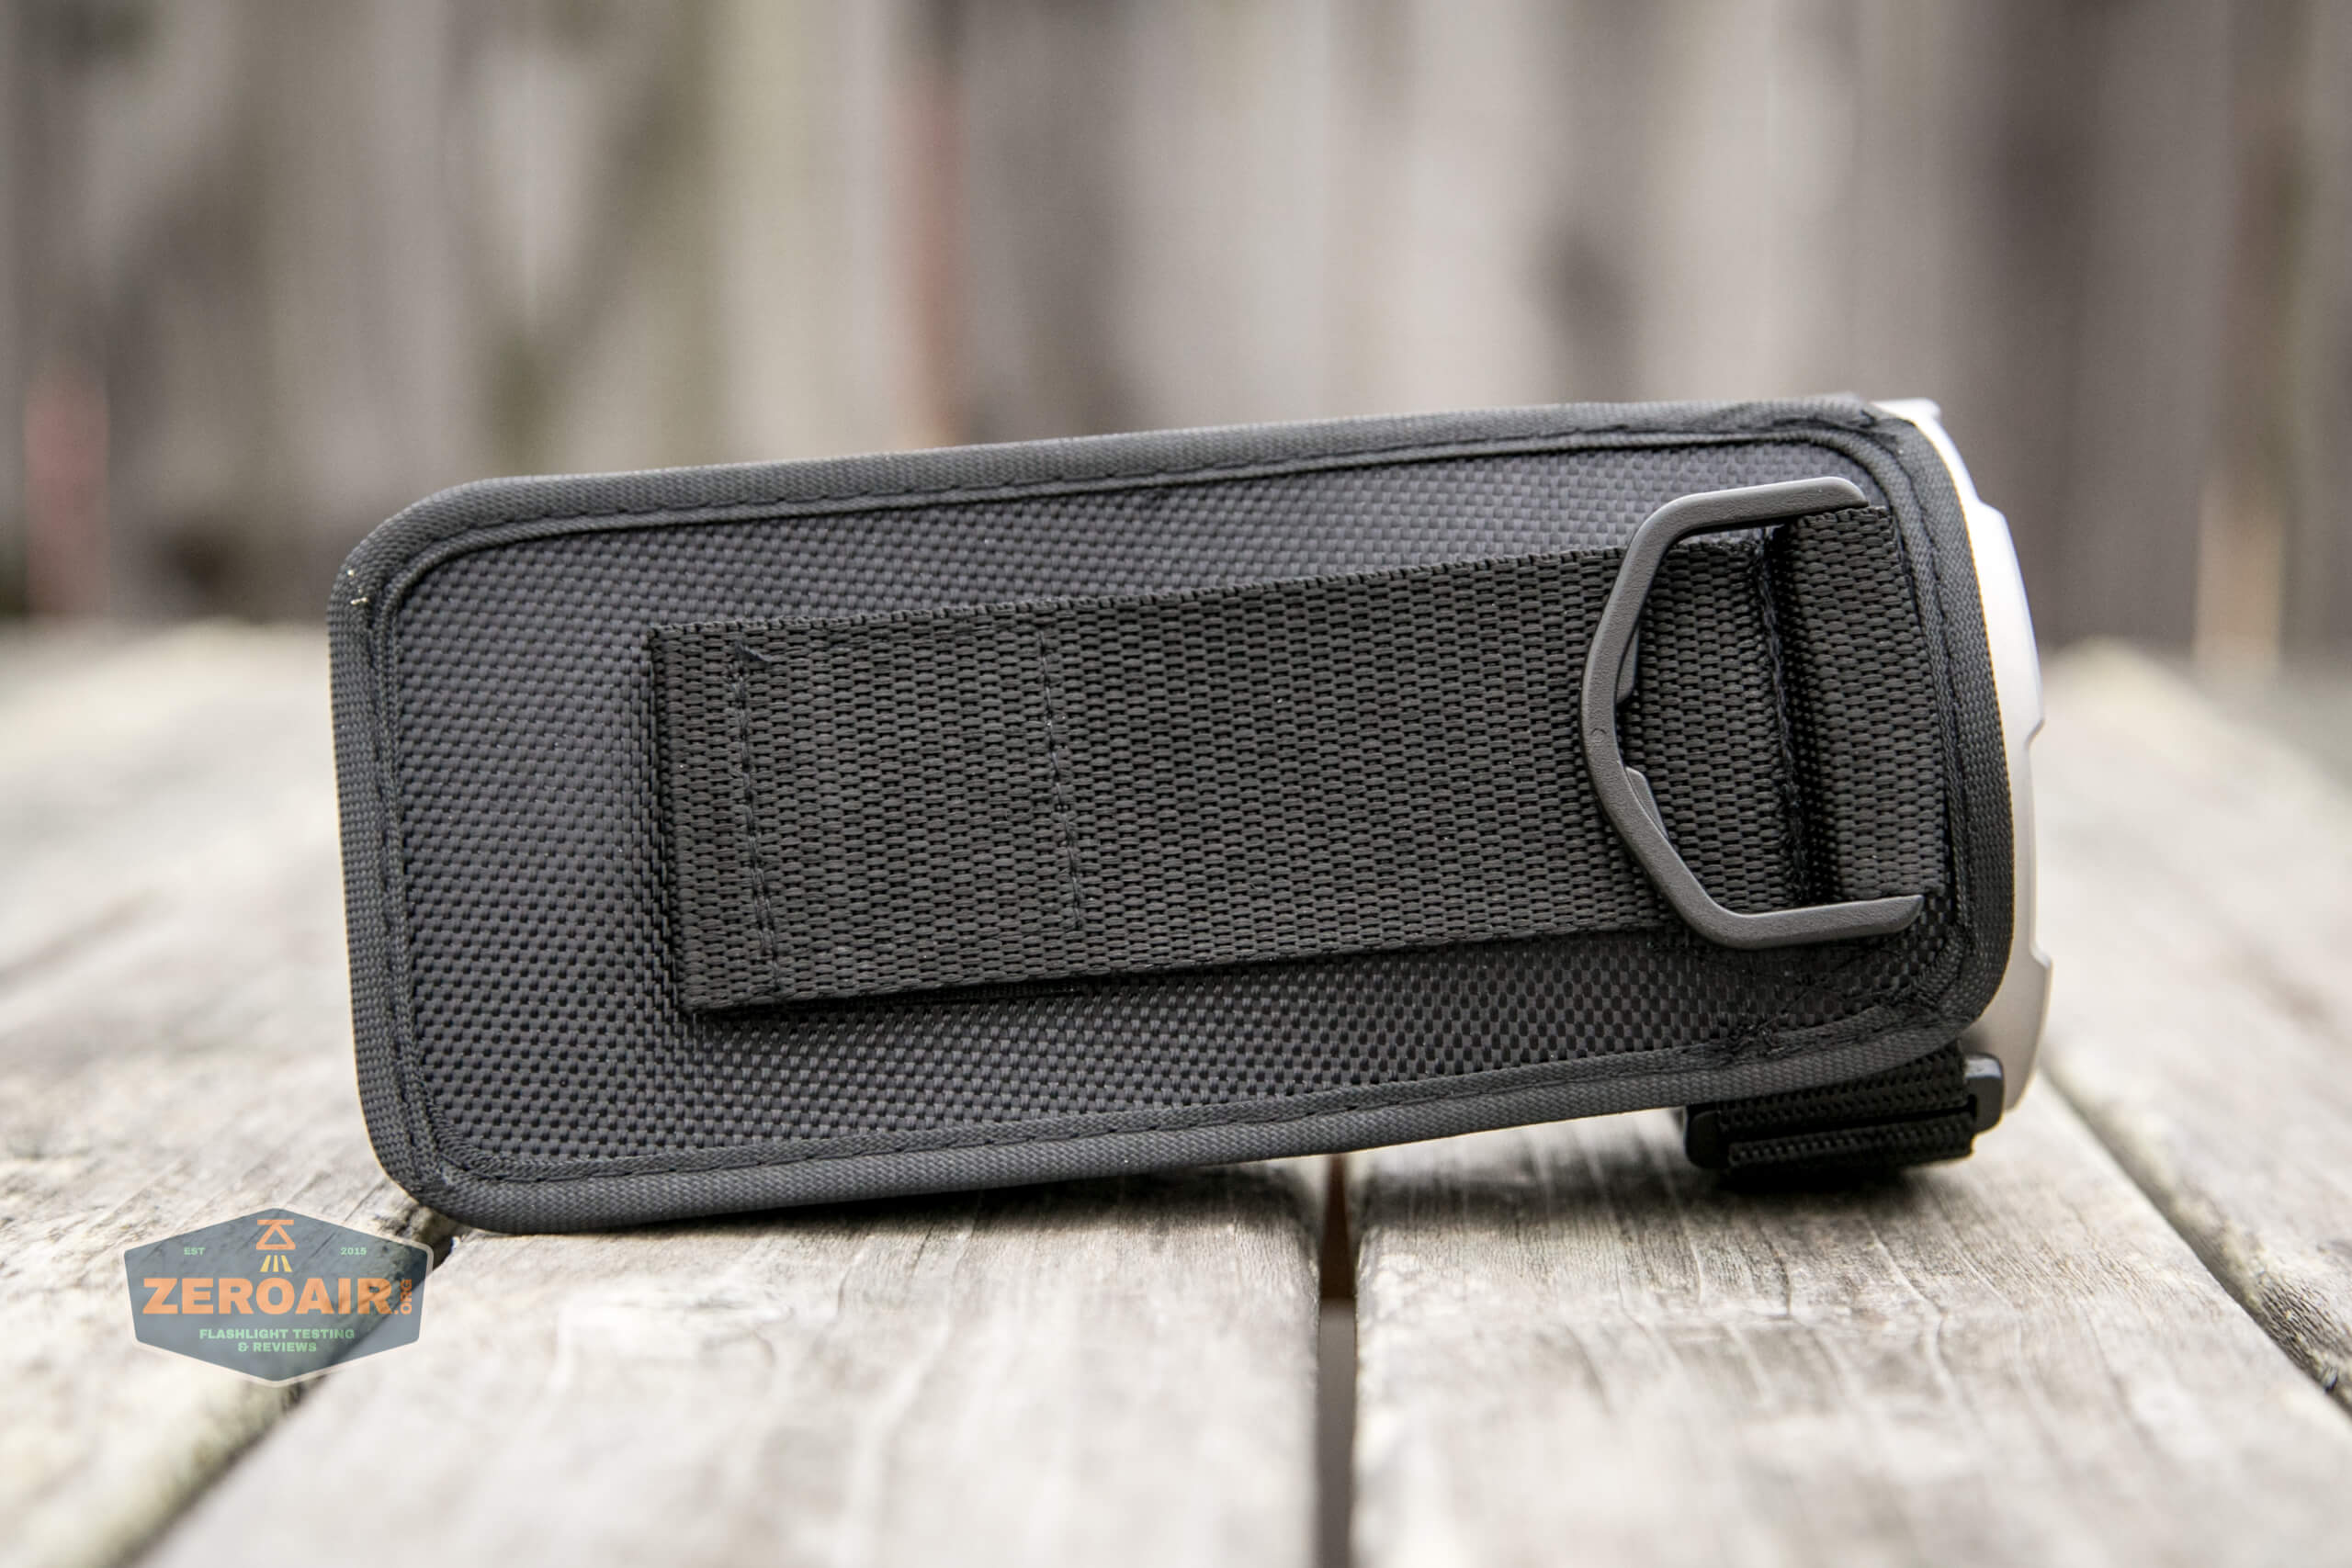
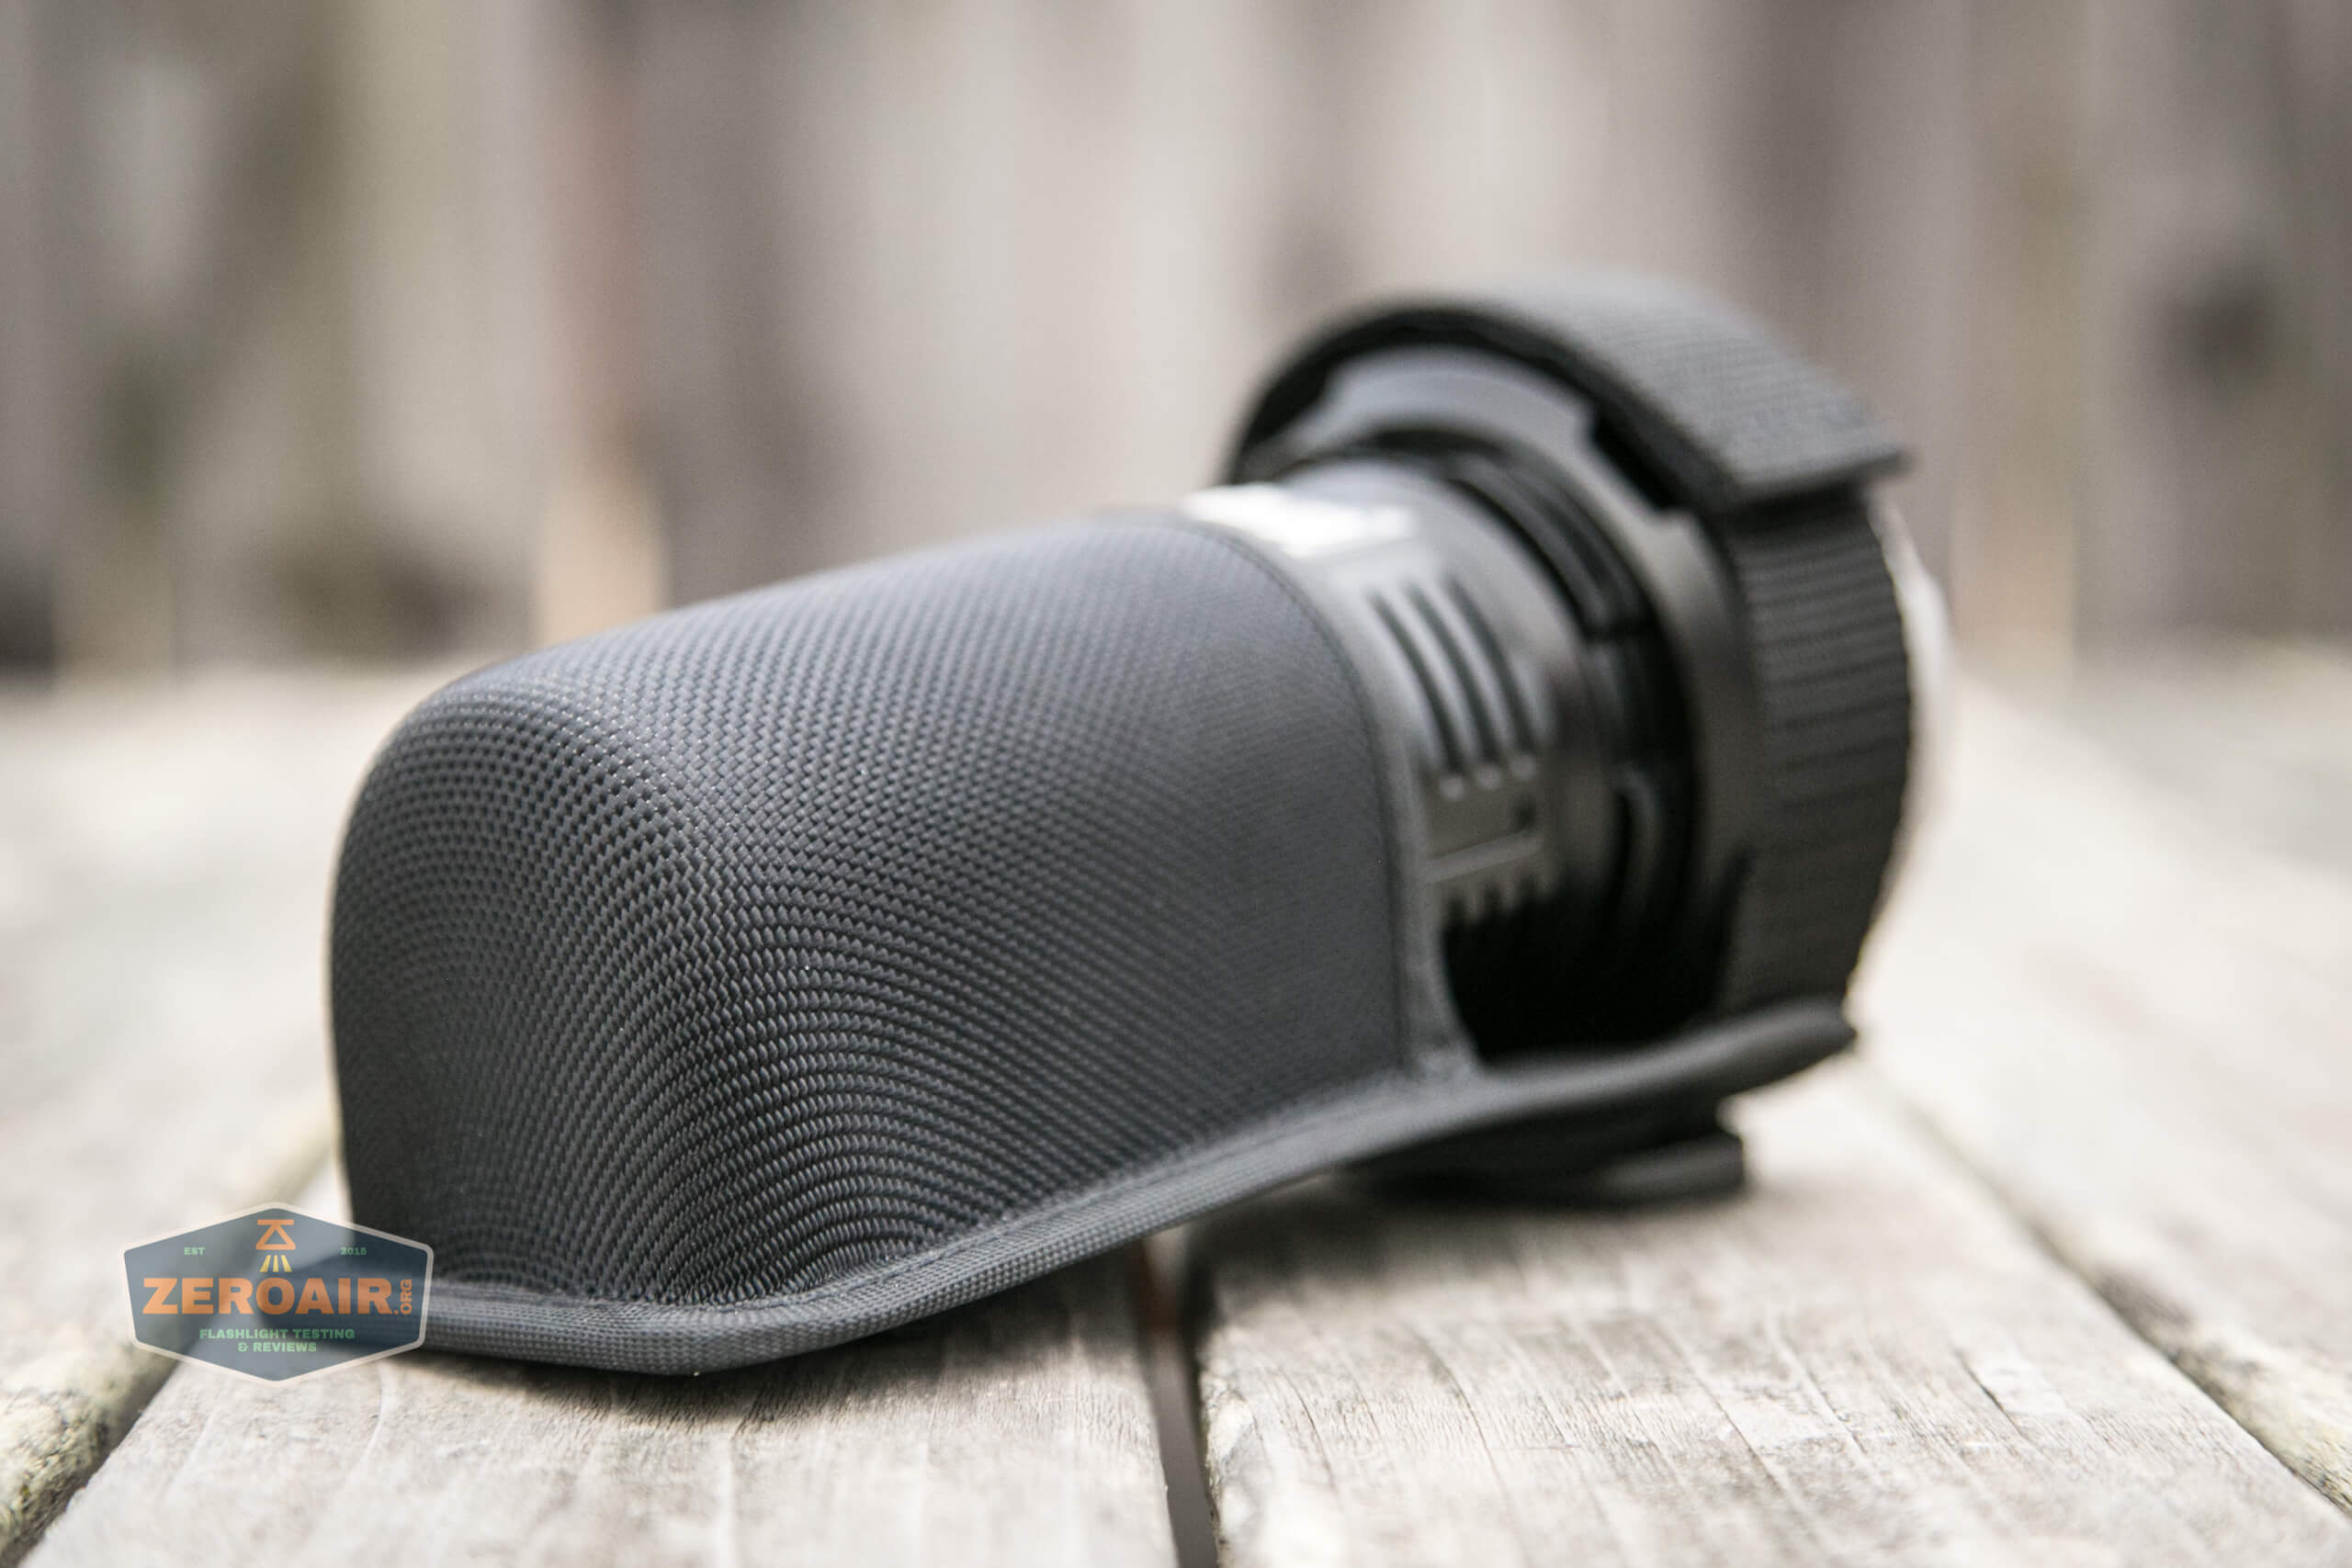
Likely the main way you’ll want to carry the LR40R is with the included nylon pouch.
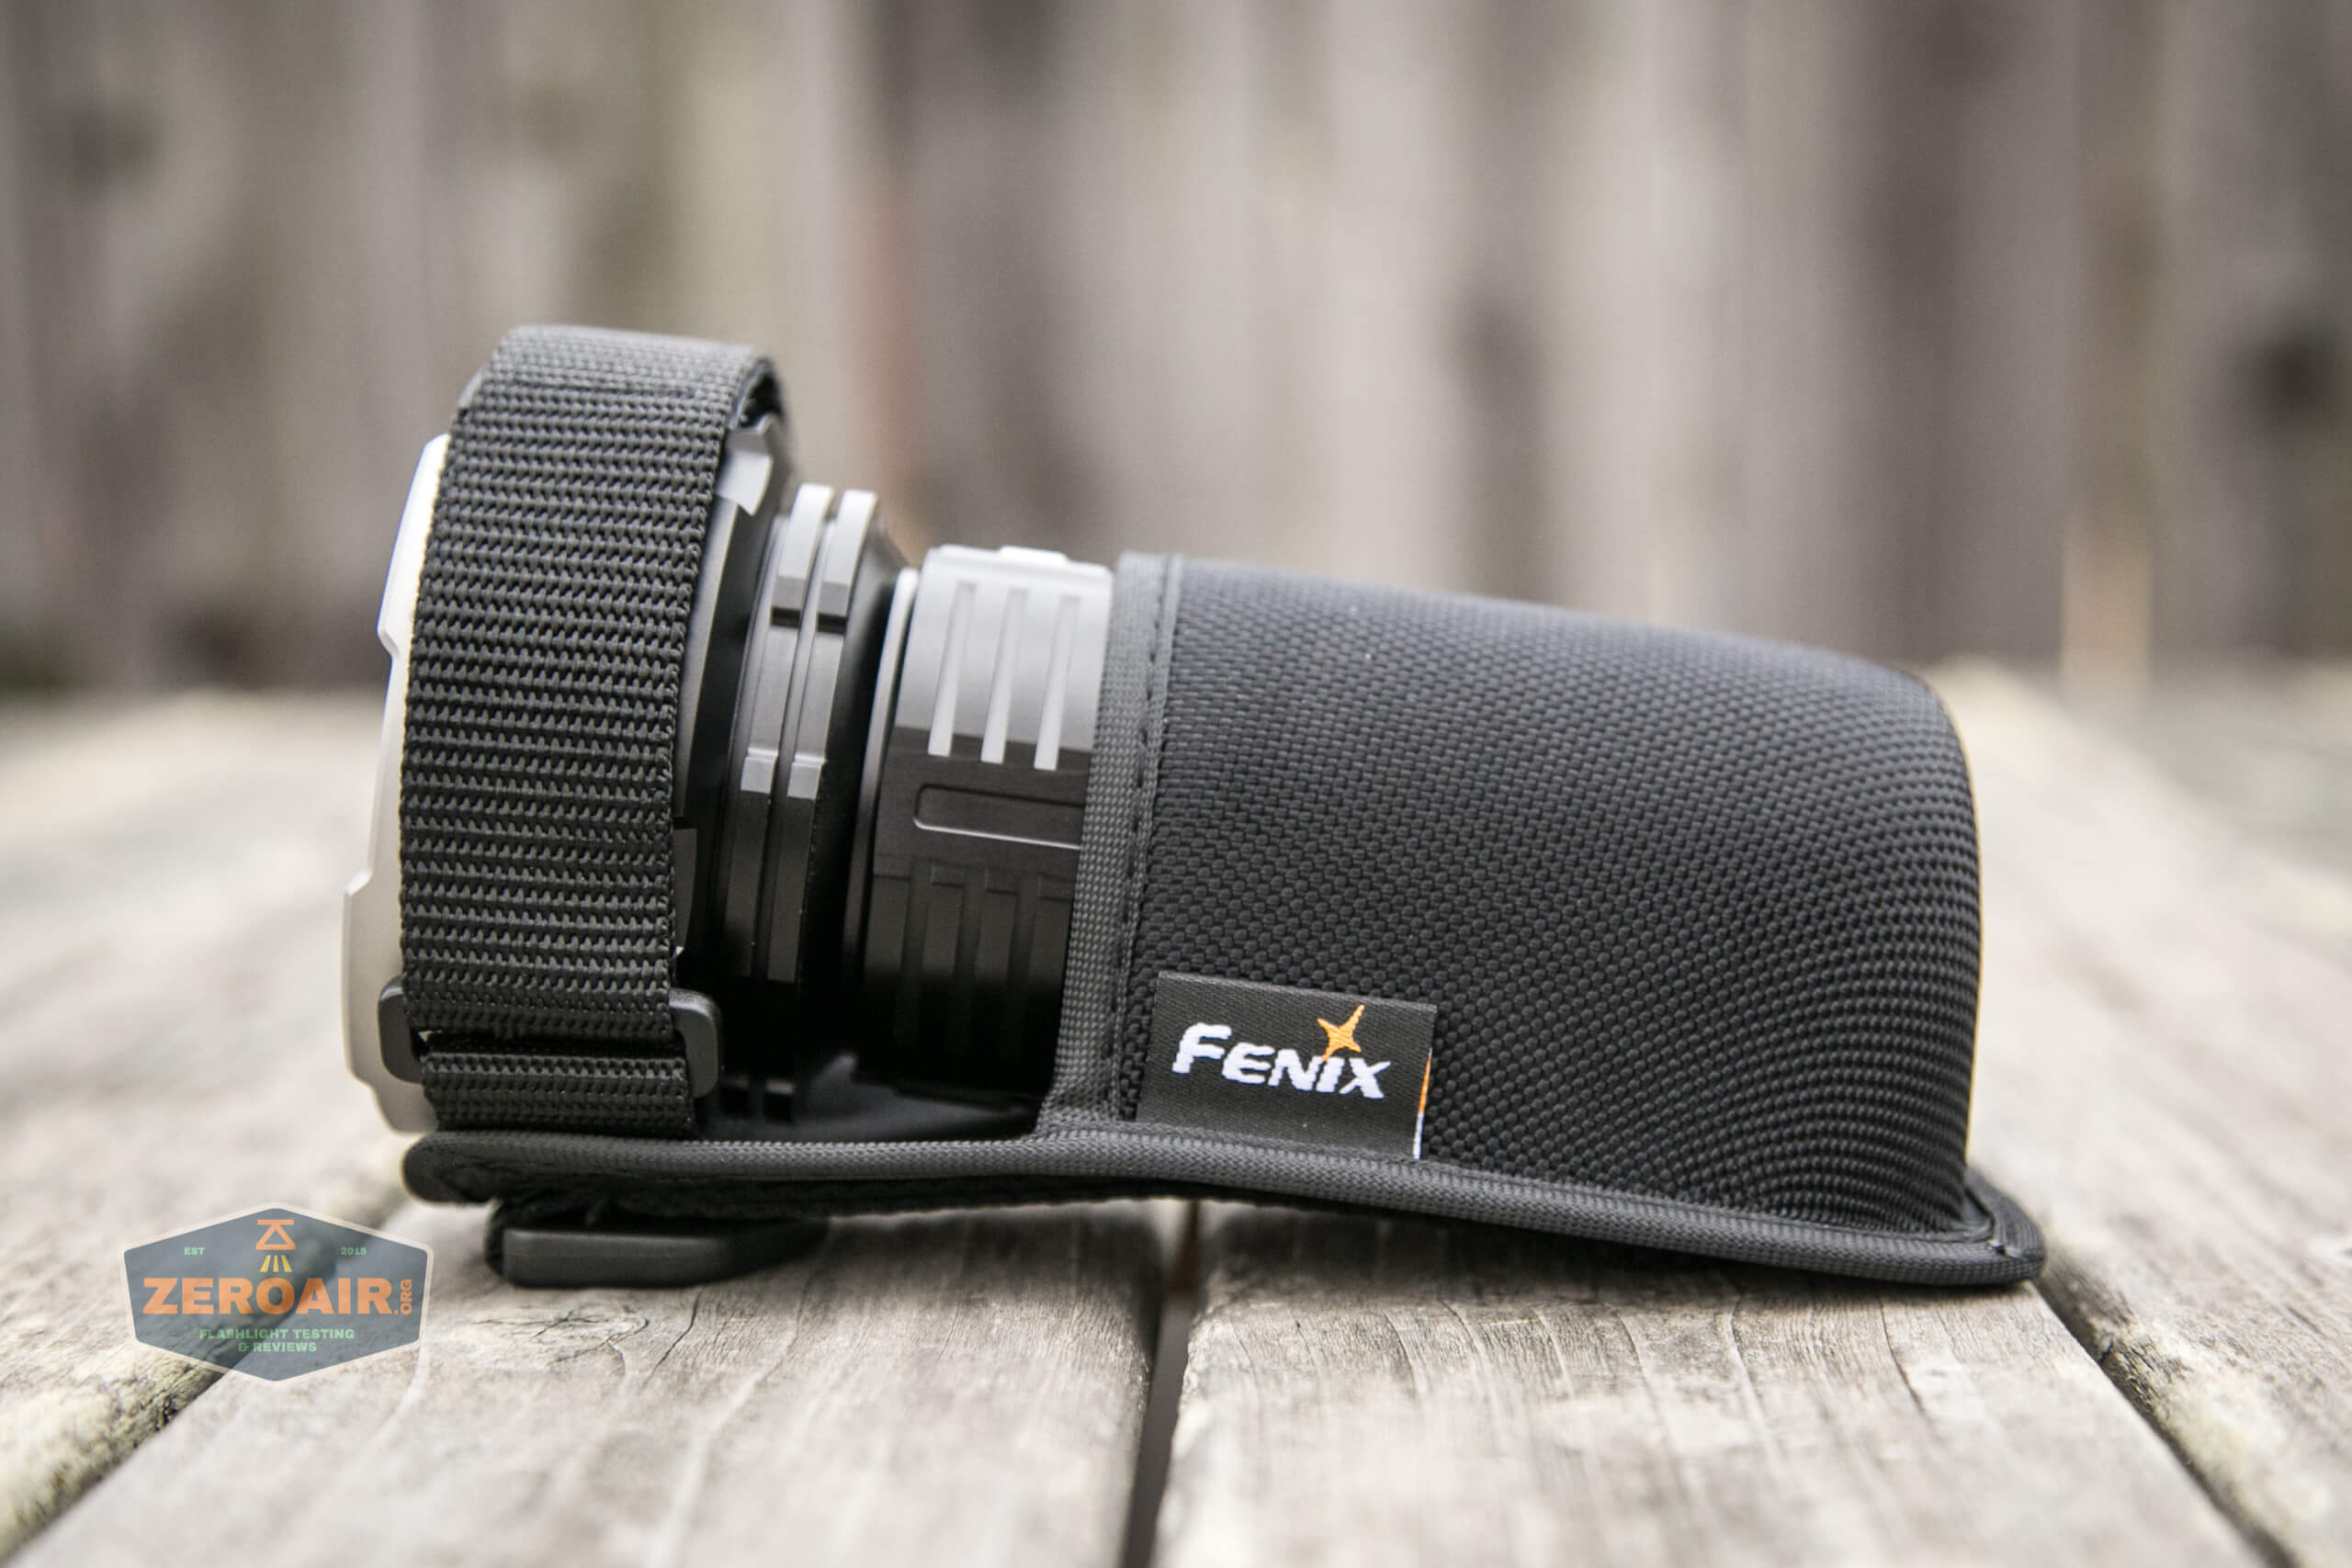
This is an unusual pouch, in that it has a form-fitted hard section for the body, and a velcro band that secures the head.
Of course, this means installation is only in the orientation shown. The light can be removed from the pouch without loosening the velcro band. Or at least removal depends upon how tight you’ve made this strap. It can be either way, really.
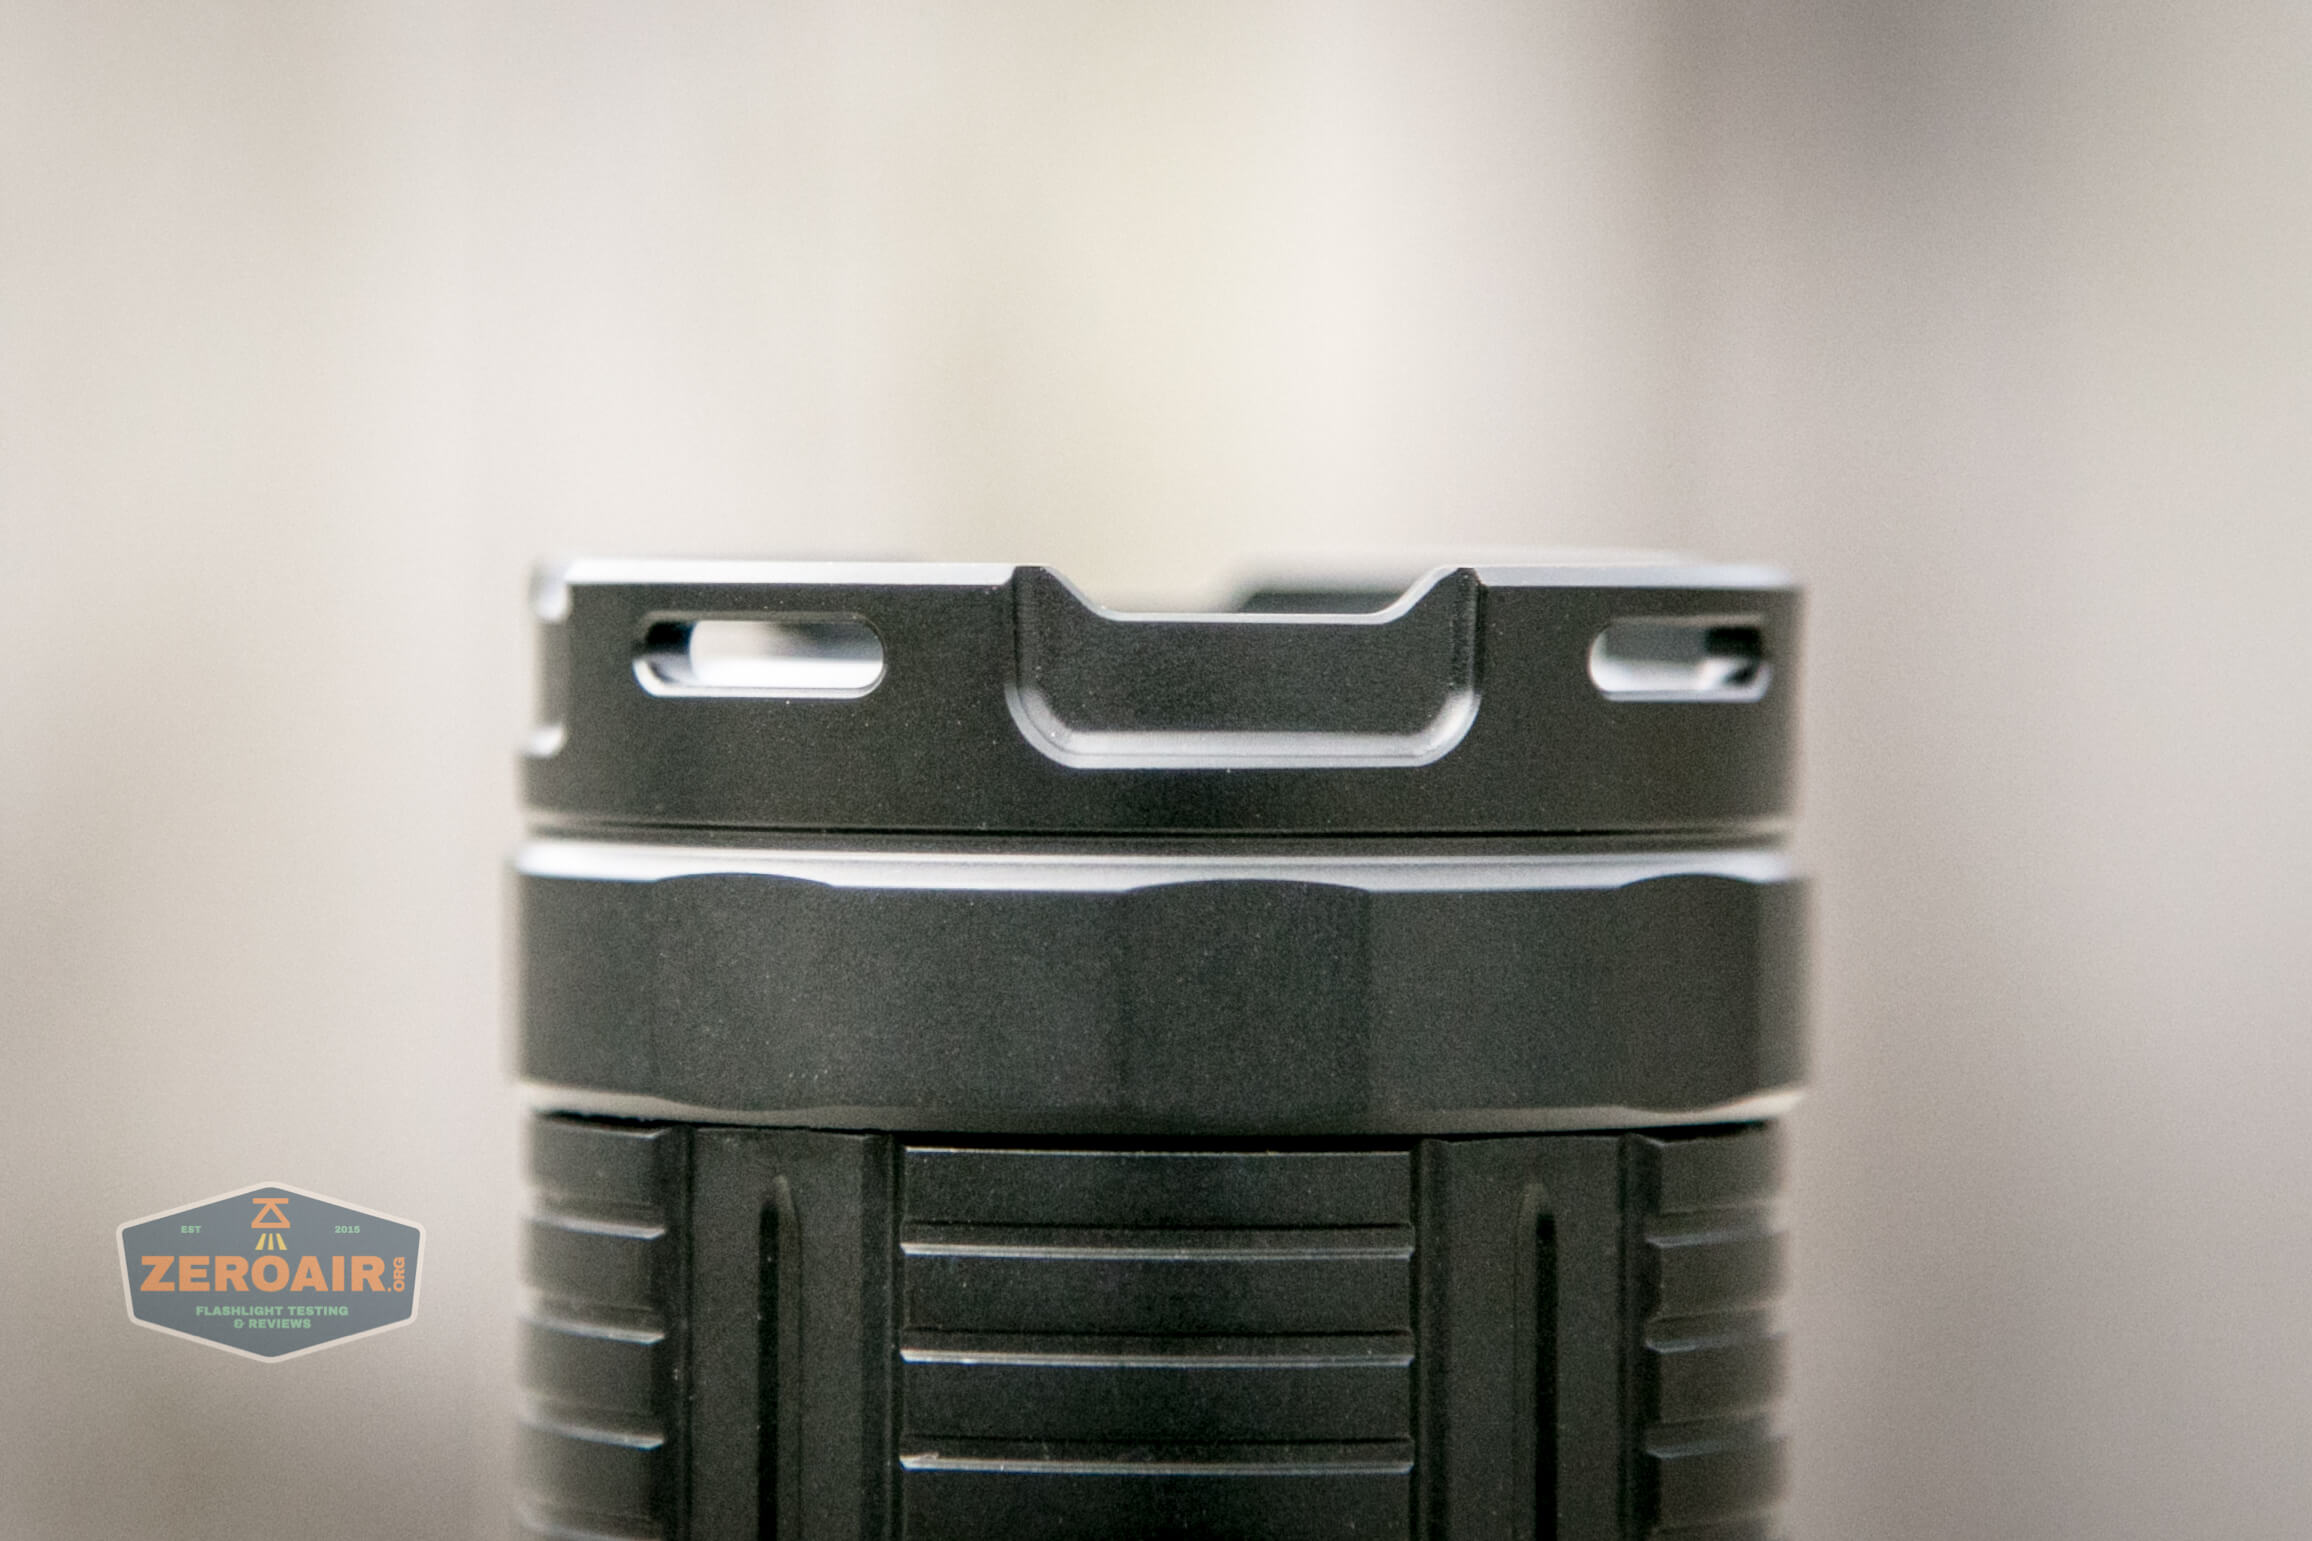
Also included is a standard lanyard, which connects only through these loops on the tailcap.
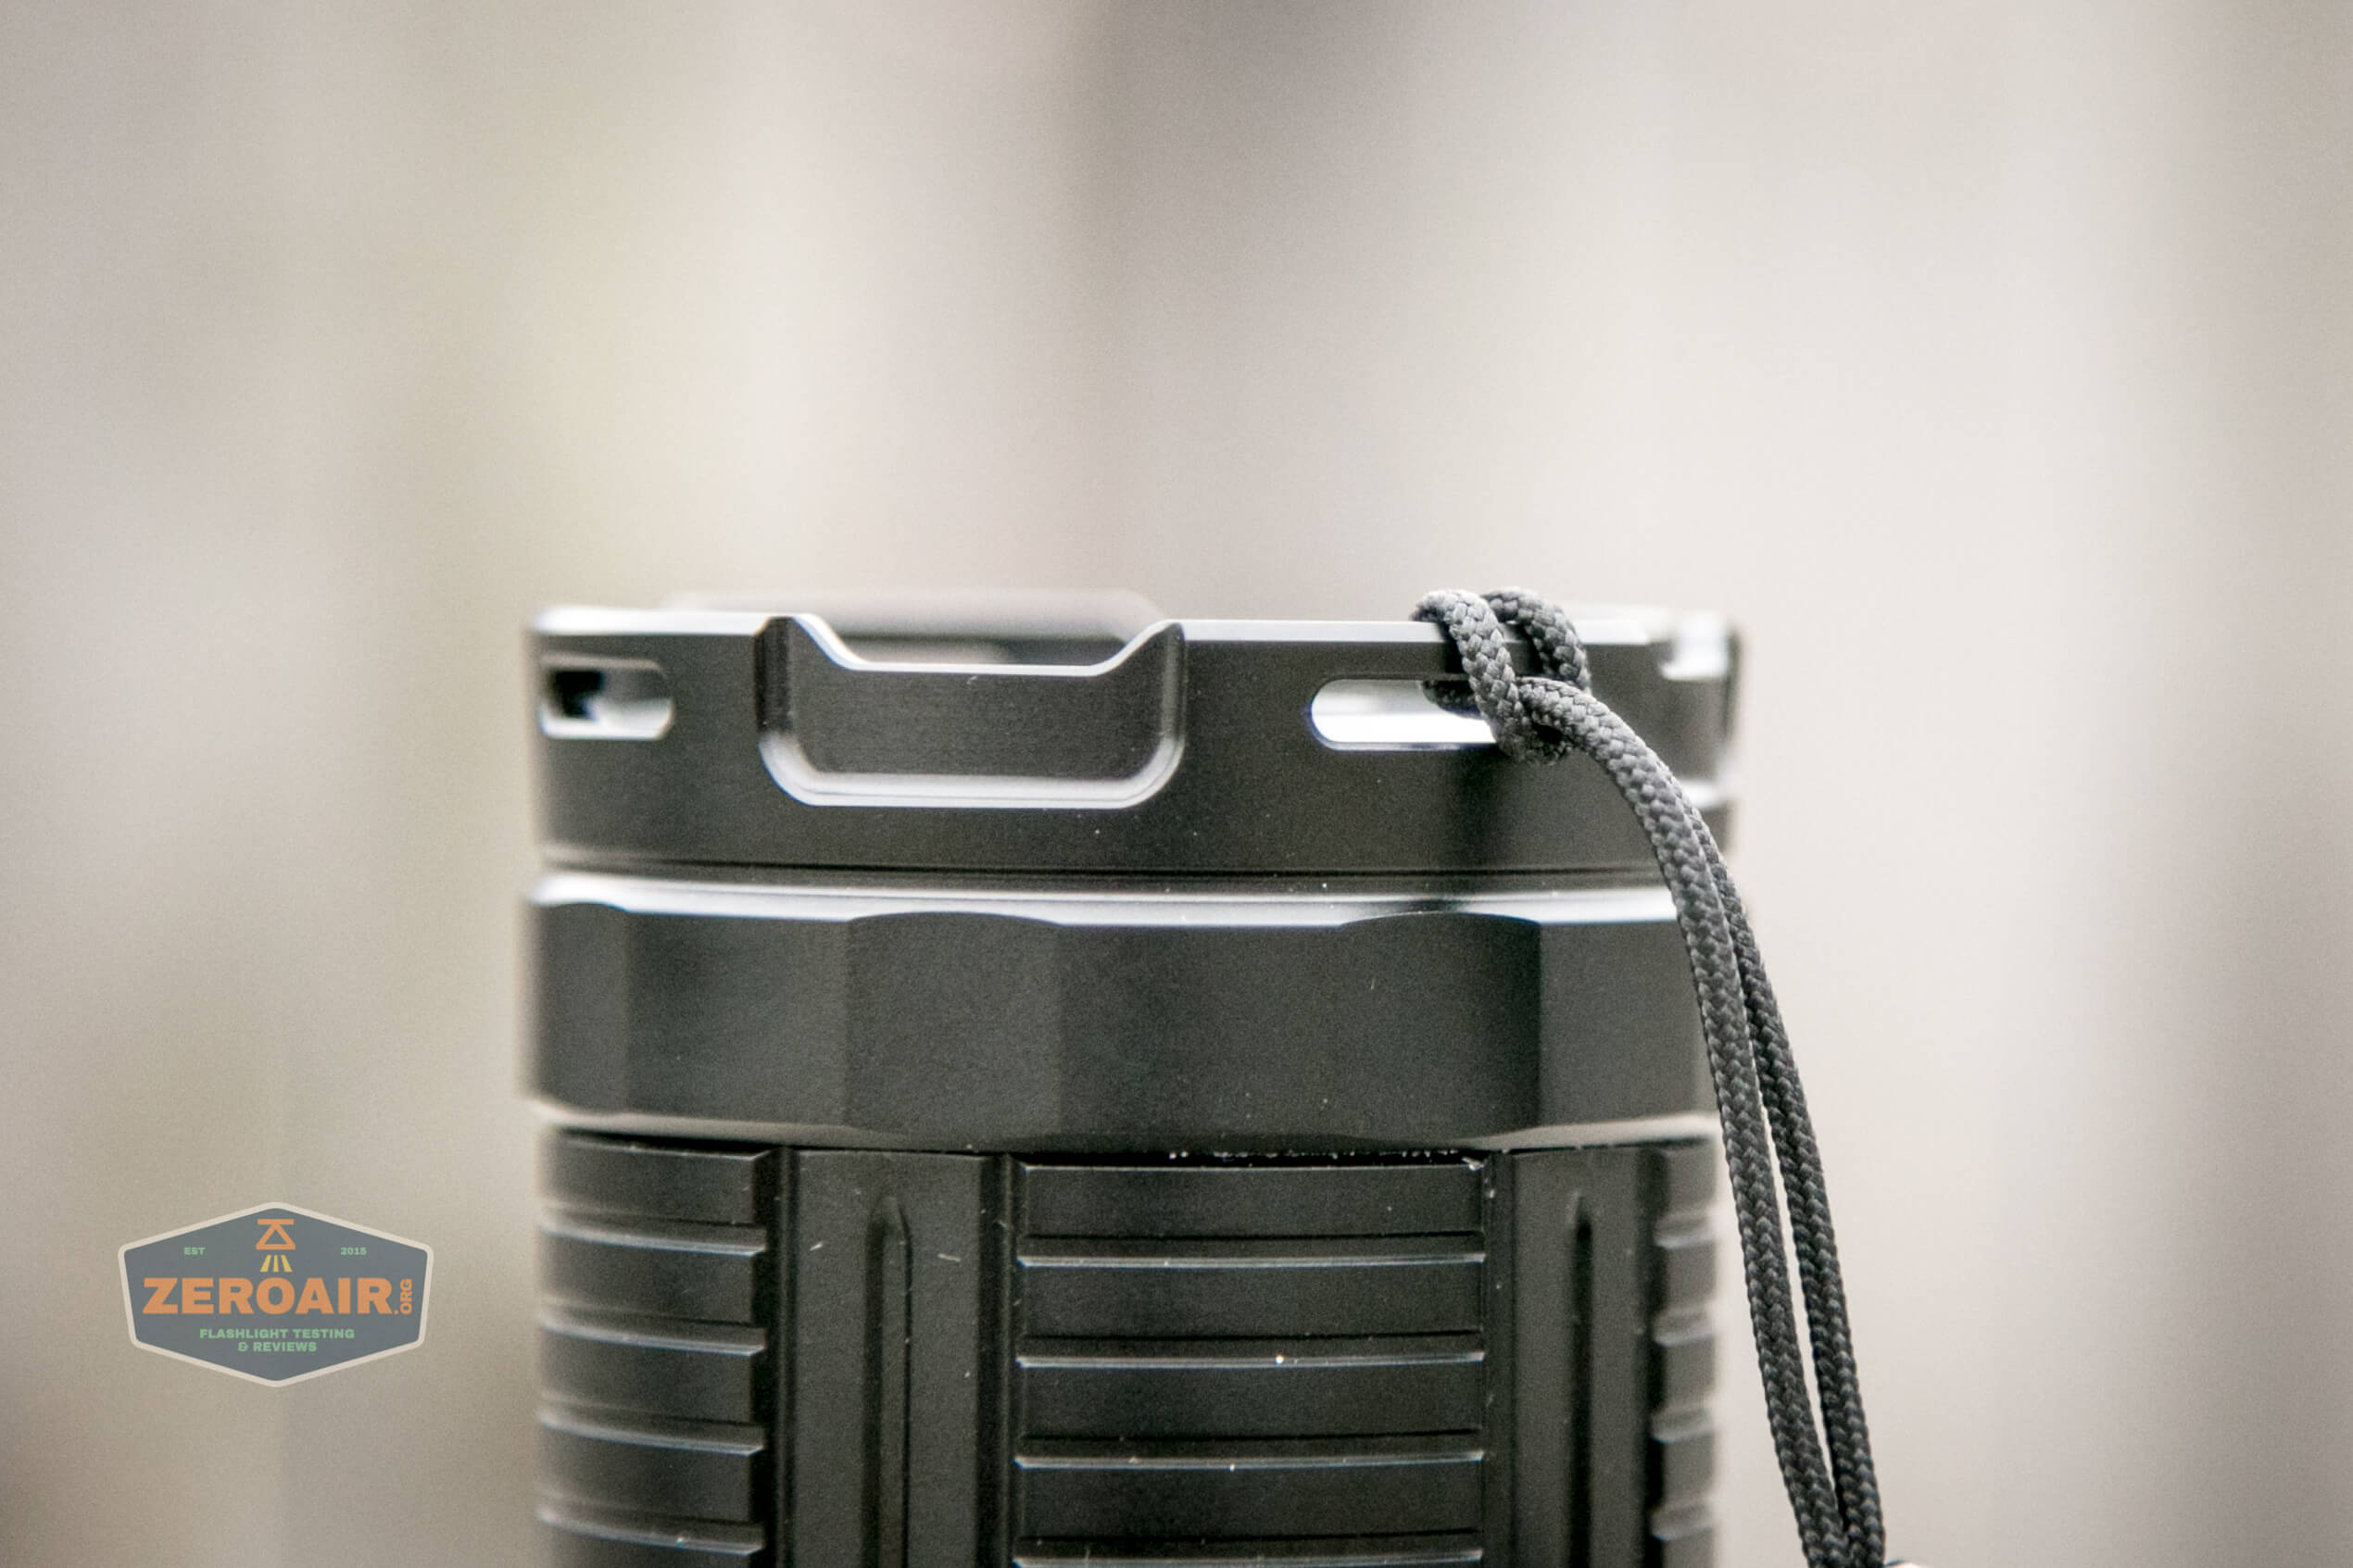
This setup does mean that tailstanding will be a little uneven. I’d rather it be two holes so that the lanyard can go out the side of the tailcap, and still allow even tailstanding. This is a very minor issue. (I don’t use lanyards anyway!)
Power and Runtime
As stated above, the Fenix LR40R is powered by an included battery.
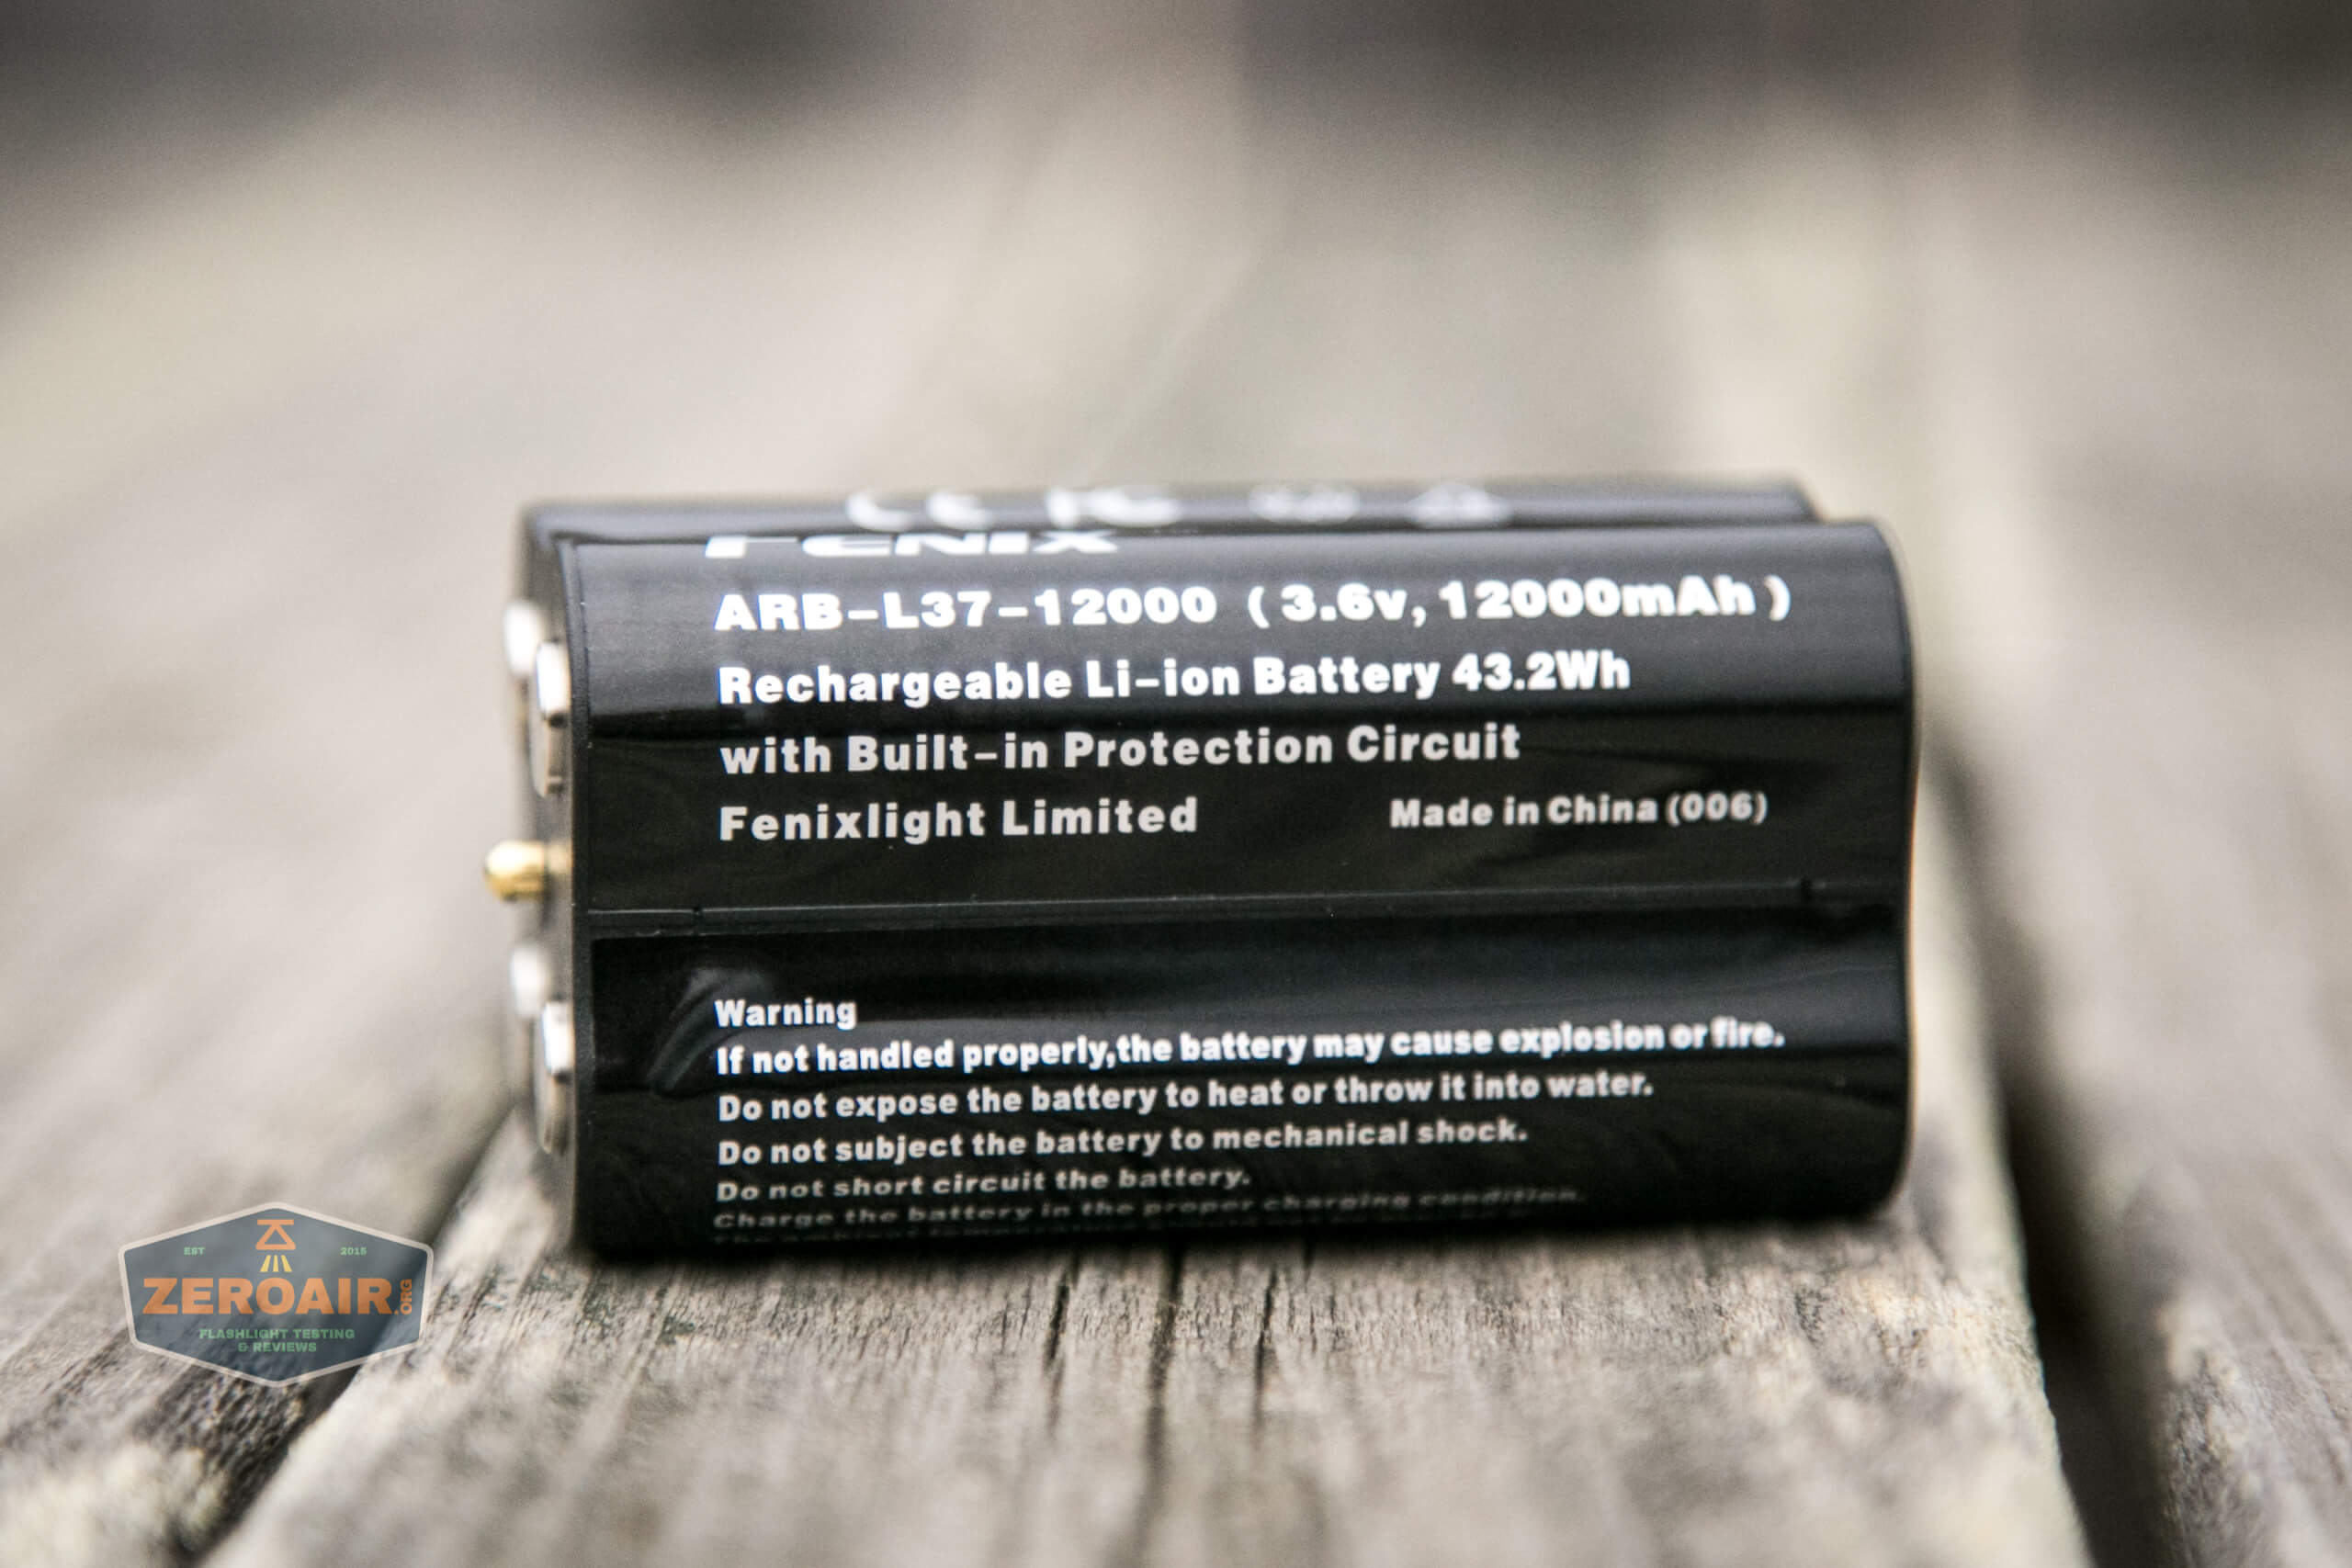
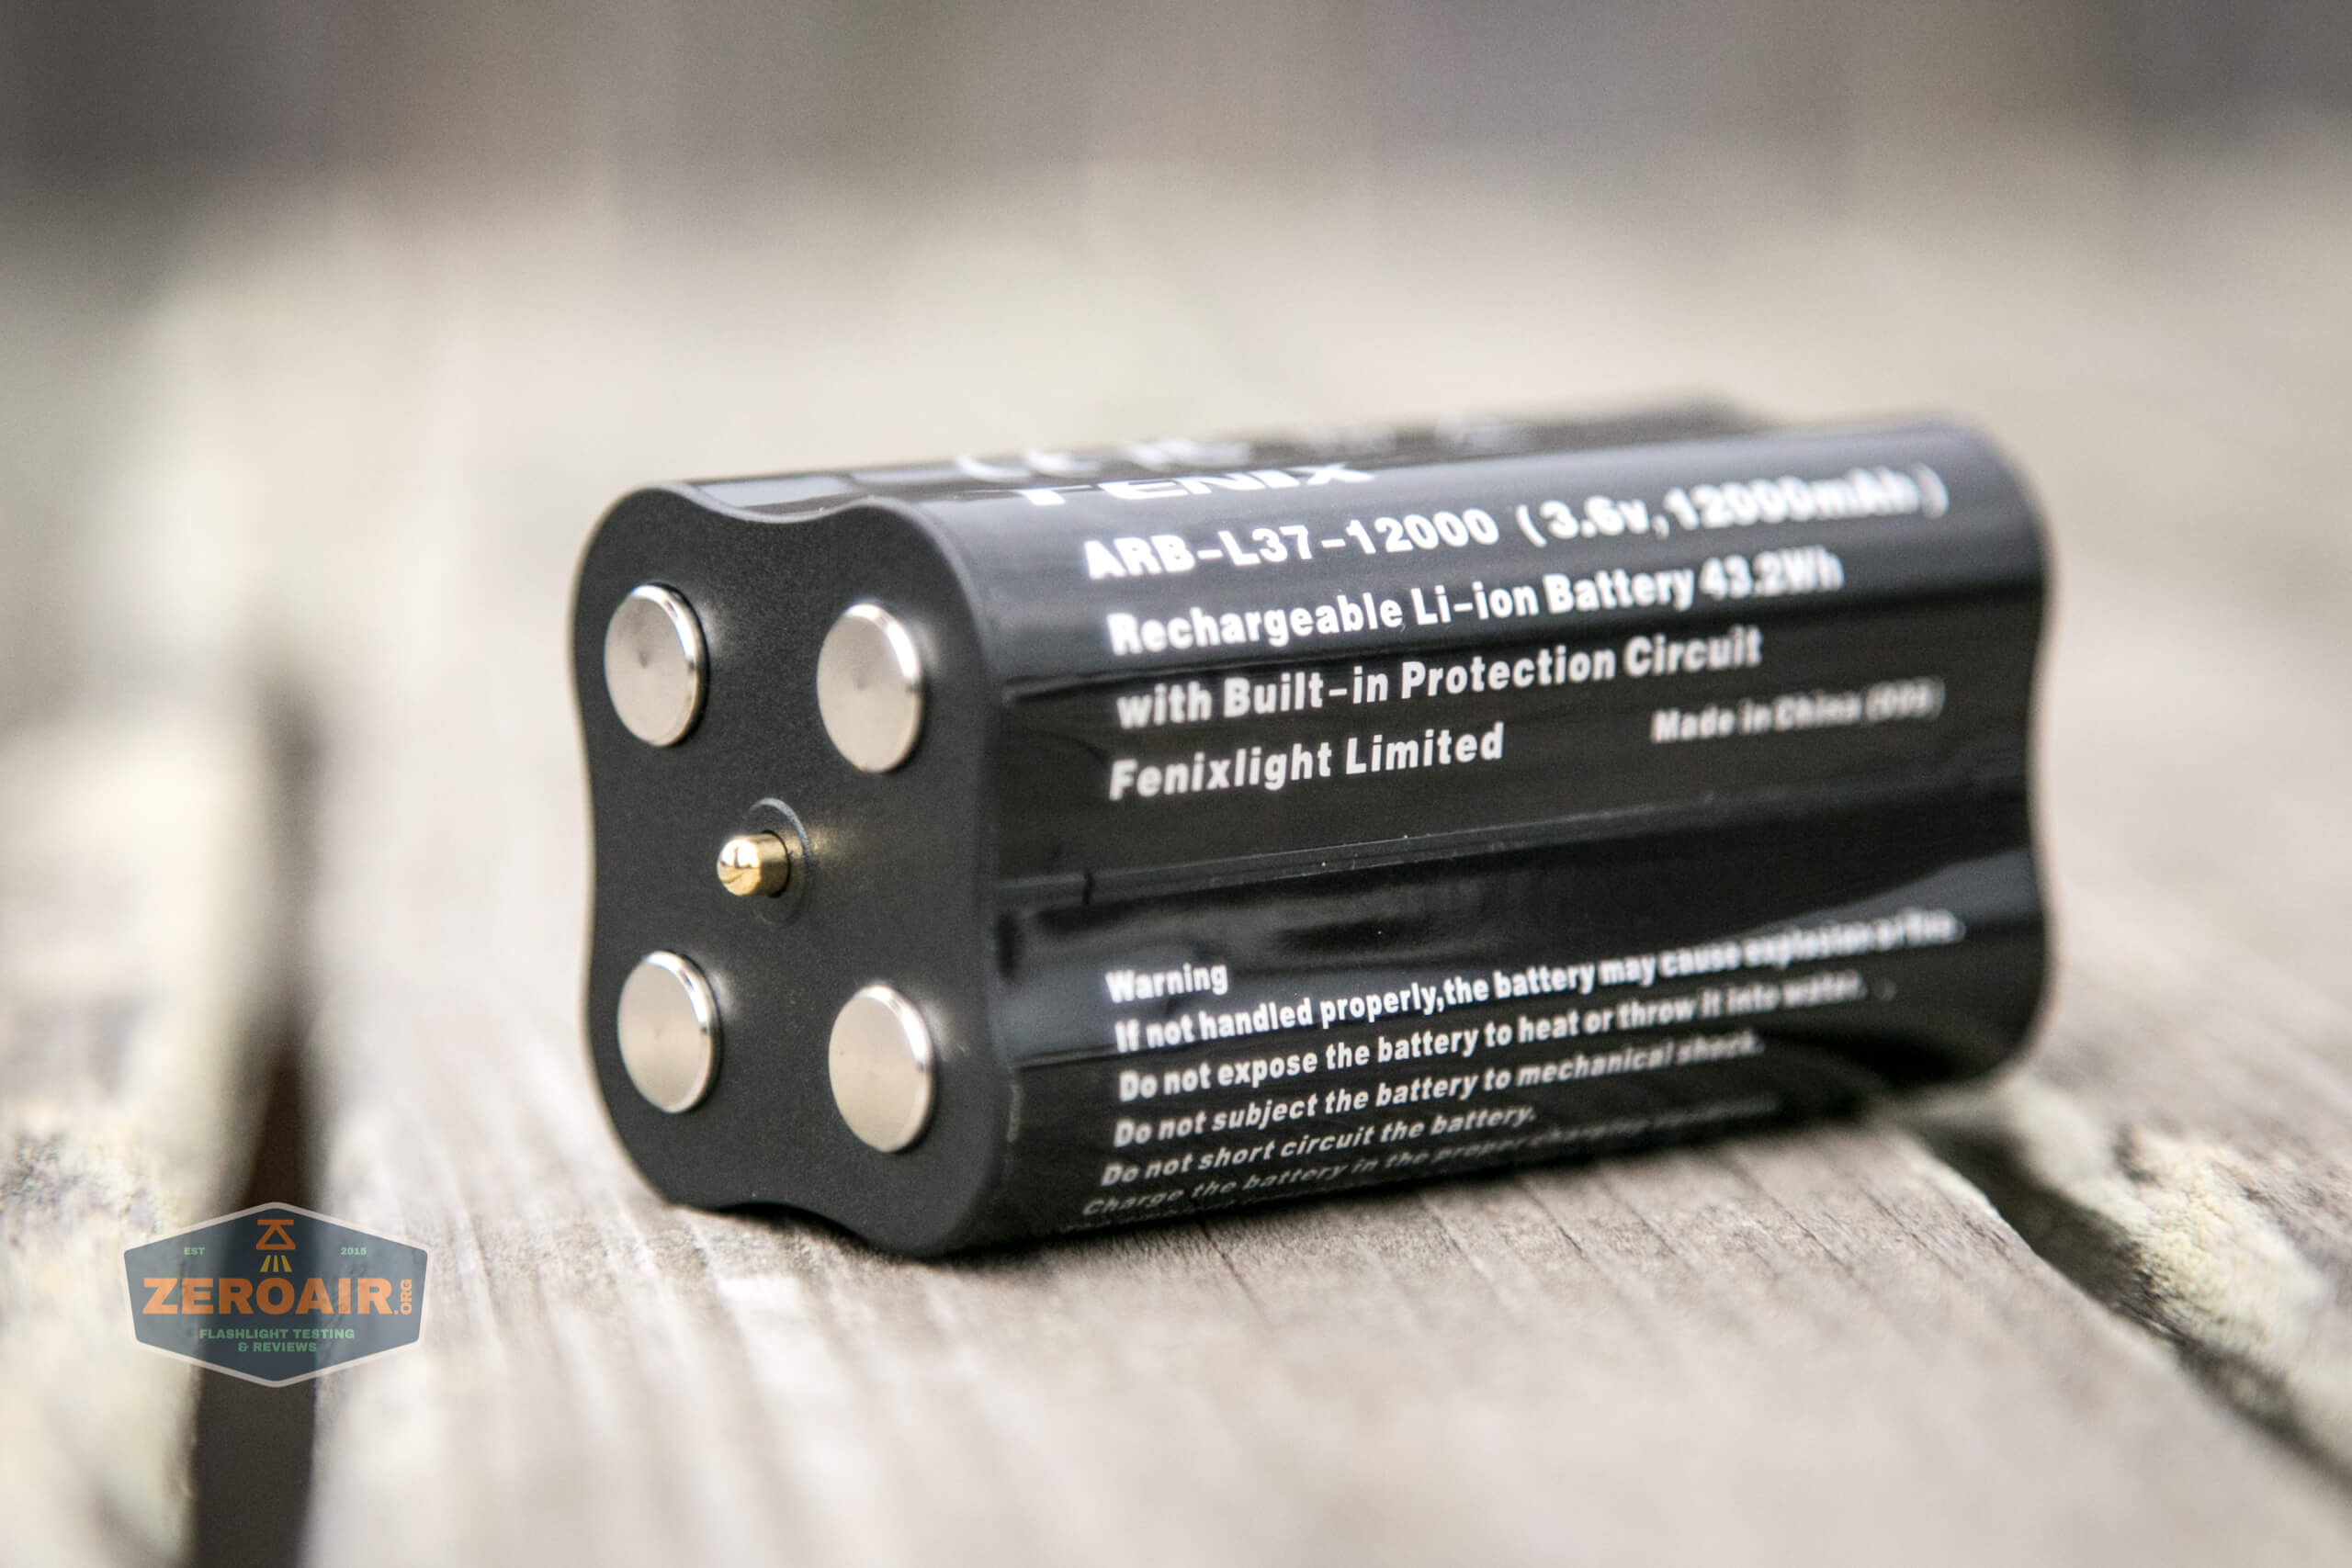
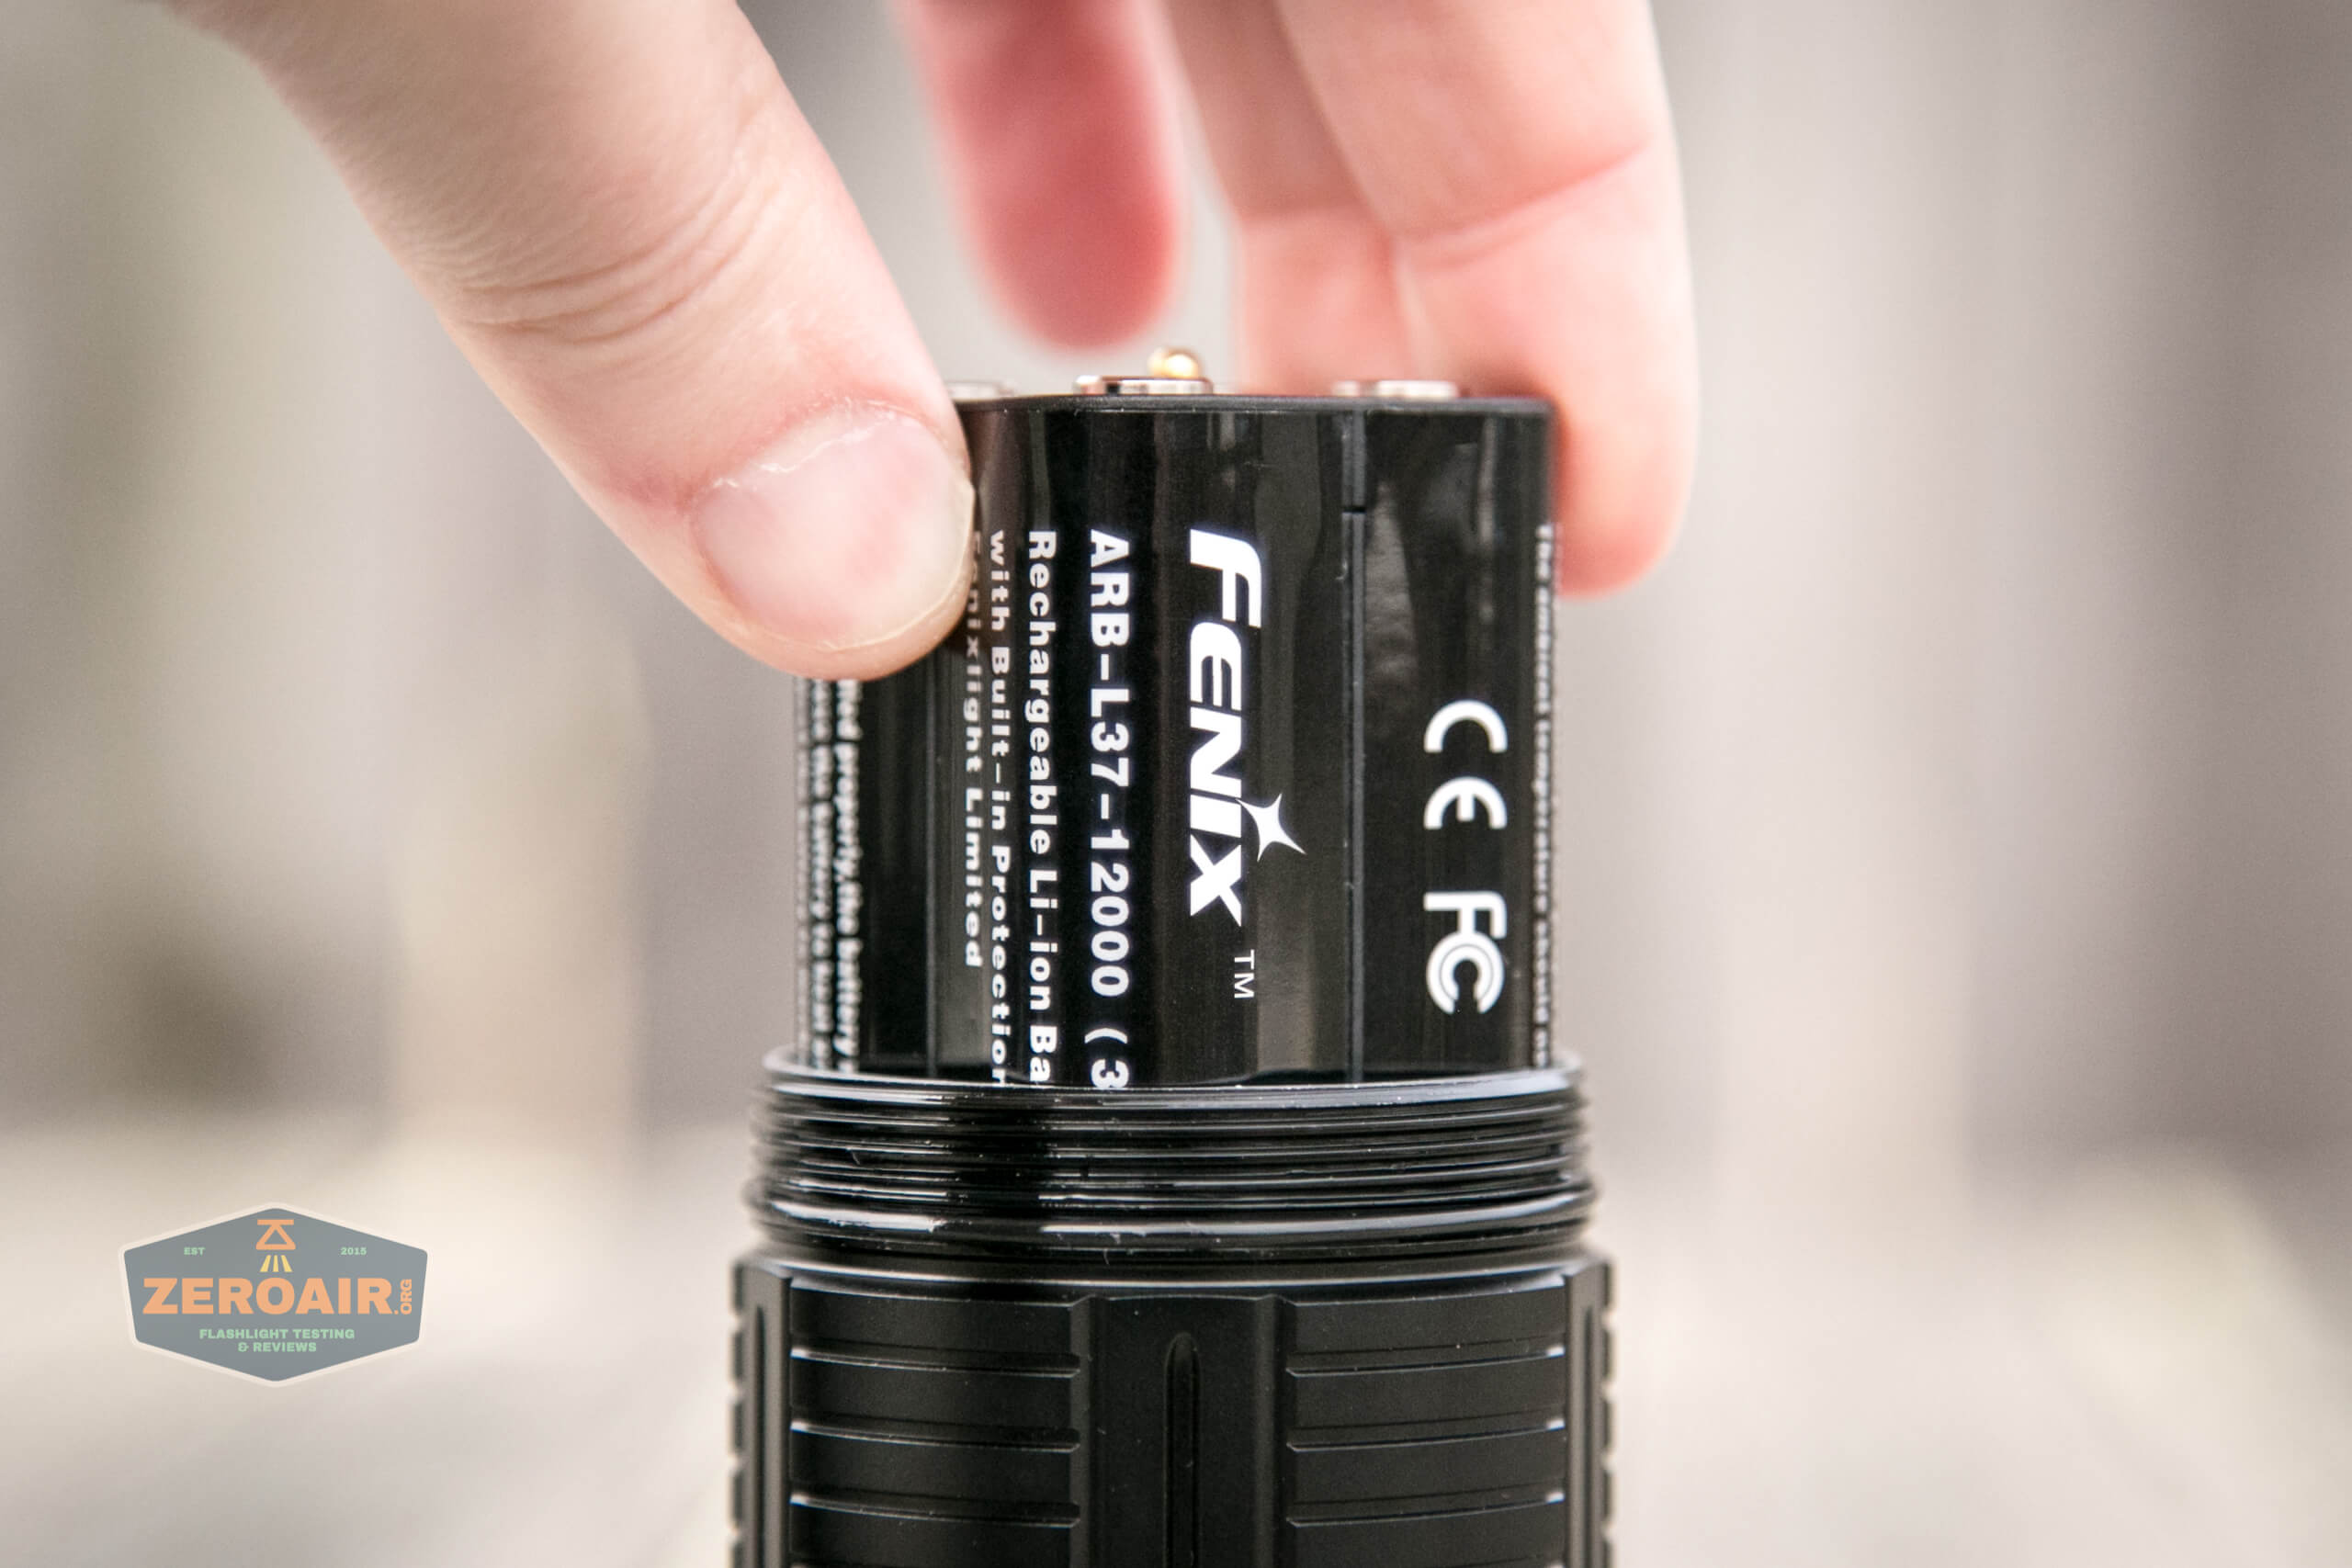
This battery is an ARB-L37-12000, which is a 12000mAh battery pack, consisting of four 18650 cells. Fenix states as compatible with 4 ARB-L18 18650 rechargeable batteries. Those are button tops, and if you bring your own 18650 cells to the game, you’ll need button tops too.
This included battery is quite different…. Technically, it’s just a group of four individual cells (which doesn’t make it a “battery”) – the cells are in parallel.
But you see that center pin there? That connects in some way electrically so that the light recognizes that “this is my battery,” and that allows the turbo to work. Otherwise (otherwise being “anything that isn’t this battery pack”), you only have four modes of flood (and still get all four modes of spot). Since the light ships with this battery, this isn’t the biggest problem. But if you ever wish to swap in your own cells, be advised that you’ll lose Turbo.
Installation is easy, and directional – as I said above, the battery will only go into this tube in one direction. It’s physically blocked the other way.
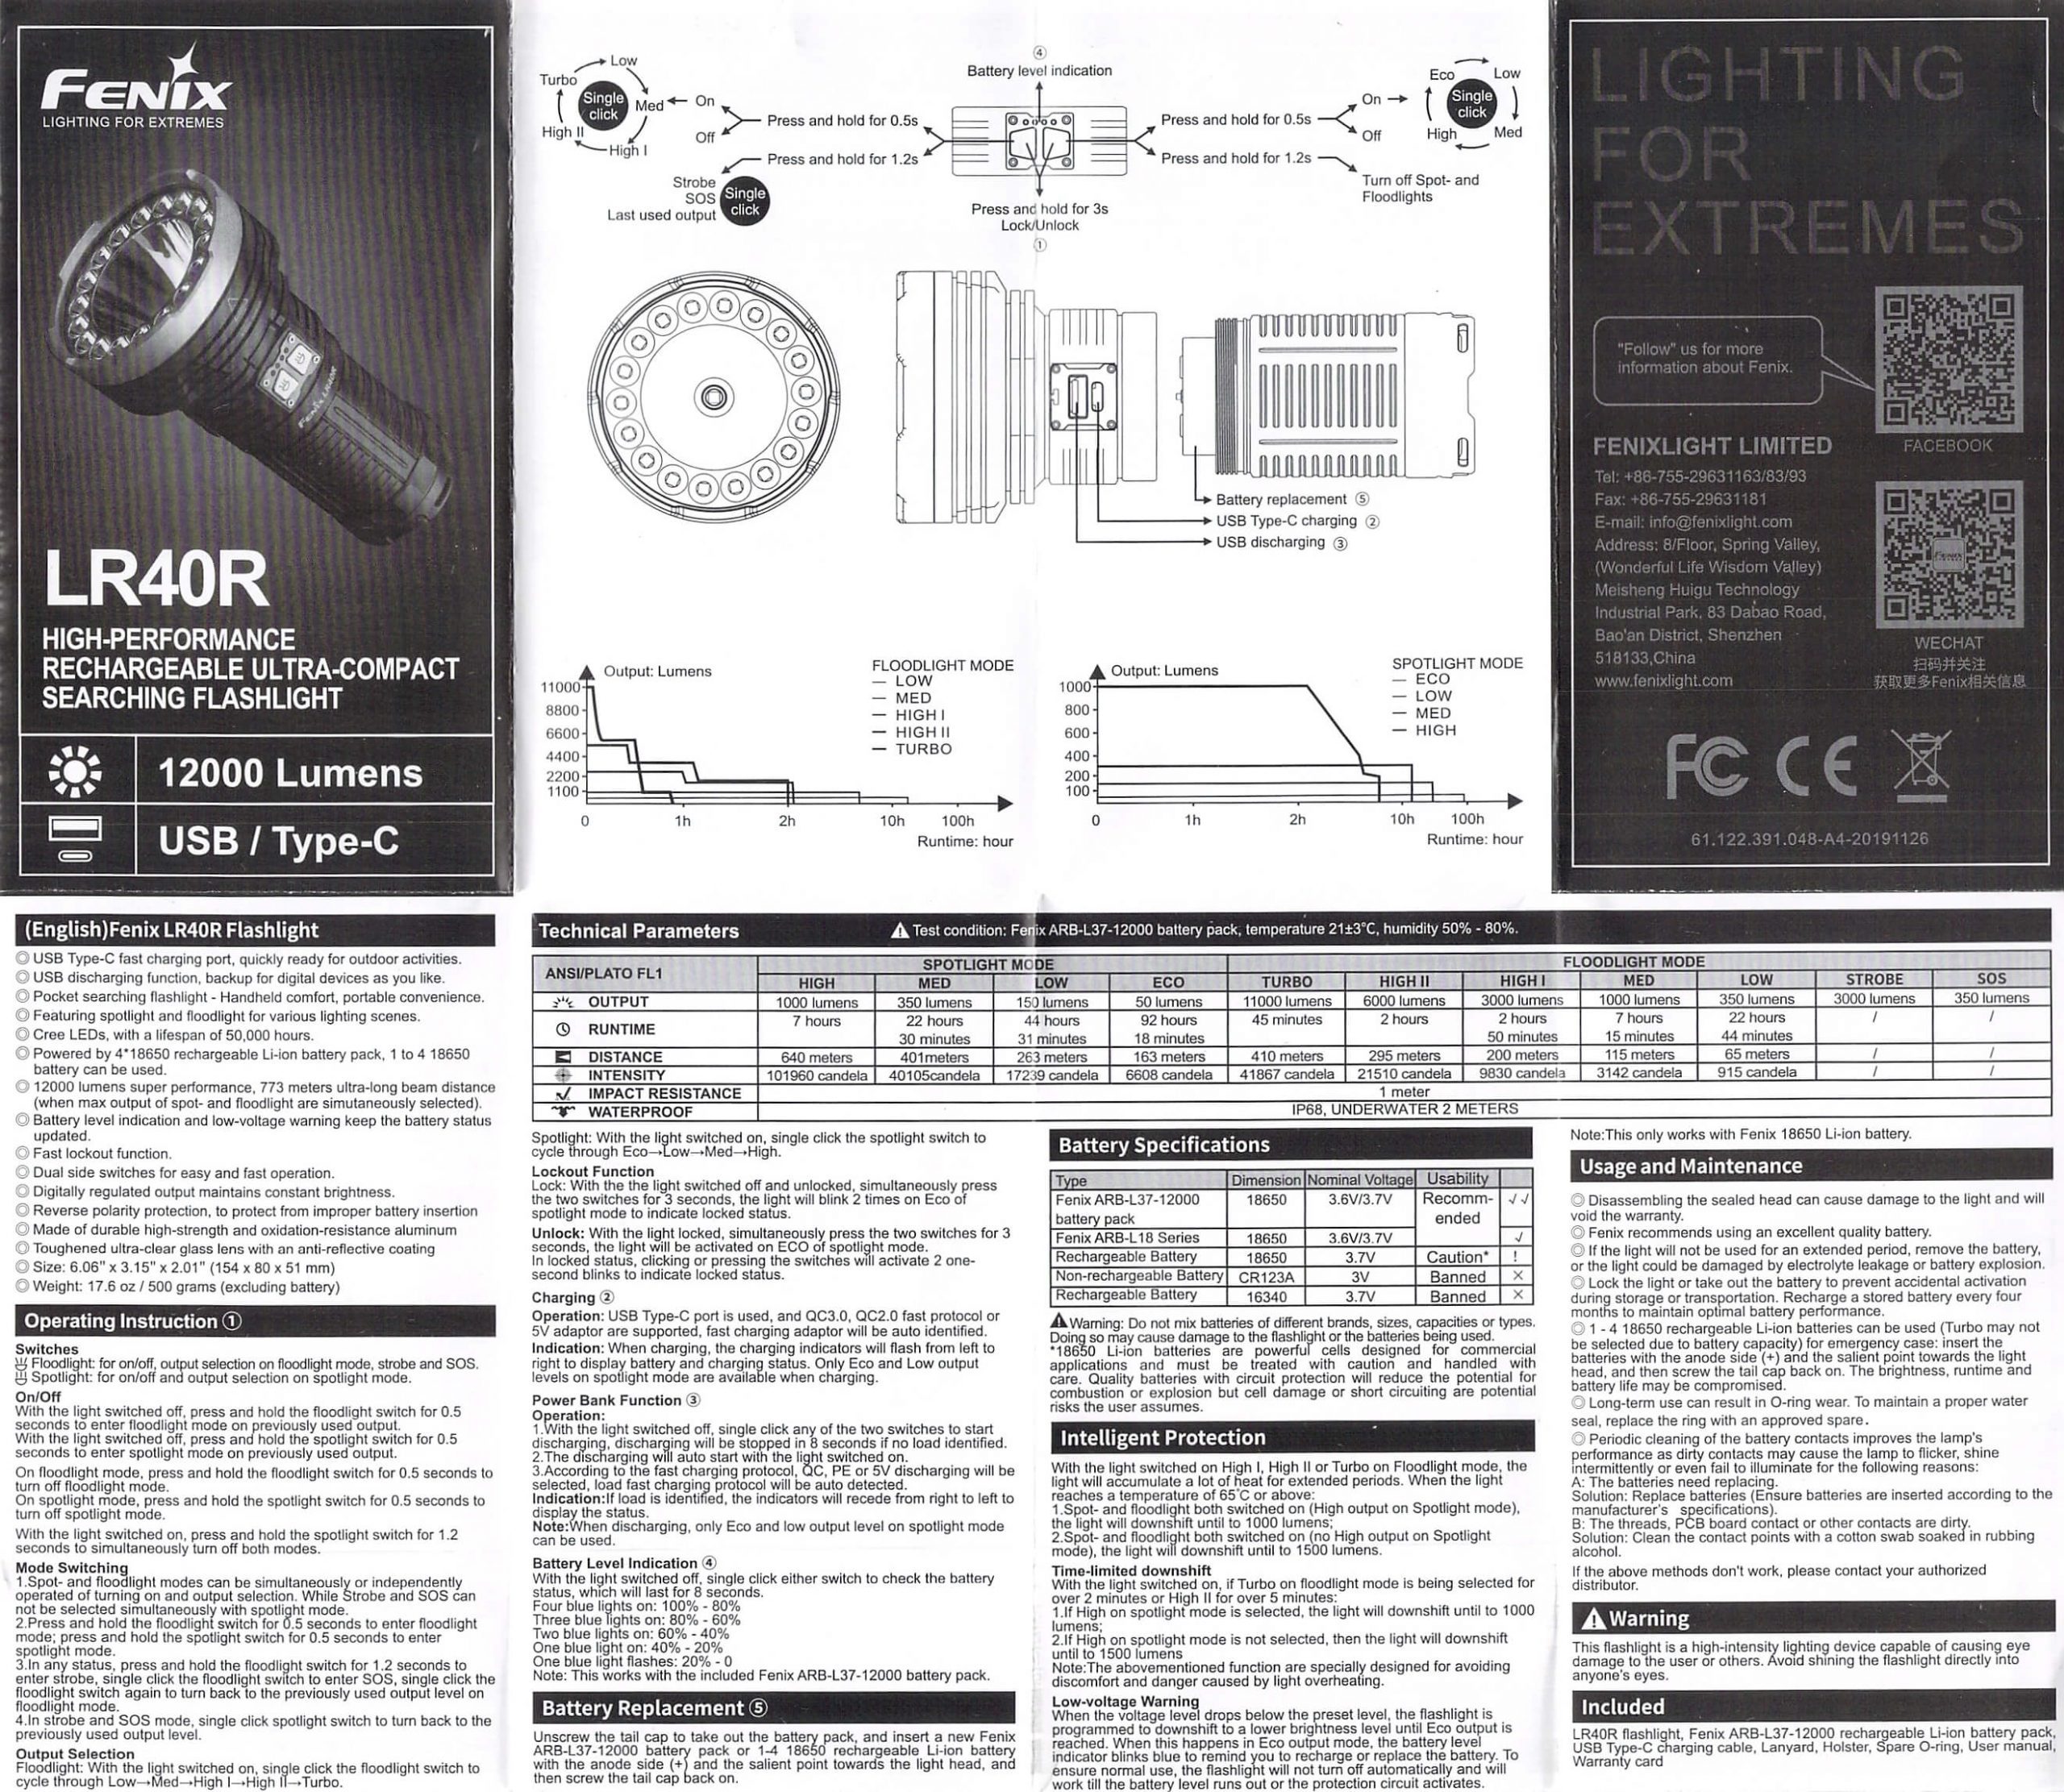
There’s a battery indicator, too. Clicking either switch will cause these LEDs above the switch to indicate how much charge is present, as follows:
Four blue: 100%-80%
Three blue: 80%-60%
Two blue: 60%-40%
One blue: 40%-20%
One flashing blue: 20%-0%
This feature only works with the included battery.
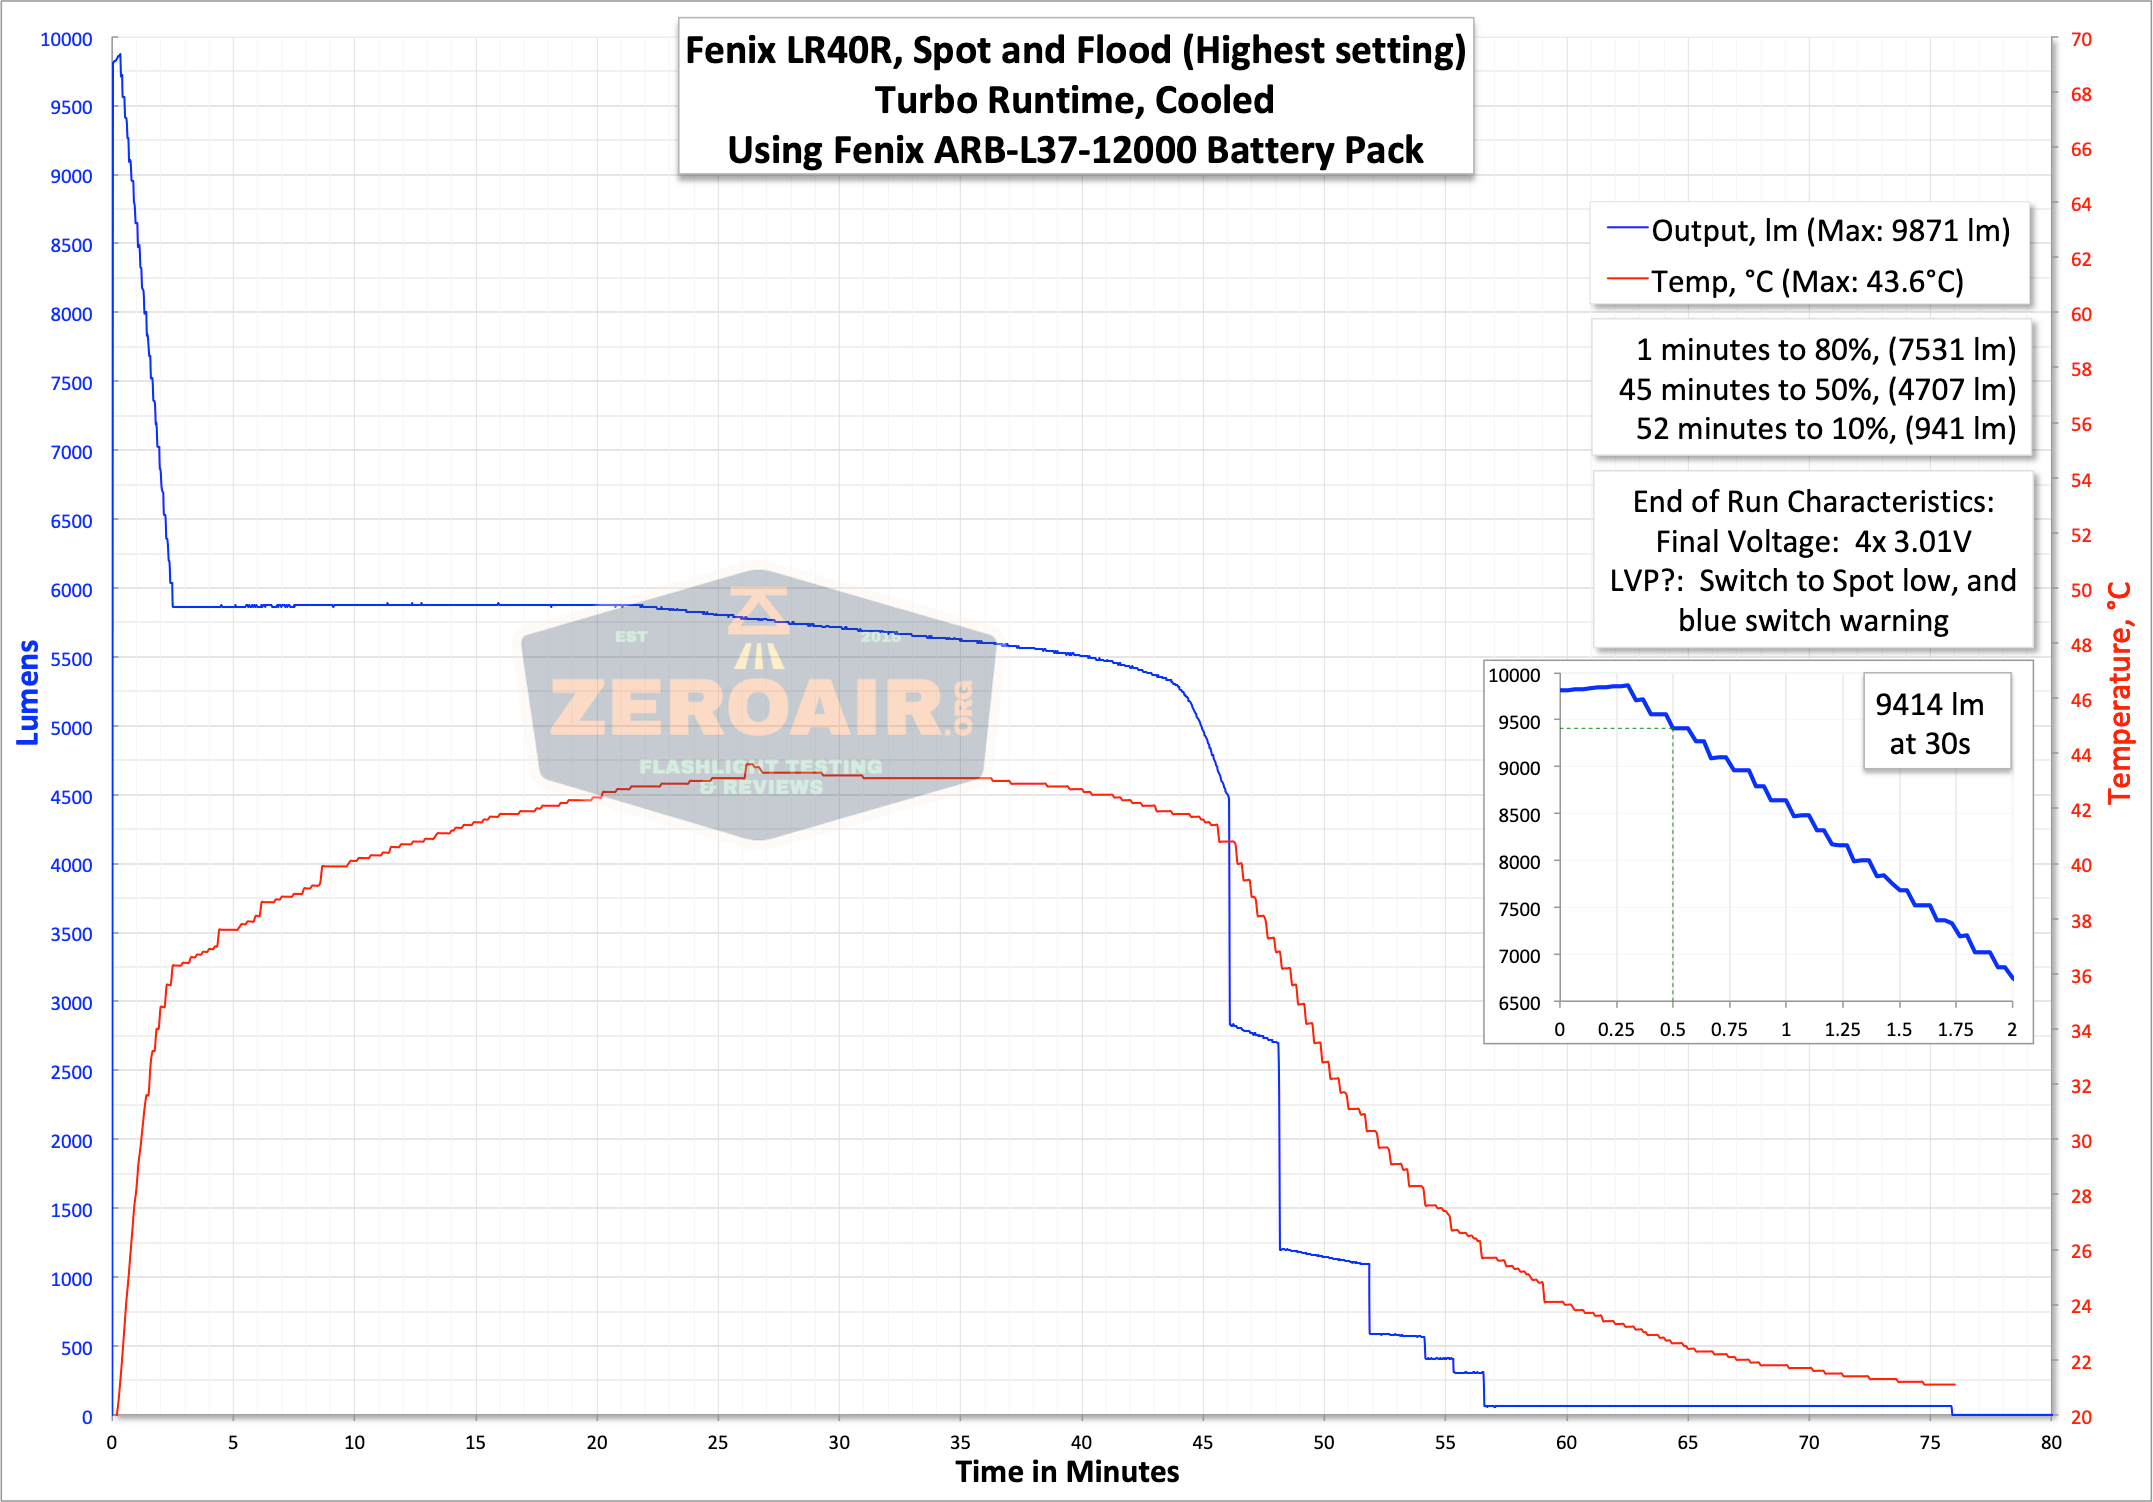
Here are some runtimes. I could have gone a number of ways with testing here, but I went with what seemed most logical to me. The highest mode of Spot. The highest mode(s) of flood (which overall offer much more total output). And since the LR40R can be seen as two separate flashlights, and the total output and throw are also rated with “both lights” on their highest setting, I also tested this way. Just one test like that, though – the highest spot along with the highest flood. After that, it becomes a bunch of “why not this, why not that” because any mode of flood can be matched with any mode of spot.
Interestingly, when the battery voltage gets lower (around 3V), the light switches to the spot emitter, at around 60 lumens. At this stage, it’ll last for quite some time.
Another note here before we get started with the runtimes. As mentioned above, the bezel has some relief, which I love. That means it sits on a surface that light escapes, and you’ll know it’s on if headstanding. This also means that during runtimes, it’s not possible (with my setup) to capture absolutely all of the output. You can note that, as one reason, some of the outputs below fall a little short of their claim. I don’t fault the light for this, but my setup.
First, the Max Max runtime. That is the Turbo of the Flood 18 XP-G3s, and High of the XP-L HI. Output is rated at 12,000 lumens, and we do see nearly 10,000 lumens briefly. Then the stepdown begins, to around 5500 lumens. This is what the manual states, too.
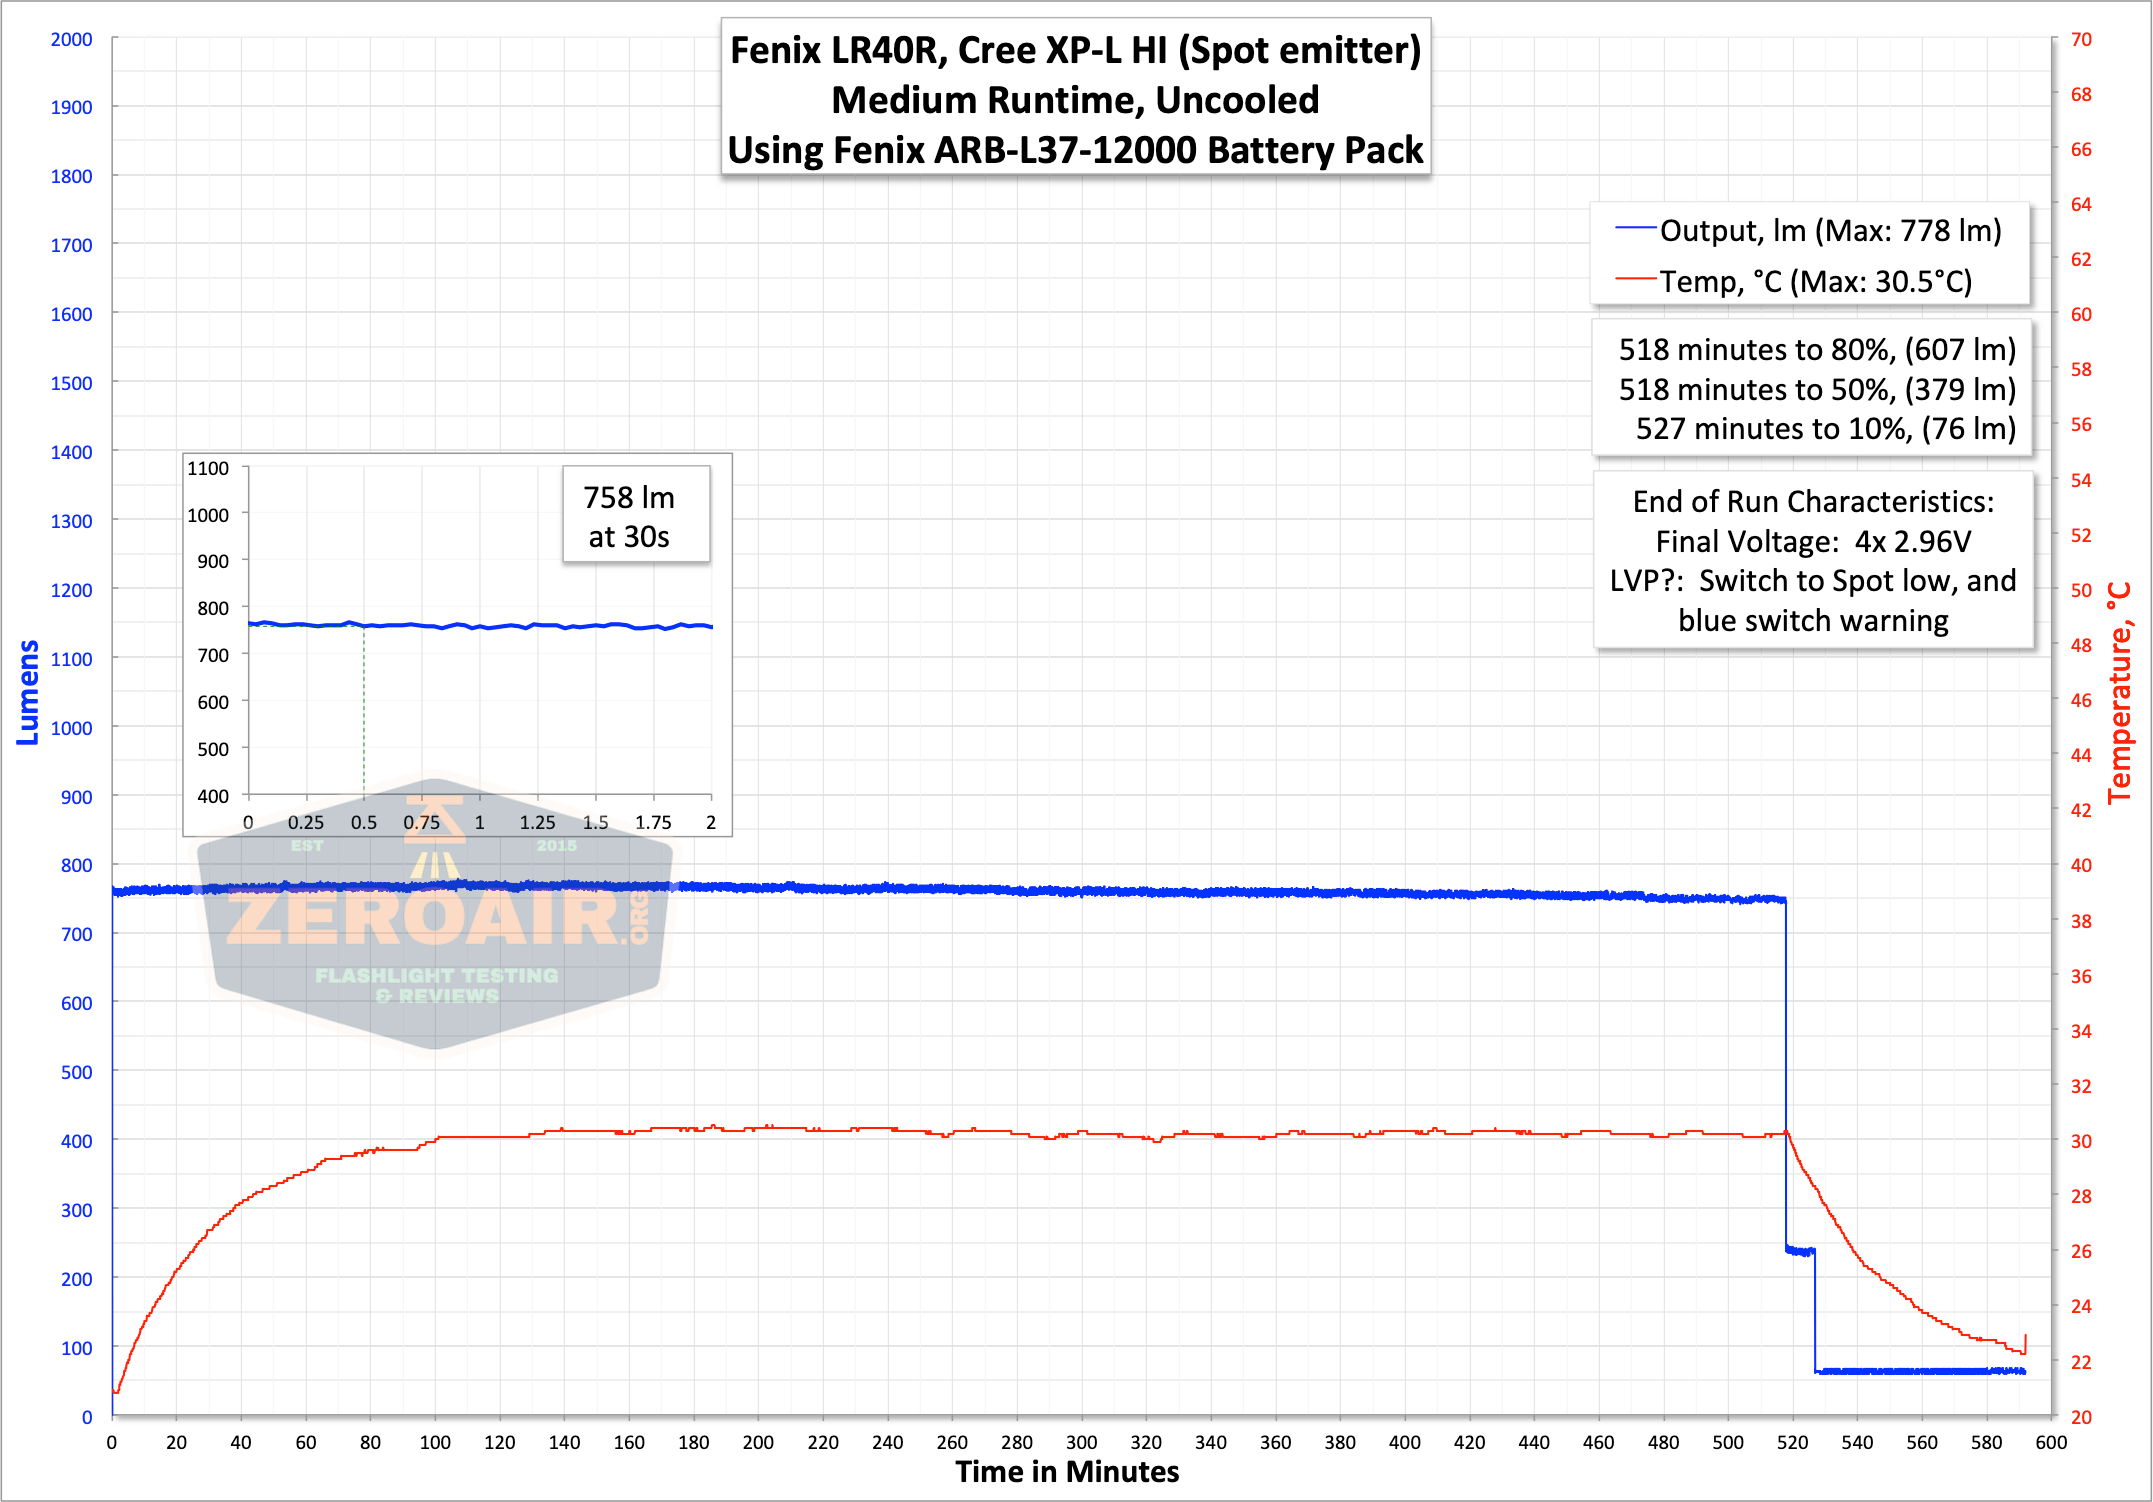
Now the runtimes with just the flood emitters (18). I tested three levels – the highest three. On the “Medium” output, I did not cool the light, so you might be interested to see how the heat builds up in that case.
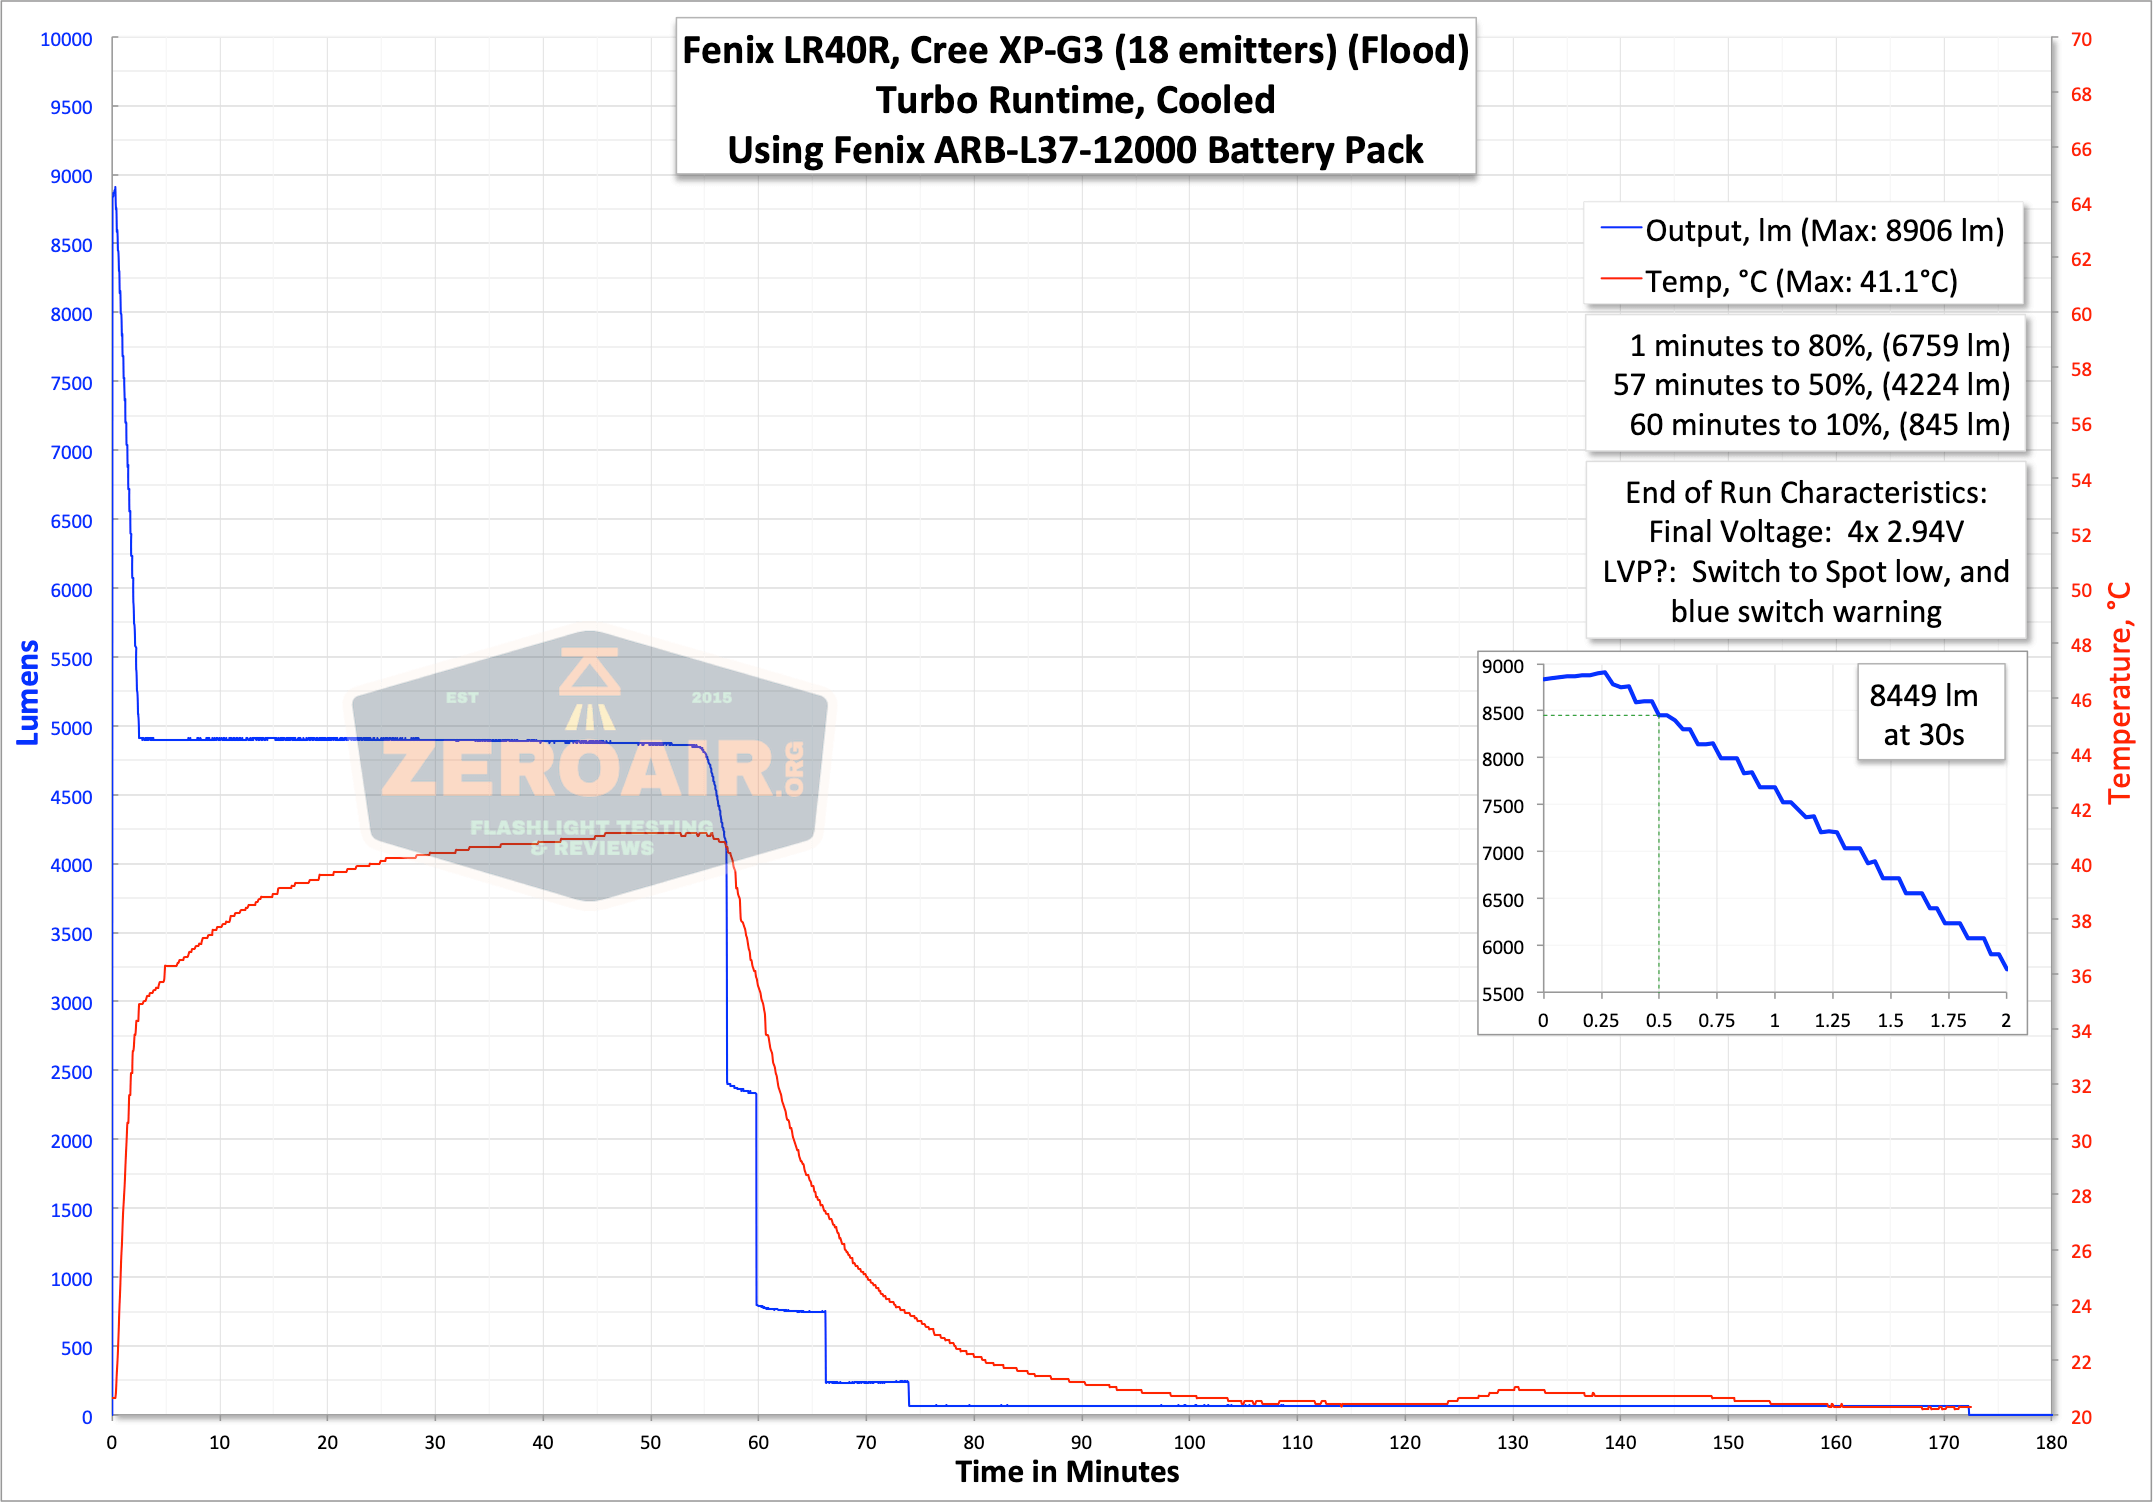
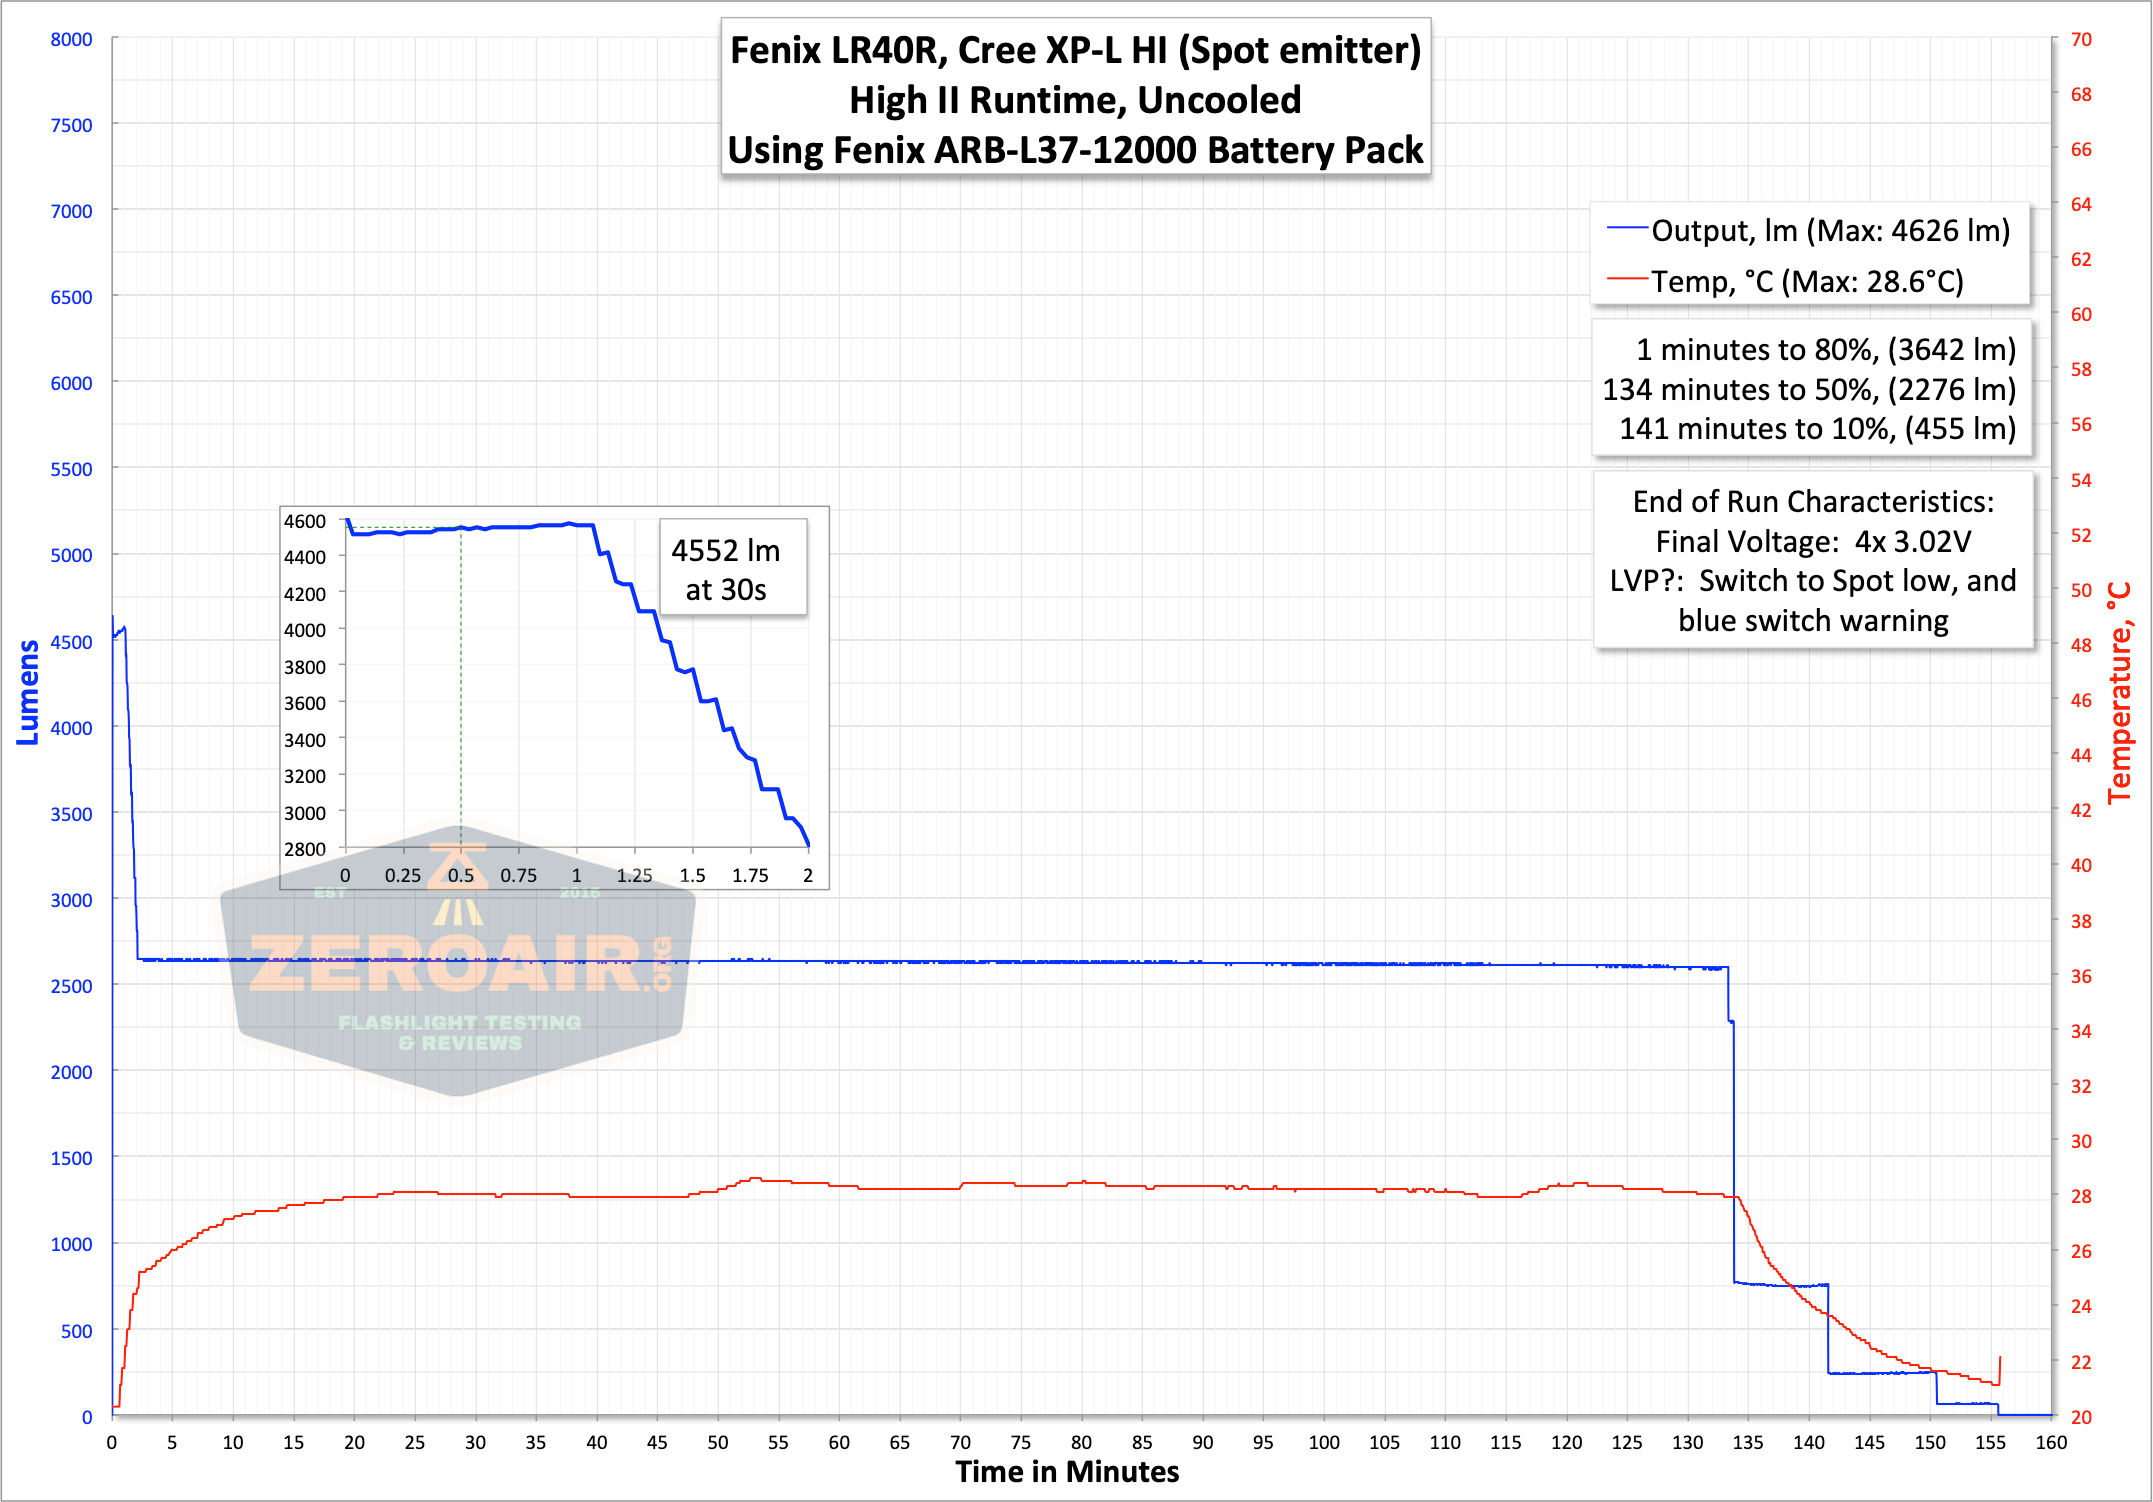
And “Medium” is really Medium – I seem to have spaced on running High I (which should be around 3000 lumens). But this gives you a chance to see an uncooled run, at least.
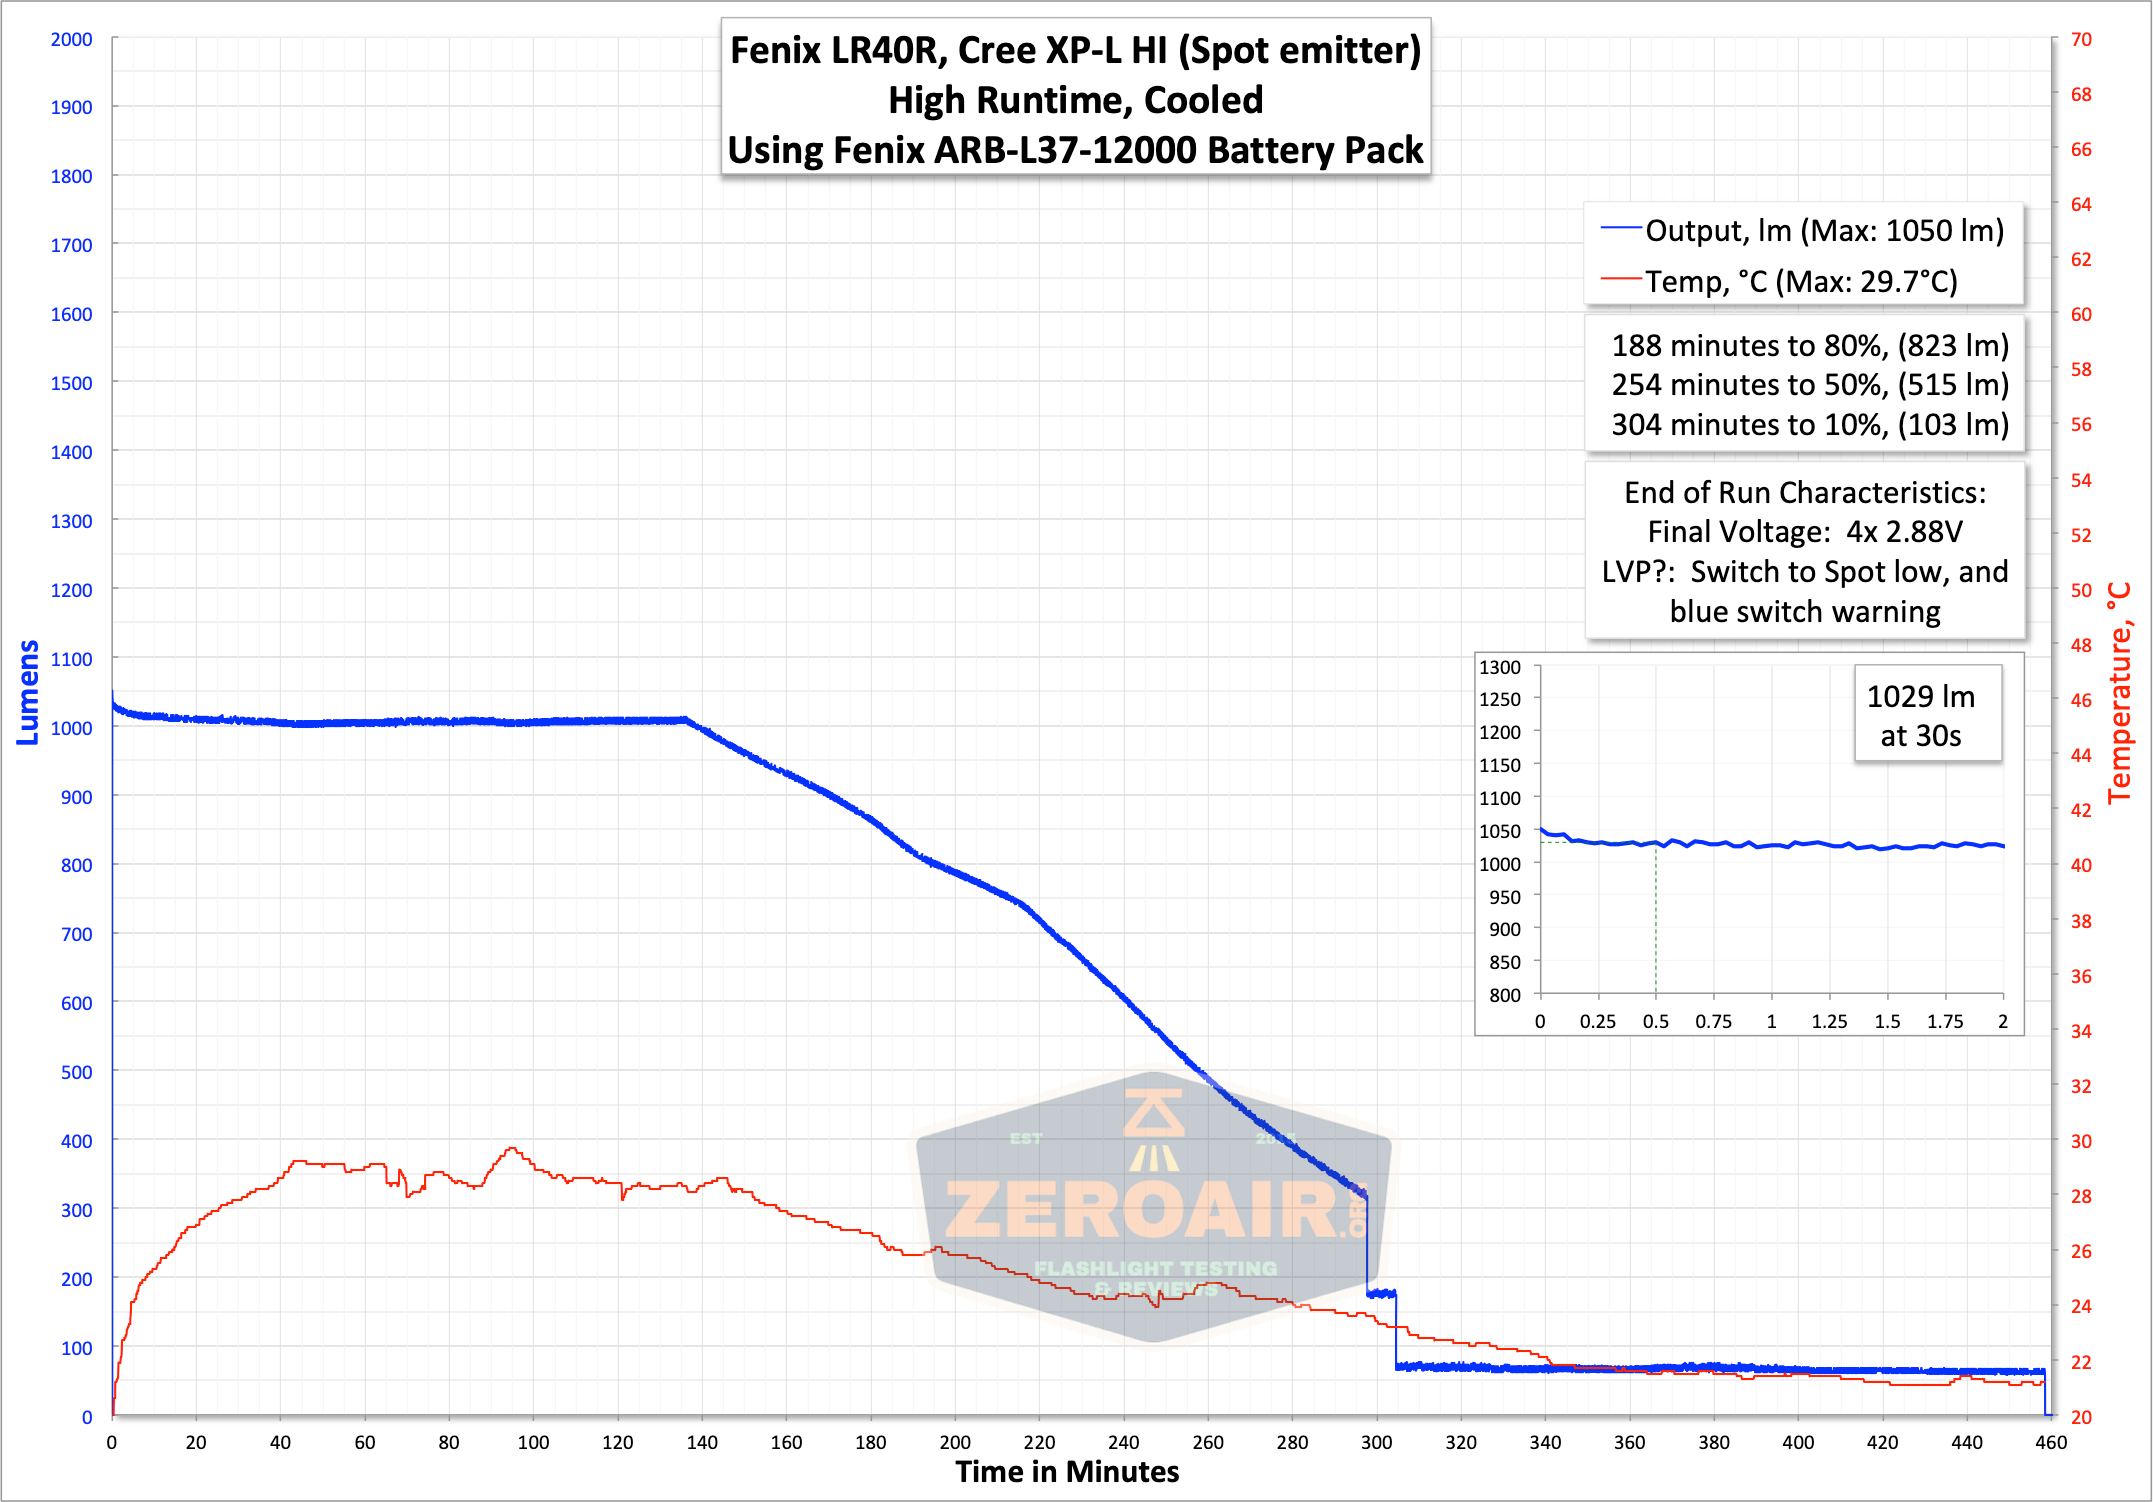
Here’s the runtime with the Spot emitter.
That’s certainly not all the modes (and obviously not all the combinations of flood + spot), but I think it gives a good idea of what the light will do.
Also, regarding low voltage protection, while the light steps down to Eco of the Spot emitter, the indicating switch is also blinking a single blue light (very quickly). So there’s a warning, too.
Charging and Powerbank
Charging on the Fenix LR40R is by way of a USB-C port. The port cover is quite secure, and also easy to open when needed.
Here’s the charge port. Also note that above the charge port is a USB-A port. The USB-A port is the powerbank port. Unfortunately, there is no USB-C output (which is the one feature I was surprised wasn’t implemented here).
A charging cable is provided – it’s USB to USB-C.
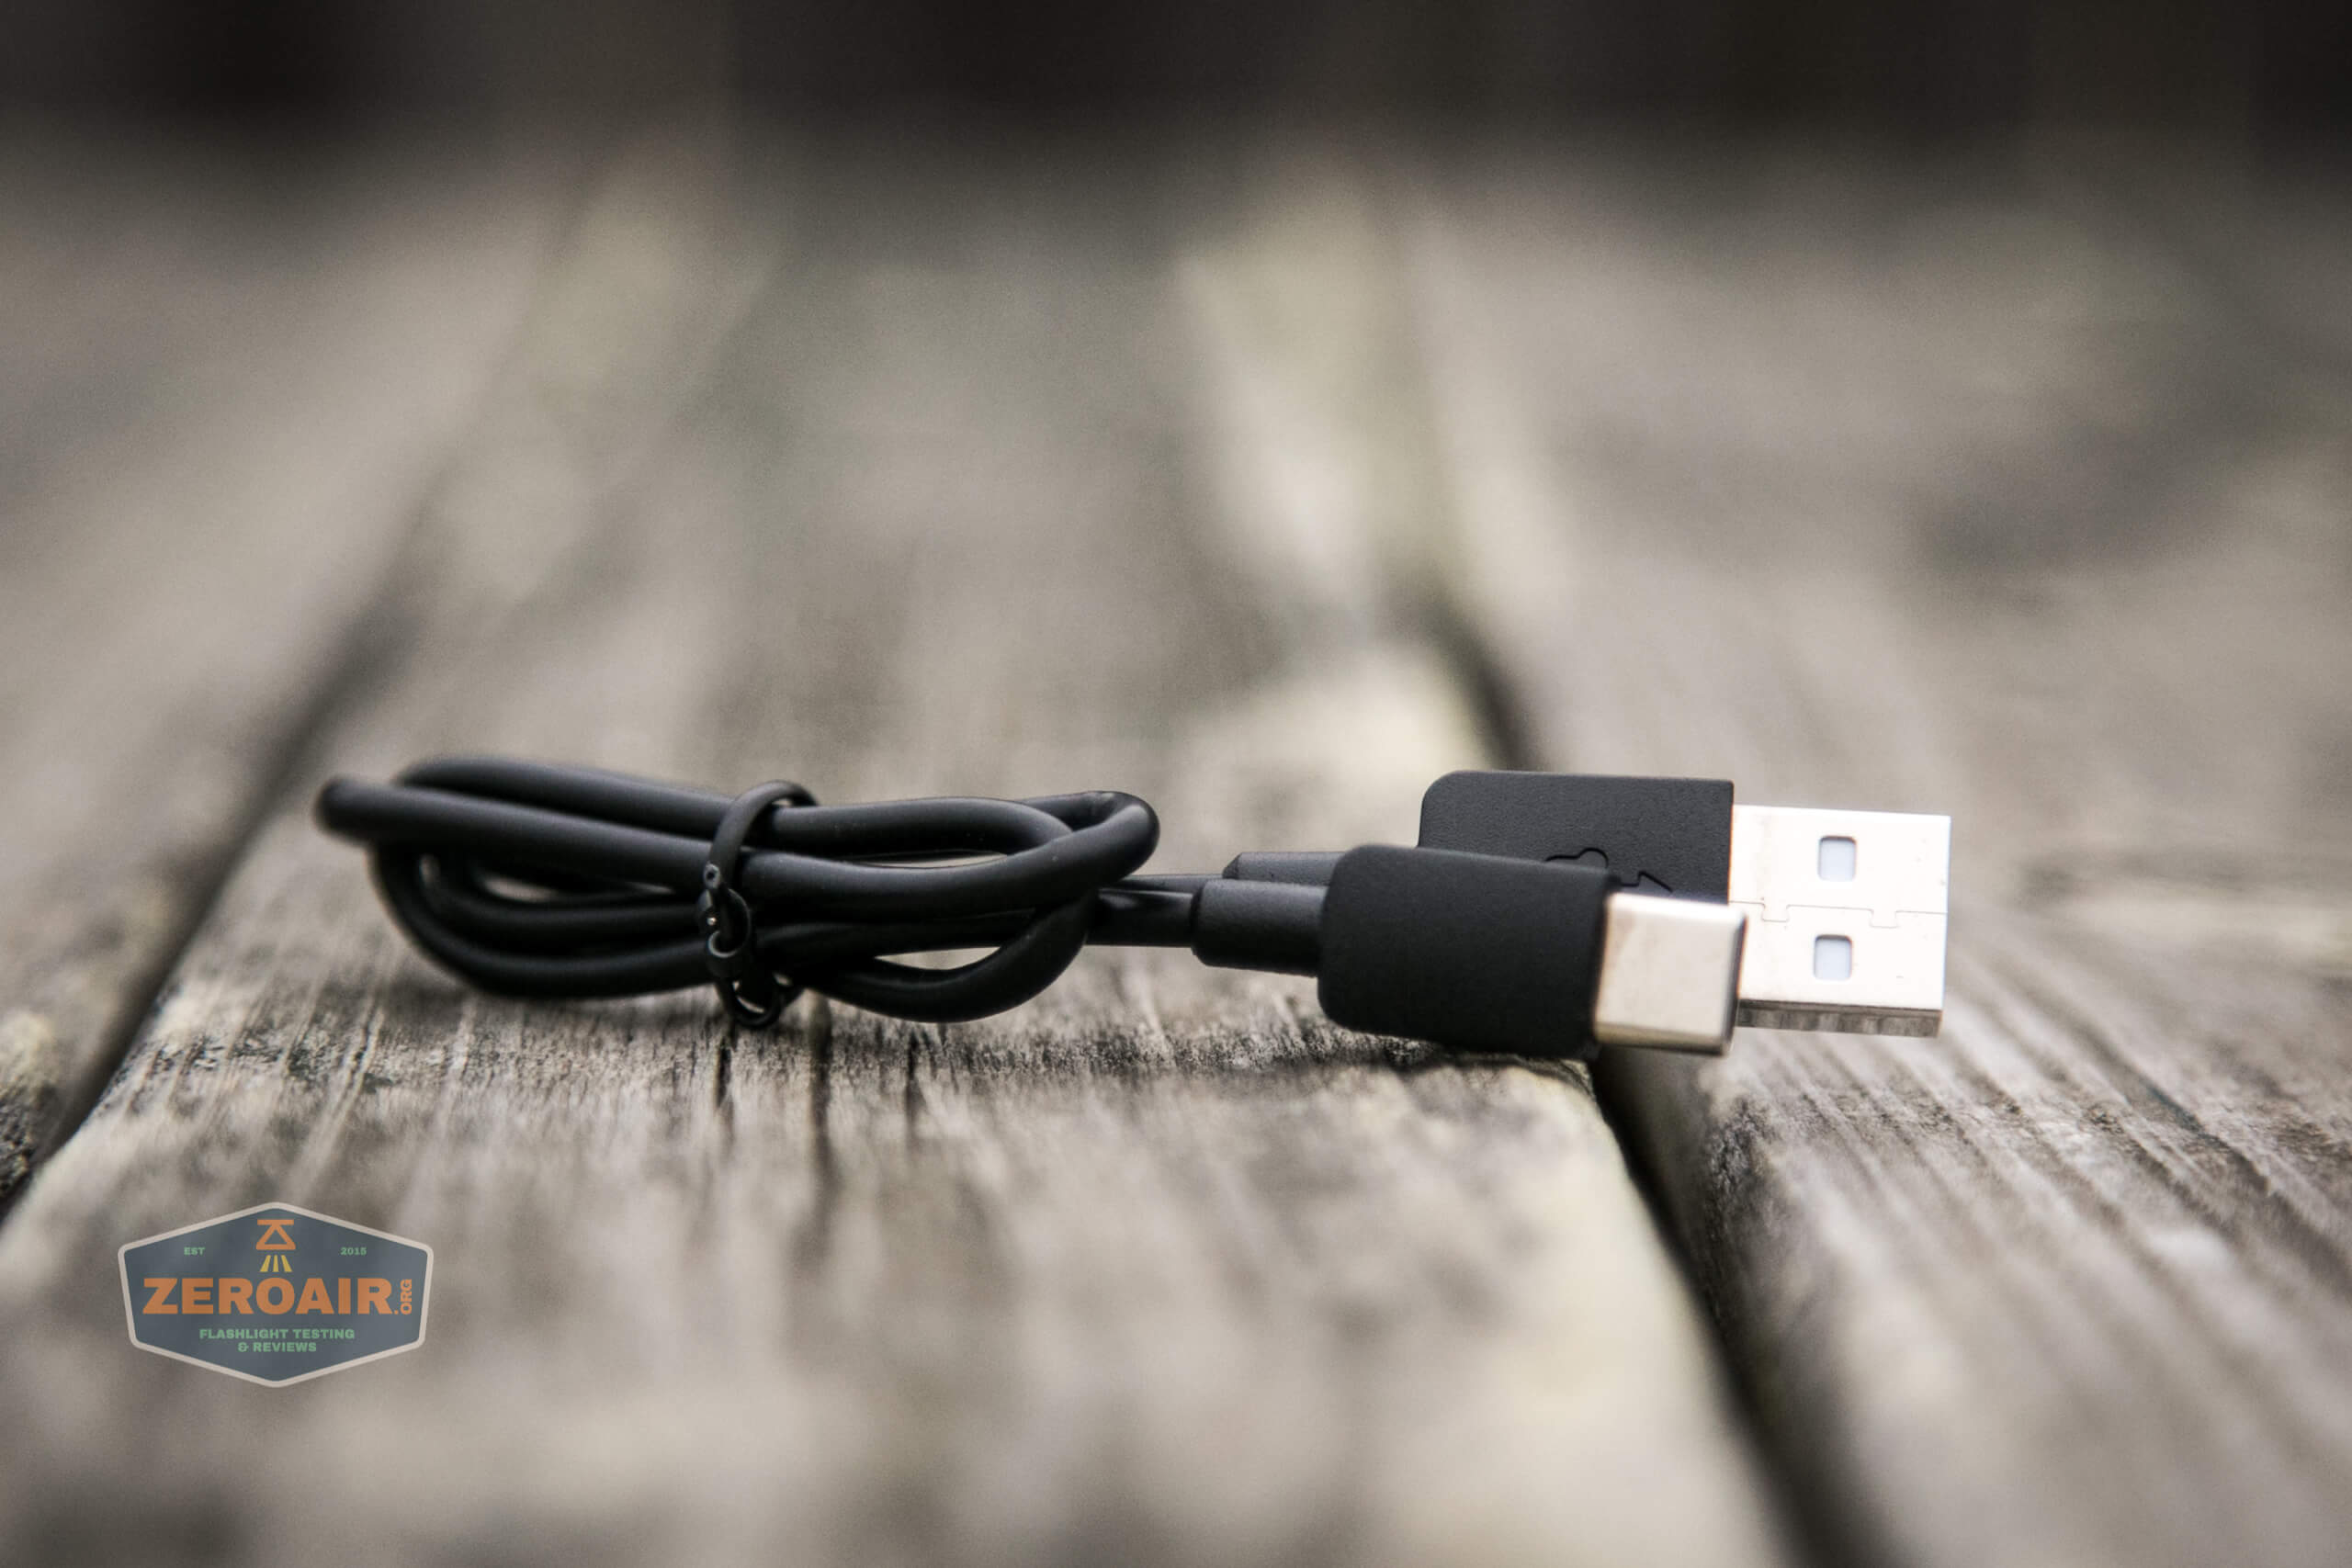
I tested charging with the provided setup – USB to USB-C. Here are a couple of tests with that:

I also tested with a USB-C to USB-C cable. That works fine too, but I don’t have logging capability with that setup. I will say that, based on my tracking of this setup, the charge profile with C to C looks the same as with the graphs above. Same (approximate) current, for example. Despite the powerbank feature being able to output up to 12V, the C to C charging was at only 5V. The manual does state
USB Type-C port is used, and QC3.0, QC2.0 fast protocol or 5V adapter are supported, fast charging adaptor will be auto identified.
So I think I’m just not triggering QC3.0 et al properly… I’ll continue trying this and would love input on this from you all.
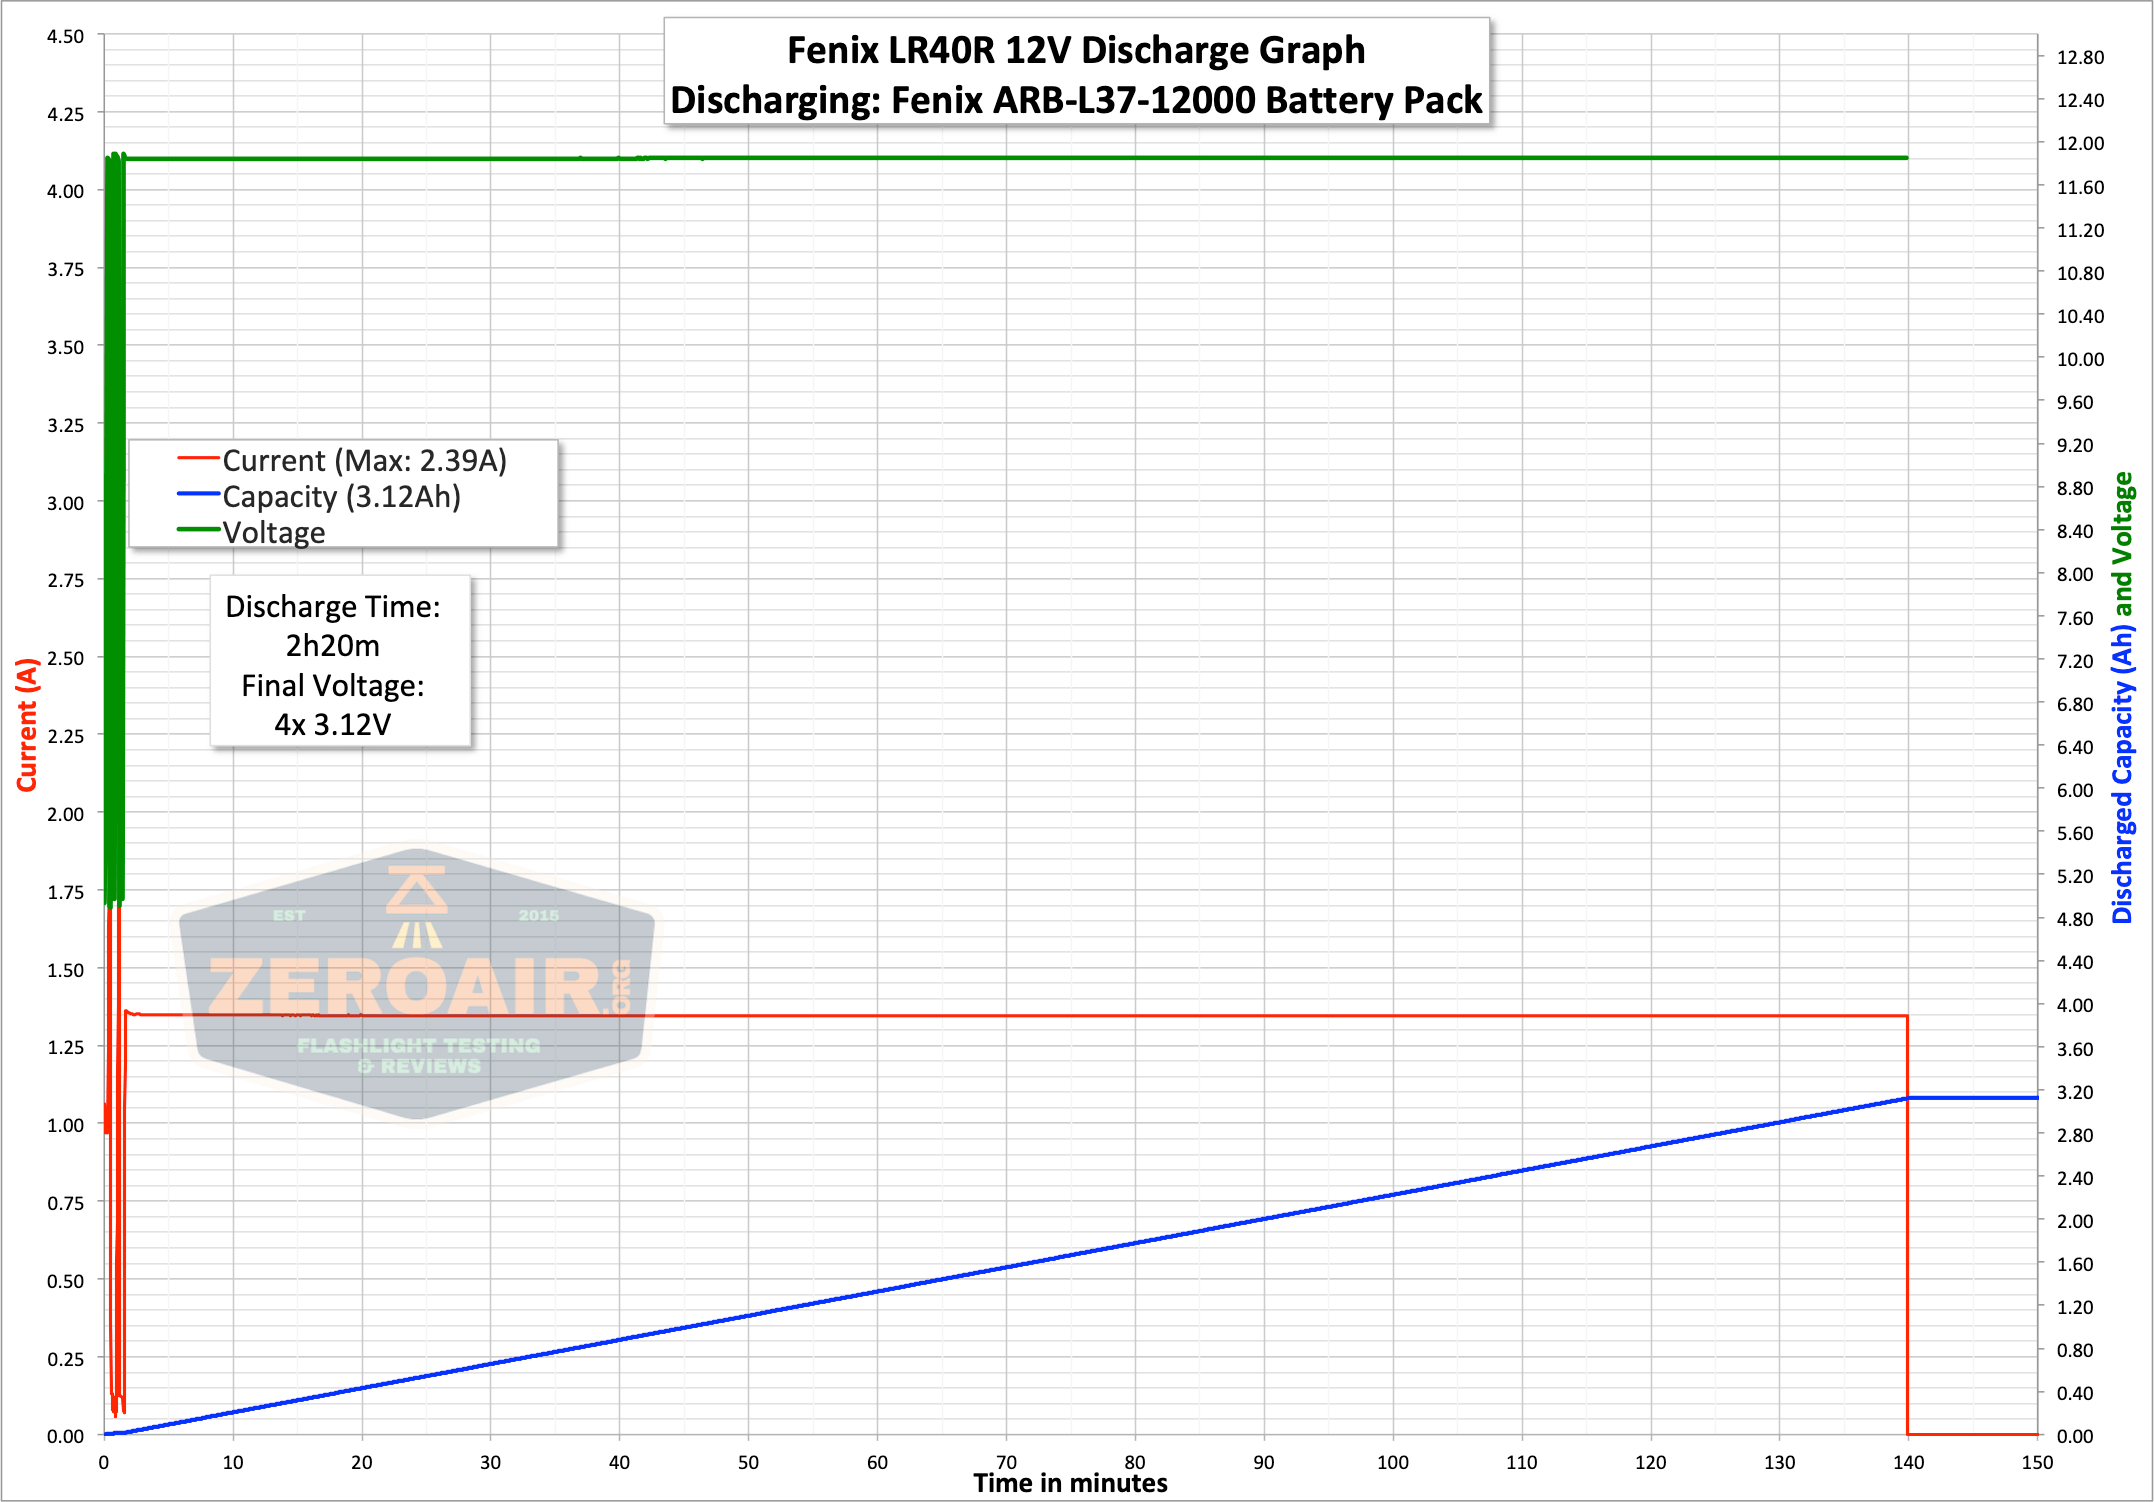
Speaking of the powerbank features, here are a couple of graphs displaying the discharge of the battery. The powerbank can discharge a massive amount of current at 5V. And also, even at 12V, high current is possible.
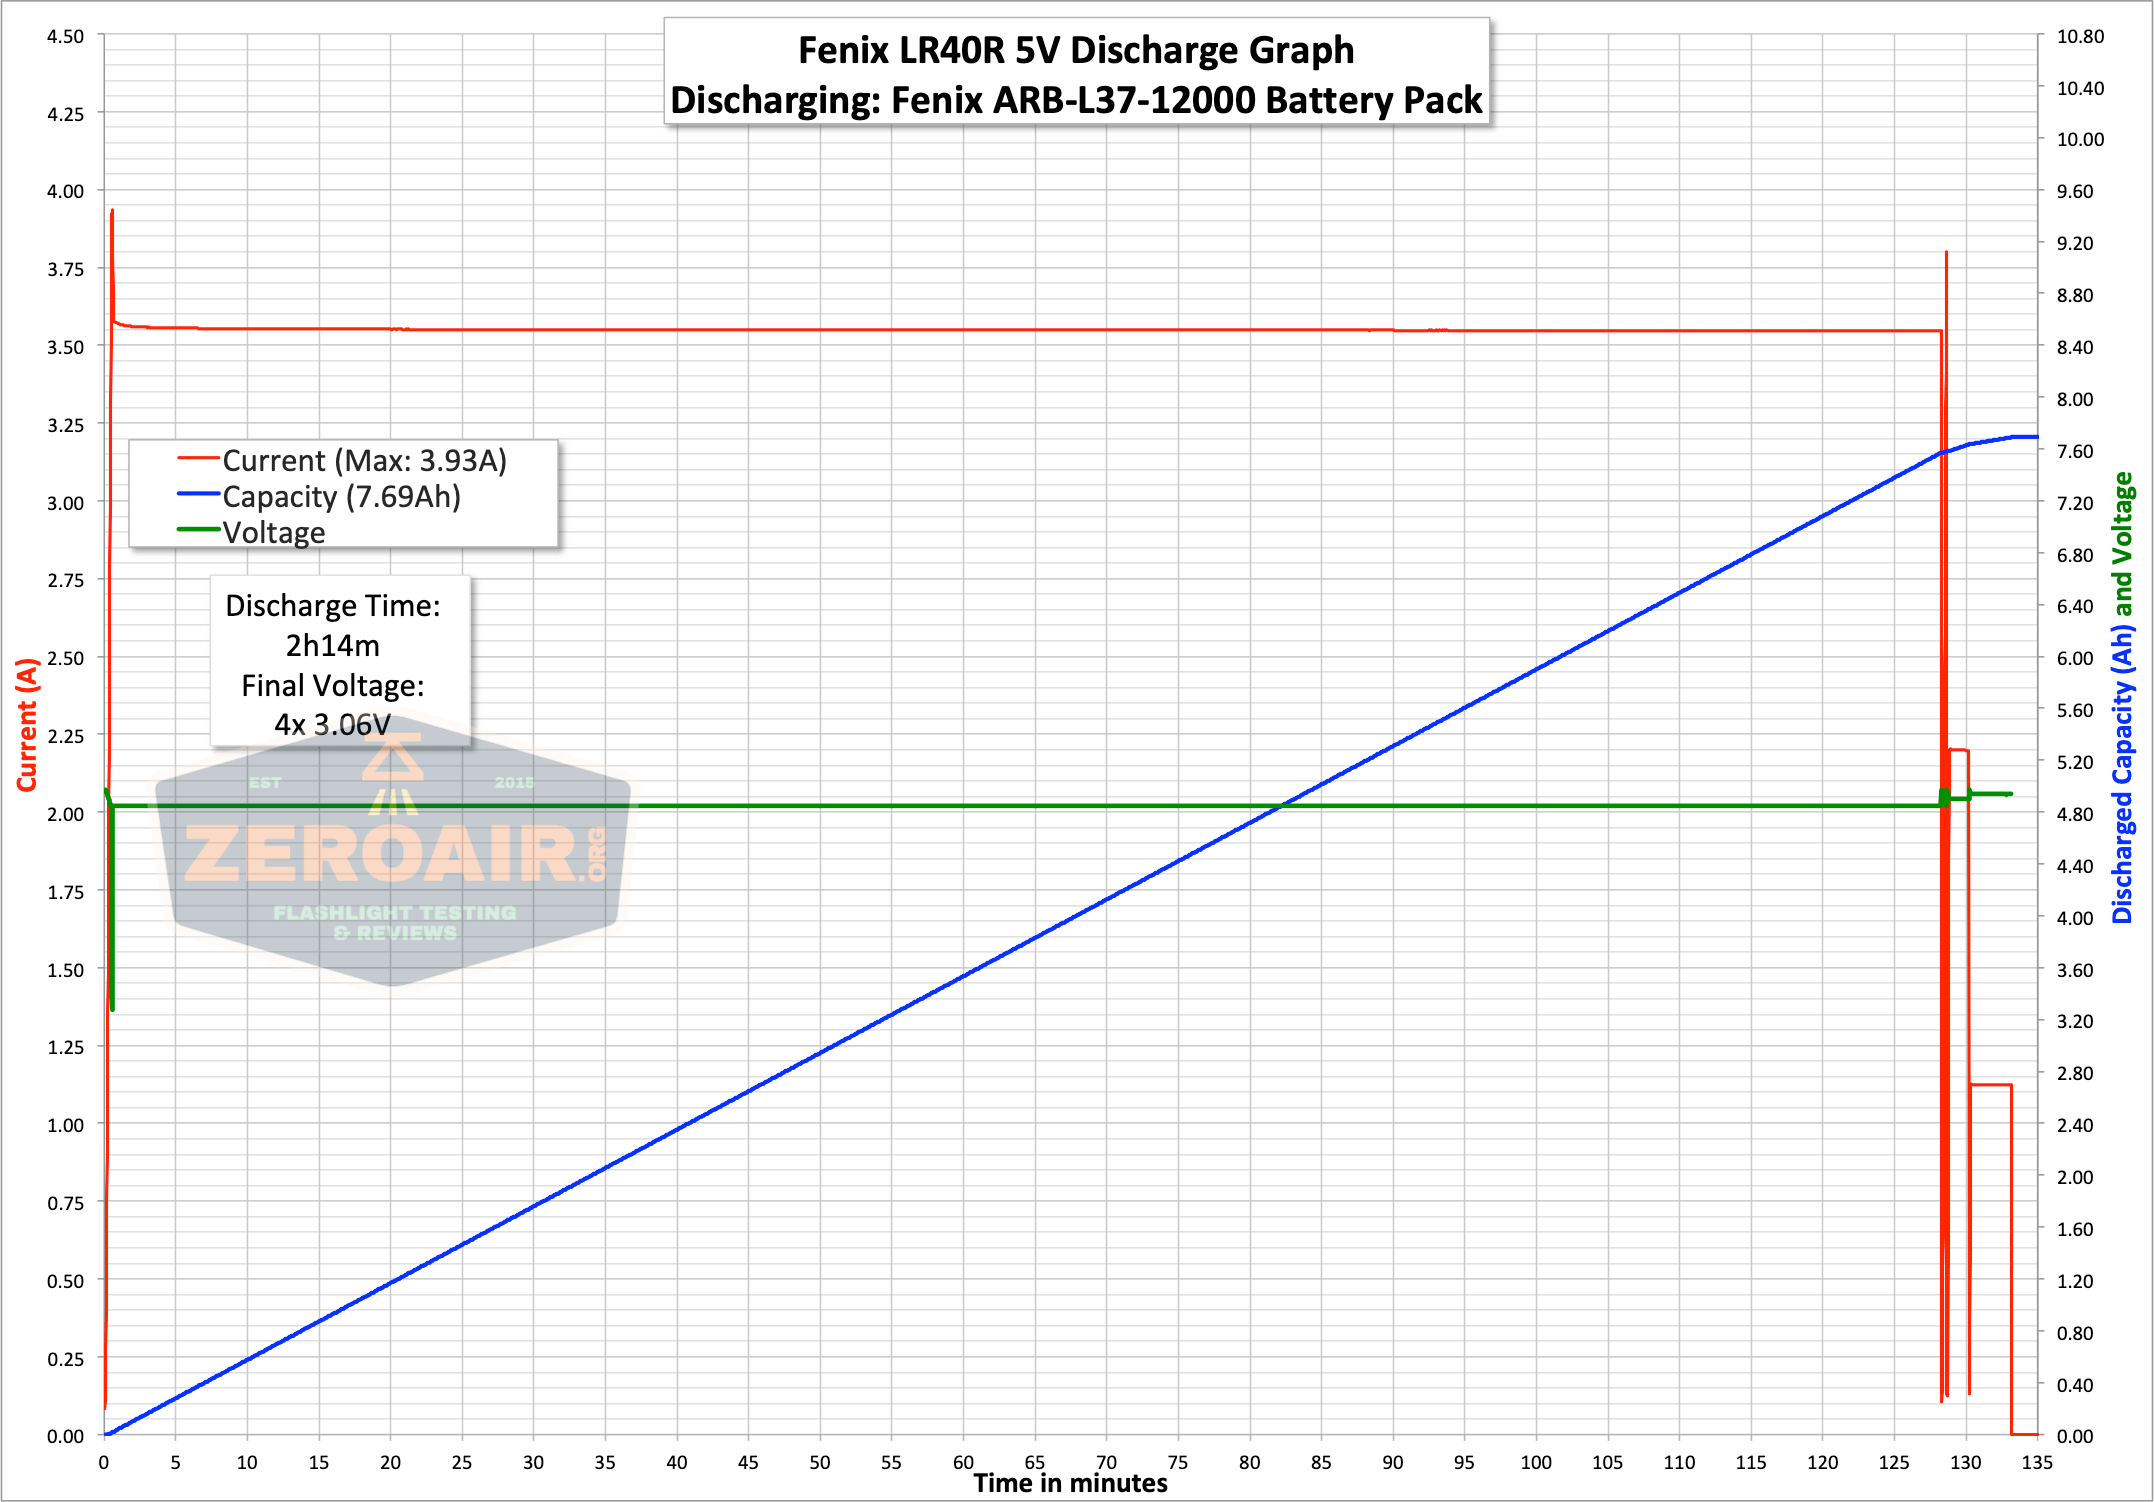
That’s right, at 5V, the LR40R can output almost four amps, and the voltage doesn’t really even sag a meaningful amount. At the end of that test (once the ~4A stopped), I turned the output back on to lower output, then did that again. Finally, after 1A output, the cells were around 3.06V. All in all, this is a very good result.
But since the USB-A port supports power delivery, I tested at 12V as well (it’ll do 9V, but I didn’t test that). Again, the current output is fairly incredible, at around 1.25A. At 12V, 1.25A is around 15W (which is approximately the same as it was doing on 5V output). So it seems reasonable to infer that output is limited to around 15W-16W, whatever the voltage being used.
Modes and Currents
Floodlight:
| Mode | Mode Claimed Output (lm) | Claimed Runtime | Measured Lumens | Tailcap Amps |
|---|---|---|---|---|
| Turbo | 11000 | 45m | 8449 | ^ |
| High II | 6000 | 2h | 4552 | 9.30 |
| High I | 3000 | 2h50m | 2259 | 3.81 |
| Med | 1000 | 7h15m | 758 | 1.15 |
| Low | 350 | 22h44m | 247 | 0.38 |
^ I am unable to test the current draw on turbo with my setup. Turbo only seems to work with the proprietary Fenix battery, and the driver seems to sense this. More on that in the Power section.
Spotlight:
| Mode | Mode Claimed Output (lm) | Claimed Runtime | Measured Lumens | Tailcap Amps |
|---|---|---|---|---|
| High | 1000 | 7h | 1029 | 2.78 |
| Med | 350 | 22h30m | 758 | 0.73 |
| Low | 150 | 44h31m | 178 | 0.28 |
| Eco | 50 | 92h18m | 68 | 0.11 |
Pulse Width Modulation
No pulse width modulation is seen on any mode.
Spot:

Flood:

Here you can see a “baseline” – a chart with almost no light hitting the sensor.
Then there’s the Ultrafire WF-602C flashlight, which has some of the worst PWM I’ve seen. It’s so bad that I used a post about it to explain PWM! Here are multiple timescales (10ms, 5ms, 2ms, 1ms, 0.5ms, 0.2ms) to make comparing this “worst” PWM light to the test light easier. That post also explains why I didn’t test the WF-602C at the usual 50us scale.
User Interface and Operation
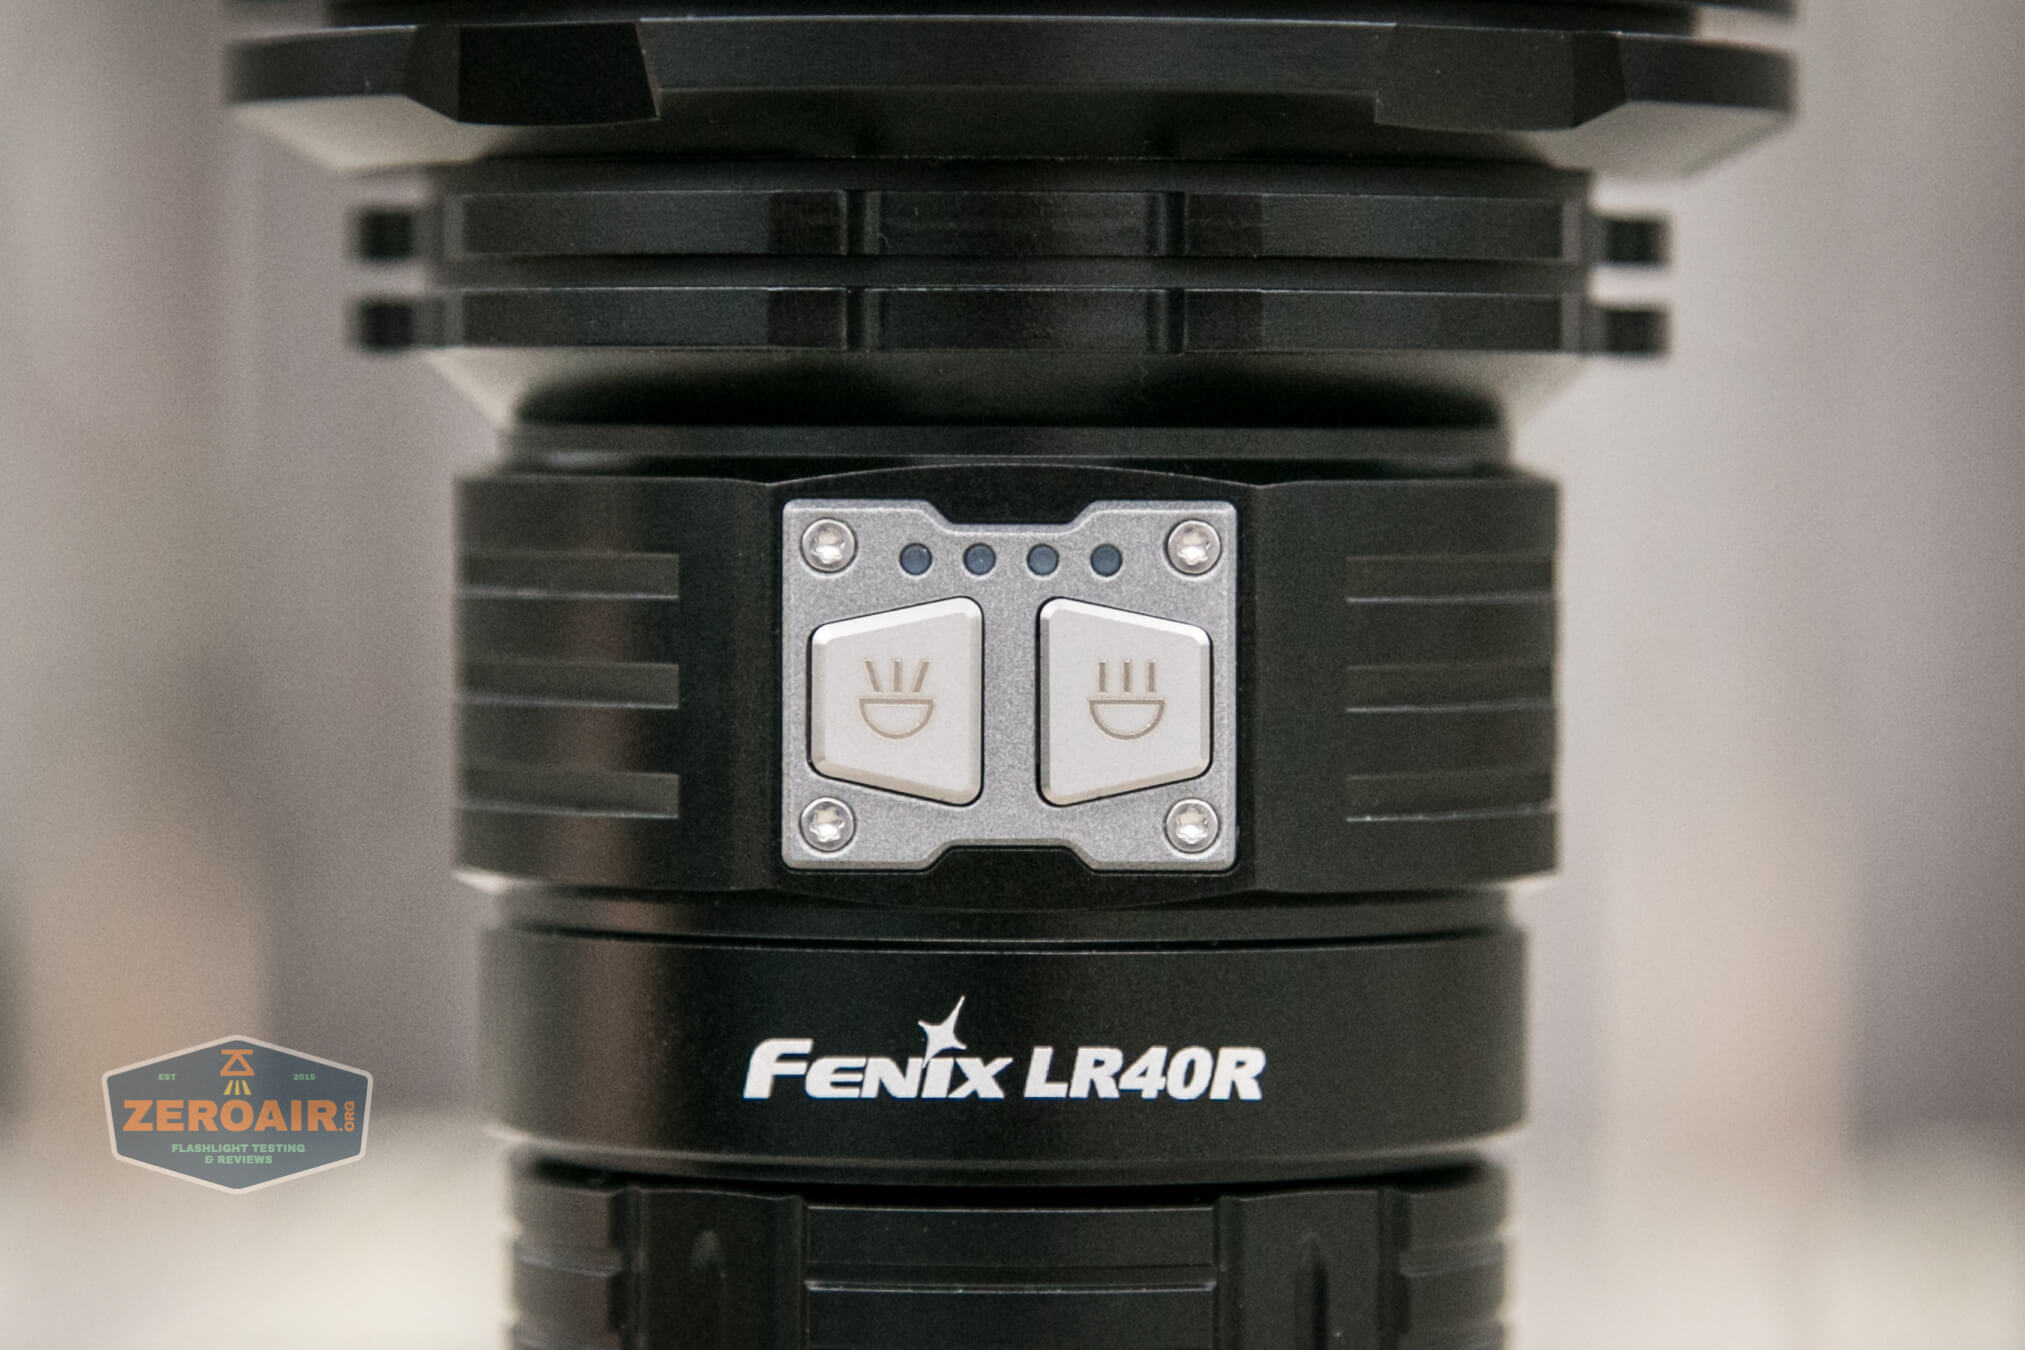
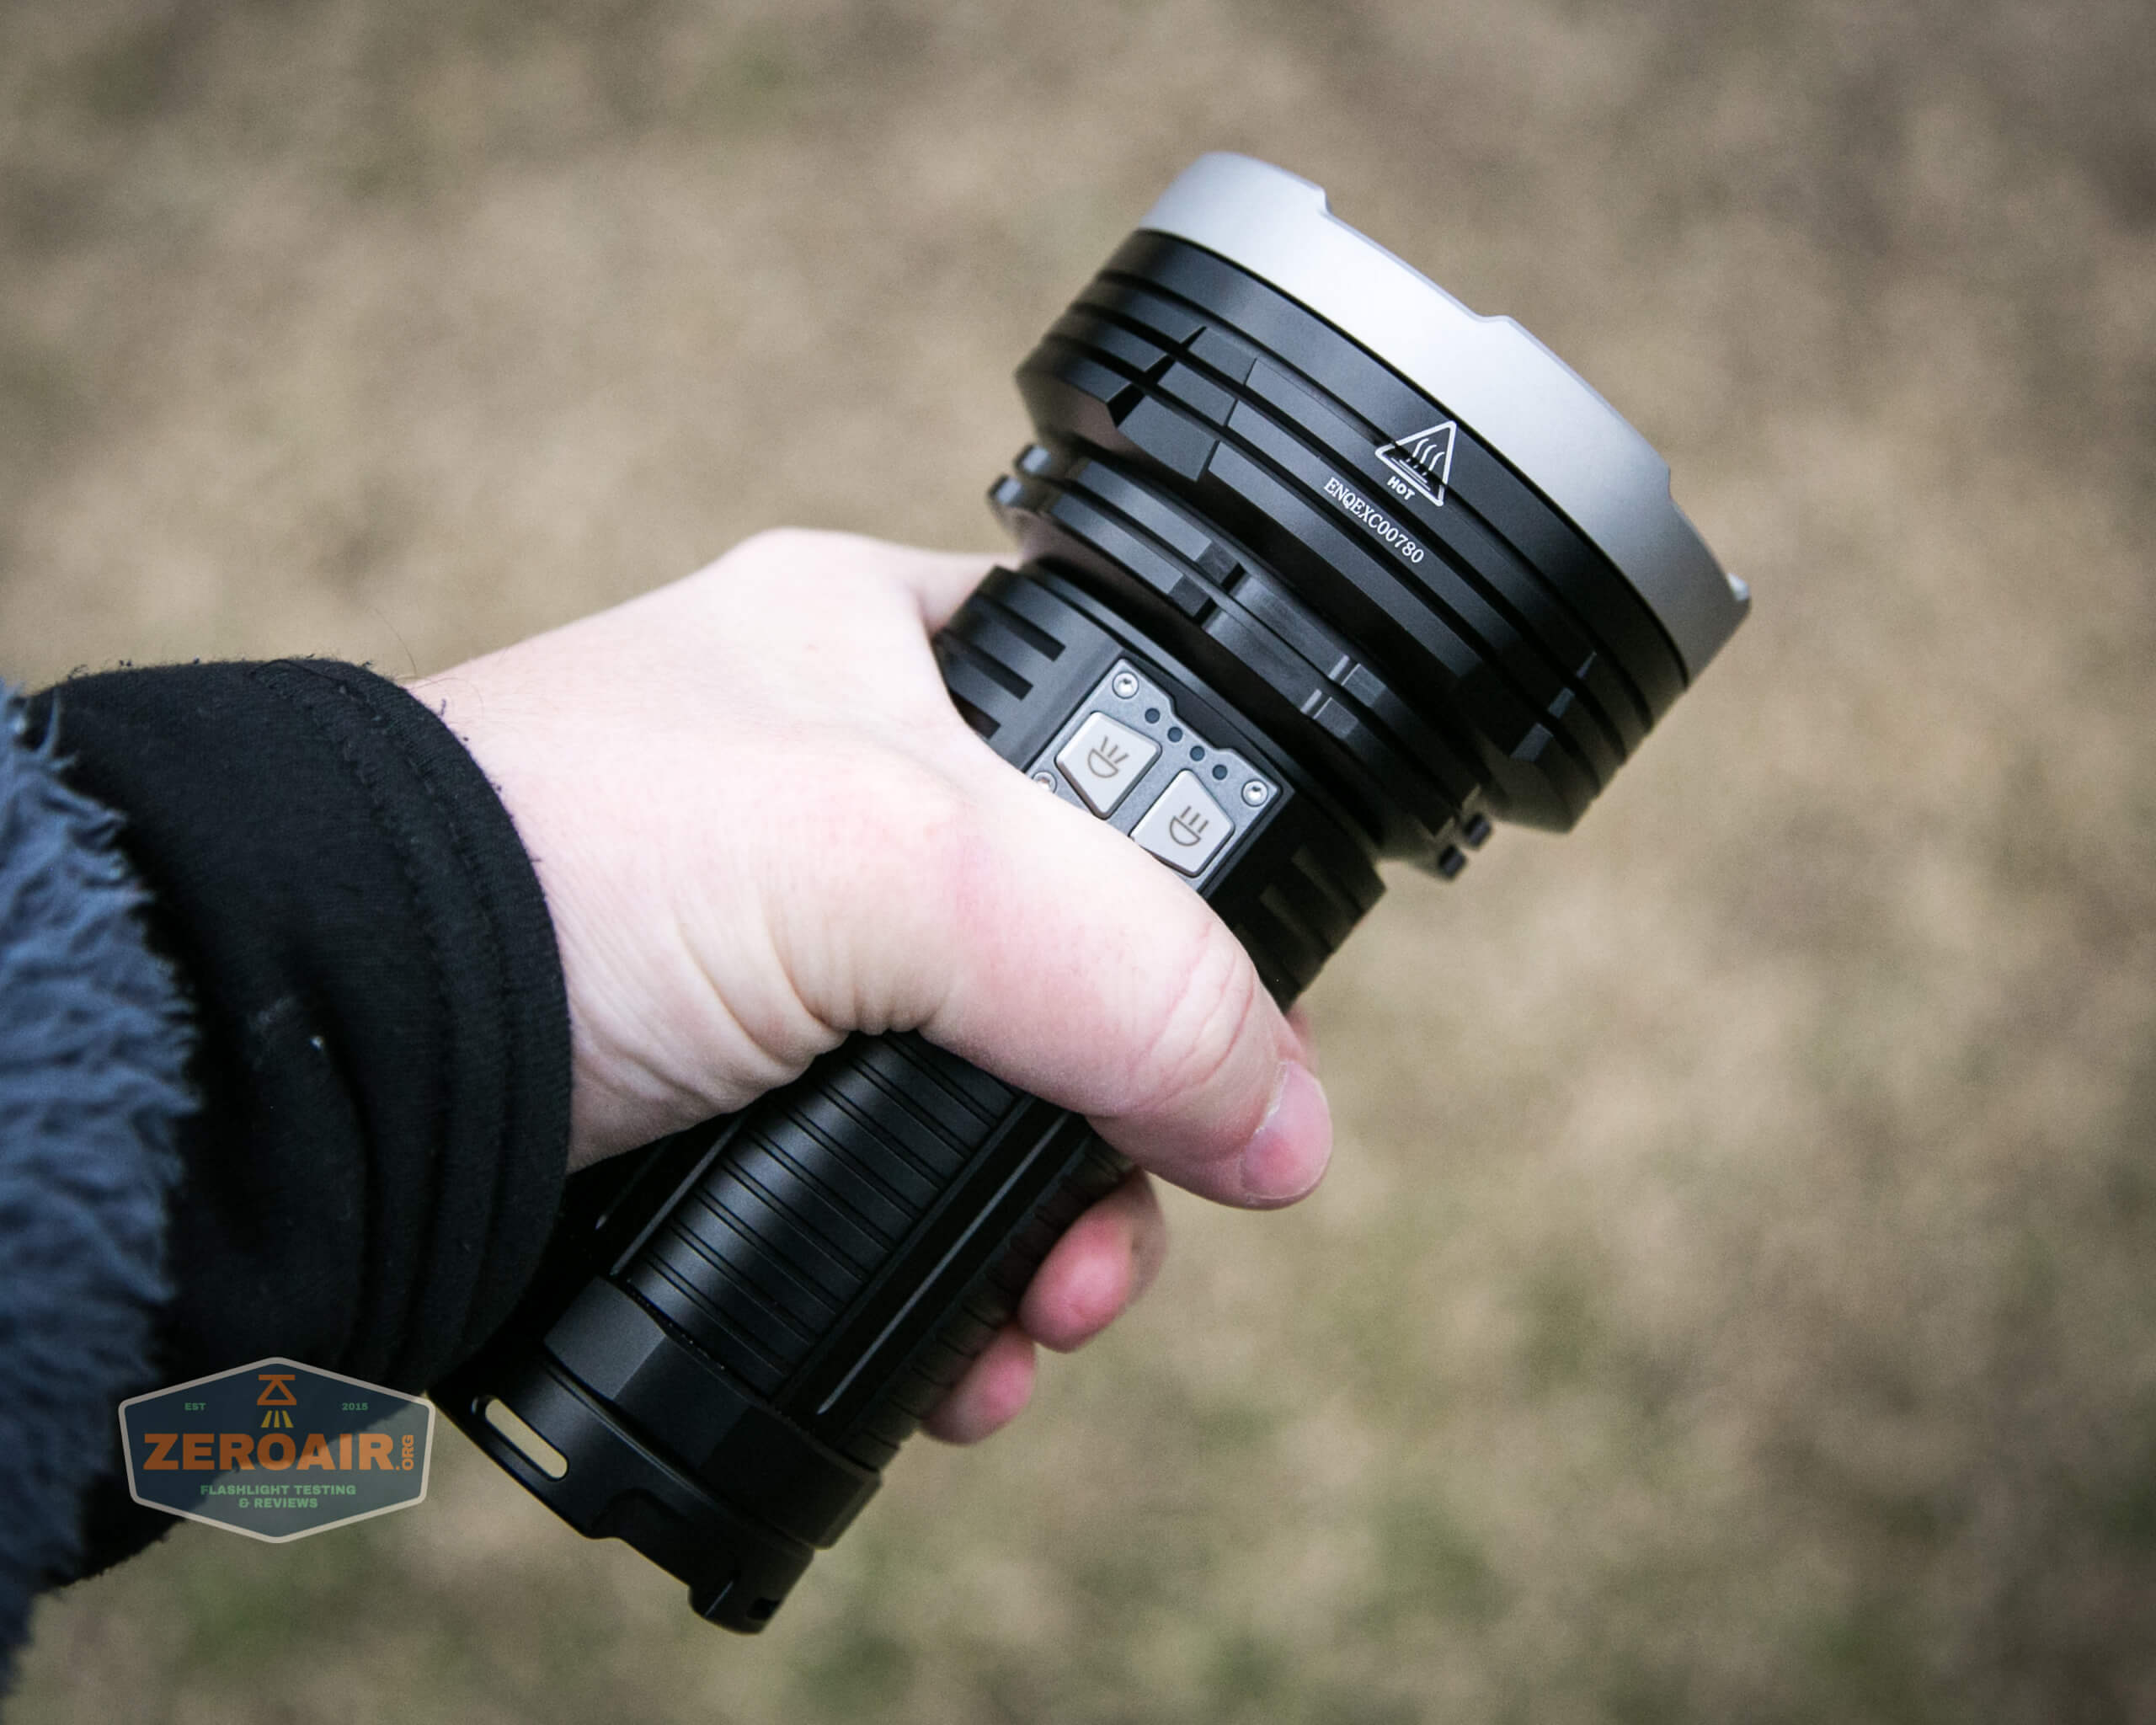
As I’ve stated many times above, this light has two switches. They’re e-switches, side by side on the head end of the LR40R. They operate essentially completely independently, making this more like two lights in one.
The switches are just a little proud of the body (maybe 1mm). They’re completely independent – when pressing one, the other one doesn’t move at all (as sometimes happens on dual e-switches that are this close together. The button
cover feels like (and almost certainly is) metal. All in all, the user interface here is just great.
As can be seen by the laser image on each switch, one is for flood, and one is for spot. In the image above, the left switch is the flood switch, and the right switch is the spot switch. Just above these two switches is the four-LED indicator.
Here’s a user interface table!
| State | Action | Result |
|---|---|---|
| Off | Hold Either | On (previously used mode for that switch) |
| Off | Click Either | Battery indicator (expounded upon above) |
| On – Flood | Hold Flood Switch (0.5s) | Off |
| On – Spot | Hold Spot Switch (0.5s) | Off |
| On – Both | Hold Spot Switch (1.2s) | Off – Both |
| On | Click Switch corresponding to whatever’s on | Mode advance (Low to High direction) |
| Any | Hold Flood Switch (1.2s) | Strobe (Flood only) |
| Strobe | Click Flood Switch | Strobe advance (Strobe>SOS) |
| Off | Hold both (1.2s) | Lockout |
| Lockout | Click Either | Spot emitter blinks twice to indicate lockout |
| Lockout | Hold both (1.2s) | Unlock to Spot |
| SOS | Click Spot Switch | Last used Spot |
LED and Beam
There are a couple of sets of emitters on the LR40R.
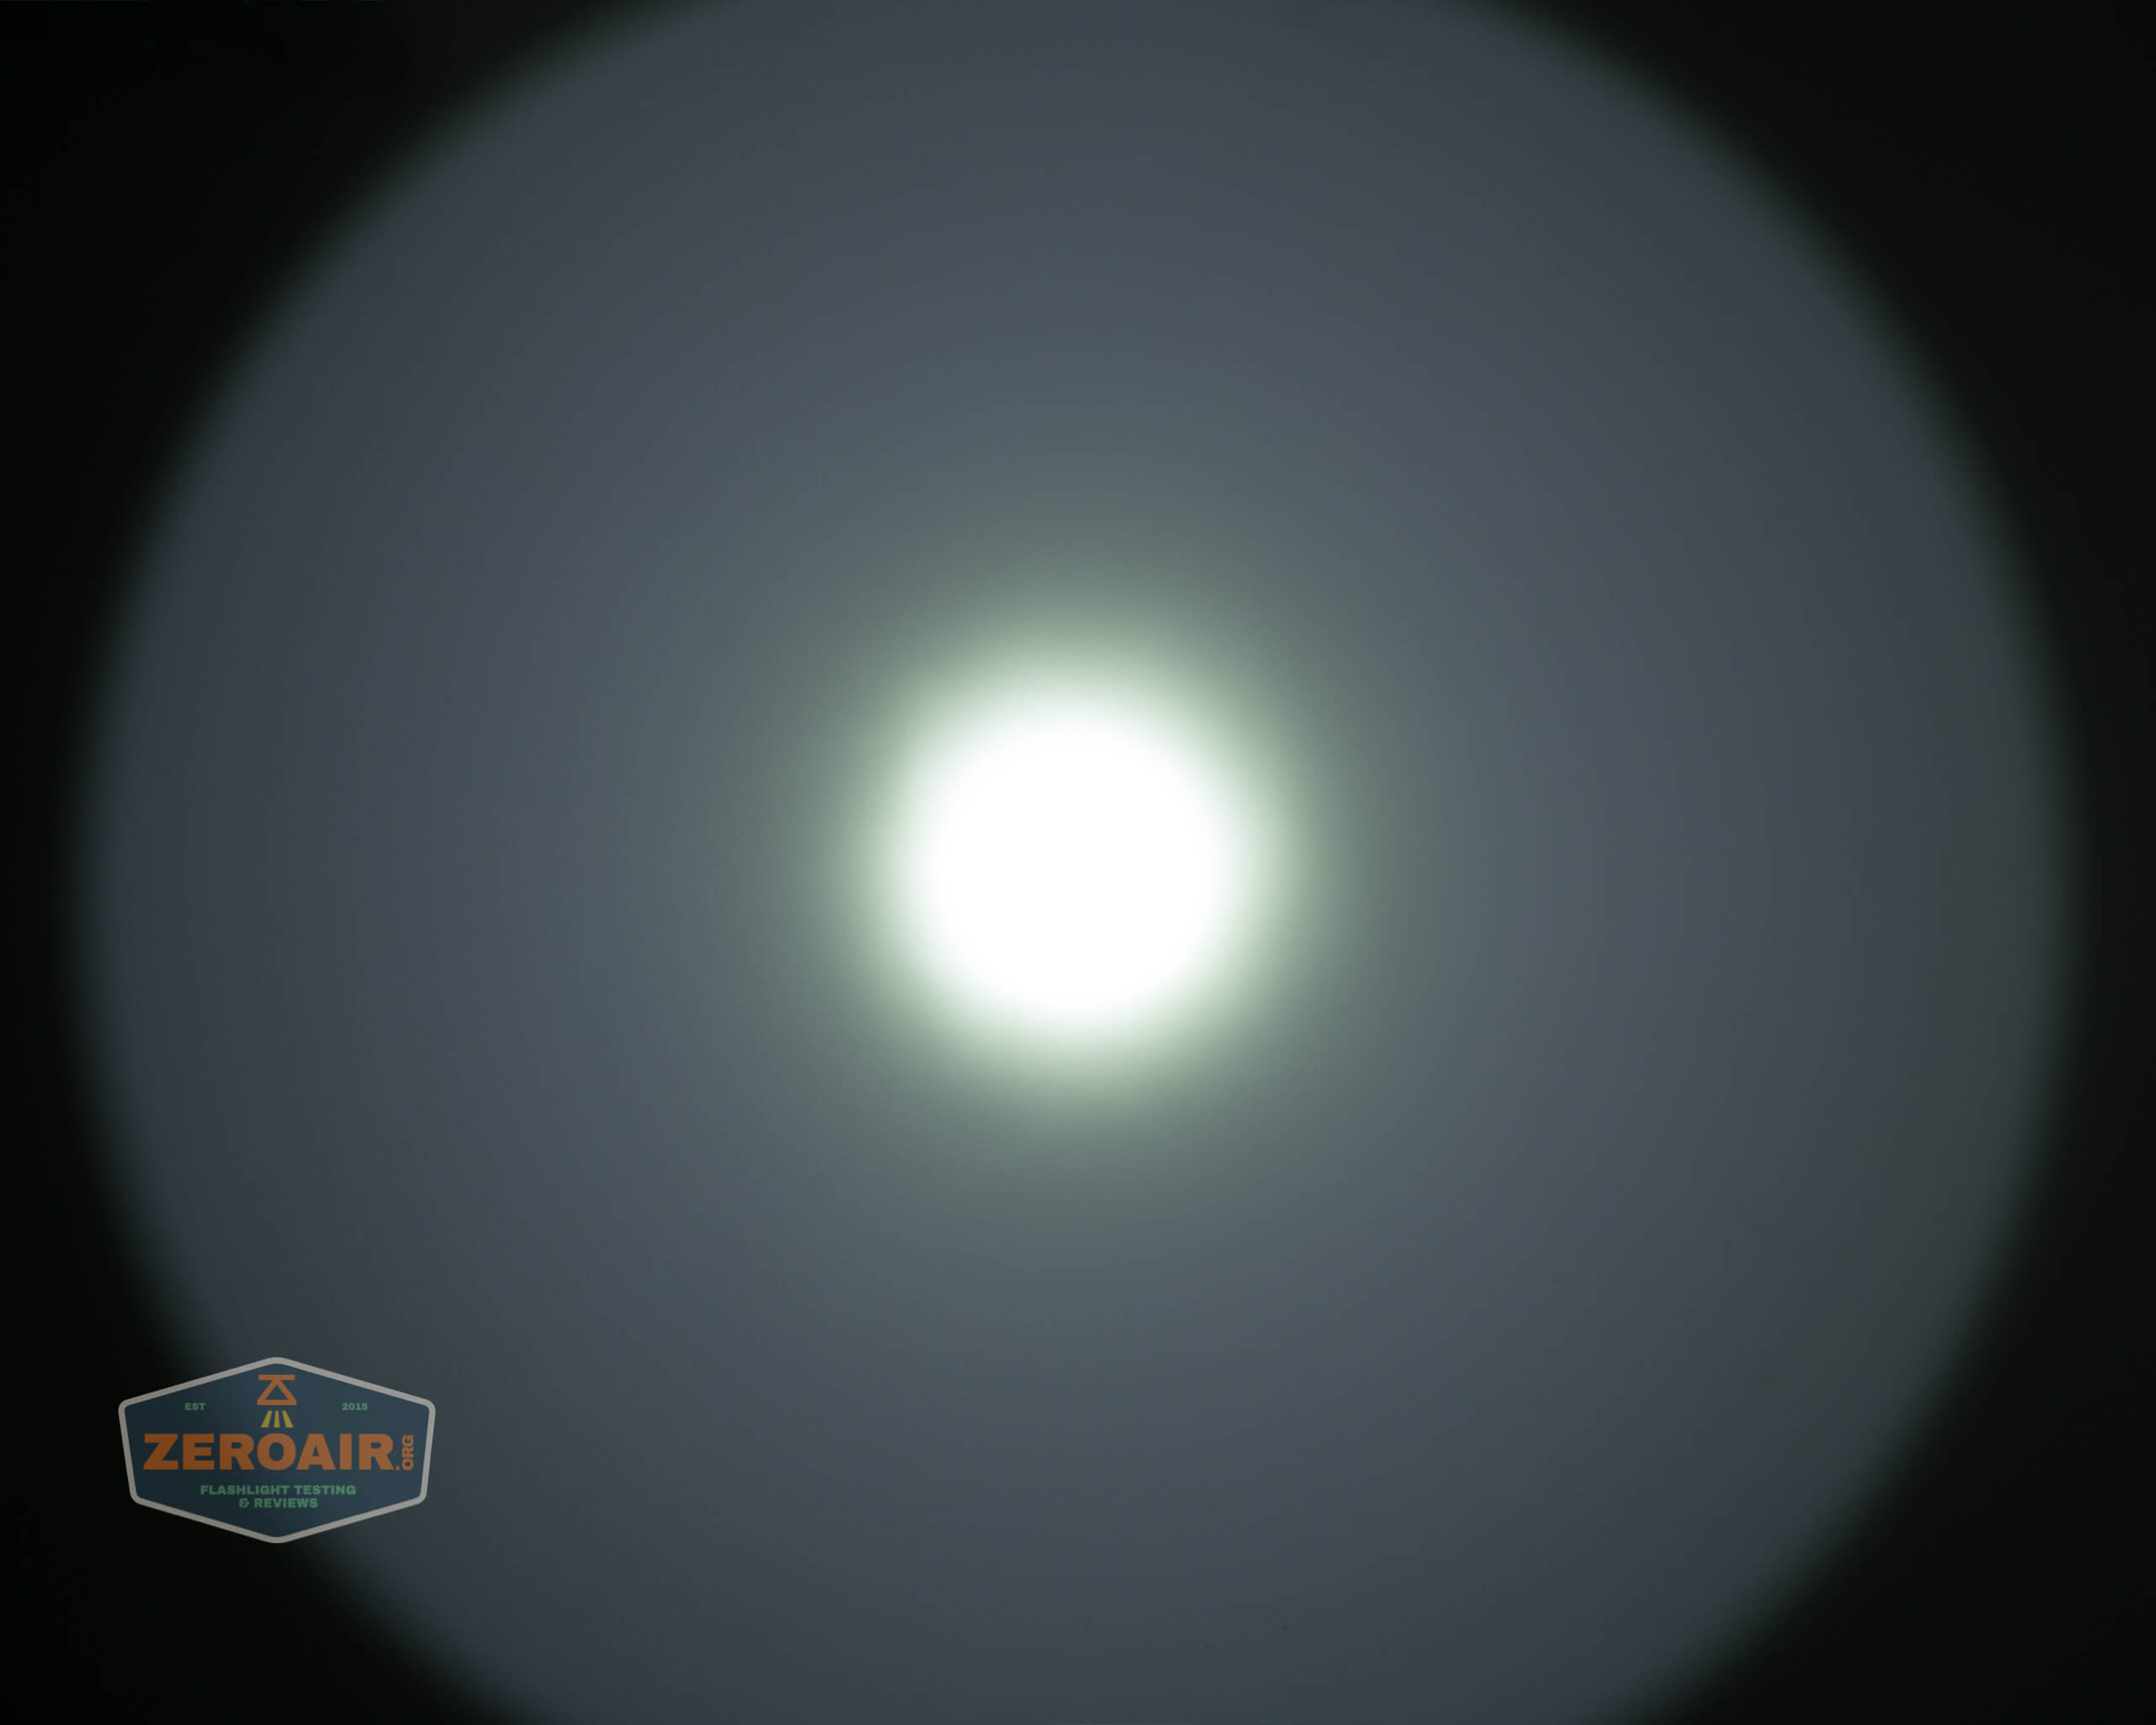
First the spot, which is a Cree XP-L HI. I happen to love that emitter, but this one is cool white. I think 6500K is pretty common, and I’d guess that’s what this one is, too.
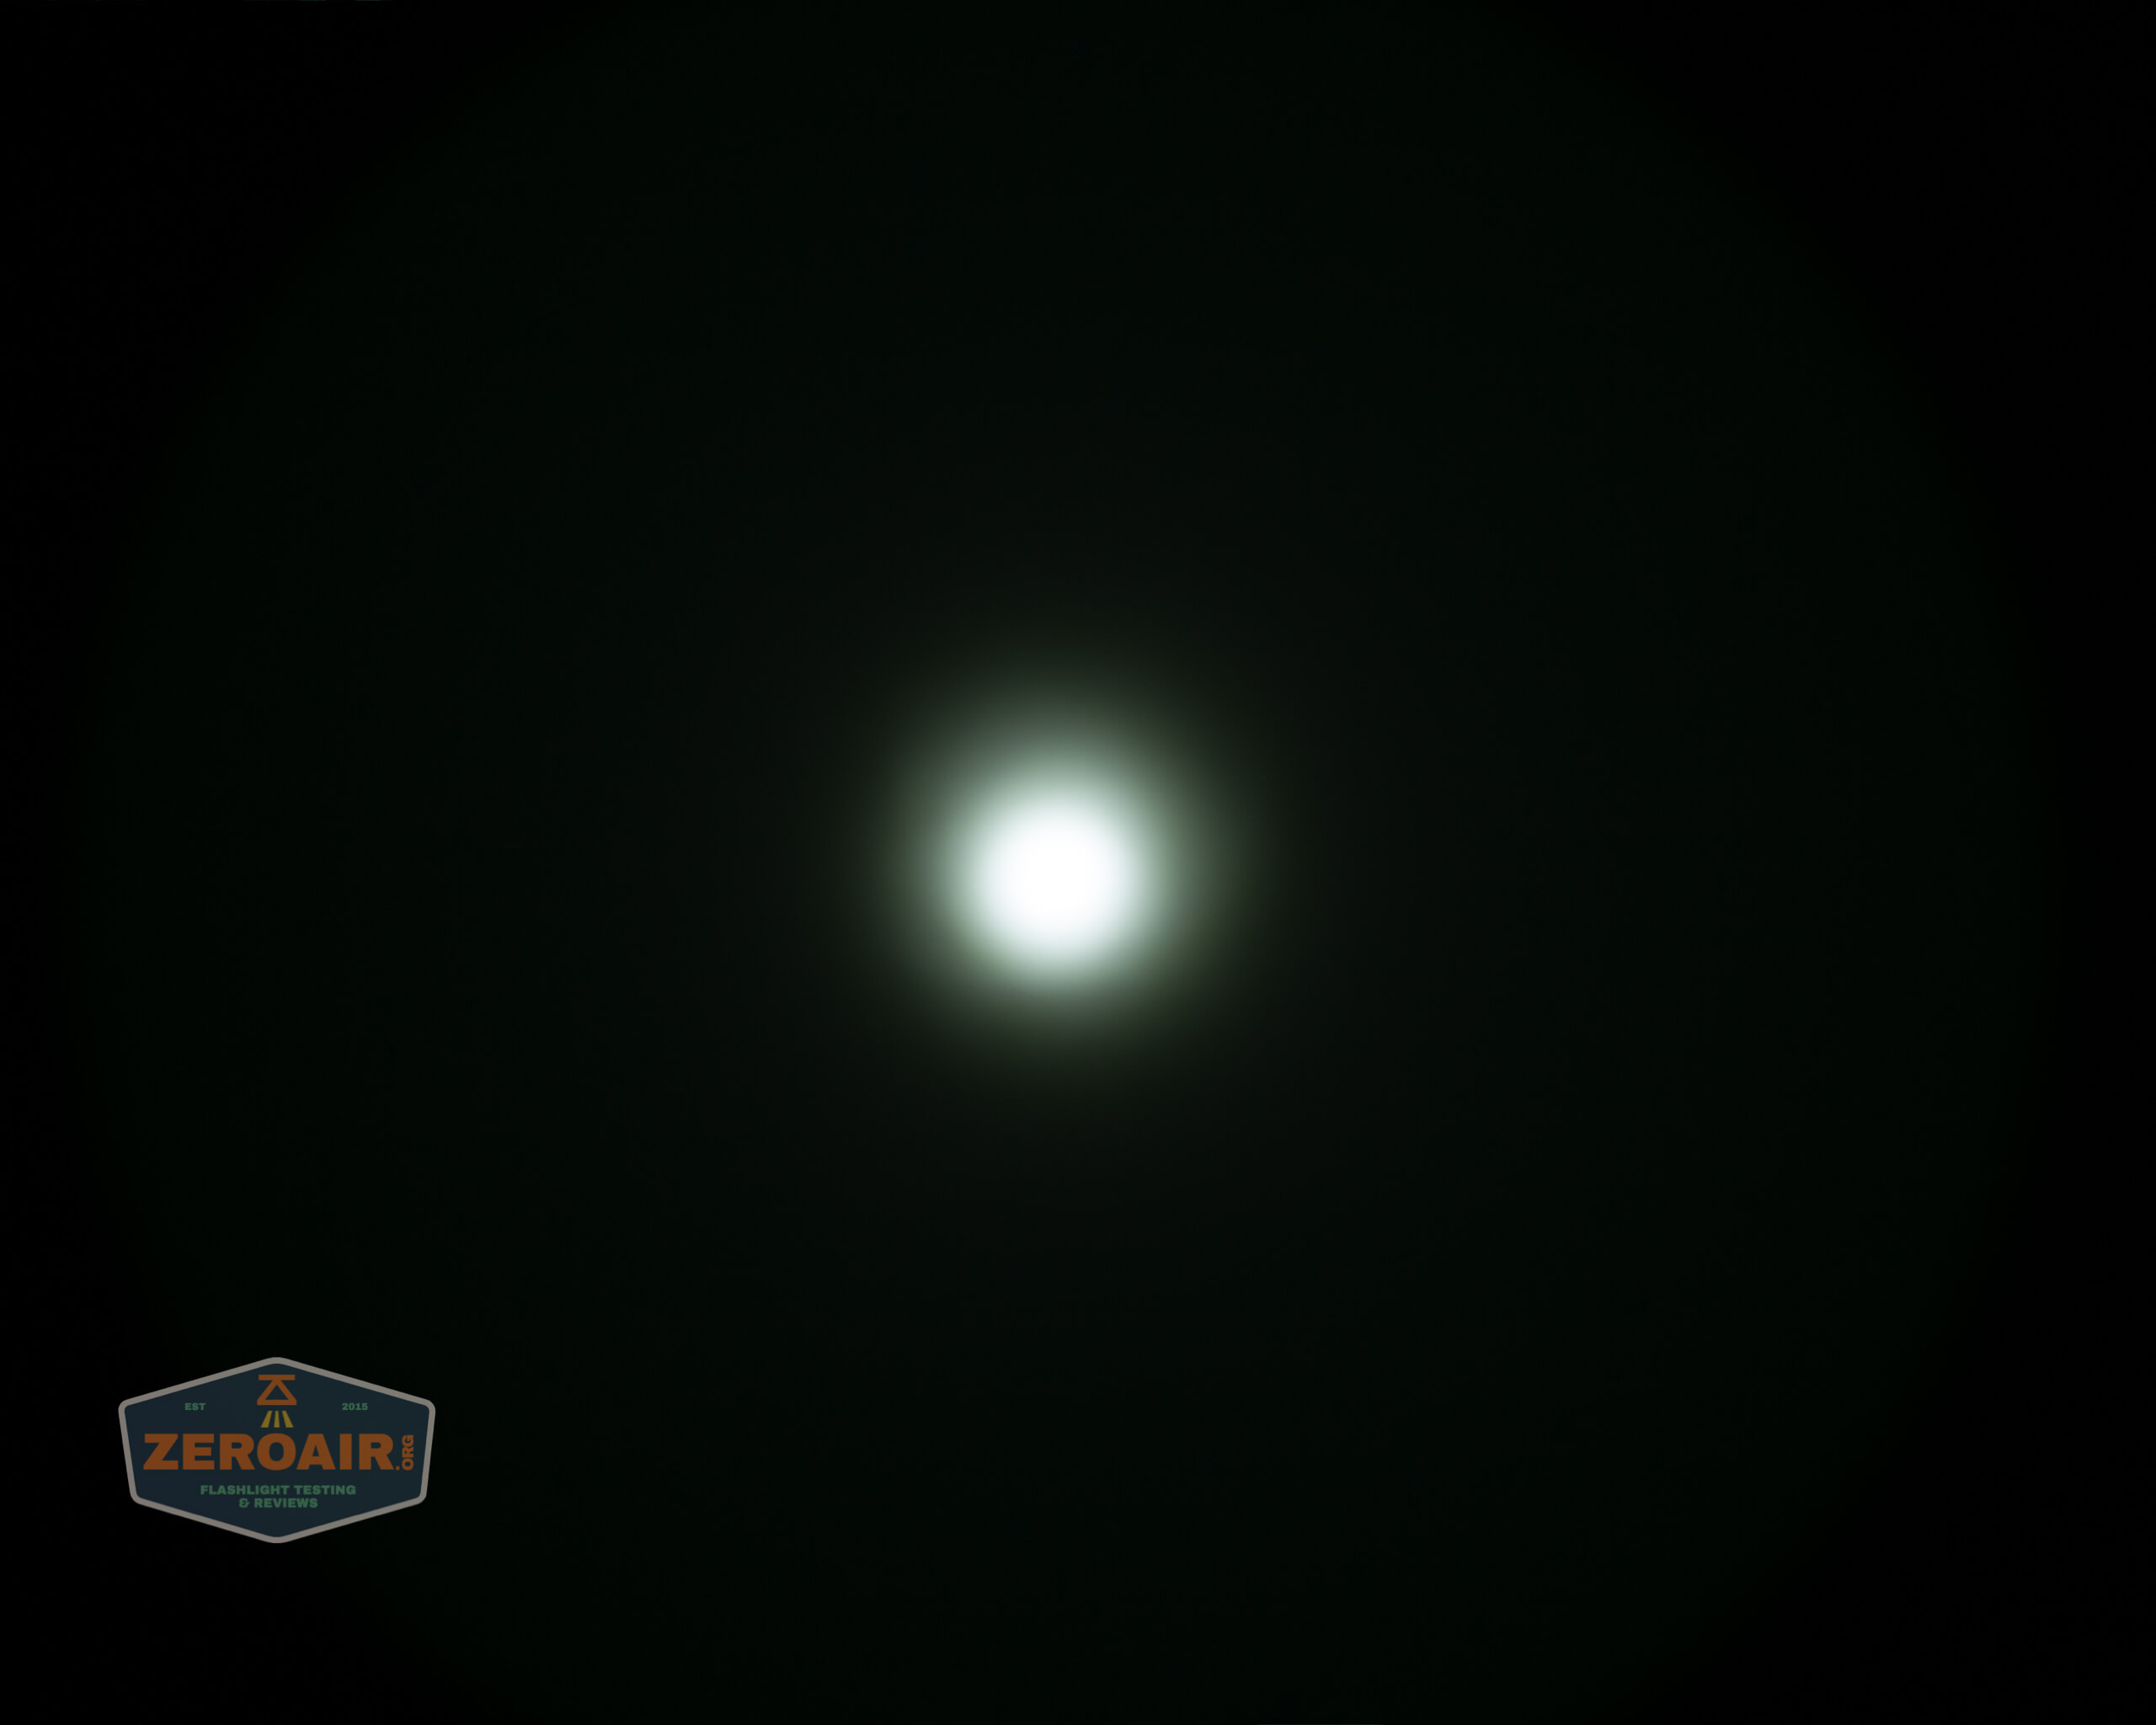
Spot:
This emitter is paired with a deep and wide very smooth reflector, which gives a nice tight hotspot.
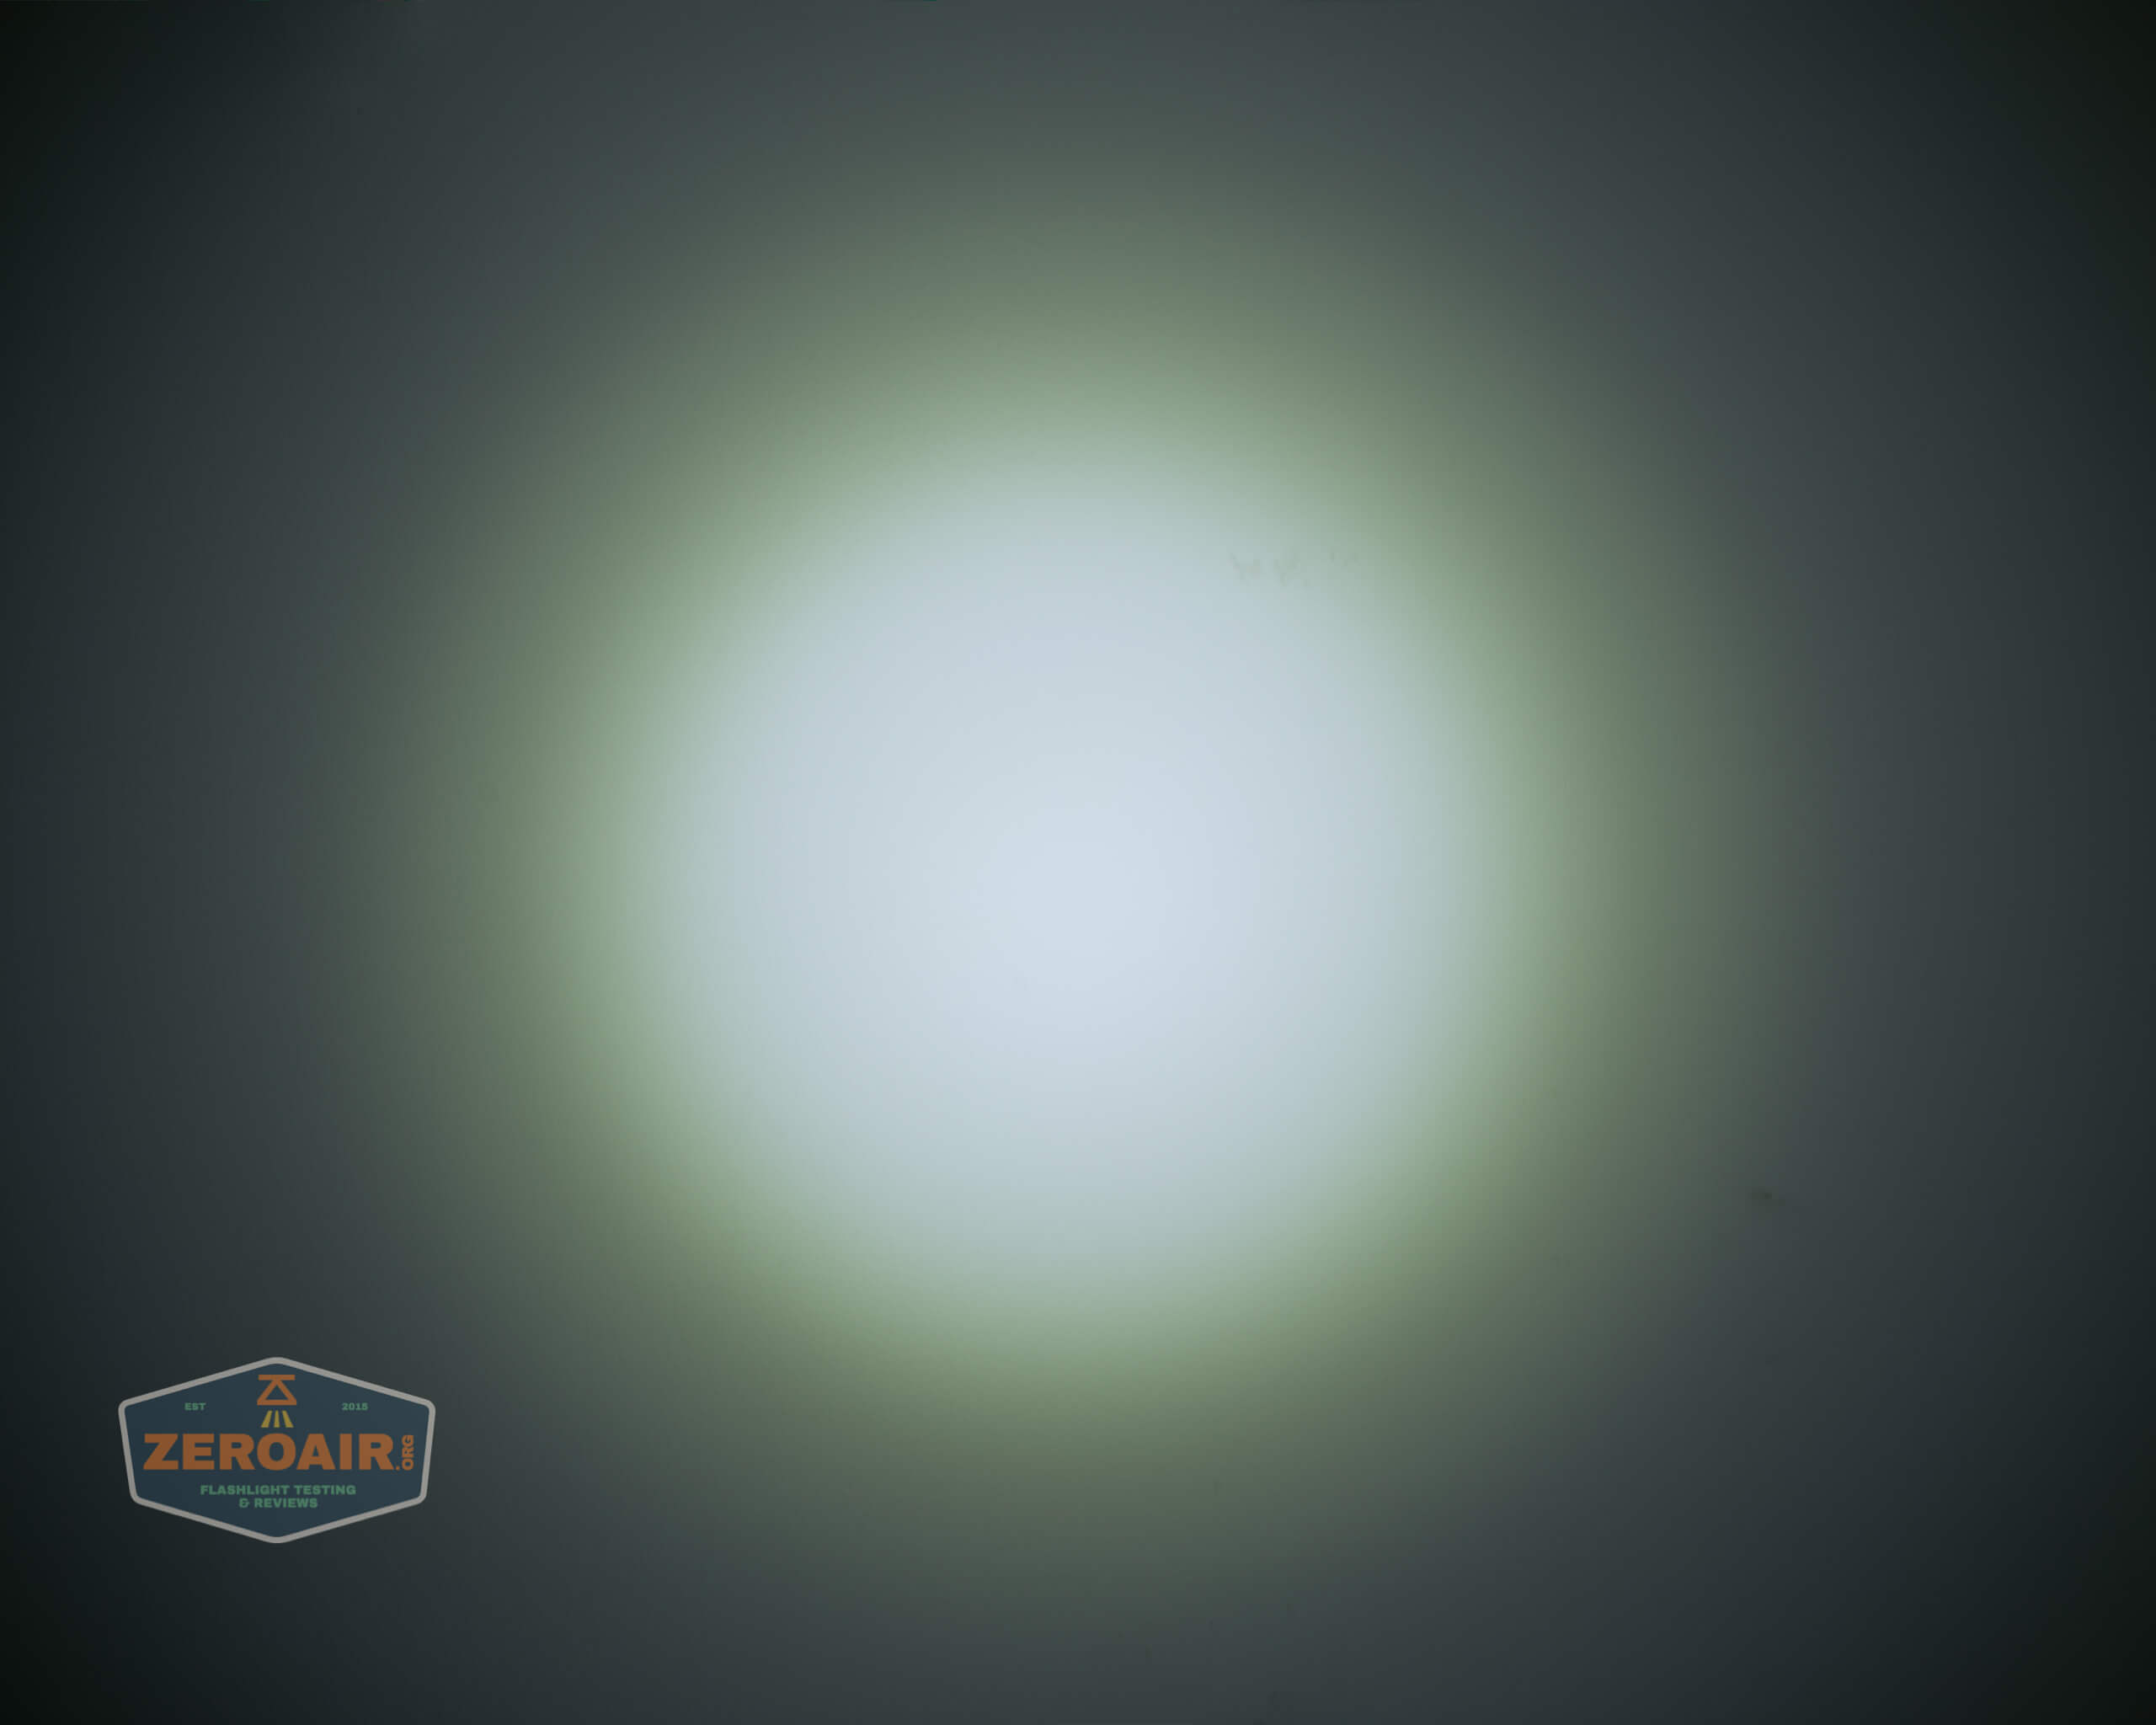
Next is the flood emitter set, which is 18 Cree XP-G3 emitters. These are everything that XP-G3’s usually are. But they output a ton of light.
Flood:
They have a very shallow reflector (each) and make an absolute wall of light.
There are a few things I could wish about this light. First of all, warmer emitters would be fantastic. Even a Cree XHP35 HI for the main emitter – I think that would be an improvement. Flat White? Would probably make this light crazy. Secondly, the Cree XP-G3 flood emitters…. I understand why to use those (output overall), but some emitters that have less tint shift and a better profile overall would please me much more. It’d take this from being a light with great throw and high output to being a light with great, pleasant throw and extremely high output and great temperature…. a real enthusiast light.
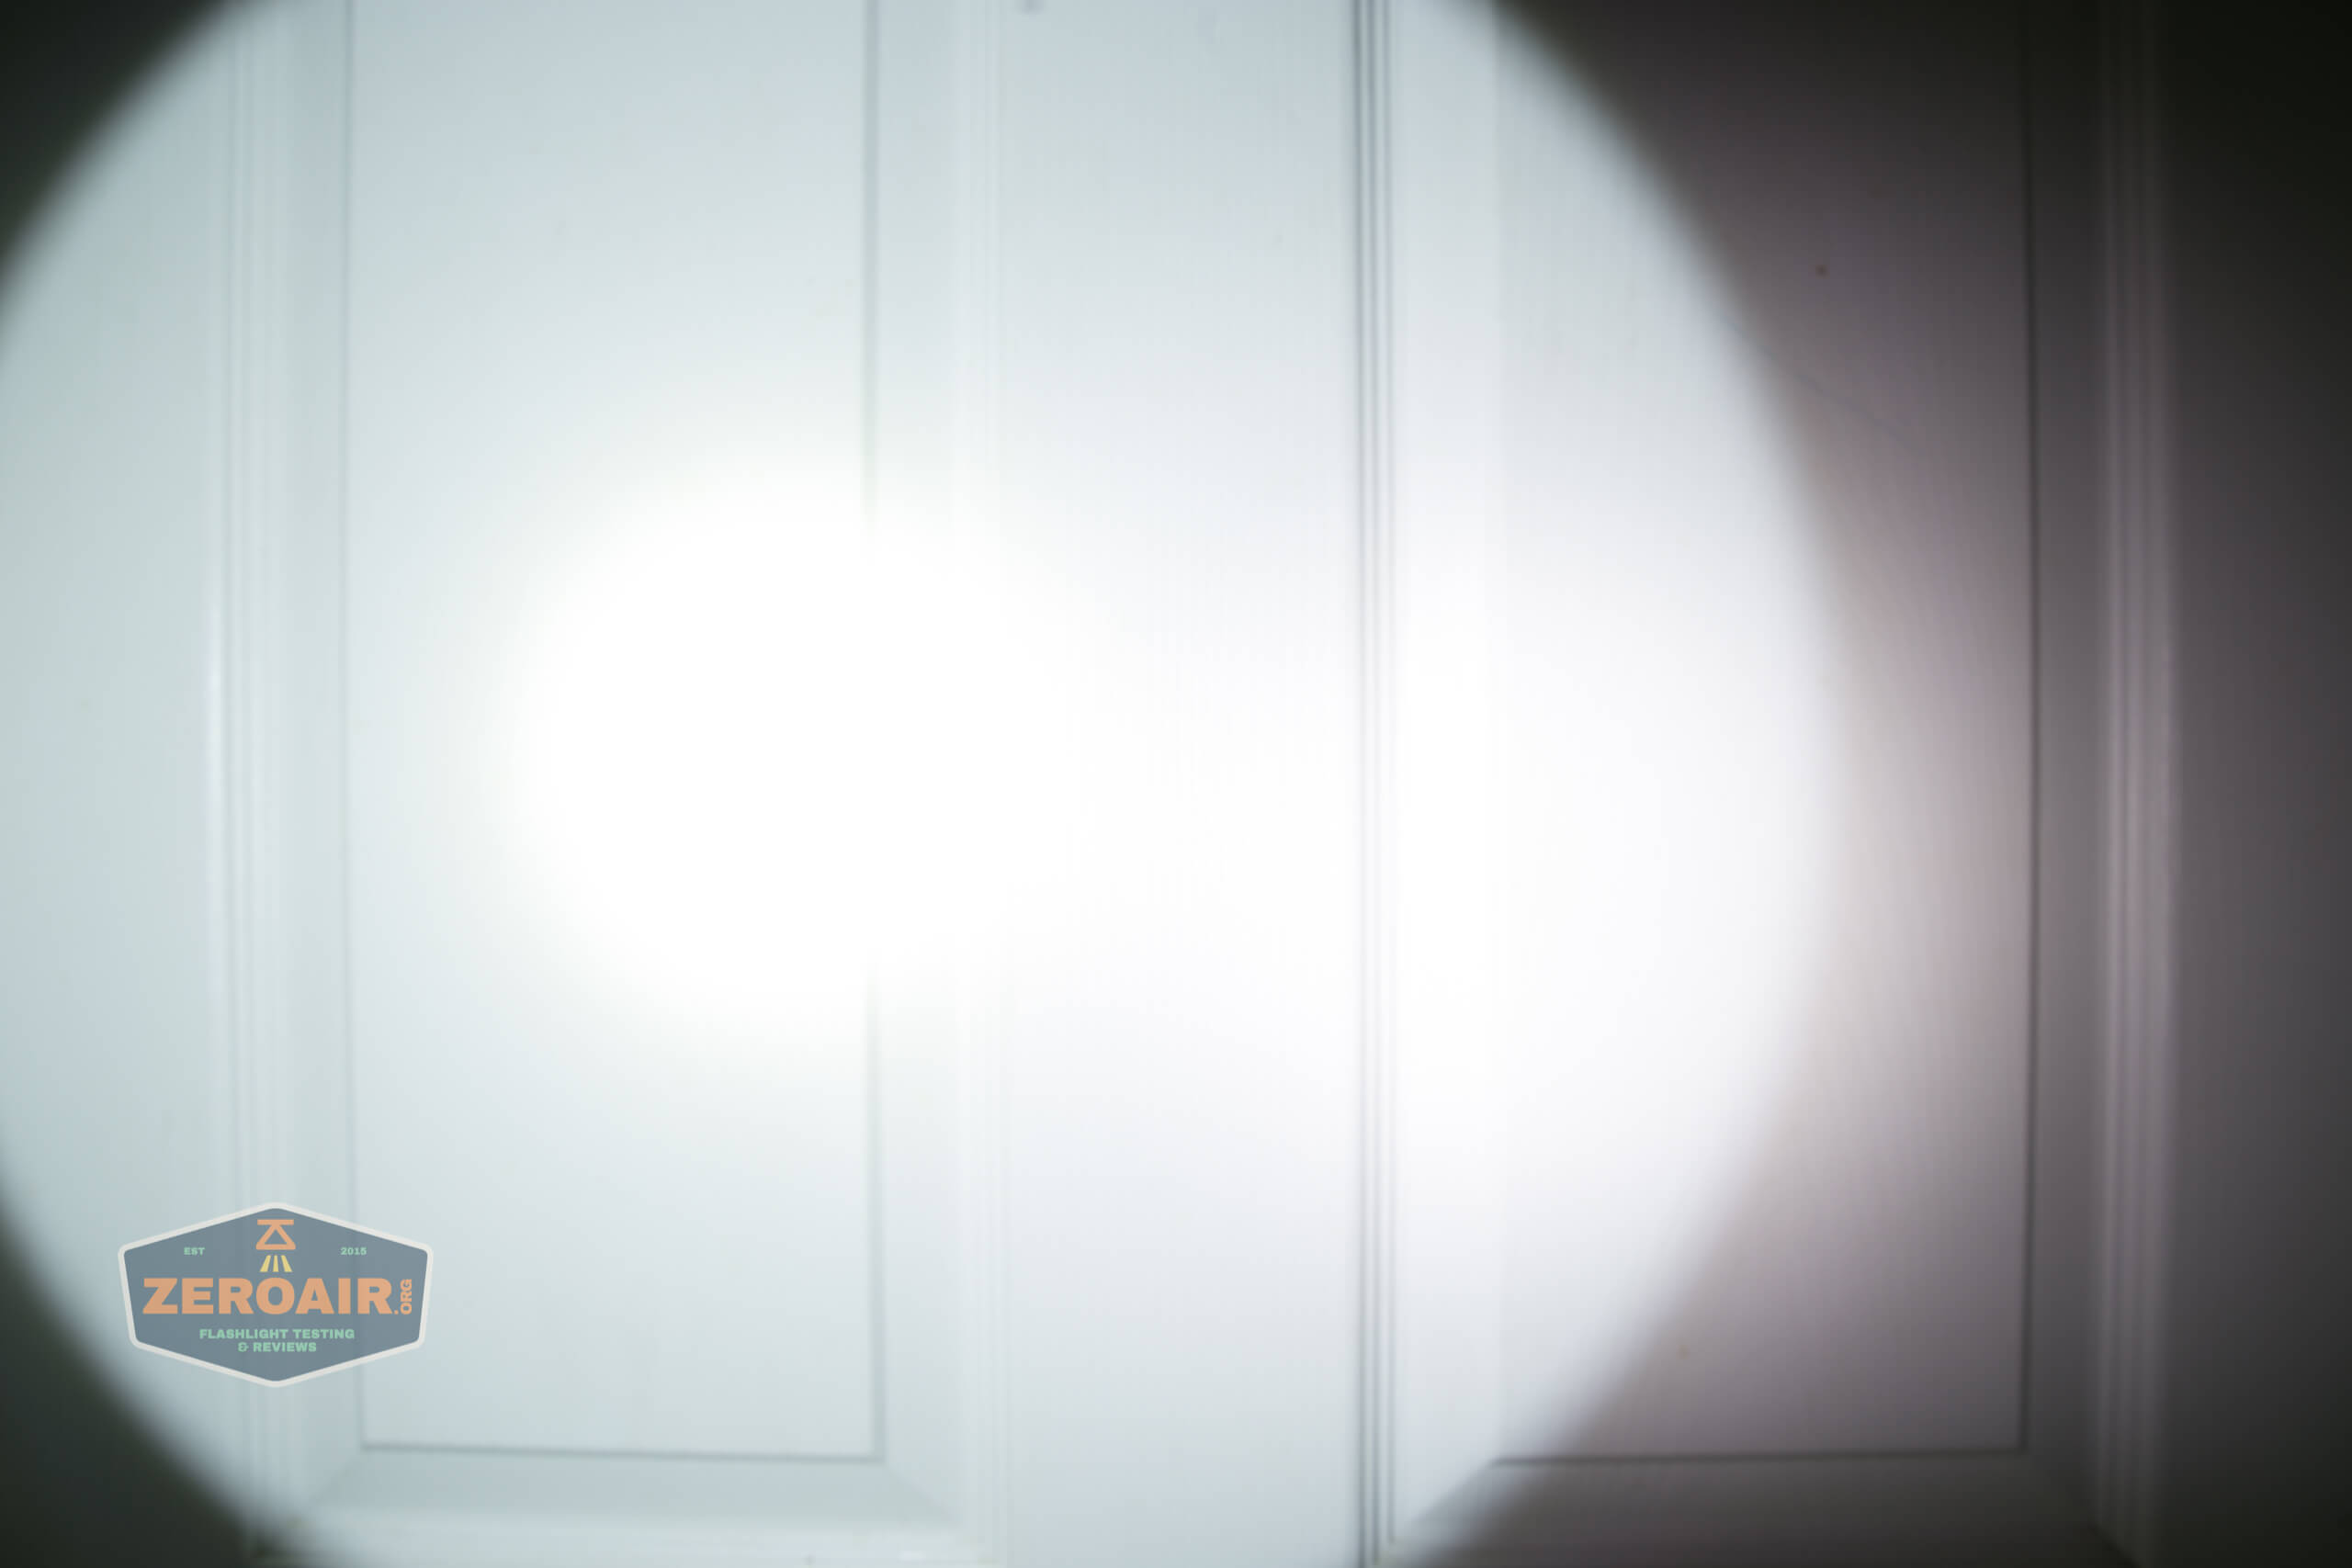
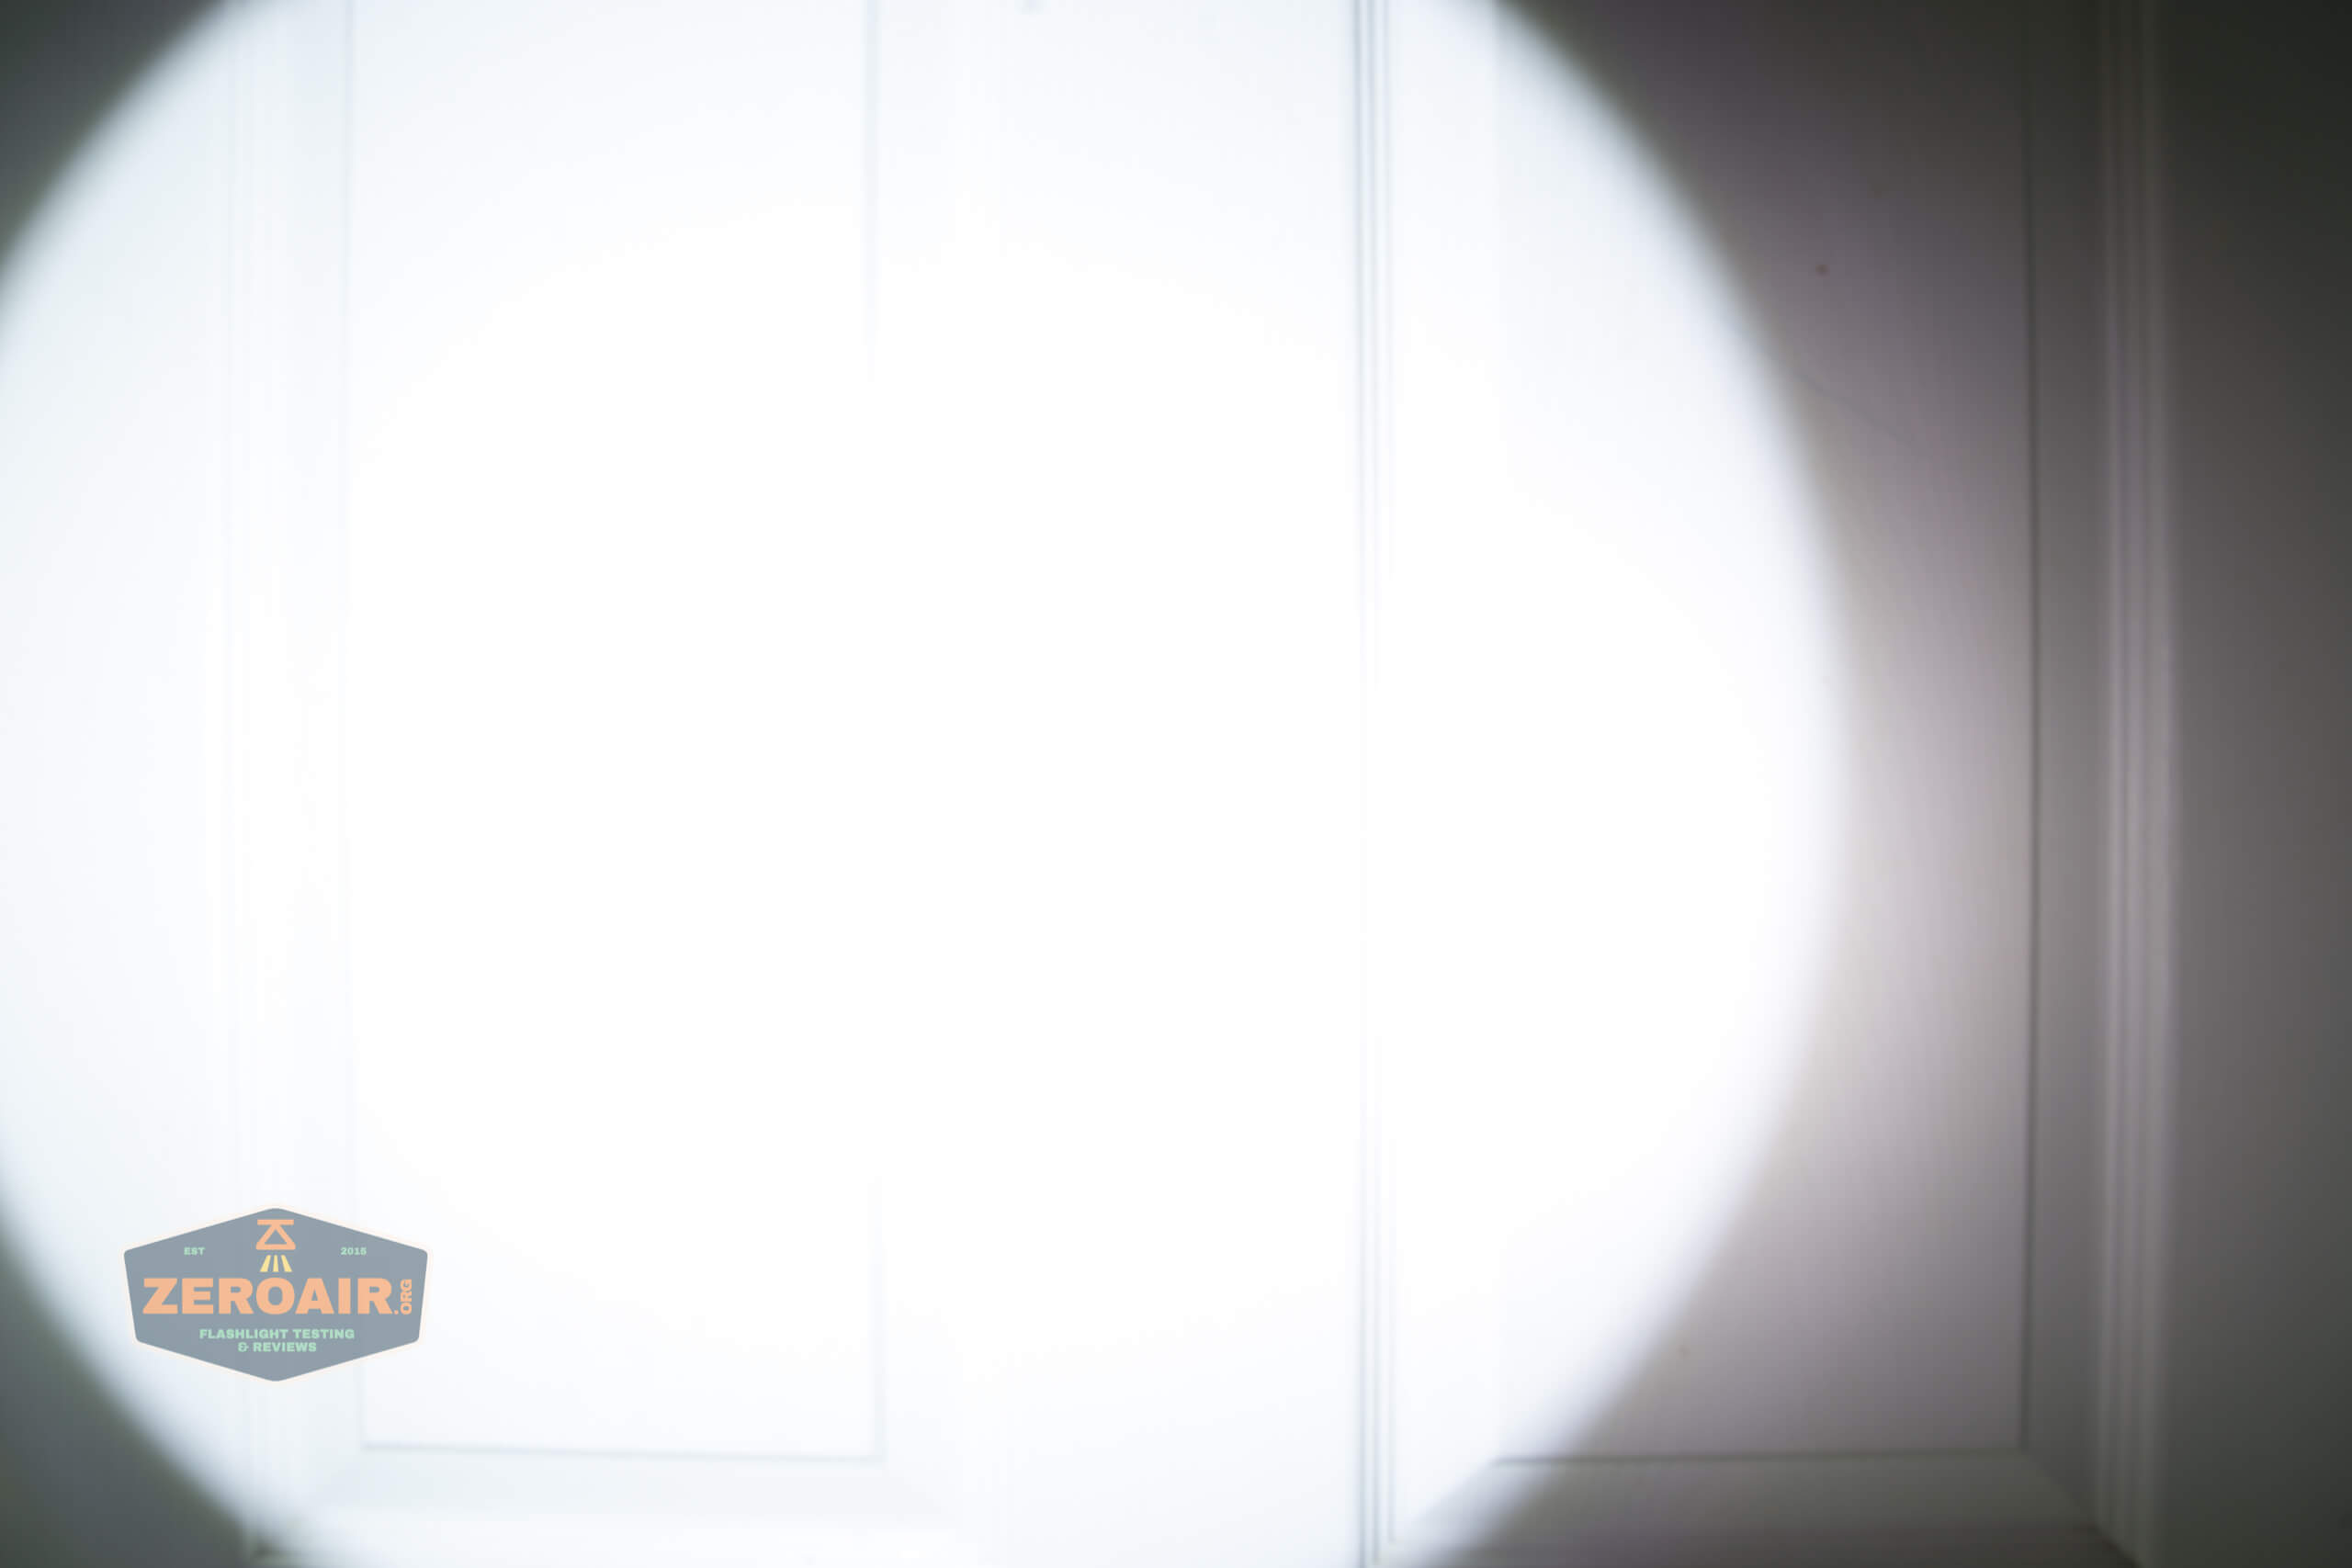
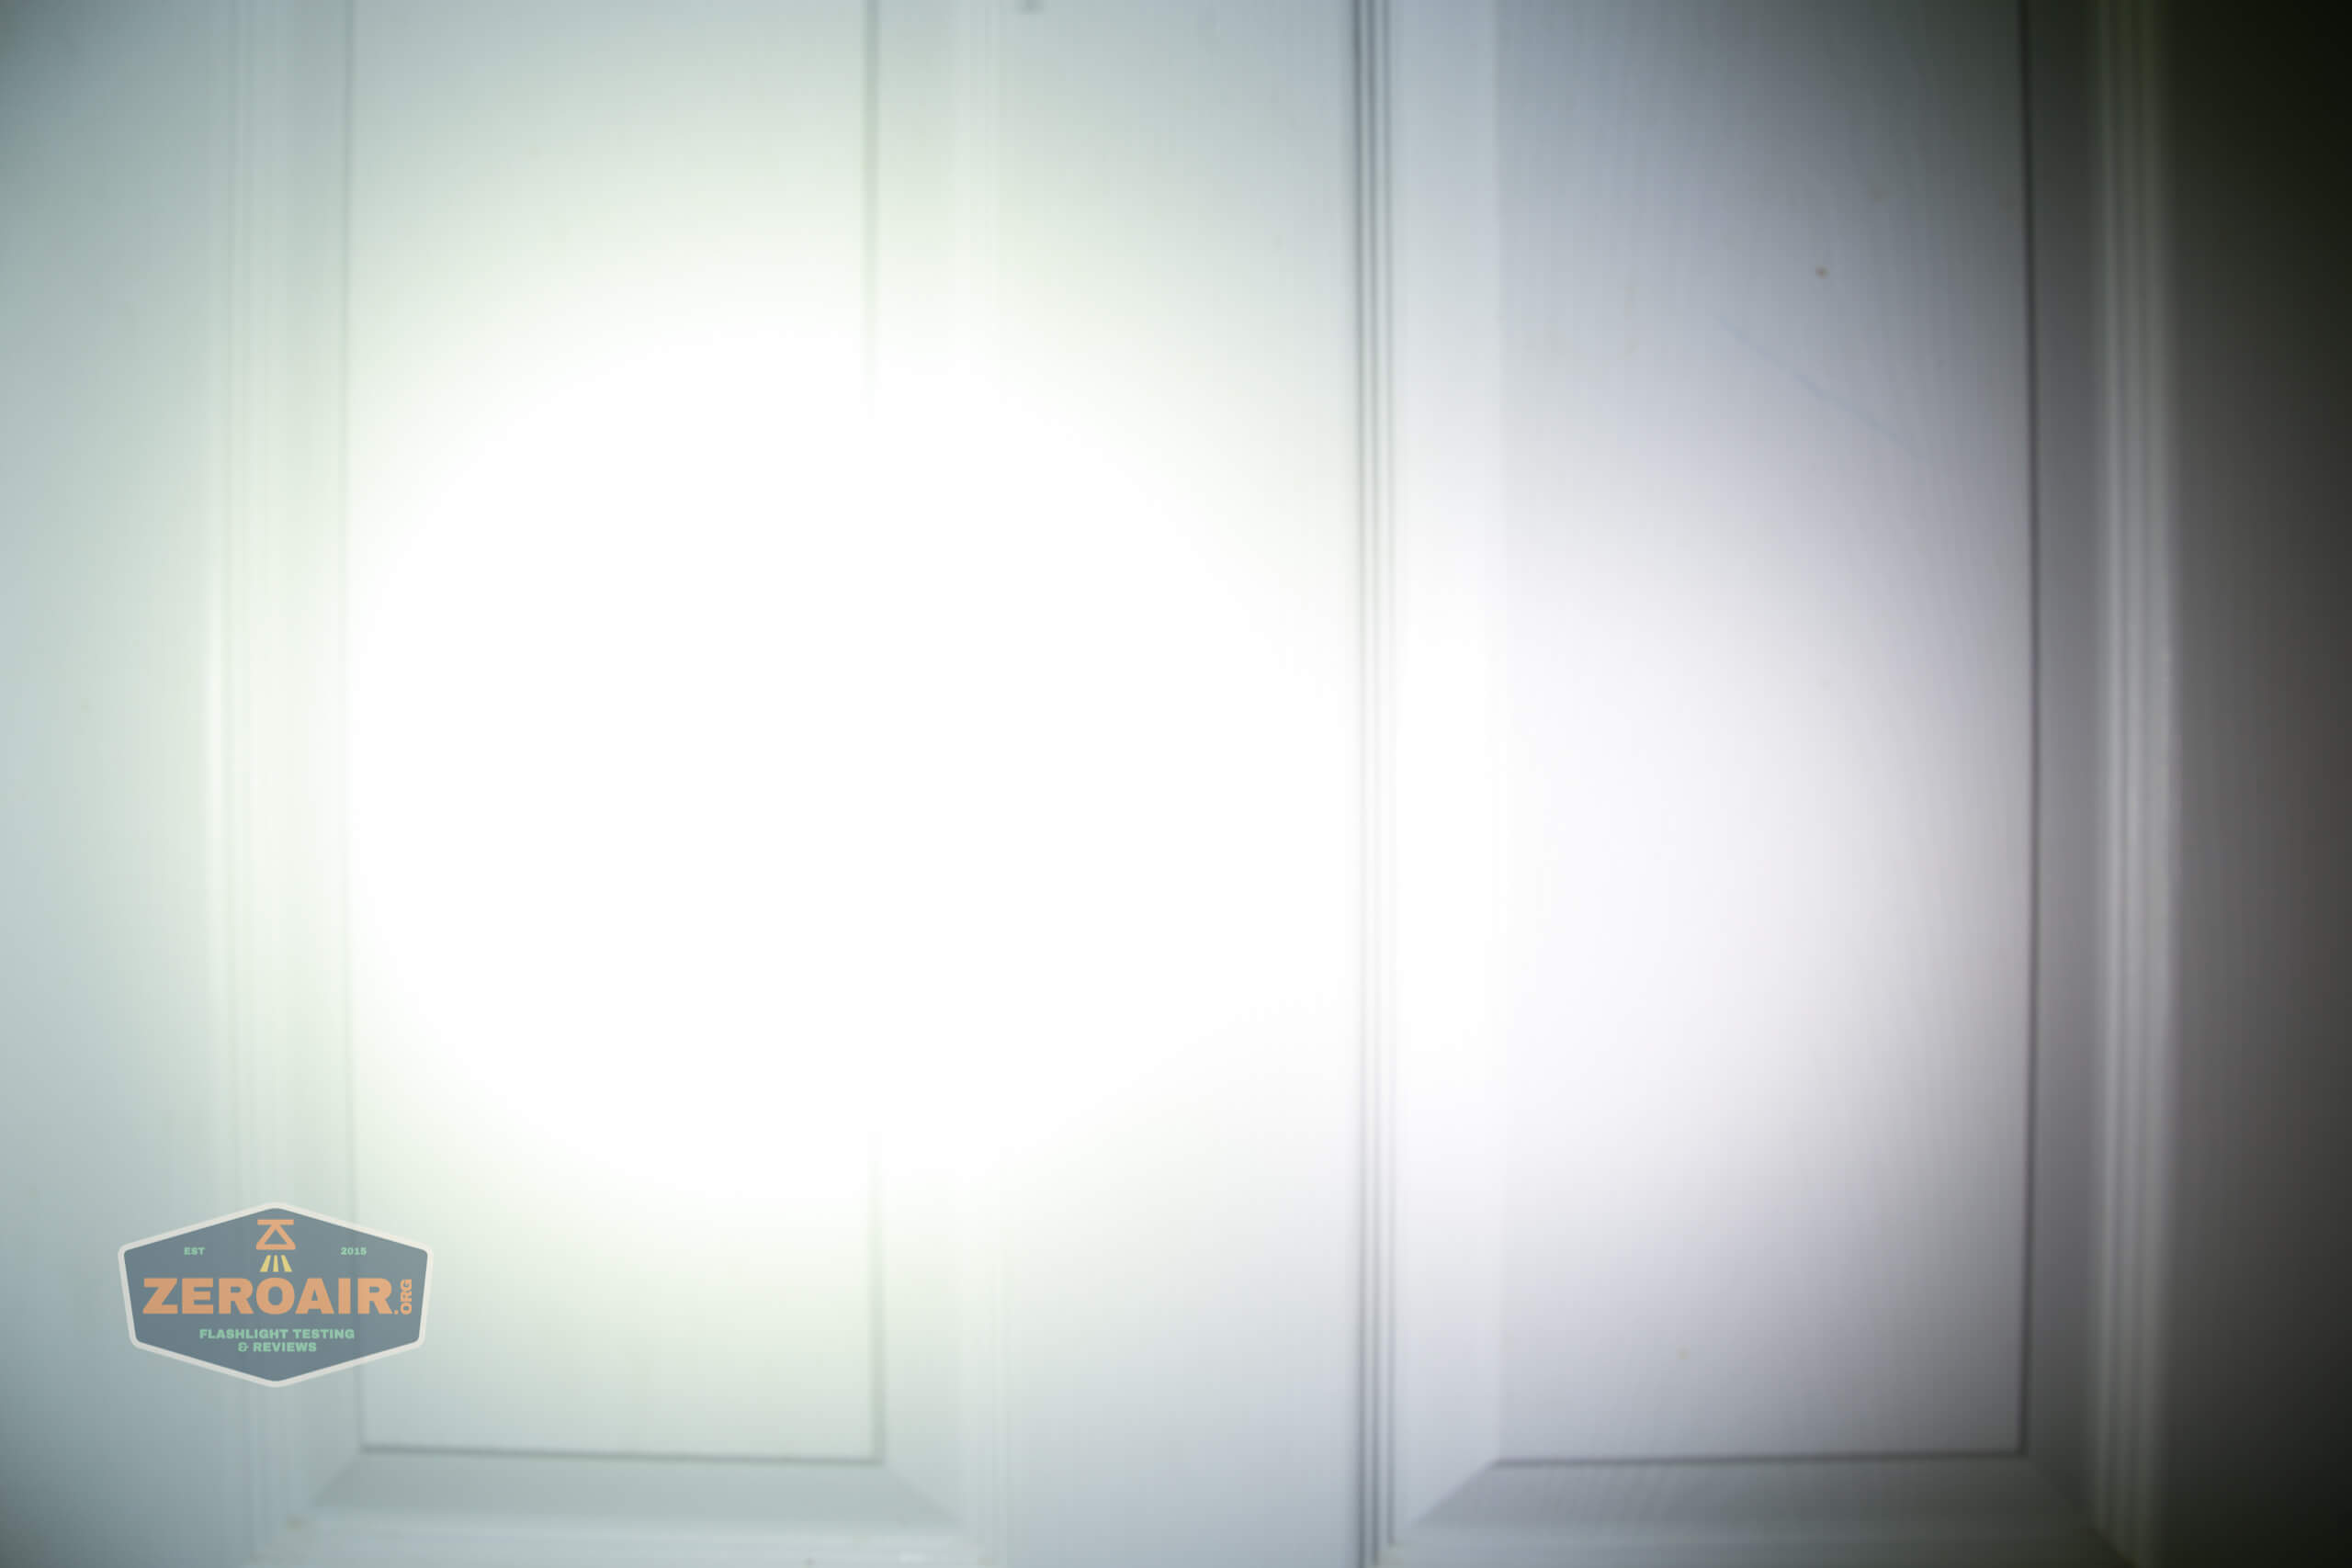
Beamshots
These beamshots always have the following settings: f8, ISO100, 0.3s shutter, and manual 5000K exposure. These photos are taken at floor level, and the beam hits the ceiling around 9 feet away.
Spot:
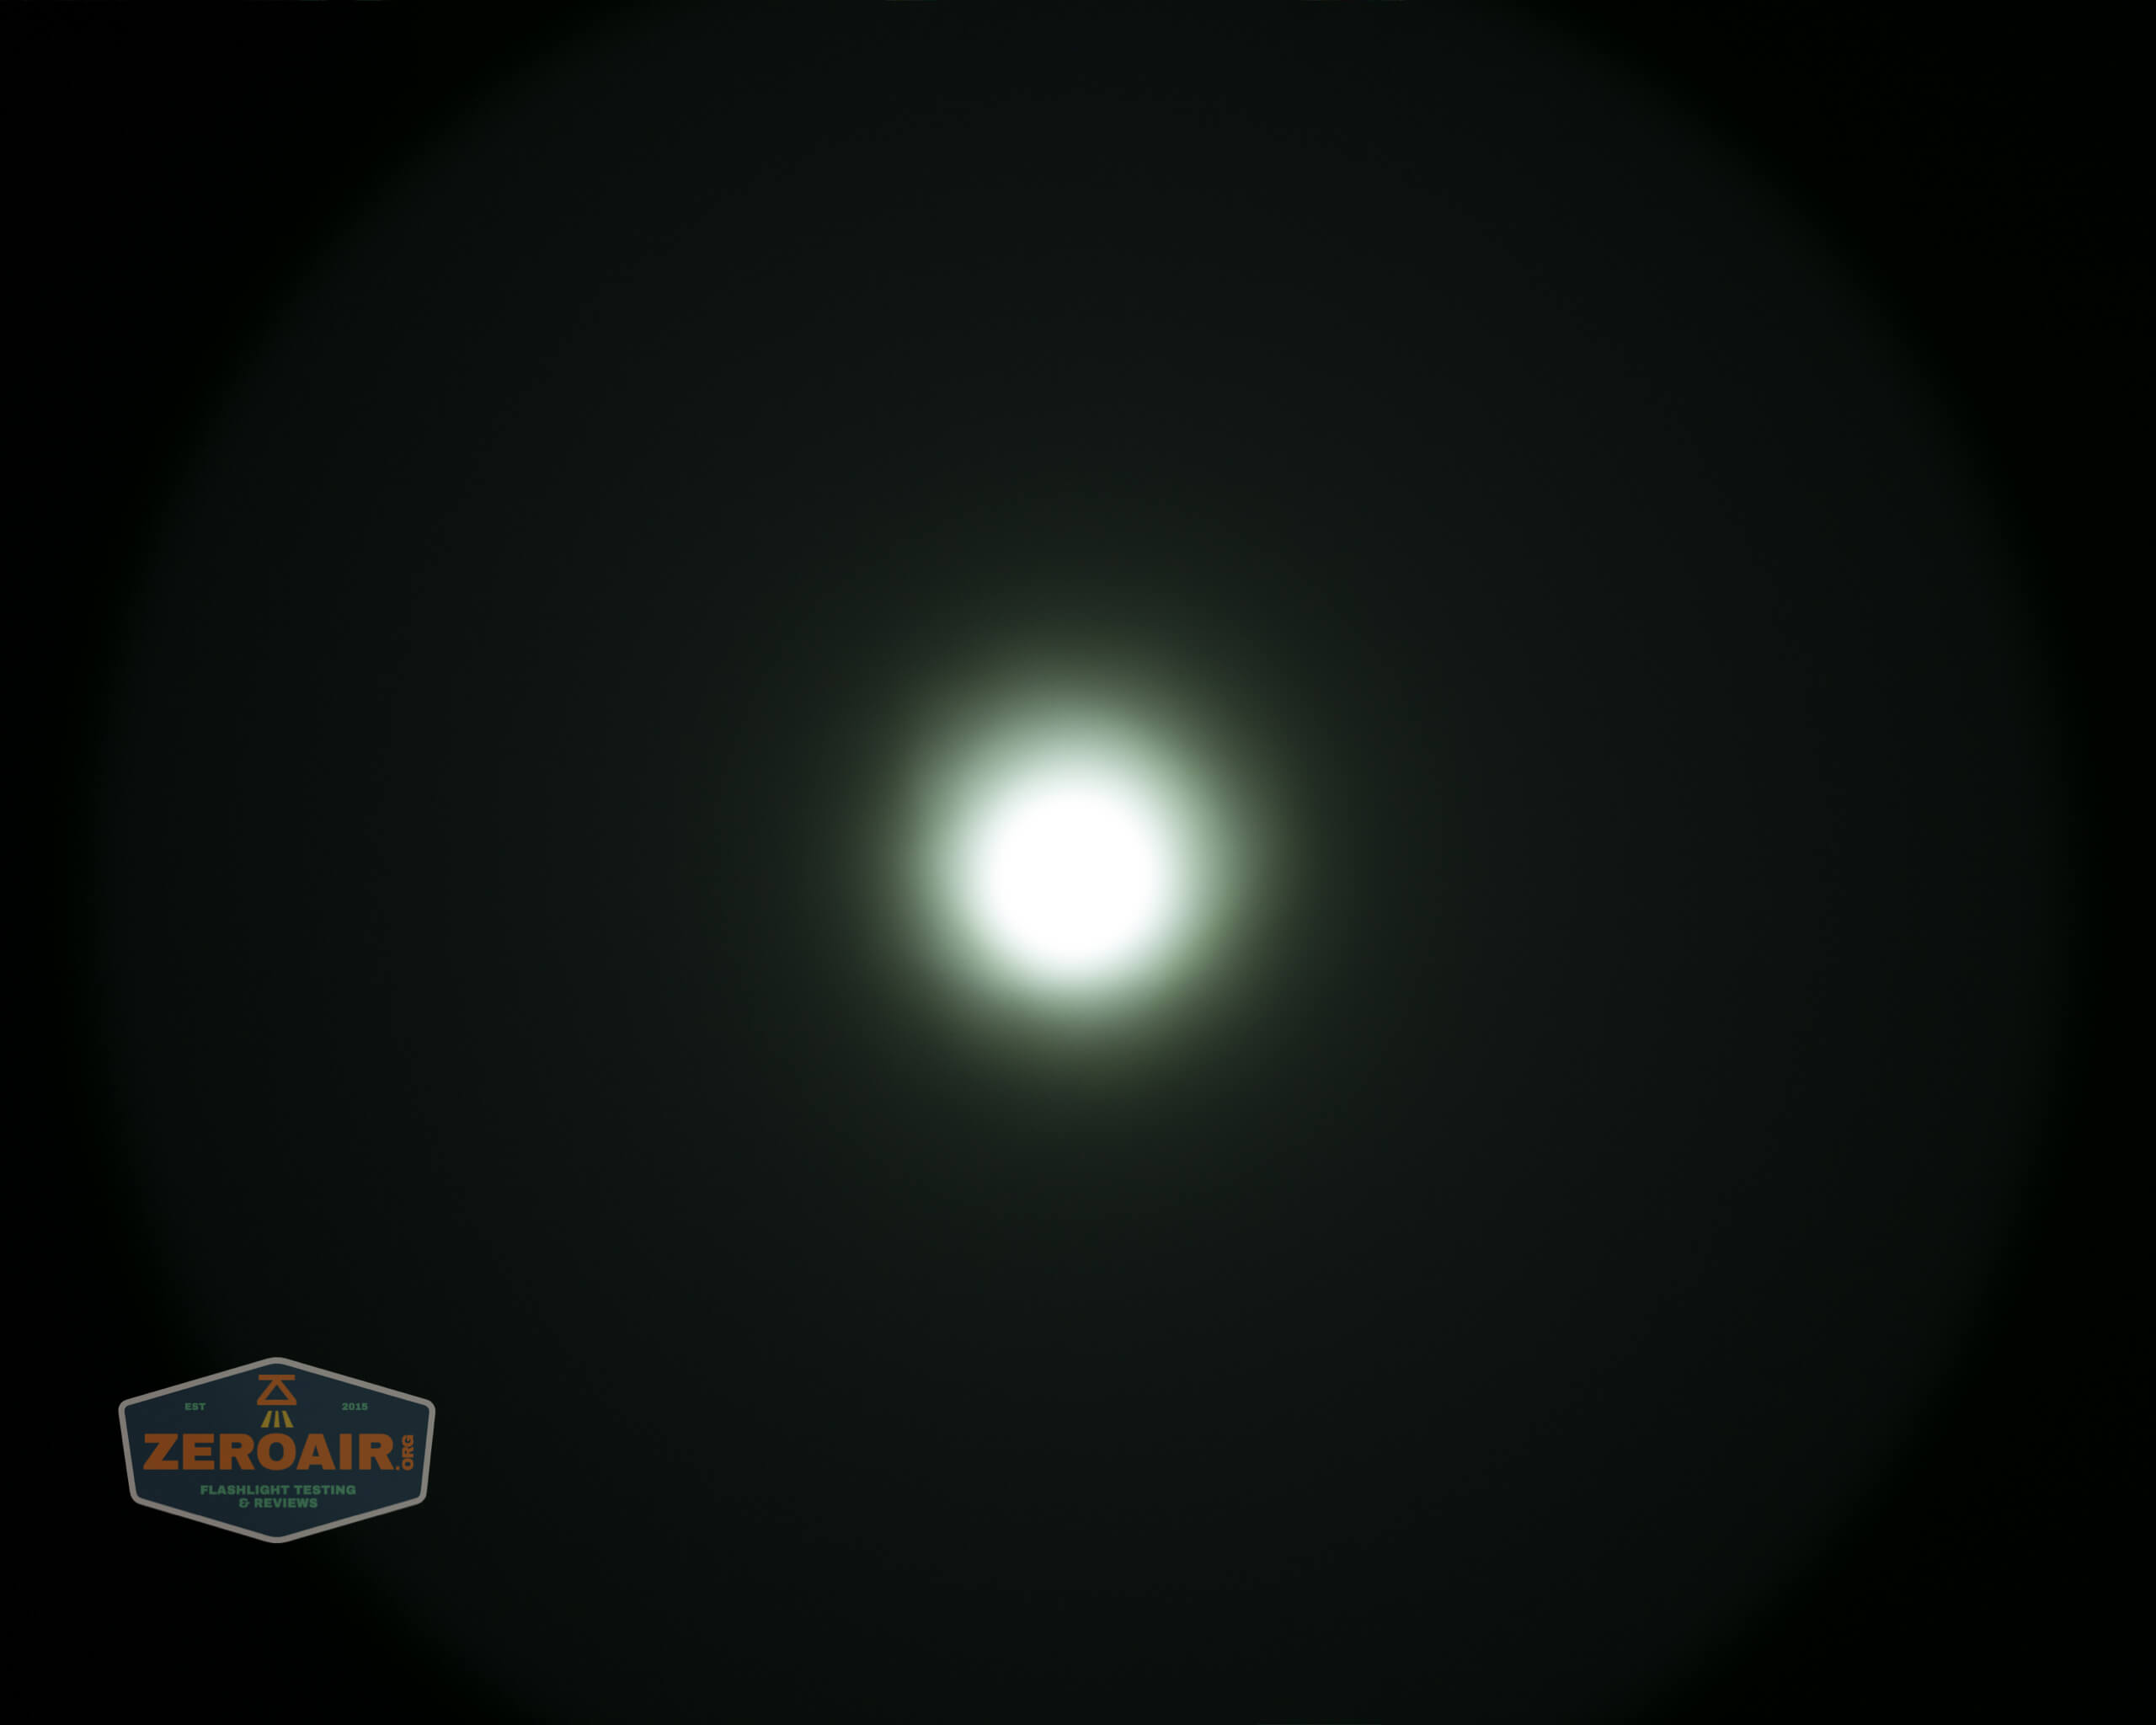
Flood:


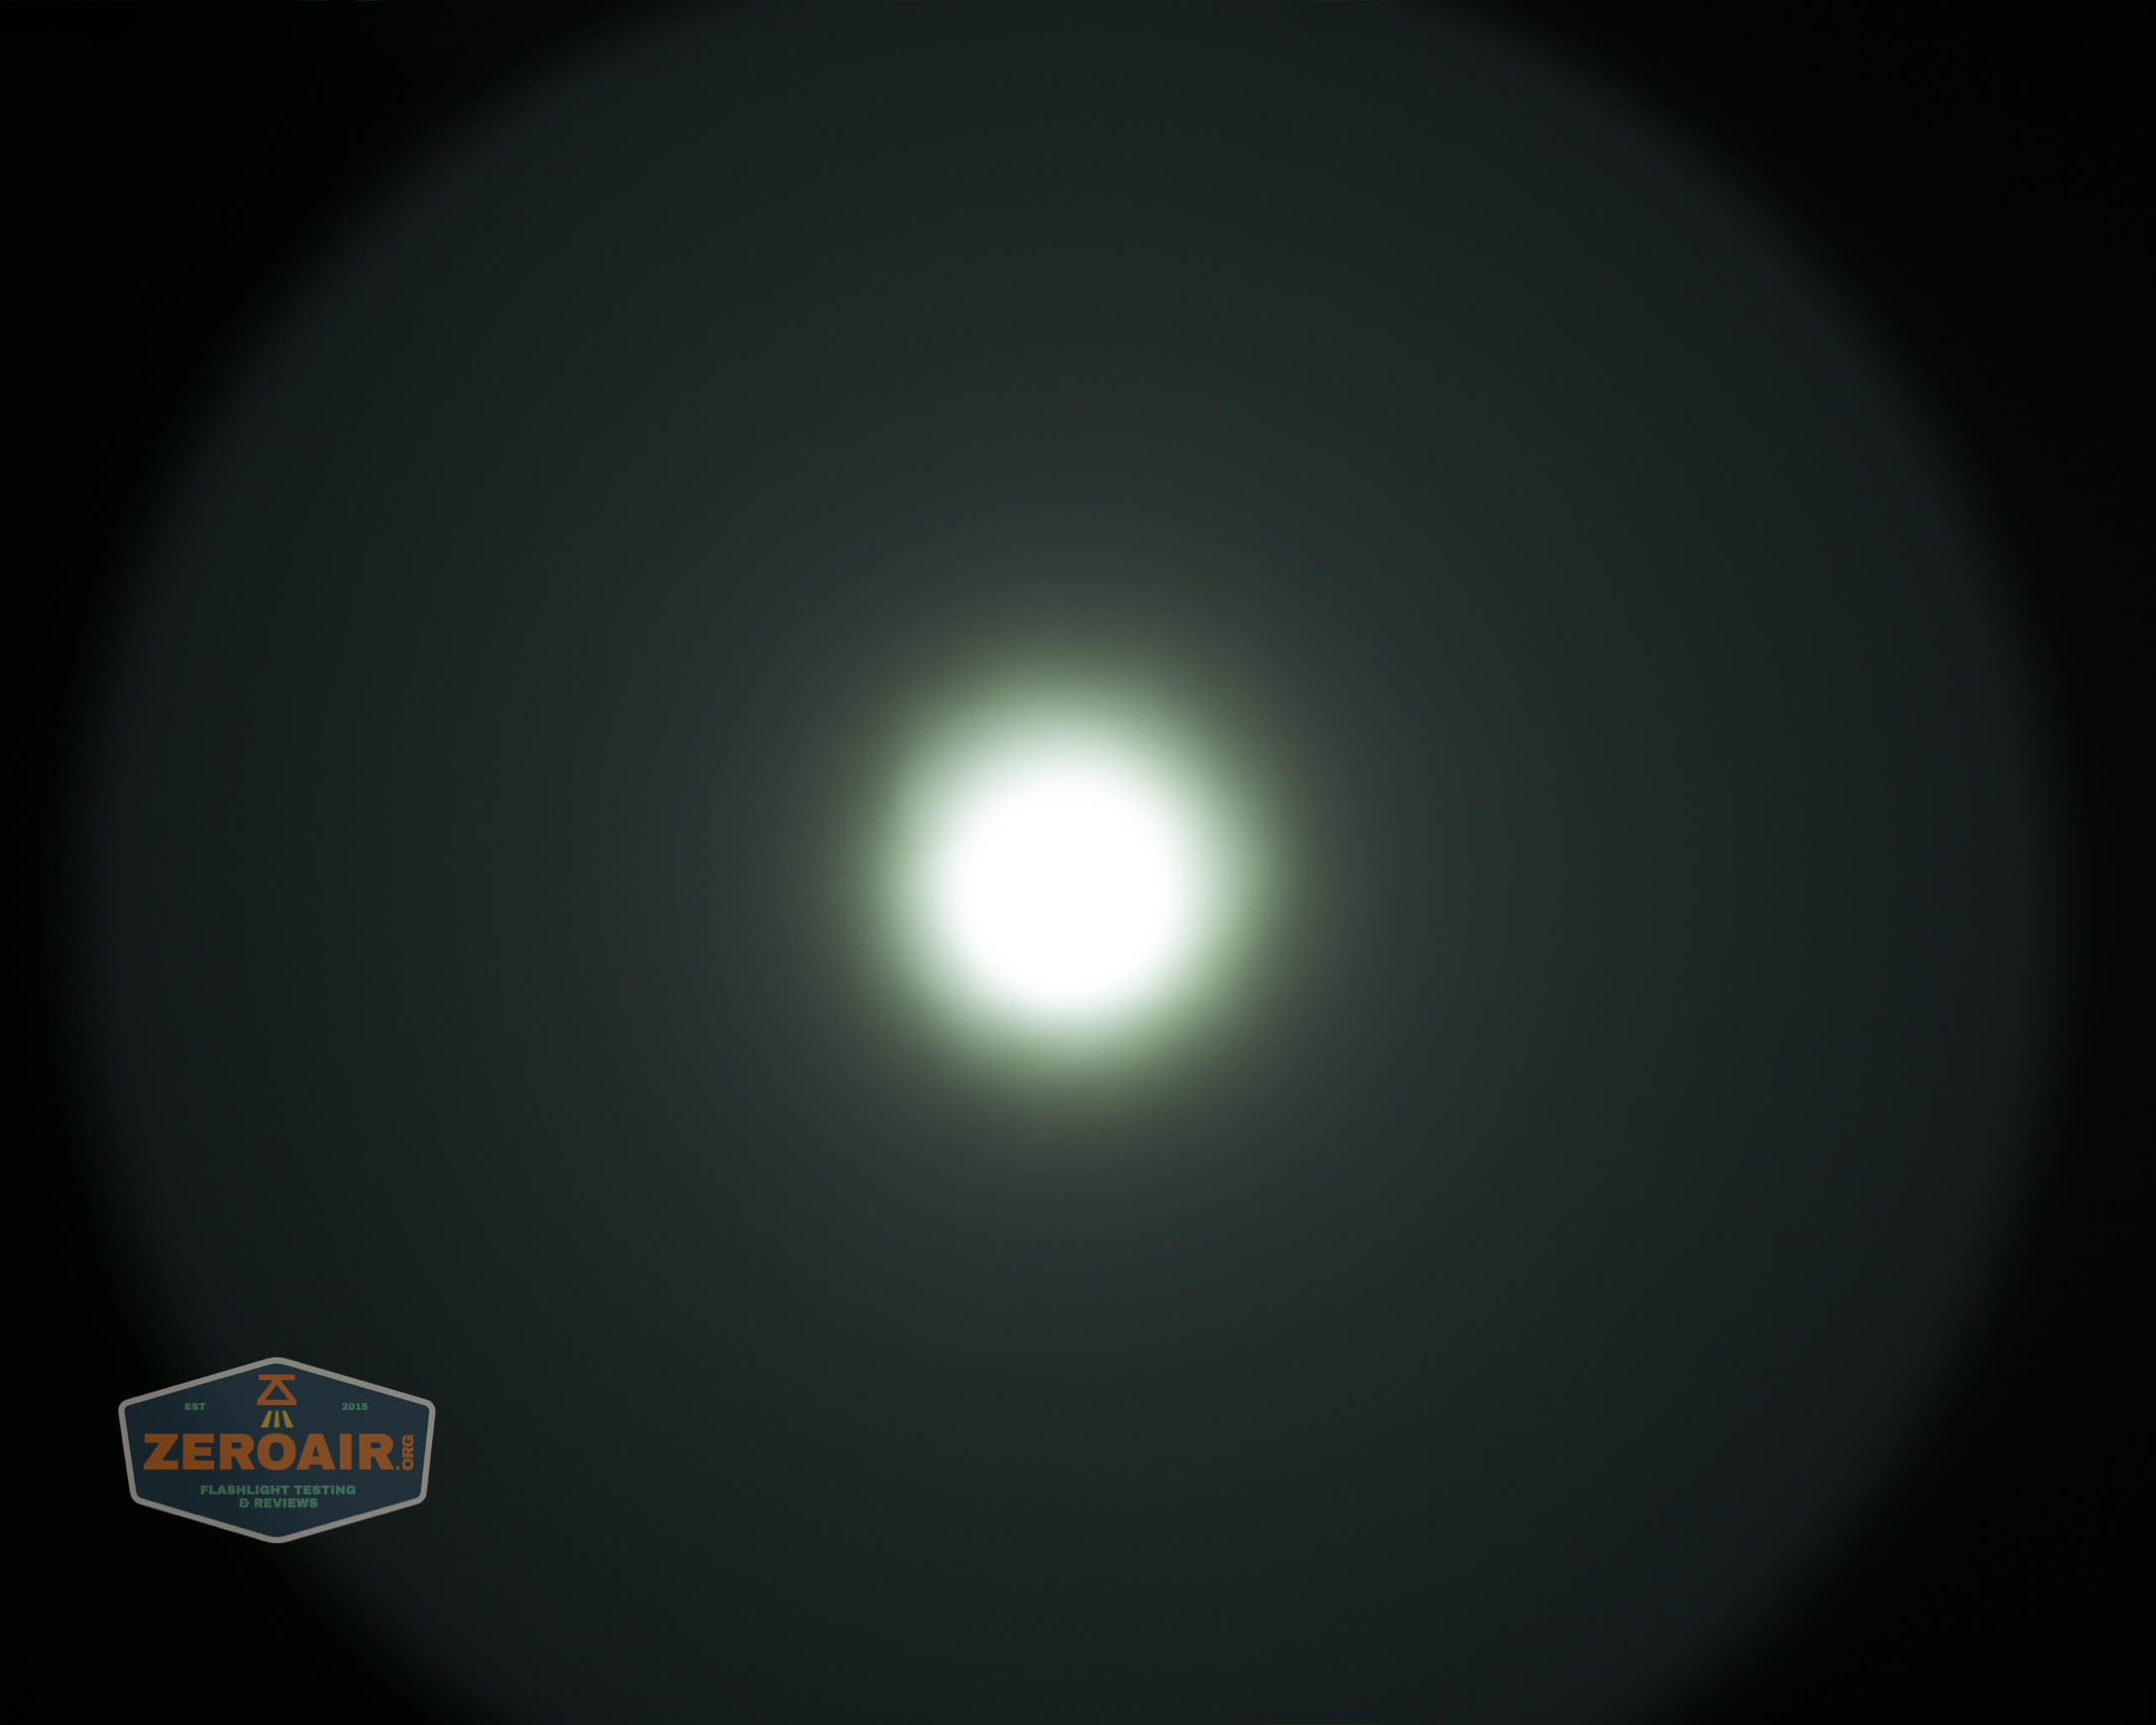
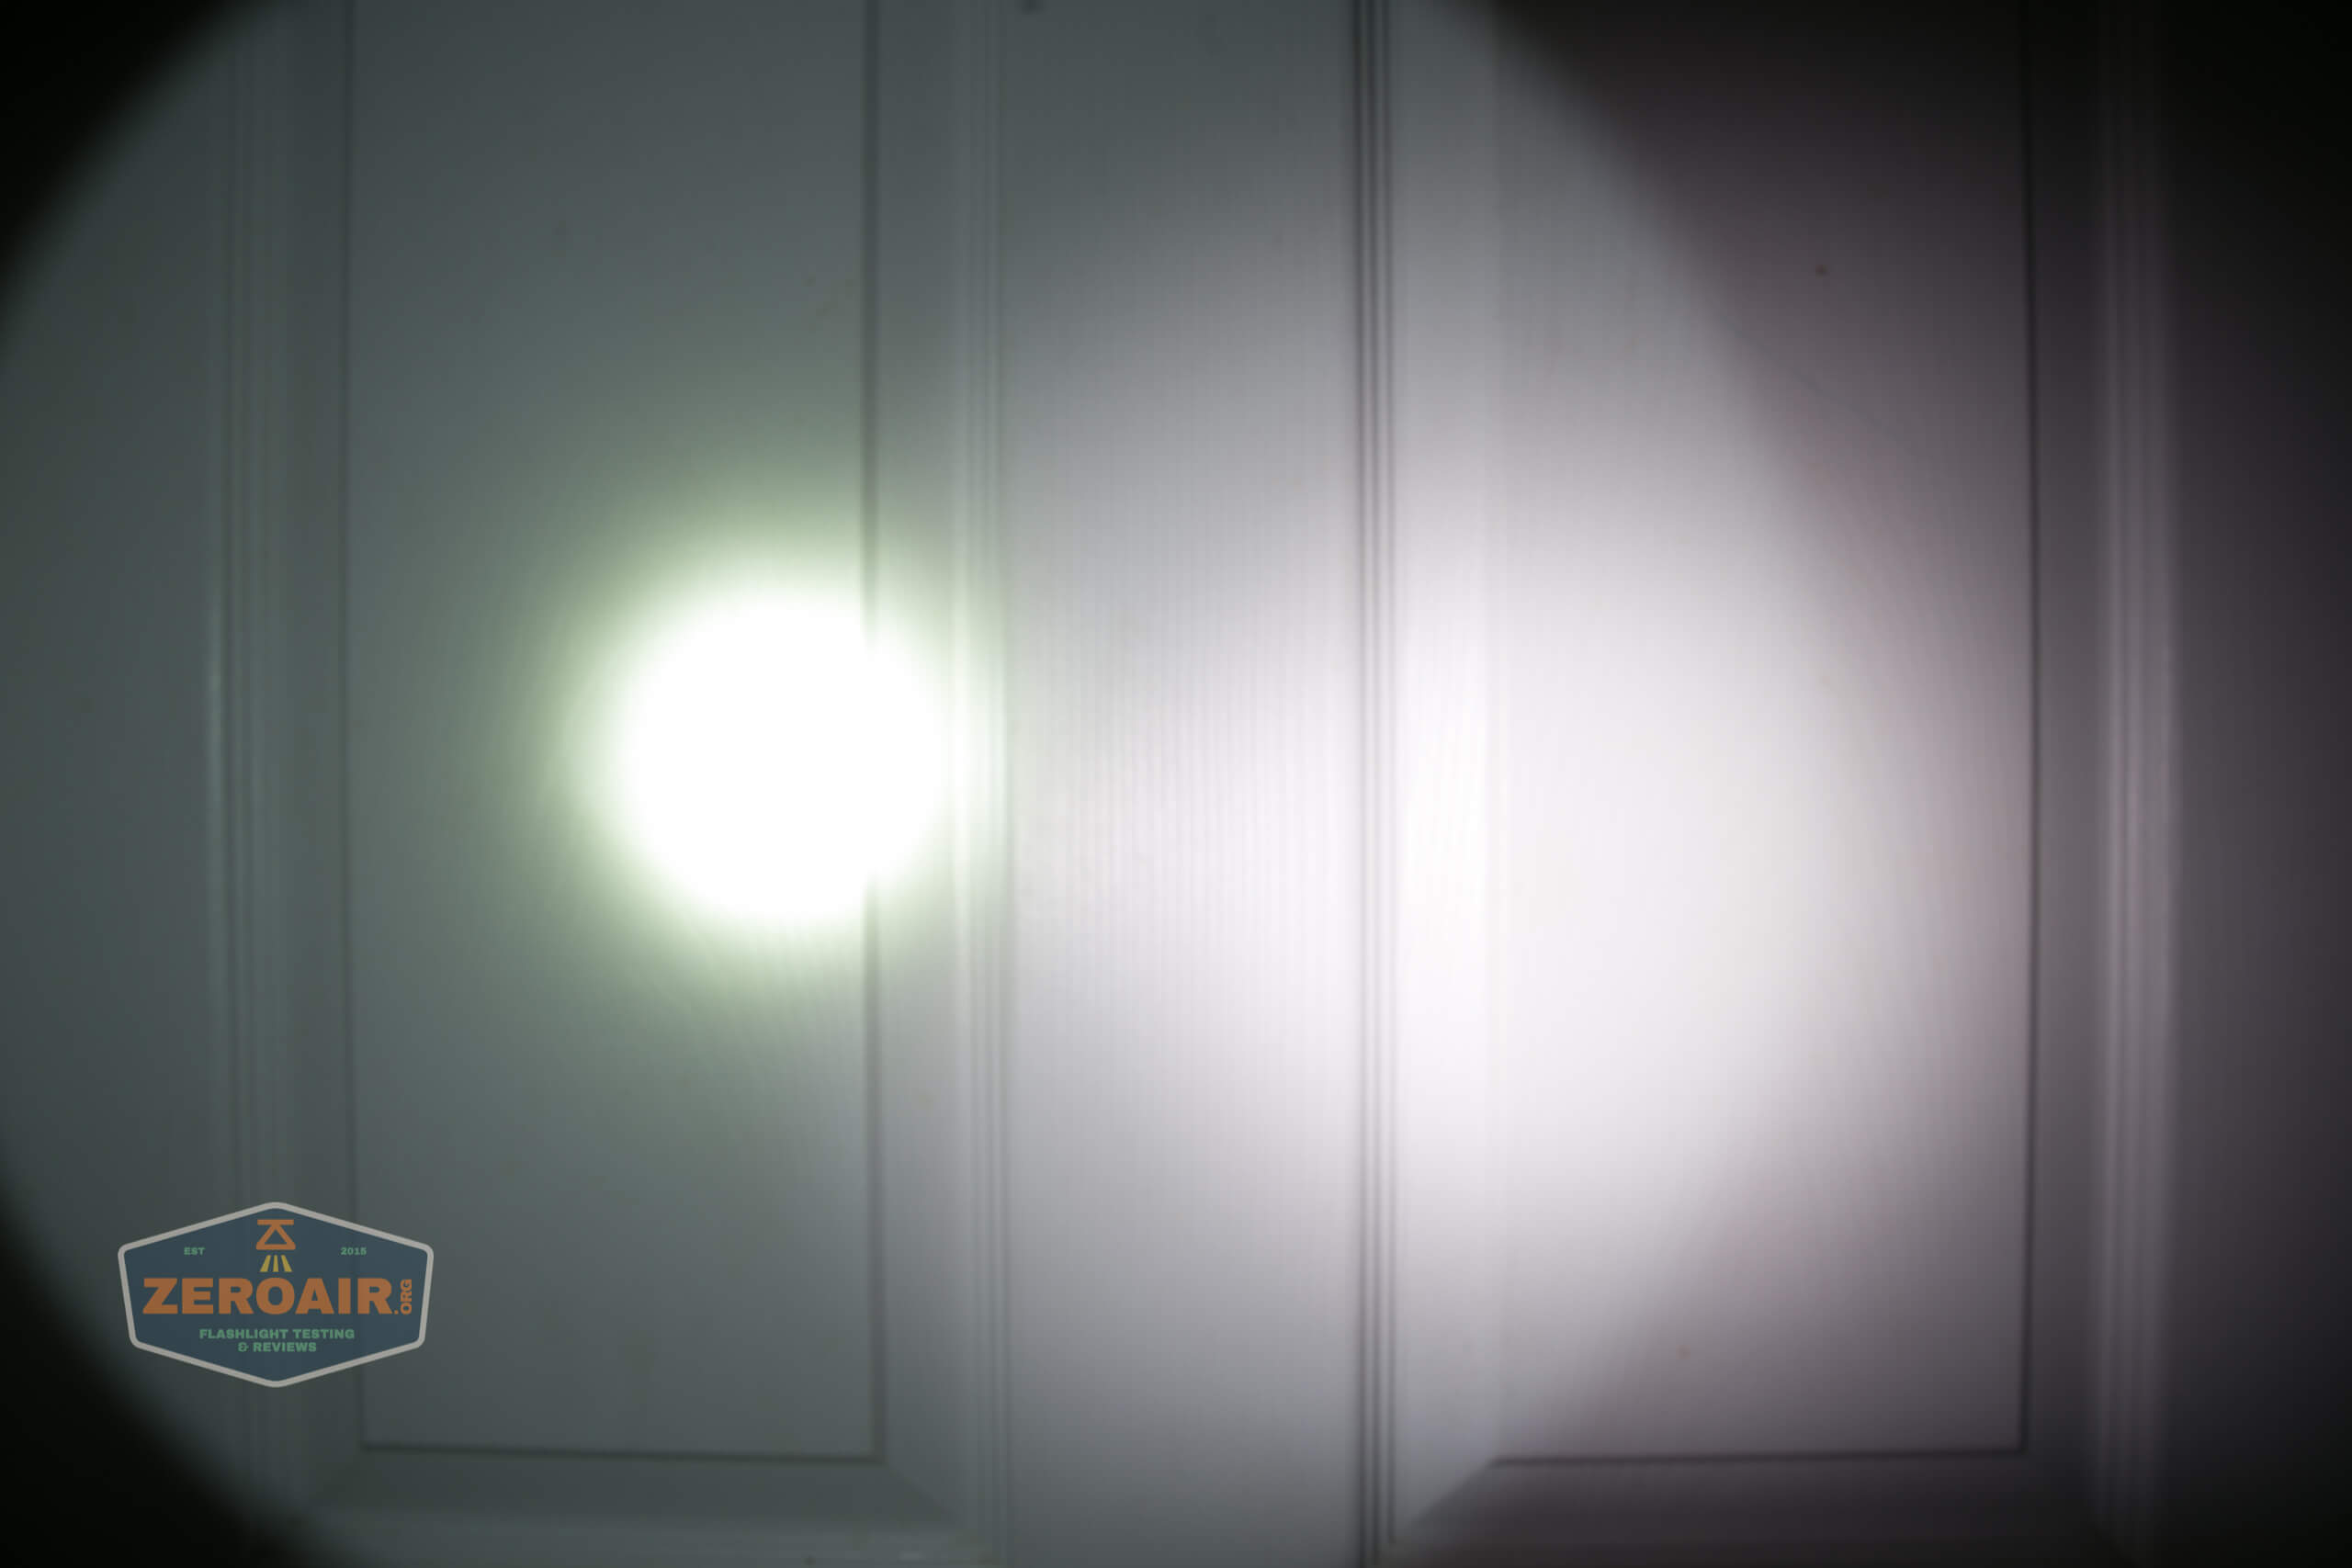
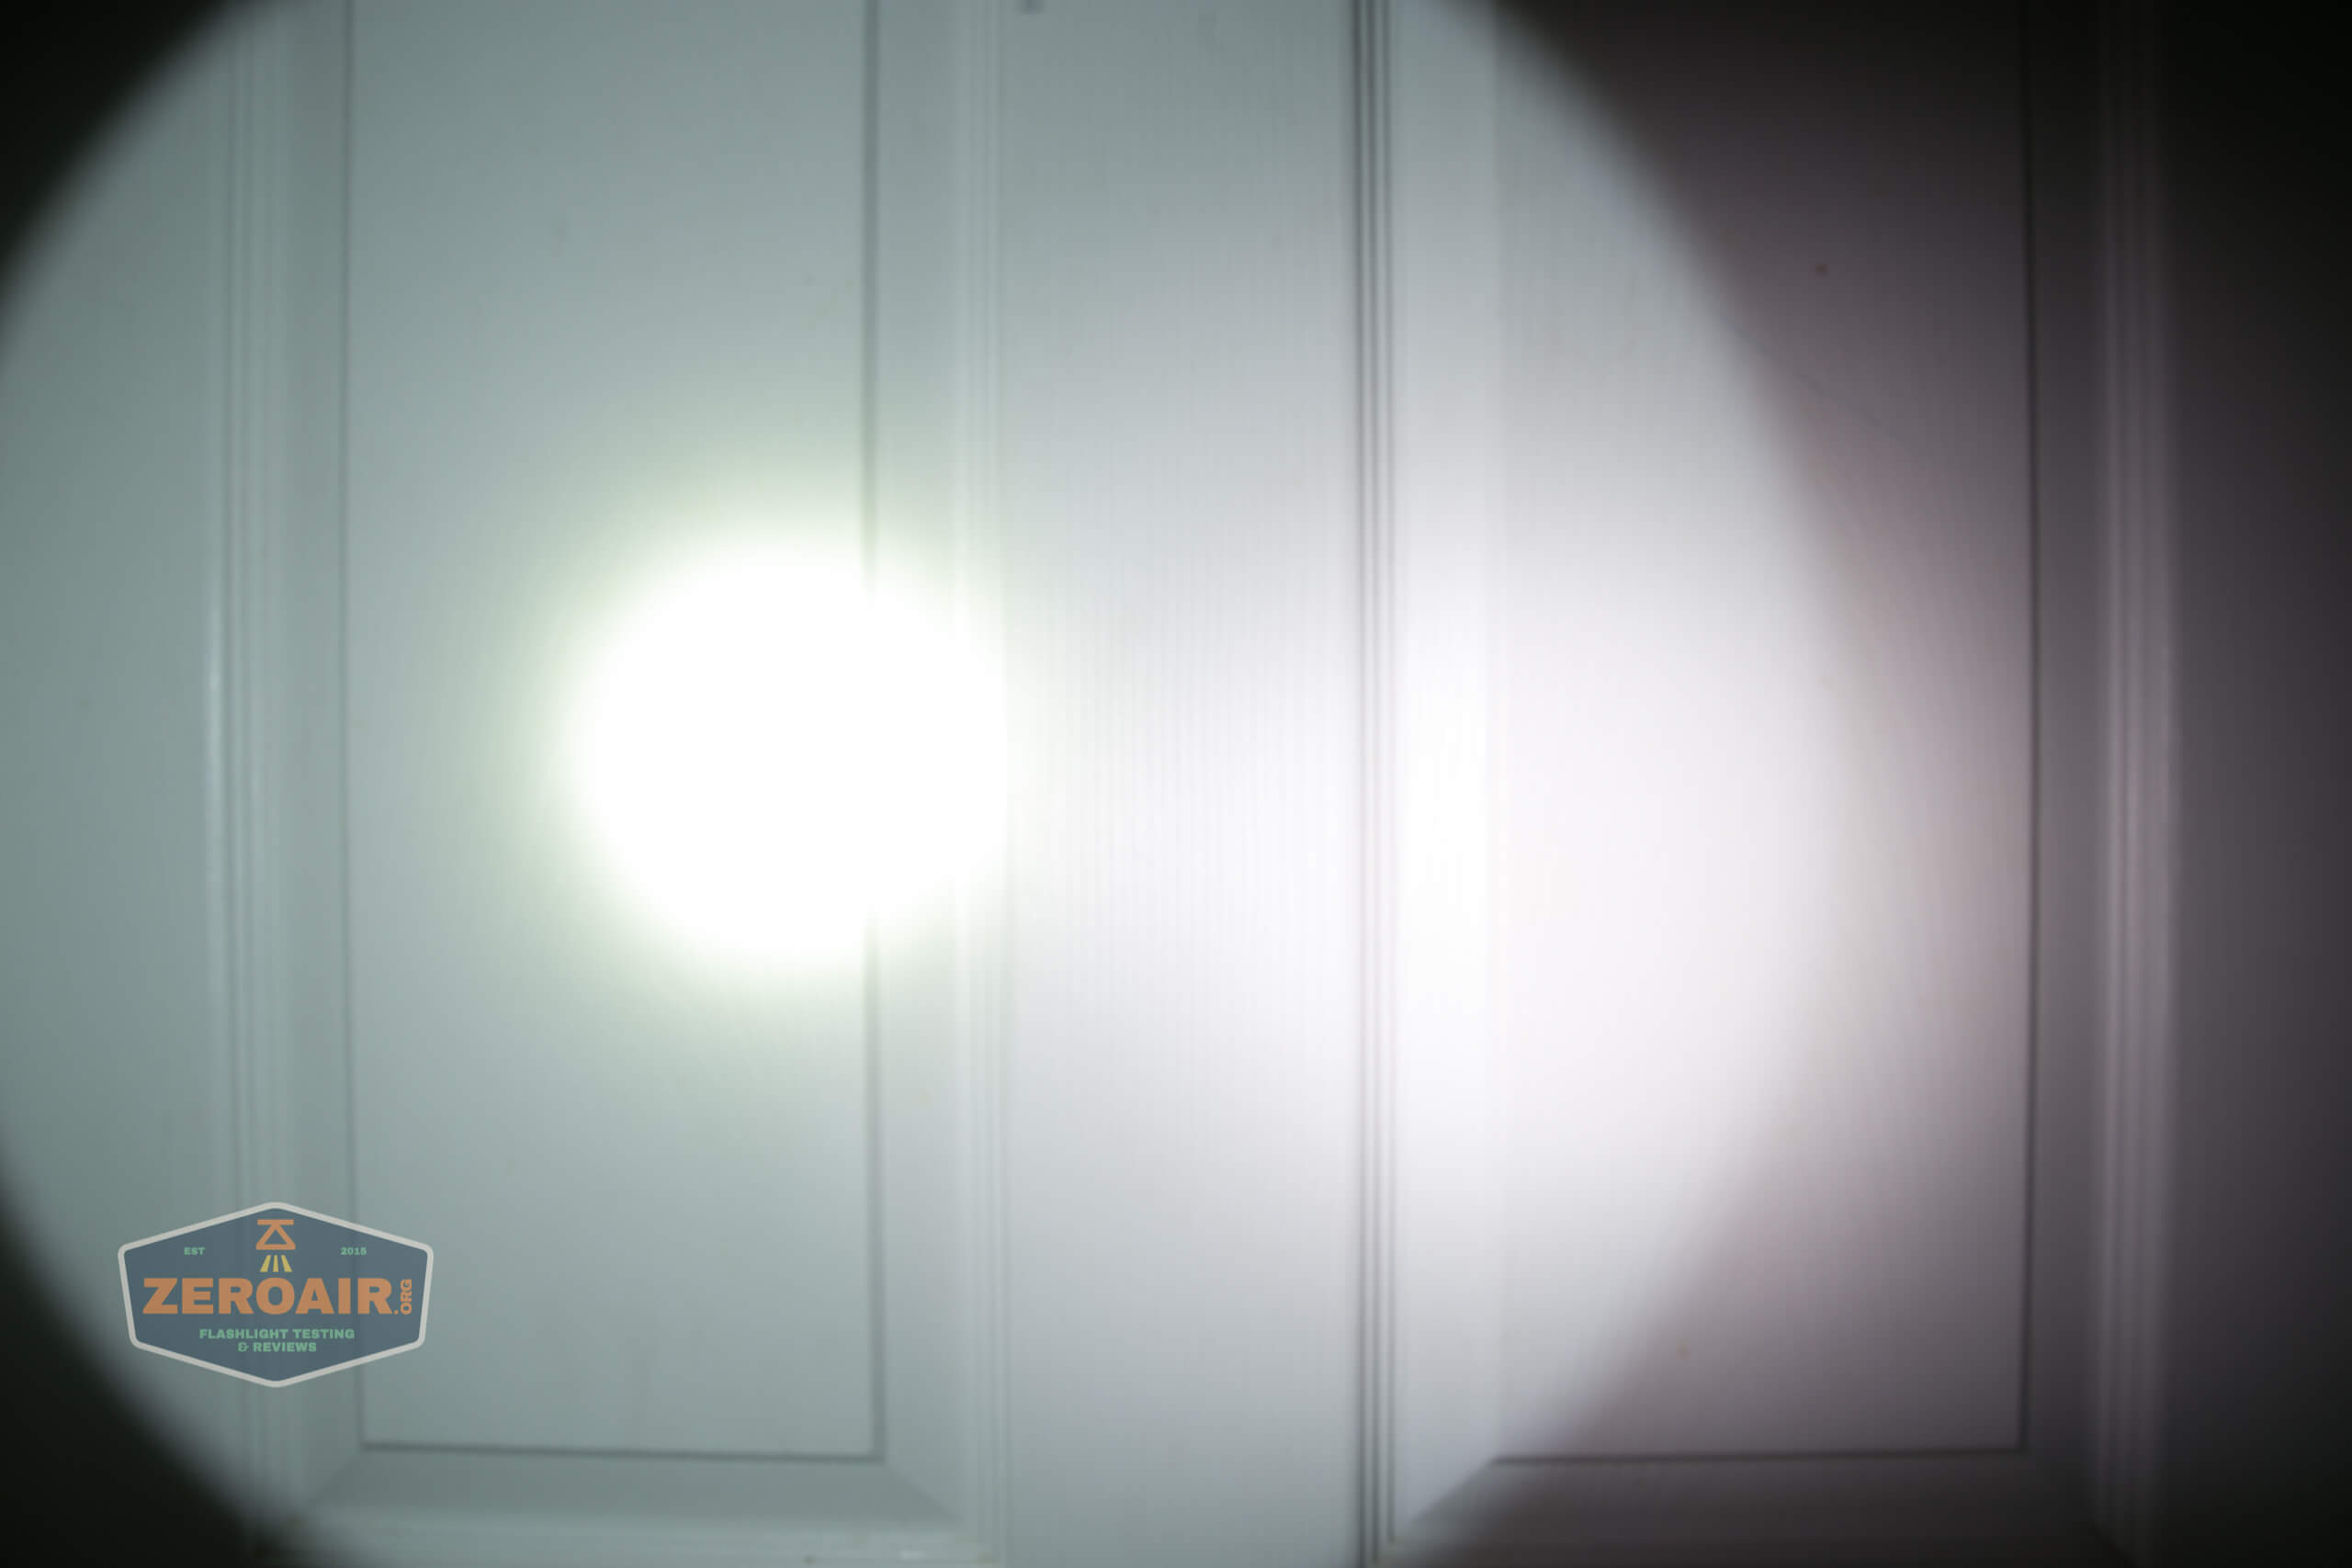
Both:


Tint vs BLF-348 (KillzoneFlashlights.com 219b version) (affiliate link)
I keep the test flashlight on the left and the BLF-348 reference flashlight on the right.
Spot:
Flood:


Both:


I compare everything to the KillzoneFlashlights.com 219b BLF-348 because it’s inexpensive and has the best tint!
Conclusion
What I like
- So many features.
- Seriously so many features.
- The features that are included are all very well implemented.
- No PWM
- USB-C Charging
- Great build quality
- Powerbank feature really versatile
- Very good charge port cover
What I don’t like
- Cool white emitters
- Somewhat confusing user interface (alternate phrasing: user interface requires memorization for some modes – it’s hard to just guess to get to the special stuff)
- Turbo is only available with the specialized (but included!) Fenix branded battery pack
Notes
- This light was provided by Fenix-Store.com for review. I was not paid to write this review.
- This content originally appeared at zeroair.org. Please visit there for the best experience!
- Please use my Amazon.com referral link to help support zeroair.org!
Discover more from ZeroAir Reviews
Subscribe to get the latest posts sent to your email.
Pingback: Olight Marauder 2 Blue Flashlight Review - ZeroAir Reviews
Pingback: Flashlight News: Phreaky Briefing Issue 41 – PhotonPhreaks