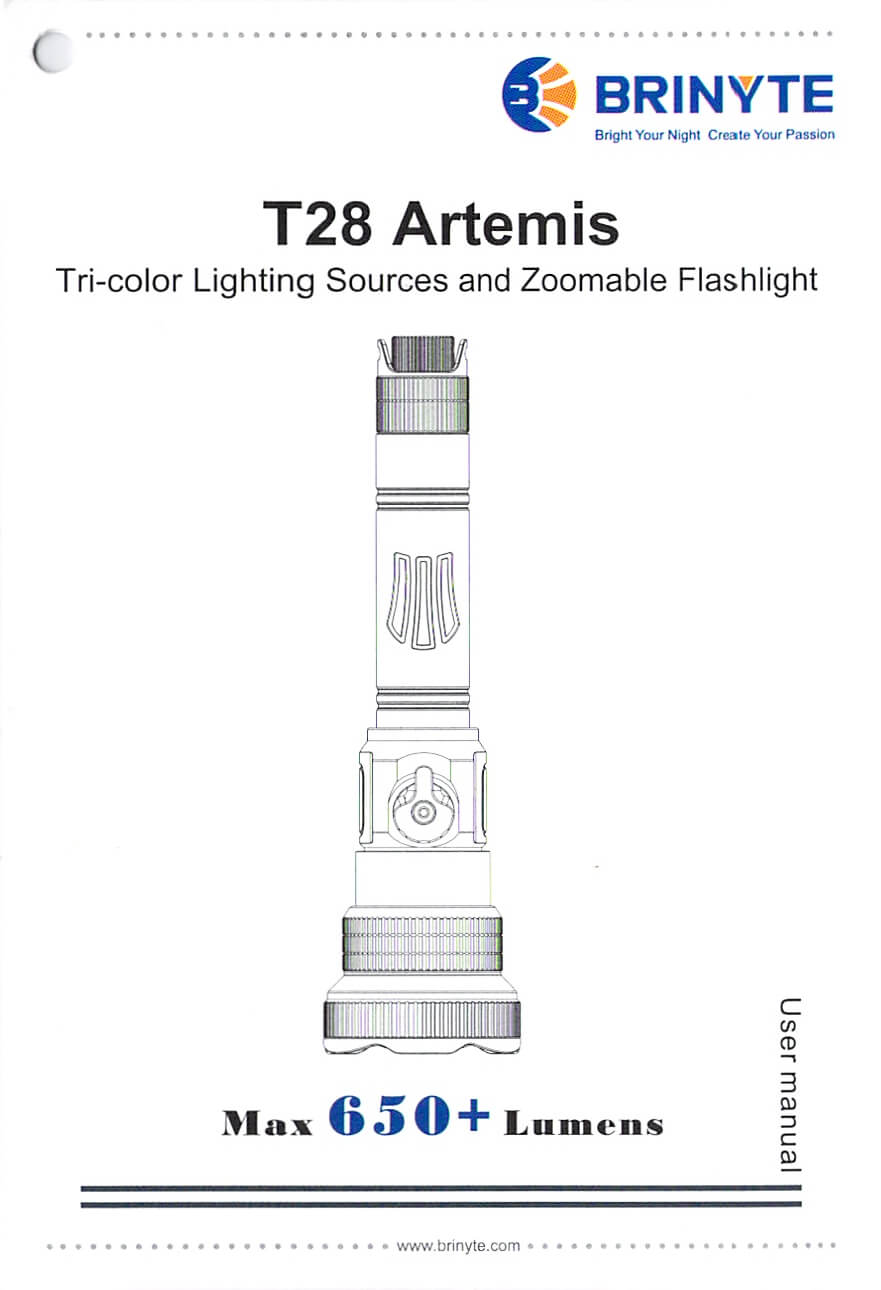
Brinyte T28 Artemis Flashlight Review
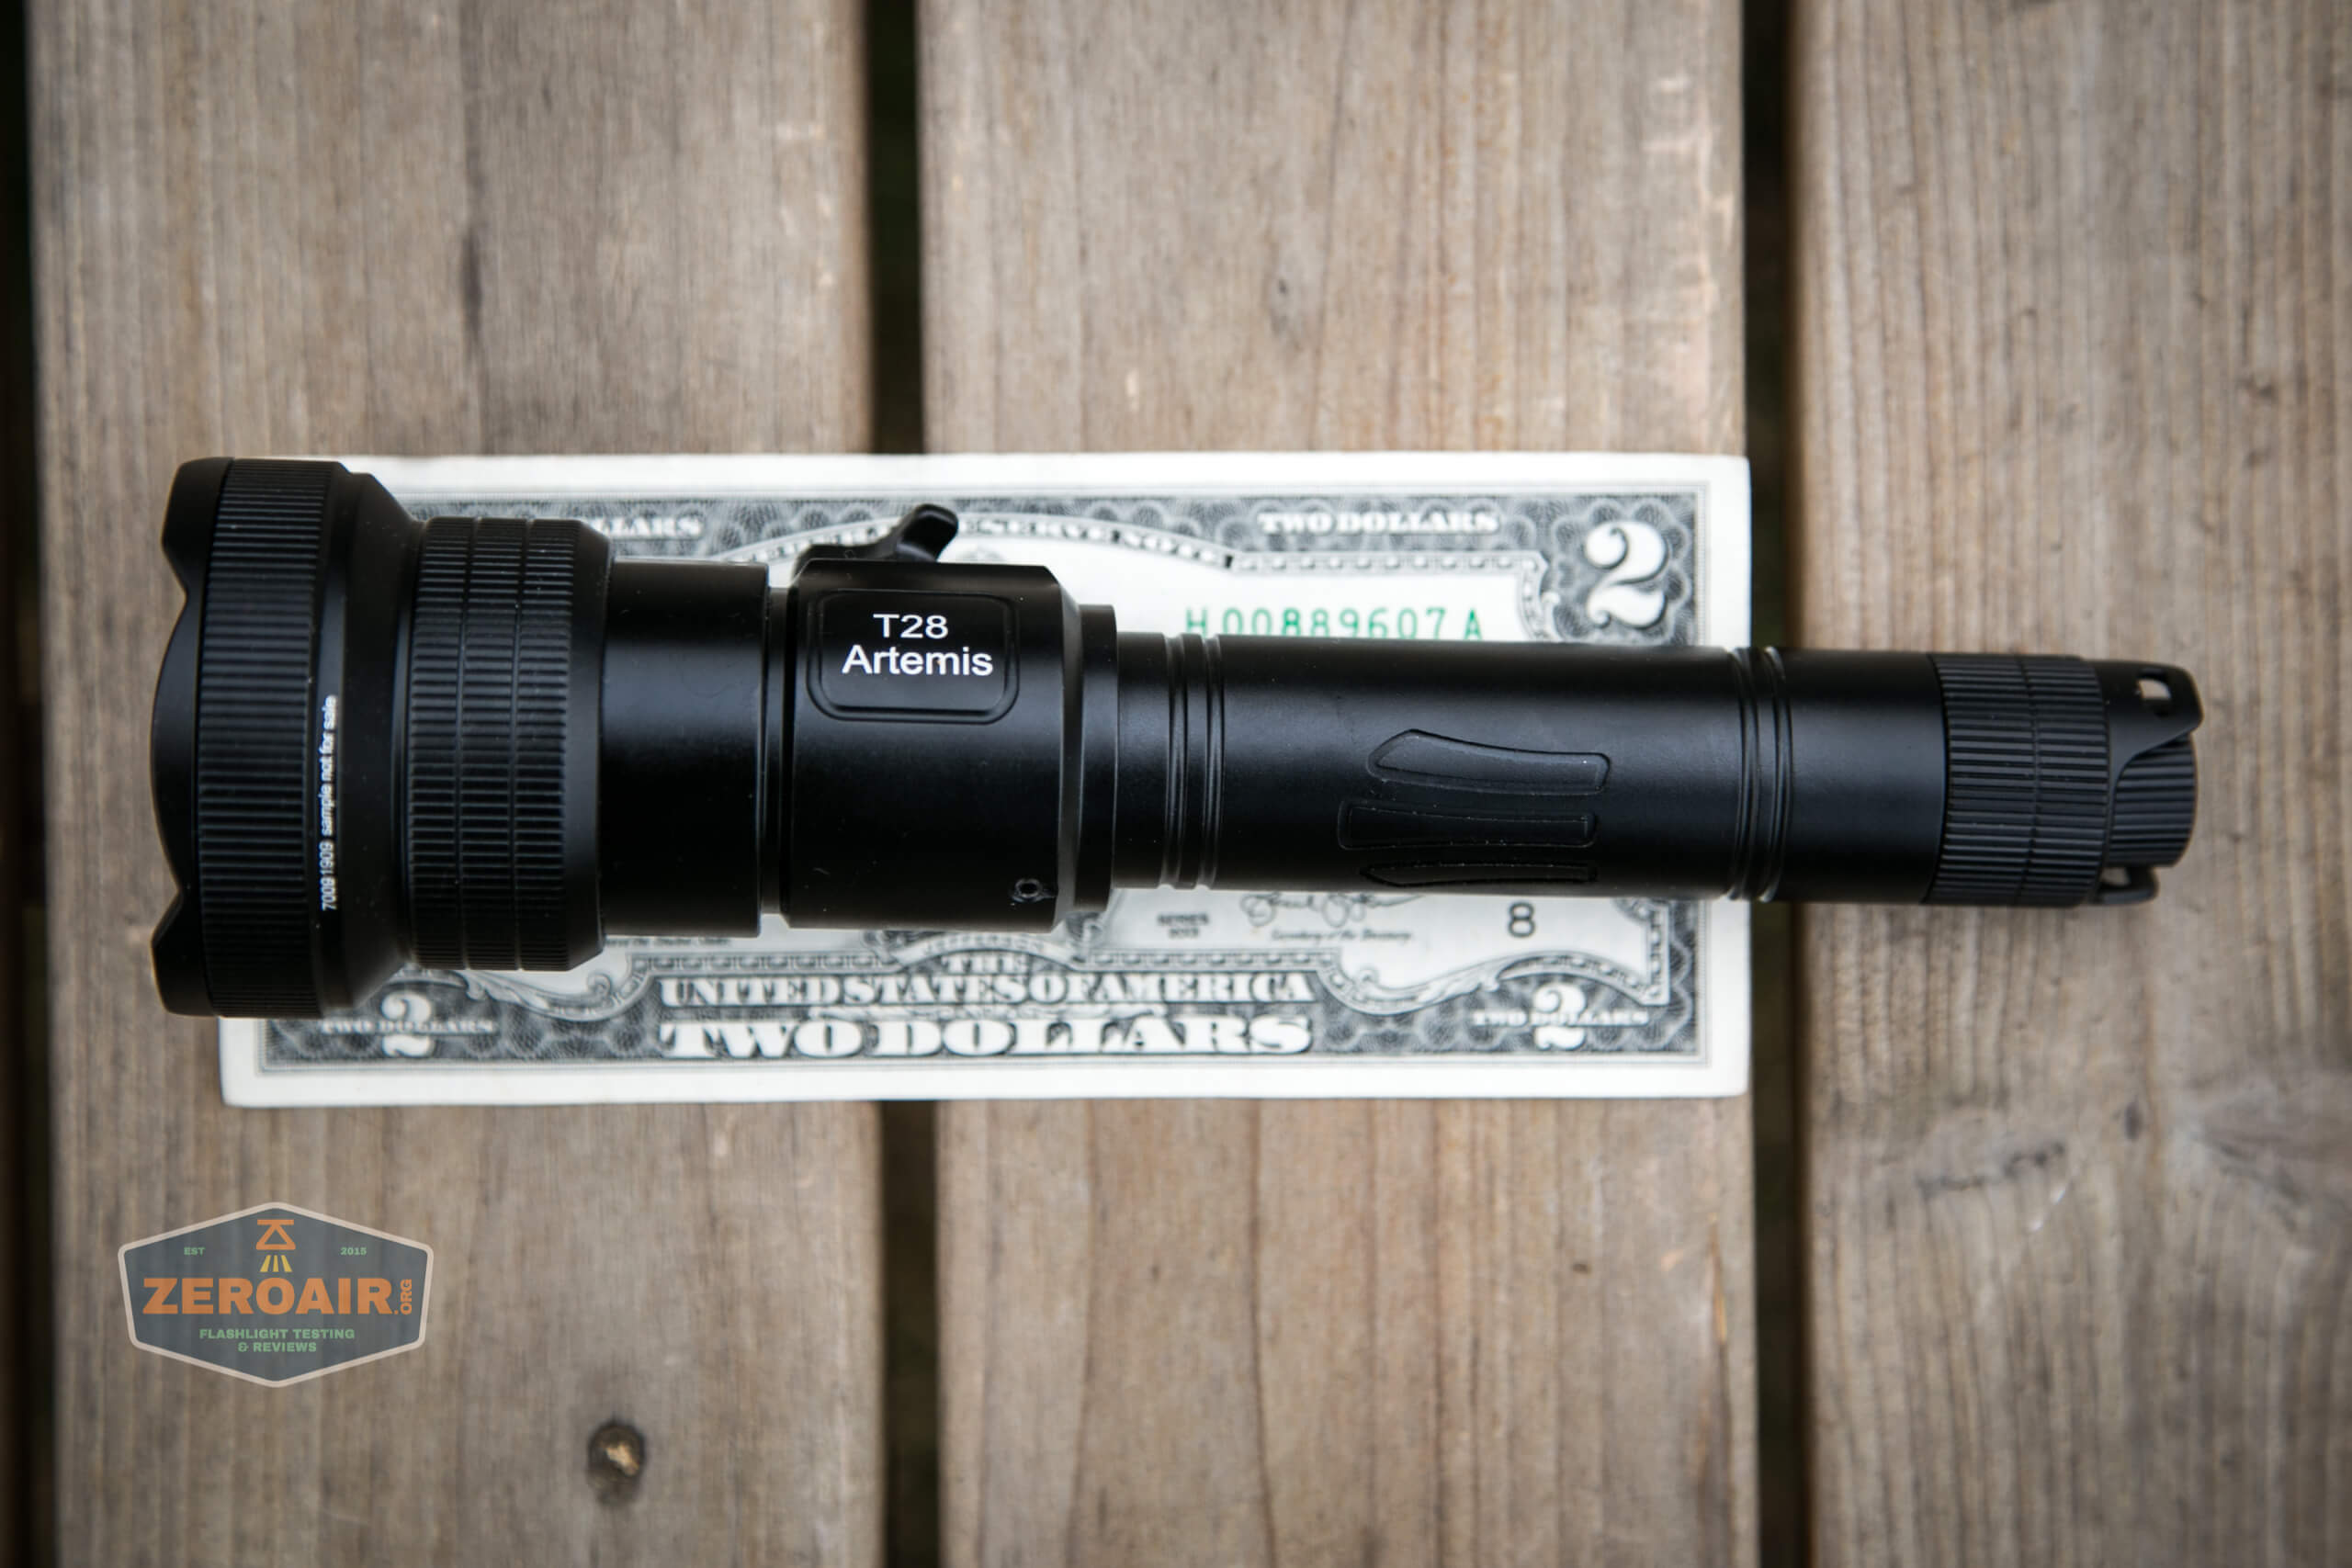
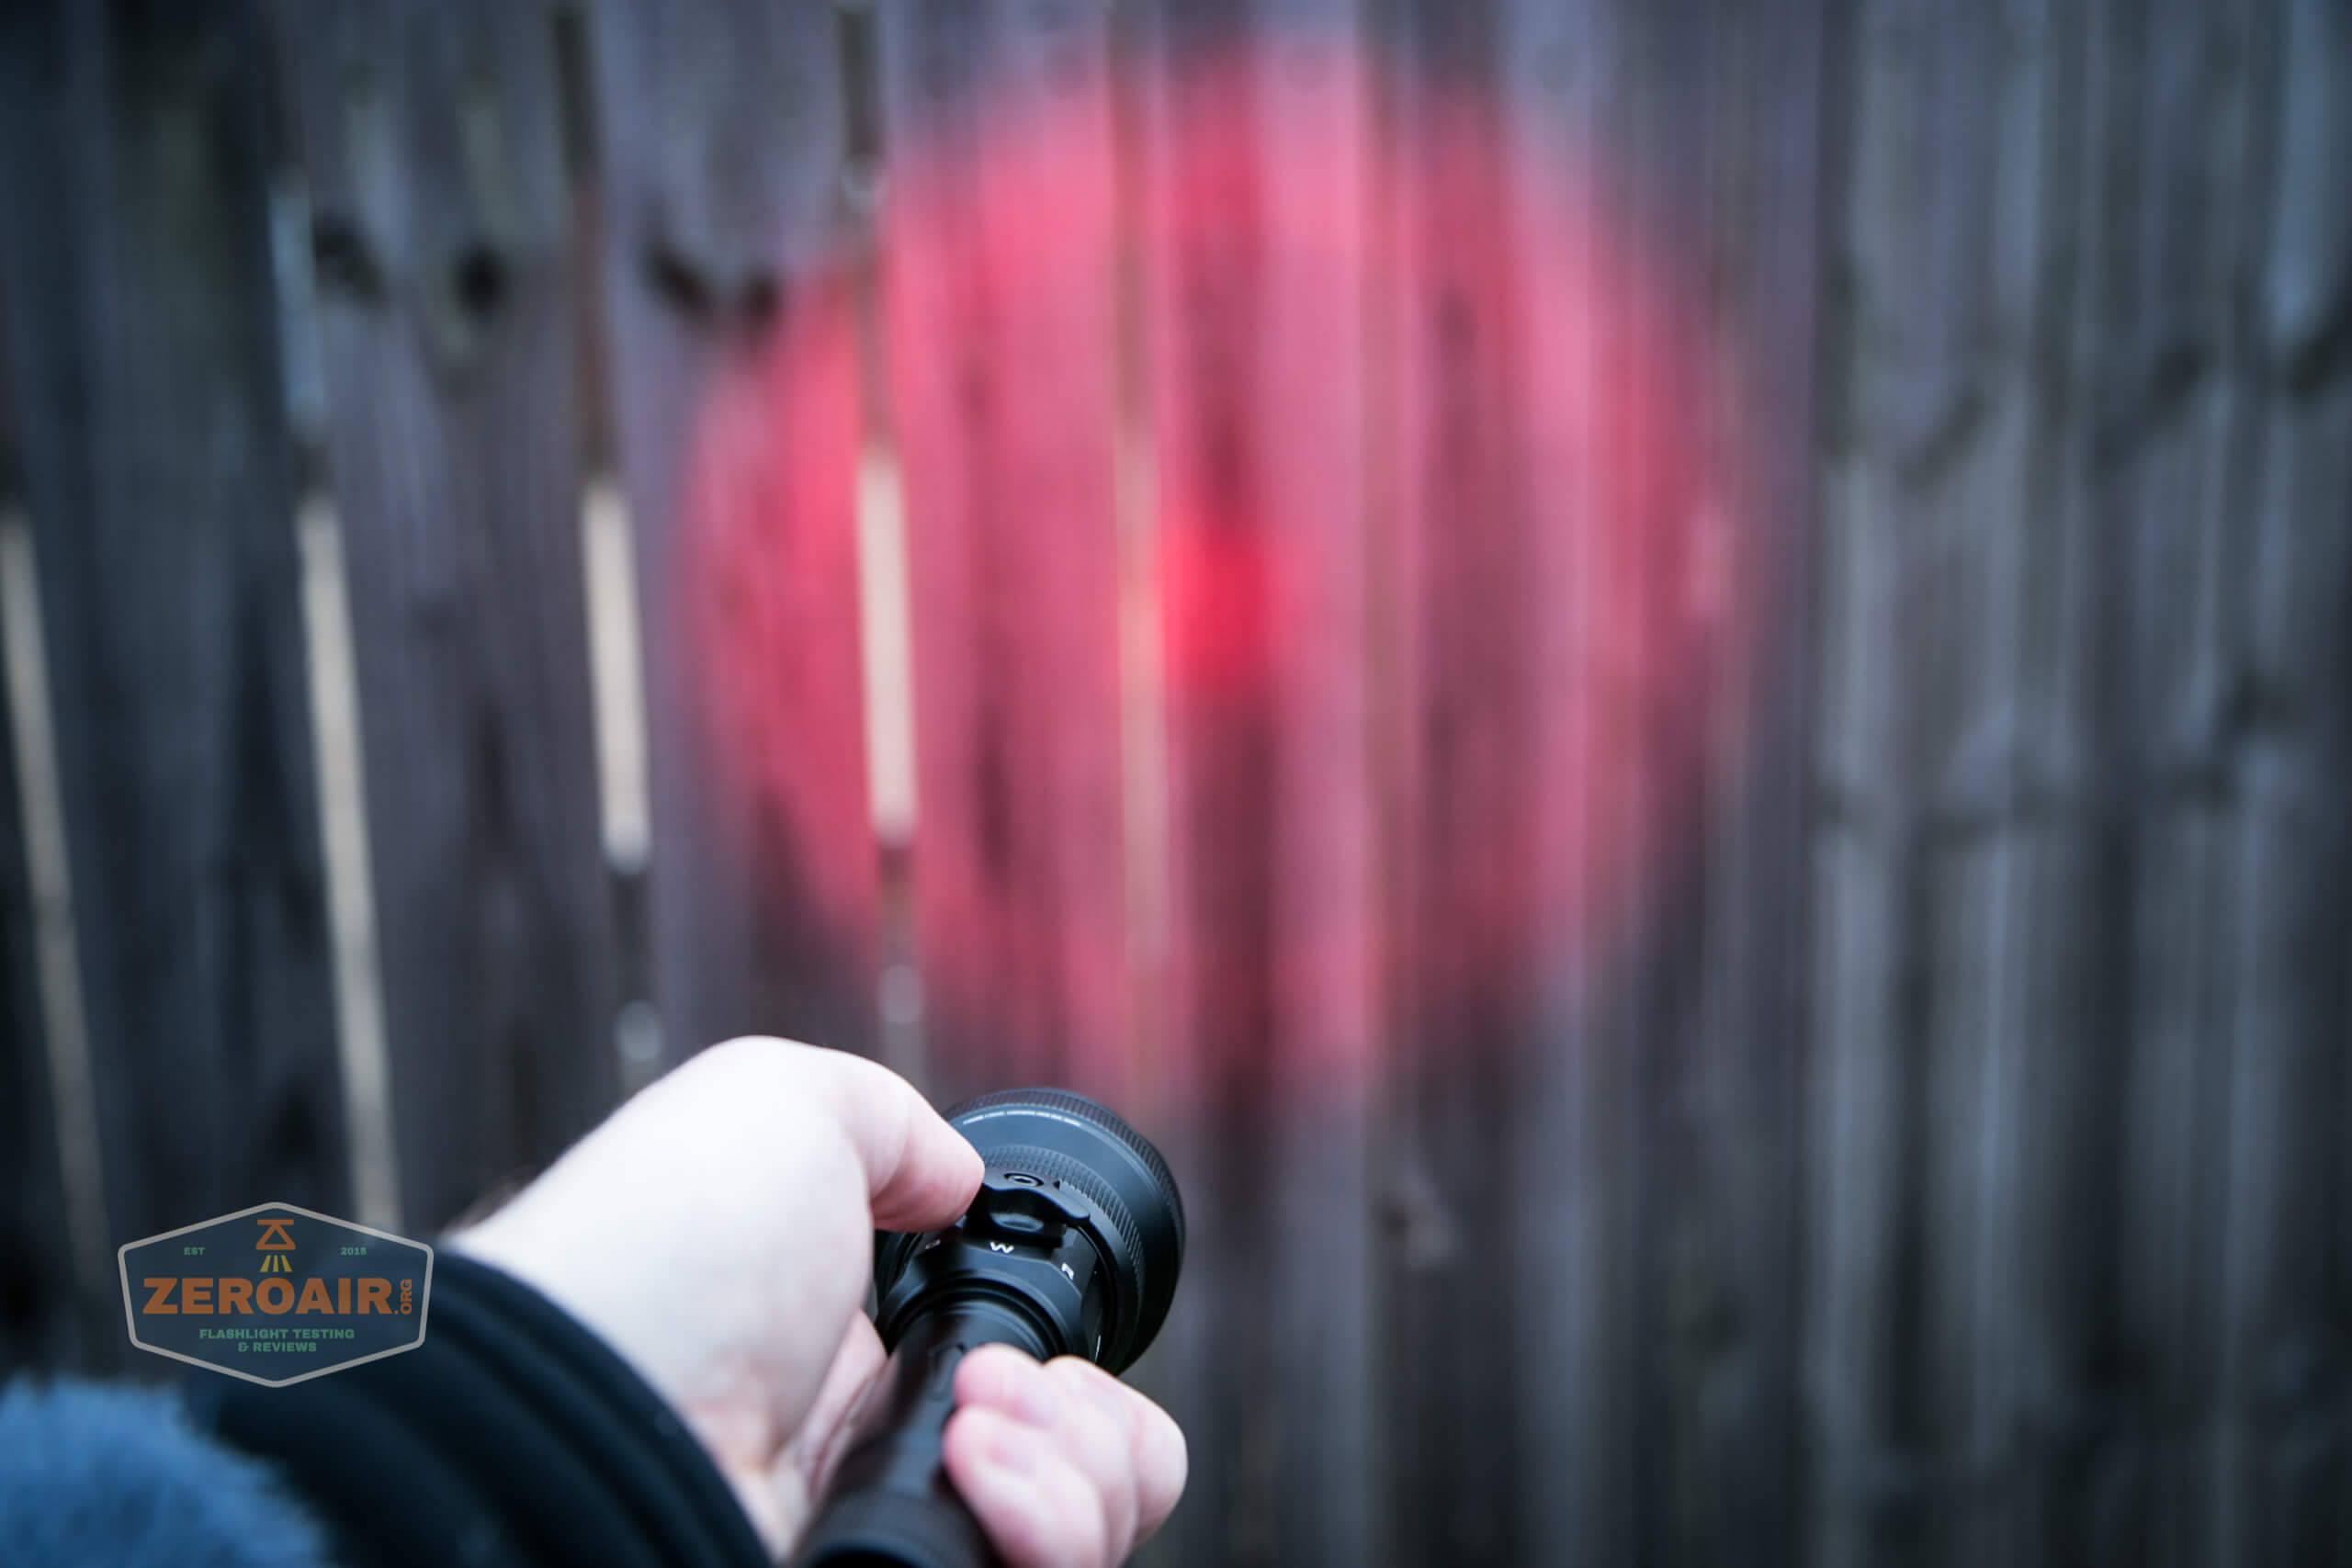
Today I have the Brinyte T28 Artemis Zoomy flashlight – one I asked specifically for. It seems very interesting because it has red and green selectable (without attachments) and is also zoomy!
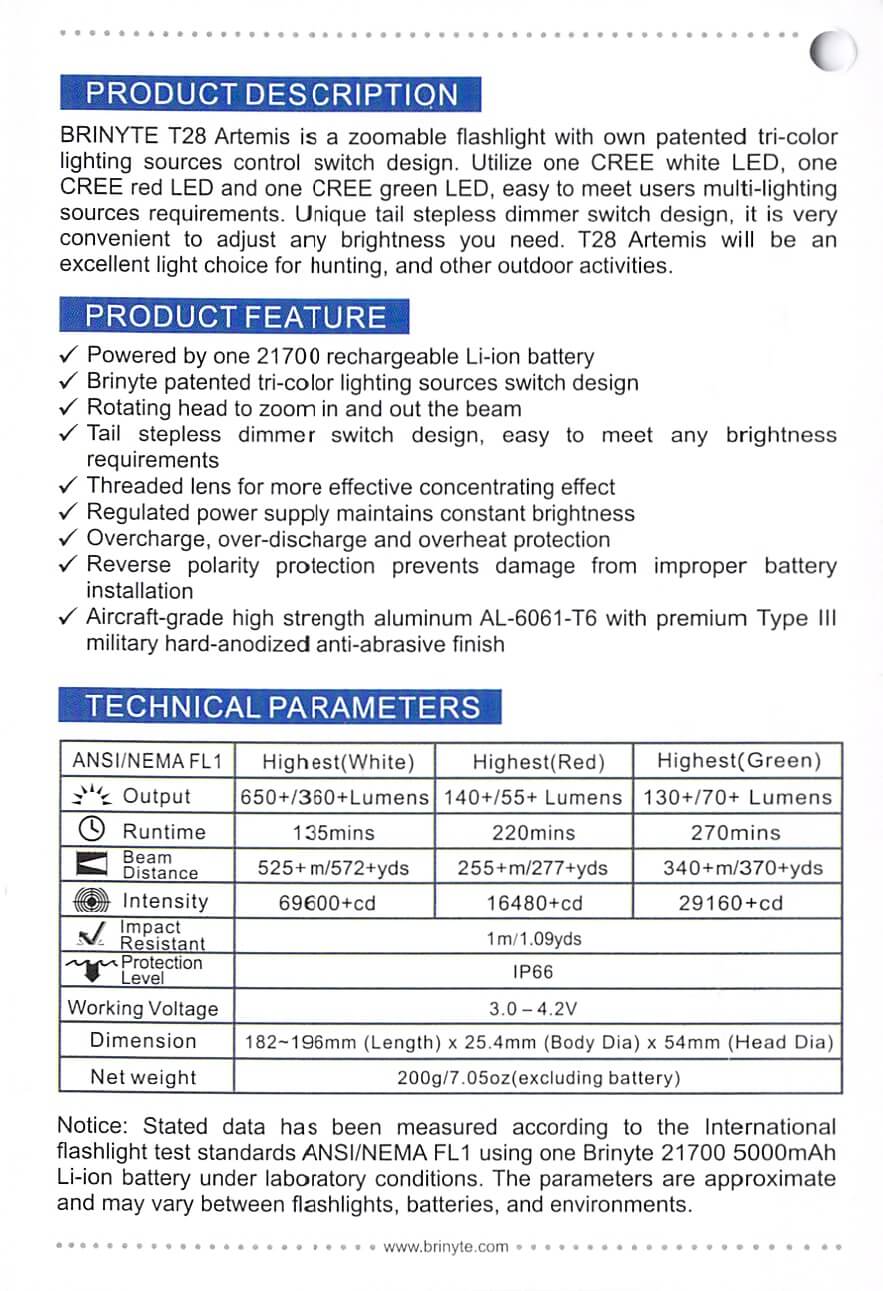
Official Specs and Features
Here’s a link to the official product page.
Versions
There are two versions of the Brinyte T28 Artemis Zoomy flashlight. First is the one you see here, with red, green, and white emitters. There’s a second model which has White/IR850/IR940.
Price
The price for these two models isn’t the same. For the model seen here, you’ll pay $149.97. The version with IR is $20 more, at $169.97.
Short Review
Let me say upfront that Brinyte was clear that the Brinyte T28 Artemis Zoomy is not a light aimed at enthusiasts like myself (and probably yourself). They’re mainly right, as I don’t use red or green lights and don’t need hunting lights. I don’t think they said this as a means of mitigating expectations, though. The truth is, there’s a lot of stuff here that’s quite nice, but a few things that I don’t care for (namely, the very slow PWM), and the zoomy beam profile. But the rotary switch is something I hope to see Brinyte use more, and the emitter selector is quite neat.
Long Review
The Big Table
| Brinyte T28 Artemis Zoomy Flashlight | |
|---|---|
| Emitter: | White (Zoom) |
| Price in USD at publication time: | 149.97 |
| Cell: | 1×21700 (included) |
| Runtime Graph | |
| LVP? | |
| Switch Type: | Rotary E-Switch |
| On-Board Charging? | Yes |
| Charge Port Type: | |
| Charge Graph | |
| Power off Charge Port | |
| Claimed Lumens (lm) | 650 |
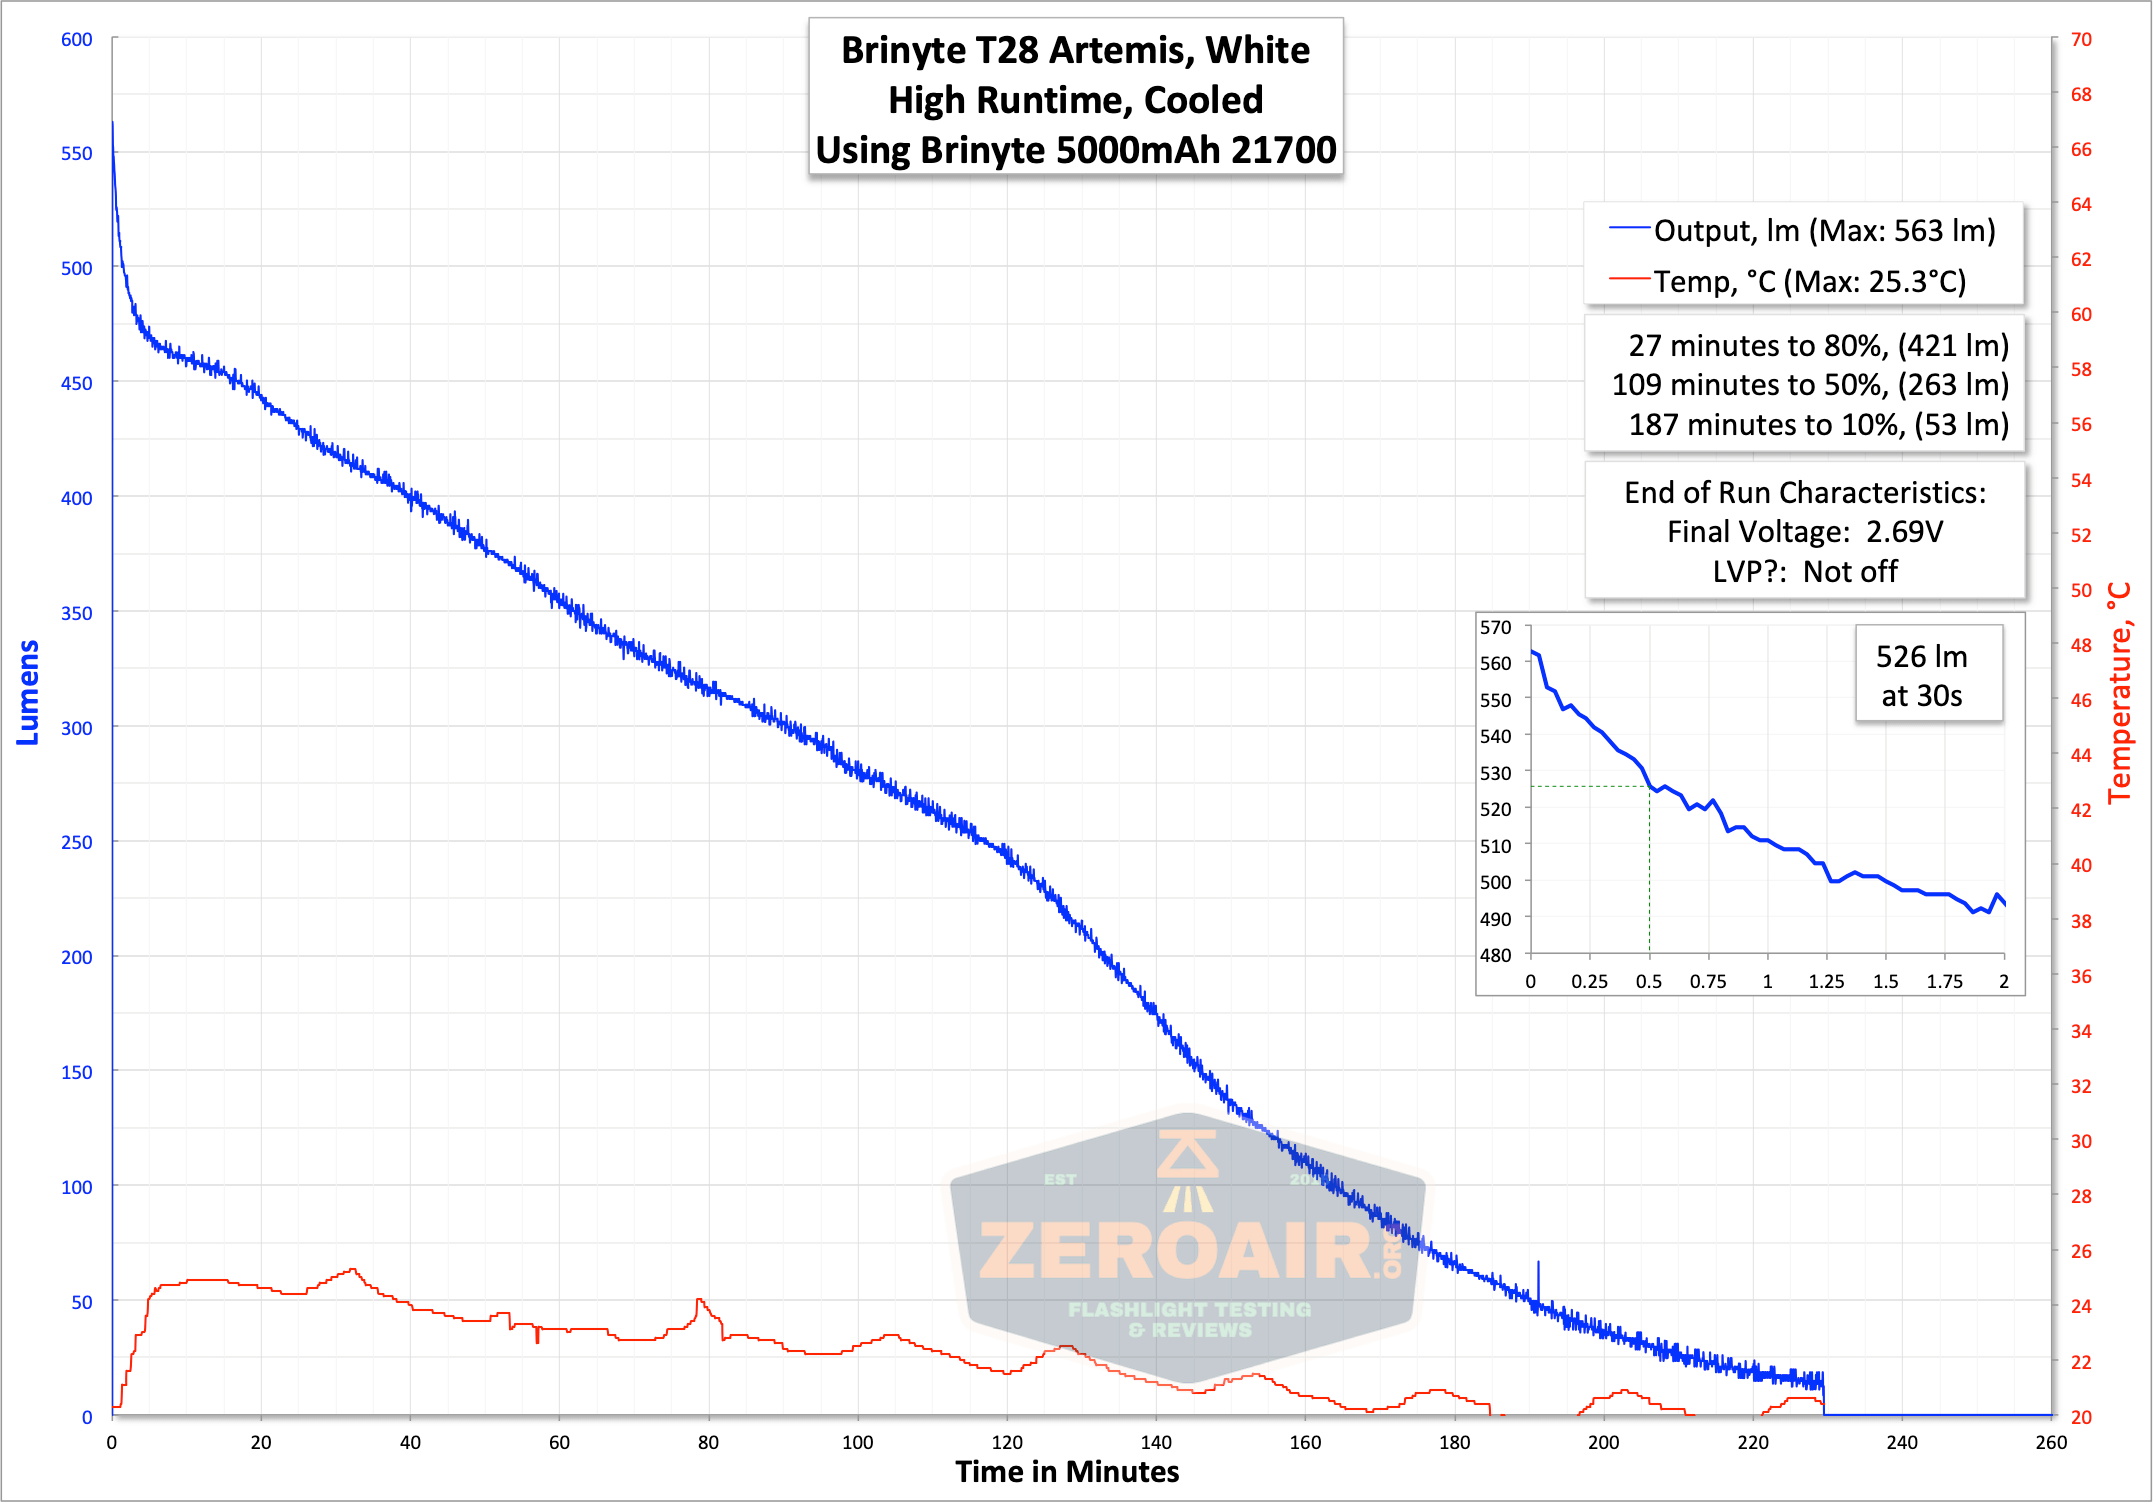
| Measured Lumens (at 30s) | 526 (80.9% of claim)^ |
| Candela per Lumen | 68.3 |
| Claimed Throw (m) | 525 |
| Candela (Calculated) in cd (at 30s) | 372lux @ 6.093m = 13810cd |
| Throw (Calculated) (m) | 235.0 (44.8% of claim)^ |
| All my Brinyte reviews! | |
^ Measurement disclaimer: Testing flashlights is my hobby. I use hobbyist-level equipment for testing, including some I made myself. Try not to get buried in the details of manufacturer specifications versus measurements recorded here; A certain amount of difference (say, 10 or 15%) is perfectly reasonable.
What’s Included
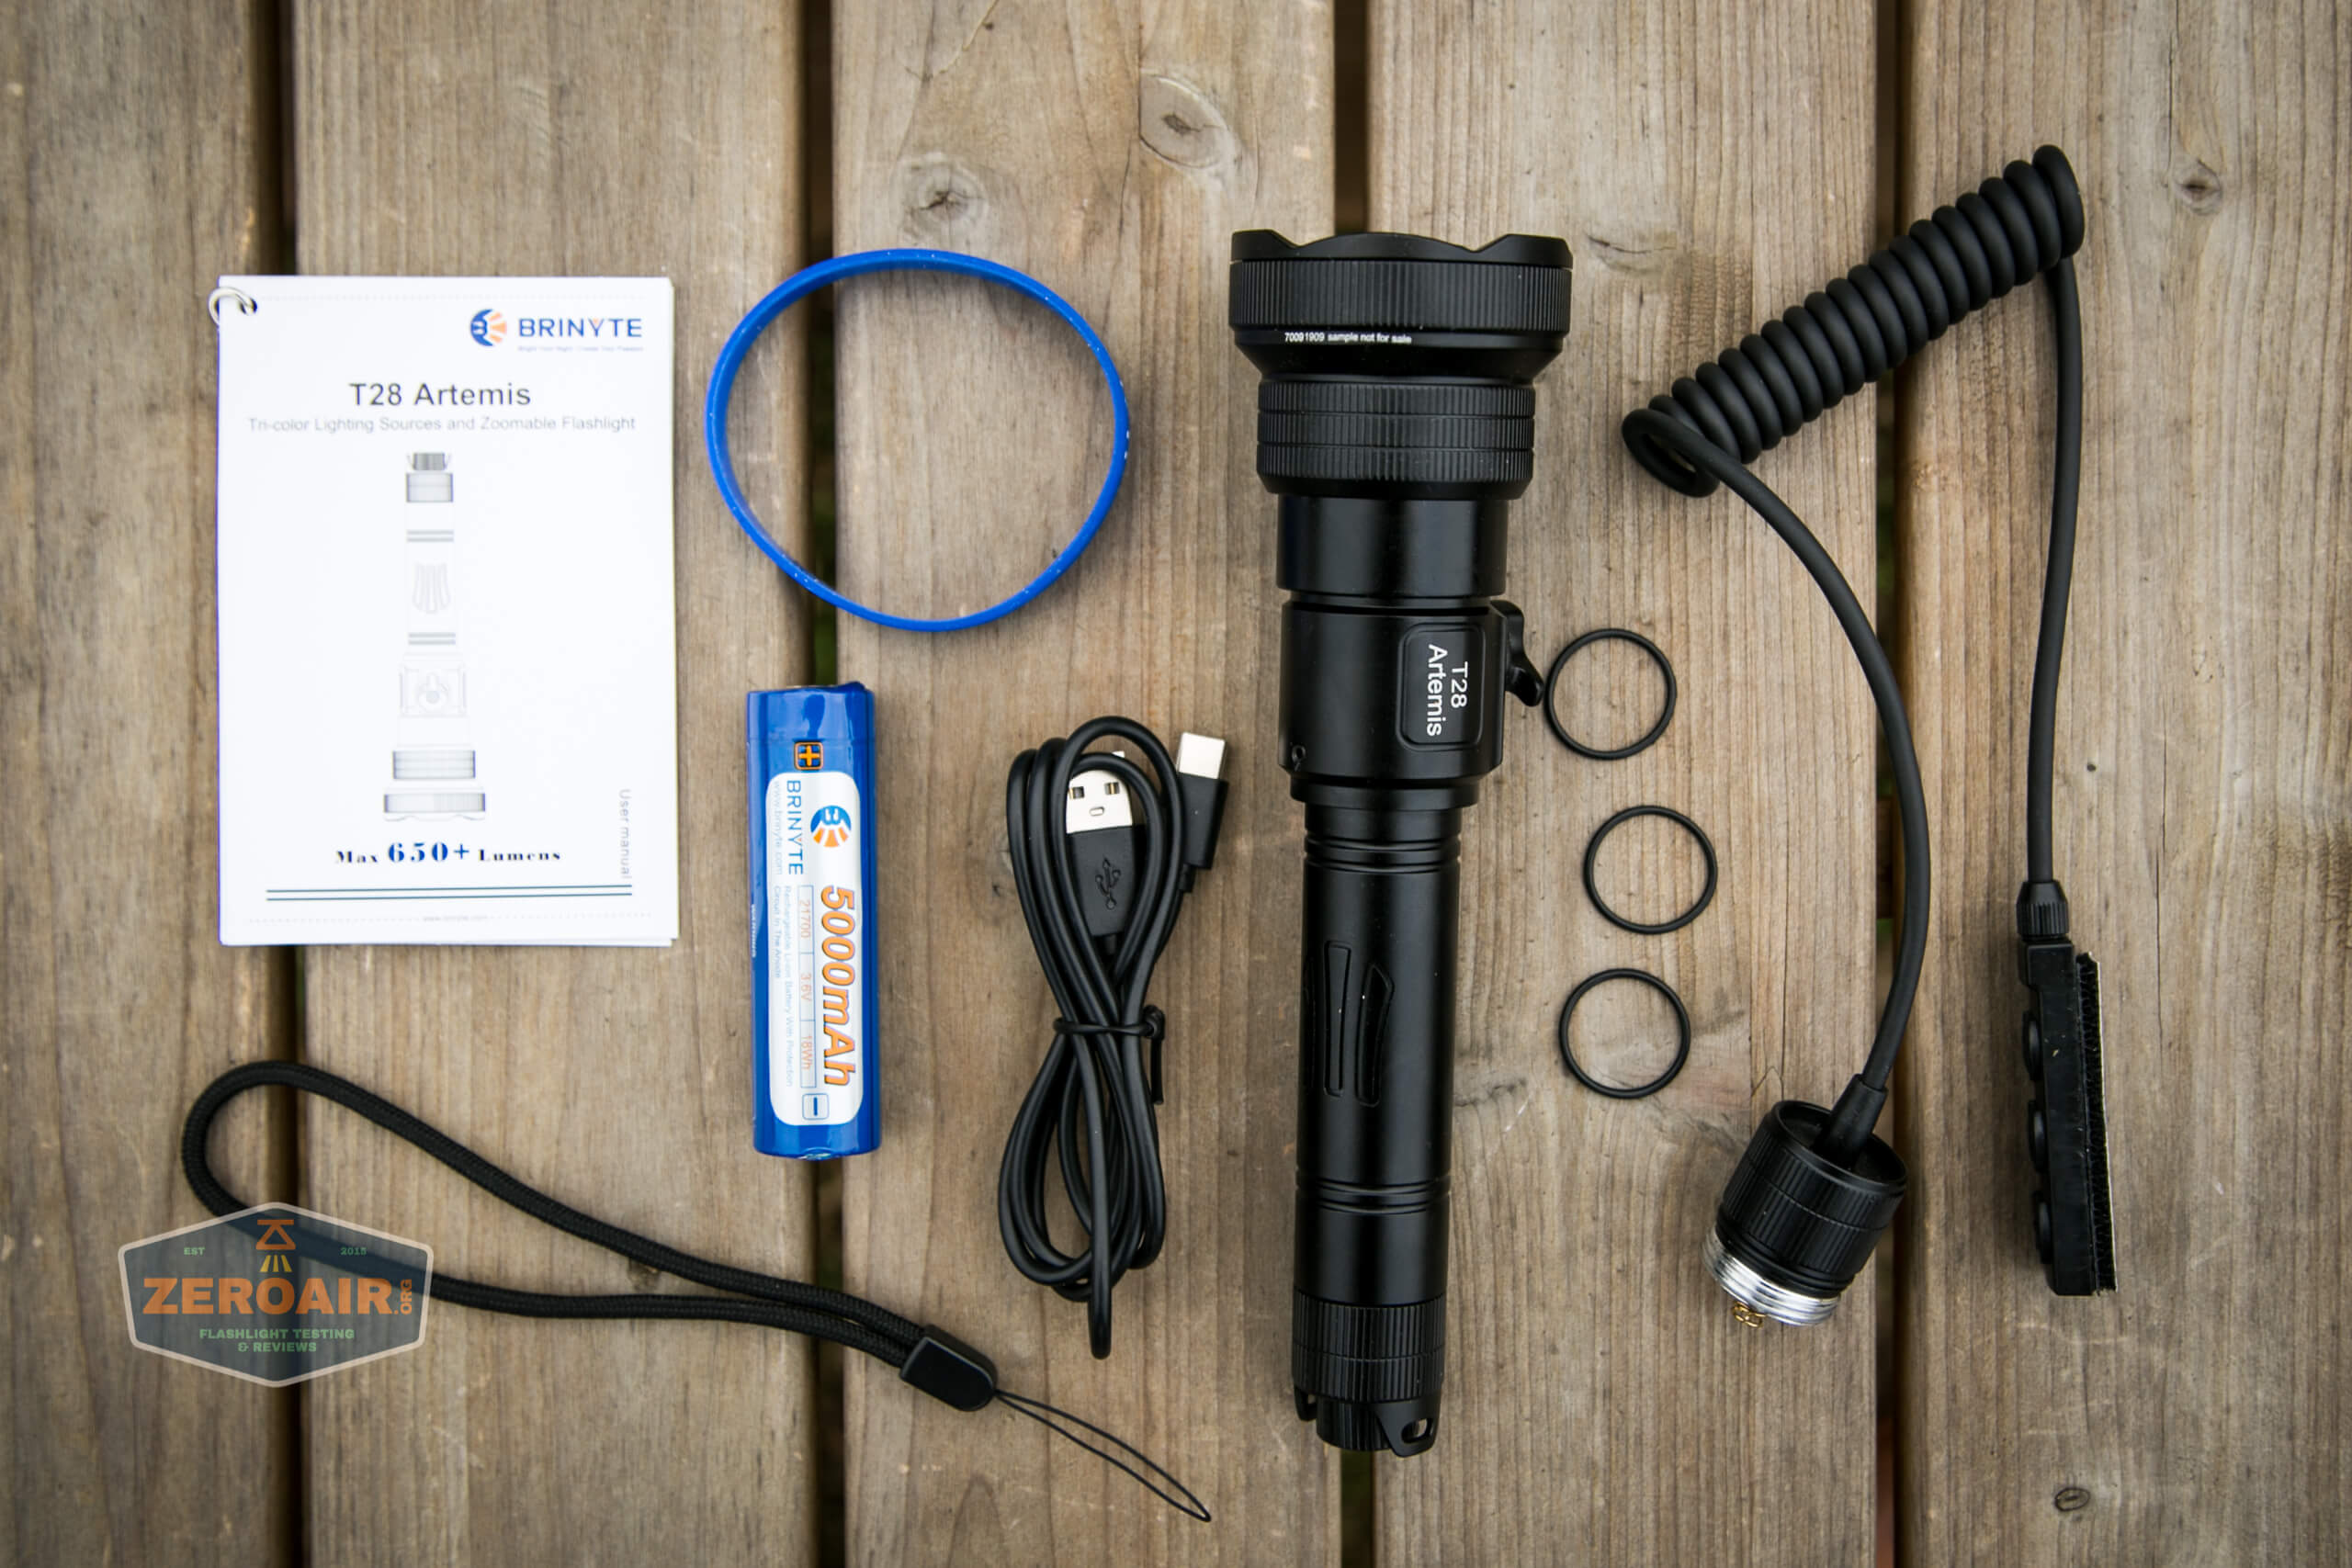
- Brinyte T28 Artemis Zoomy flashlight
- Brinyte USB-C Rechargeable 5000mAh 21700
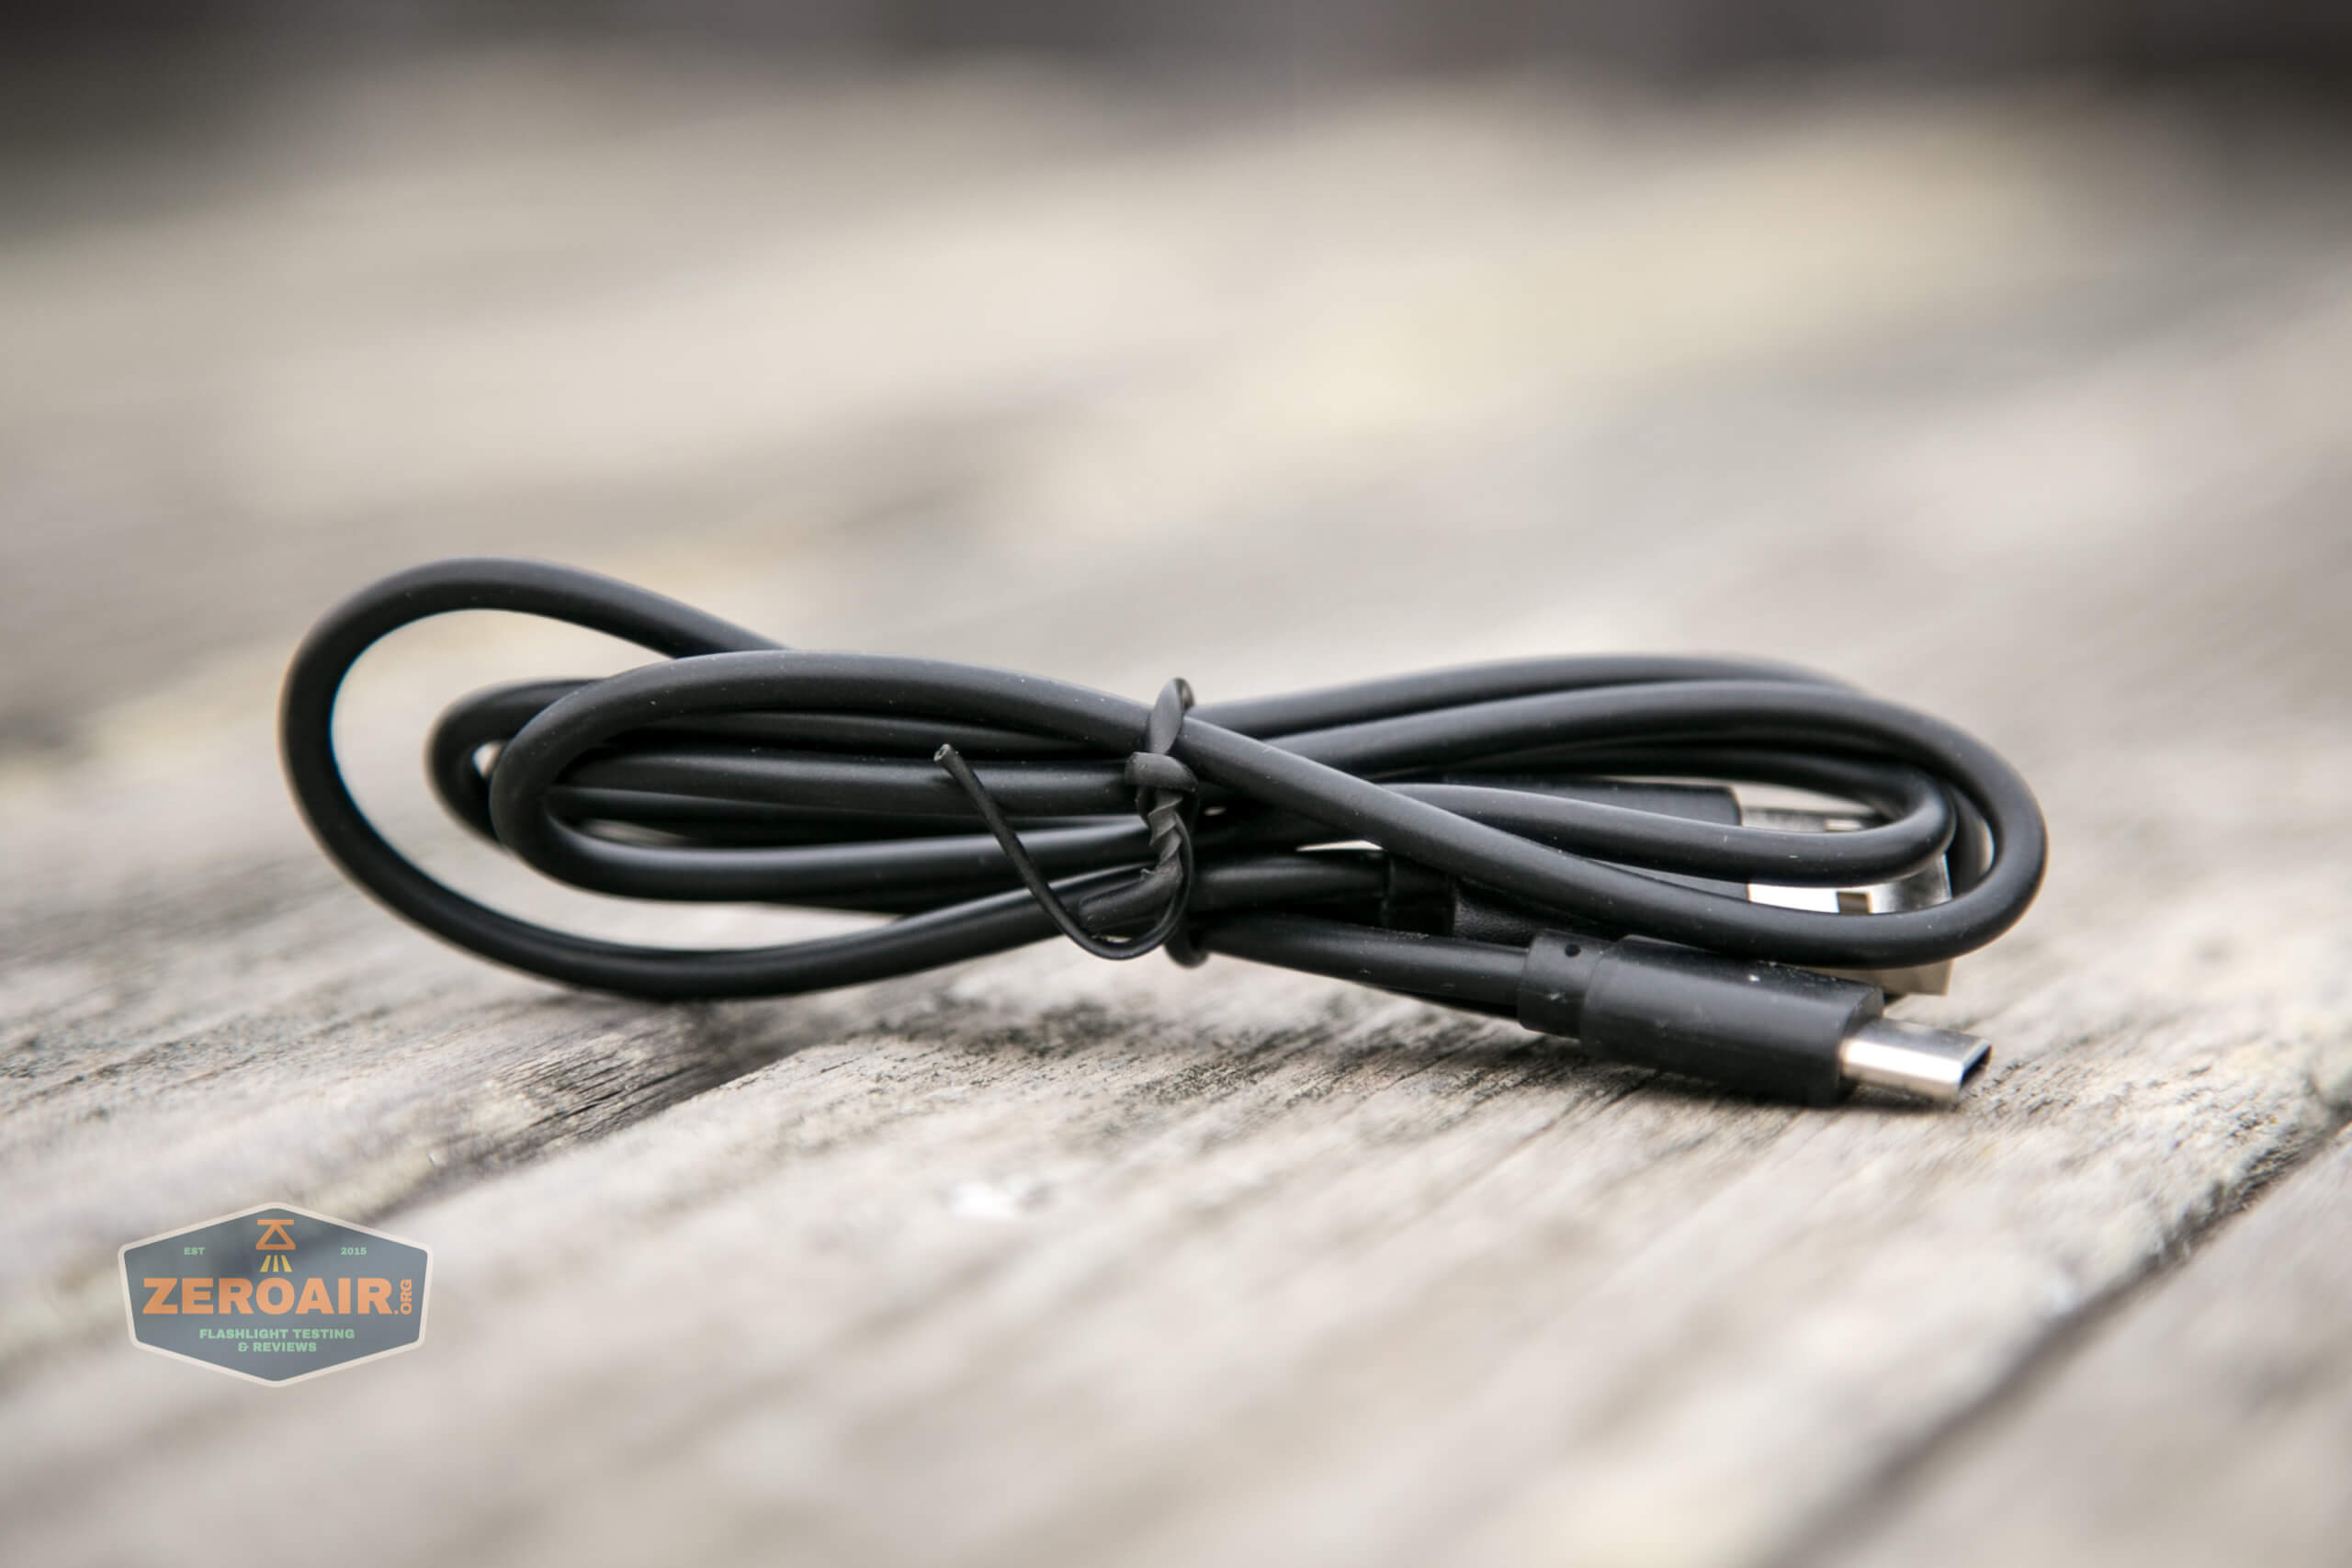
- Charge cable (USB to USB-C)
- Remote switch
- Spare o-rings (3)
- Lanyard
- Brinyte Wristband
- Manual
Package and Manual

Build Quality and Disassembly

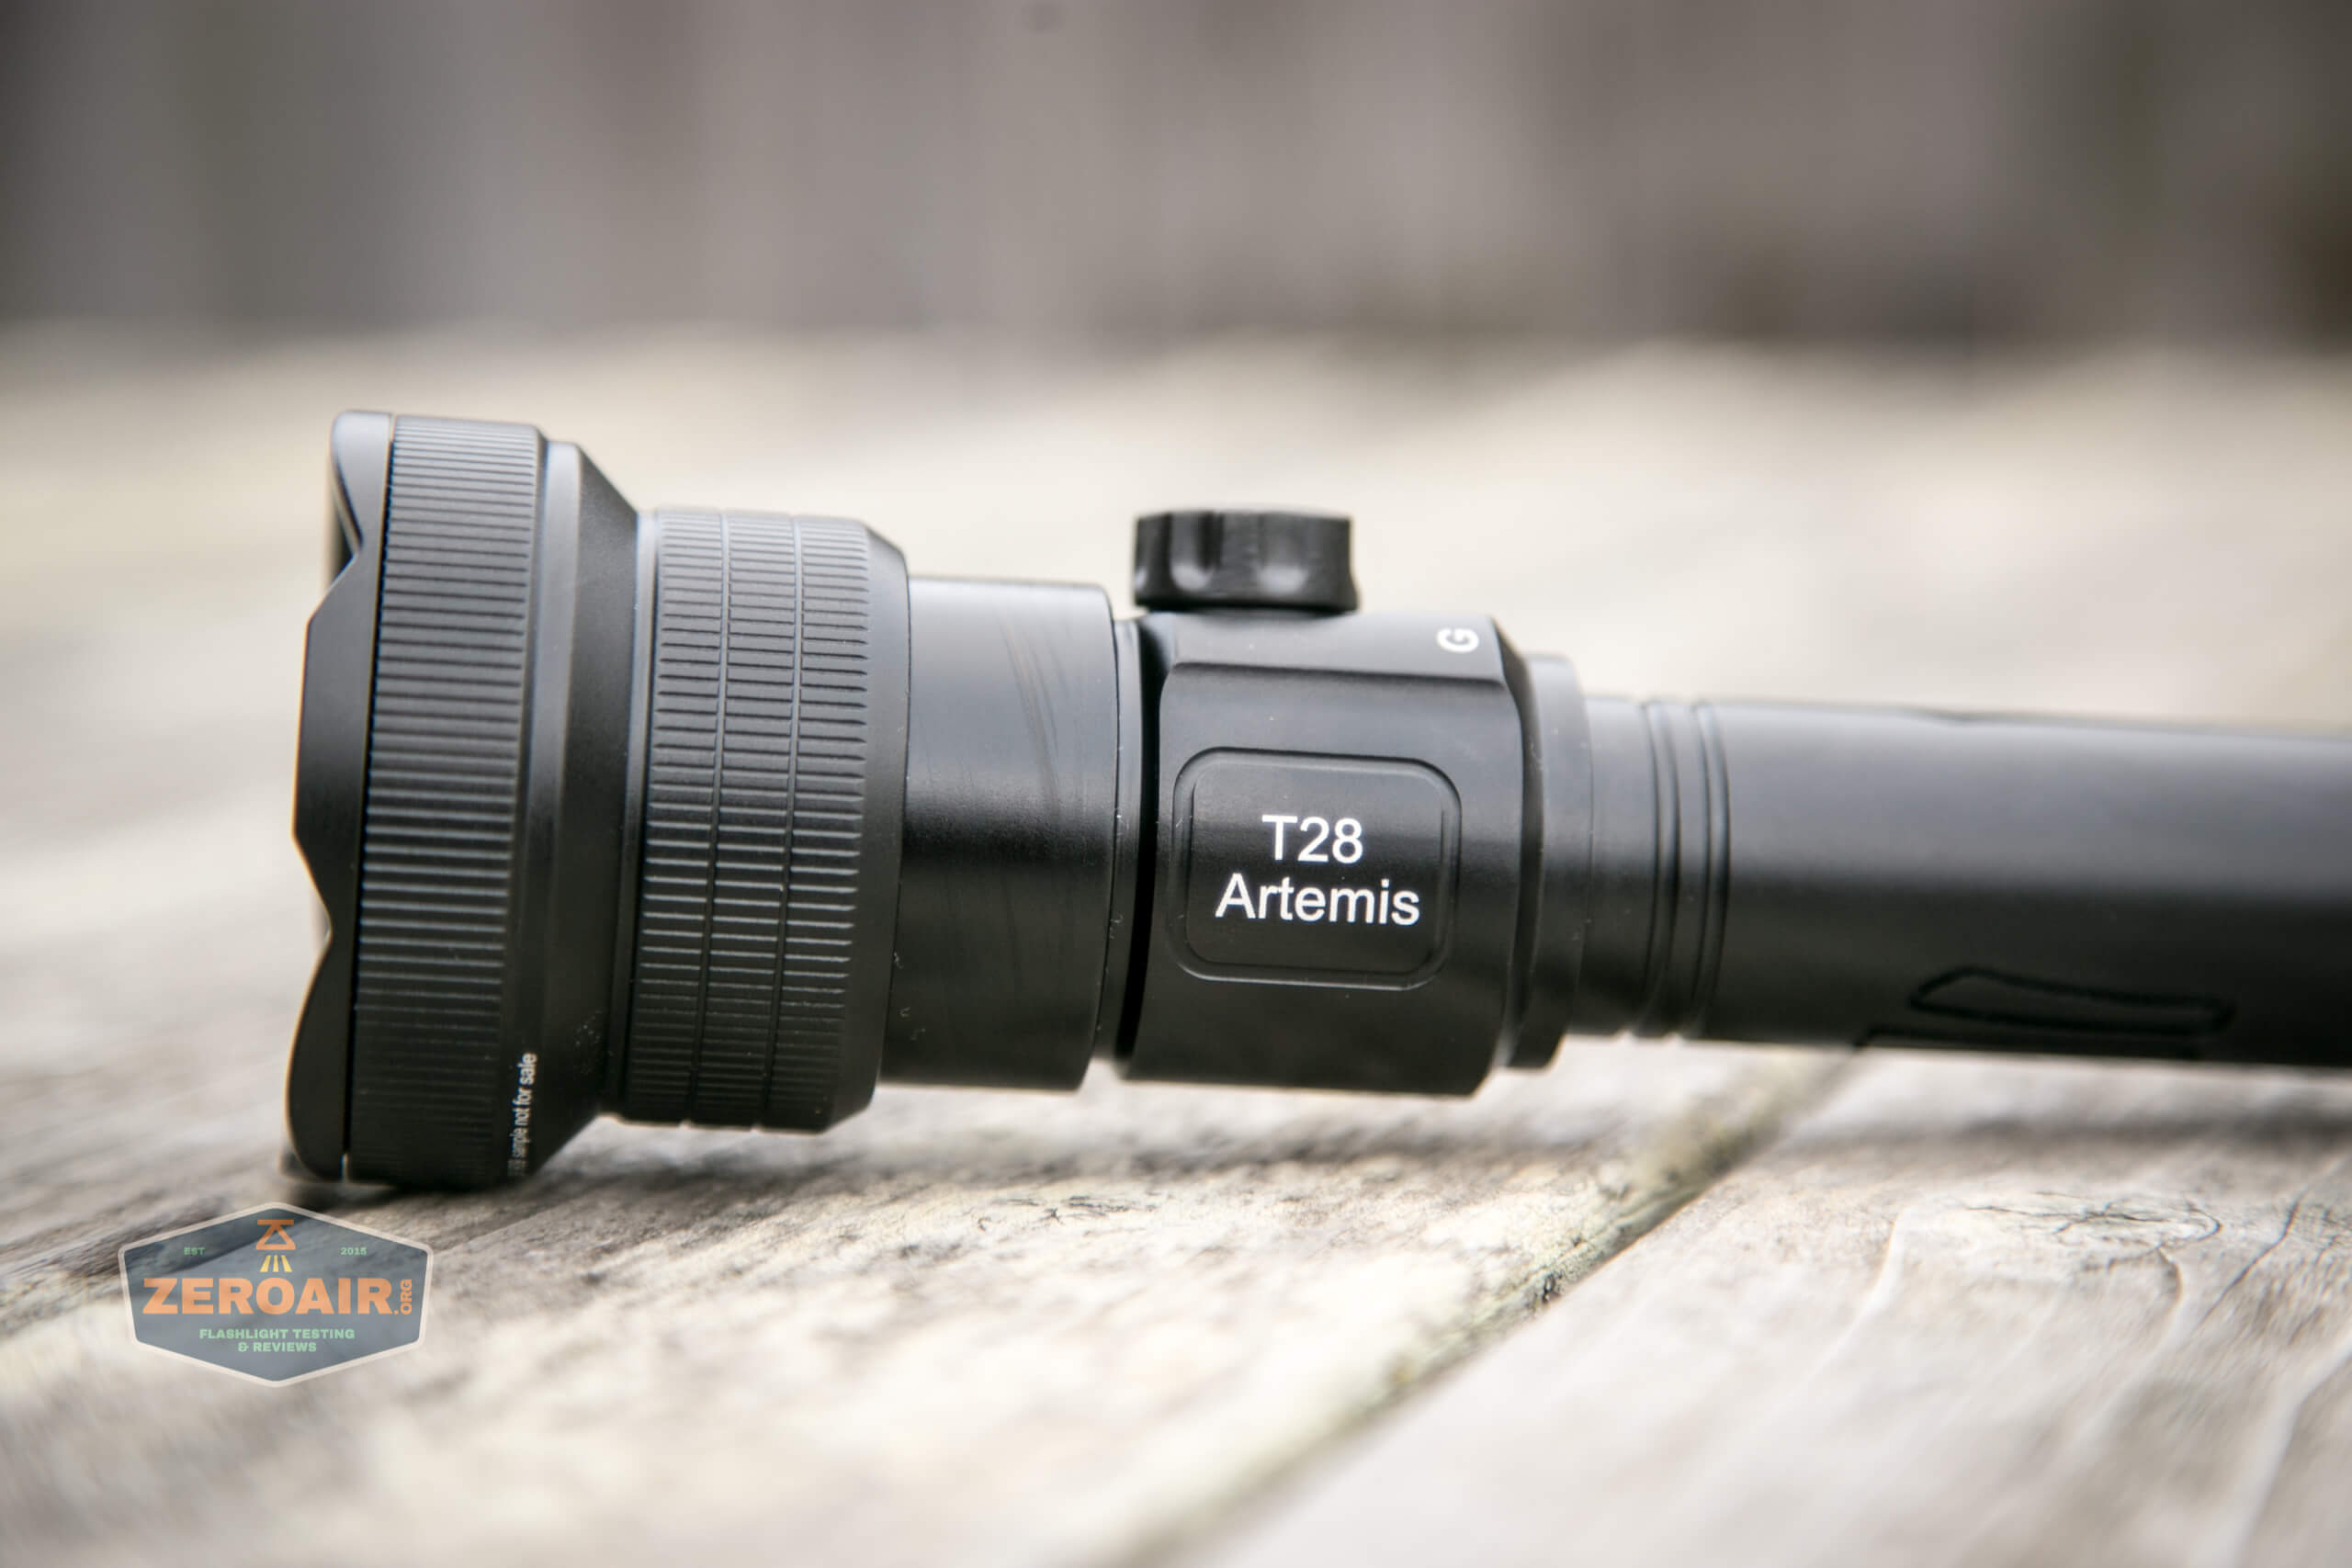
Overall, the build quality of the T28 Artemis is pretty good. “For a zoomy” is a reasonable addition to that sentence, but I’m not sure that’s fair.
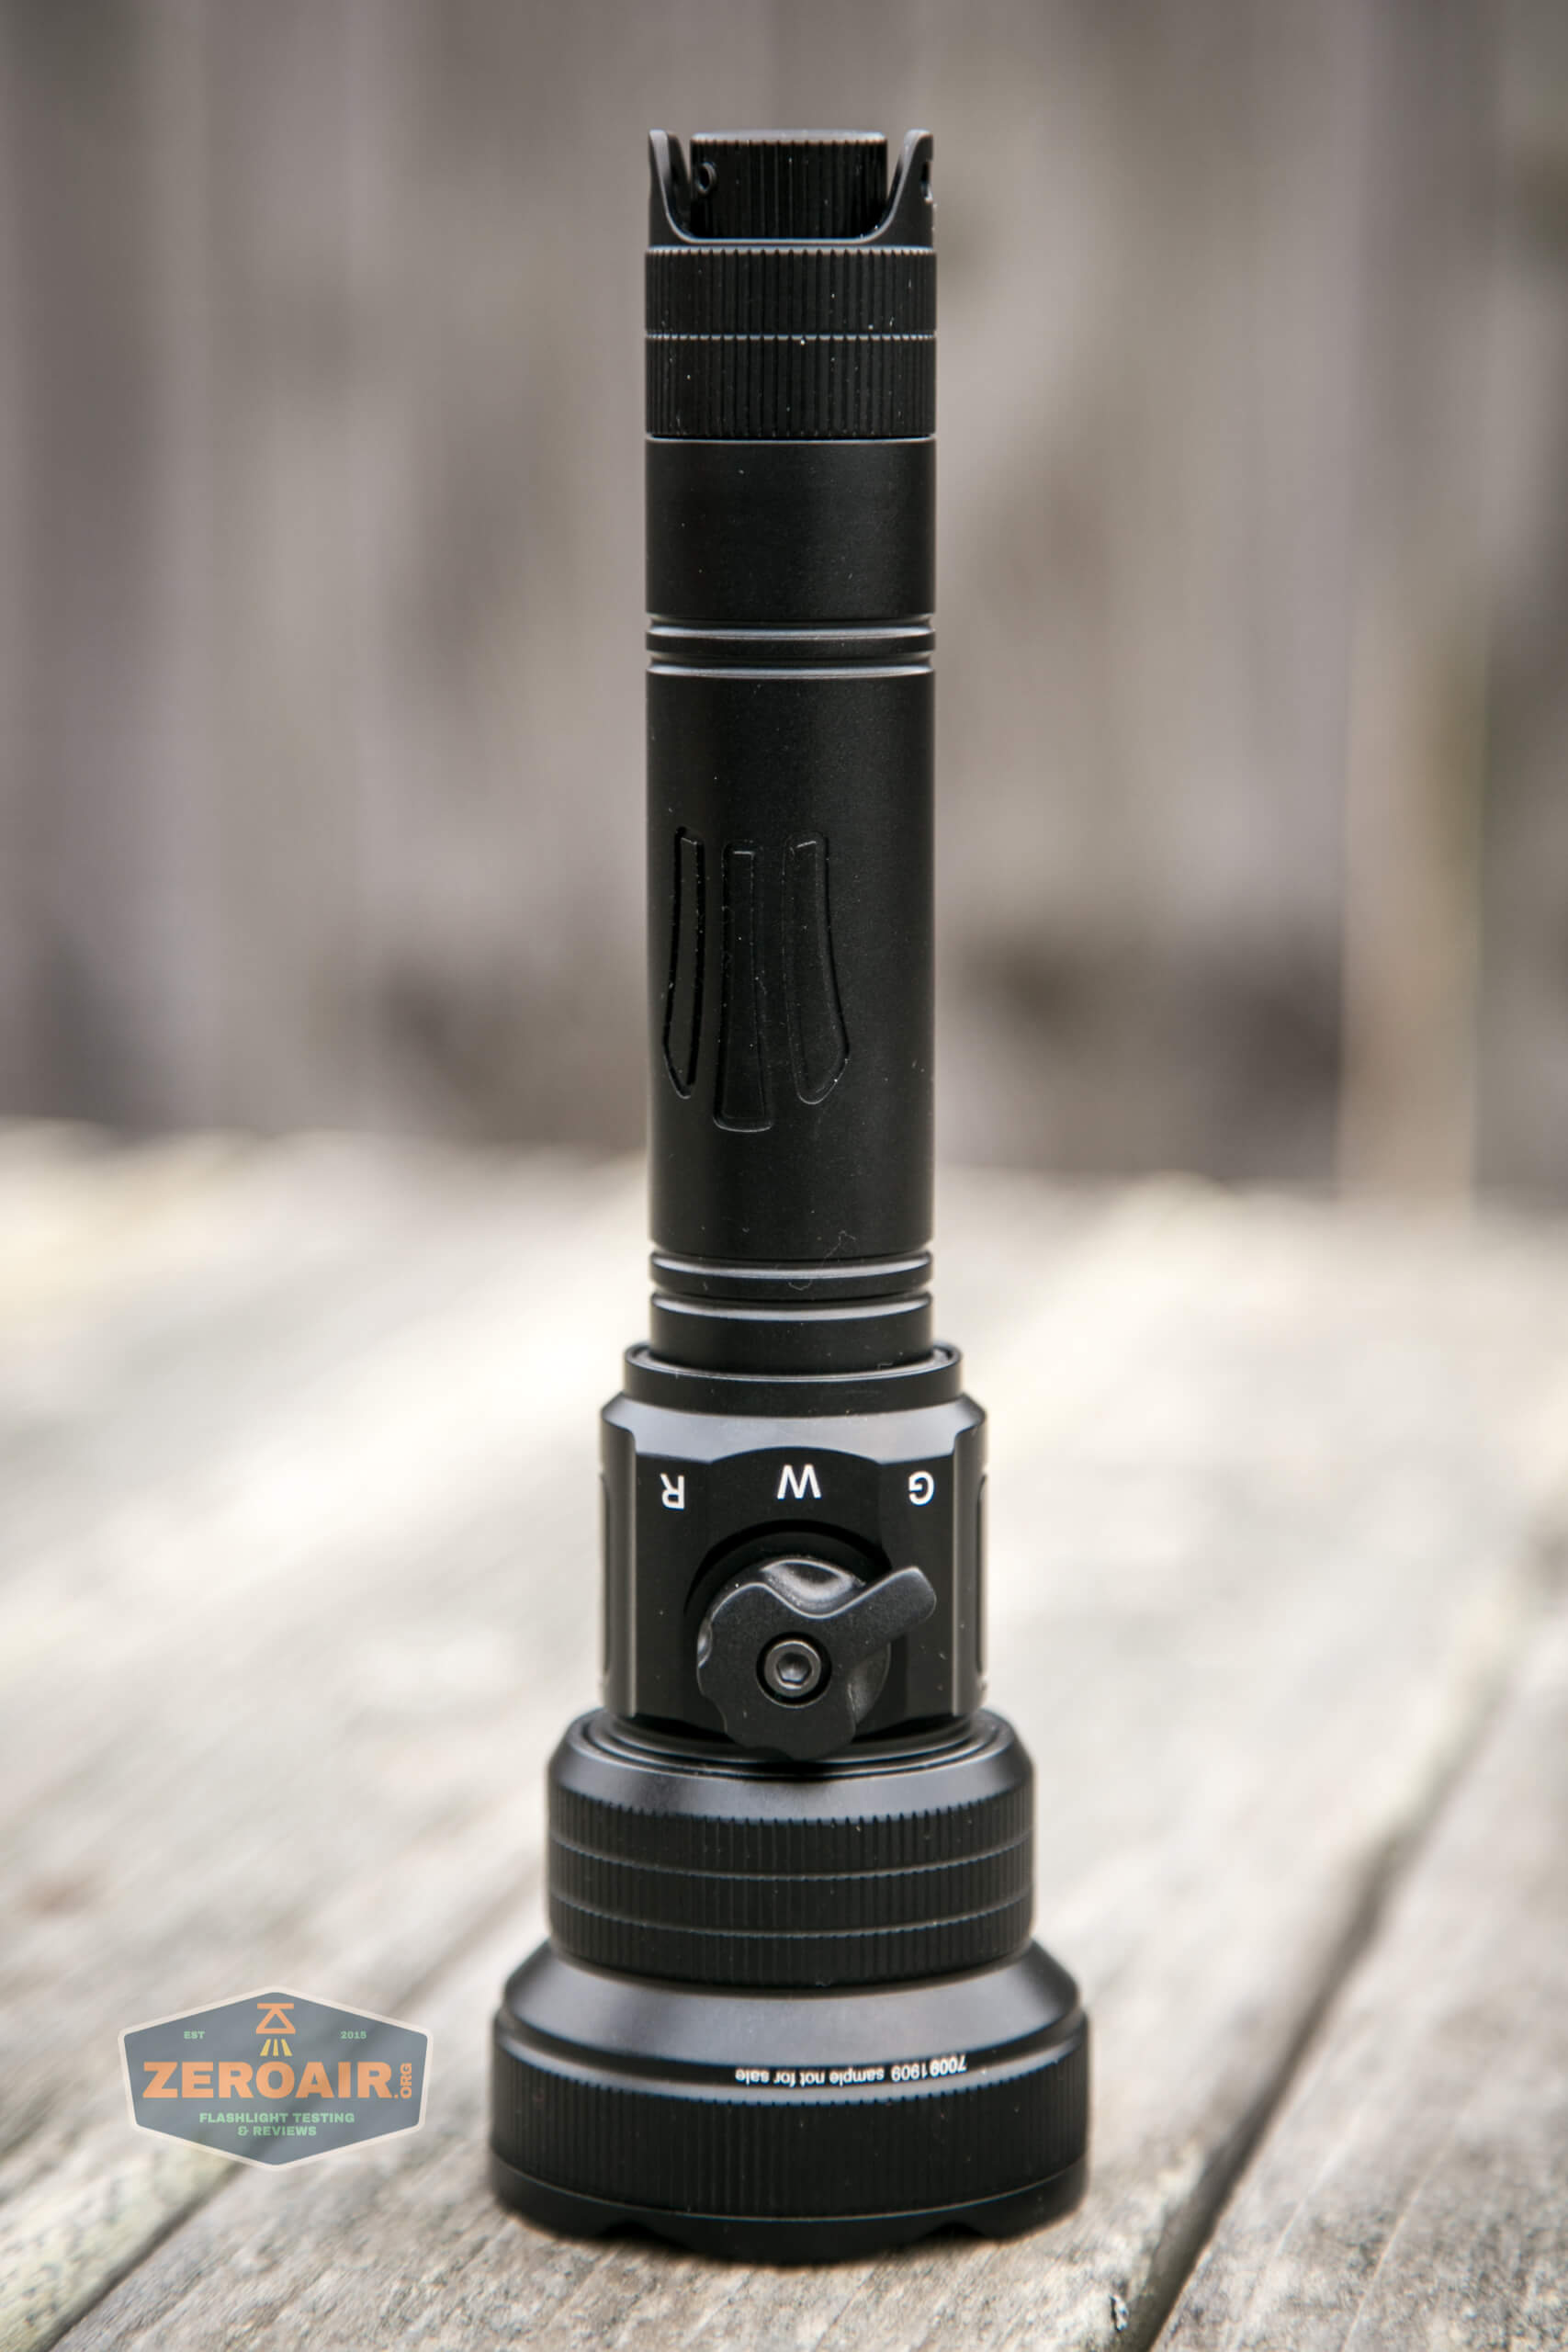
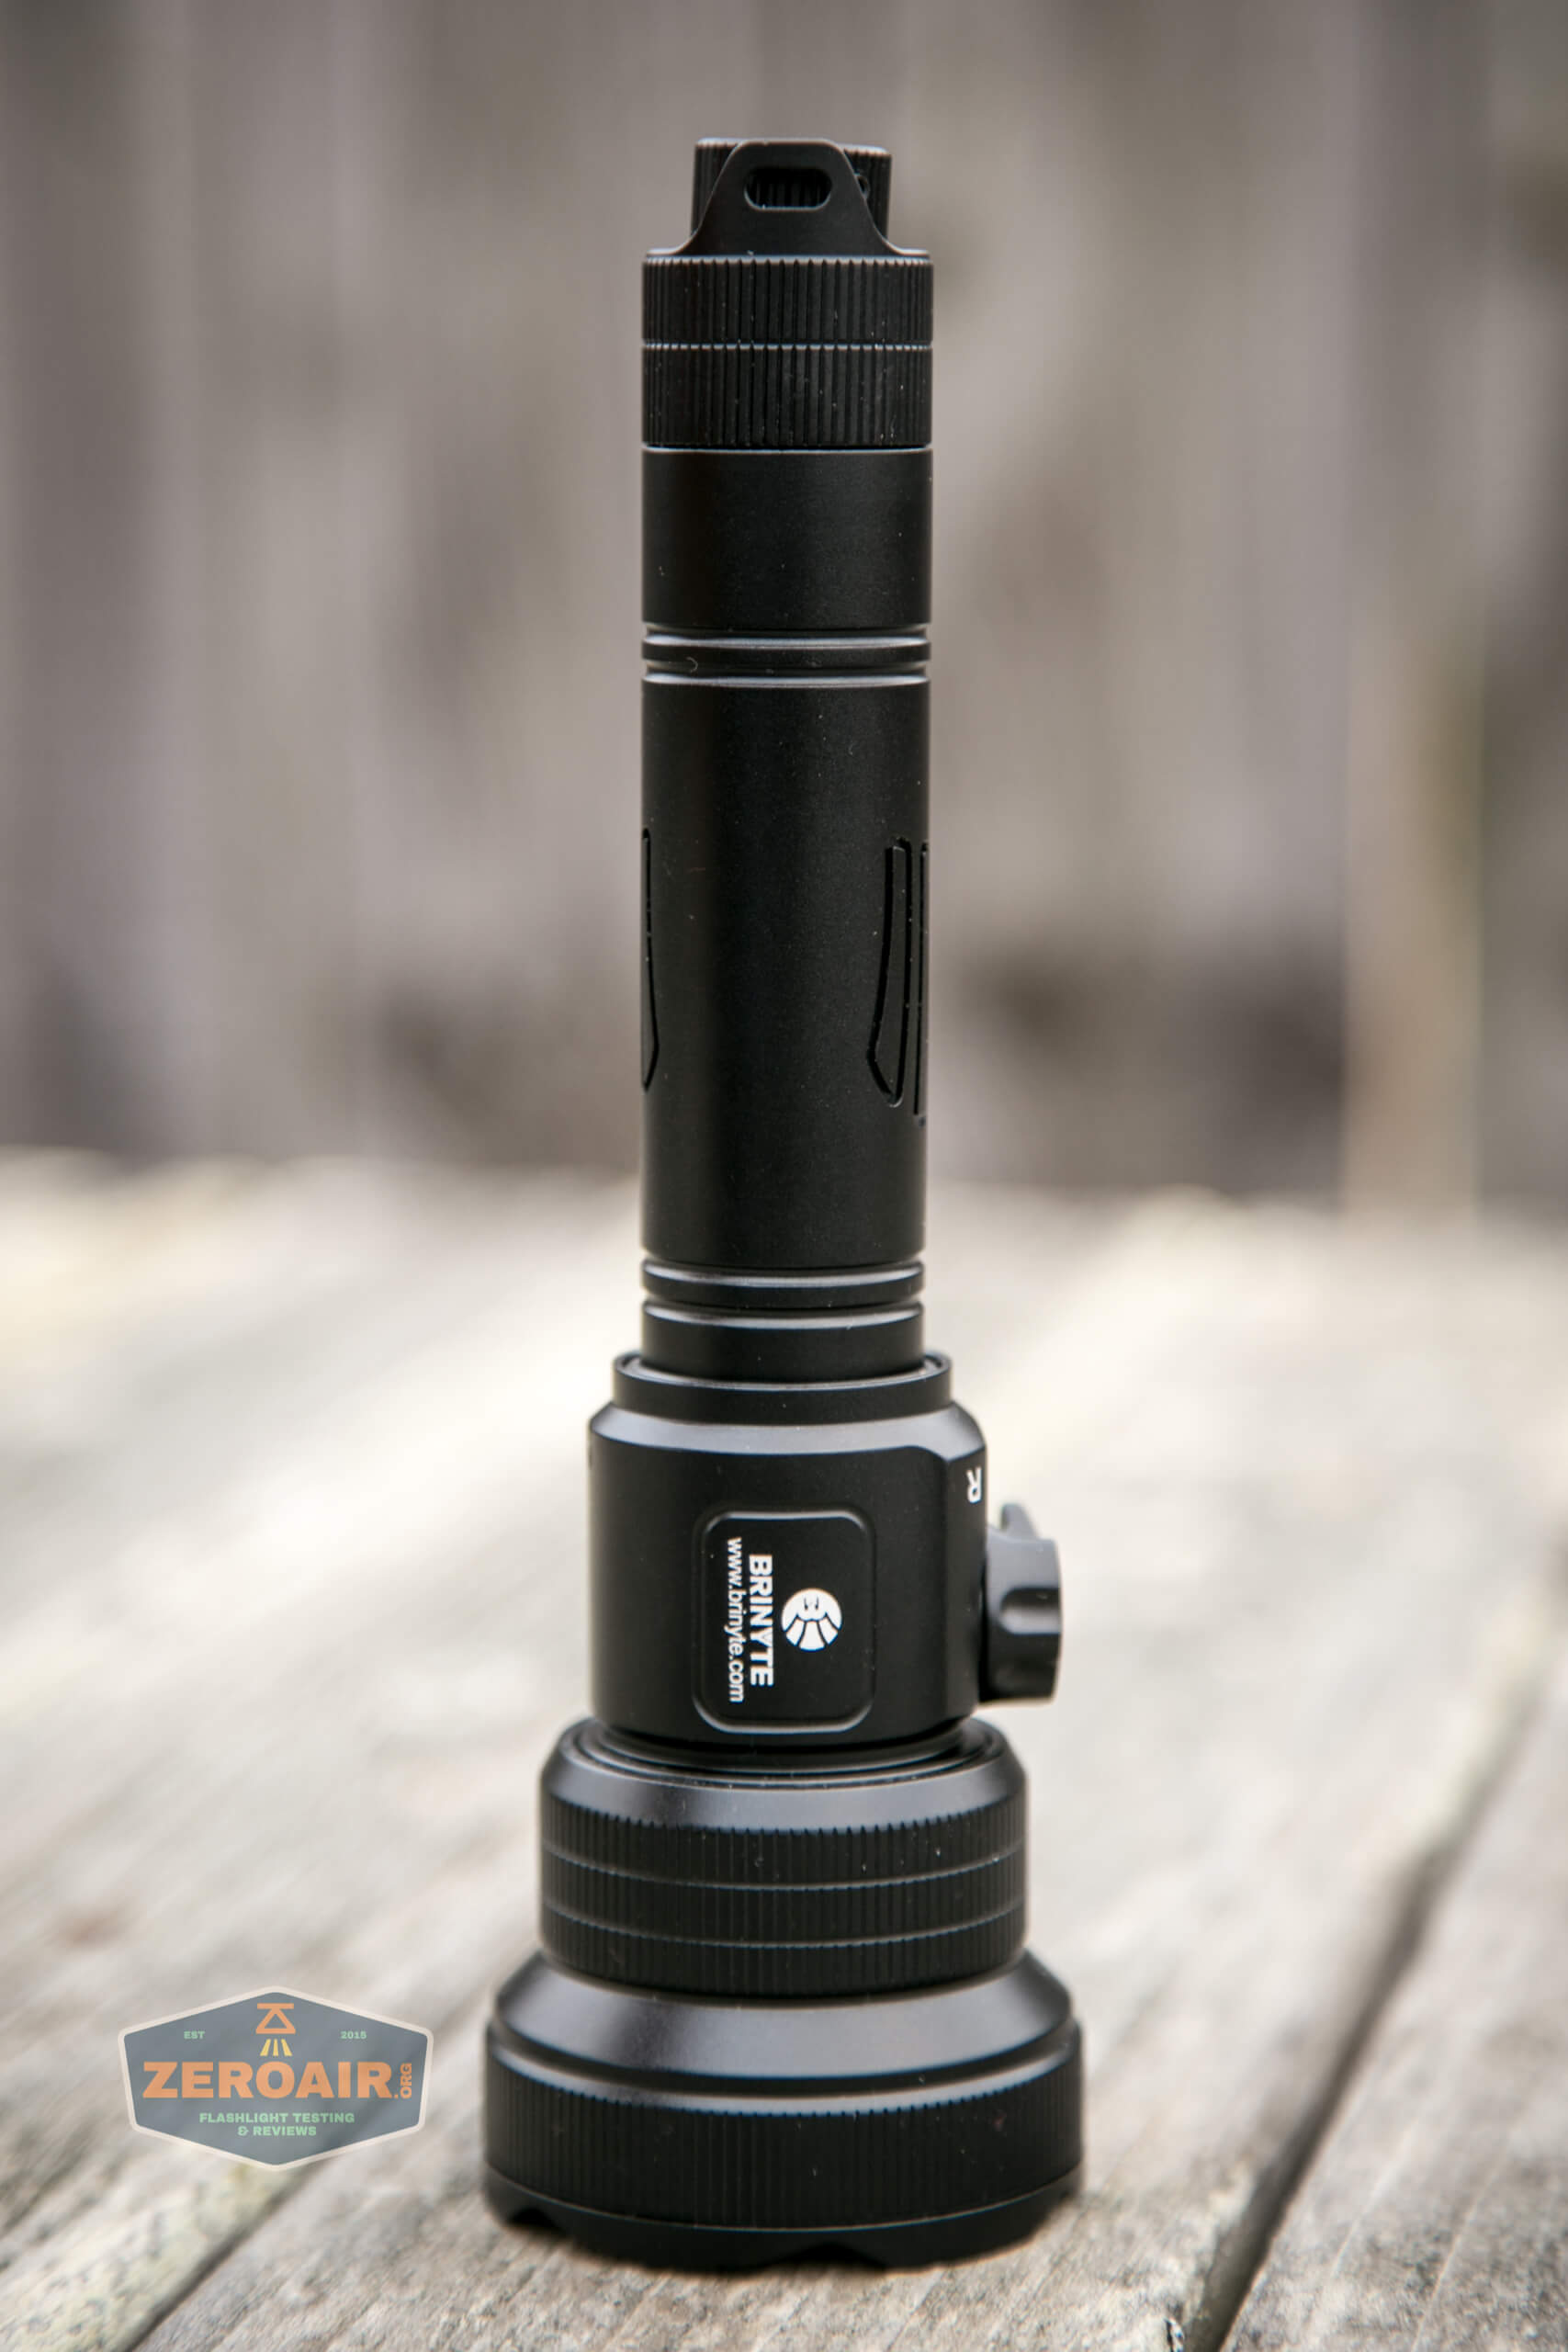
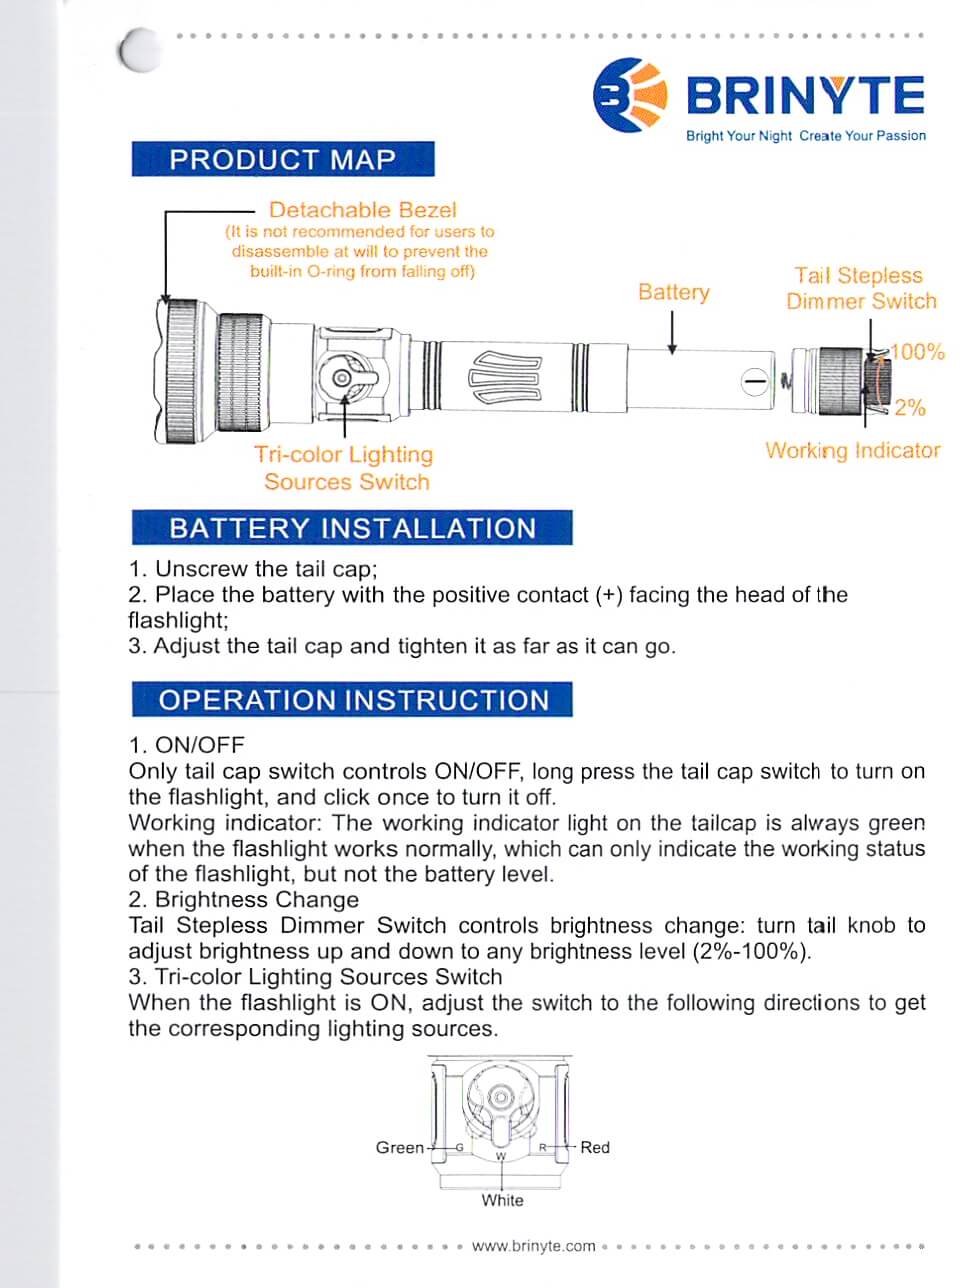
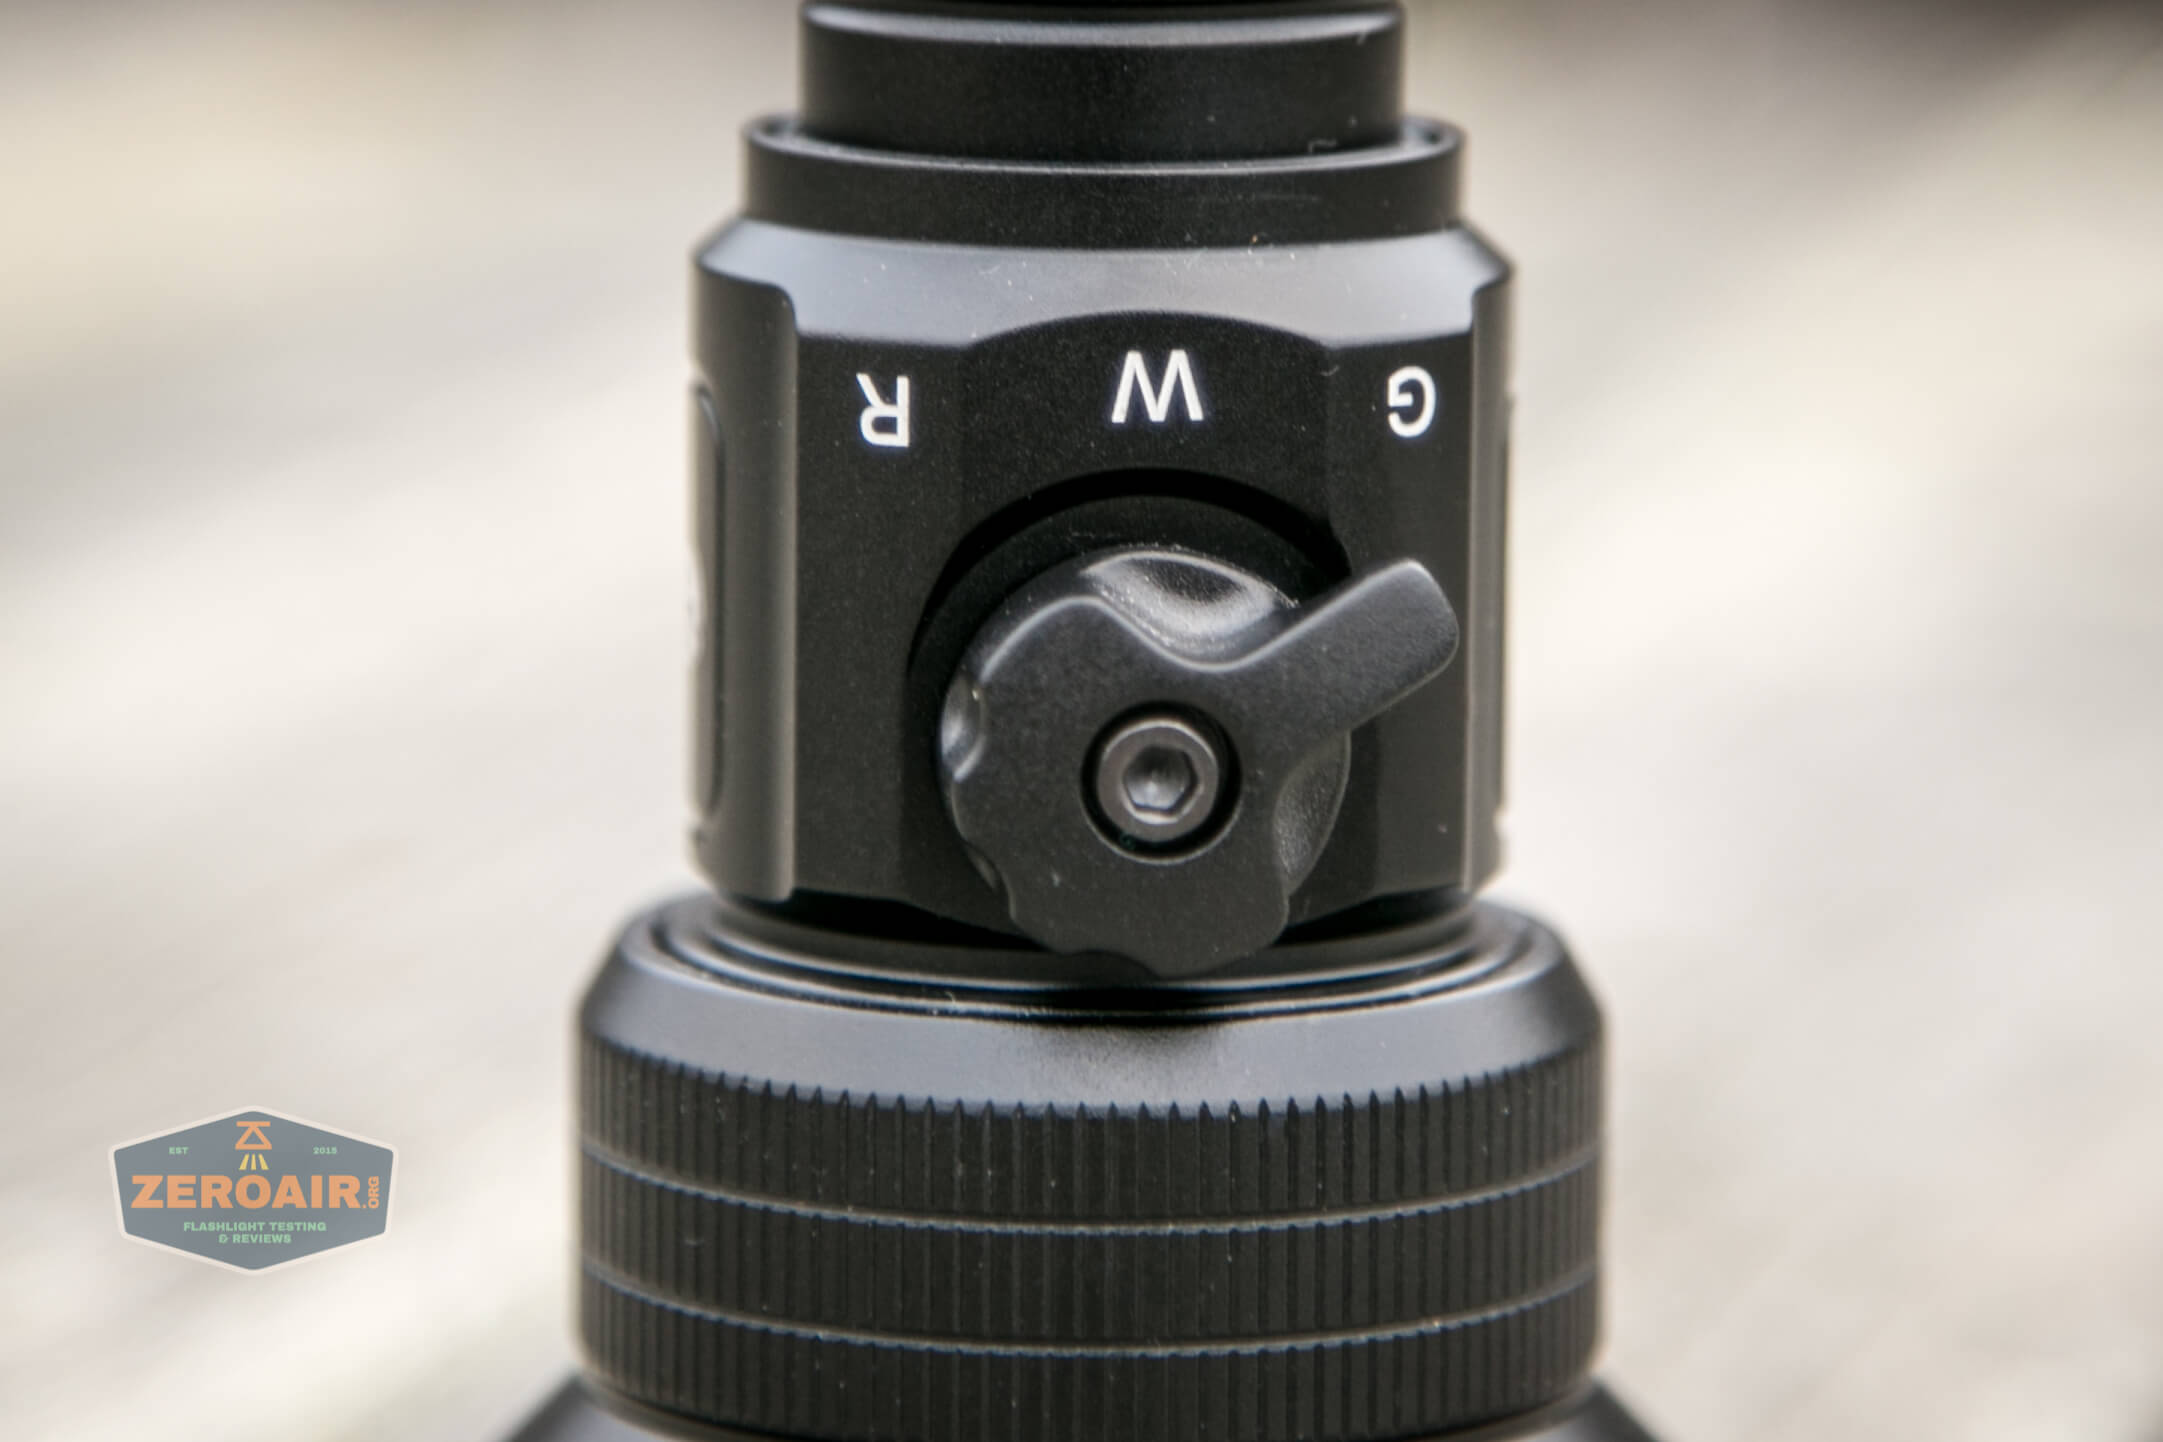
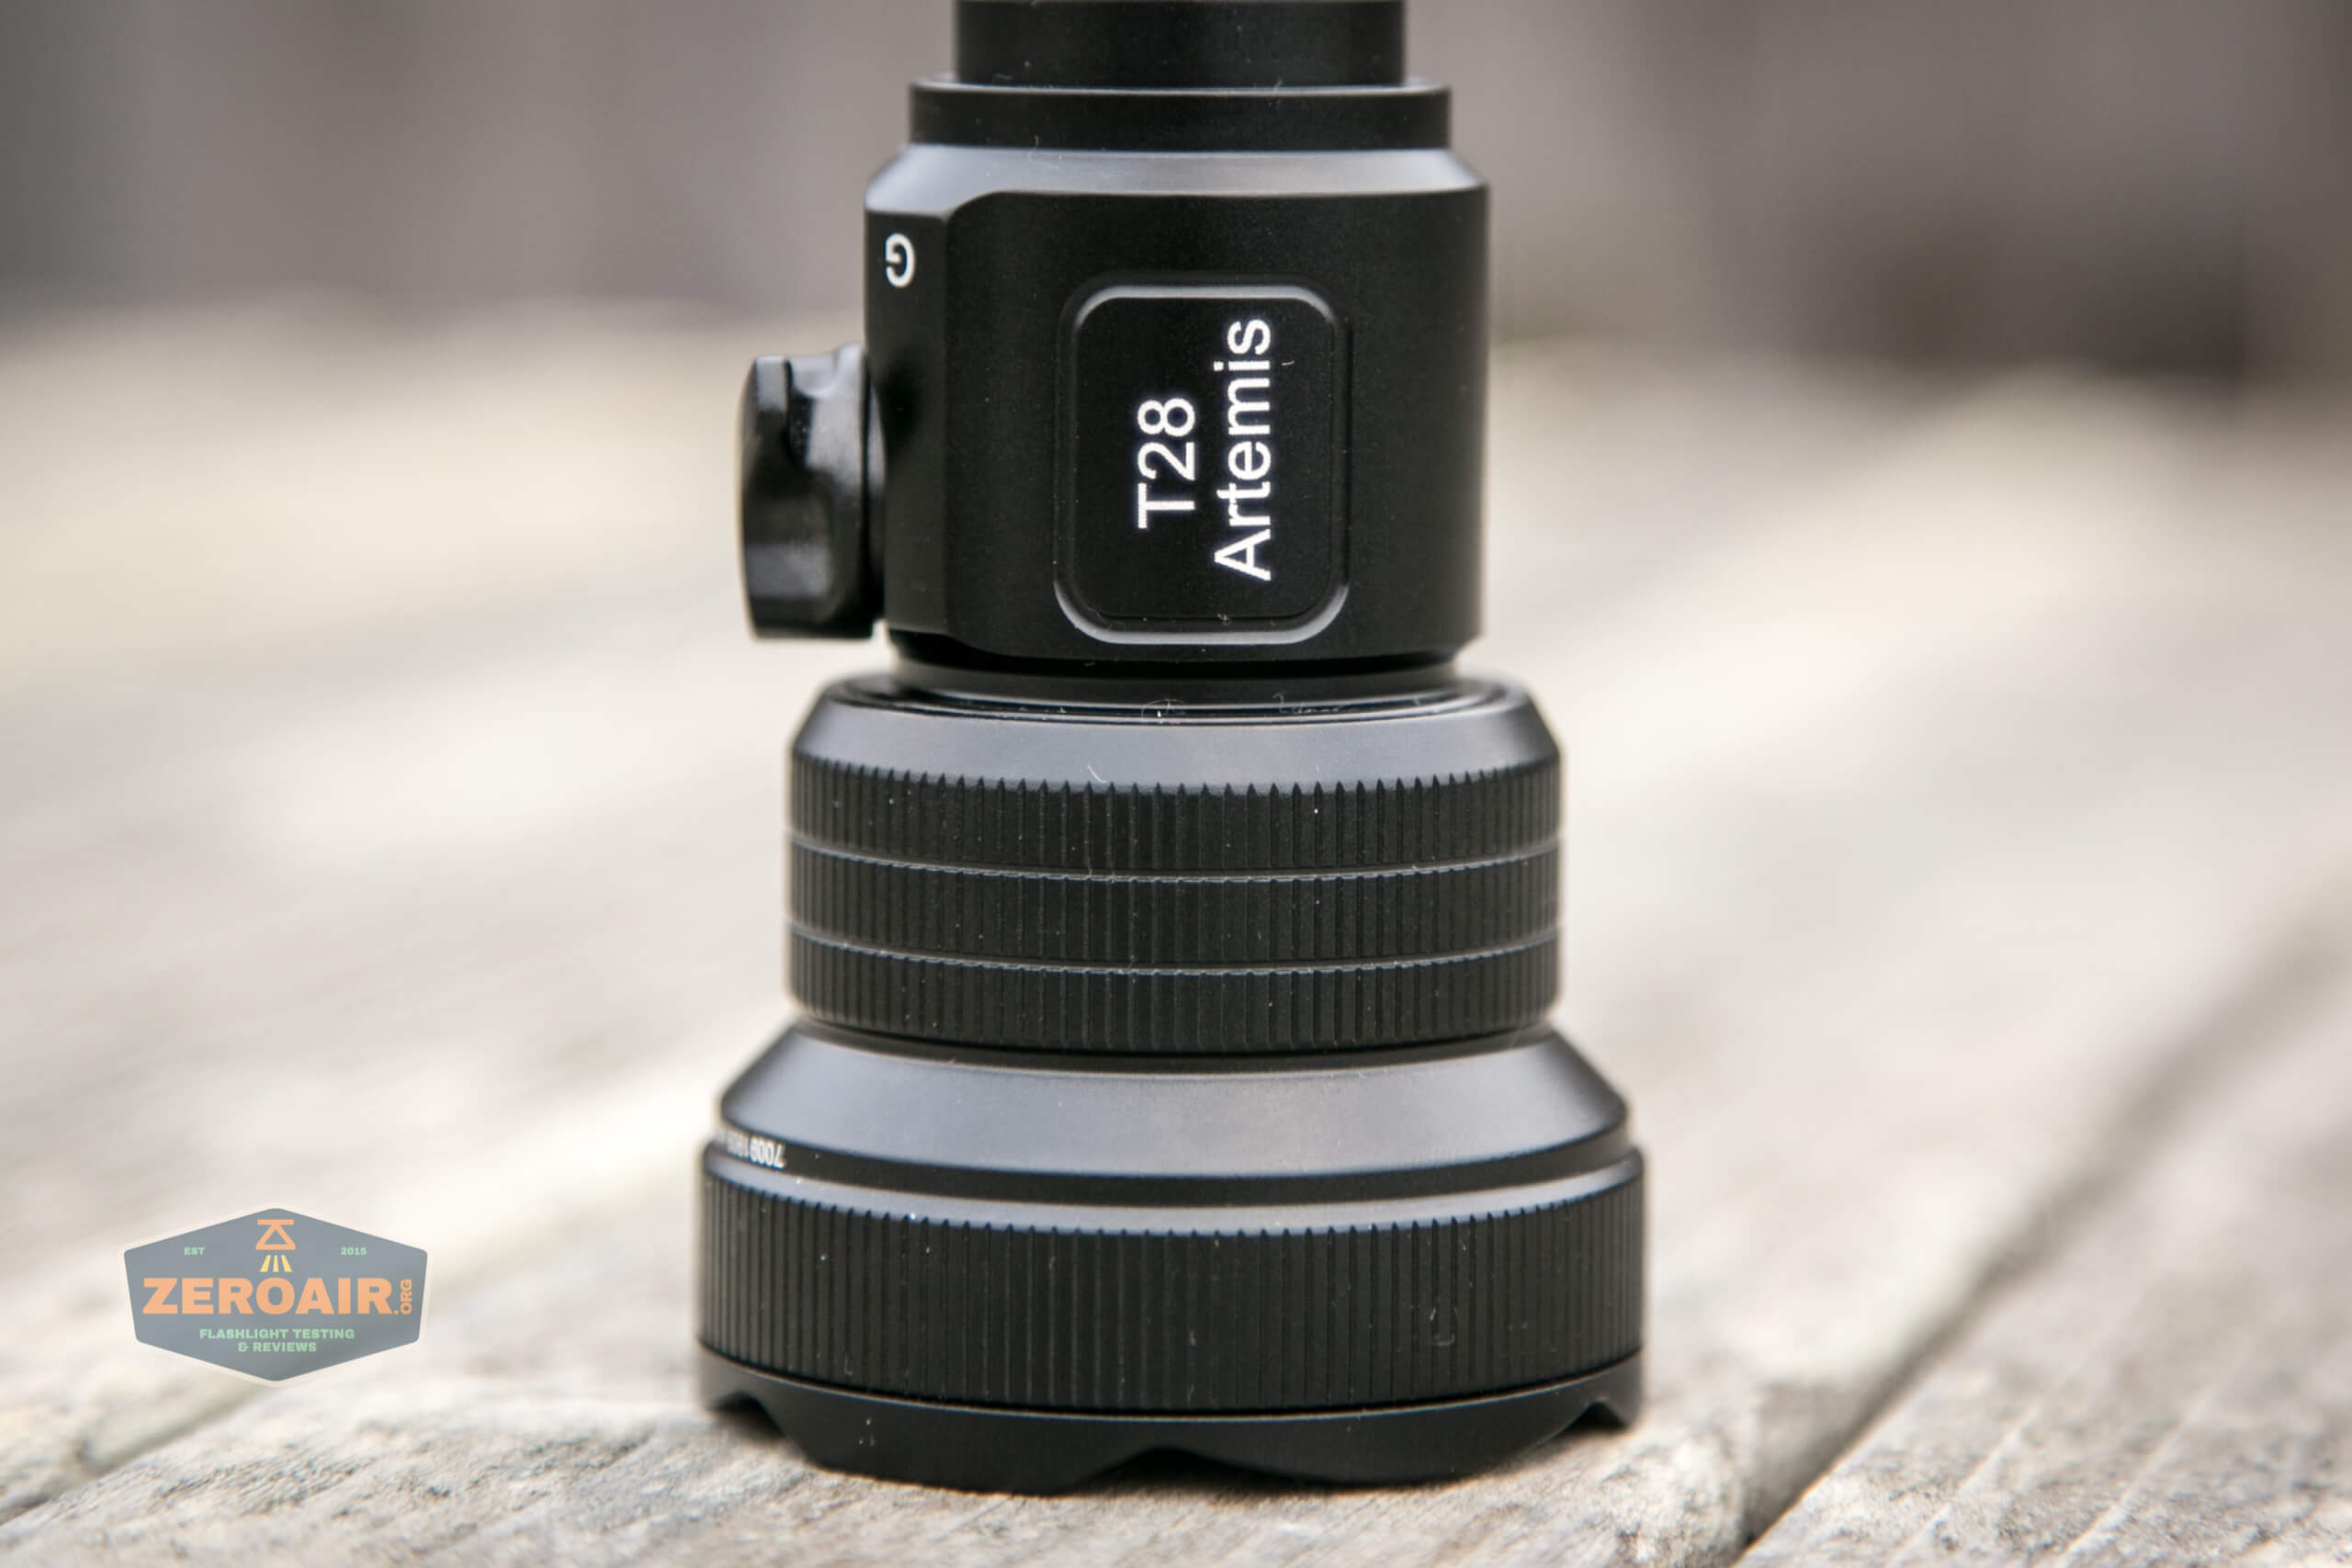
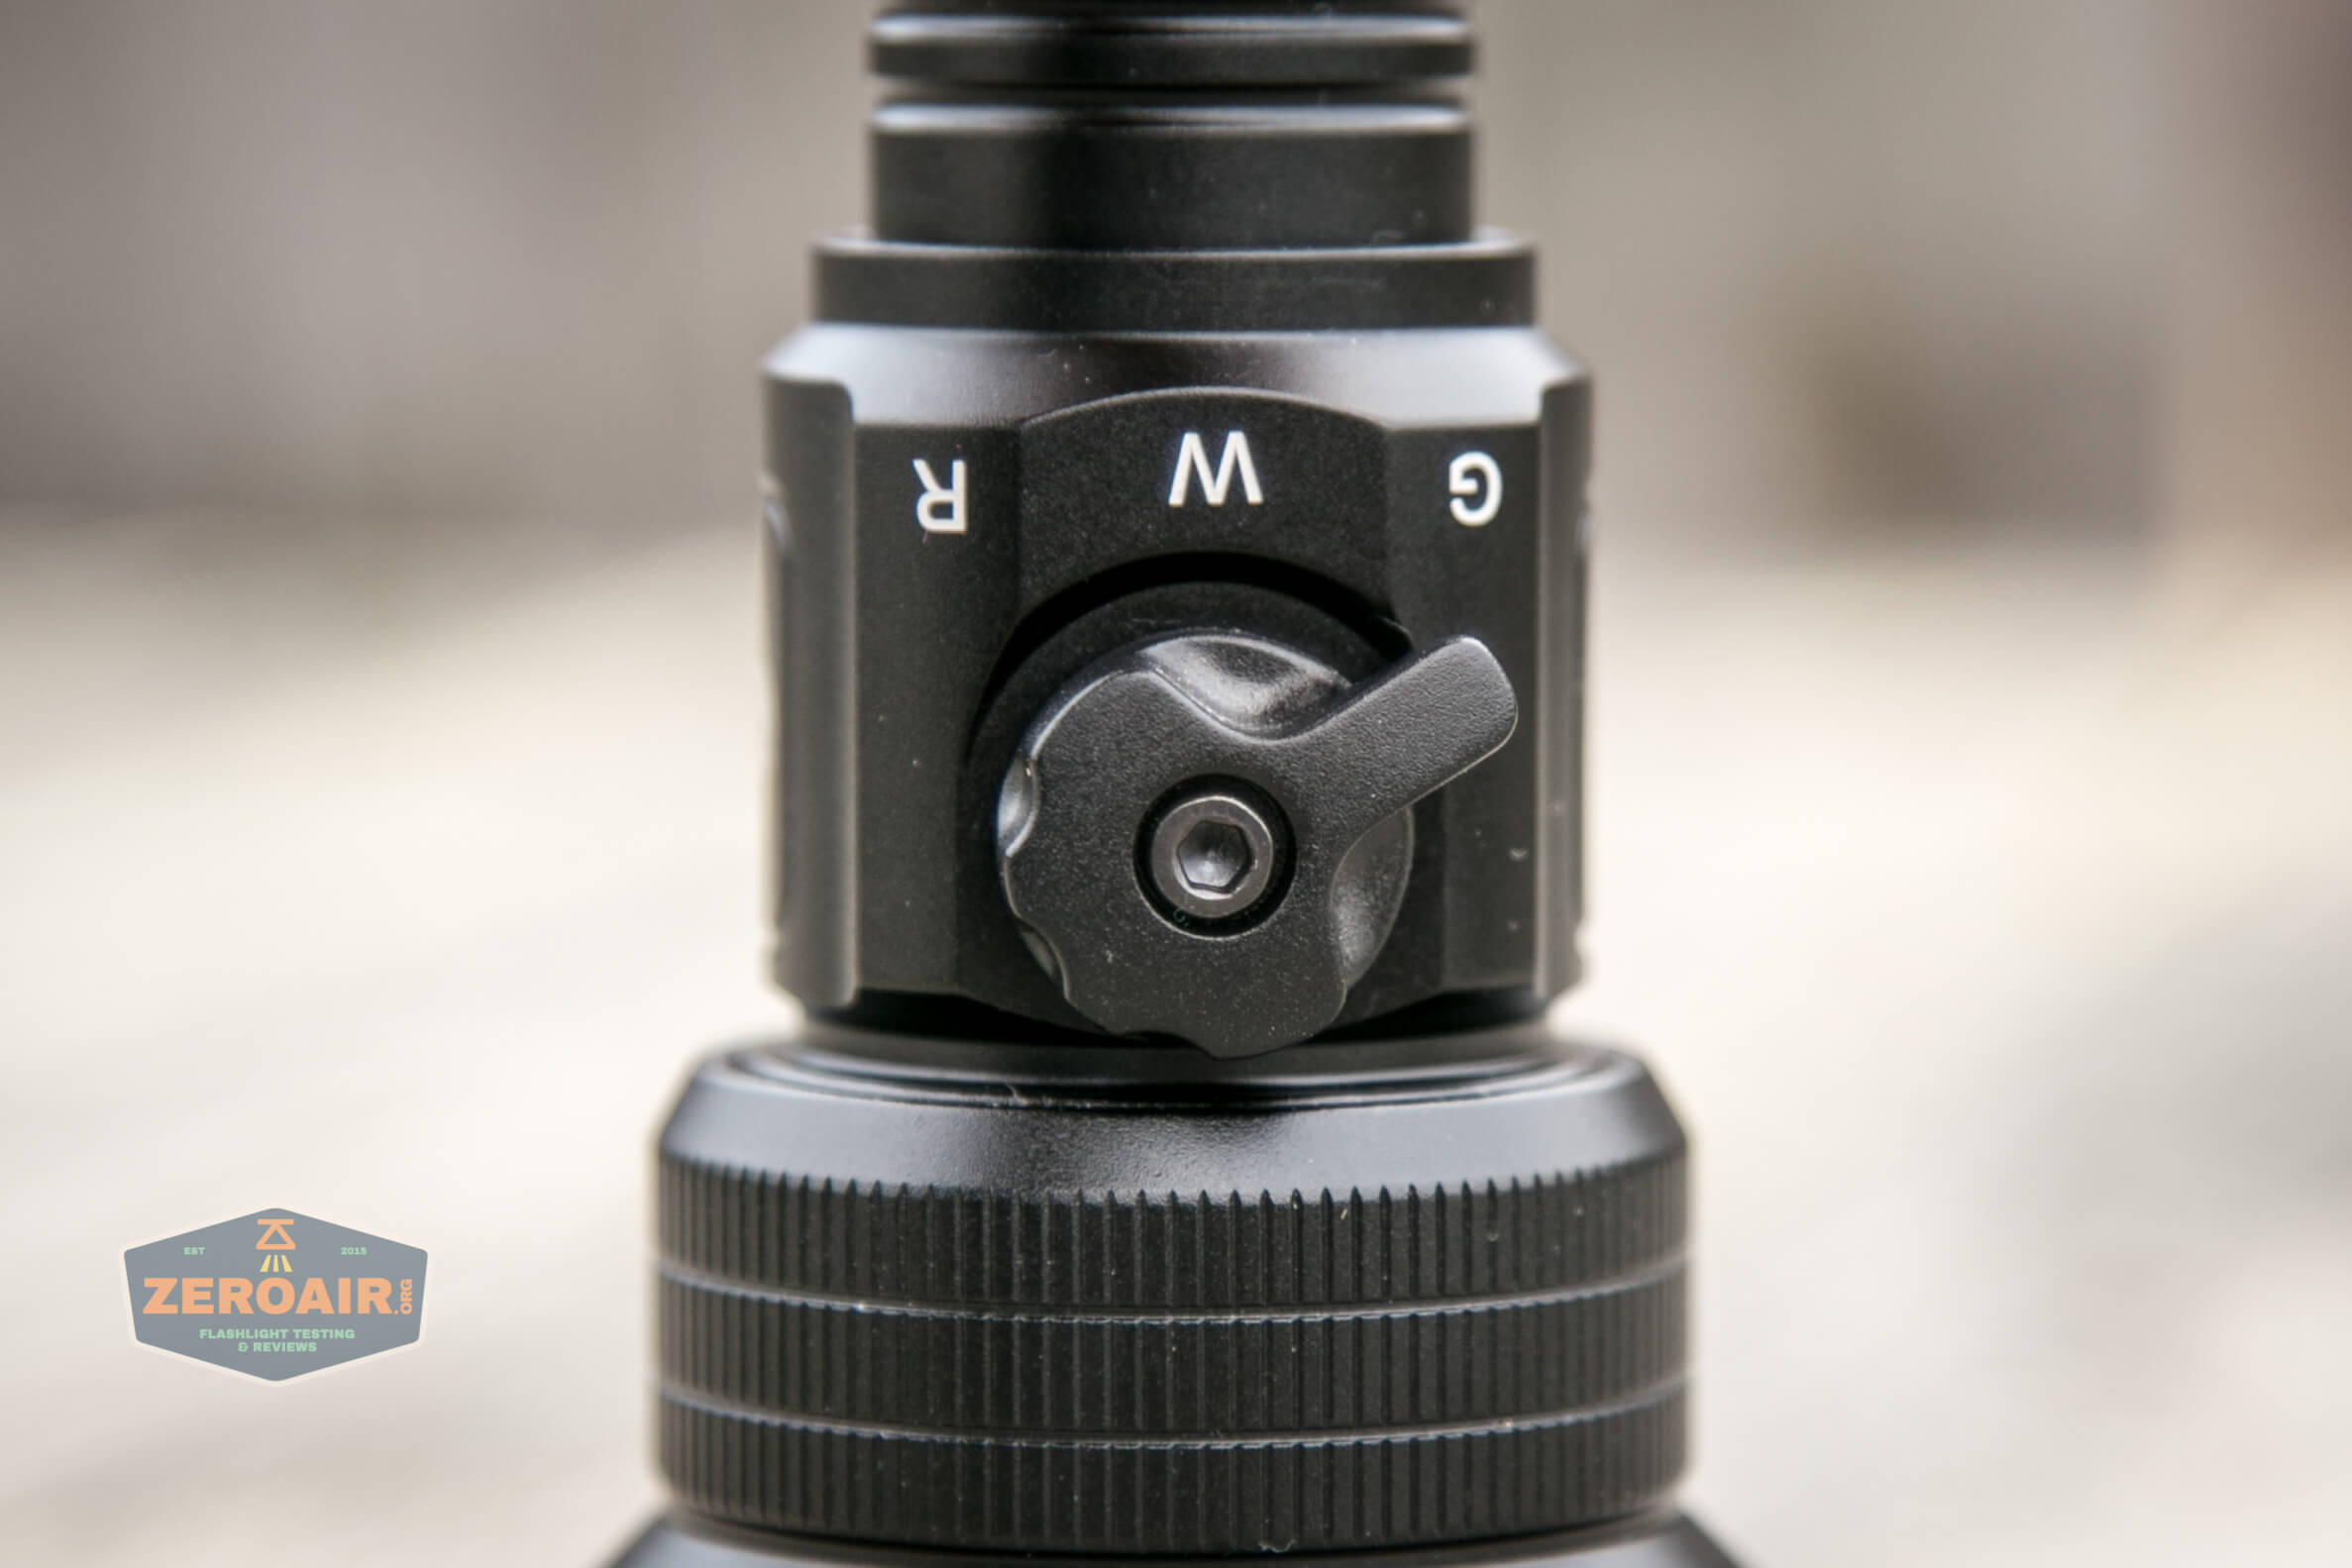
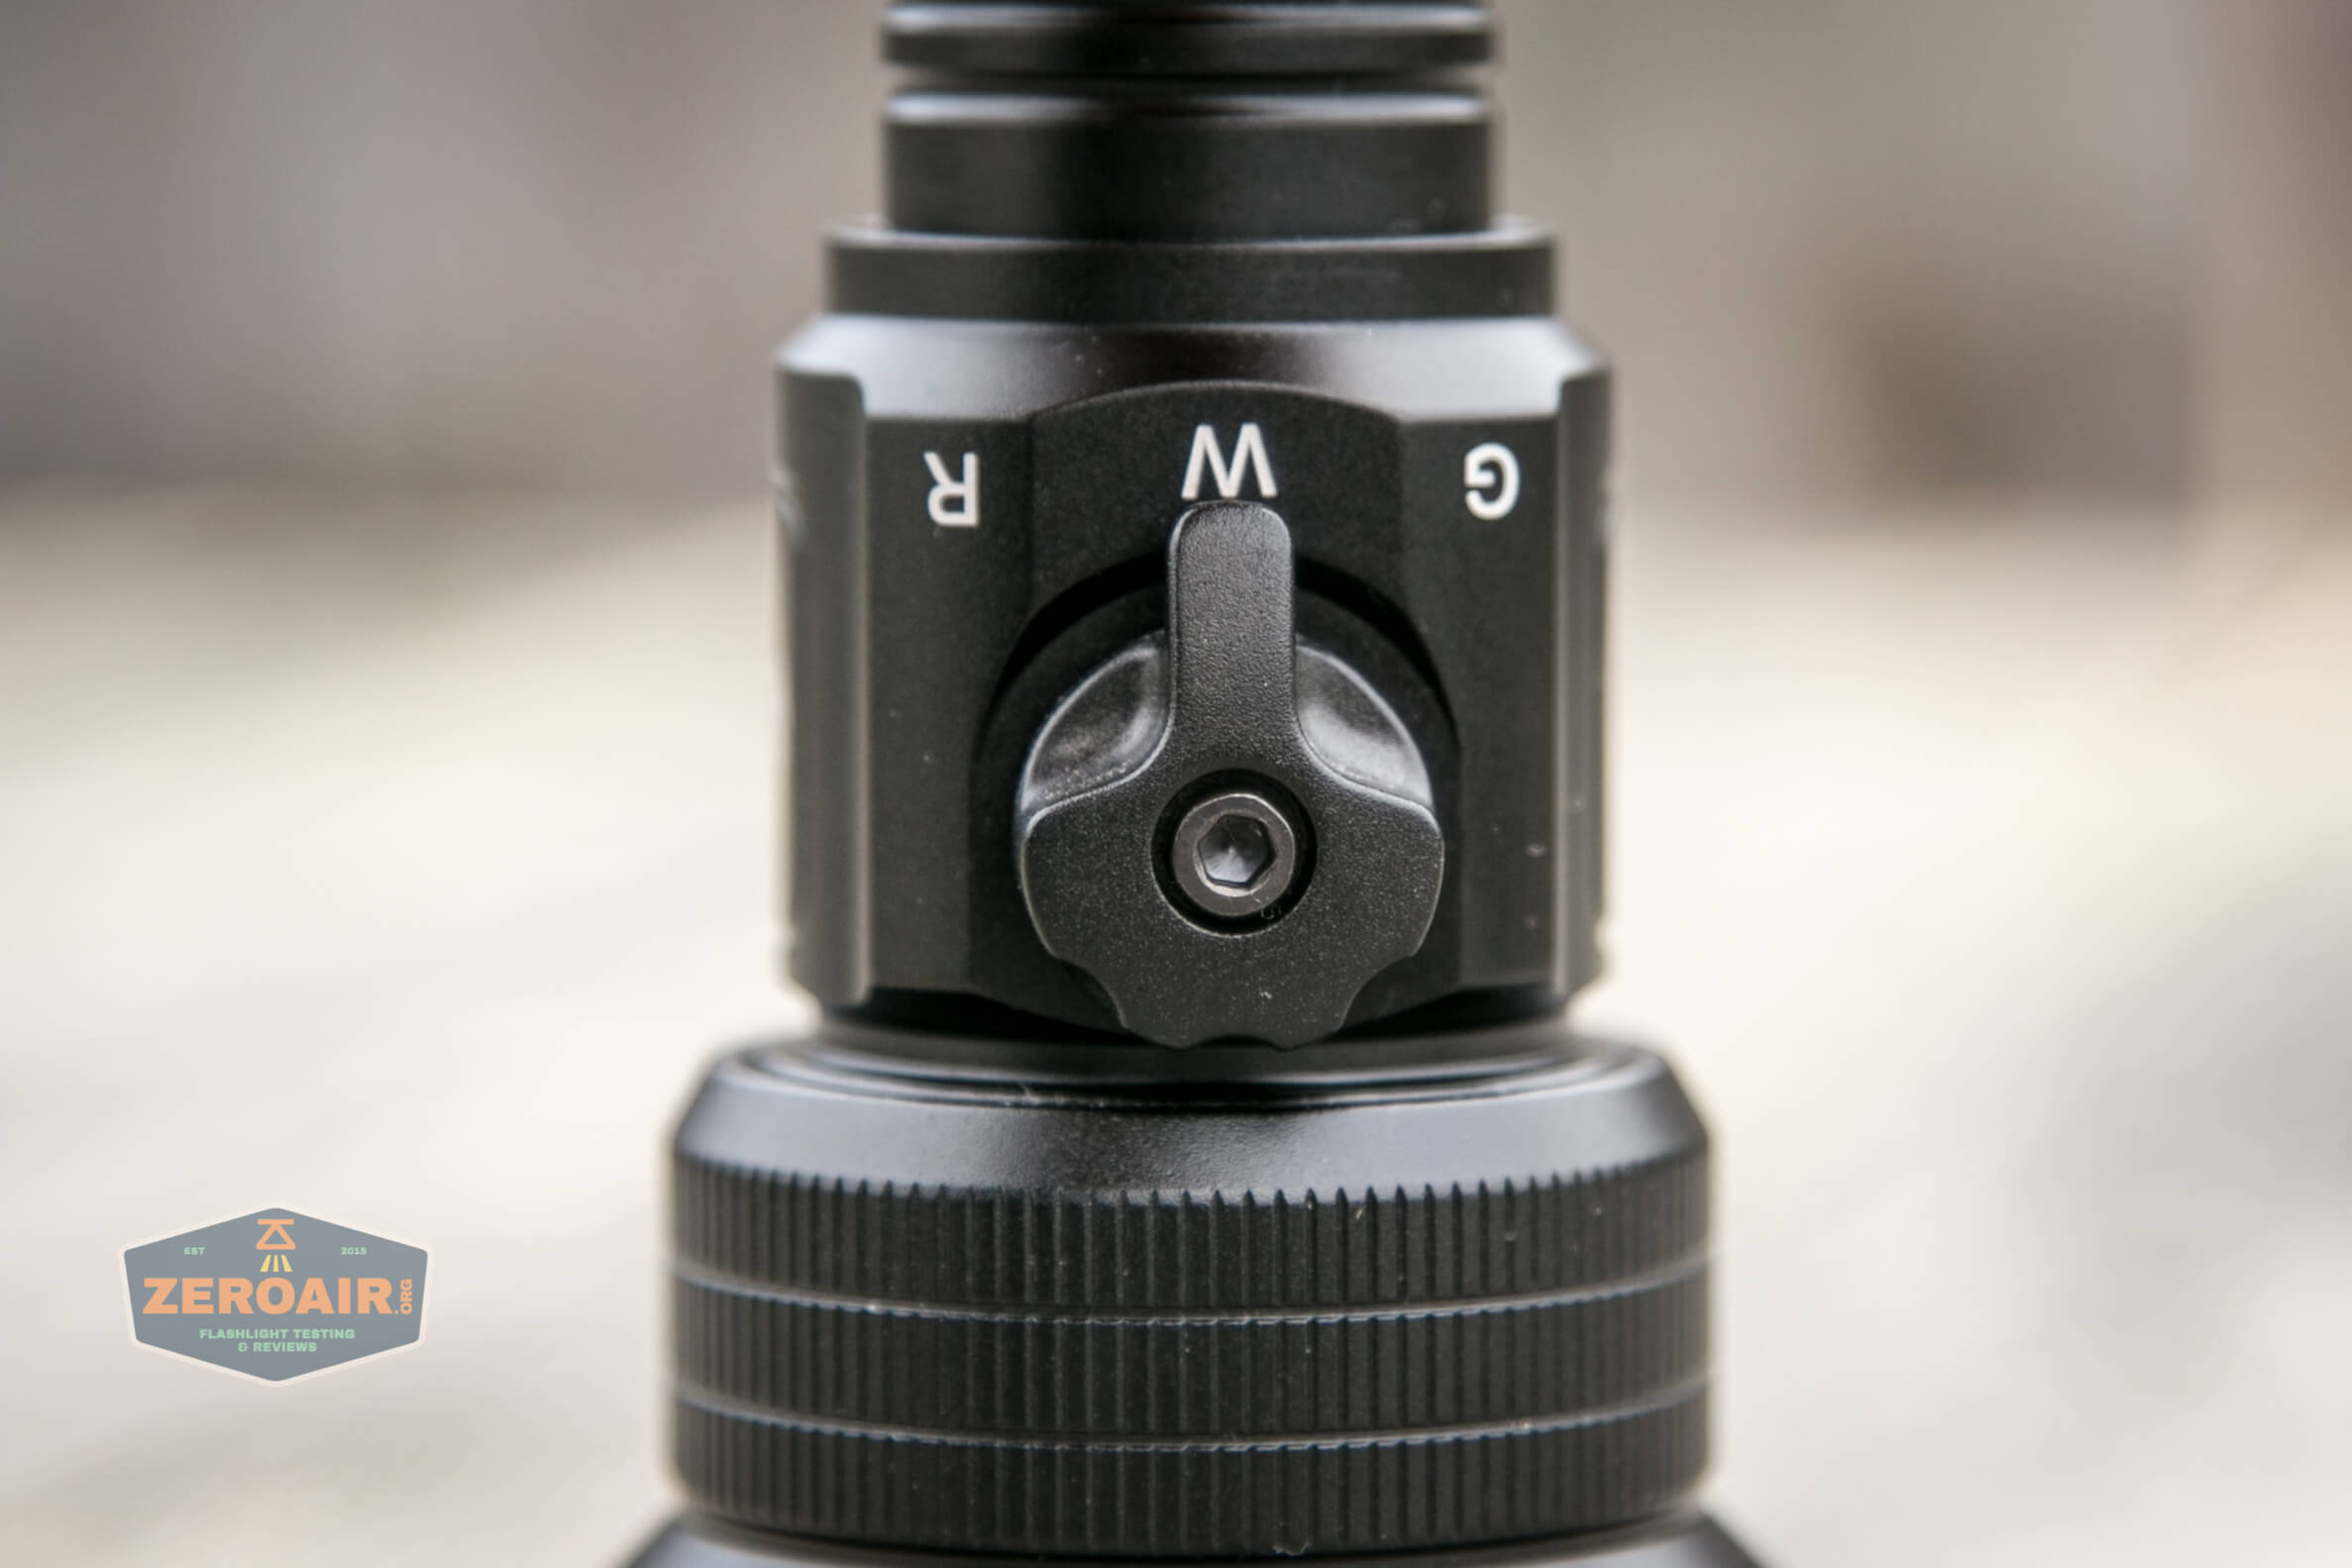
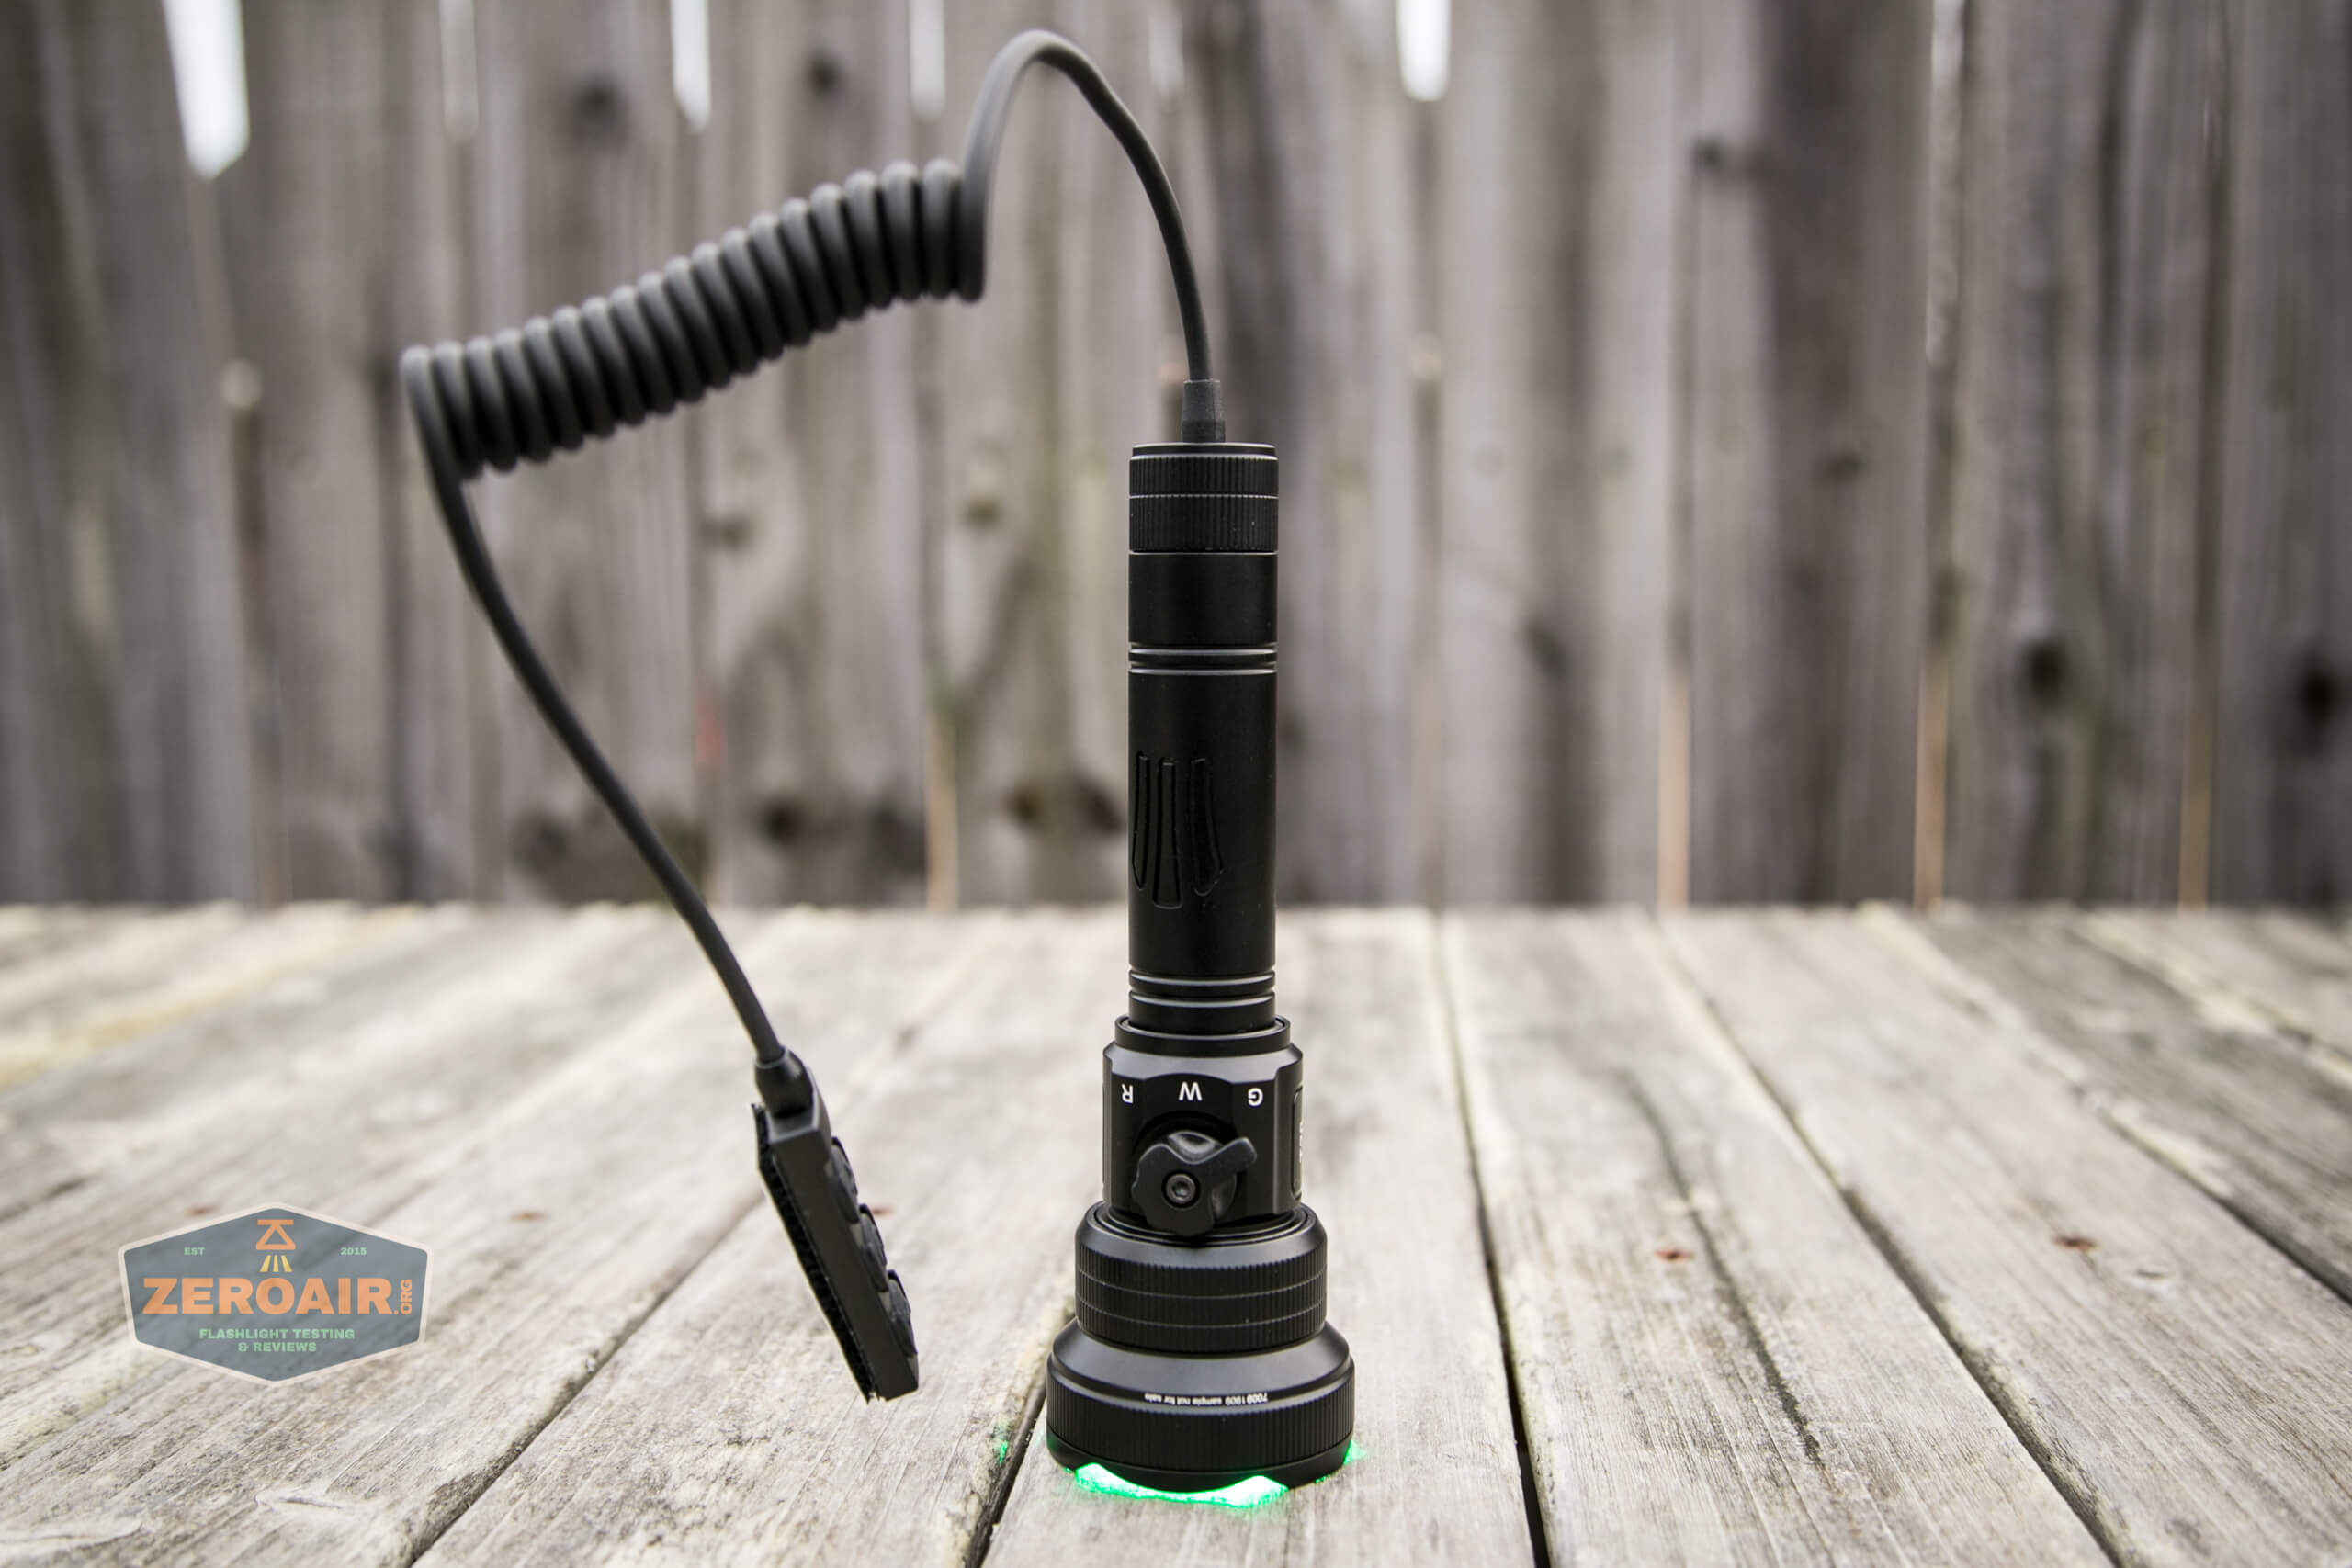
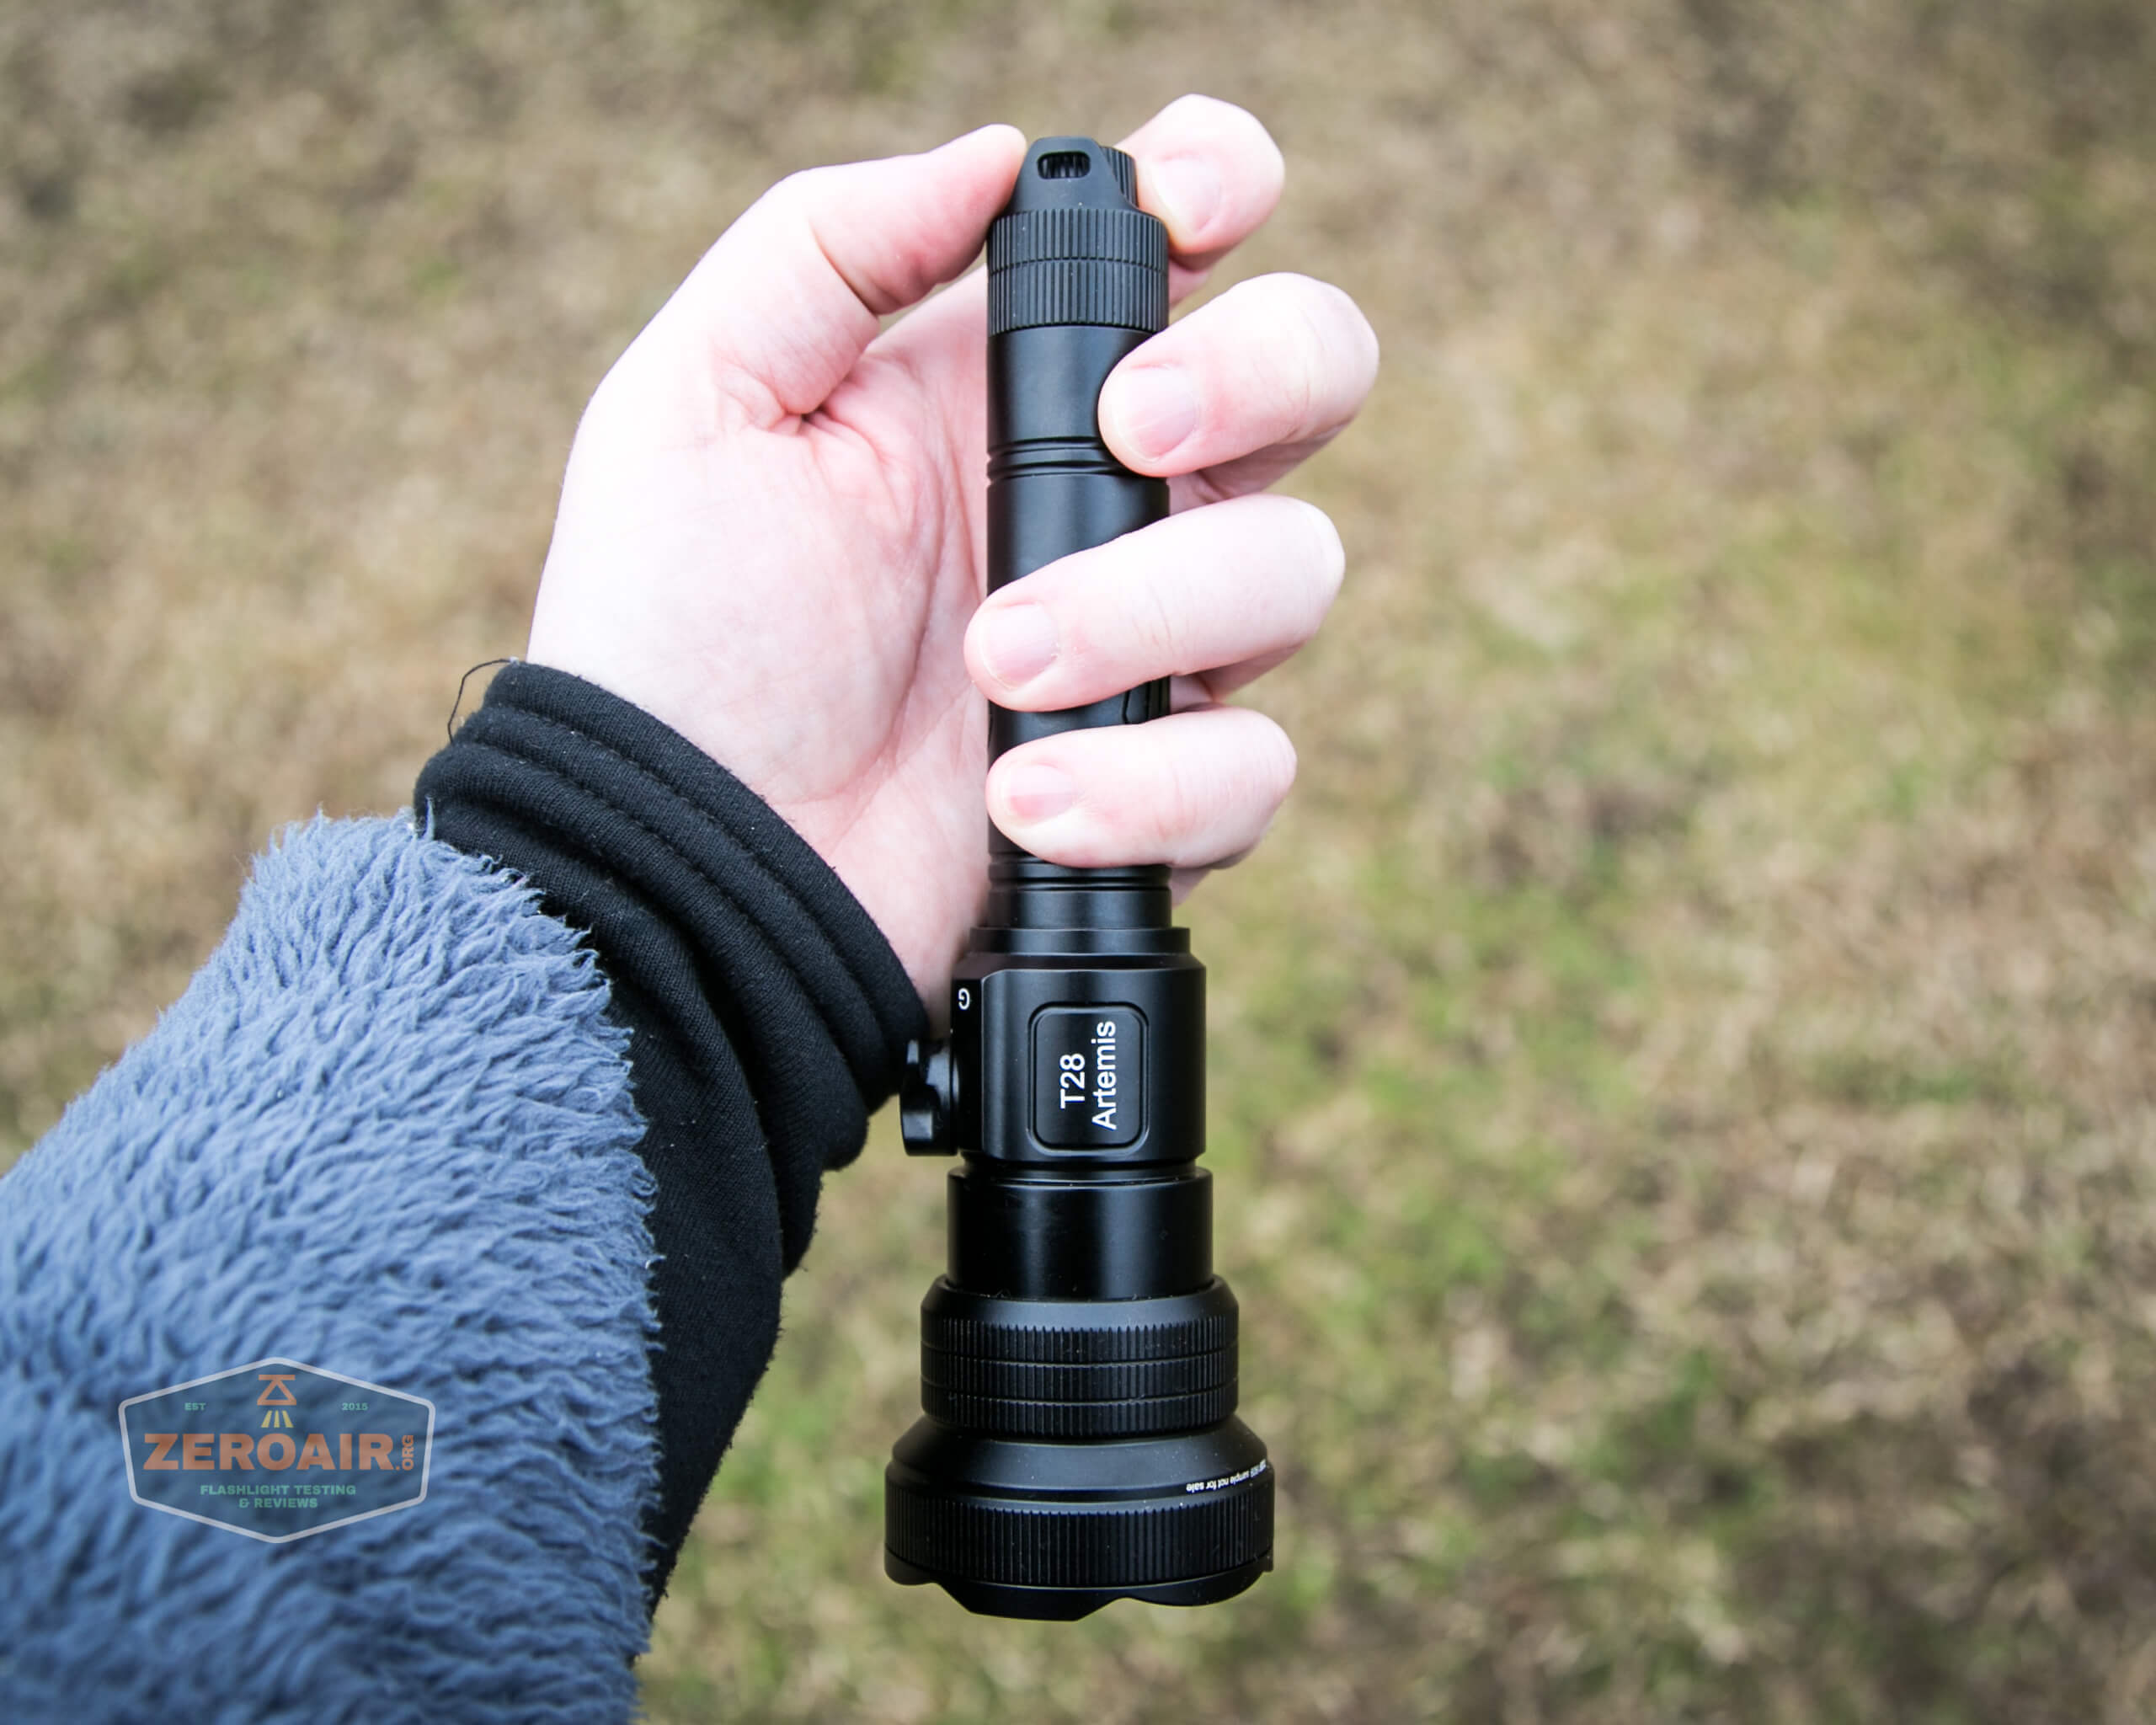
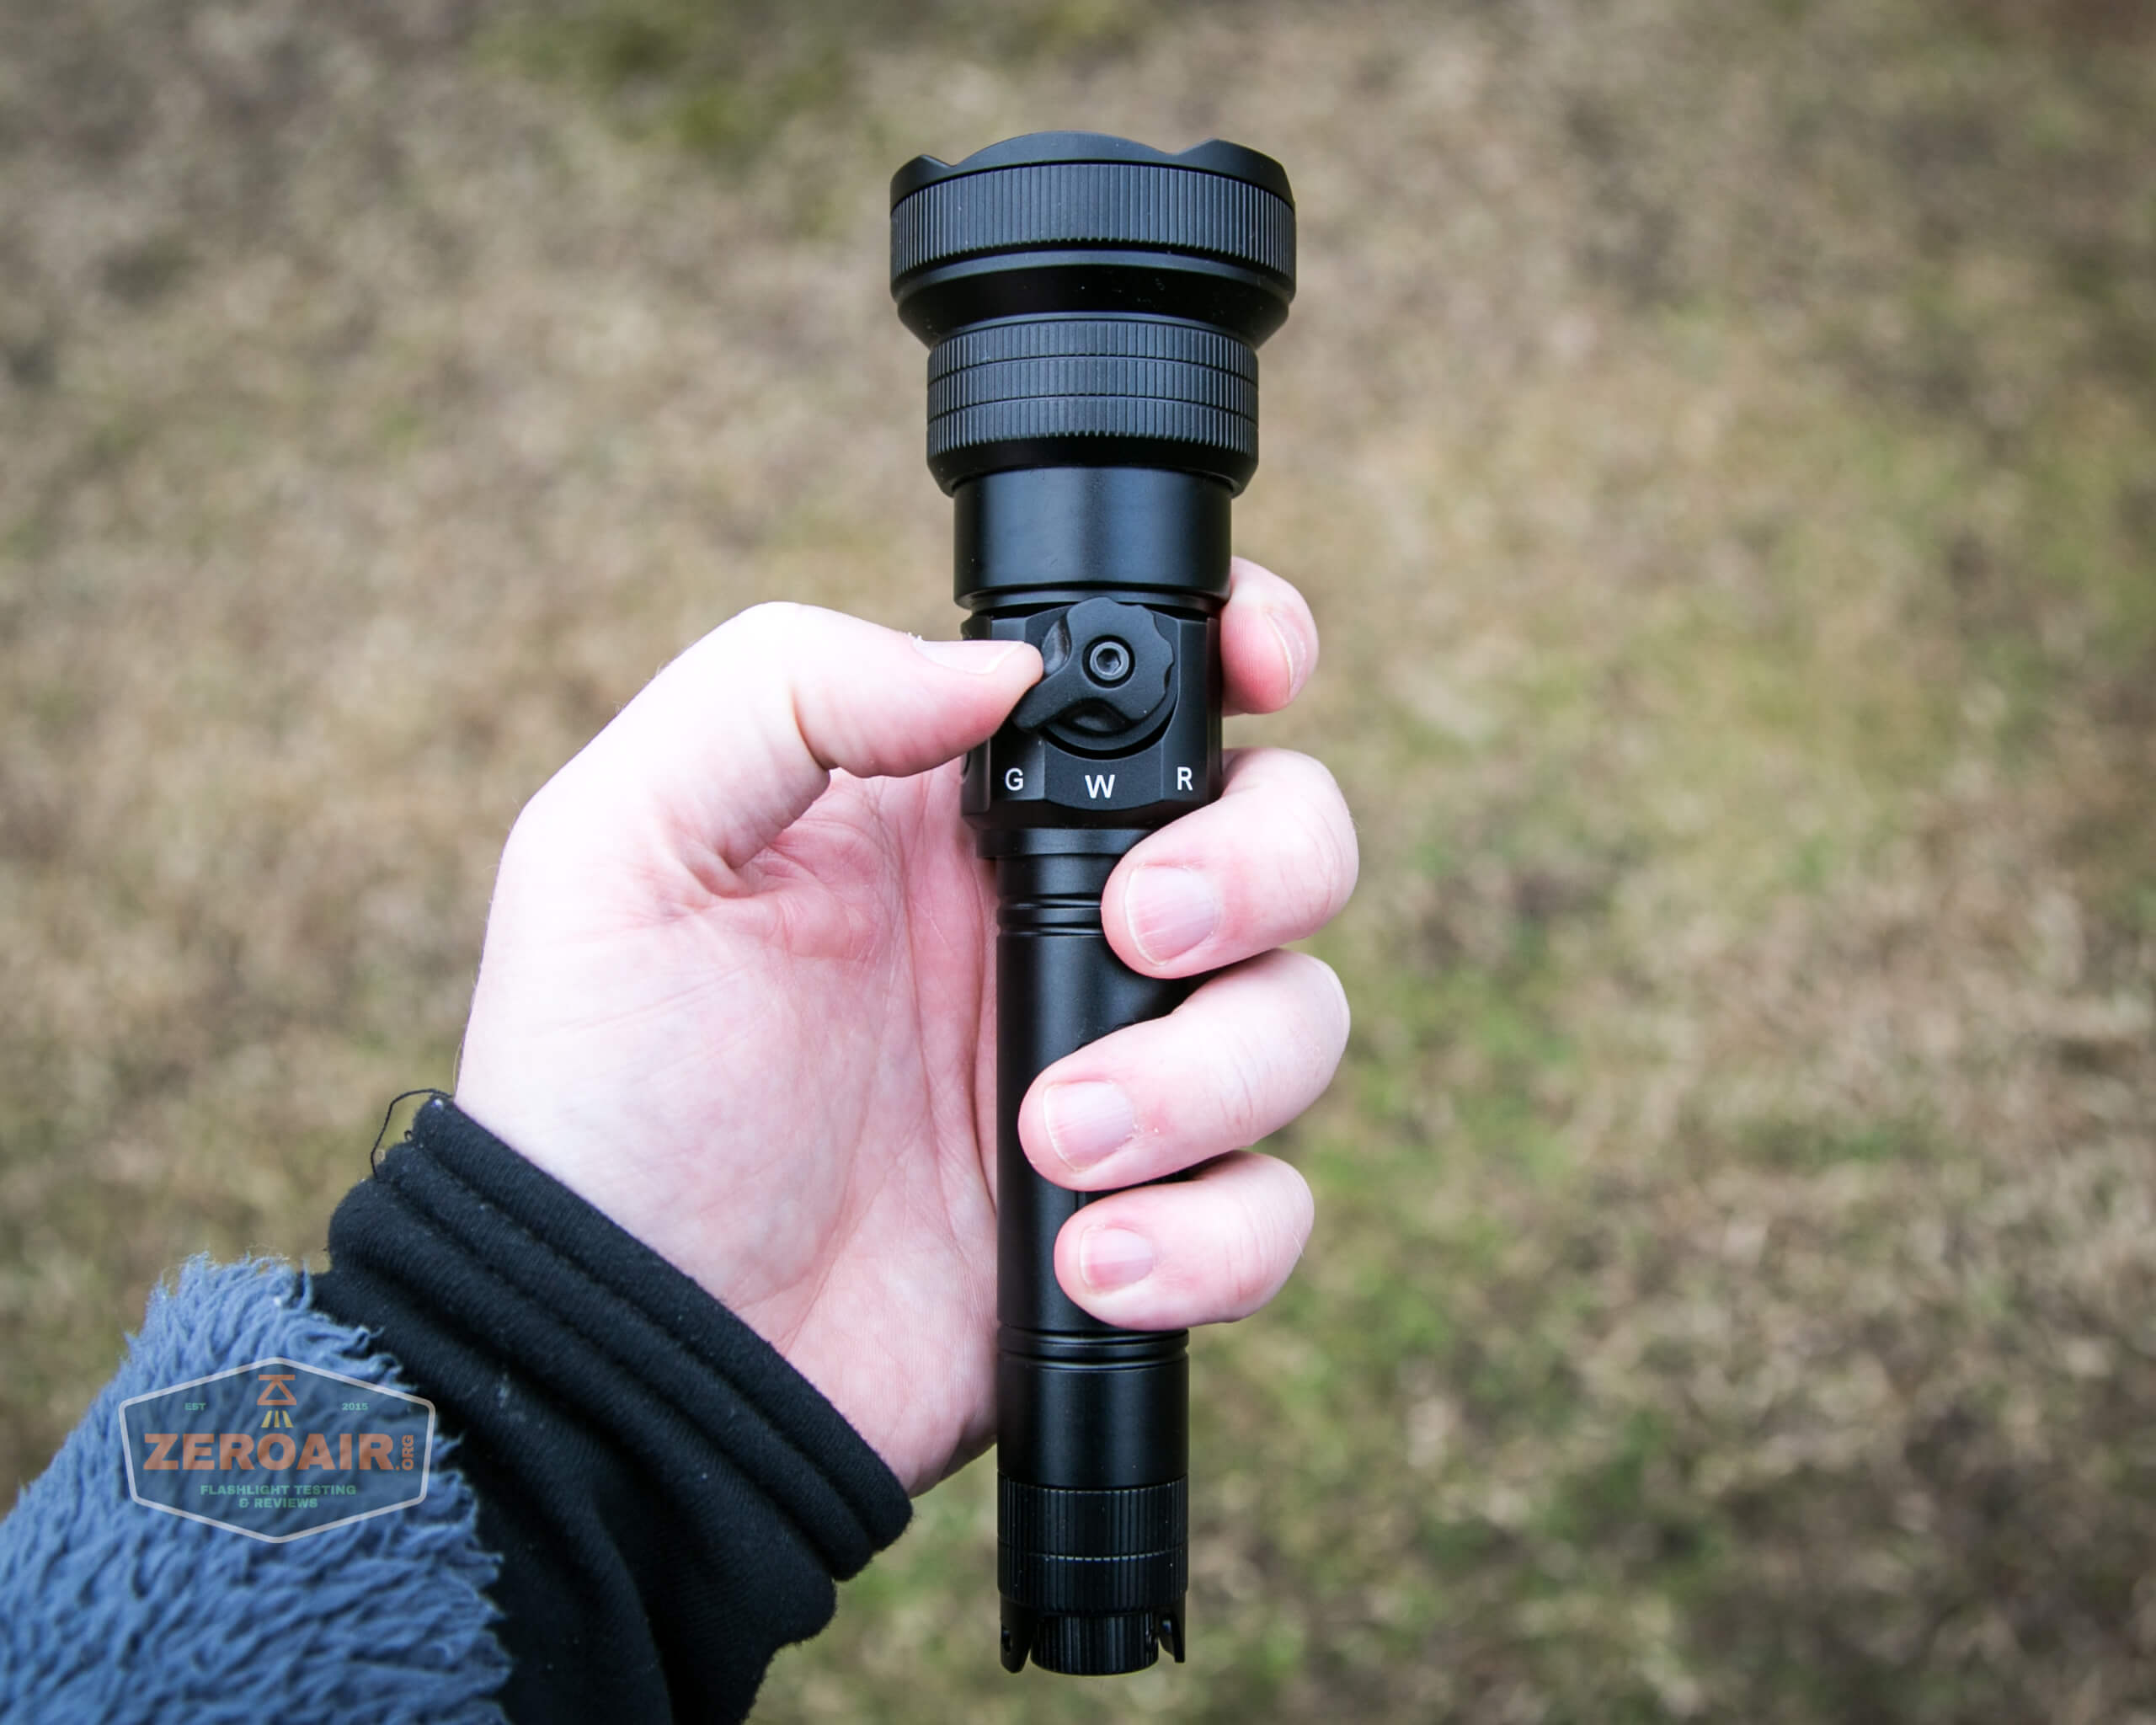
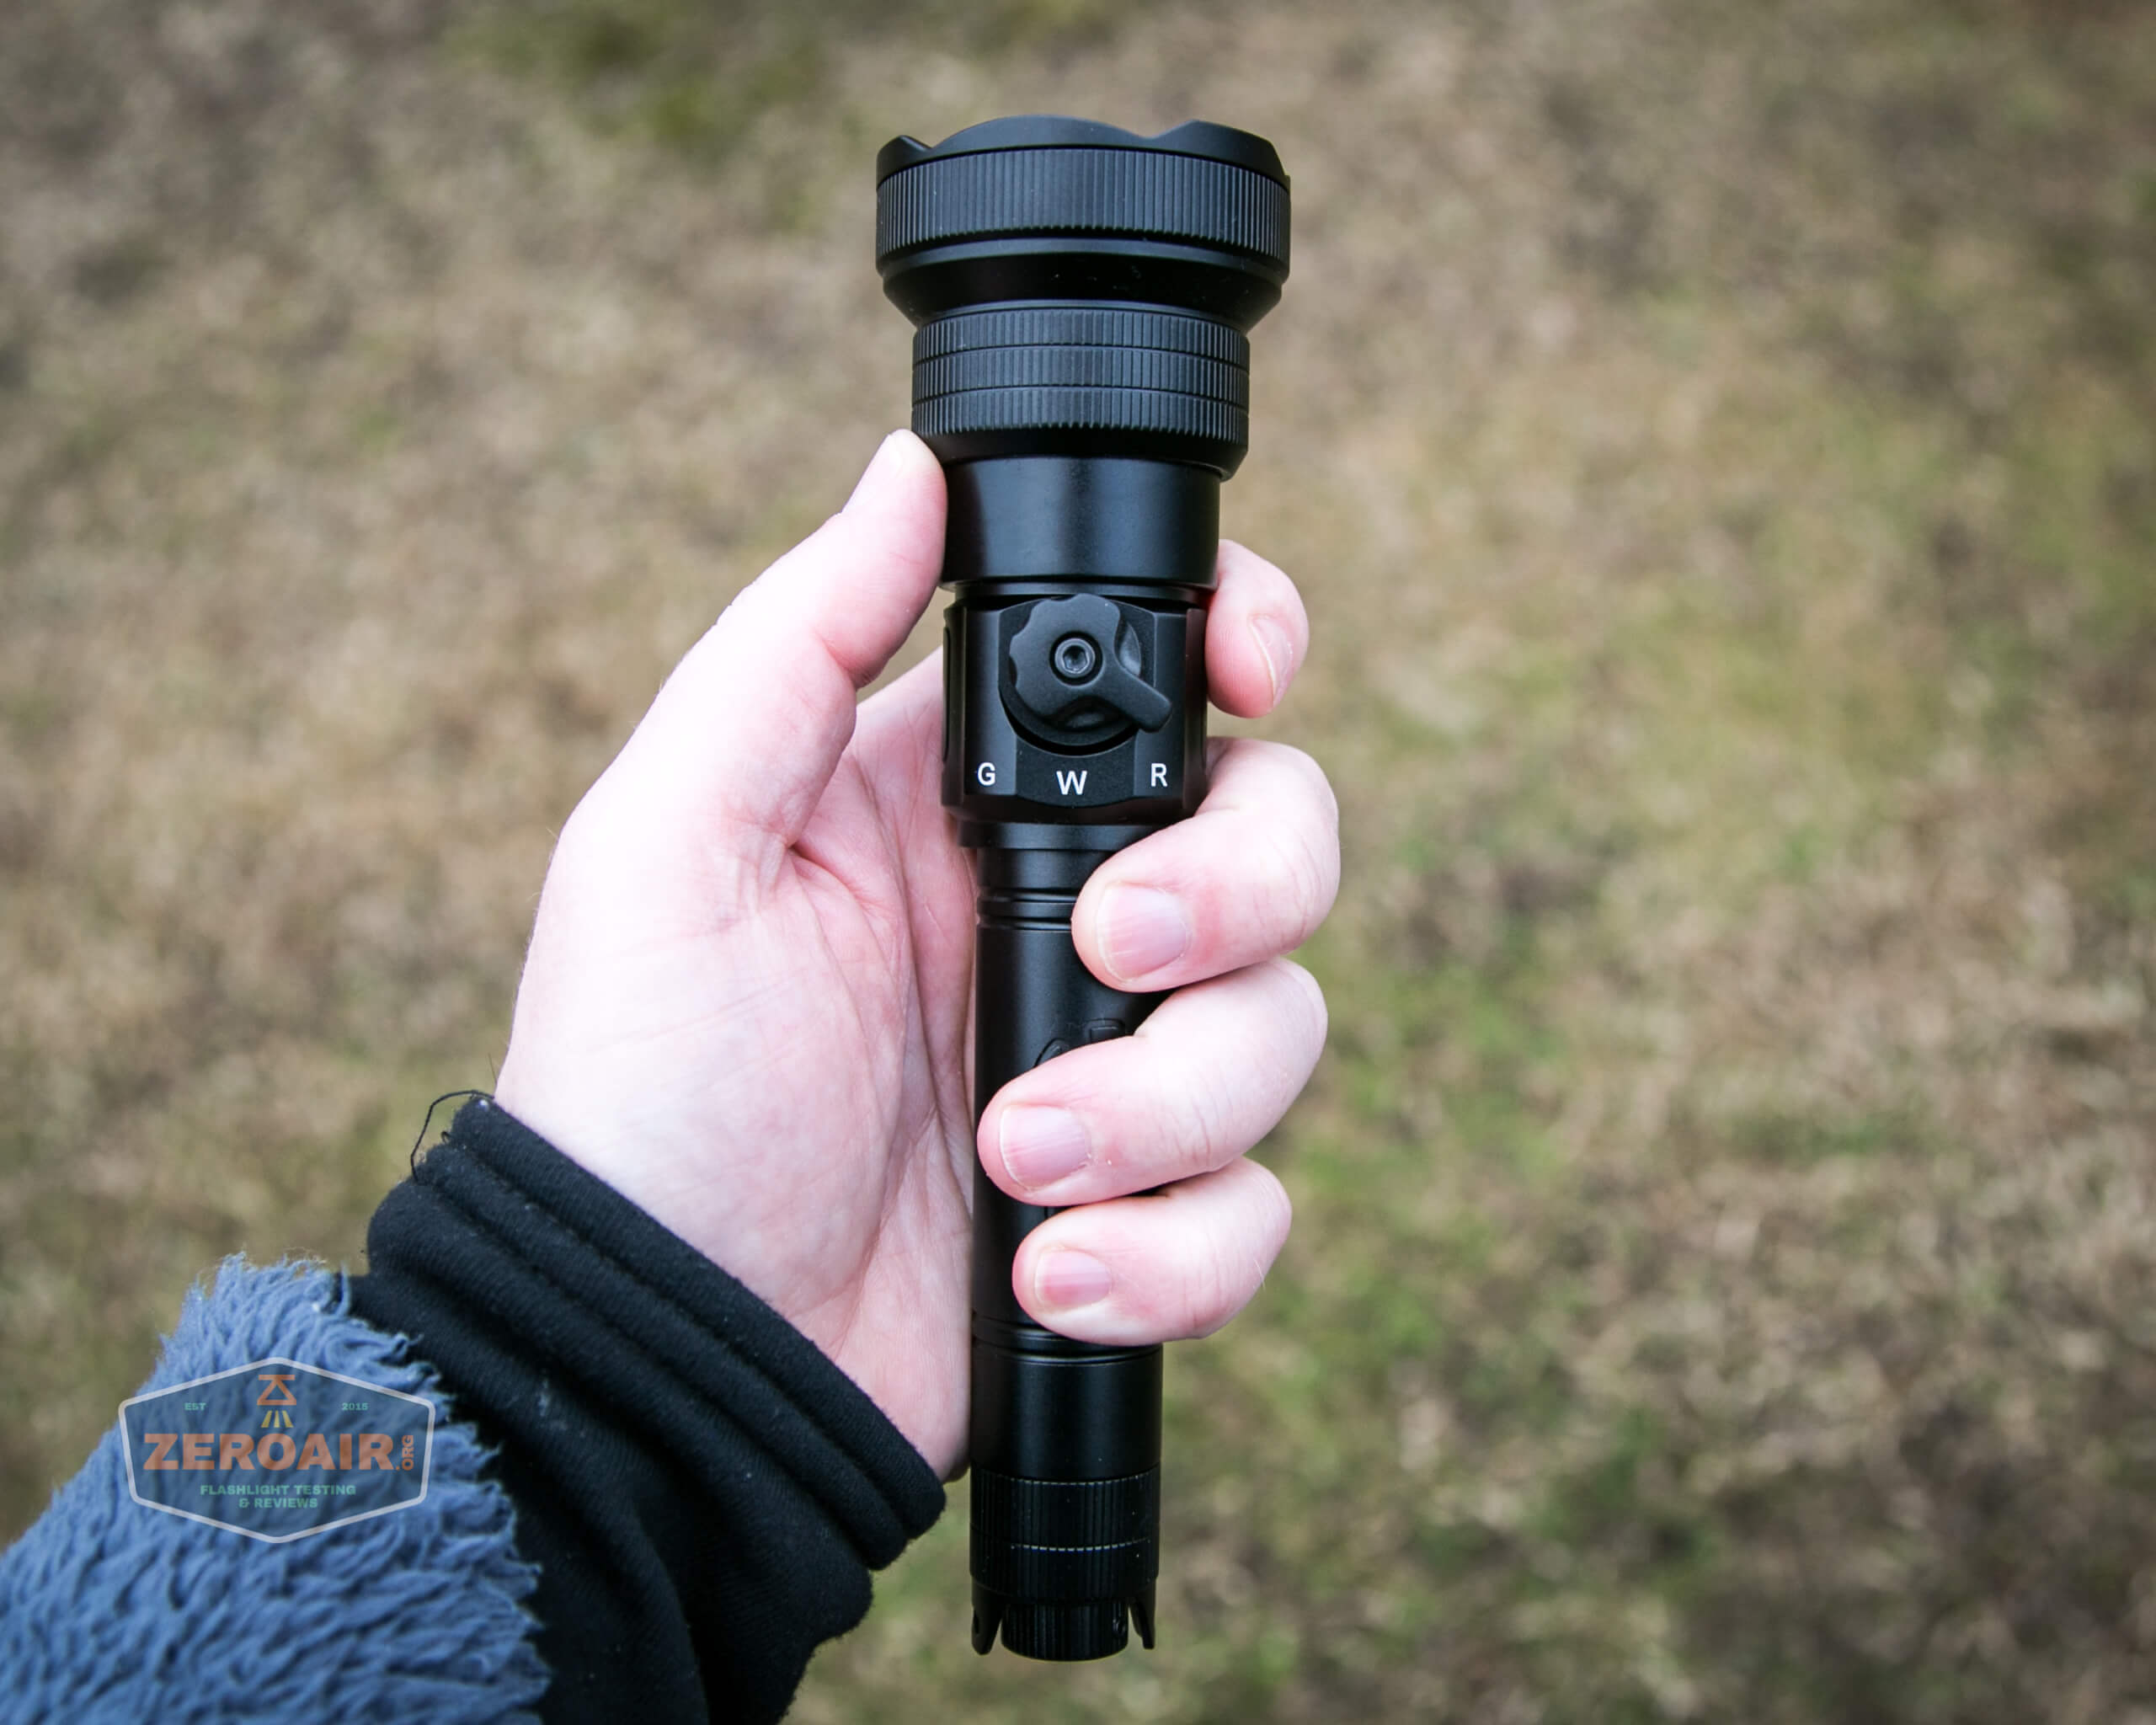
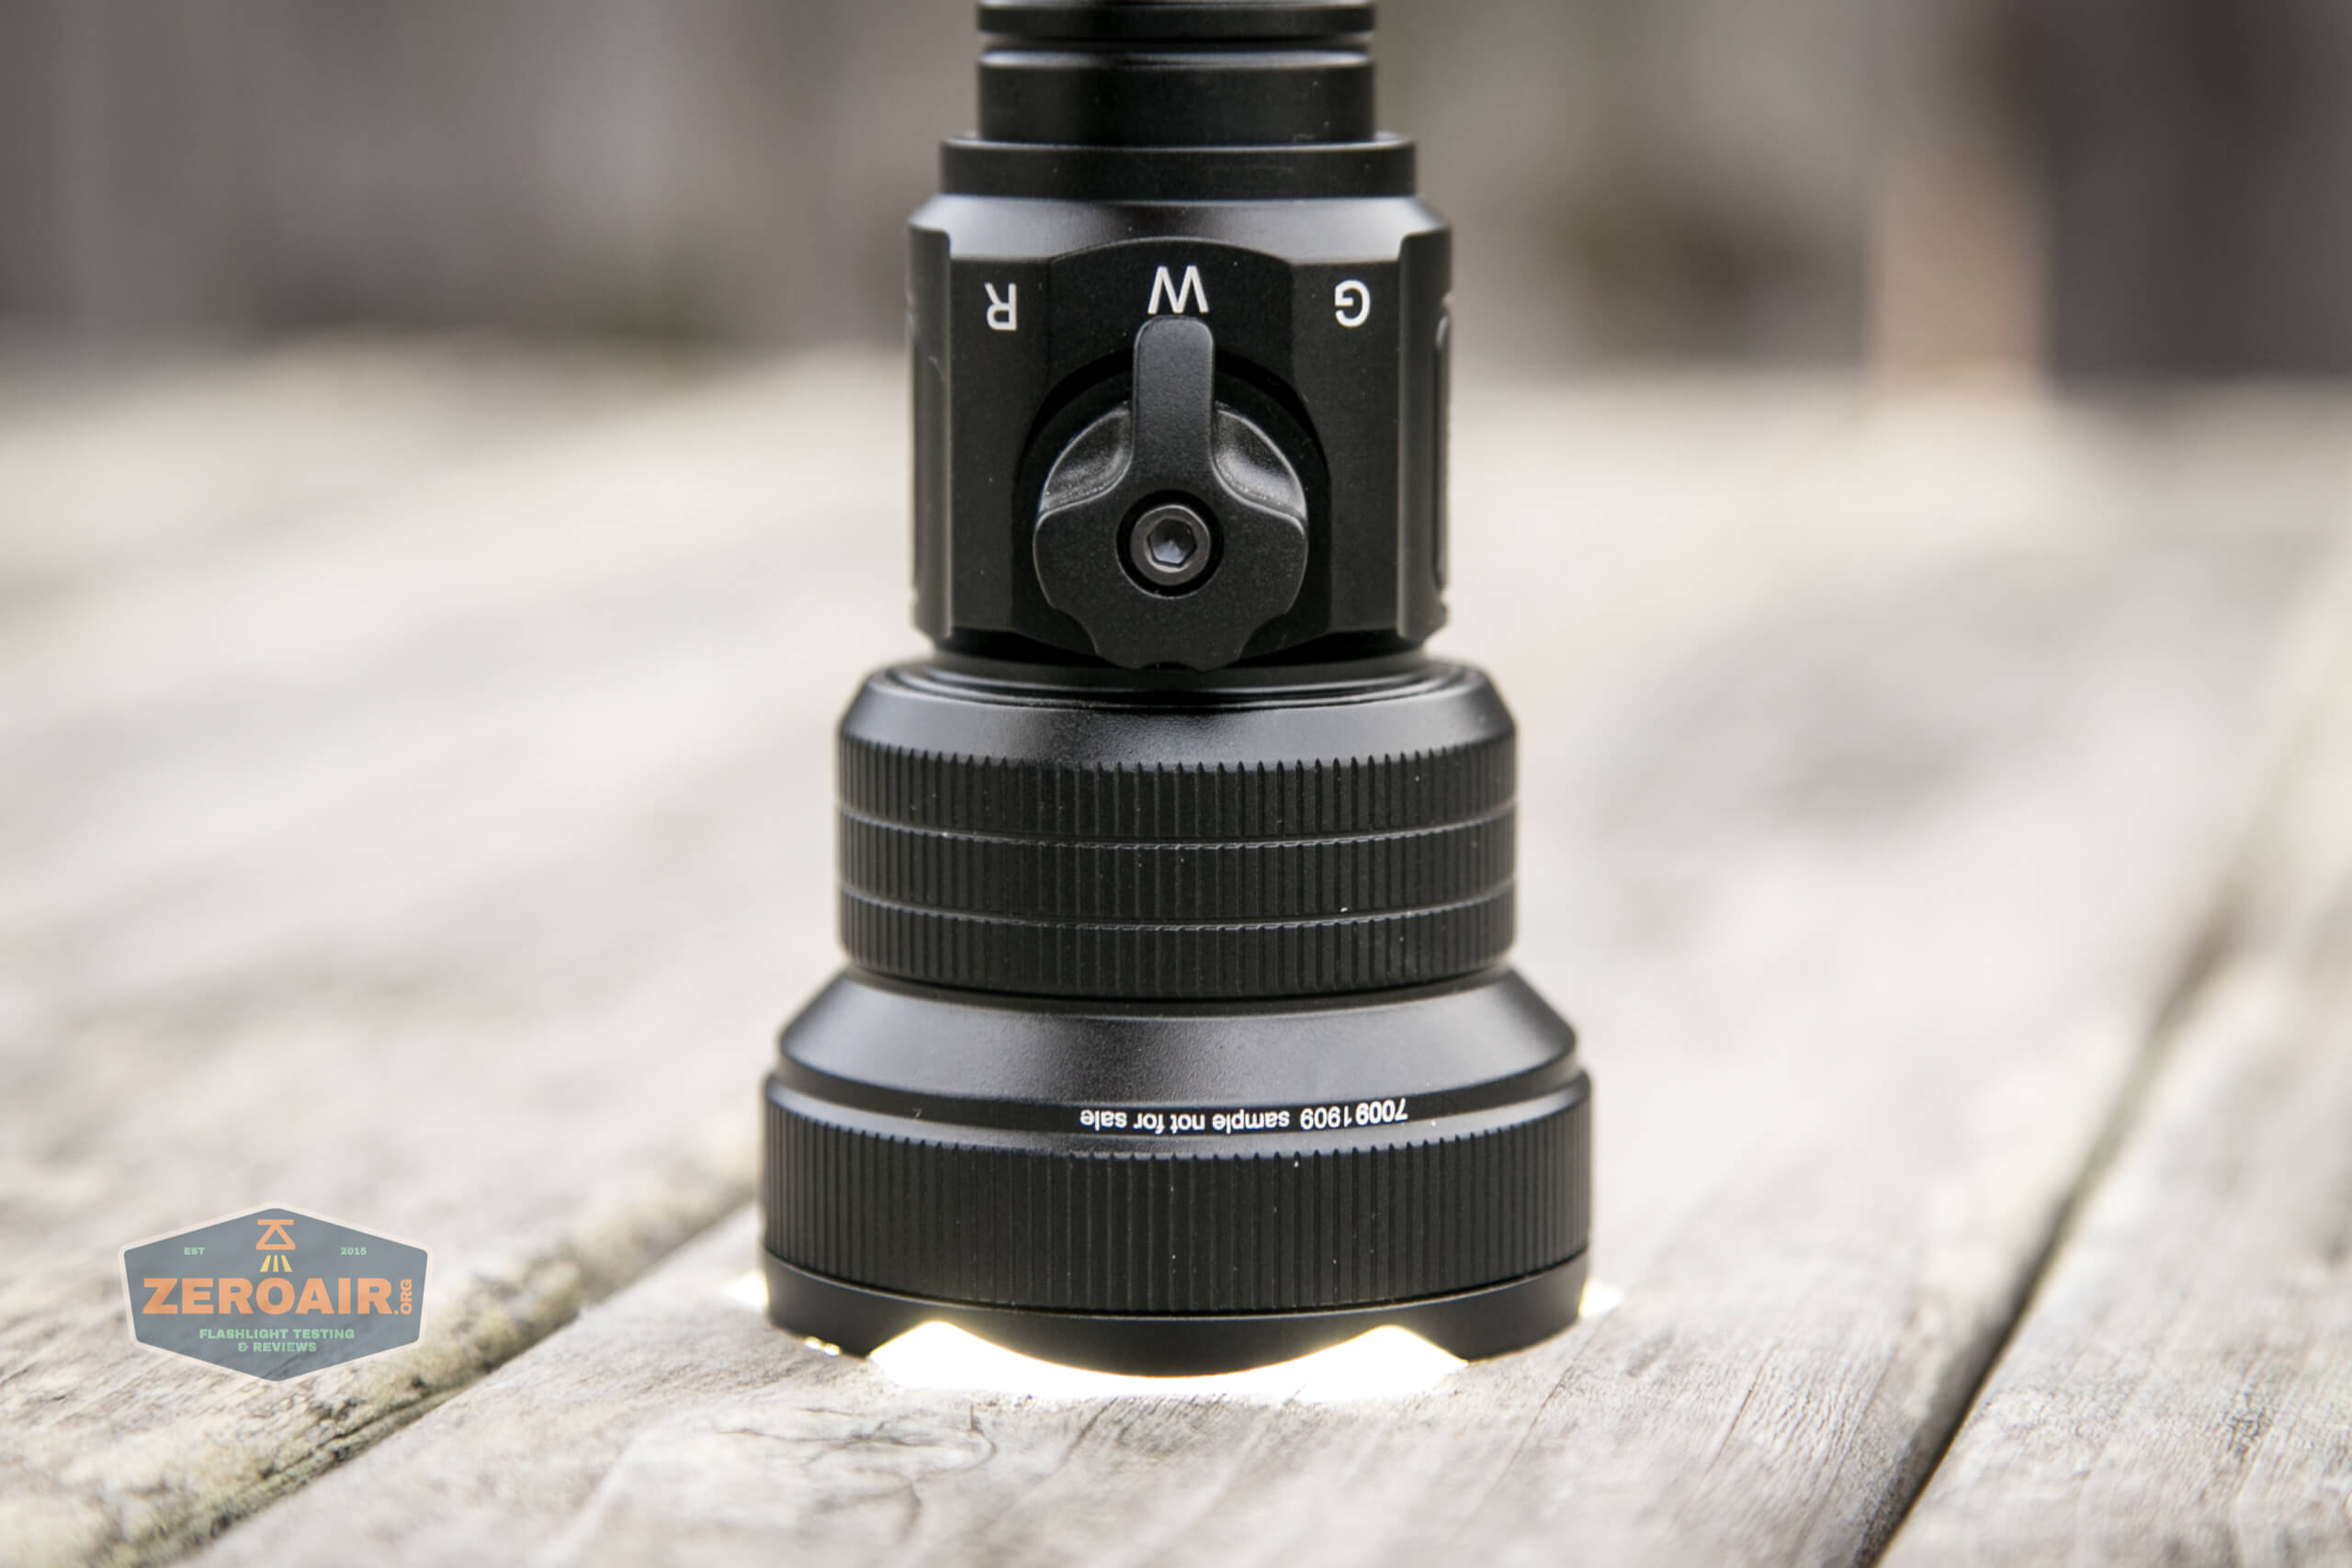
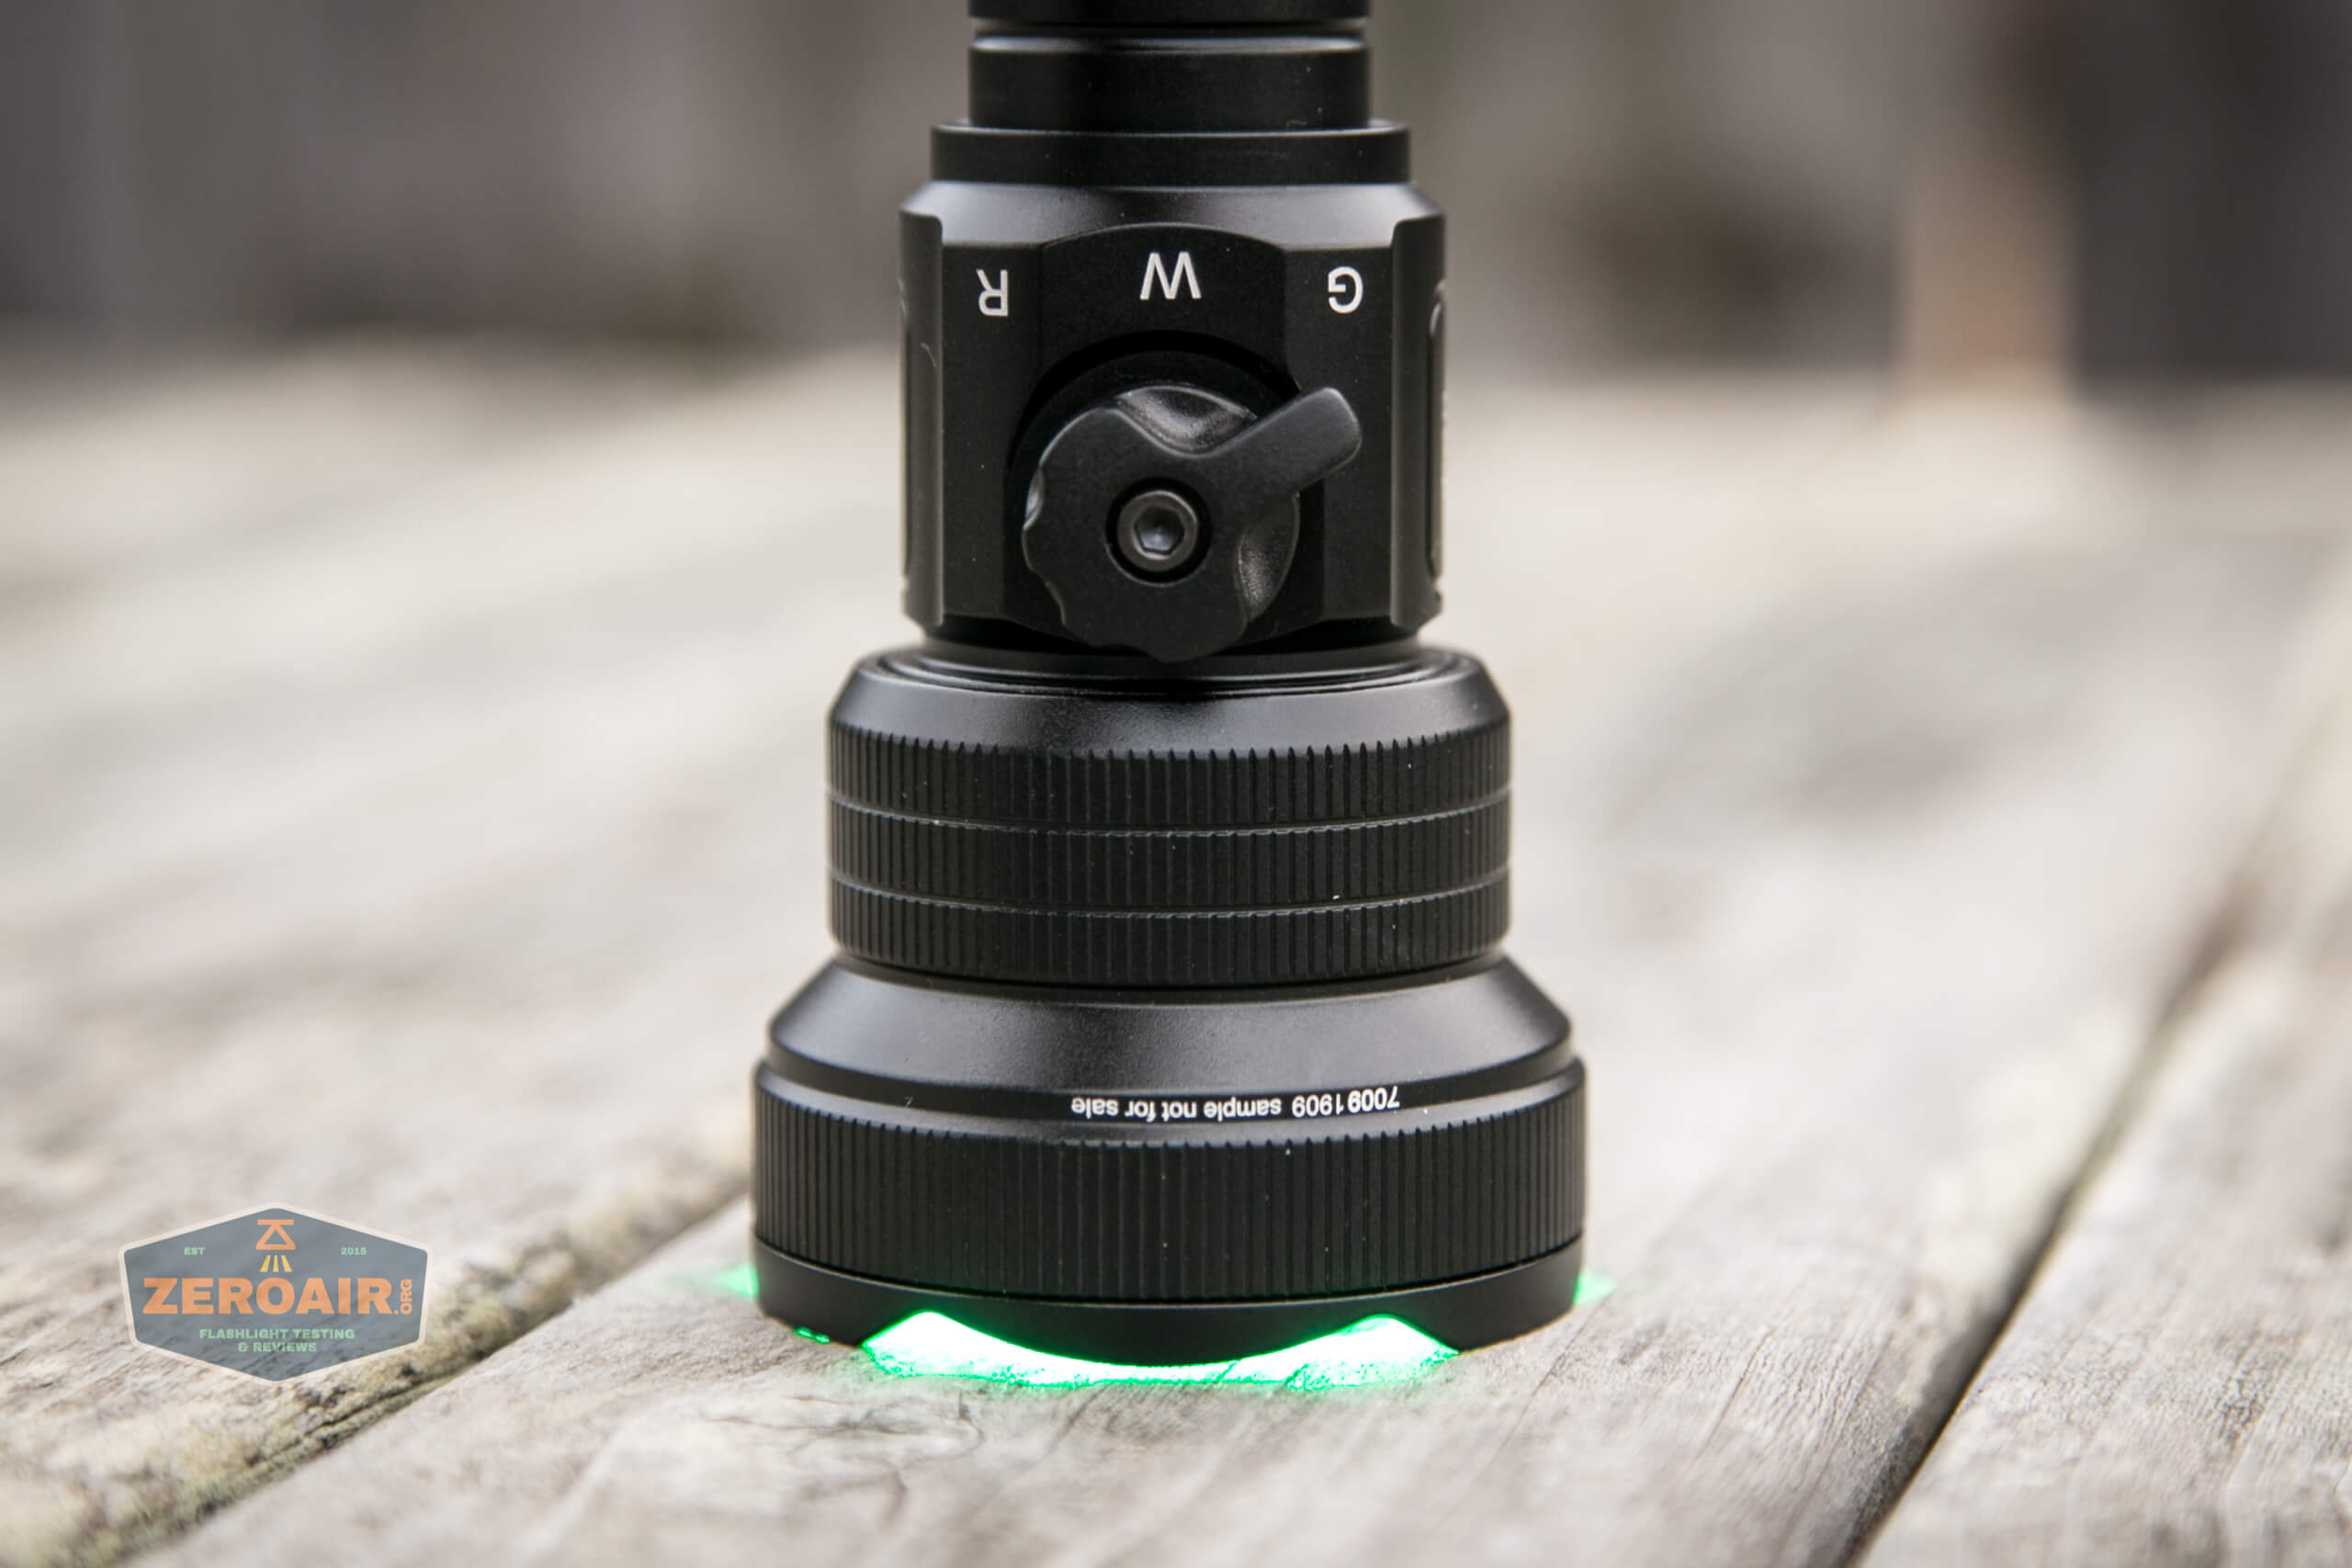
Notice that side switch above. That’s pretty interesting in itself. What it does is even cooler – it’s an emitter selector! Flipping that between G/W/R literally slides in the selected emitter! It’s neat if nothing else.
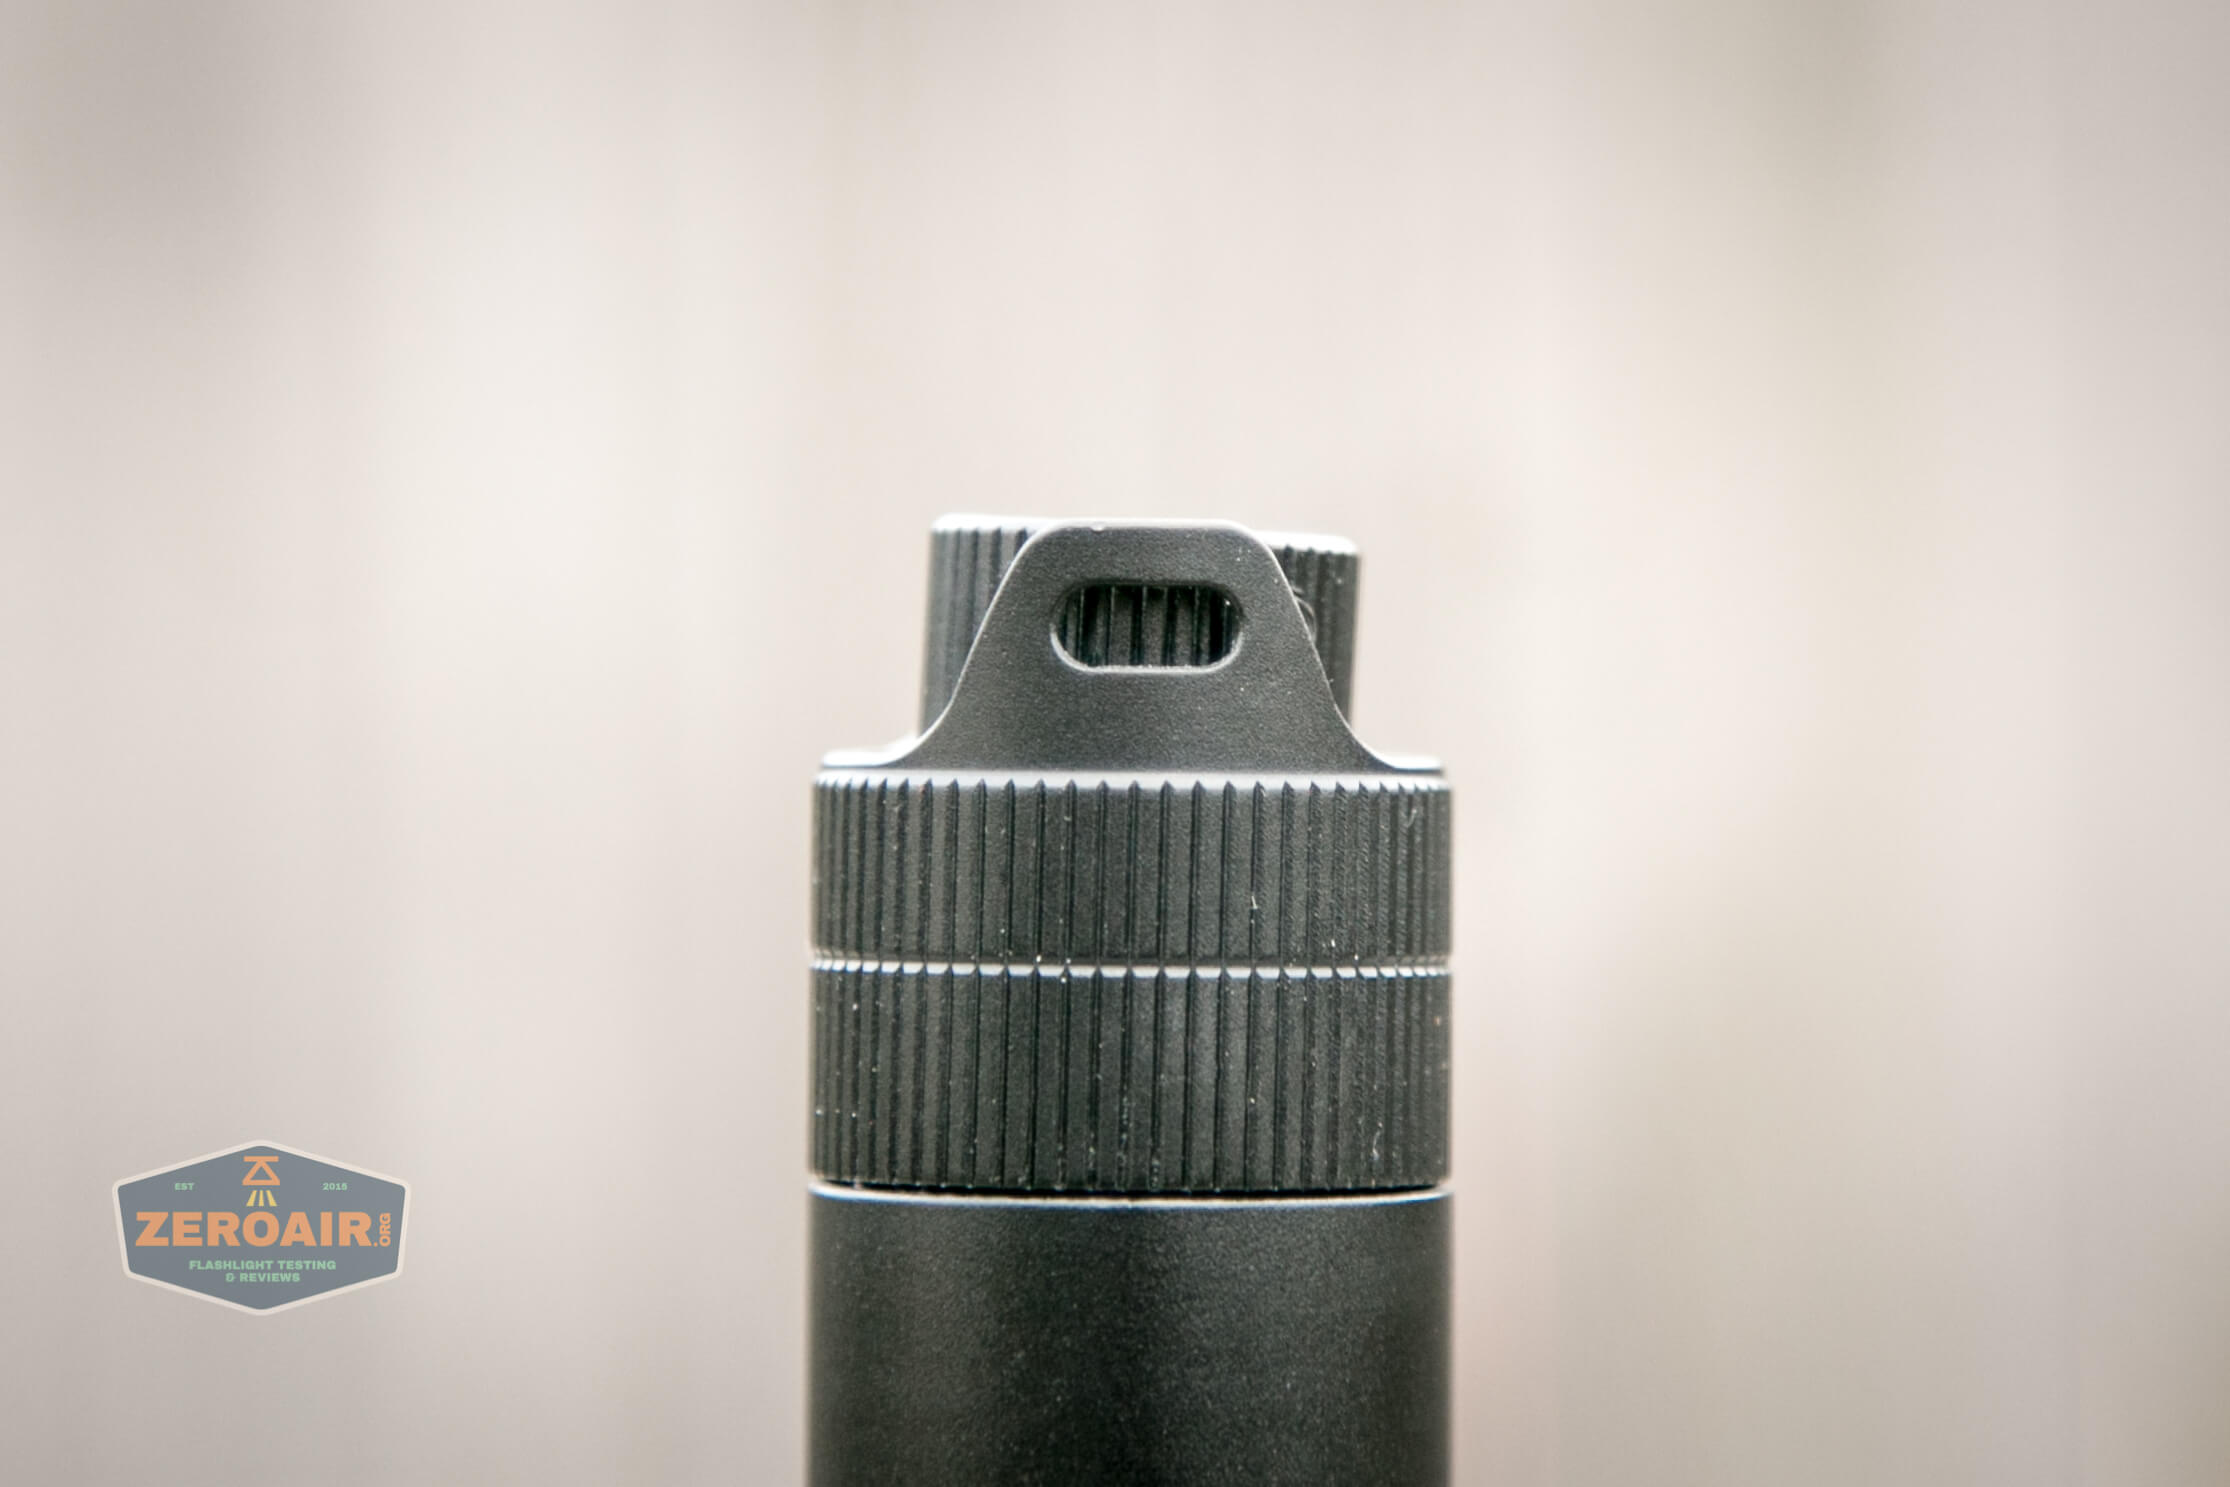
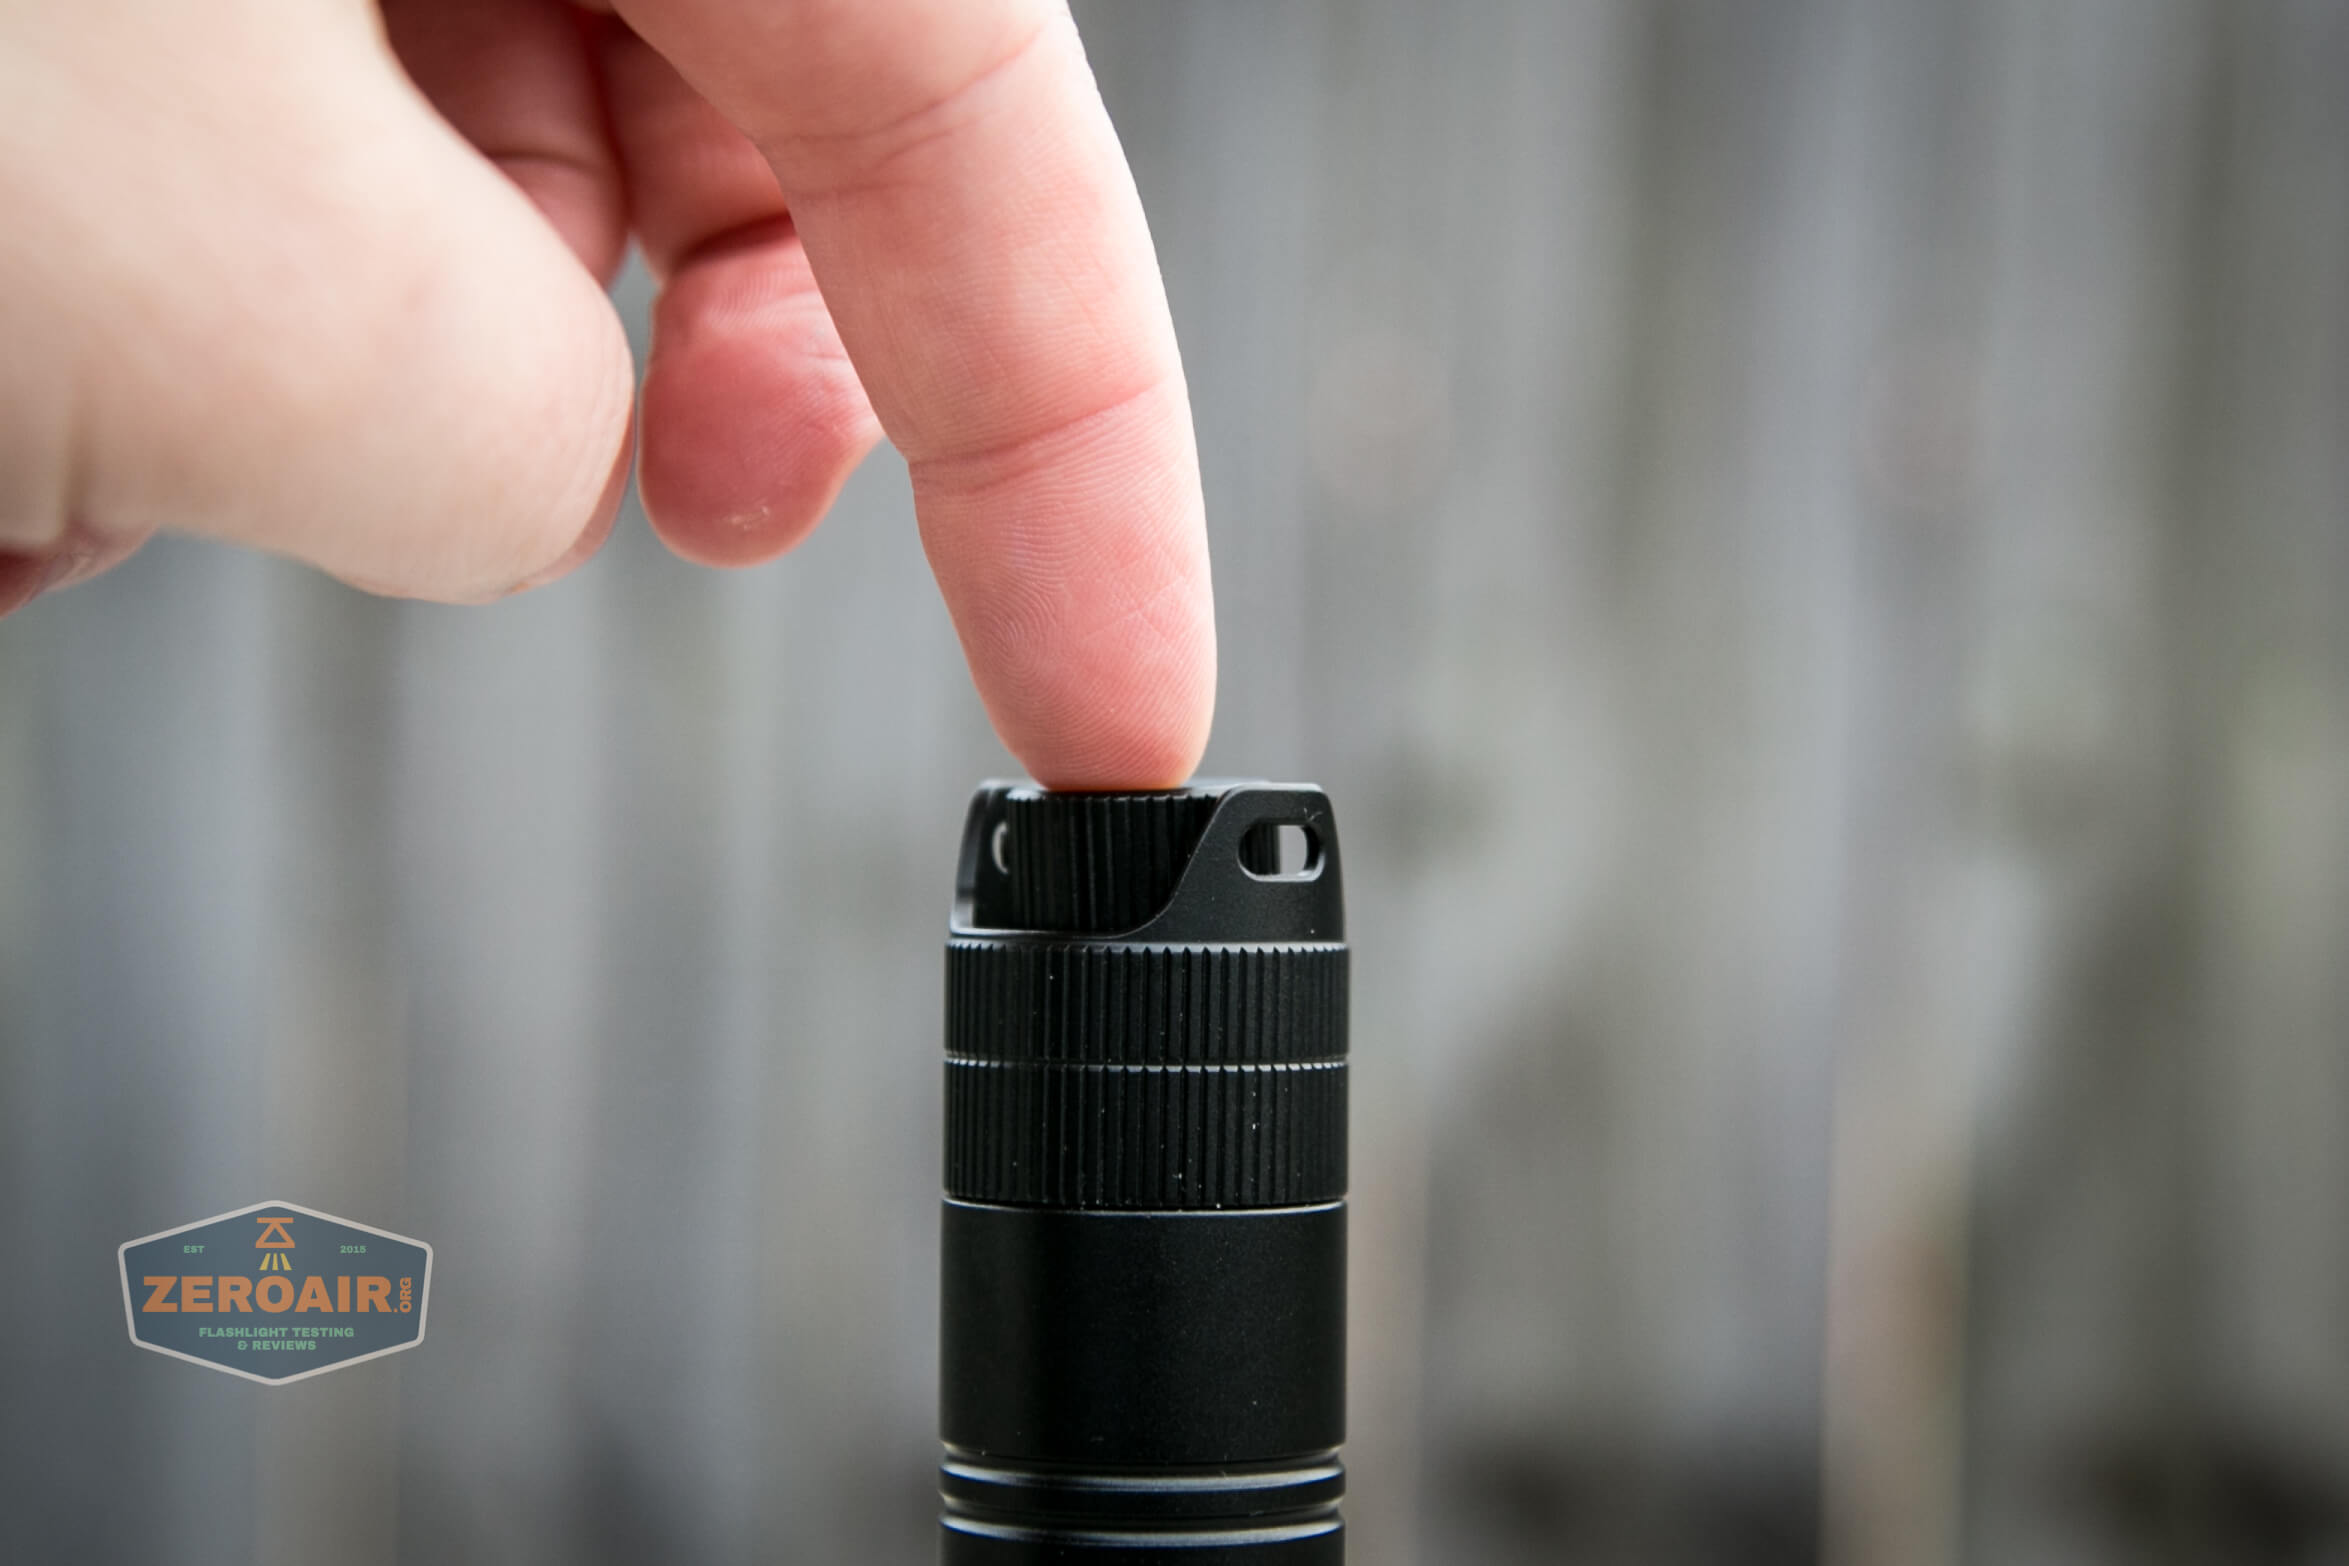
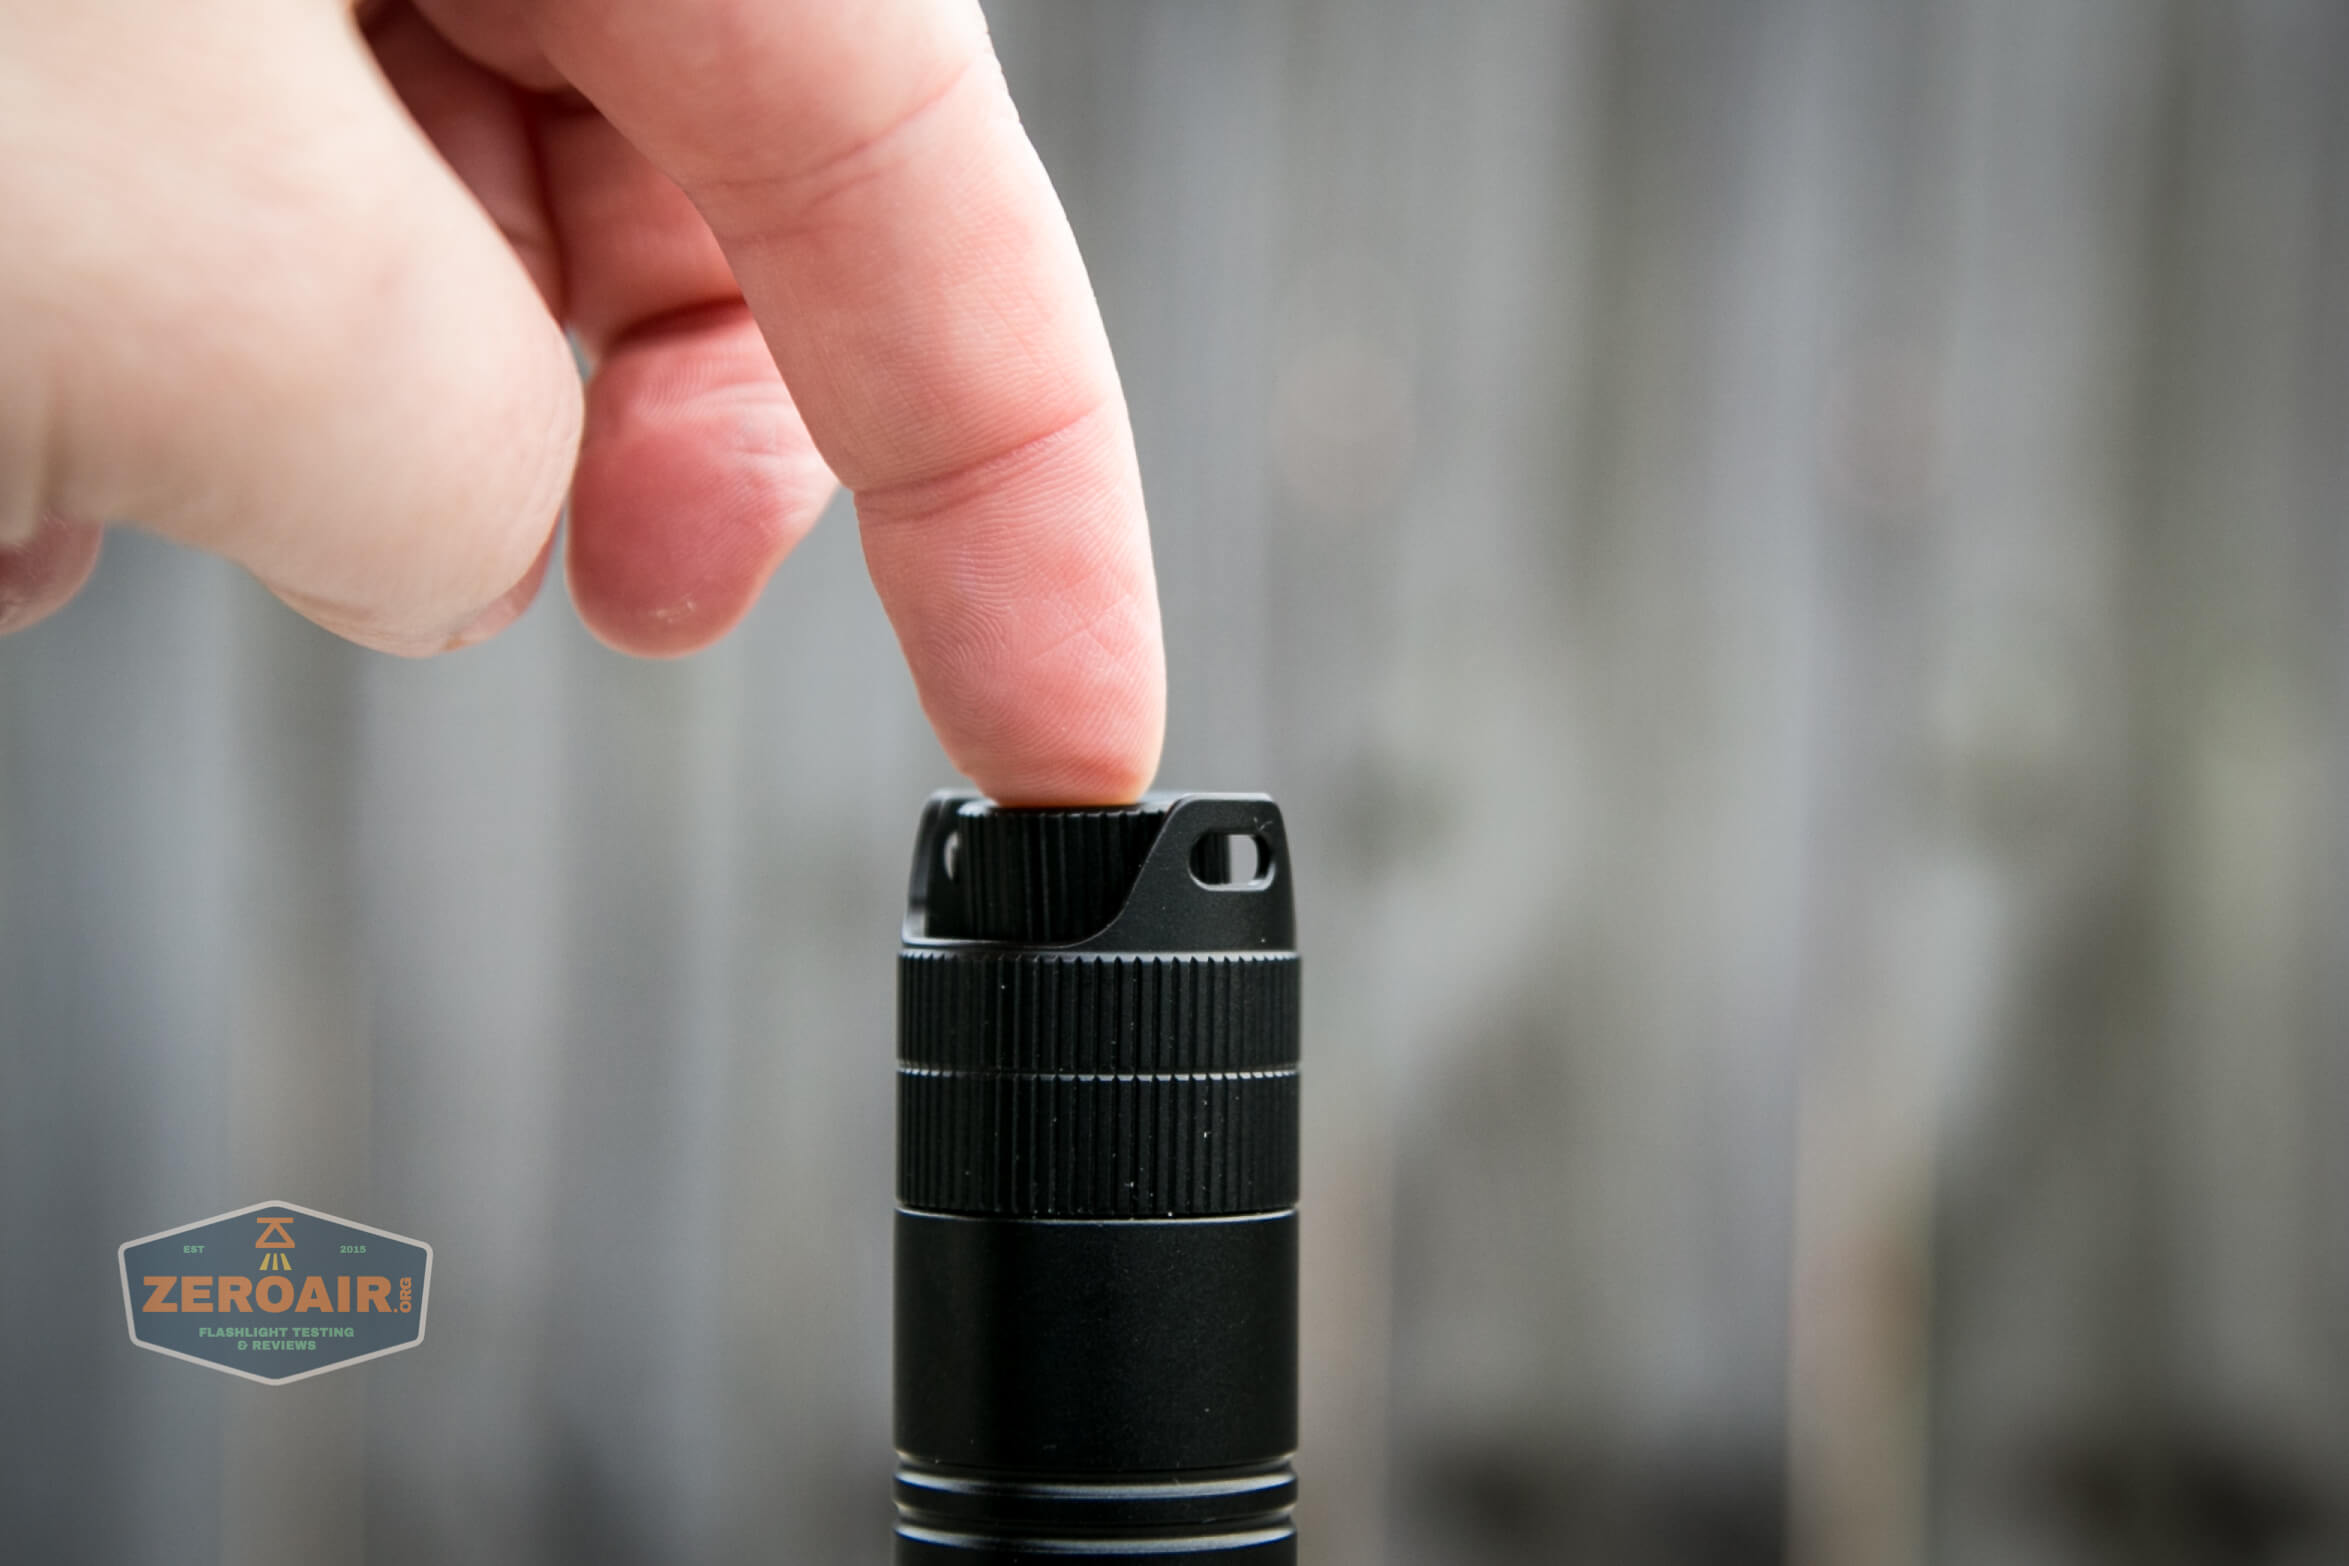
The second bit of neatness here on the T28 is this dial on the tail. This is a rotary and is actually a rotary. It ramps from low to high very seamlessly, for all three emitter options.
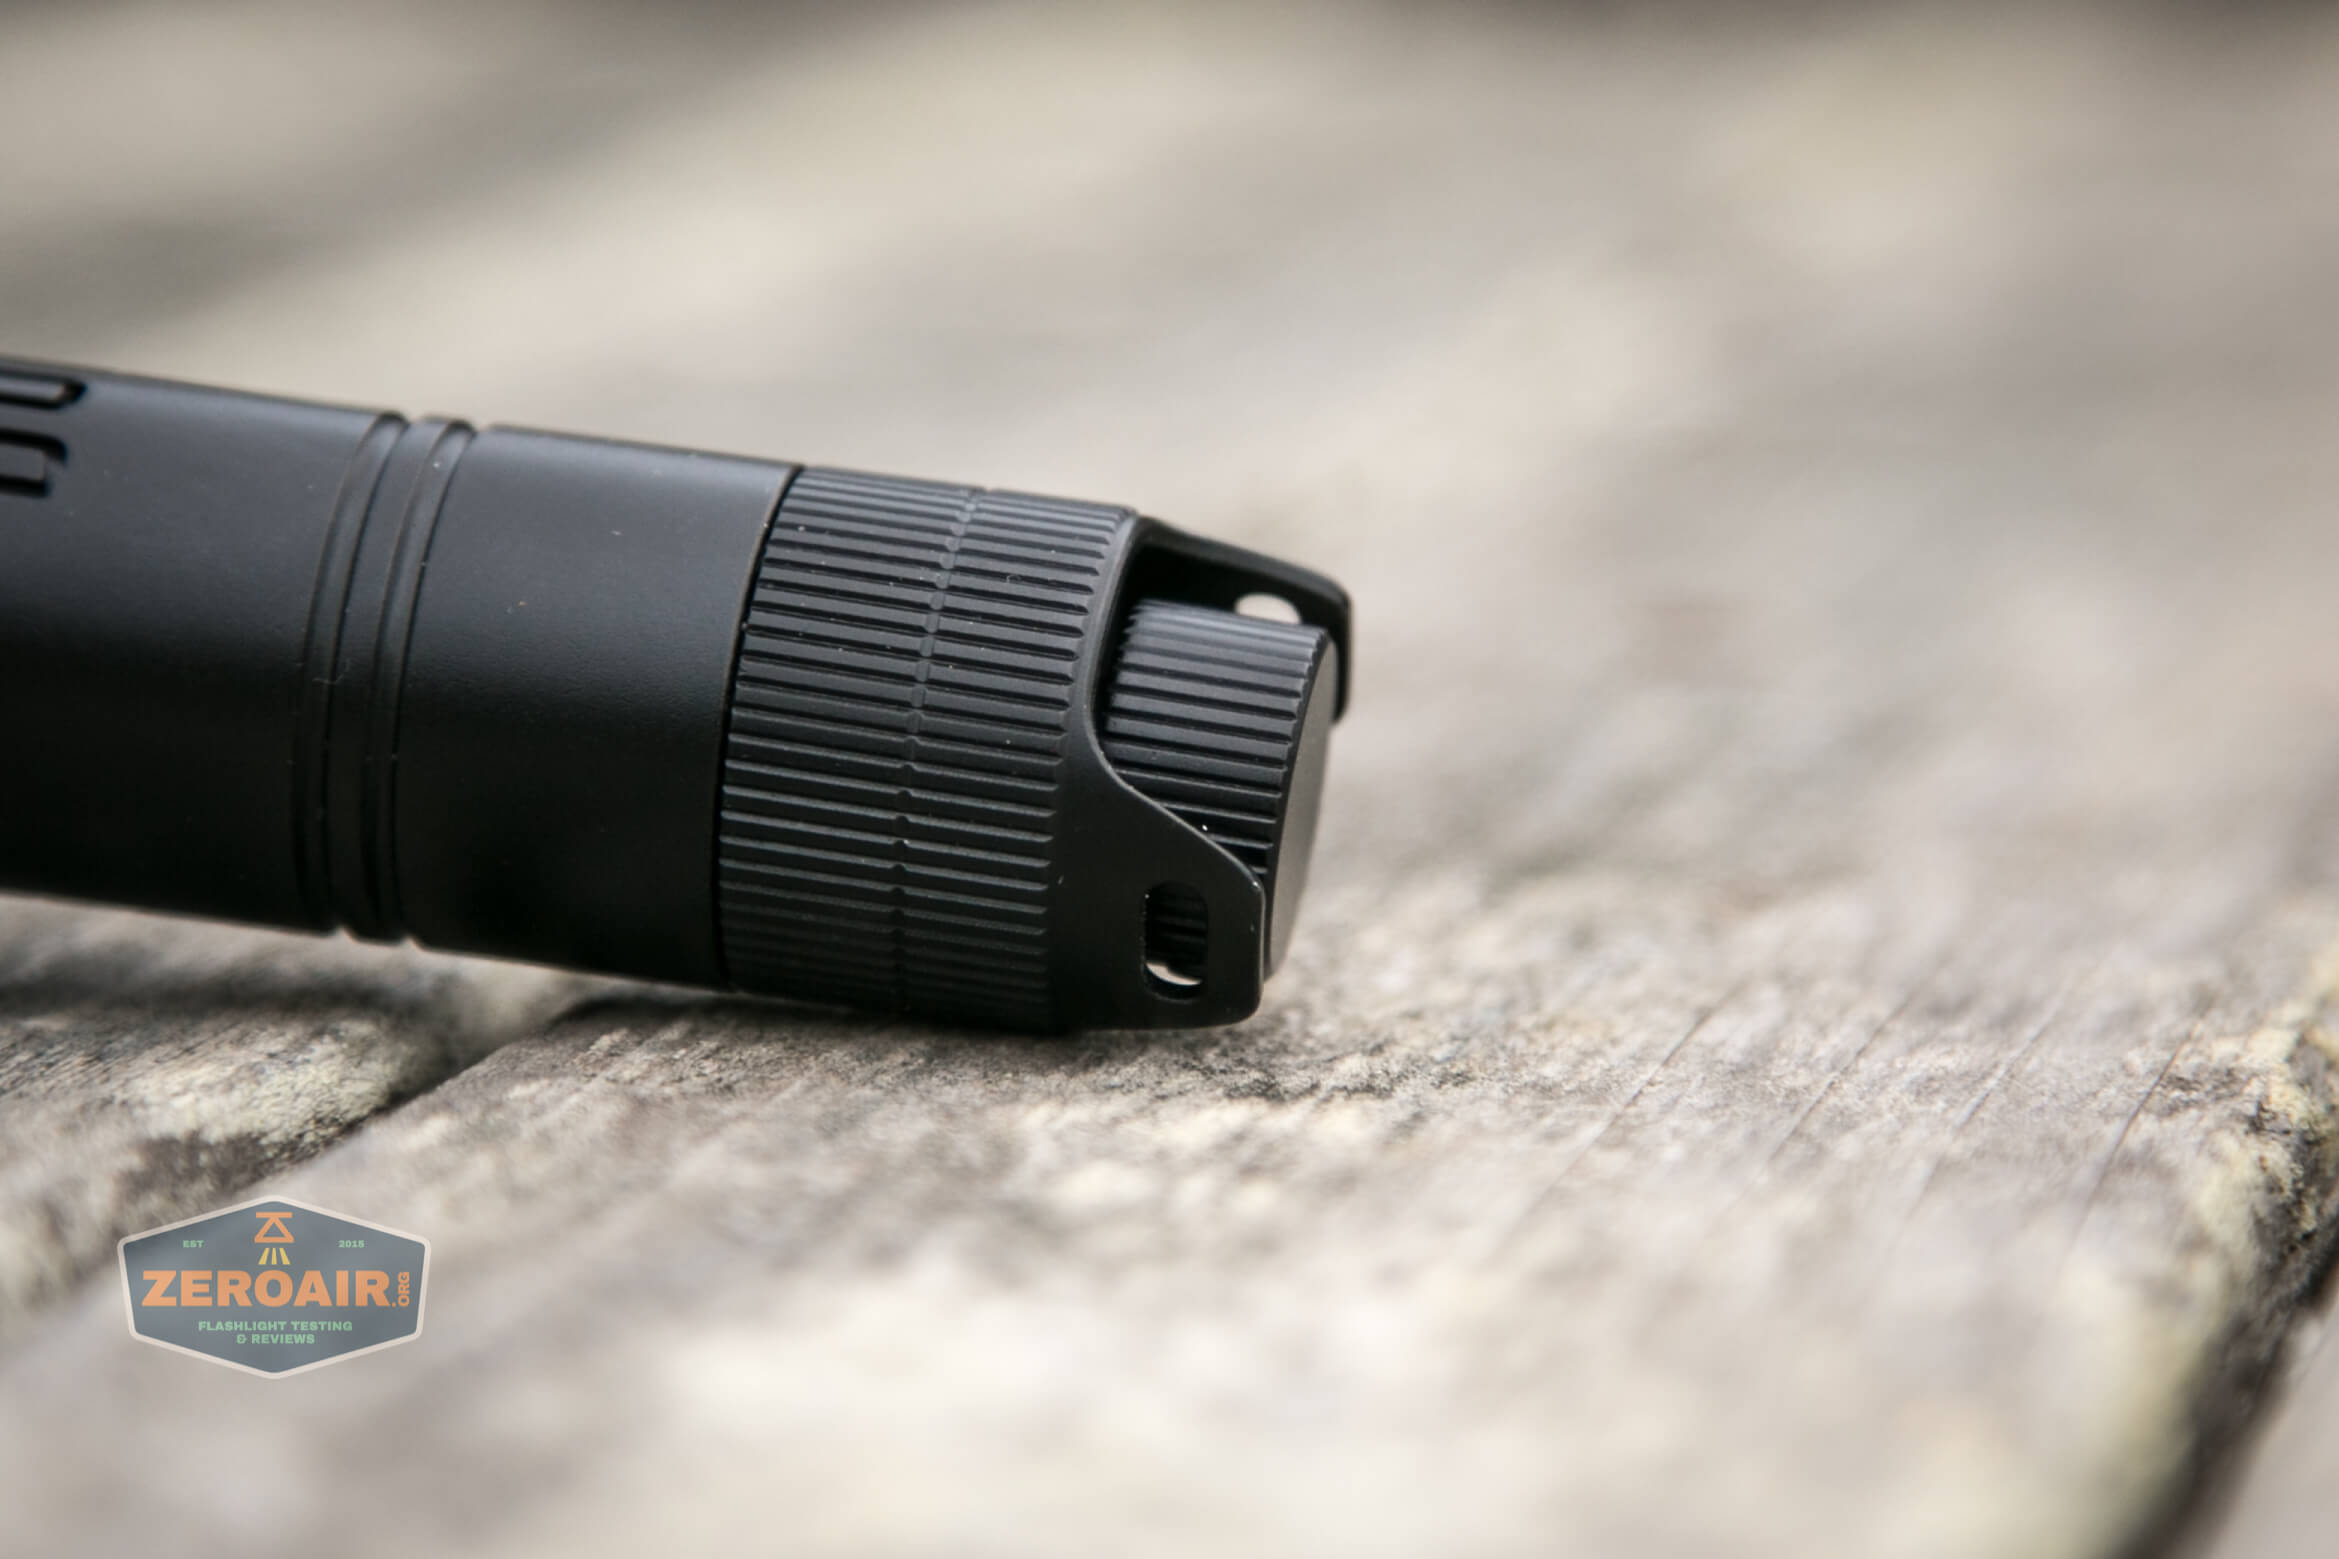
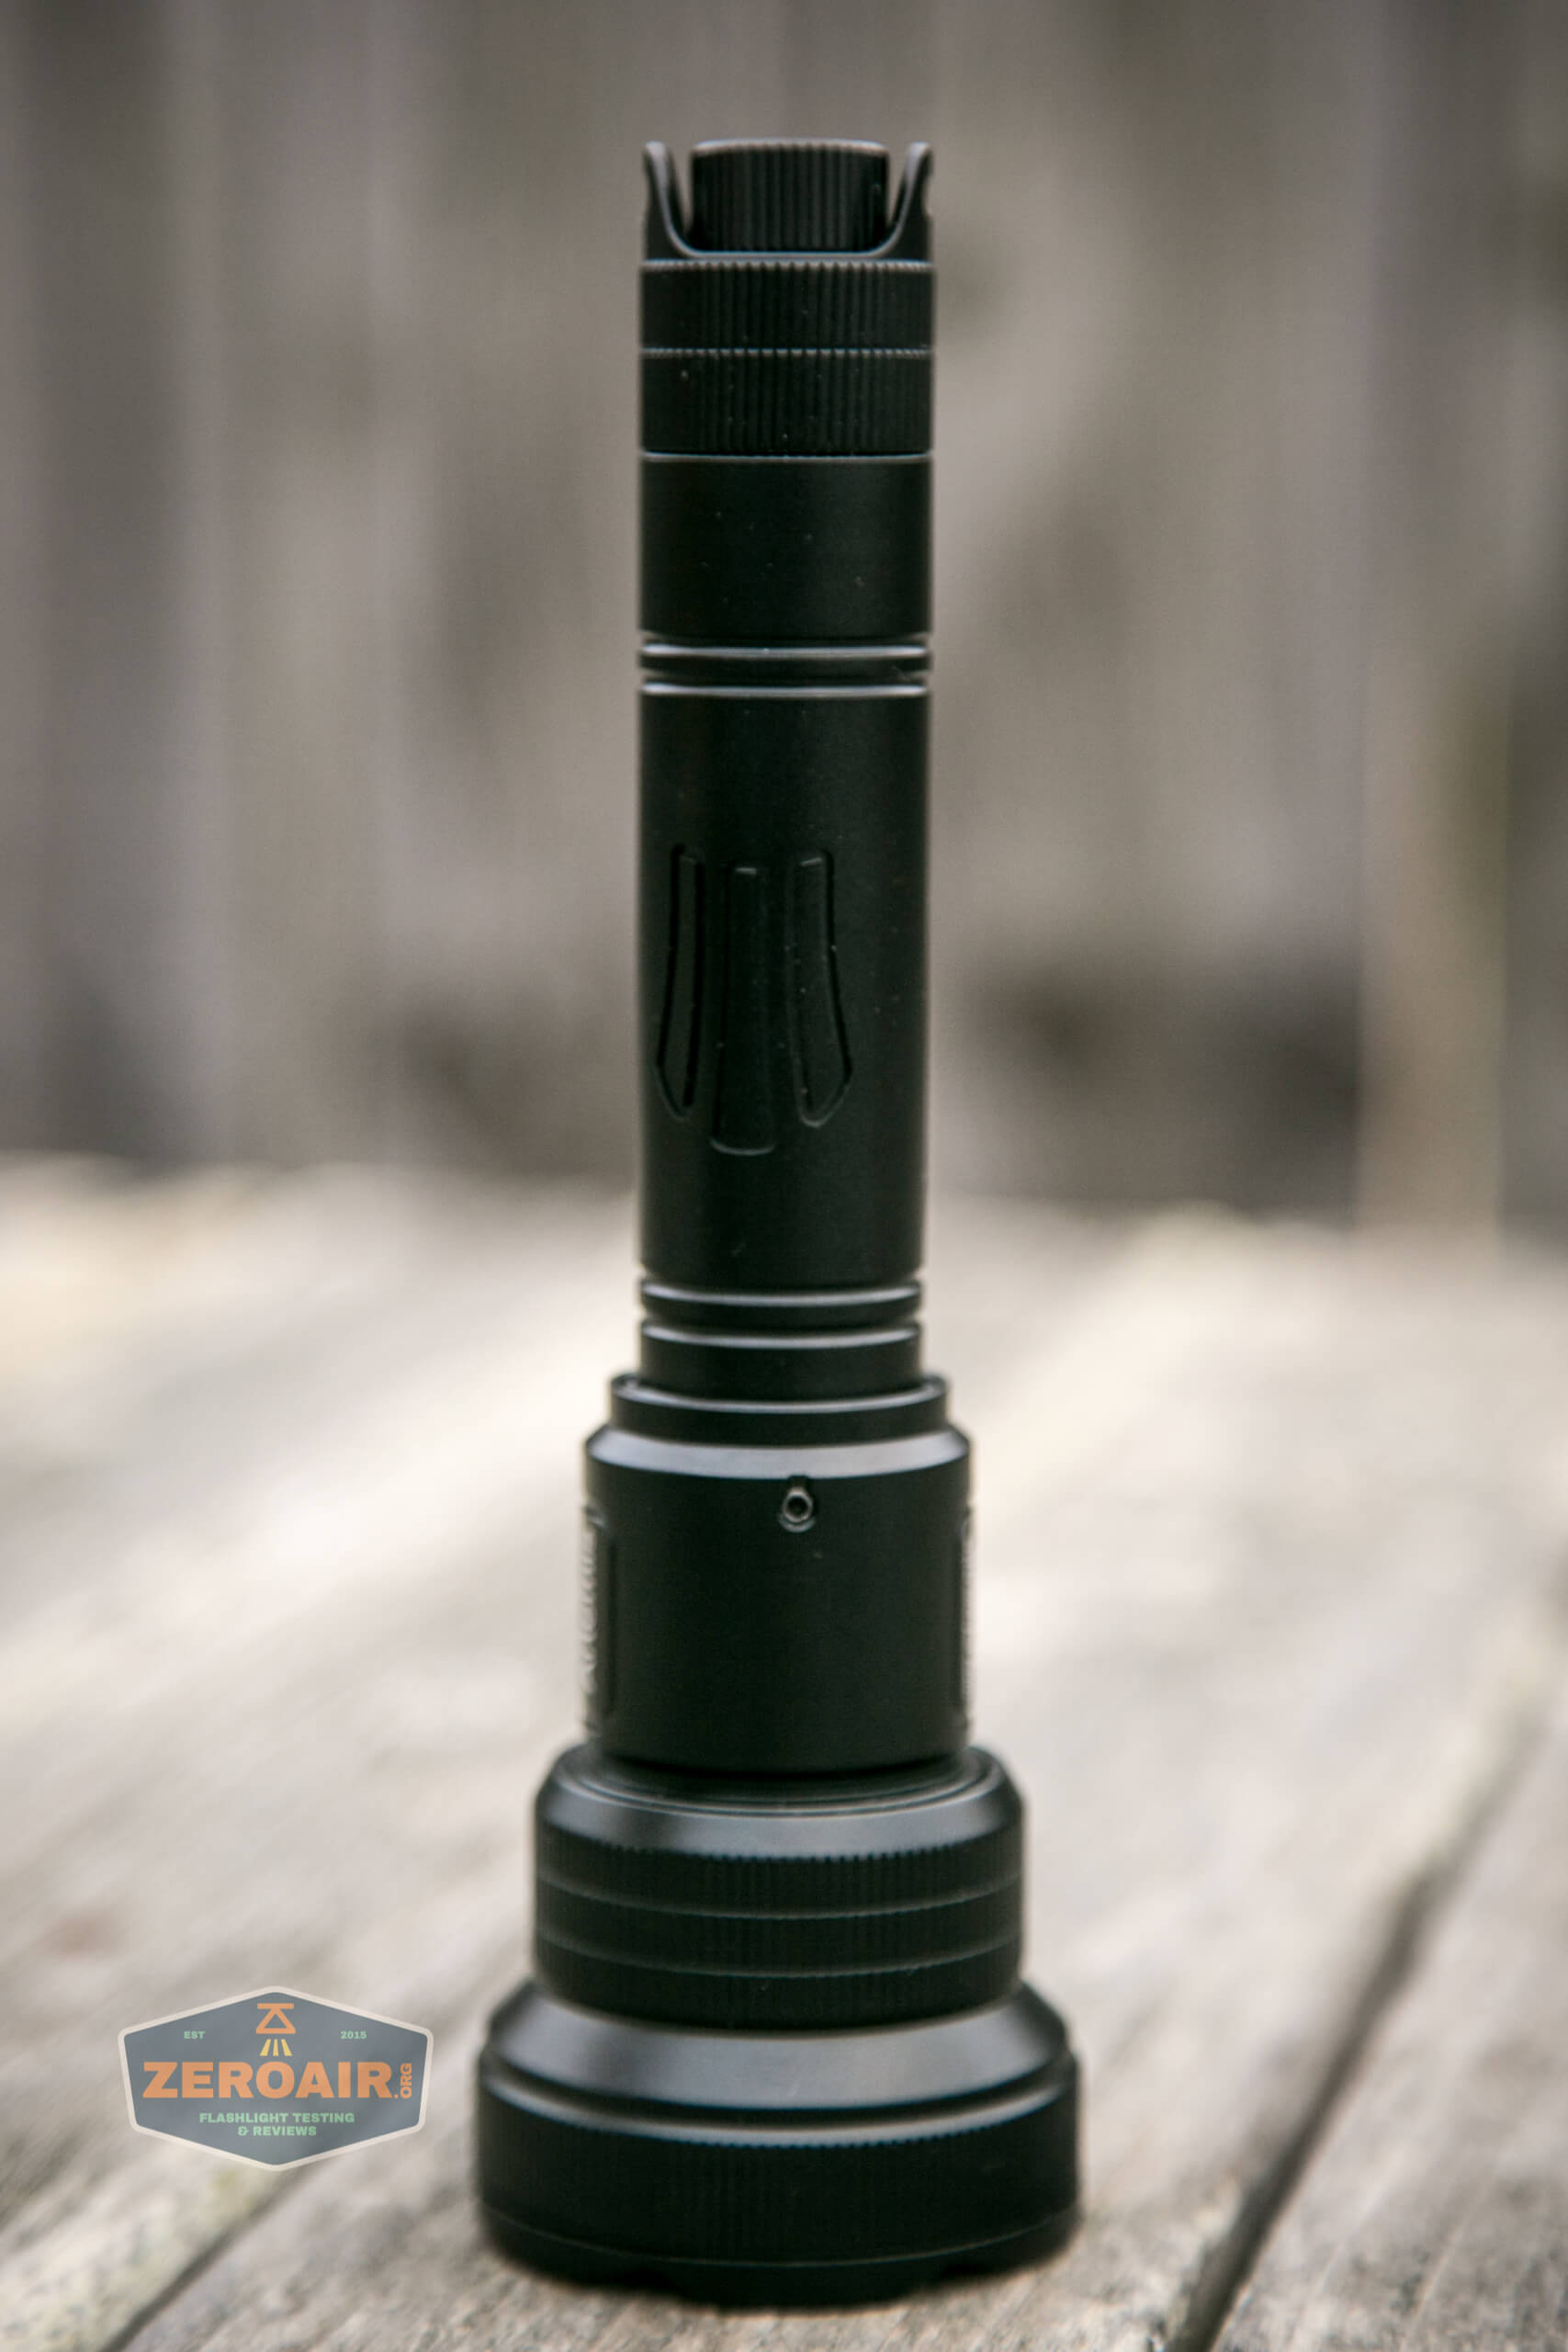
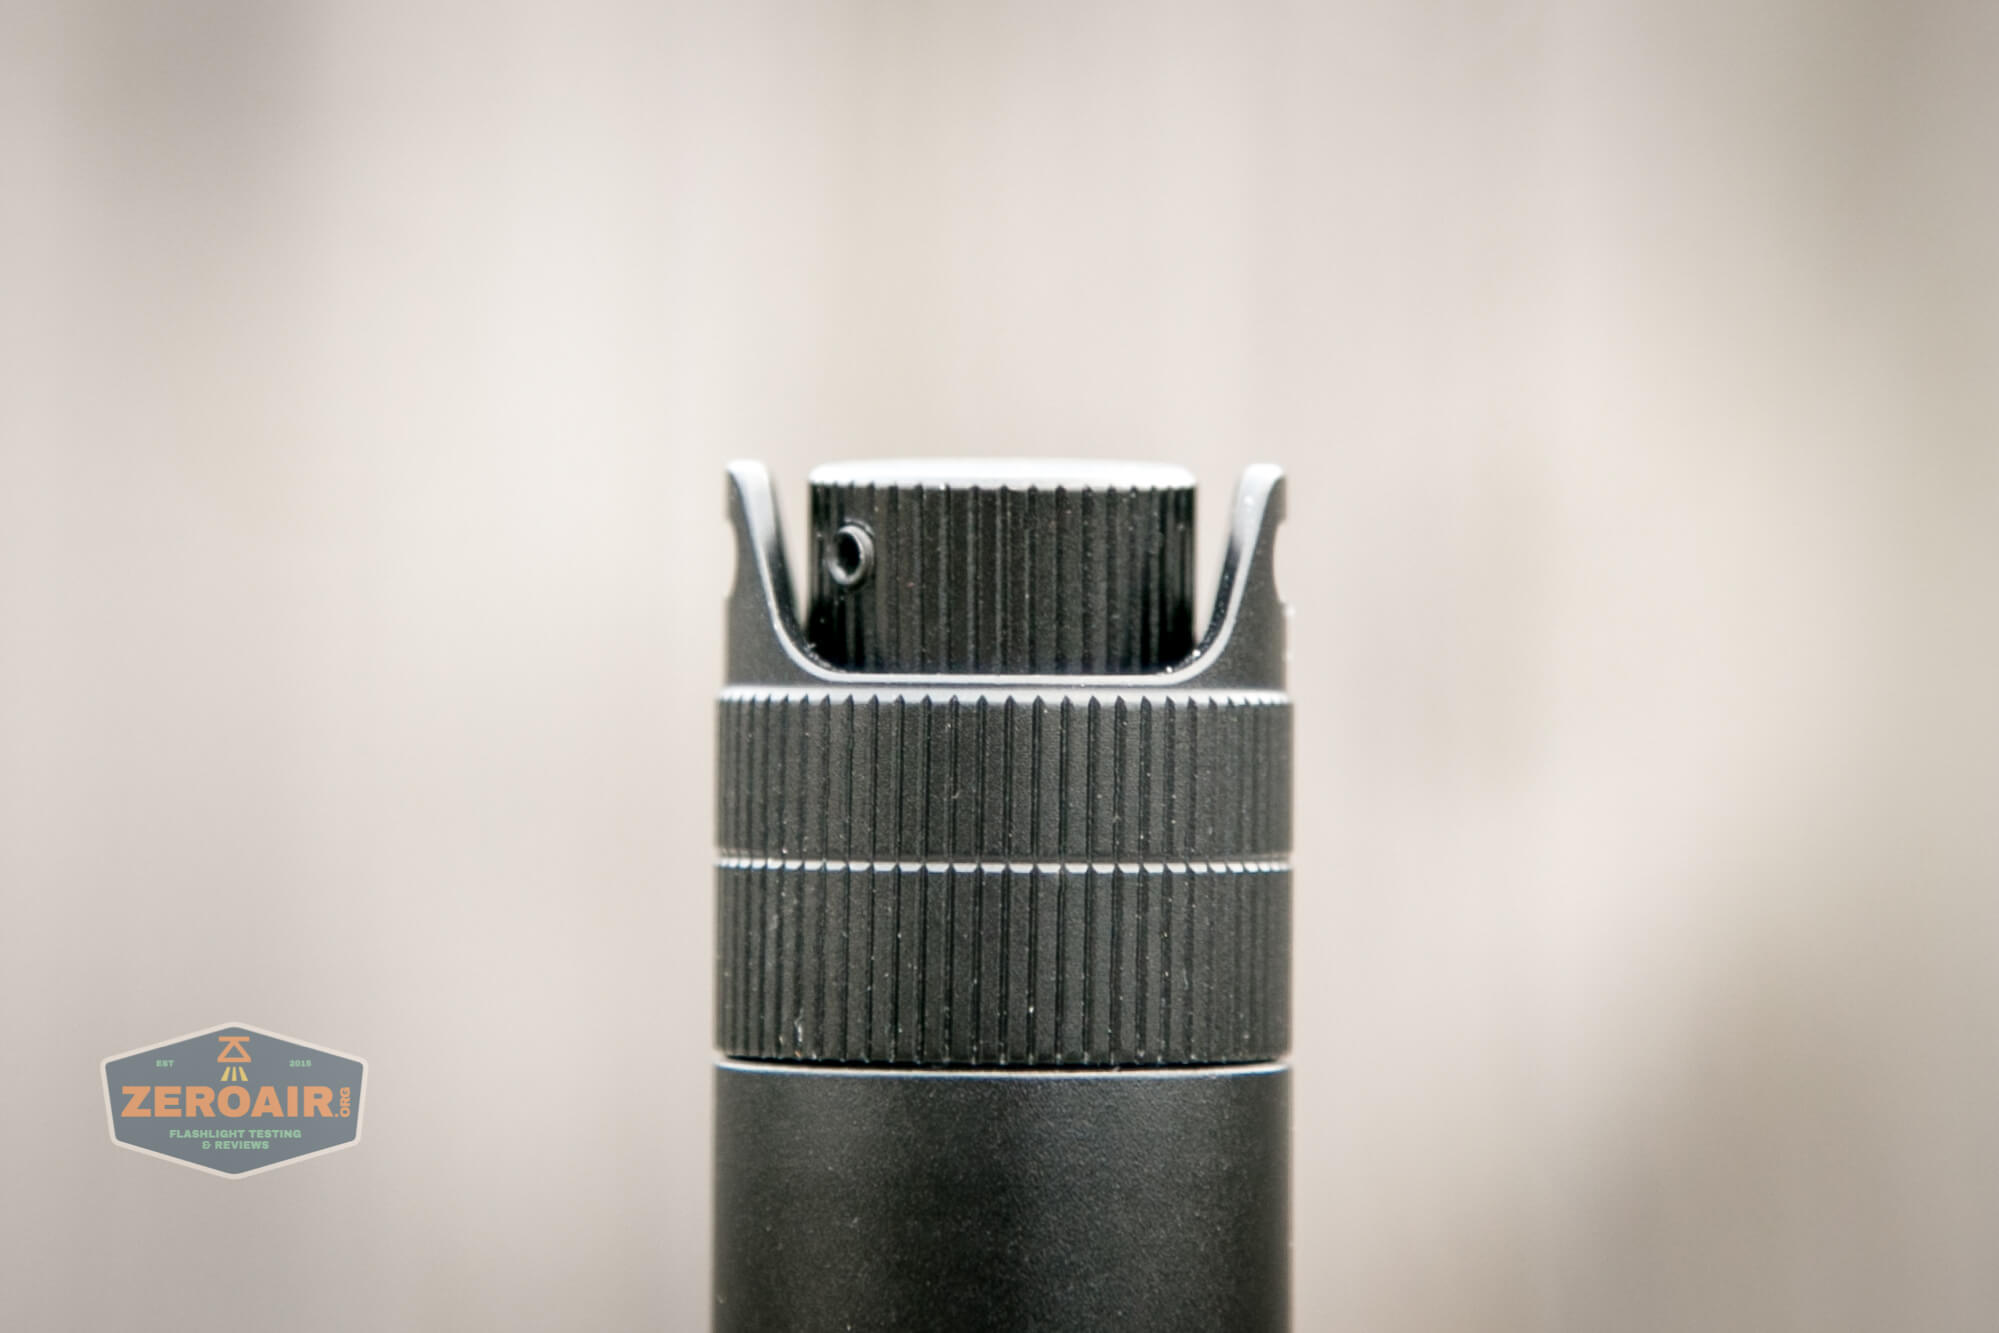
Going from the top down, you can see the rotary switch first. This is protected by a tail area (the lanyard holes), and in theory, would allow tailstanding (more on that later).
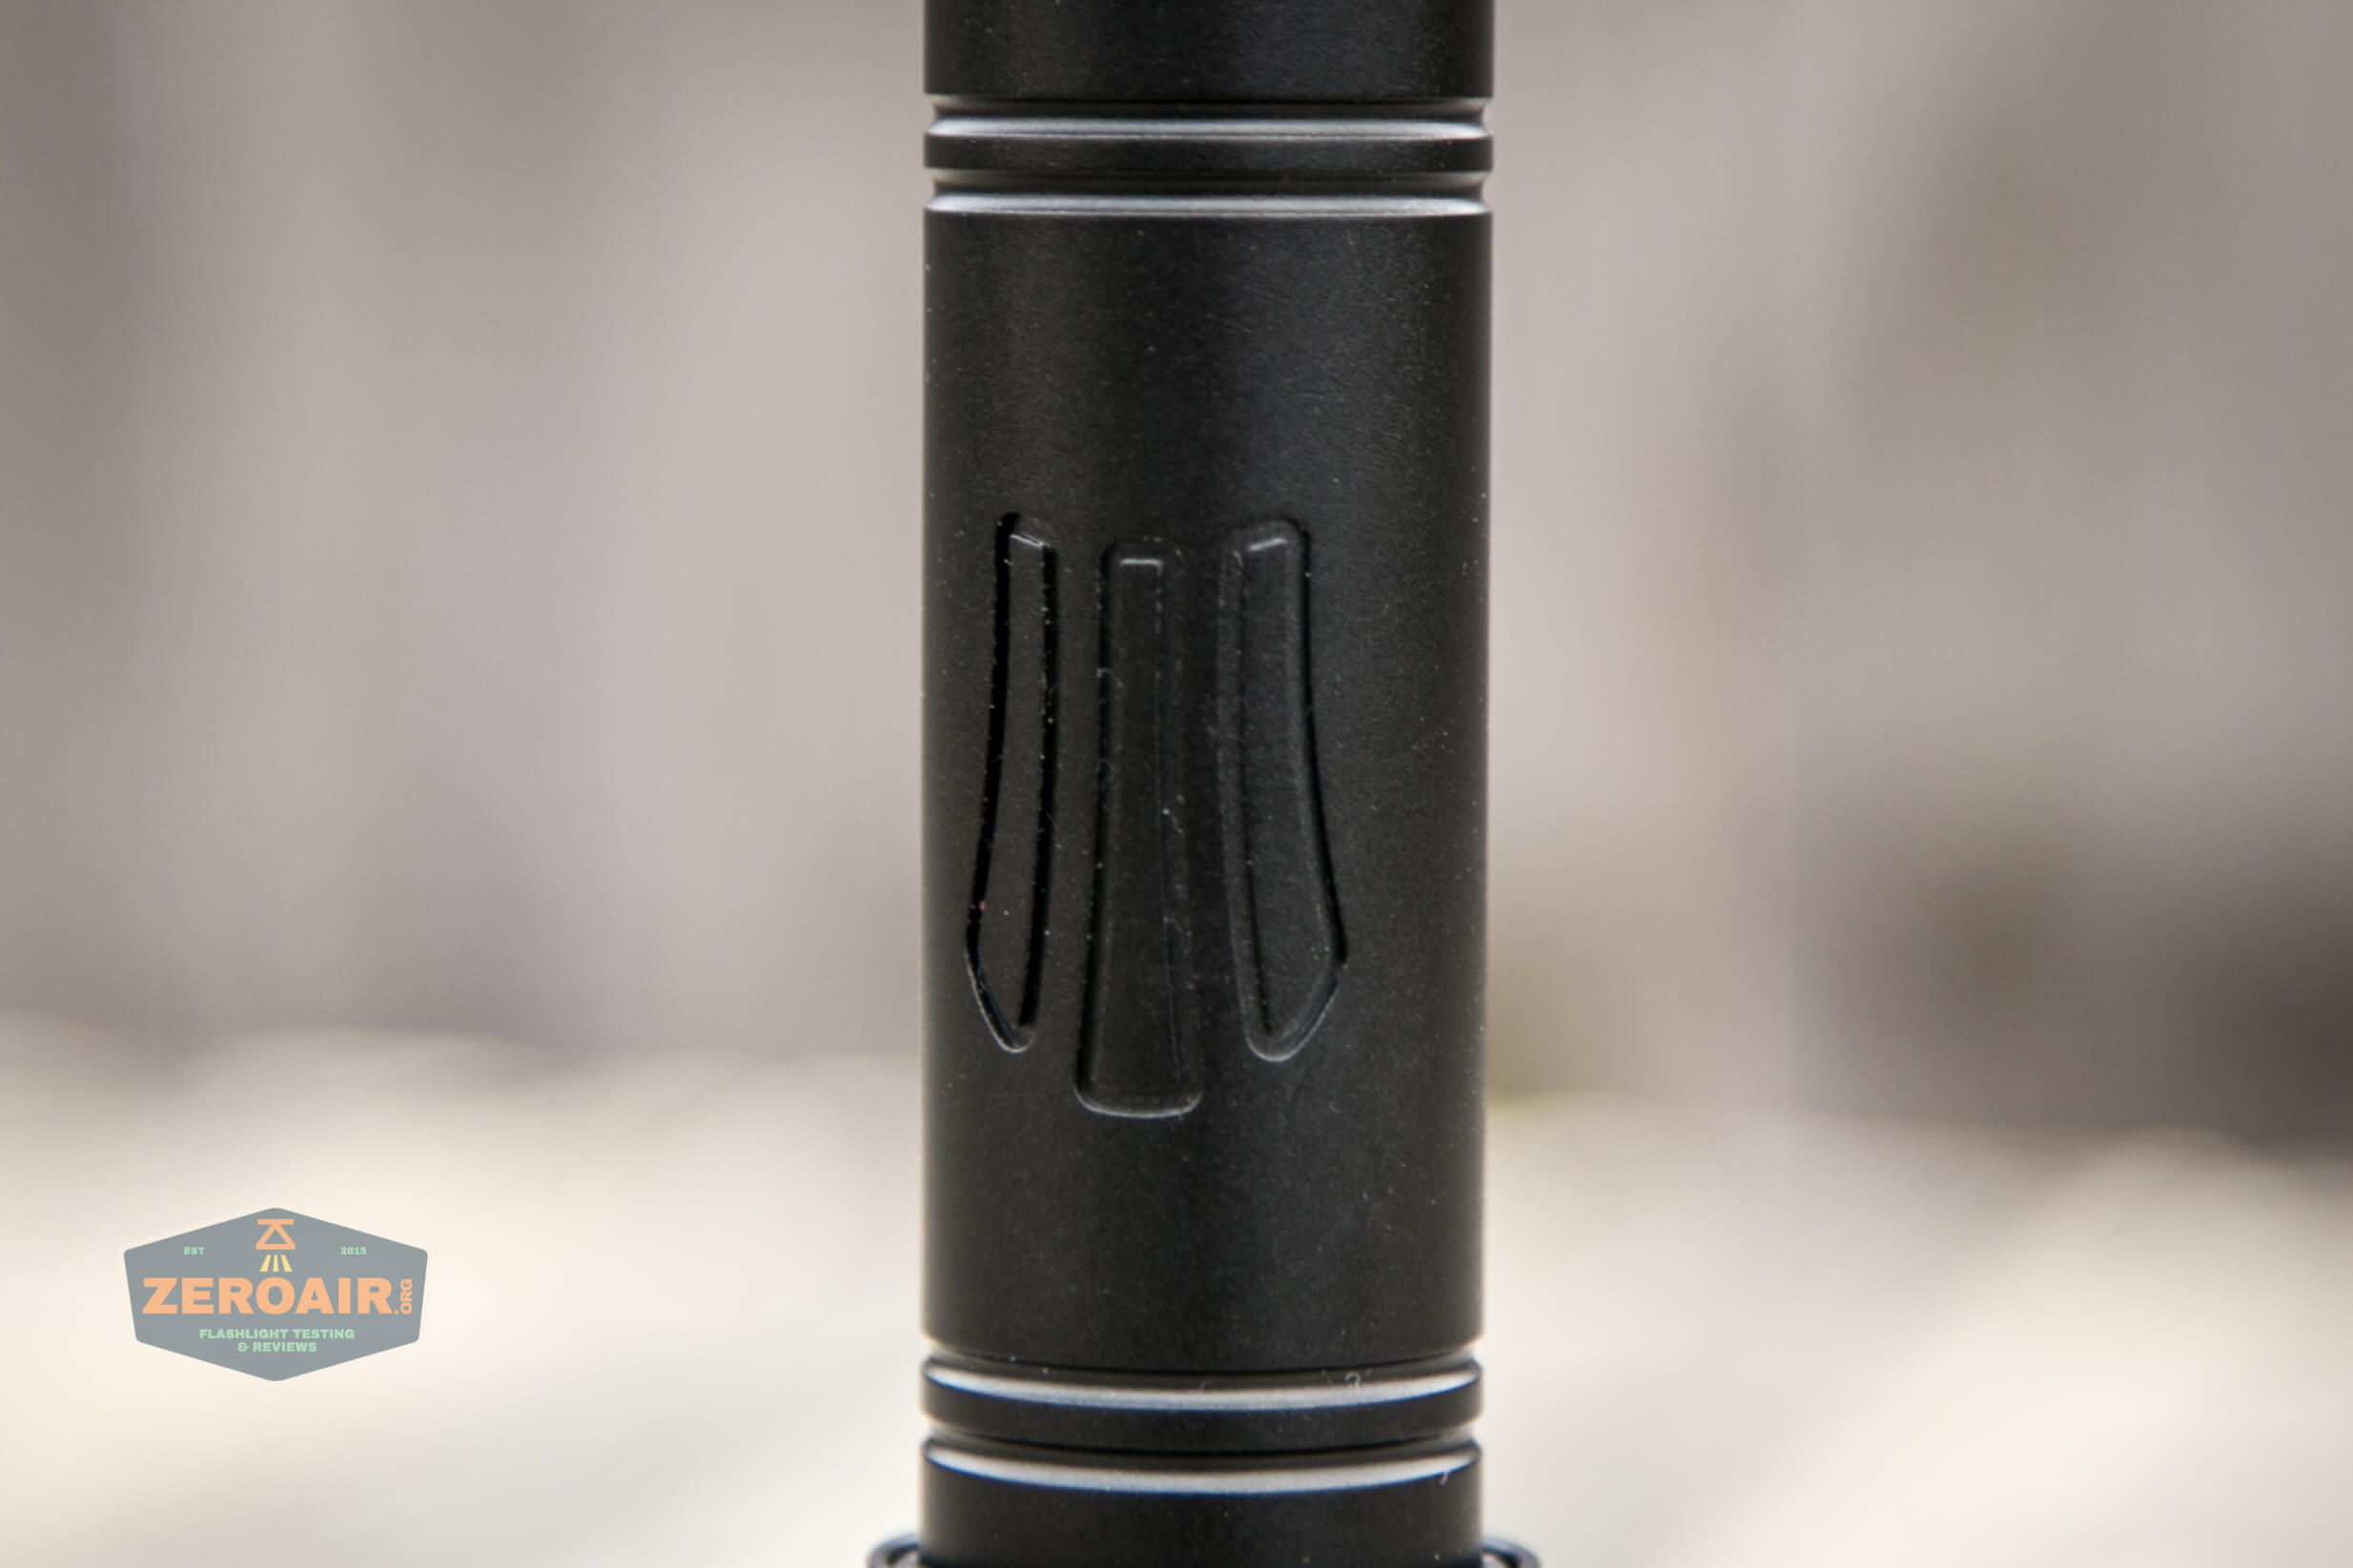
The body has no knurling but does have Brinyte’s logo.
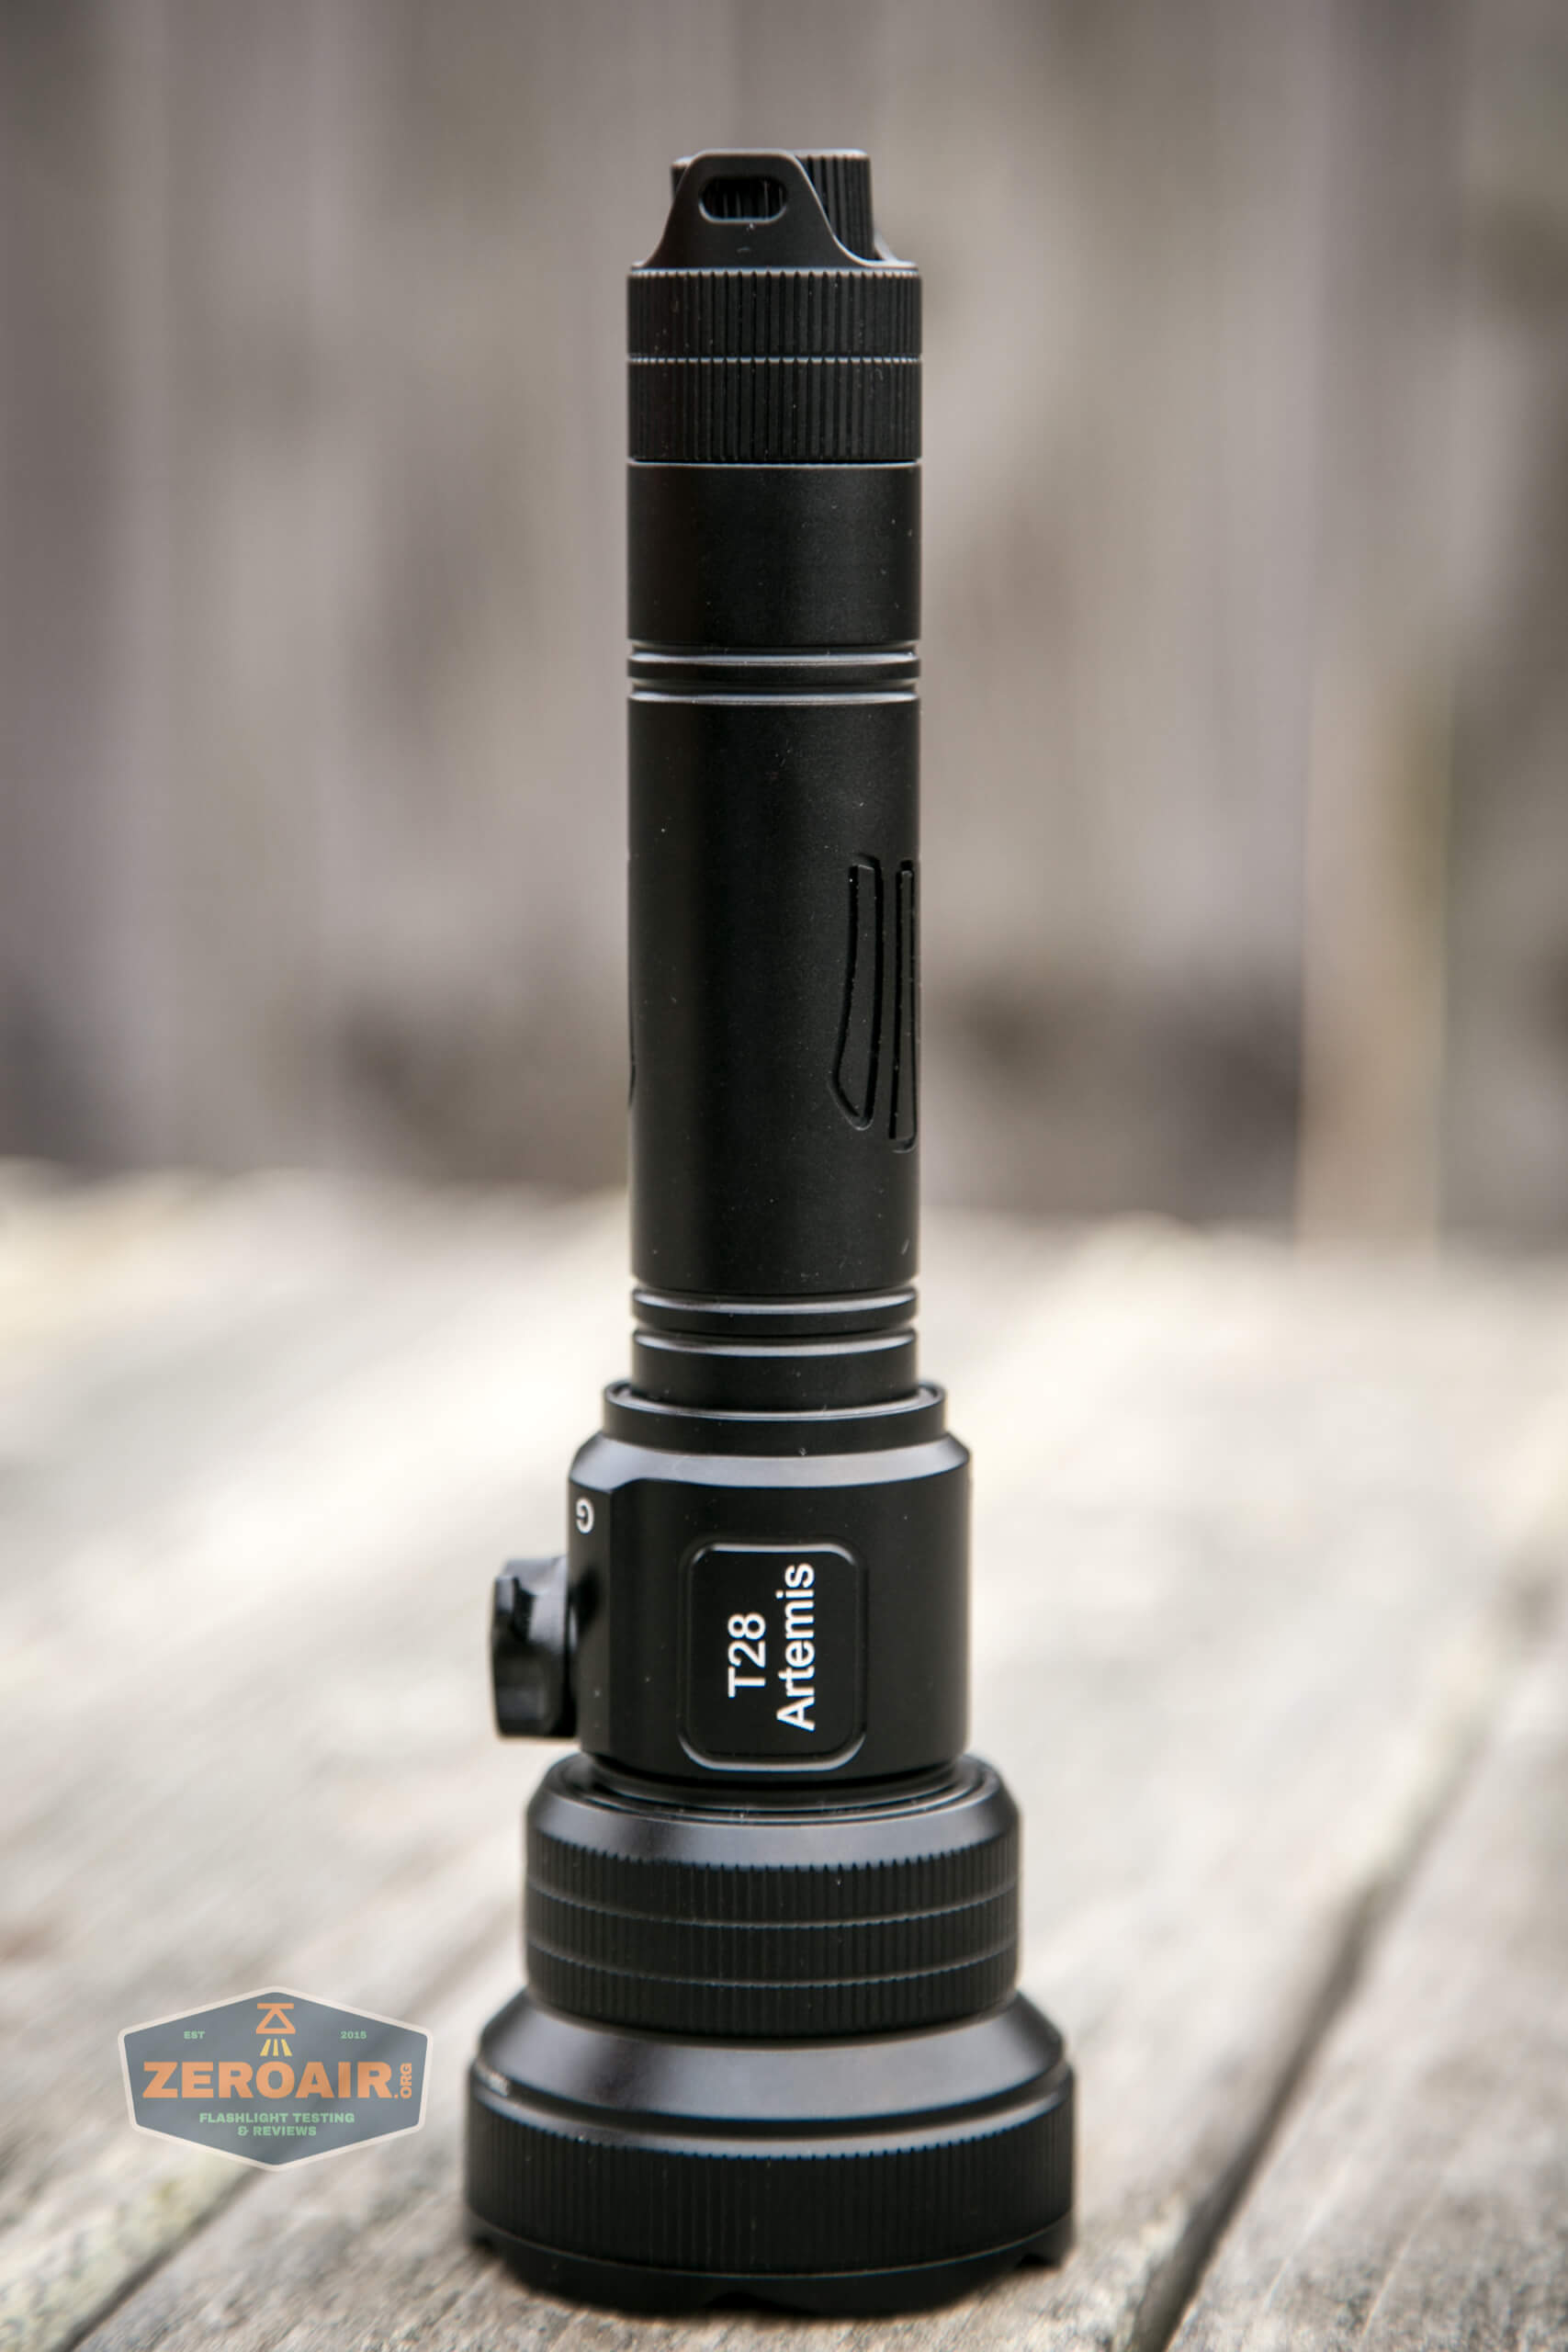
In the head area is the emitter selector switch. This is a switch that physically moves the emitter. That explains the size and the action of it.
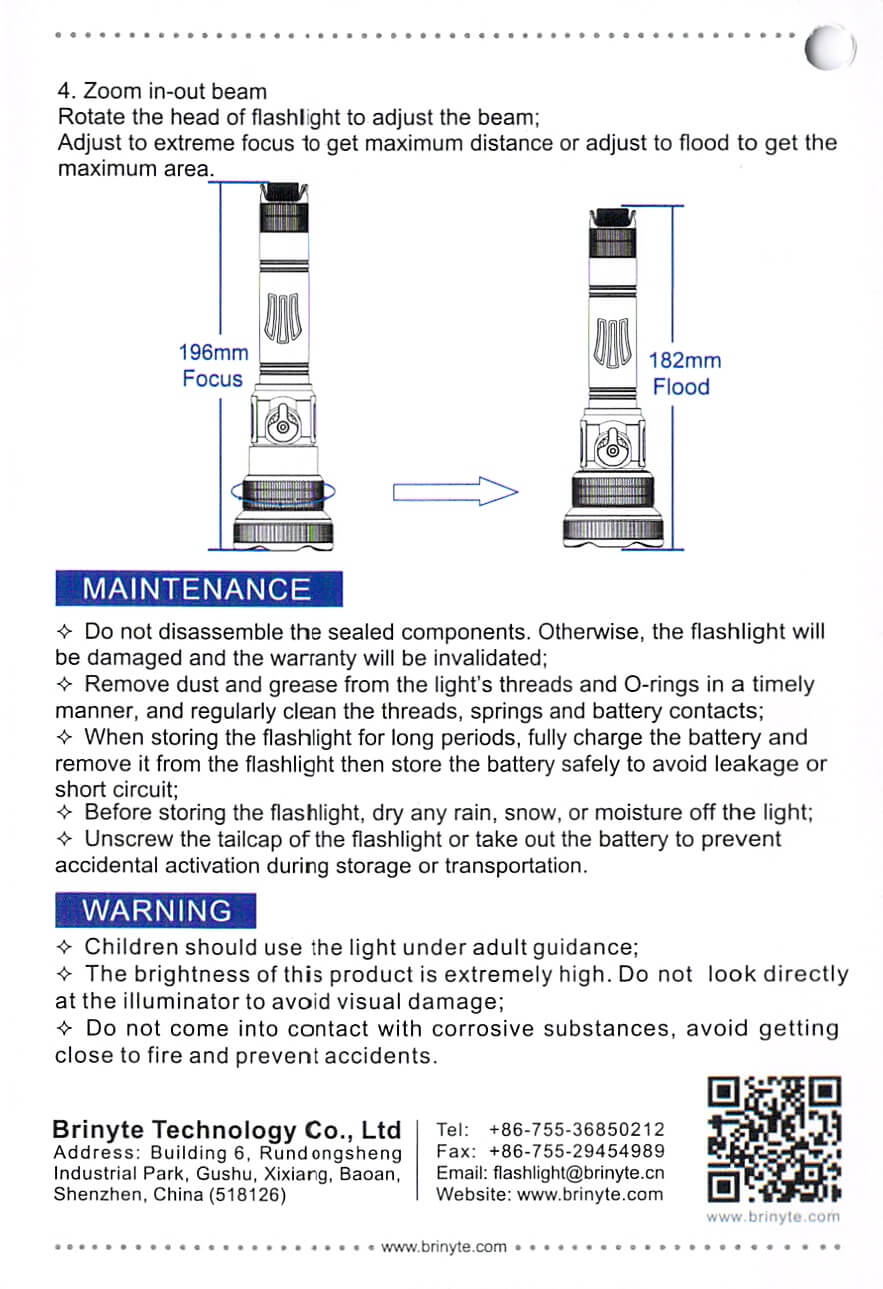
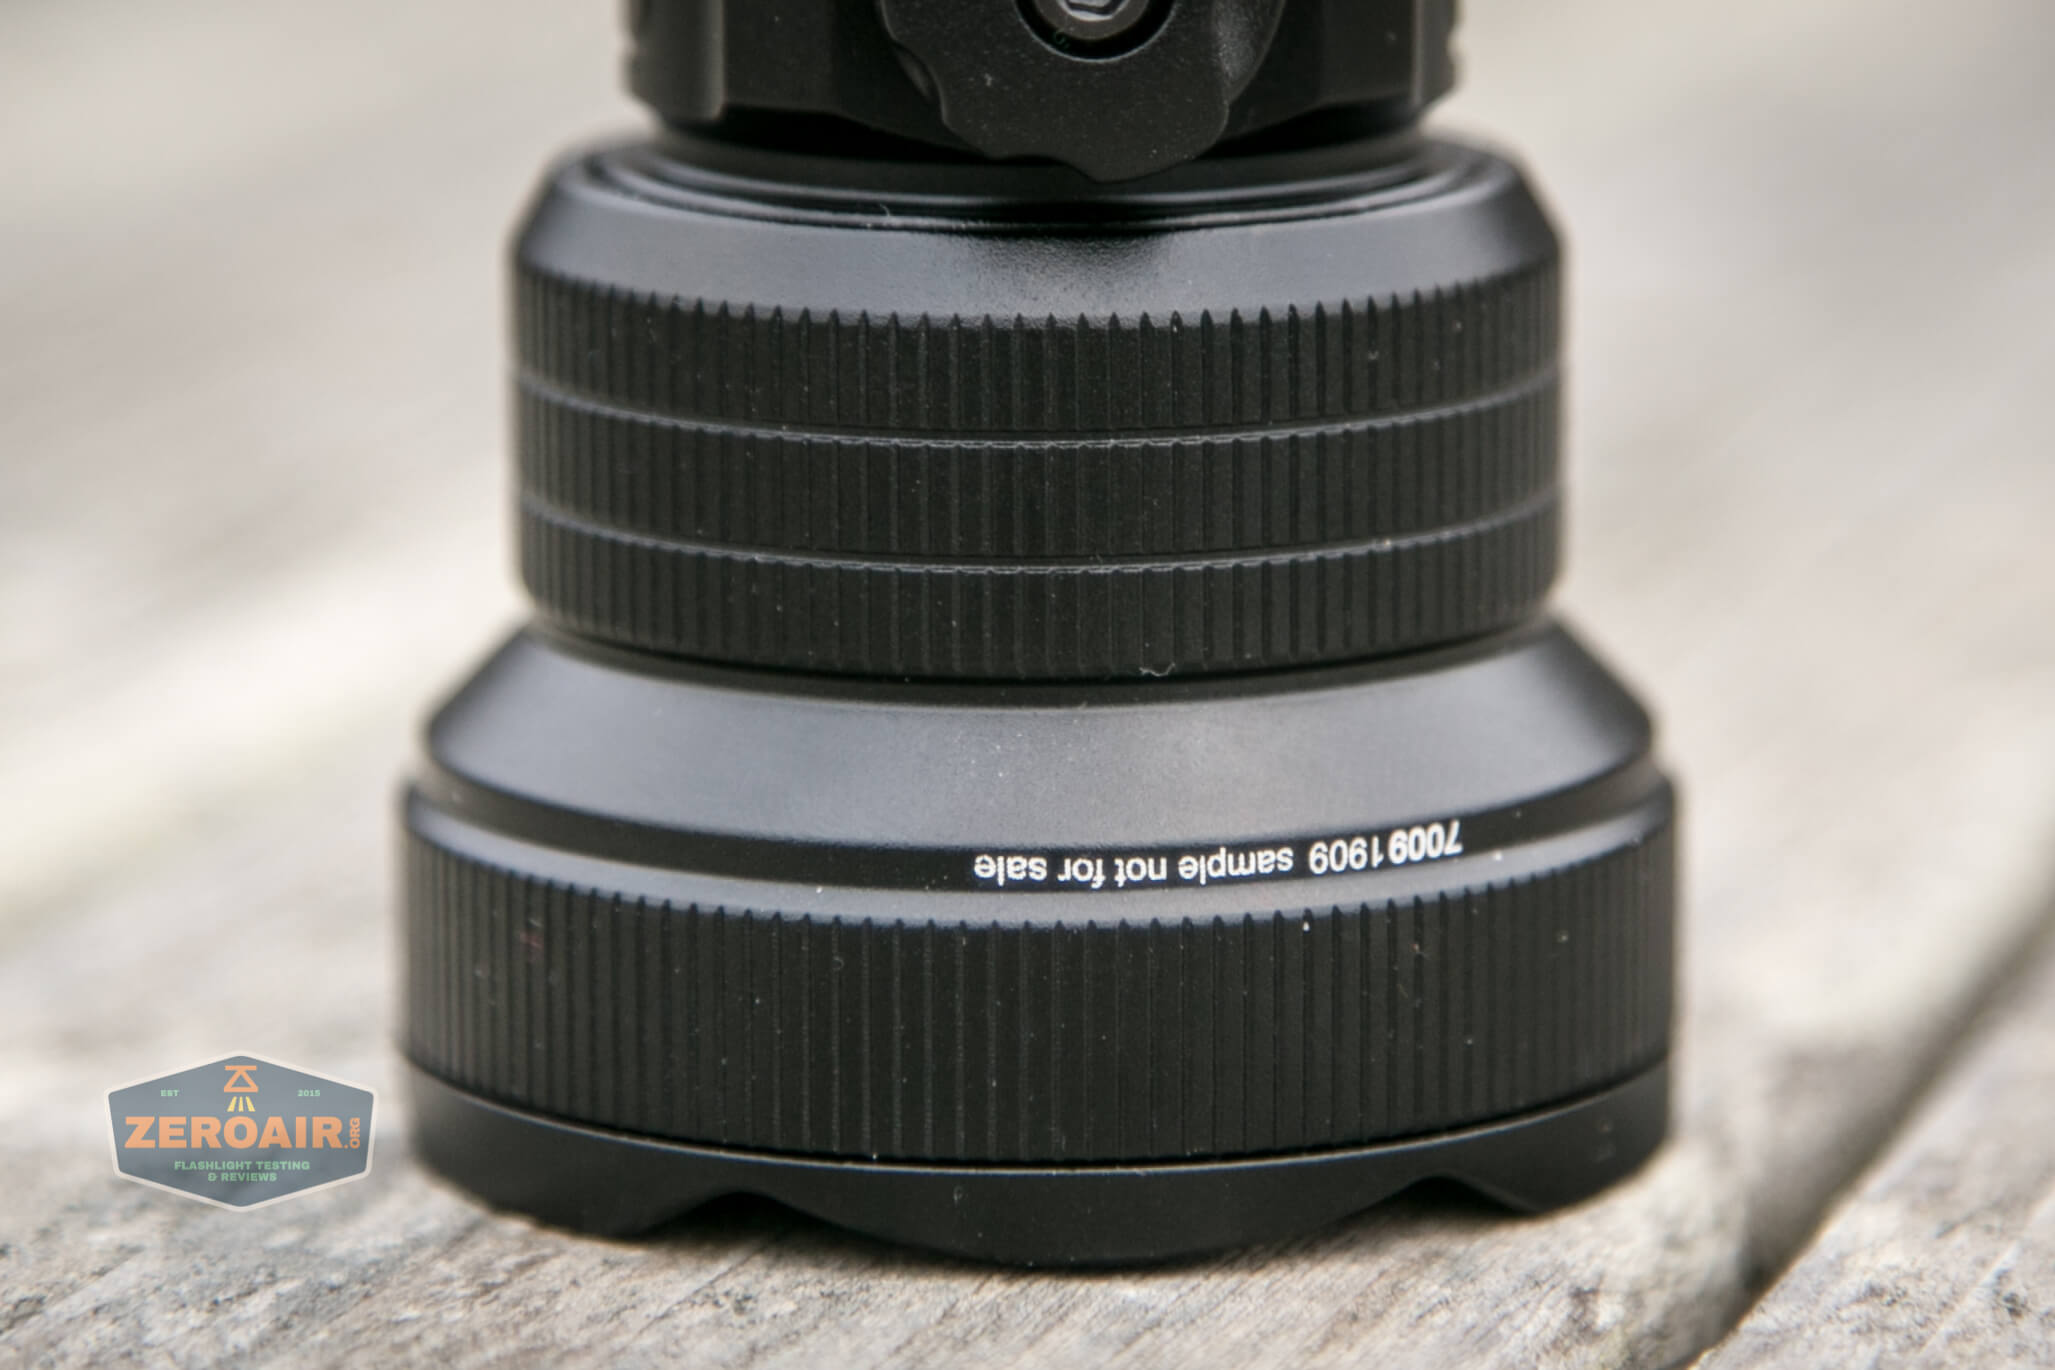
The head has limited cooling fins, but ample reeding, which will help with going from zoom in to zoom out.
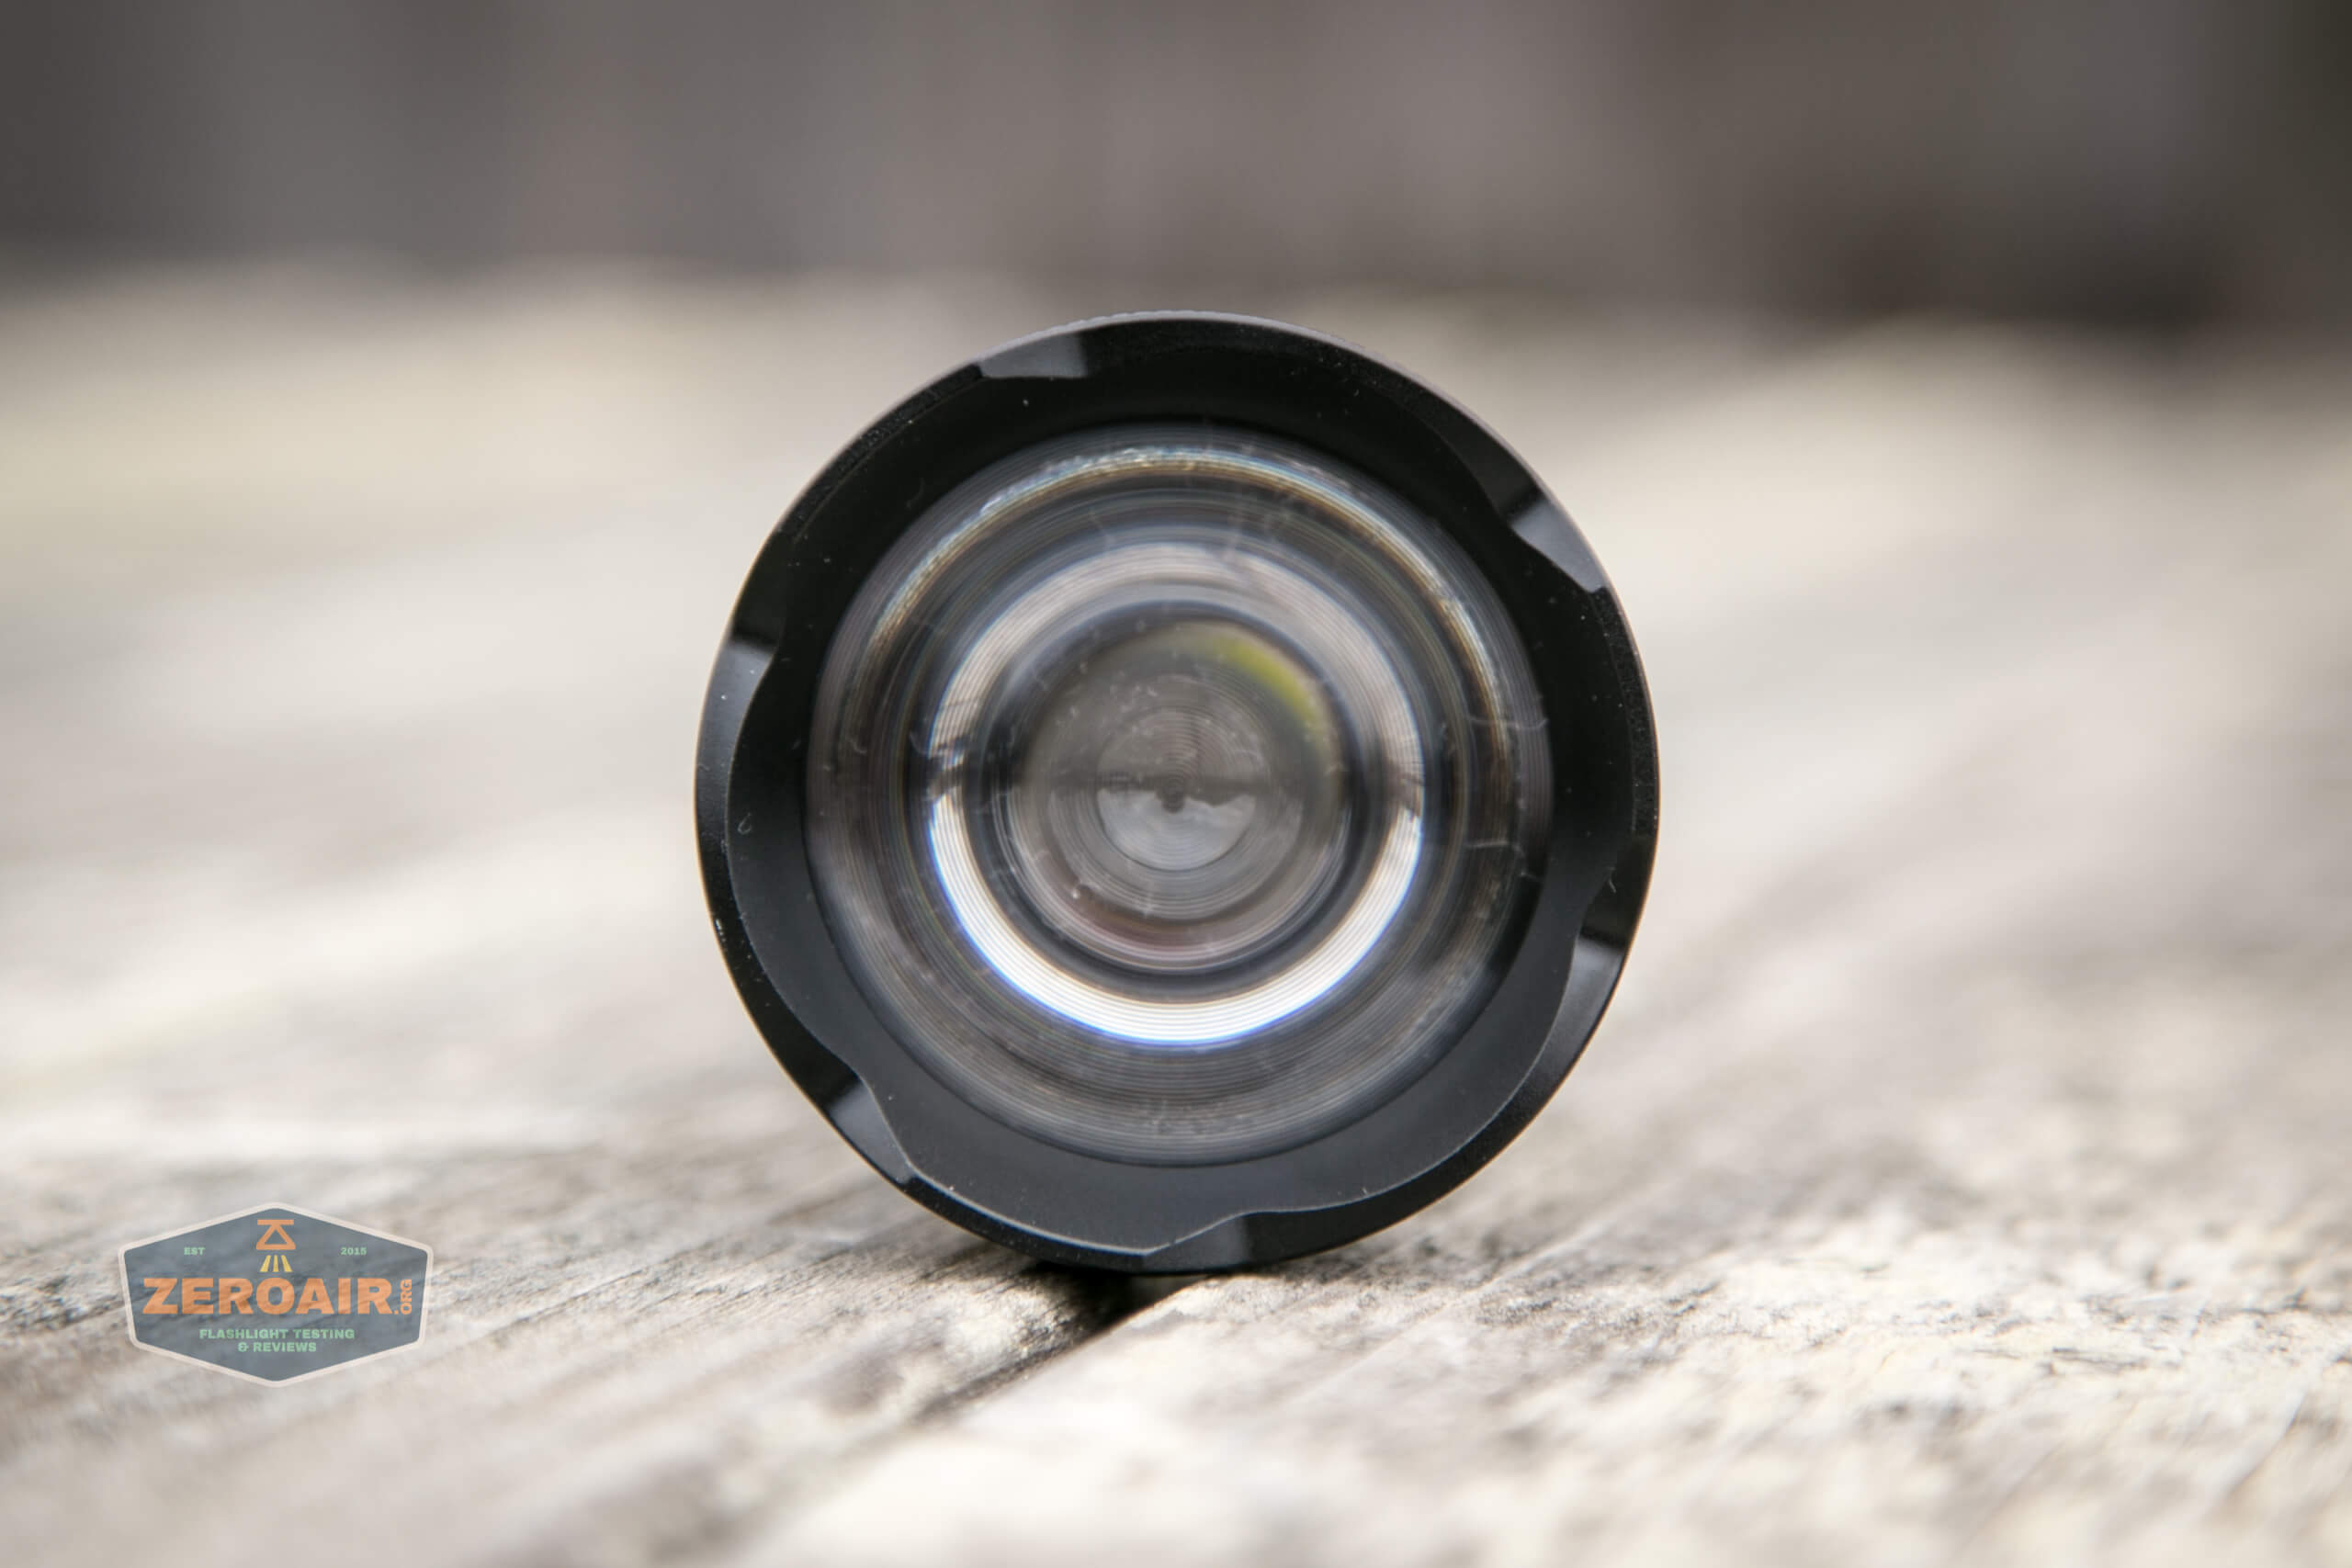
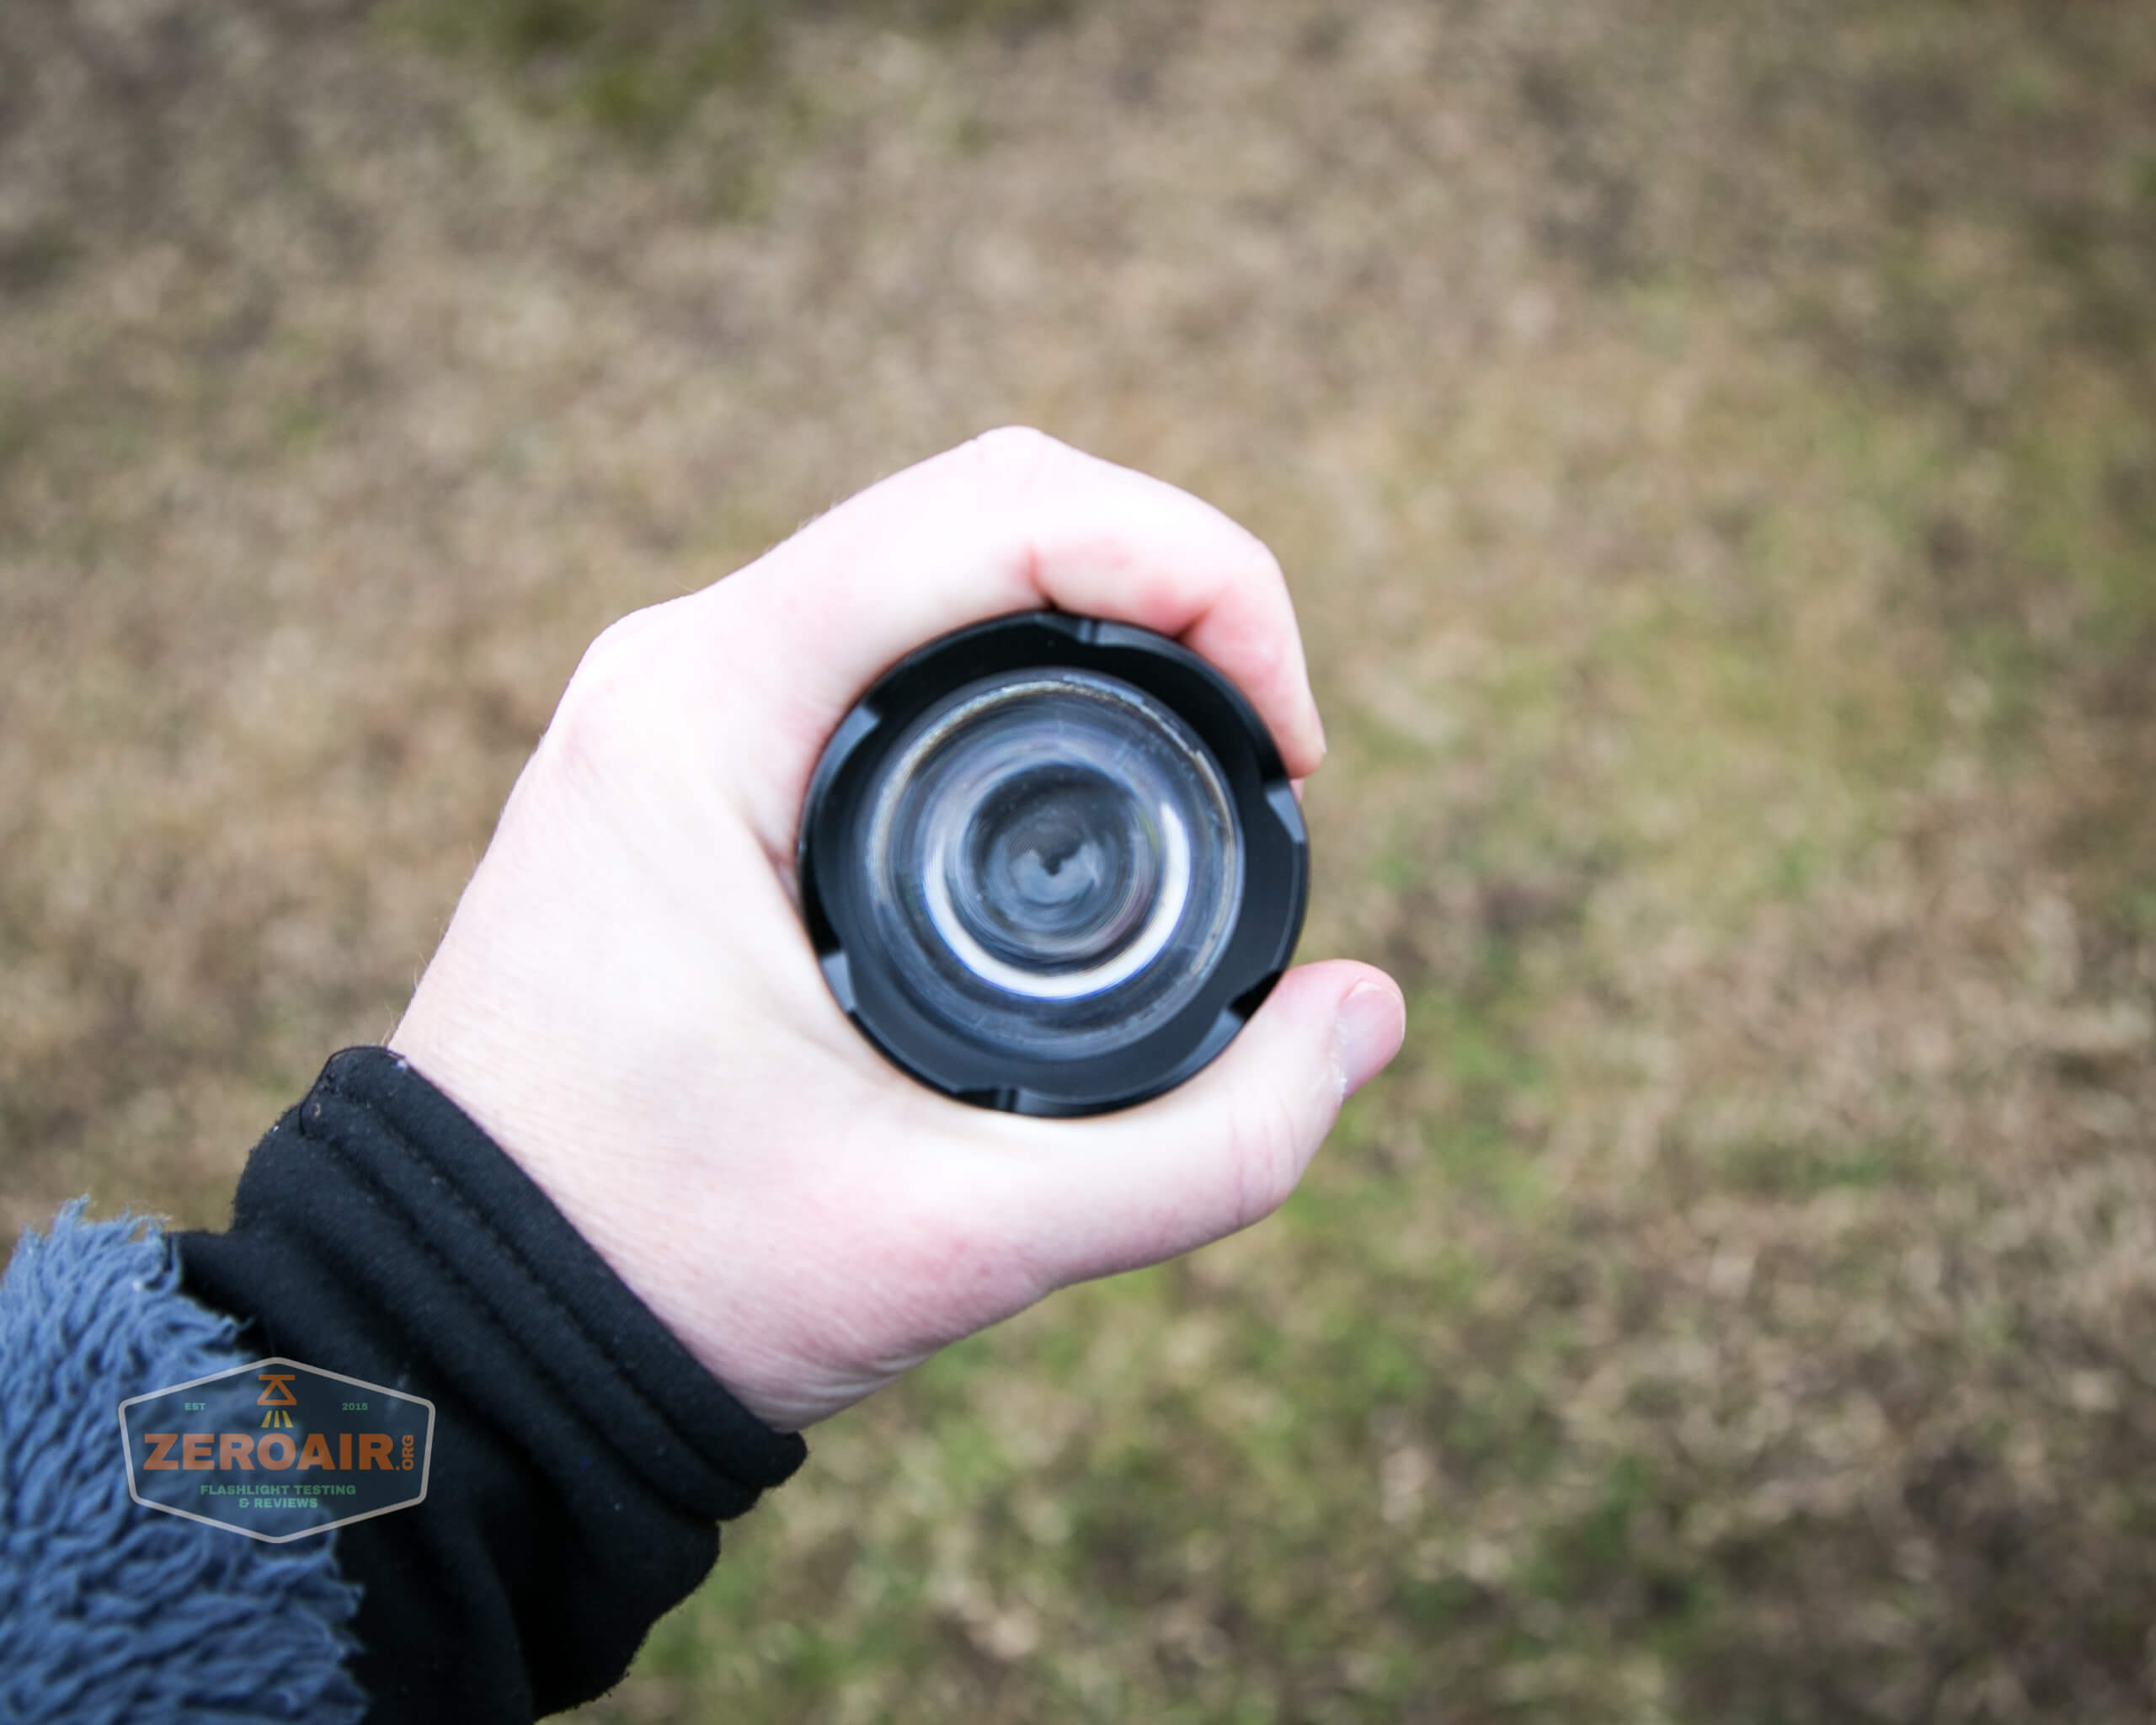
Here’s a look at the lens.

The bezel is fluted, so light can escape when headstanding.
Here’s a view of the head fully extended and fully collapsed.
And of the emitter selector switch in all 3 positions.

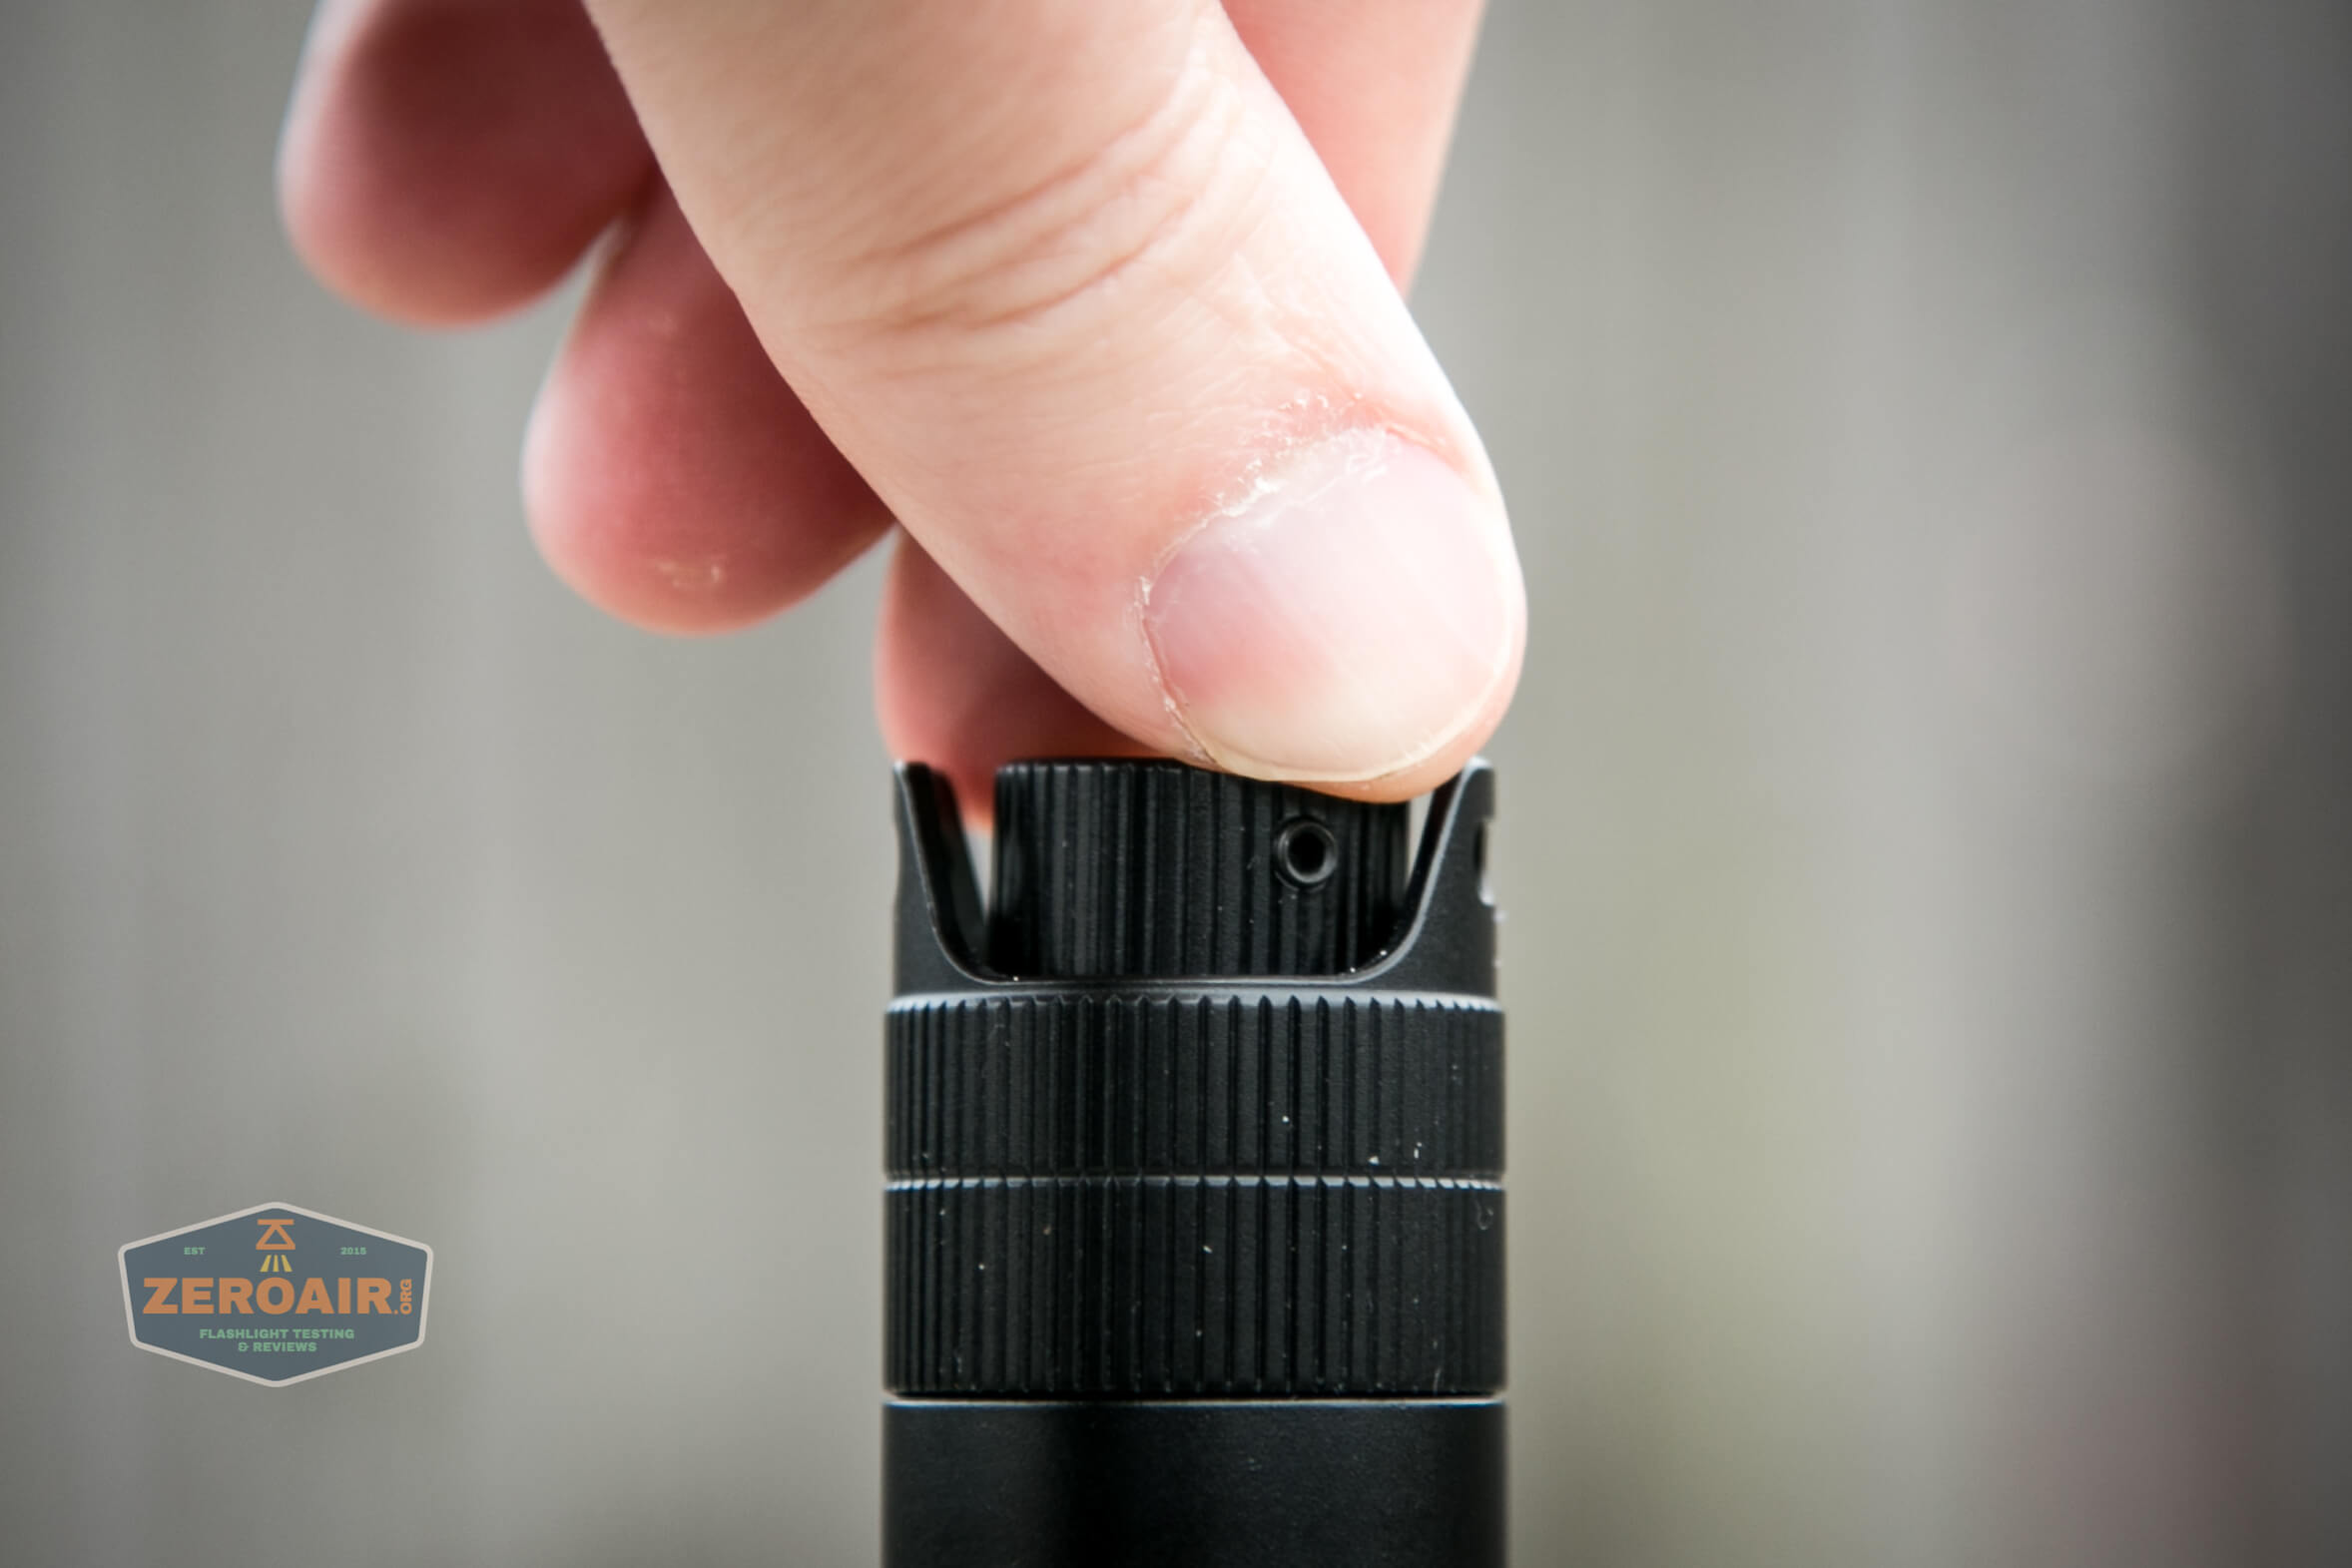
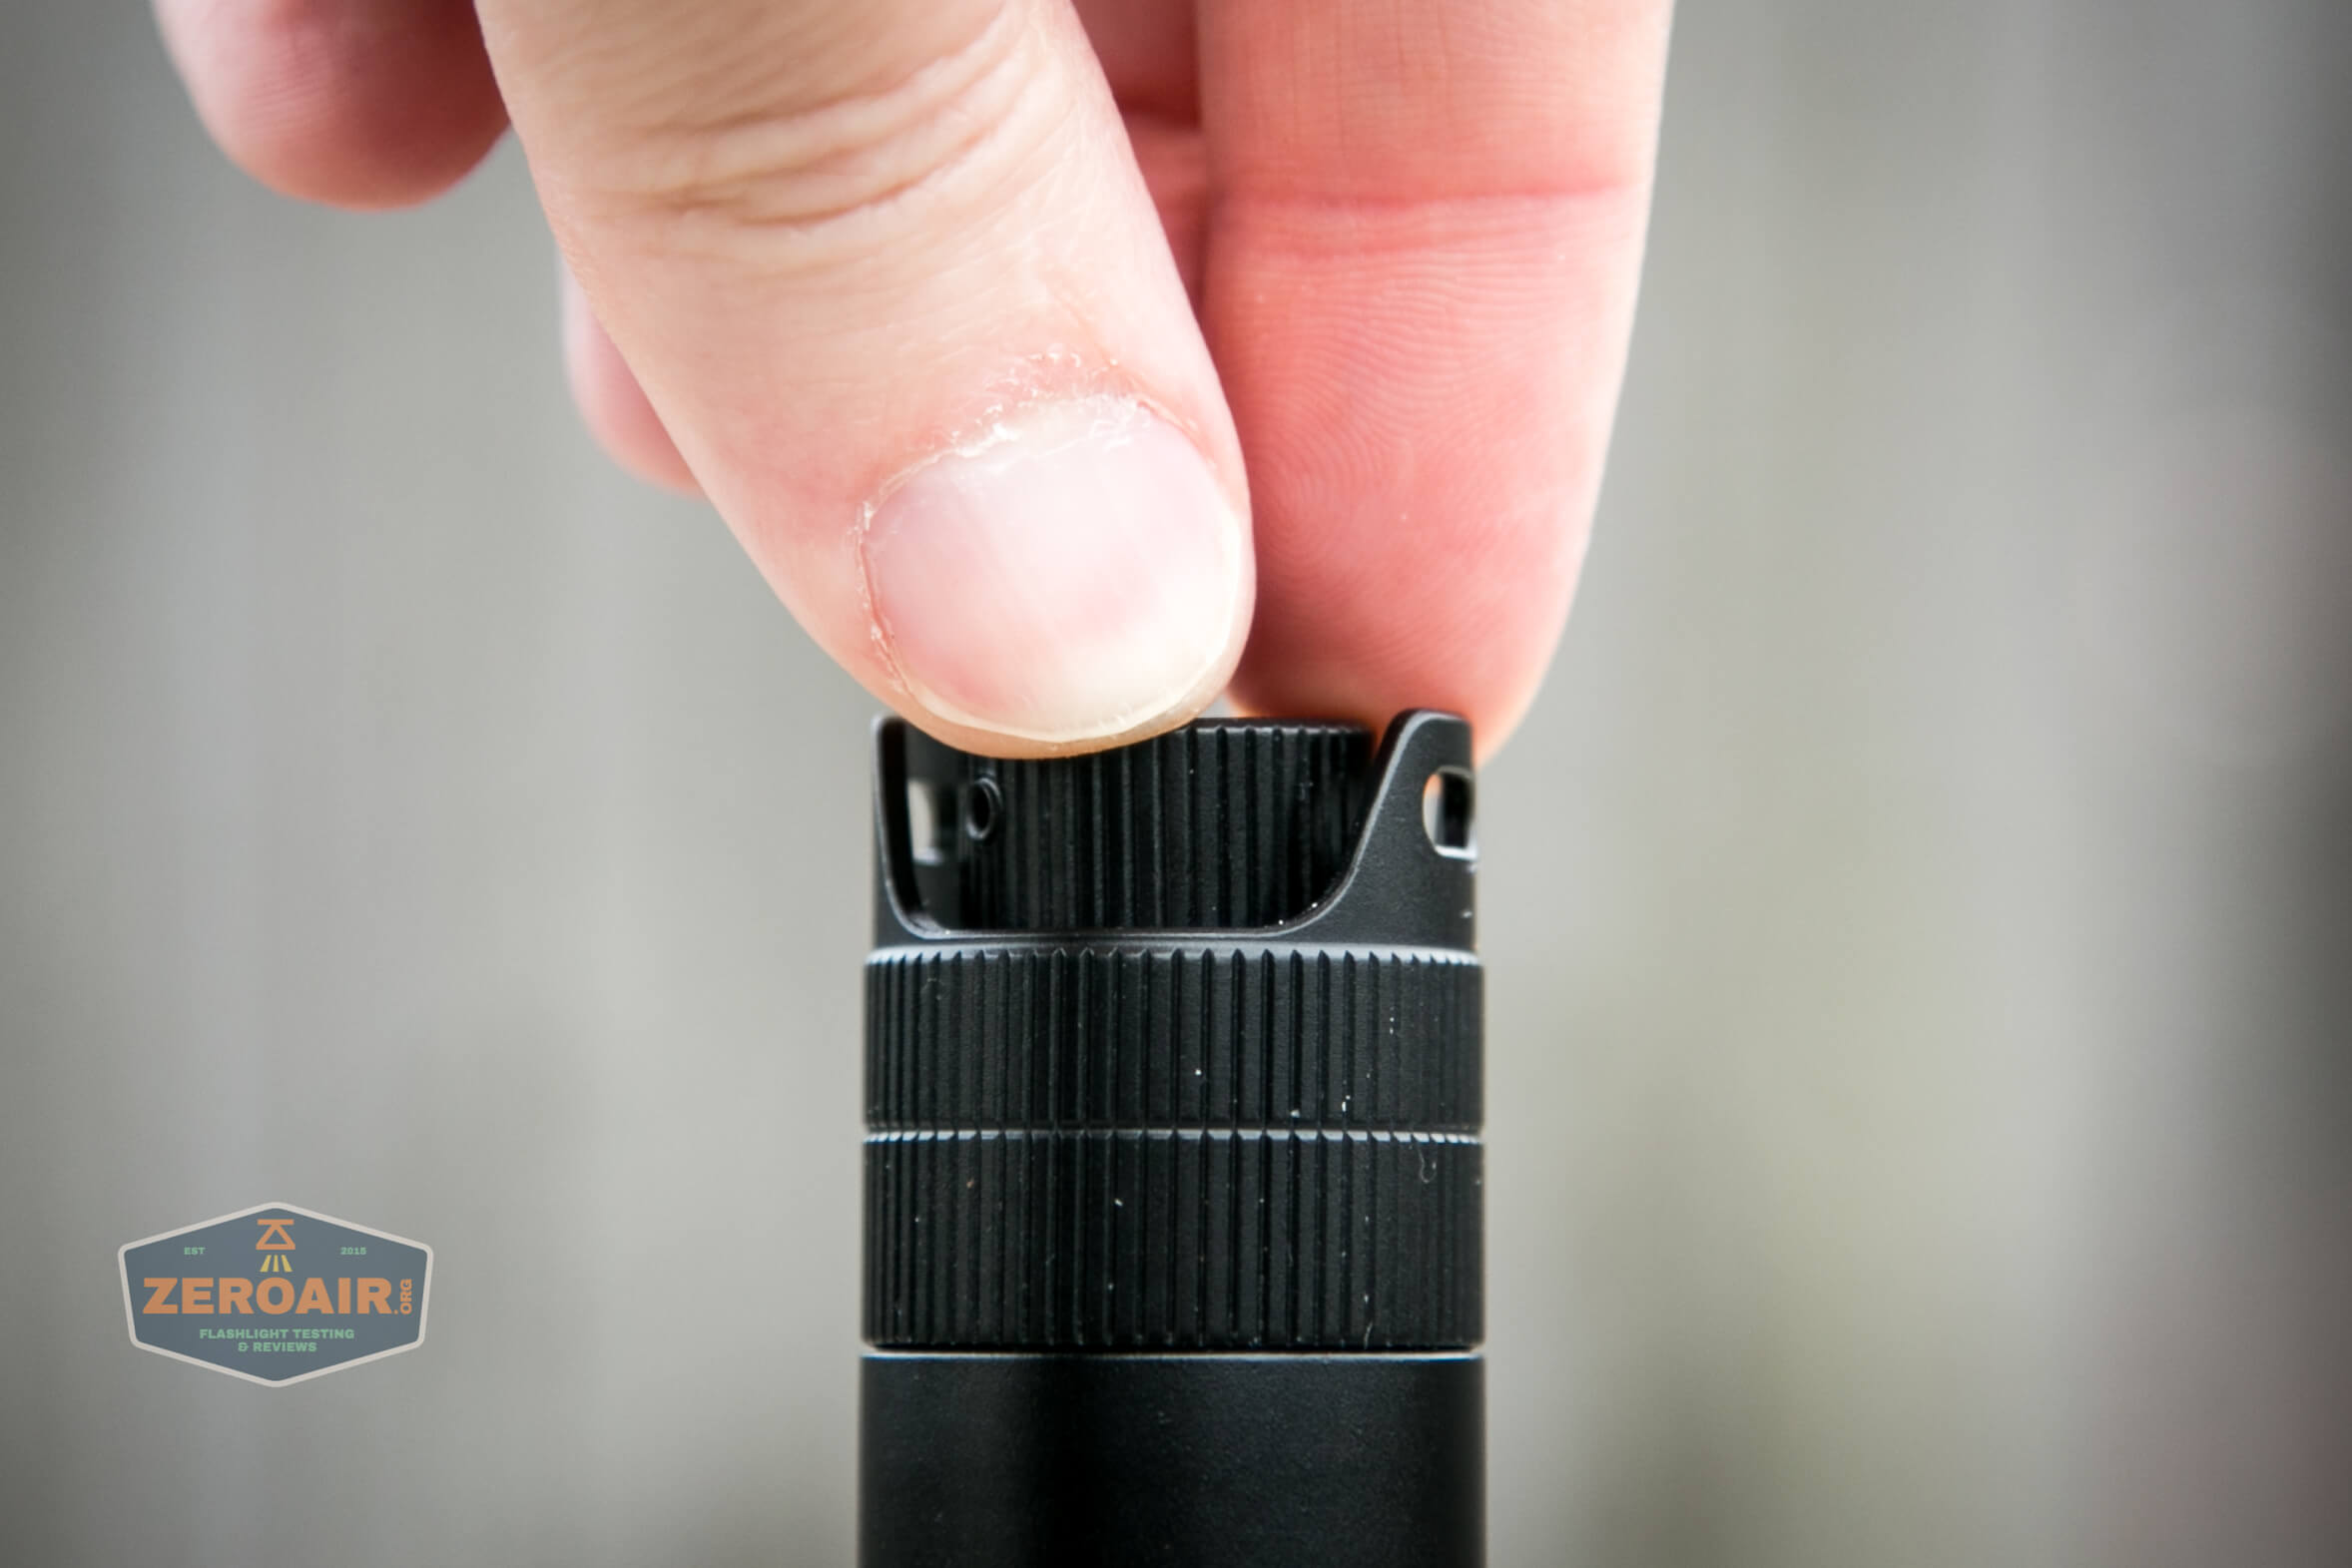
Now, about that rotary switch. Mine is askew, and not just a little bit. I know this “askew” bit is just a cap on the underlying rotary and is held in place by a set screw, but this should be perfectly flat. As it is, the offness is enough that the light will not tailstand.
I did remove that set screw (Hex screw, but Torx T6 worked), and I still couldn’t flatten the rotary switch. So maybe it’s meant to be this way?
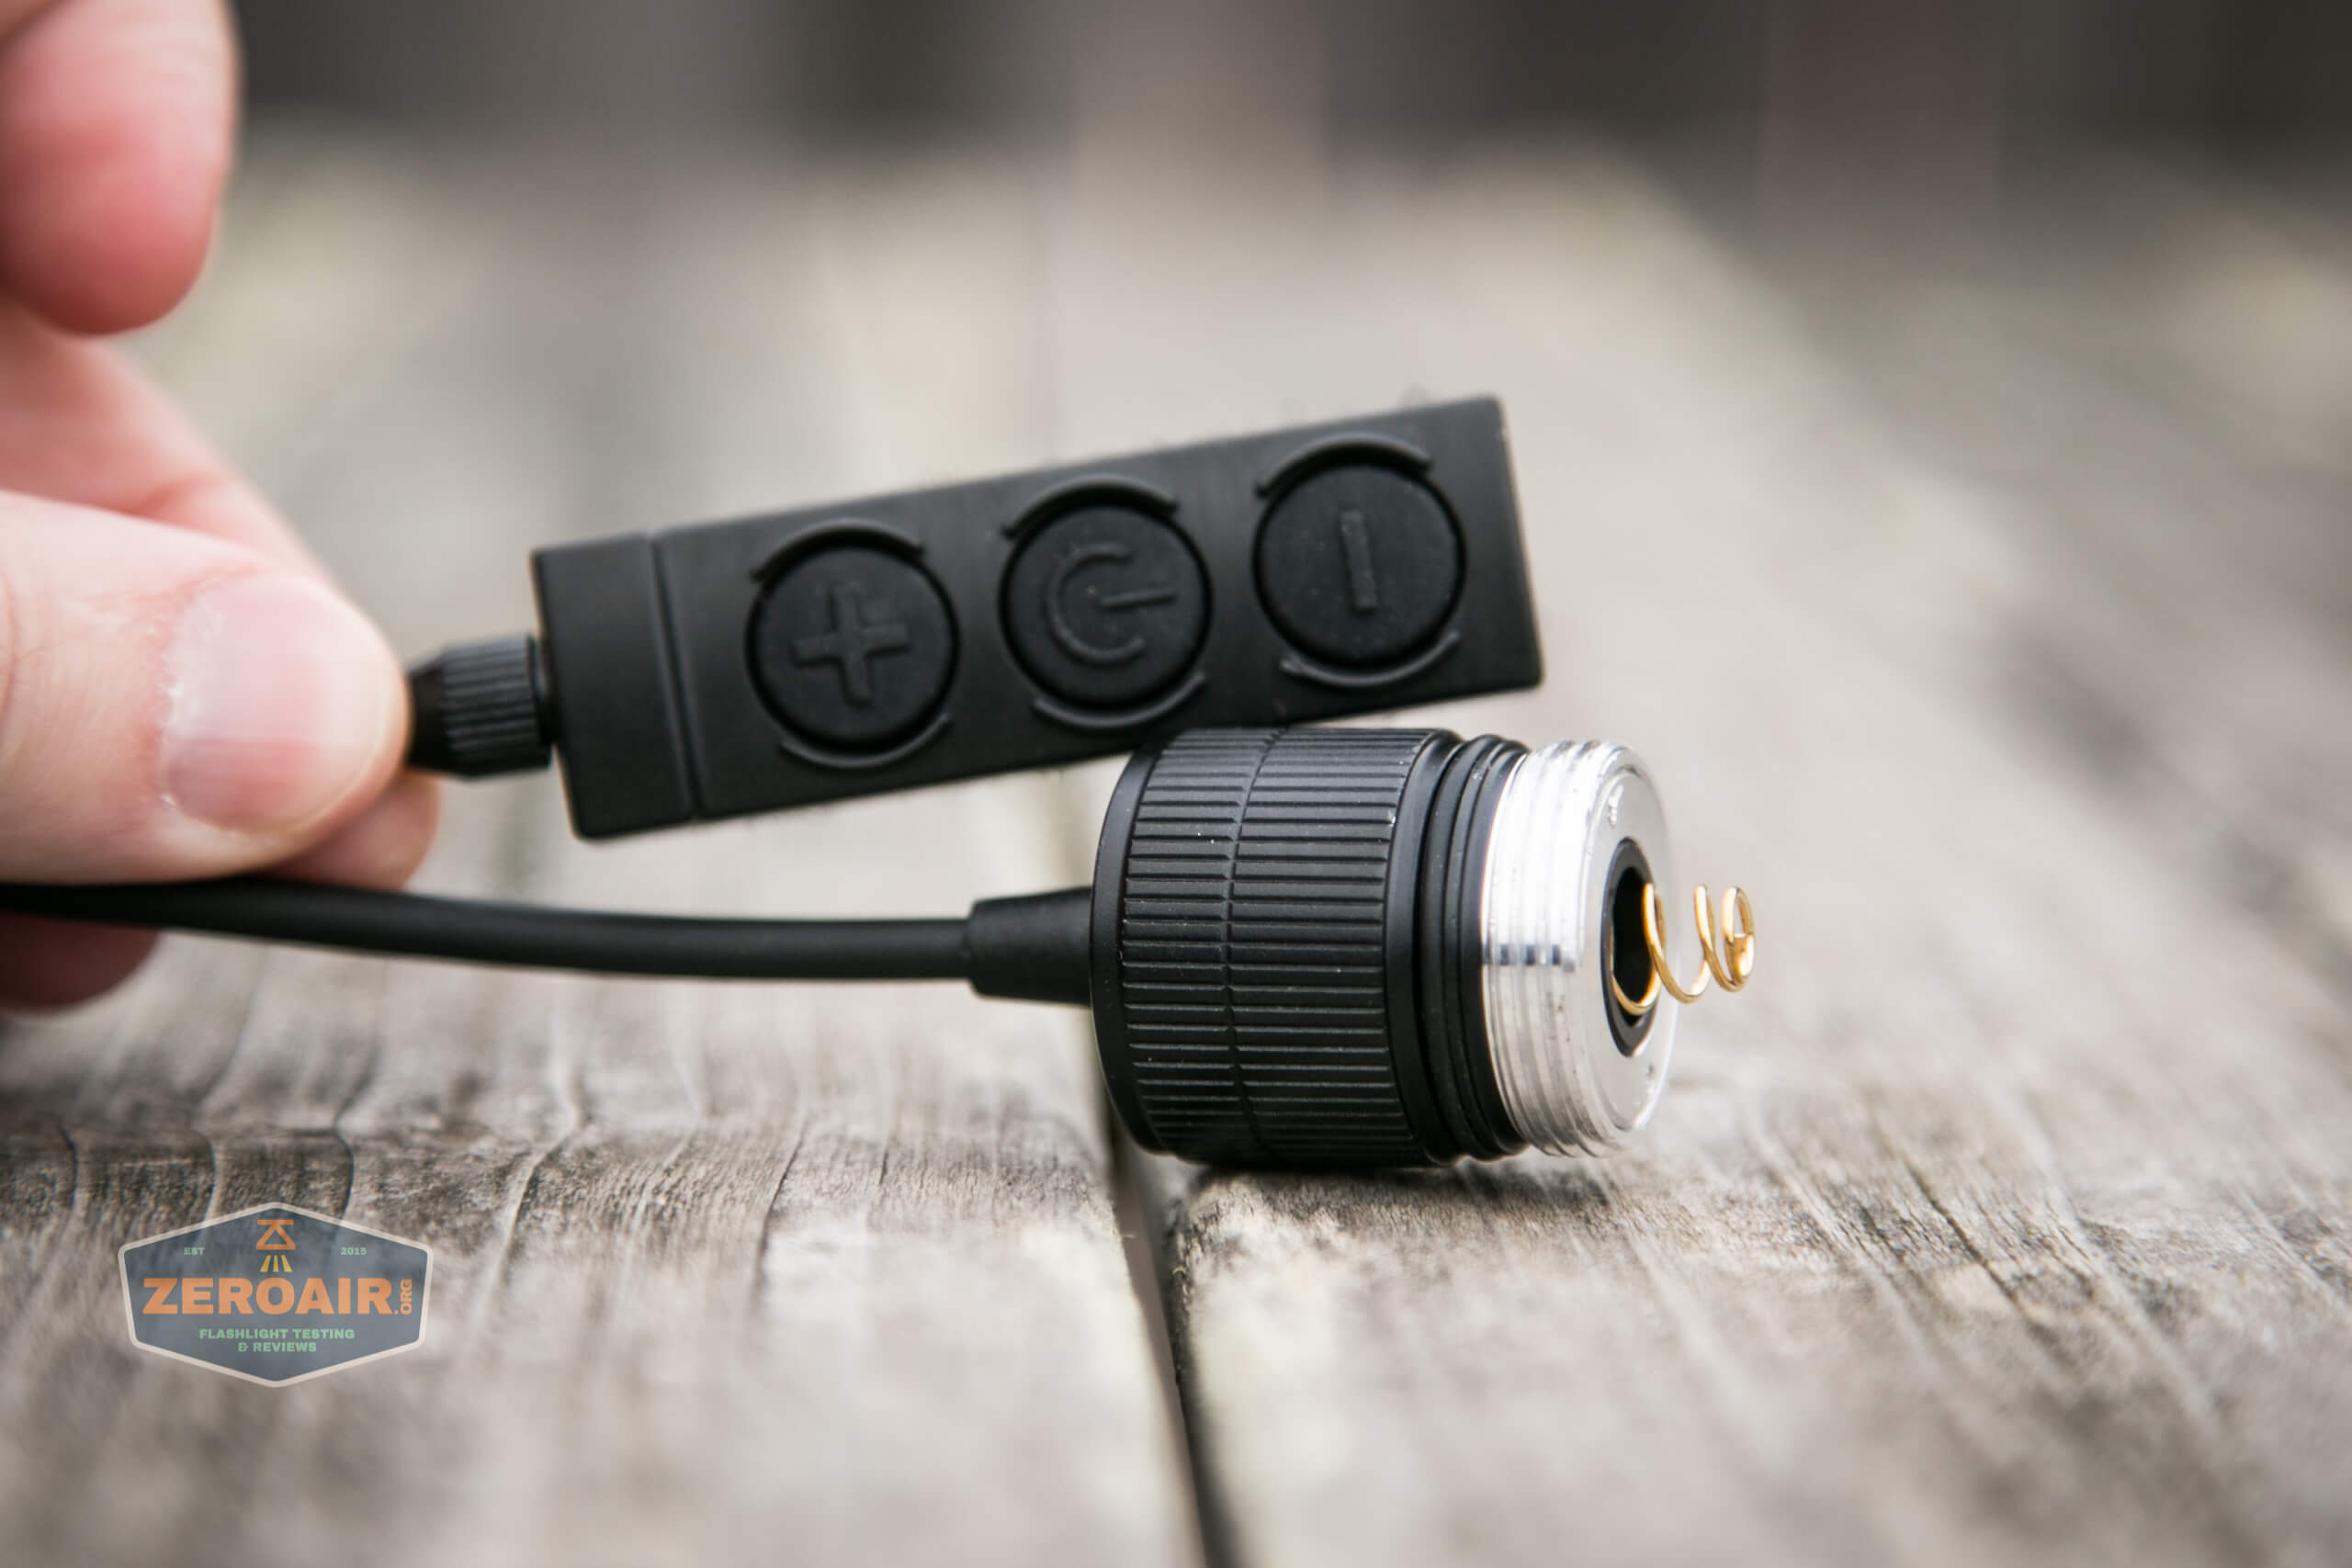
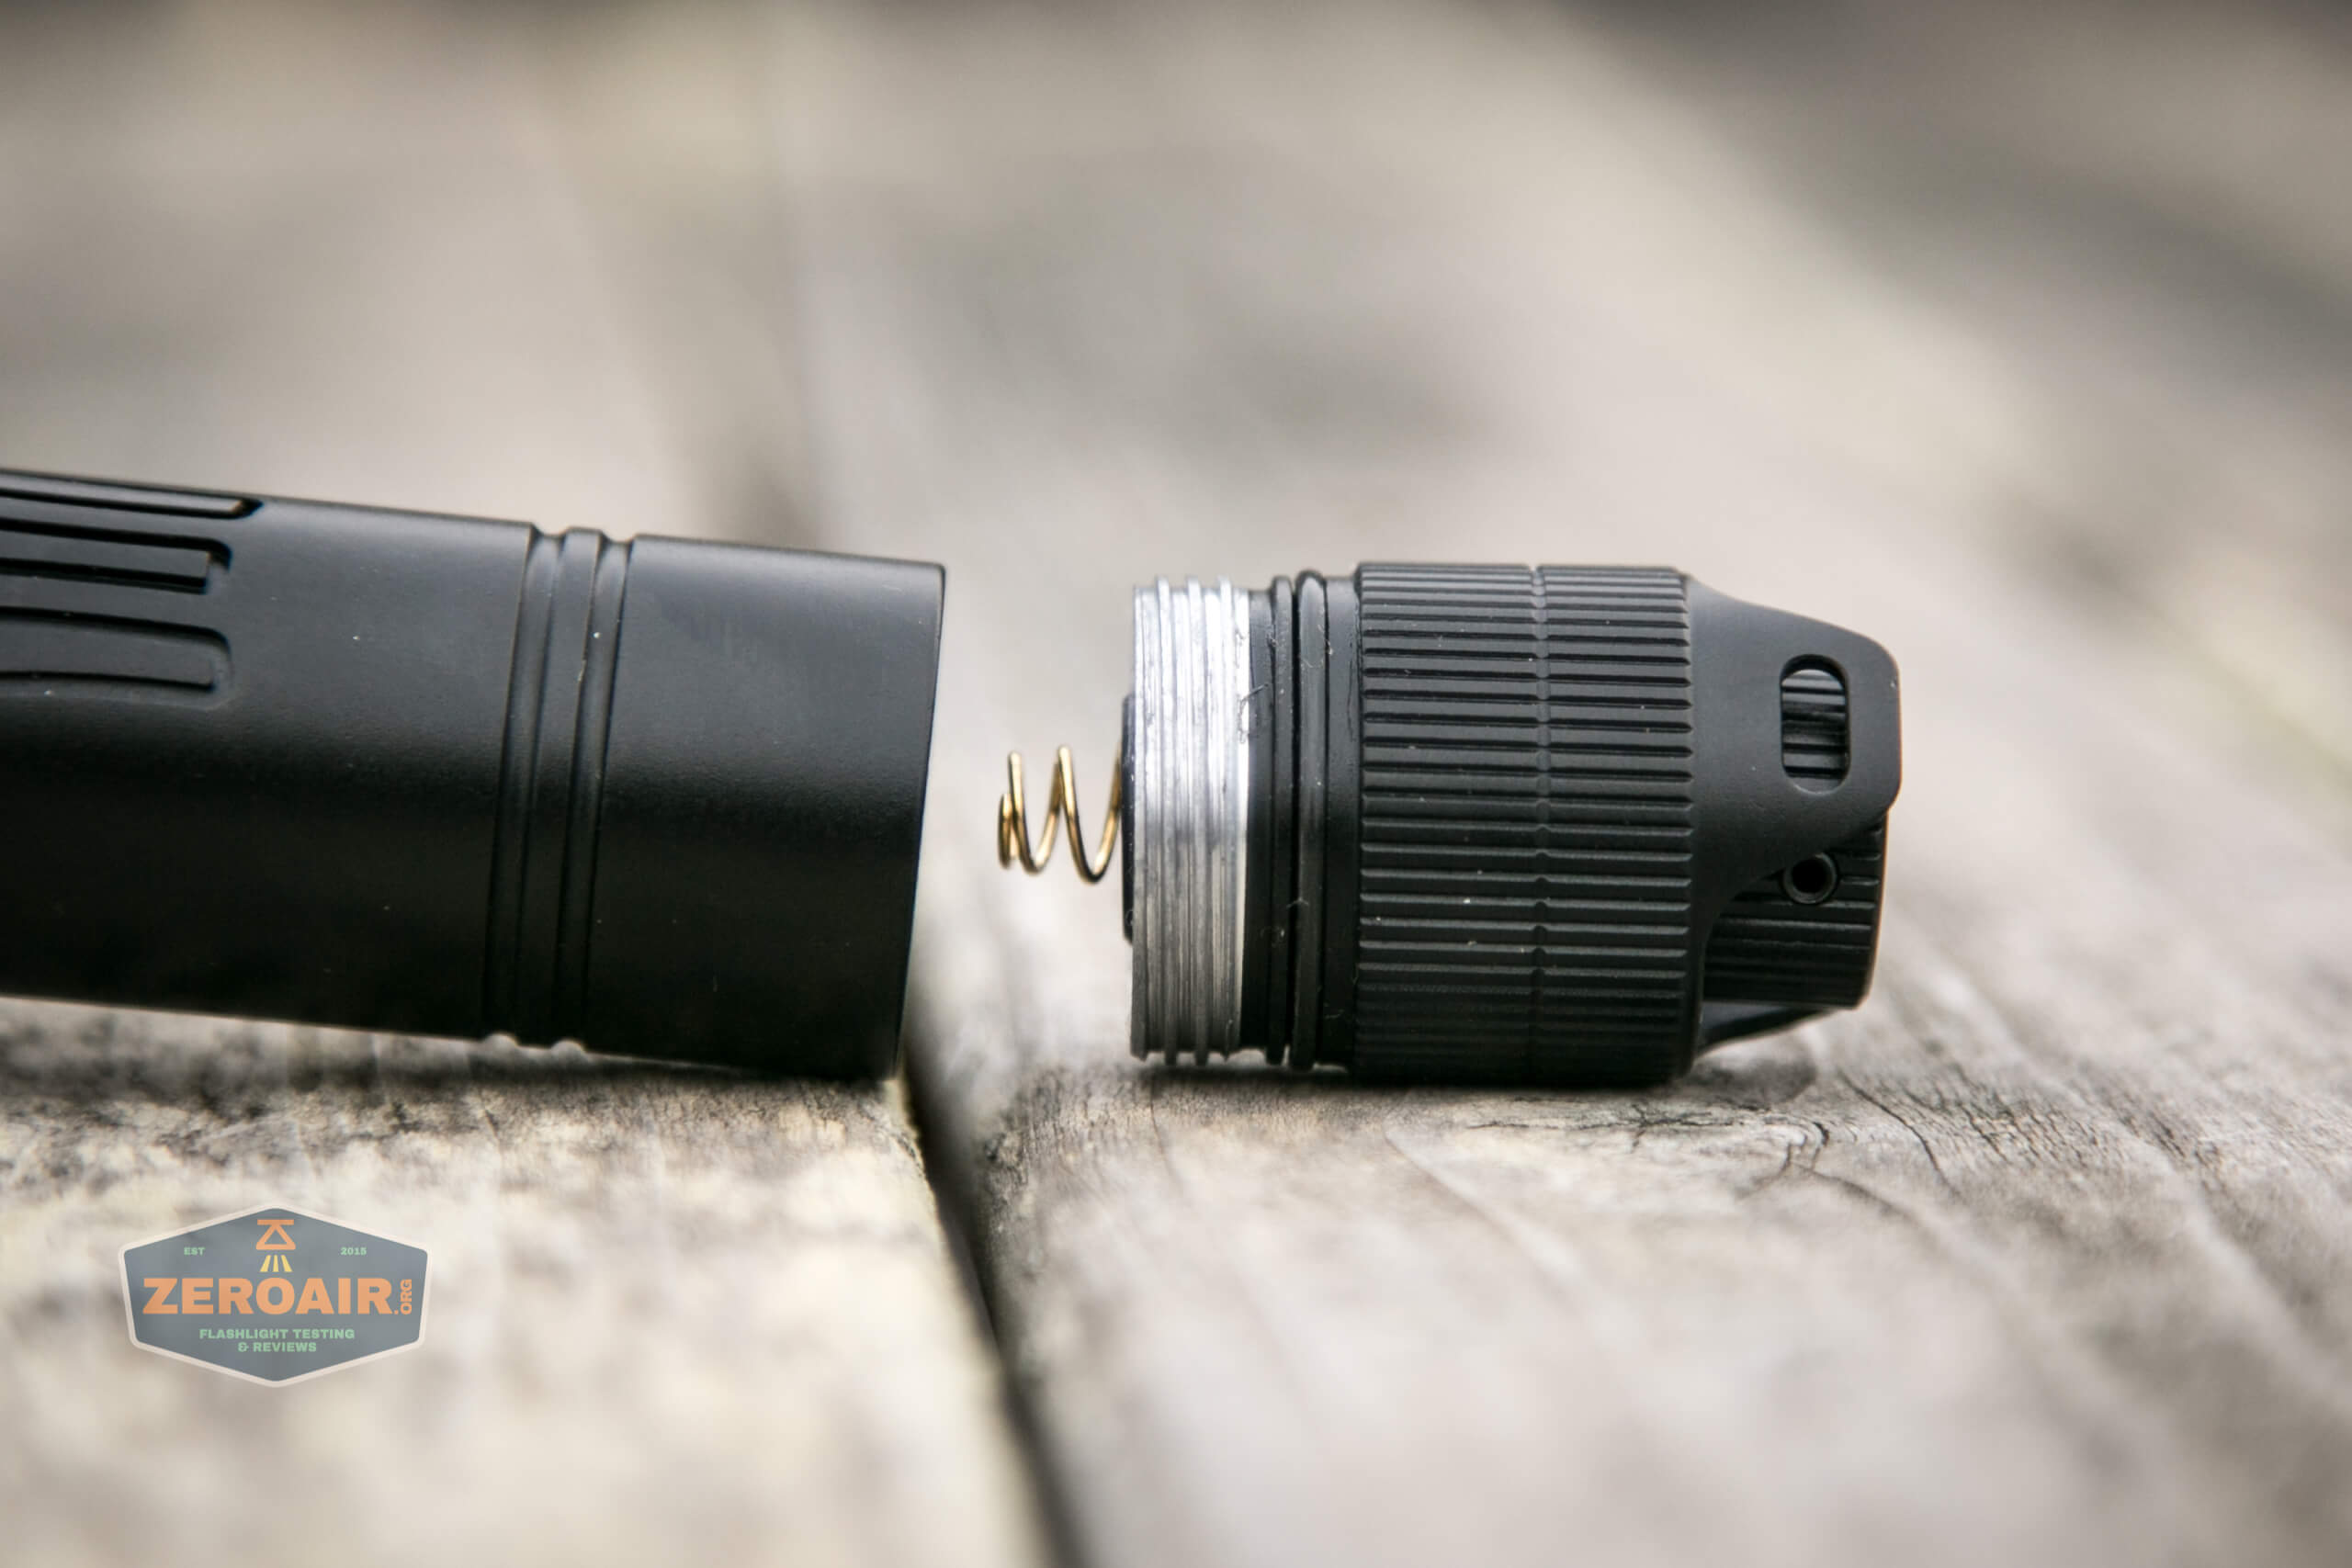
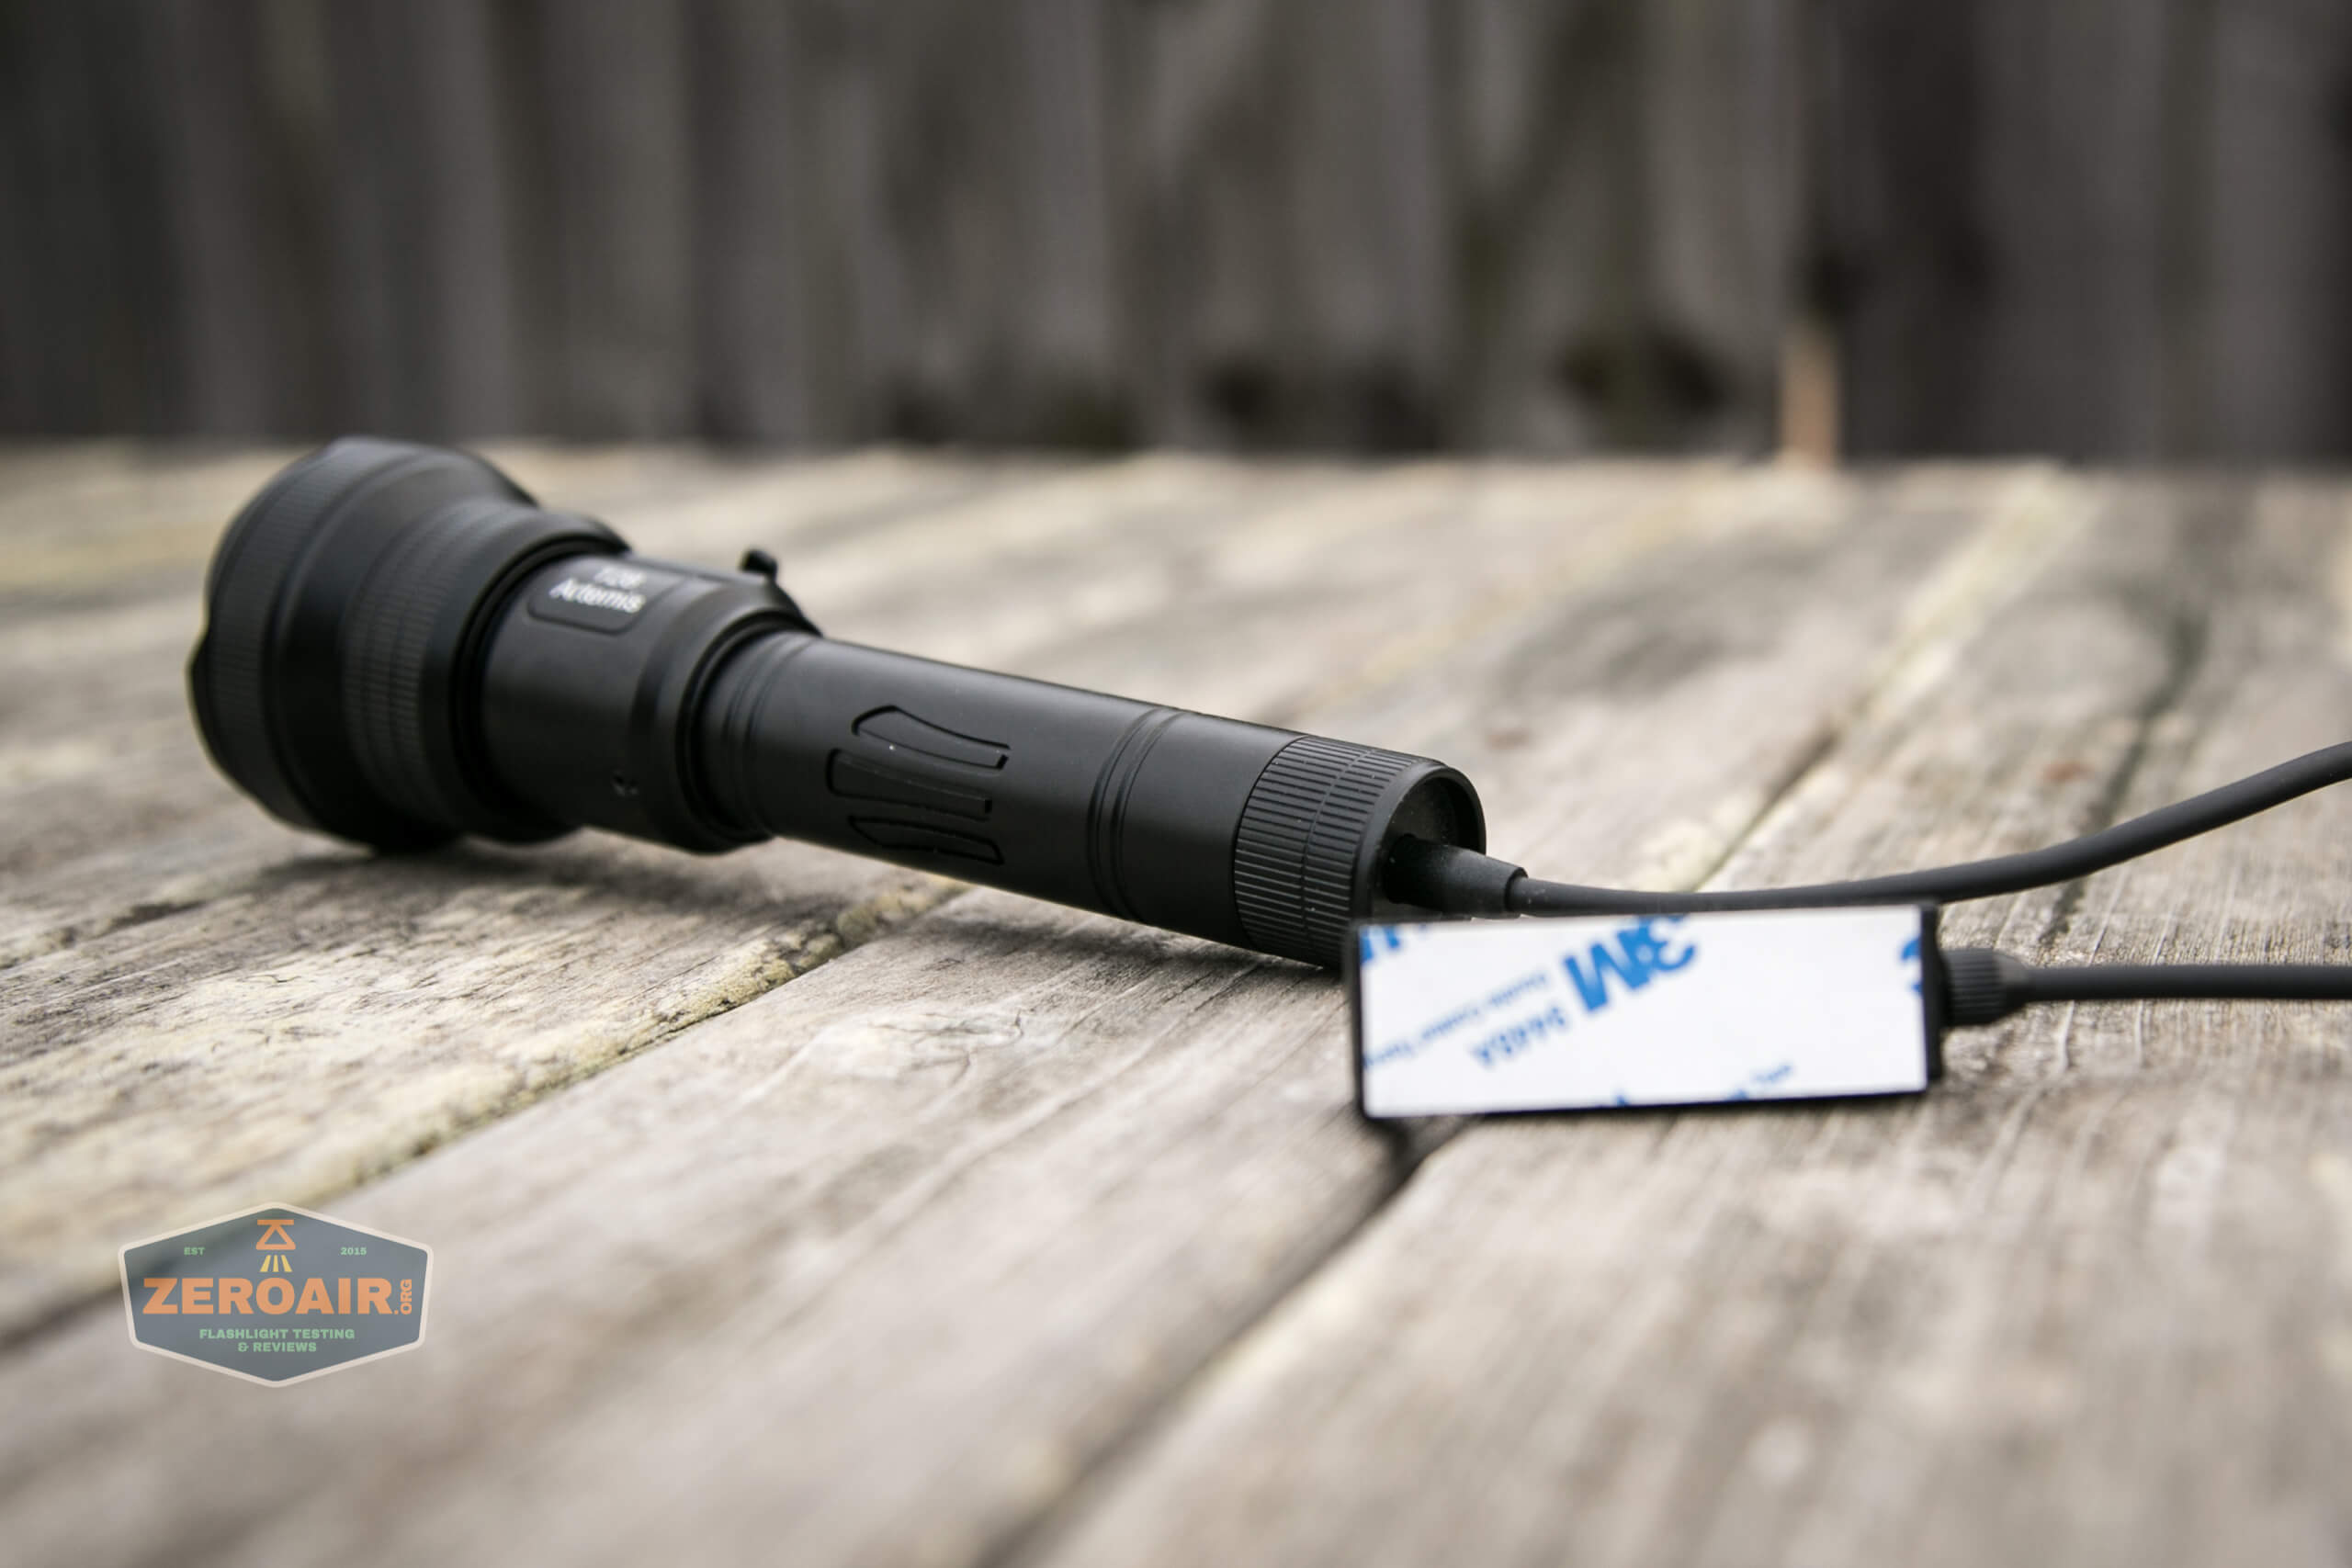
The remote switch is a whole tailcap replacement. This does remove the rotary, but the Plus Minus buttons still allow ramping.
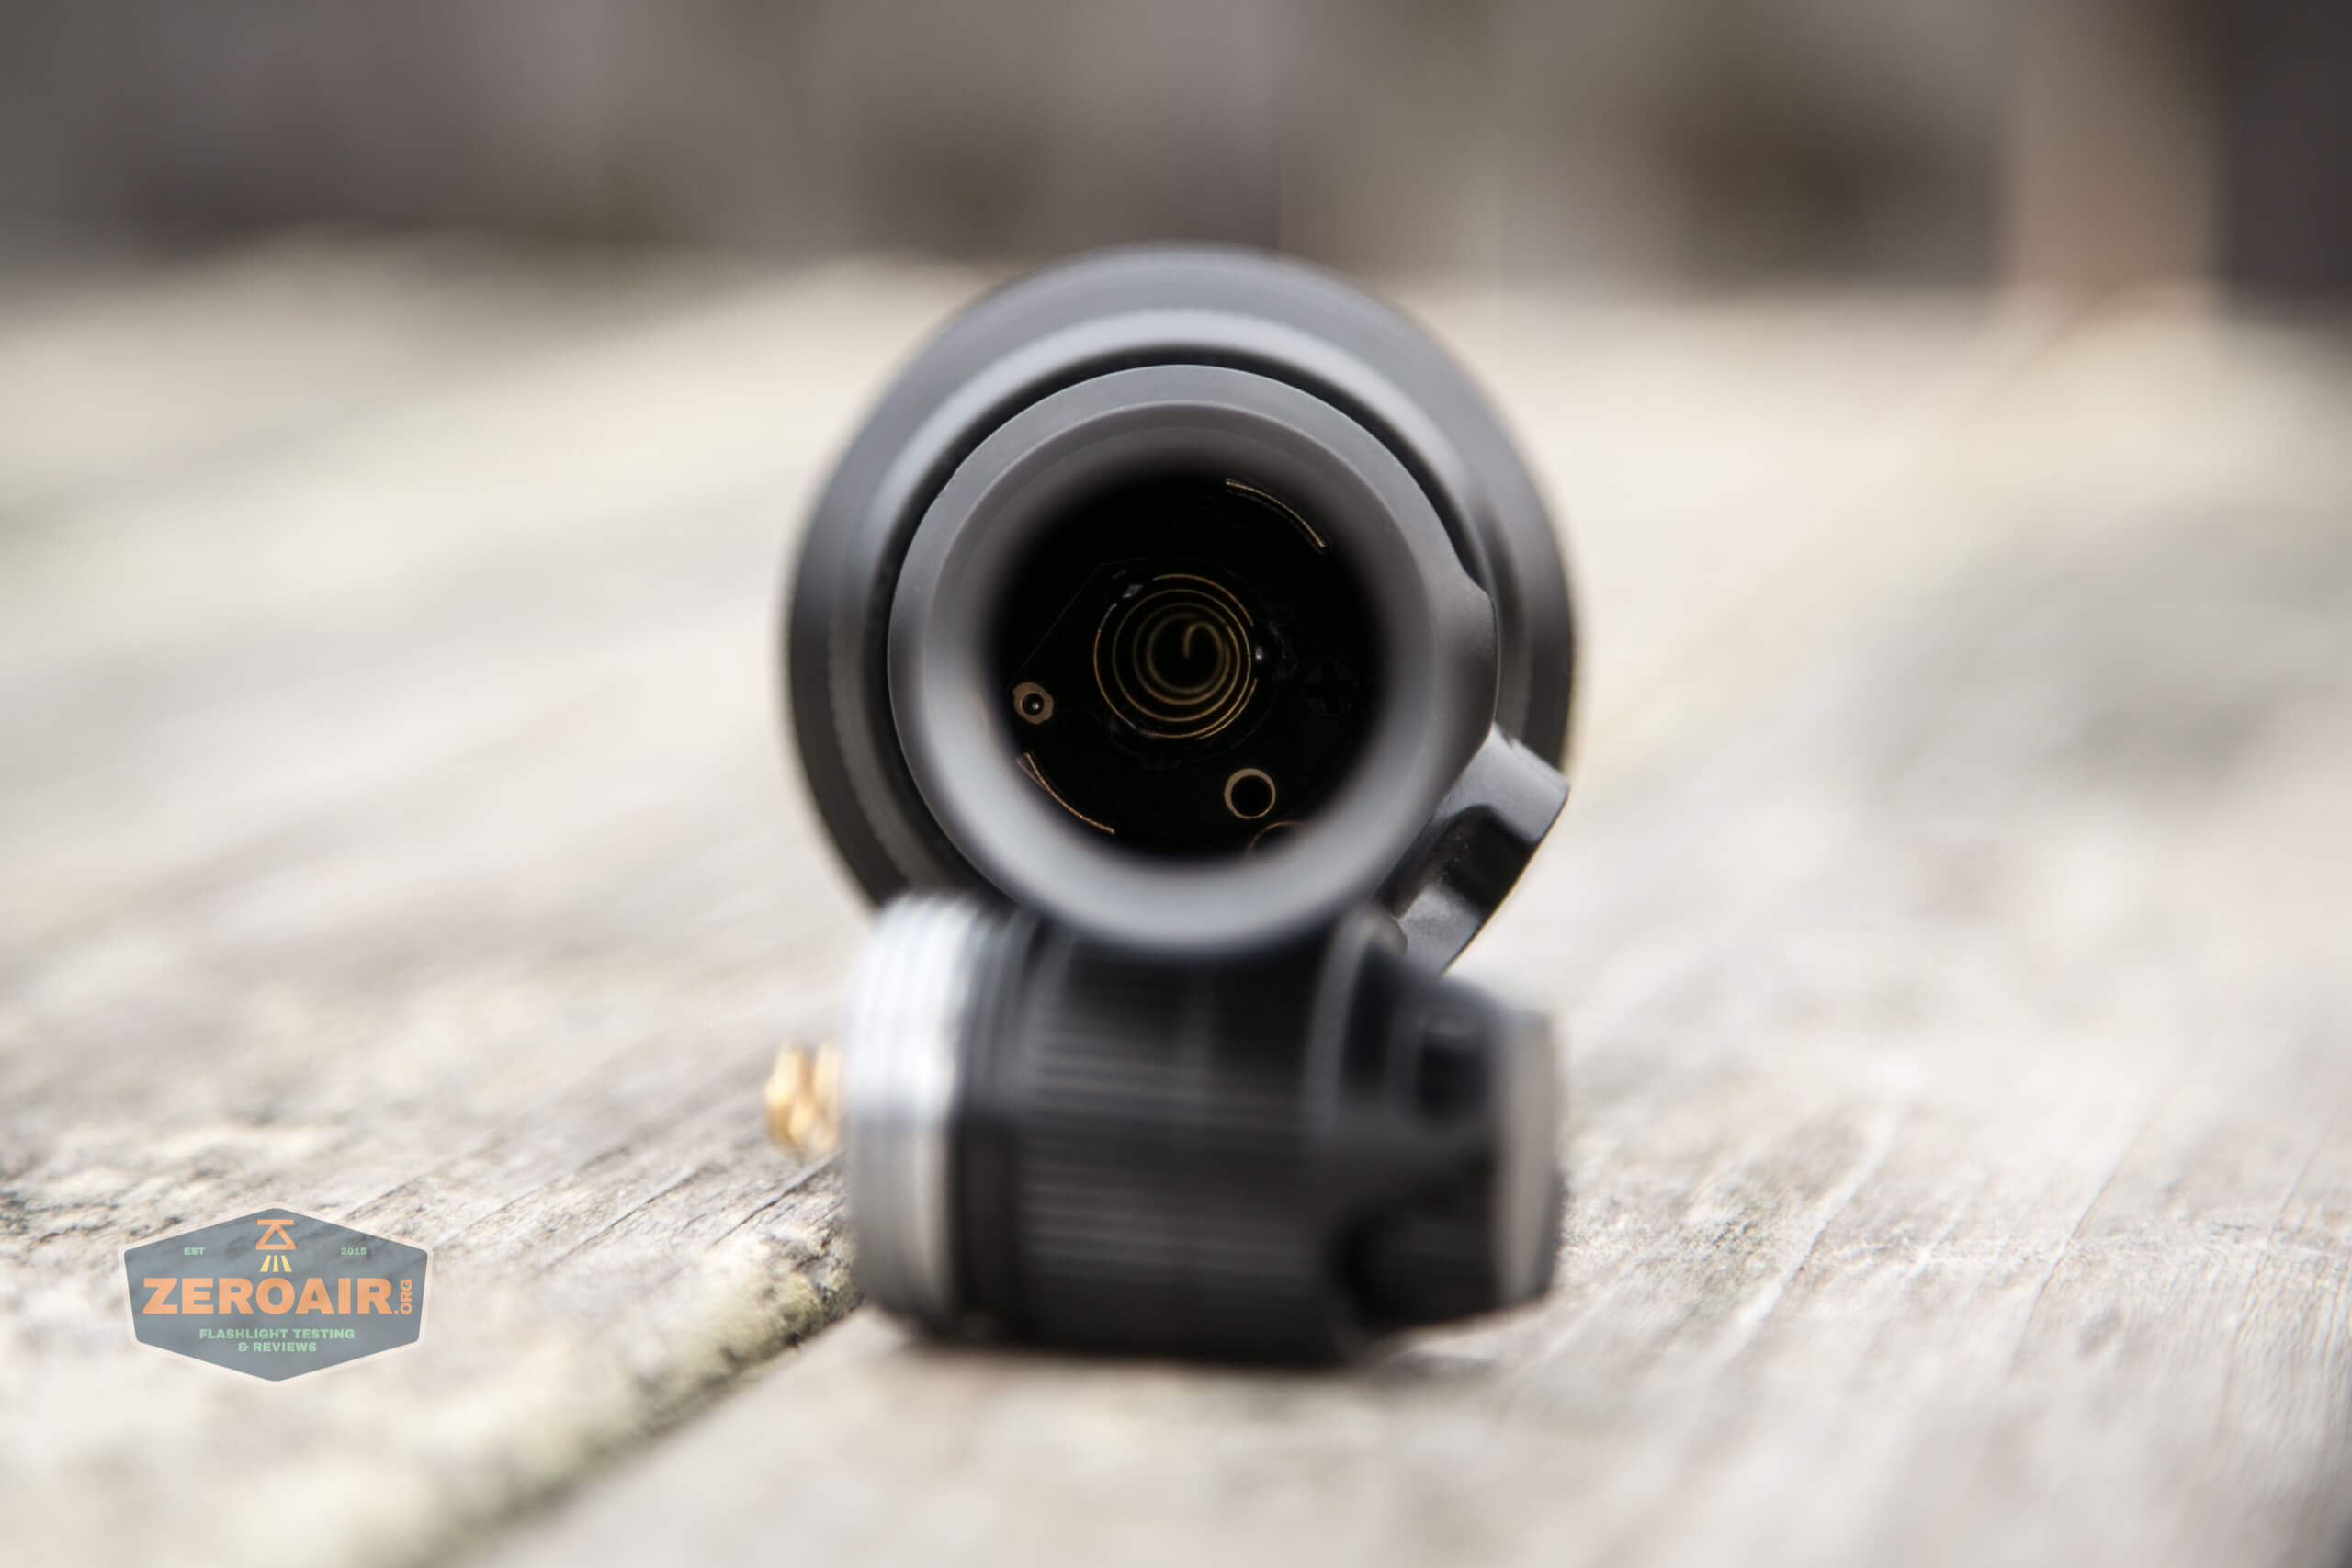
Threads on the T28 tailcap are unanodized, square-cut, and not too long. They’re ok threads.
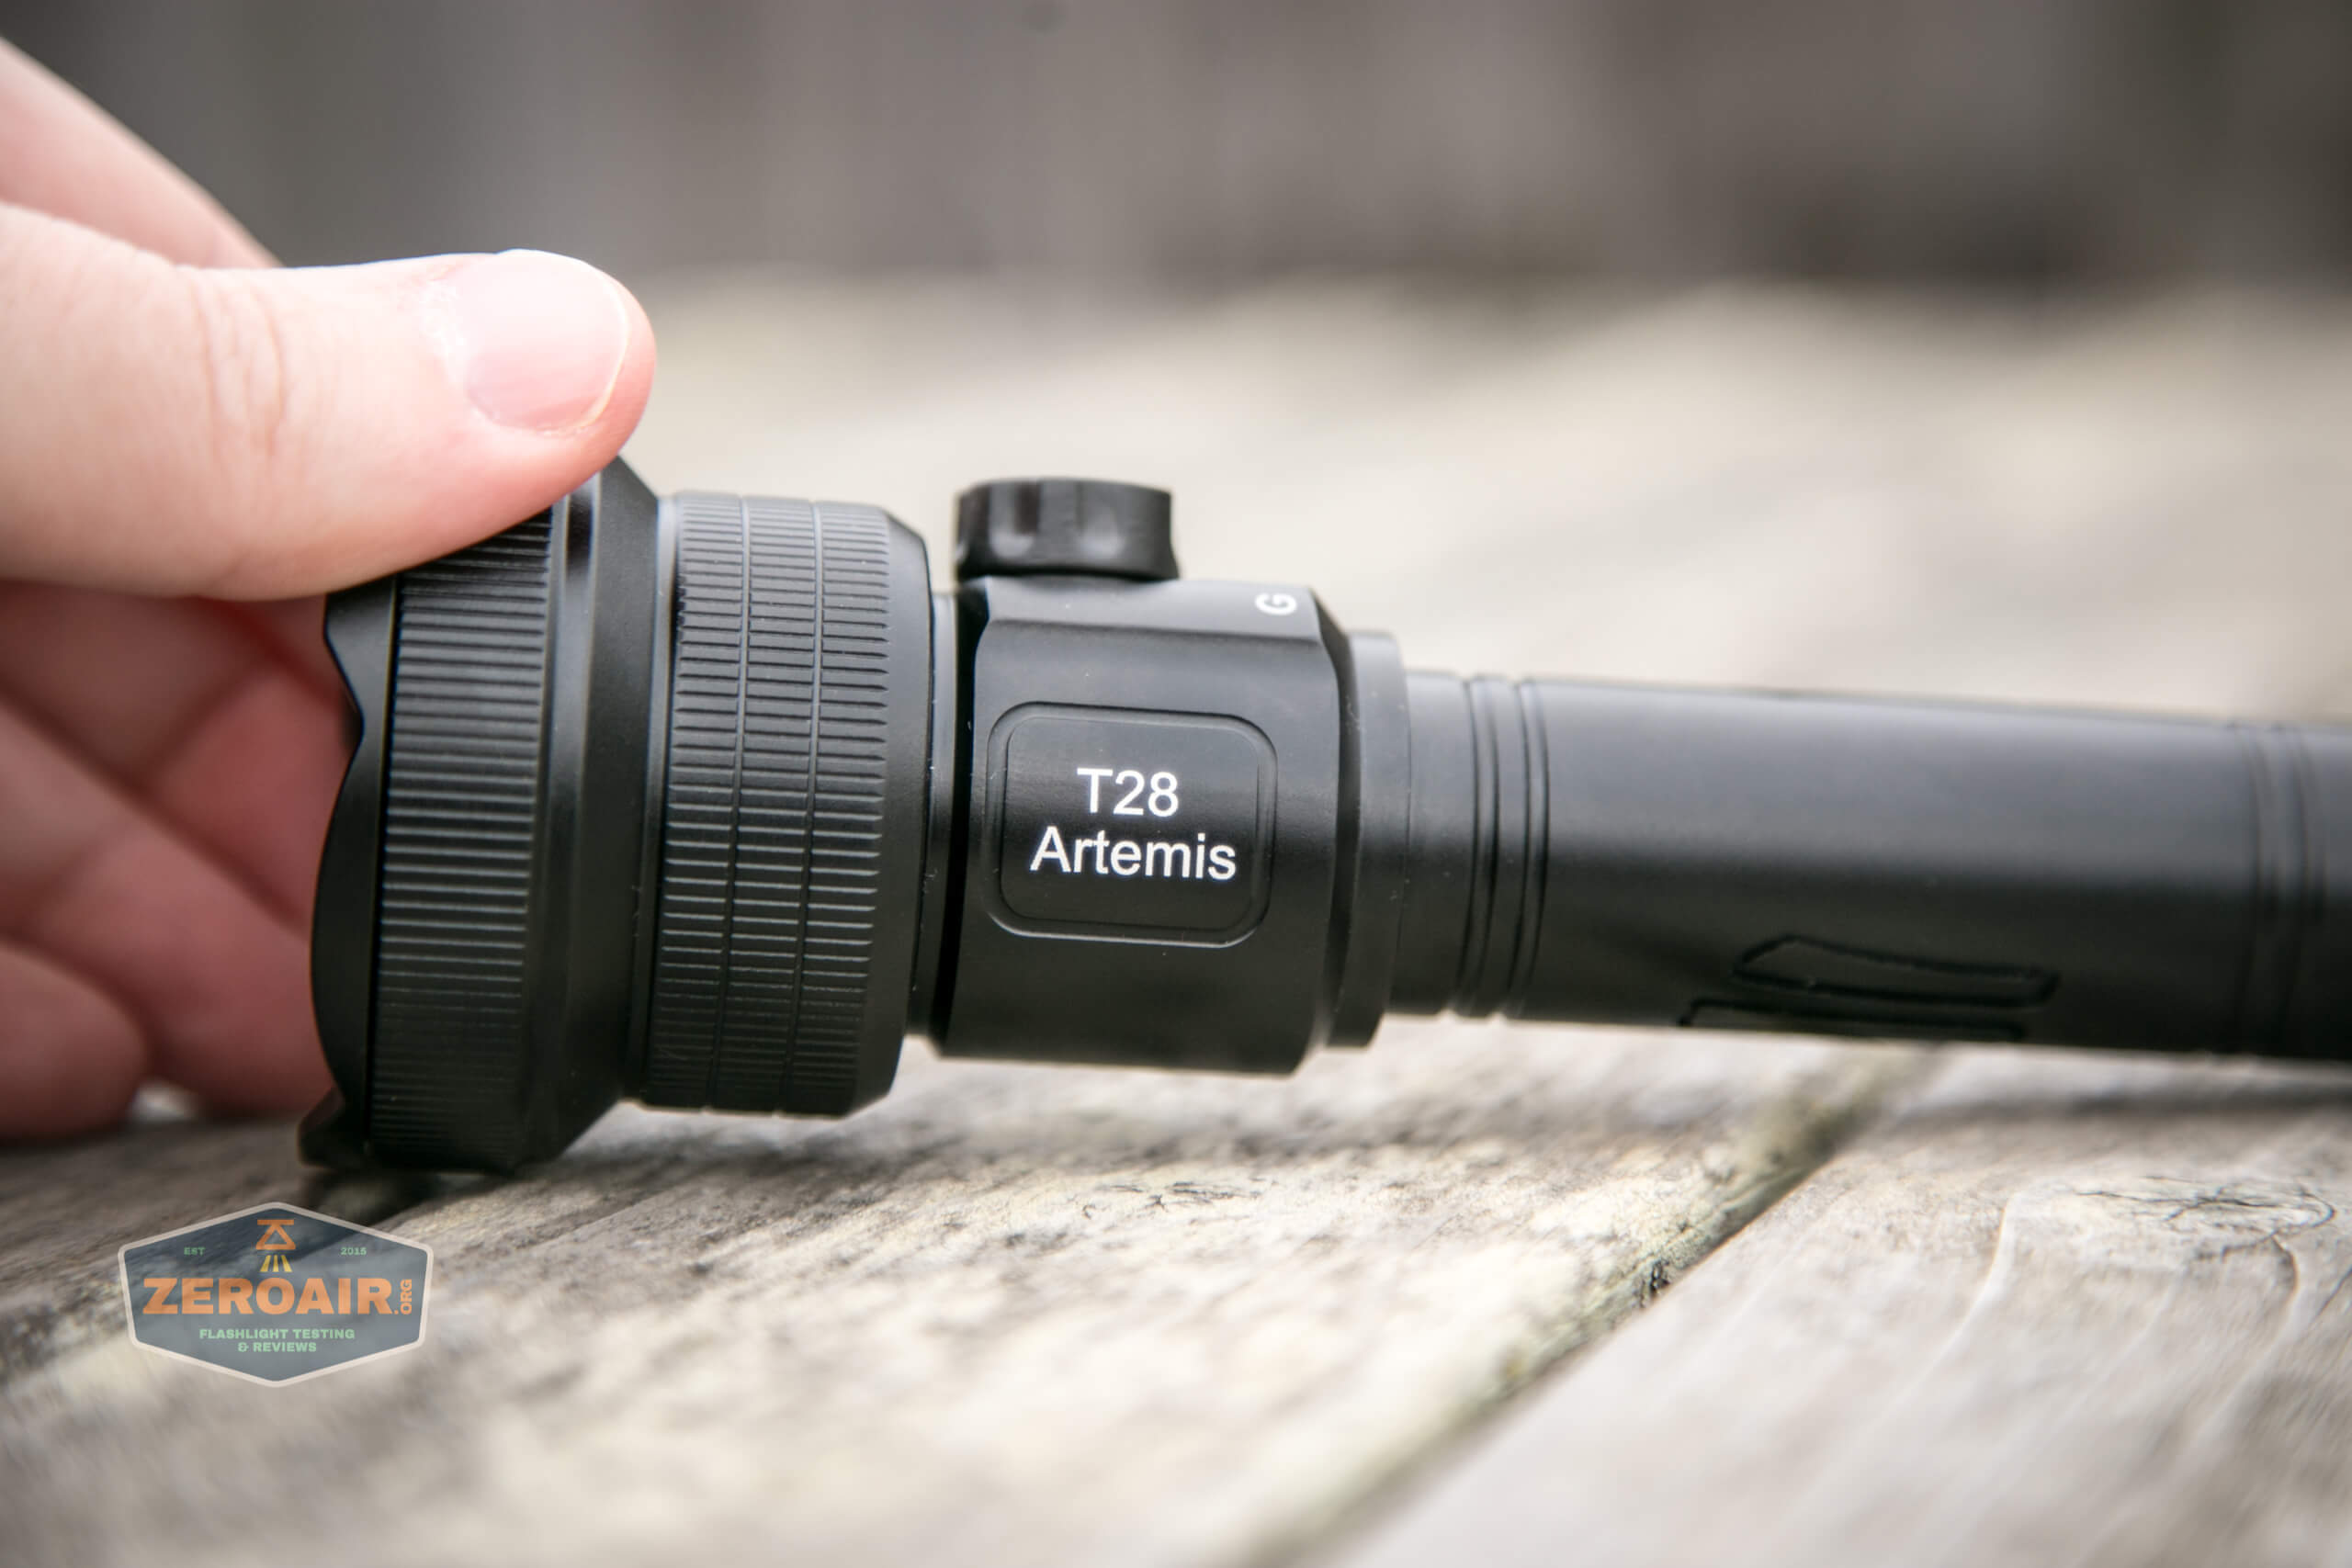
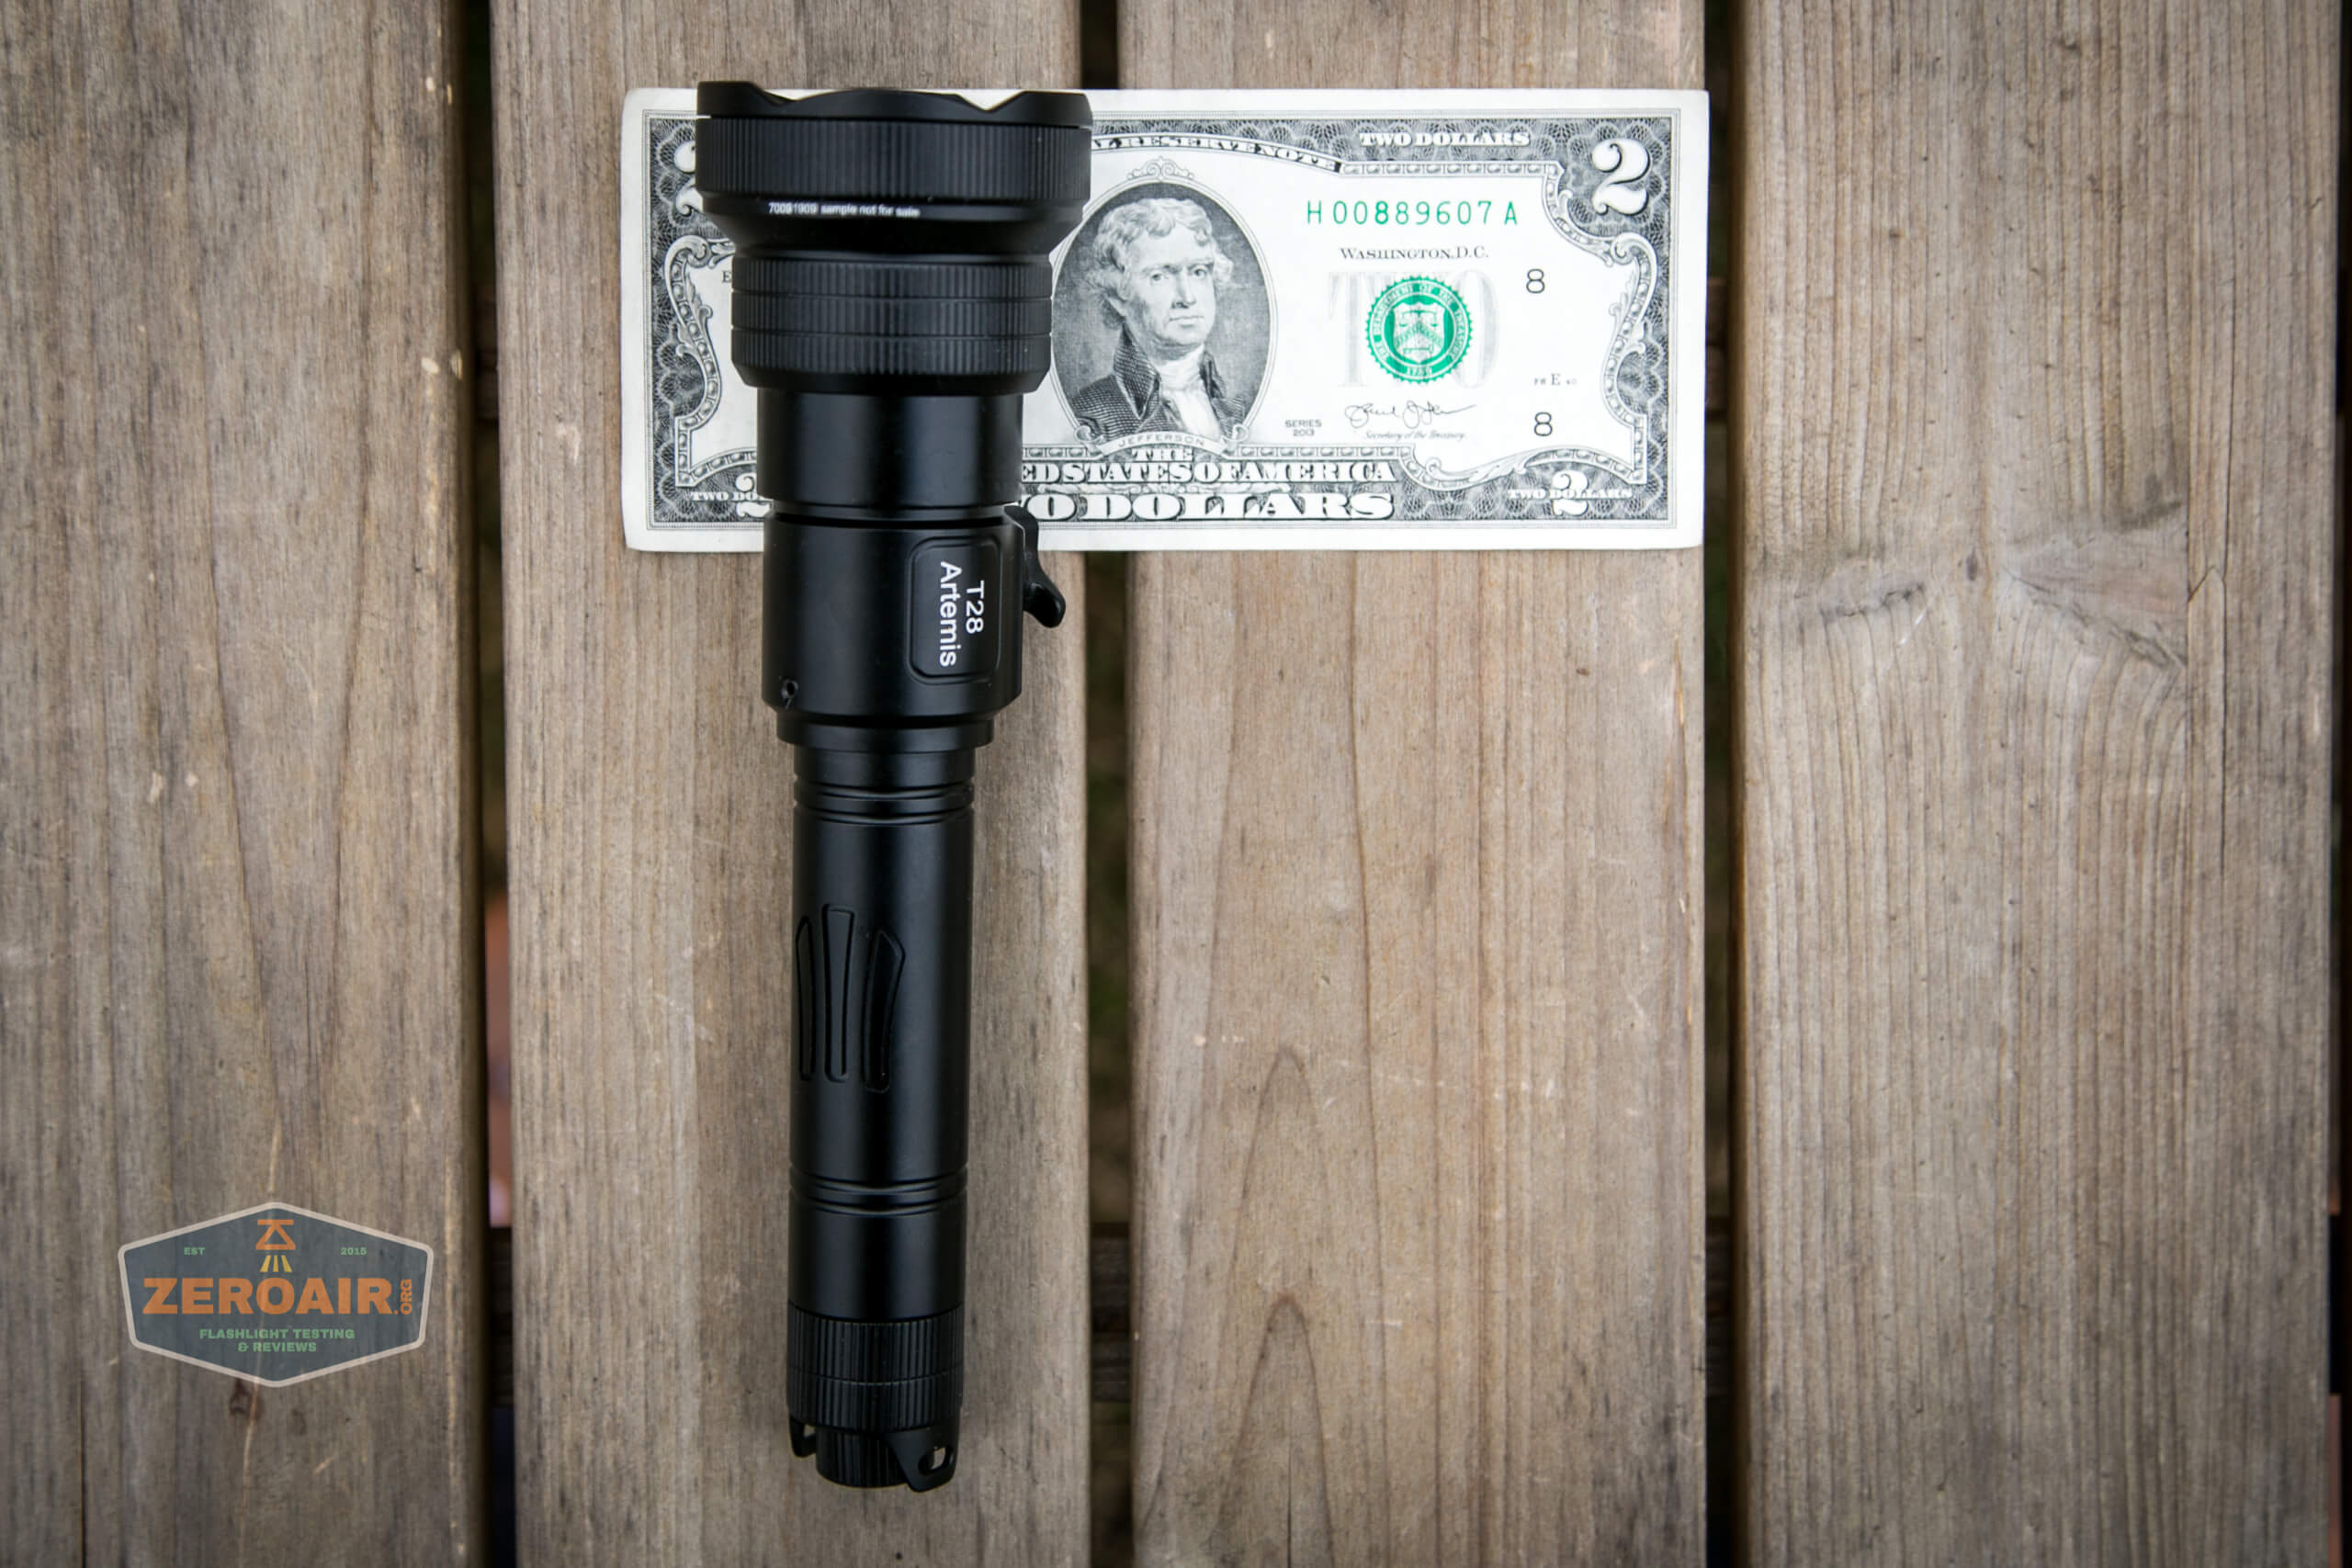
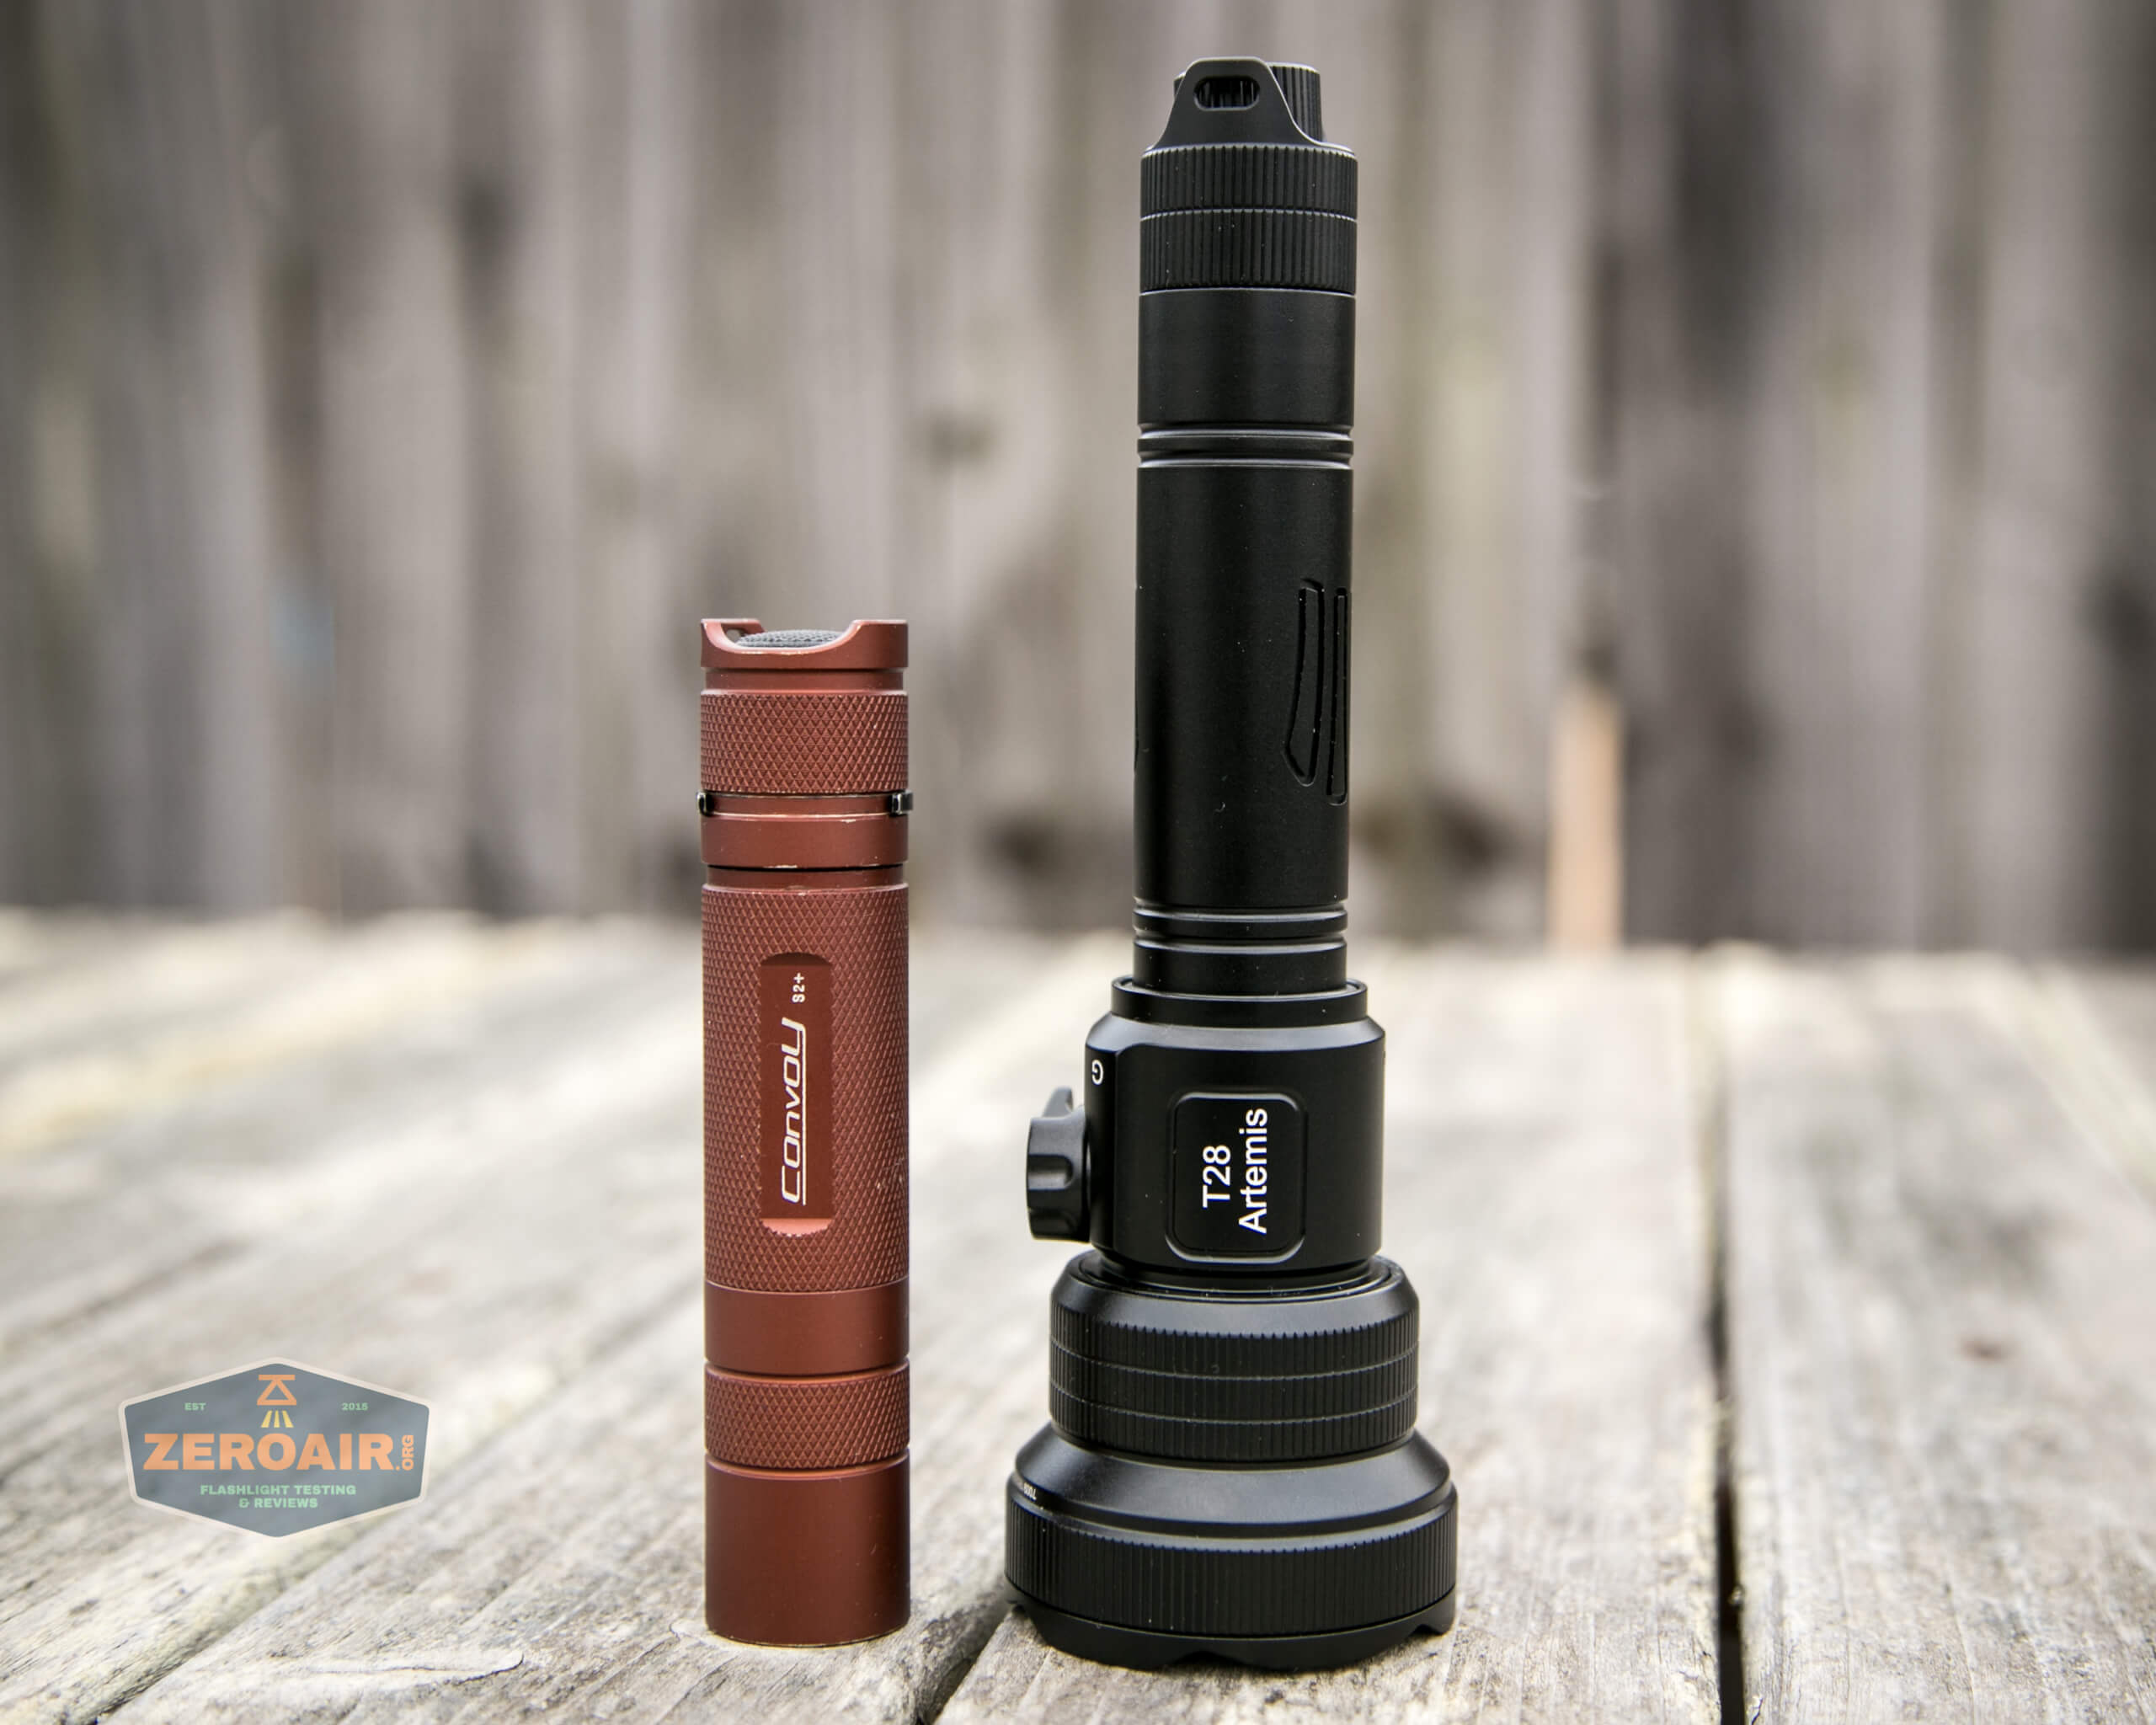
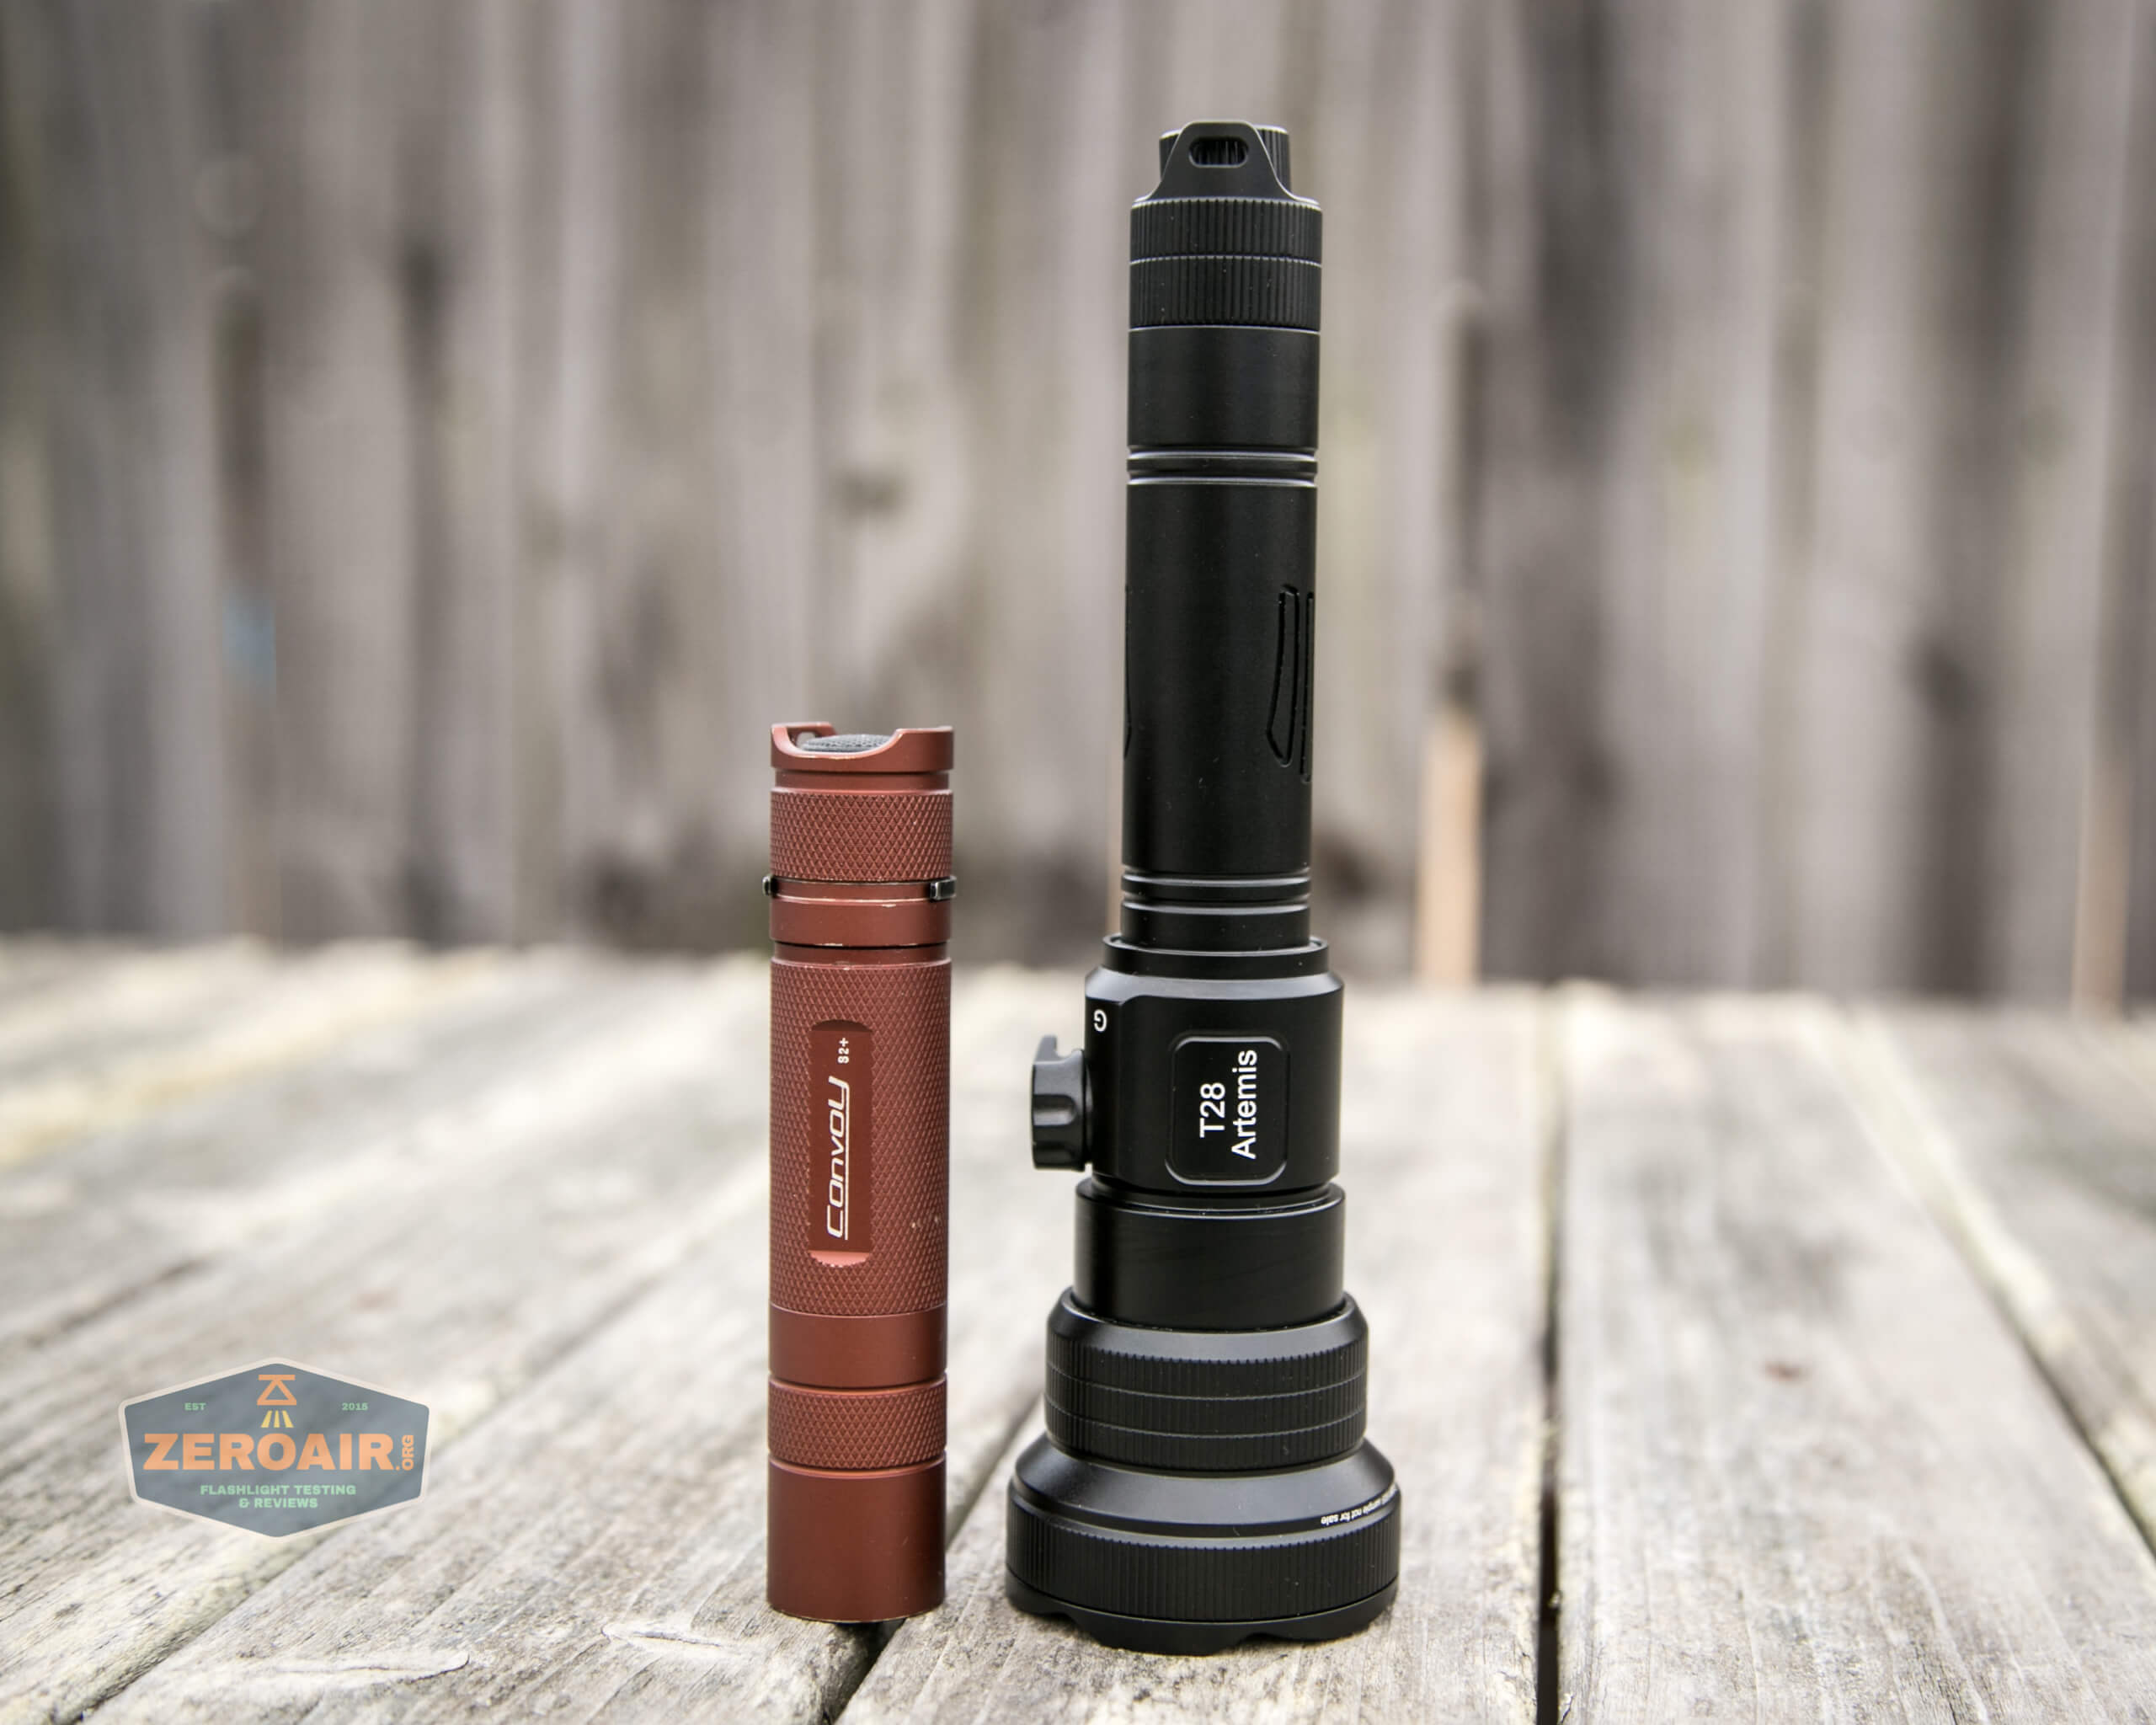
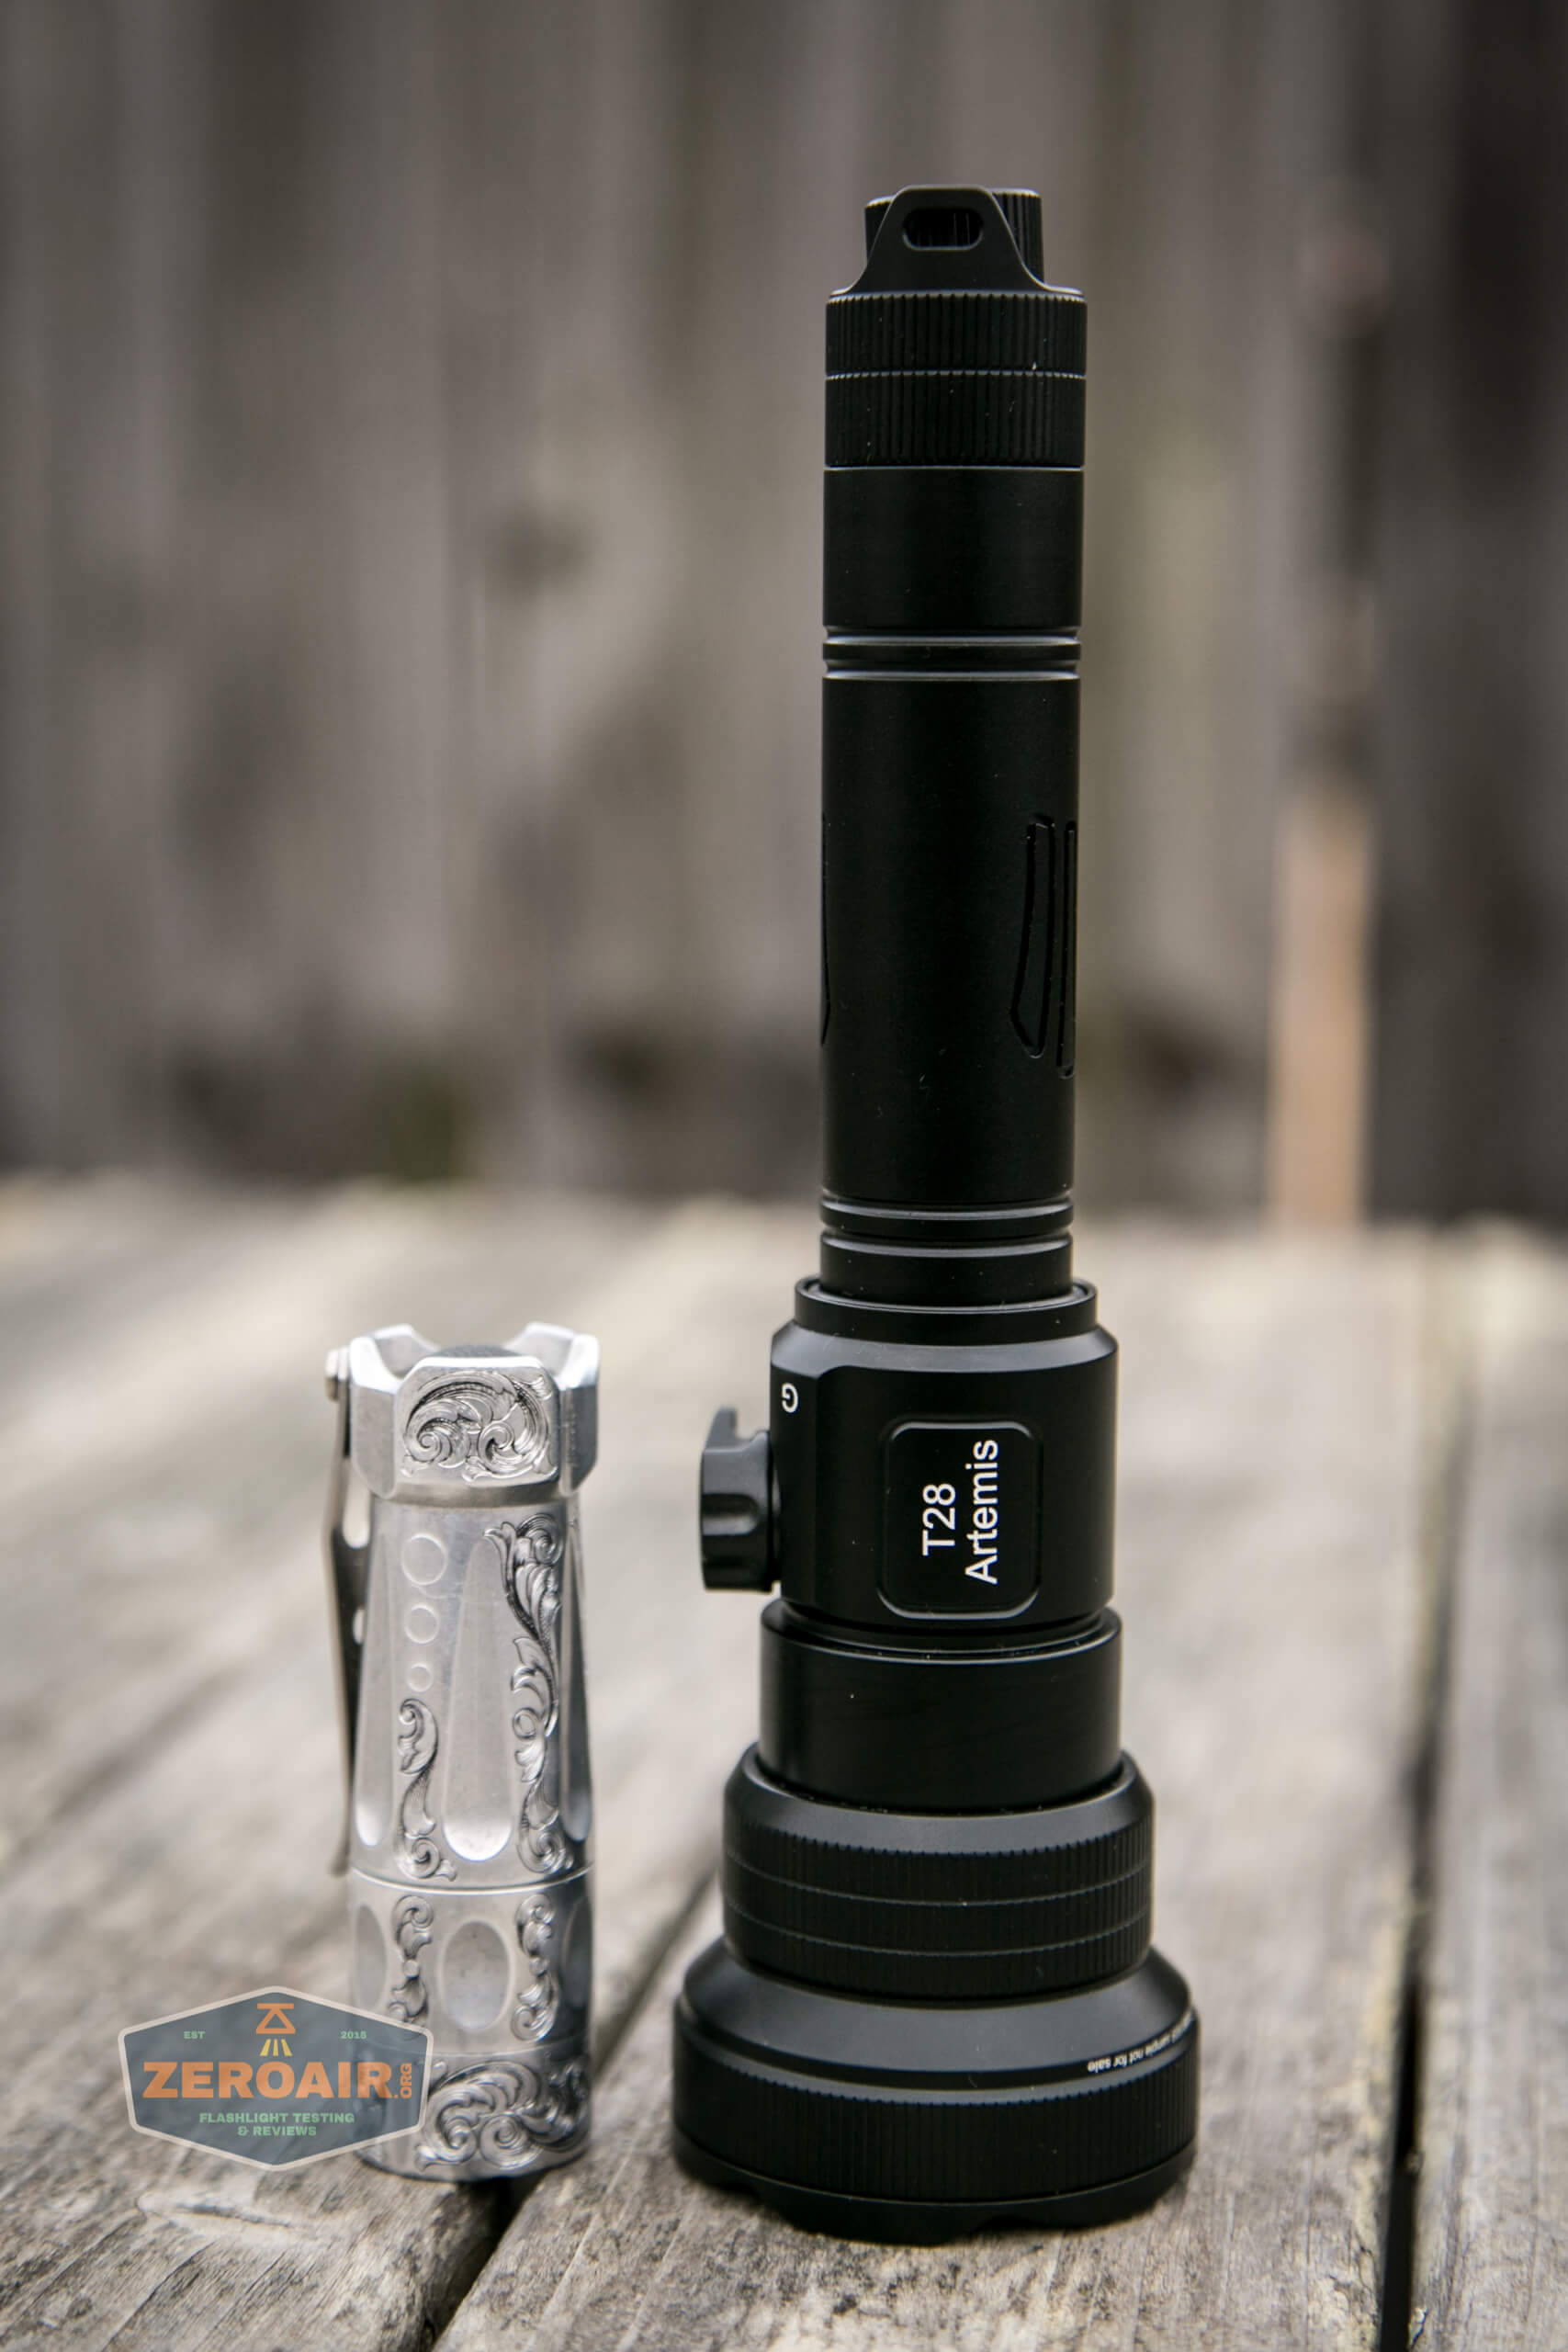
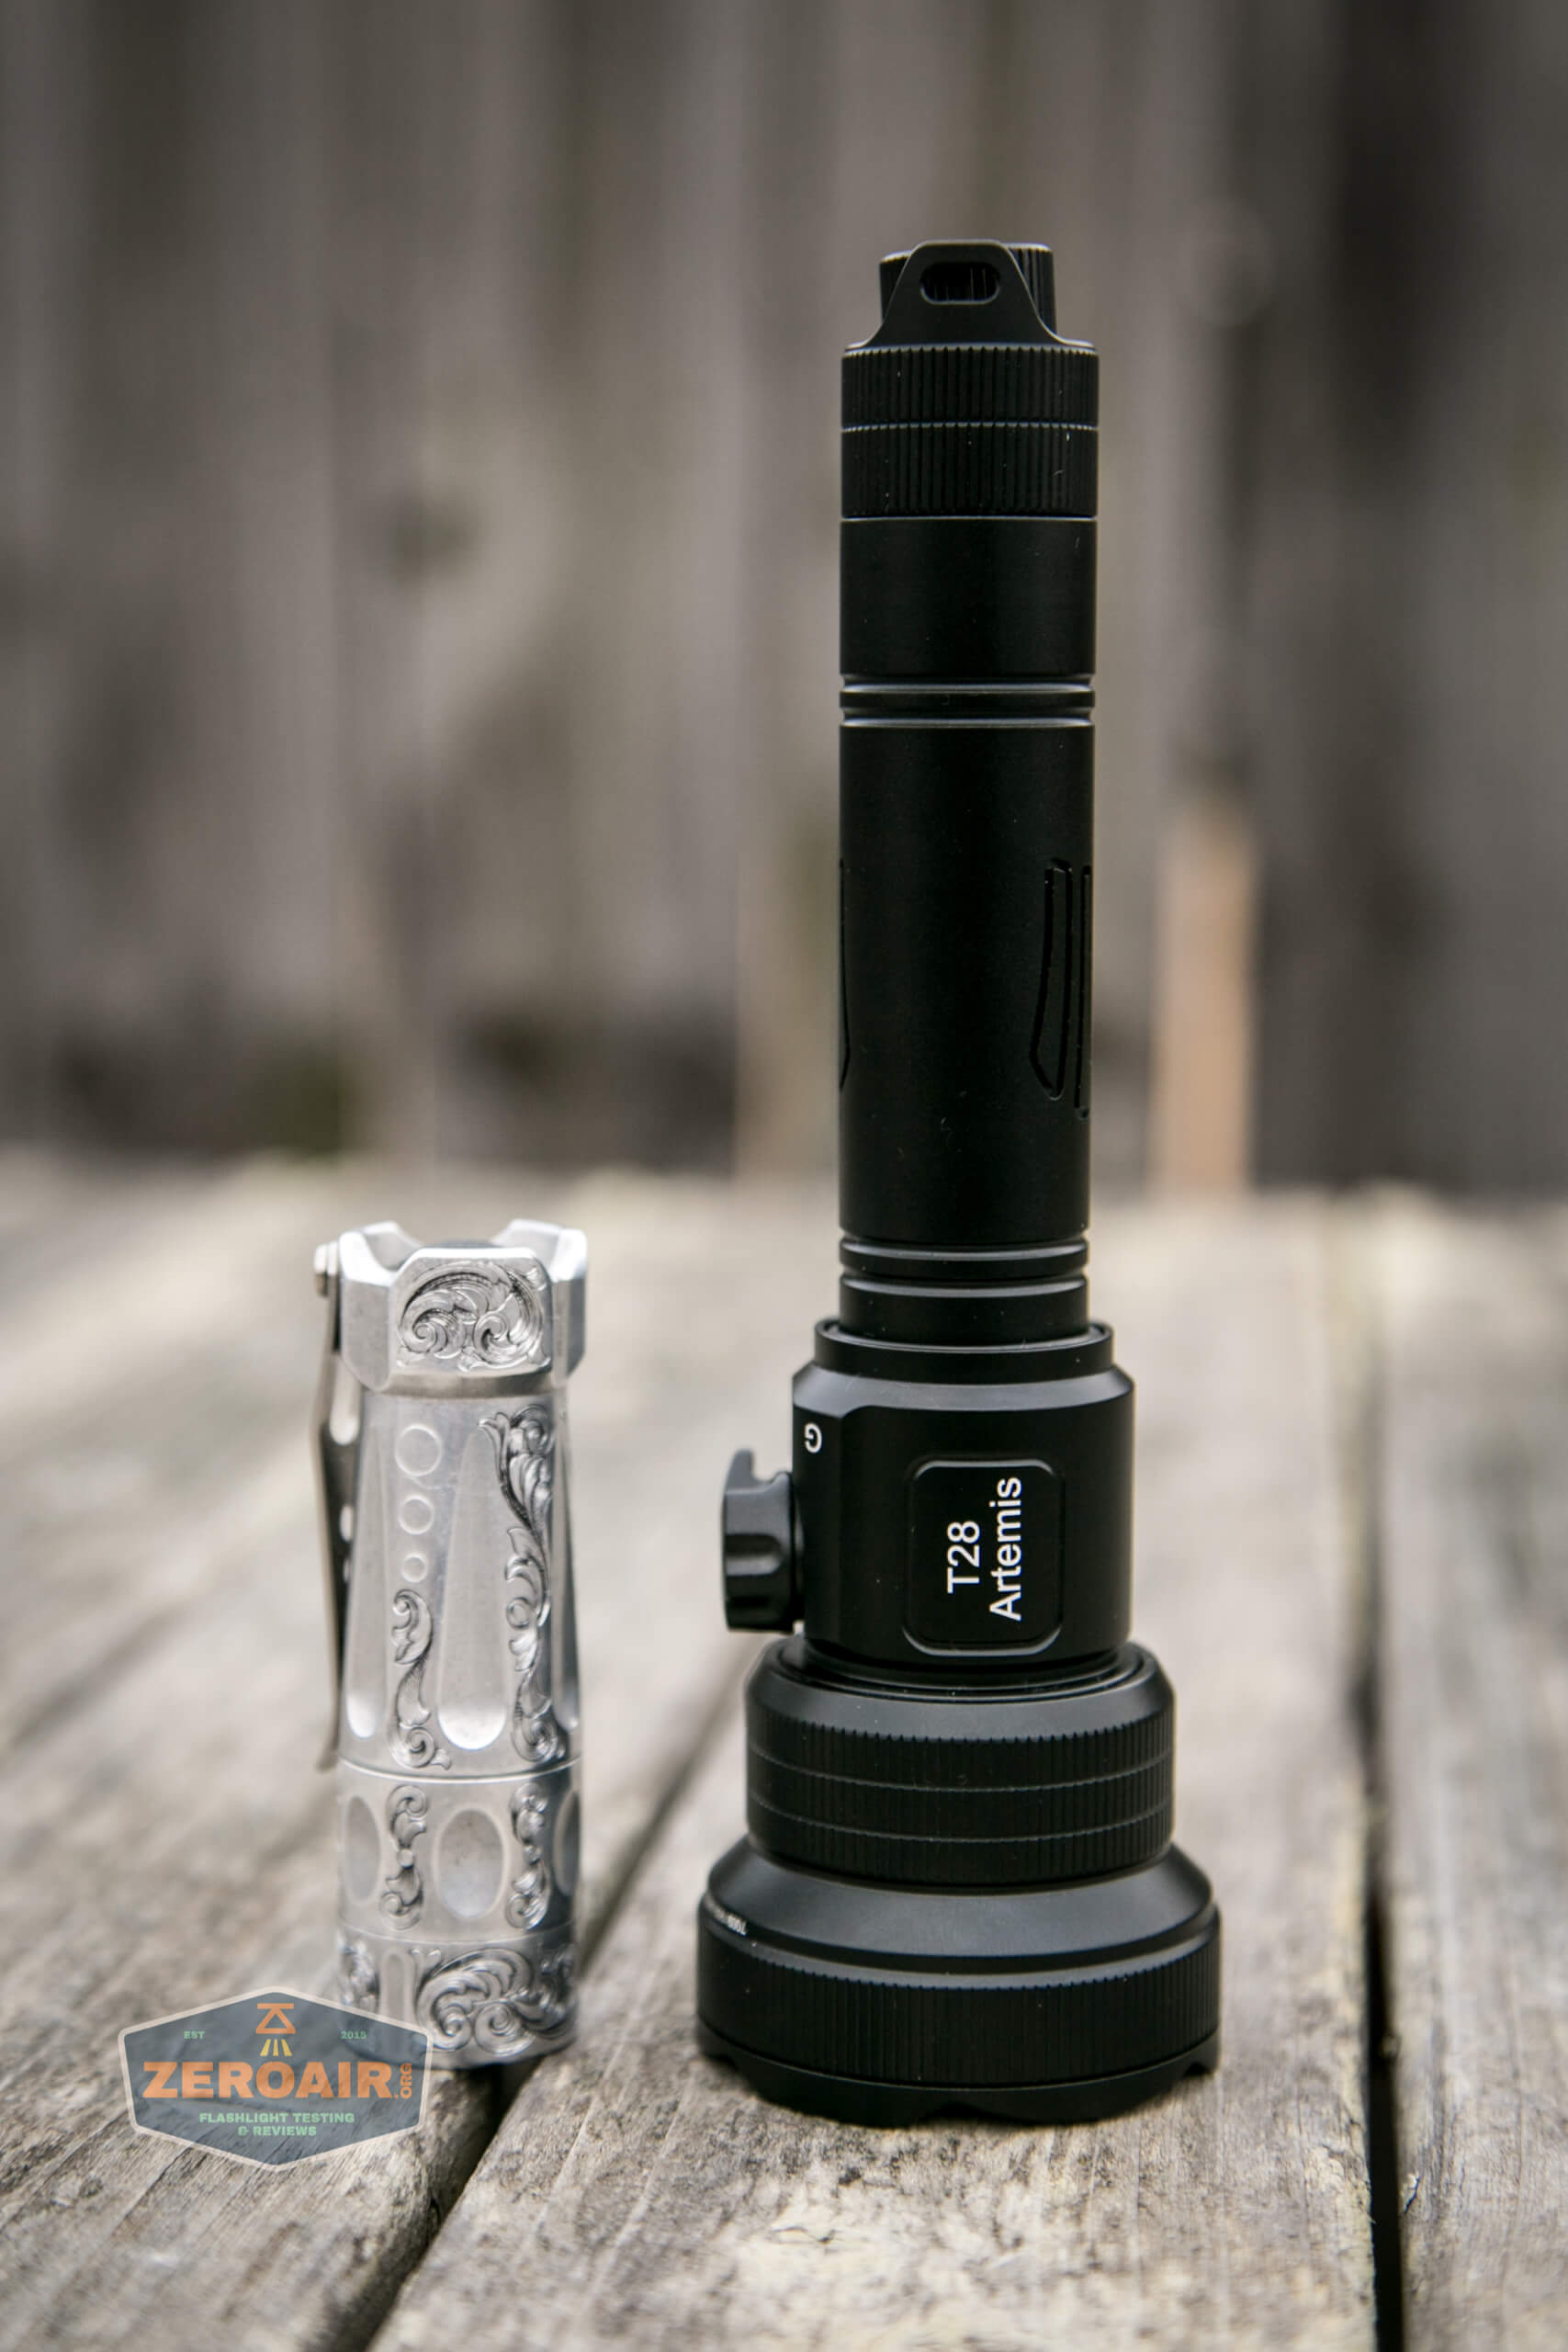
Size and Comps
Dimension: 182~196mm(Length) x 25.4mm(Body Dia) x 54mm(Head Dia)
Net Weight: 200g/7.05oz (excluding battery)

If the flashlight will headstand, I’ll try to show it here. If the flashlight will tailstand, I usually show that here, too.

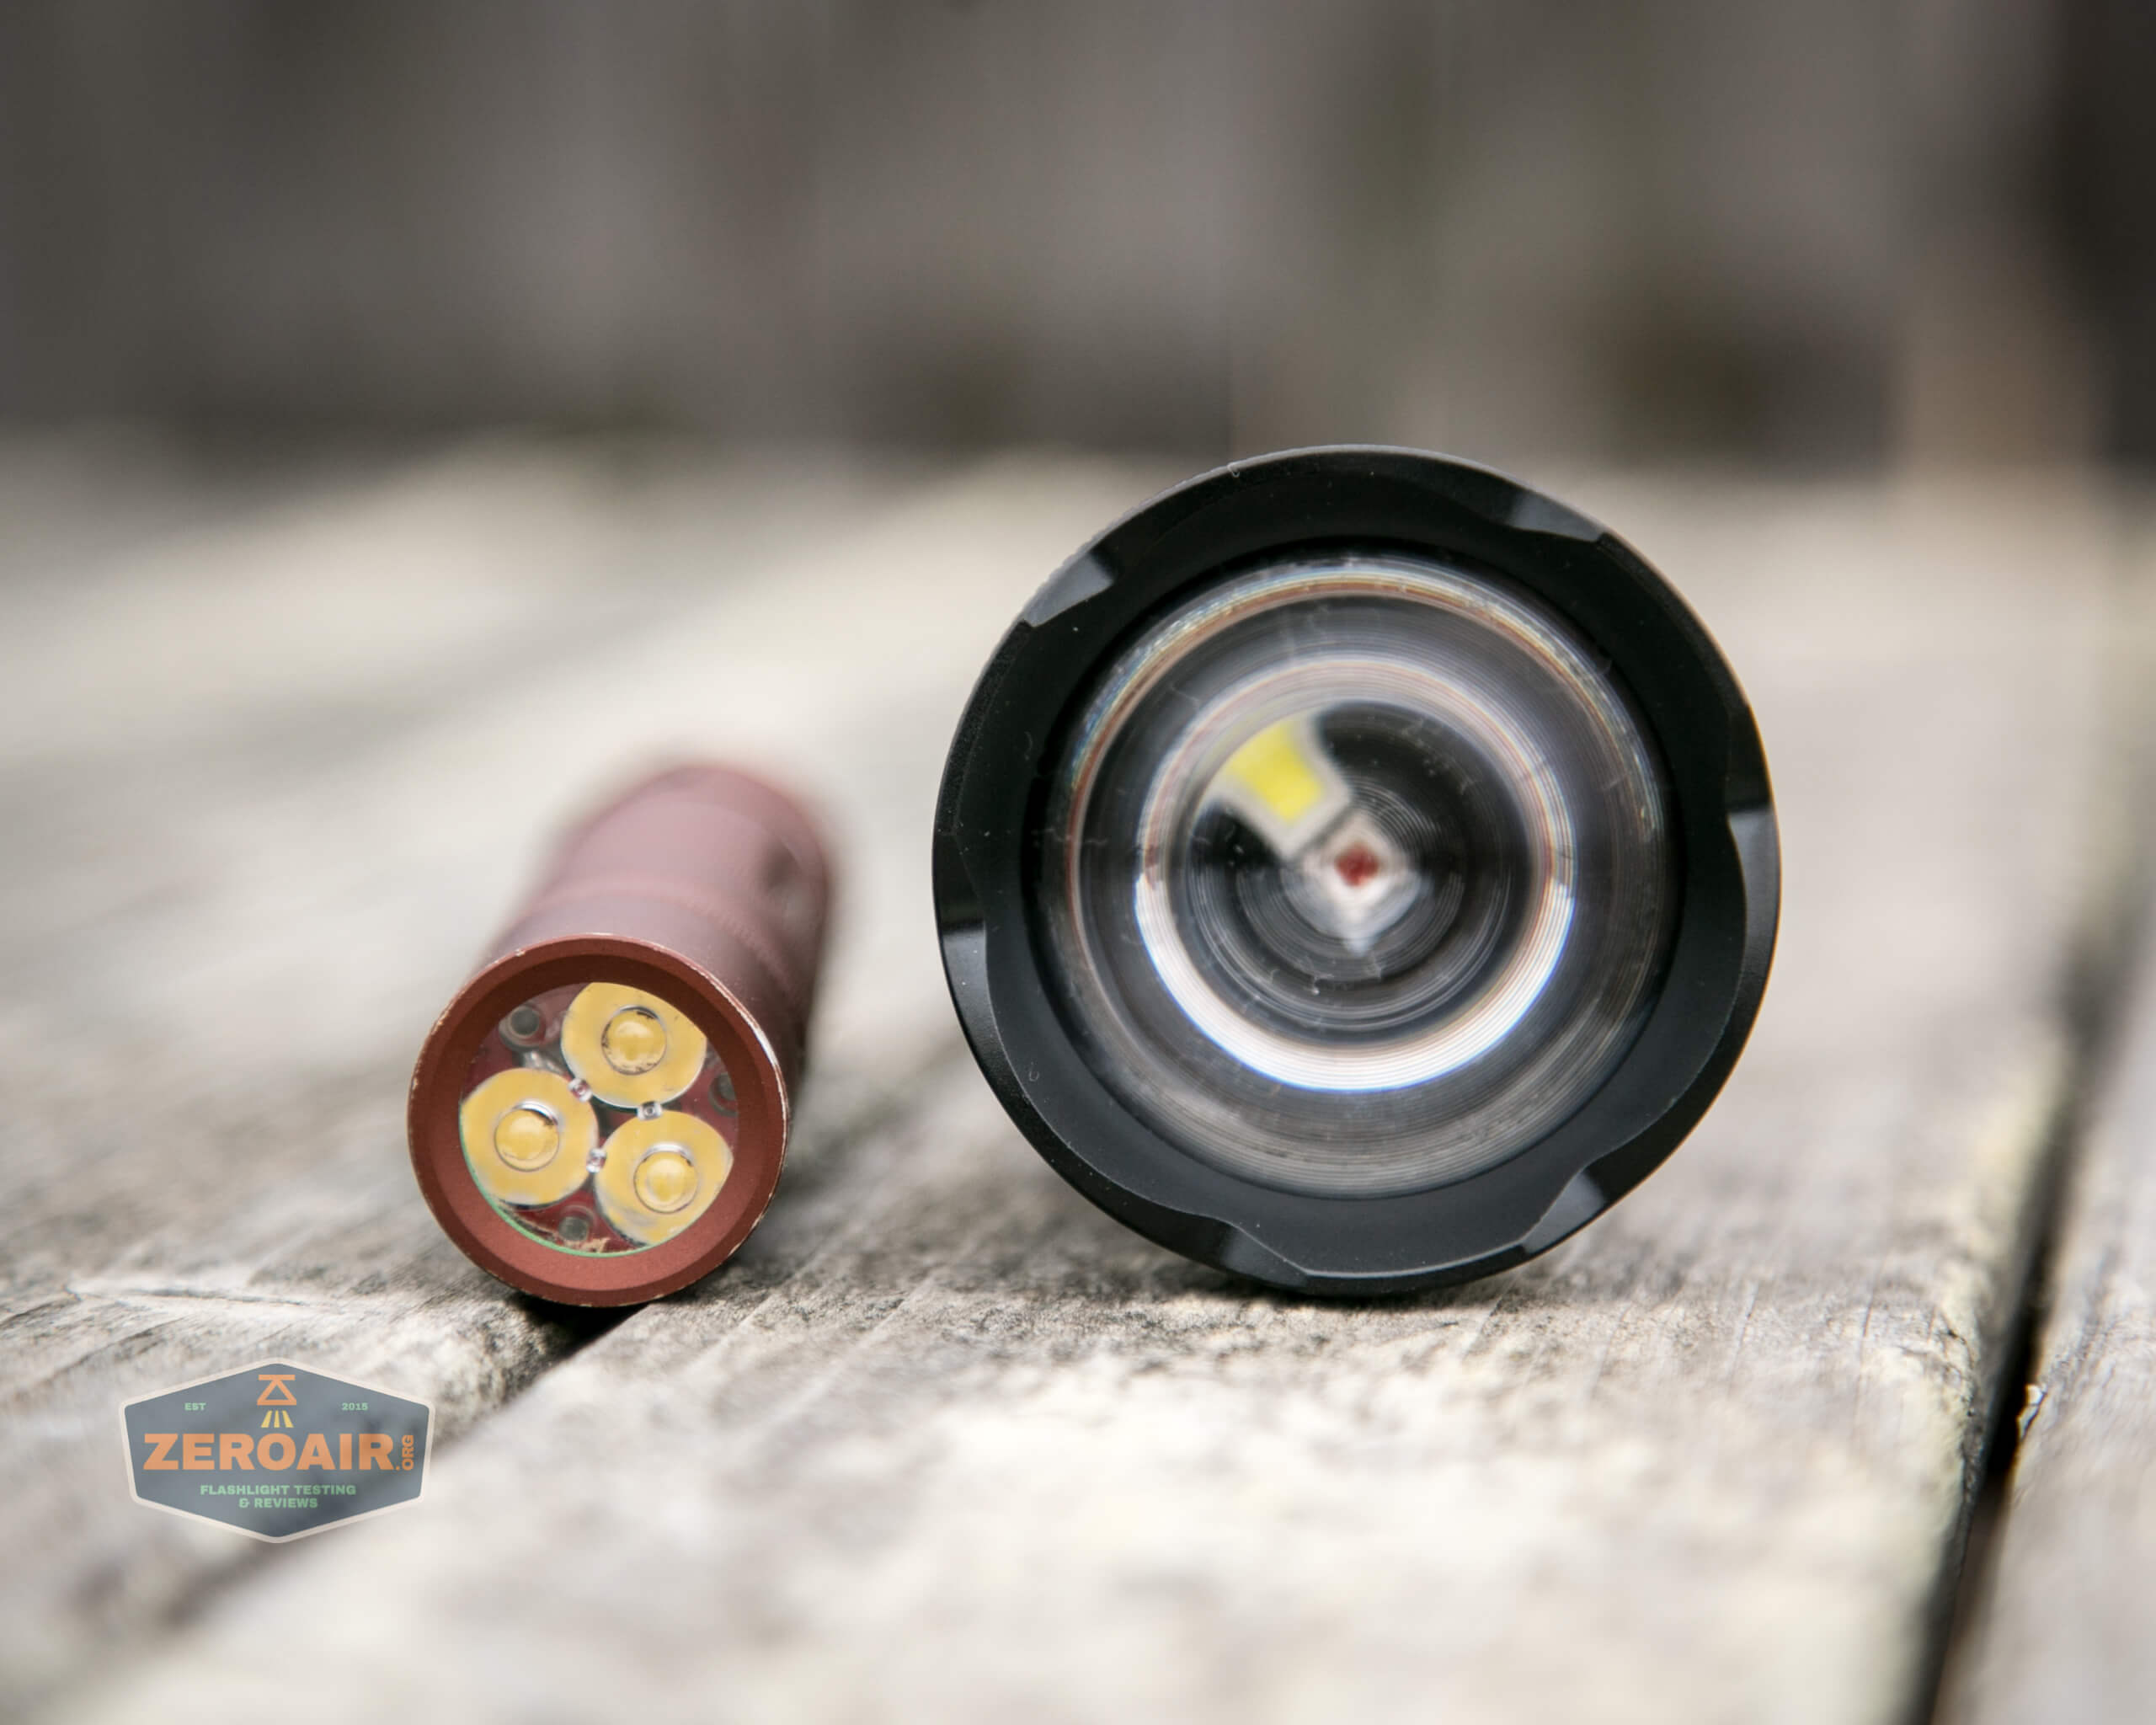
Here’s the test light with the venerable Convoy S2+. Mine is a custom “baked” edition Nichia 219b triple. A very nice 18650 light!
And here’s the light beside my custom-engraved TorchLAB BOSS 35, an 18350 light. I reviewed the aluminum version of that light in both 35 and 70 formats.
Retention and Carry
Really, there’s not much included for carry. Just the included lanyard, which attaches through one of the two tailcap loops.
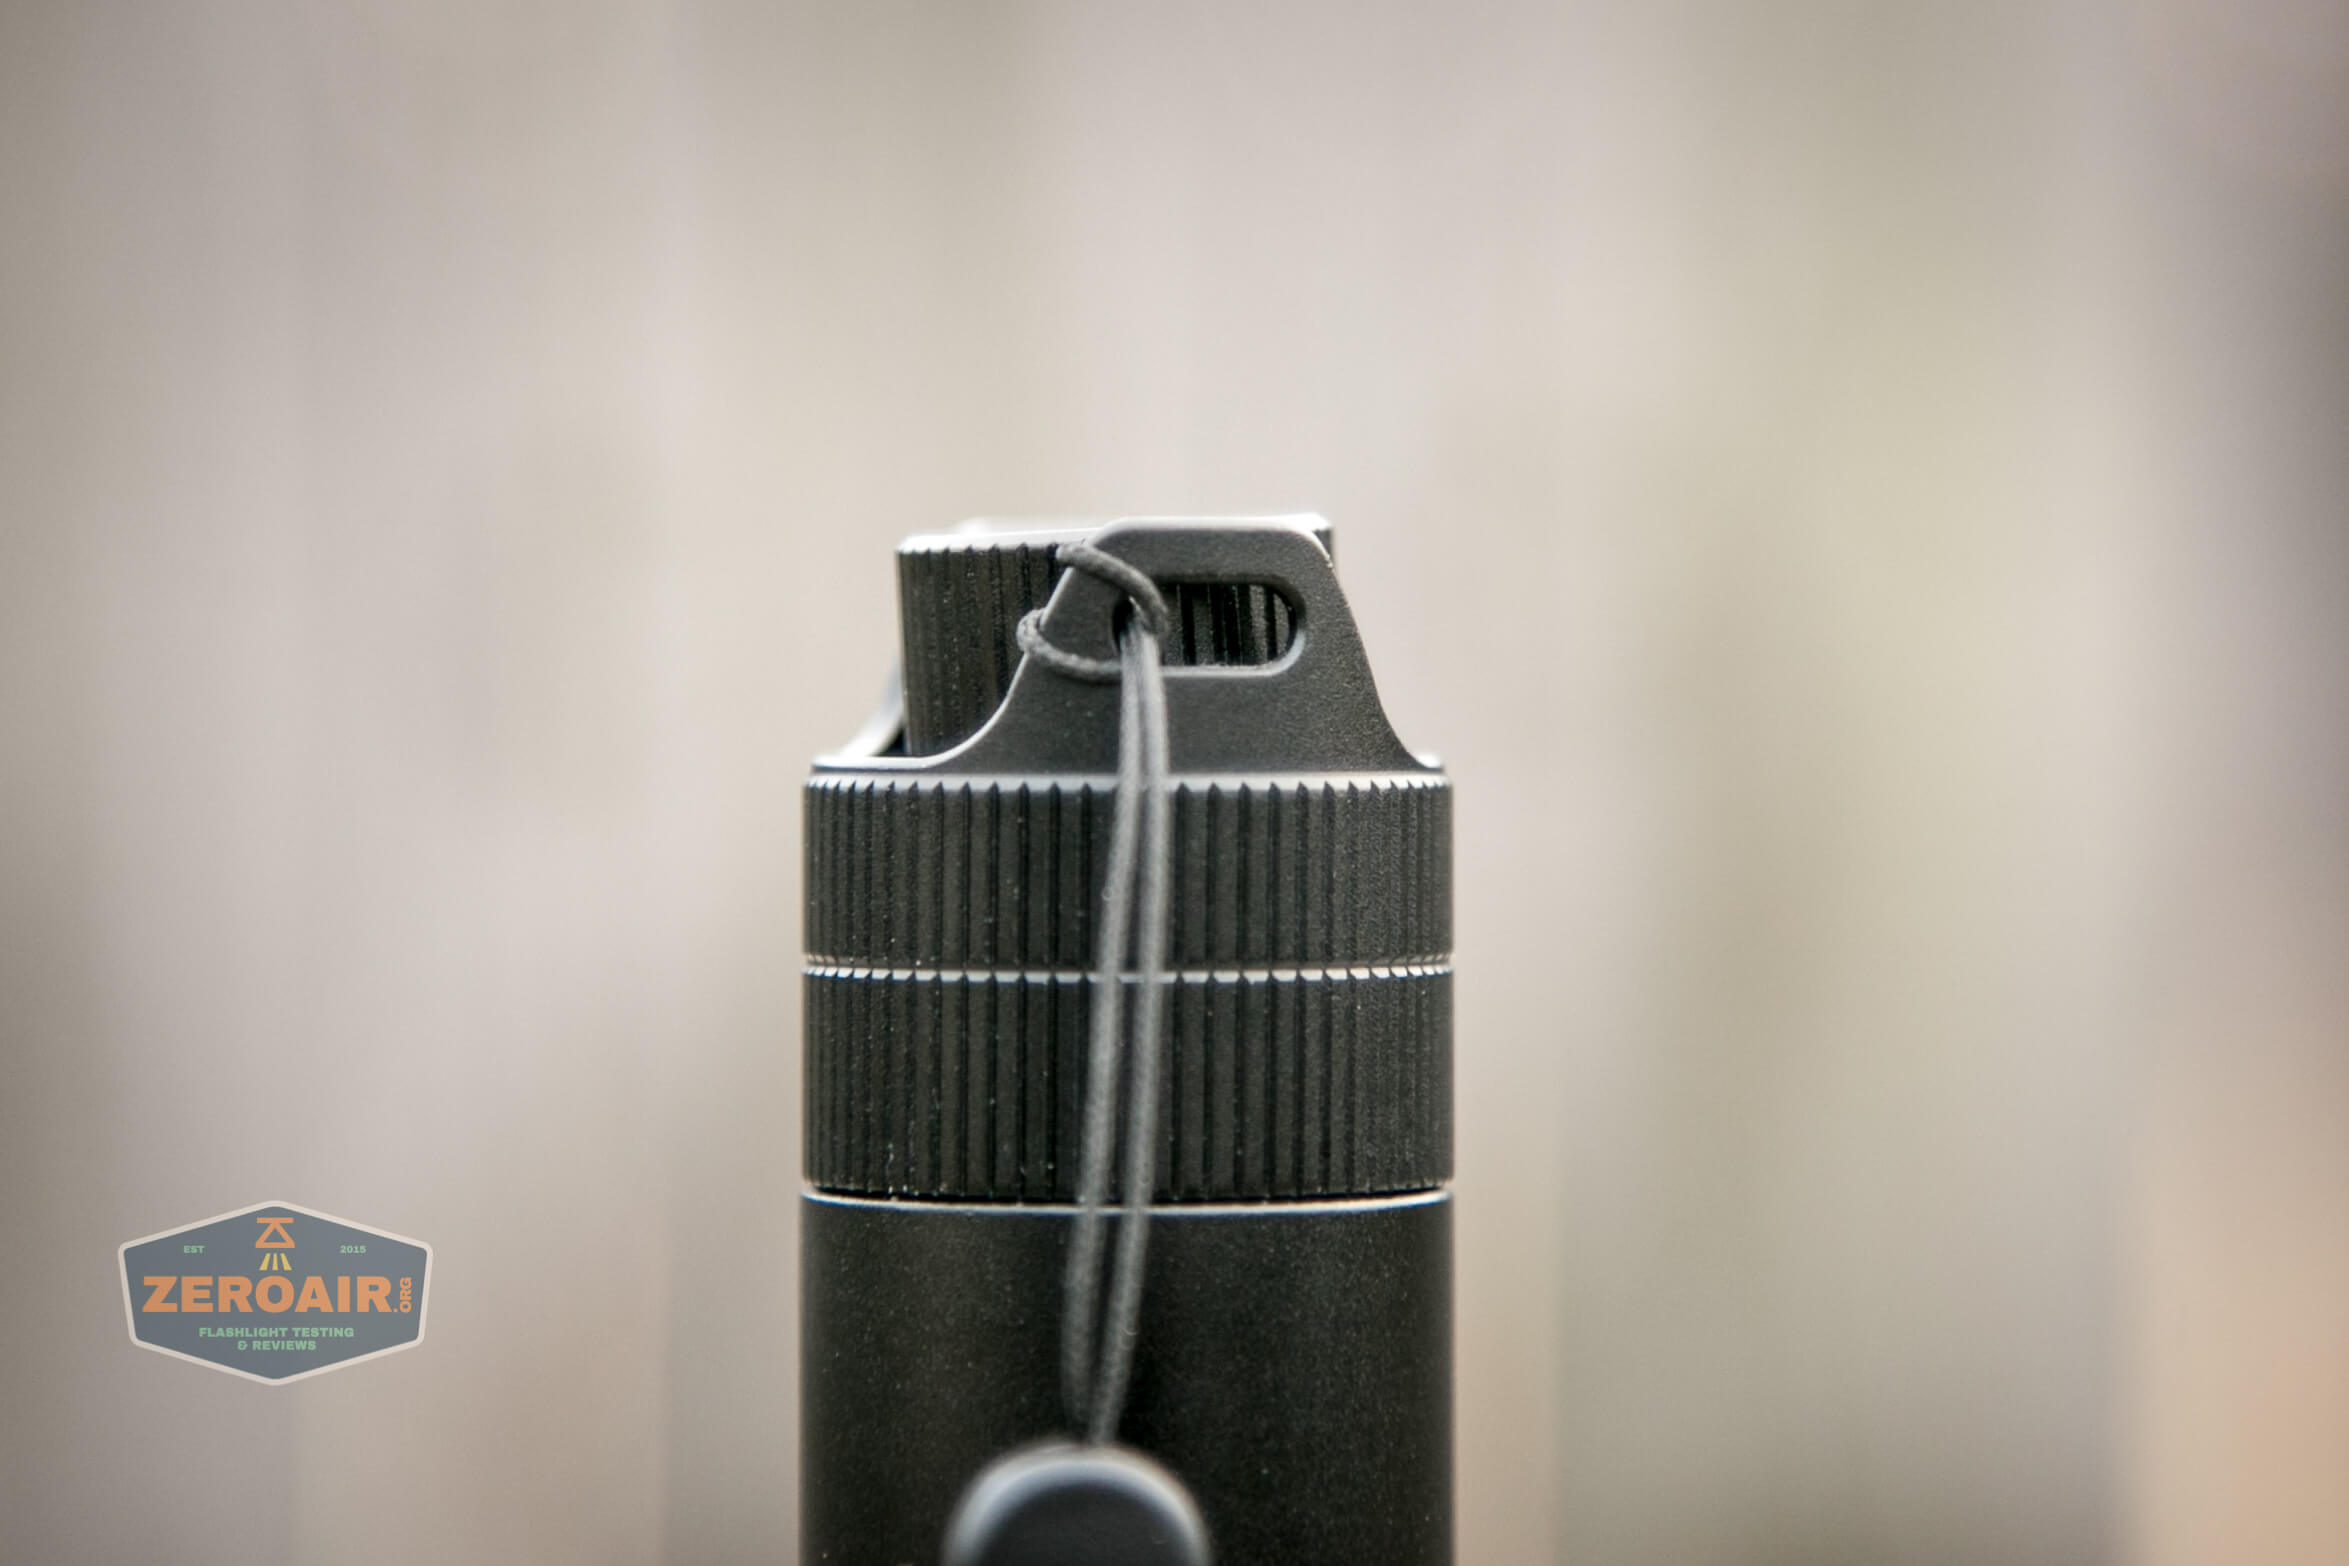
There’s no pouch, no magnet, no rail mount (though there is an accessory you could obtain). So the lanyard is it!
Power and Runtime
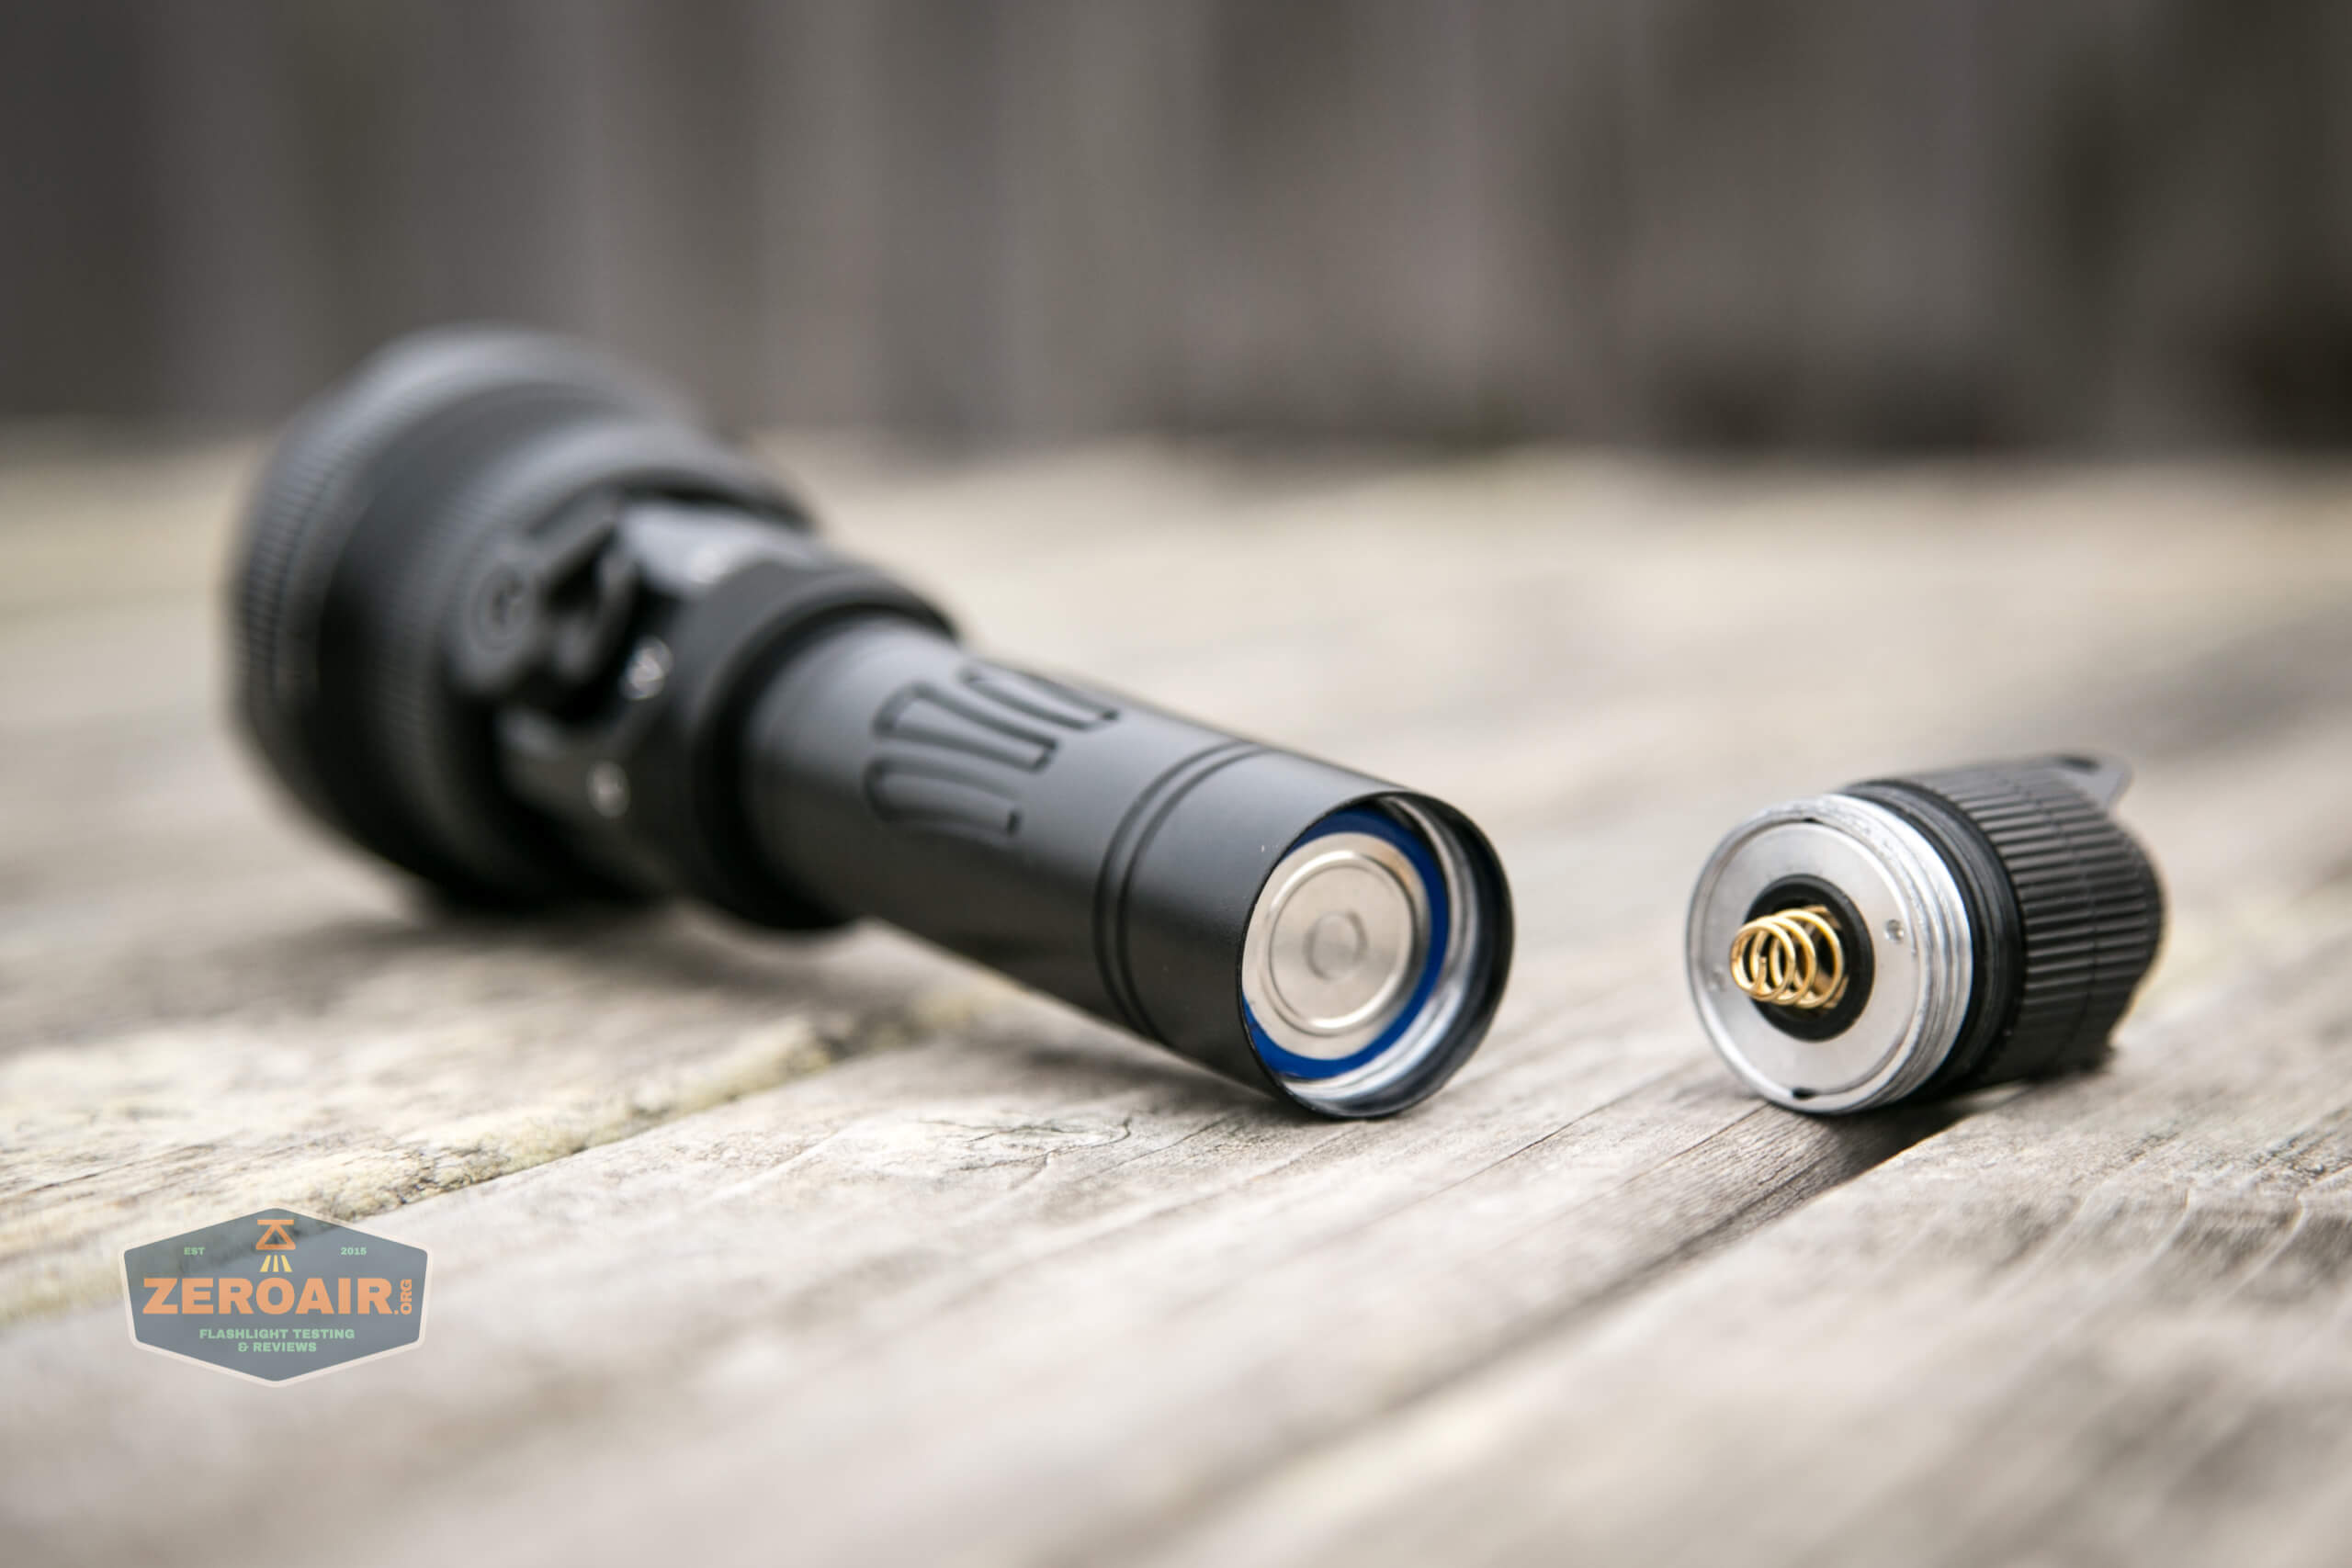
Brinyte provides the compatible cell for the T28 Artemis. It’s a 5000mAh lithium-ion cell, 21700 size.
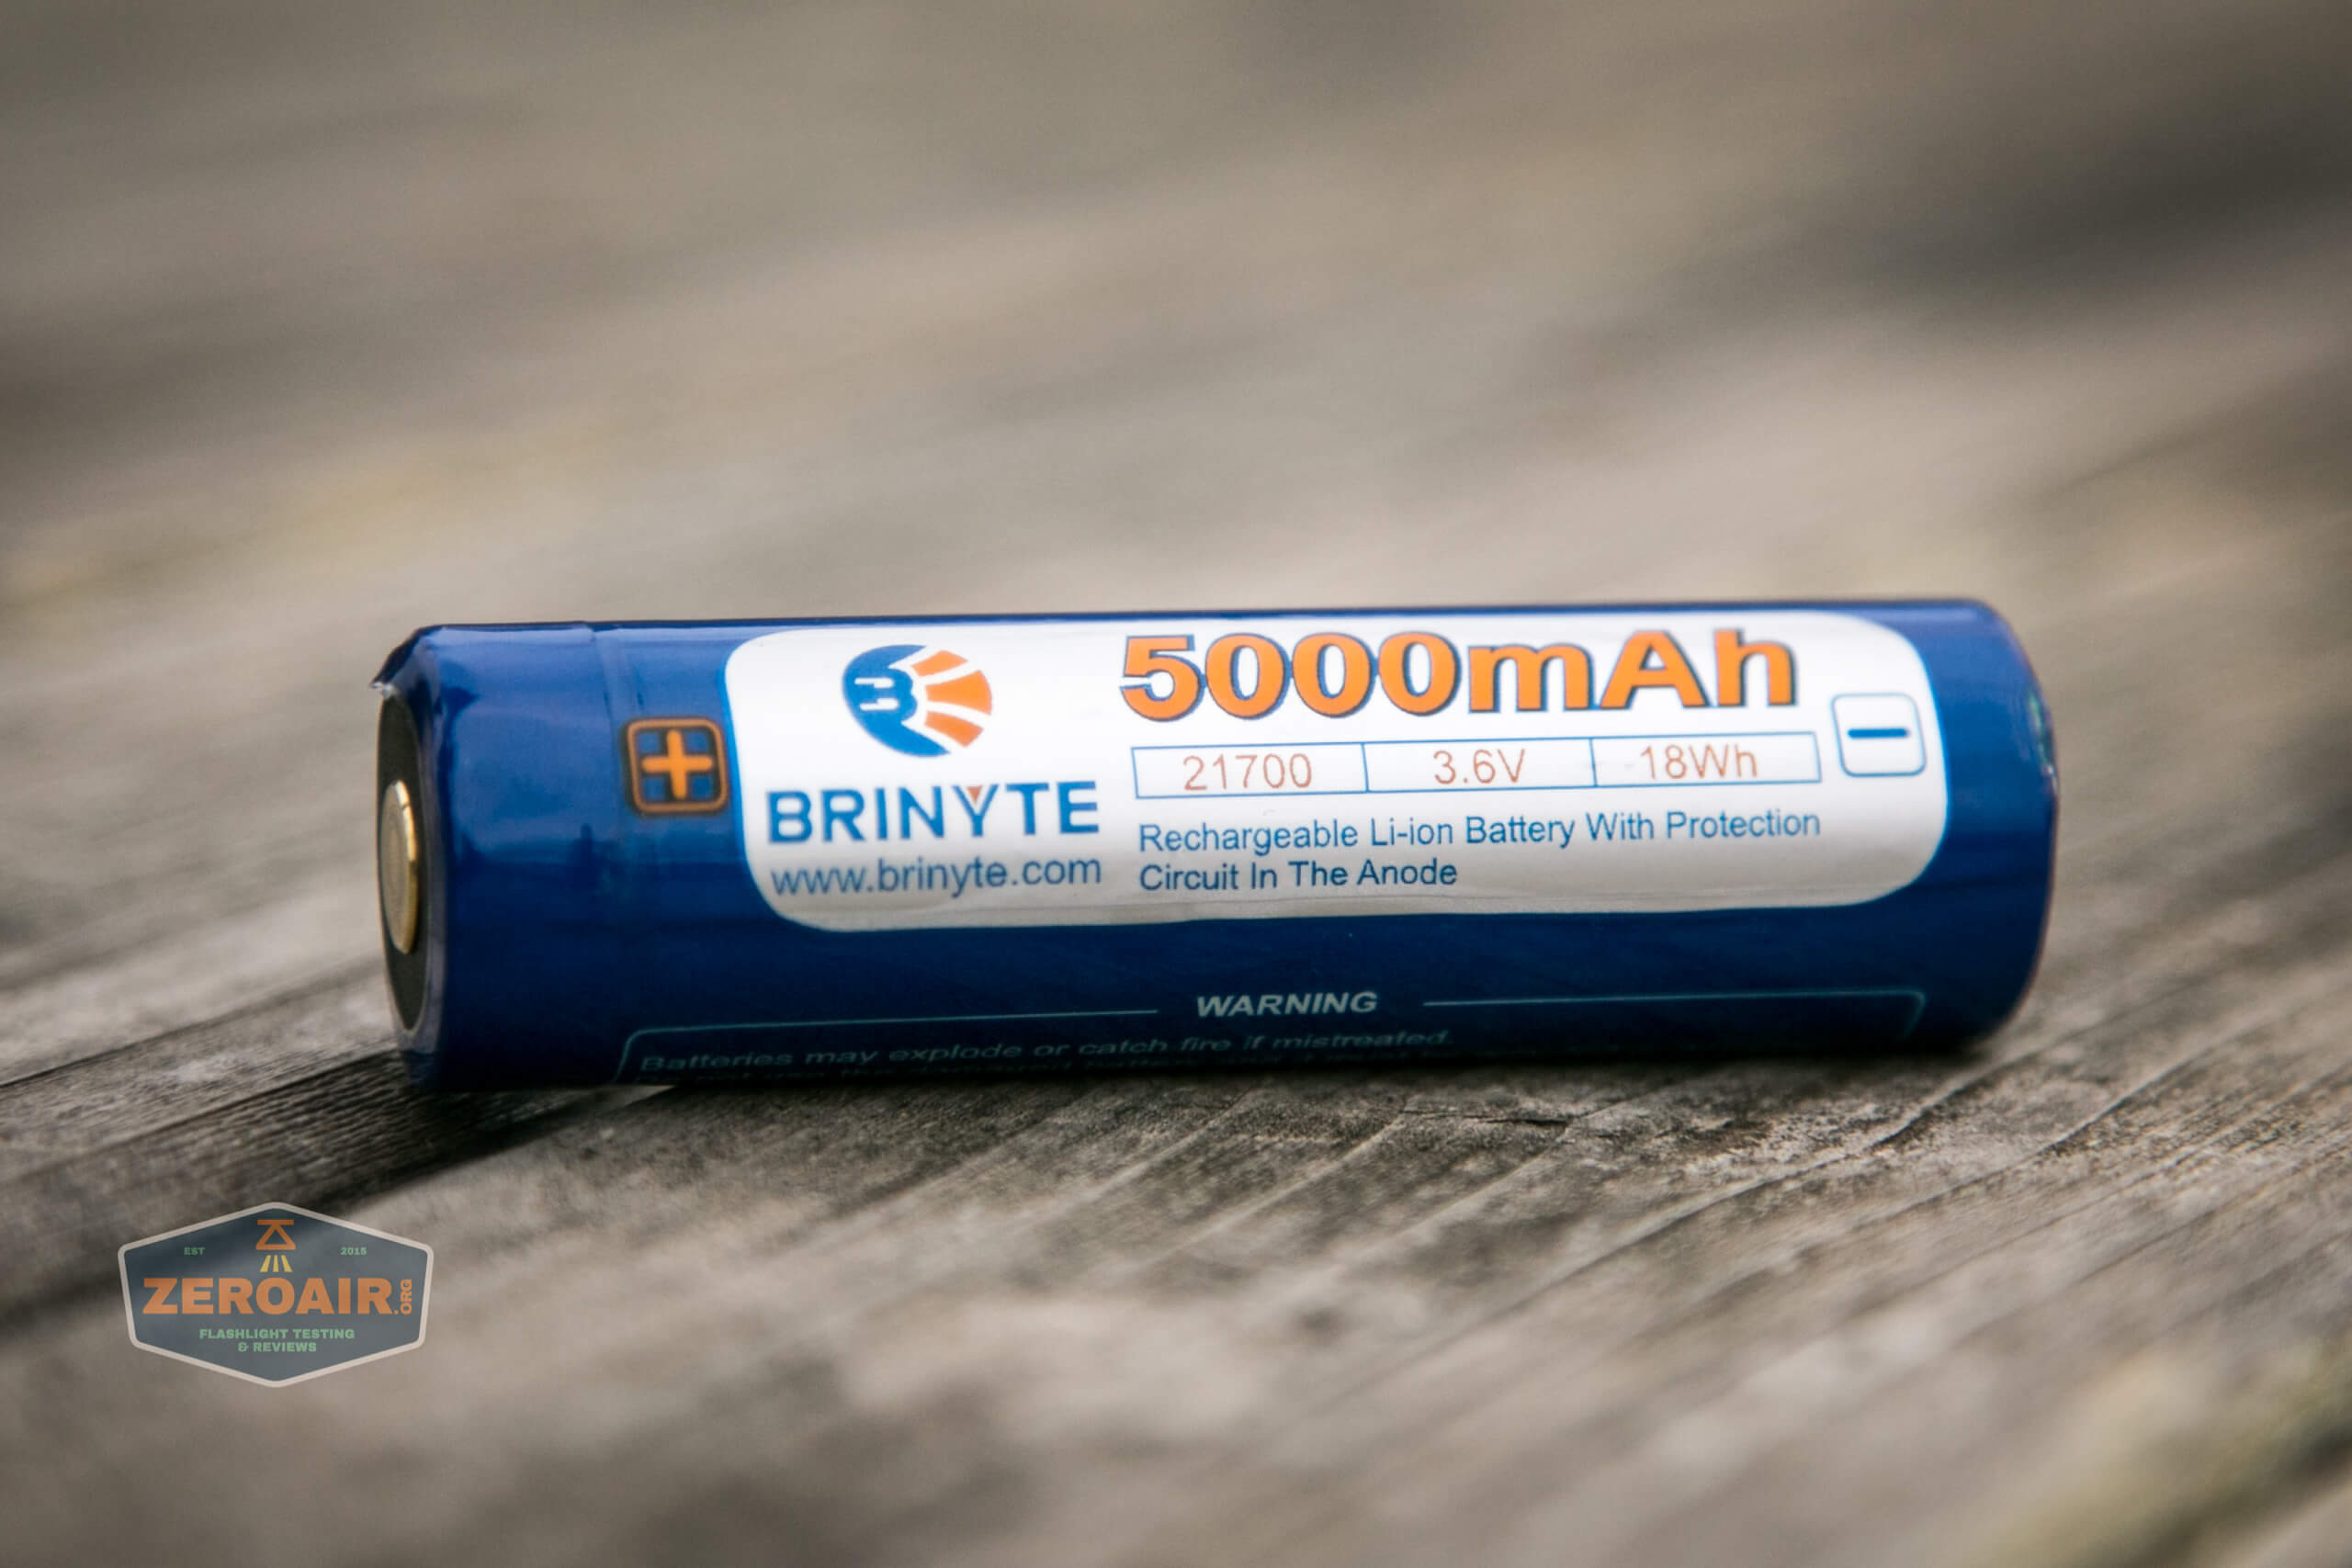
This cell seems fairly standard. It’s not a flat top, and the button on here is very subtle, but let’s call it a “button top.” However, even actual-dimension 21700 cells (flat tops, unprotected) work just fine in the T28.
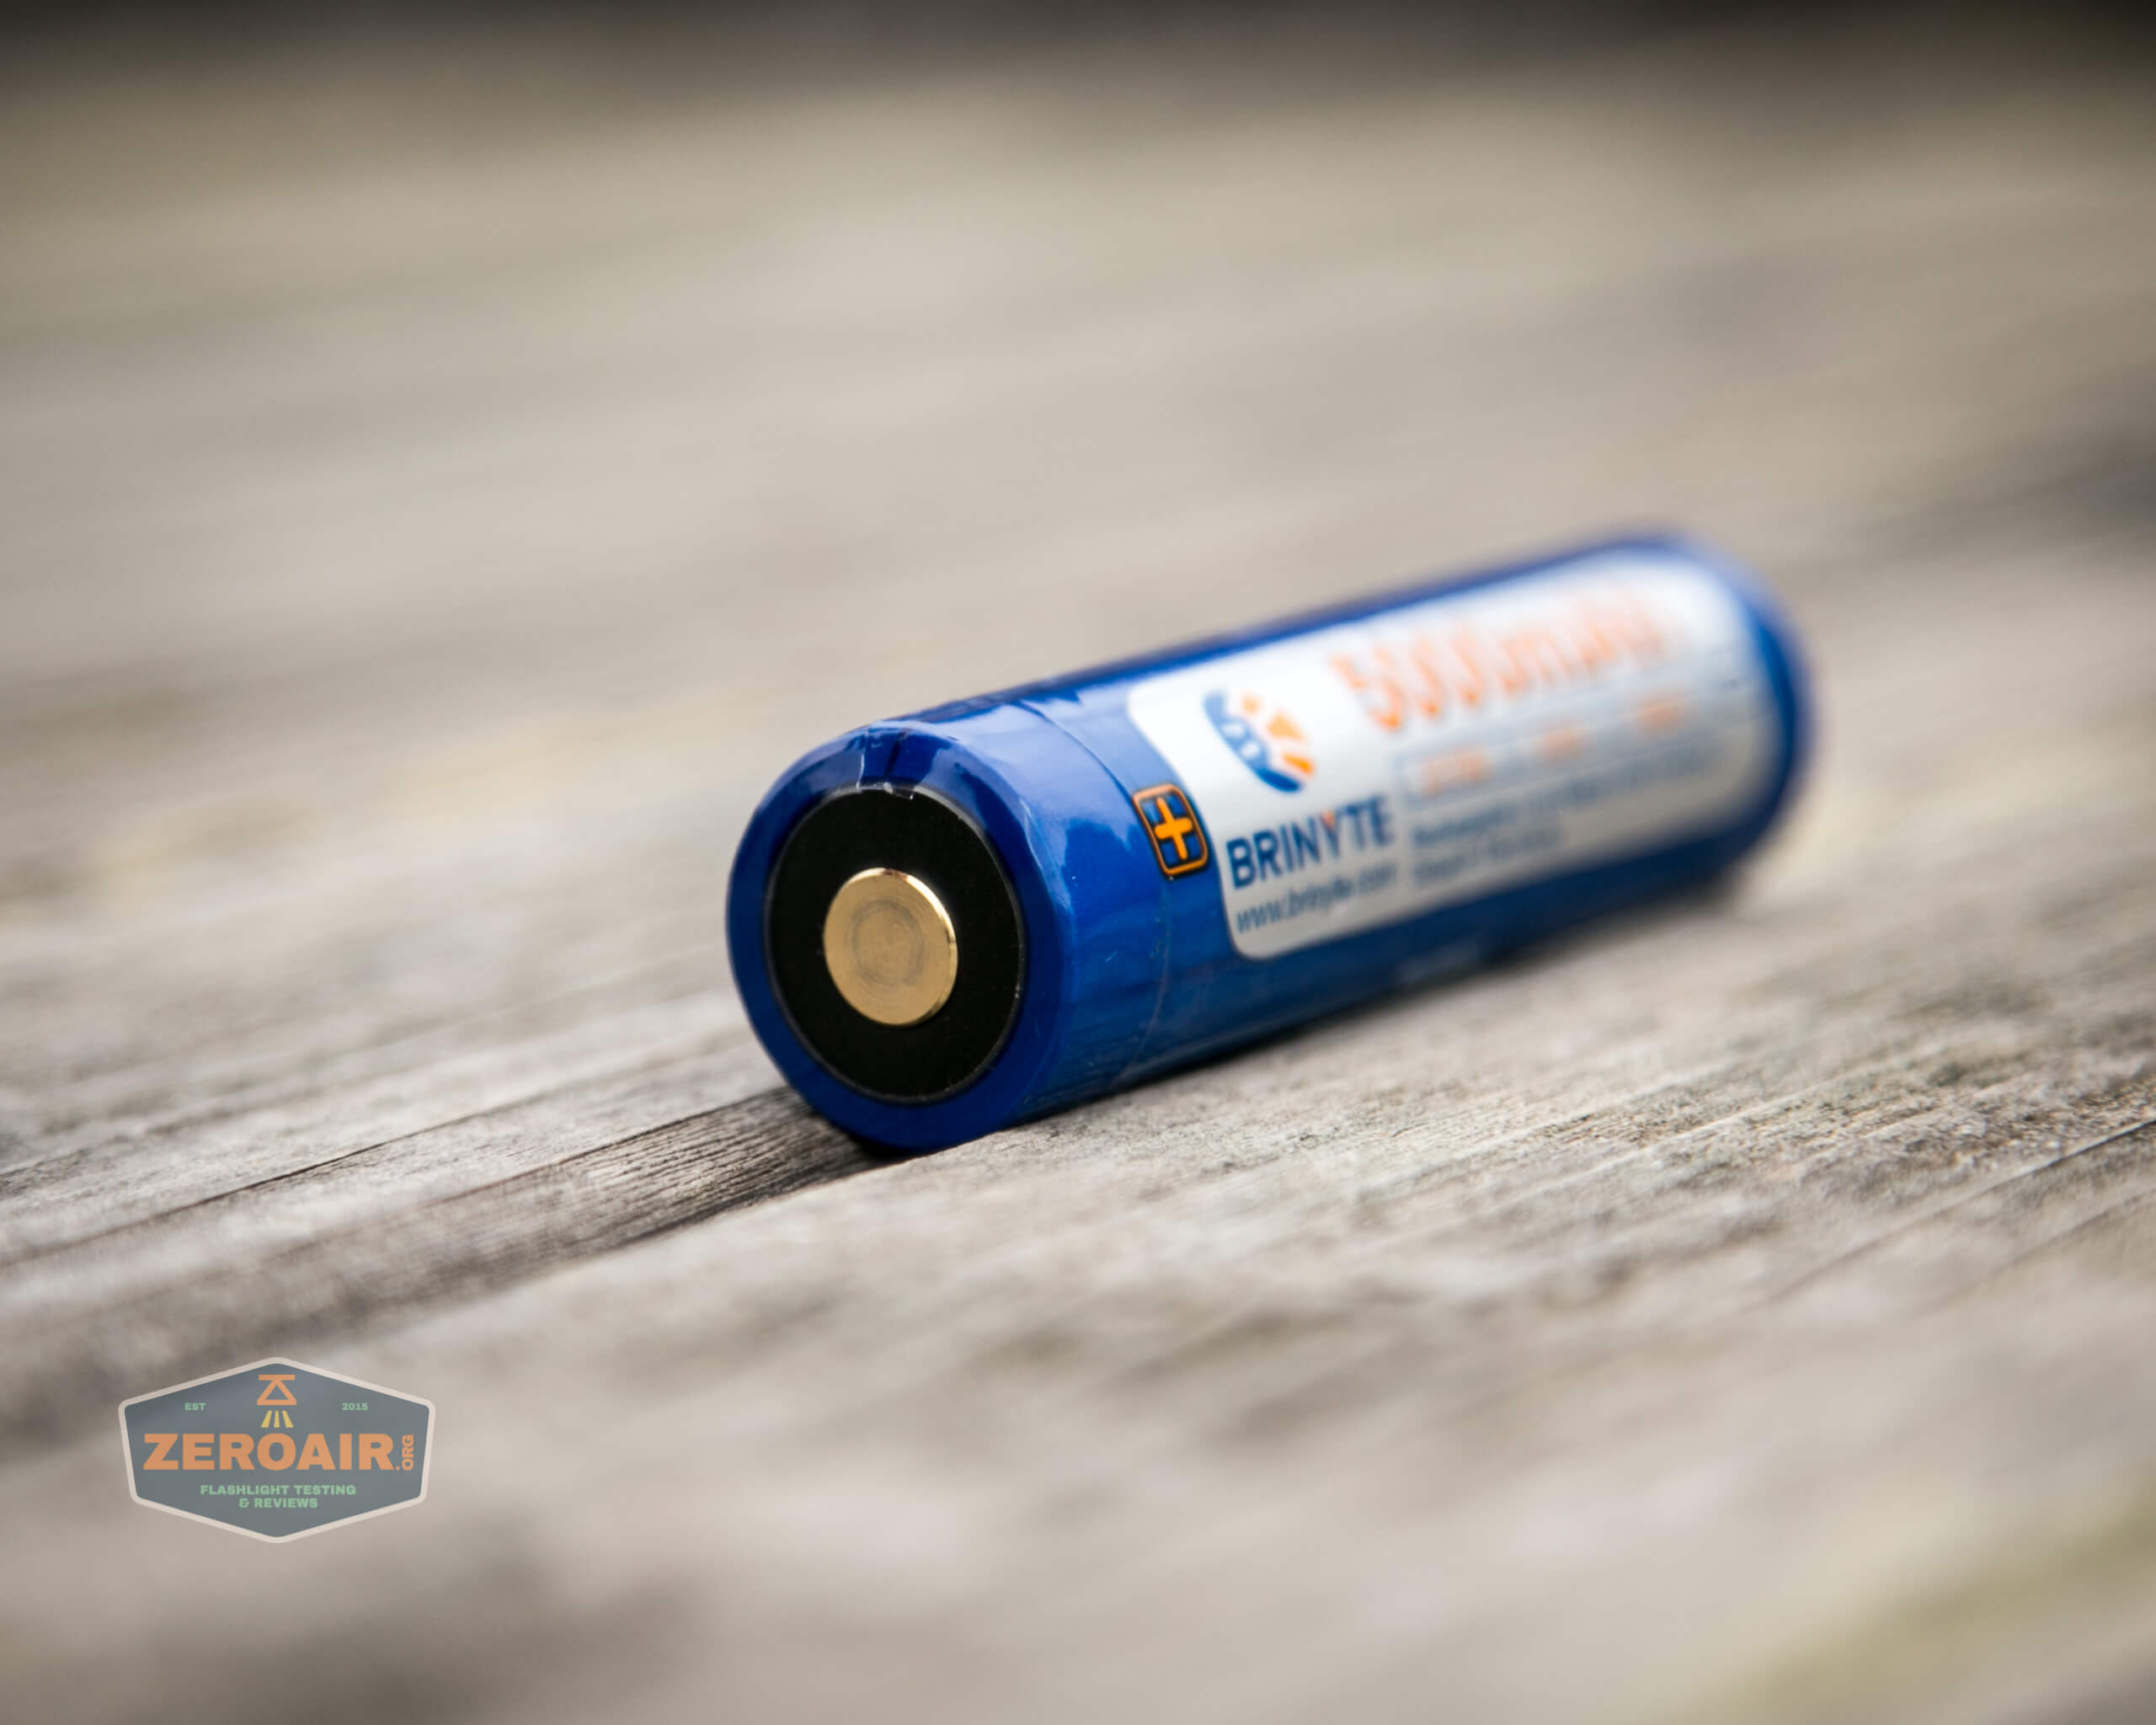
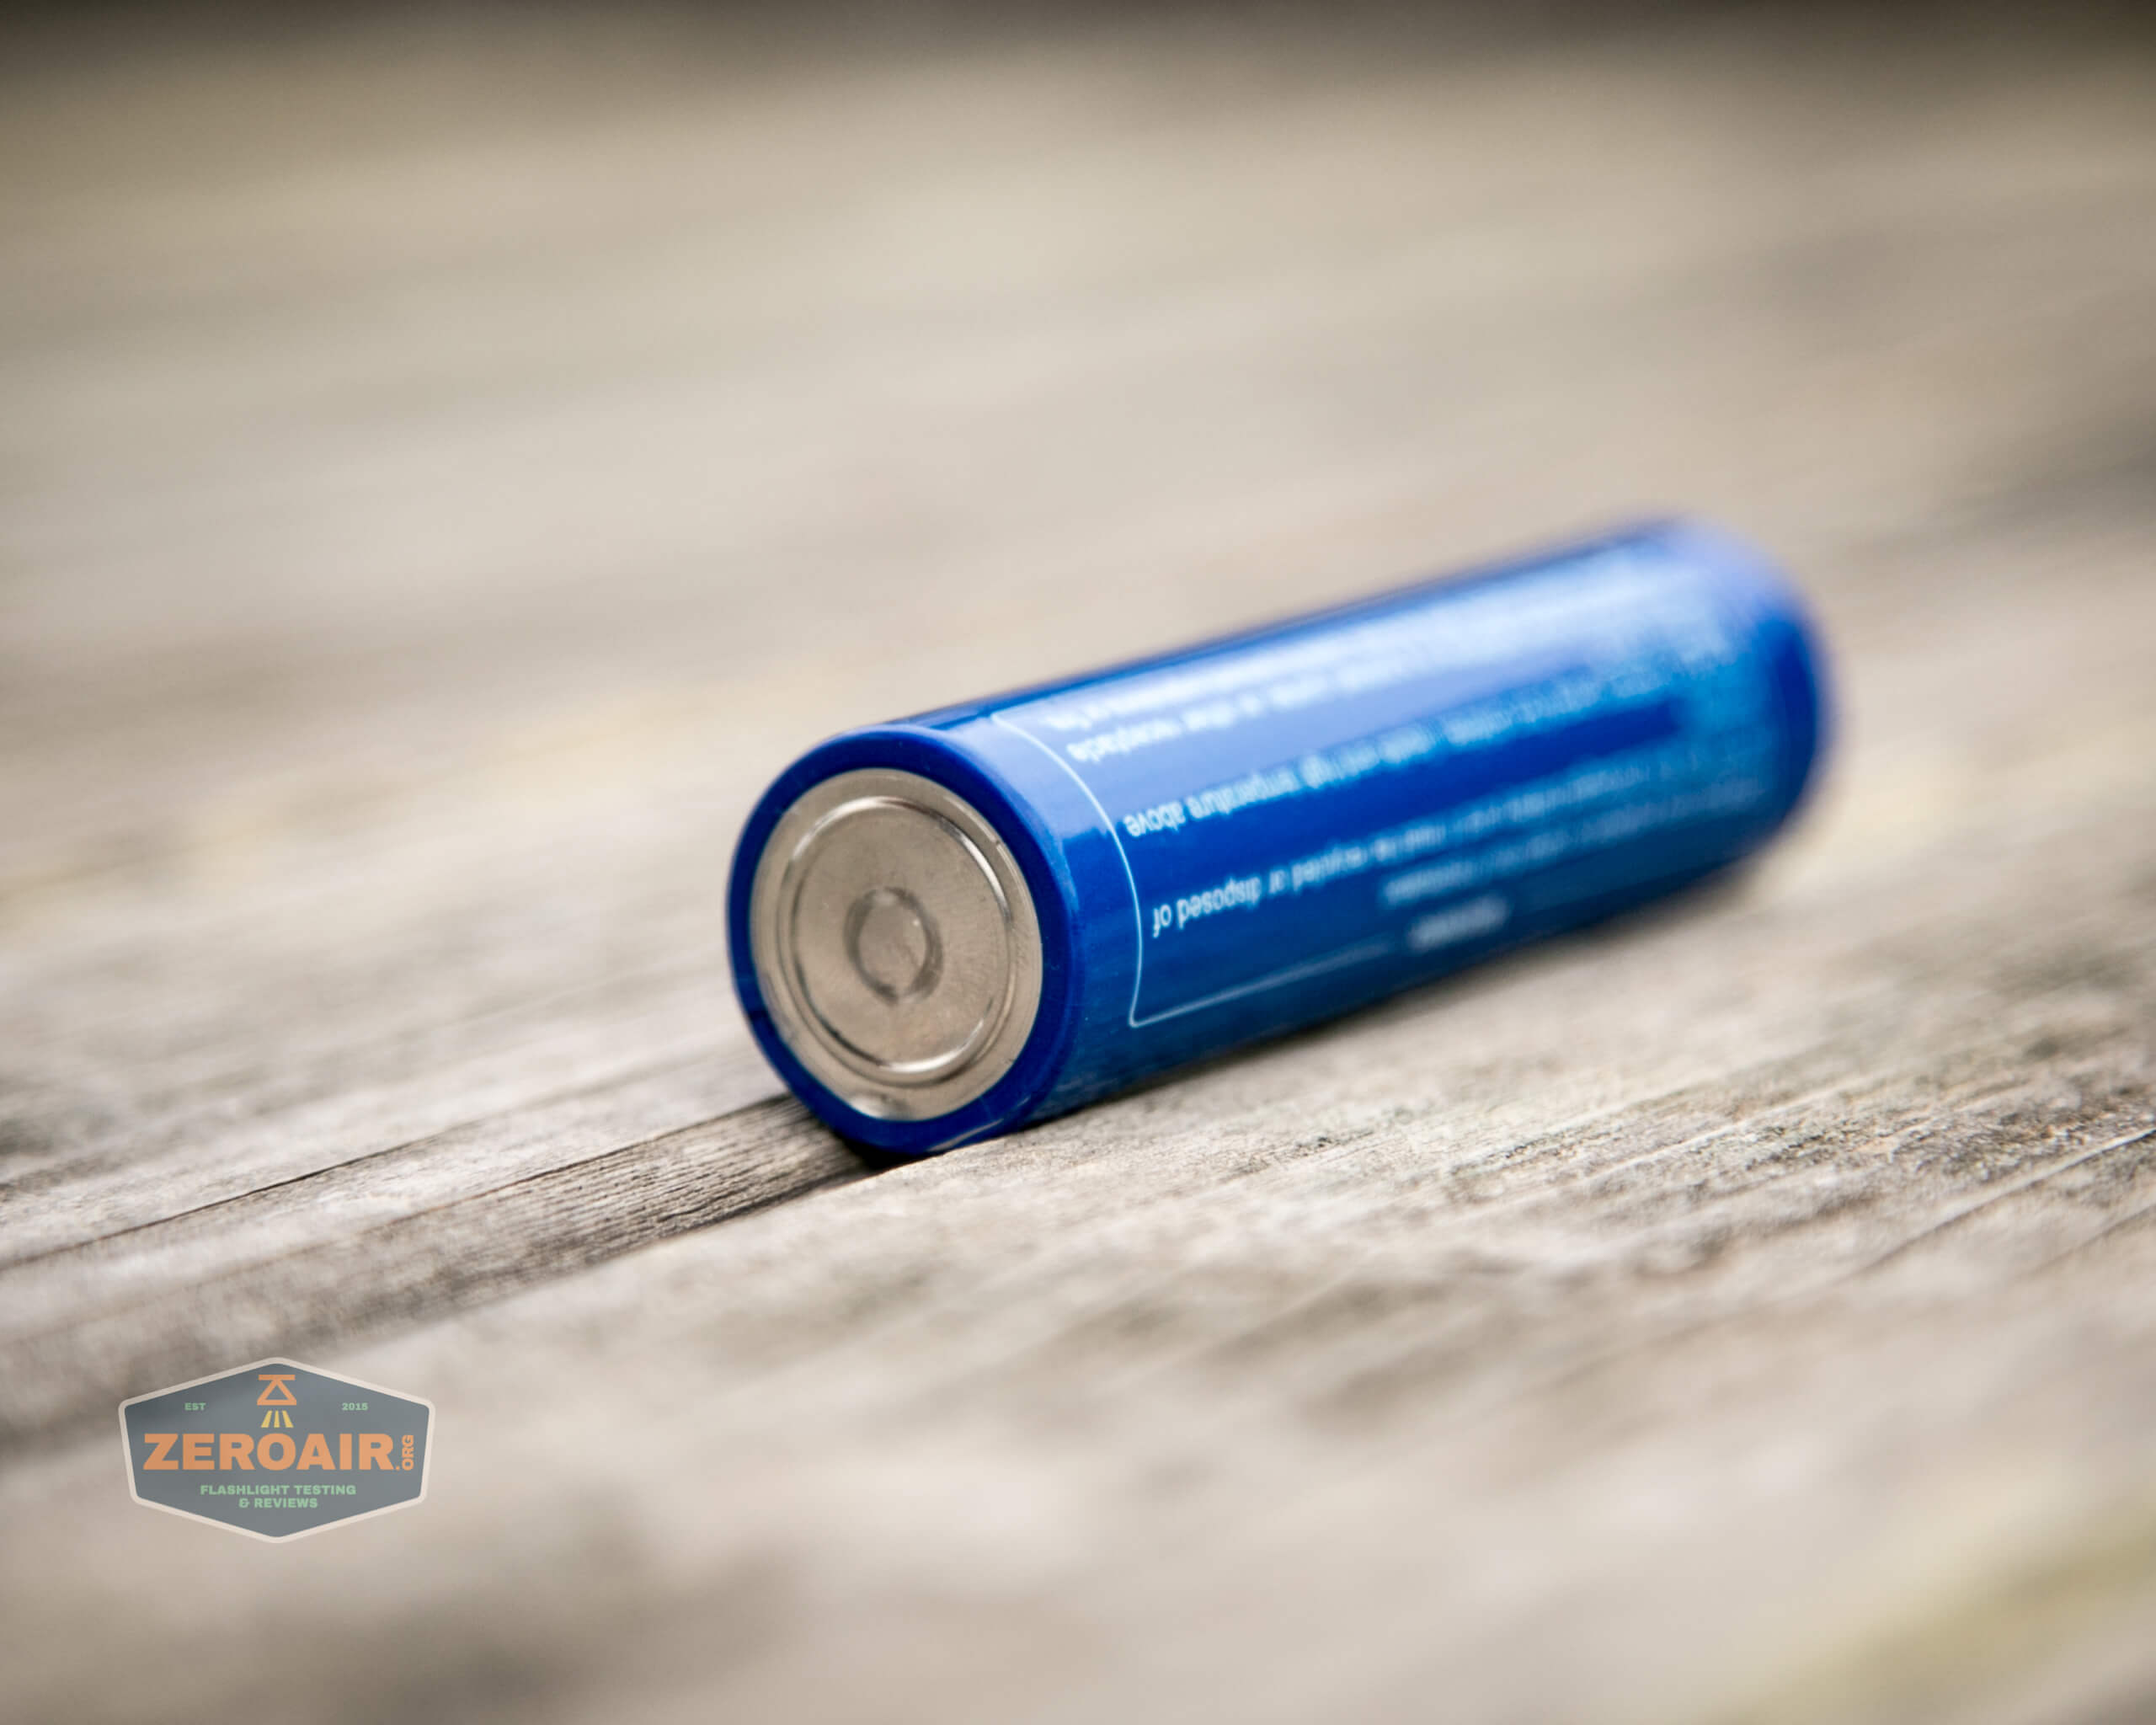
The cell is installed in the usual way – positive terminal toward the head.
Here’s a runtime. Yes, just a single runtime…. Since it’s rotary and doesn’t have discrete outputs between low and high, I tested only the high output. Also, I didn’t test the red and green because I’m unclear how sensitive my luxmeter is to those outputs.
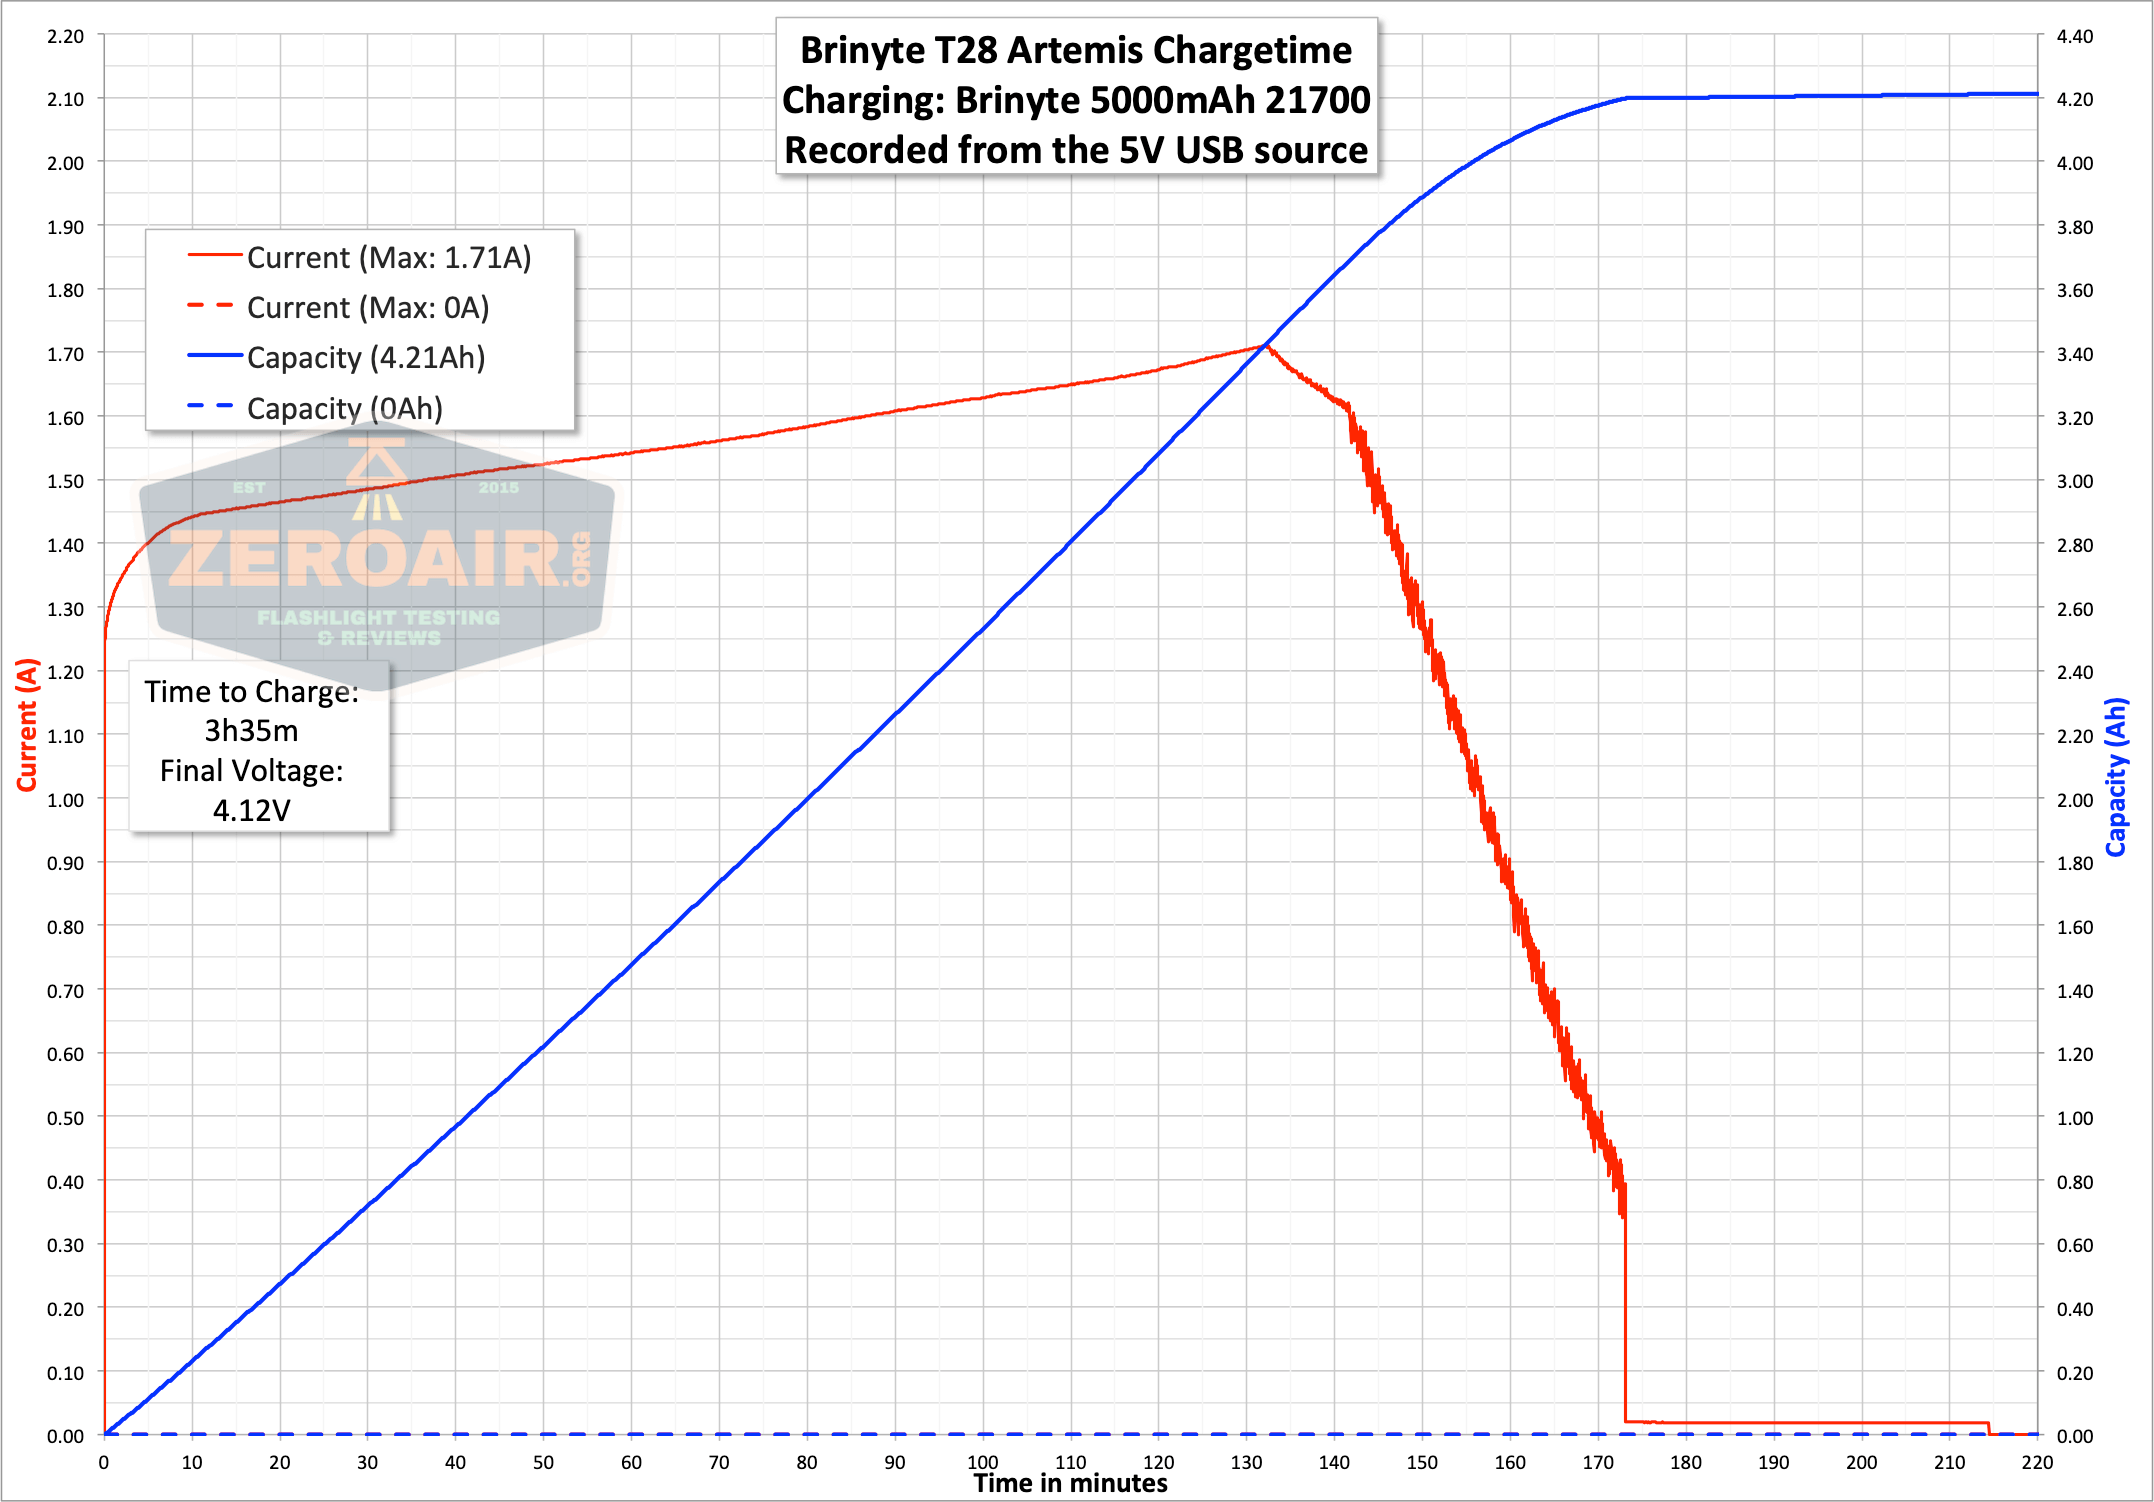
Charging
While the light itself does not have charging, the cell included does. It’s USB-C charging and is built into the positive end of the cell.
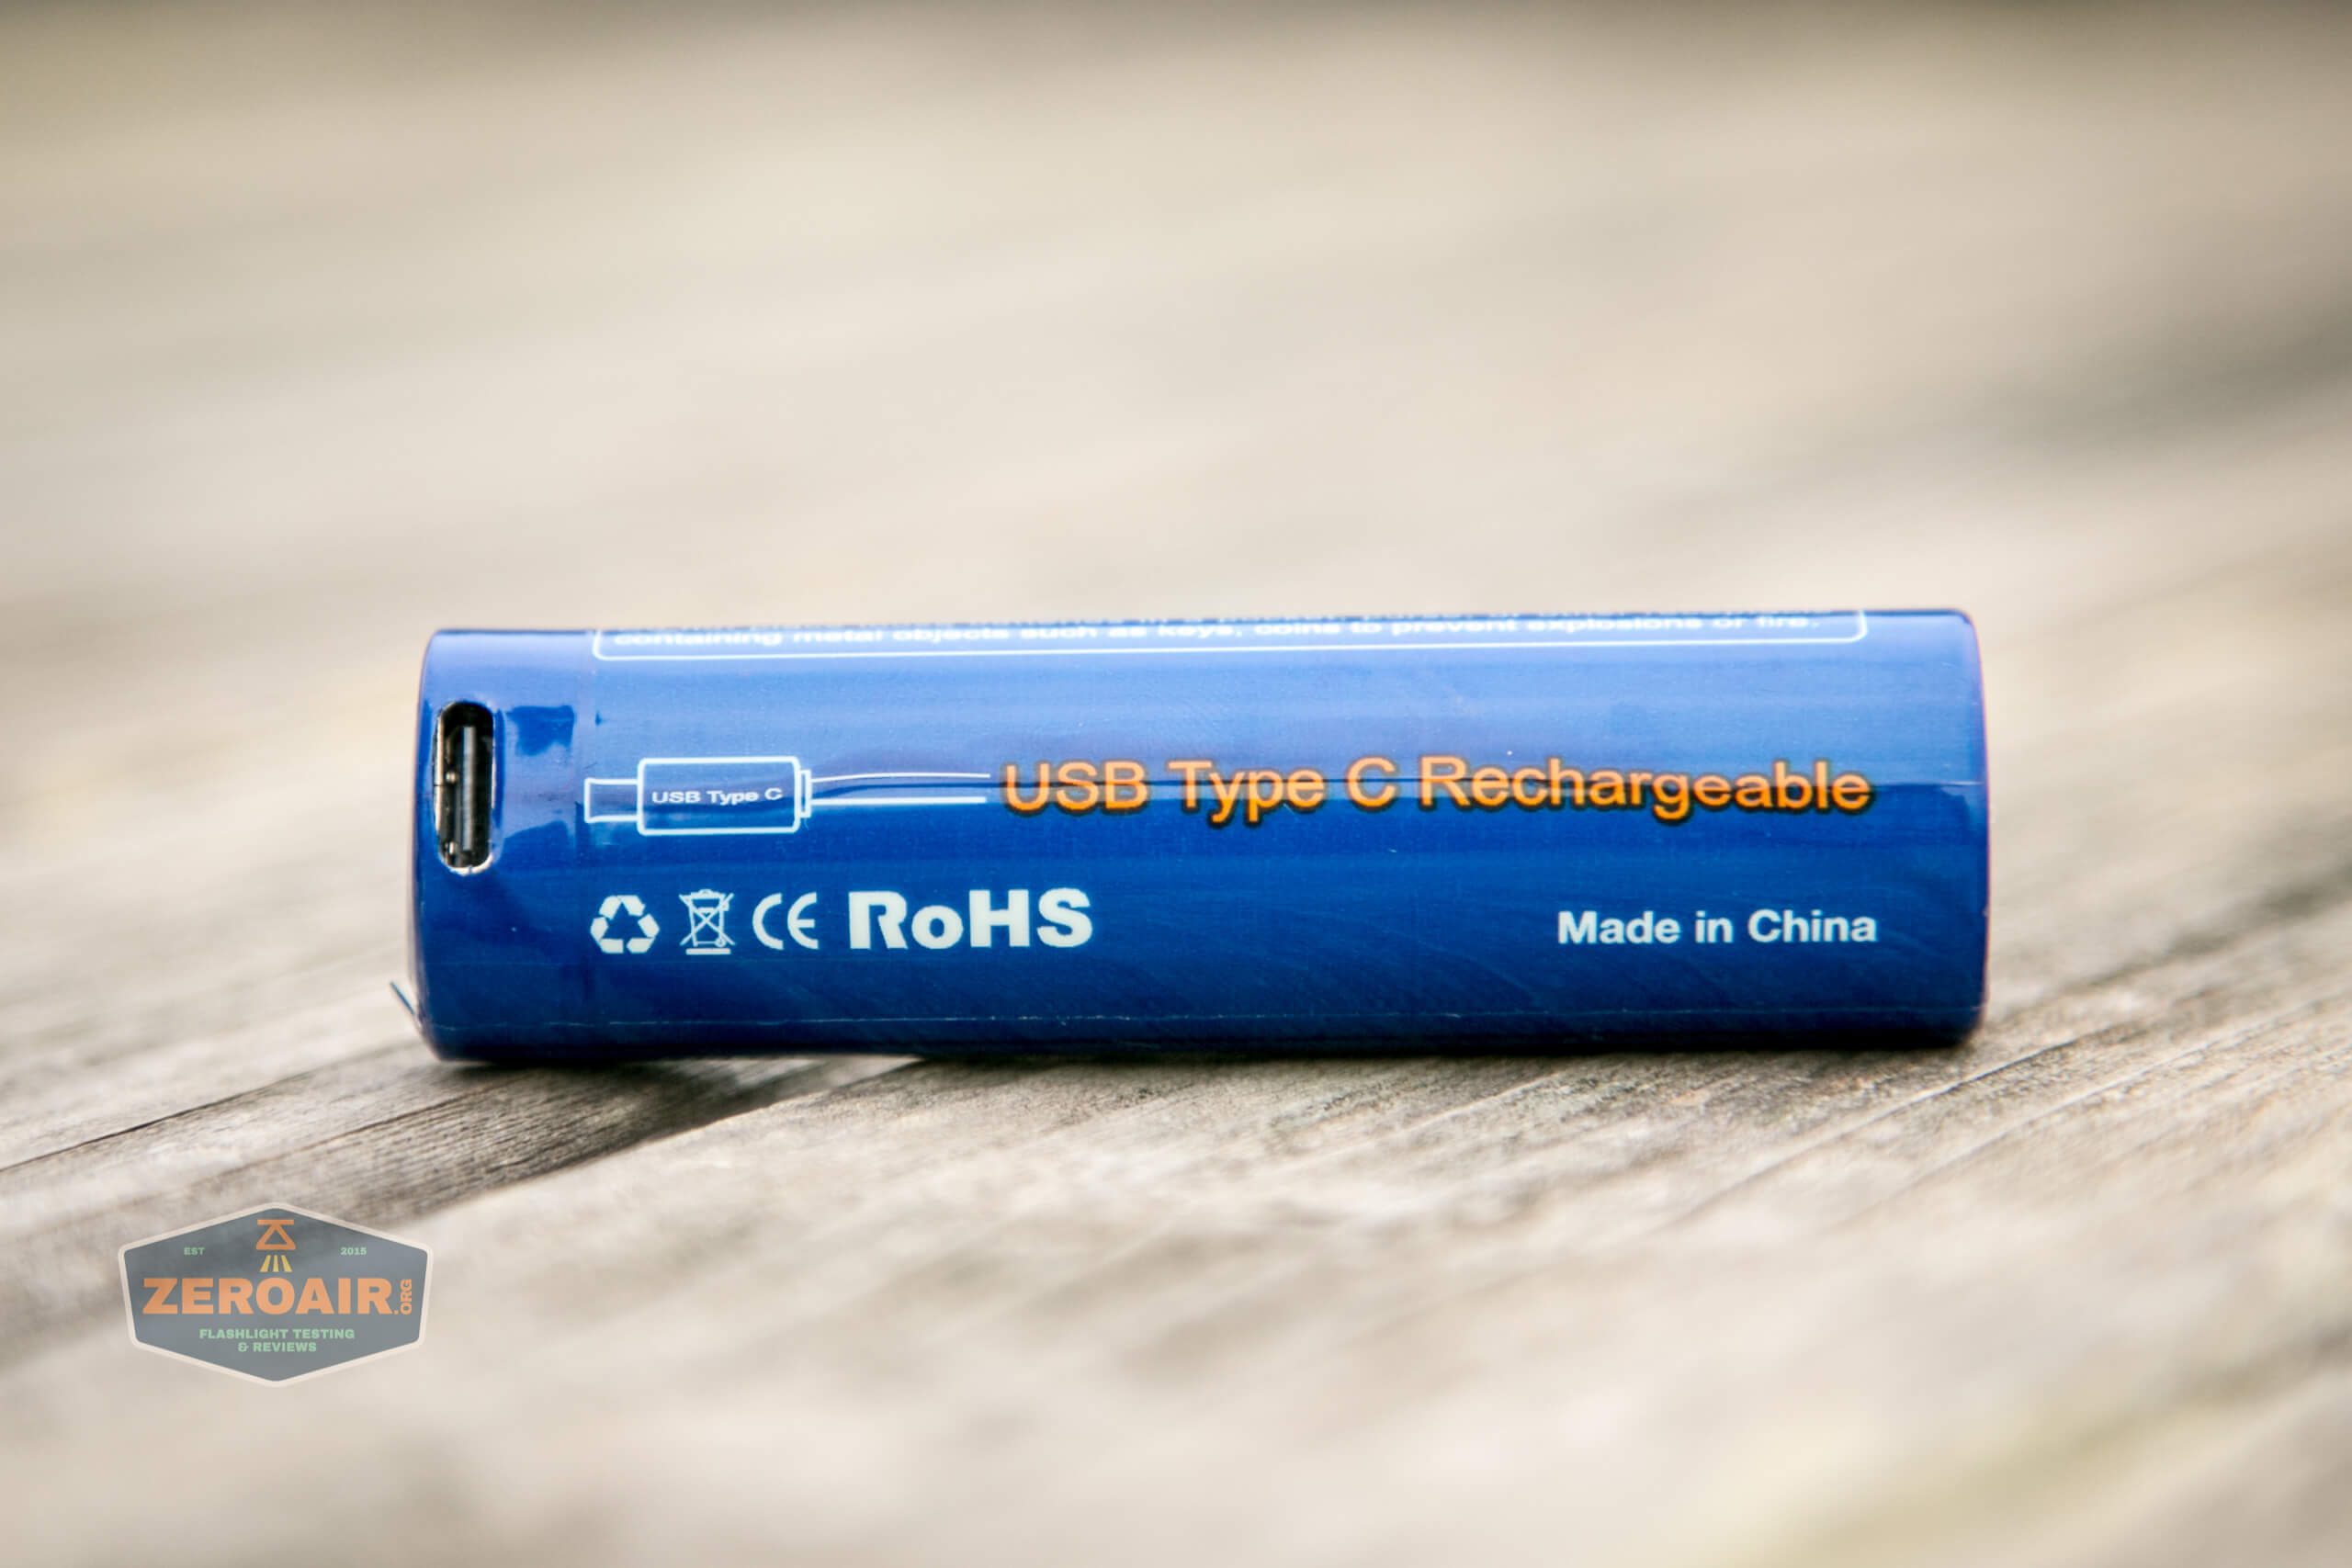
An appropriate charge cable is included: USB to USB-C.

Here’s a charge graph cycle!
Modes and Currents
| Mode | Mode Claimed Output (lm) | Claimed Runtime | Measured Lumens | Tailcap Amps |
|---|---|---|---|---|
| White High | 650/360 | 135m | 526 | 3.60 |
| White Low | 2% | – | – | 0.01 |
| Red High | 140/55 | 220m | – | 1.43 |
| Red Low | 2% | – | – | 0.01 |
| Green High | 130/70 | 270m | – | 1.43 |
| Green Low | 2% | – | 0.01 |
Pulse Width Modulation
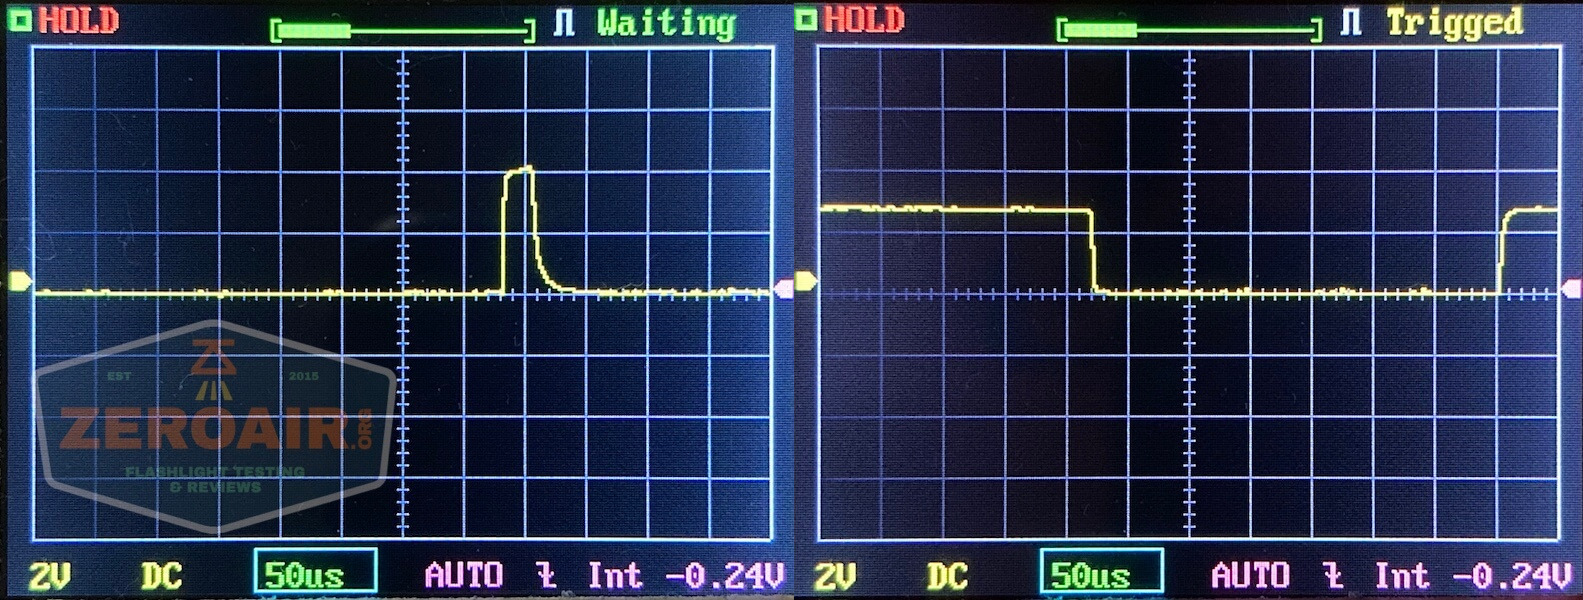
Here’s the real rub for me about the T28. The pulse width modulation is extremely noticeable on essentially anything but the highest output. I think even the least sensitive user would be able to notice this PWM, and probably be annoyed by it. It was so slow that my normal timescale (50us) wouldn’t even capture it, and I had to broaden the scale.
This is a pretty good exposé on how PWM works, though. Low is the left-most, and high is the right-most photo below. The high peaks are “on,” and the low valleys are “off.” You can clearly see that on low, the light is only briefly in an on state, and off for much longer. For the higher output, that’s practically flipped. Off much less time than on.

Here’s the lowest and highest on my usual timescale:
Here you can see a “baseline” – a chart with almost no light hitting the sensor.
Then there’s the Ultrafire WF-602C flashlight, which has some of the worst PWM I’ve seen. It’s so bad that I used a post about it to explain PWM! Here are multiple timescales (10ms, 5ms, 2ms, 1ms, 0.5ms, 0.2ms) to make comparing this “worst” PWM light to the test light easier. That post also explains why I didn’t test the WF-602C at the usual 50us scale.
User Interface and Operation
As mentioned above, the T28 Artemis has a rotary interface. The rotary is also an e-switch clicky, but it’s all one switch.
Mine doesn’t sit straight, and I wasn’t able to fix that, either, so that’s a bit of a strike. The user interface is dead simple, though.
Hold the switch down to turn the light off or on.
It’ll come on in the output corresponding to where the rotary is in the dial. Thus, it’s possible to change the output level with the light off and always start in whatever output you want.
Besides that, the rotary switch (and not pictured here) is an indicator emitter. If it’s green, things are working normally. If things are working normally, I expect you’d know this. The indicator doesn’t help with battery level or anything else. So I’m not entirely sure what the point is….
Also part of the interface (but not really) is this emitter selector. All this does is select between the emitter colors (which is an important part of the user interface, of course). This has nothing to do with the electric operation of the light – it’s a mechanical change. Also, it can be done with the light on or off, with no ill effect.
A final operation mechanism is a remote switch. This is a whole tailcap replacement, and when using this tailcap, you lose the rotary mechanism. However, you gain a button ramping feature. On and off are separate buttons (in the center).
Here’s a user interface table!
| State | Action | Result |
|---|---|---|
| Off | Hold Tail switch | On to rotary-selected output |
| On | Click Tail Switch | Off |
| Any (manual specifie “On”) | Move Emitter Selector switch | Output is (or will be) the selected color |
| Any | Turn tail switch clockwise or counterclockwise | Output is higher or lower. |
| Off | Click center button on remote switch | On to previously used output |
| On | Click center button on remote switch | Off |
| On | Hold “+” button on remote switch | Output increases |
| On | Hold “-” button on remote switch | Output decreases |
Notably with the remote switch, turning the light on no longer requires a “hold” – it’s immediate. Everything else is mostly the same.
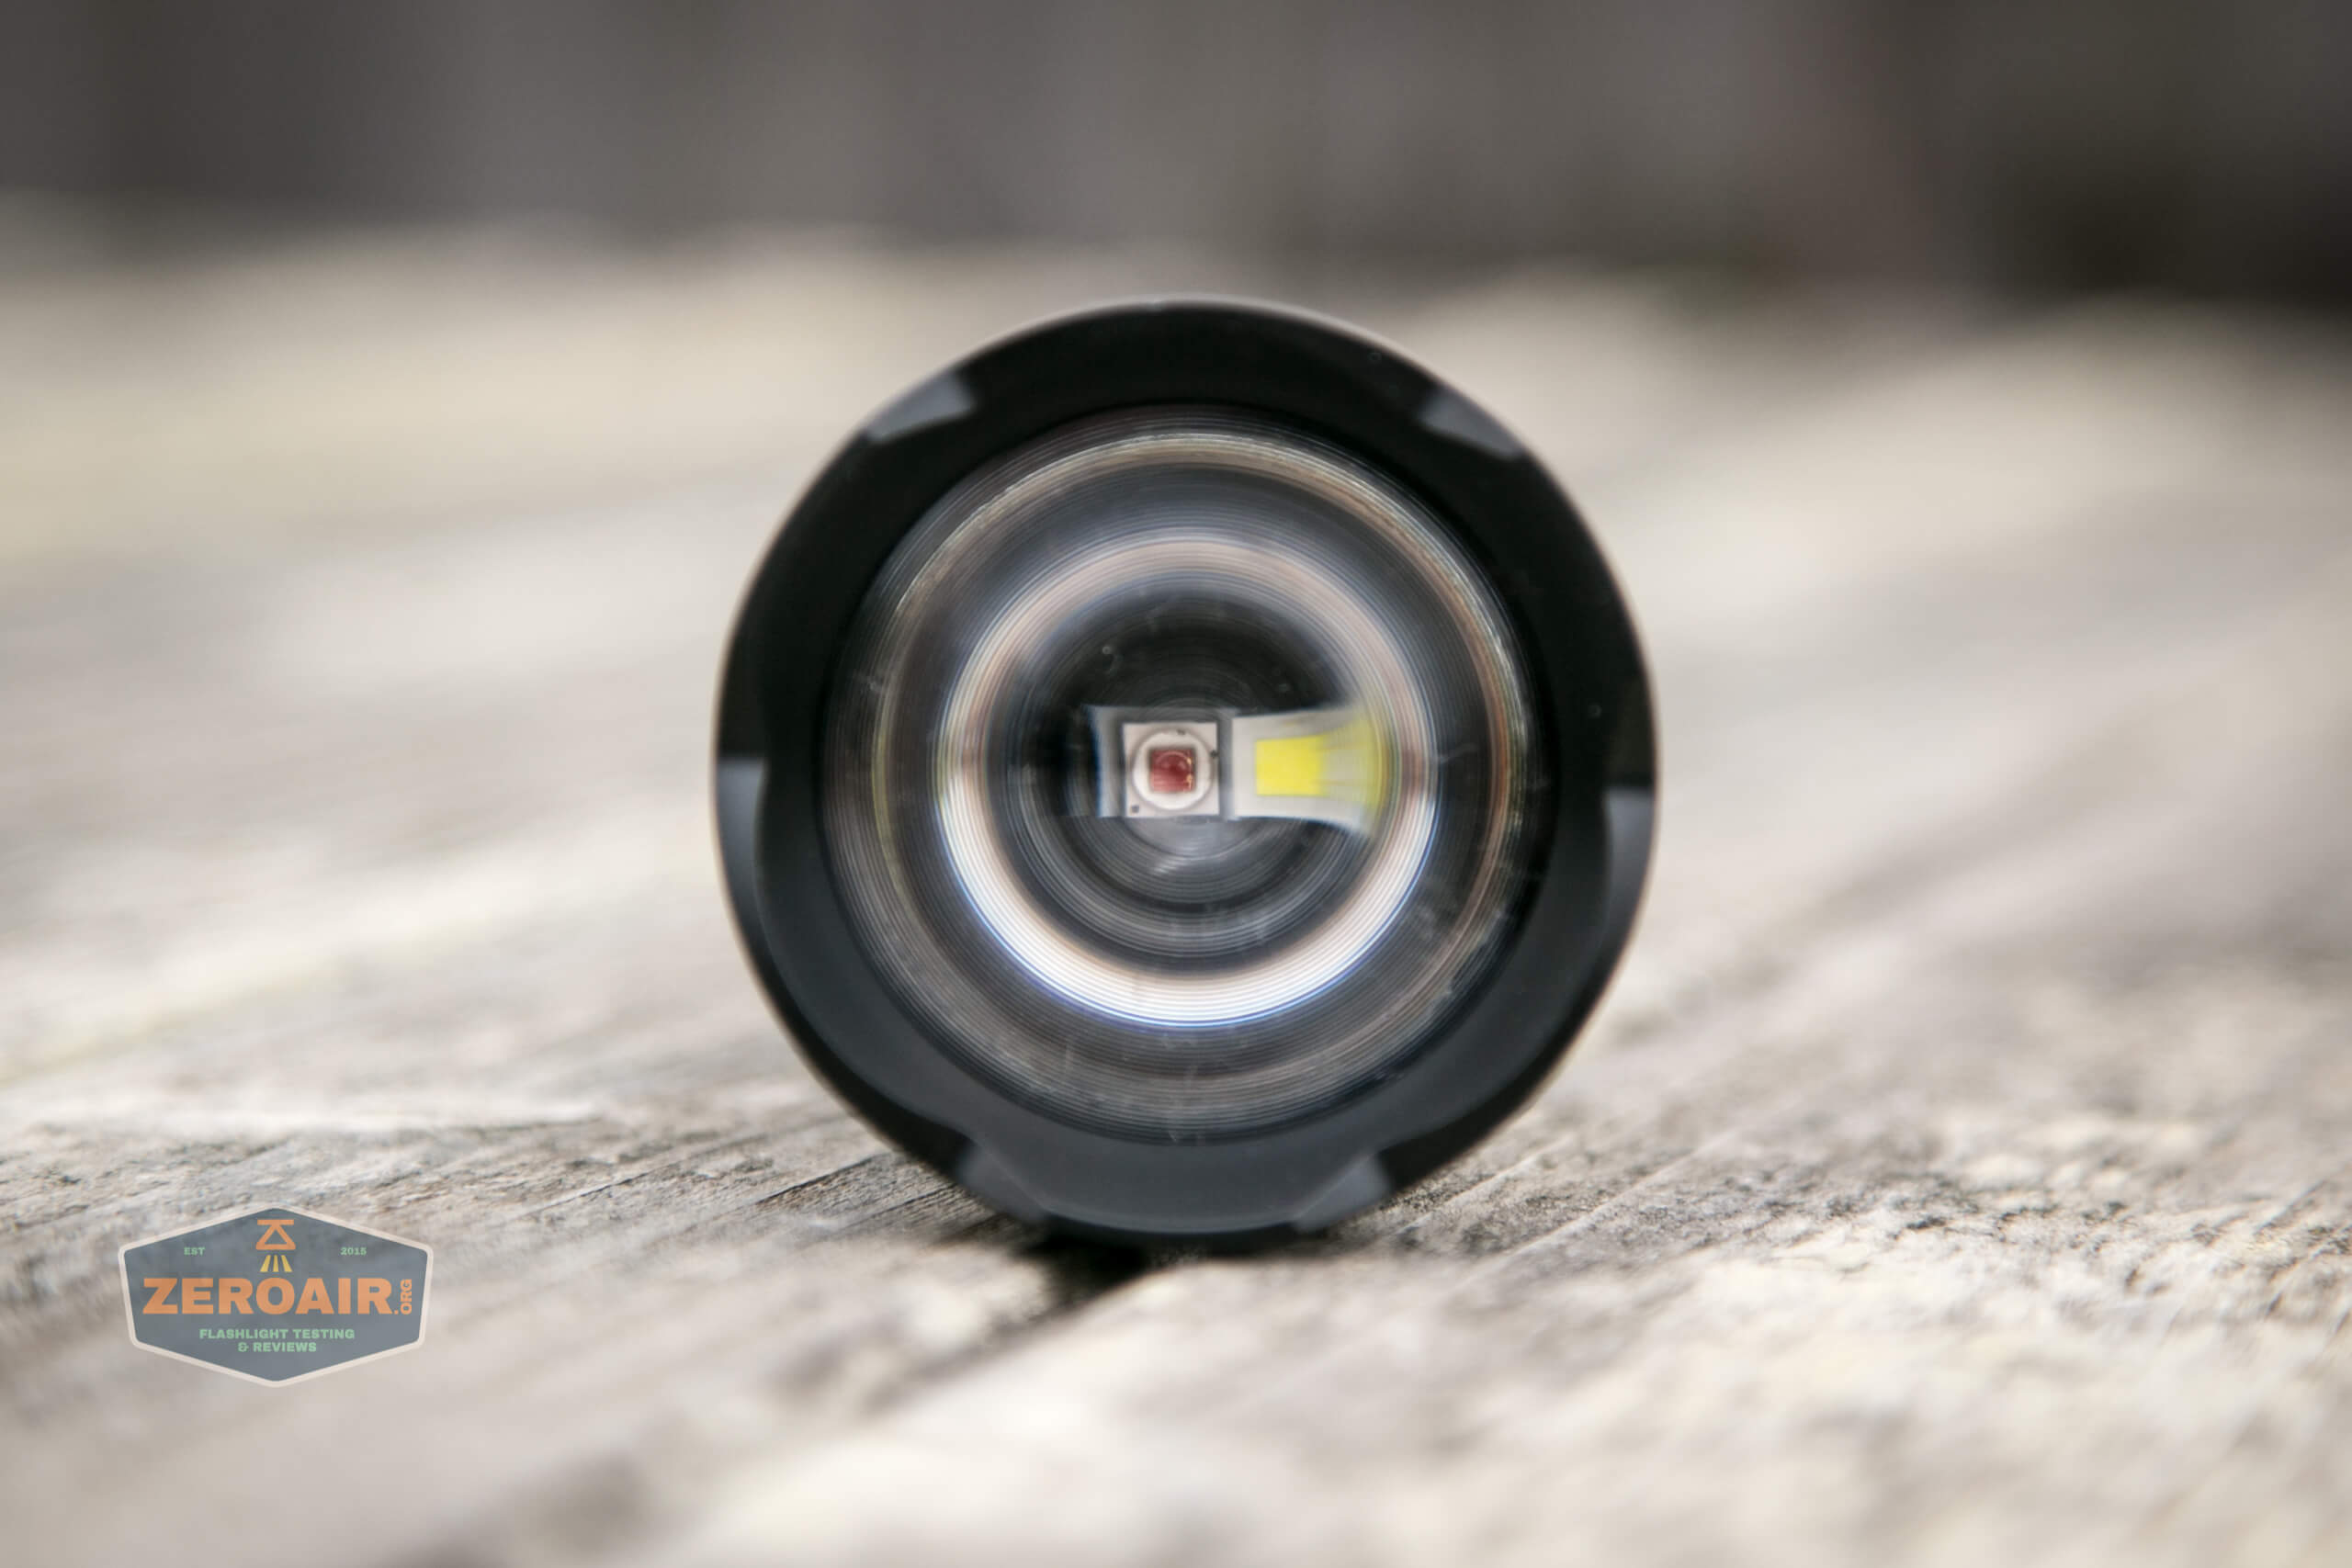
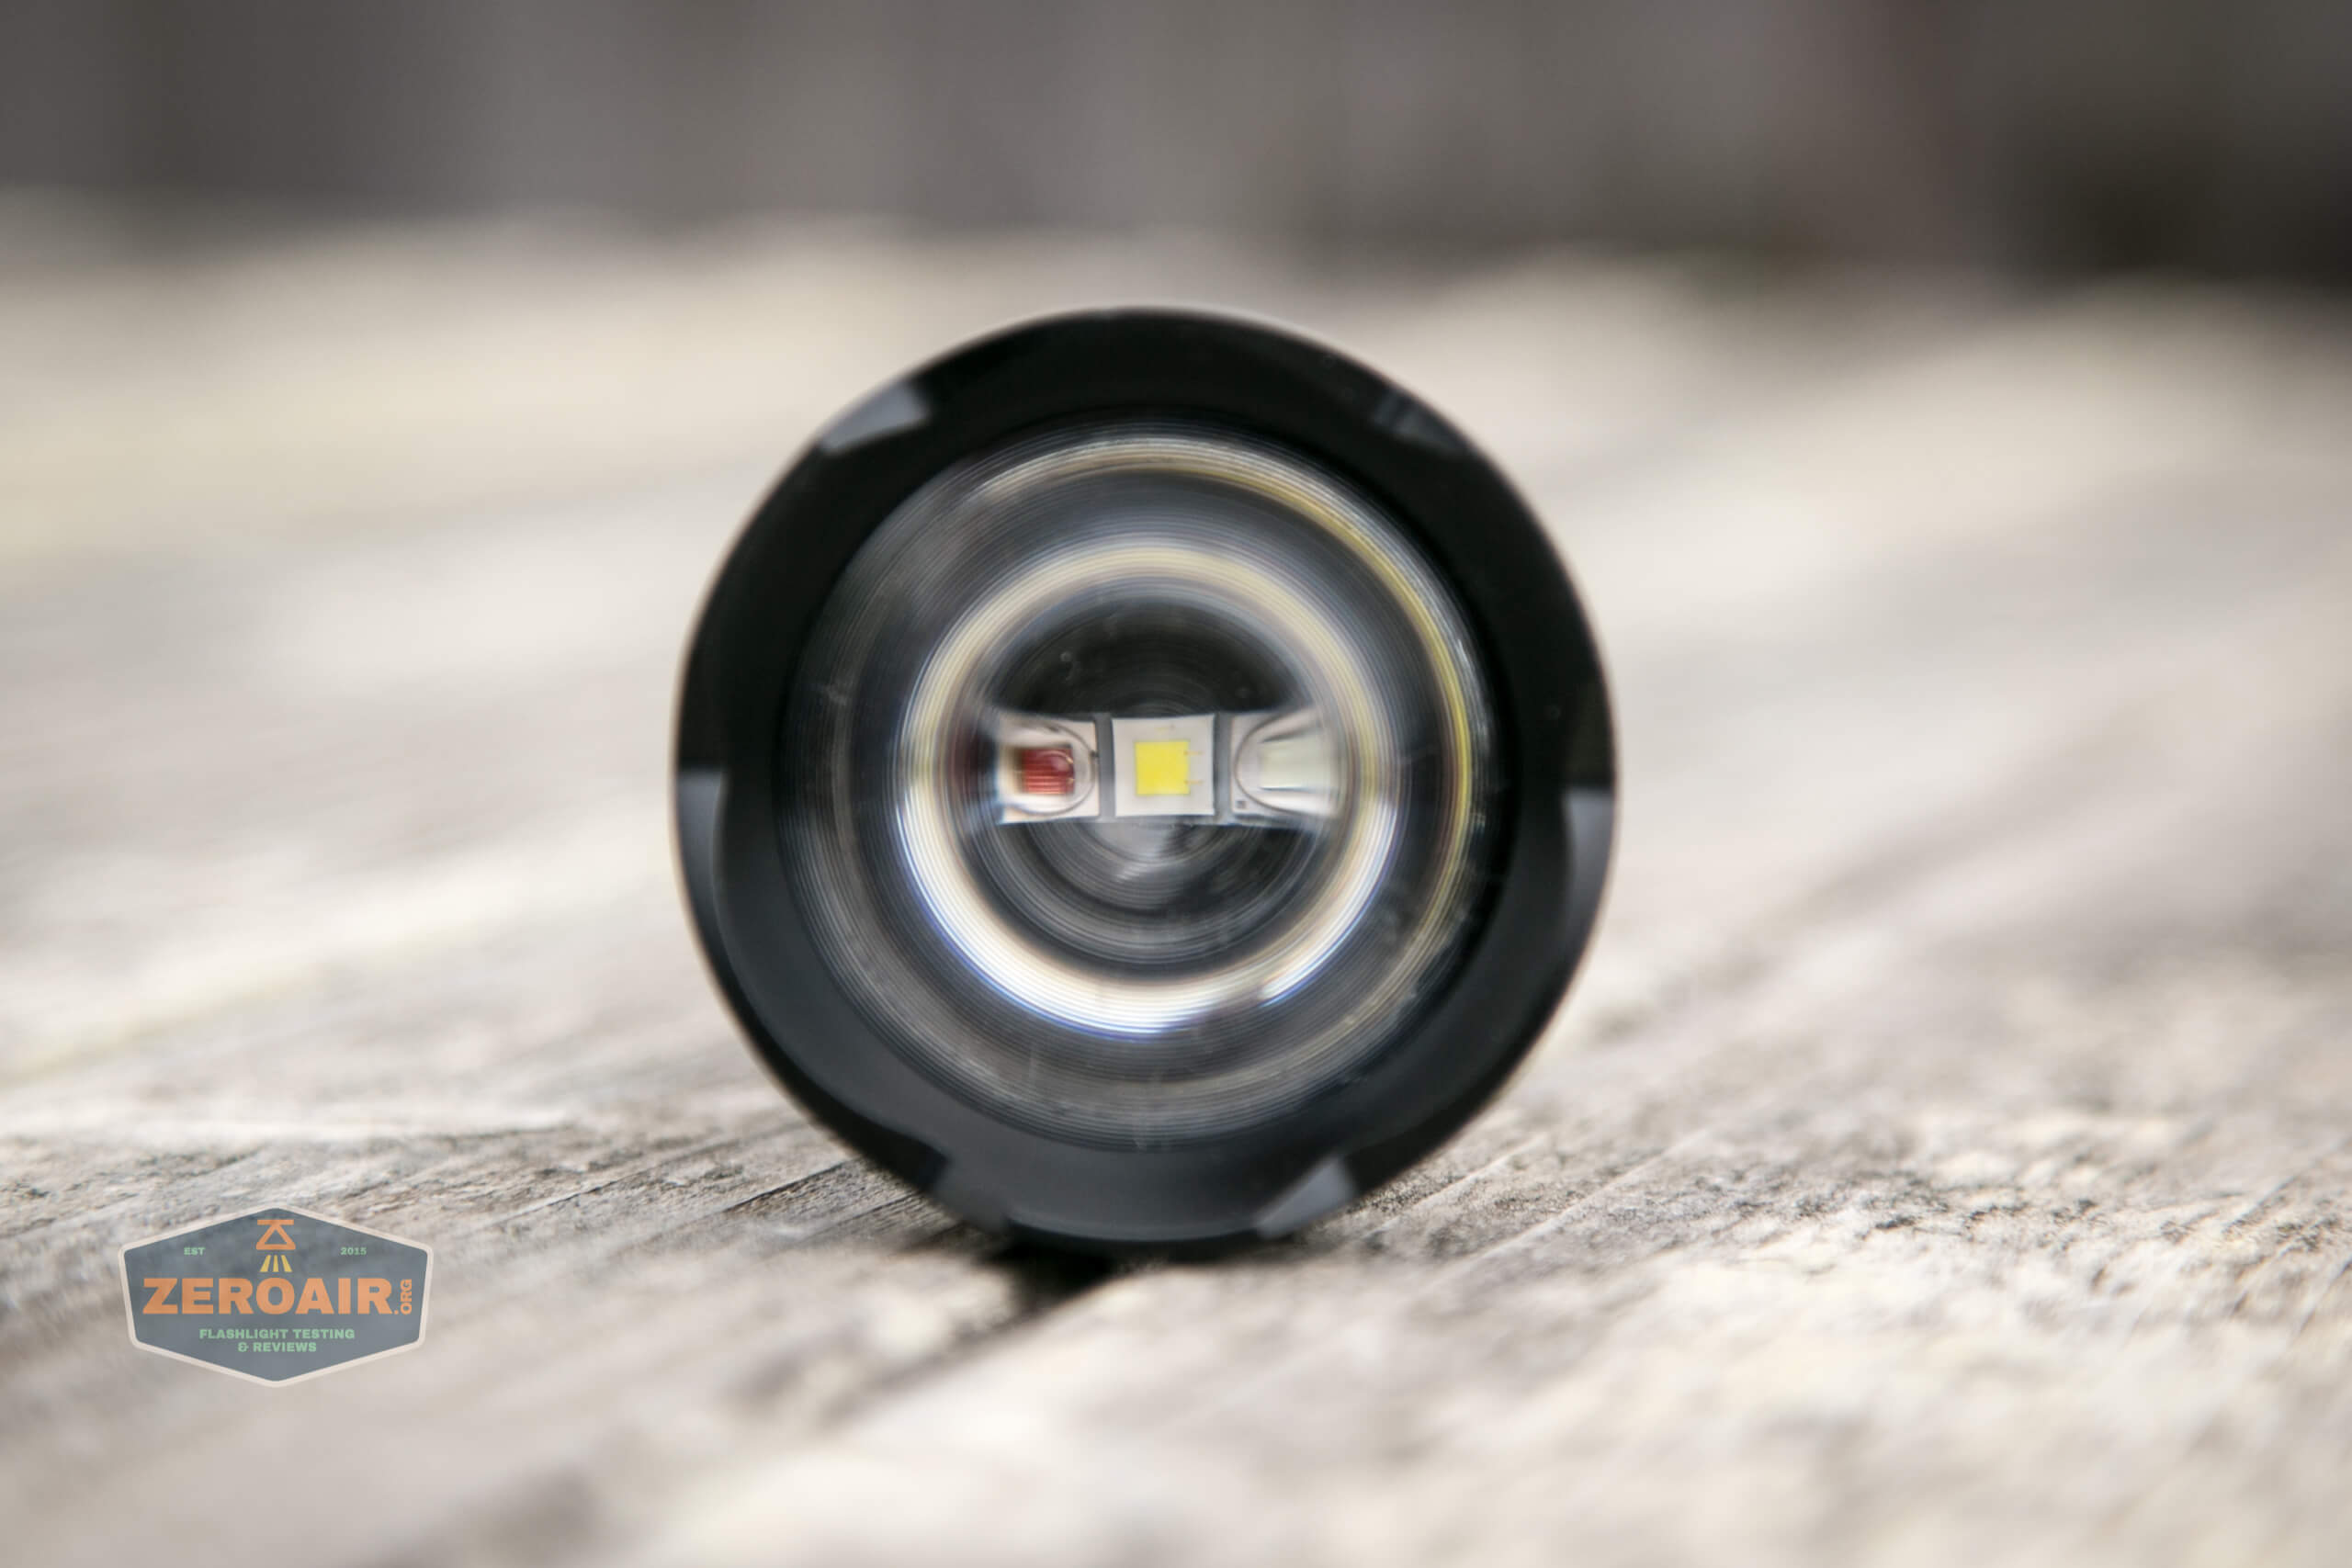
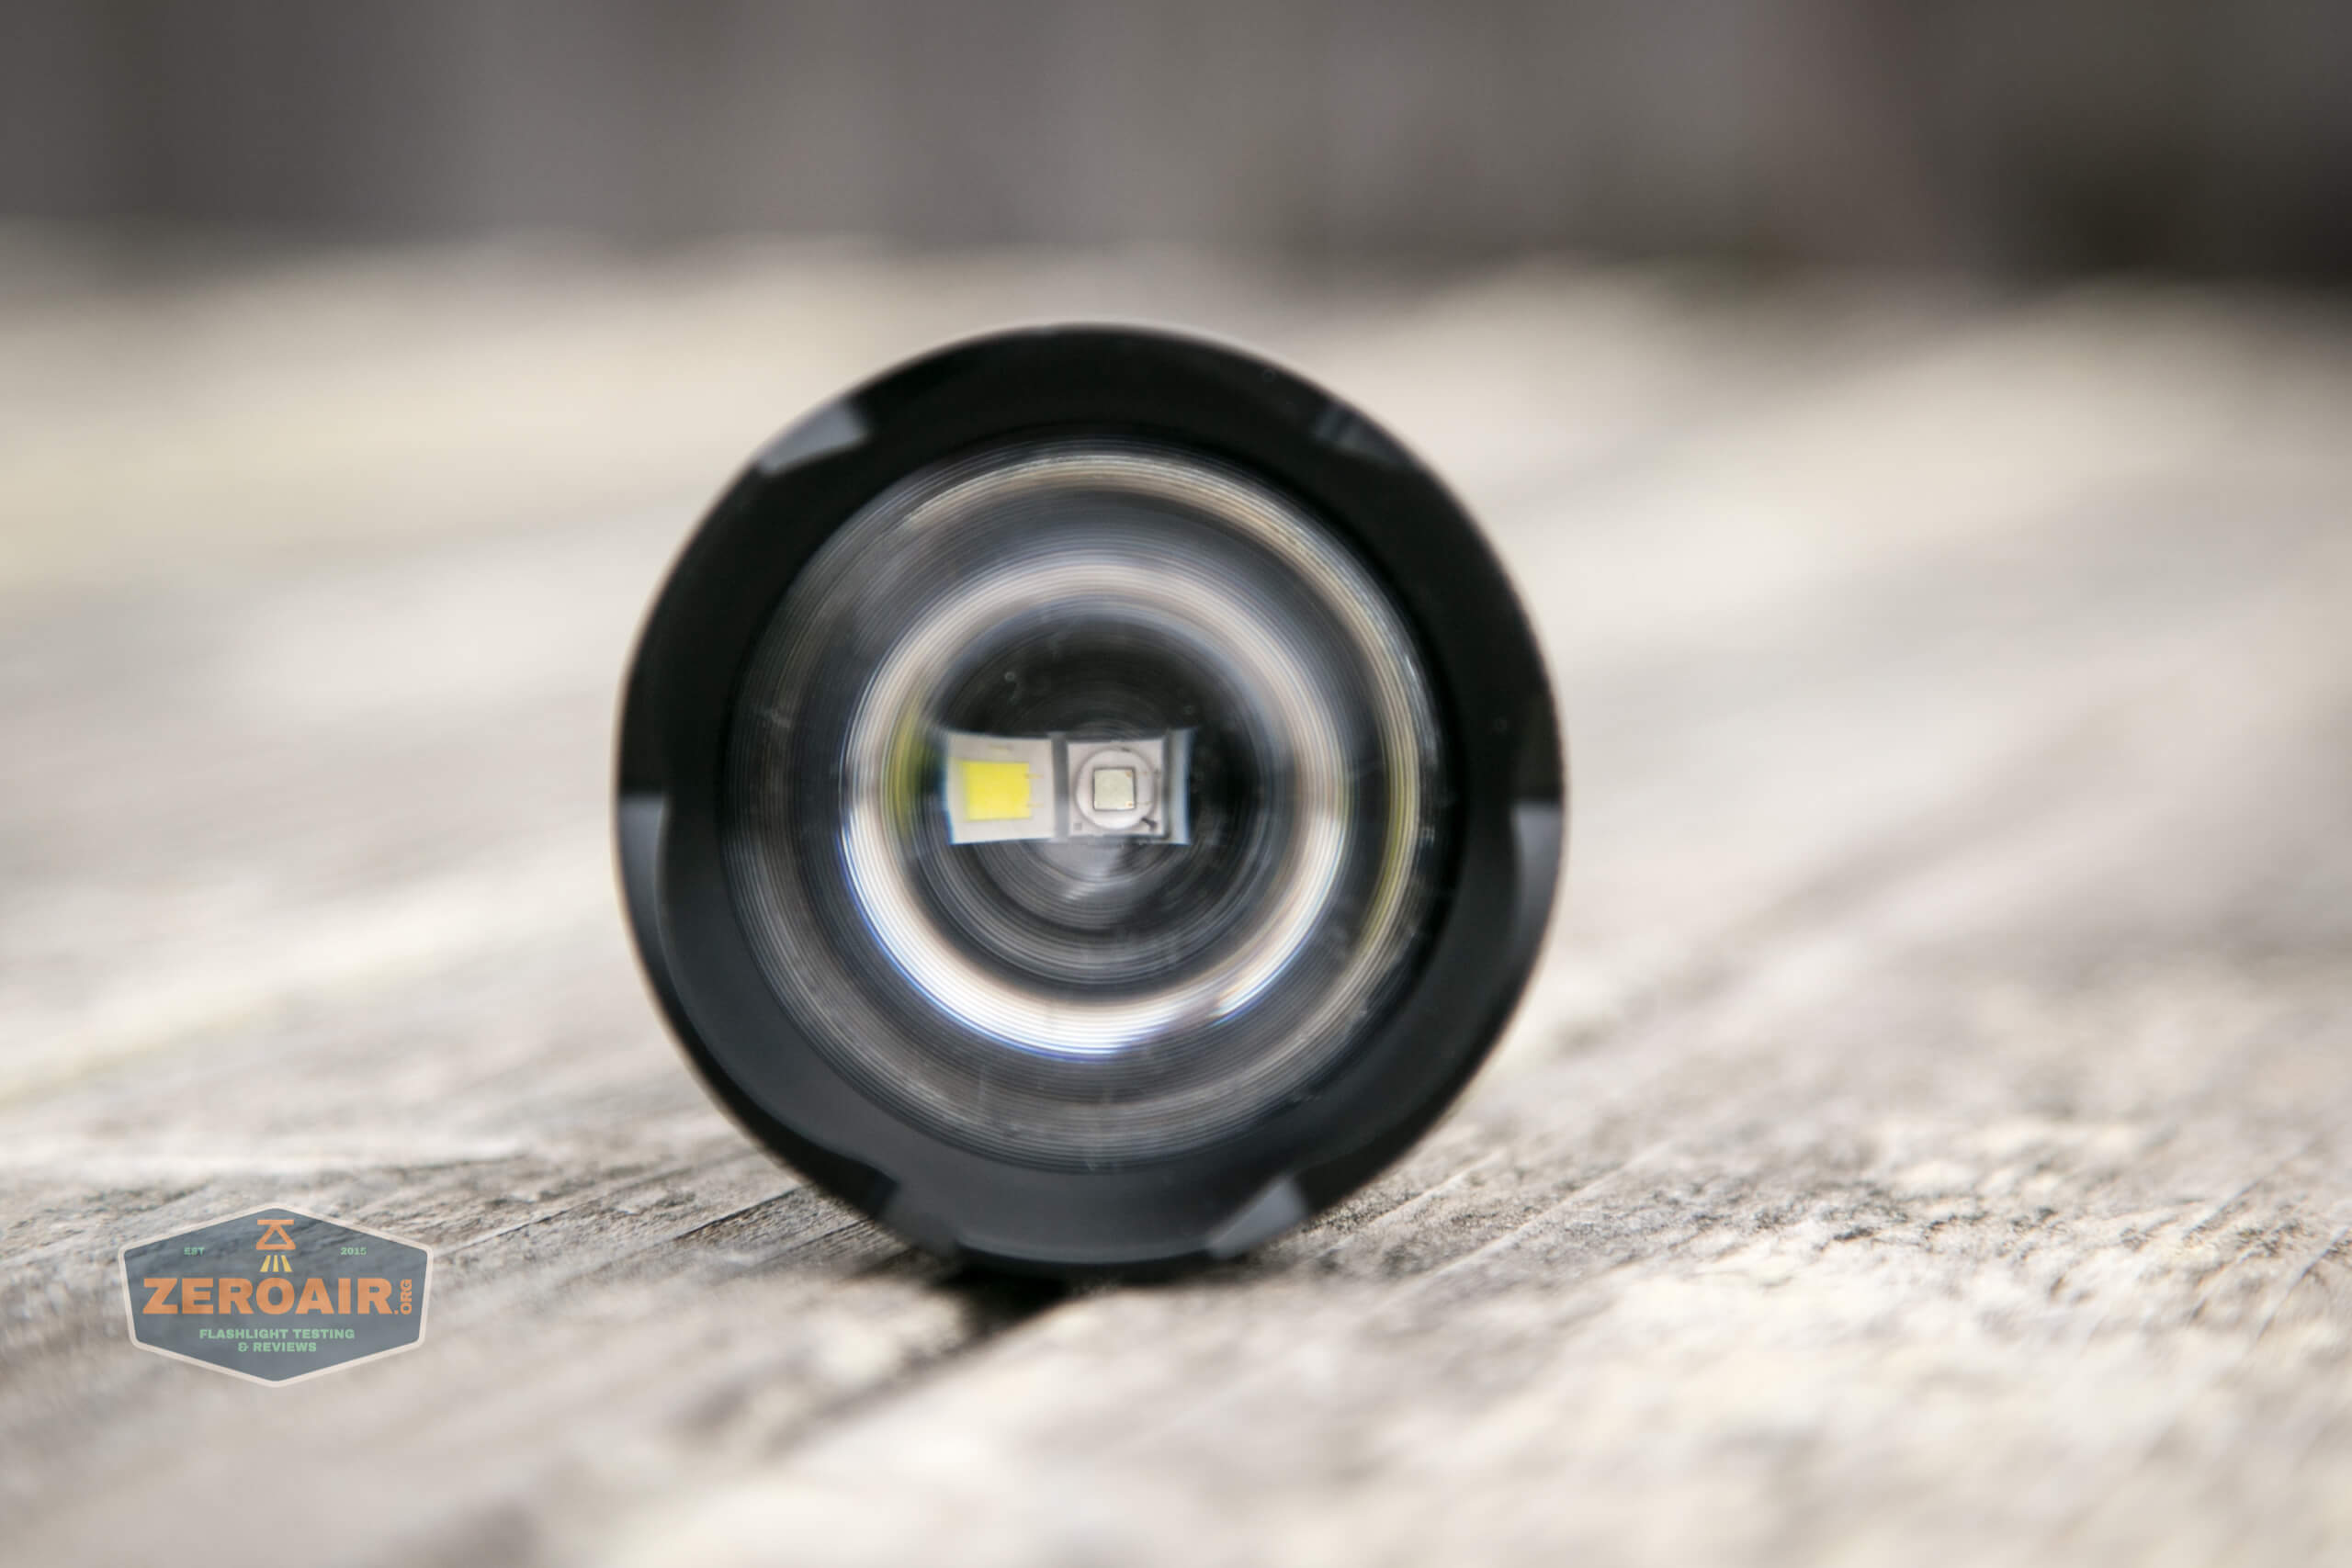
LED and Beam
The emitters in the T28 Artemis don’t seem to be named specifically.
There are three, though – white, red, and green. These are selected by a switch on the side of the light. It’s a pretty interesting setup.
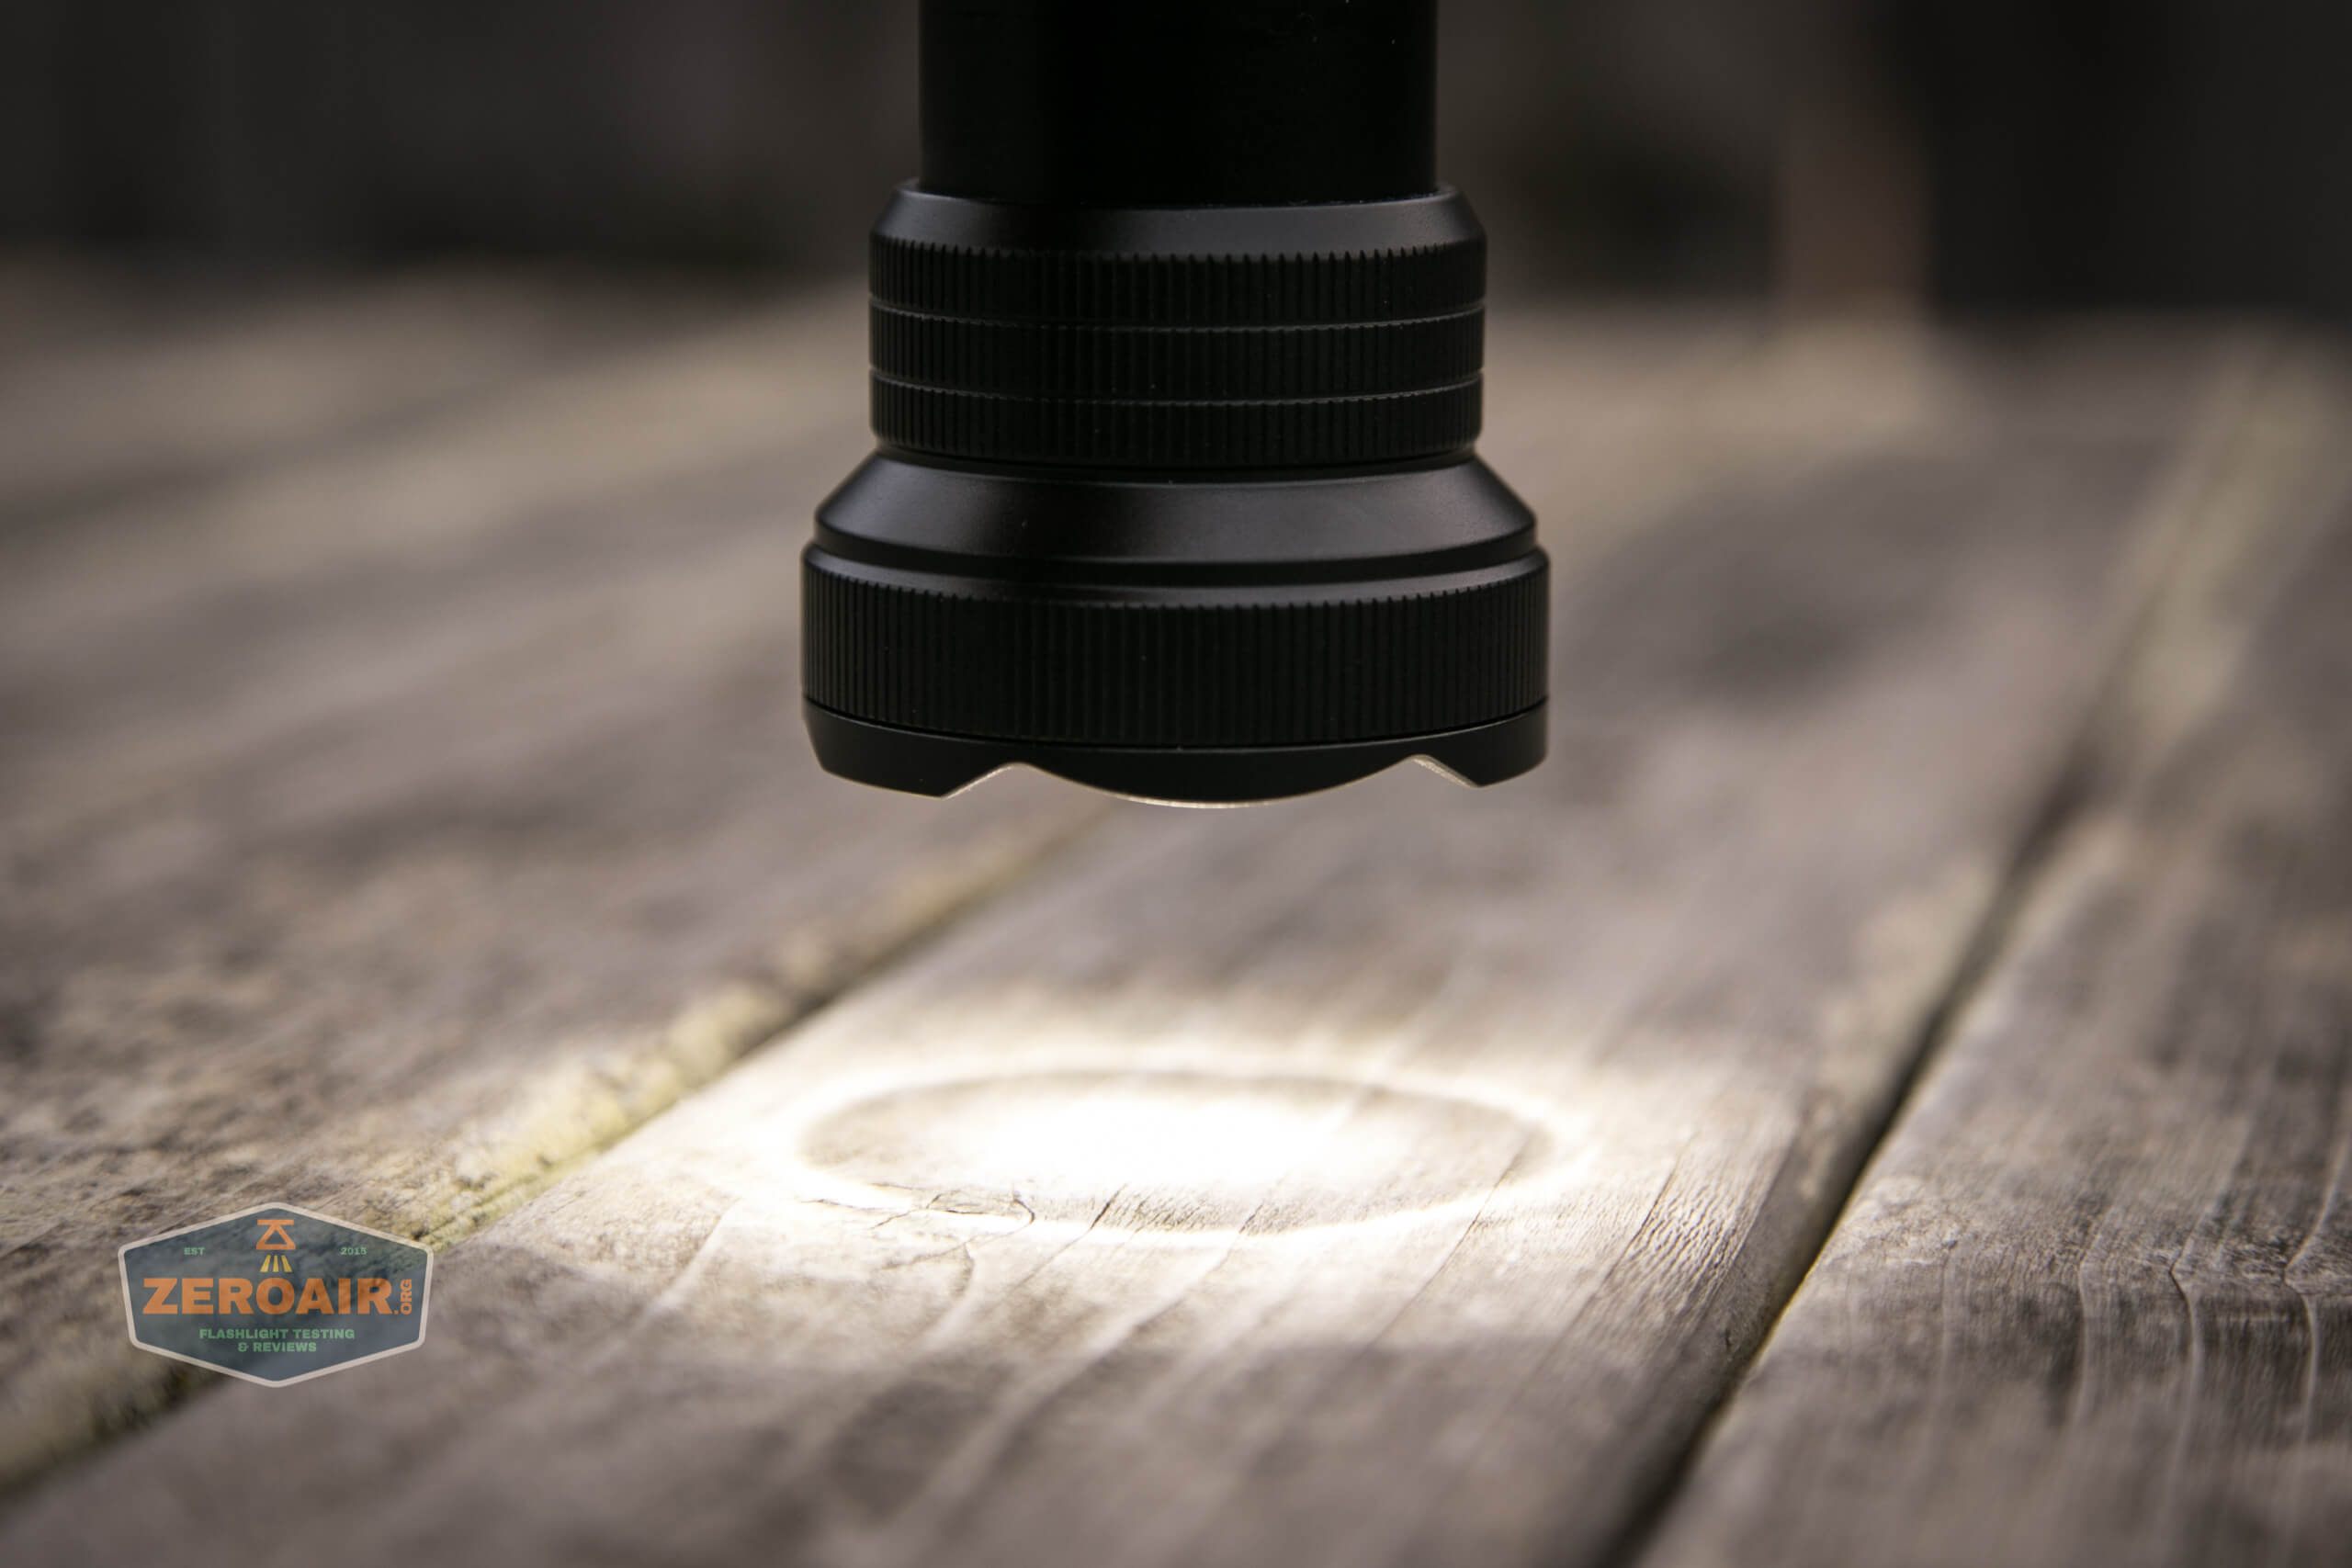
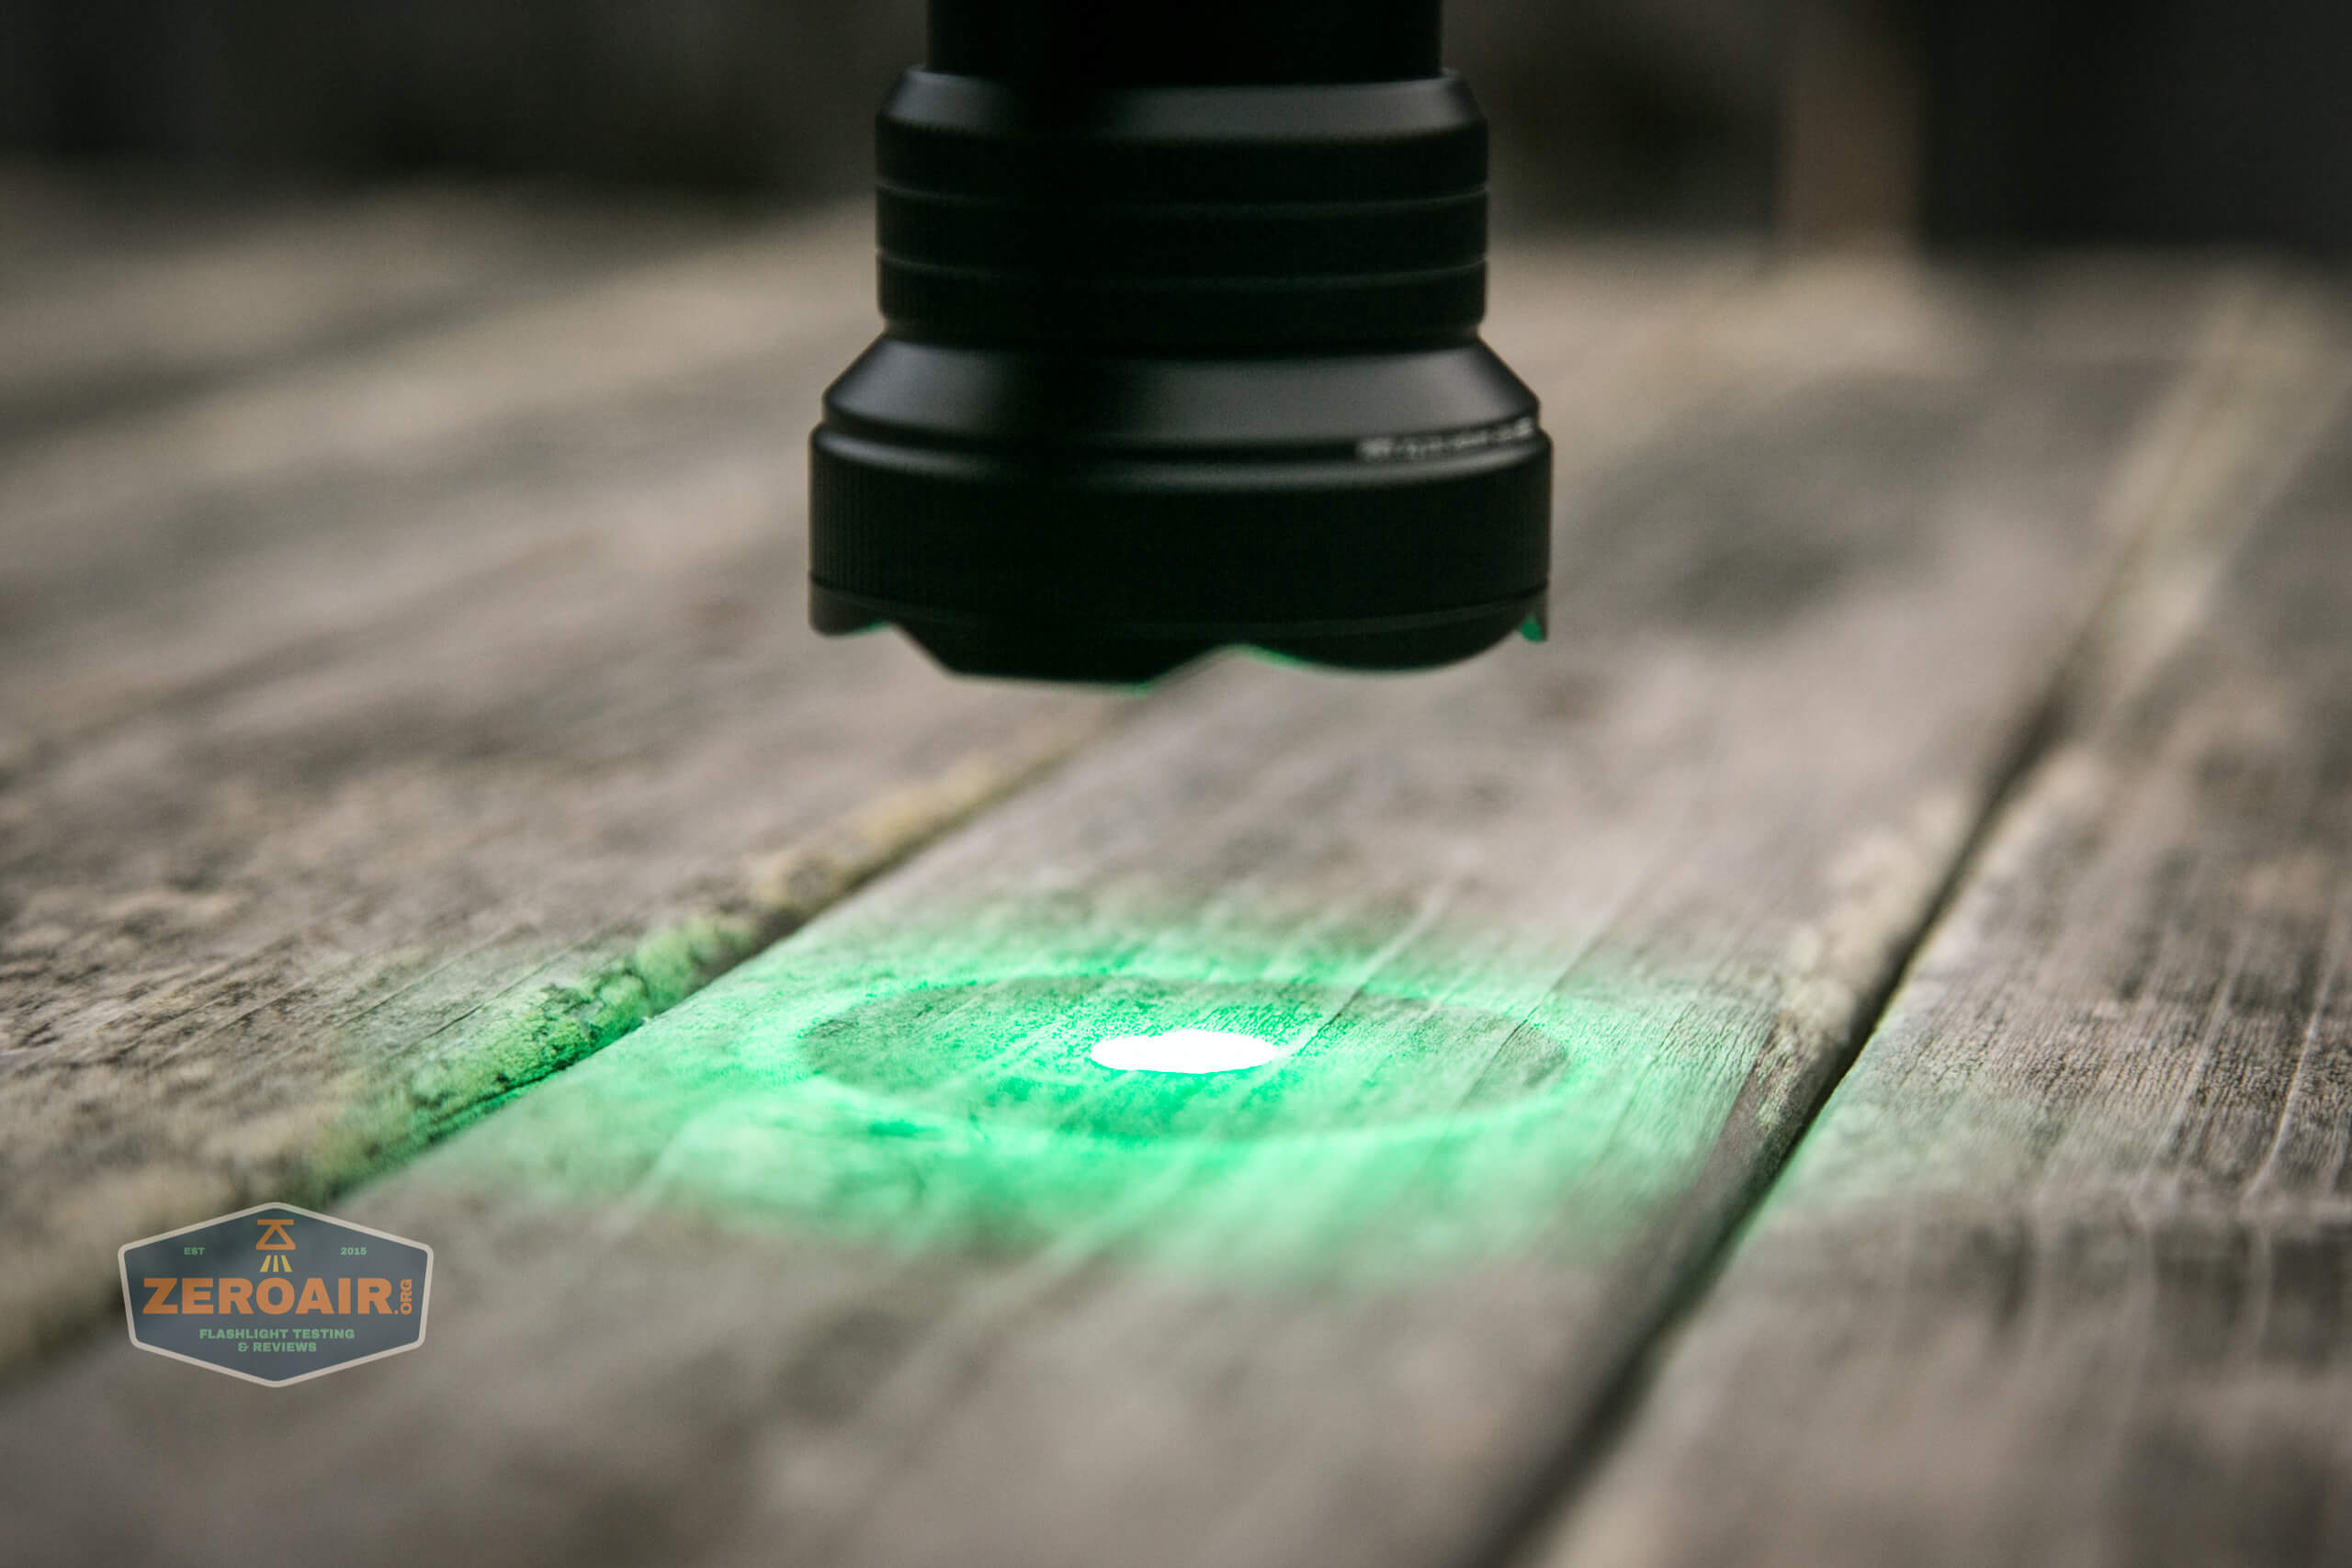
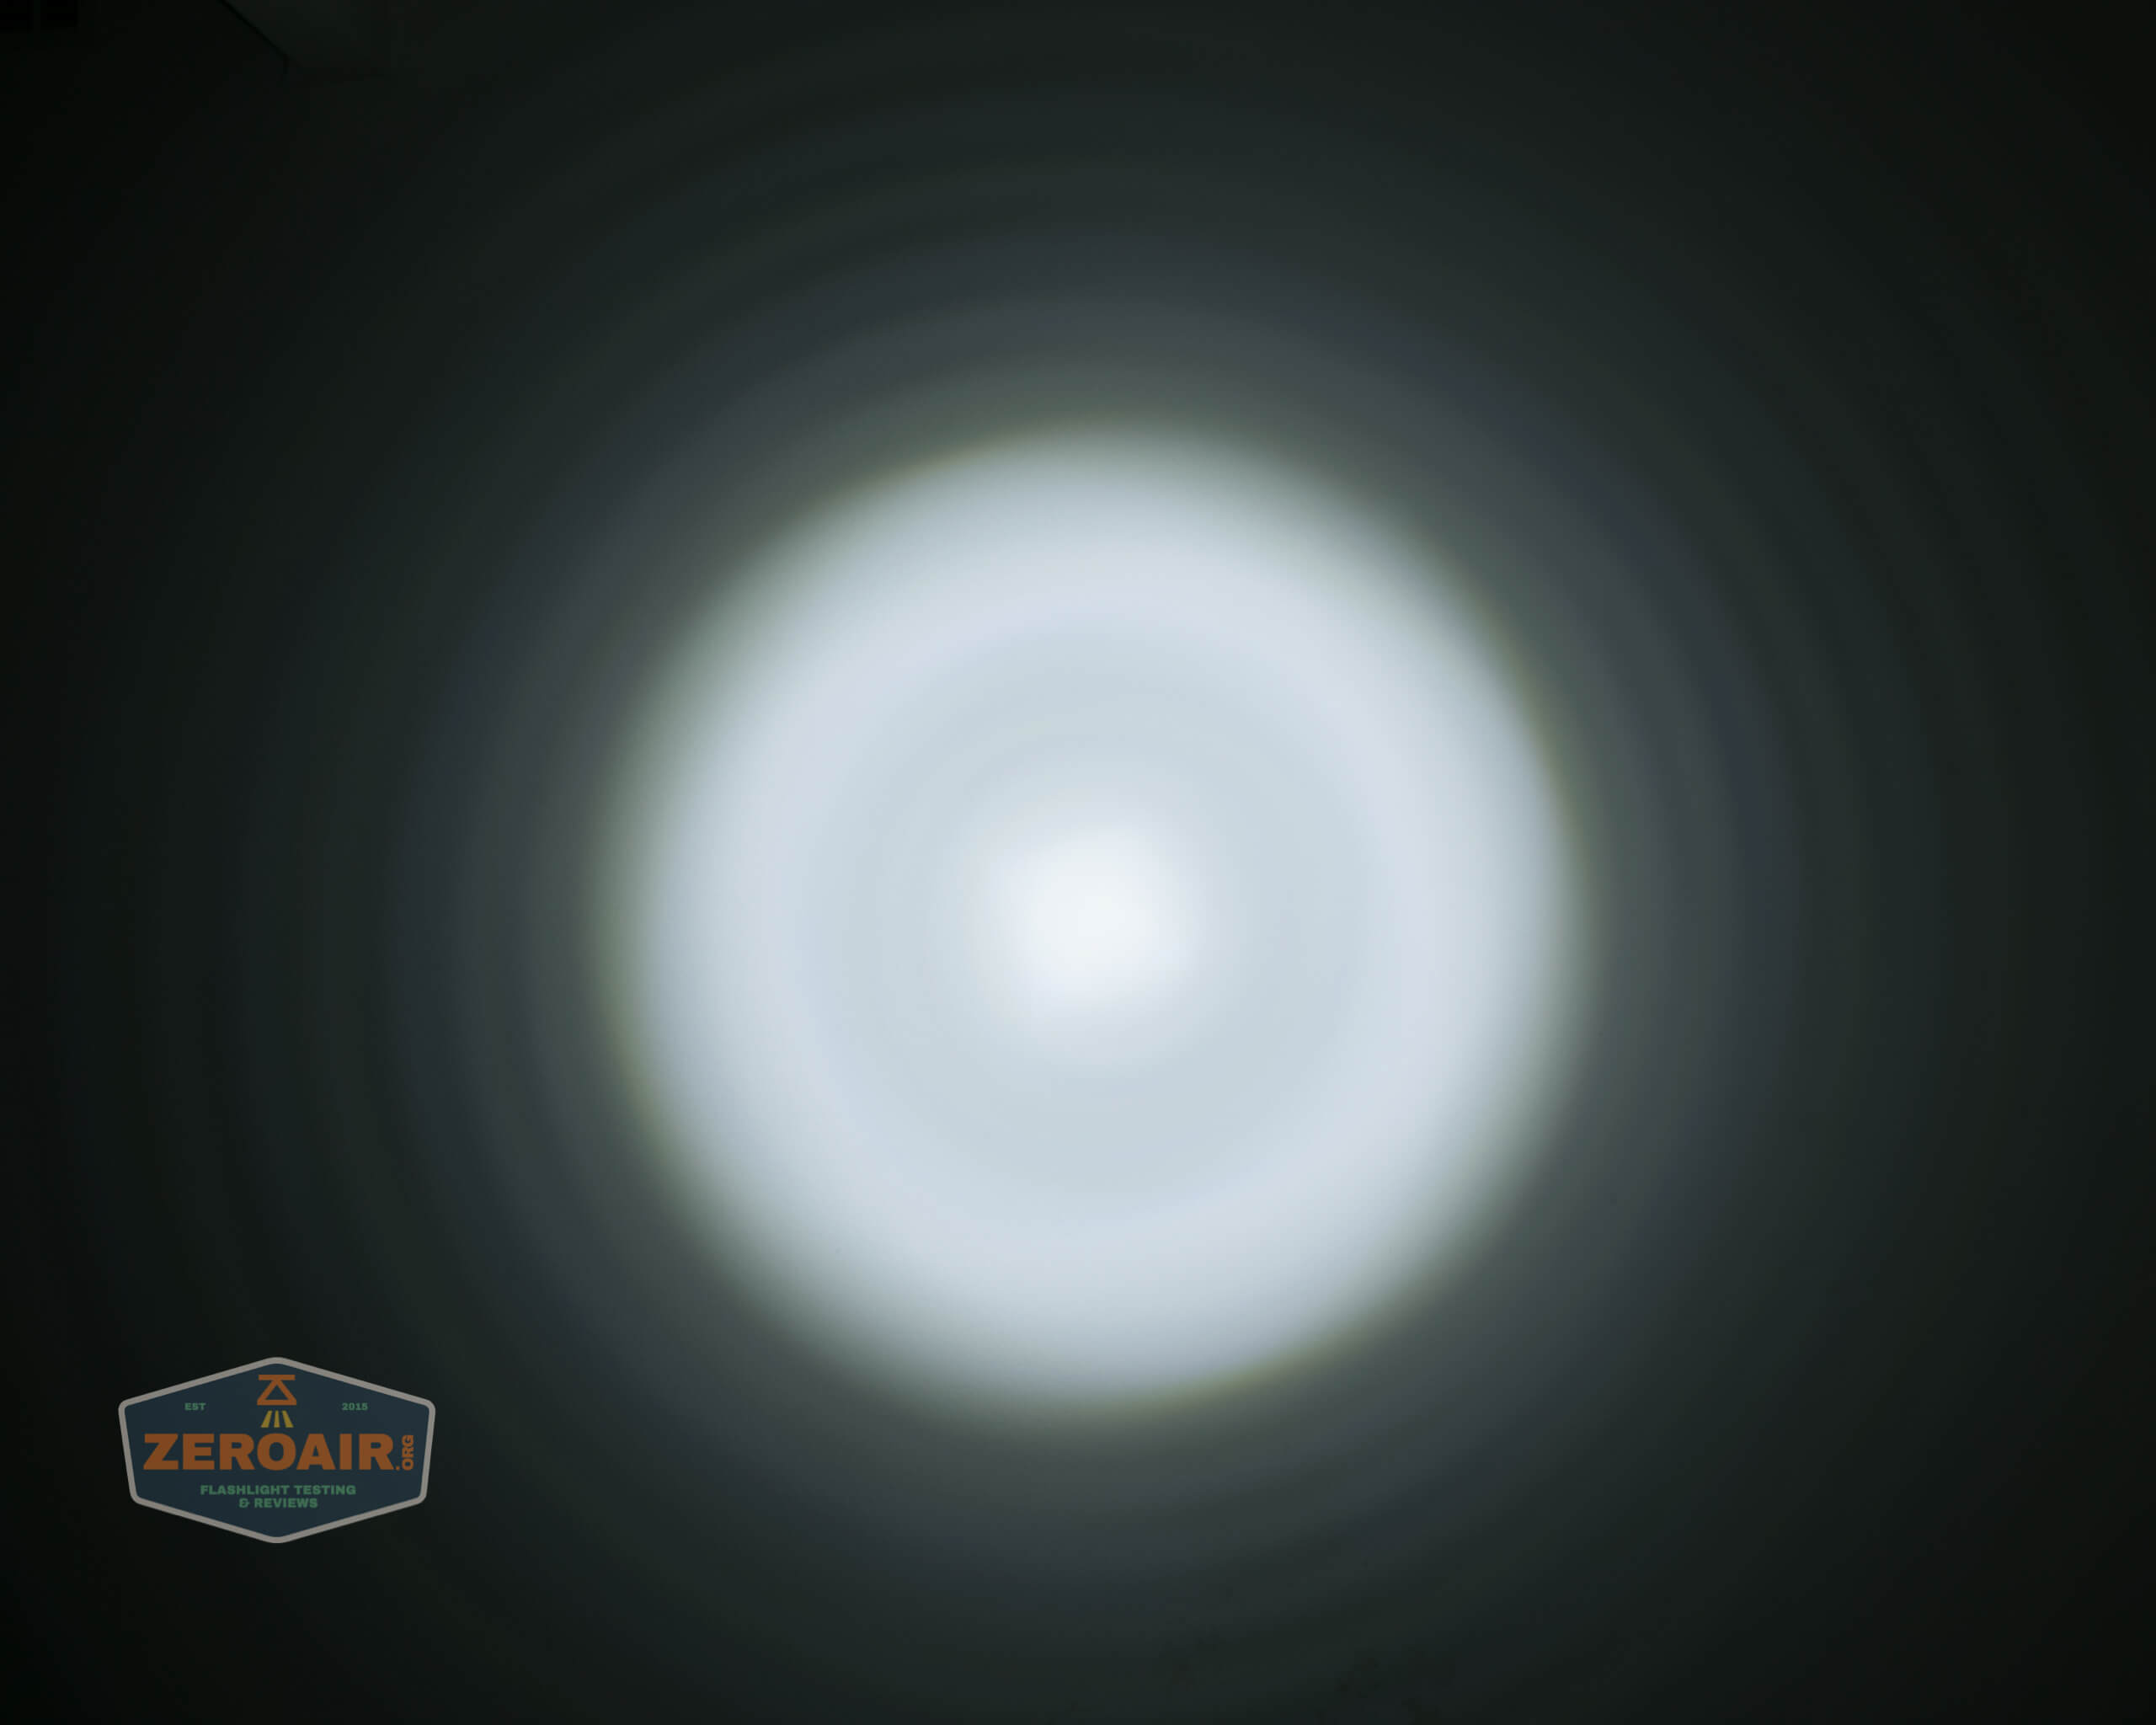
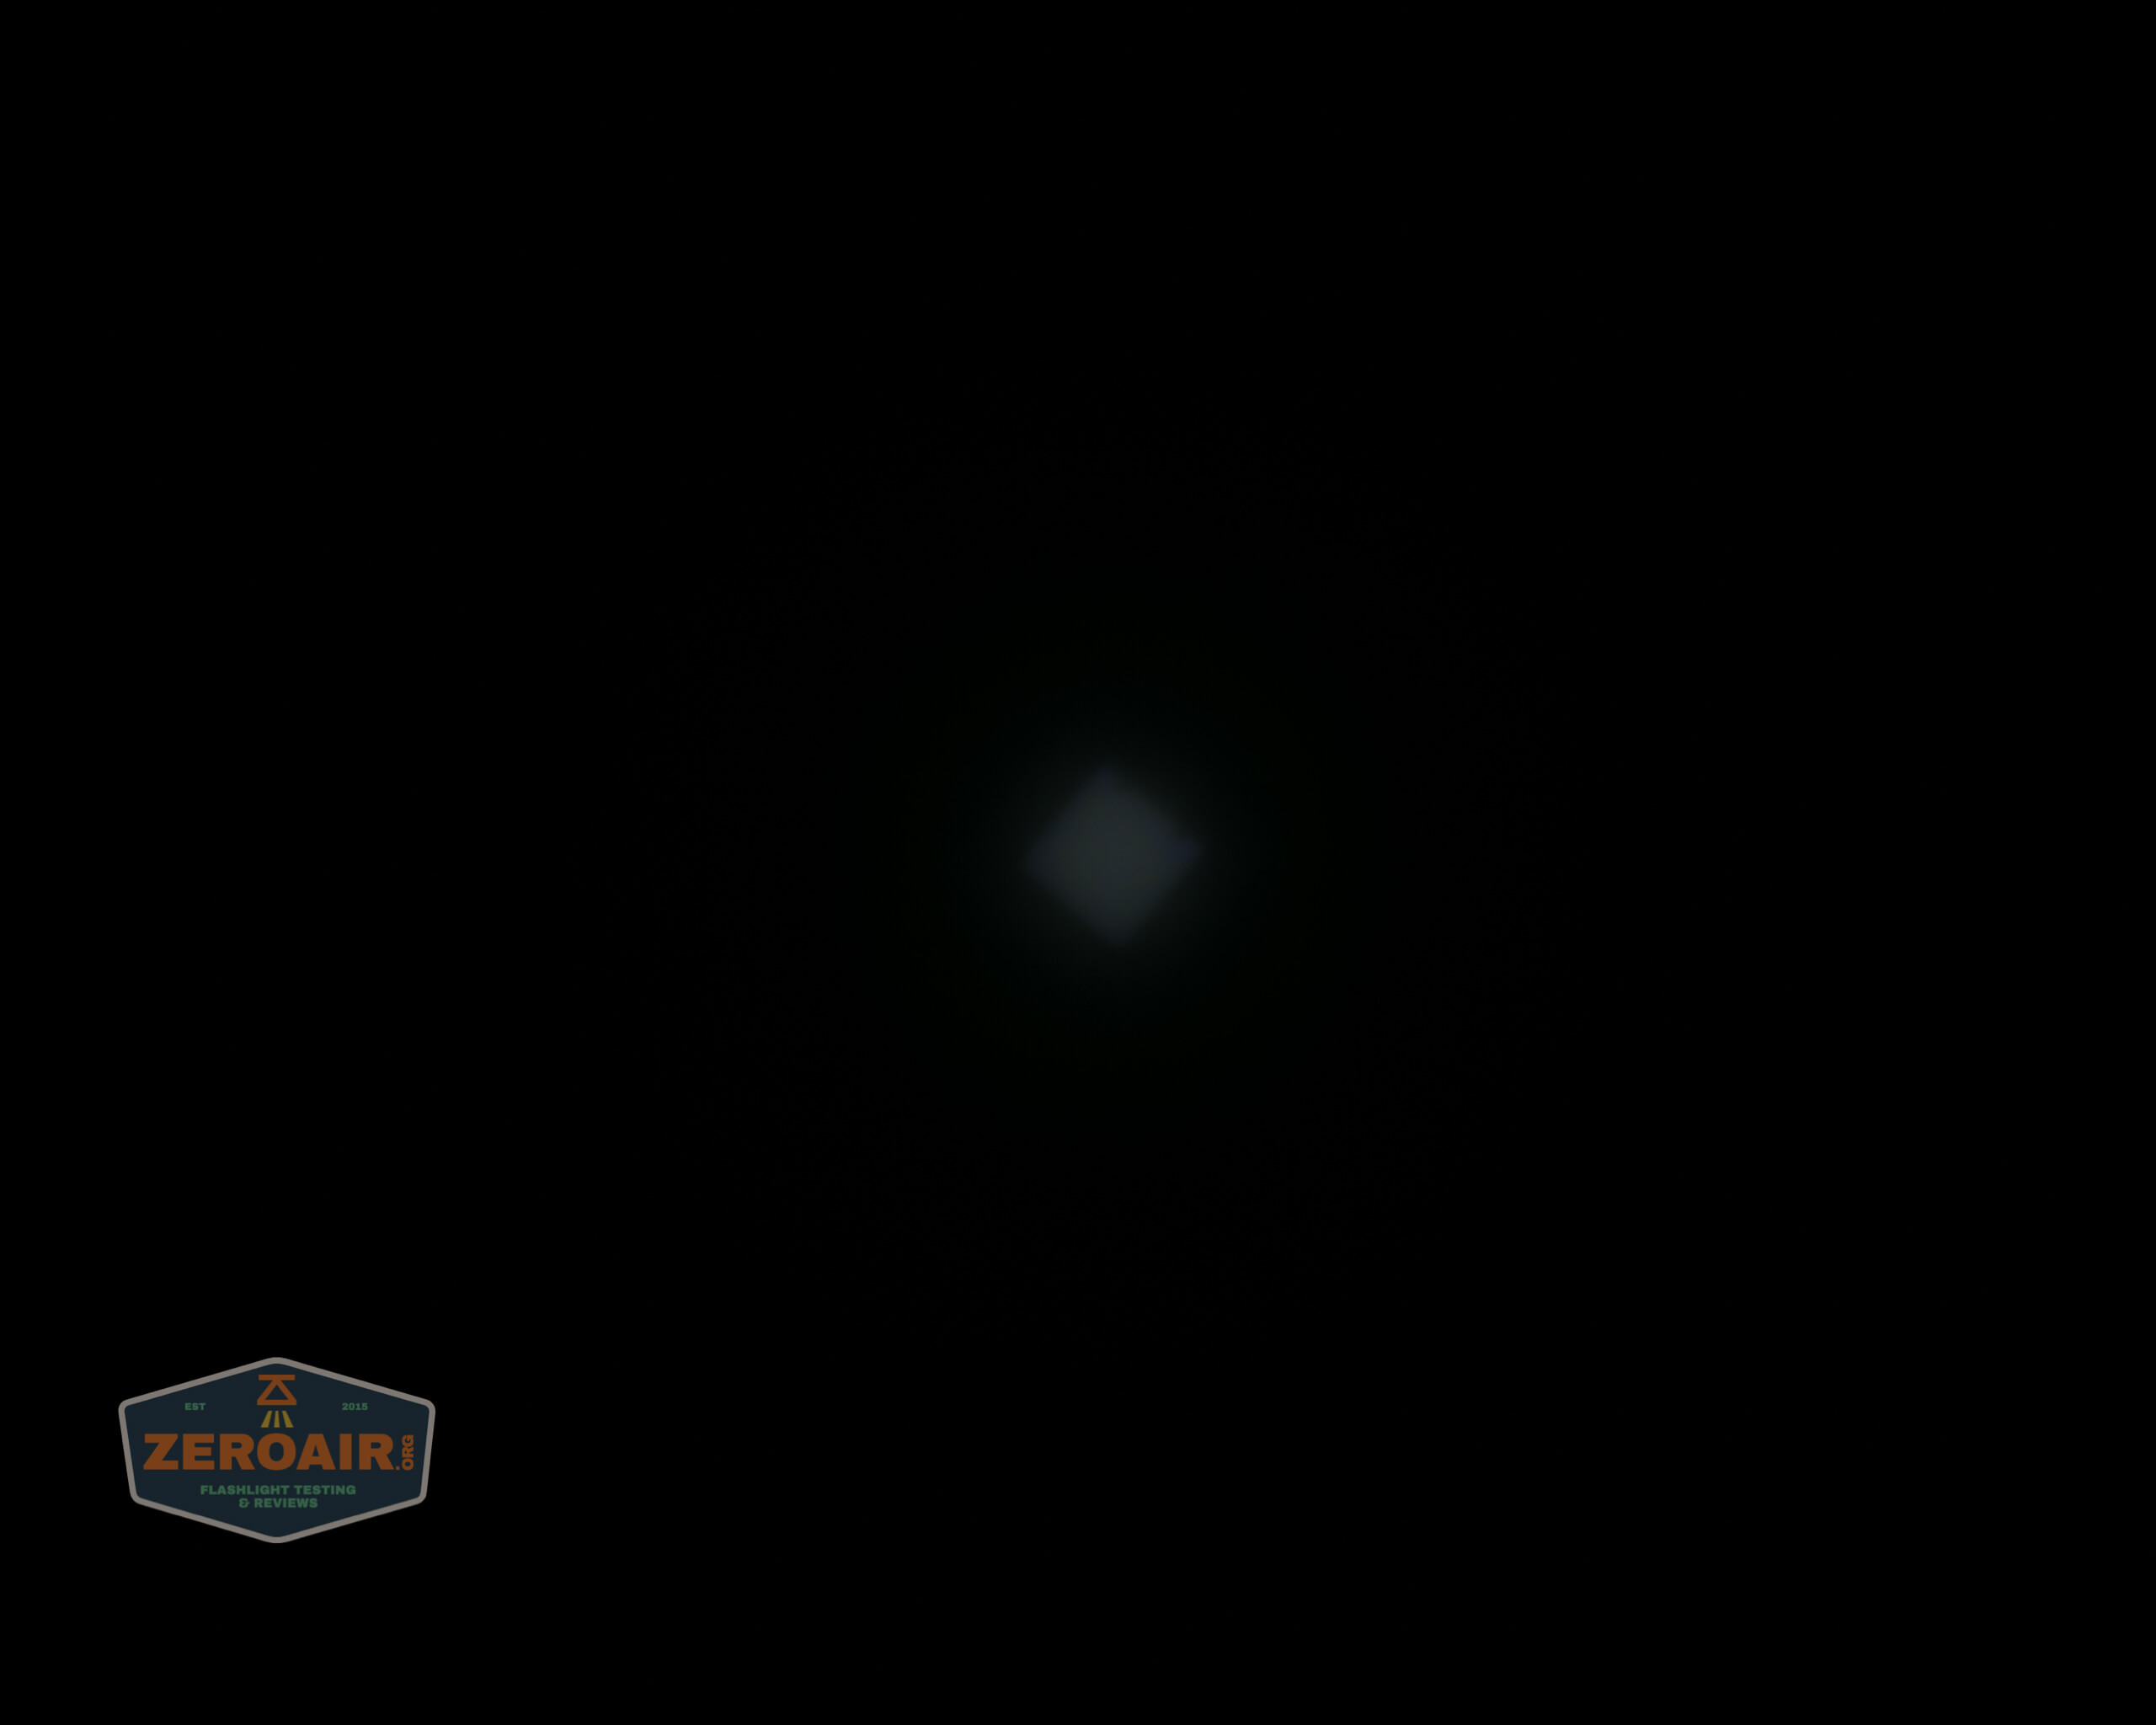
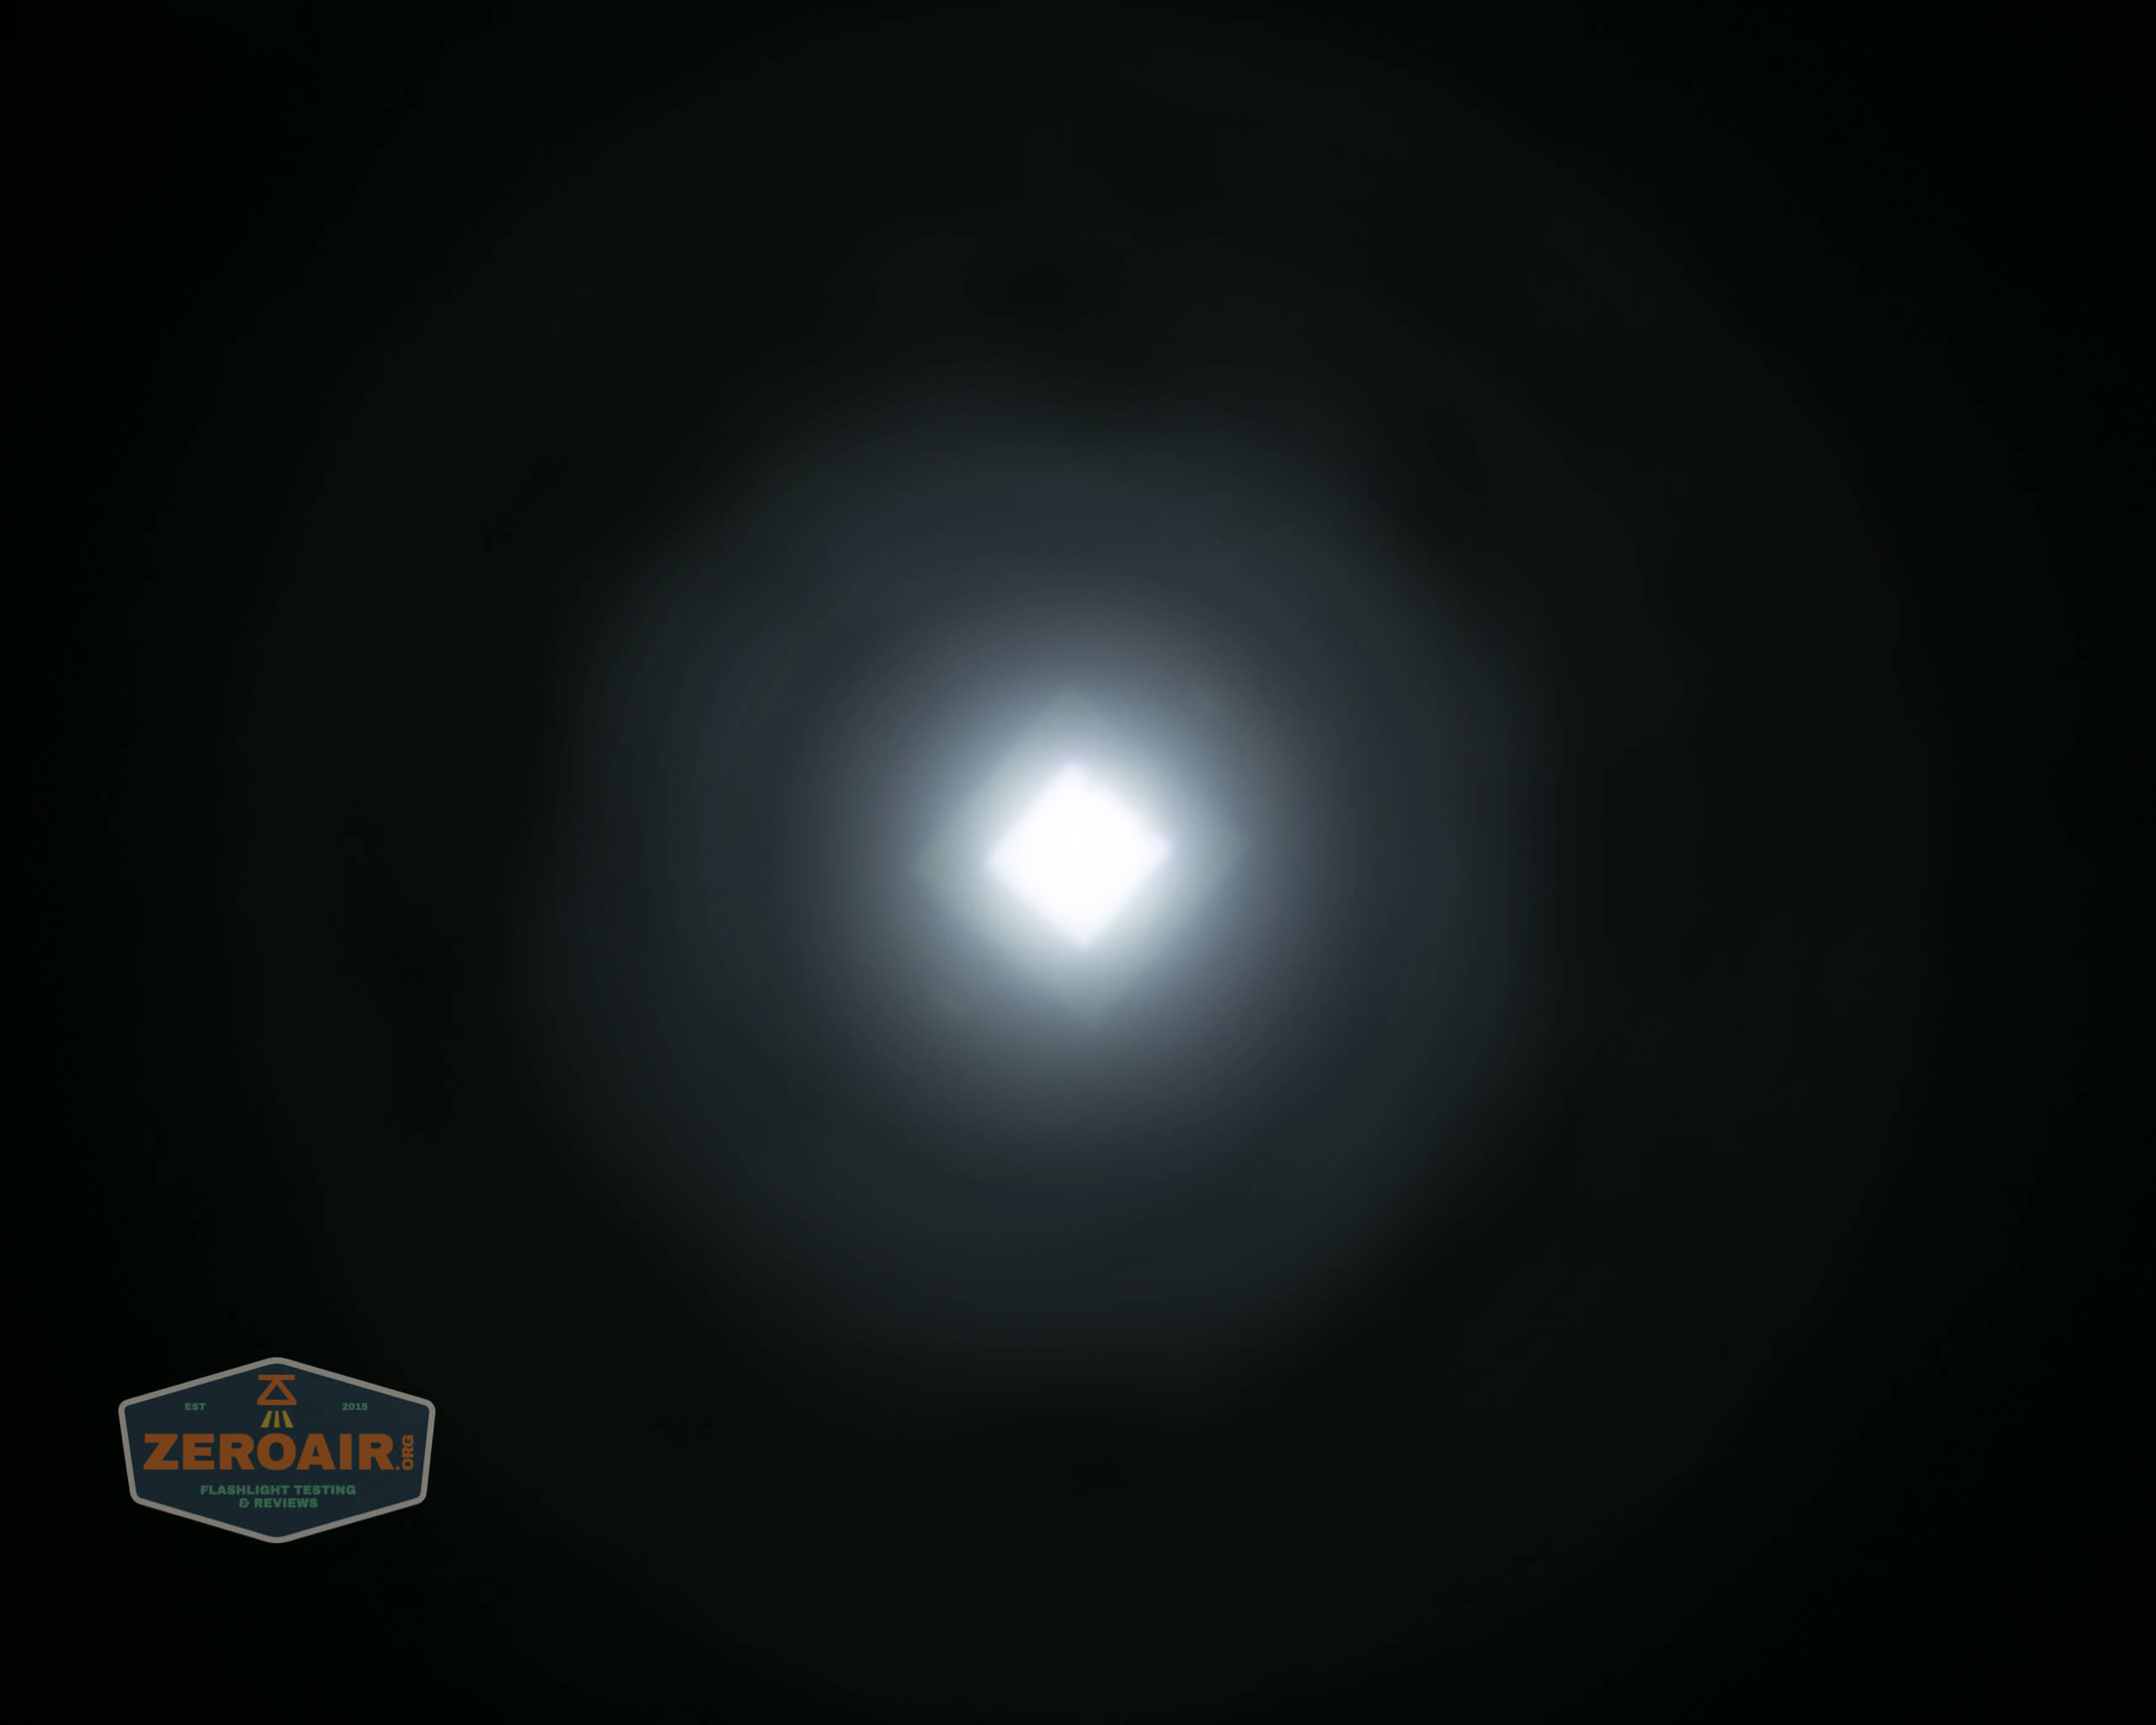
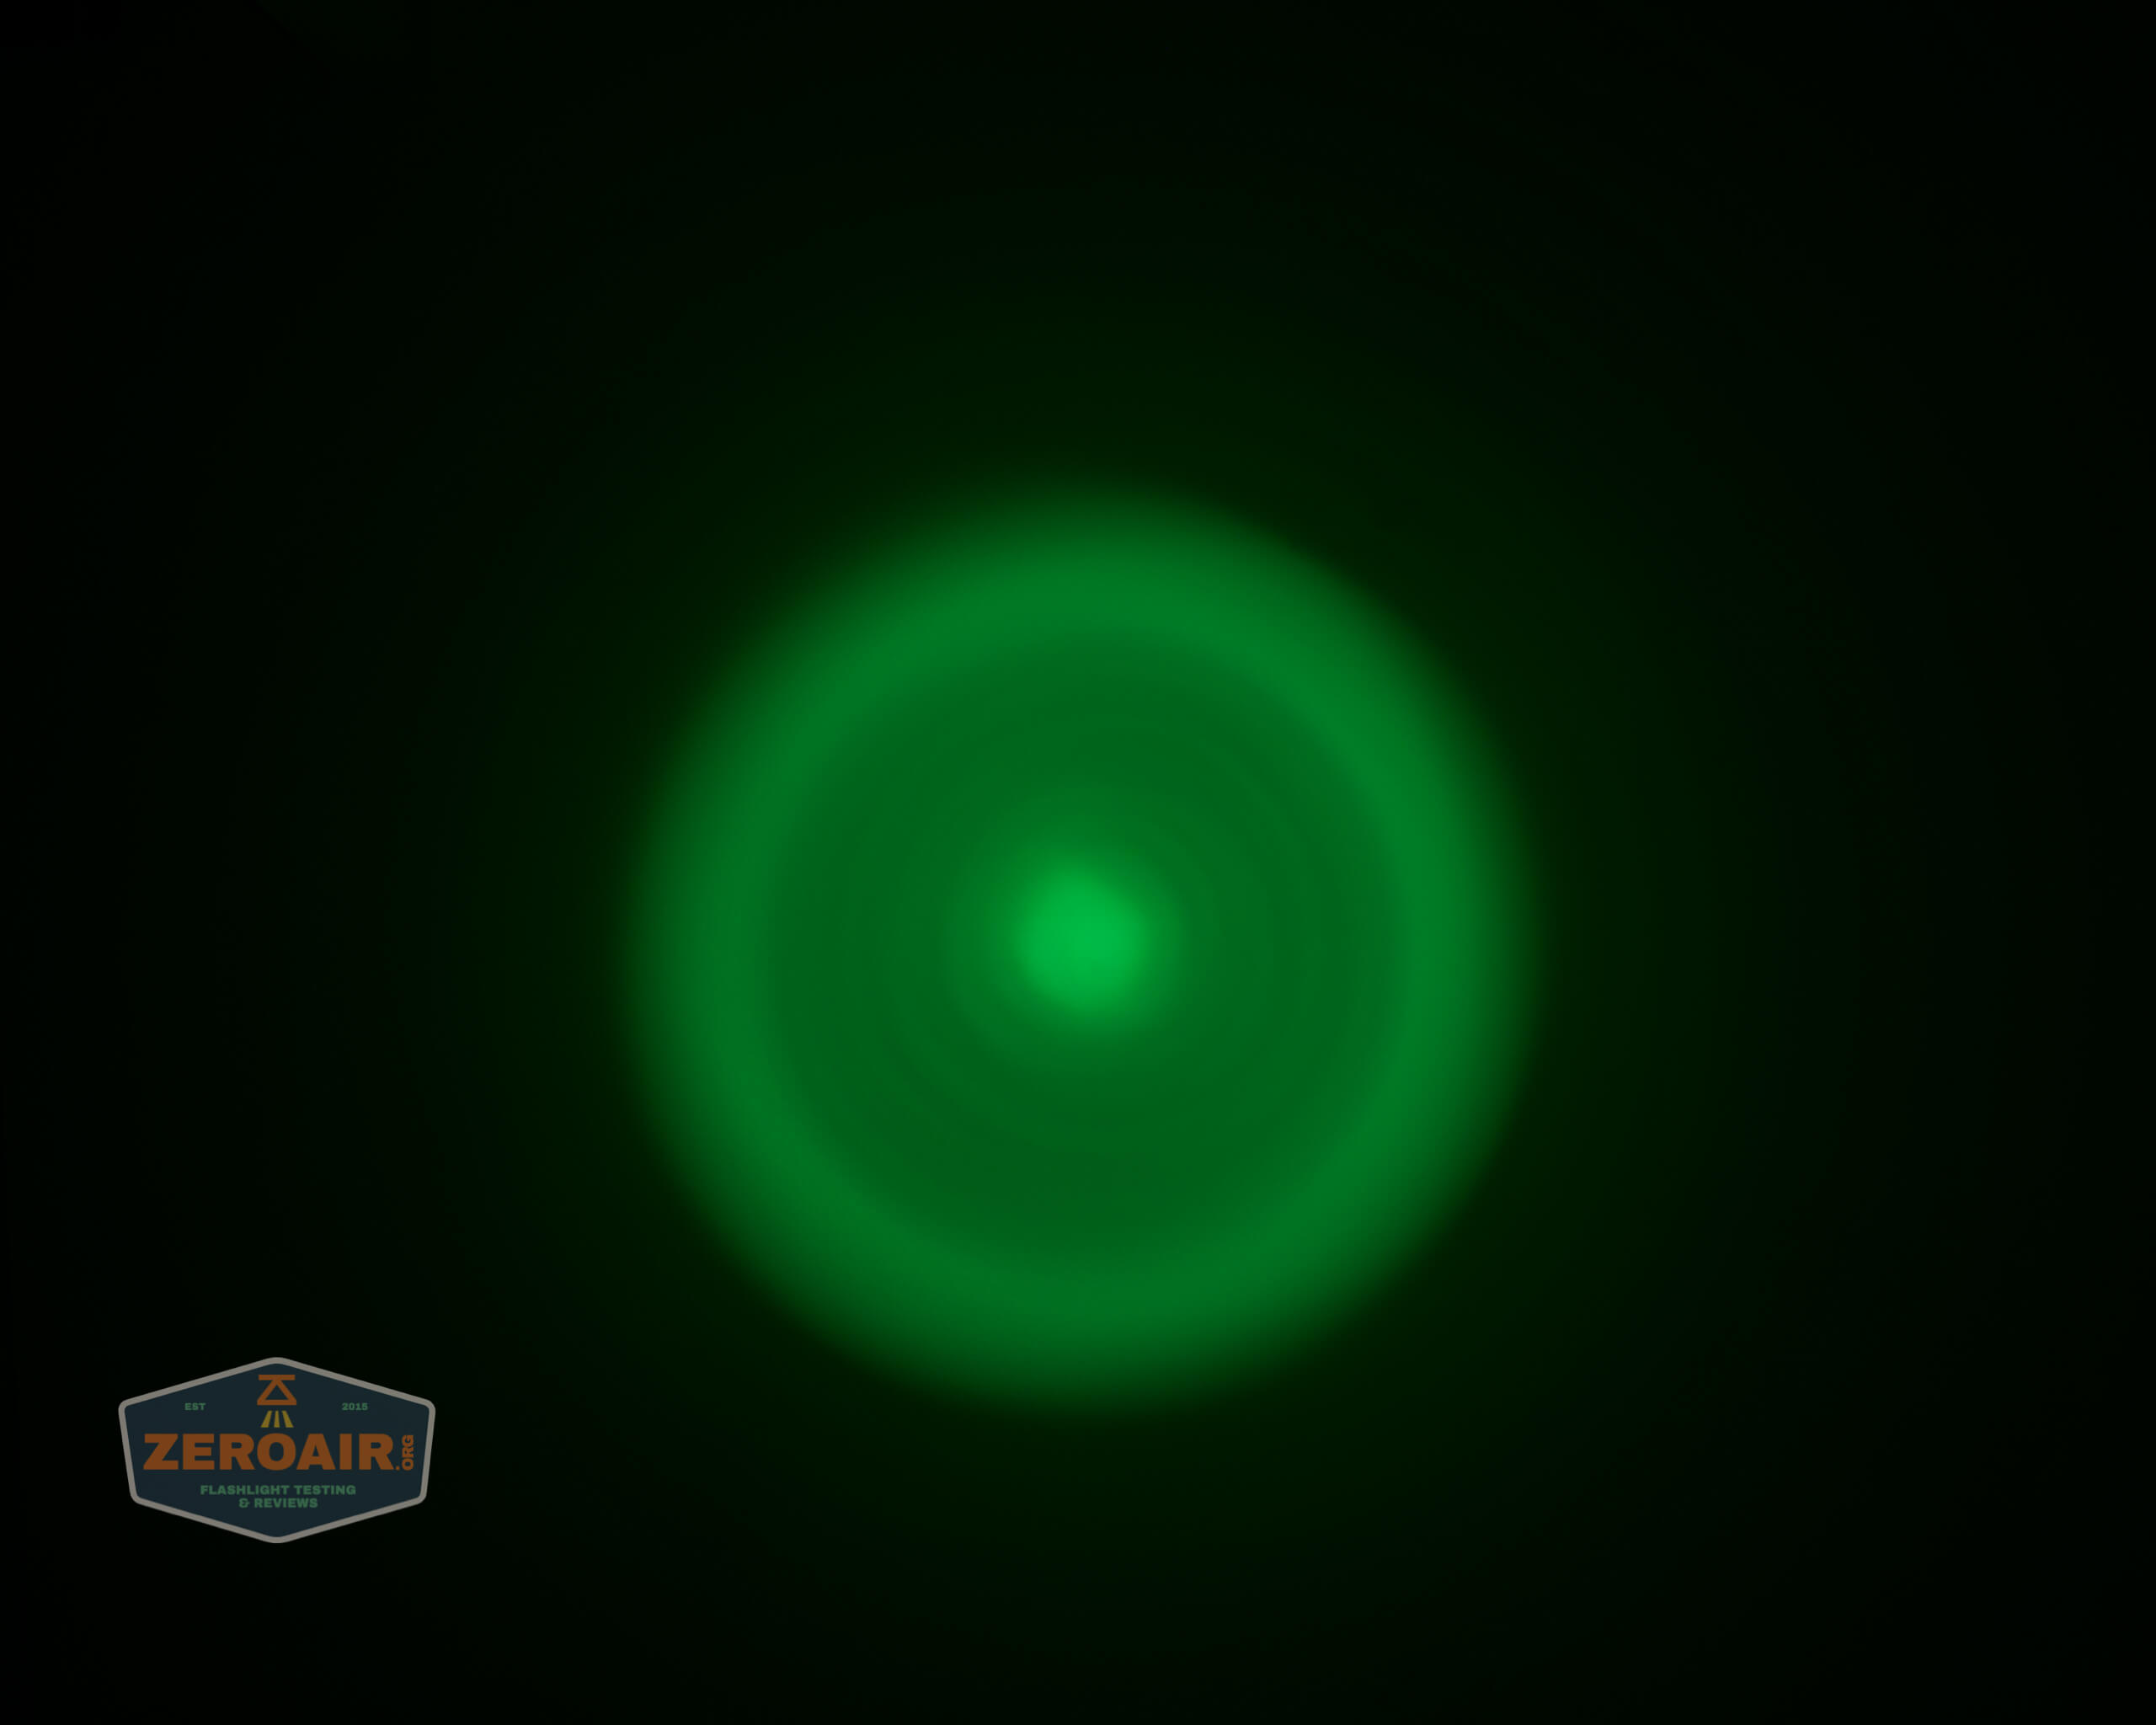
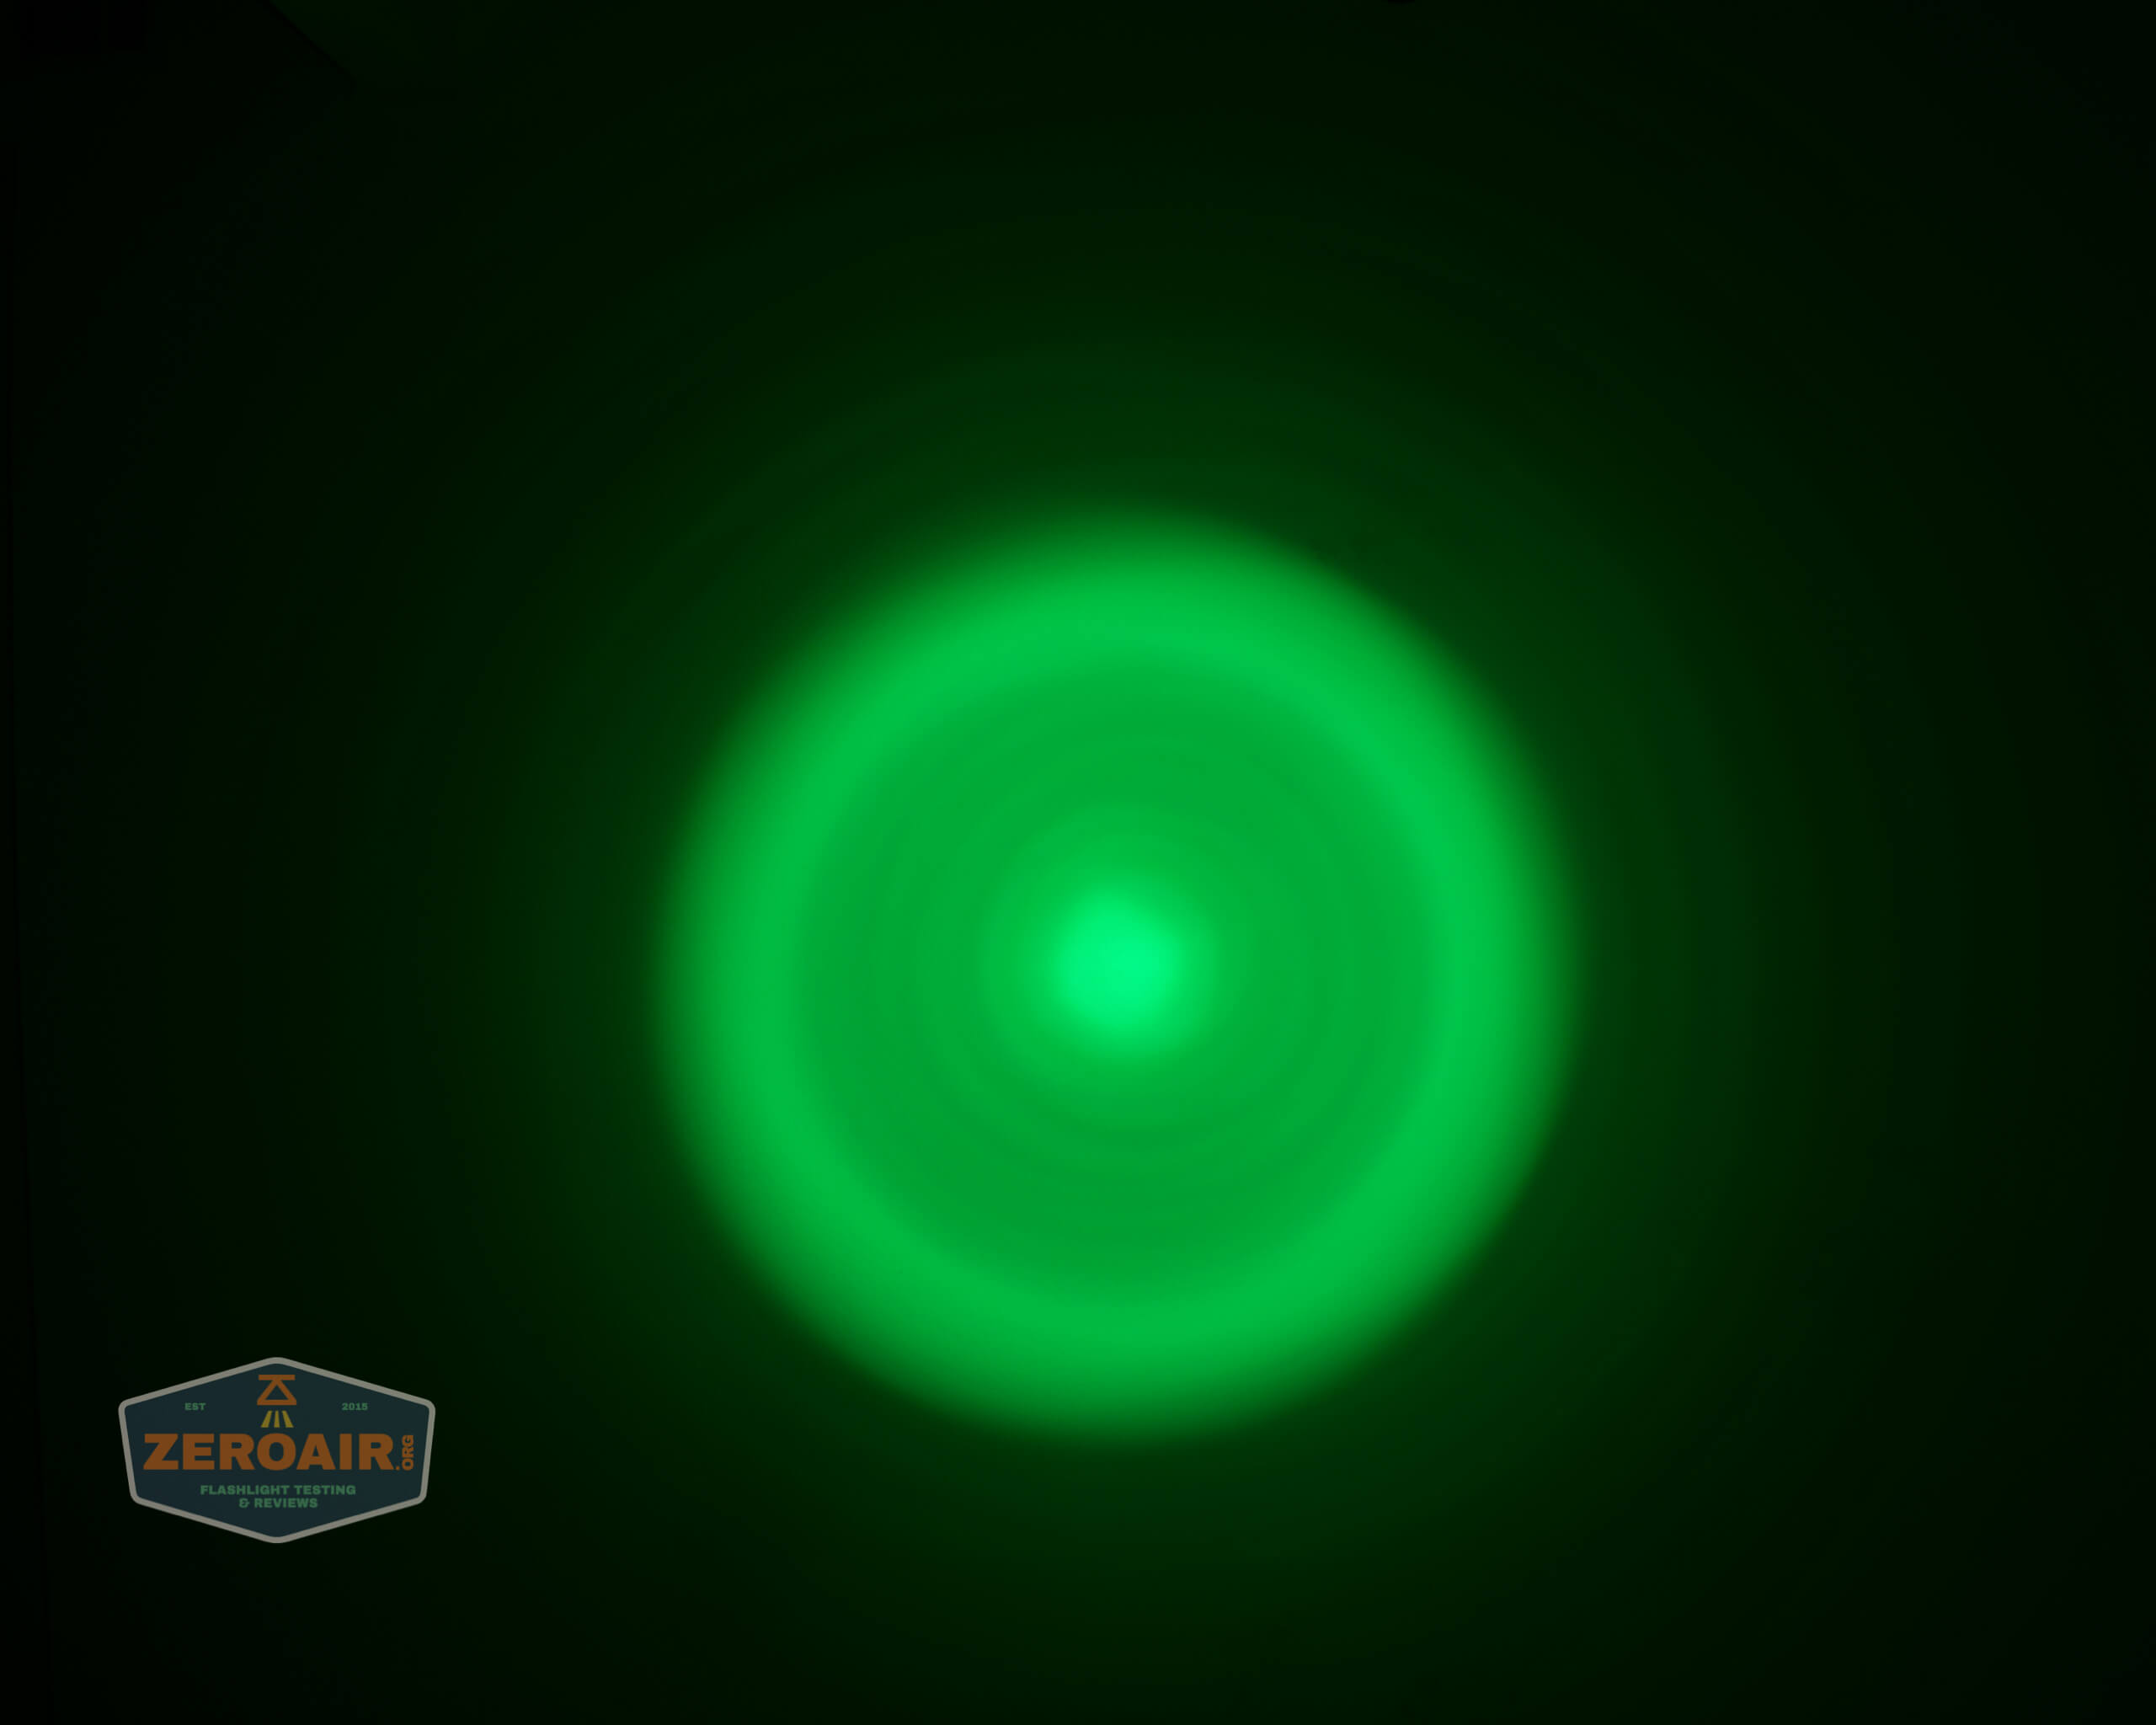
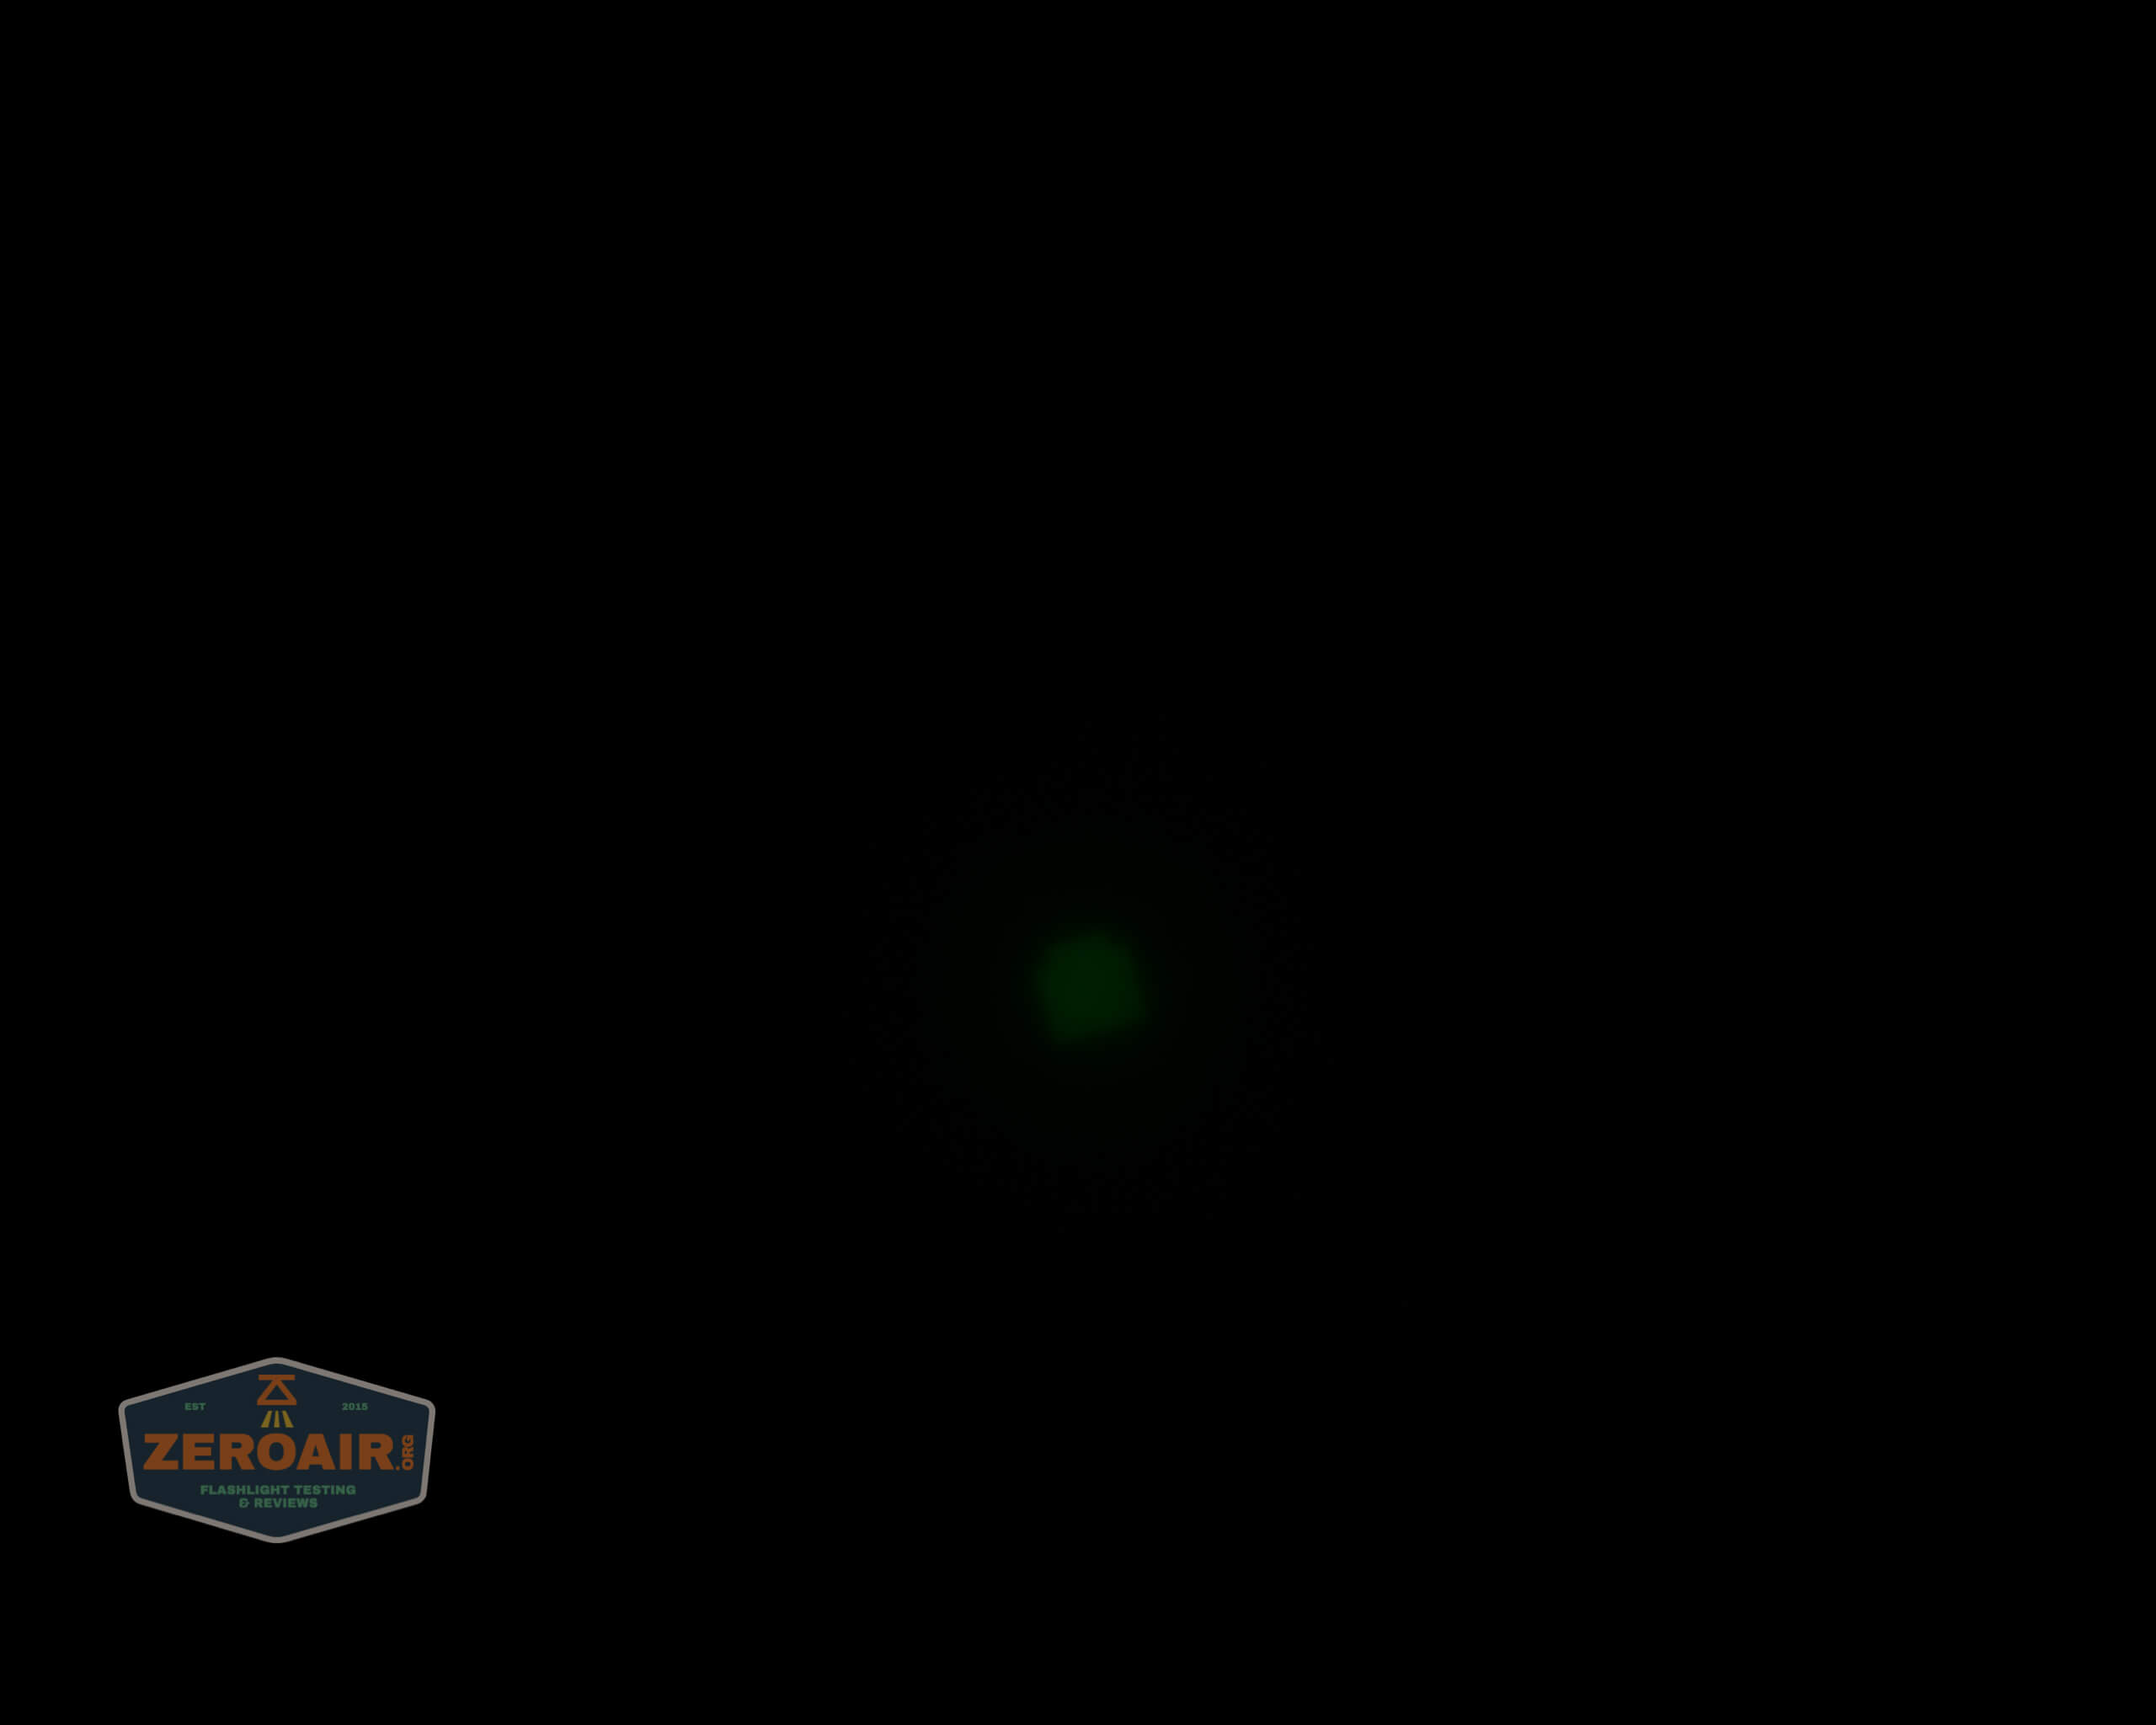
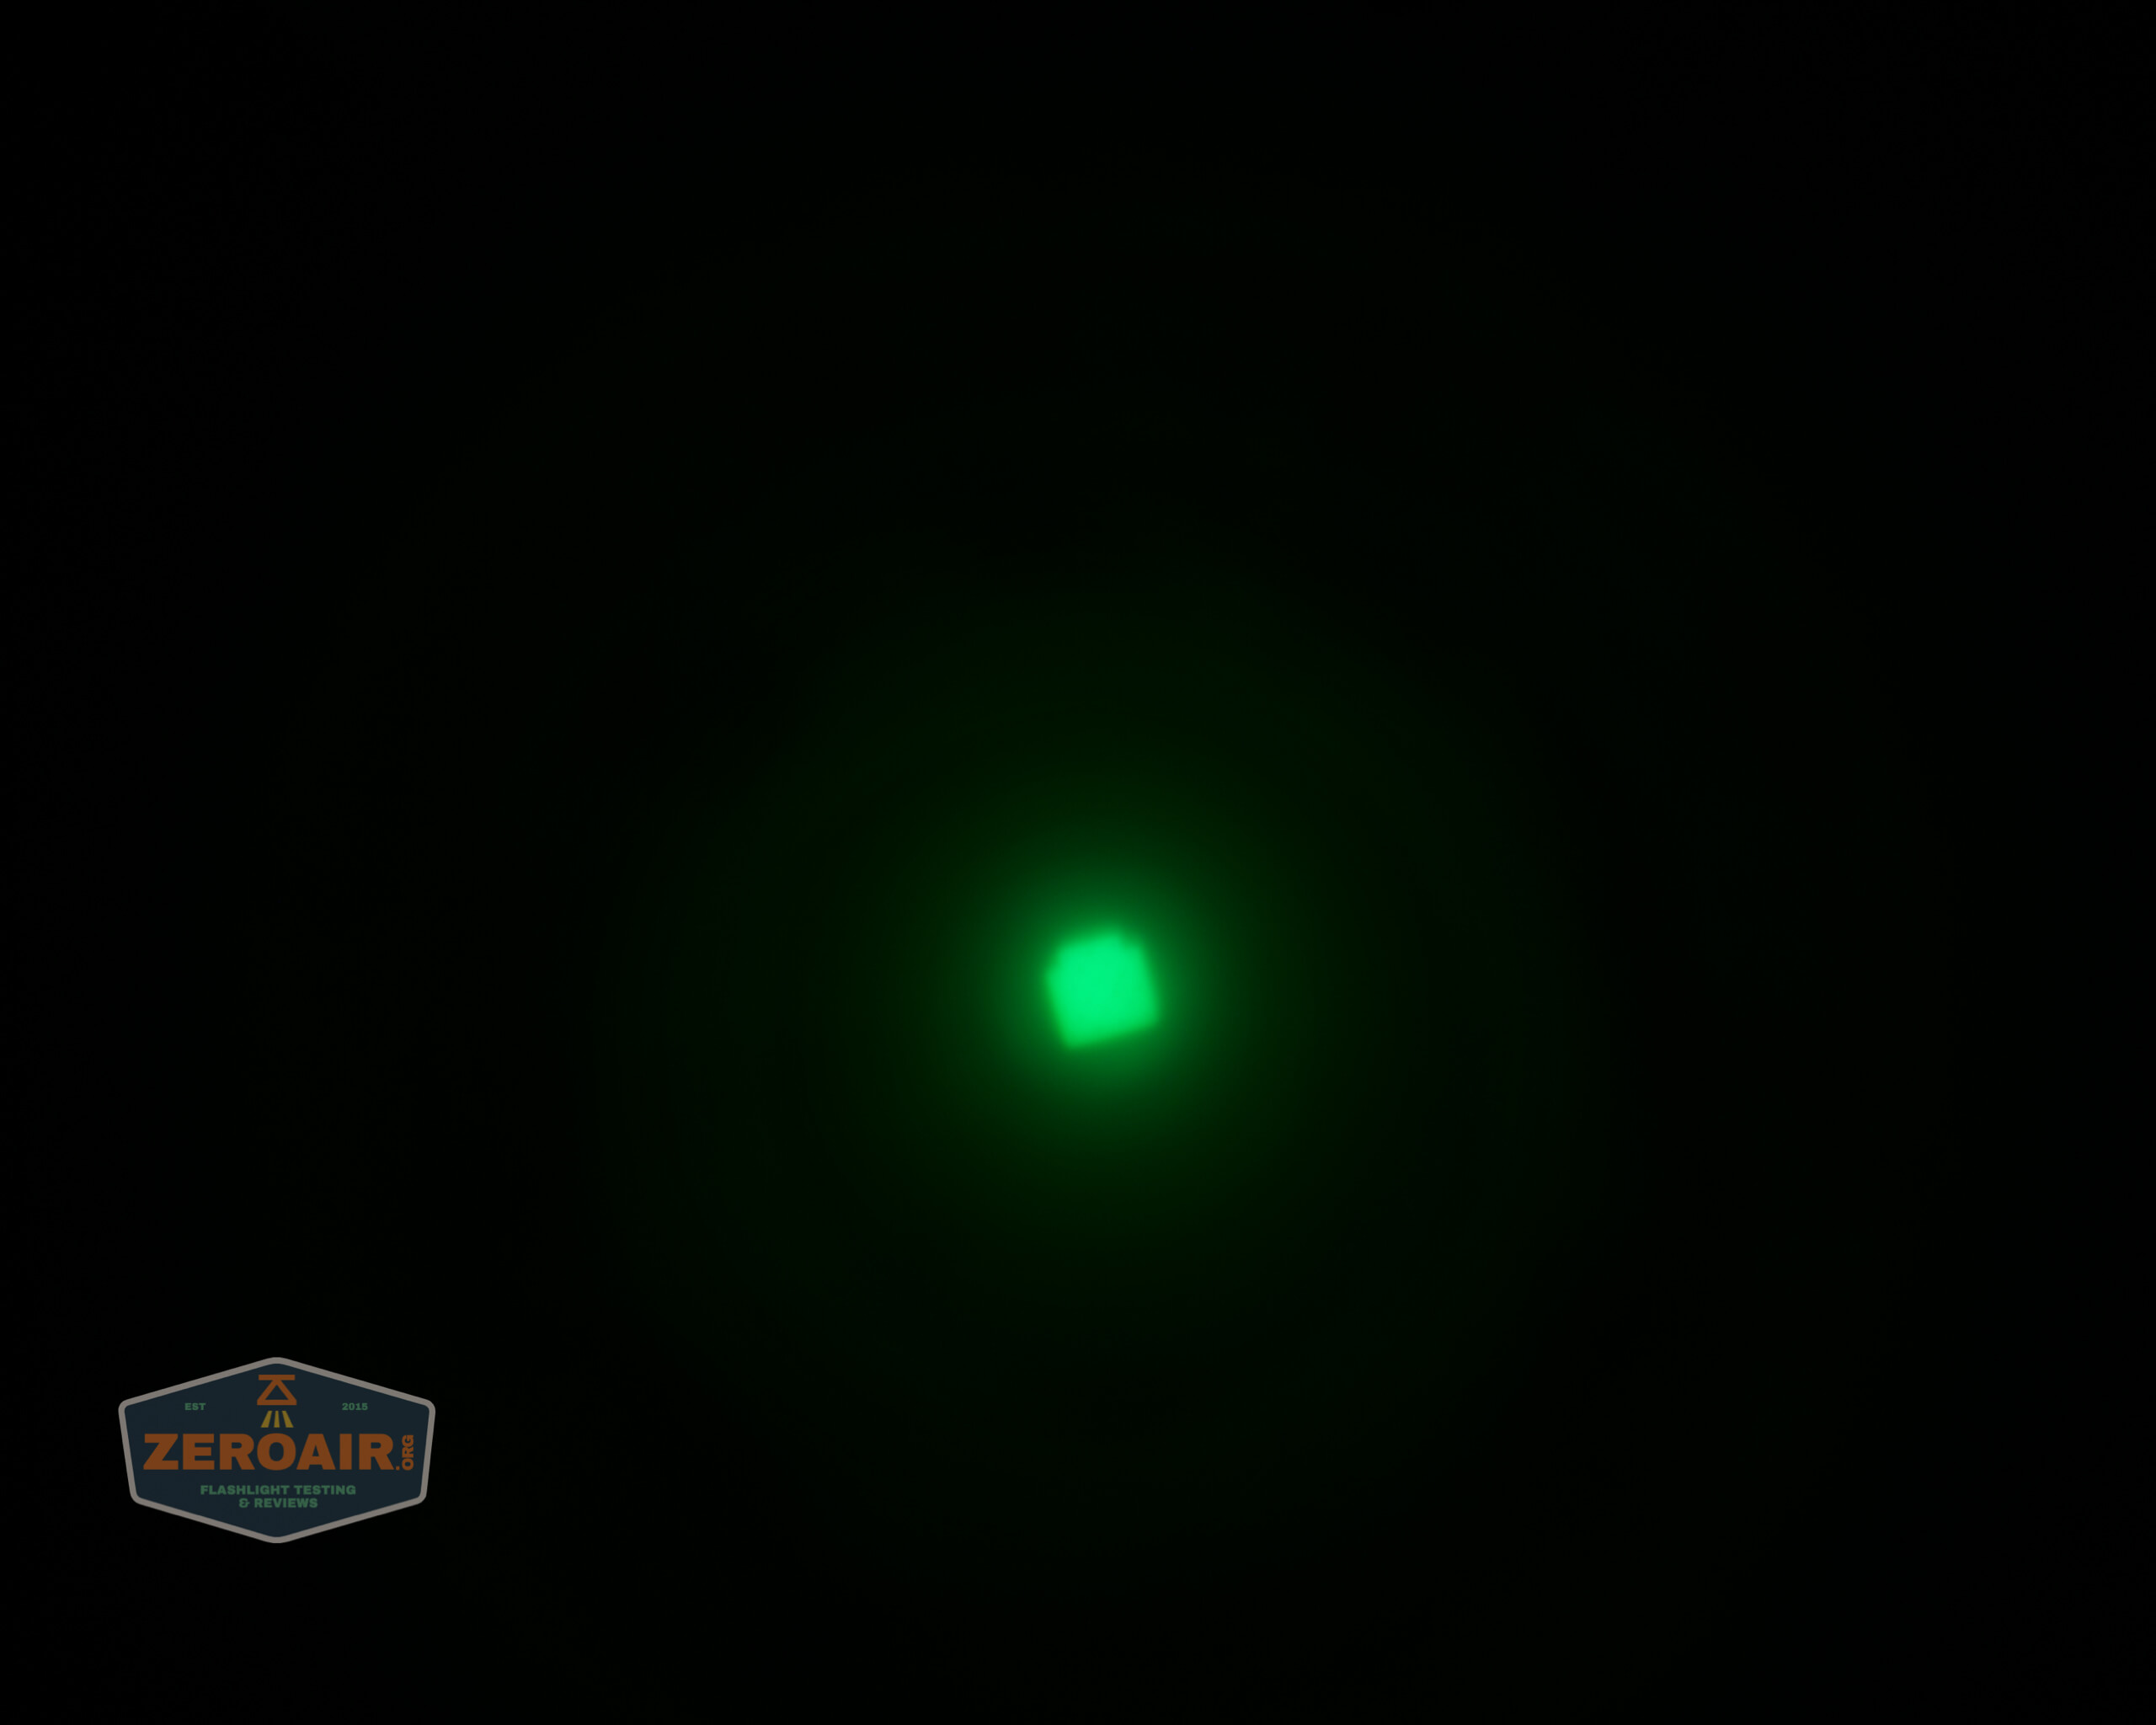
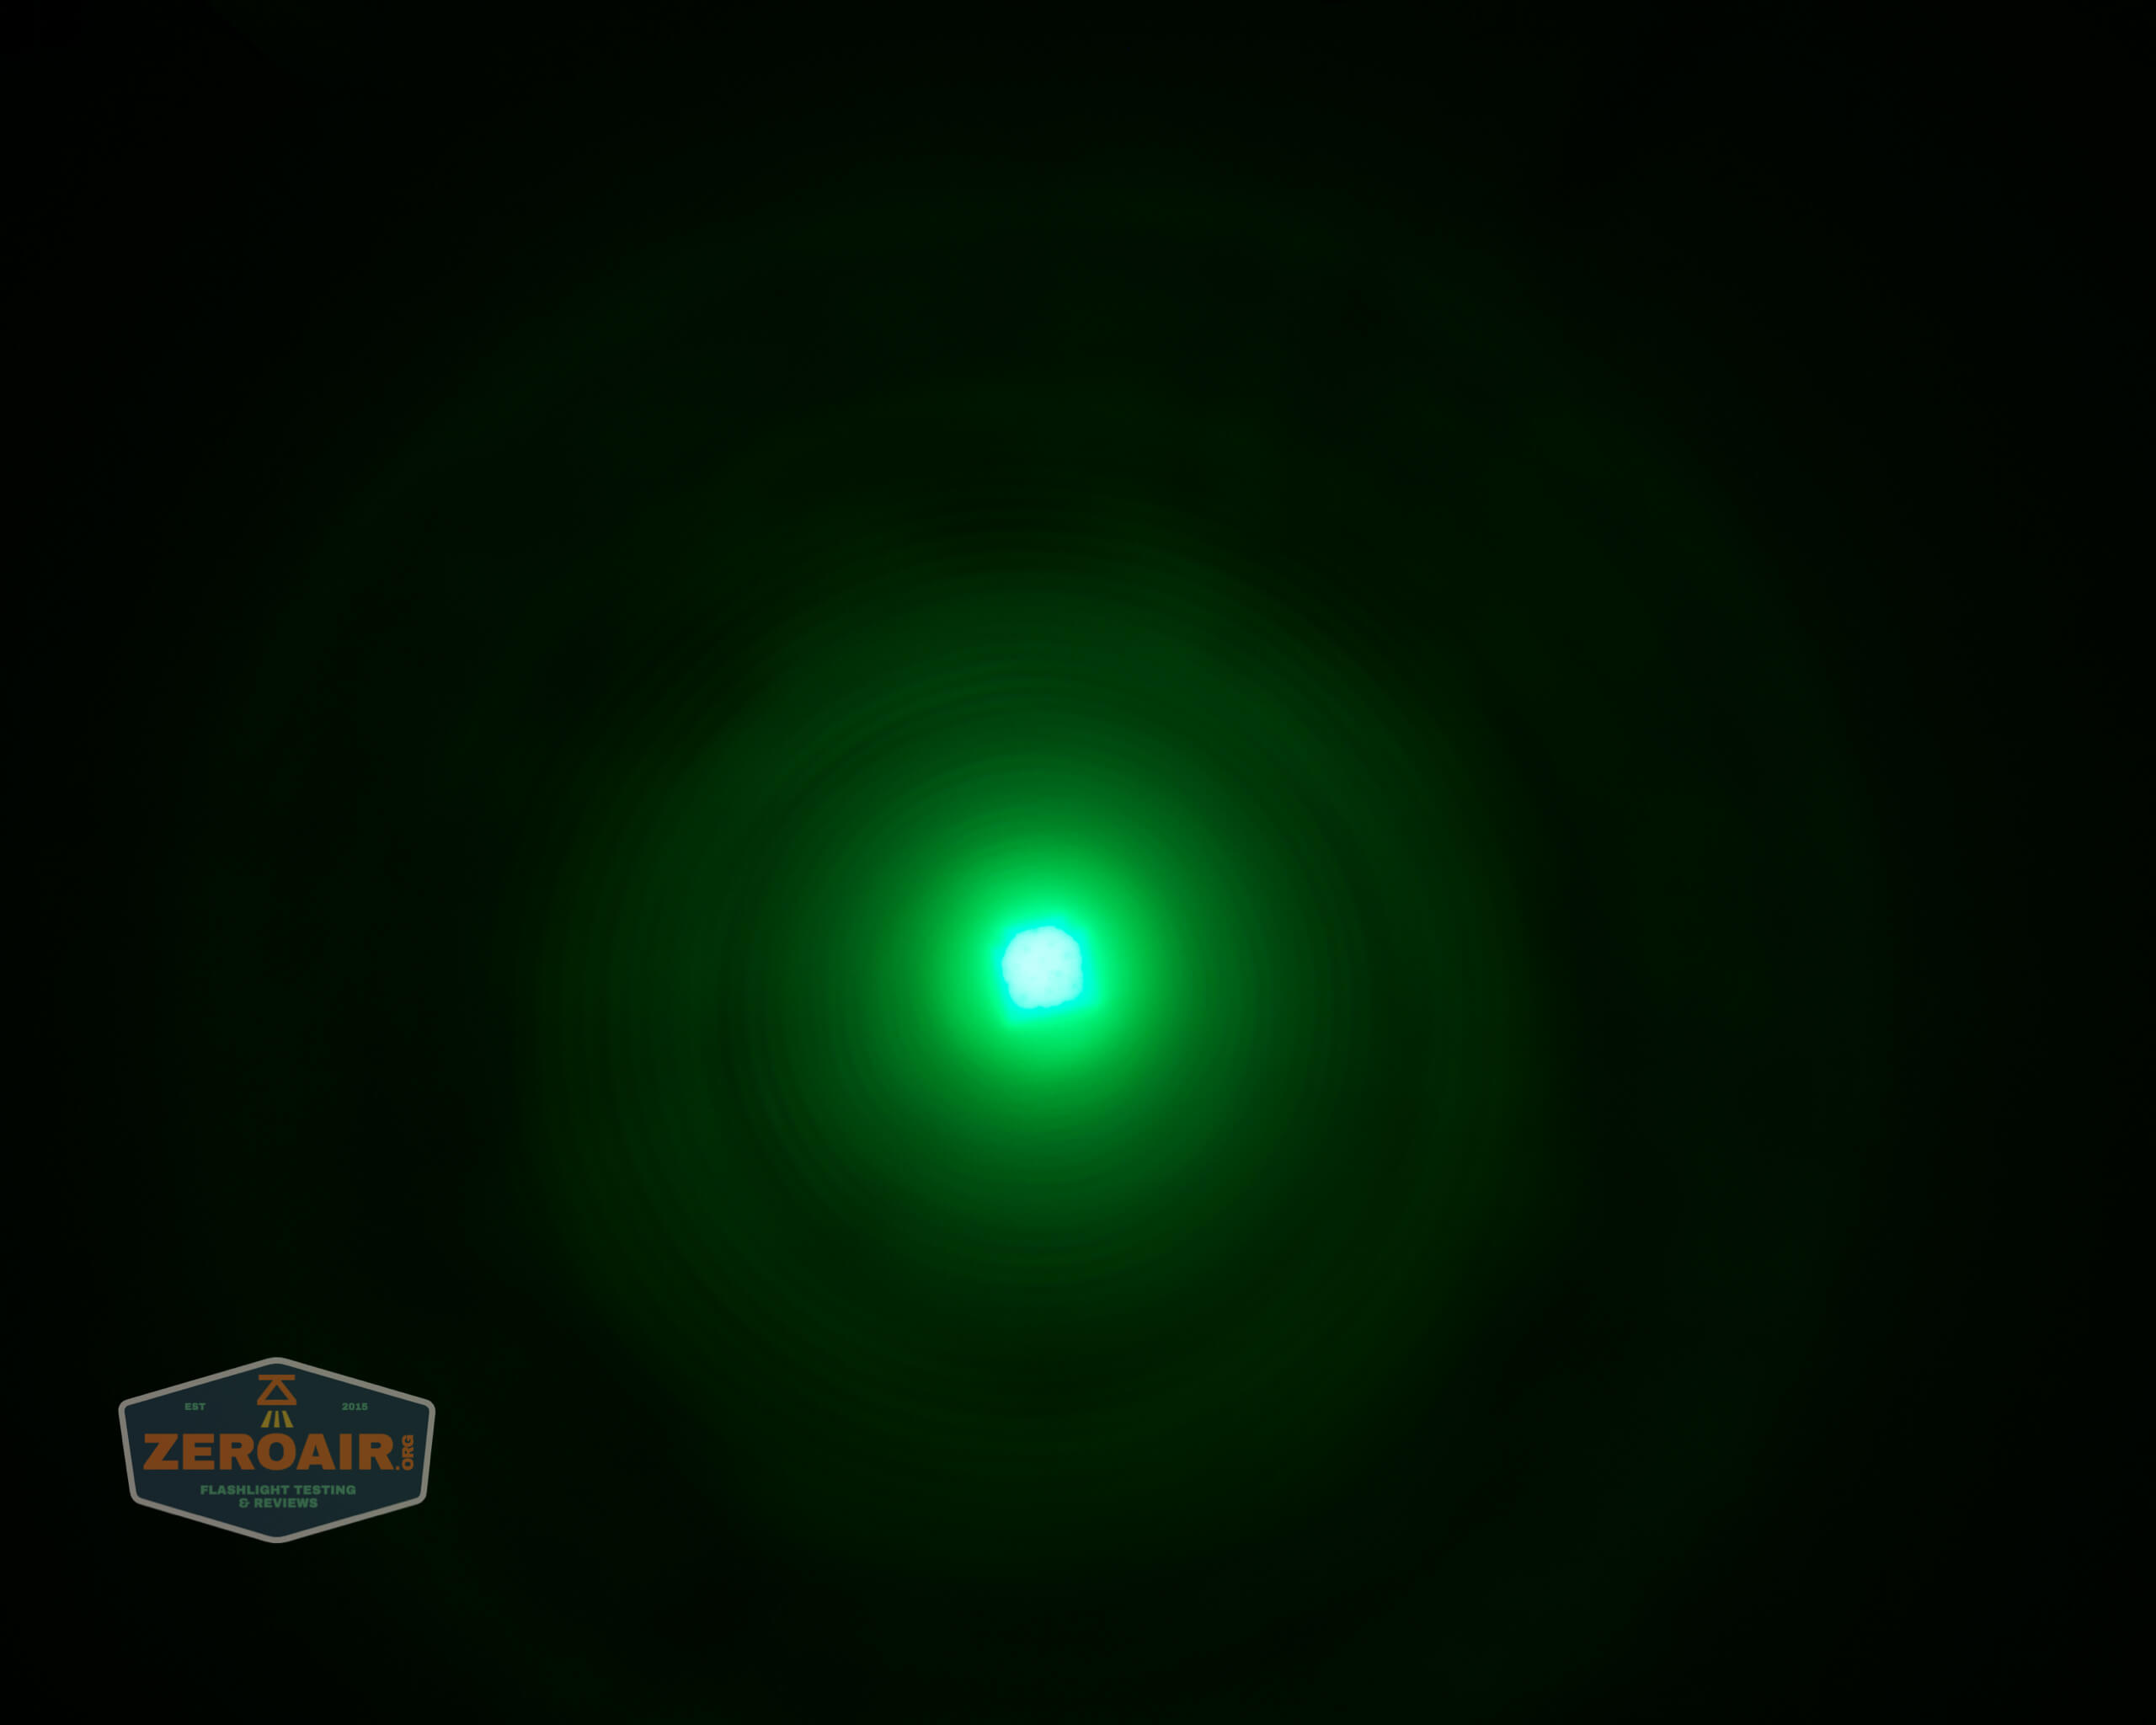
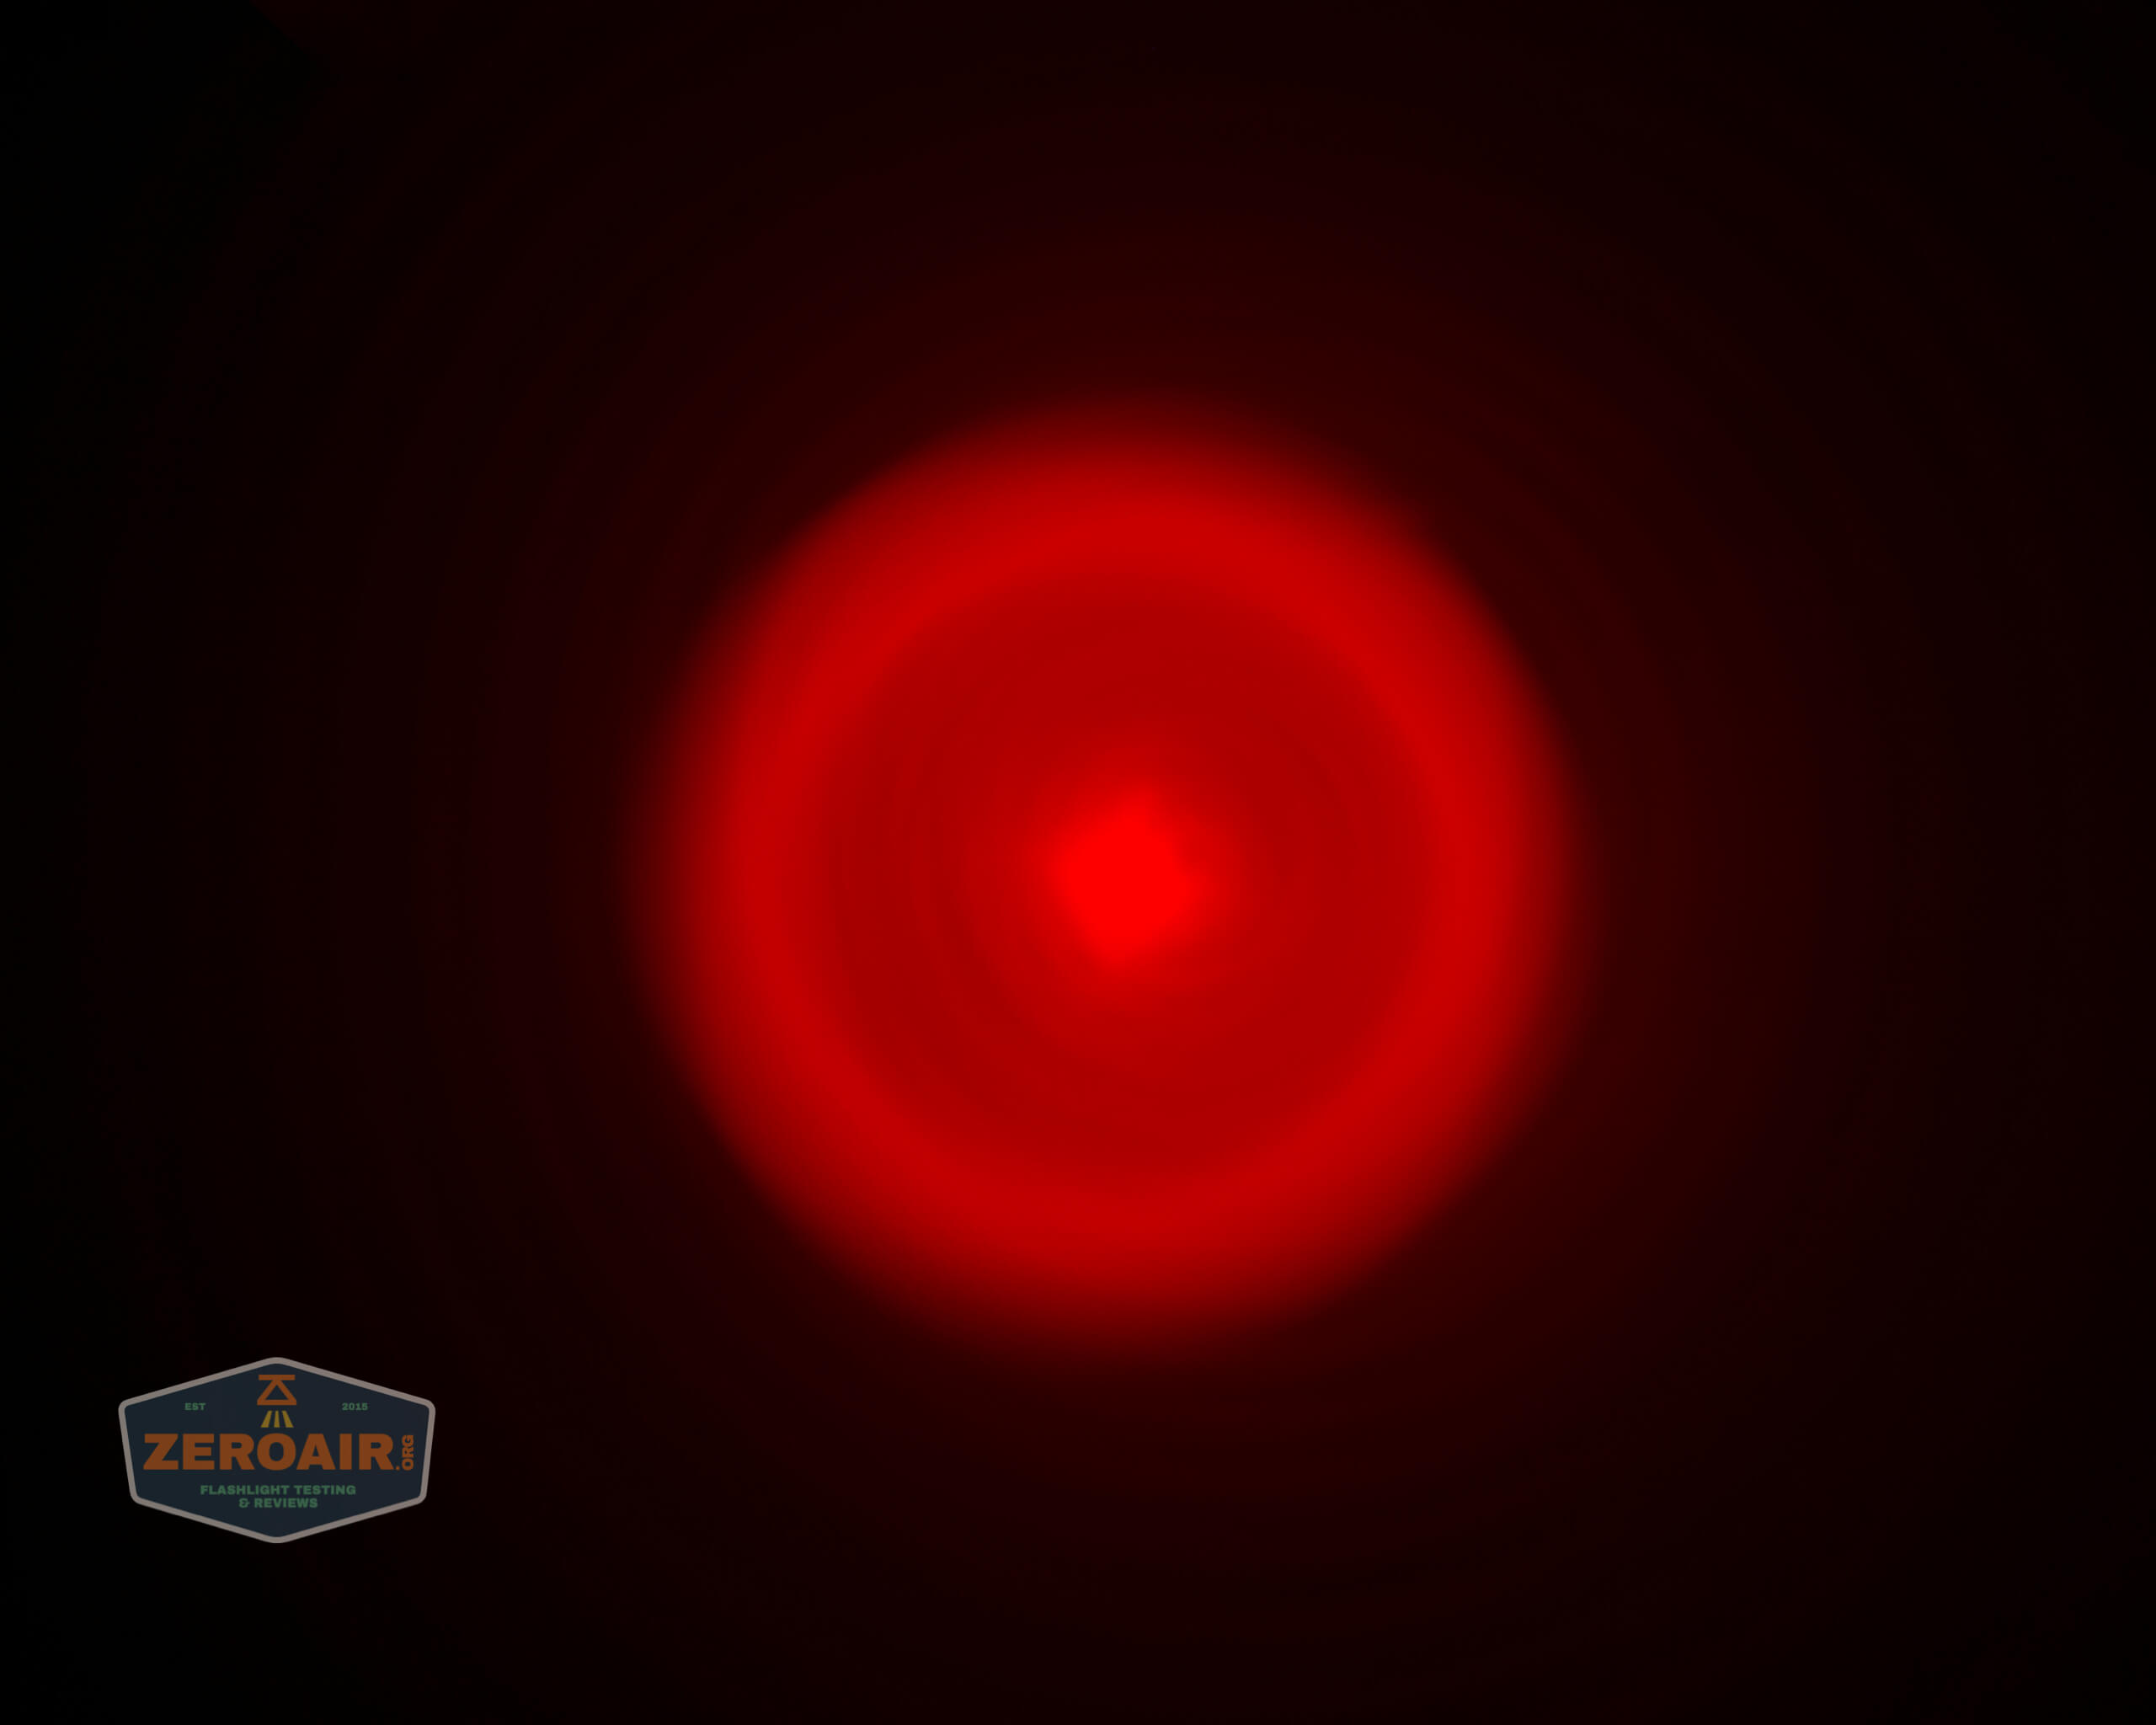
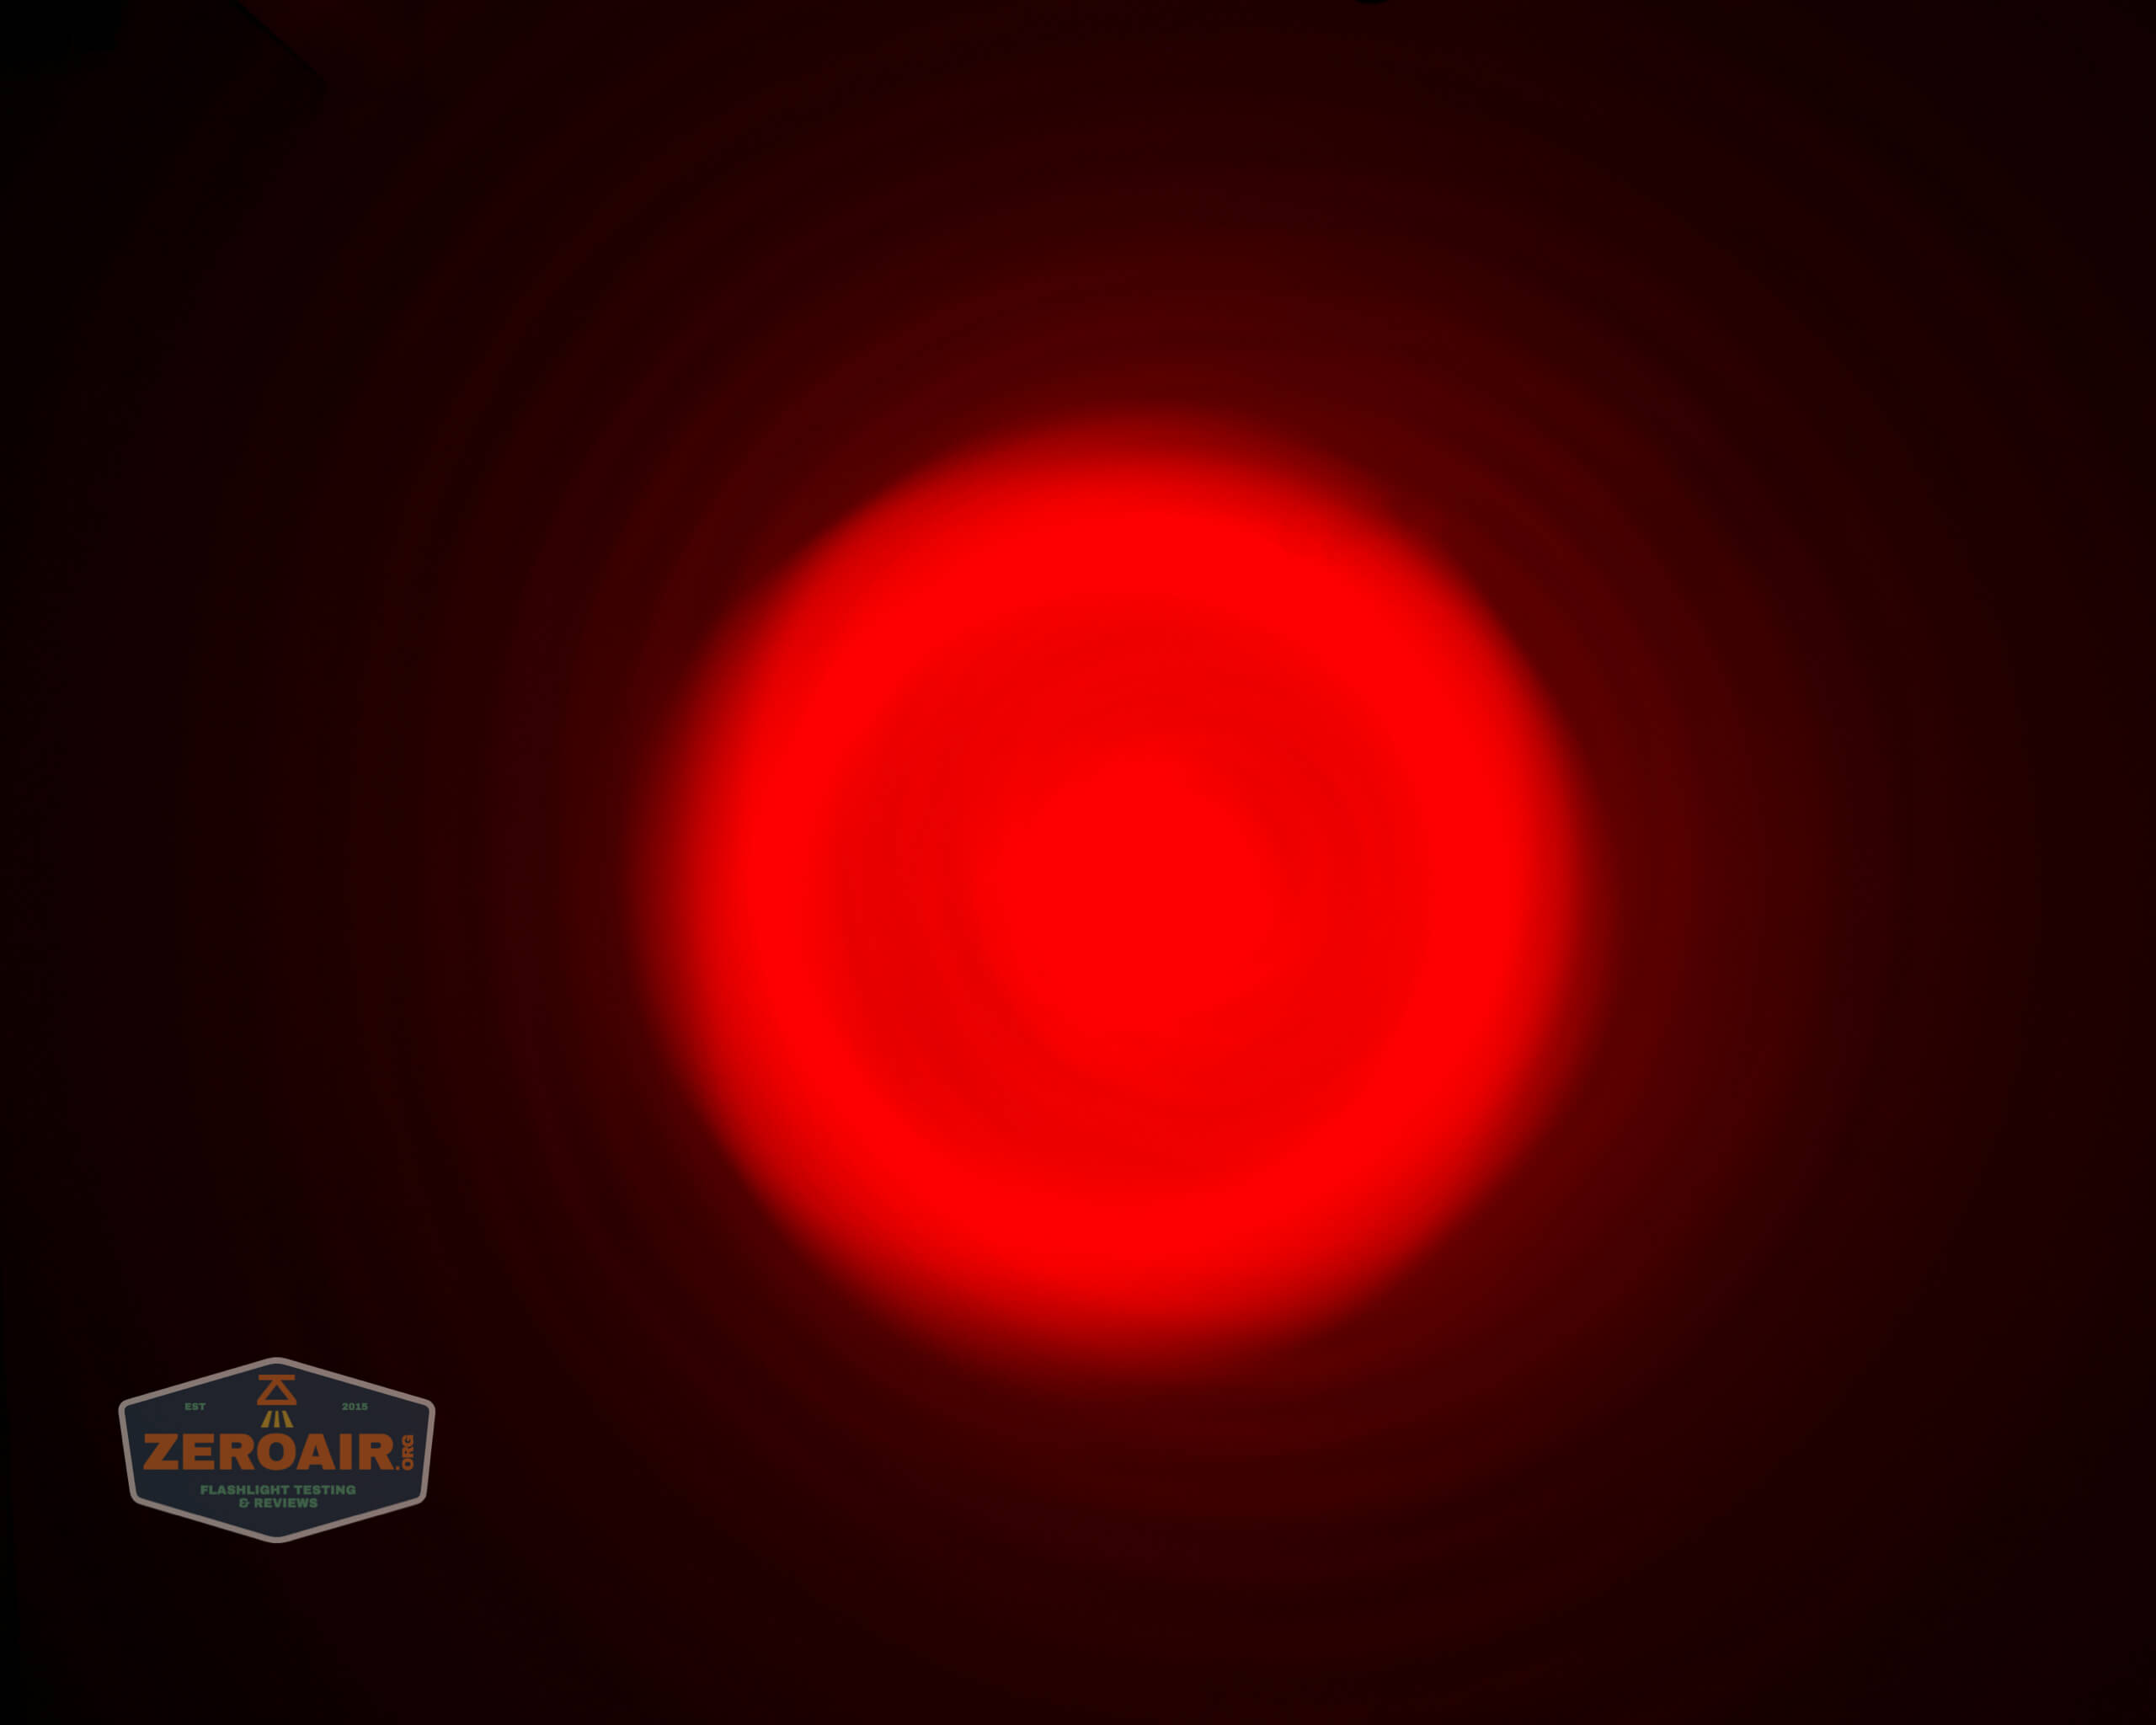
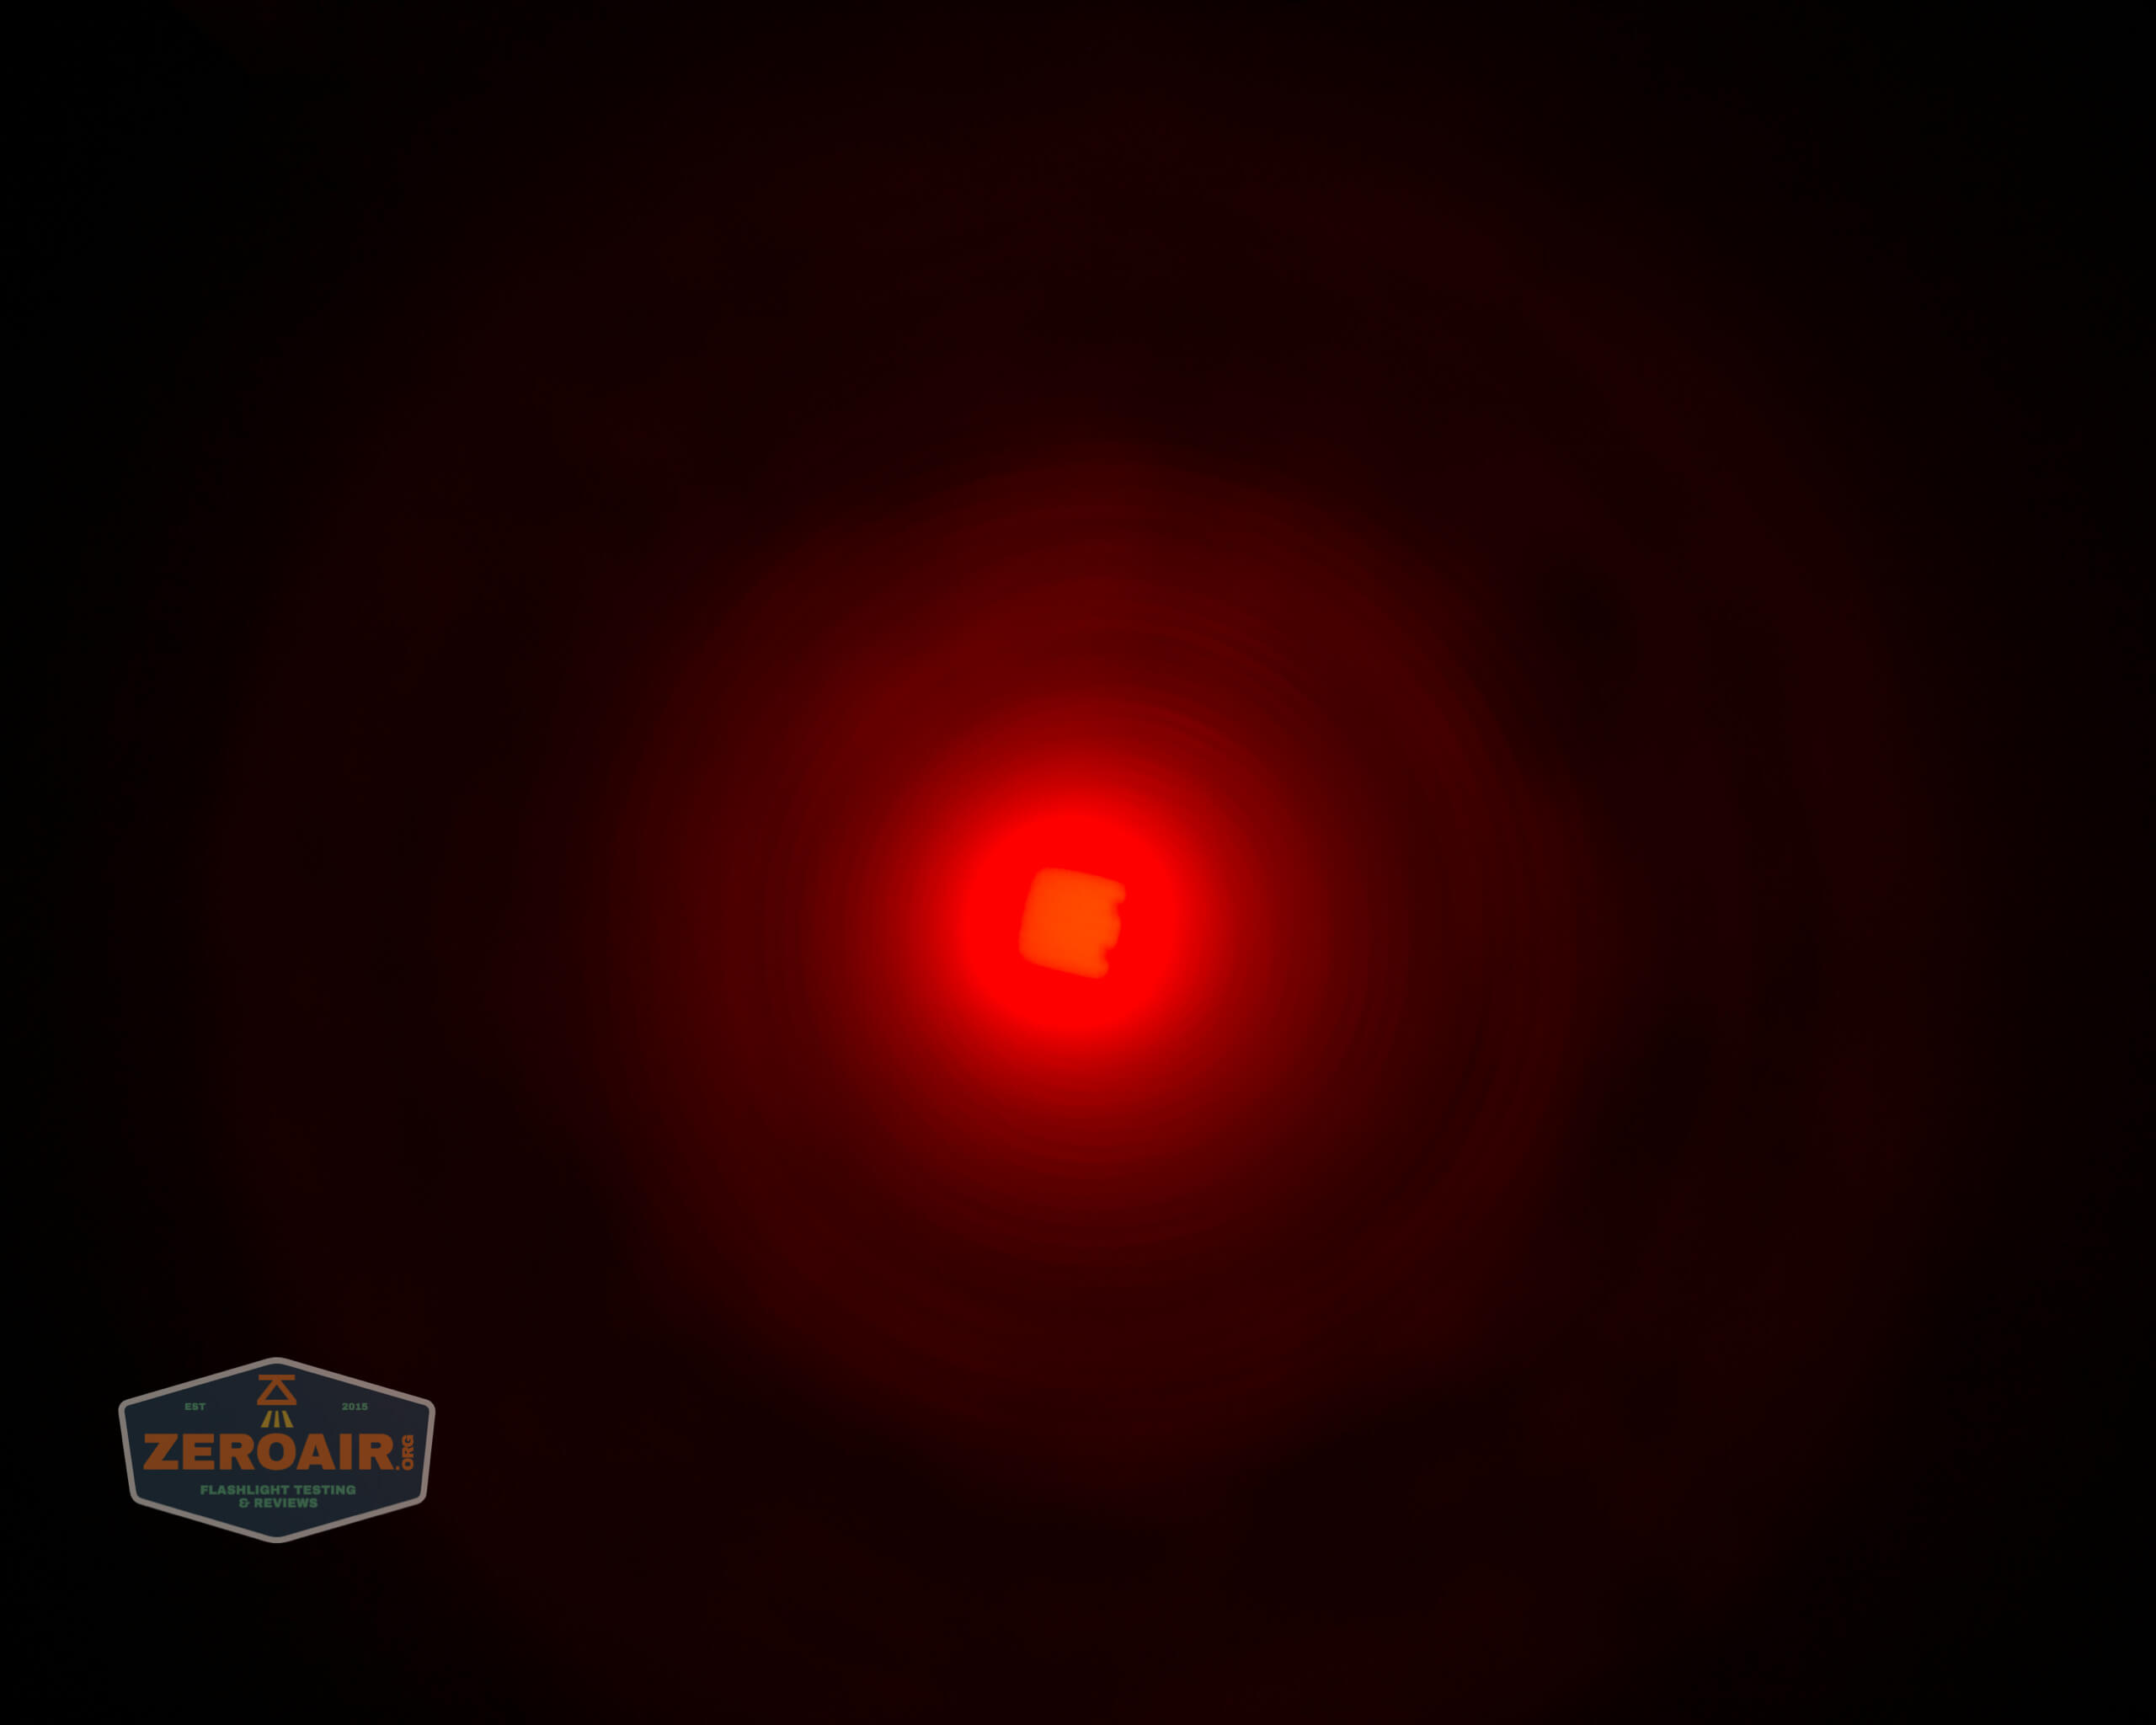
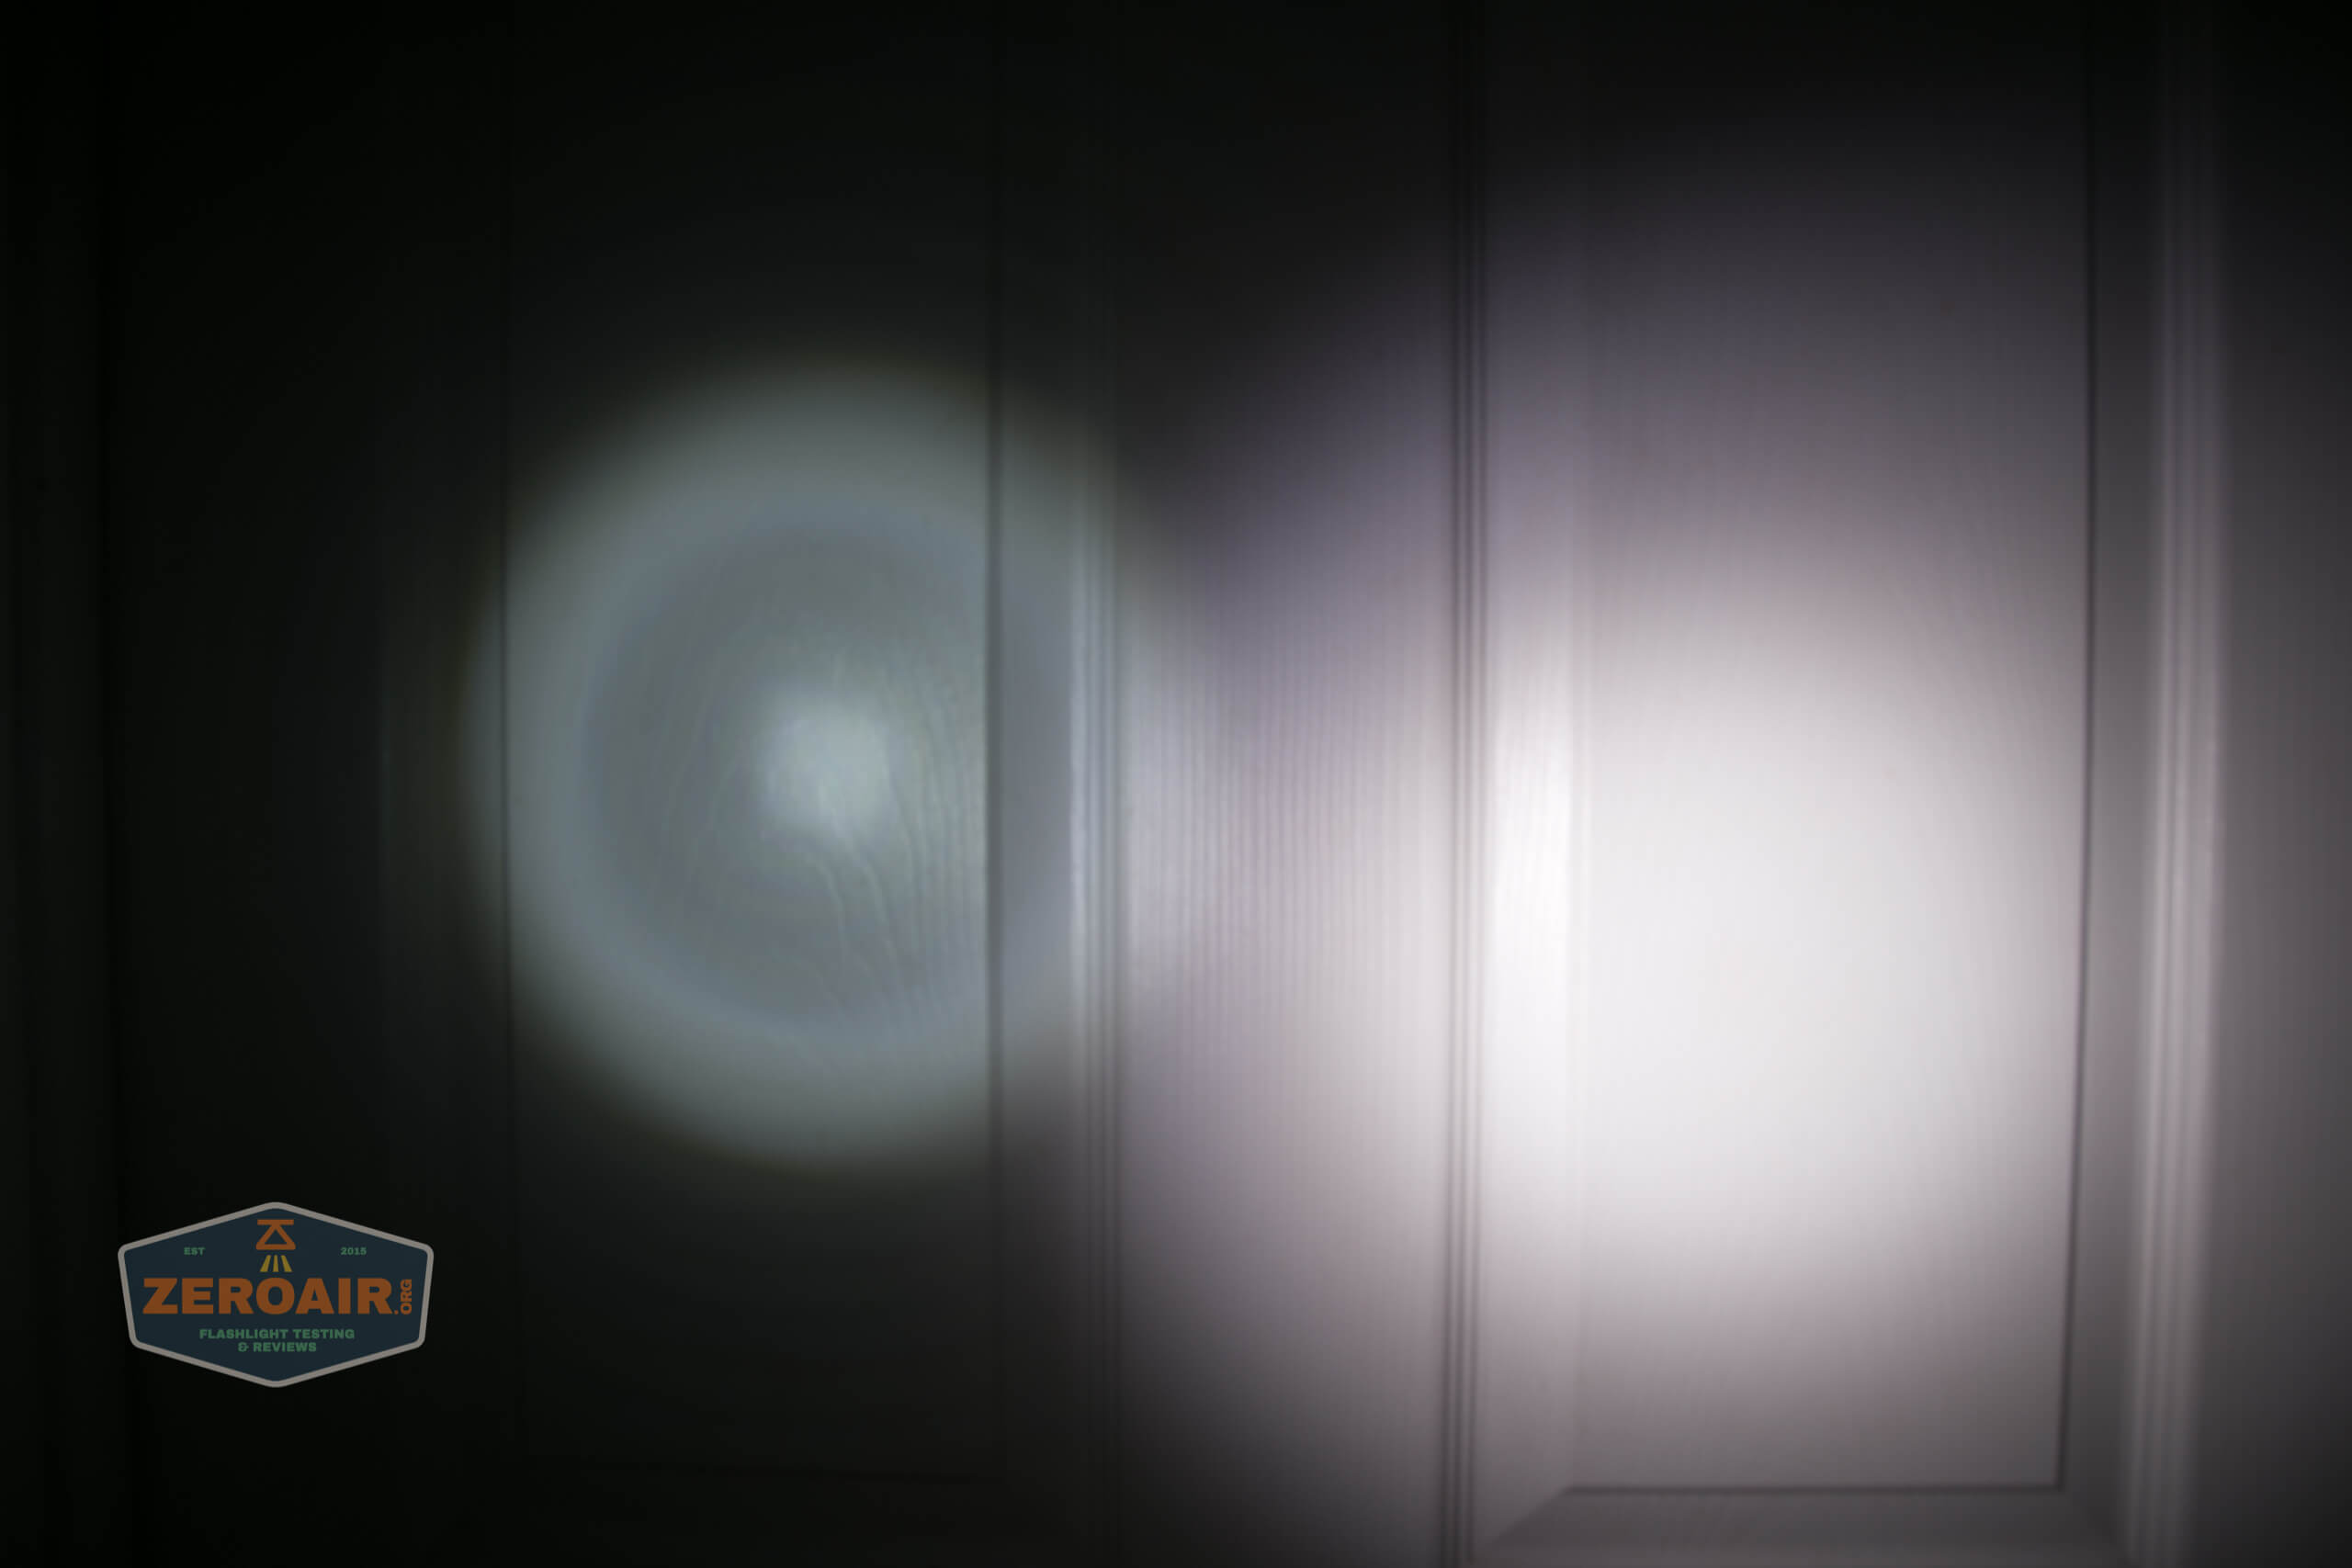
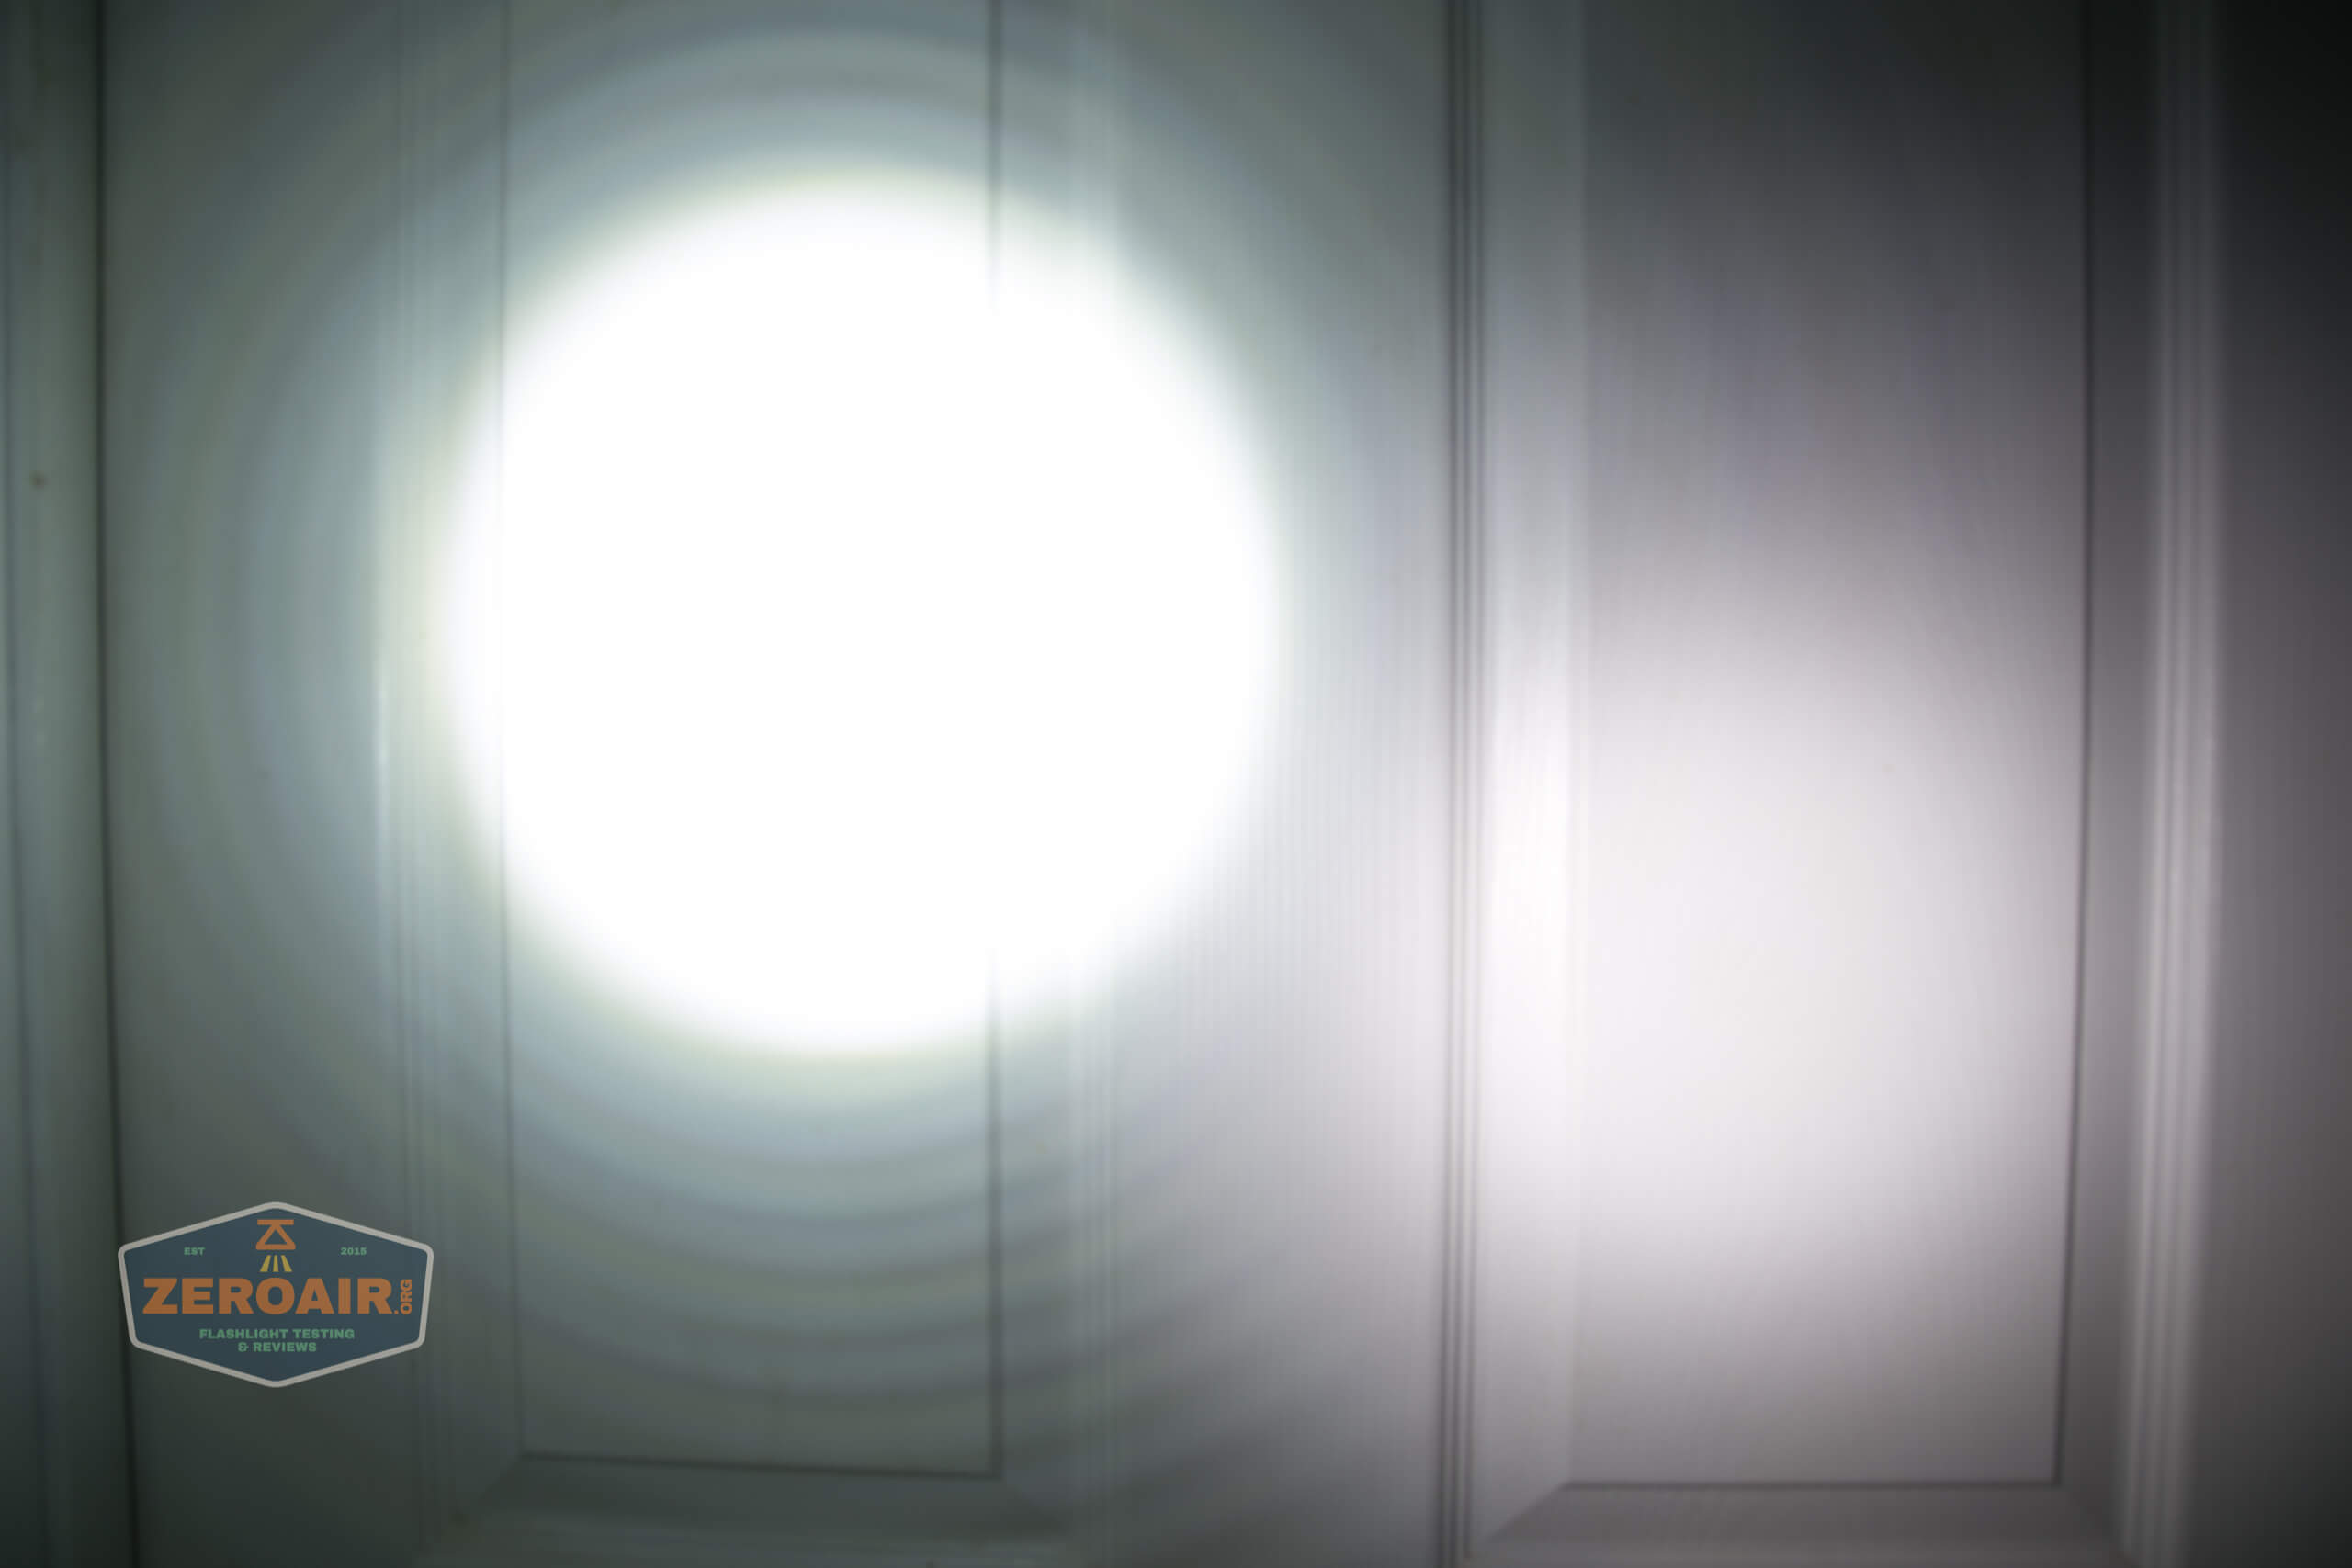
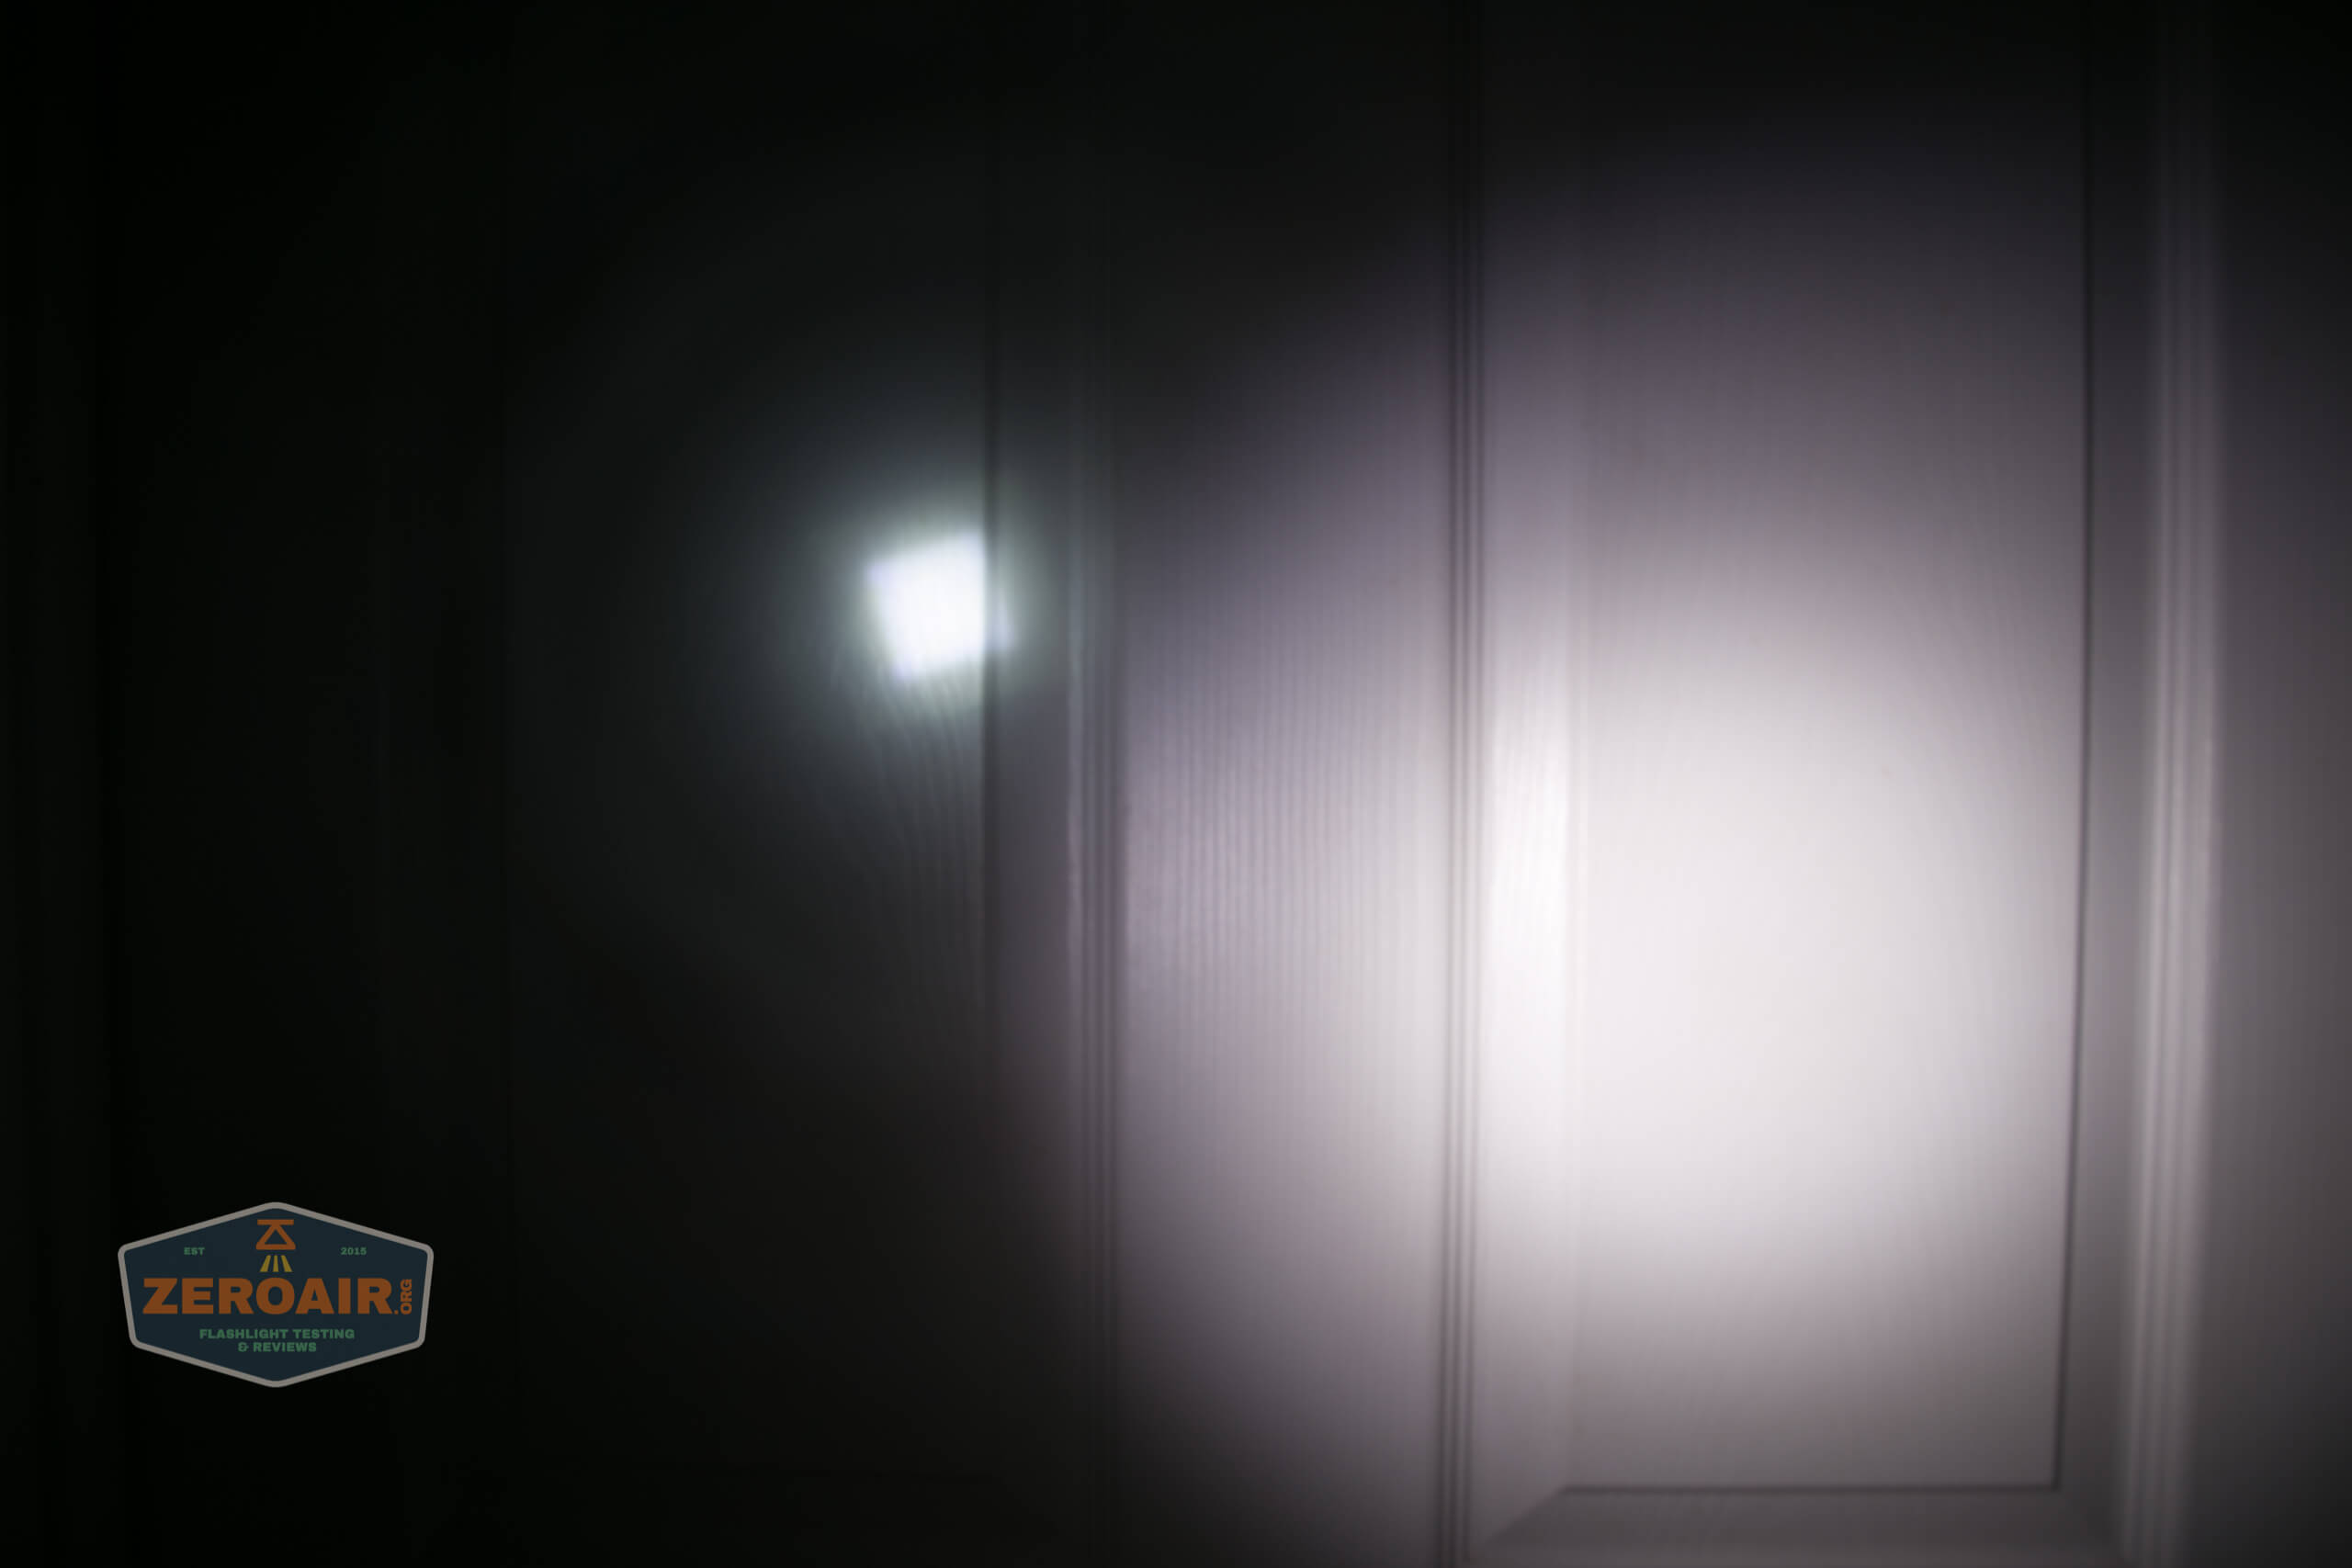
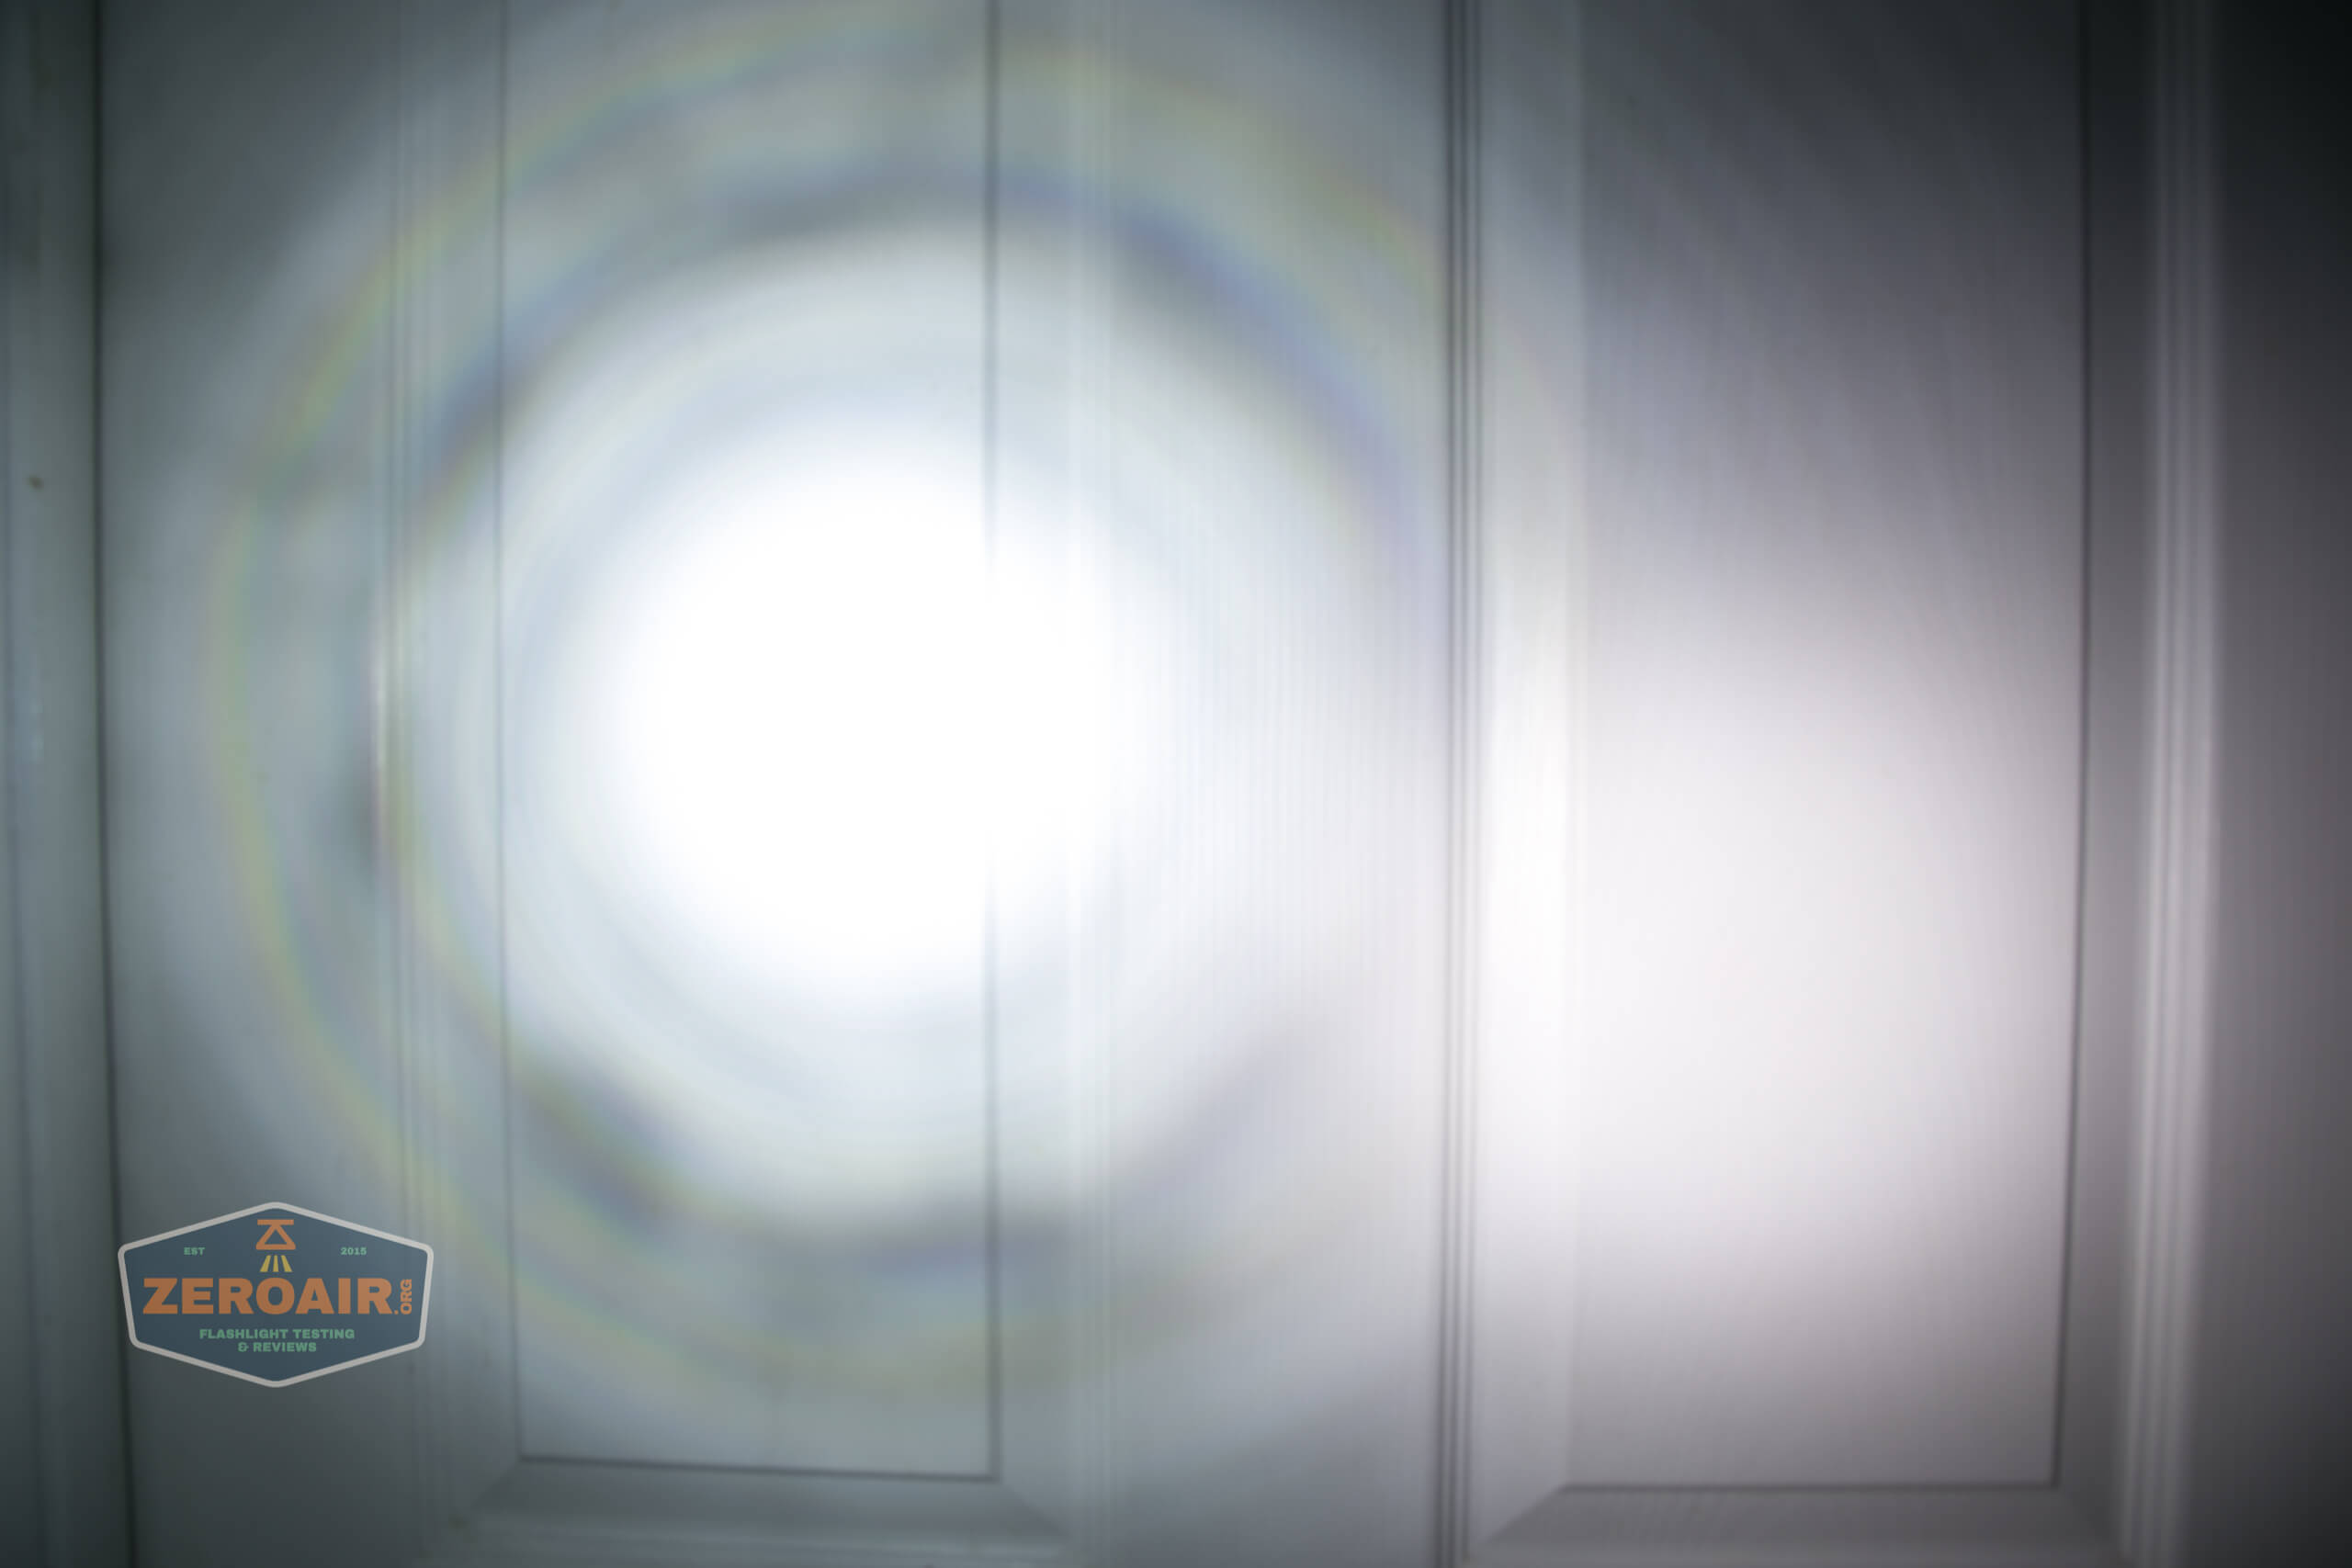
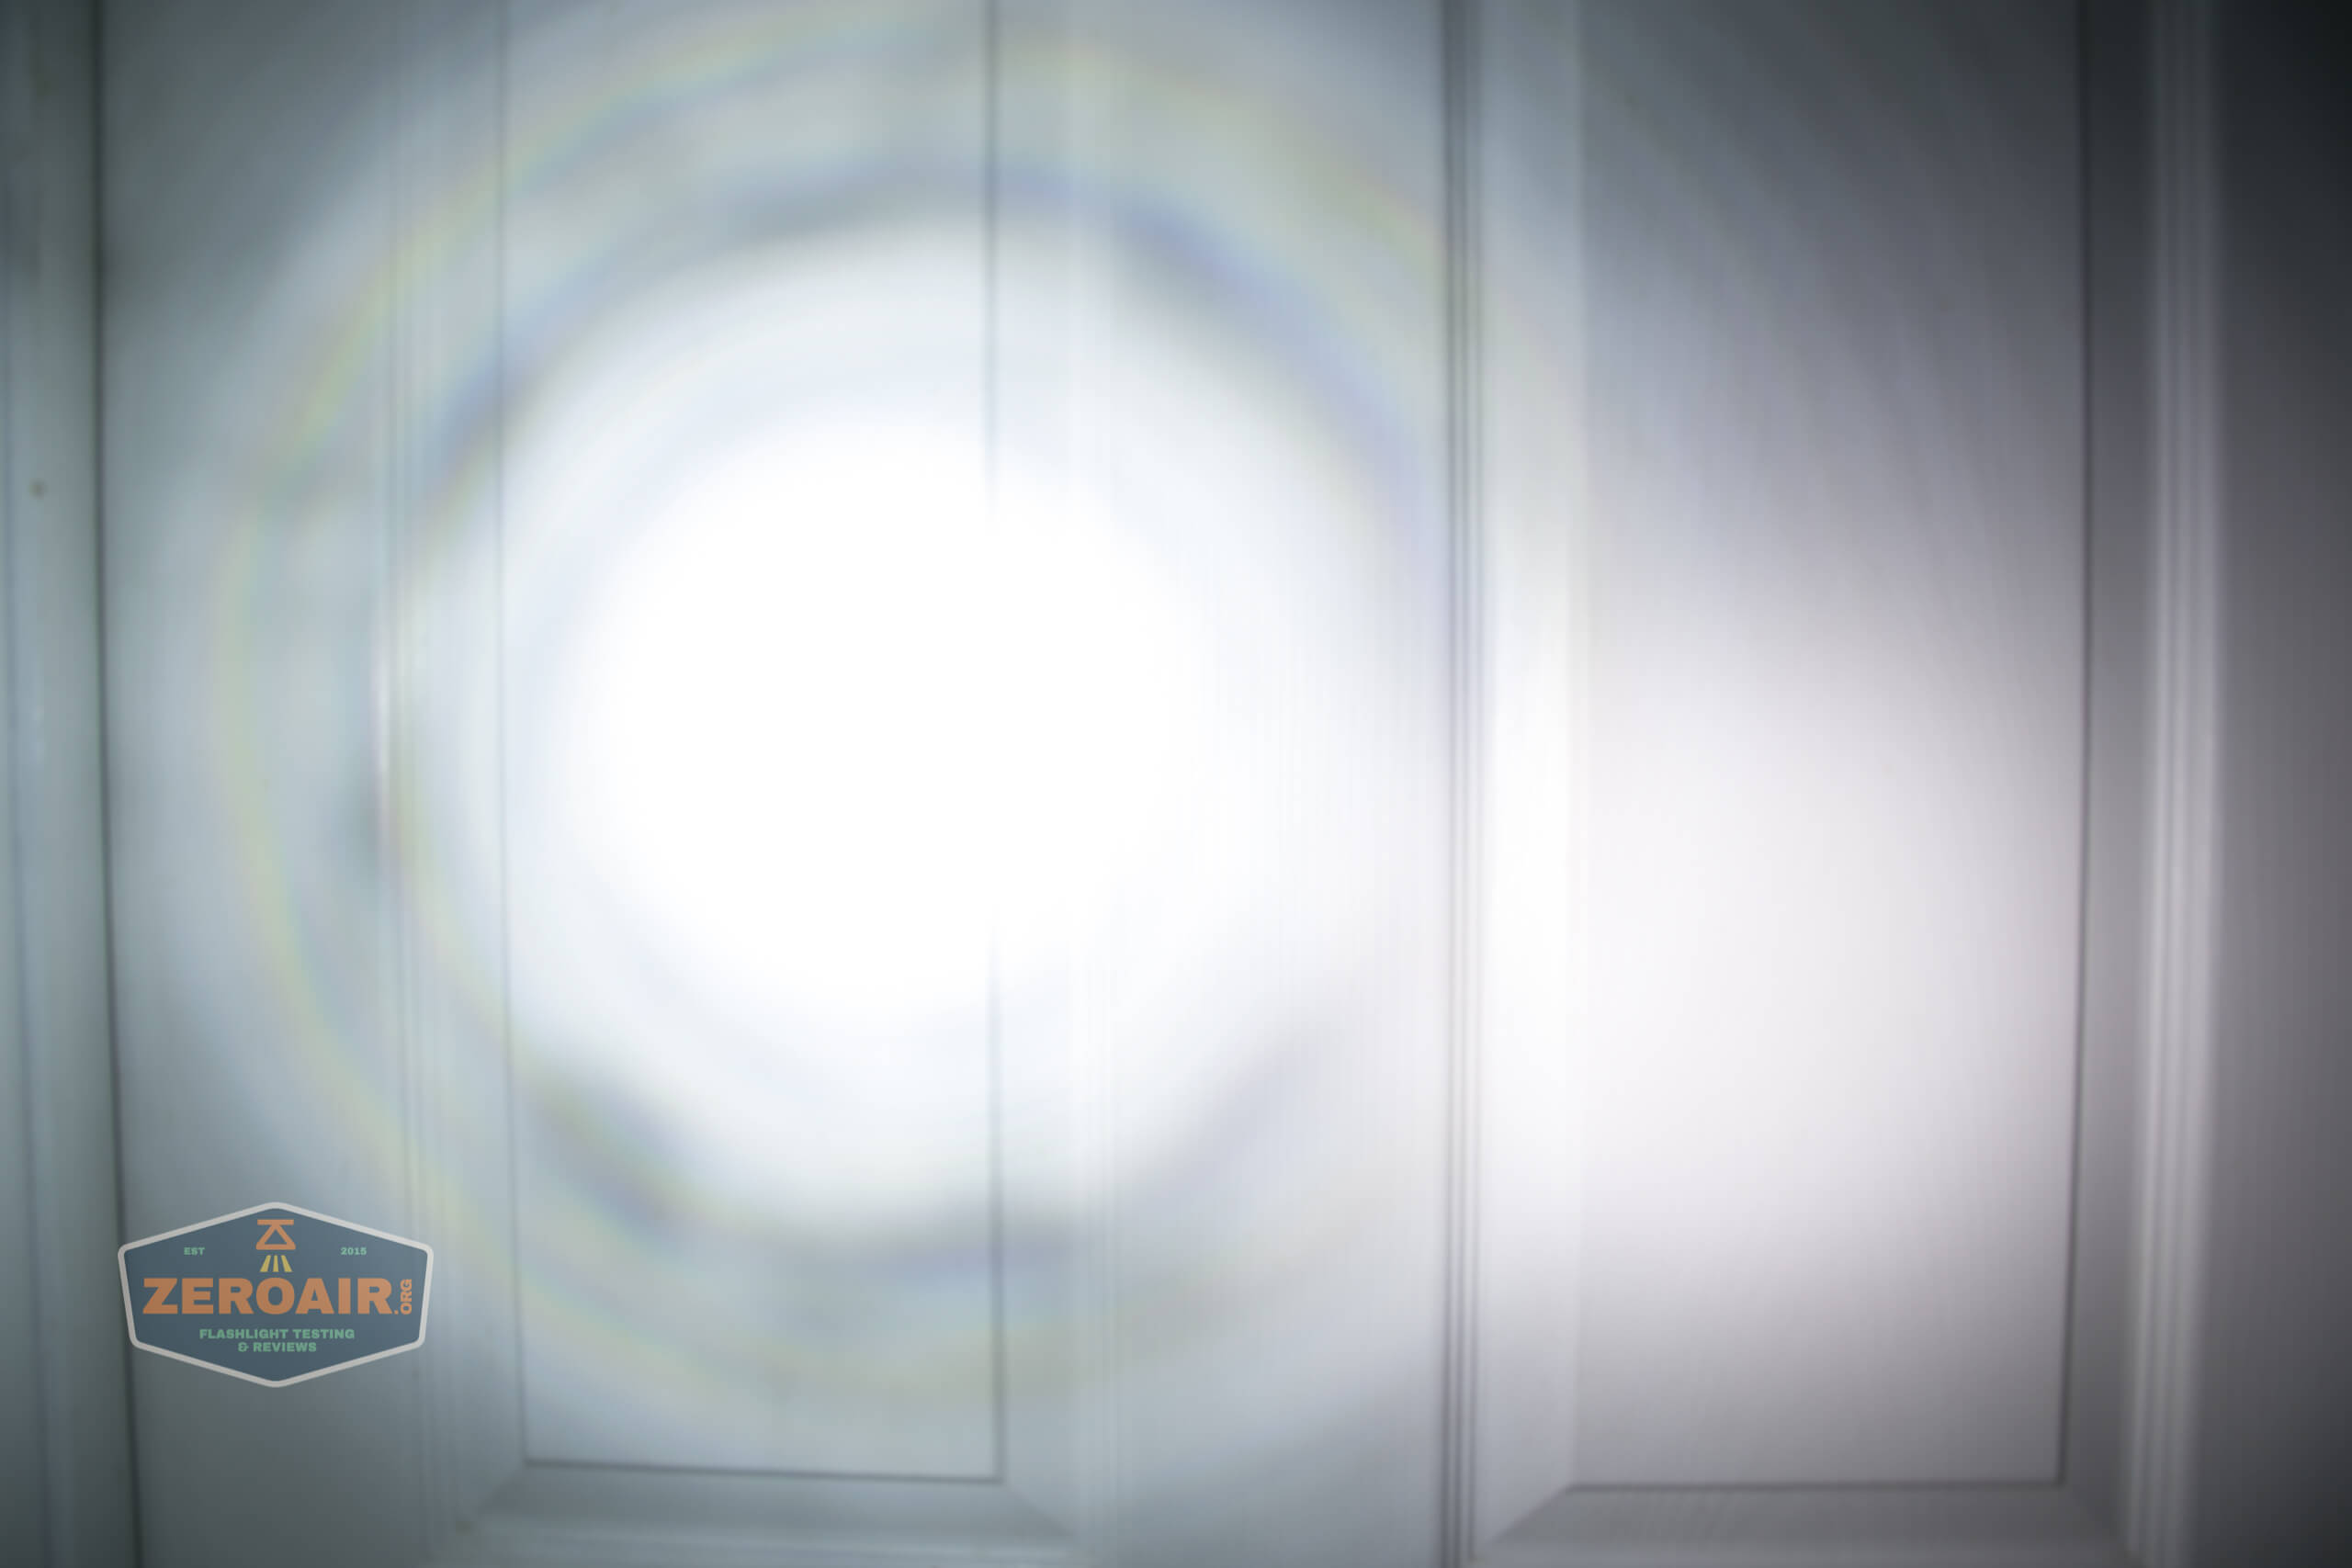
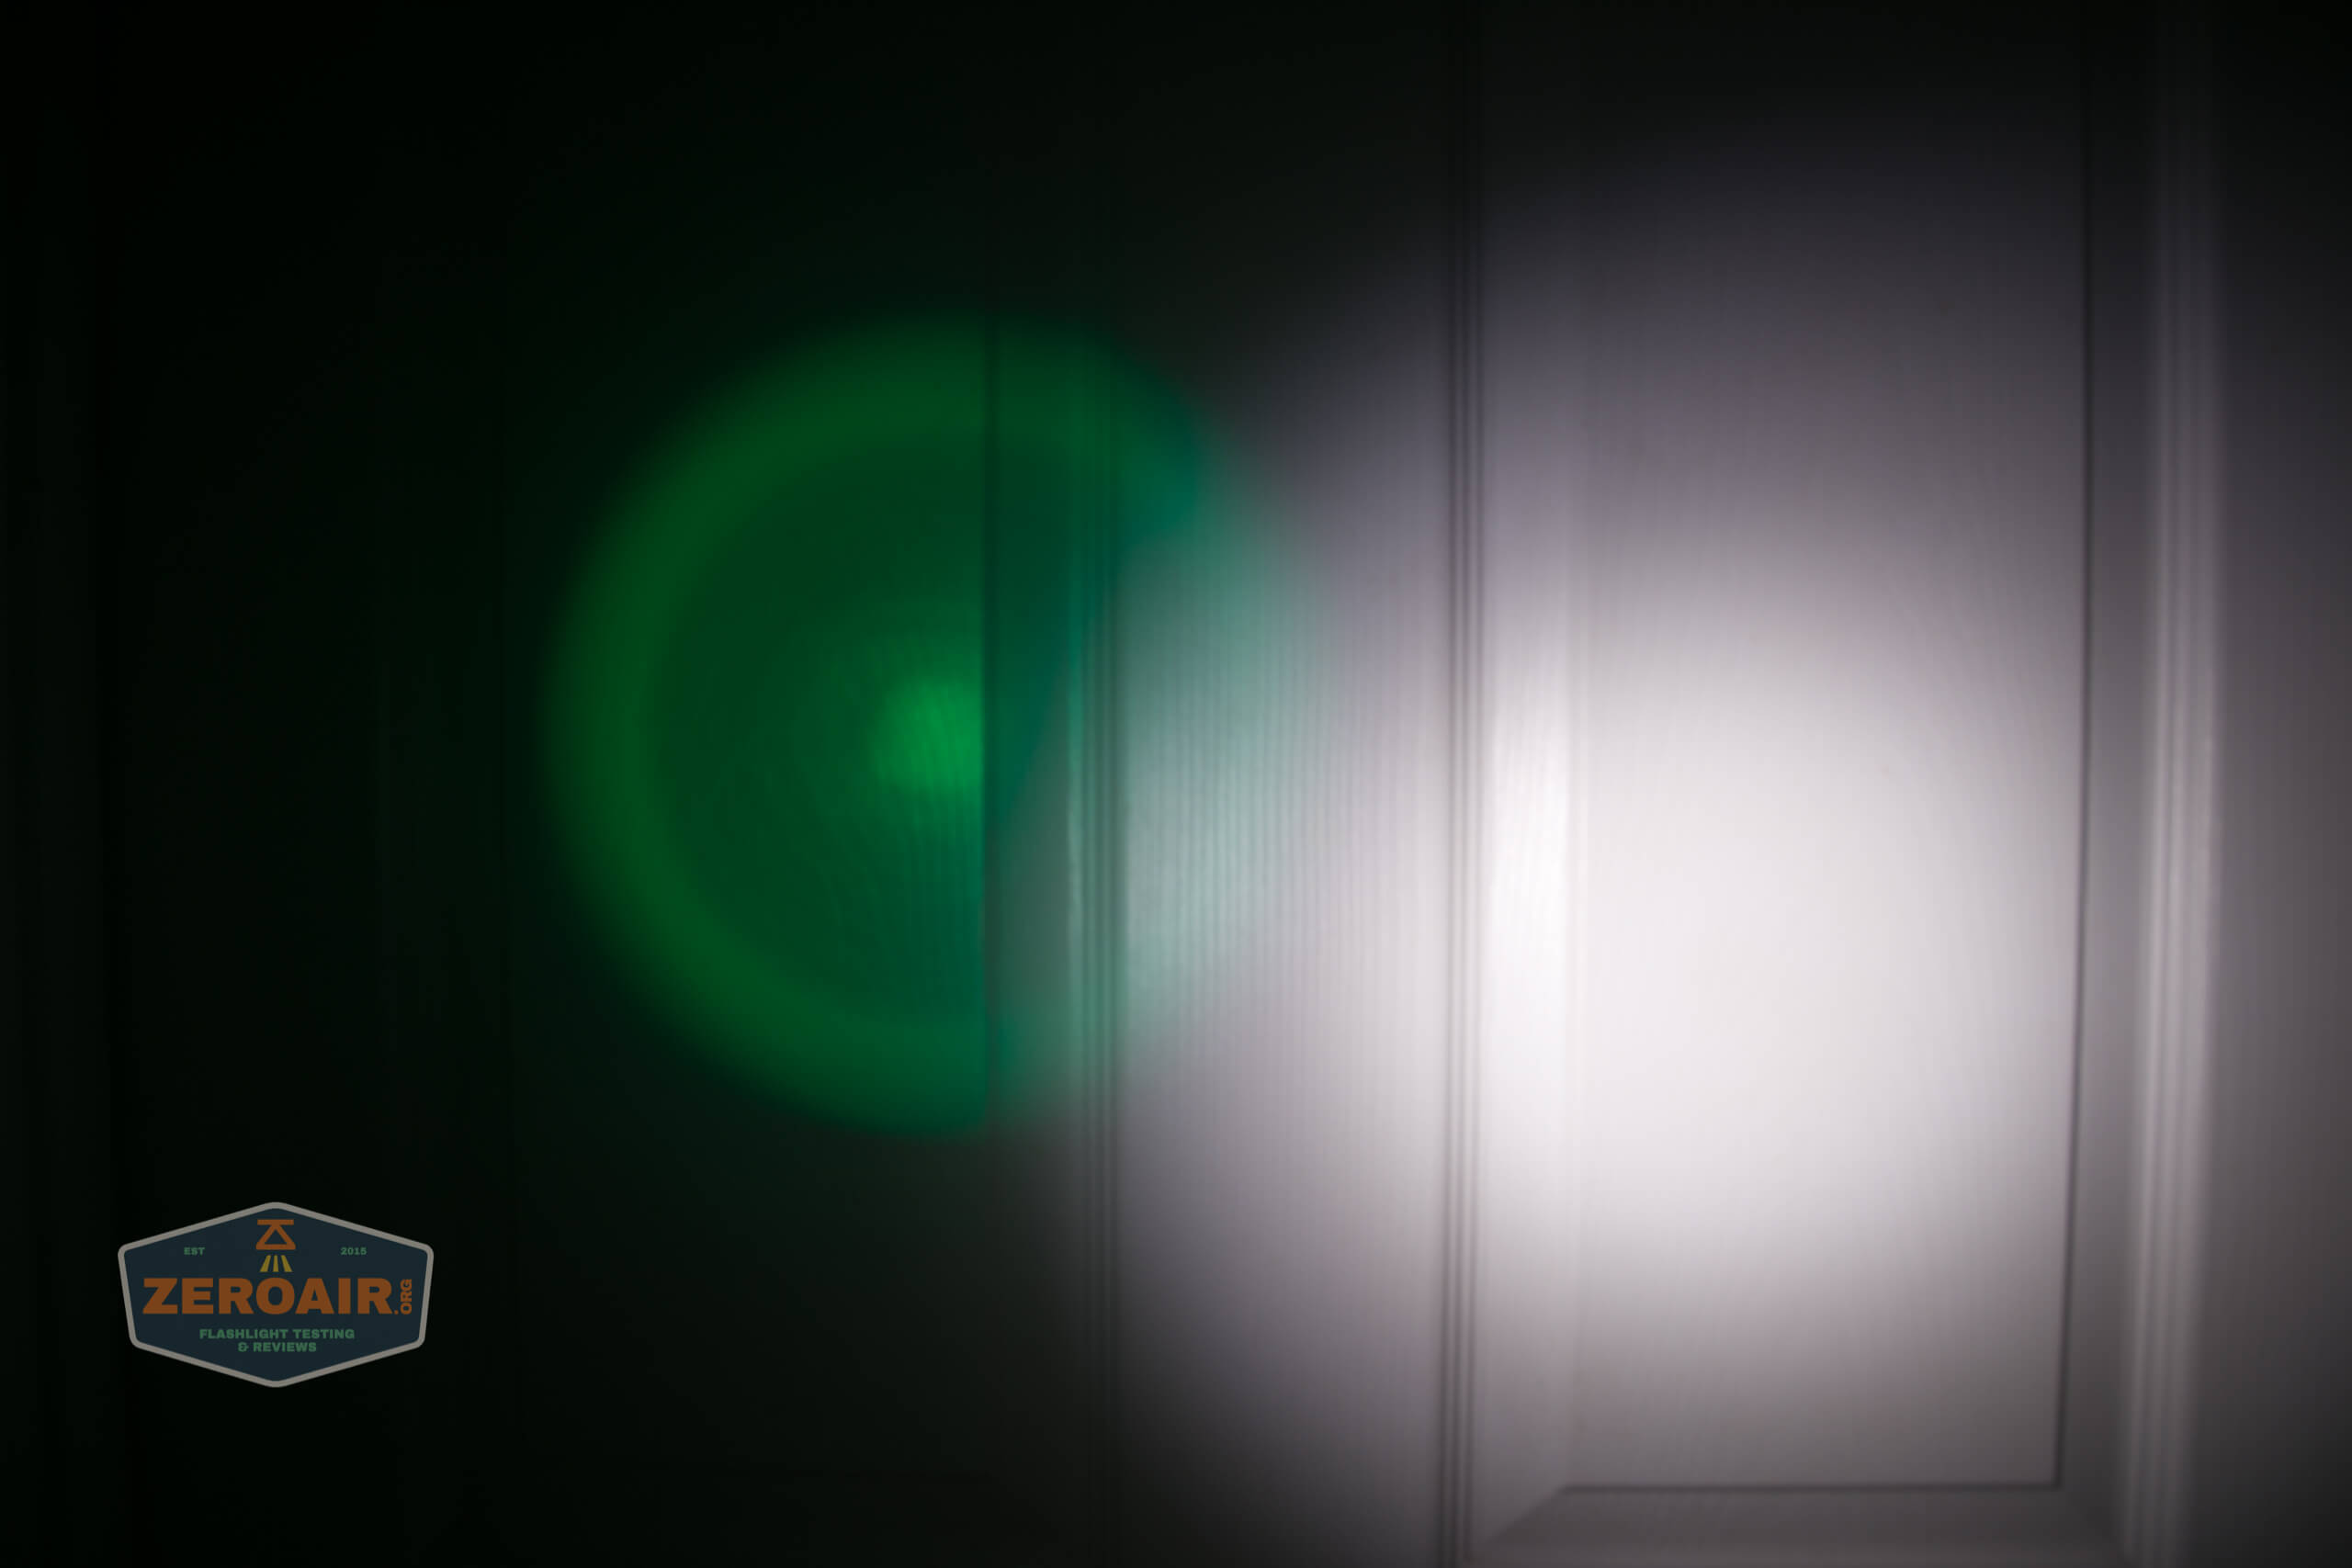
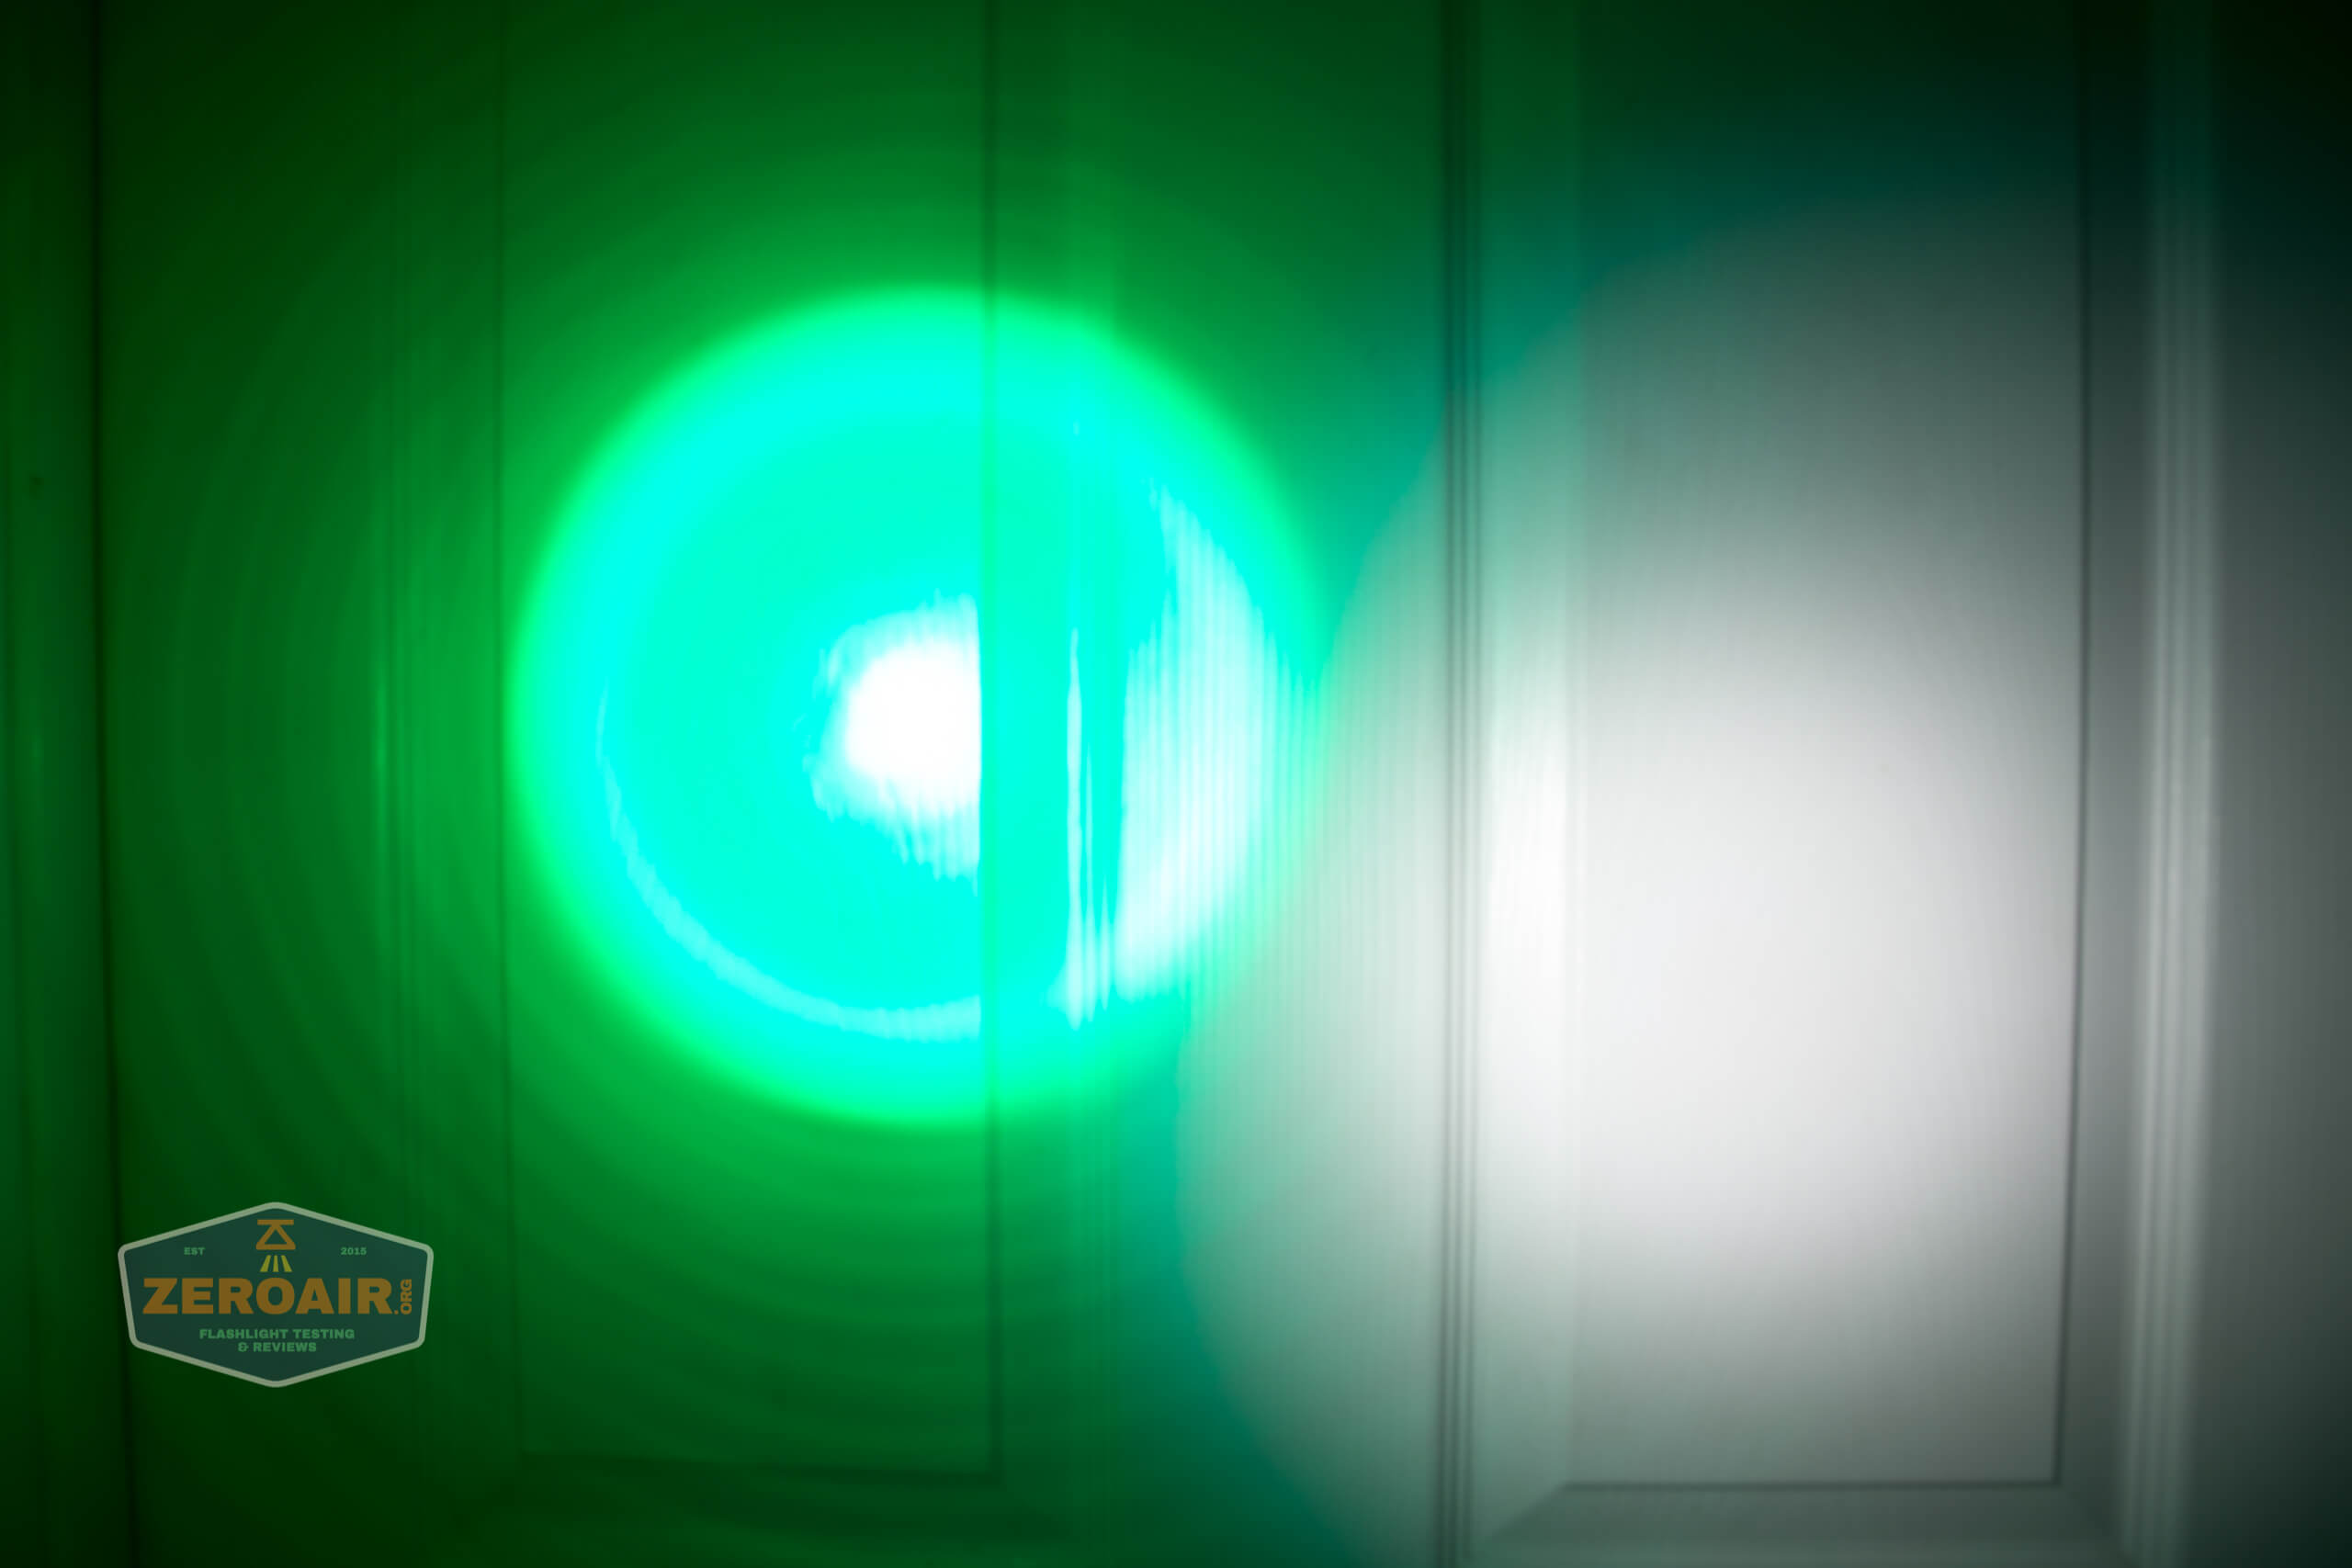
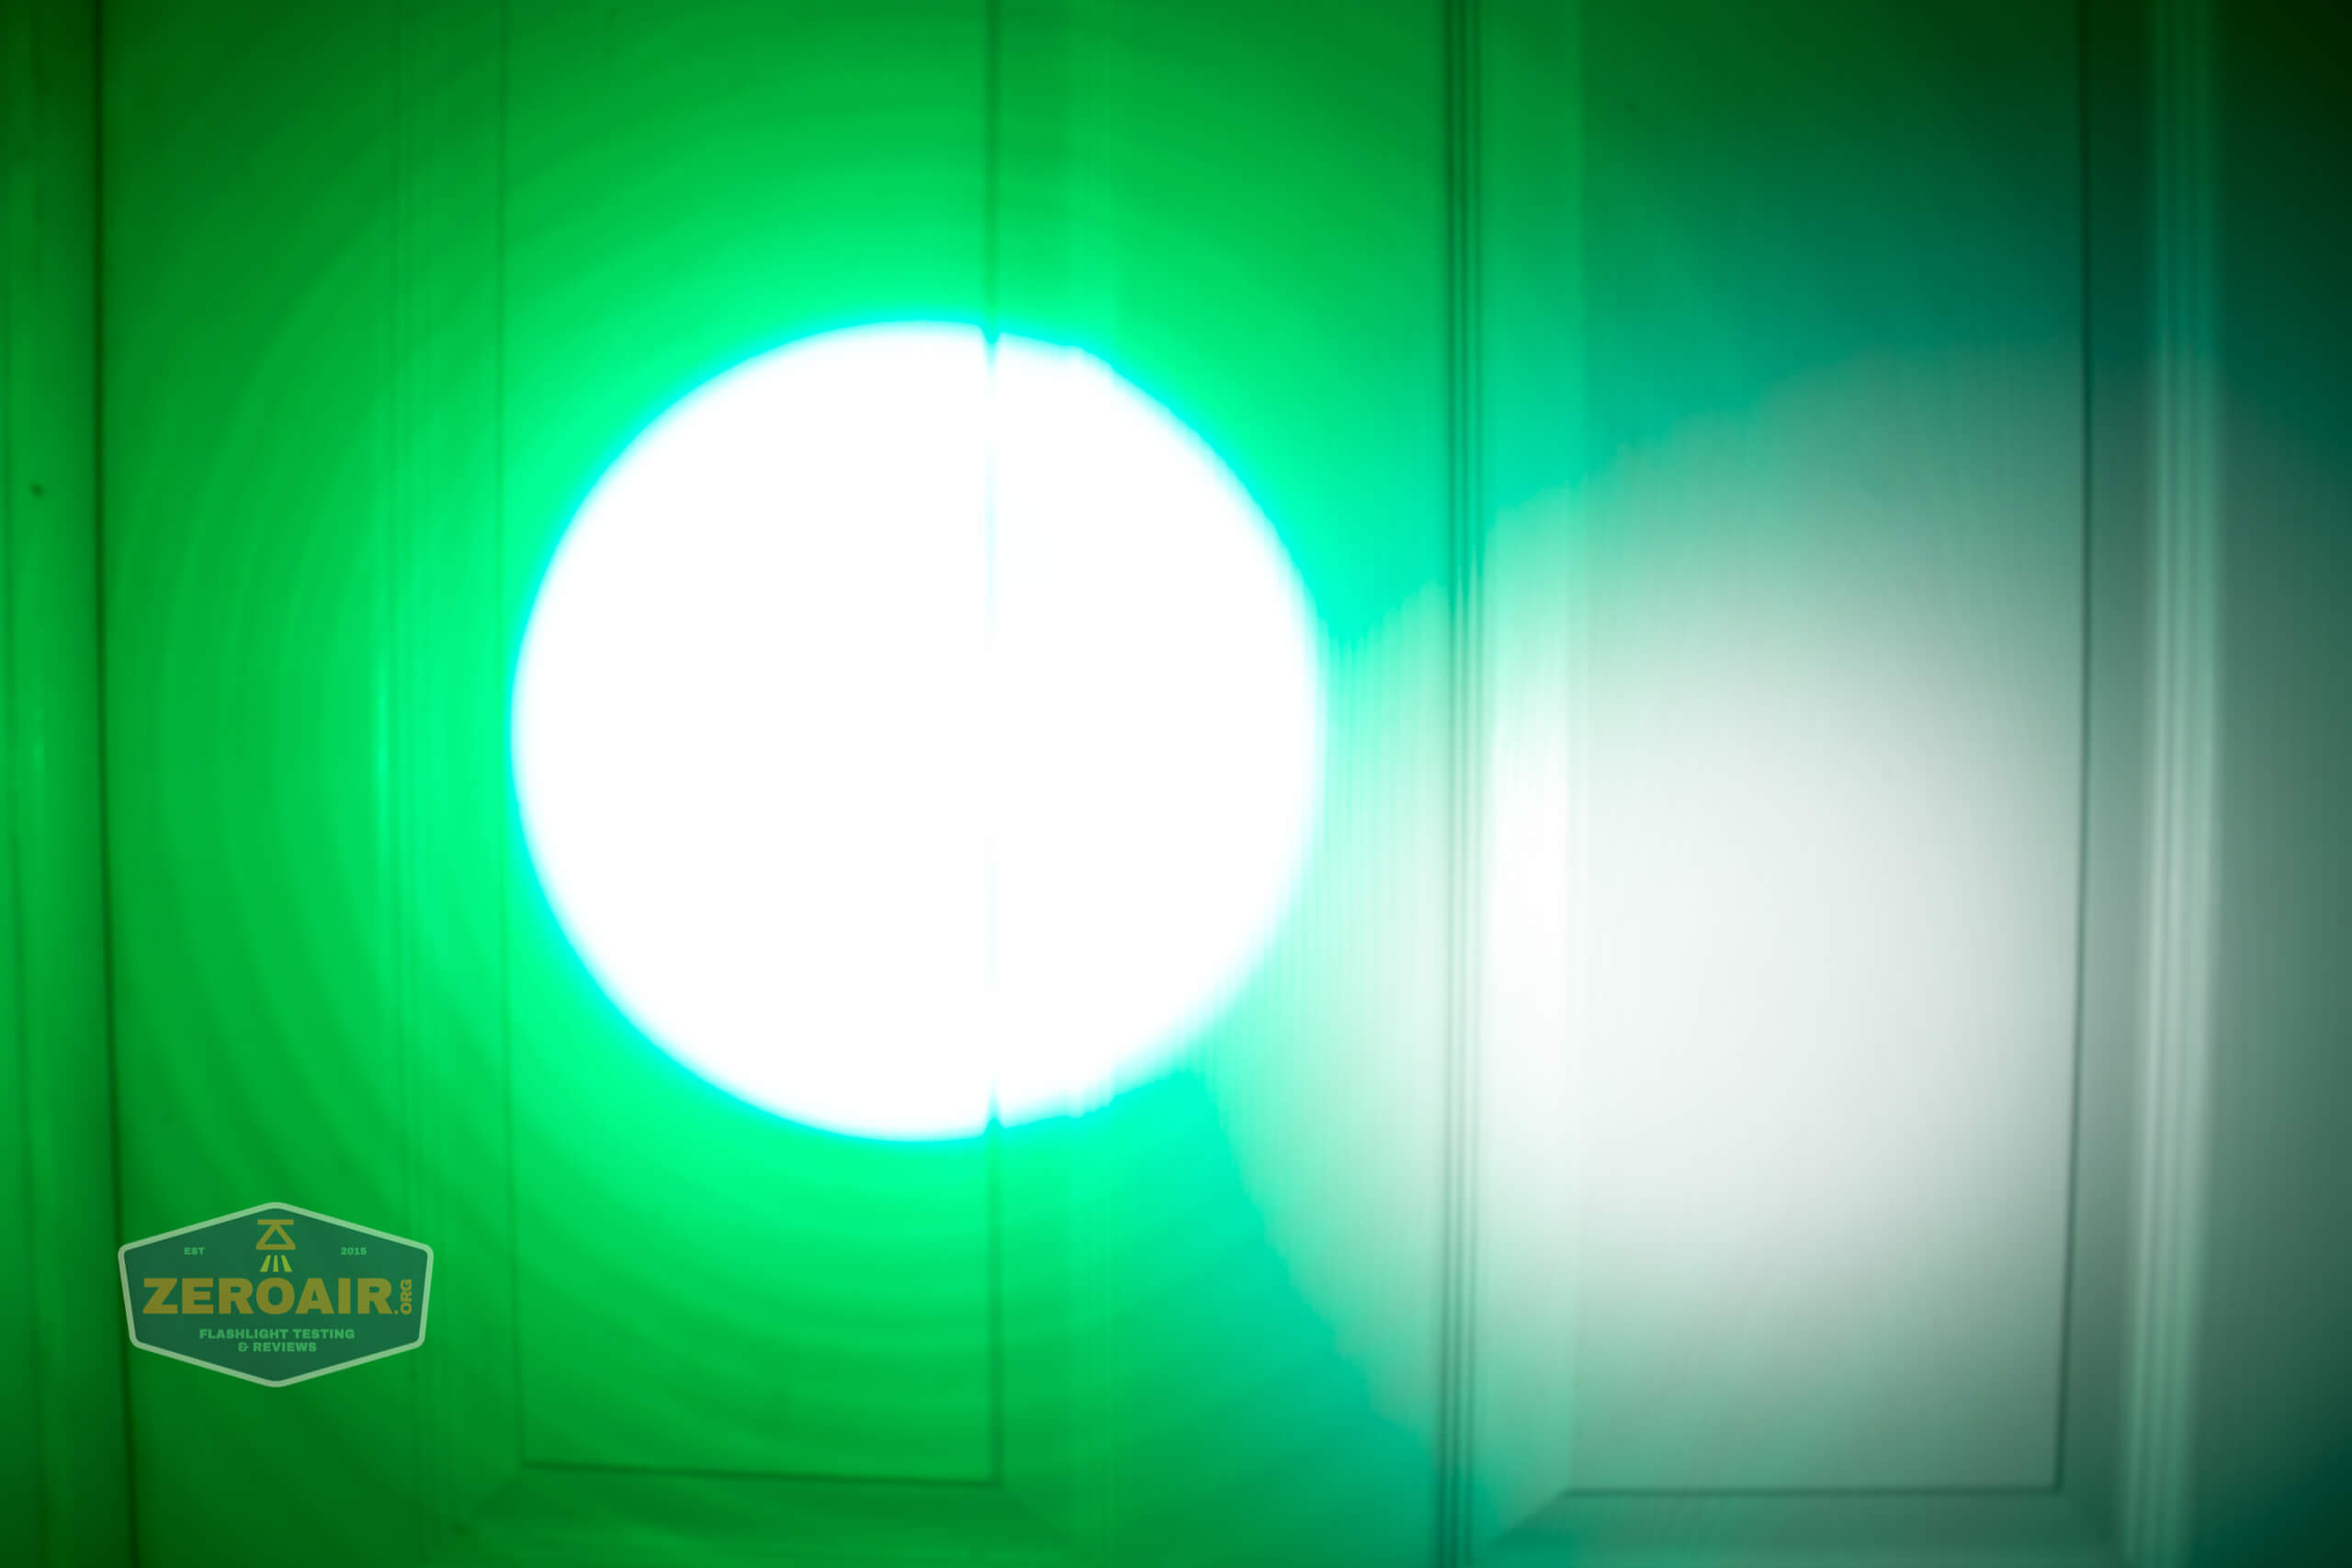
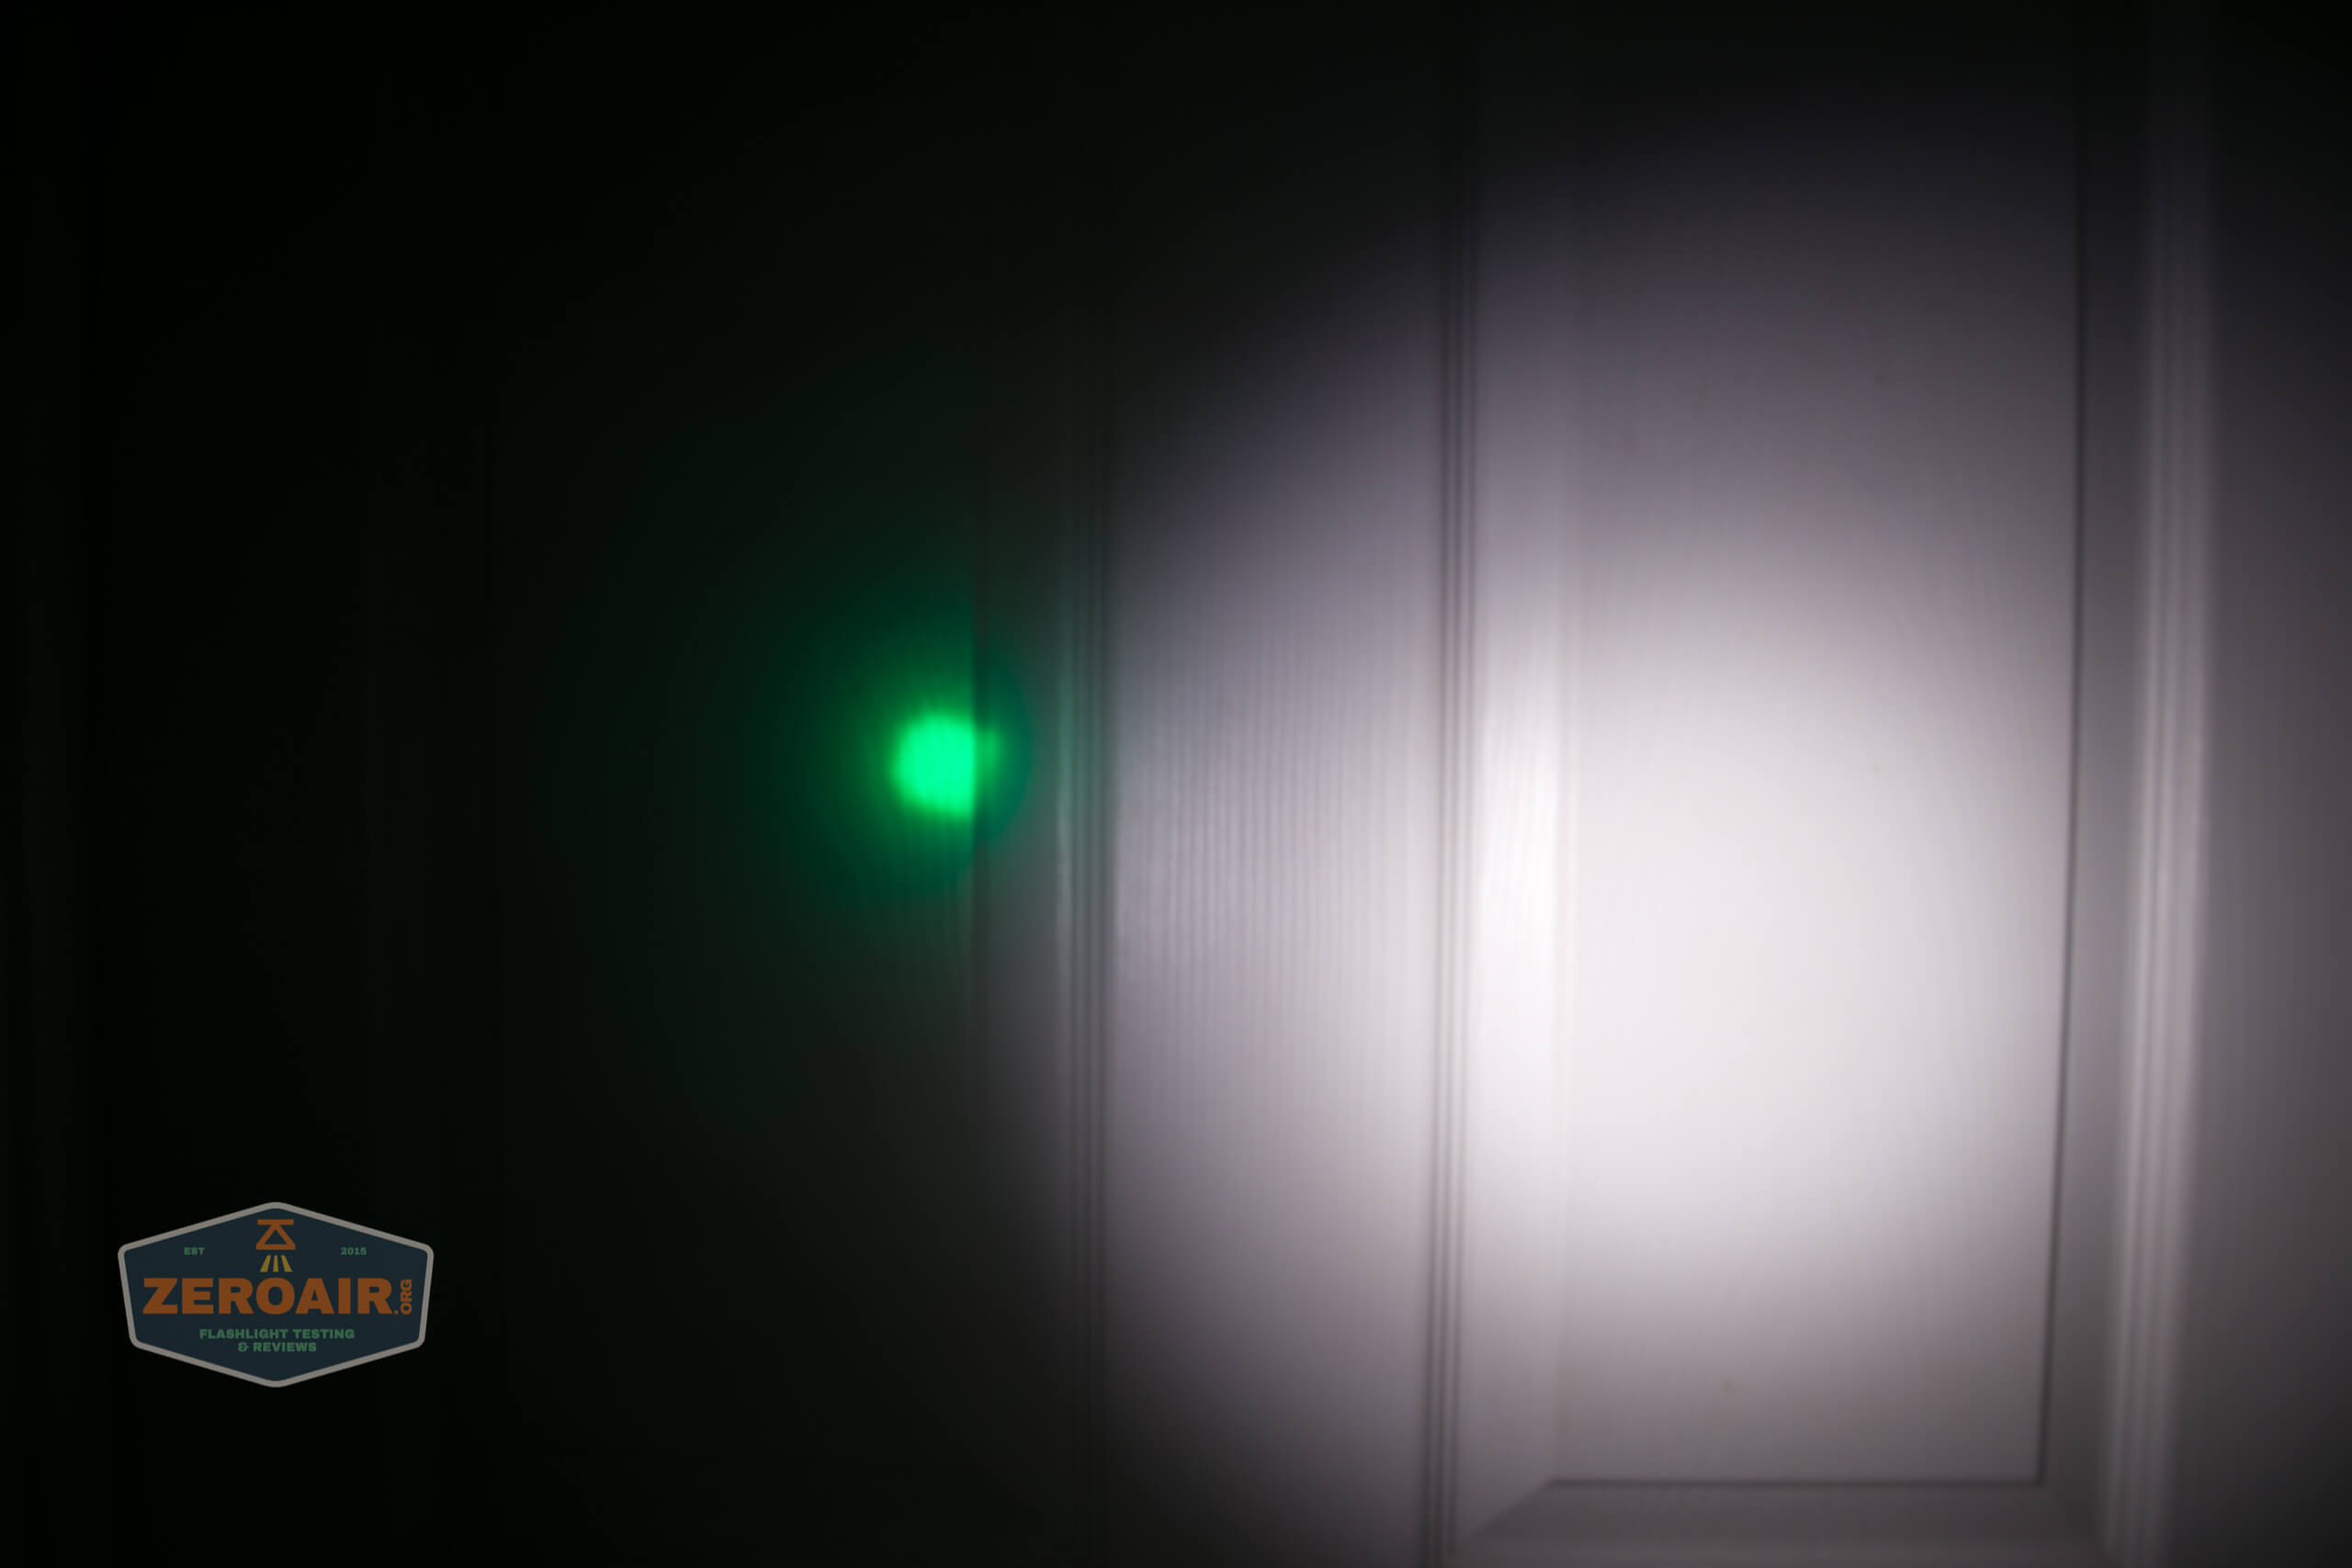
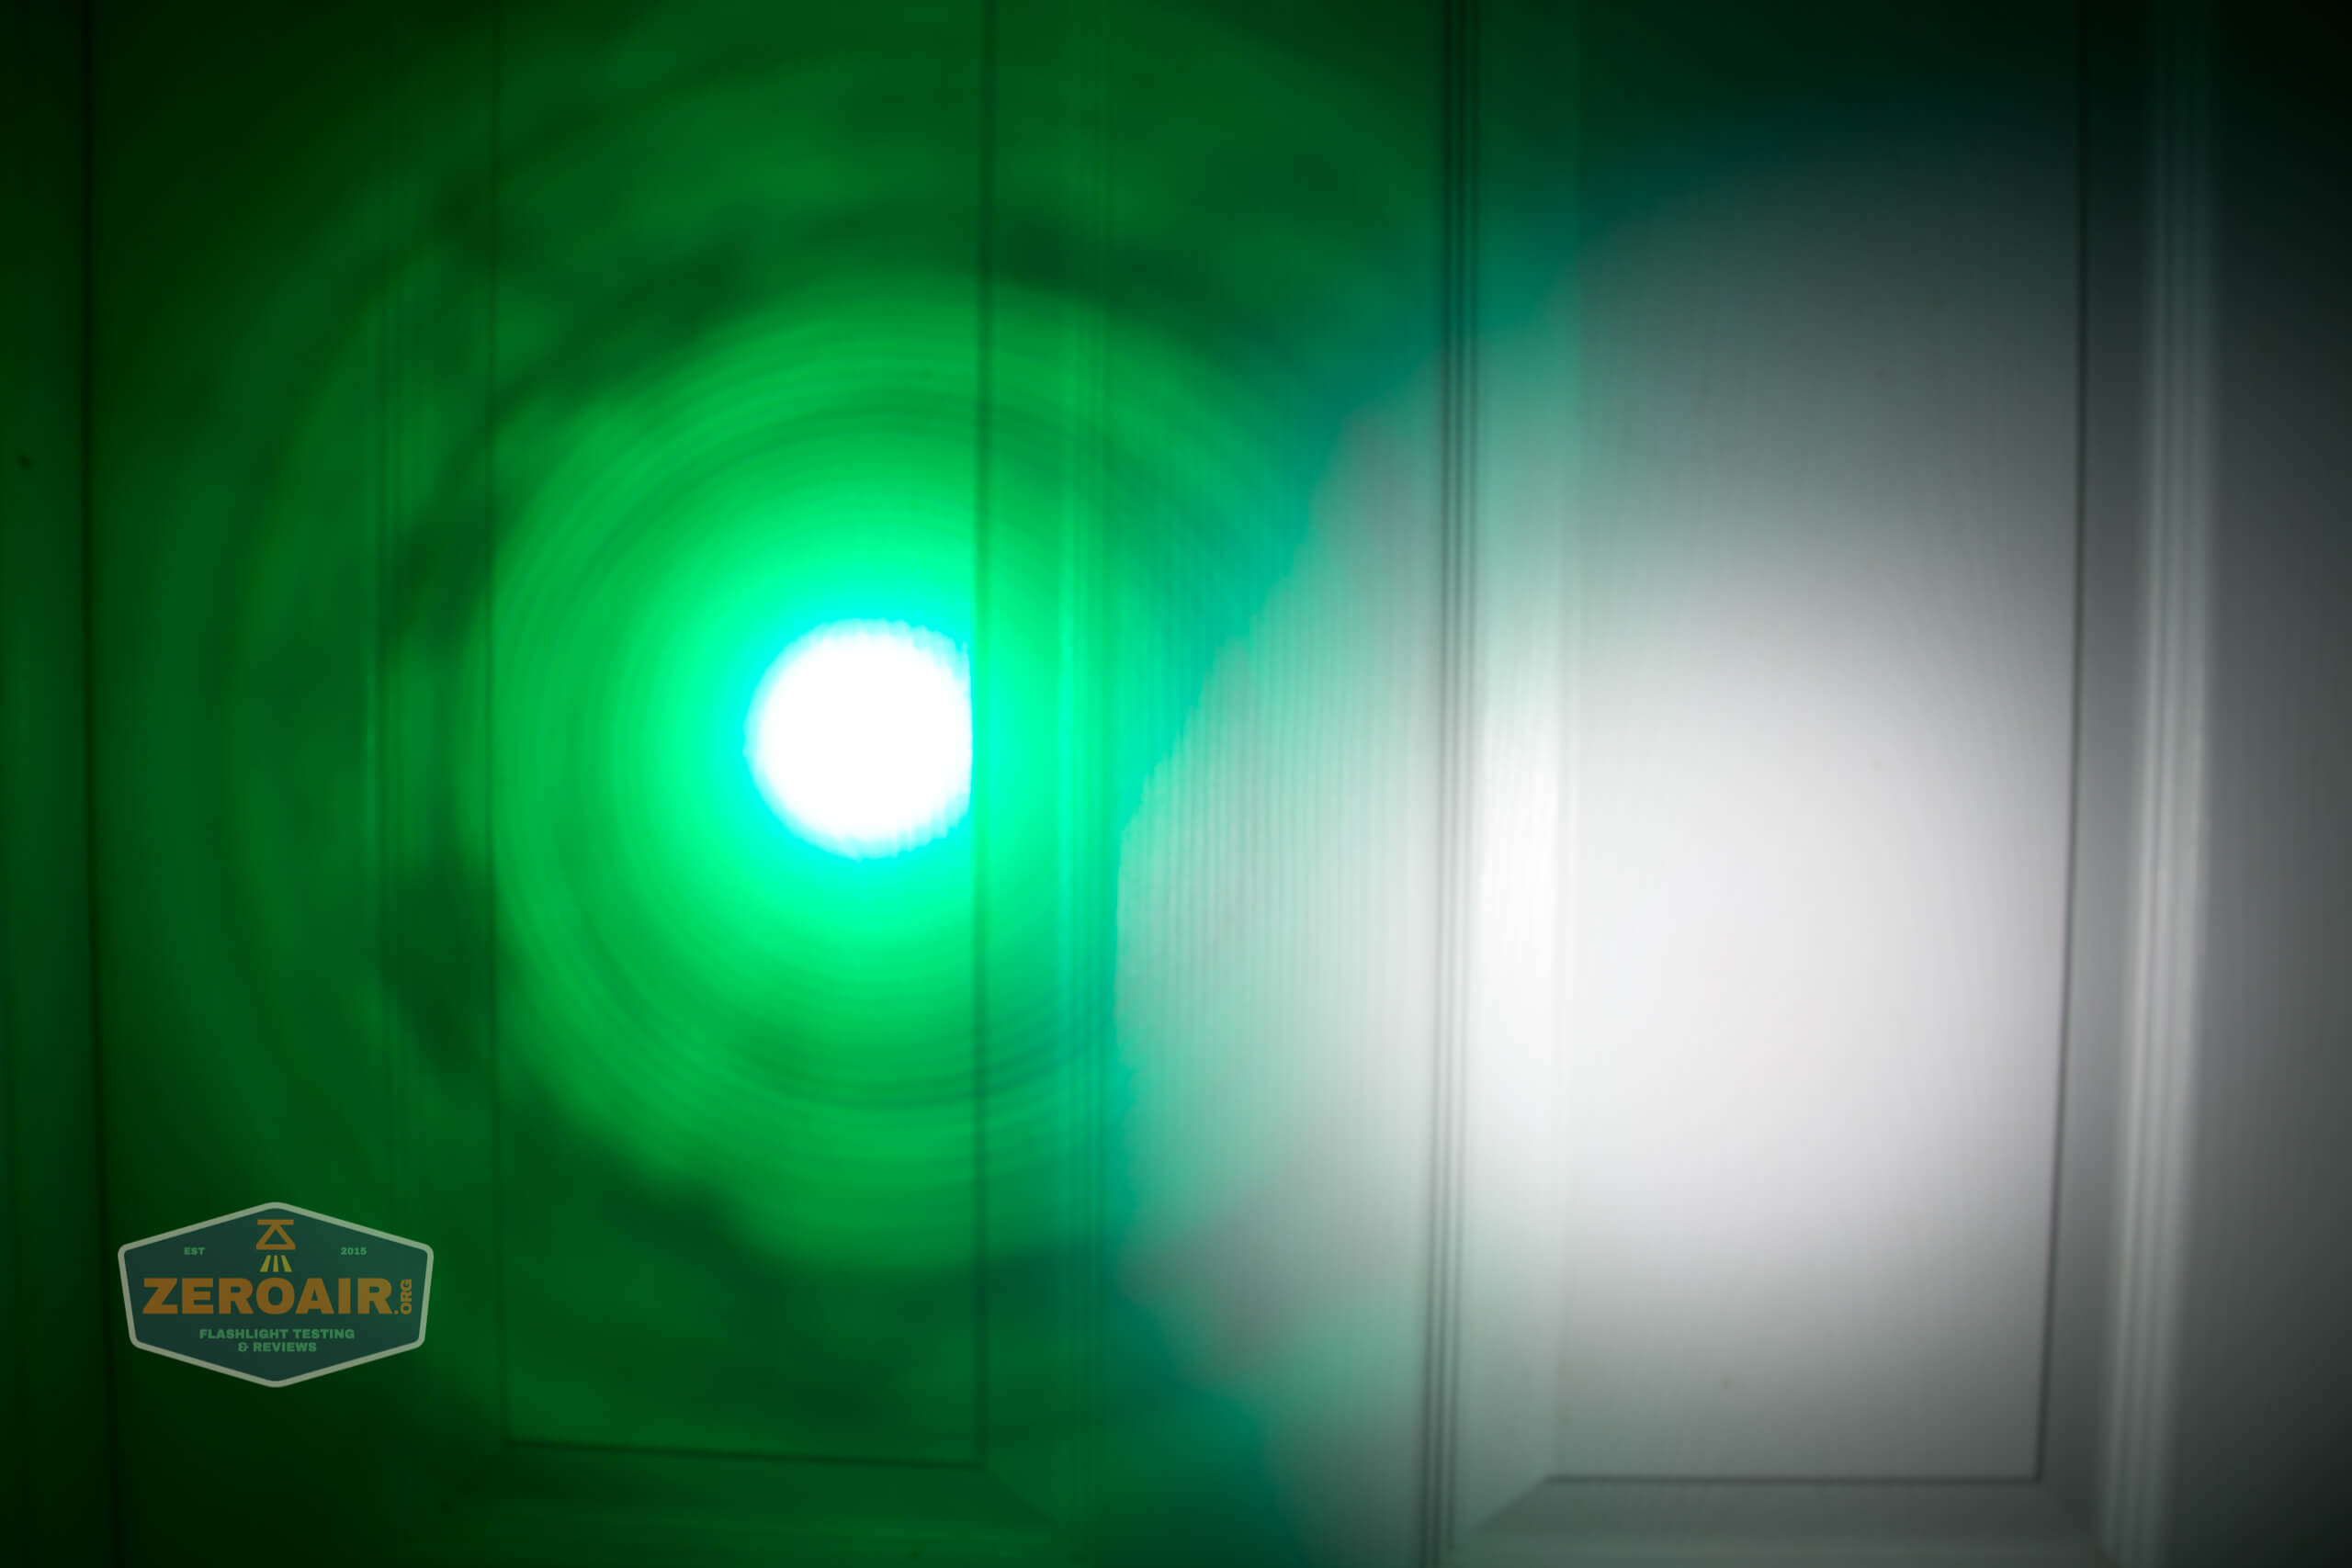
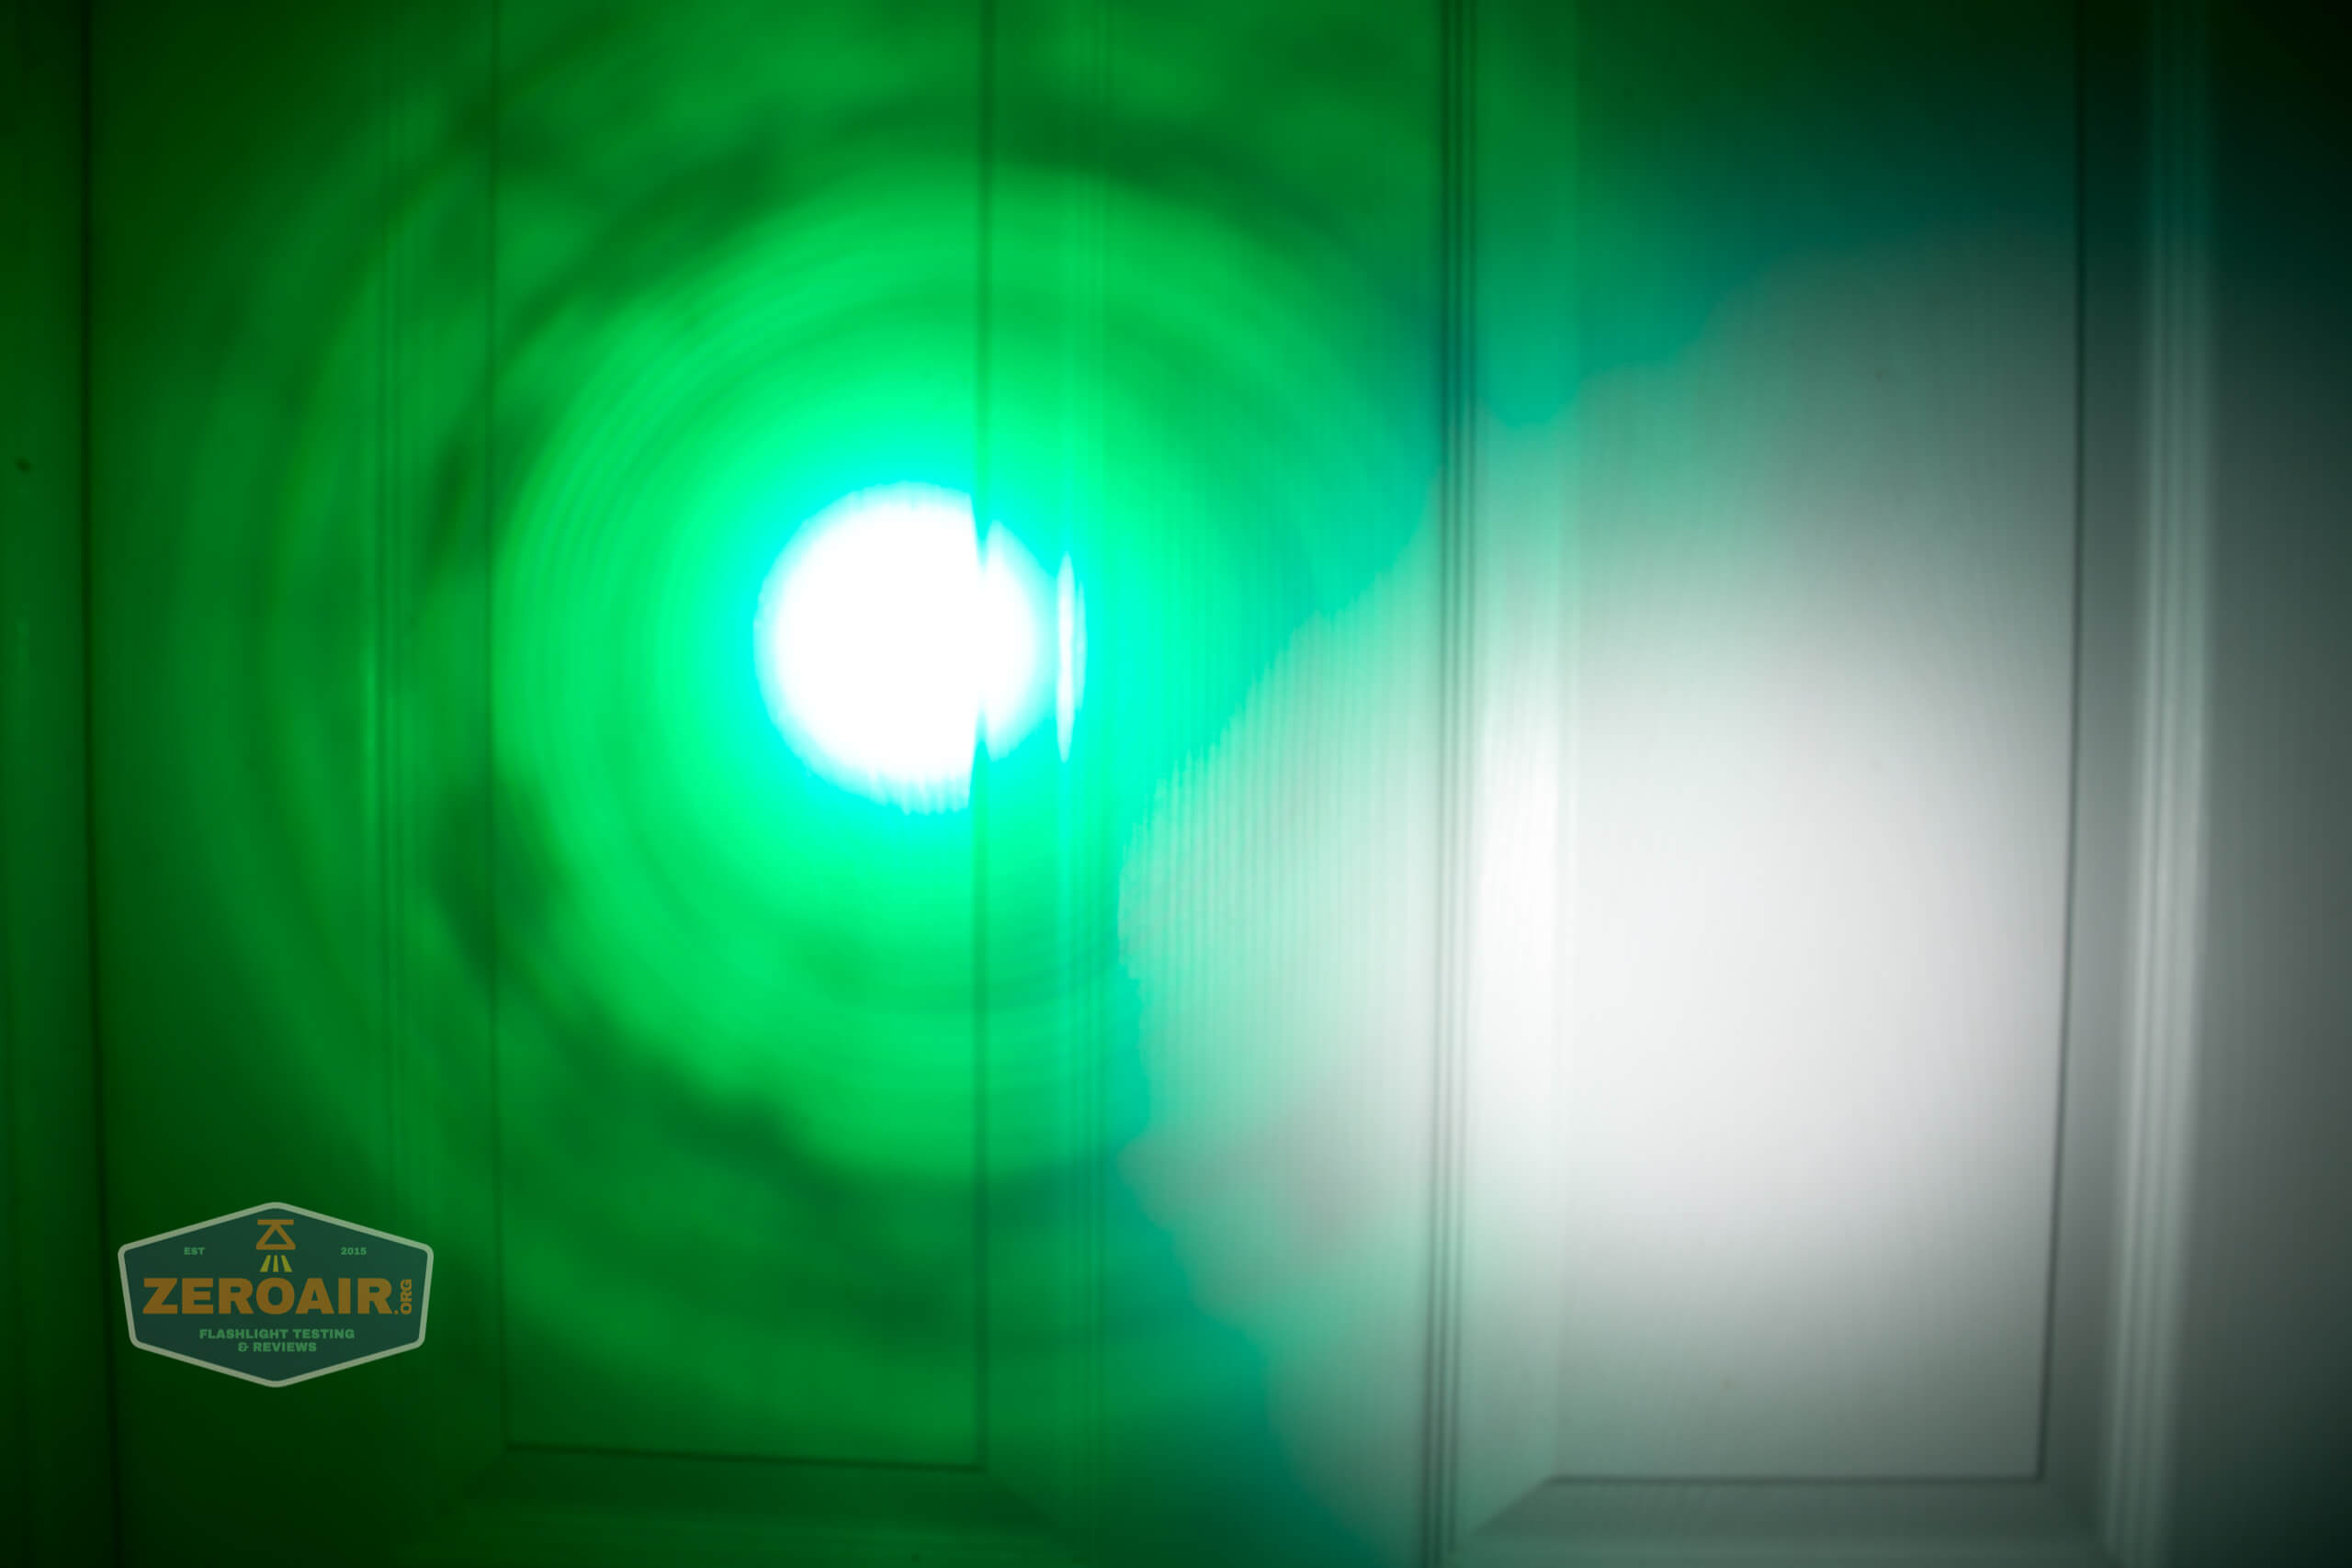
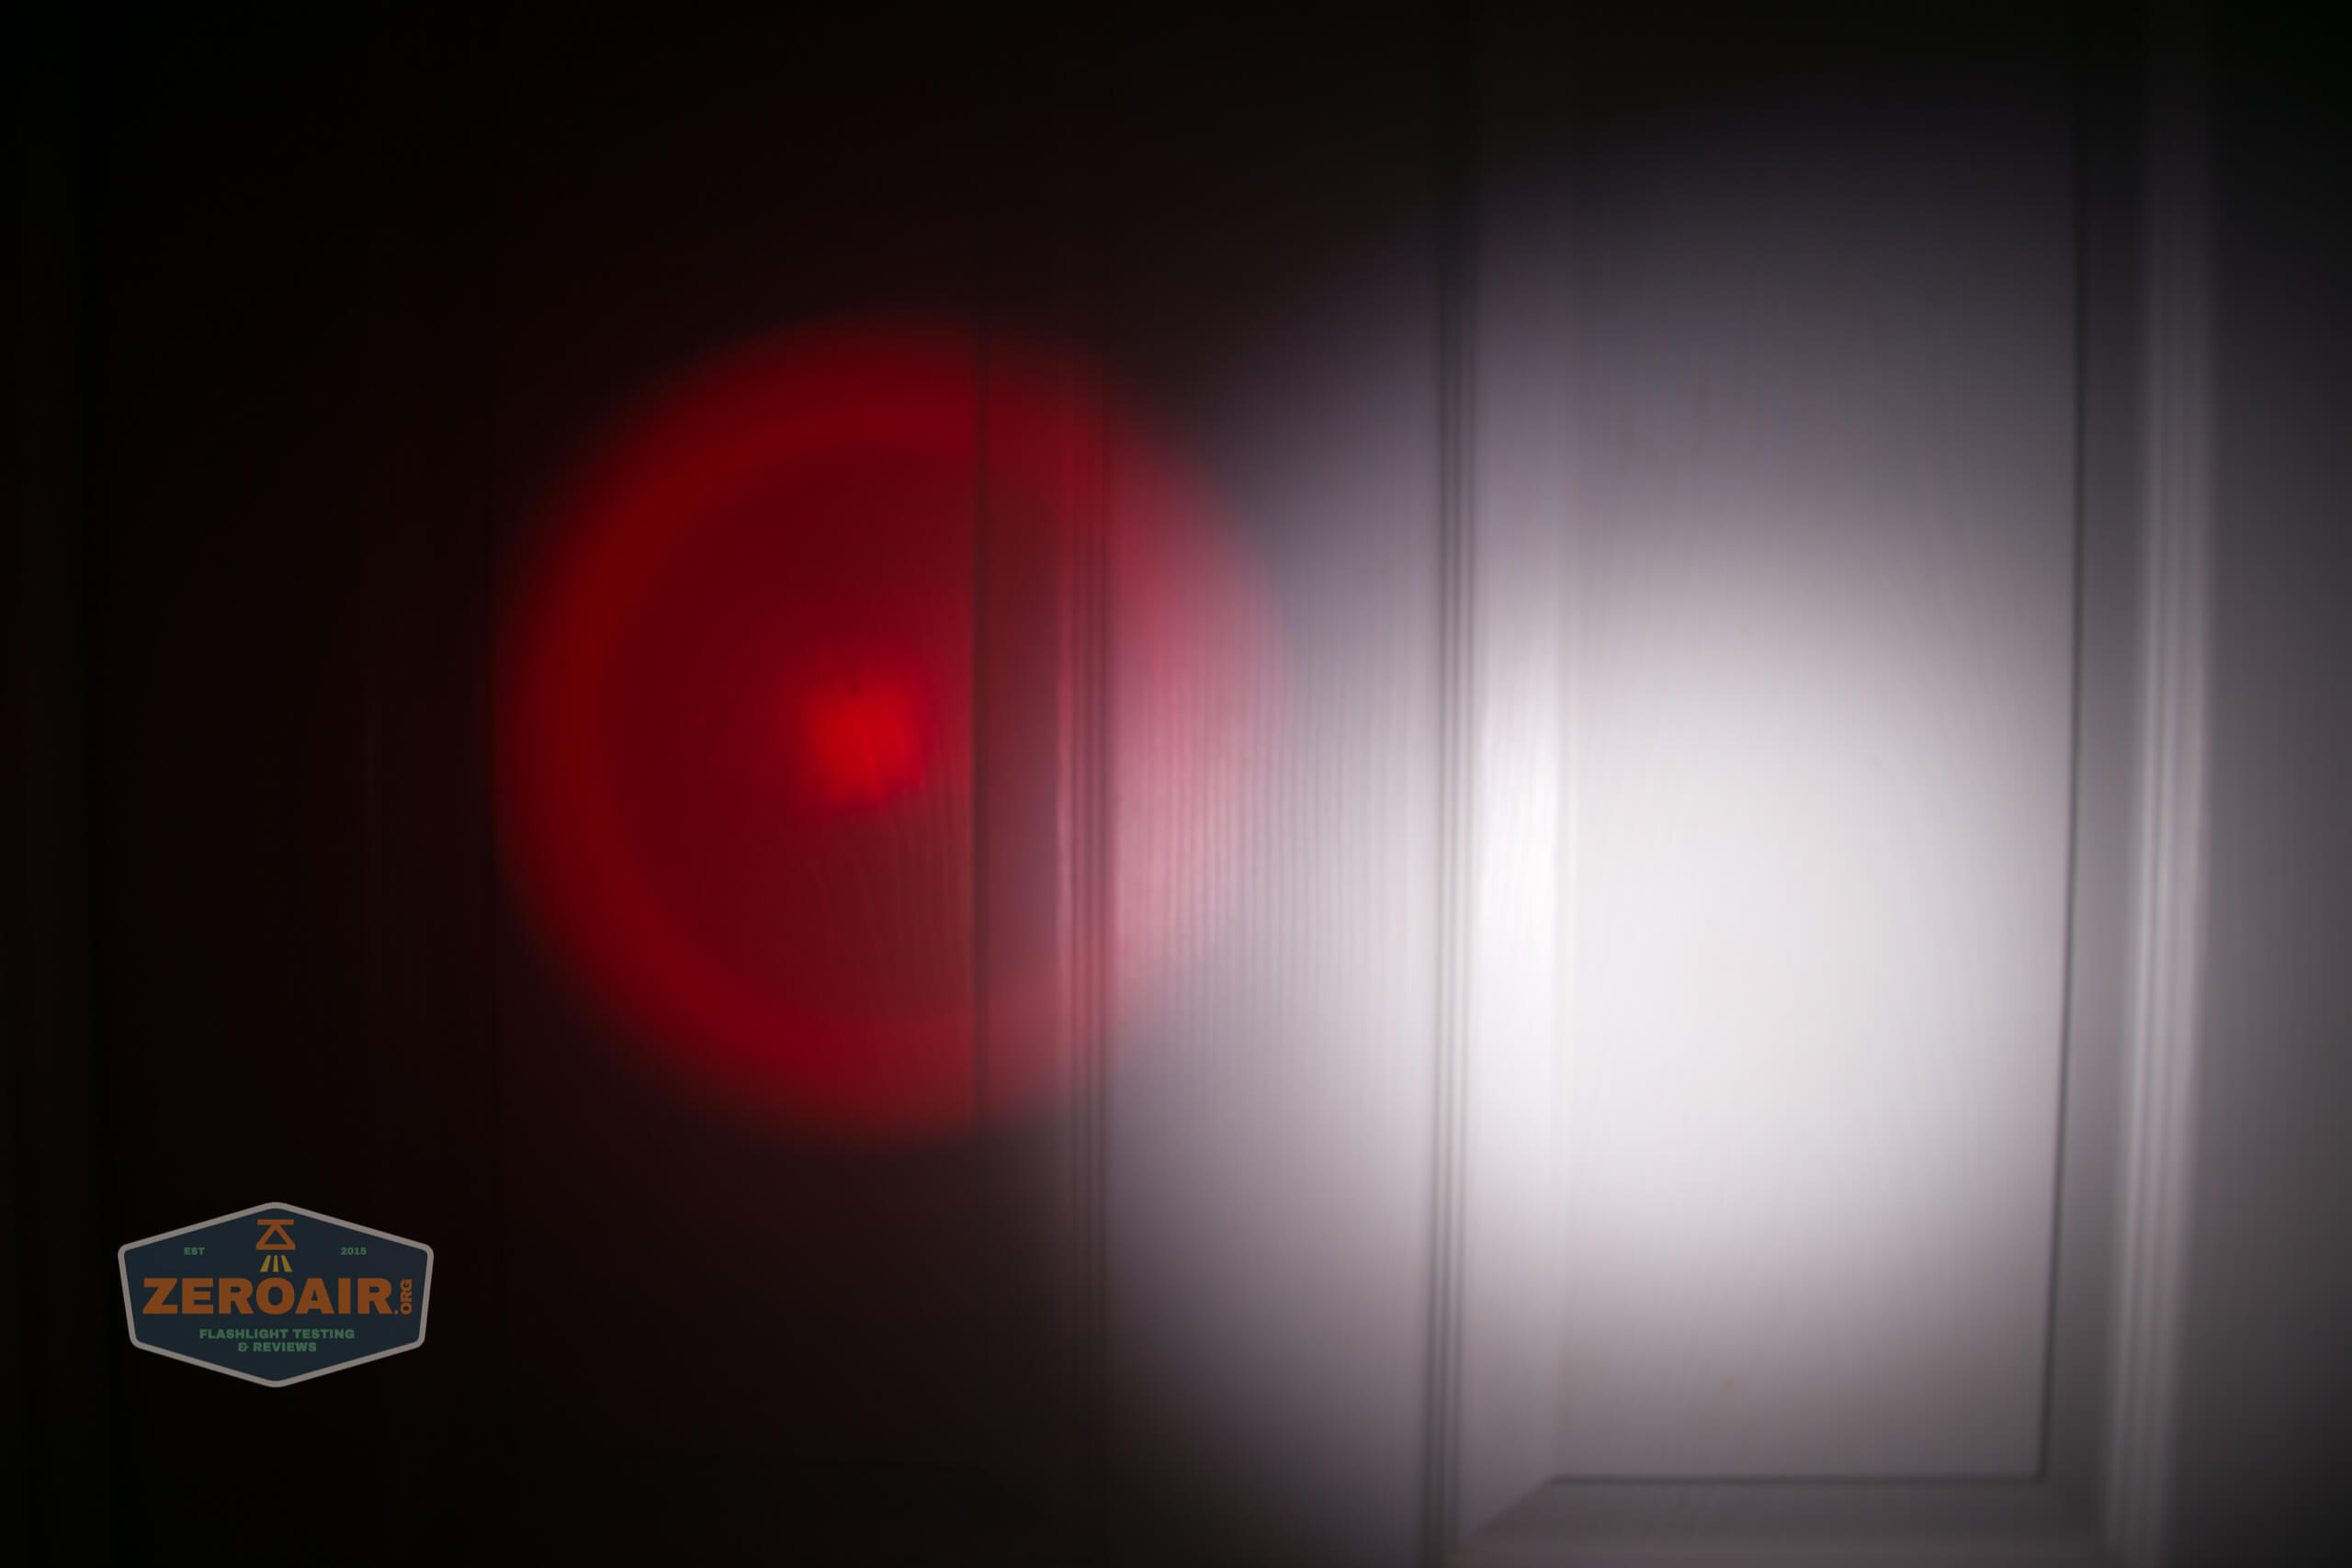
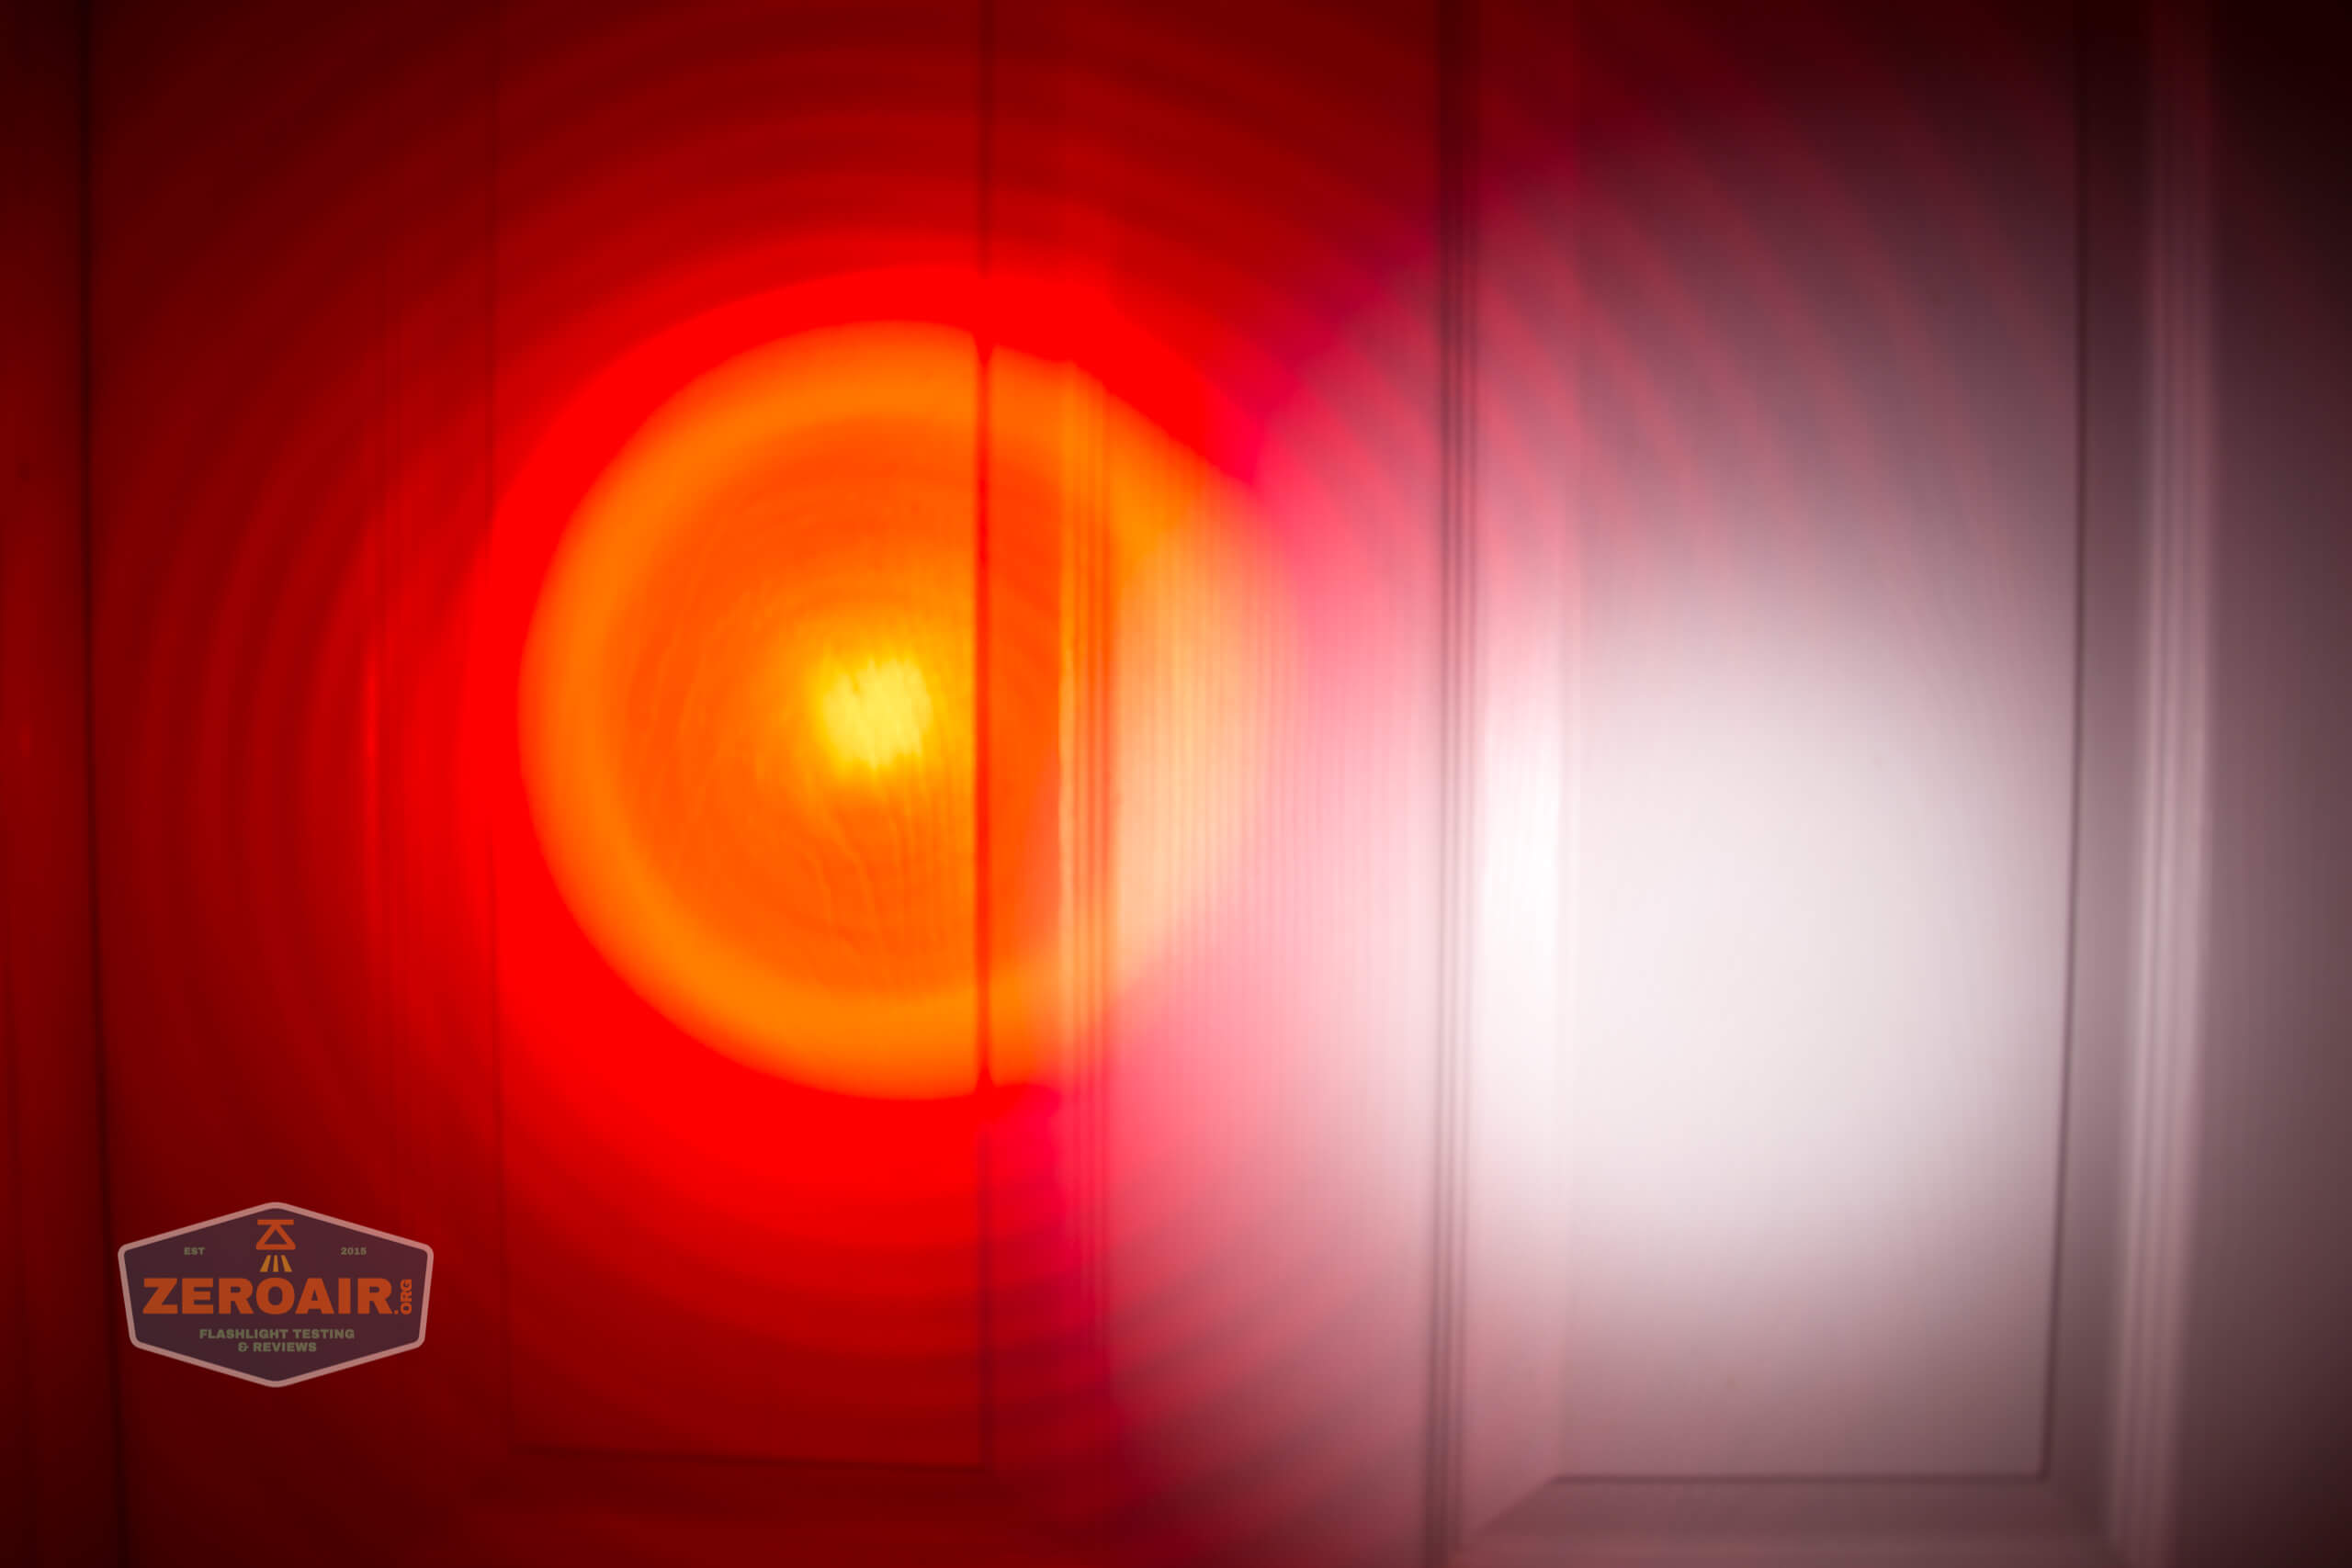
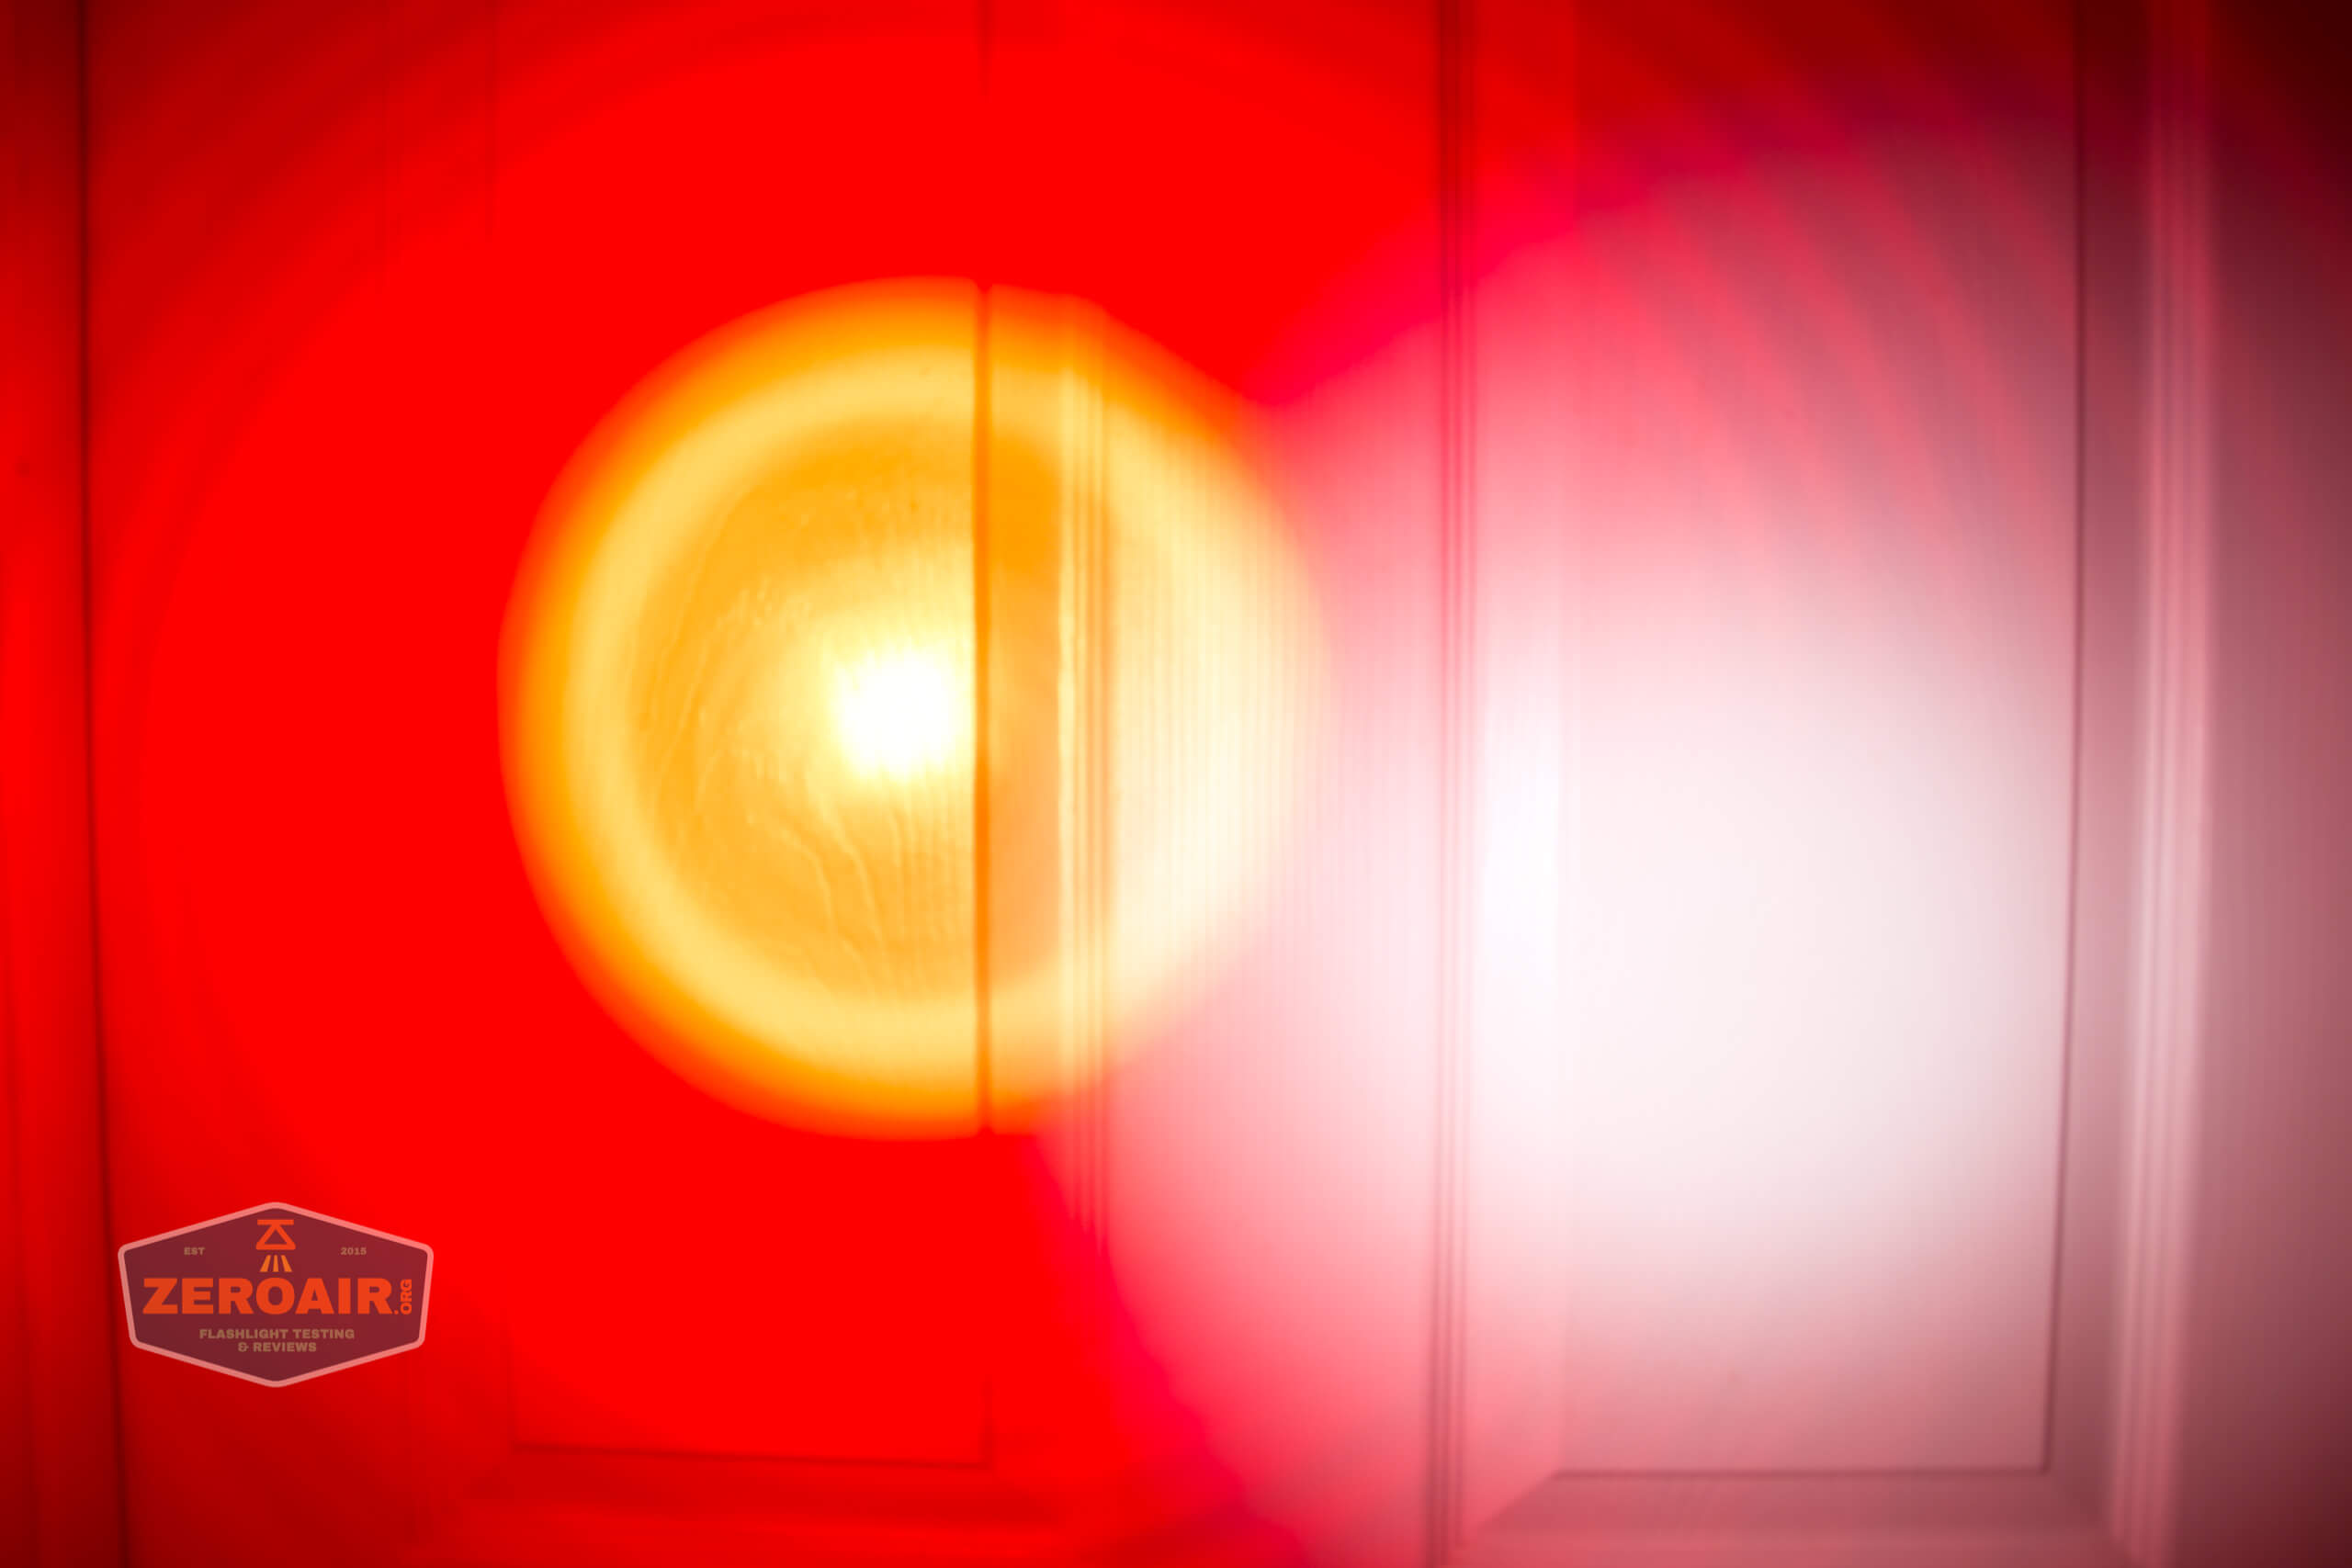
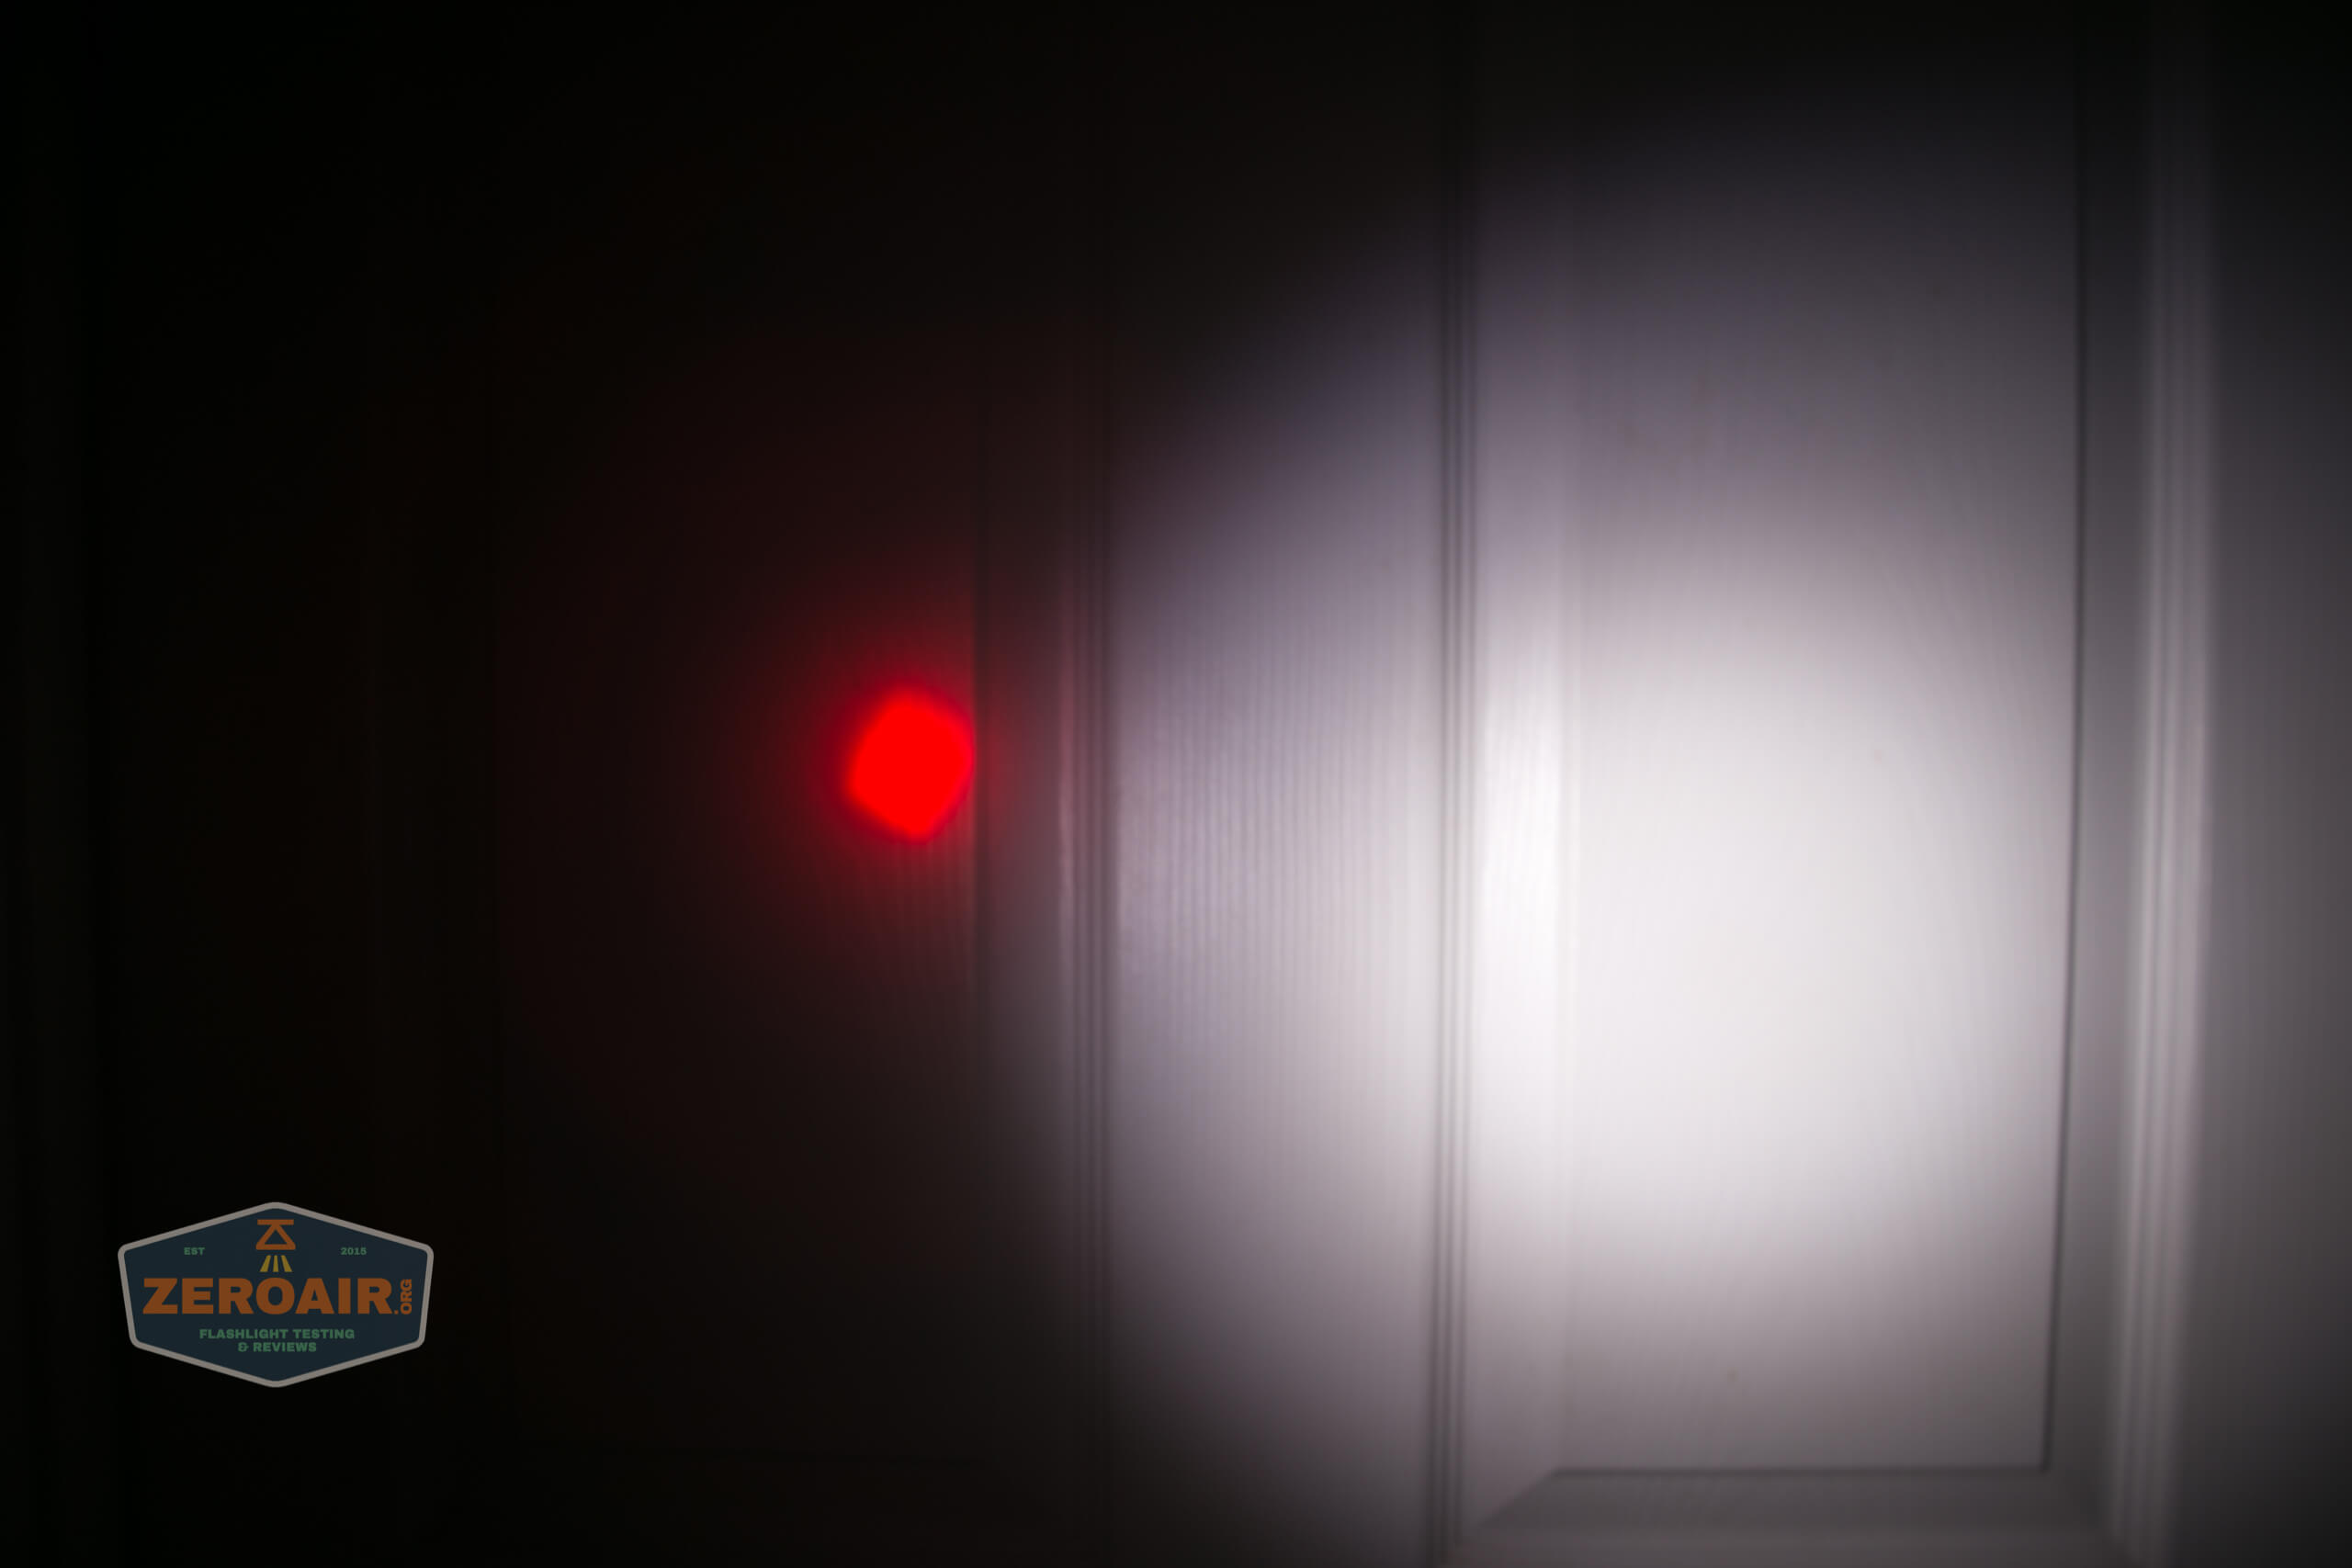
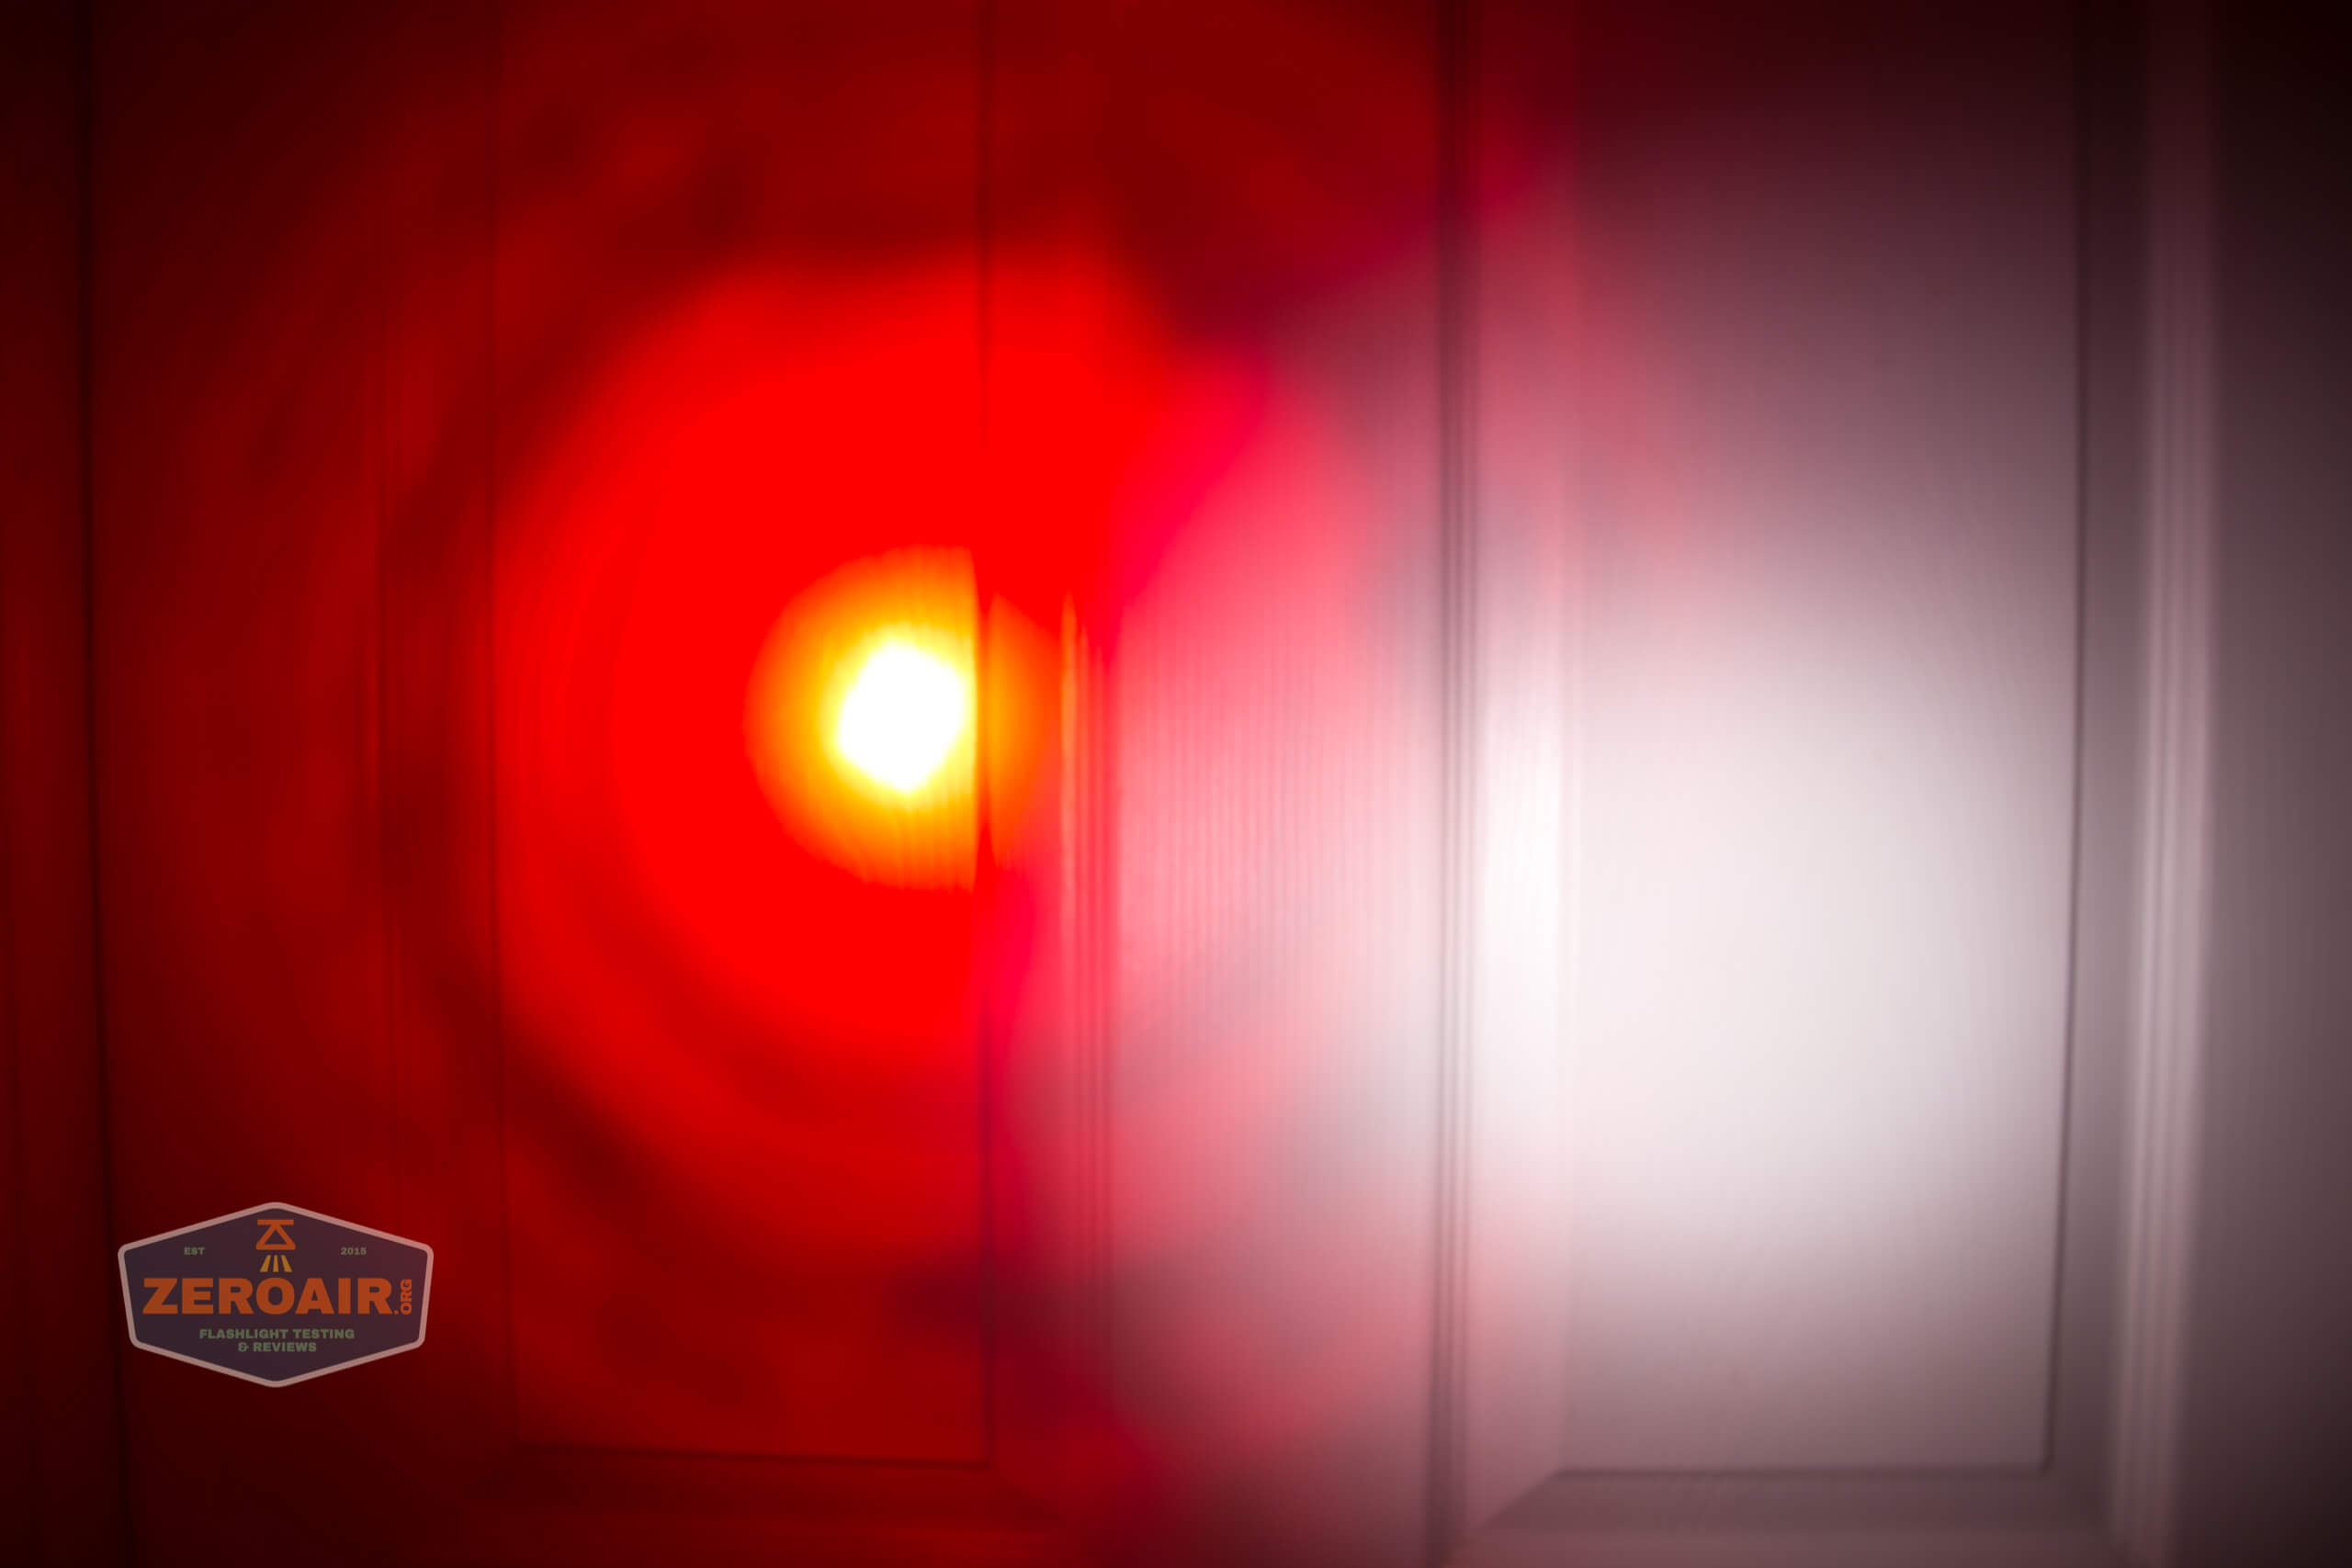
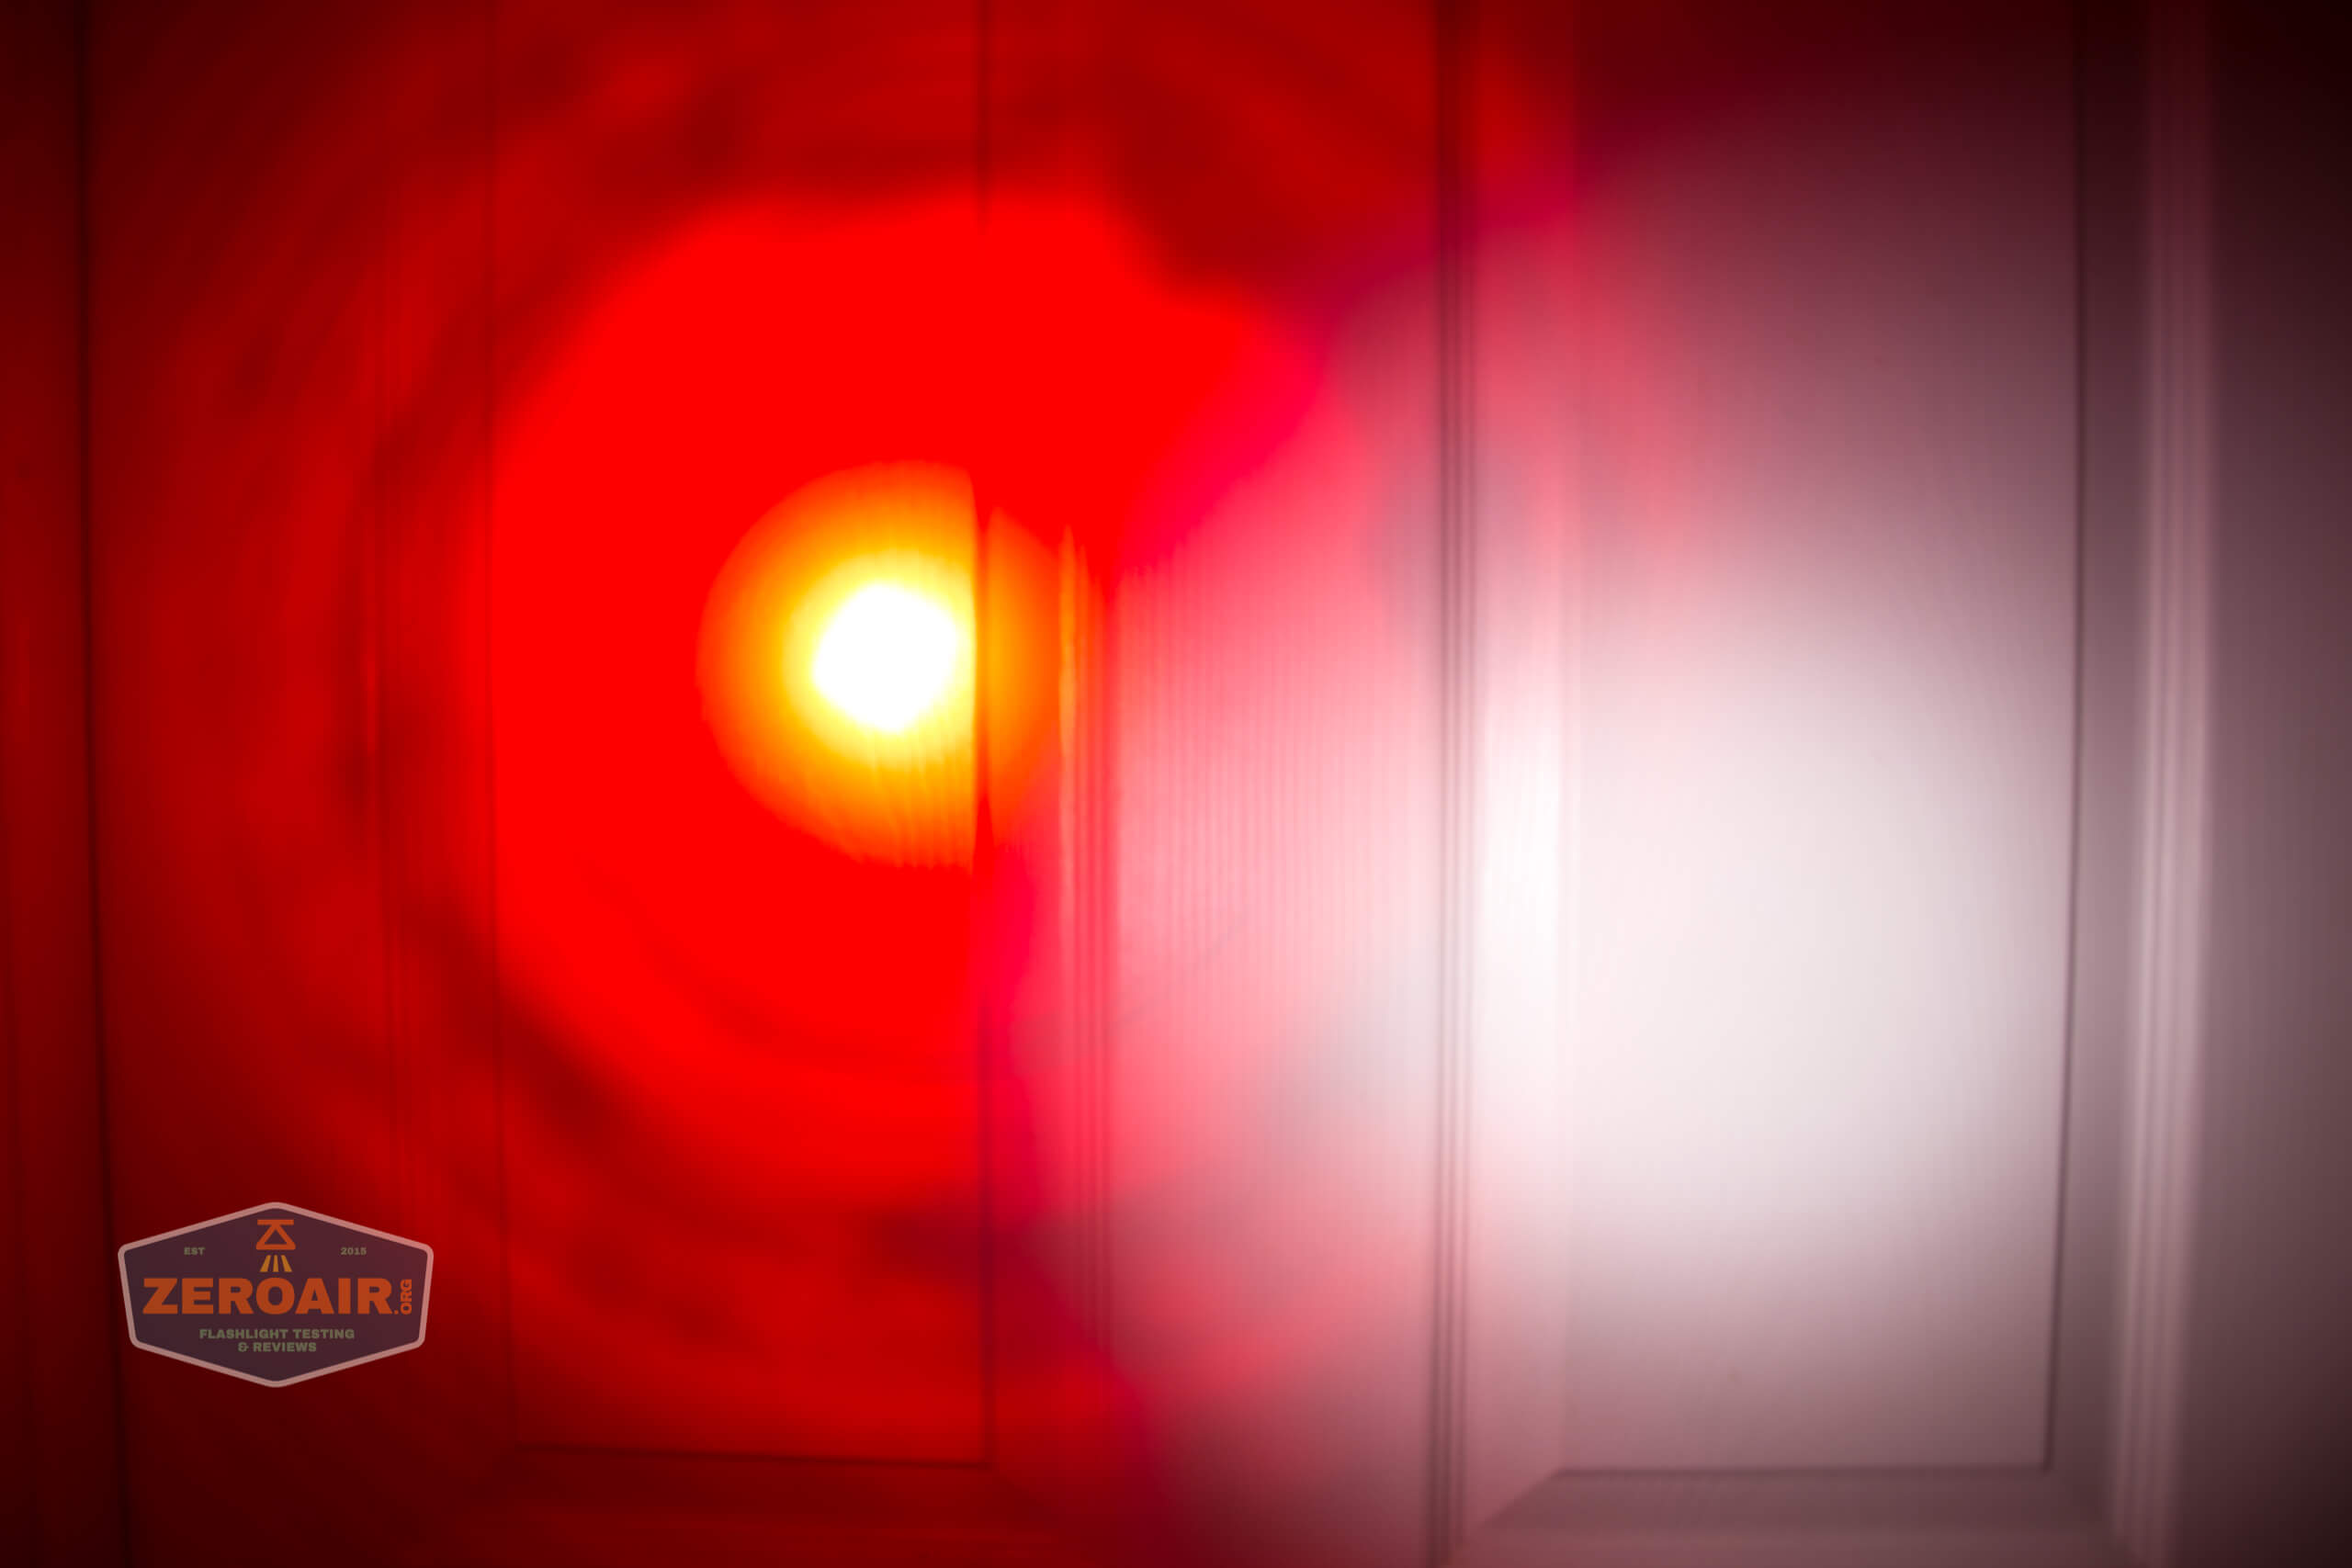
My opinion is that the beam shape, both zoomed in and zoomed out, leaves a bit to be desired. In the throwiest output, the beam is just a projection of the emitter. This is almost never the preferred beam profile, and I am not a fan here either. Same with the floody output – the beam still has a big center projector, but picks up tons of artifacts along with the flood – it’s not a pure flood output.

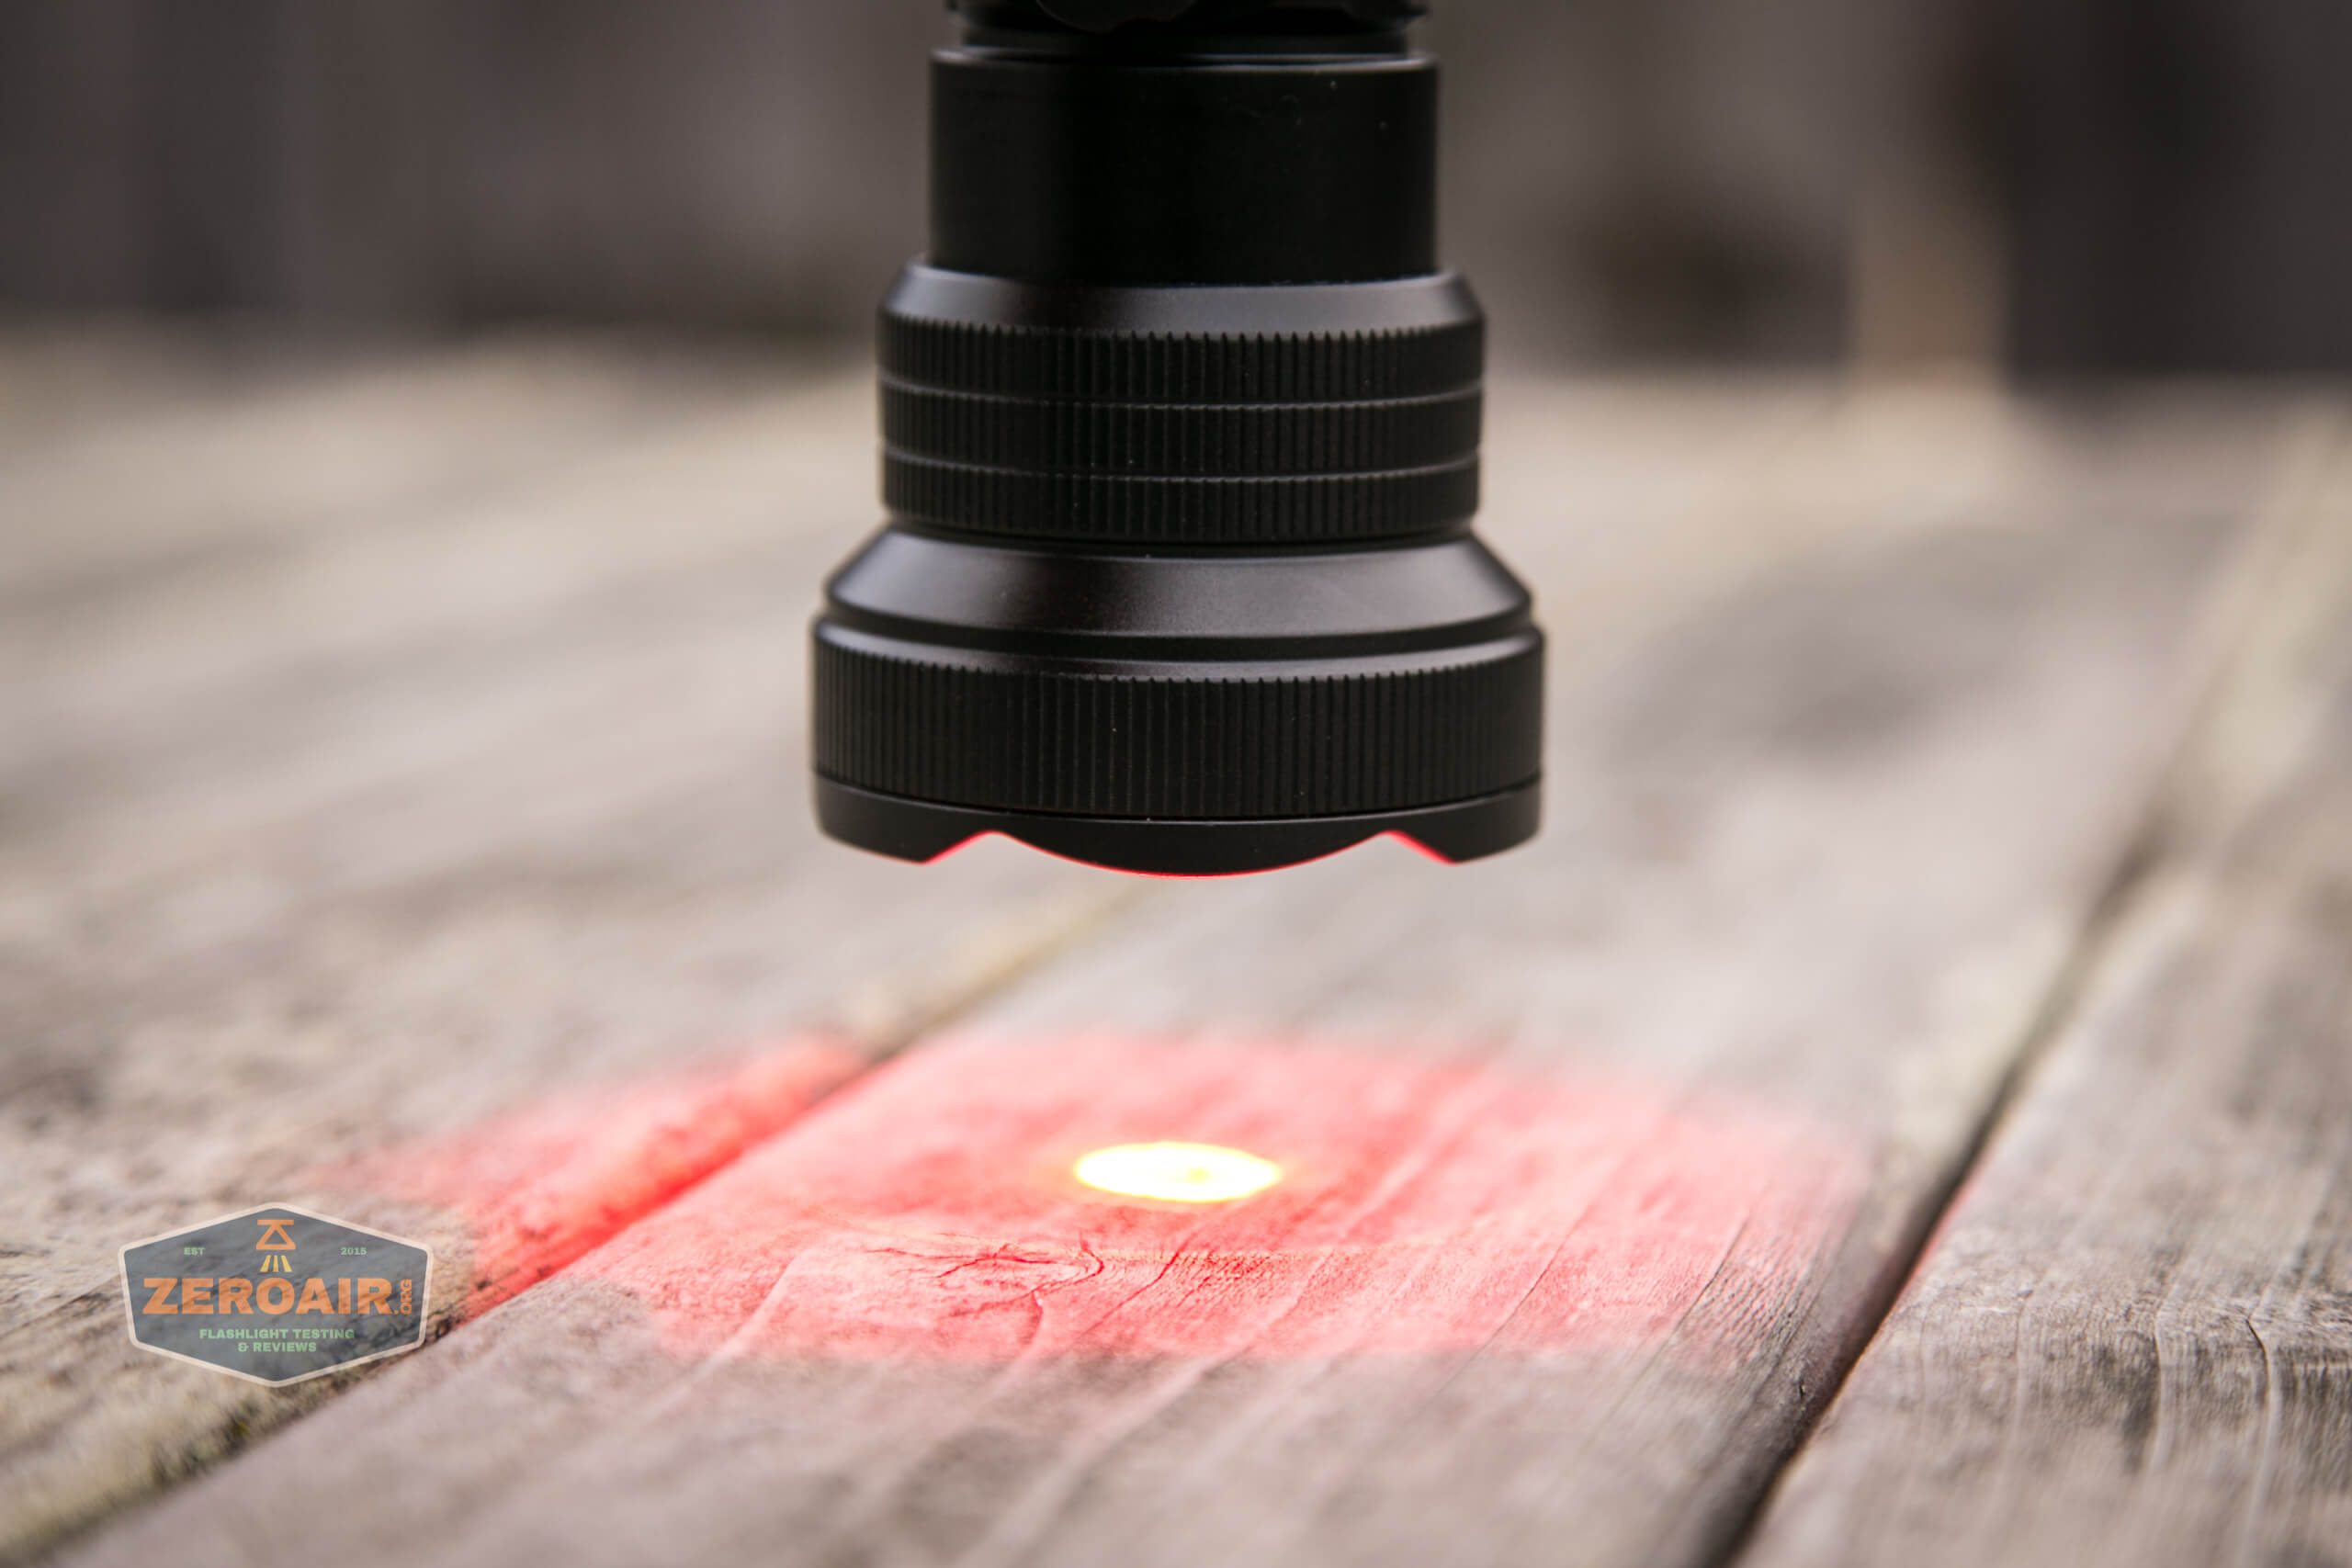

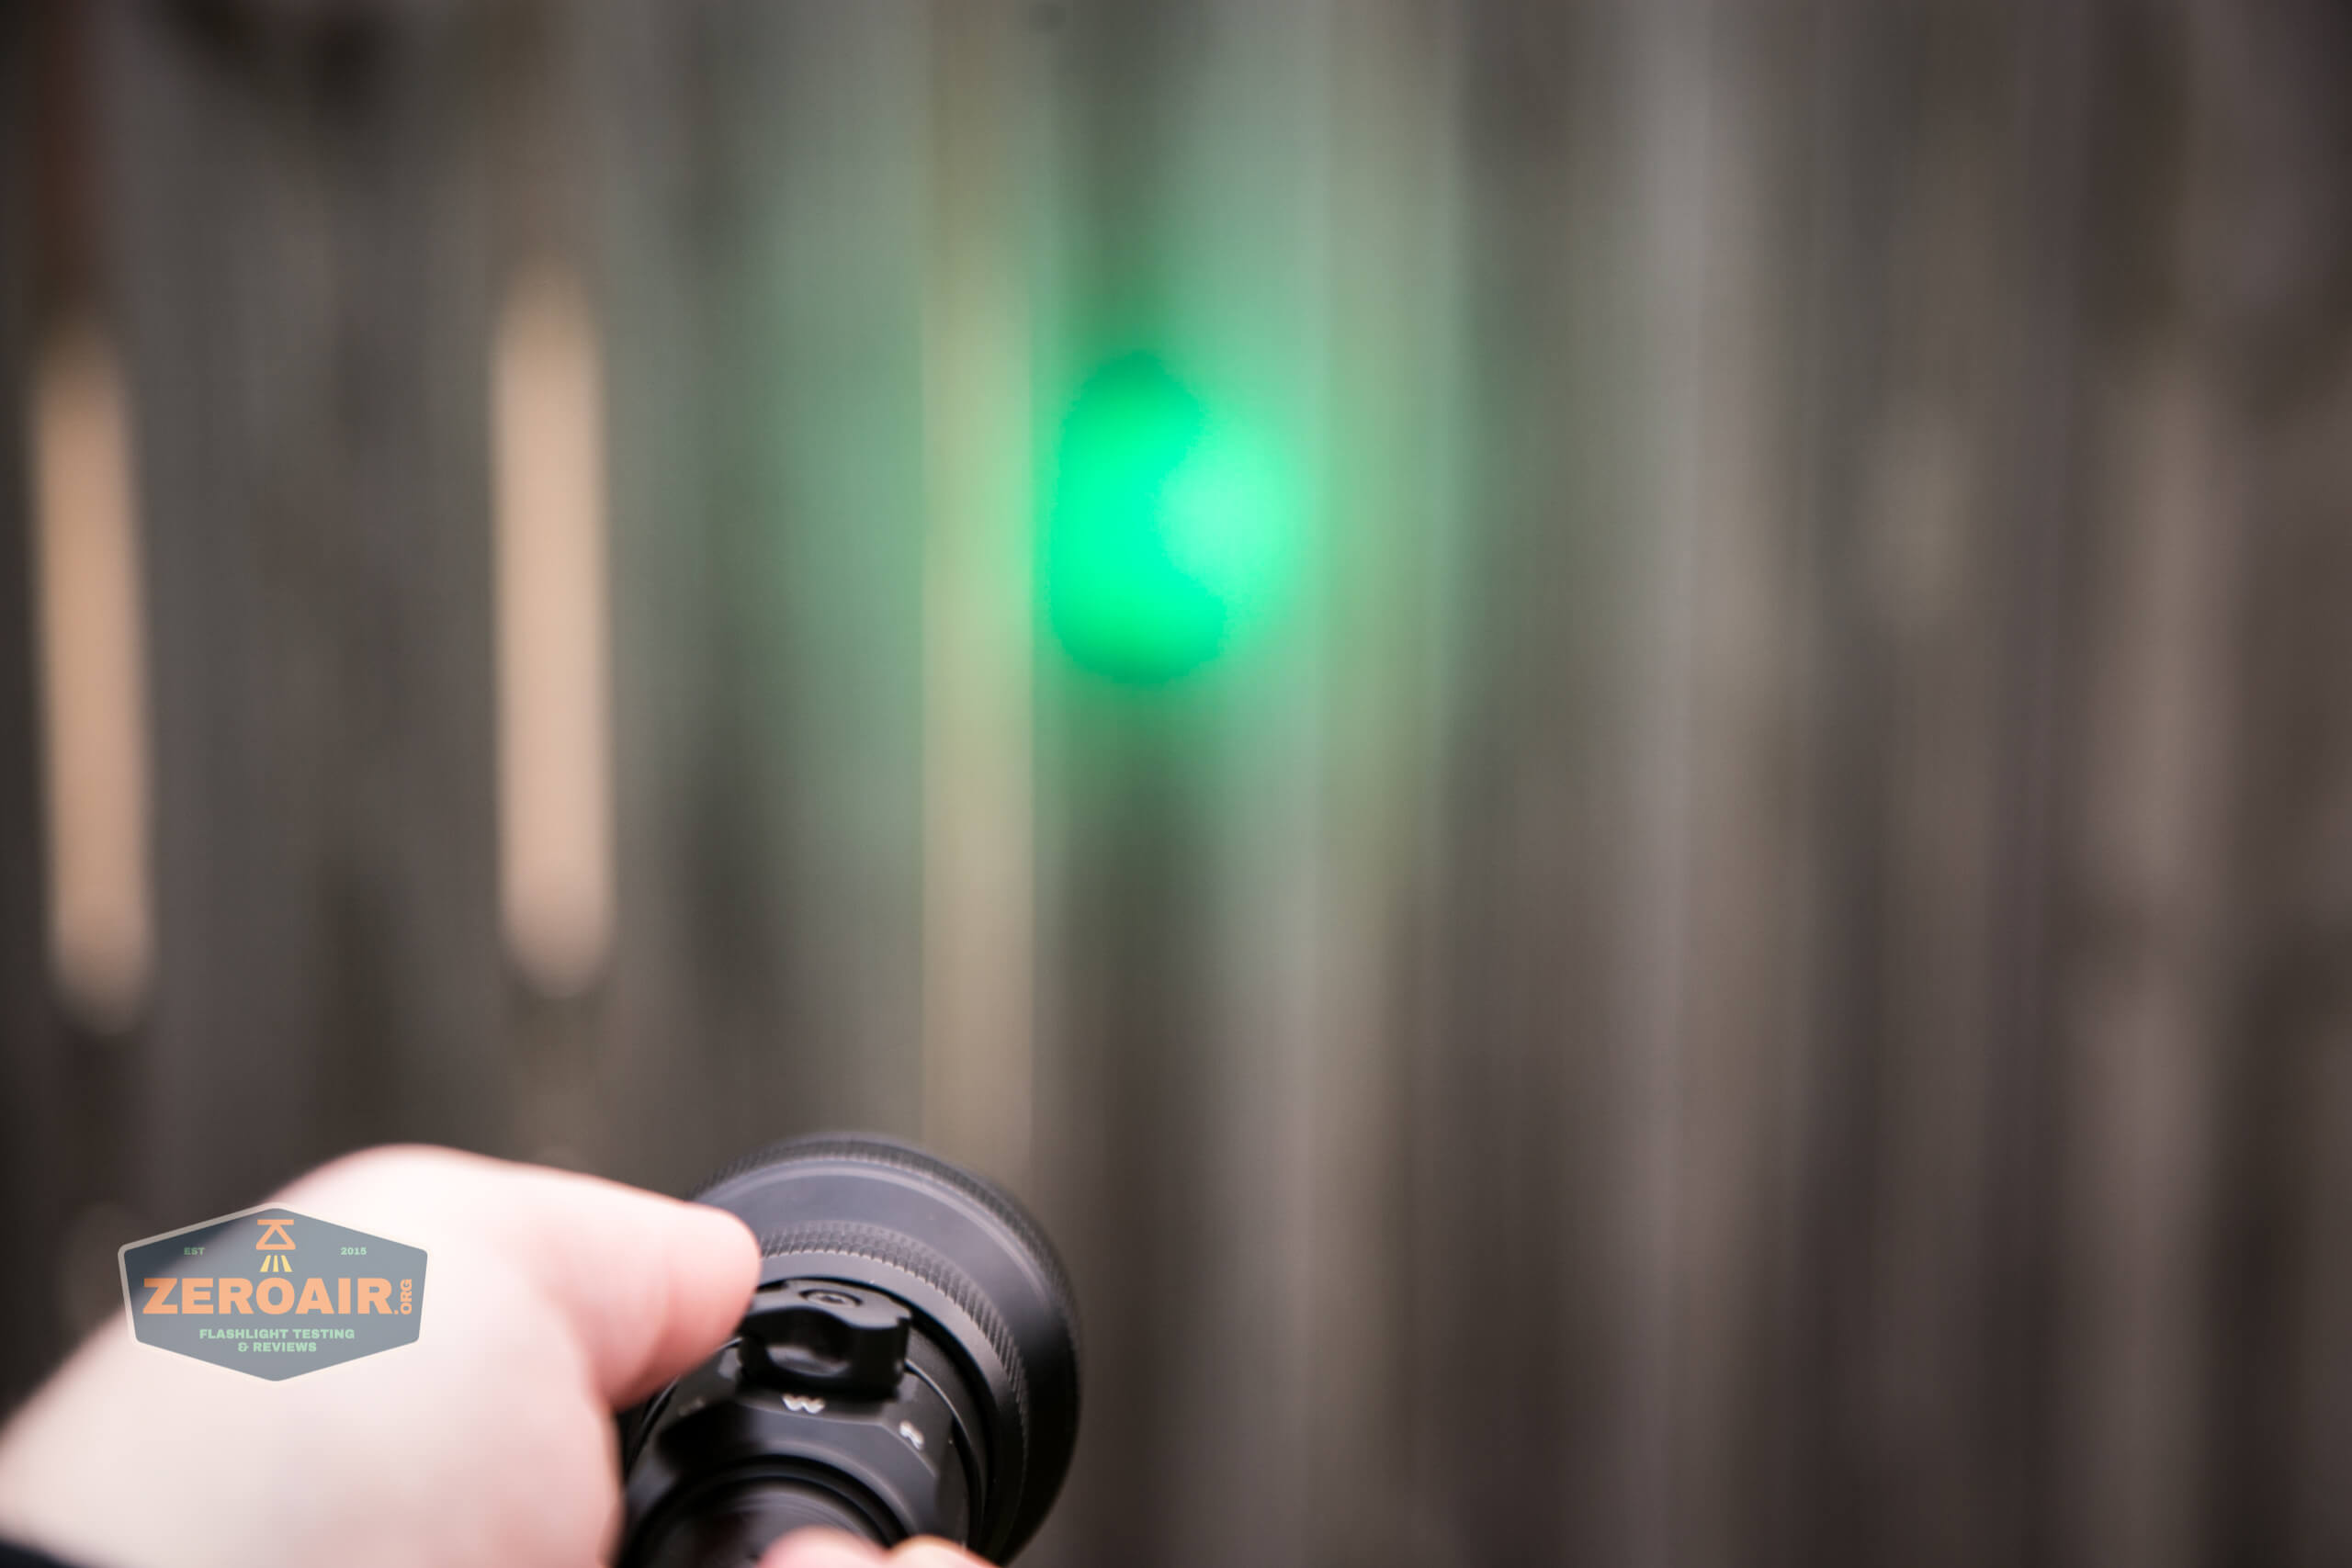
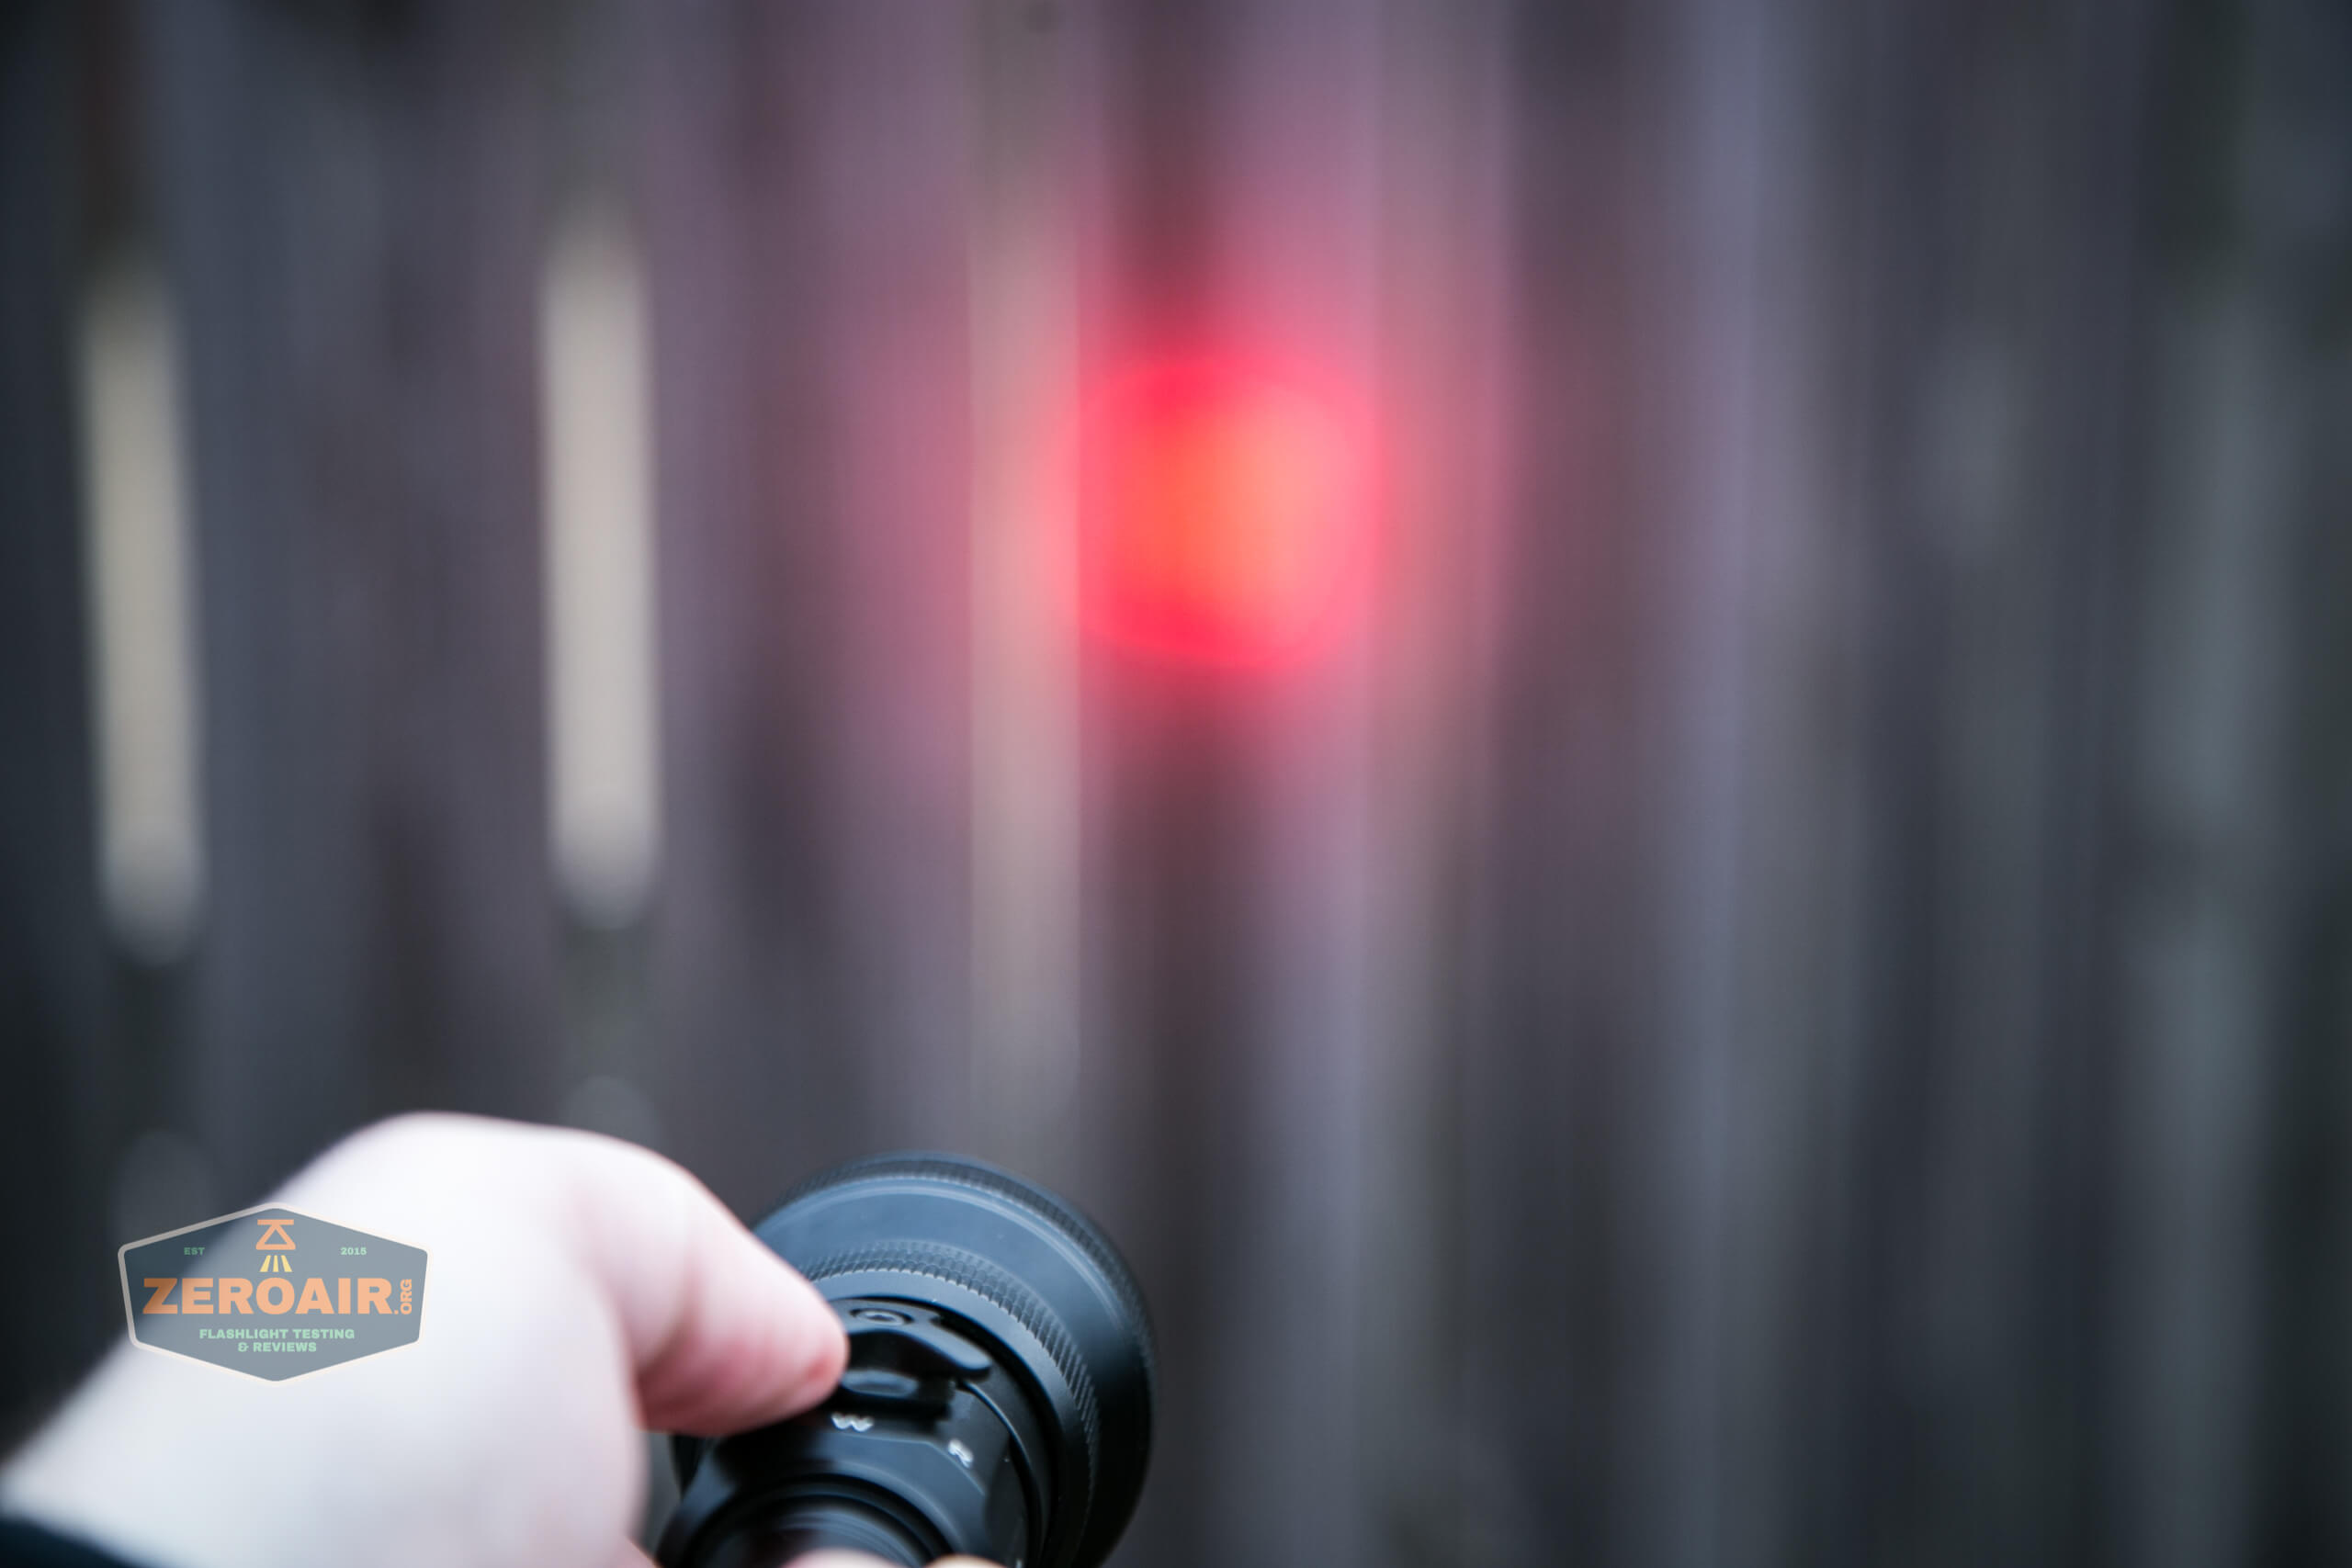
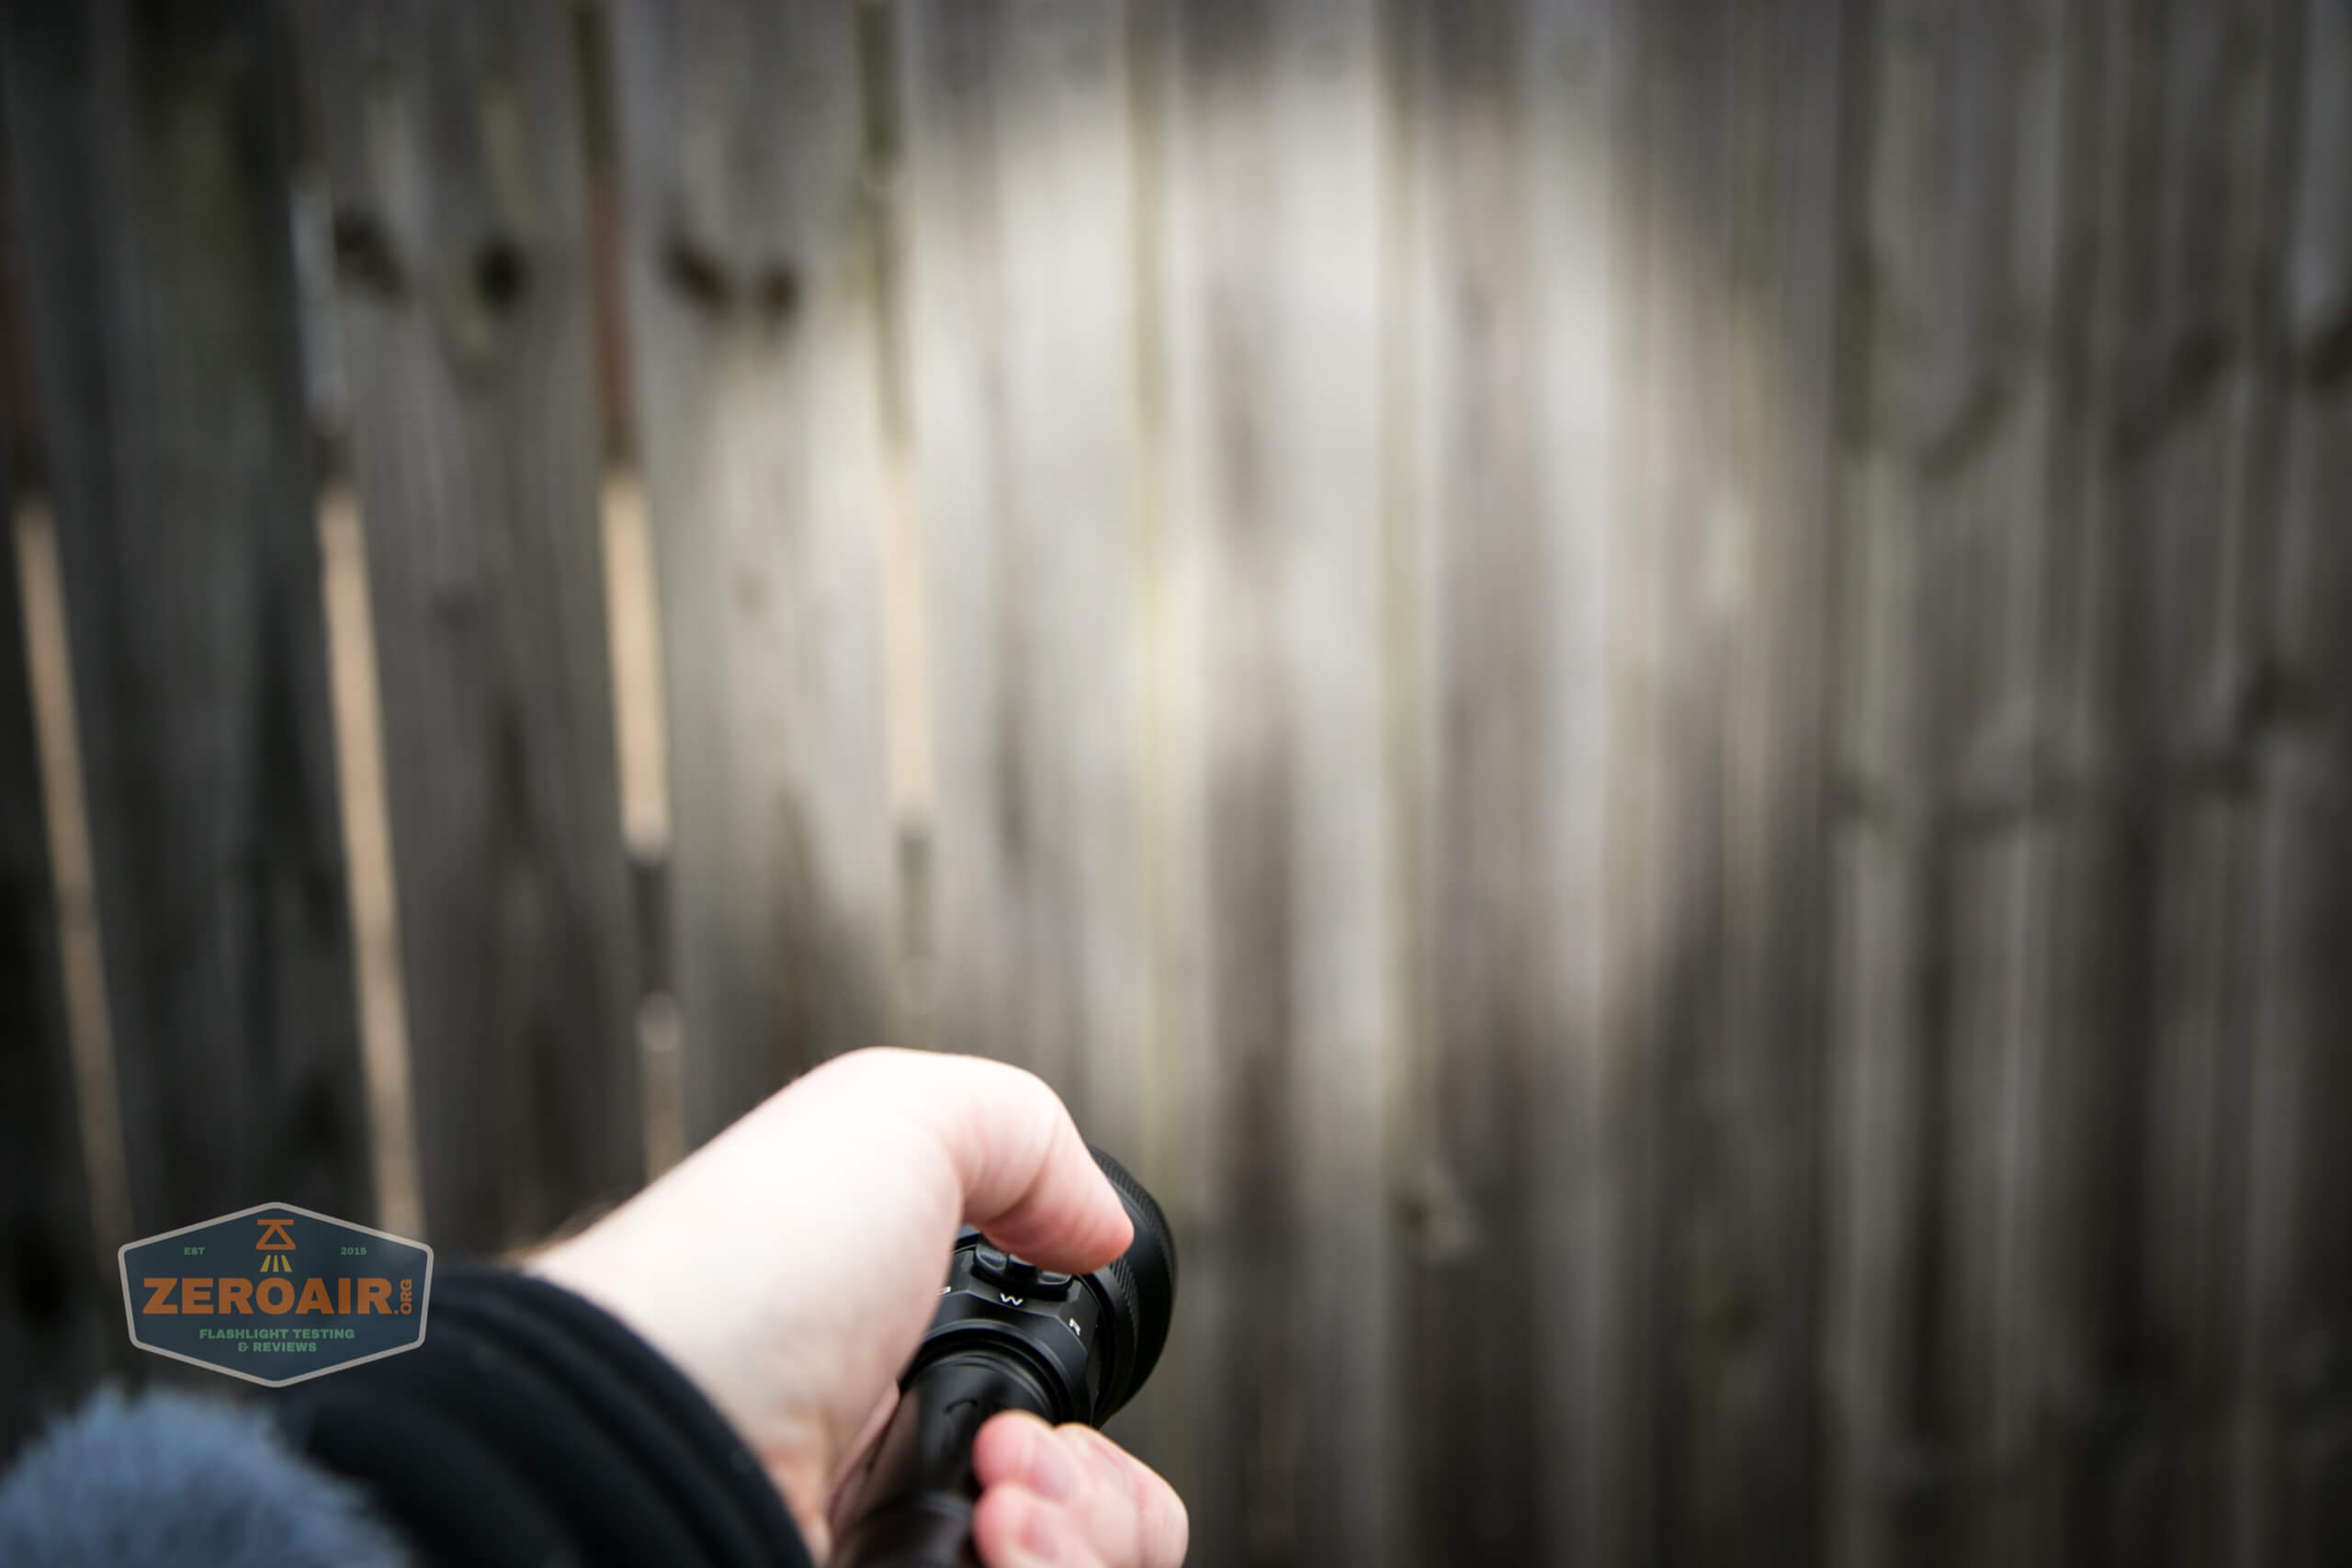

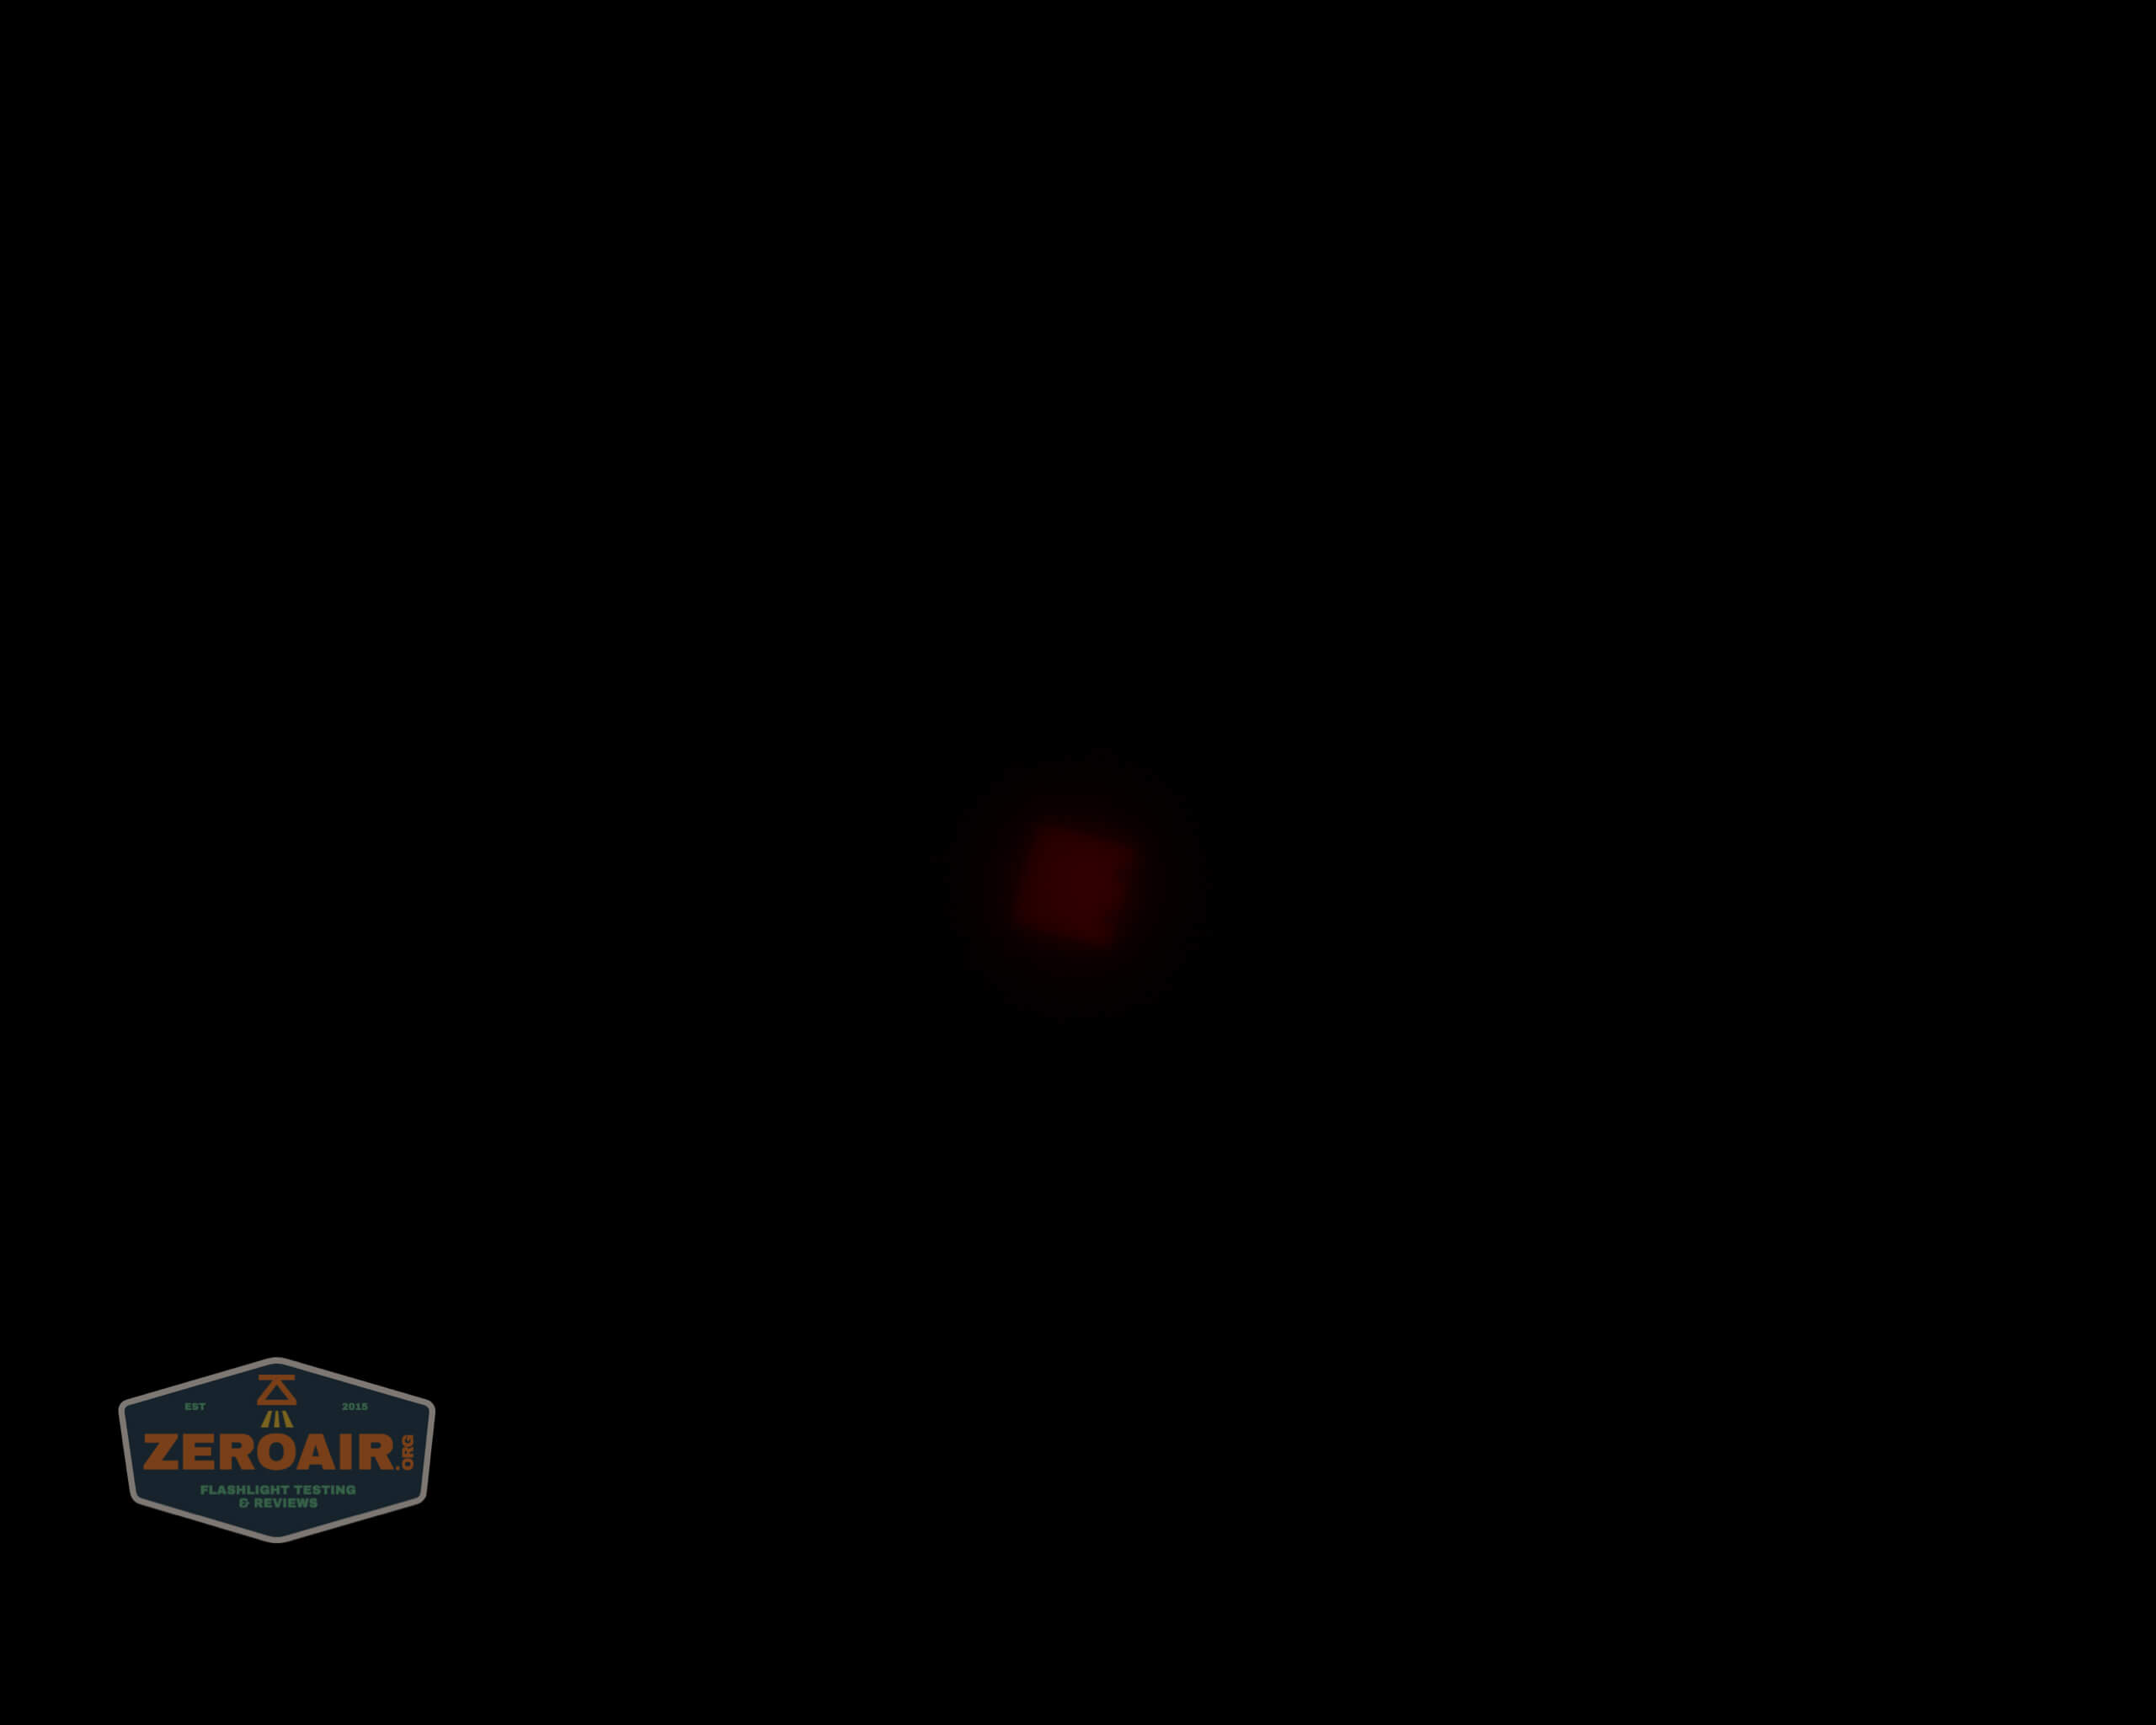
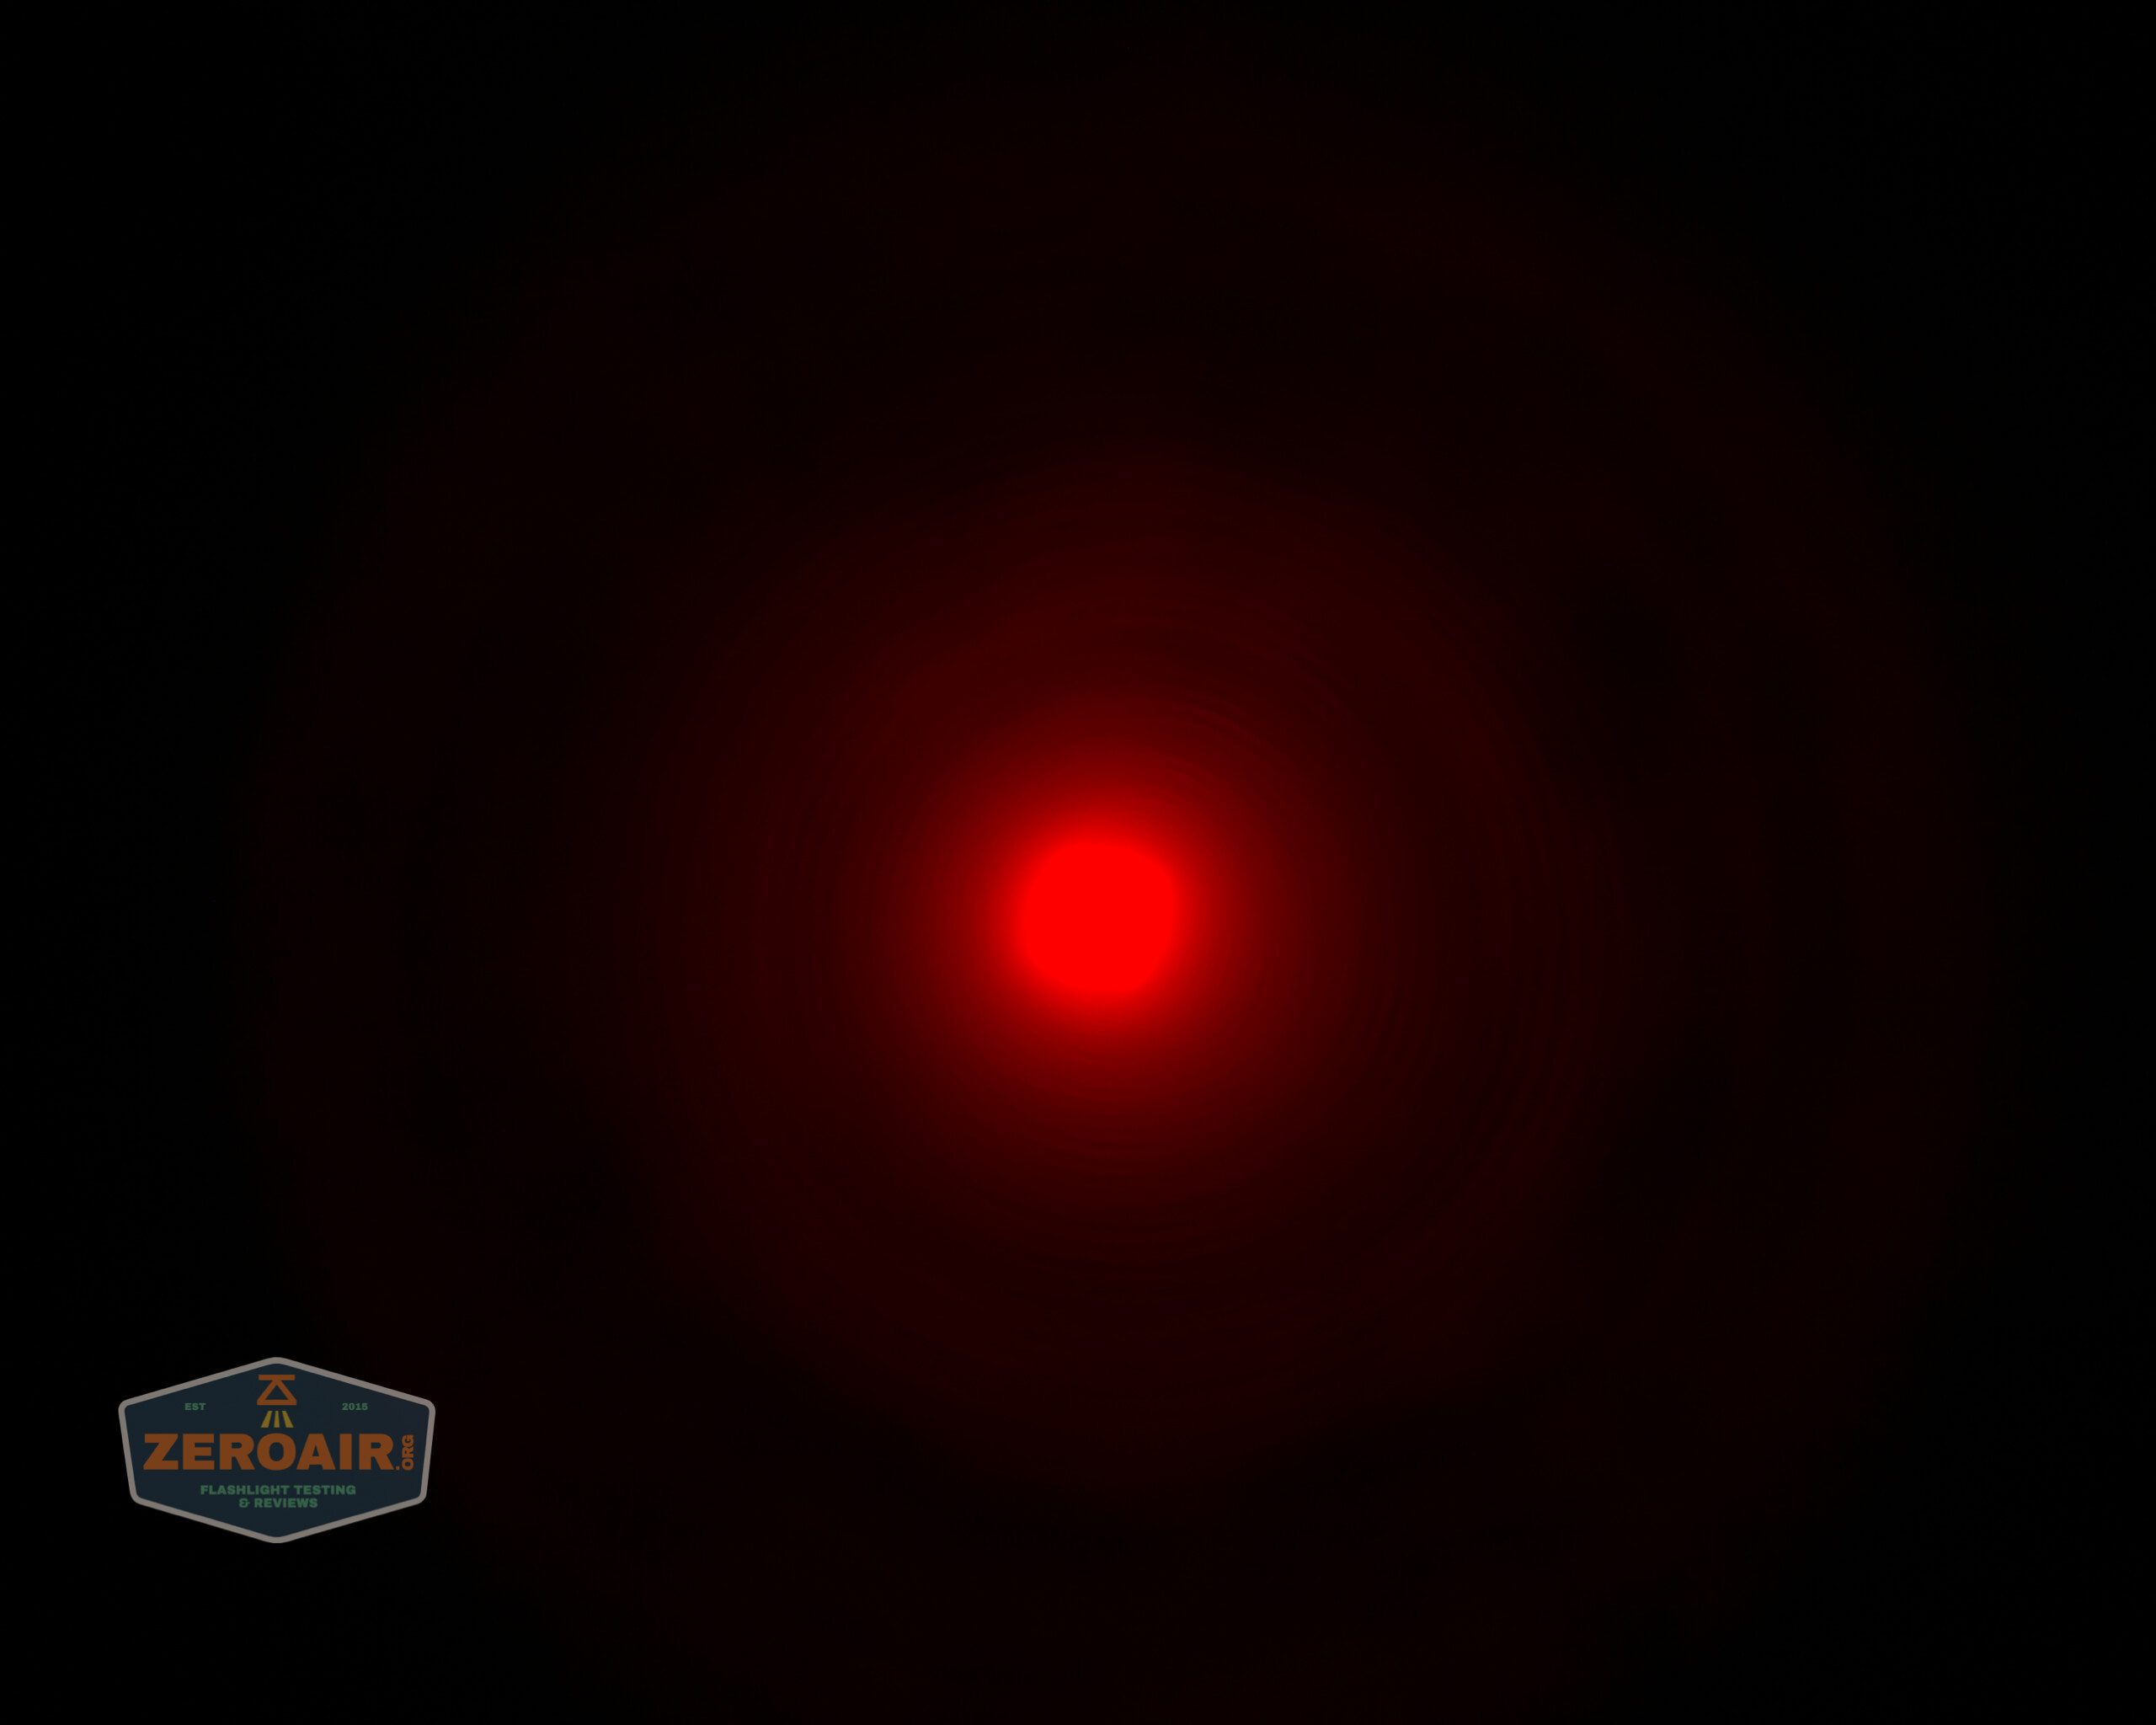
Beamshots
These beamshots always have the following settings: f8, ISO100, 0.3s shutter, and manual 5000K exposure. These photos are taken at floor level, and the beam hits the ceiling around 9 feet away. Flood photos are first for each emitter, followed by three spot photos.


Tint vs BLF-348 (KillzoneFlashlights.com 219b version) (affiliate link)
I keep the test flashlight on the left and the BLF-348 reference flashlight on the right.

I compare everything to the KillzoneFlashlights.com 219b BLF-348 because it’s inexpensive and has the best tint!
Conclusion
What I like
- Rotary interface is very good.
- The complete package even includes a remote switch
- Interface is very easy
What I don’t like
- Very noticeable PWM on almost all output levels.
- Beam profile is not appealing
Notes
- This light was provided by Brinyte for review. I was not paid to write this review.
- This content originally appeared at zeroair.org. Please visit there for the best experience!
- Please use my Amazon.com referral link to help support zeroair.org!
Discover more from ZeroAir Reviews
Subscribe to get the latest posts sent to your email.
u should also mention damn poor stabilization, which is at the level of noname t6 zoomie
PWM is at the same level
i am surprised they cannon calm down with this model
Pingback: Flashlight News: Phreaky Briefing Issue 46 – PhotonPhreaks