Armytek Wizard C2 Pro Nichia Headlamp Review
The Armytek Wizard C2 Pro headlamp has a Nichia 144AR emitter and a TIR. Other nice features round out the package! Read on!
Official Specs and Features
Here’s a link to the Armytek Wizard C2 Pro Nichia product page.
Versions
The Wizard C2 Pro is a mature line, so there are other iterations of this light. The Nichia 144AR version is fairly special in the lineup.
Price
Looks like these are around $90. I recommend grabbing yours from KillzoneFlashlights.com (referral link)
Short Review
The Armytek Wizard C2 Pro Nichia headlamp is a very capable flashlight, with great output, many modes, and a nice warm temperature. It’s a great option for a stock light with the Nichia 144AR emitter.
Long Review
The Big Table
| Armytek Wizard C2 Pro Nichia Headlamp | |
|---|---|
| Emitter: | Nichia 144AR (Warm White High CRI) |
| Price in USD at publication time: | $90.00 at KillzoneFlashlights.com |
| Cell: | 1×18650 (included) |
| Turbo2 Runtime Graph | Turbo1 Runtime Graph |
| LVP? | Warning |
| Switch Type: | E-Switch |
| Quiescent Current (mA): | 0.01 |
| On-Board Charging? | Yes |
| Charge Port Type: | Proprietary Magnetic |
| Charge Graph | |
| Power off Charge Port | With or without cell: No |
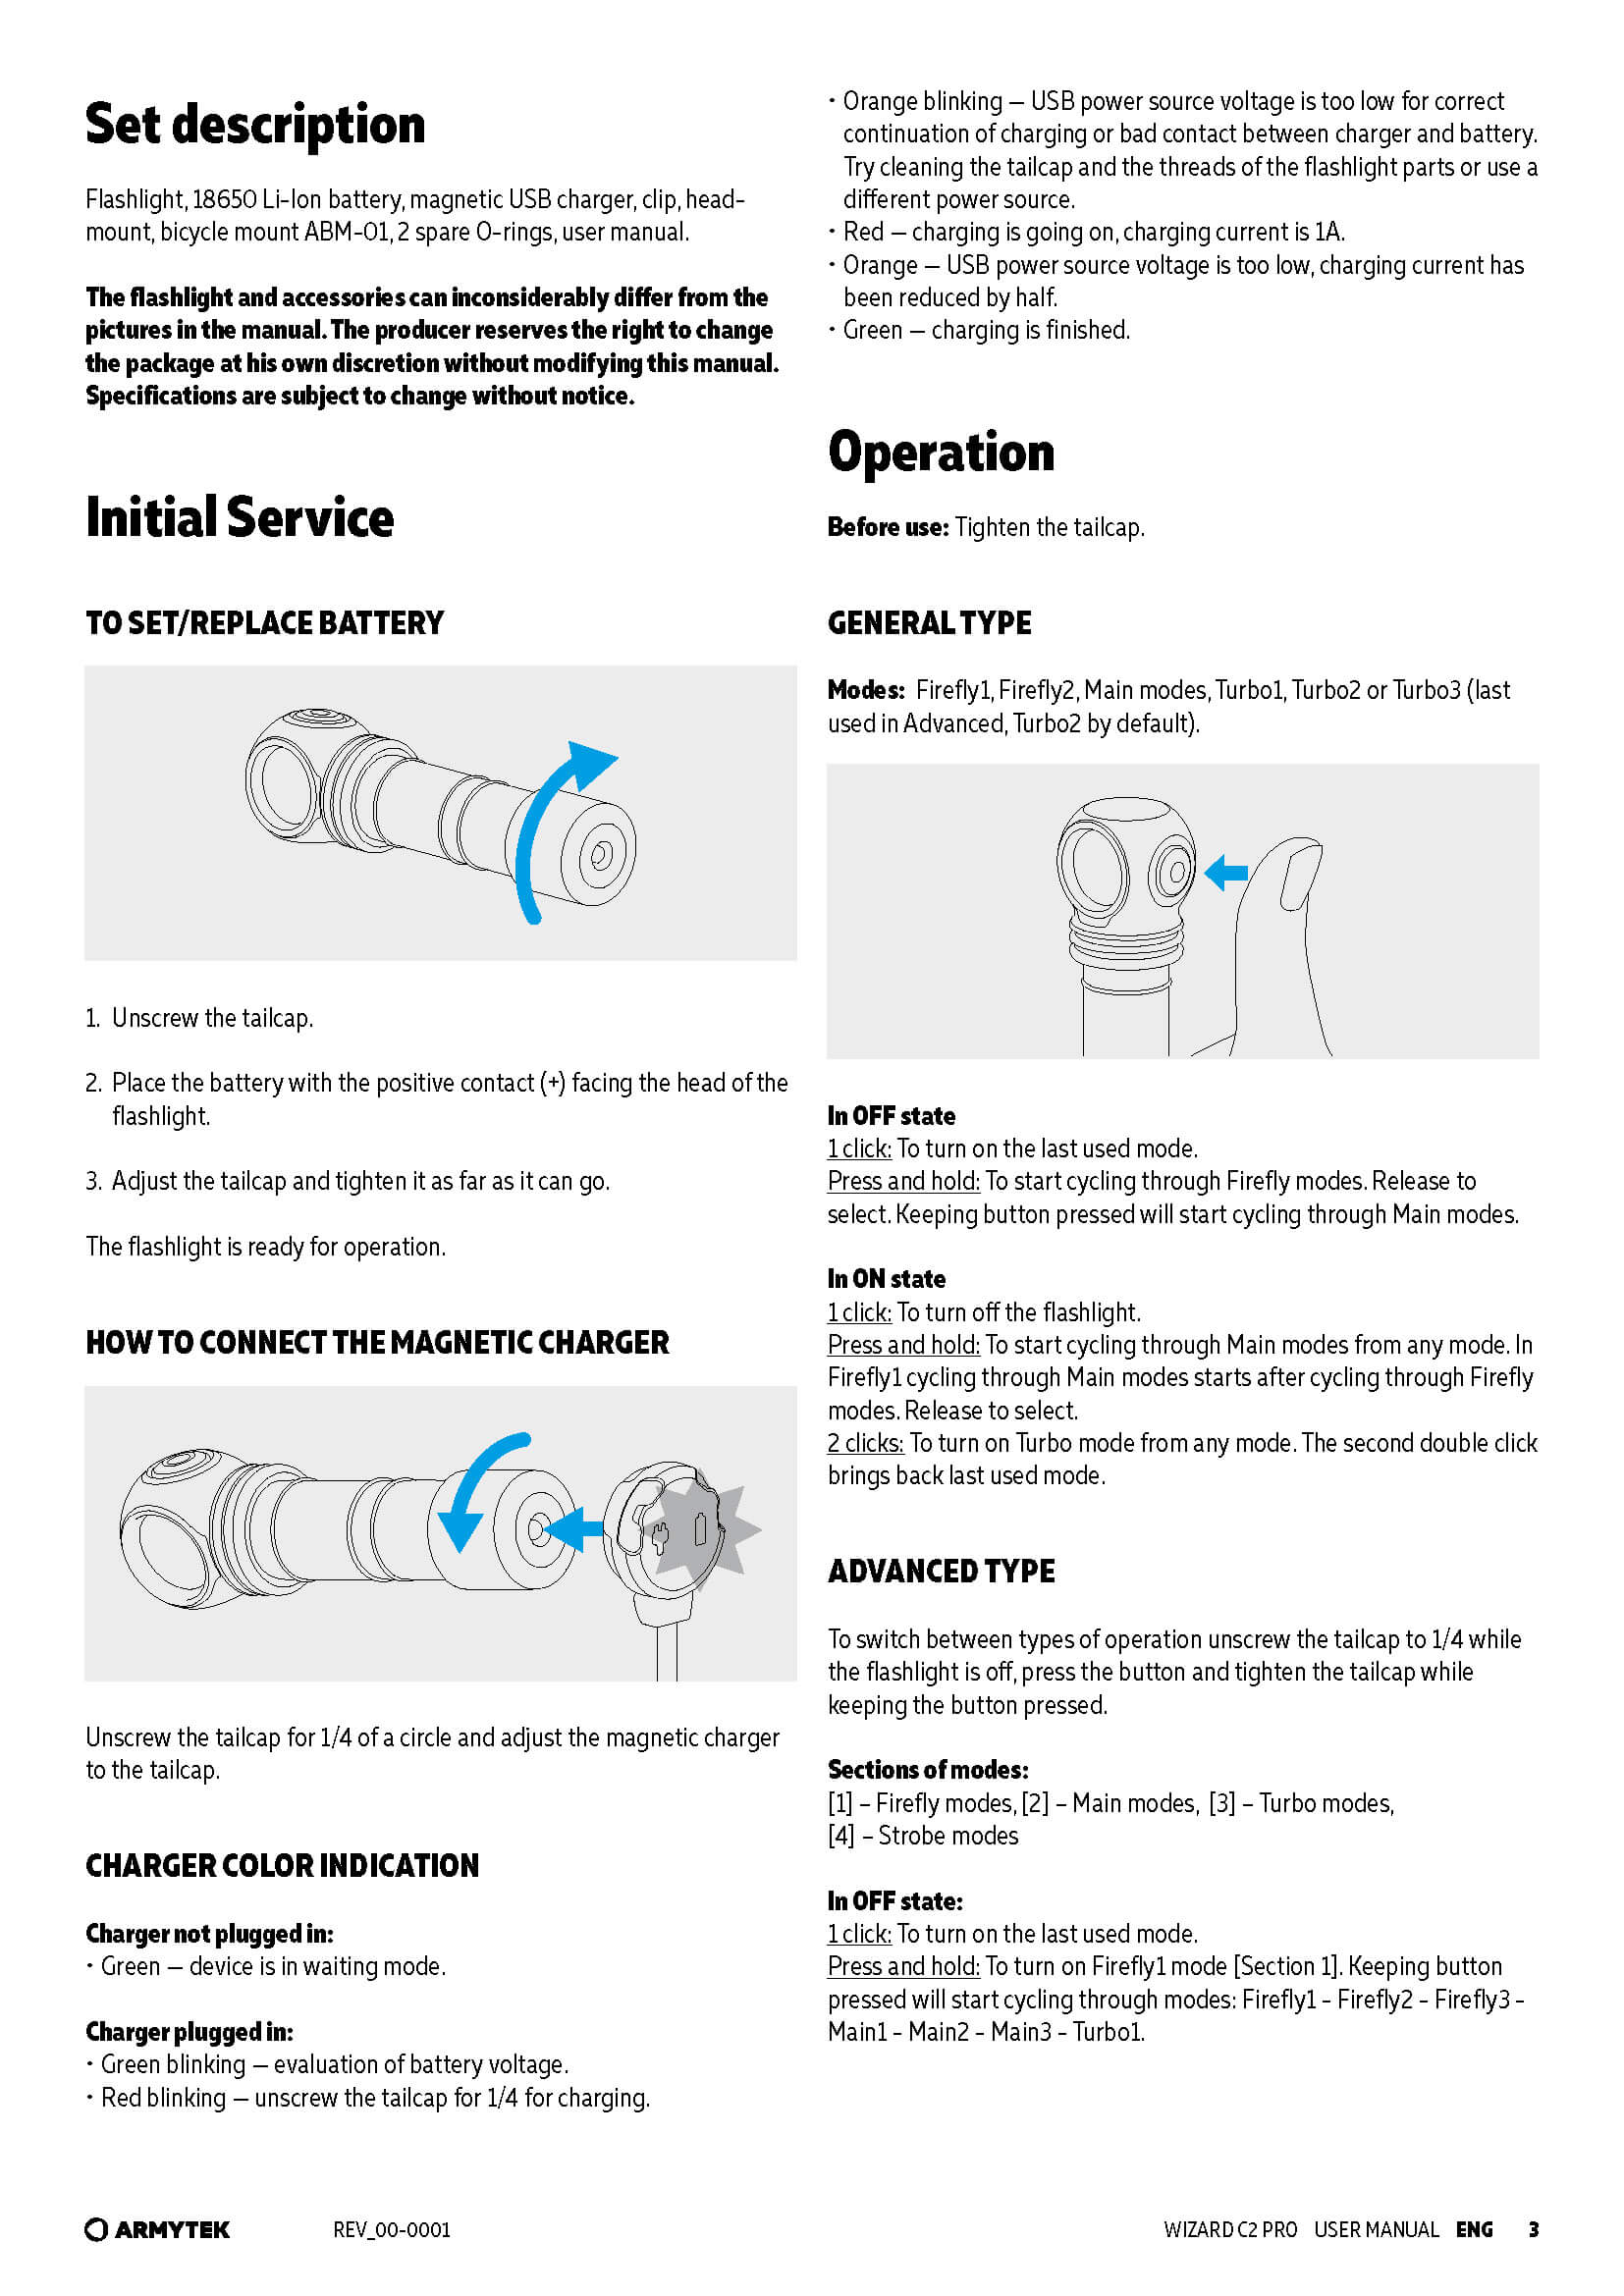
| Claimed Lumens (lm) | 1400 |
| Measured Lumens (at the 30s) | 1370 (97.9% of claim)^ |
| Candela per Lumen | 2.9 |
| Claimed Throw (m) | 113 |
| Candela (Calculated) in cd (at 30s) | 584lux @ 2.727m = 4343cd |
| Throw (Calculated) (m) | 131.8 (116.6% of claim)^ |
| All my Armytek reviews! | |
^ Measurement disclaimer: Testing flashlights is my hobby. I use hobbyist-level equipment for testing, including some I made myself. Try not to get buried in the details of manufacturer specifications versus measurements recorded here; A certain amount of difference (say, 10 or 15%) is perfectly reasonable.
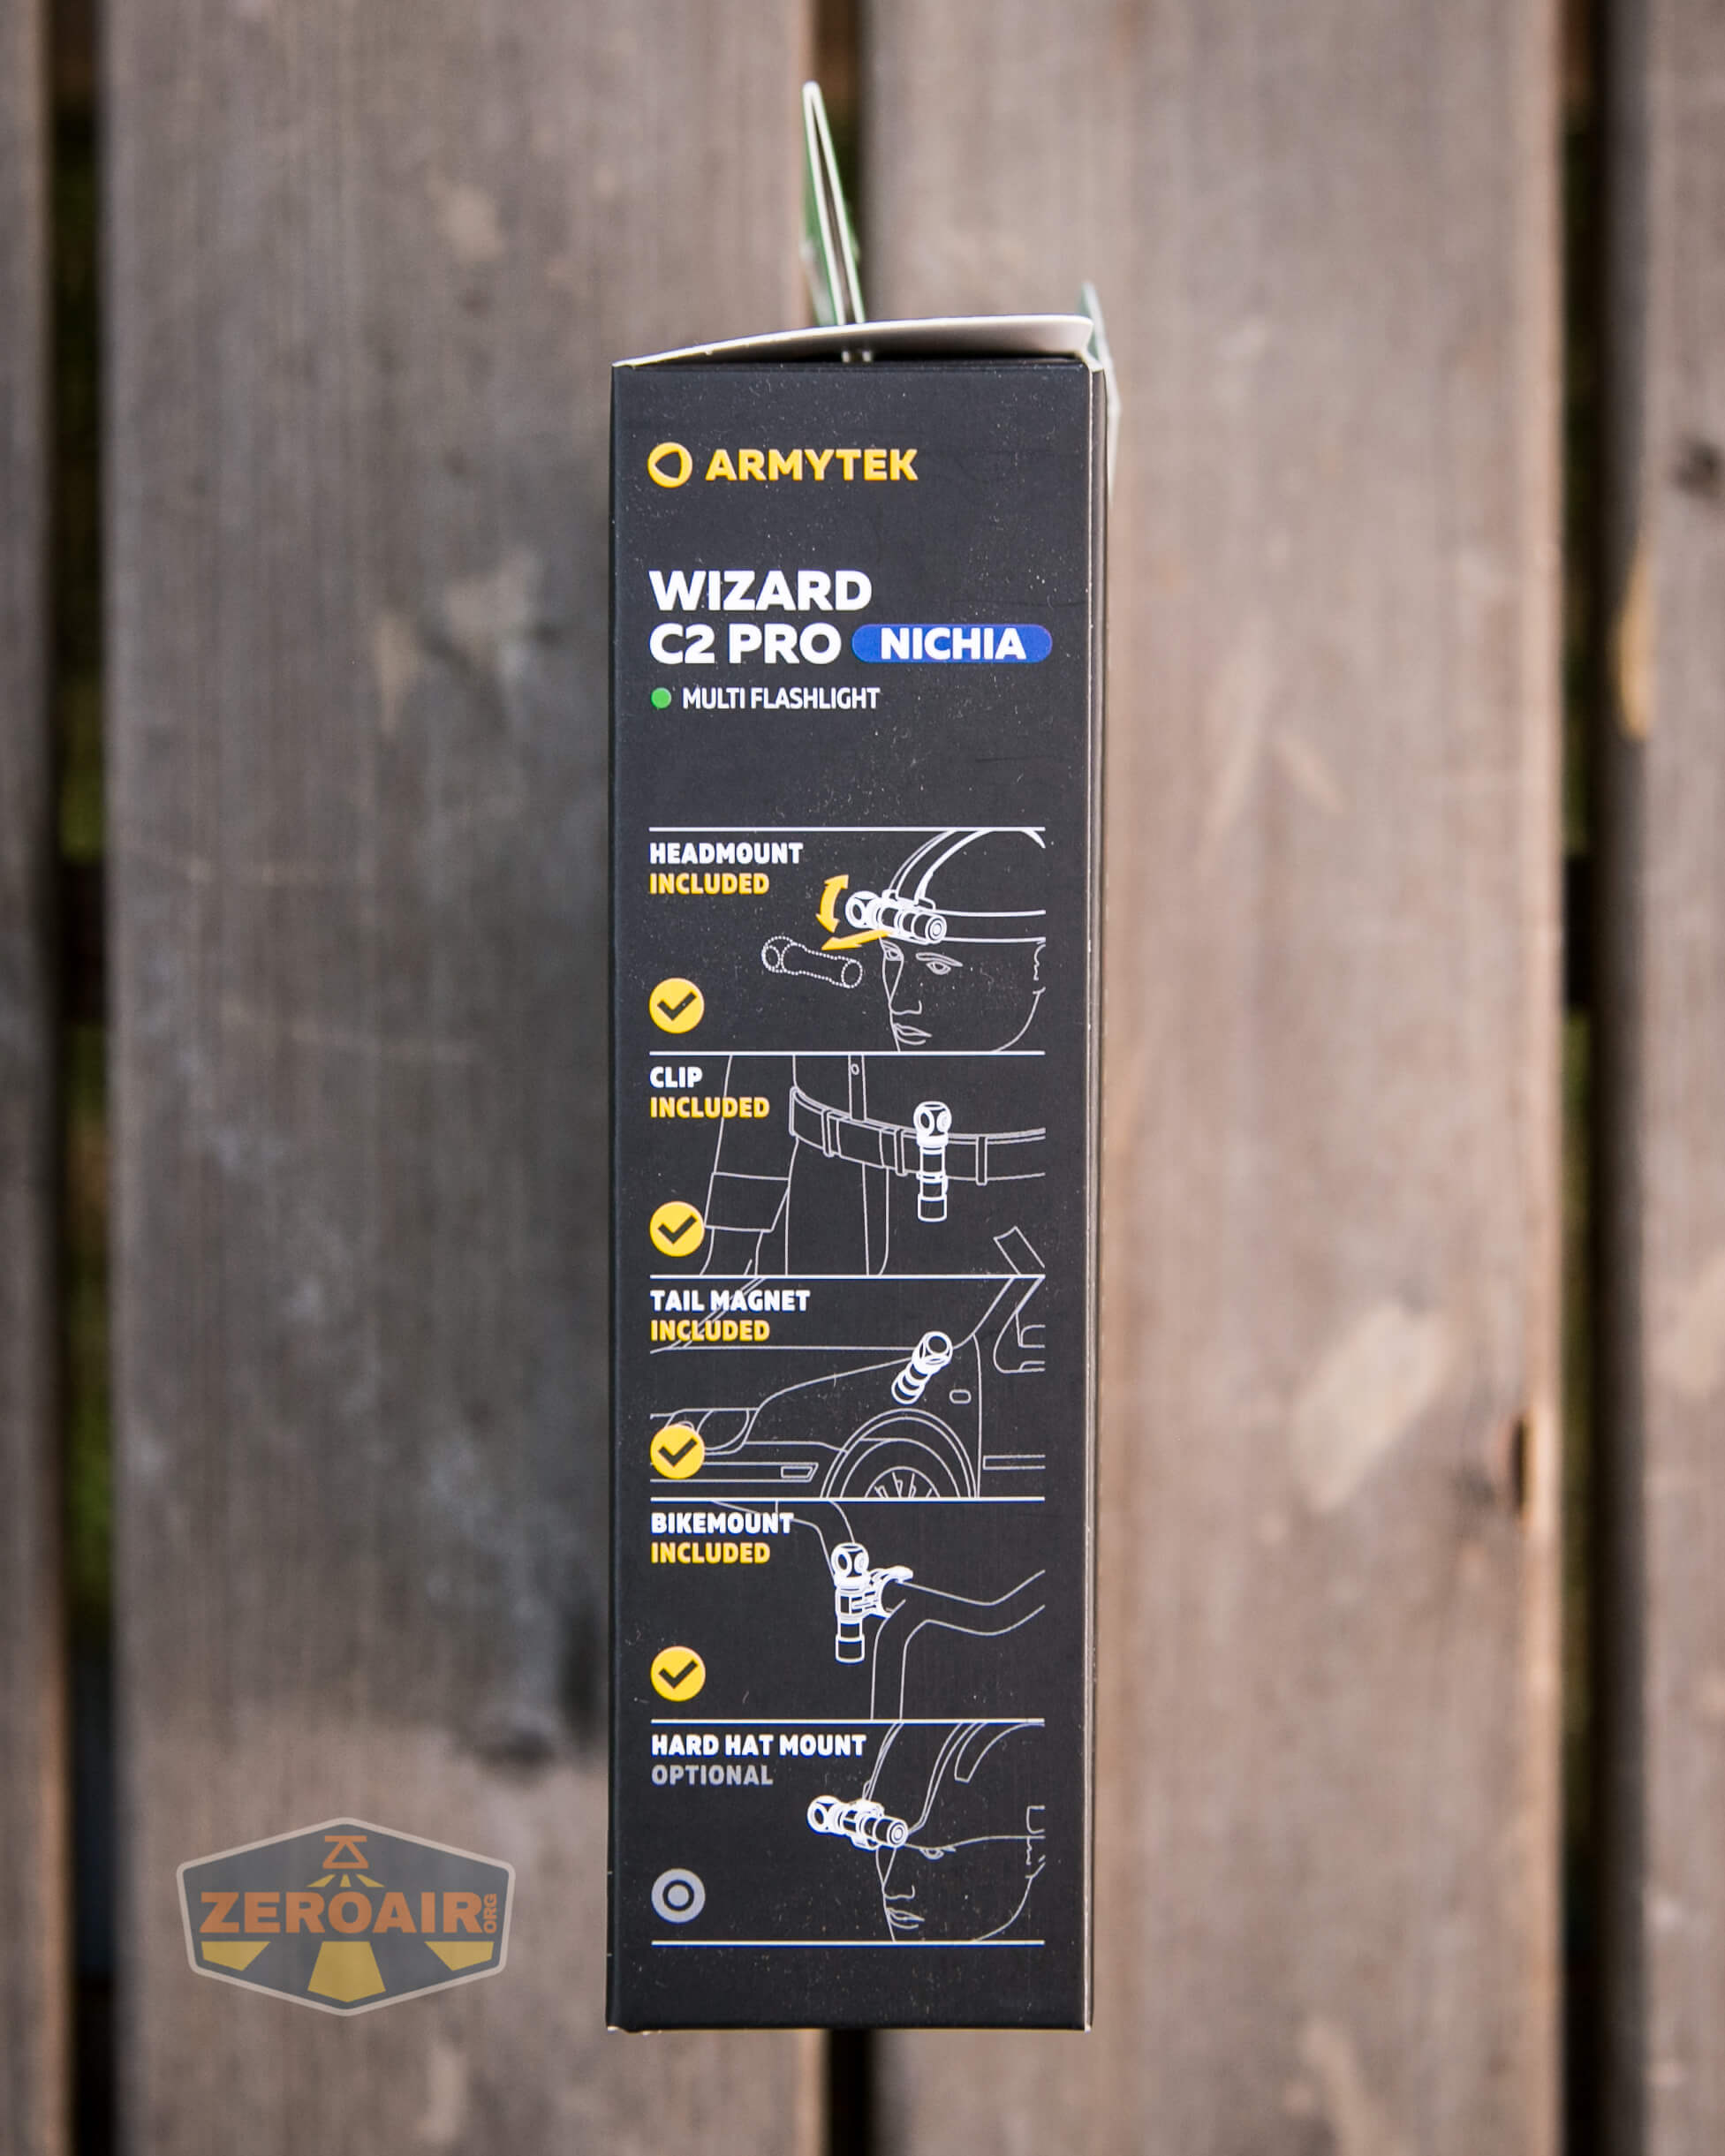
What’s Included

- Armytek Wizard C2 Pro Nichia Headlamp
- Armytek 3500mAh 18650
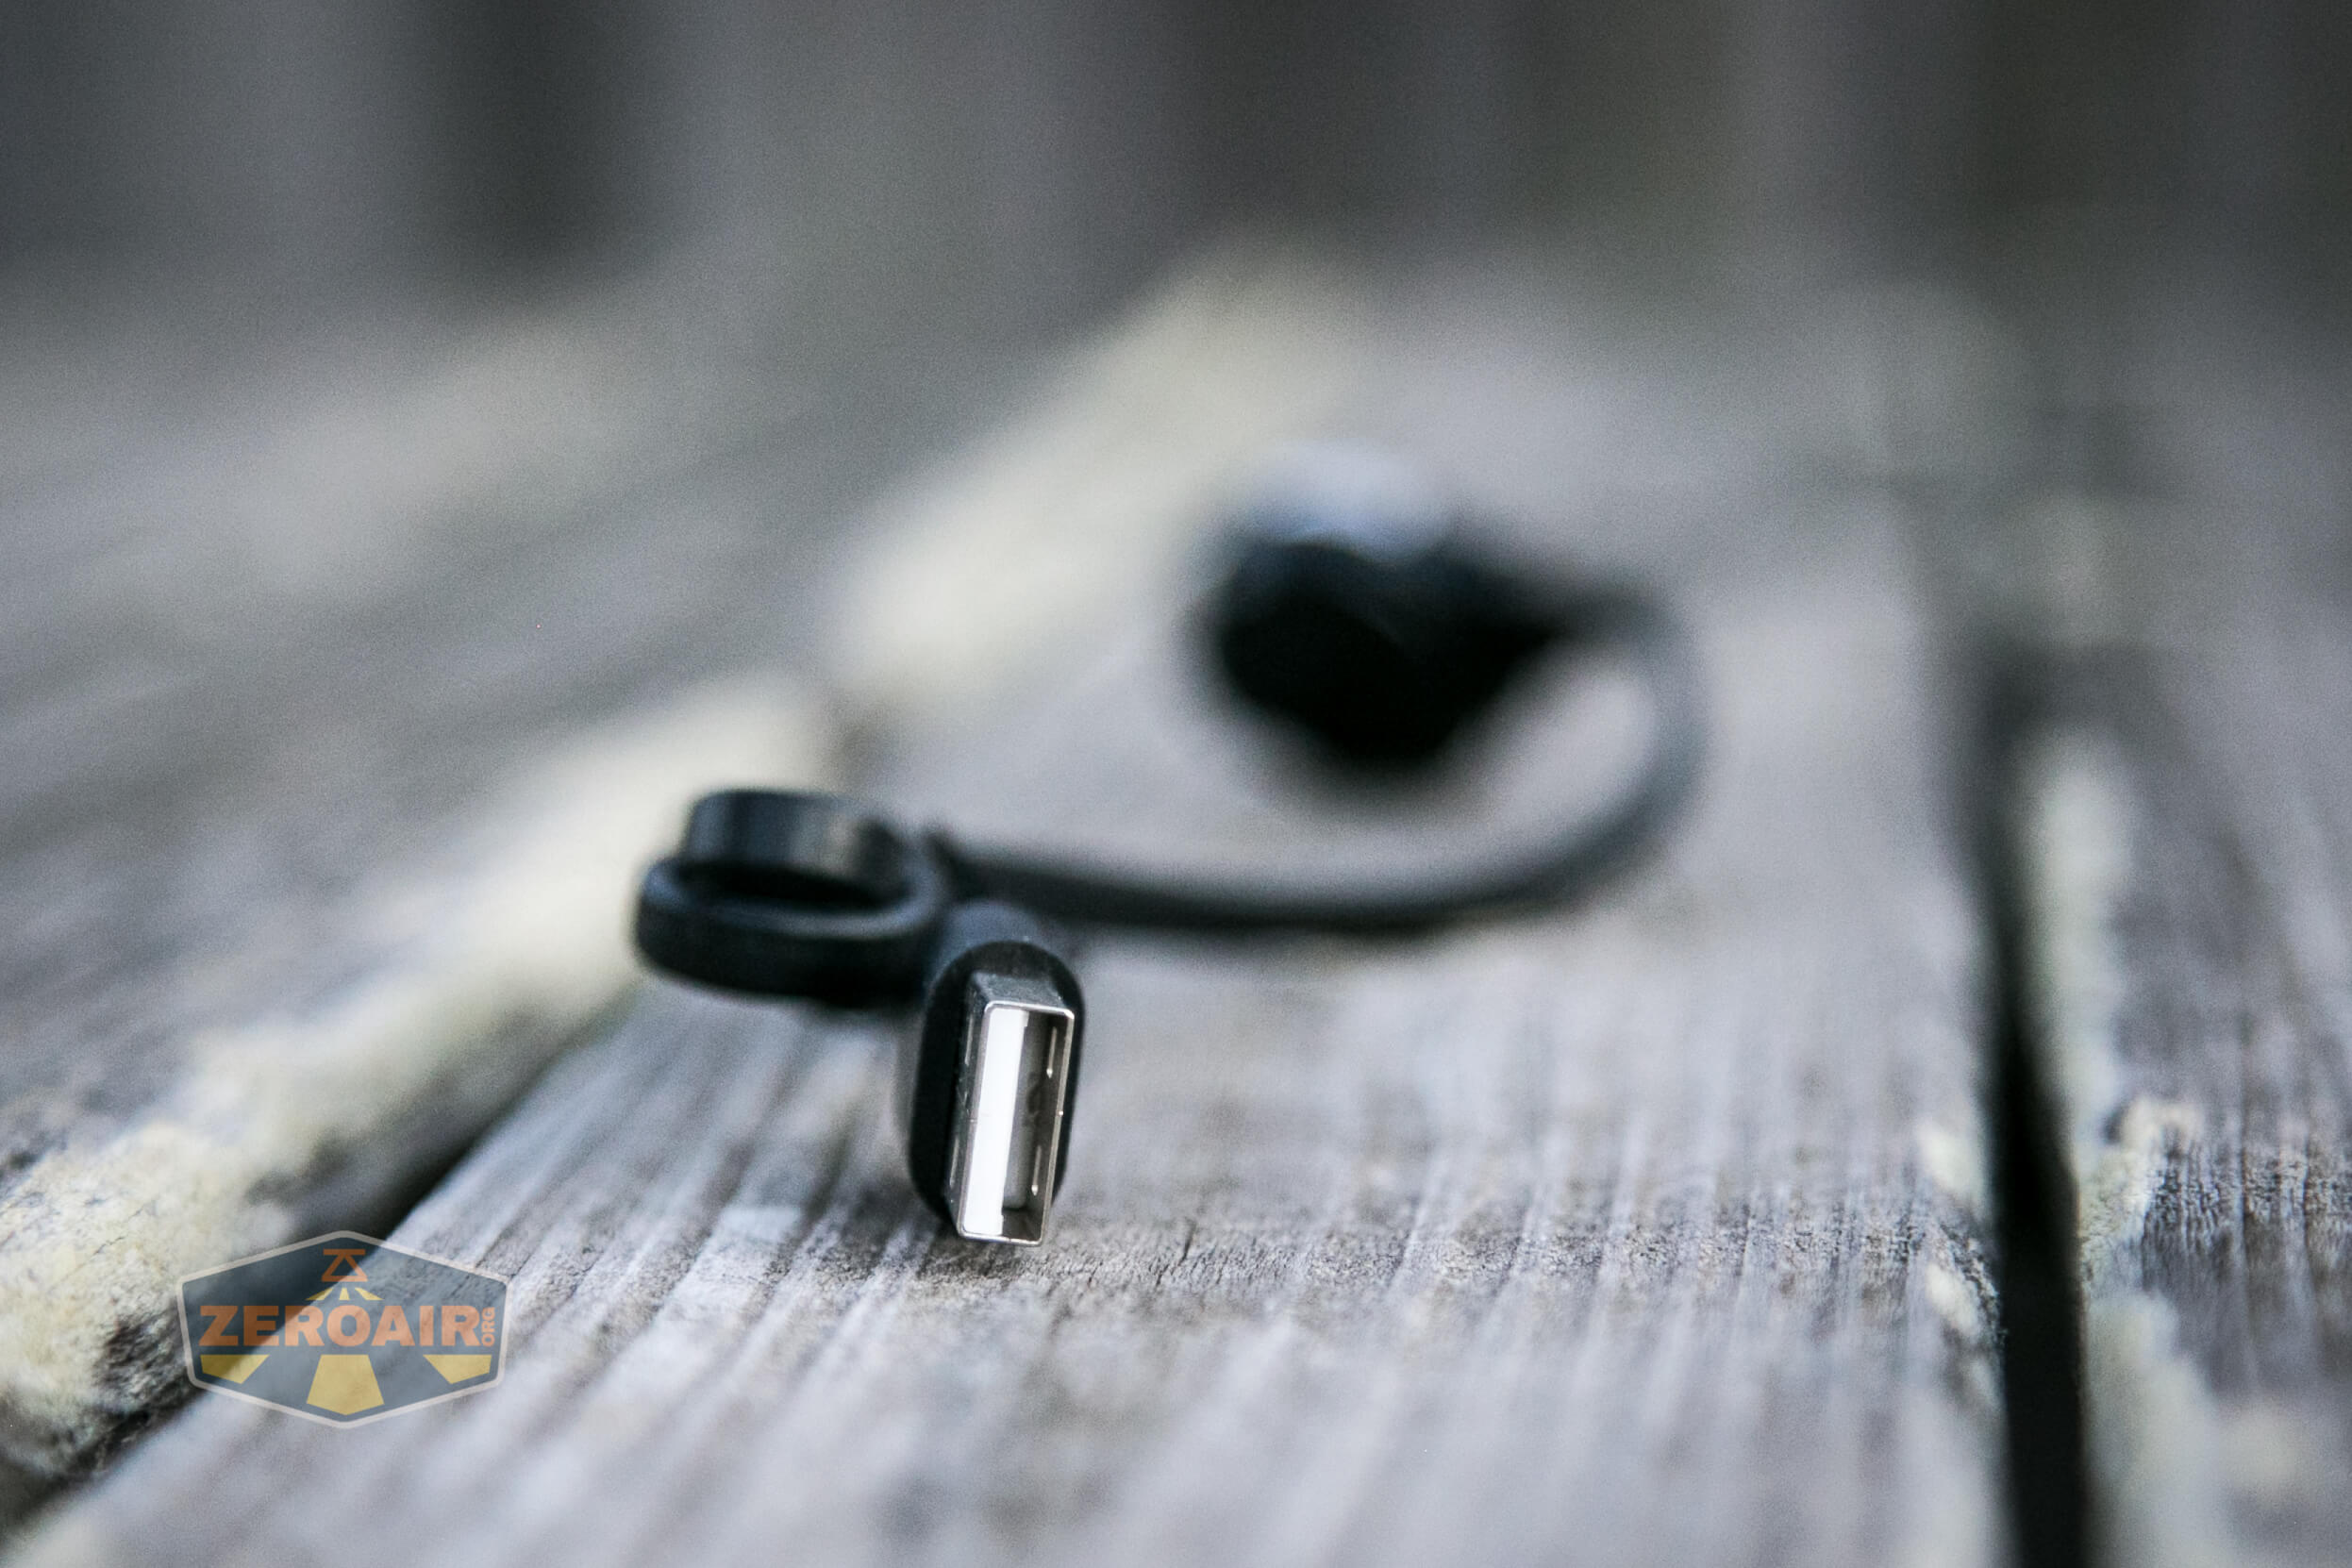
- Charge cable (USB to proprietary magnetic)
- Spare o-rings (2)
- Pocket clip
- Headband (with over the head strap)
- Bike mount
Package and Manual
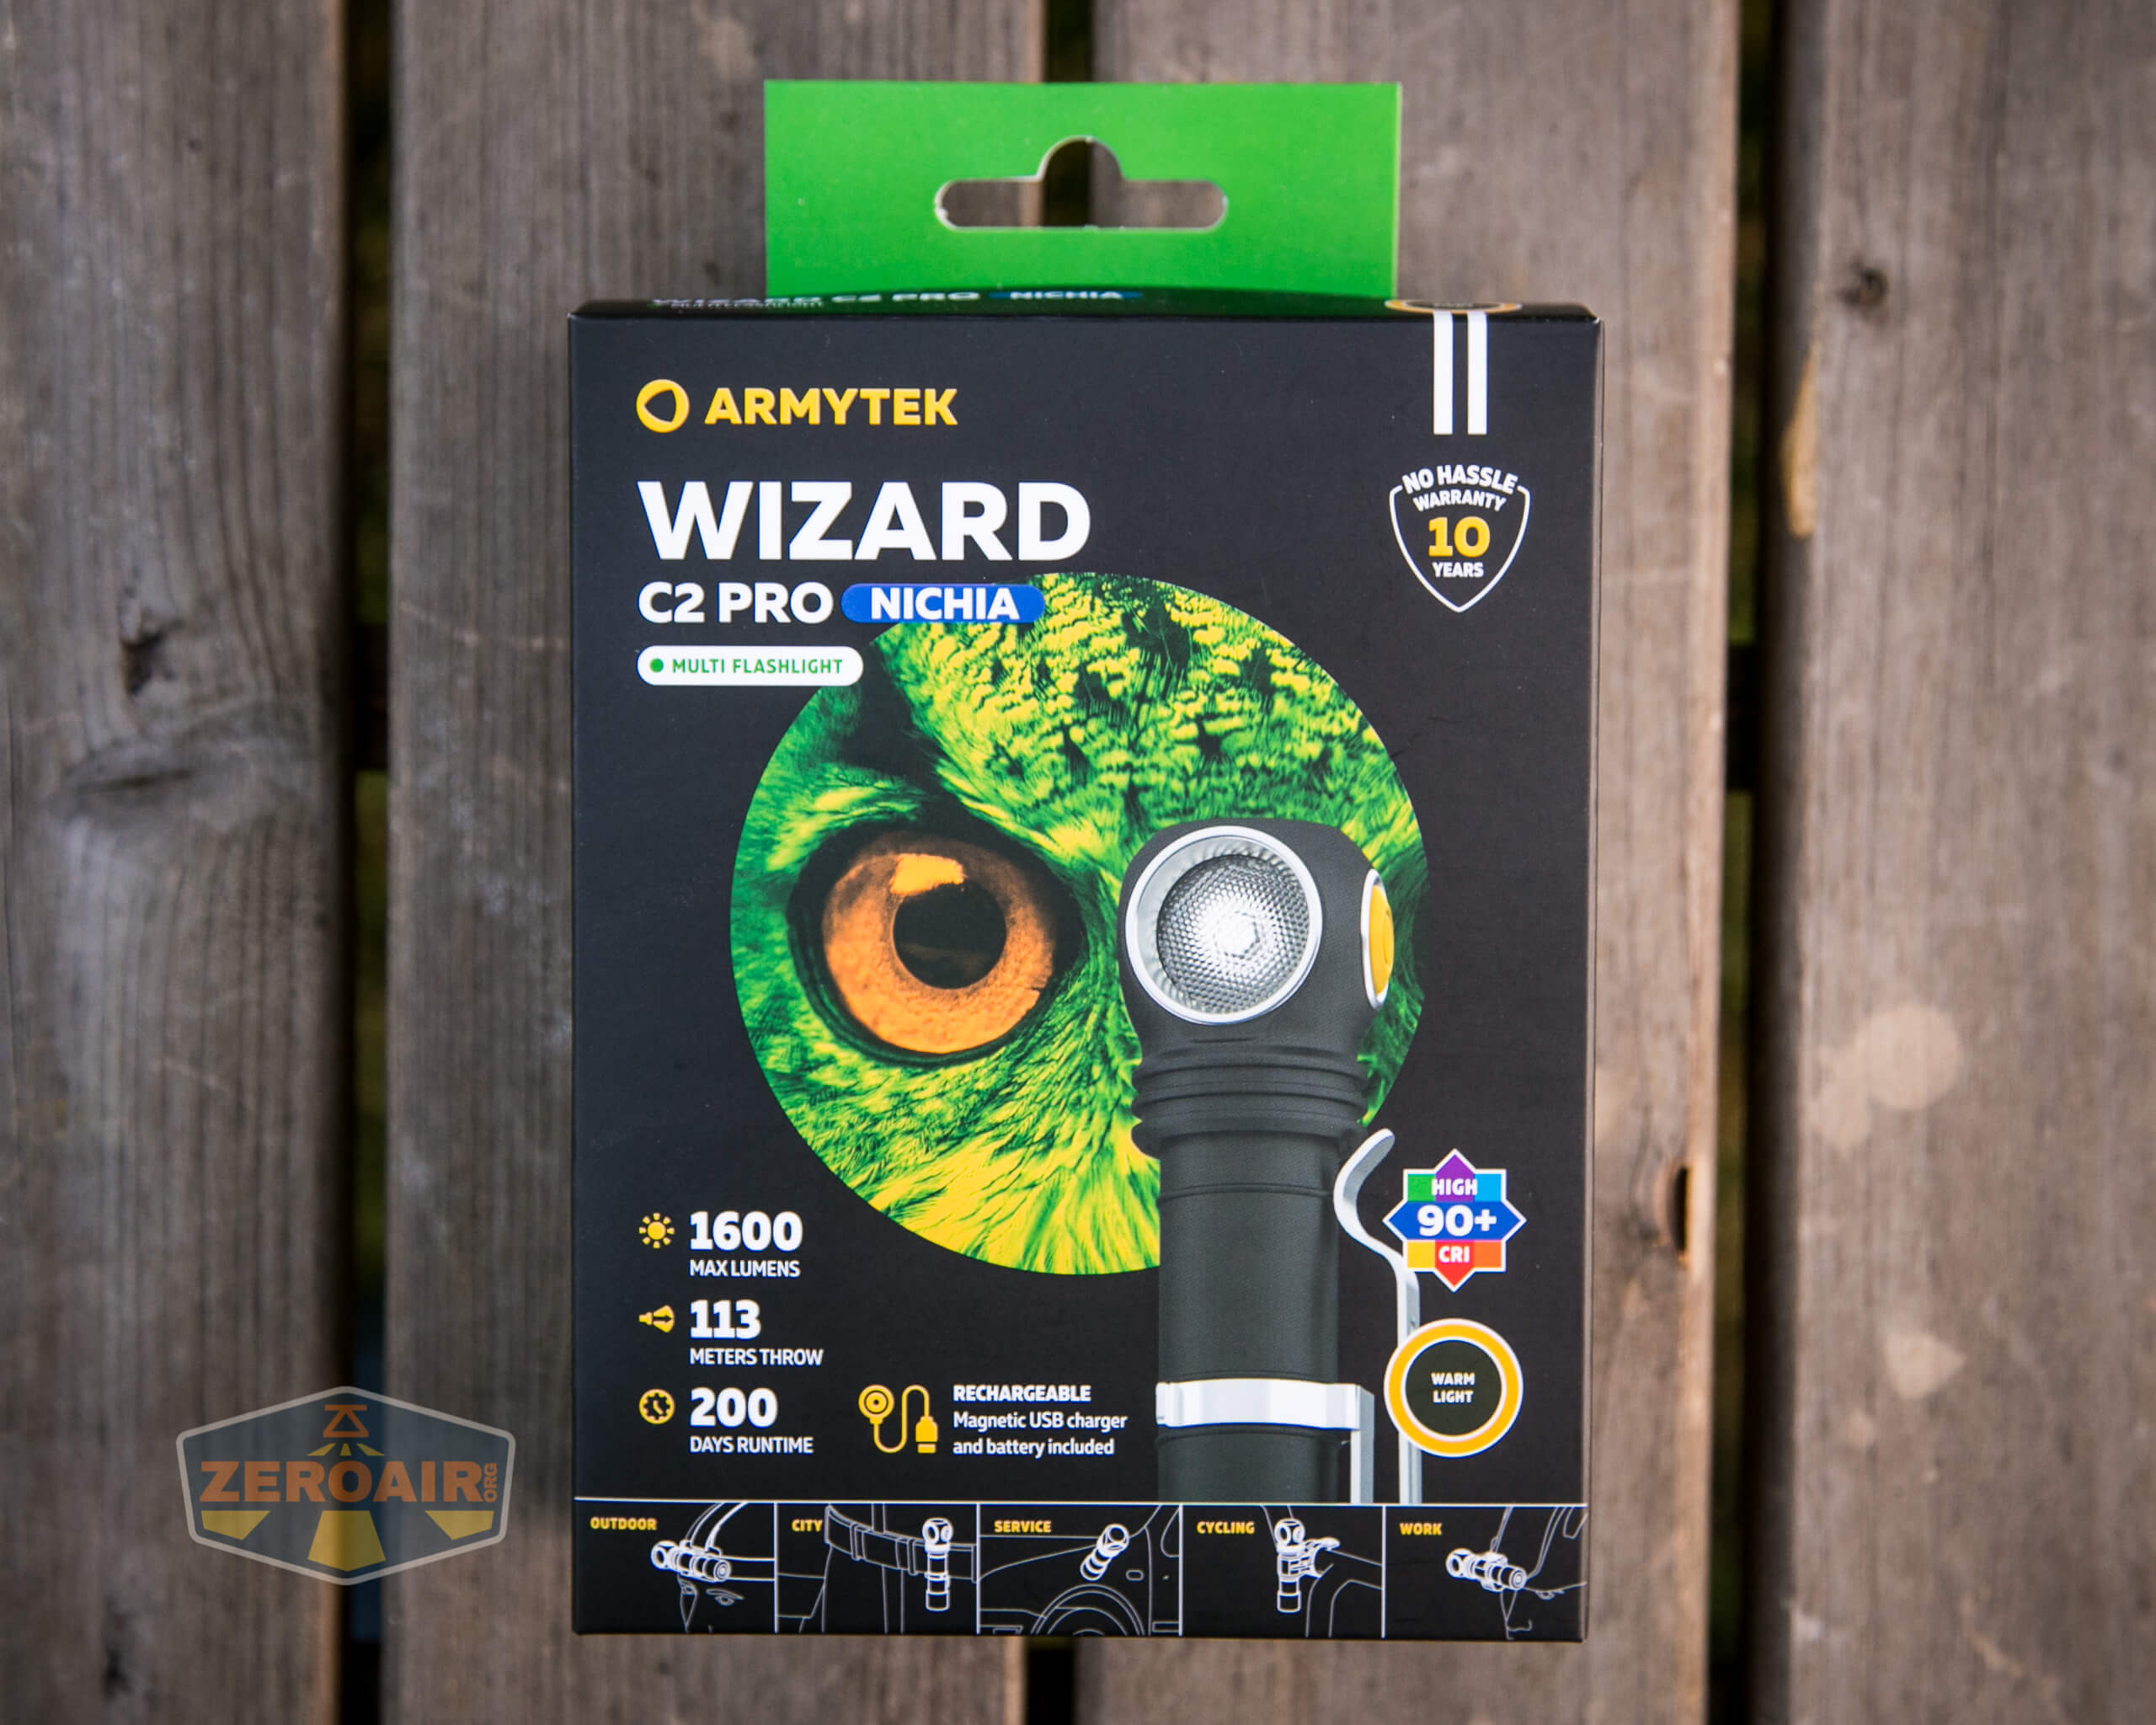
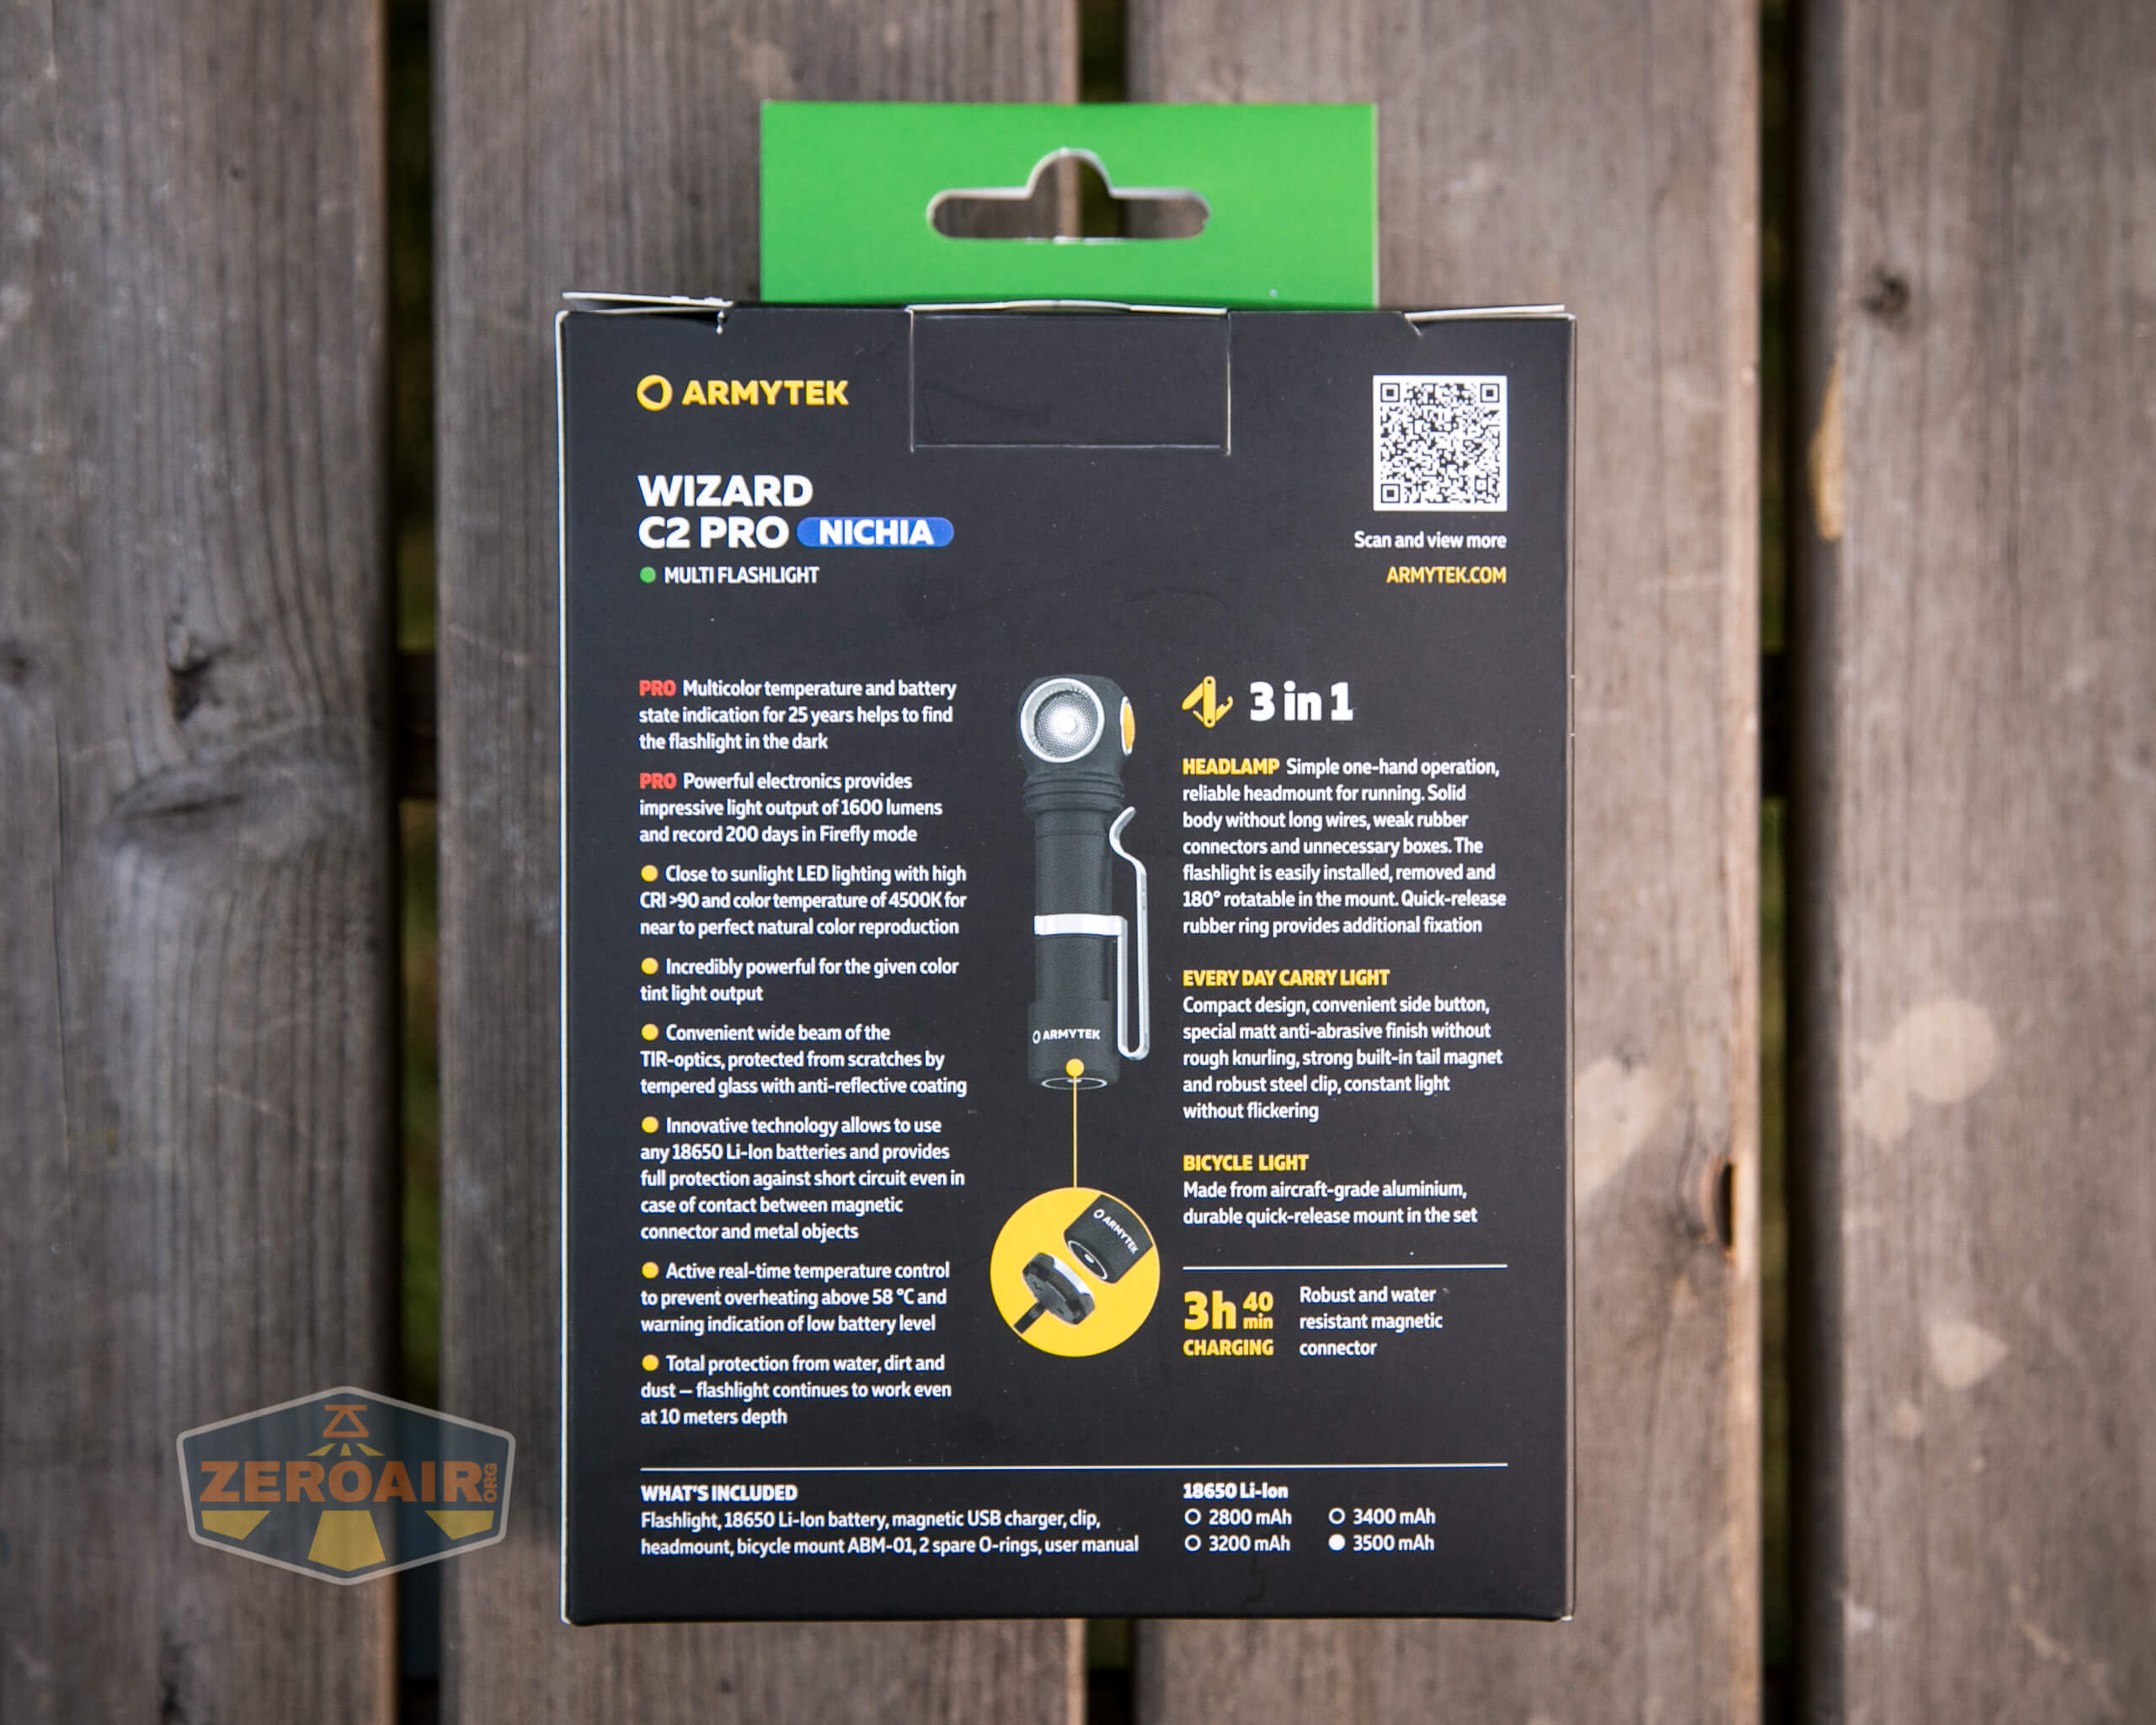
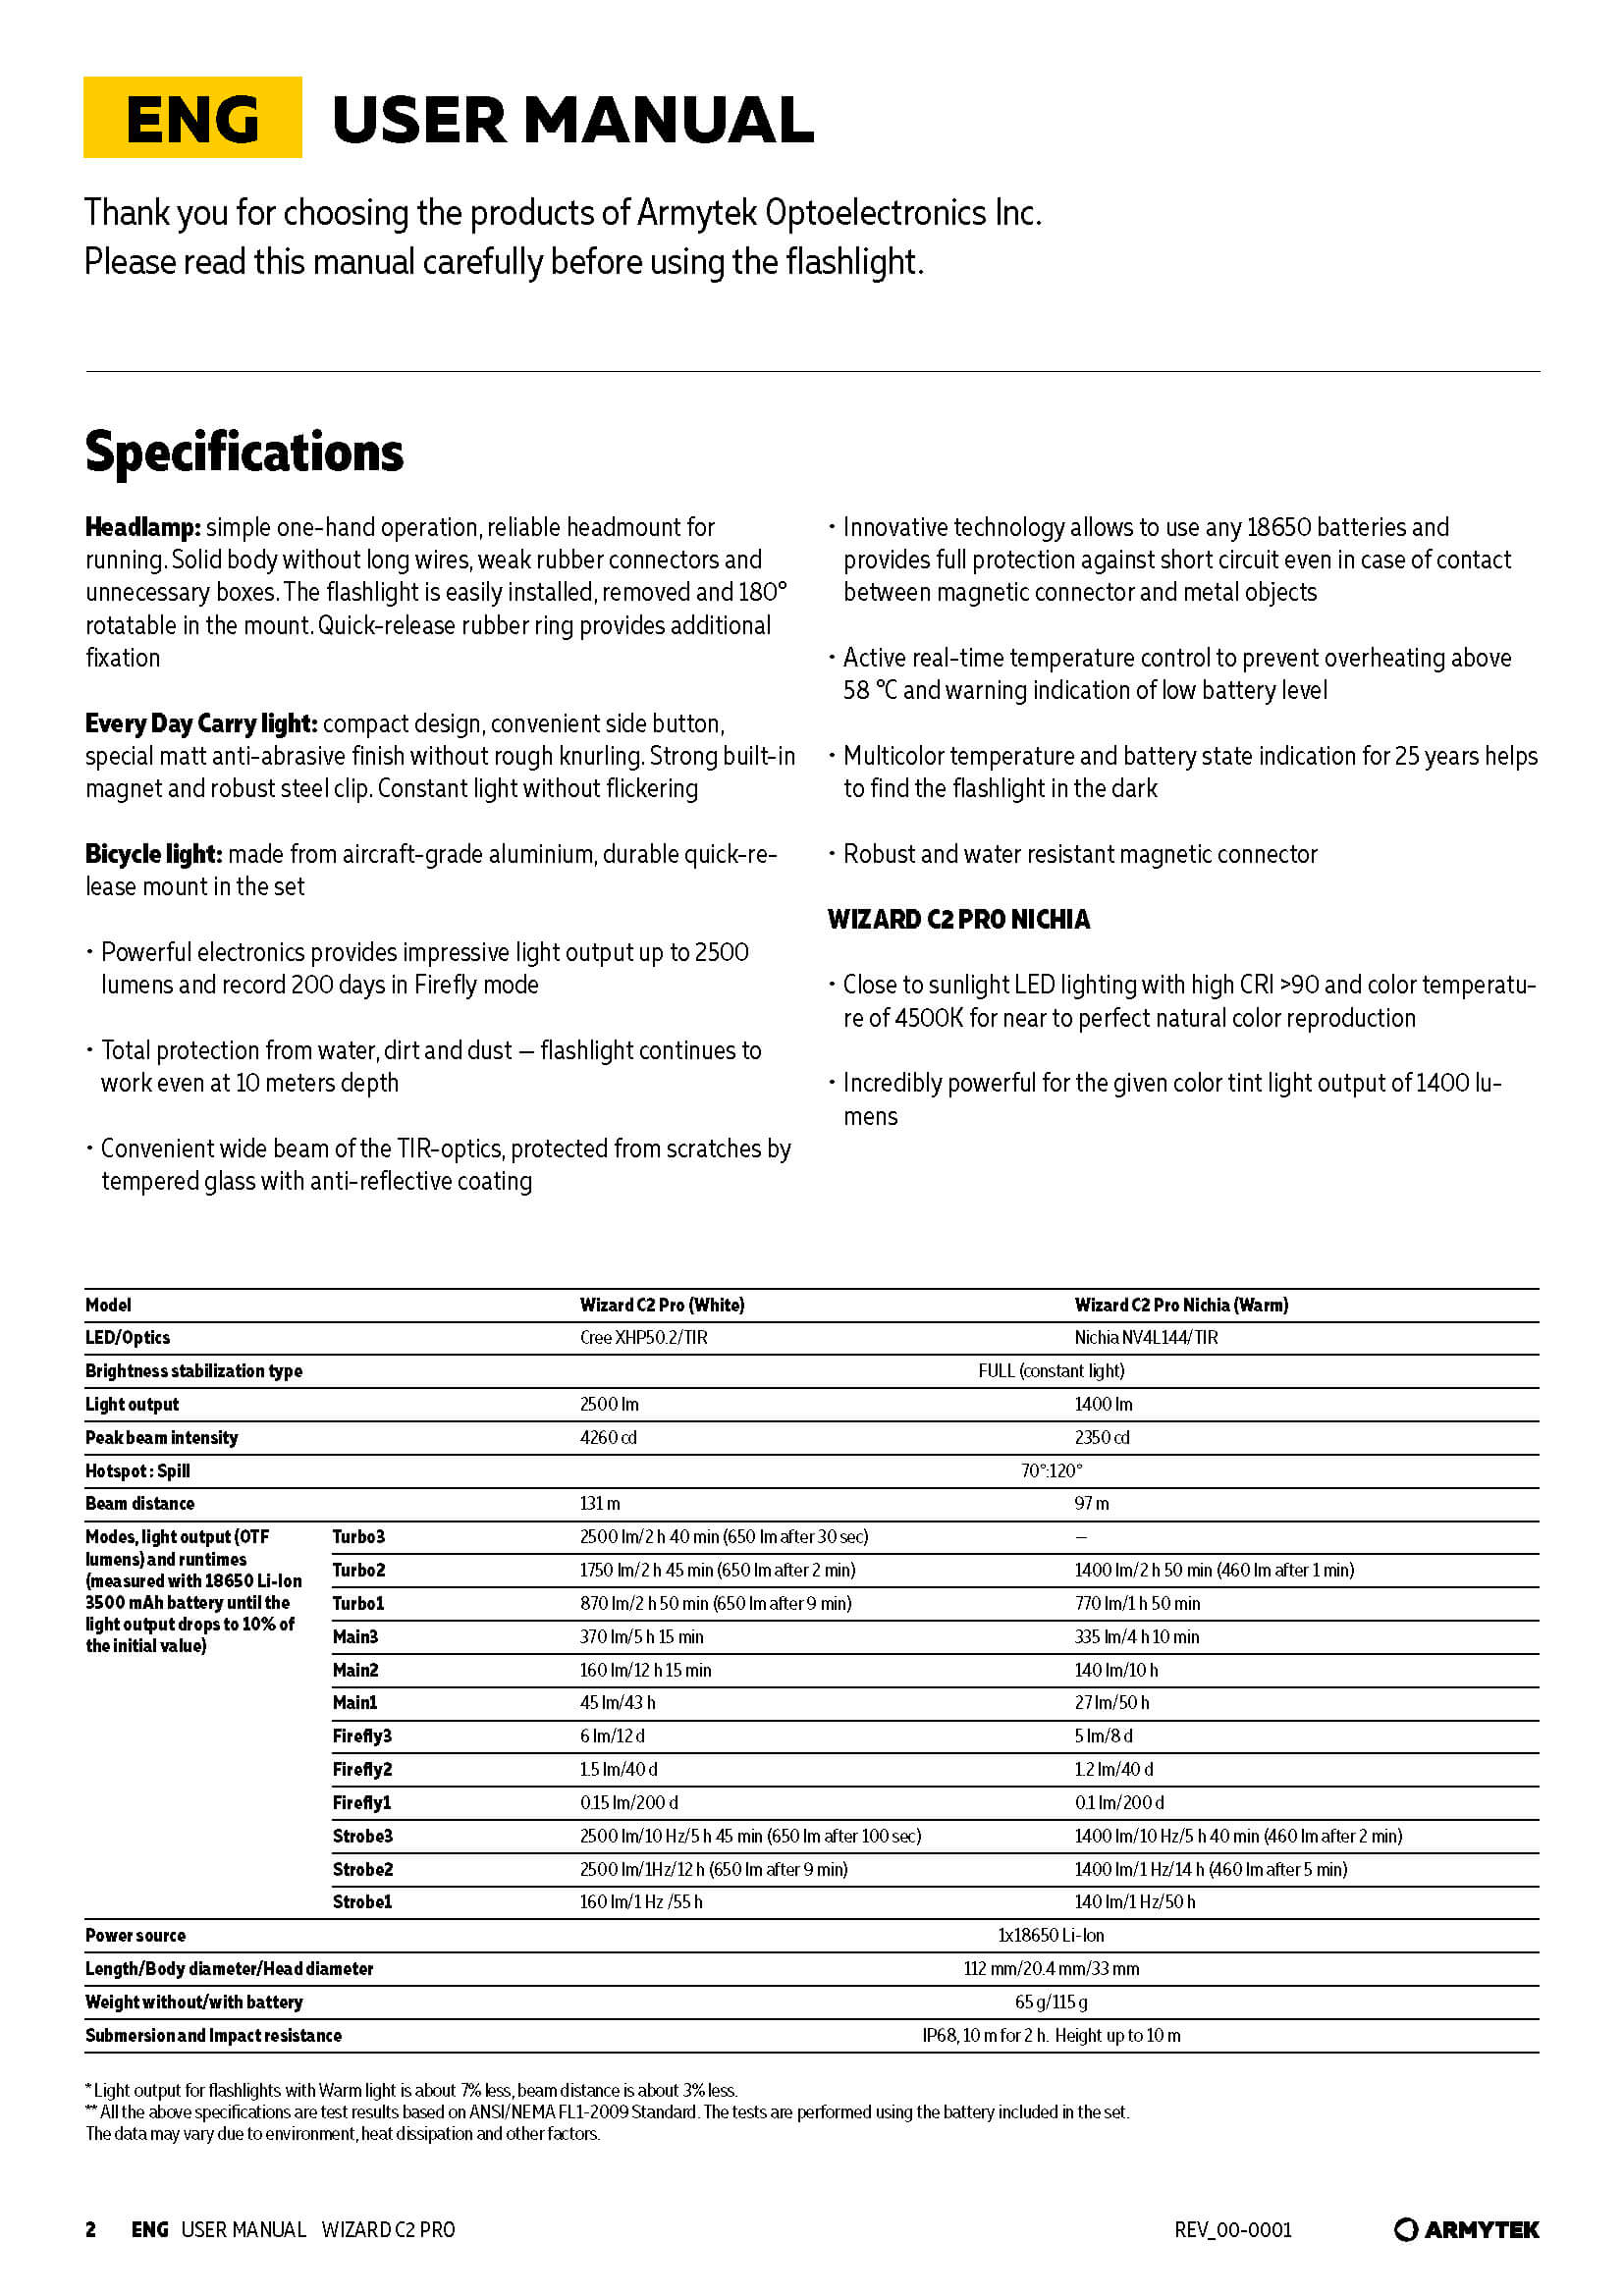
There are sort of two manuals, too. Below (first) is the one you’ll receive in the box. If you’ll notice in the top right corner, there’s a QR code. To get the full manual, you’ll have to follow that link.
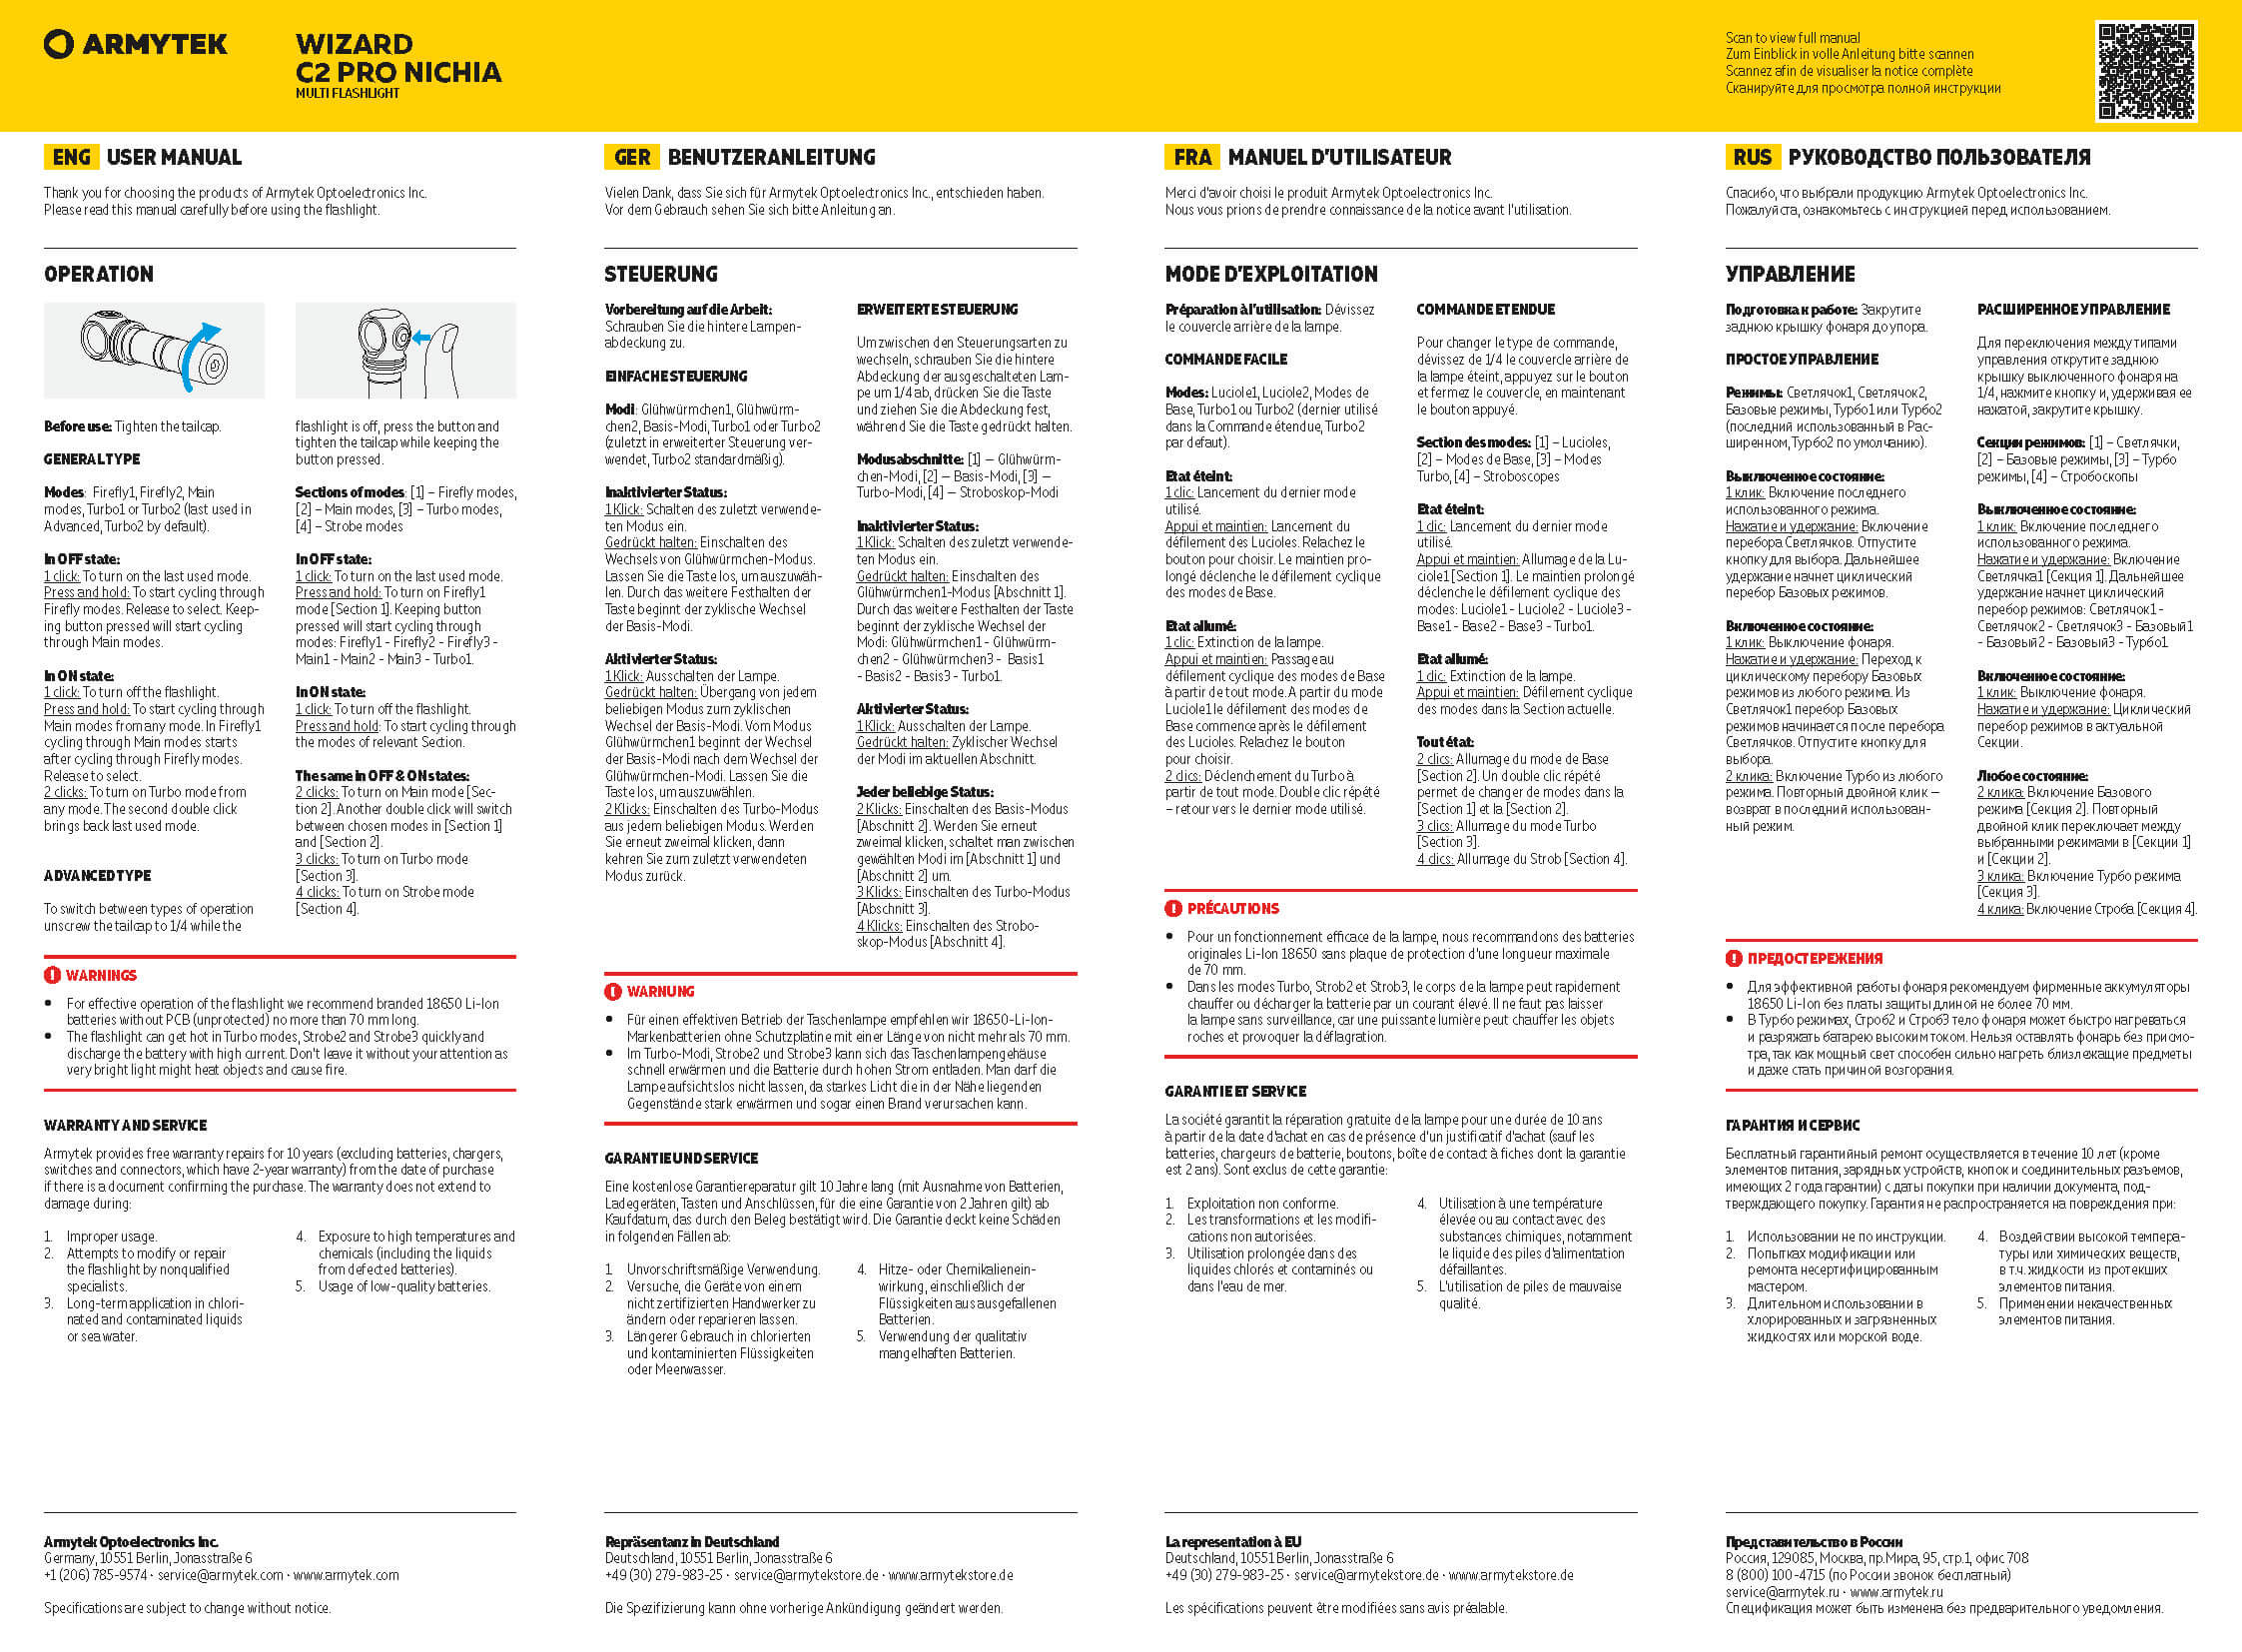
I’d much rather have the full manual in the box, but at least Armytek is providing PDF versions on their website. I find that to be very important.
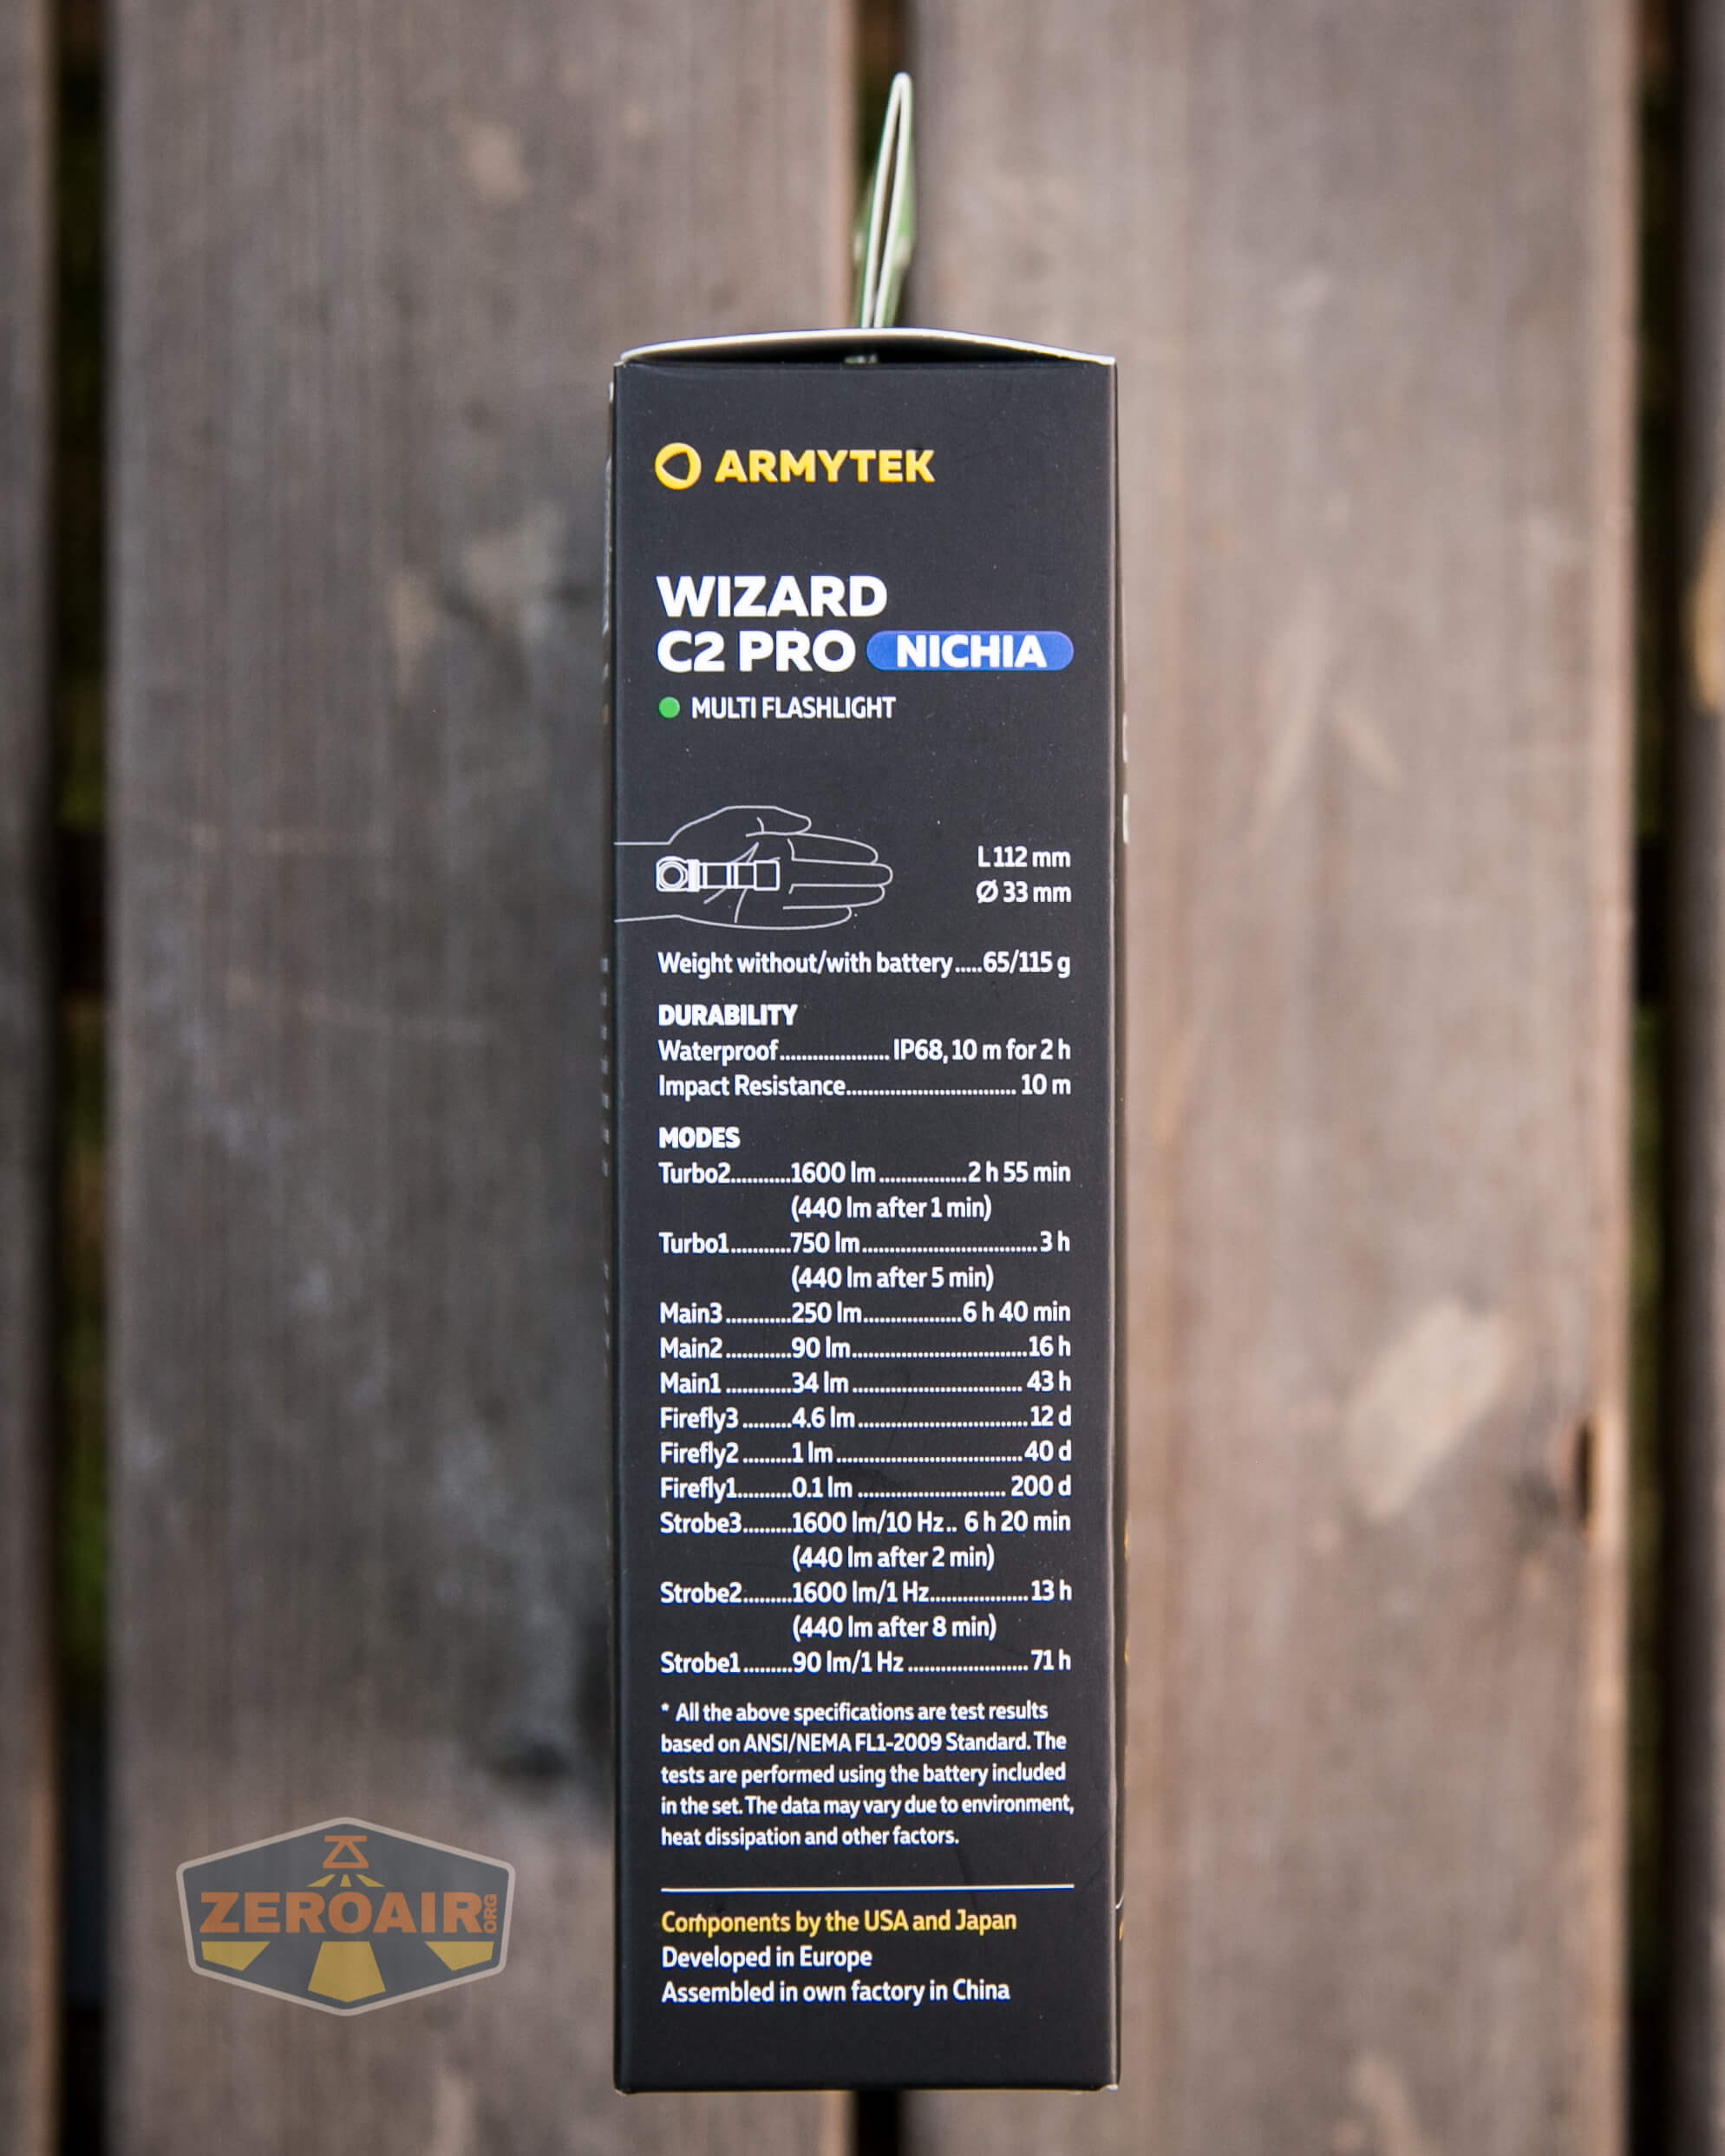
Also, note that the box and manual report different levels for Turbo2. The box states 1600 lumens, and the PDF manual states 1400 lumens. I’ll go with the 1400 number because that’s practically what I’ve measured. (And yes, Armytek lists for the Wizard C2 Pro Nichia specifically.)
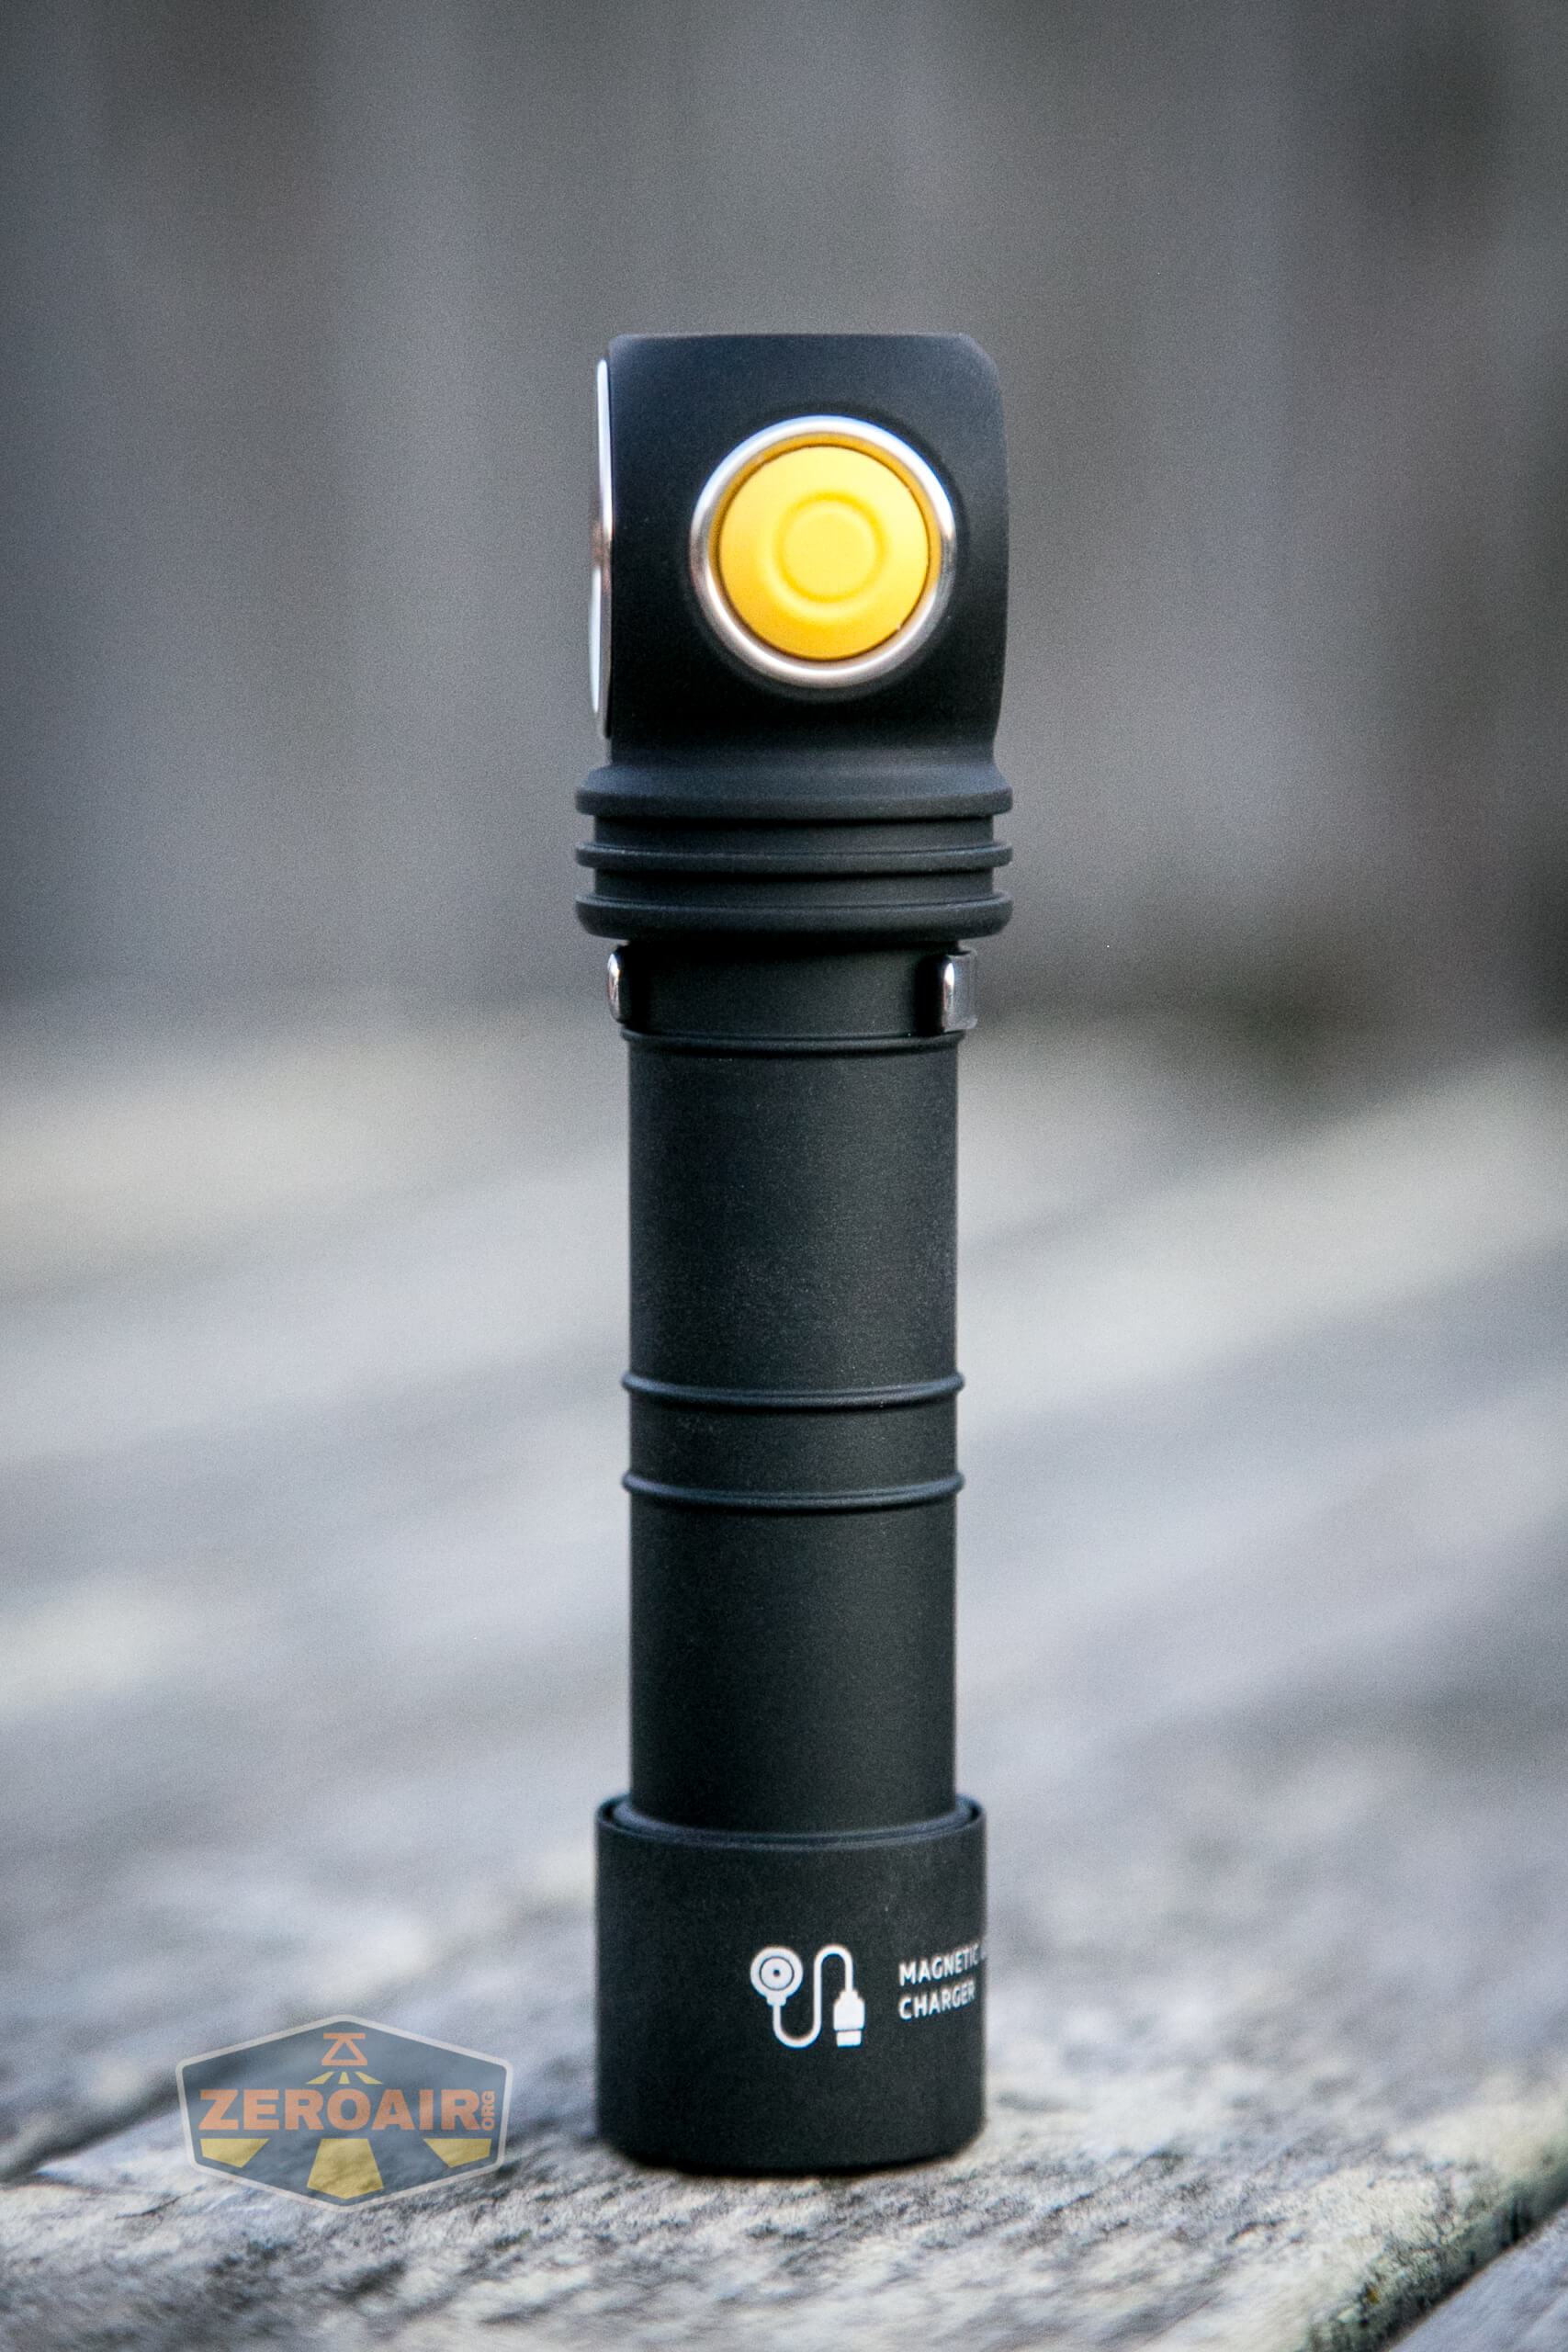
Build Quality and Disassembly
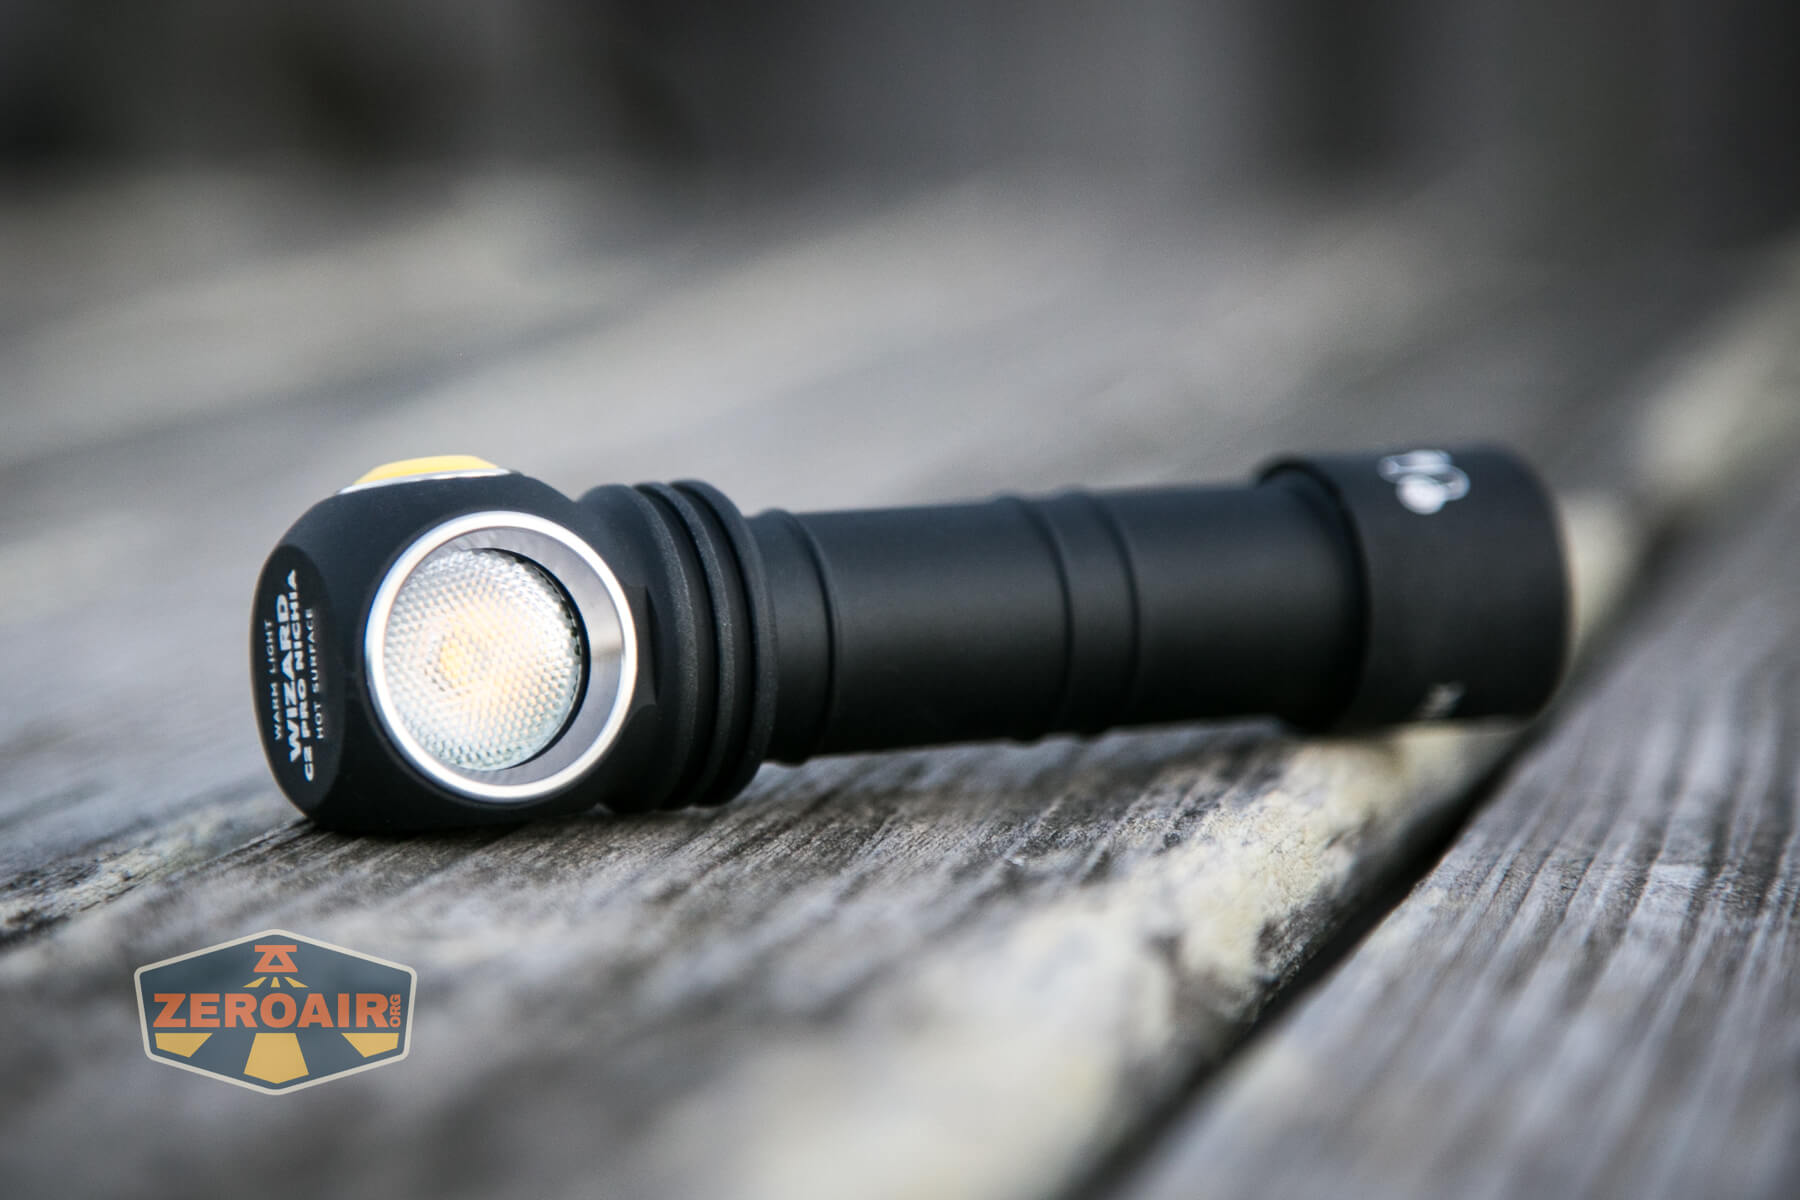
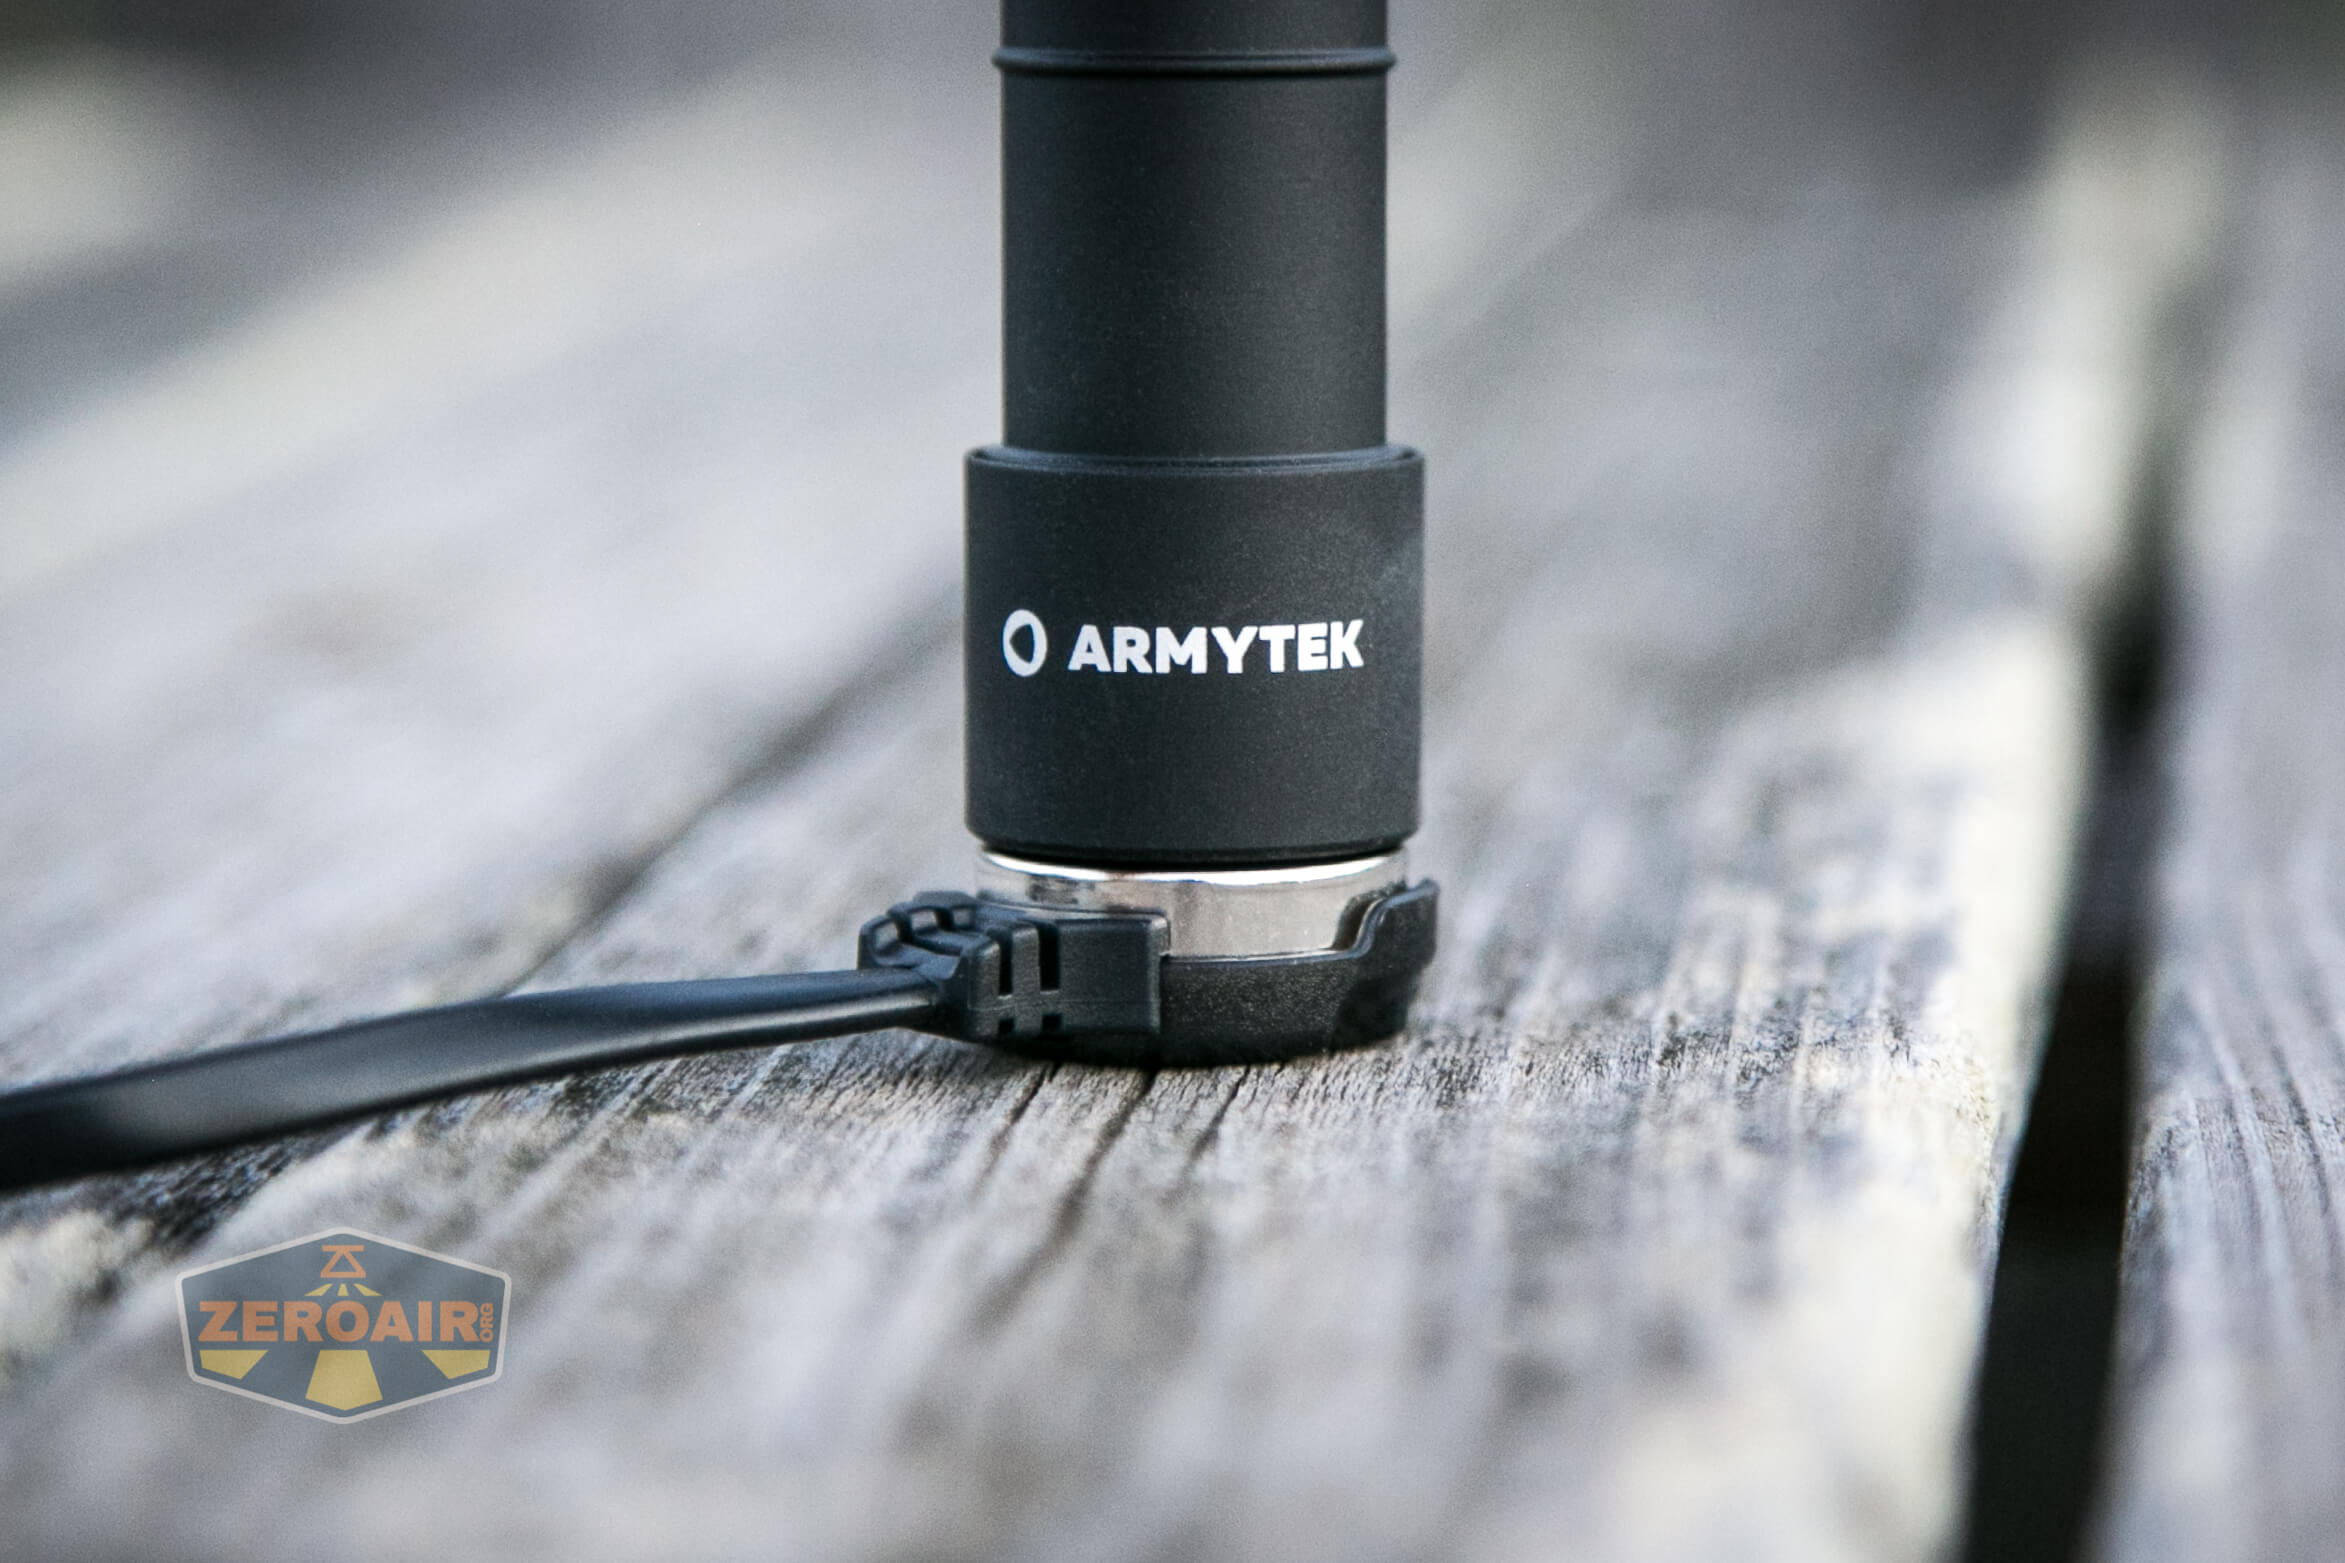
If you’ve handled Armytek lights before, you know the very specific anodizing Armytek has. The Wizard C2 Pro Nichia has the same chalkboard texture as other Armytek lights. That’s not bad! This finish provides a surprising level of grip, just from being matte finished.

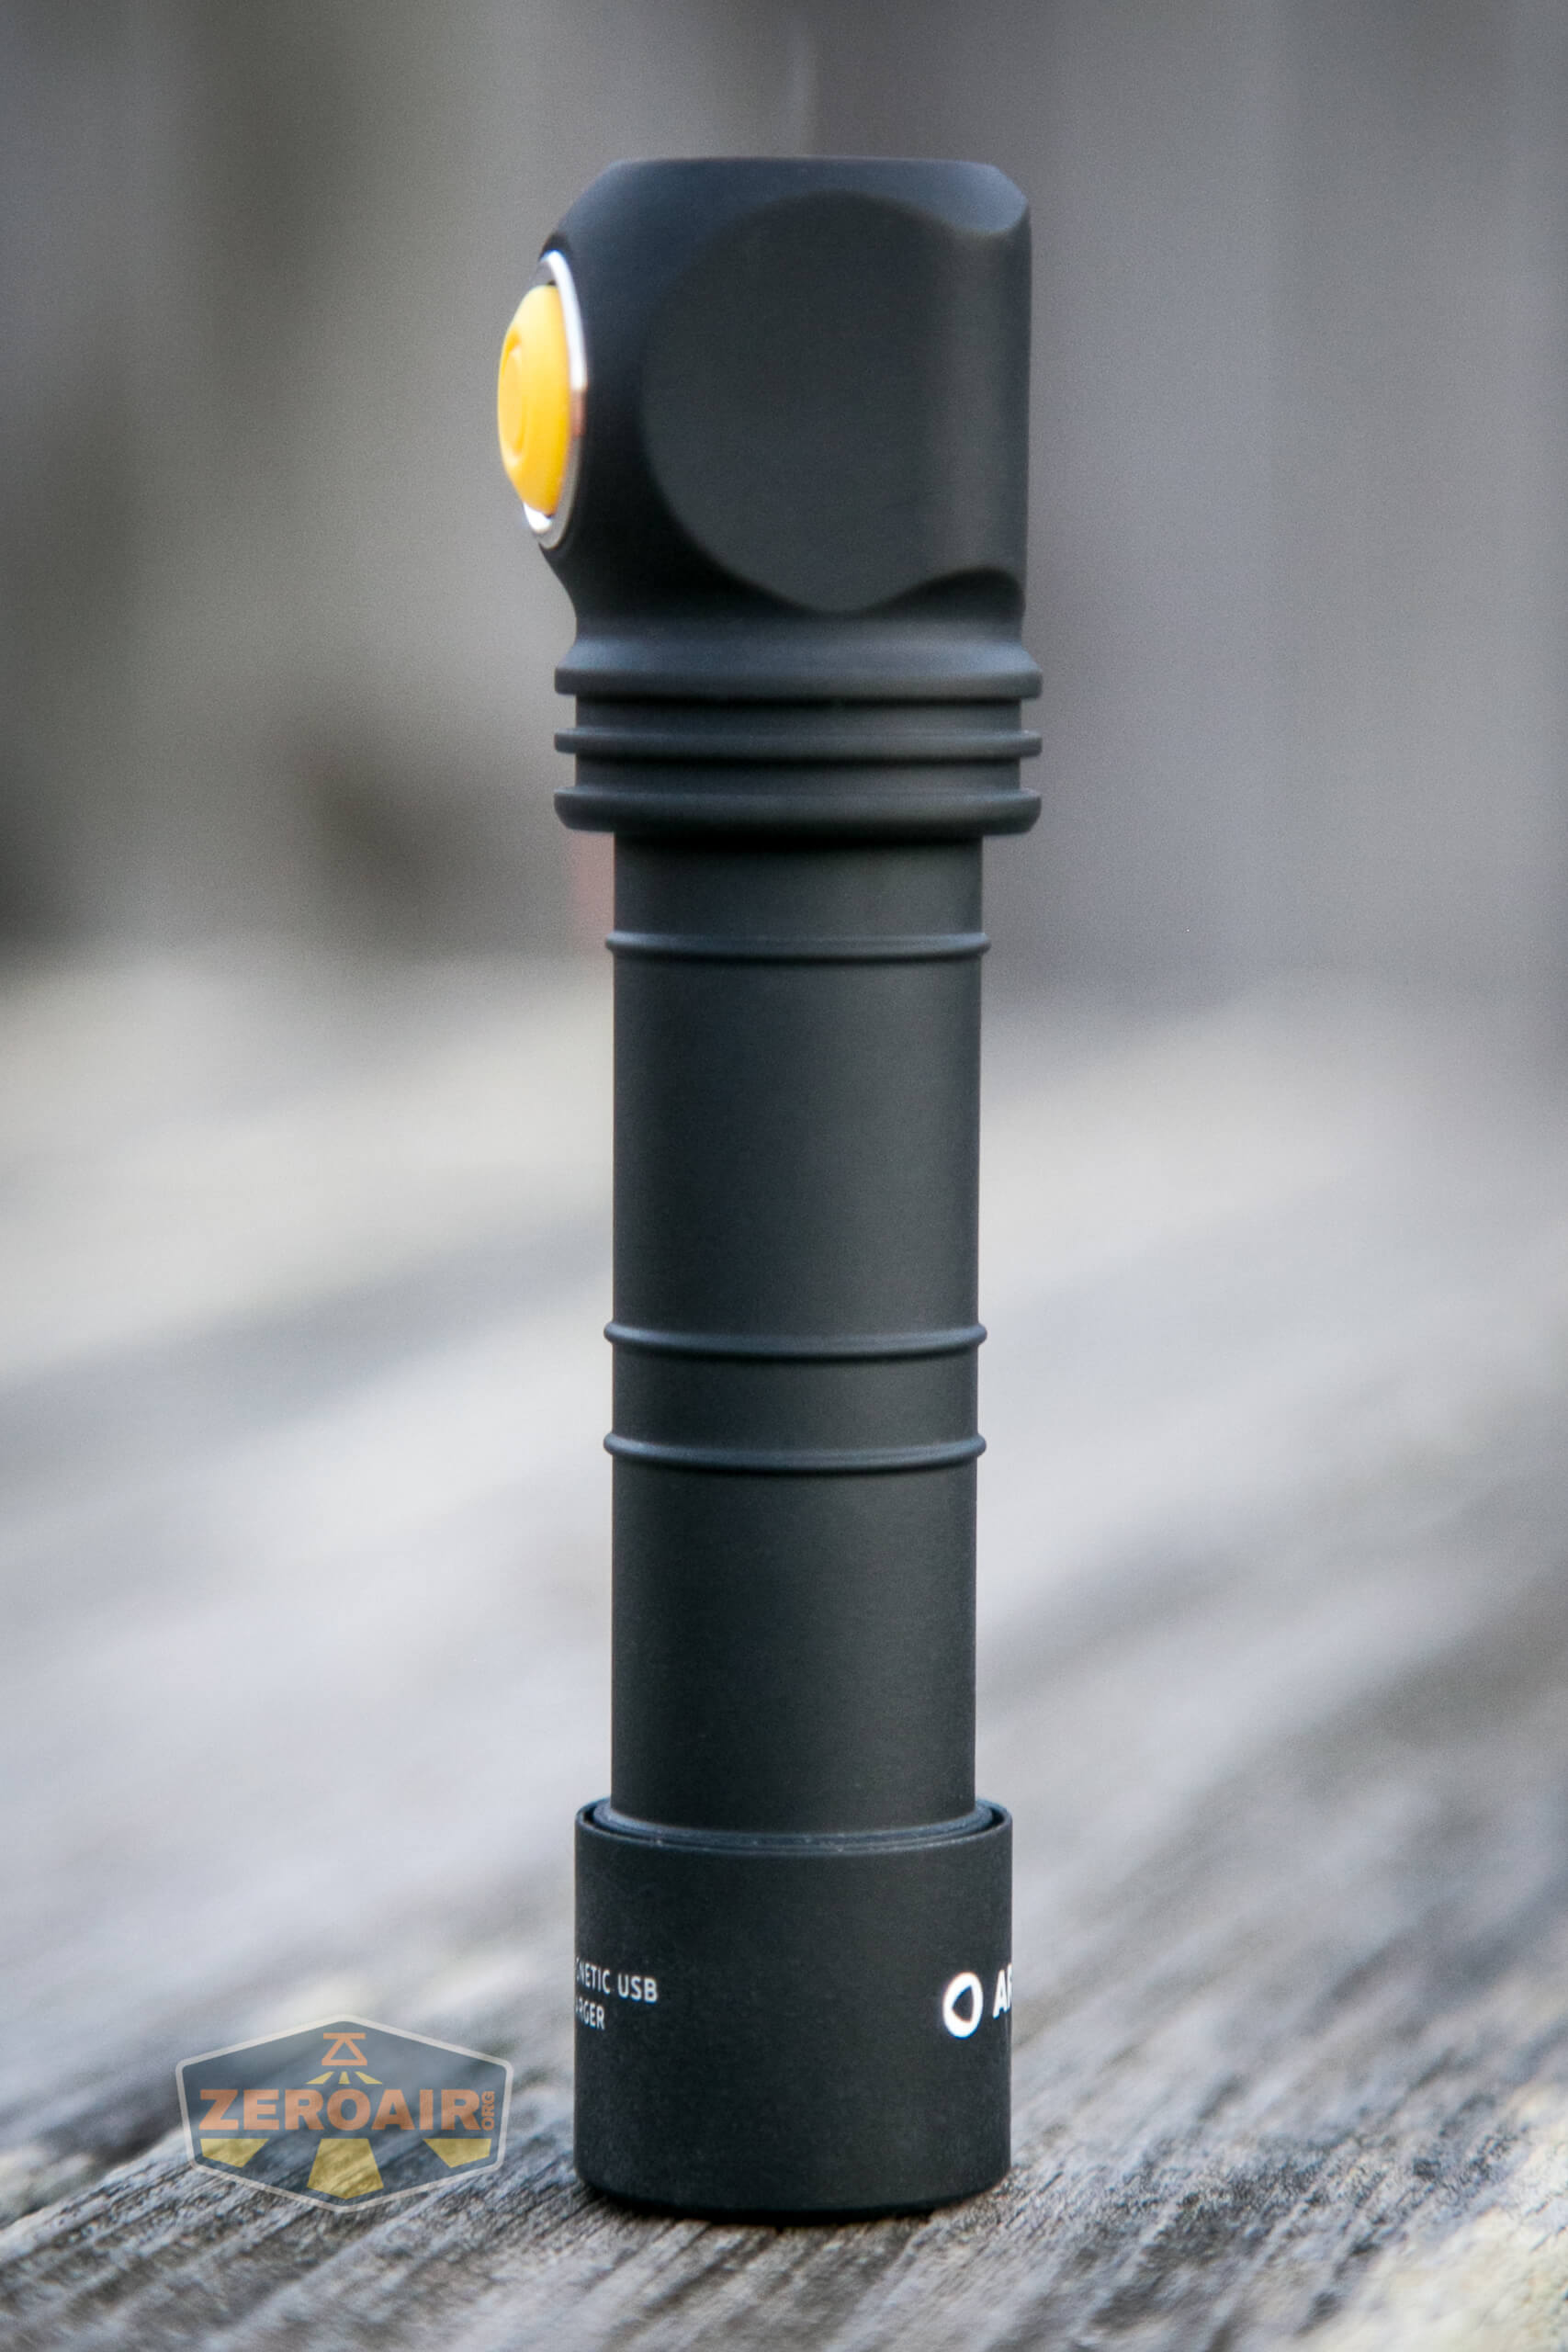
The body is devoid of knurling, and that includes the tailcap, which you’ll have to remove for cell swaps. Or not – with built-in charging, the cell can just live in the light.
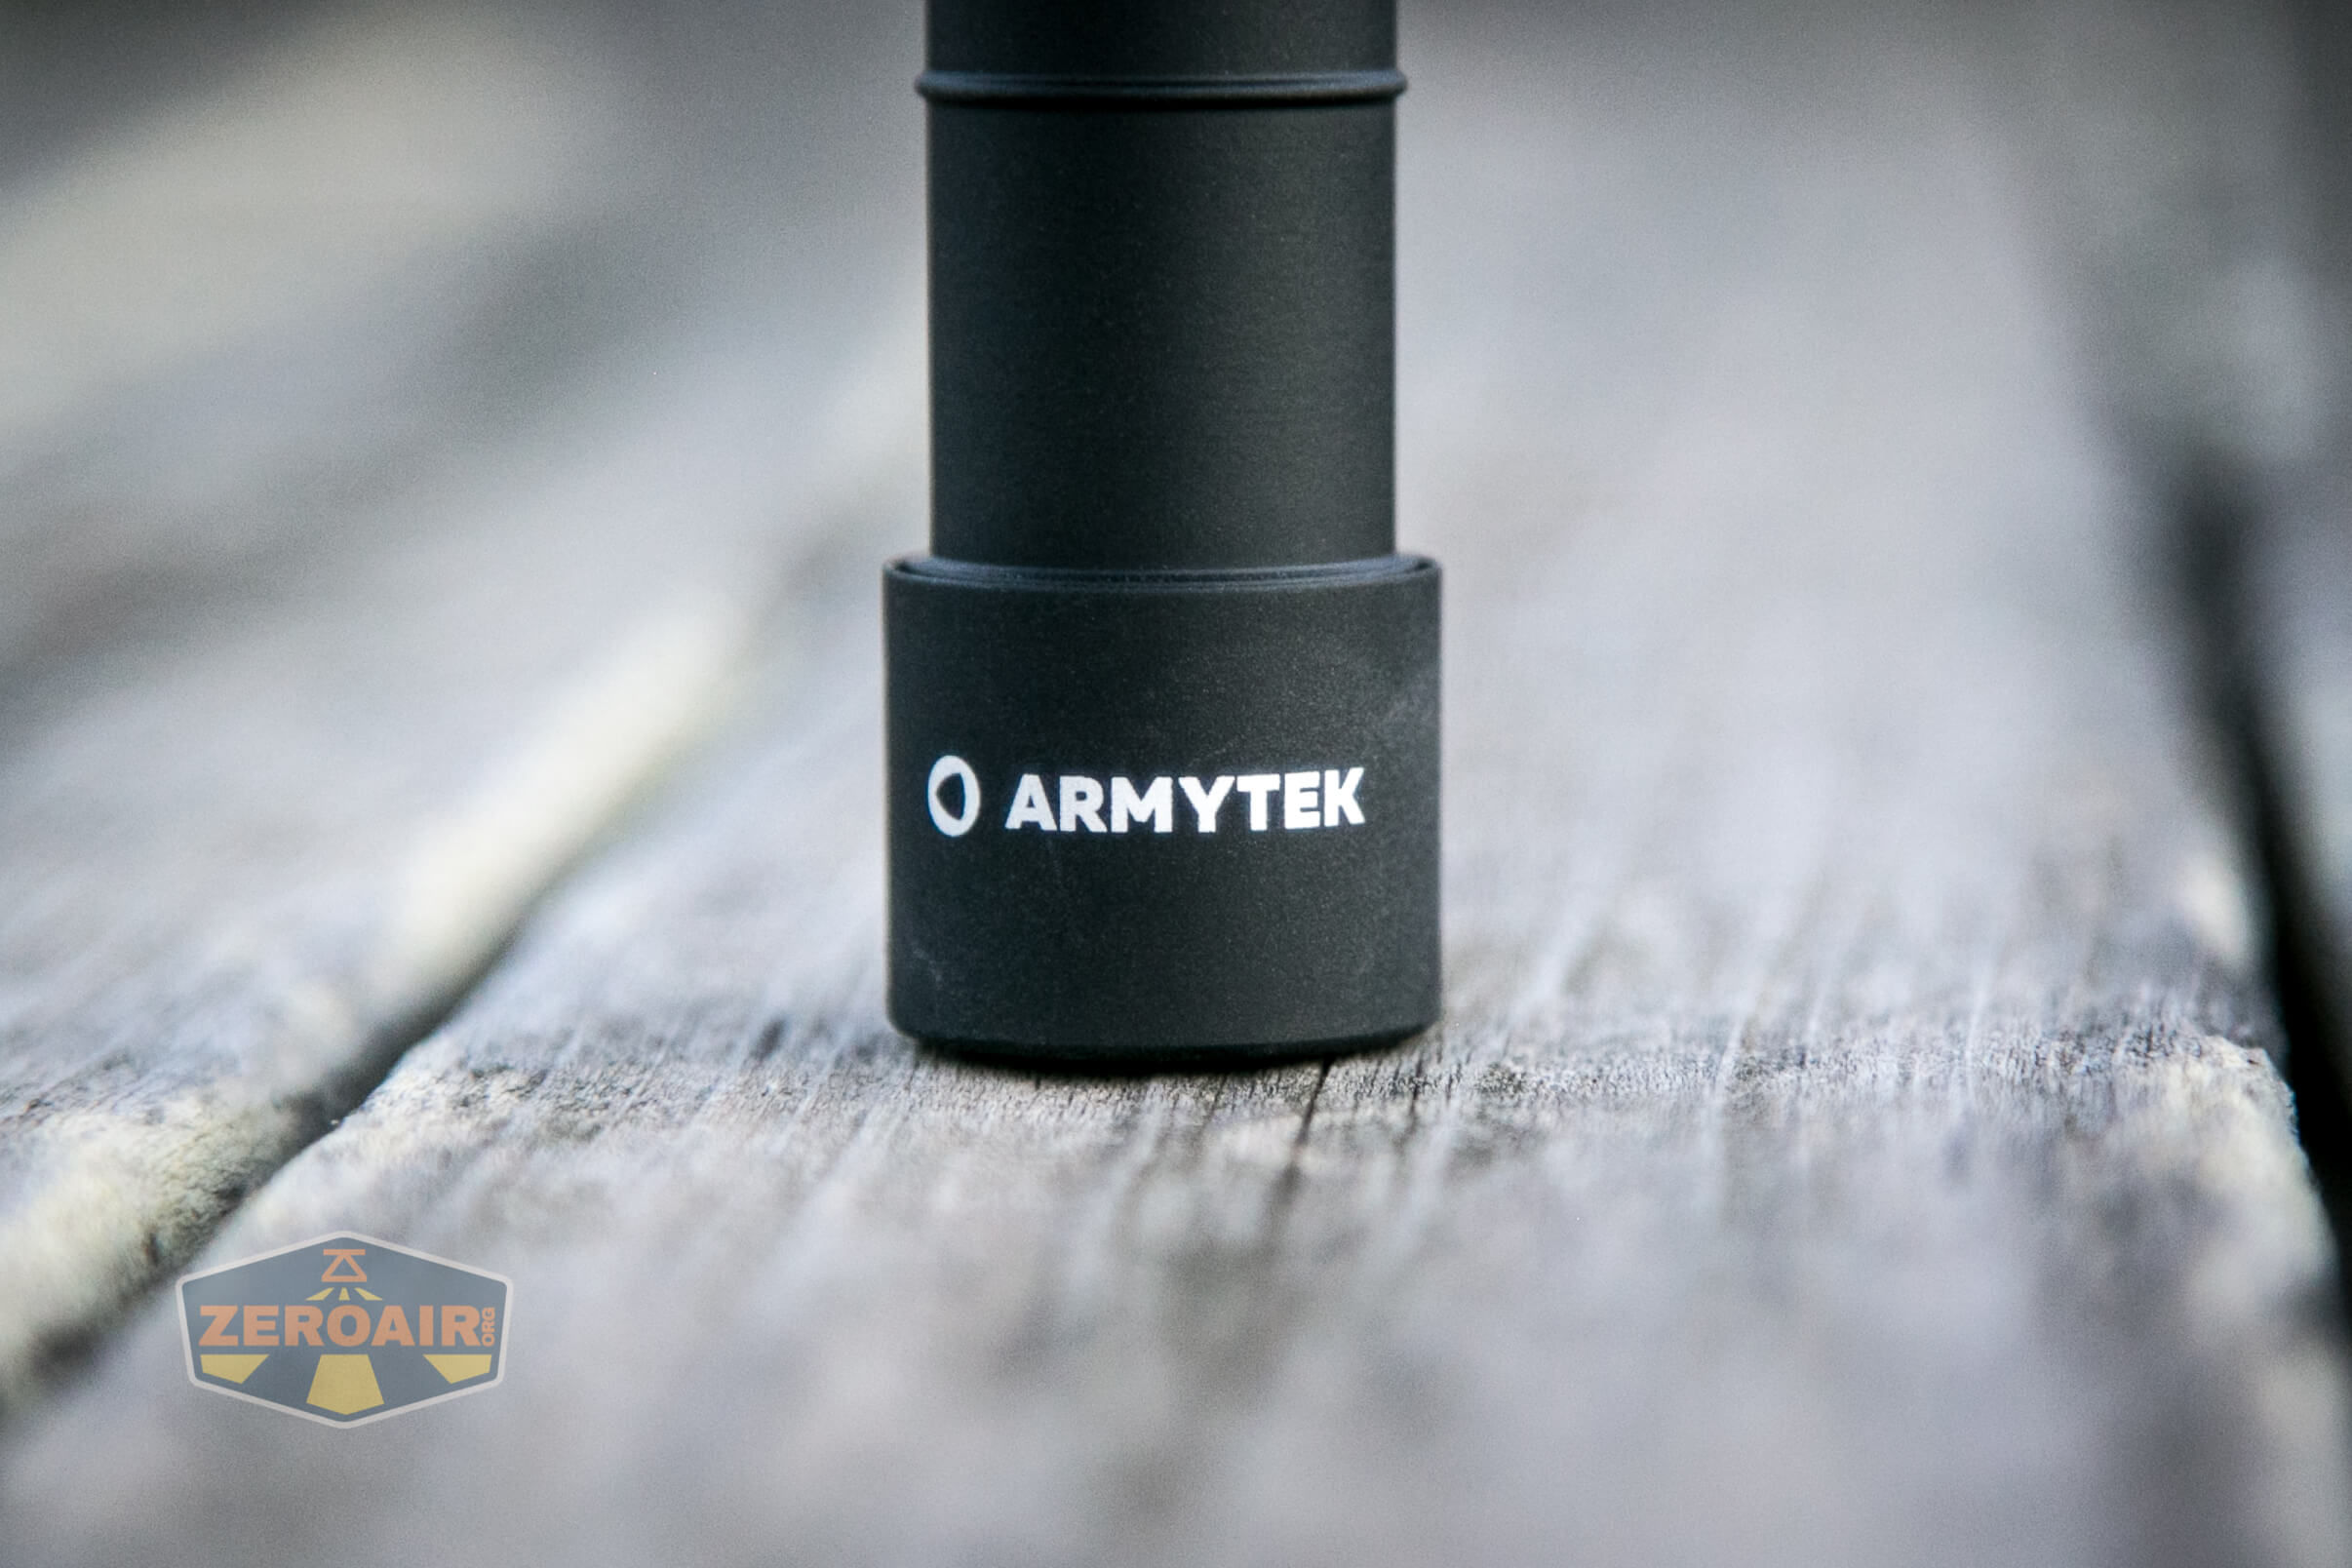
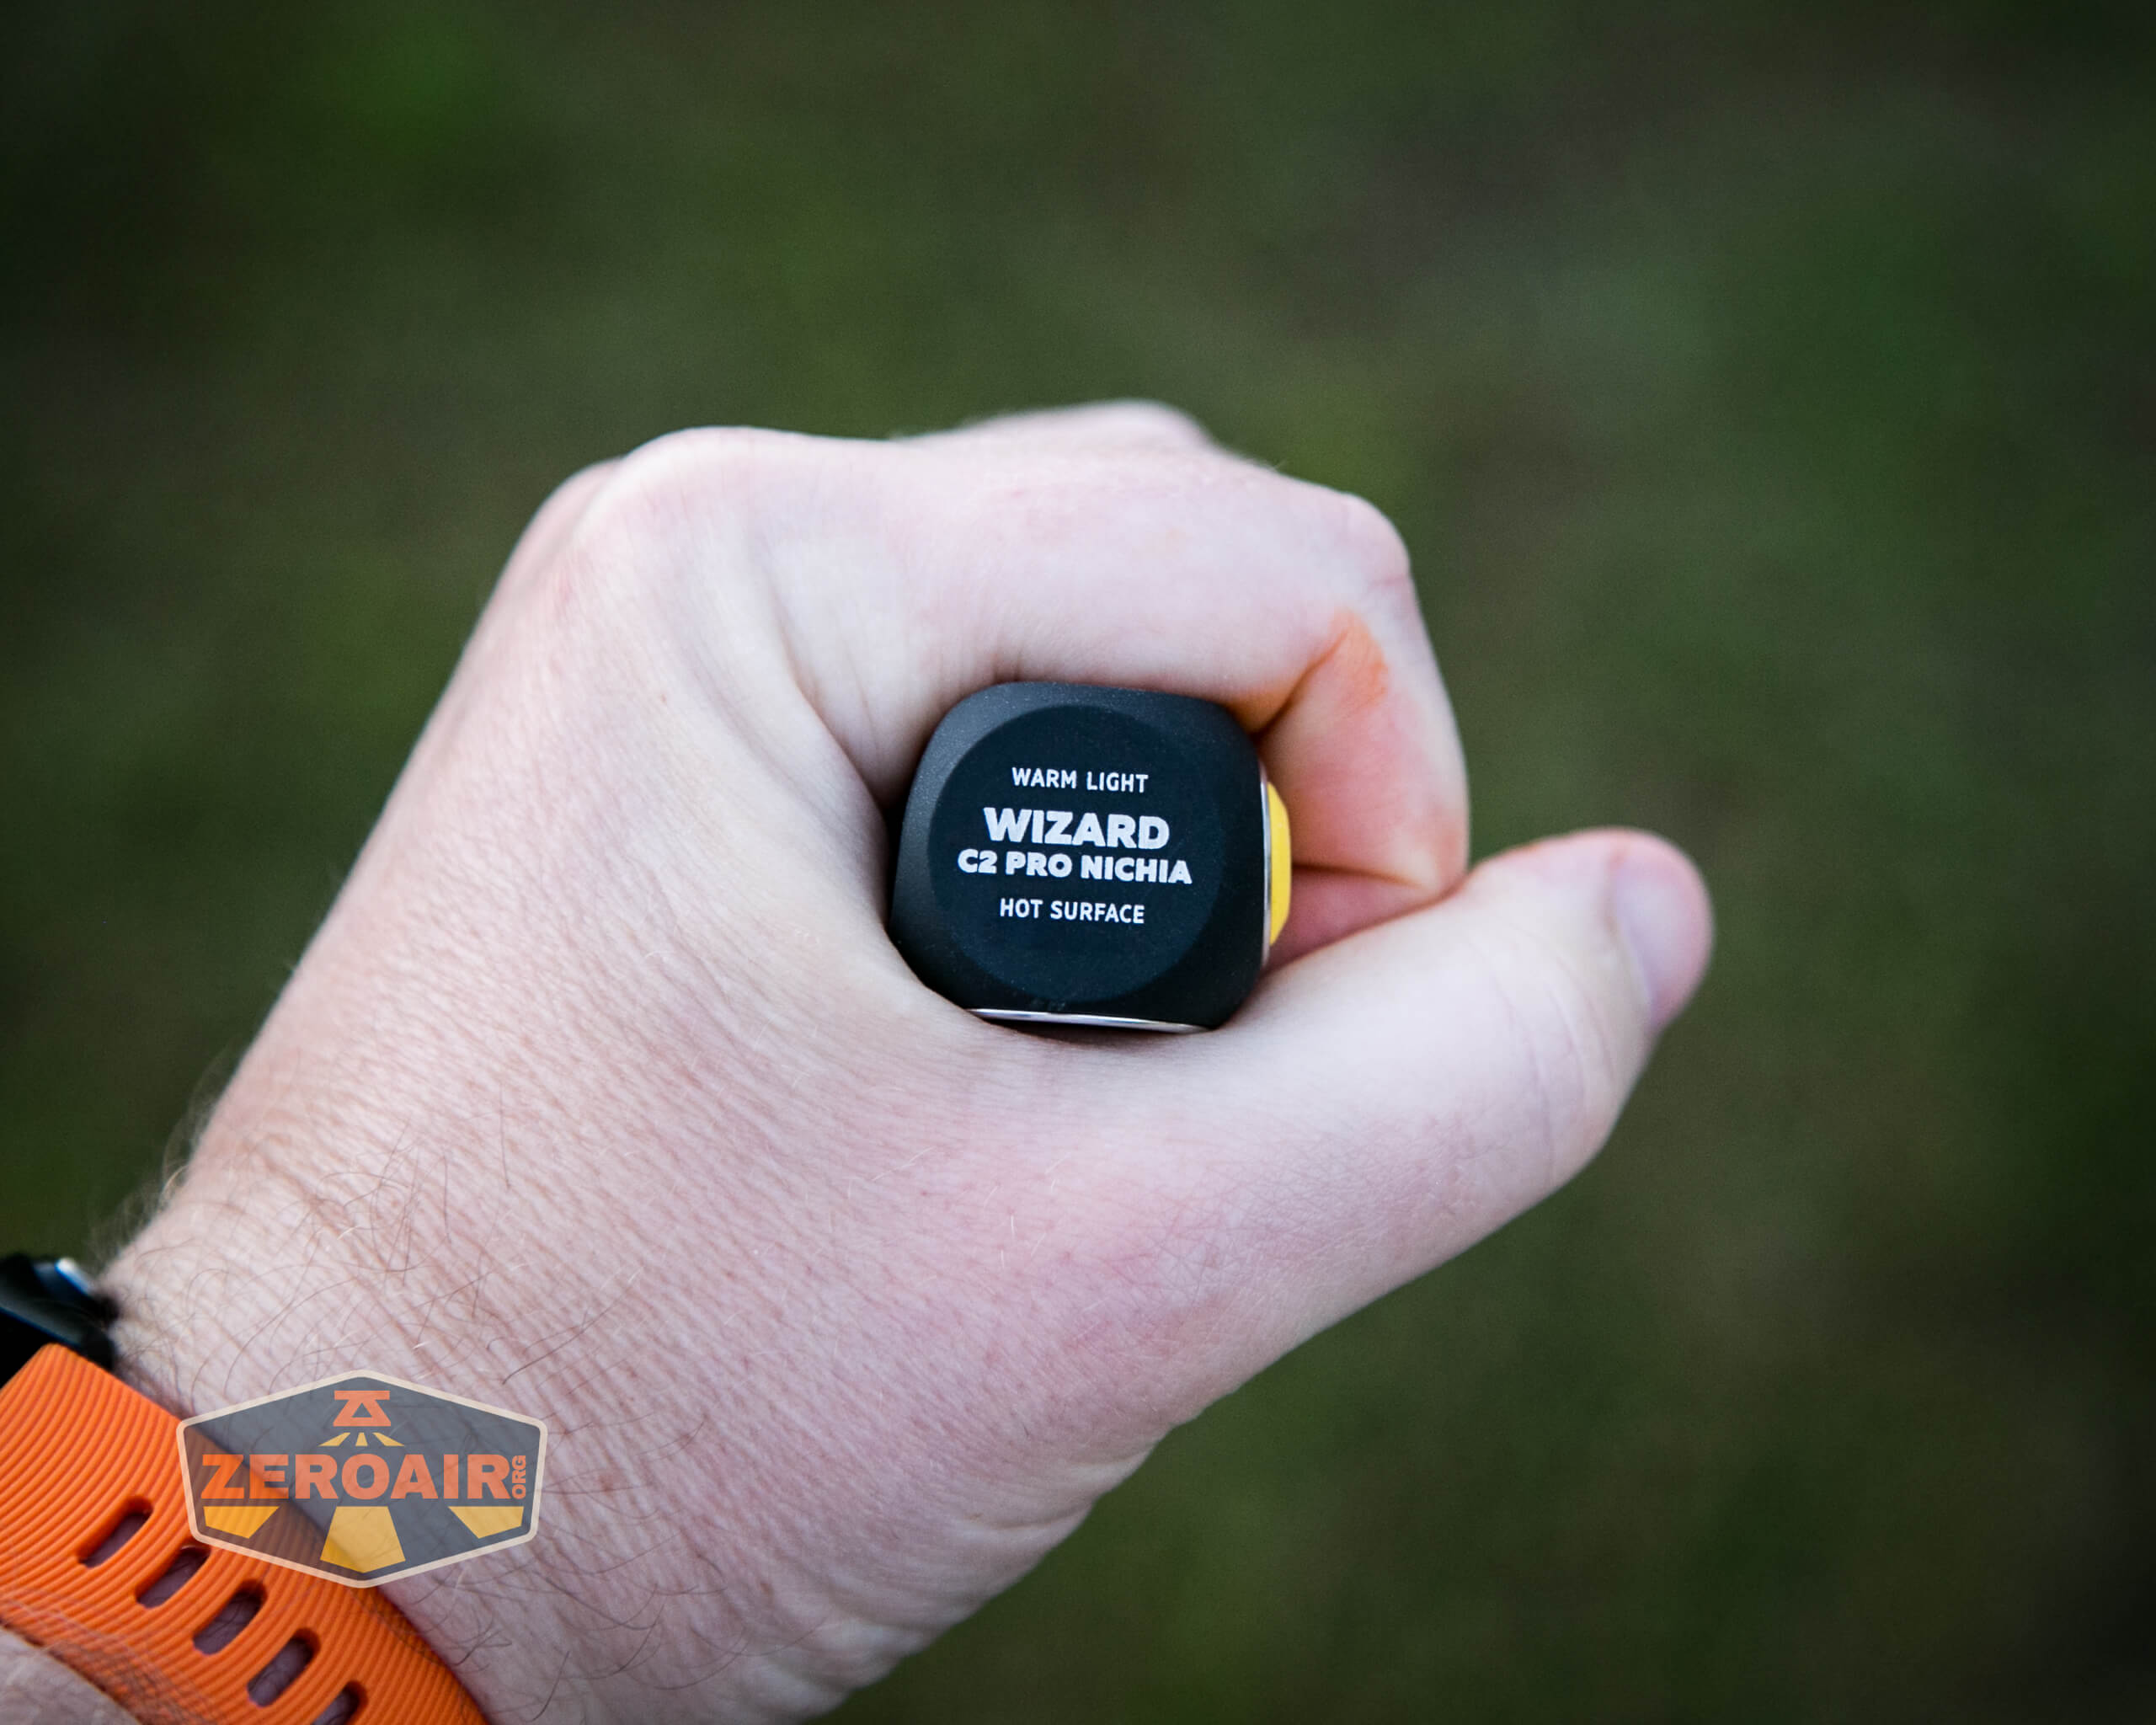
Armytek is no stranger to imprinting on their lights, and we can see branding and the like in a few places. Atop the (flat) head is one such place.

The tailcap has printing on both sides, too.
Here you can see the threads on the tailcap. I didn’t have luck removing the head from the cell tube, but with the right motivation (and need), you probably could do so. These threads are unanodized and quite long. They are not the smoothest threads I’ve used, either.
Both the head and tail have springs. The tailcap spring is quite big and stiff, too.
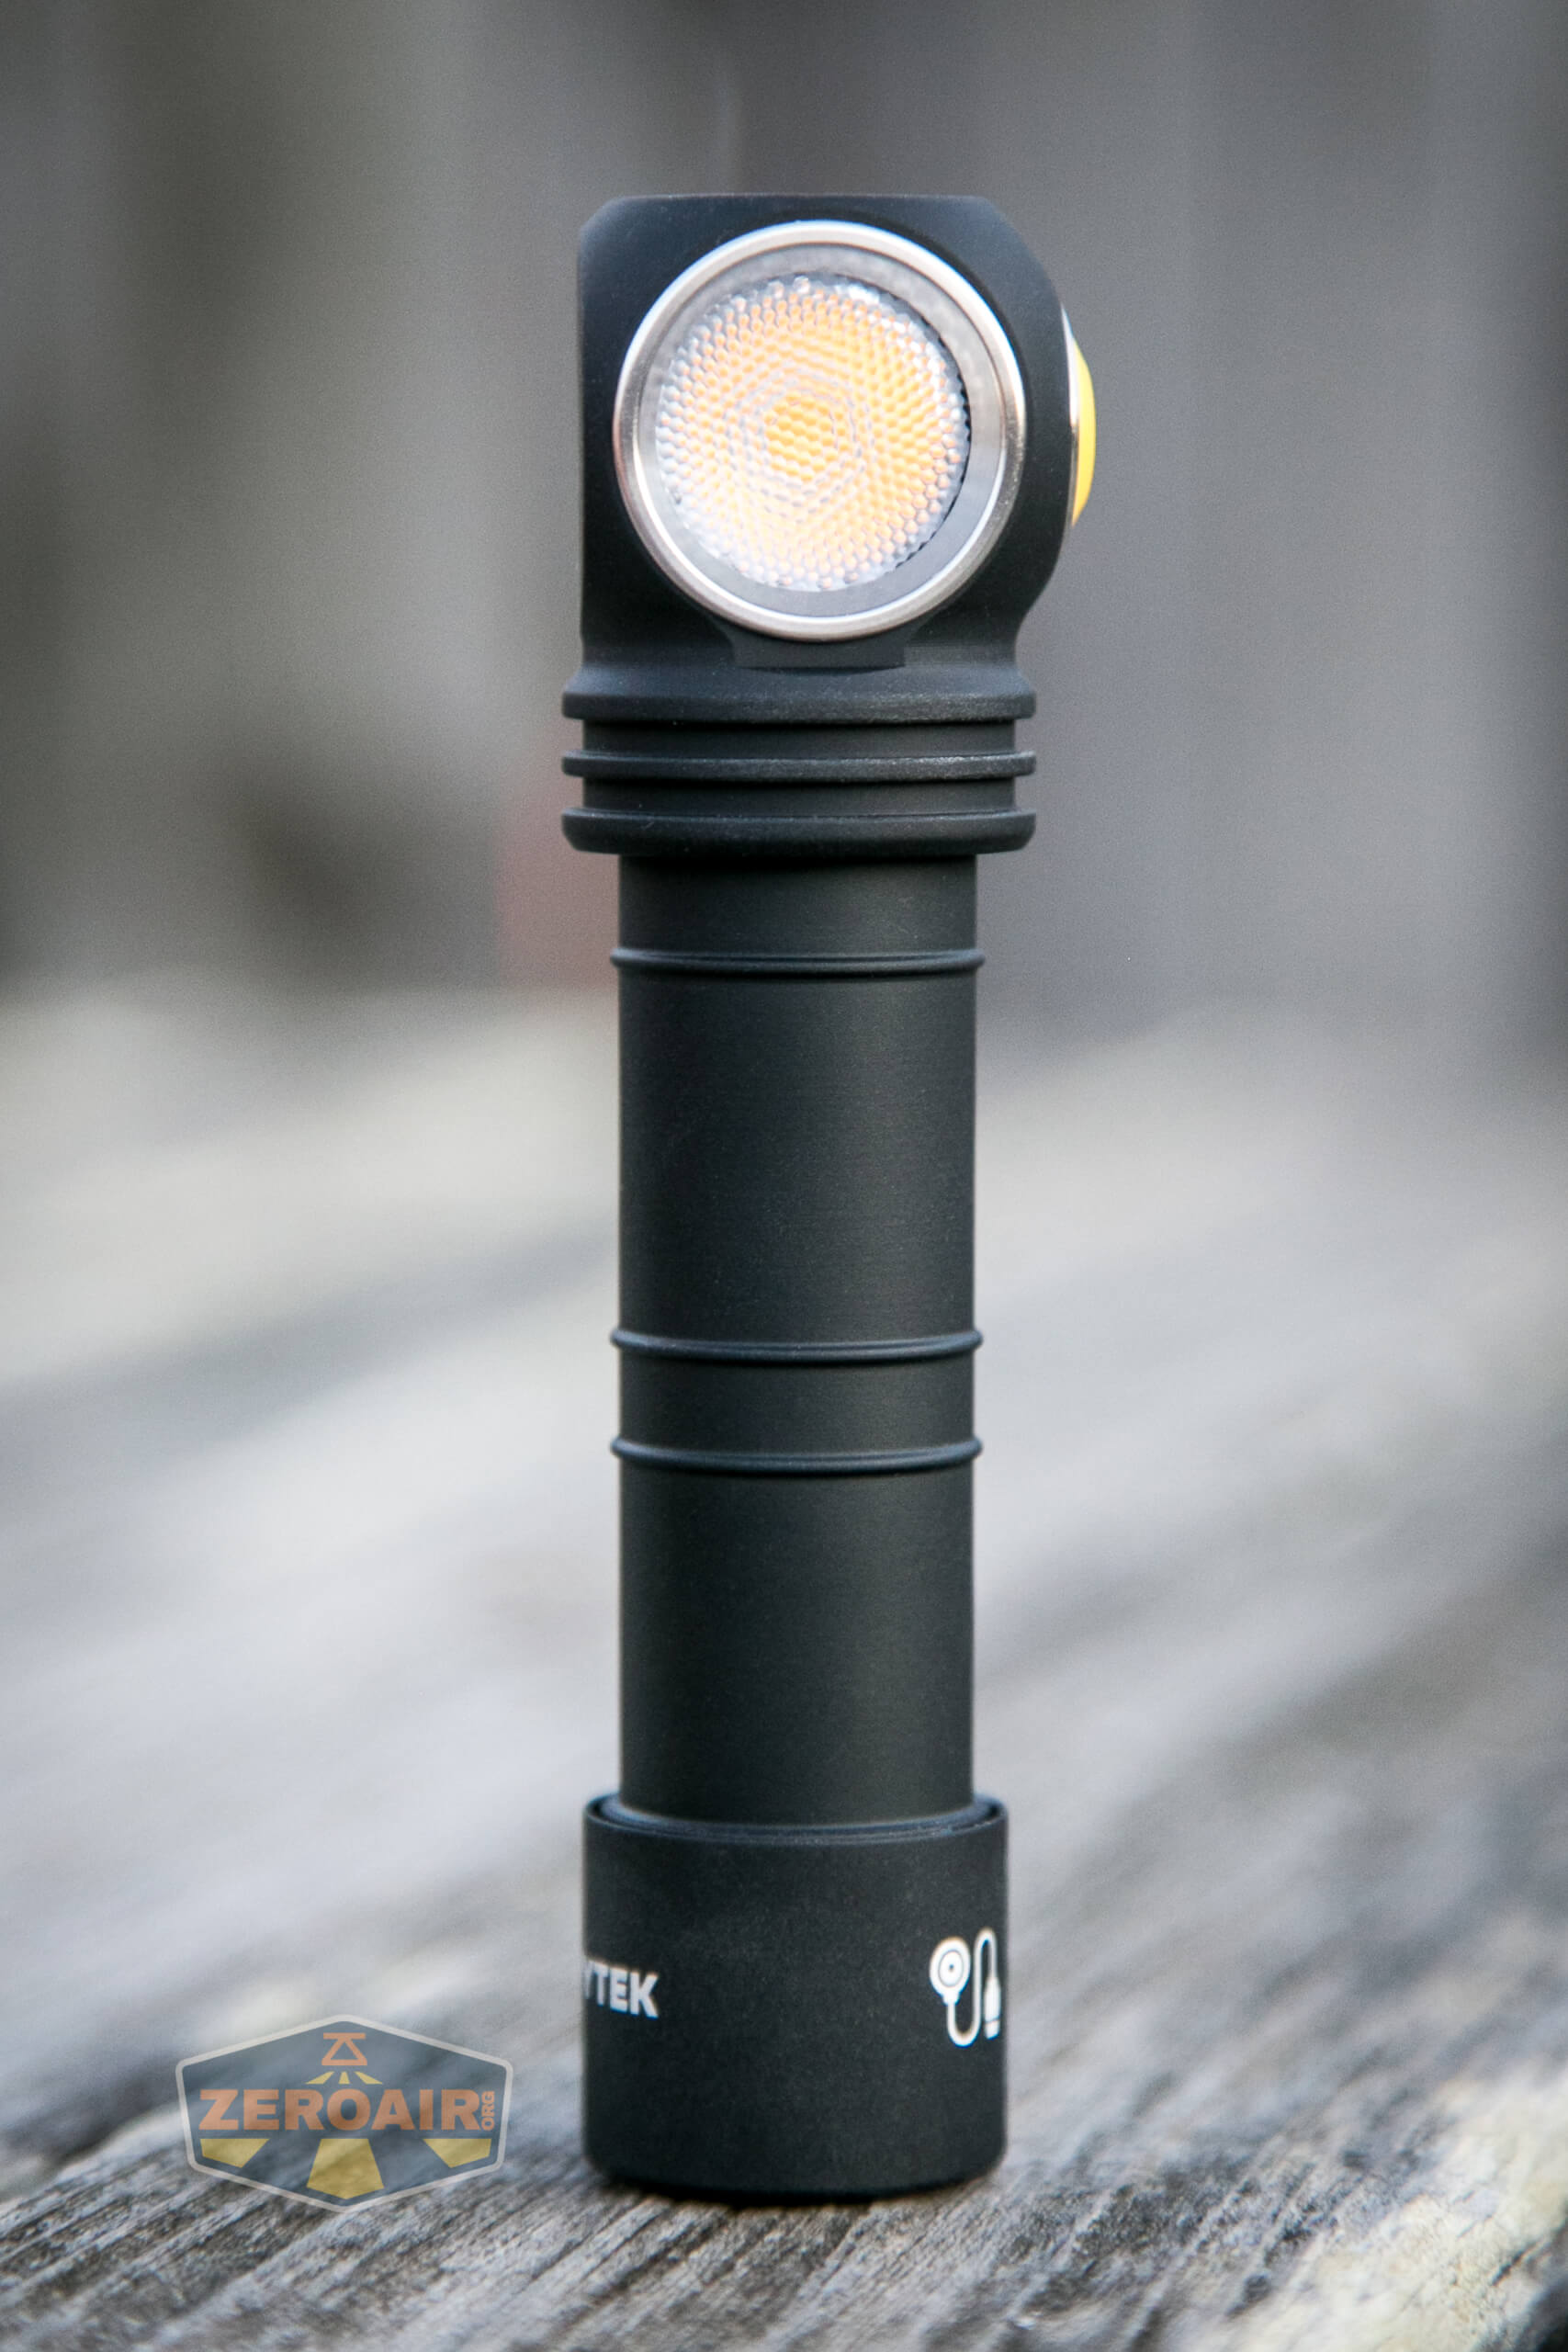
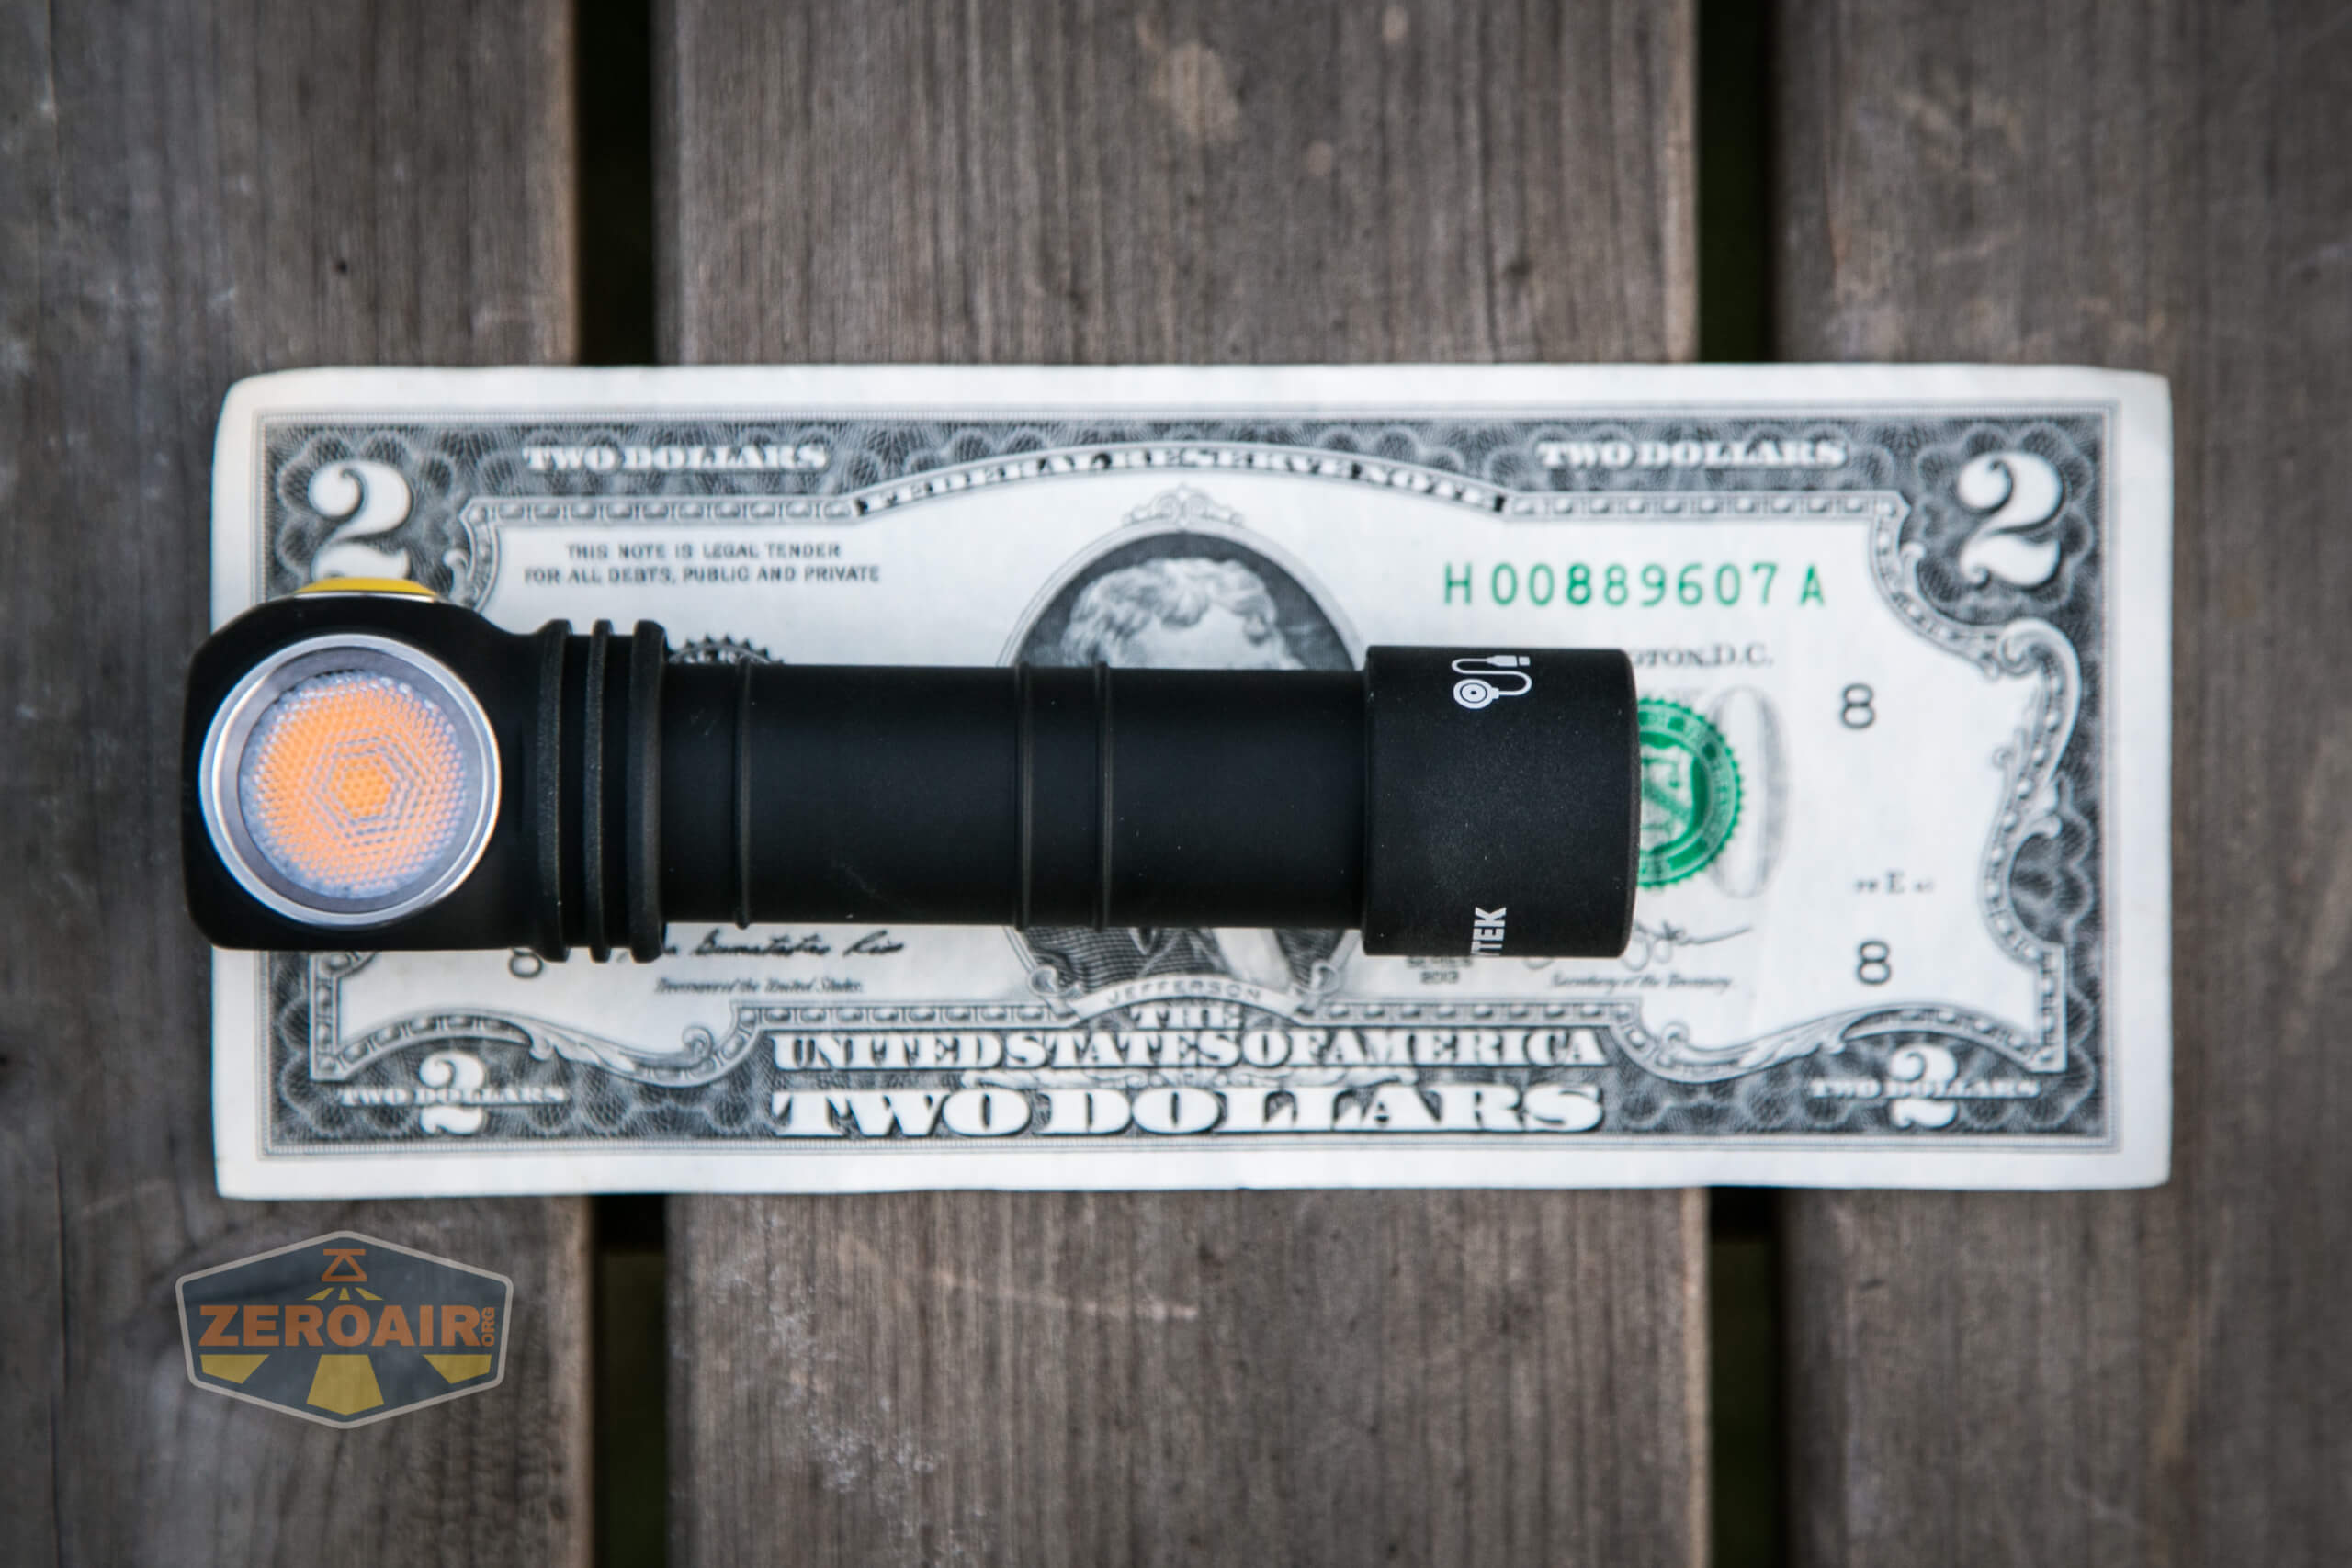
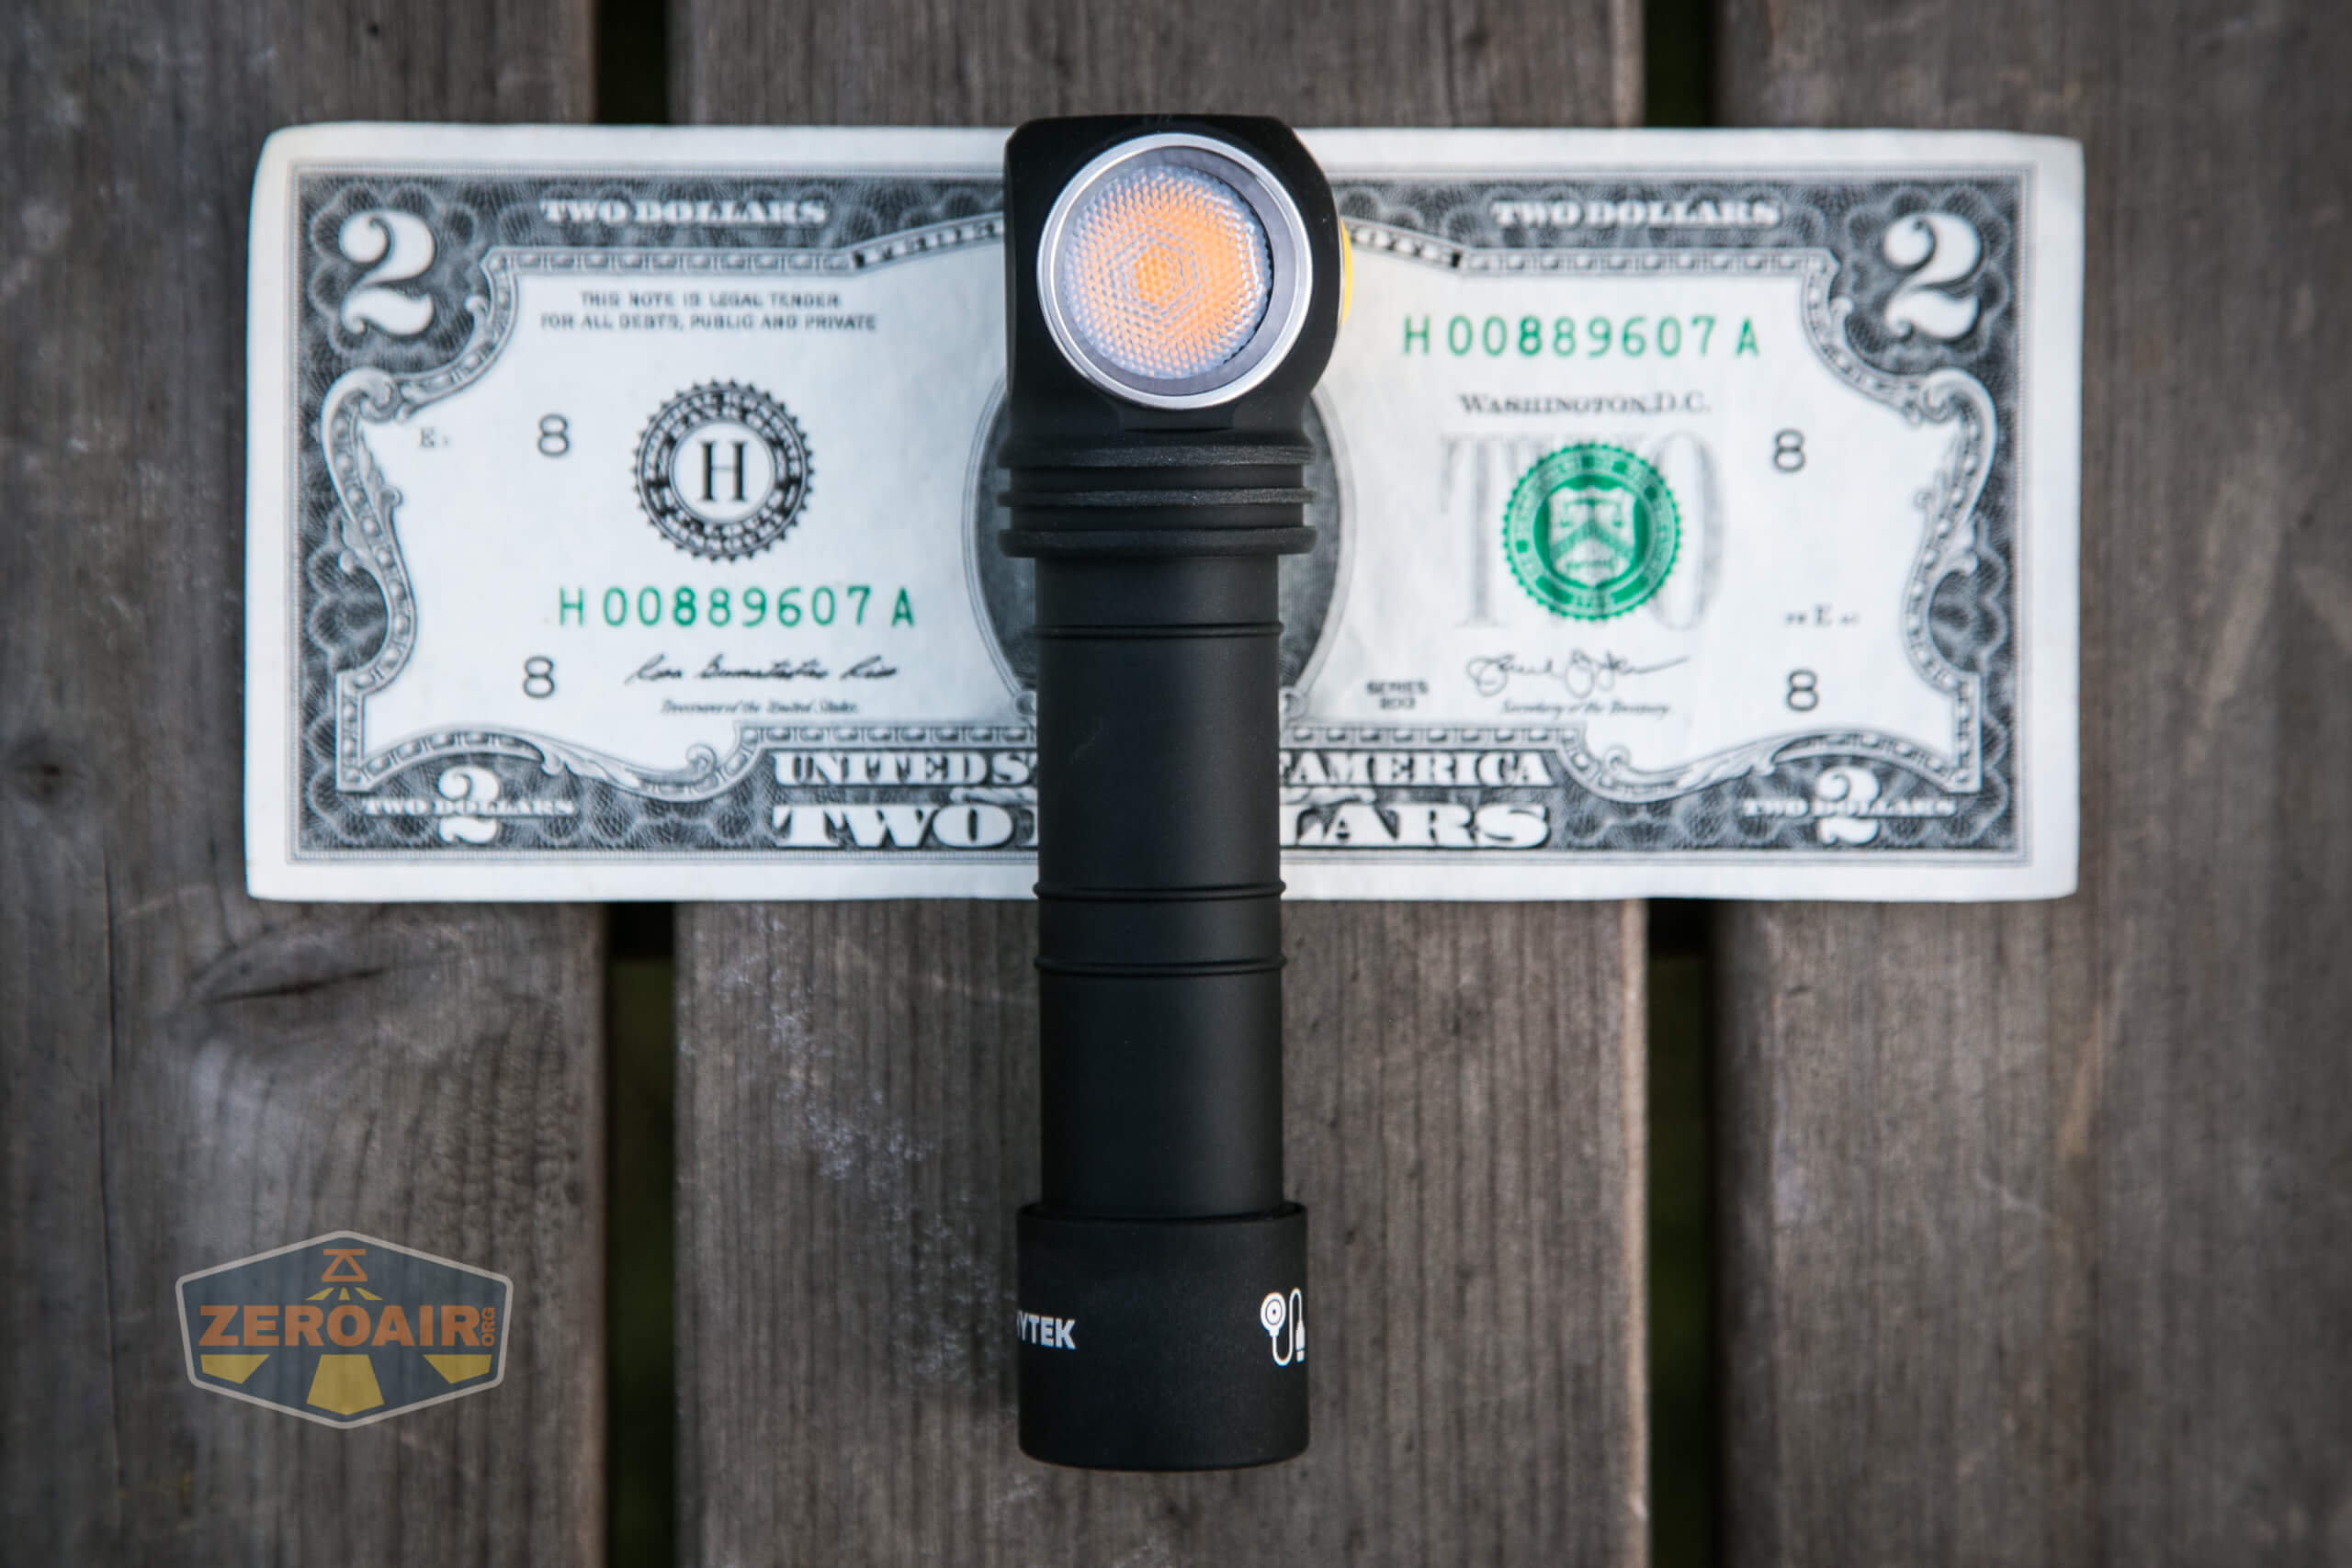
Size and Comps
Head diameter: 33 mm
Body diameter: 20.4 mm
Length: 112 mm
Weight (without battery): 65 g
If the flashlight will headstand, I’ll try to show it here. If the flashlight will tailstand, I usually show that here, too.

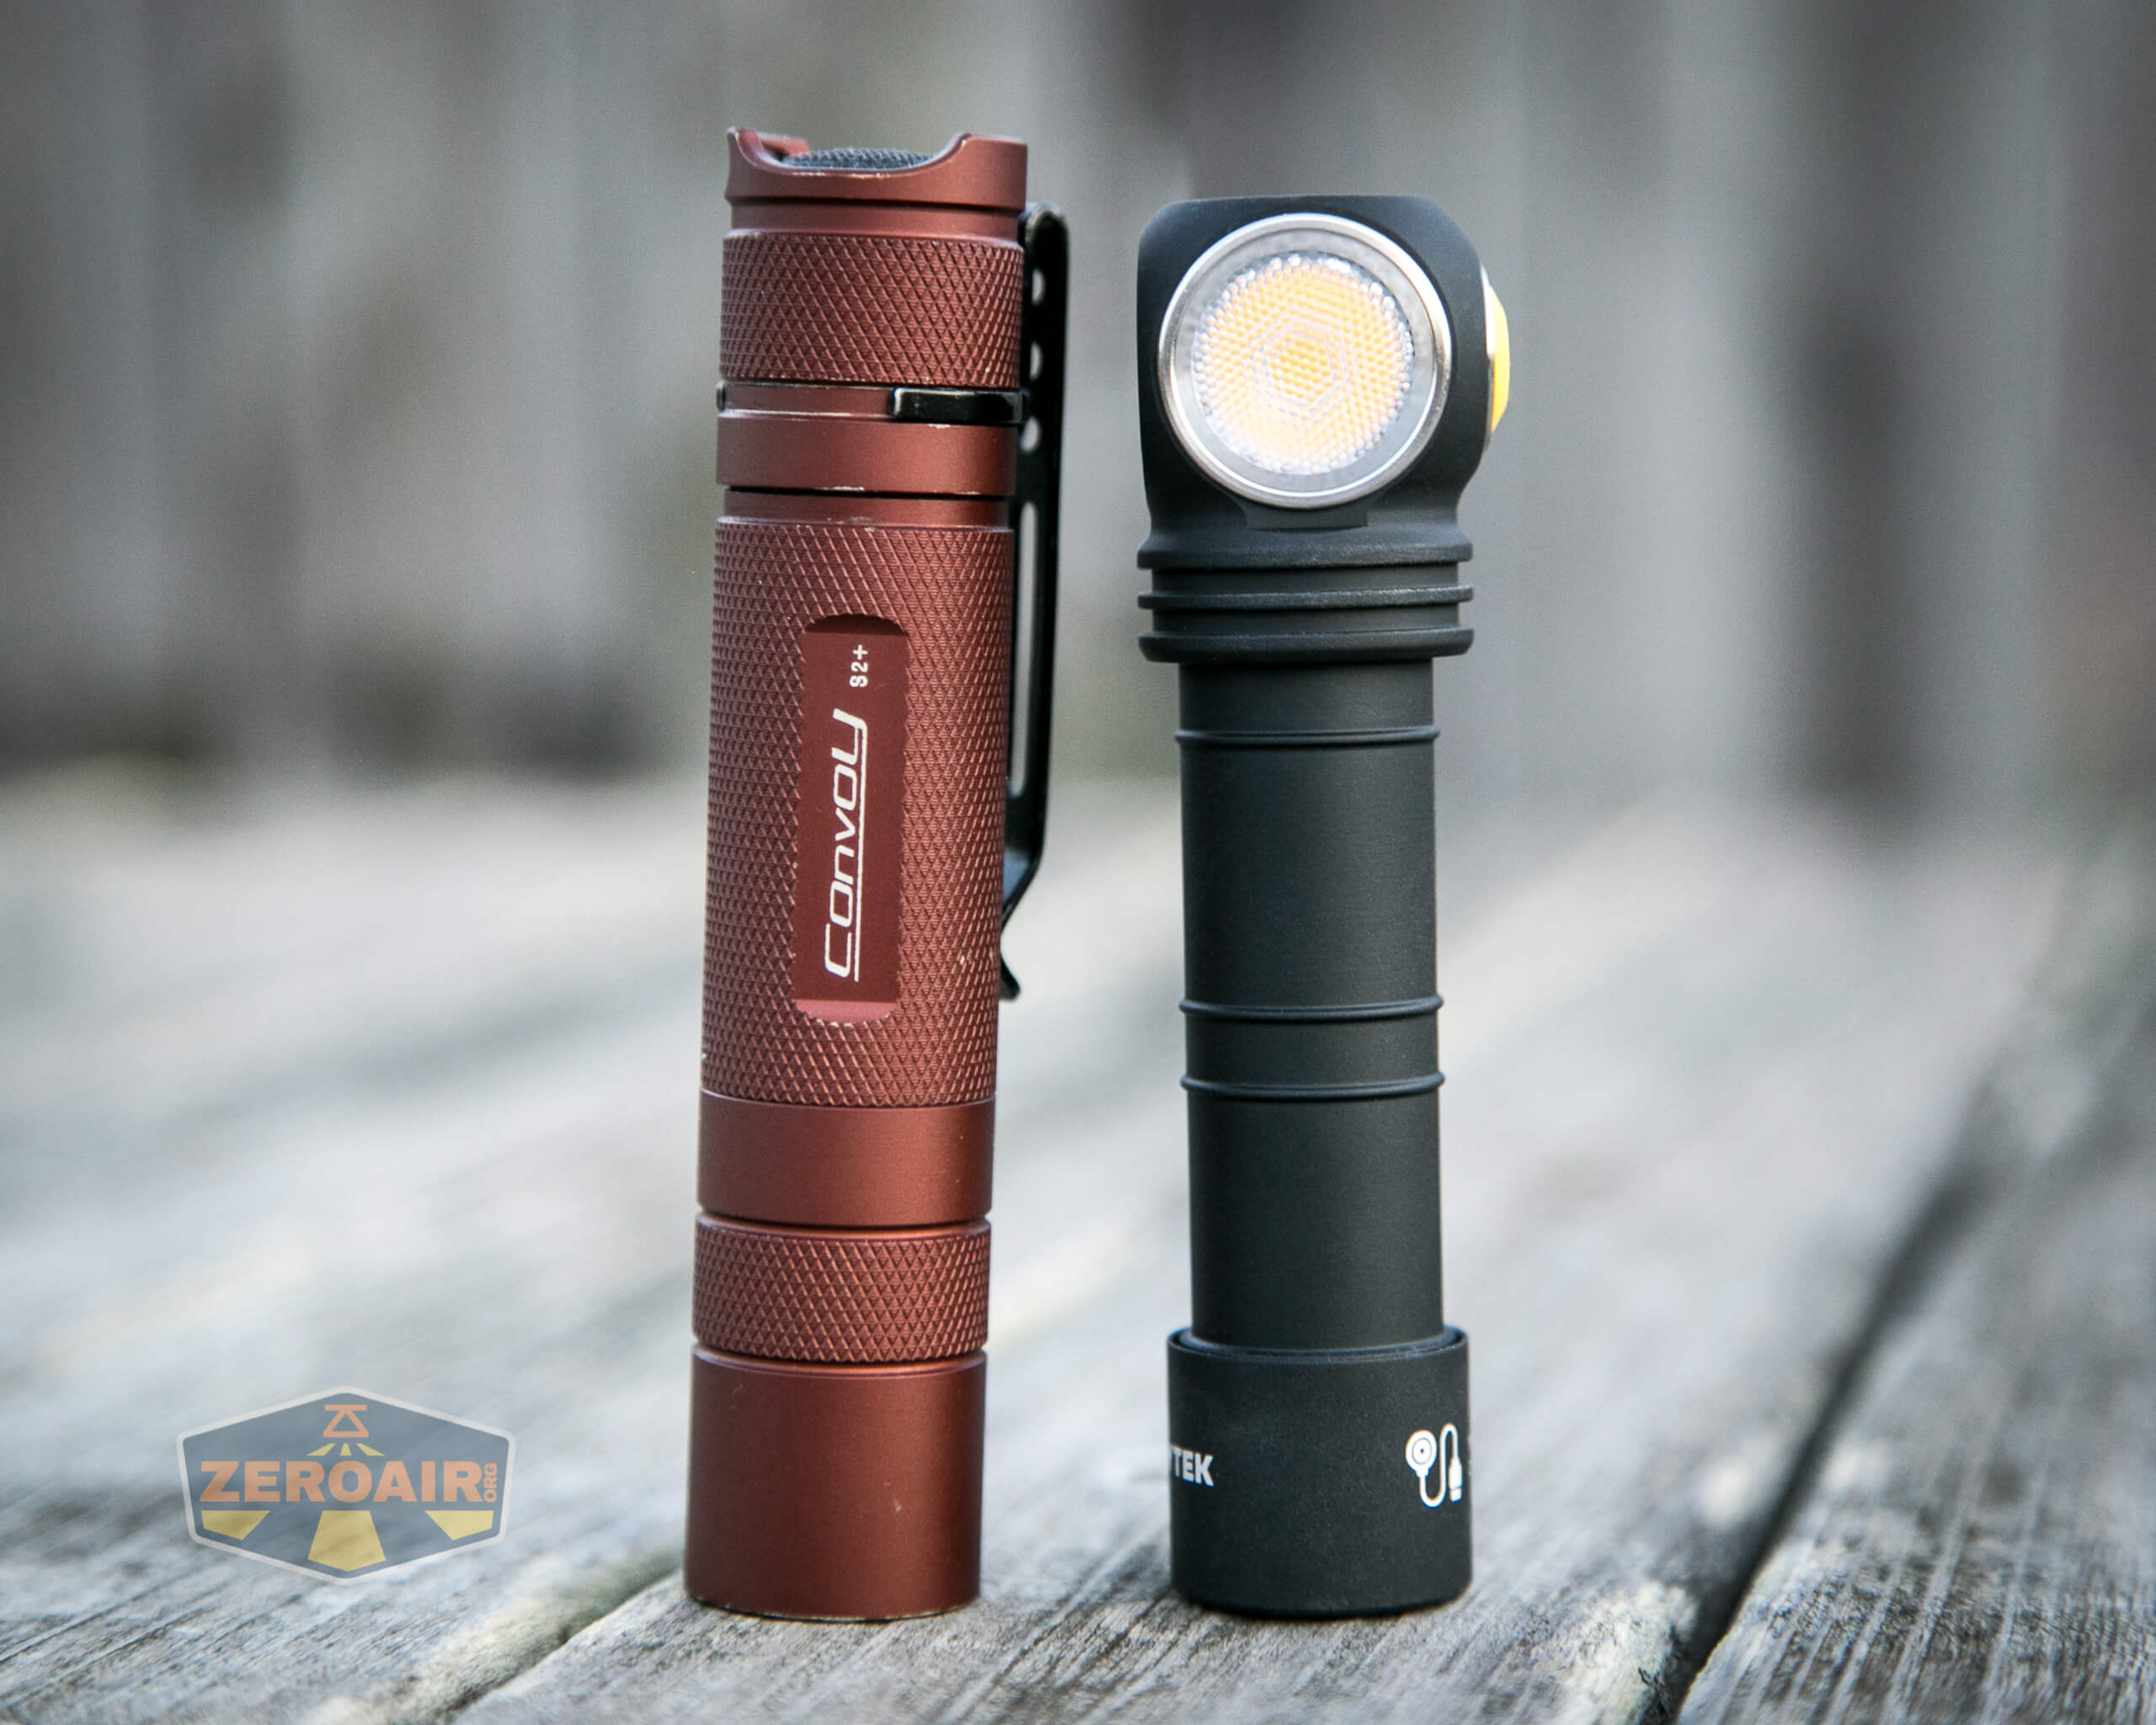
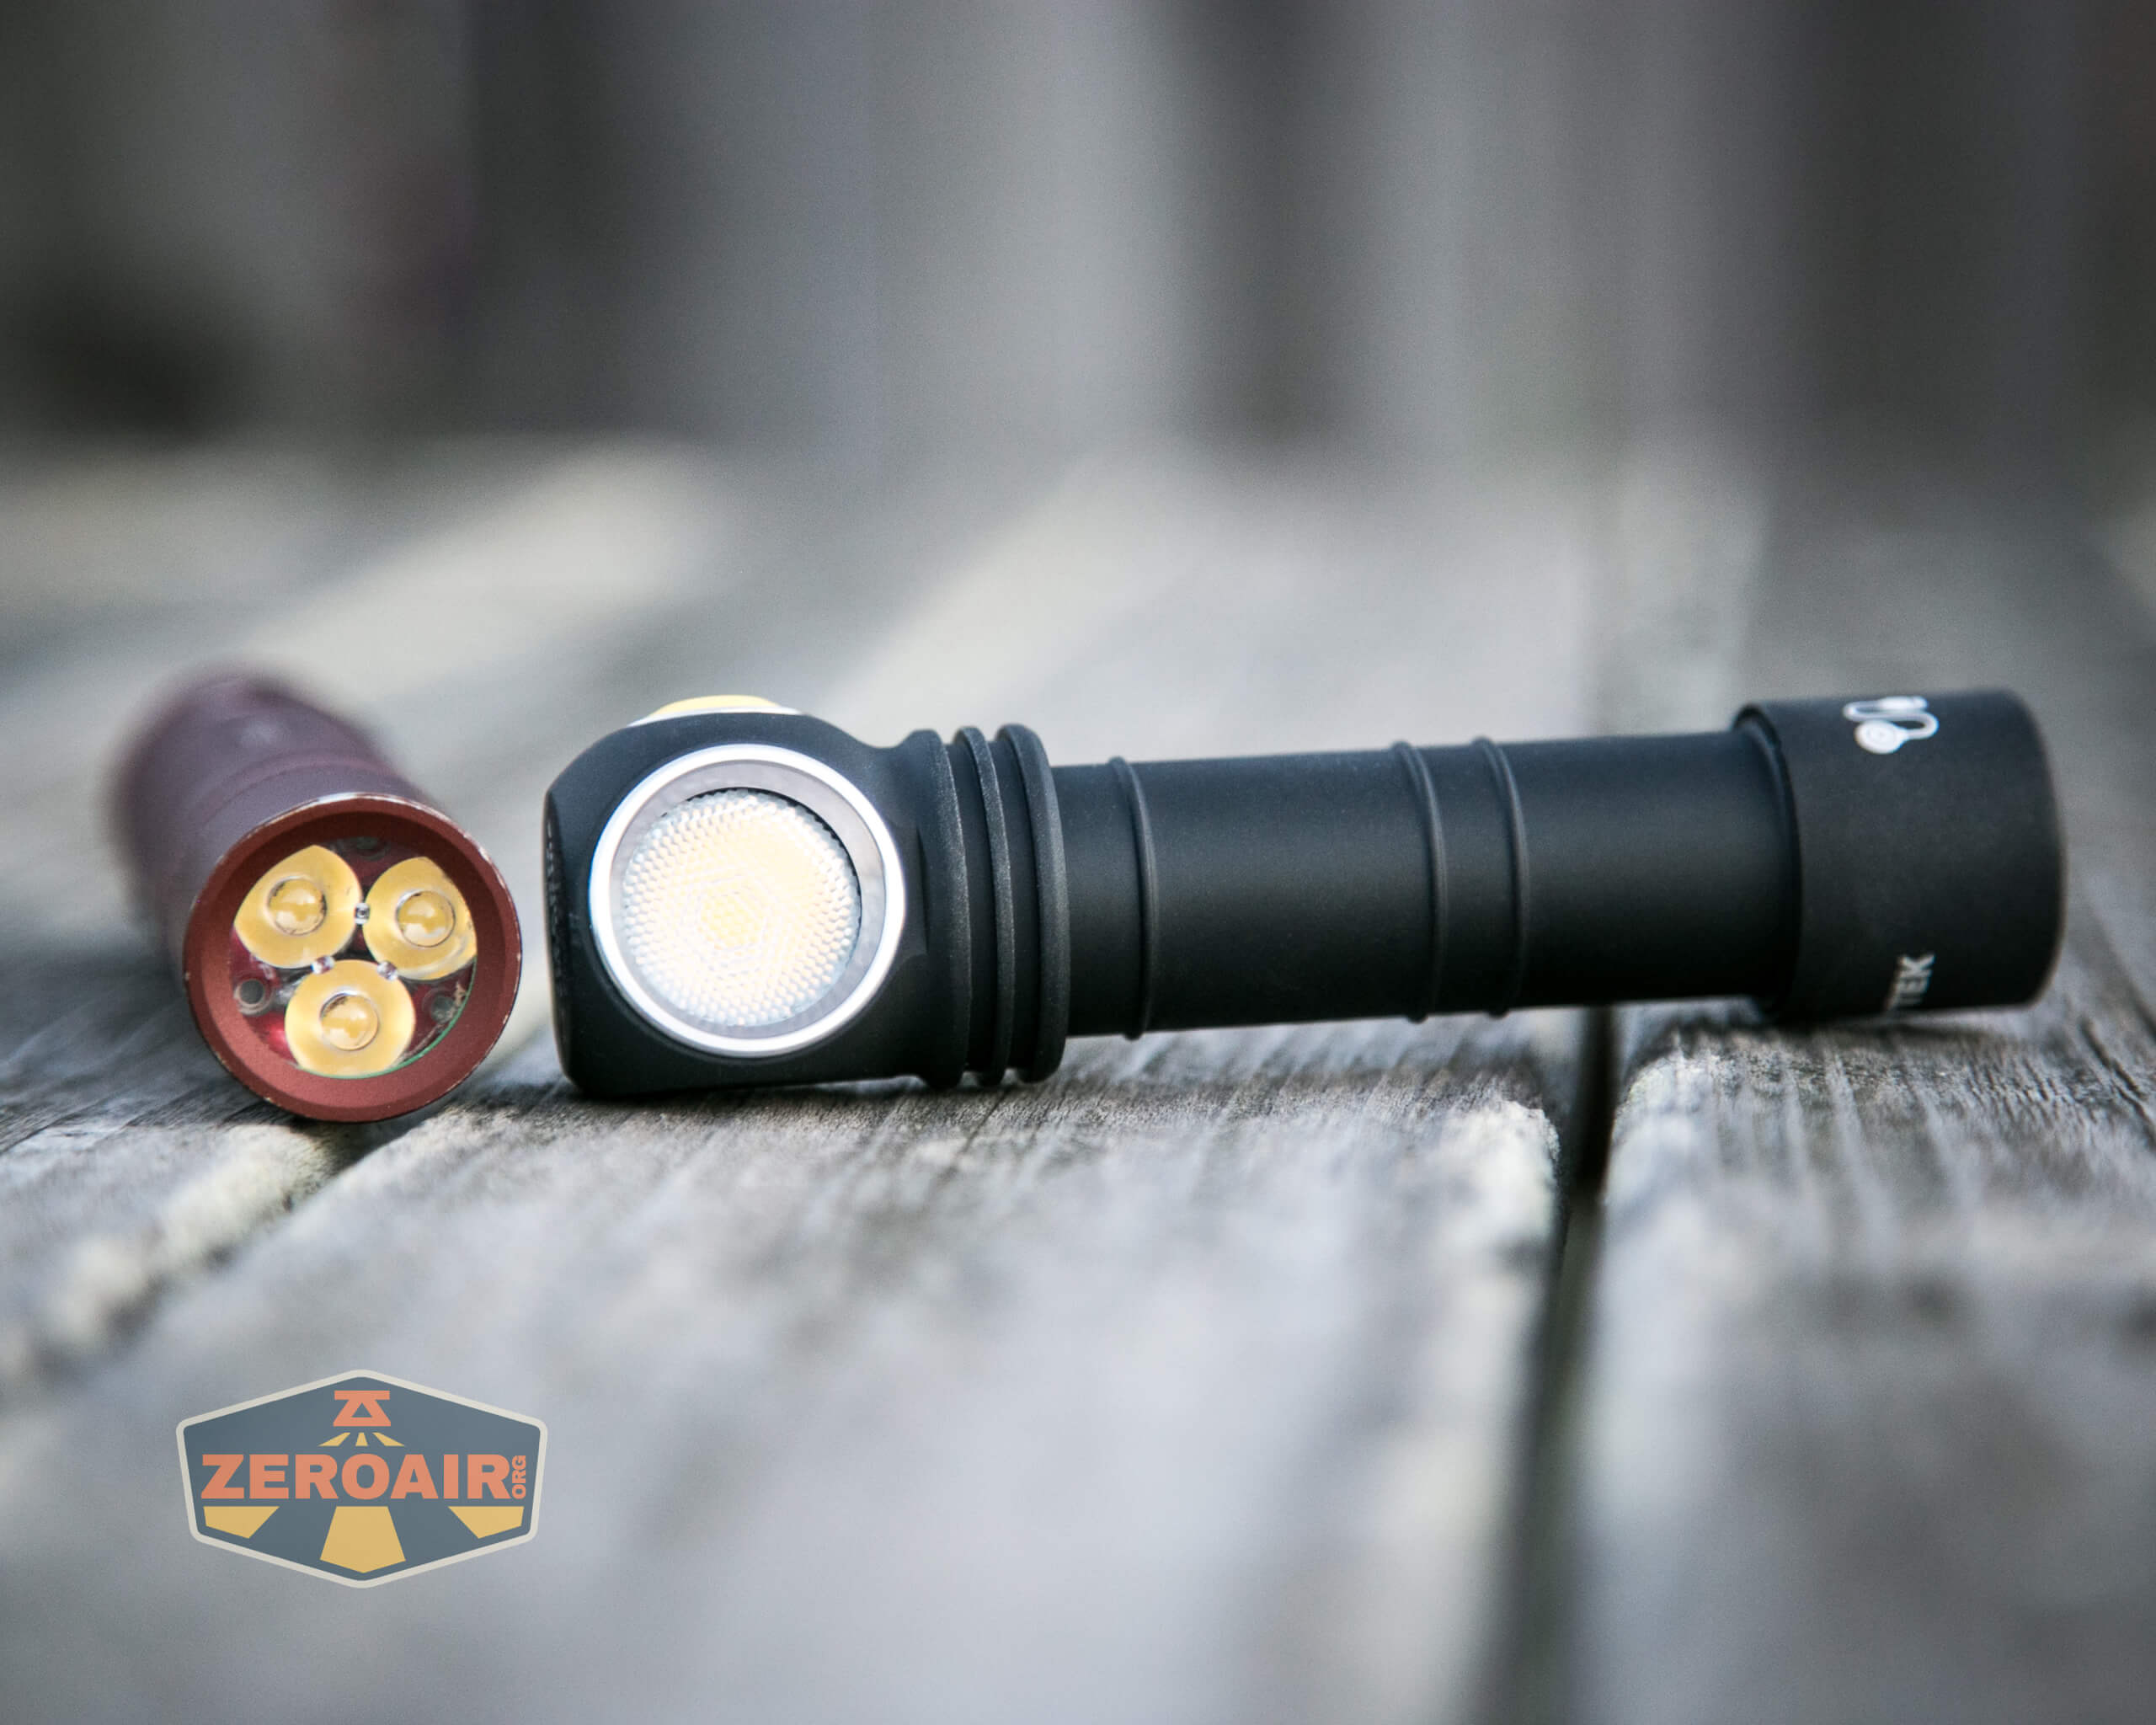
Here’s the test light with the venerable Convoy S2+. Mine is a custom “baked” edition Nichia 219b triple. A very nice 18650 light!
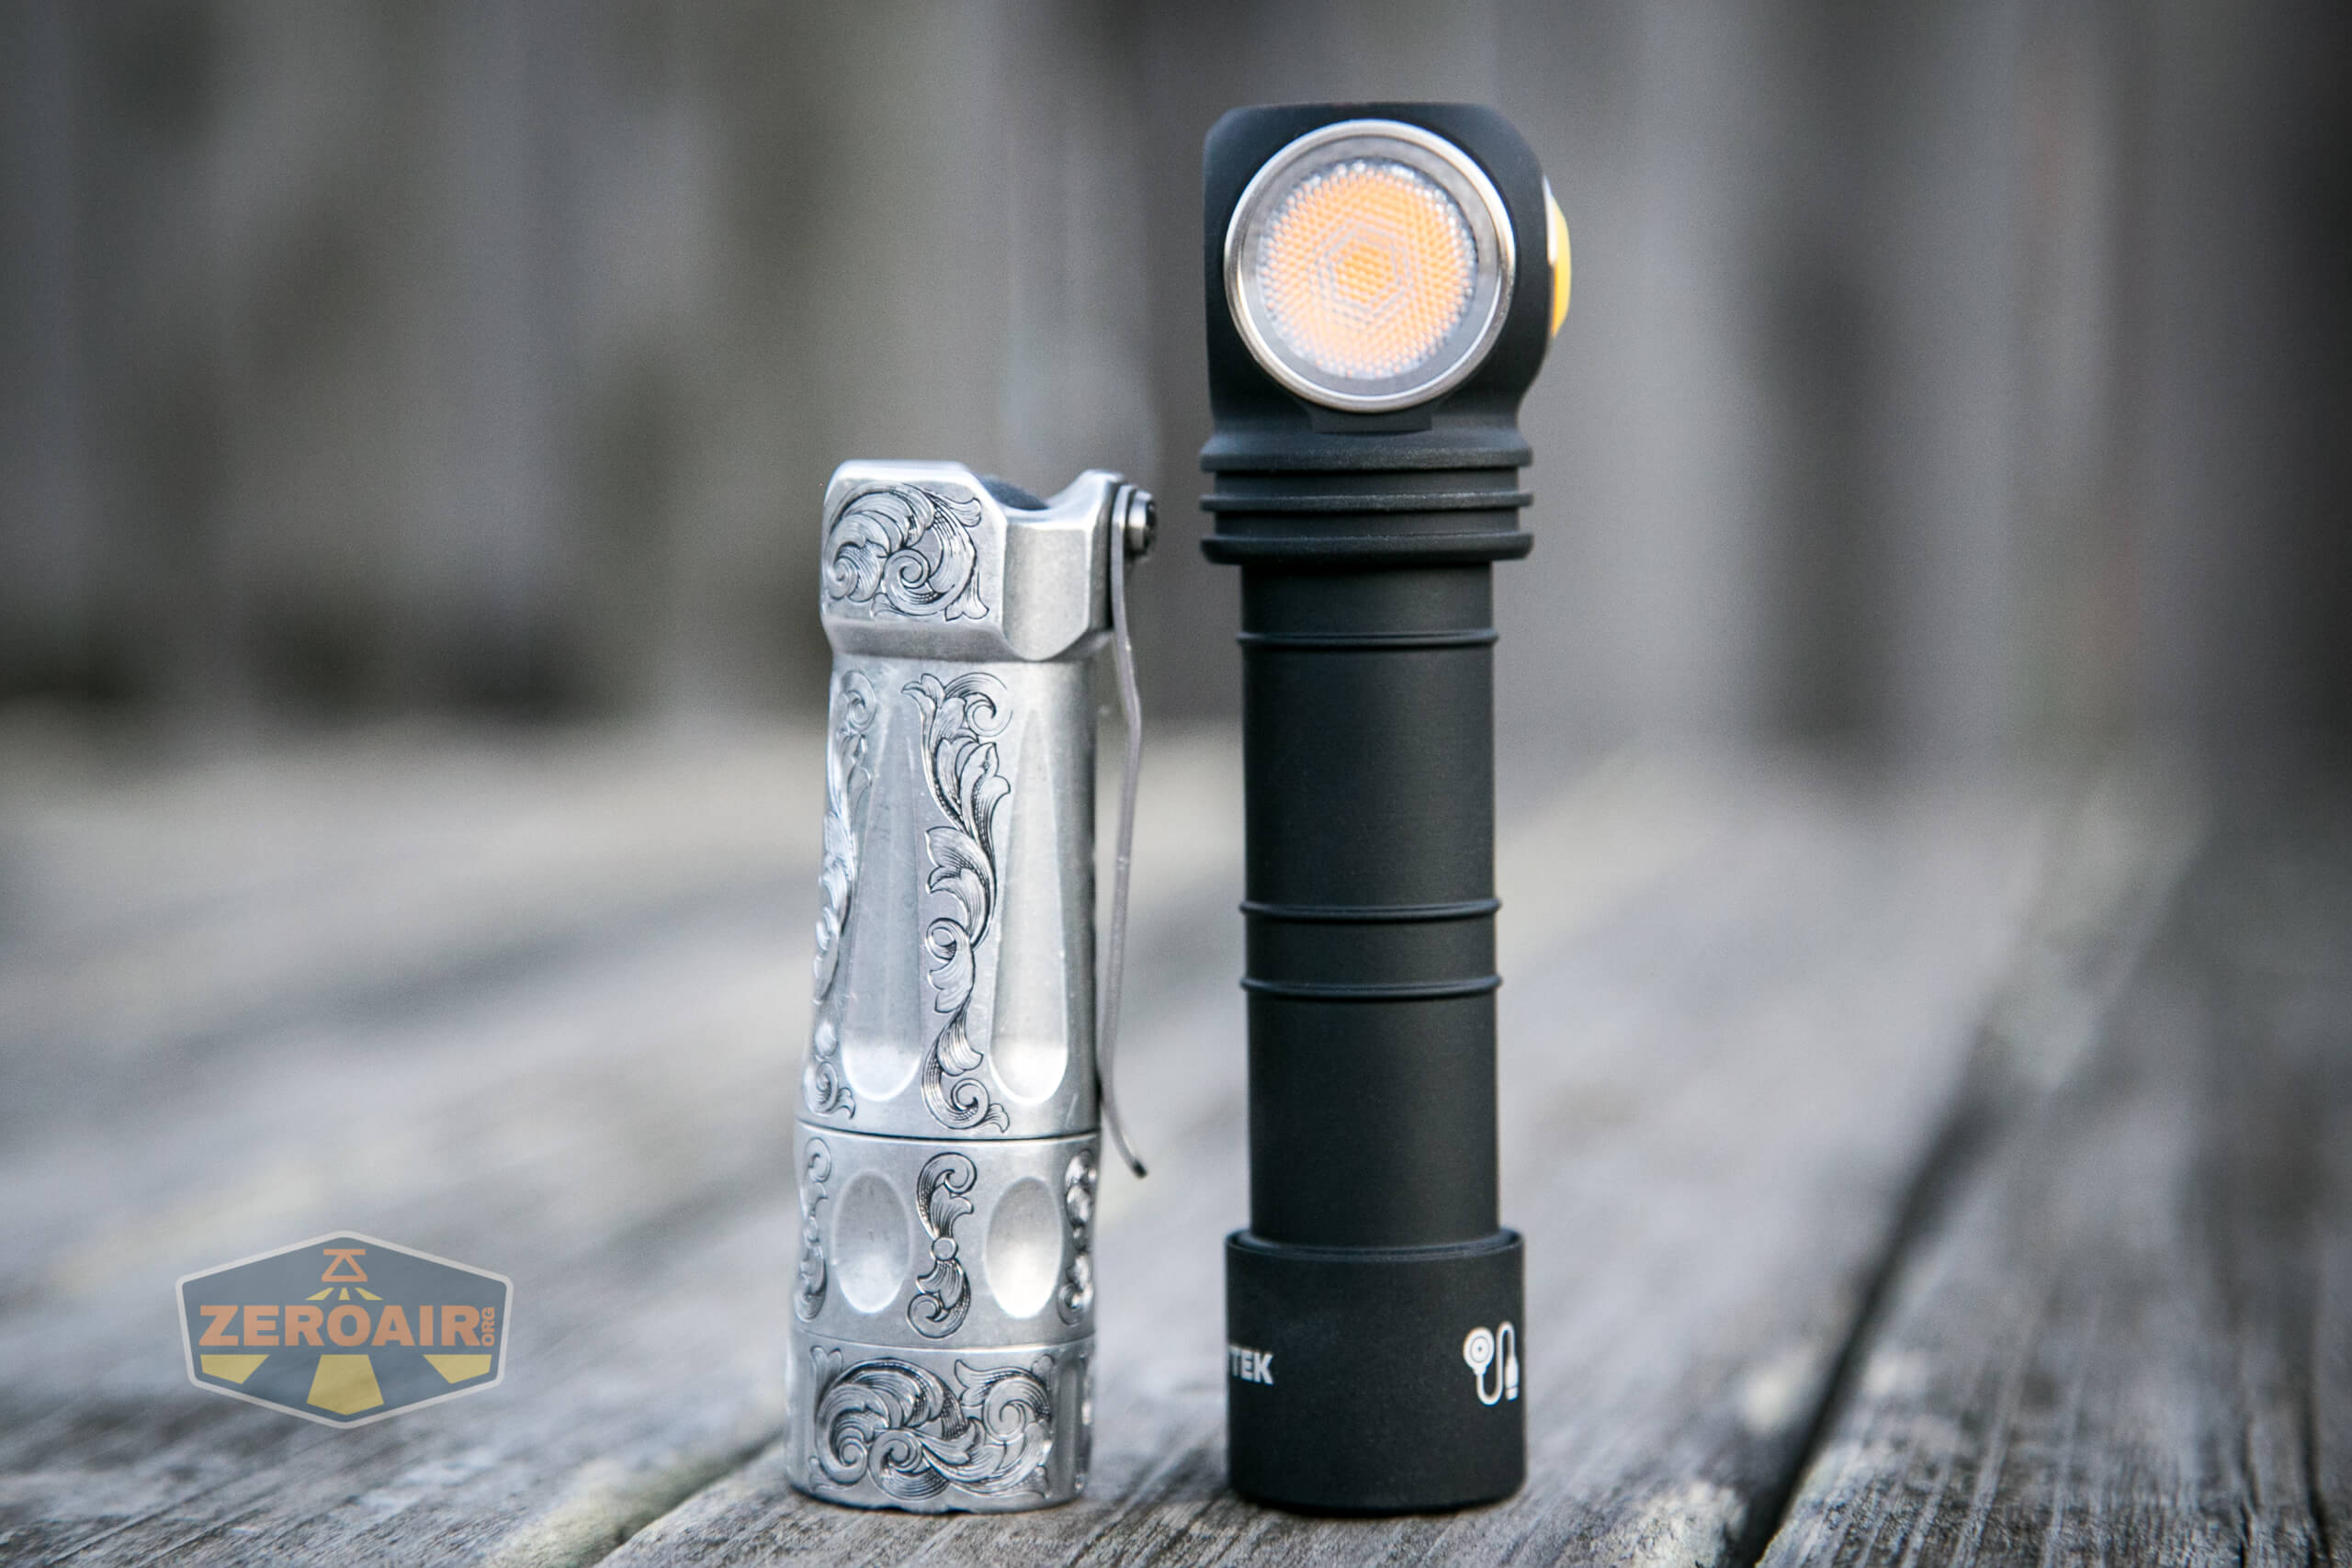
And here’s the light beside my custom-engraved TorchLAB BOSS 35, an 18350 light. I reviewed the aluminum version of that light in both 35 and 70 formats.
Retention and Carry
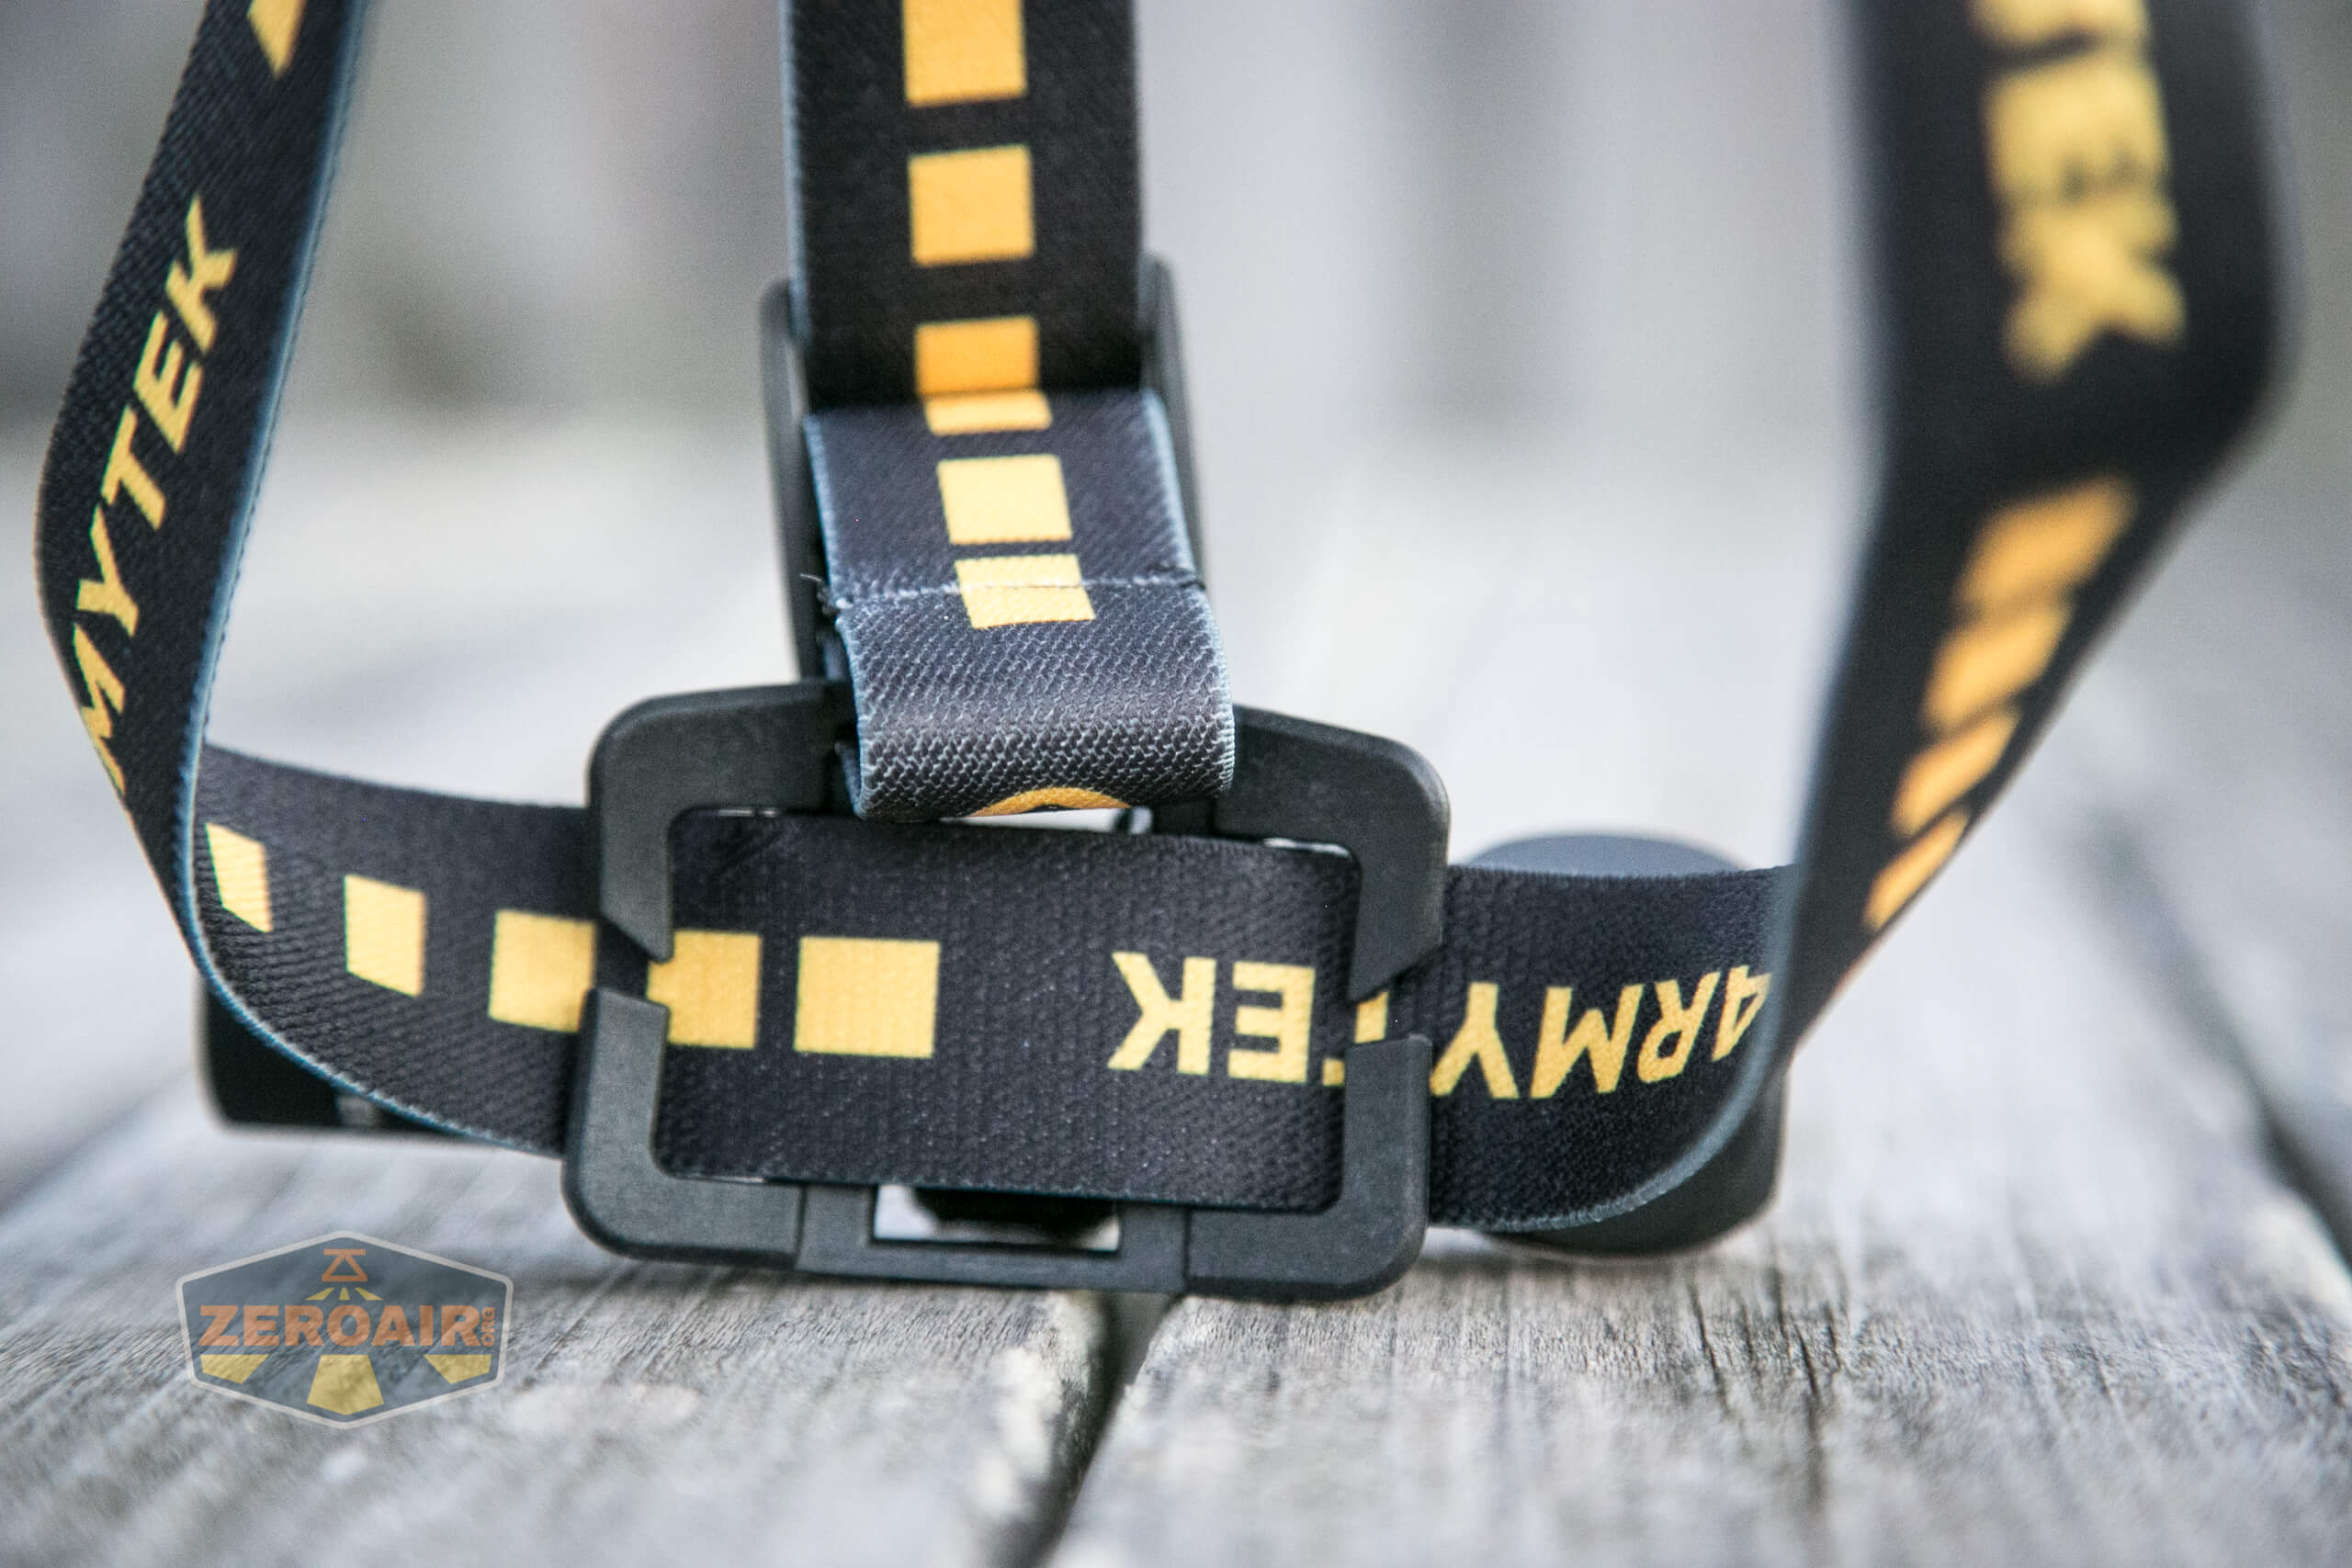
This is a headlamp, so the primary means to carry the Armytek Wizard C2 Pro Nichia will, of course, be the headband.

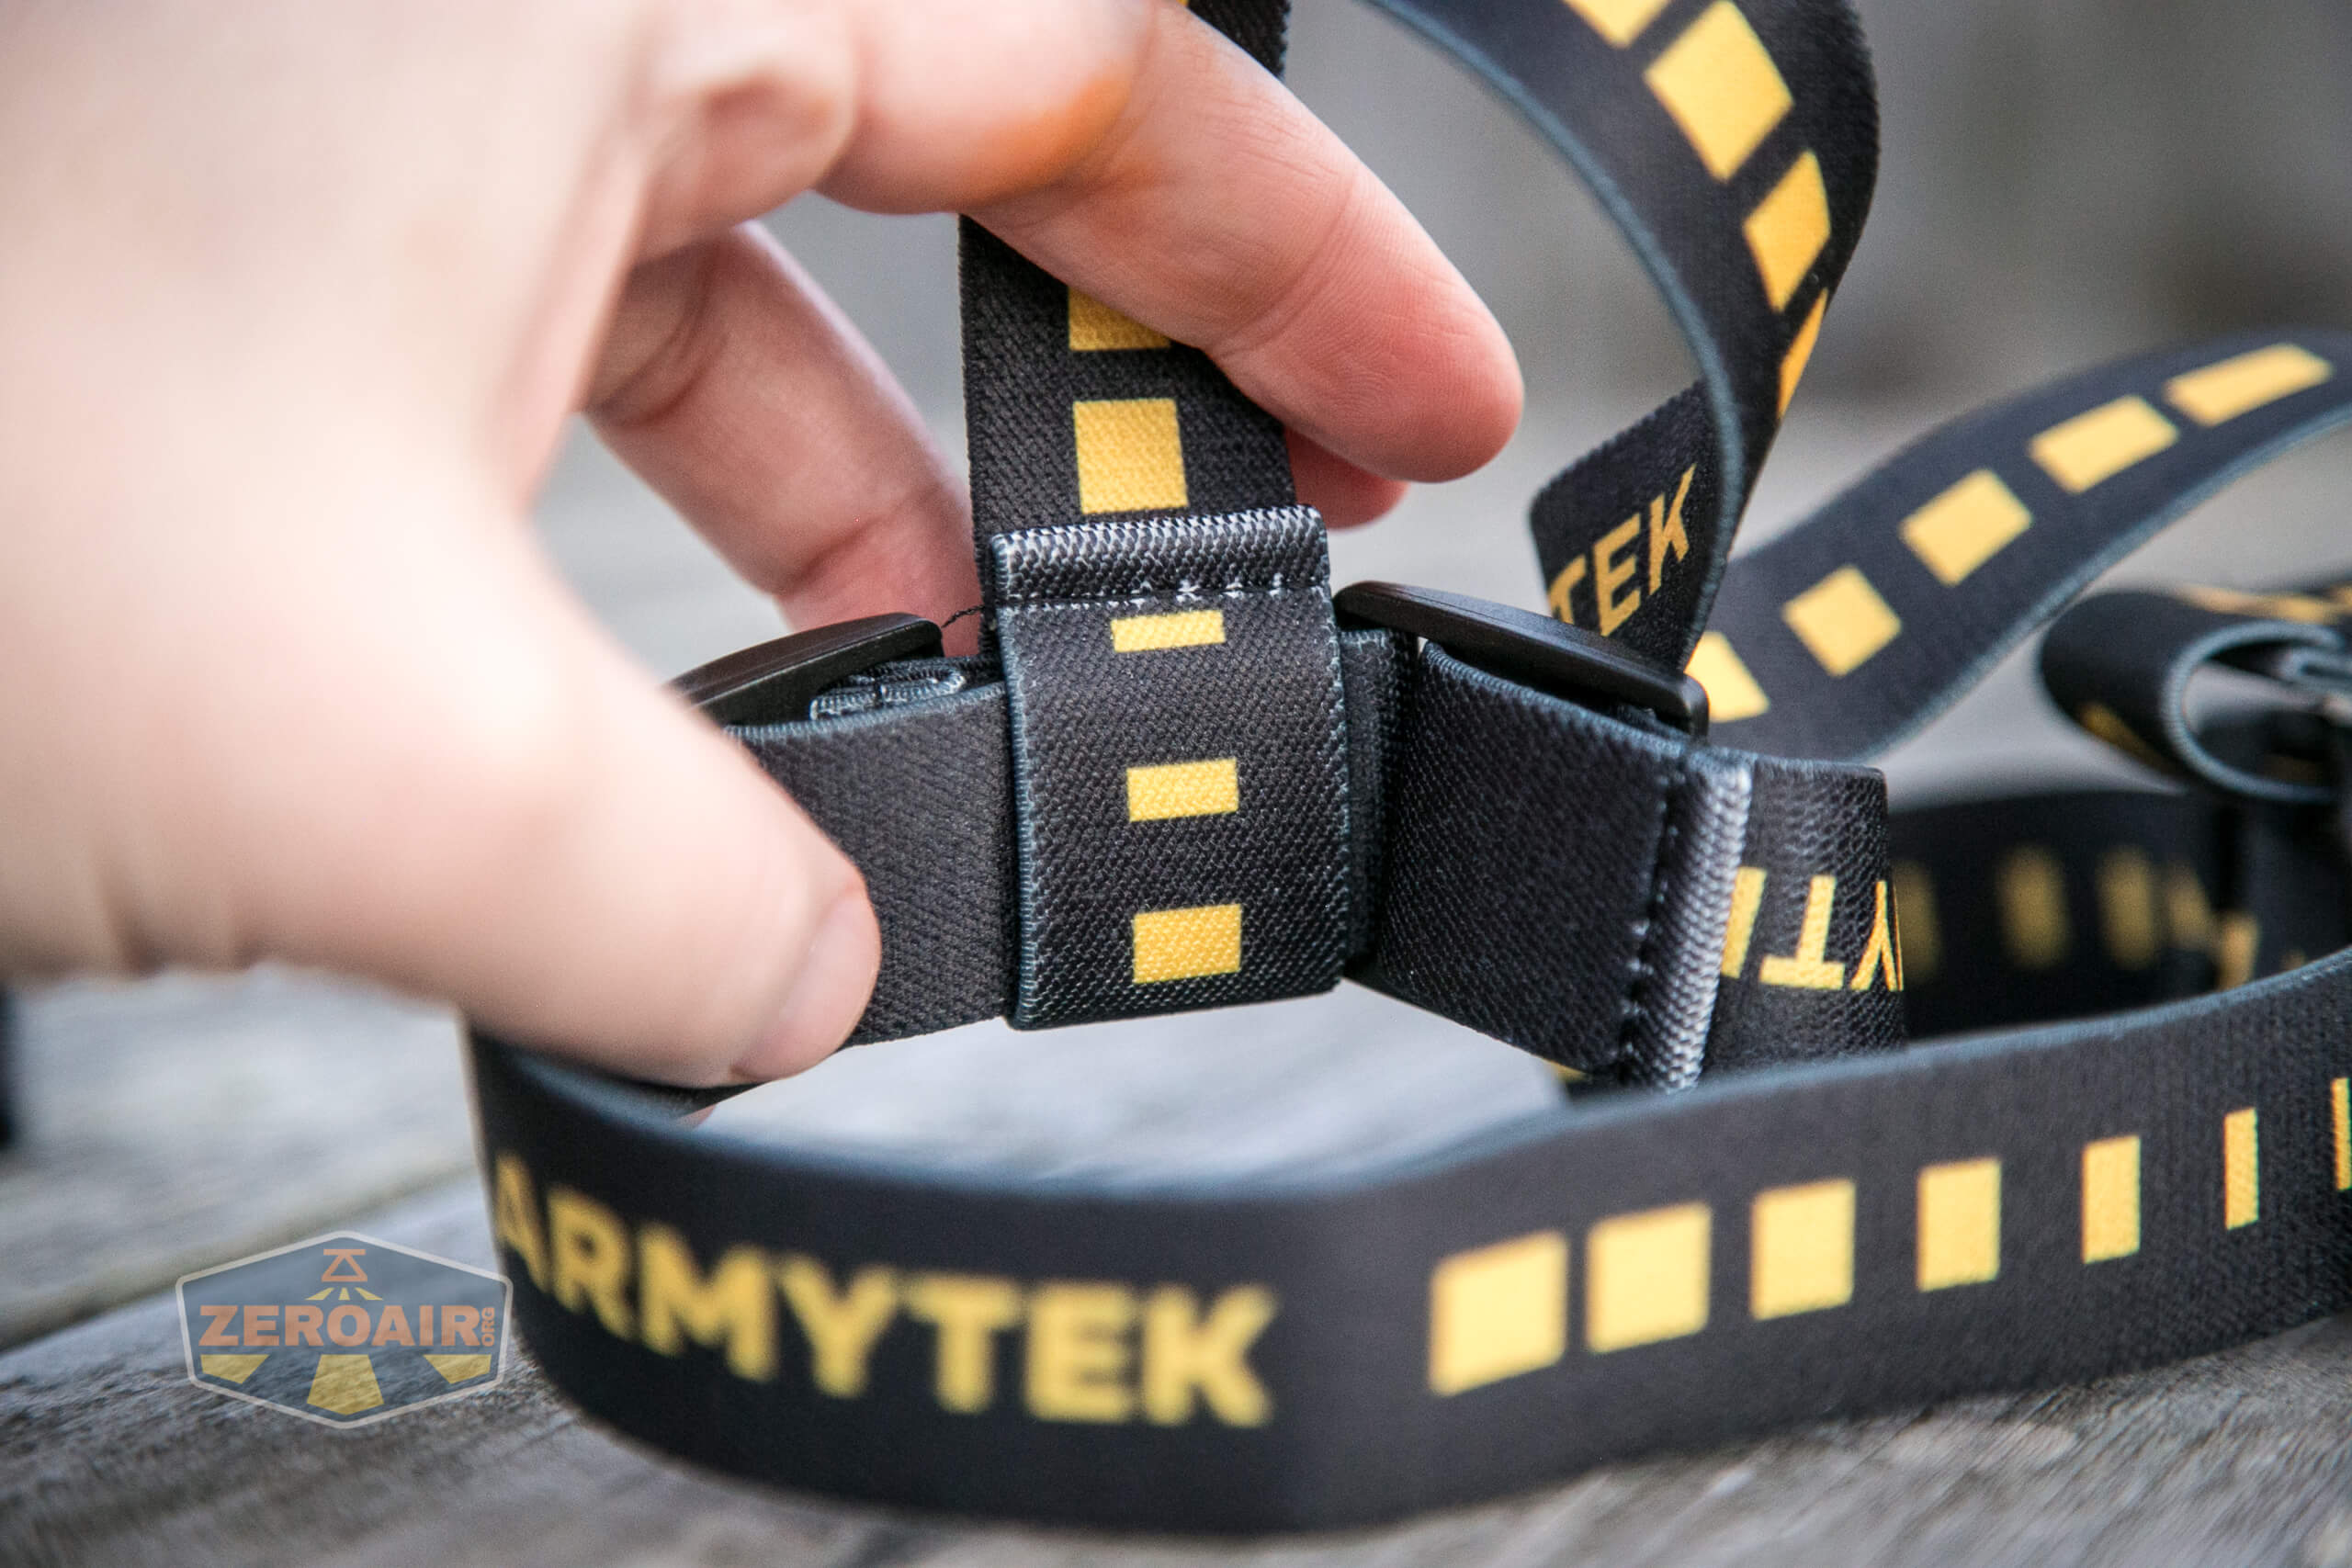
This is a very nice headband, most importantly in the light-connection area. First of all, the light clicks into those stubby arms.
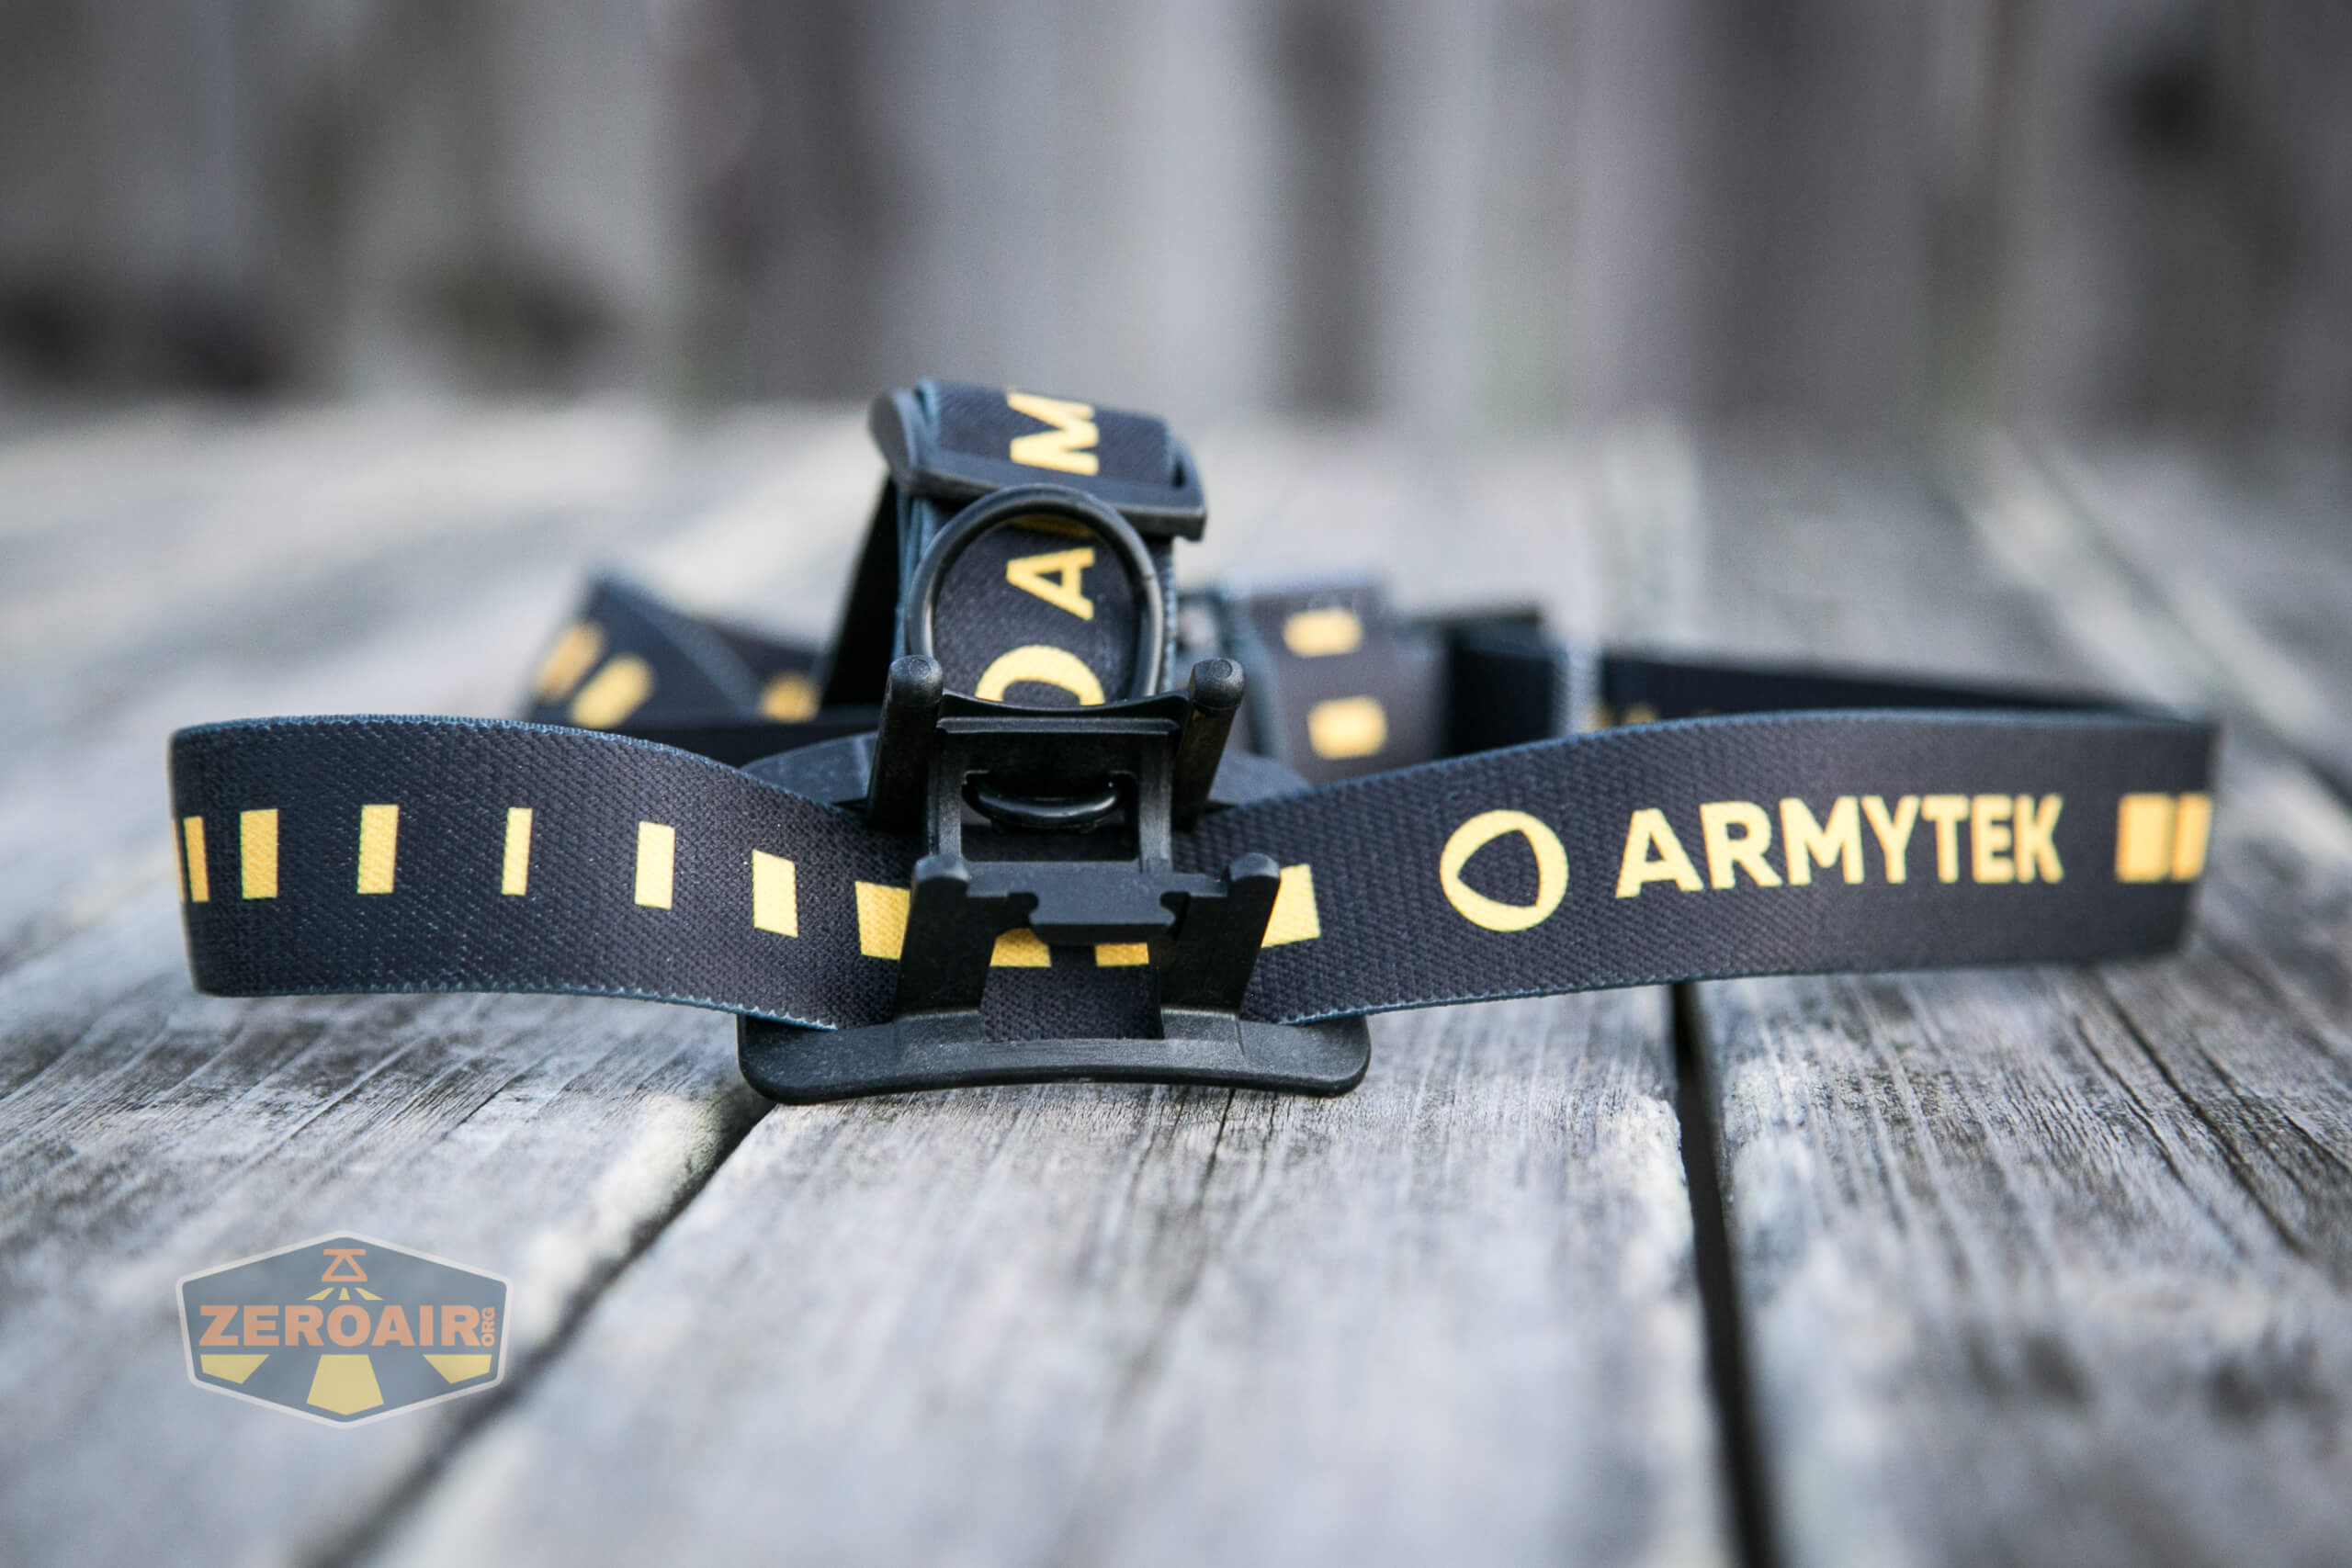
This alone is quite secure, and I’d call it “good enough.” I’d run the light this way without any qualms.
But when you just need to go to 11, you can be double secure with this thick o-ring that pulls over the light.
Note that the o-ring lives on the headband. You don’t have to keep up with it separately, and since it’s there, you might as well be using it.
The “over the top” band isn’t really removable. Alternatively, removing it involves reworking the whole headband. It’s possible, yes, but it’s not something you’d do off and on. And I’m not saying it’d be easy. But I’m 82% sure it can be done non-destructively.
Armytek also includes a pocket clip with the Wizard C2 Pro Nichia. This is a deep carry clip and fits right in the grooves that are in place for the headband connections (clever, yes).
There’s a downside to that, though. Attaching the clip in this place, while still making it a deep carry clip, means that the shoulder-to-arms ratio is very long. Removing the clip is….
complicated… to do in such a way that doesn’t bend something, or scratch something, or both bend and scratch something. And of course, with the clip occupying one of the stubby arms from the headband mount, you can’t use them concurrently.
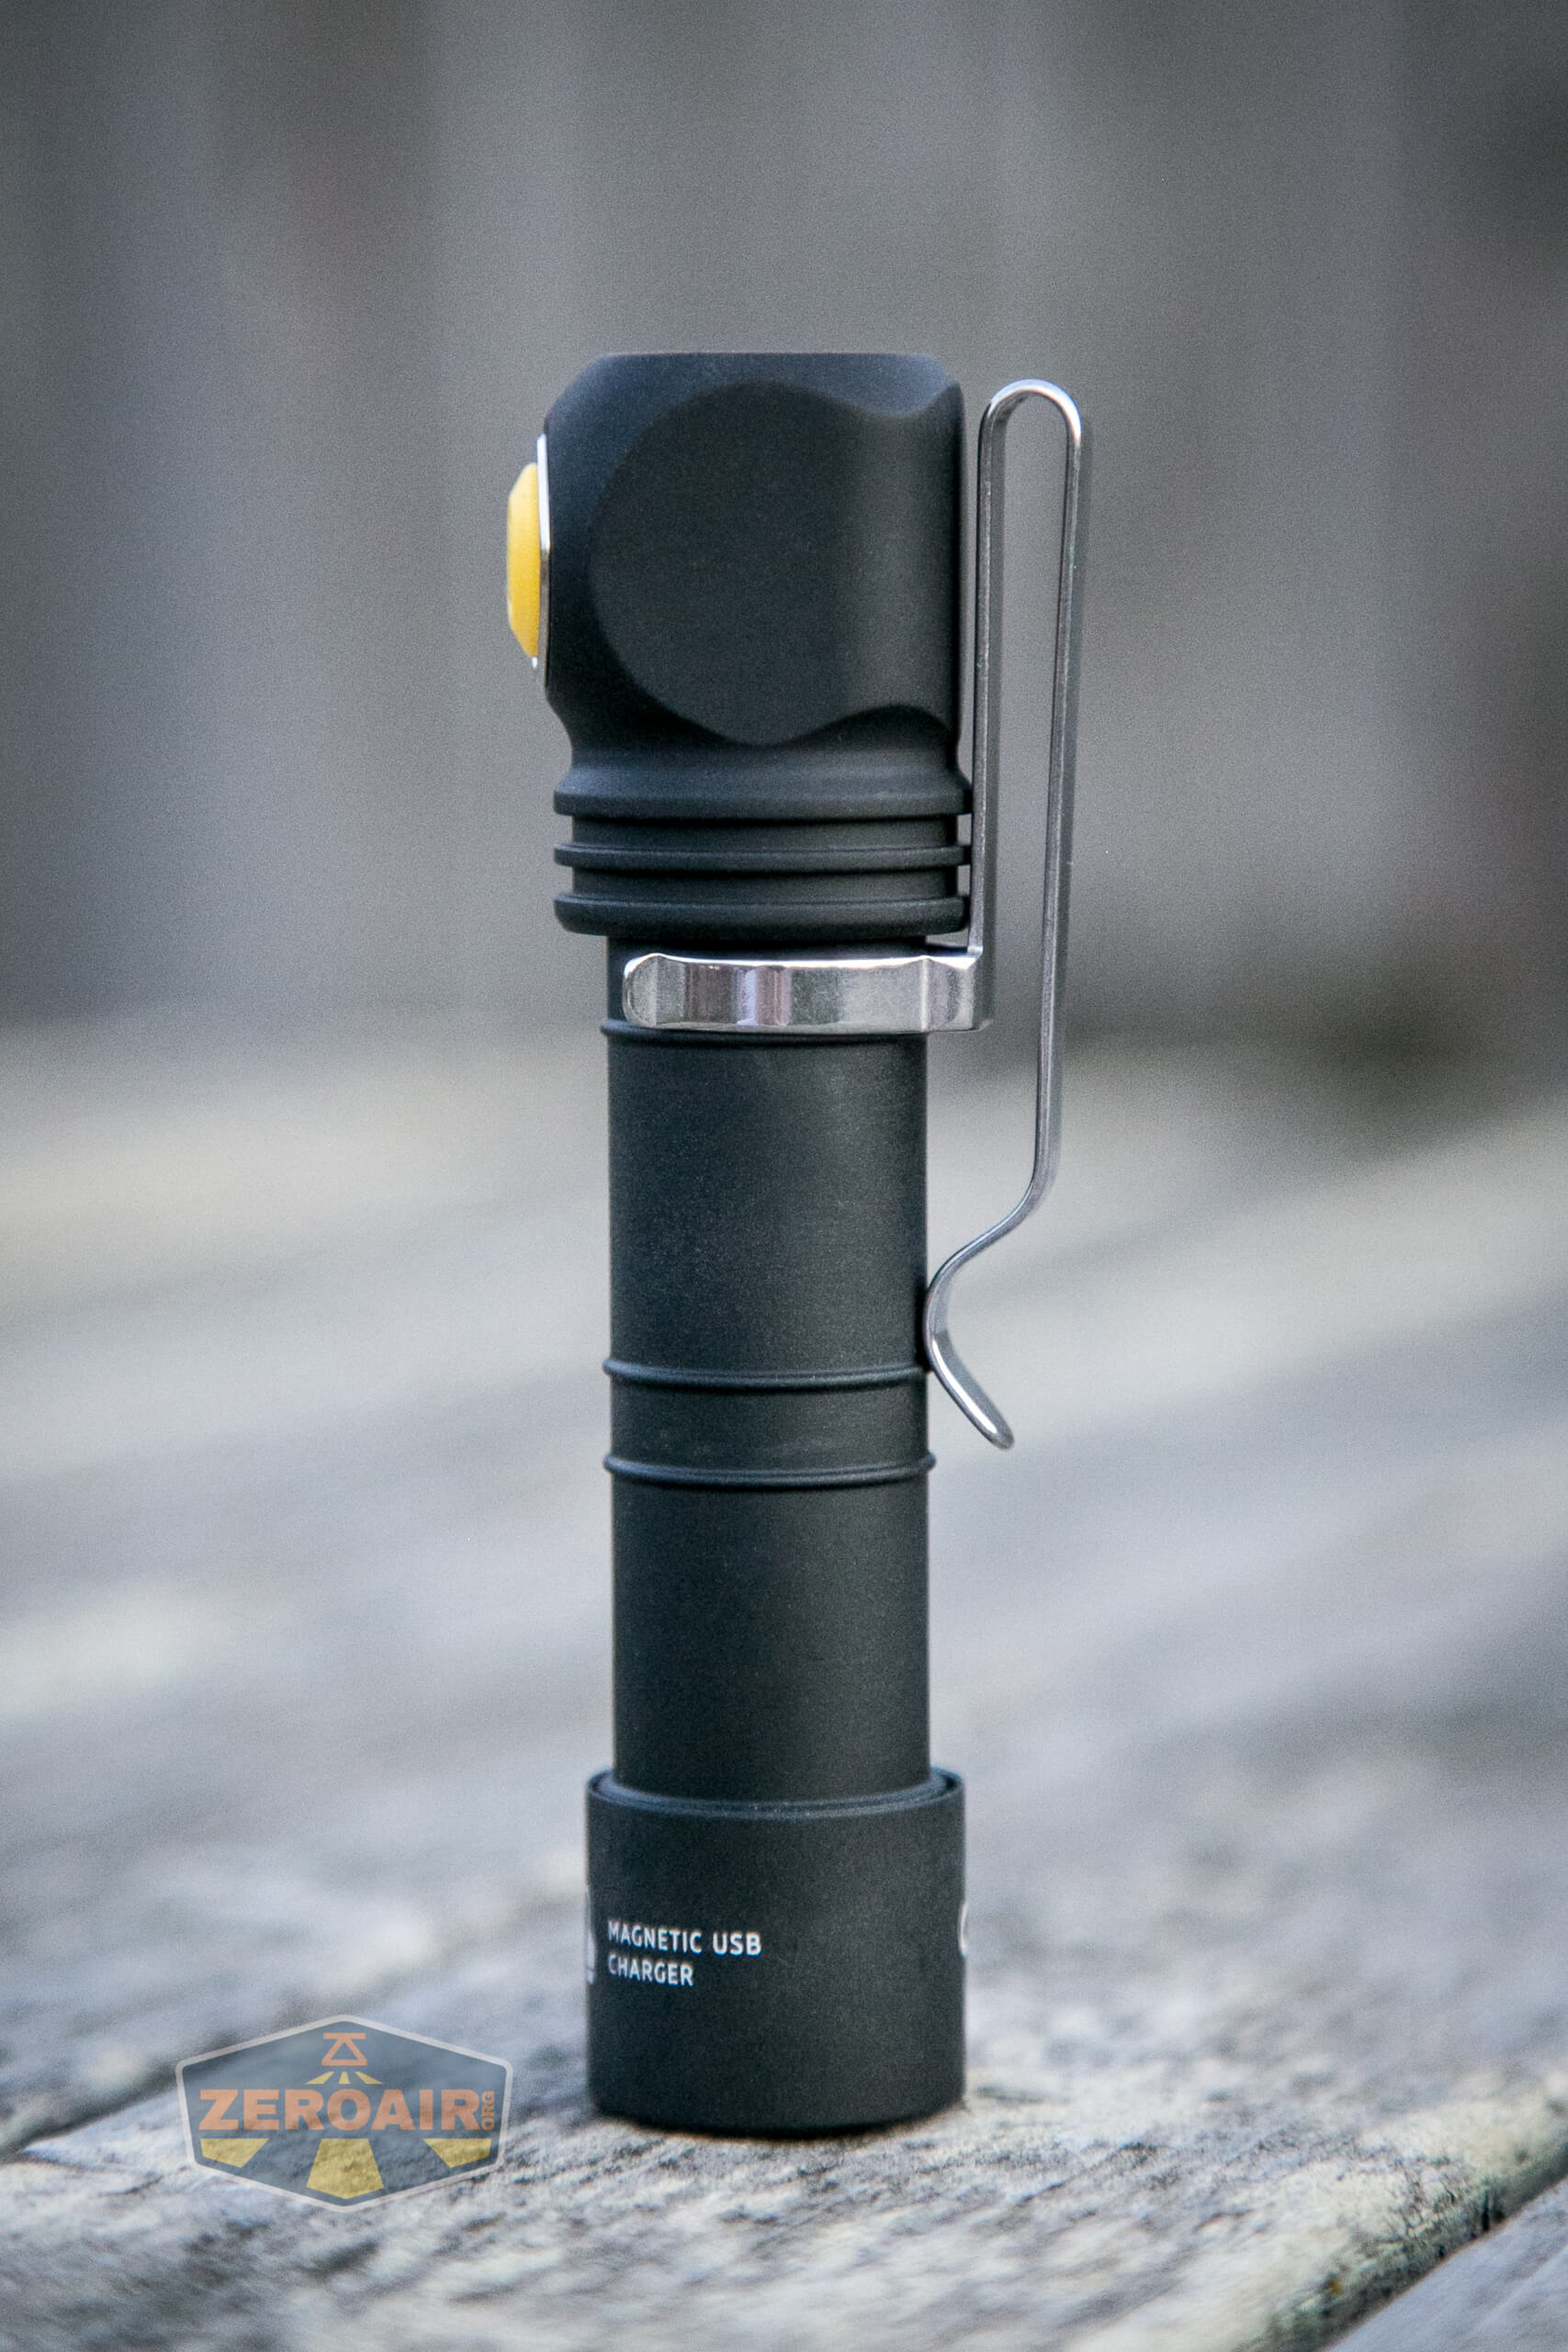
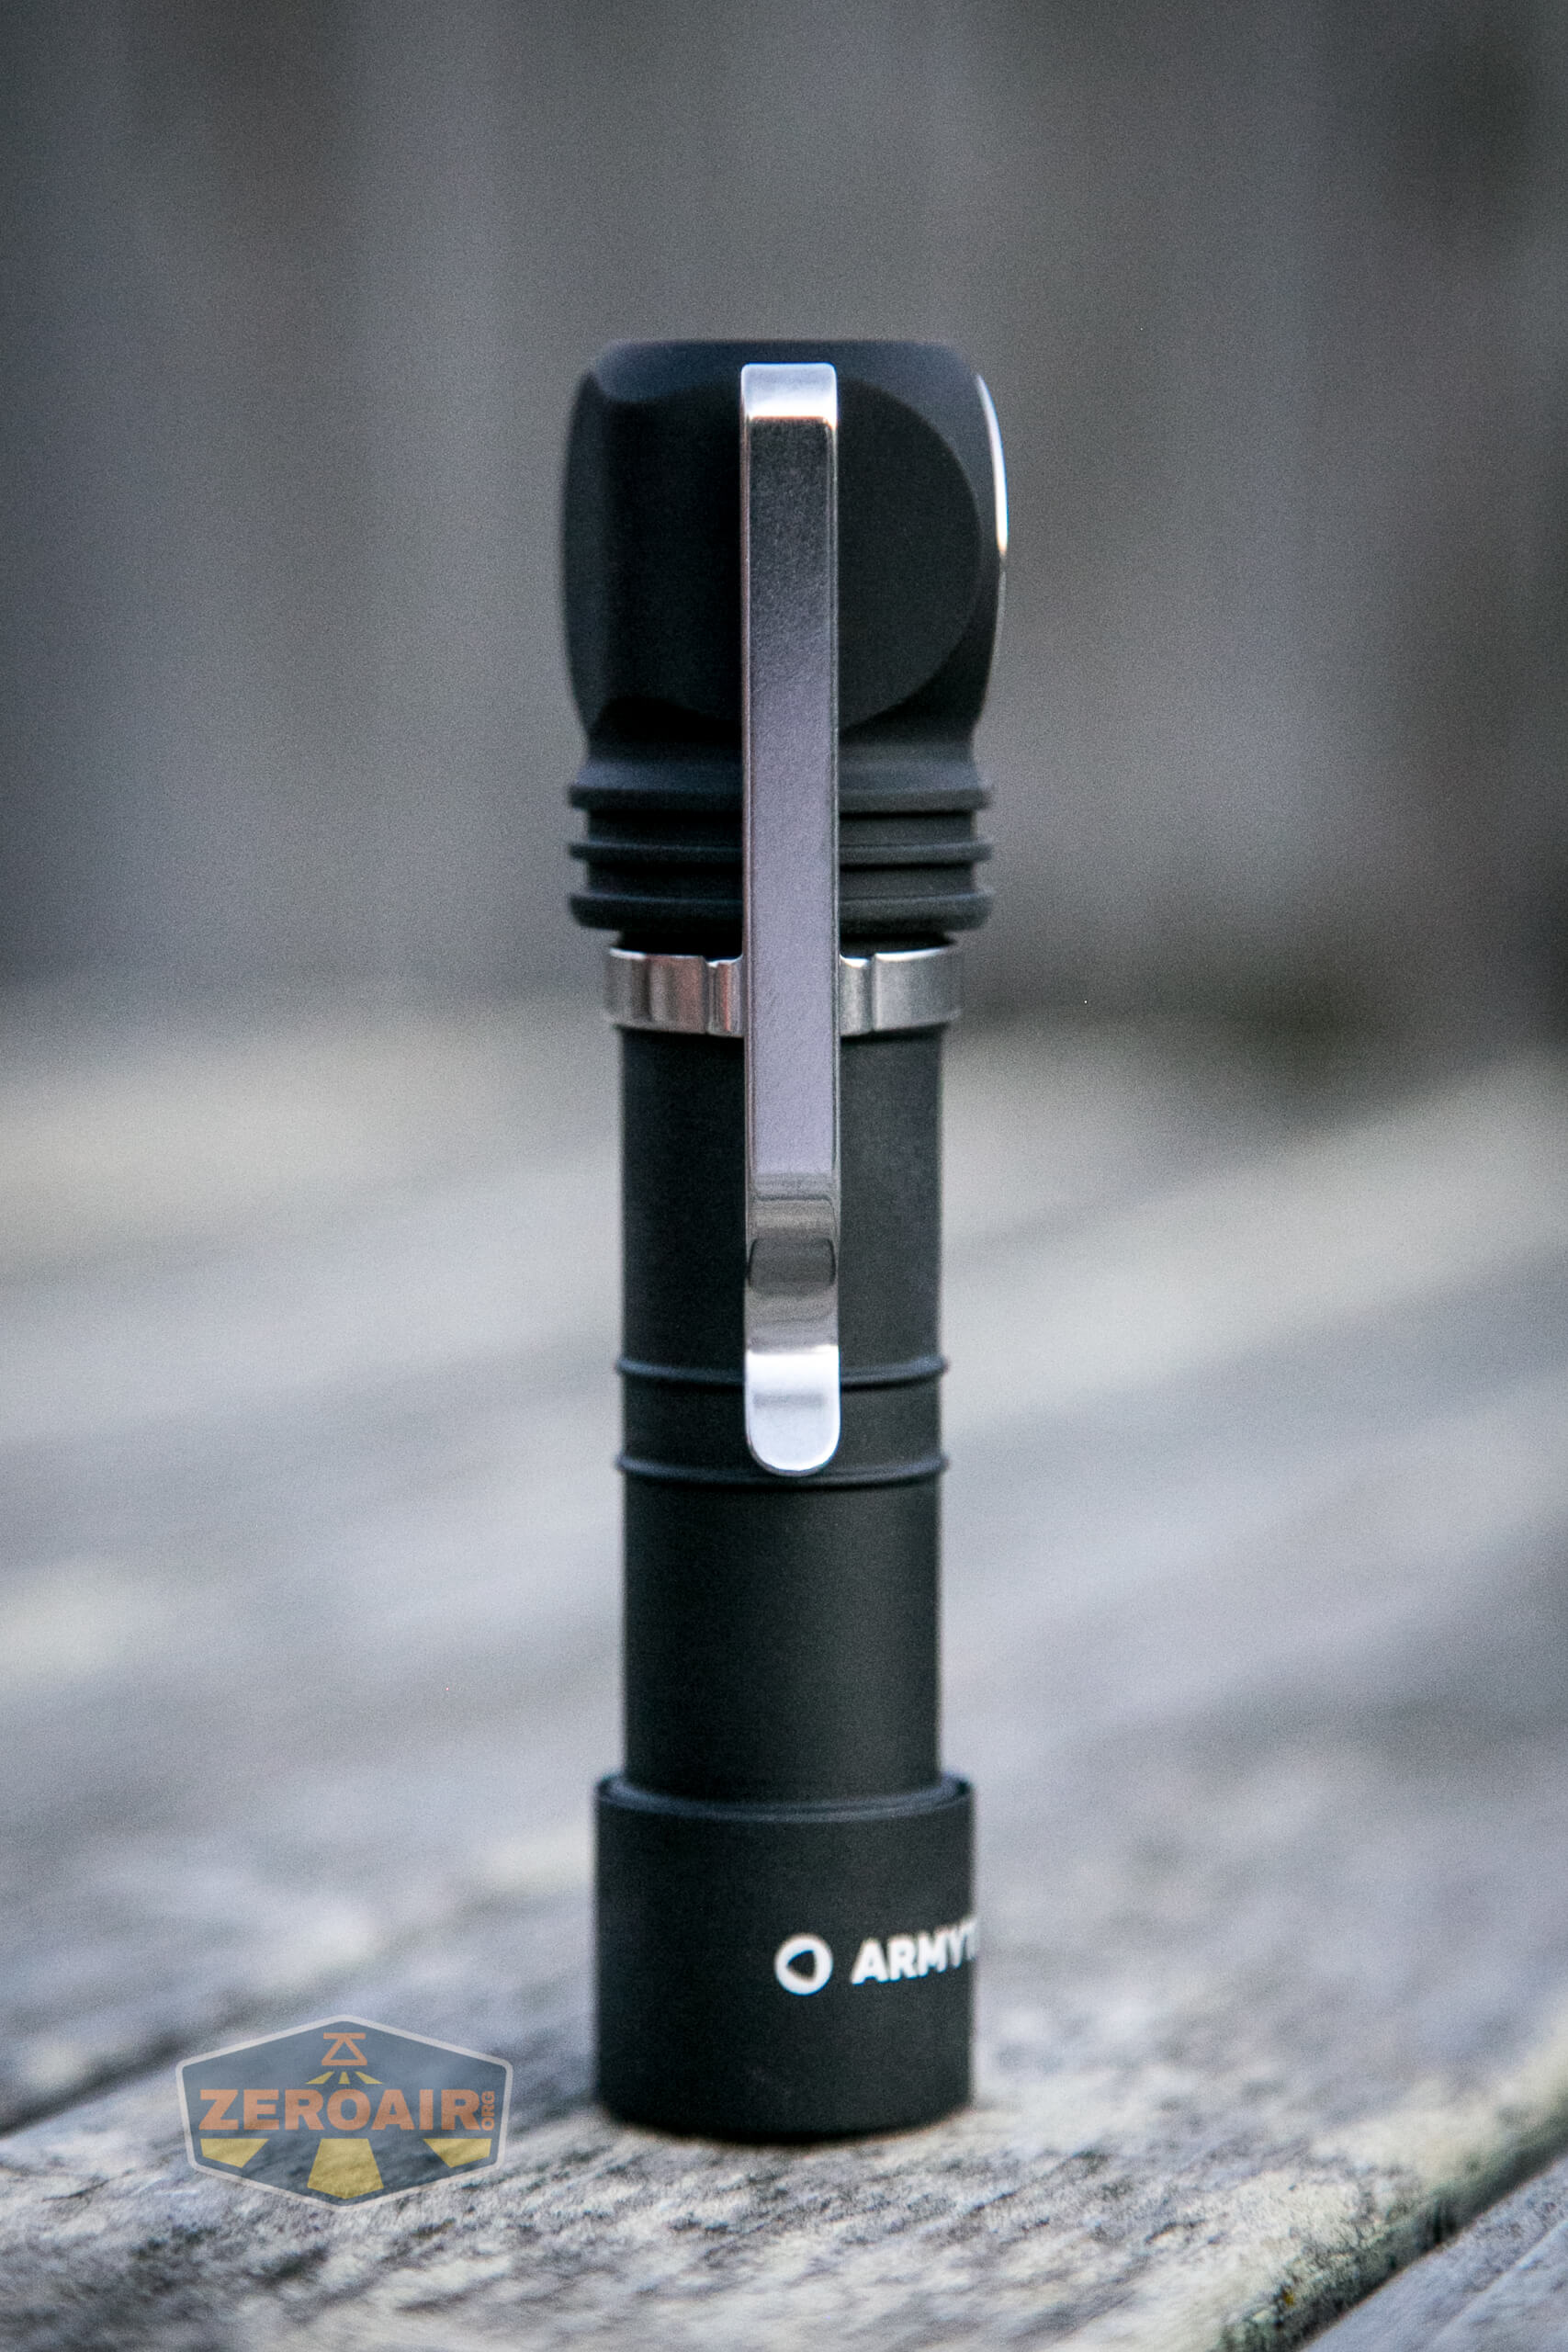
It’s a friction-fit clip, of course. Clip hug!
A final note on the clip: it’s reversible. It can fit in either headband arm slot. Carry is just a bit less deep in this orientation.

Finally, there is the included bike mount. This mount attaches to a handlebar or other type of bar. I didn’t put this on a bicycle, but the opening looks plenty large to support most size bars. A thick rubber piece is included for narrower bars.
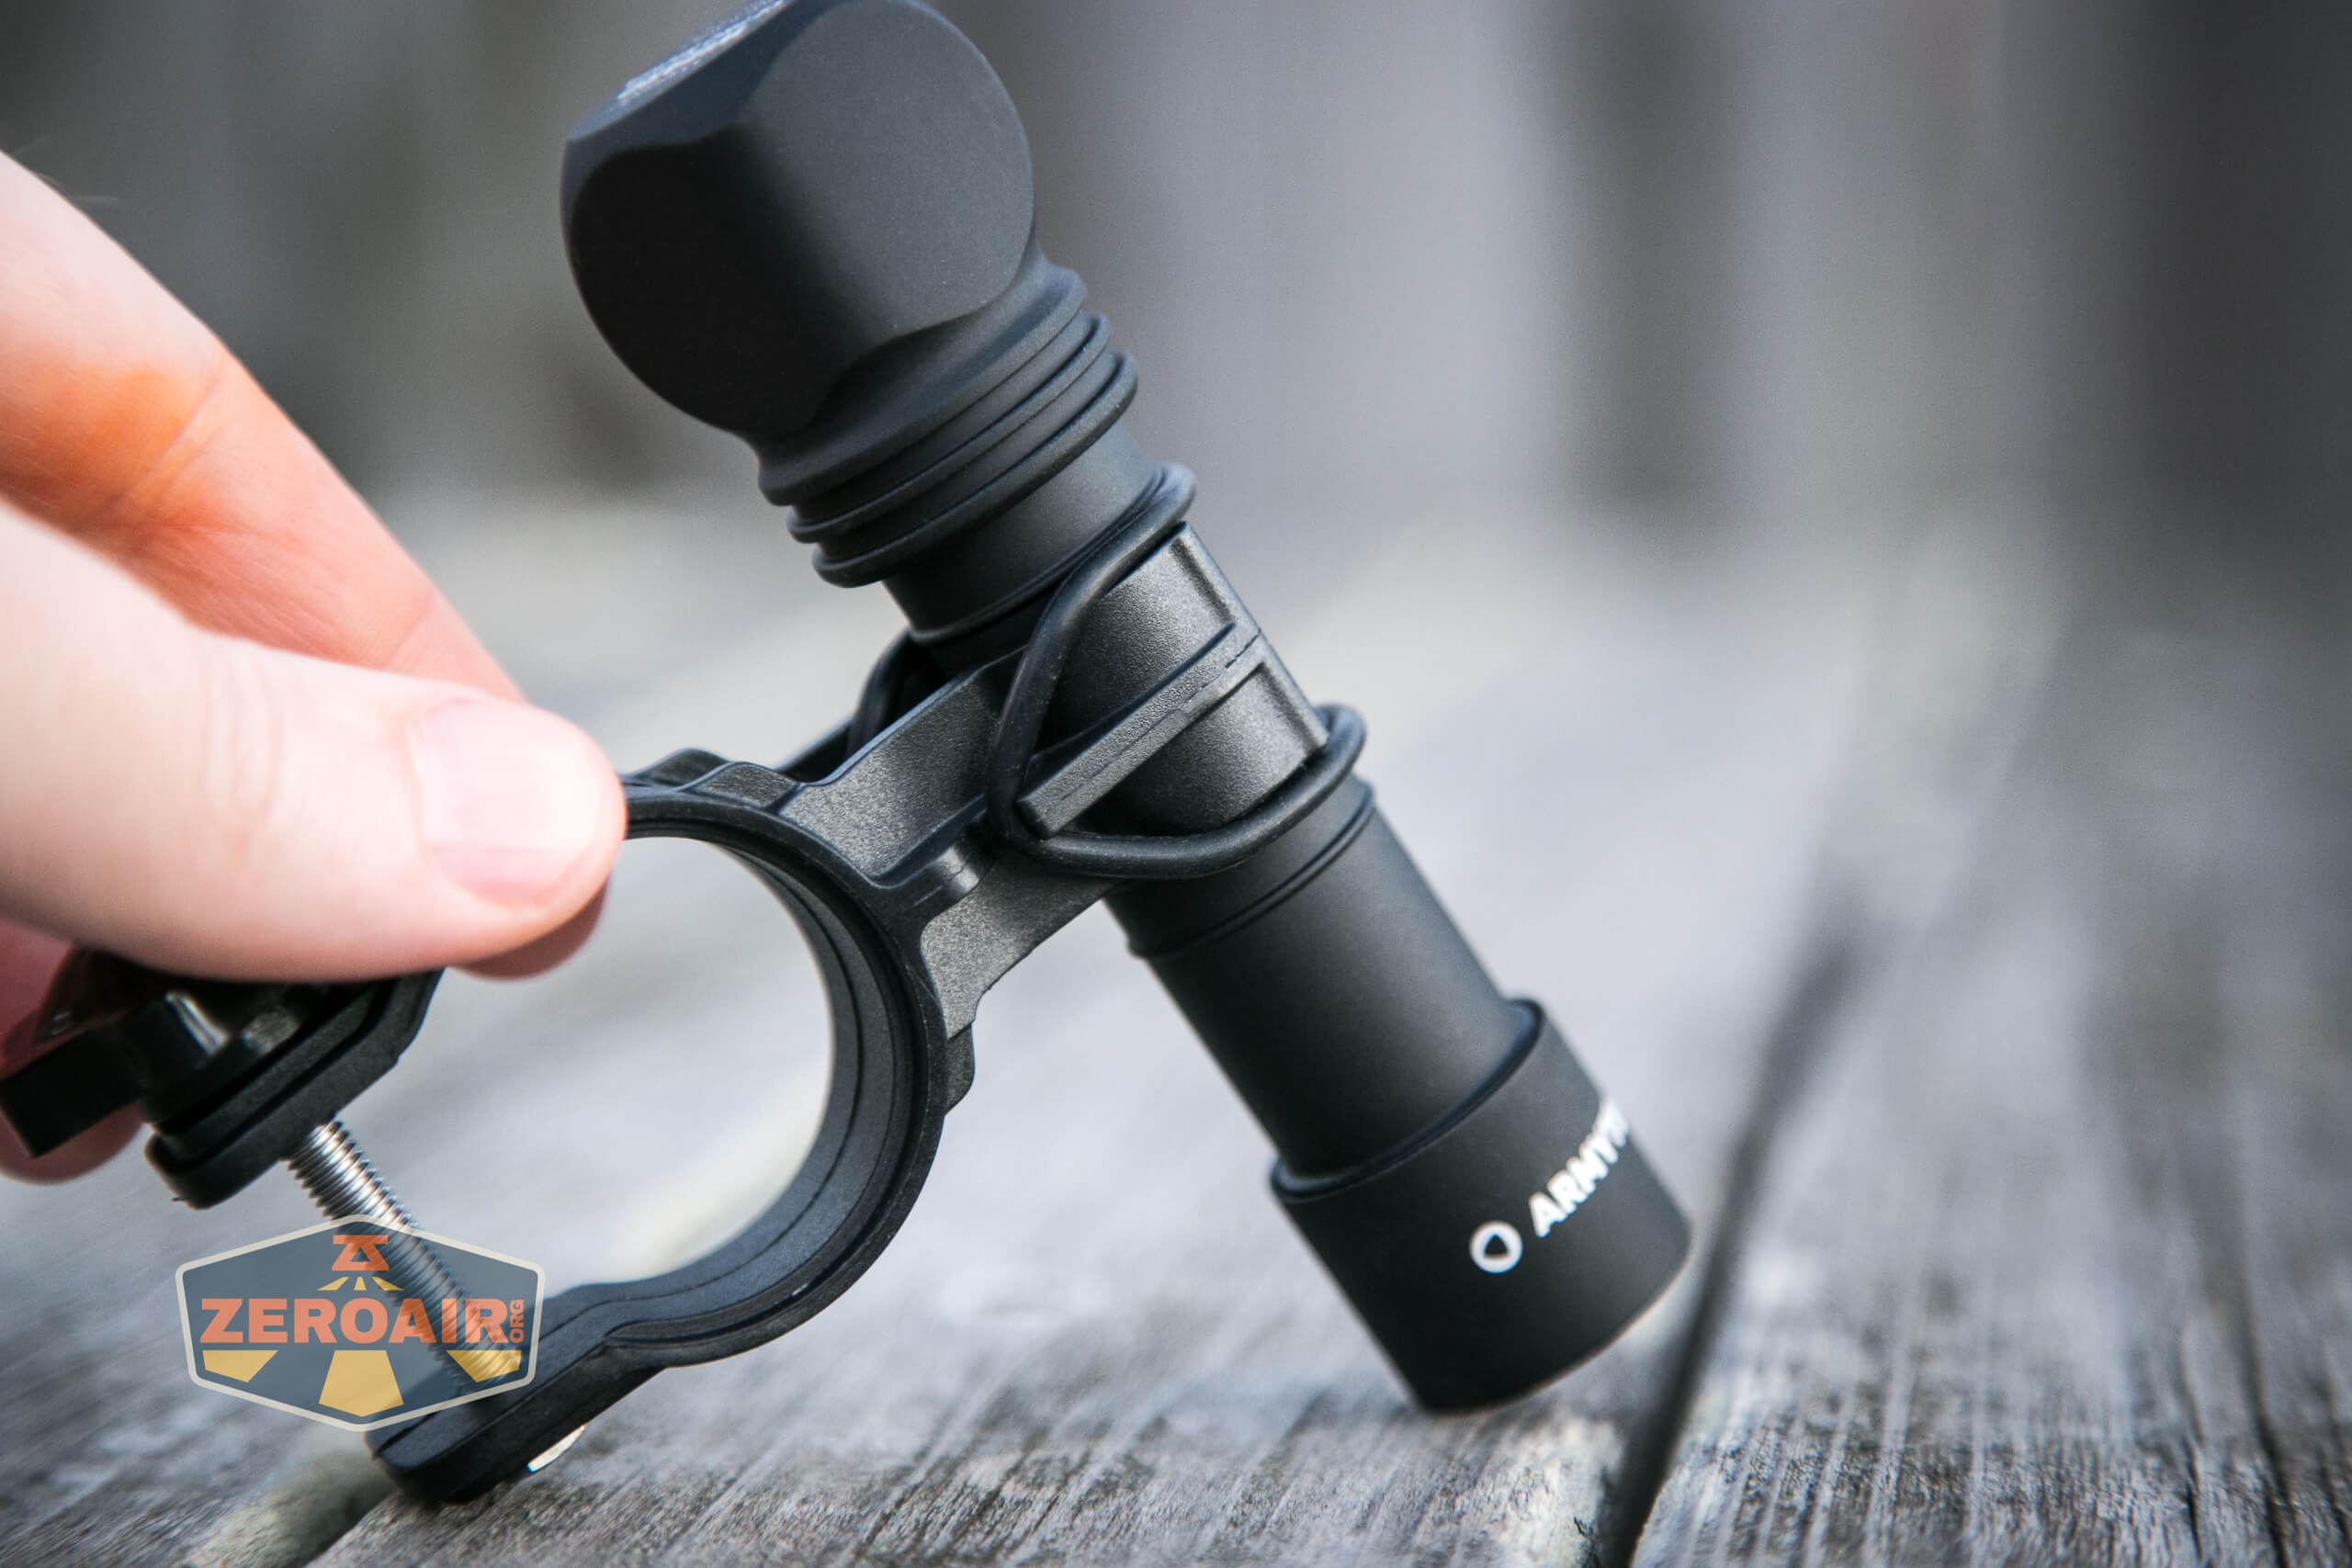
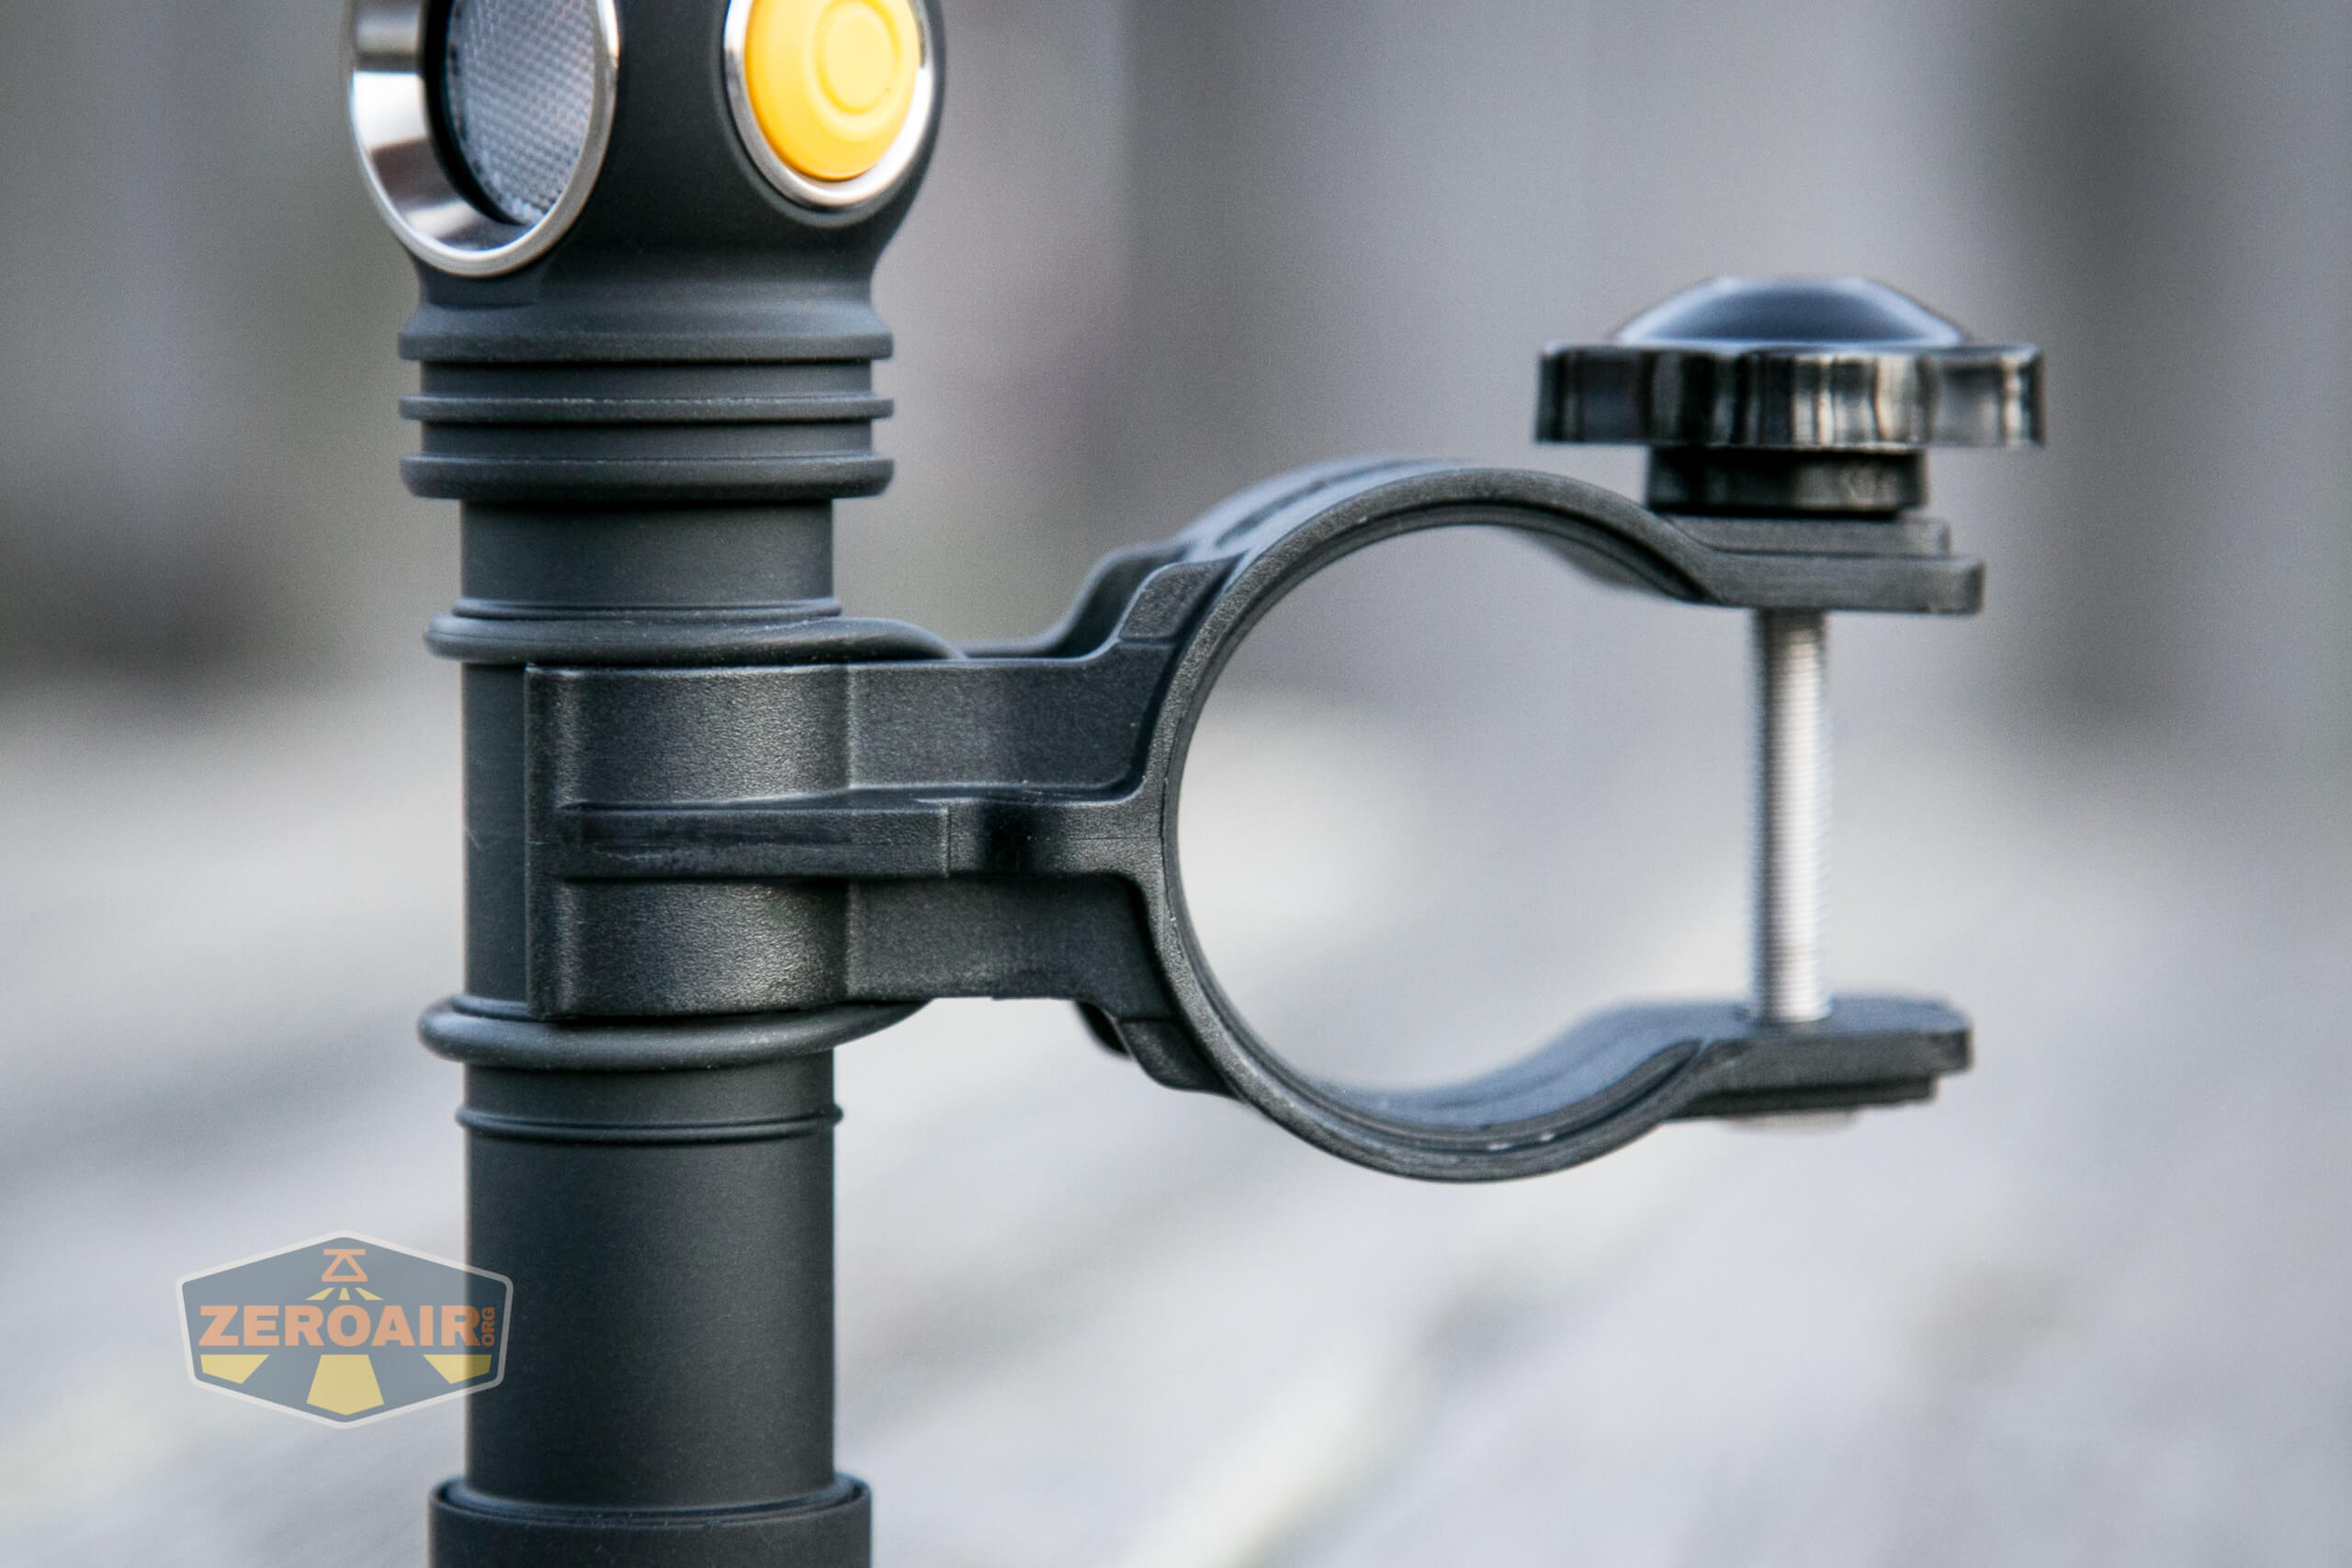
The attachment of the light-to-bike mount is functionally the same as the headband, but the clip fits between those grooves. Interesting that these are not exactly the same.

The tailcap magnet, which is used for charge connection, is also strong enough to hold the Armytek Wizard C2 Pro Nichia to a surface.
Power and Runtime
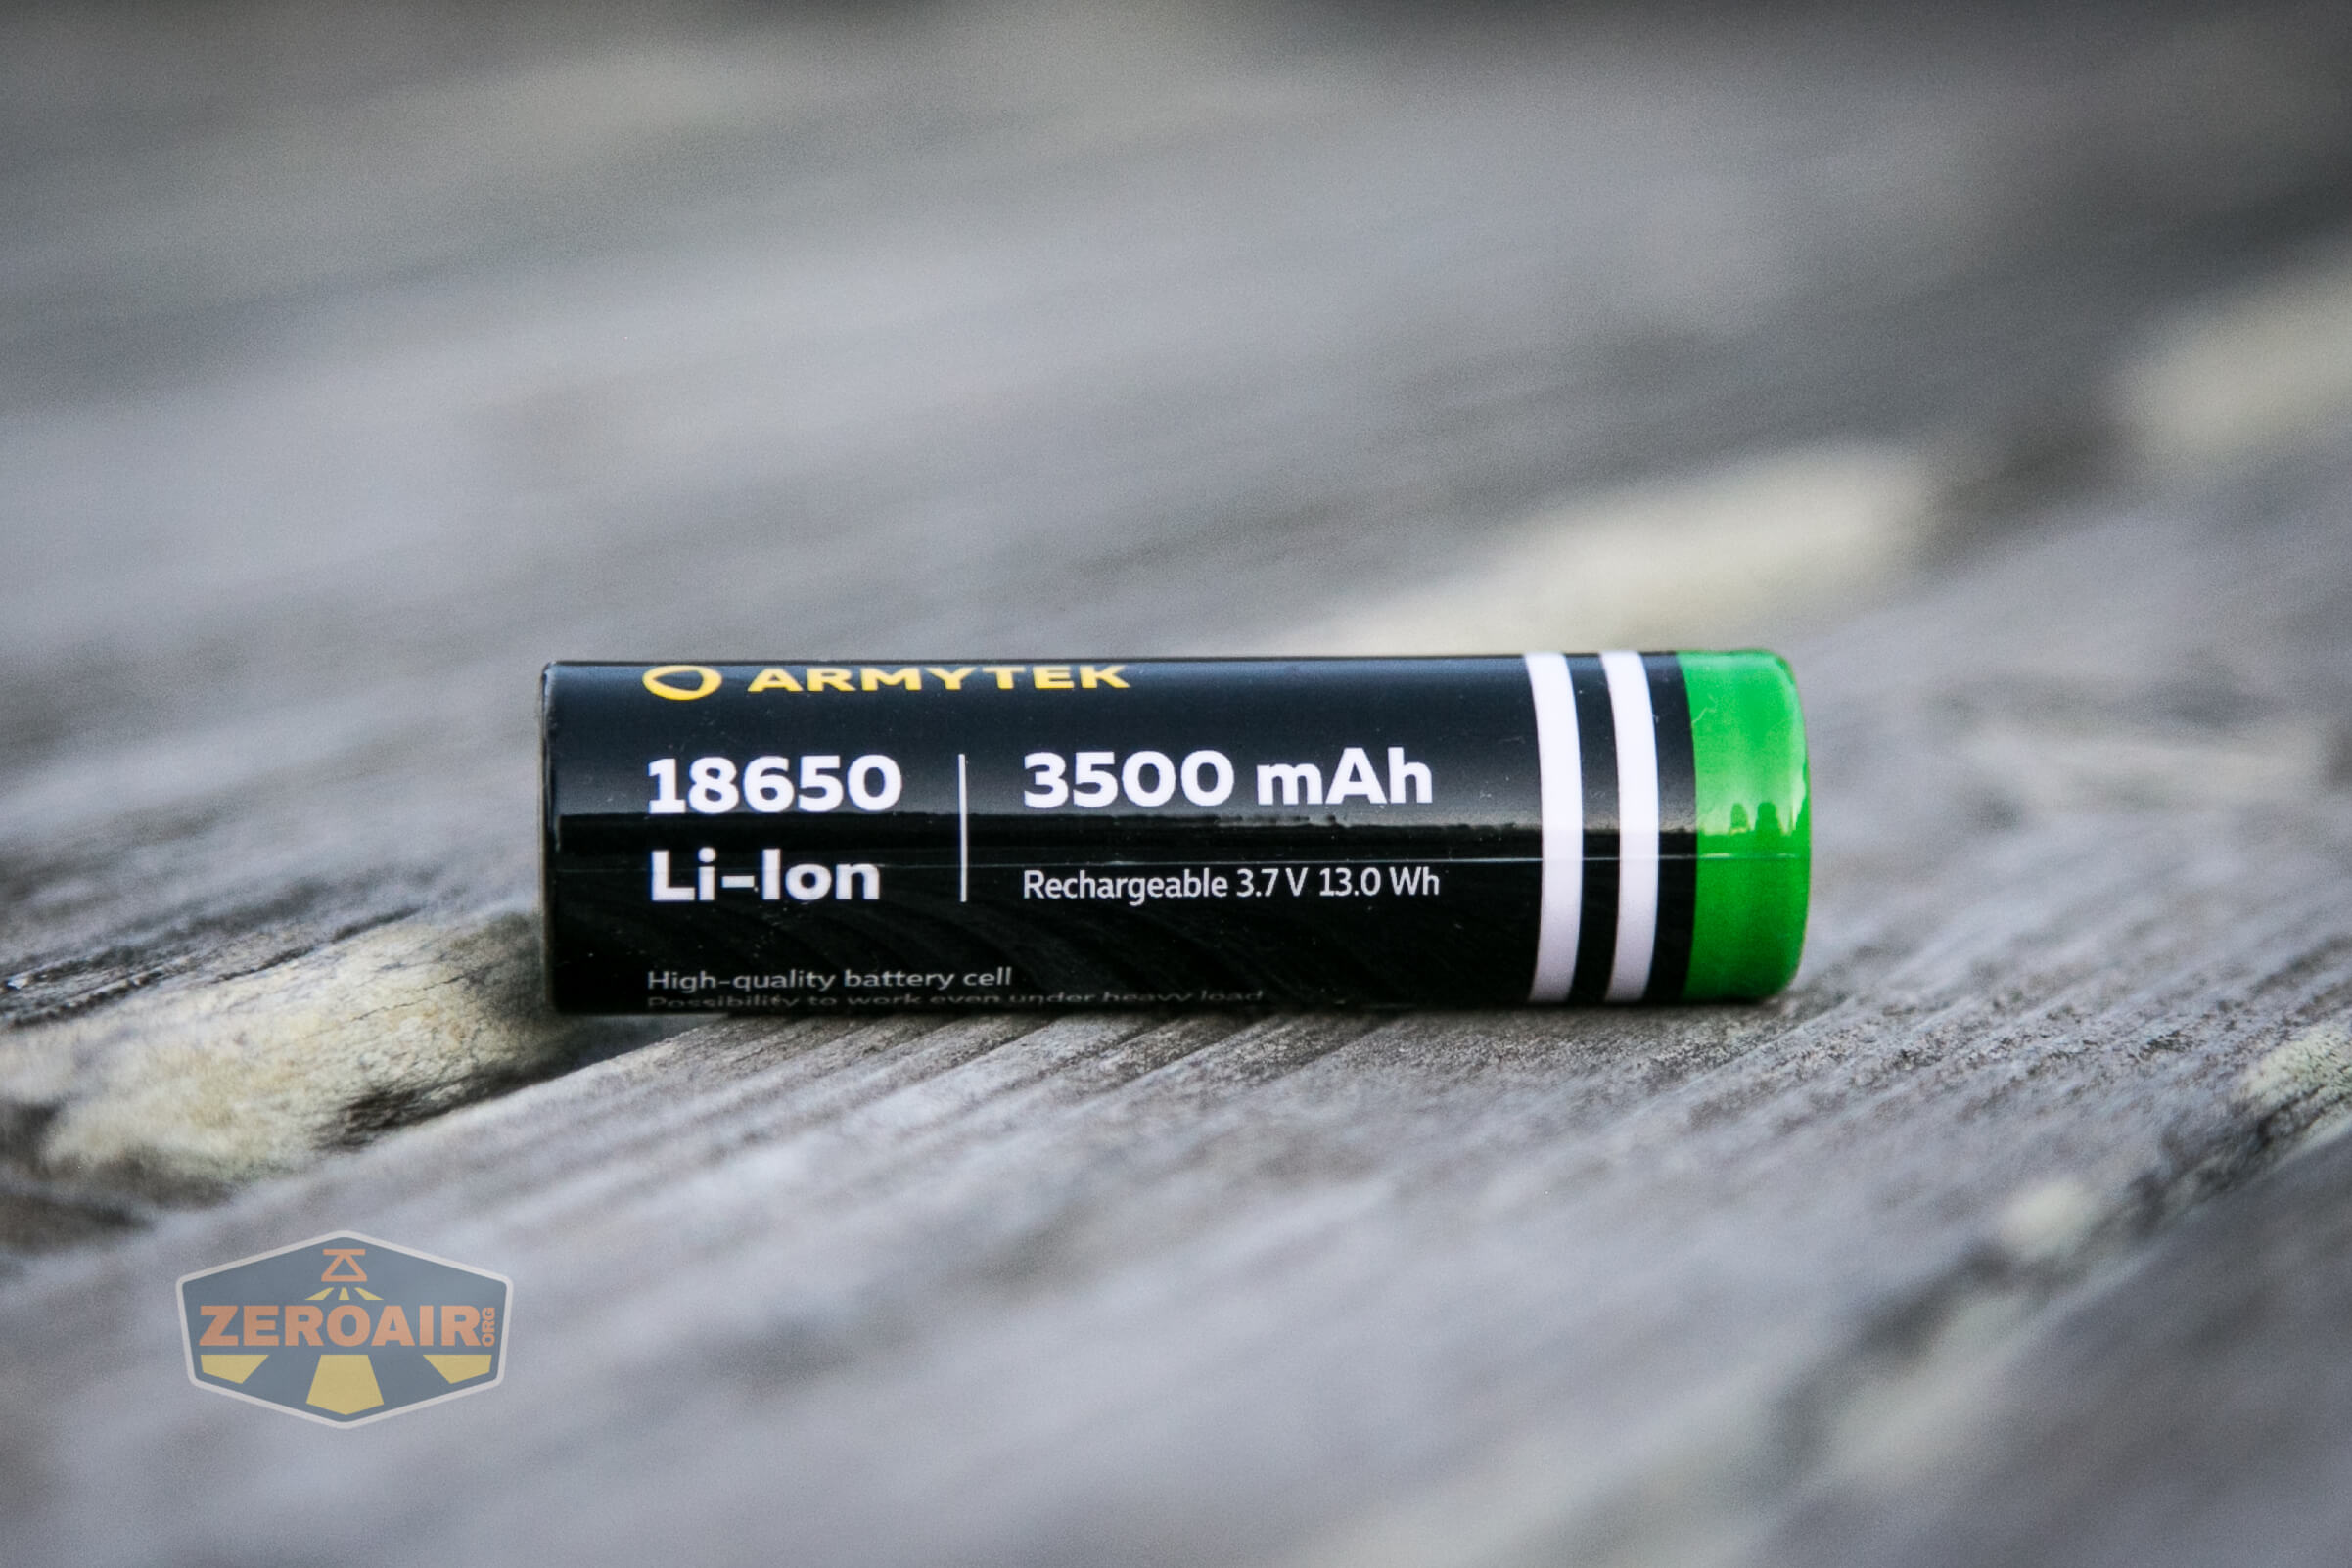
The Armytek Wizard C2 Pro Nichia is powered by a single 18650 lithium-ion cell. My package included a cell, and based on website information, all packages do too.
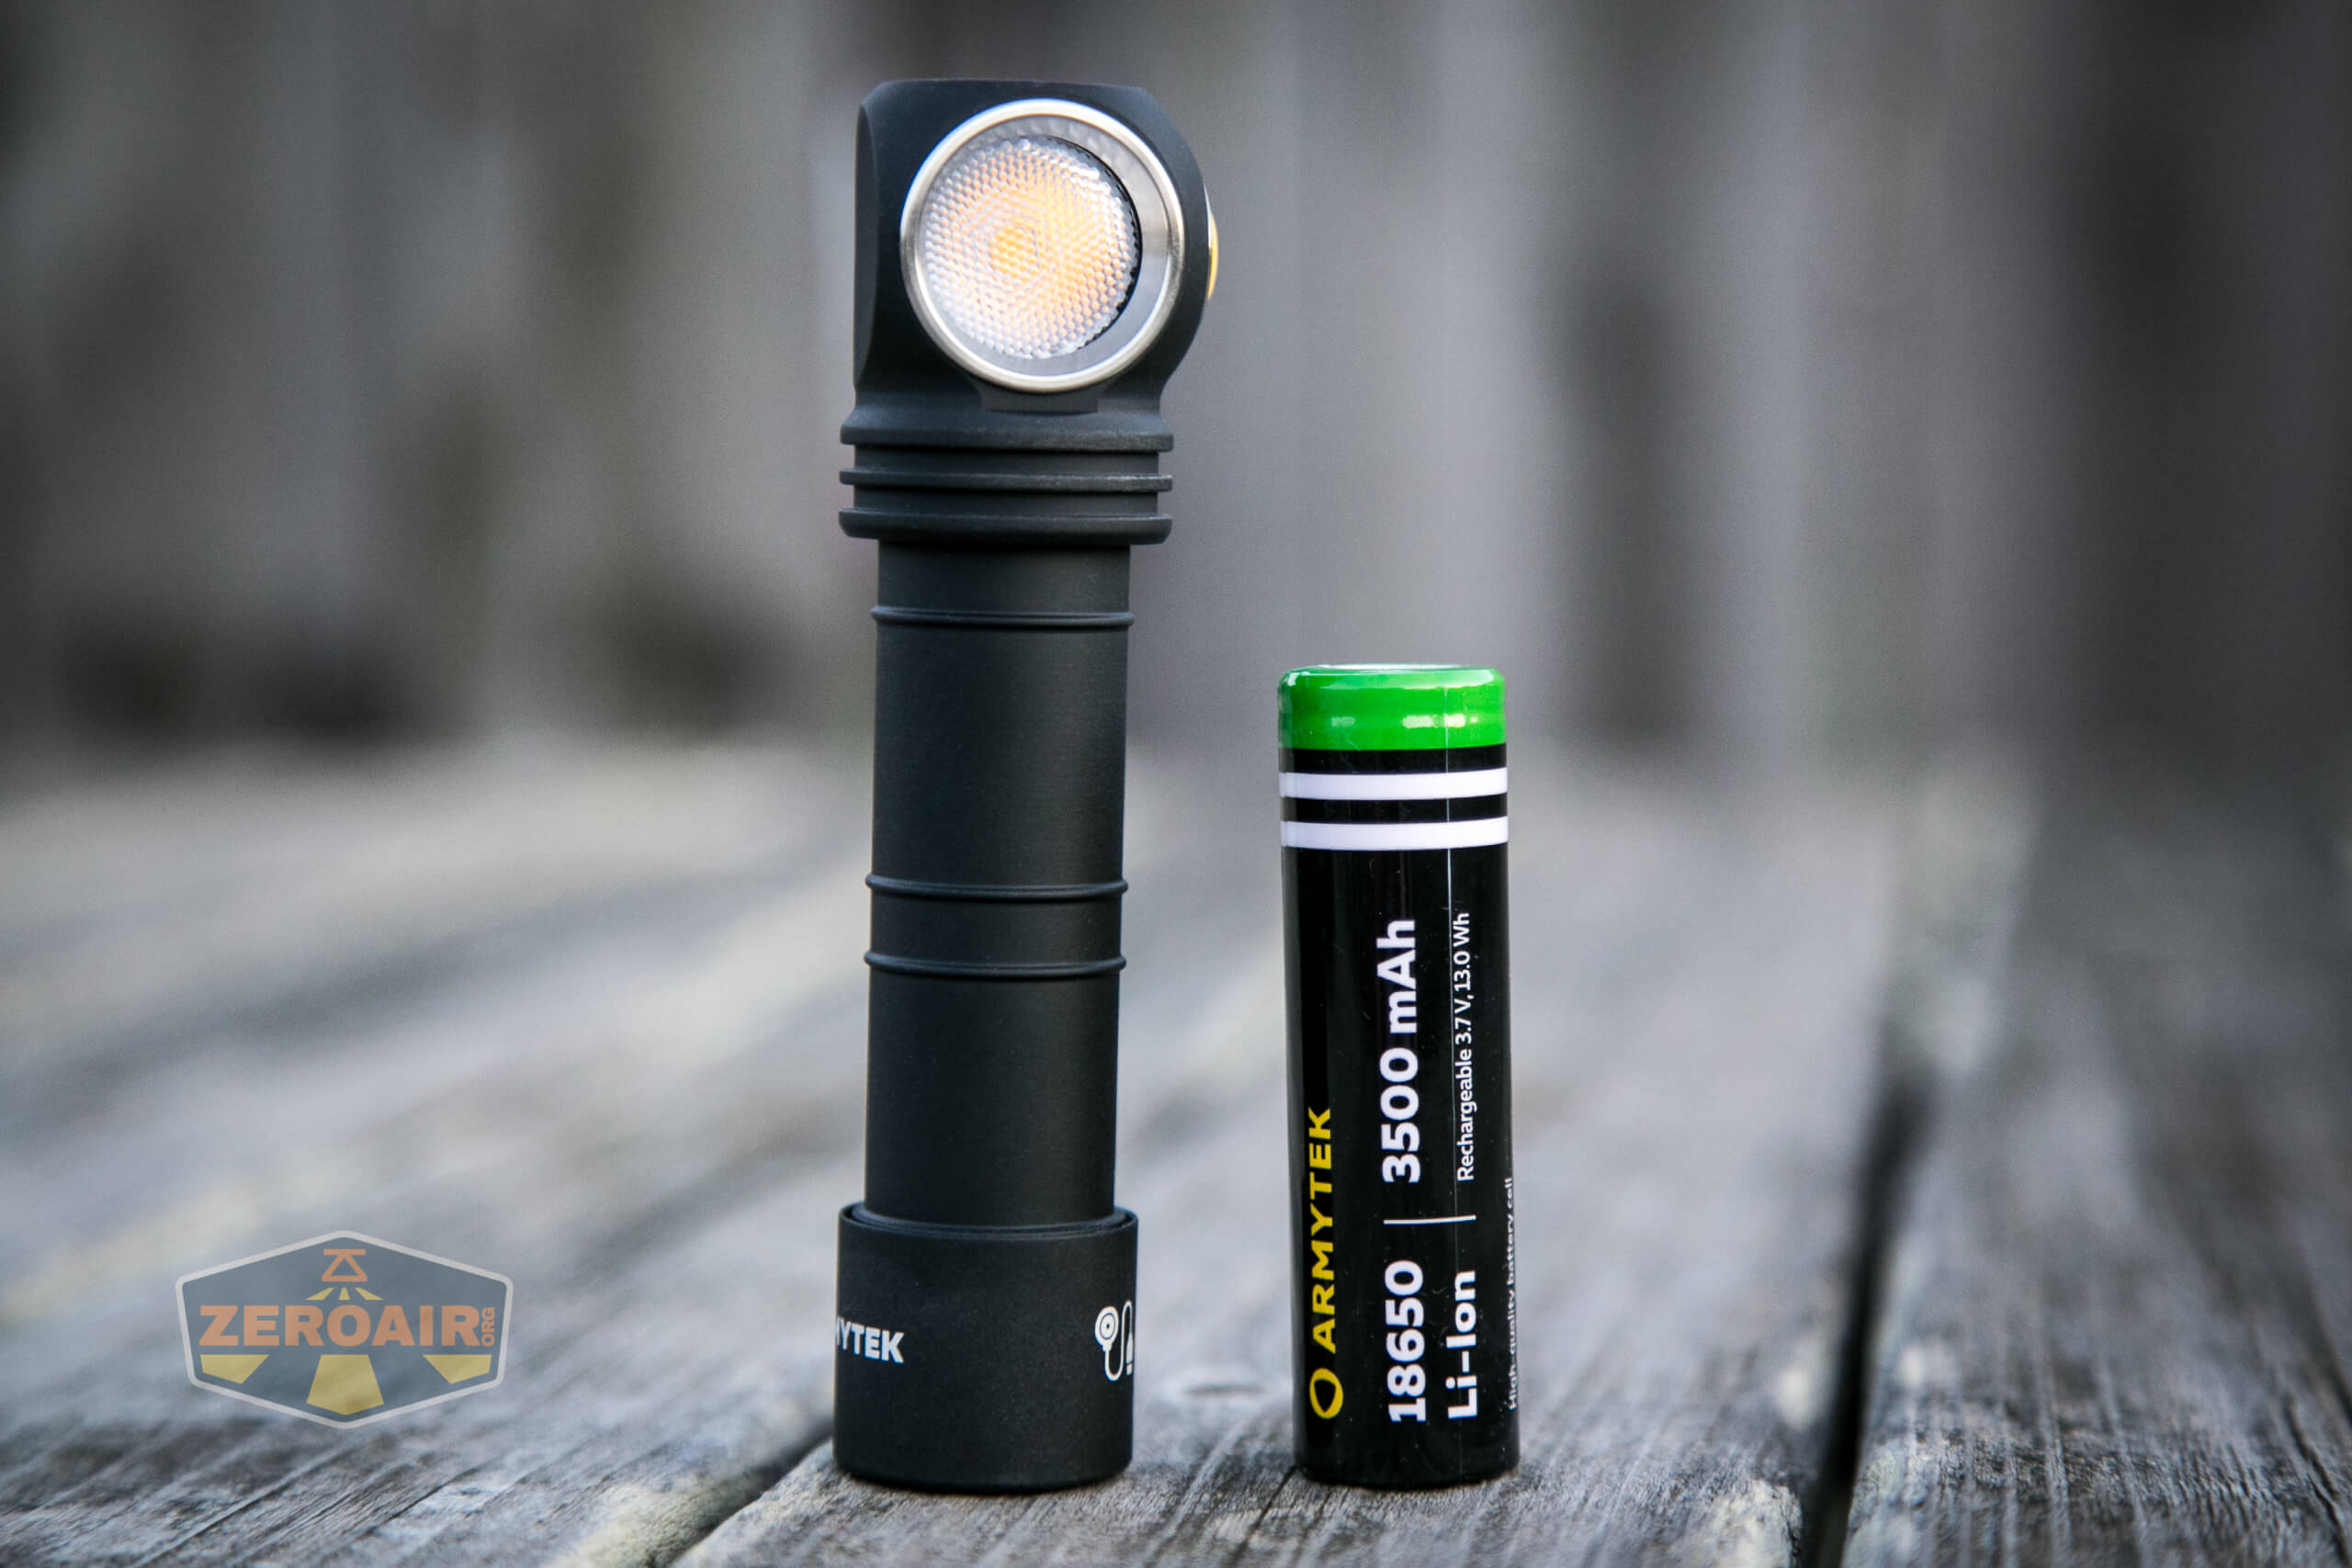
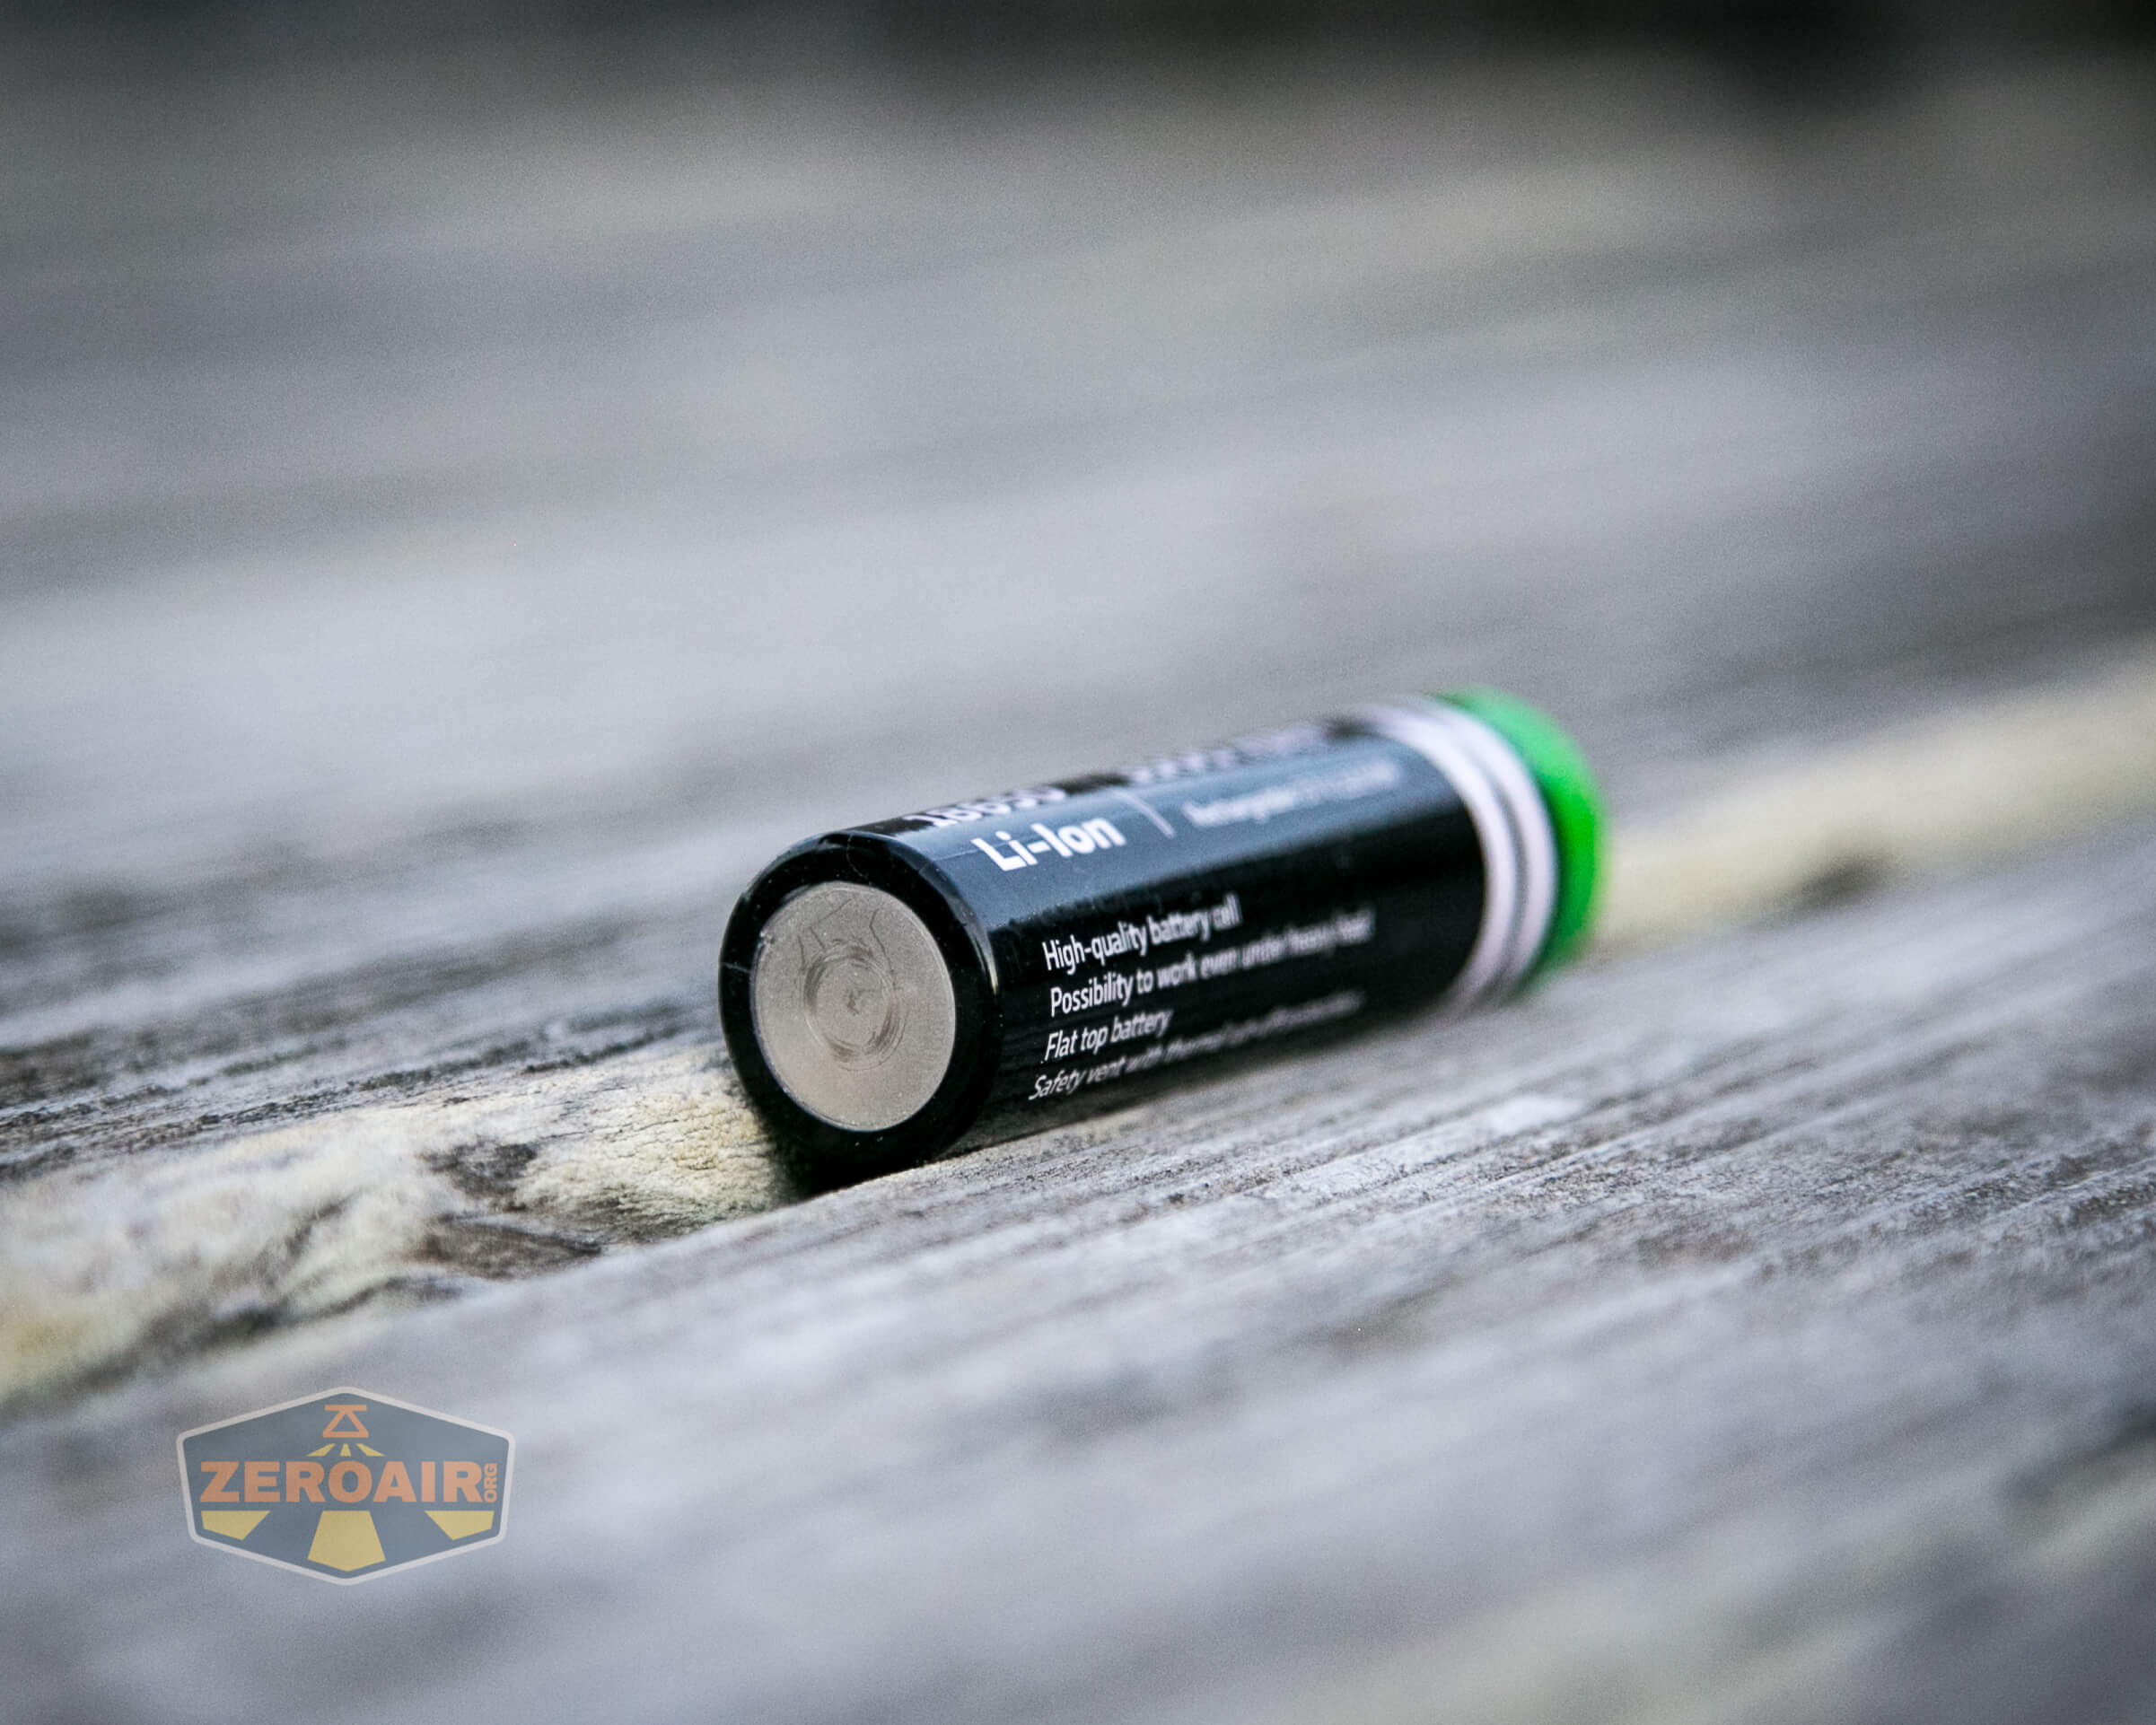
This is a standard 3500mAh 18650, and non-Armytek cells will work fine in the light, too. Because of the springs on the head and tail, you could likely use any type of 18650 you have on hand.
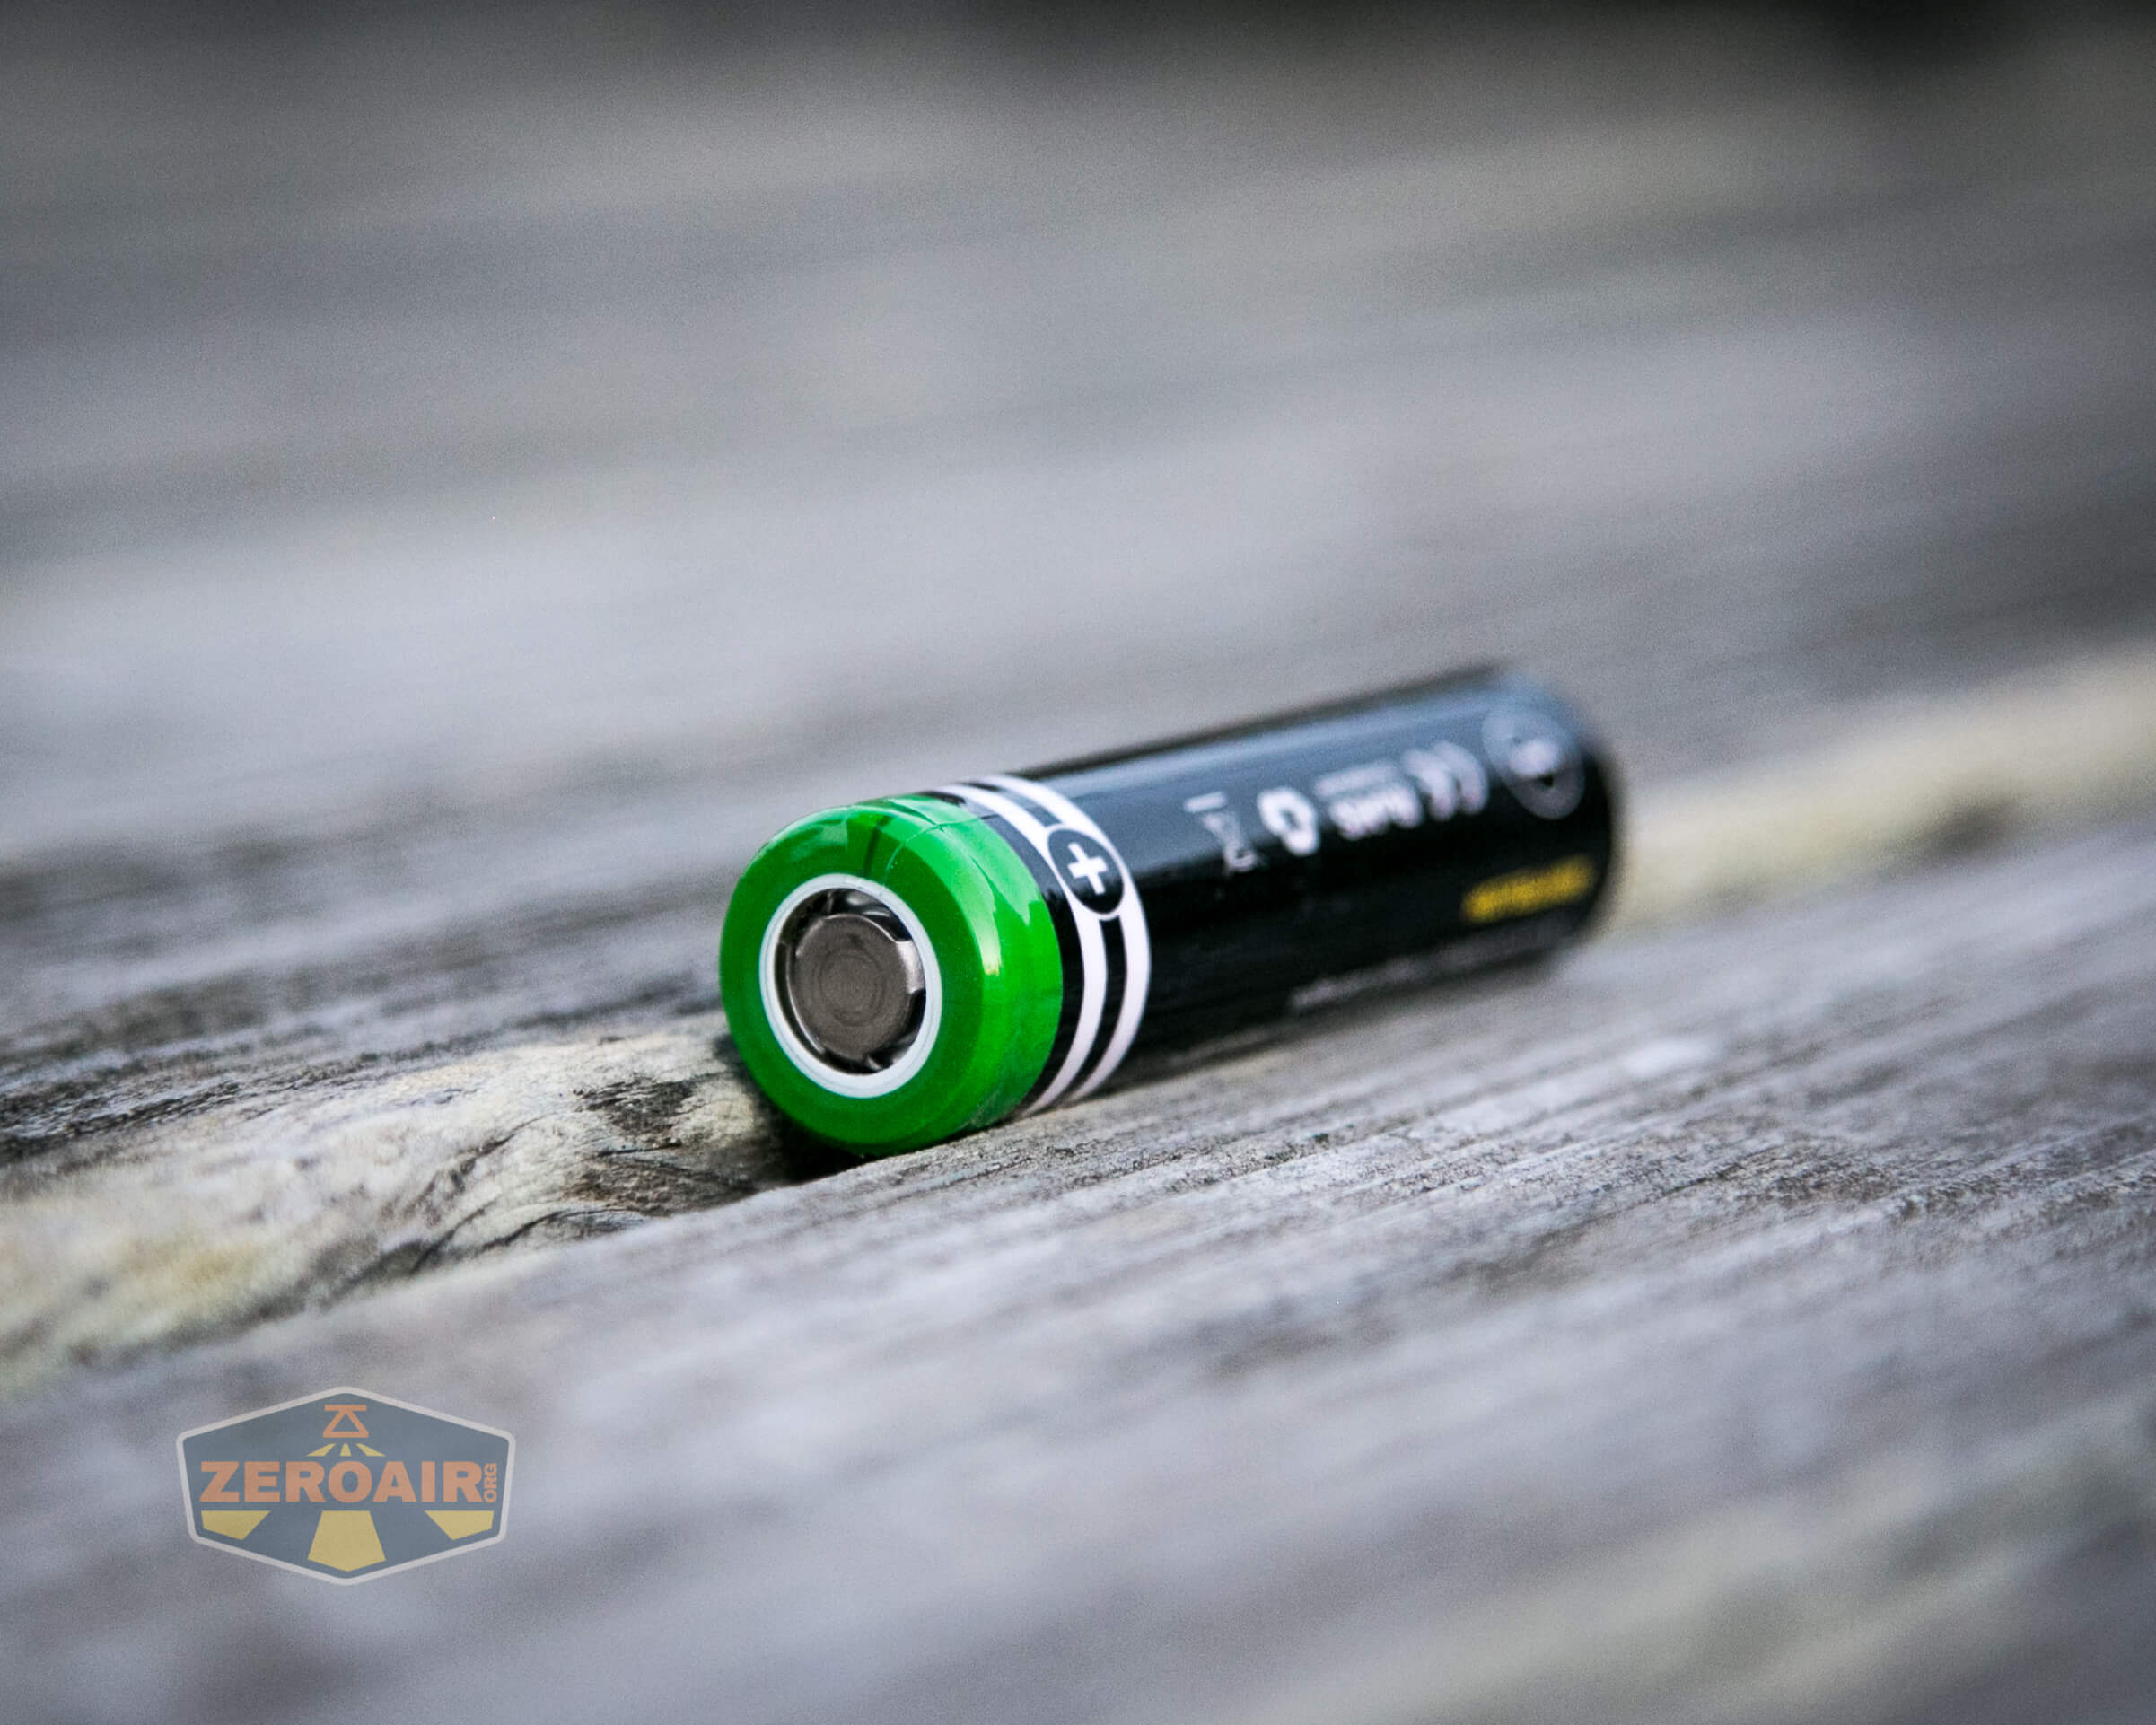
The cell goes into the light with the positive end toward the head.
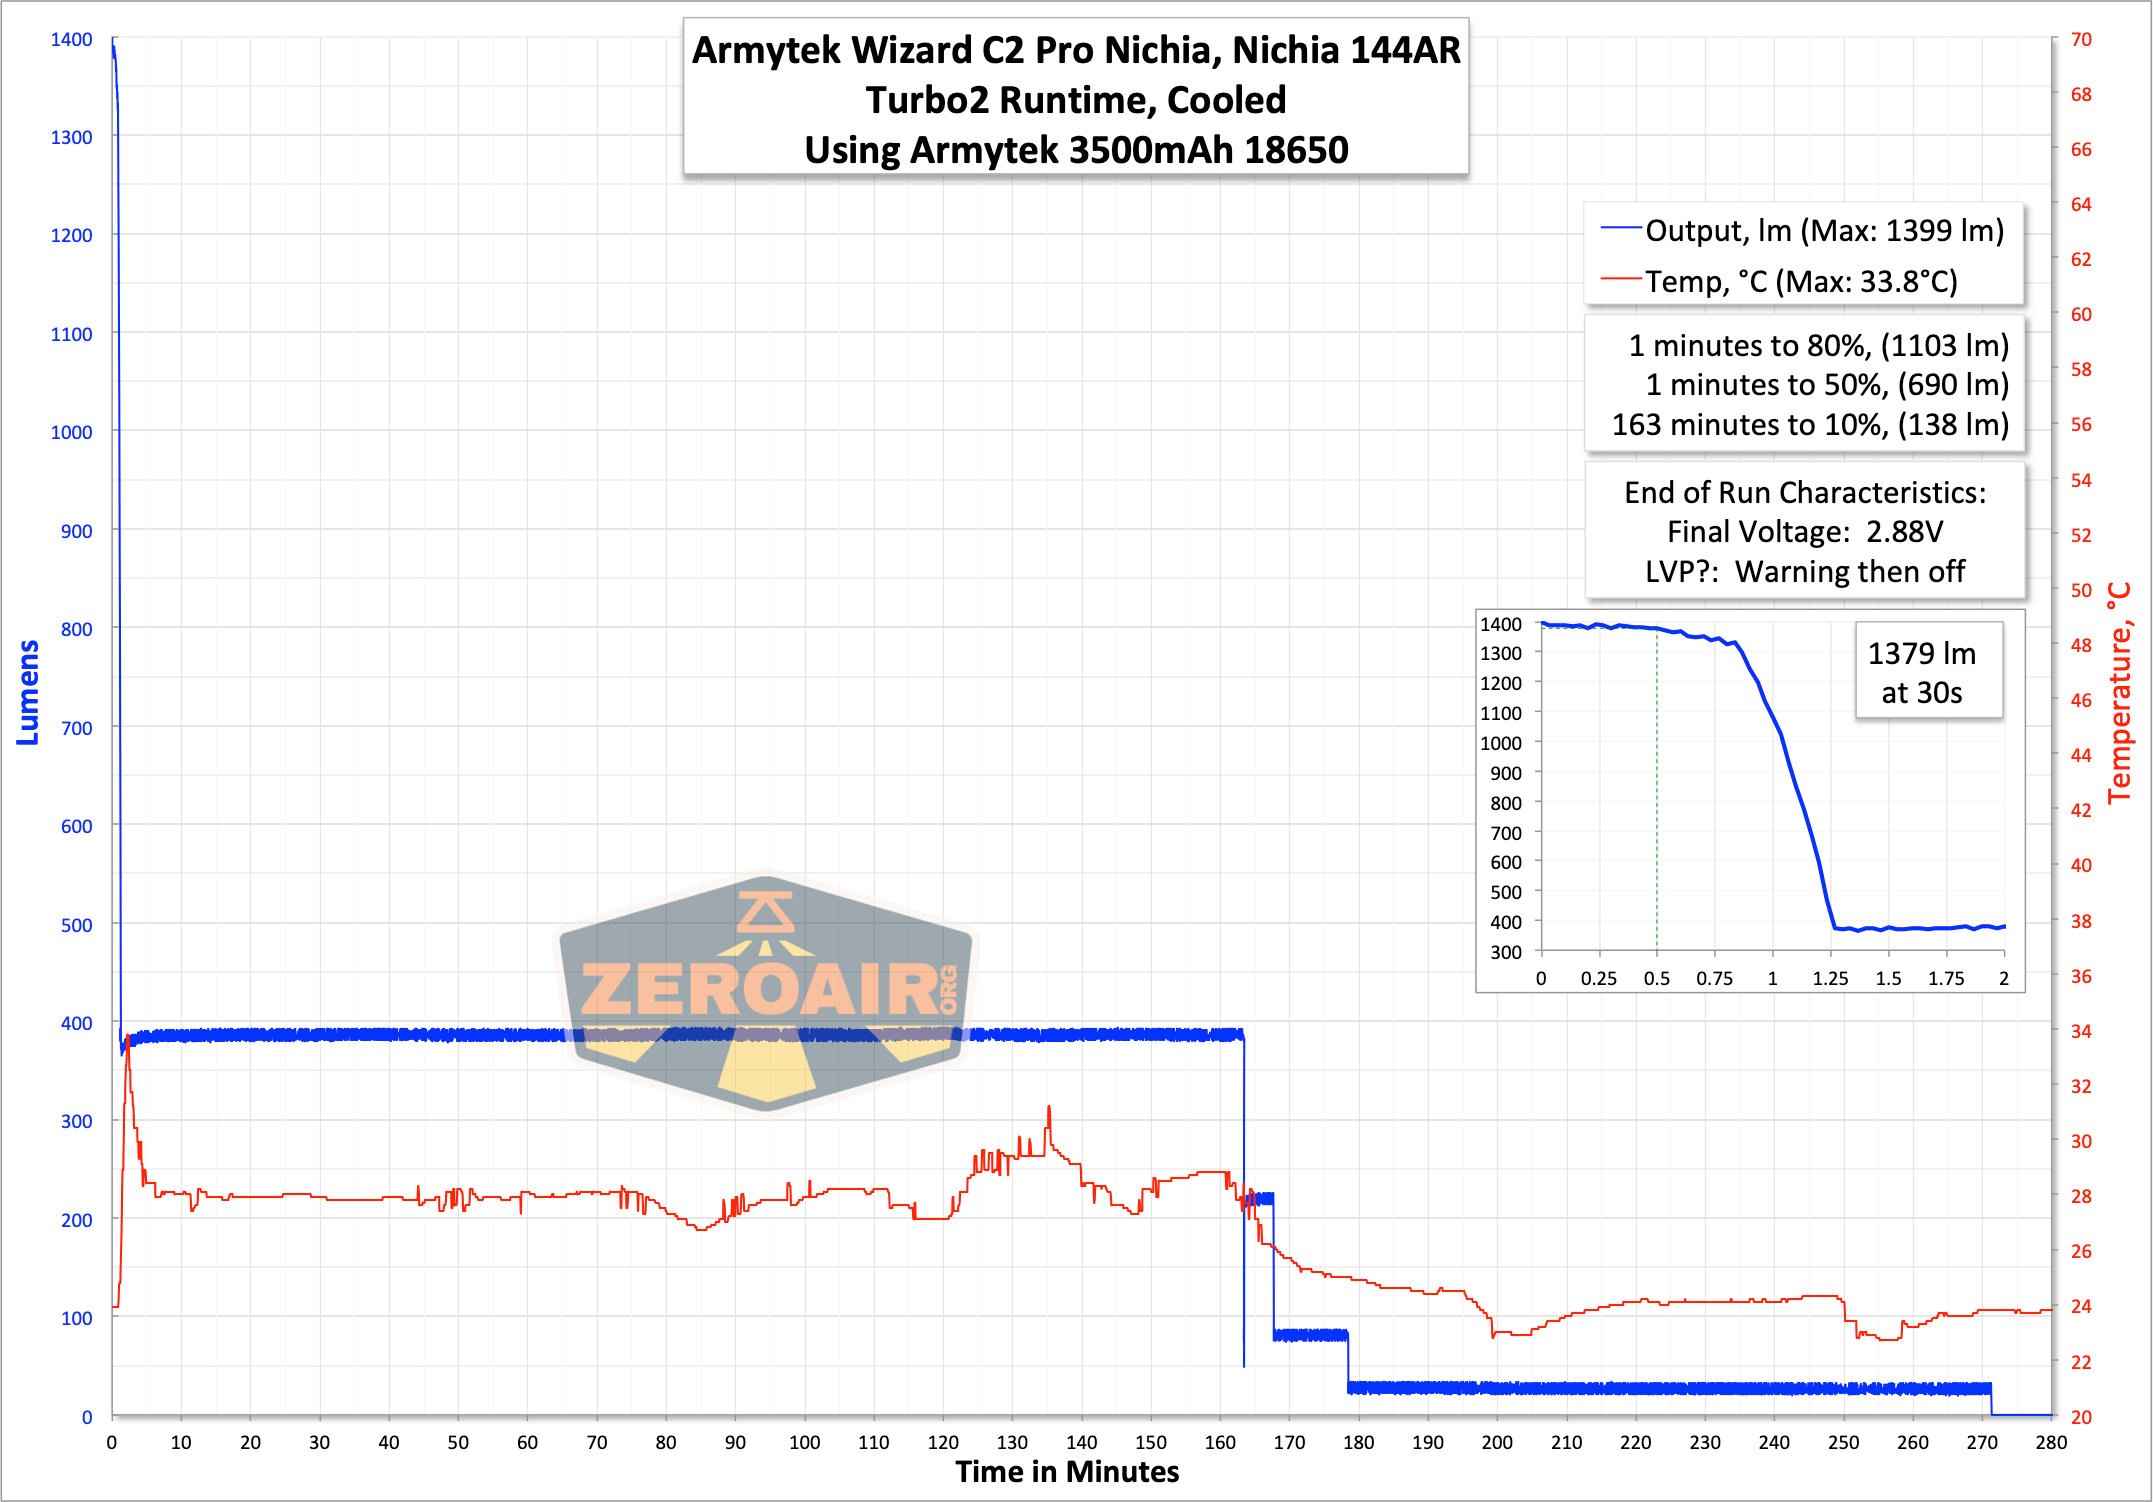
I performed three runtimes. Turbo2 (the highest mode) steps down fairly quickly and then is very stable.
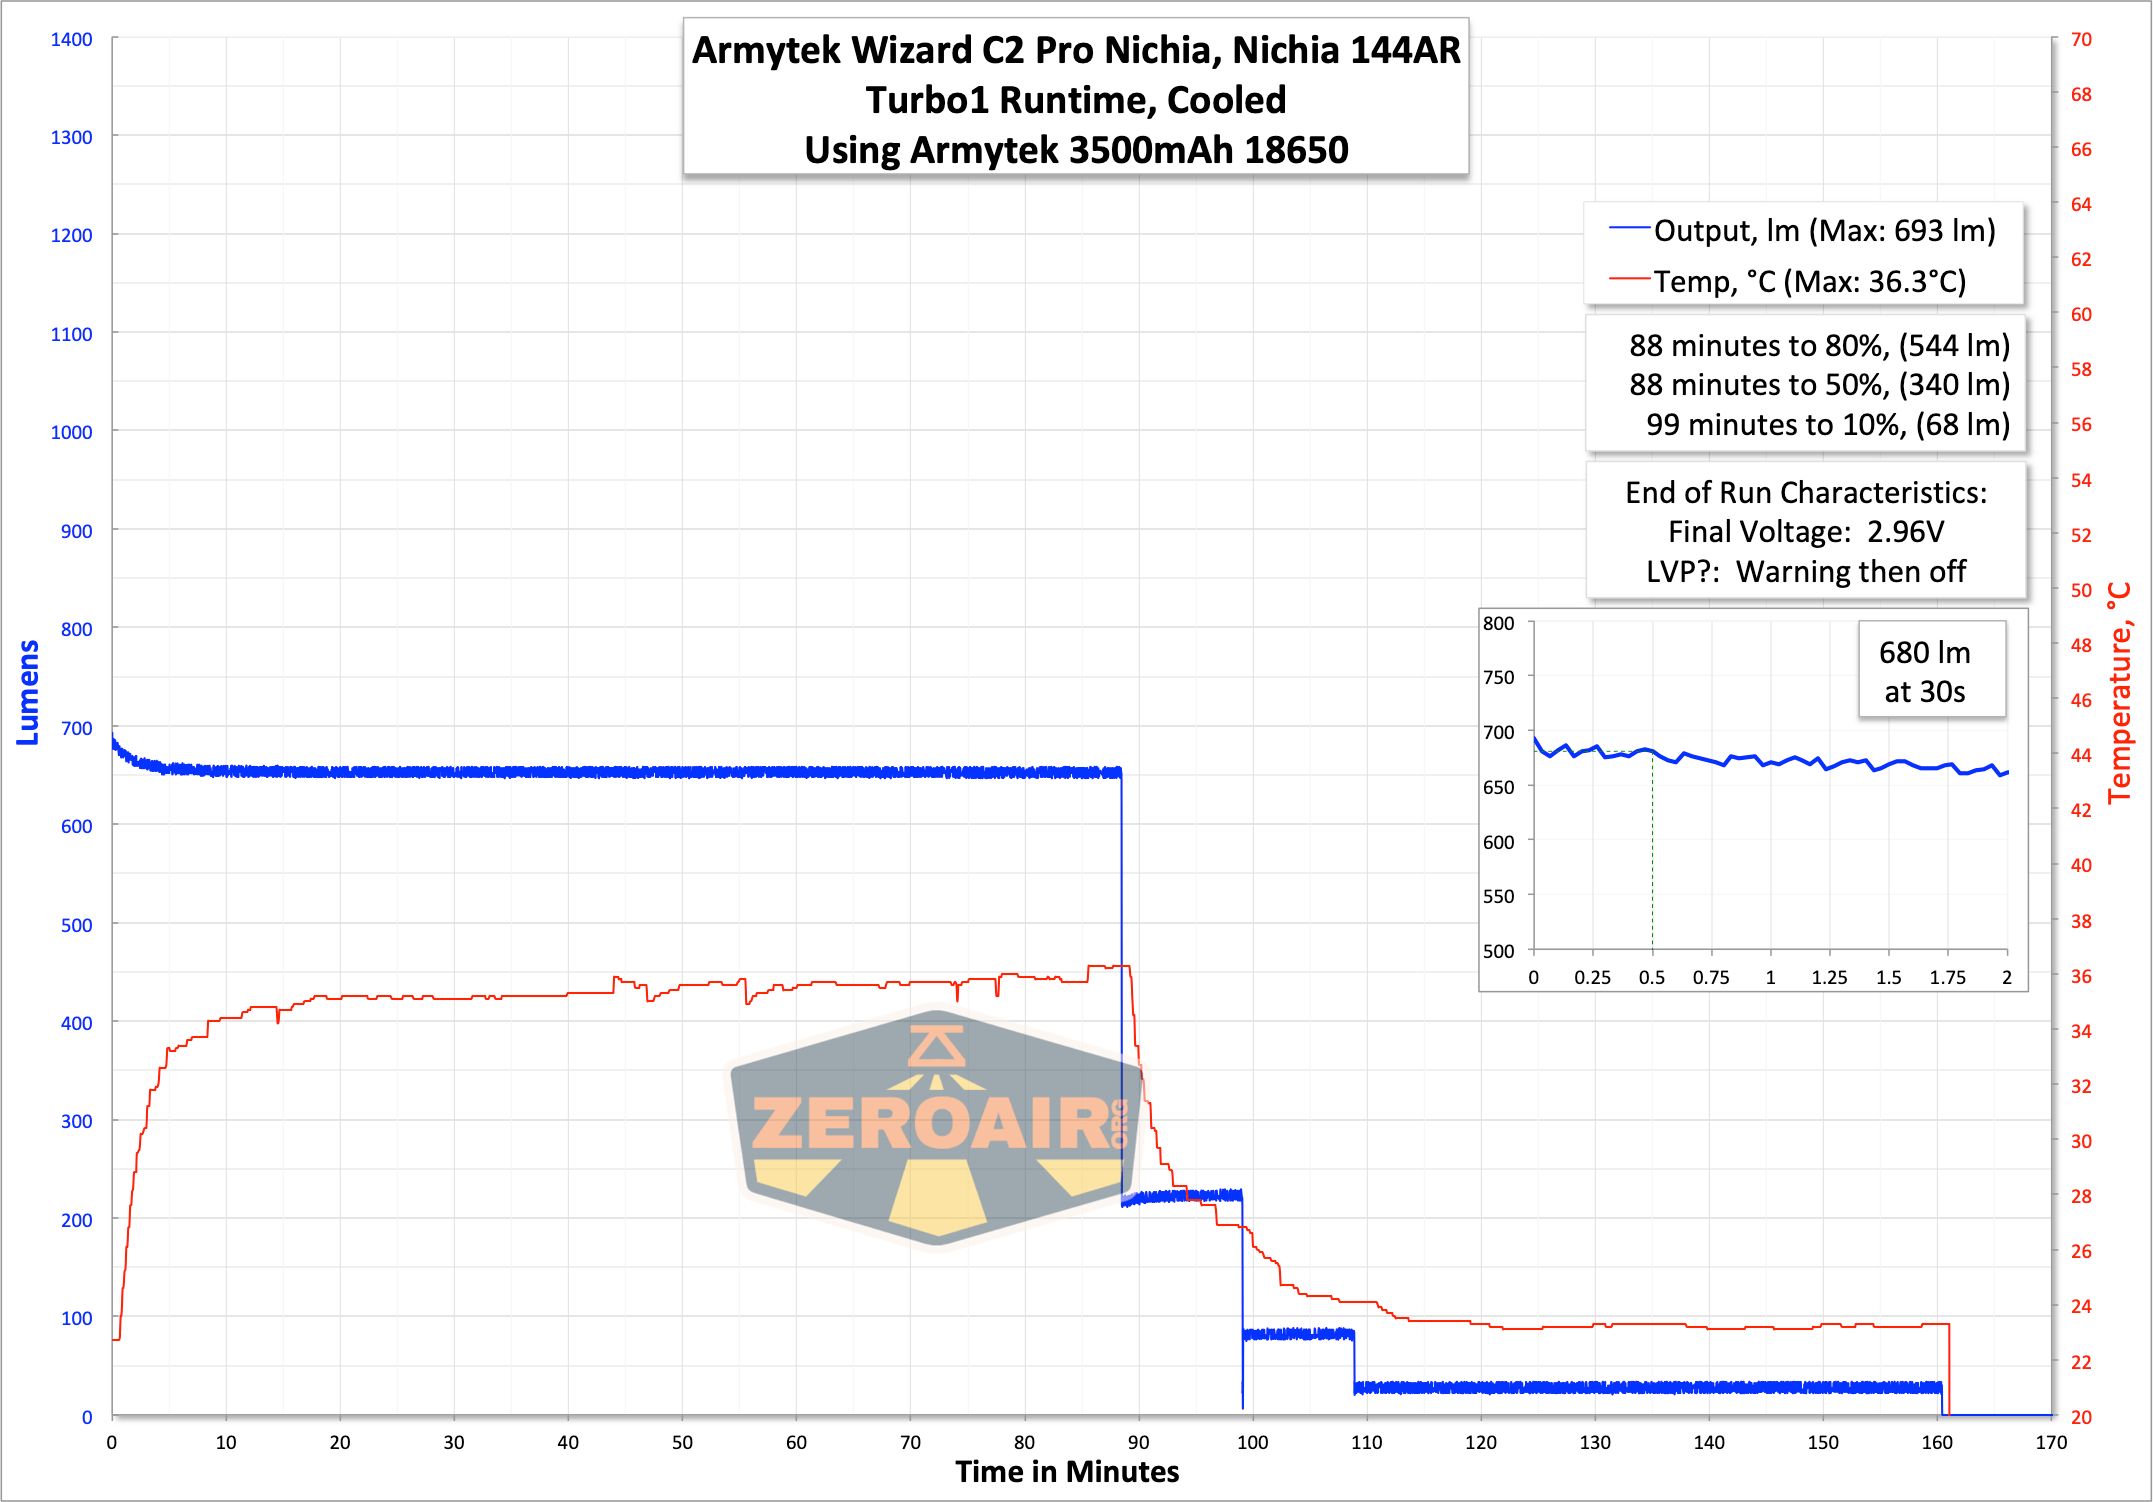
Turbo1 is very stable, almost from the start, and notably a good bit higher than Turbo2 after its stepdown.
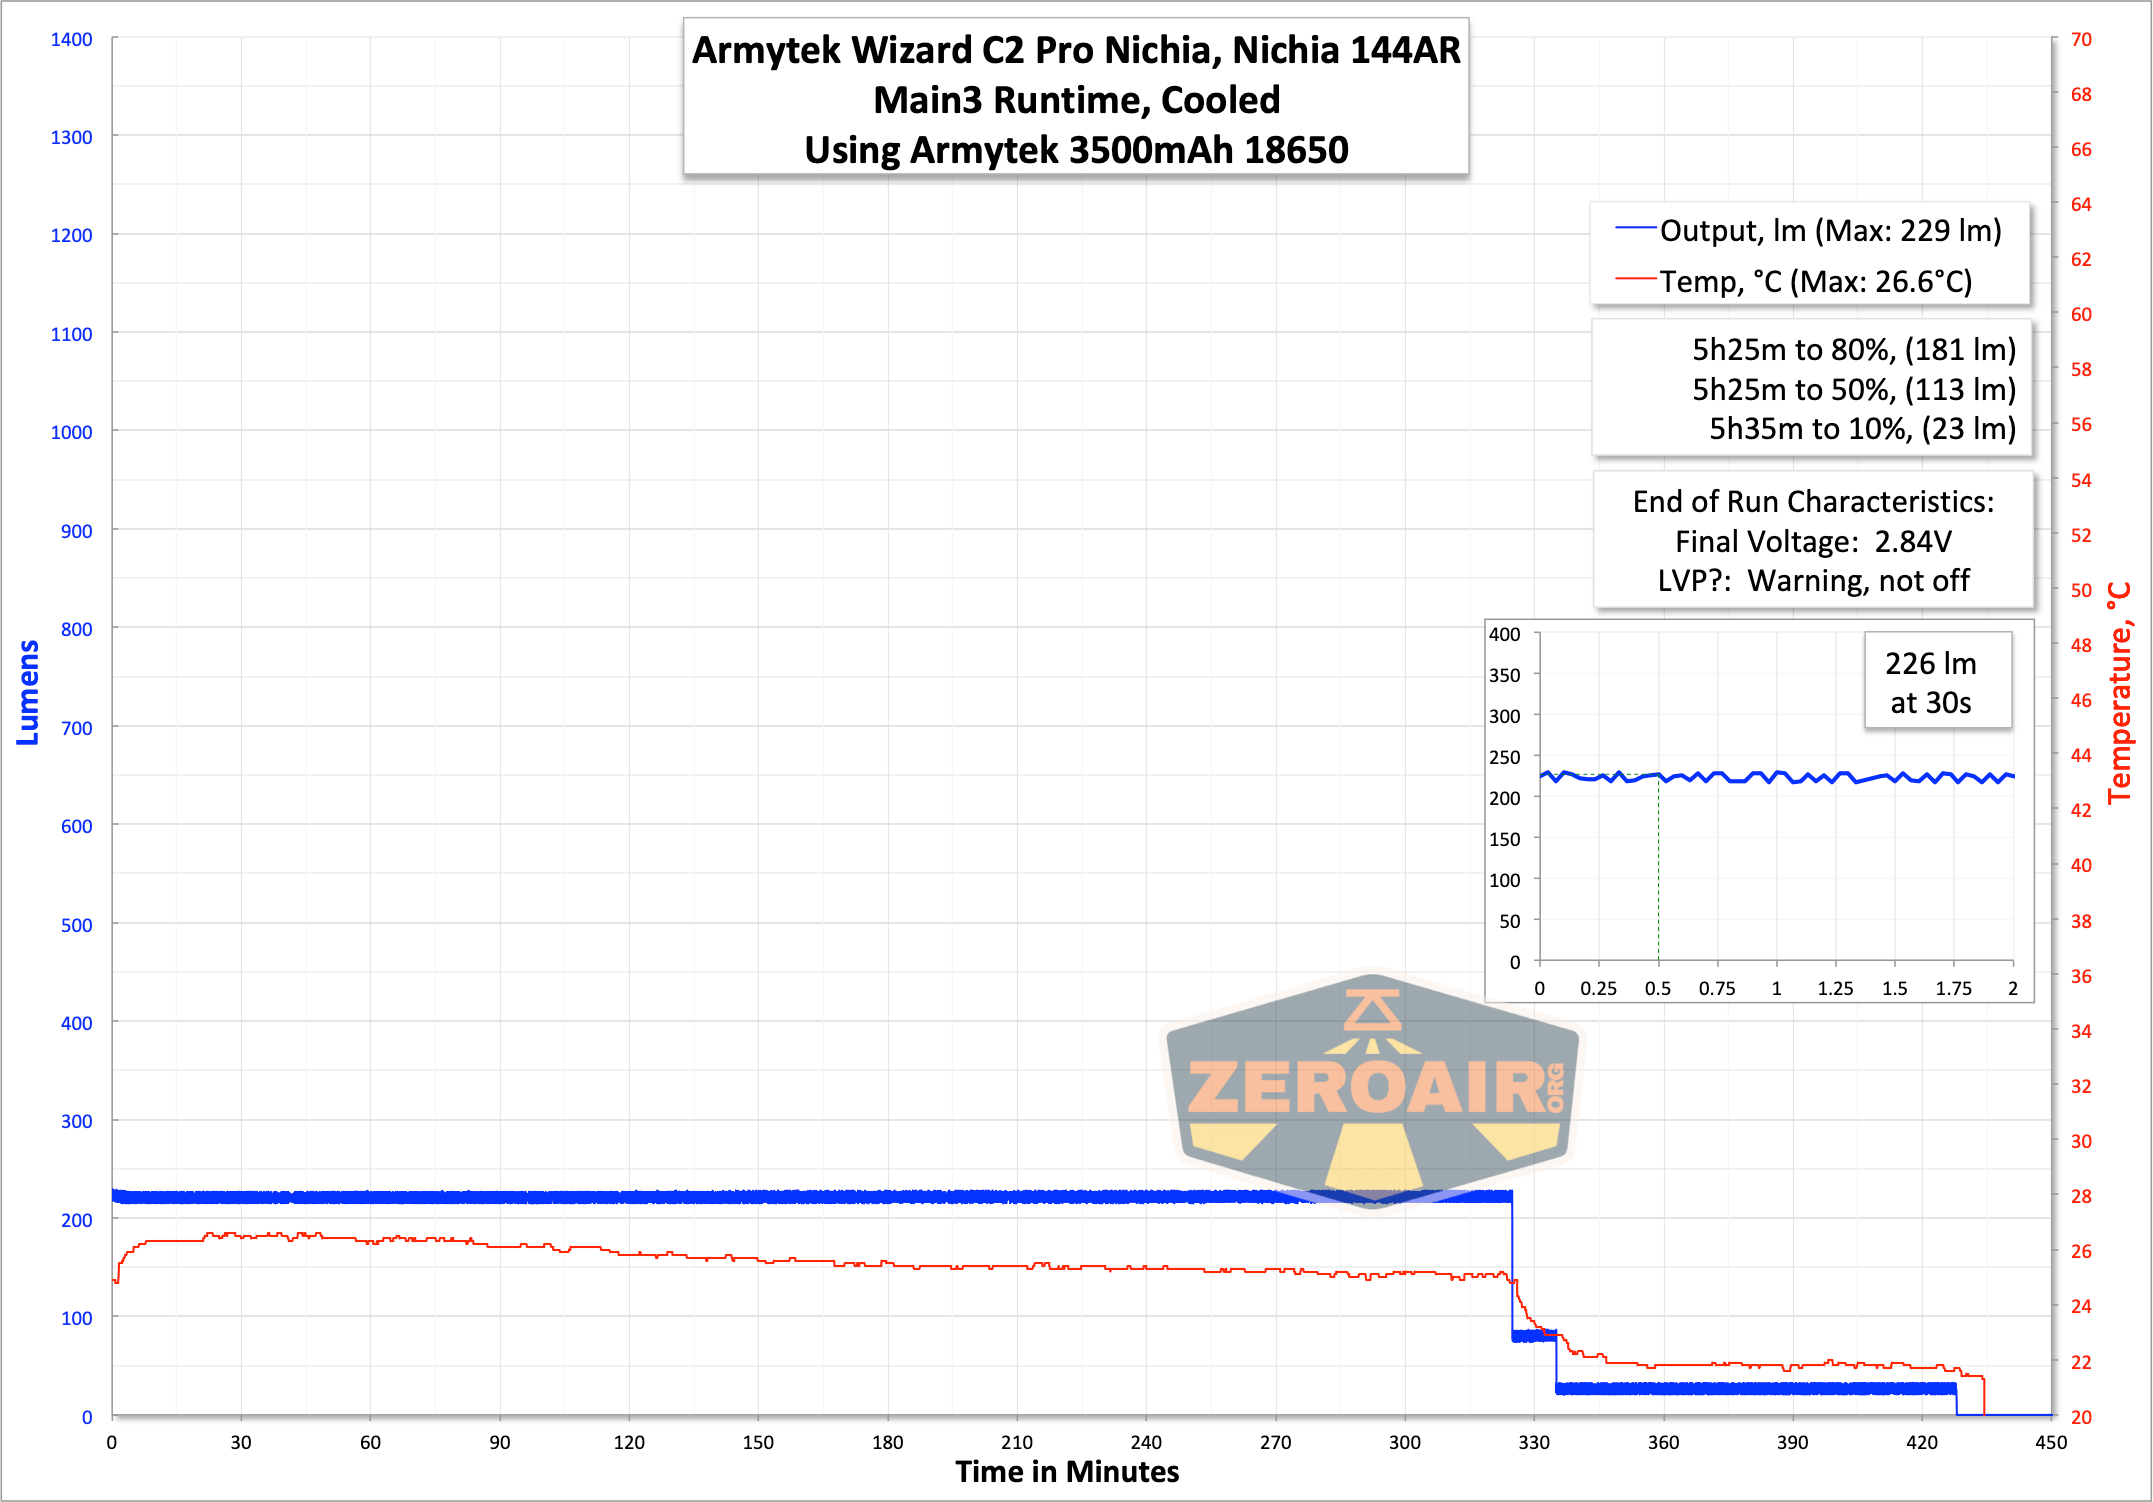
Main3 (the third highest) is also very stable.
During all these tests, the indicating switch indicated as follows:
Orange flashing switch (once per two seconds): ~<25% battery level
Main emitter flash 2x: ~<25% battery level
Red flashing switch (once per second): <10% battery level
The switch also indicates the battery level in an off state. The indication is the same as above, with the addition of a Green blink, which indicates “<100%” battery. (Interestingly, I had to go to a third manual from Armytek to find that specific bit of information.)
The indicating switch also serves as a temperature indicator, too. As follows:
Orange flashing switch (3x in 1 second): Temperature is at the warning level
Red flash (3x in 1 second): Temperature is at a critical level, and brightness will be reduced
The switch does a lot. I’m not sure how useful some of that information is specifically, but it’s nice that the driver is this capable.
On bench power, the light has a hard shutoff at around 2.6V. In practice, the cutoff will likely be just a little higher (as we saw in the graphs), so this is acceptable low voltage protection. Also, testing with the bench power, I can note that the switch blinks green down to around 3.2V, then begins indicating in yellow. After that, at around 2.8V, the switch blinks red. When the light shuts off (as mentioned) at 2.6V, the switch does as well.
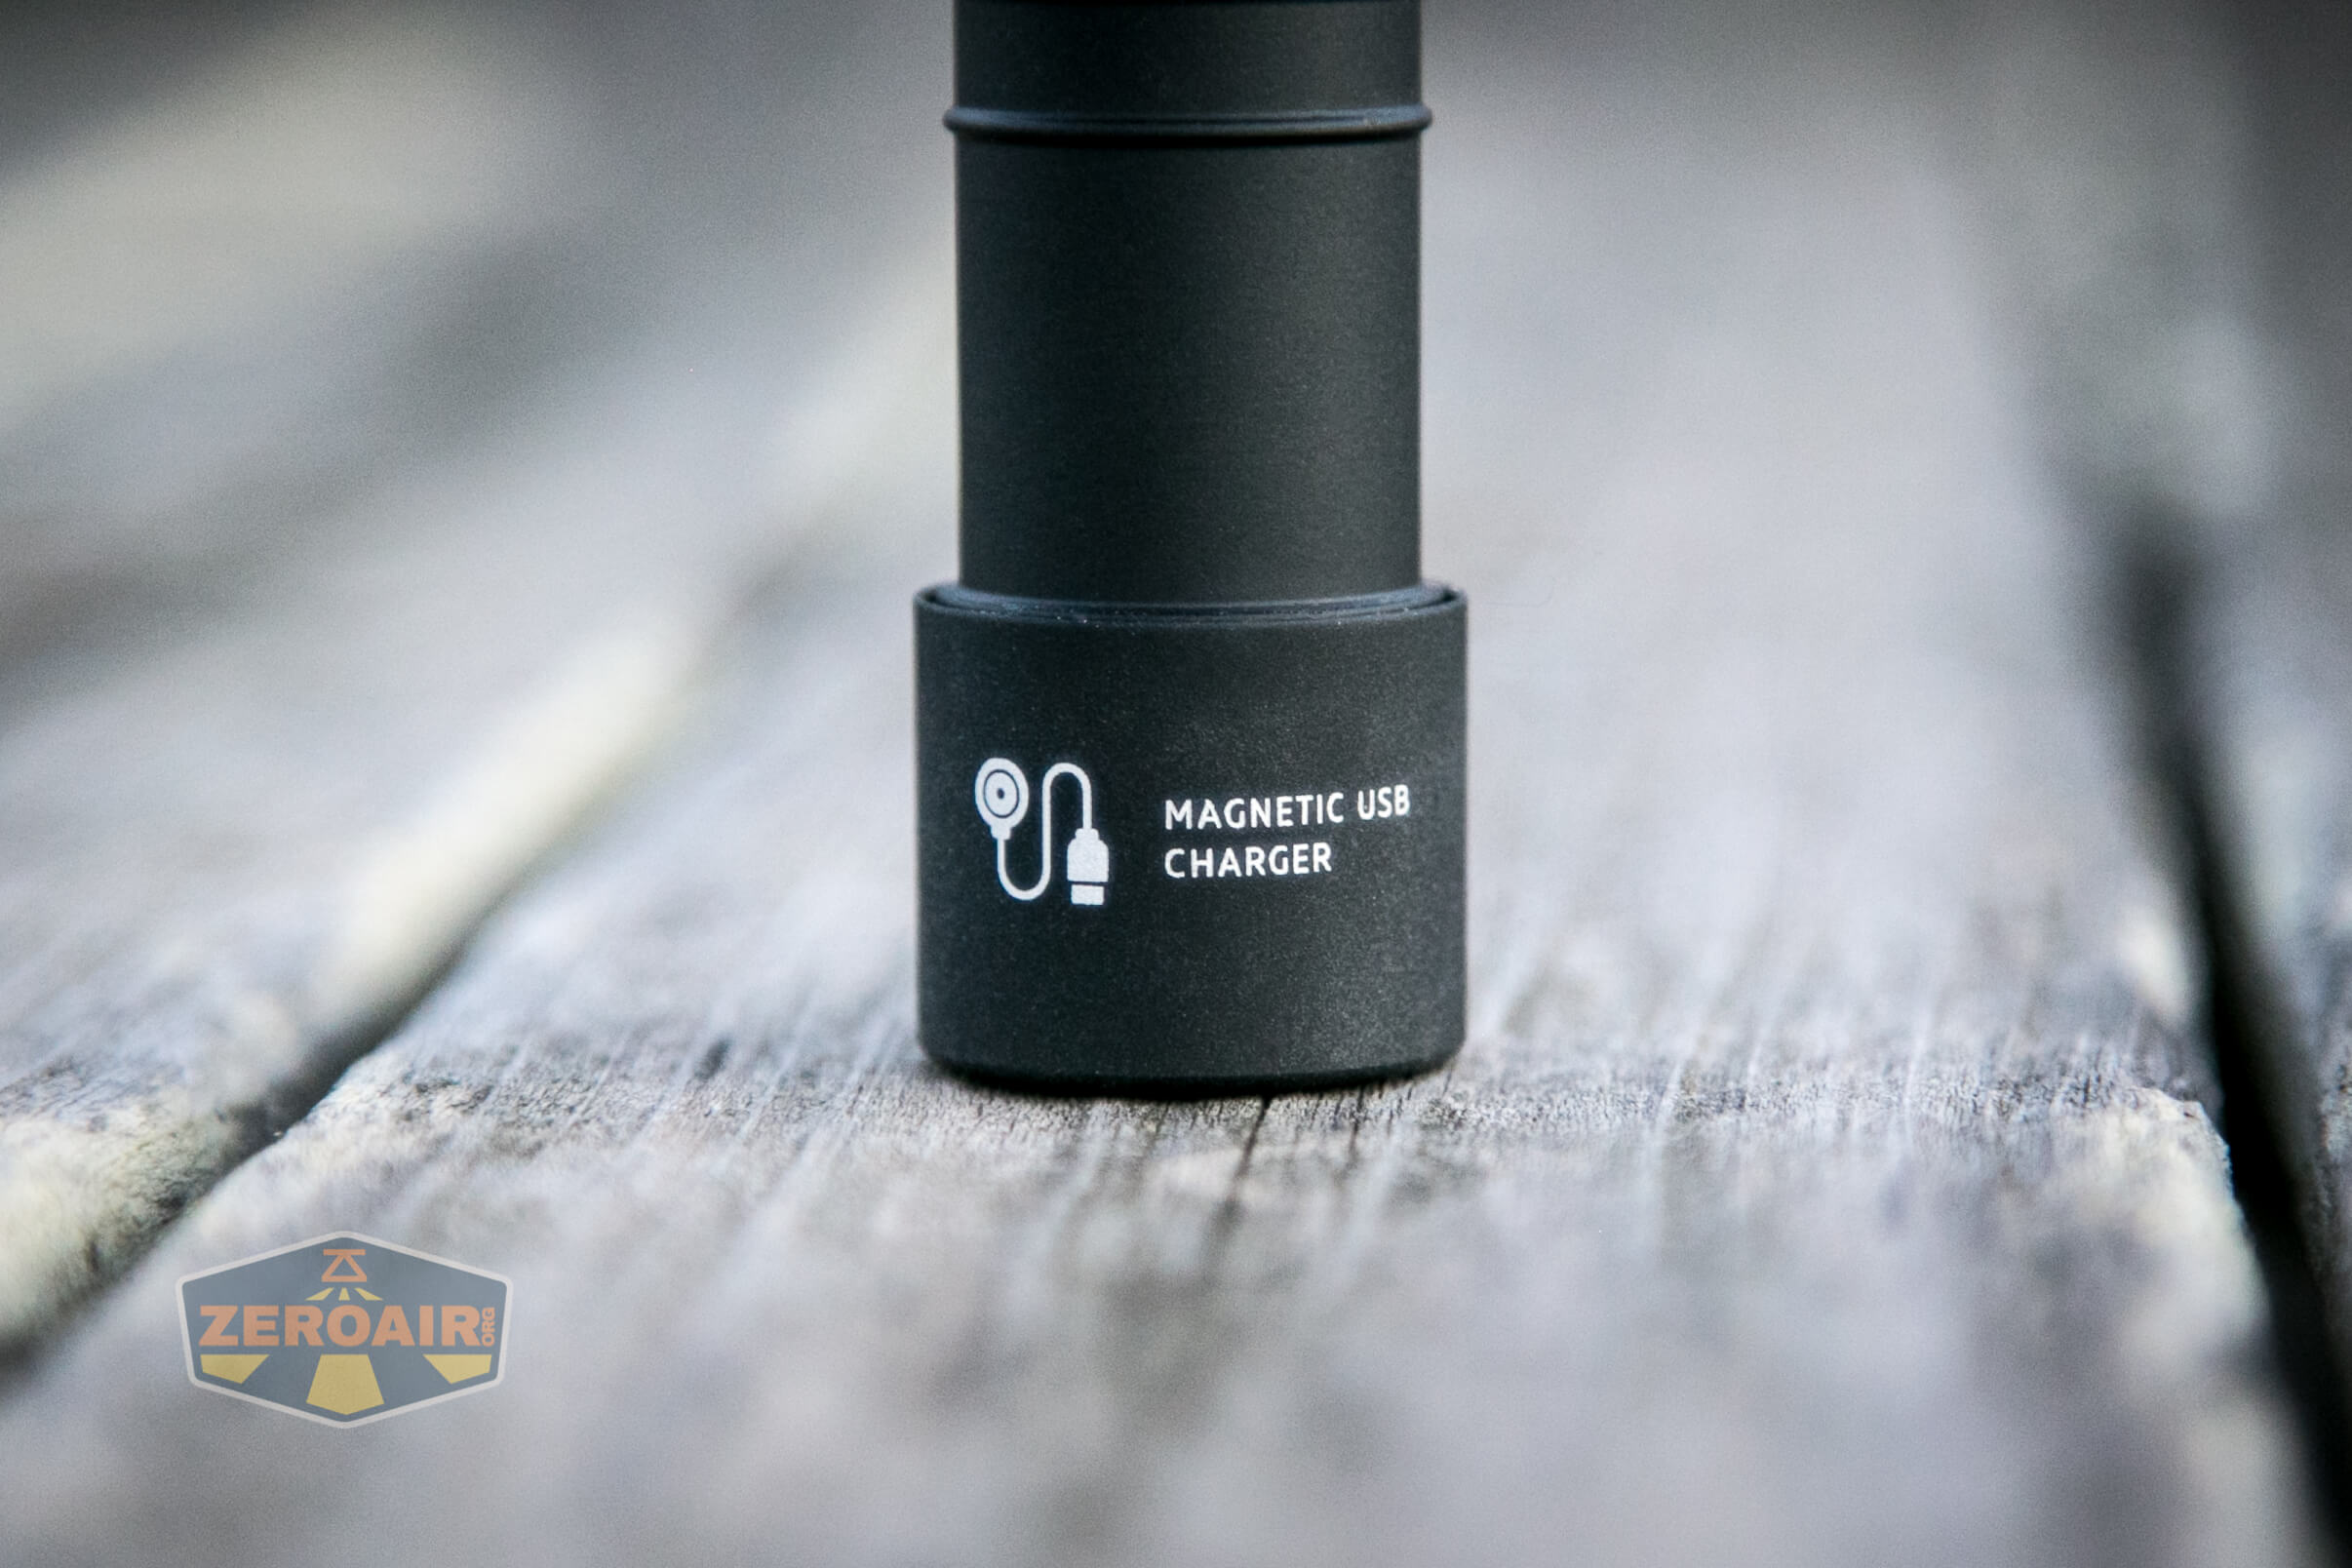
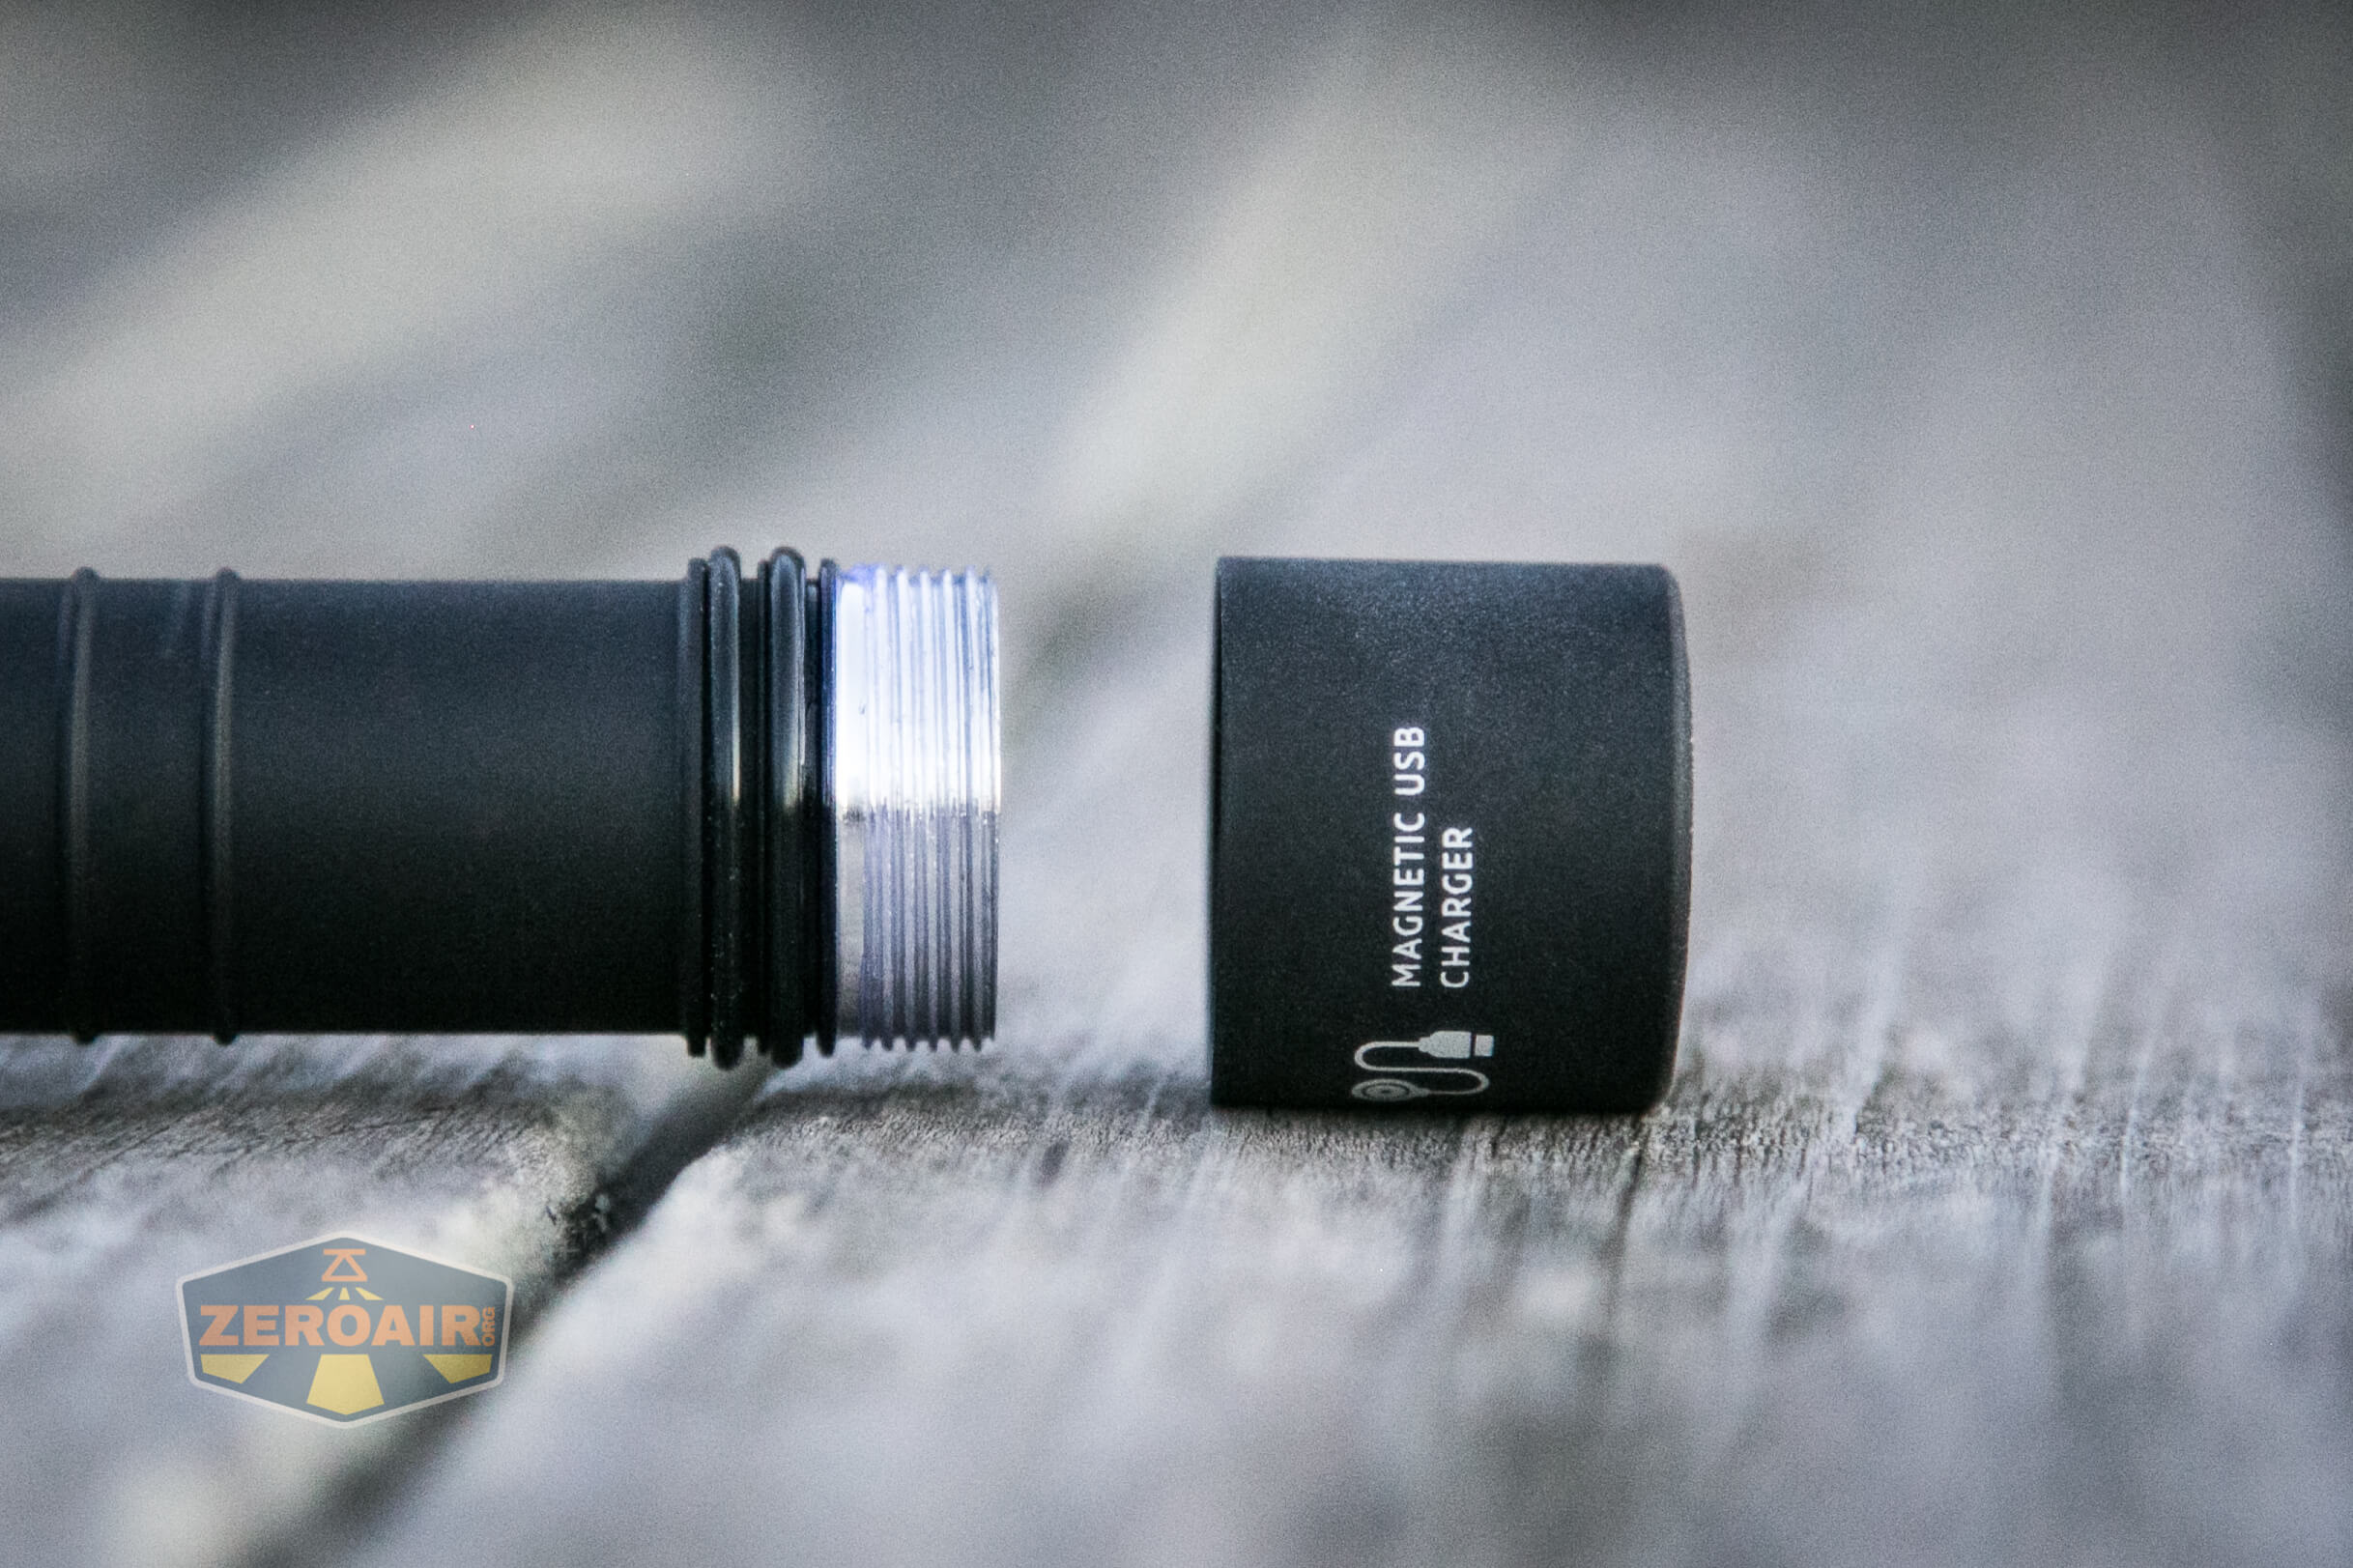
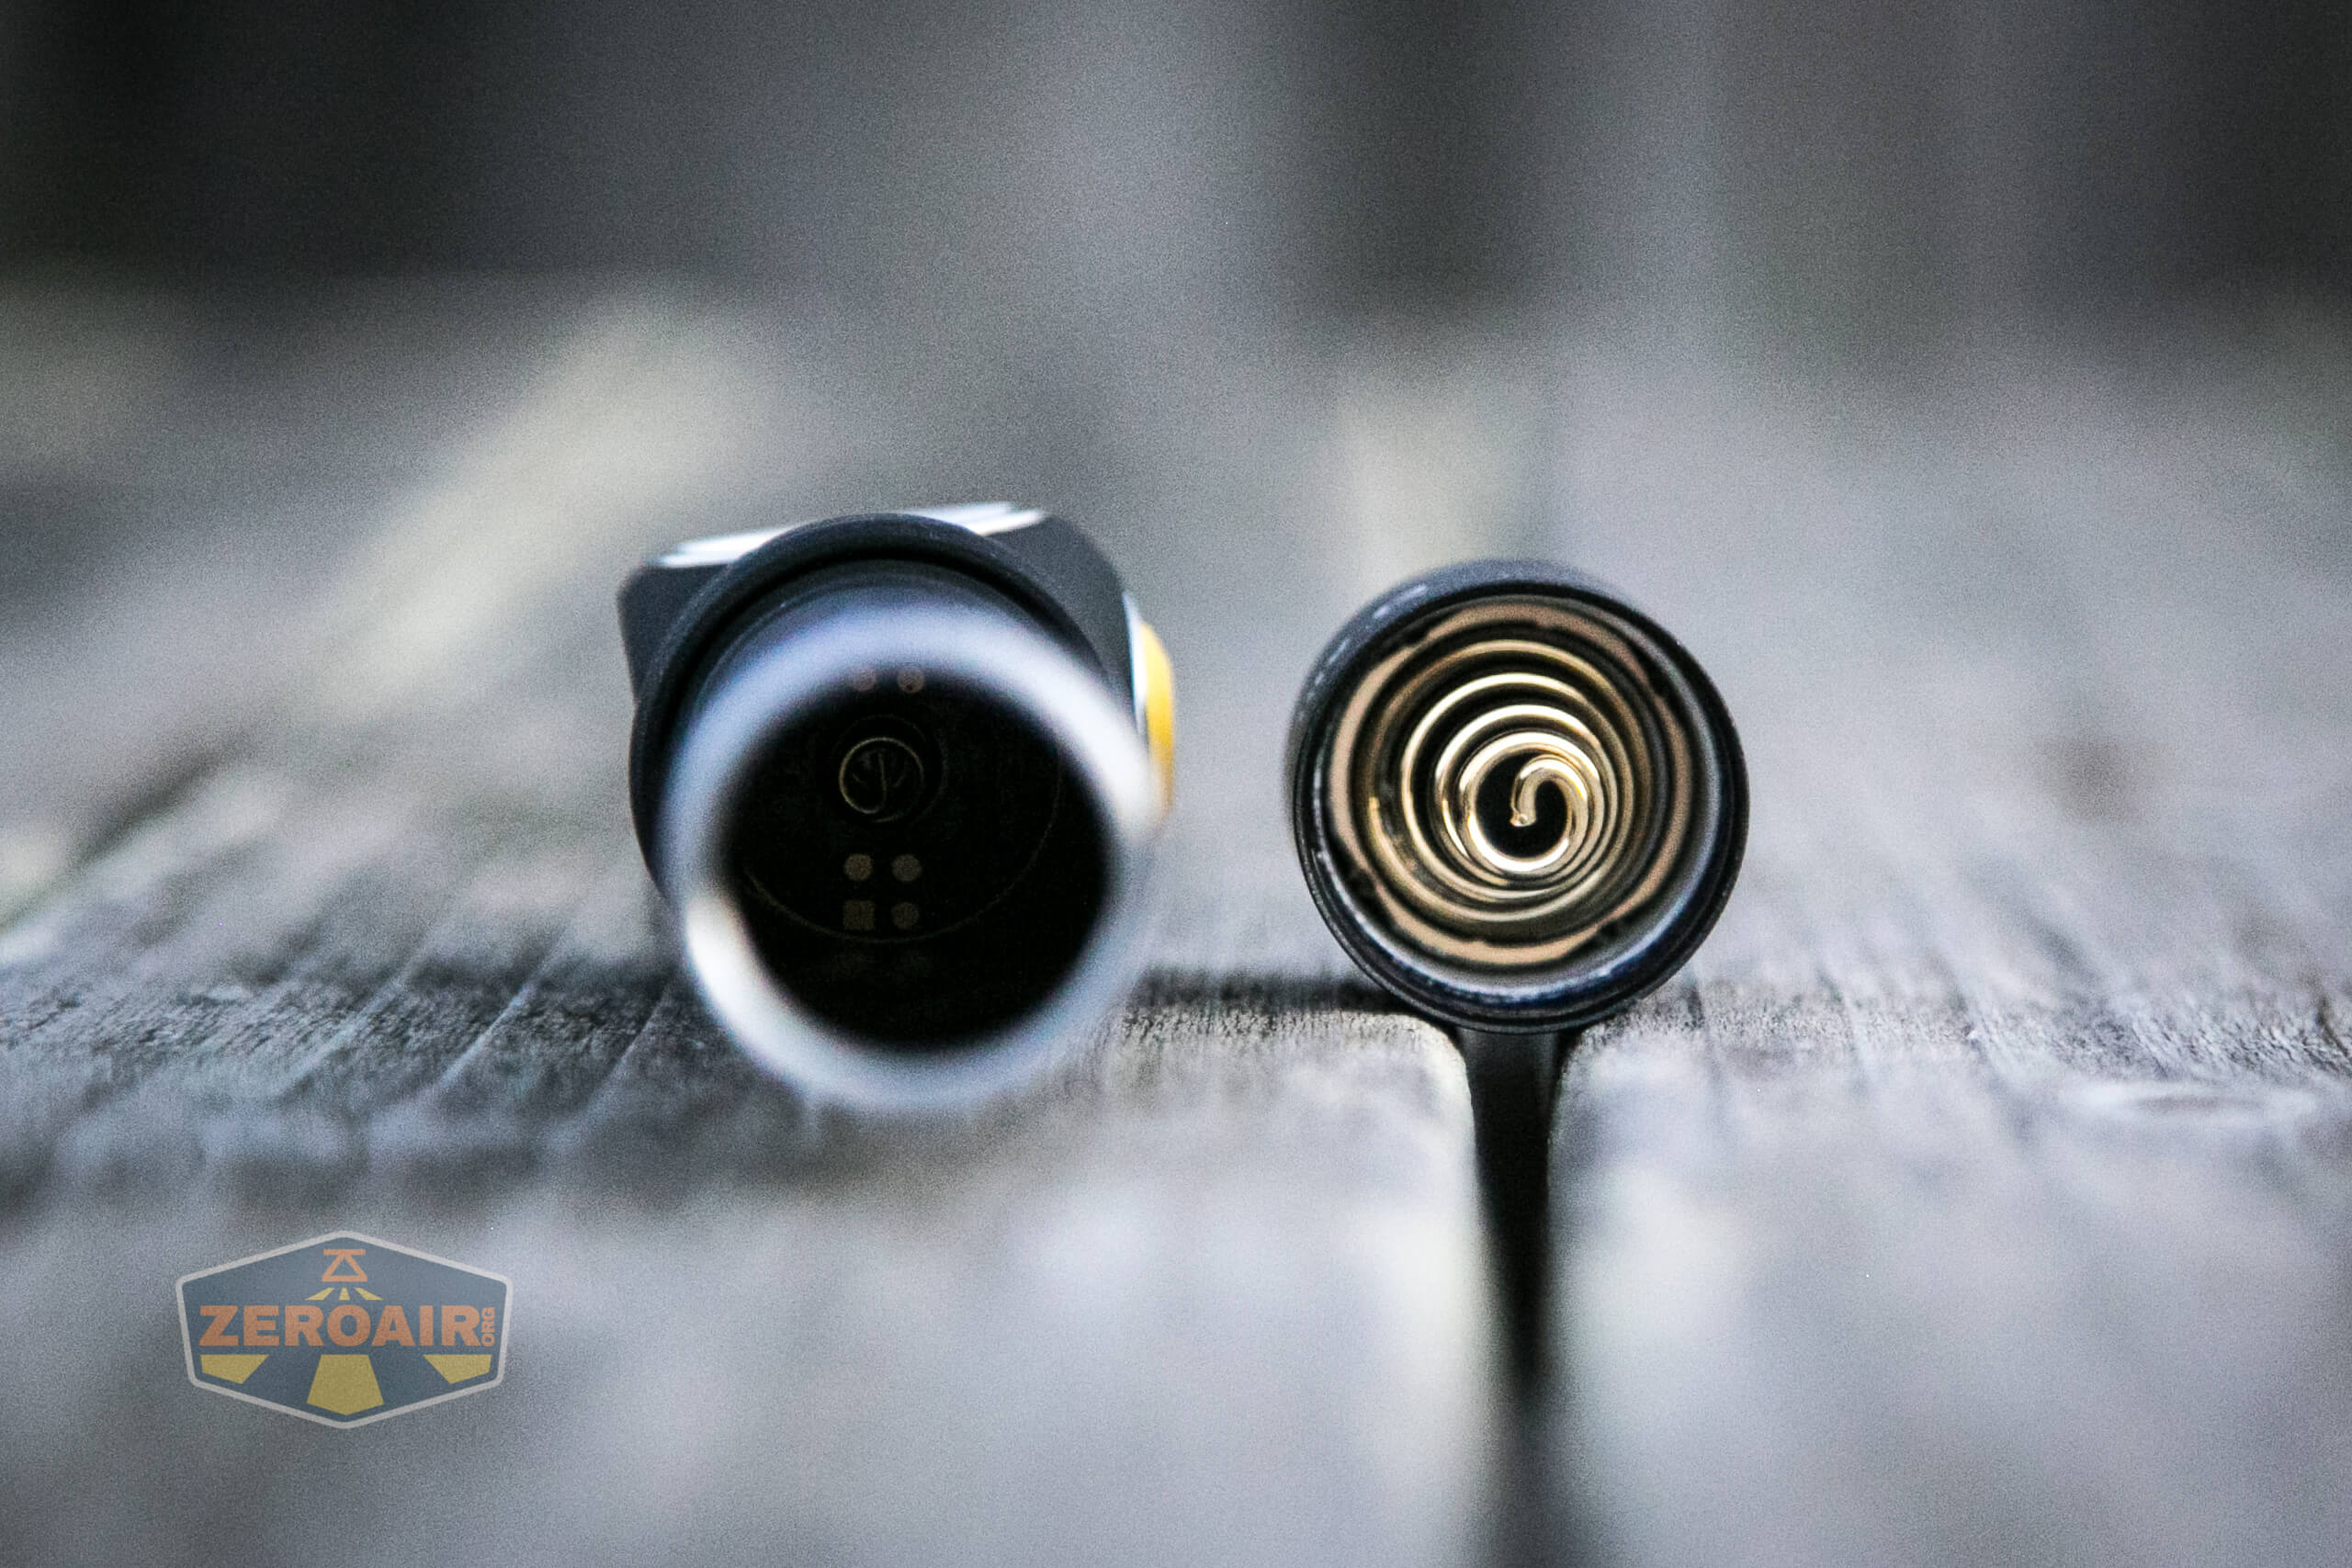
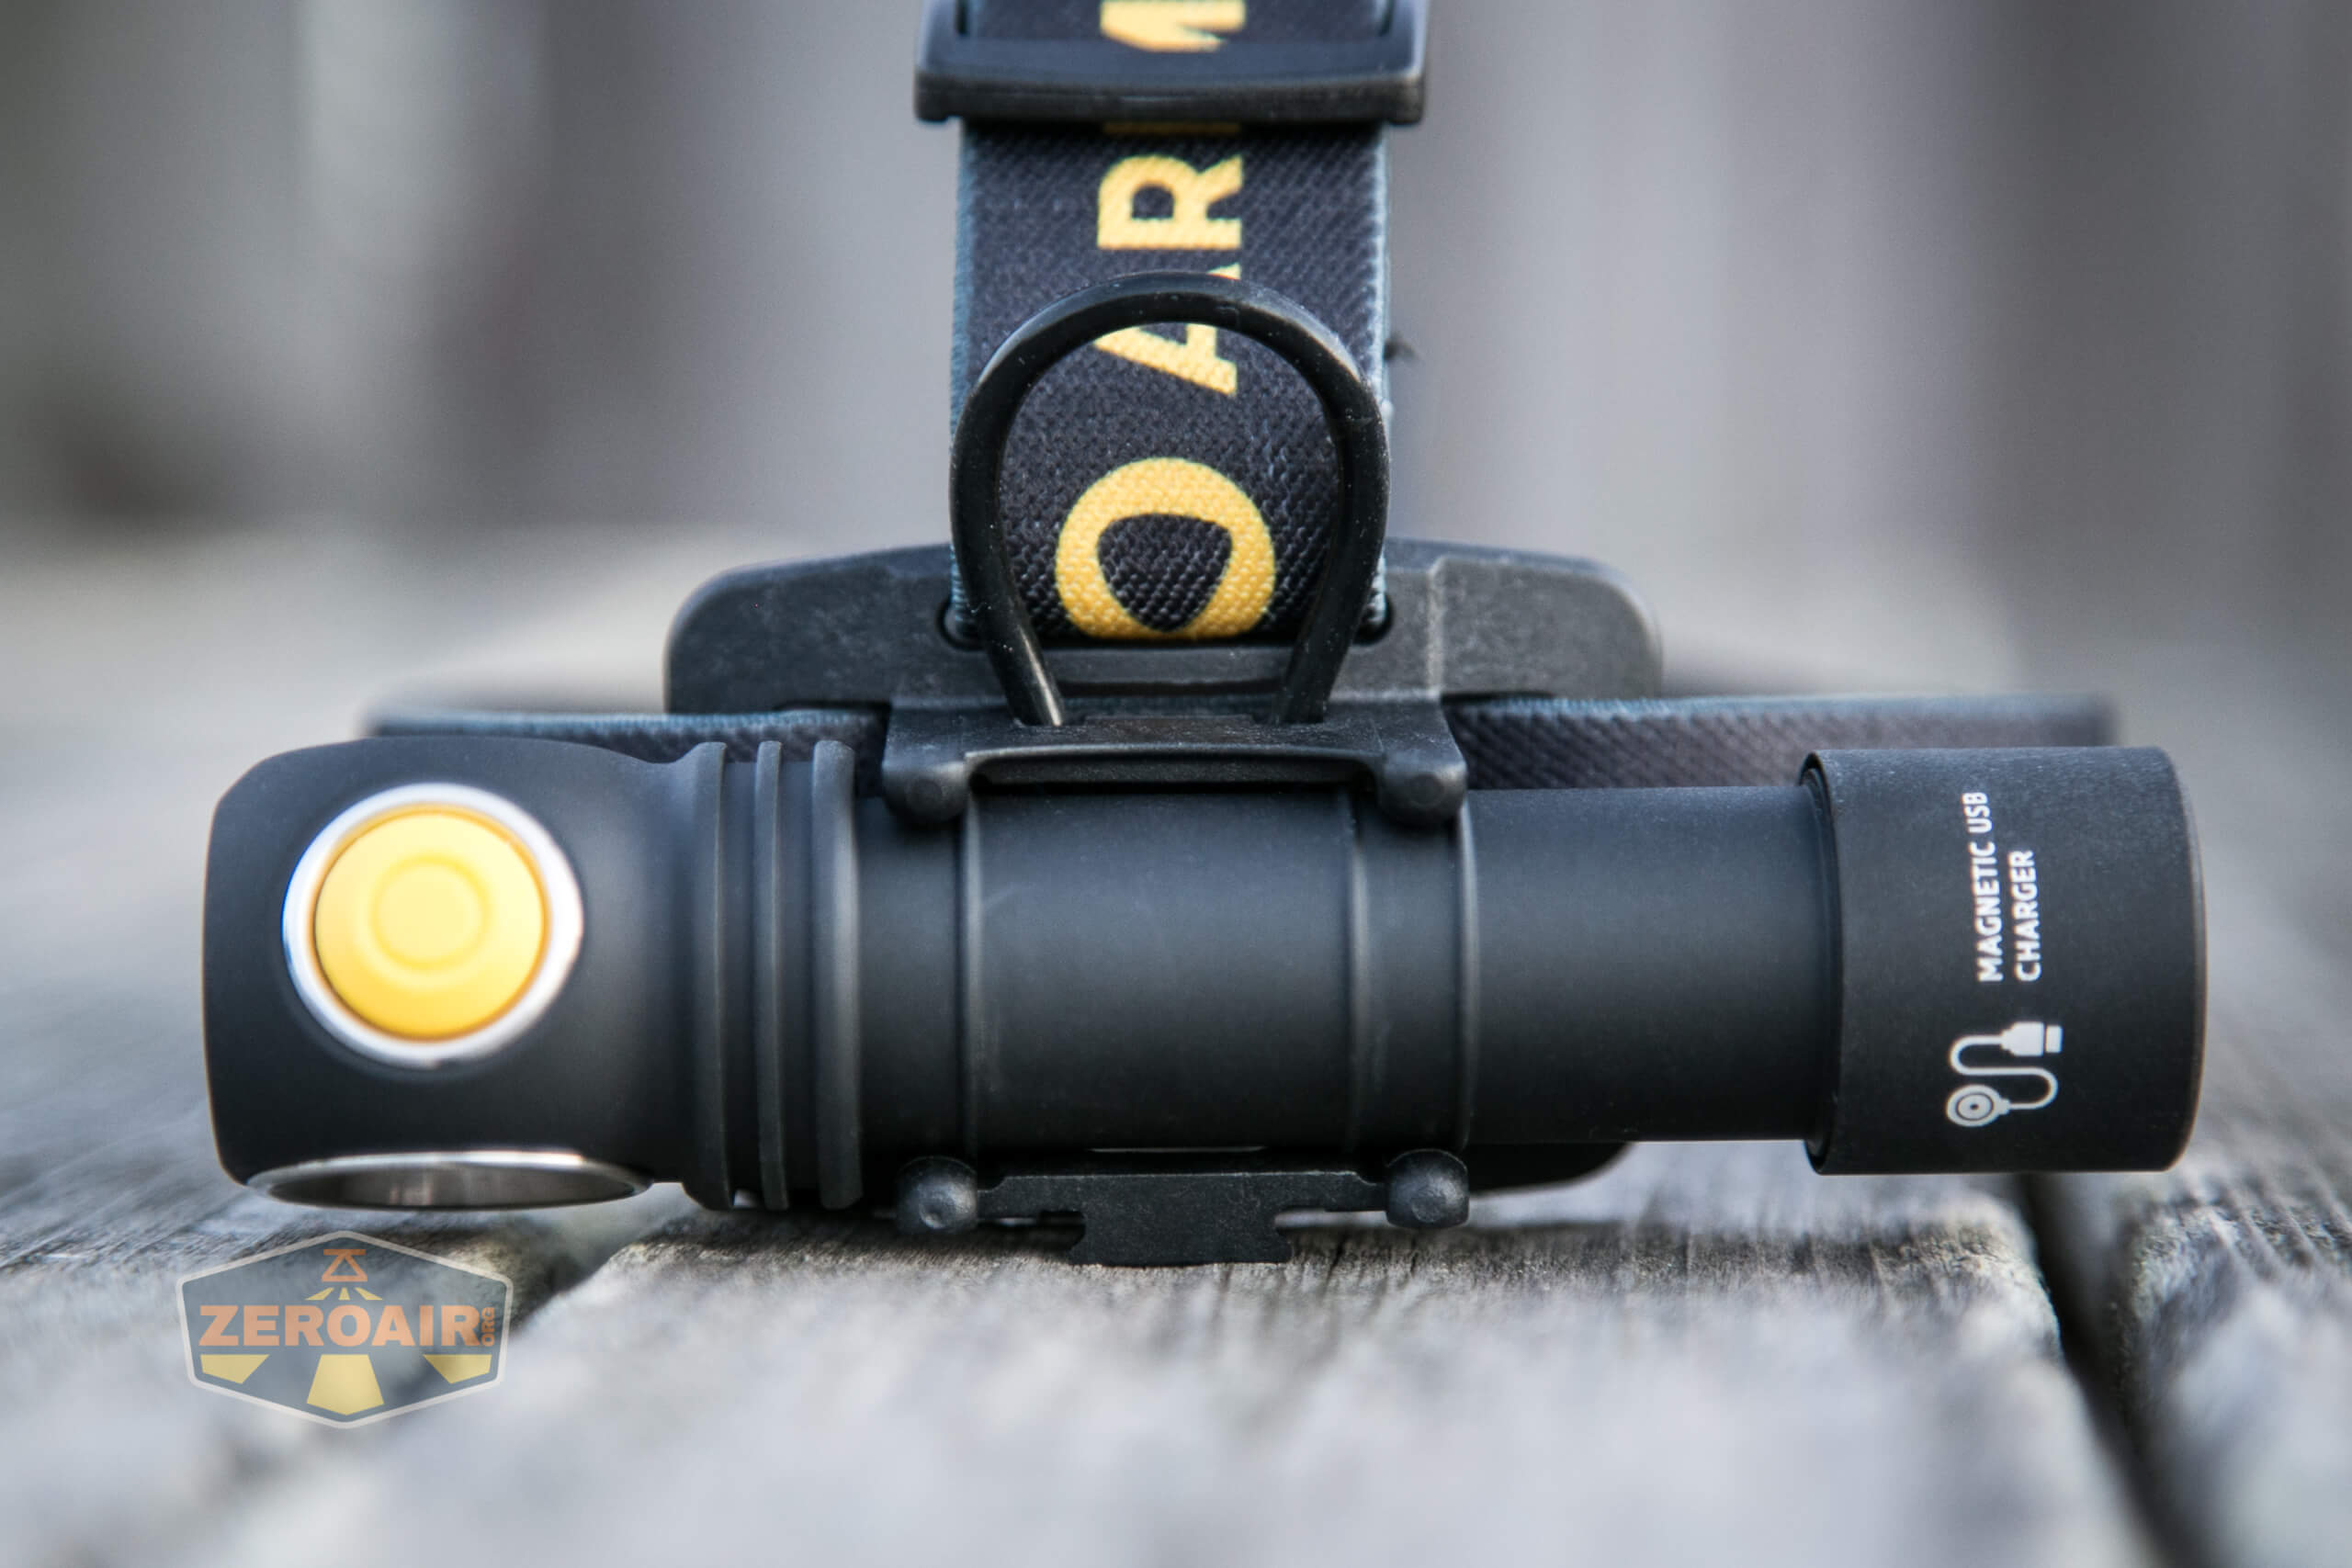
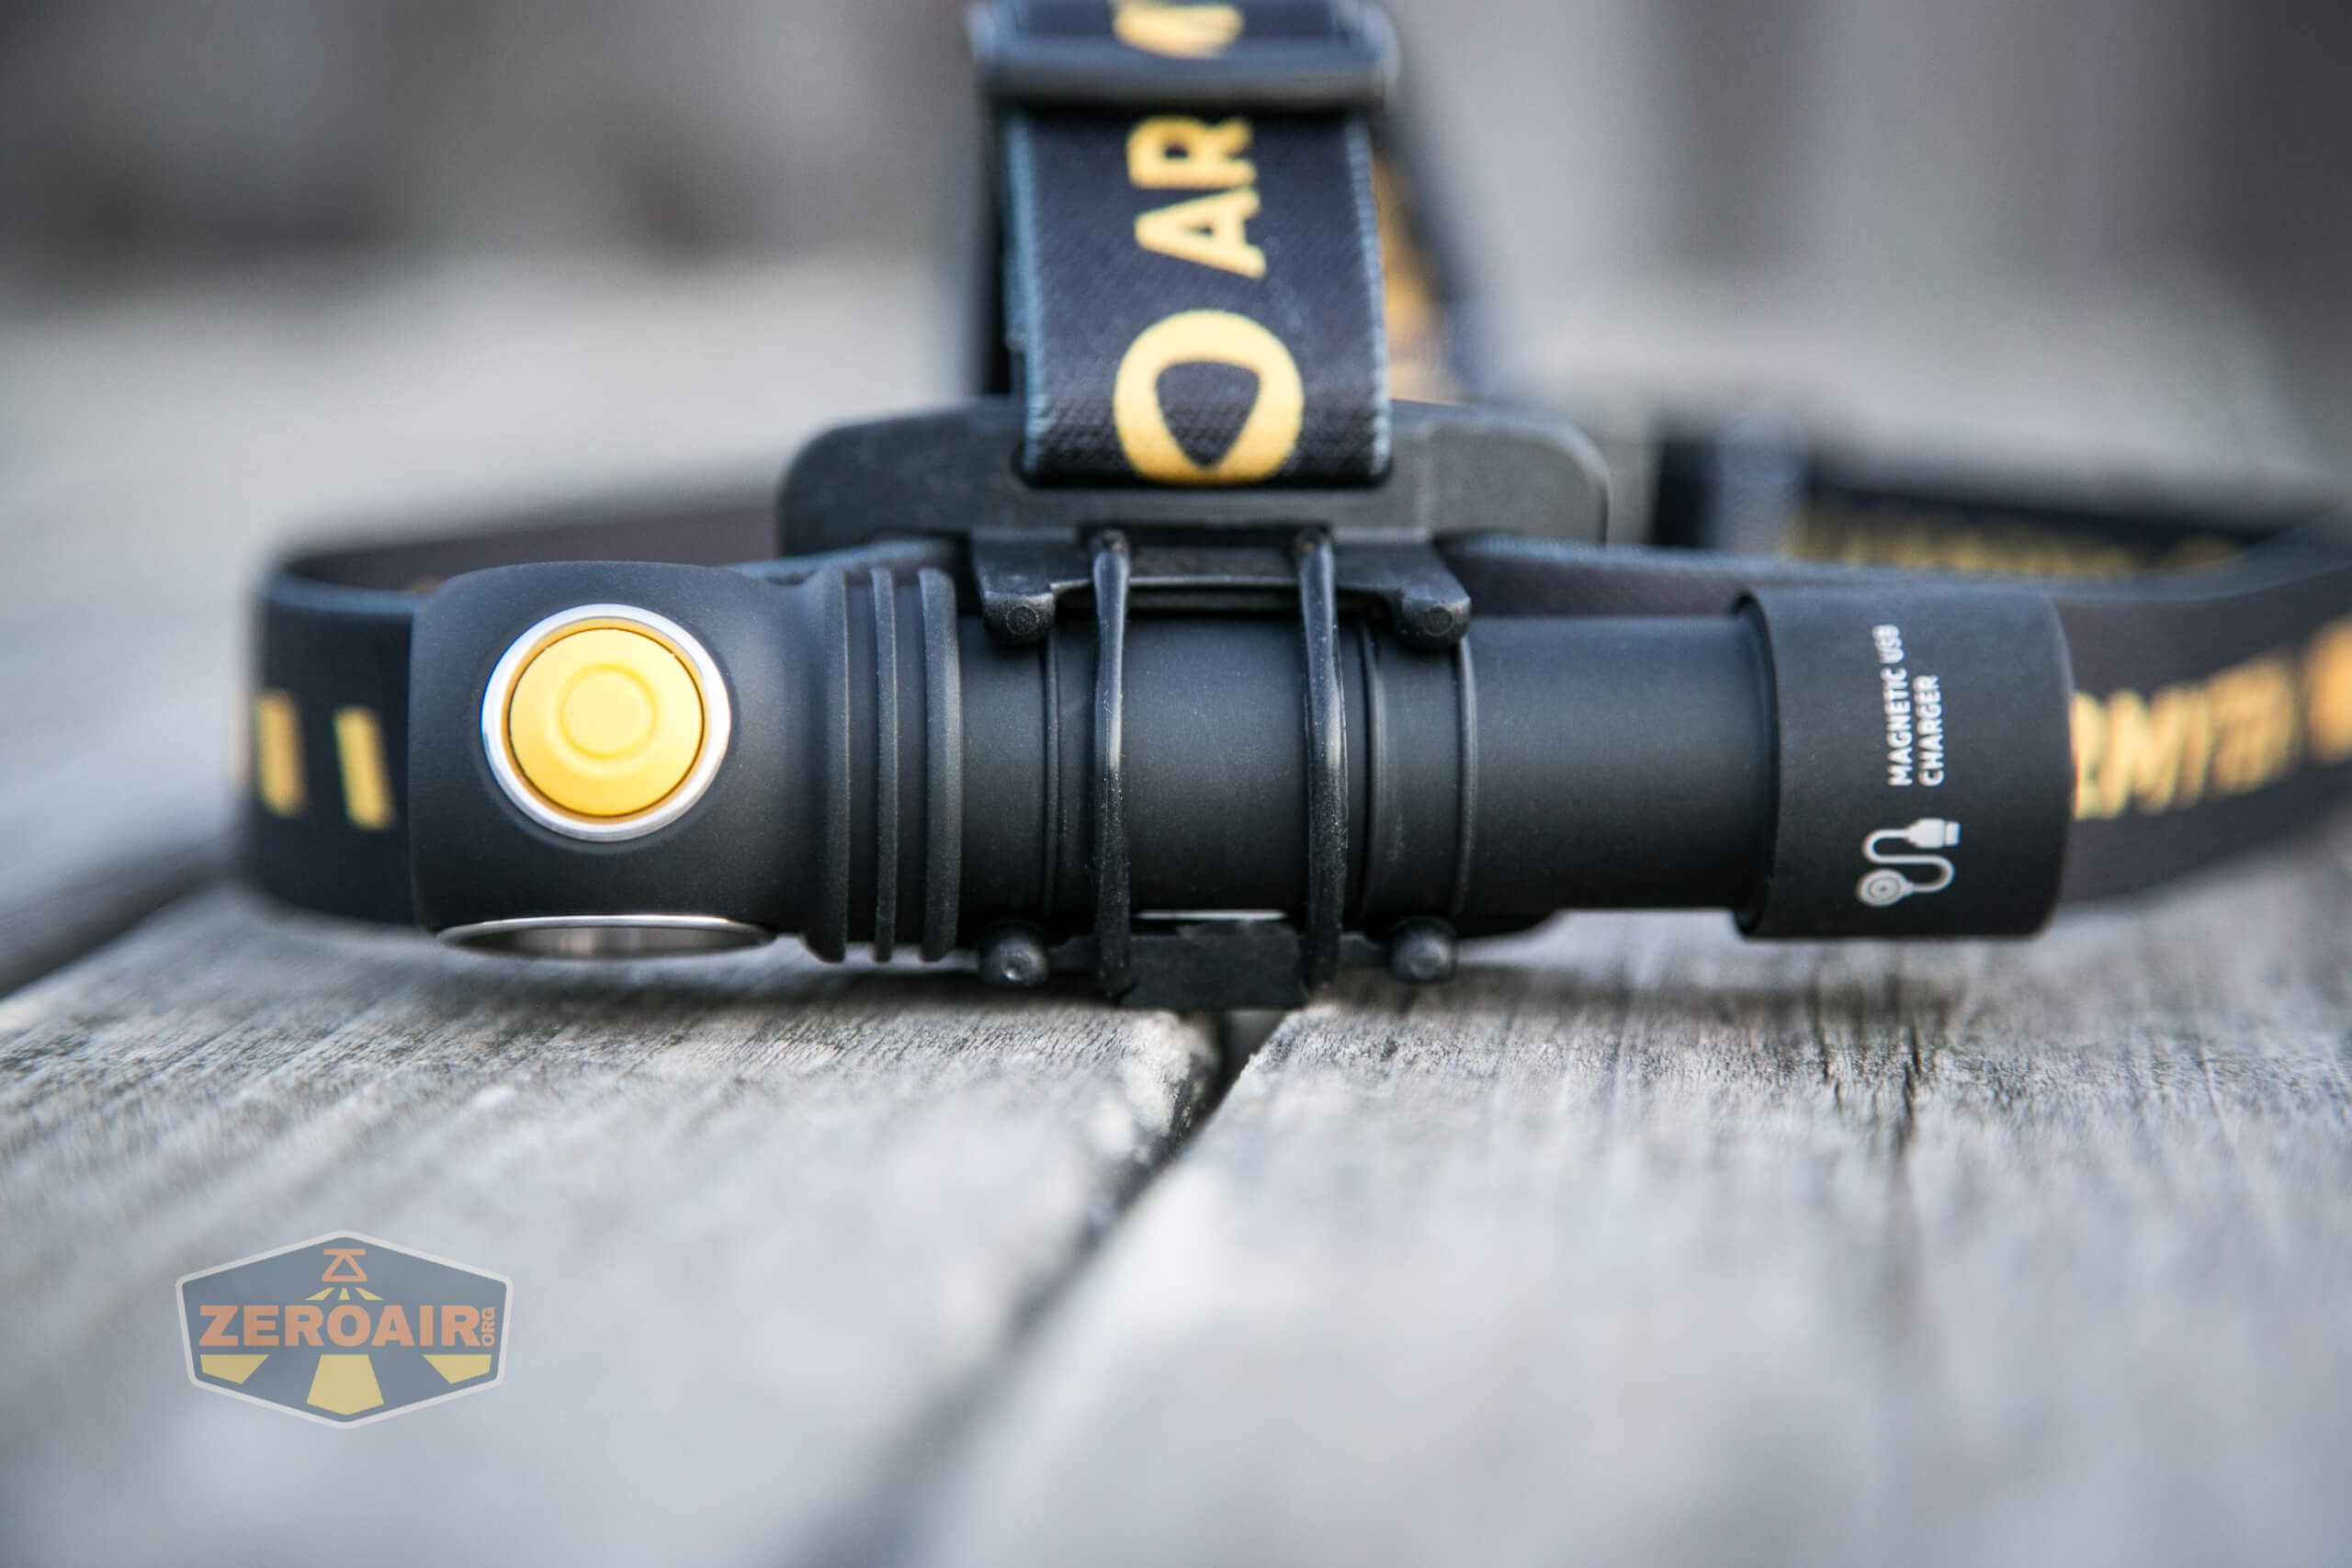
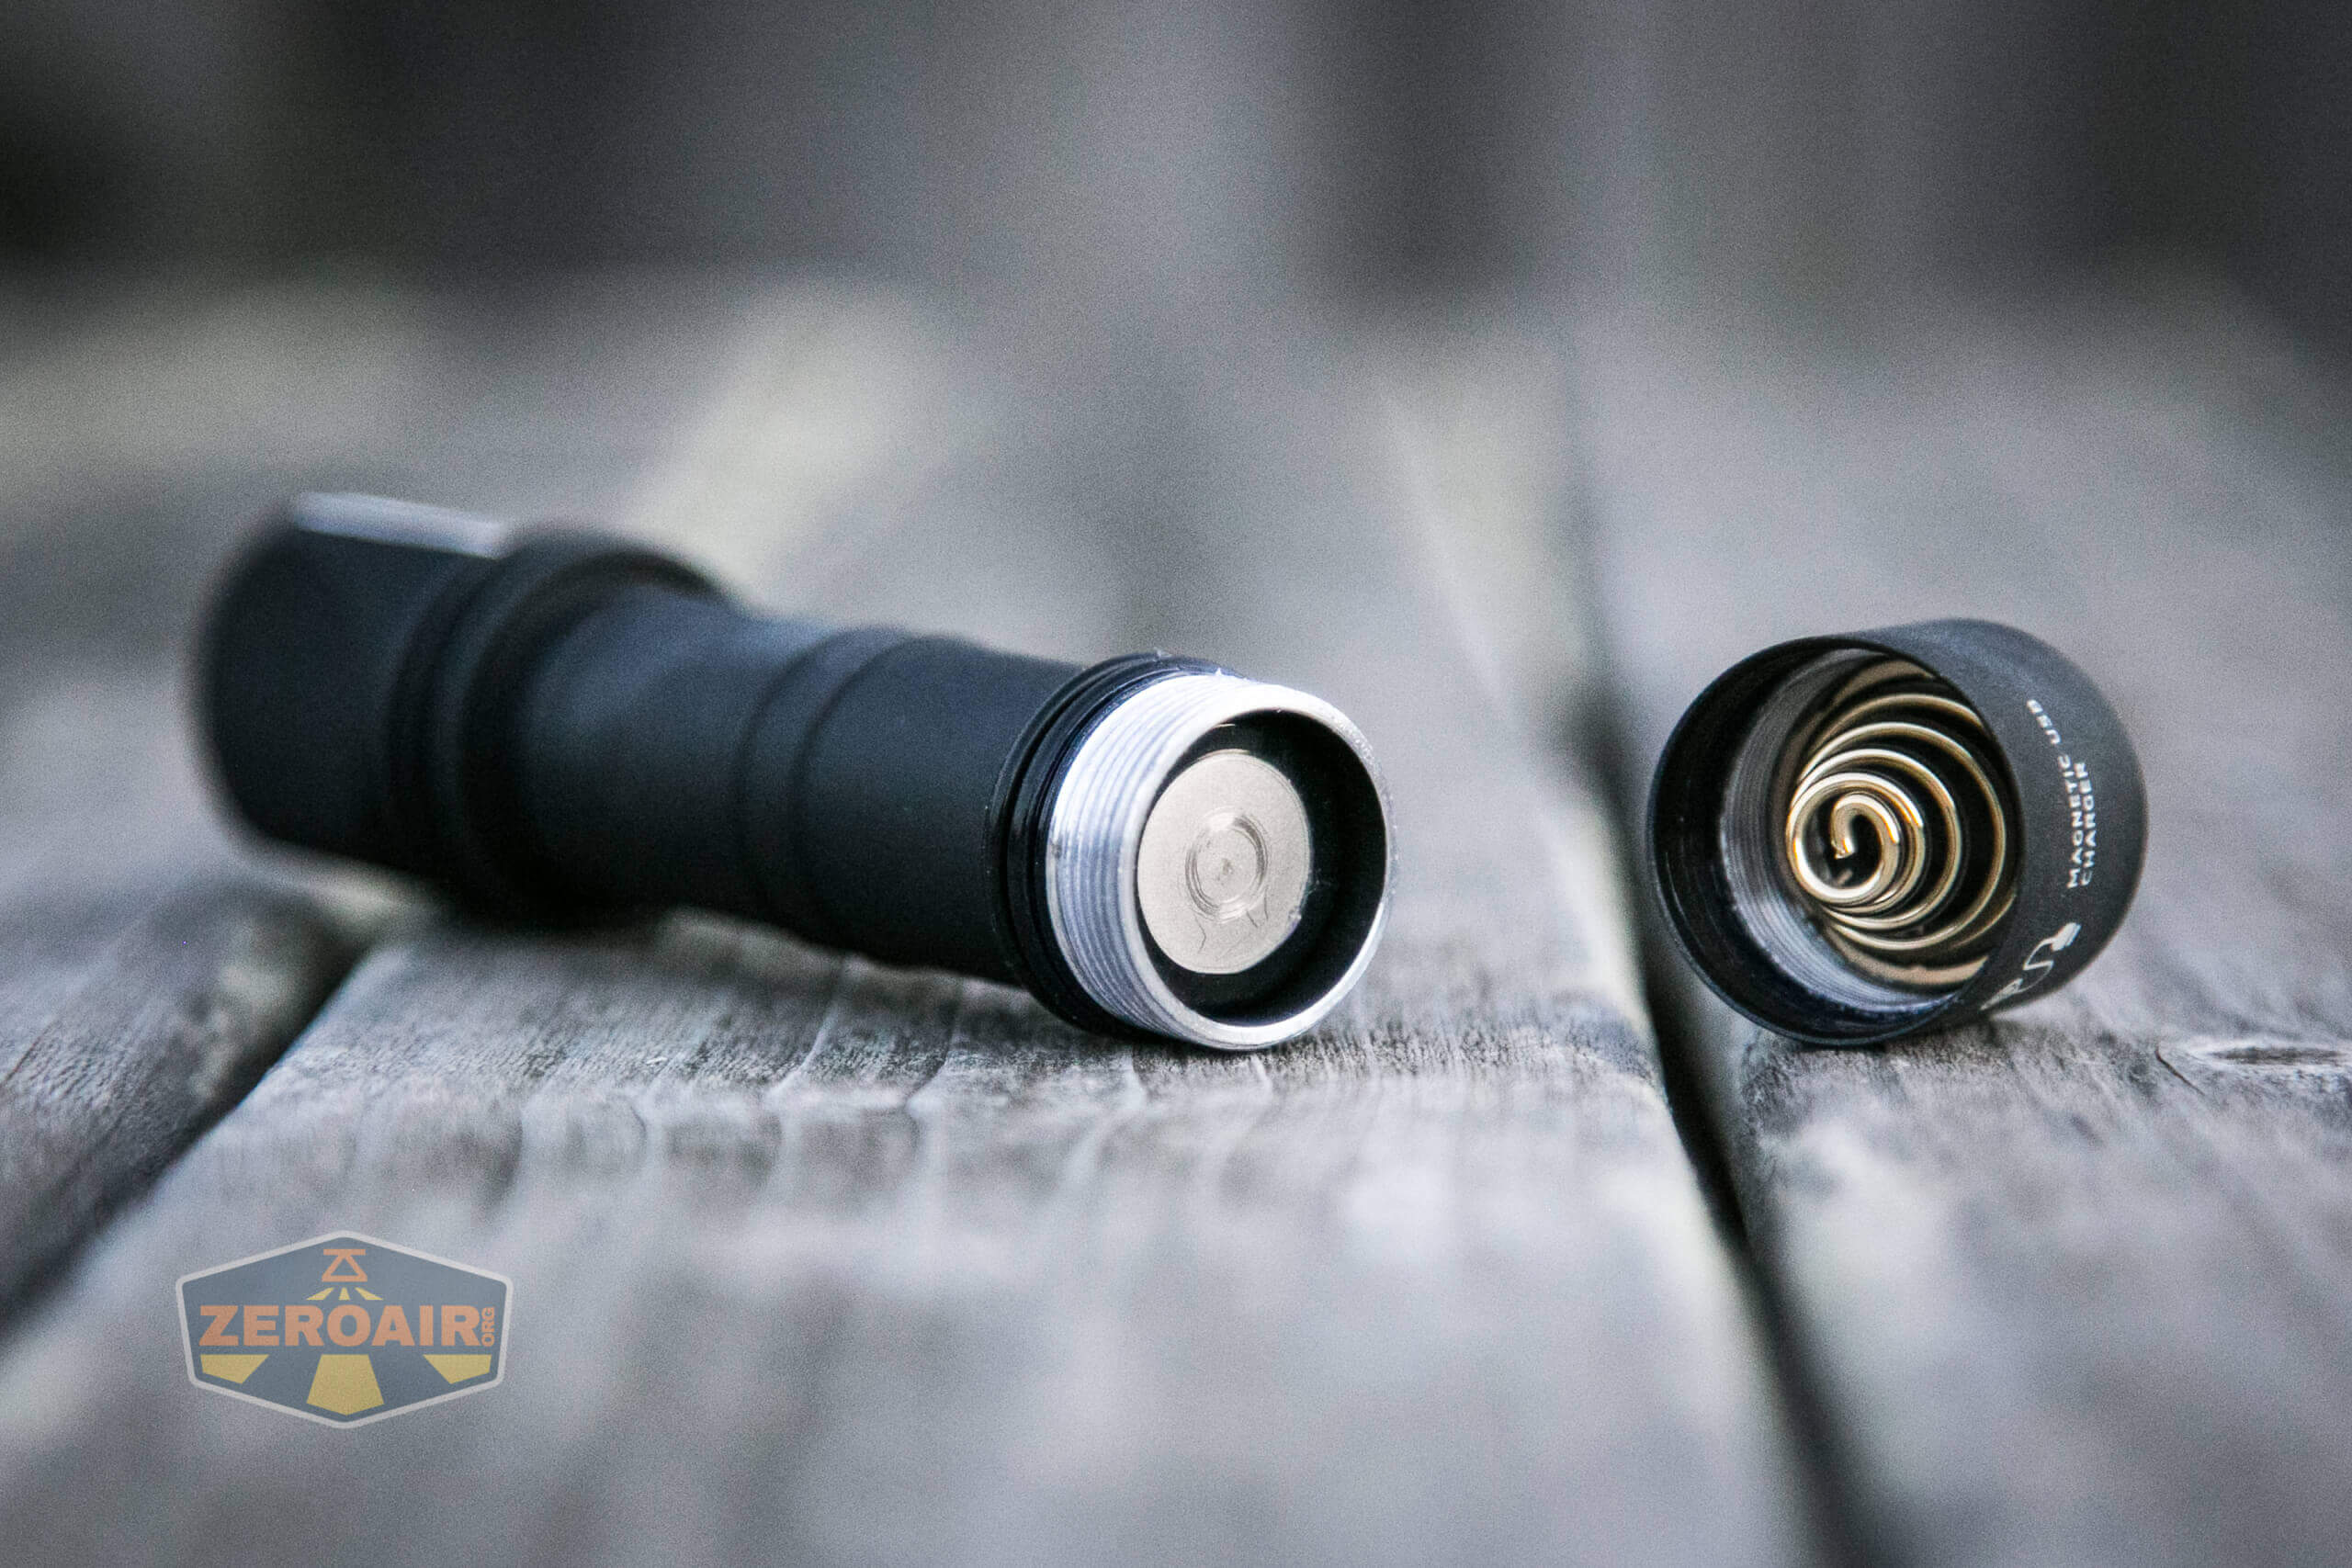
Charging
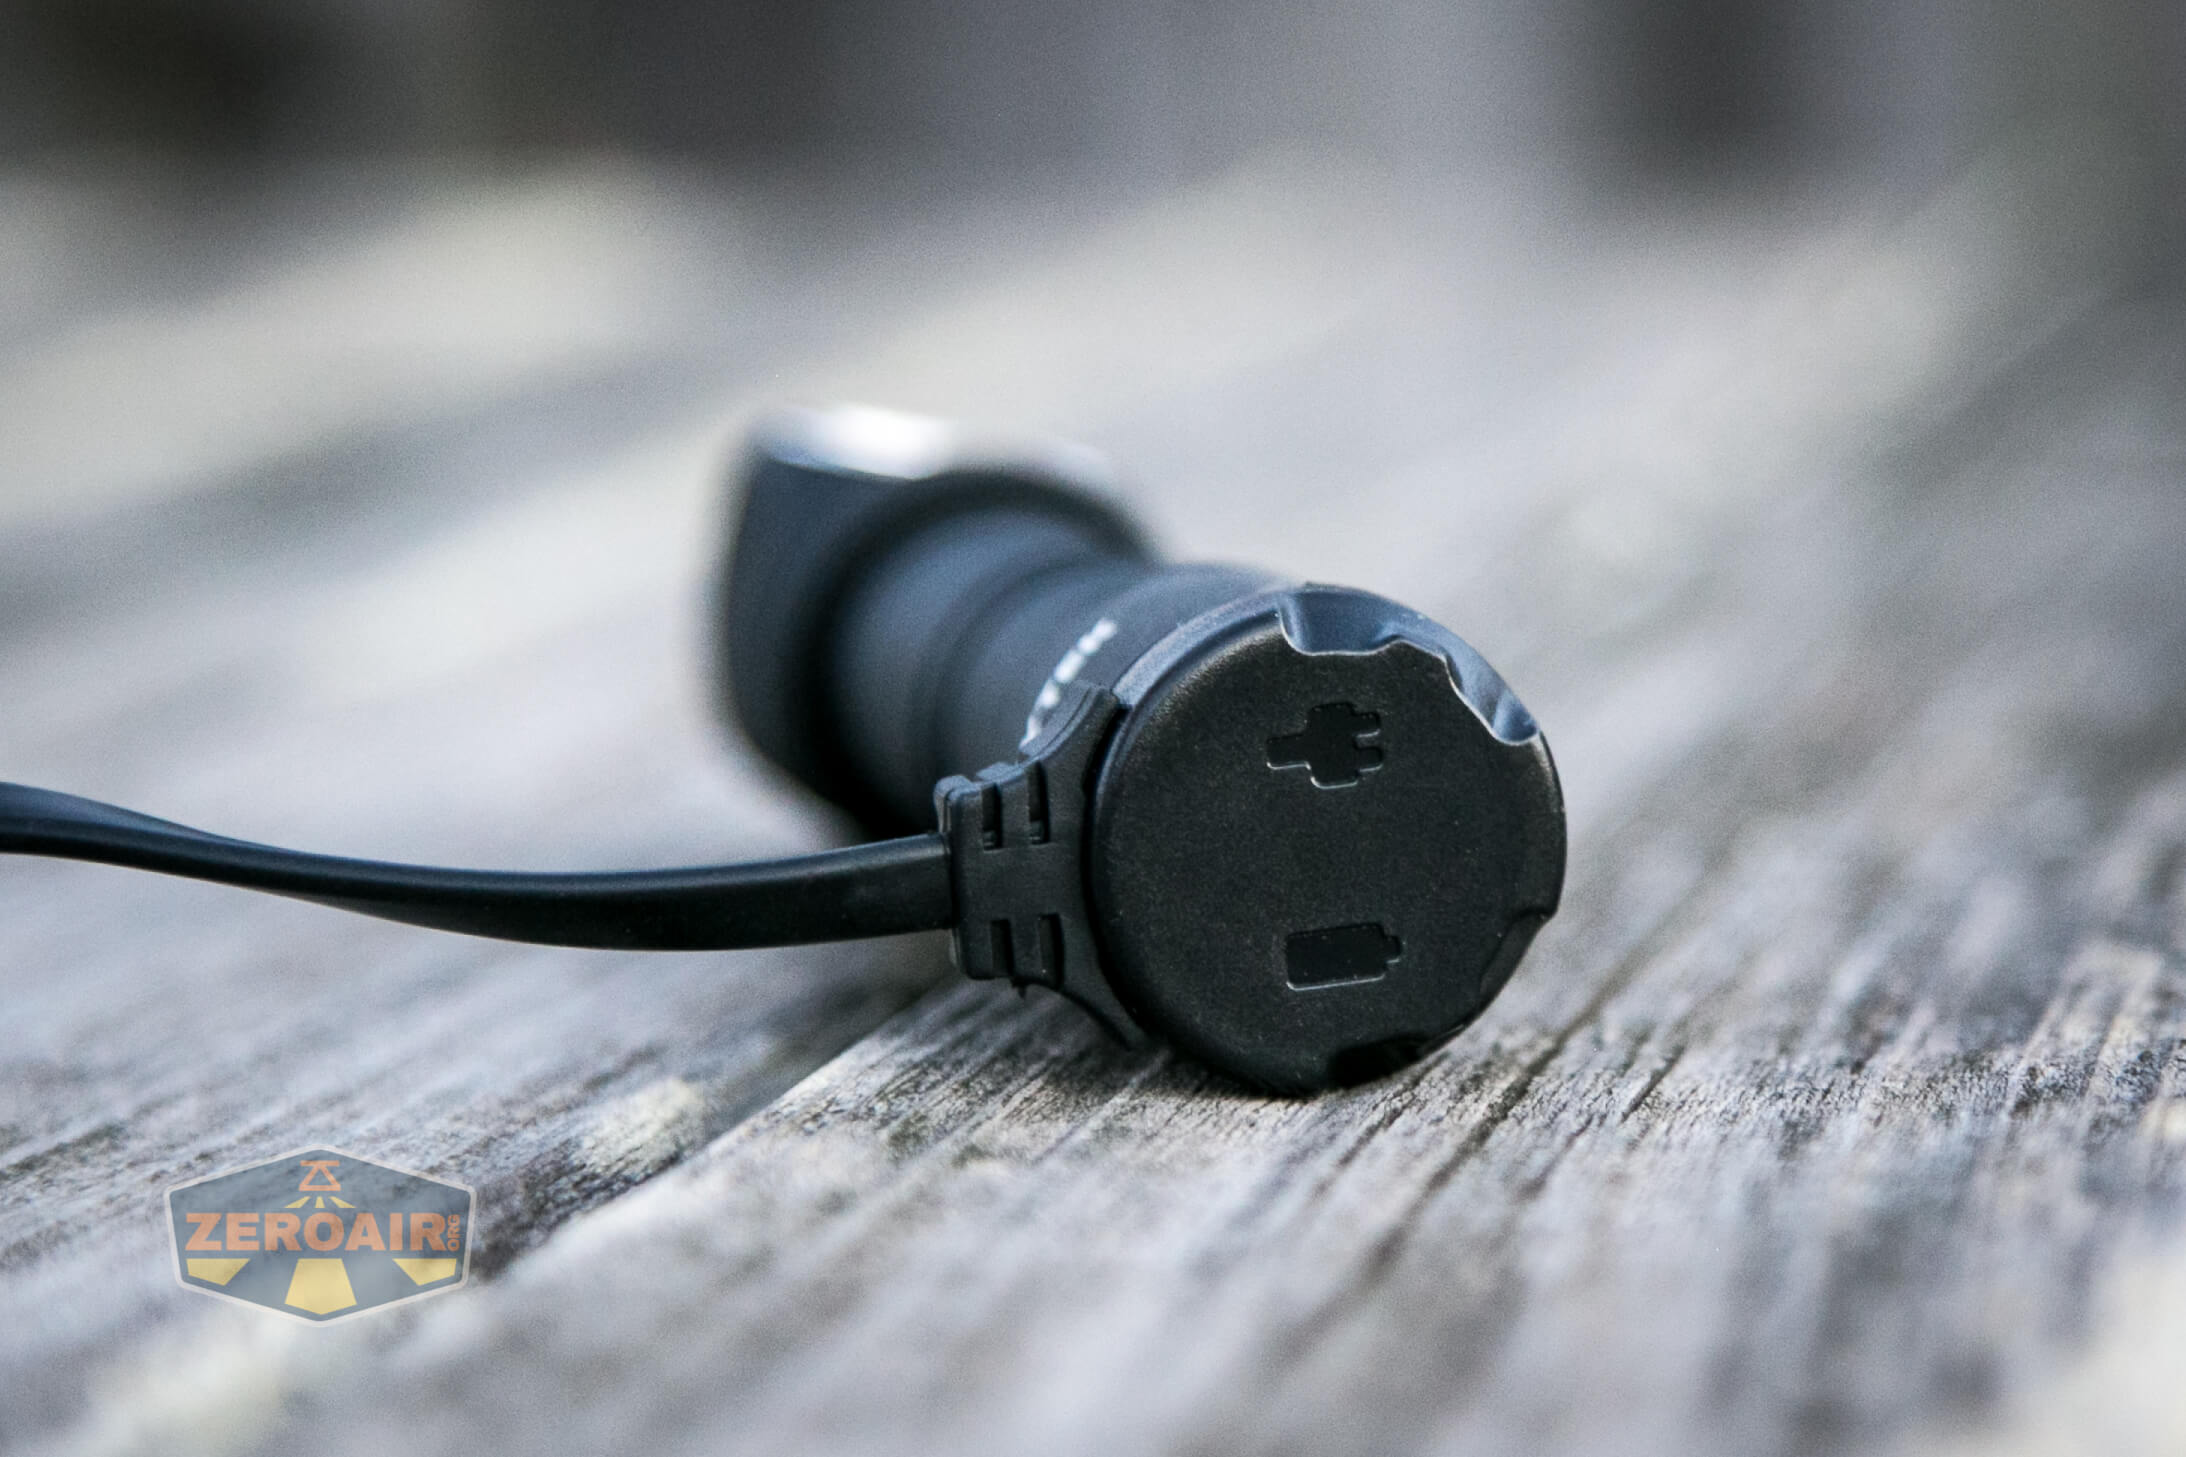
Charging on the Armytek Wizard C2 Pro Nichia is via a proprietary magnetic charge base.
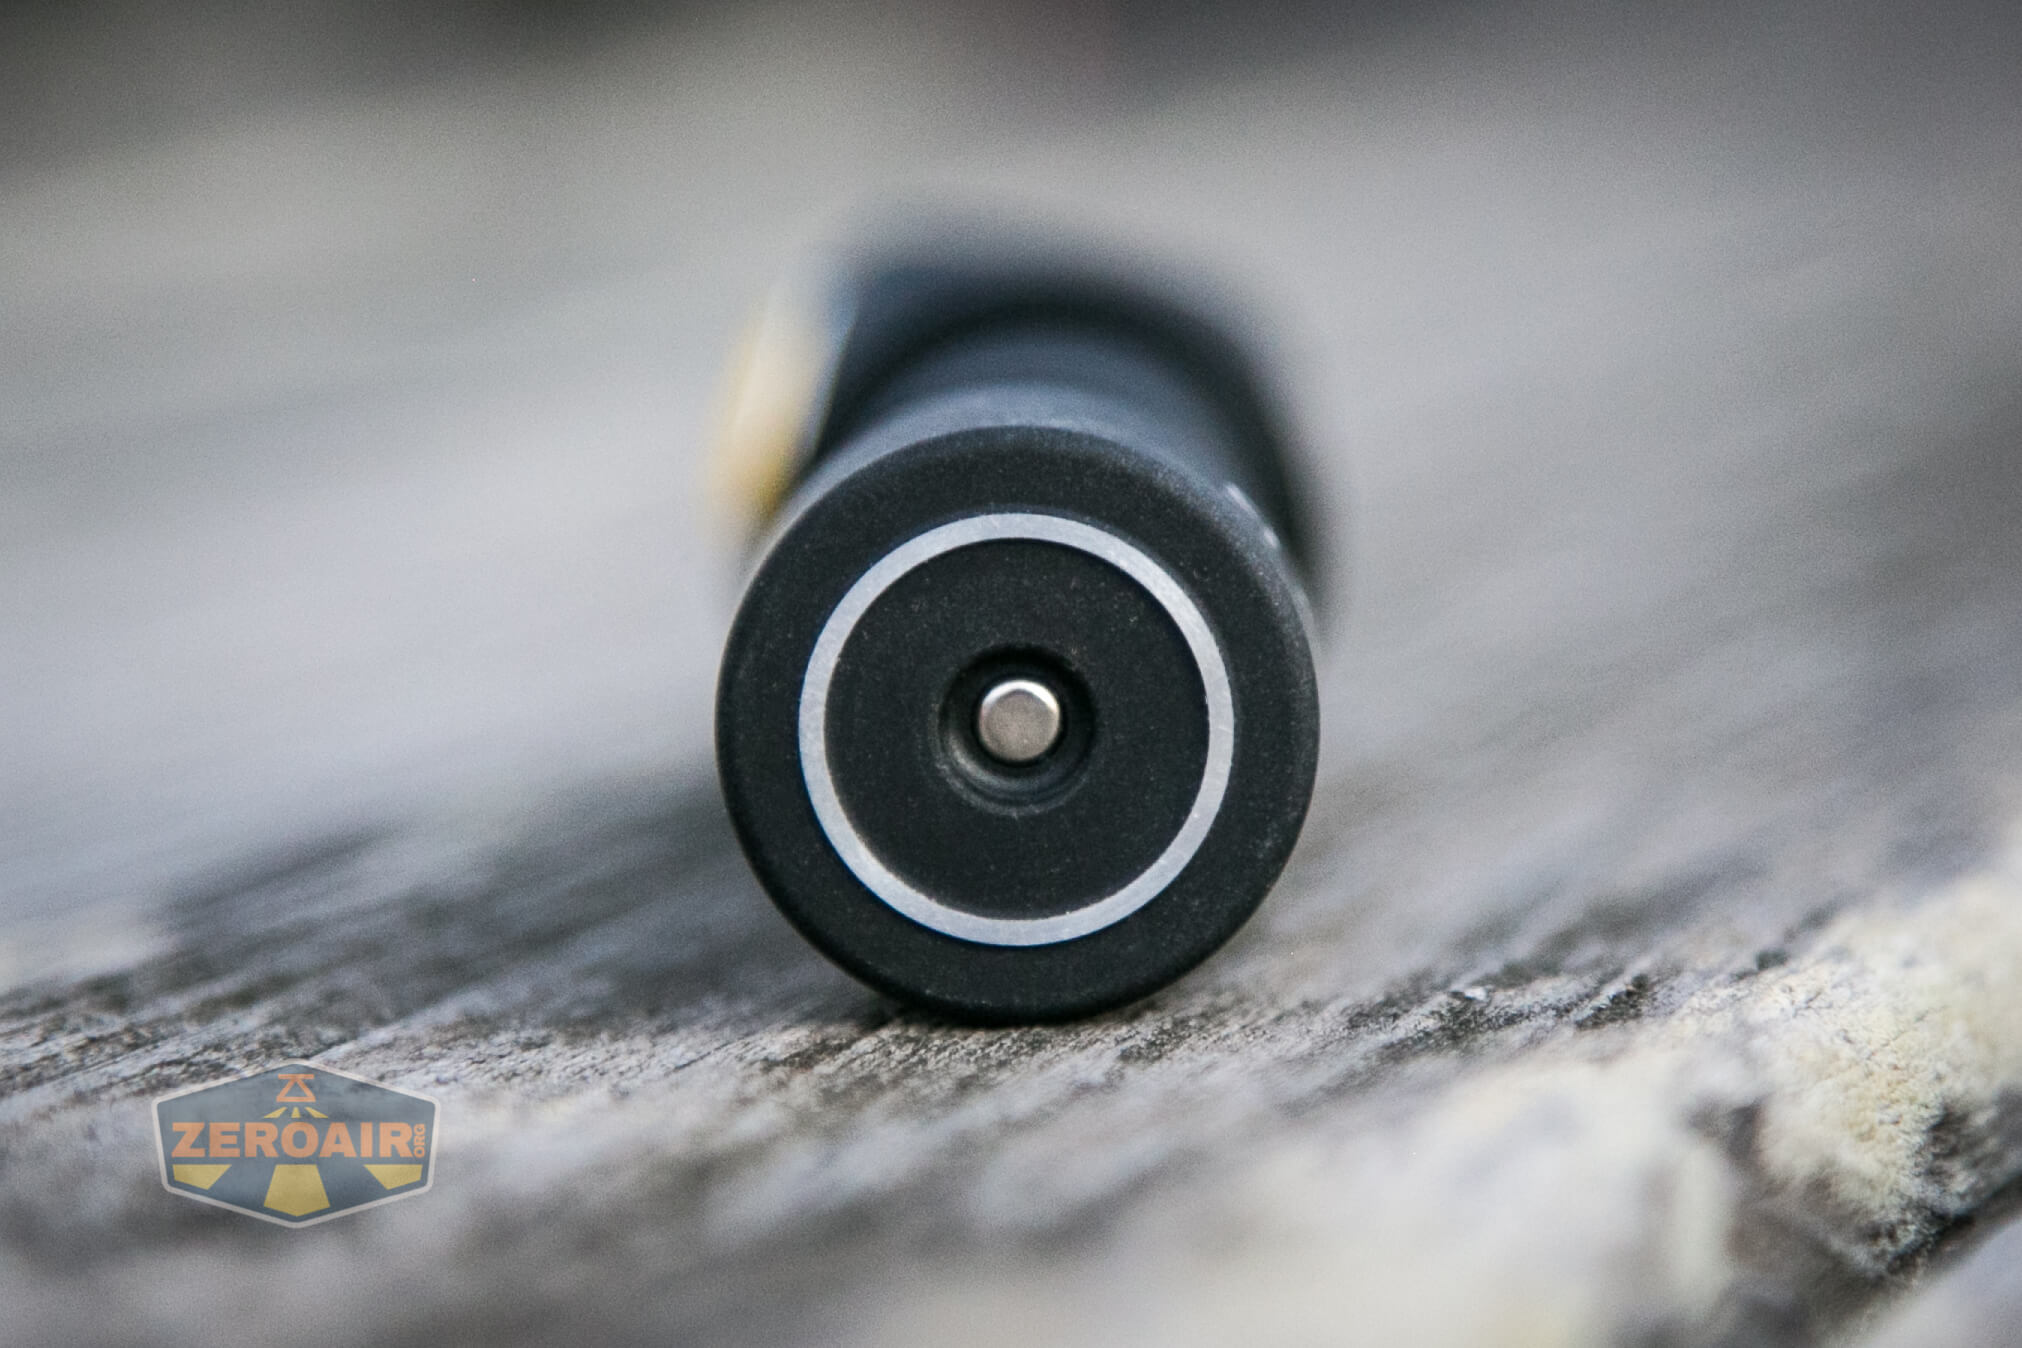
A charging adapter is included. It’s USB to proprietary magnetic, as seen below.
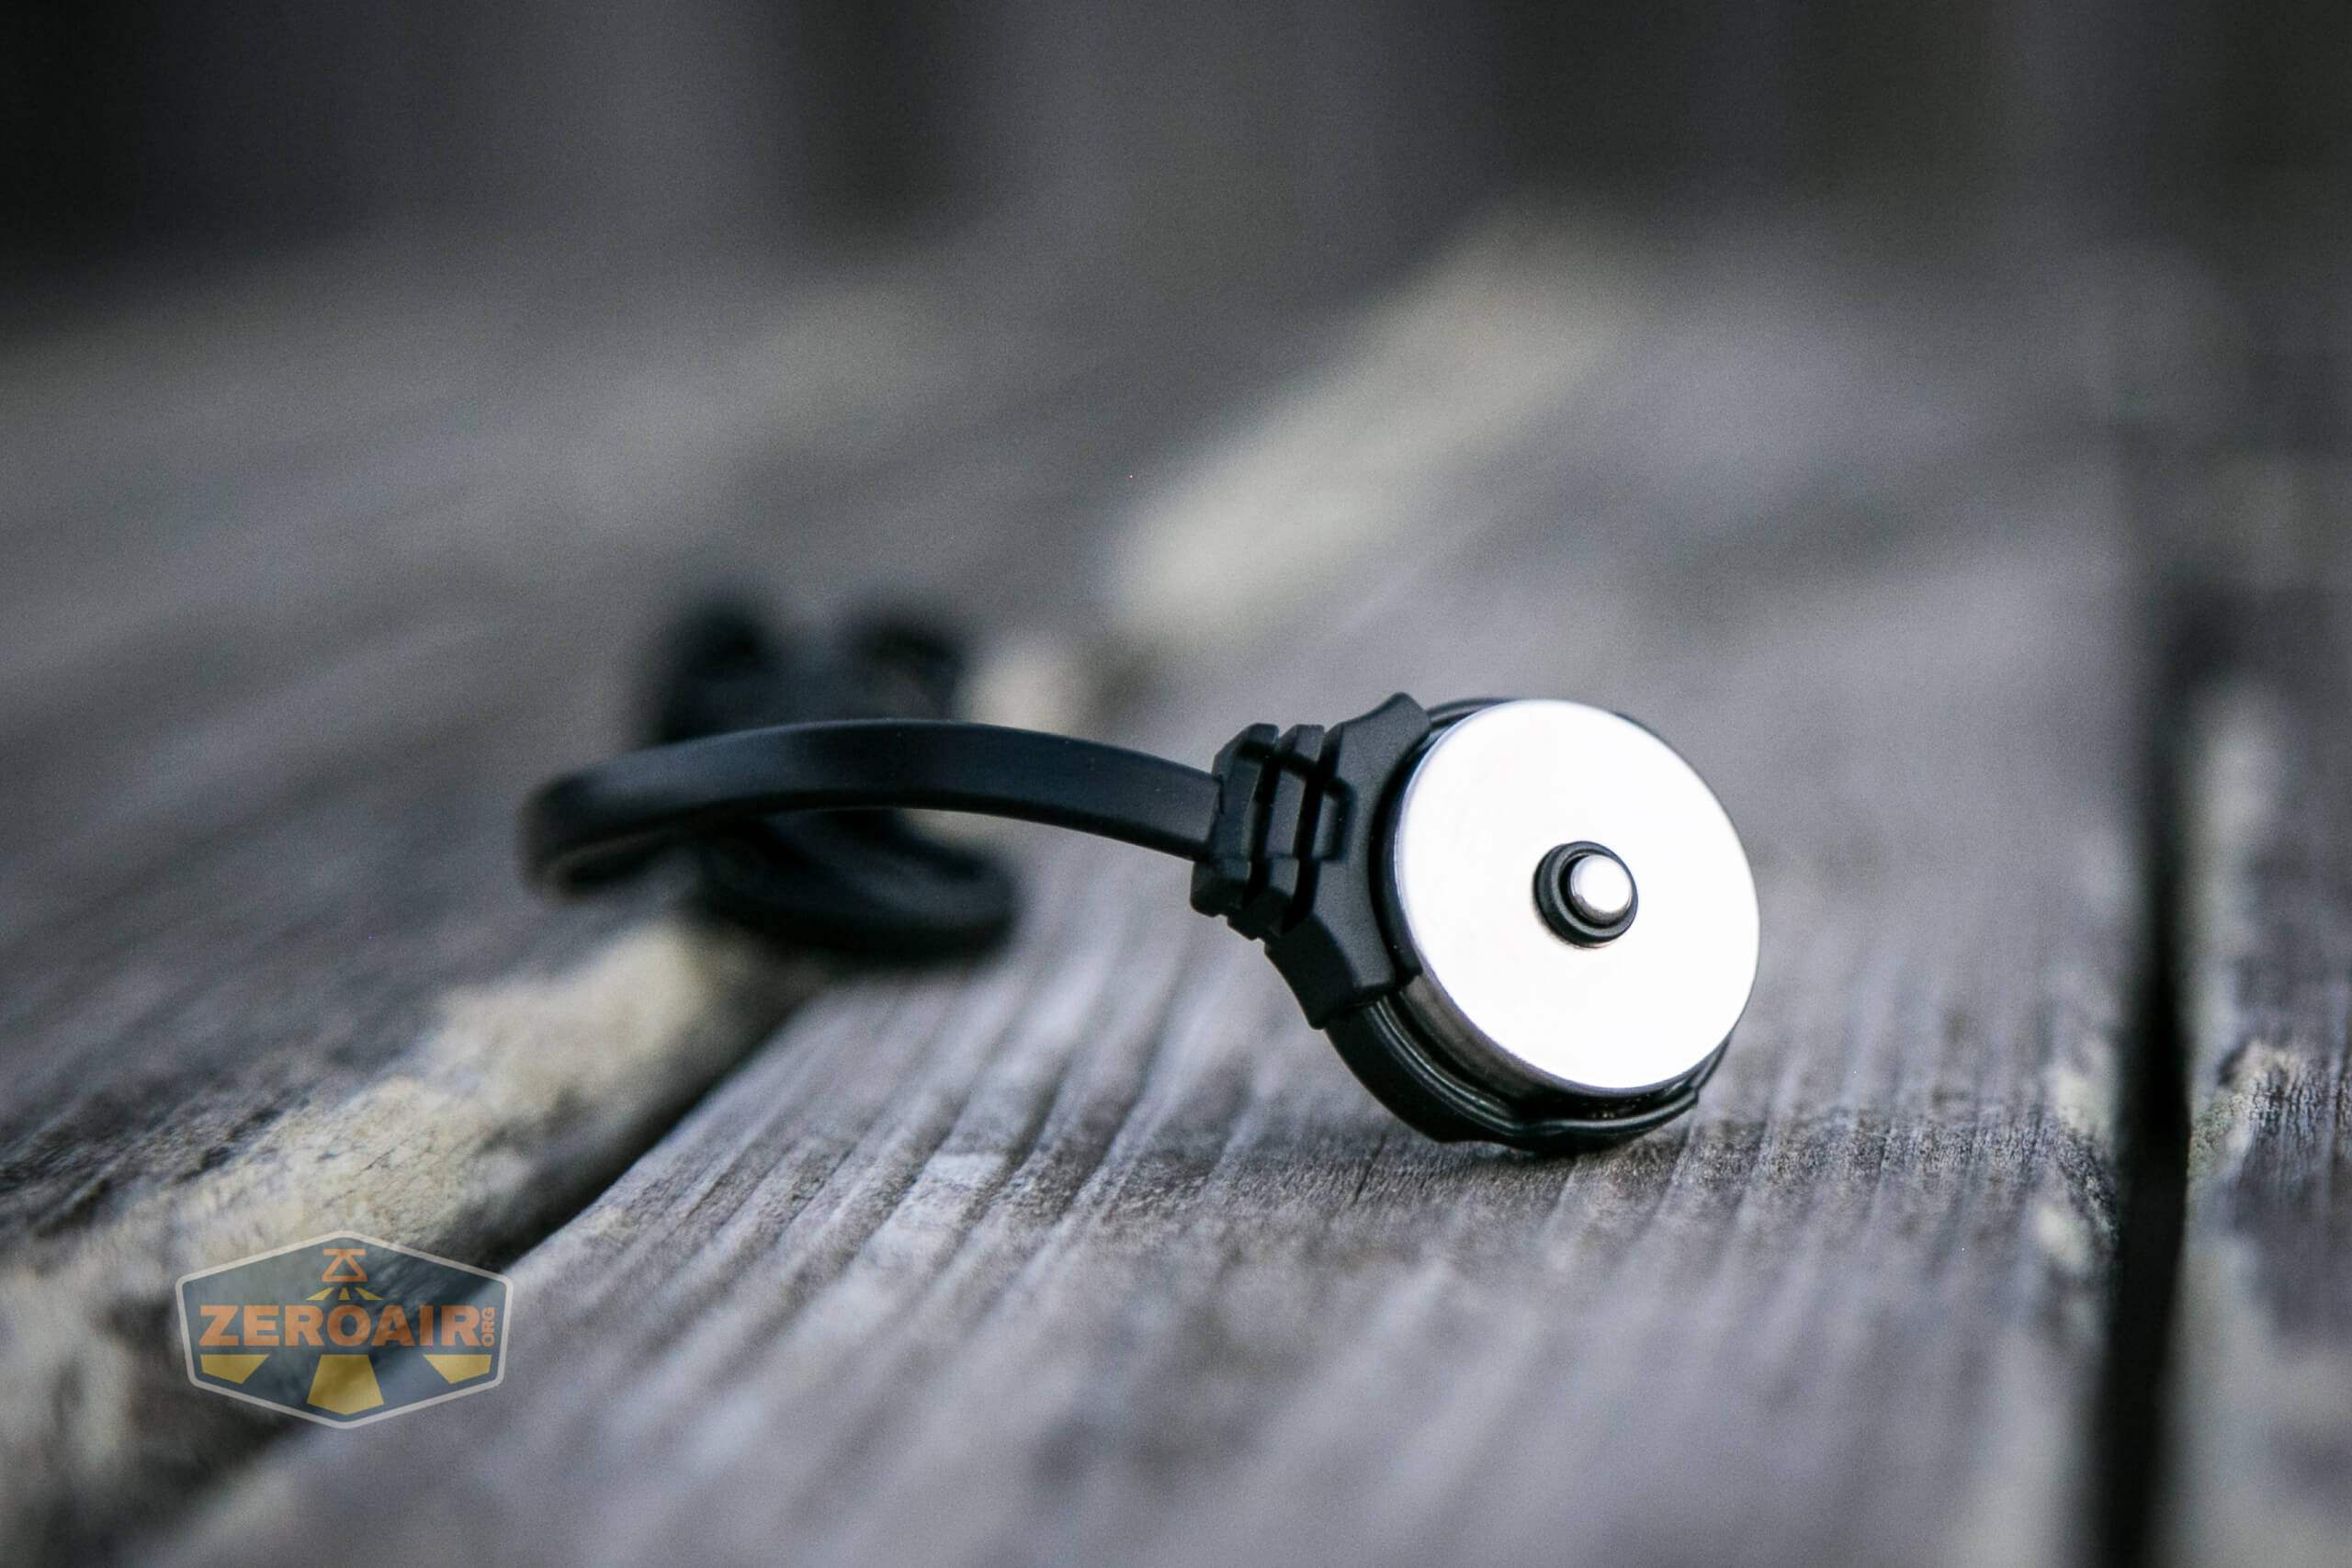
The charge connector is nice and flat, and the light will rest on it. However, you won’t be able to use the light while charging.
Two indicators are built into the charging base. There’s a red and green LED, and they can both be steady or blinking.
Green Steady: Charging is complete
Green Flashing: Cell voltage evaluation before charging
Red Steady: Charging is occurring
Red Flashing: Unscrew the tailcap 1/4 of a turn to begin charging
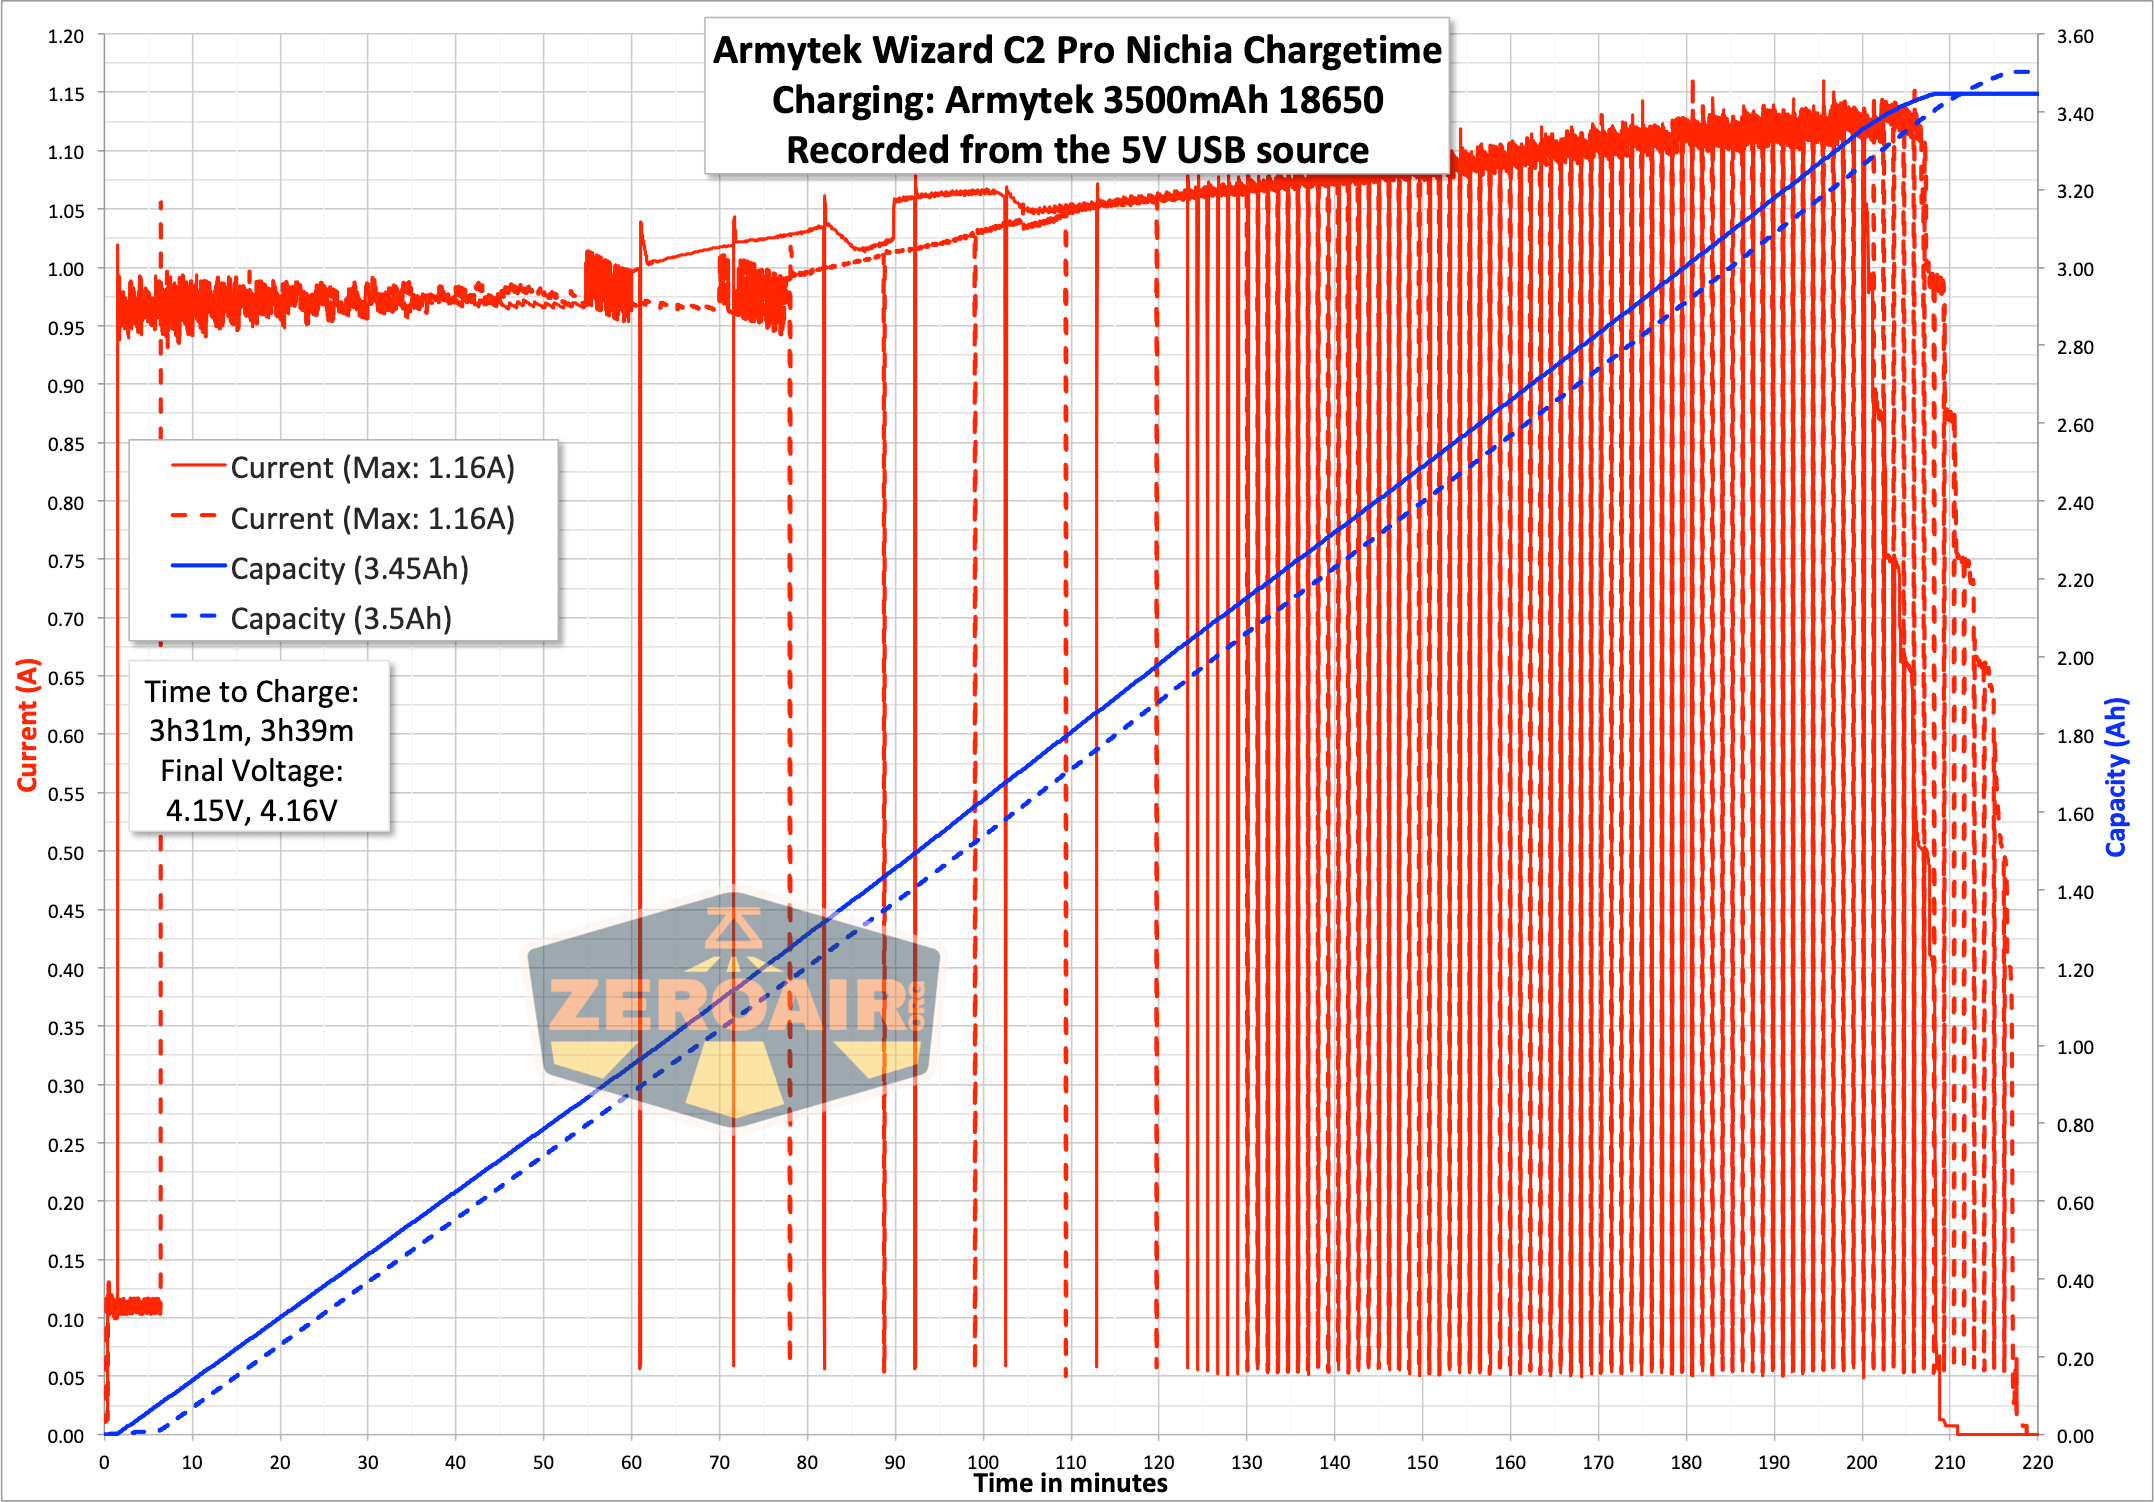
The overall duration of charging is fine – around 3.5 hours. But charging seems to drop in and out, and I don’t have a good explanation for that. Still, charging works fine. Termination is around 4.16V, which is good. Charging the cell up to 4.2V only added around 80mA, which is negligible (that is, around 2% of total cell capacity).
Modes and Currents
| Mode | Mode Claimed Output (lm) | Claimed Runtime | Measured Lumens | Tailcap Amps |
|---|---|---|---|---|
| Turbo2 | 1400/460 | 2h50m | 1379 | 5.61 |
| Turbo1 | 770/440 | 1h50m | 680 | 1.76 |
| Main3 | 335 | 4h10m | 226 | 0.49 |
| Main2 | 140 | 10h | 40 | 0.17 |
| Main1 | 27 | 50h | 15 | 68mA |
| Firefly3 | 5 | 8d | 5.3 | 13.7mA |
| Firefly2 | 1.2 | 40d | 1.2 | 5.95mA |
| Firefly1 | 0.1 | 200d | 0.09 | 3.41mA |
Pulse Width Modulation
There is no PWM seen on any mode. A couple of the middle modes do have some sawtooth, but it’s not visible.

Here you can see a “baseline” – a chart with almost no light hitting the sensor.
Then there’s the Ultrafire WF-602C flashlight, which has some of the worst PWM I’ve seen. It’s so bad that I used a post about it to explain PWM! Here are multiple timescales (10ms, 5ms, 2ms, 1ms, 0.5ms, 0.2ms) to make comparing this “worst” PWM light to the test light easier. That post also explains why I didn’t test the WF-602C at the usual 50us scale.
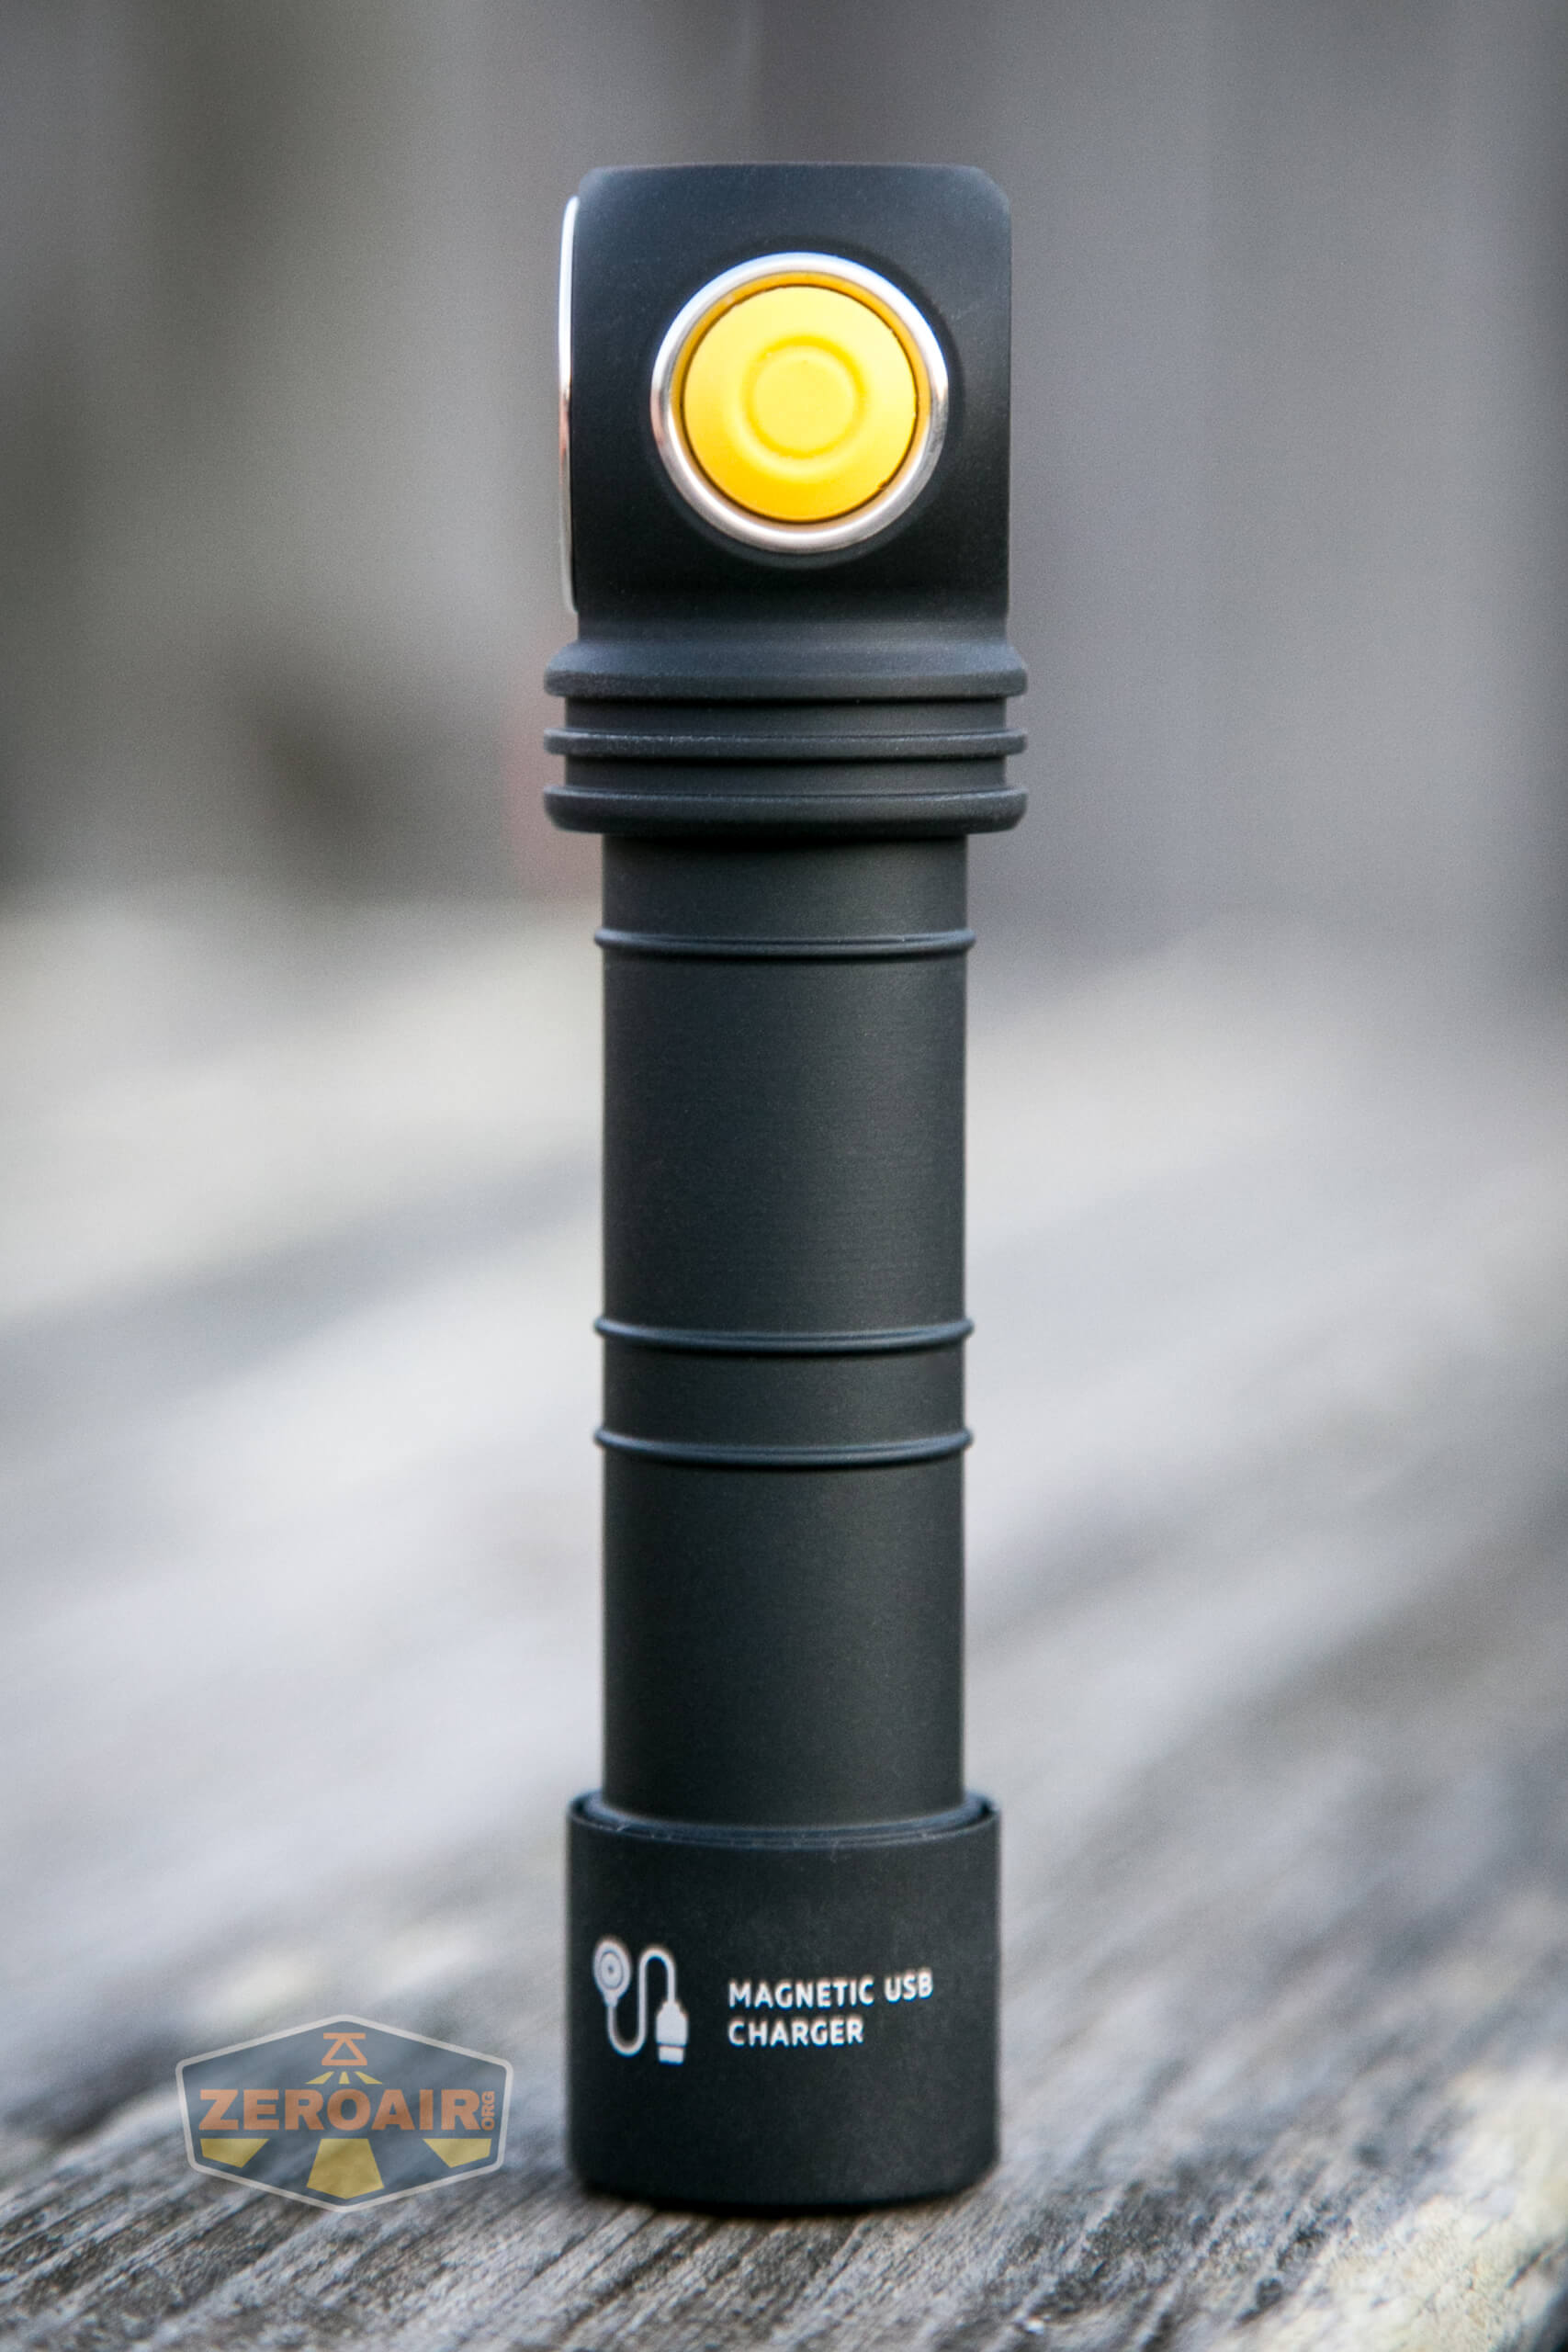
User Interface and Operation
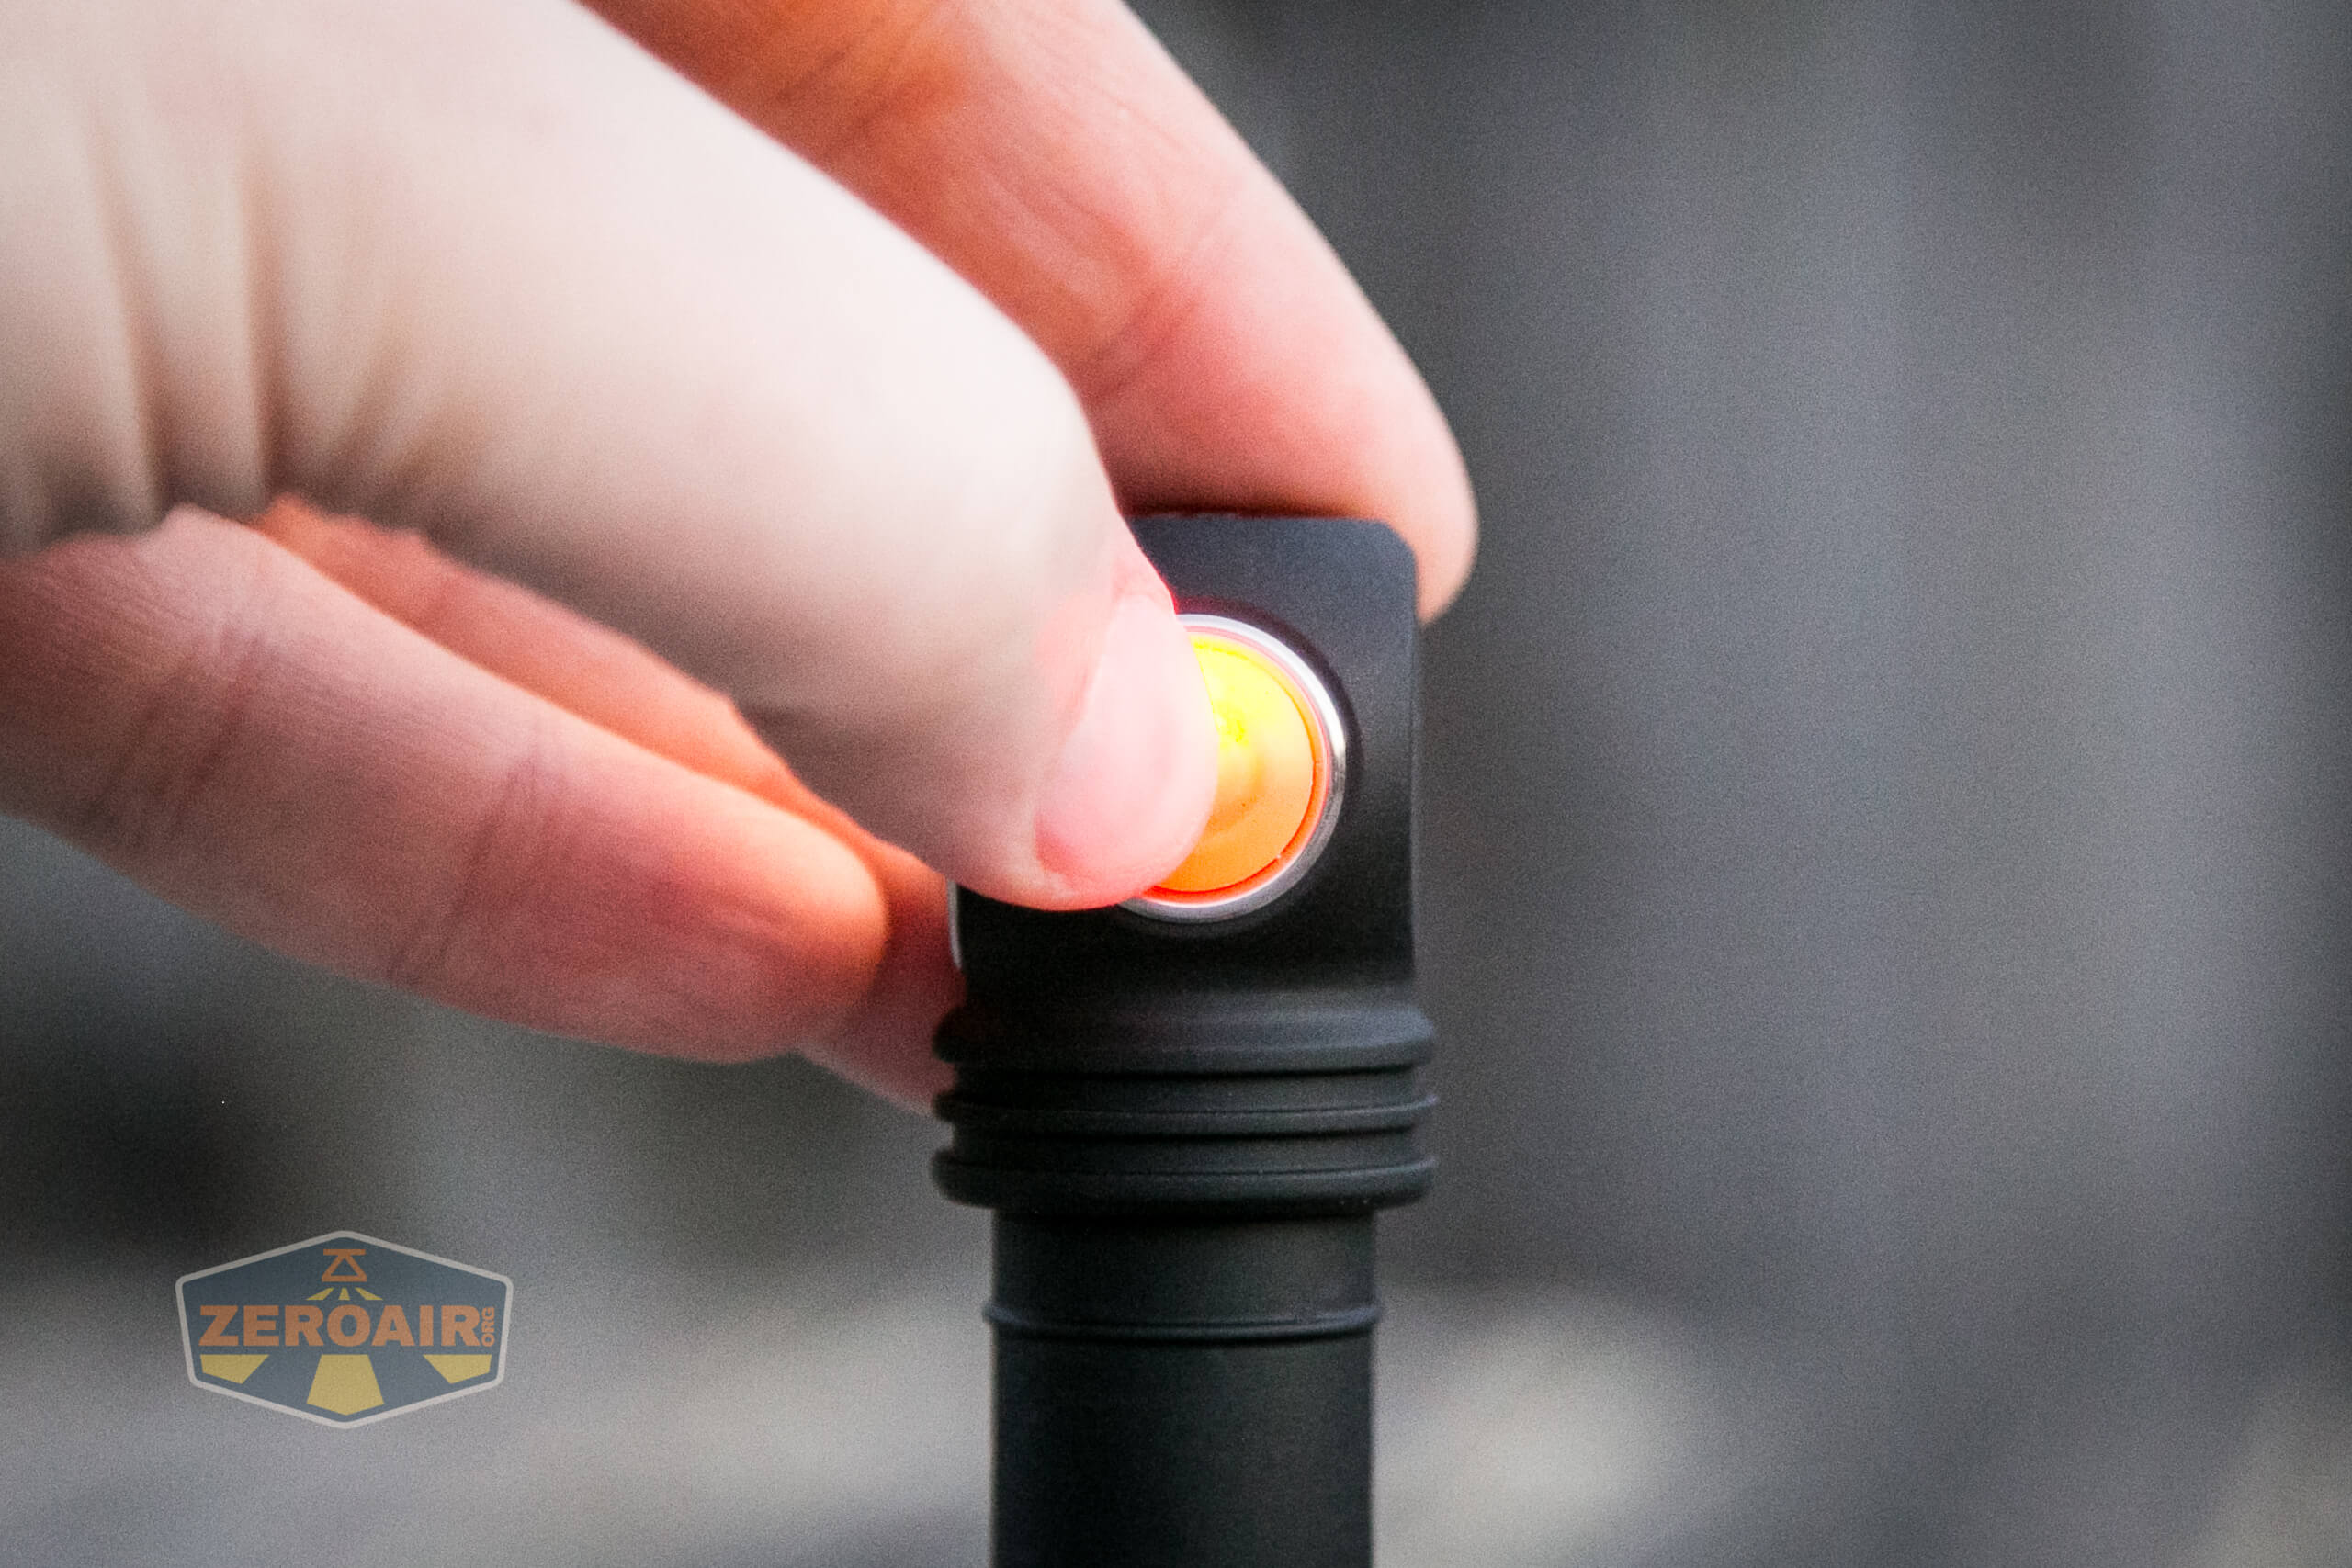
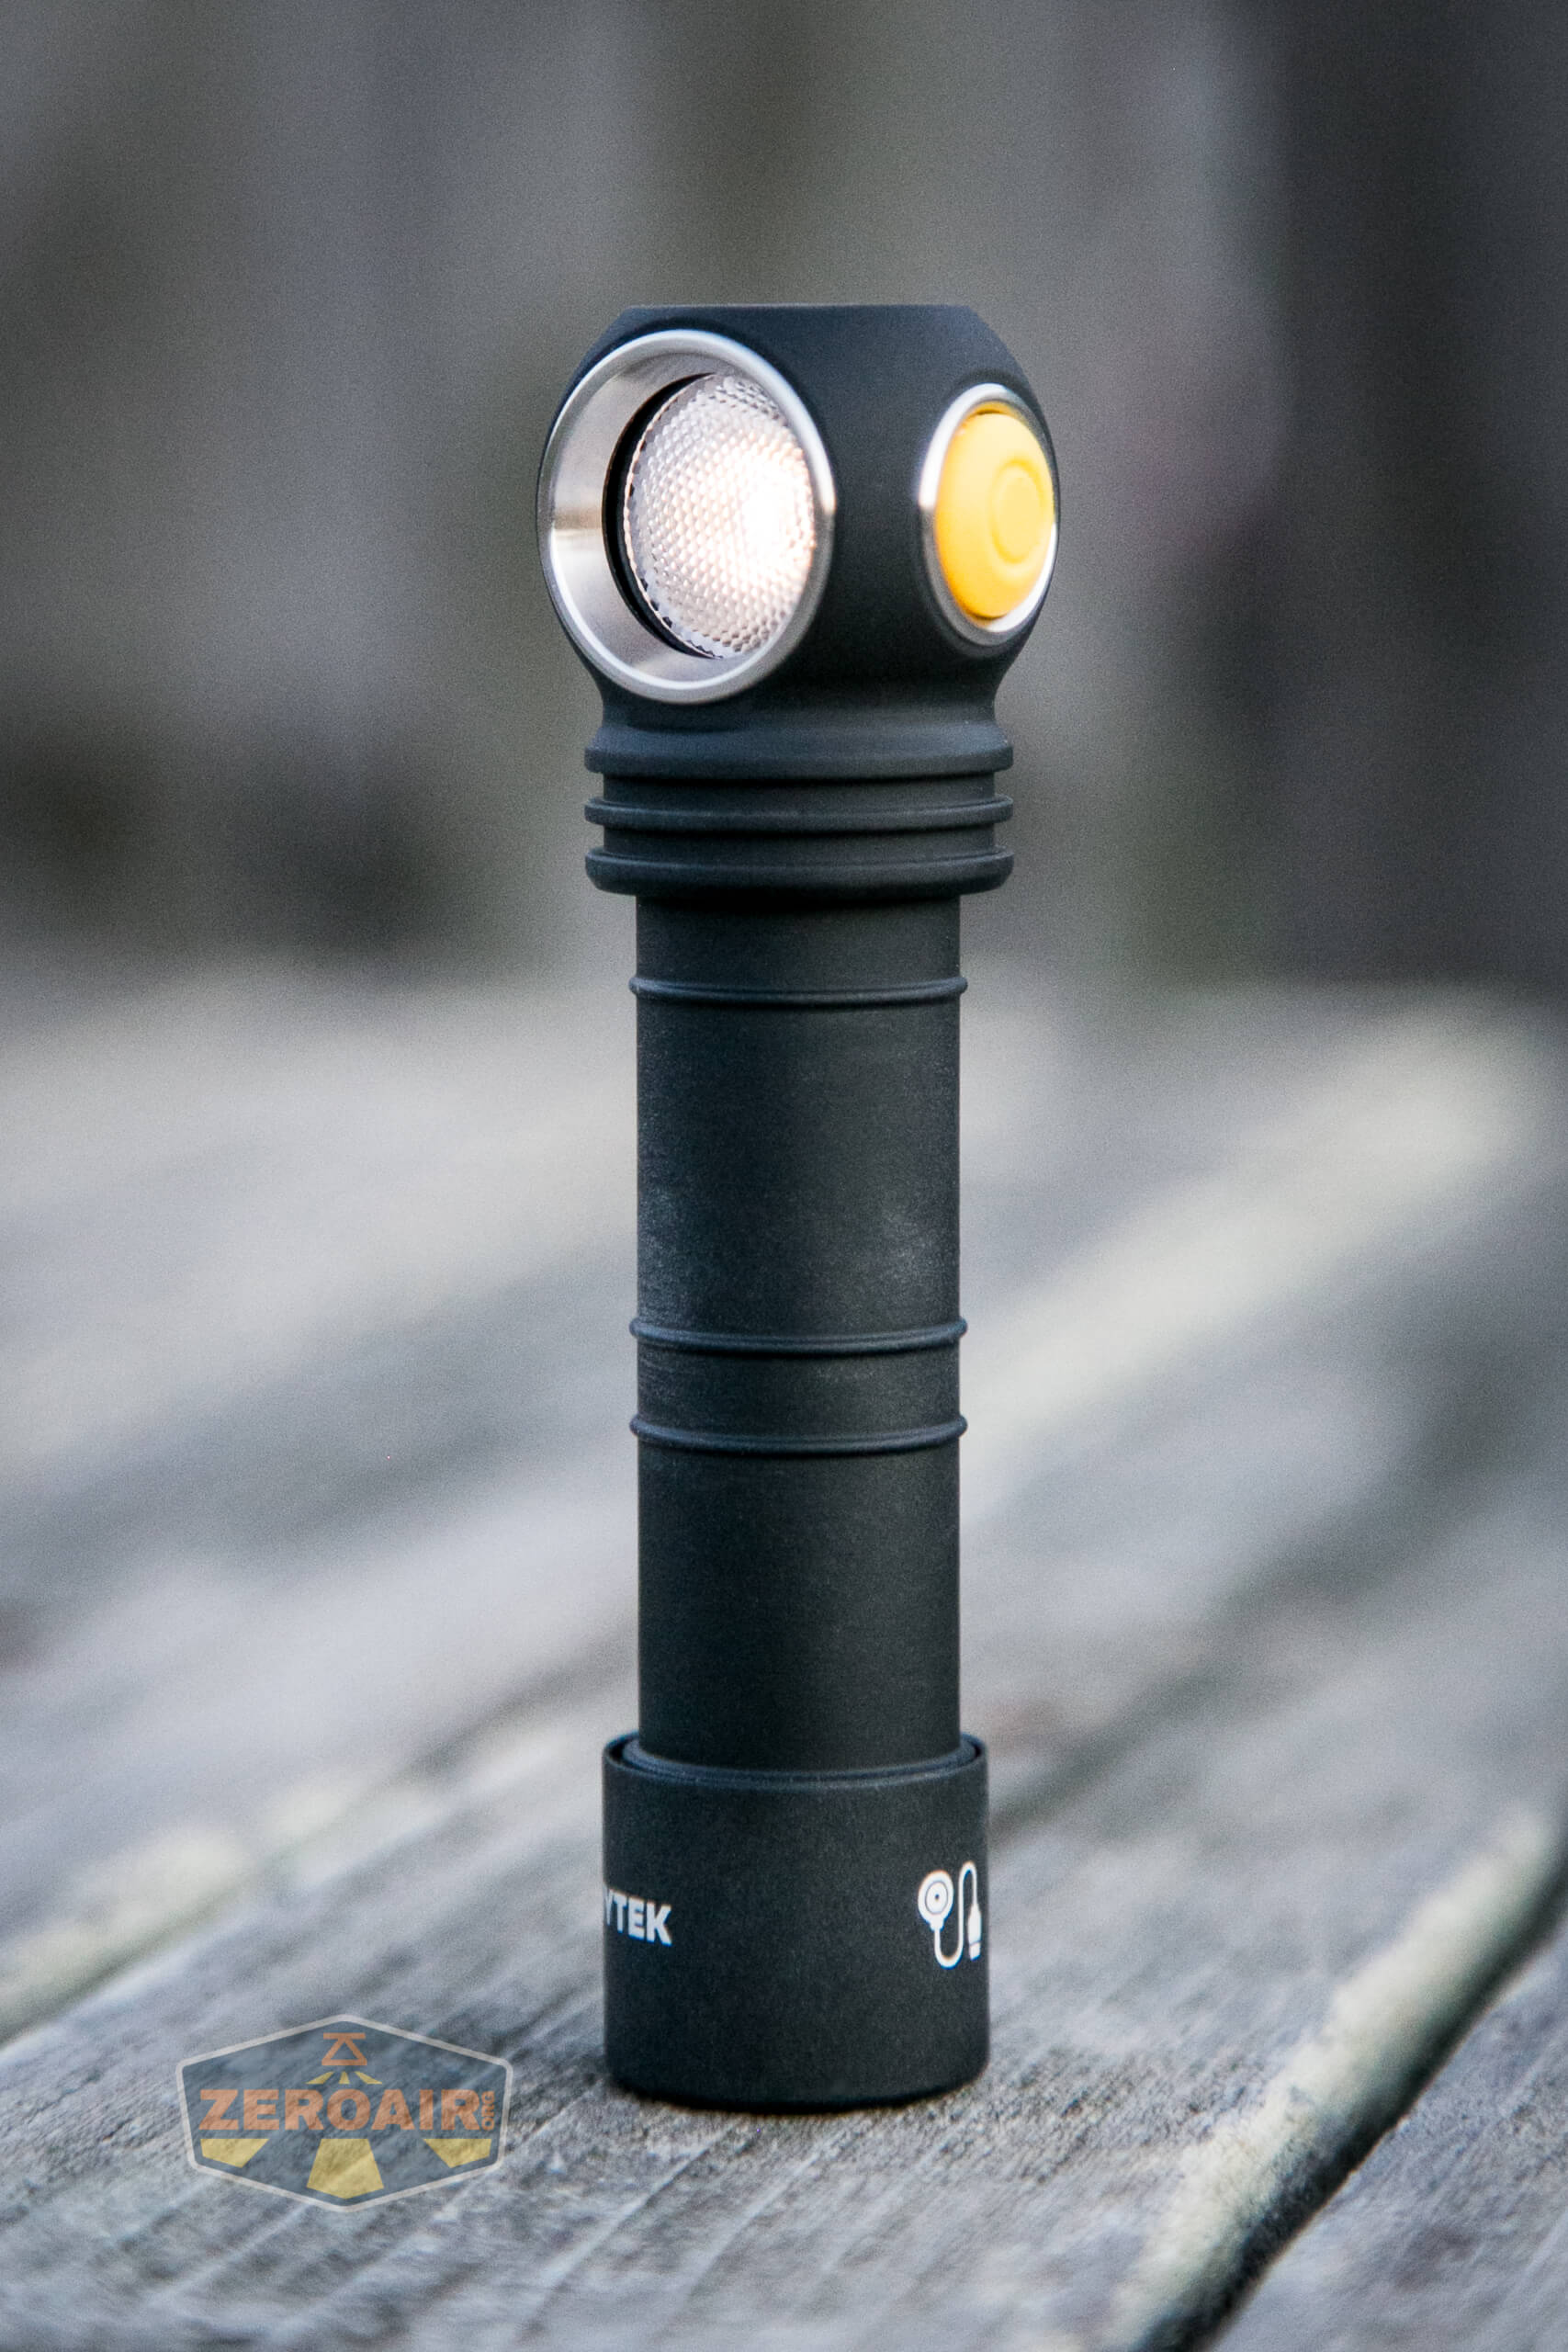
A single e-switch is used for controlling the Armytek Wizard C2 Pro Nichia. This is an indicating e-switch, but by this point, the indicating functions have been covered above.
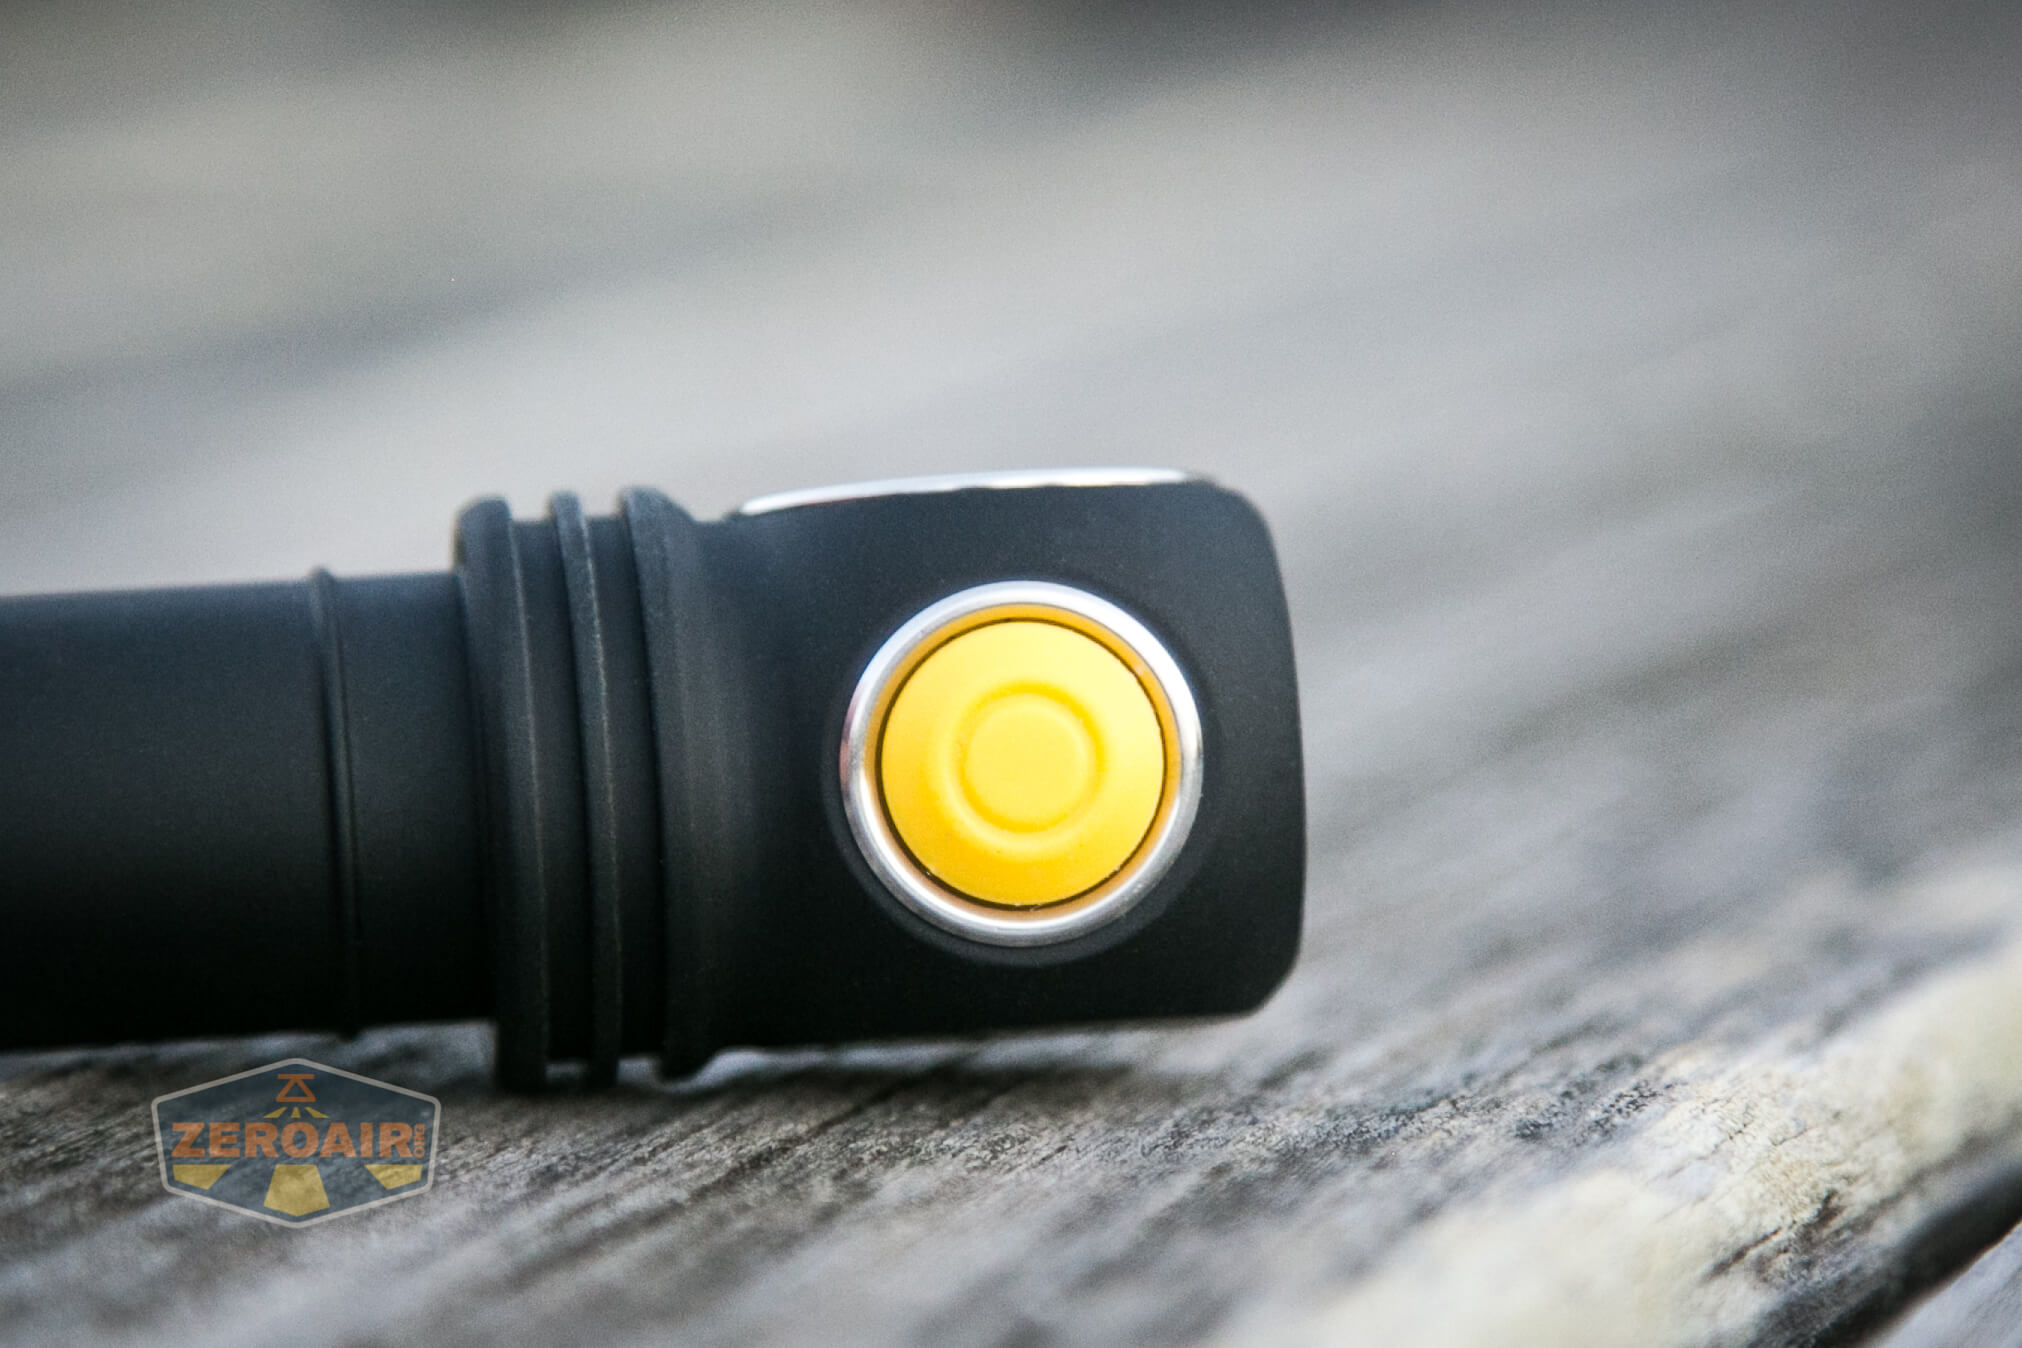
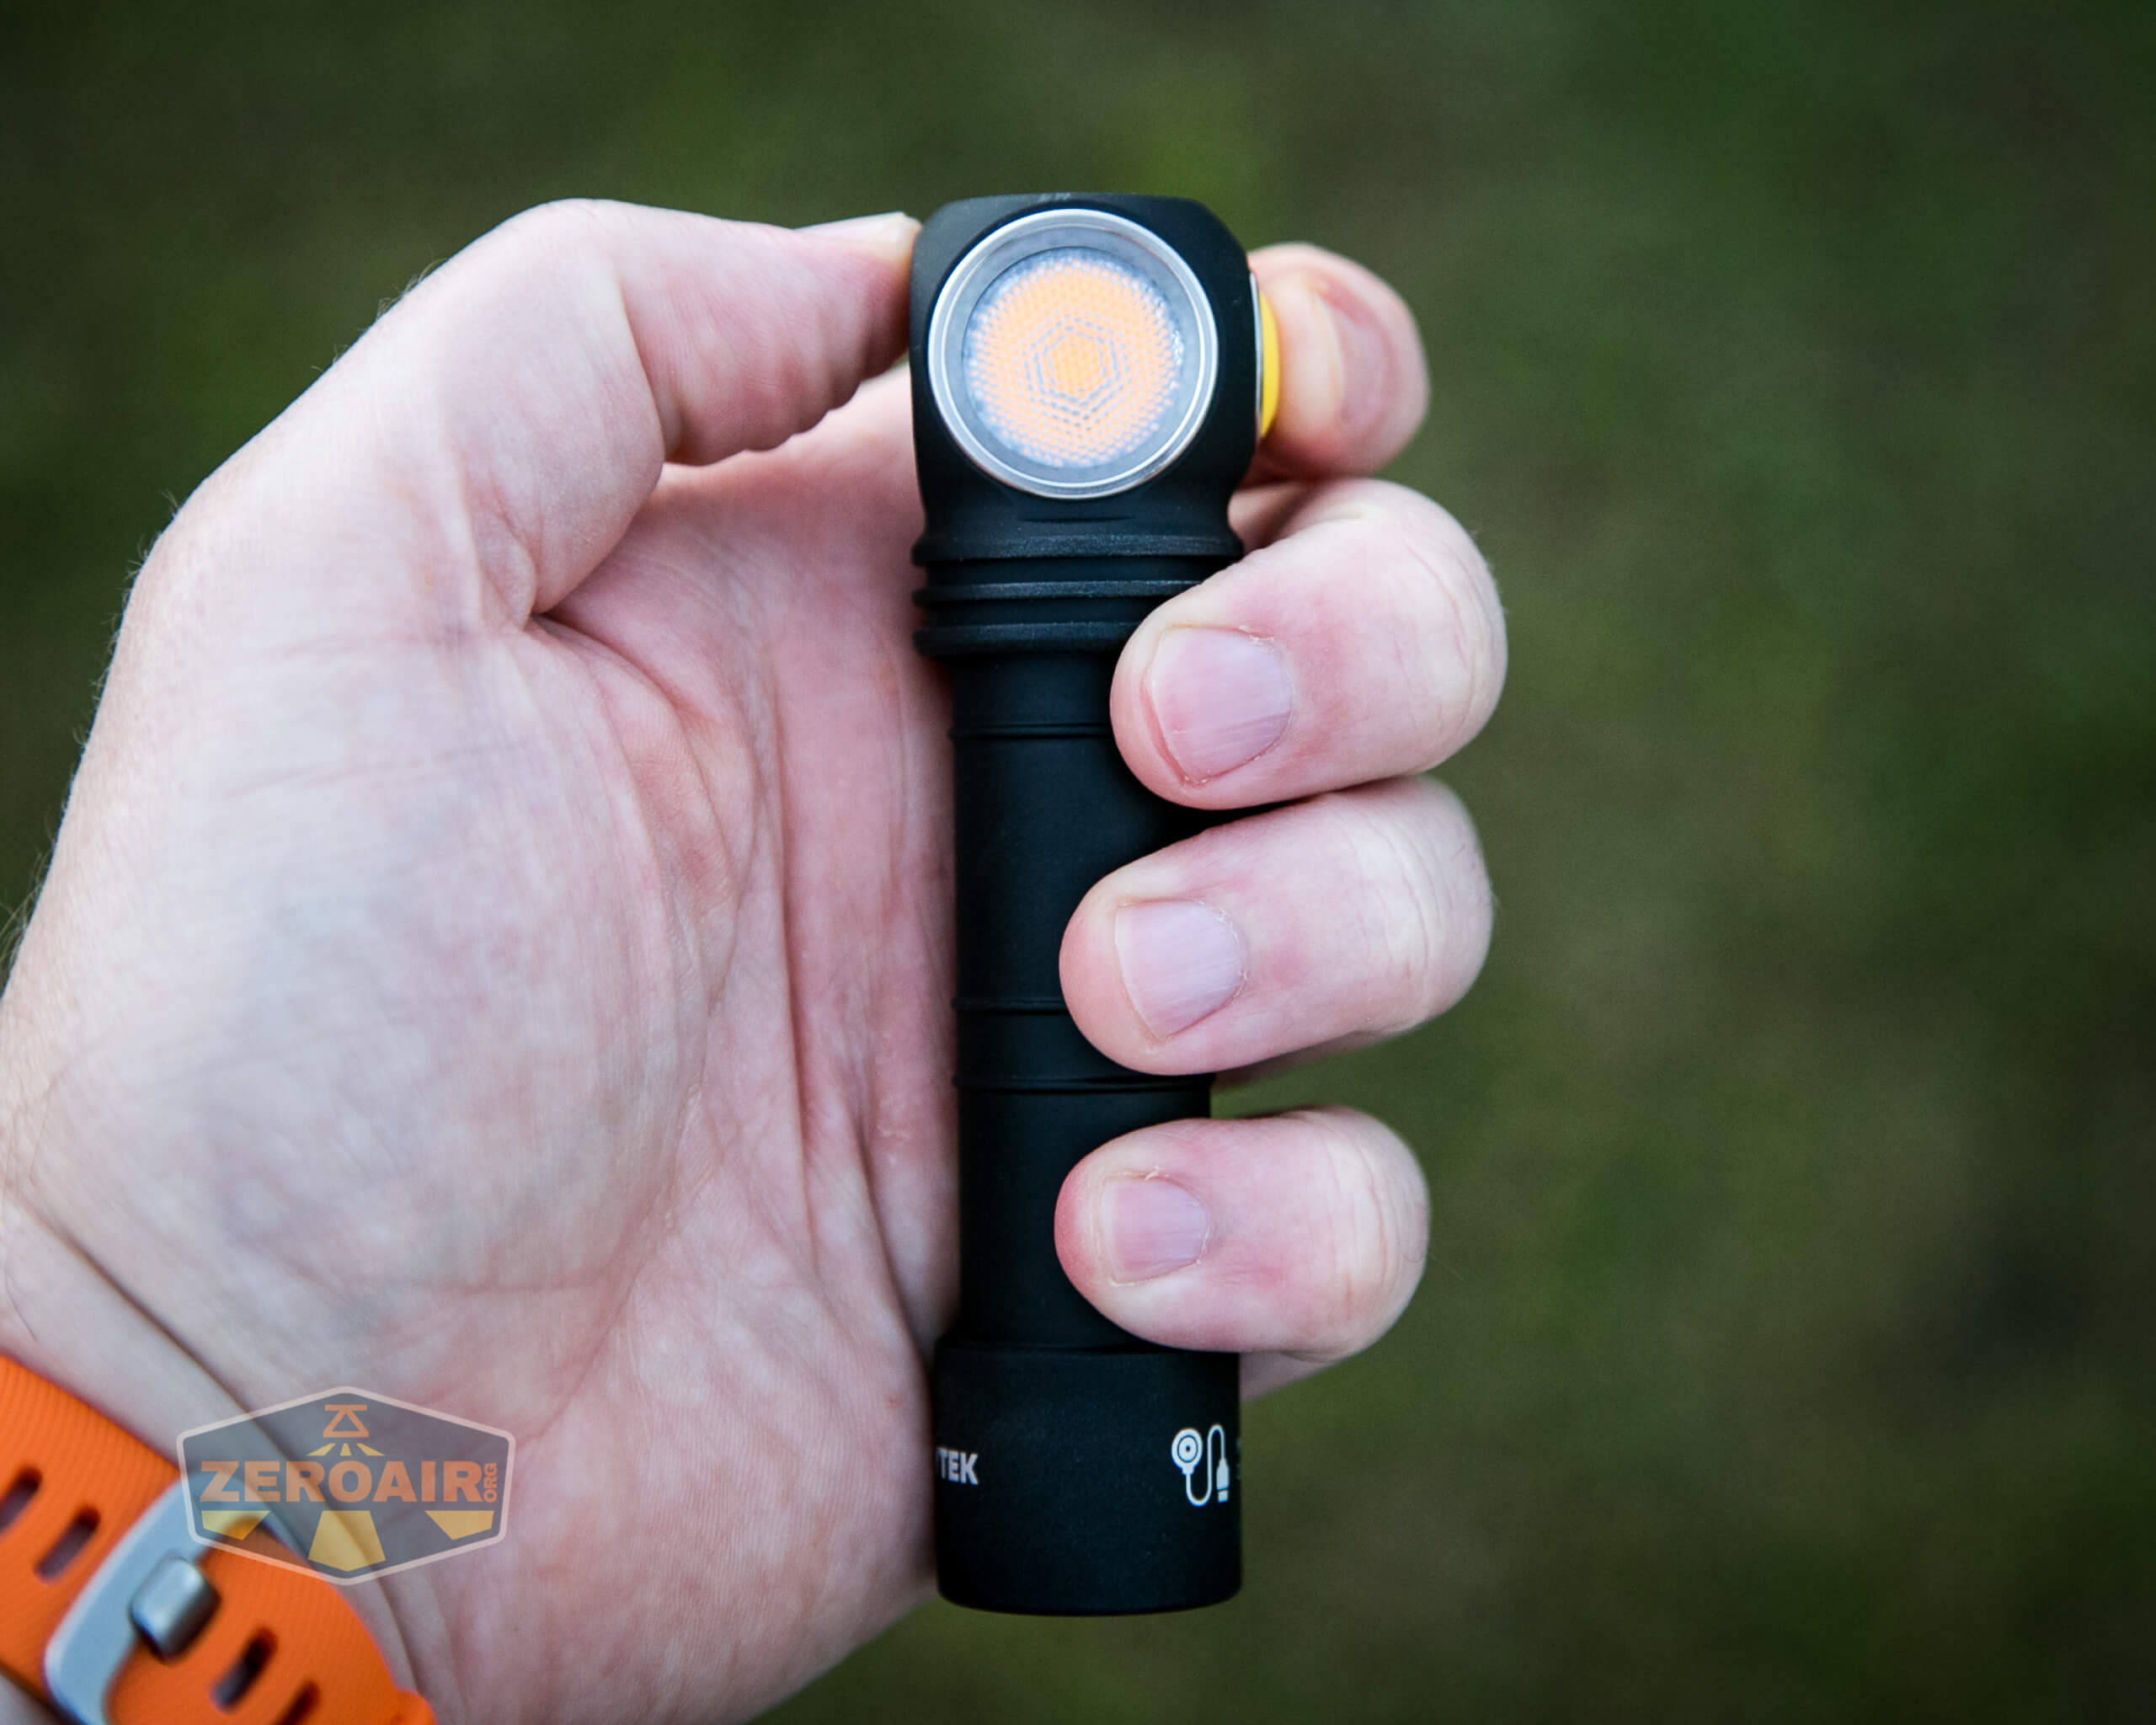
The switch is proud and has domed/rounded edges, so it fits with the shape of the head nicely.
There are two “operation types” (that’s what Armytek calls them). There’s the Tactical operation type and the General operation type. Depending on which manual you read, Tactical might also be called “Advanced.” I think “Advanced” is more suited, so I’m going with that.
Here’s a General Operation user interface table! The modes available in General are limited to:
Firefly1, Firefly2, Main1, Main2, Main3, Turbo1, or Turbo2 (not both). General does not have Firefly3, or one of the Turbos (read table), or any Strobe modes.
| State | Action | Result |
|---|---|---|
| Off | Click | On (Mode Memory) |
| Off | Hold | Firefly1. Continuing to hold cycles modes as follows, once: Firefly1>Firefly2>Main1>Main2>Main3 After Main3, the continuing to hold cycles as follows: Main1>Main2>Main3 |
| On | Click | Off |
| On | Hold | Main1>Main2>Main3 |
| On | Click 2x | Turbo (Turbo2 by default, but “configurable” in that Turbo will be the last used from the Advanced UI) |
| Turbo | Click 2x | Previous mode |
Here’s an Advanced Operation user interface table! The modes available in Advanced are the complete set of modes:
Firefly1, Firefly2, Firefly3, Main1, Main2, Main3, Turbo1, Turbo2, Strobe1, Strobe2, Strobe3. These modes can be seen as “sections.”
Section 1: Firefly
Section 2: Main
Section 3: Turbo
Section 4: Strobe
Remembering this will help you easily access nearly any mode you want from off.
Much of the table from General is the same as with Advanced, too.
| State | Action | Result |
|---|---|---|
| Off | Click | On (Mode Memory) |
| Off | Hold | Firefly1. Continuing to hold cycles modes as follows: Firefly1>Firefly2>Firefly3>Main1>Main2>Main3>Turbo1 |
| On | Click | Off |
| On | Hold | Mode cycle for “opened Section” In Firefly (Section 1), holding cycles the 3 firefly modes In Main (Section 2), holding cycles 3 main modes In Turbo (Section 3), holding cycles 2 turbo modes In Strobe (Section 4), holding cycles 3 strobe modes |
| Any | Click 2x` | Memorized mode of Main section (Section 2) |
| Main section (Section 2) (any of 3 main modes) | Click 2x | Switch to Firefly Section (Section 1) |
| Any | Click 3x | Memorized mode of Turbo section (Section 3) |
| Turbo (Section 3) | Hold | Iterate Turbo1 and Turbo2 |
| Any | Click 4x | Memorized mode of Strobe section (Section 4) |
| Strobe | Hold | Mode advance (Strobe1>Strobe2>Strobe3)^ |
` Note that the Section names correspond to the number of clicks required to get to that section. Section 2 is Main and accessed by 2 clicks. Section 3 is Turbo and accessed by 3 clicks. Section 4 is Strobe and accessed by 4 clicks. Section 5 is Anduril and accessed by 5 clicks. No, wait sorry not that last one.
^ I think the manual (or side of the box, in this case) has the strobes labeled incorrectly. I can’t know which is “Strobe 1” or “Strobe 2” for example, but I can tell the mode order. Pick up wherever you pick up, but the order is this: “90lm/1Hz” > “1600lm/10Hz” > “1600lm/1Hz.” So if you follow the manual, the list is out of order, and it’d be a cycle of Strobe1>Strobe3>Strobe2.
The Advanced user interface is very good because it’s possible to start in low, or access turbo from off if you wish. There are so many modes though (11 modes) that while you can get to the Section desired, you might not necessarily hit the specific mode of the two or three in that section that you’re interested in. However, it’s “close enough.”
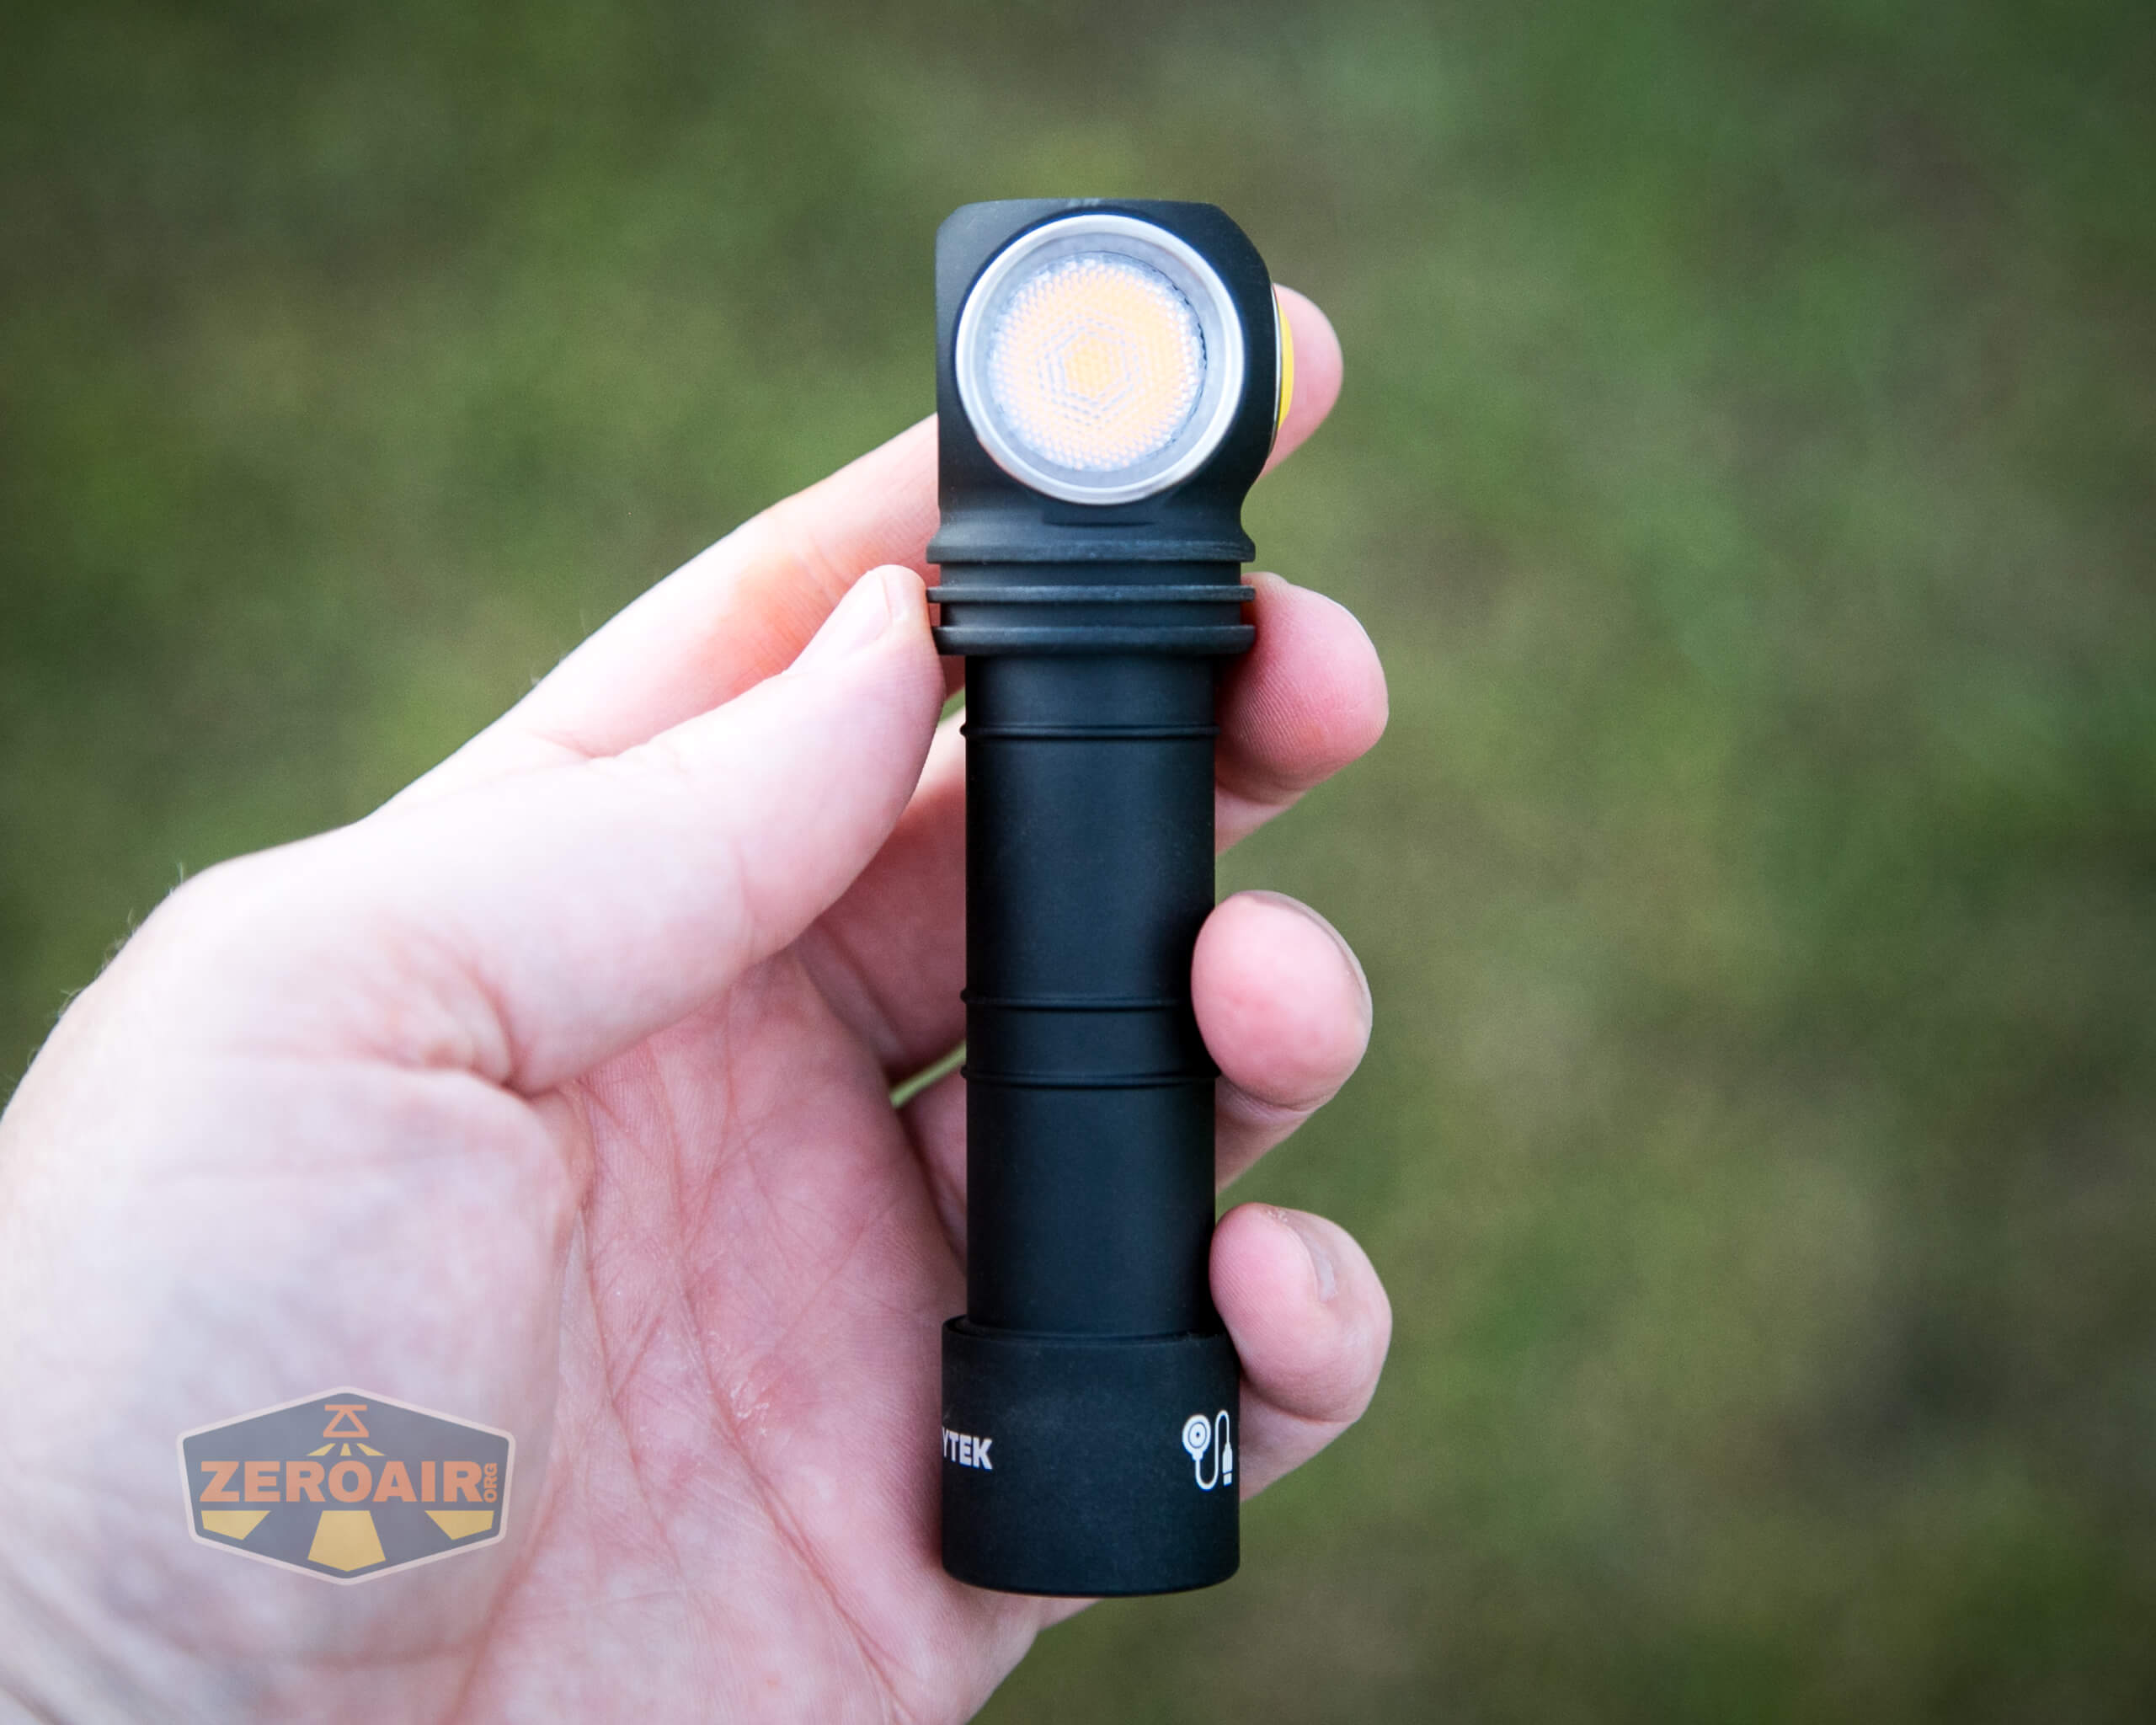
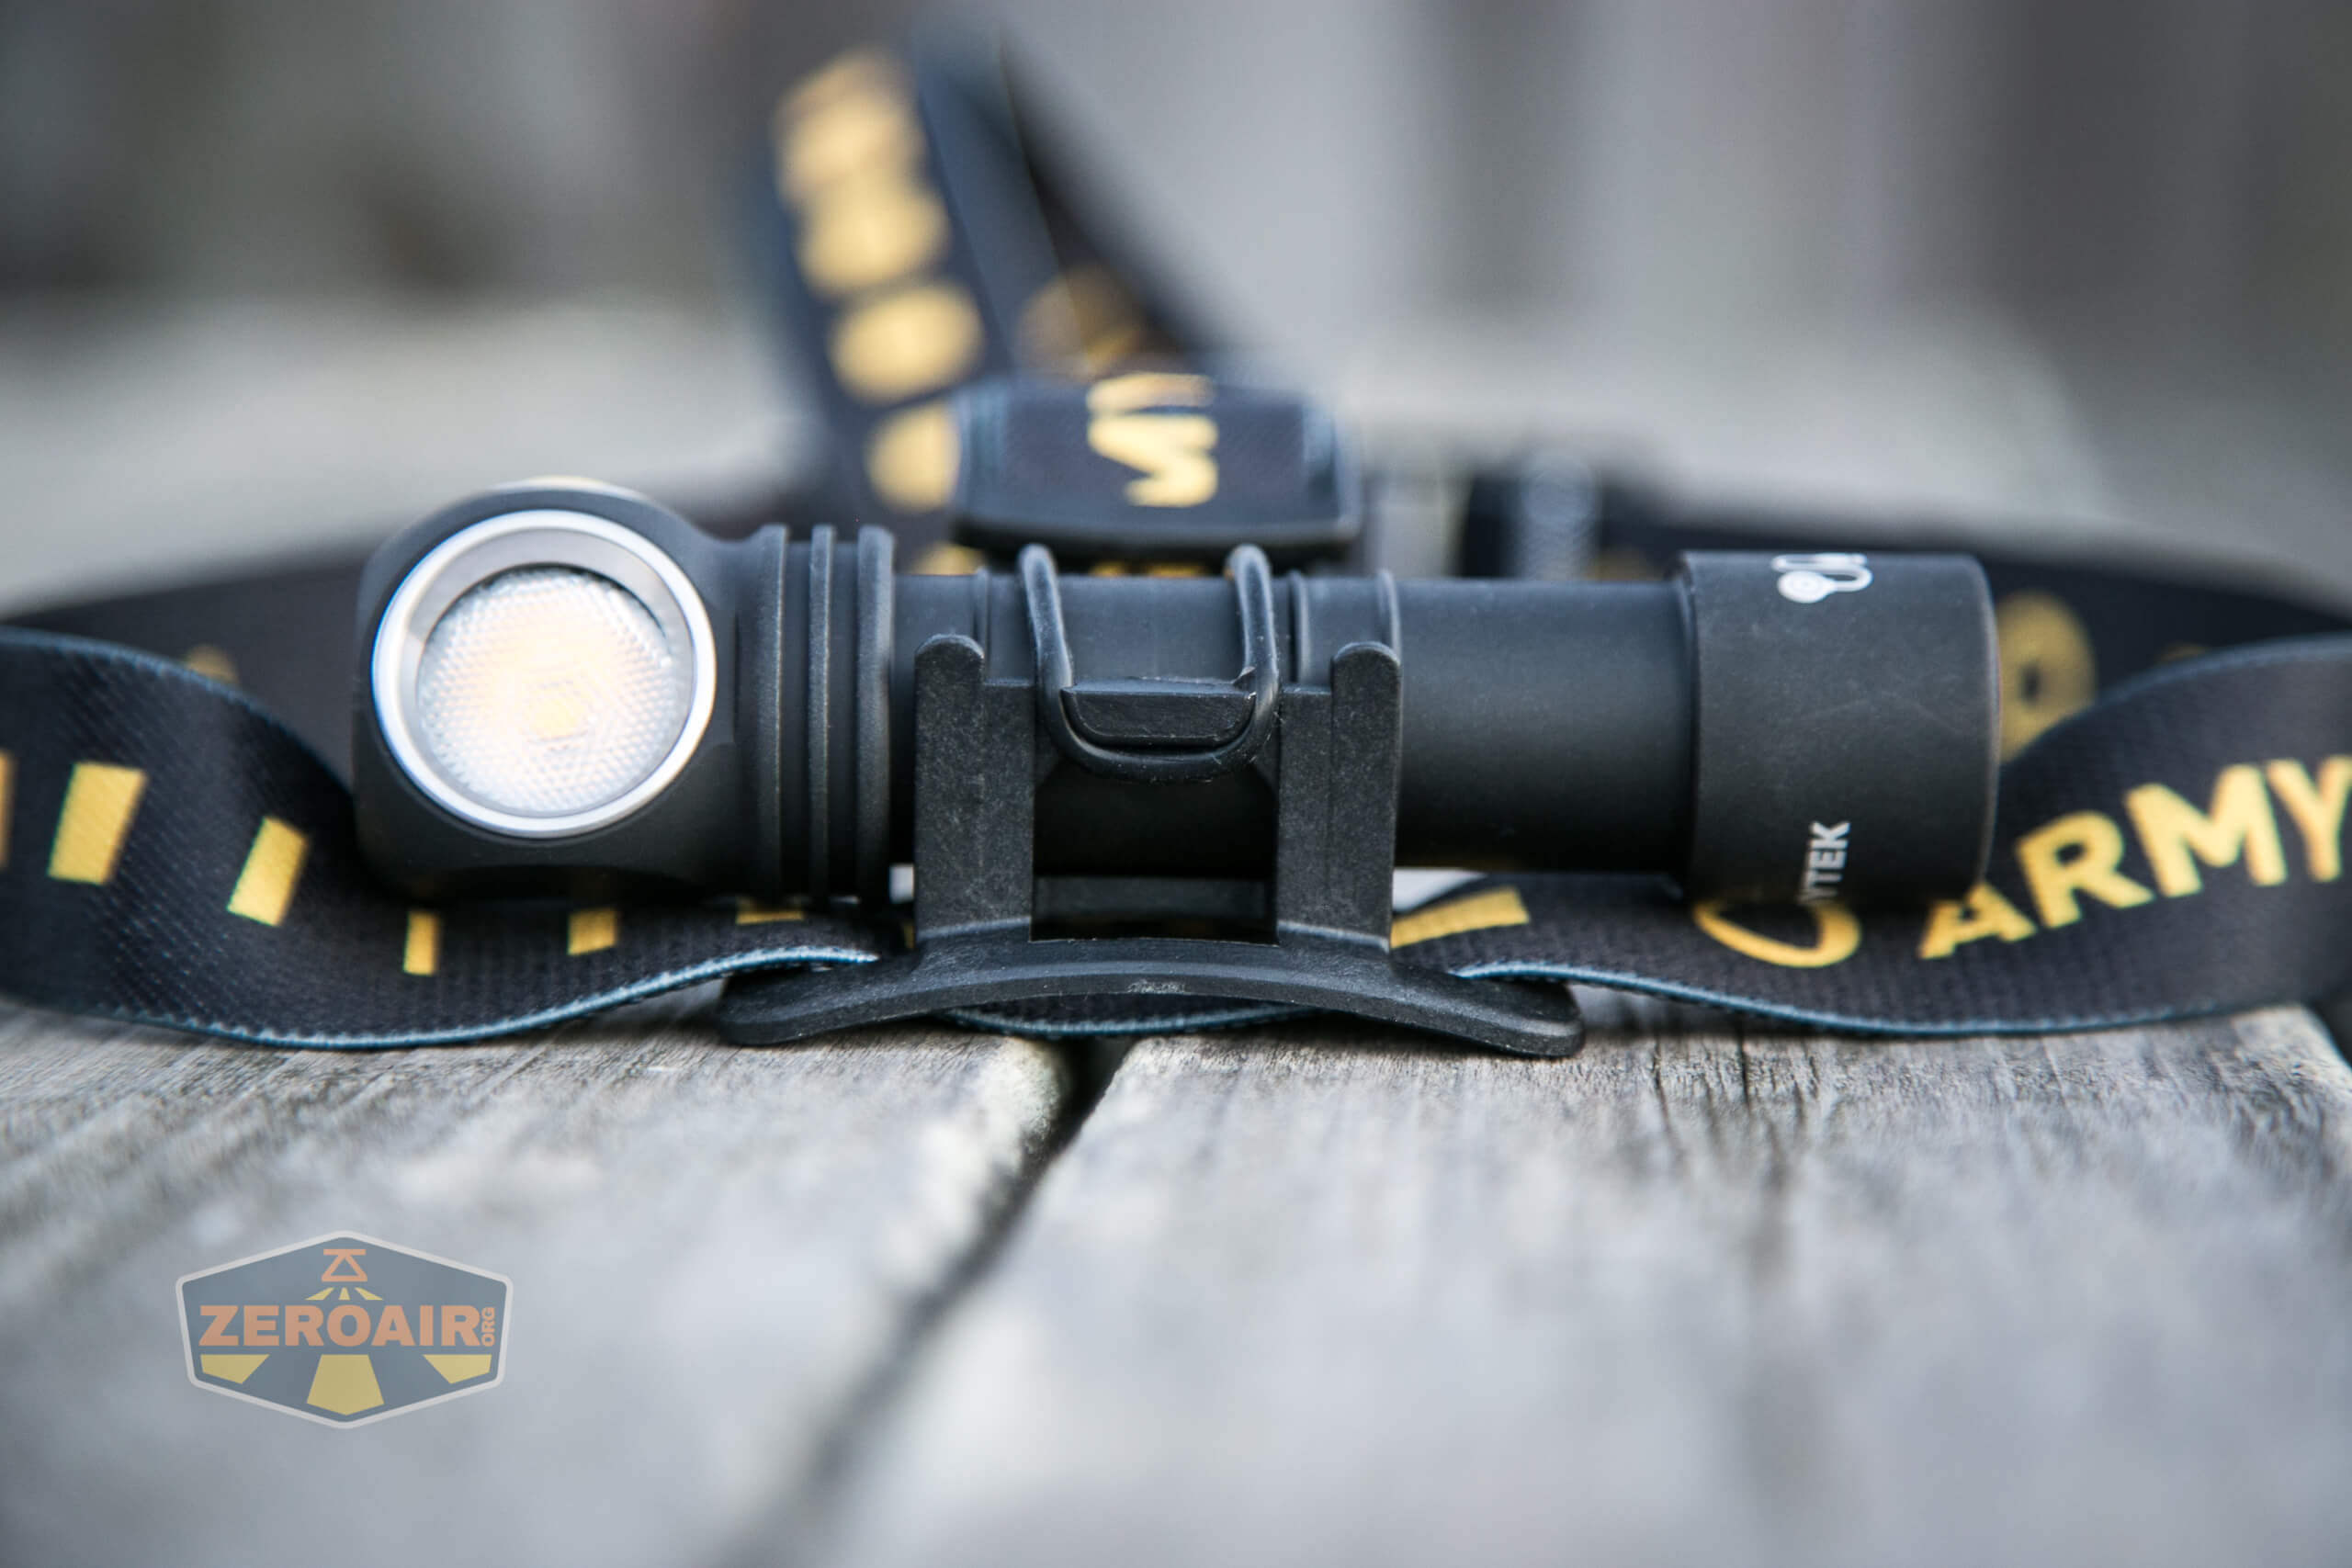
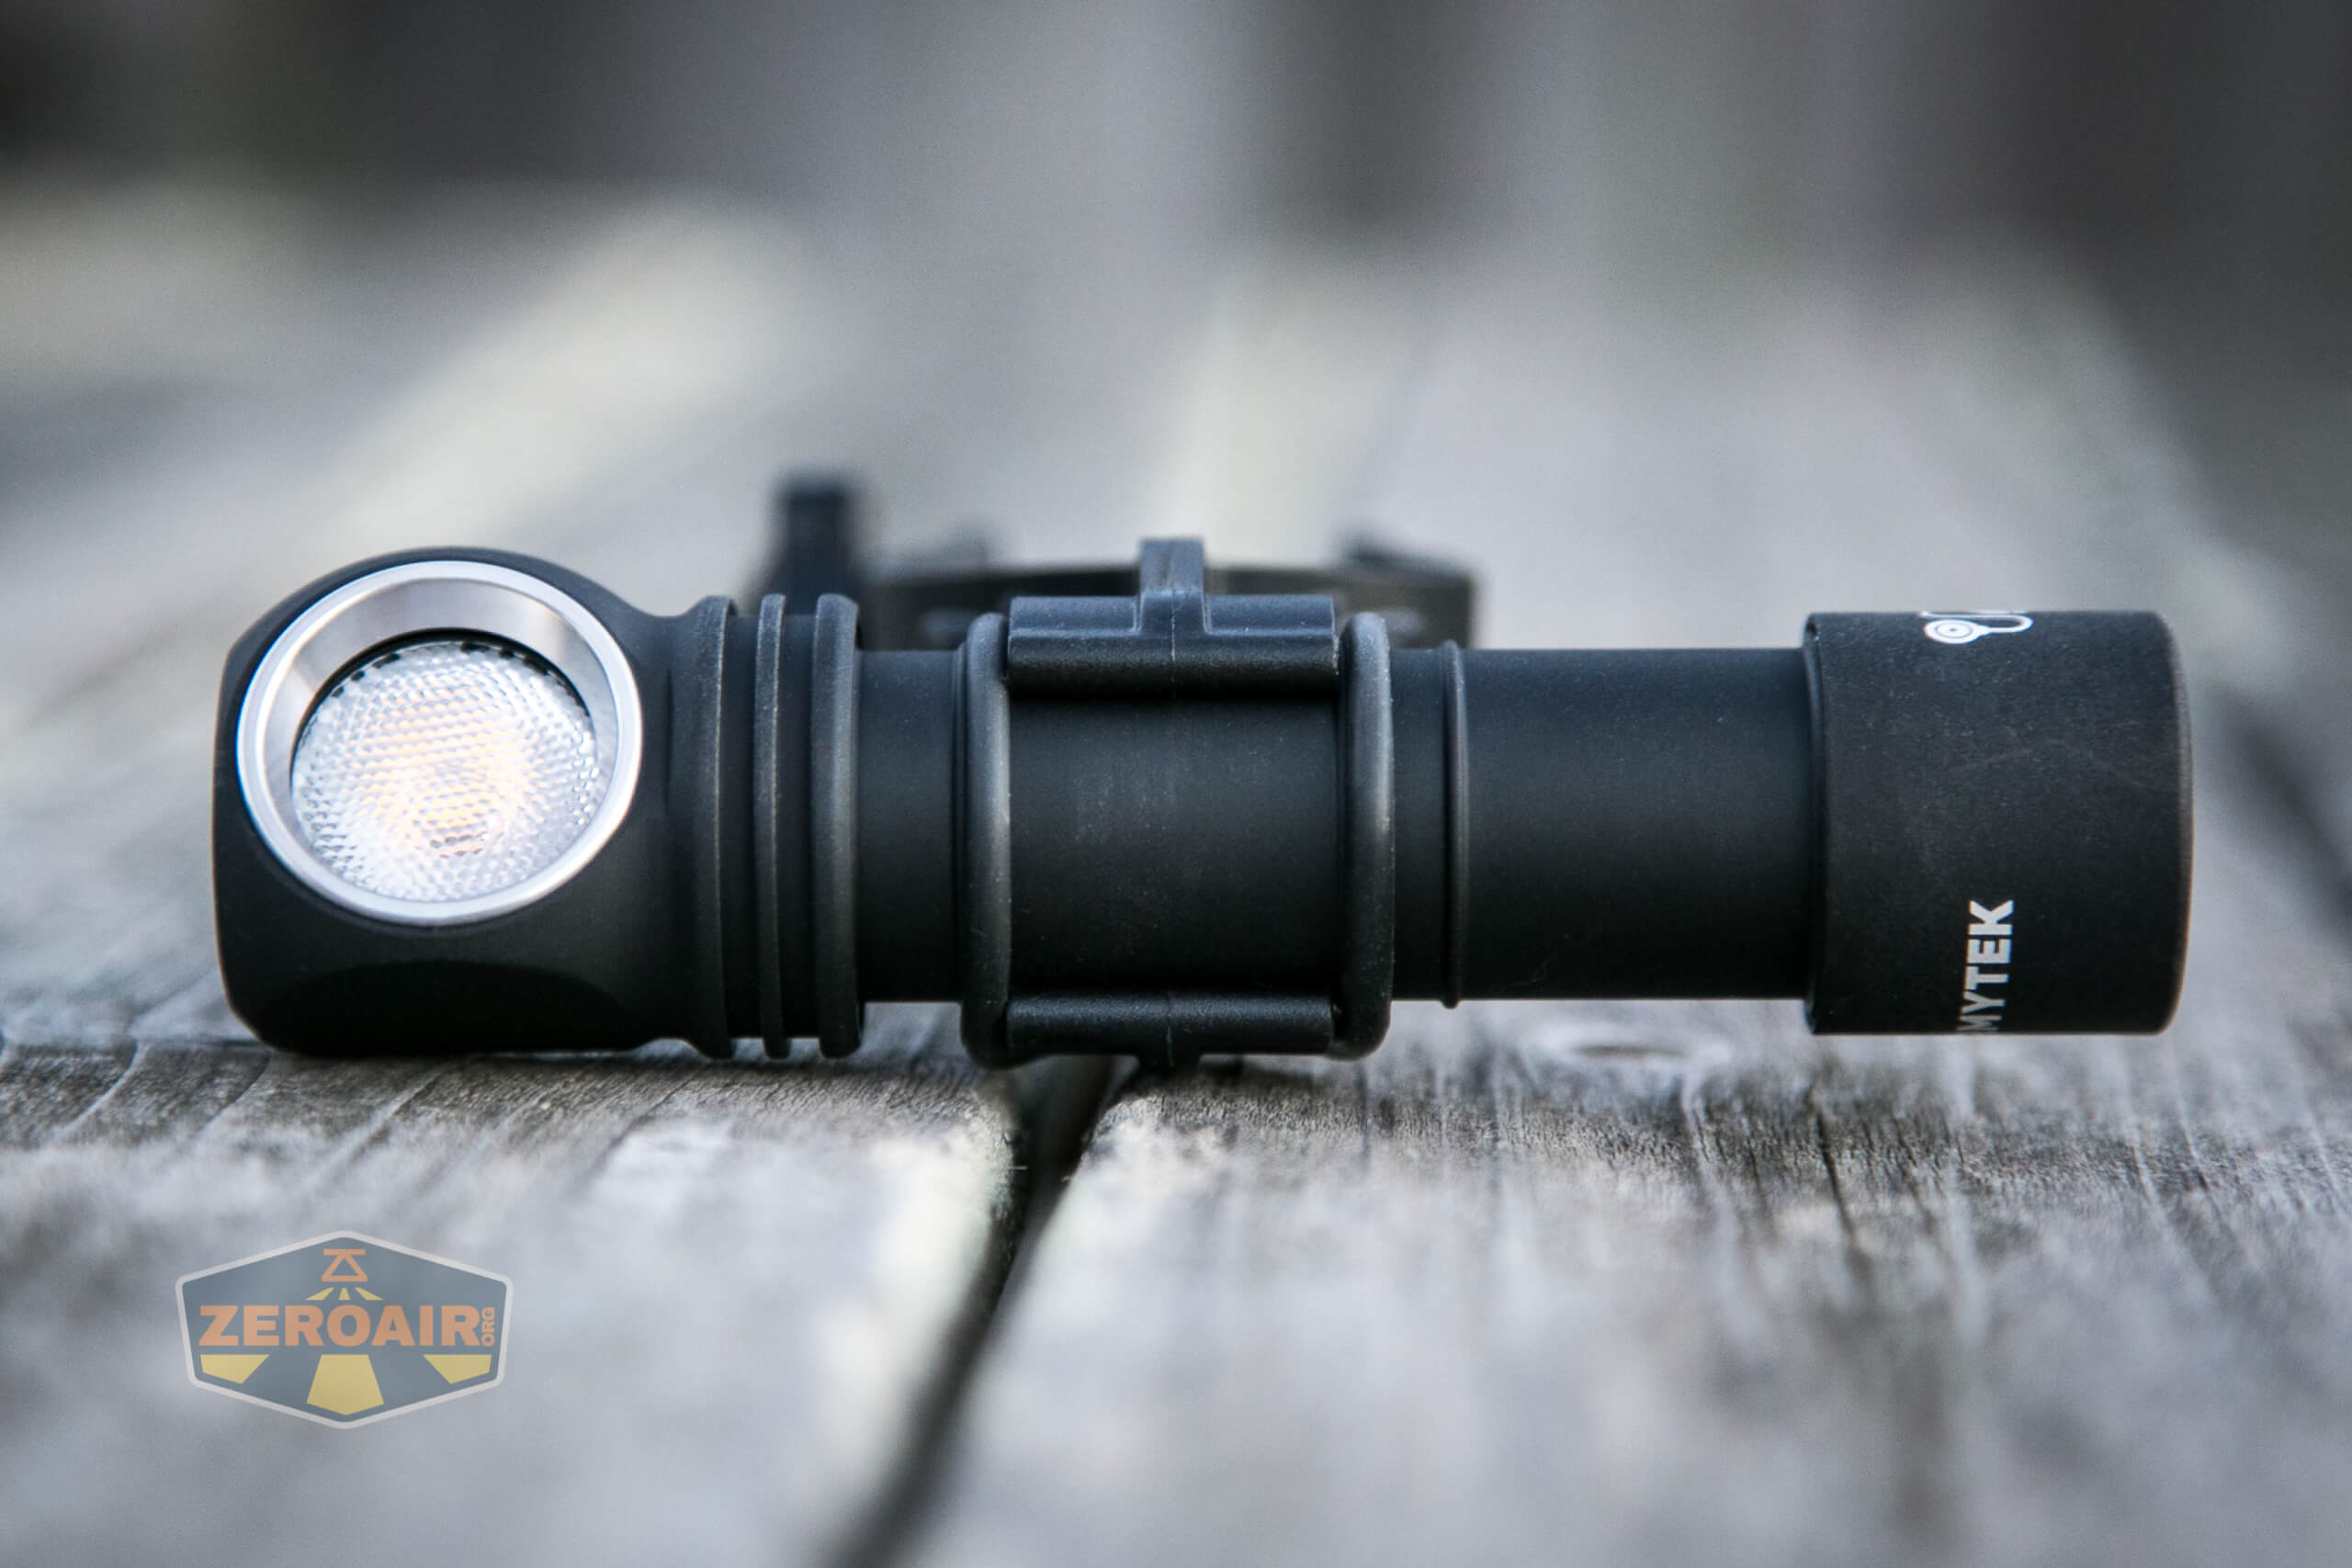
LED and Beam
Armytek has a Nichia 144AR emitter in the Wizard C2 Pro Nichia. It’s even part of the name there.
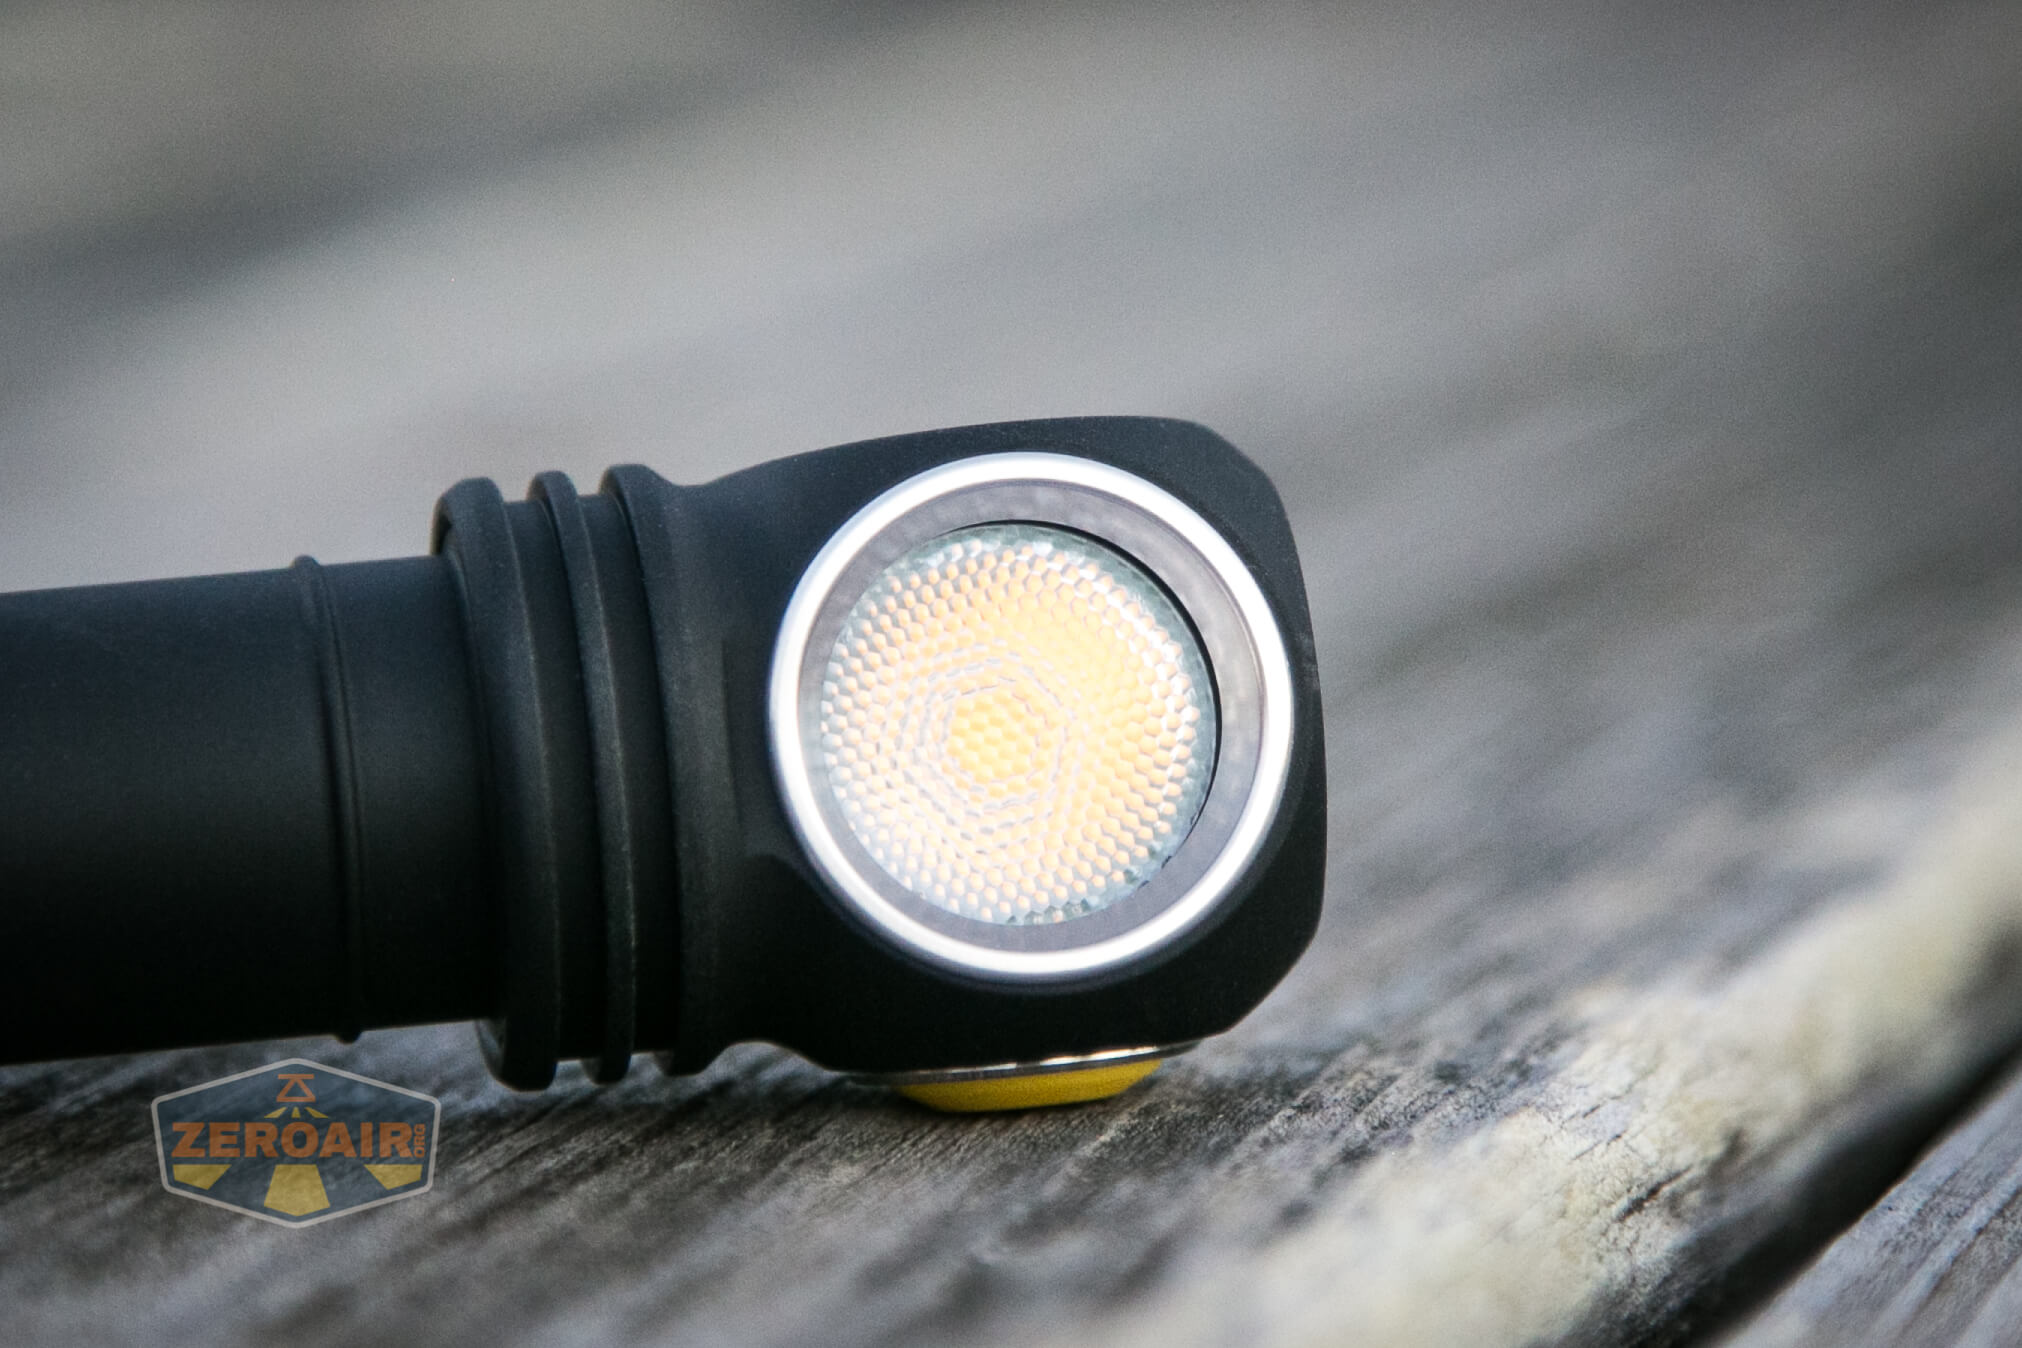
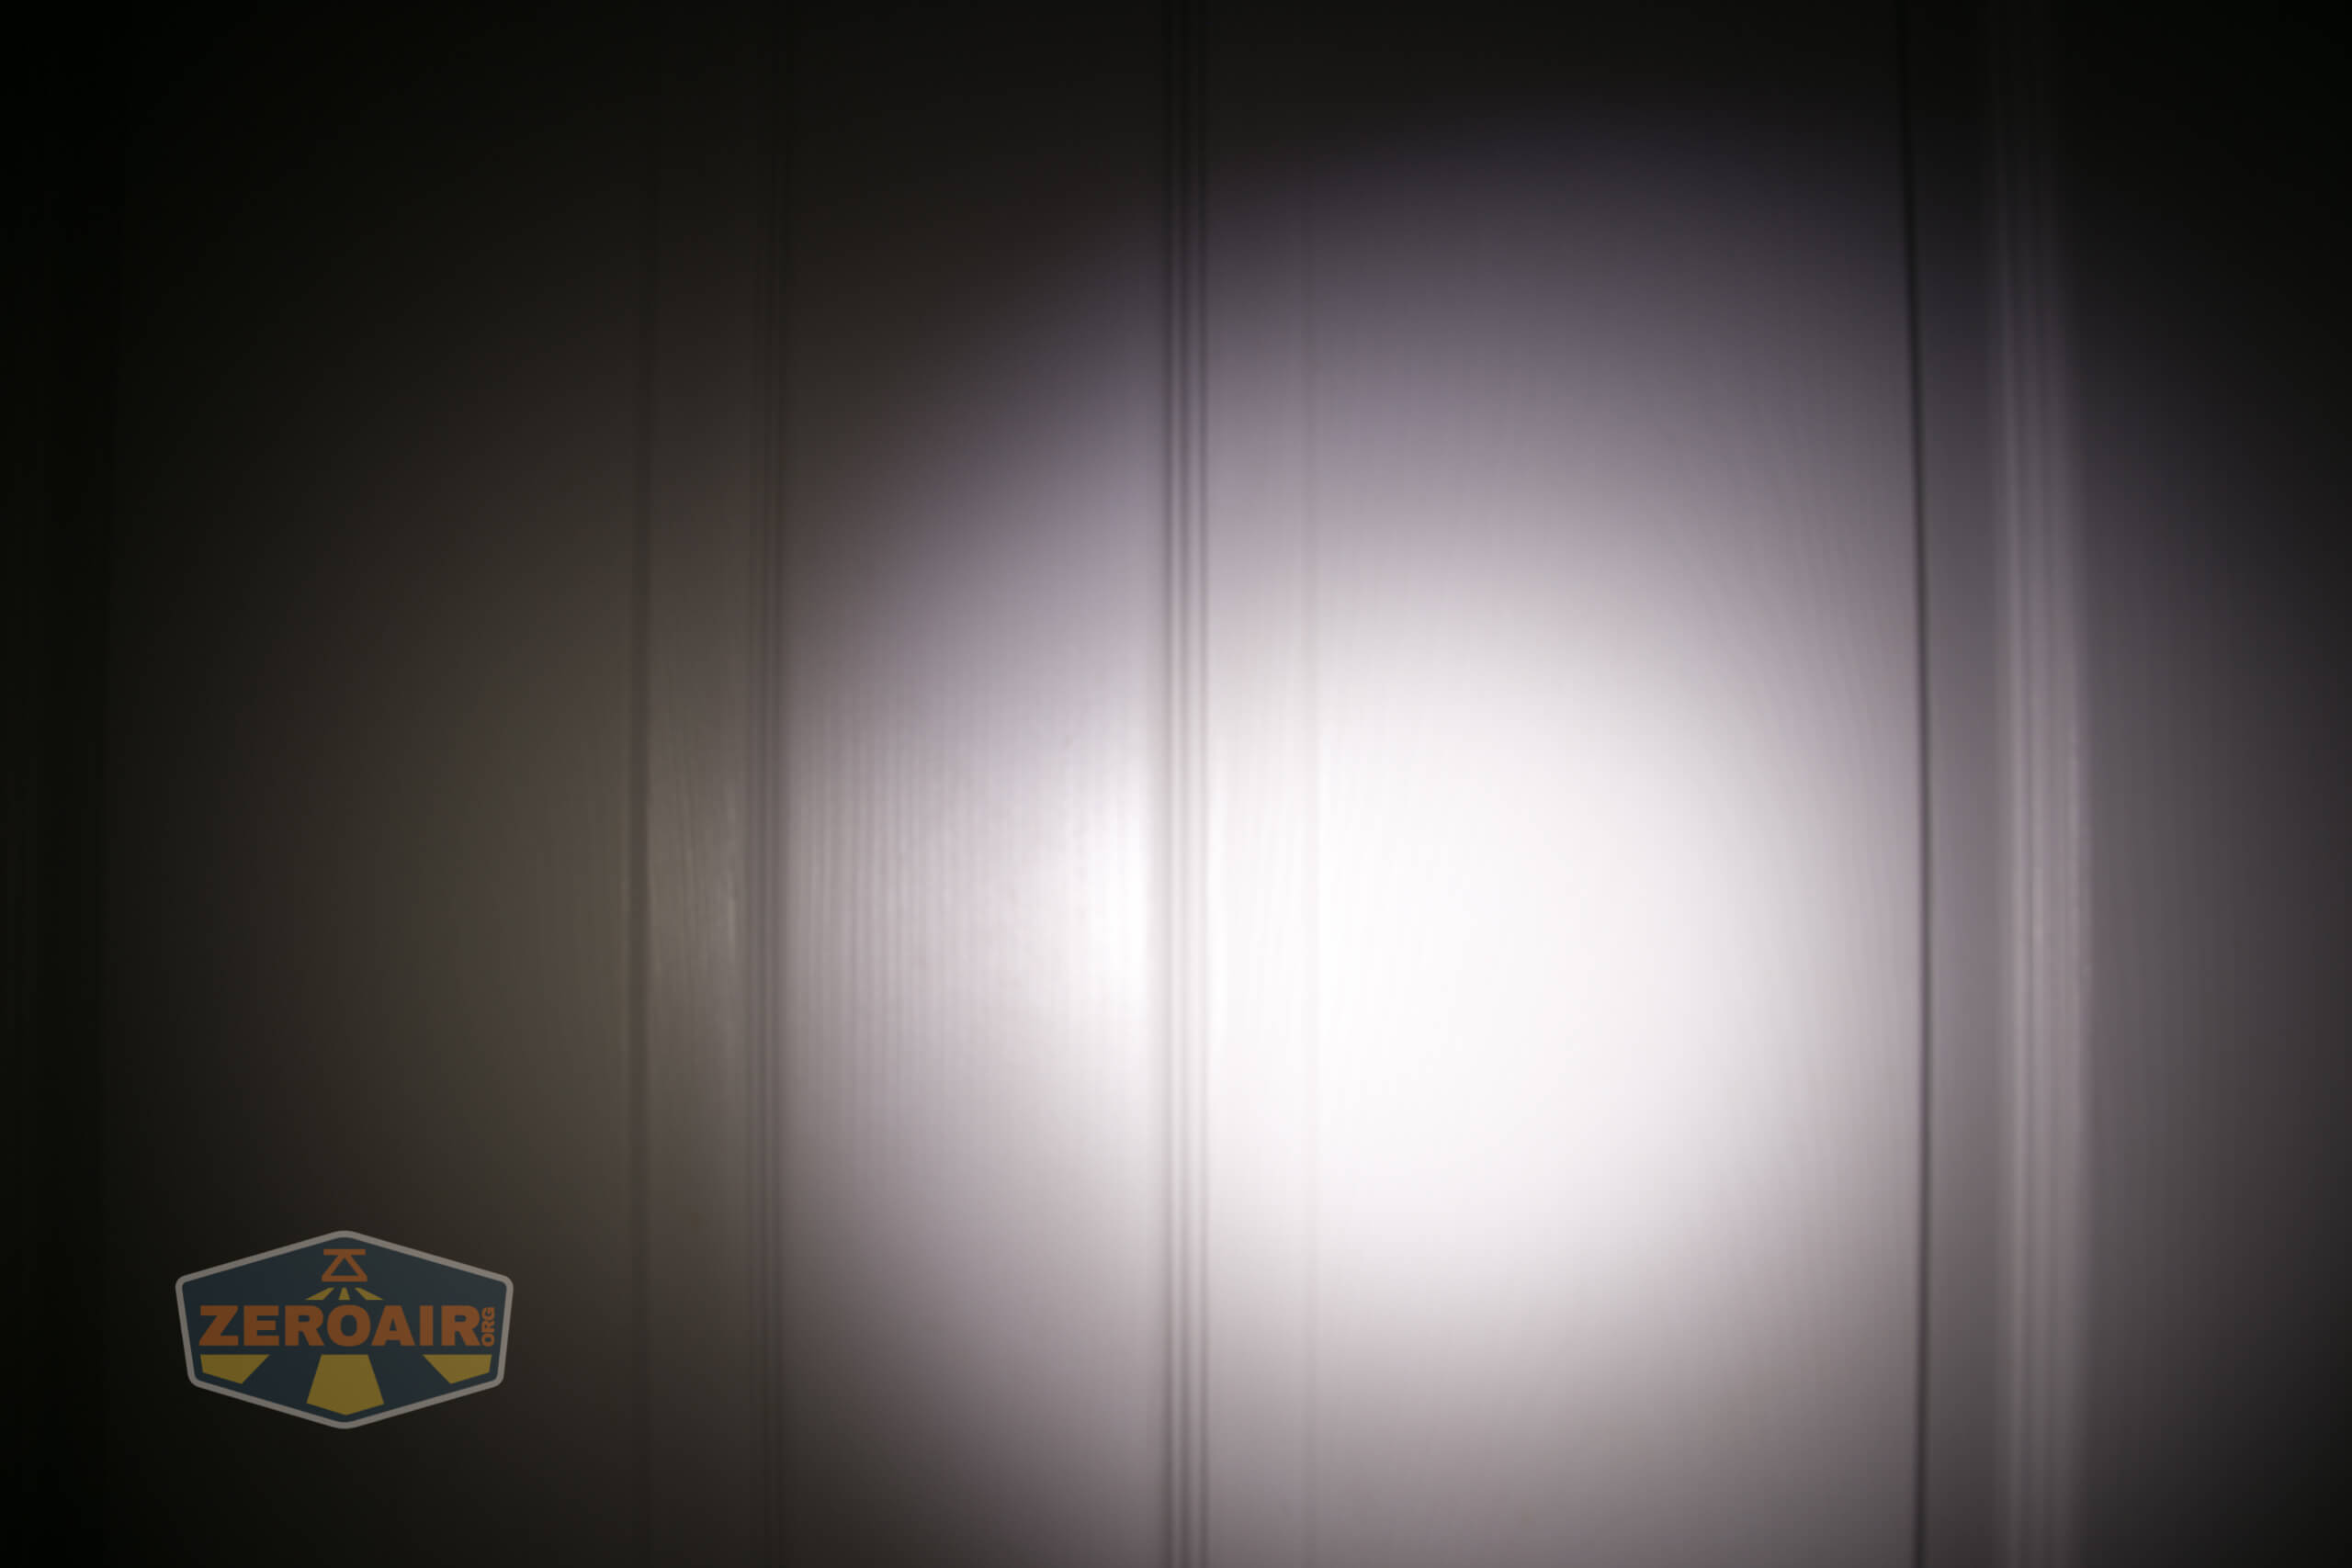
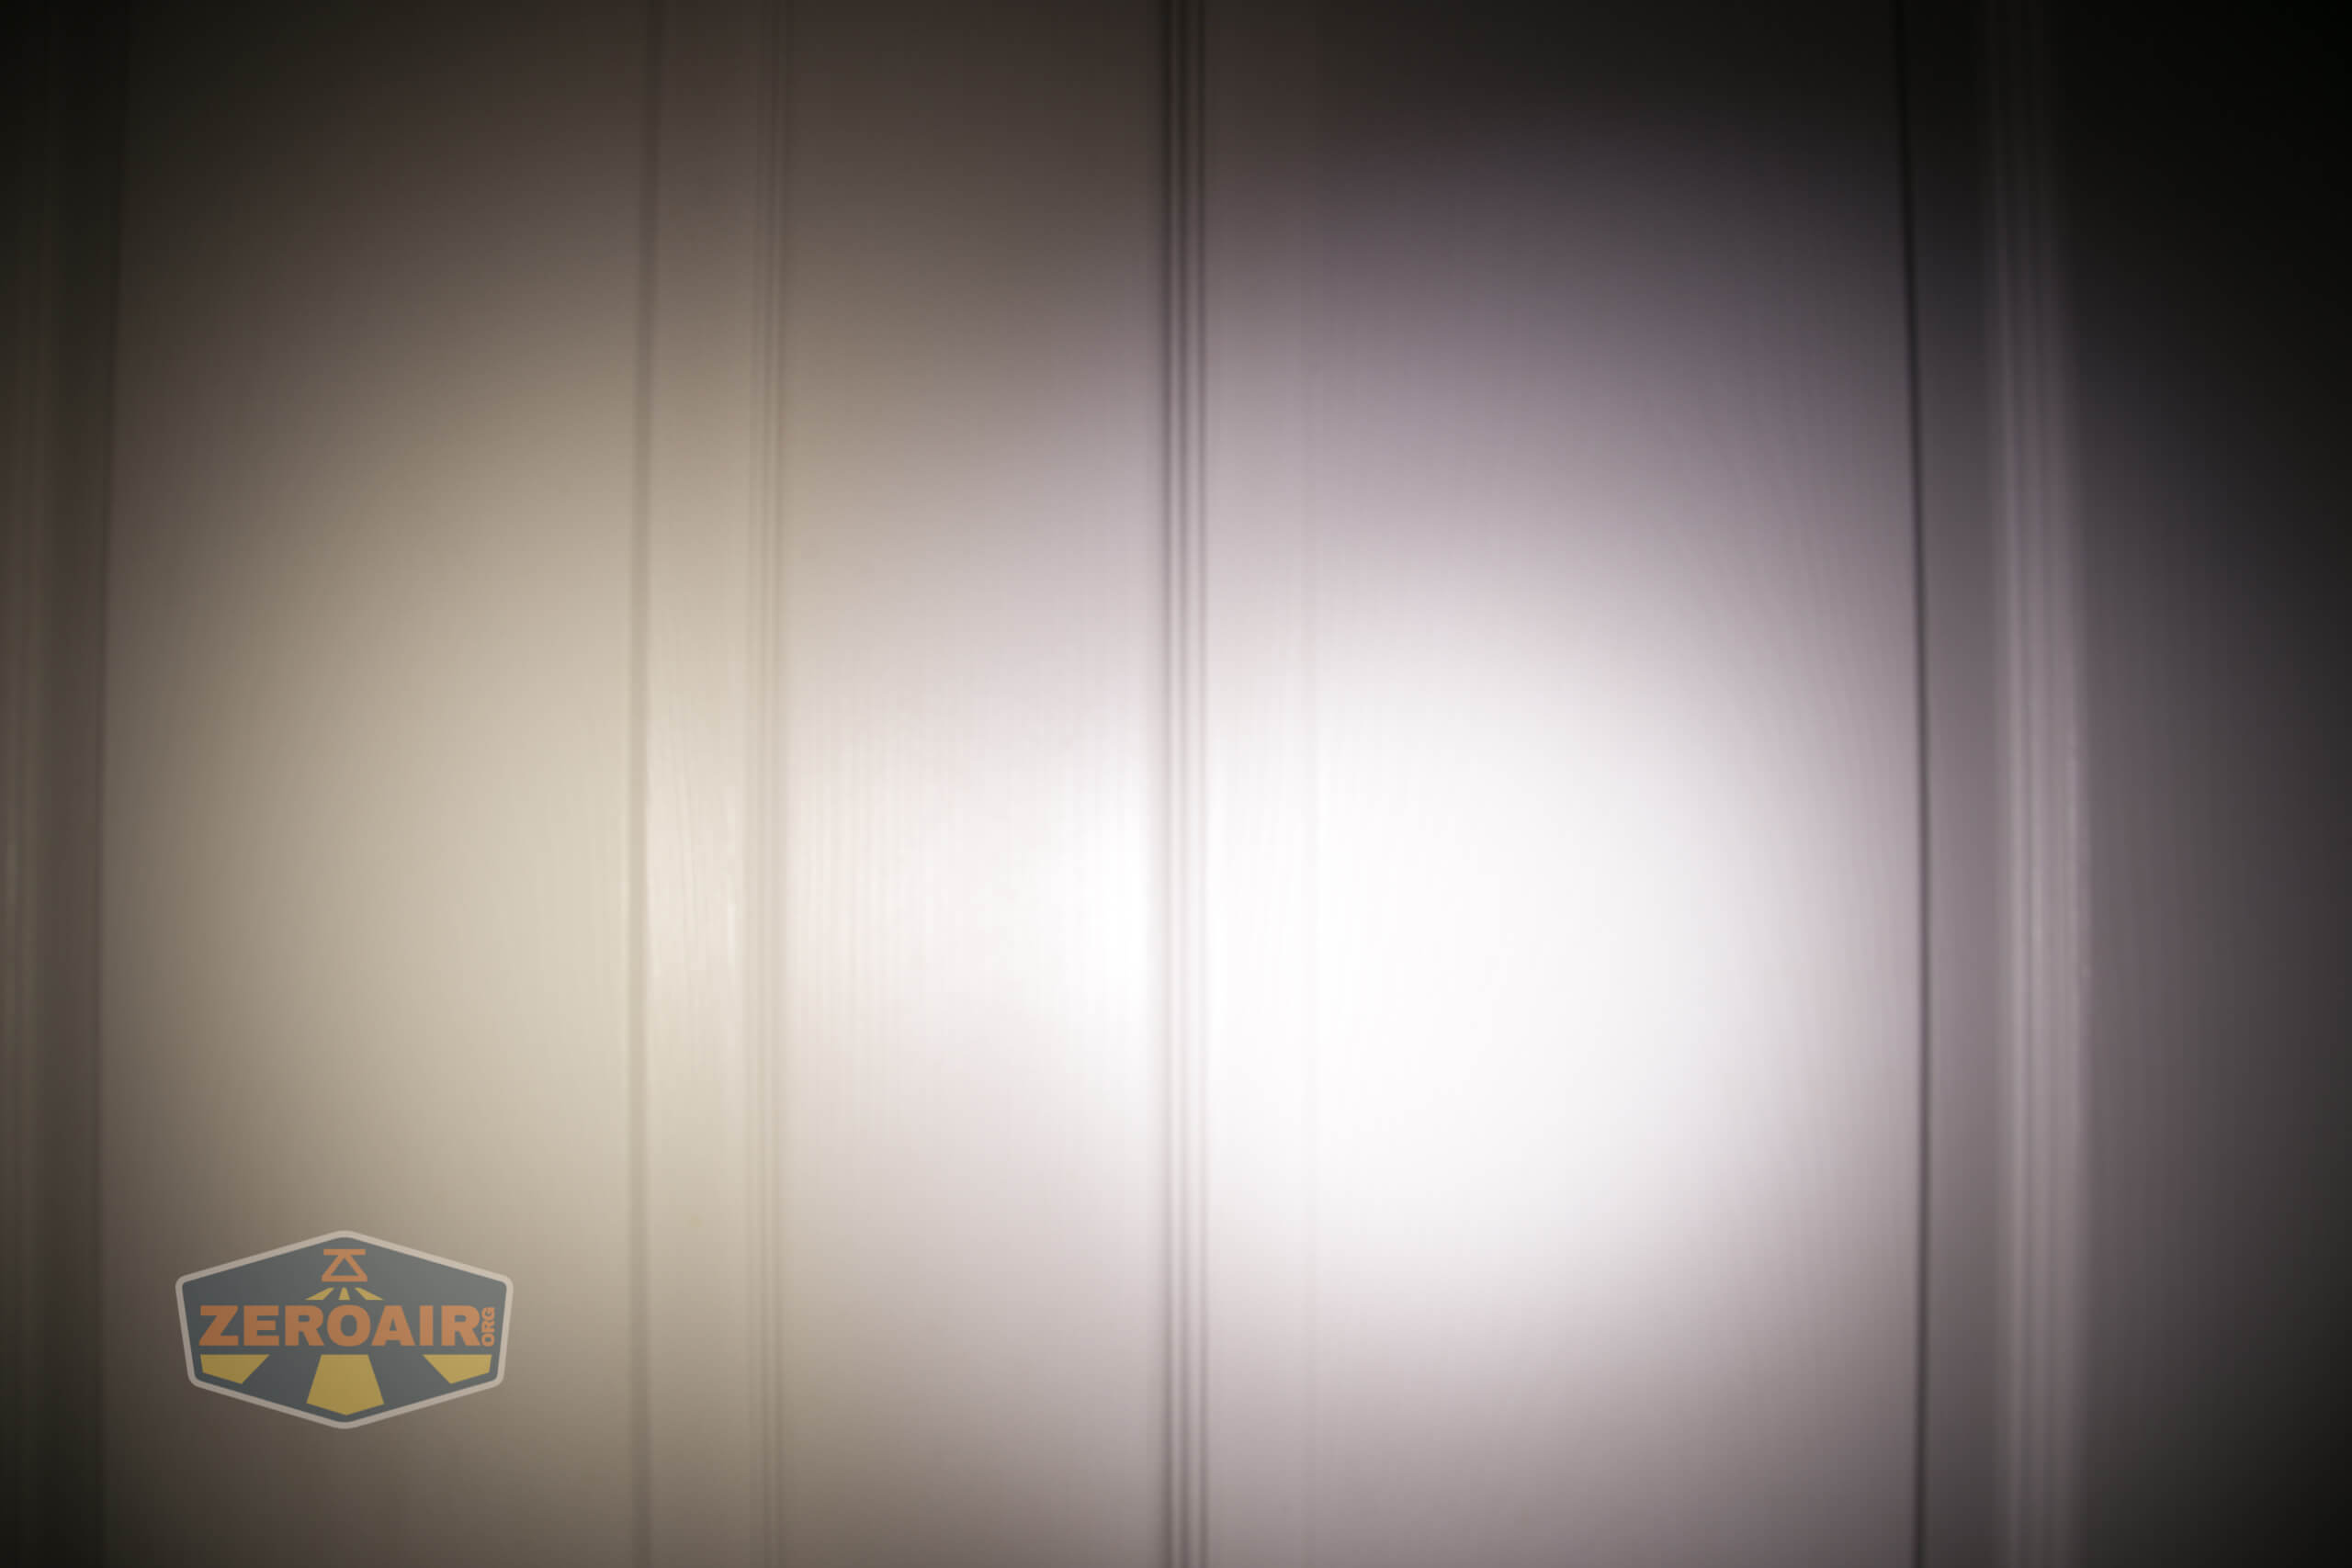
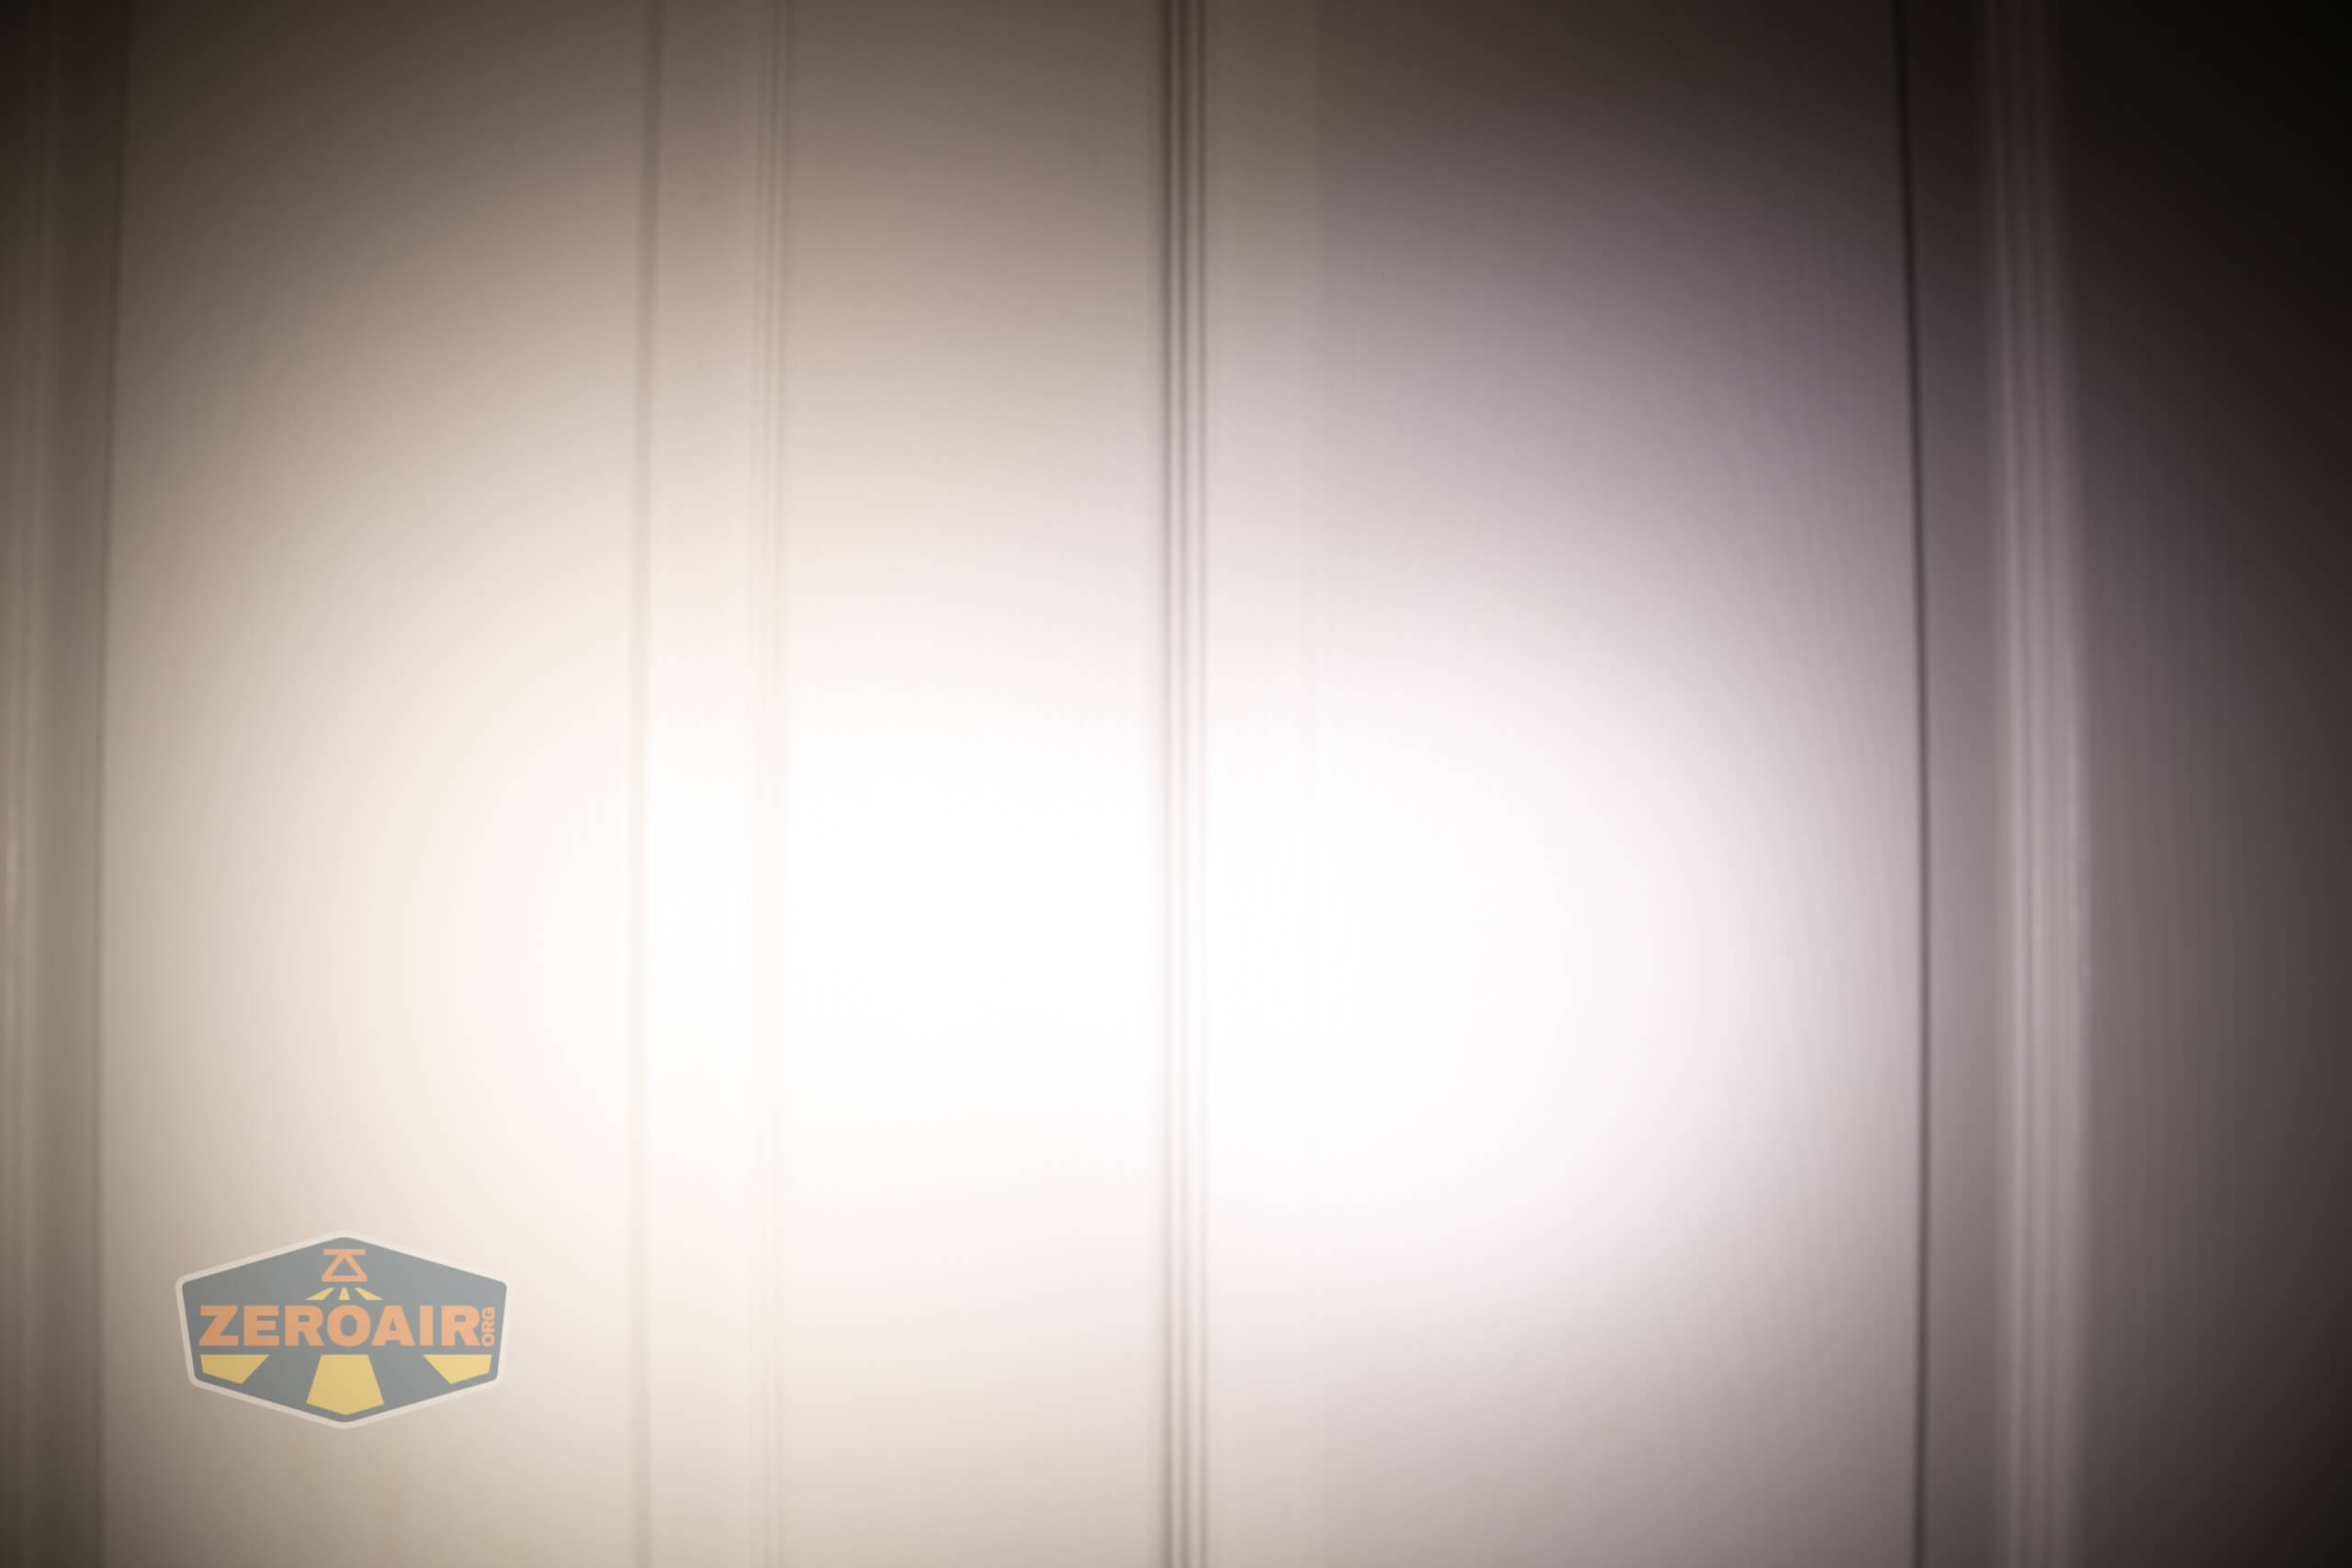
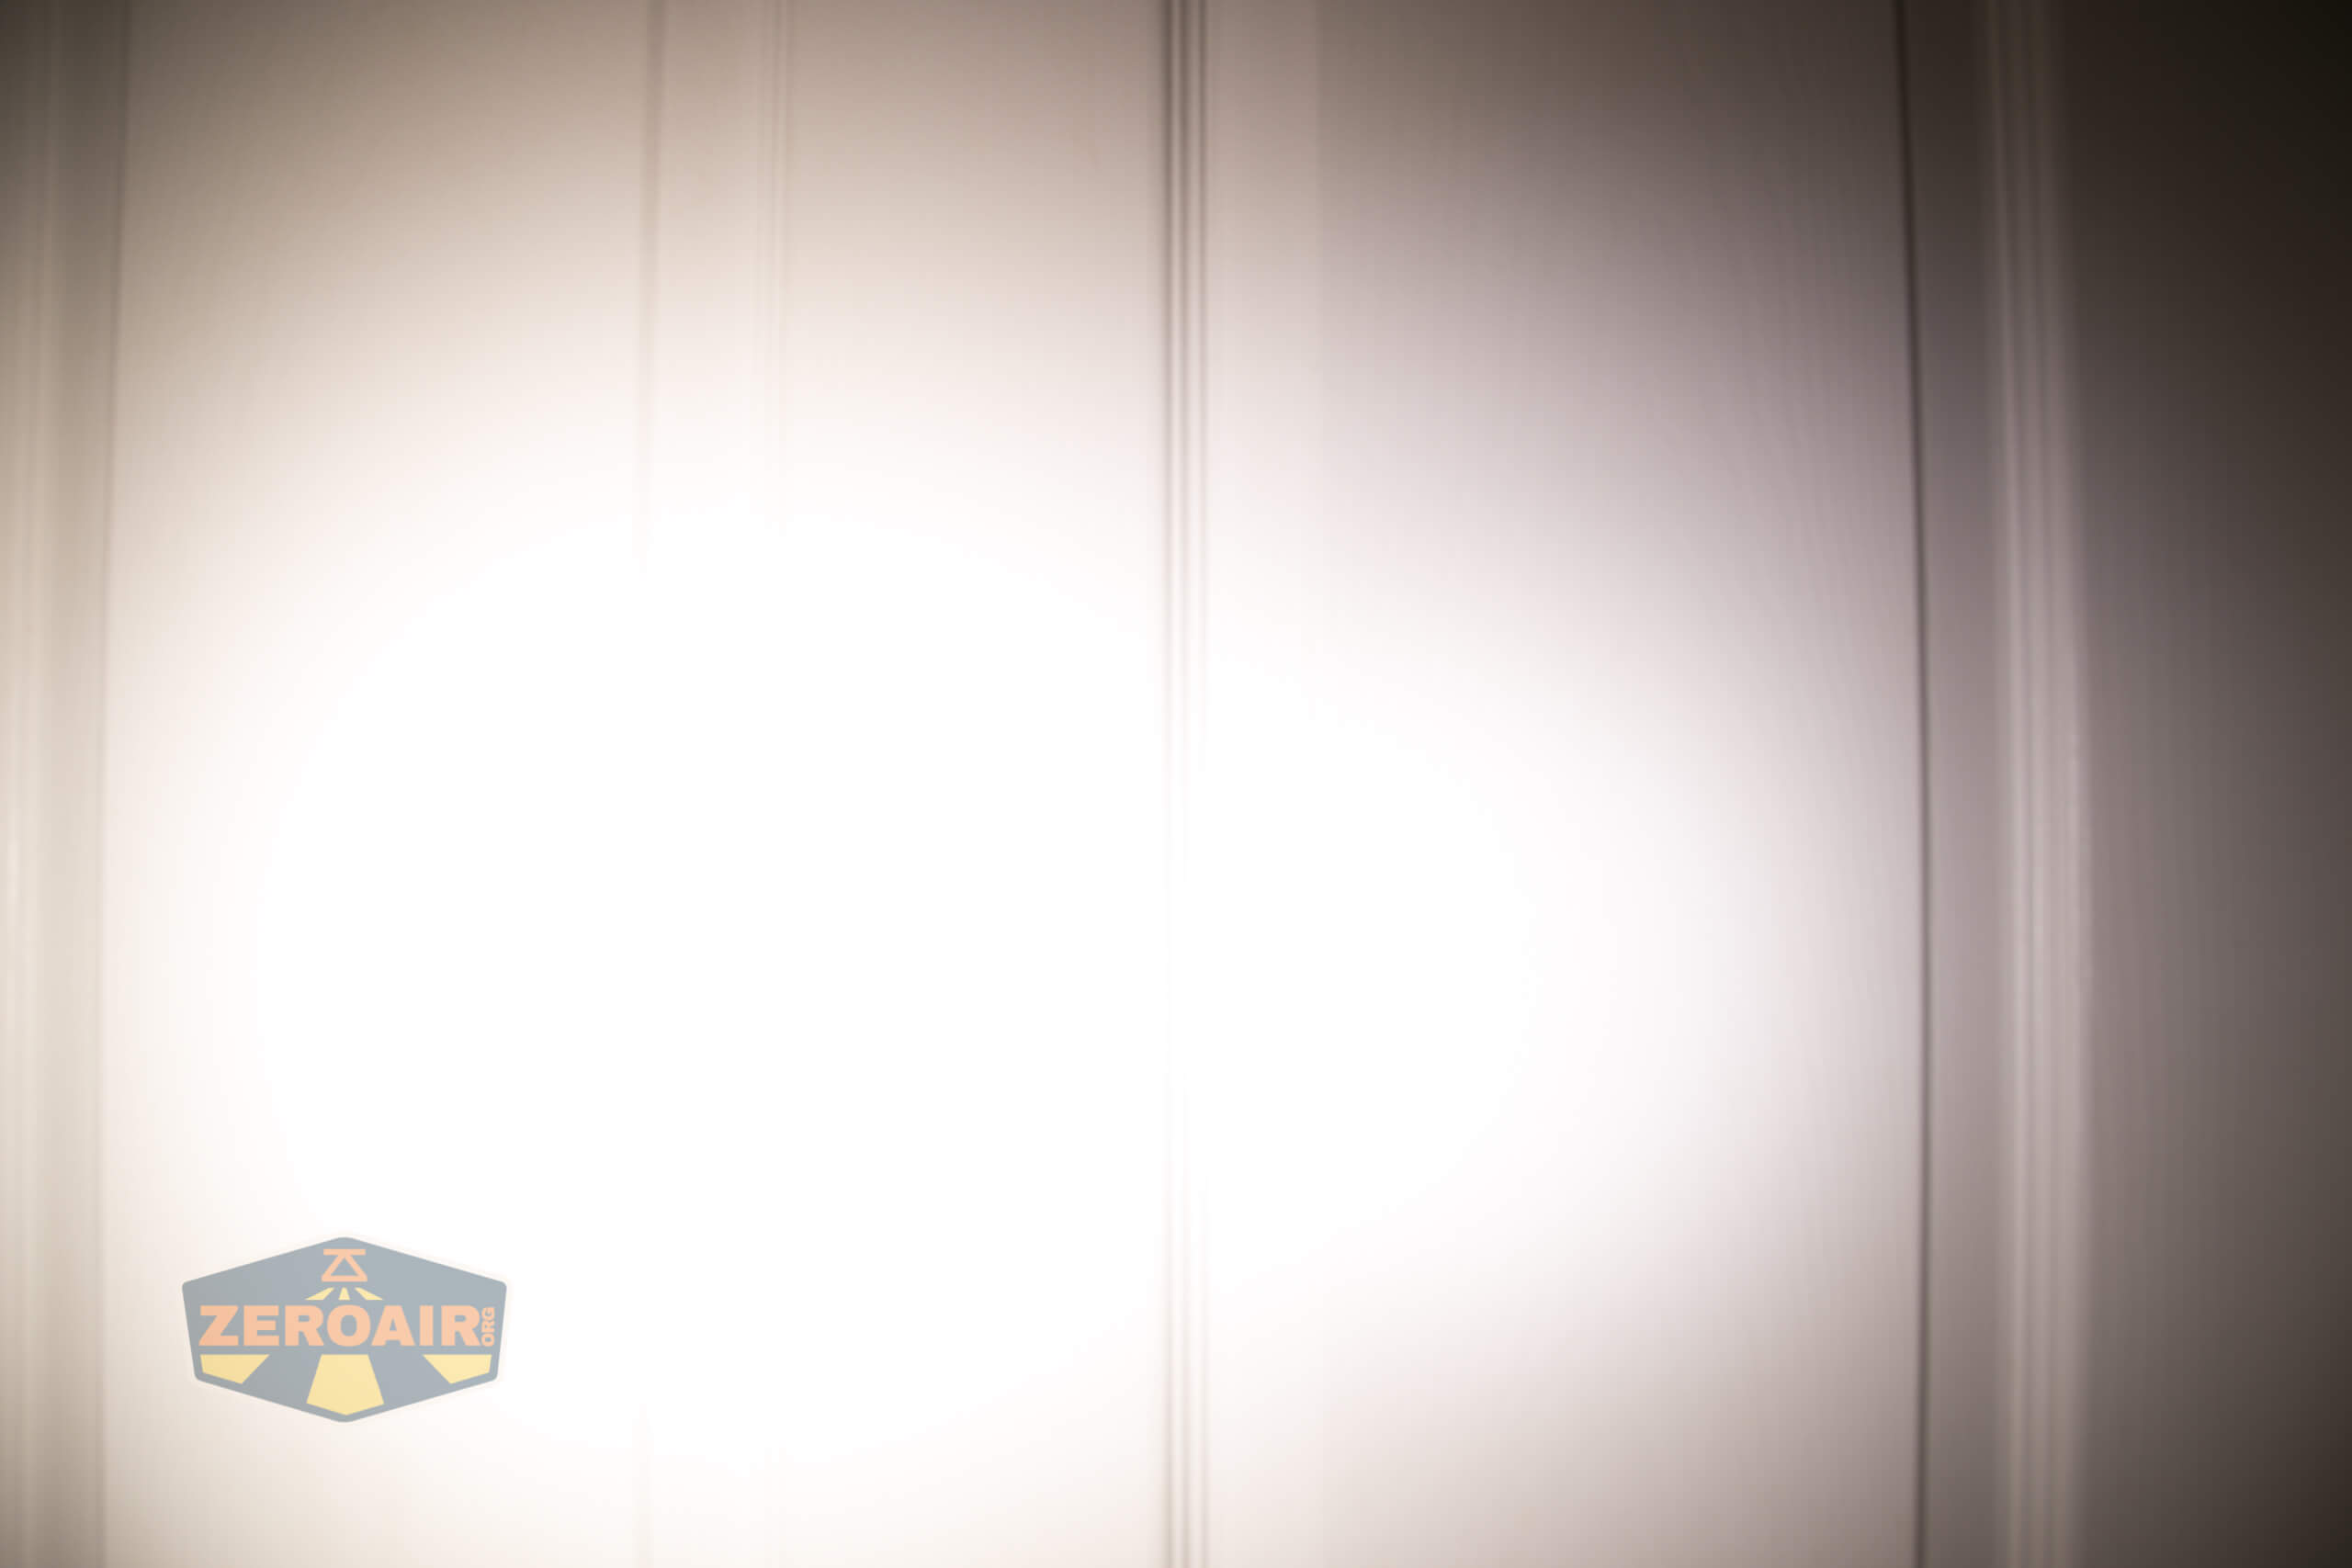
That emitter is behind a TIR optic, which is dimpled and makes a very floody beam. The beam, though, is a warm (4500K warm) high CRI (>90) beam and is exceptionally pleasant.

Beamshots
These beamshots always have the following settings: f8, ISO100, 0.3s shutter, and manual 5000K exposure. These photos are taken at floor level, and the beam hits the ceiling around 9 feet away.


Tint vs BLF-348 (KillzoneFlashlights.com 219b version) (affiliate link)
I keep the test flashlight on the left and the BLF-348 reference flashlight on the right.
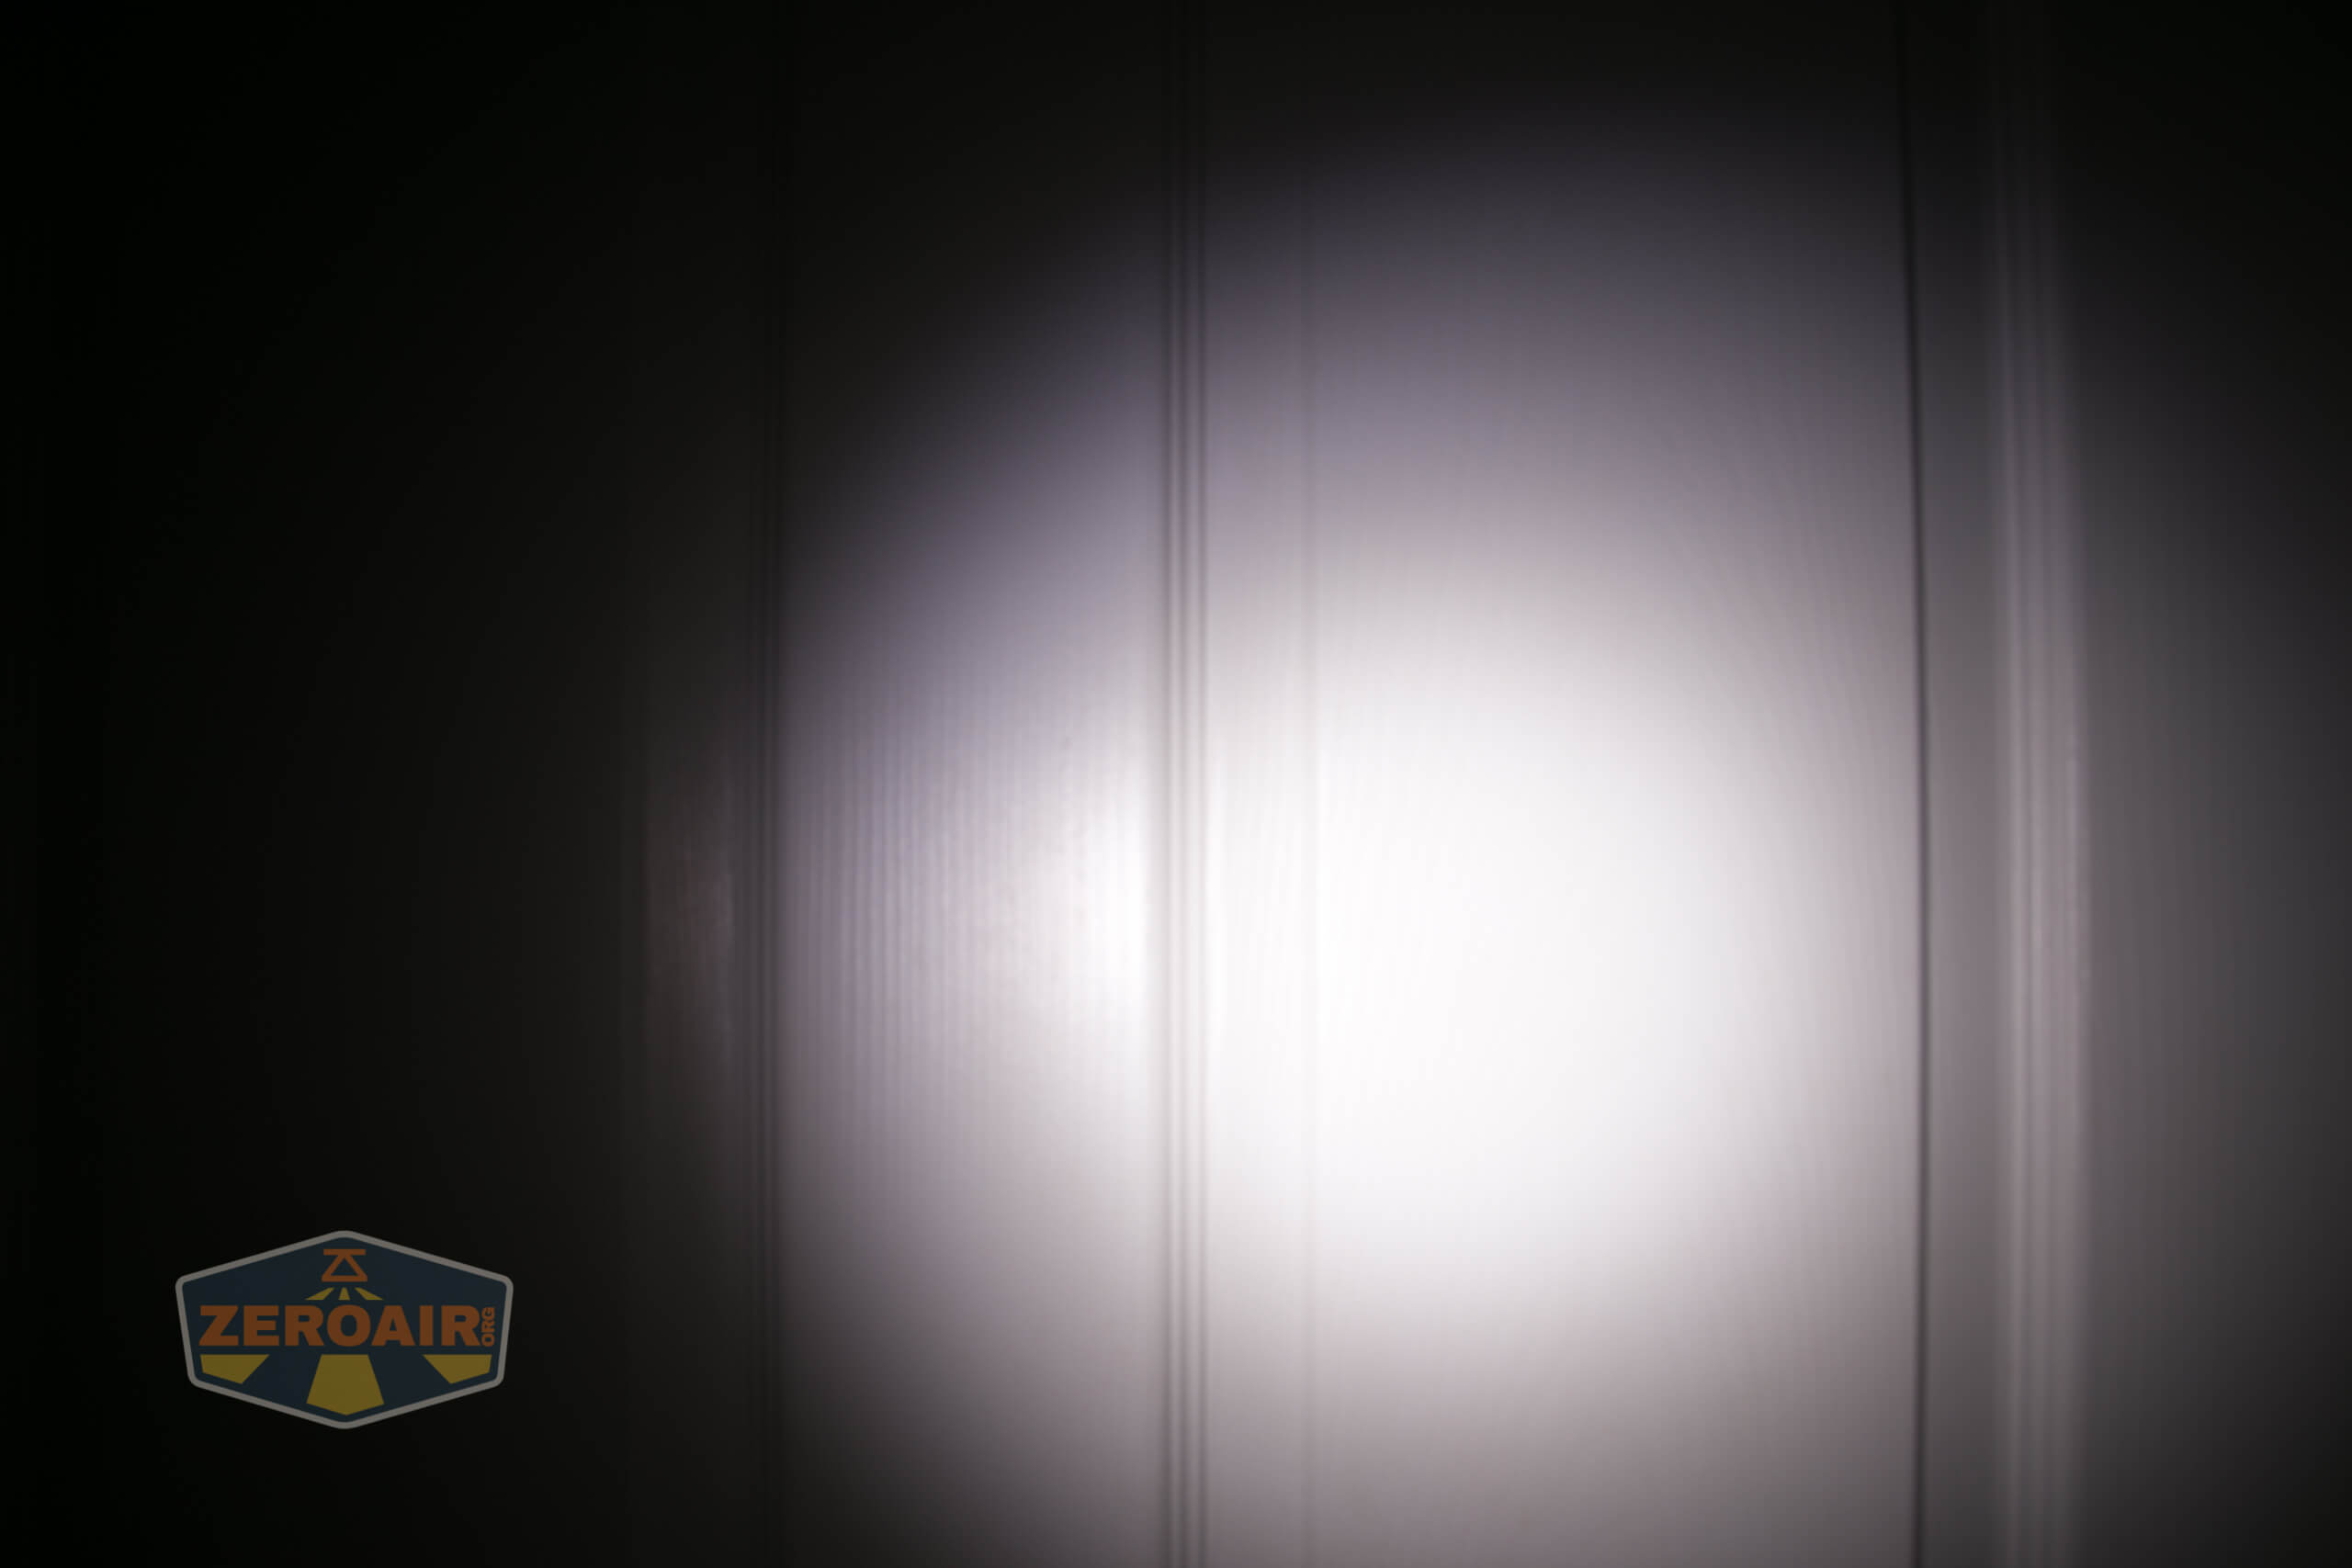
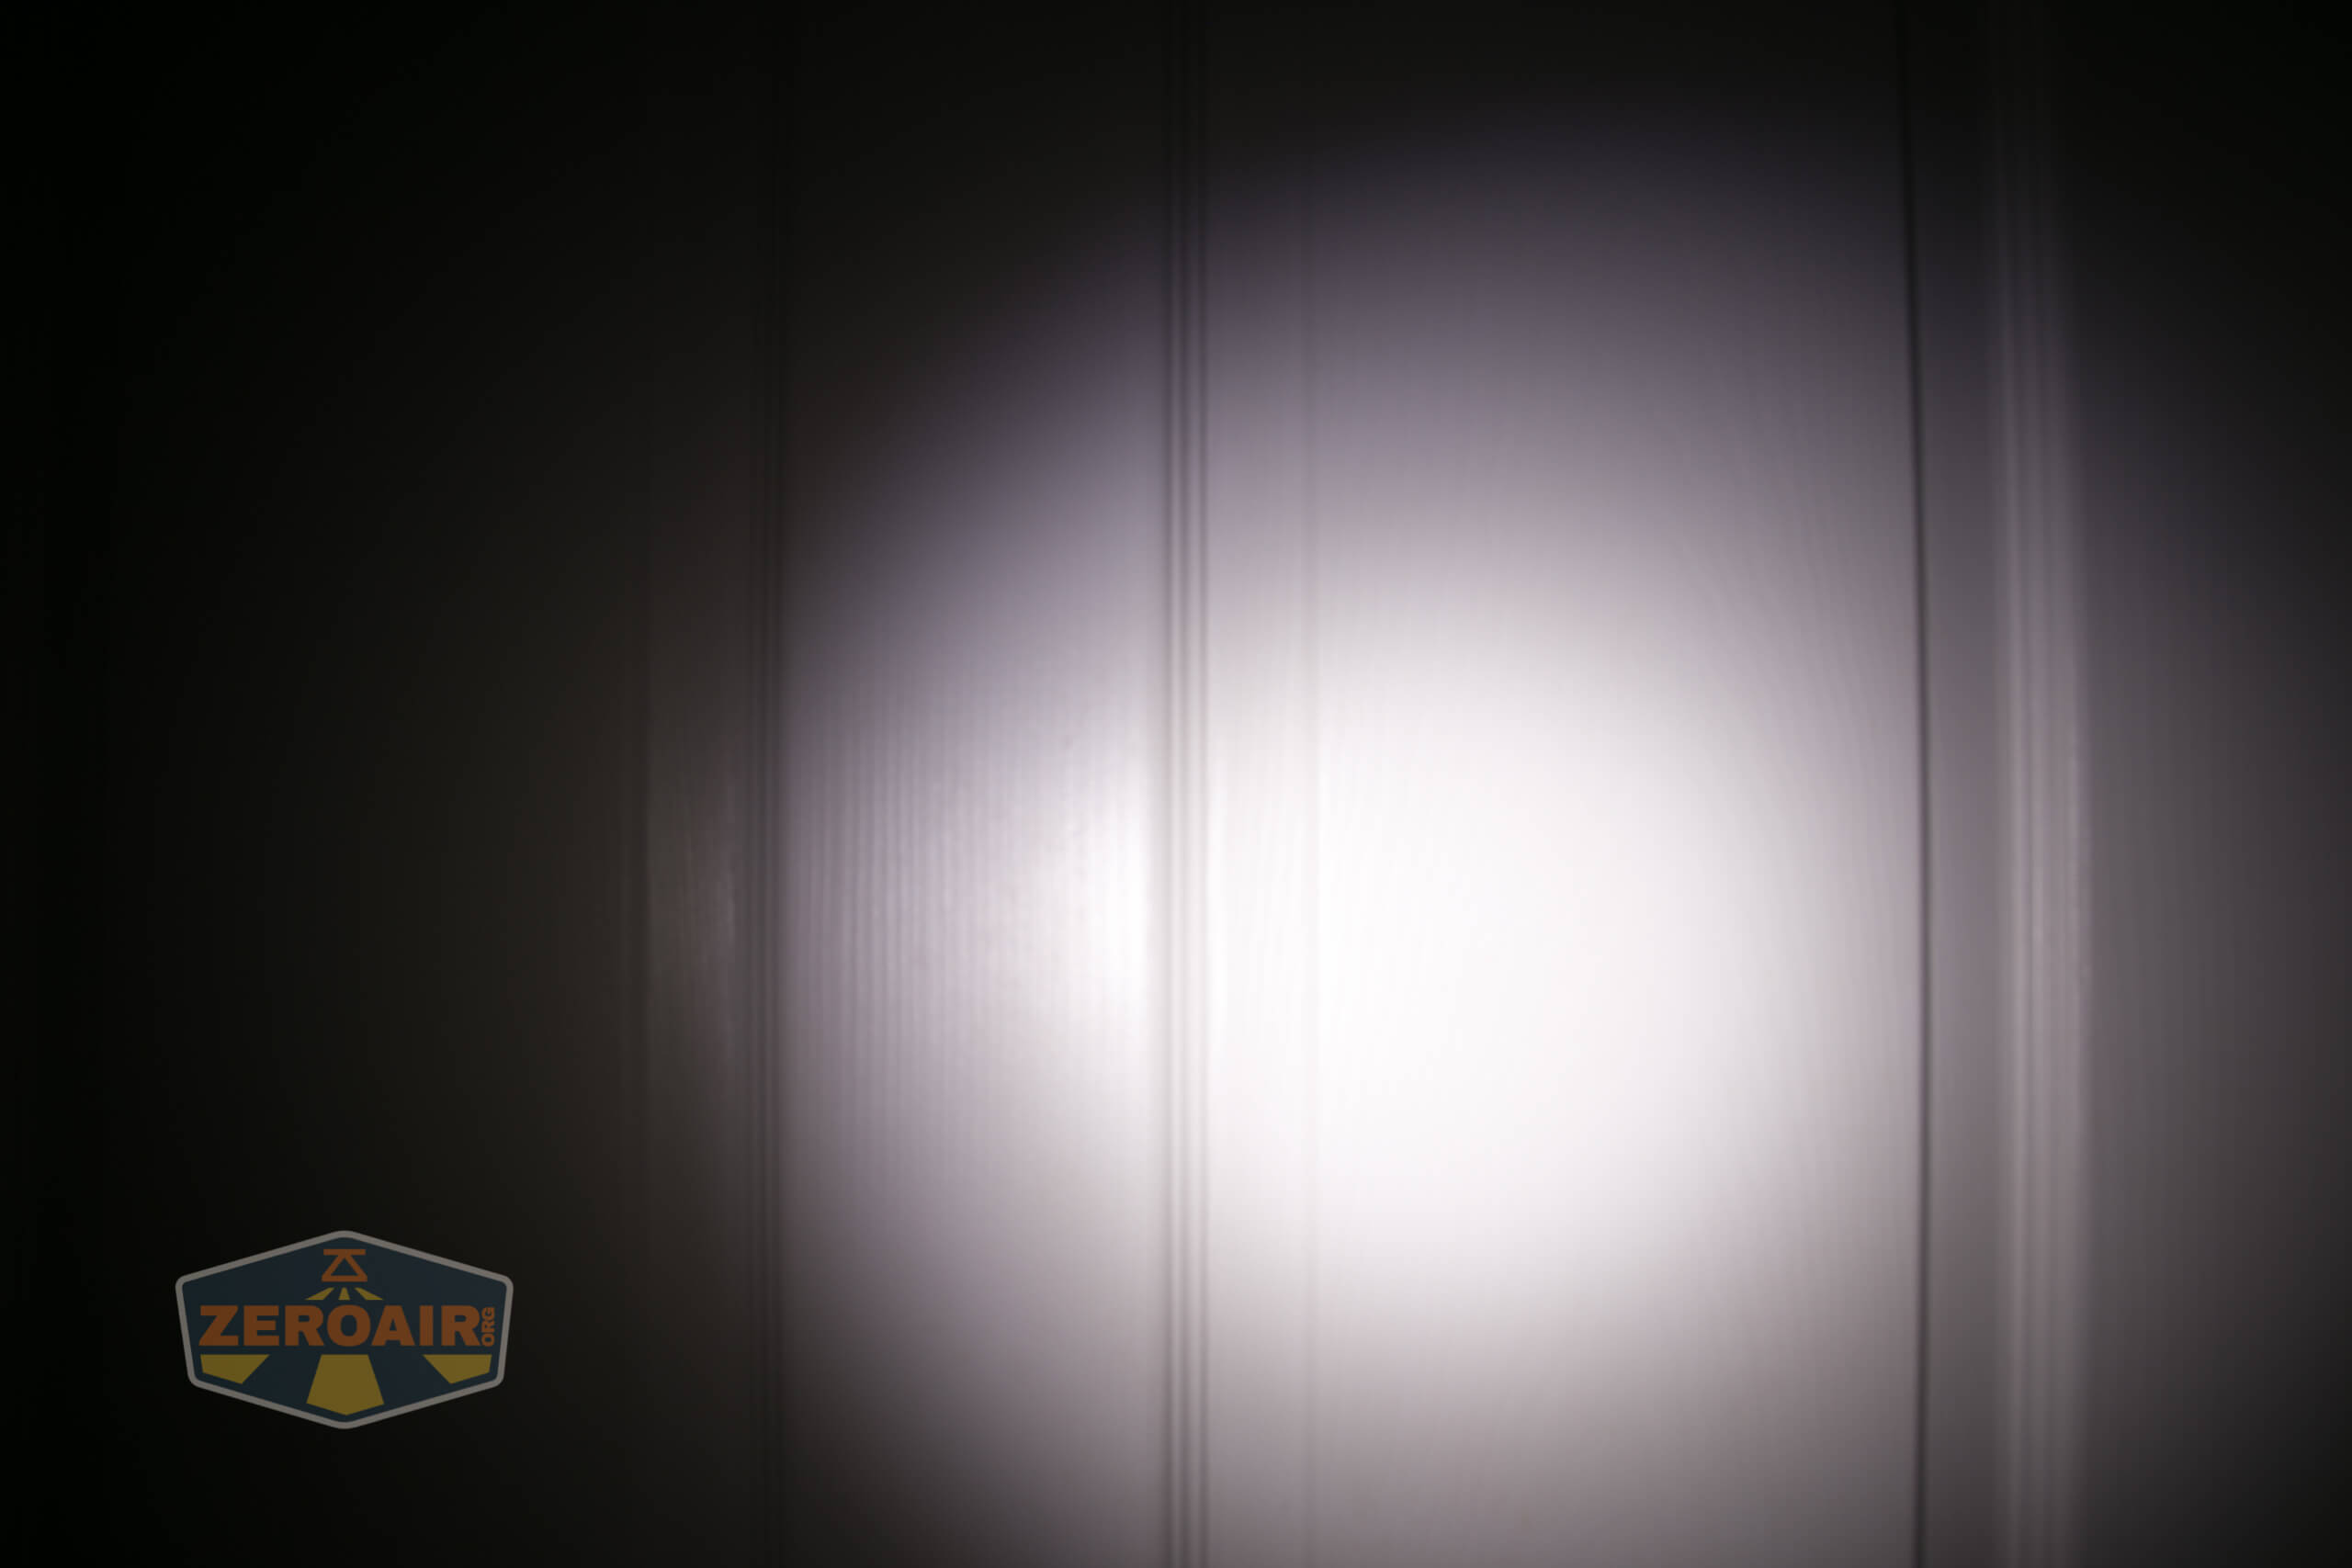


I compare everything to the KillzoneFlashlights.com 219b BLF-348 because it’s inexpensive and has the best tint!
Conclusion
What I like
- Great User Interface
- Build quality seems robust
- Use of high CRI and warm (ish) emitter
- Indicating e-switch gives a wealth of information
- Cell isn’t proprietary – any type 18650 will work and charge in the light
- Headband connector is very secure
What I don’t like
- Tailcap threads could be smoother
- I don’t like the “back off 1/4 turn for charging” – why is this necessary?
- Proprietary magnetic charging in general
Notes
- This light was provided by KillzoneFlashlights.com for review. I was not paid to write this review.
- This content originally appeared at zeroair.org. Please visit there for the best experience!
- Please use my Amazon.com referral link to help support zeroair.org!
- Please support me on Patreon! I deeply appreciate your support!
Discover more from ZeroAir Reviews
Subscribe to get the latest posts sent to your email.
“I don’t like the “back off 1/4 turn for charging” – why is this necessary?” I think to avoid short circuits during use.
Pingback: Fenix HM61R Rechargeable Headlamp Review - ZeroAir Reviews
Thank you very much for this test. It really is a huge help in purchasing decisions.
The sawtooth pattern in the output seems very unusual for ArmyTek, since (as you yourself have measured) it’s normally impressively flat.
Revision 0 of the datasheet states the same lumen values as the previous Nichia-equipped Wizard but the more recent revision 3 of the datasheet has 34, 90 and 250 lumens for the three Main modes. For most of the modes the lumens you measured line up pretty well with the new rated figures.
However, while your measured value of 226 lm for Main 3 is pretty close to the claimed 250 lm, your Main 1 and Main 2 measurements are rather low for what’s claimed, at least on a percentage basis. If I understand correctly, those two modes are also the two which showed the sawtooth patterns. By integrating the output (finding the area under the graph, which is not too hard since it’s essentially a rectangle) we get unusually low lumen-hour results for those two modes. Alternatively, the amount of current for those two modes is quite high for the amount of light produced.The headlamp appears to be least efficient in the two modes many users will use the most.
Was the headlamp you tested faulty?
Actually, the photo of the box you posted shows the new 34, 90, 250 lumen values amongst the specs. You should really have listed the new values.
Another thought – if the sample frequency of your light meter is the same as the sawtooth frequency it’ll get confused about what the average actually is.