Fenix PD40R v2.0 Flashlight Review
Fenix released the Fenix PD40R v2.0 flashlight, an updated PD40R. It boasts 3000 lumens, uses a single 21700 cell, and has USB-C charging! Read on!
Official Specs and Features
Here’s a link to the Fenix PD40R v2.0 flashlight product page.
Versions
Of the new version (the Fenix PD40R v2.0 flashlight), there is only one version. Before this light, though, was the PD40R.
Price
The Fenix PD40R v2.0 flashlight sells for $119.95 at Fenix-Strore.com
Short Review
Alright, who loves rotary lights!?! Yes, everyone. Fenix has a good implementation of the rotary system with the PD40R v2.0 flashlight. It’s simple, easy to use, and reliable. Not only all those things, but the light also blisters out very high output, too!
Long Review
The Big Table
| Fenix PD40R V2.0 | |
|---|---|
| Emitter: | Luminus SST-70 |
| Price in USD at publication time: | $119.95 |
| Cell: | 1×21700 |
| Turbo Runtime Graph | High Runtime Graph |
| LVP? | Yes |
| Switch Type: | Rotary Dial |
| On-Board Charging? | Yes |
| Charge Port Type: | USB-C |
| Charge Graph | |
| Power off Charge Port | With cell: Low Only Without cell: No |
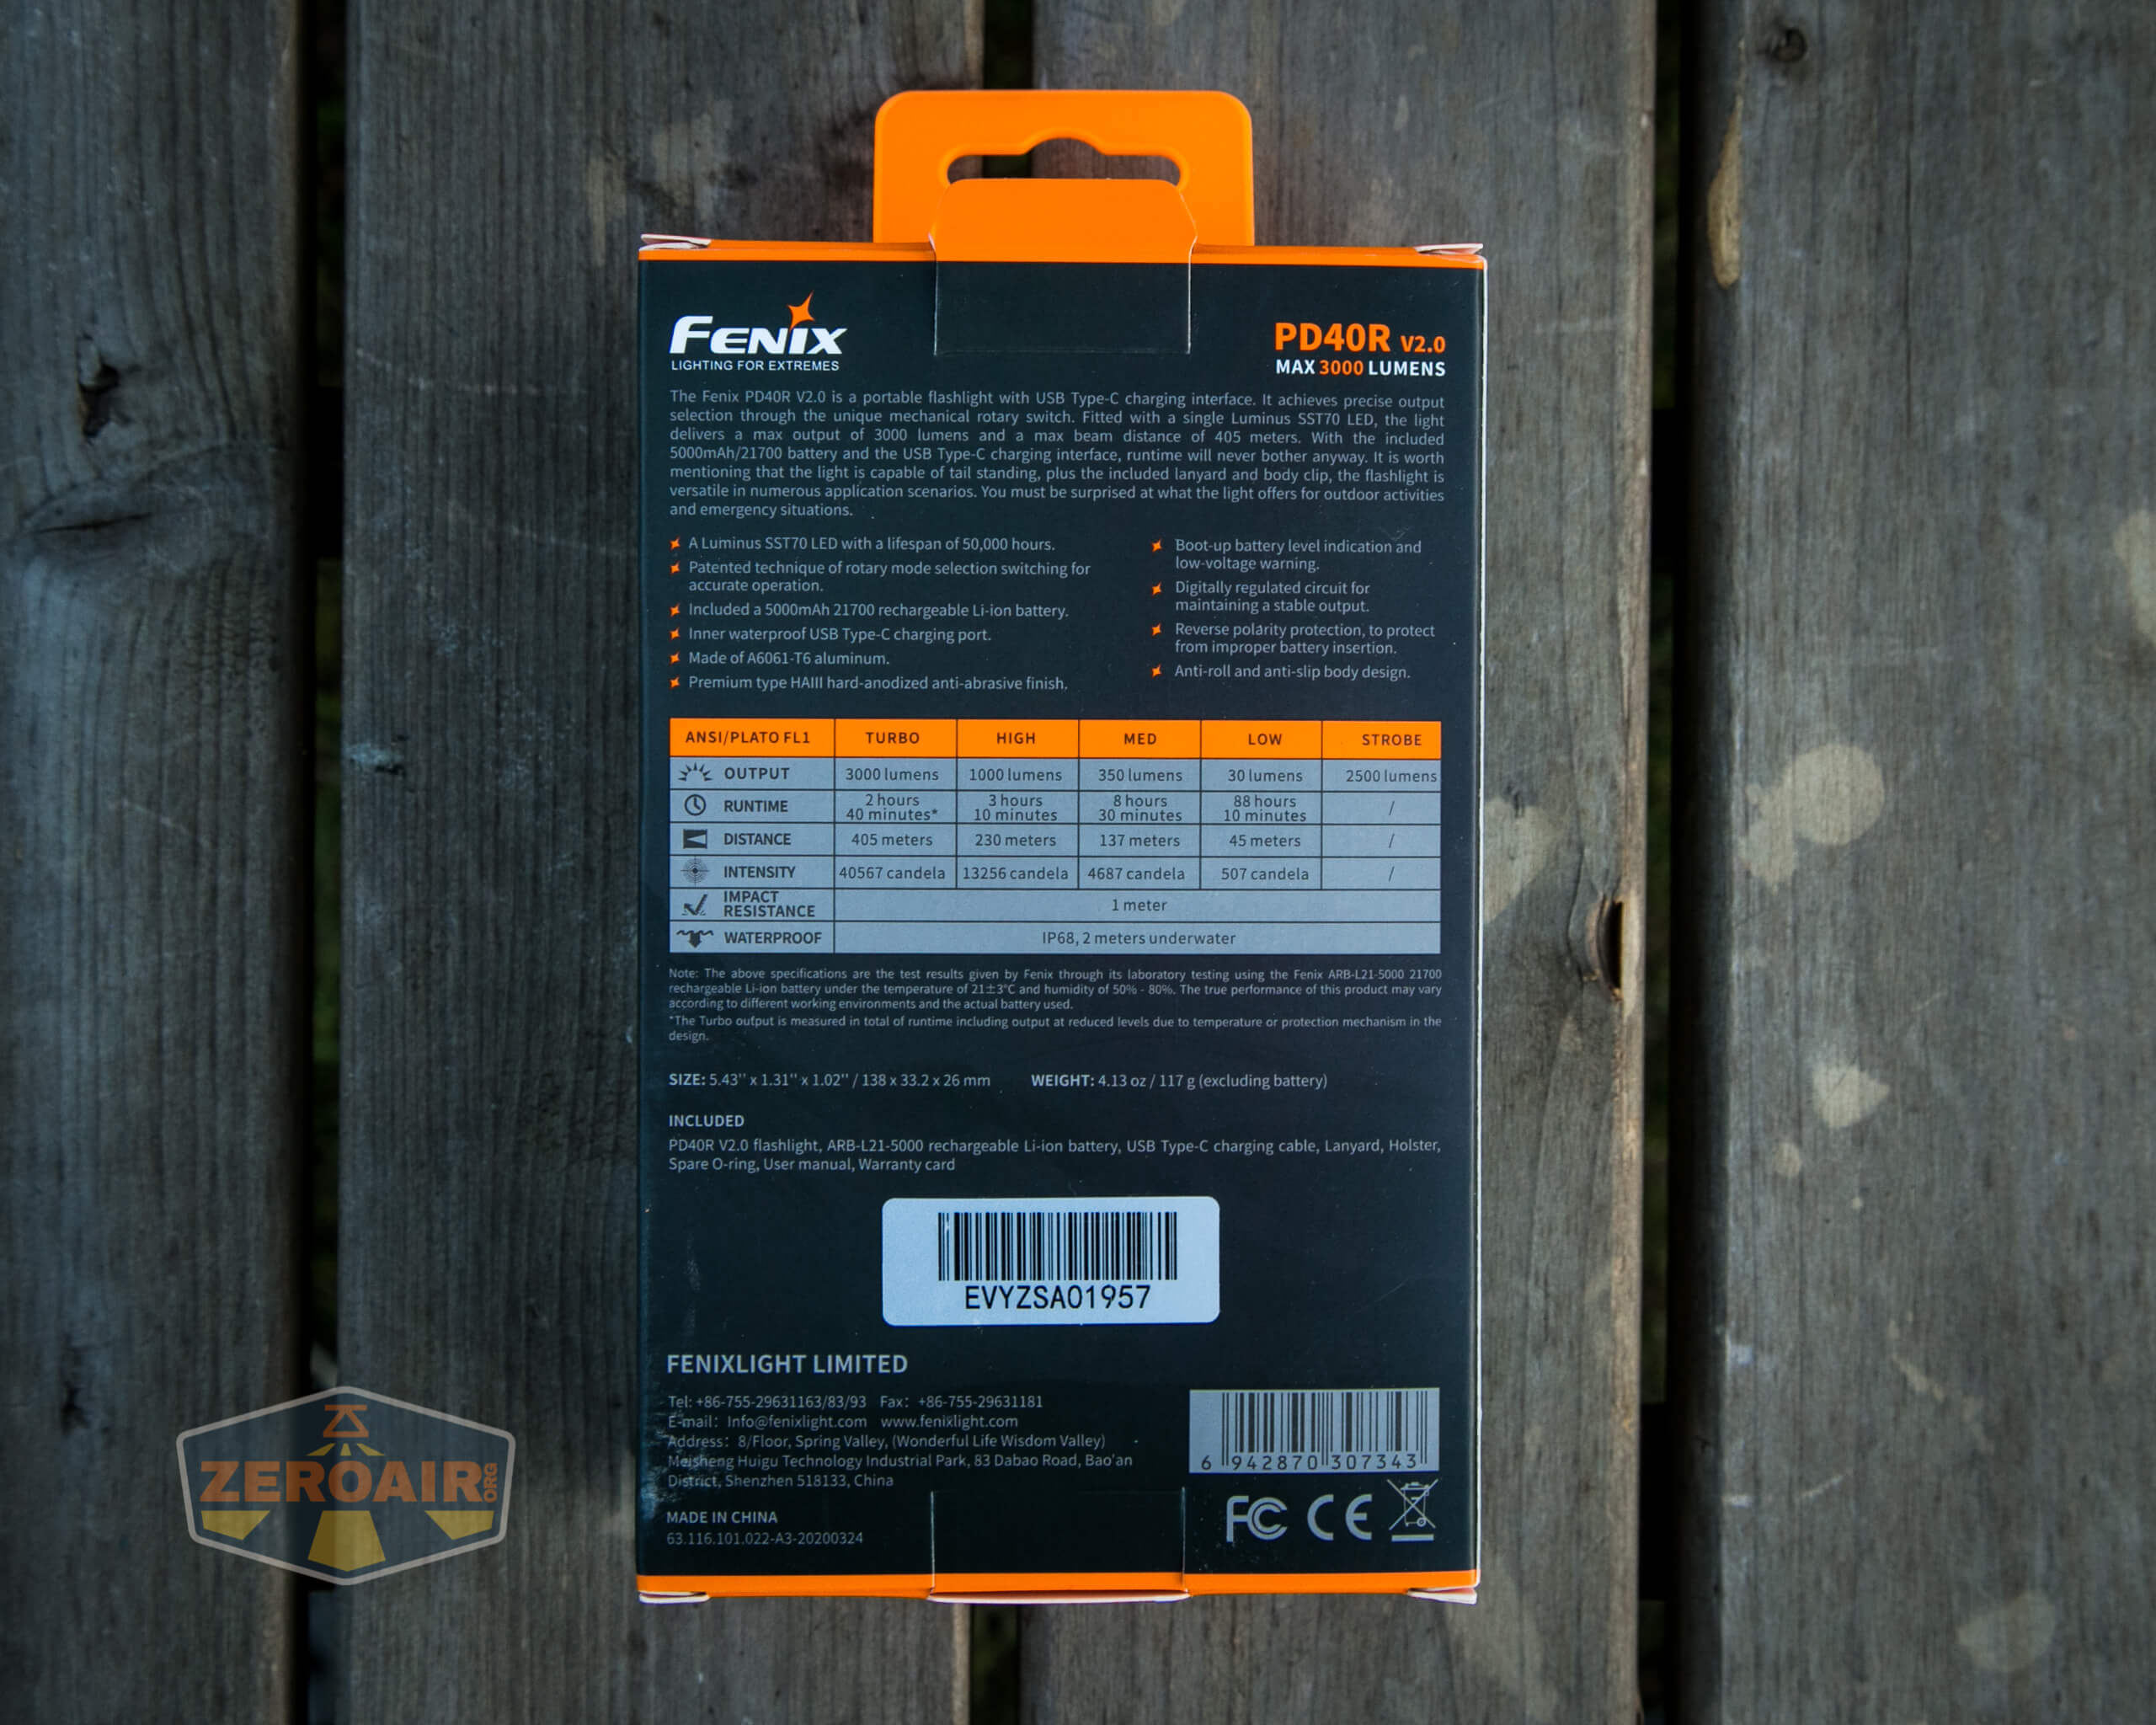
| Claimed Lumens (lm) | 3000 |
| Measured Lumens (at 30s) | 2709 (90.3% of claim)^ |
| Candela per Lumen | 13.7 |
| Claimed Throw (m) | 405 |
| Candela (Calculated) in cd (at 30s) | 1882lux @ 4.592m = 39685cd |
| Throw (Calculated) (m) | 398.4 (98.4% of claim)^ |
| All my Fenix reviews! | |
^ Measurement disclaimer: Testing flashlights is my hobby. I use hobbyist-level equipment for testing, including some I made myself. Try not to get buried in the details of manufacturer specifications versus measurements recorded here; A certain amount of difference (say, 10 or 15%) is perfectly reasonable.
What’s Included
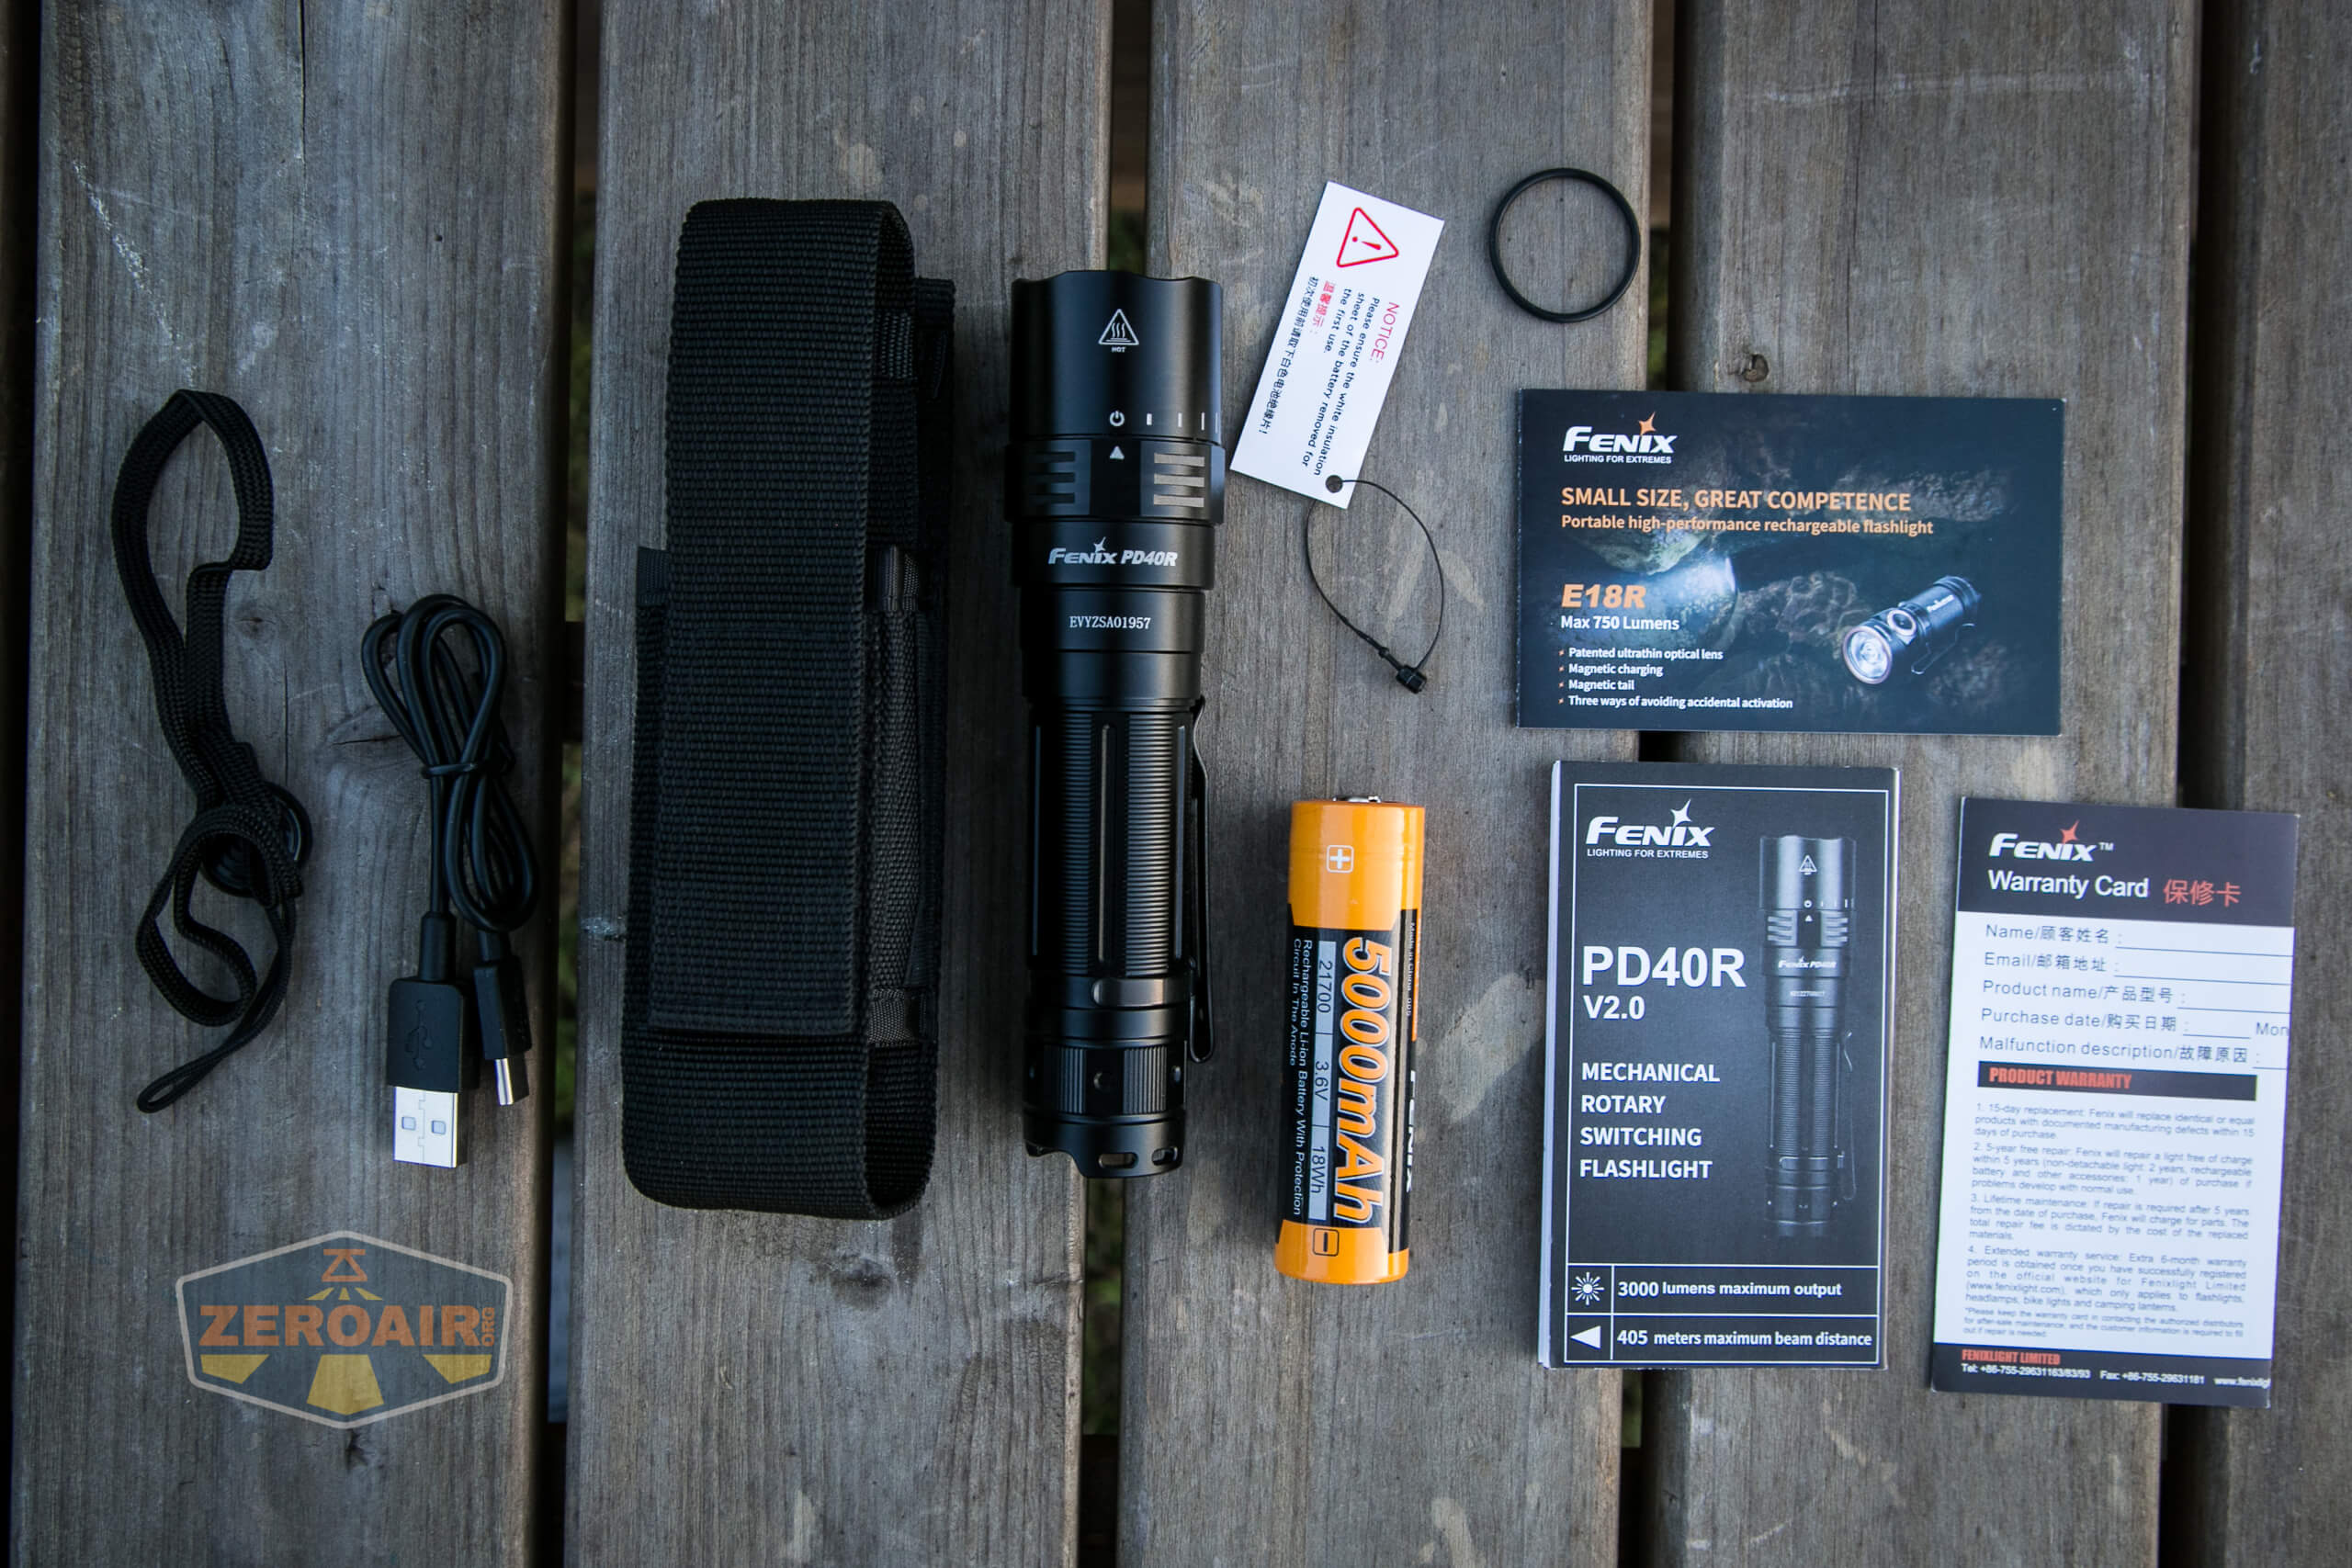
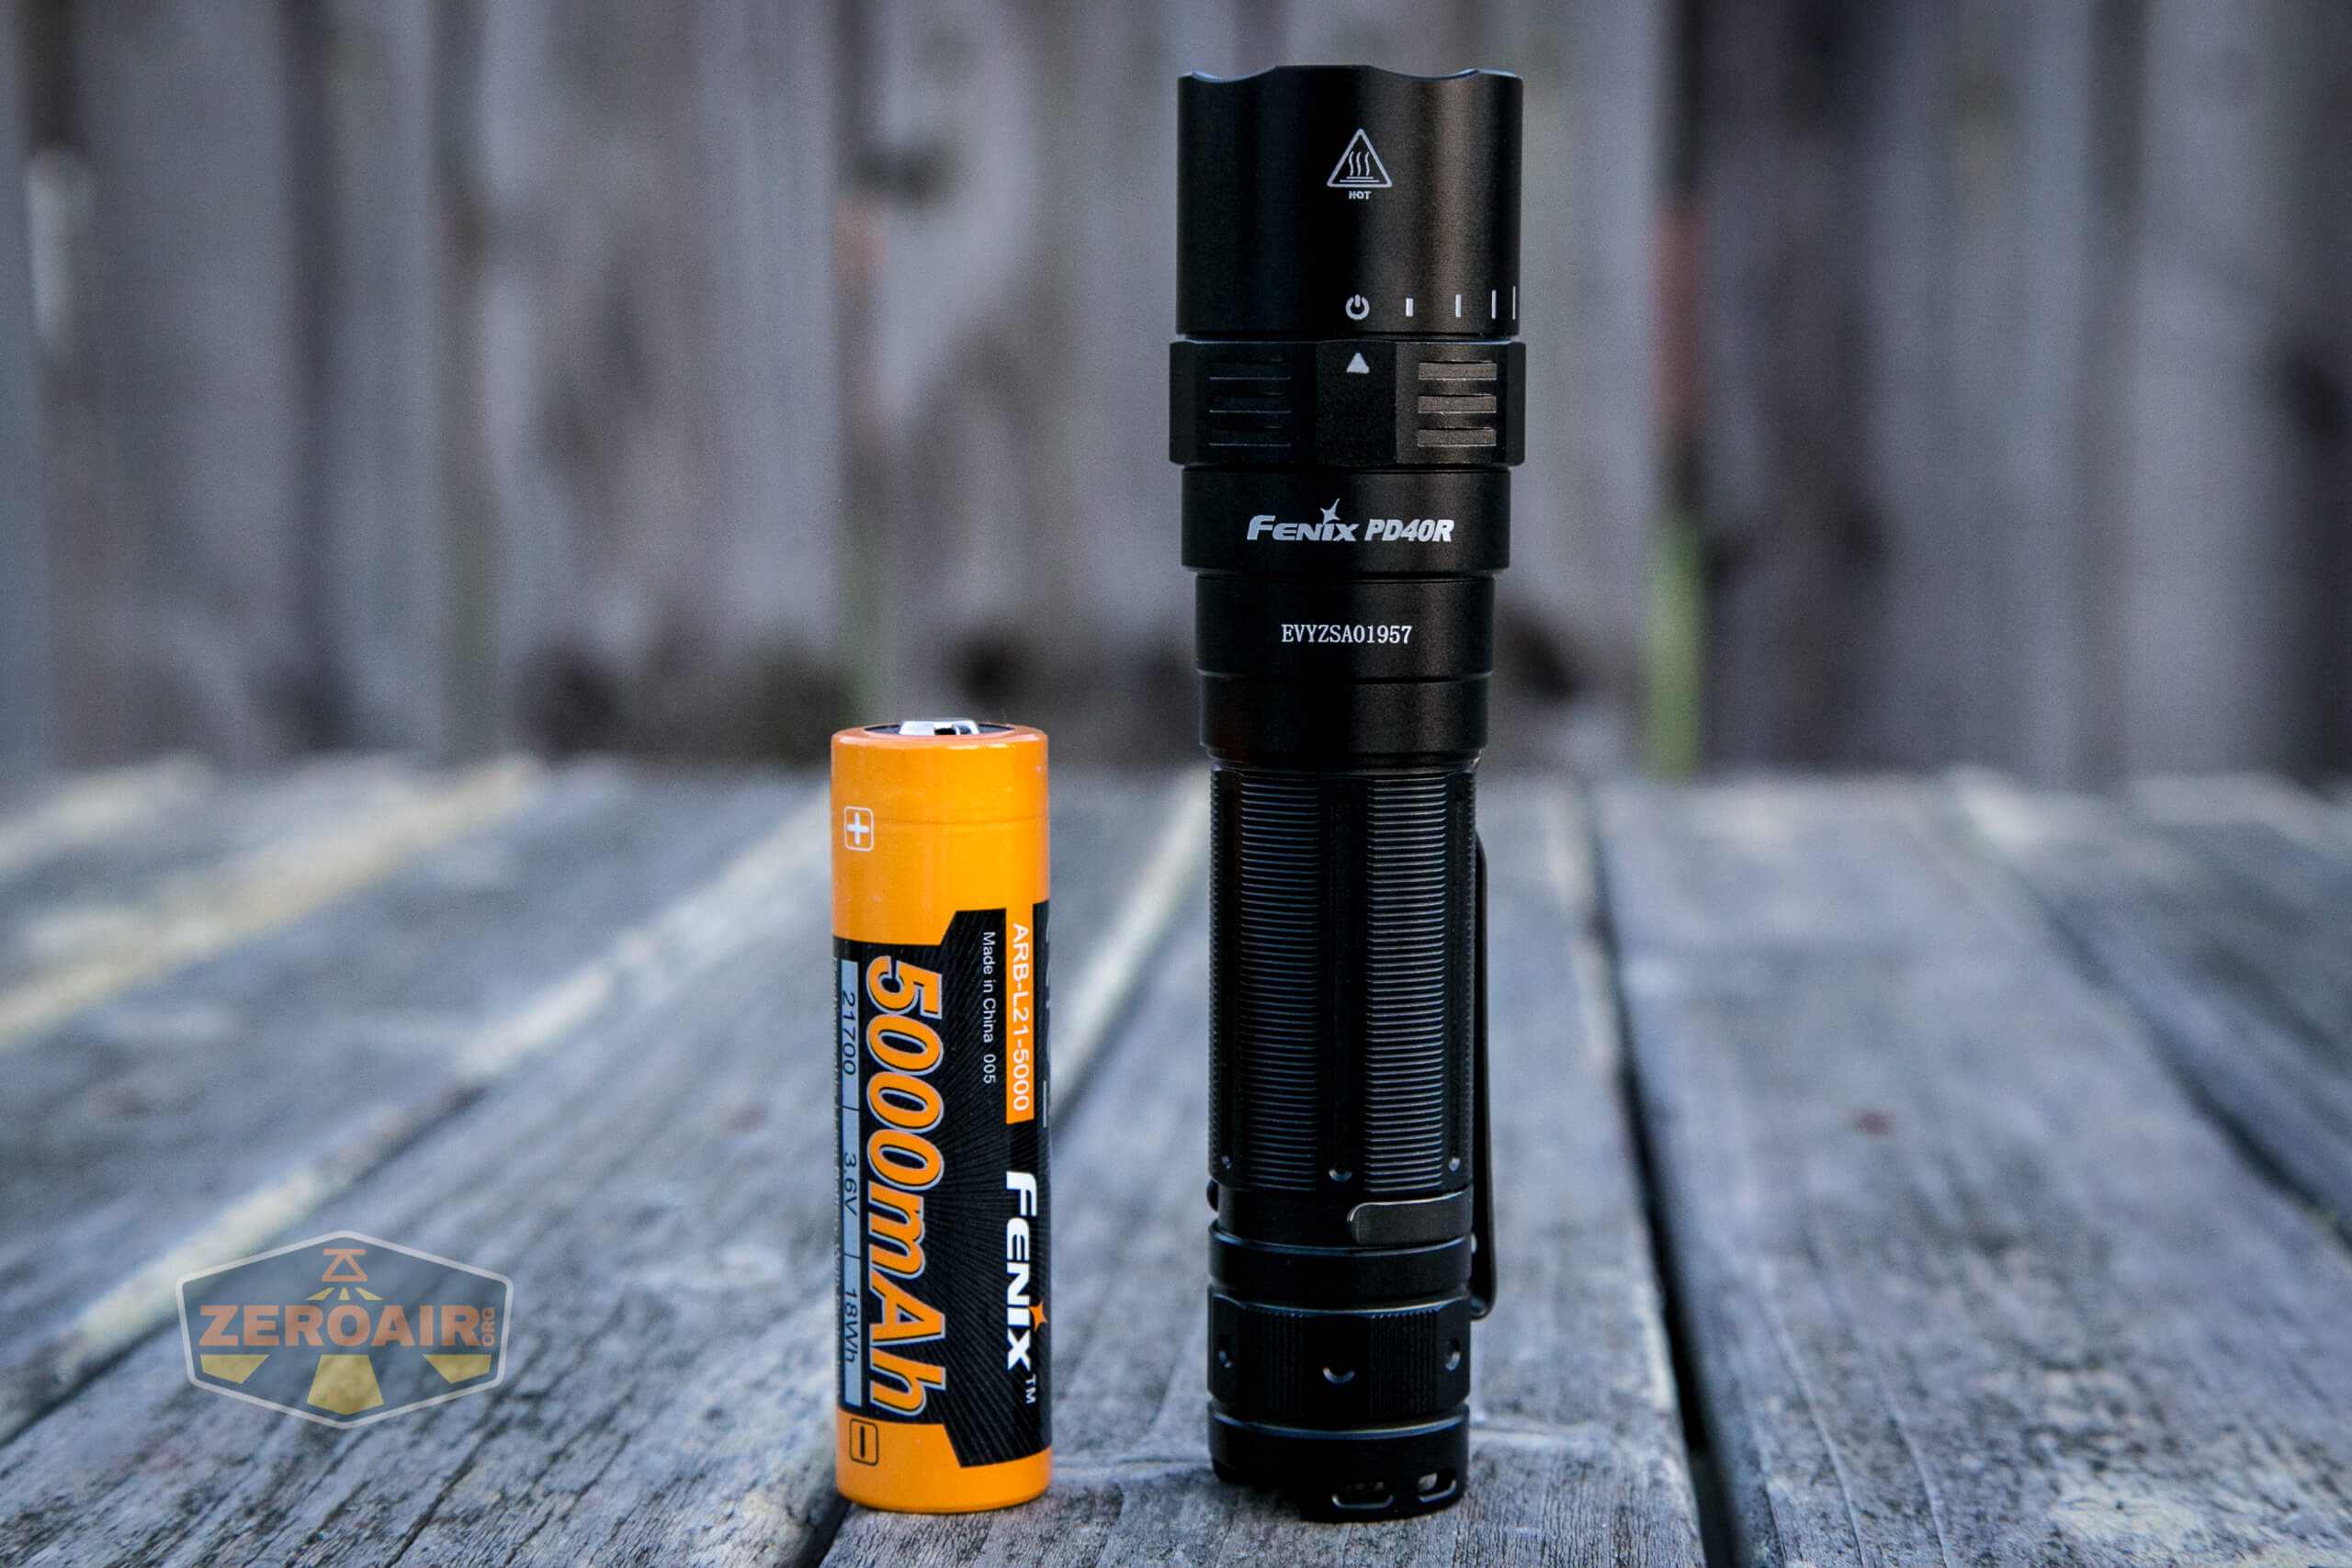
- Fenix PD40R V2.0 flashlight
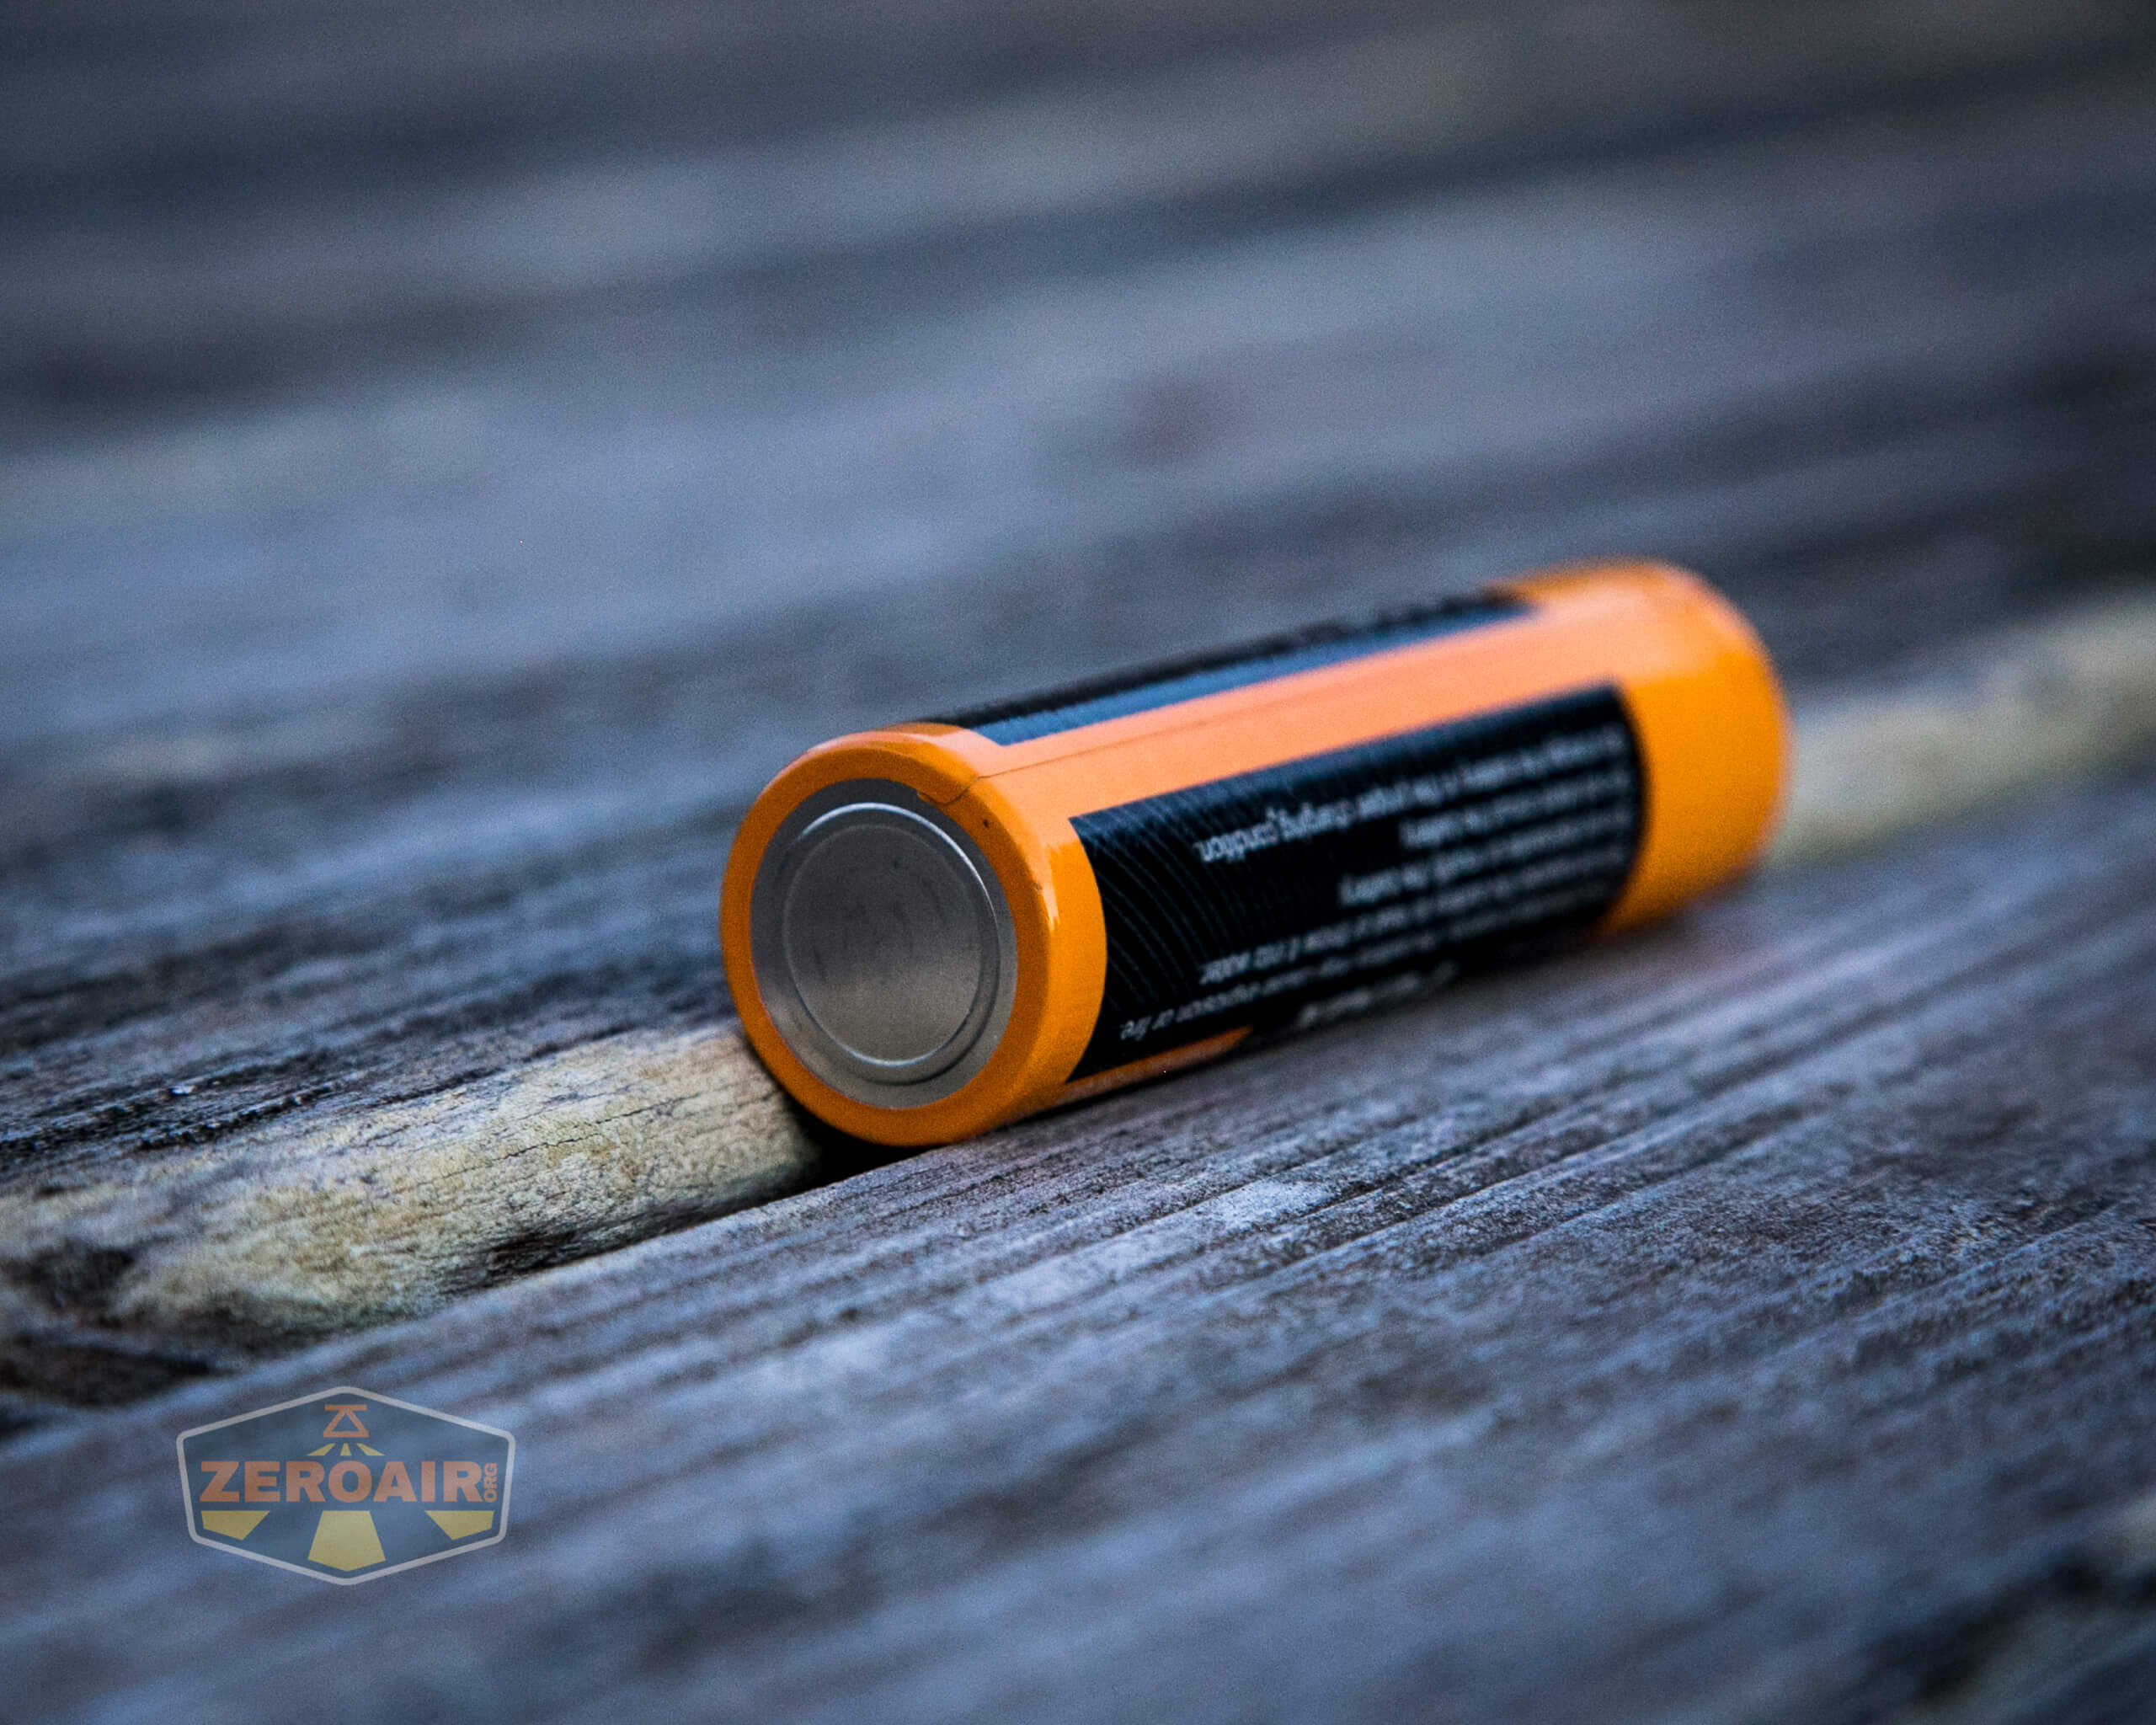
- Fenix 5000mAh 21700 cell
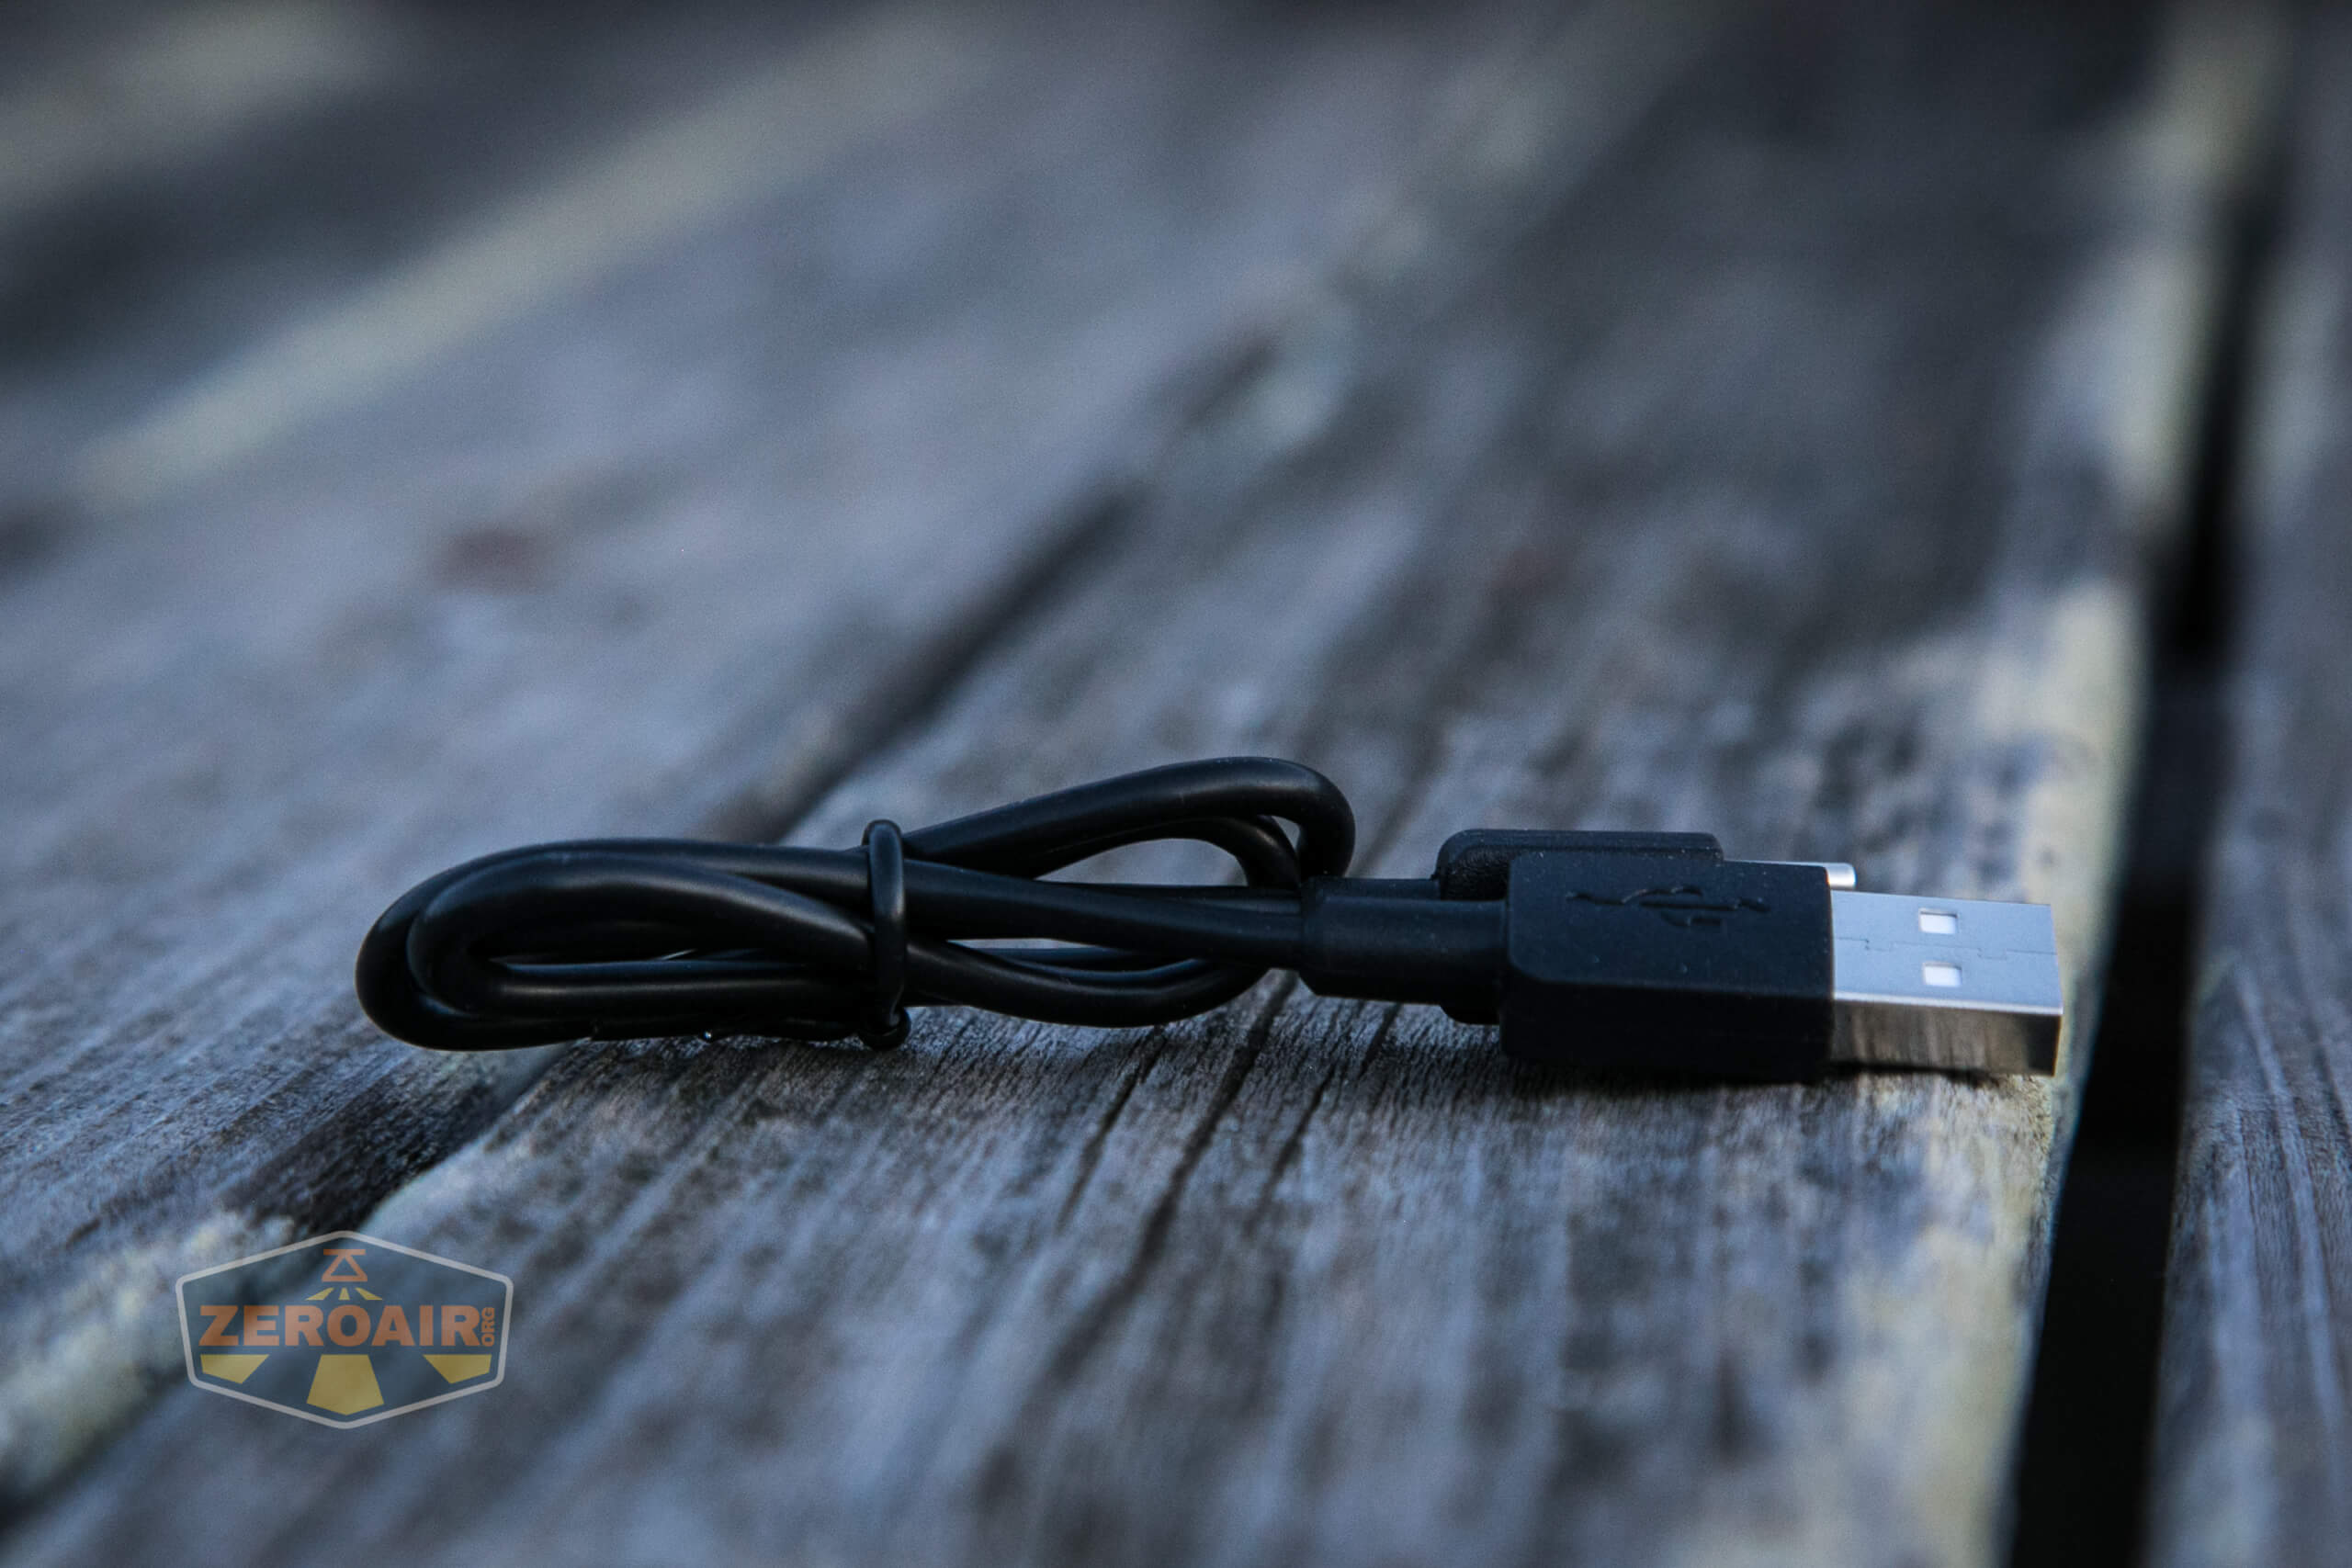
- Charging cable (USB to USB-C)
- Lanyard
- Nylon pouch
- Spare o-ring
- Manual and papers
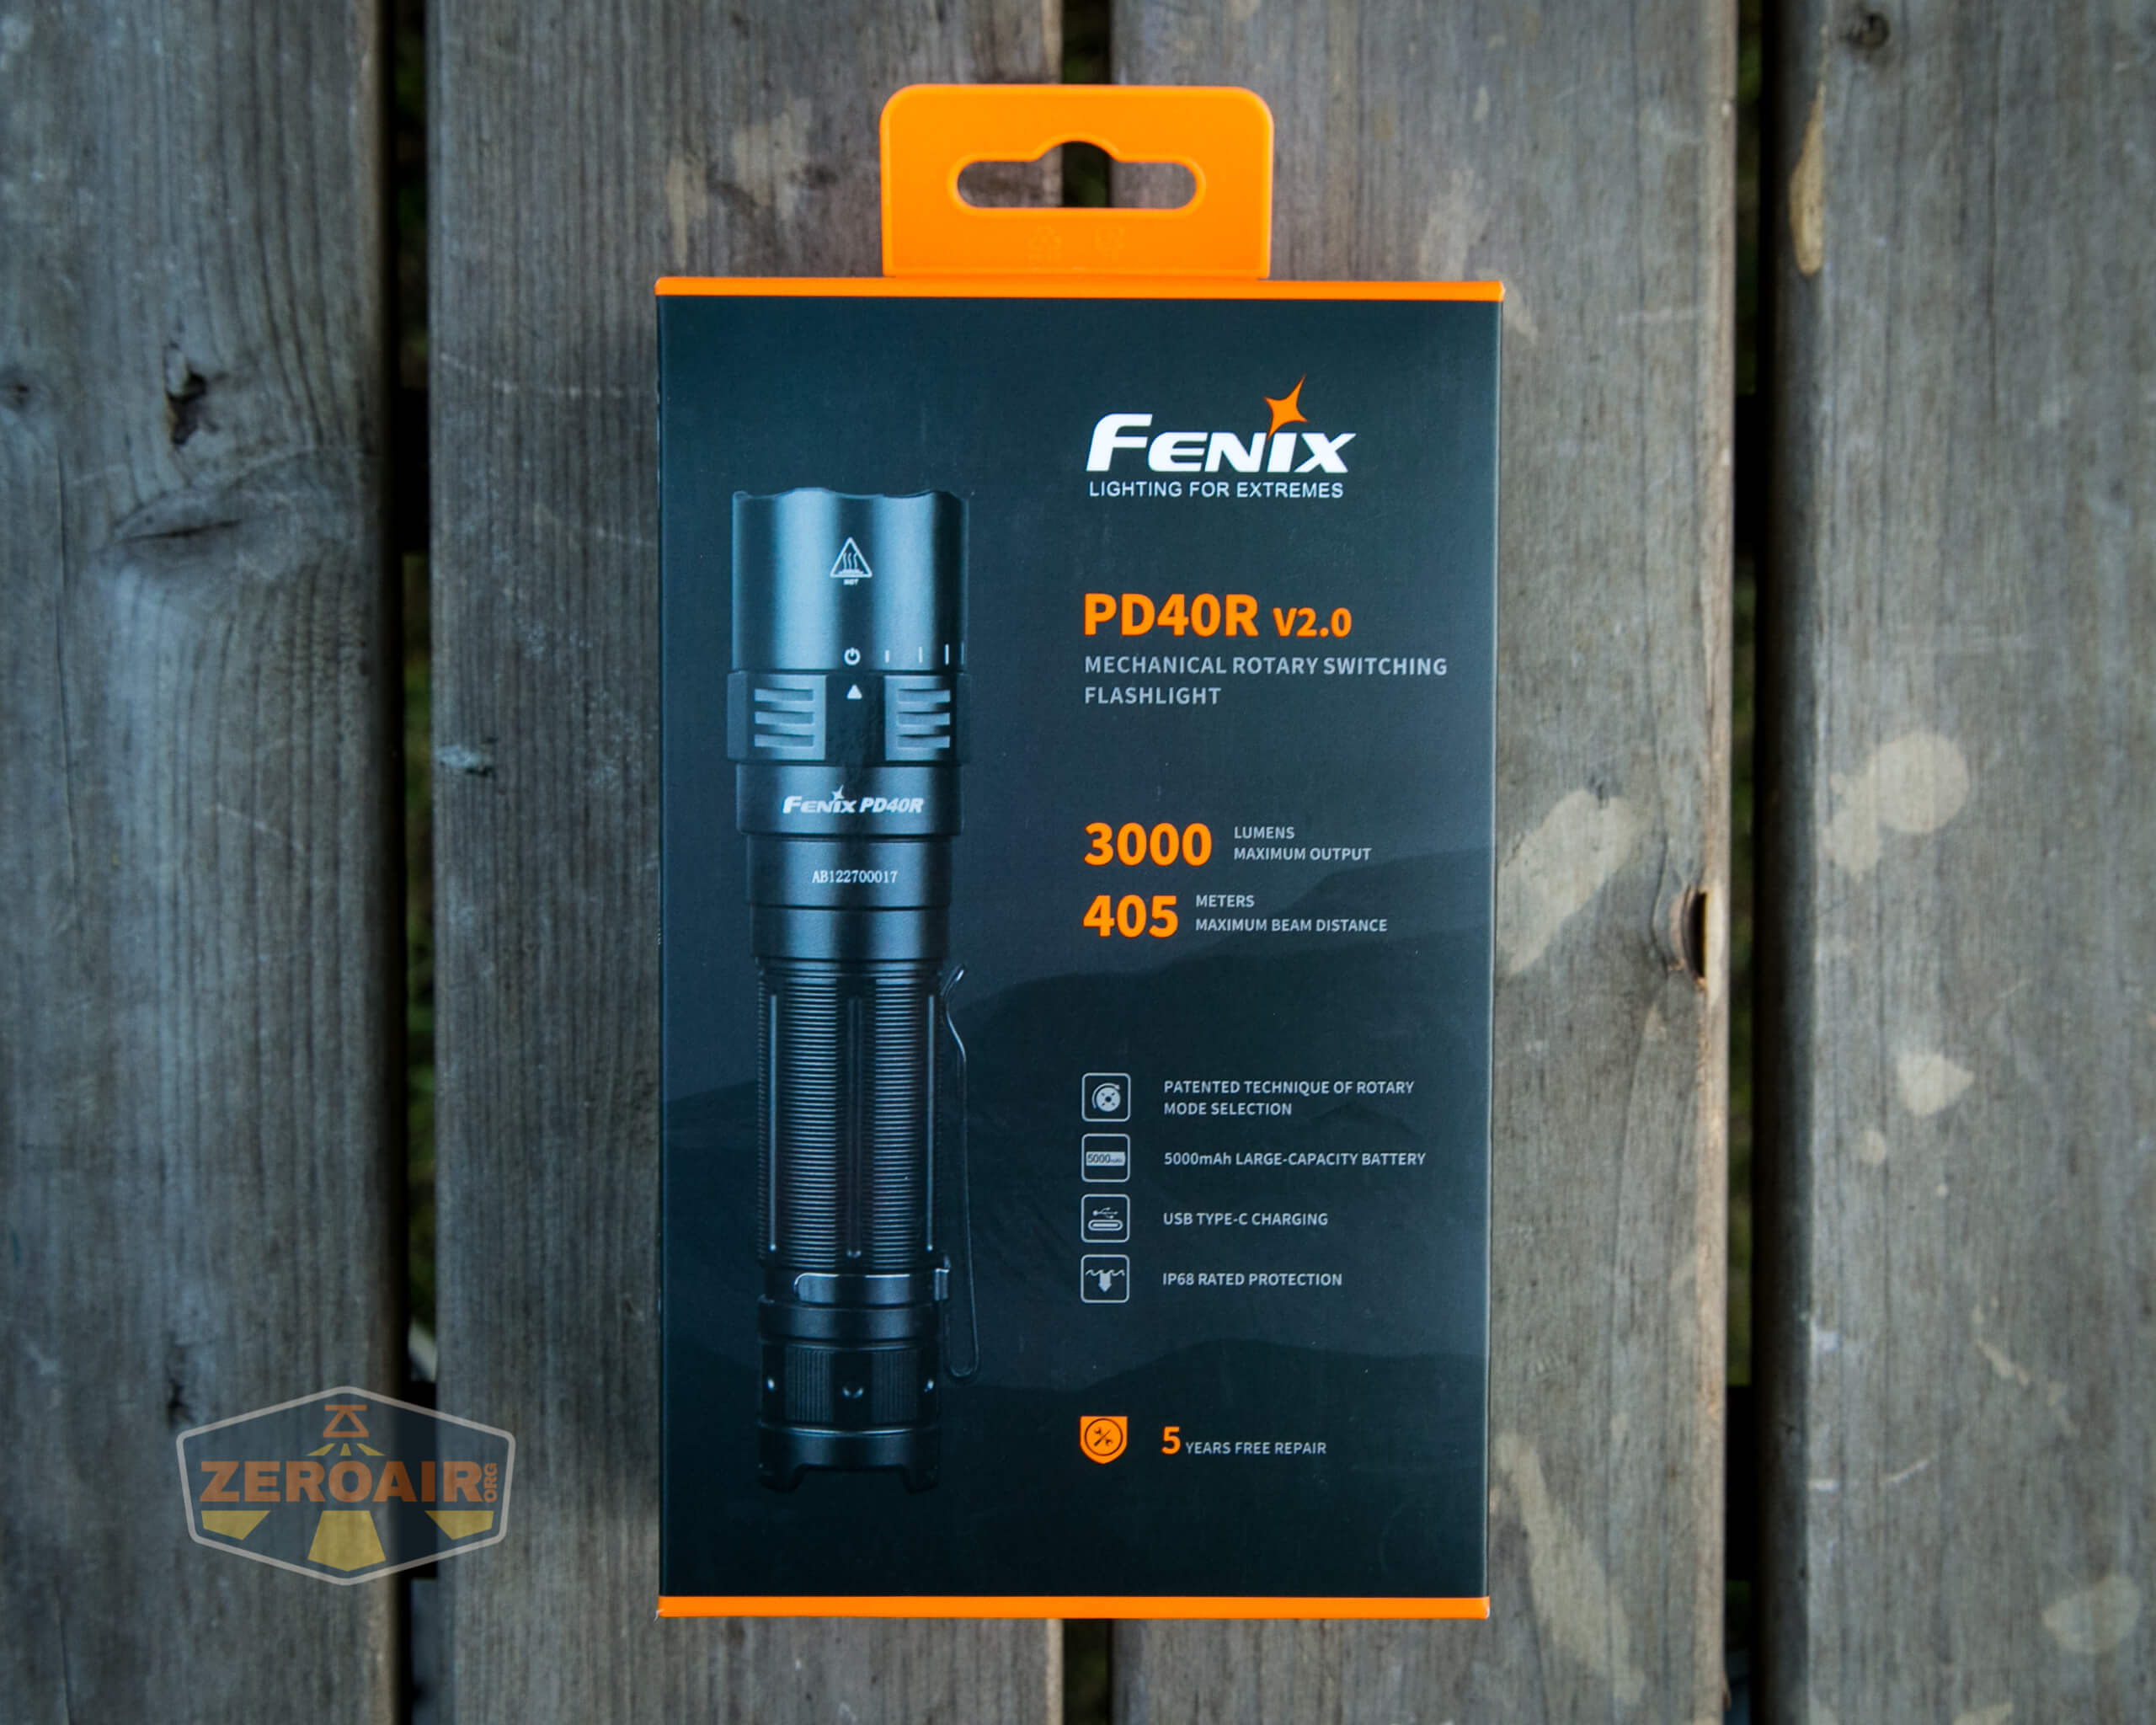
Package and Manual
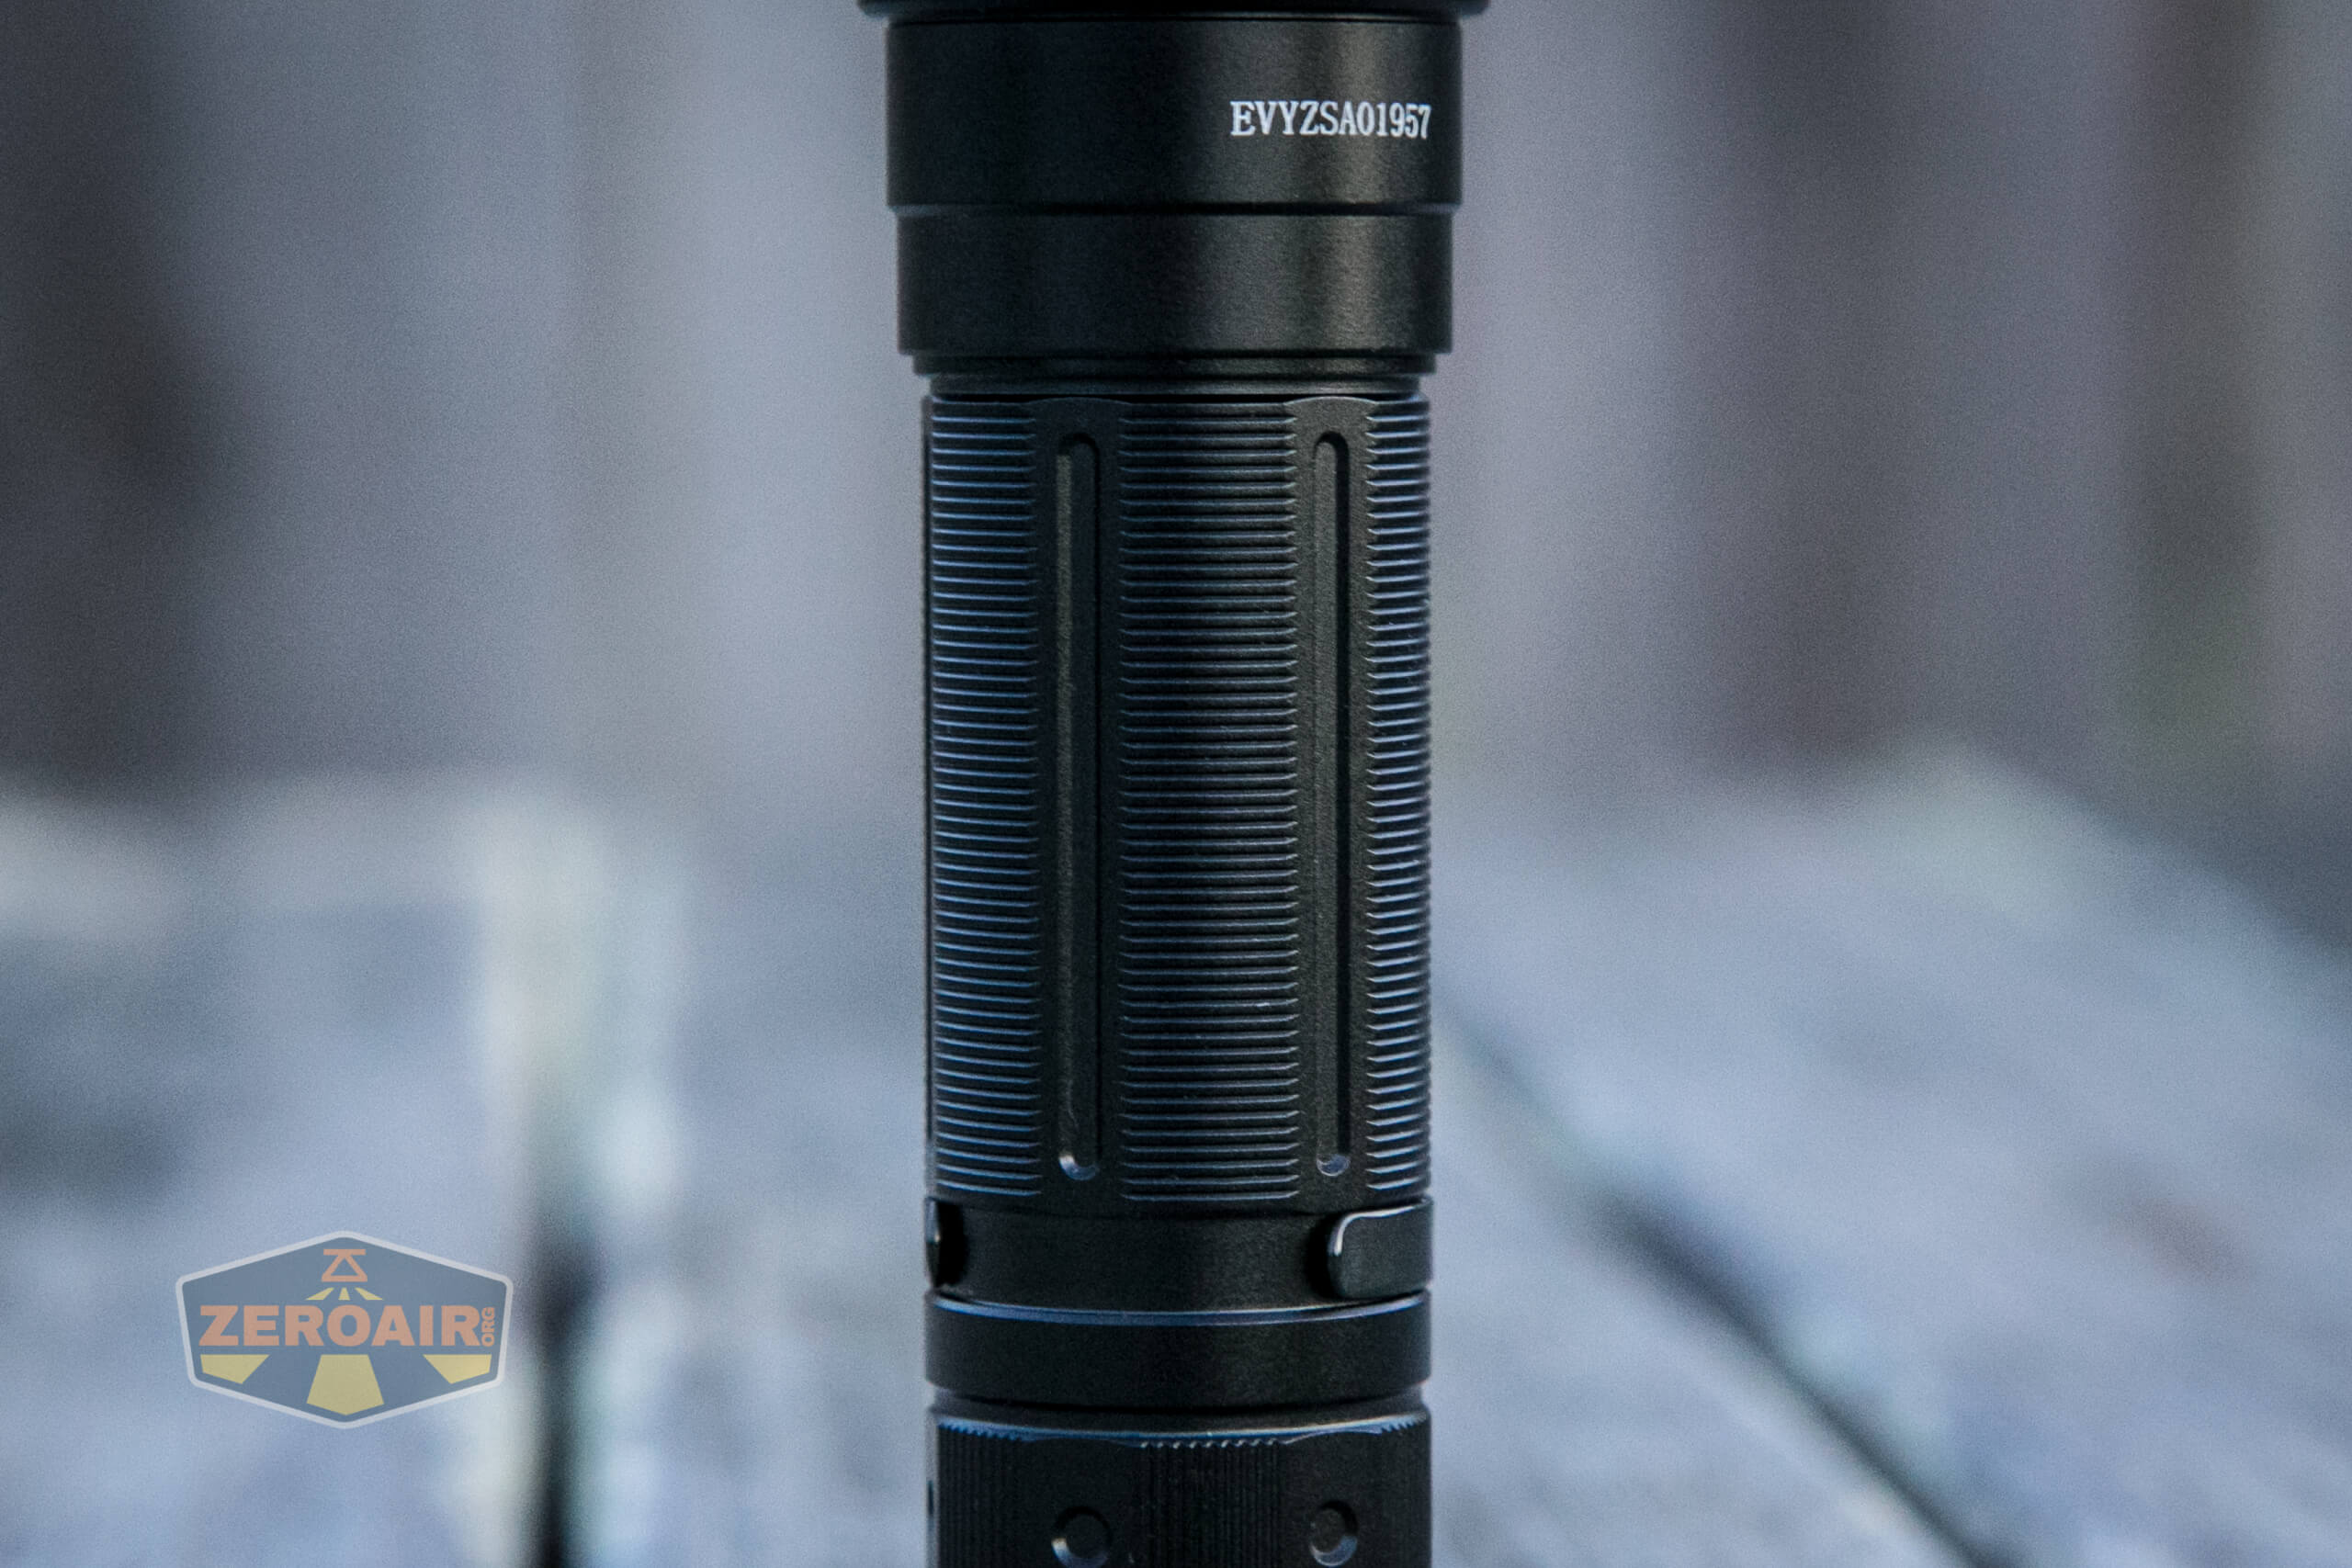
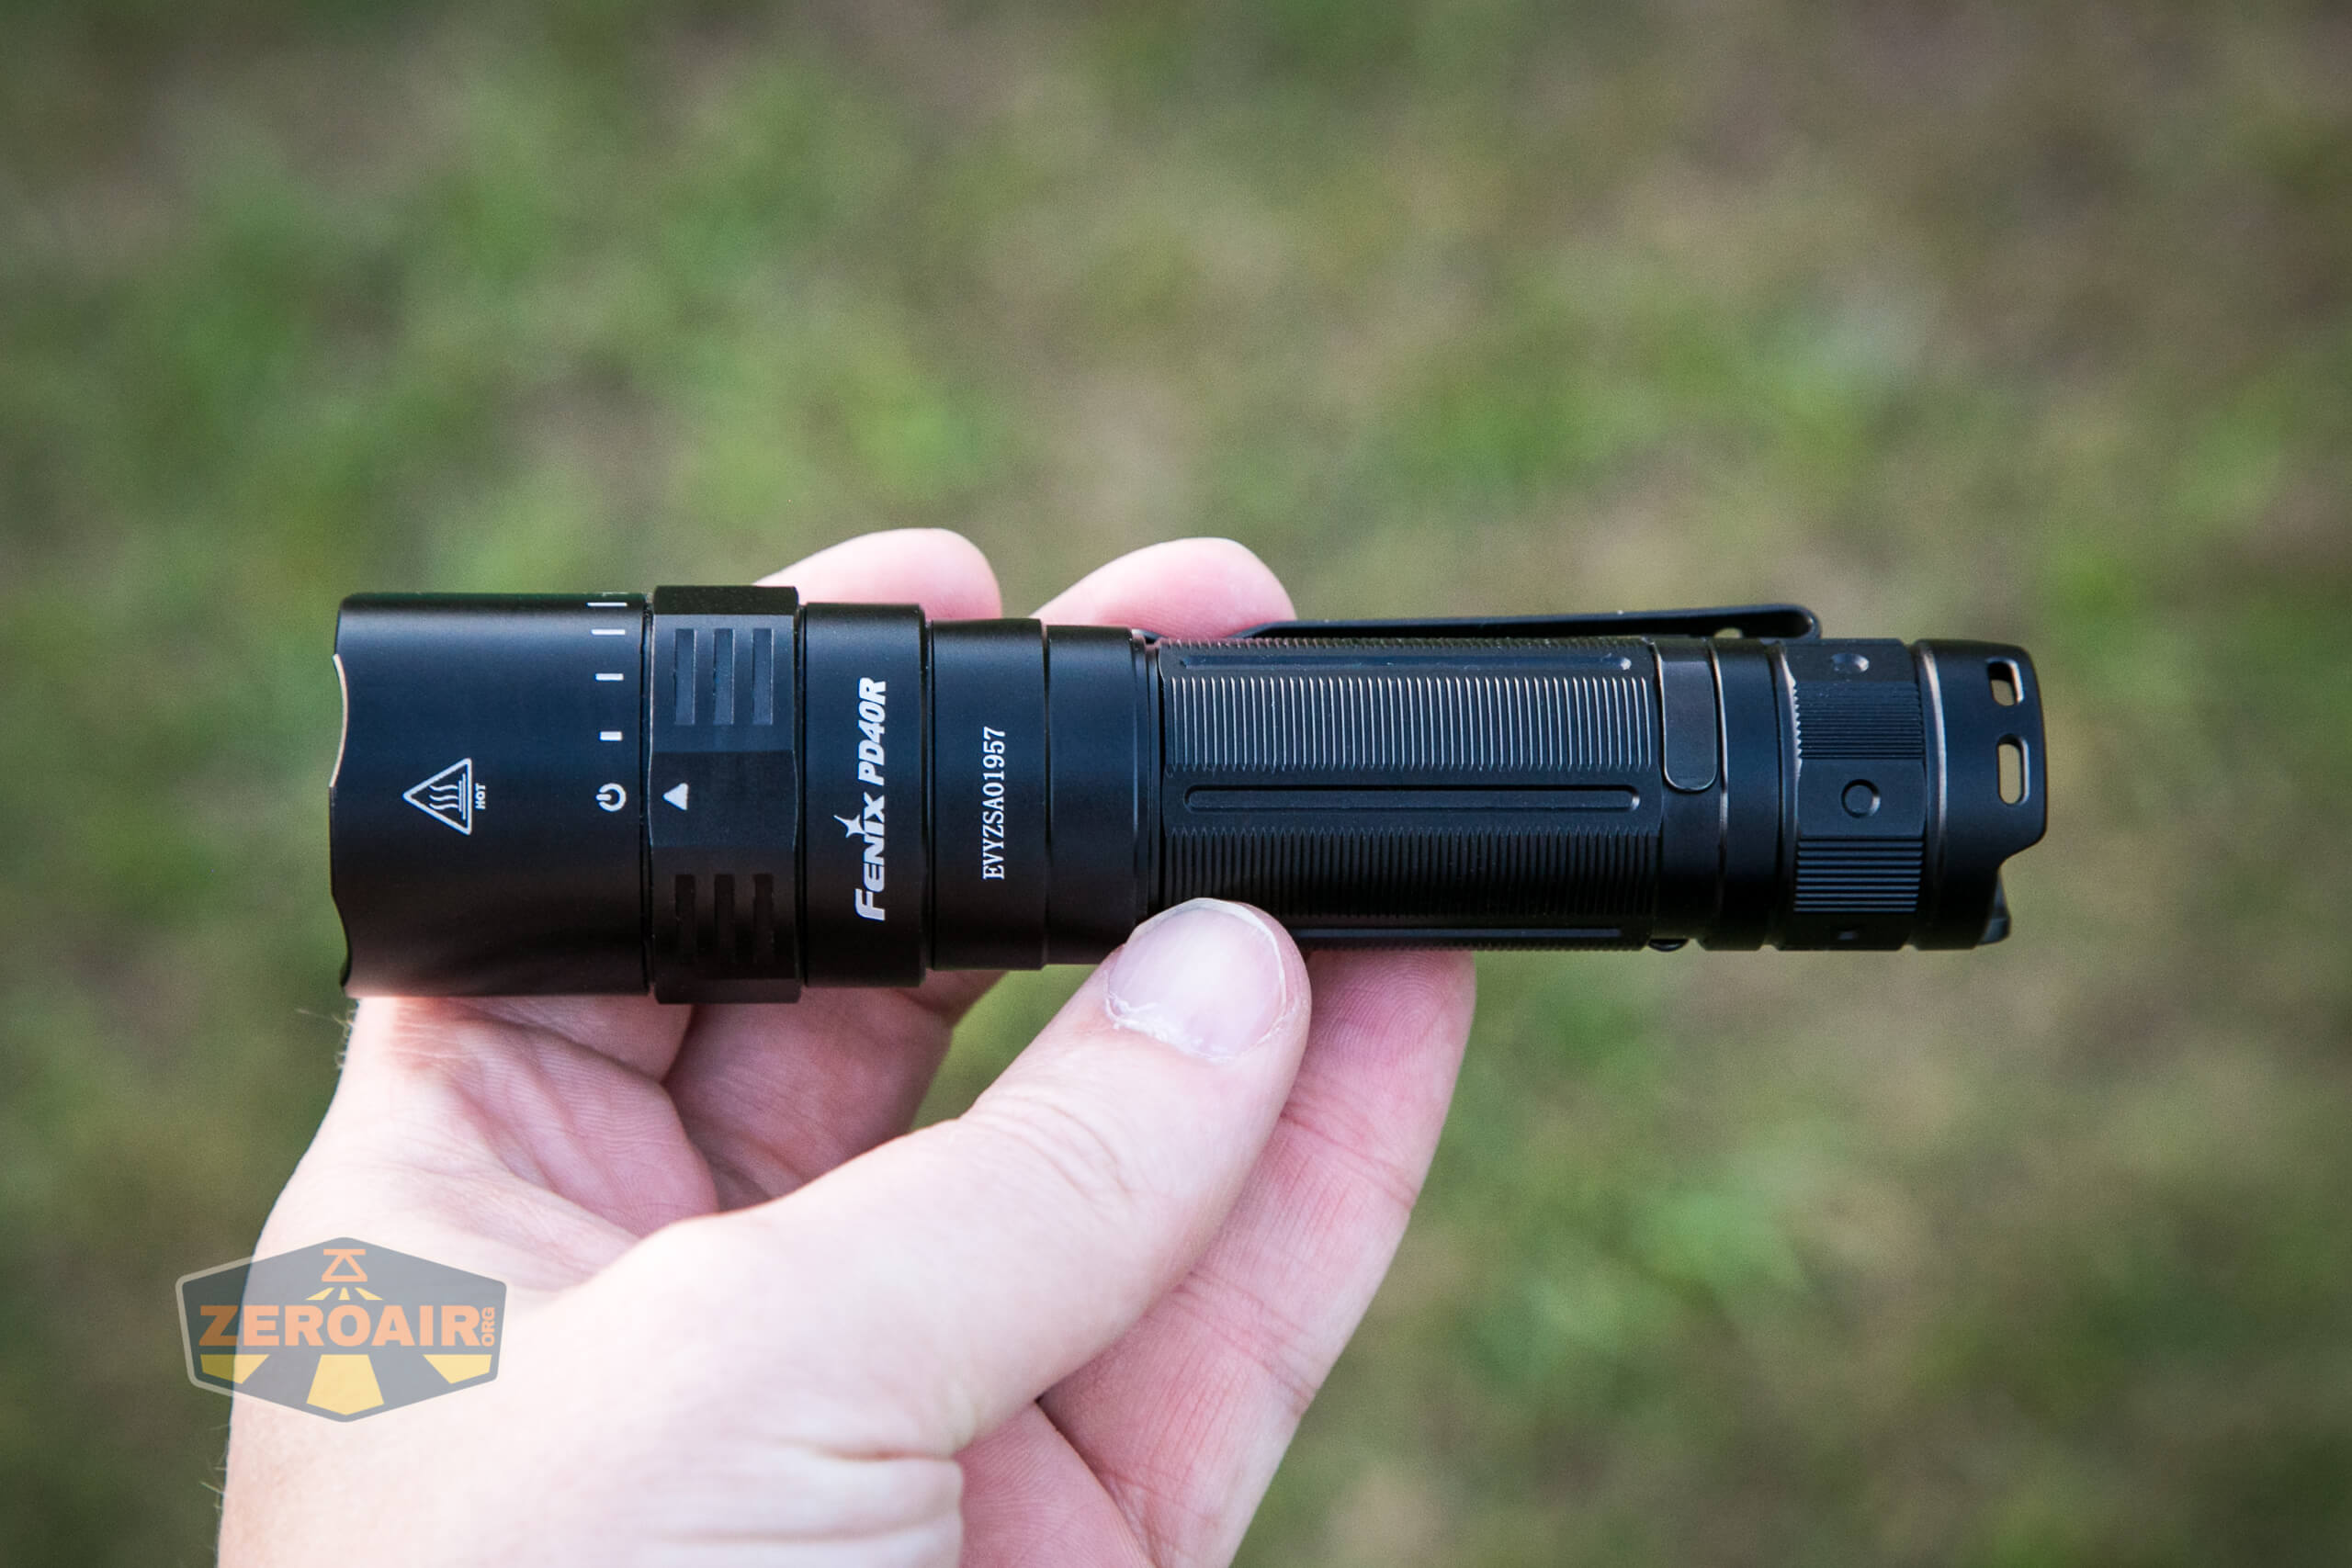
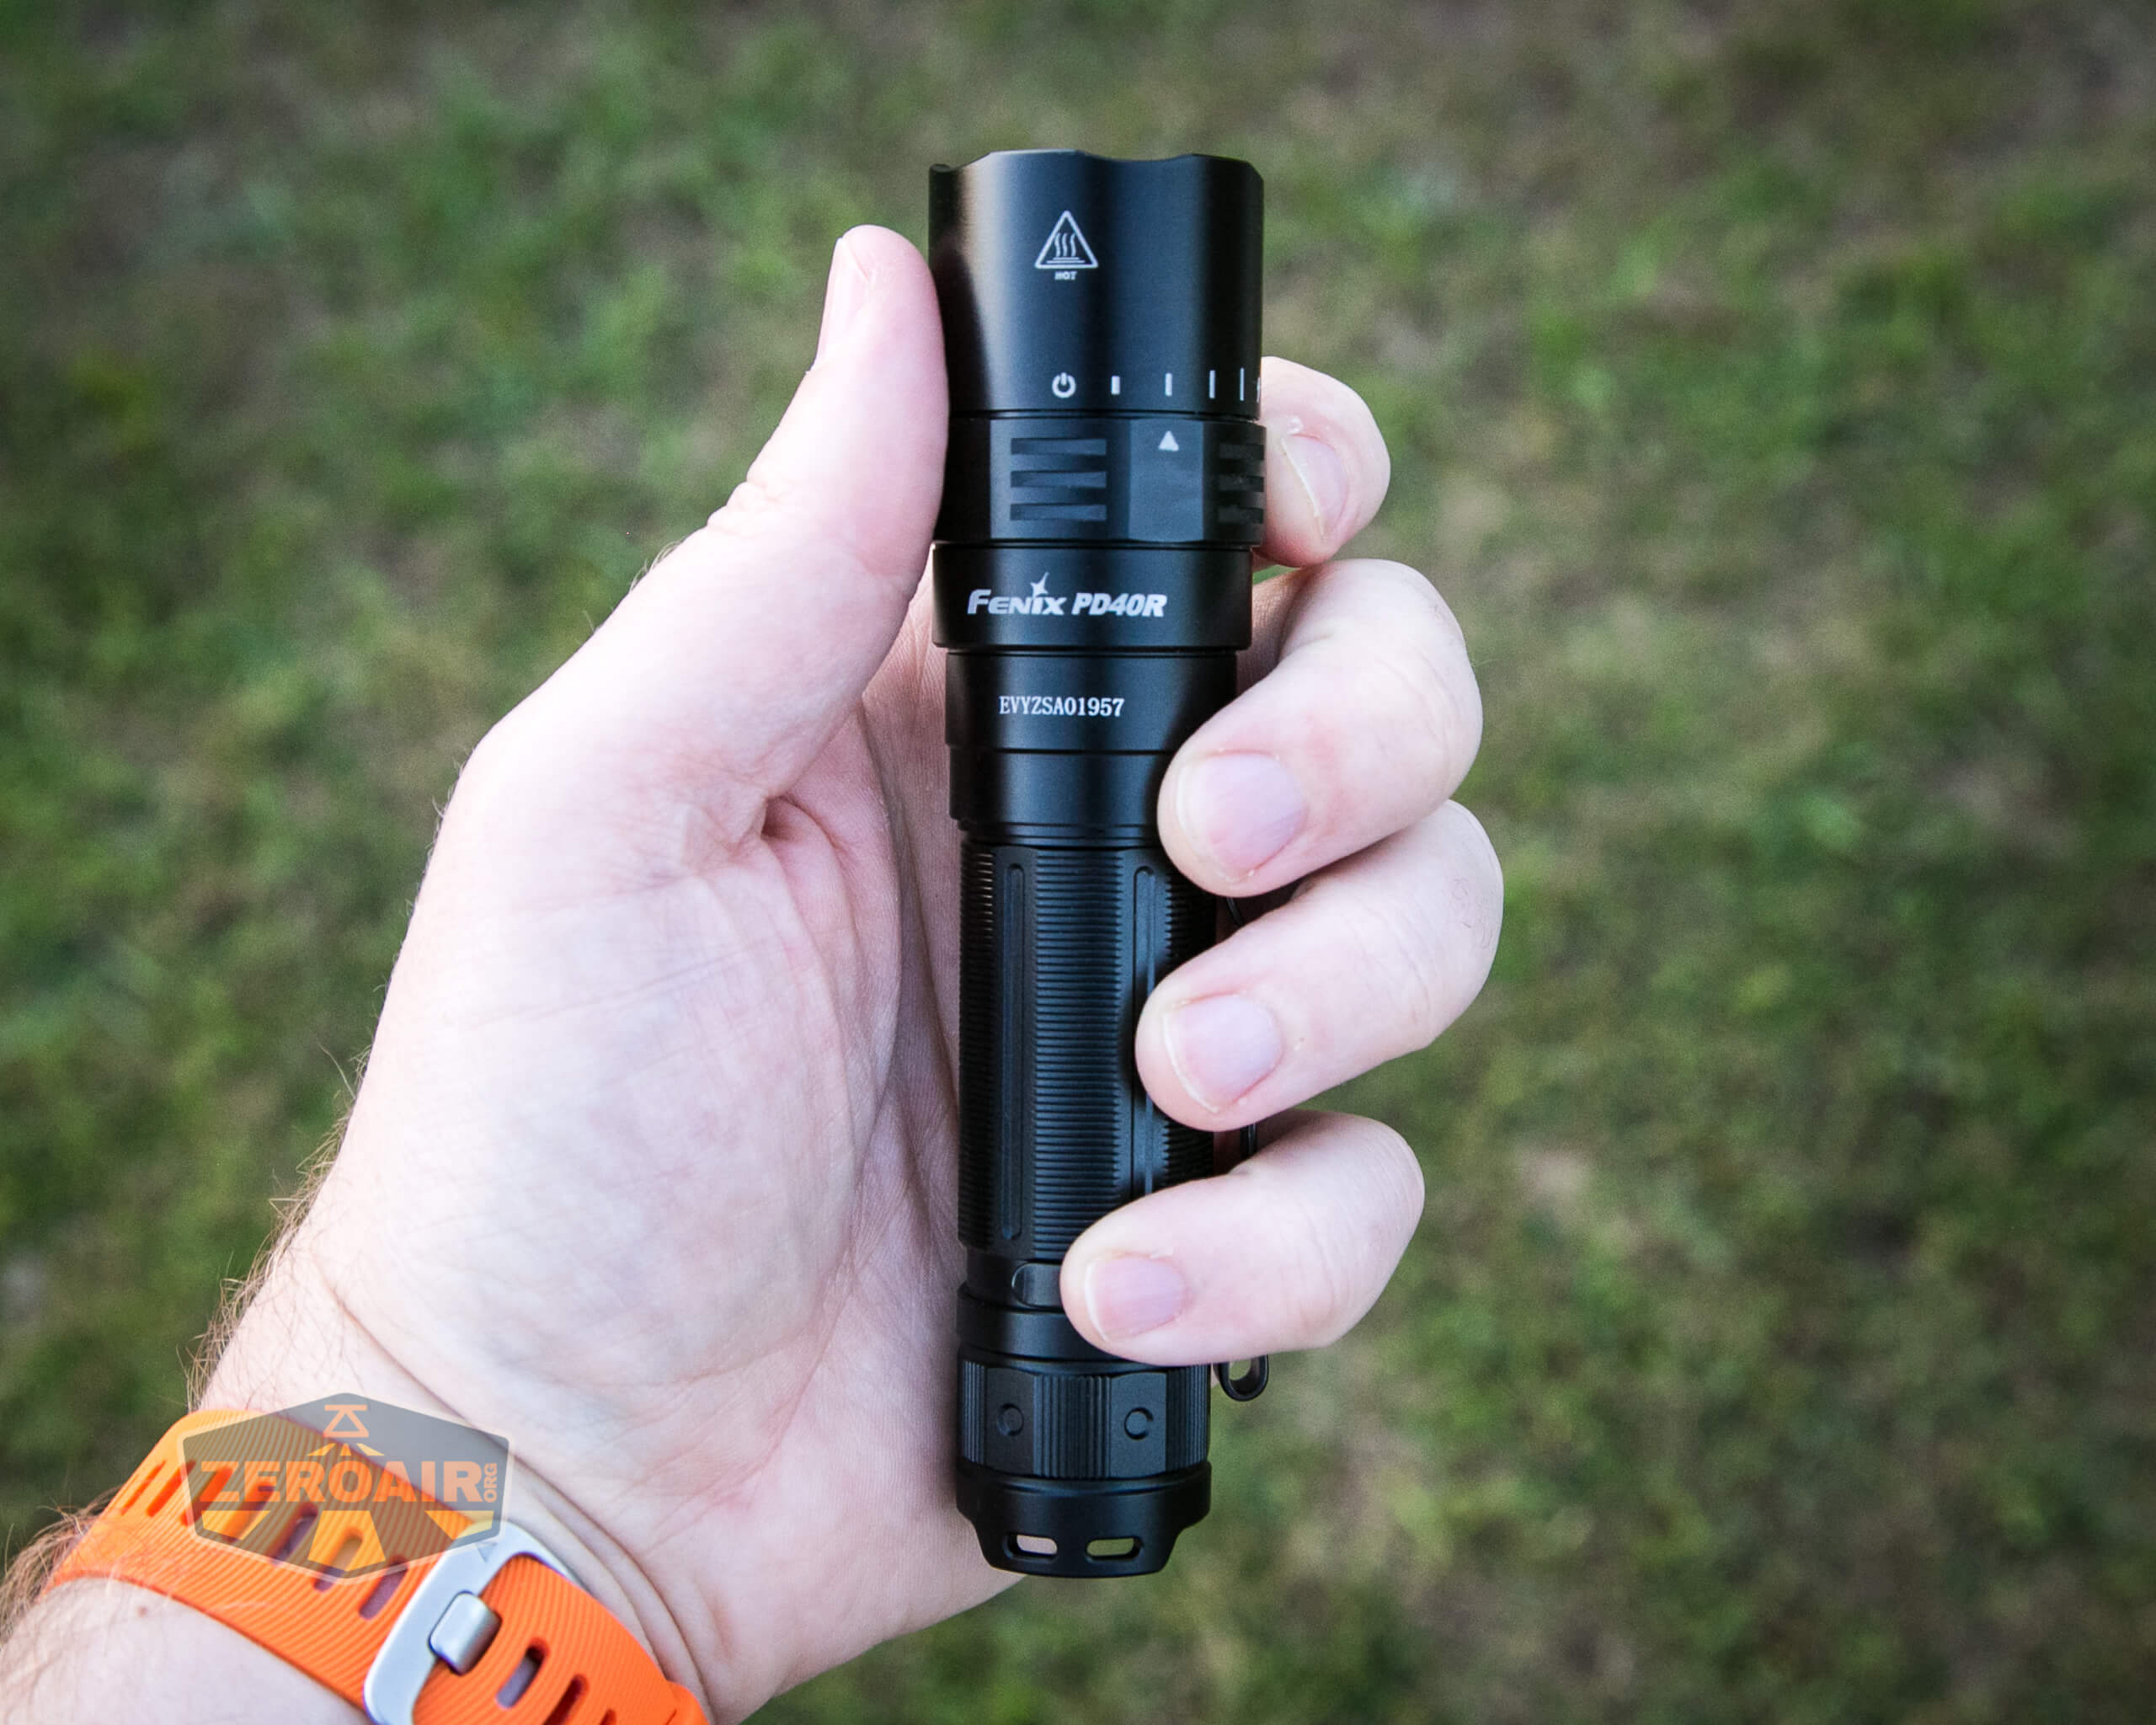
Build Quality and Disassembly
The build quality here is stellar, just like on the Fenix TK30, which I reviewed earlier this week.
These Fenix lights are well-built and robust flashlights!
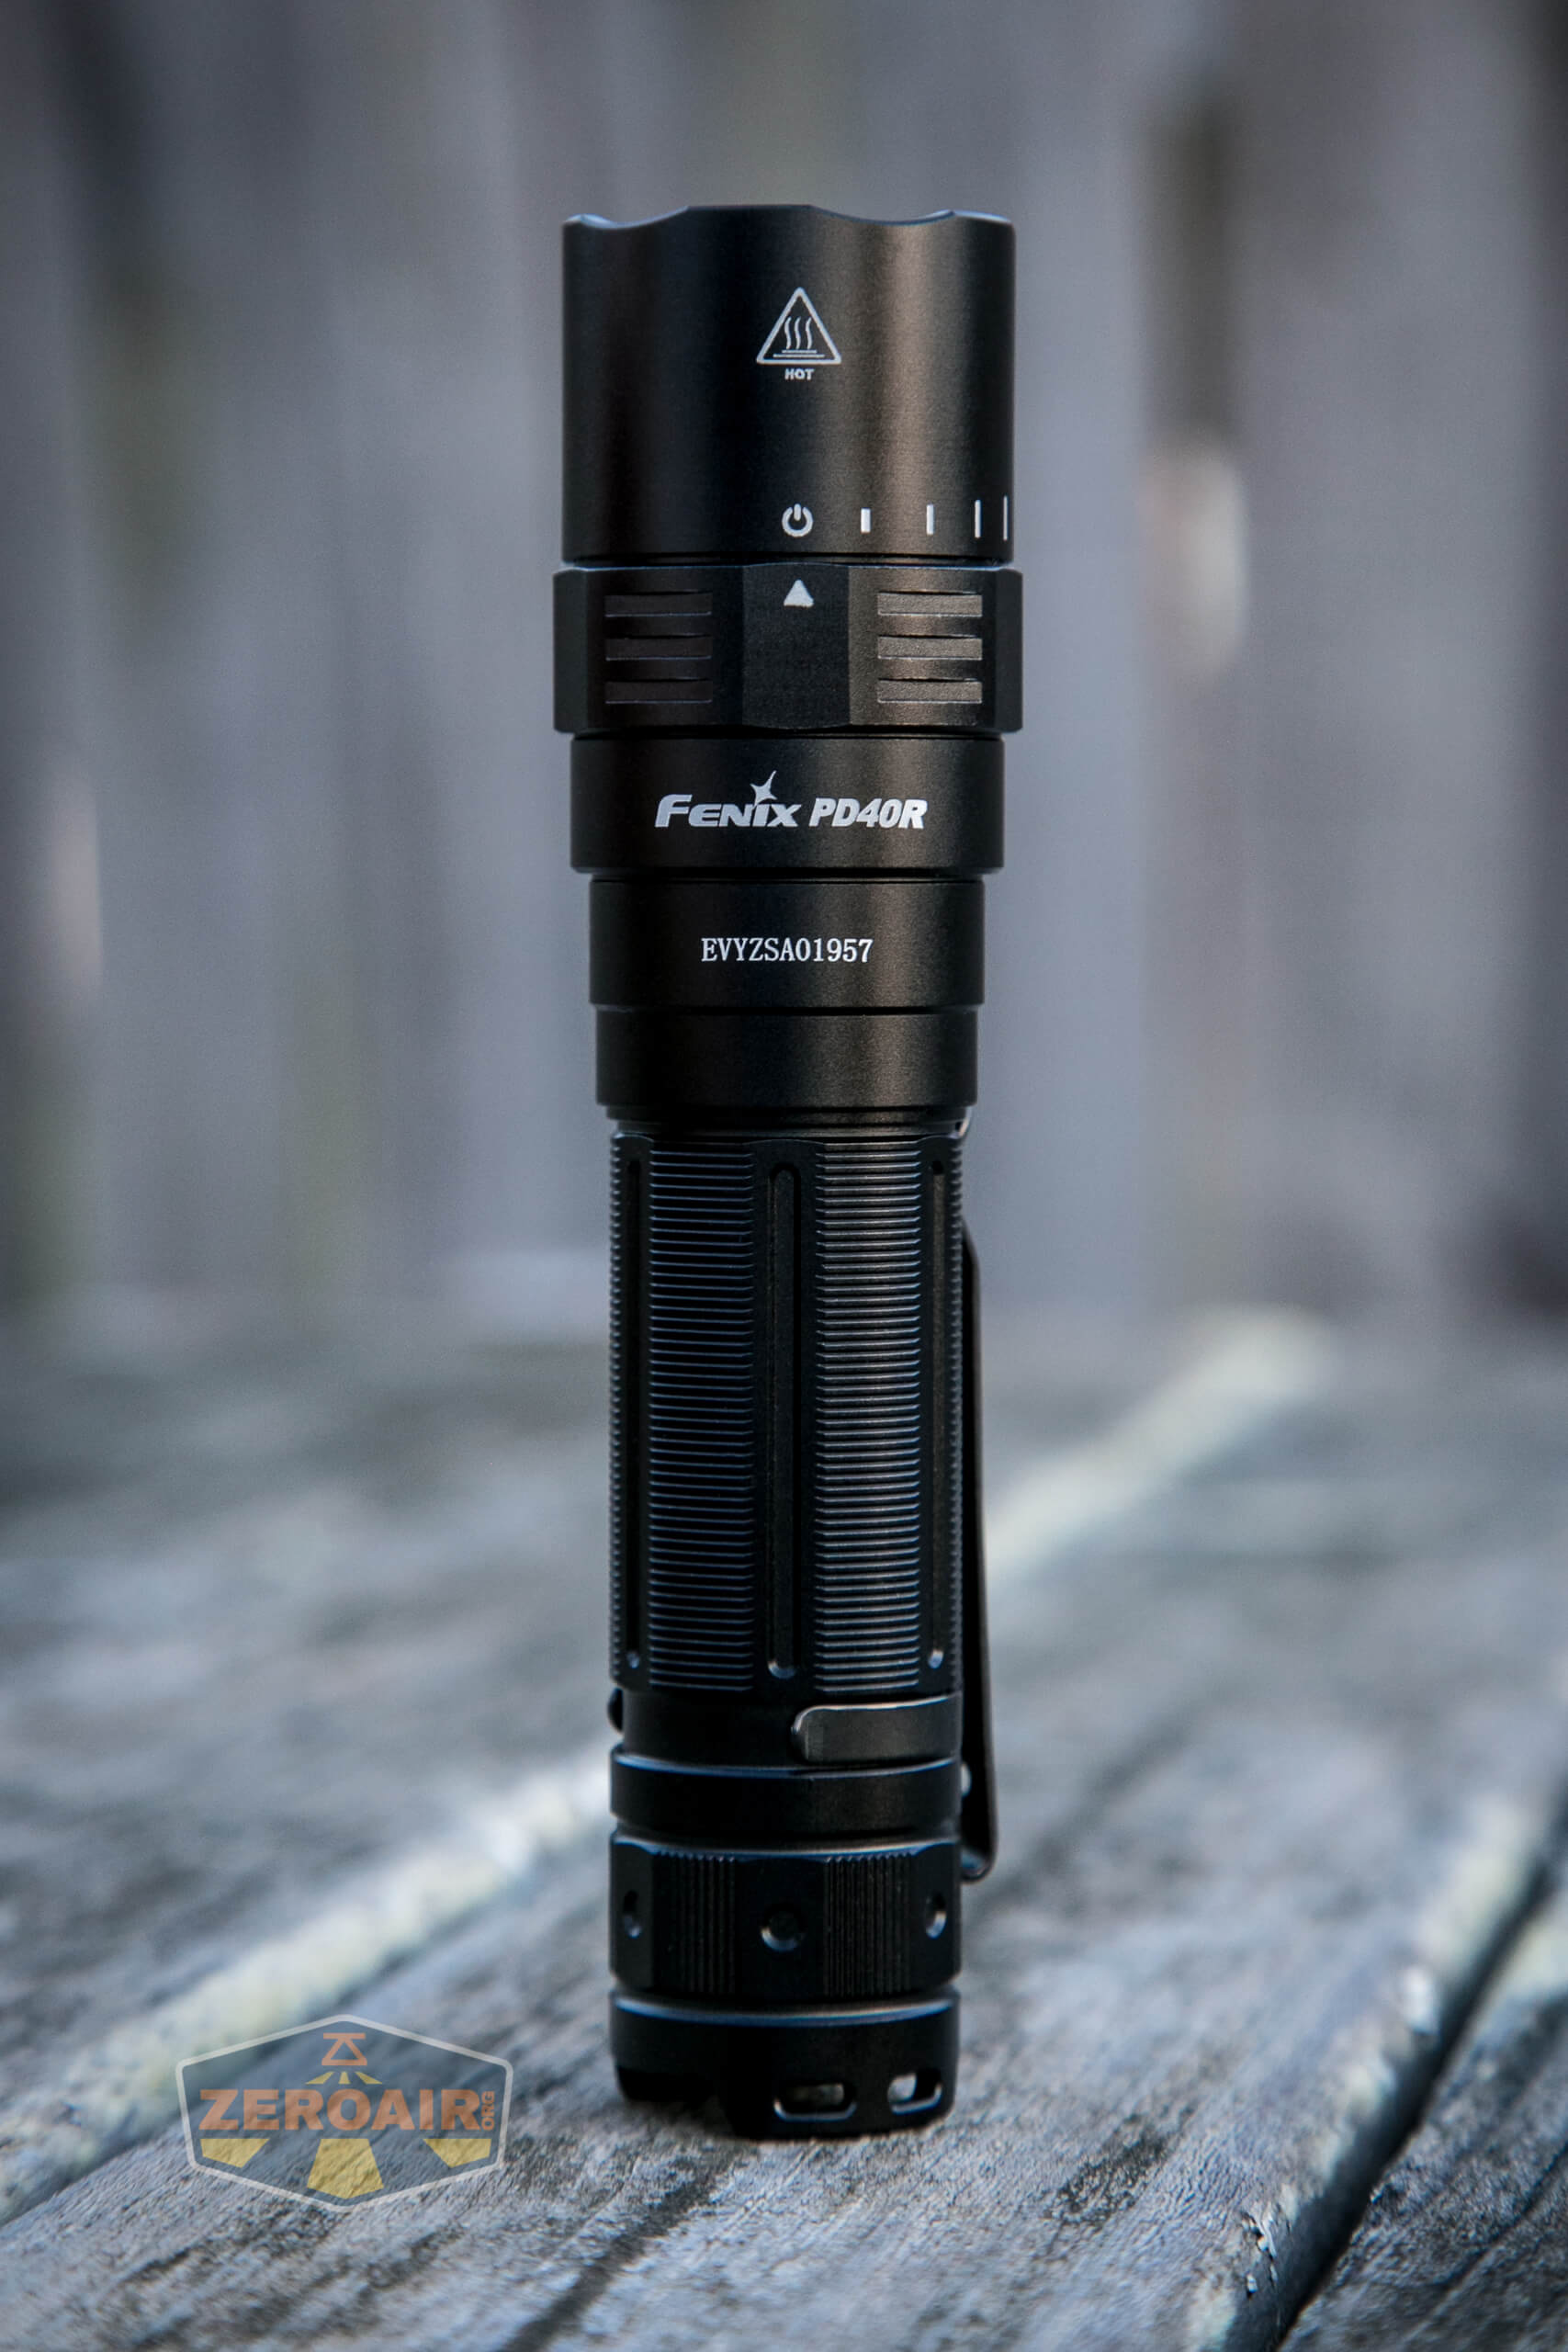

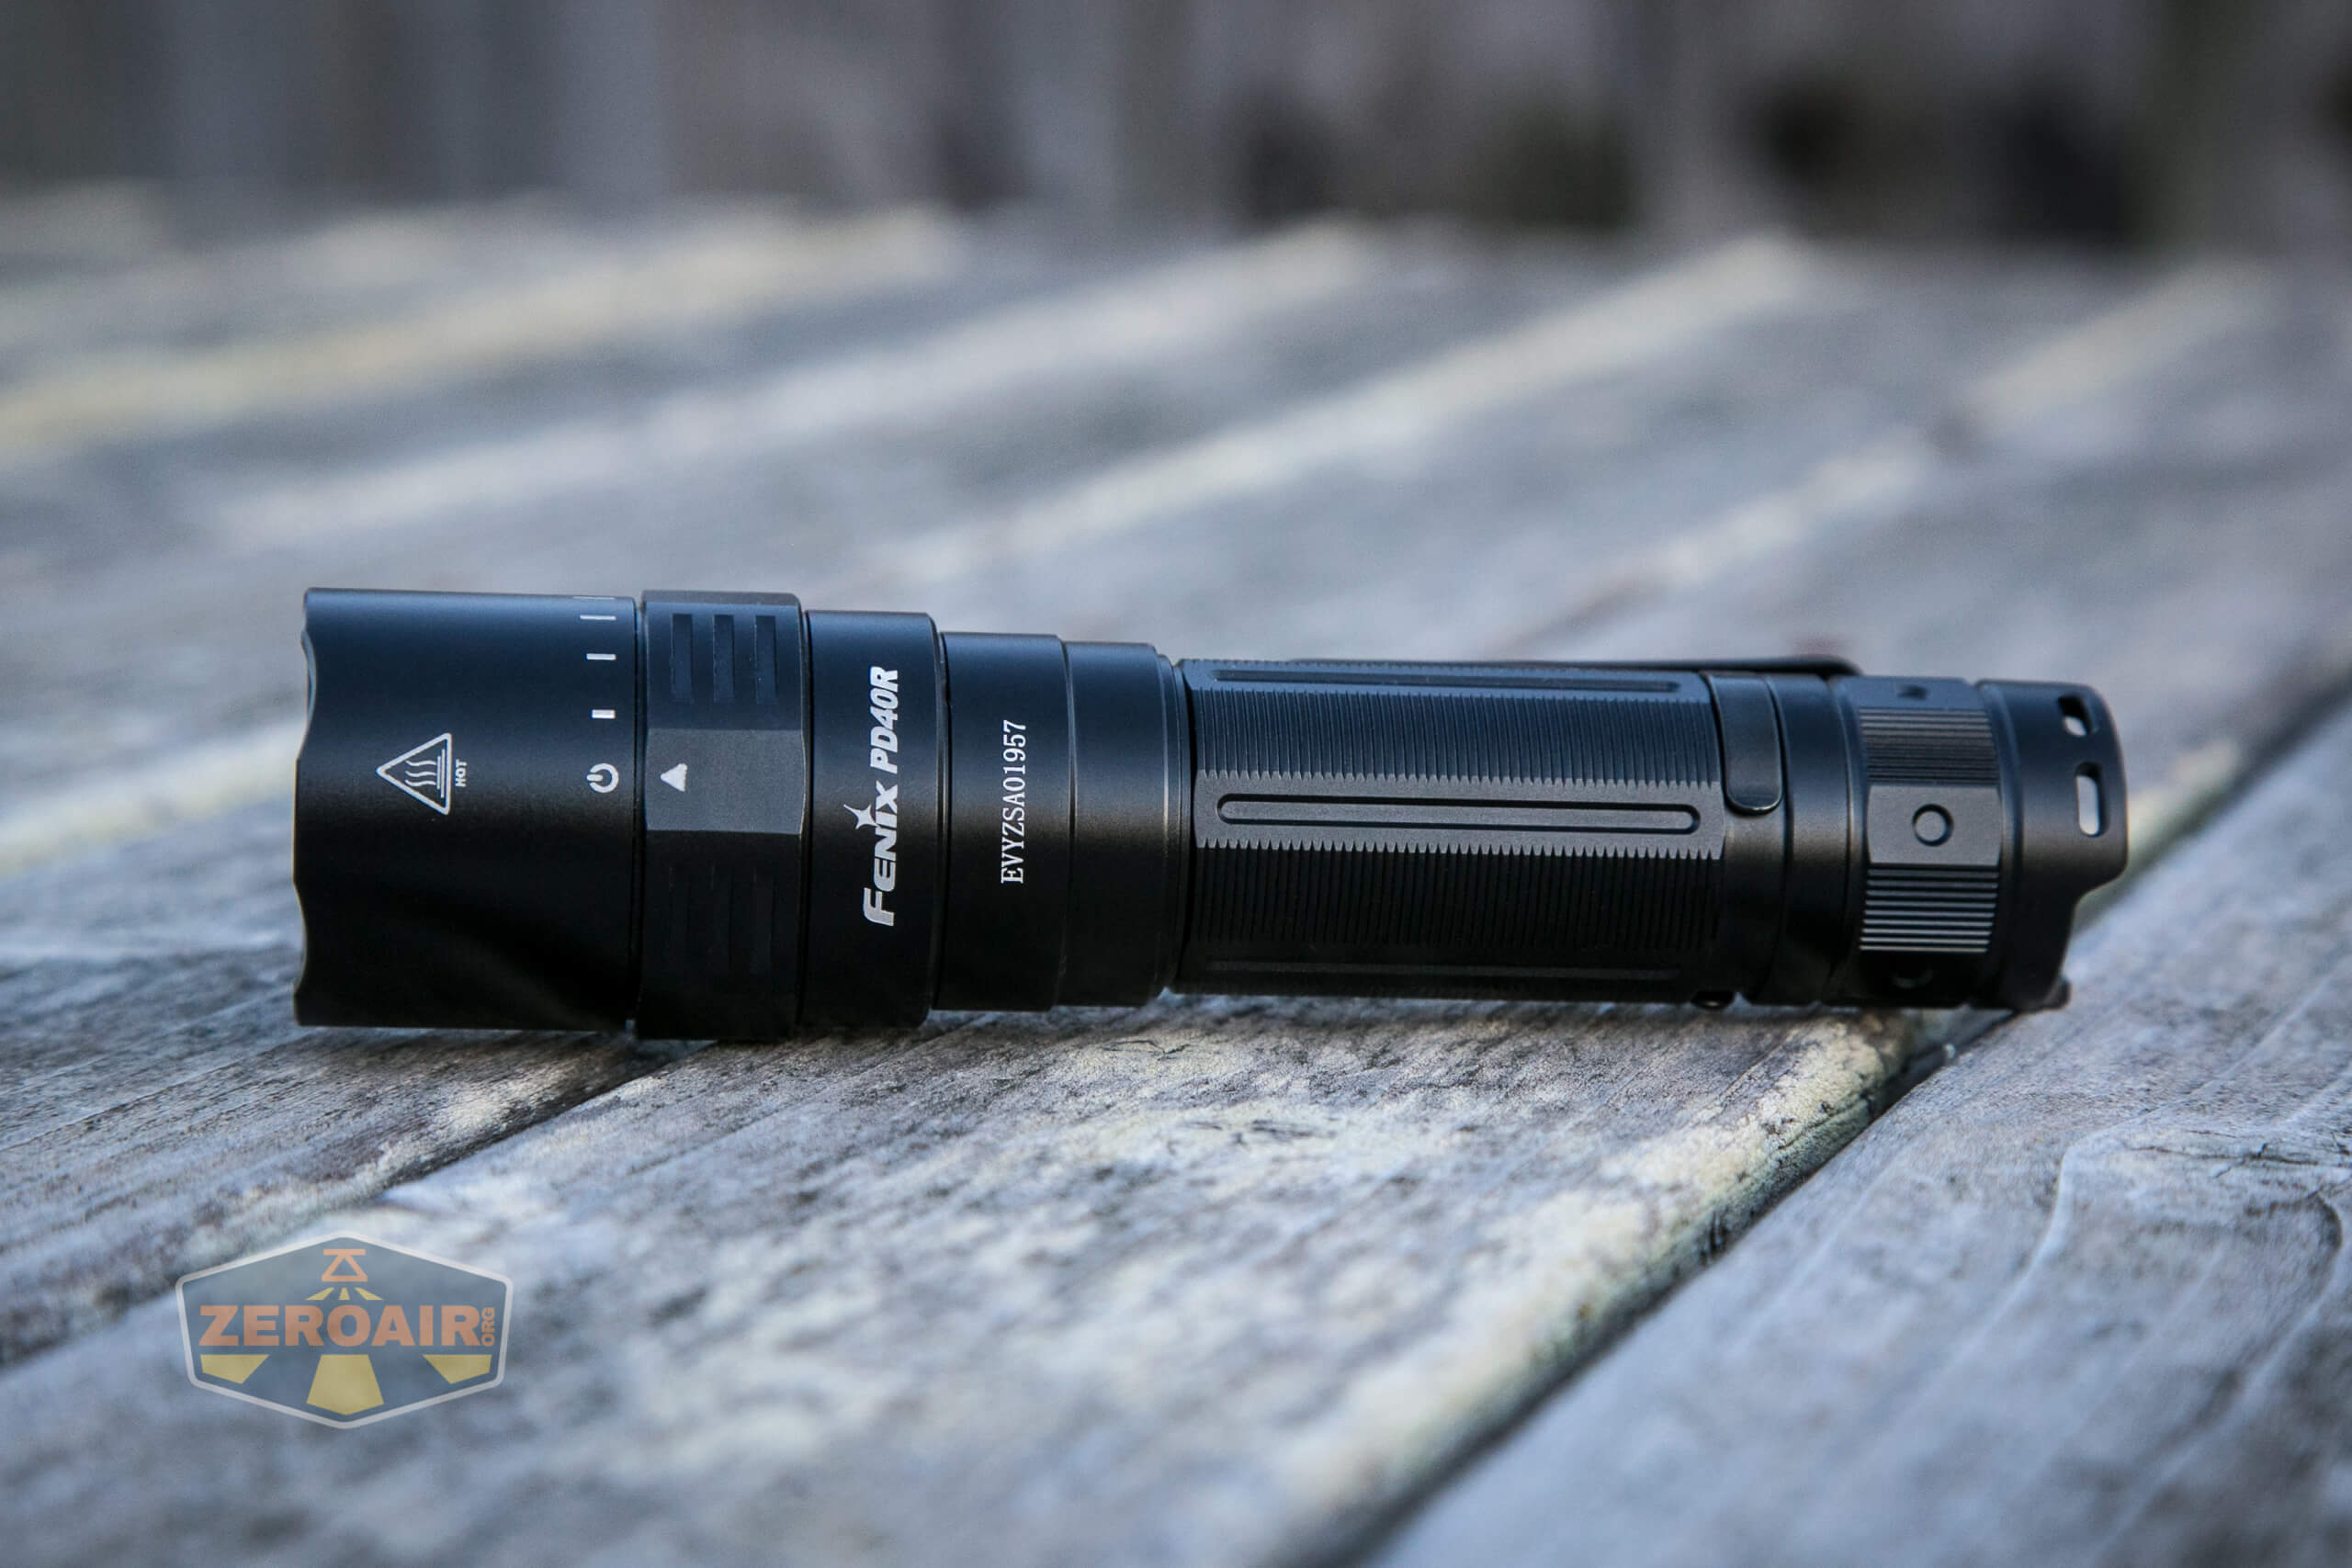
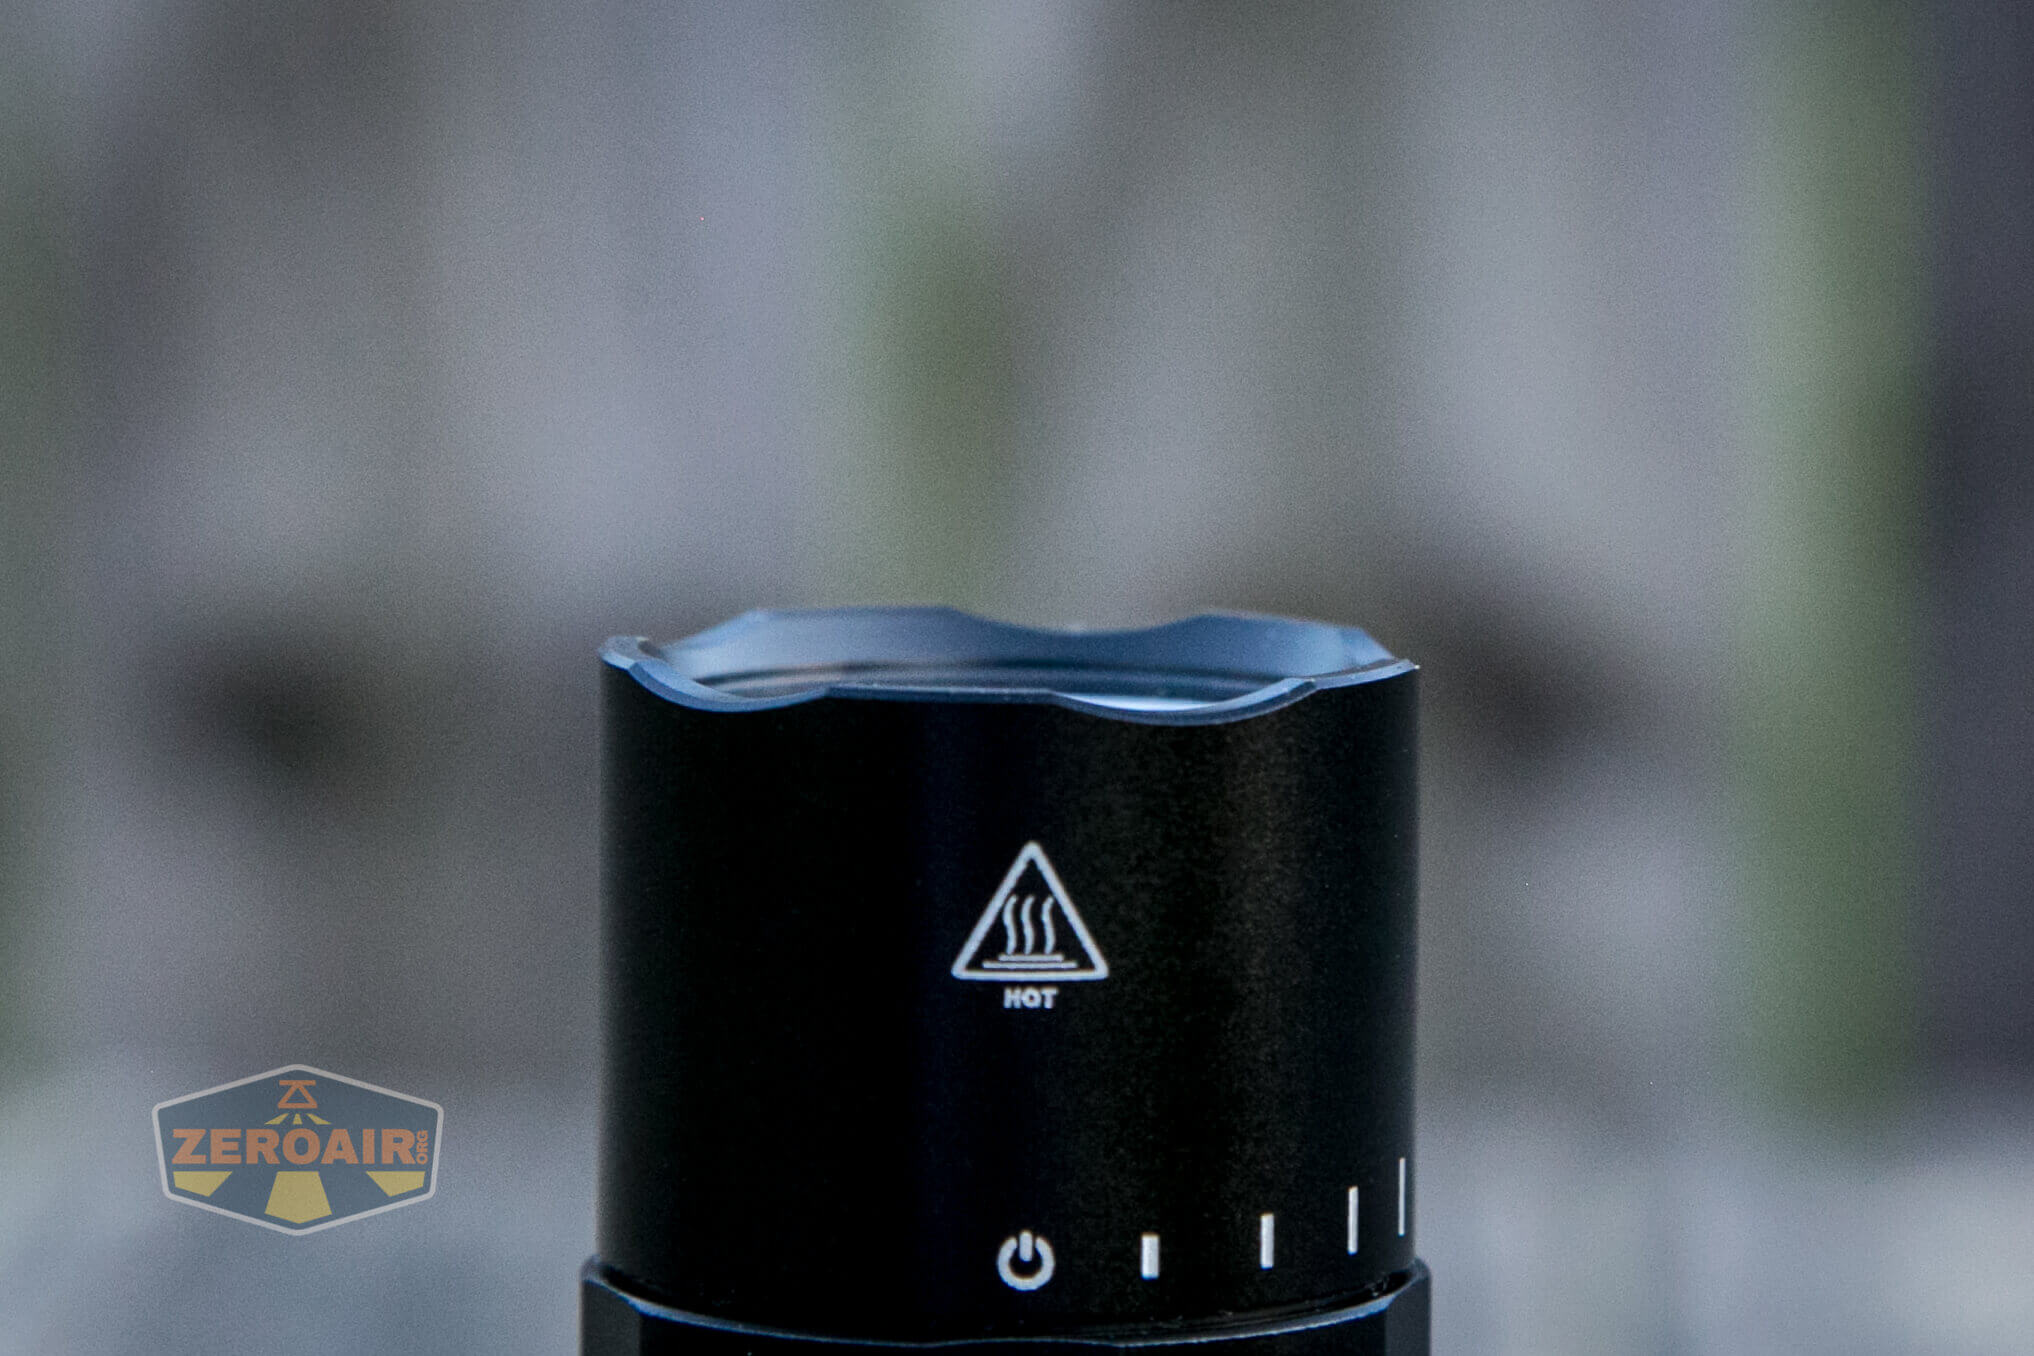
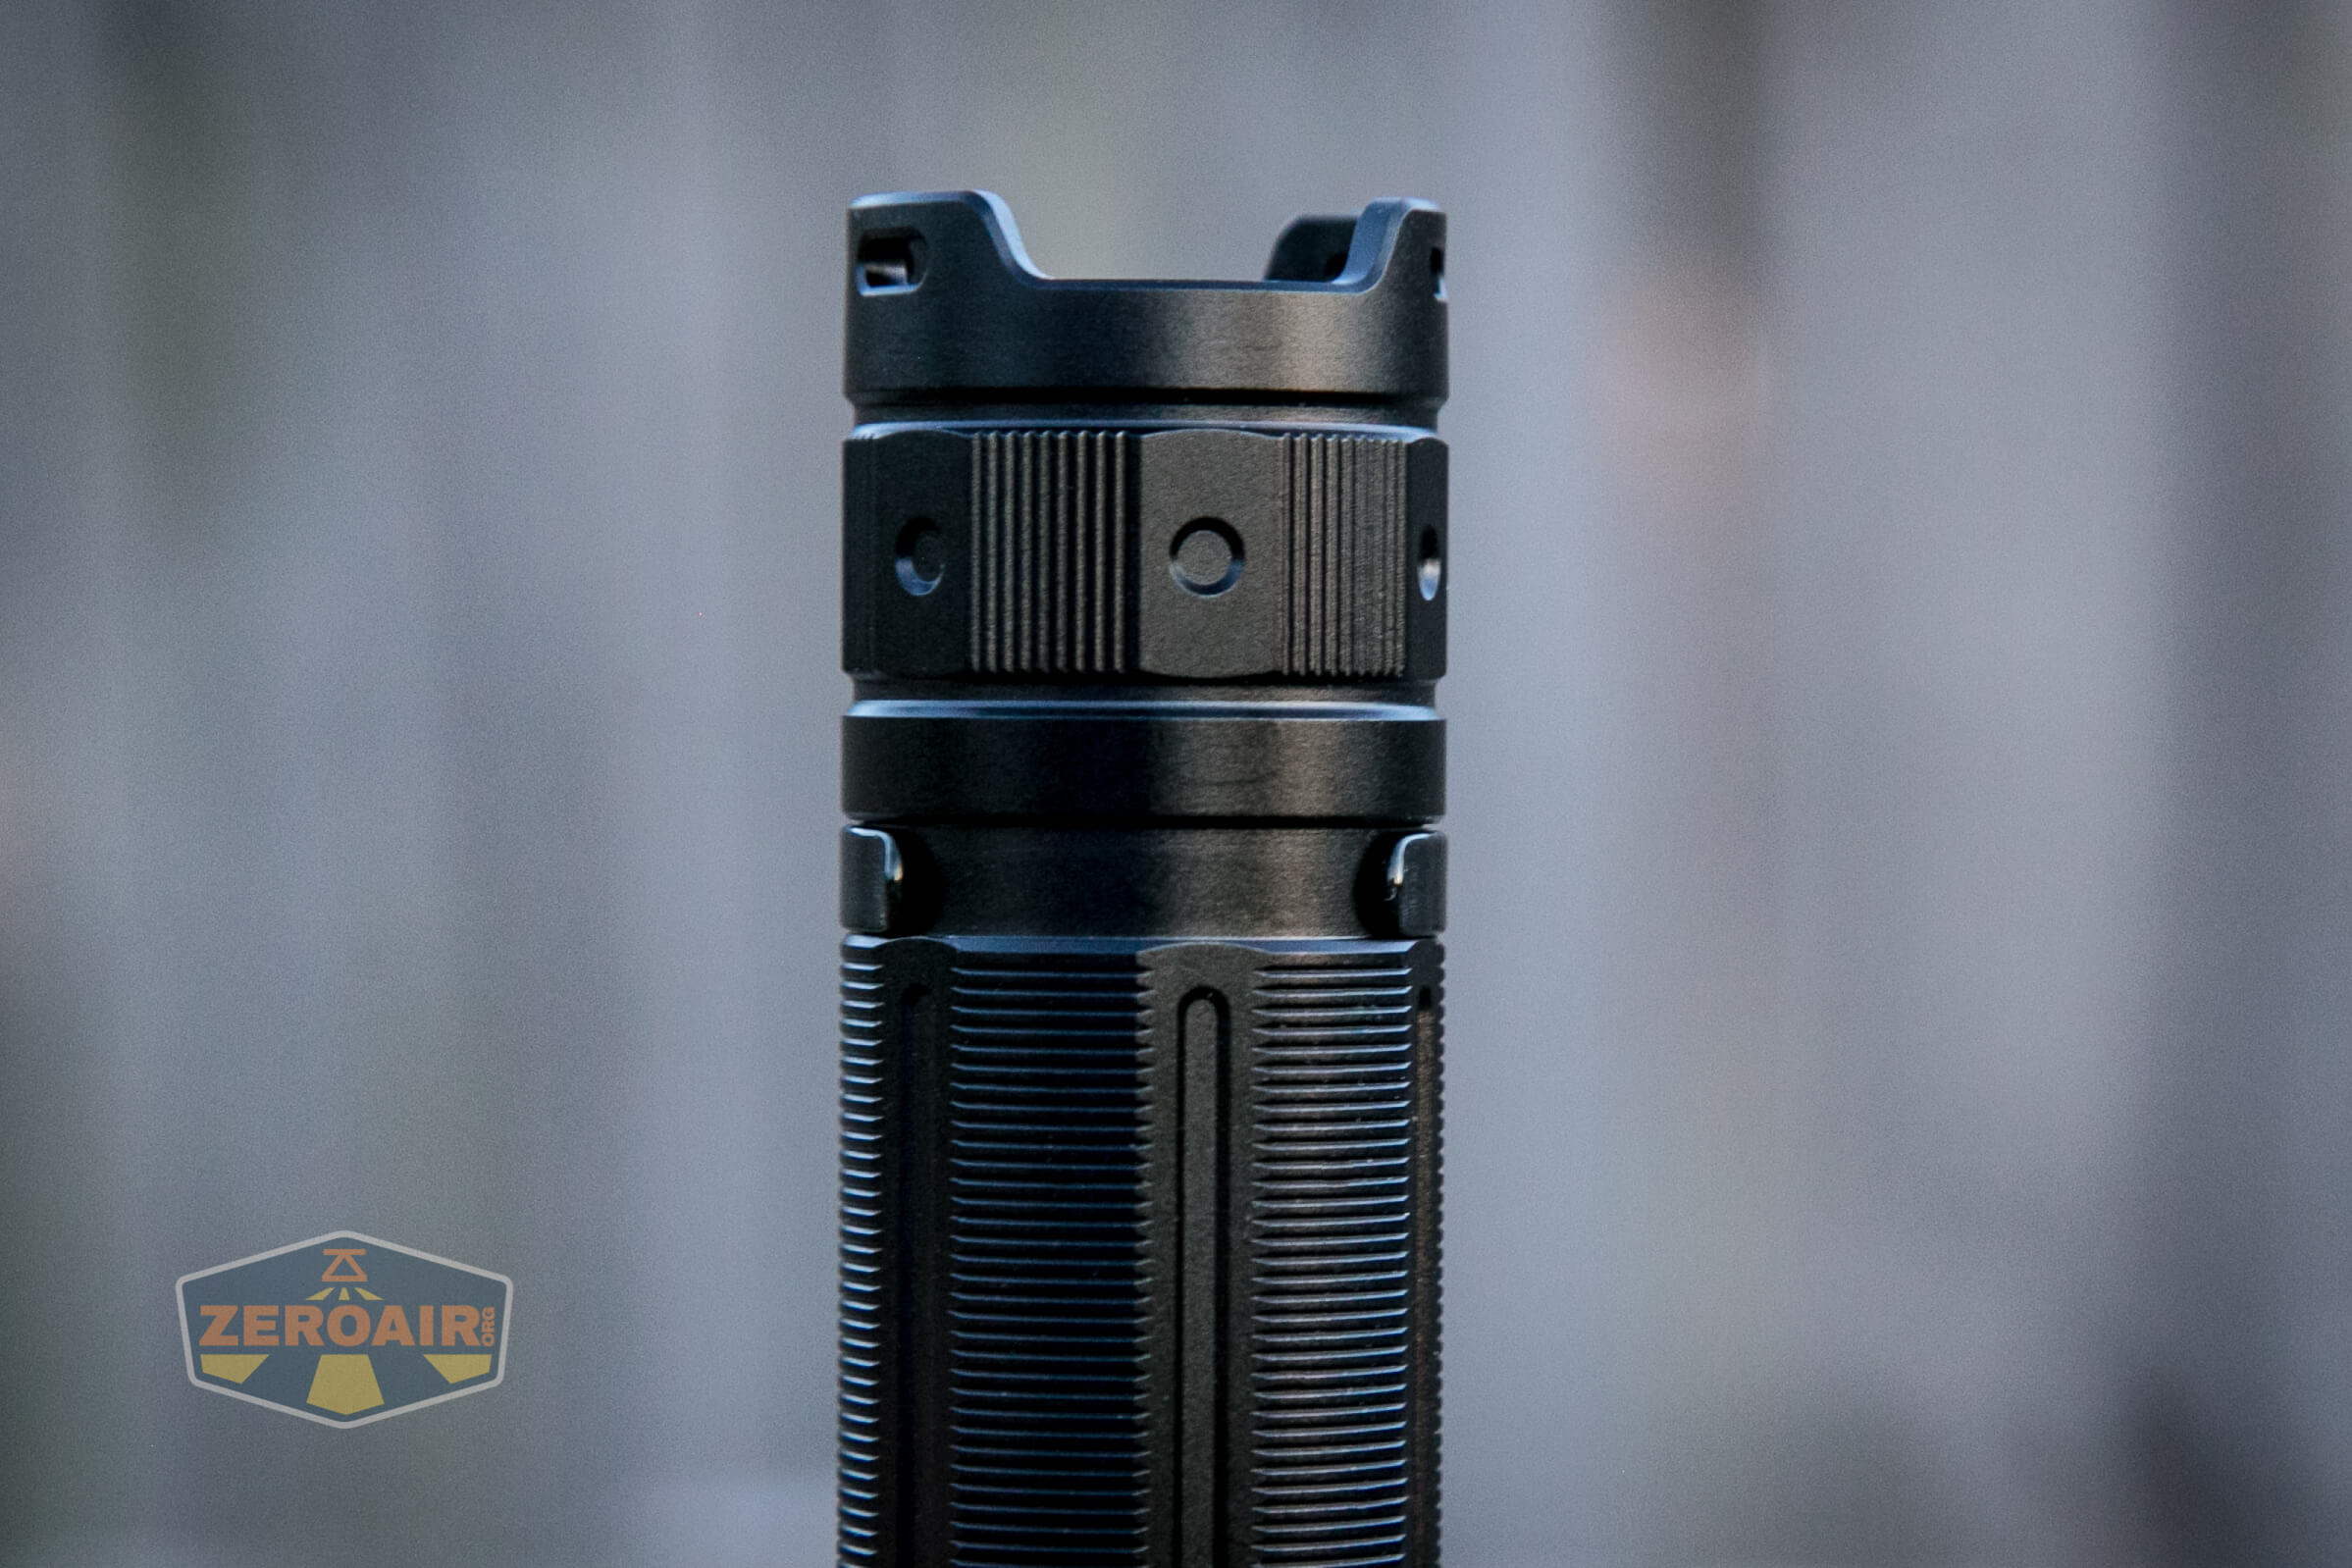
The bezel has a light design to it – not really “crenelations” but also a sort of crenelation. I wouldn’t call these strike surfaces, though.
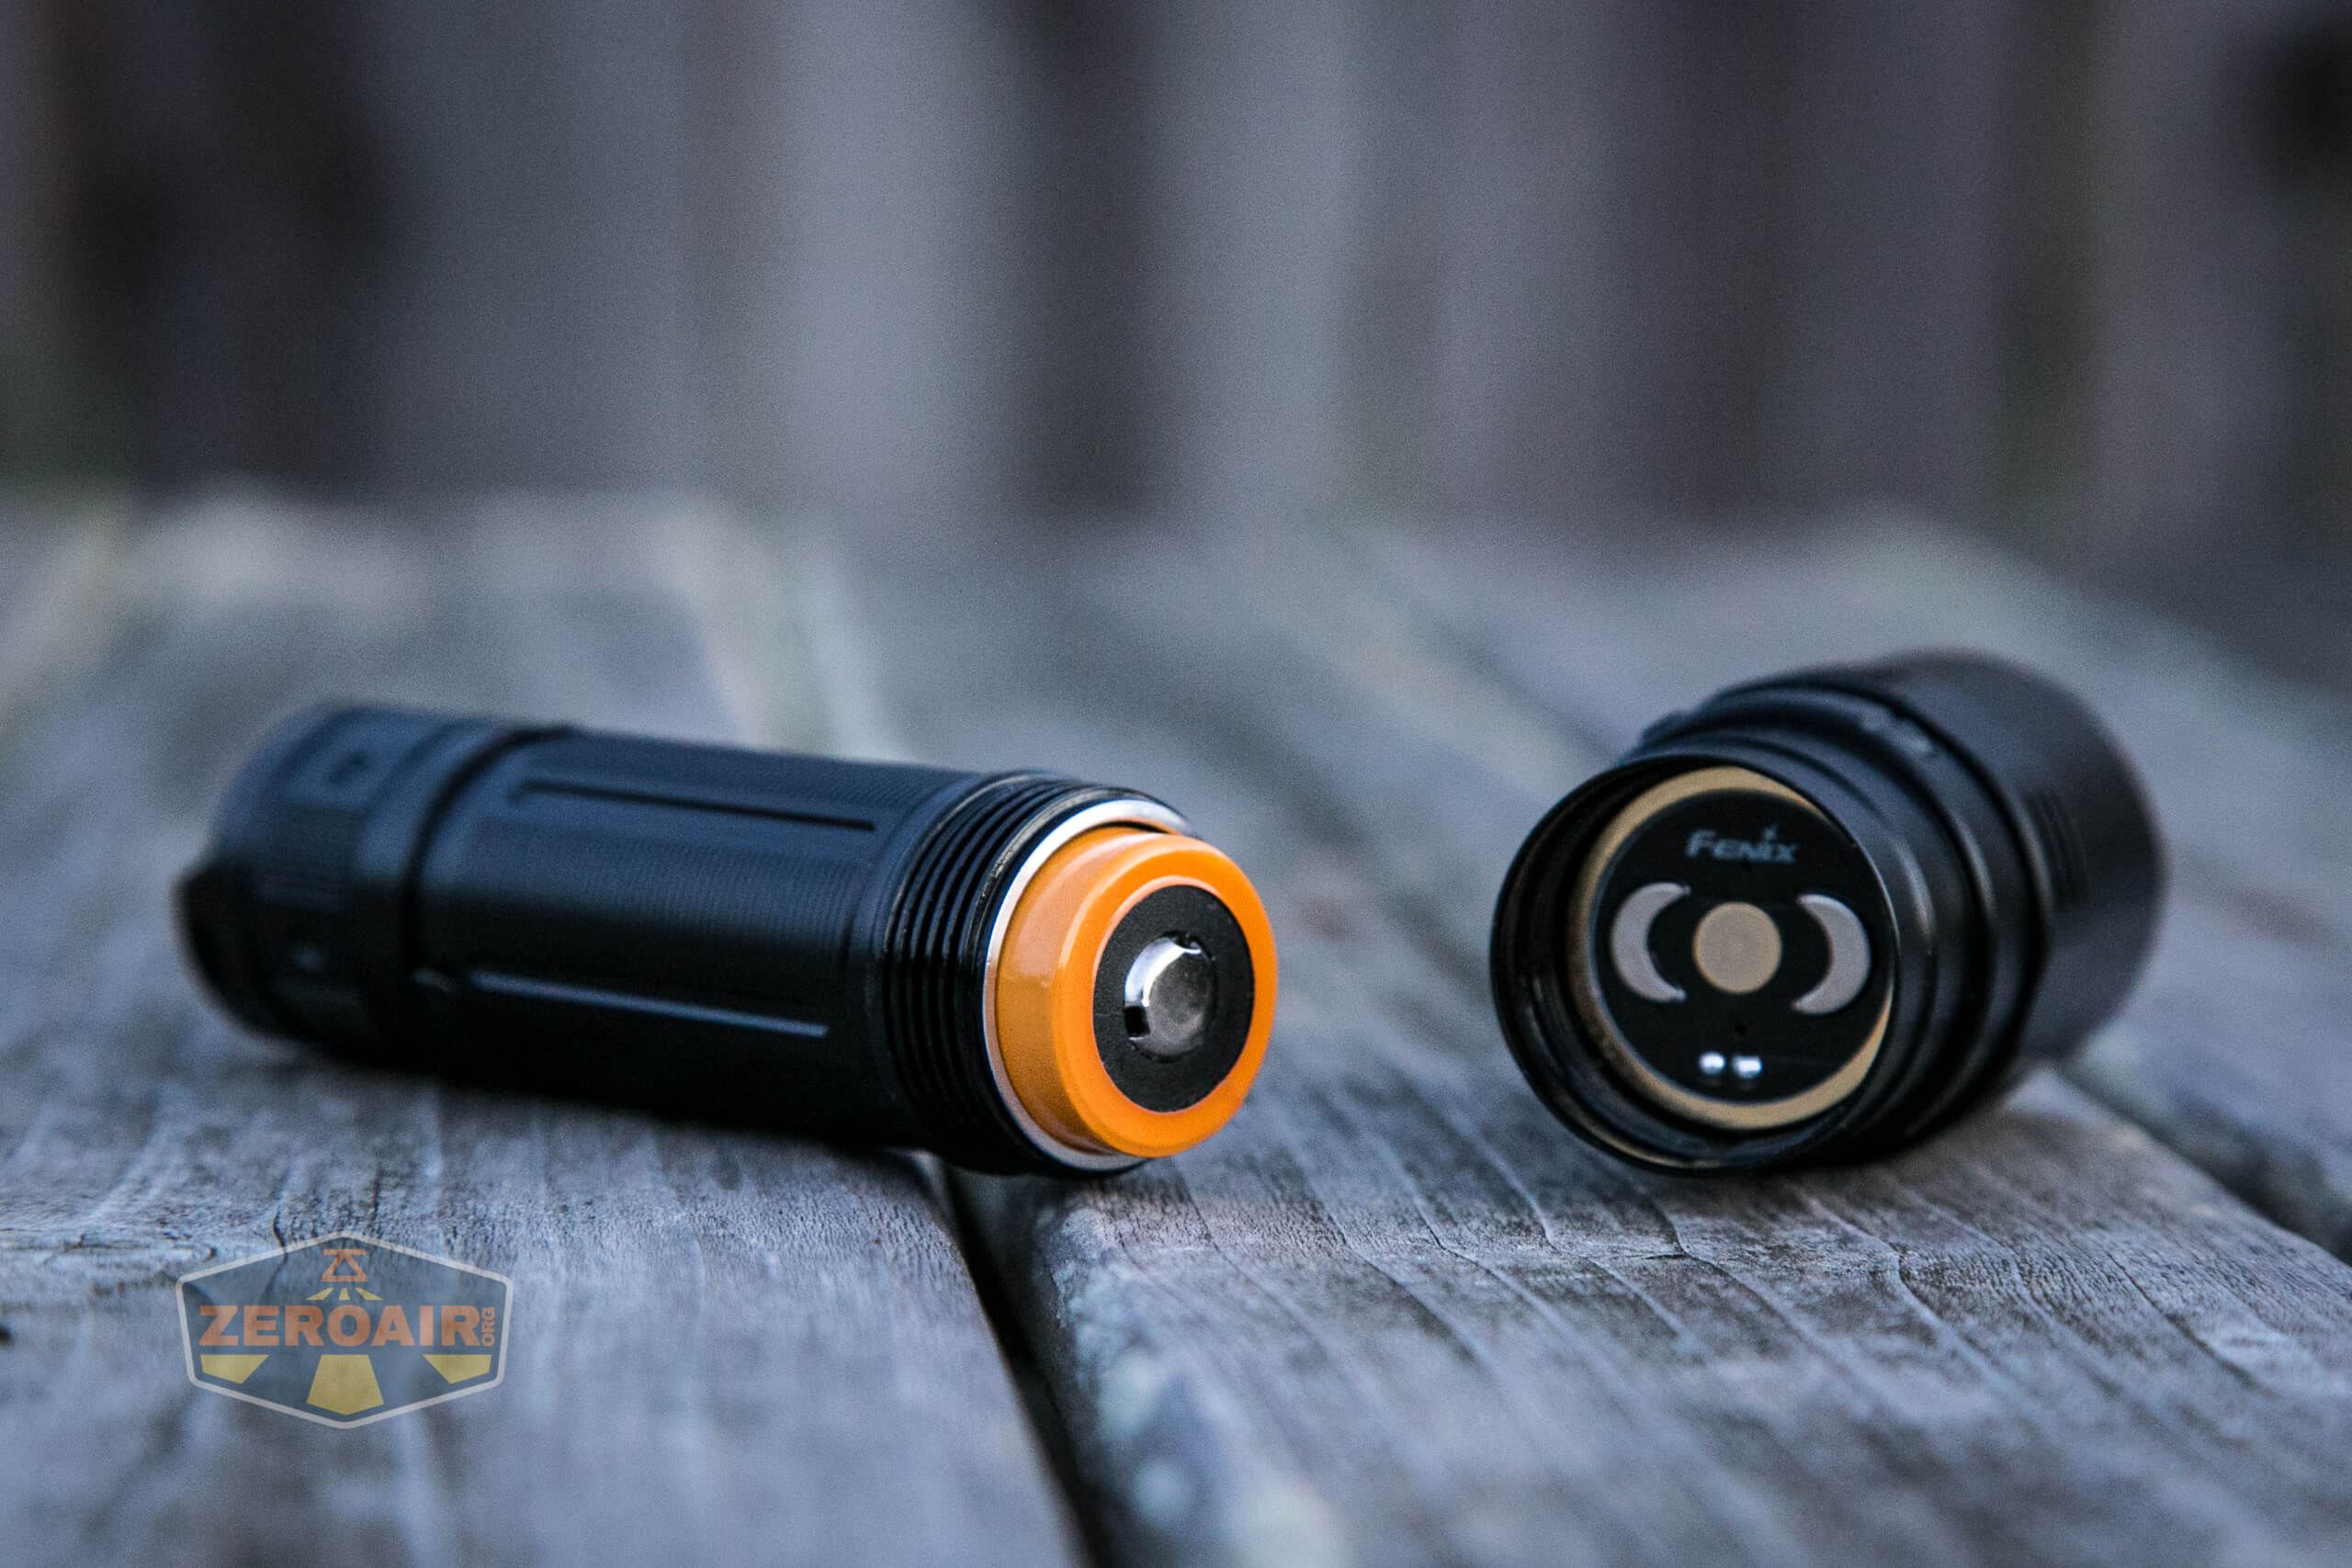
Only the head is removable. The tailcap is a separate piece, but I couldn’t force it apart.
Inside the cell tube is a nice beefy spring, but on the head is just the brass contact button.
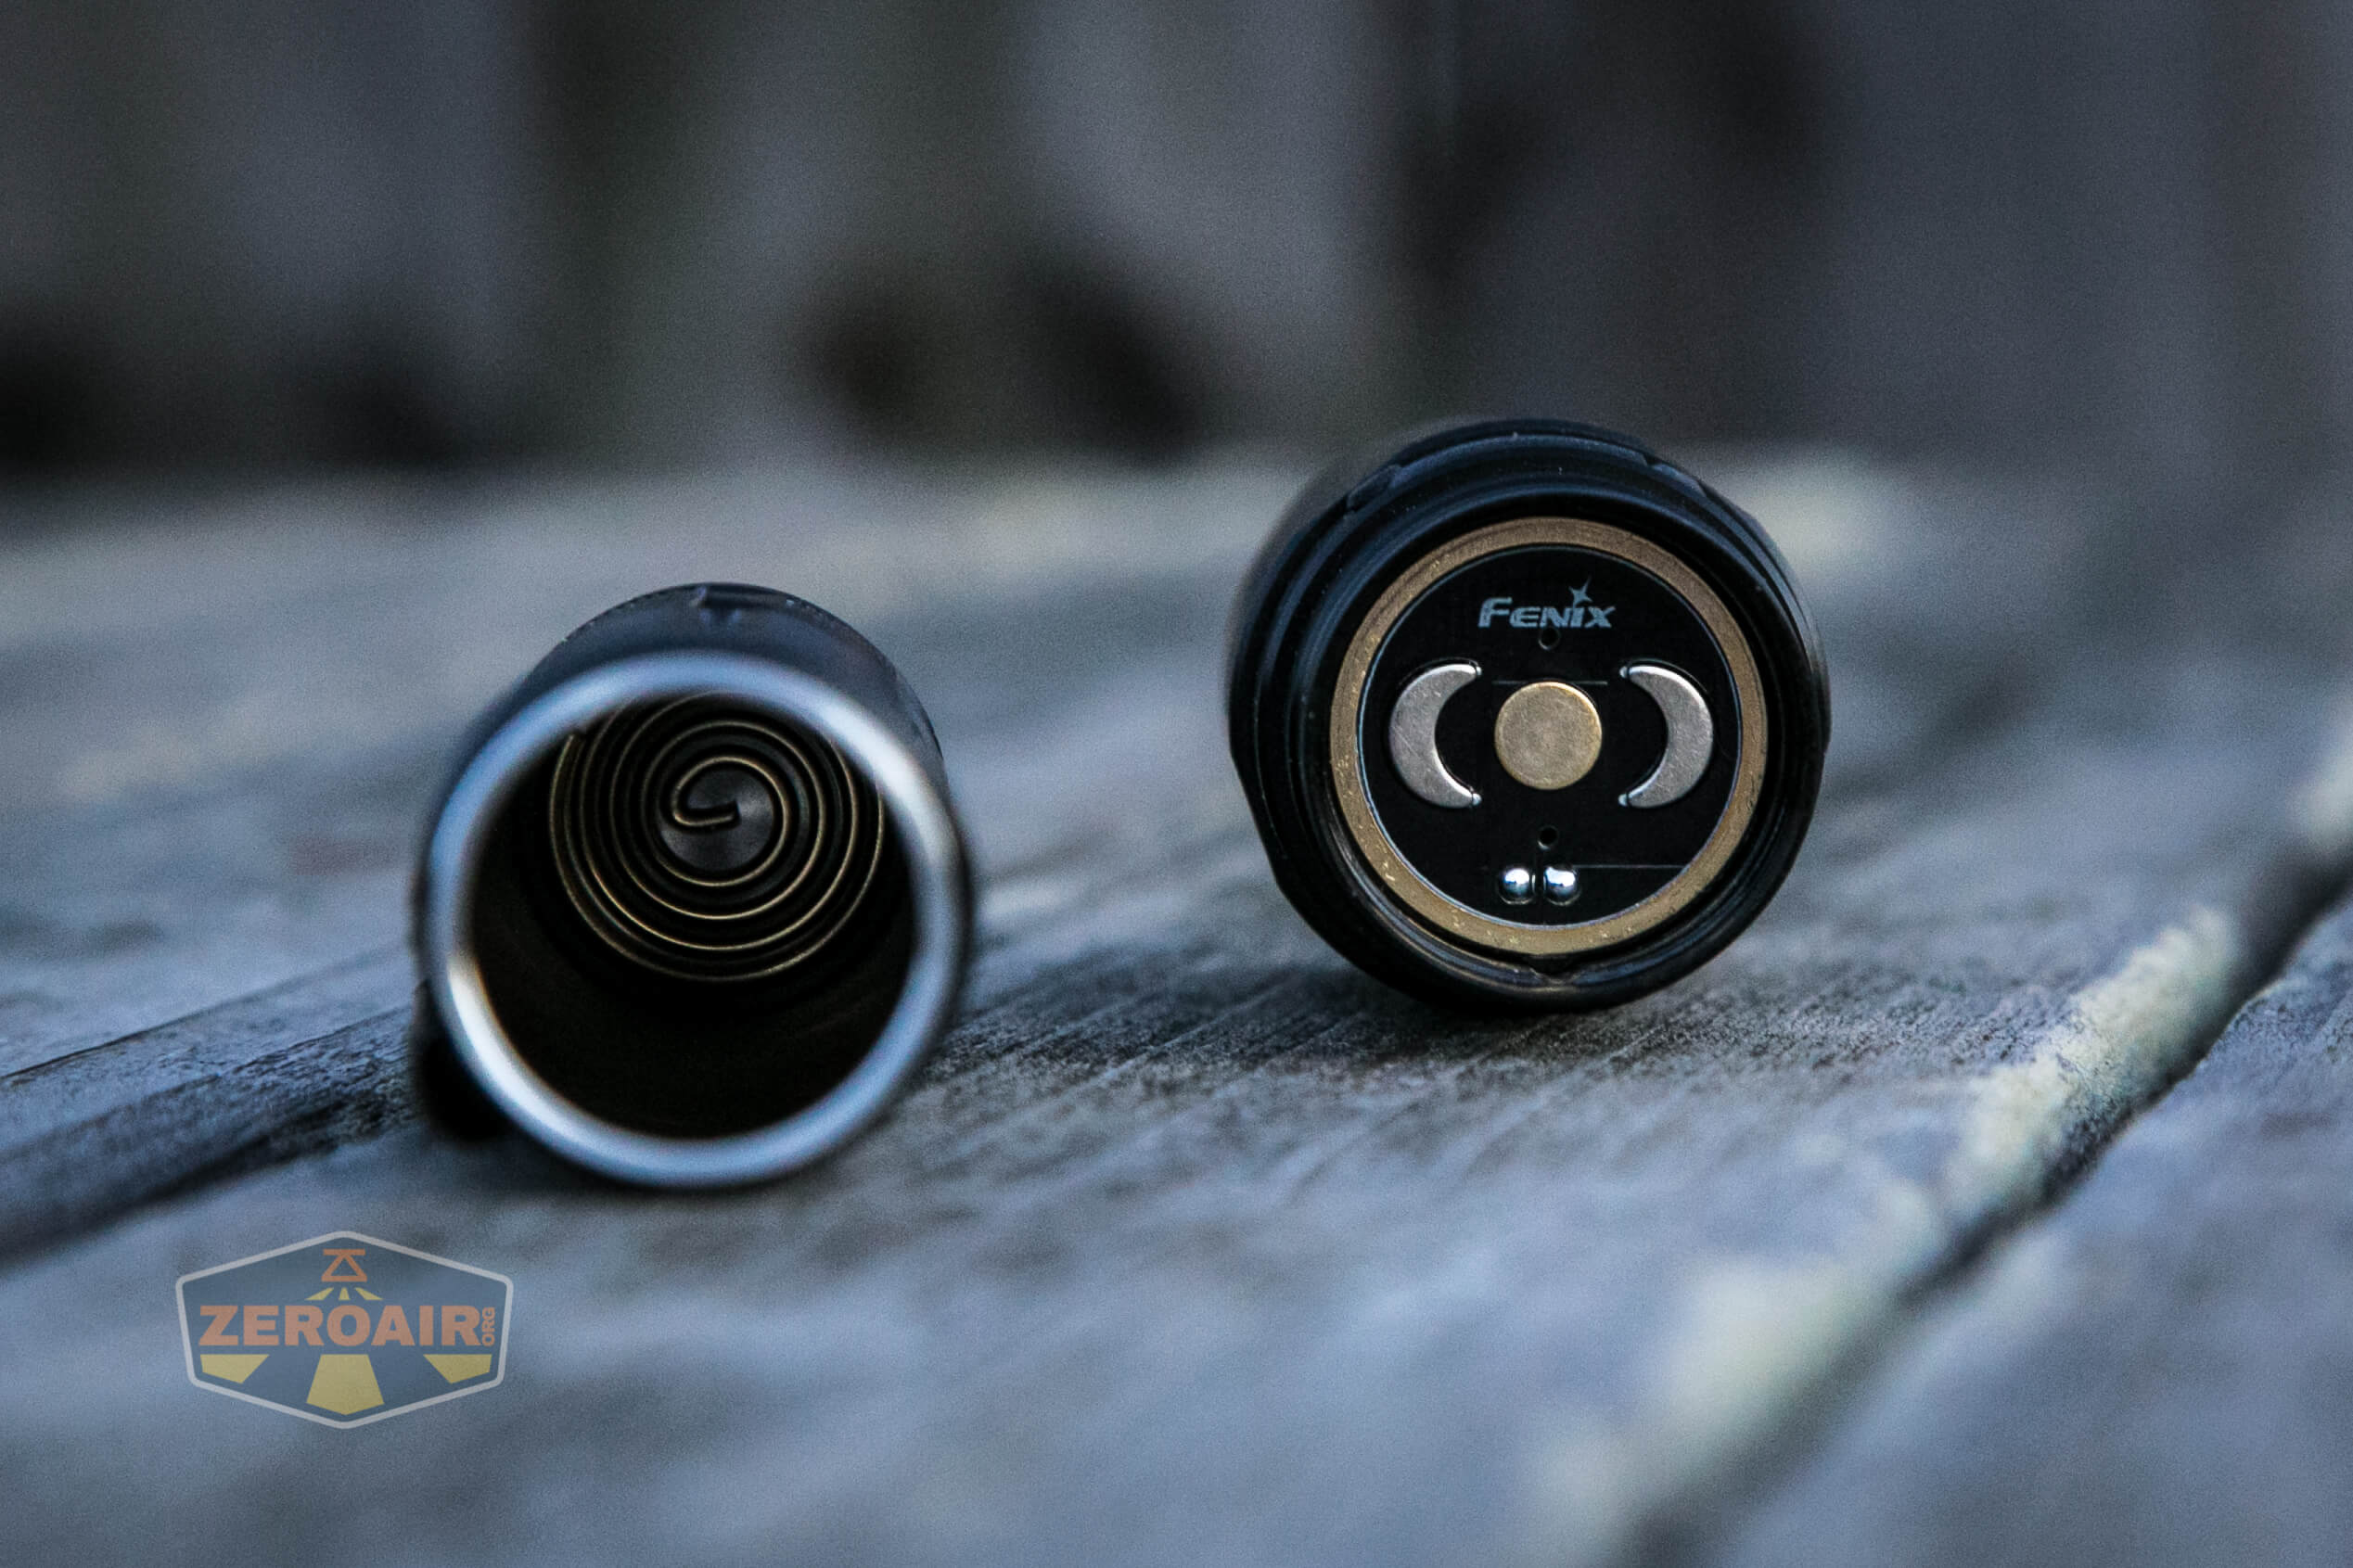
While there’s some grip that might help to remove the tailcap, again, it doesn’t come off.
The body has a very fine anti-slip texture, too.
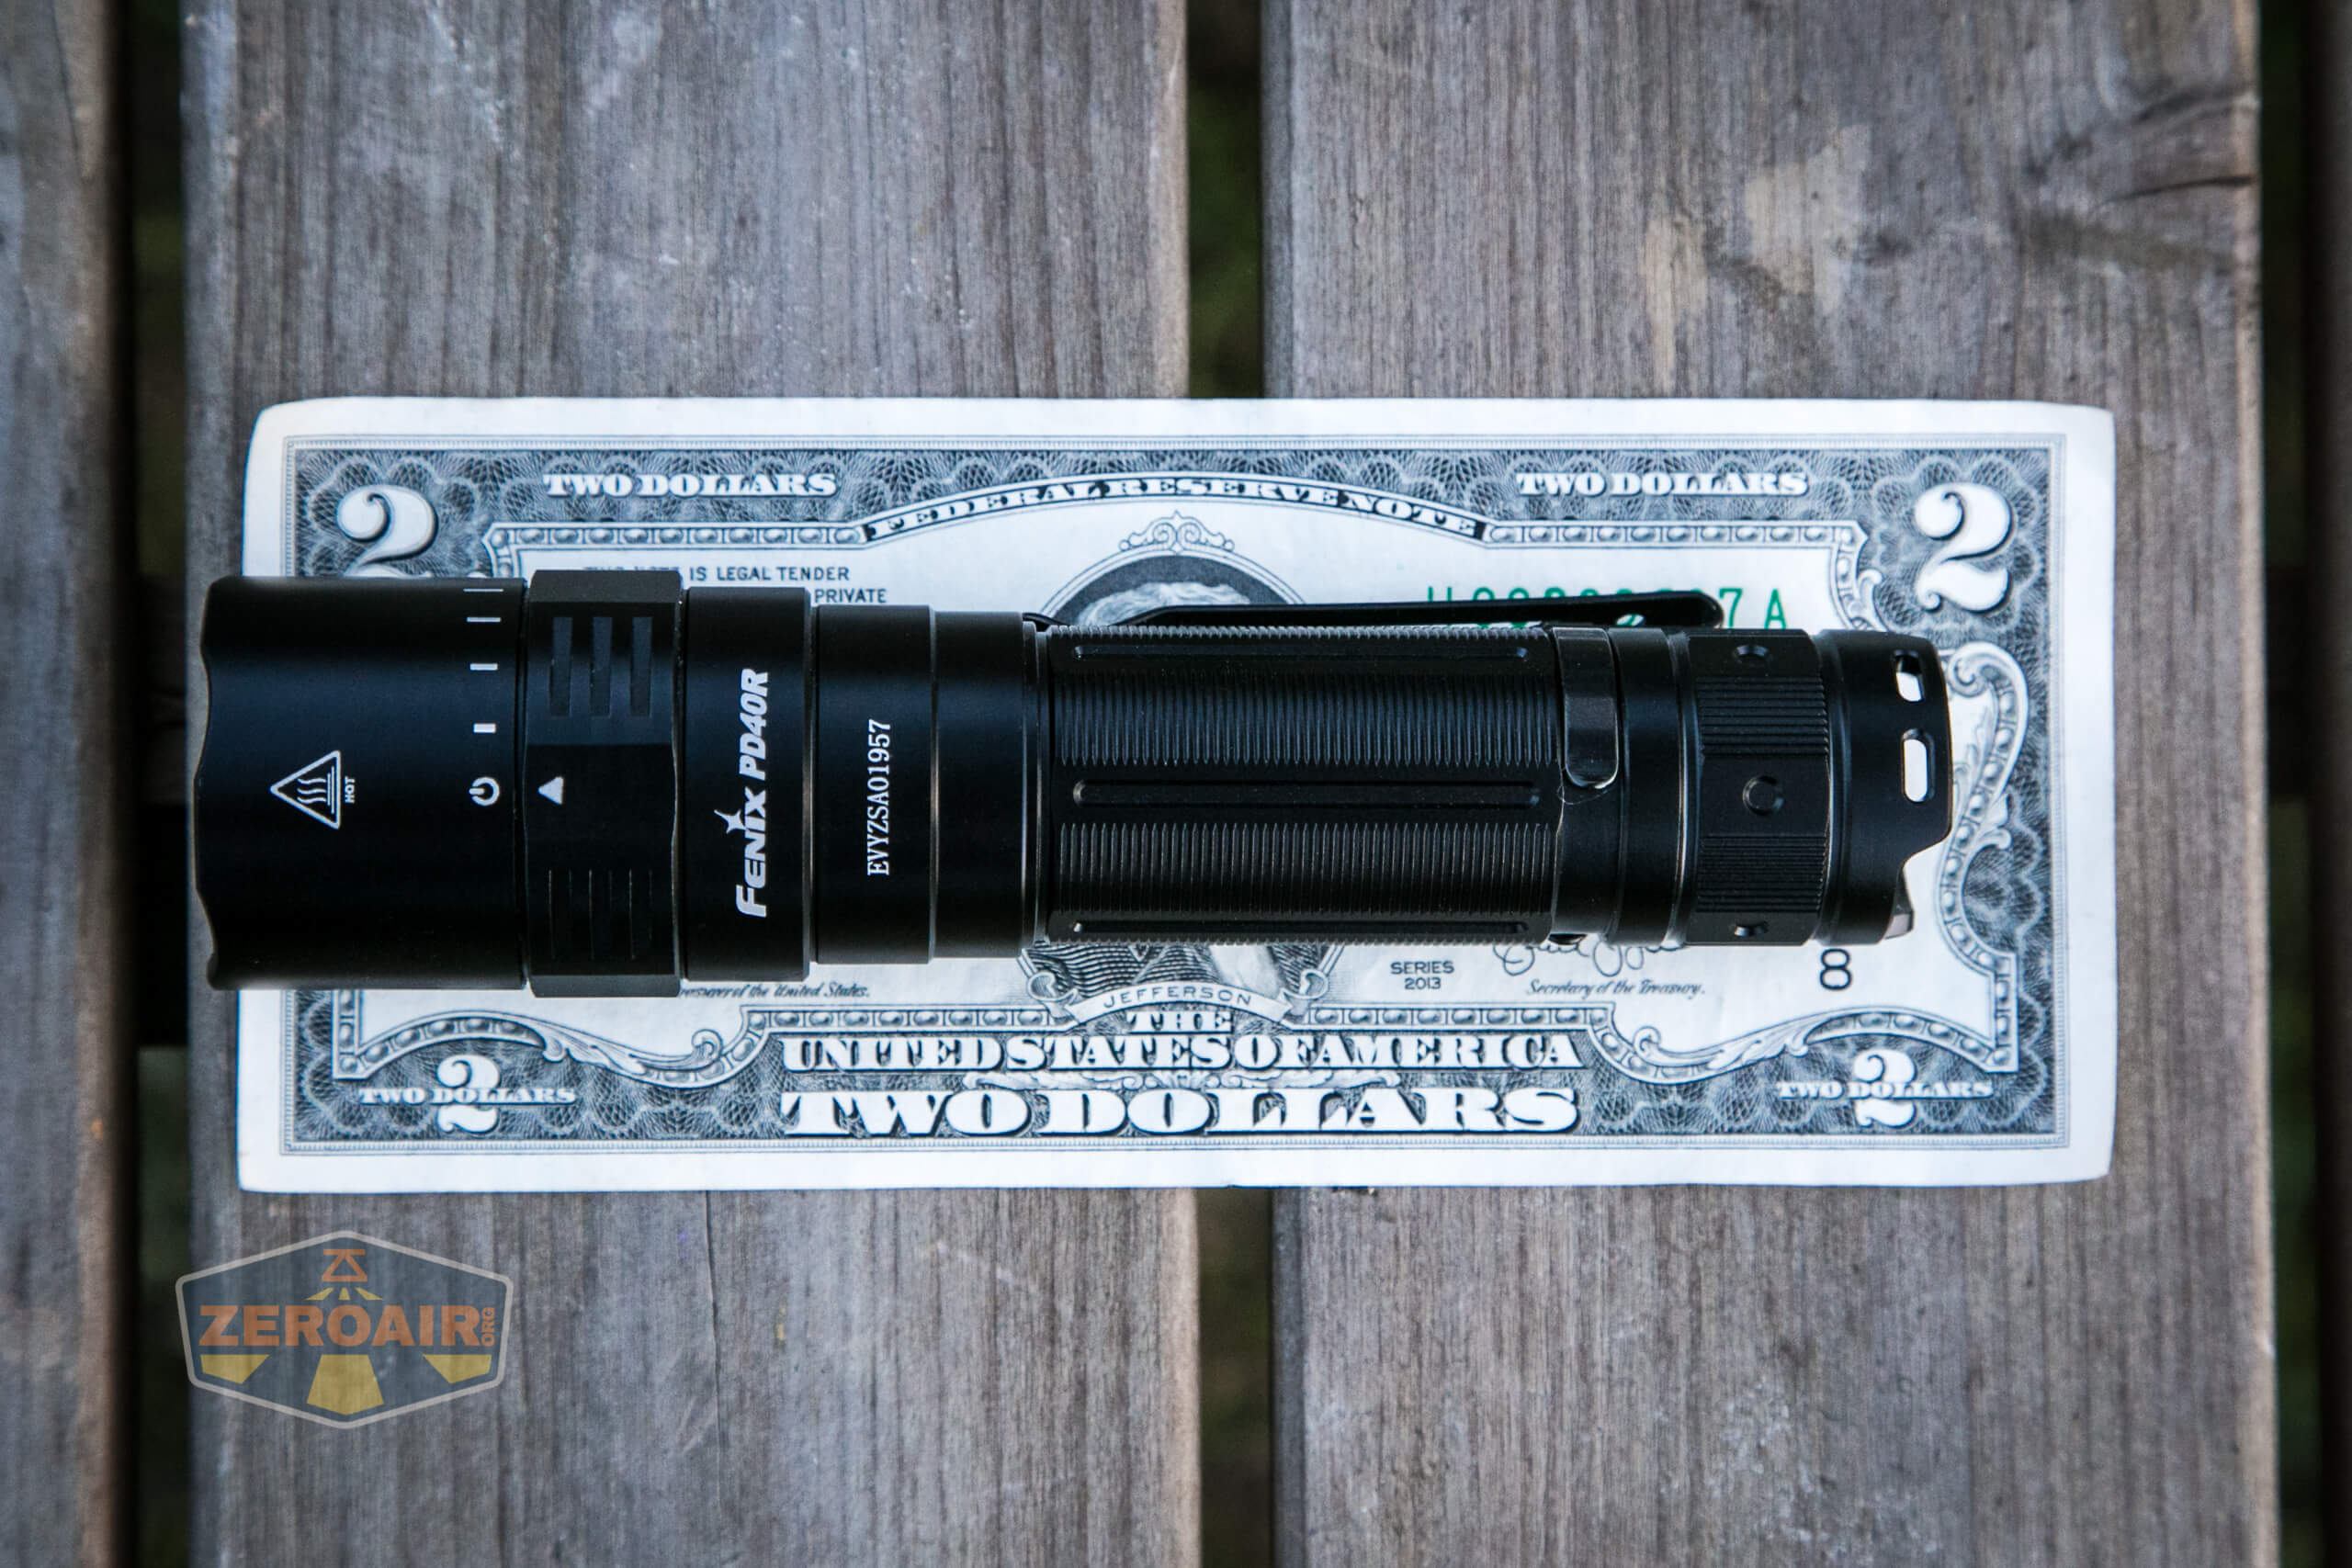
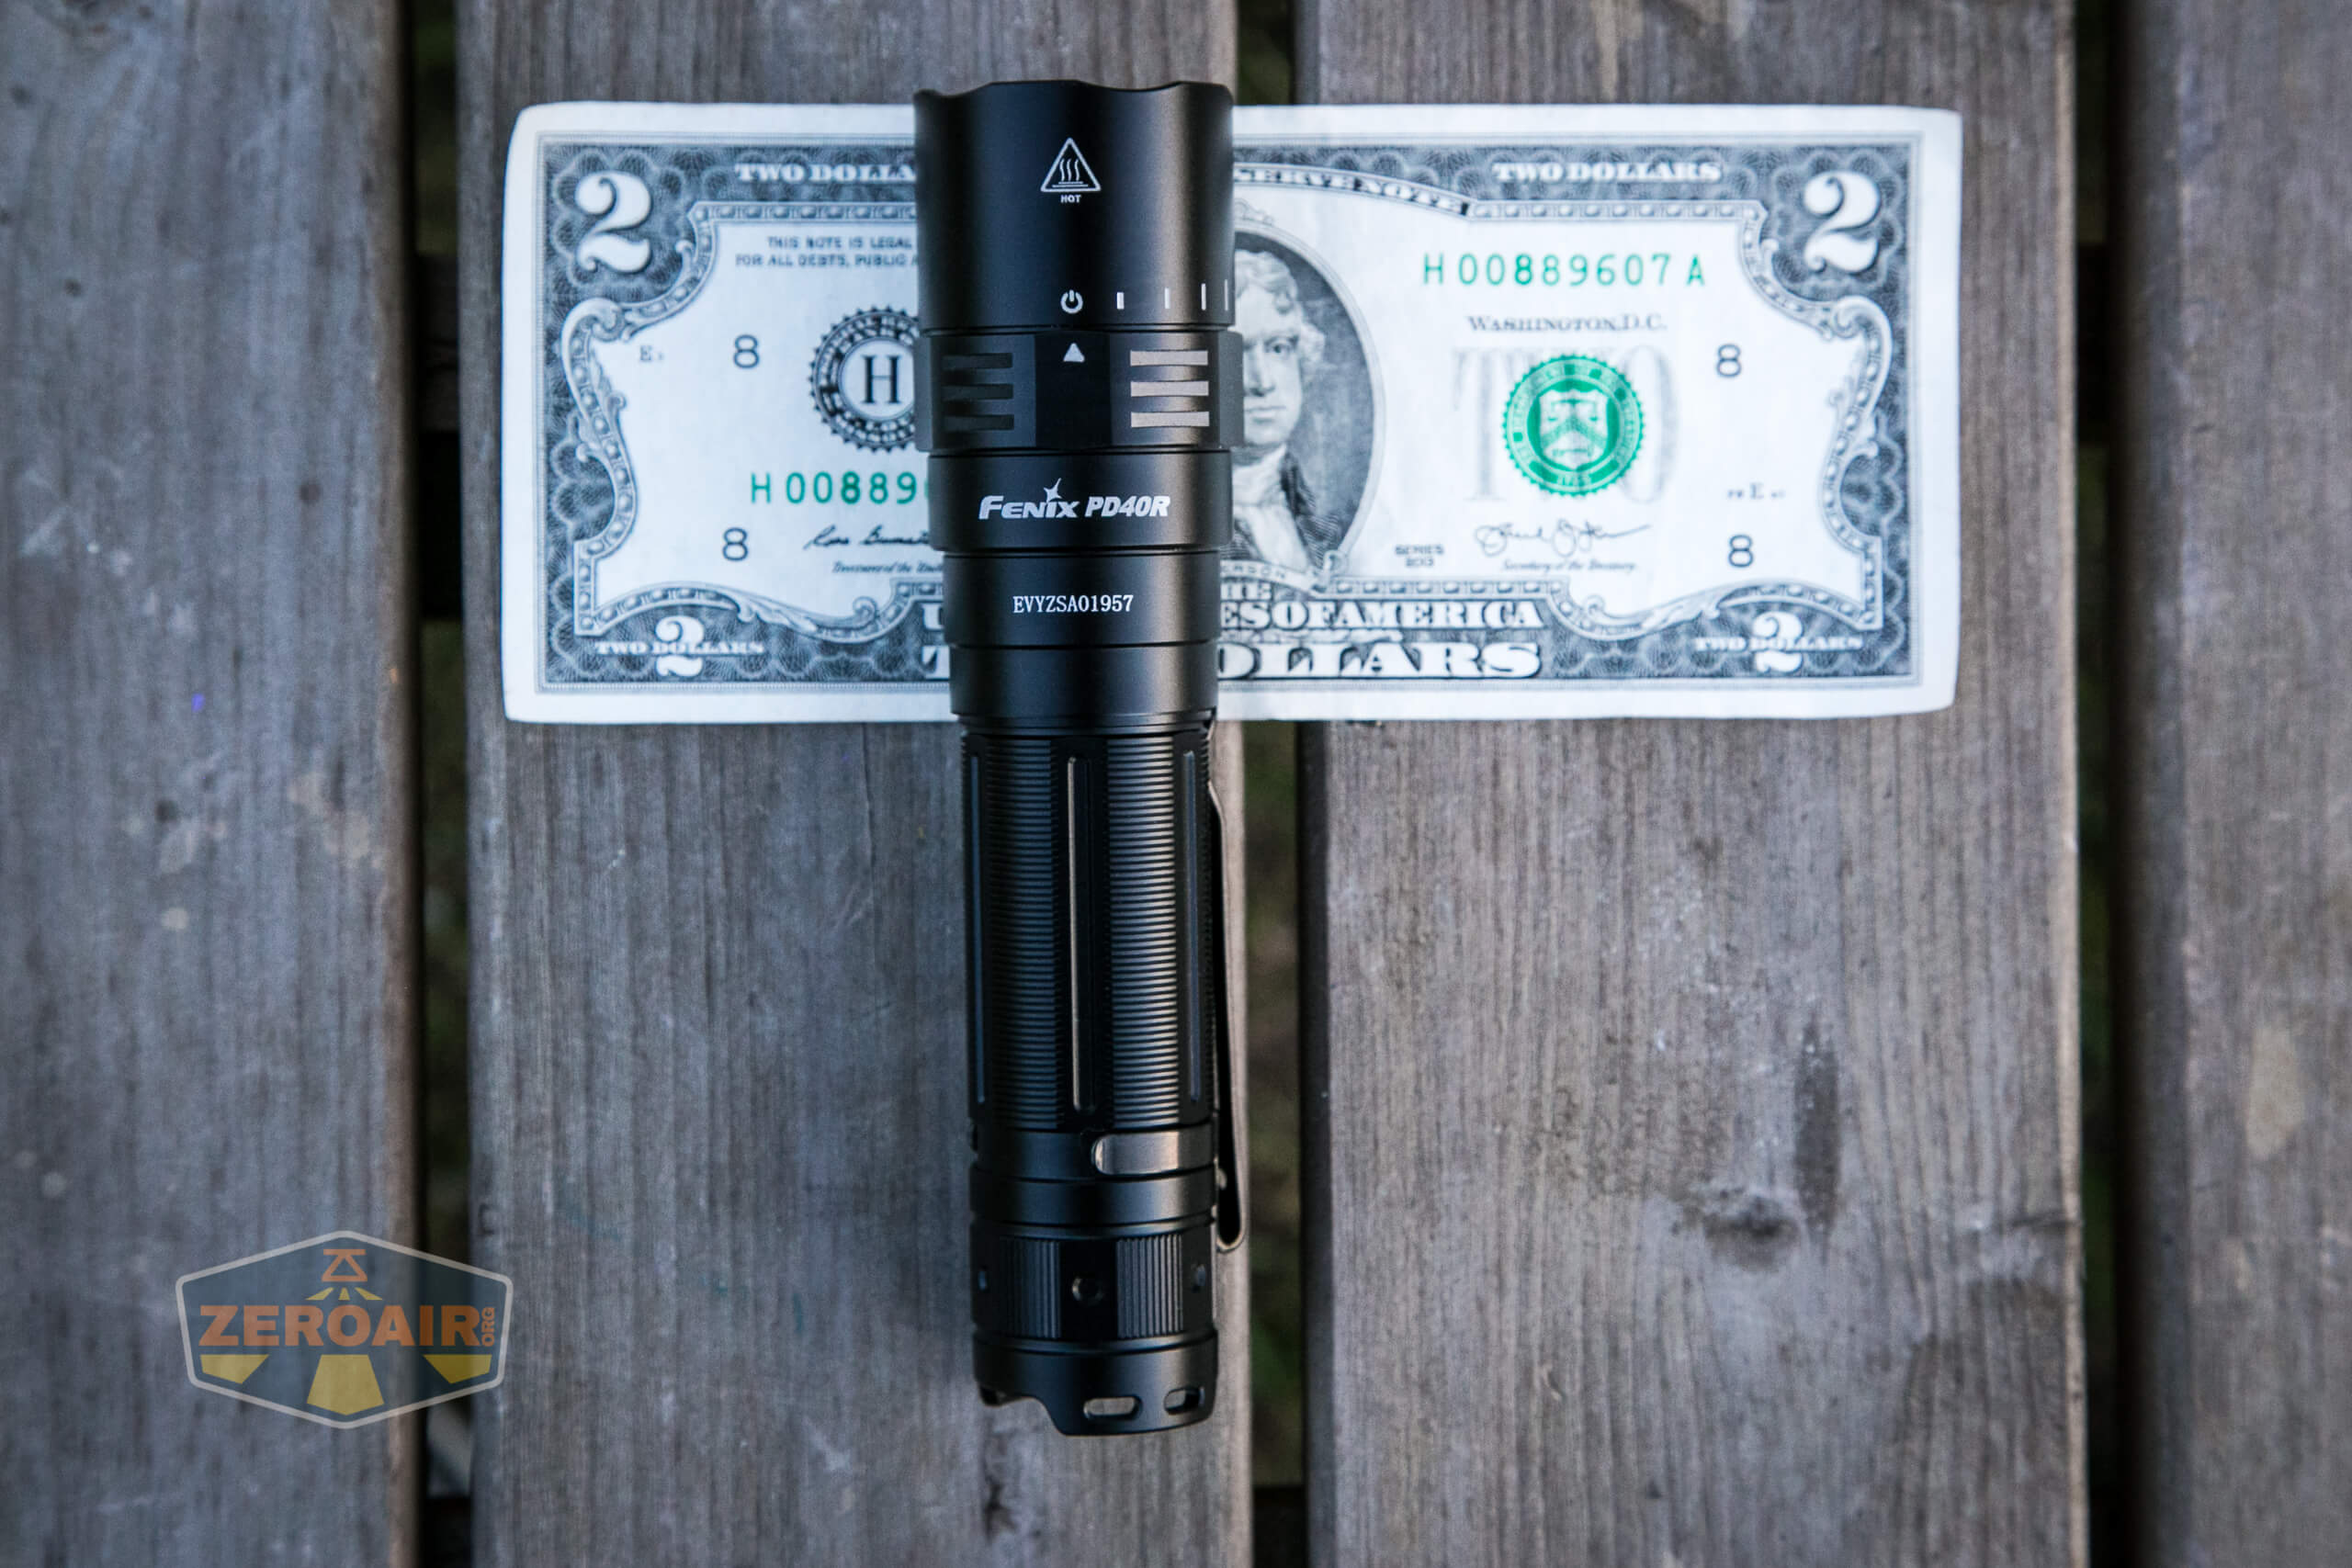
Size and Comps
Officially:
- Length: 5.4 Inches
- Diameter: 1.3 Inches
- Weight: 4.1 Ounces (Excluding battery)
If the flashlight will headstand, I’ll try to show it here. If the flashlight will tailstand, I usually show that here, too.


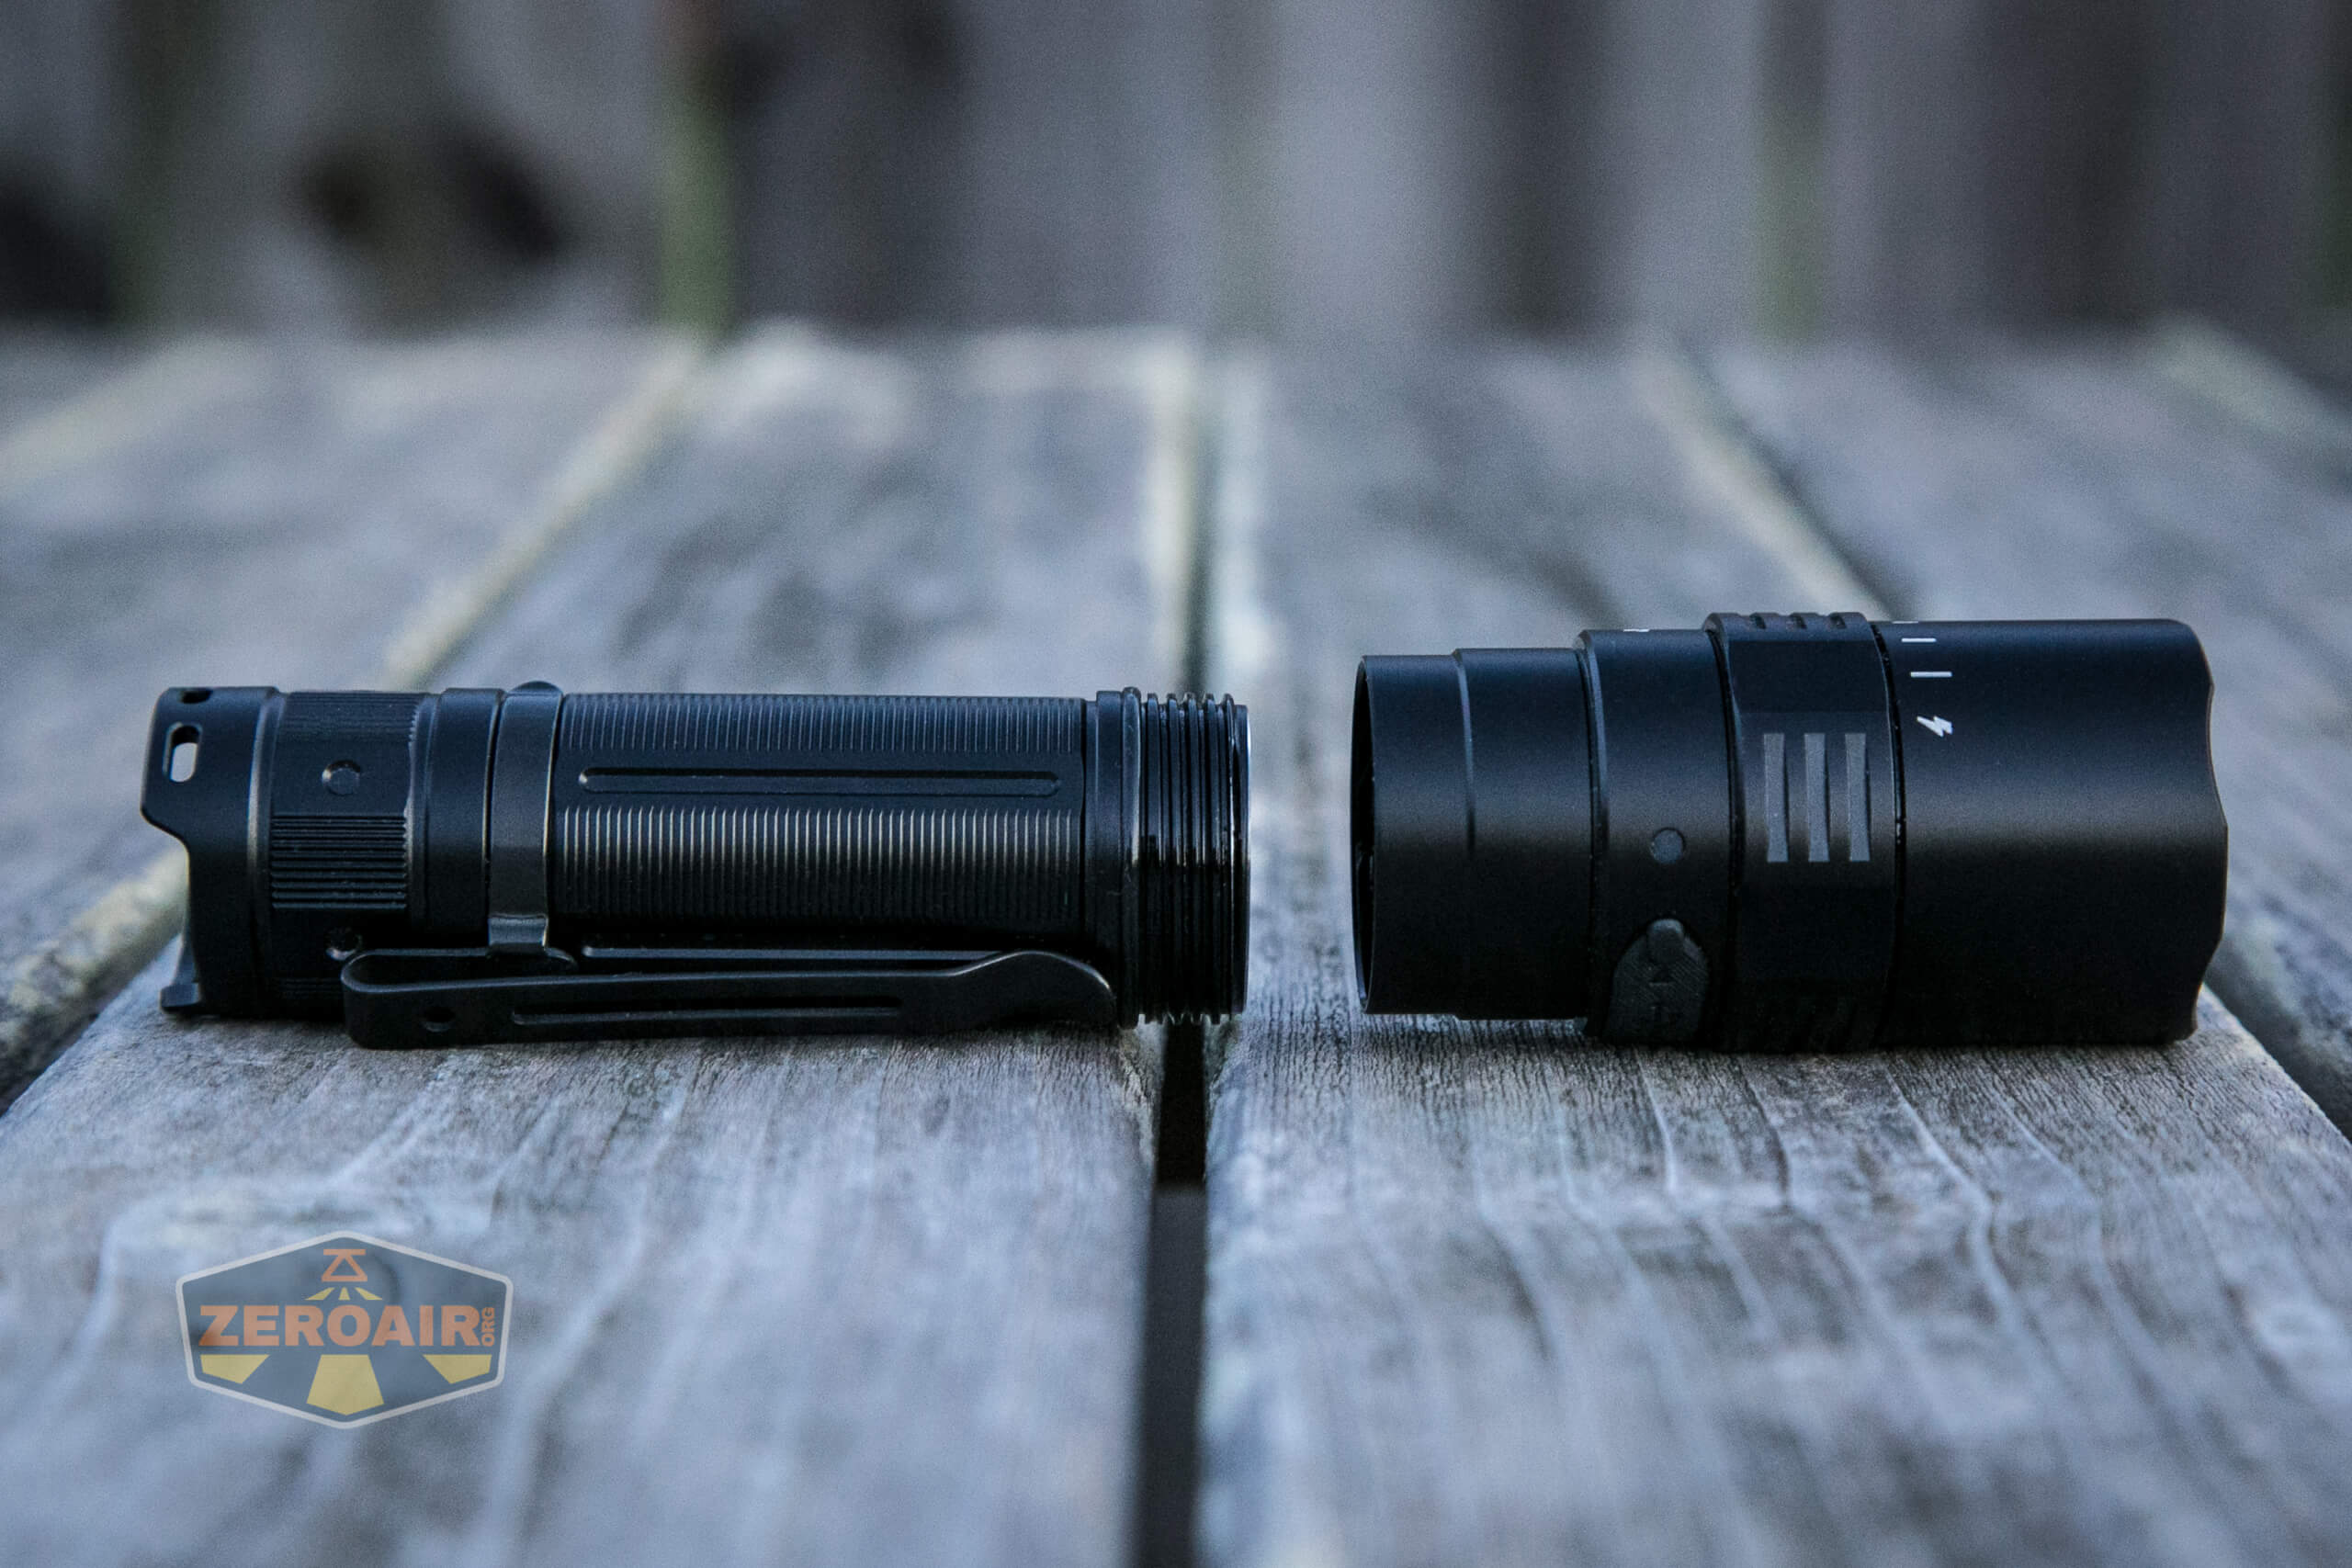
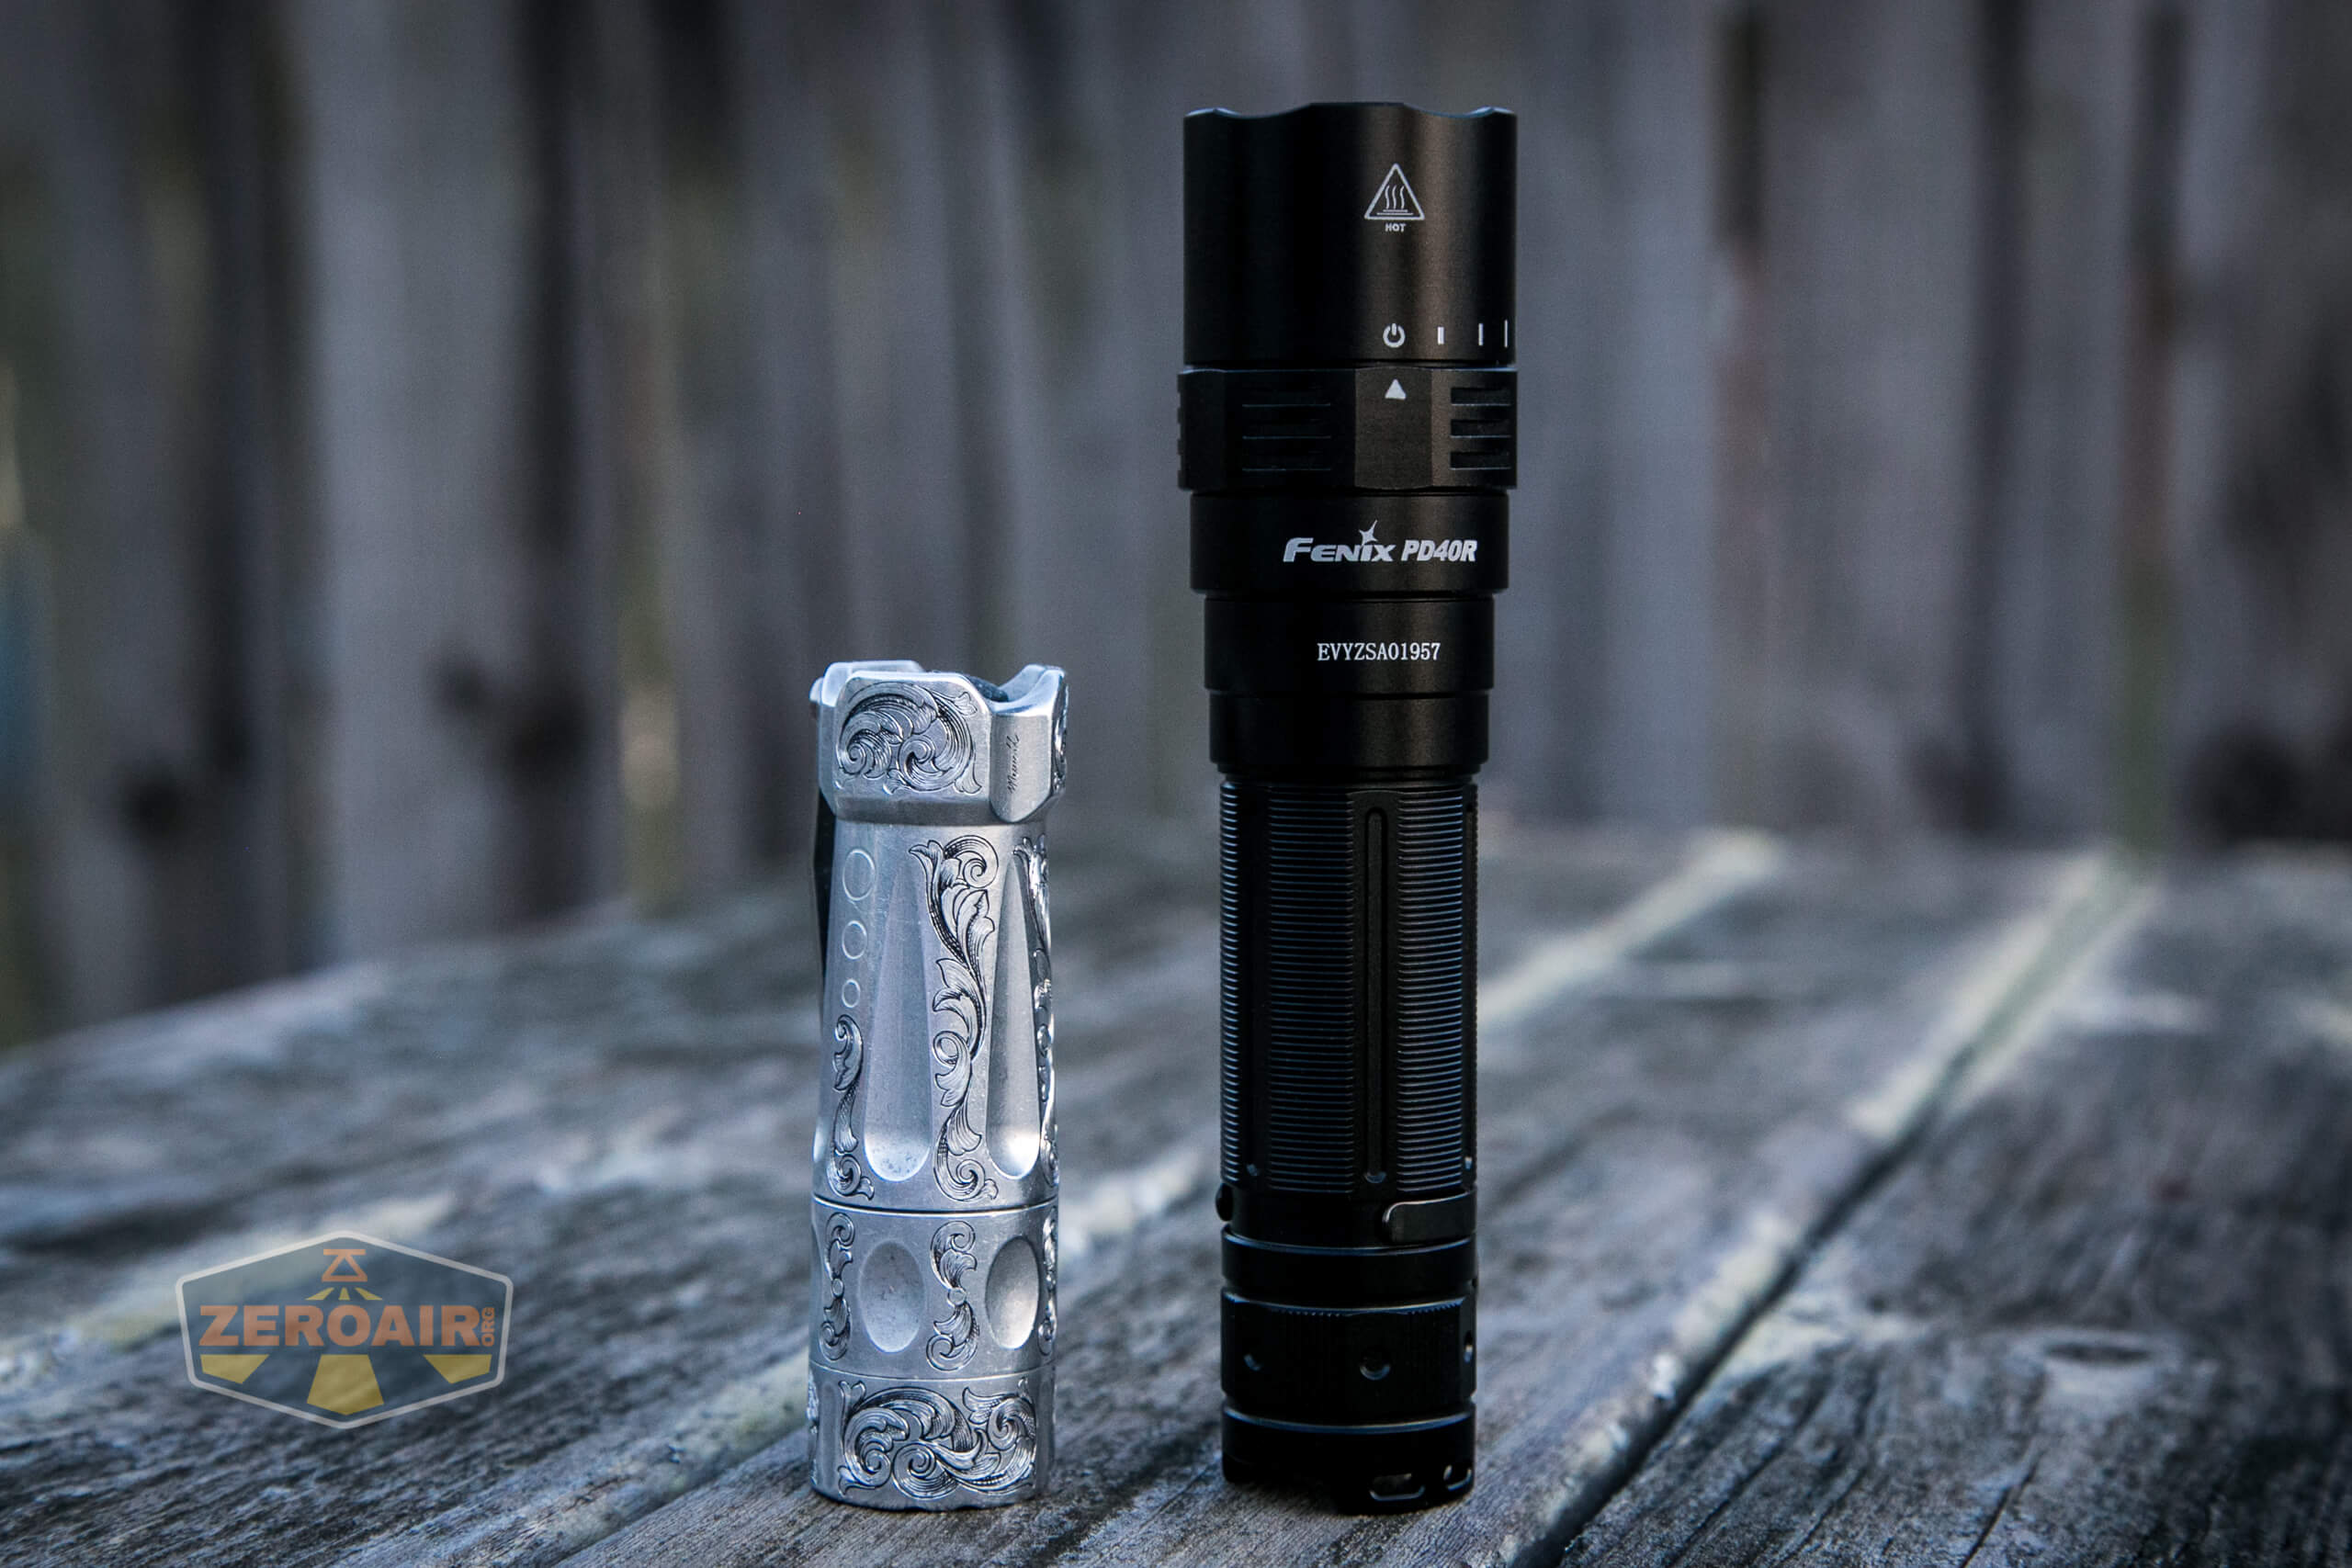
Here’s the test light with the venerable Convoy S2+. Mine is a custom “baked” edition Nichia 219b triple. A very nice 18650 light!
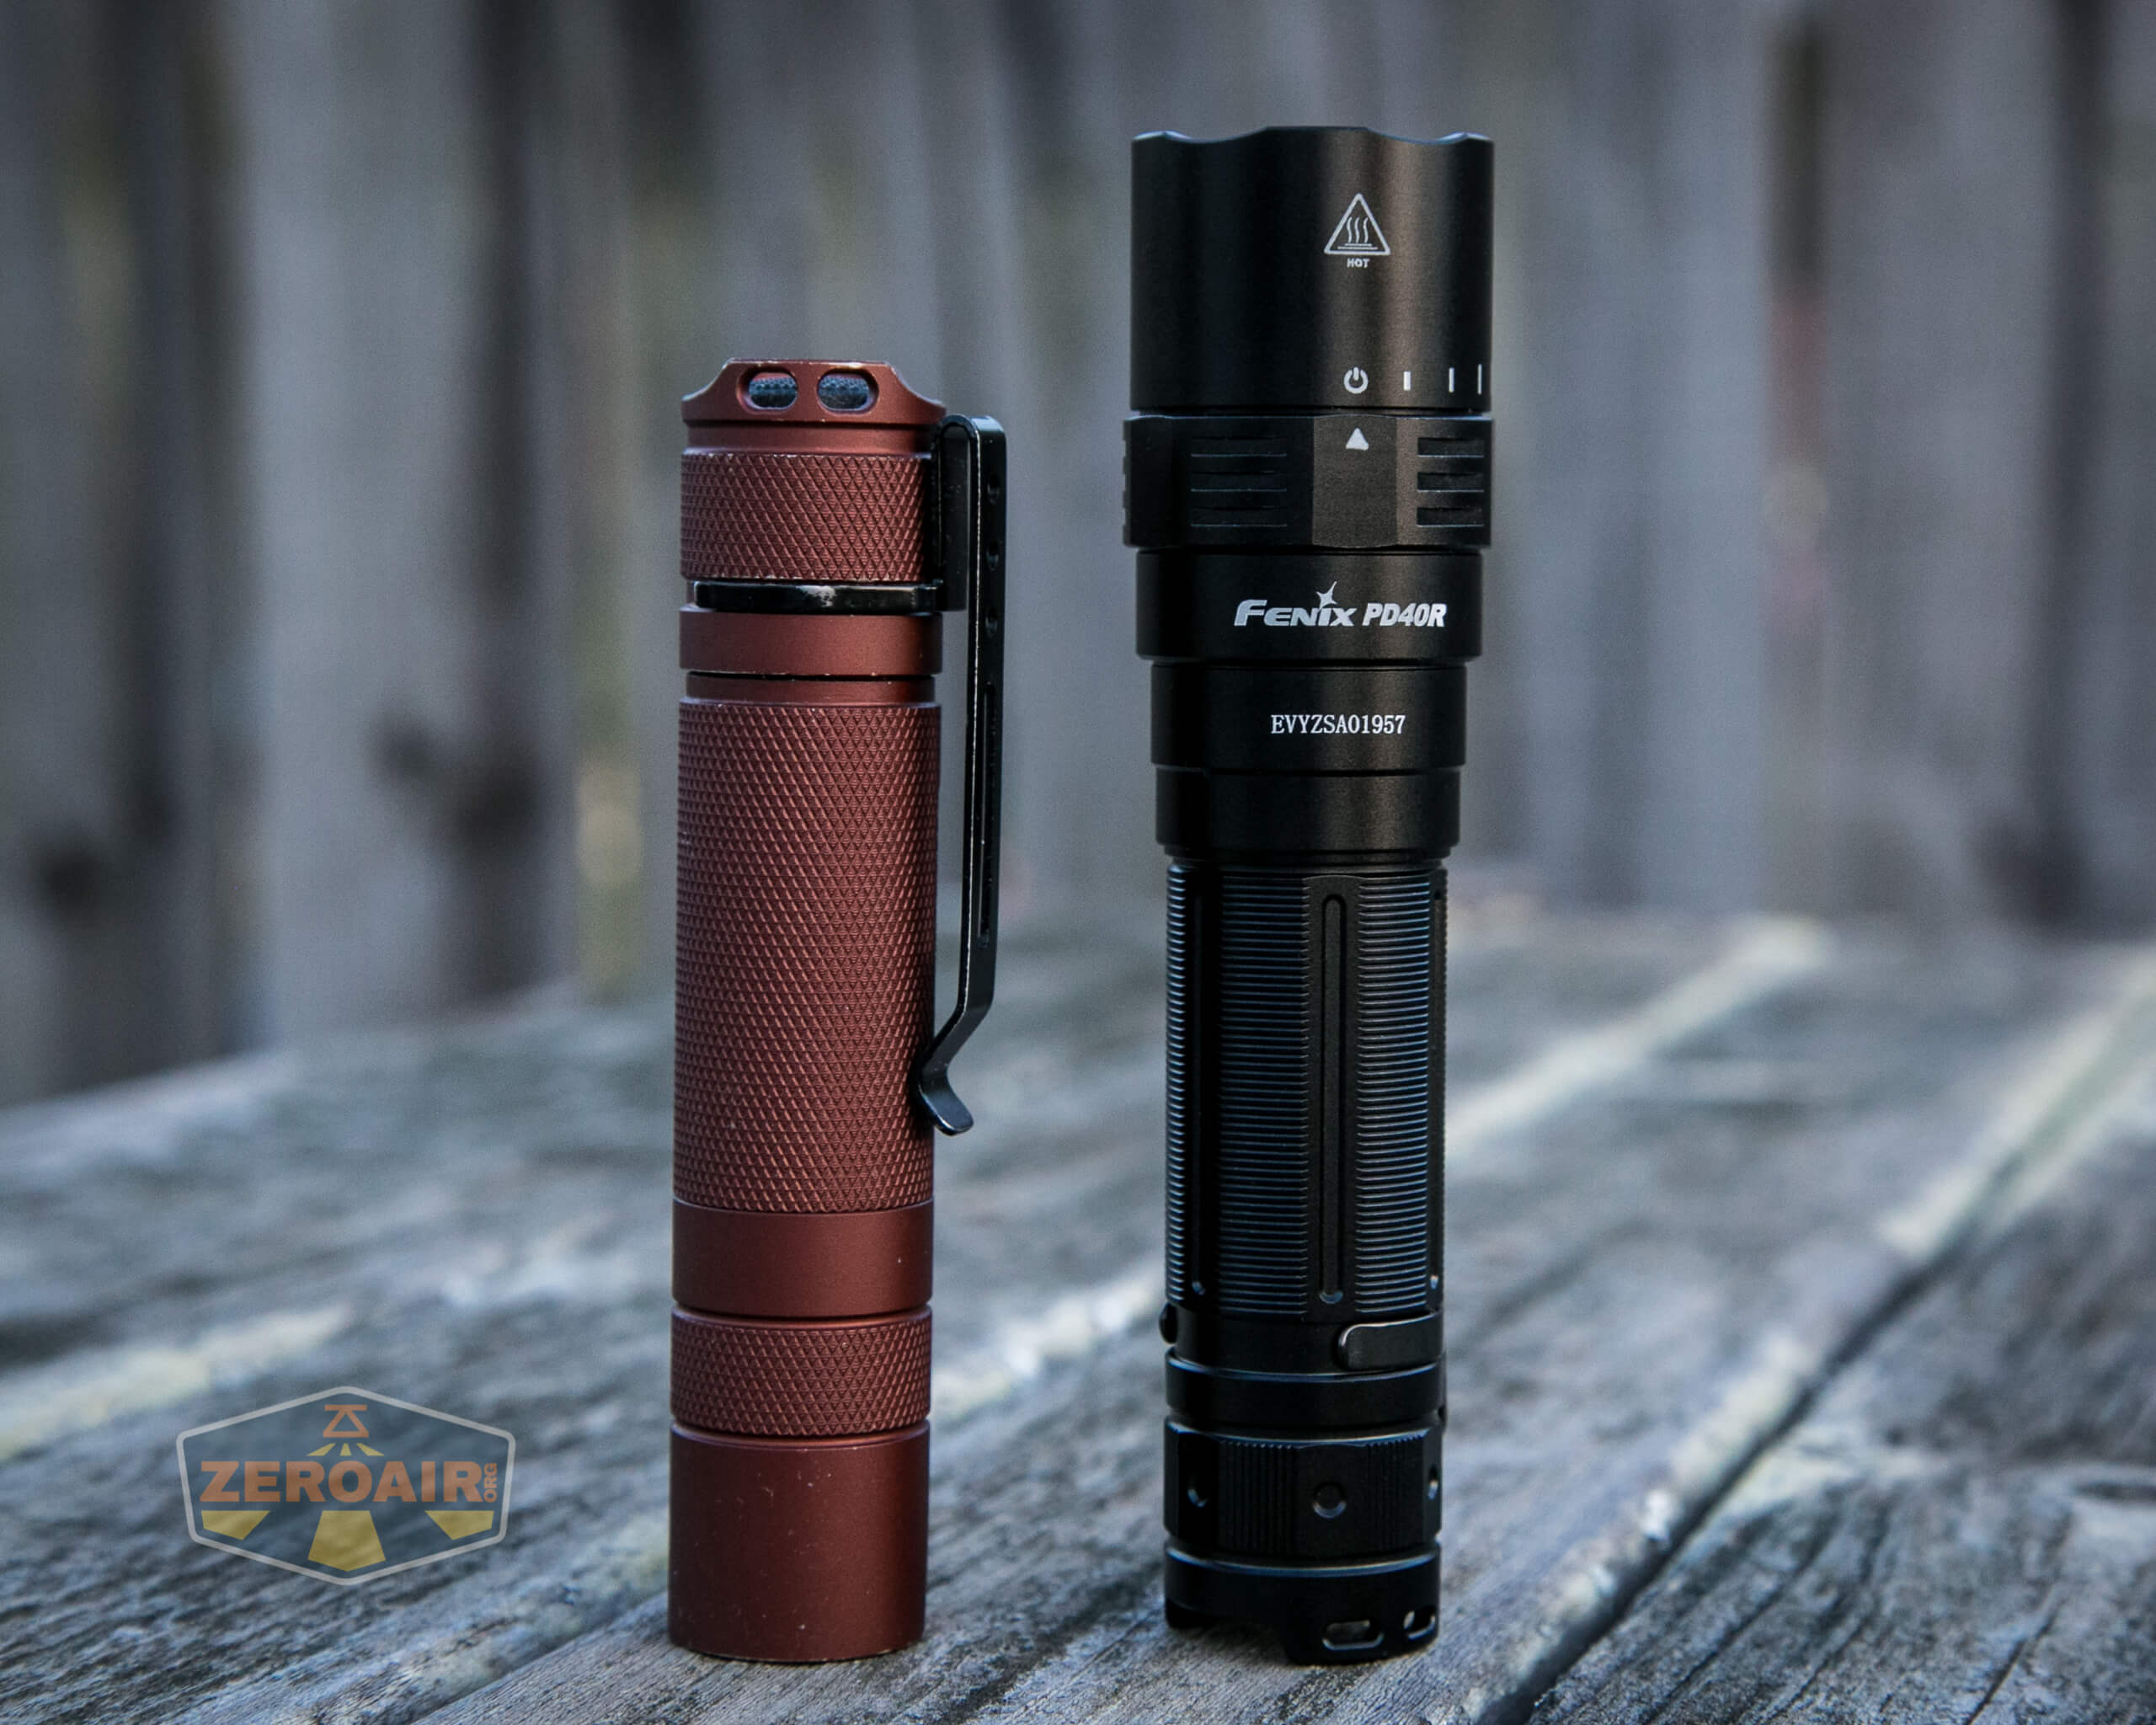
And here’s the light beside my custom-engraved TorchLAB BOSS 35, an 18350 light. I reviewed the aluminum version of that light in both 35 and 70 formats.
Retention and Carry
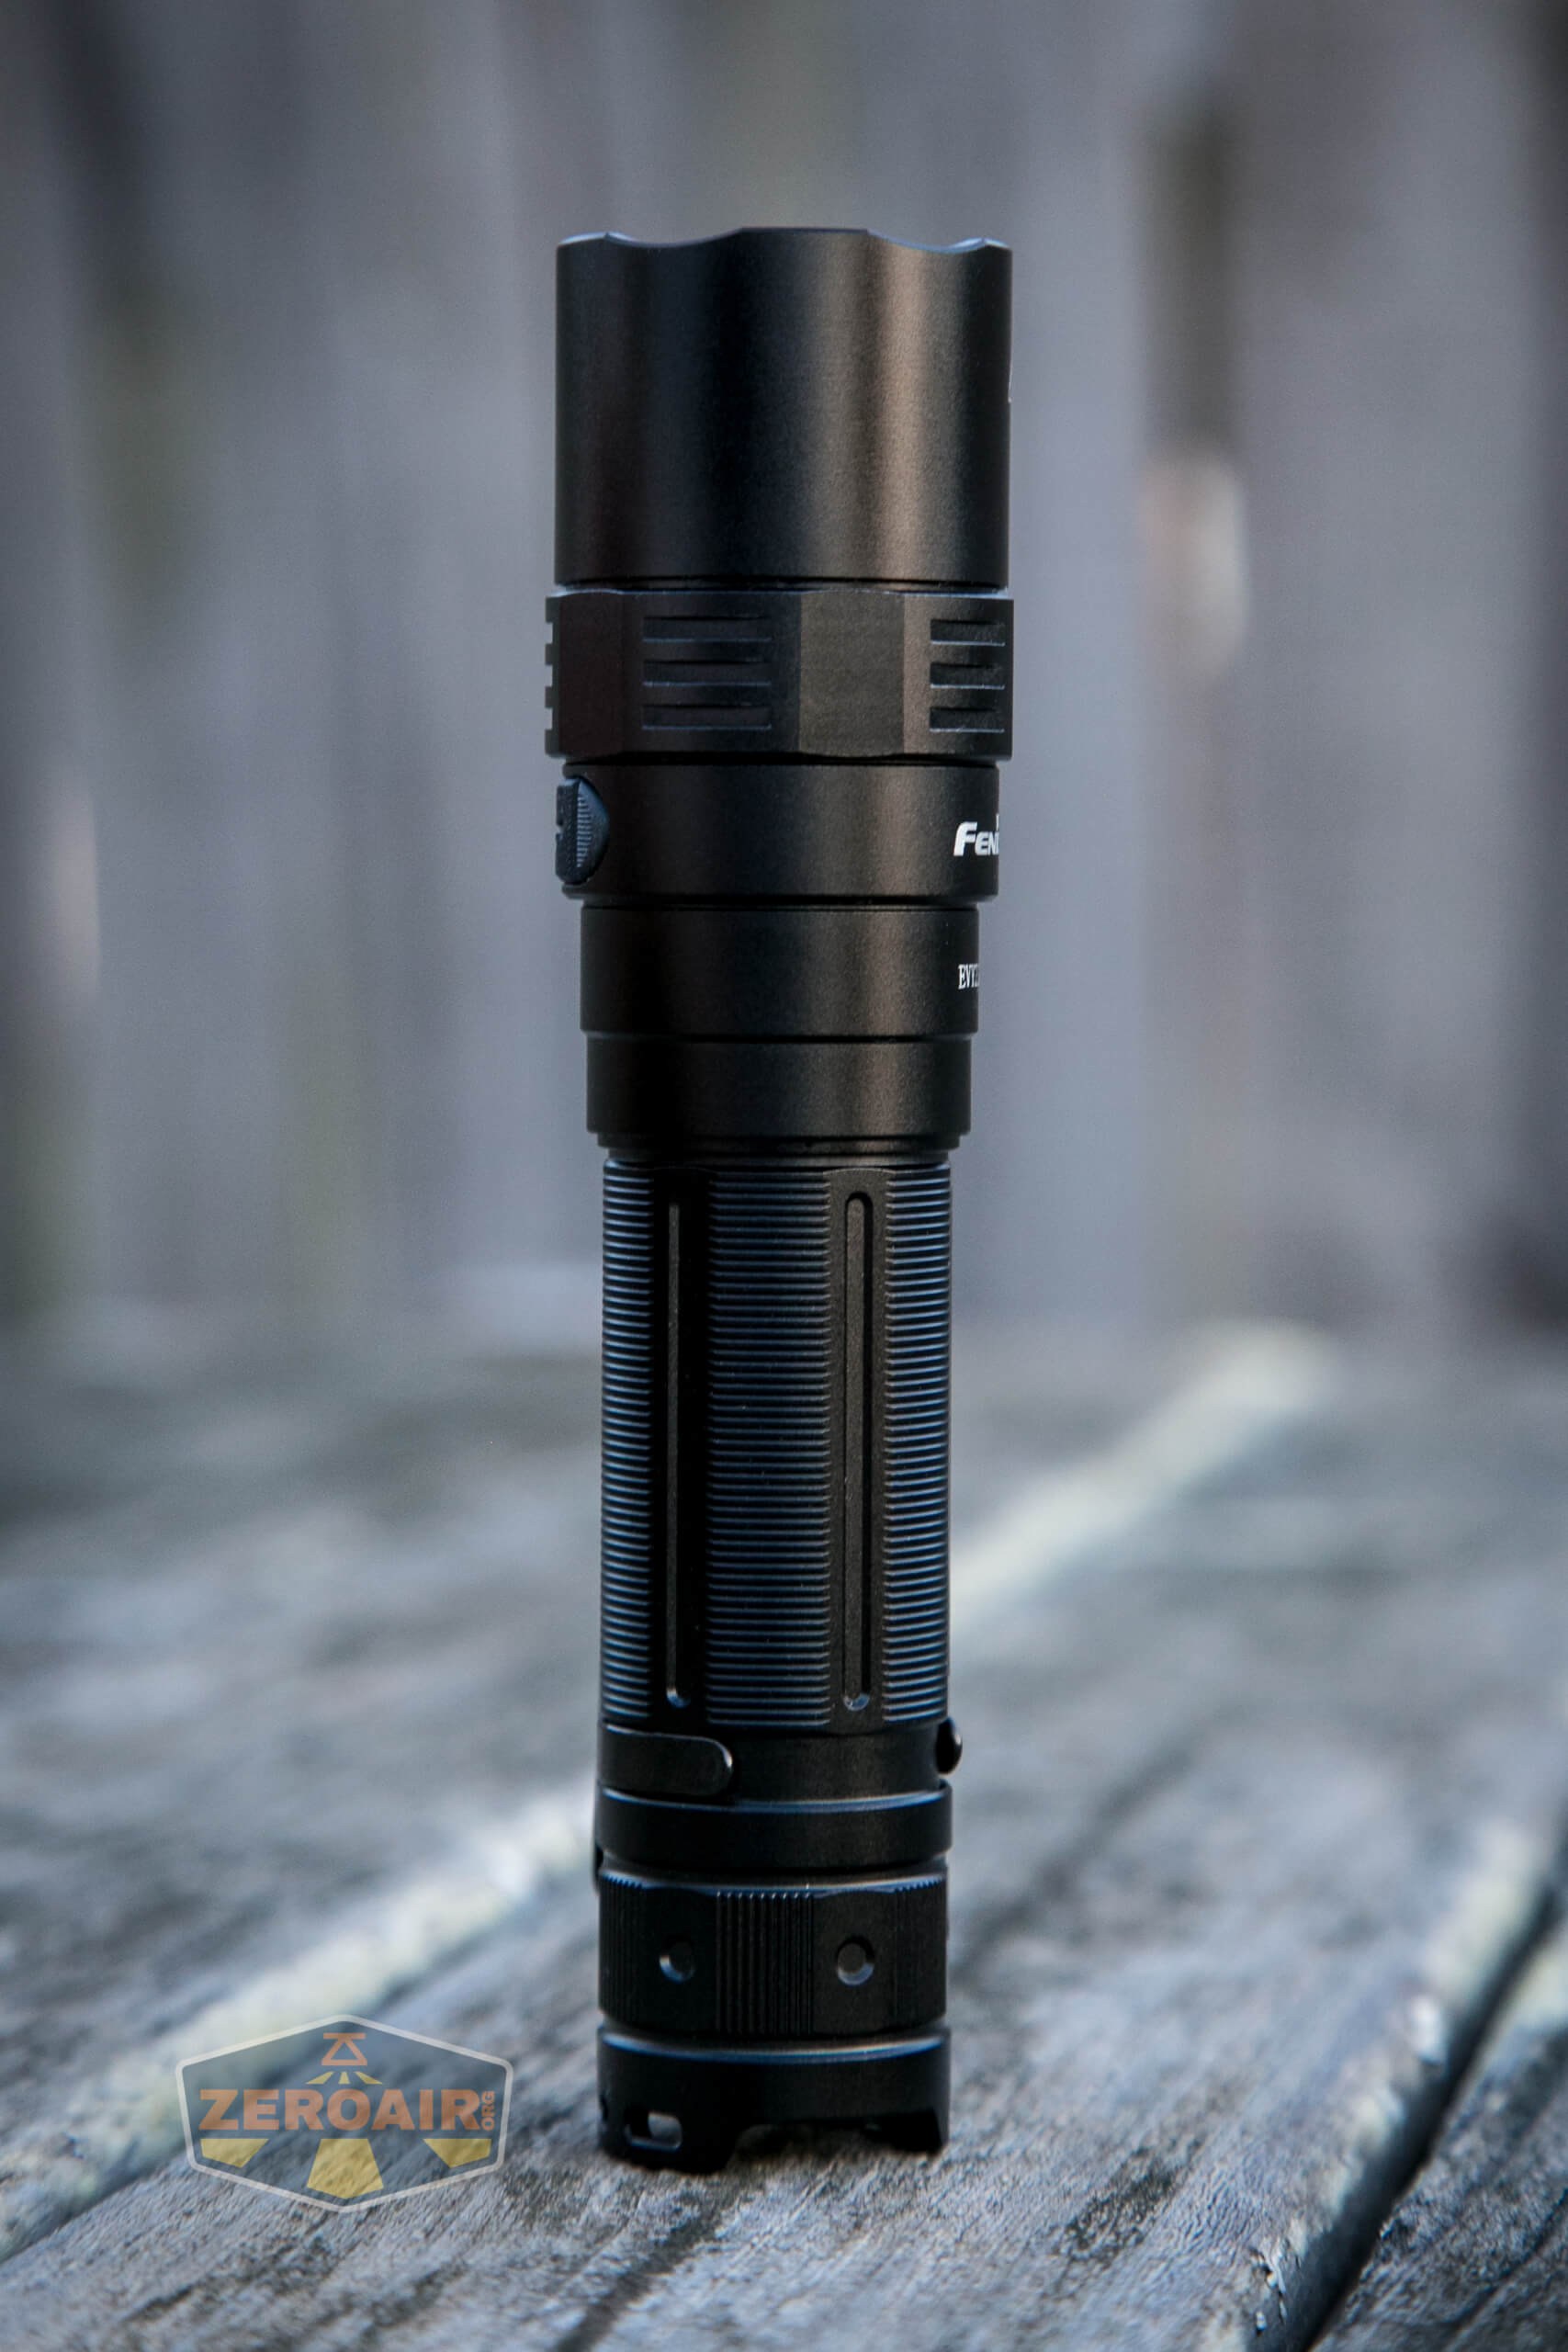
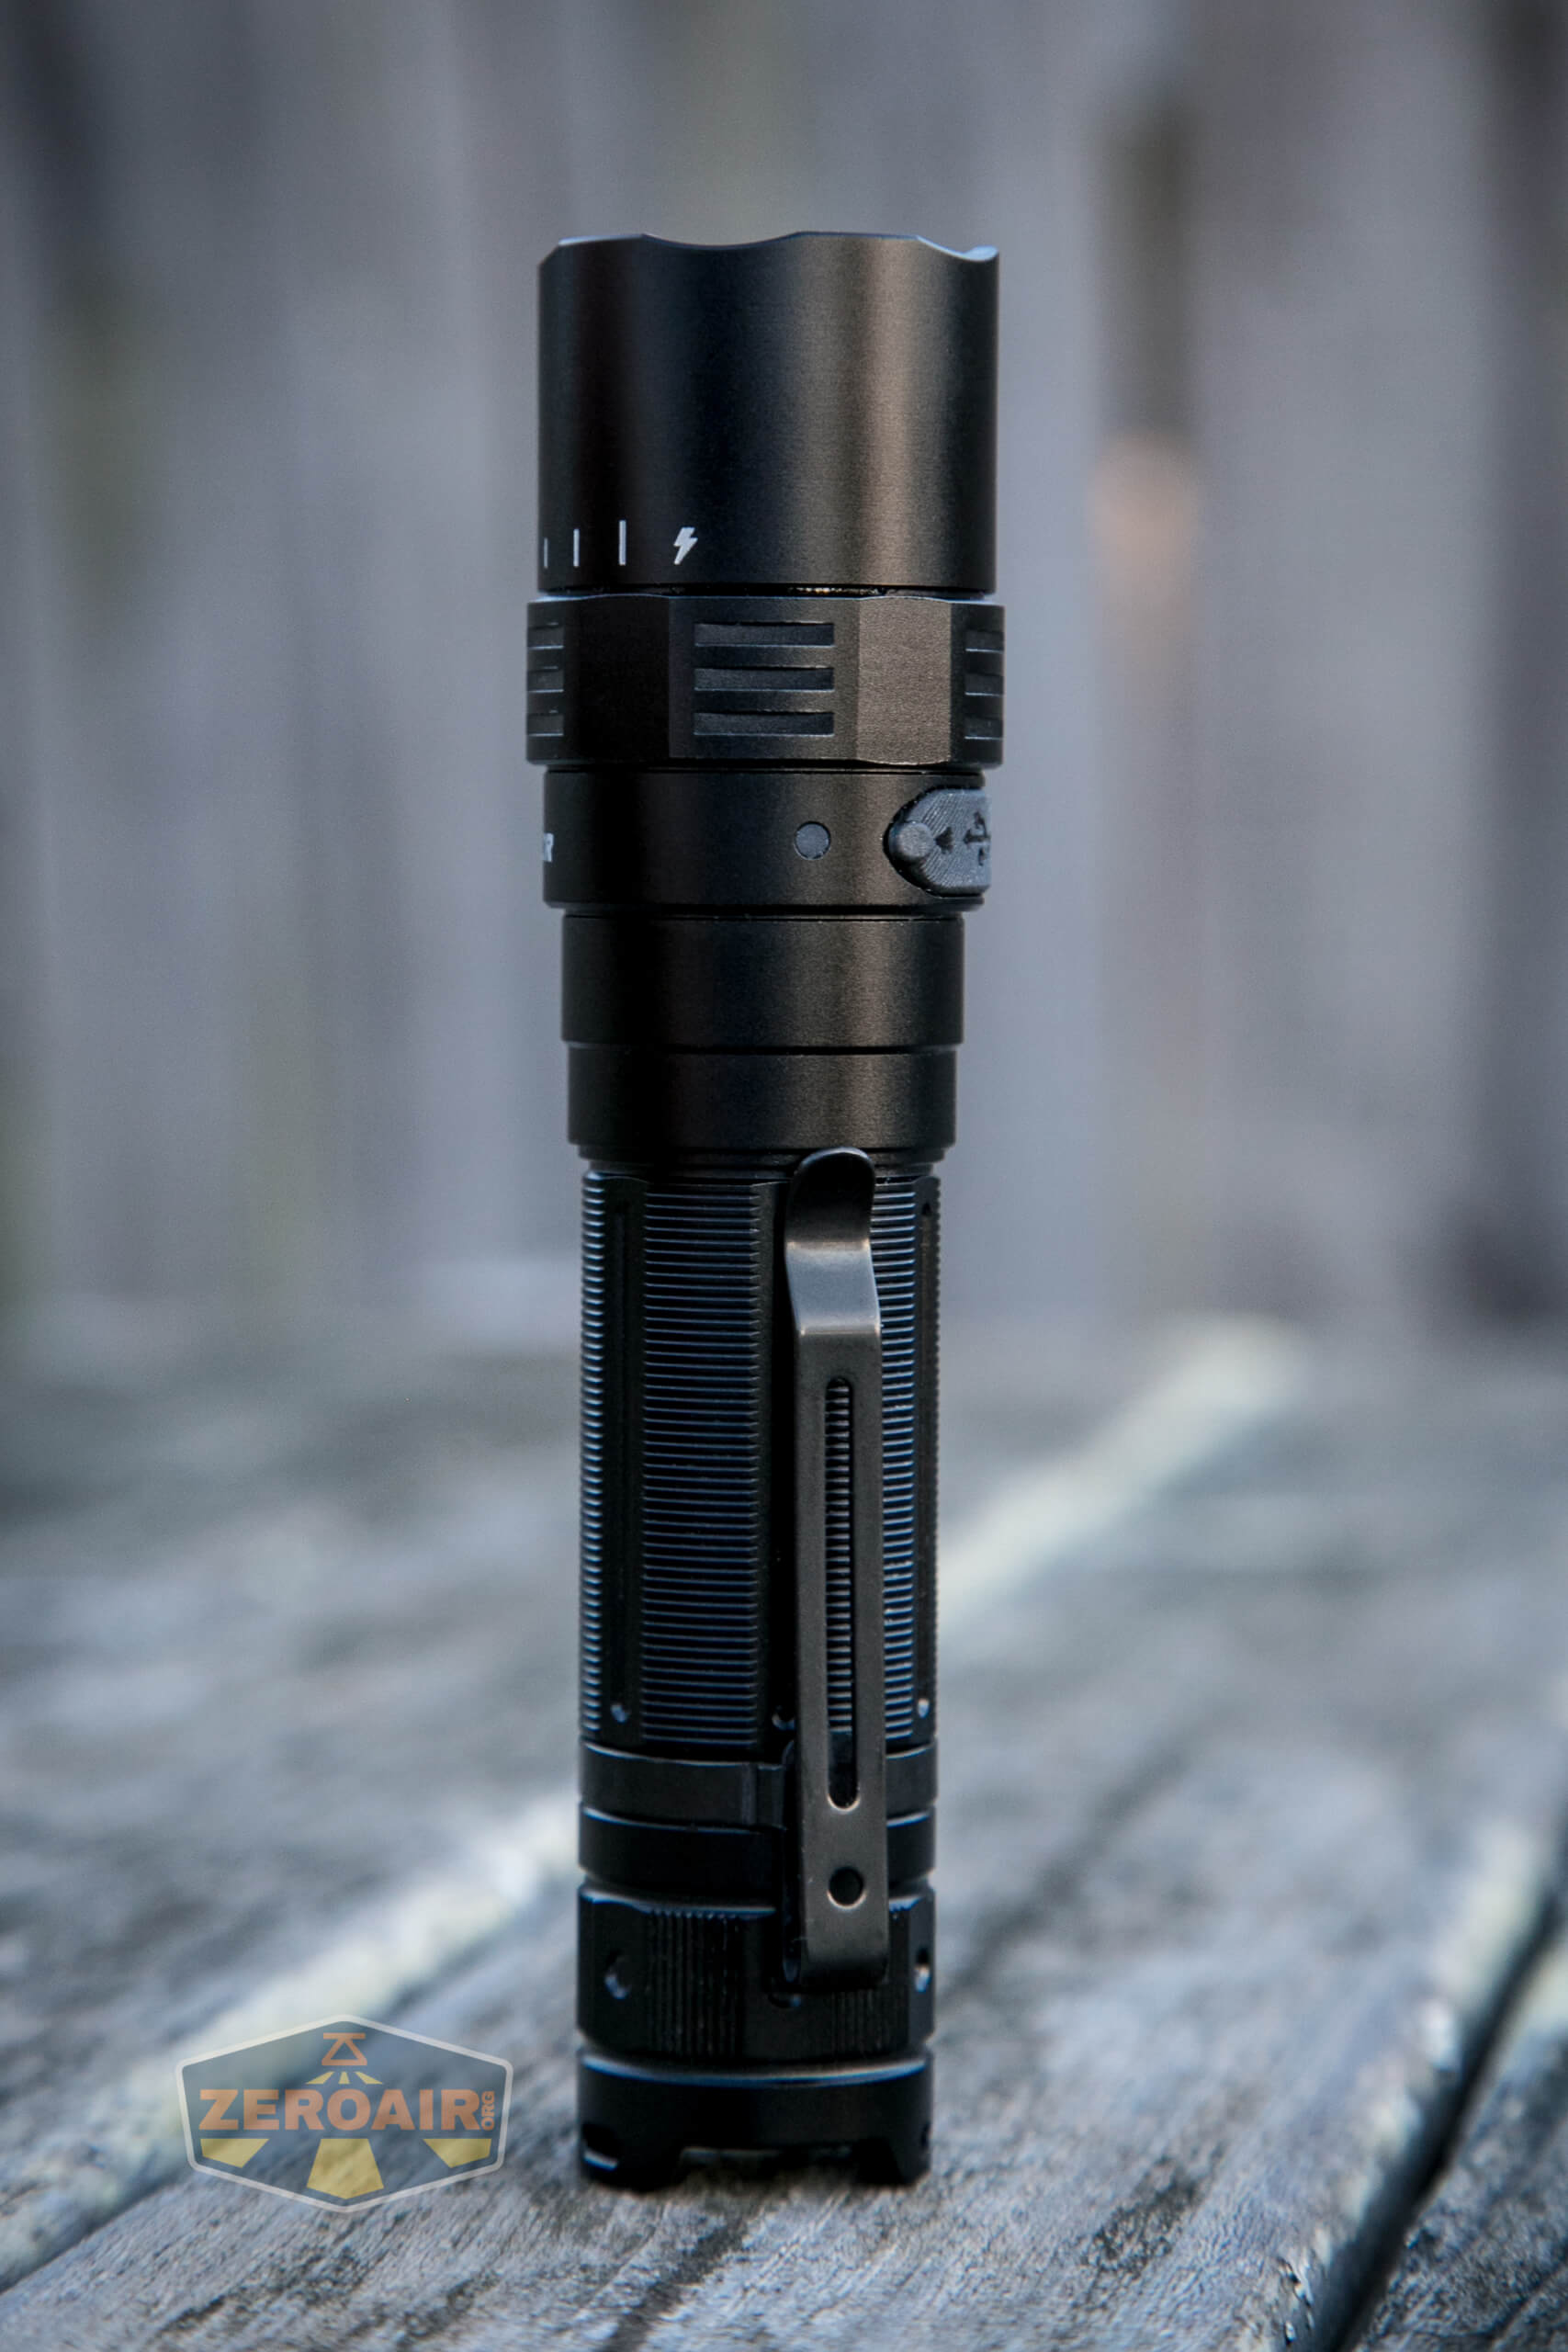
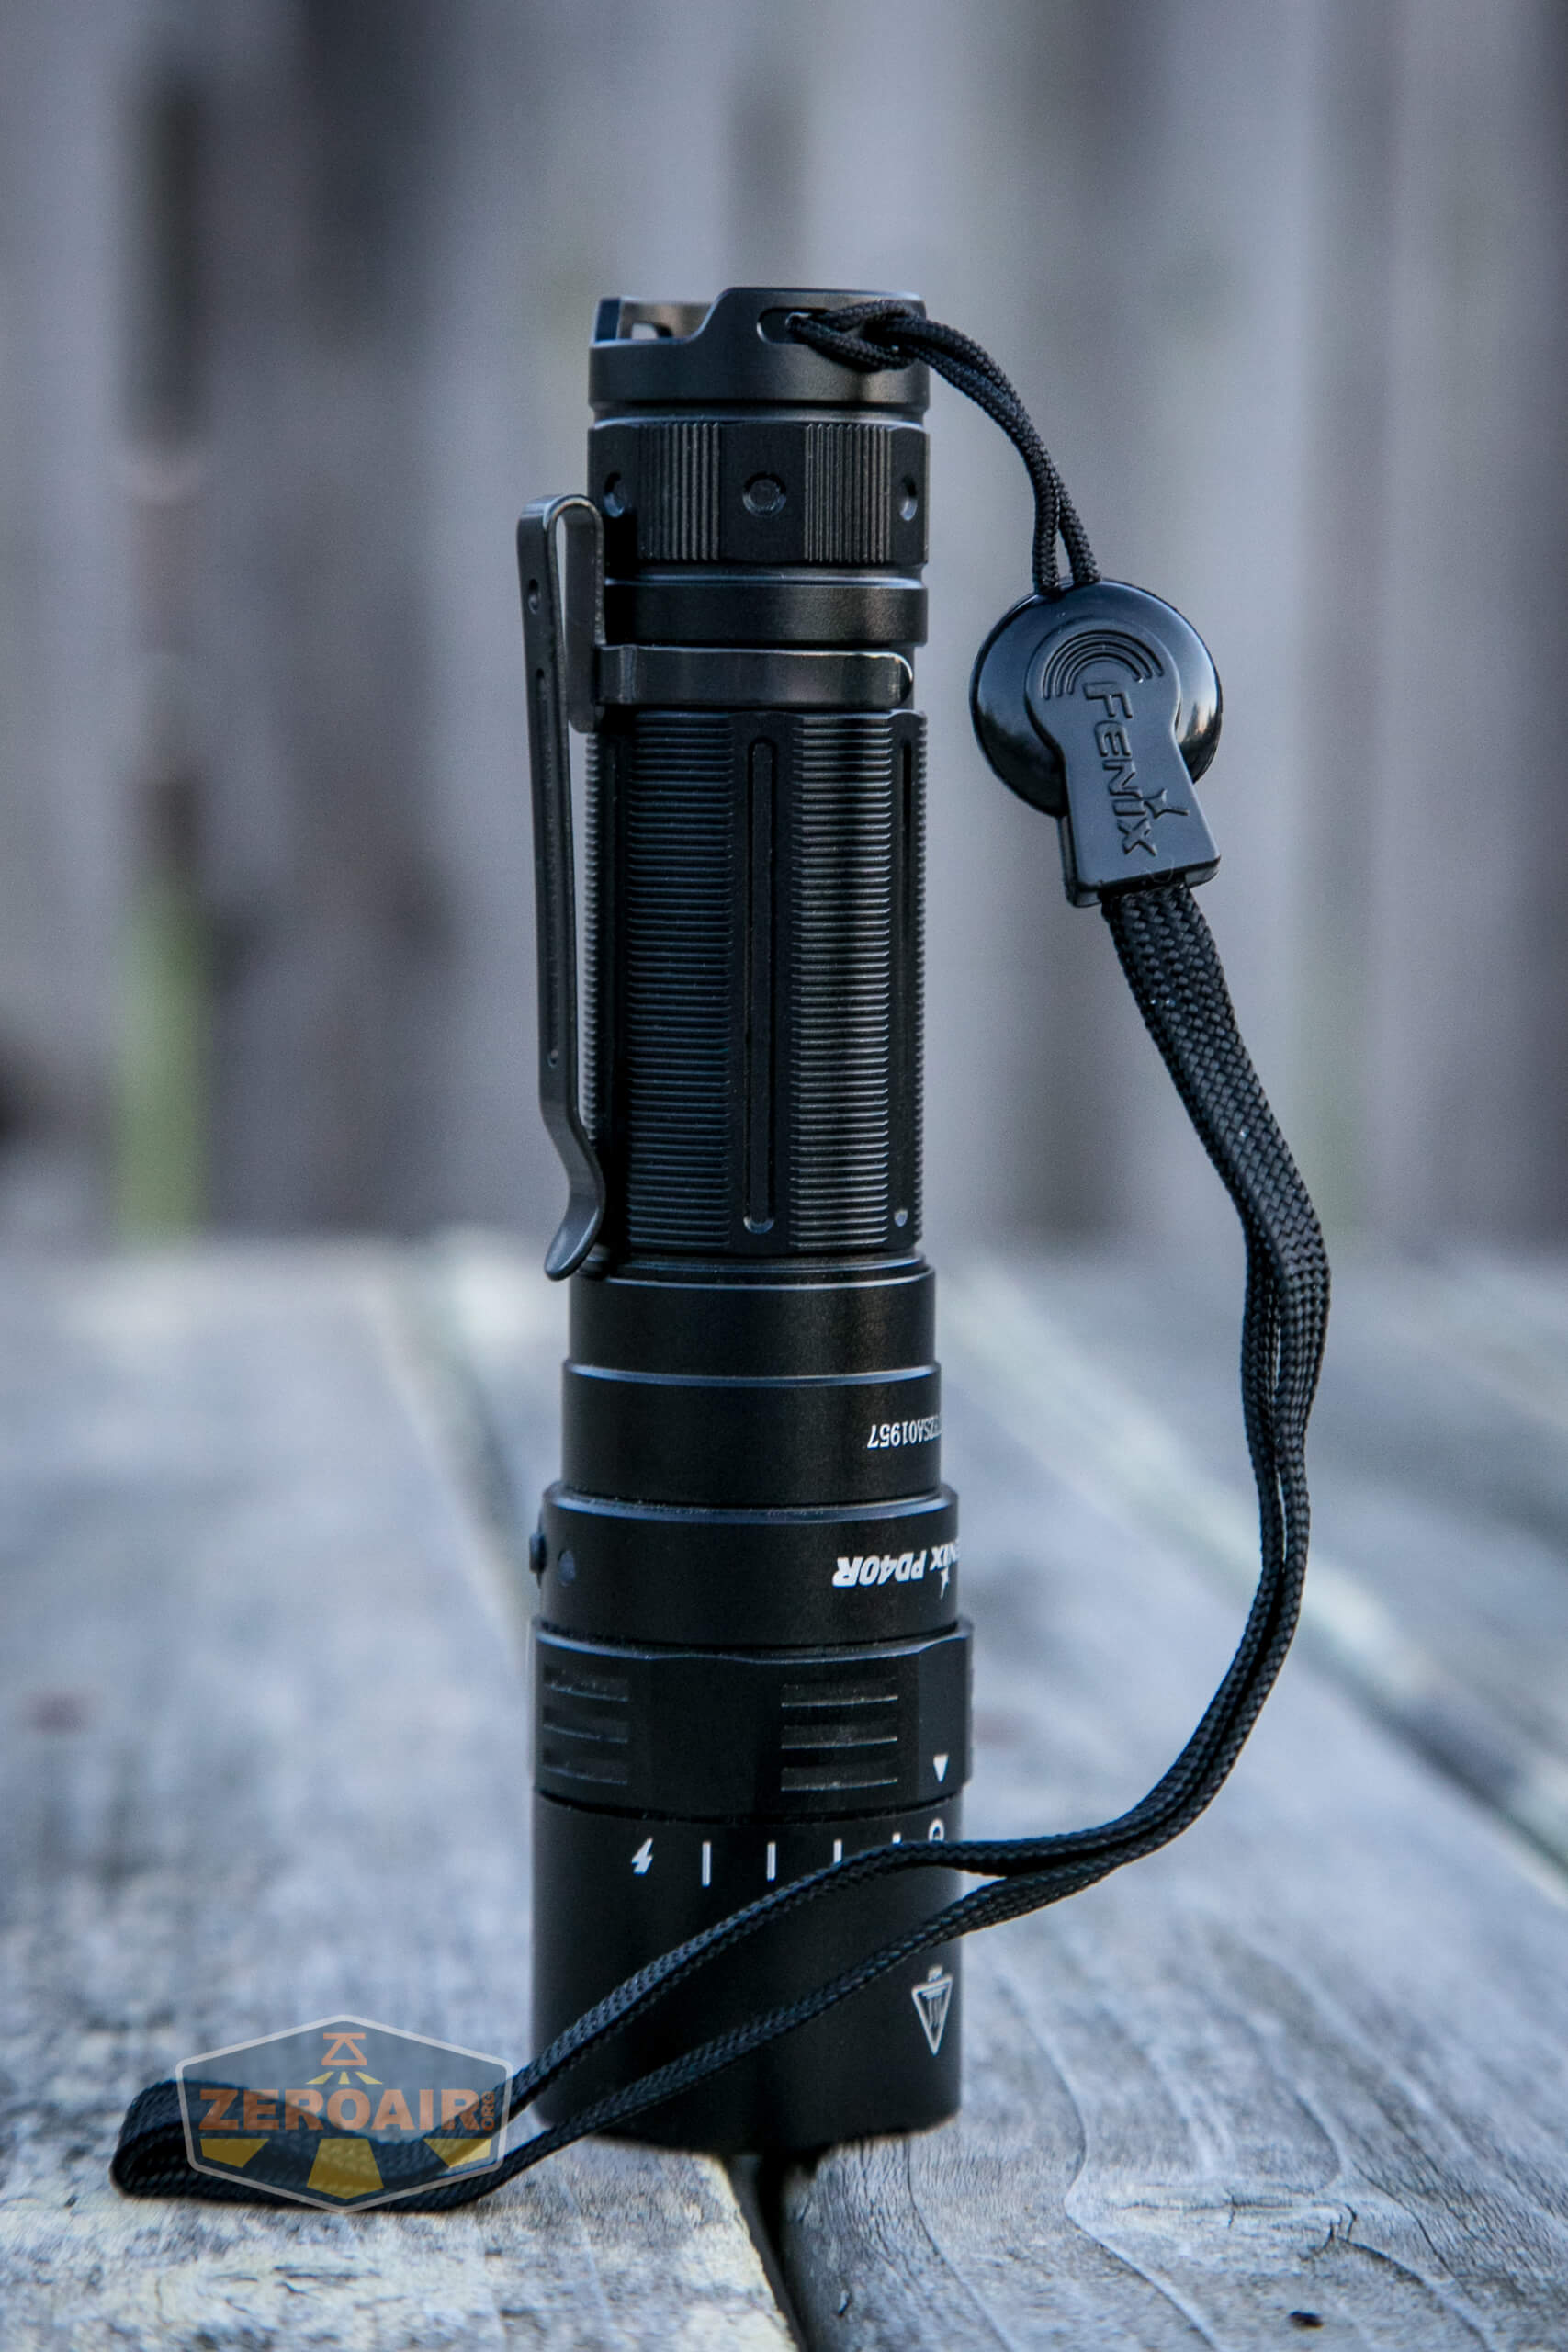
The Fenix PD40R V2.0 has a few carry options. First, I’ll mention the pocket clip, which comes attached from the factory.
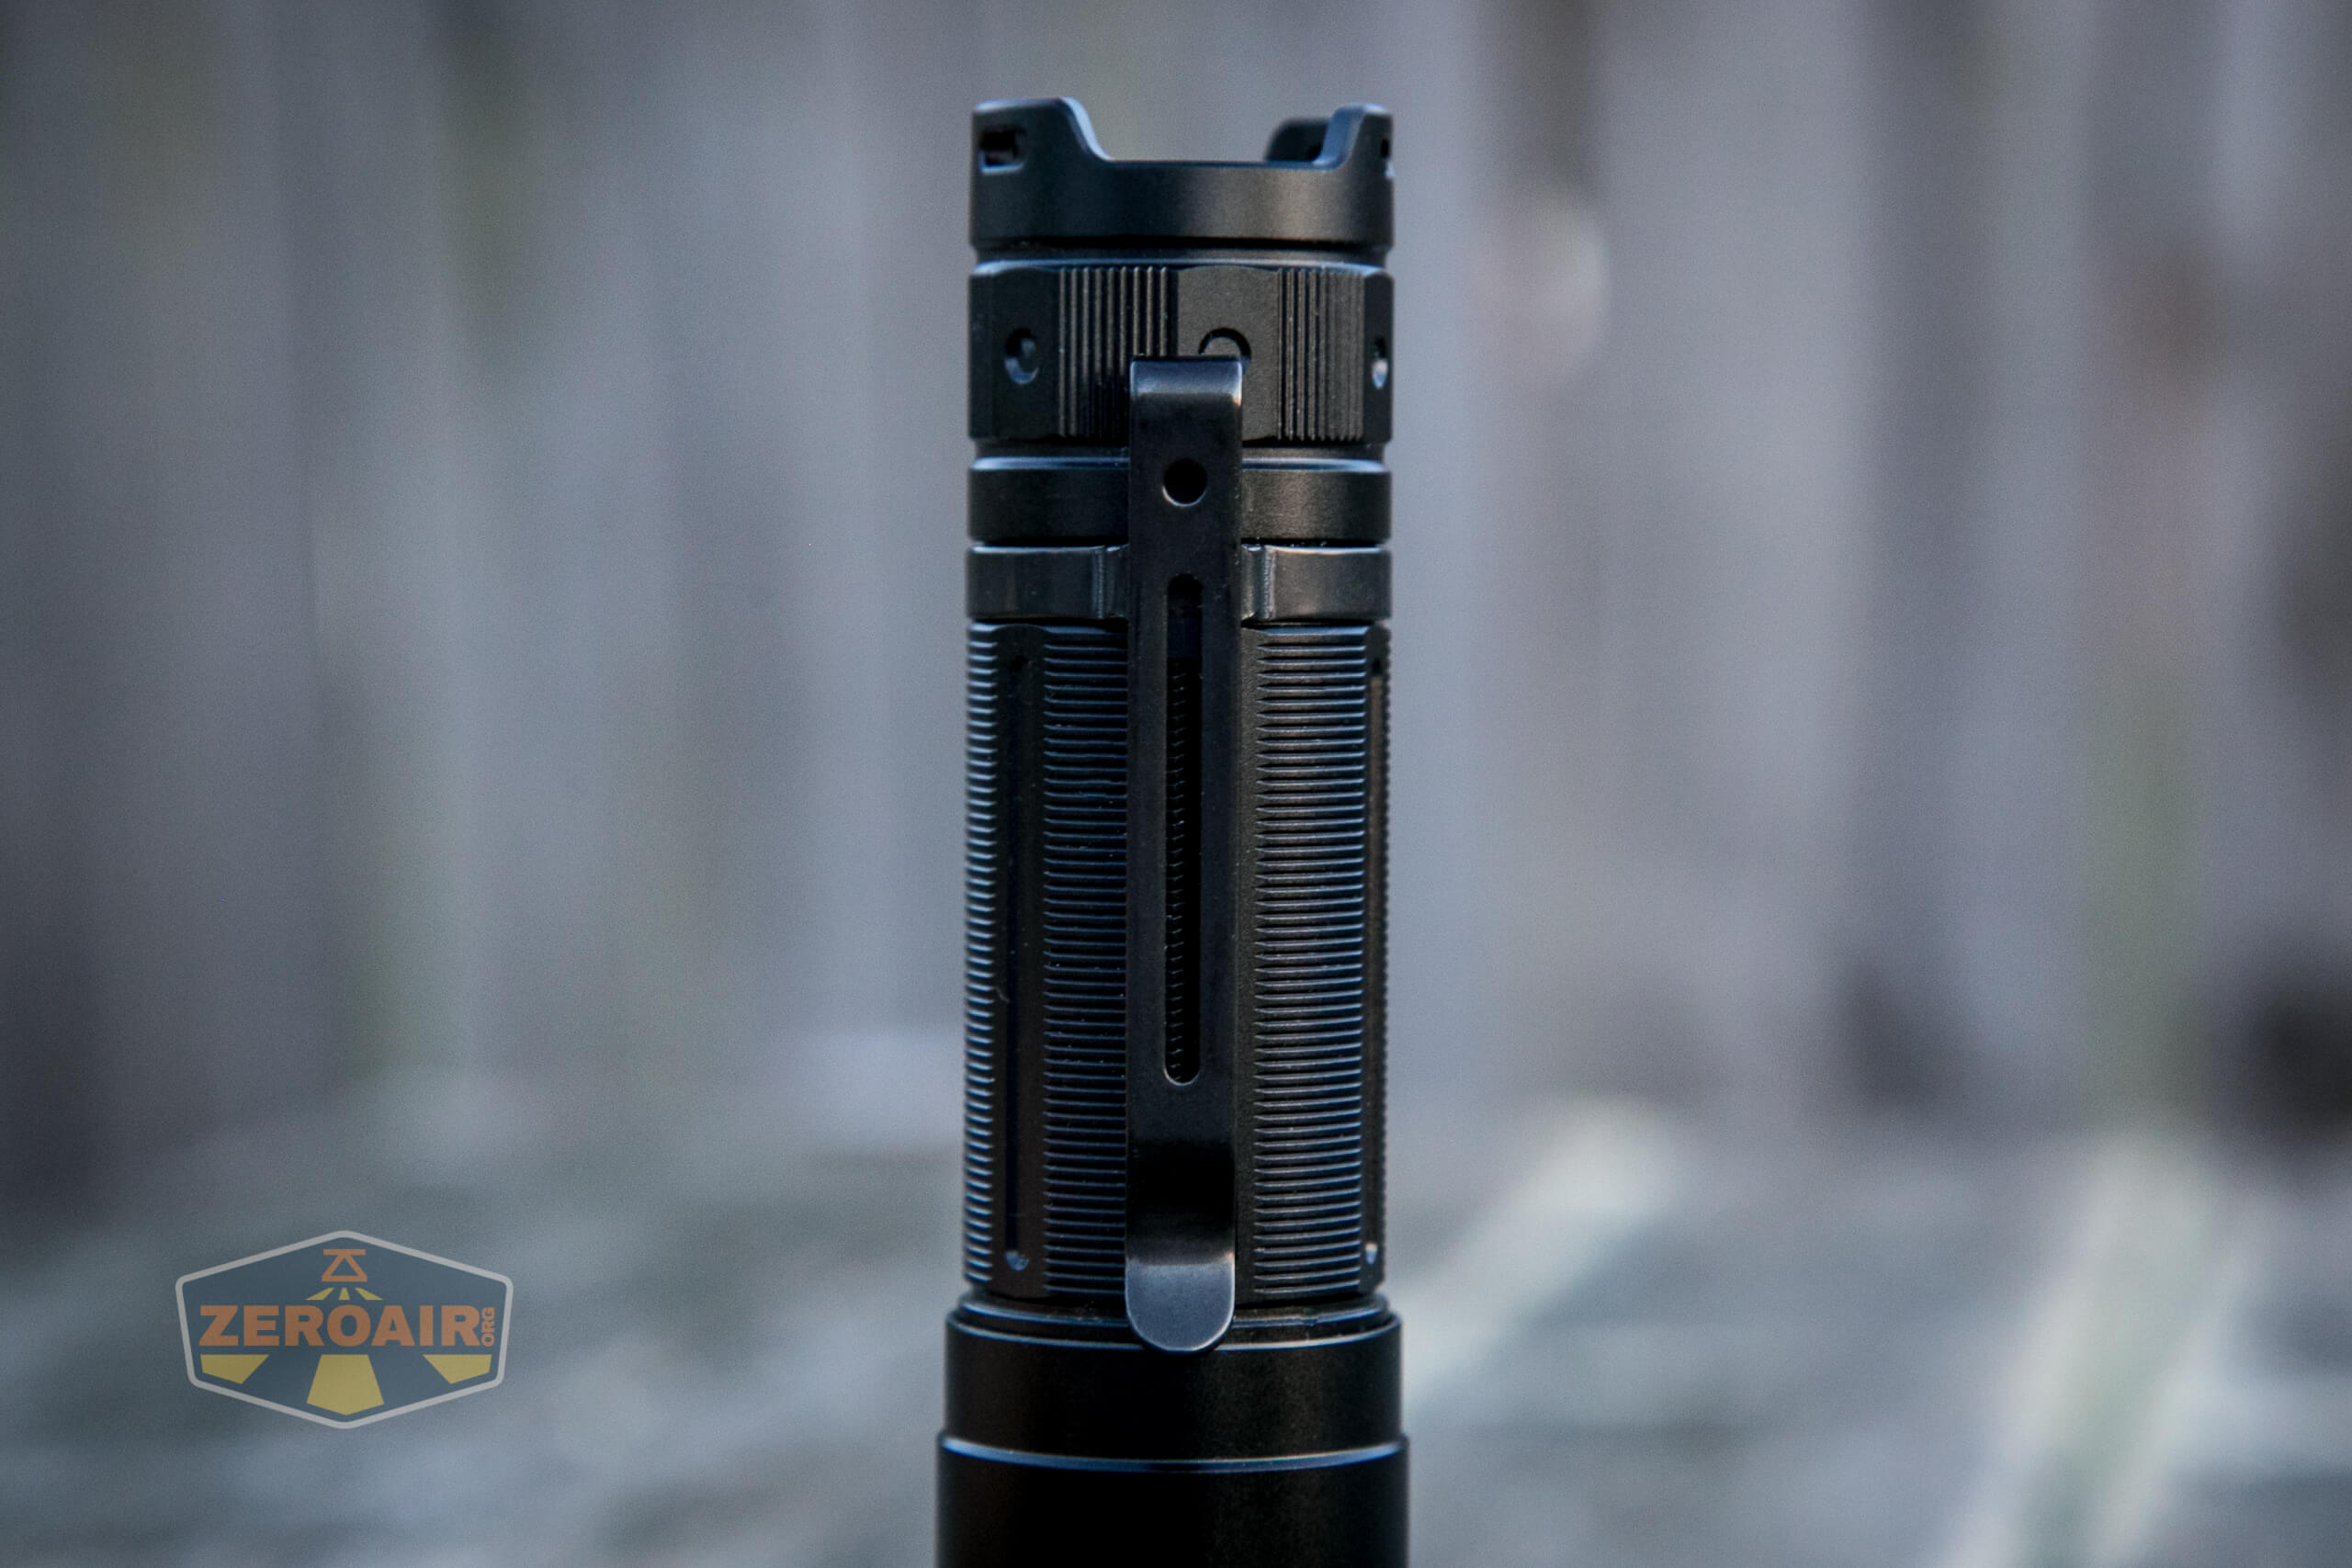
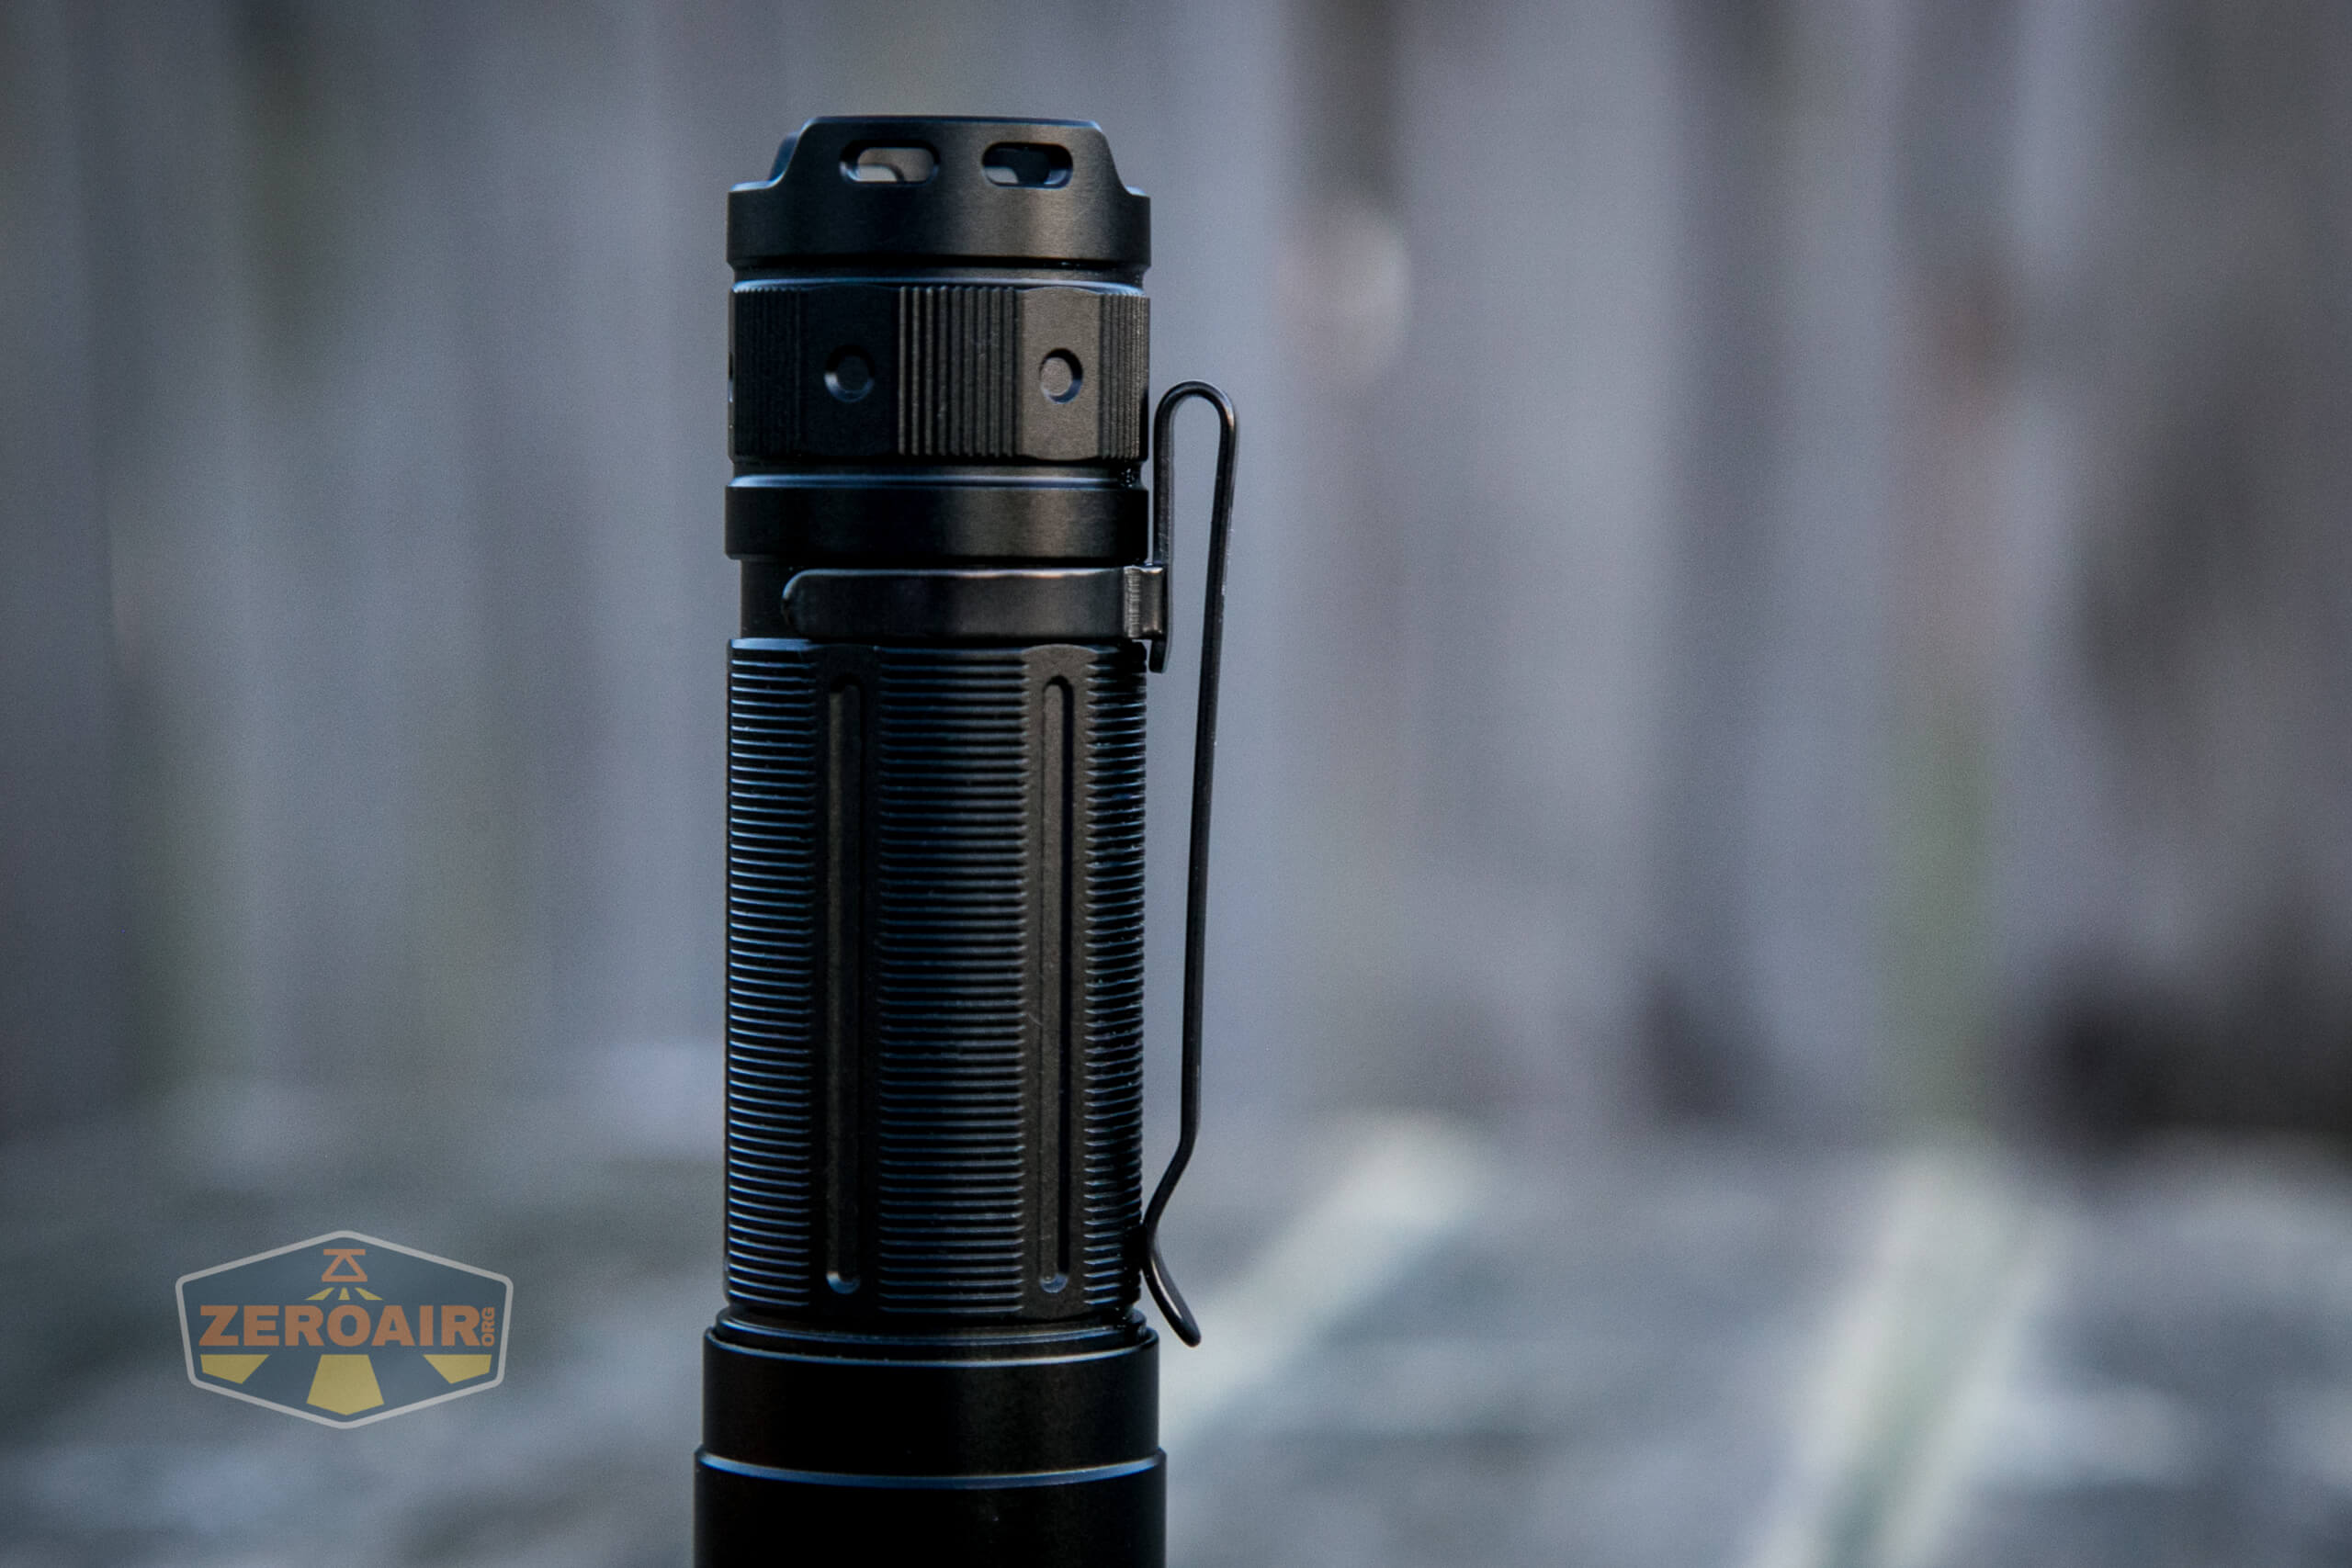
This is a friction-fit pocket clip and has a nice spring. It only connects on the tail end, so no bezel-up carry at all.
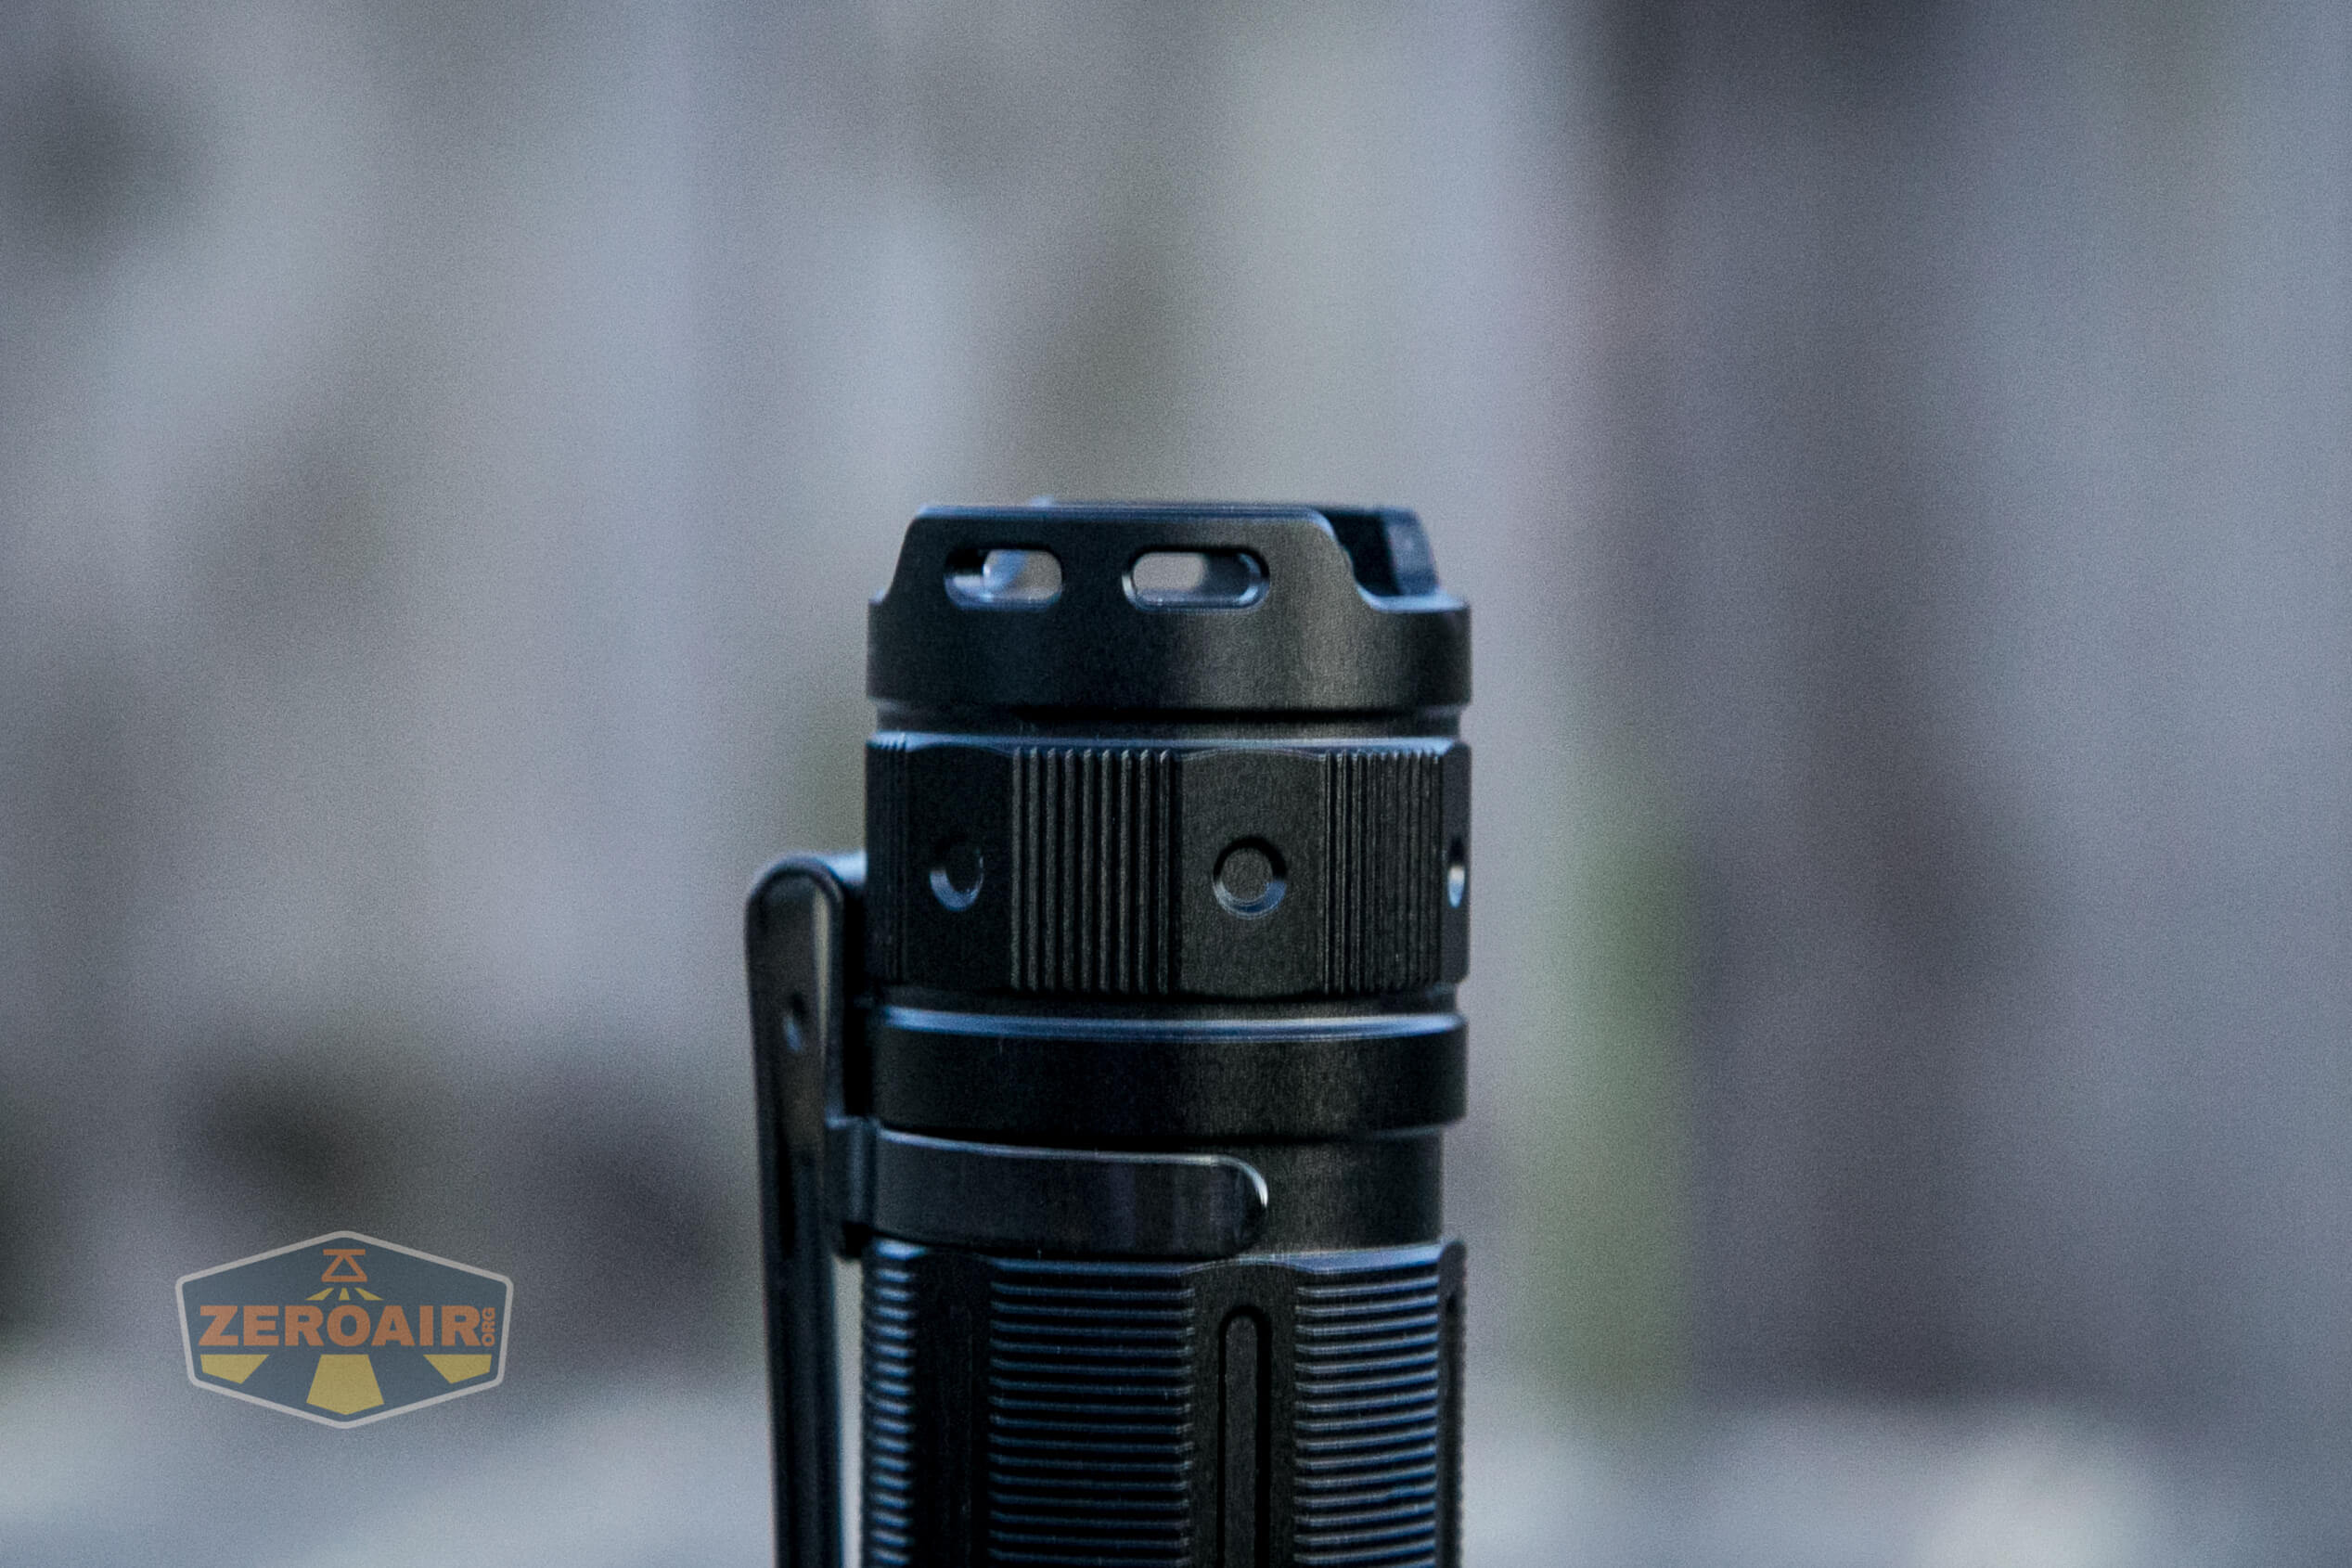
Next is the lanyard, which attaches through one of the sets of holes in the tailcap.
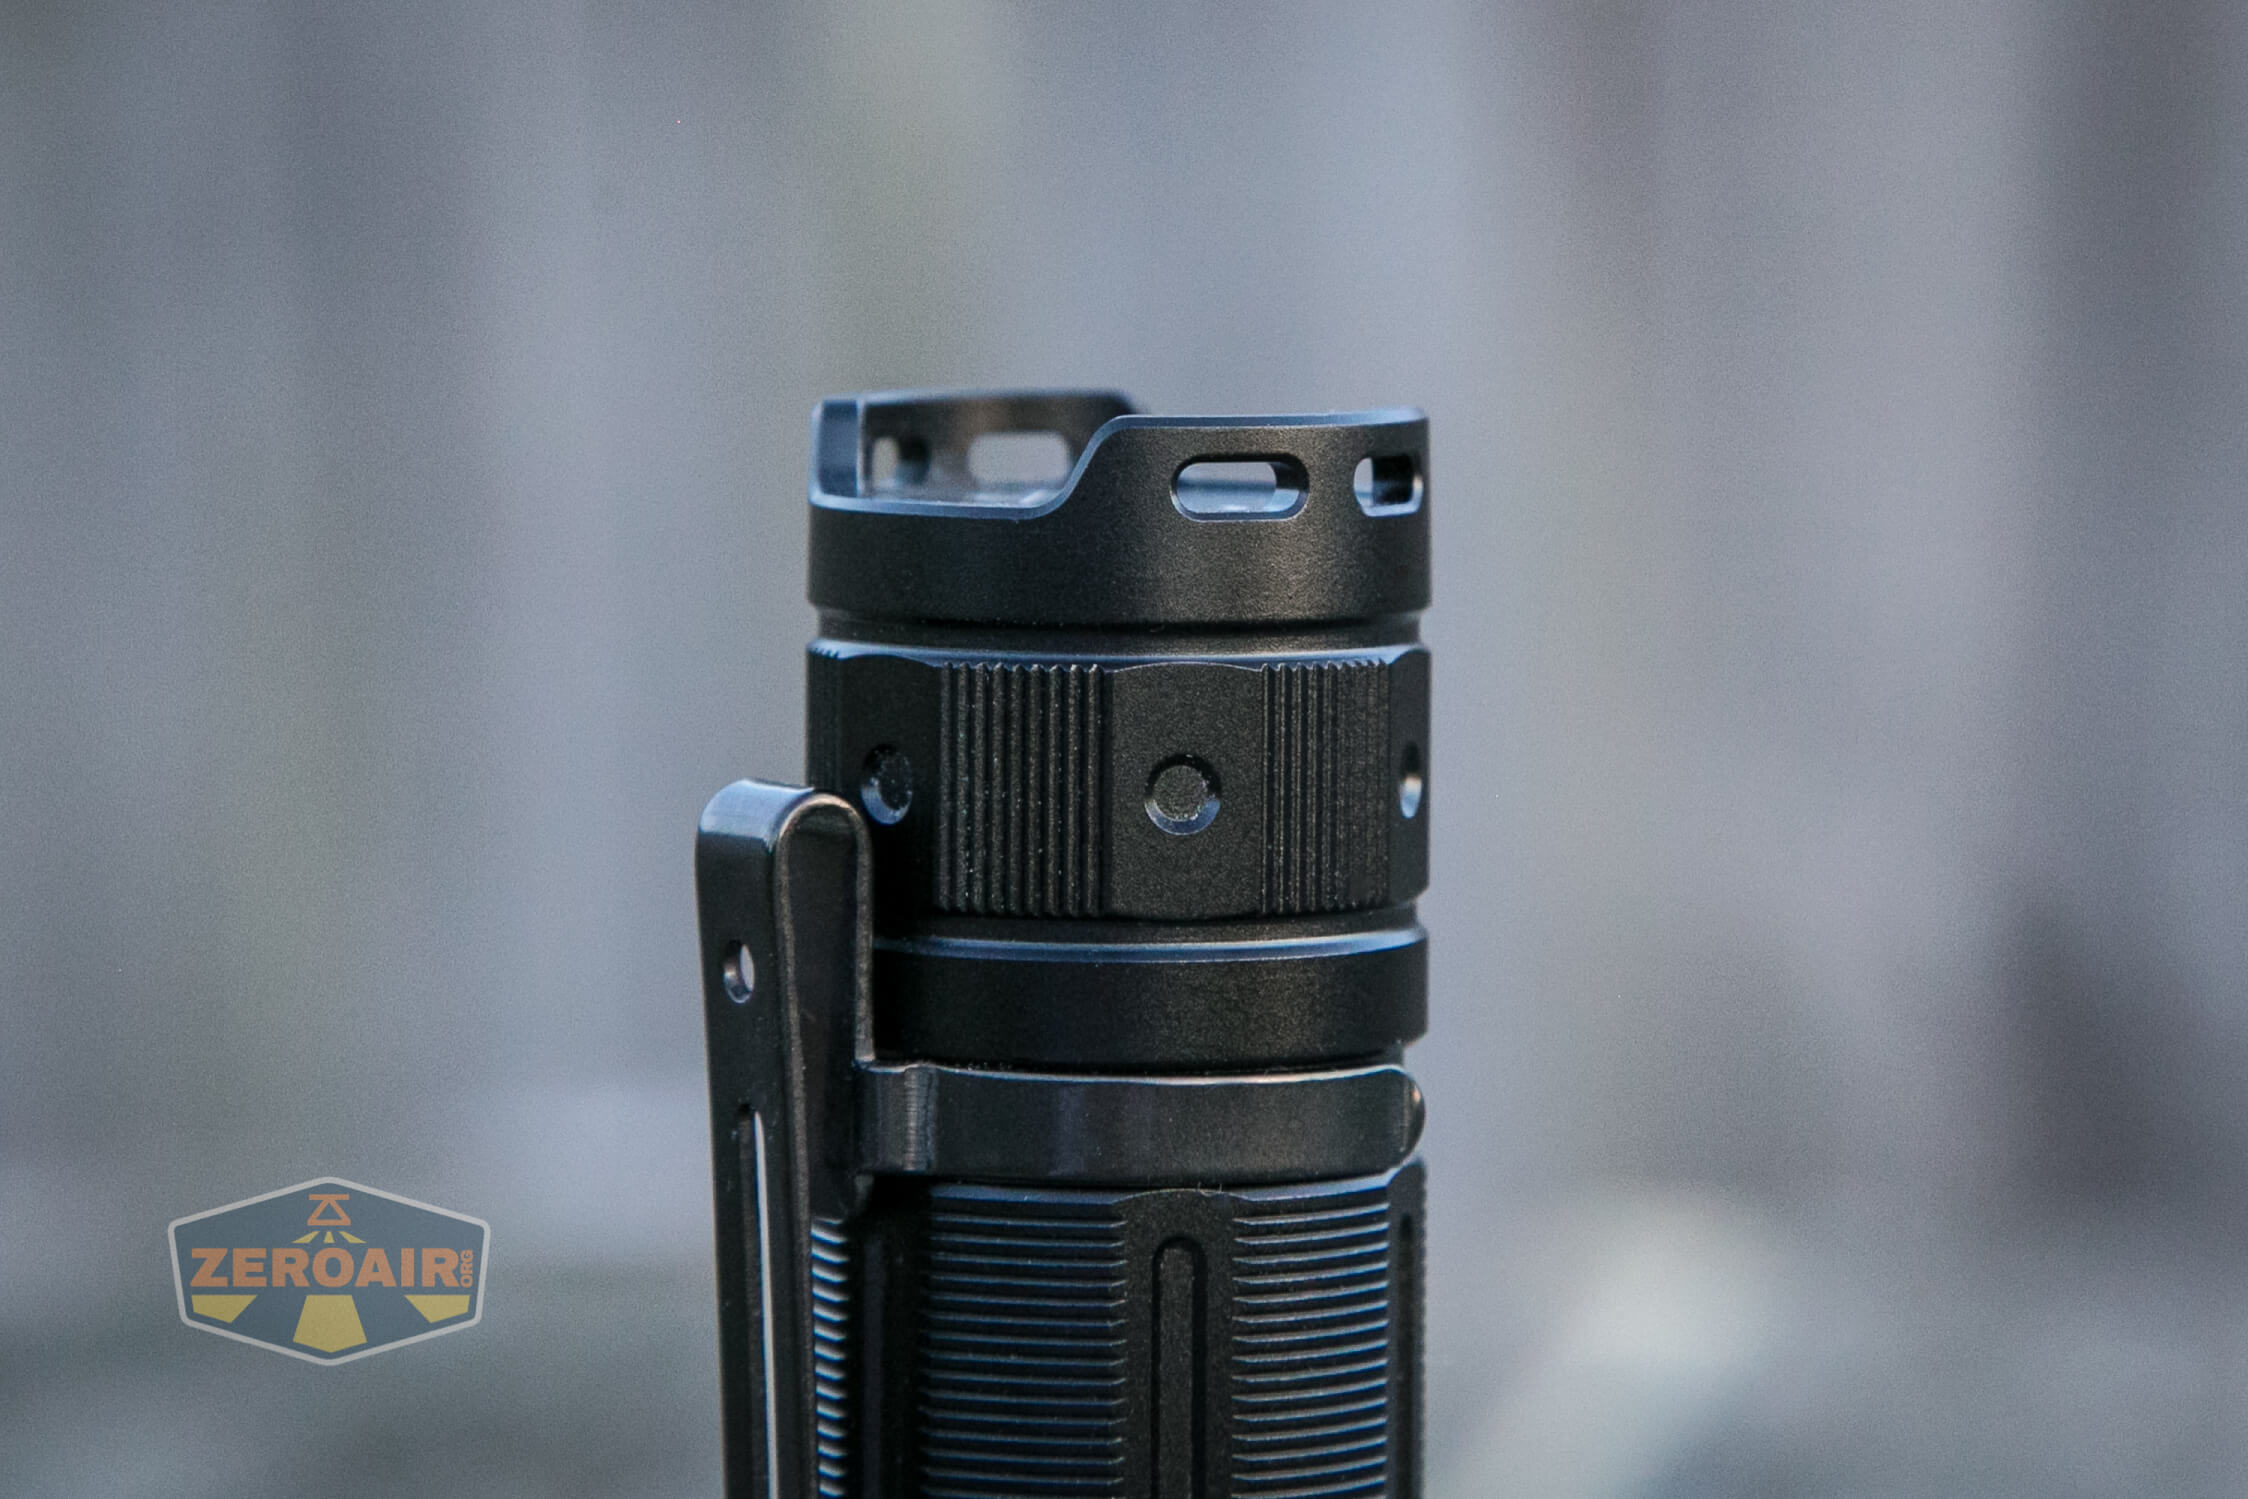
This is my preferred setup for lanyards since it prevents the lanyard from interfering with tailstanding.
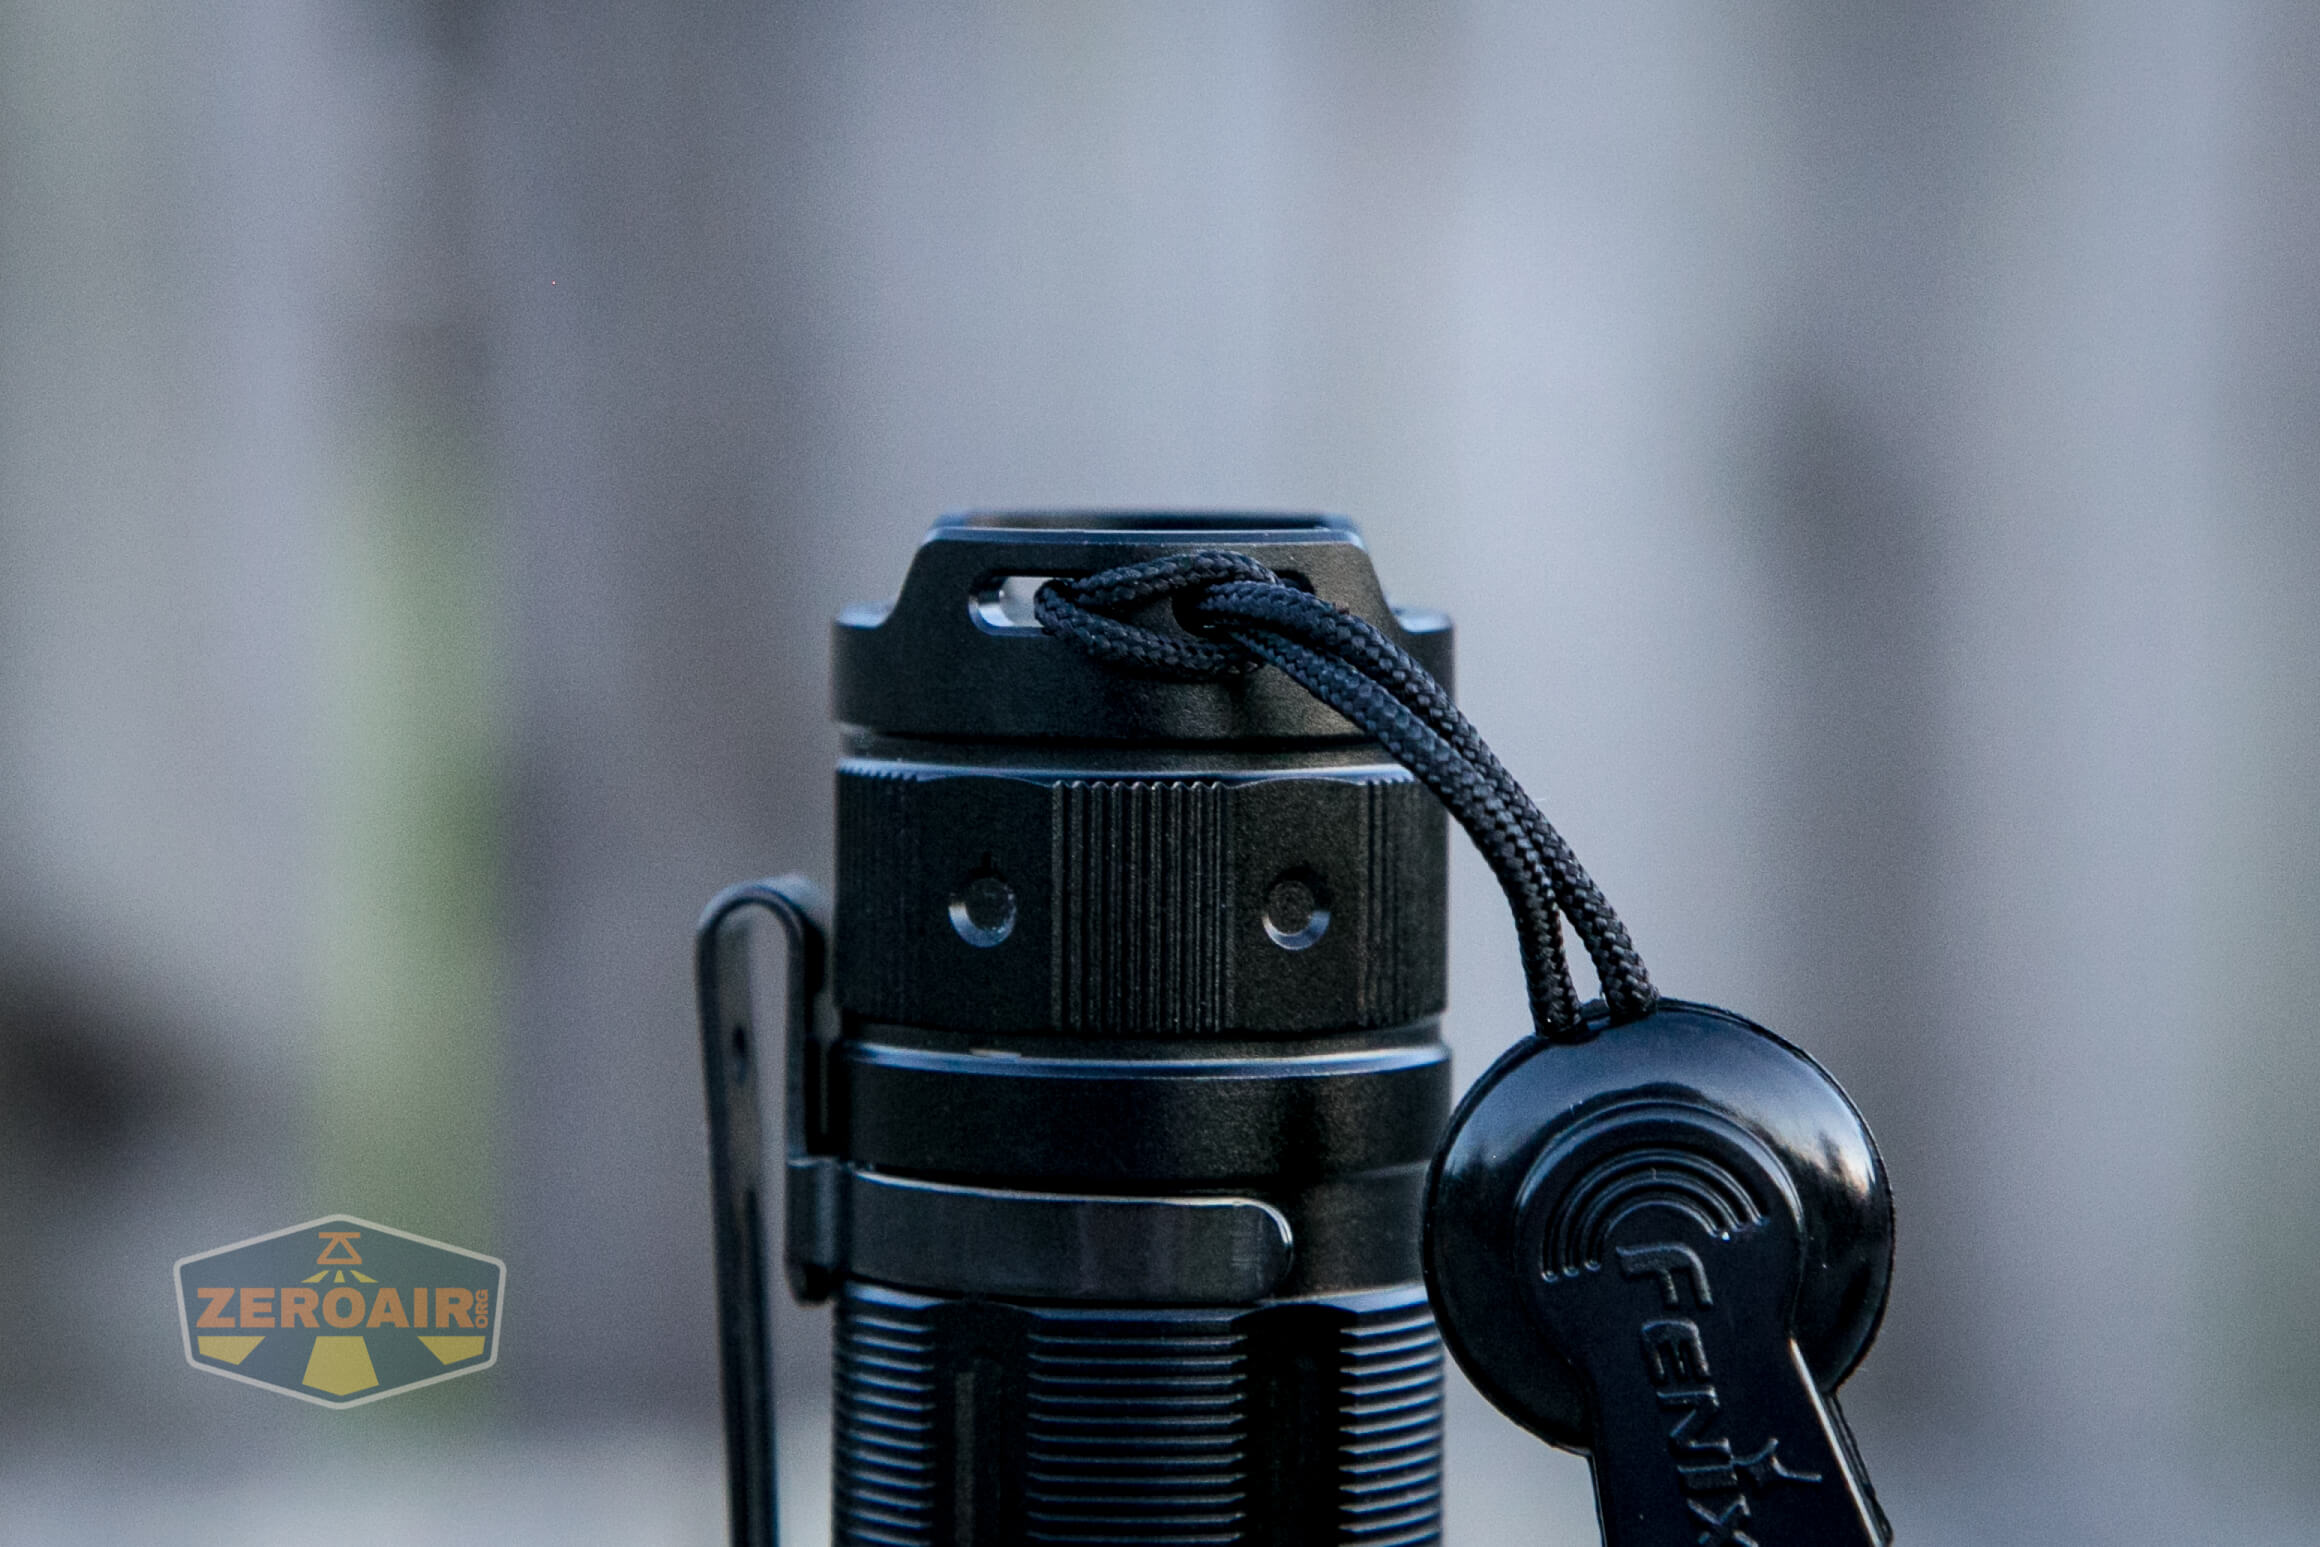
The lanyard is surprisingly simple. Easily the cheapest part of the whole package. A higher-quality lanyard would be a step in the right direction.
You can see that the two-hole tailcap allows for seamless tailstanding.

Finally, there’s this nylon pouch. The pouch is sufficient. If you really need that bezel-up carry the pocket clip doesn’t provide, then just throw this pouch on your belt – the Fenix PD40R V2.0 will go into the pouch in either orientation.
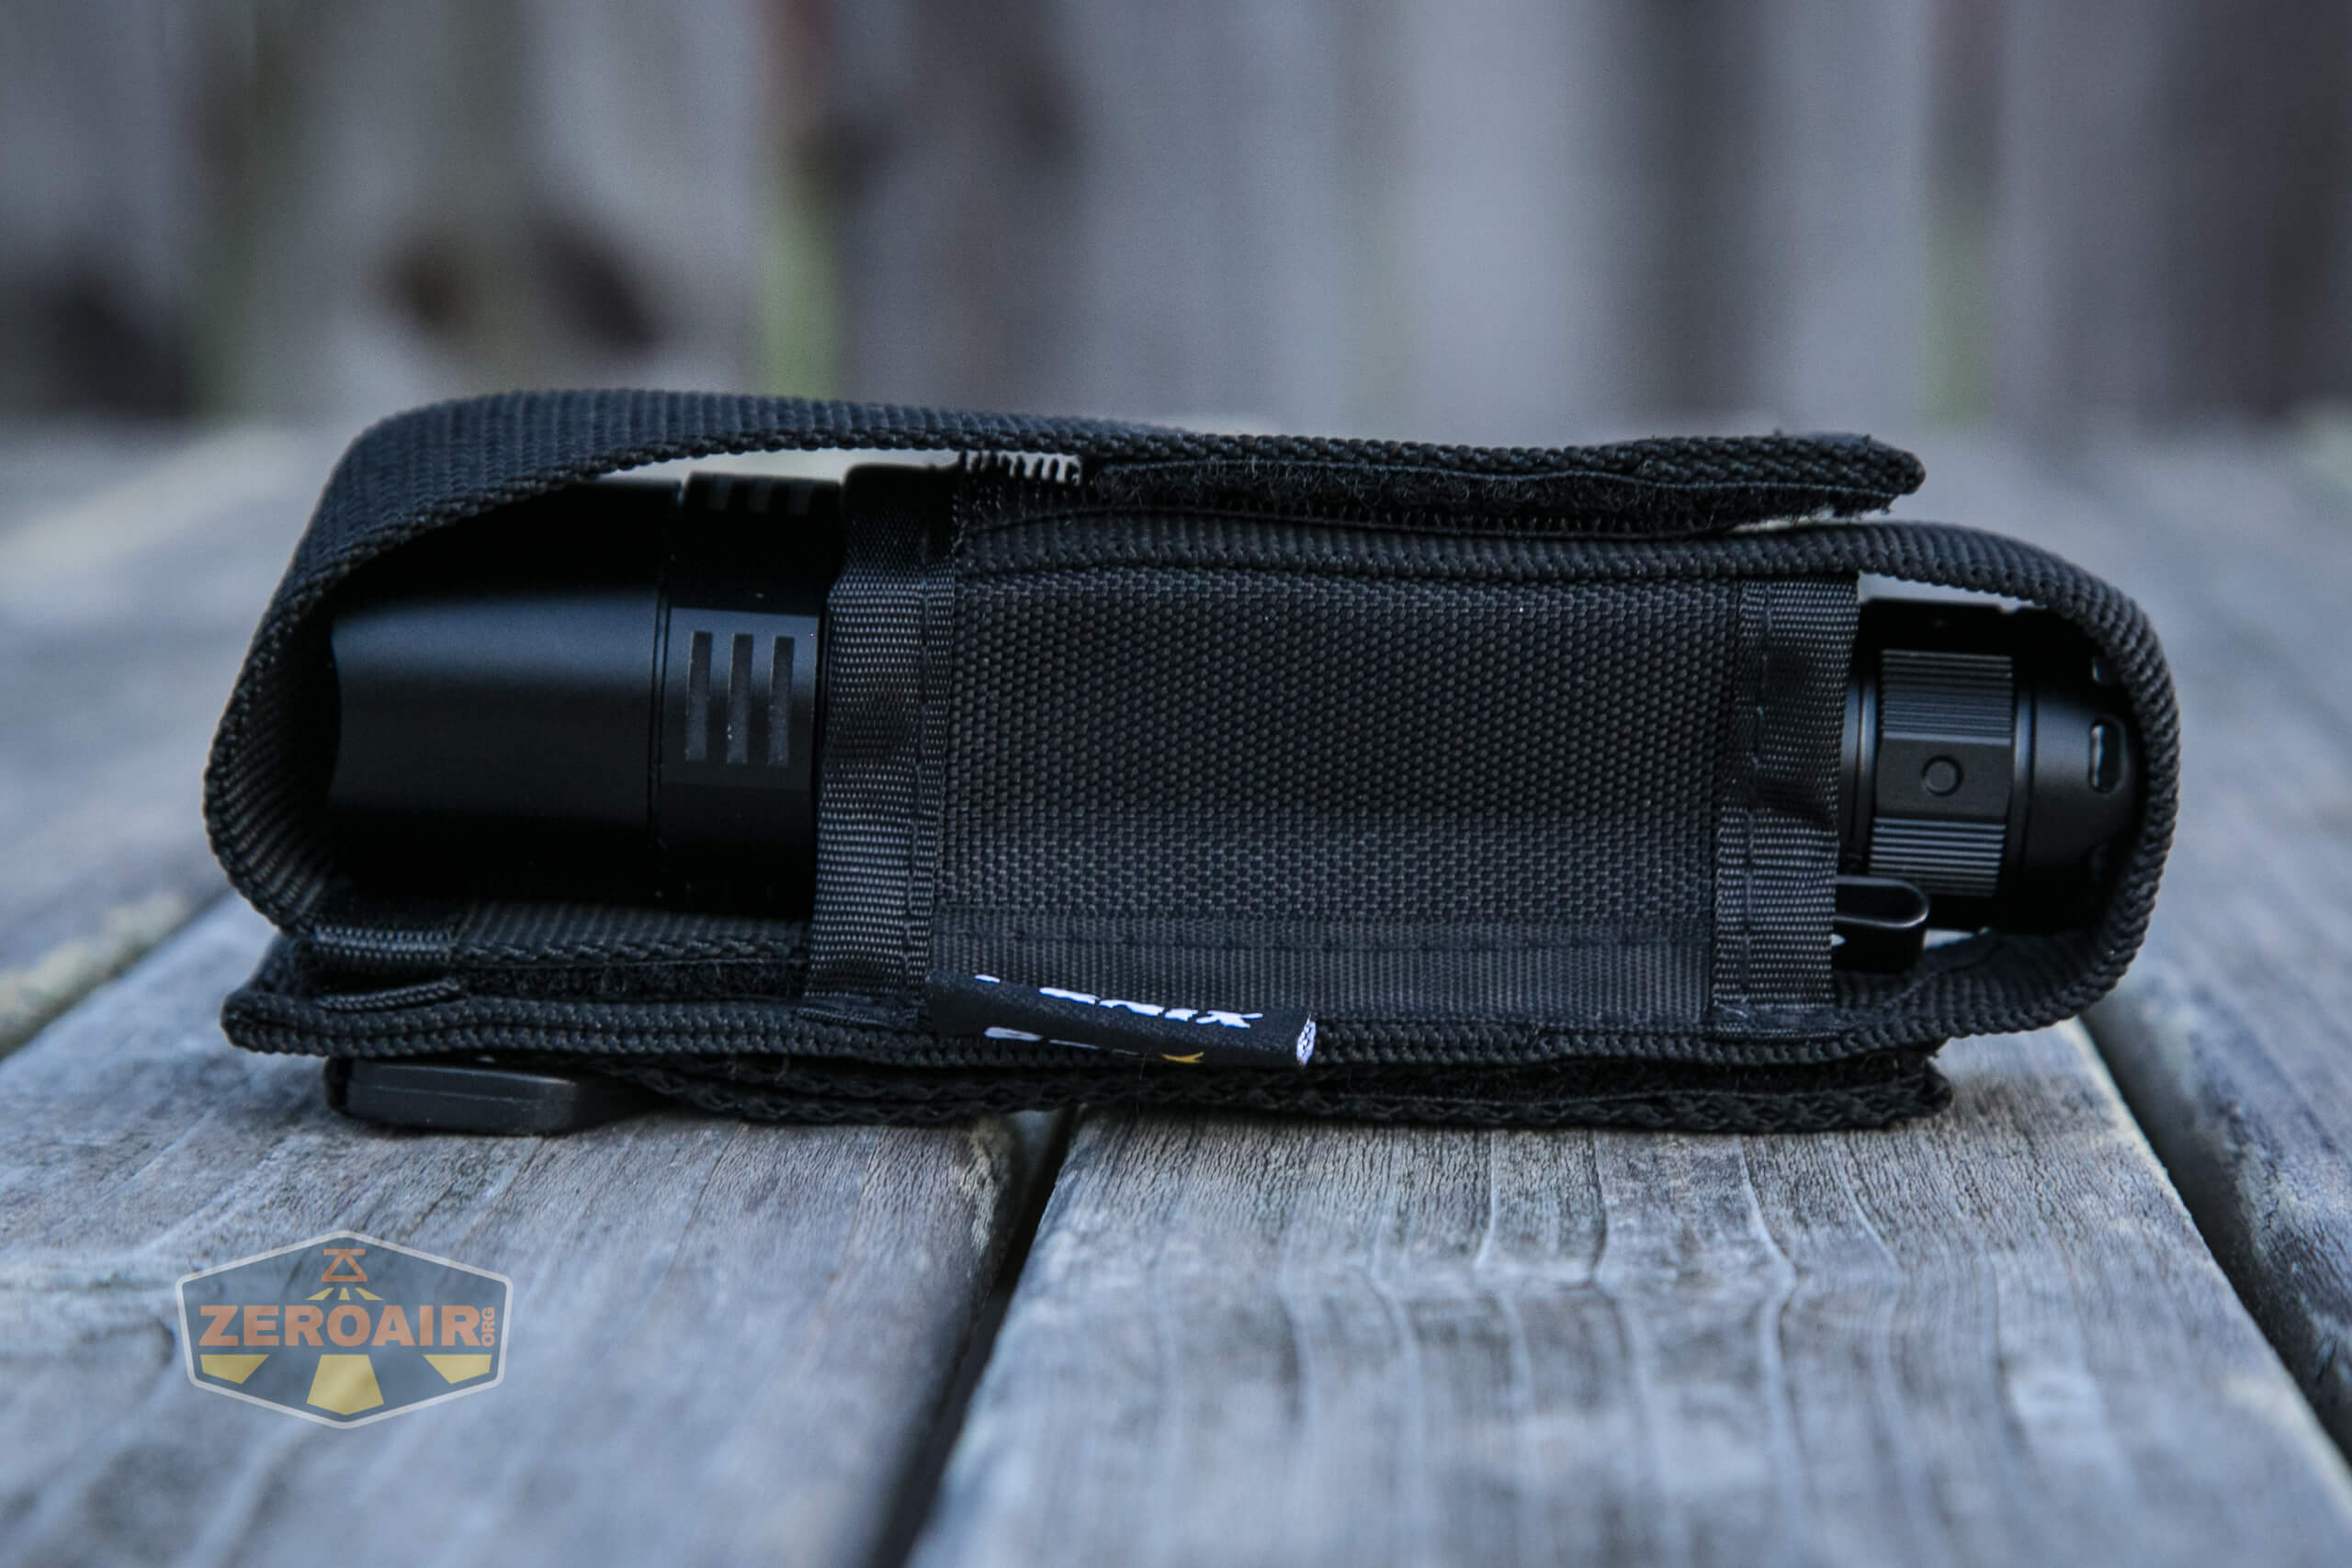
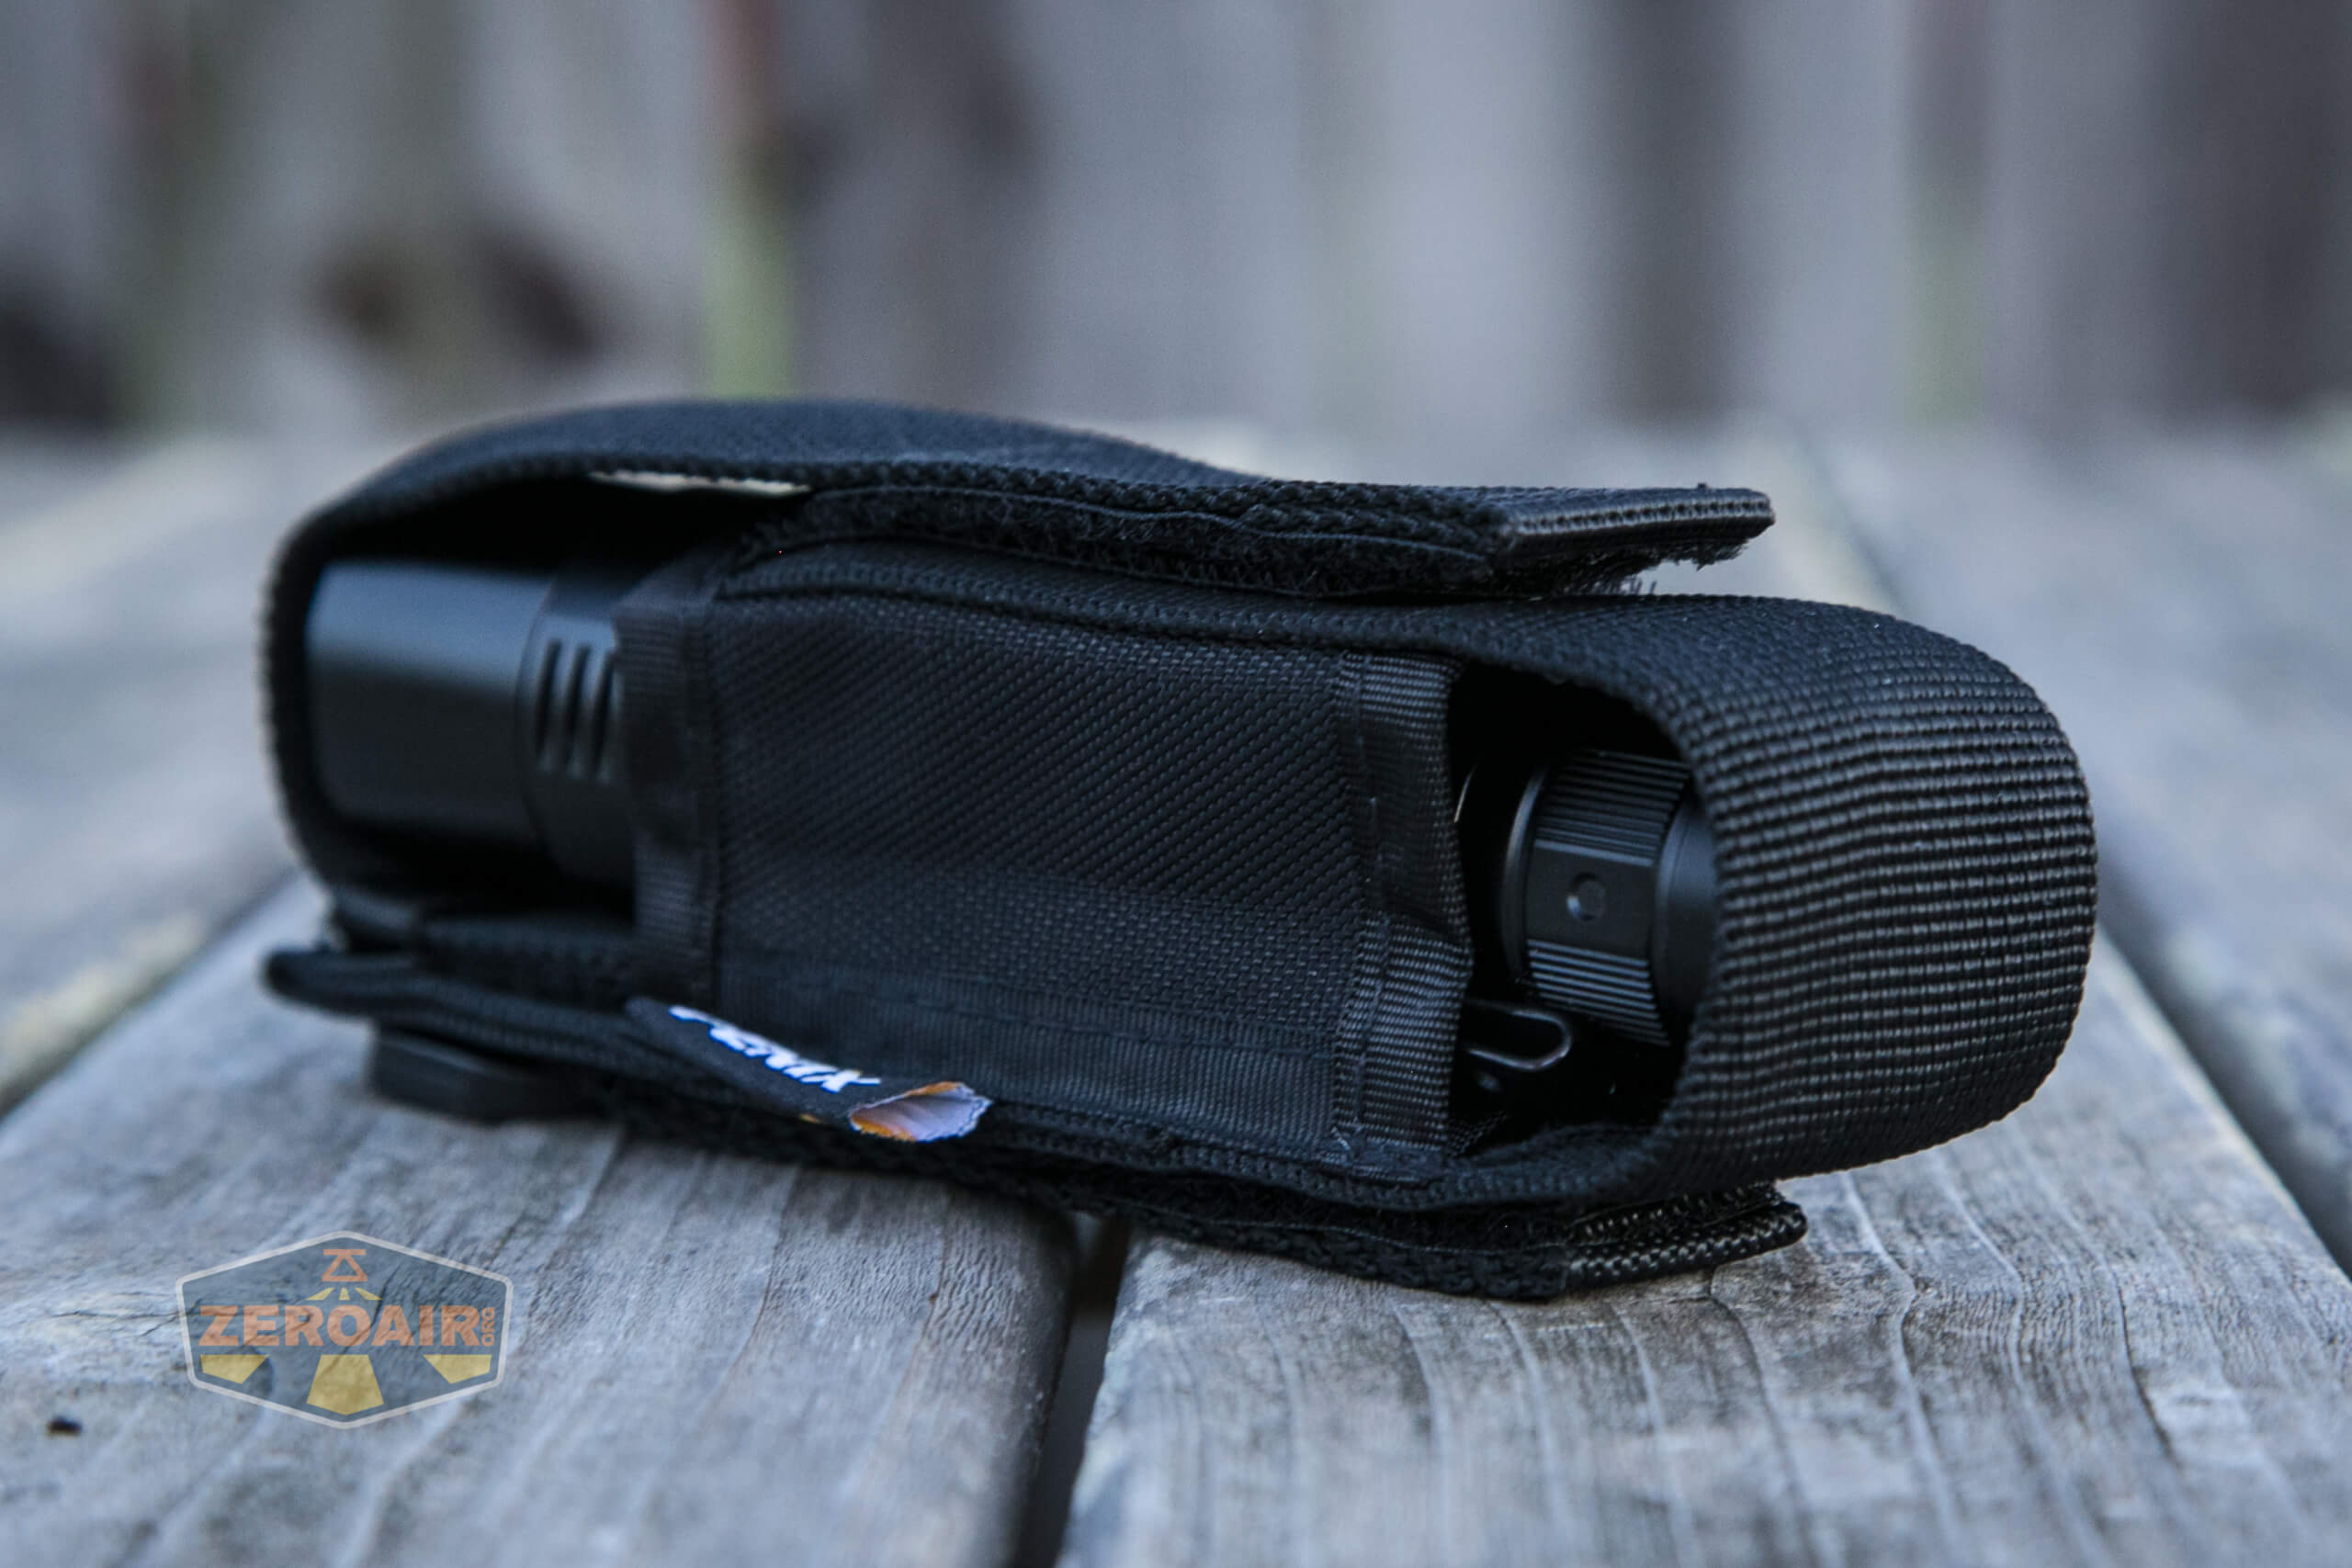
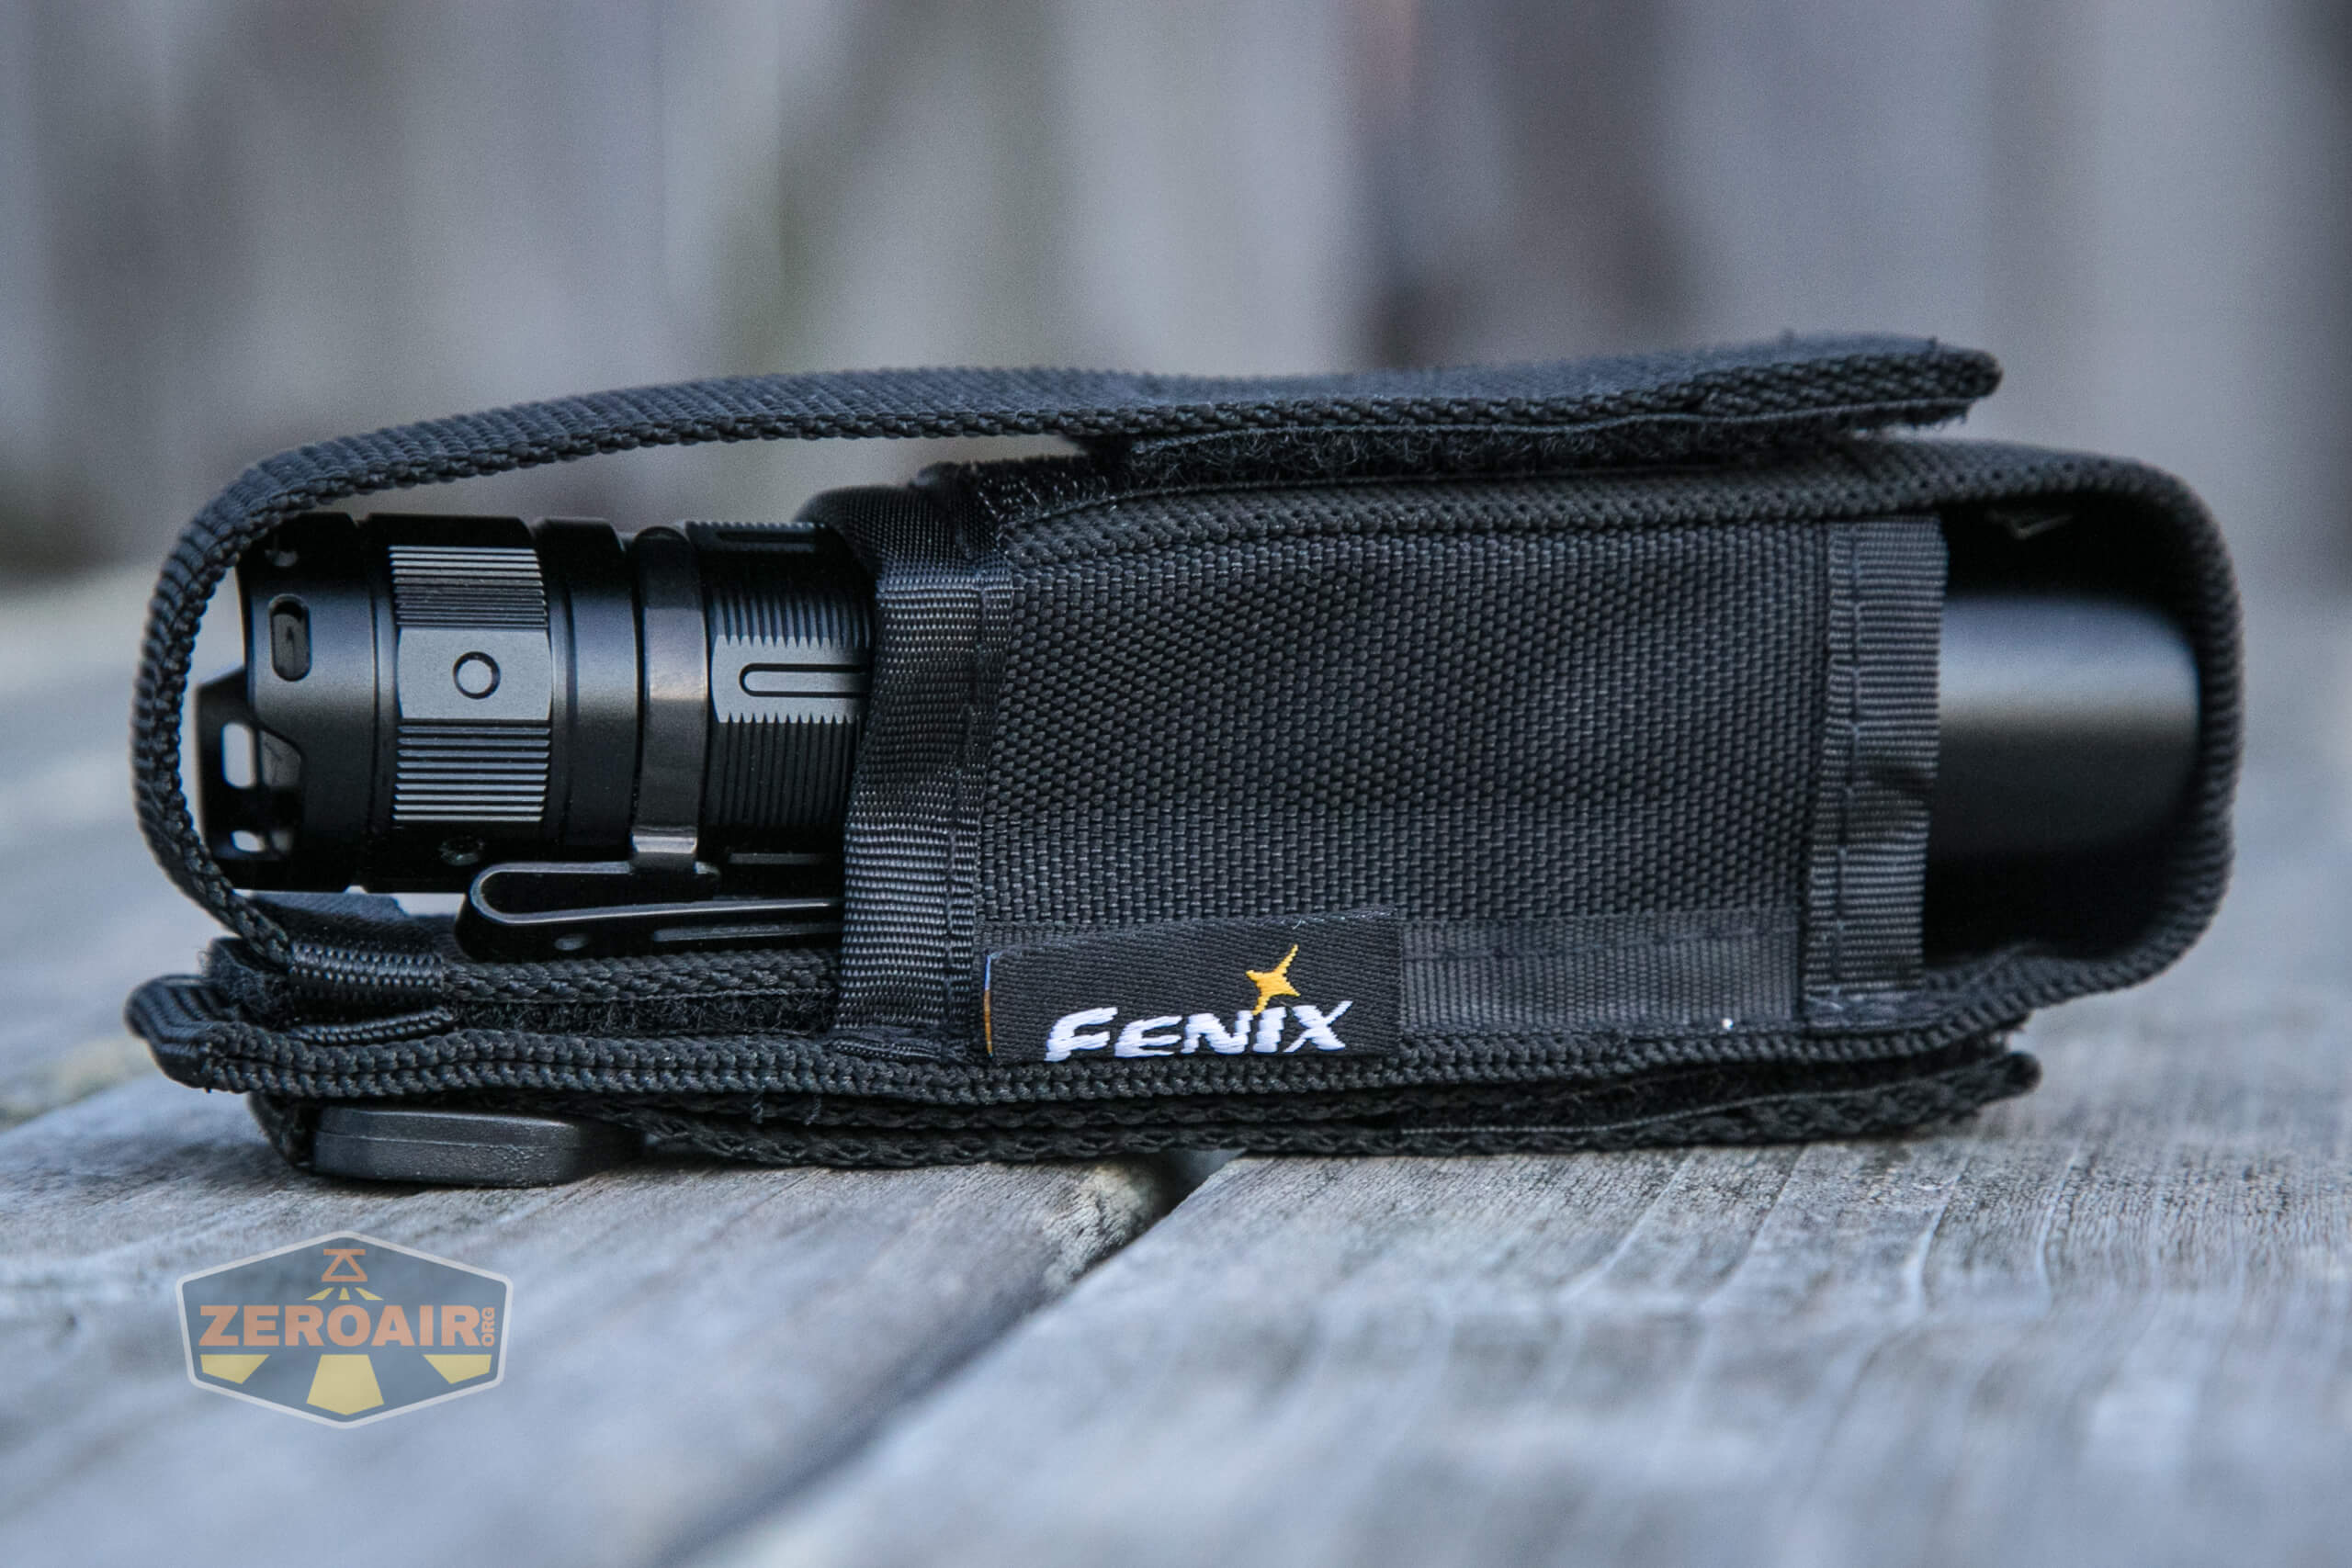
You won’t be able to use the light while it’s in the pouch, though.

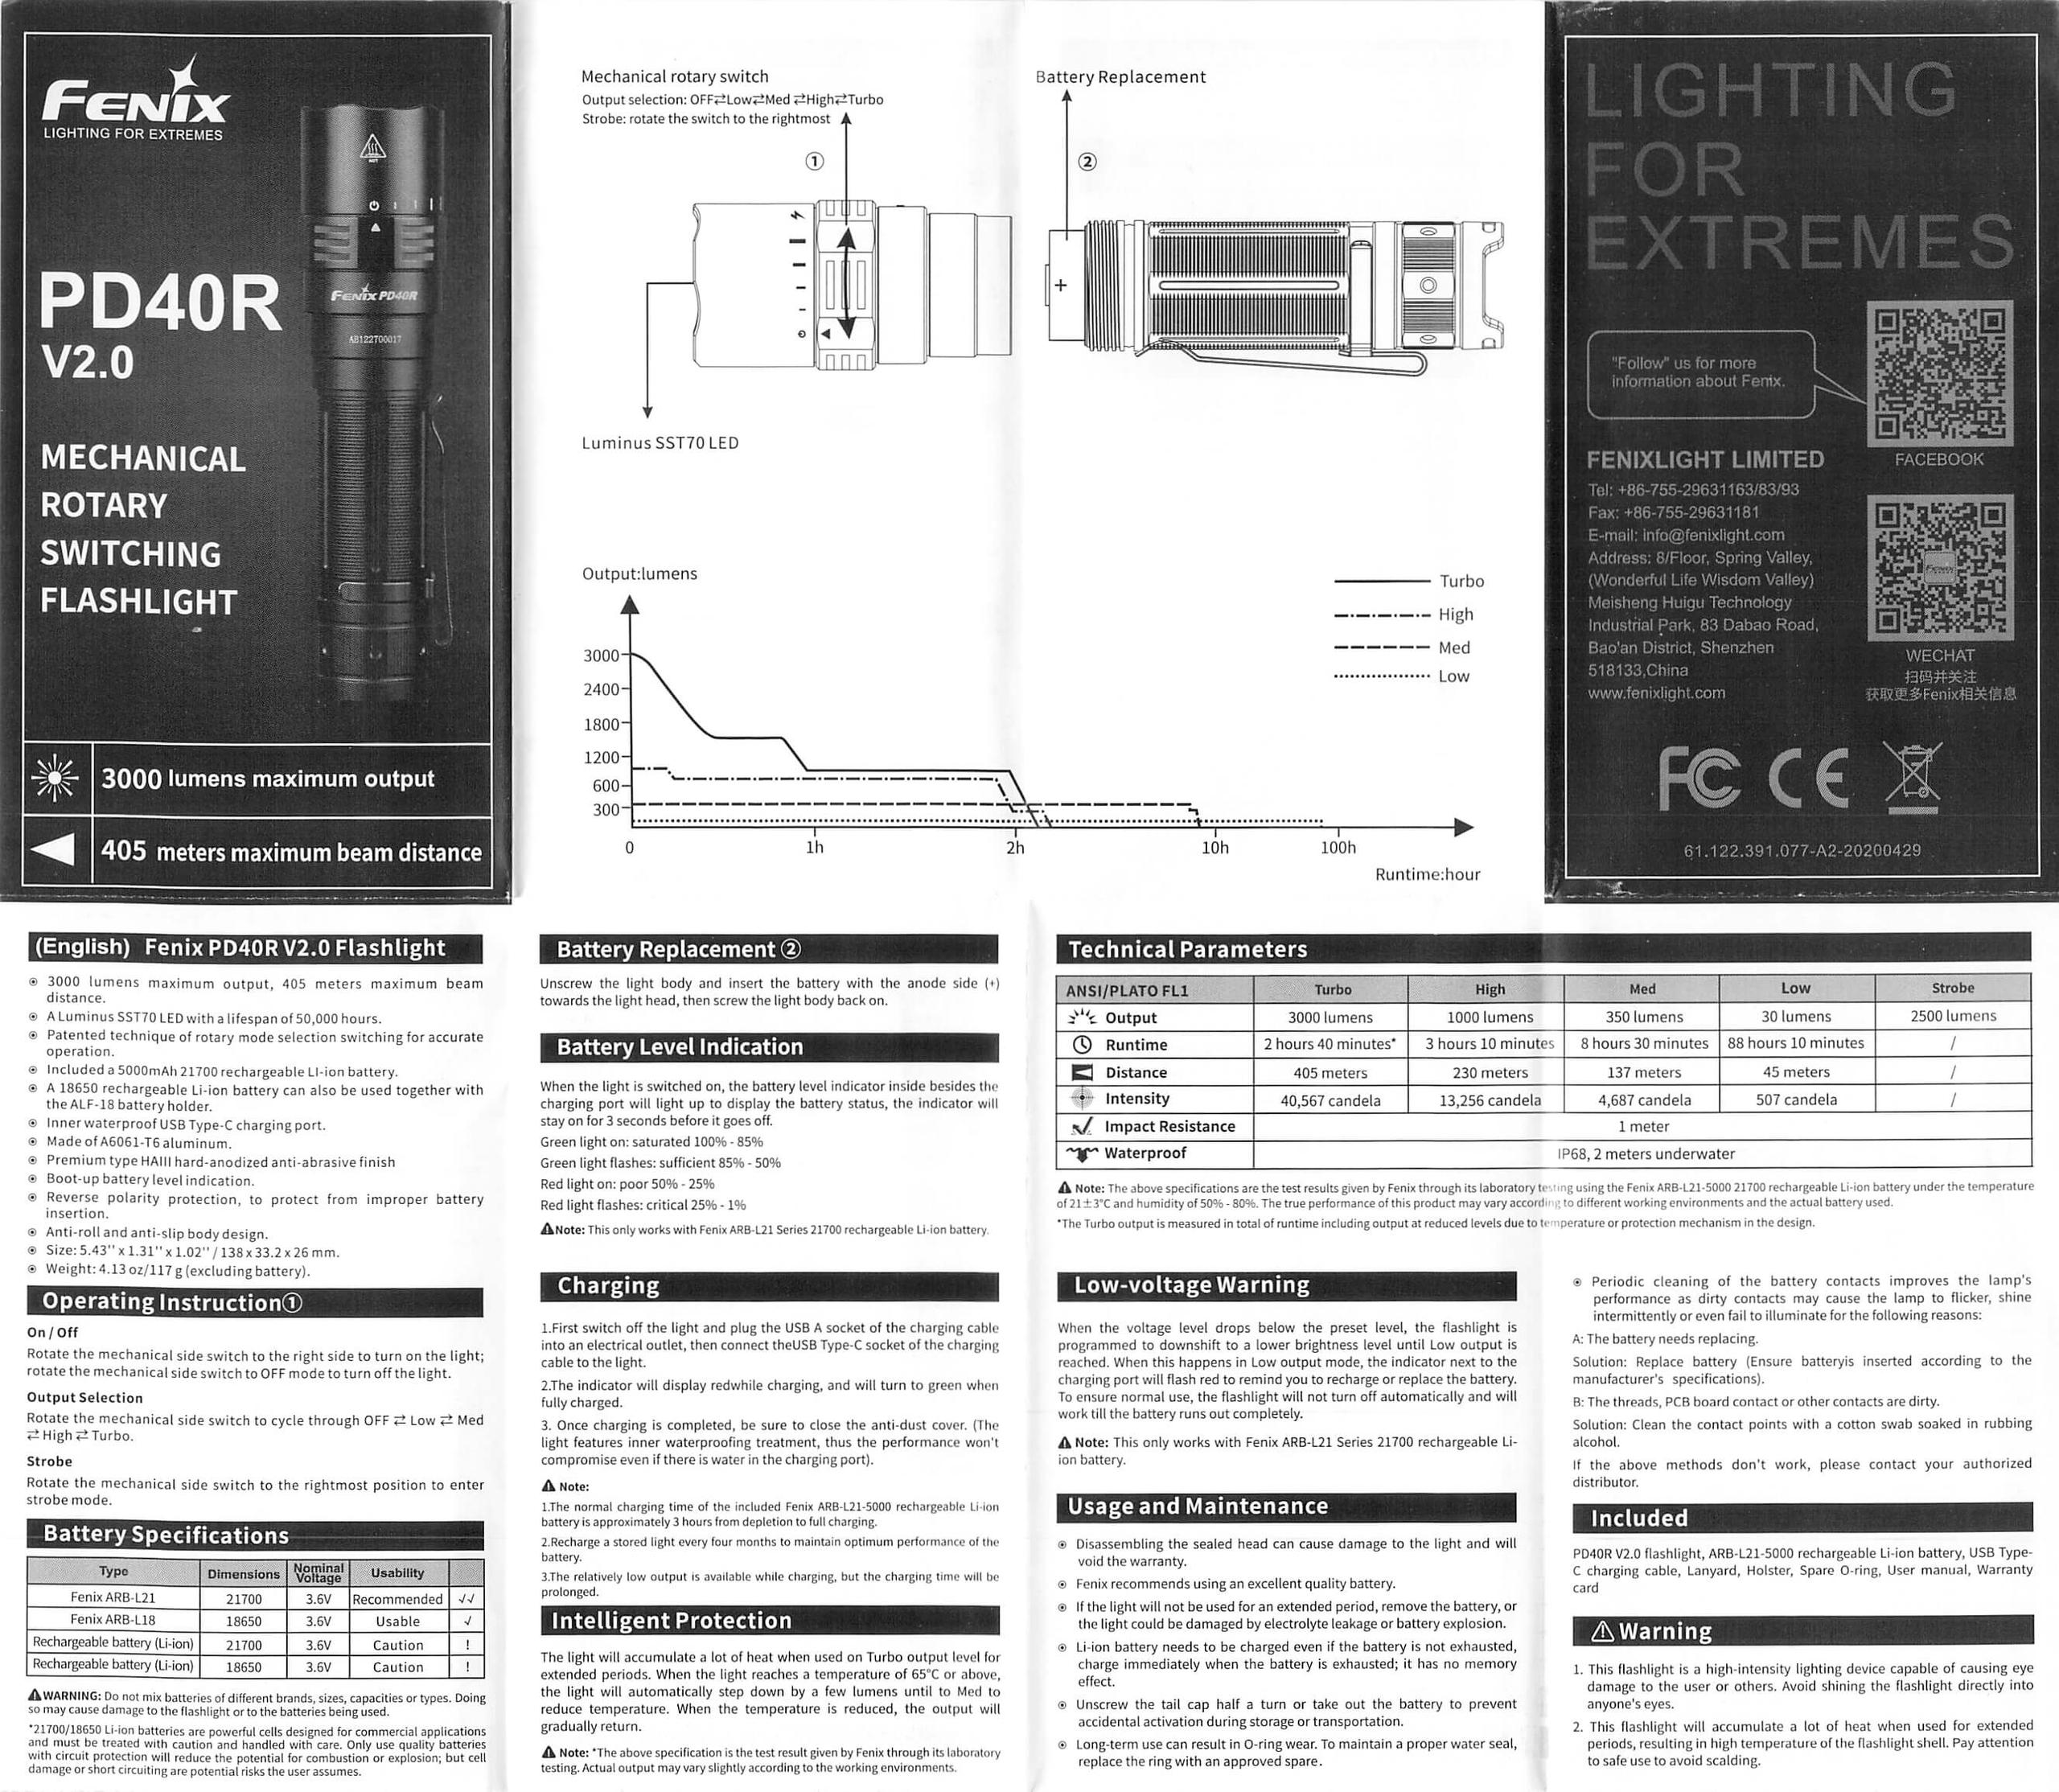
Power and Runtime
Power for the Fenix PD40R V2.0 flashlight comes from a single lithium-ion cell. Included with your purchase is the appropriately sized cell – a 21700.
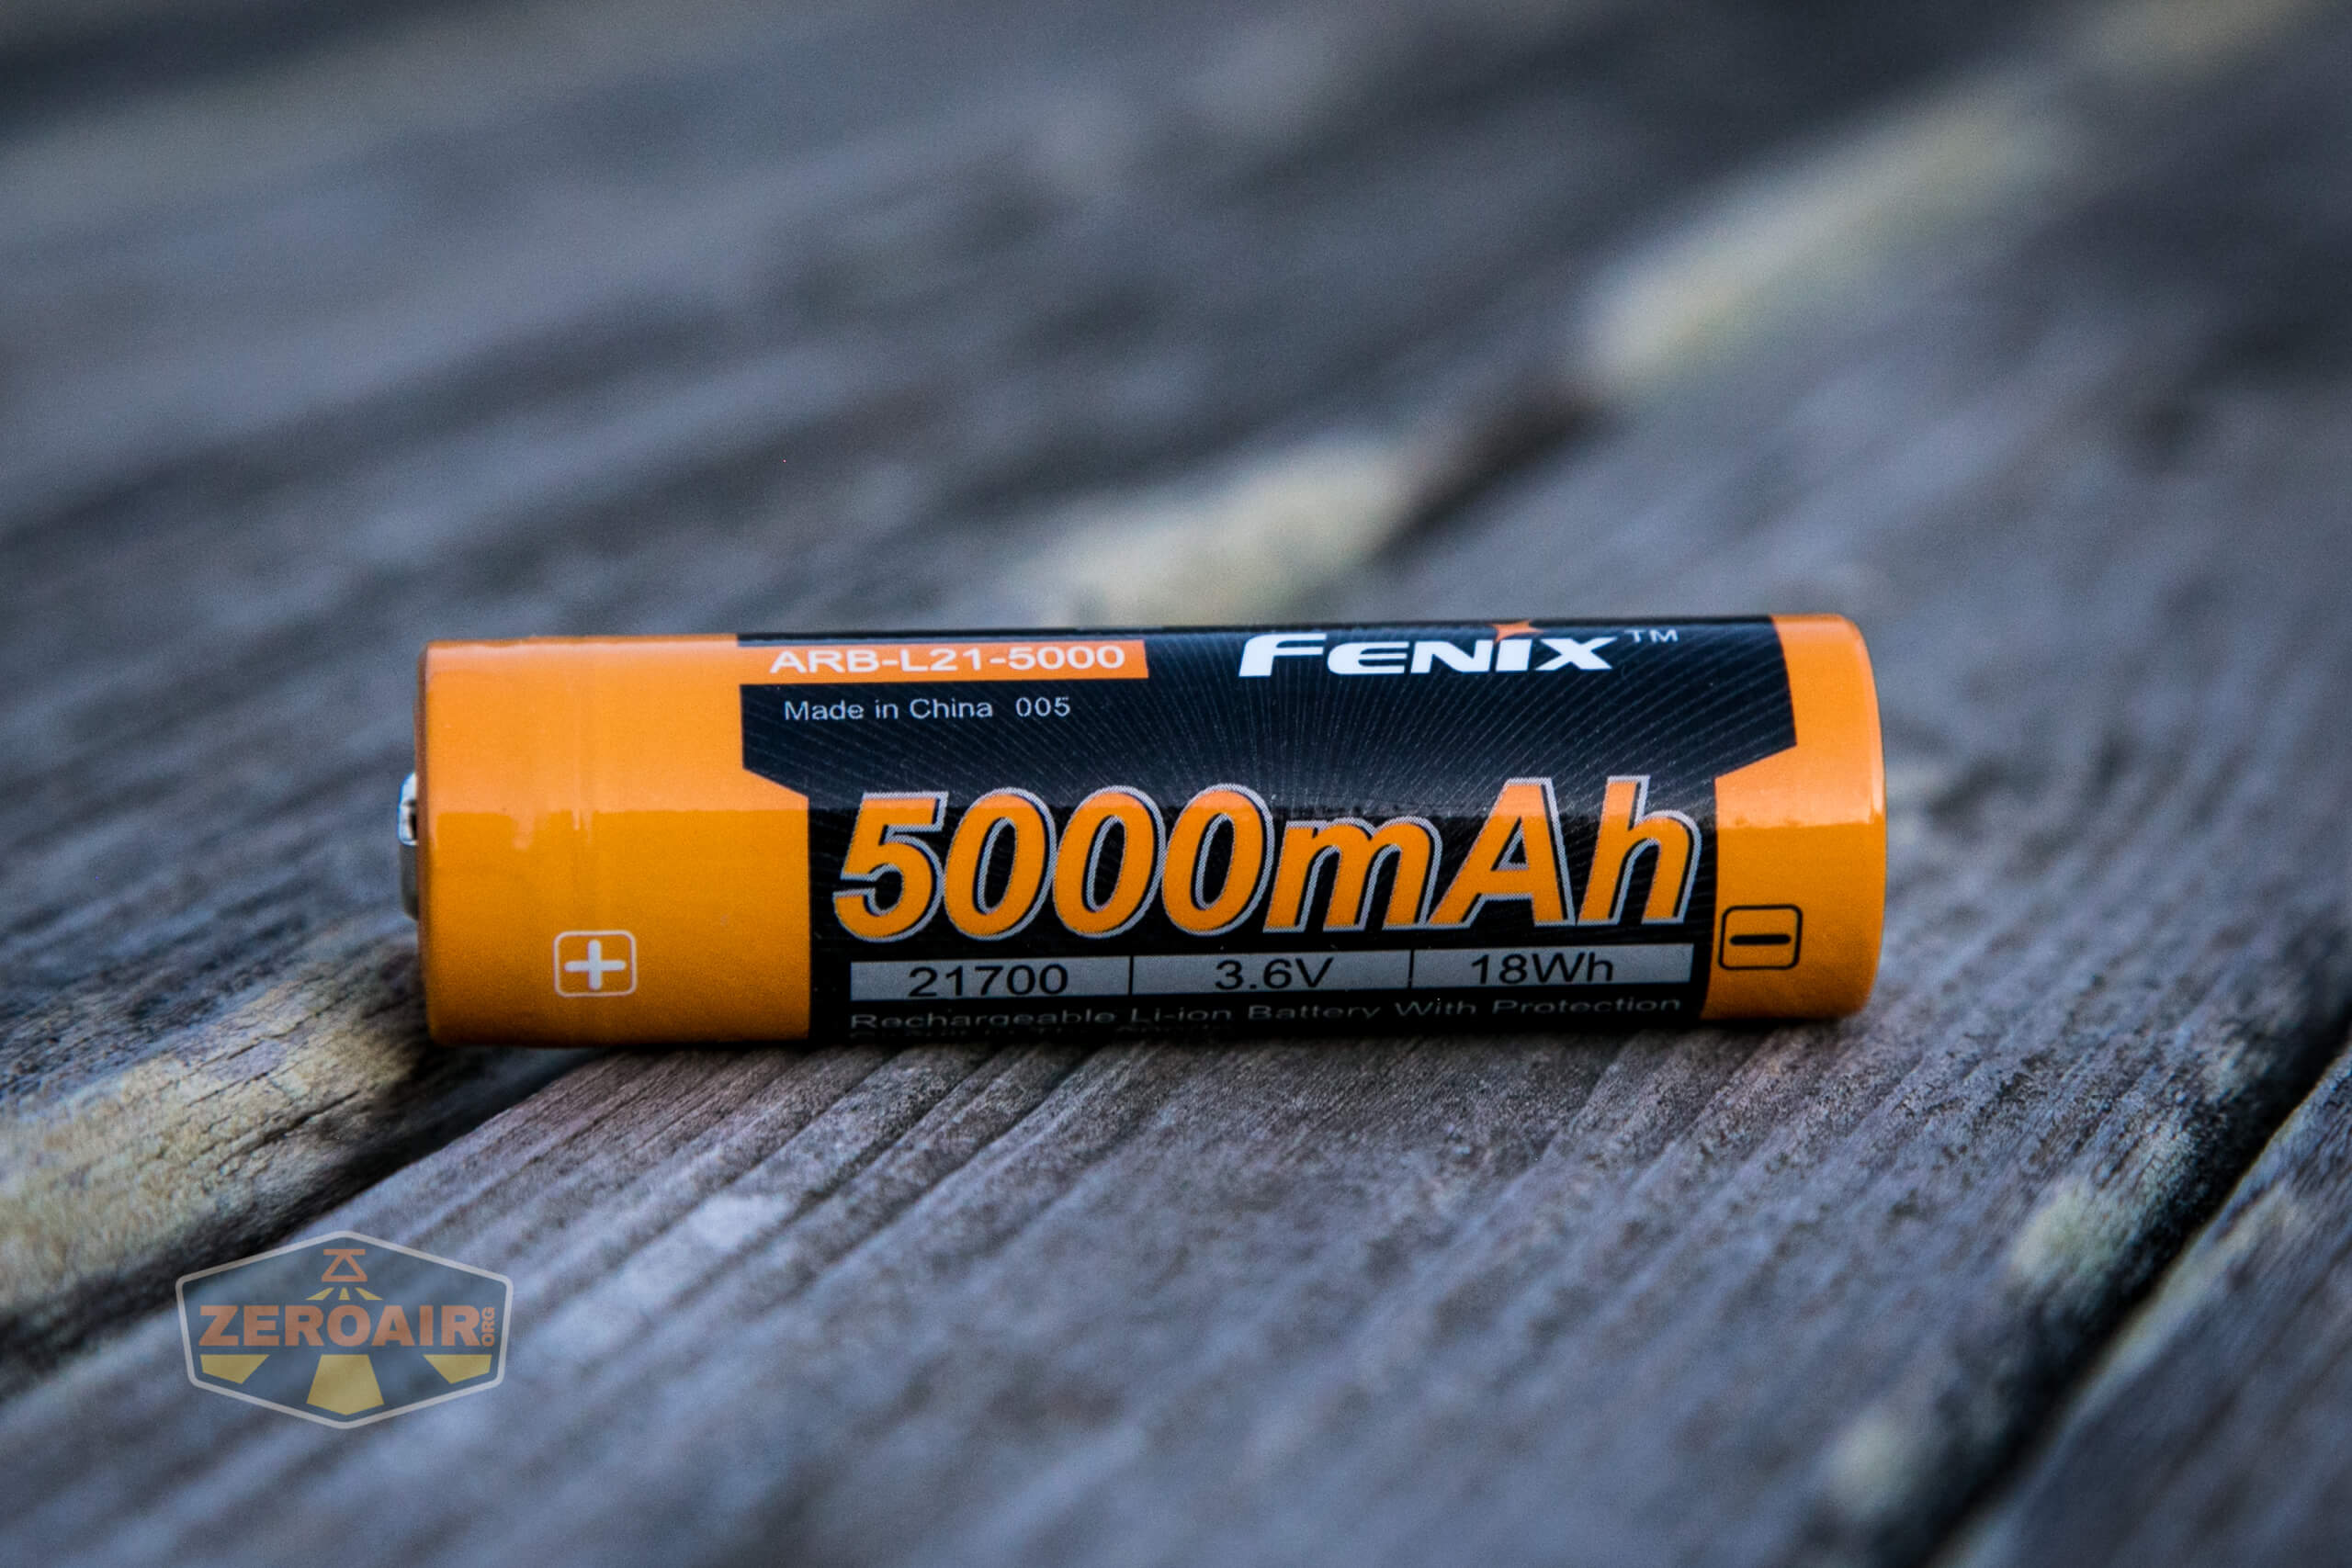
This cell is a standard button top.
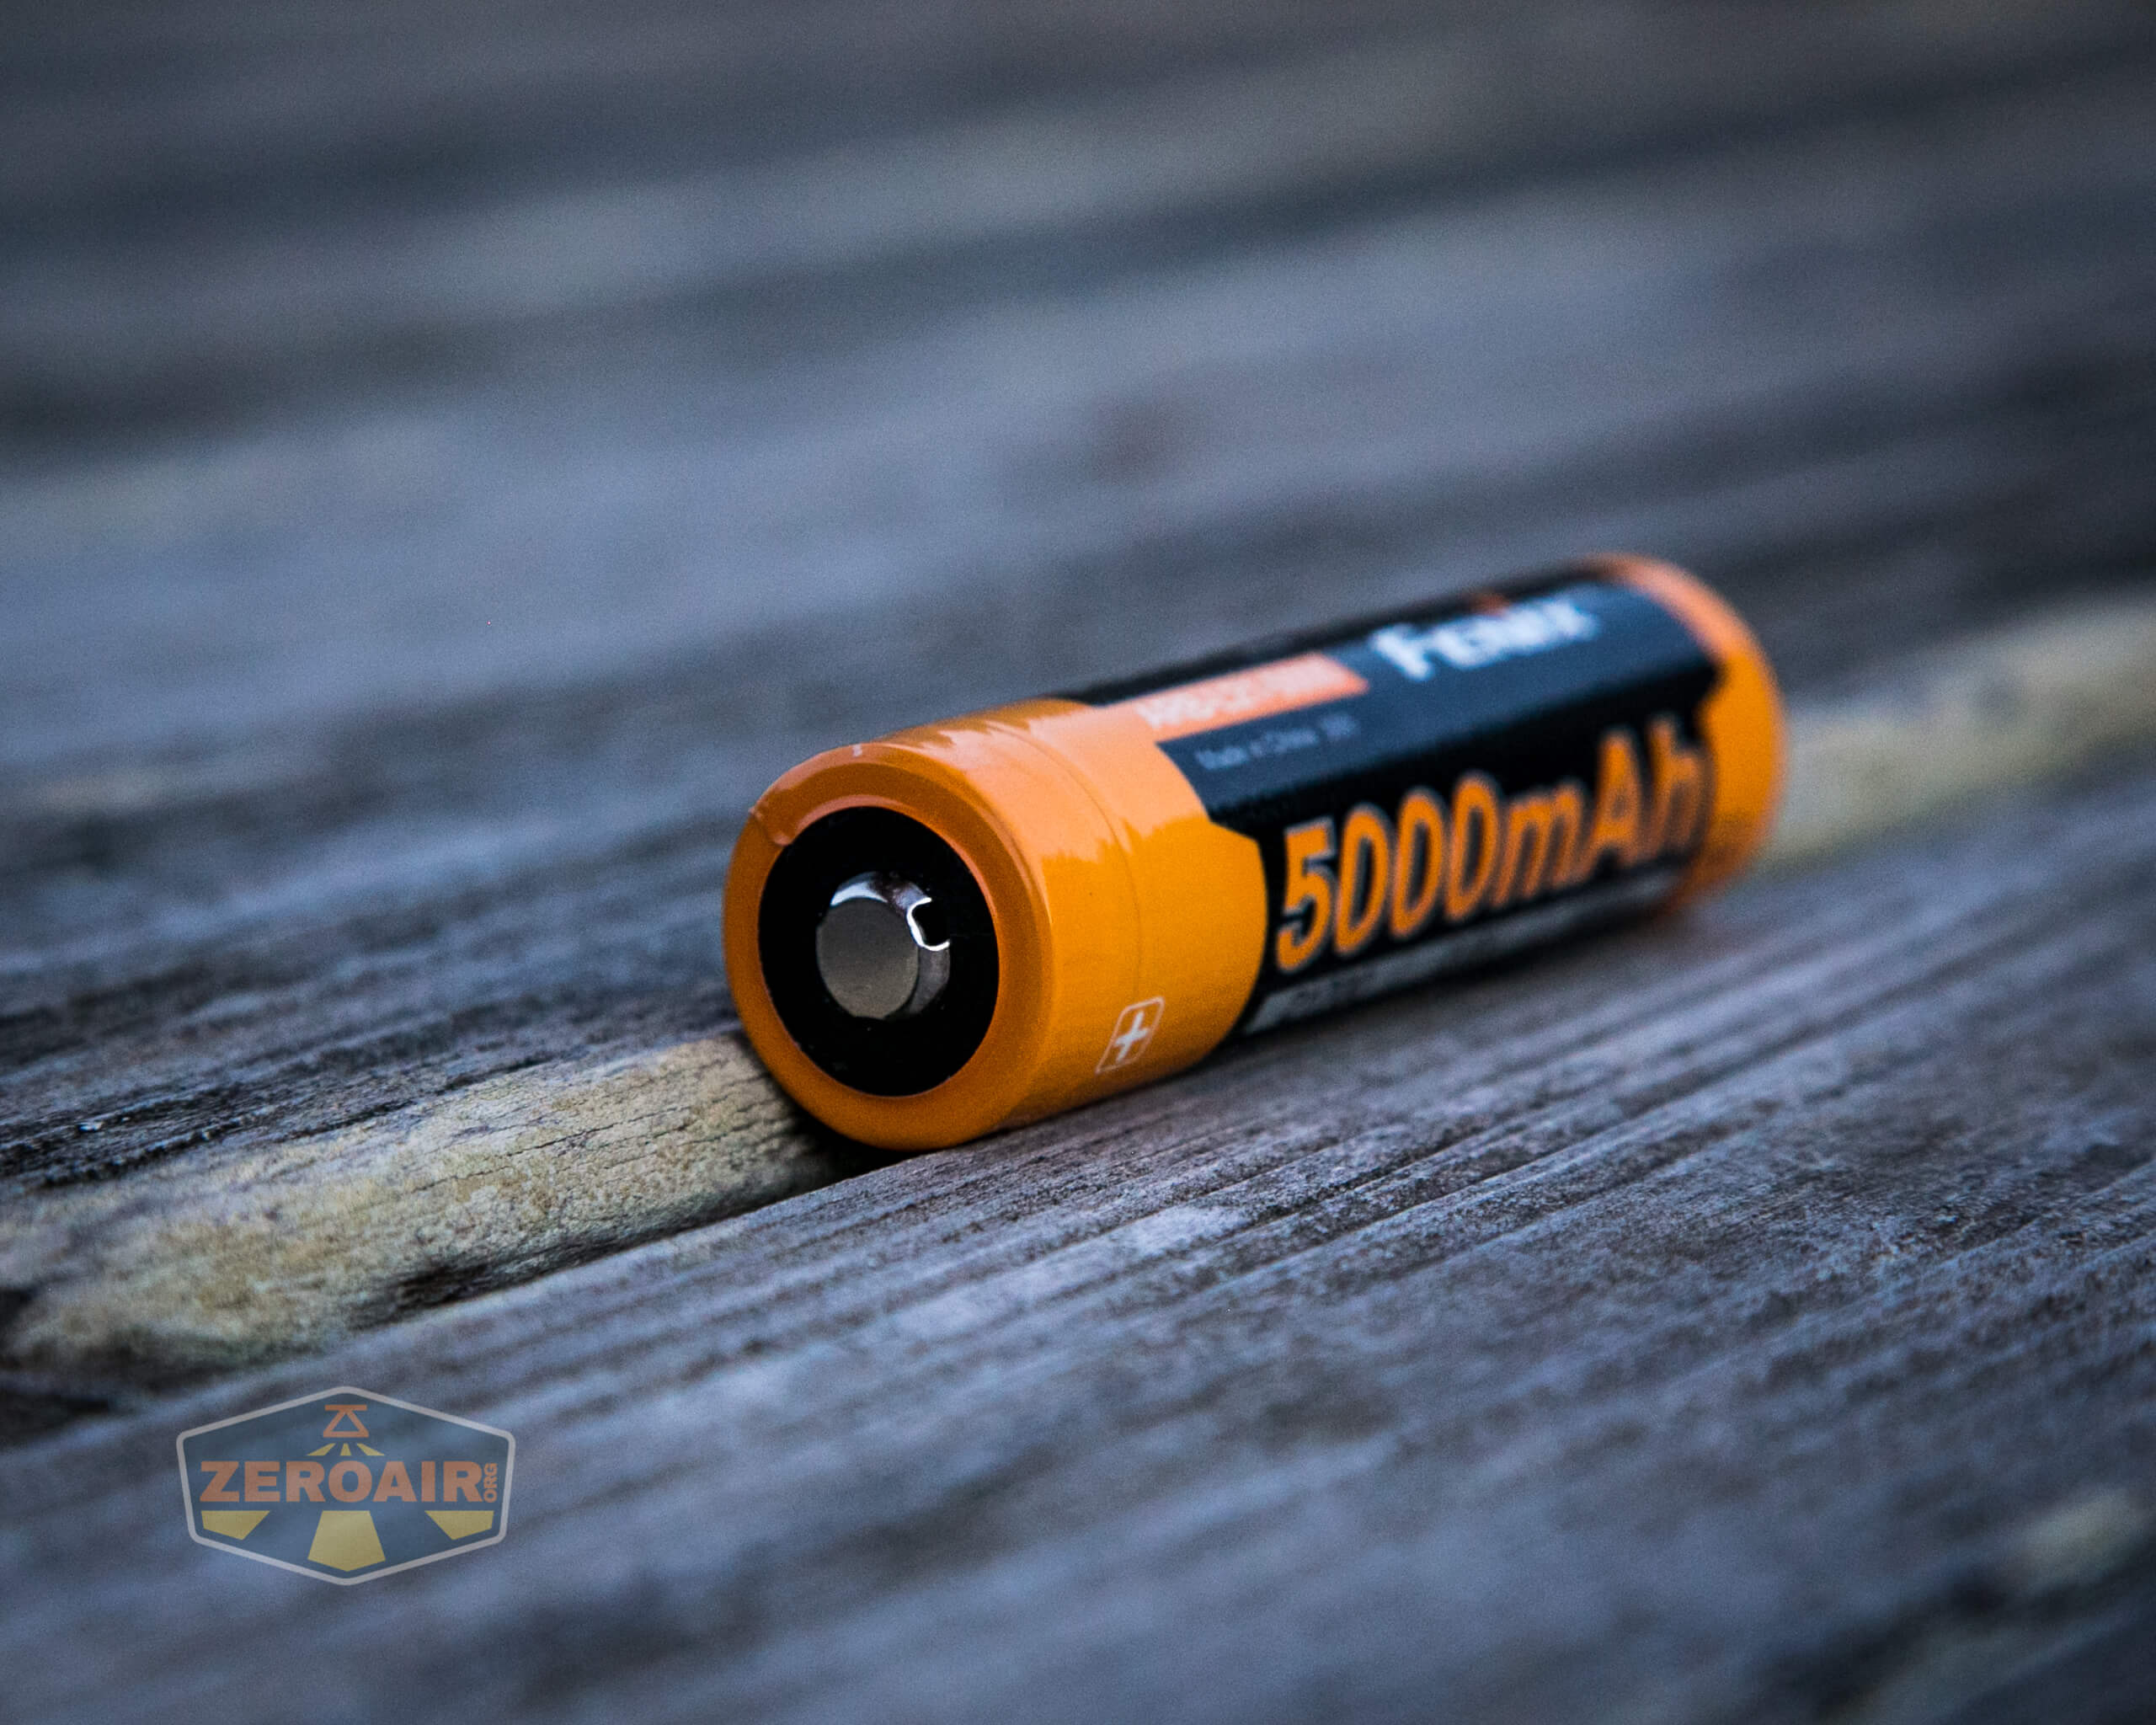
The cell is installed in the normal direction – positive terminal toward the head.
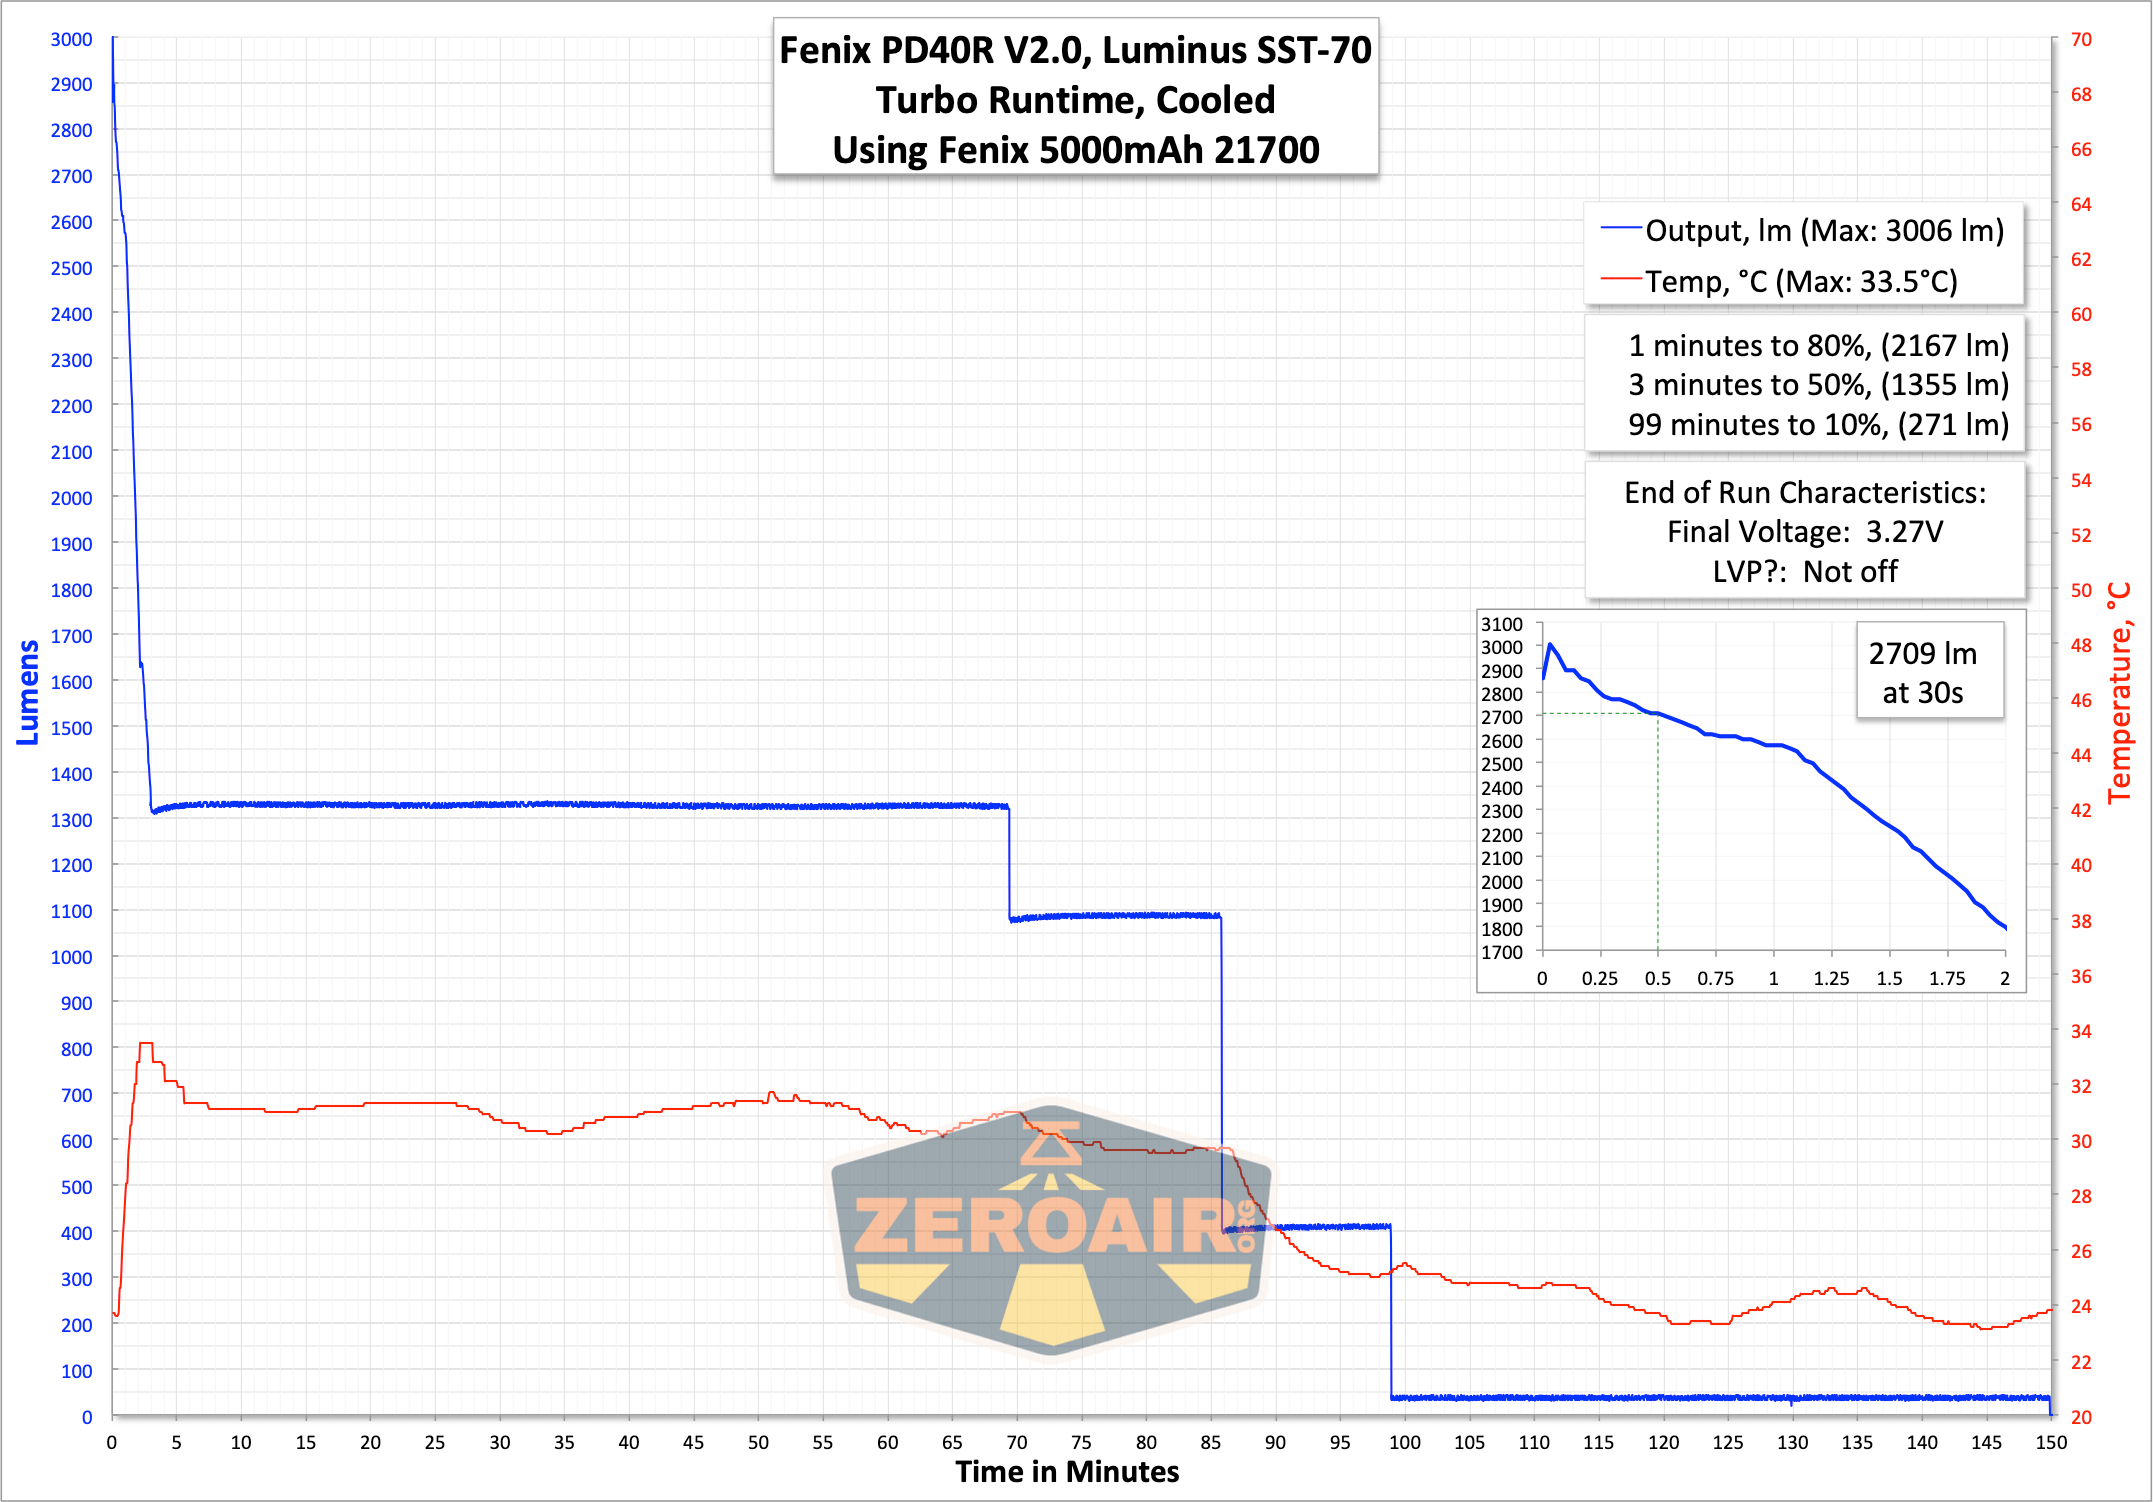
Here are a couple of runtime graphs. There are big stepdowns on Turbo, but the light does practically hit the specification (over 3000 lumens at startup, specifically) and within 10% at 30s, which is “close enough.”
The output on High is very stable, too. Don’t get fooled by the scale here – that’s almost 2 hours at well over 1000 lumens. That’s very good.
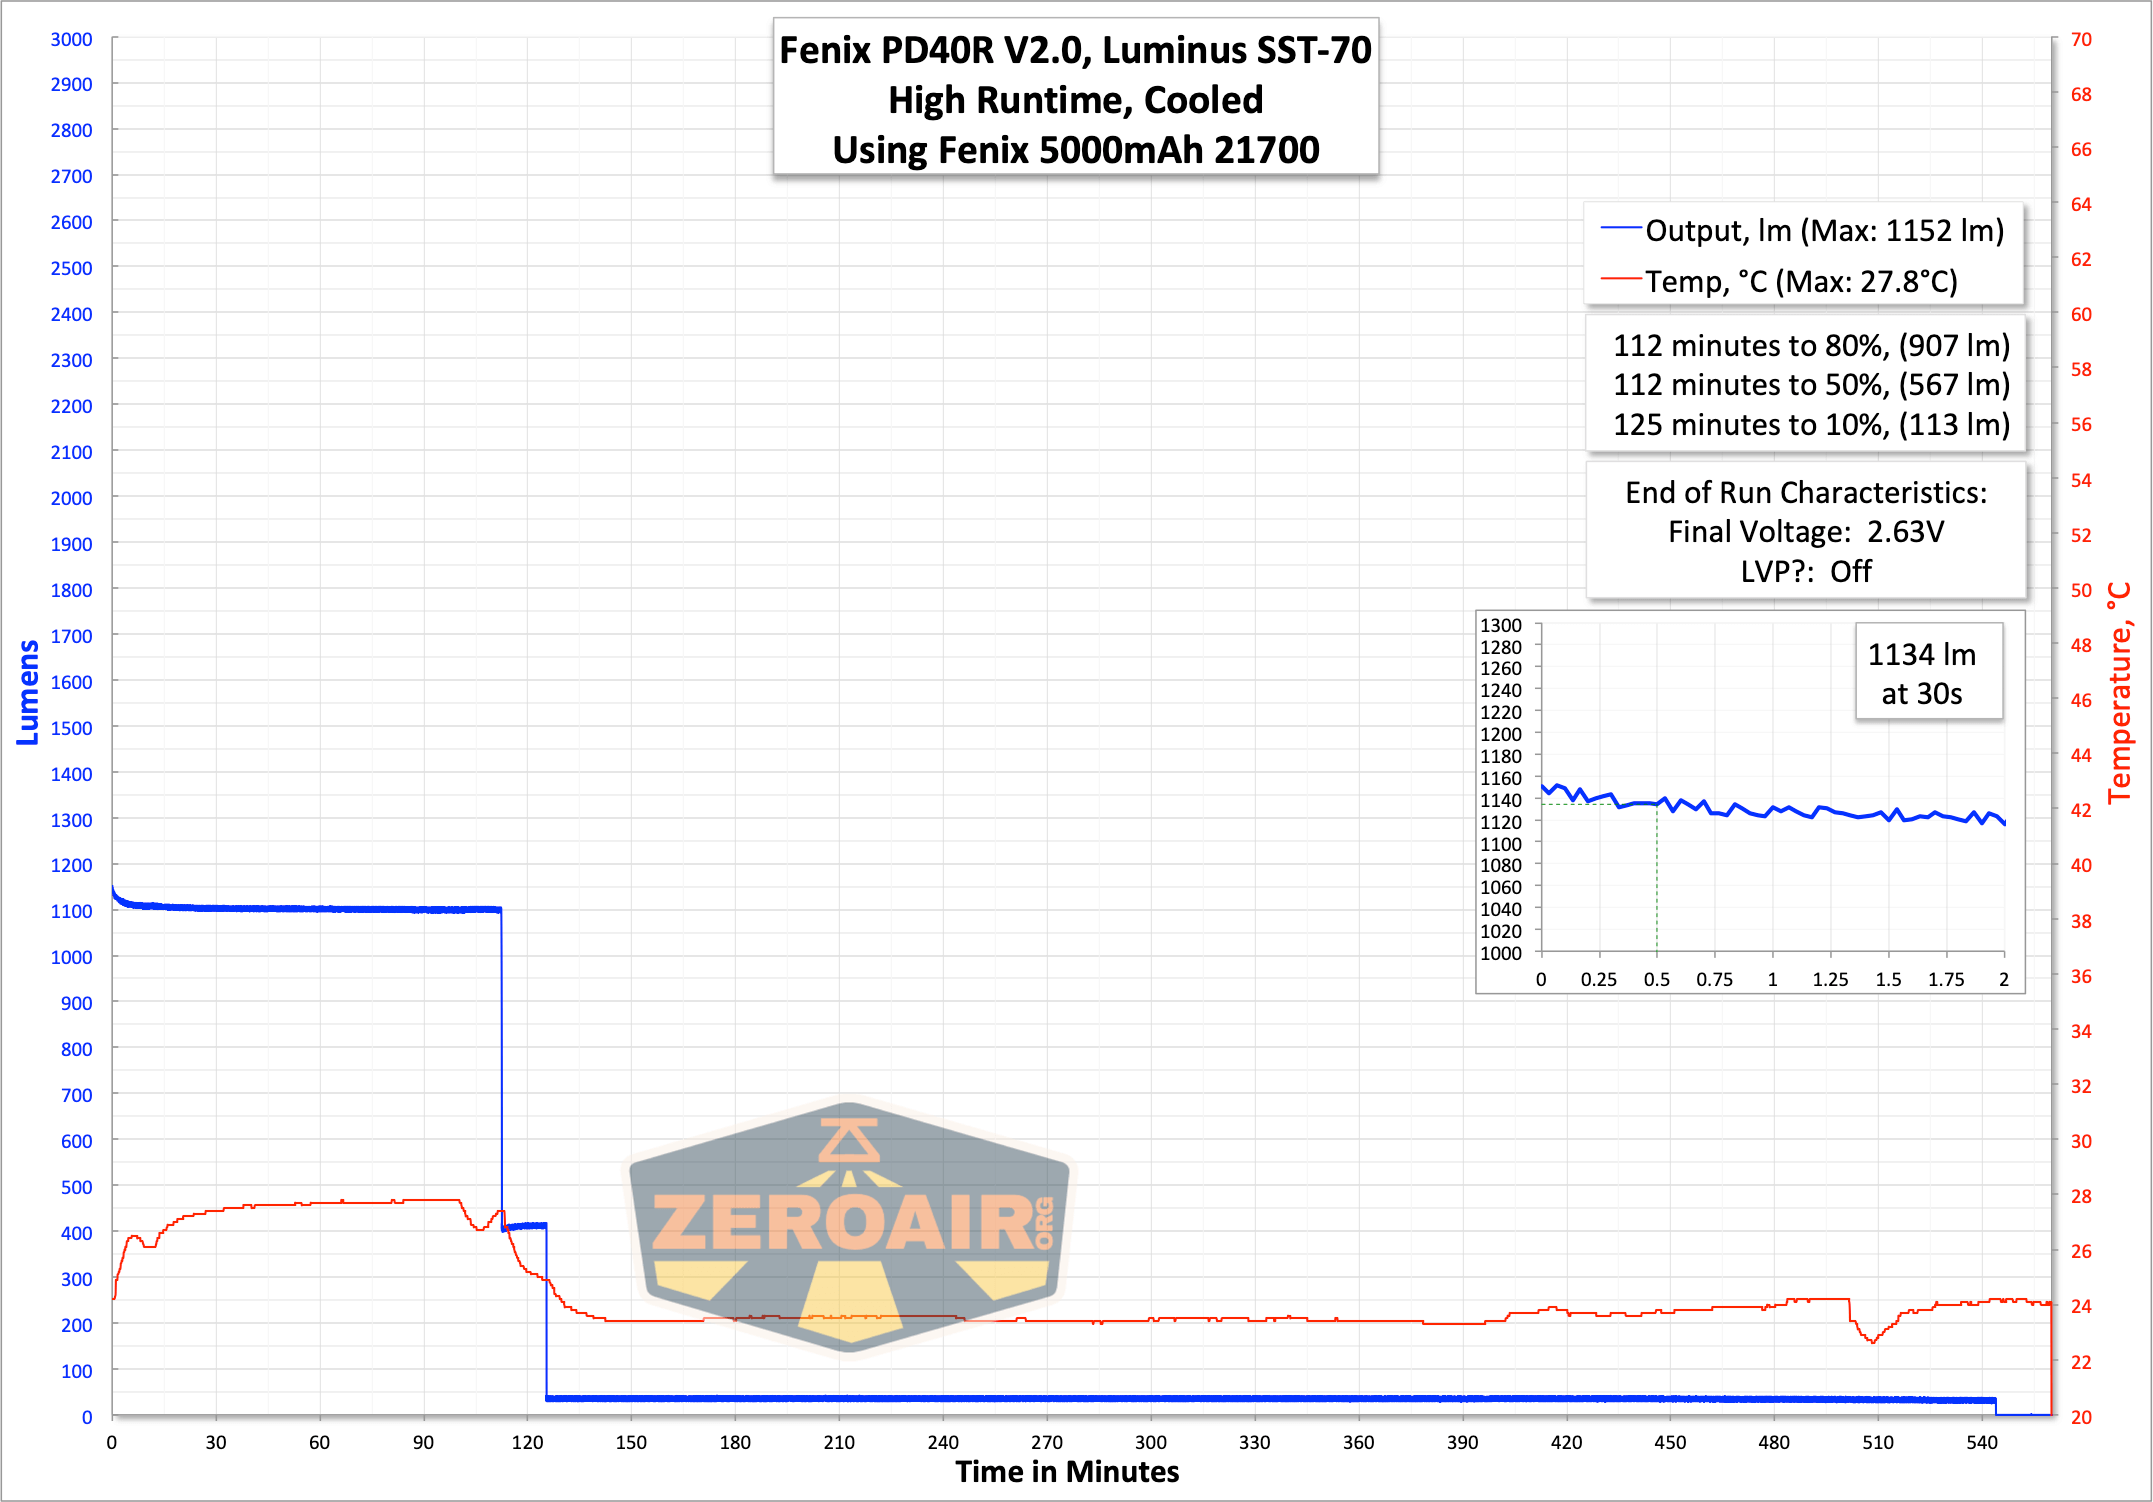
In the runtime tests, the light exhibits both low voltage warning by stepping down, and also by the indicator on the side of the head. The light will finally shut off, as seen in the test for High, in the 2.6V range.
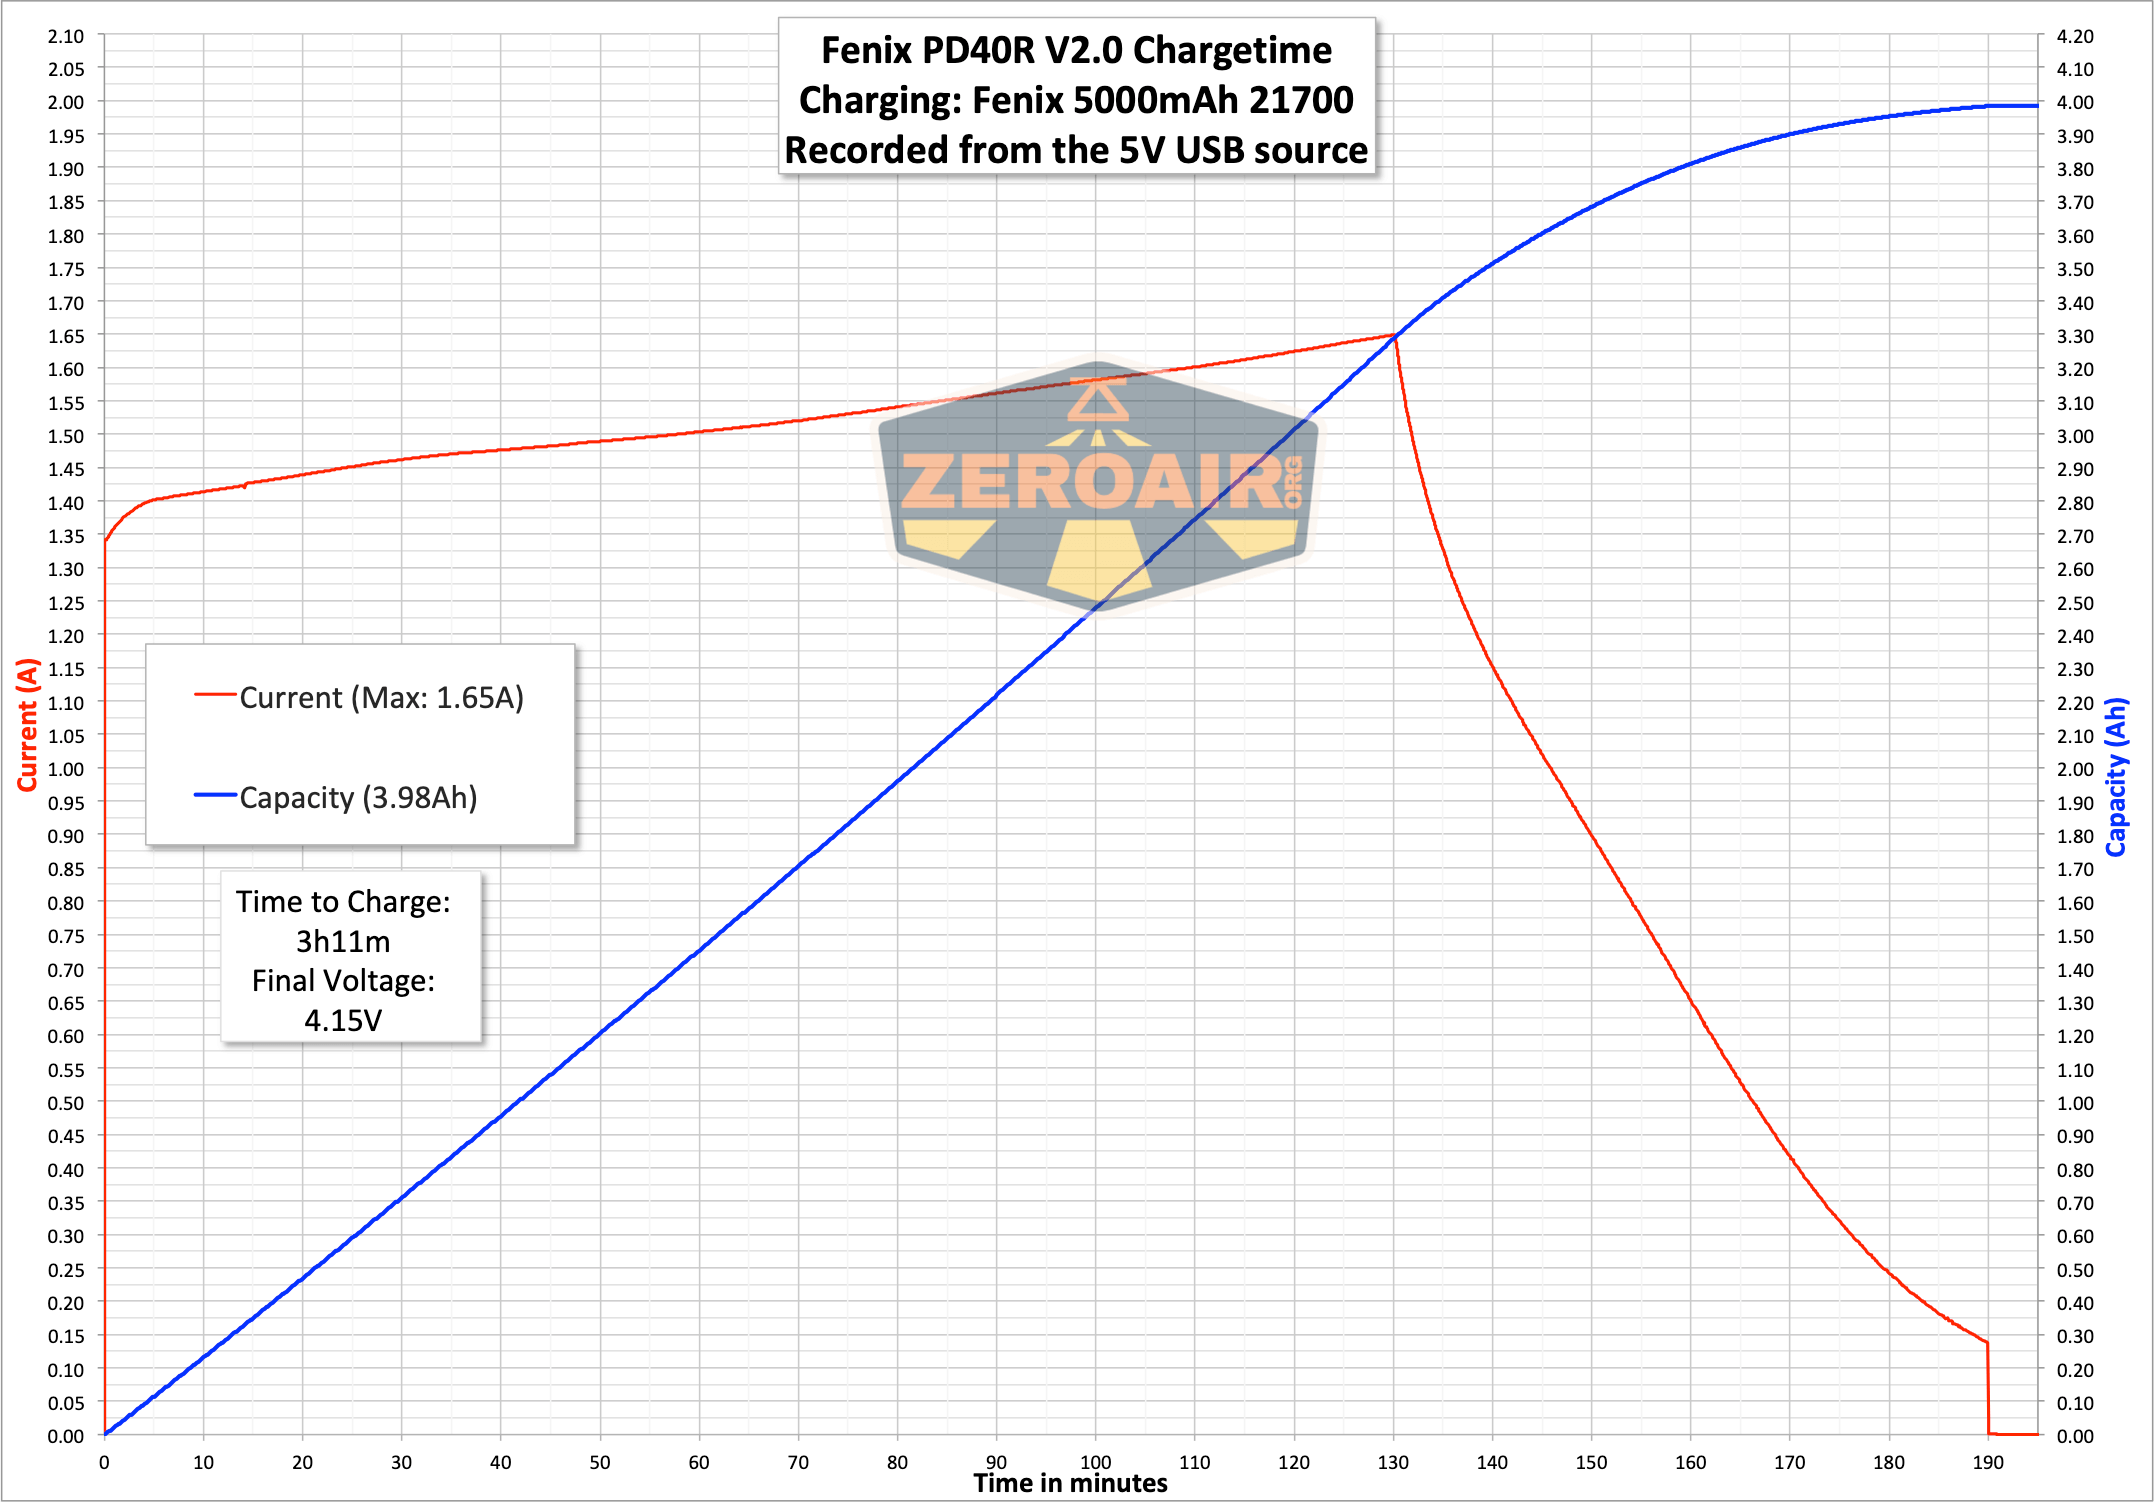
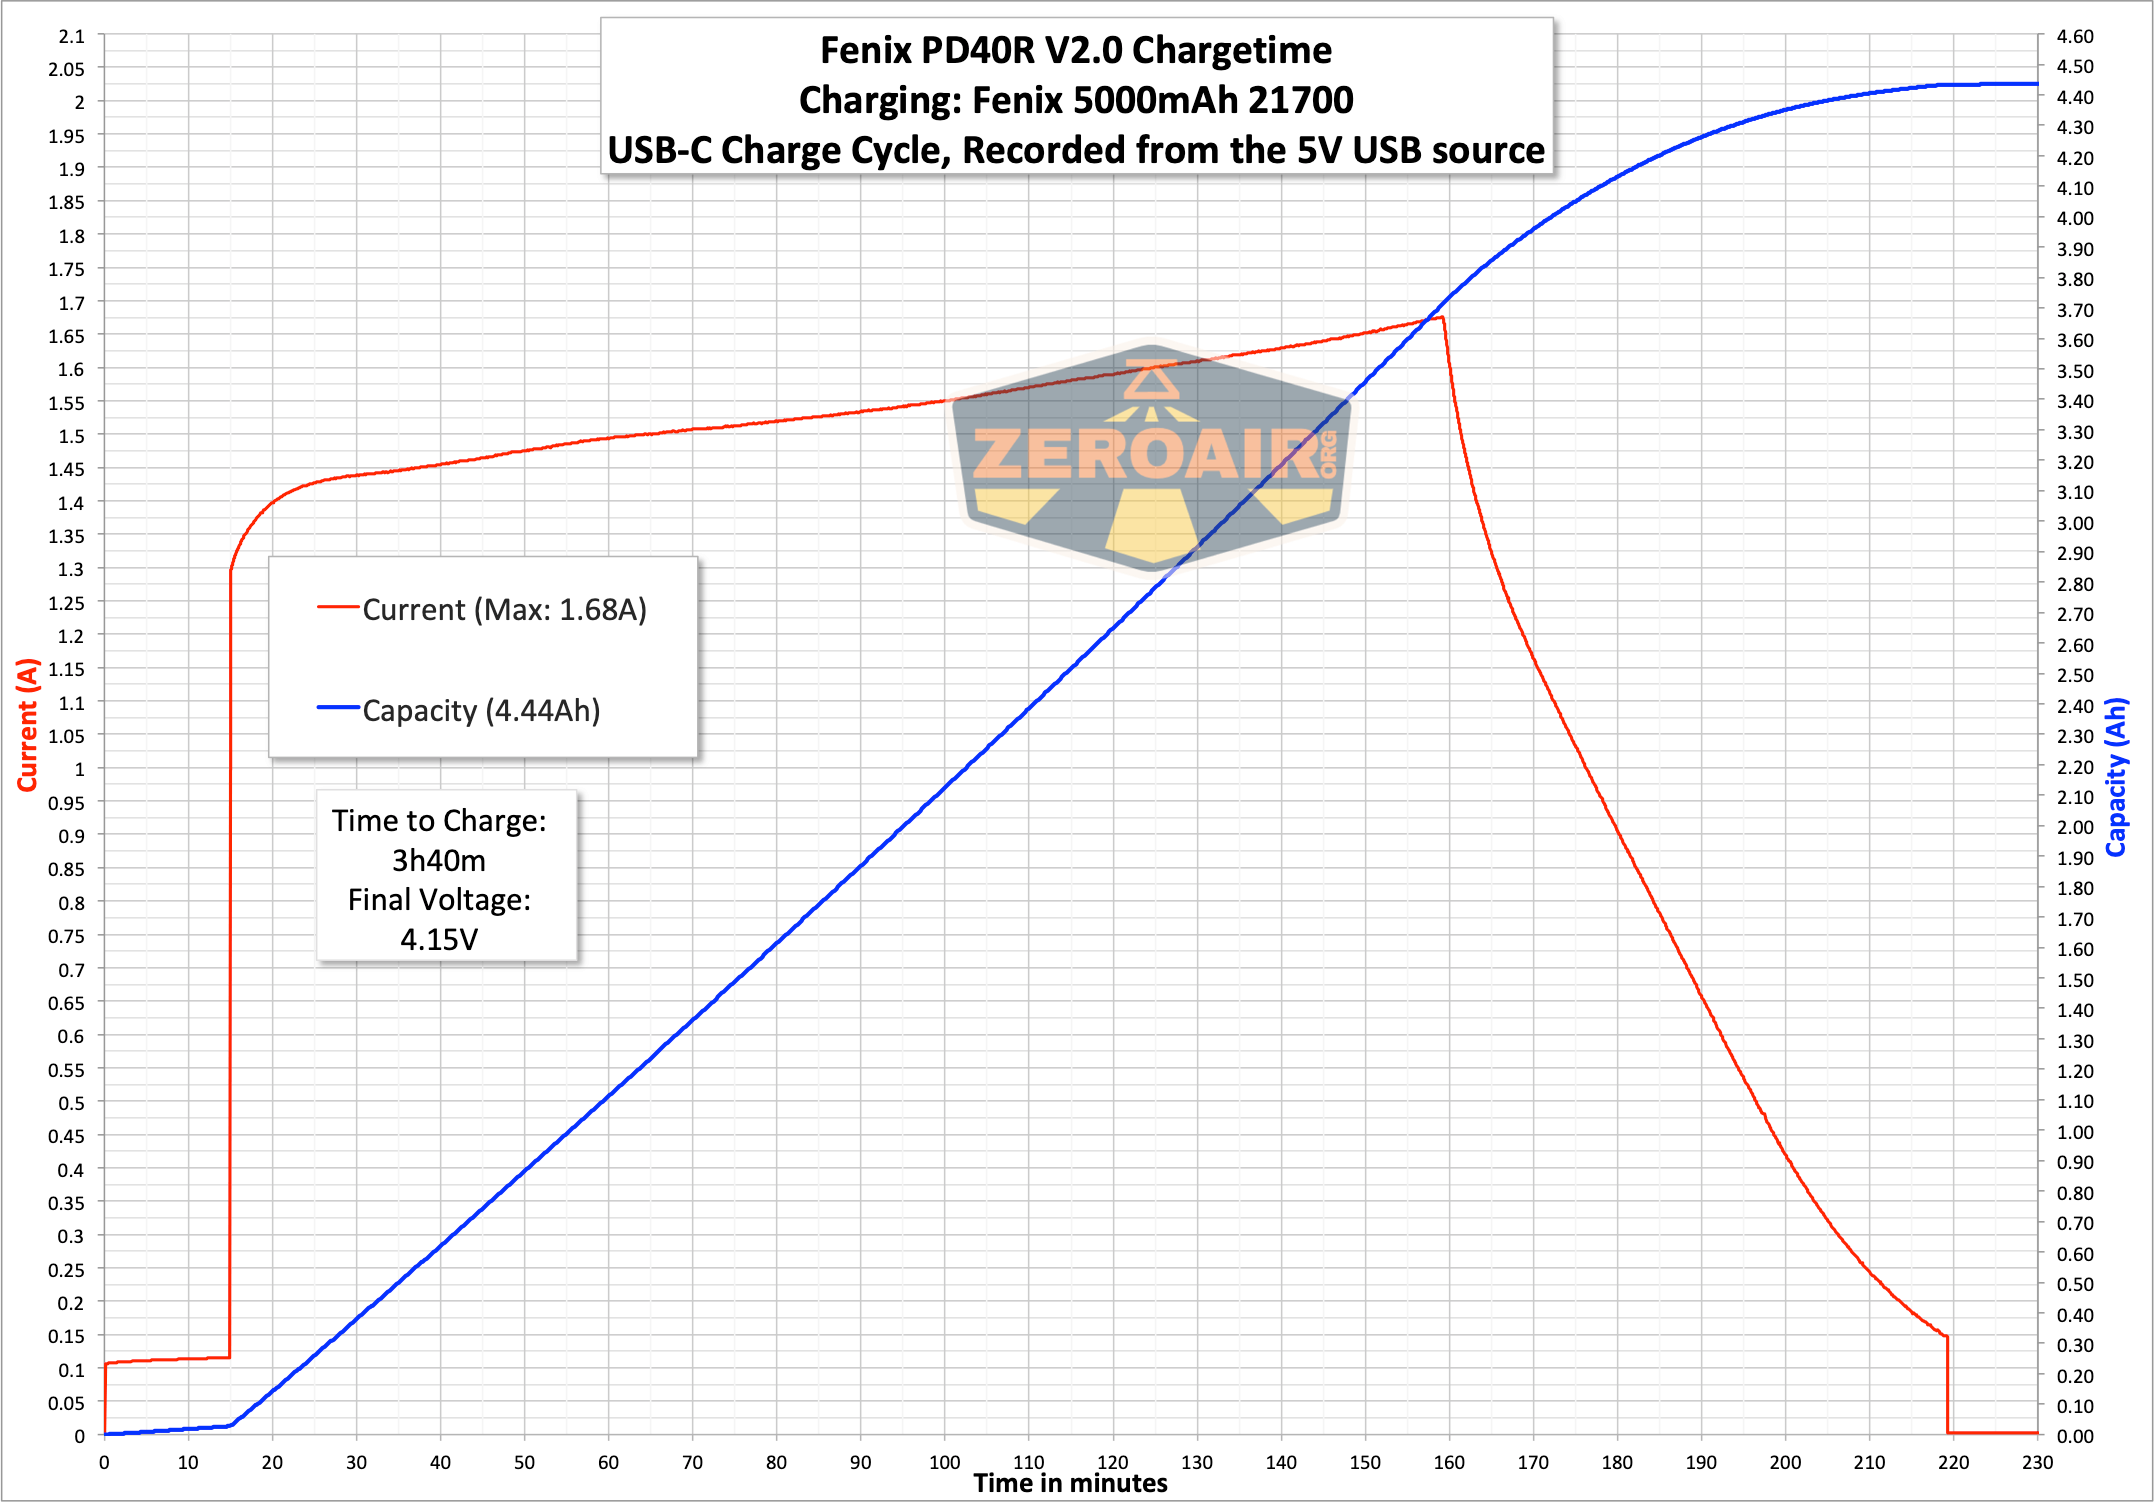
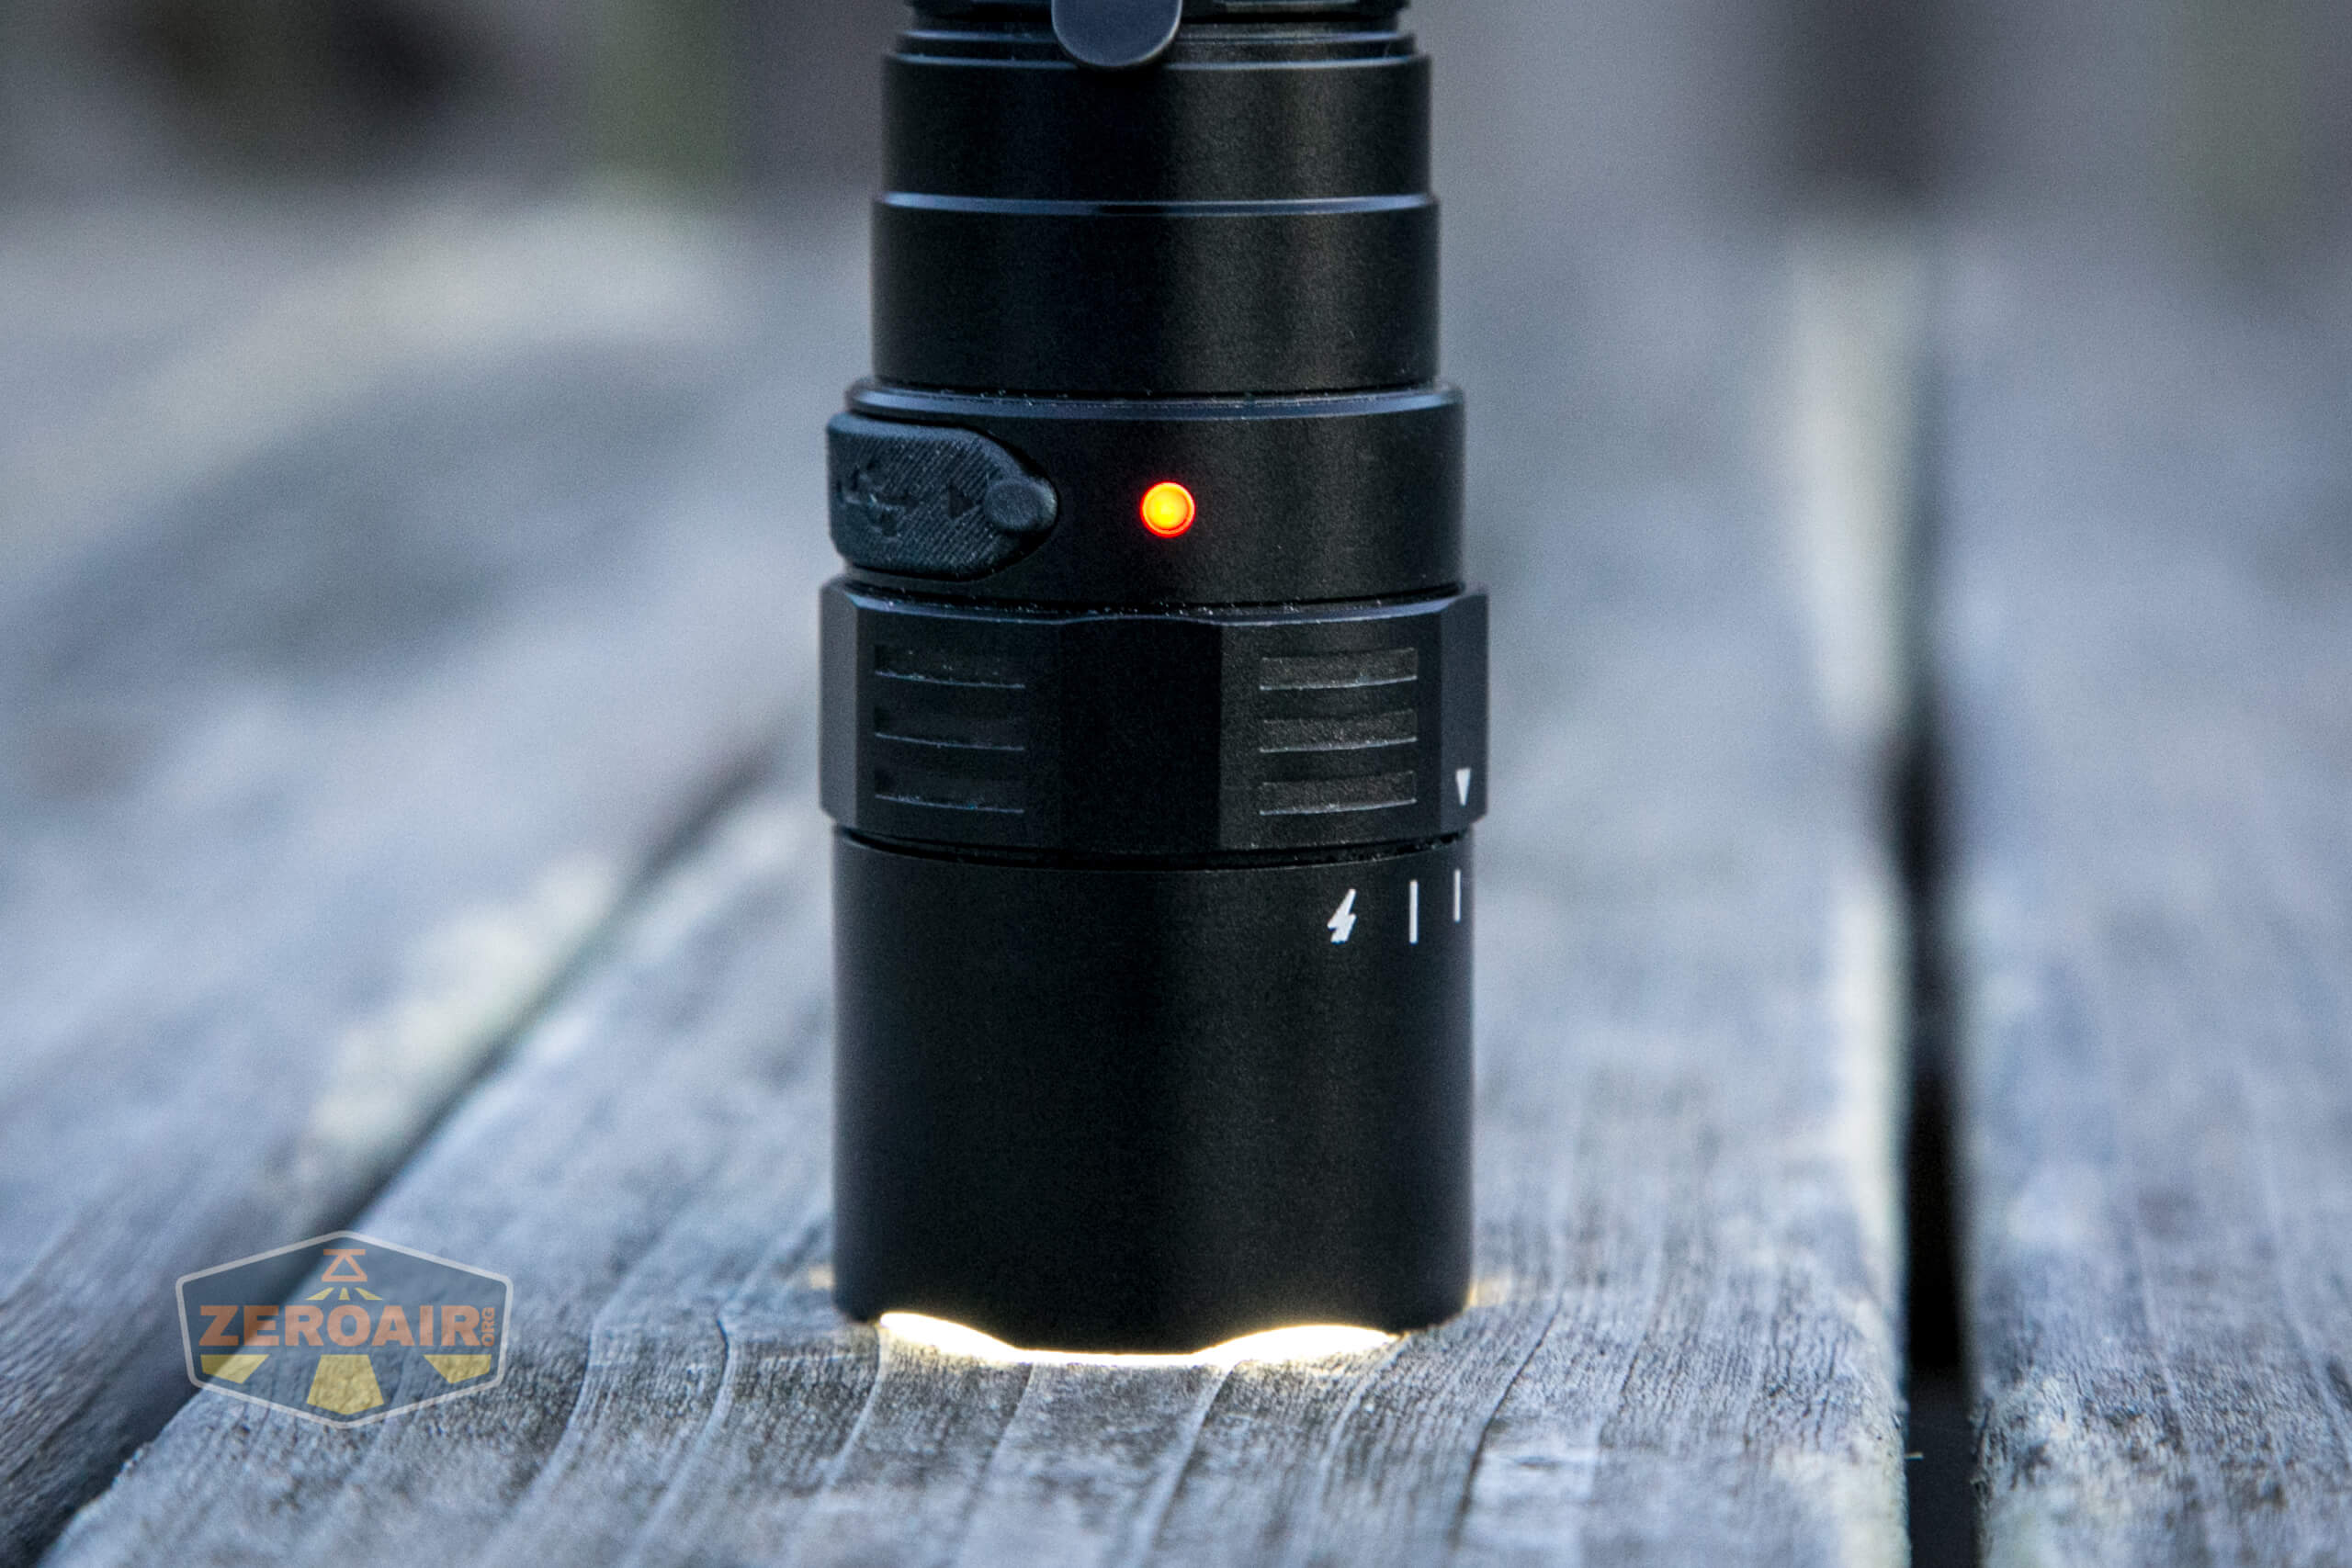
Charging
Unlike the Fenix TK30, which included a cell that had onboard charging, the PD40R V2.0 has built-in charging on the body. This is in the form of a USB-C port on the side.
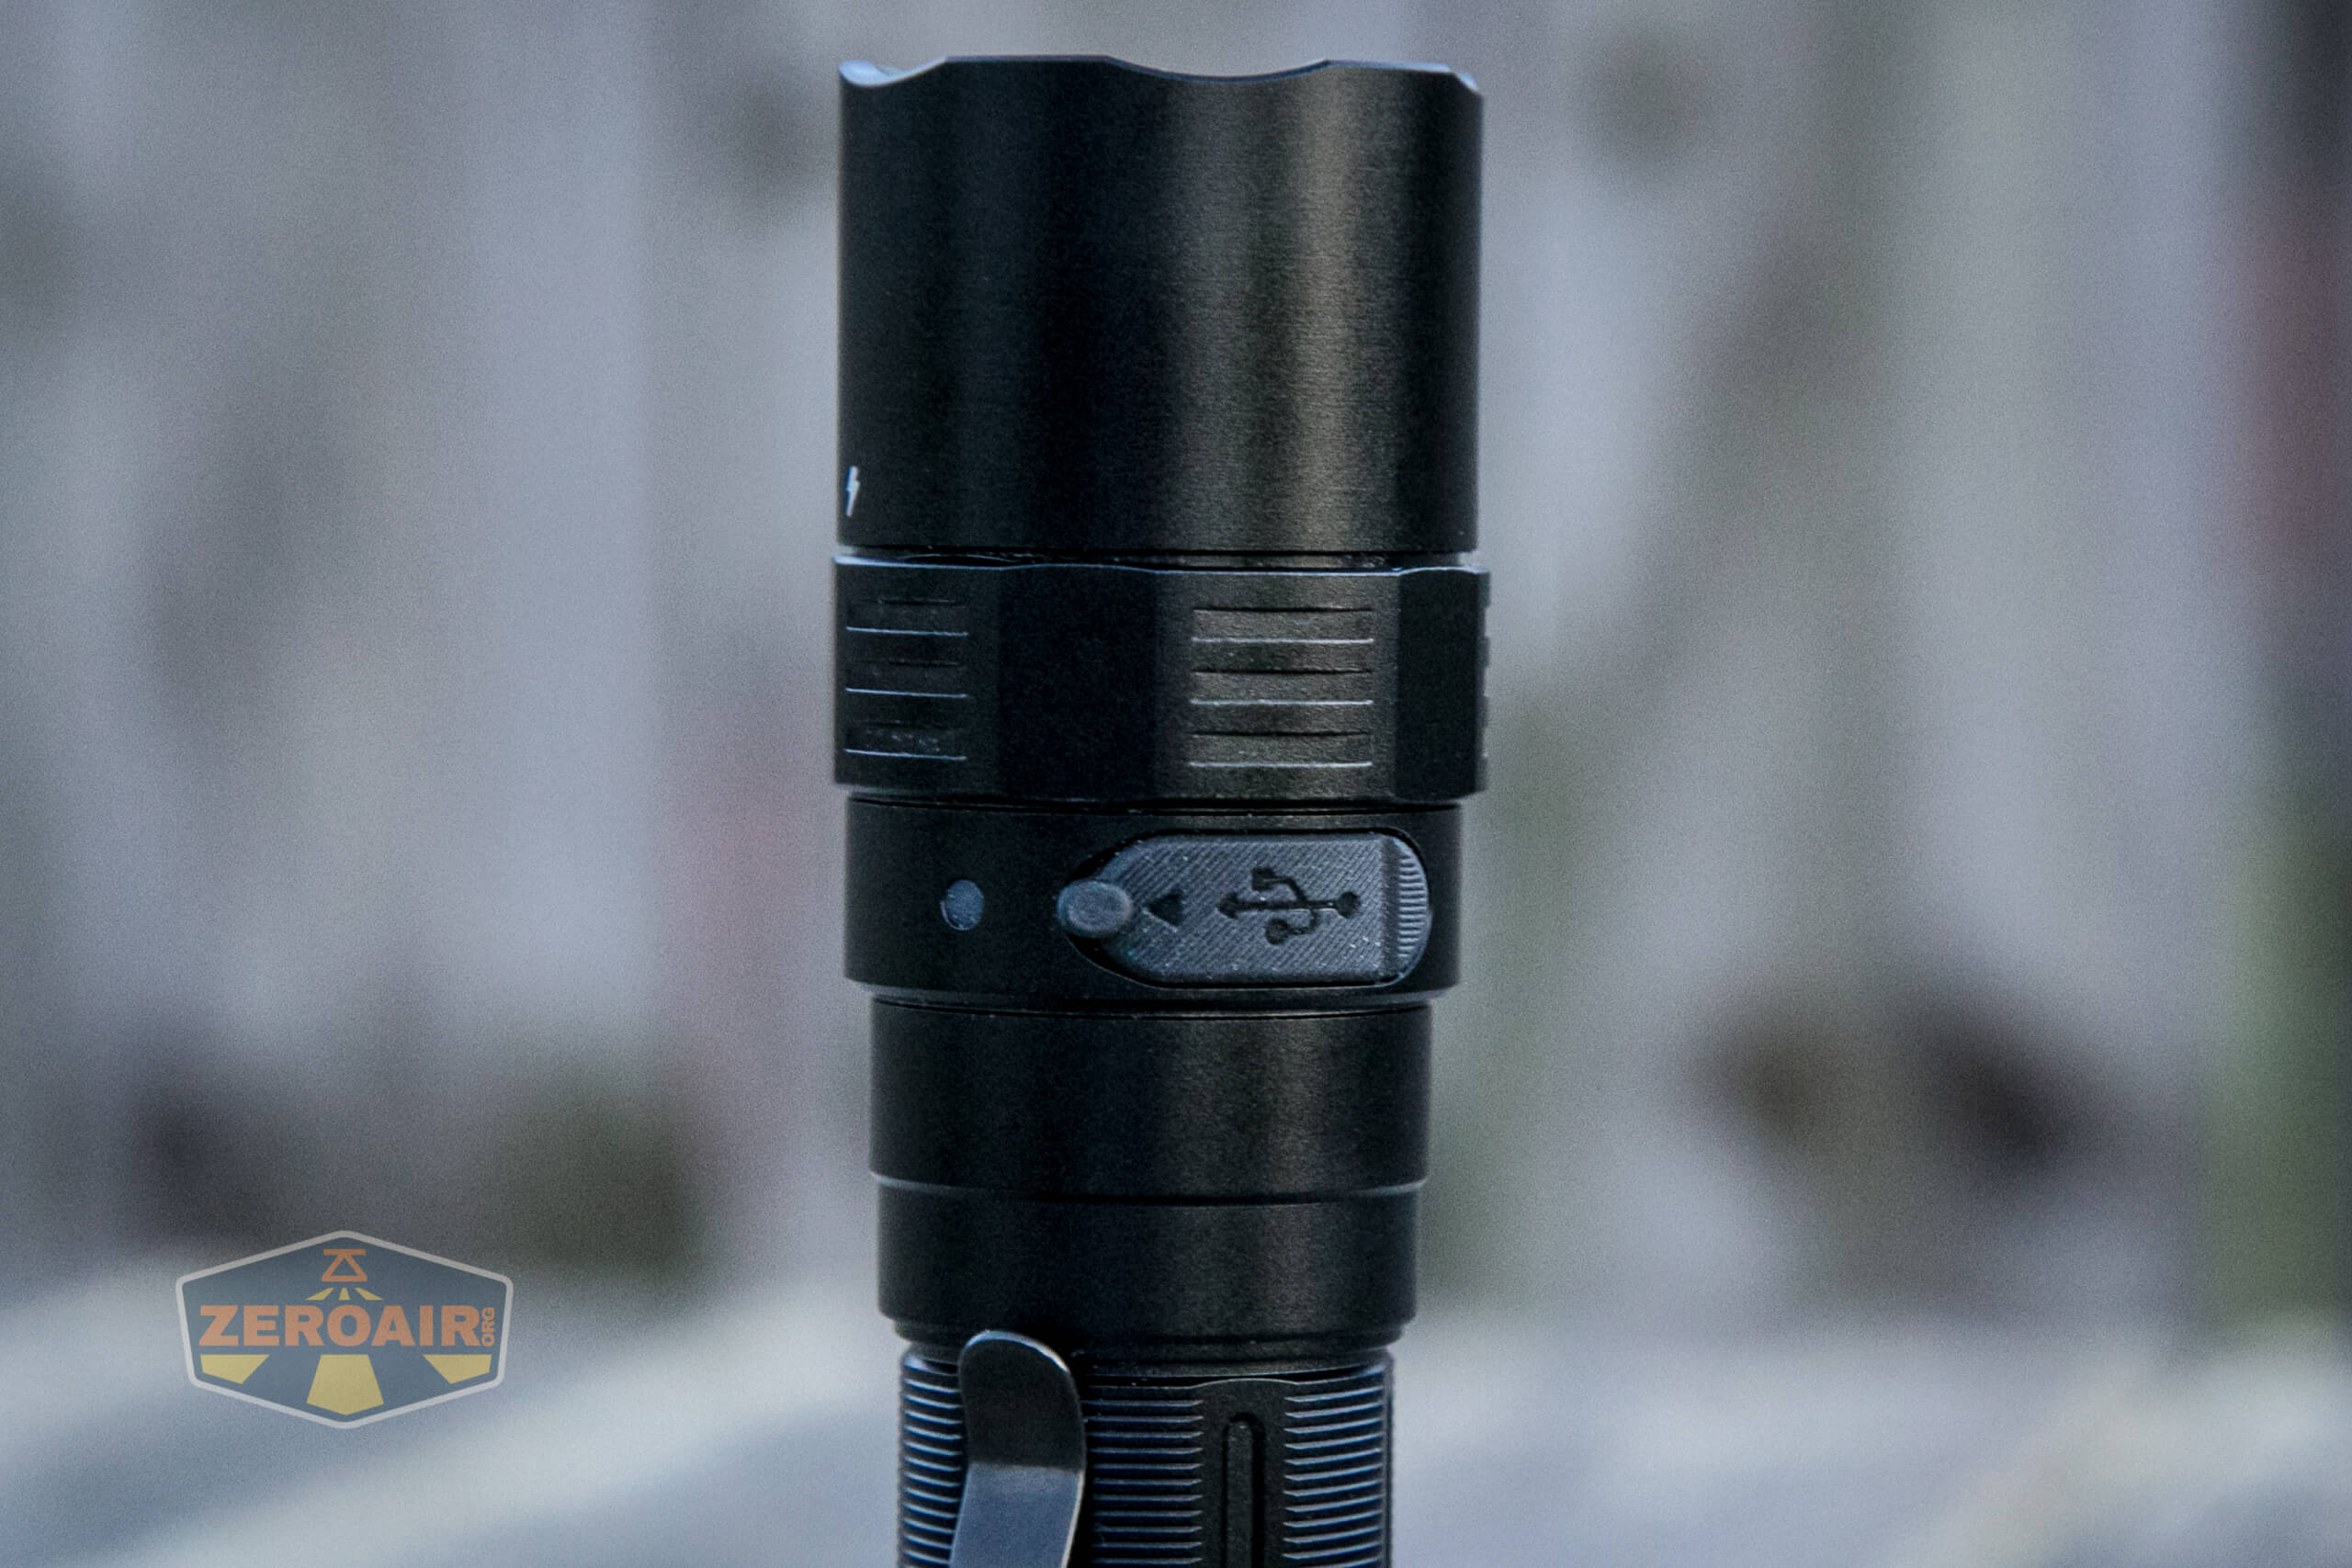
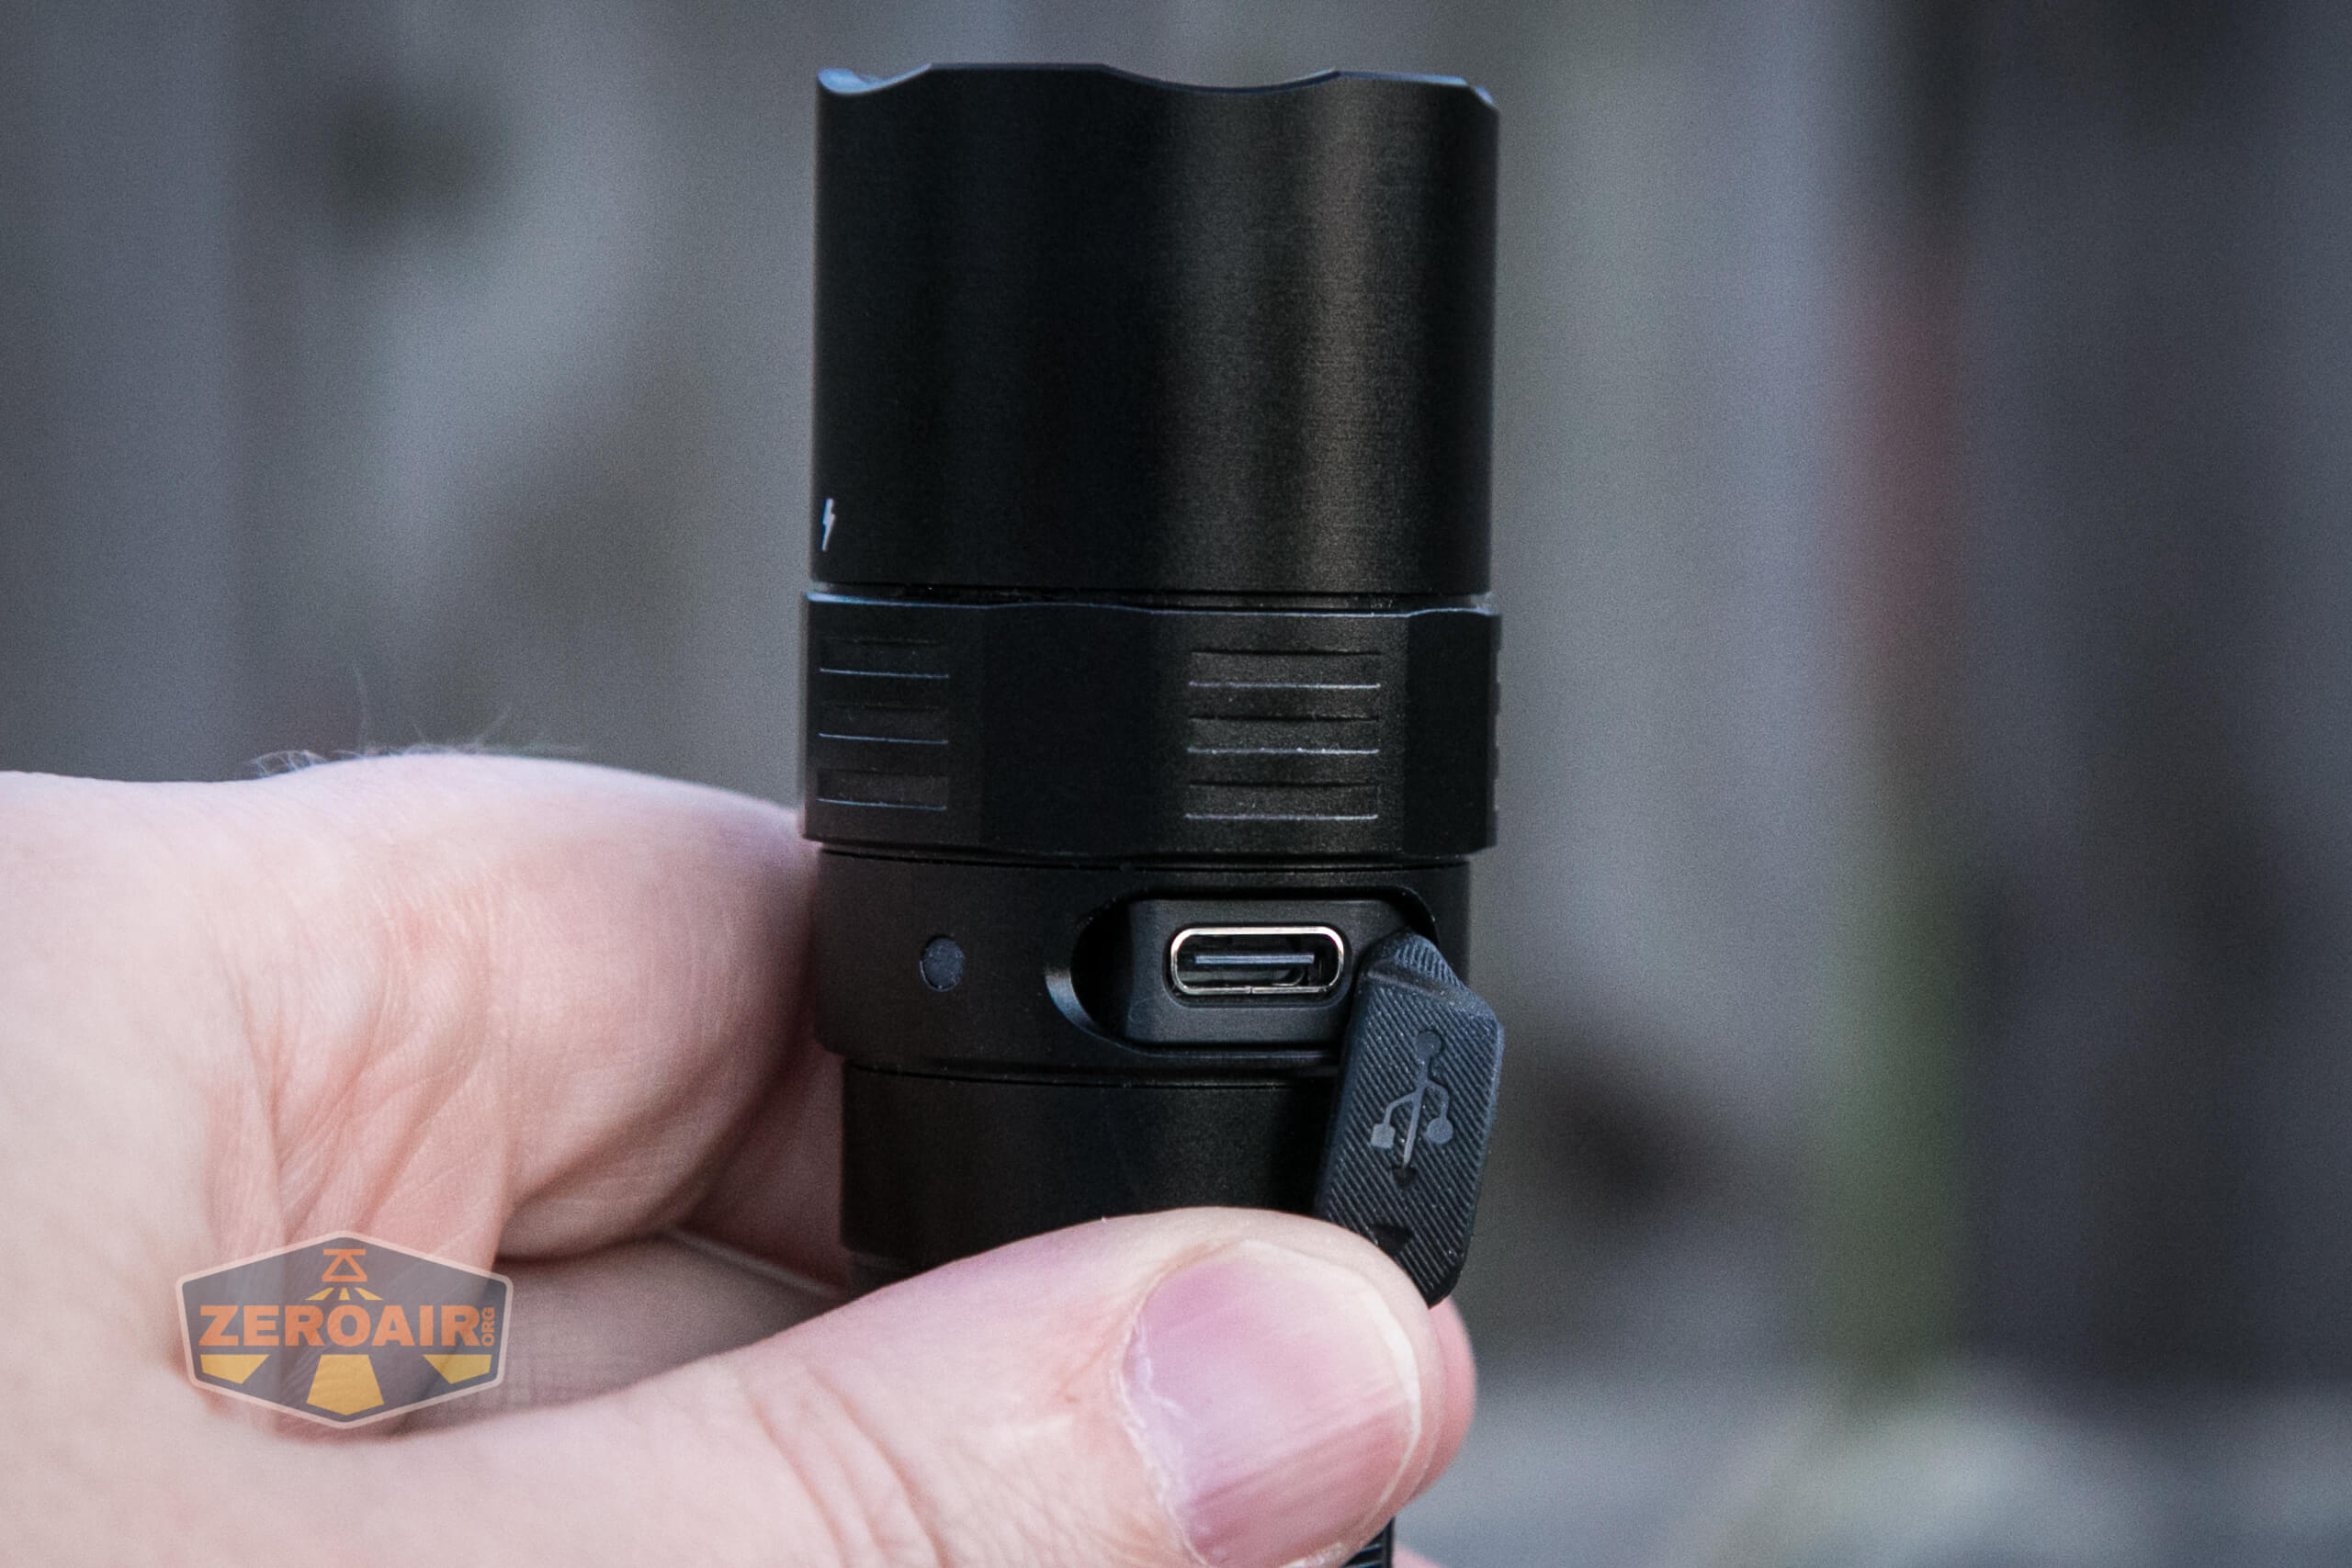
That press-fit cover, despite opening in “the wrong way,” is actually quite snug and feels safe.
An appropriate cable is included: USB to USB-C.
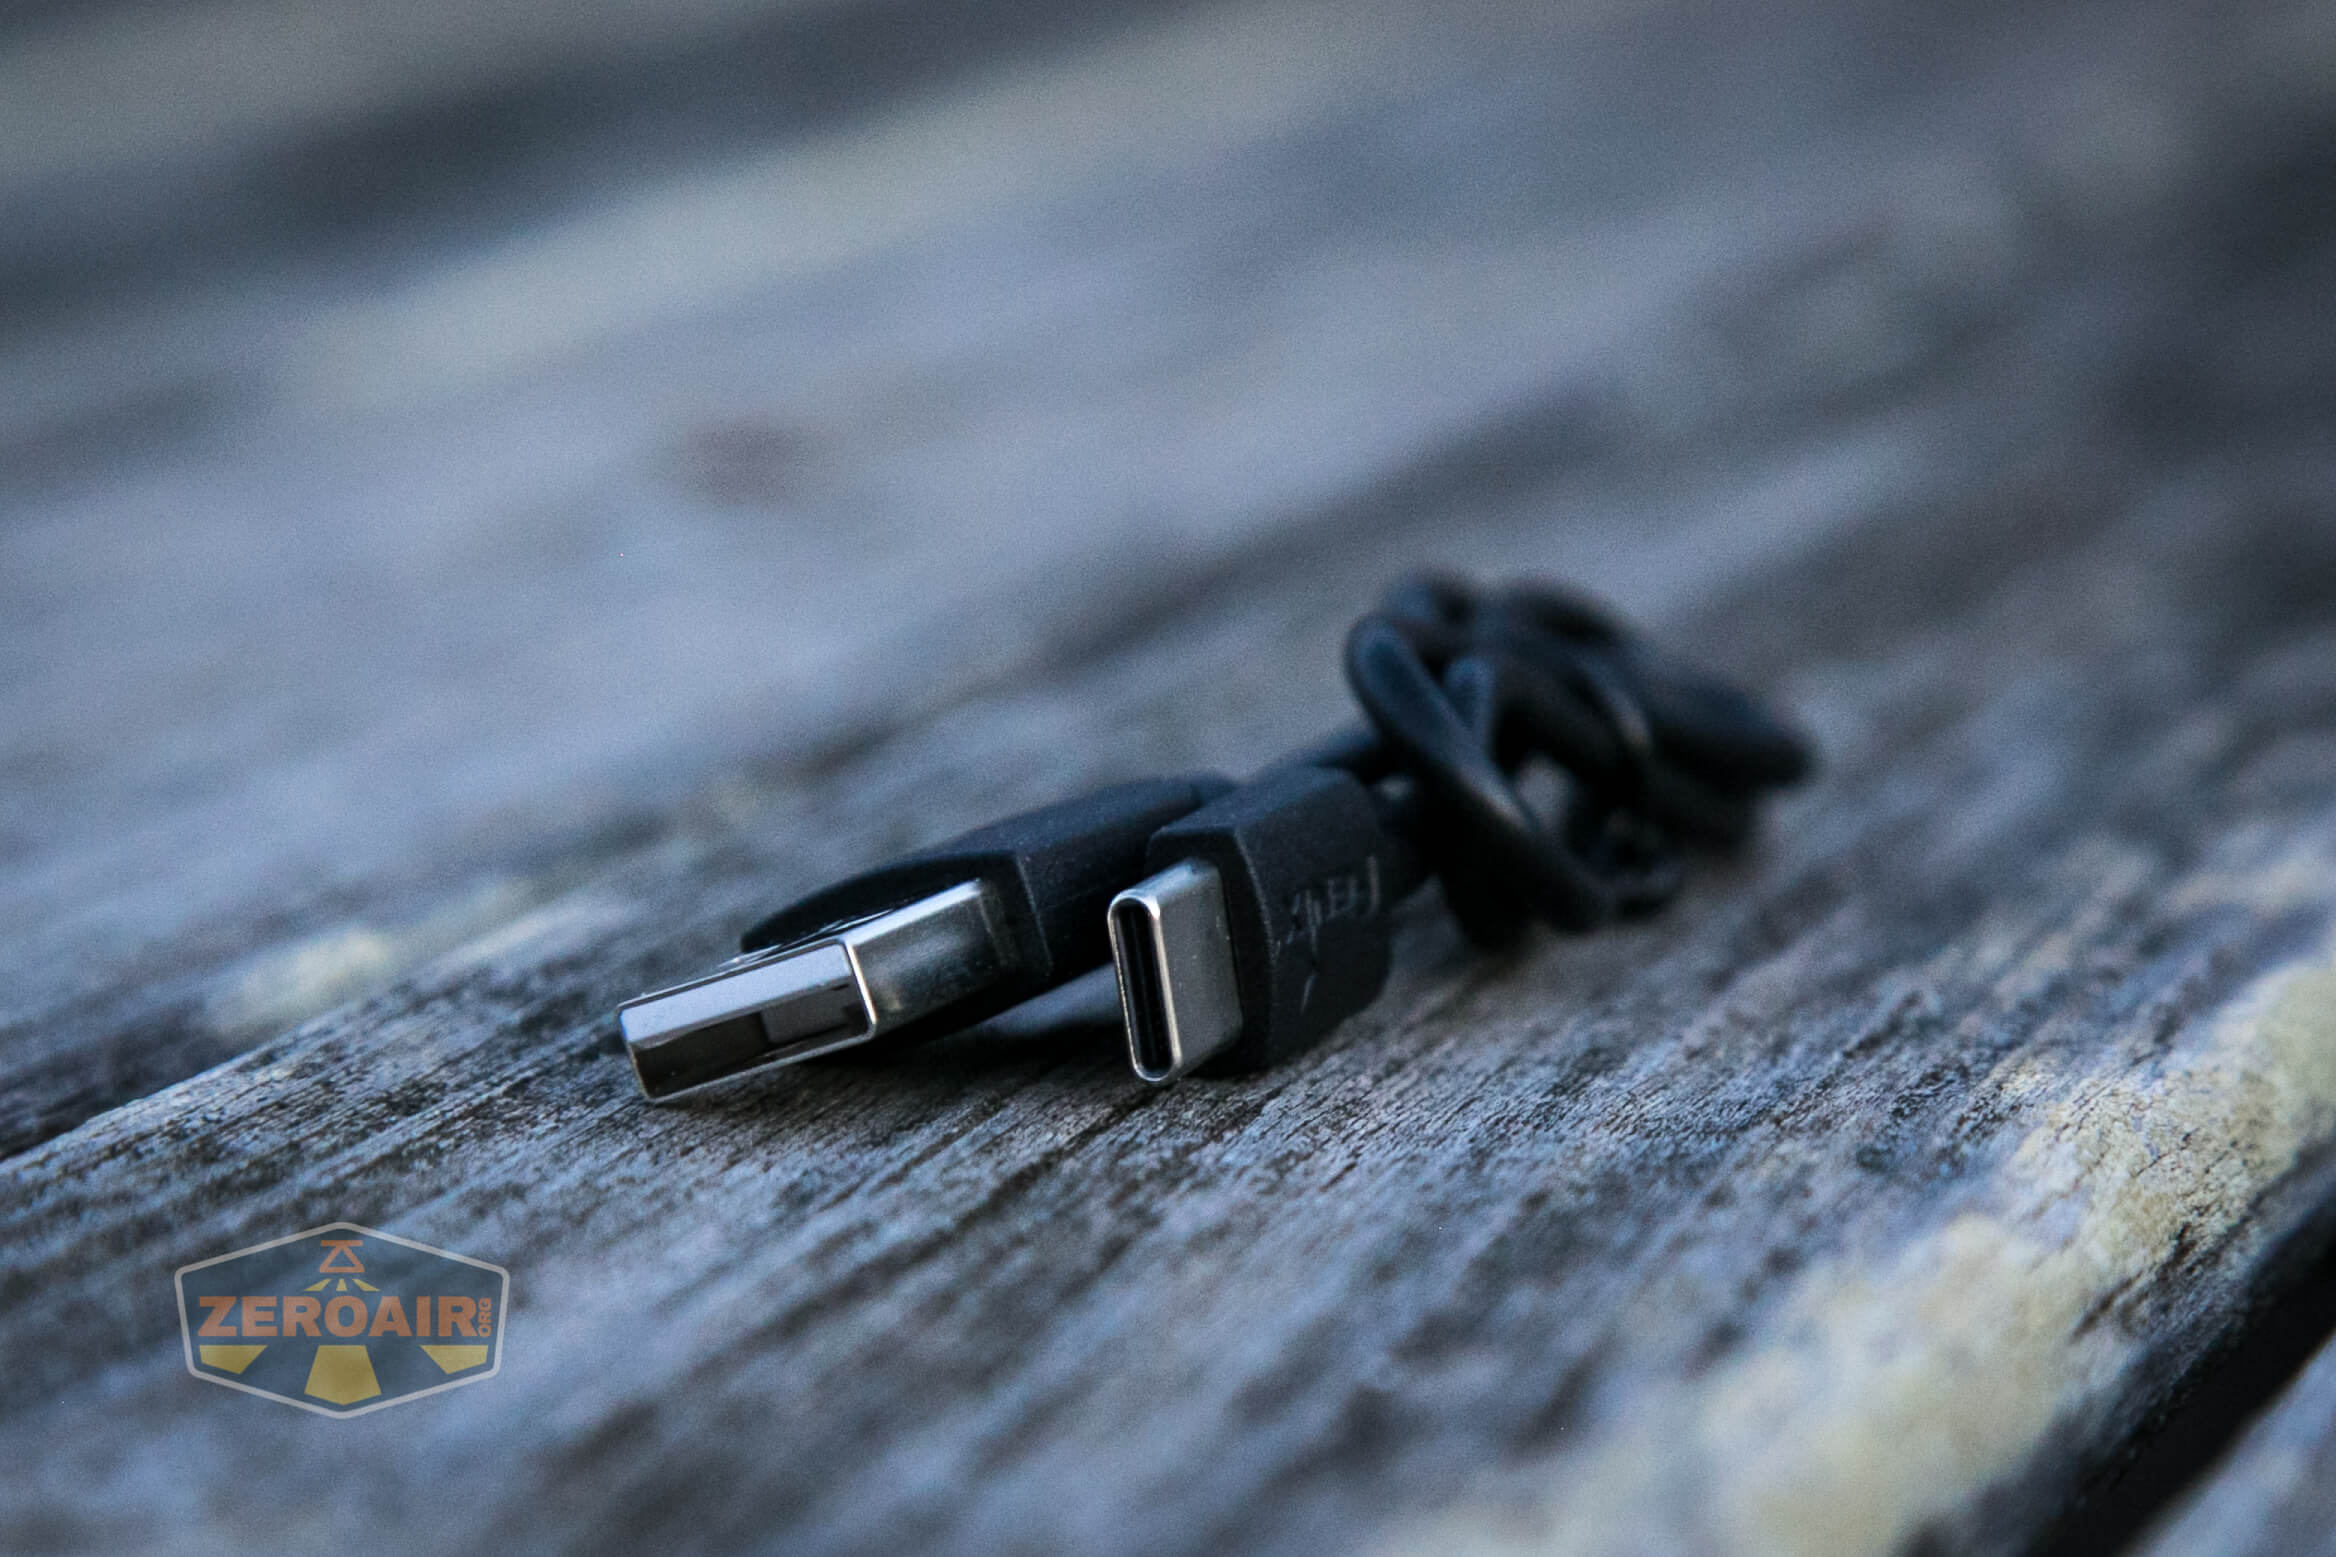
Charging looks good at just under 2A. This is USB-A to USB-C charging, but C to C also works.
Here’s a charge cycle using USB-C.
Modes and Currents
| Mode | Mode Claimed Output (lm) | Claimed Runtime | Measured Lumens | Tailcap Amps |
|---|---|---|---|---|
| Turbo | 3000 | 2.4h | 2709 | 9.20 |
| High | 1000 | 3.1h | 1134 | 1.93 |
| Med | 350 | 8.3h | 421 | 0.59 |
| Low | 30 | 88.1h | 41 | 0.05 |
Pulse Width Modulation
Not really any PWM is seen here – that left most (Low mode) is what I’d call “sawtooth” and not “PWM.”

Here you can see a “baseline” – a chart with almost no light hitting the sensor.
Then there’s the Ultrafire WF-602C flashlight, which has some of the worst PWM I’ve seen. It’s so bad that I used a post about it to explain PWM! Here are multiple timescales (10ms, 5ms, 2ms, 1ms, 0.5ms, 0.2ms) to make comparing this “worst” PWM light to the test light easier. That post also explains why I didn’t test the WF-602C at the usual 50us scale.
User Interface and Operation
Seen on the Fenix PD40R V2.0 is an unusual rotary dial. There is no clicky switch at all, electronic or mechanical. The rotary interface is touted as “the” way to flashlights by many users, and it’s easy to see why. It’s a very reliable, trustworthy way to operate a flashlight.
I find this implementation to be good as well, but it’s difficult to operate single-handed. If I hold the light just right, most of the time I can get lucky enough to turn the rotary, but often it’s not exactly the mode I want (namely Low, which is first). Being very deliberate with the holding and the action should allow accurate targeting of any mode, though.
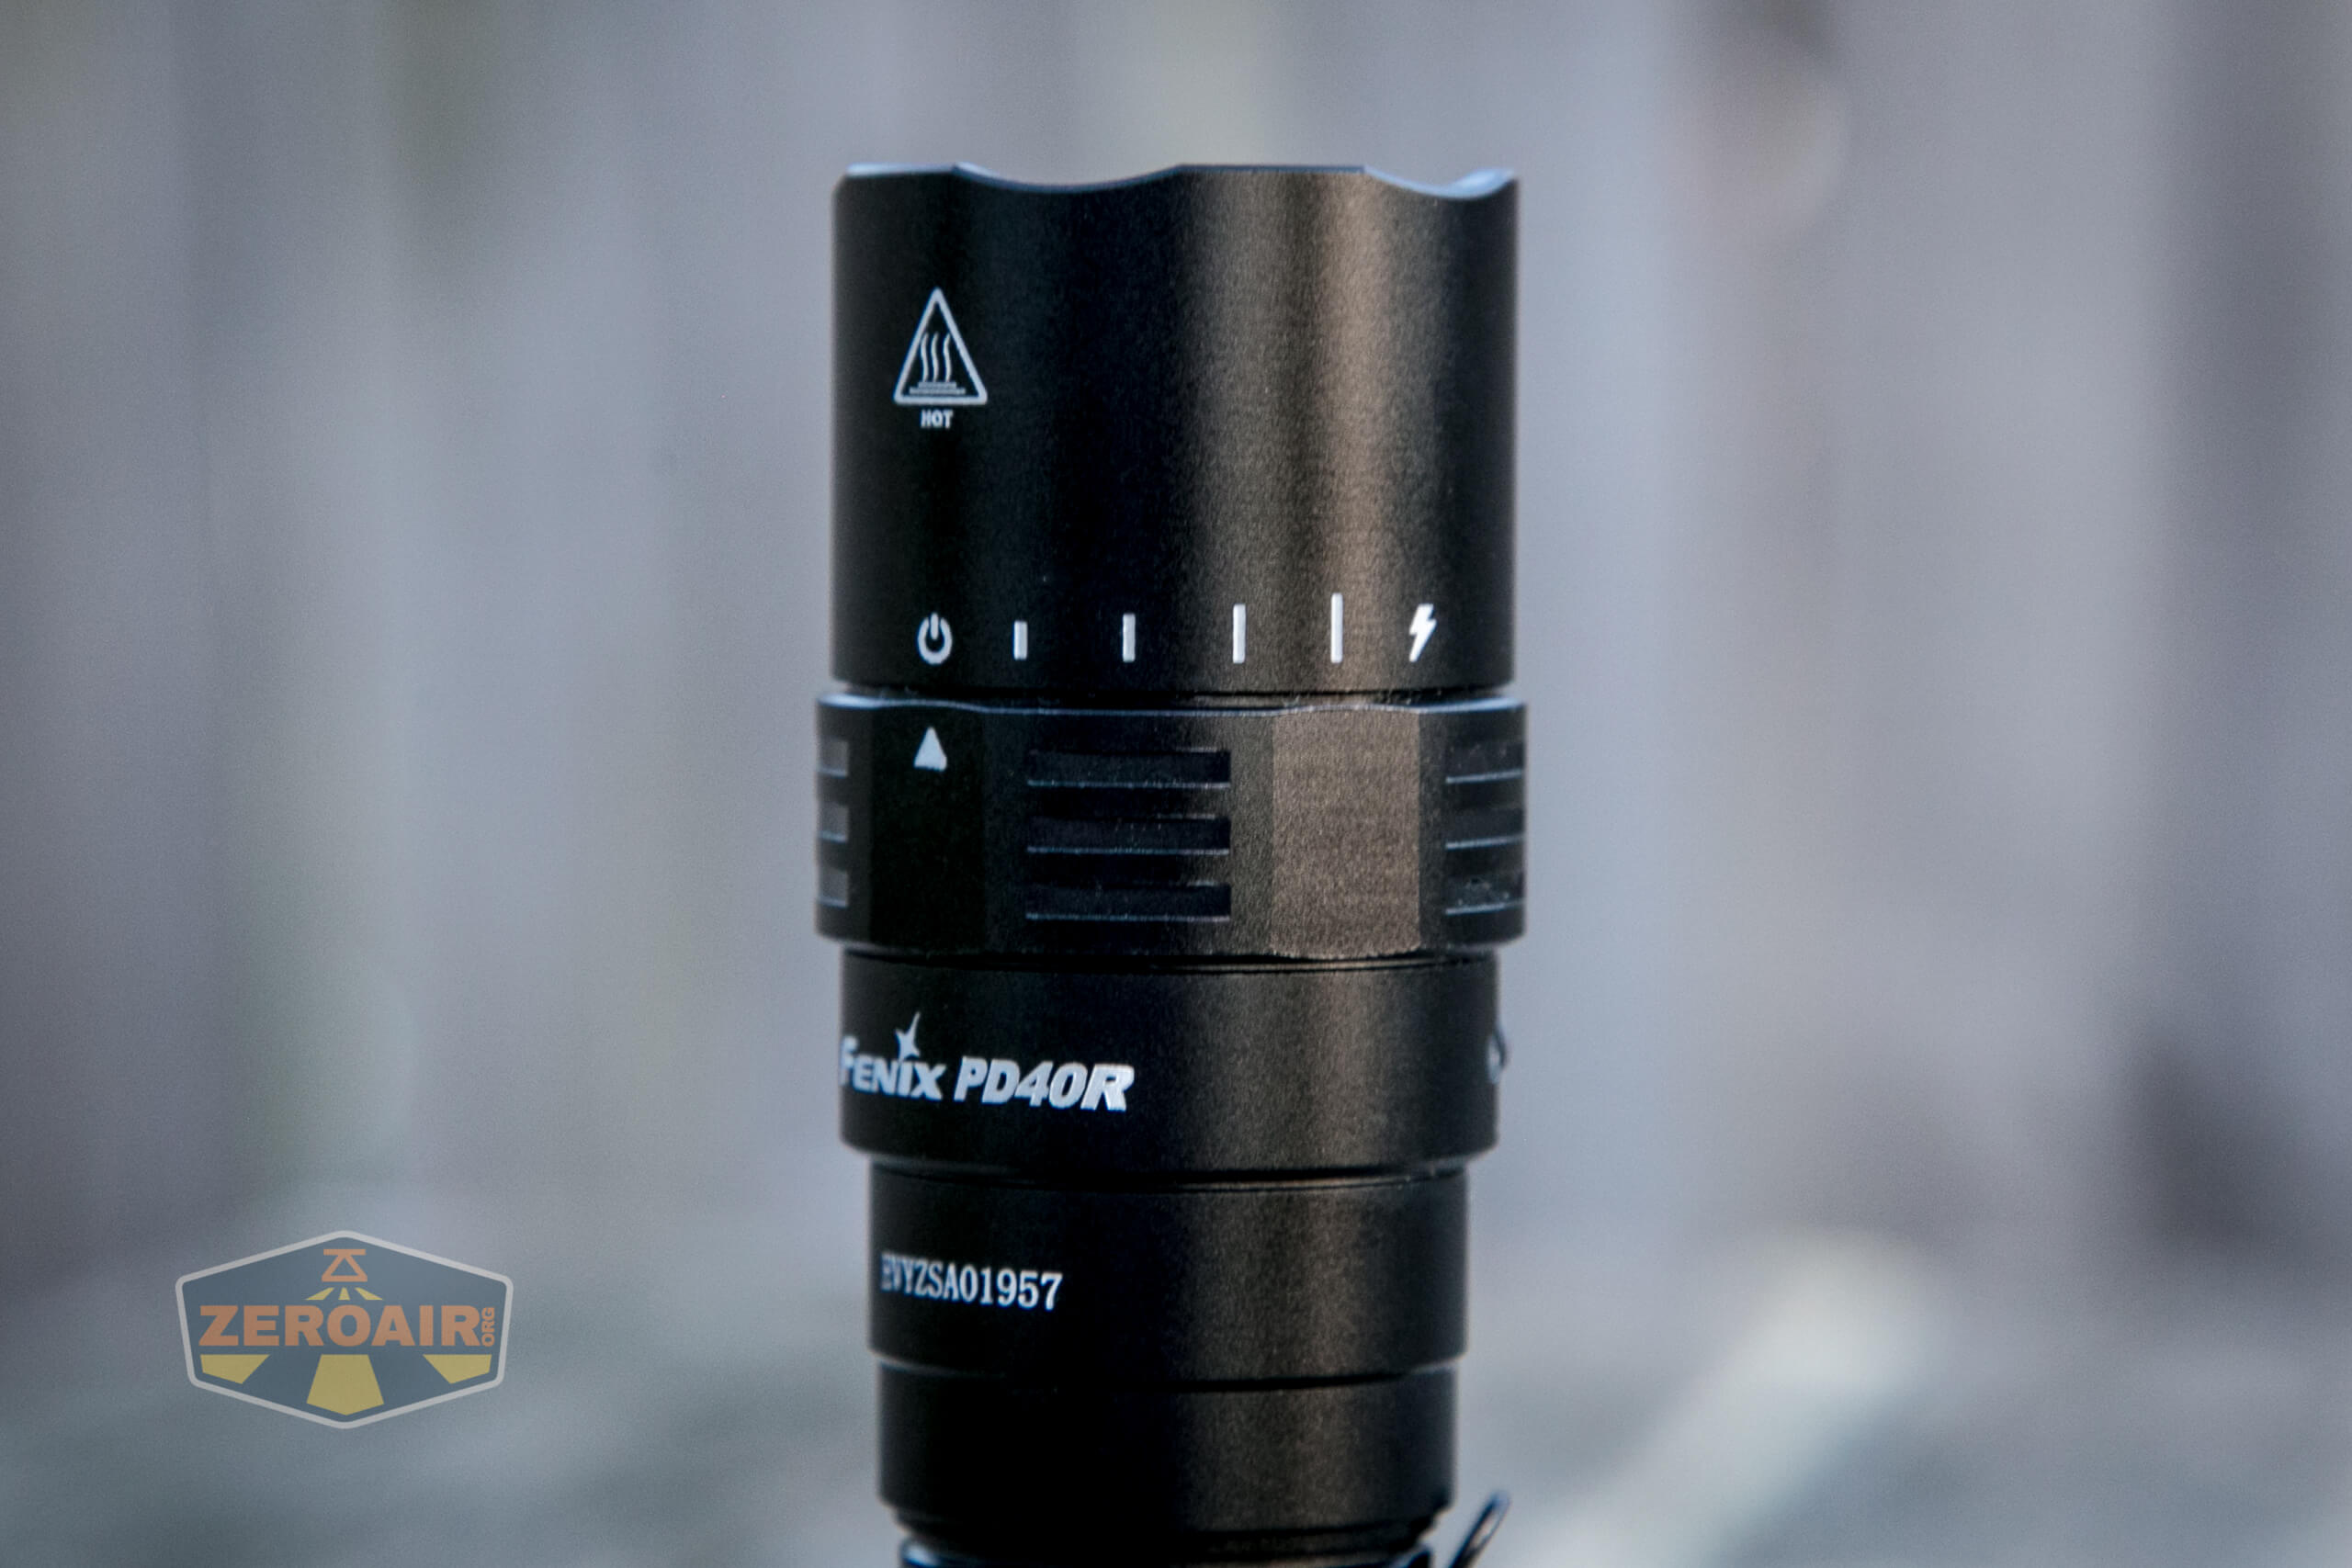
Each level has a very specific and clear detent. There are just 5 levels, too, so nothing is really confusing.
Here’s a user interface table!
| State | Action | Result |
|---|---|---|
| Off | Rotate dial Clockwise to the first detent | Low |
| Low | Rotate dial Clockwise to the second detent | Medium |
| Medium | Rotate dial Clockwise to the third detent | High |
| High | Rotate dial Clockwise to the fourth detent | Turbo |
| Turbo | Rotate dial Clockwise to the fifth detent | Strobe |
| Strobe | Rotate dial Counterclockwise to the fourth detent | Turbo |
| Turbo | Rotate dial Counterclockwise to the third detent | High |
| High | Rotate dial Counterclockwise to the second detent | Medium |
| Medium | Rotate dial Counterclockwise to the first detent | Low |
| Low | Rotate dial Counterclockwise to the off detent | Off |
I wrote the table out that way so that you can see there are zero surprises in this user interface!
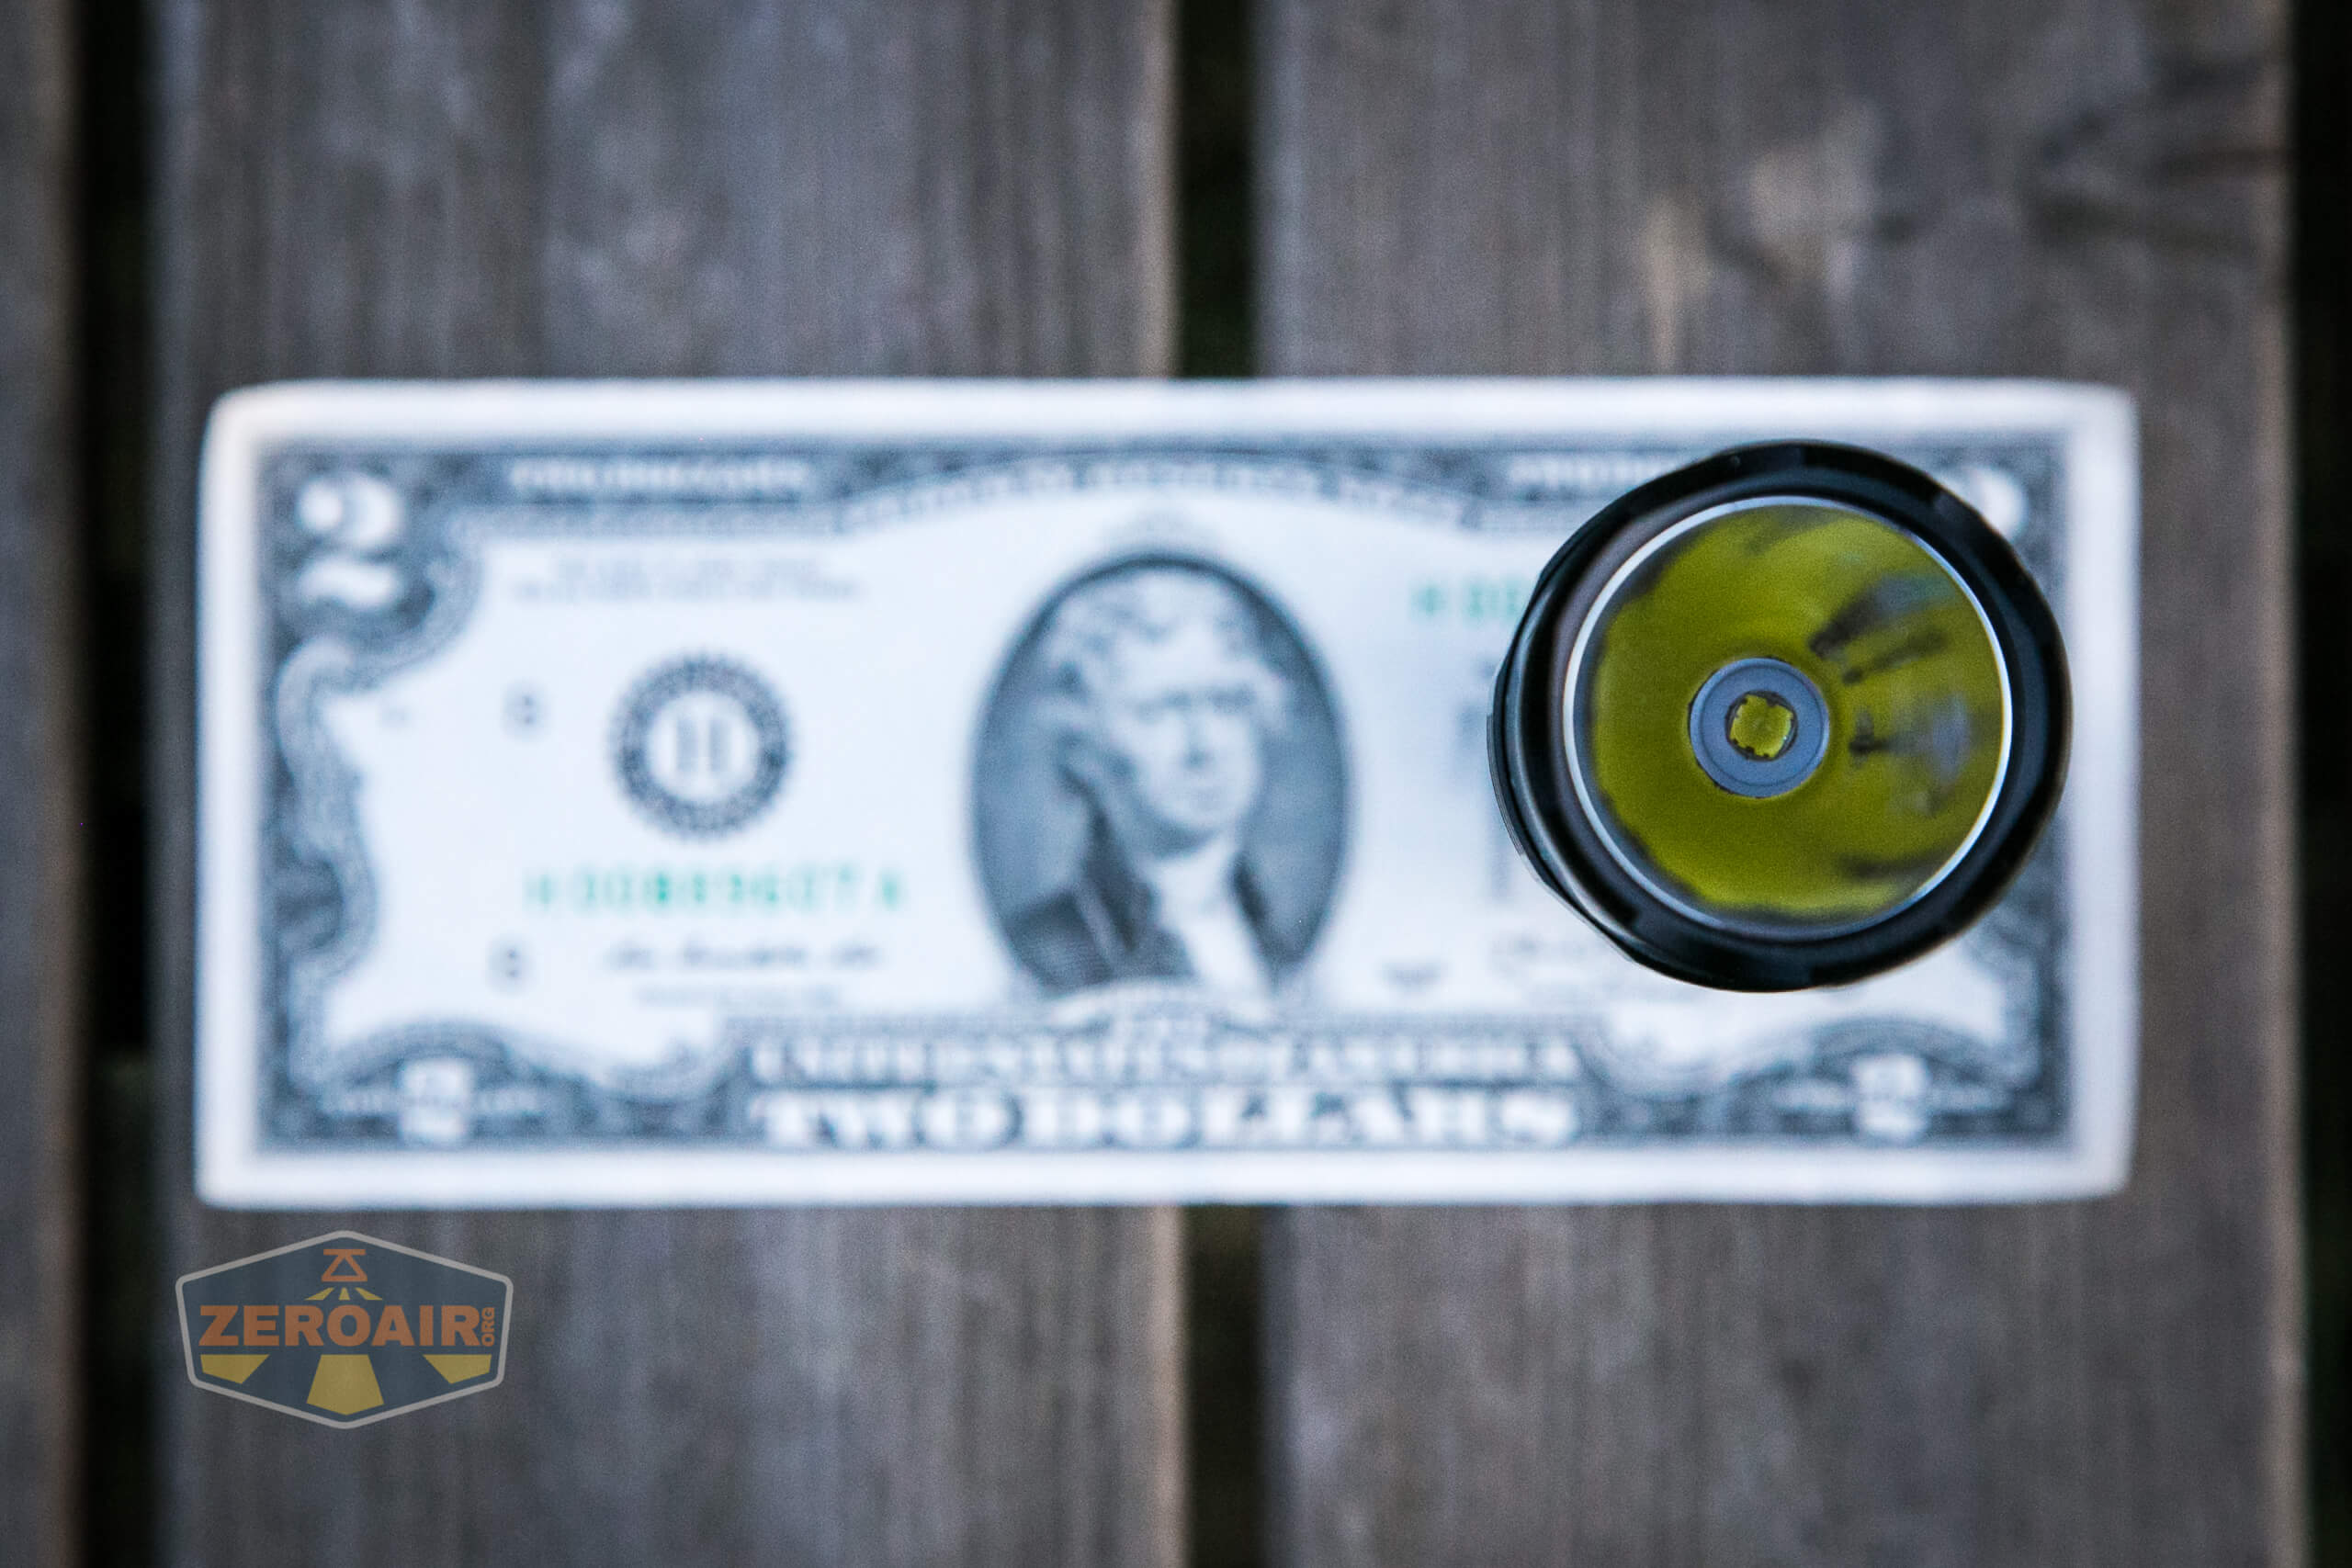
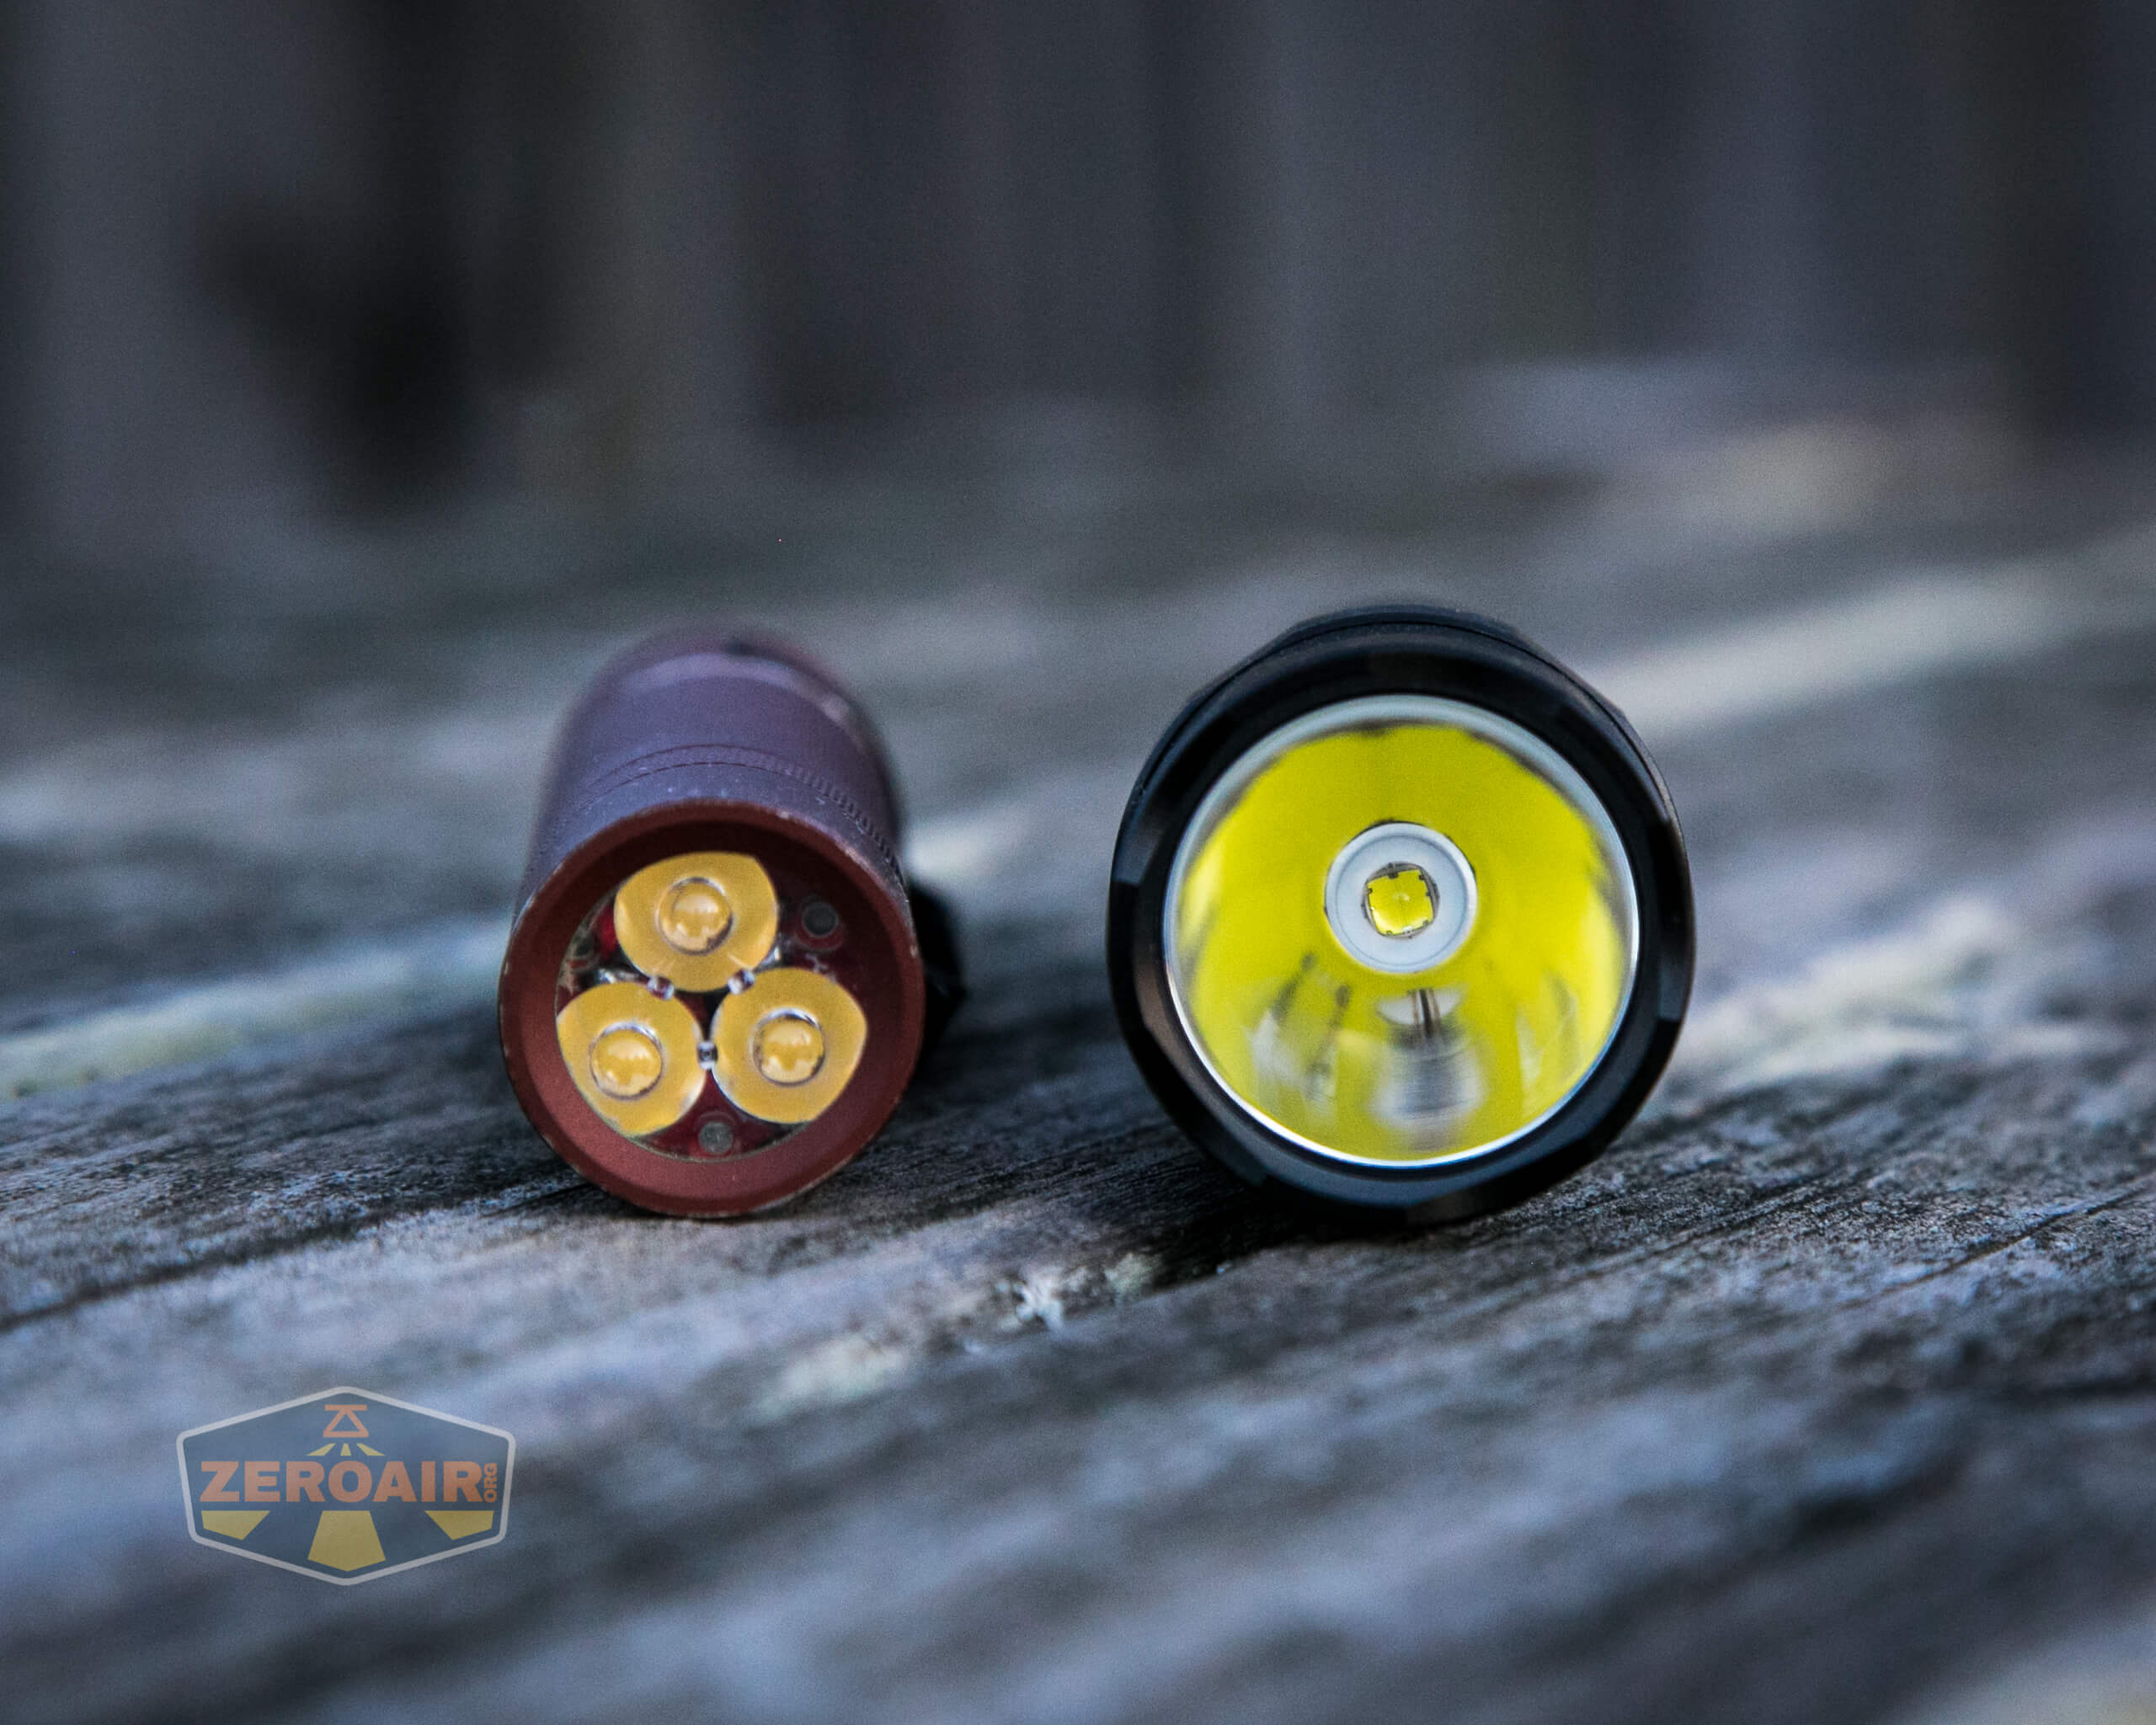
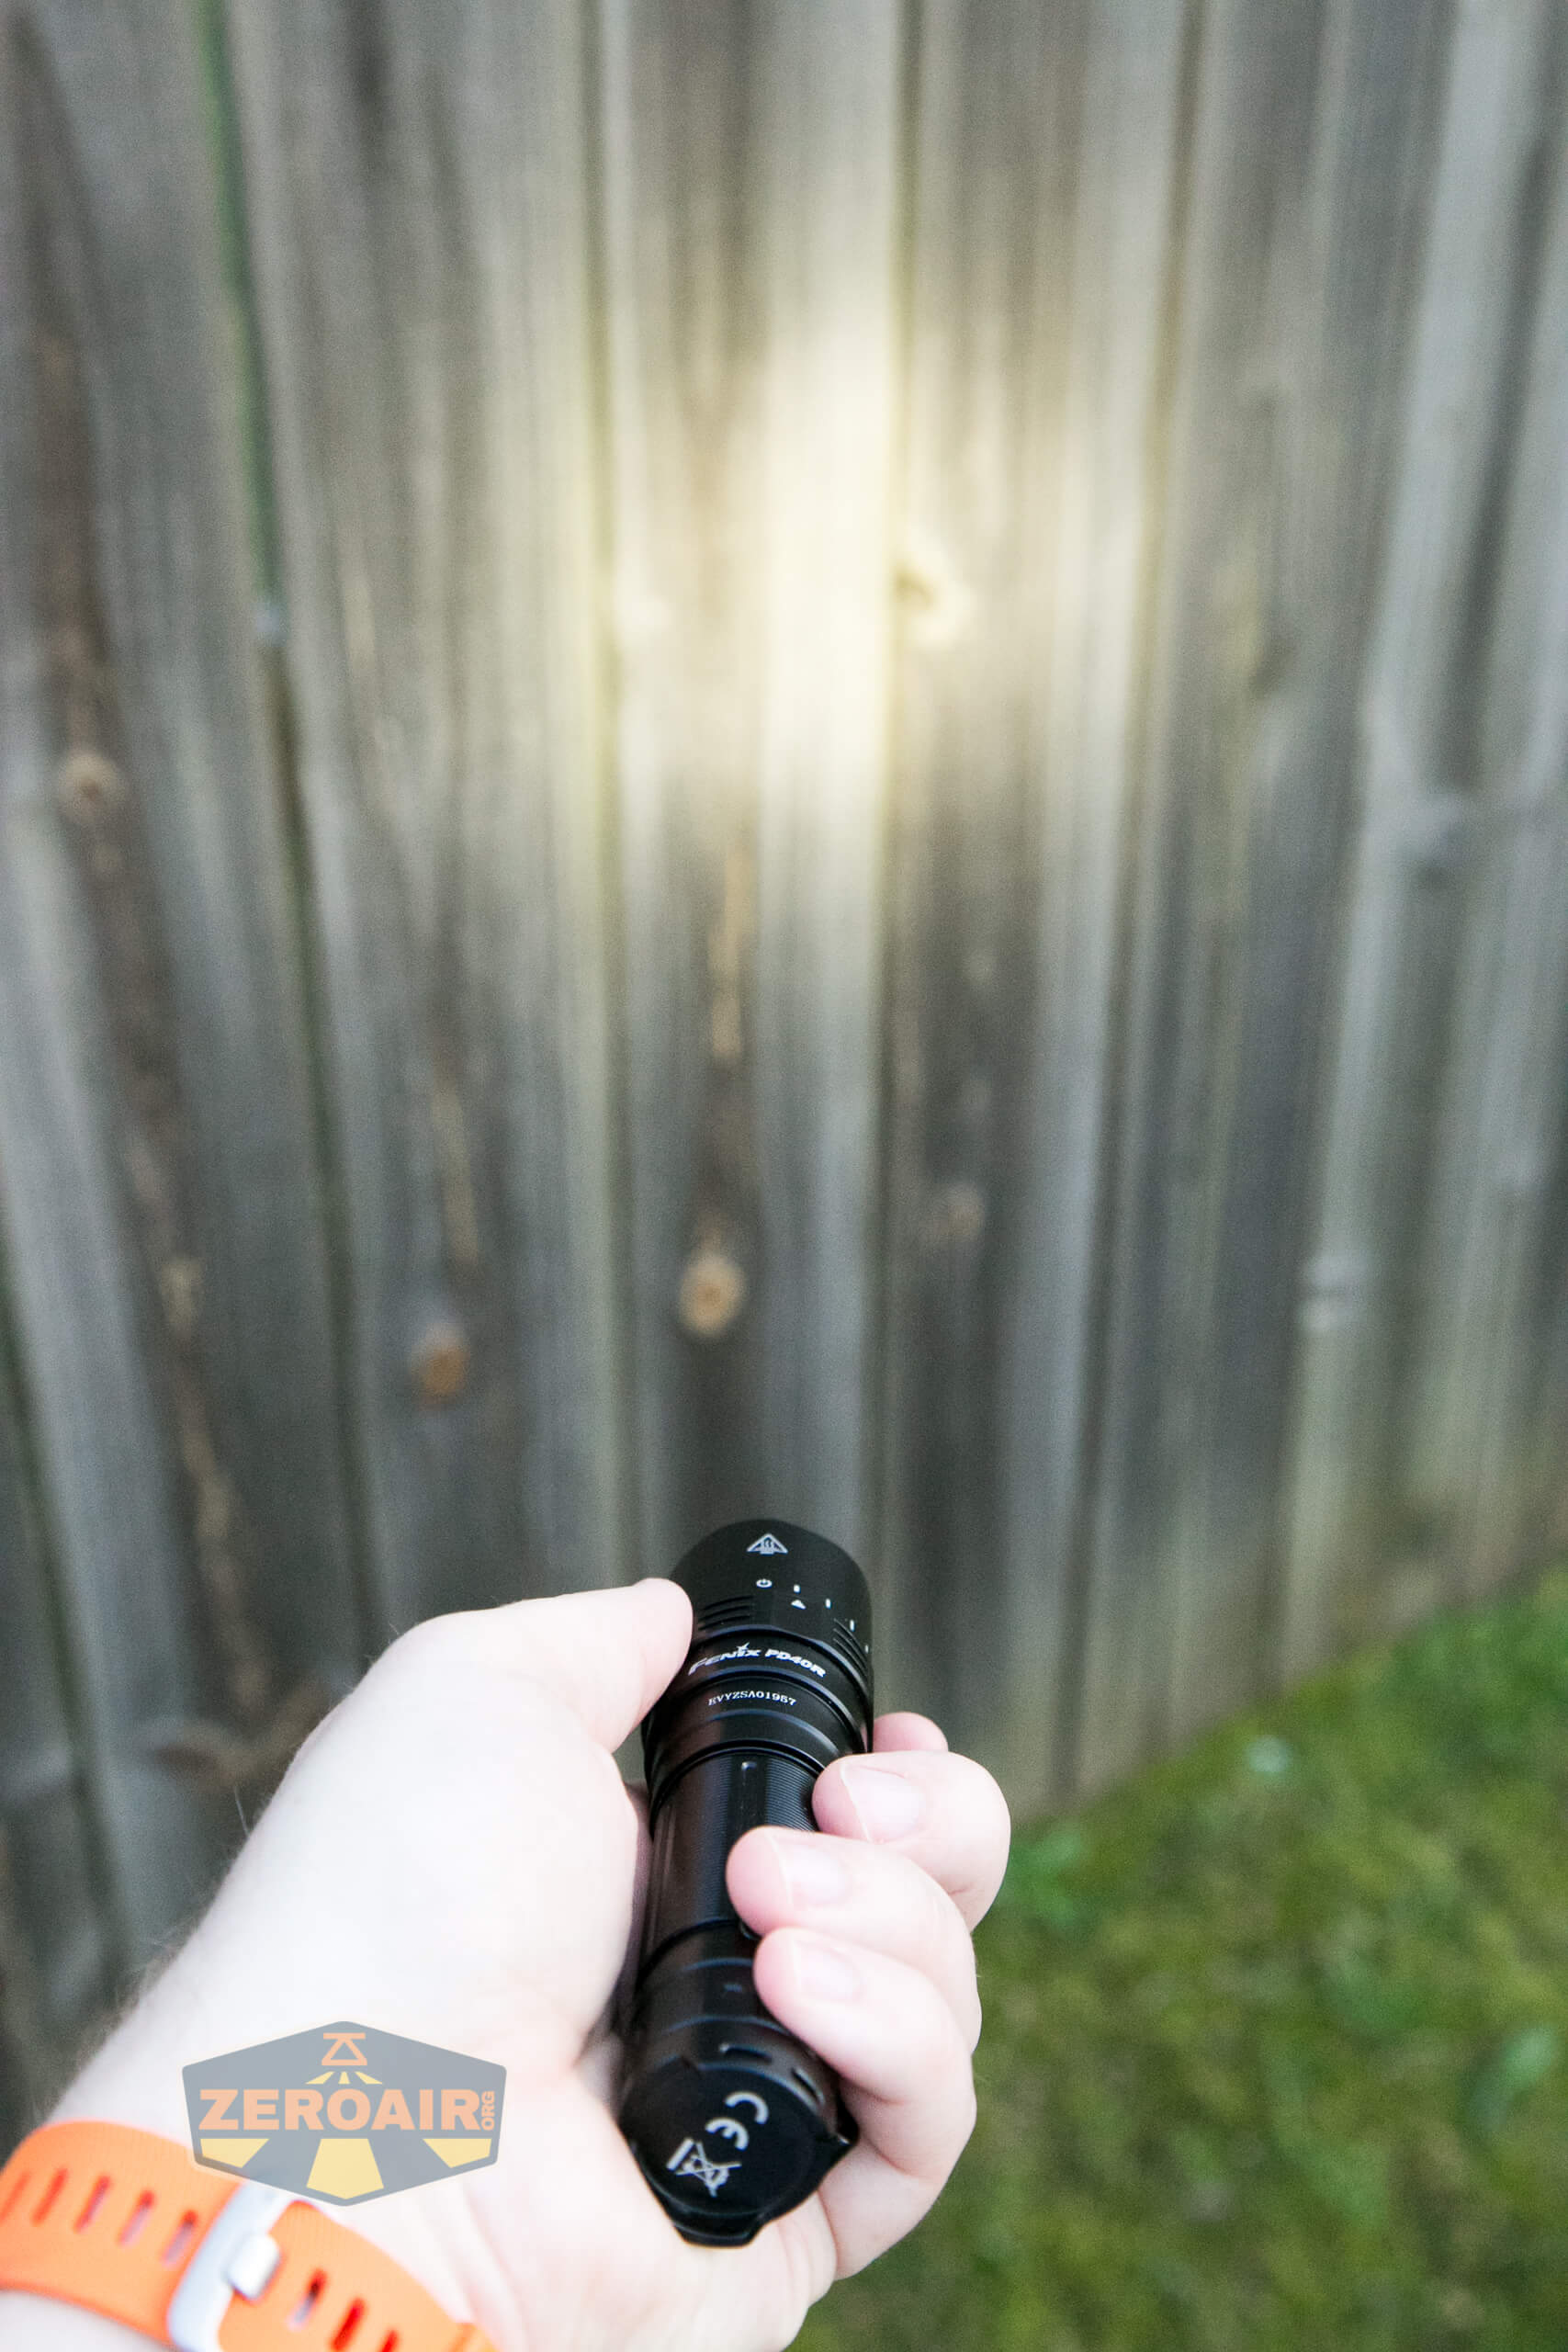
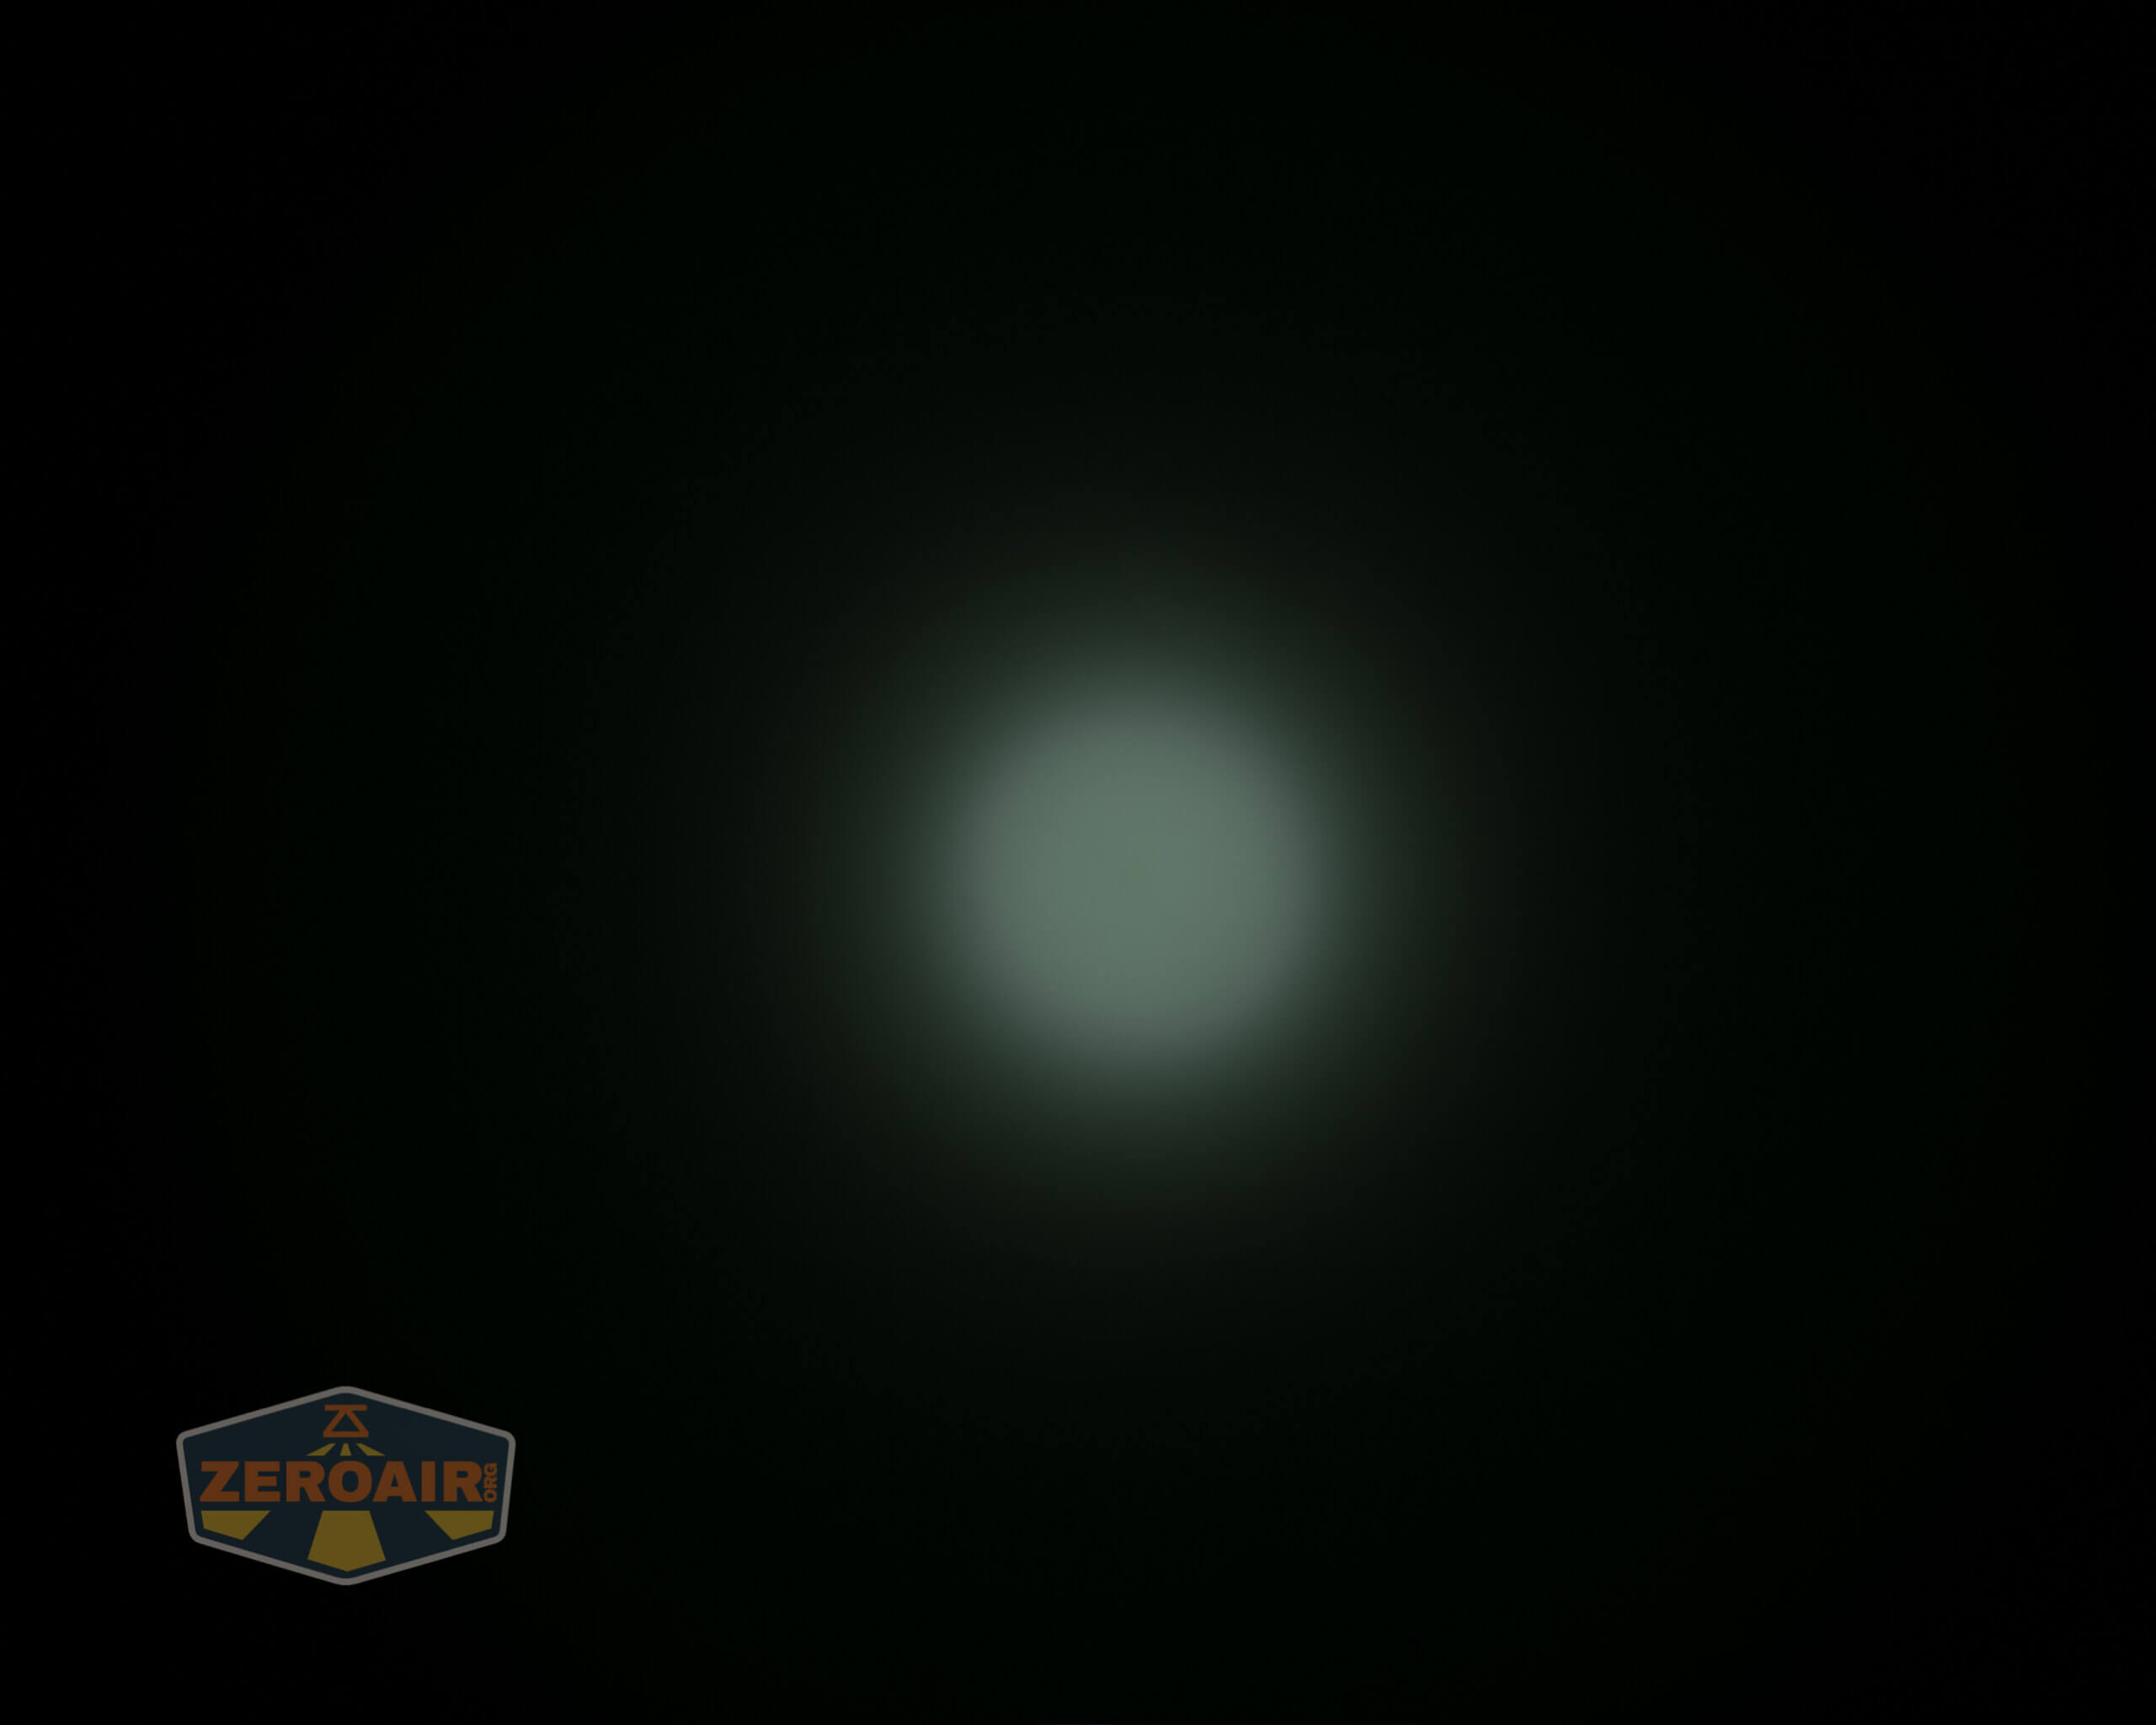
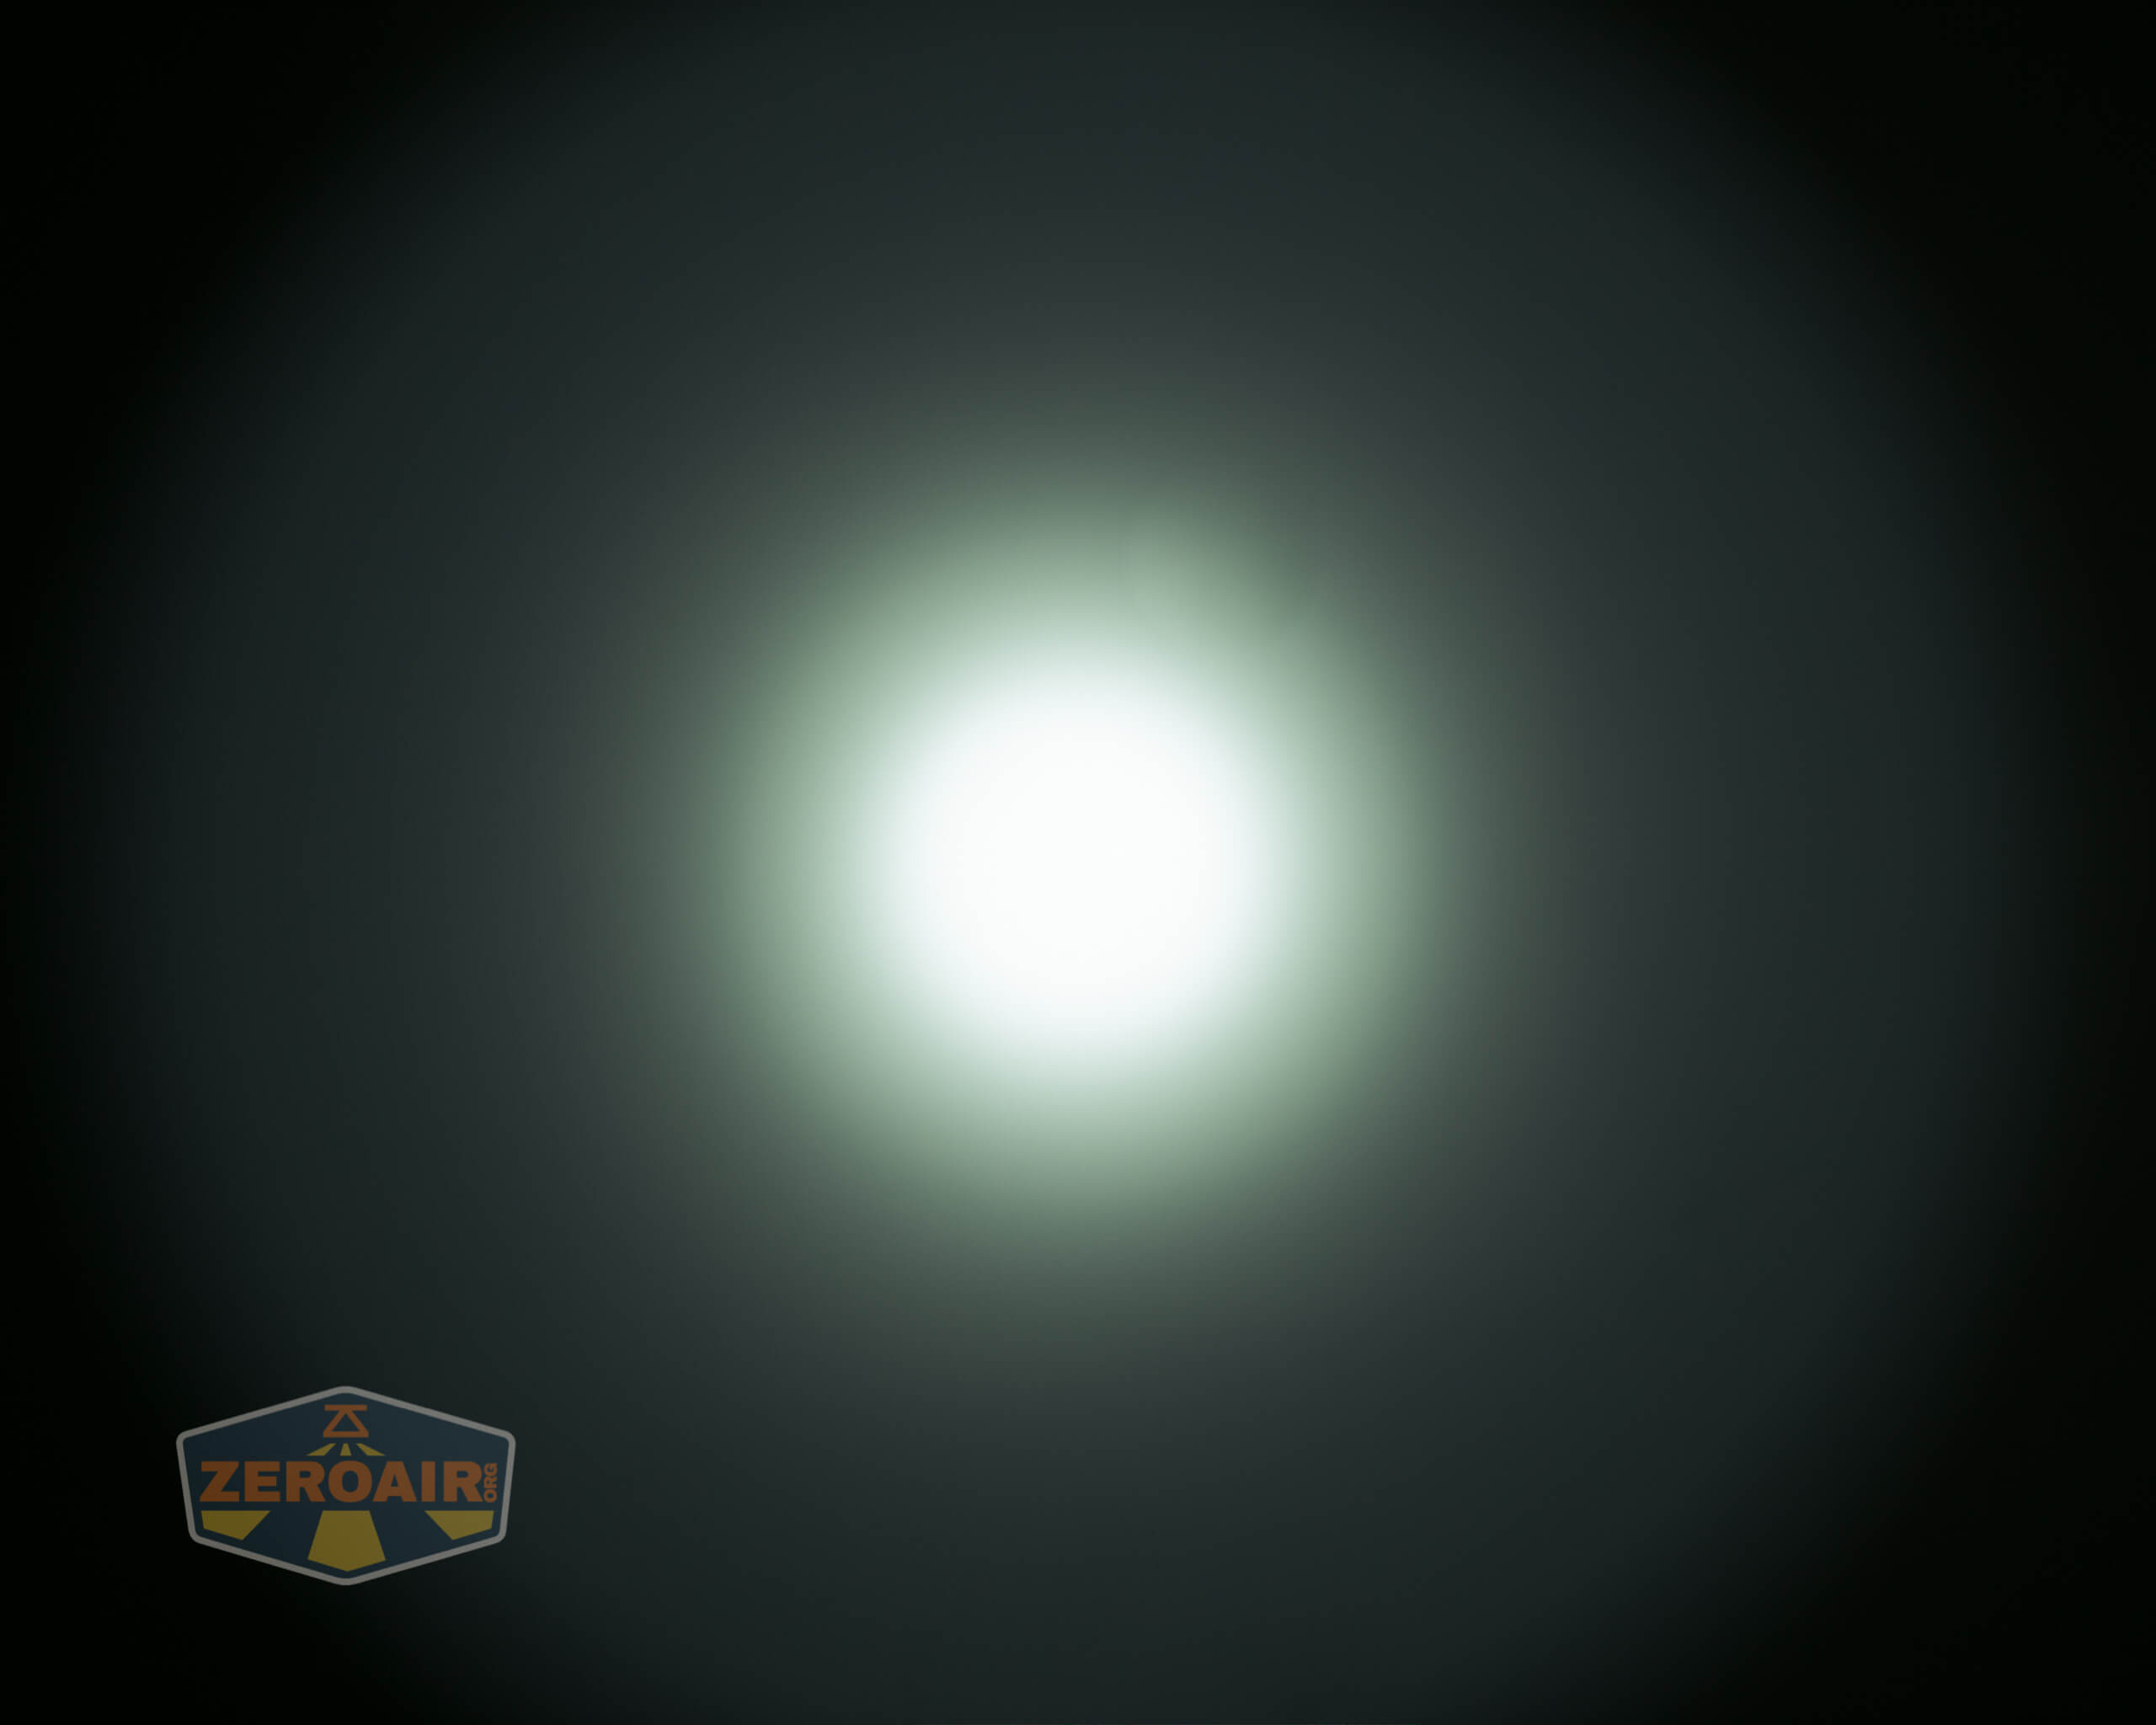
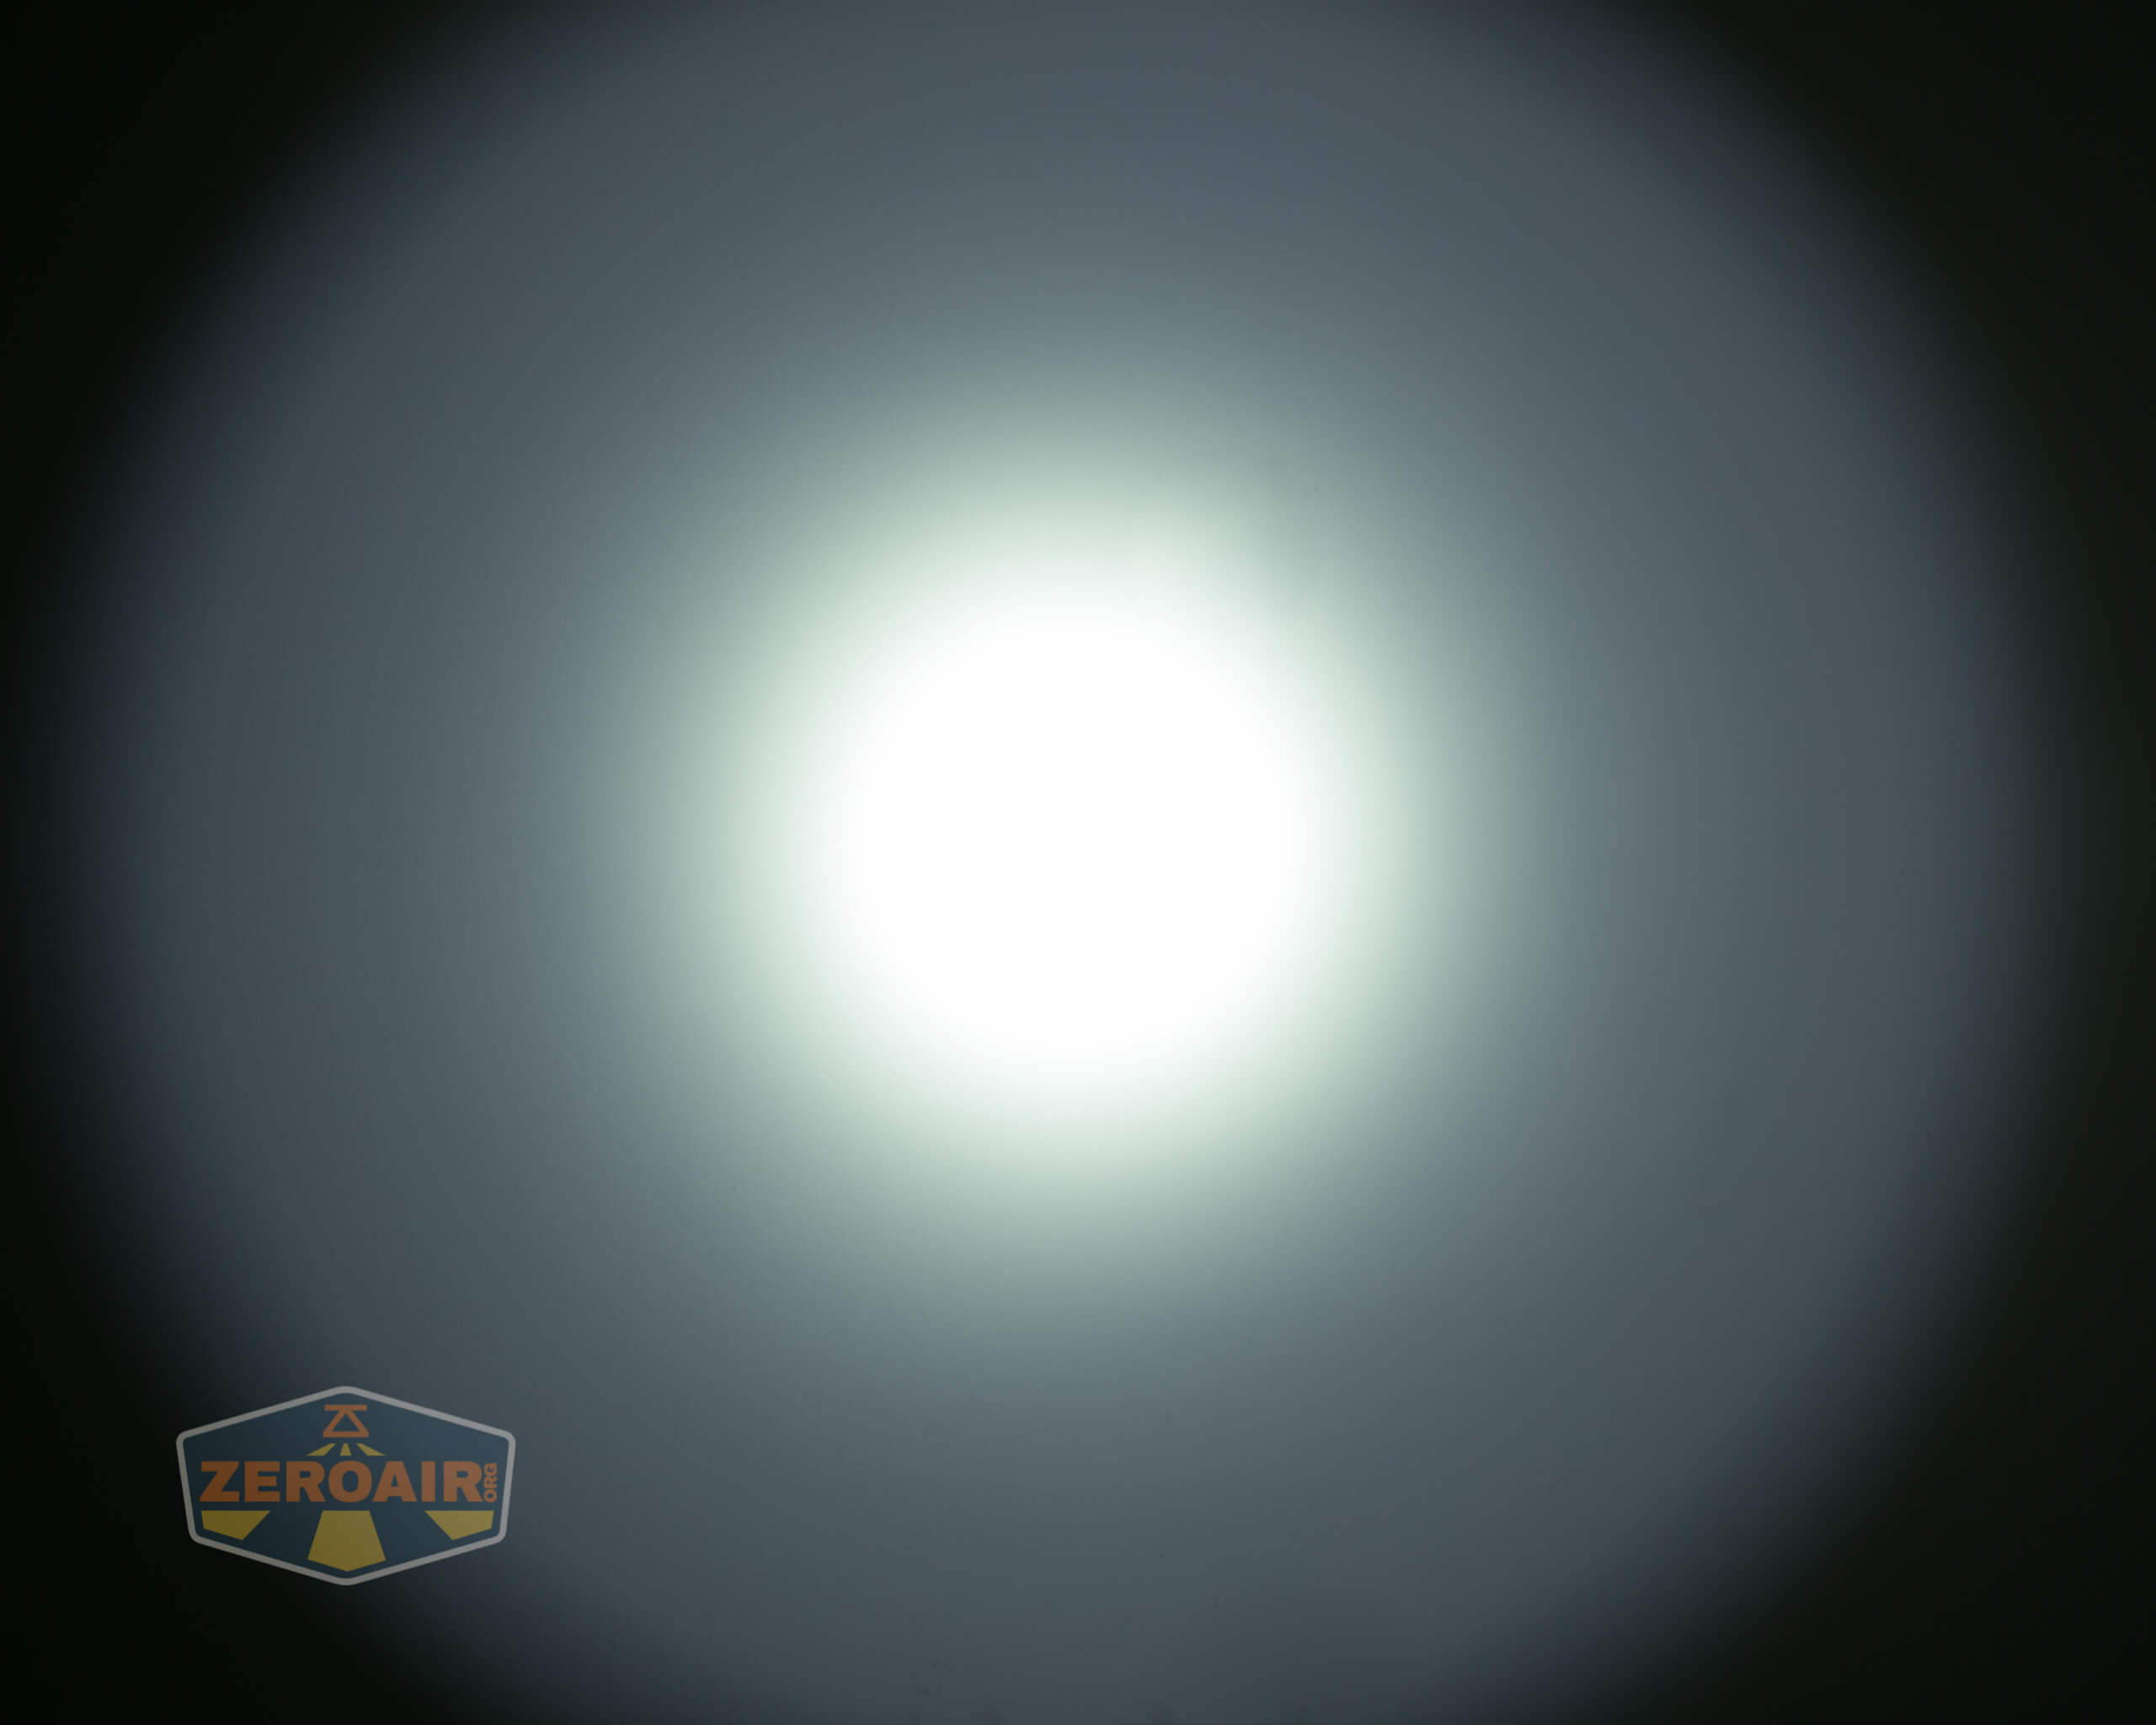
LED and Beam
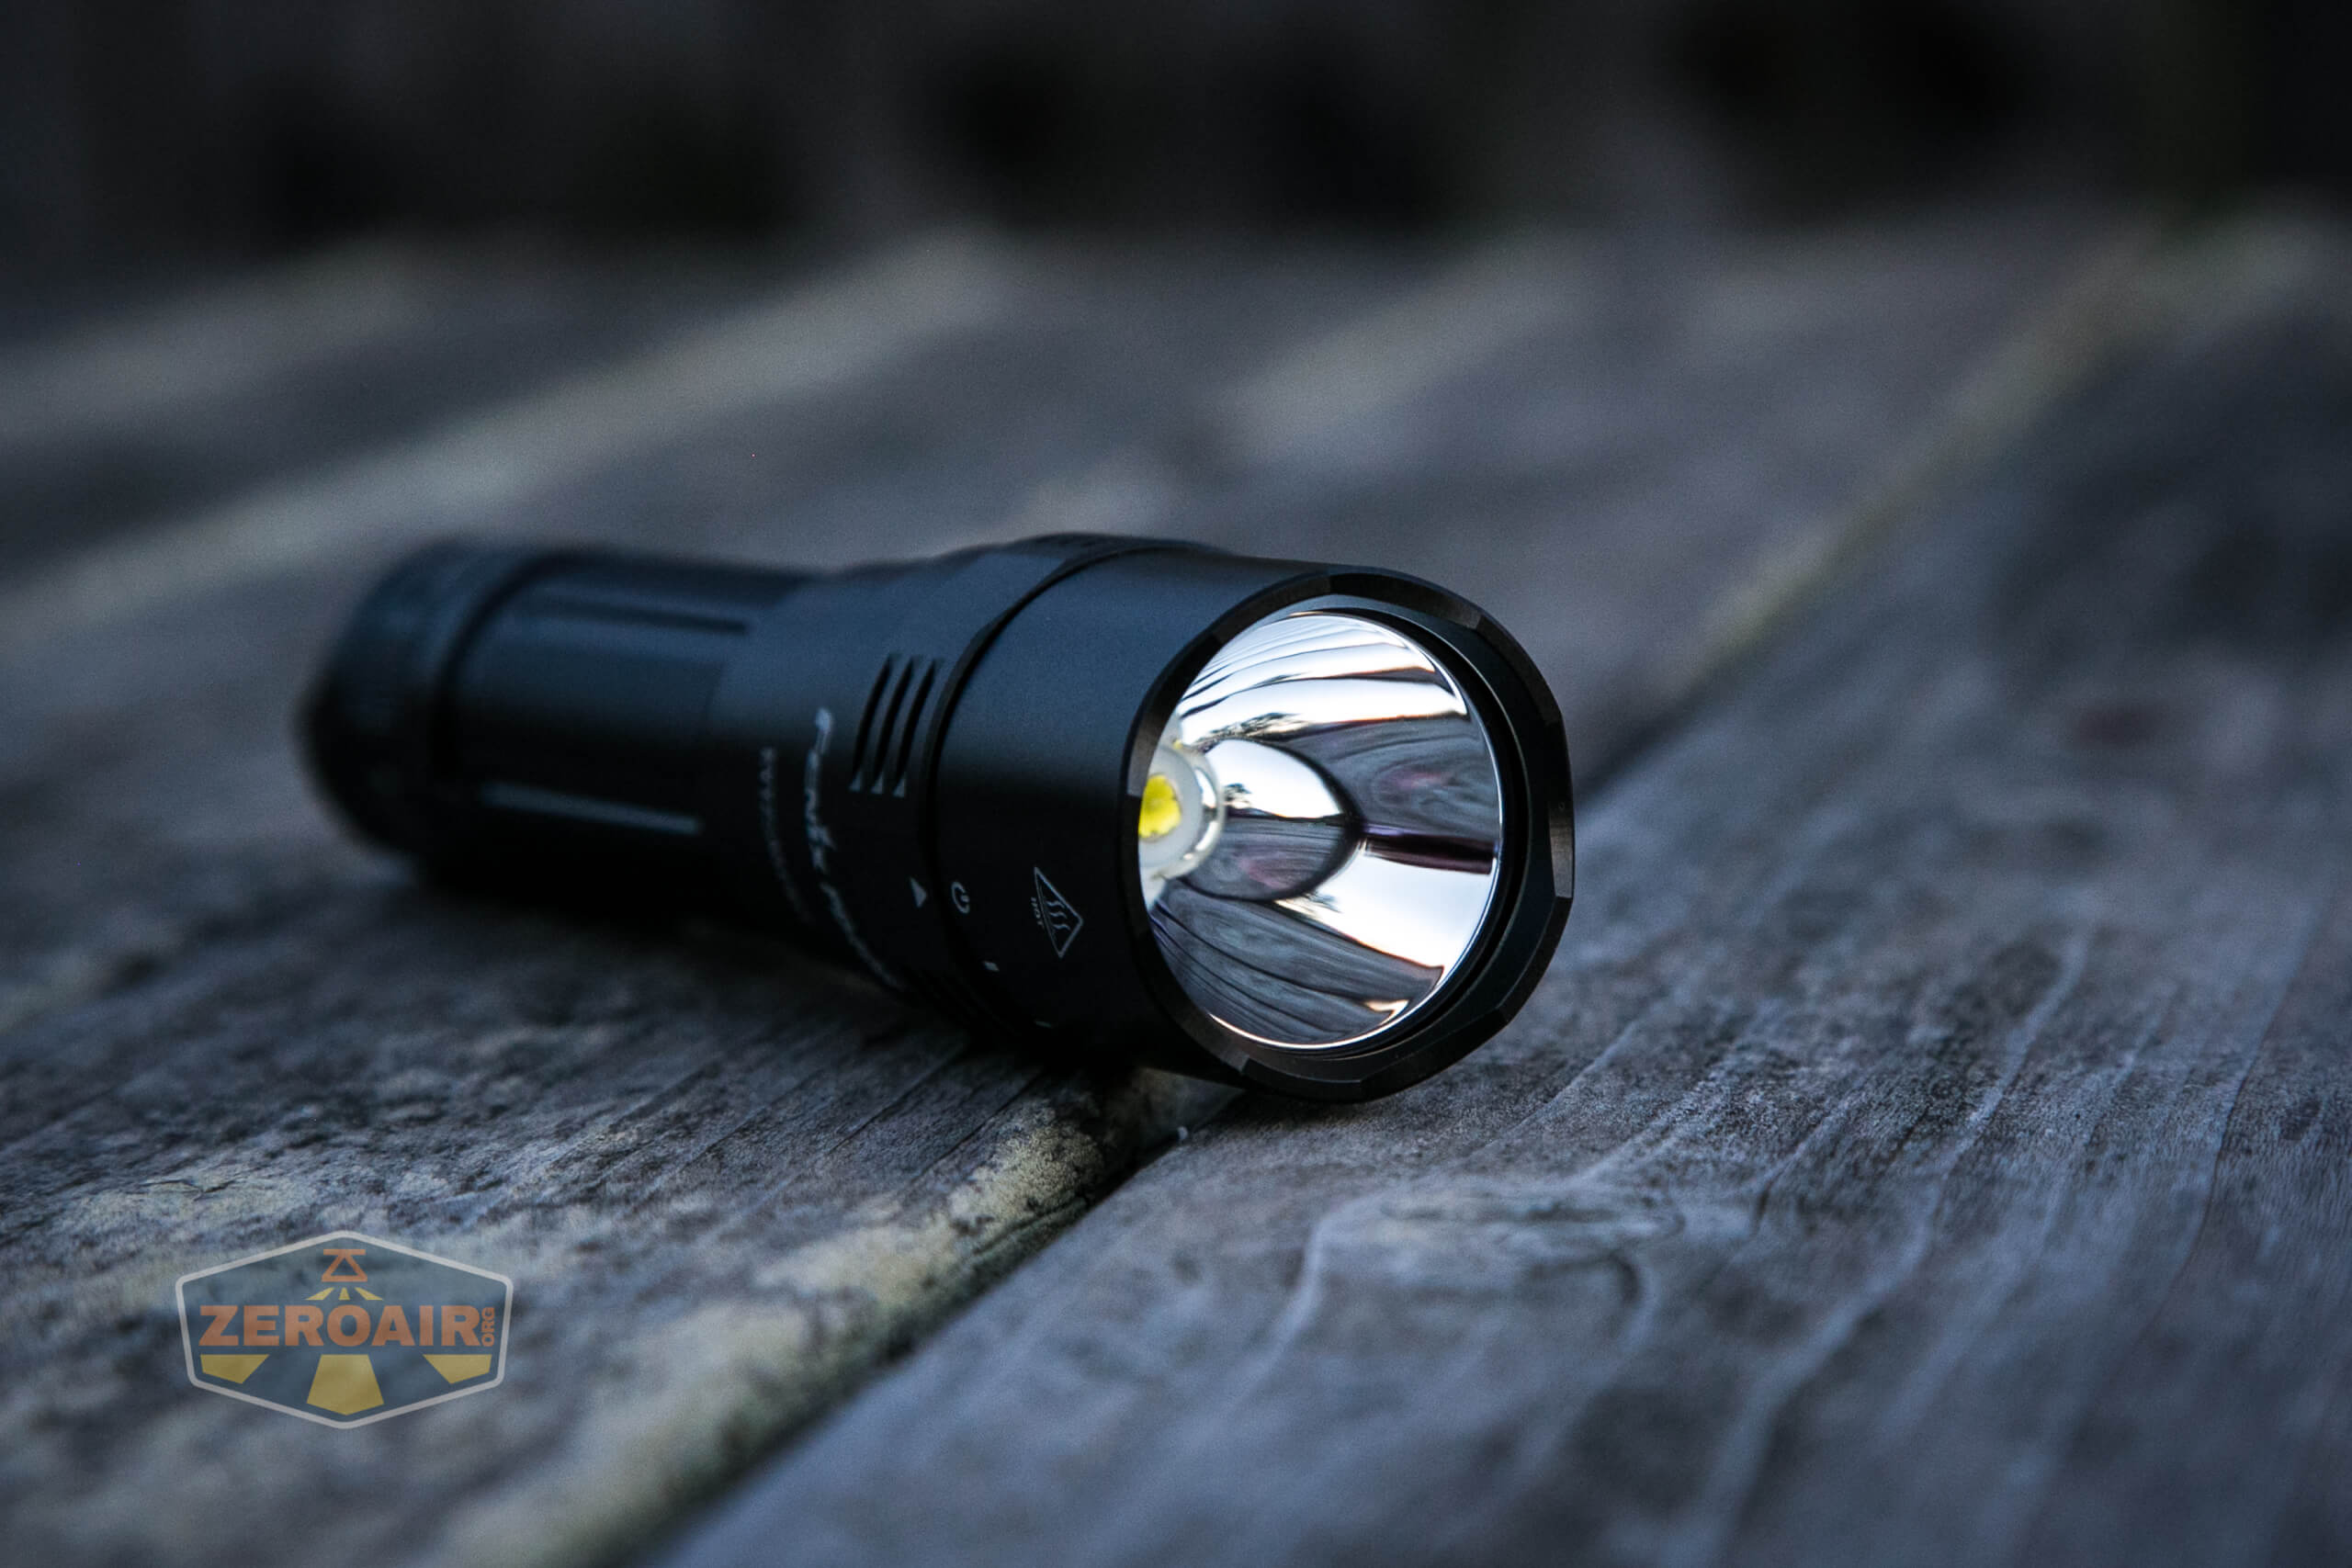
In the Fenix PD40R V2.0 is a Luminus SST-70 emitter. I didn’t see the CCT stated, but it’s cool white.
There’s a nice, deep, smooth reflector to match this emitter. It’s a very good combo!
The bezel allows a little light to escape while headstanding.

Also, here you can see the indicator – it’s not on the switch (remember there is no clicky!). The indicator can be red or green. Here it’s red, but my white balance game was very poor during the art for this post, so all apologies….
Beamshots
These beamshots always have the following settings: f8, ISO100, 0.3s shutter, and manual 5000K exposure. These photos are taken at floor level, and the beam hits the ceiling around 9 feet away.

Tint vs BLF-348 (KillzoneFlashlights.com 219b version) (affiliate link)
I keep the test flashlight on the left and the BLF-348 reference flashlight on the right.
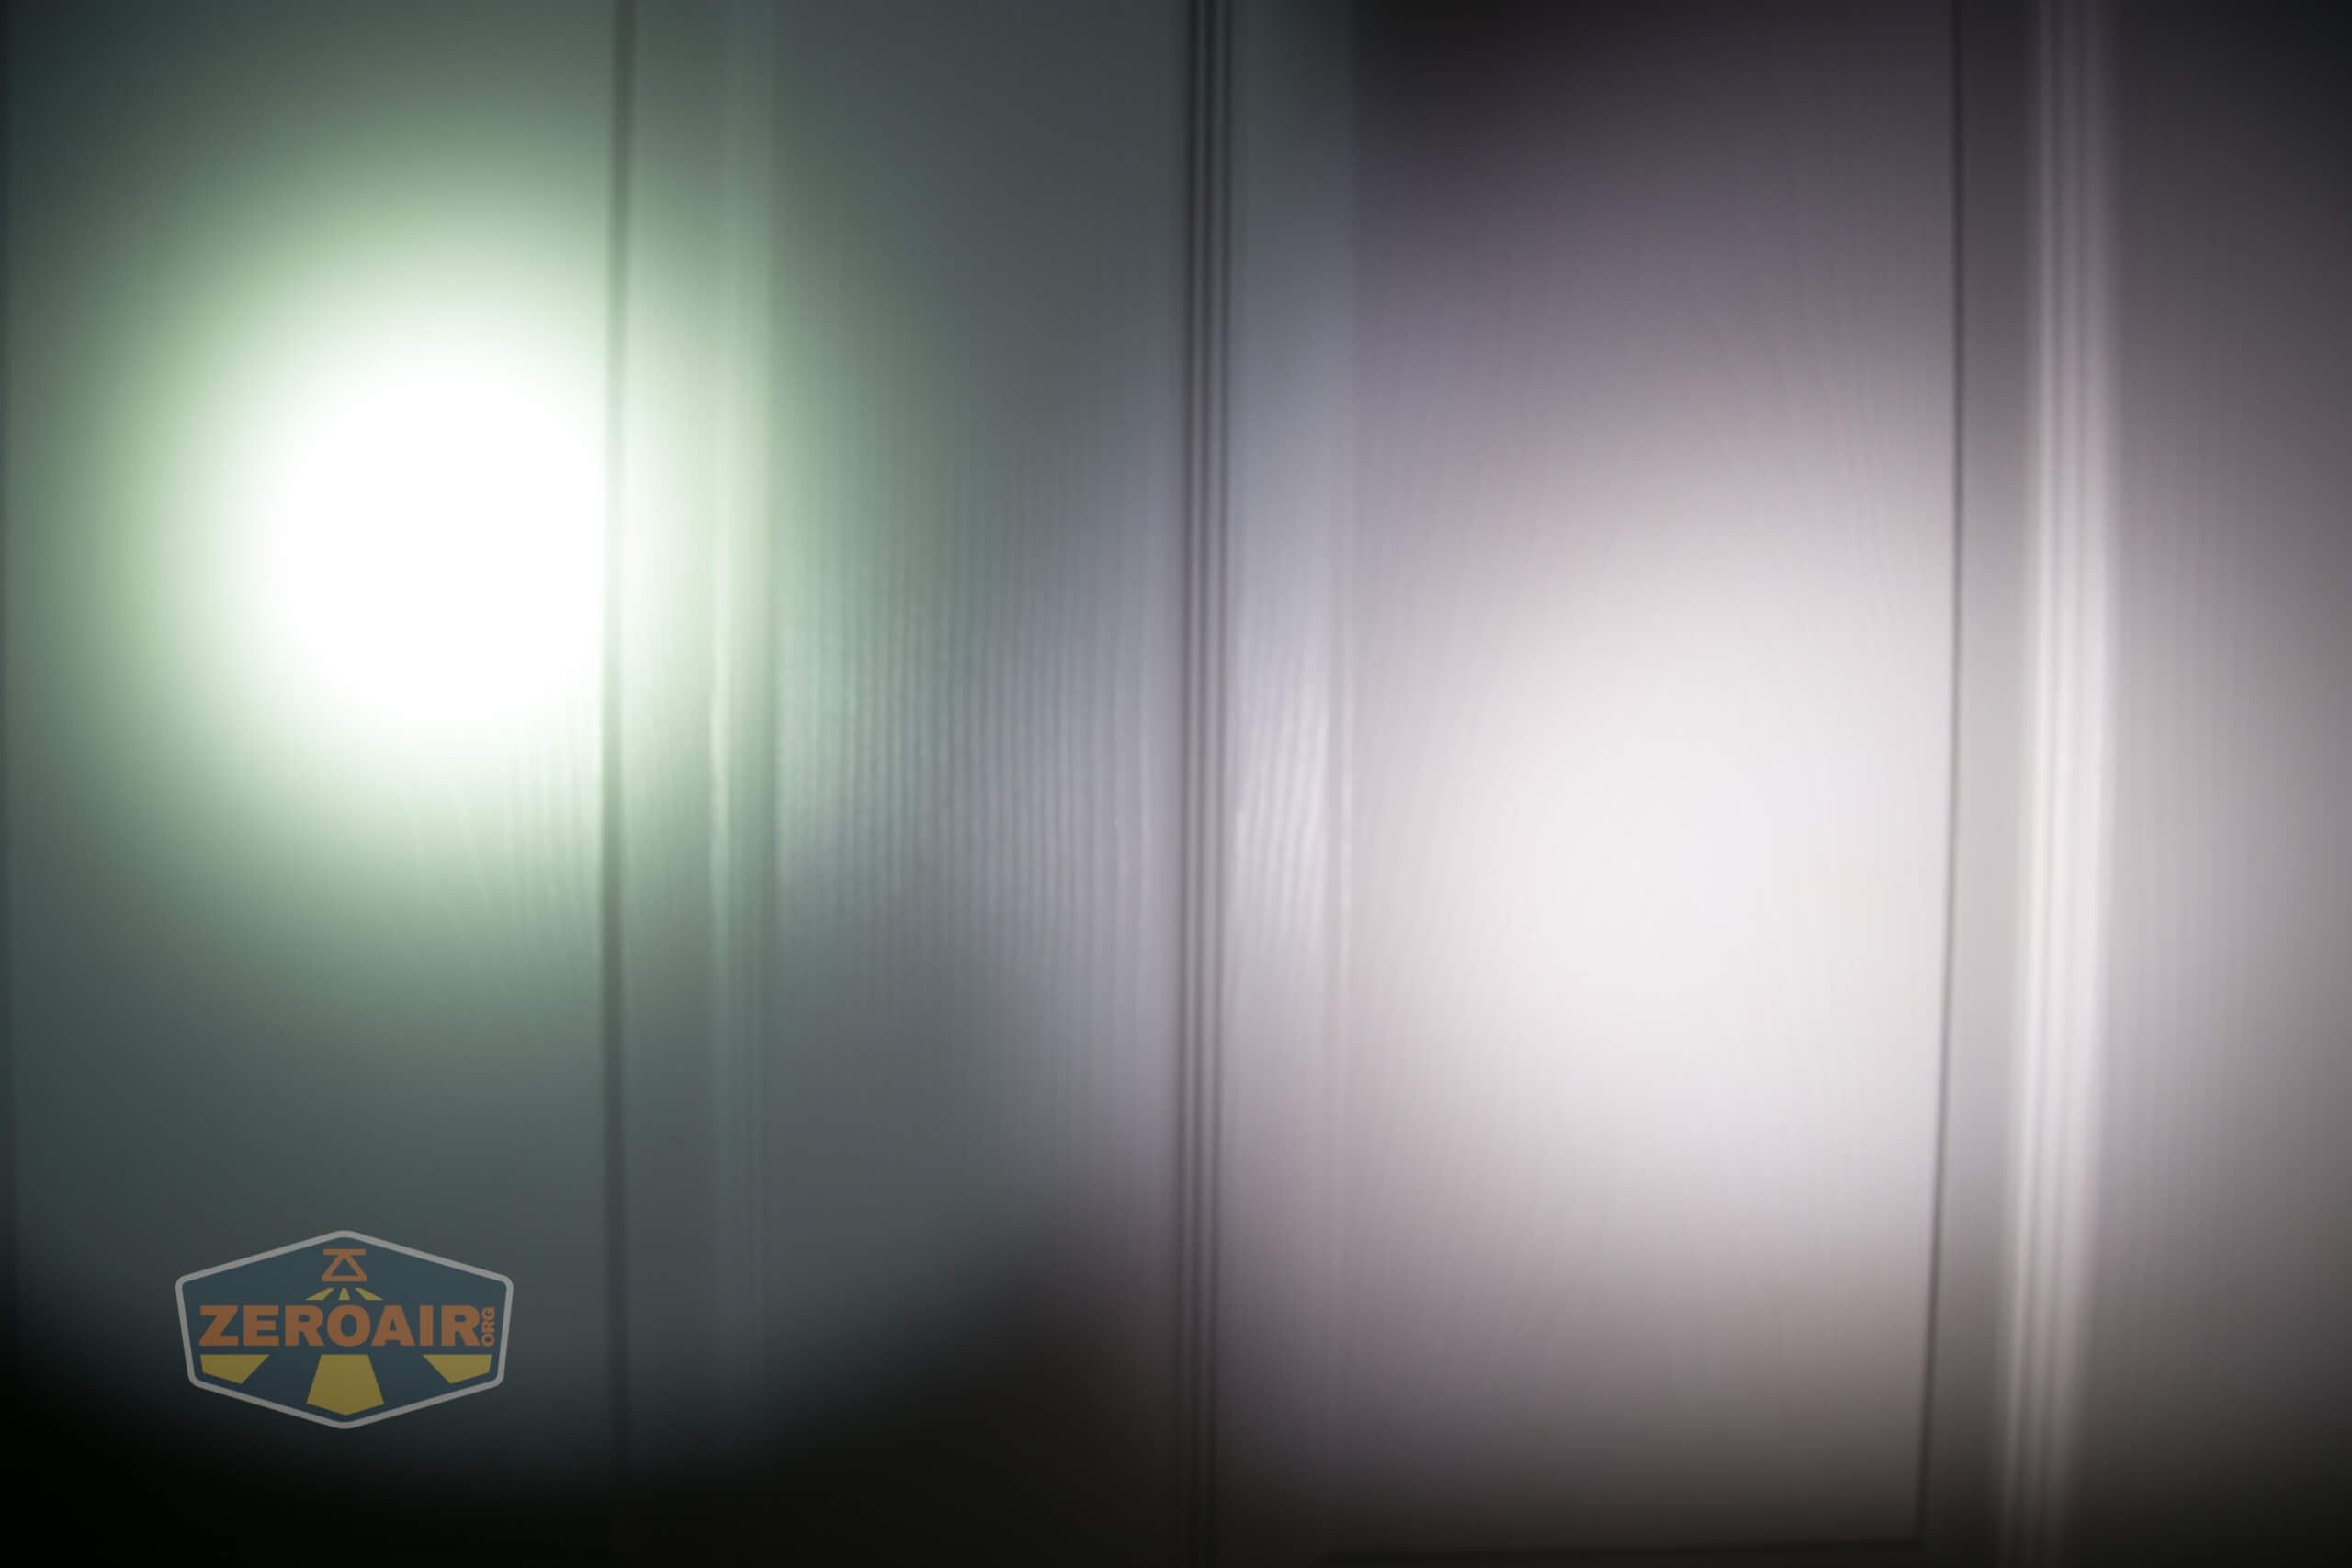
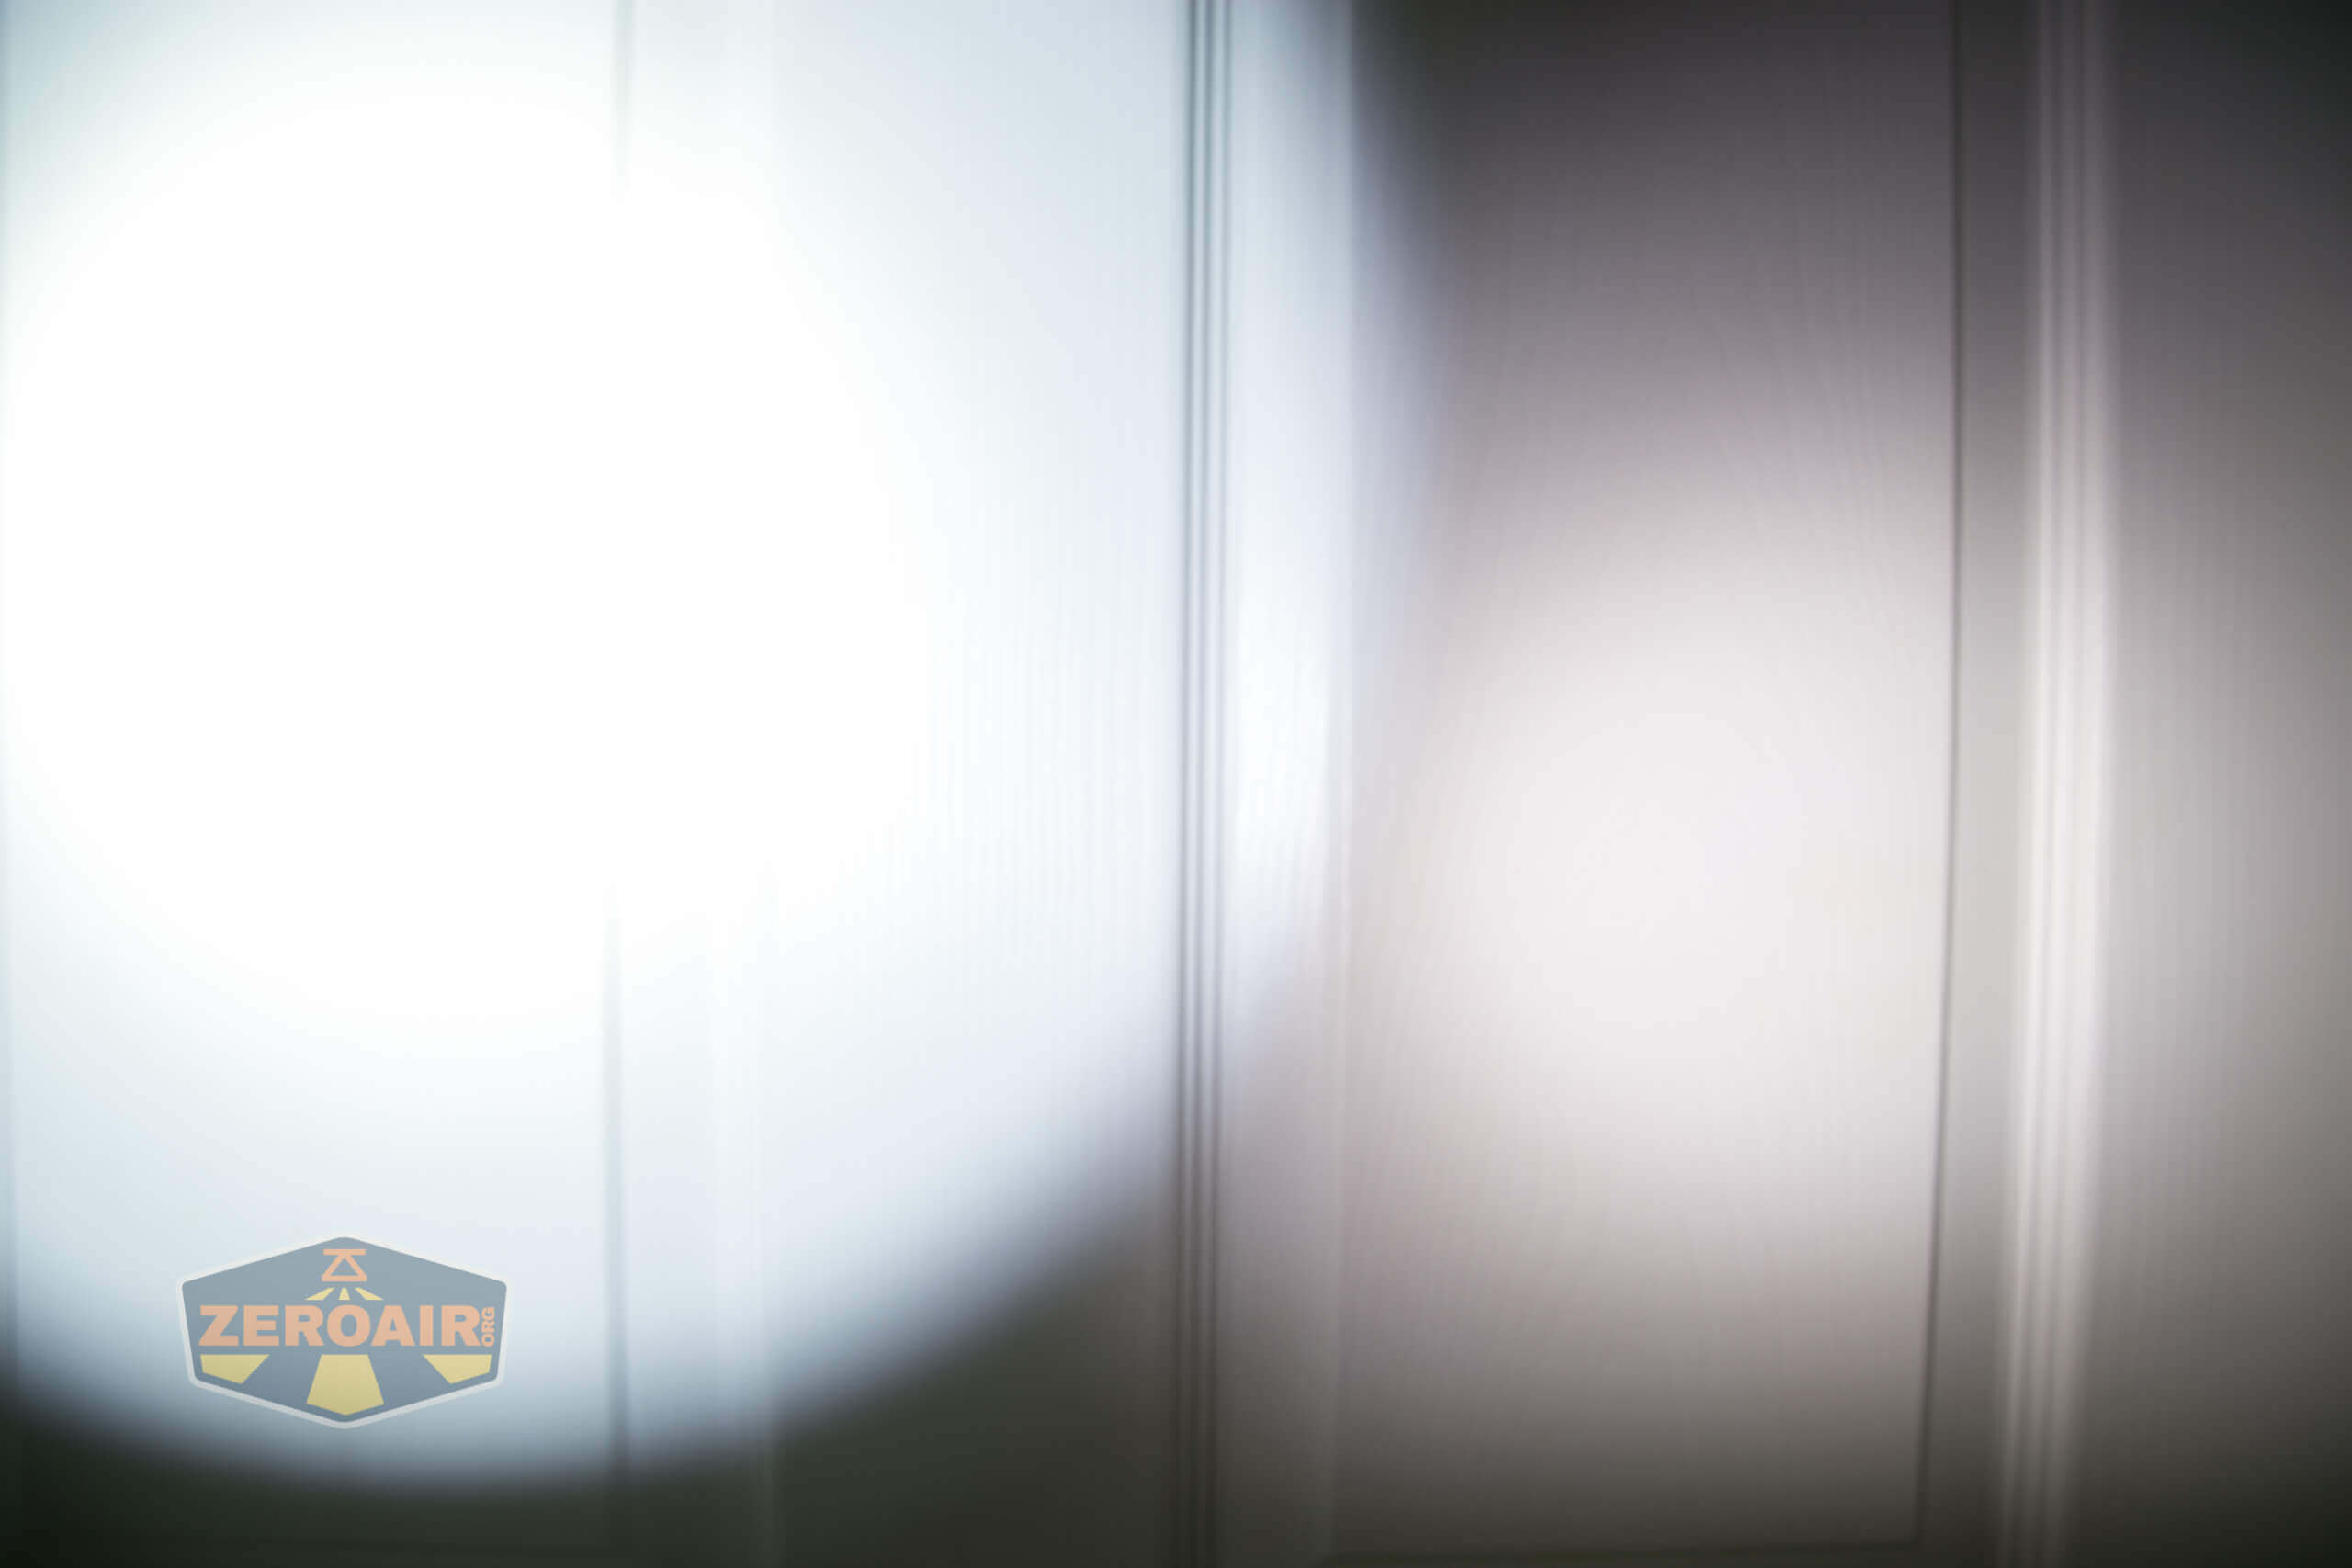
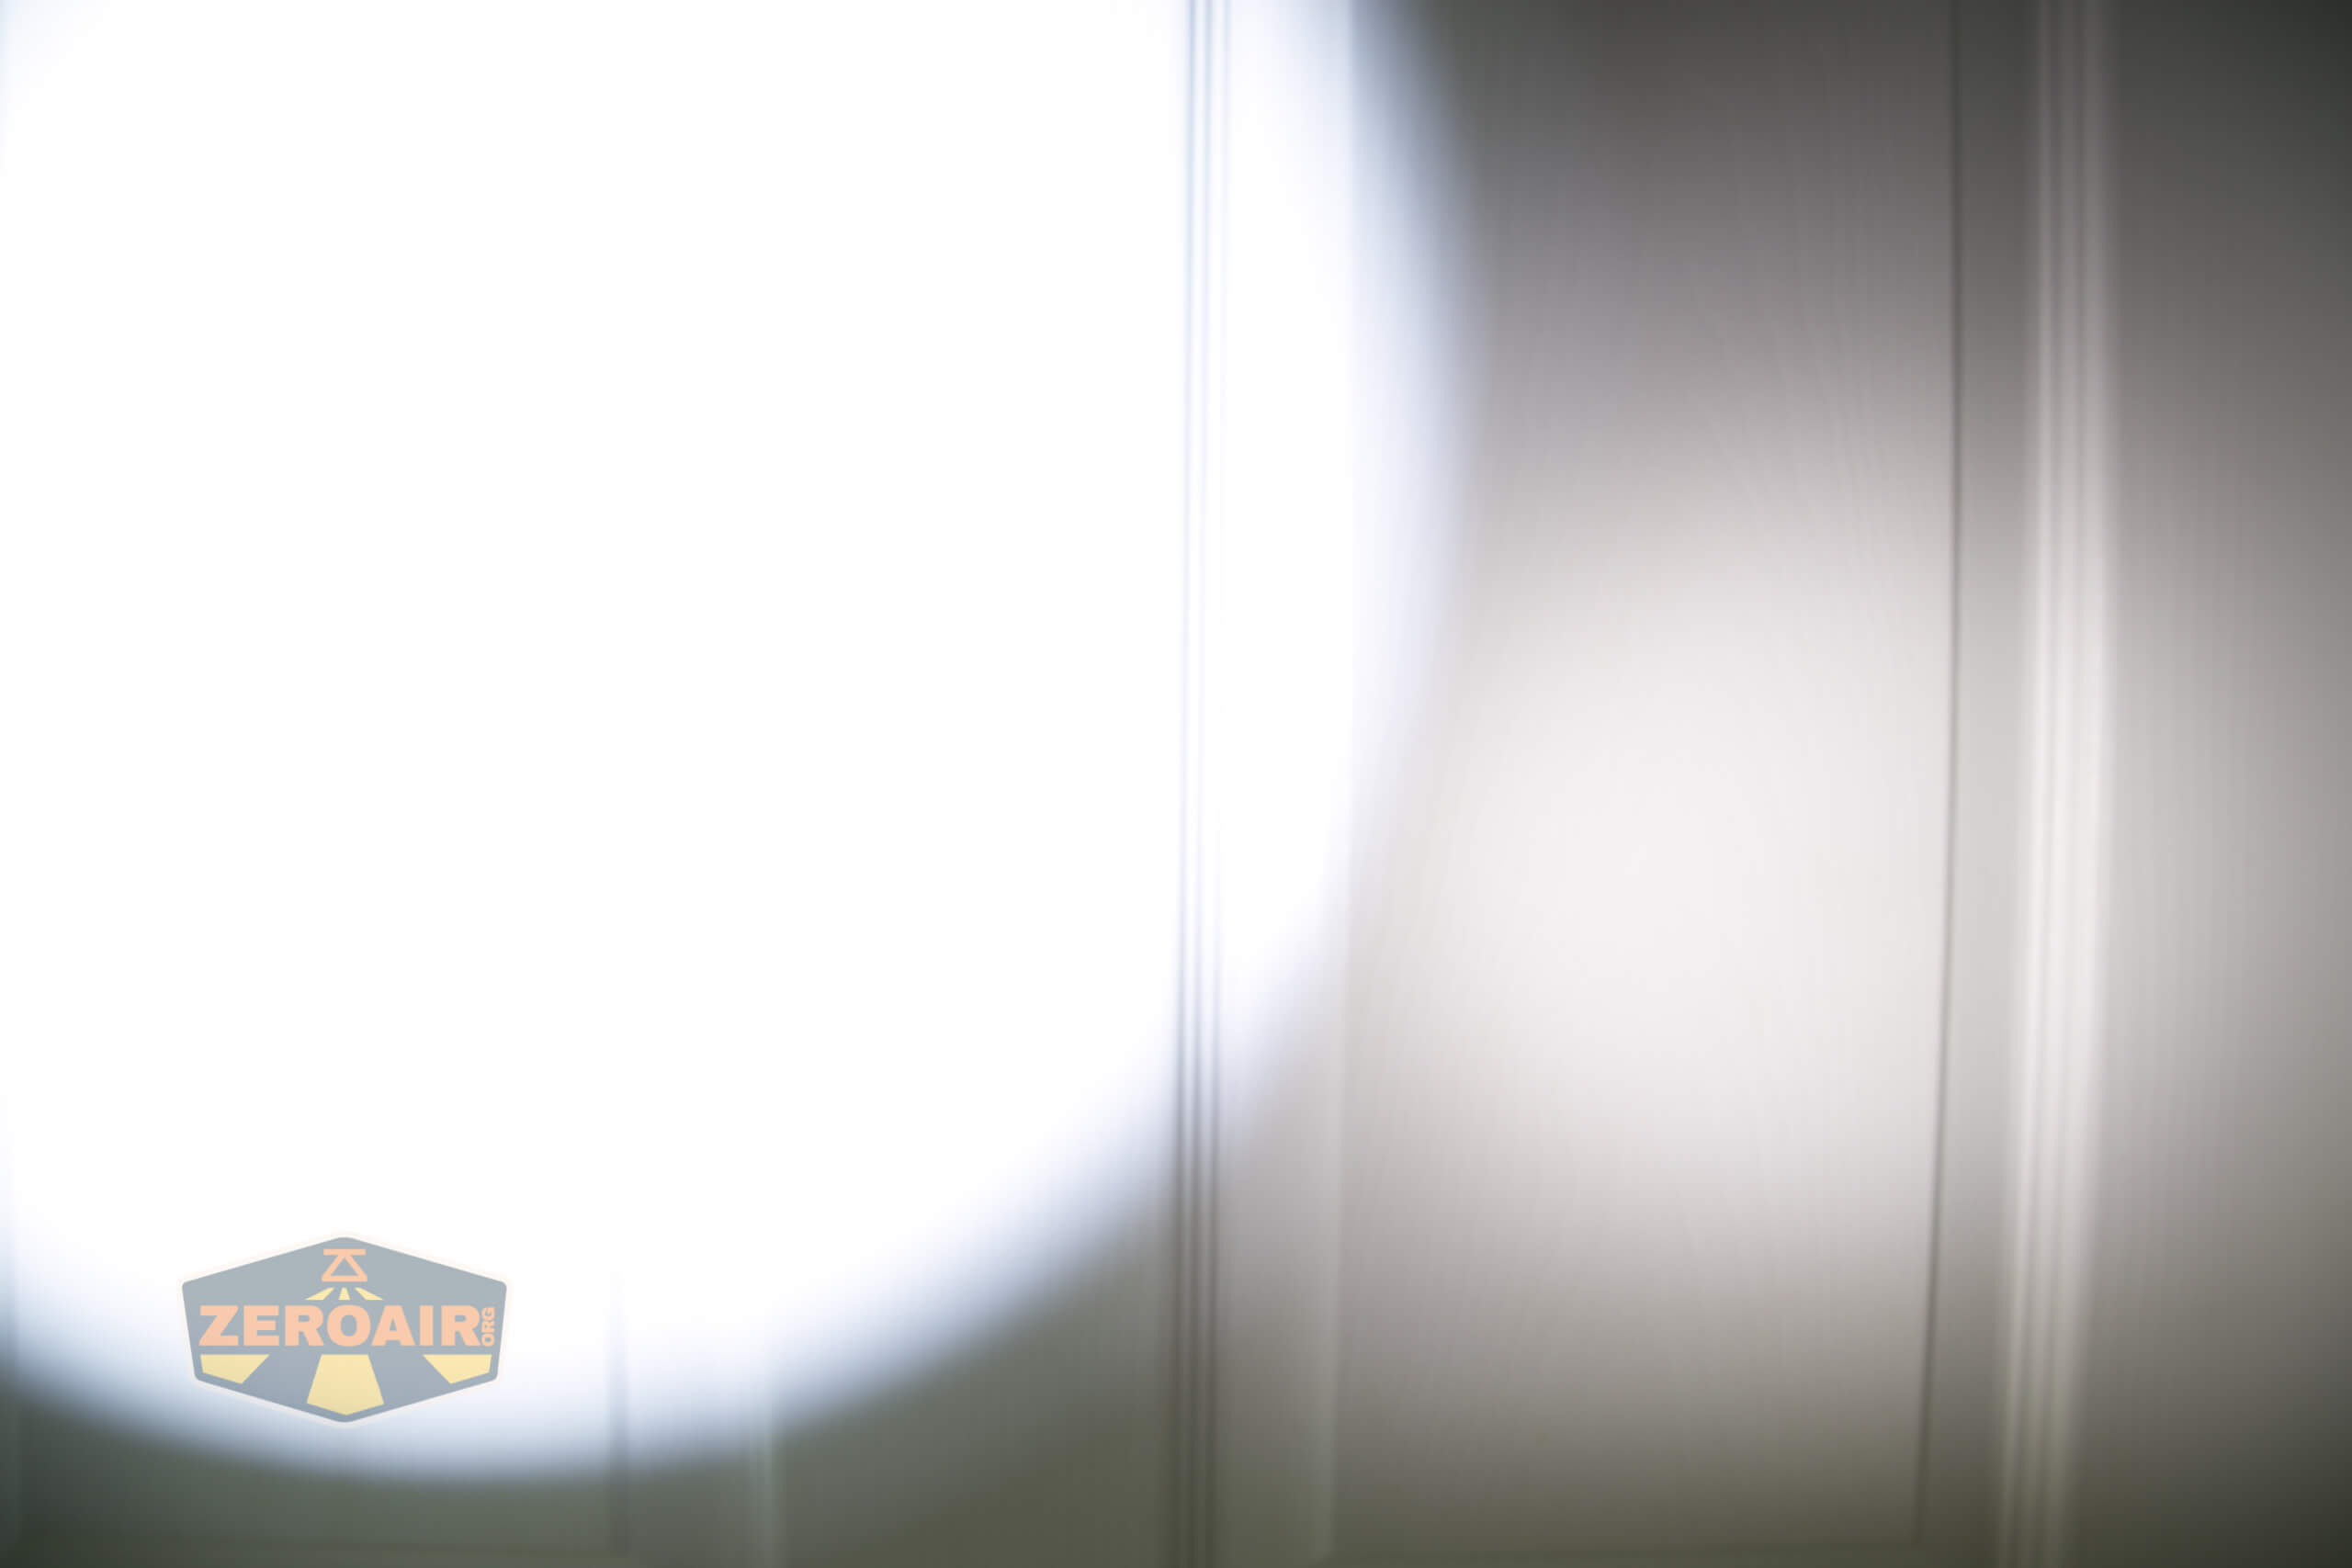

I compare everything to the KillzoneFlashlights.com 219b BLF-348 because it’s inexpensive and has the best tint!
Conclusion
What I like
- Massive output!
- Hits claims for output and throw
- Nice rotary interface
- Very simple user interface
- Complete package with standard 21700 cell
What I don’t like
- Cool white emitter
- Cheap lanyard
Notes
- This light was provided by Fenix-Store.com for review. I was not paid to write this review.
- This content originally appeared at zeroair.org. Please visit there for the best experience!
- Please use my Amazon.com referral link to help support zeroair.org!
- Please support me on Patreon! I deeply appreciate your support!
Discover more from ZeroAir Reviews
Subscribe to get the latest posts sent to your email.
Thanks for the comprehensive review, really helpful.
Thank you for reading!