Lumintop FWAA 14500 Nichia Flashlight Review
The new Lumintop FWAA 14500 Nichia flashlight is a new combination of Lumintop’s popular FW series! This 14500 cell light features a Nichia emitter and Anduril2!
Official Specs and Features
Here’s an affiliate link to NealsGadgets.com product page for the Lumintop FWAA 14500 Nichia flashlight.
Lumintop FWAA 14500 Flashlight Versions
As of right now, there’s just one body of the Lumintop FWAA 14500 flashlight. We can expect others, though (that’s not insider information, that’s just knowing how Lumintop did the other FW series lights.) In this one body, you can have quite a few emitter options: Cree XP-G3 (6500K), Nichia 219c (3000K, 4000K, 5000K), and Luminus SST-20 (4000K).
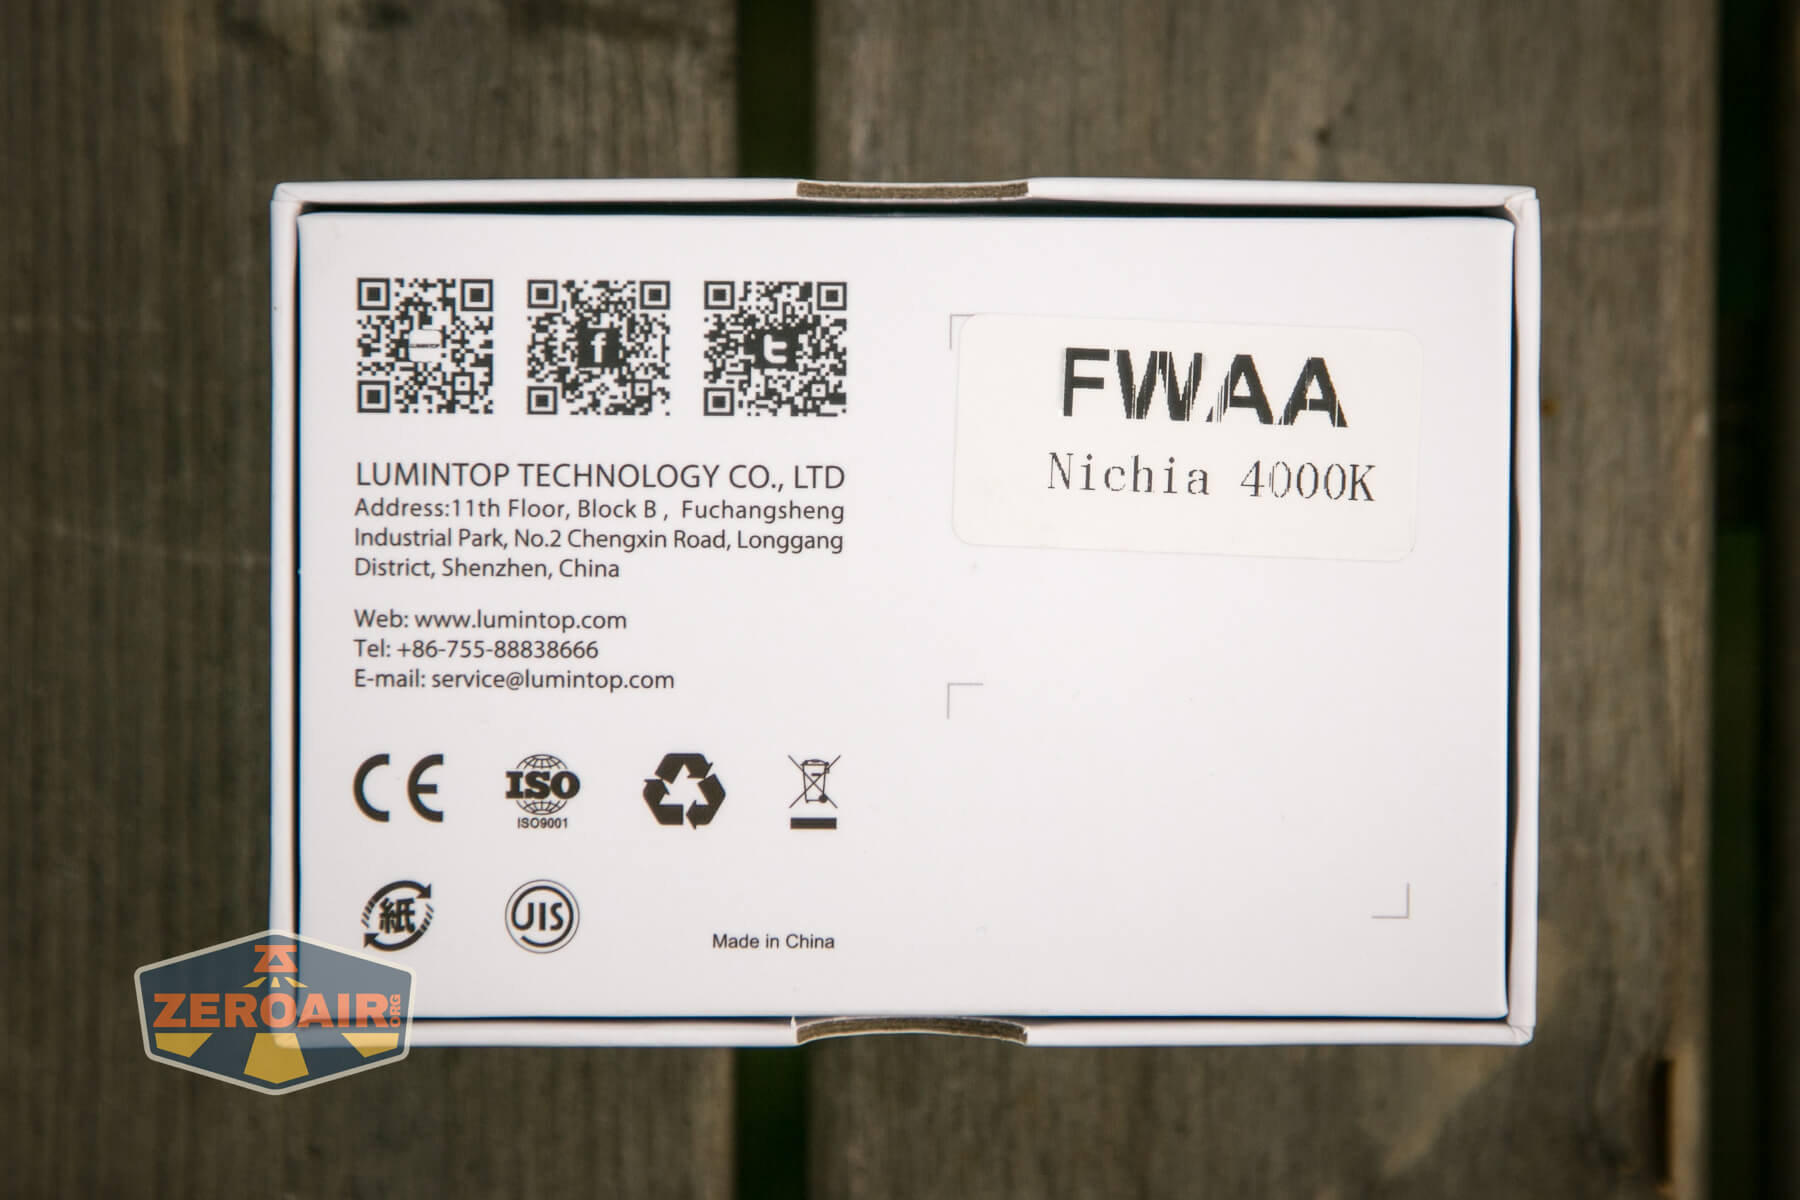
This sample is a Nichia 219c in 4000K.
Price
The going rate for the Lumintop FWAA 14500 flashlight at NealsGadgets.com is $45.95. That’s a referral link.
I would certainly recommend the package kit, though, which includes a cell for just a few dollars more.
Short Review
Ok, I thought “eh, great, another FW light.” But this little light is absolutely fantastic. You should note upfront that it’s absolutely floody. If you’re ok with floody, then just stop reading and go buy one. If you’re only marginally ok with floody, then read on and see why I recommend the SST-20 version.
Long Review of the Lumintop FWAA 14500 Flashlight
The Big Table
| Lumintop FWAA 14500 Flashlight | |
|---|---|
| Emitter: | Nichia 219c (4000K) |
| Price in USD at publication time: | $45.95 at NealsGadgets.com |
| Cell: | 1×14500 |
| LVP? | Yes |
| Switch Type: | E-Switch |
| Quiescent Current (mA): | – |
| On-Board Charging? | No |
| Claimed Lumens (lm) | 1200 |
| Measured Lumens (initial) | 1862 (155.2% of claim)^ |
| Candela per Lumen | 2.2 |
| Claimed Throw (m) | <95 |
| Candela (Calculated) in cd (initial) | 211lux @ 4.045m = 3452cd |
| Throw (Calculated) (m) | 117.5 |
| All my Lumintop reviews! | |
| Lumintop FWAA 14500 Flashlight | |
|---|---|
| Emitter: | Nichia 219c (4000K) |
| Price in USD at publication time: | |
| Cell: | 1×14500 |
| Turbo Runtime Graph | High Runtime Graph |
| LVP? | Yes |
| Switch Type: | E-Switch |
| Quiescent Current (mA): | ? |
| On-Board Charging? | No |
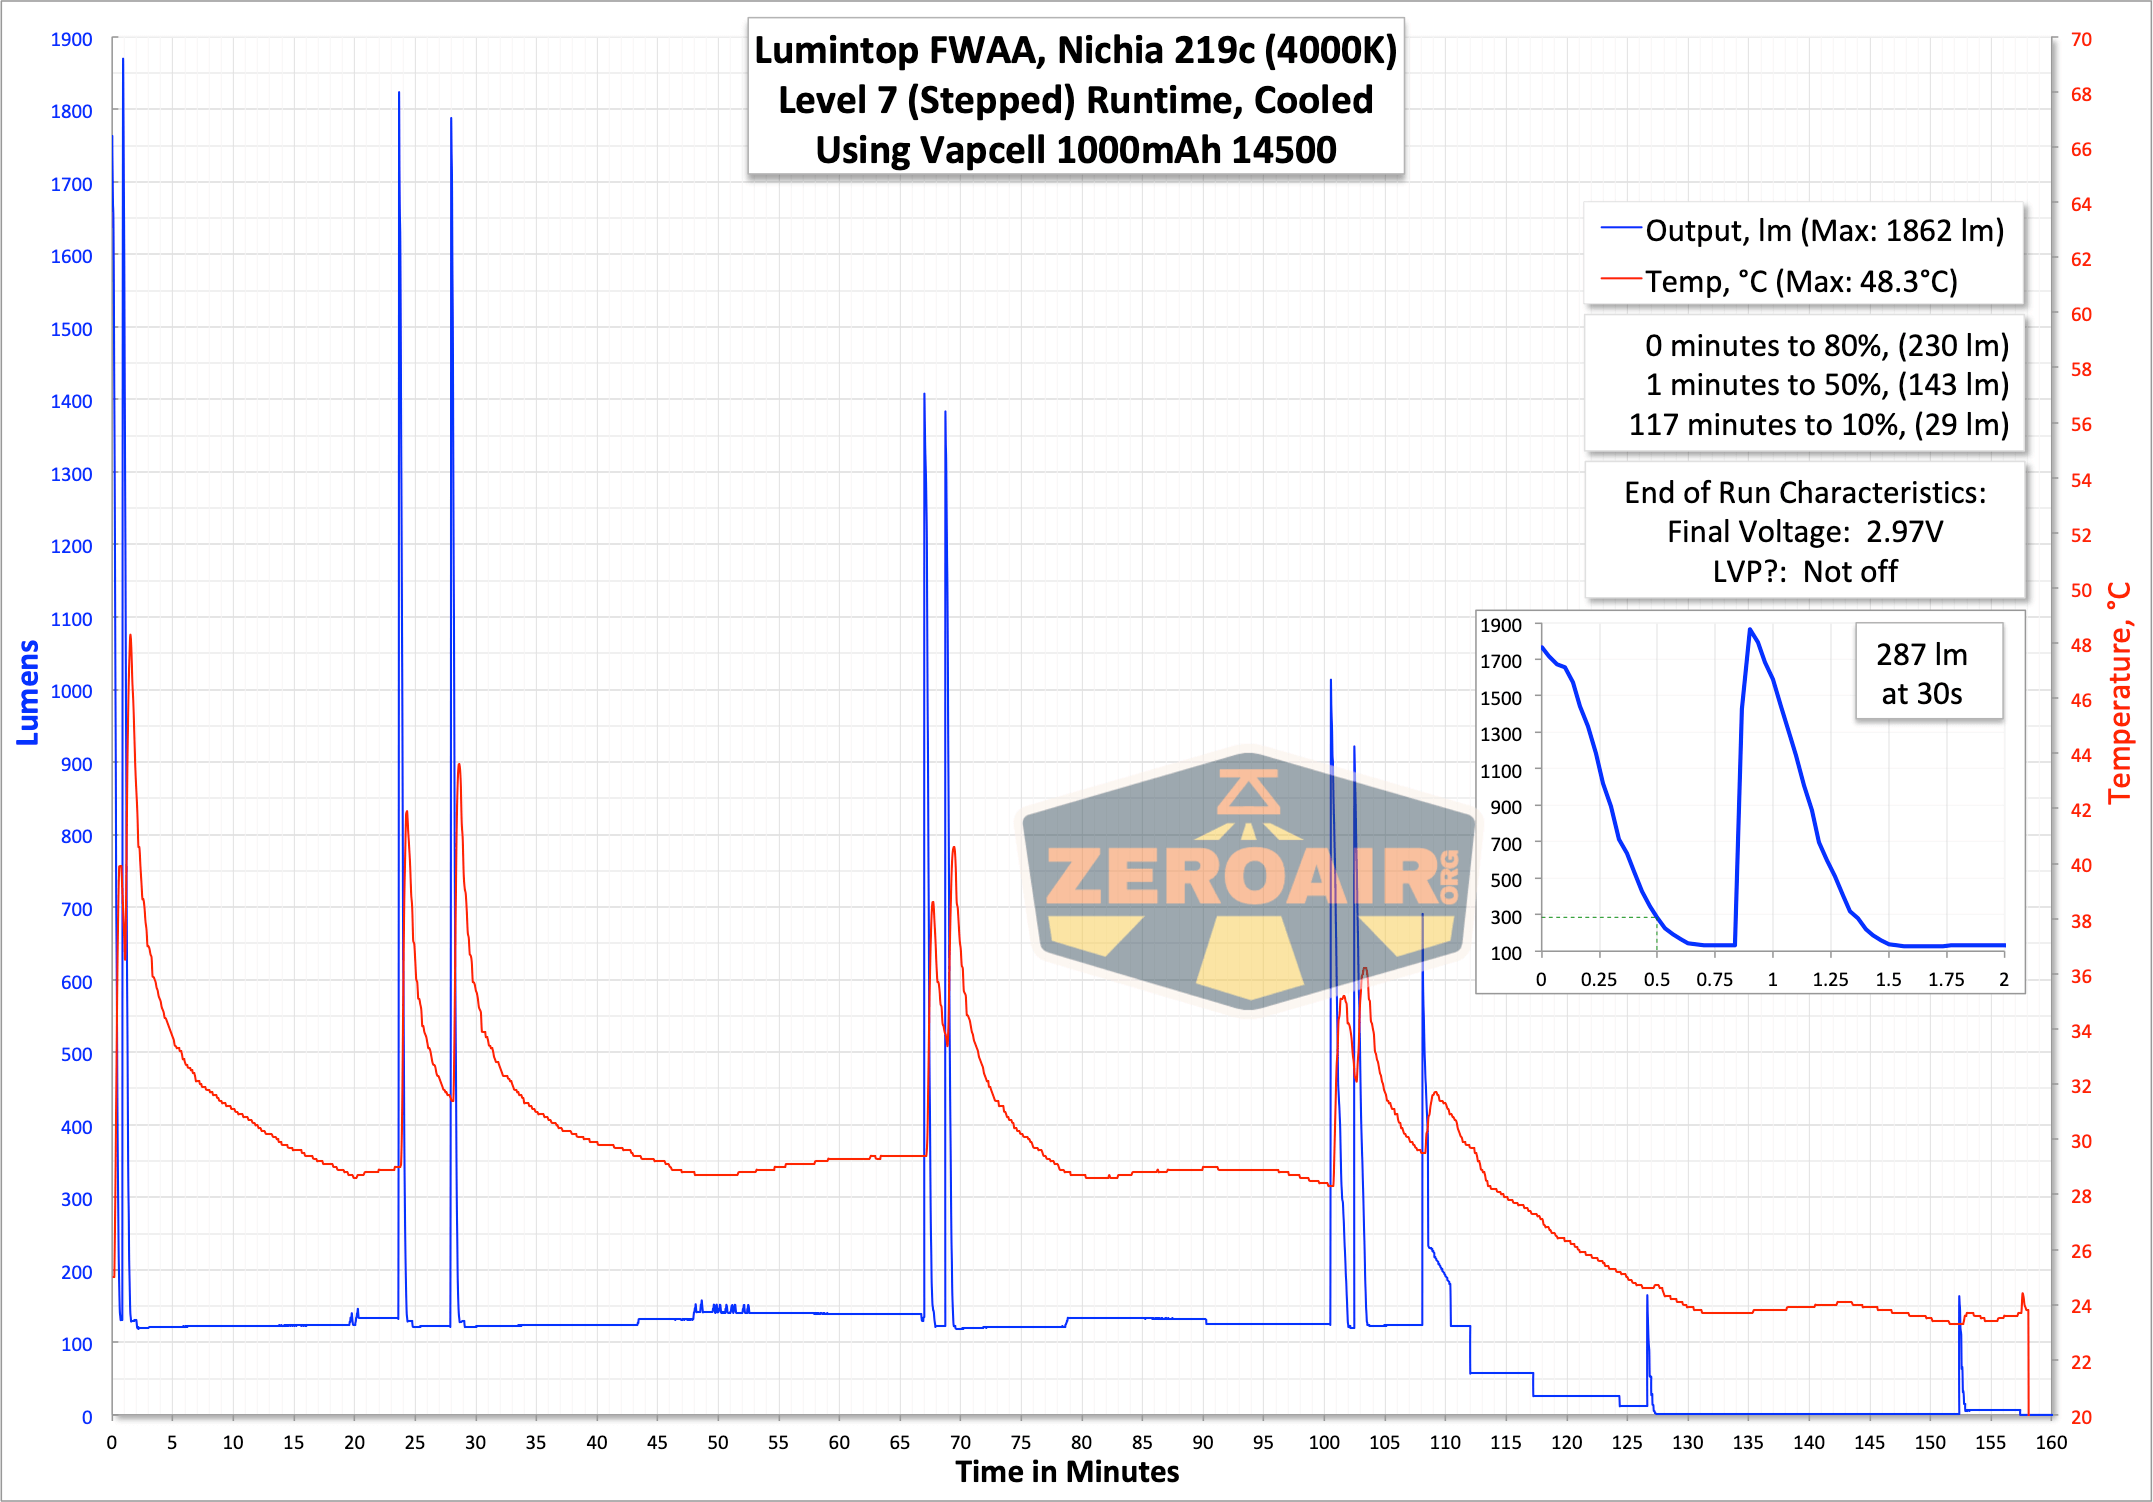
| Claimed Lumens (lm) | 1200 |
| Measured Lumens (at 30s) | 287 (23.9% of claim)^ |
| Candela per Lumen | 2.2 |
| Claimed Throw (m) | <95 |
| Candela (Calculated) in cd (at 30s) | 64lux @ 3.038m = 591cd |
| Throw (Calculated) (m) | 48.6 |
| All my Lumintop reviews! | |
^ Measurement disclaimer: Testing flashlights is my hobby. I use hobbyist-level equipment for testing, including some I made myself. Try not to get buried in the details of manufacturer specifications versus measurements recorded here; A certain amount of difference (say, 10 or 15%) is perfectly reasonable.
What’s Included
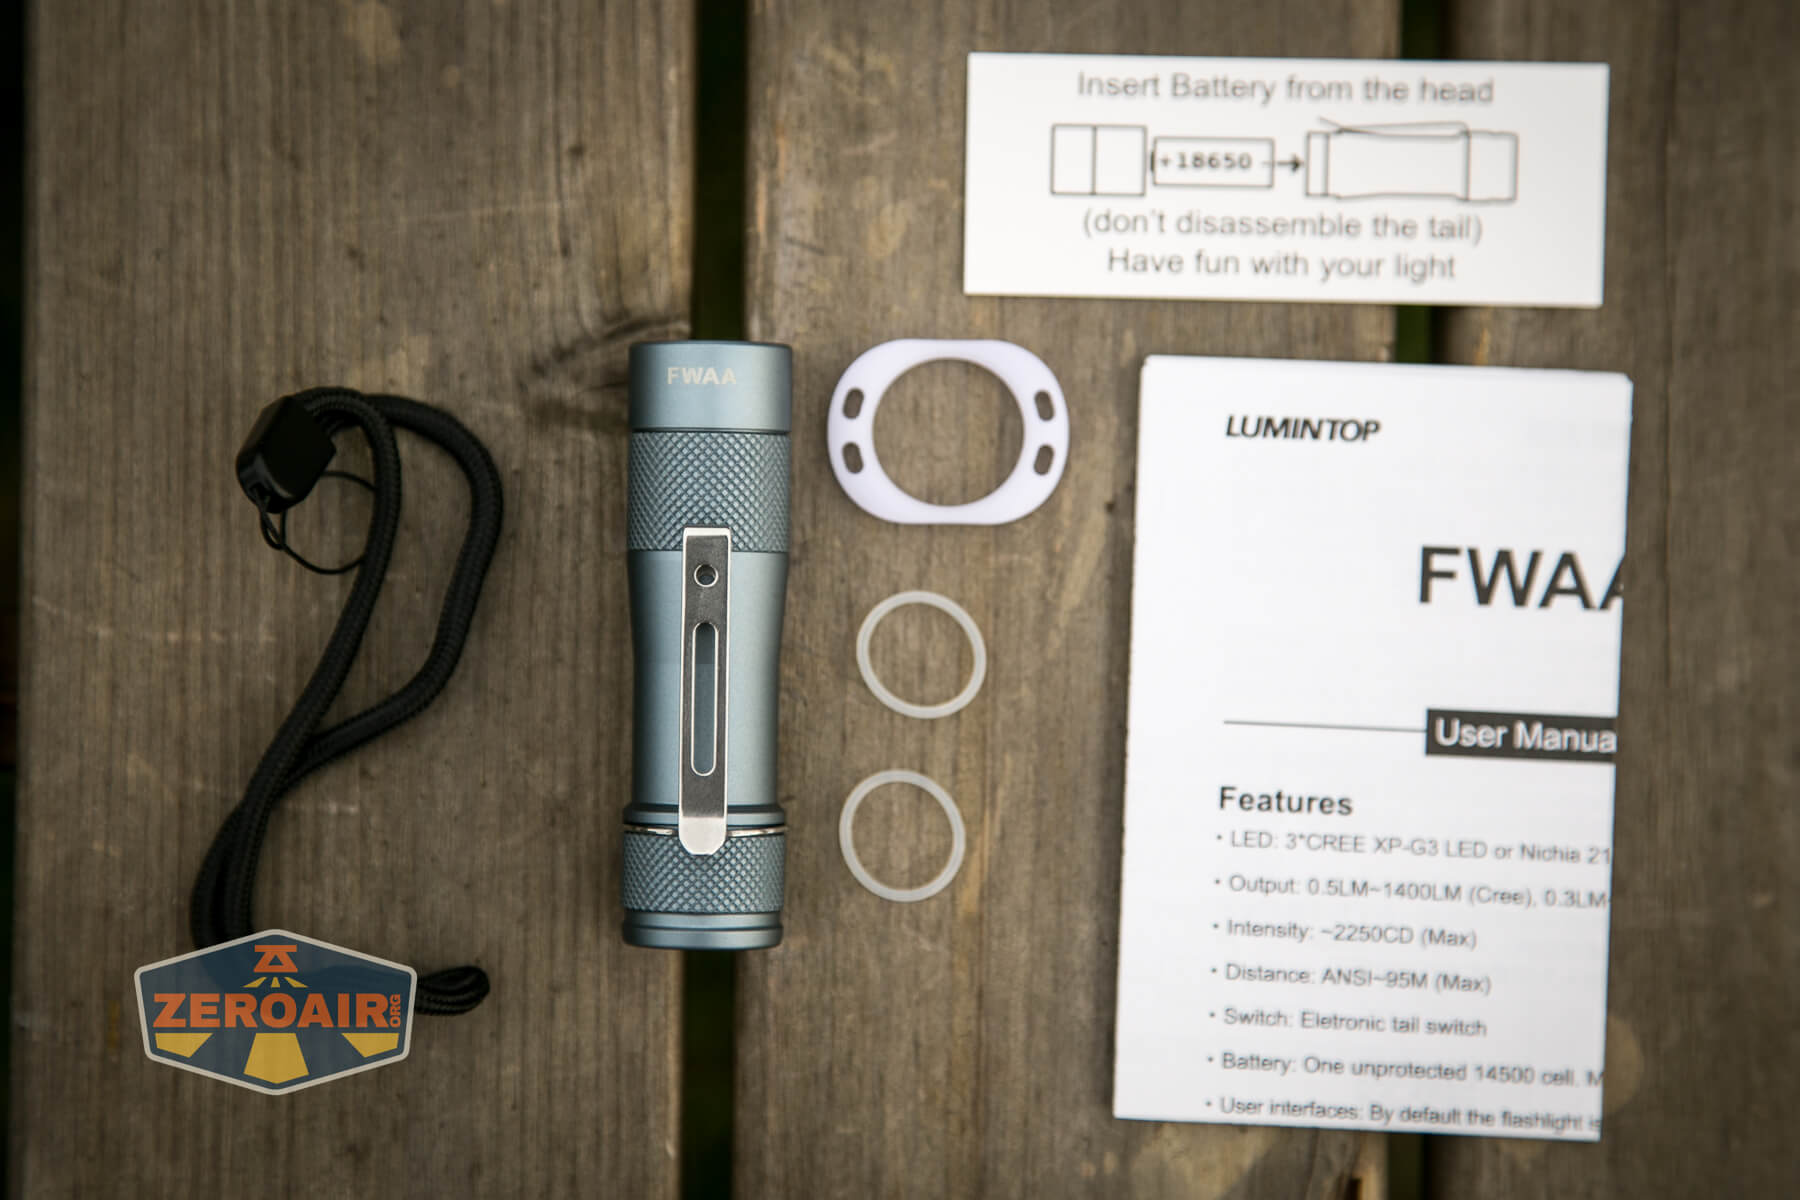
- Lumintop FWAA 14500 Flashlight
- Tactical ring
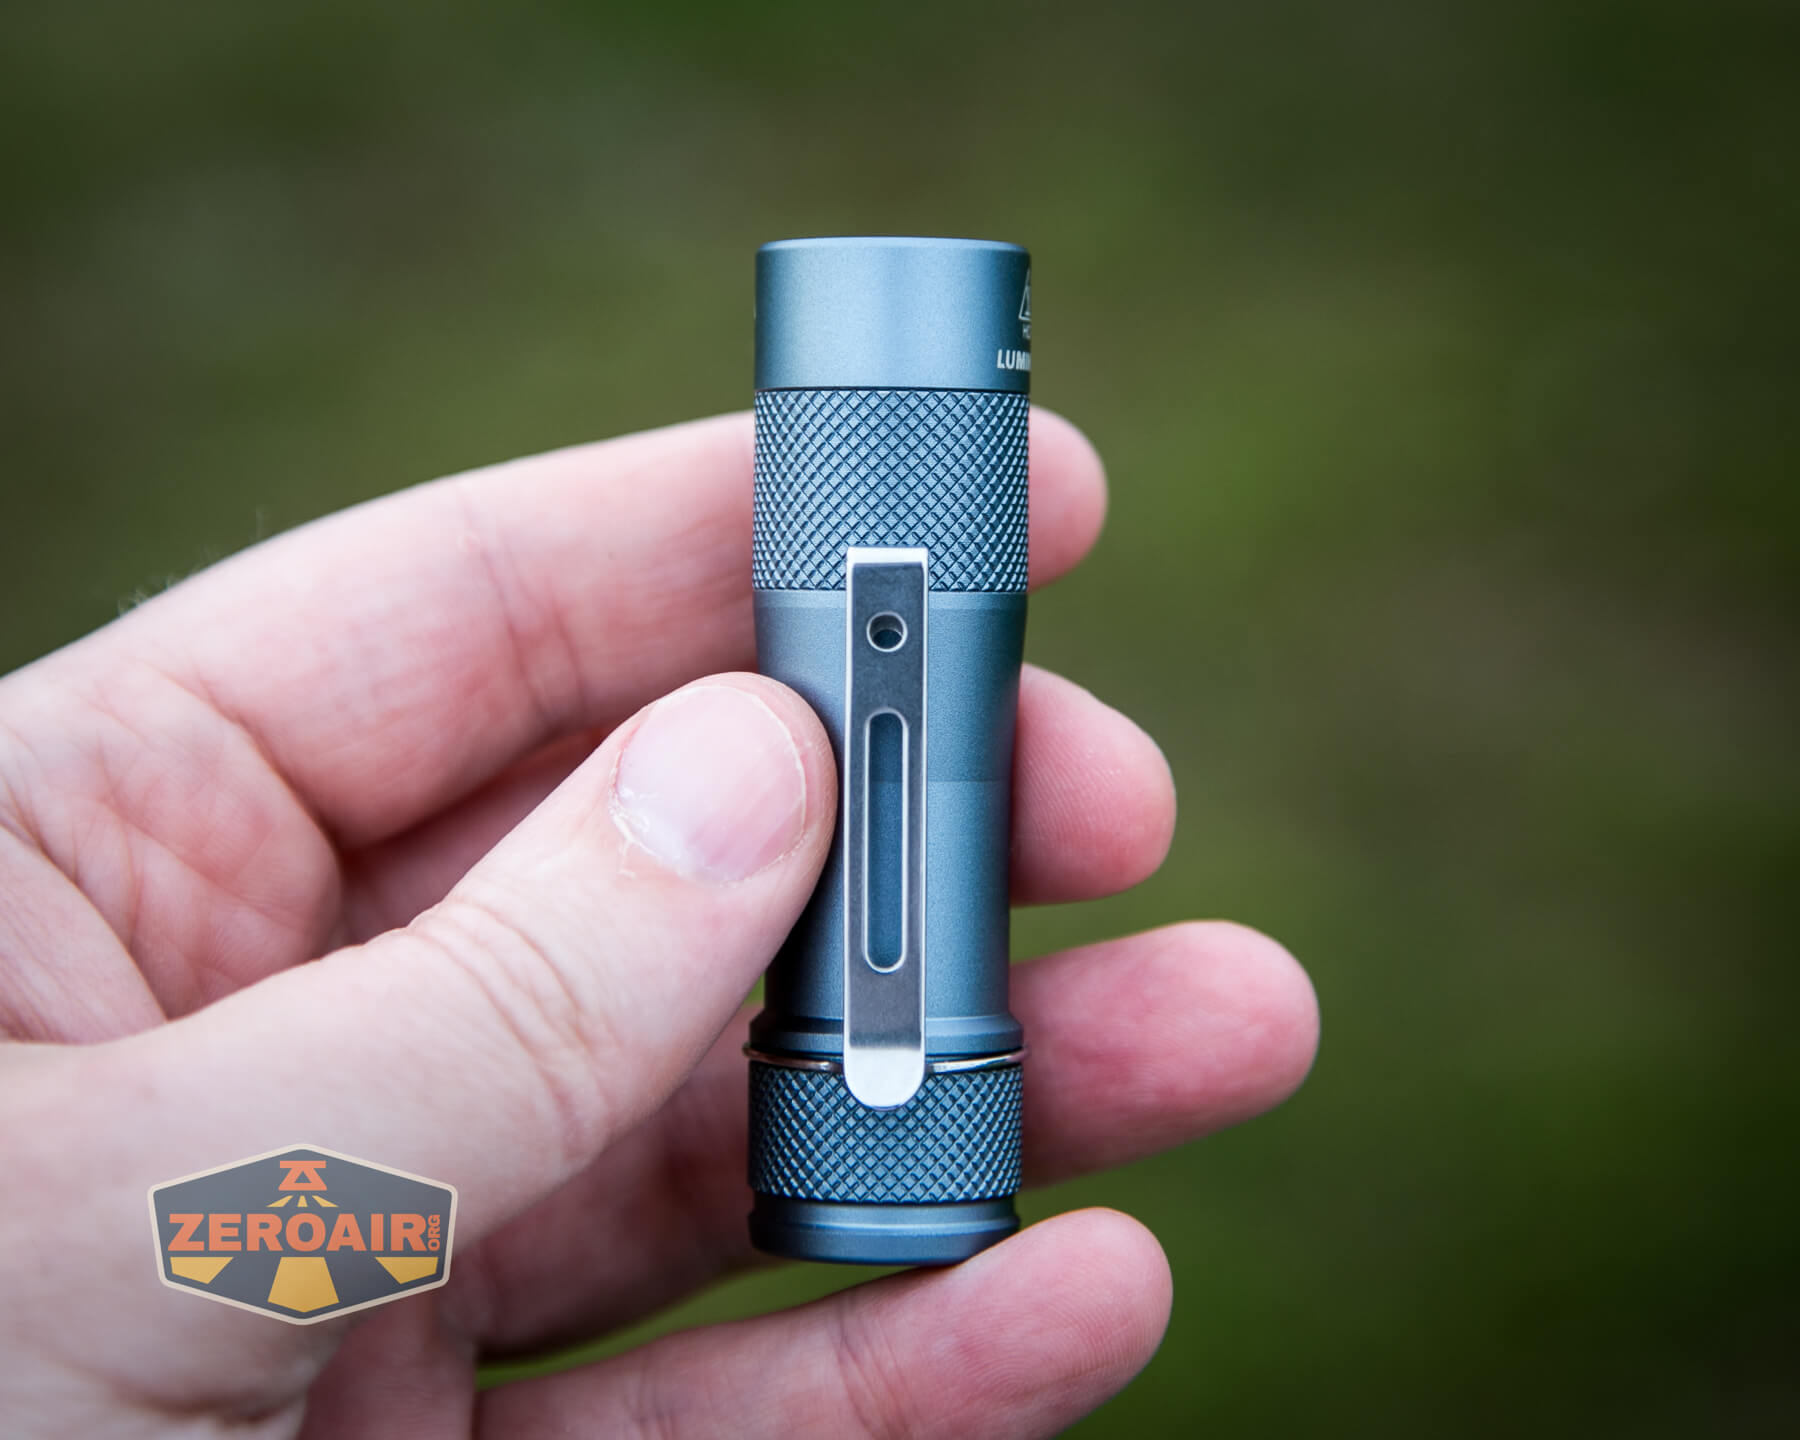
- Pocket clip (two-way)
- Lanyard
- Spare o-rings (2)
- Manual and paper
Package and Manual
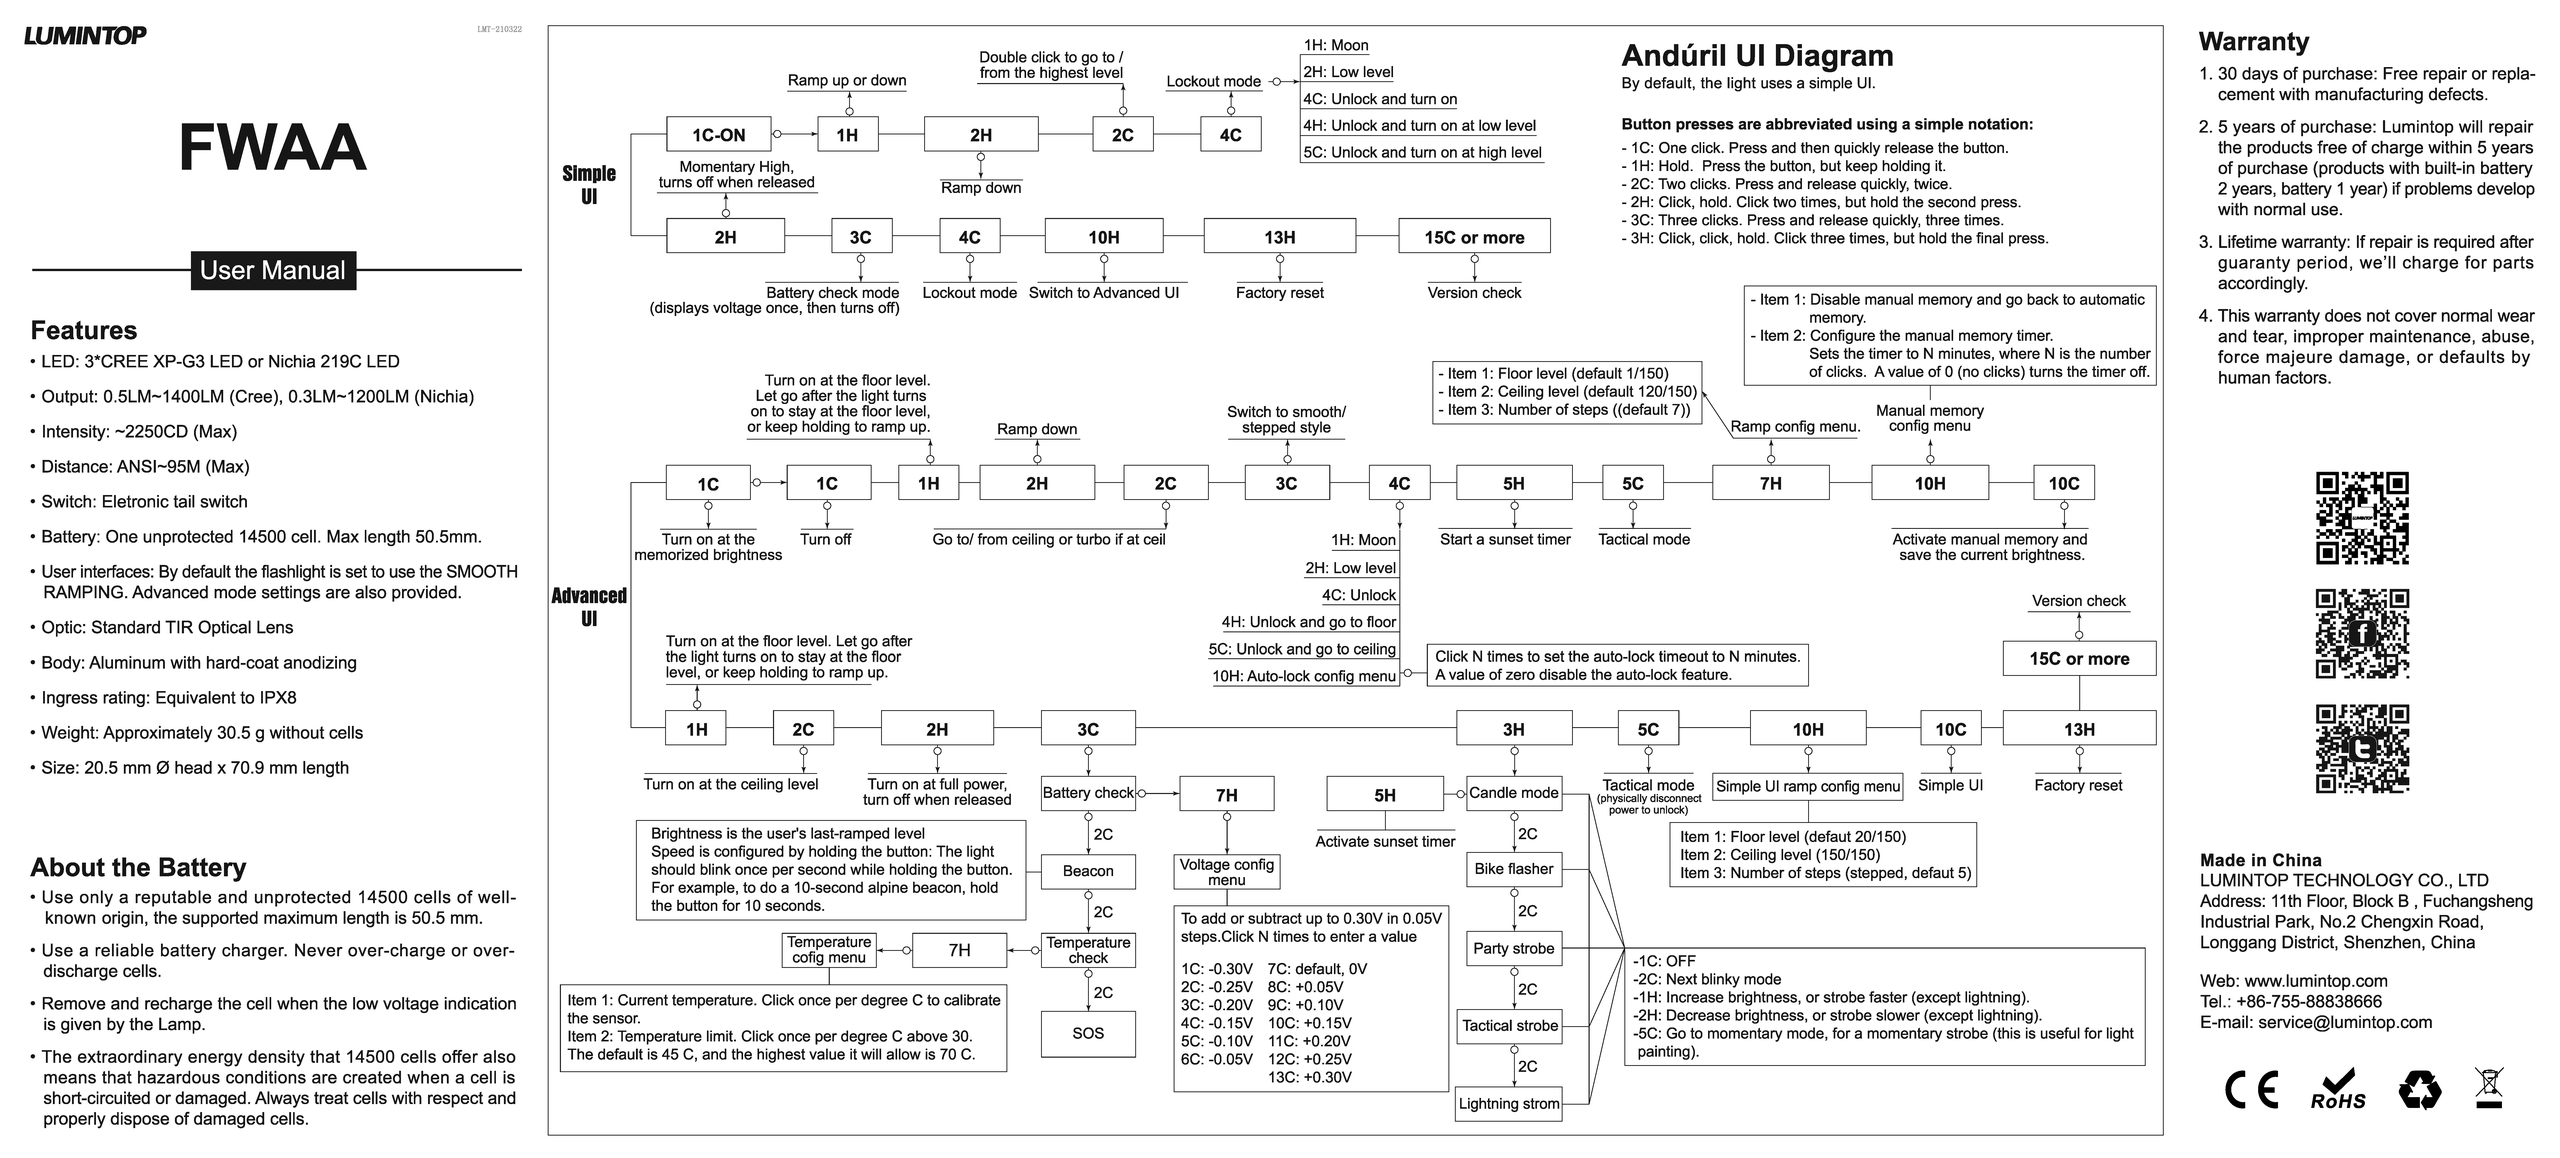
I was able to get a PDF manual, which you can see here. This is Andúril2!!
Build Quality and Disassembly
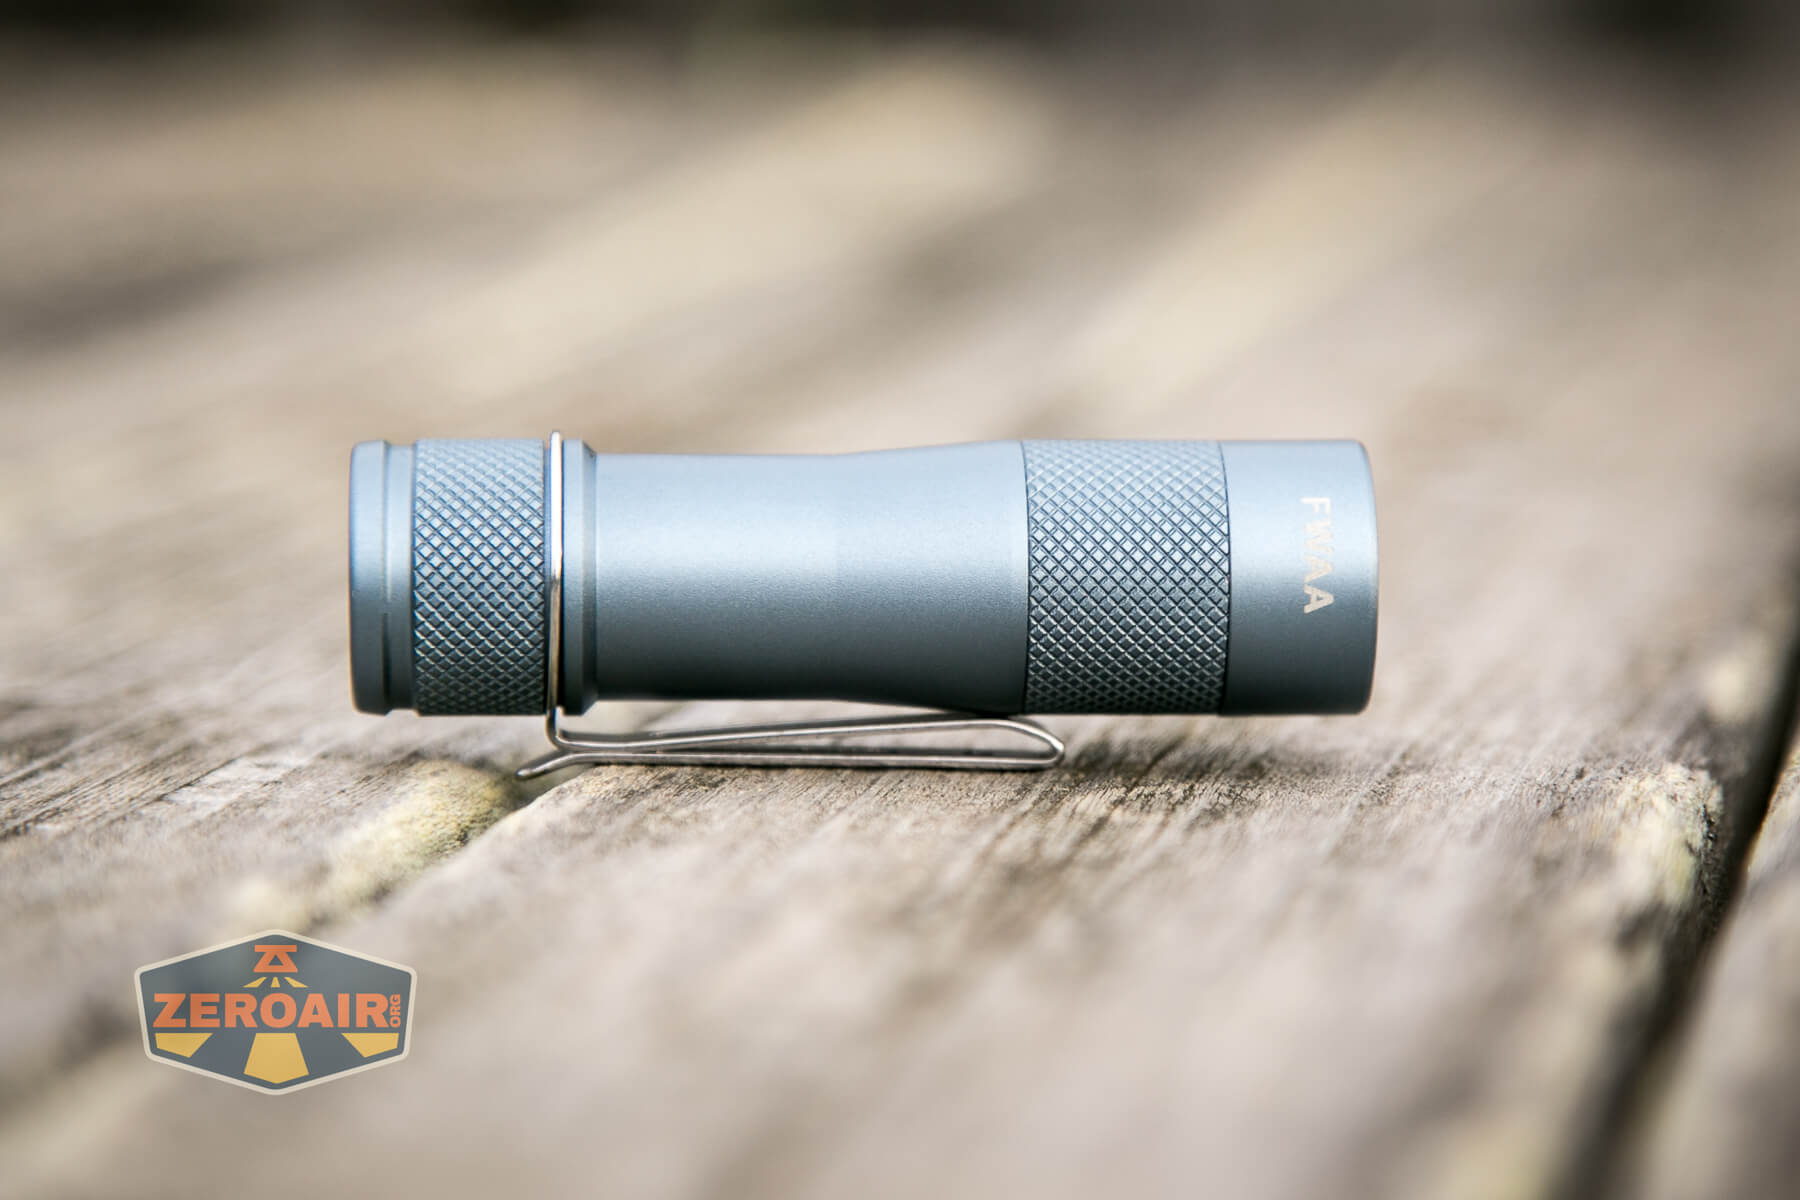
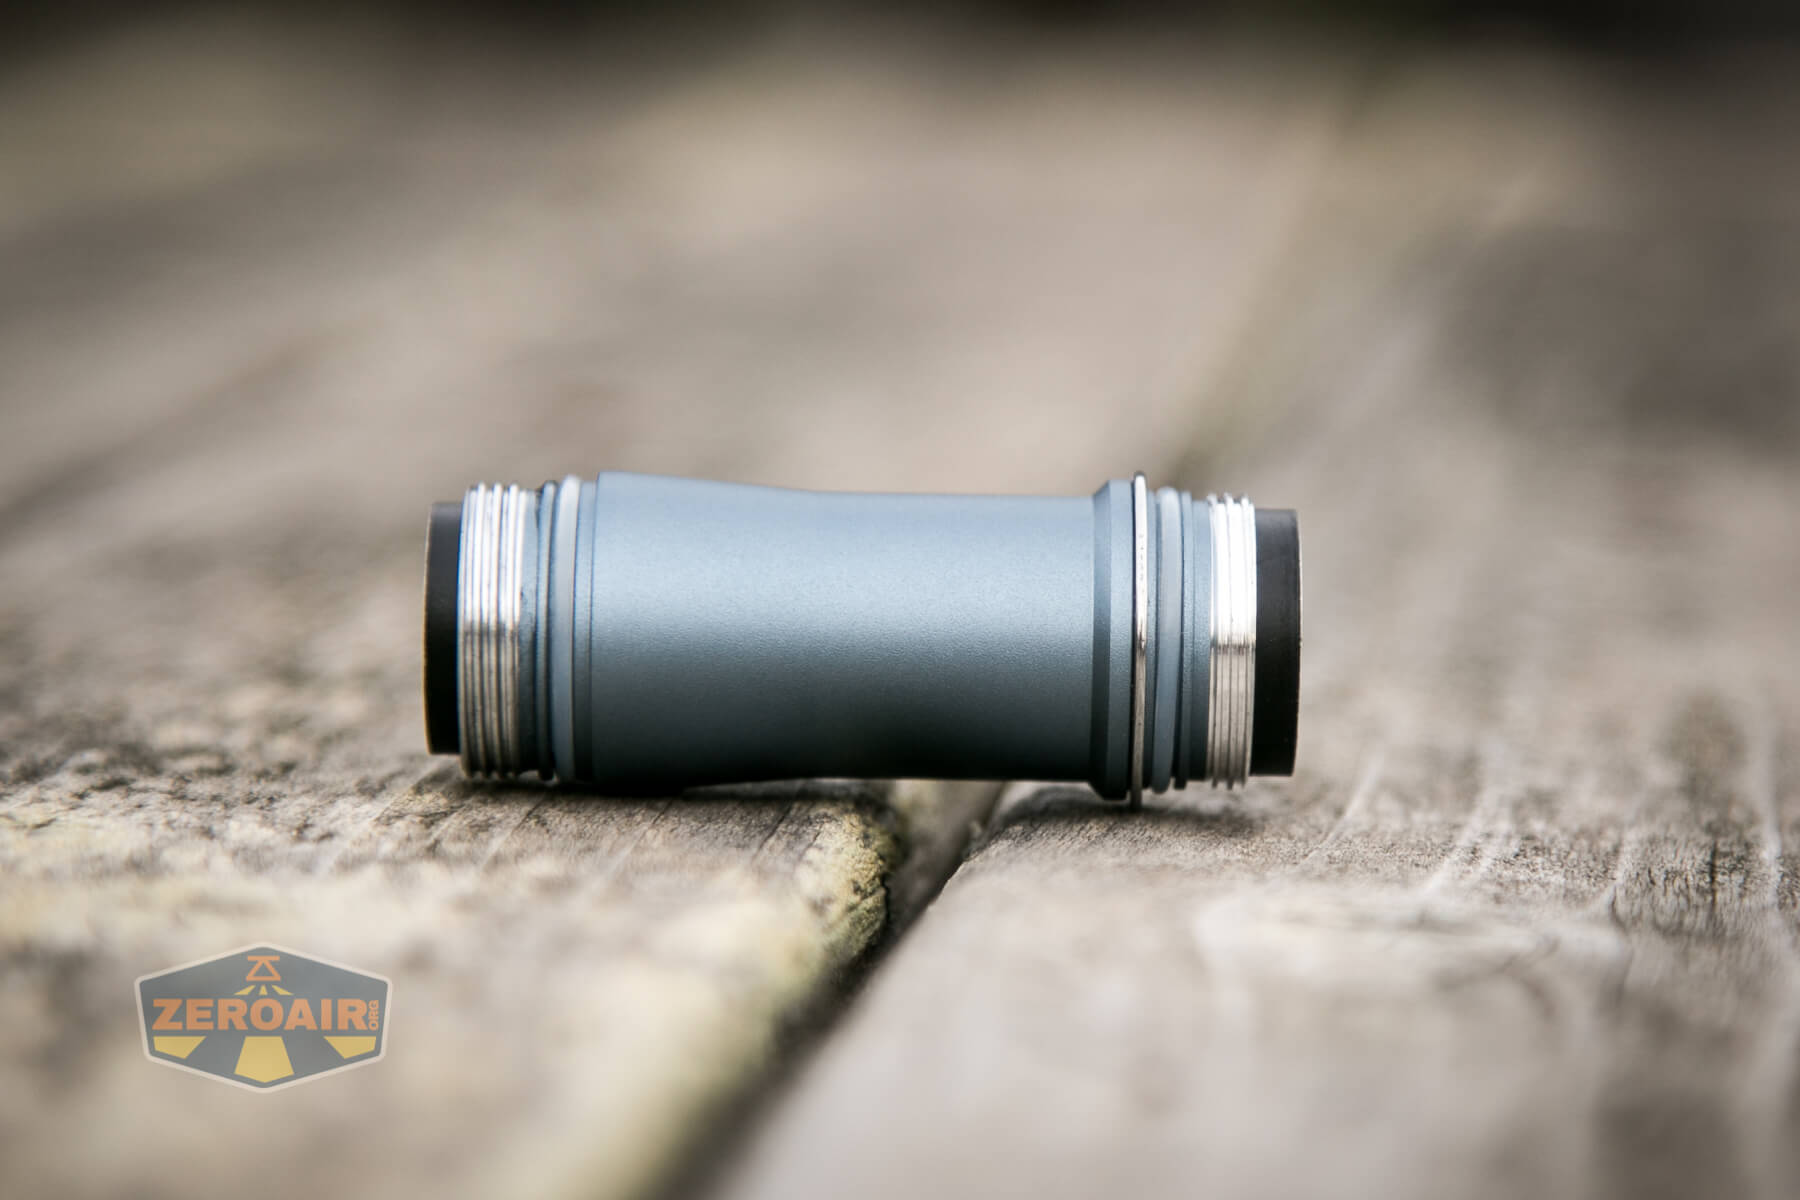
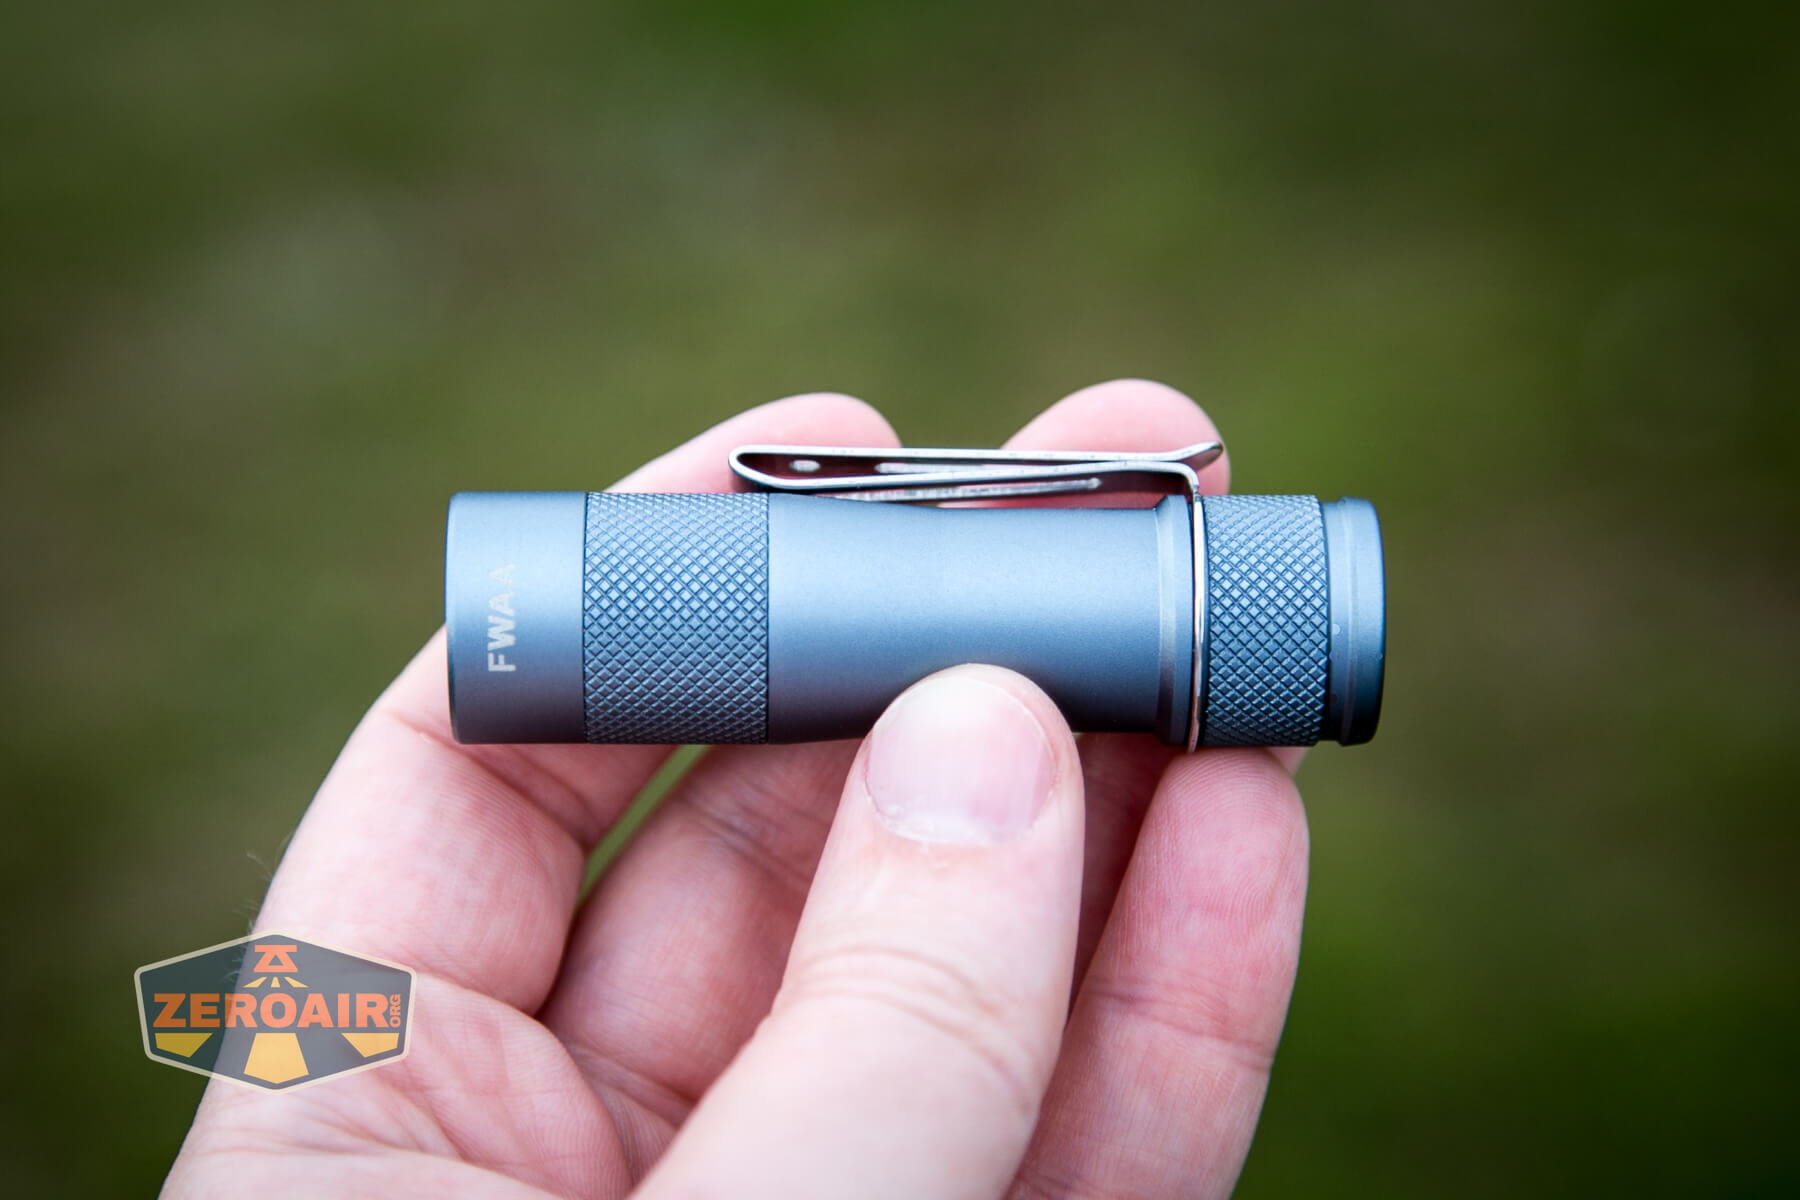
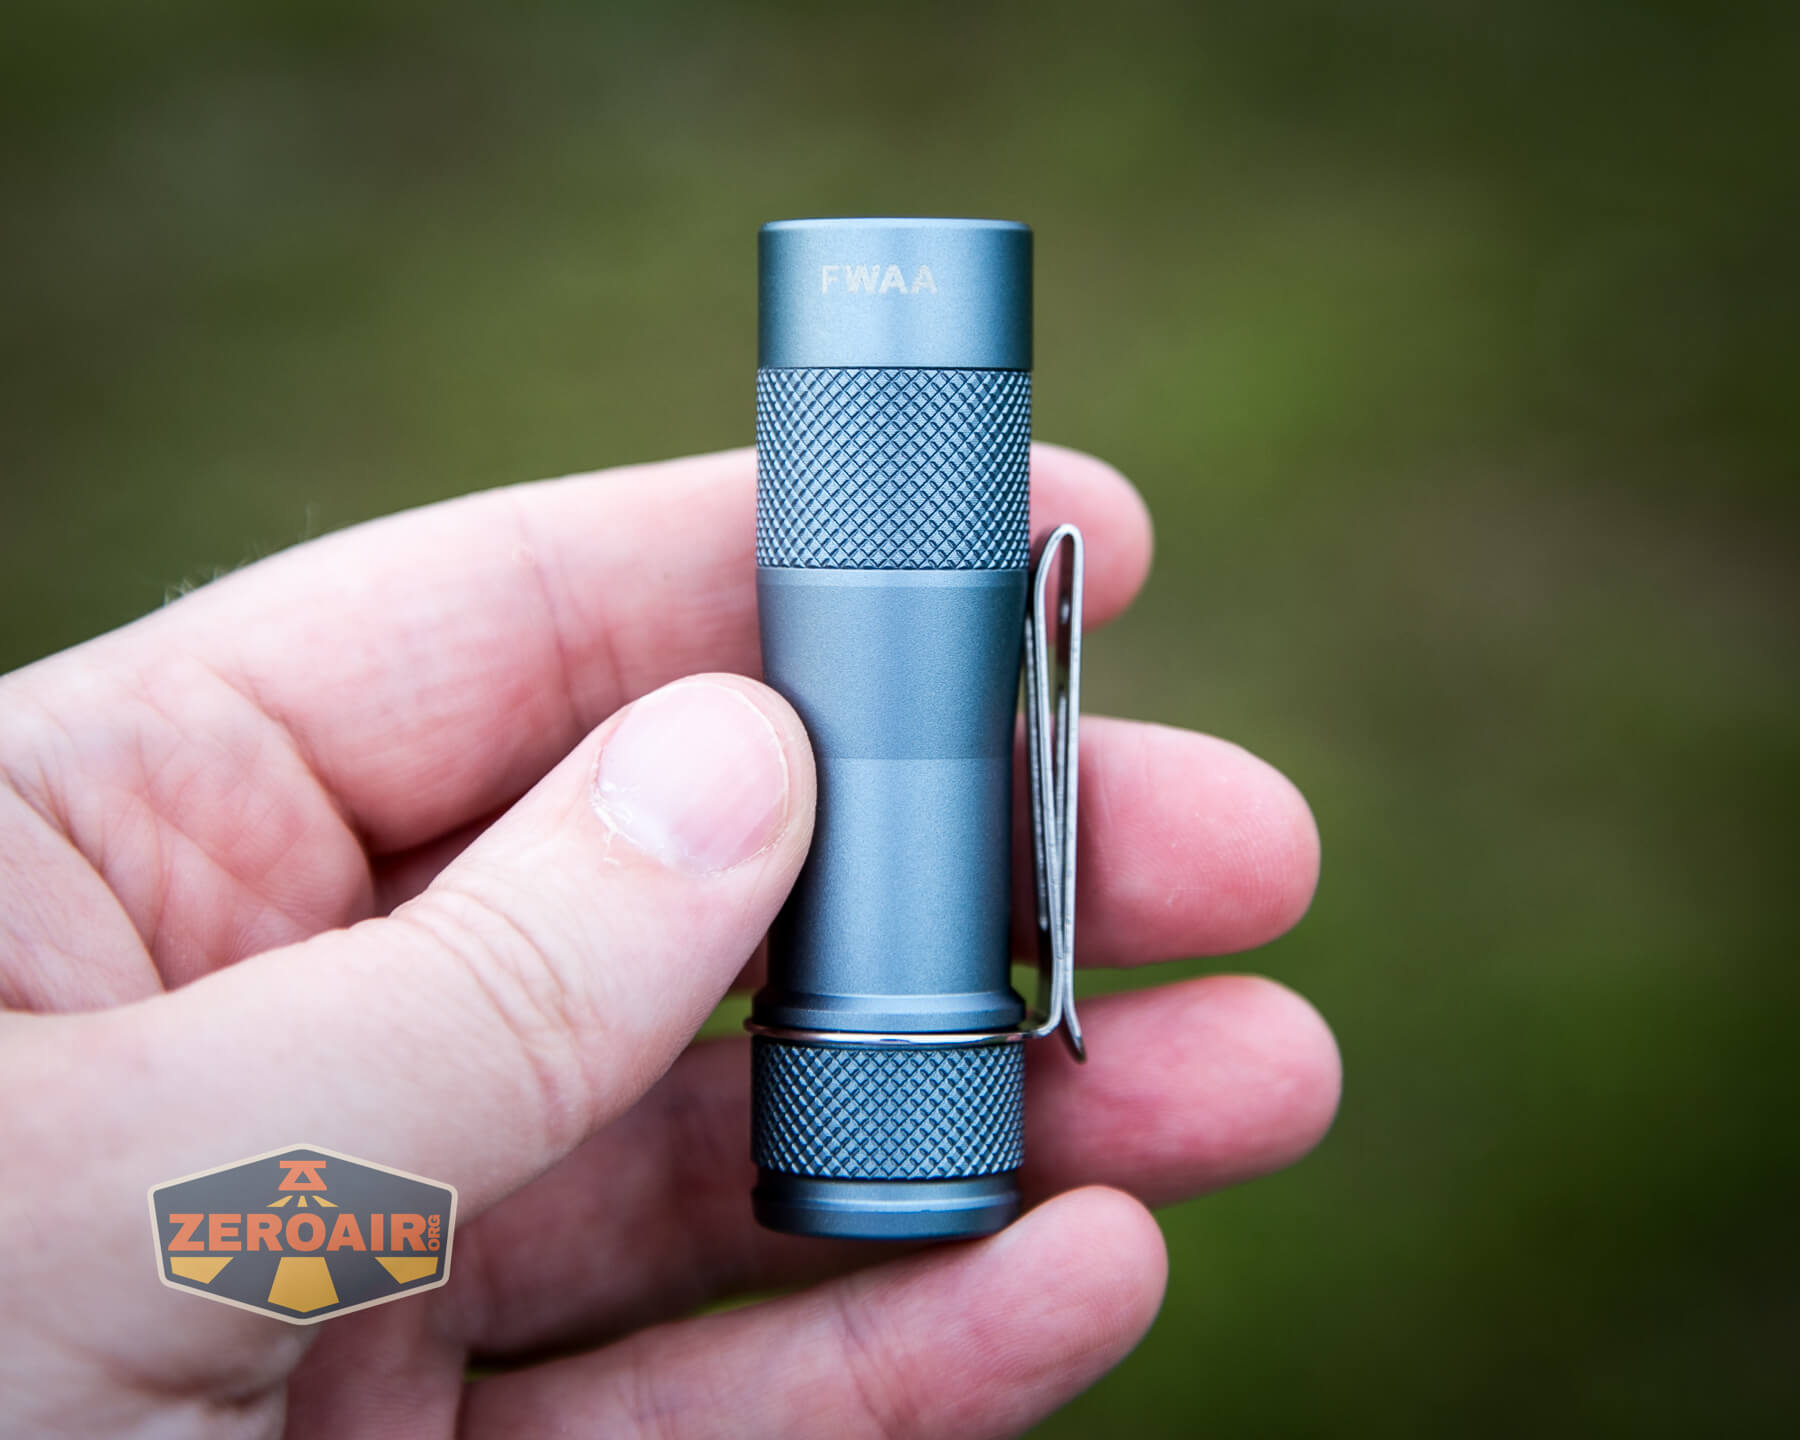
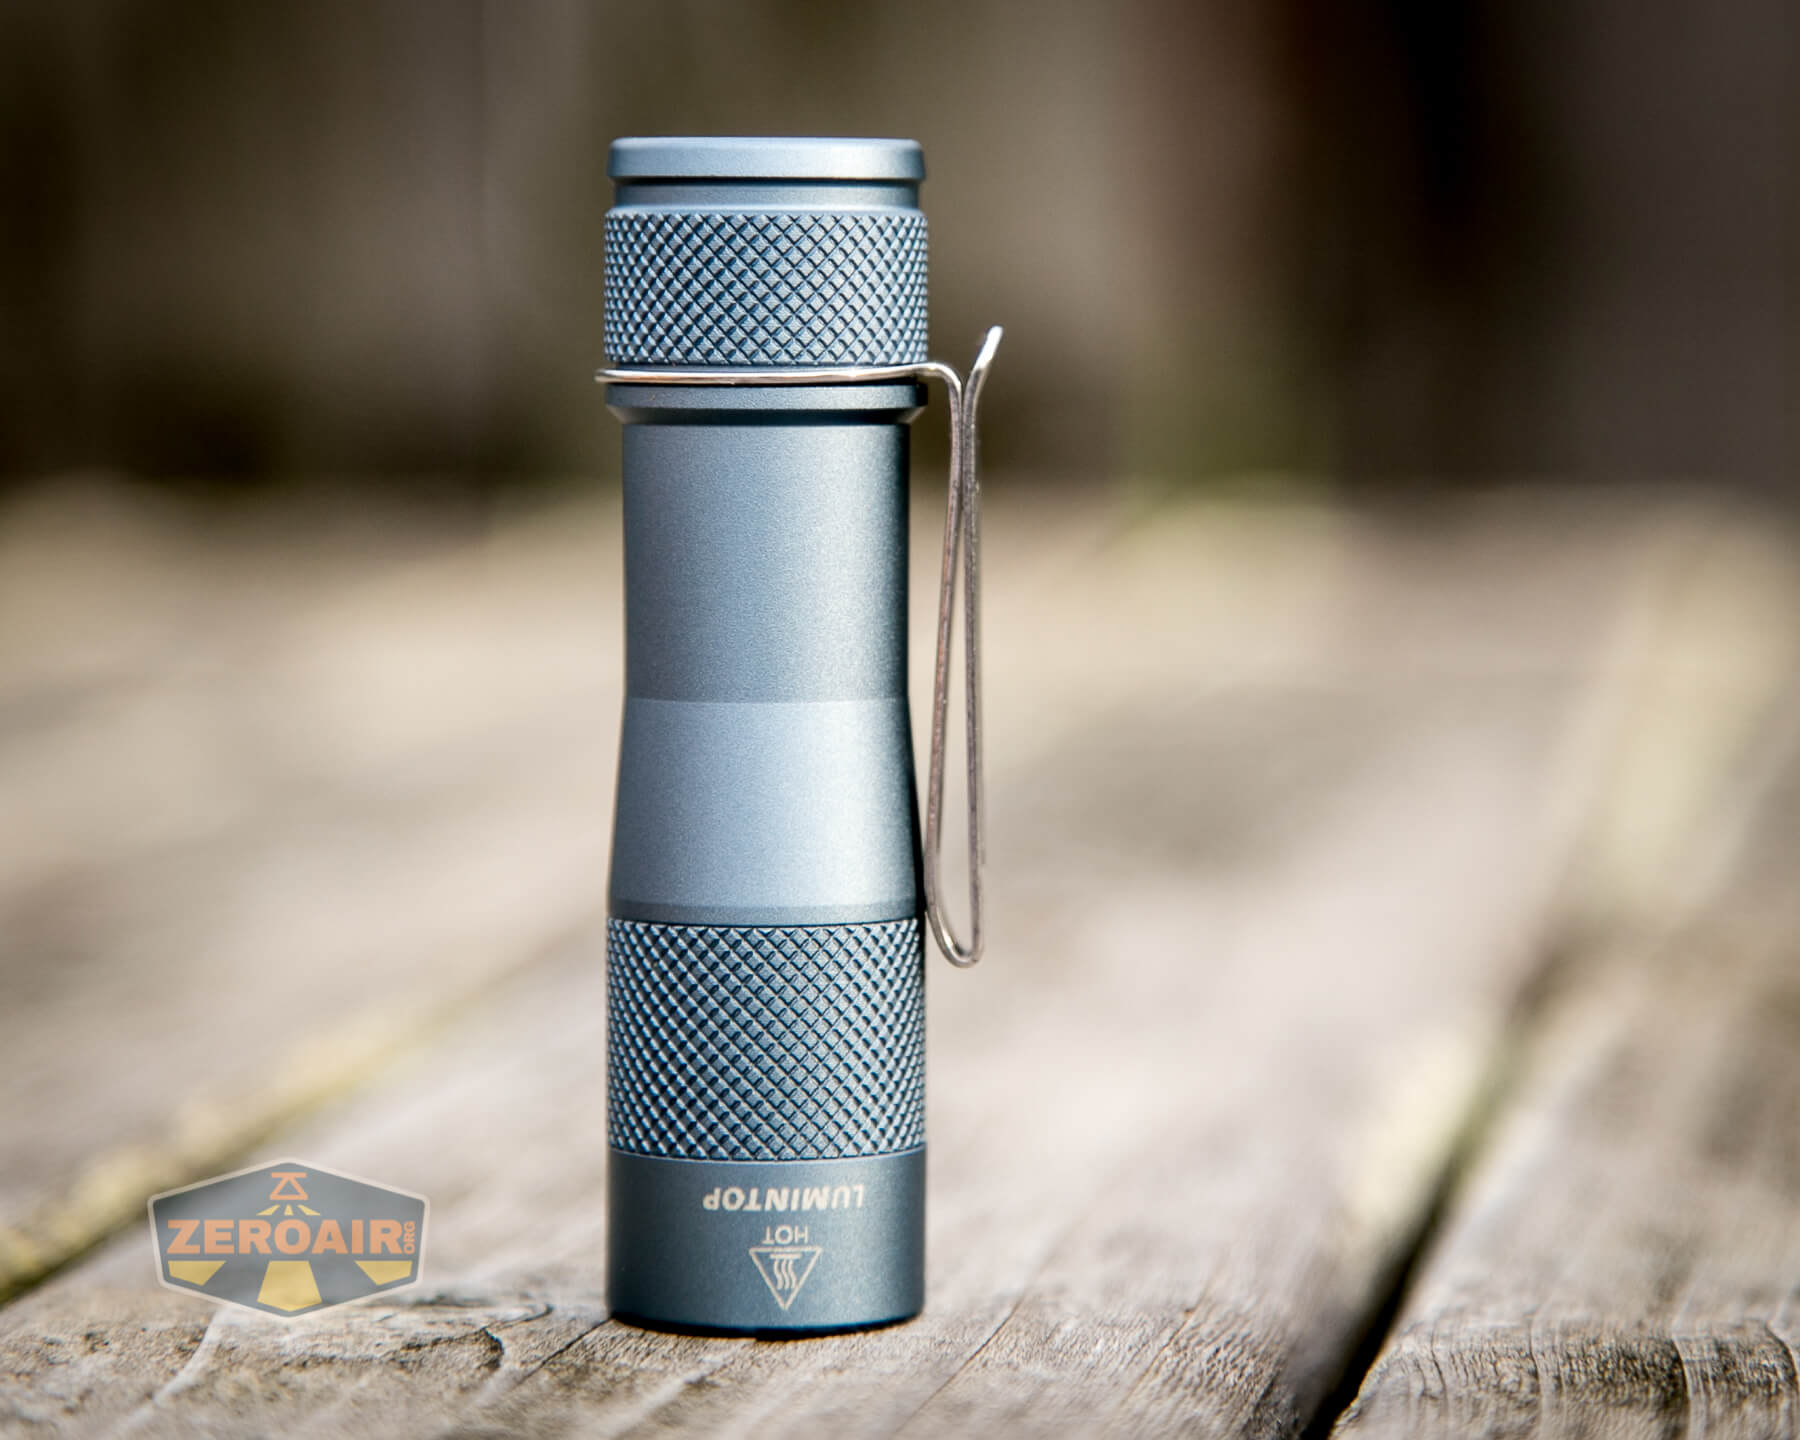
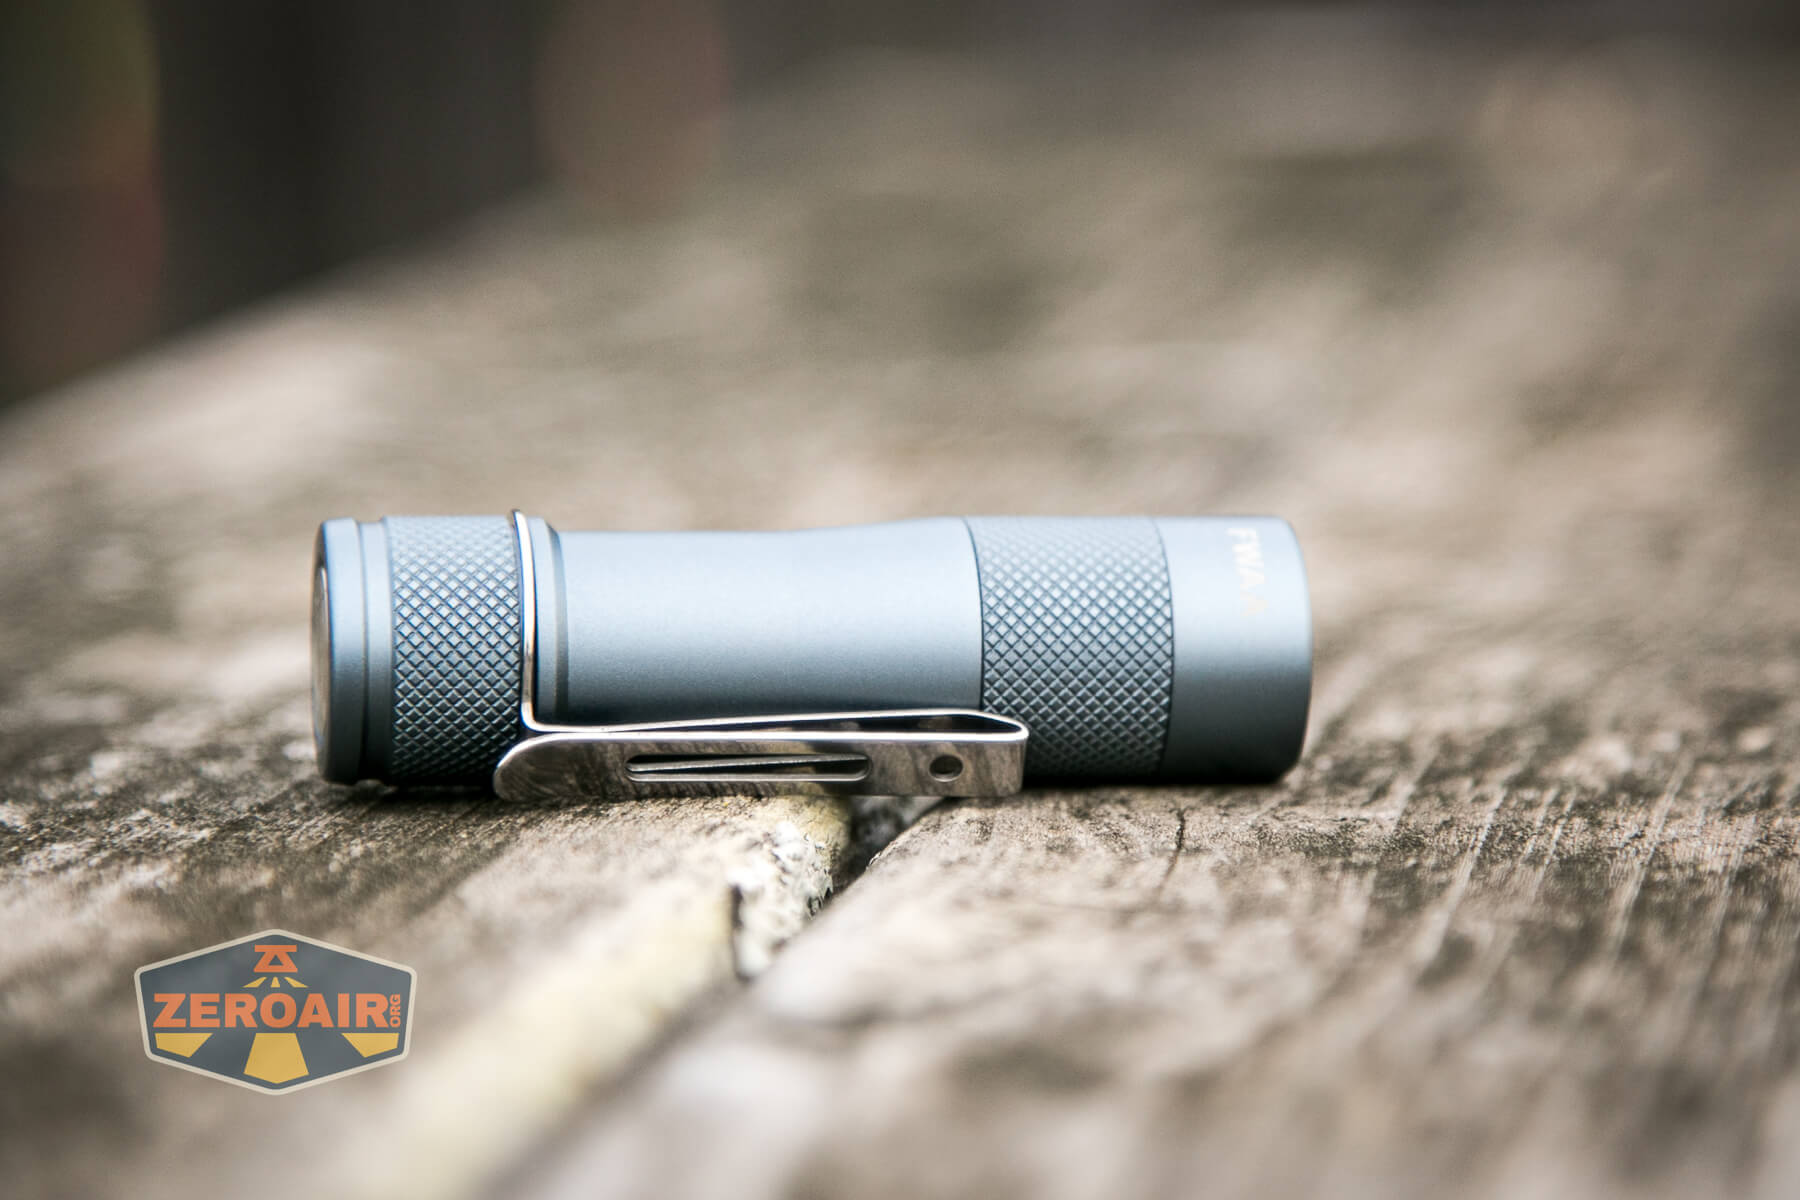
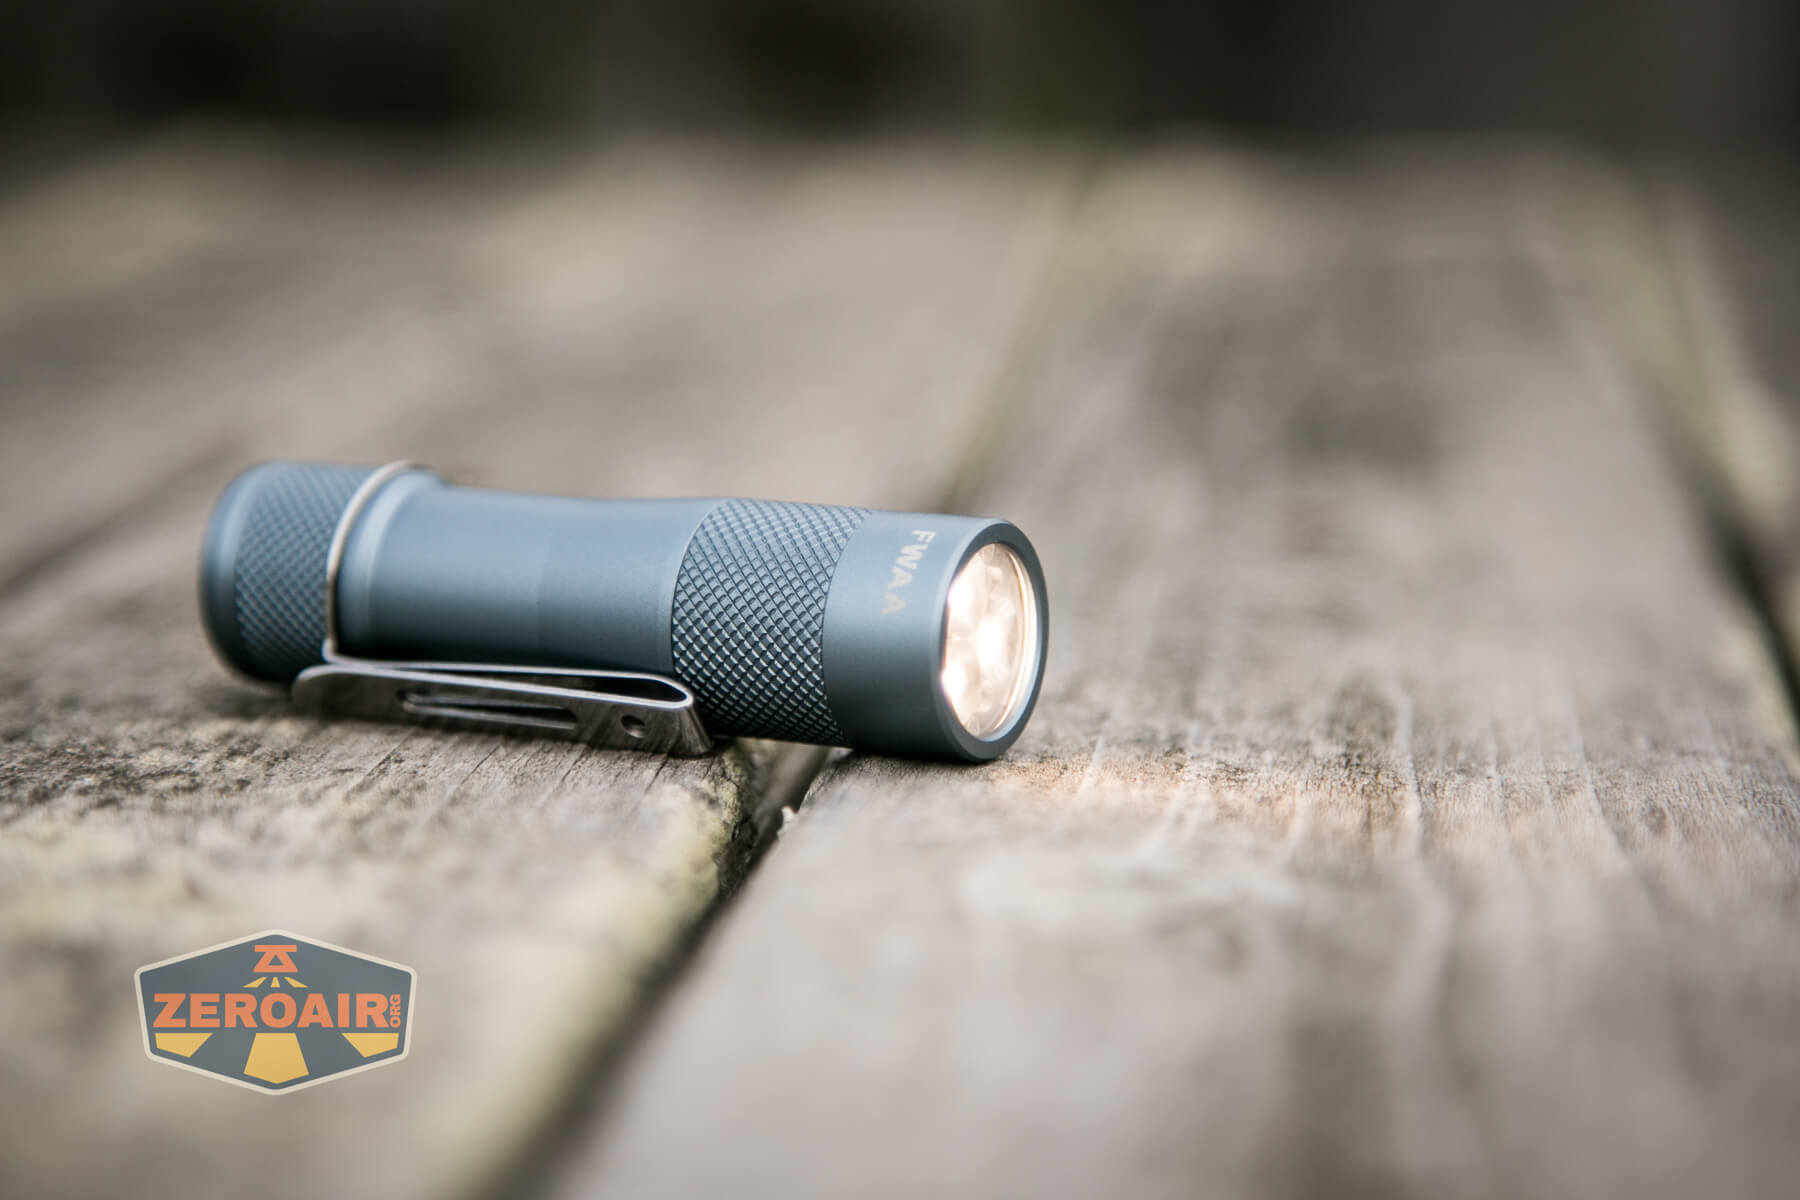
This little Lumintop FWAA 14500 flashlight feels like a very refined product. It should; there are so many other versions. But it just feels “right” – it’s a nicely finished flashlight.
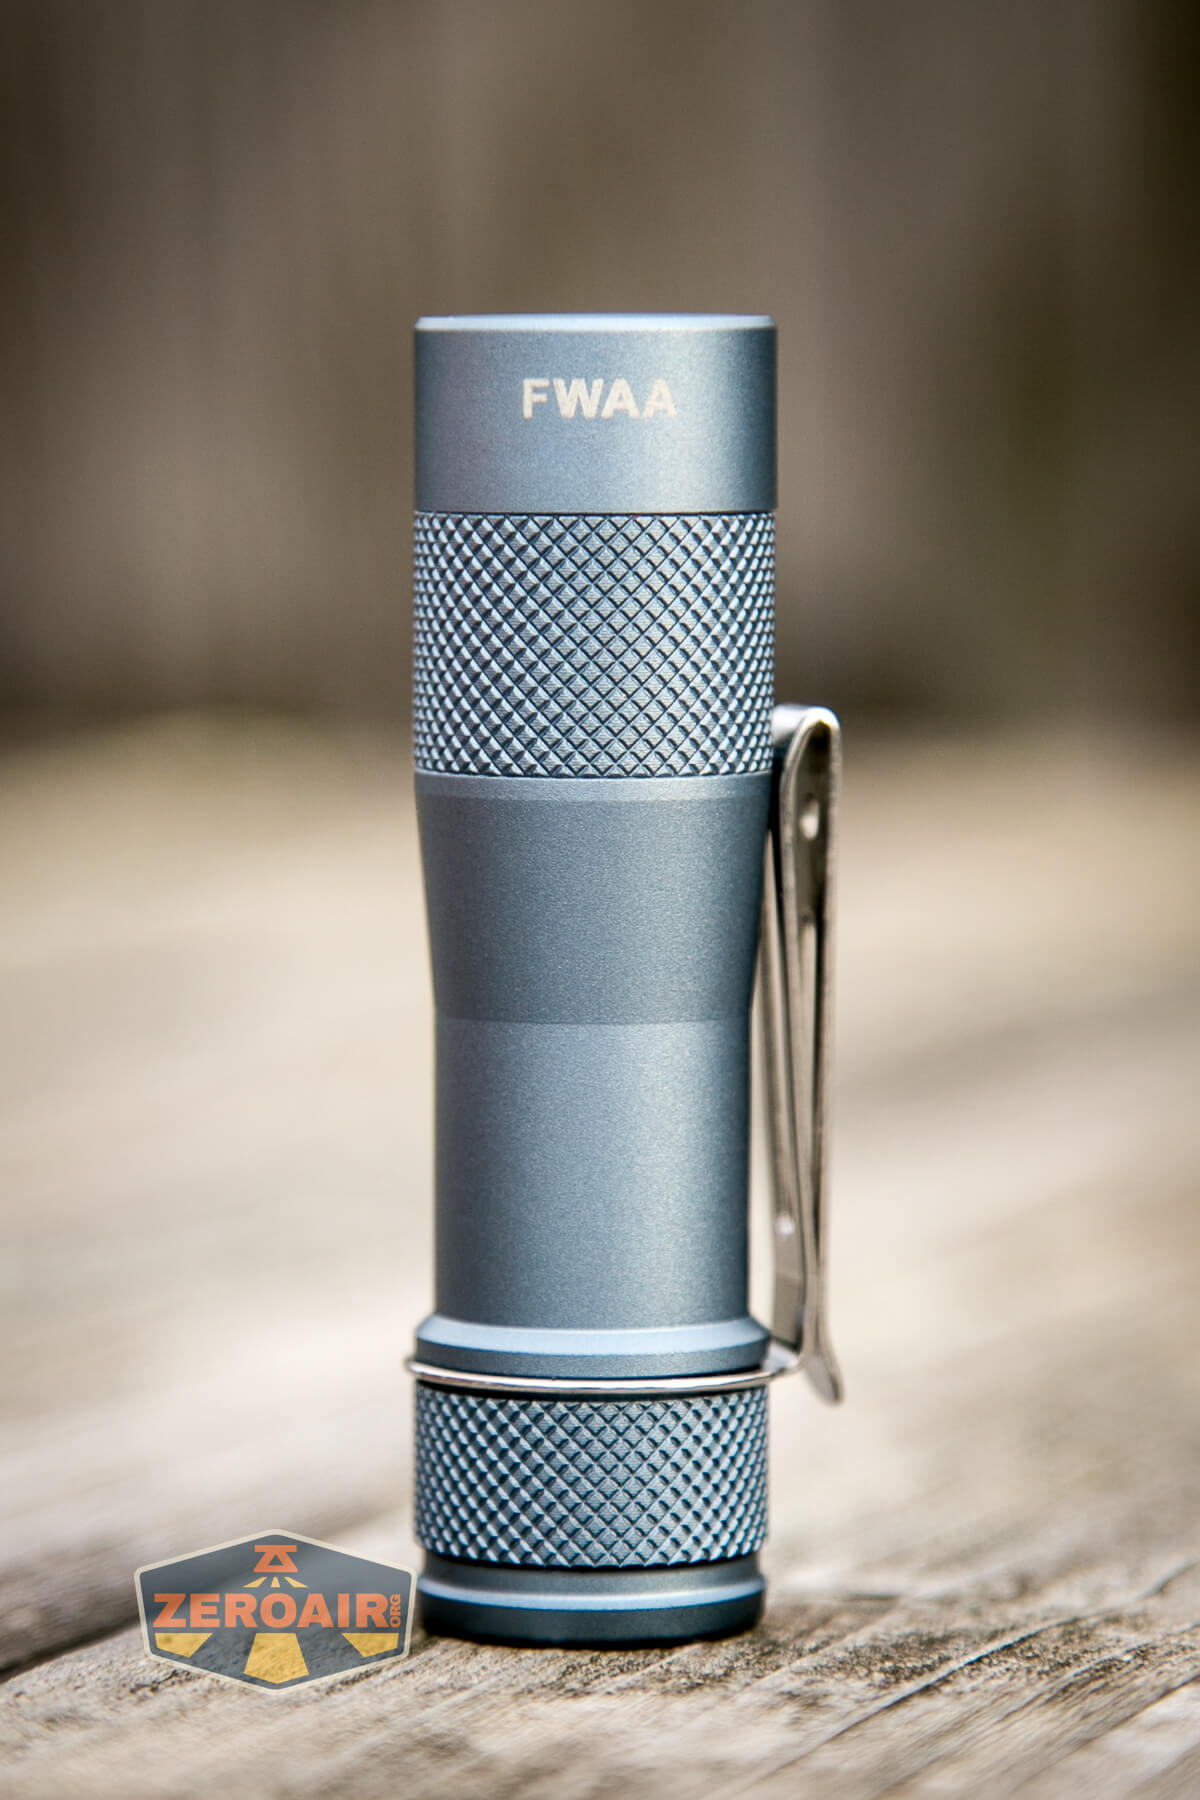
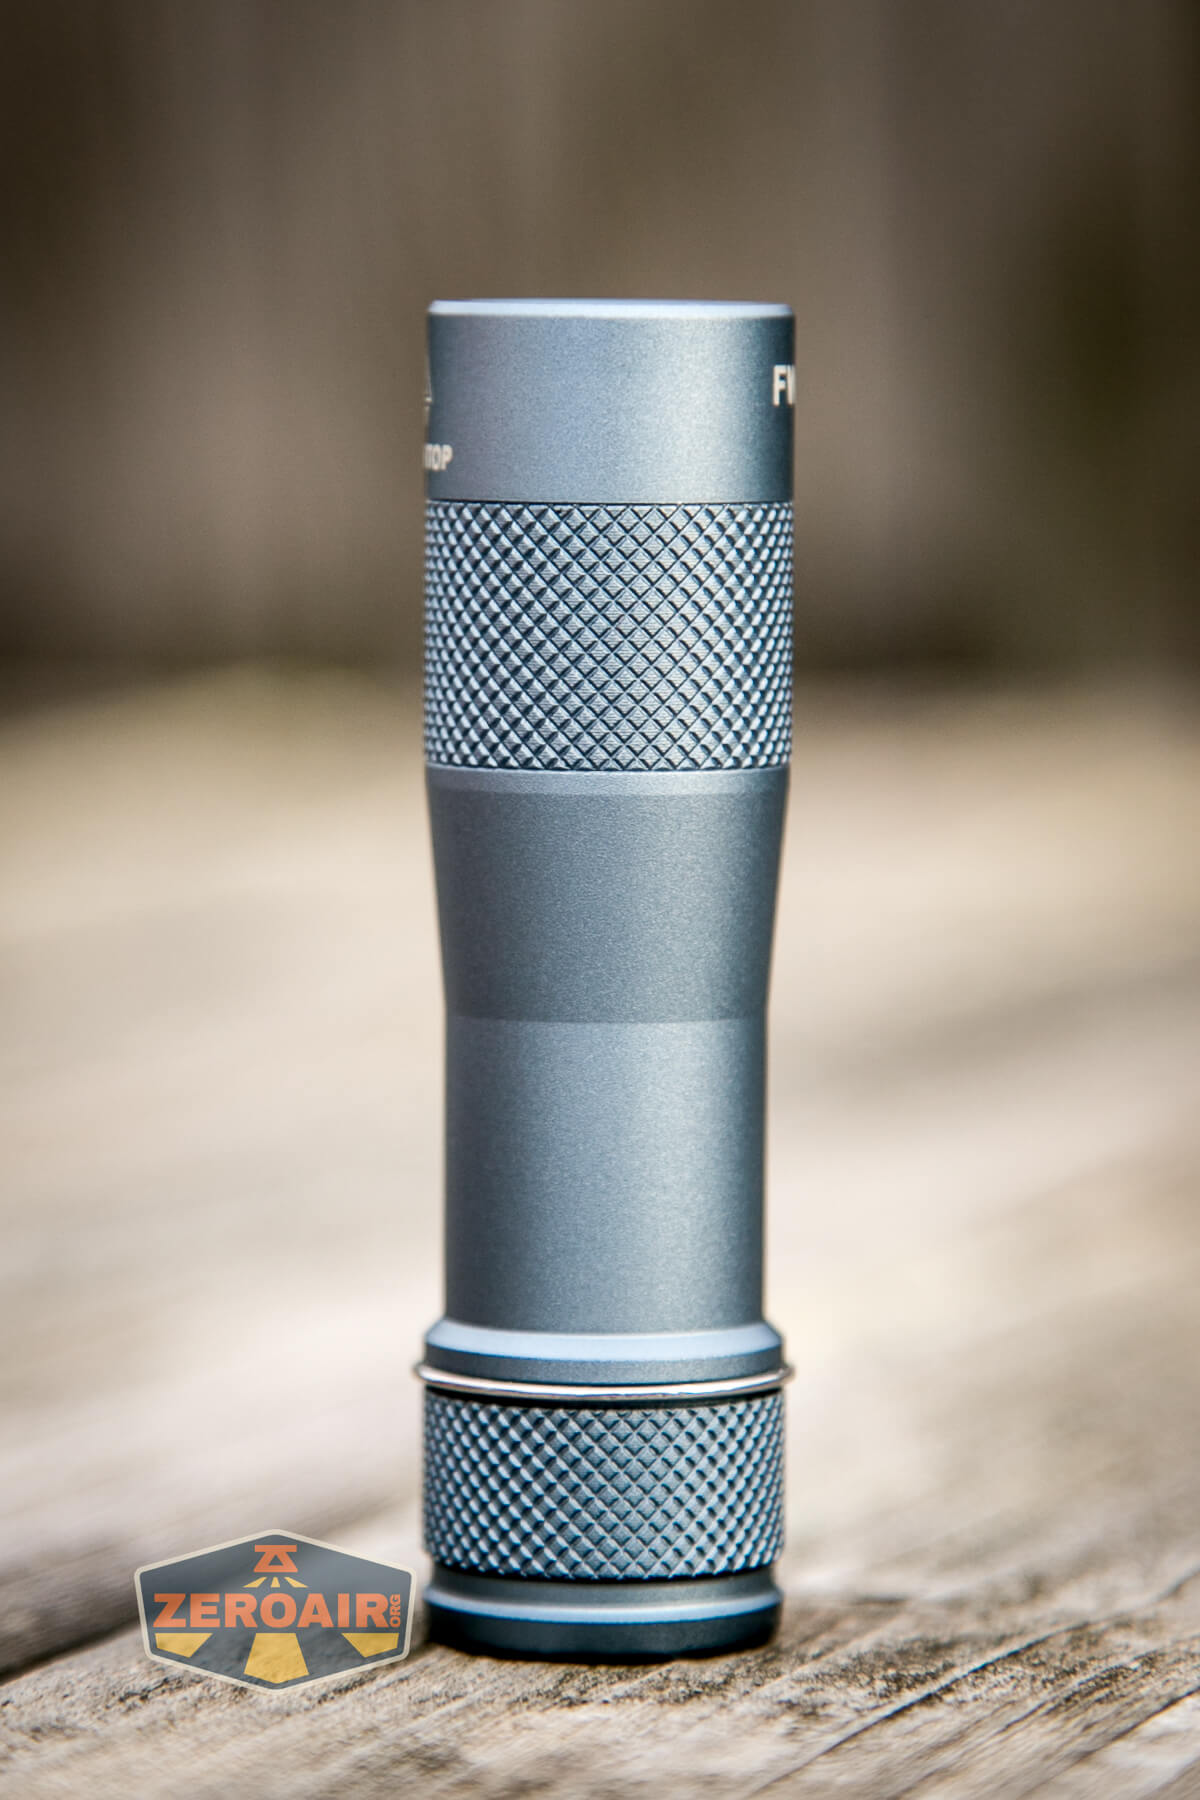
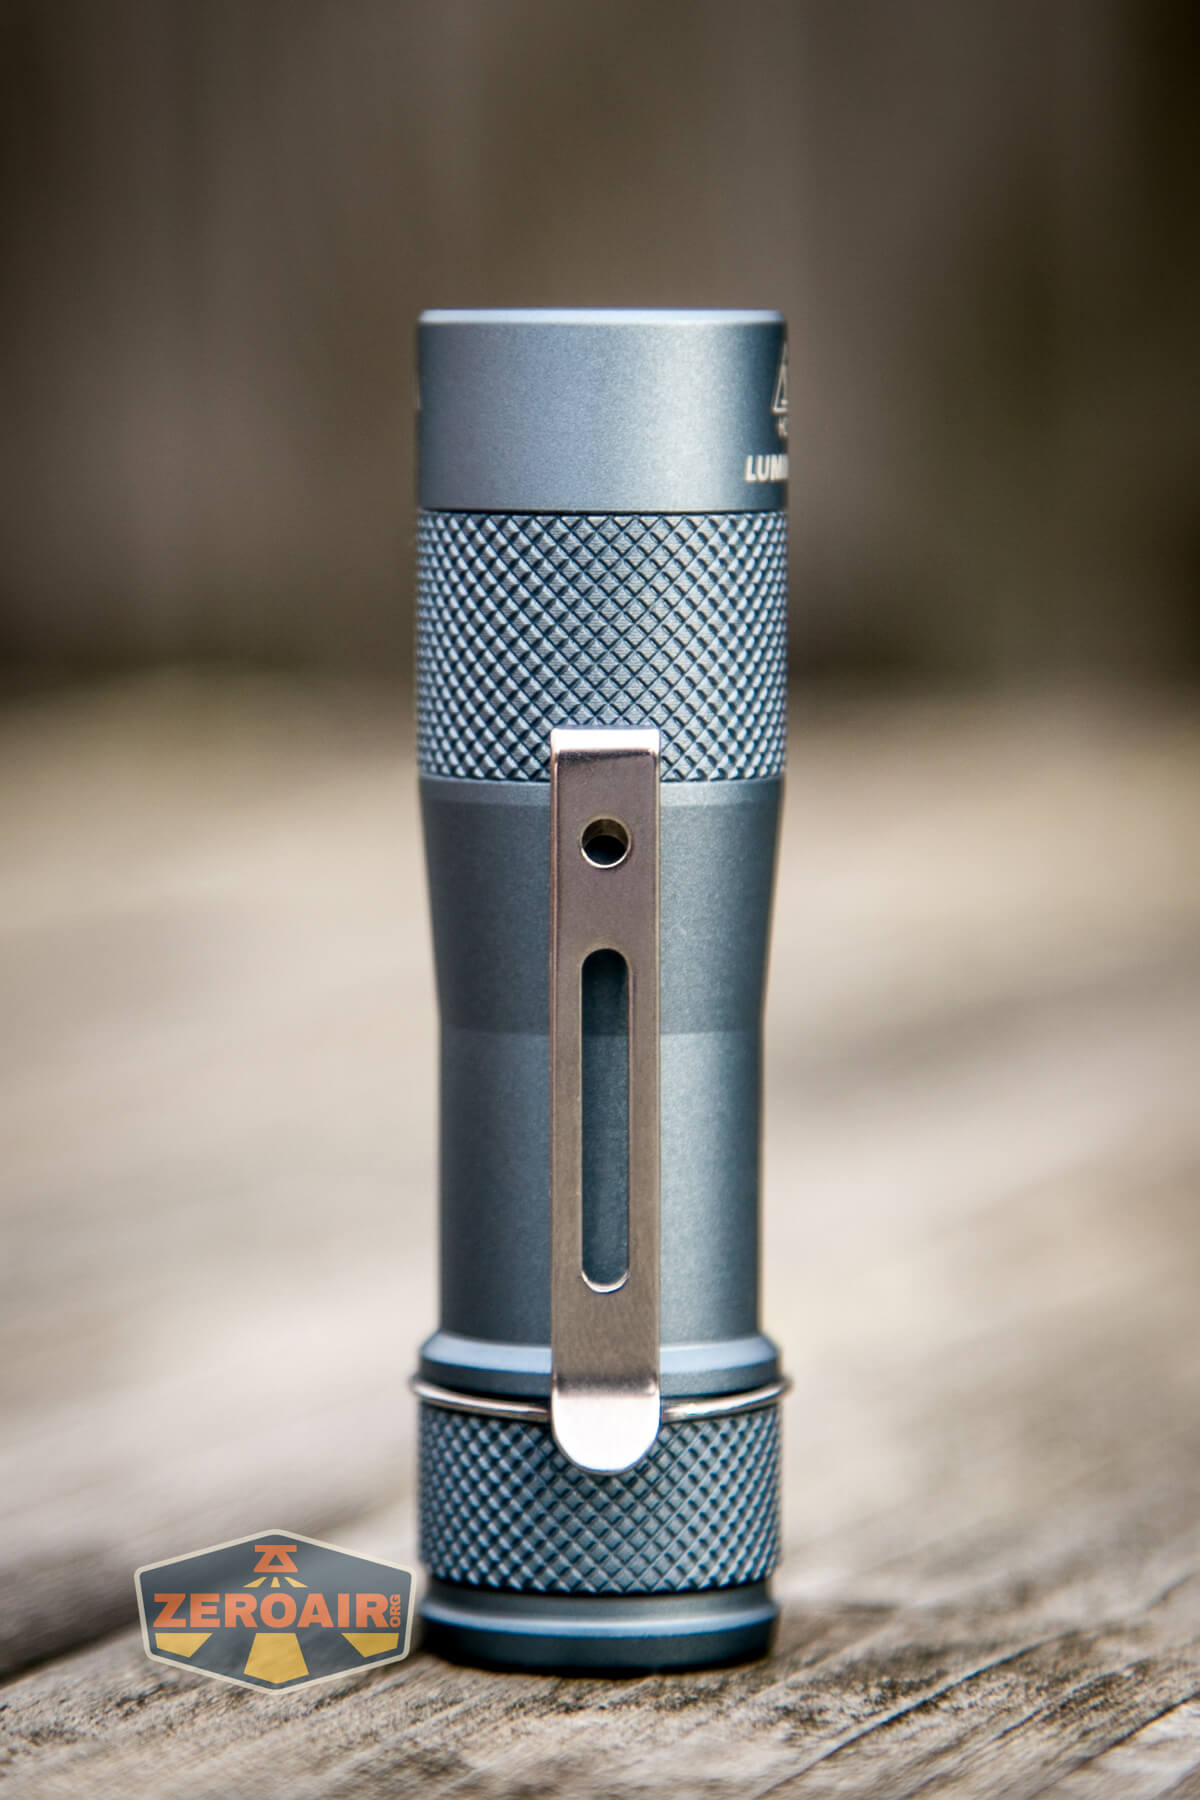
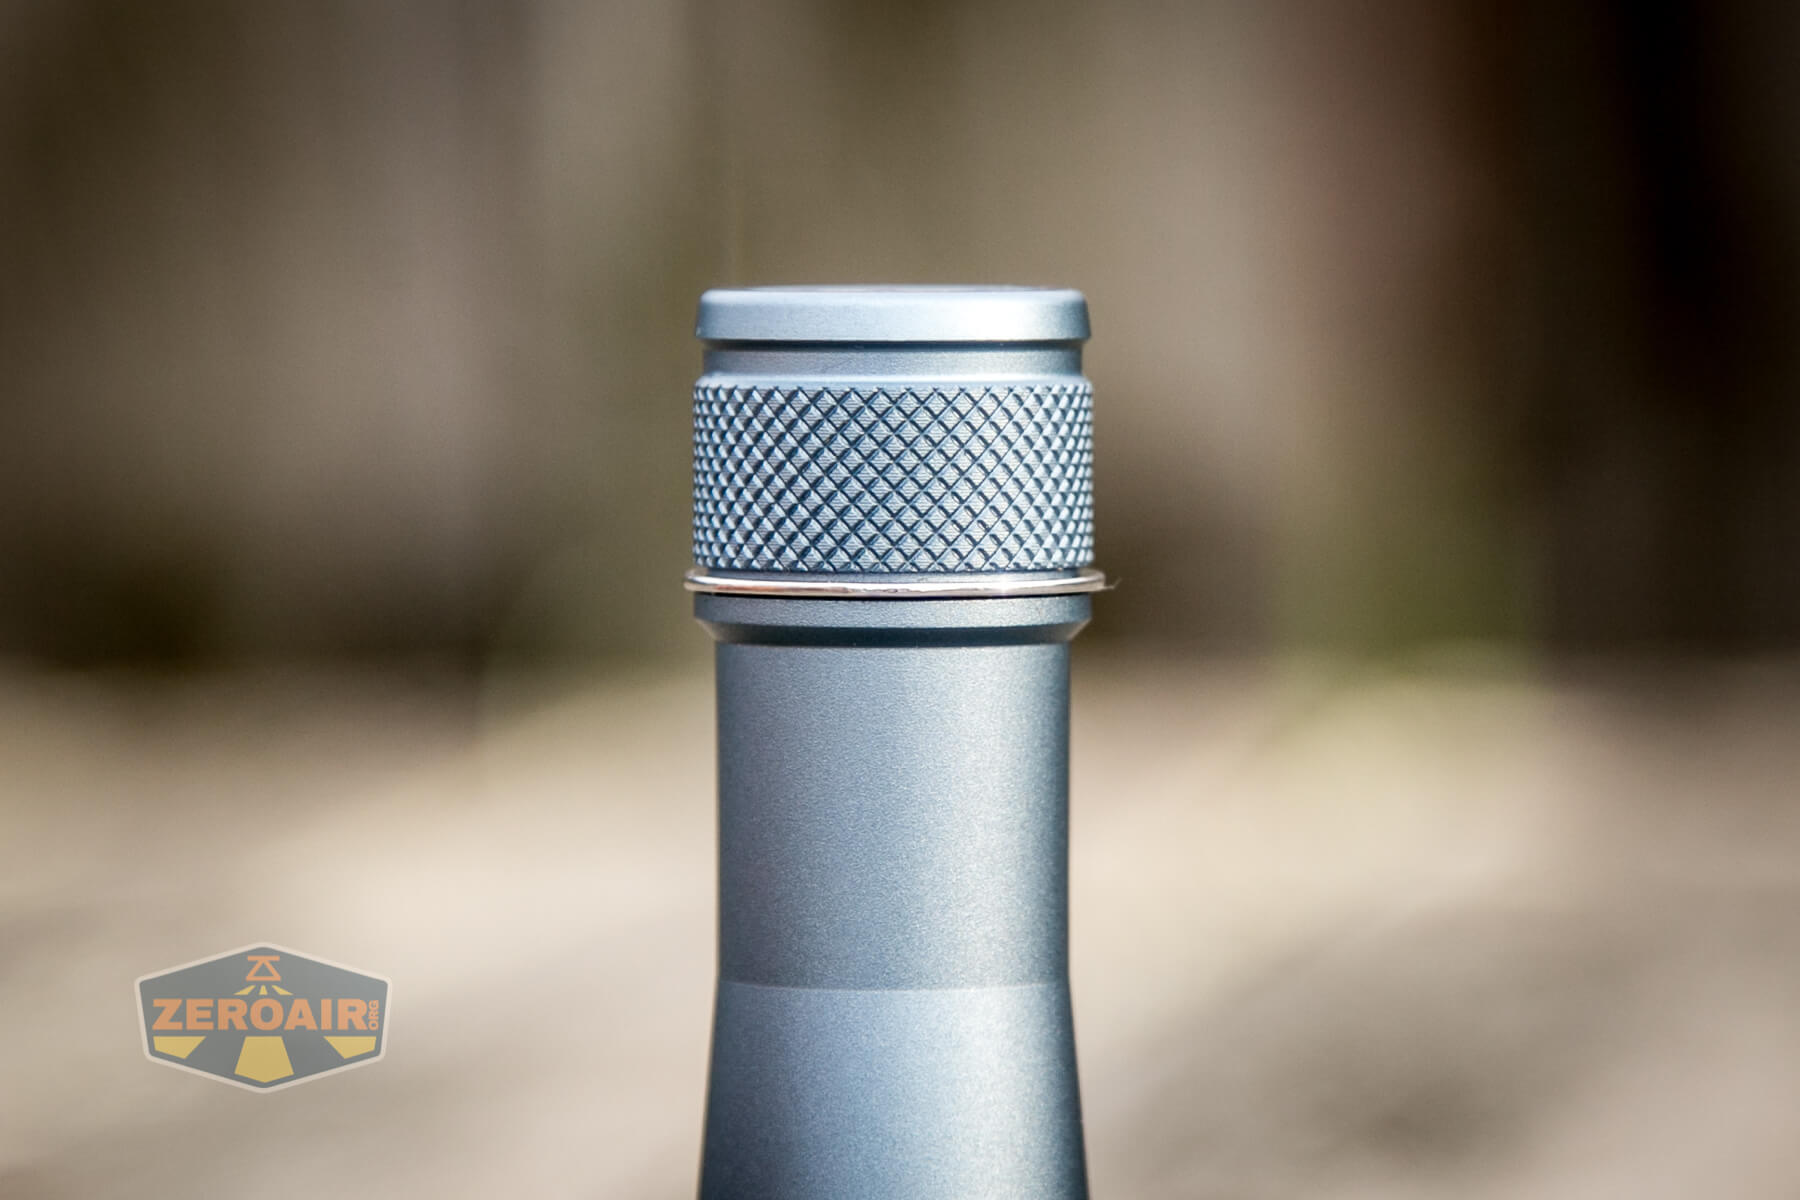
I’m really digging the knurling on this light. It’s extremely well done, and the anodizing on it is also perfect.
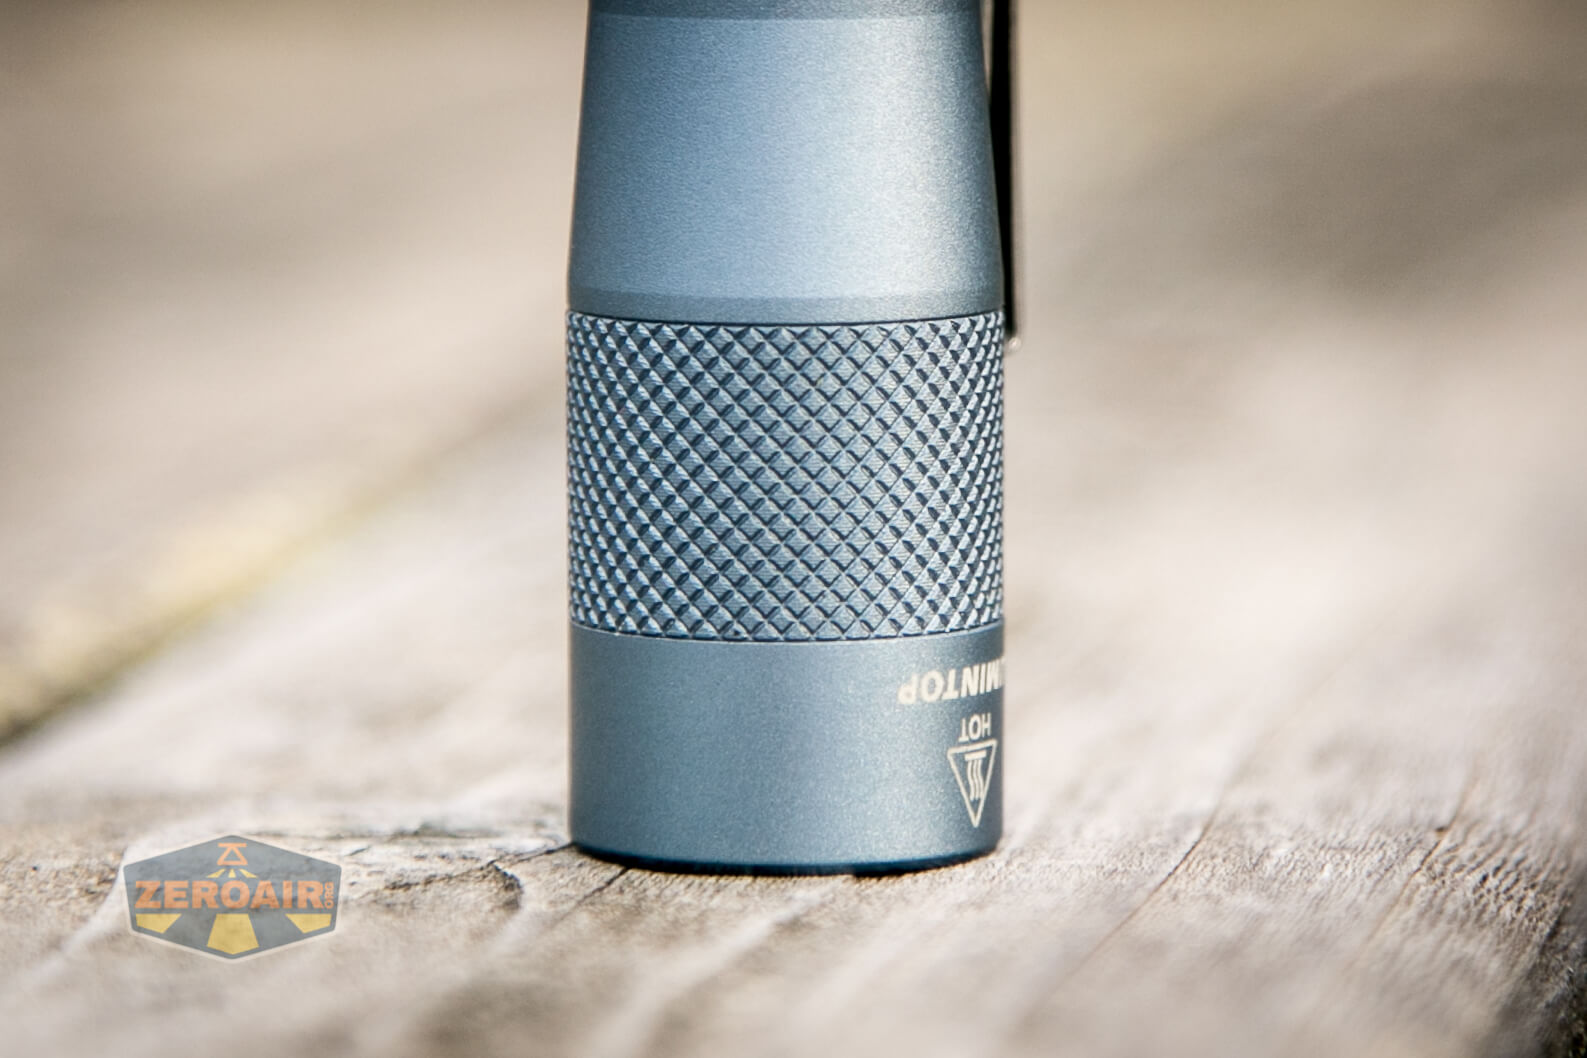
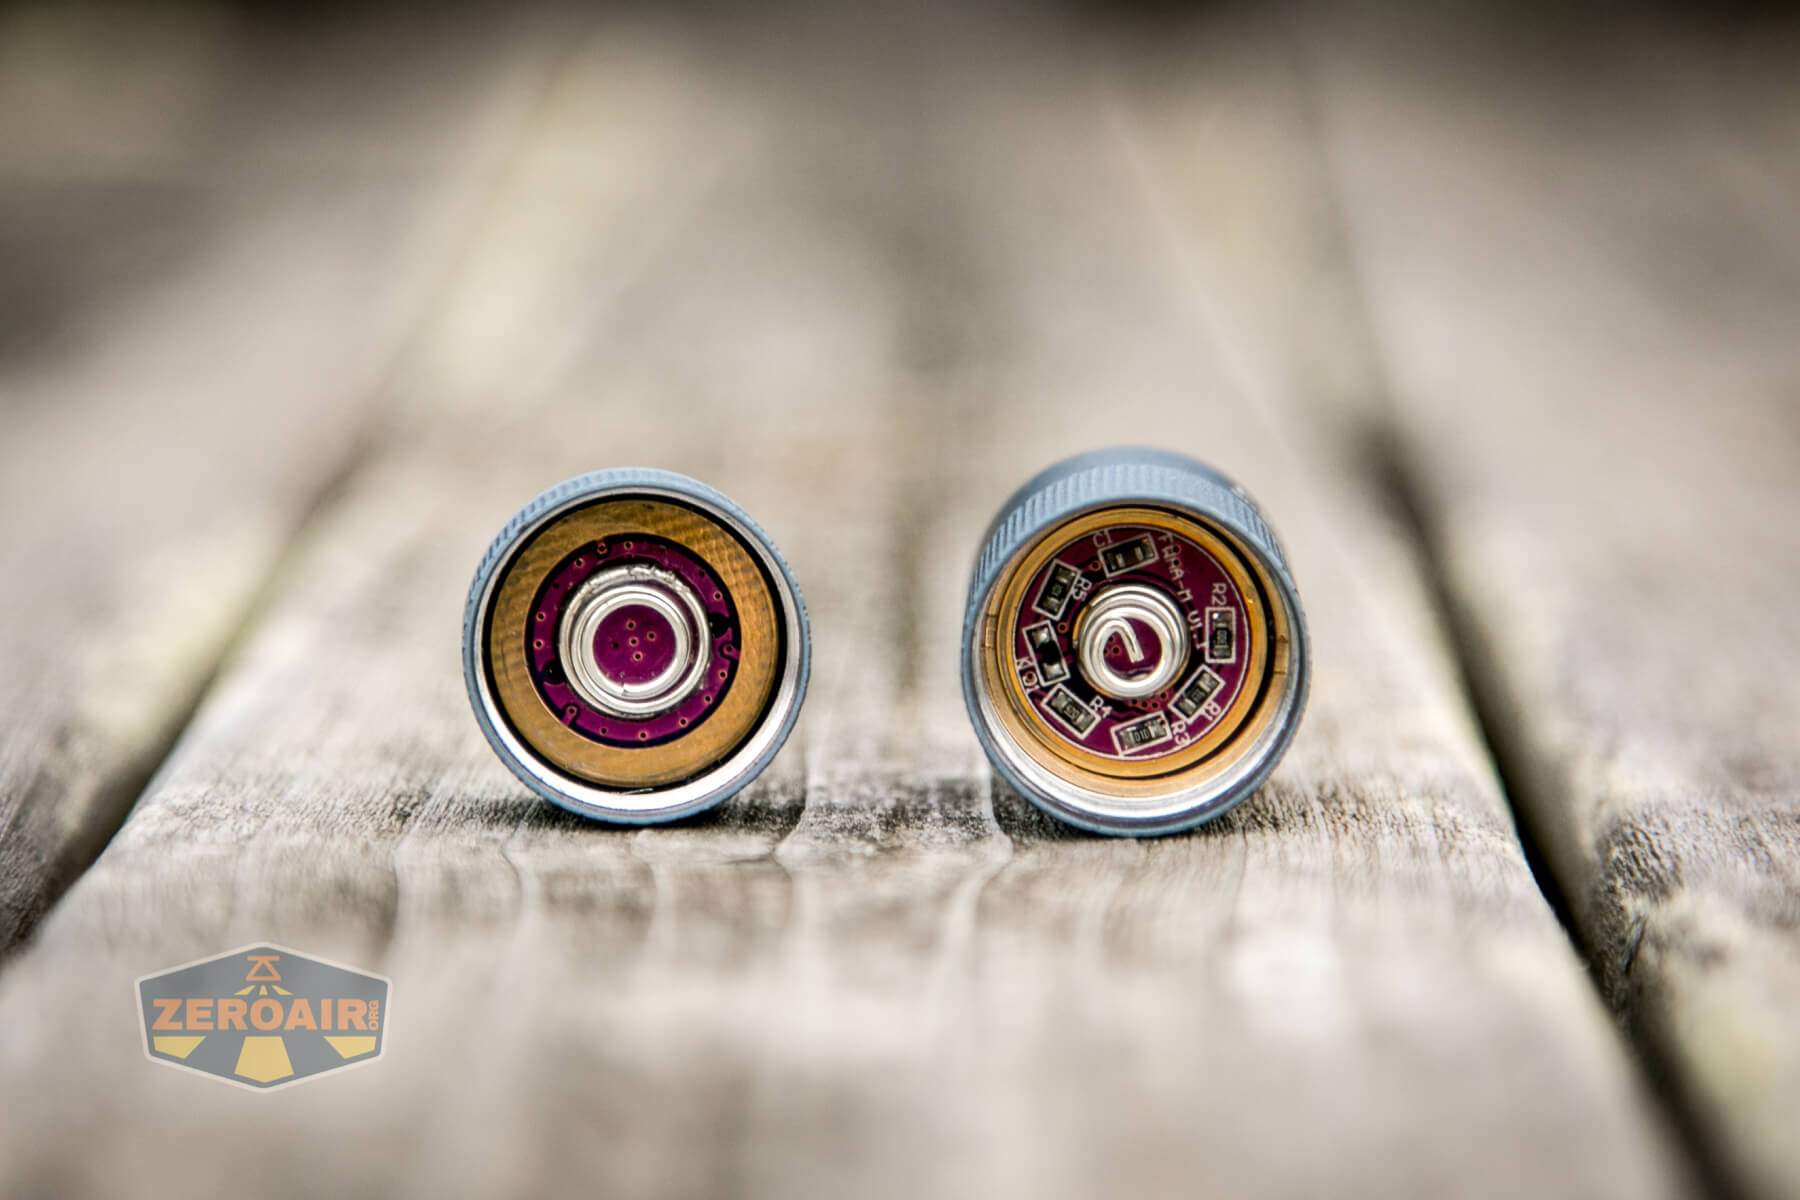
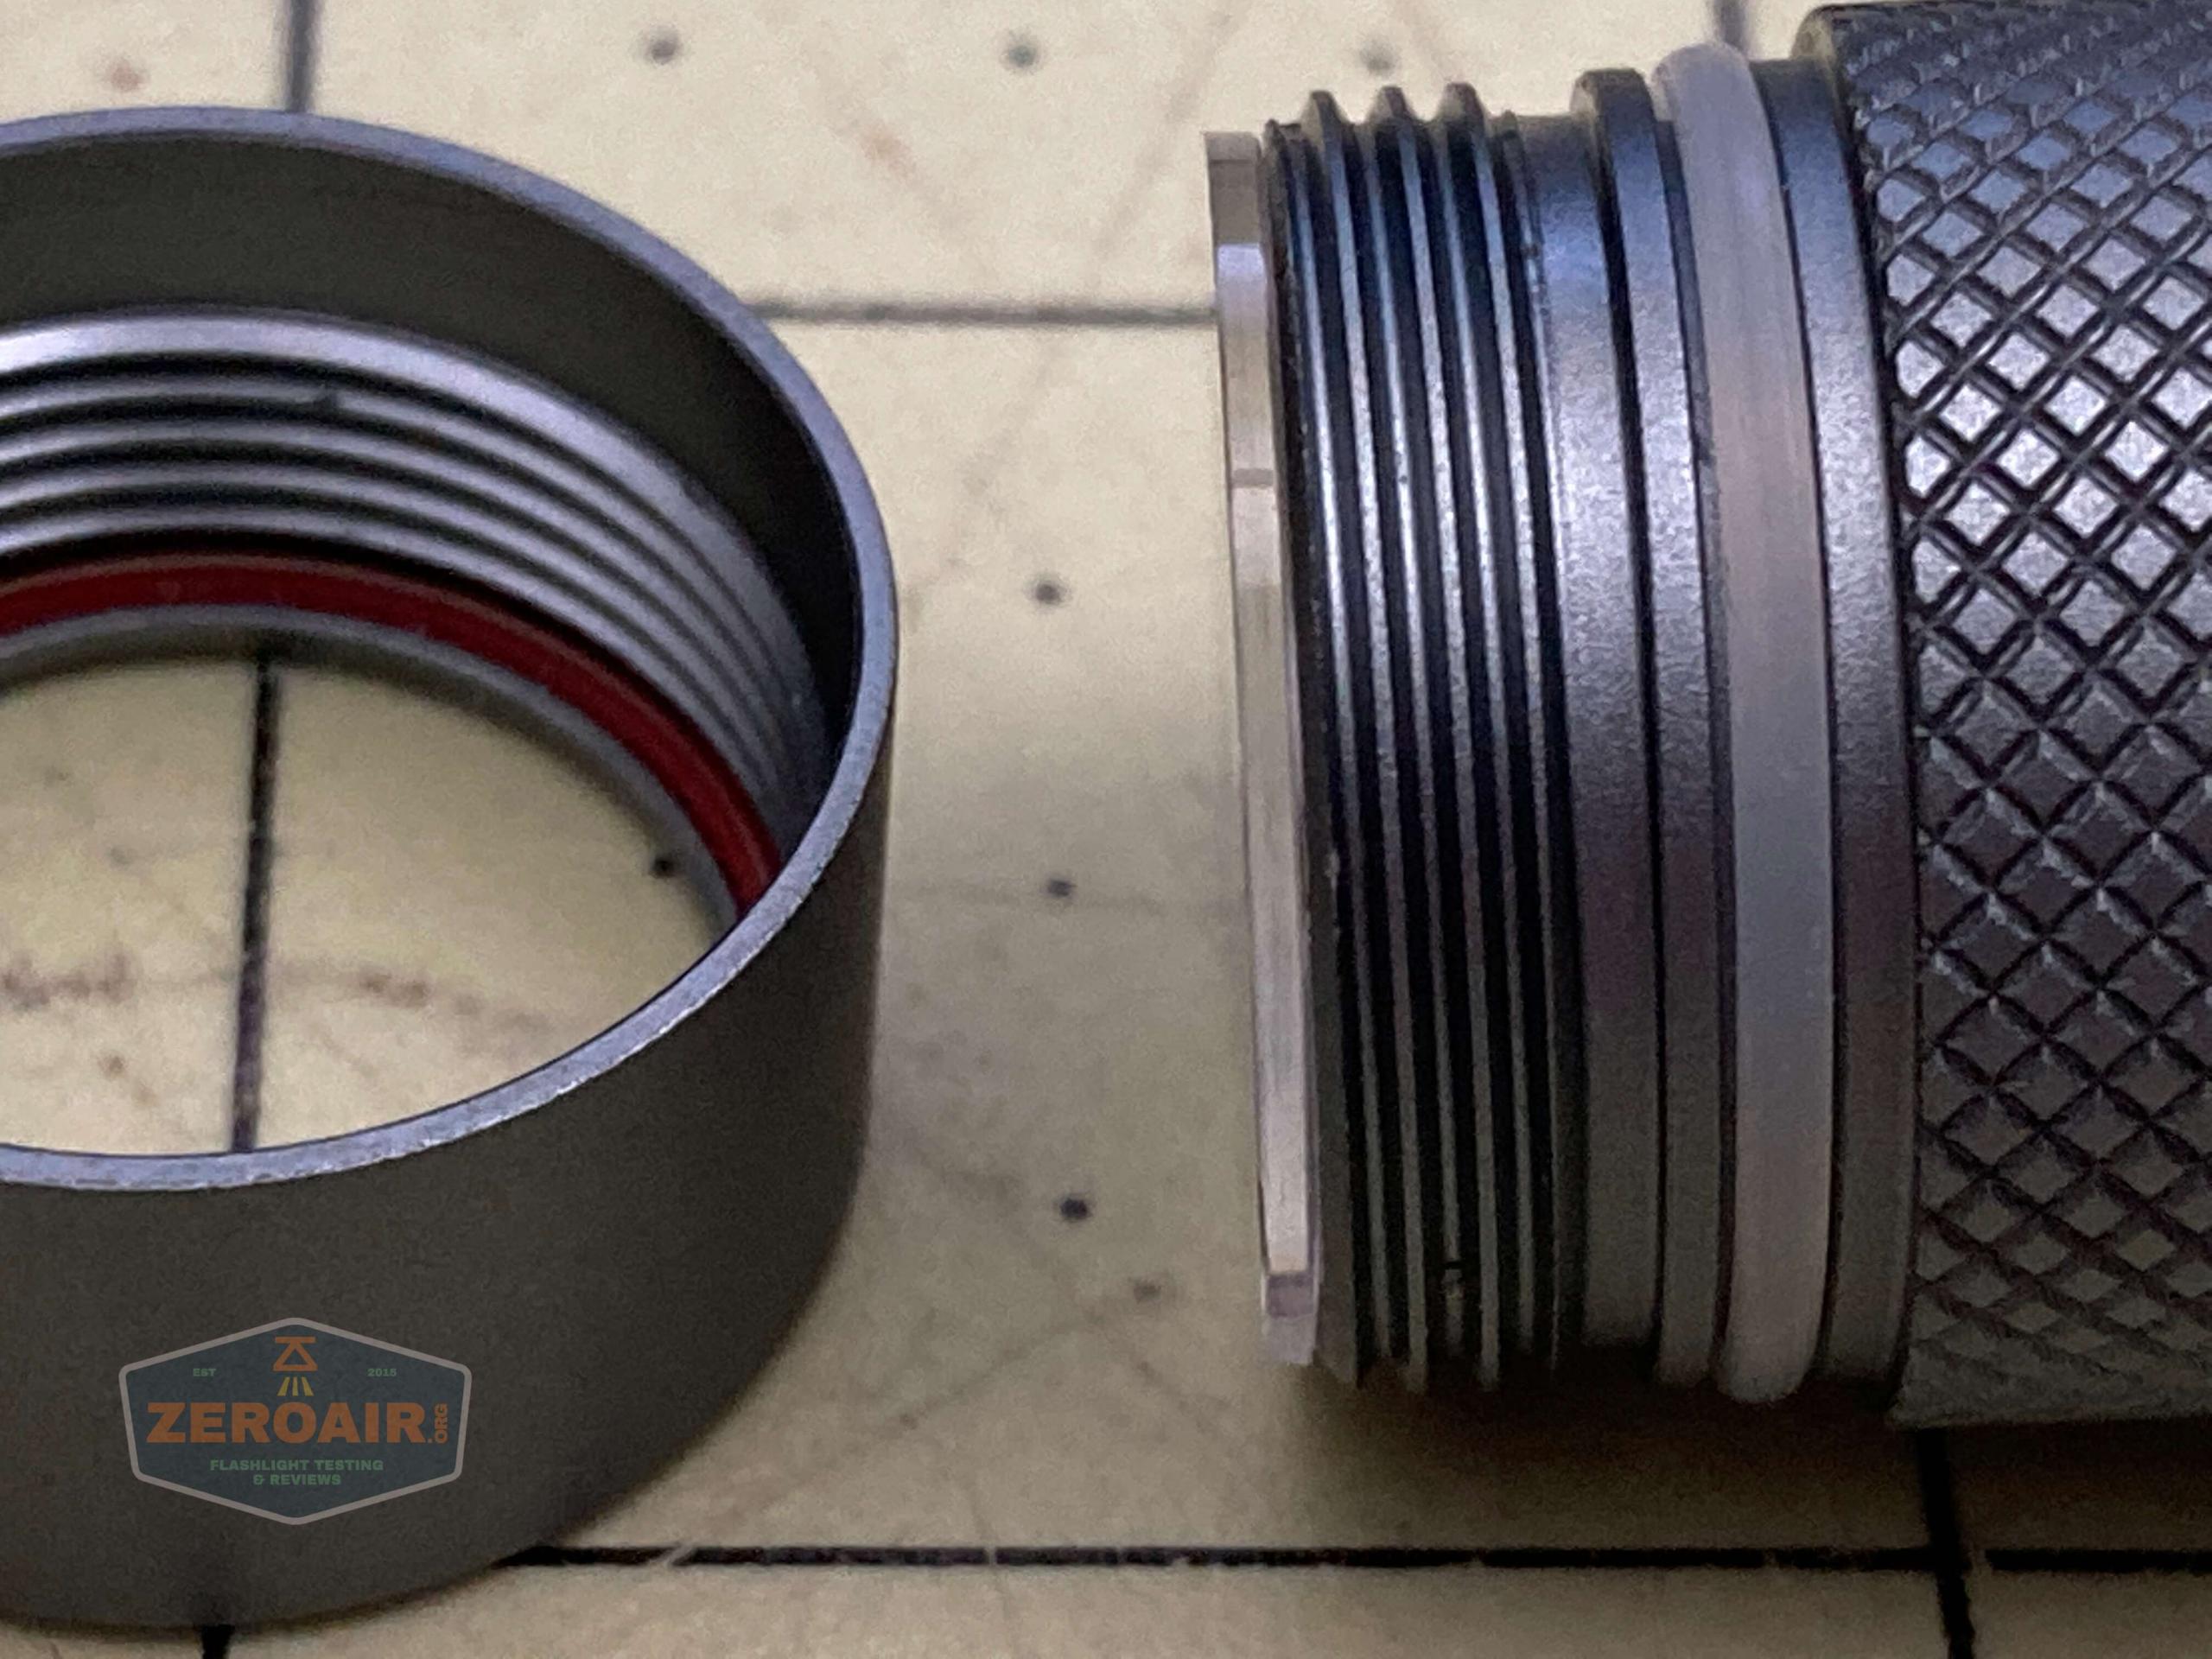
Inside, it’s a pretty typical FW light. There’s an inner sleeve, which provides a signal to the tail-e-switch. The threads are square-cut and unanodized.
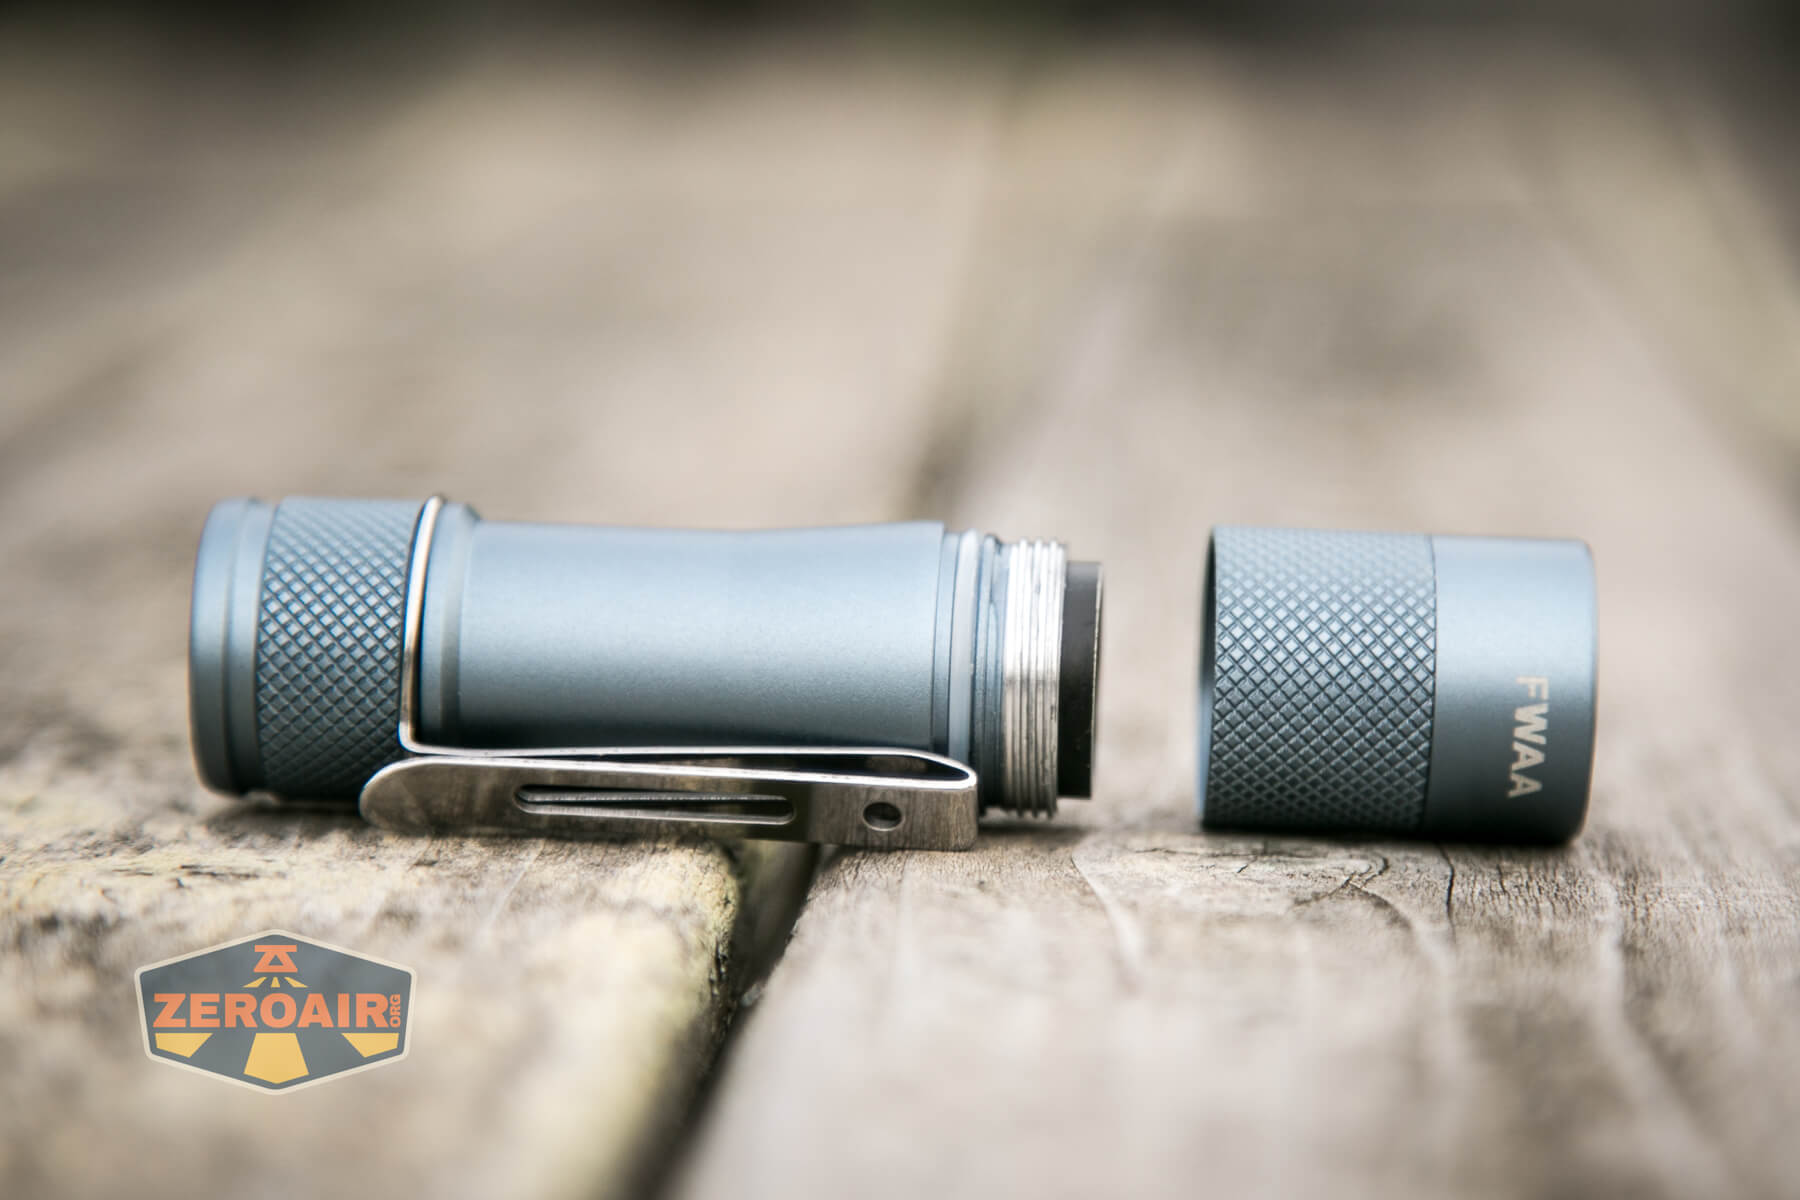
Both head and tail have springs. Neither are particularly robust.
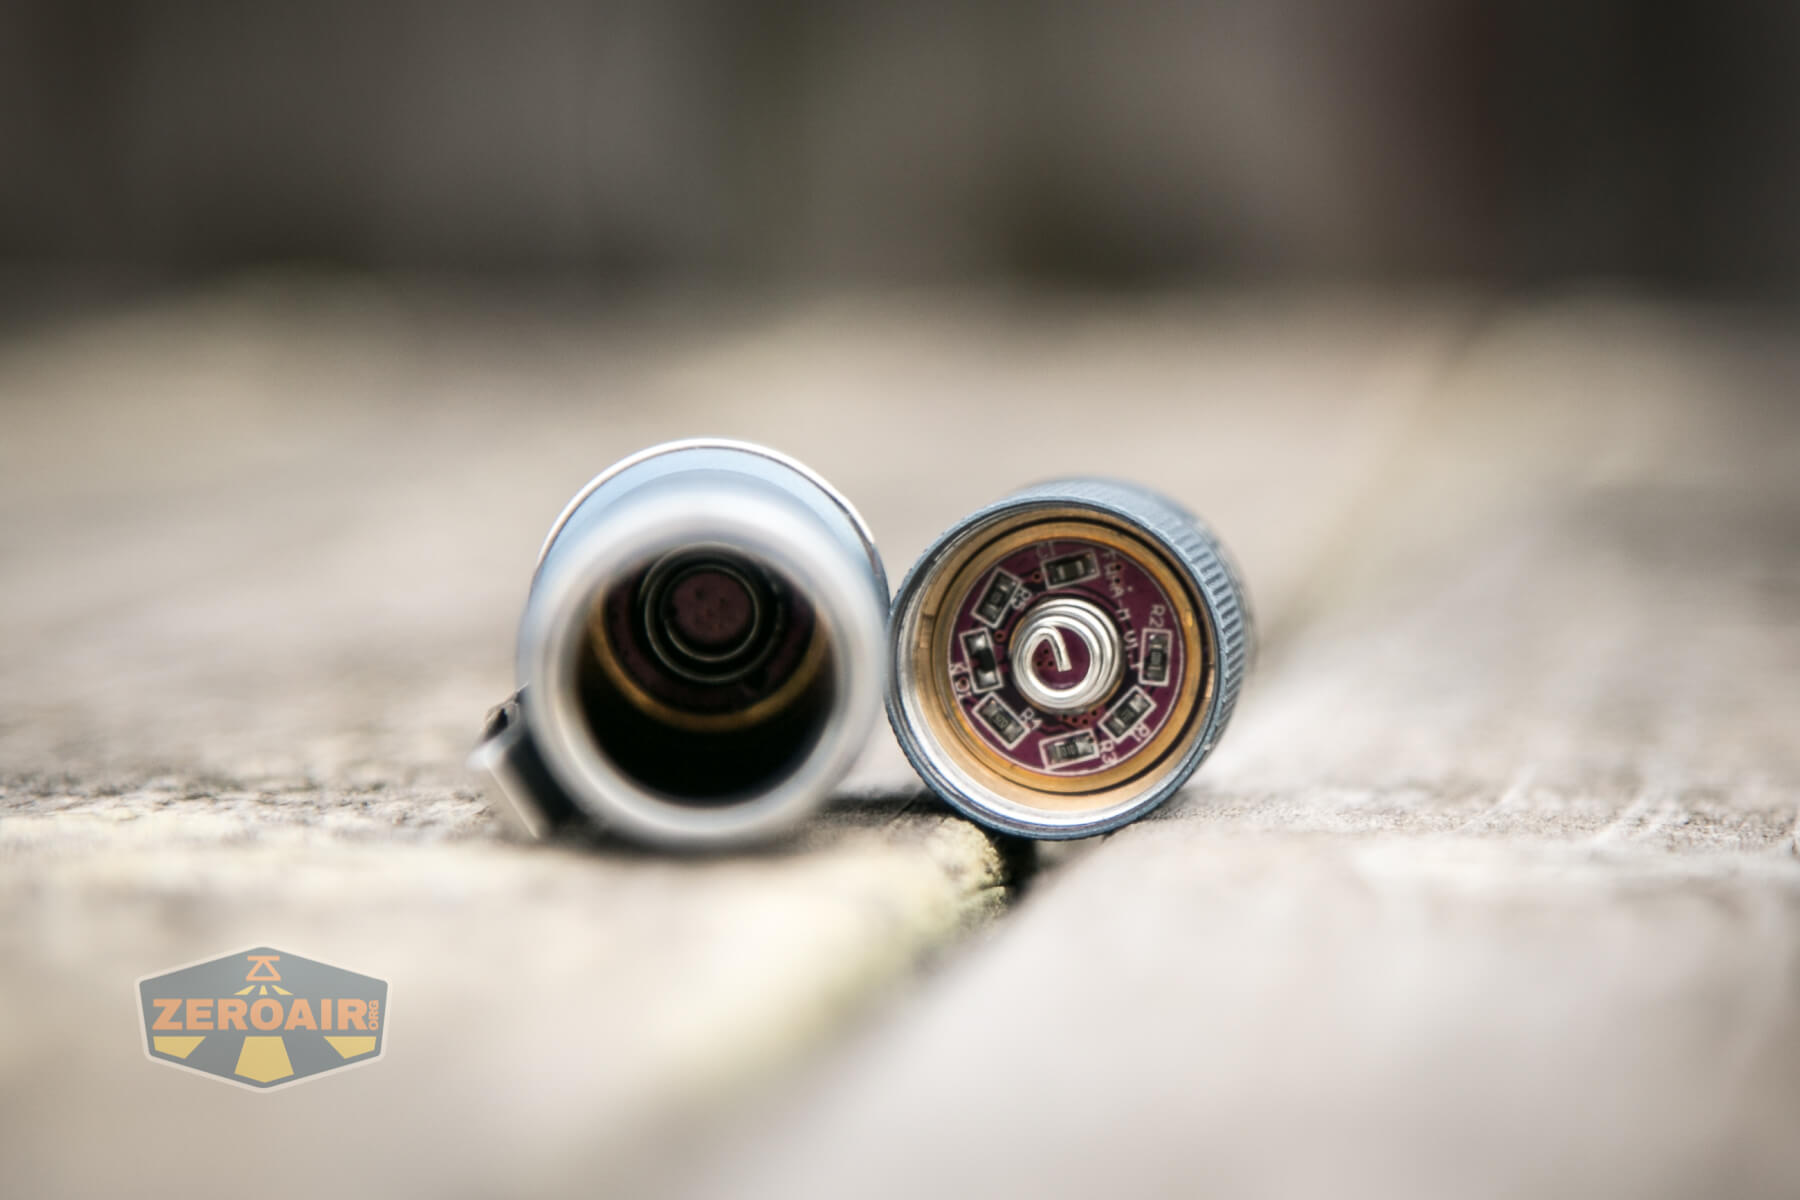
Other users, more knowledgeable than I am about drivers, say that what Lumintop has about this is inaccurate. Lumintop says it’s a “FET+7+1 driver.” But users who have disassembled (and in fact emitter swapped) this light say it’s a FET+1.
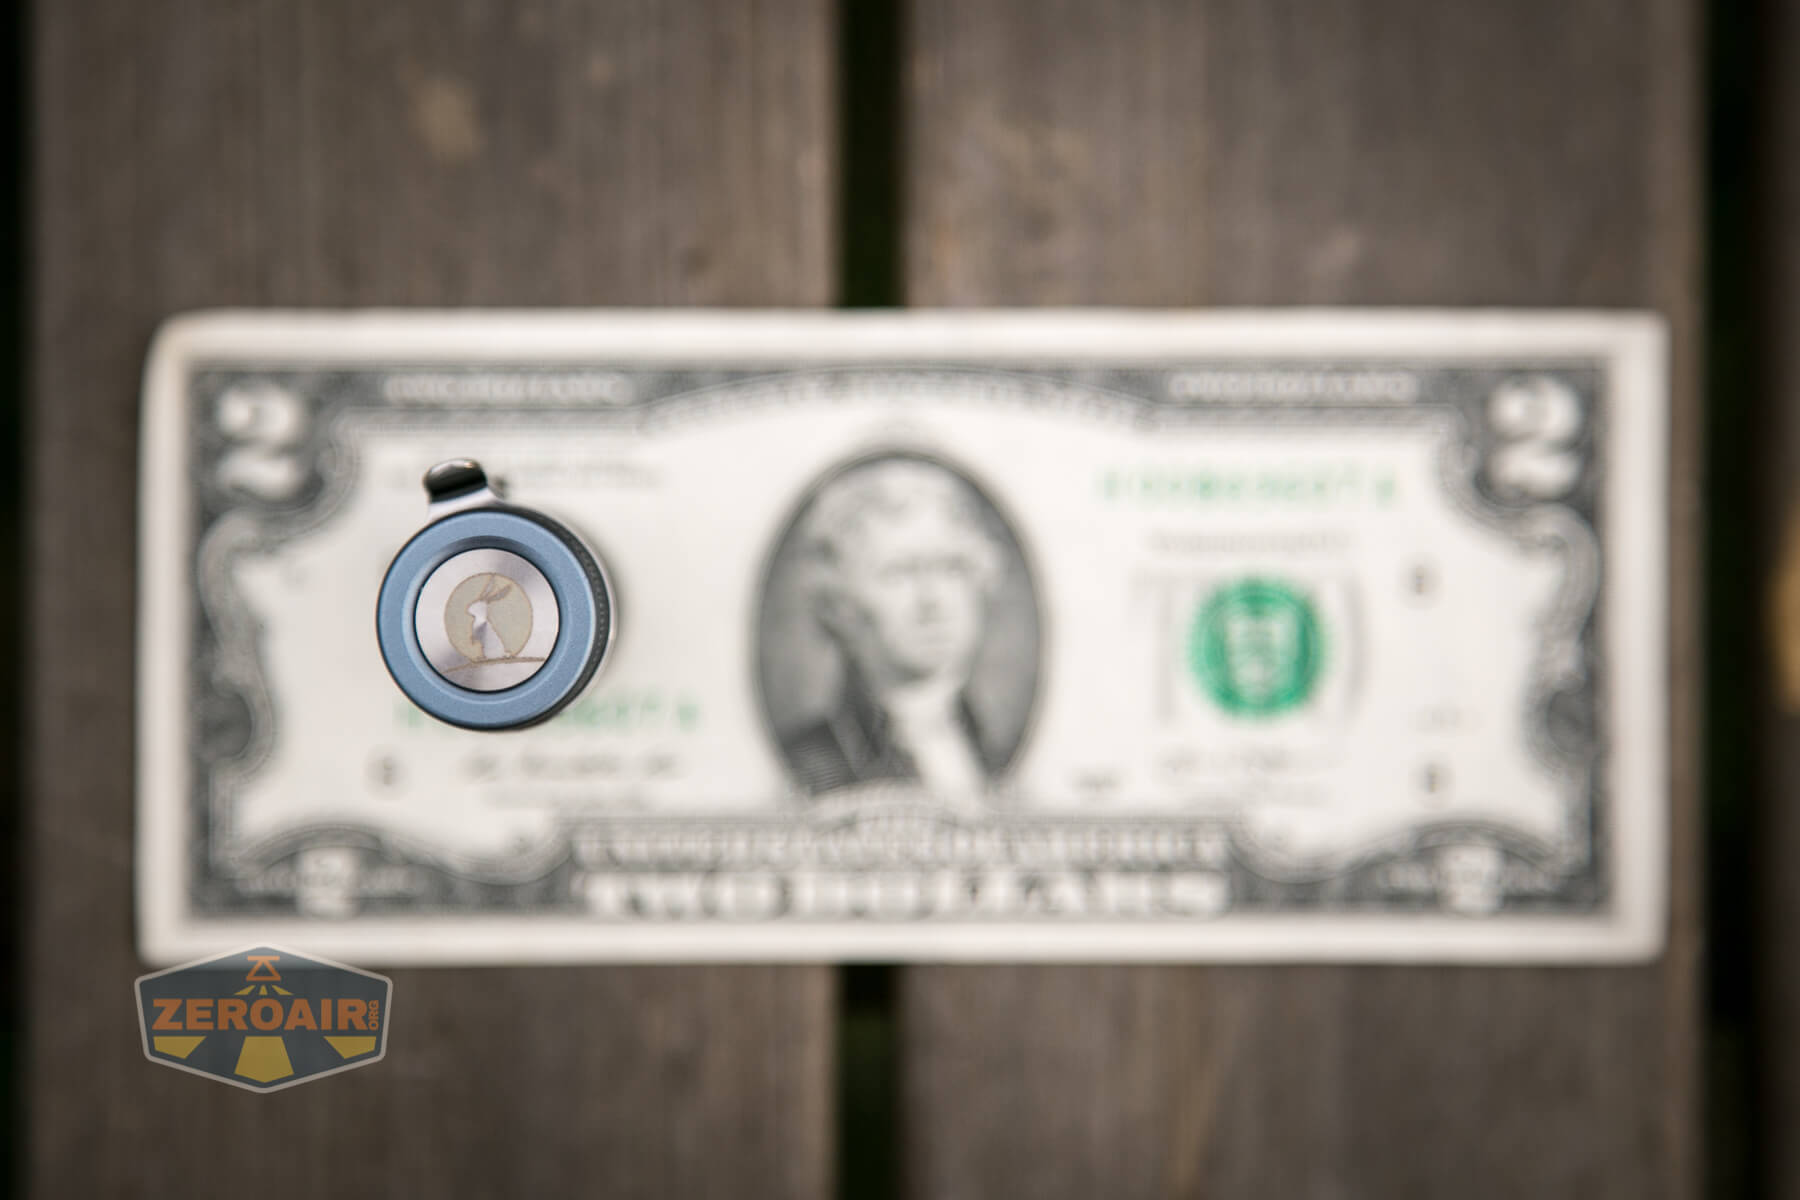
Taking off the head is likely the way you’ll want to swap the cells. This is just a historical way; in early FW lights, the tailcap parts could fall out when the tailcap was removed. But on this model (and really, most other FW’s), that’s fixed. So you could swap the cell through the tail end, but you run into other issues, possibly.
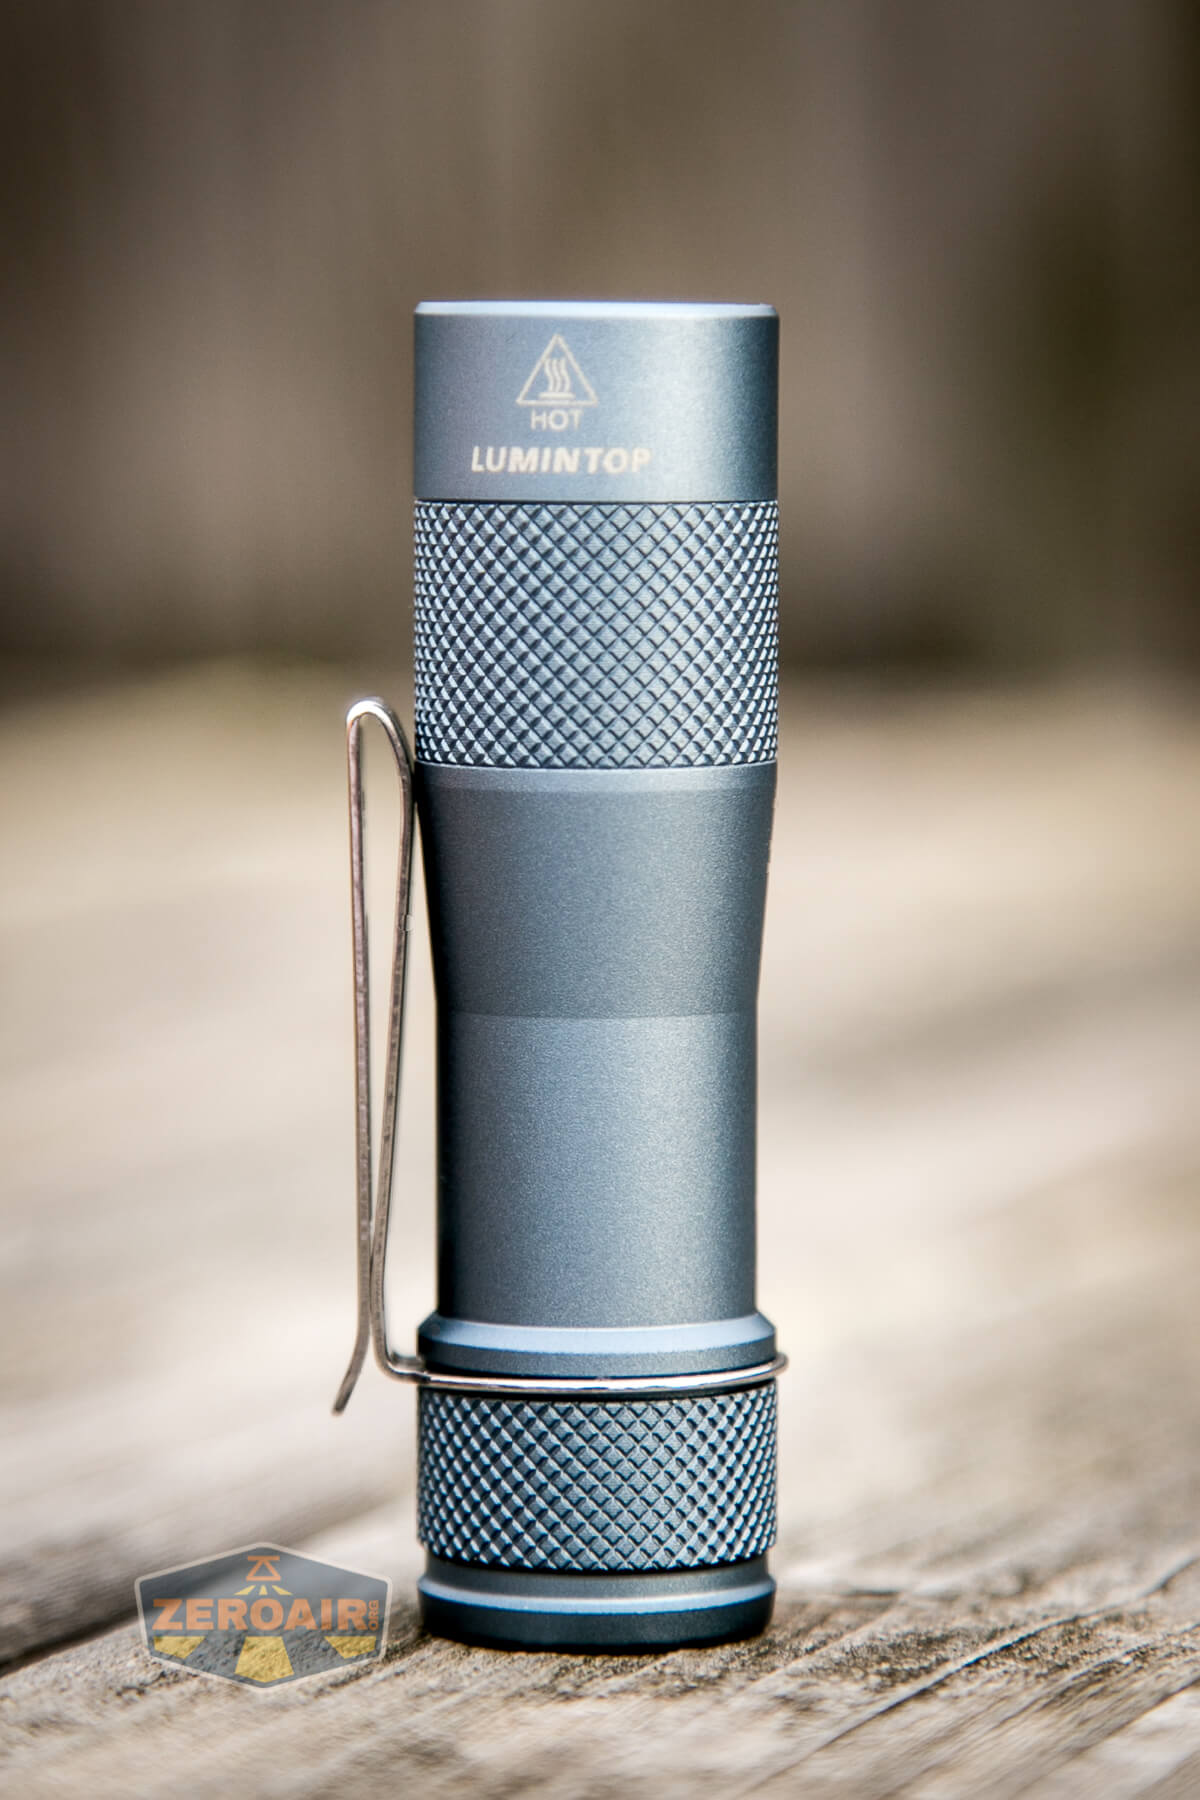
One minor complaint about this light is just how easy the bezel unscrews. It’s not loose, but if you aren’t careful, when removing the head, you’ll also loosen the bezel. You’ll be able to avoid that with some practice, and I’d much rather have the bezel removable than threadlocked, so it’s still ok.
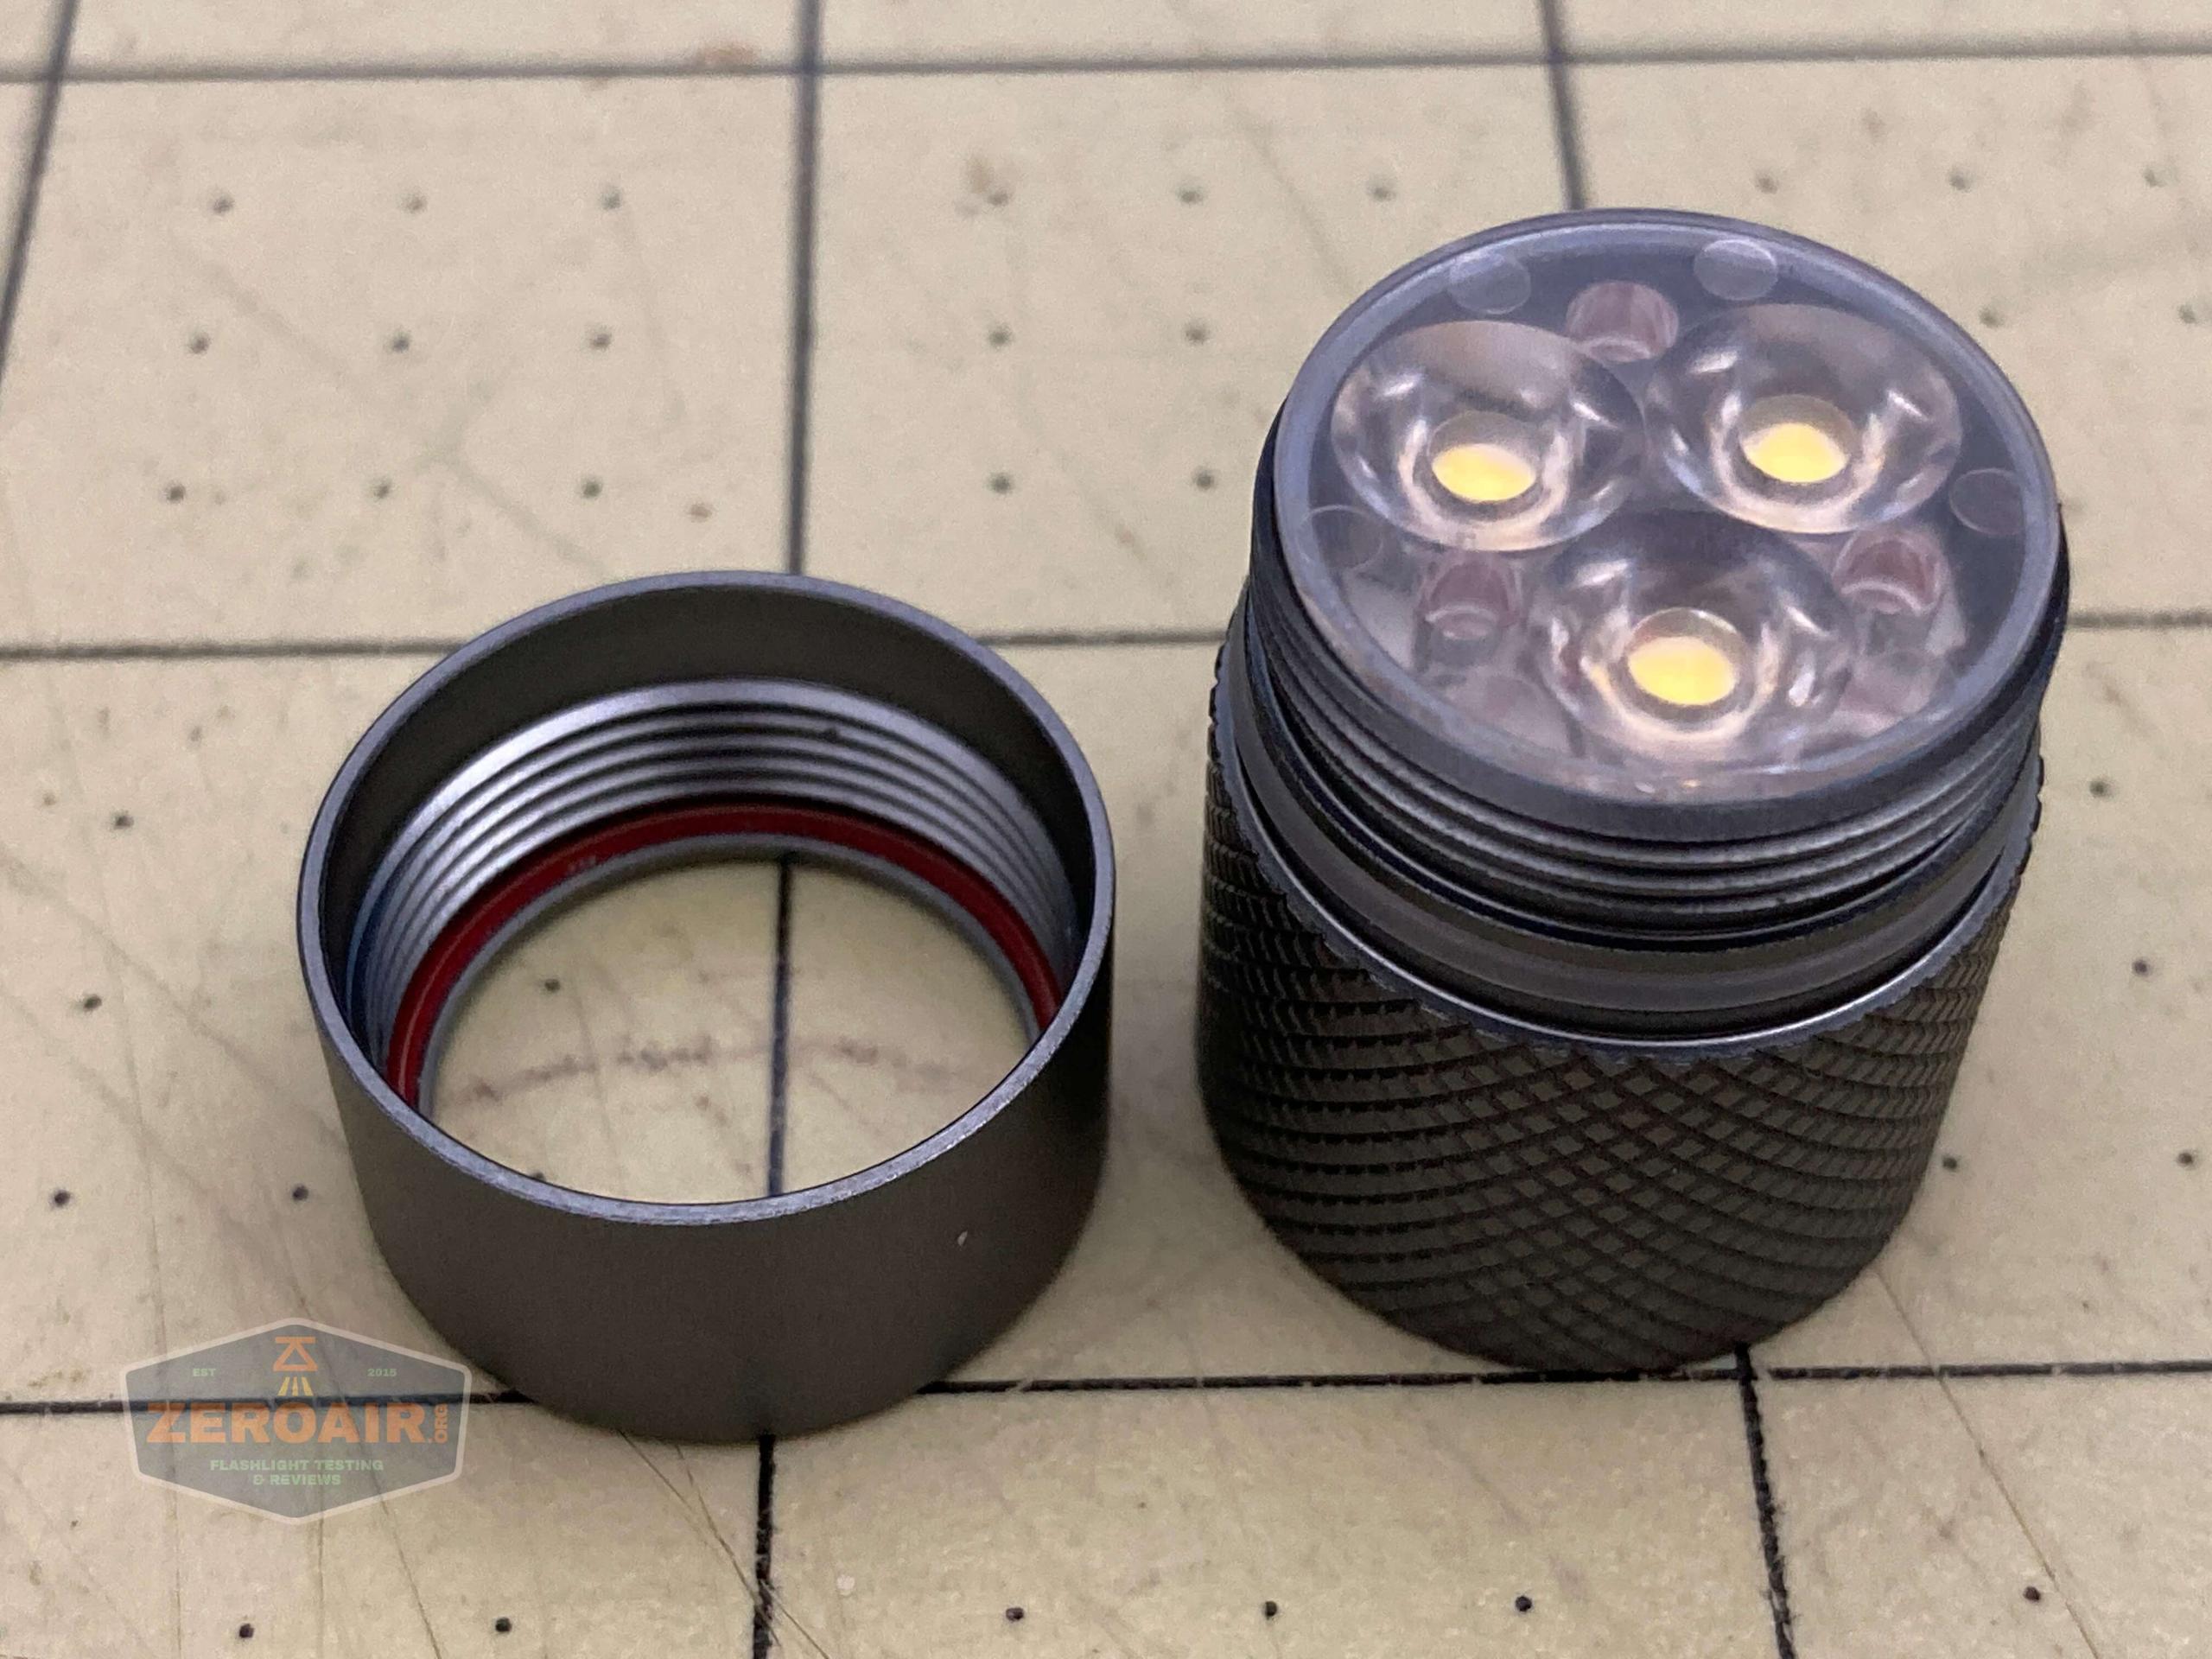
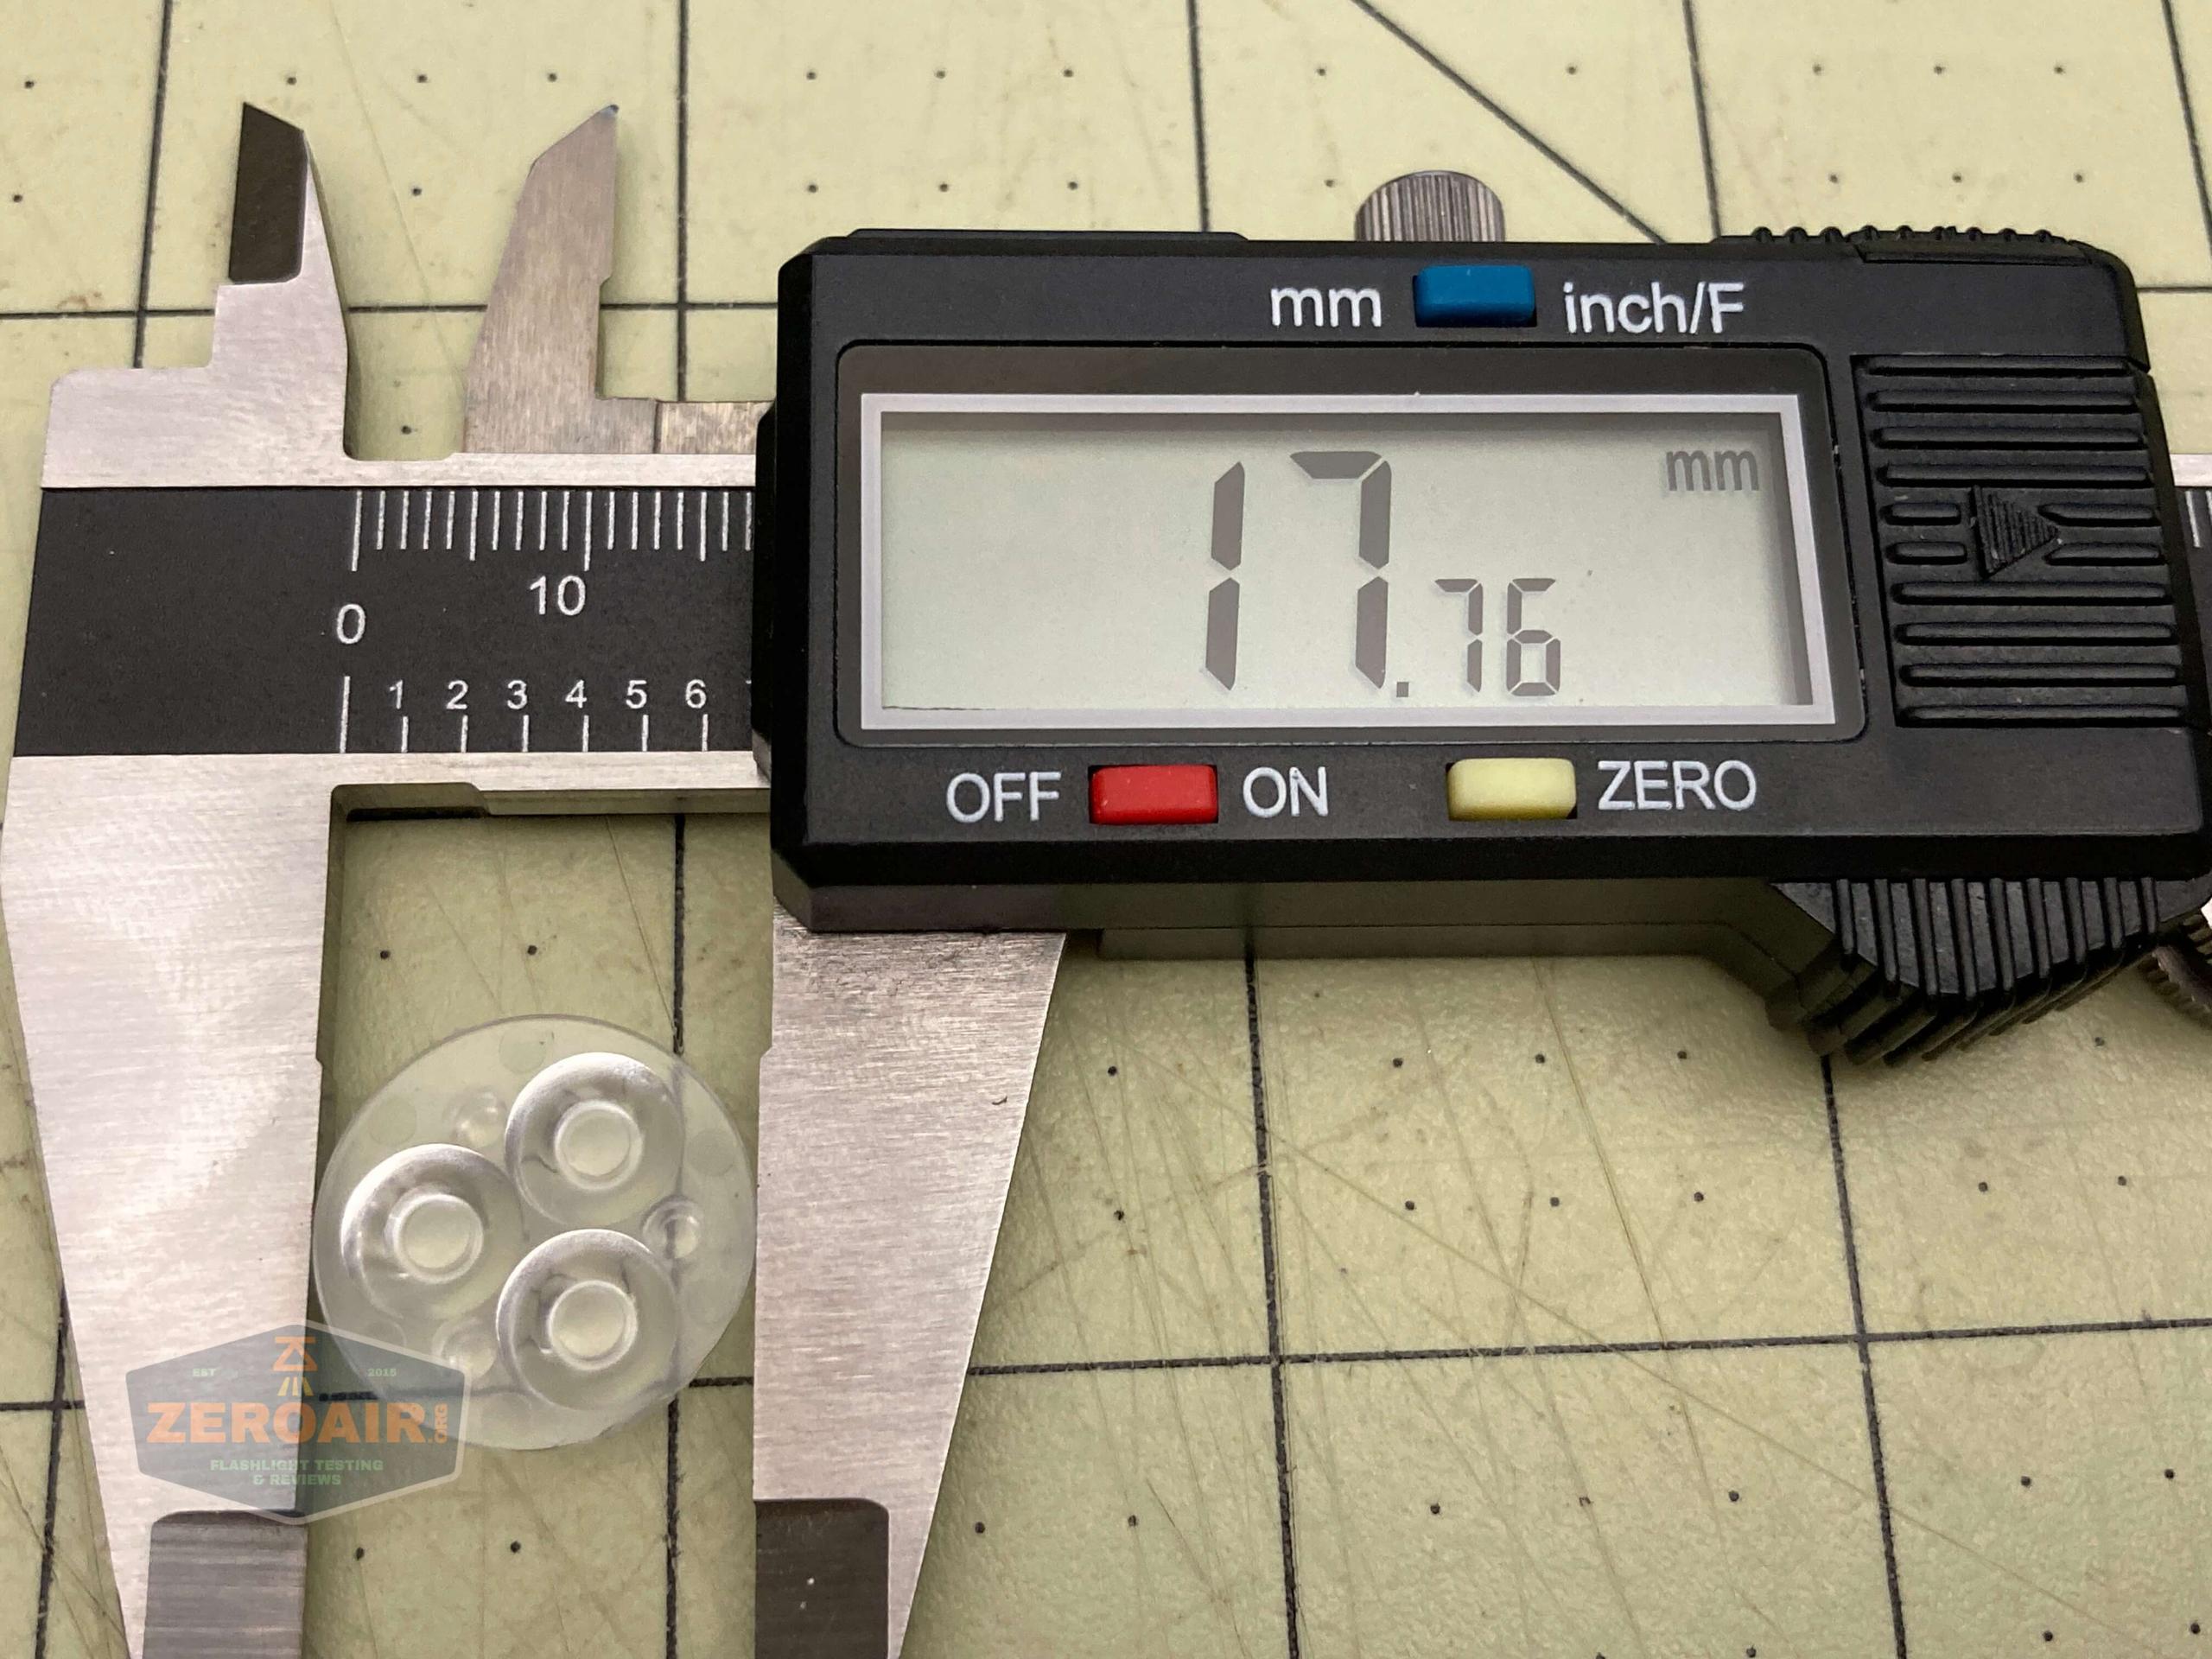
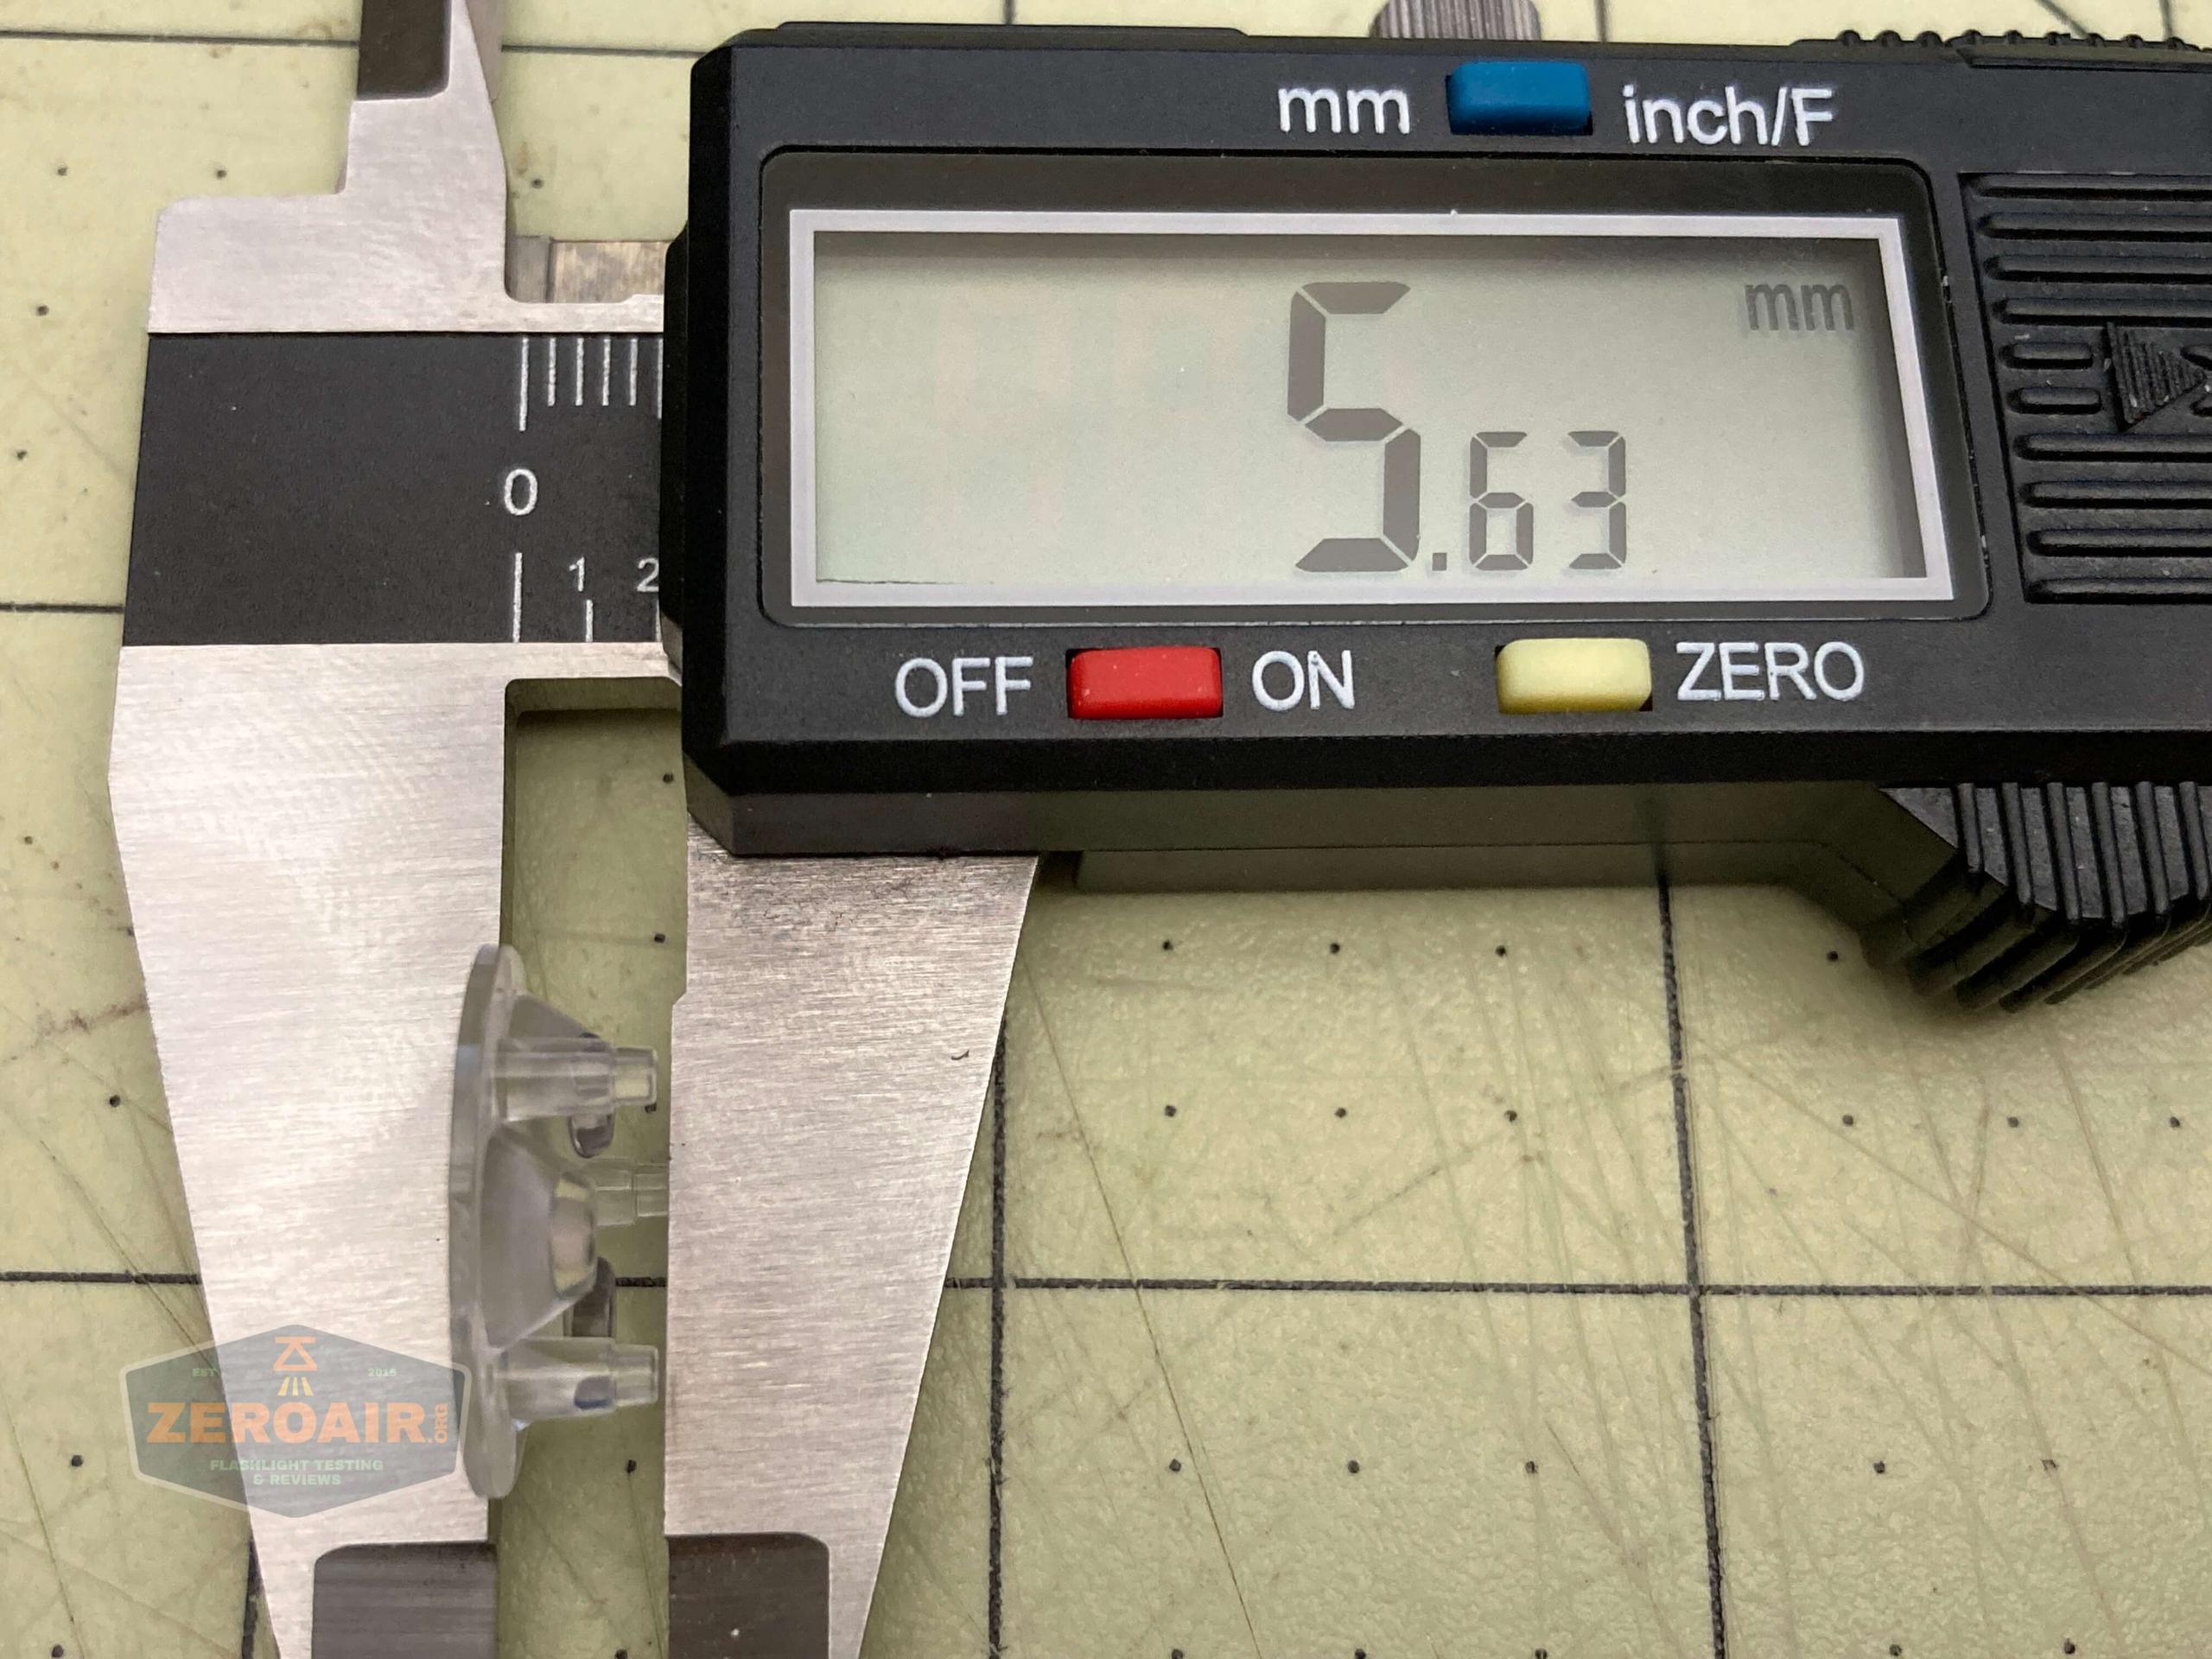
The optic sits atop the front edge of the body.
Optic edge to edge – and remember, this sits over the body.
The inner diameter of the body:

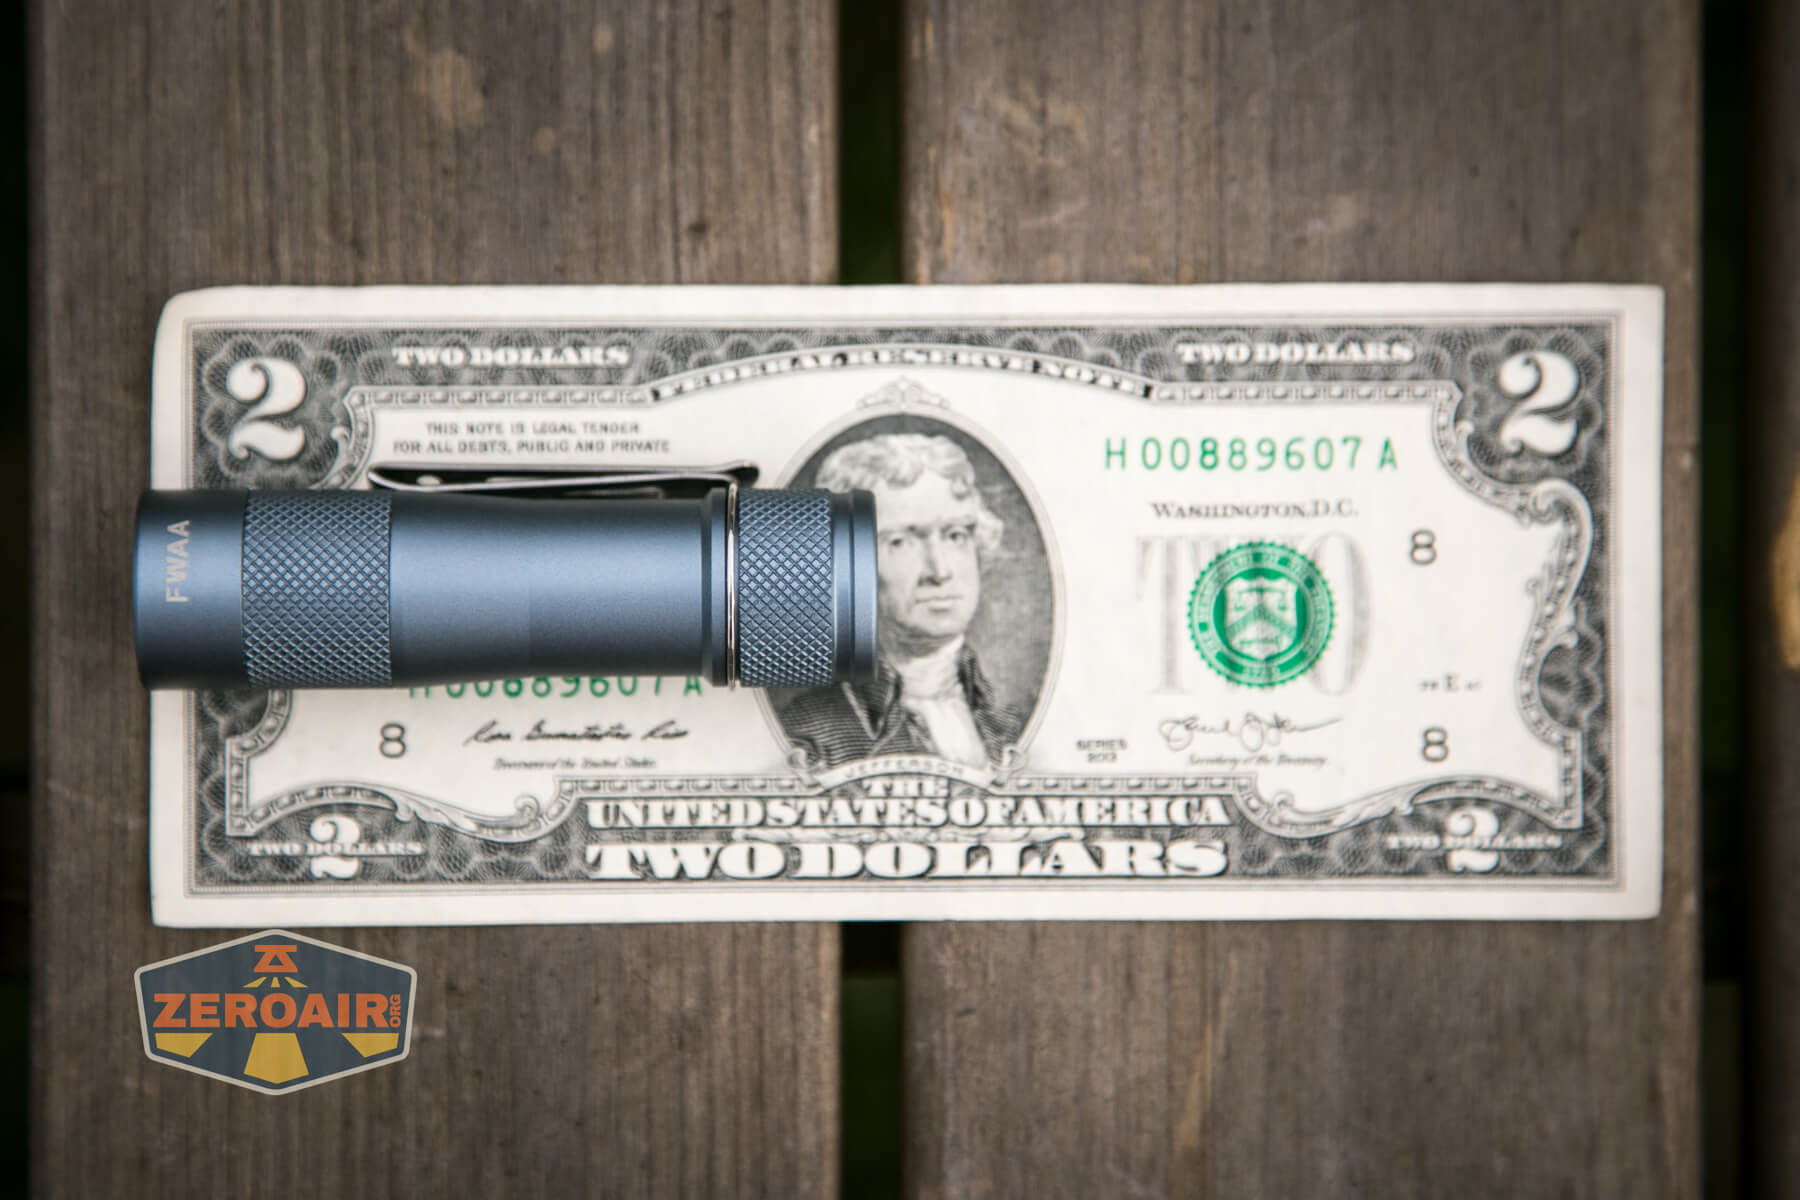
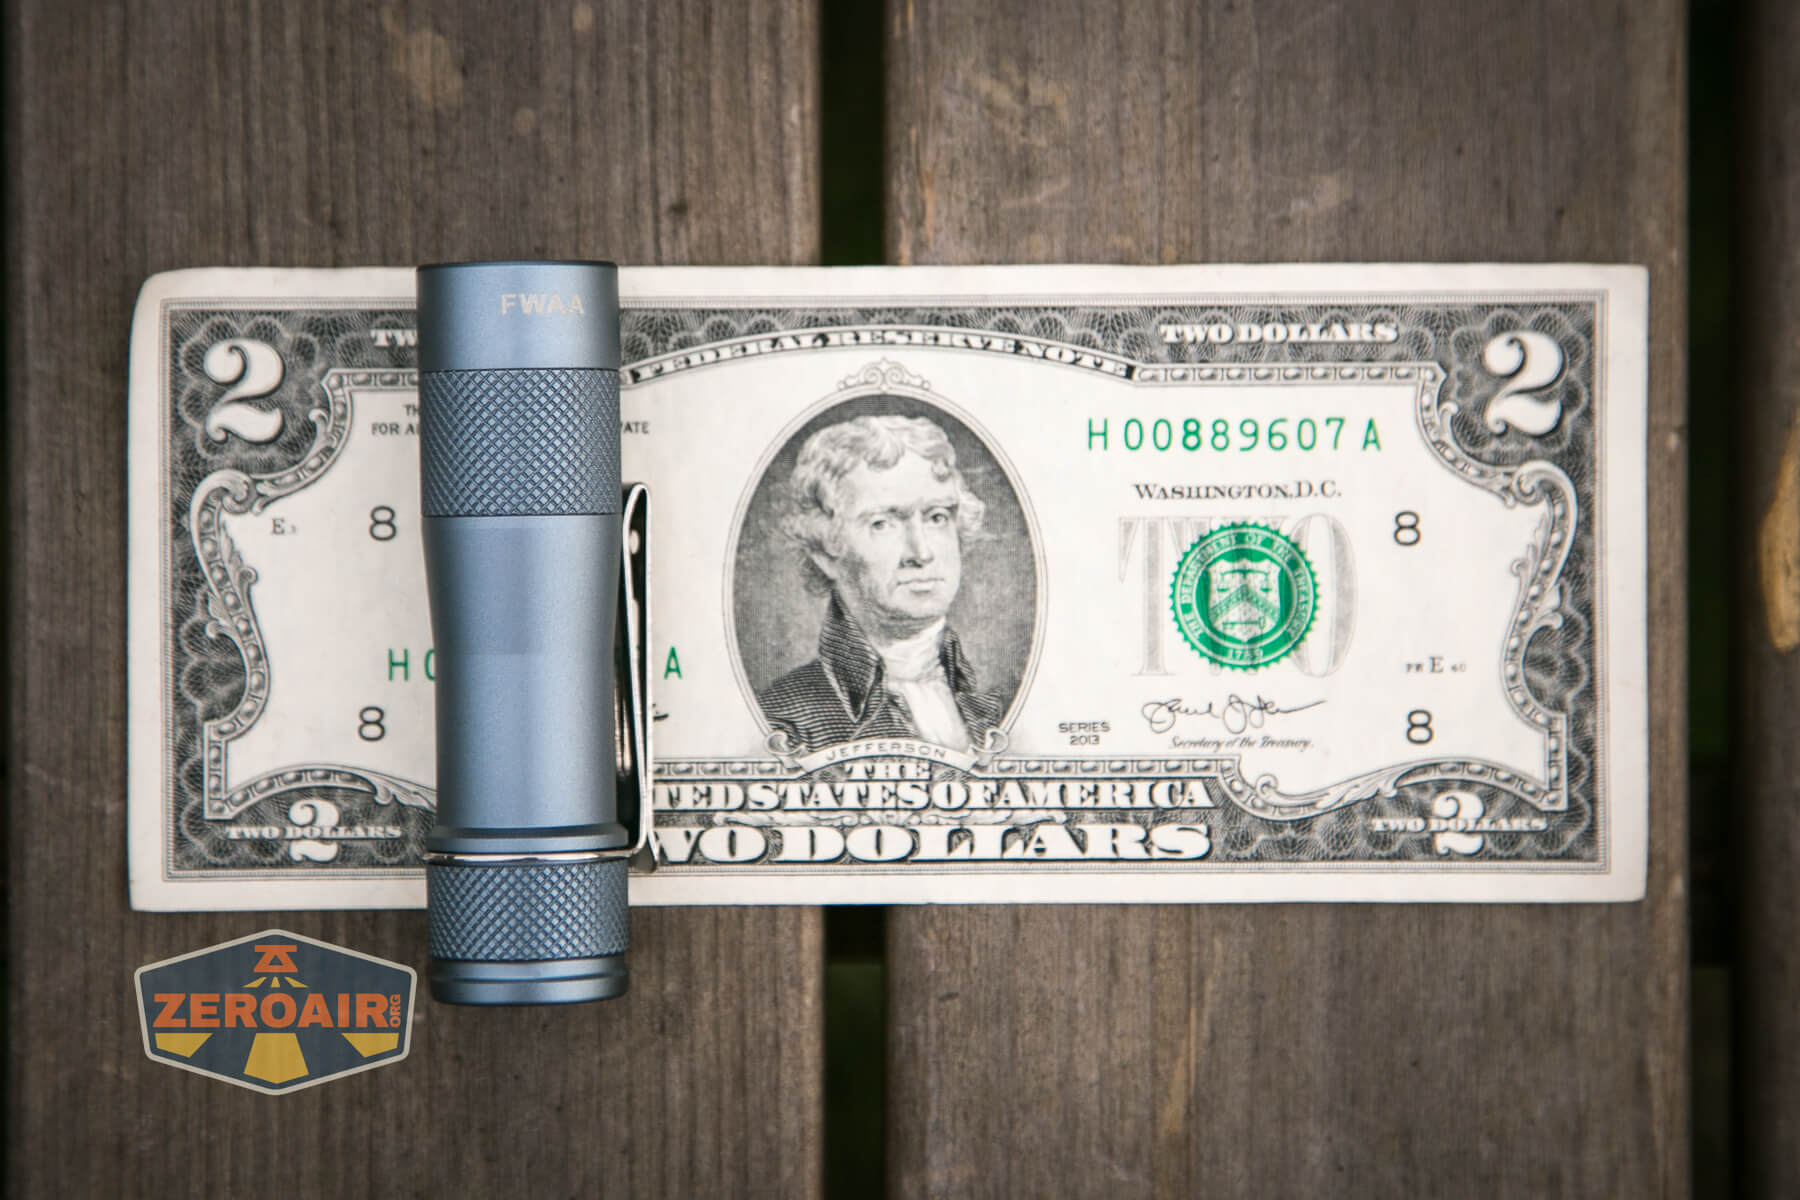
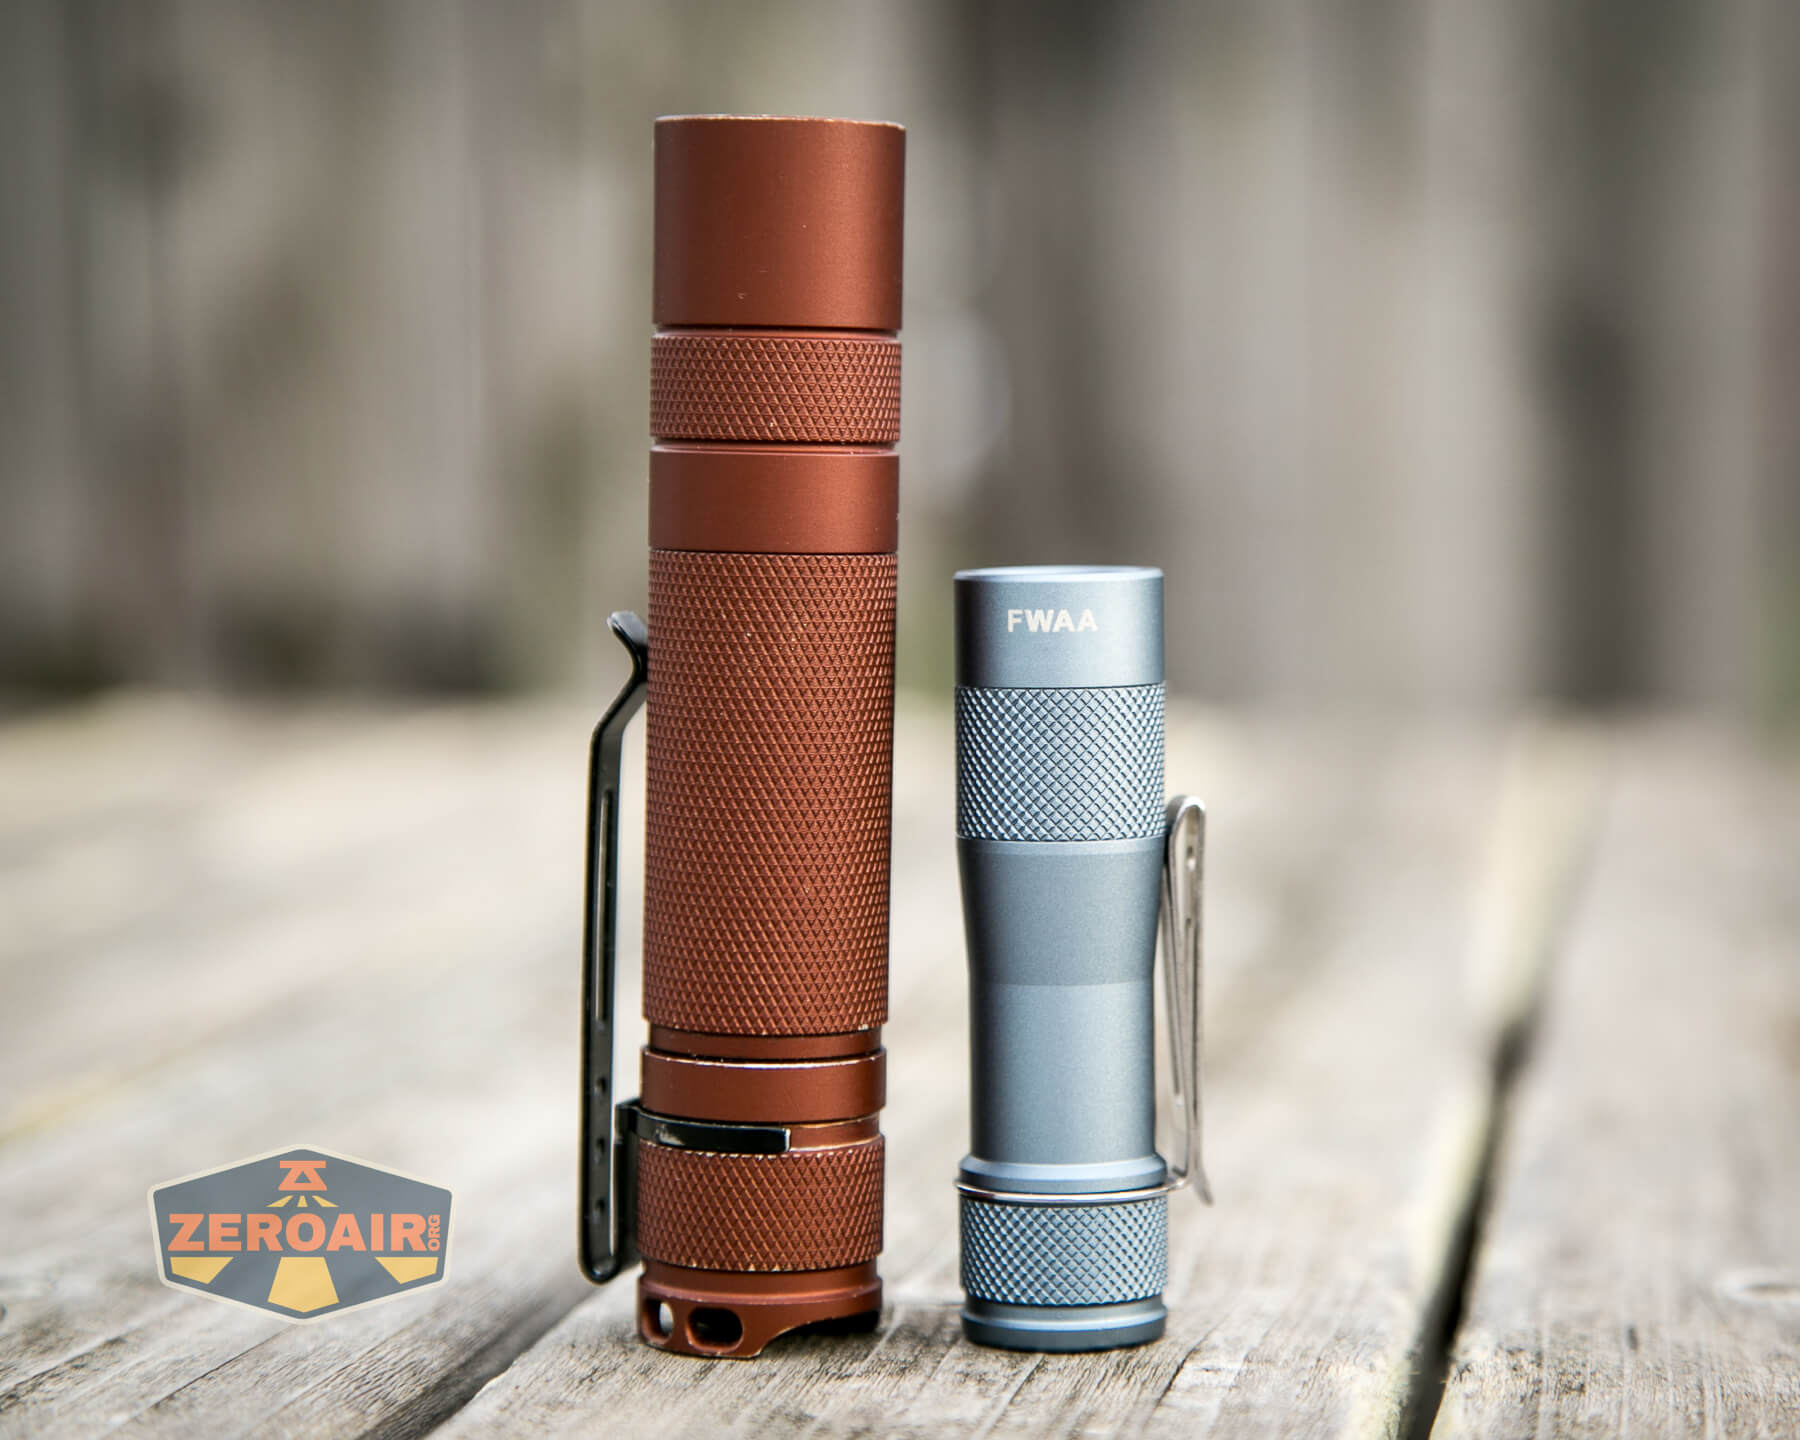
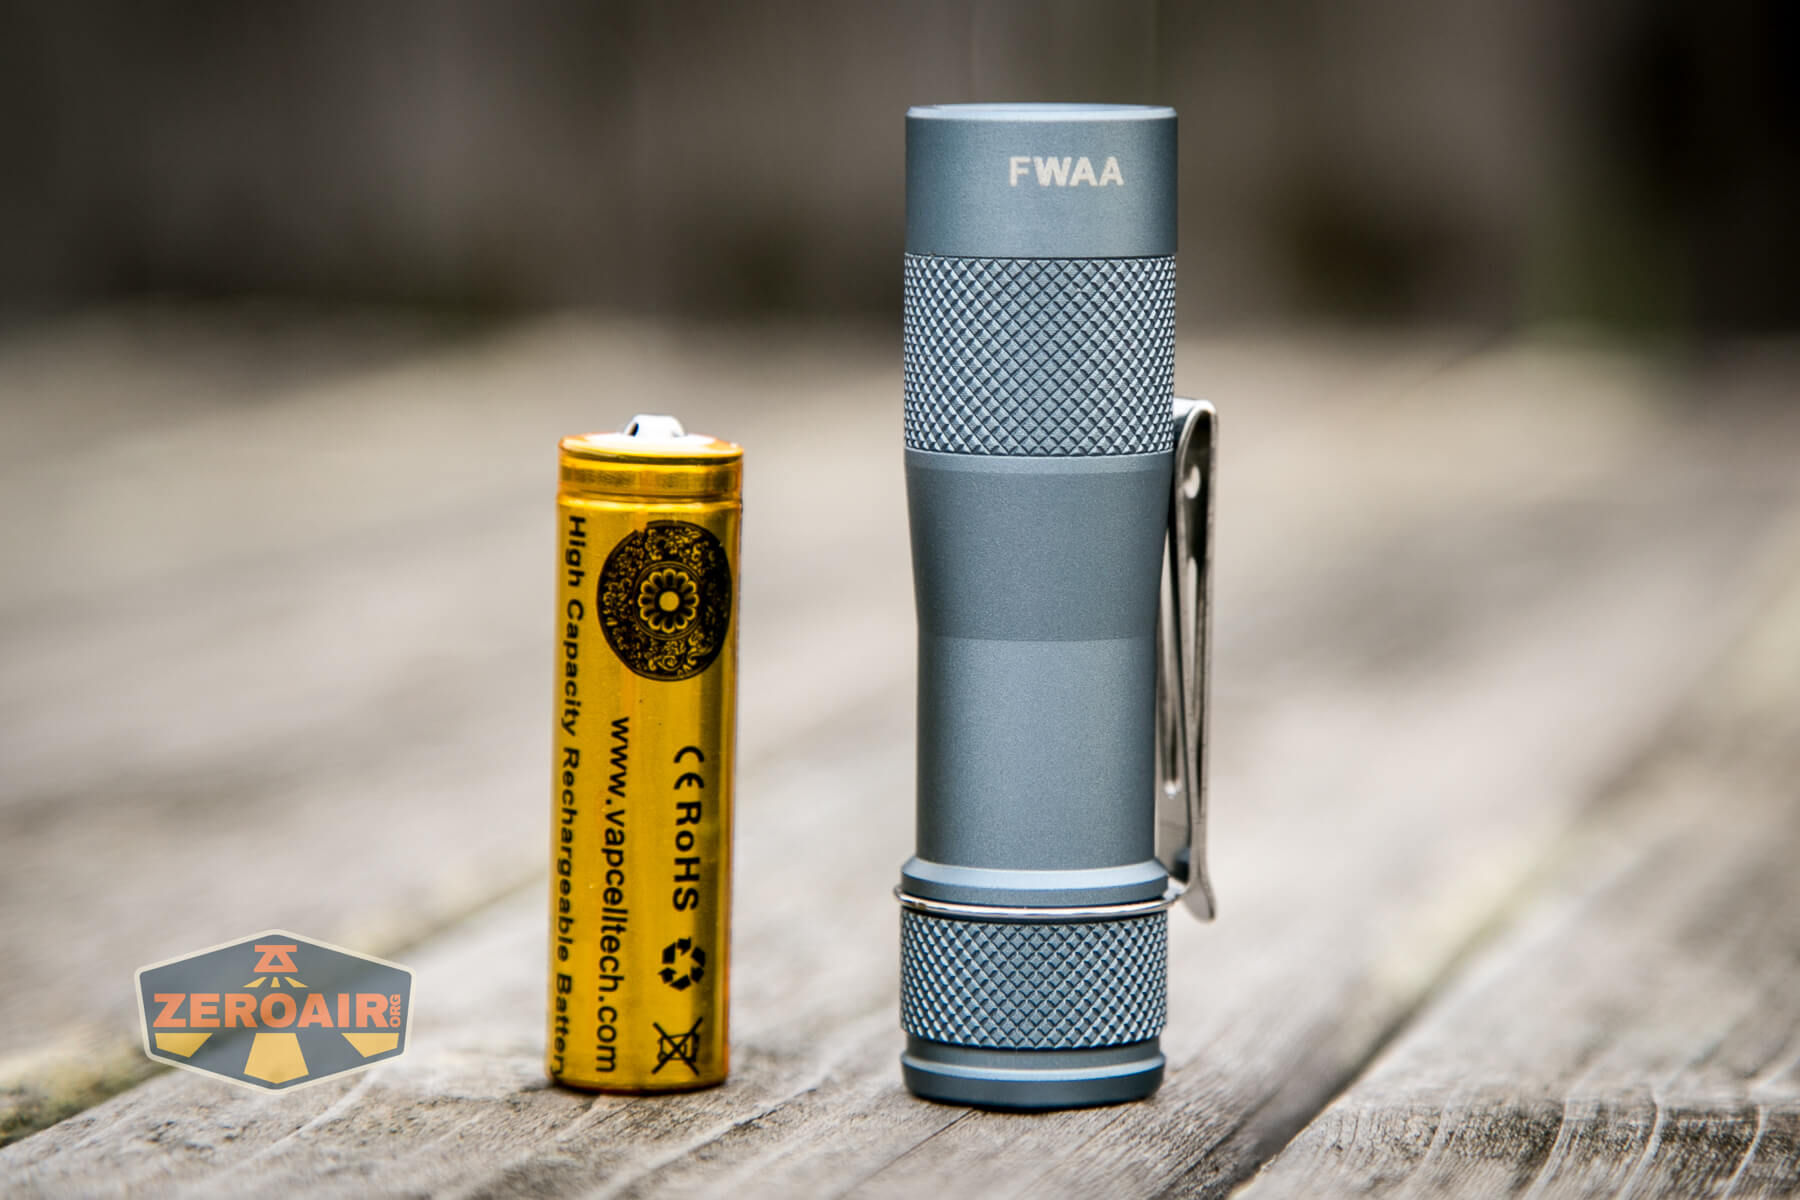
Size and Comps
Weight: Approximately 30.5 g without cells
Size: 20.5 mm Ø head x 70.9 mm length.
If the flashlight will headstand, I’ll show it here (usually the third photo). If the flashlight will tailstand, I’ll show that here, too (usually the fourth photo).
Here’s the test light with the venerable Convoy S2+. Mine’s a custom “baked” edition Nichia 219b triple. A very nice 18650 light.
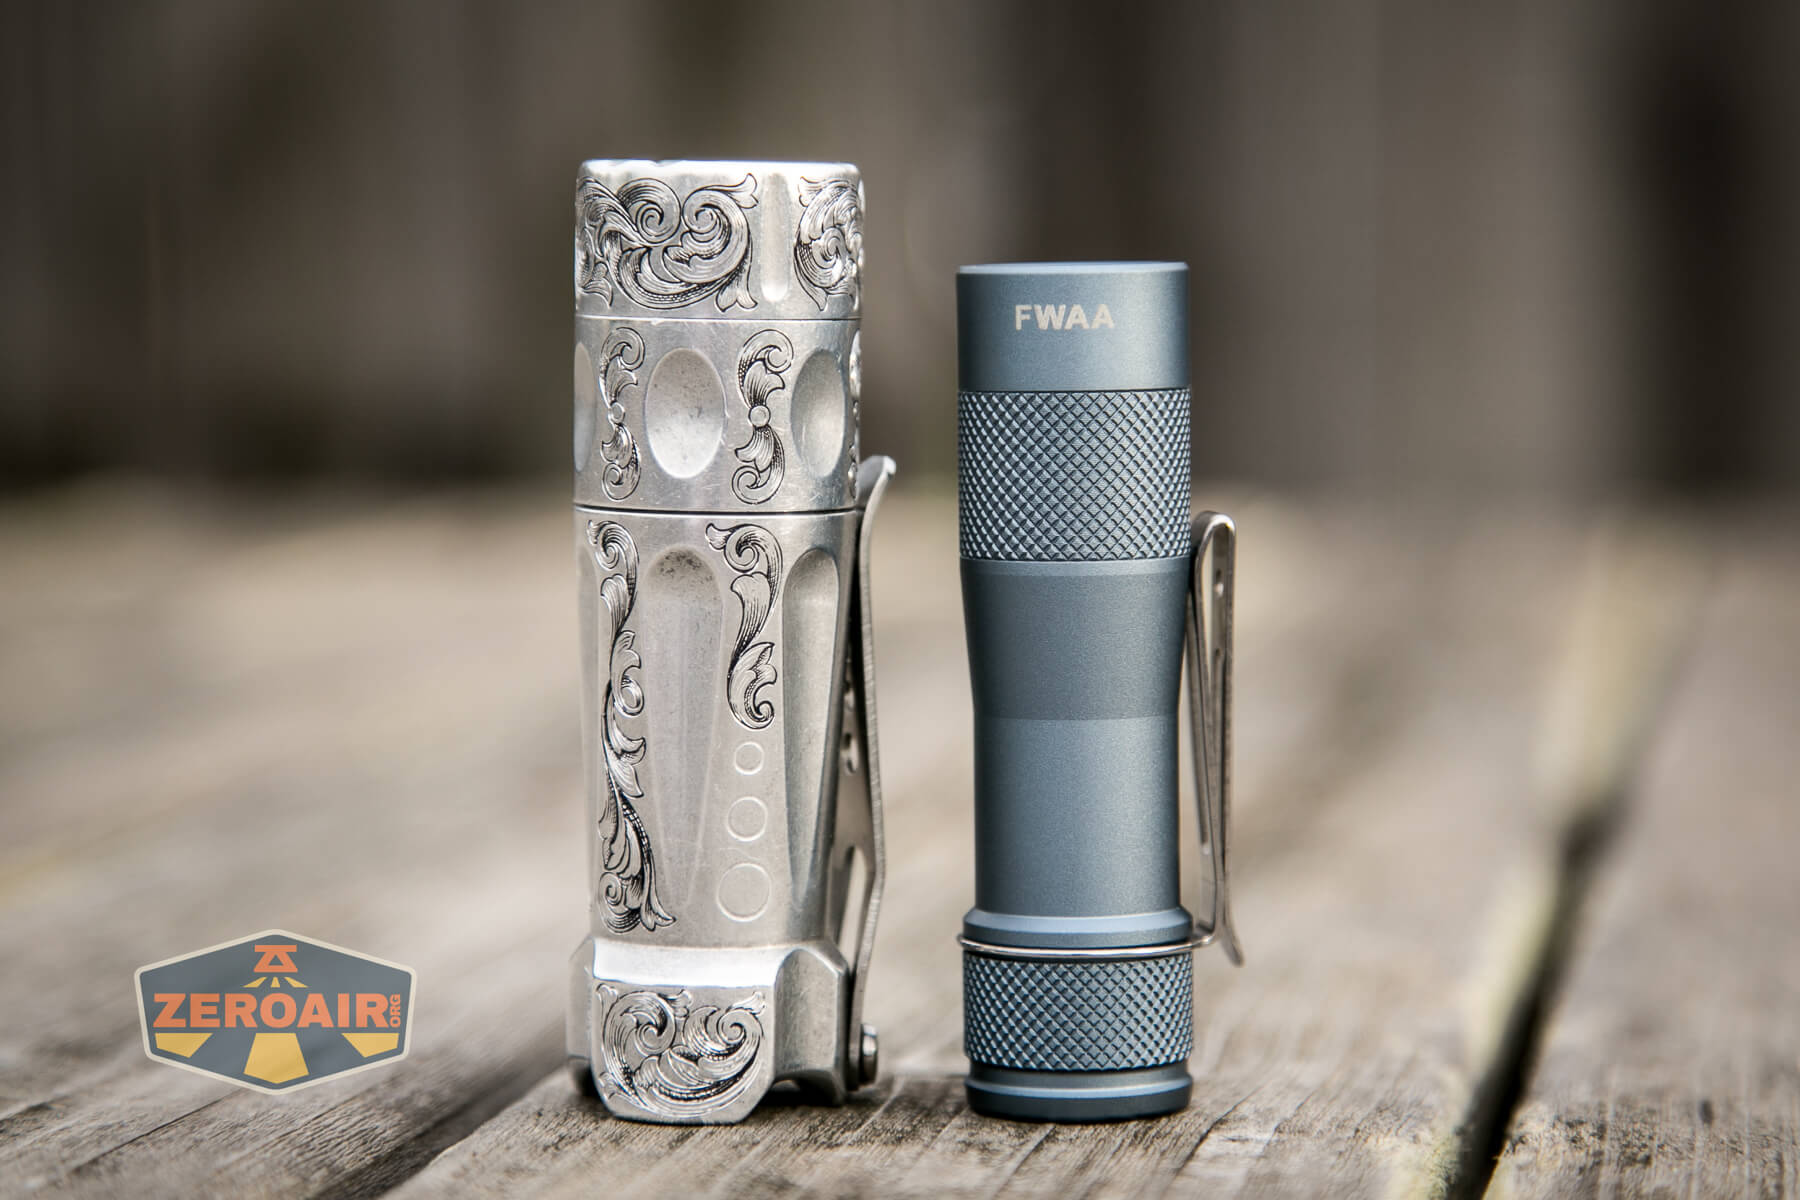
And here’s the light beside my custom-engraved TorchLAB BOSS 35, an 18350 light. I reviewed the aluminum version of that light in both 35 and 70 formats.
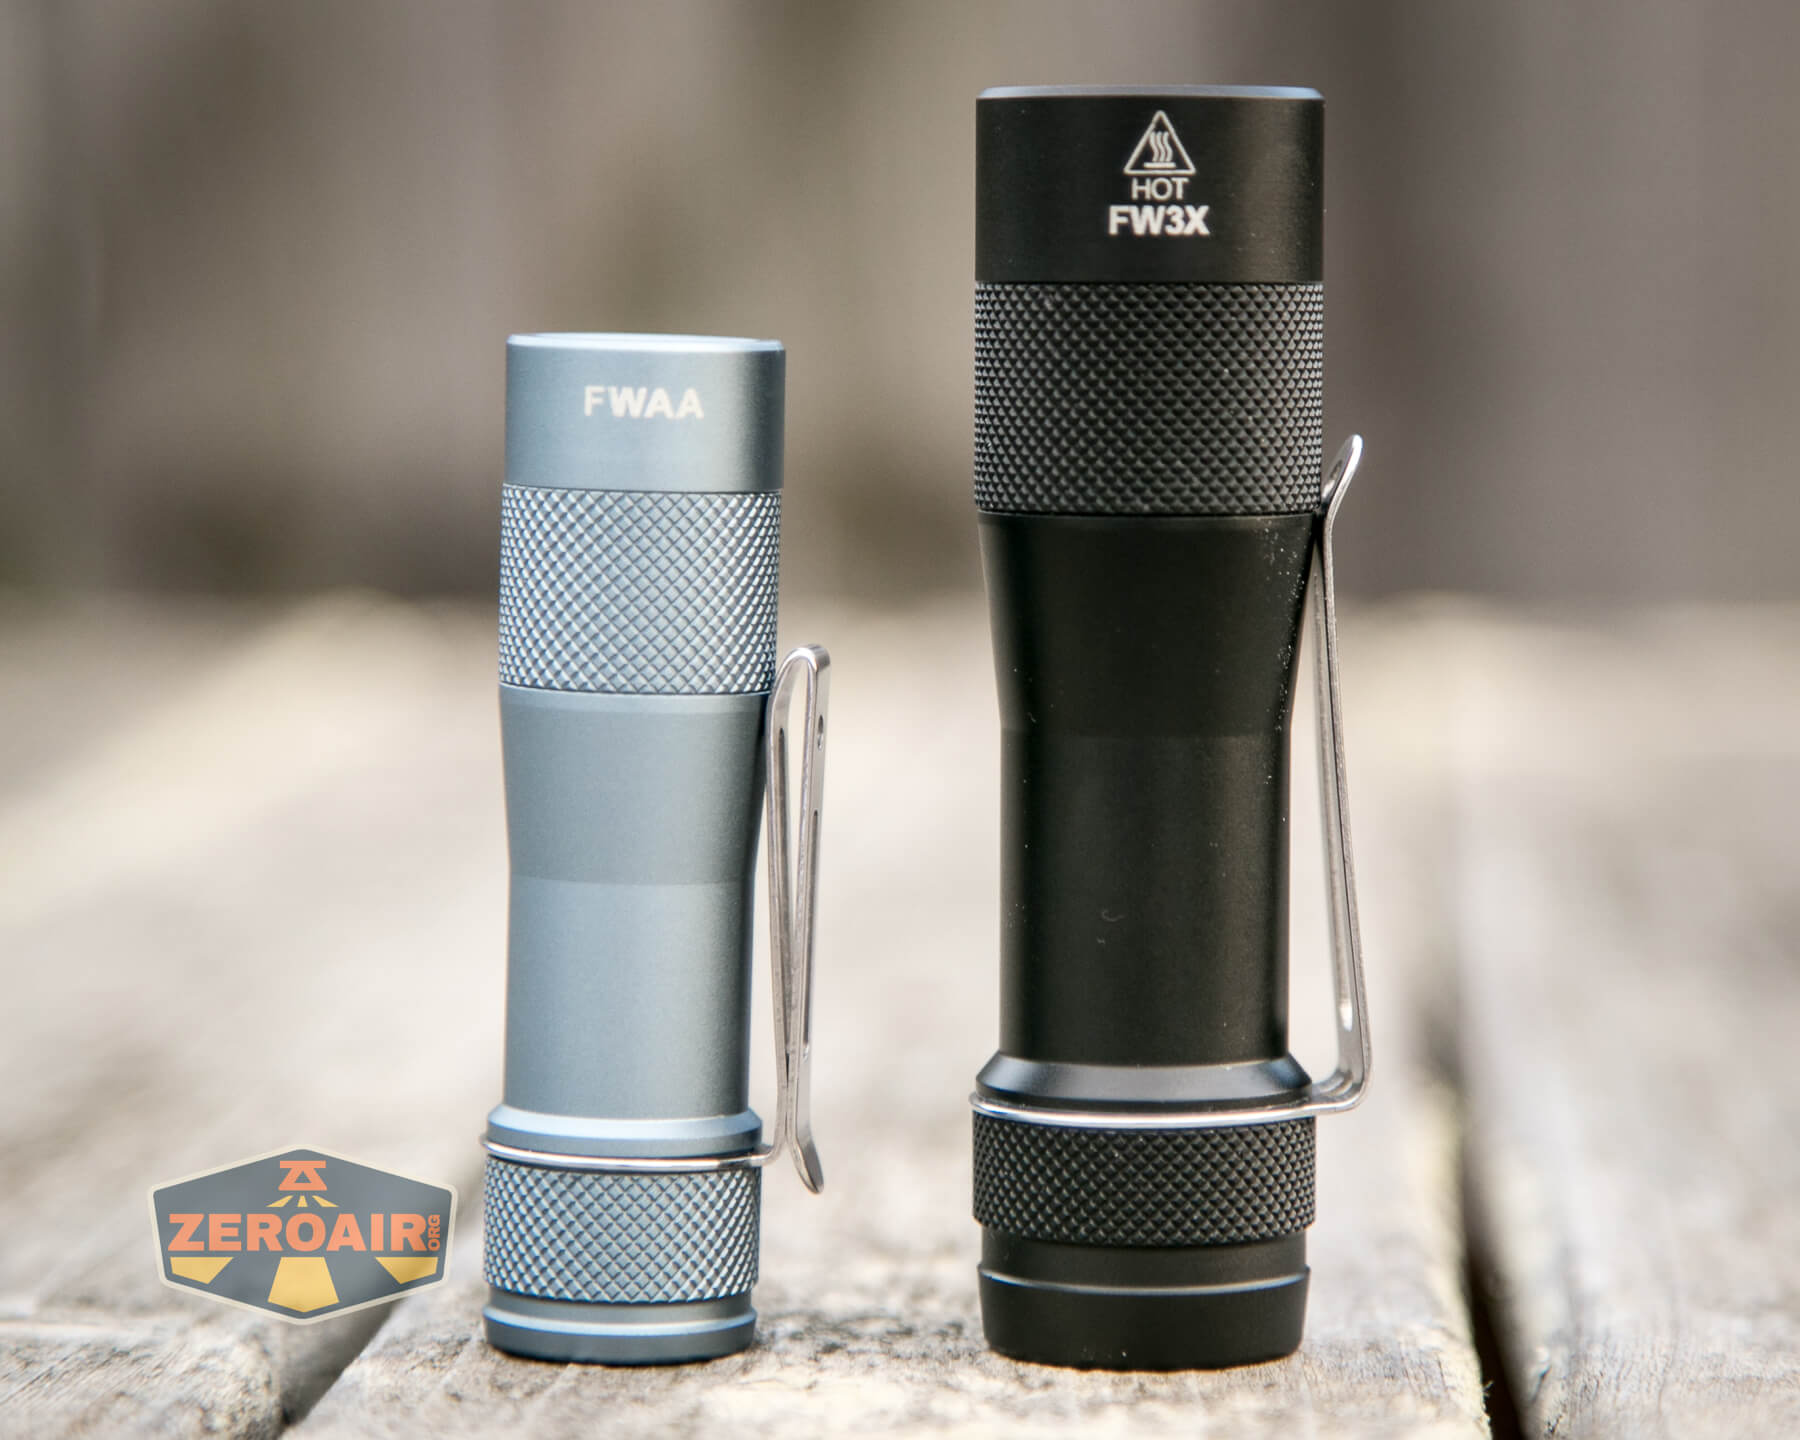
Here’s the Lumintop FWAA 14500 with the Lumintop FW3X, which I reviewed here.
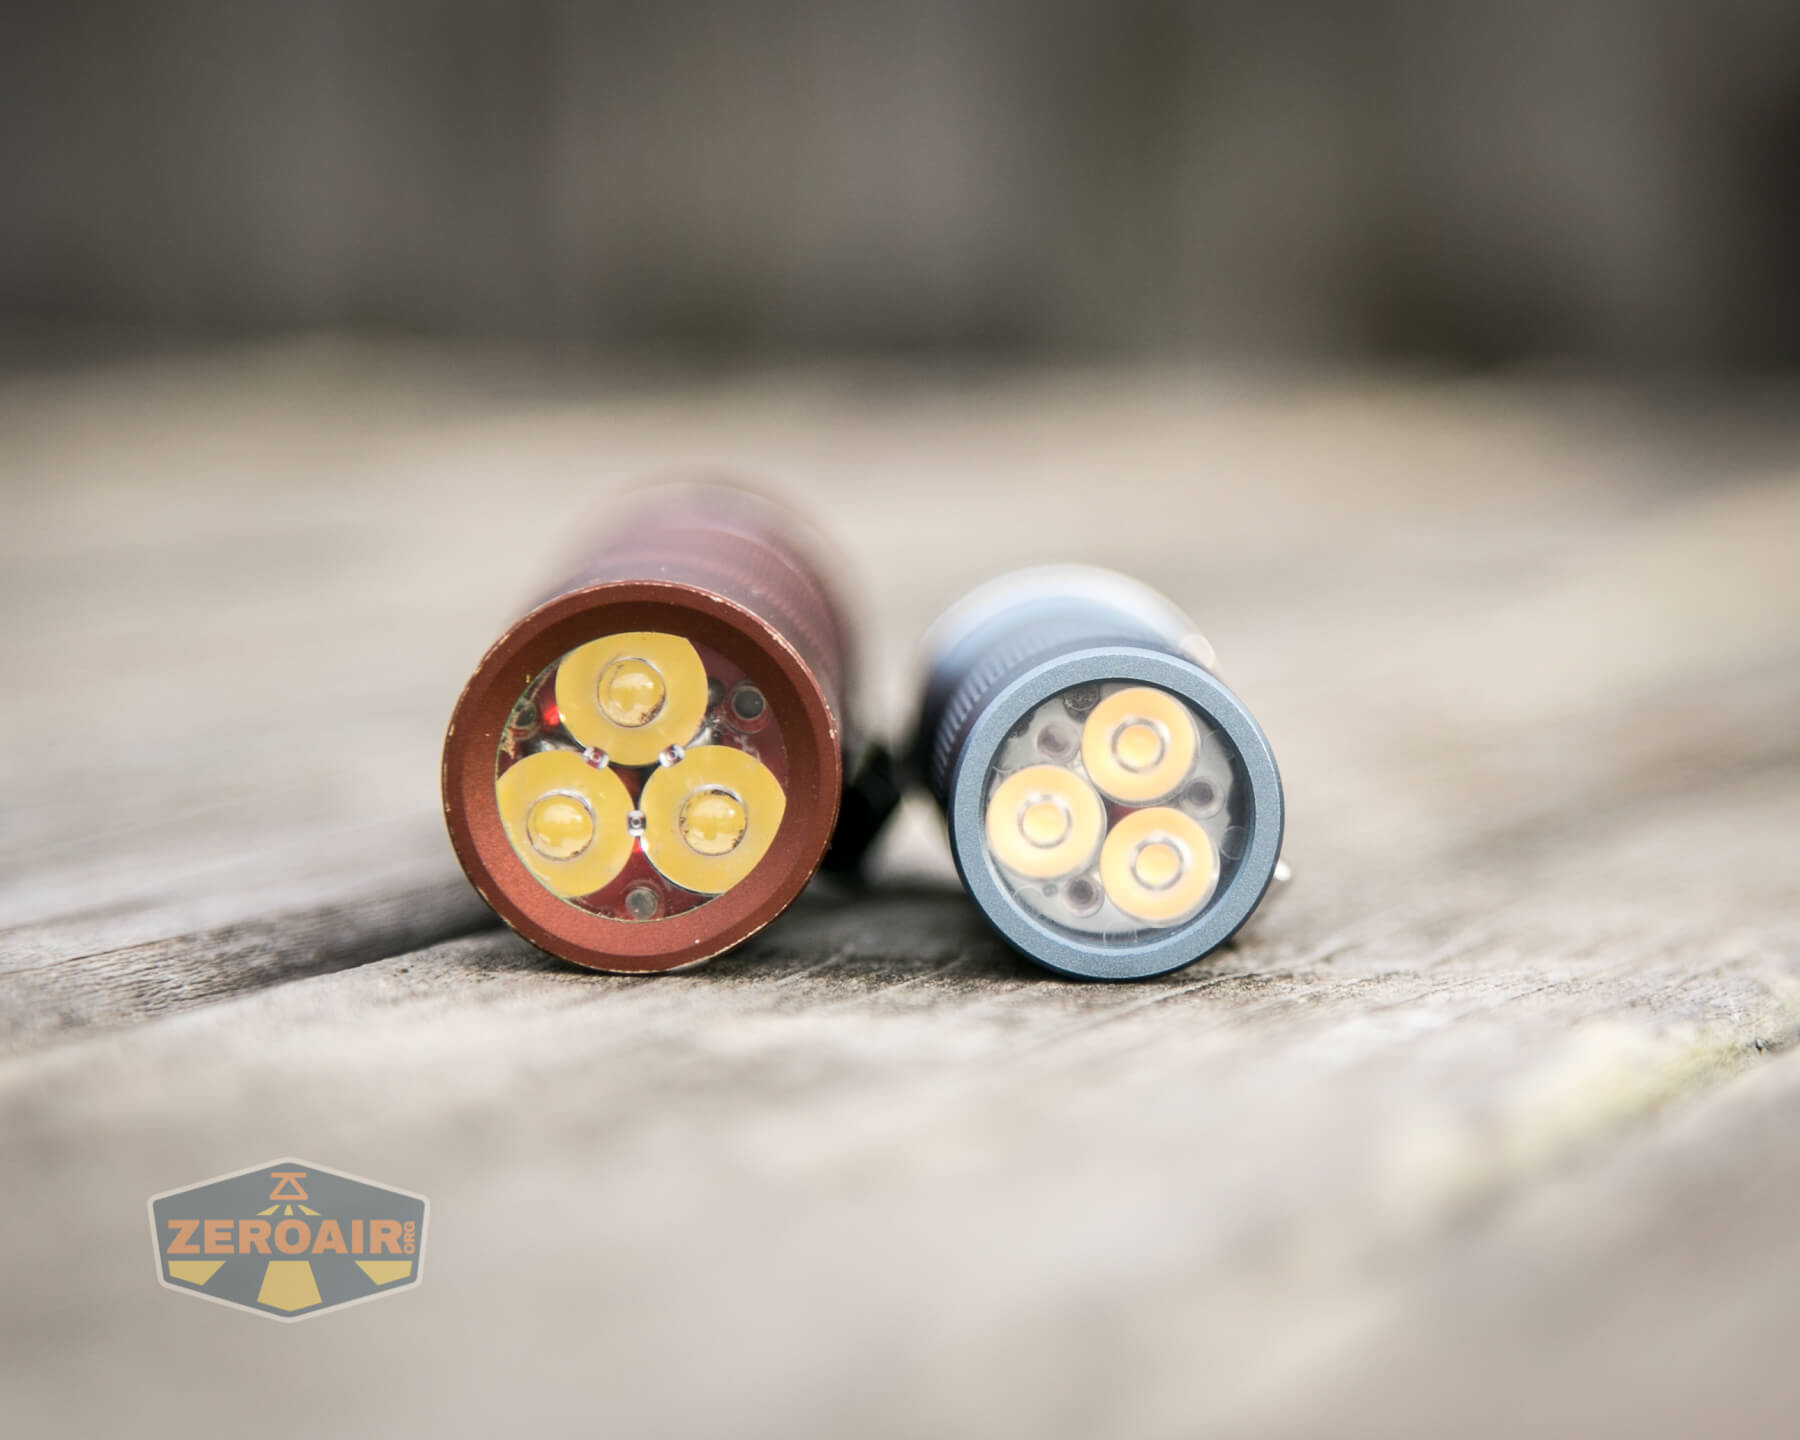
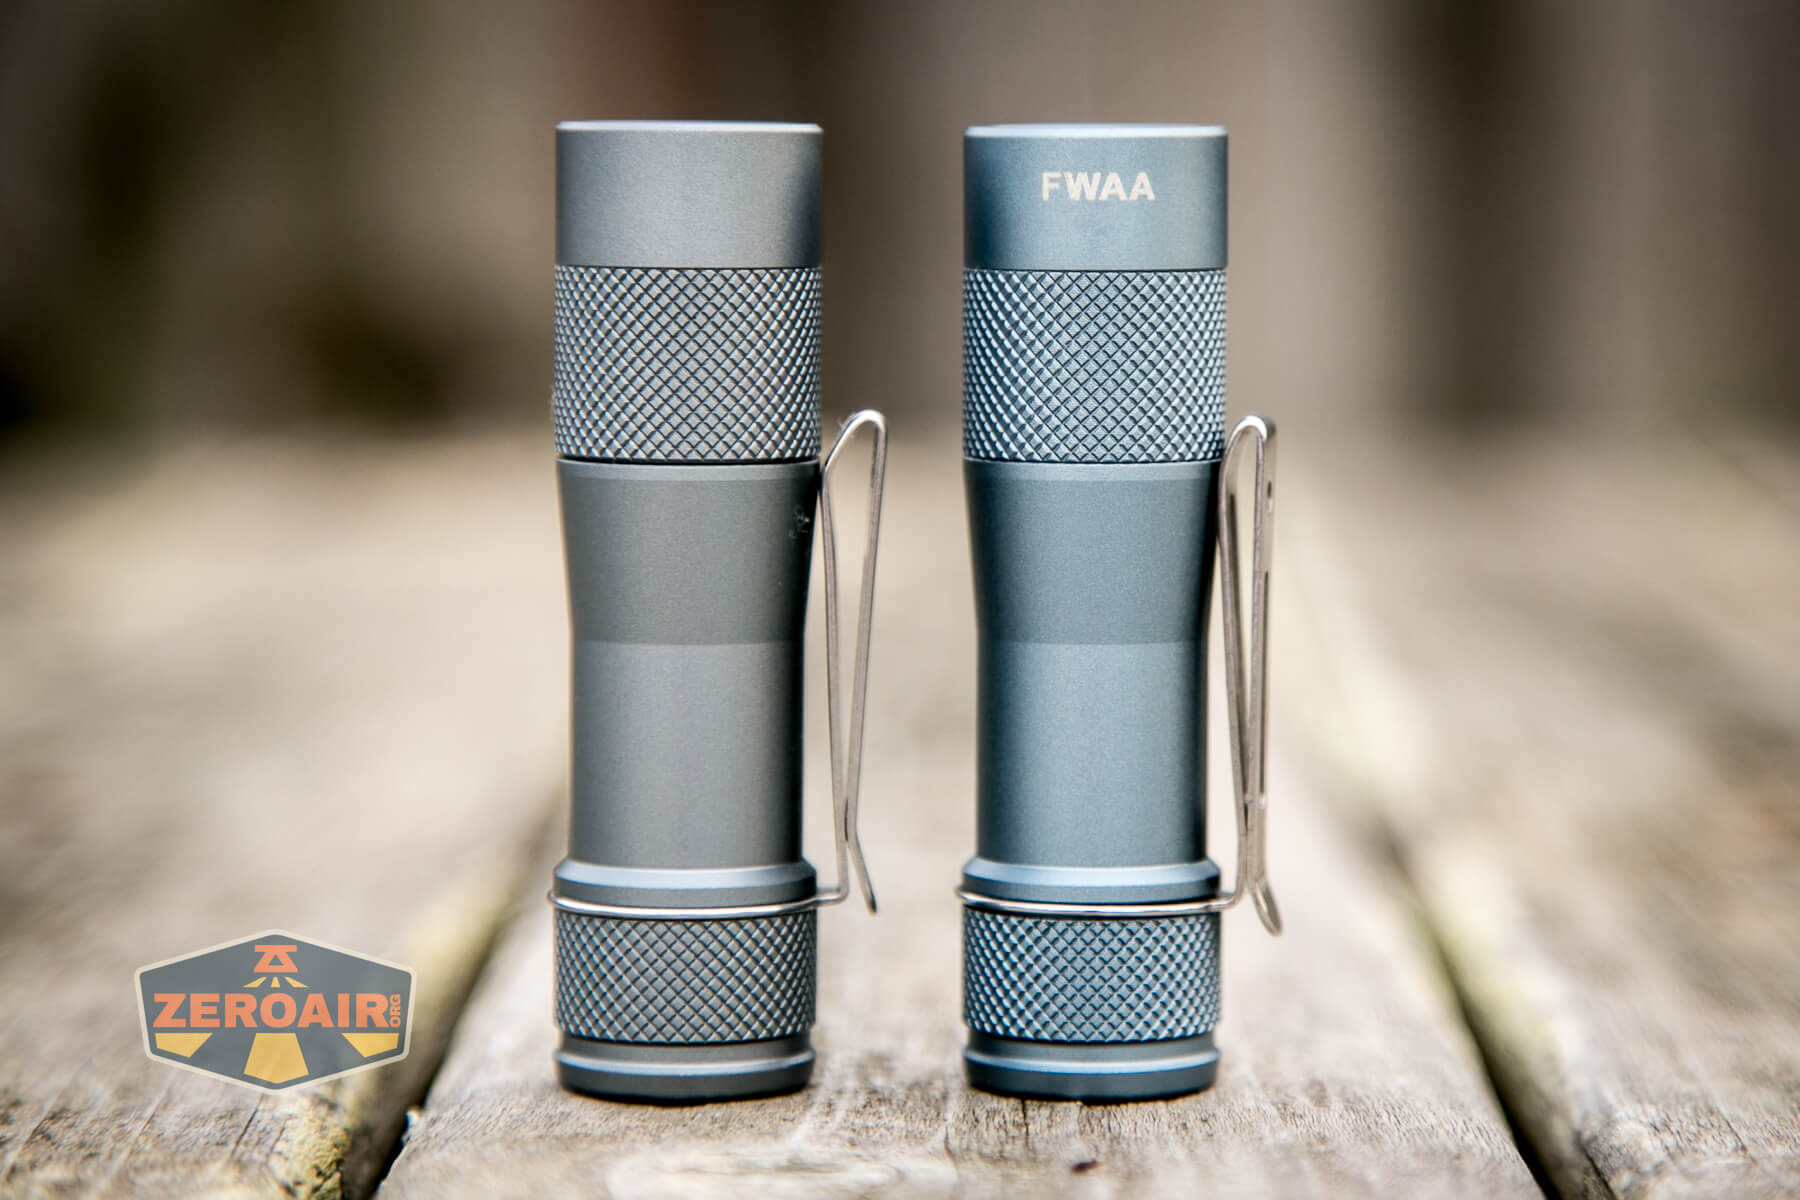
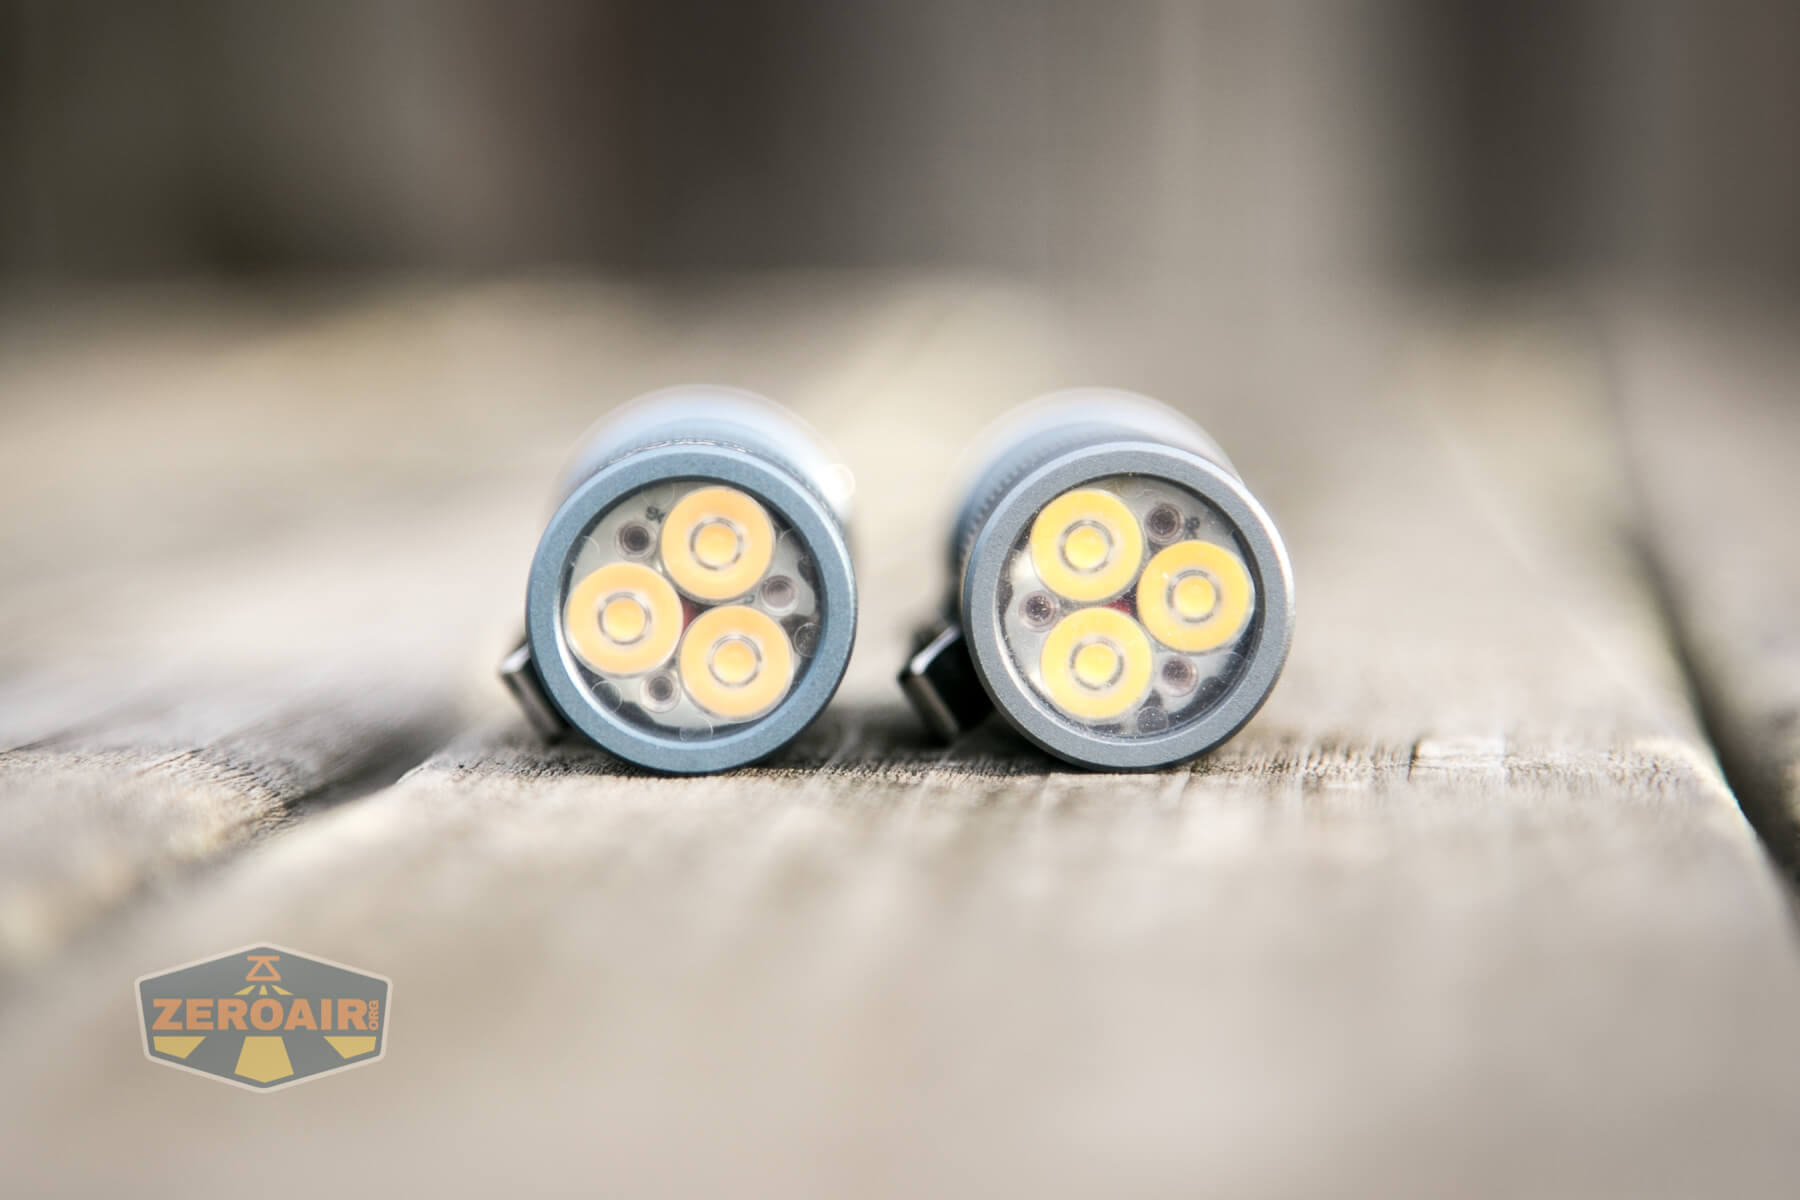
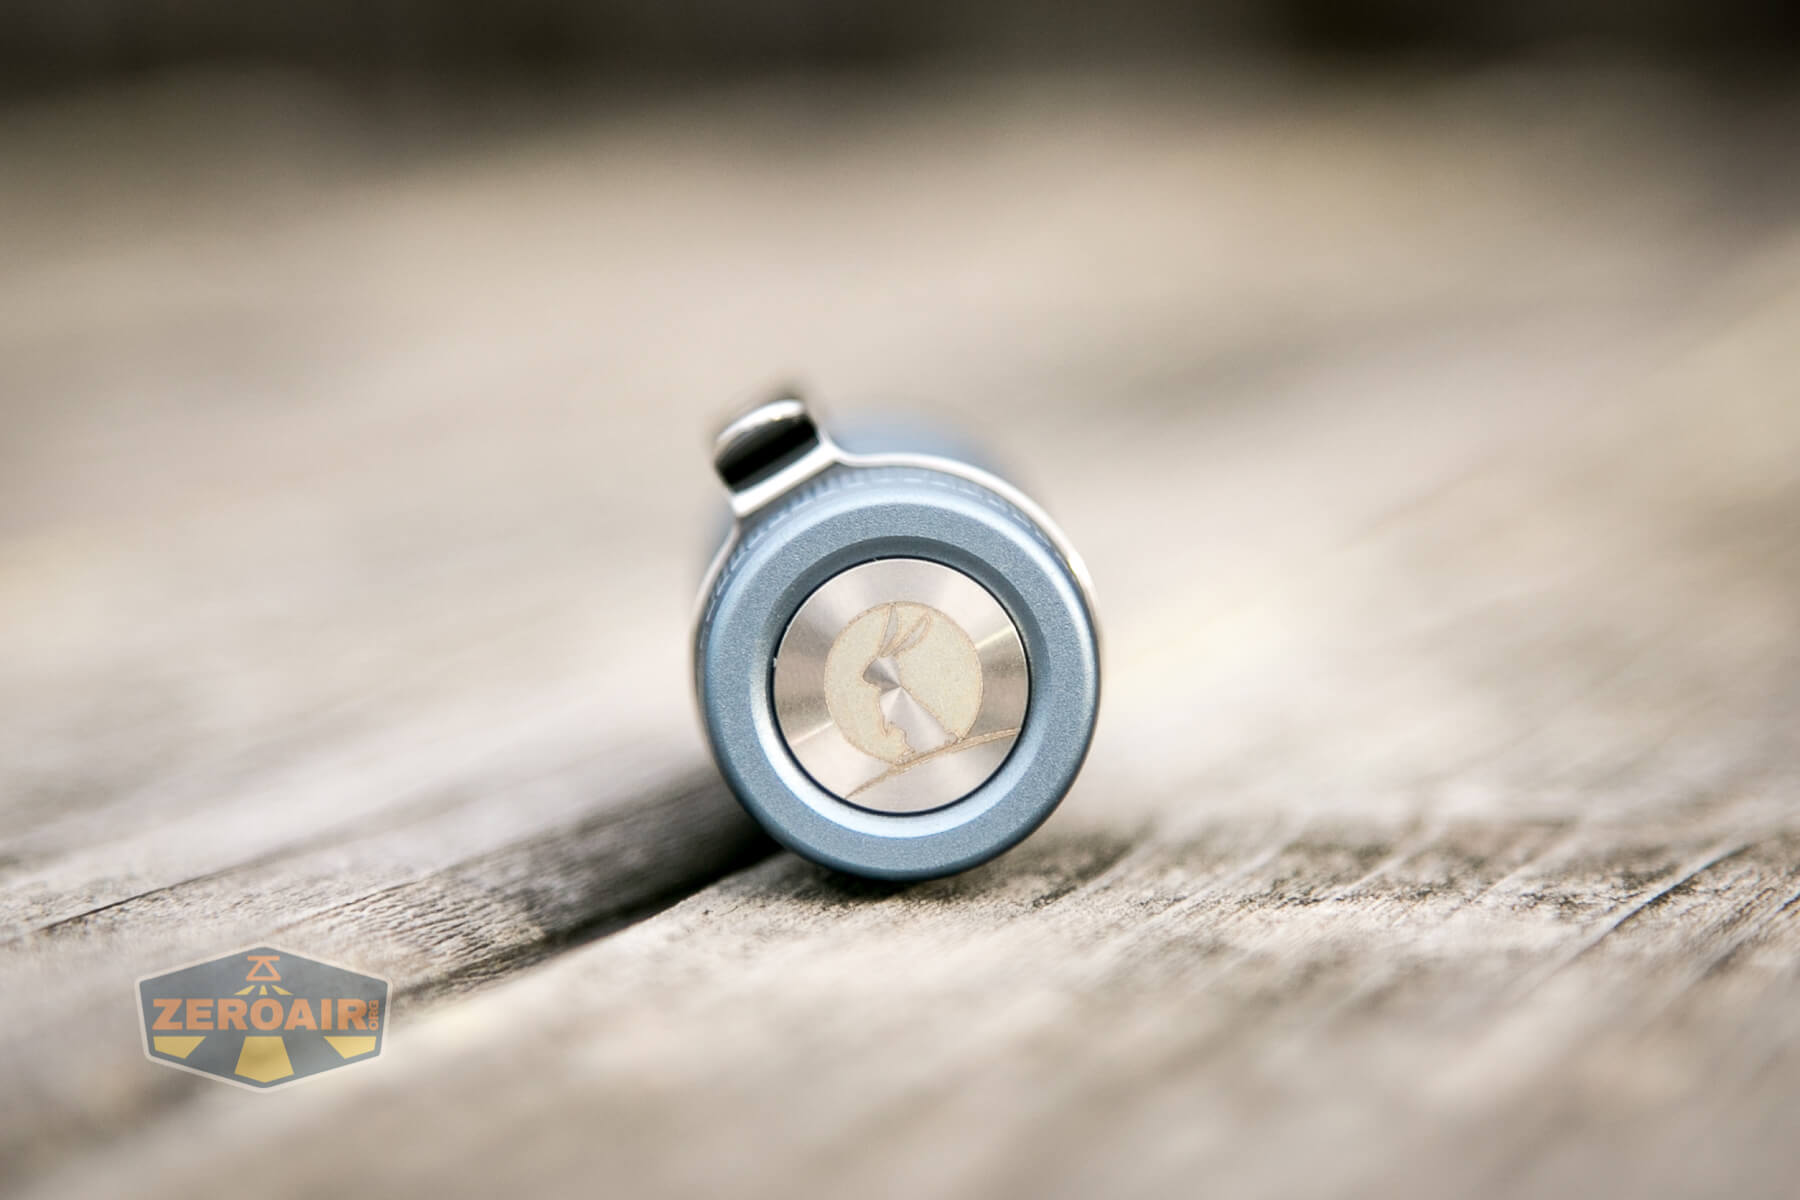
And here’s the FWAA 14500 with the other FWAA I reviewed. I thought that one was 4000K, but as it turns out, it’s likely 5000K. That review is here. Note that the body color has changed a little bit. And also, the newer version (at least the one I’ve received more recently) has some etched branding. (Below, the items are unfortunately reversed in the second photo. In the first photo, the 4000K is on the right. In the second photo, the 4000K is on the left.)
Retention and Carry
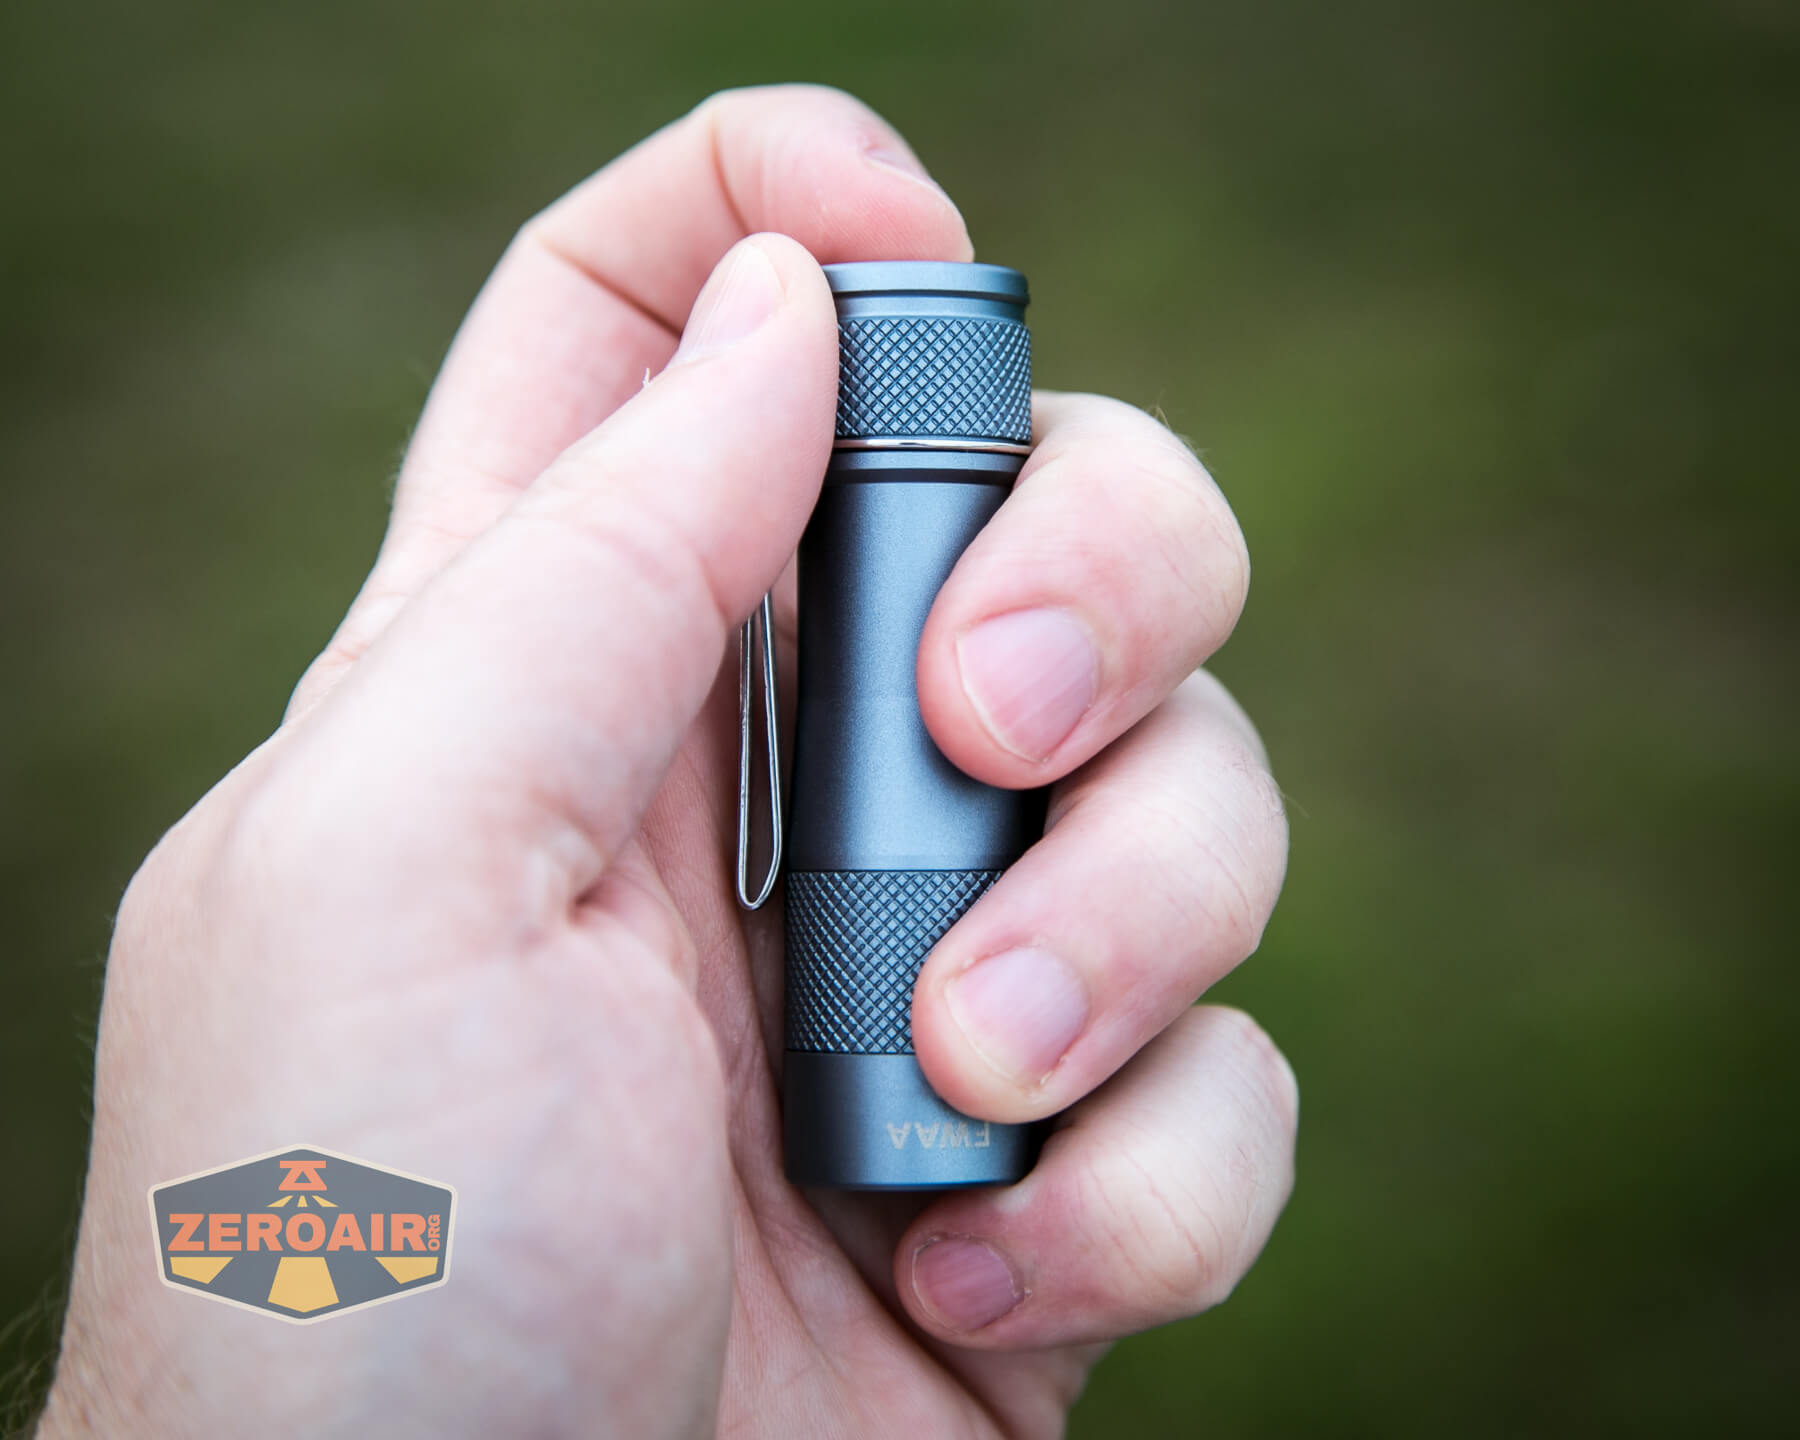
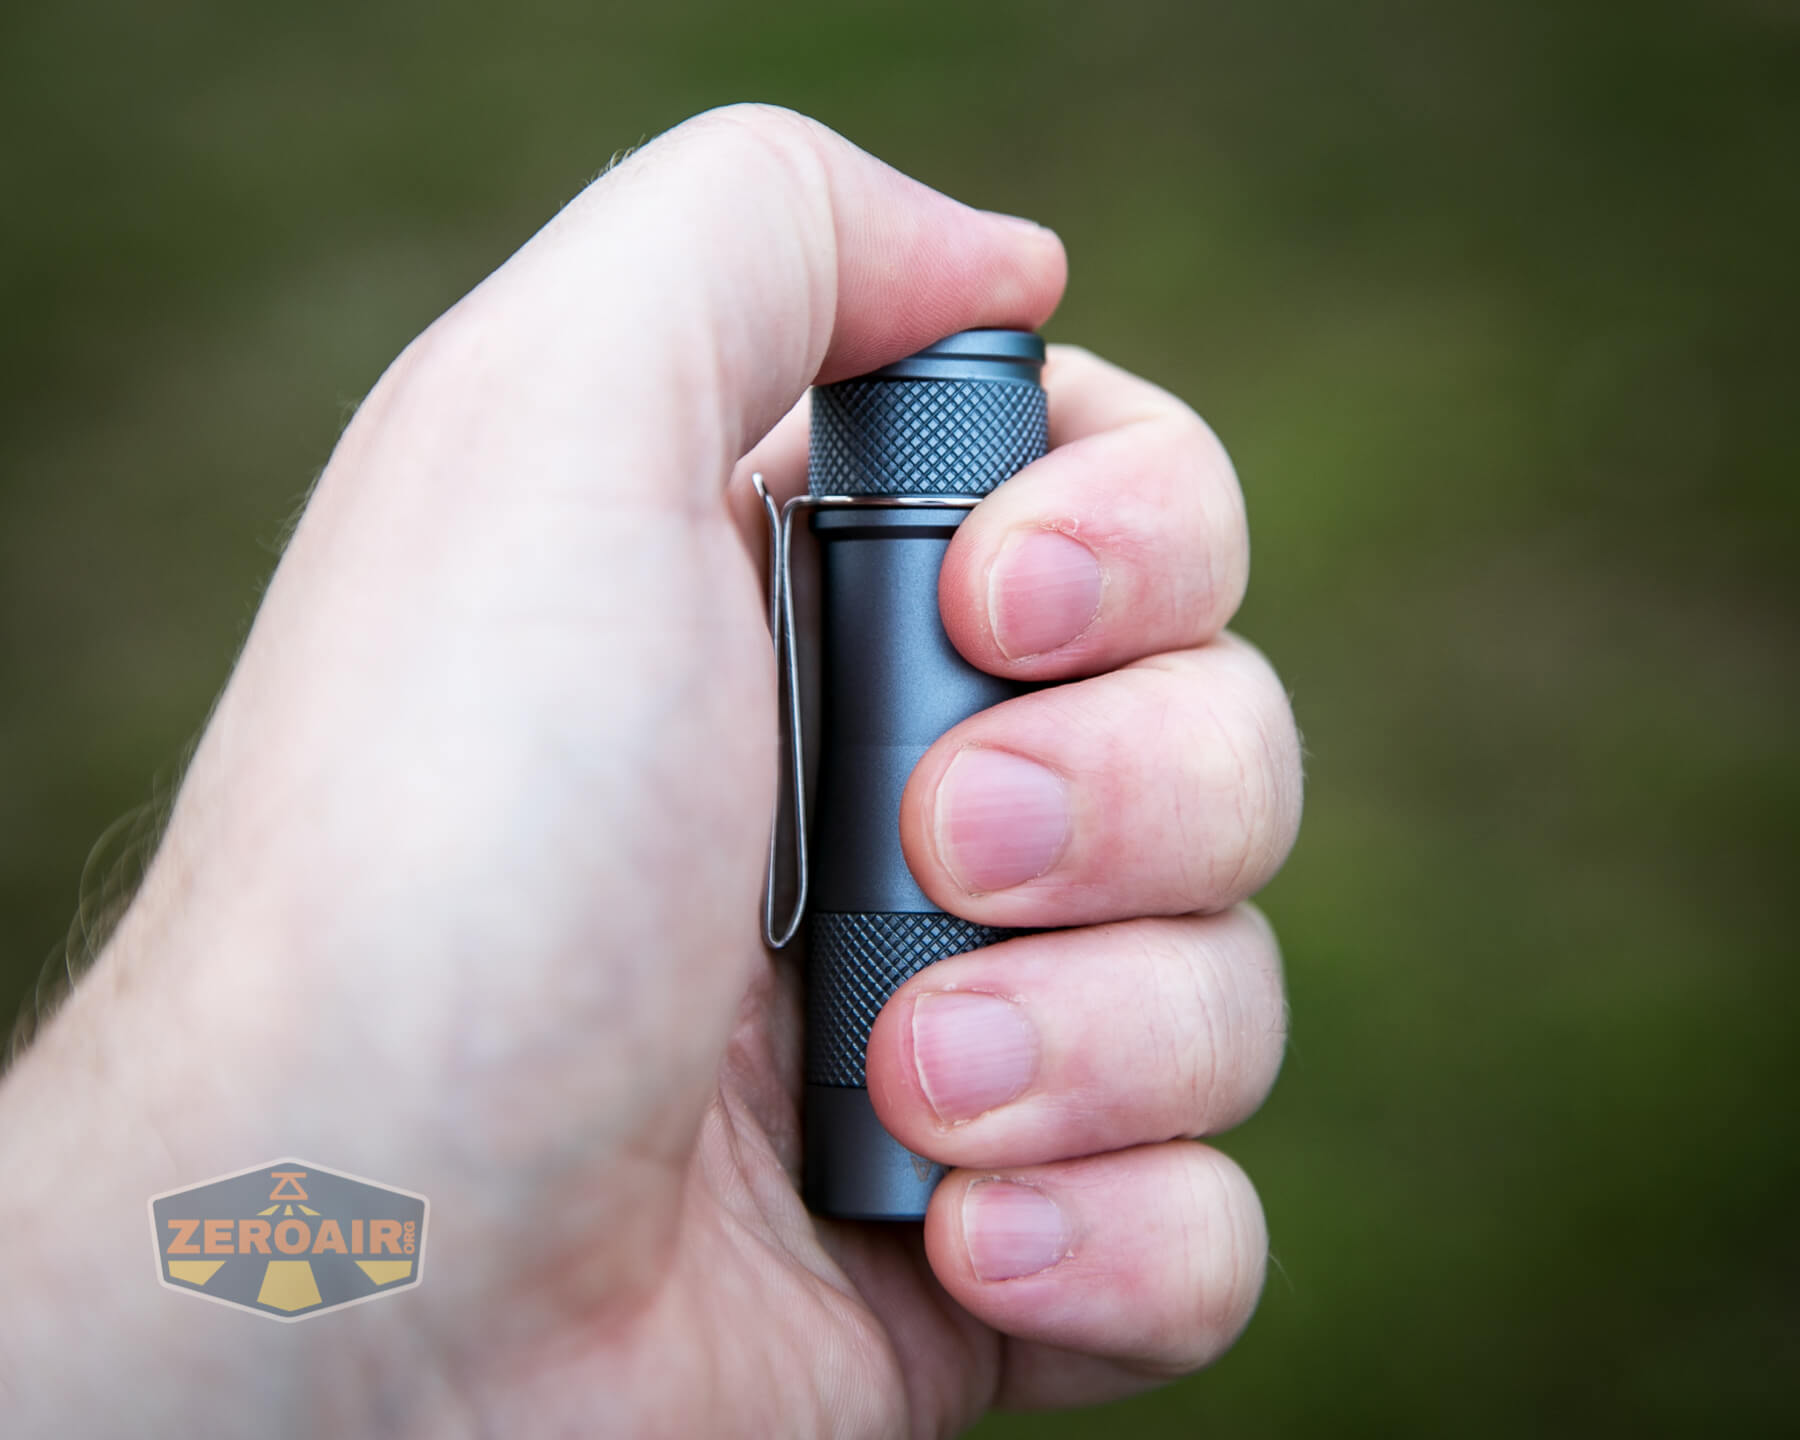
Unlike my first FWAA, on this version, the pocket clip shipped installed. It’s a two-way pocket clip. This replaces the tactical ring, and the two can’t be used concurrently.

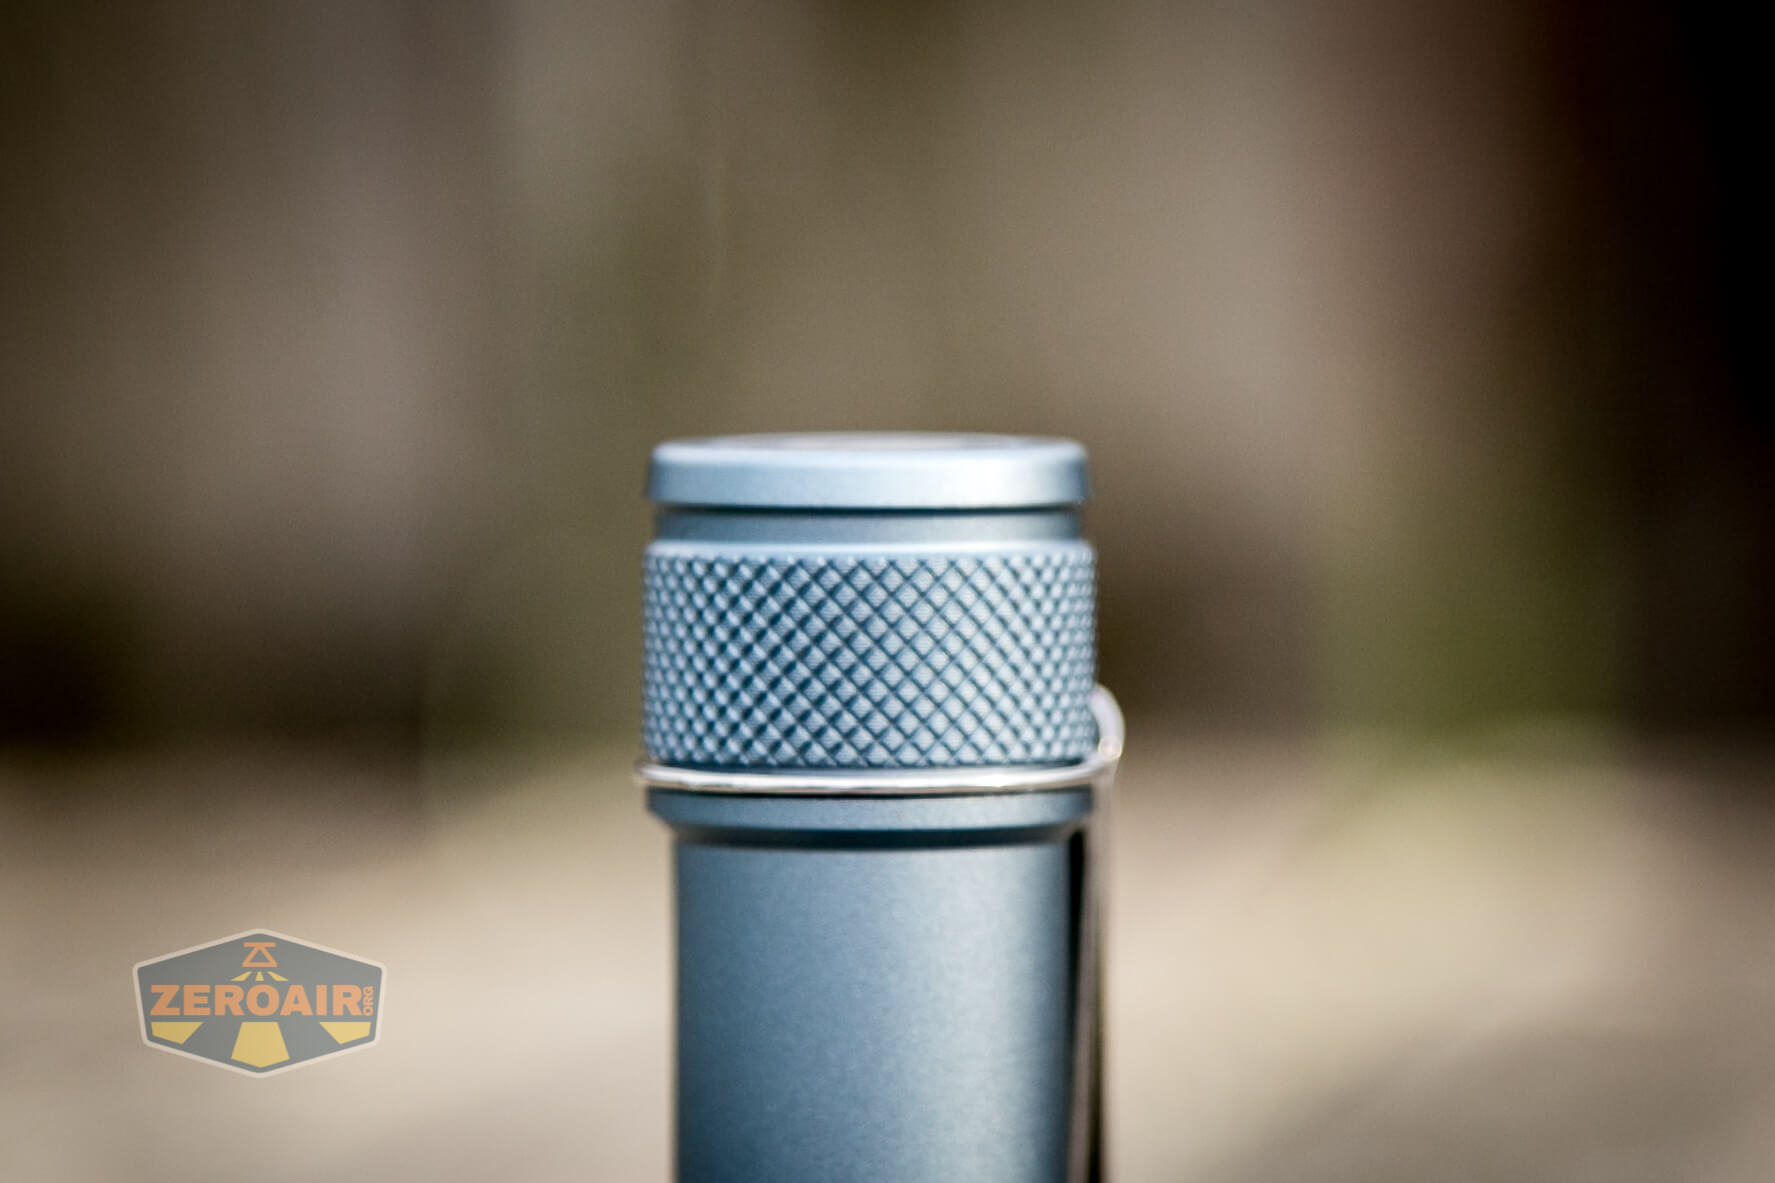
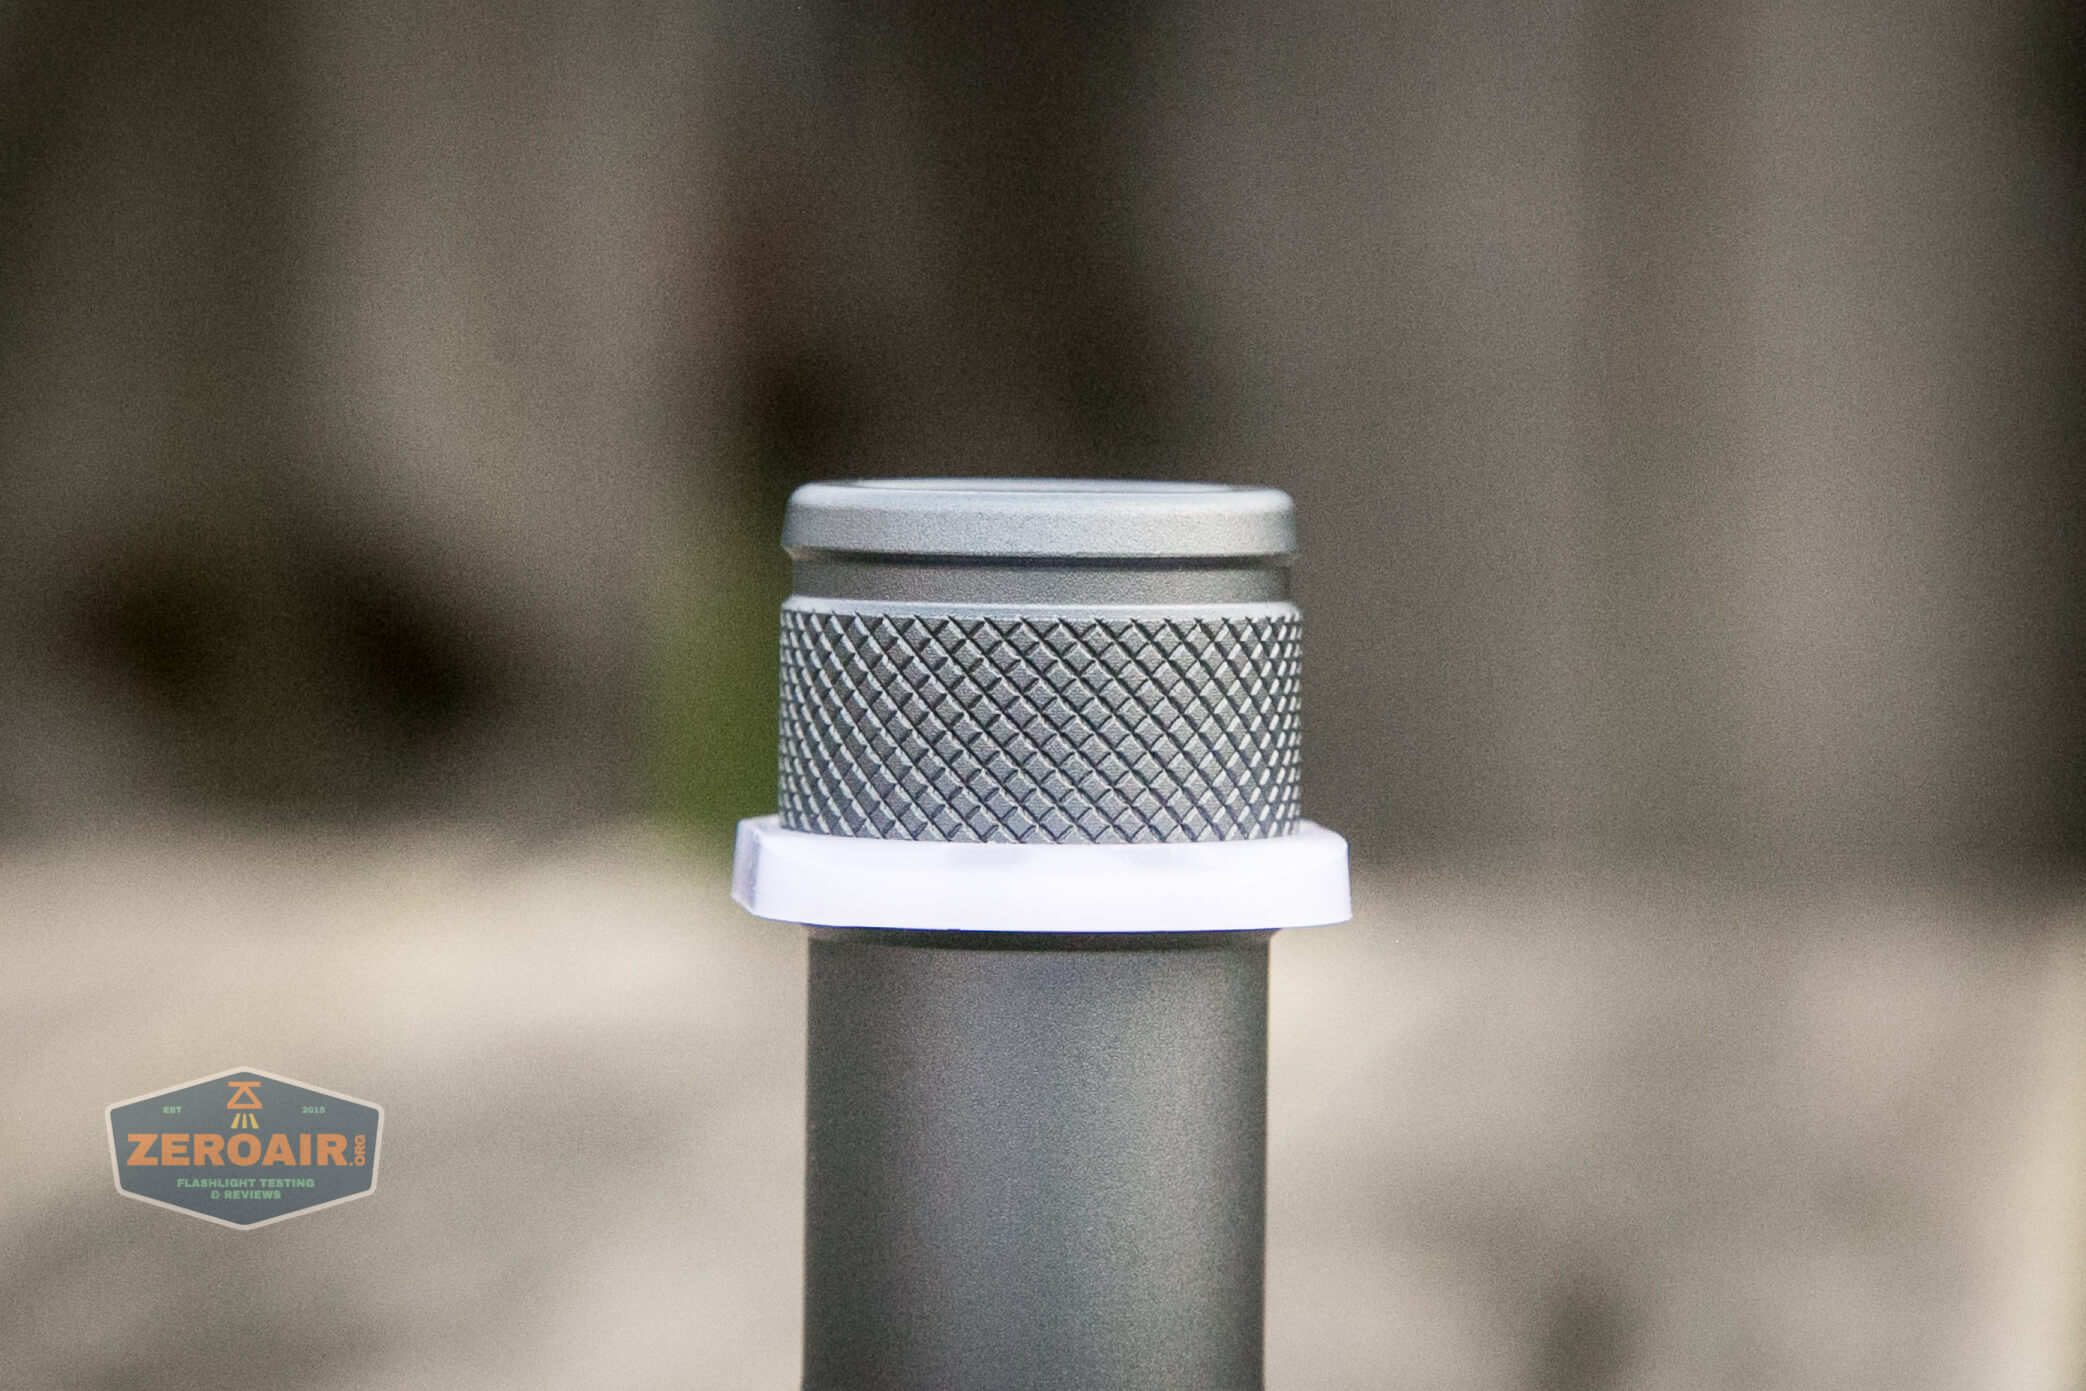
Shipped with the Lumintop FWAA 14500 flashlight is this “tactical” plastic ring. It’s on the tail end (and only on the tail end) and has two lanyard holes on both sides.
This ring spins more or less freely, but is absolutely excellent for a place to grab for thumb pressing the switch. The rings are where you’d likely want to attach the included lanyard, too.
Power and Runtime
The Lumintop FWAA flashlight is powered by a single lithium-ion cell. The size is 14500. I found that both my button top and flat tops worked fine but I really only had the gold Vapcell you see below in flat/button formats. So really the same cell. This light does not support 1.5V cells!
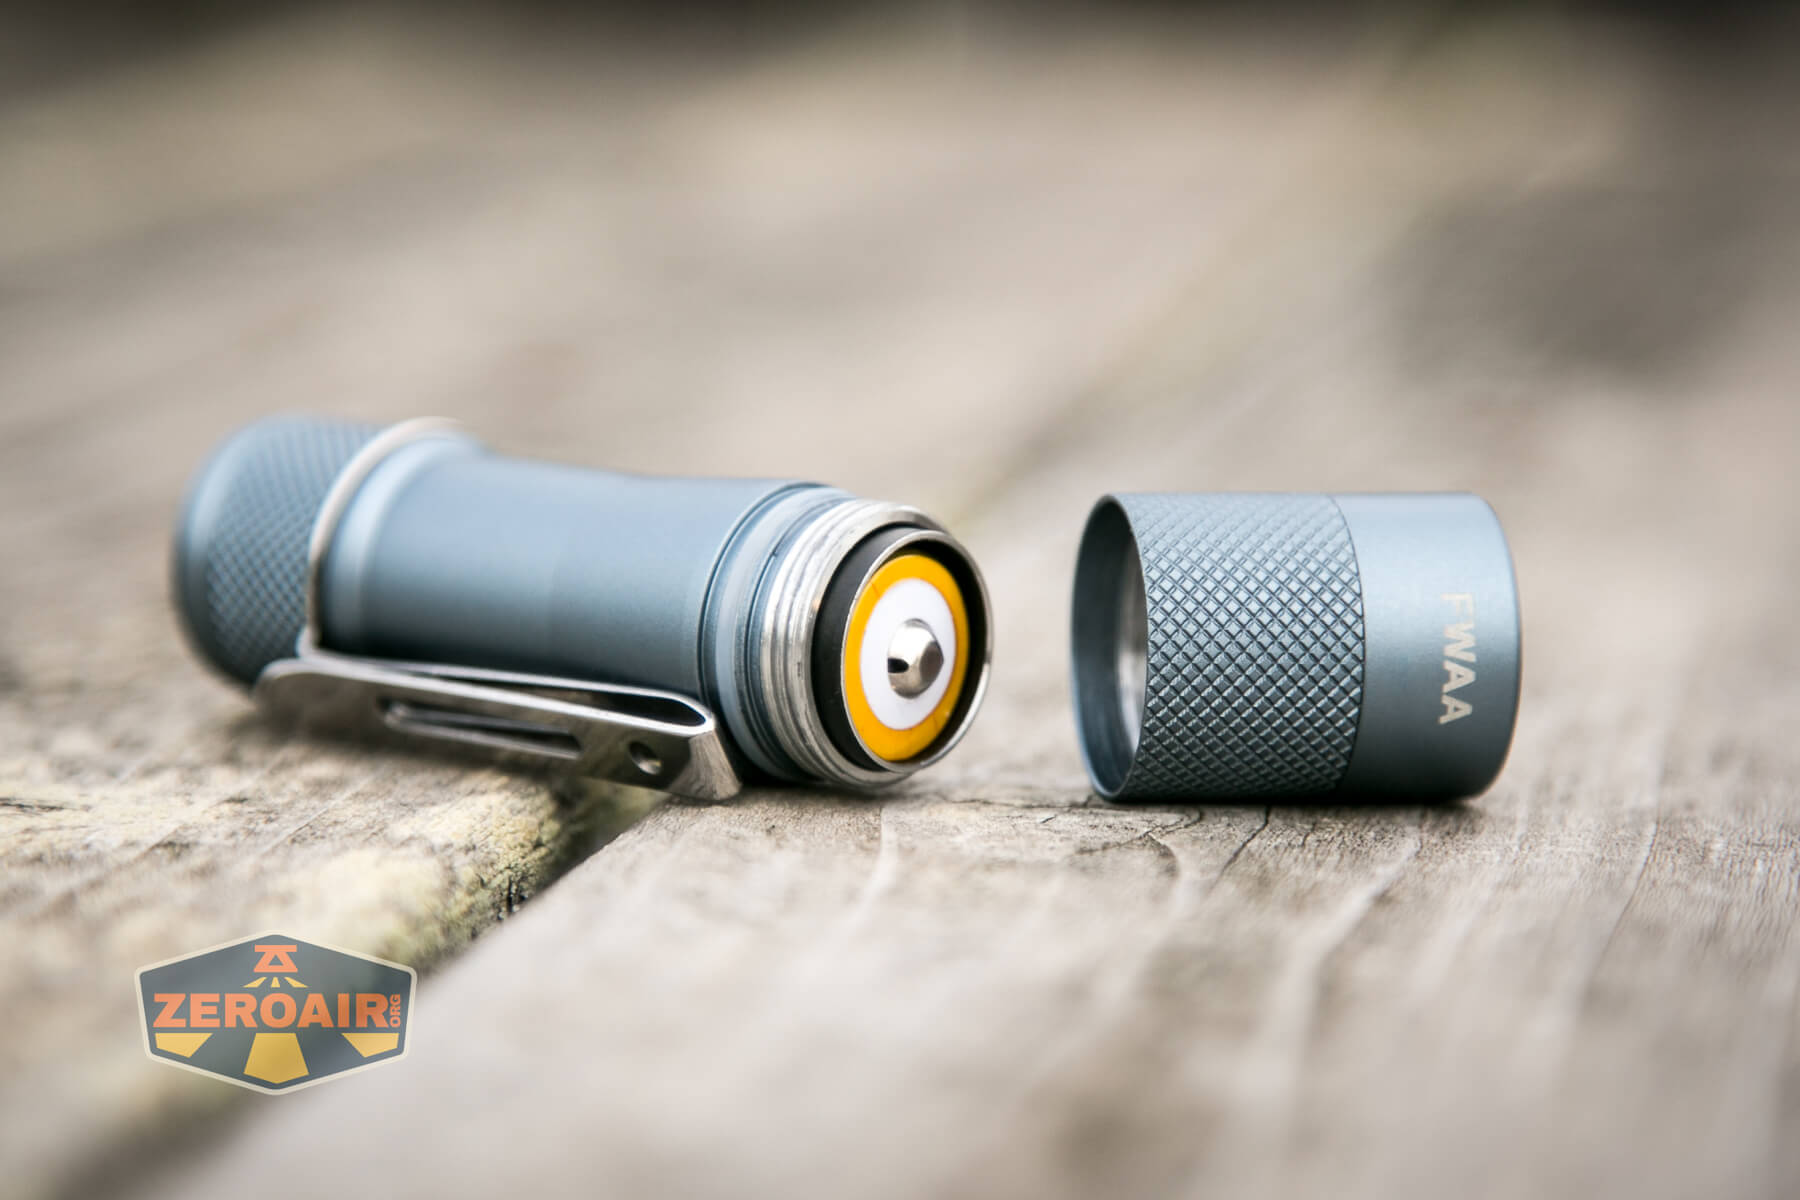
Flat or button, Lumintop does specify a max cell length: 50.5mm.
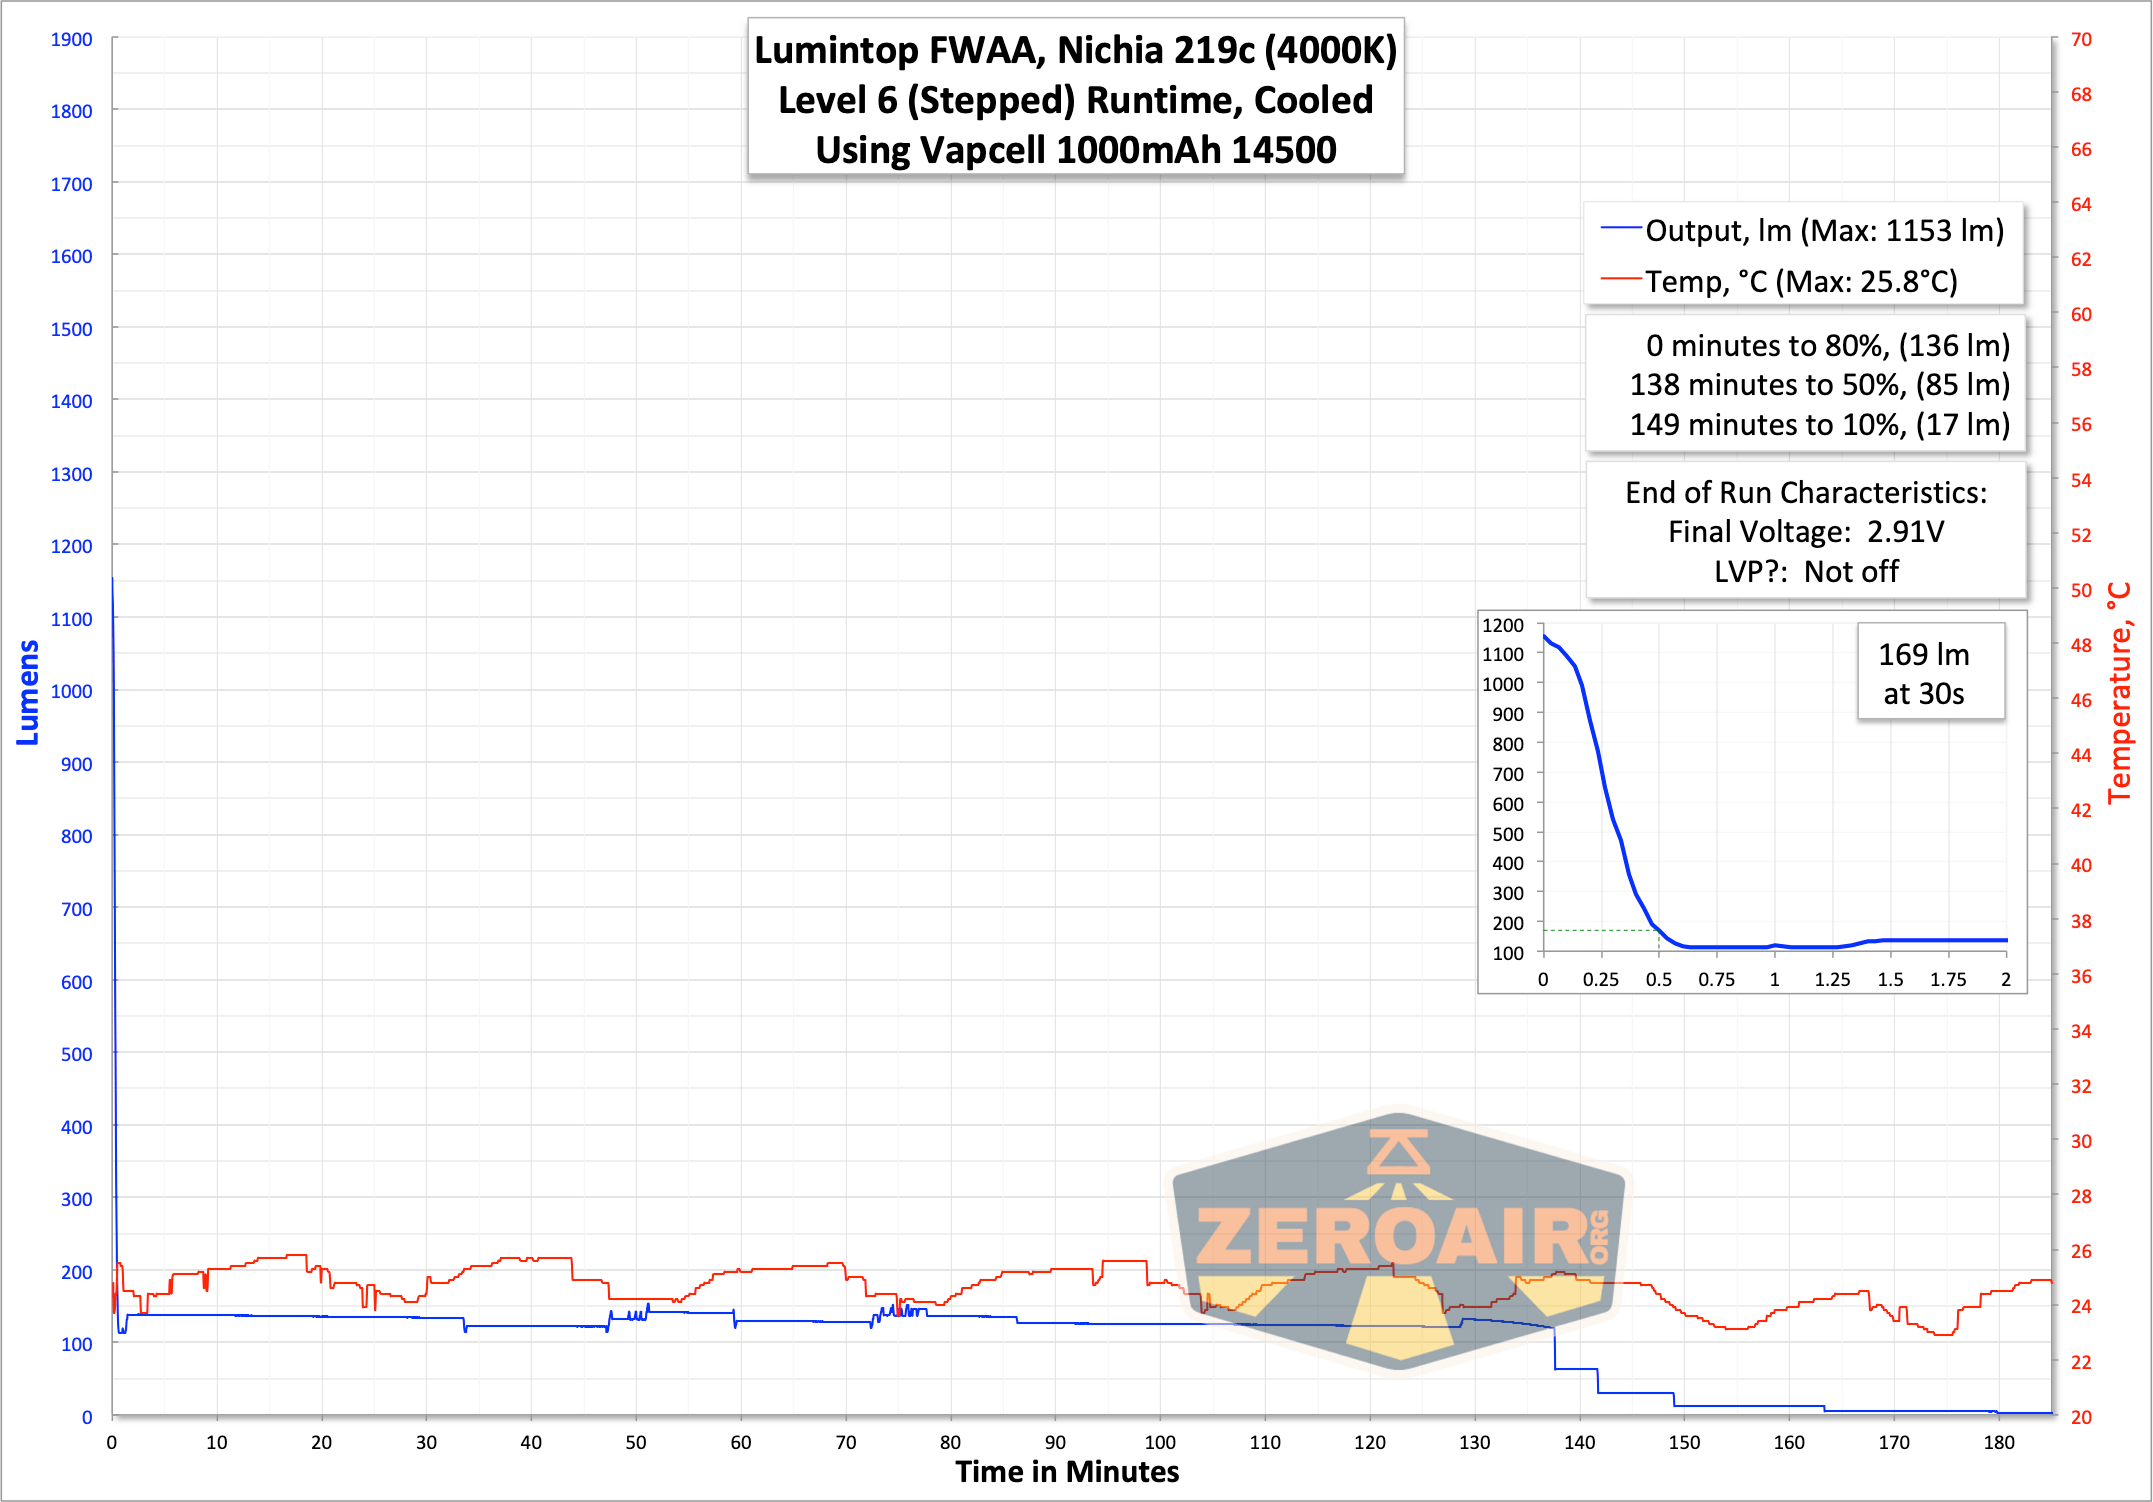
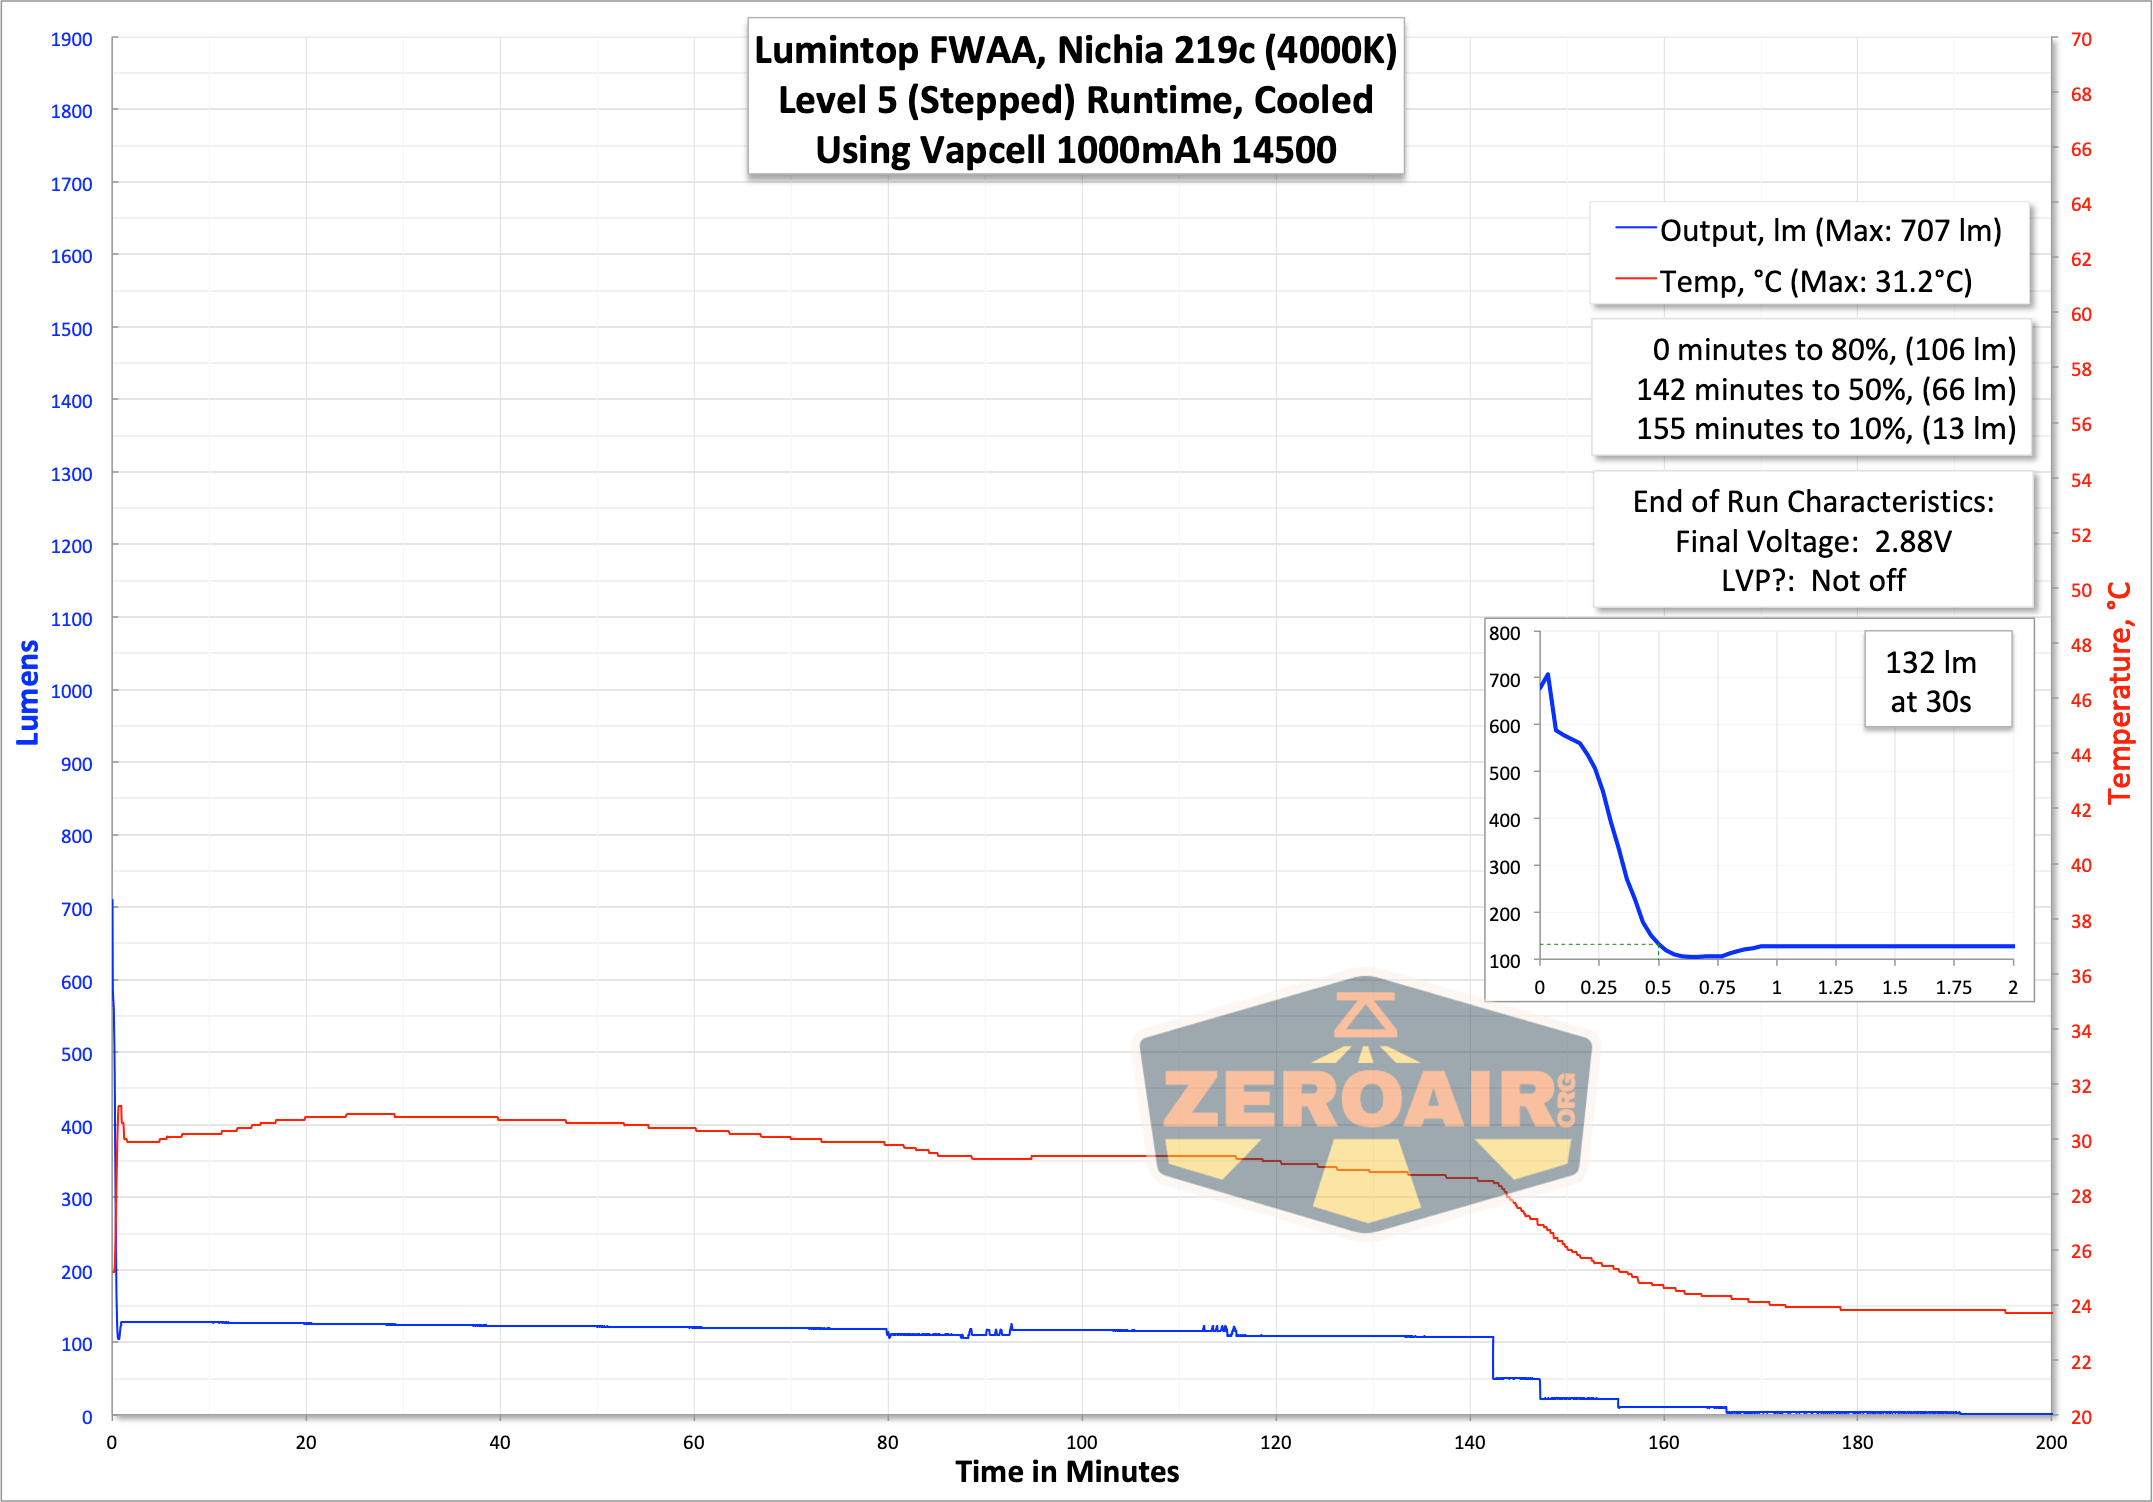
Here are a few runtimes. I tested only on the stepped modes since I’d already tested the ramping setup in my previous review.
Pulse Width Modulation
I’ve done mostly the same thing here that I do with other Andúril lights – the lowest mode (far left) is the lowest of ramping. Because that’s much lower than the lowest stepped mode (annoying!). Then, from the second photo to the far right is each of the stepped modes (with the far right being the “double click to turbo” mode). All modes except the highest have PWM (again, not a surprise for Andúril, and doesn’t look to have been sped up for Andúril2.

Here you can see a “baseline” – a chart with almost no light hitting the sensor.
Then there’s the Ultrafire WF-602C flashlight, which has some of the worst PWM I’ve seen. It’s so bad that I used a post about it to explain PWM! Here are multiple timescales (10ms, 5ms, 2ms, 1ms, 0.5ms, 0.2ms) to make comparing this “worst” PWM light to the test light easier. That post also explains why I didn’t test the WF-602C at the usual 50us scale.
User Interface and Operation
There’s a single switch for interacting with the Lumintop FWAA 14500 flashlight. It’s an e-switch, with a big metal button.
The light ships with Andúril2, and that makes it my first light with Andúril2! I love it, I think it’s an improvement over the first iteration(s). There are some things some users might not love about it, but I think overall it’s much more approachable. I will note, though, that the nomenclature might be a bit confusing – the light (all lights with Andúril2) ships in Simple UI. This is not Muggle Mode. You may think “well, duh,” and by now you’ve already seen the blistering runtime on turbo of Simple, so you get it. But just be aware, don’t hand this light to the uninitiated, thinking they won’t set their hand on fire while using Simple UI. Here is where I’d tell you how to switch to Muggle mode. There is no Muggle mode.
First, let me remind you of the manual provided by Lumintop:
This may really be your jam. I find it almost useful. But….
Here’s a user interface table! This table is directly from ToyKeeper’s Andúril2 manual, which you can view here:
http://toykeeper.net/torches/fsm/anduril2/anduril-manual.txt
I am putting this in a table here with ToyKeeper’s permission. Thanks, TK! This is so much better than me writing it because it’s more reliable, and I completely trust its accuracy (at least, if I can paste accurately). I’m breaking it up a little differently than ToyKeeper did, though I certainly understand why it was done her way originally.
First, the table for Either User Interface. These actions work whether you’re in Simple or Advanced UI.
| State | Action | Result |
|---|---|---|
| Off | 1C | On (ramp mode, memorized level) |
| Off | 1H | On (ramp mode, floor level) |
| Off | 2C | On (ramp mode, ceiling level) |
| Off | 3C | Battcheck mode |
| Off | 4C | Lockout mode |
| Off | 13H | Factory reset (on some lights) |
| Off | 15+C | Version check (202019270312 on this light) |
| Ramp | 1C | Off |
| Ramp | 1H | Ramp (up, with reversing) |
| Ramp | 2H | Ramp (down) |
| Ramp | 3H | Tint ramping (on some lights) |
| Ramp | 3H | Momentary turbo (on lights without tint ramping) |
| Ramp | 4C | Lockout mode |
| Lockout | 1C/1H | Momentary moon (lowest floor) |
| Lockout | 2C/2H | Momentary moon (highest floor, or manual mem level) |
| Lockout | 4C | On (ramp mode, memorized level) |
| Lockout | 4H | On (ramp mode, floor level) |
| Lockout | 5C | On (ramp mode, ceiling level) |
| Batt check | 1C | Off |
A table for only Simple User Interface:
| State | Action | Result |
|---|---|---|
| Off | 2H | On (momentary ceiling level) |
| Off | 10H | Disable Simple UI |
| Ramp | 2C | Go to/from ceiling |
A table for only Advanced (aka “Full”) User Interface:
| State | Action | Result |
|---|---|---|
| Off | 2H | On (momentary turbo) |
| Off | 3H | Strobe mode (whichever was used last) |
| Off | 5C | Momentary mode |
| Off | 7C | Aux LEDs: Next pattern |
| Off | 7H | Aux LEDs: Next color |
| Off | 10C | Enable Simple UI |
| Off | 10H | Simple user interface ramp config menu (1: floor, 2: ceiling, [3: steps]) |
| Ramp | 2C | Go to/from ceiling (or turbo if at ceil already) |
| Ramp | 3C | Change ramp style (smooth / stepped) |
| Ramp | 5C | Momentary mode |
| Ramp | 5H | Sunset timer on, and add 5 minutes |
| Ramp | 7H | Ramp config menu (1: floor, 2: ceiling, [3: steps]) |
| Ramp | 10C | Turn on manual memory and save current brightness |
| Ramp | 10H | Manual memory config menu (1: off, 2: set timeout) |
| Lockout | 7C | Aux LEDs: Next pattern |
| Lockout | 7H | Aux LEDs: Next color |
| Lockout | 10H | Auto-lock config menu (1: set timeout) |
| Strobe (any) | 1C | Off |
| Strobe (any) | 2C | Next strobe mode |
| Strobe (any) | 3H | Tint ramping (on some lights) |
| Strobe (any) | 5C | Momentary mode (using current strobe) |
| Candle | 1H/2H | Brighter / dimmer |
| Candle | 5H | Sunset timer on, add 5 minutes |
| Party strobe | 1H/2H | Faster / slower |
| Tactical strobe | 1H/2H | Faster / slower |
| Biking | 1H/2H | Brighter / dimmer |
| Lightning | 1H | Interrupt current flash or start new one |
| Batt check | 2C | Next blinky mode (Temp check, Beacon, SOS) |
| Batt check | 7H | Voltage config menu |
| Temp check | 1C | Off |
| Temp check | 2C | Next blinky mode (Beacon, SOS, Batt check) |
| Temp check | 7H | Thermal config menu |
| Beacon | 1C | Off |
| Beacon | 1H | Configure beacon timing |
| Beacon | 2C | Next blinky mode (SOS, Batt check, Temp check) |
| SOS | 1C | Off |
| SOS | 2C | Next blinky mode (Batt check, Temp check, Beacon) |
| Momentary | Any | On (until button is released) |
| Momentary | Disconnect power | Exit Momentary mode |
| Config menus | Hold | Skip current item with no changes |
| Config menus | Release | Configure current item |
| Number entry | Click | Add 1 to value for current item |
To be completely honest, I’m not entirely sure yet what’s the best way to tell if you’re in Simple user interface or Advanced UI. Based on what I see here and with the light in hand, I think the fewest-clicks way will be 3 clicks from on (technically “Ramp” in the table, but I think “On” is accurate.) This action – 3C from Ramp – in Advanced user interface will iterate smooth or stepped. In Simple UI, this action will do nothing. There are other ways, though. For example double clicking from the top of the ramp will either do nothing, or go to Turbo. If it does nothing, then you’re in Simple. If it goes to 11, then you’re in Advanced.
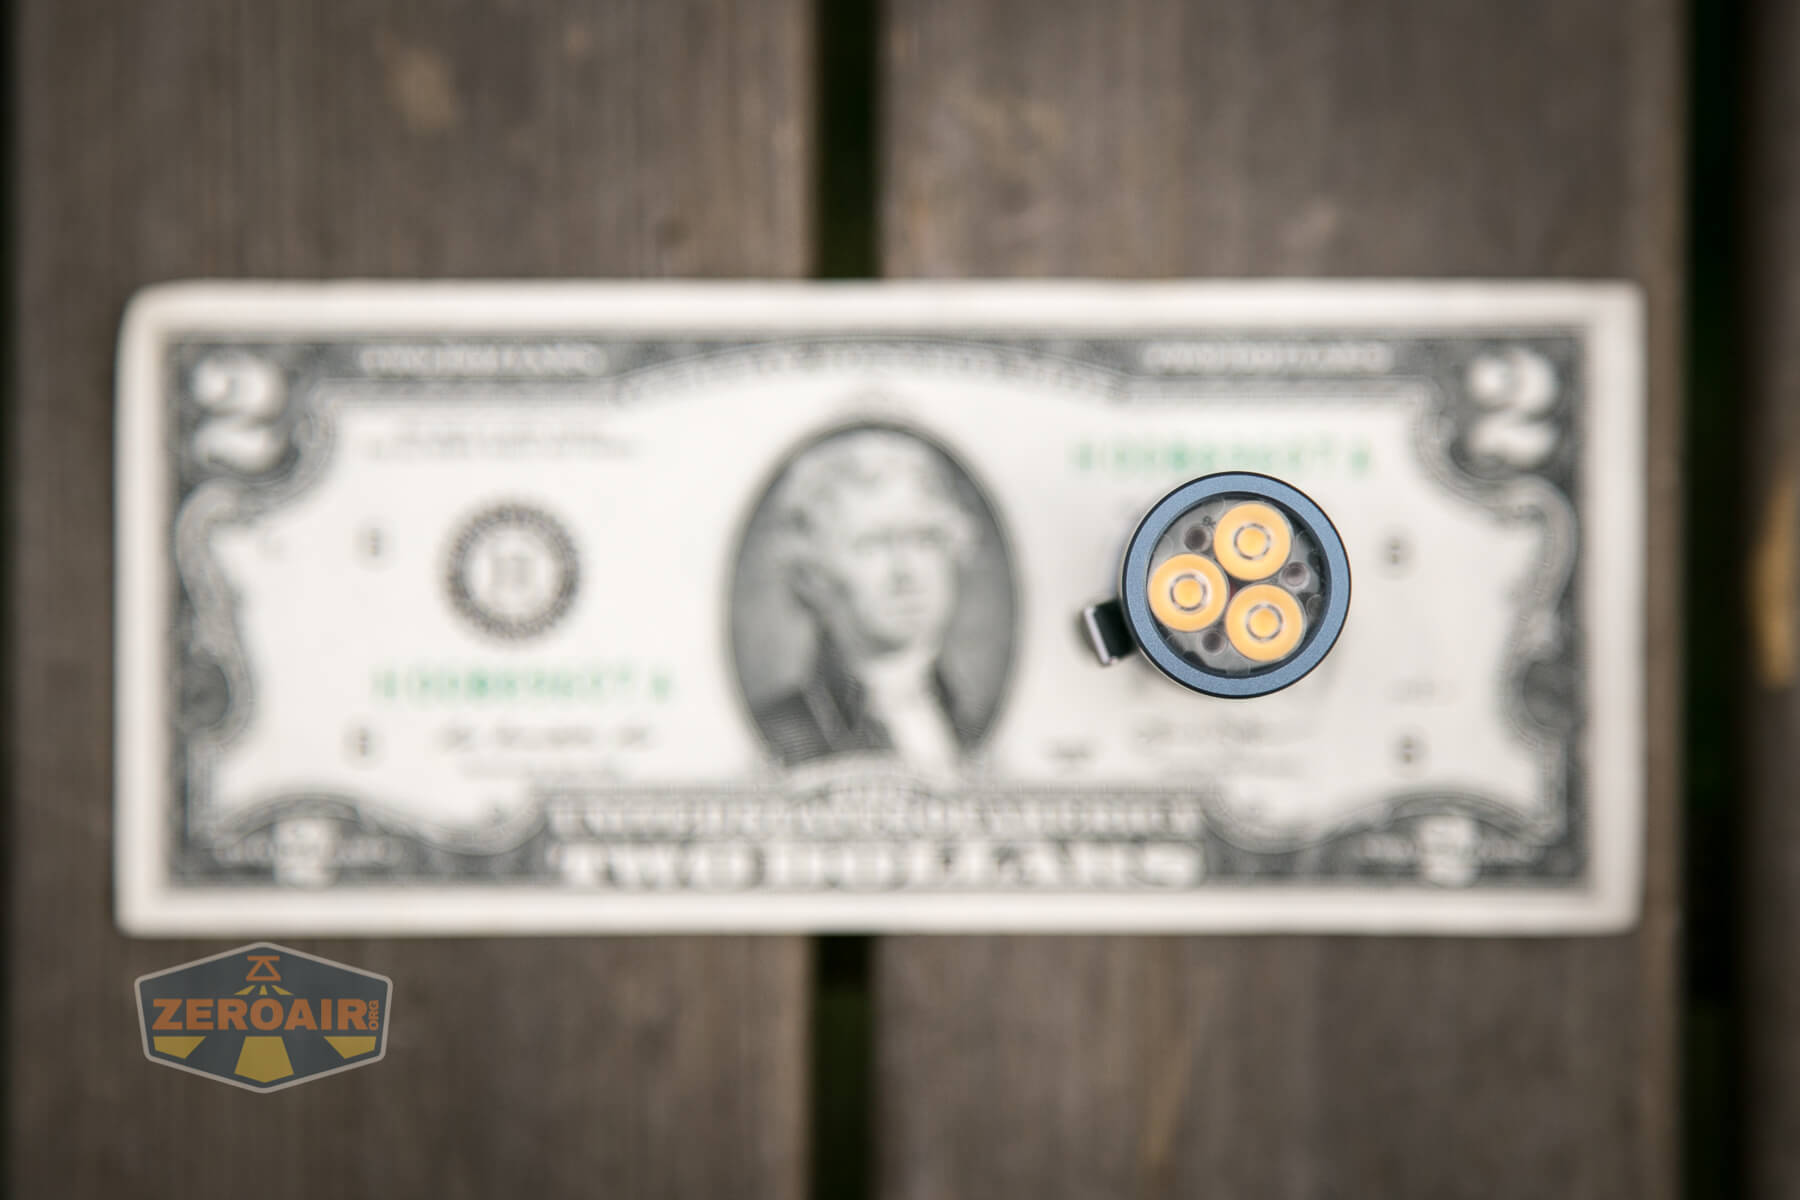
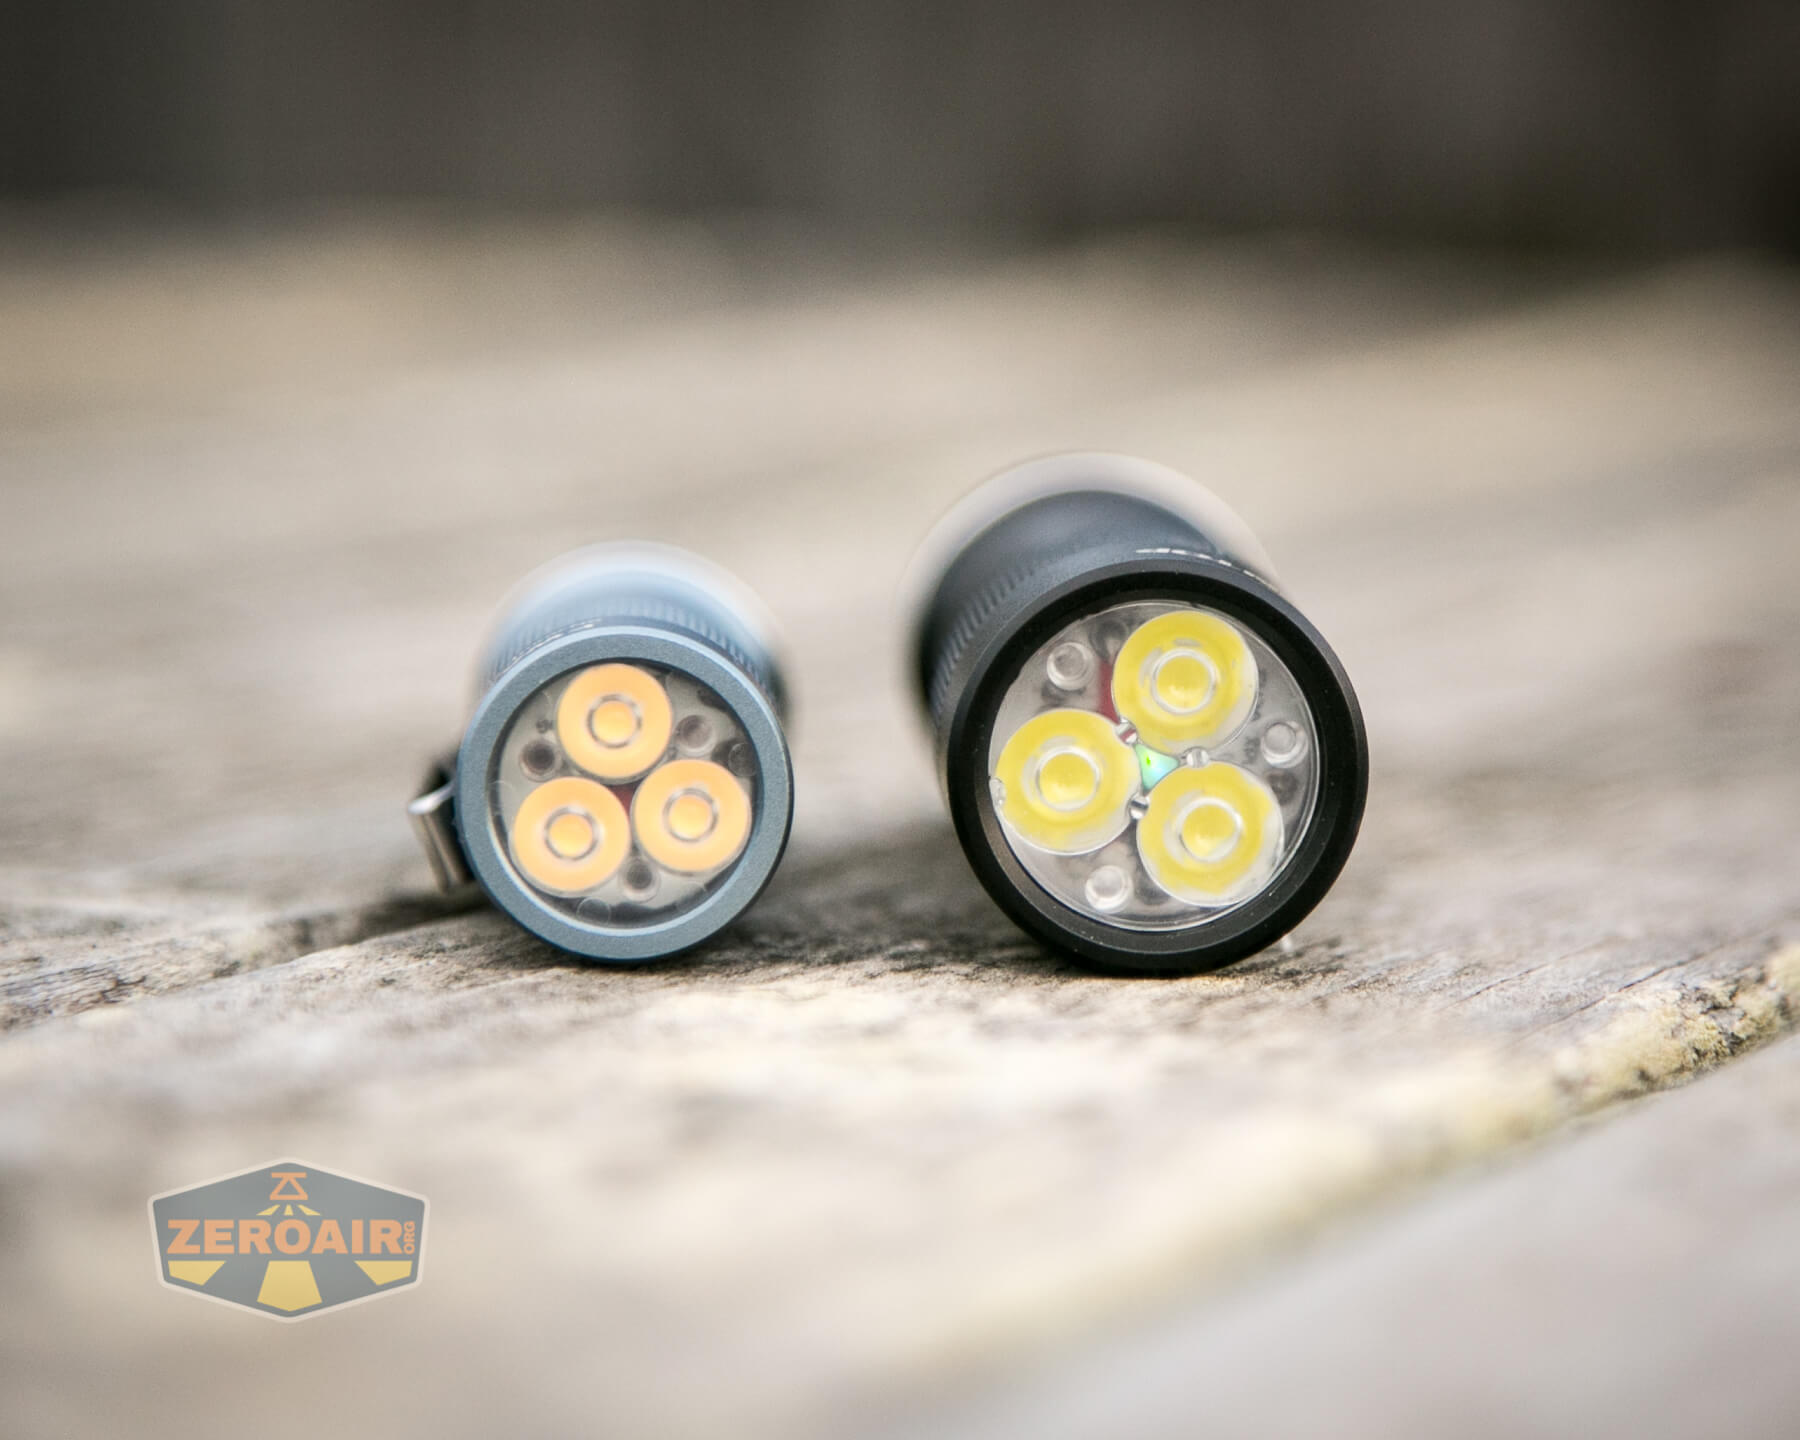
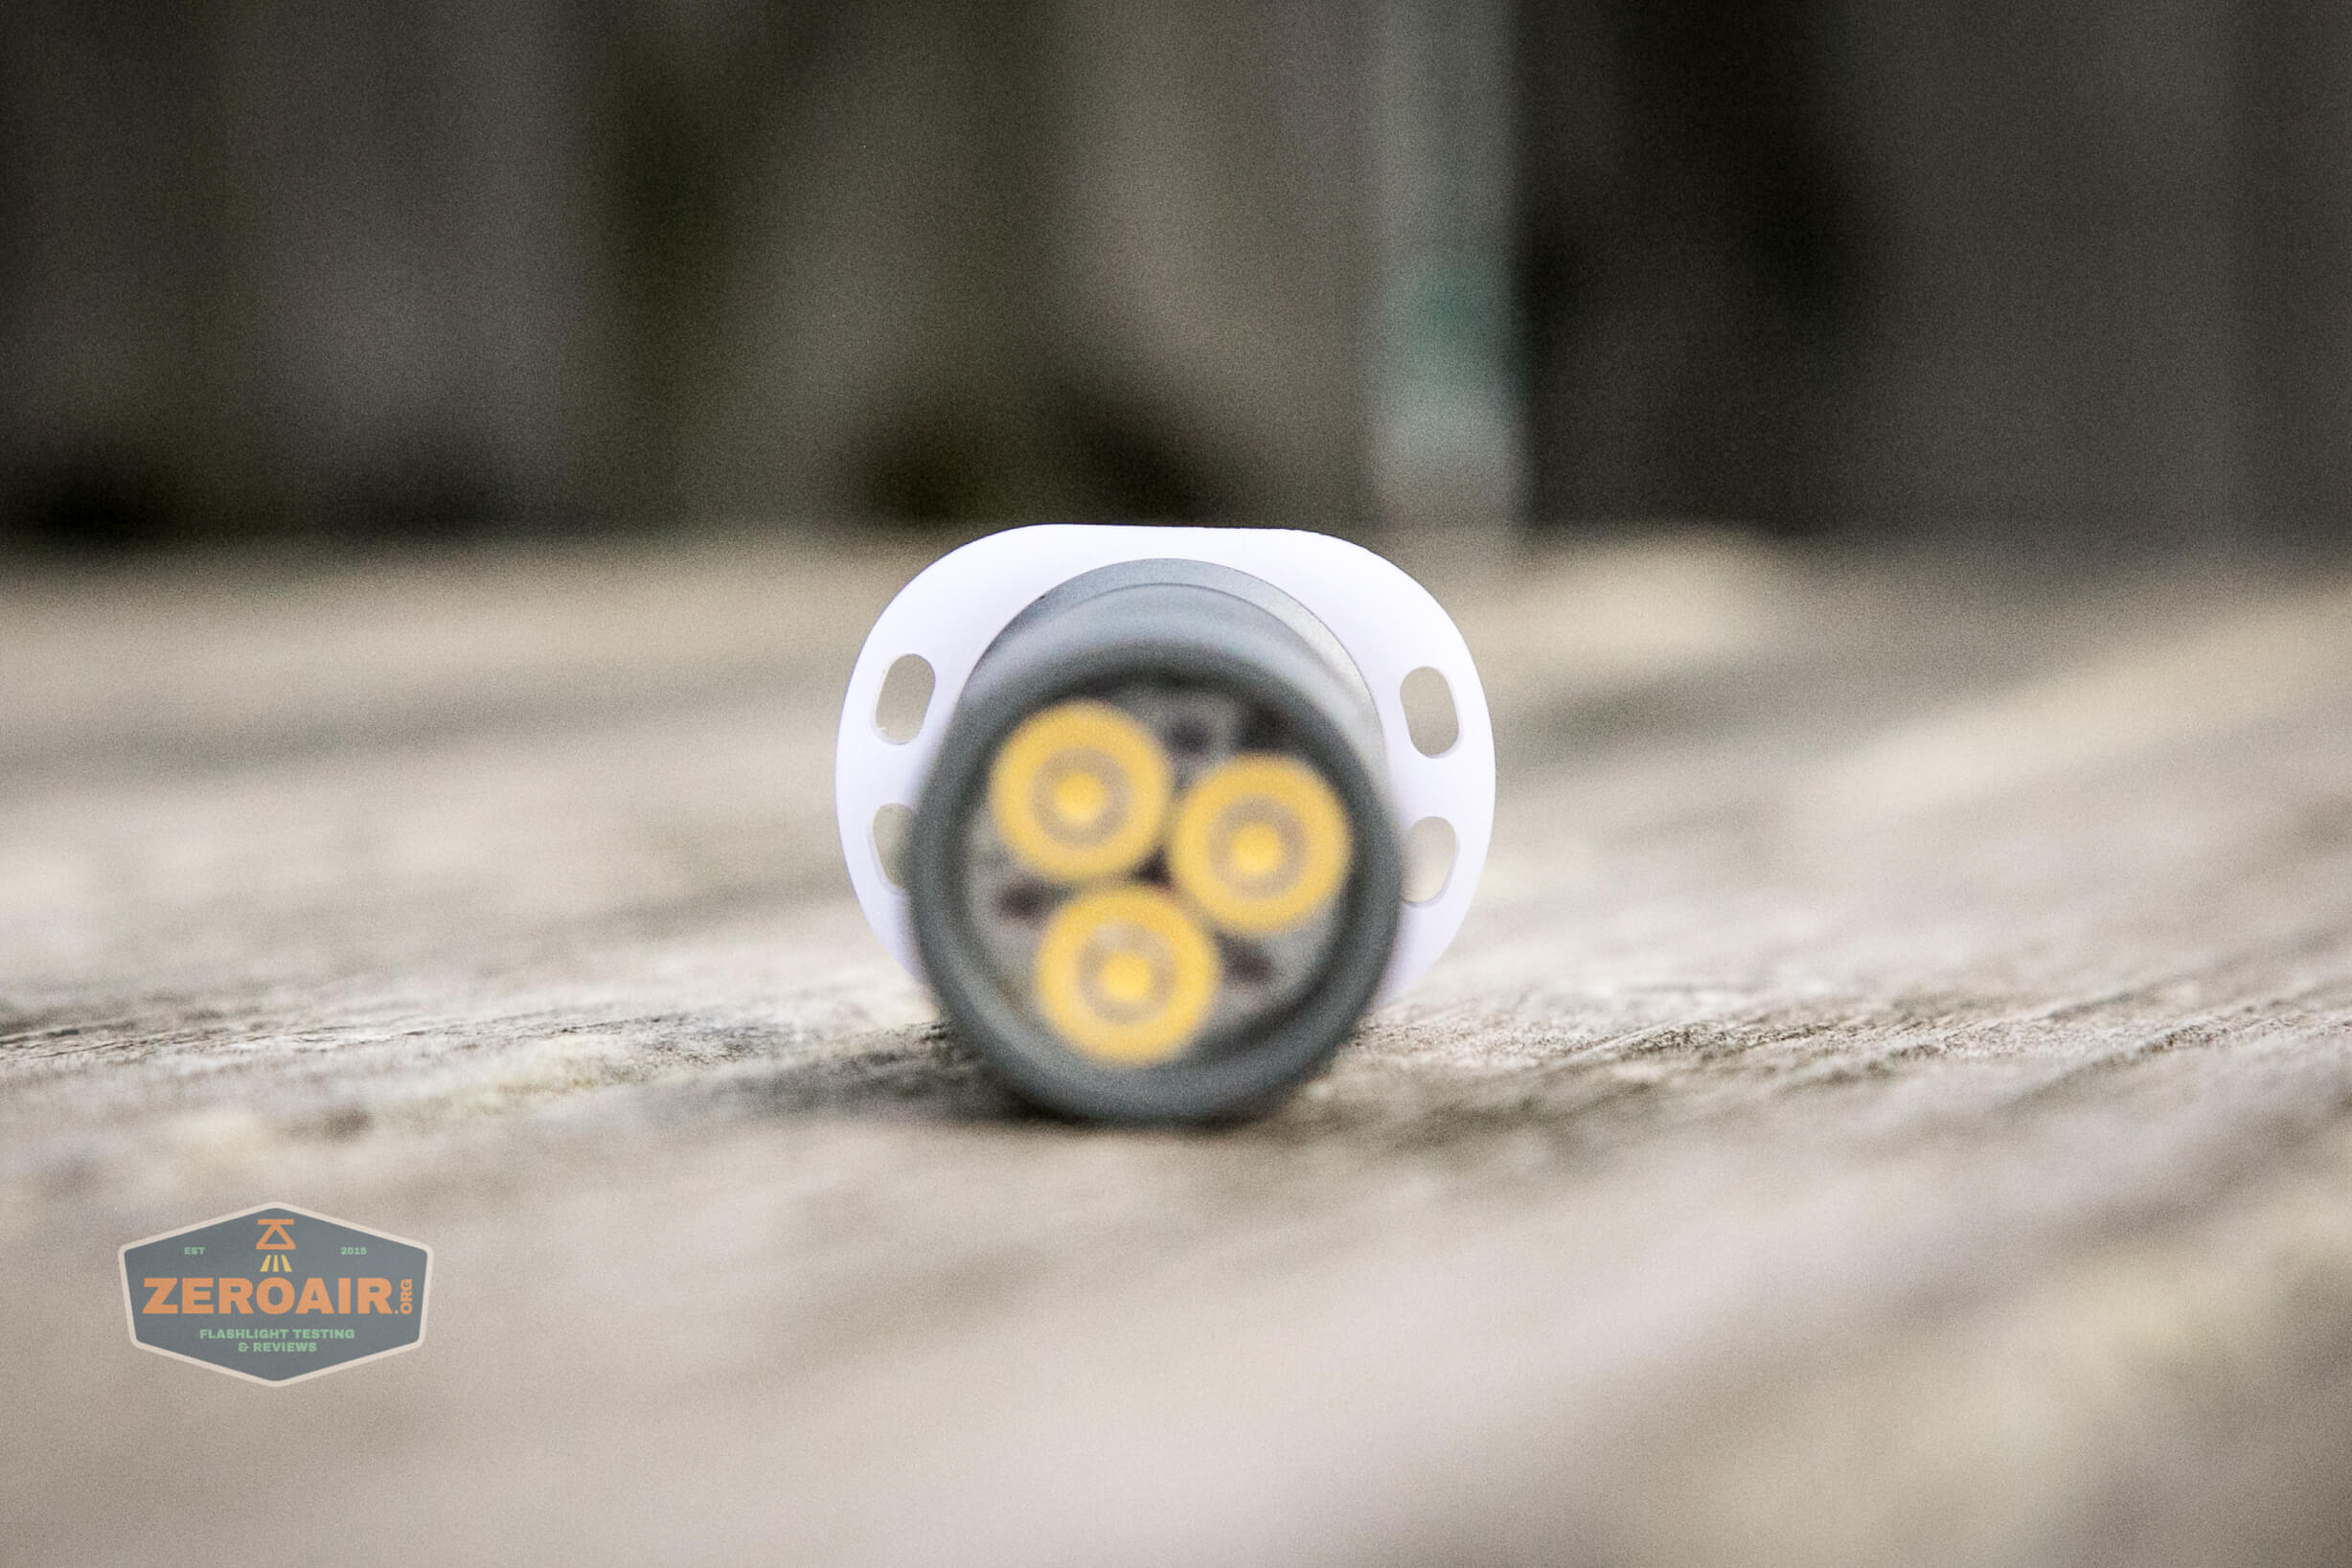
LED and Beam
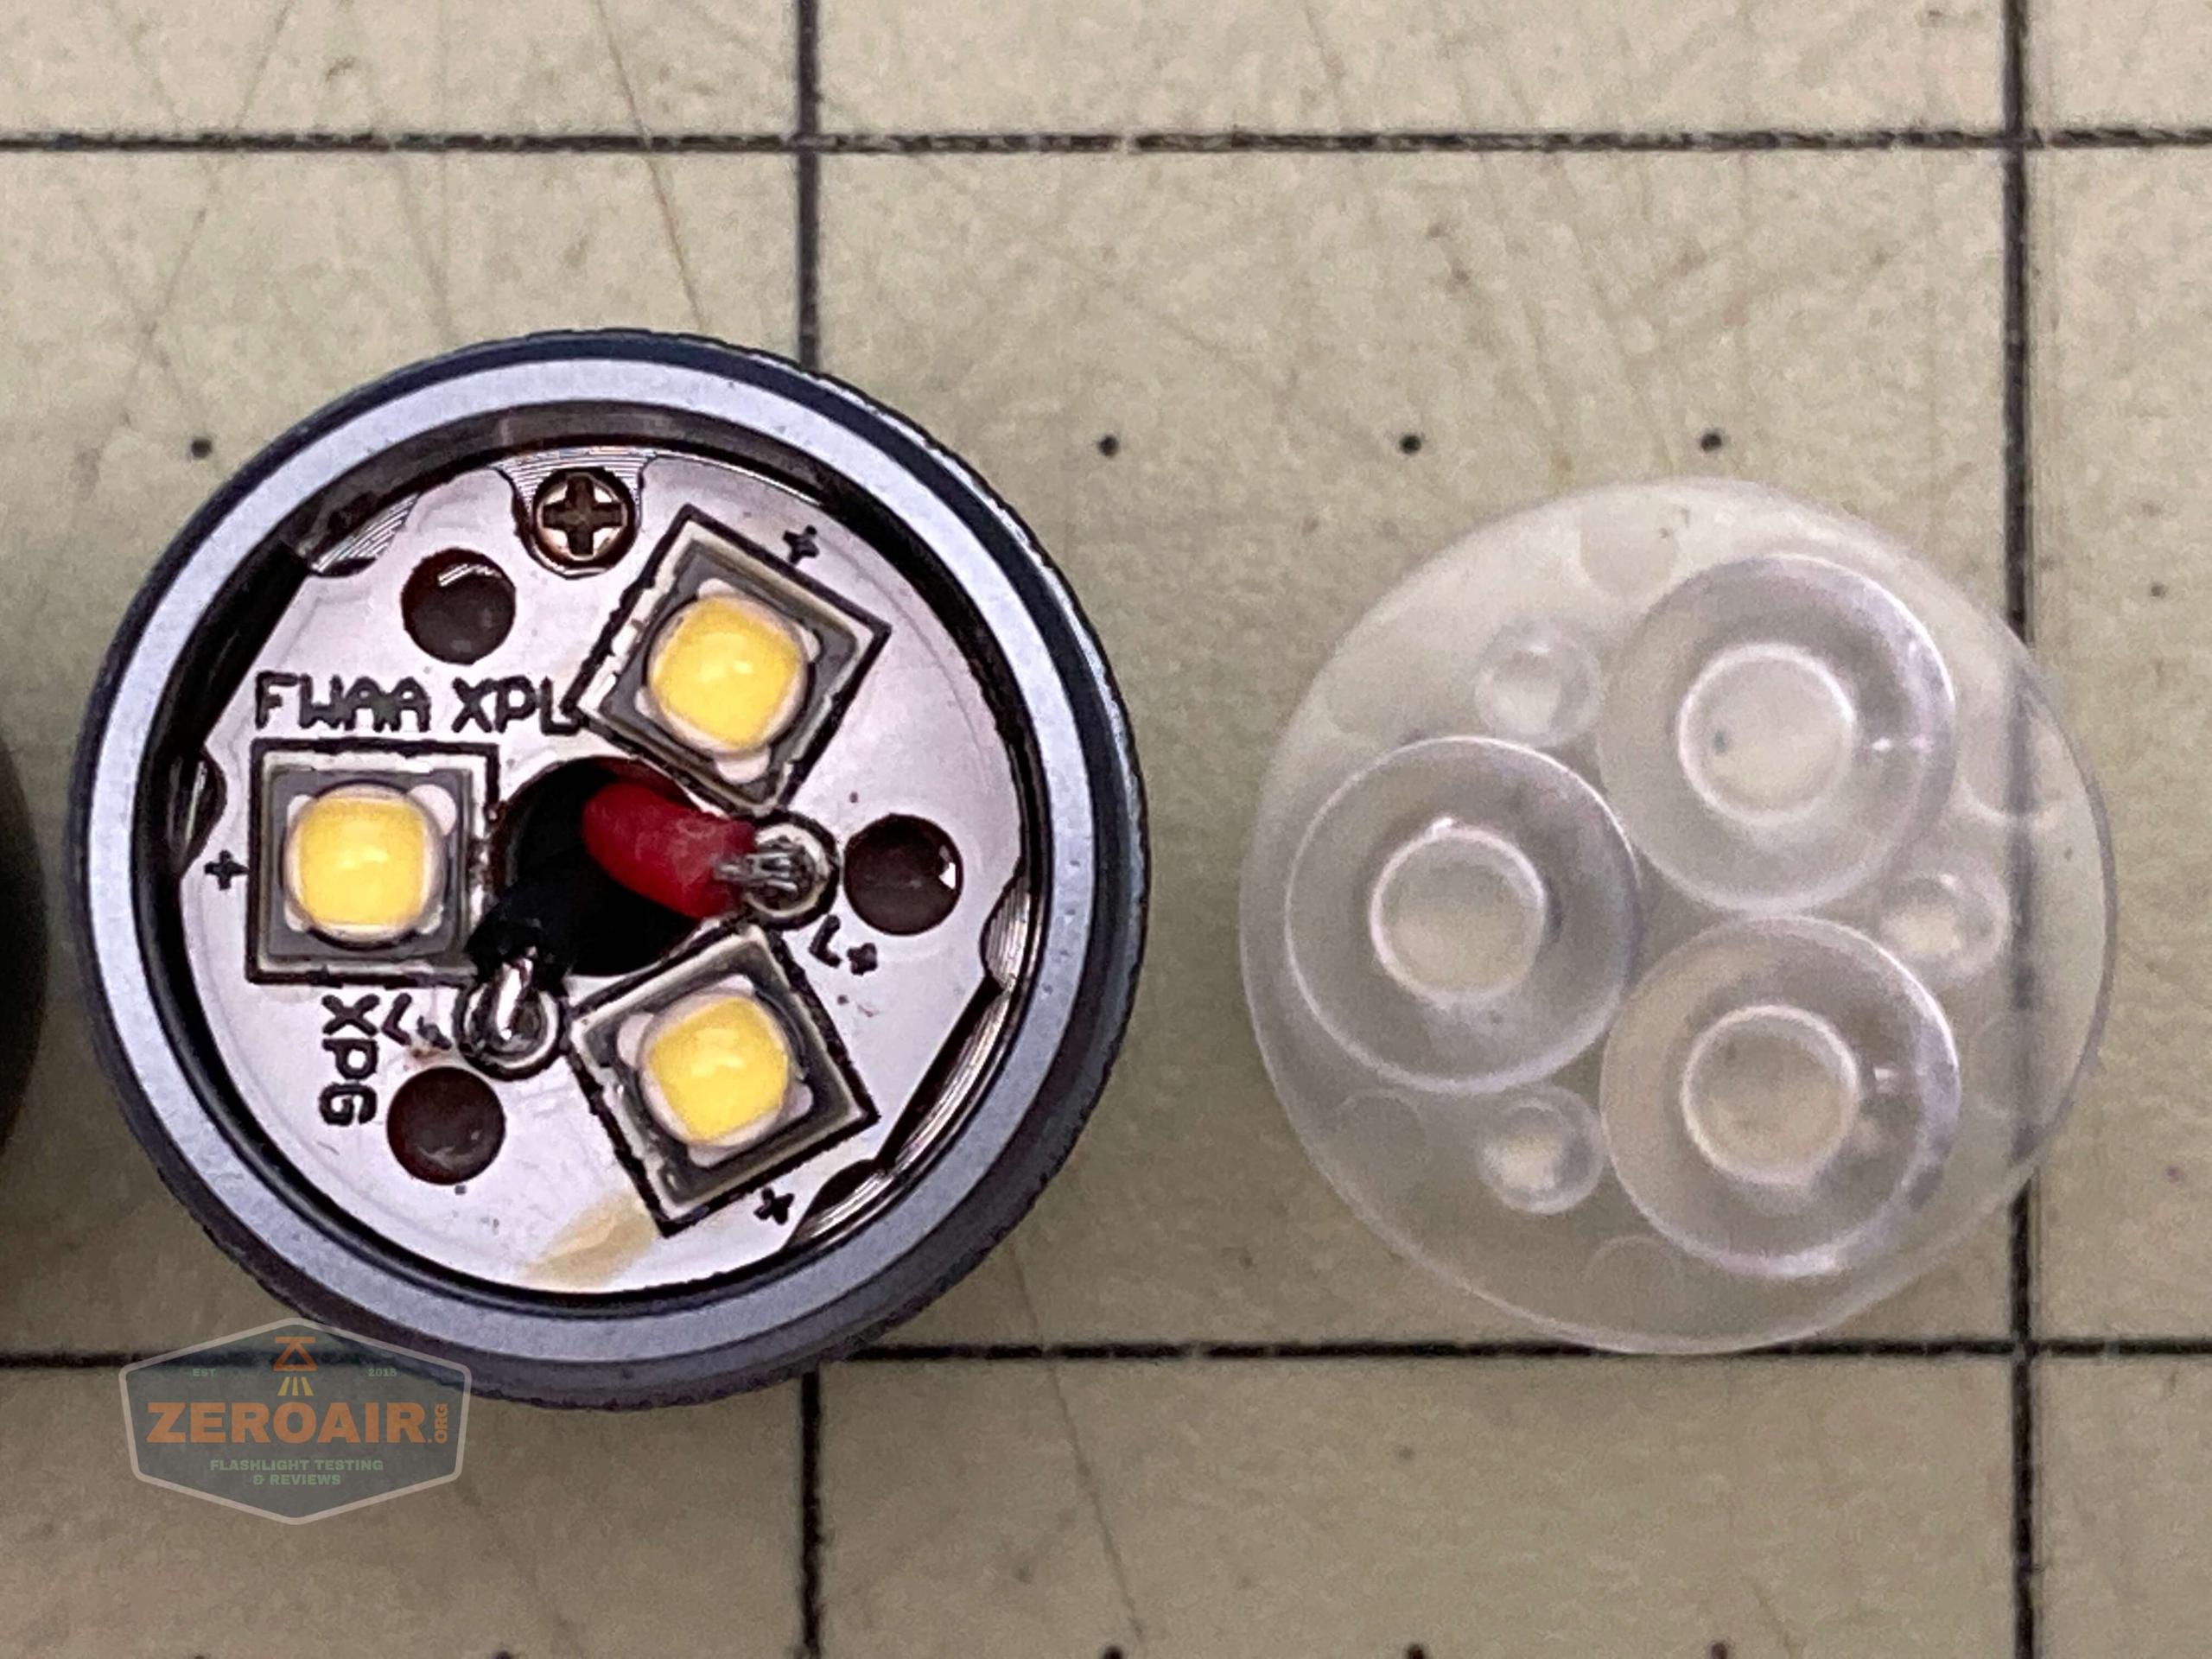
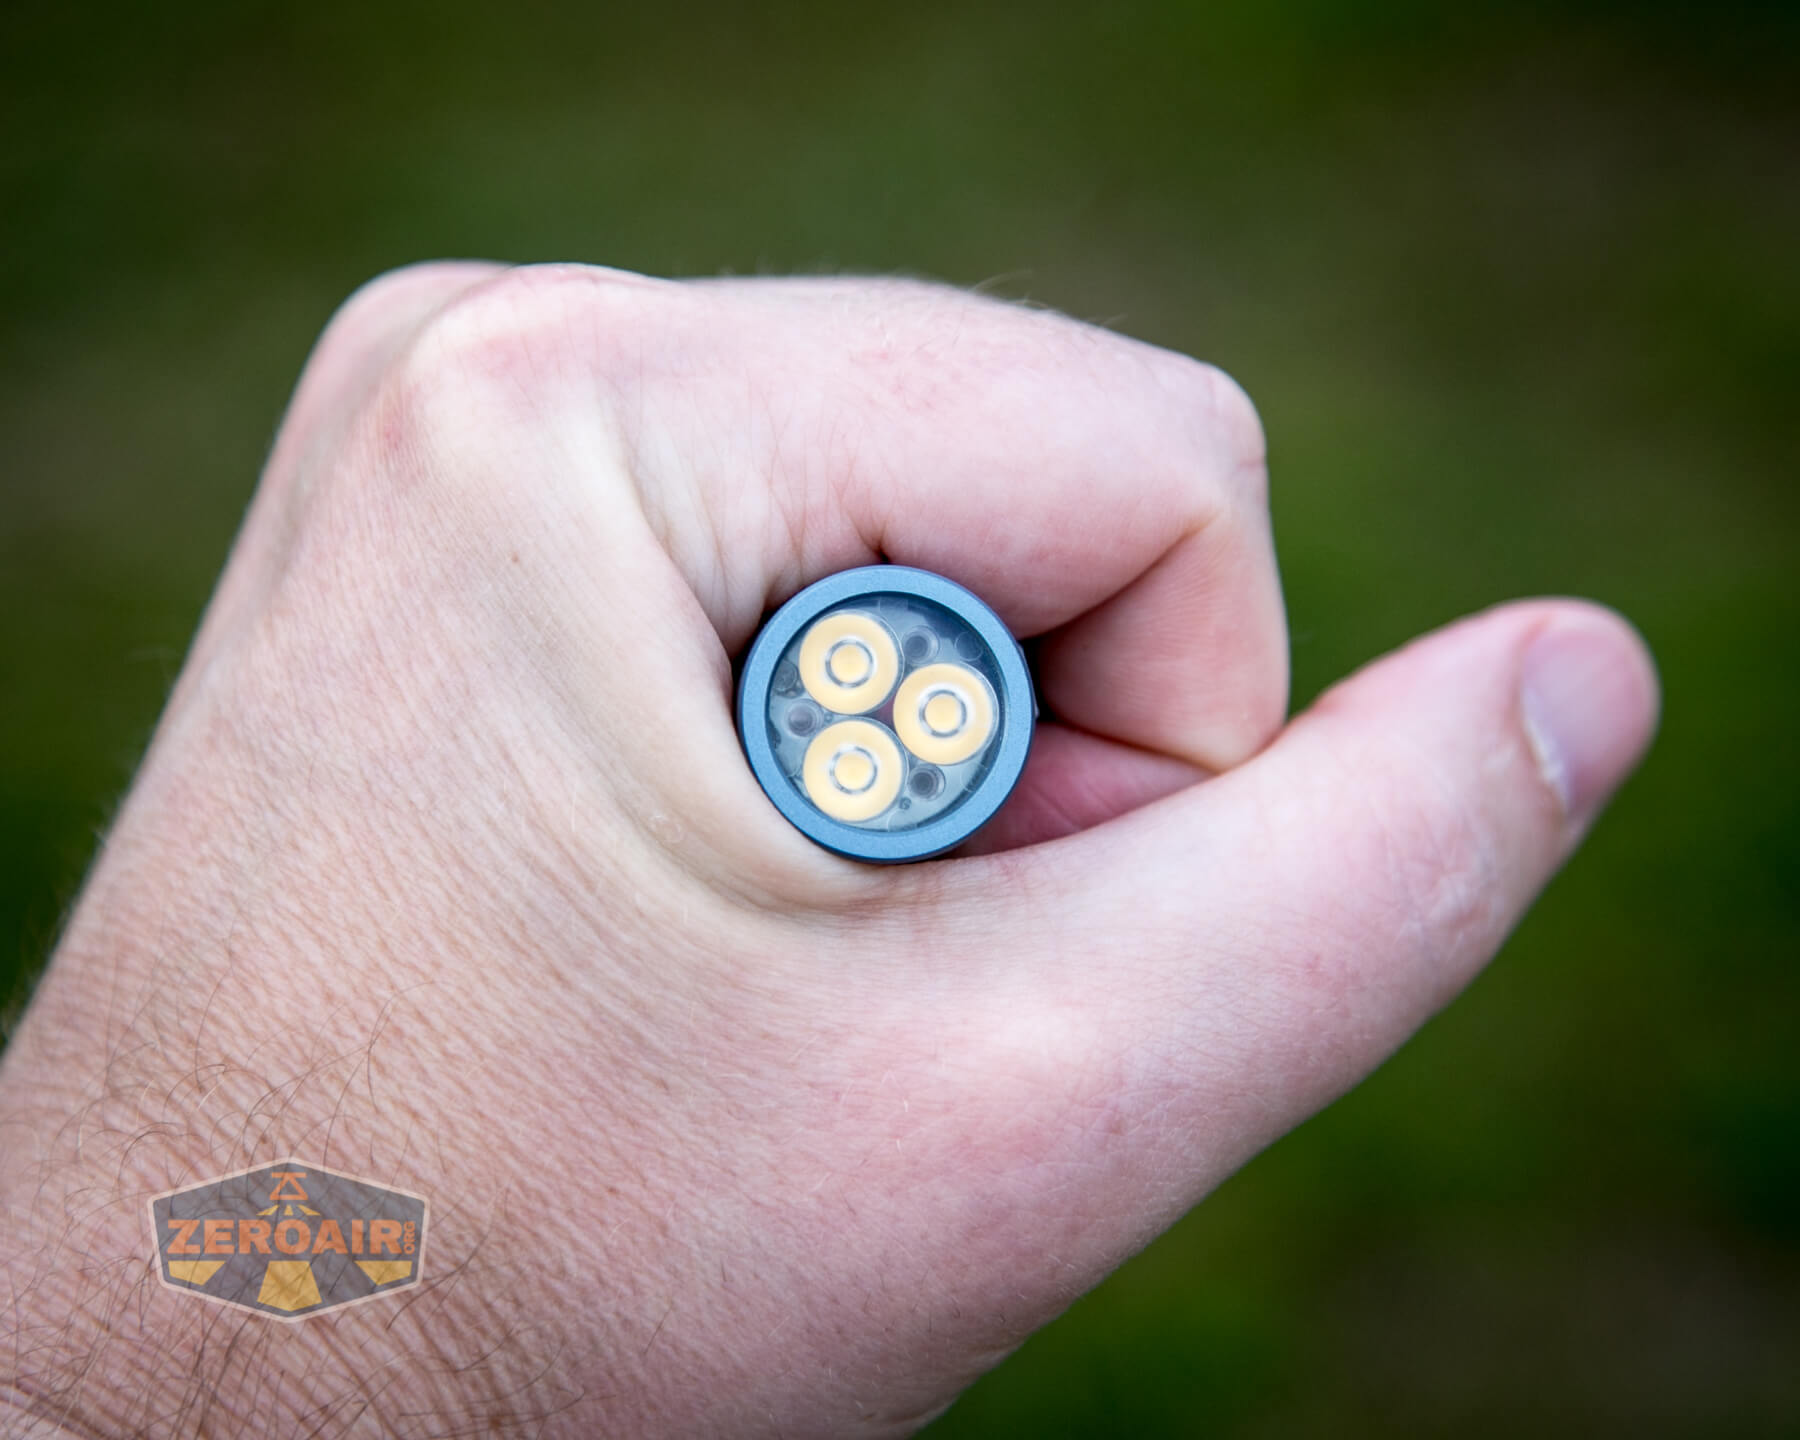
This is a triple emitter light – there are three emitters. Mine is a Nichia version in 4000K. This is a very good 4000K too – I would say “not a hint of green” without really saying it’s rosy (specifically). I am pleased with it.
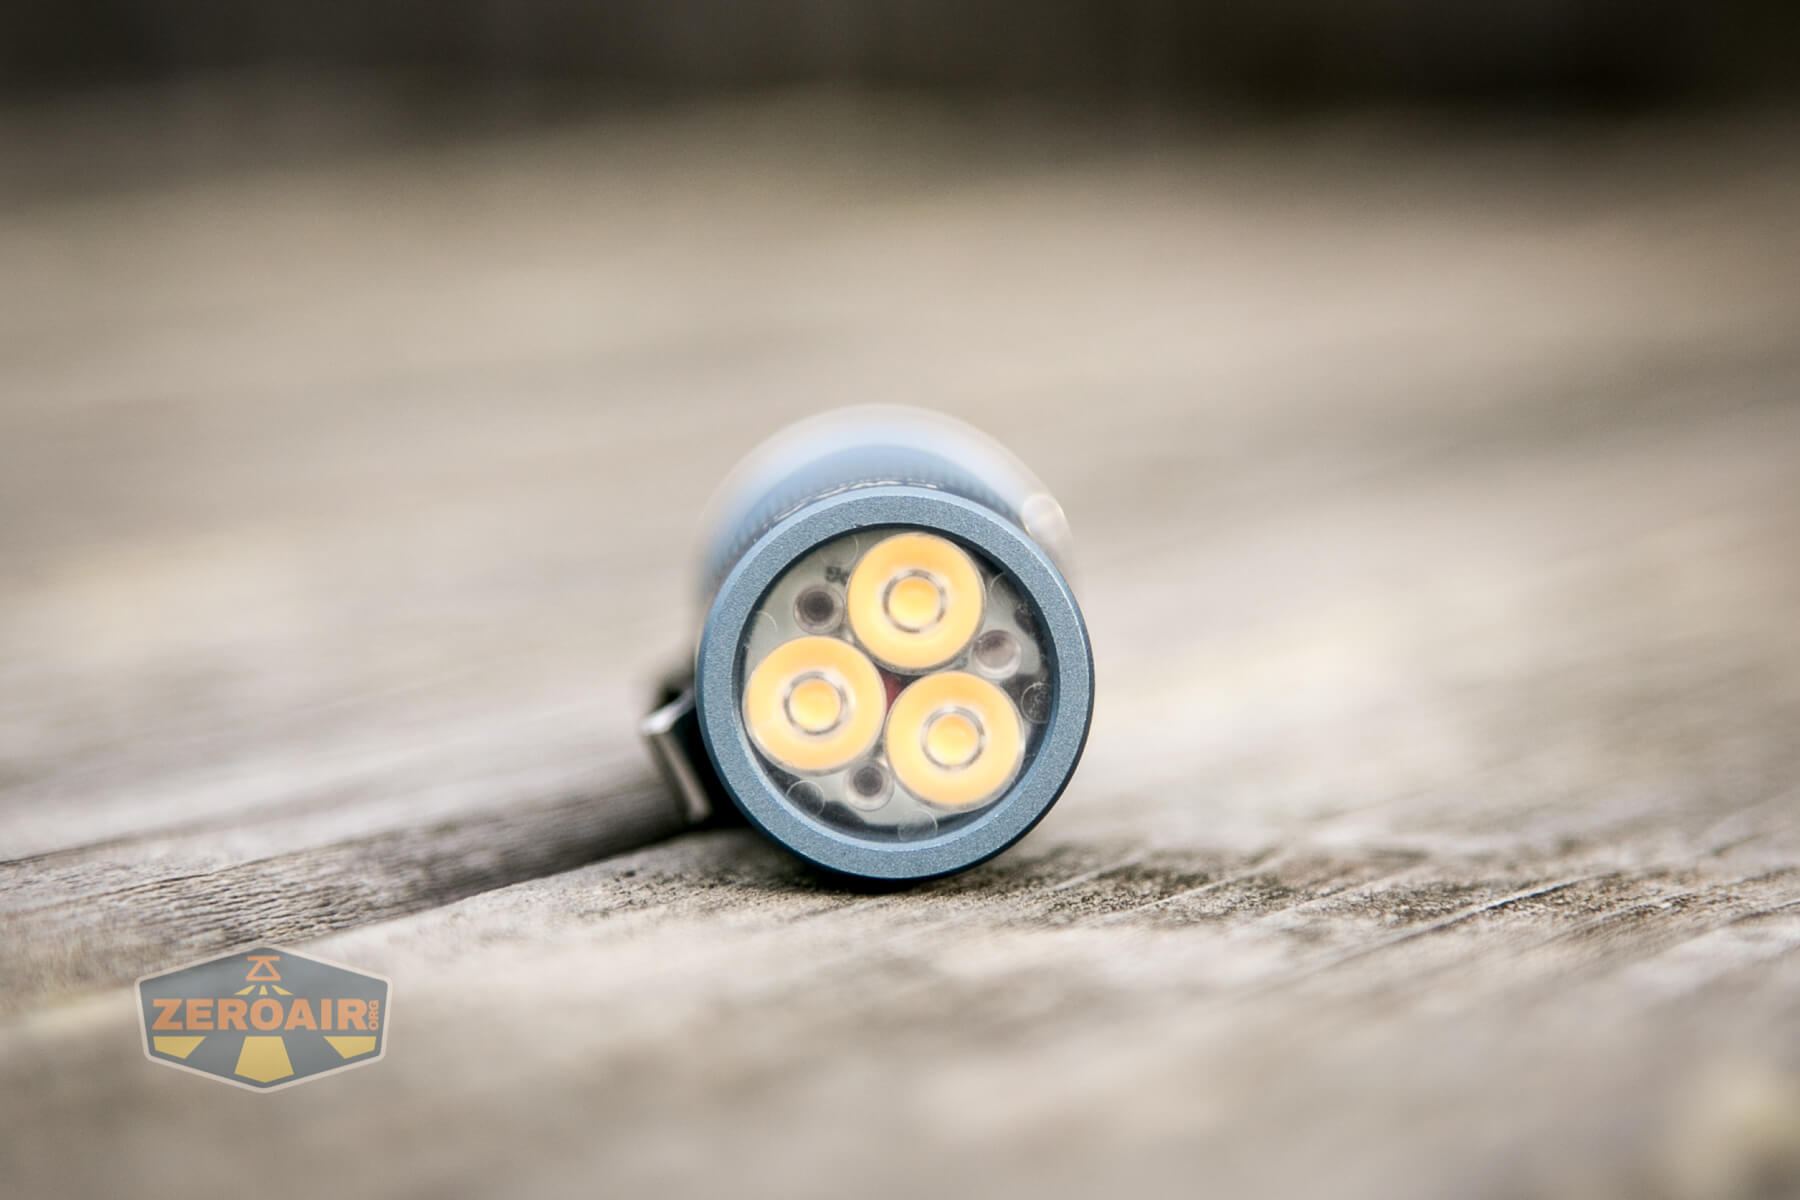
The optic is around 17mm, and I couldn’t find a single replacement anywhere for it. It’s a very floody optic (see the table up top for cd/lm). Very floody.
It’s so floody in fact, that I’d recommend the Luminus SST-20 (4000K) emitters just because they’ll throw better. Might just be “marginally better” but if you’re on the fence about your choices, this is your answer.
Below you can see the 4000K on the left with the (probably) 5000K on the right.
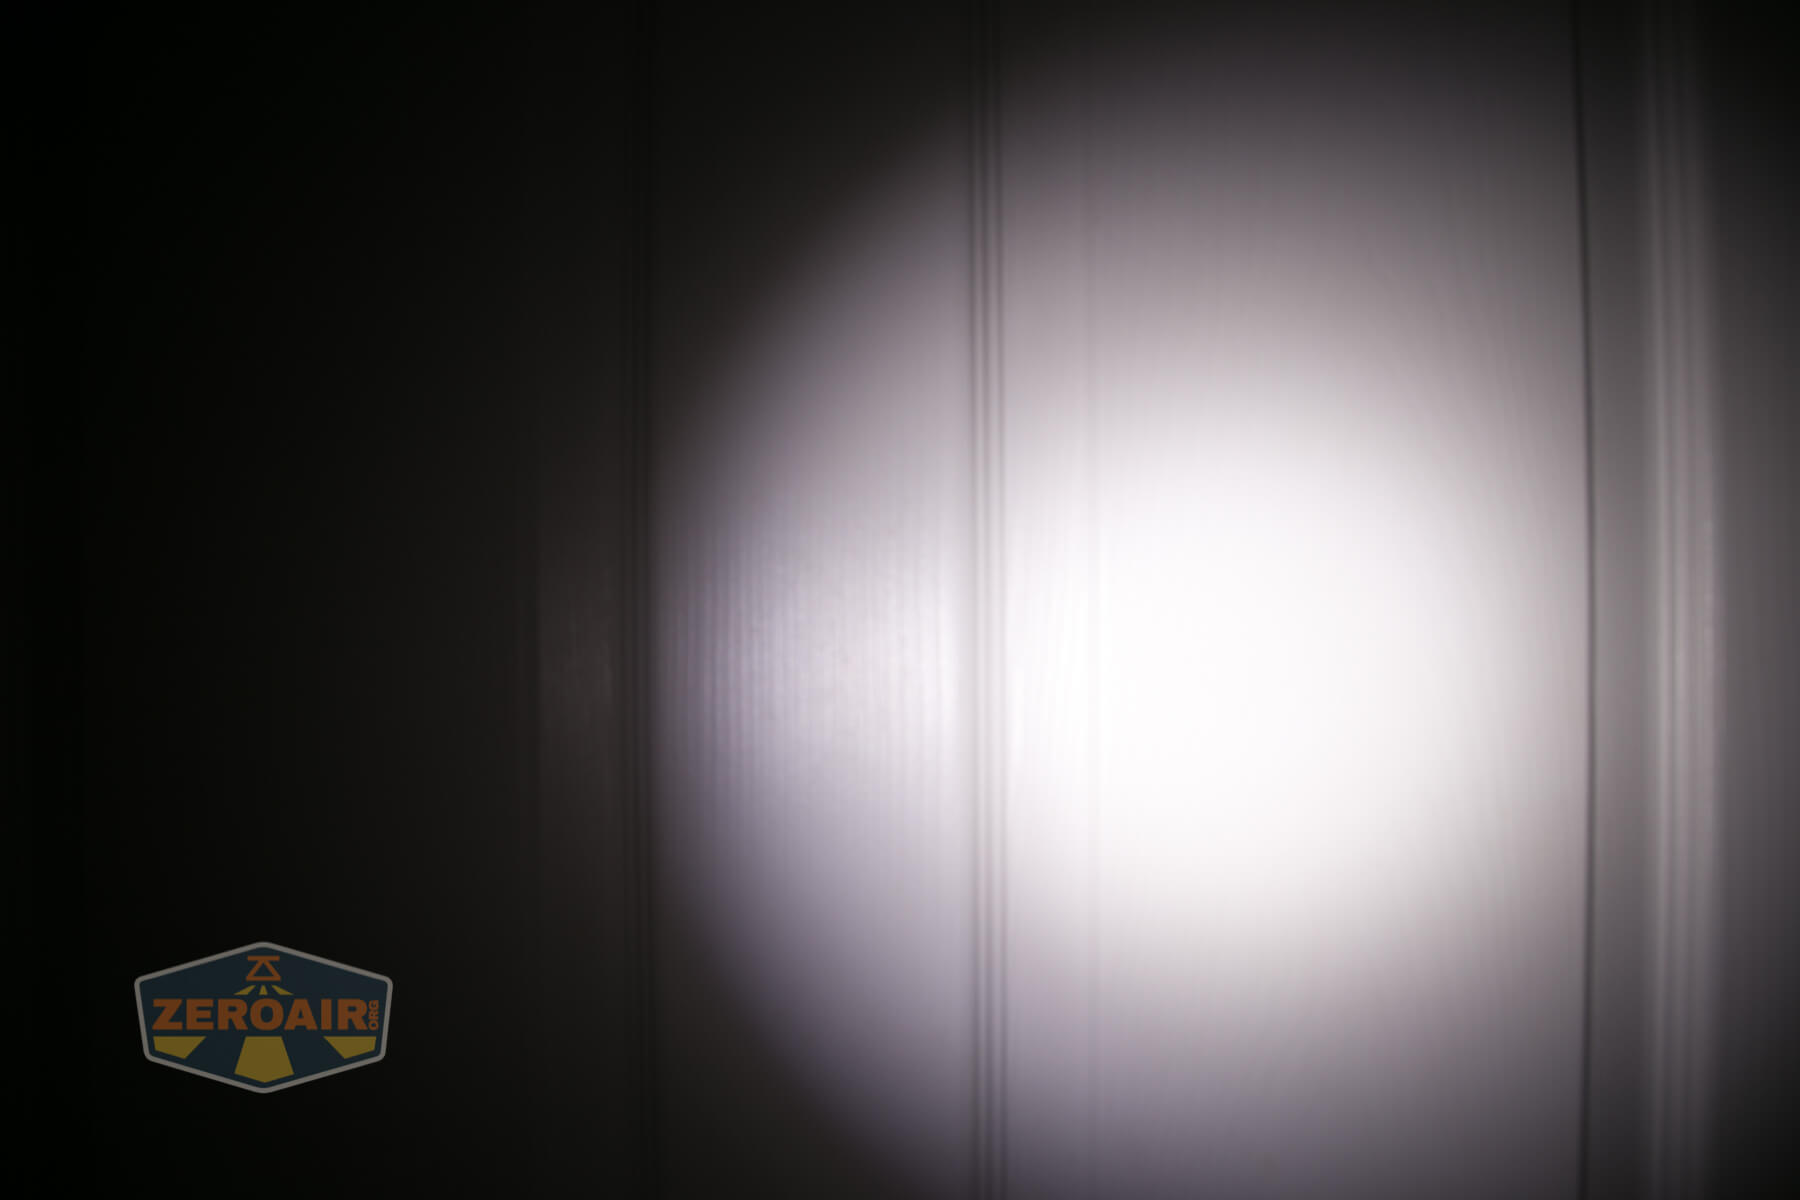
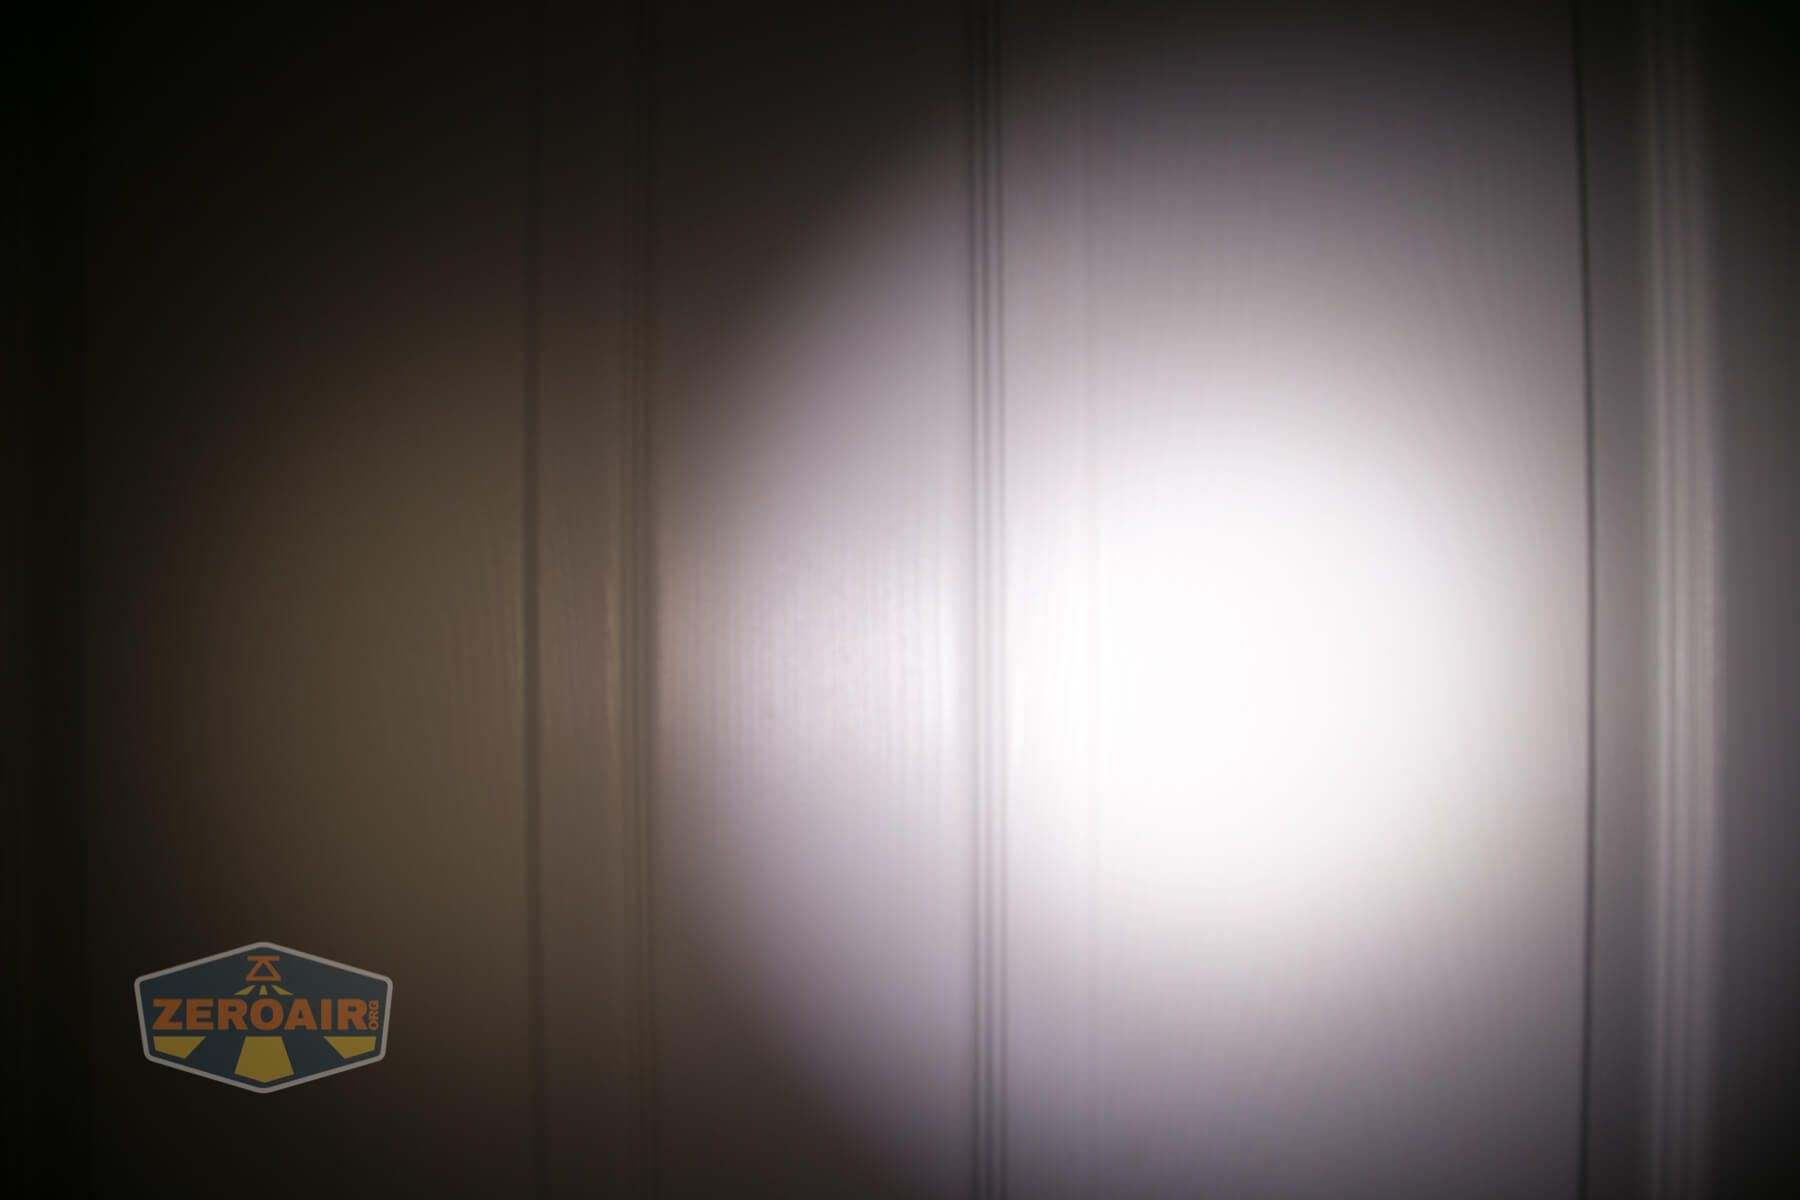
Beamshots
These beamshots are always with the following settings: f8, ISO100, 0.3s shutter, and manual 5000K exposure. These photos are taken at floor level and the beam hits the ceiling around 9 feet away.


Tint vs BLF-348 (KillzoneFlashlights.com 219b version) (affiliate link)
I keep the test flashlight on the left, and the BLF-348 reference flashlight on the right.
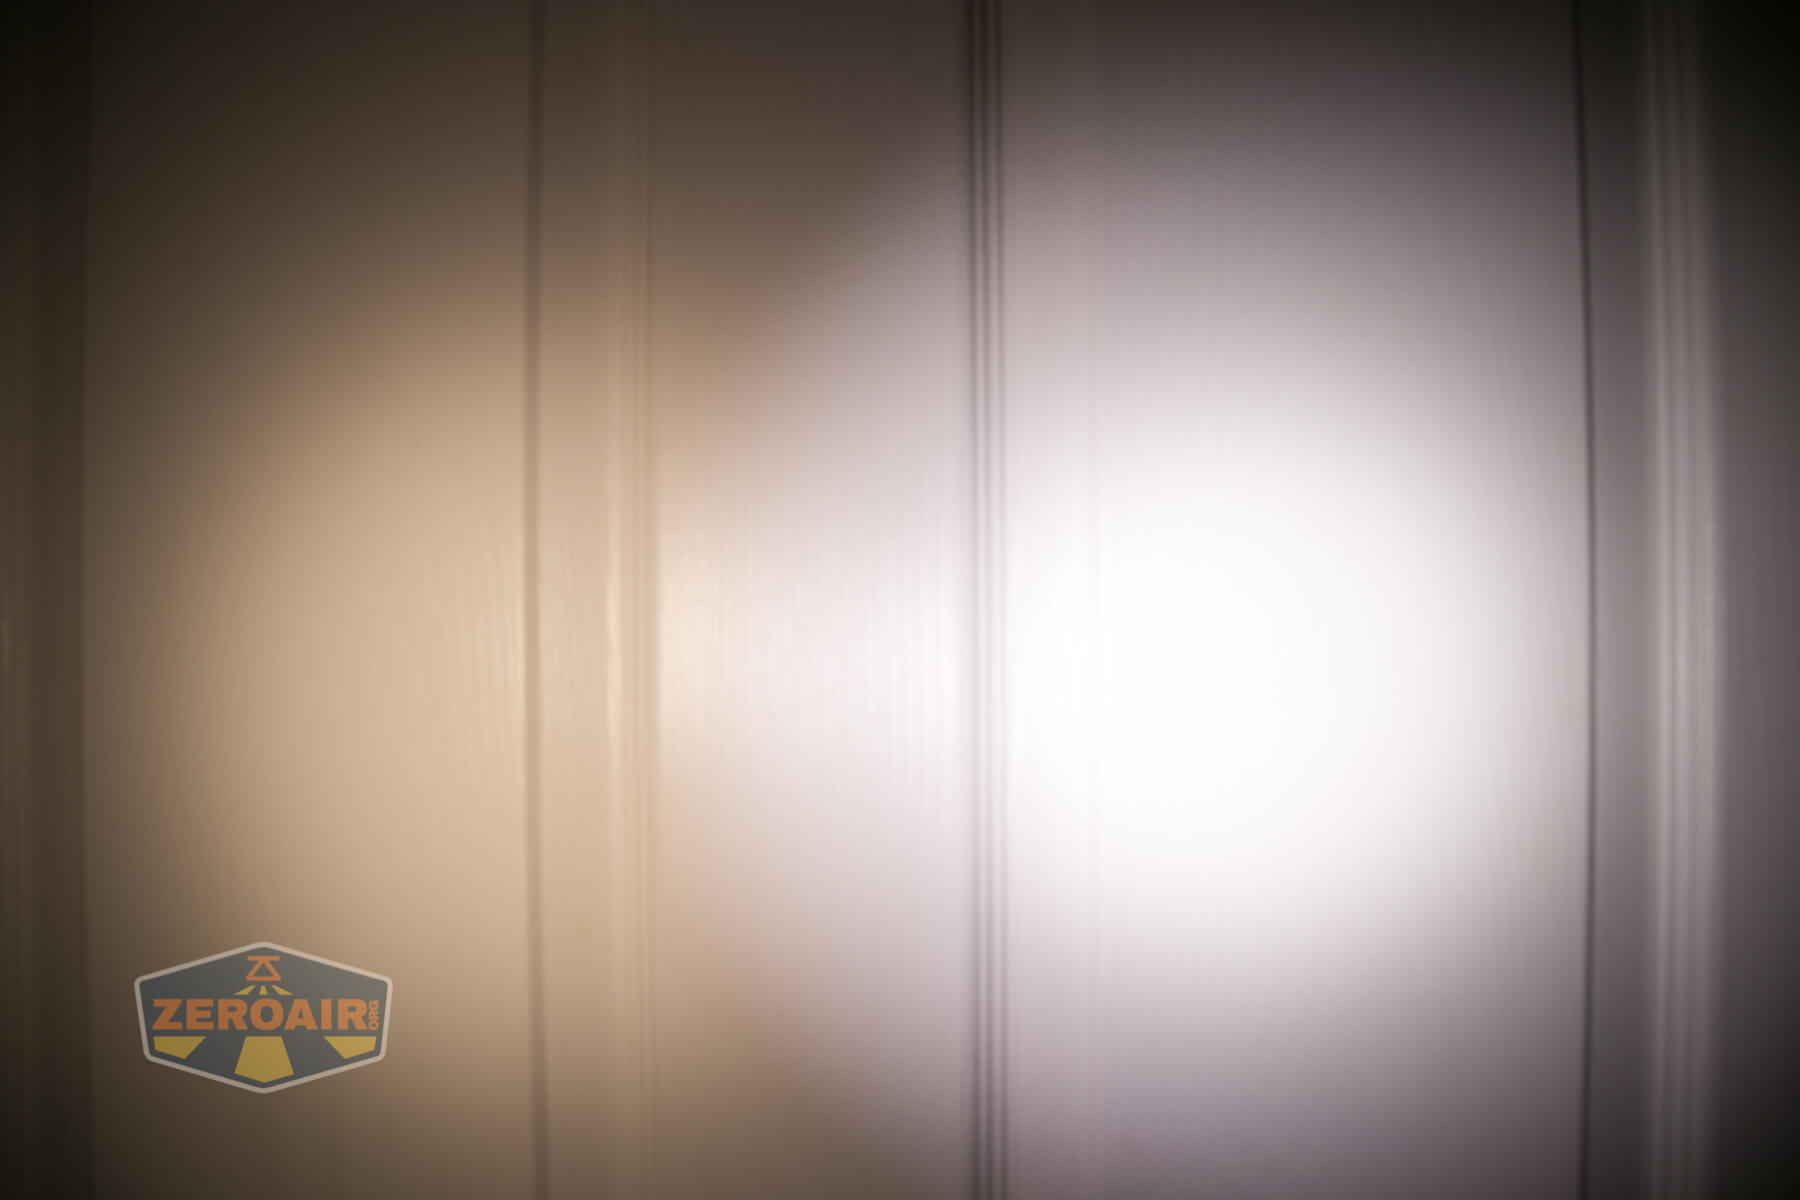
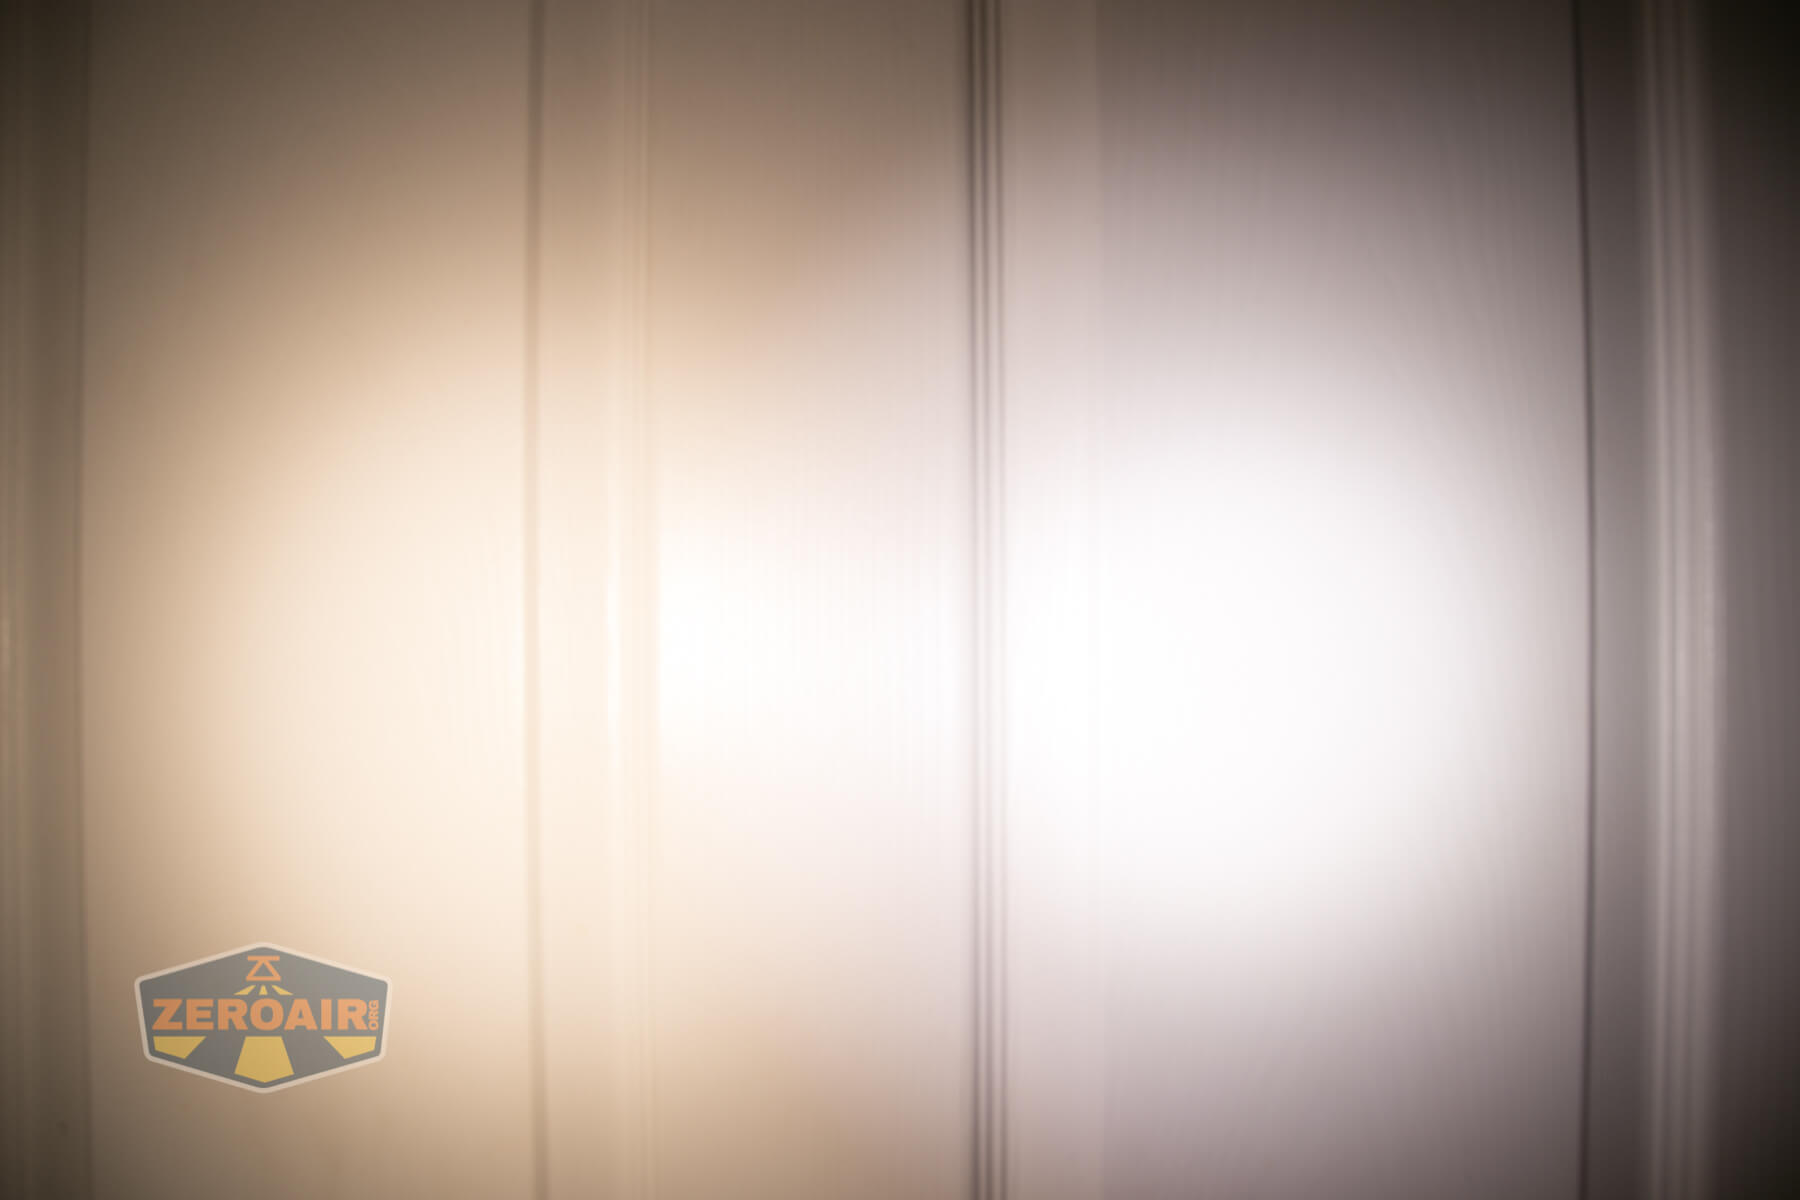


I compare everything to the KillzoneFlashlights.com 219b BLF-348 because it’s inexpensive and has the best tint!
Conclusion on the Lumintop FWAA 14500 Flashlight
What I like
- It’s a small FW series light!
- Works with Button and Flat top 14500 cells
- Output is really massive
- Pocket clip can go on the head as well as the tail
- Collar clips are great!
- Nichia emitter options
- Warm emitter options
- Andúril2!!
What I don’t like
- Steps down before the official specs can be met (though I don’t really think that’s necessarily a bad thing – there’d be a lot of heat to manage…. (so lower the specs)).
- Two-way pocket clip
- Very floody, and no narrow 17mm optic replacements available
- PWM
- Doesn’t support AA (1.5V) cells. I can kind of allow this, but it’s worth mentioning.
Notes
- This light was provided by NealsGadgets.com for review. I was not paid to write this review.
- This content originally appeared at zeroair.org. Please visit there for the best experience!
- Please use my Amazon.com referral link to help support zeroair.org!
- Please support me on Patreon! I deeply appreciate your support!
Discover more from ZeroAir Reviews
Subscribe to get the latest posts sent to your email.
Pingback: Flashlight News: Phreaky Briefing Issue 41 – PhotonPhreaks
Pingback: Flashlight News: Phreaky Briefing Issue 42 – PhotonPhreaks