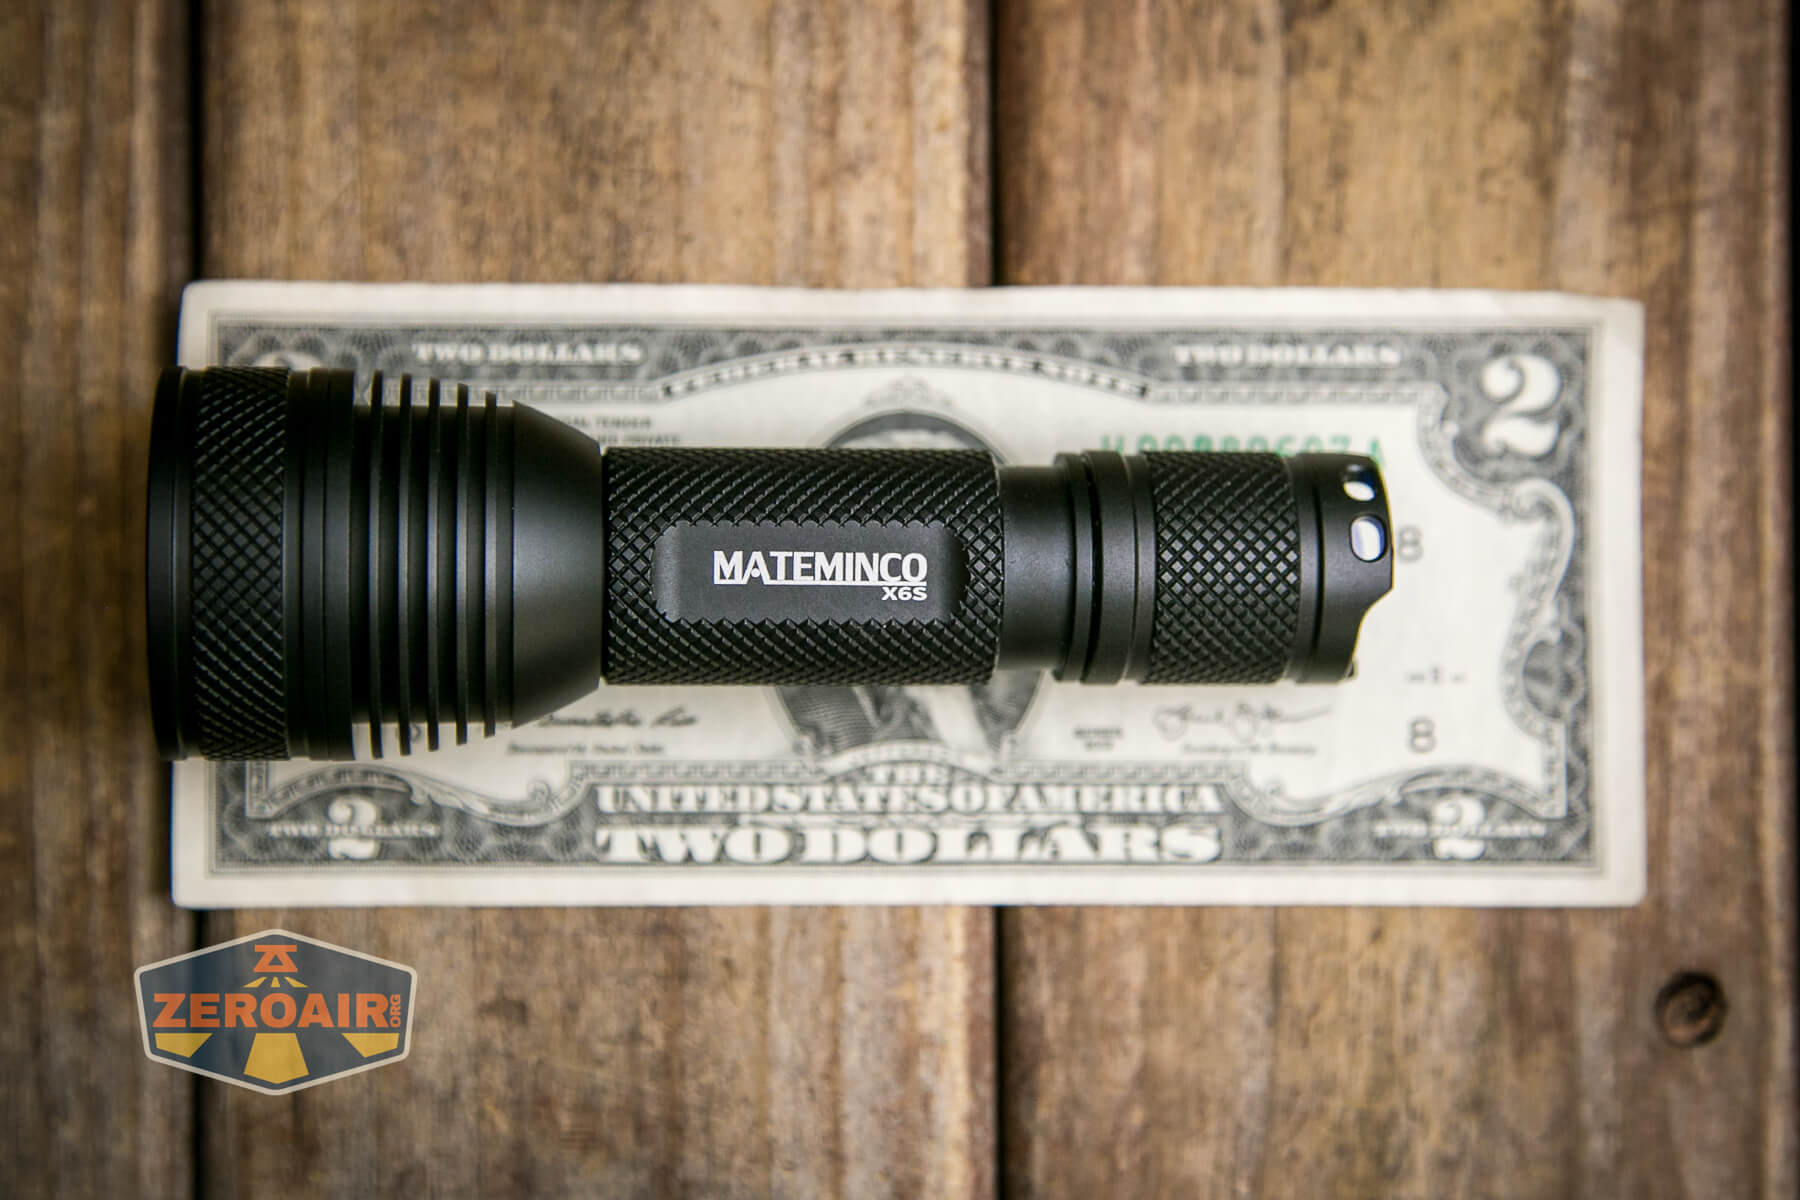
Mateminco X6S Flashlight Review
The Mateminco X6S flashlight isn’t really a new flashlight, but it’s worth having a look at for a nicely built host! These emitters are great, too! Read on!
Official Specs and Features
Here’s an affiliate link to the Mateminco X6S flashlight product page.
Versions
I’ll say there’s just one “version” of the Mateminco X6S flashlight, but it’s a little more nuanced than that. At least three emitter options are available – Cree XP-L HI in two CCTs and a Nichia 219c version (seen here). If you opt for the Nichia 219c version, you’ll get a dimpled optic, which will probably provide a more floody beam. The package includes both the bodies that you’ll see here later.
Price
The price for the Mateminco X6S flashlight is $35.95. That’s an affiliate link to NealsGadgets.
Short Review
Neal of Neals Gadgets was getting a package together to send, and I mentioned this Mateminco X6S flashlight. As you probably guessed, it’s not one of his newer lights. I said oh well, drop it in the package and we’ll have a look! Maybe someone can use it as a host or something. And I think you’ll like it for that!!
Long Review
The Big Table
| Mateminco X6S Flashlight | |
|---|---|
| Emitter: | Nichia 219c (5000K, High CRI) |
| Price in USD at publication time: | $35.95 at NealsGadgets.com |
| Cell: | 1×18650 |
| Runtime Graphs | |
| LVP? | No? Maybe. |
| Switch Type: | Mechanical (Lighted!) |
| On-Board Charging? | No |
| Claimed Lumens (lm) | 3000 (likely for Cree XP-L HI CW) |
| Measured Lumens (at 30s) | 1275 (42.5% of claim)^ |
| Candela per Lumen | 4.7 |
| Claimed Throw (m) | 227 |
| Candela (Calculated) in cd (at 30s) | 249lux @ 5.121m = 6530cd |
| Throw (Calculated) (m) | 161.6 (71.2% of claim)^ |
| Claimed CCT | – |
| Measured CCT Range (K) | 5000 Kelvin |
| Item provided for review by: | Nealsgadgets |
| All my Mateminco reviews! | |
^ Measurement disclaimer: Testing flashlights is my hobby. I use hobbyist-level equipment for testing, including some I made myself. Try not to get buried in the details of manufacturer specifications versus measurements recorded here; A certain amount of difference (say, 10 or 15%) is perfectly reasonable.
What’s Included
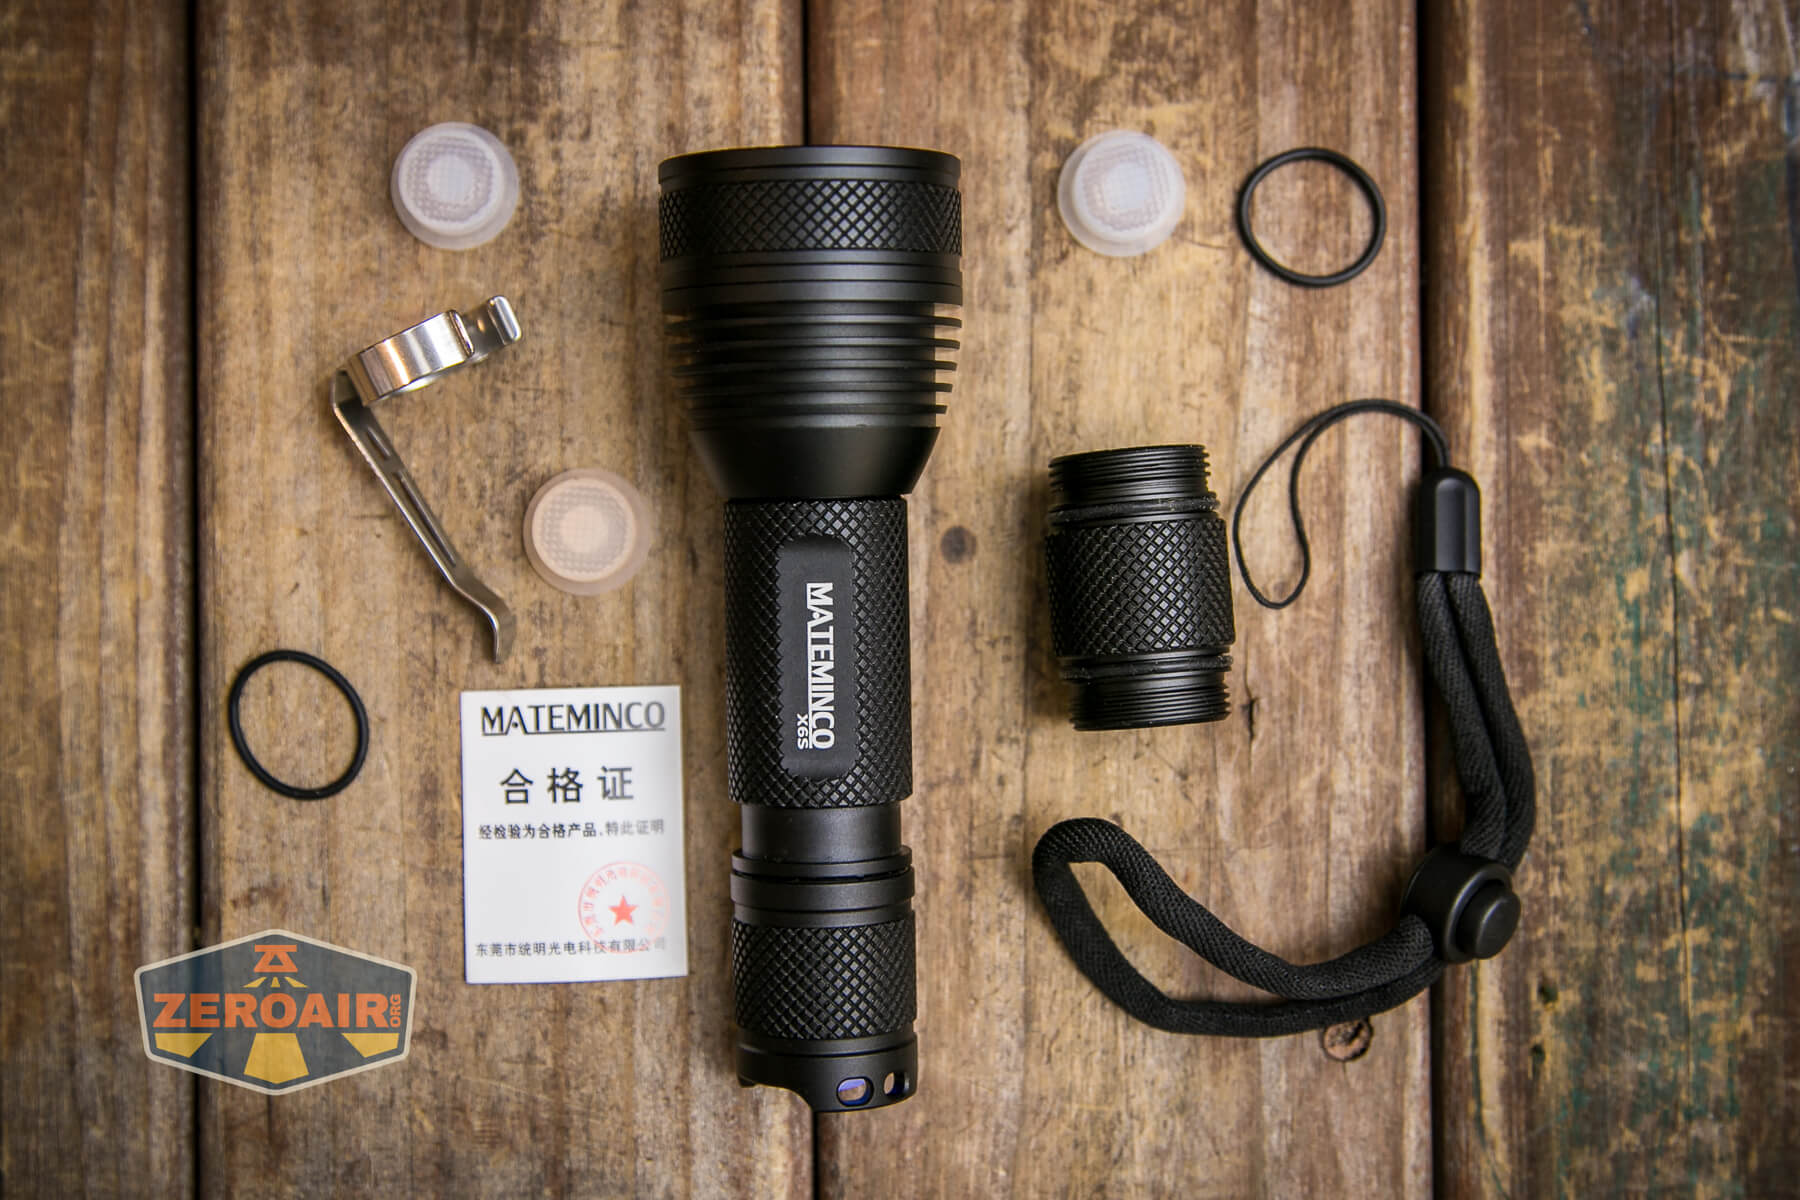
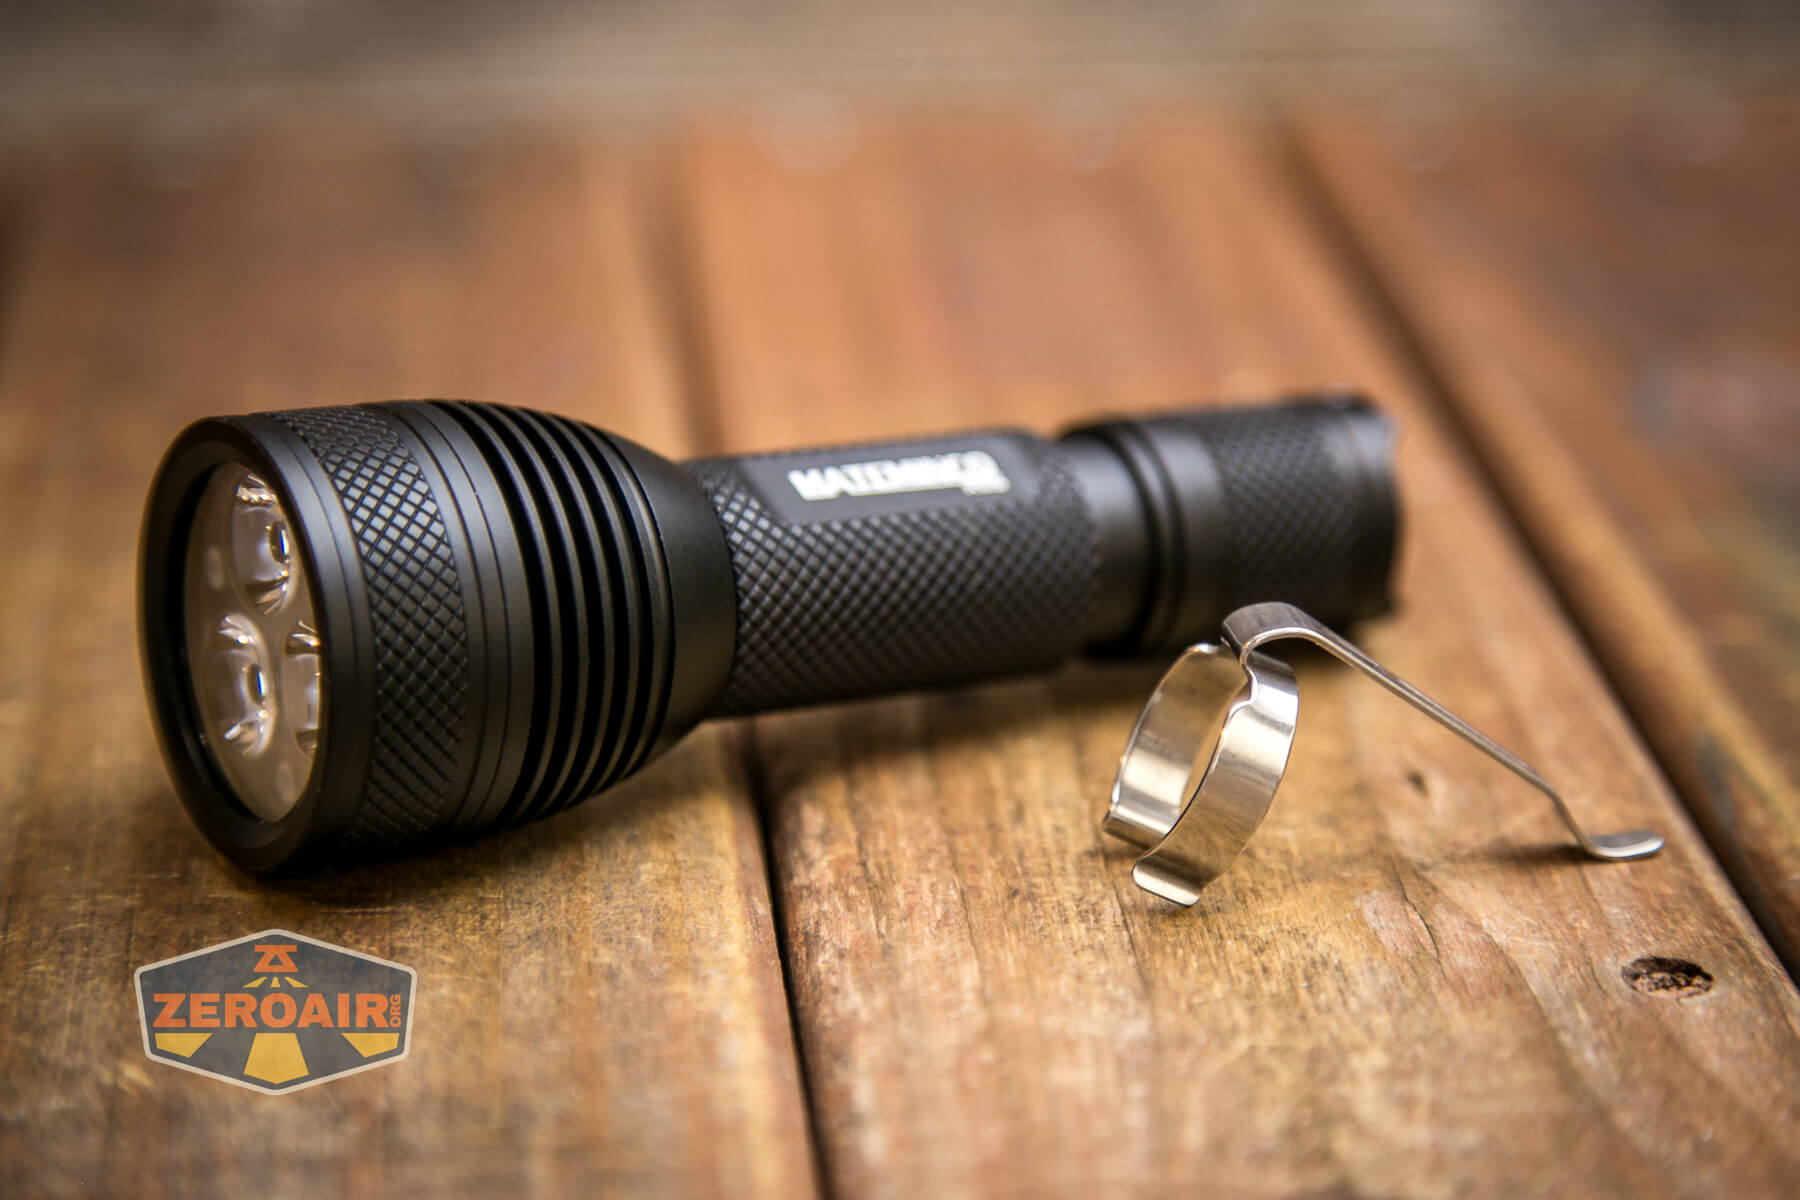
- Mateminco X6S flashlight
- Two cell tubes (18650 and 18350)
- Lanyard
- Pocket clip
- Spare switch cover (3, various colors)
- Spare o-rings (2)
Package and Manual
My box was actually labeled incorrectly – I received the Nichia 219c version, and not the Cree XP-L HI 3B as shown on the box below.
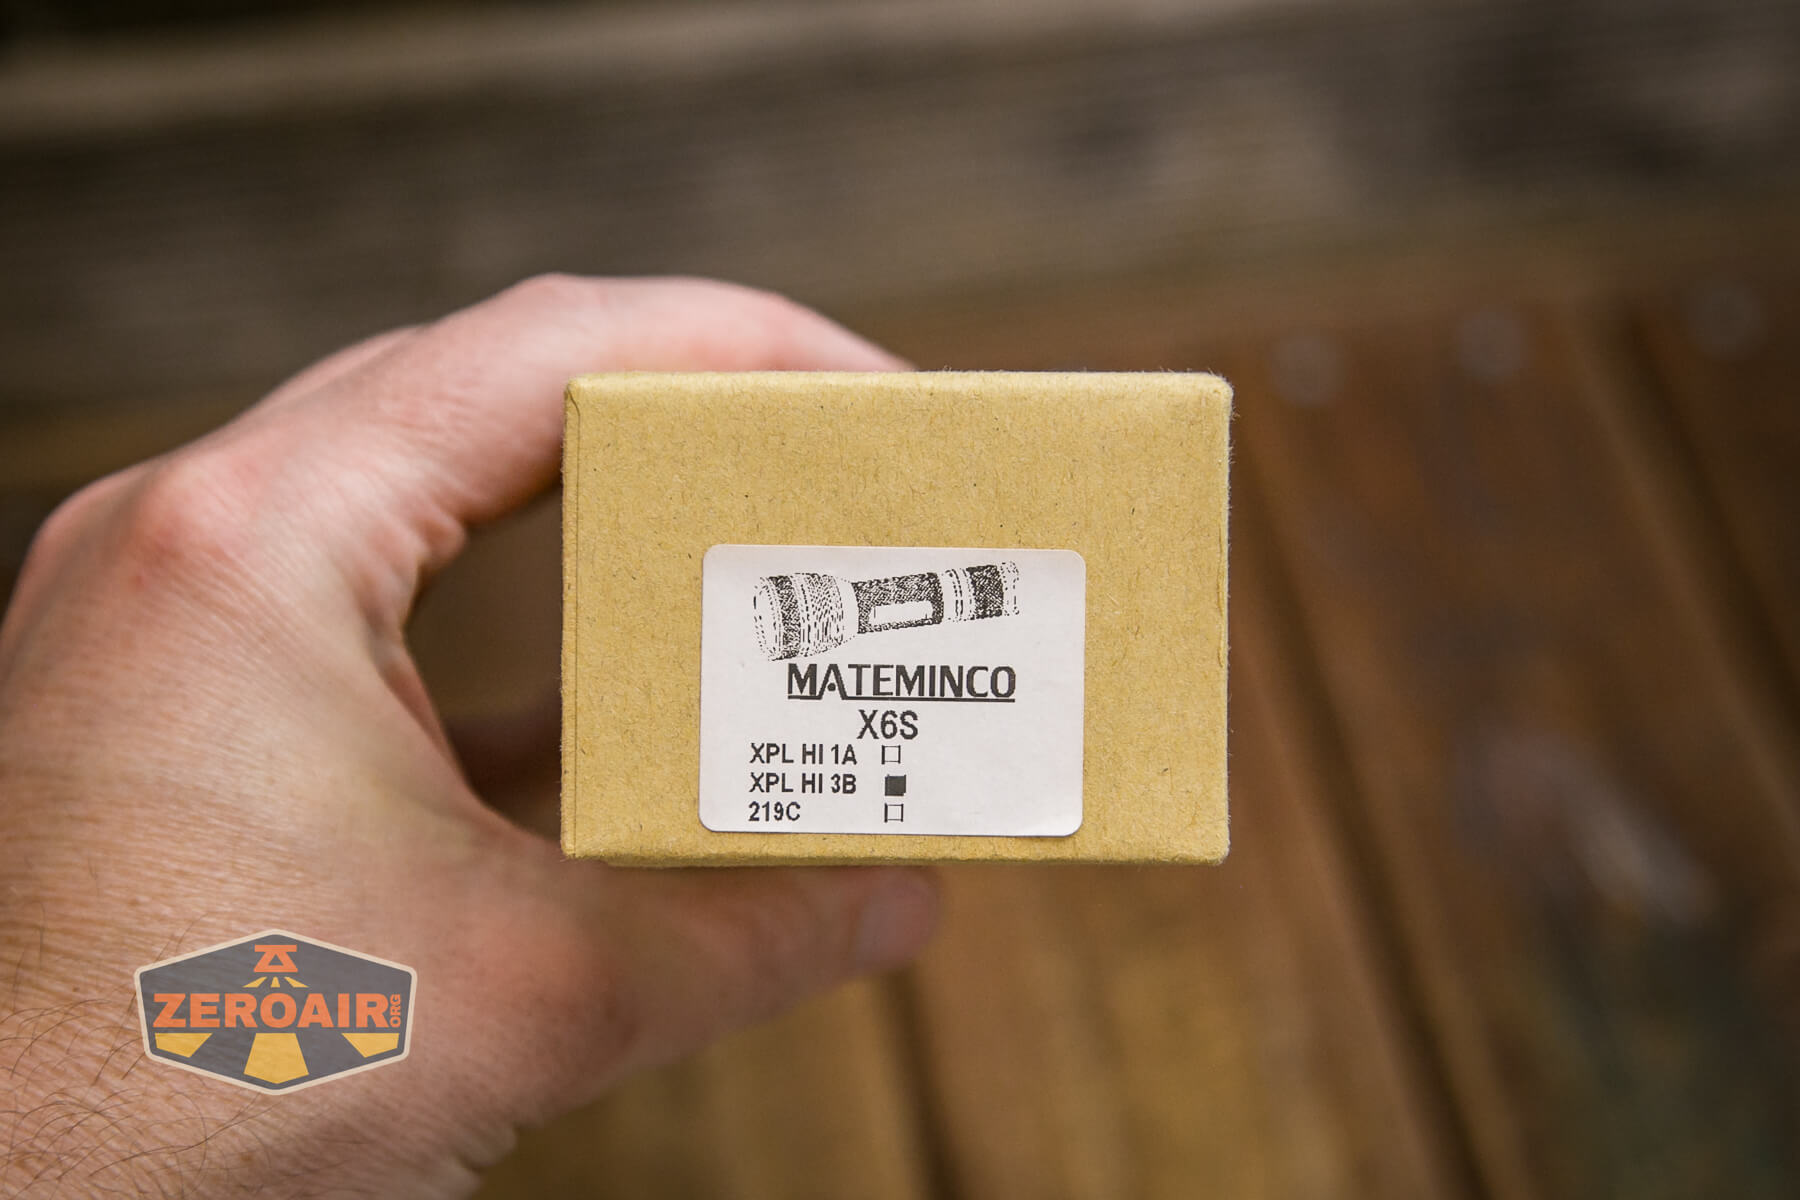
That’s actually fine, because these Nichia 219c’s ended up being very great!
There is no manual.
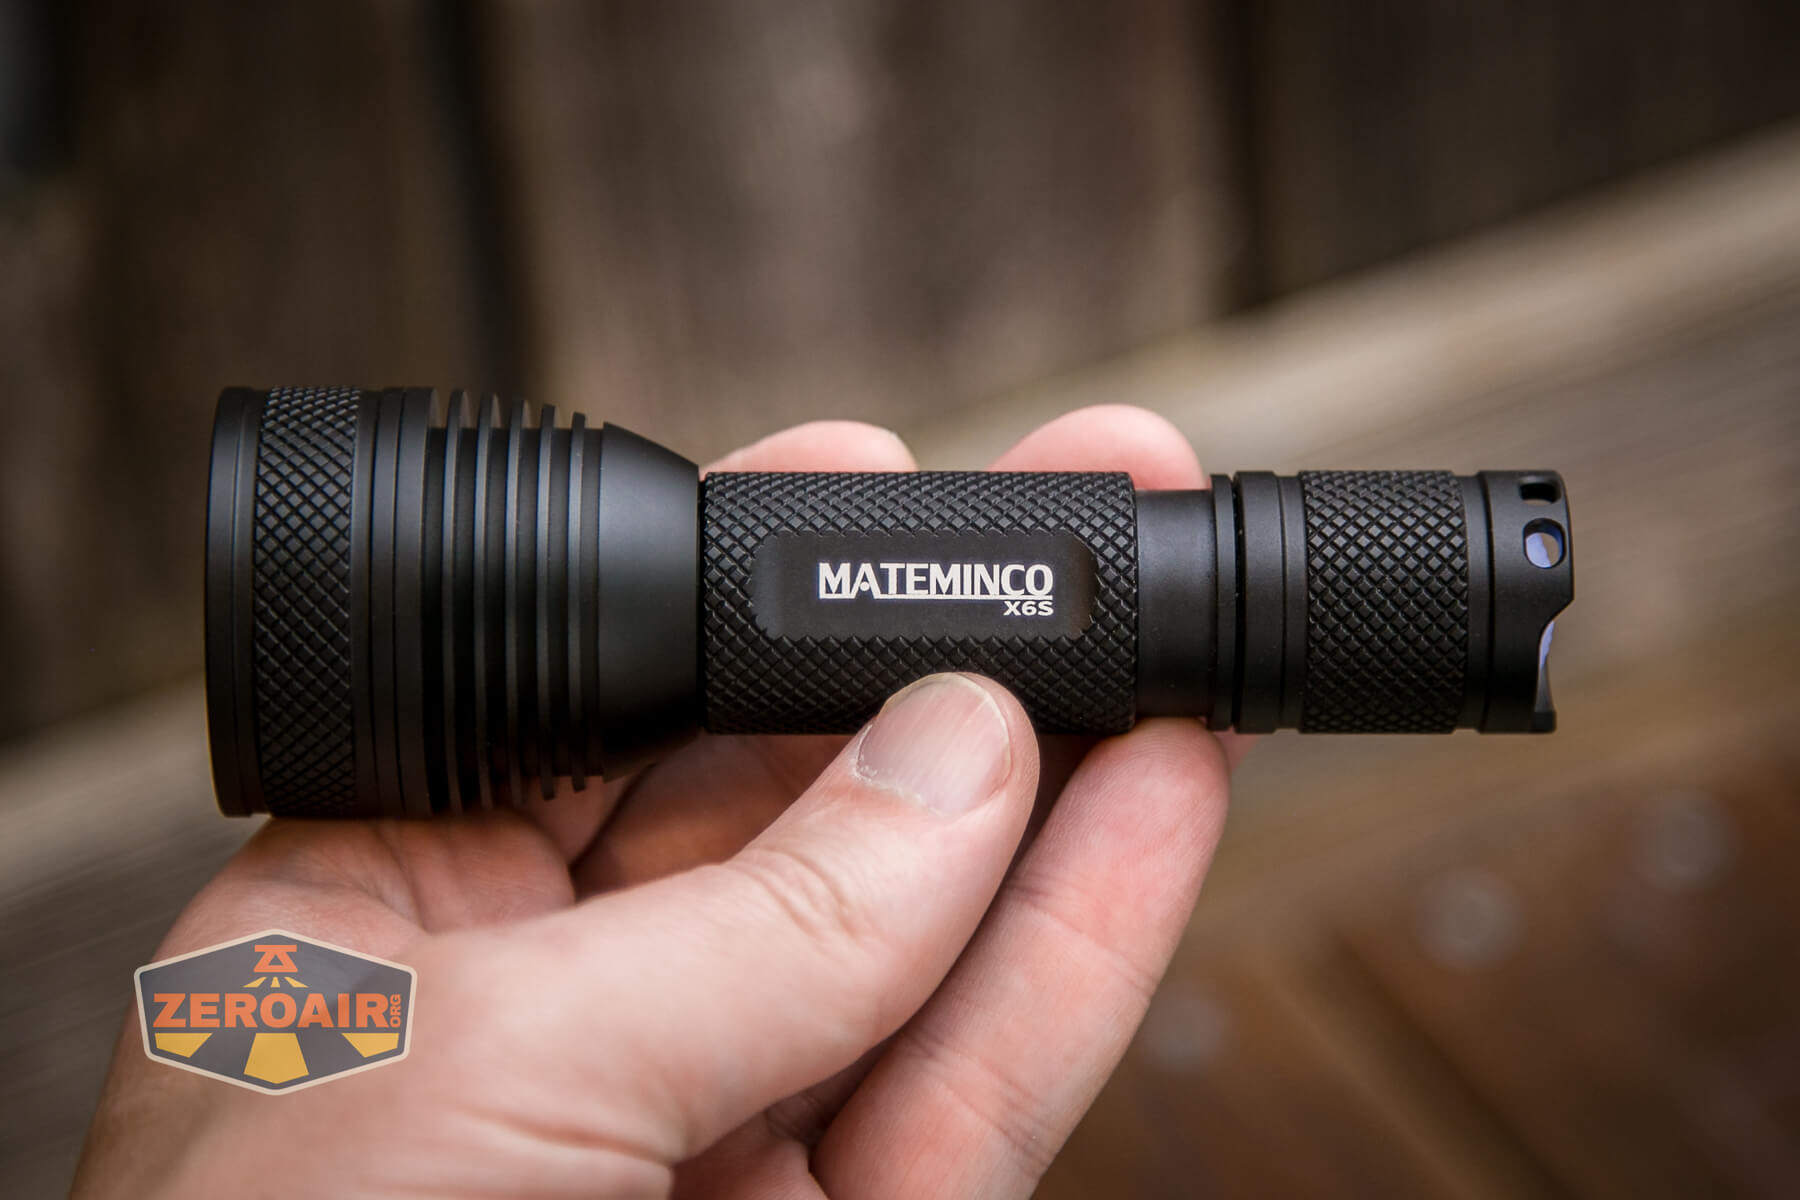
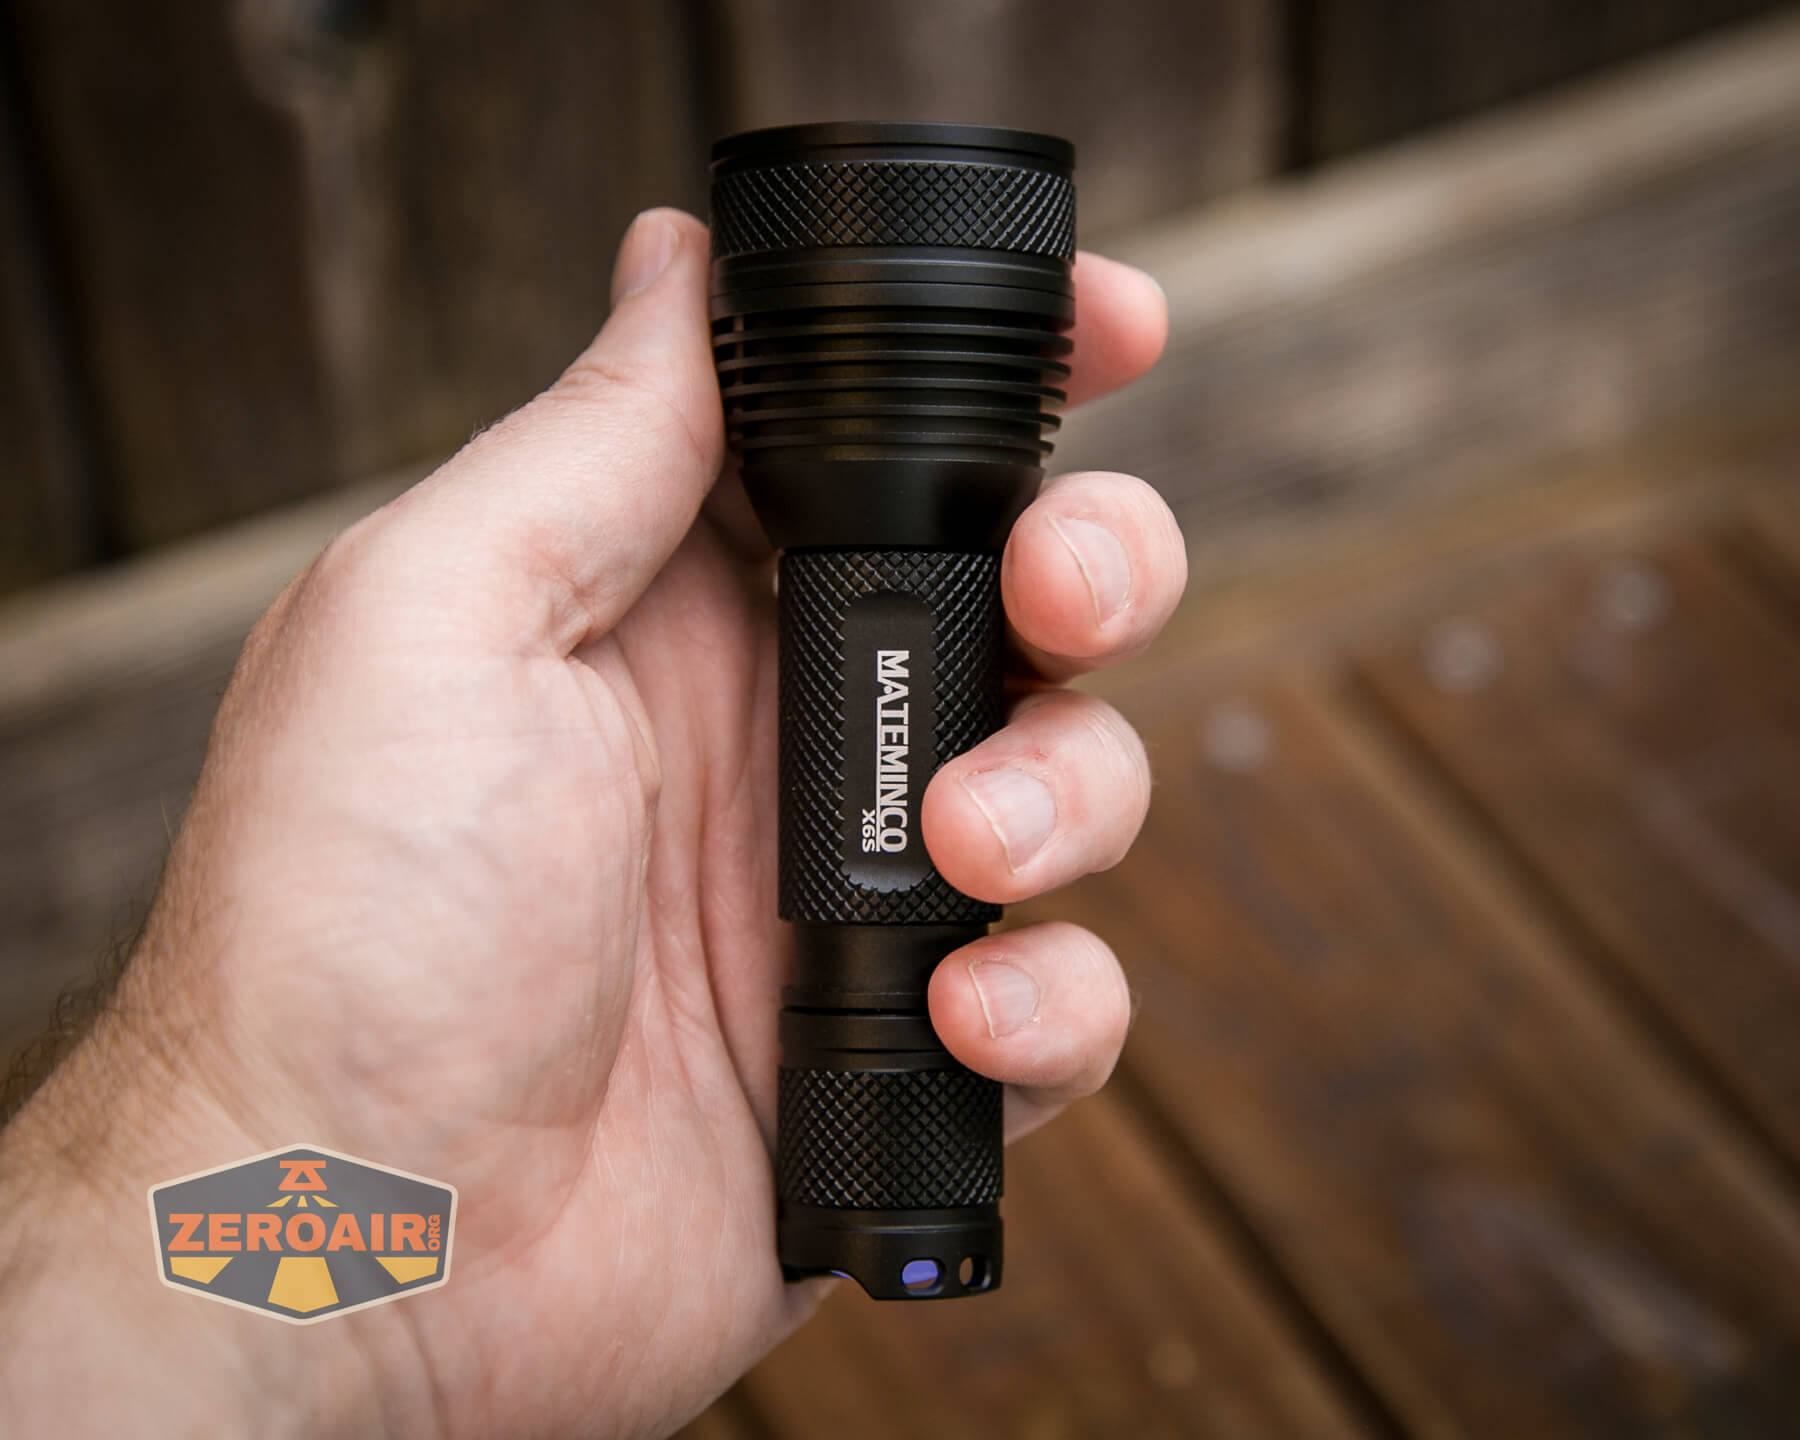
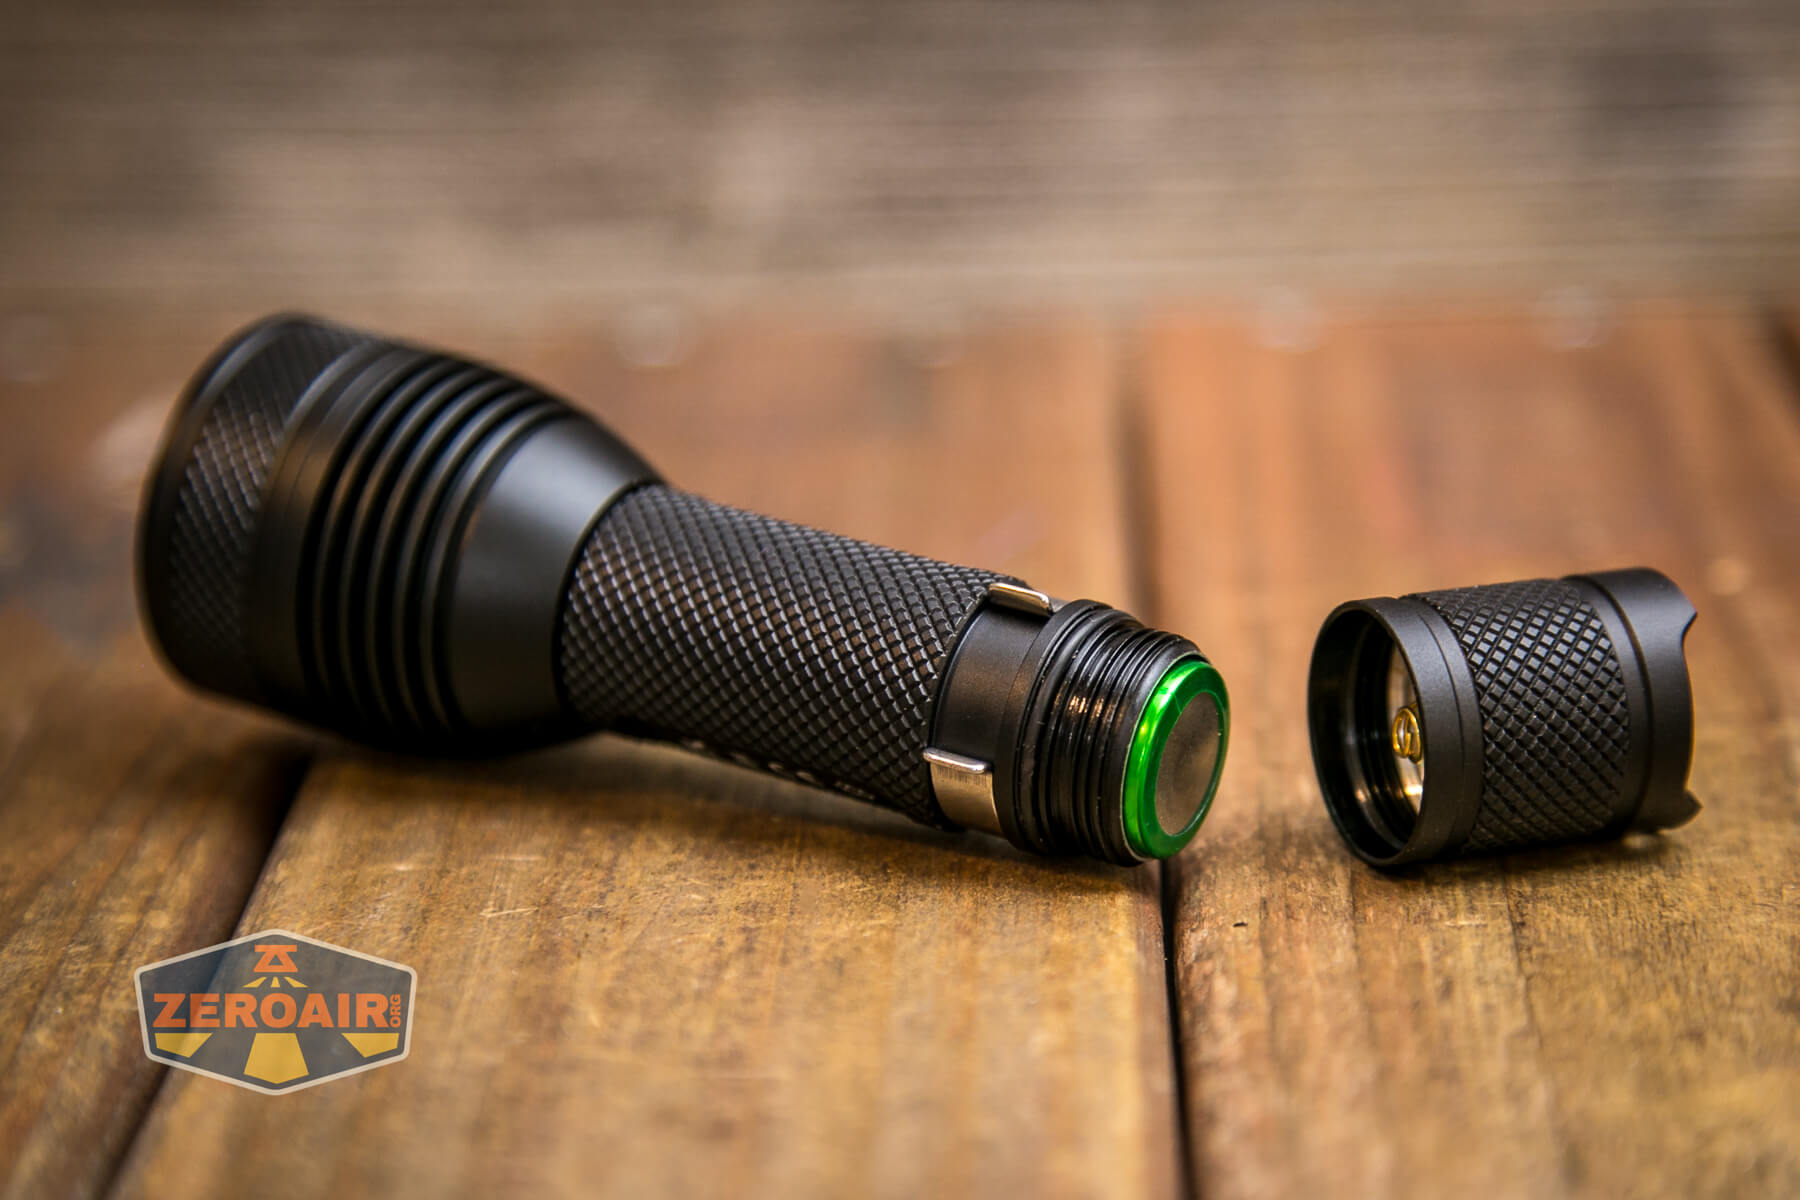
Build Quality and Disassembly
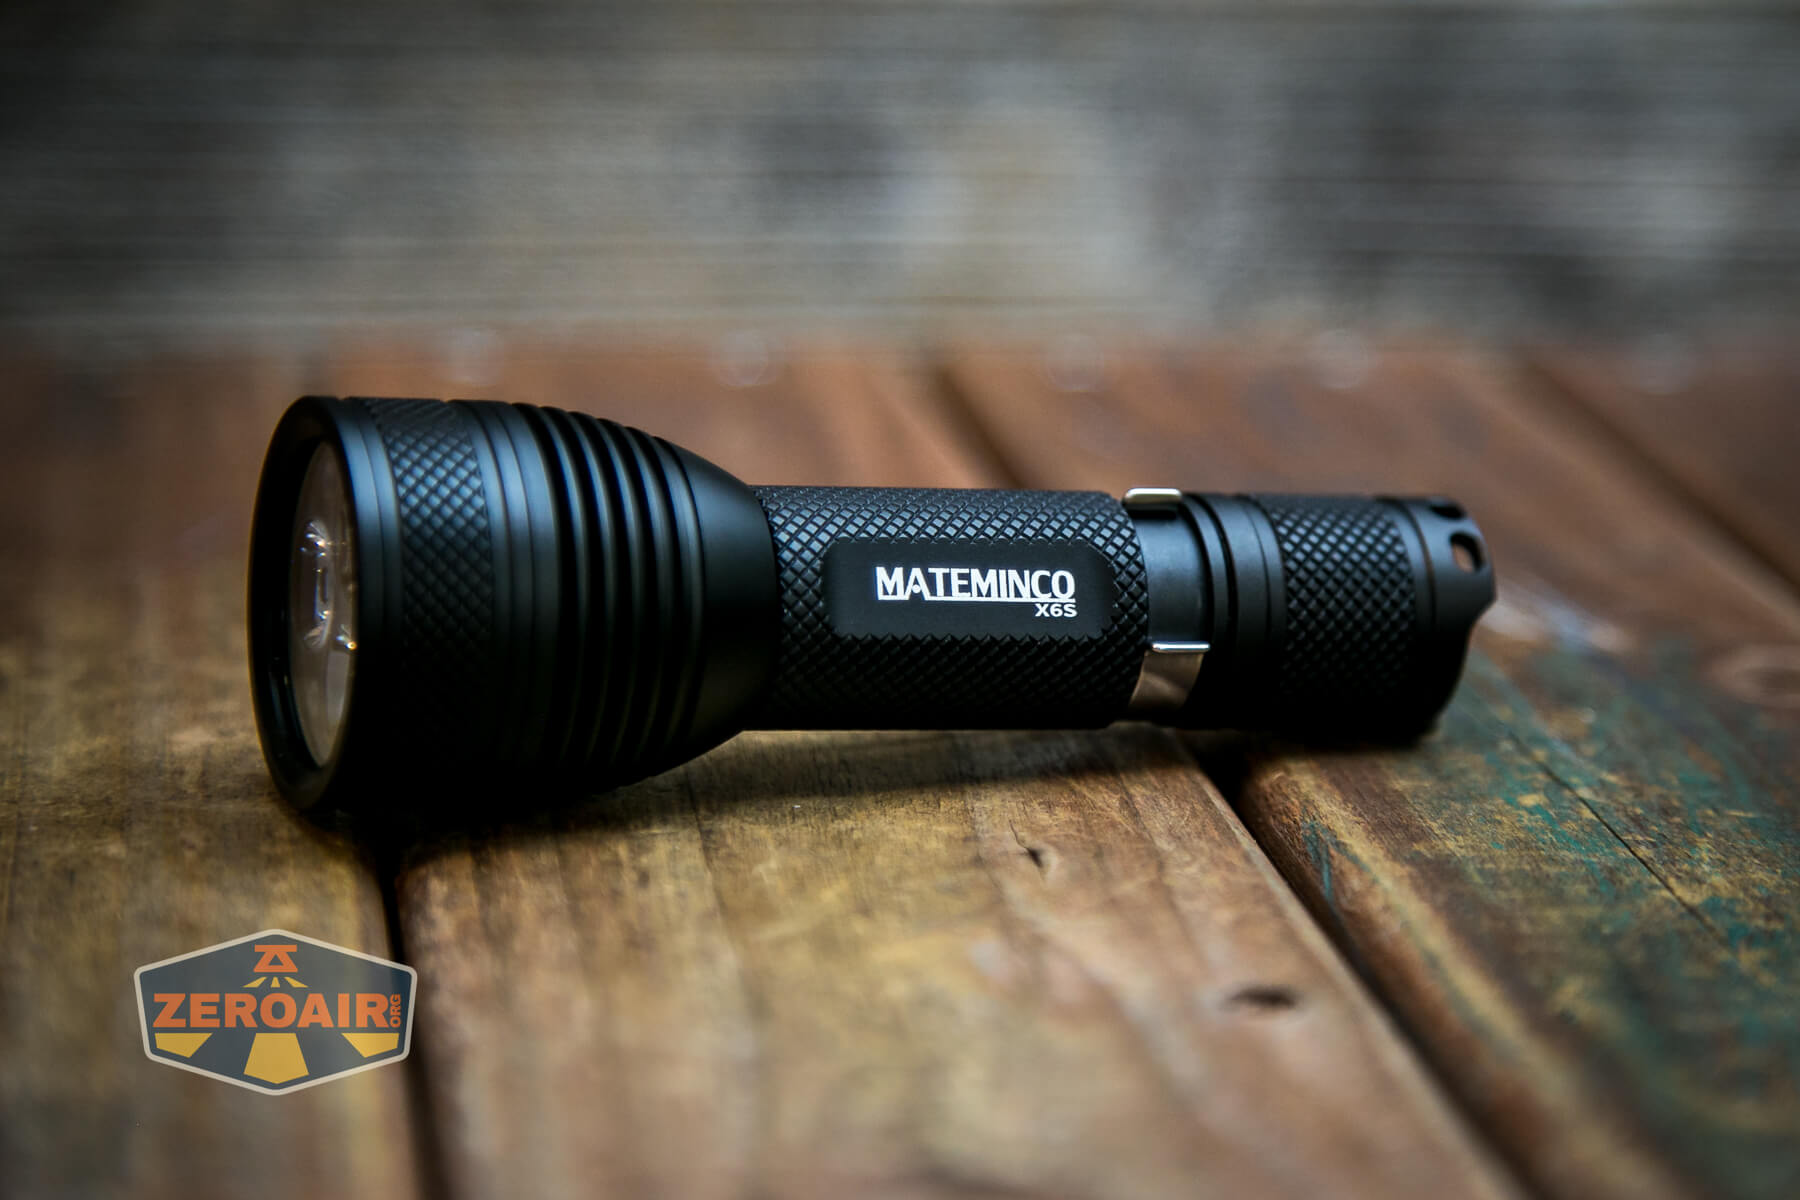
The Mateminco X6S flashlight’s build quality is great! This feels a lot like Convoy flashlights, to be honest, and that’s not a bad thing. For $36, that seems about right. Mateminco is a nice brand on its own, though, and shares build quality levels (and providence, probably) with Astrolux.
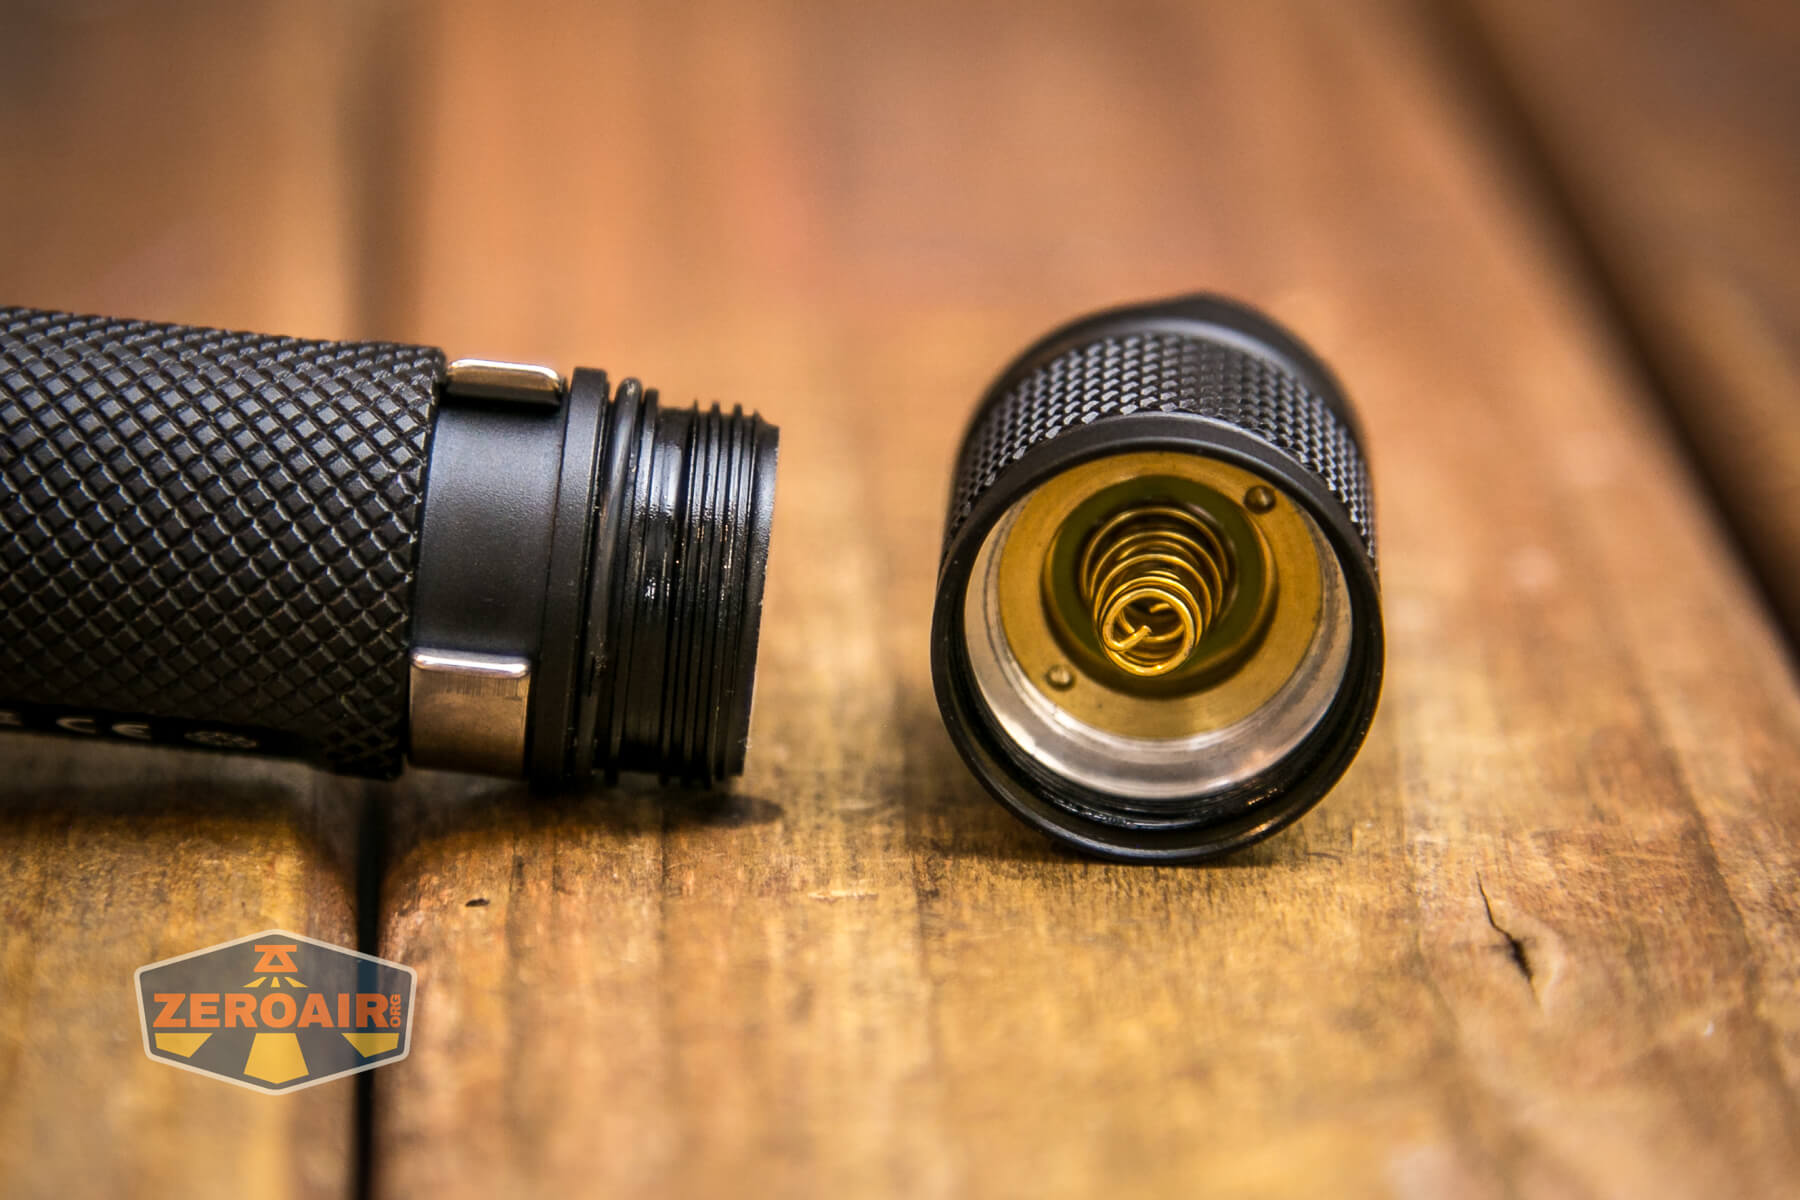
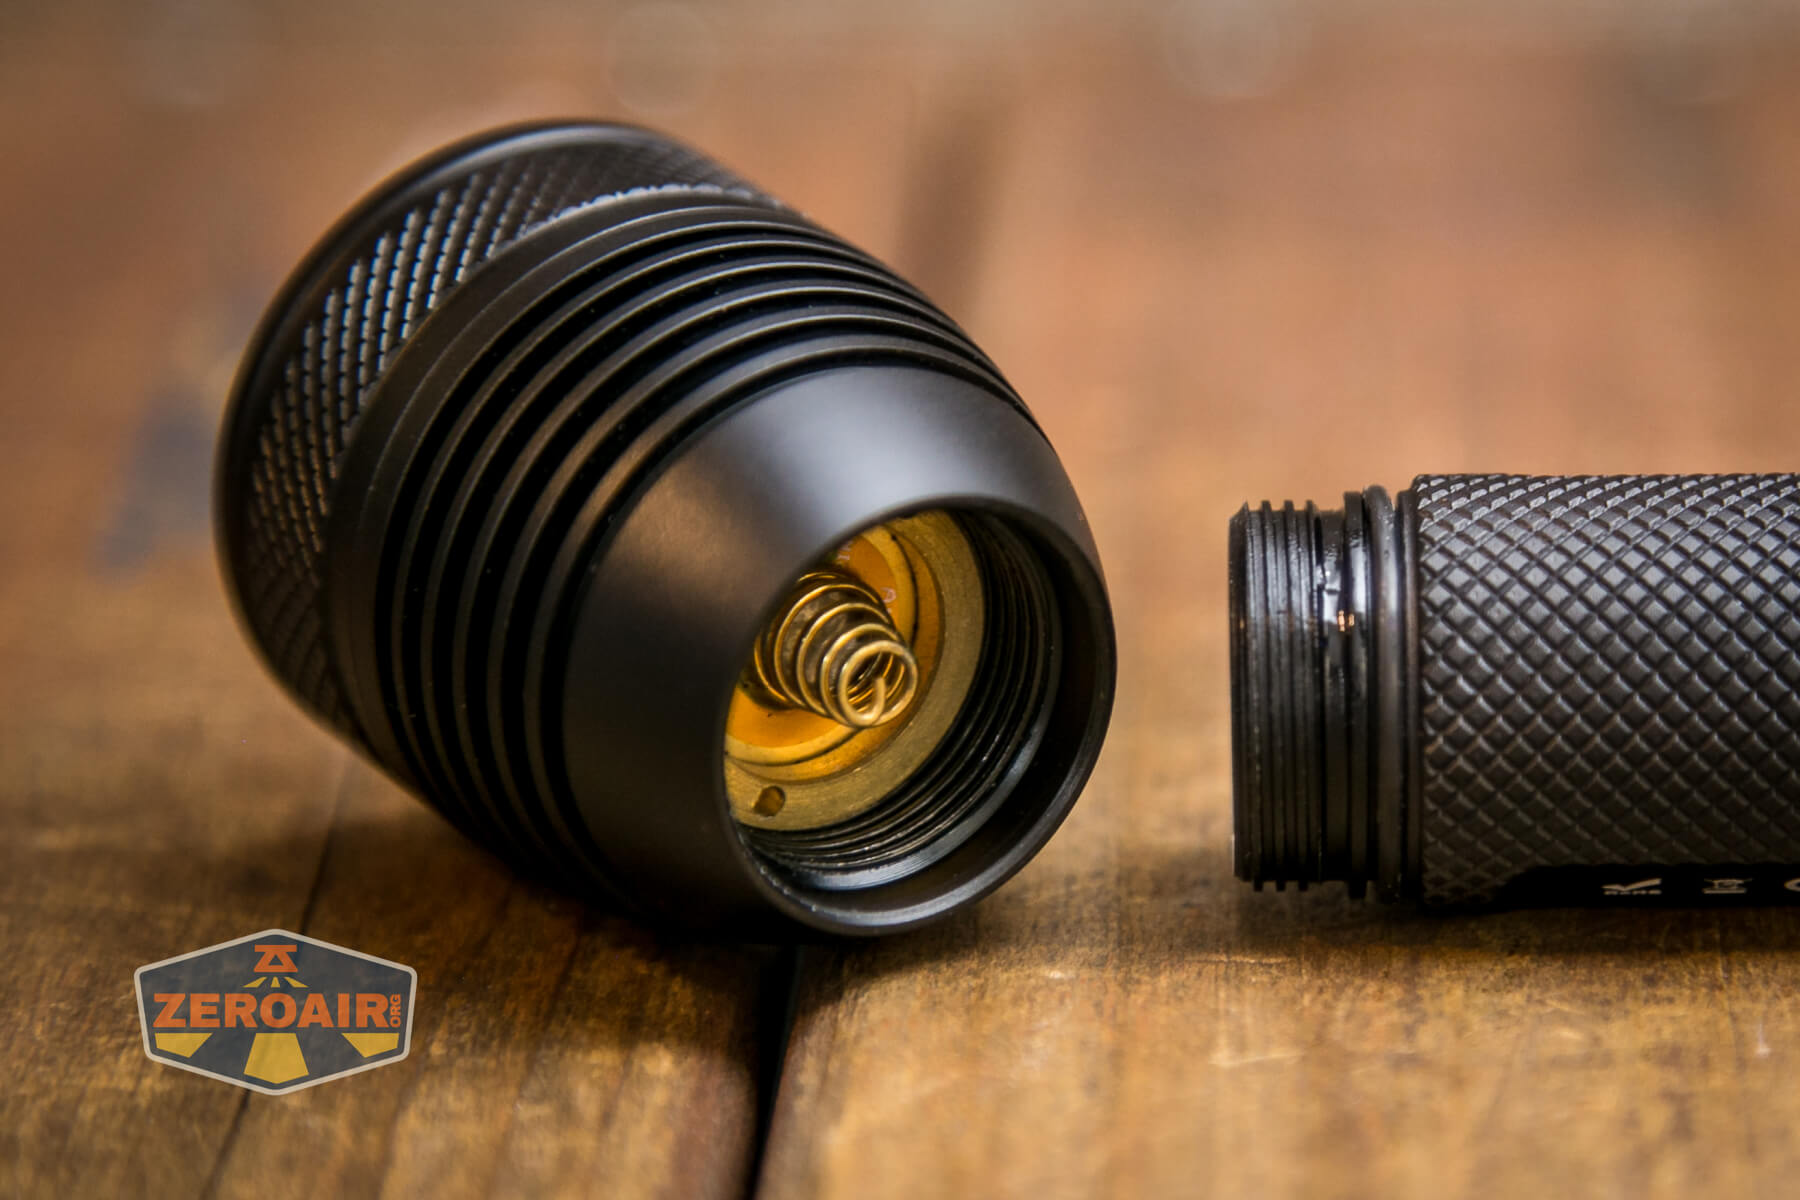
It’s nice that you get both cell tubes for the Mateminco X6S flashlight. This makes for a fun setup!
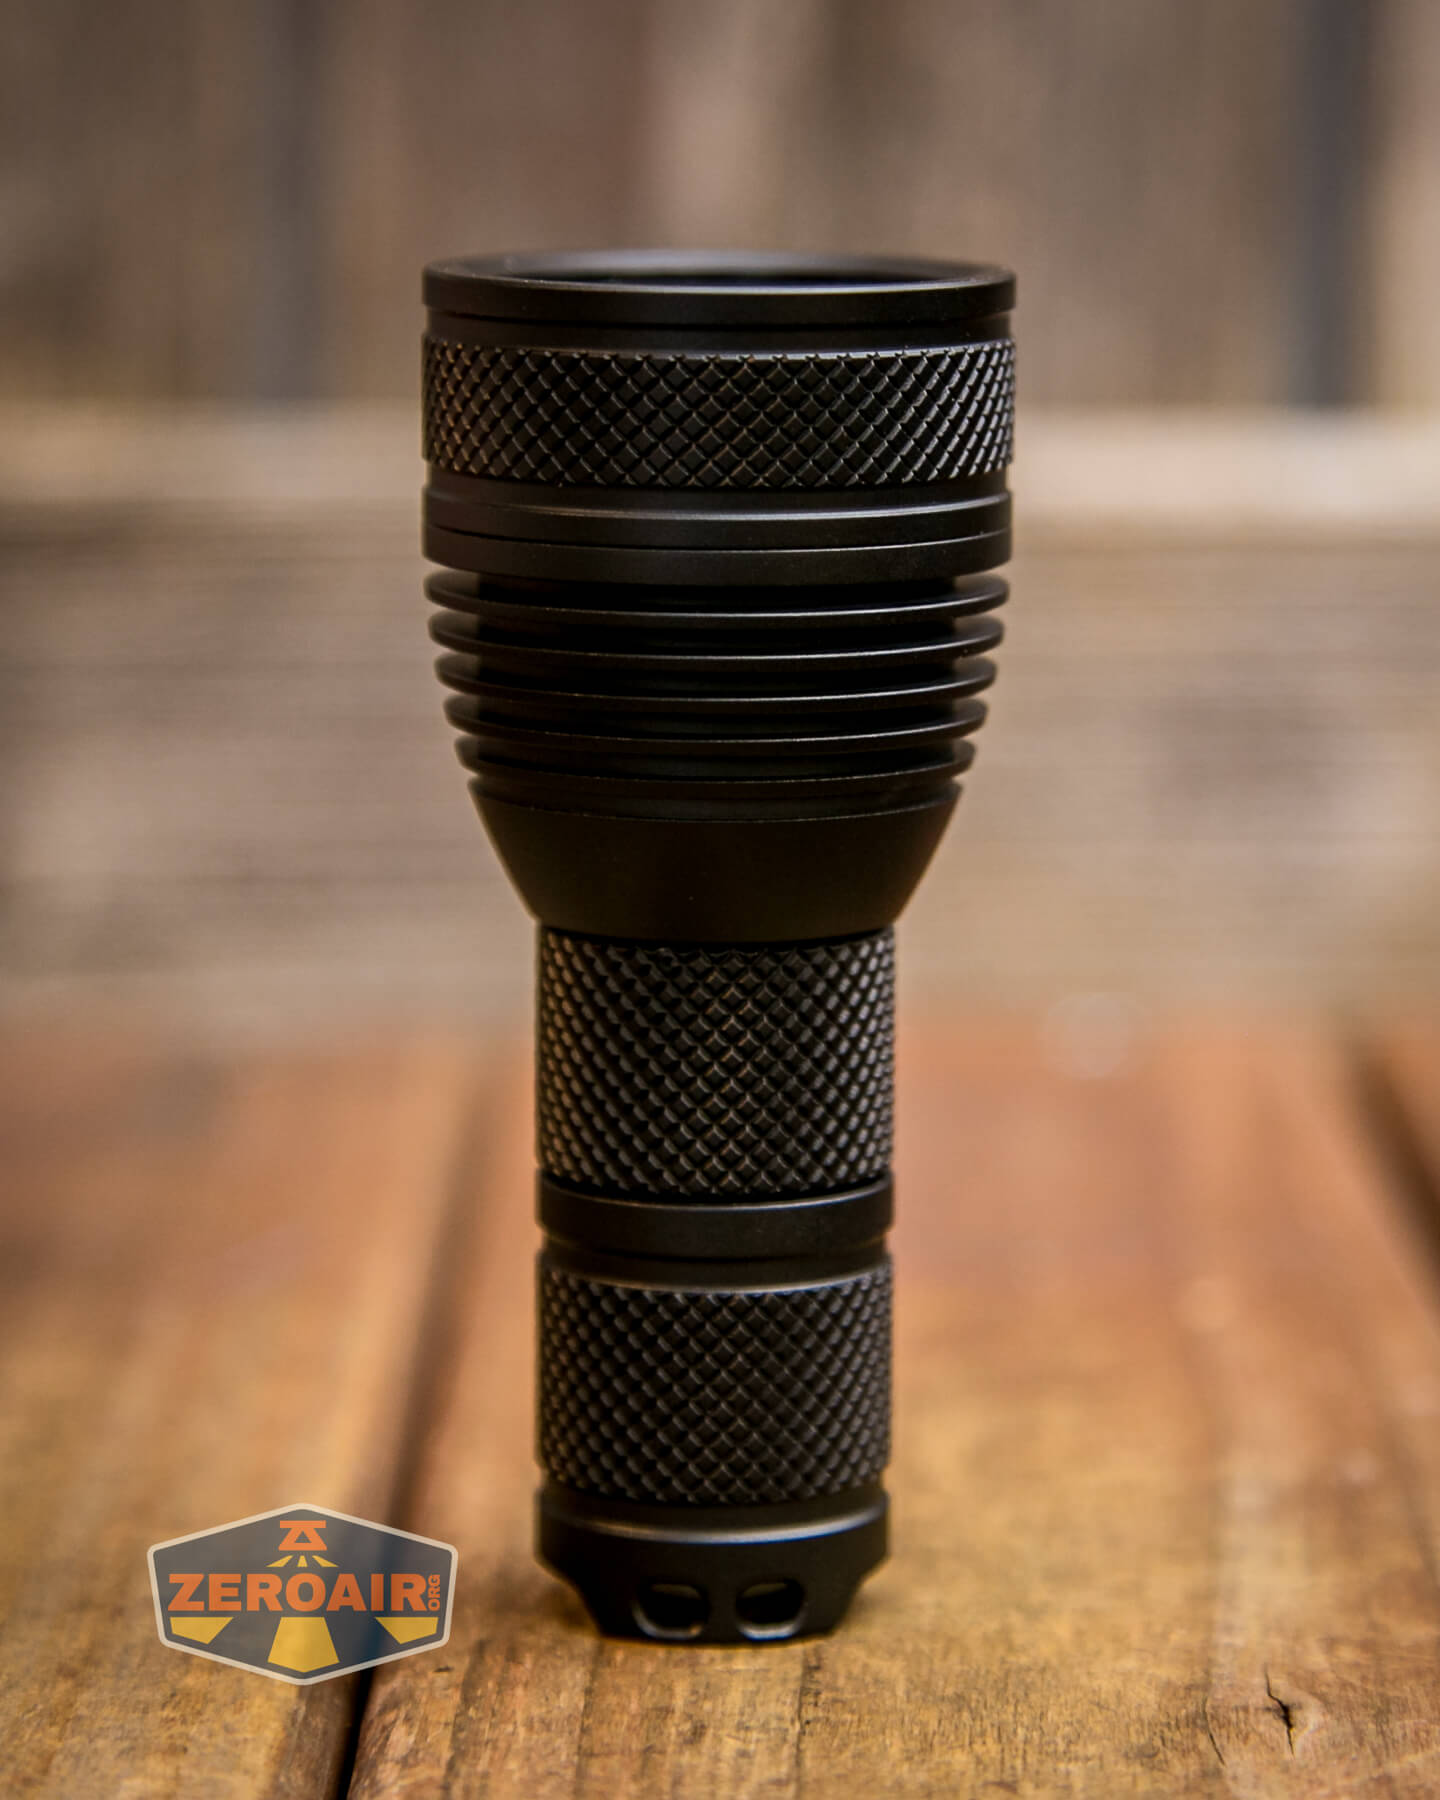
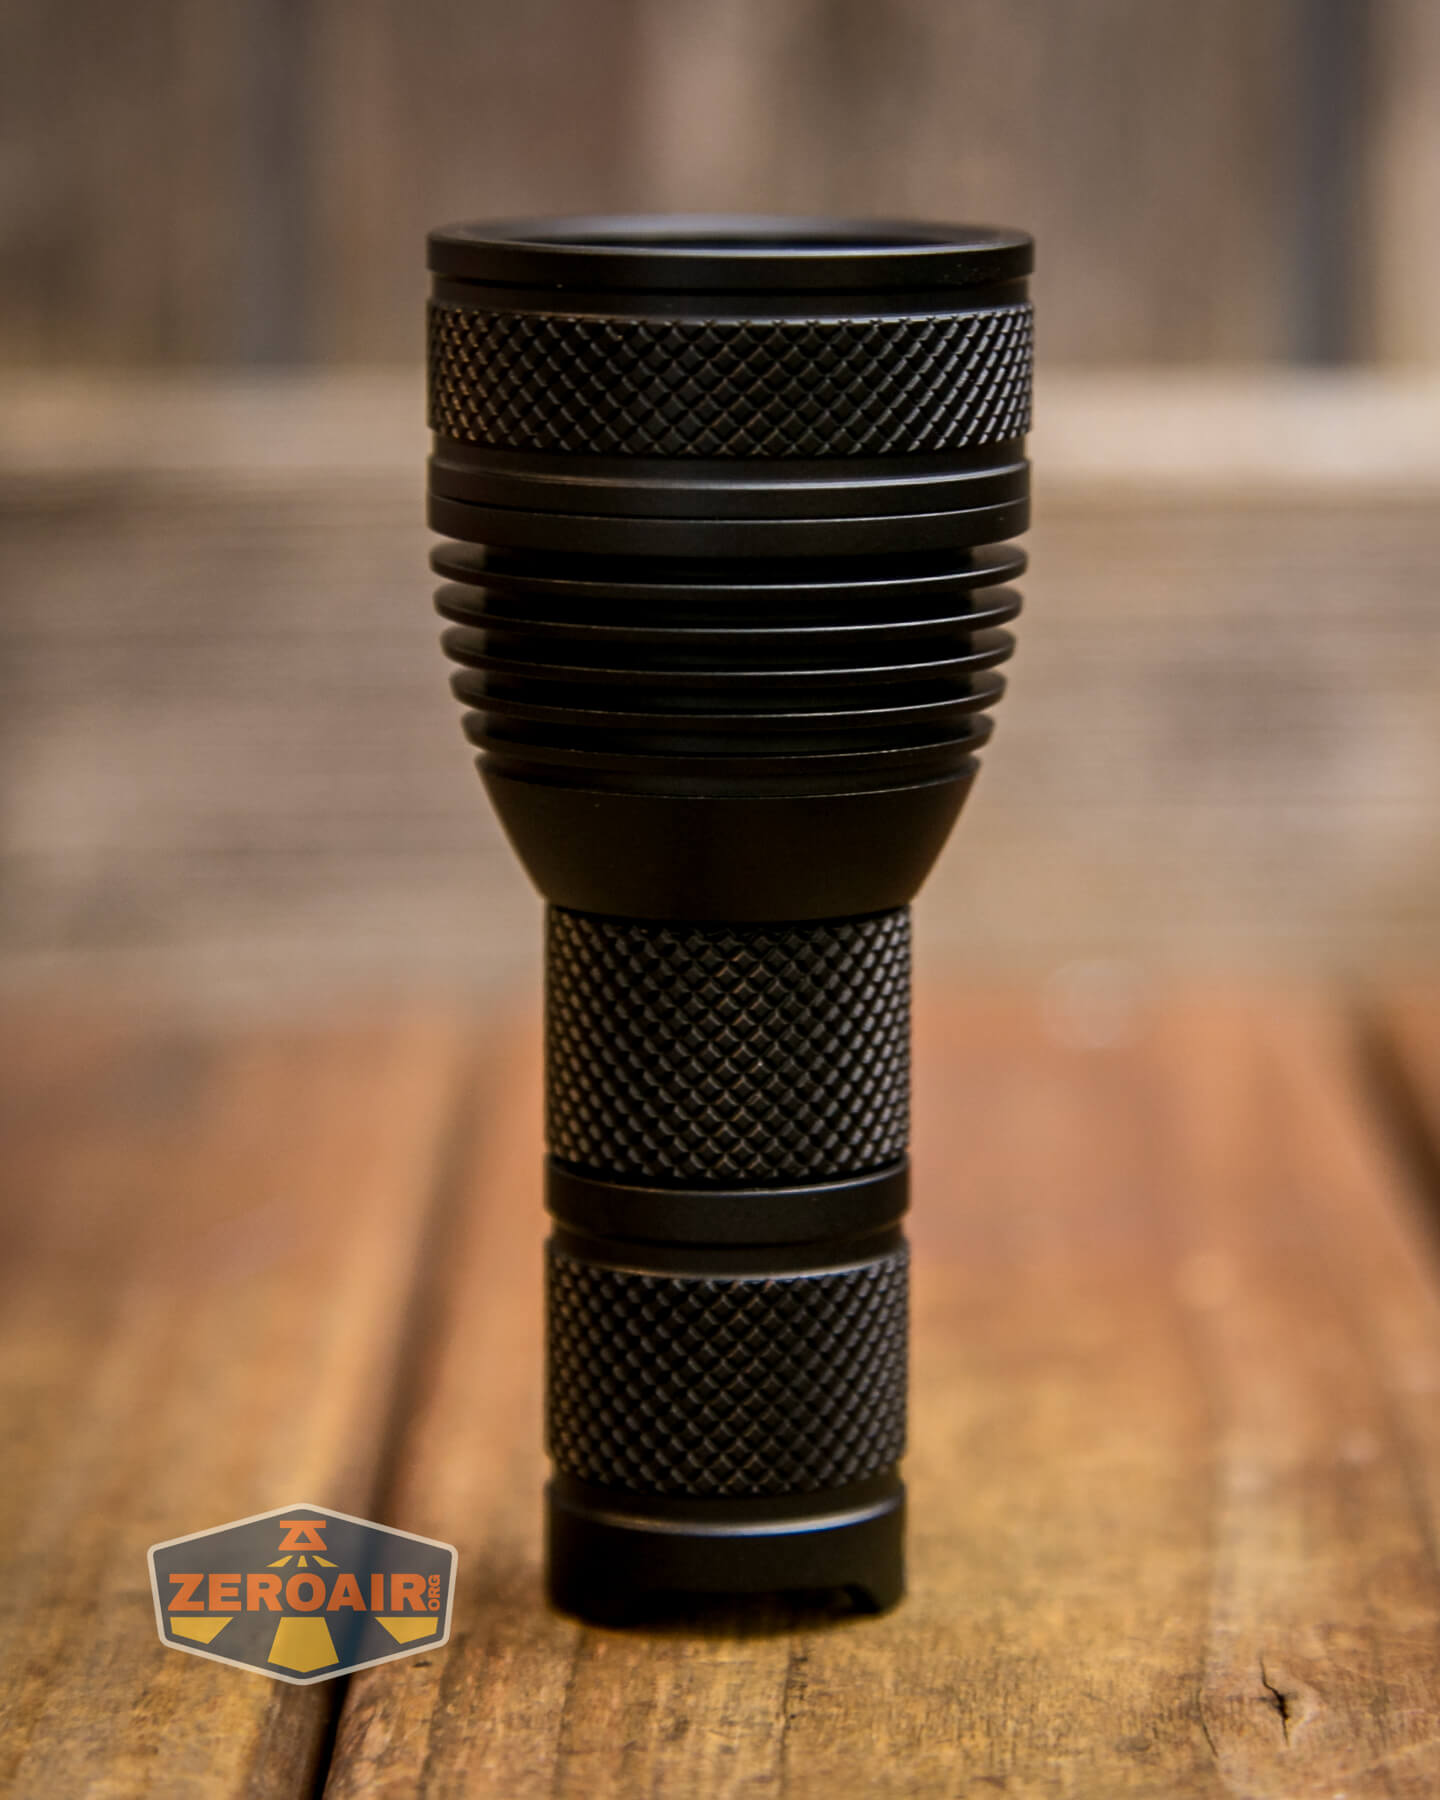
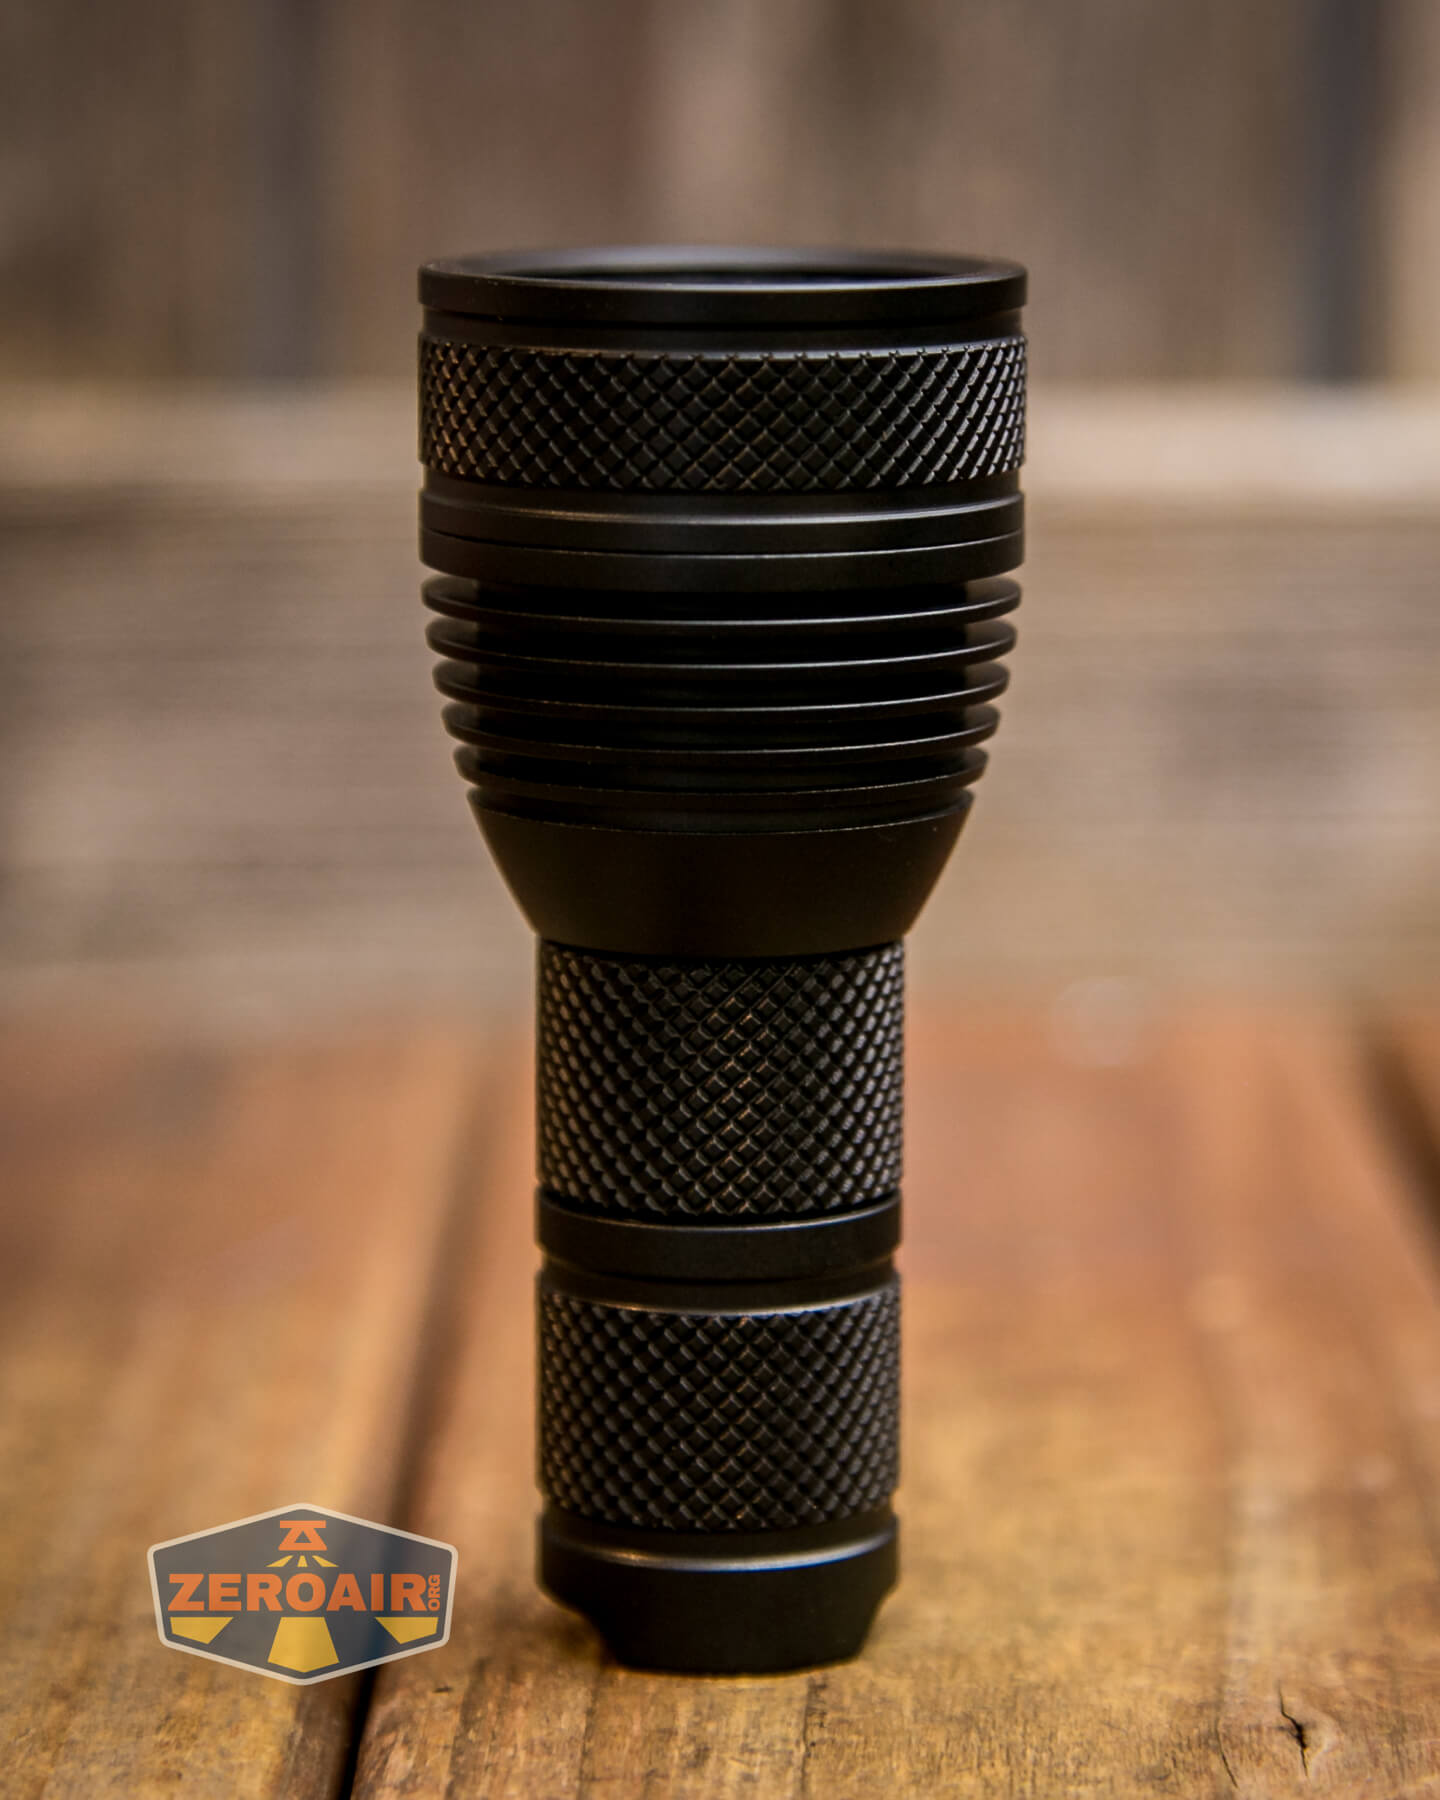
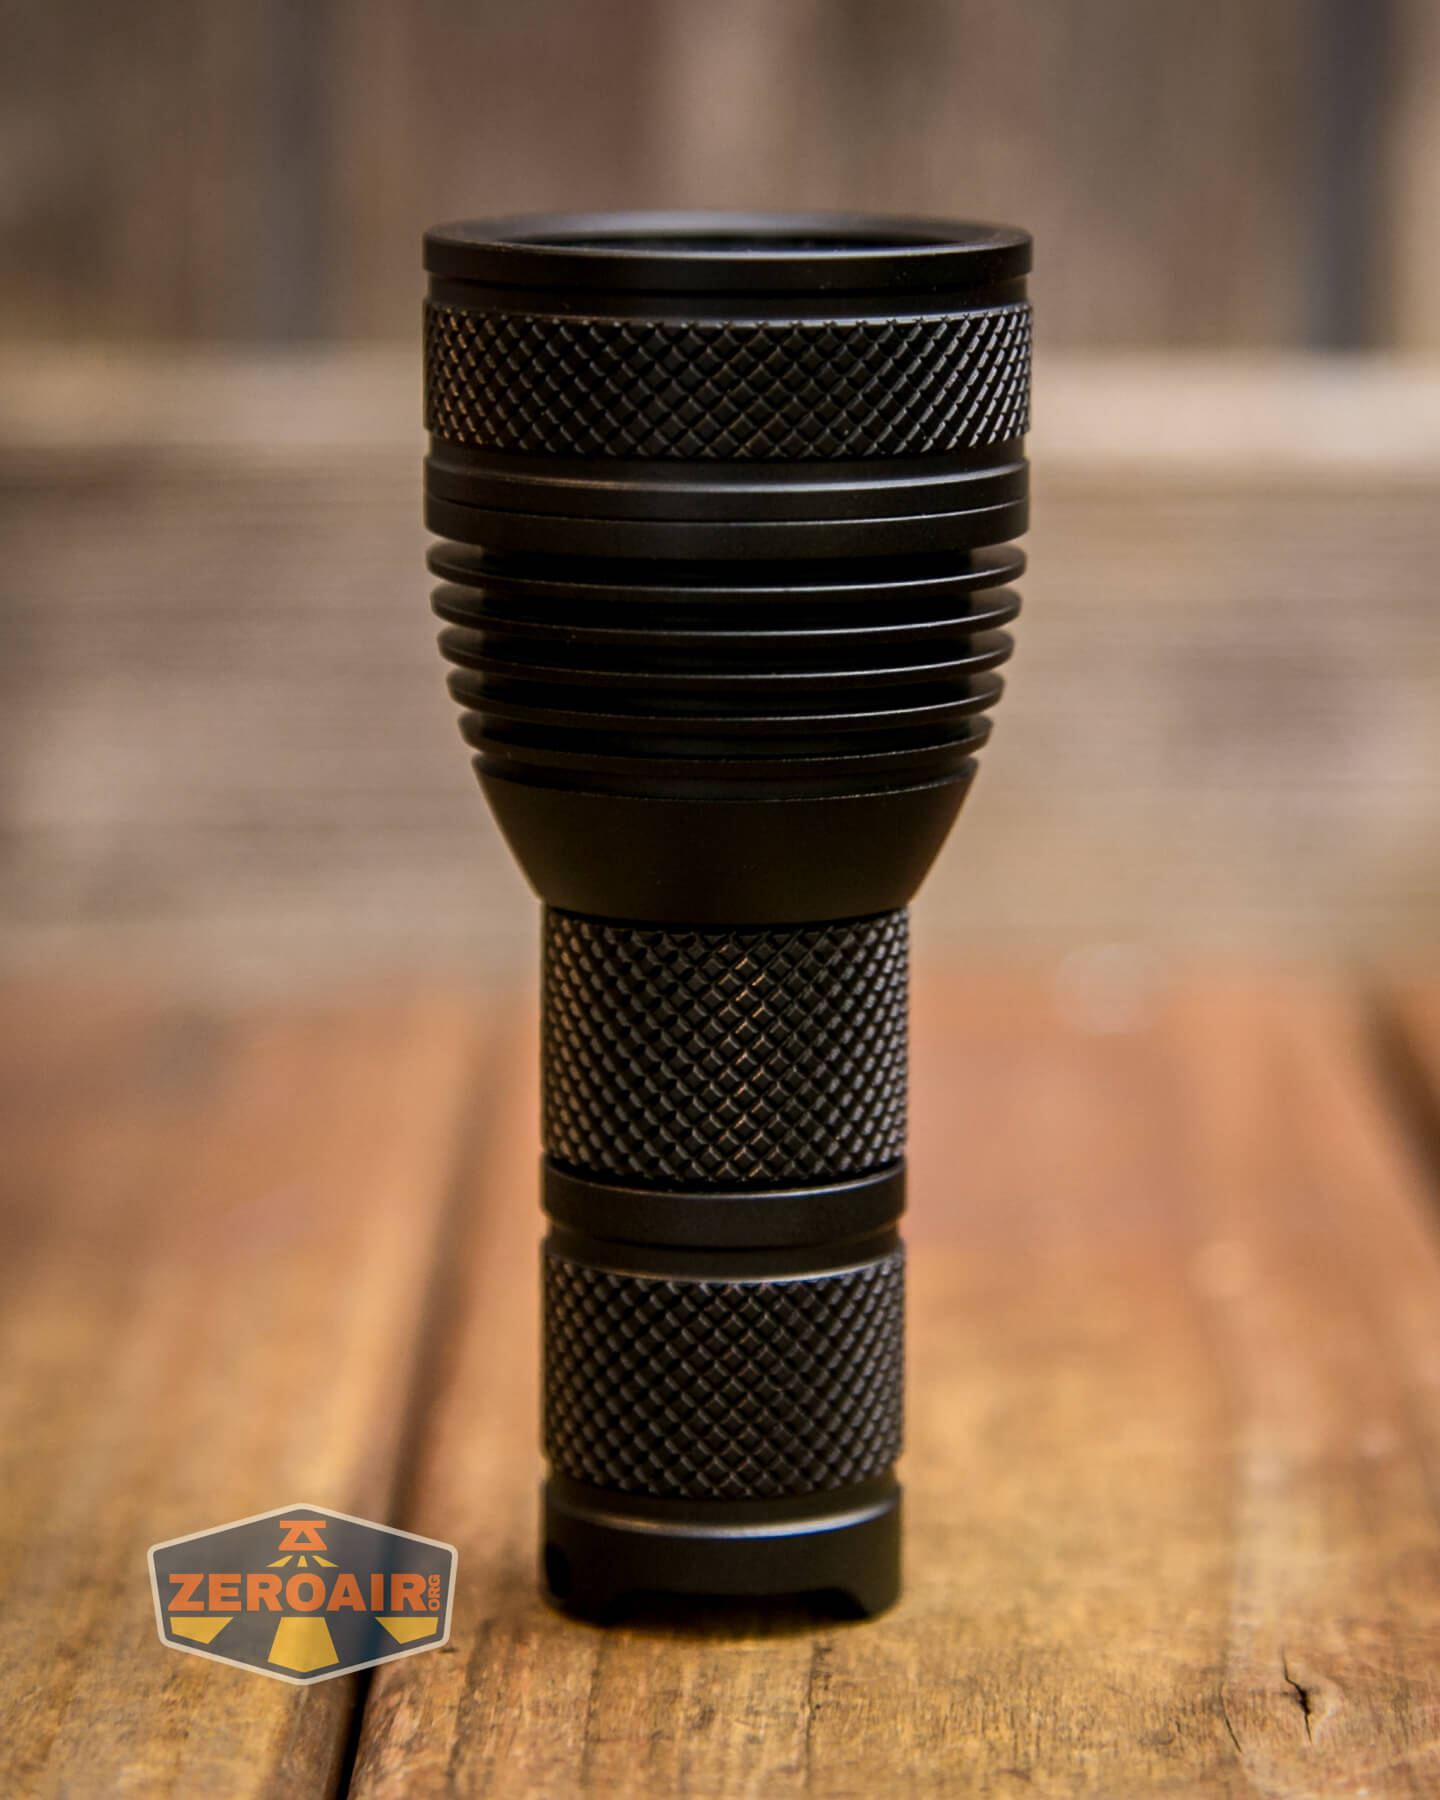
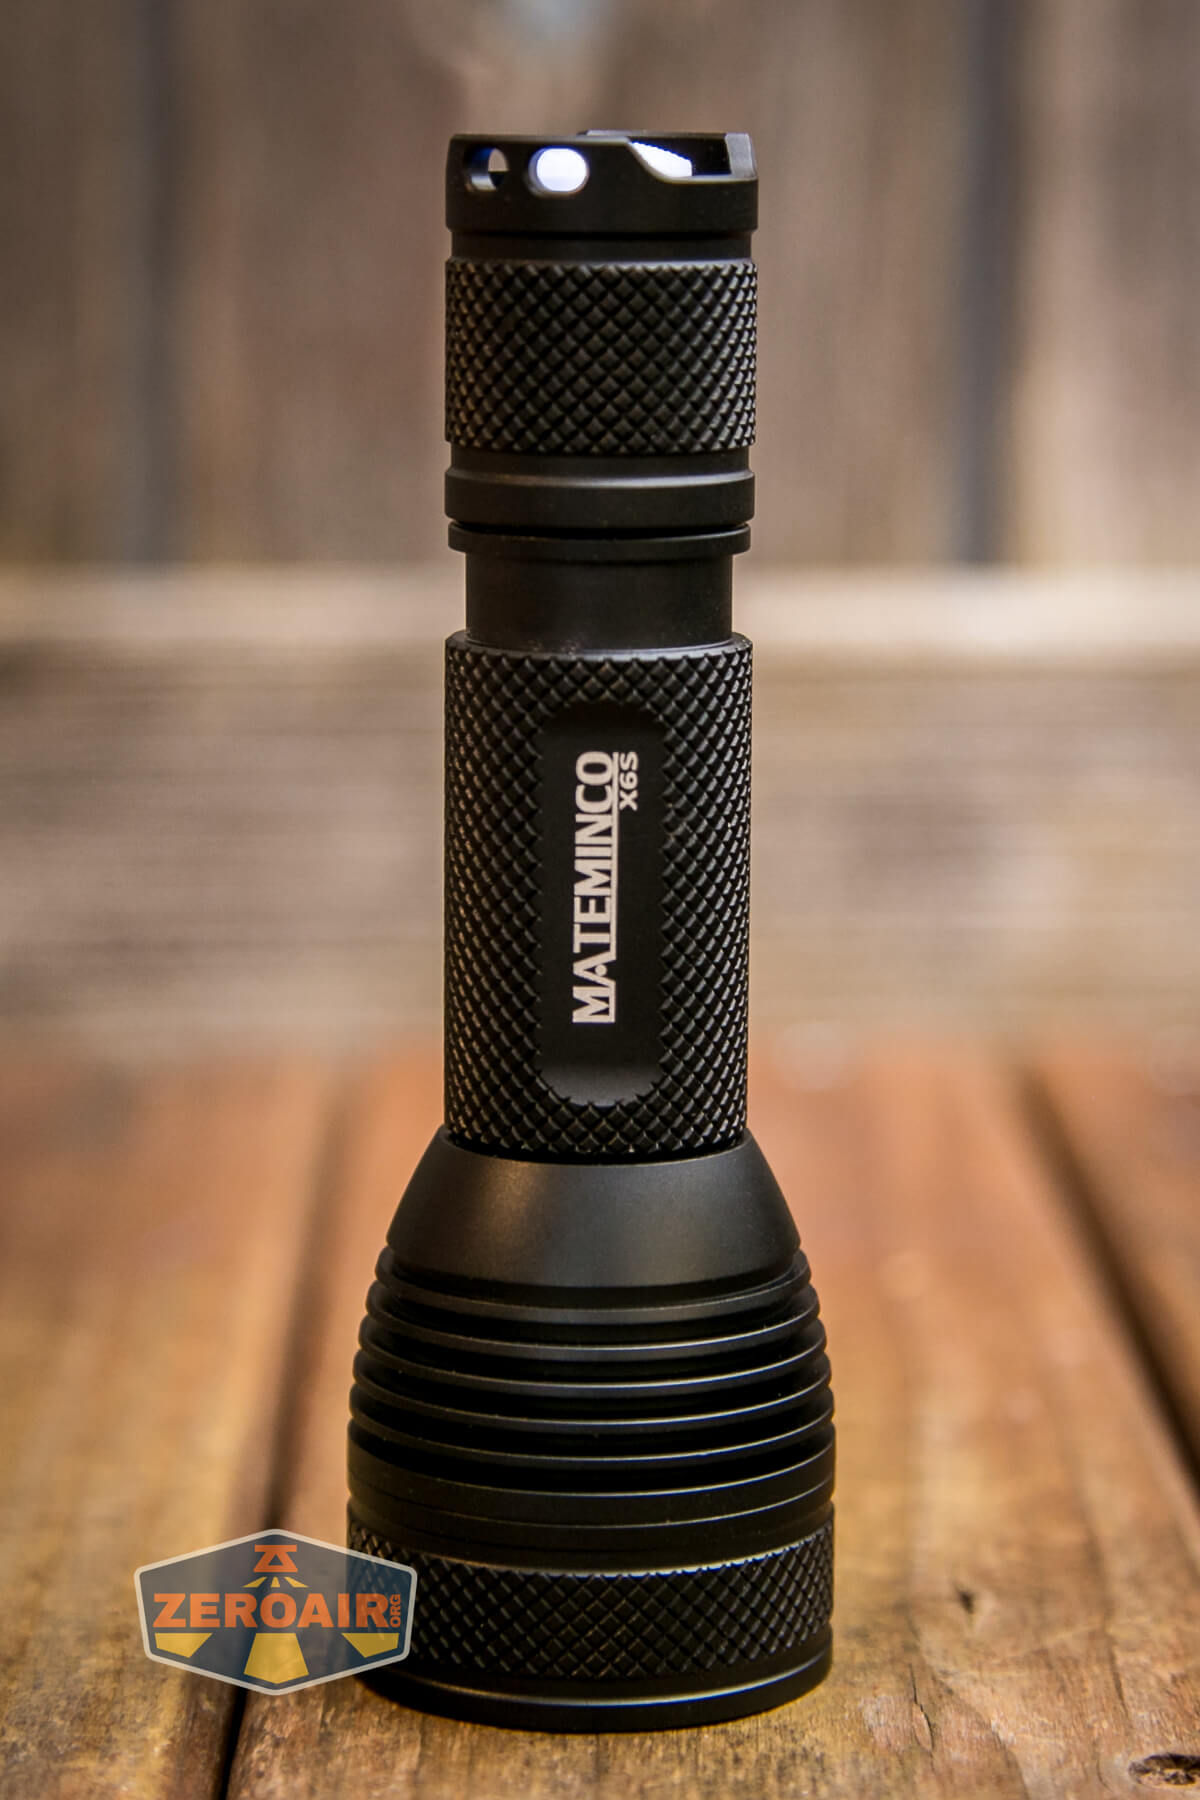
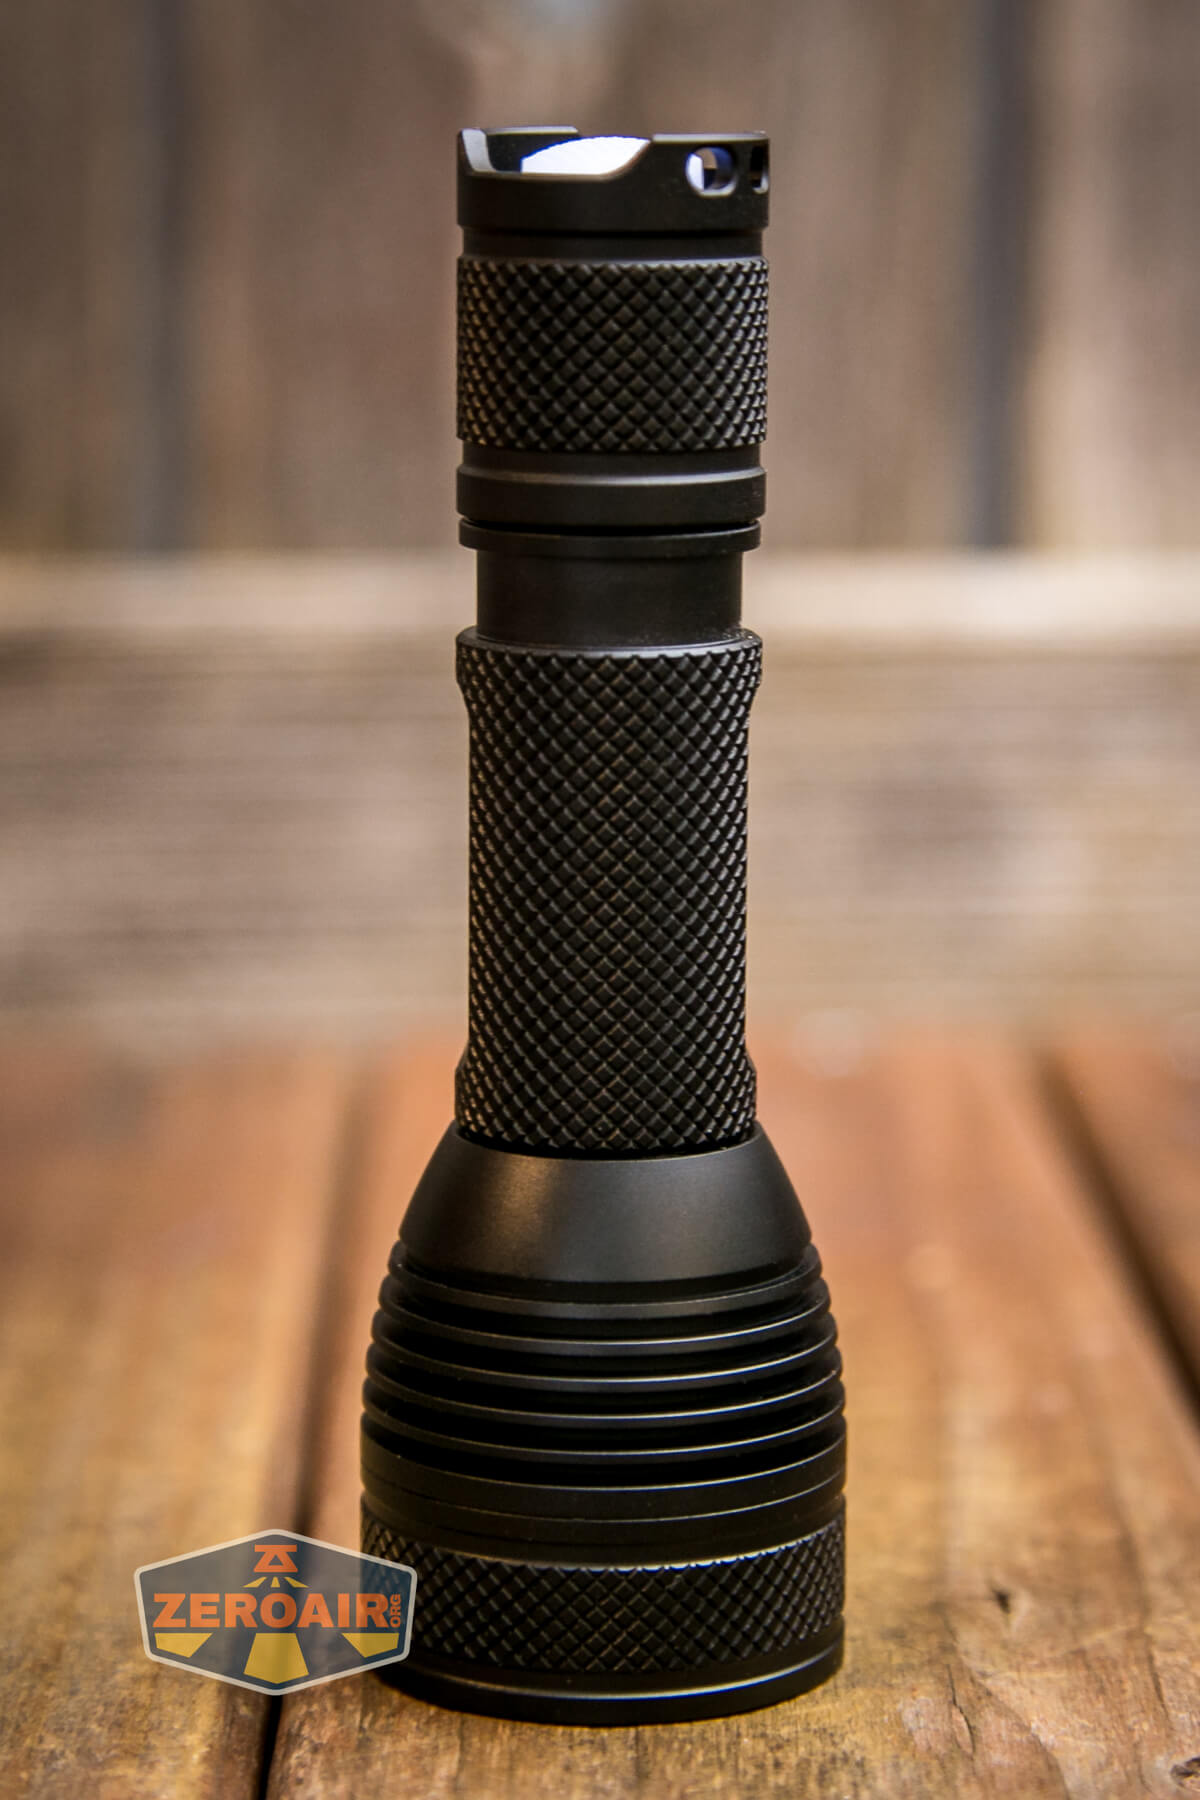
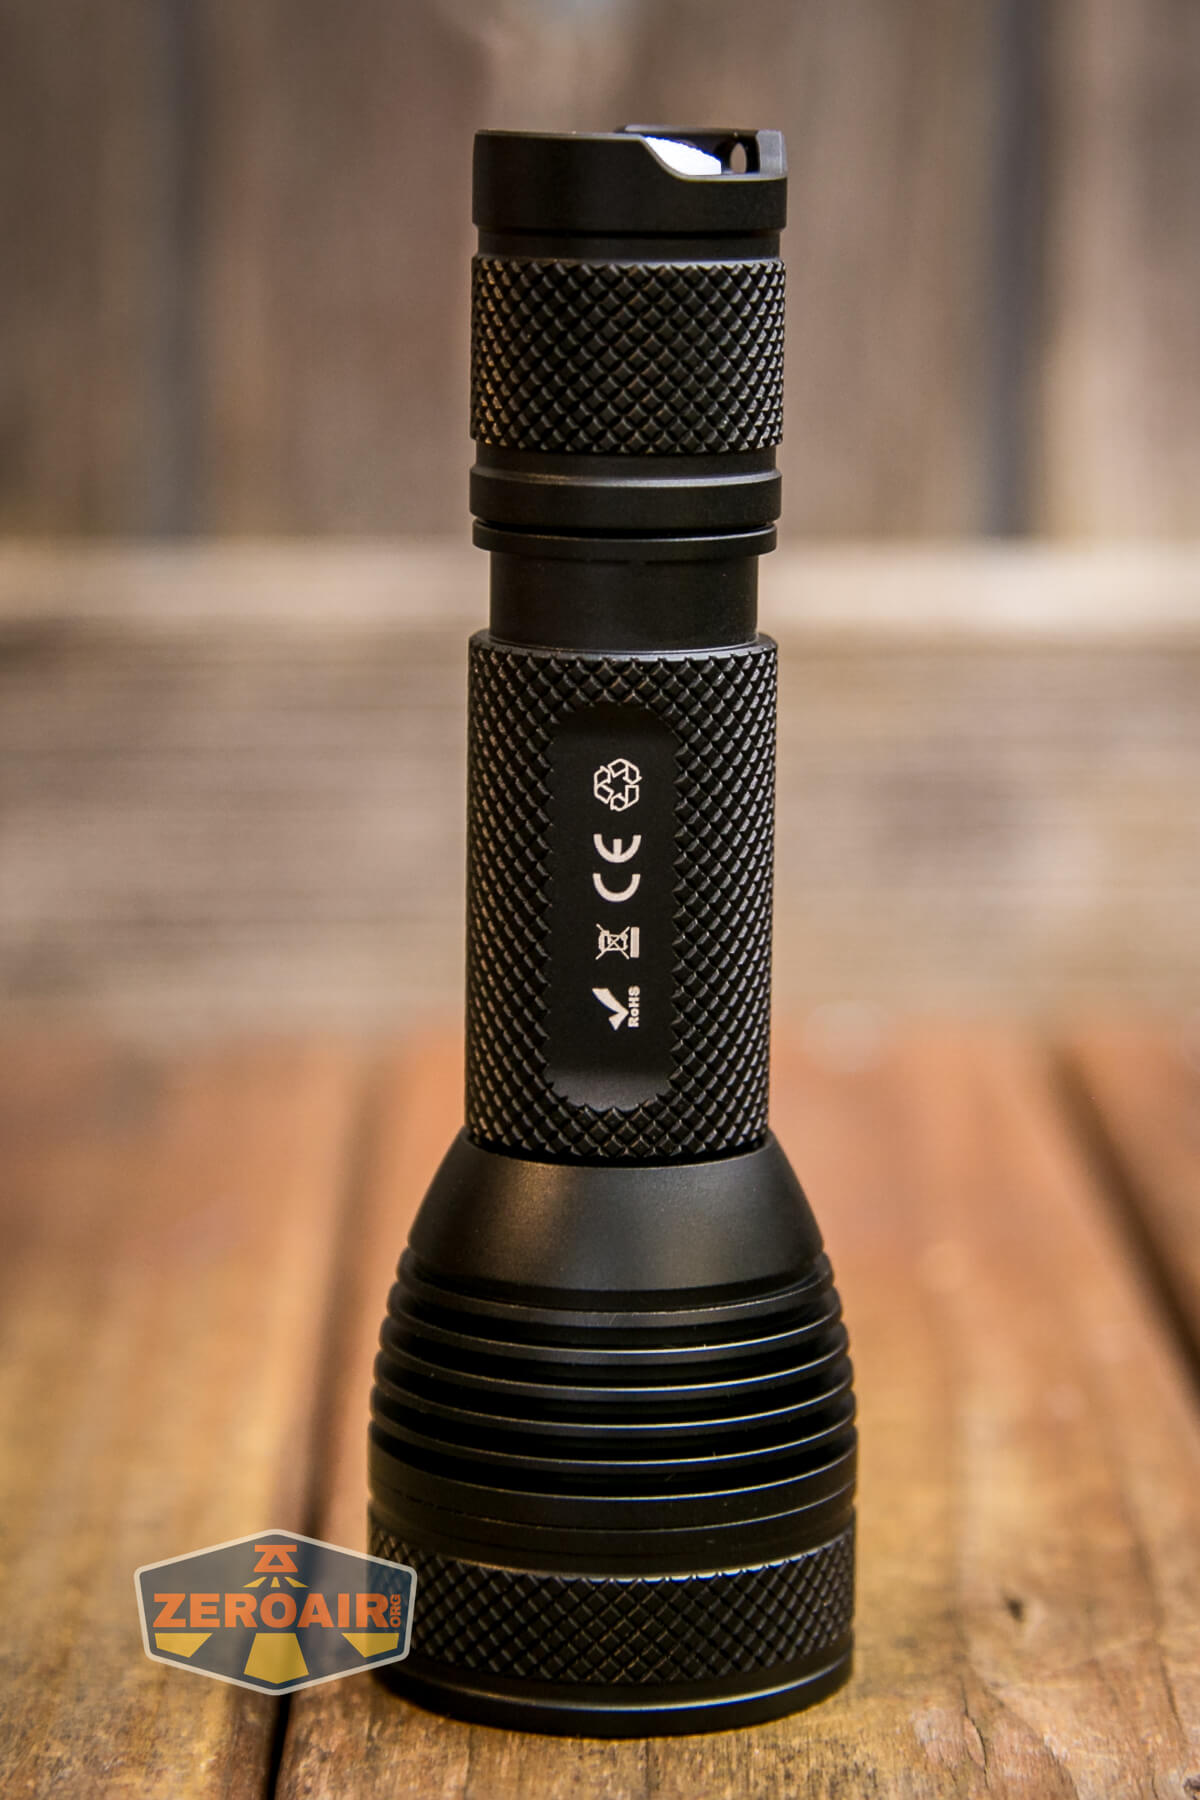
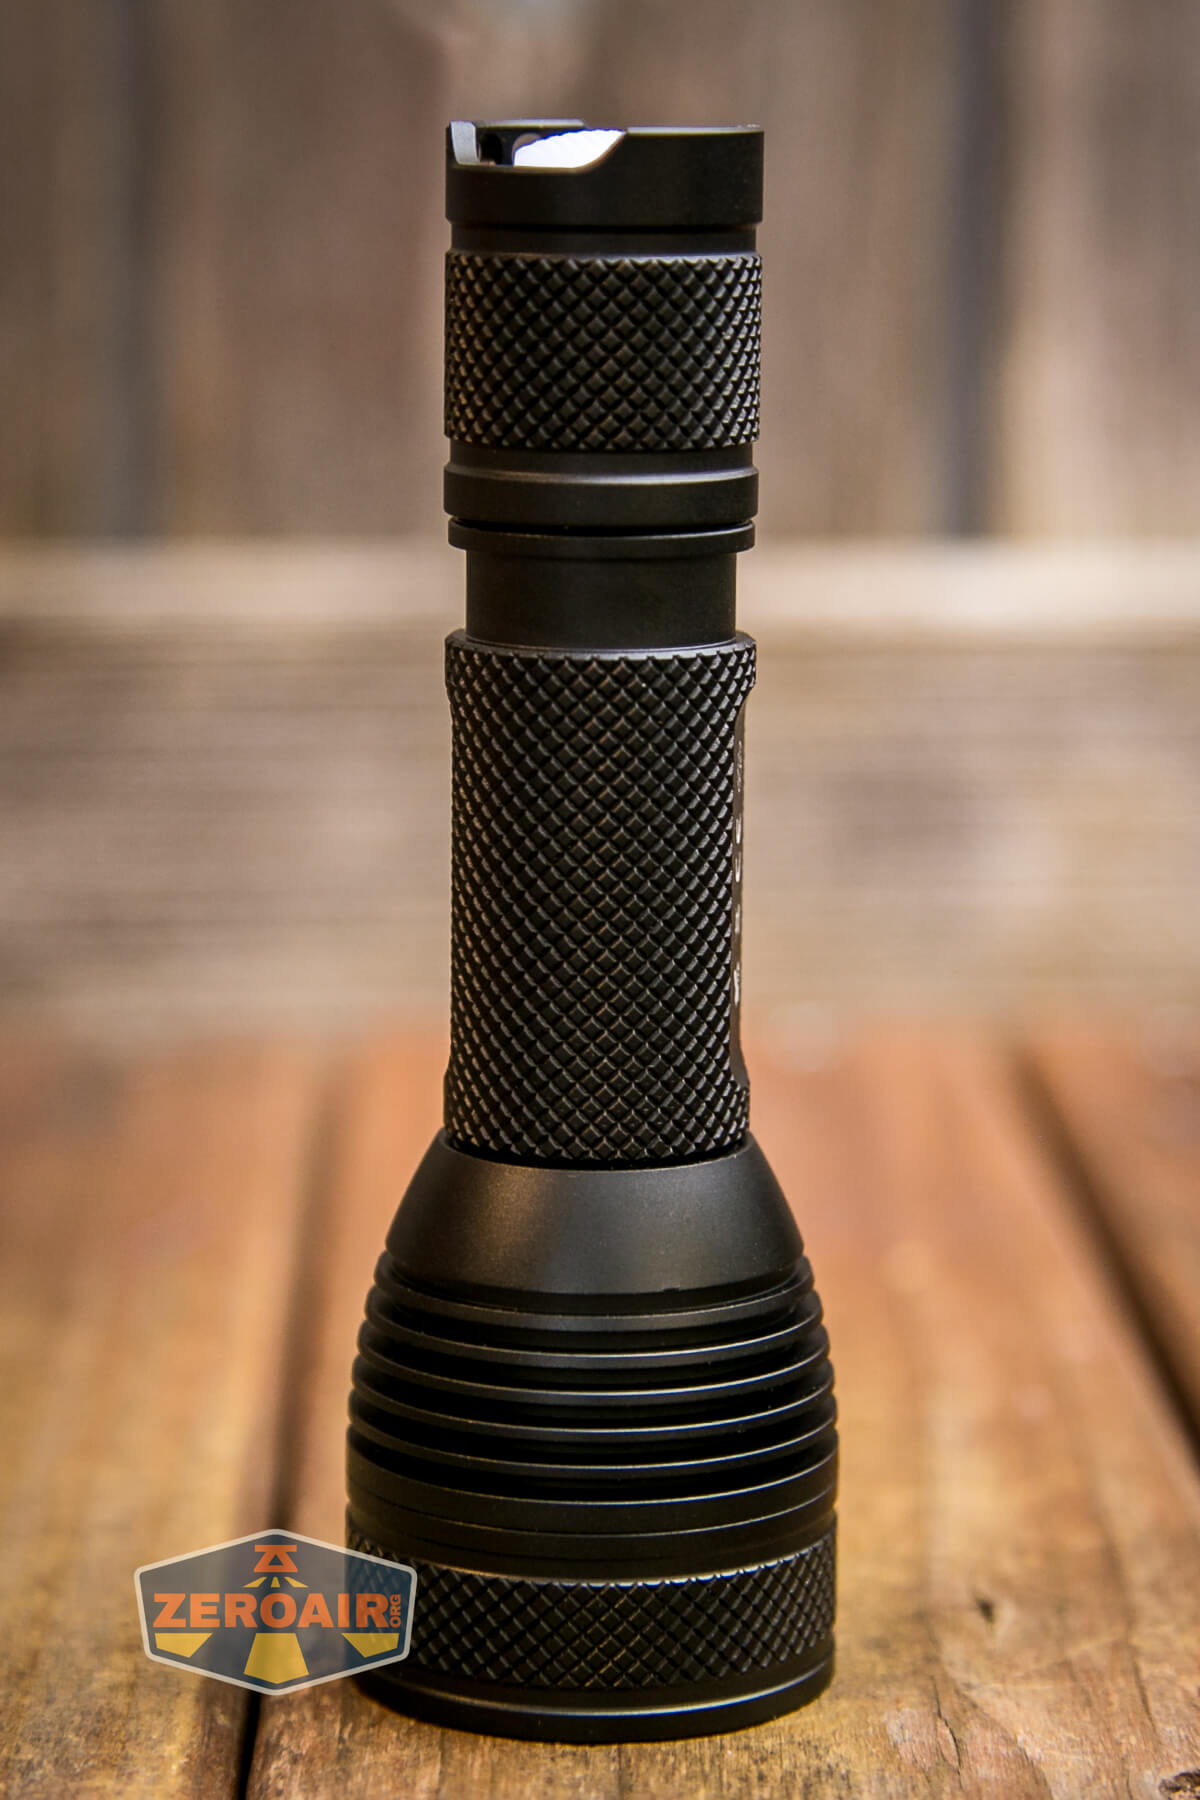
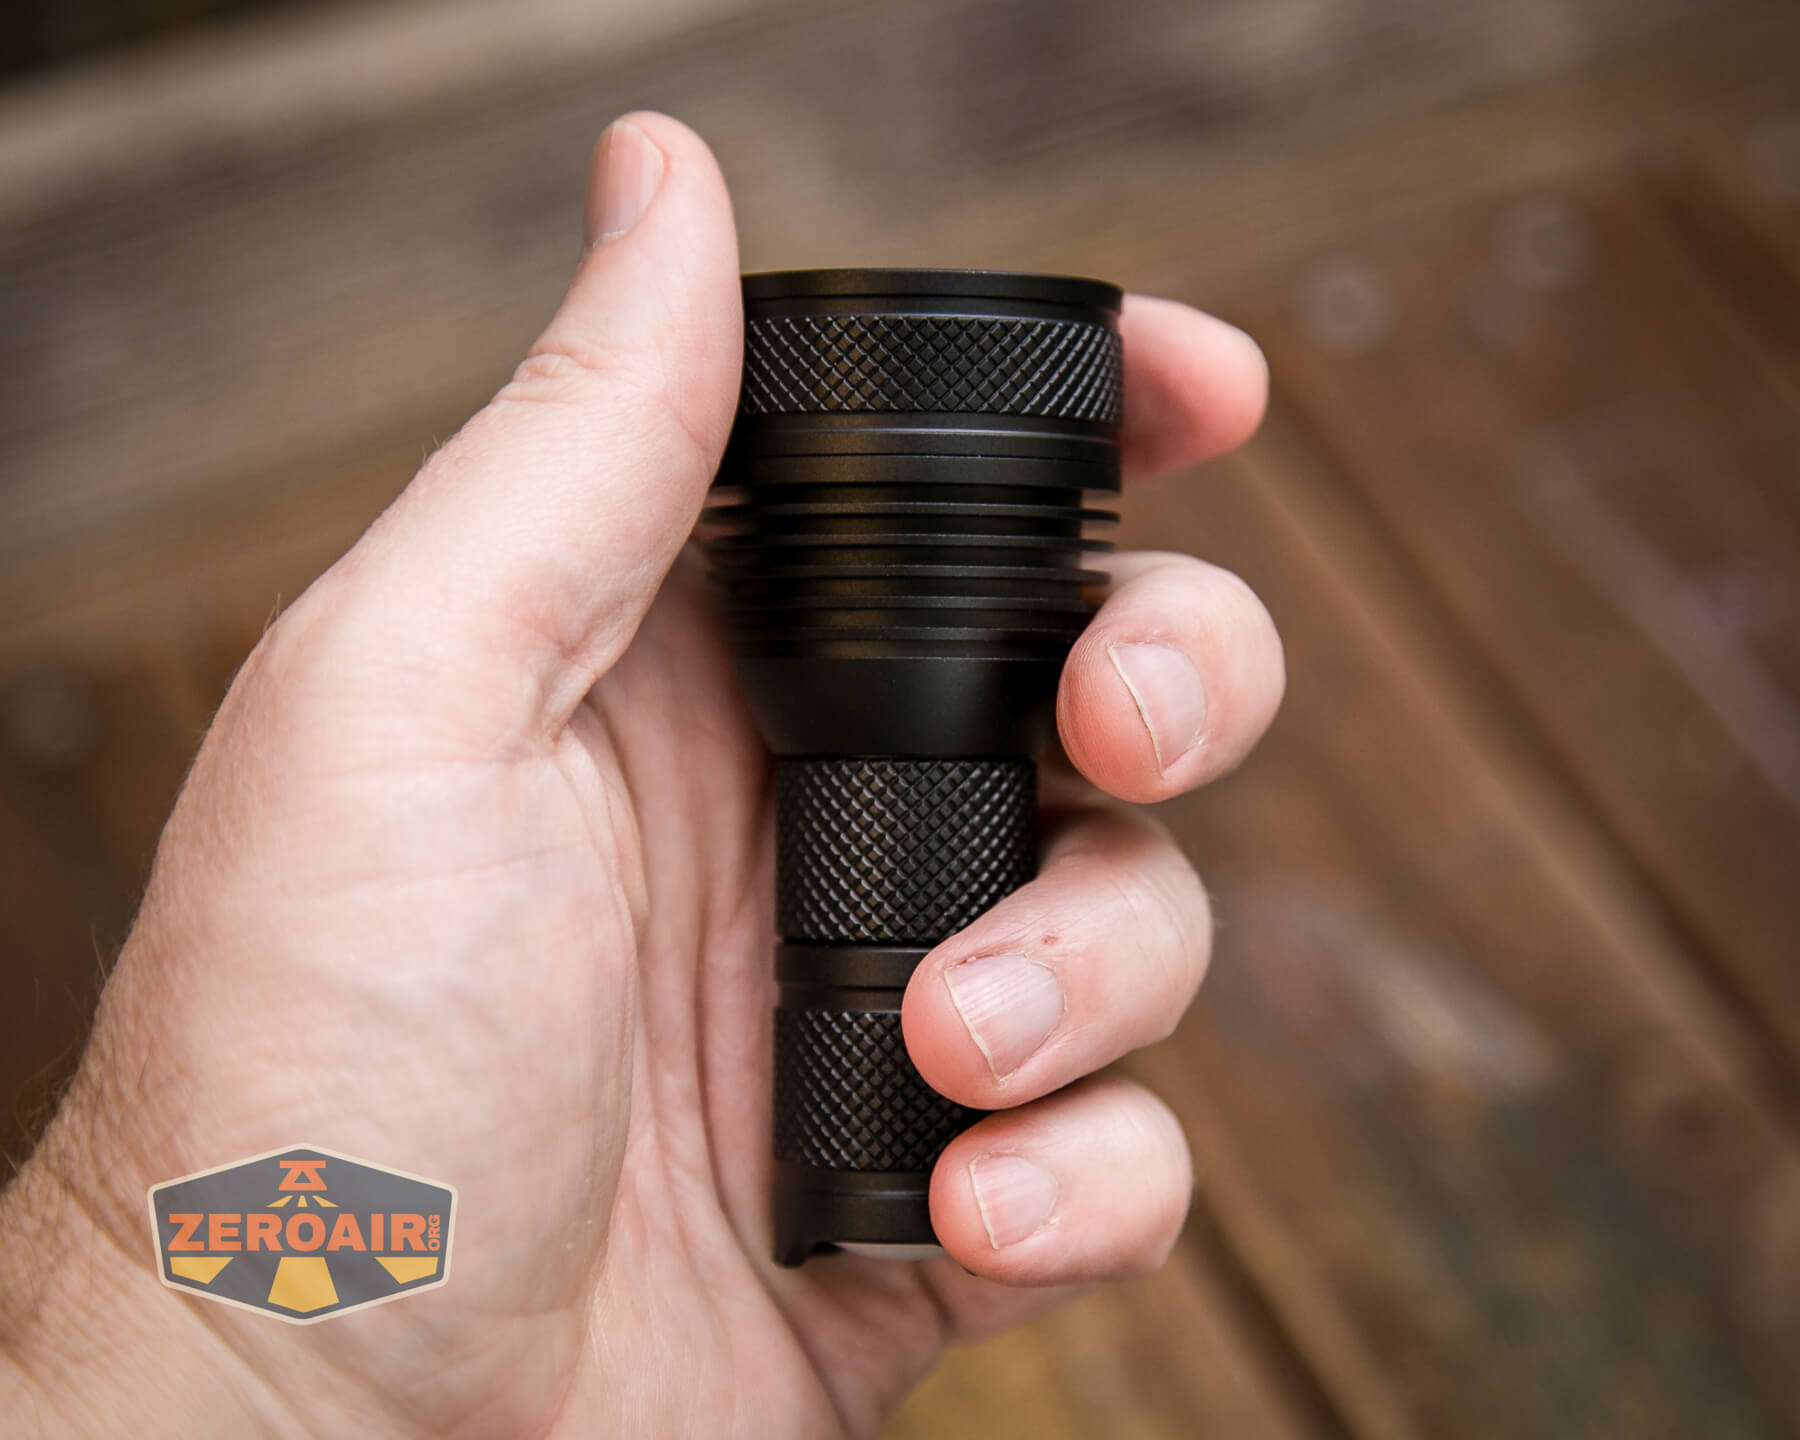
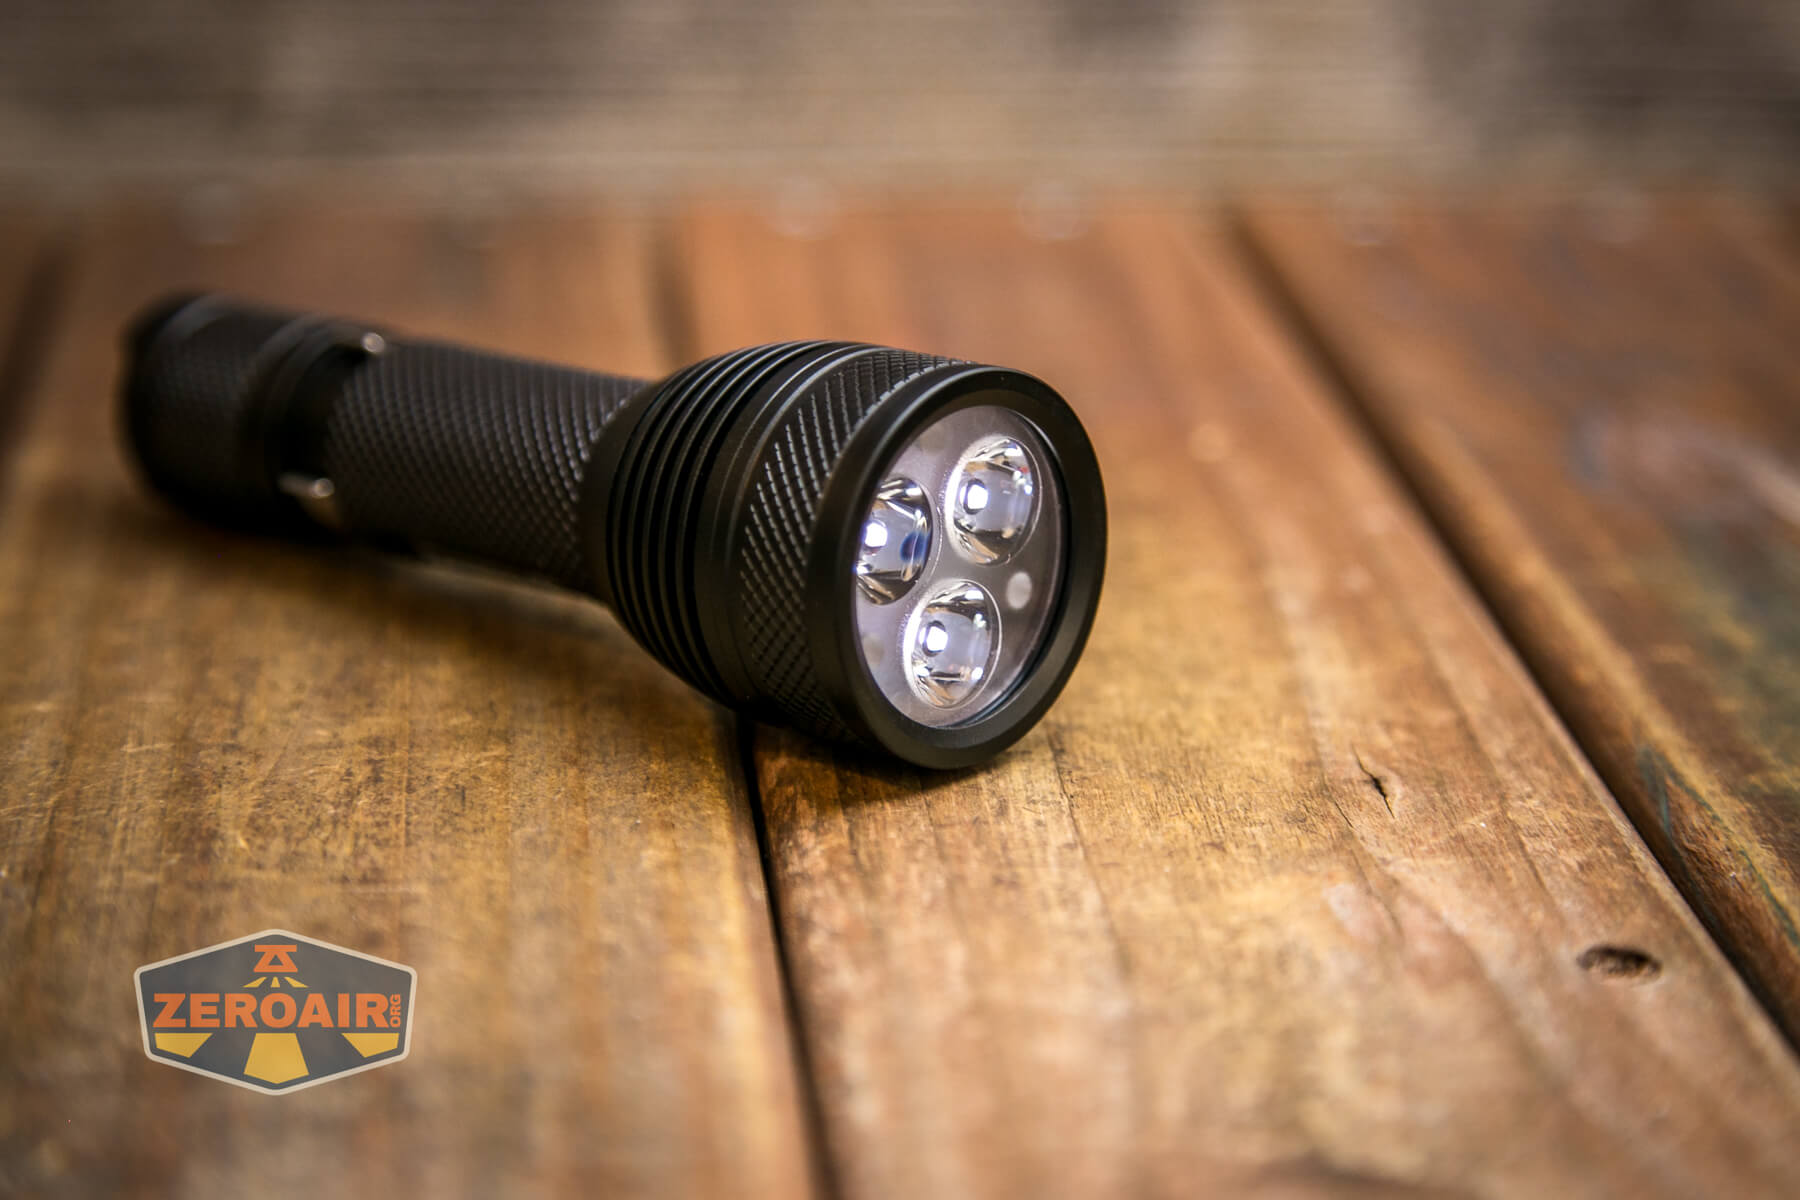
The head has some nice and fairly deep cooling fins. As you can see, the bezel has knurling, too.
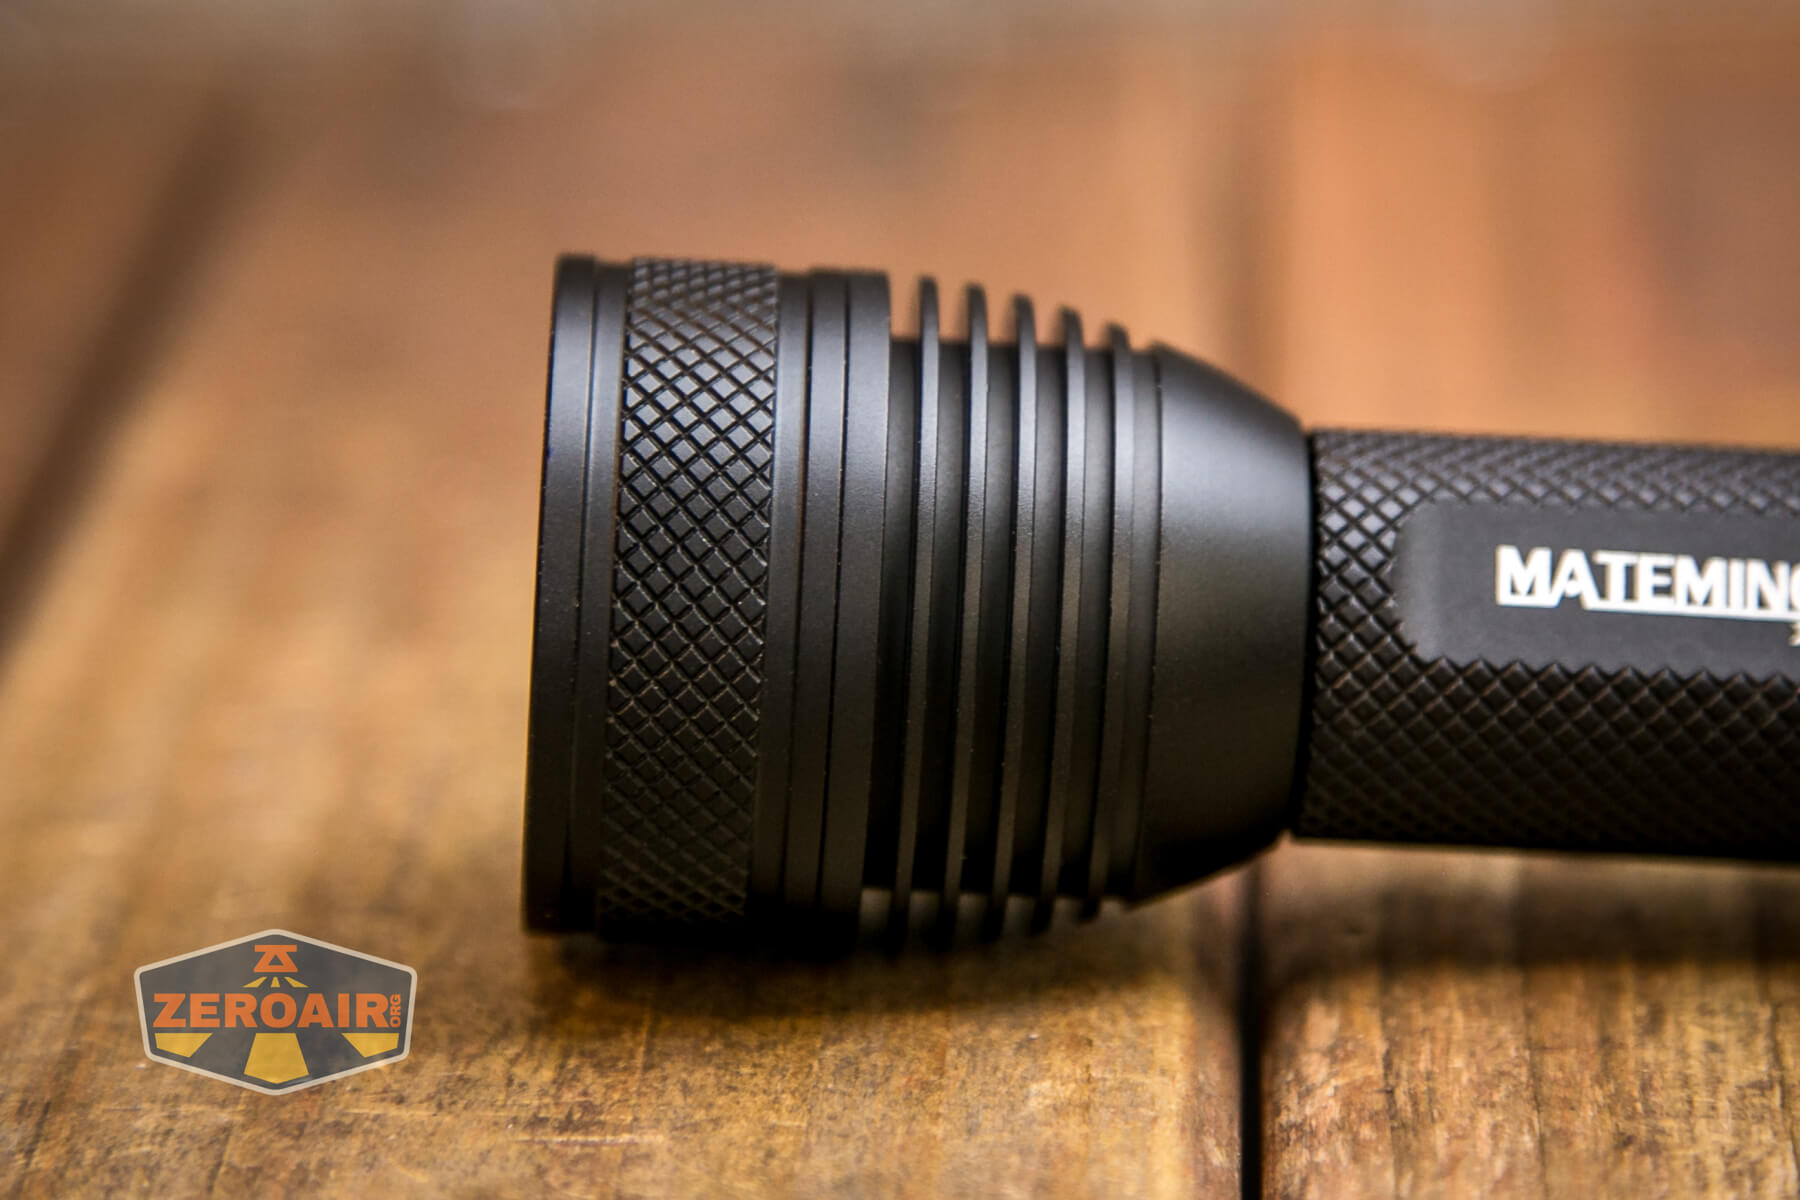
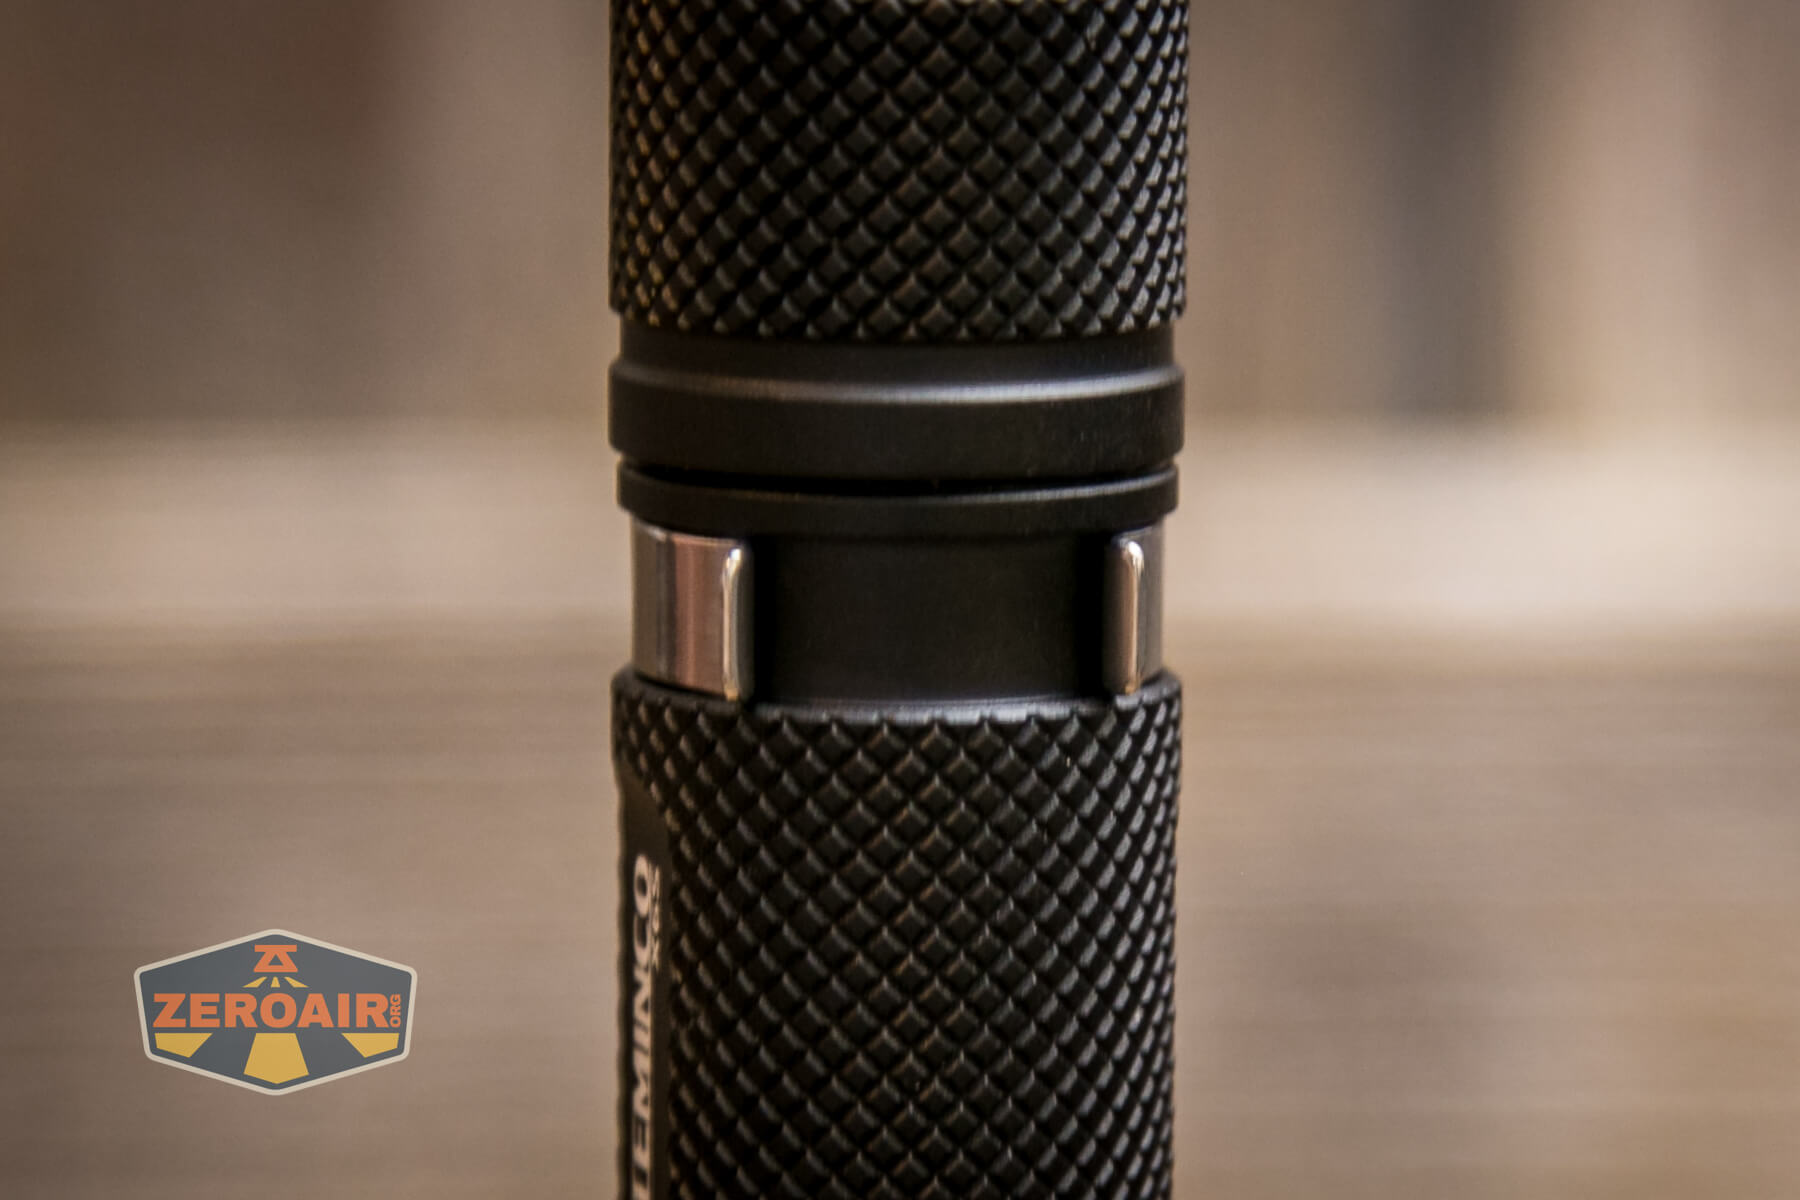
Both head and tail have beefy springs, allowing just about any type of (appropriate) cell to fit fine. The parts are also very accessible. If you need to tear the light down and change something, it’s very easy to do so.
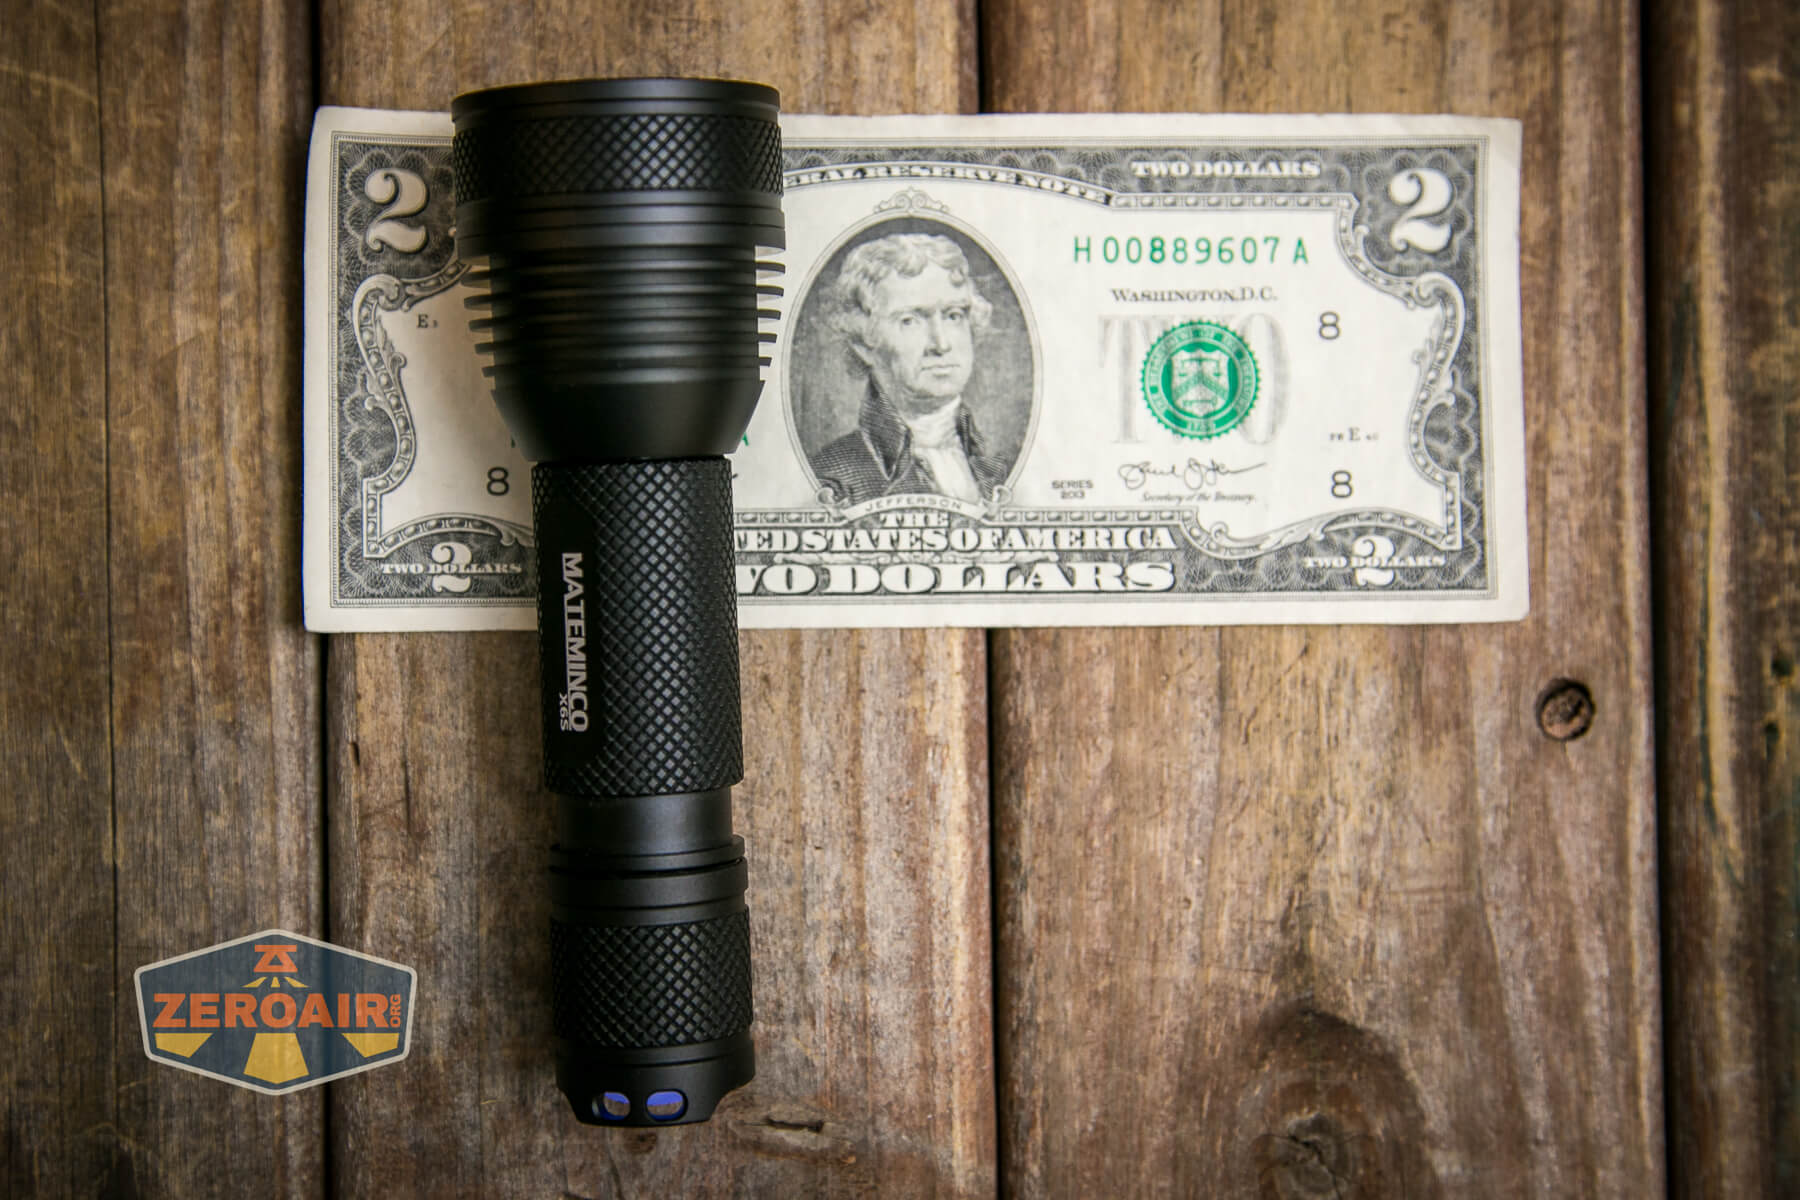
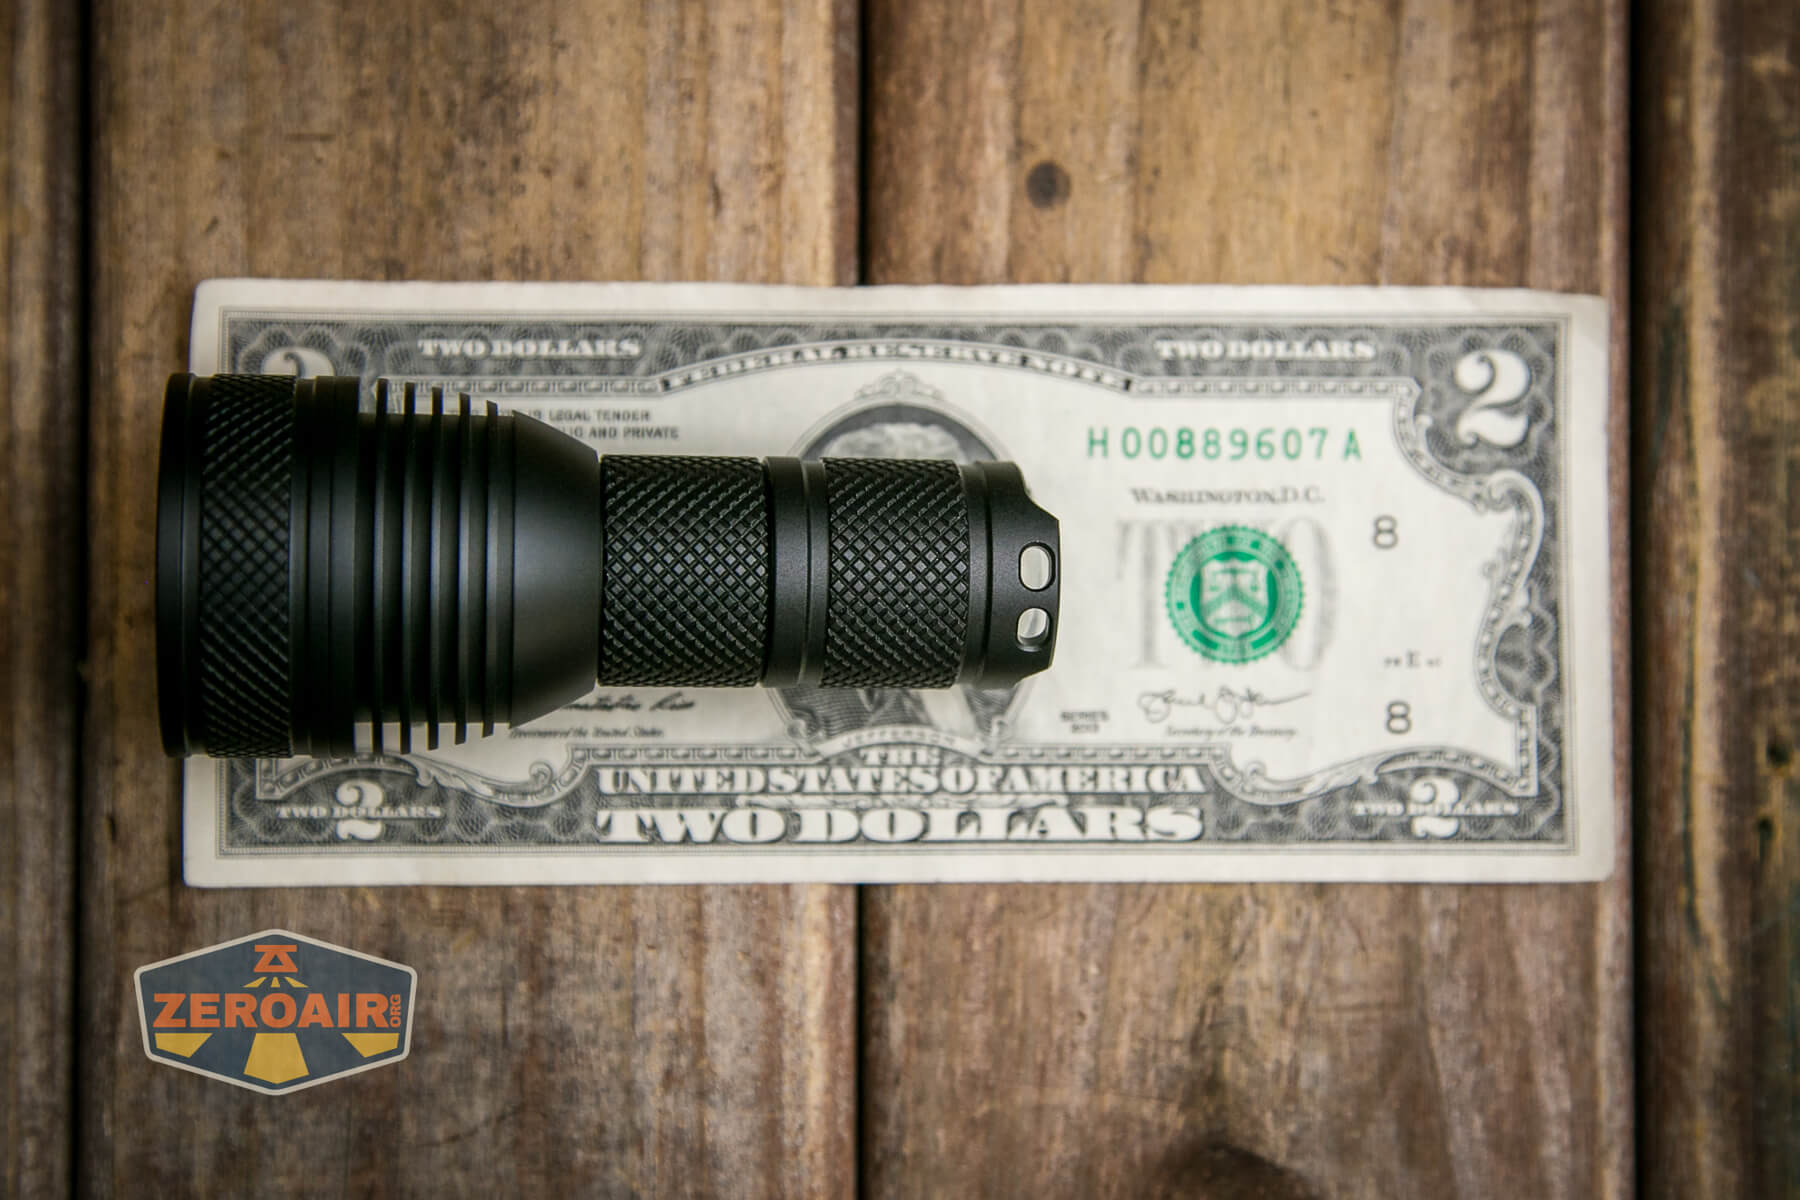
Size and Comps
129.6mm x 40mm(18650); 123g
92mm x 40mm(18350); 111g

If the flashlight will headstand, I’ll try to show it here. If the flashlight will tailstand, I usually show that here, too.

Here’s the test light with the venerable Convoy S2+. Mine is a custom “baked” edition Nichia 219b triple. A very nice 18650 light!
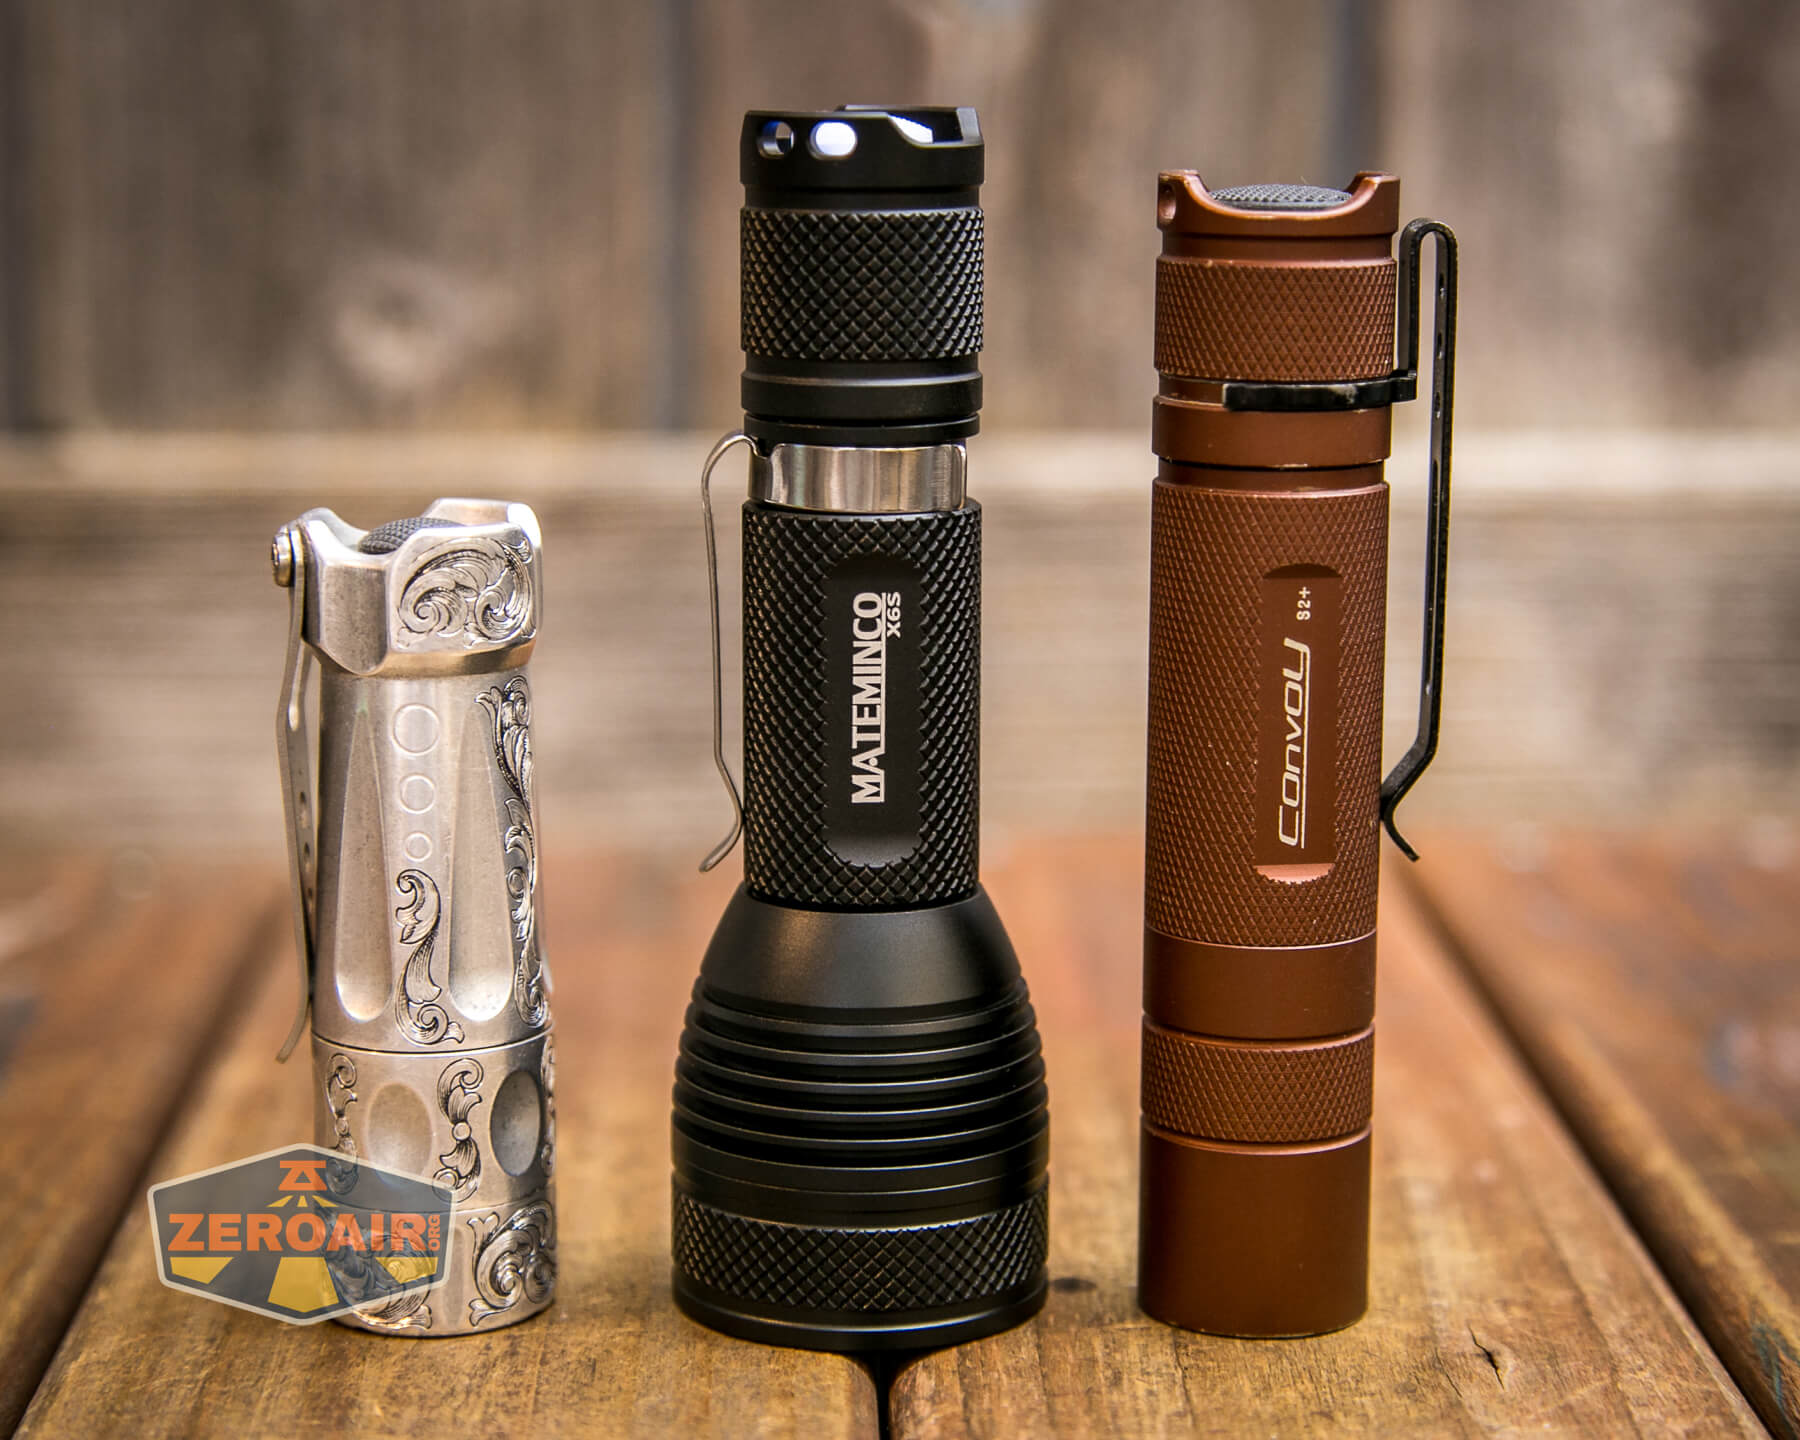
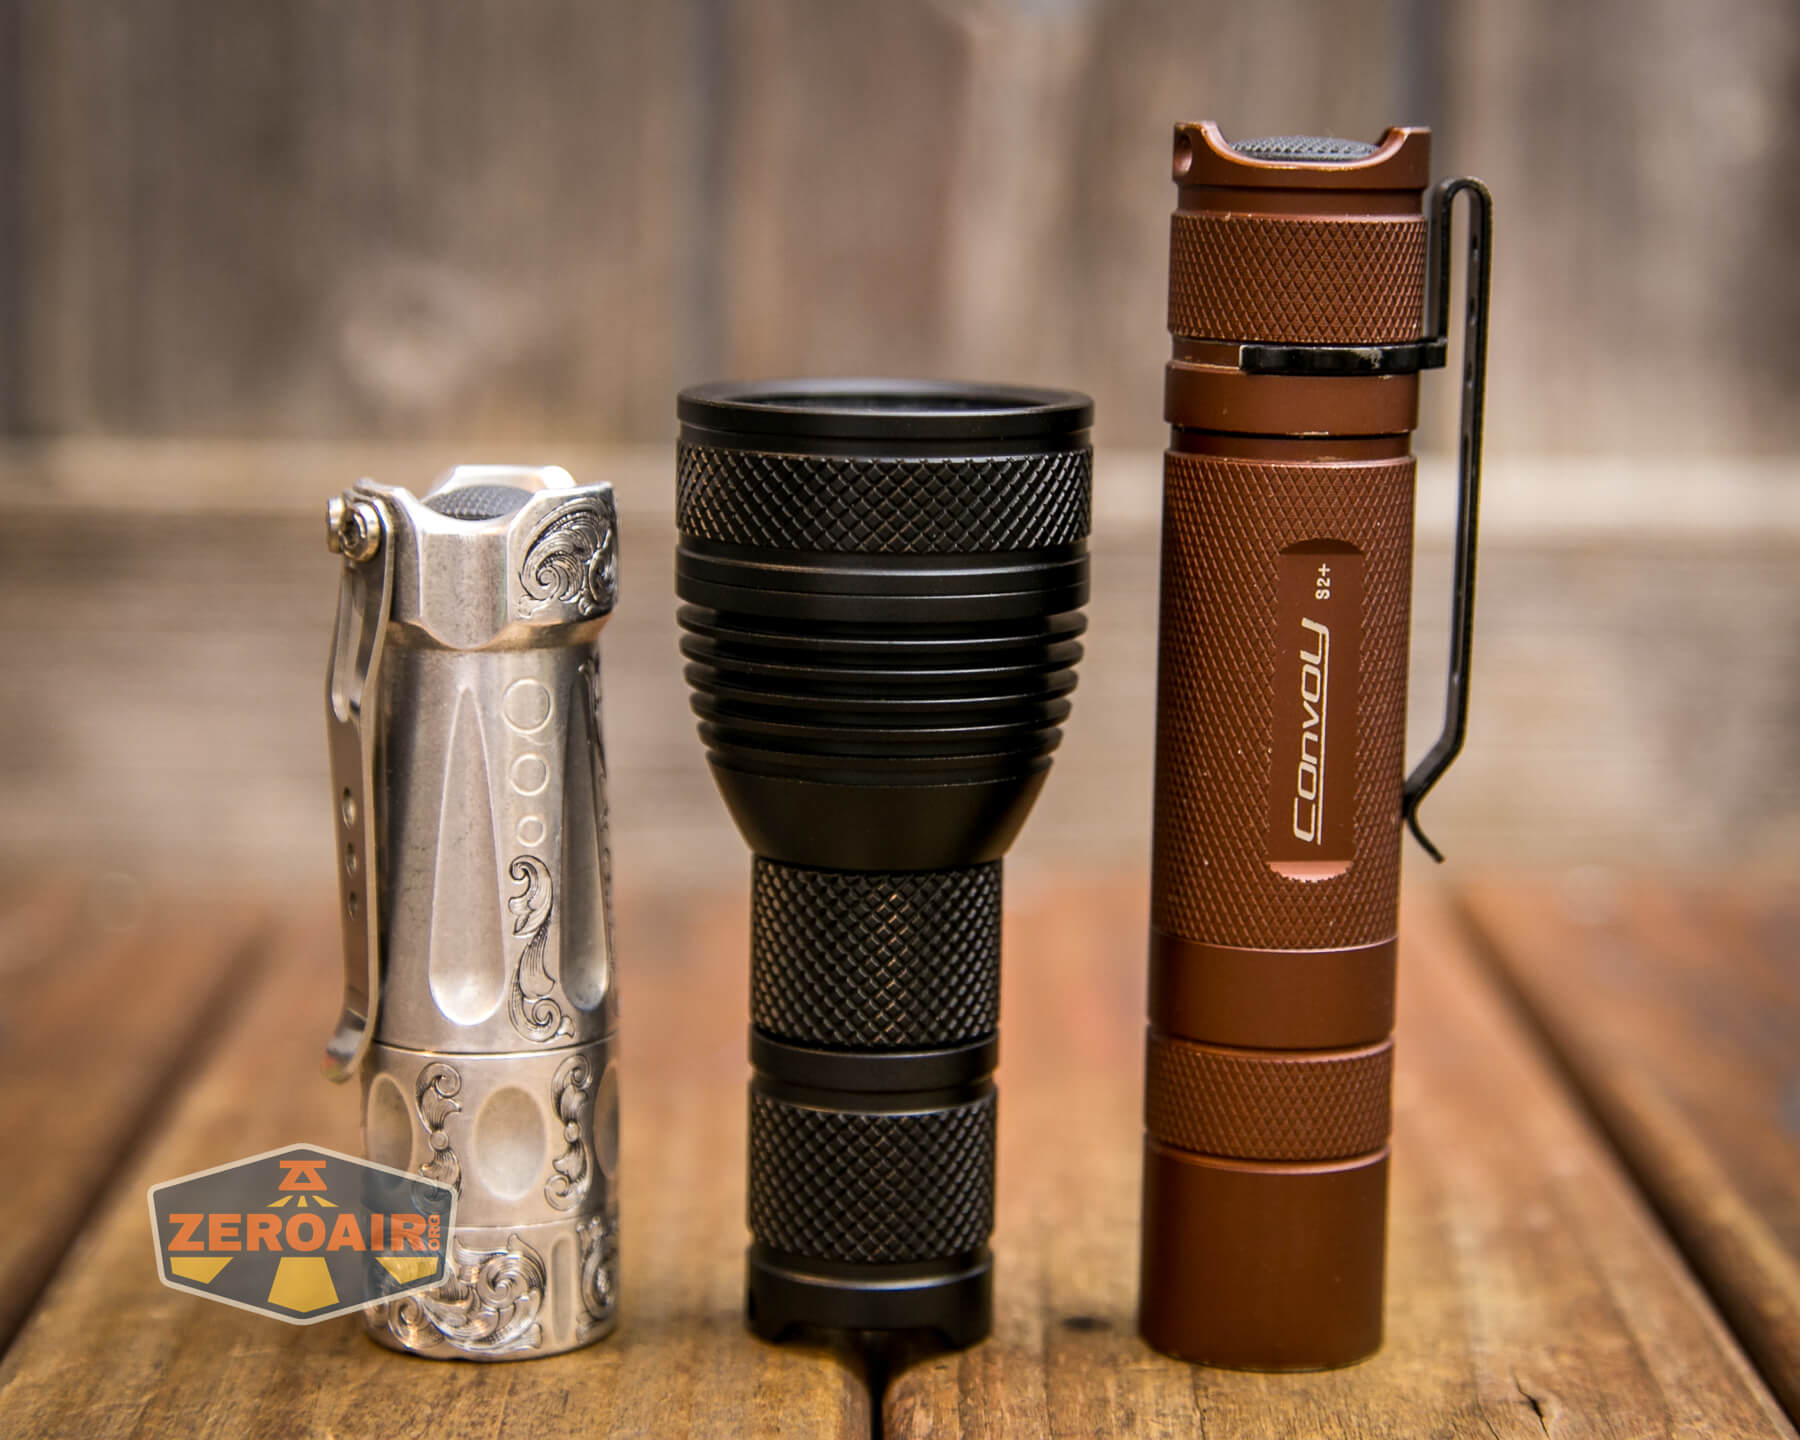
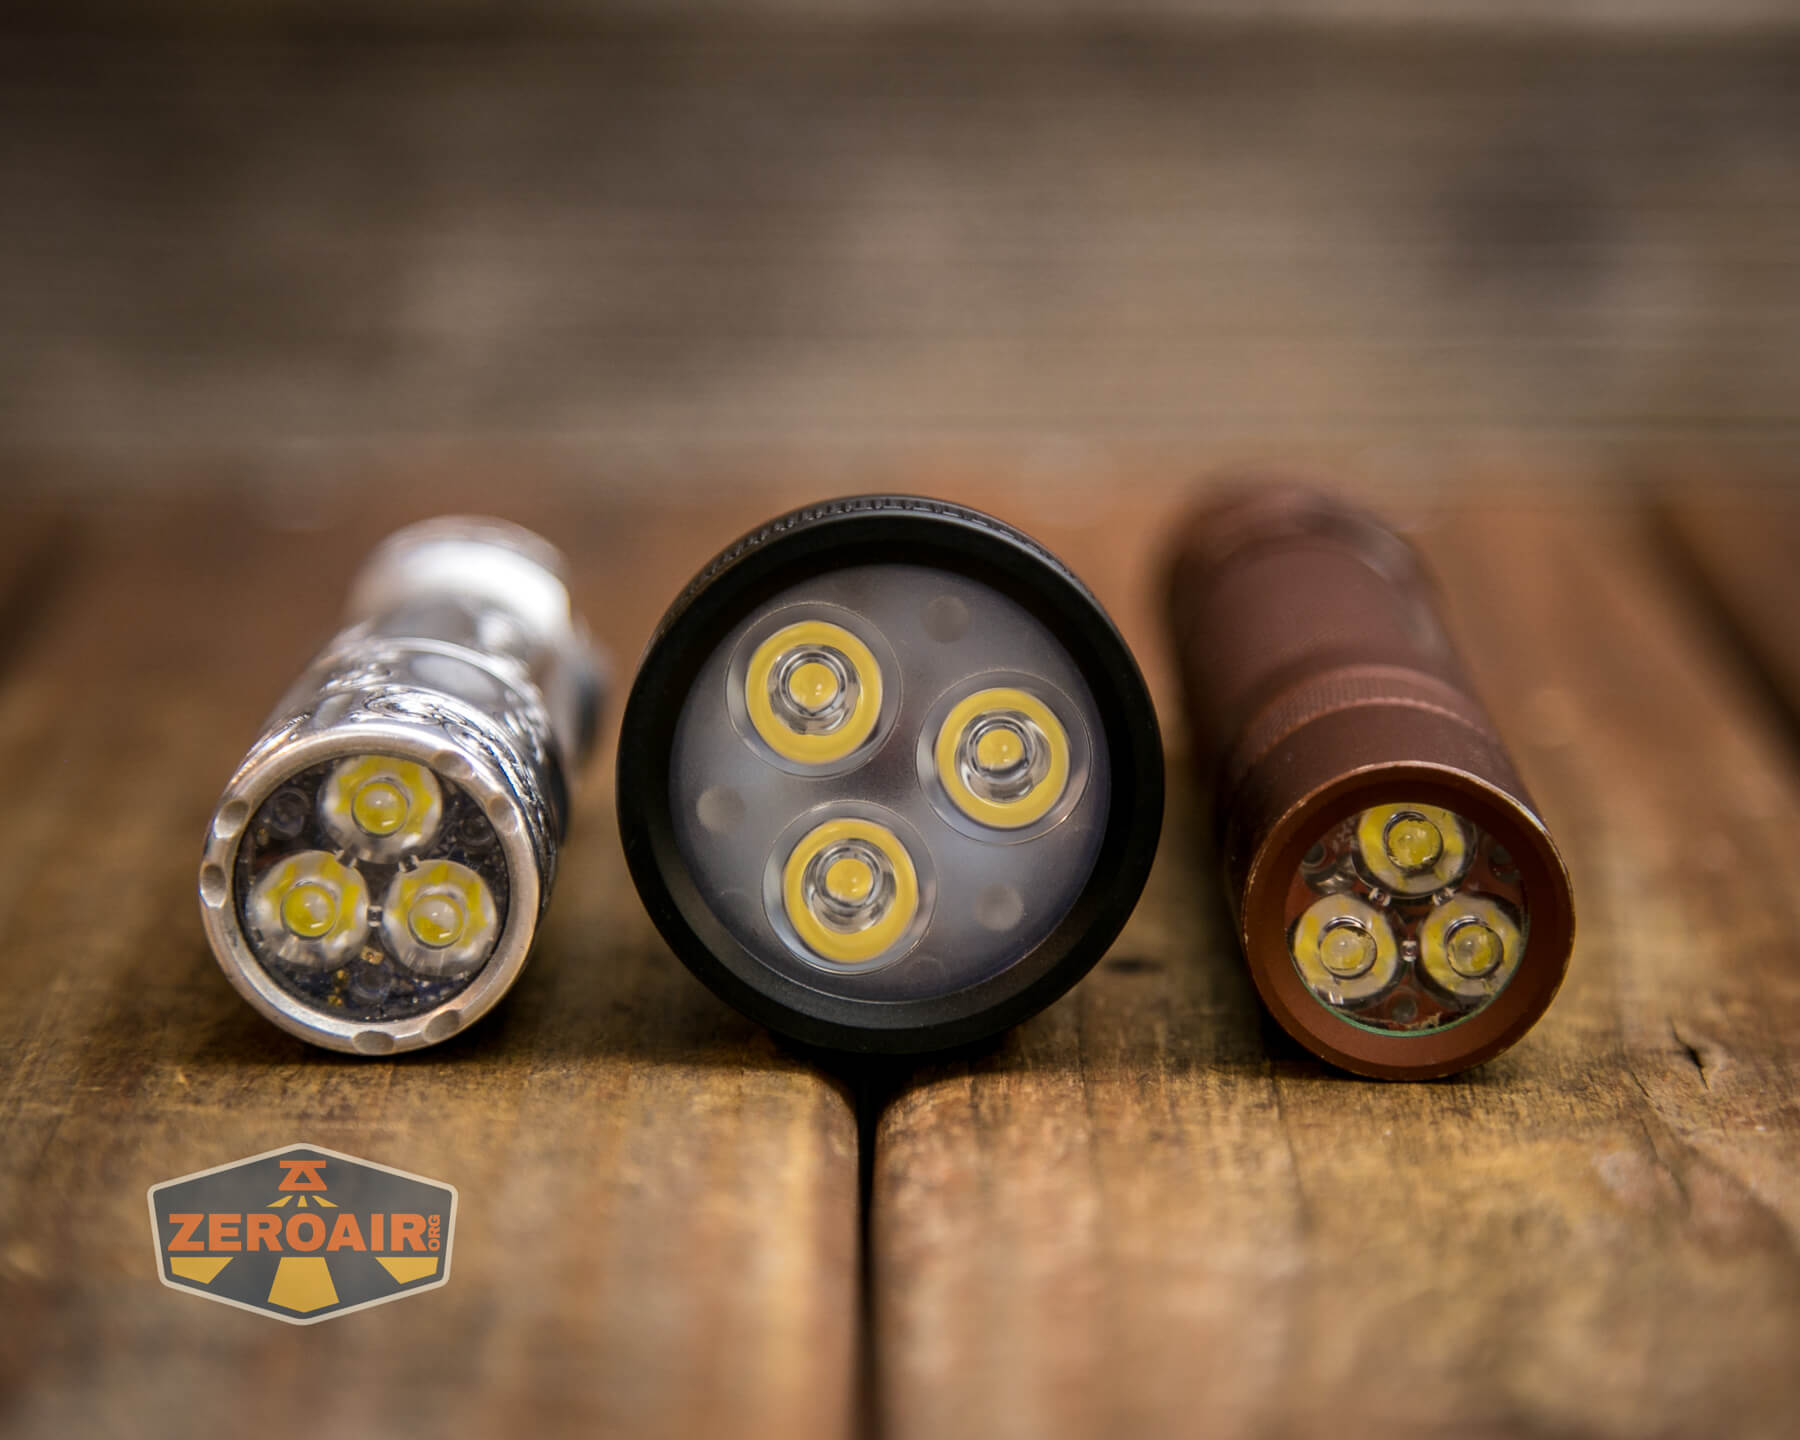
Also above is the light beside my custom-engraved TorchLAB BOSS 35, an 18350 light. I reviewed the aluminum version of that light in both 35 and 70 formats.
Retention and Carry
A pocket clip is included.
It’s a fairly standard friction-fit pocket clip, but on the cheaper side of things. It fits only the 18650 tube.
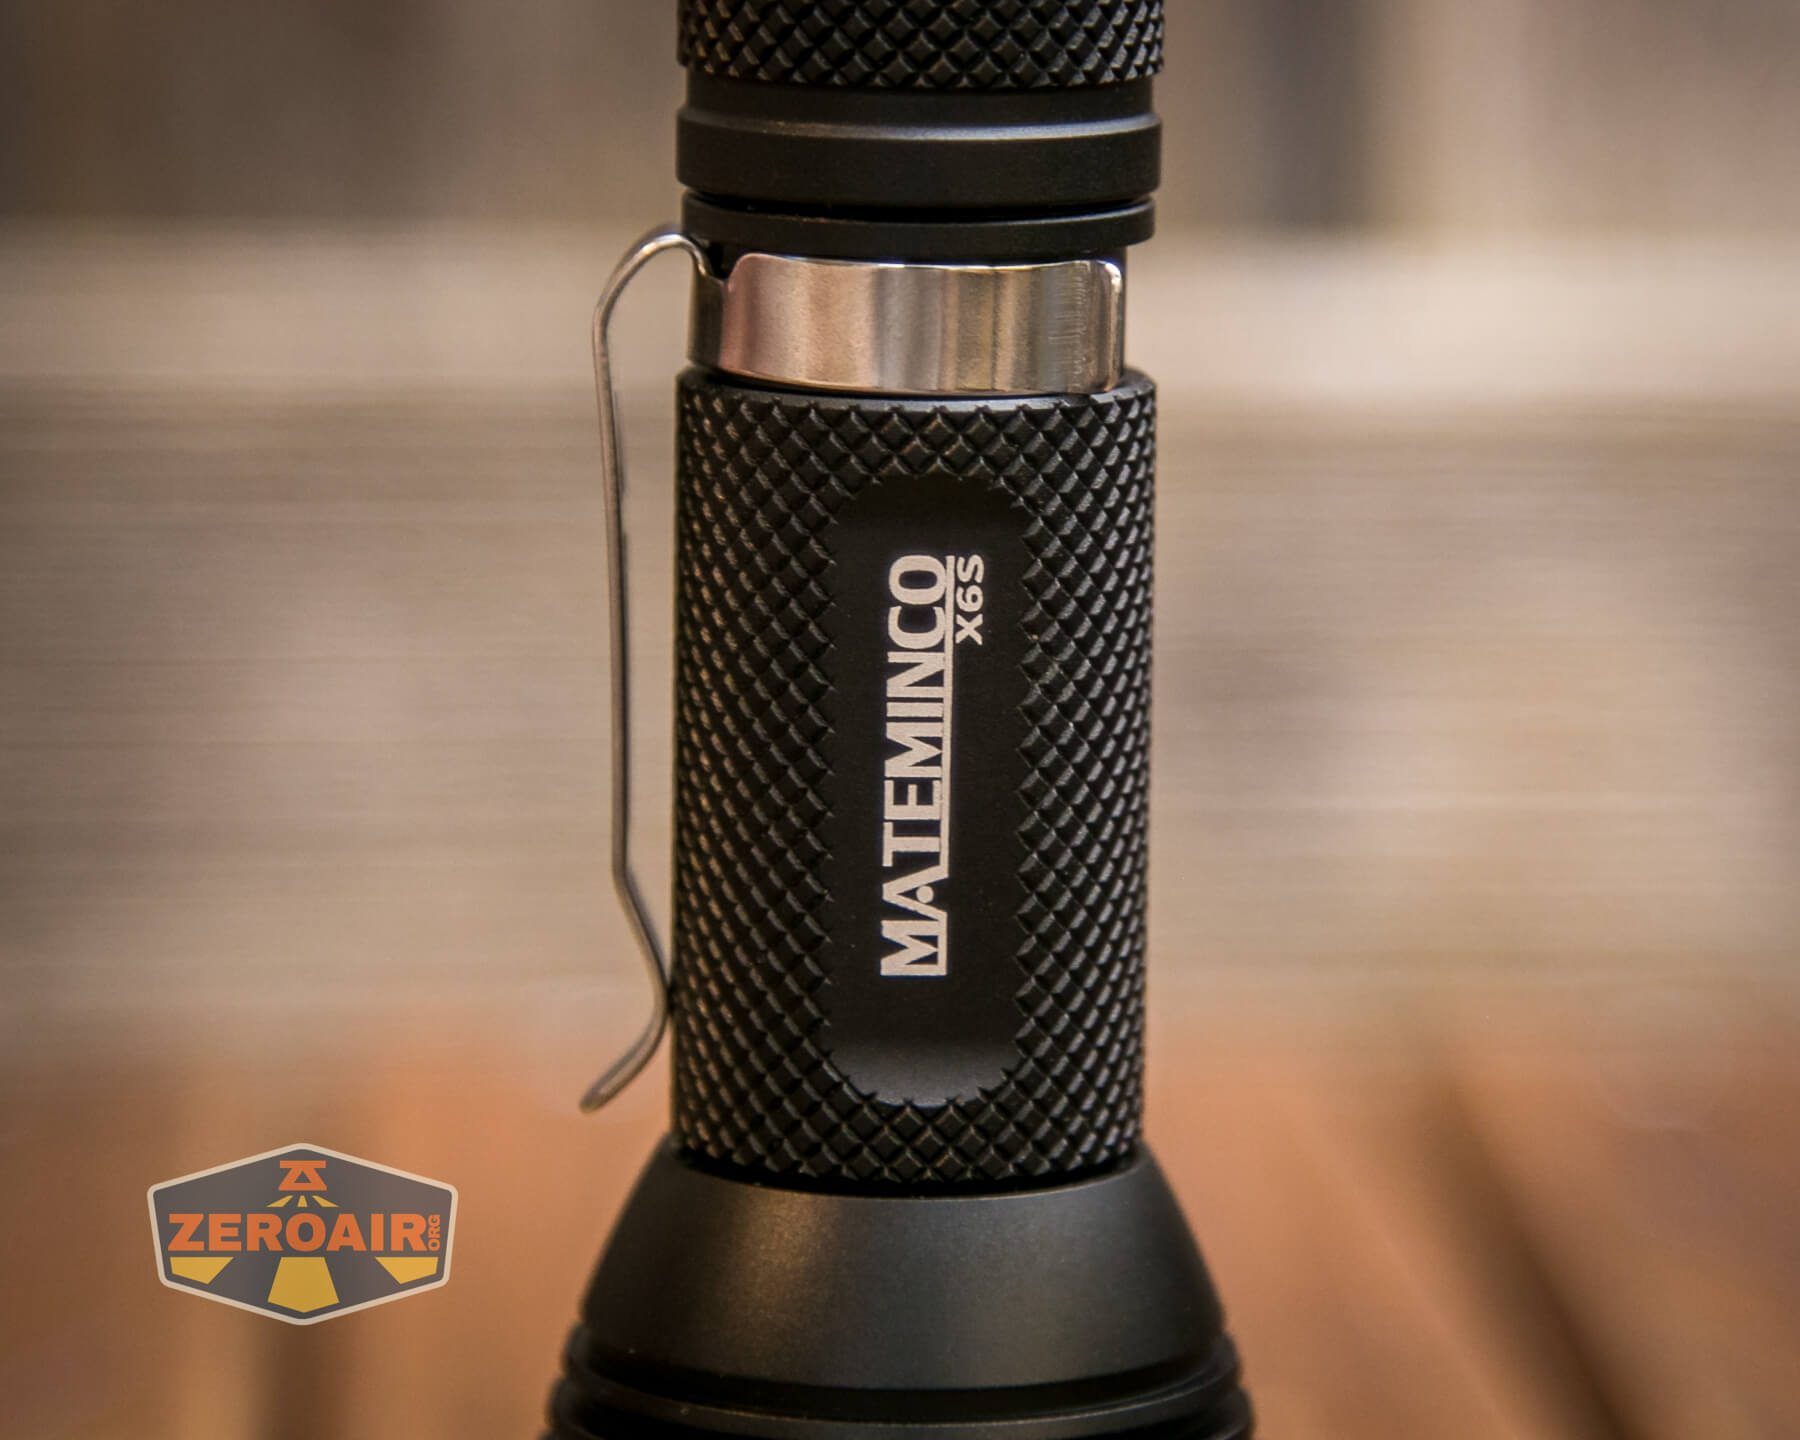
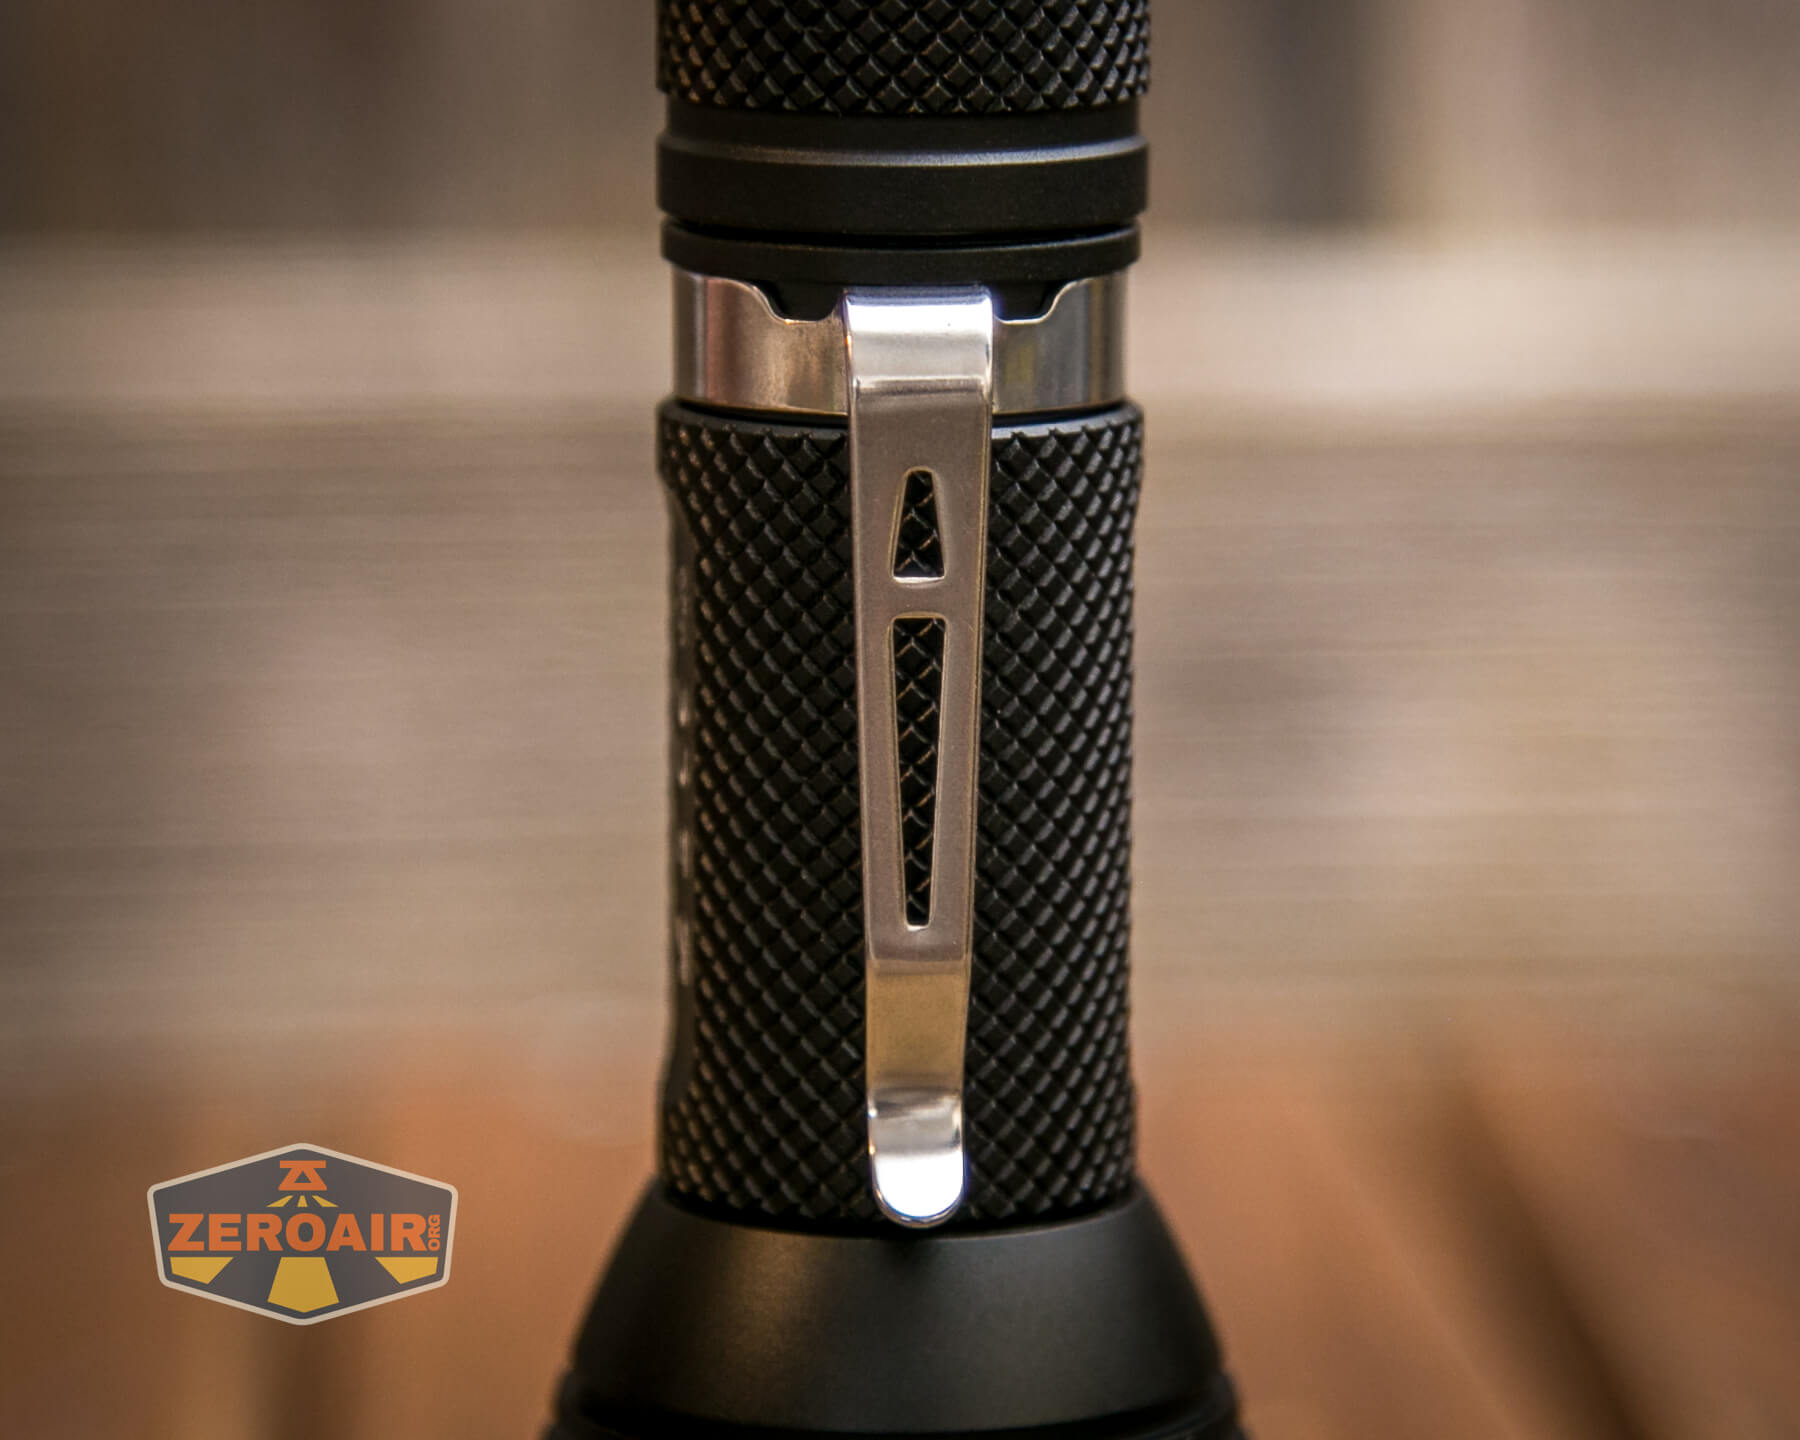
Clip hug!
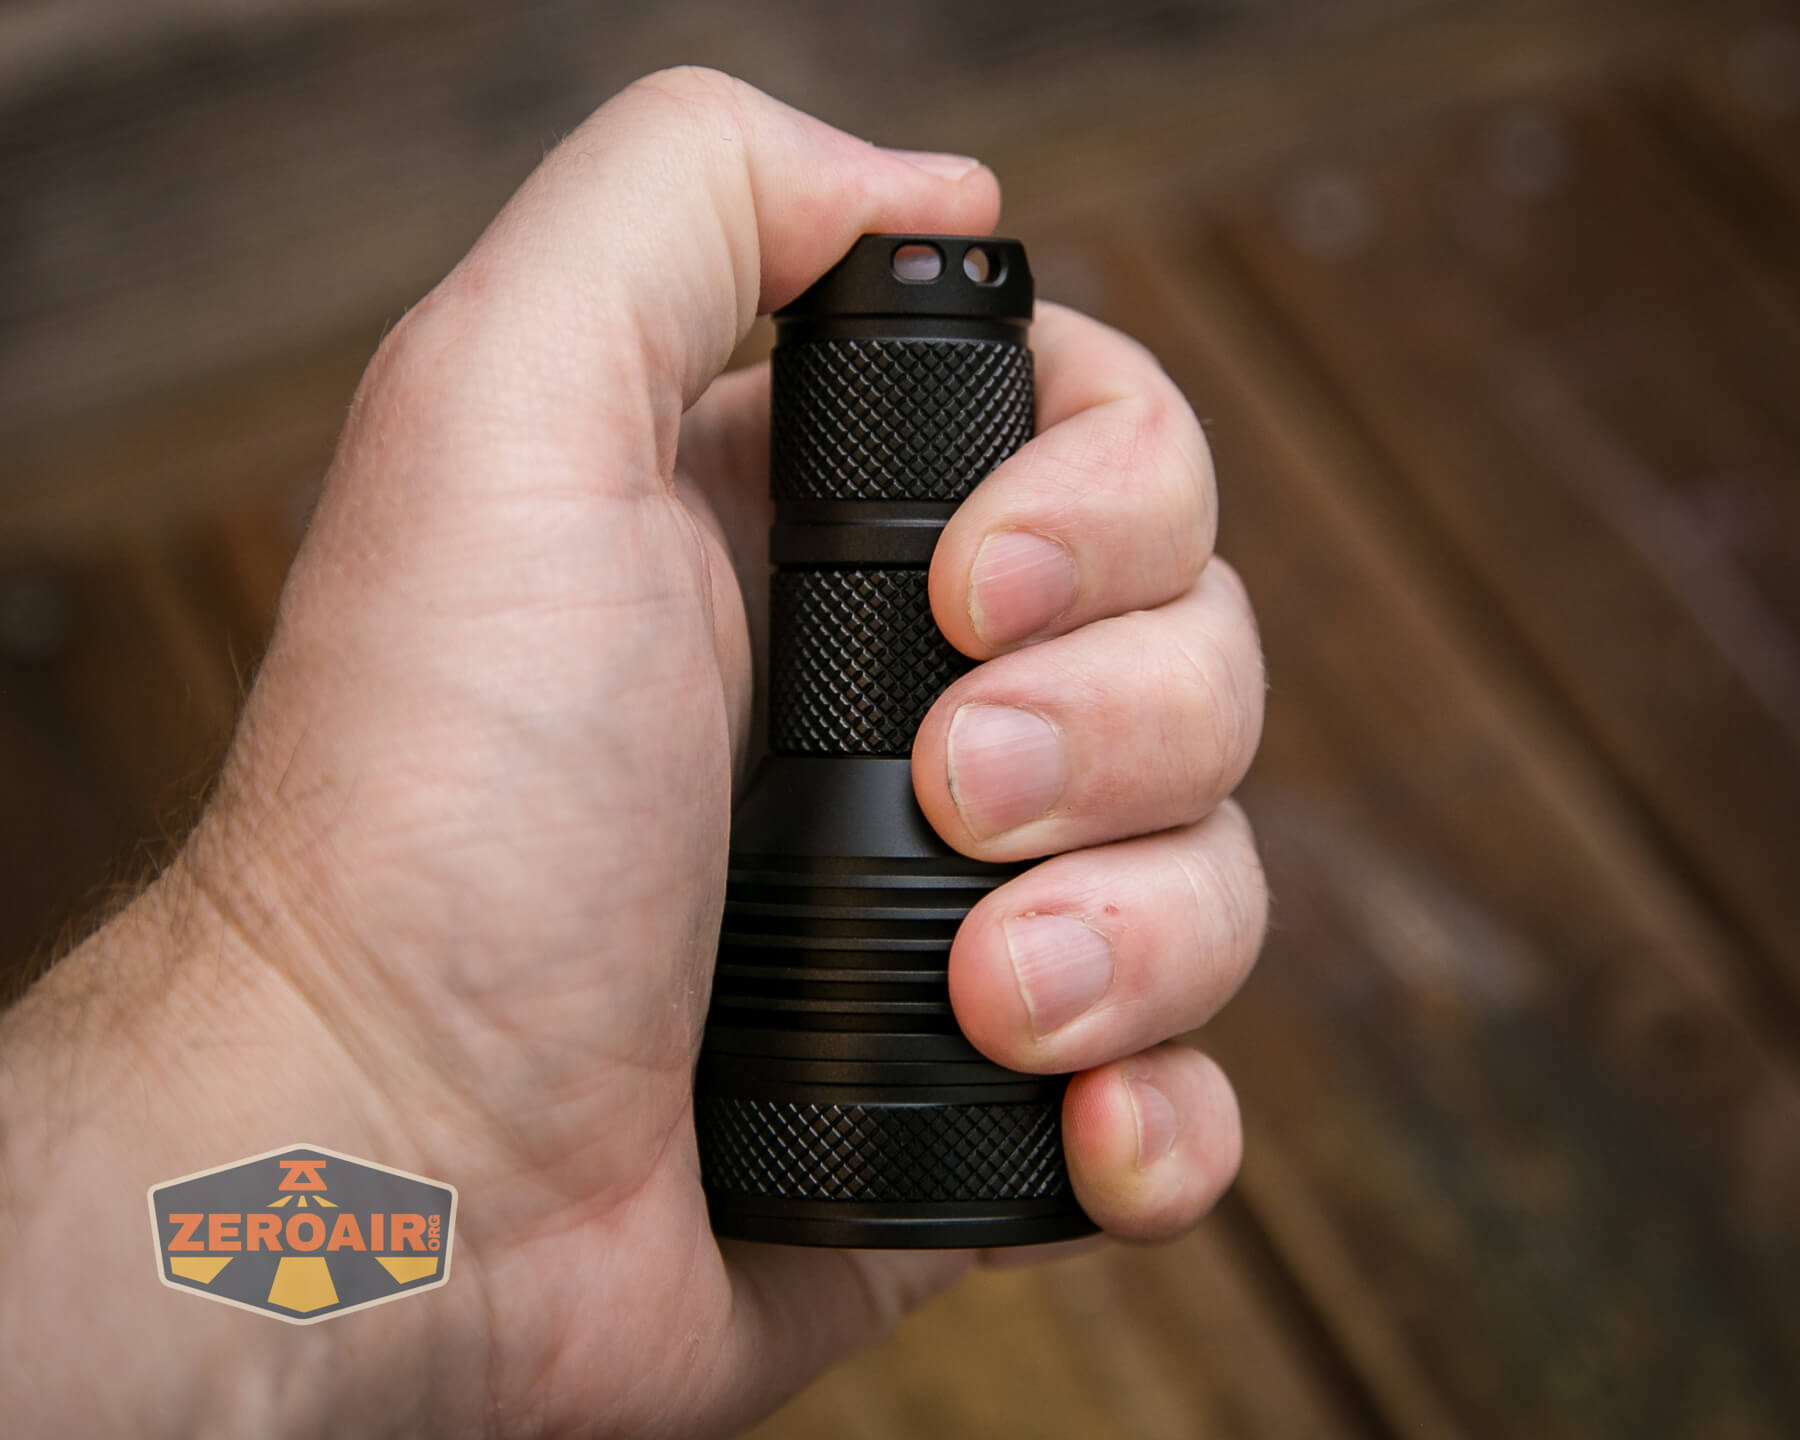
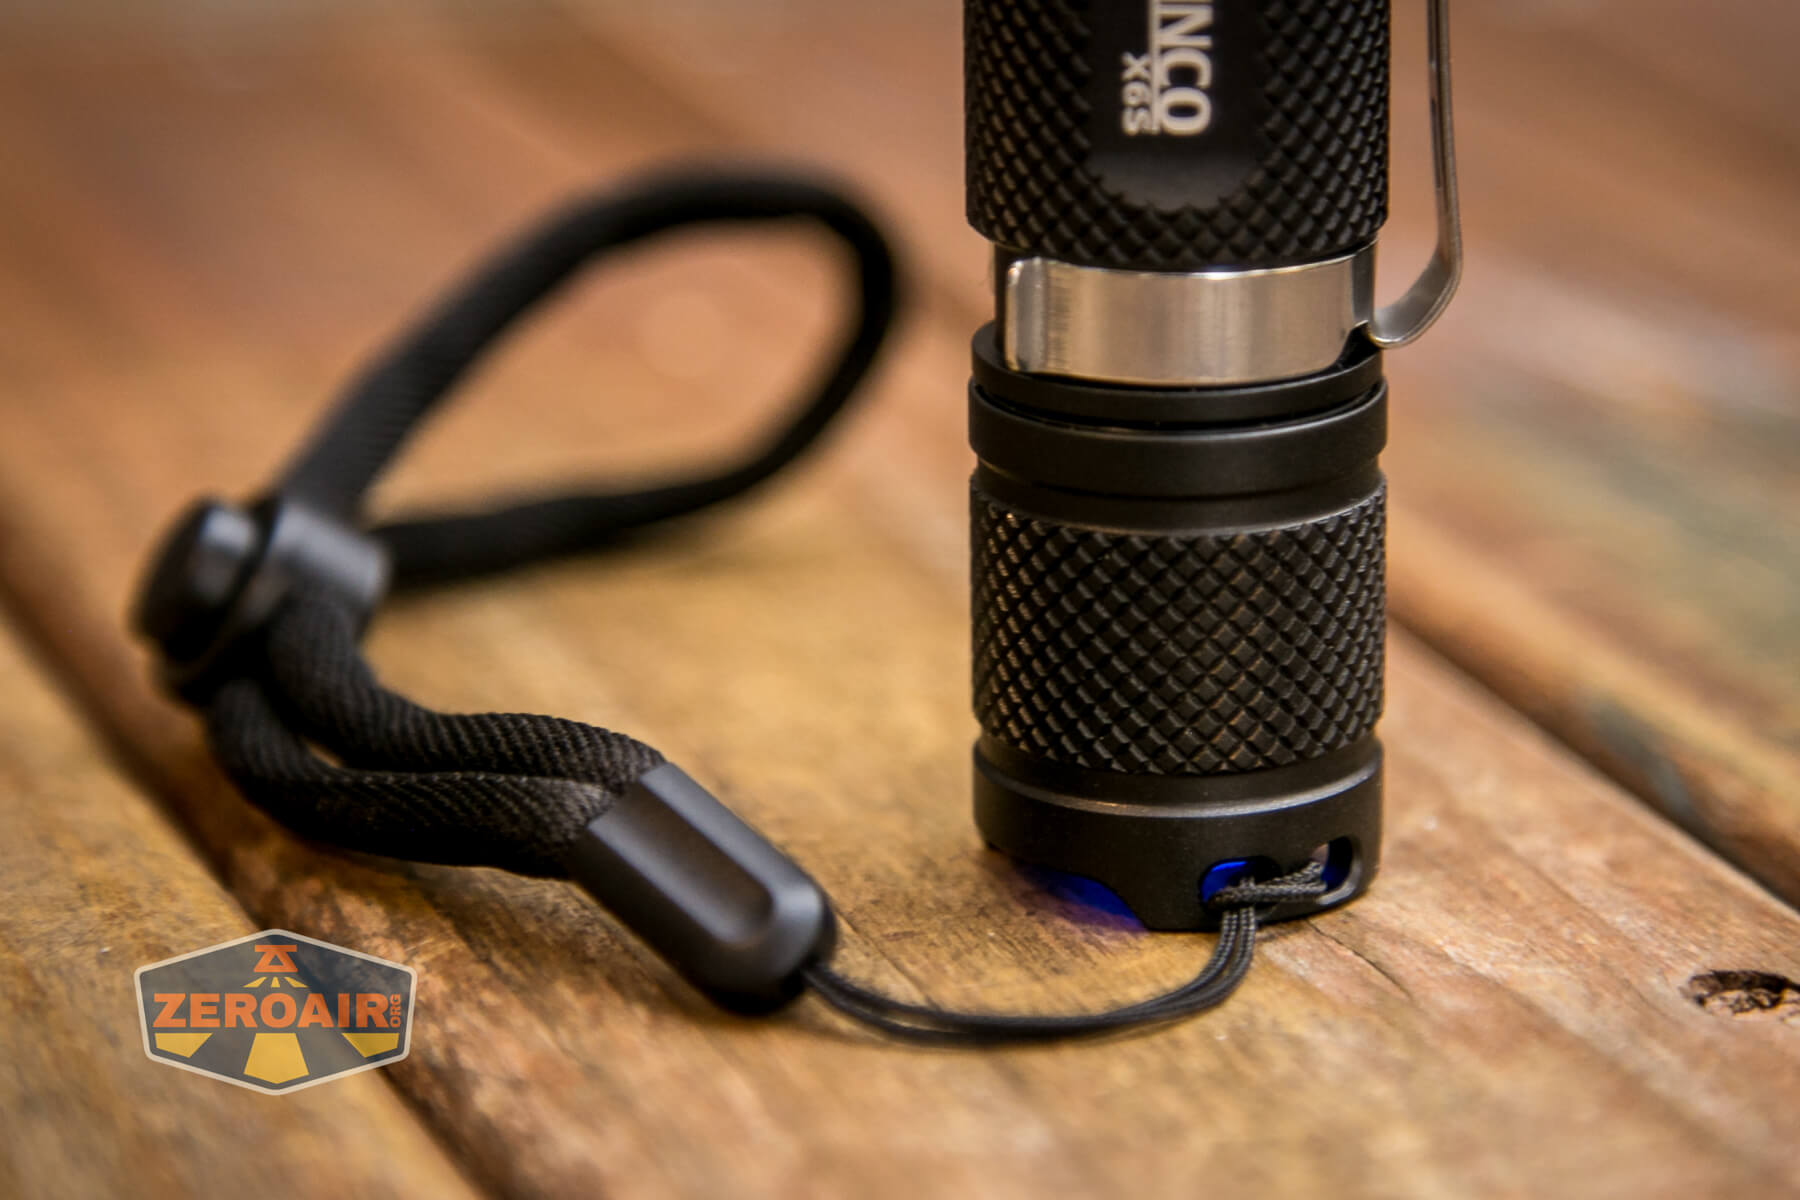
Next up is the lanard. This attaches only to the tailcap, and only one side of the tailcap has lanyard holes.
Since there are two holes (on one side), the lanyard can be installed without interfering with tailstanding. This is the way!
Power and Runtime
A single lithium-ion is used for powering the Mateminco X6S flashlight. If you’re using the long tube, that lithium-ion is a 18650. If you’re using the short tube, that lithium-ion is an 18350.
Here are a few runtime tests of the highest three modes. I tested only with an 18650; the only difference you should see with a 18350 is shorter runtimes if you’re using a very high-quality 18350. This light is capable of drawing nearly 12A on the highest output, so whatever cell and size you use will need to be very high quality.
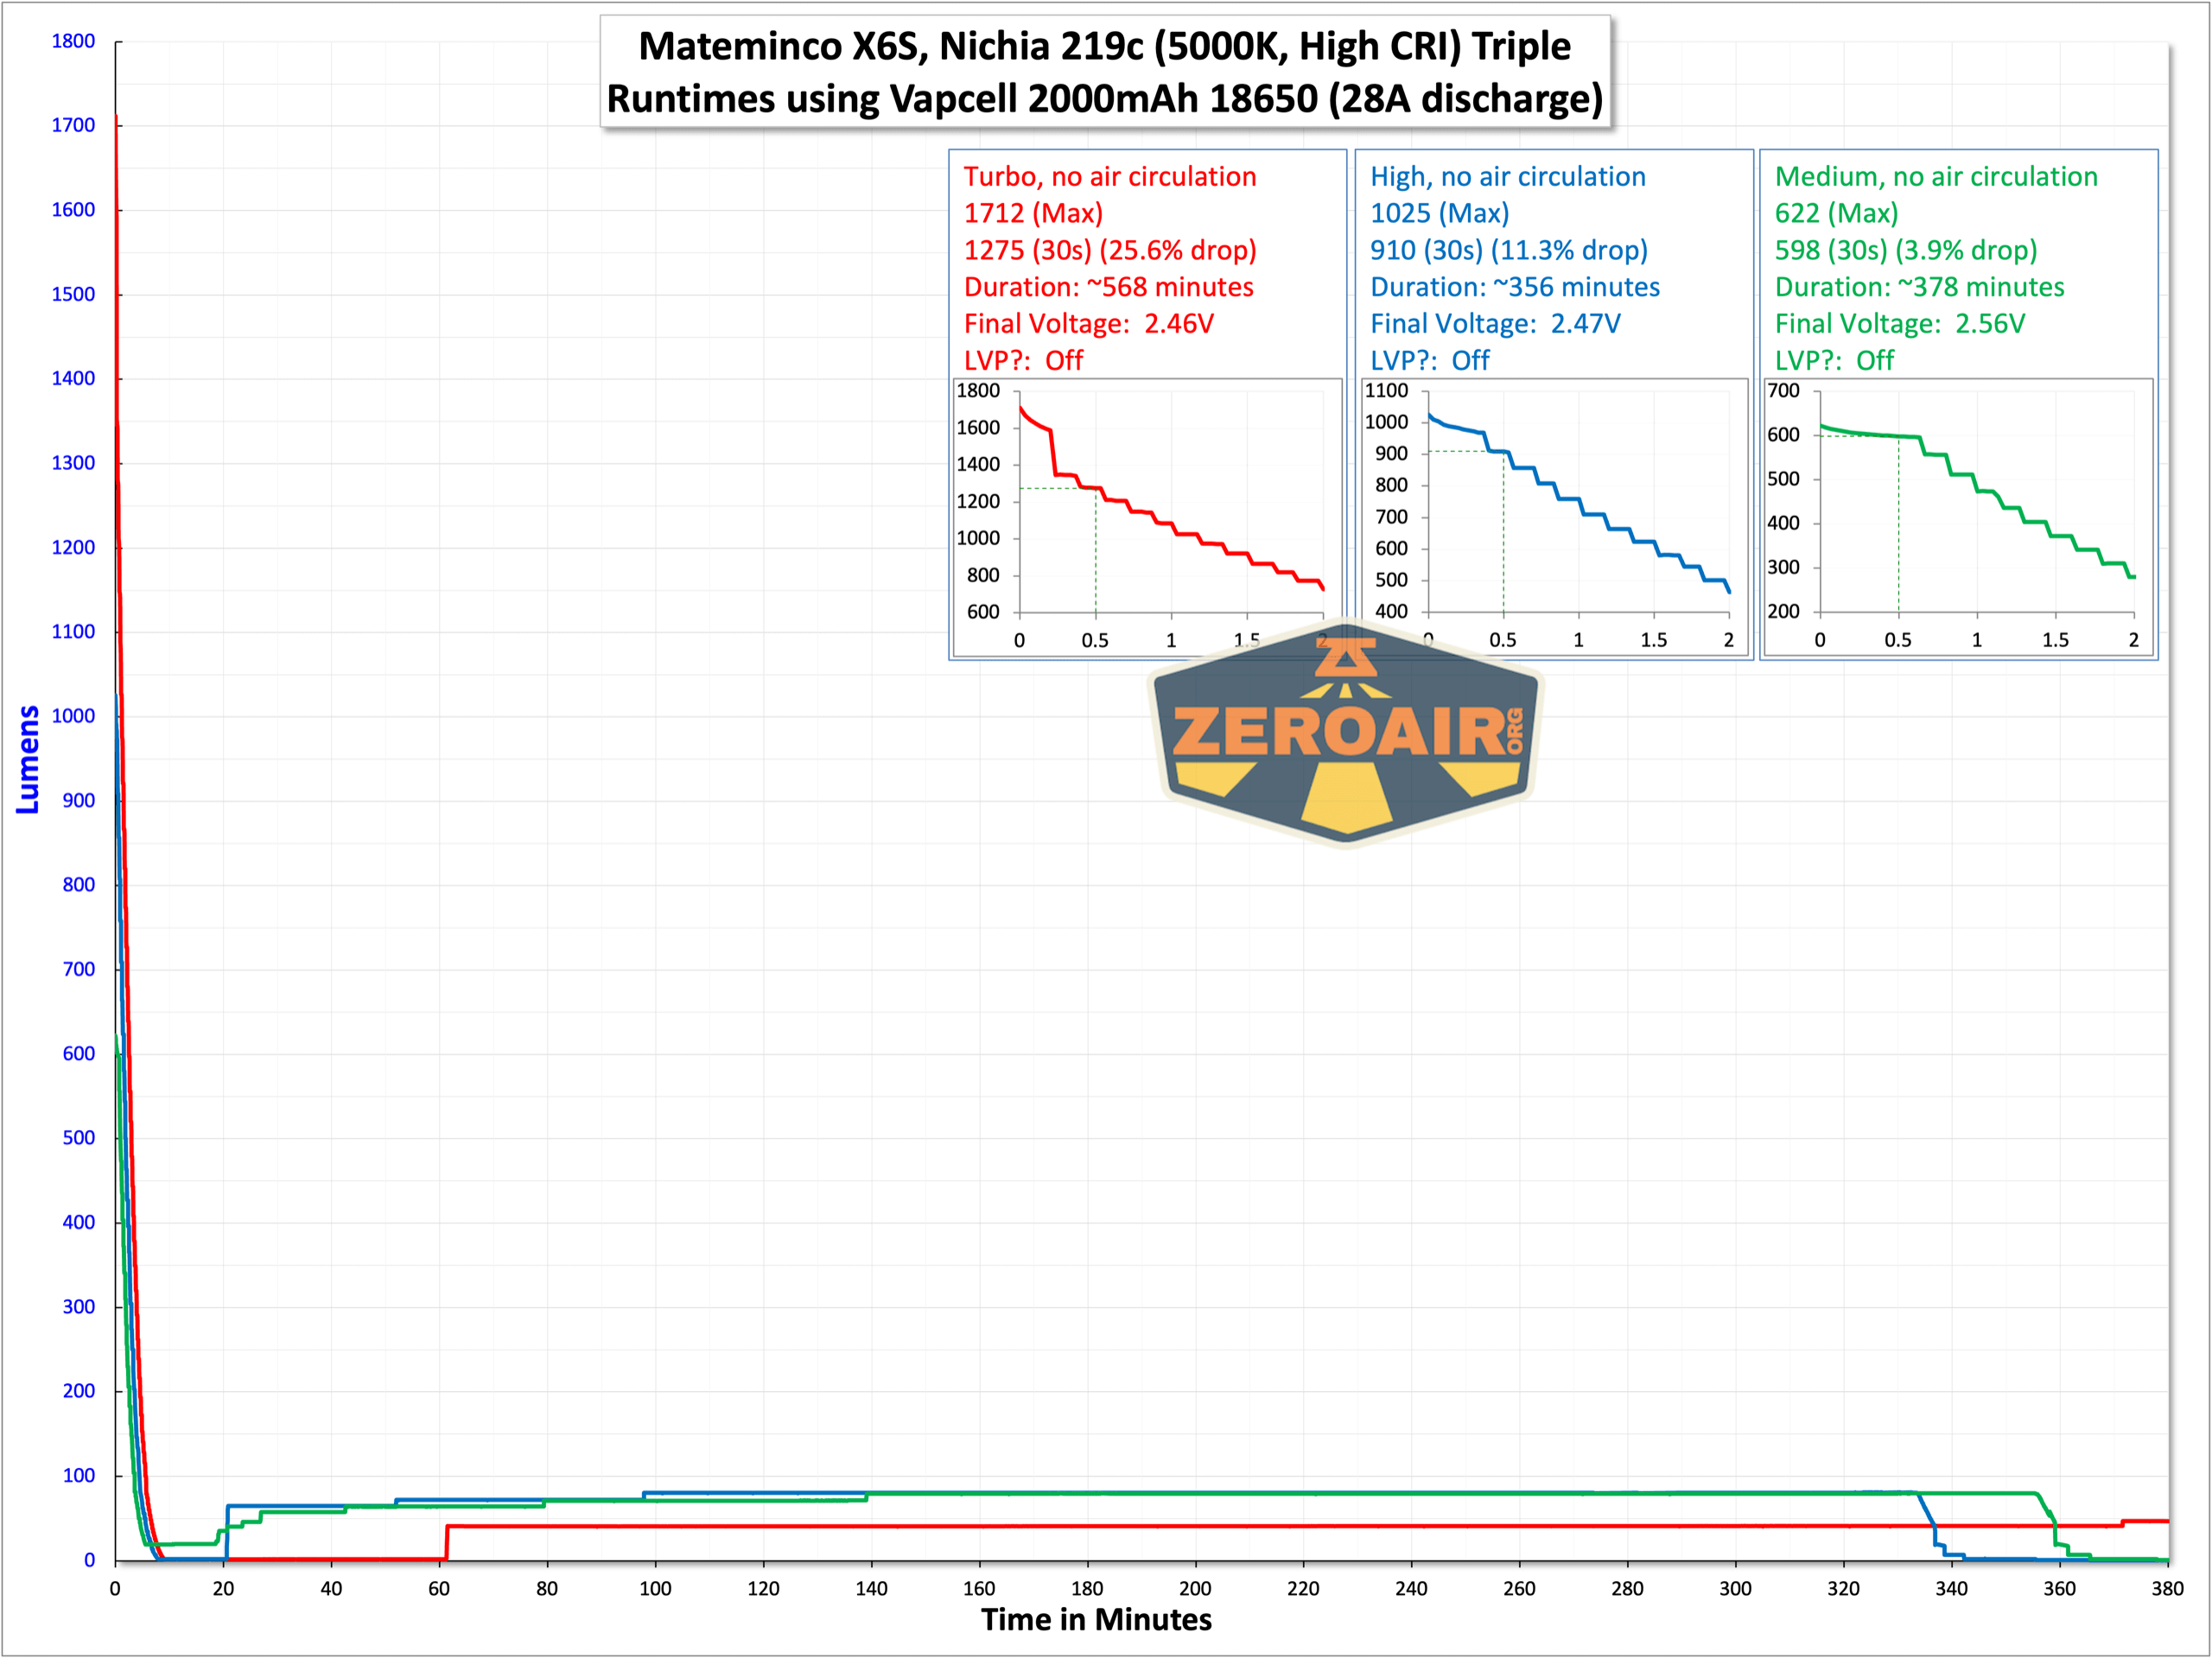
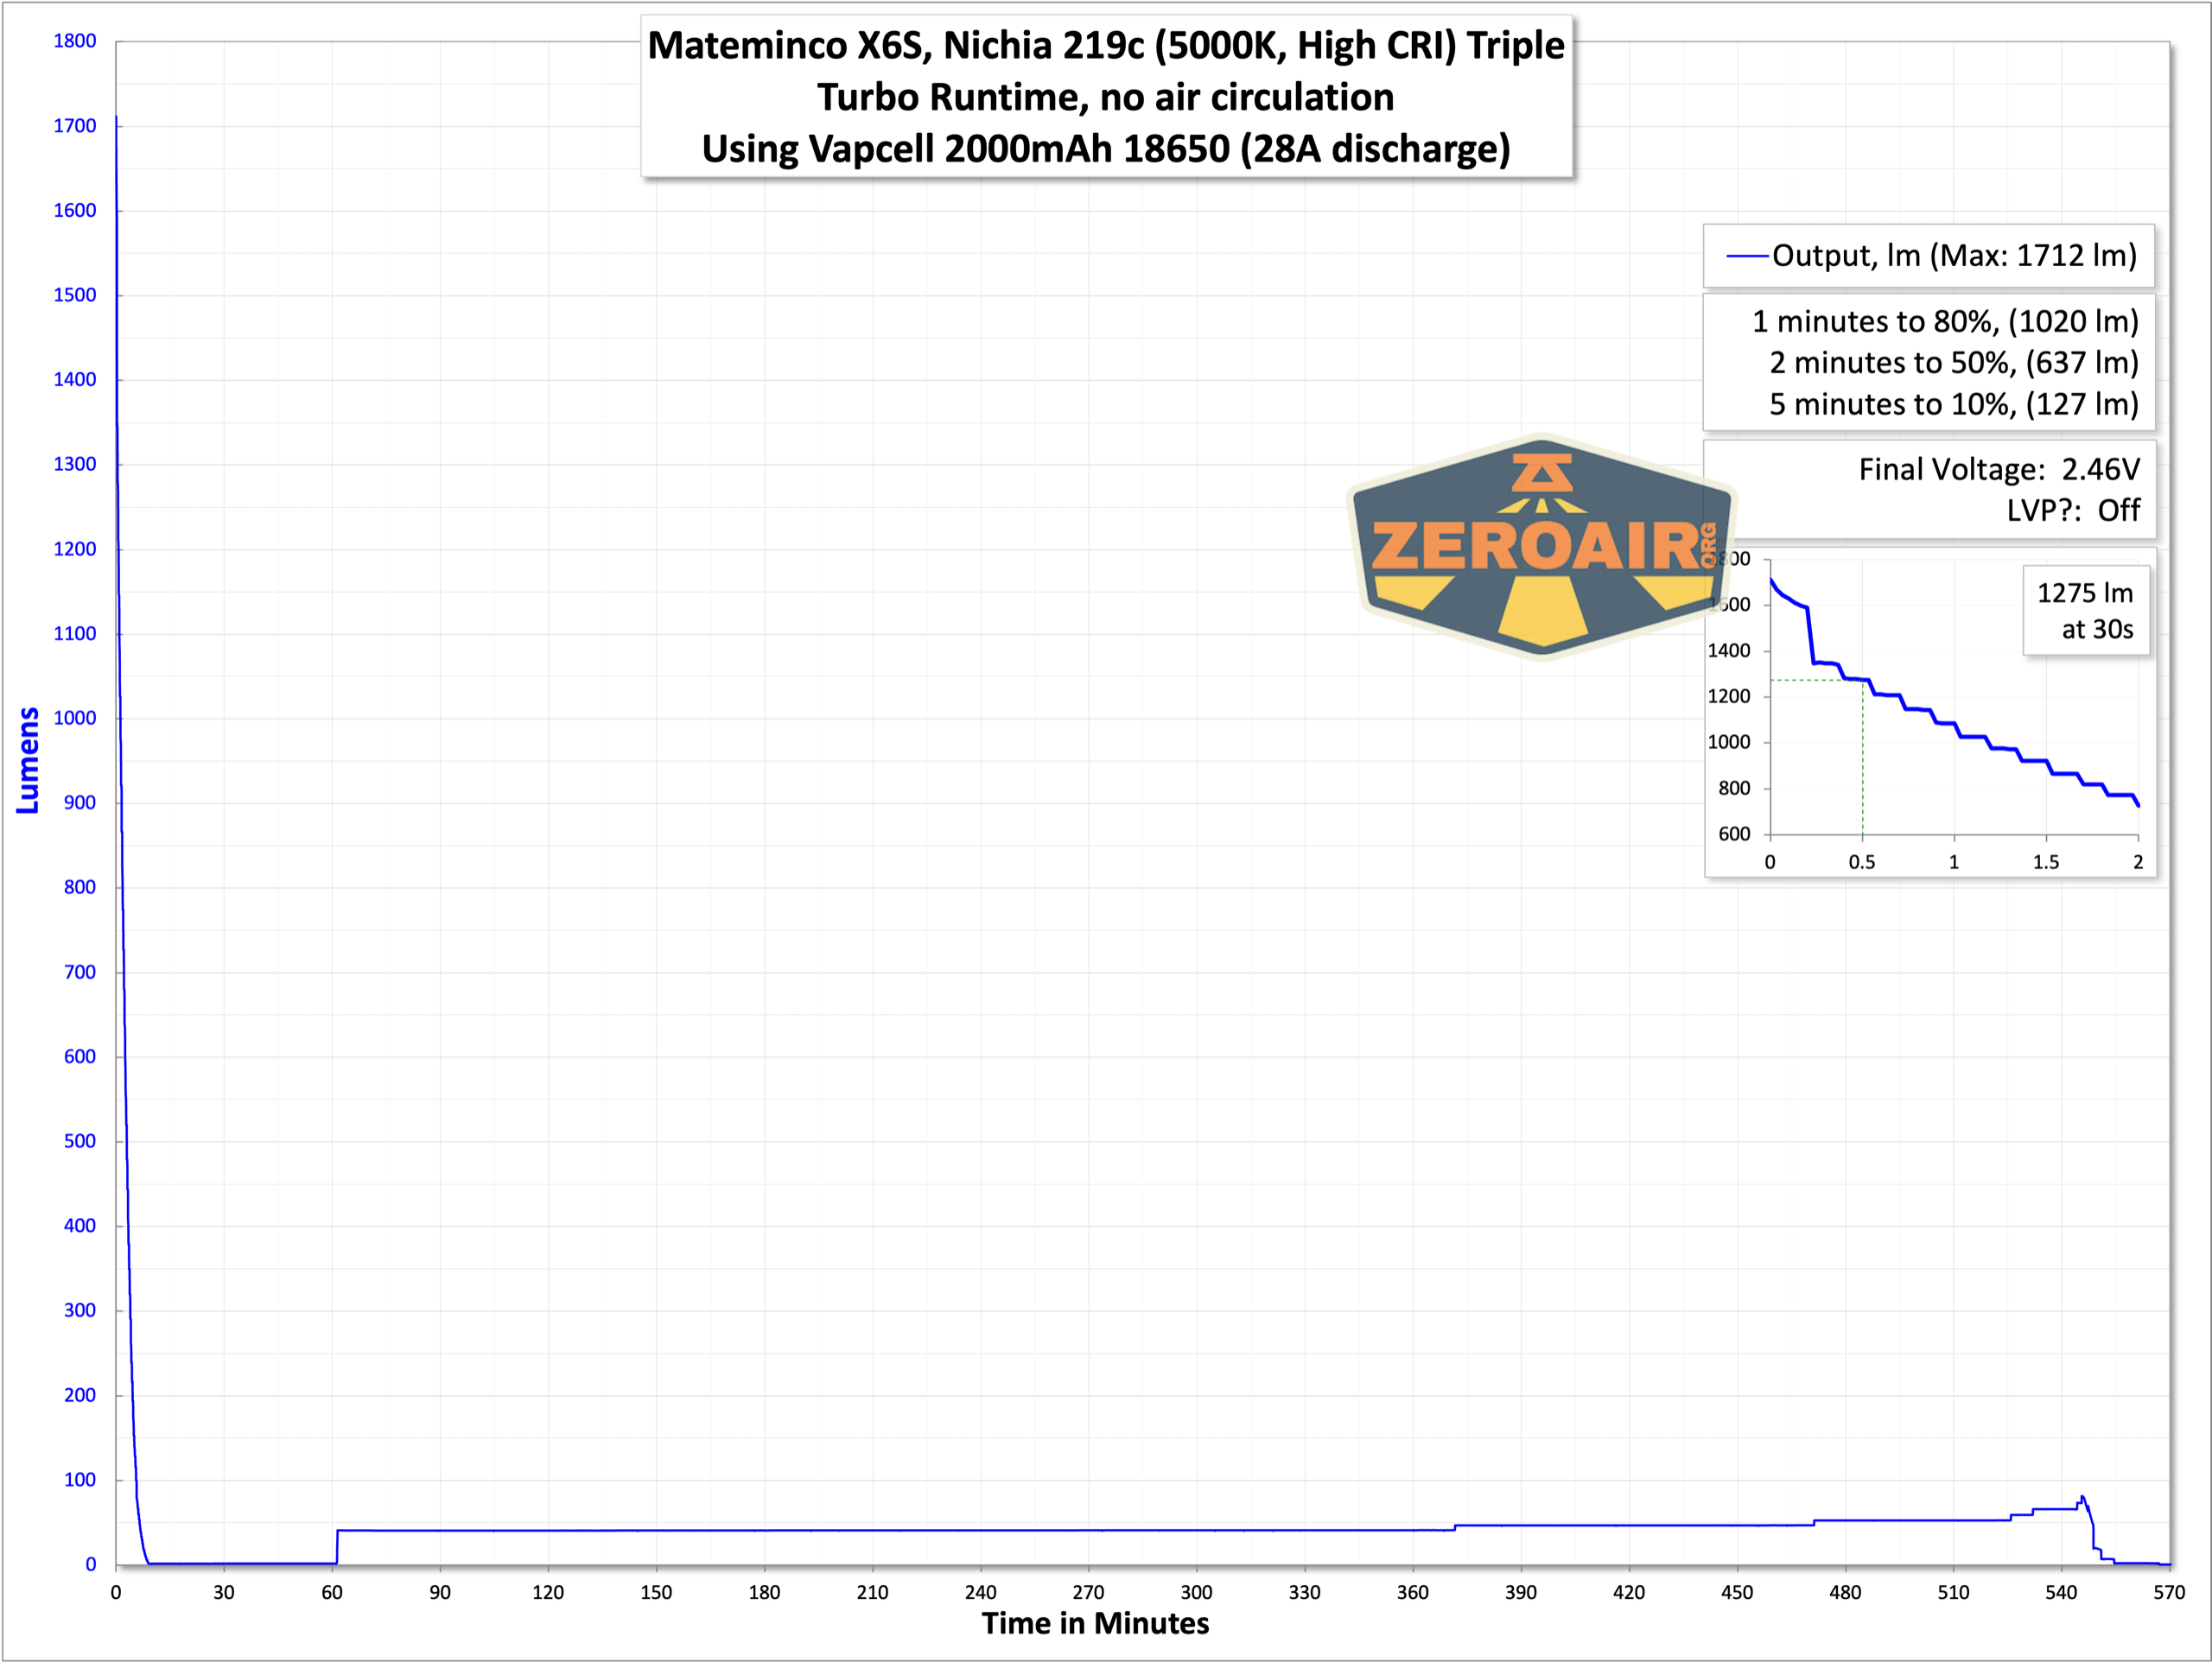

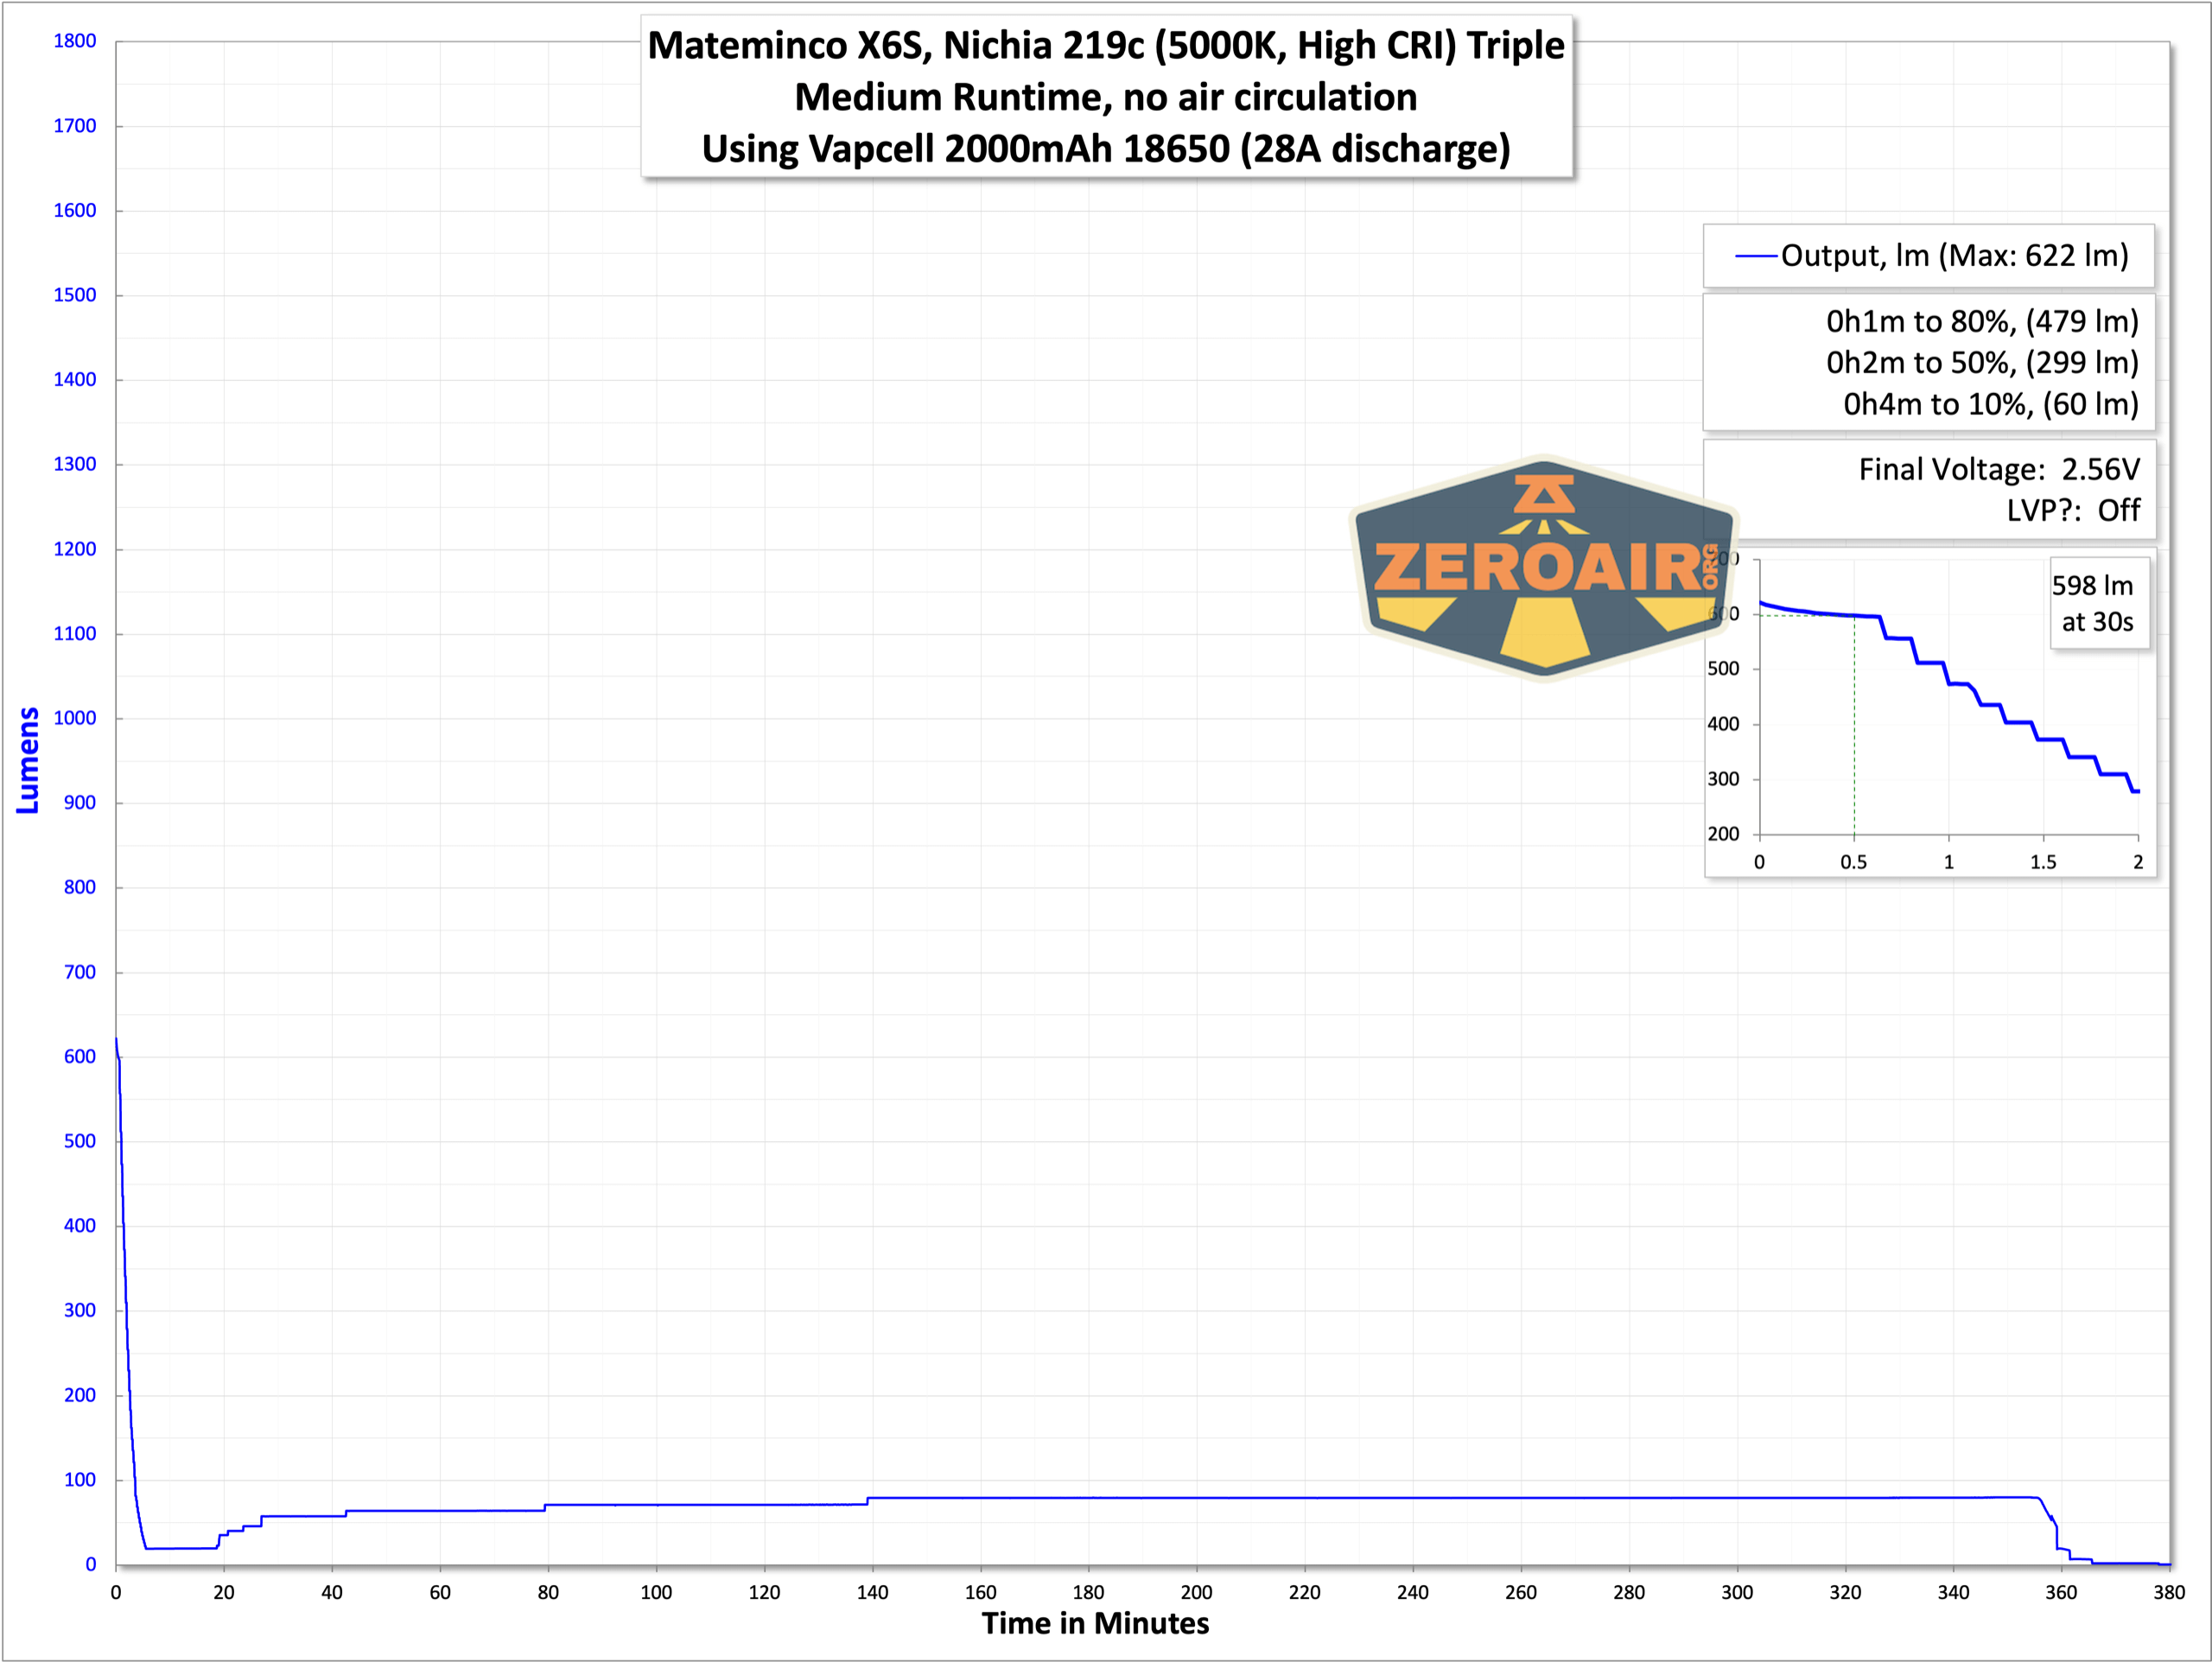
It wouldn’t be unreasonable to call this performance disappointing. That’s why I consider this light mostly a host, in need of a new driver (if nothing else).
Low voltage protection is questionable – the light steps down but does seem to stay on for a while and past what’s a good shutoff voltage. If you use this as a host, swapping drivers wouldn’t be a terrible idea!
Modes and Currents
| Mode | Mode Claimed Output (lm) | Claimed Runtime | Measured Lumens | Tailcap Amps |
|---|---|---|---|---|
| 9 (100%) | – (3000 for cool white) | – | 1712 (0s) 1275 (30s) |
11.73 |
| 8 | – | – | 910 | 5.29 |
| 7 | – | – | 598 | 2.44 |
| 6 | – | – | 322 | 1.19 |
| 5 | – | – | 160 | 0.73 |
| 4 | – | – | 38 | 0.25 |
| 3 | – | – | 13 | 0.09 |
| 2 | – | – | 2.5 | 0.02 |
| Moonlight | – | – | 0.3 | 0.01 |
Pulse Width Modulation
All the modes except 100% use PWM. This PWM is no slower than what we see on something like Andúril, so it’s fast enough not to really be a problem.
 Here you can see a “baseline” – a chart with almost no light hitting the sensor.
Then there’s the Ultrafire WF-602C flashlight, which has some of the worst PWM I’ve seen. It’s so bad that I used a post about it to explain PWM! Here are multiple timescales (10ms, 5ms, 2ms, 1ms, 0.5ms, 0.2ms) to make comparing this “worst” PWM light to the test light easier. That post also explains why I didn’t test the WF-602C at the usual 50us scale.
User Interface and Operation
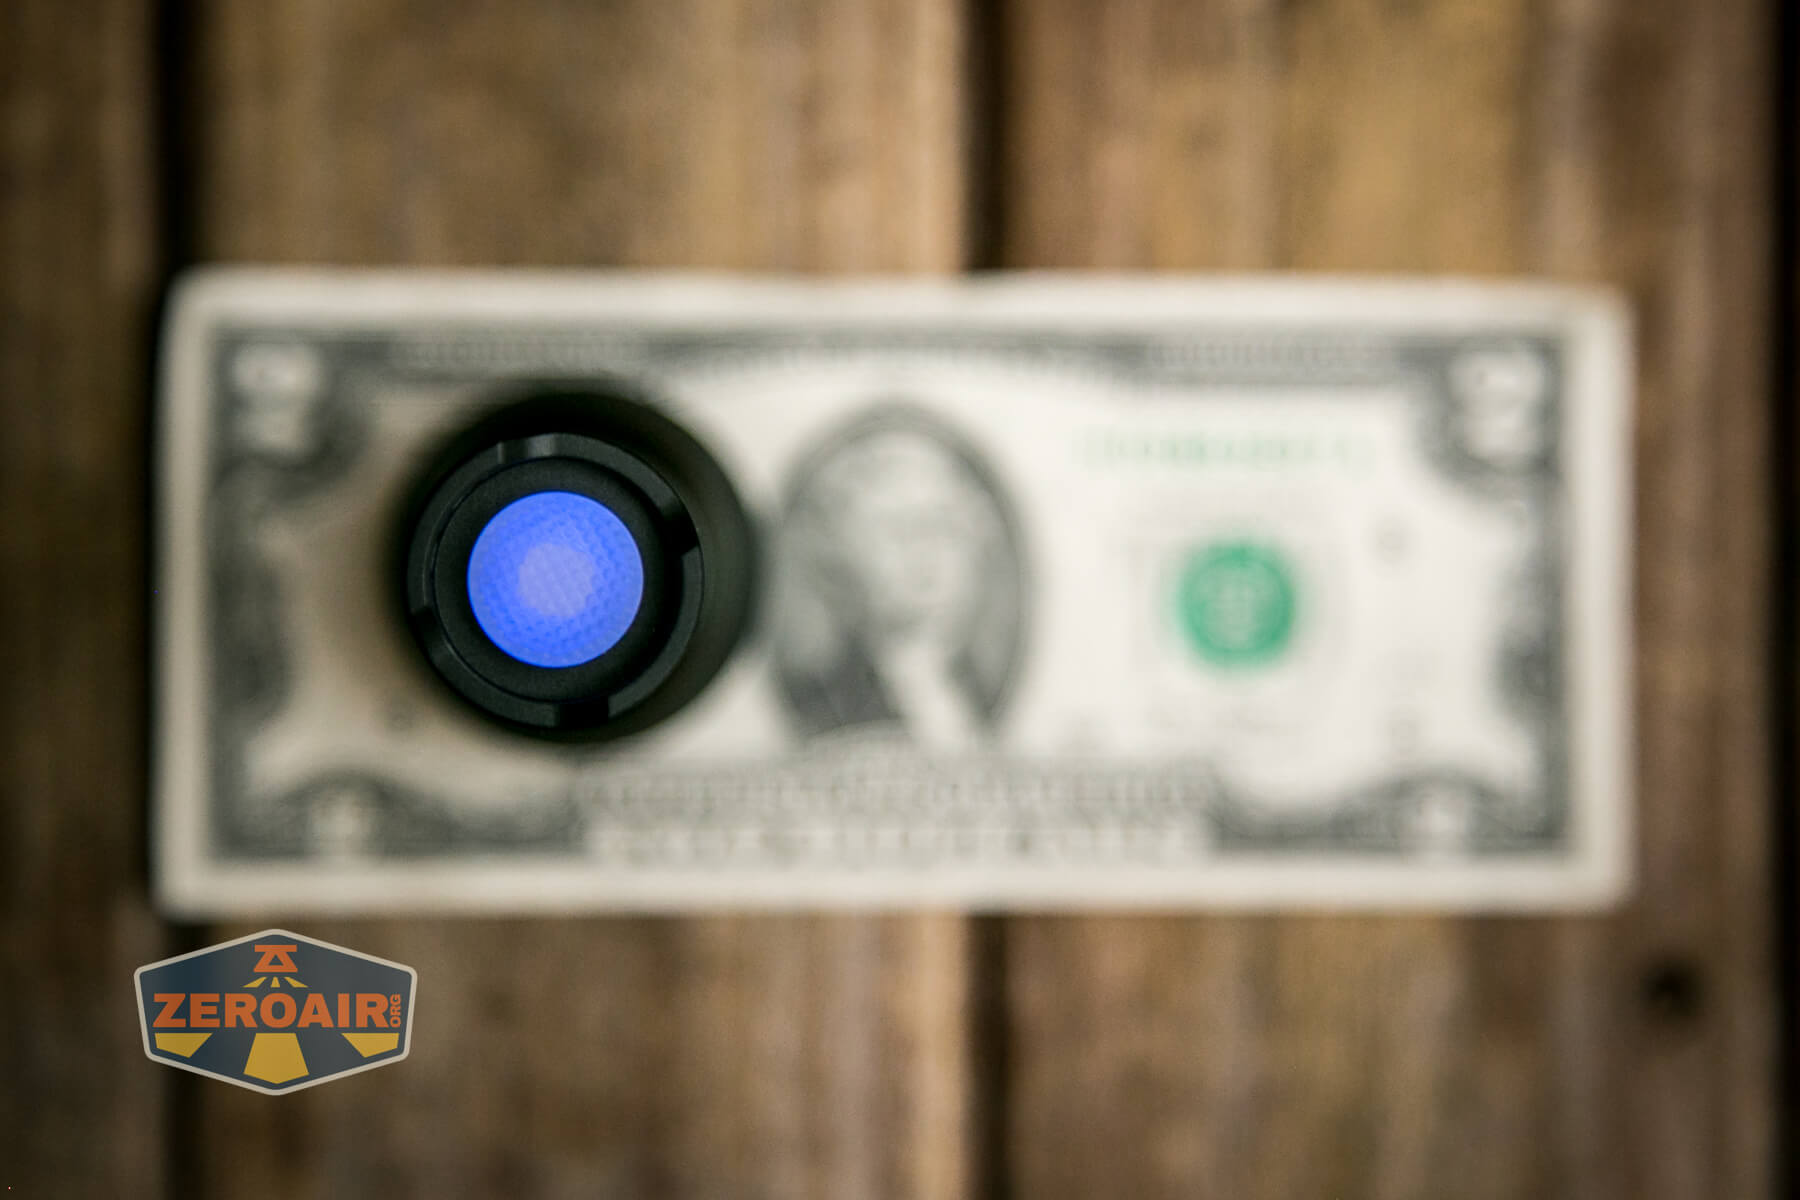
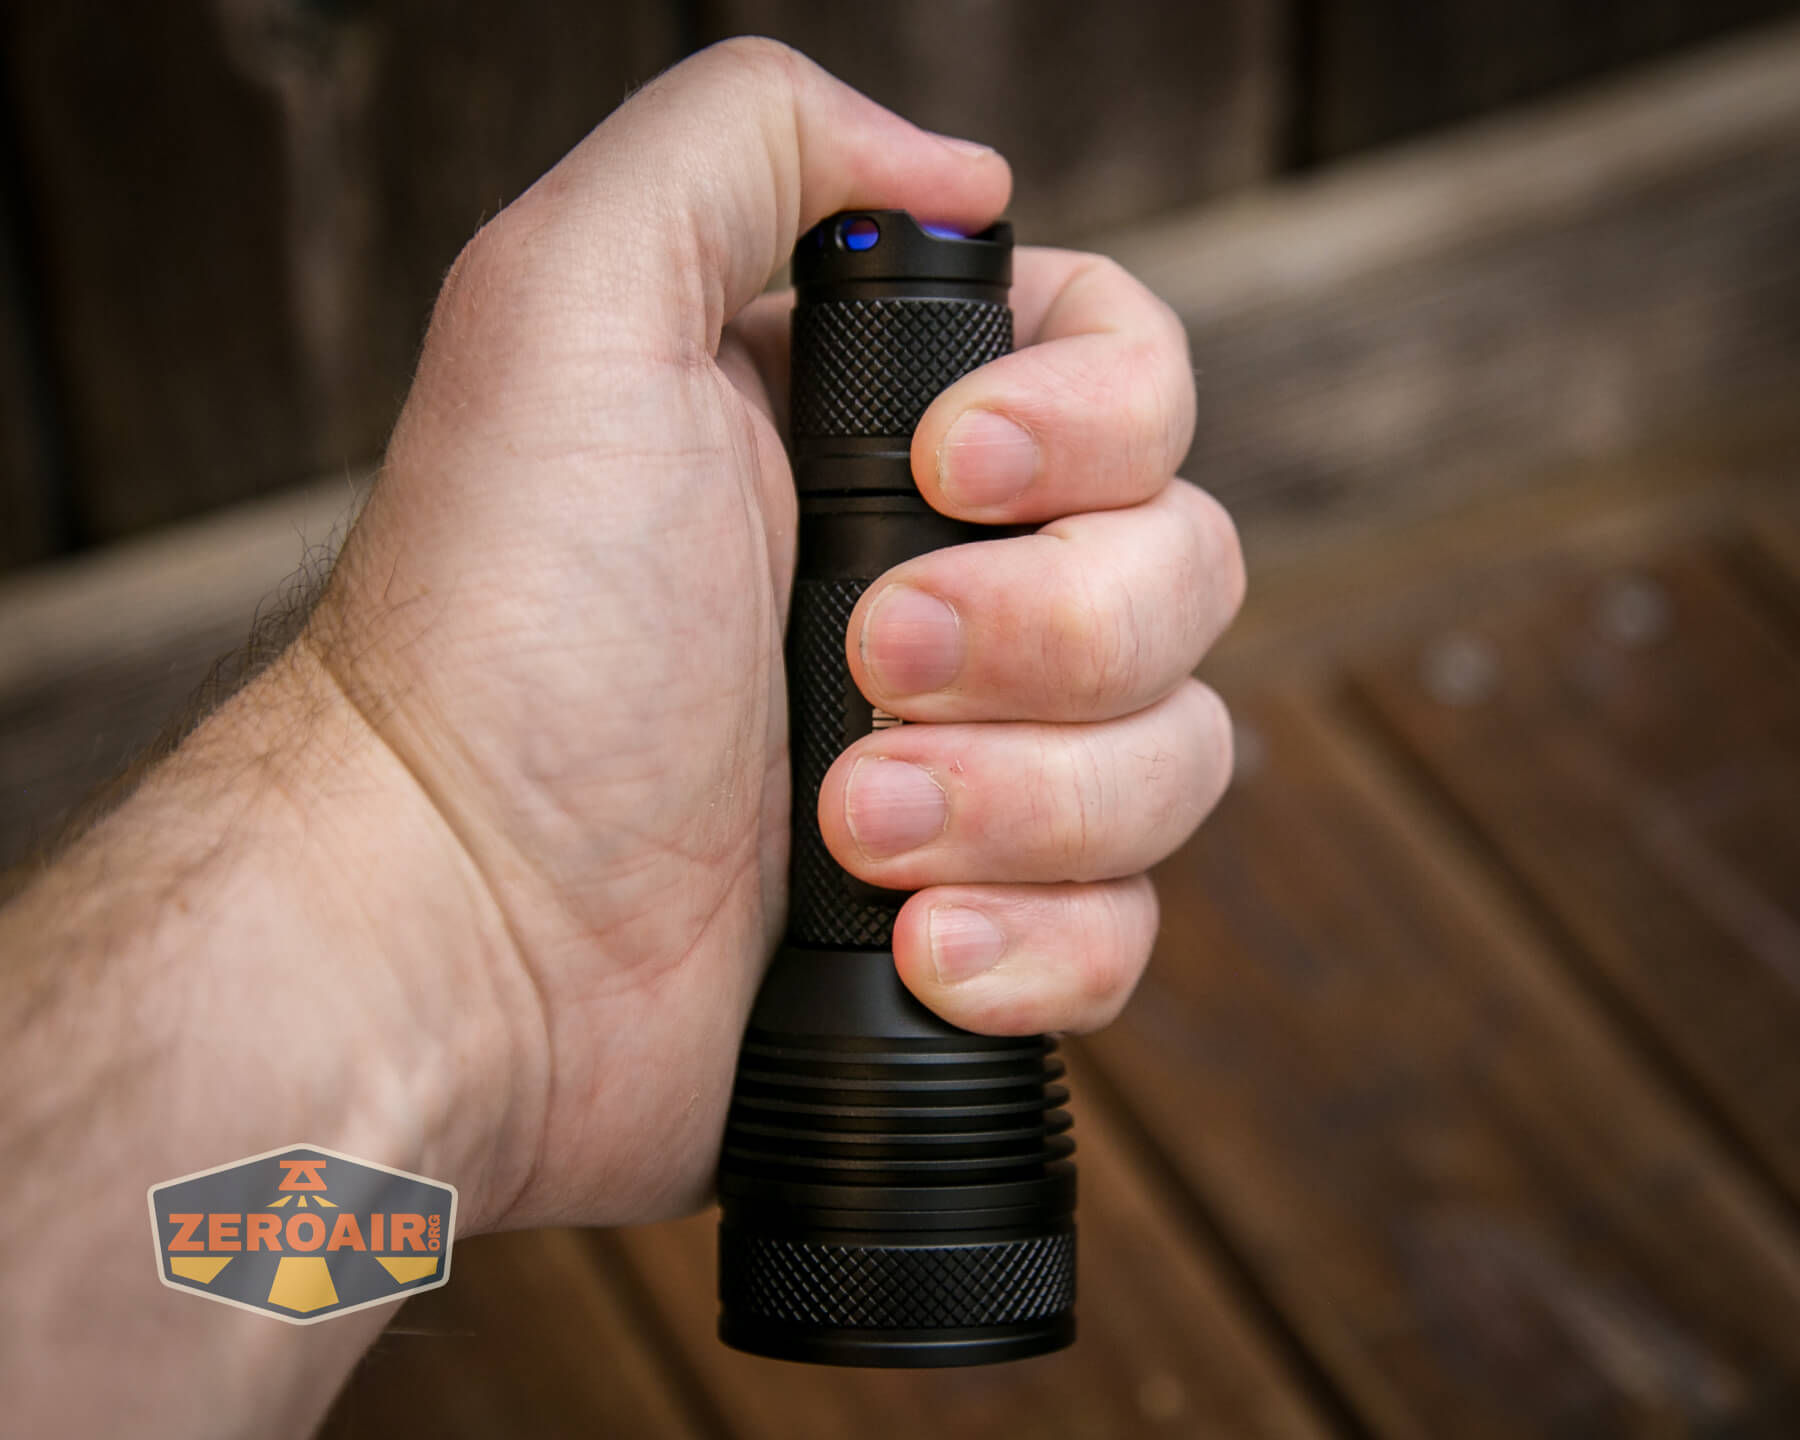
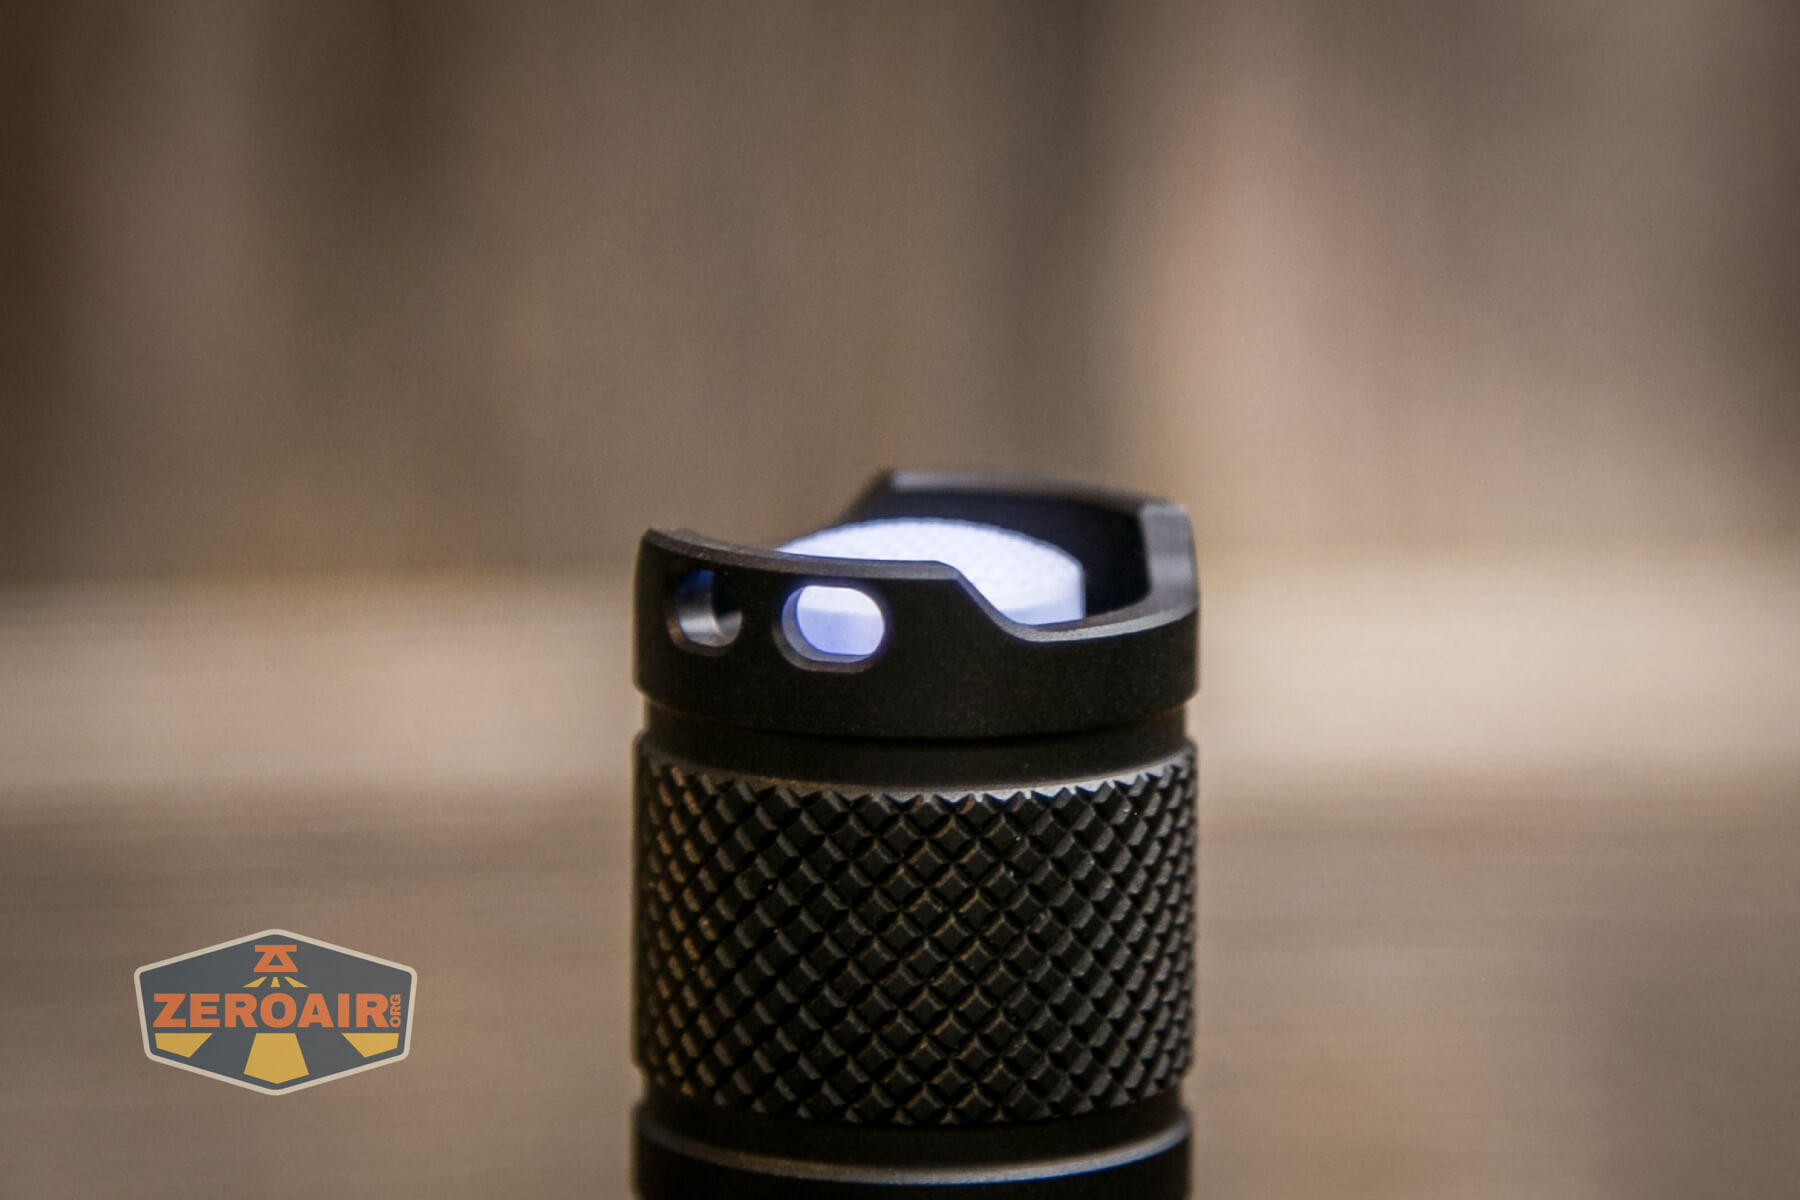
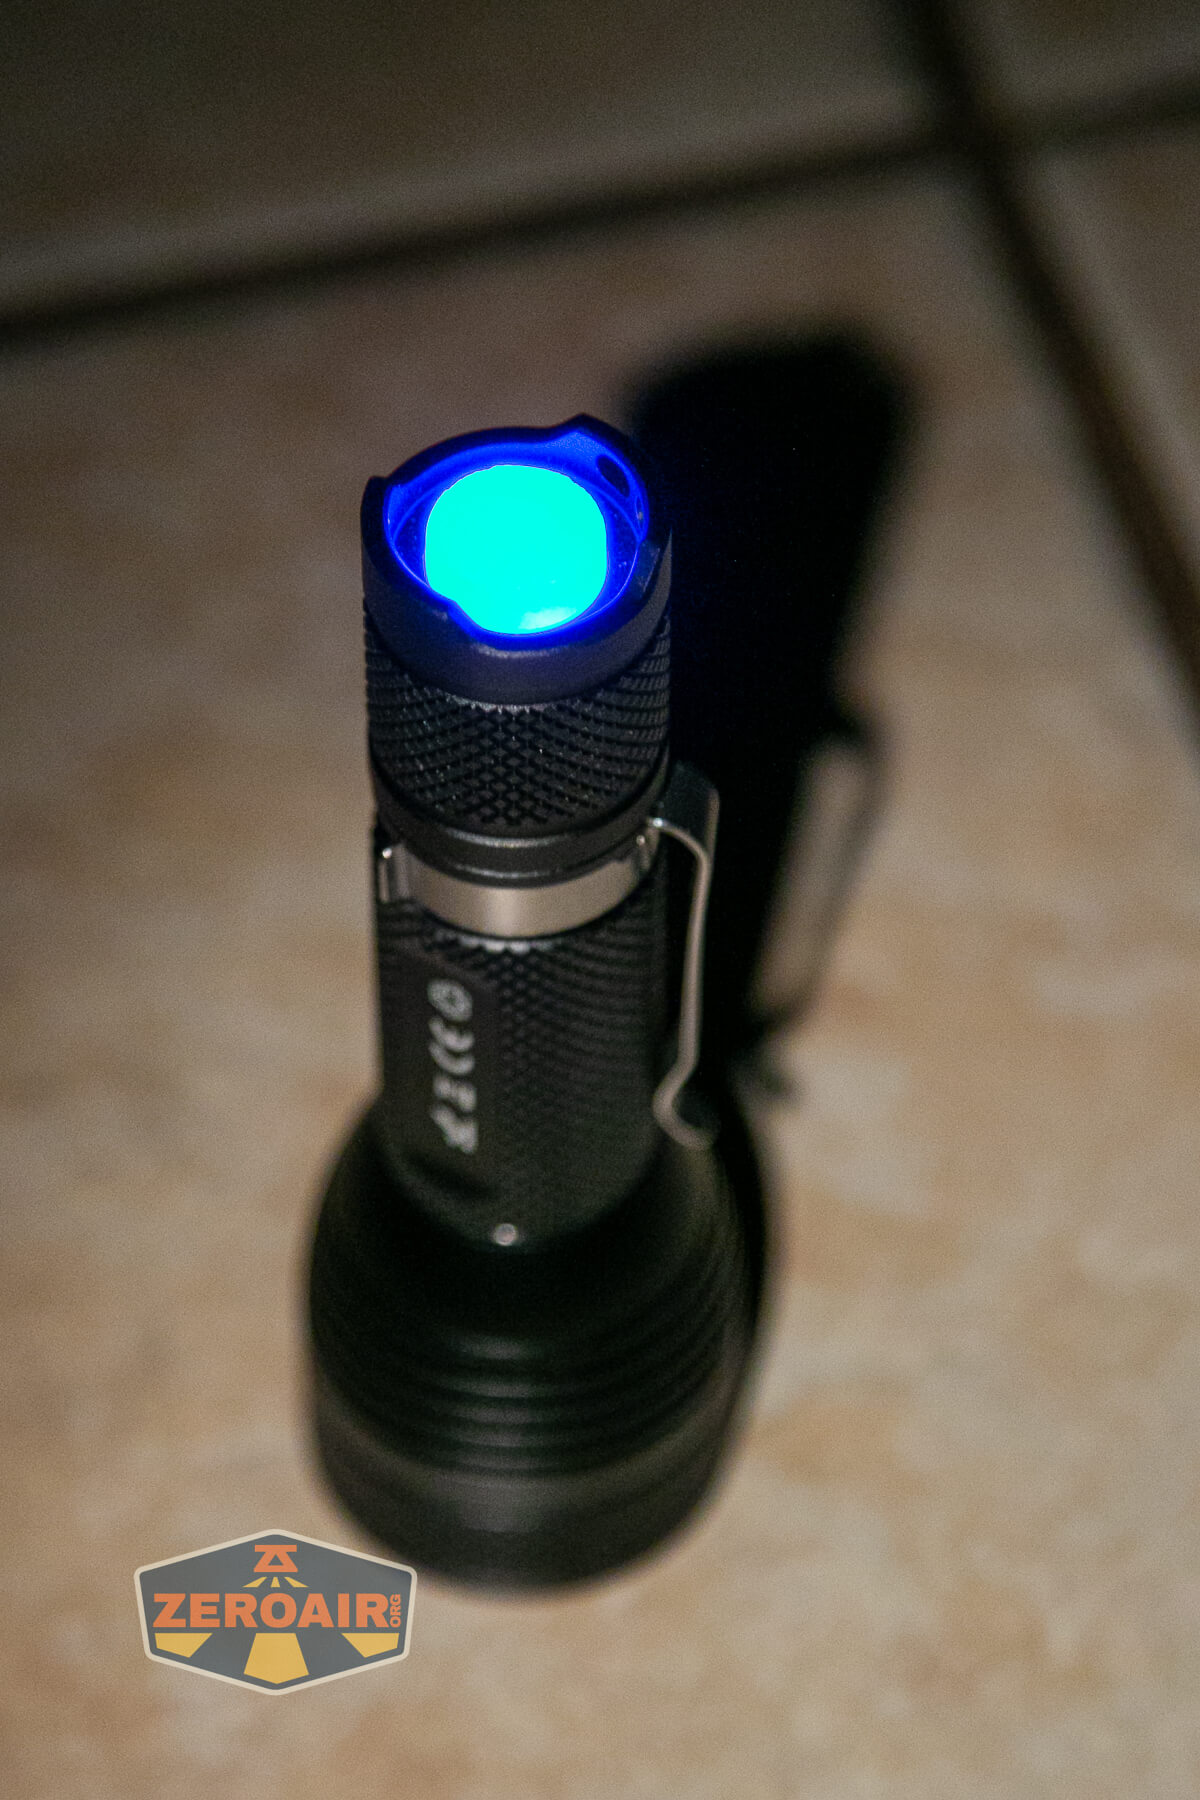
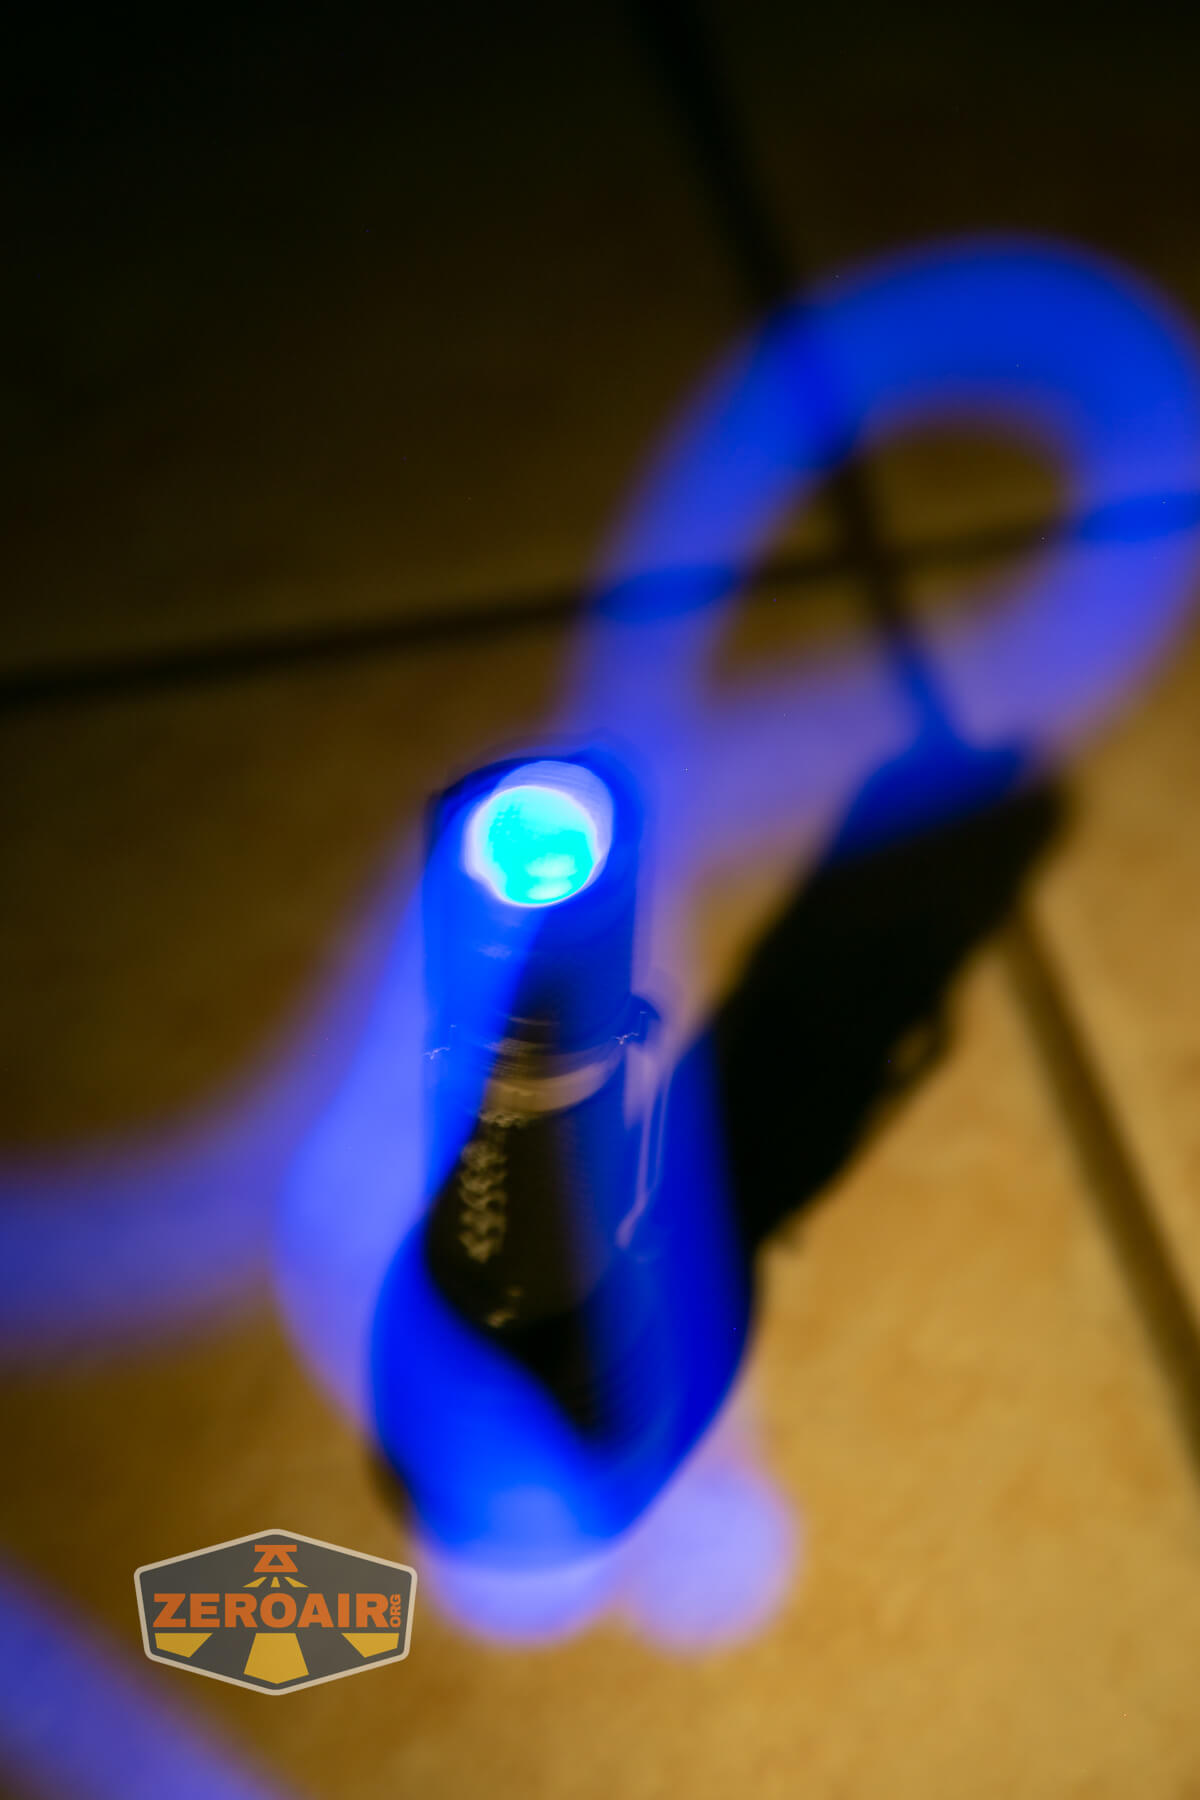
A single switch controls the Mateminco X6S flashlight. It has a neat blue backlit feature. This is a reverse mechanical clicky switch, so mode changes, while the light is on, will work fine.
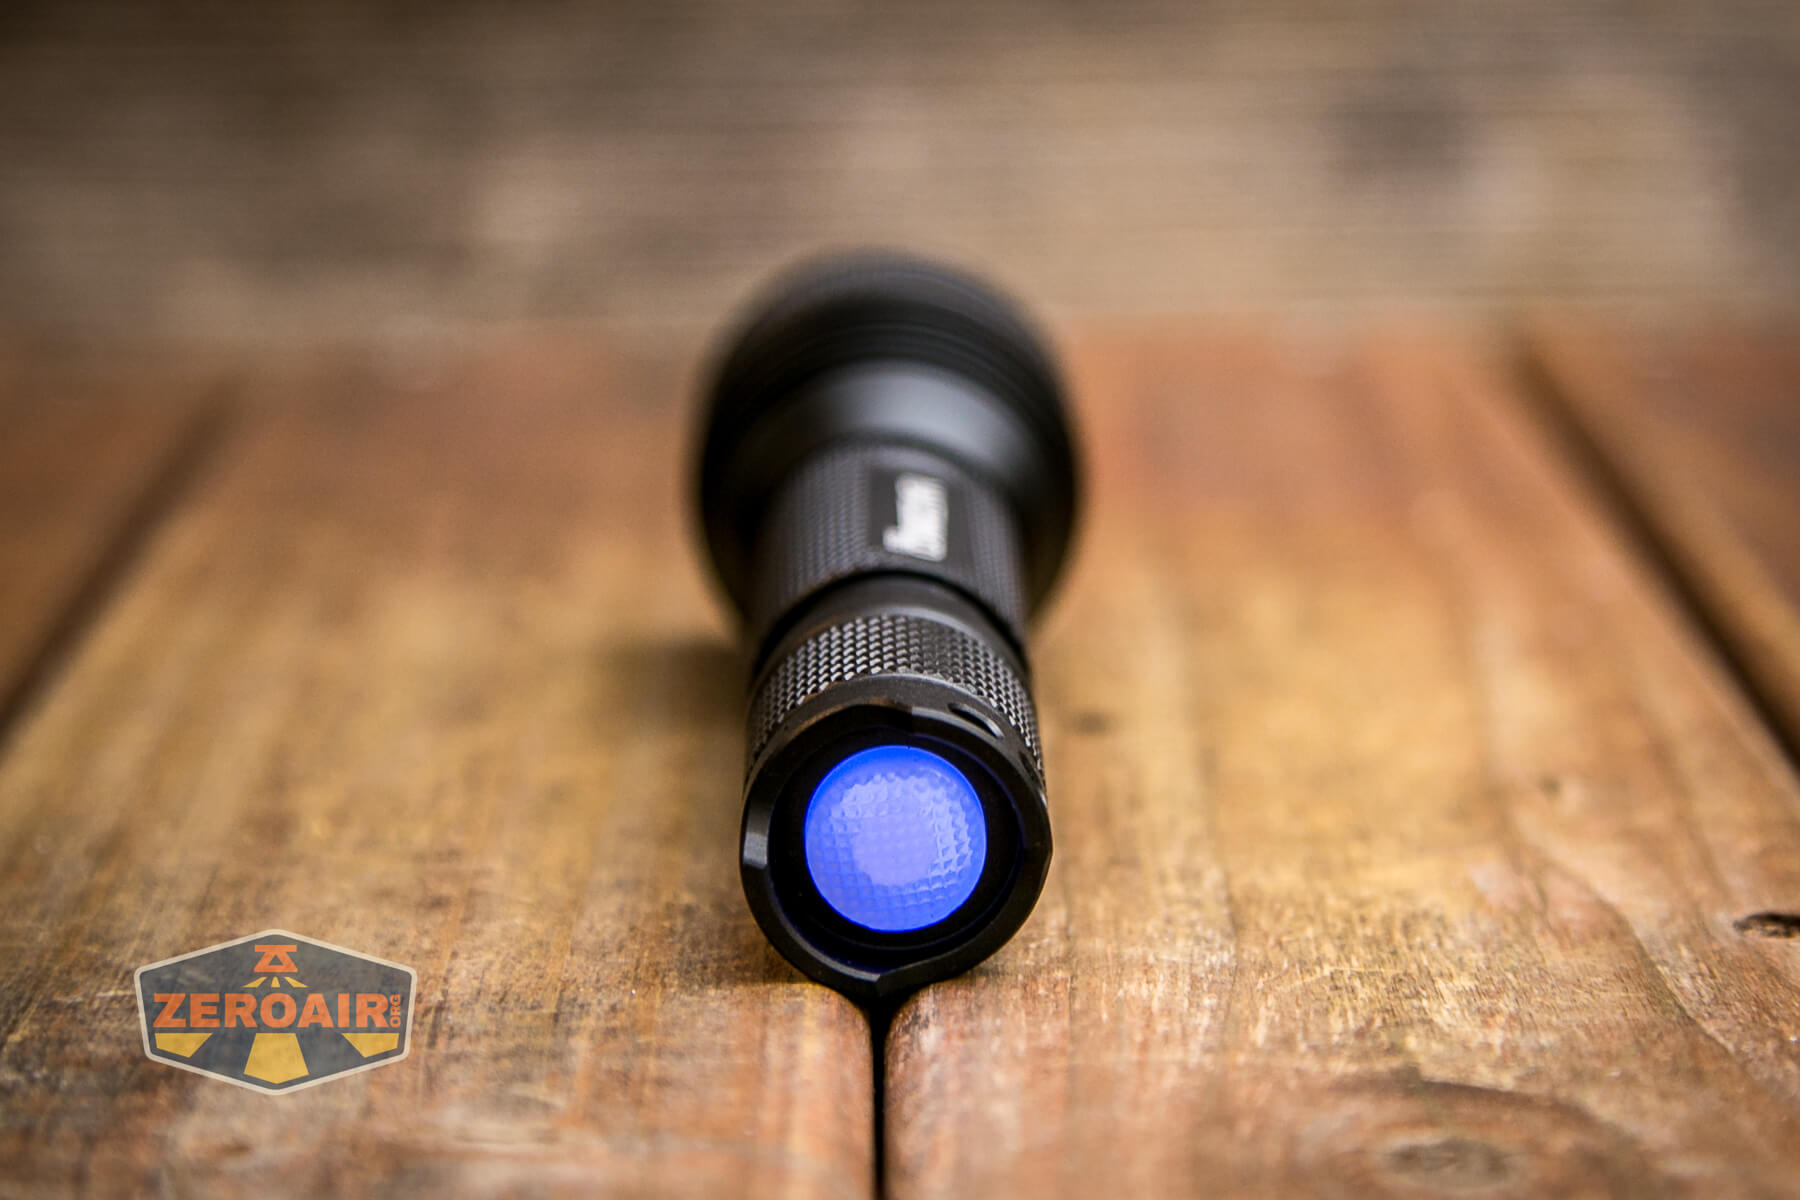
The switch is fairly bright and looks great! When the light is turned on, the switch LEDs will always turn off.
The user interface is Bistro, by ToyKeeper. I’ve had some form of Bistro a number of times throughout the years, most notably in the FidgetHQ Aonic (for example).
Here’s the Bistro user interface chart by ToyKeeper. This is a comprehensive graphic, of course.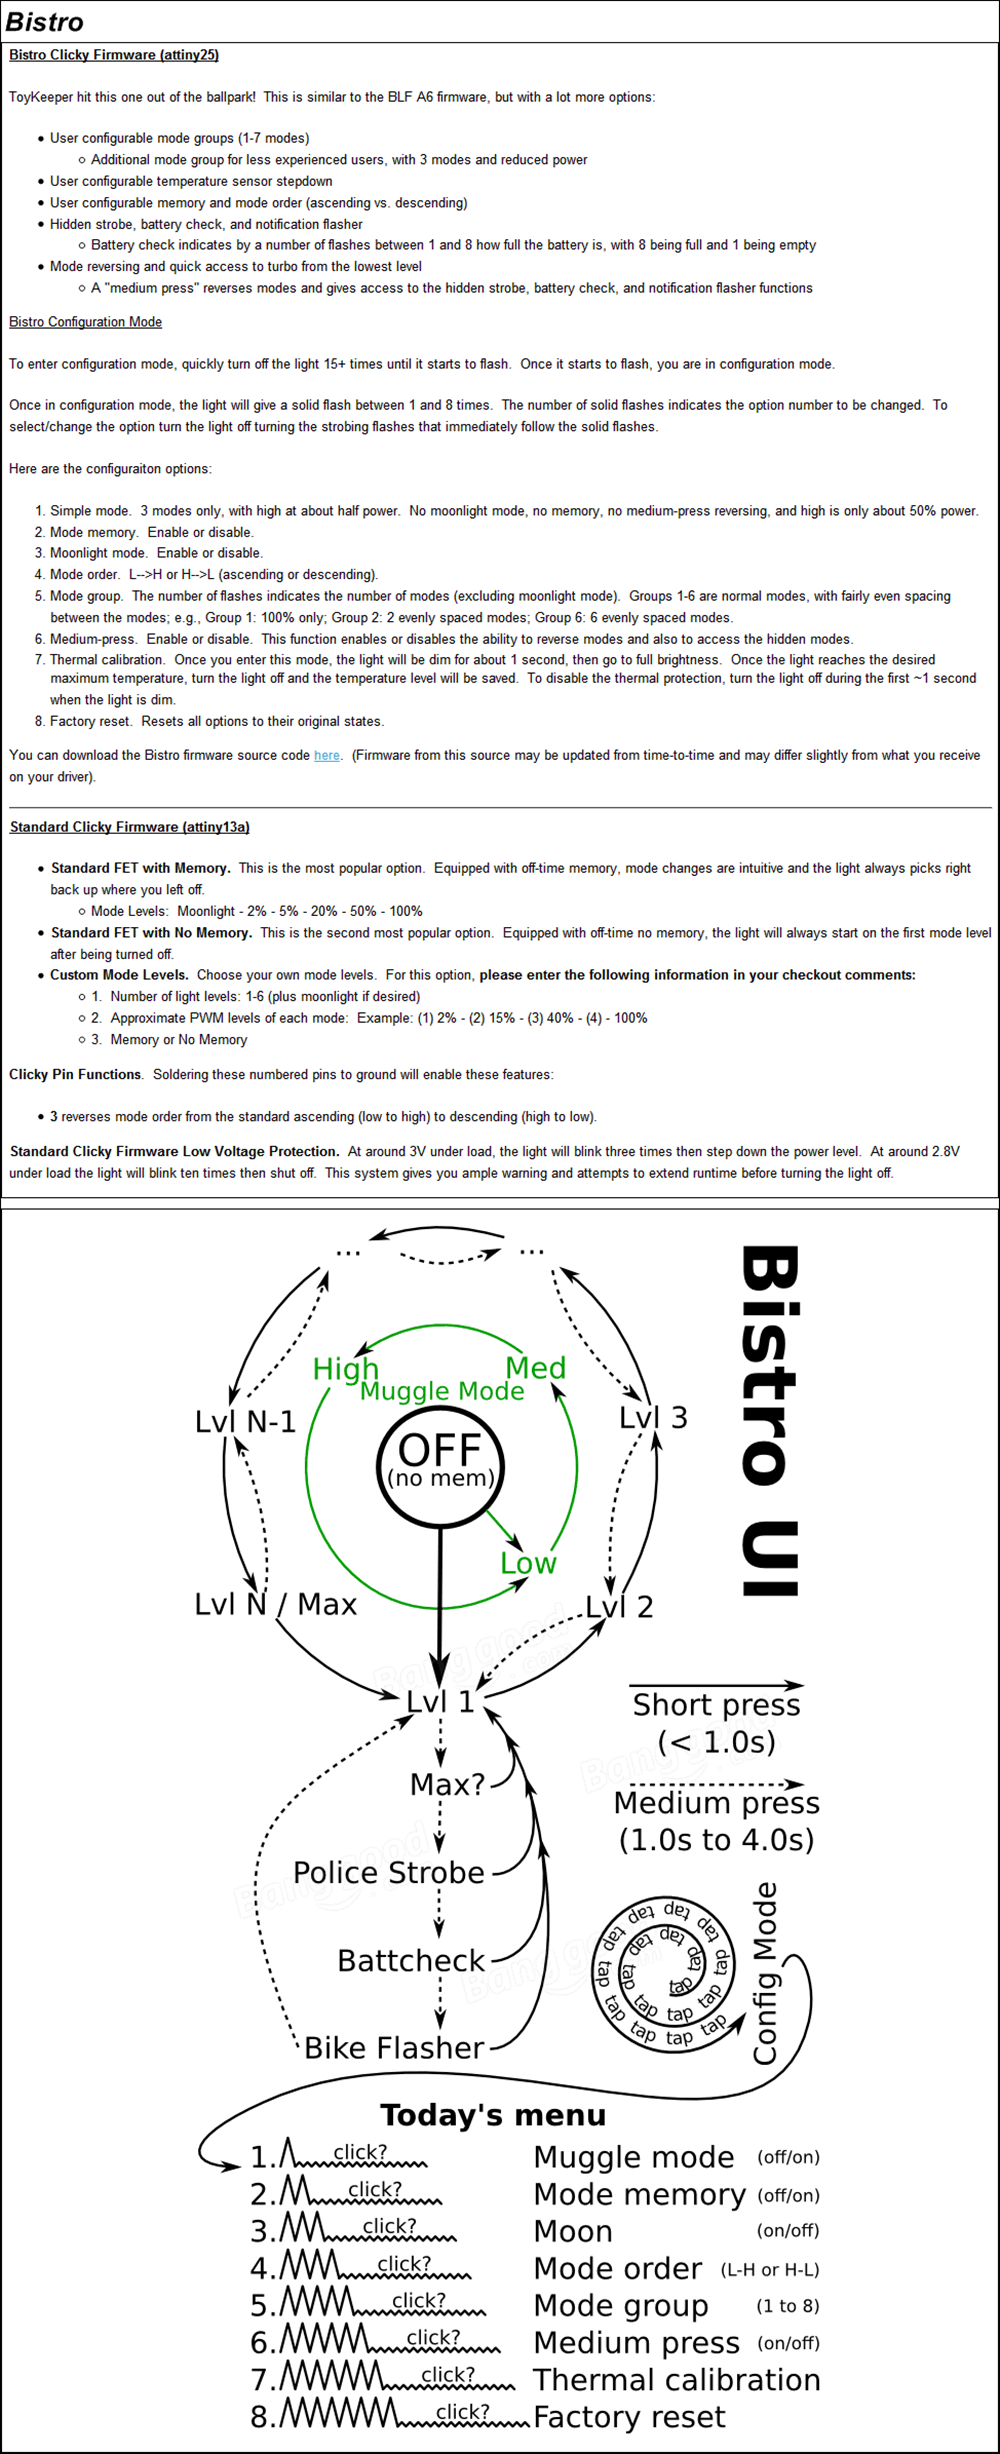
Some of what I’ve said before regards the BLF A6 user interface, but there’s a lot of overlap.
Here’s basically the most useful way to visualize the UI. Bistro is a fantastic UI, with plenty of options. In particular, I like the option to turn off Mode Memory. (The light ships with memory on). Another thing I love is that the light has a battery check option. Here’s the detail on what you see when you use batt check.
0 blinks: < 1% full (< 3.0V)
1 blink: 1% to 25% full (3.0V to 3.5V)
2 blinks: 25% to 50% full (3.5V to 3.8V)
3 blinks: 50% to 75% full (3.8V to 4.0V)
4 blinks: 75% to 100% full (4.0V to 4.2V)
5 blinks: > 100% full (> 4.2V)
Another thing I absolutely love about this user interface is the ability to go backward in the modes. Often, I am in a mode, and I think, “Is this enough light?” and progress to the next mode. The next mode is too much, so I might have to cycle through to get to the previous mode. Not with this user interface! Just “medium press” (time, not pressure) to go back a mode.
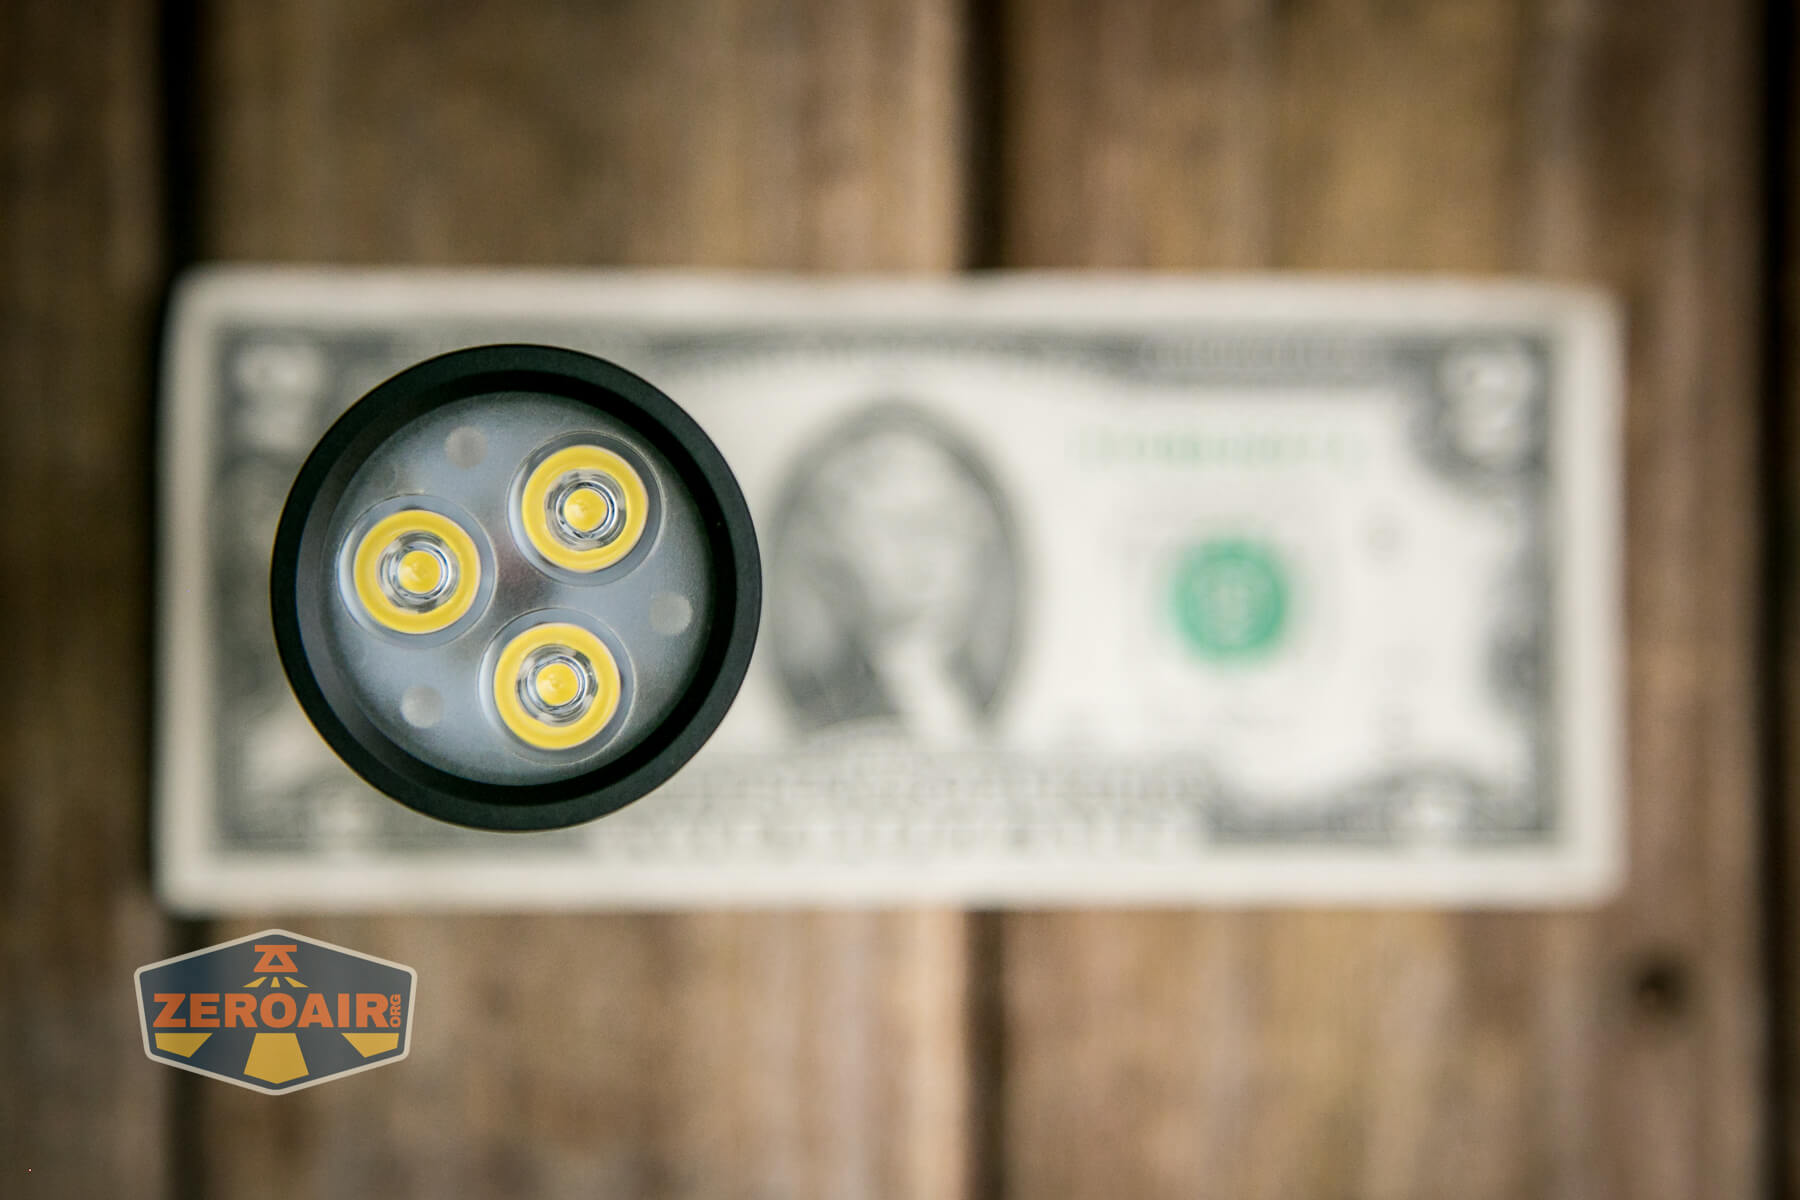
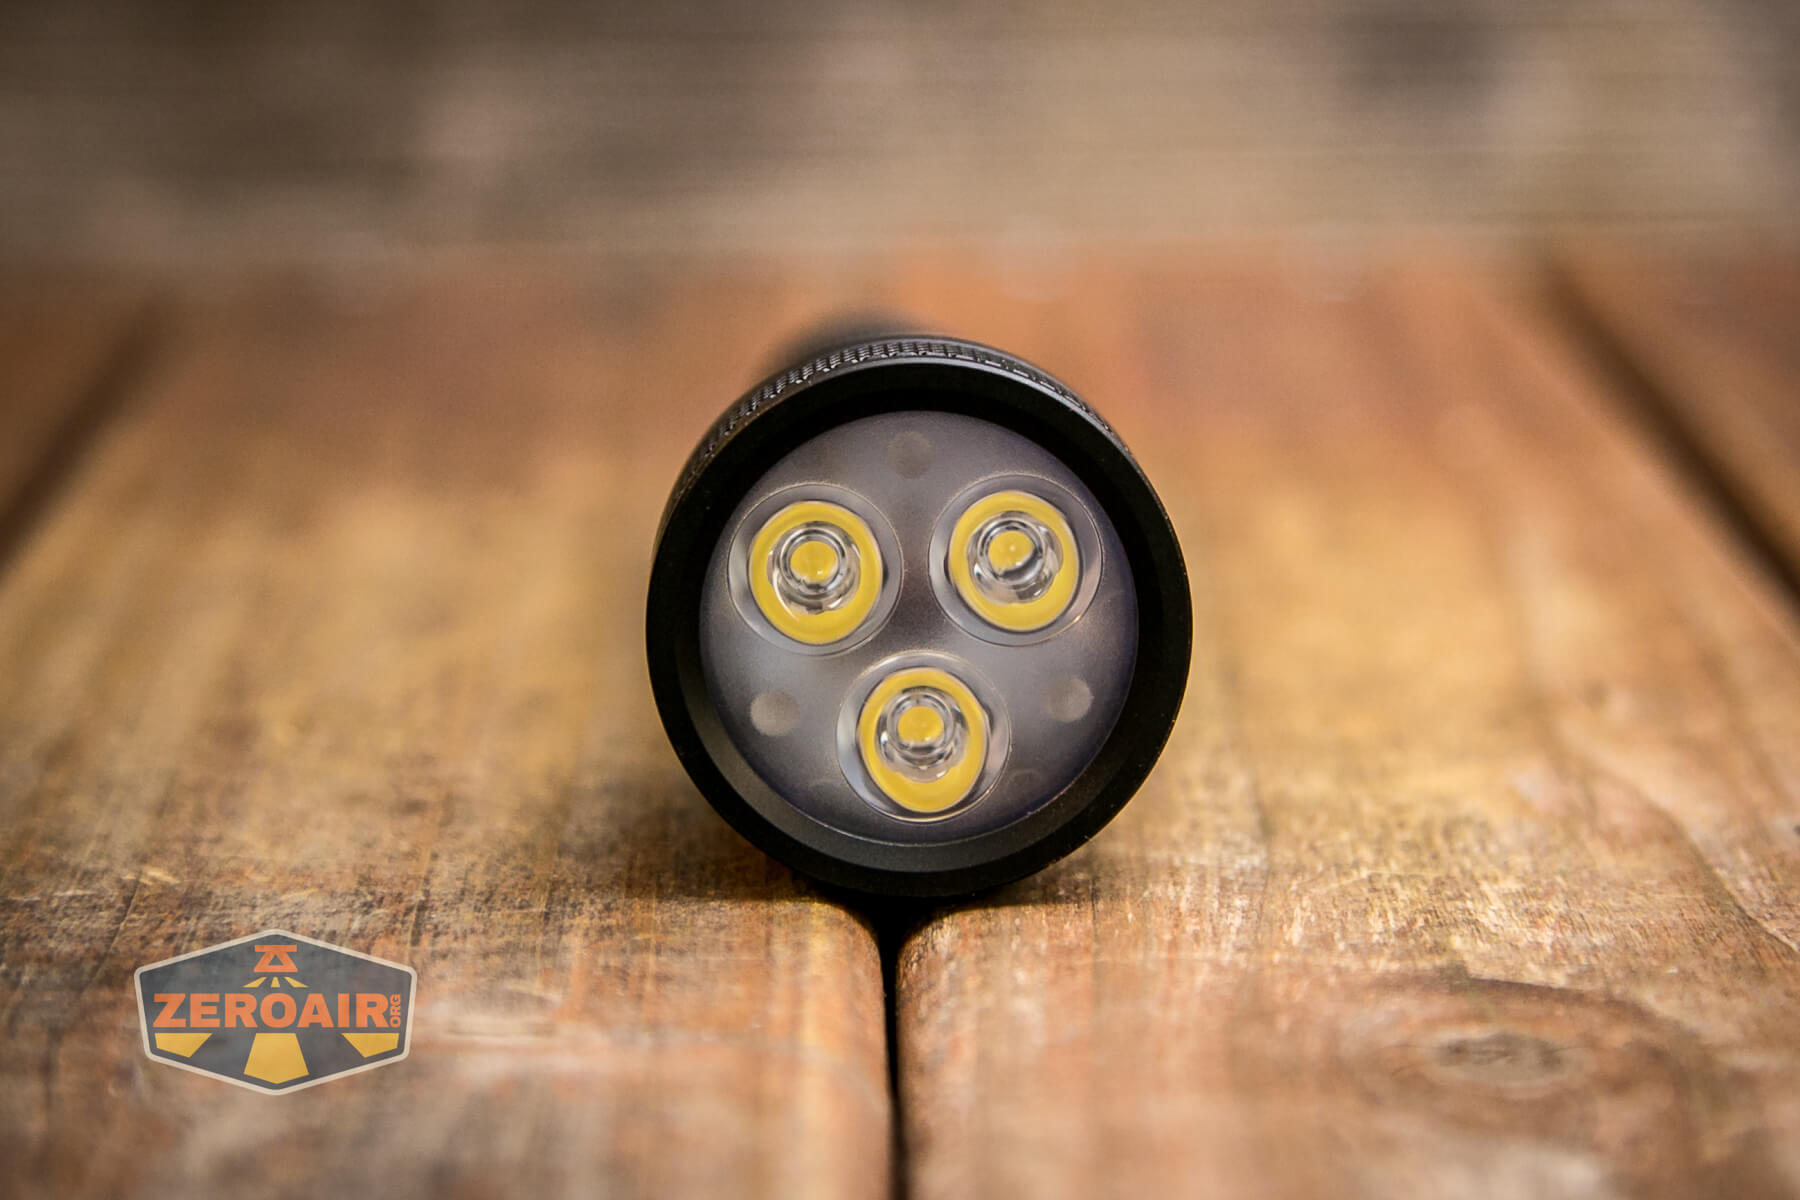
LED and Beam
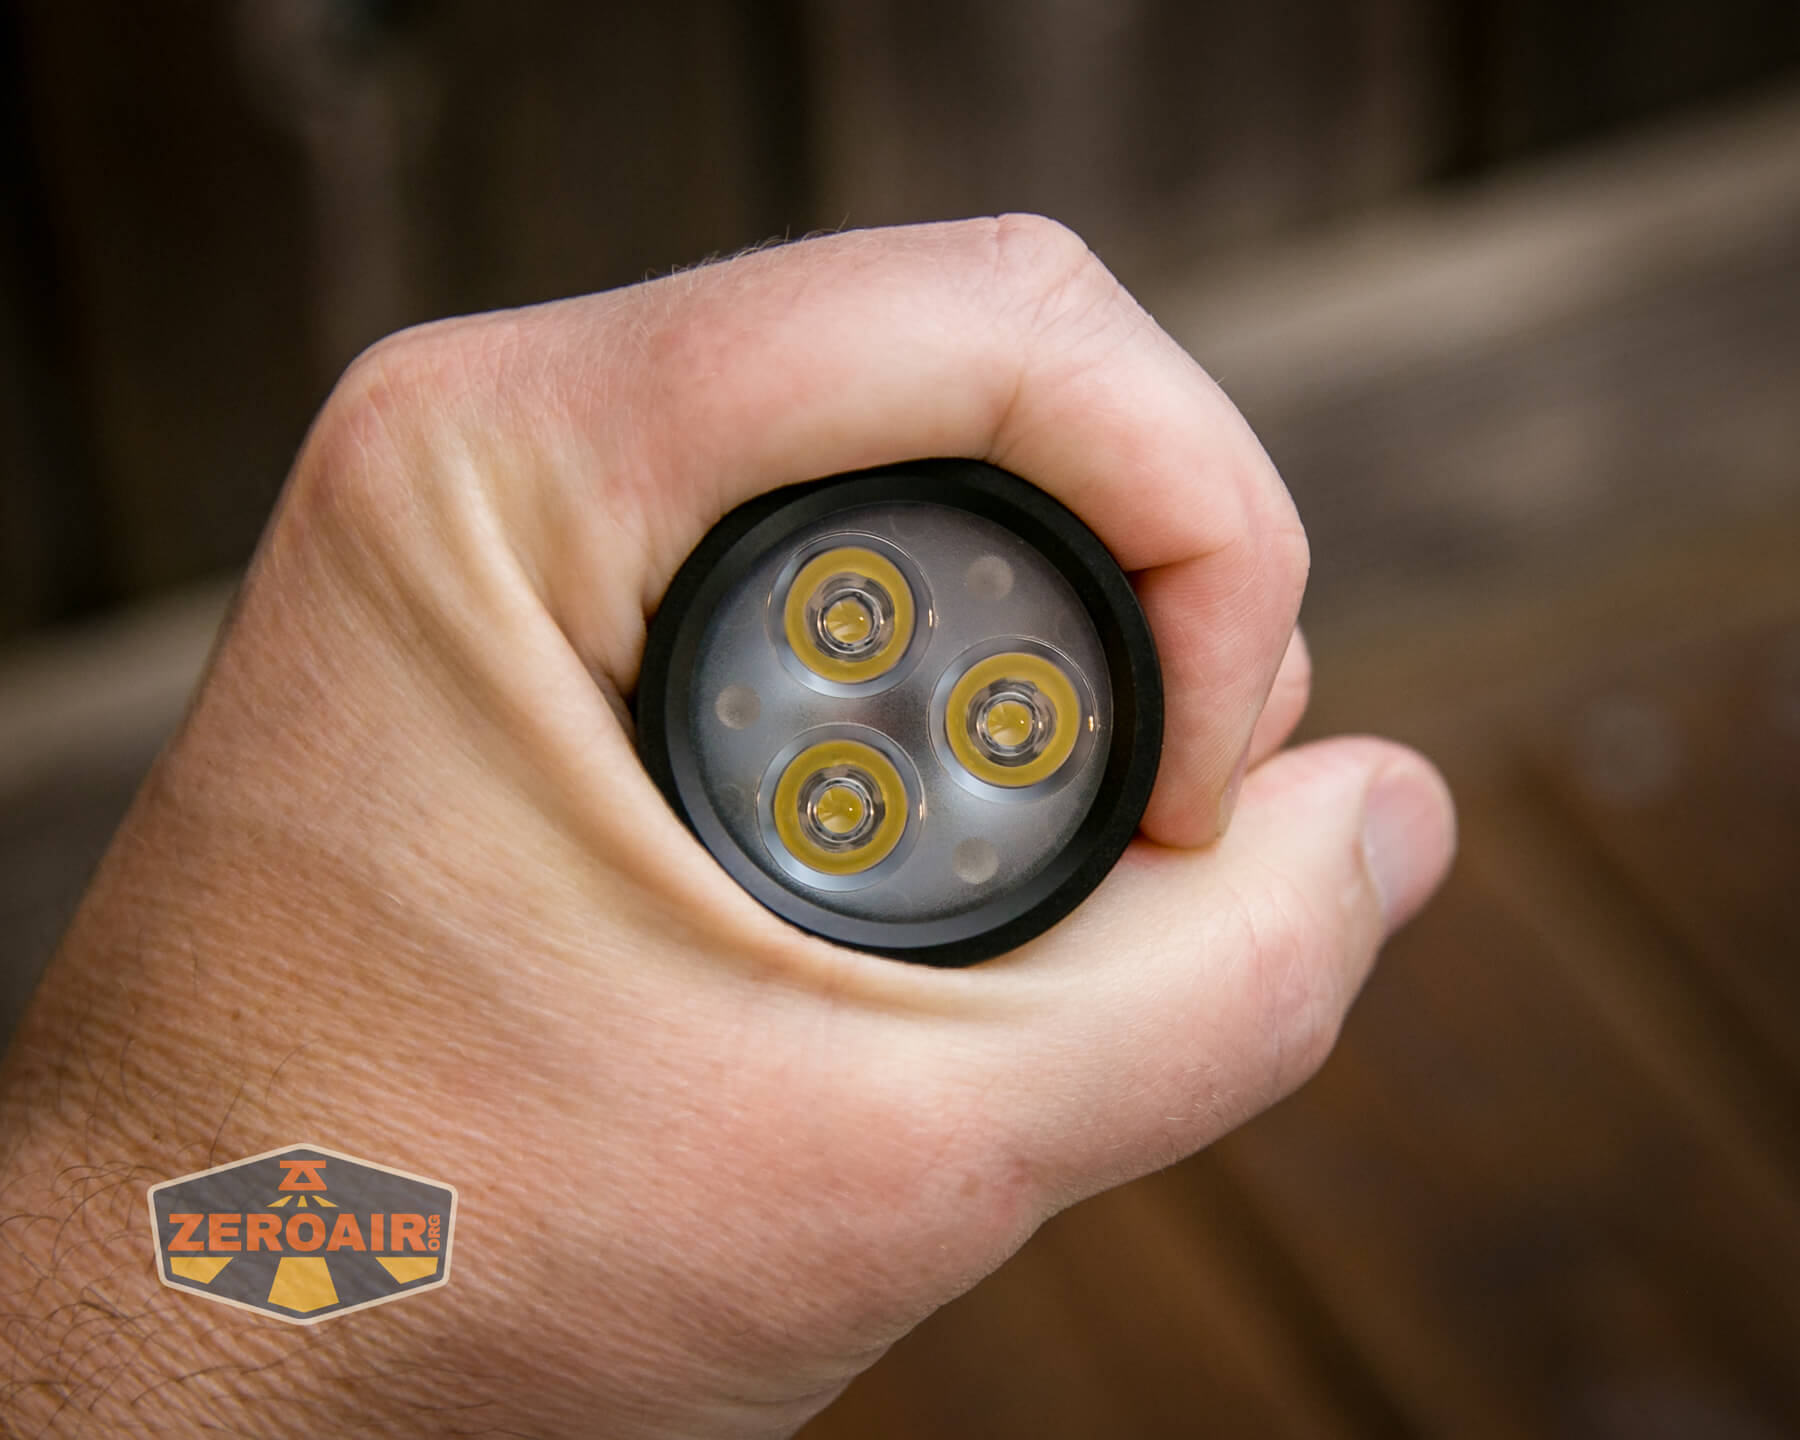
My version of the X6S has three Nichia 219c emitters (despite what the box says!). I haven’t always been the biggest fan of 219c (with 219b being legendary, of course), but these are great!! The Mateminco X6S flashlight is a triple, but not a “standard YAT triple.” The emitters are spaced apart. Most importantly, this means the head is bigger, with a bigger mass, so it should be able to deal with heat better.
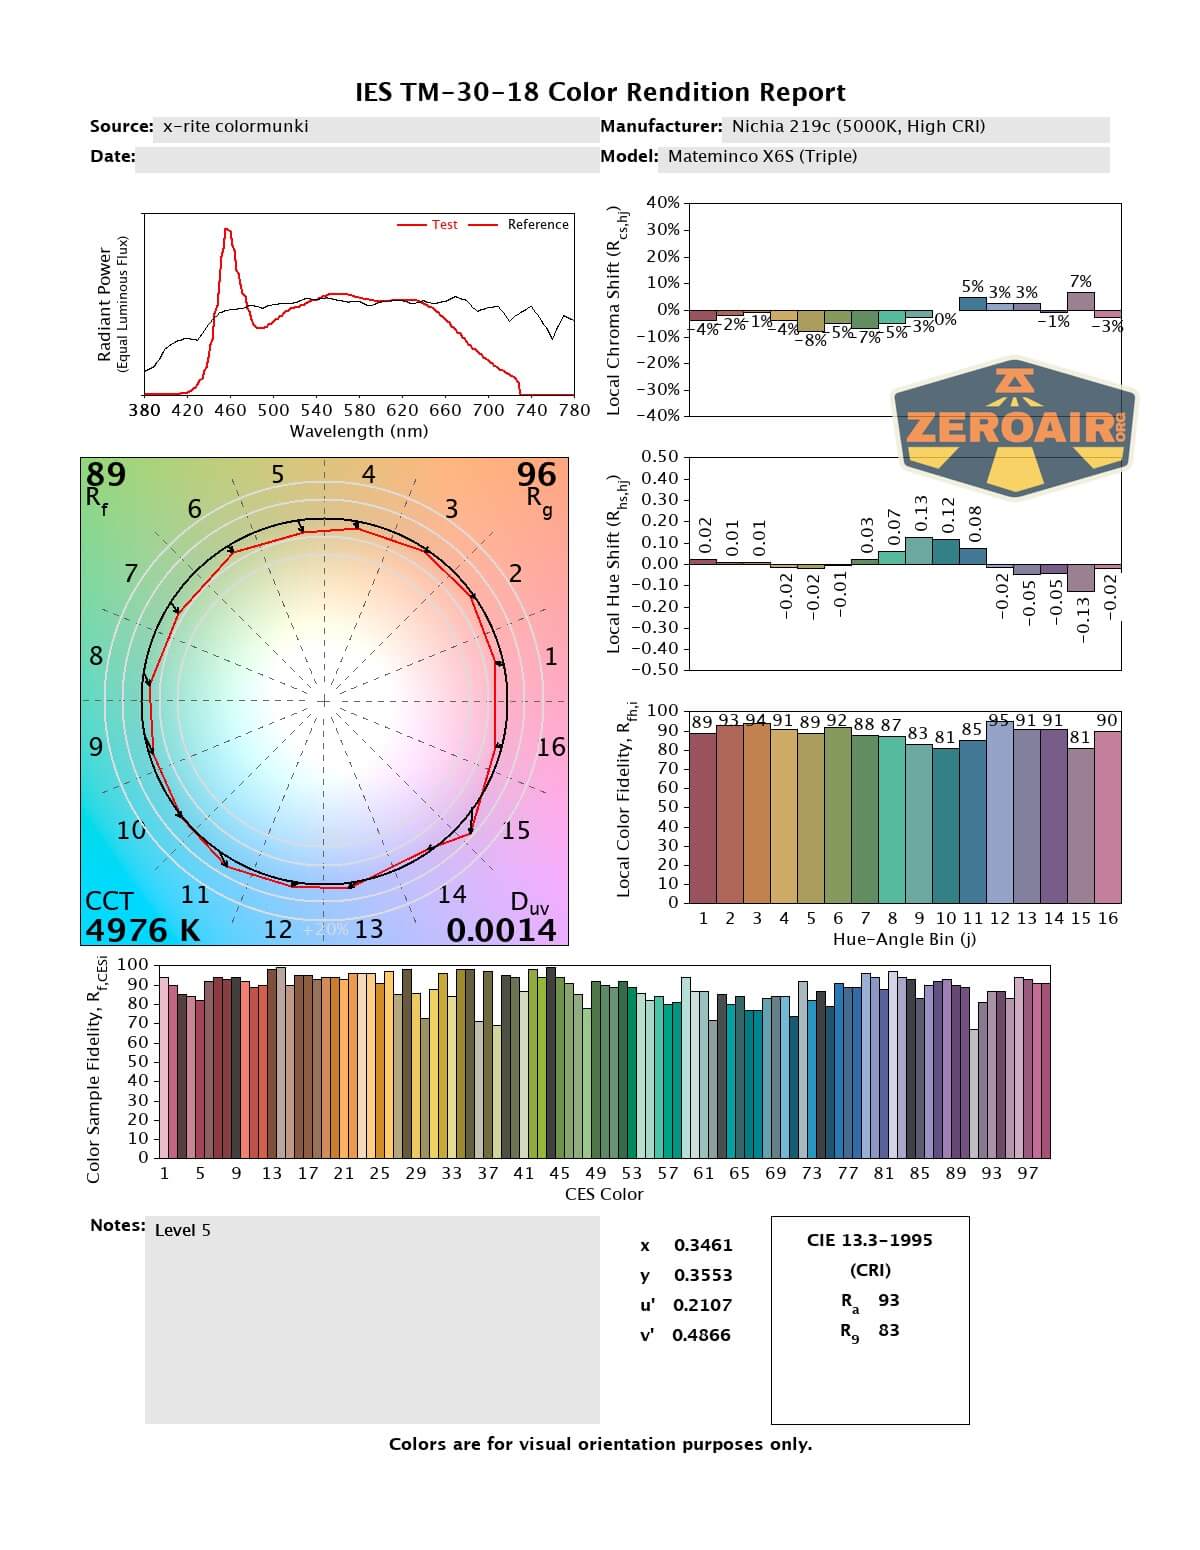
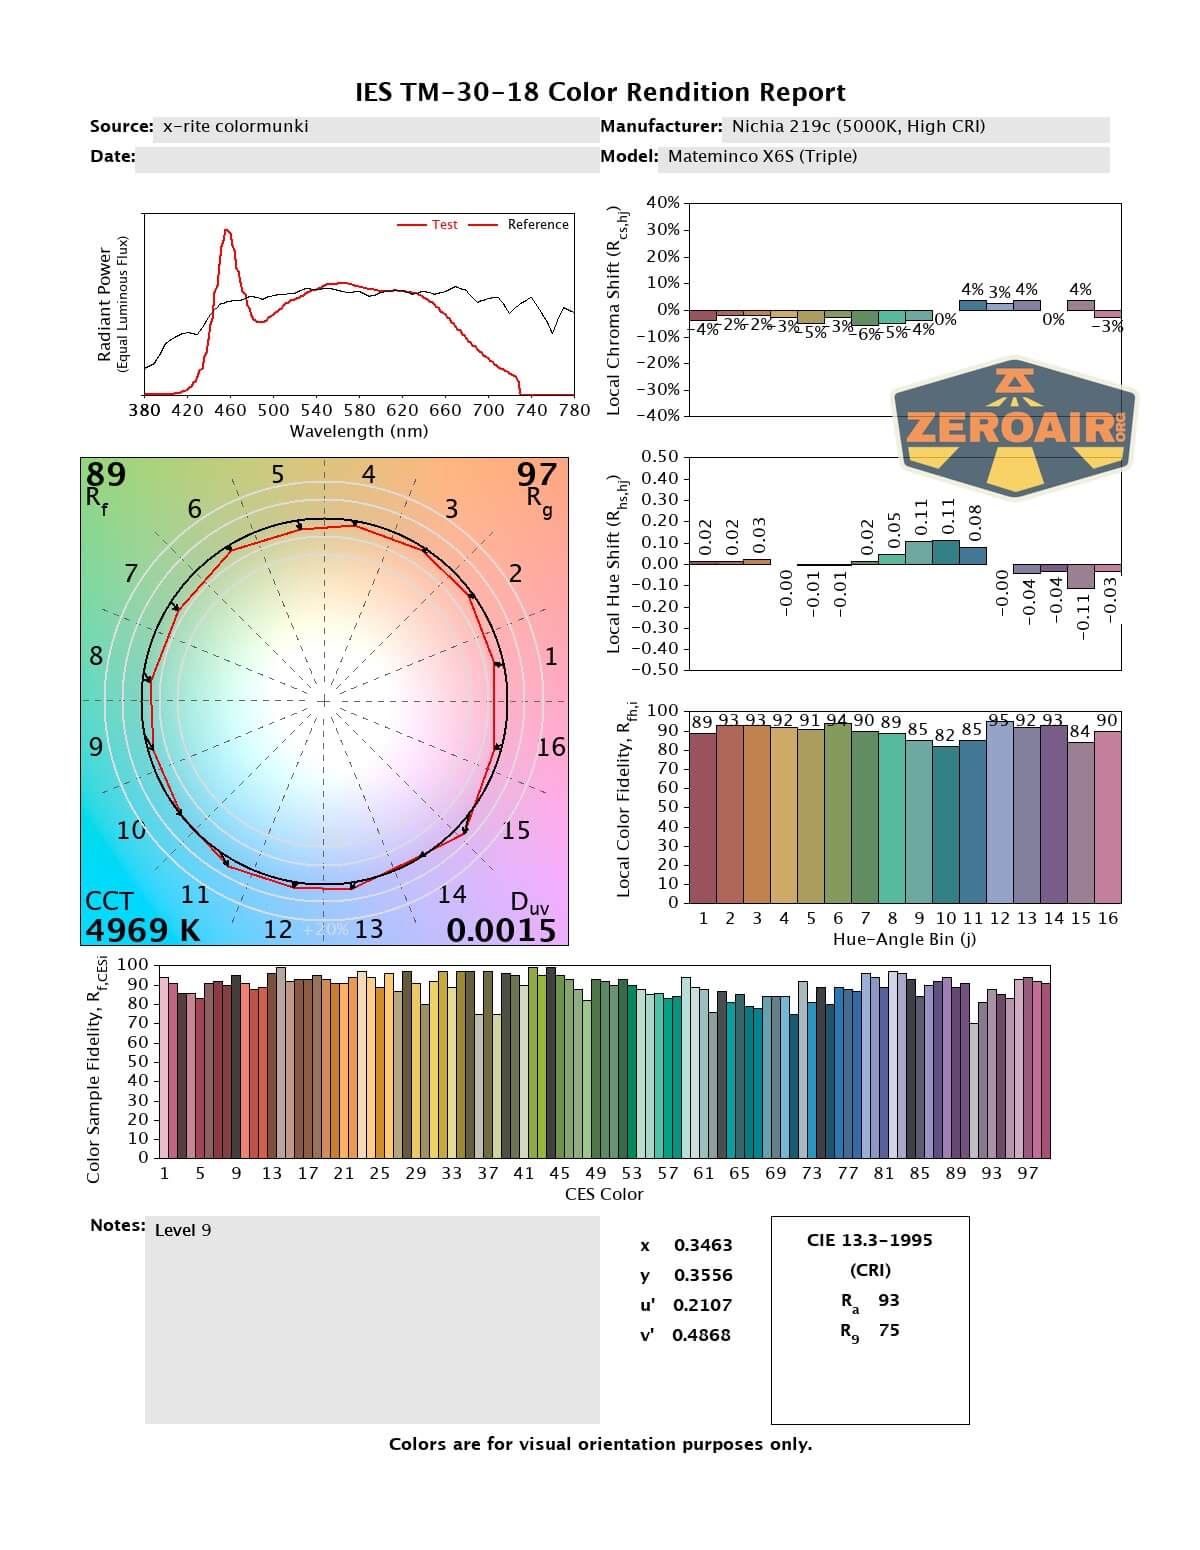
LED Color Report (CRI and CCT)
These Nichia 219c emitters come in at around 5000K and hold very steady, even on the higher current output levels. (Often, emitters will go toward the blue/higher CCT as they’re driven harder.) These stay at around 5000K throughout the levels and are high CRI!


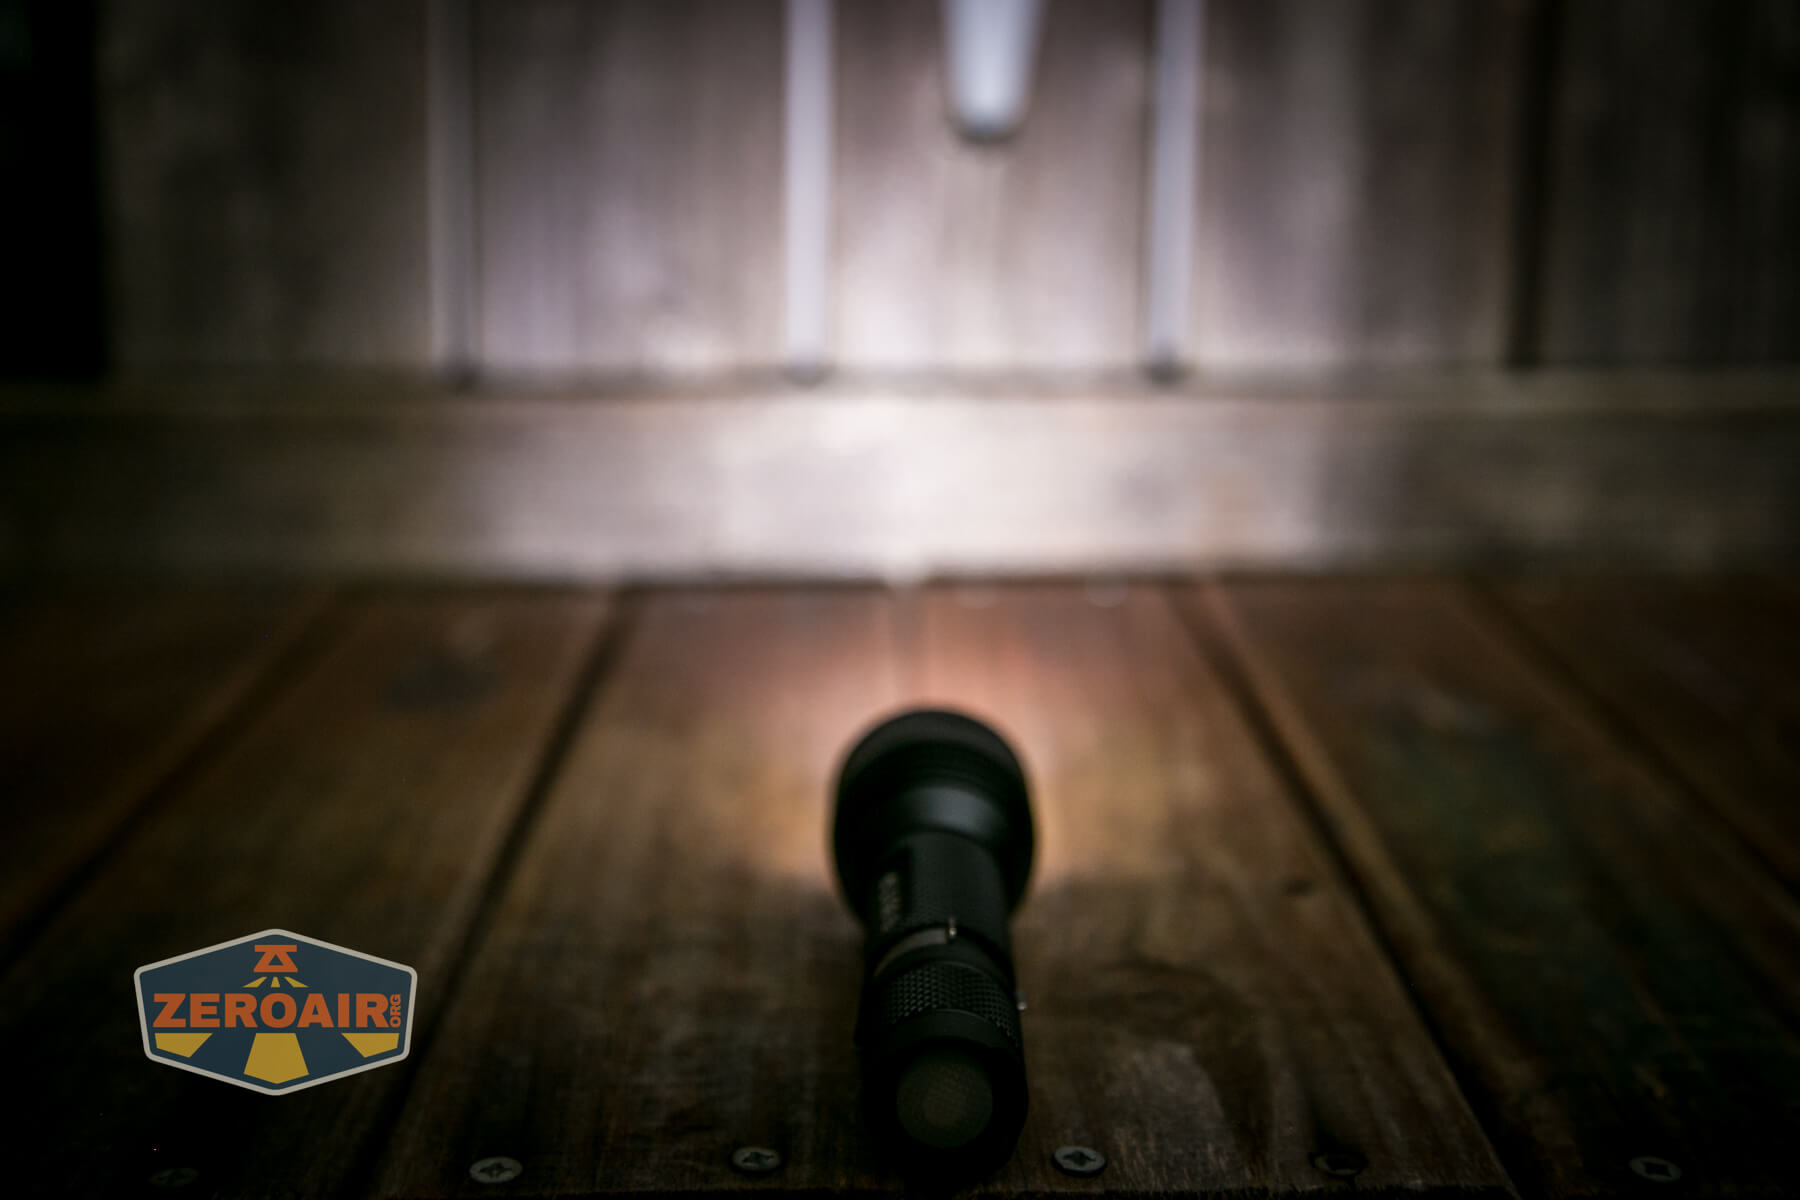
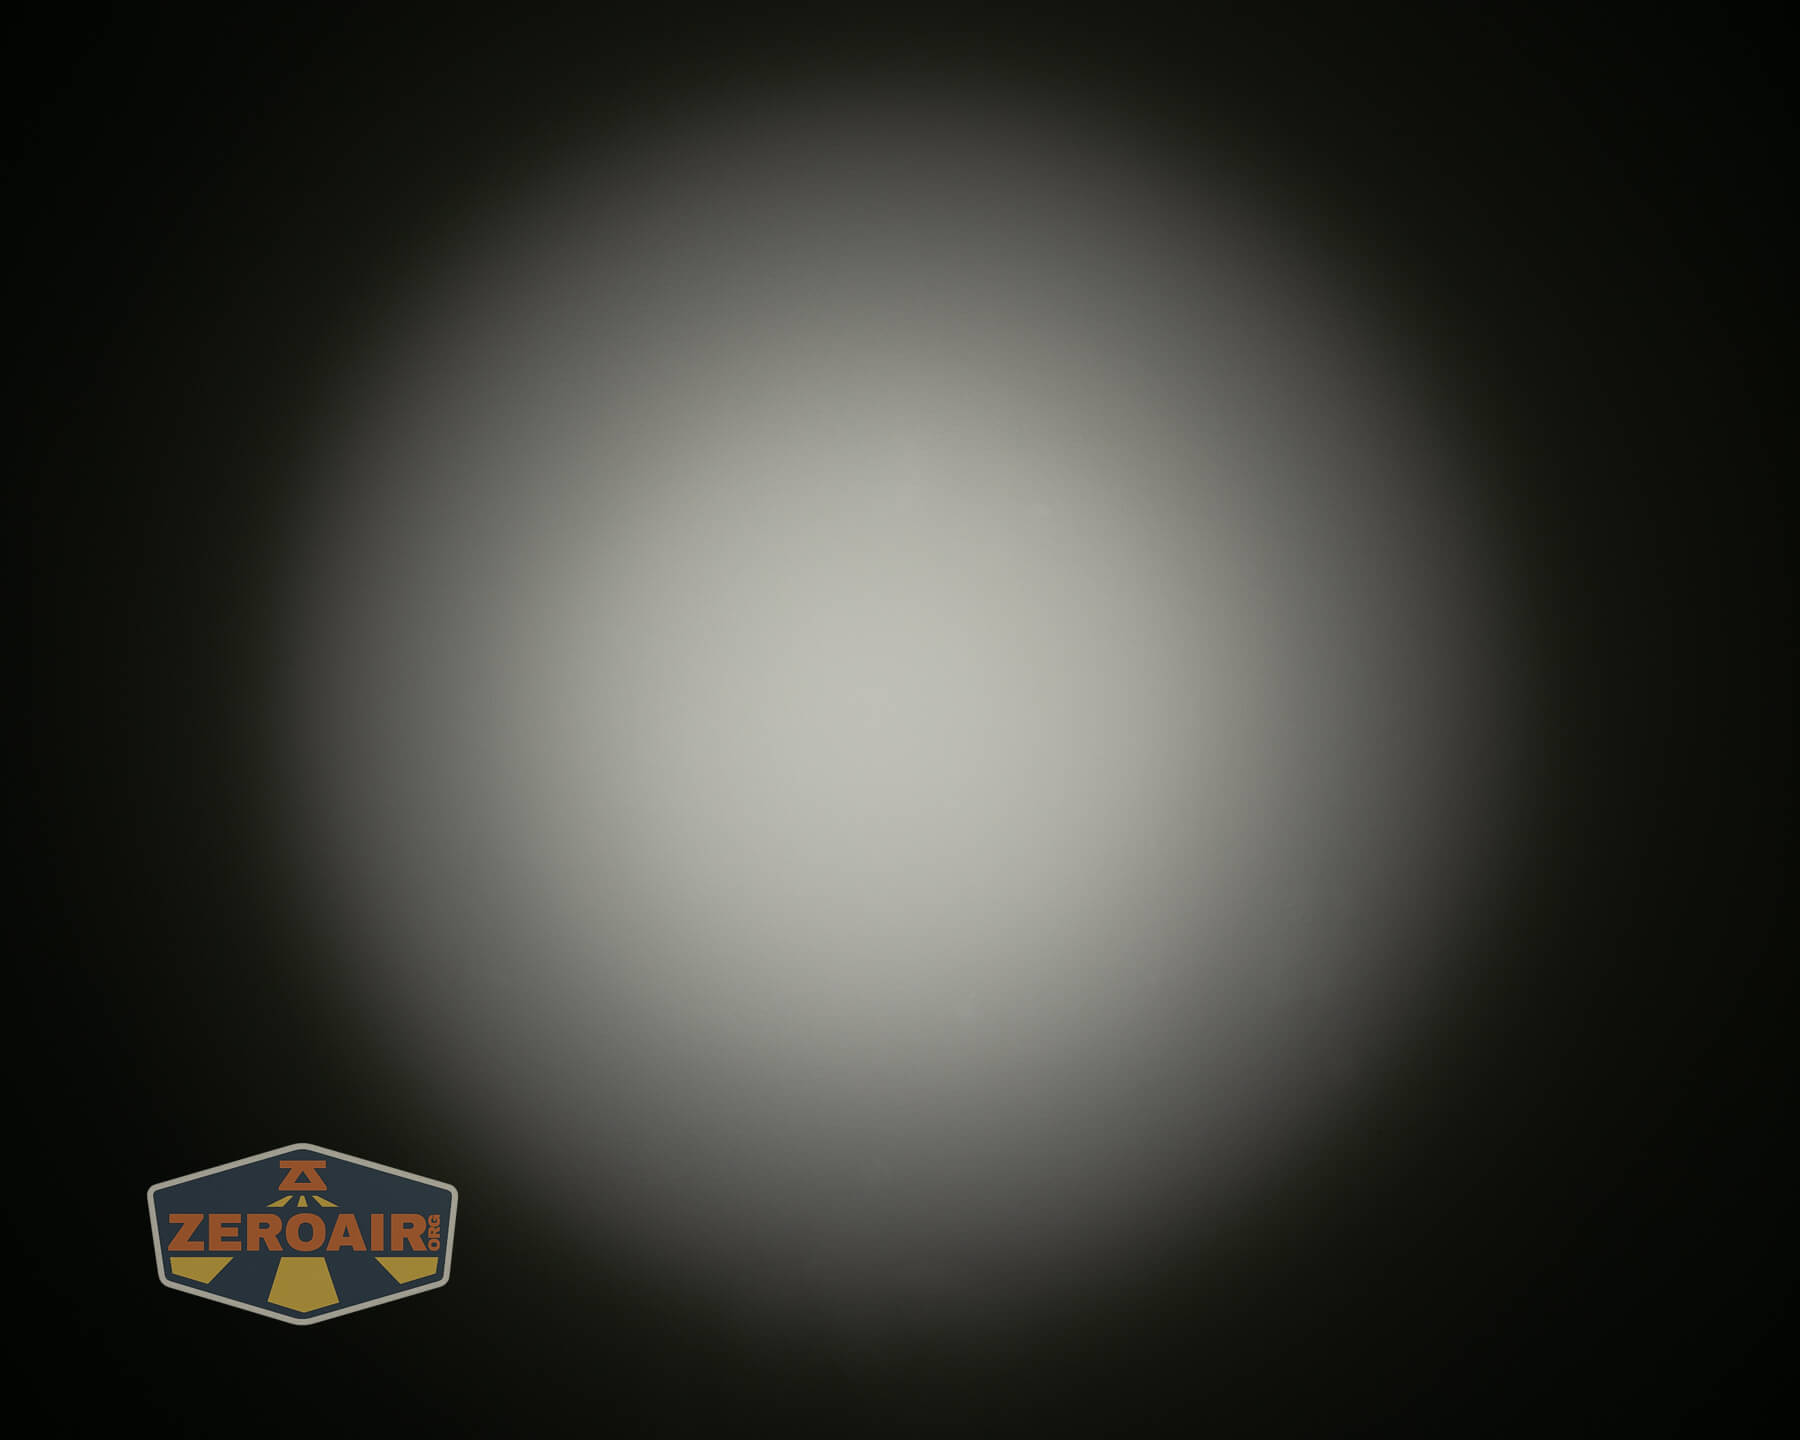
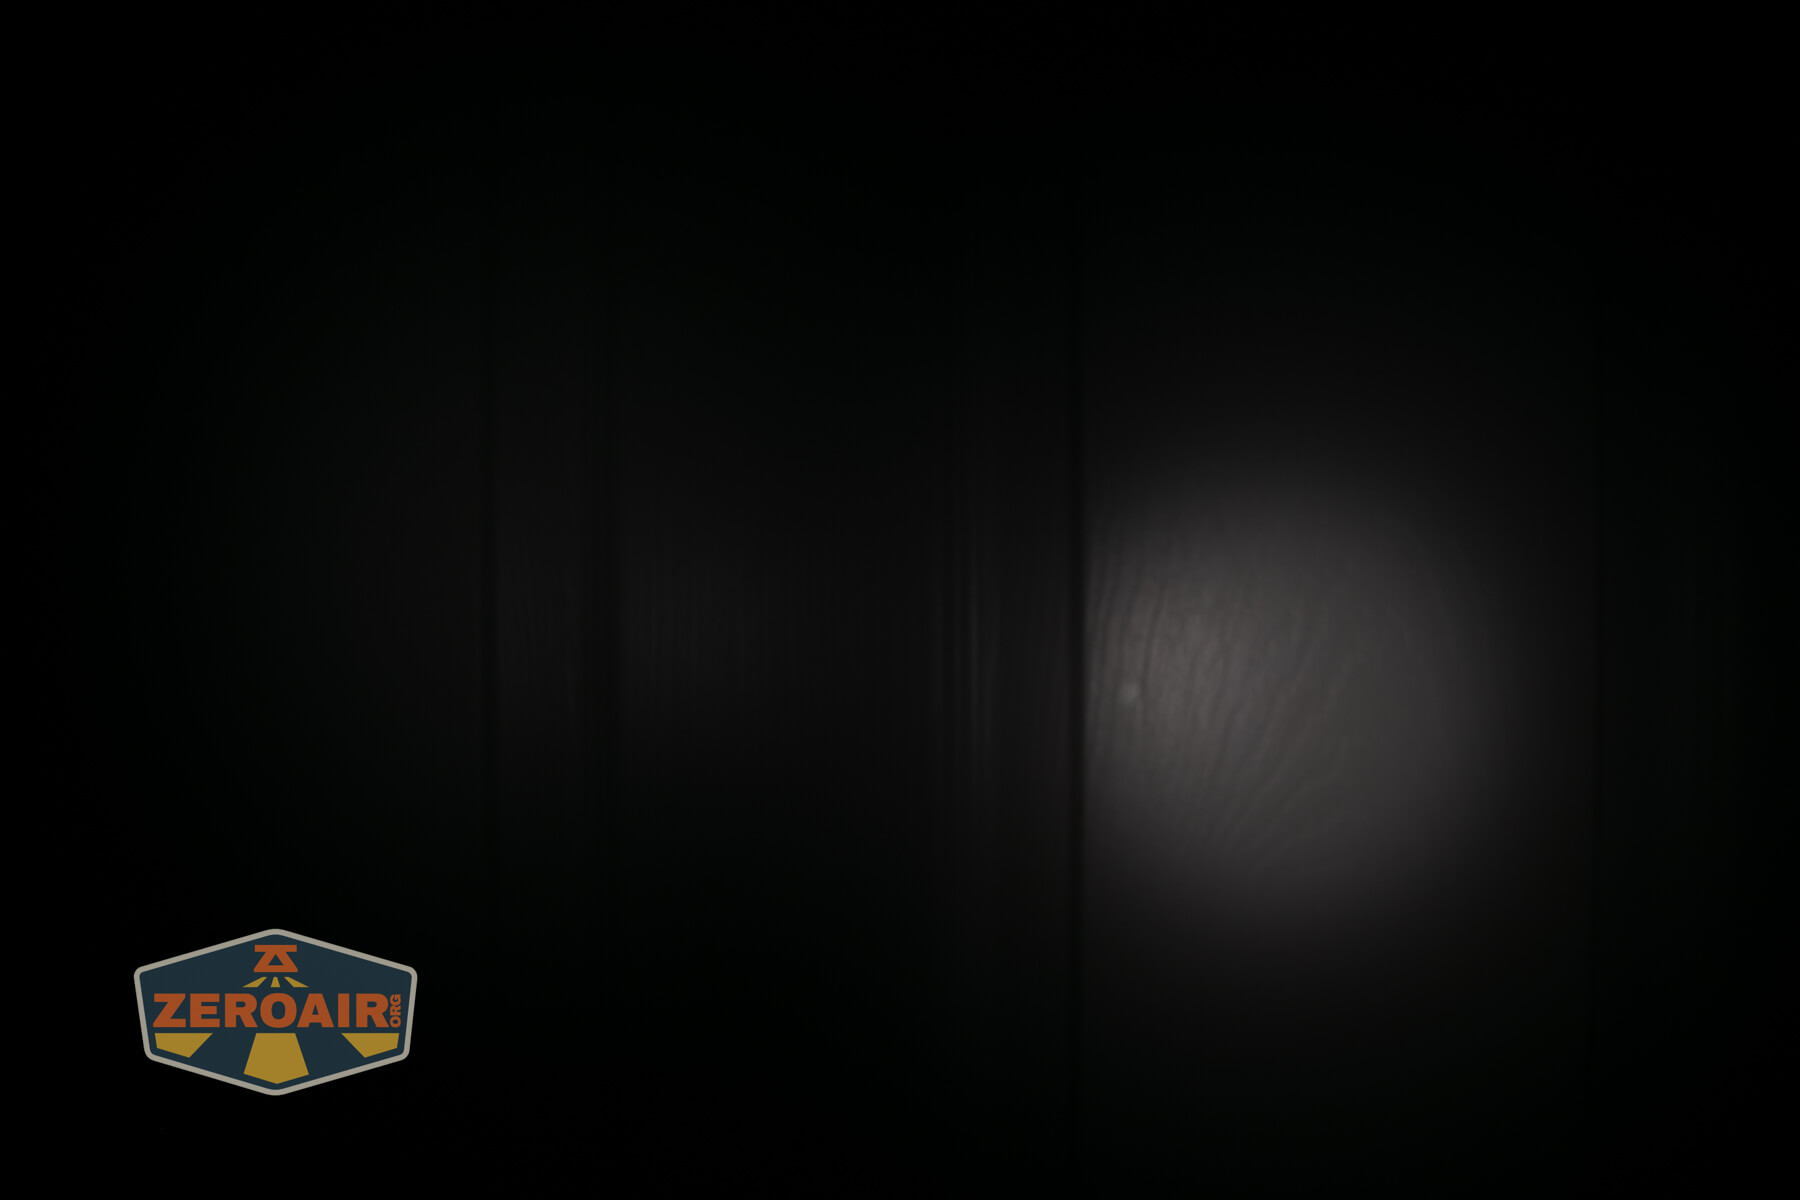
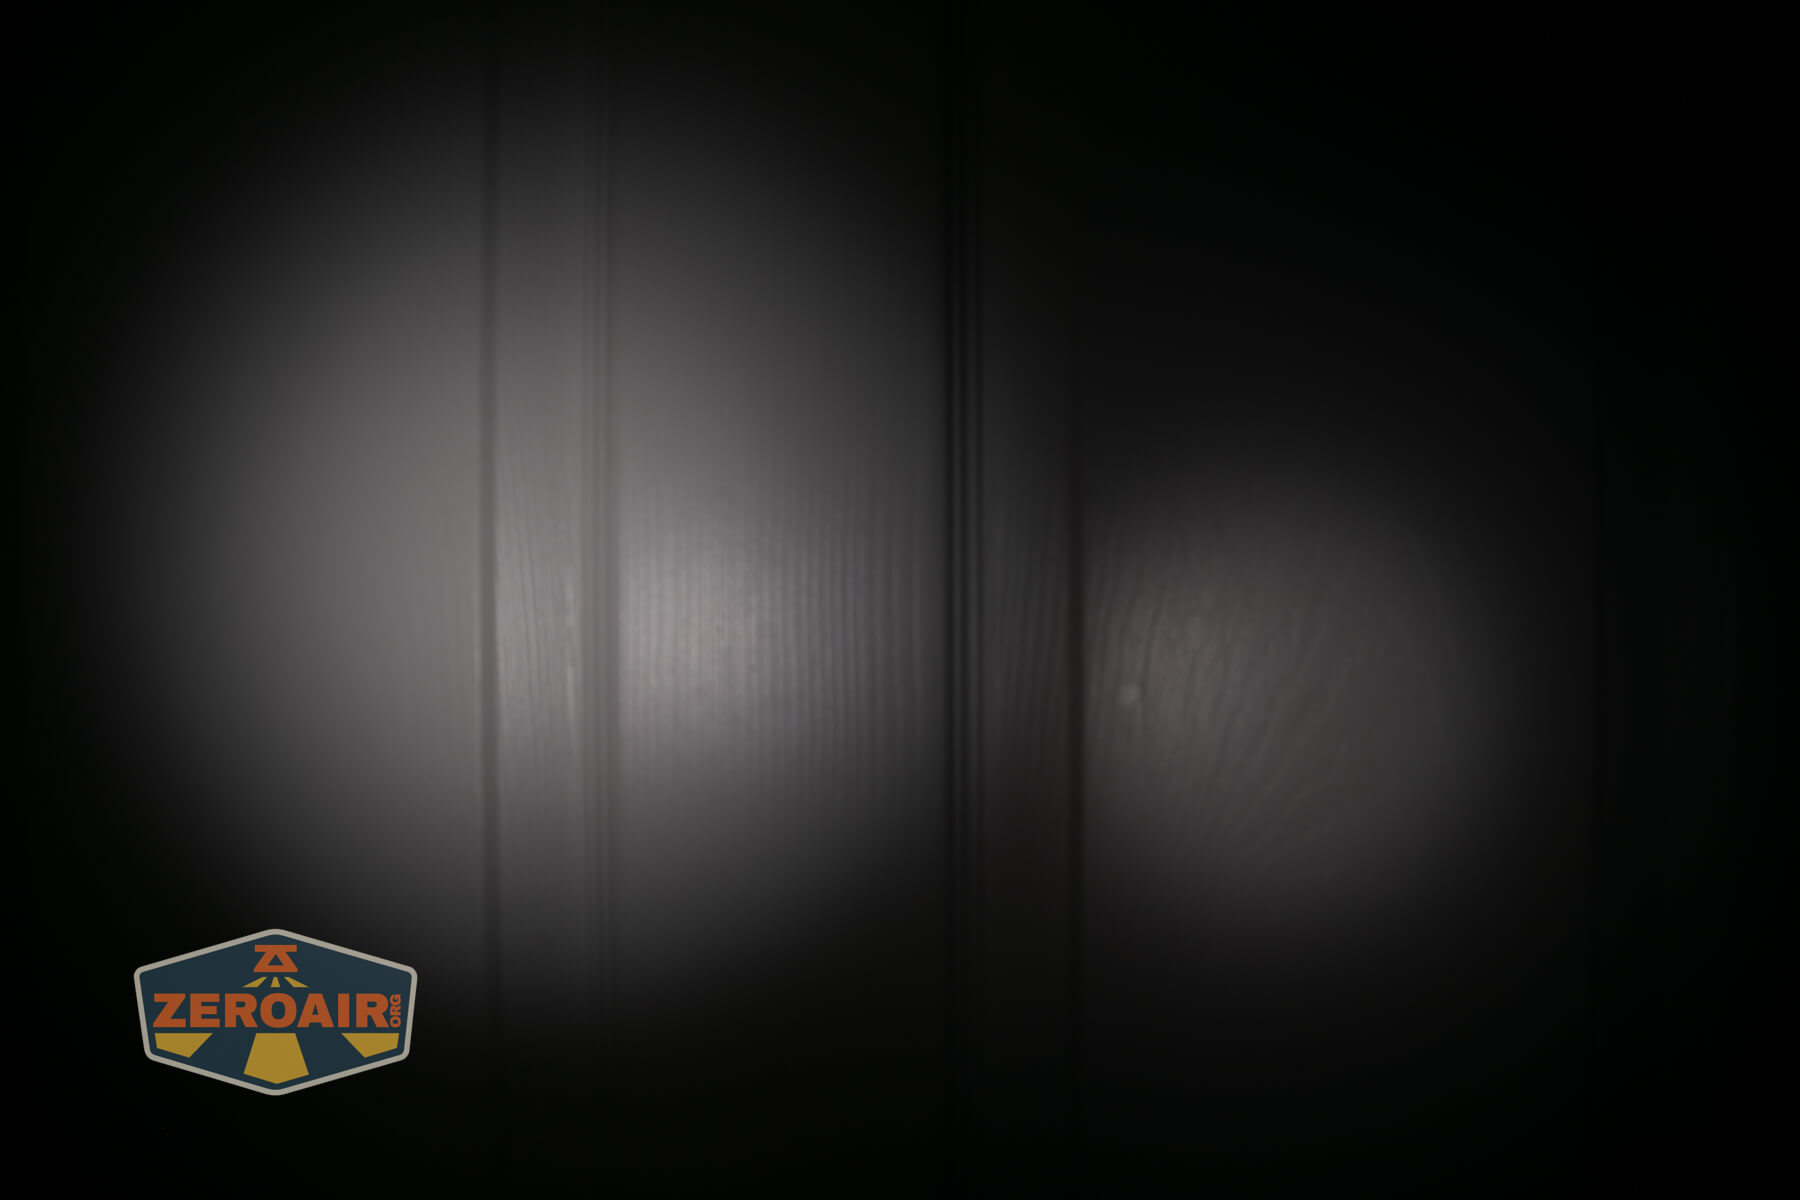
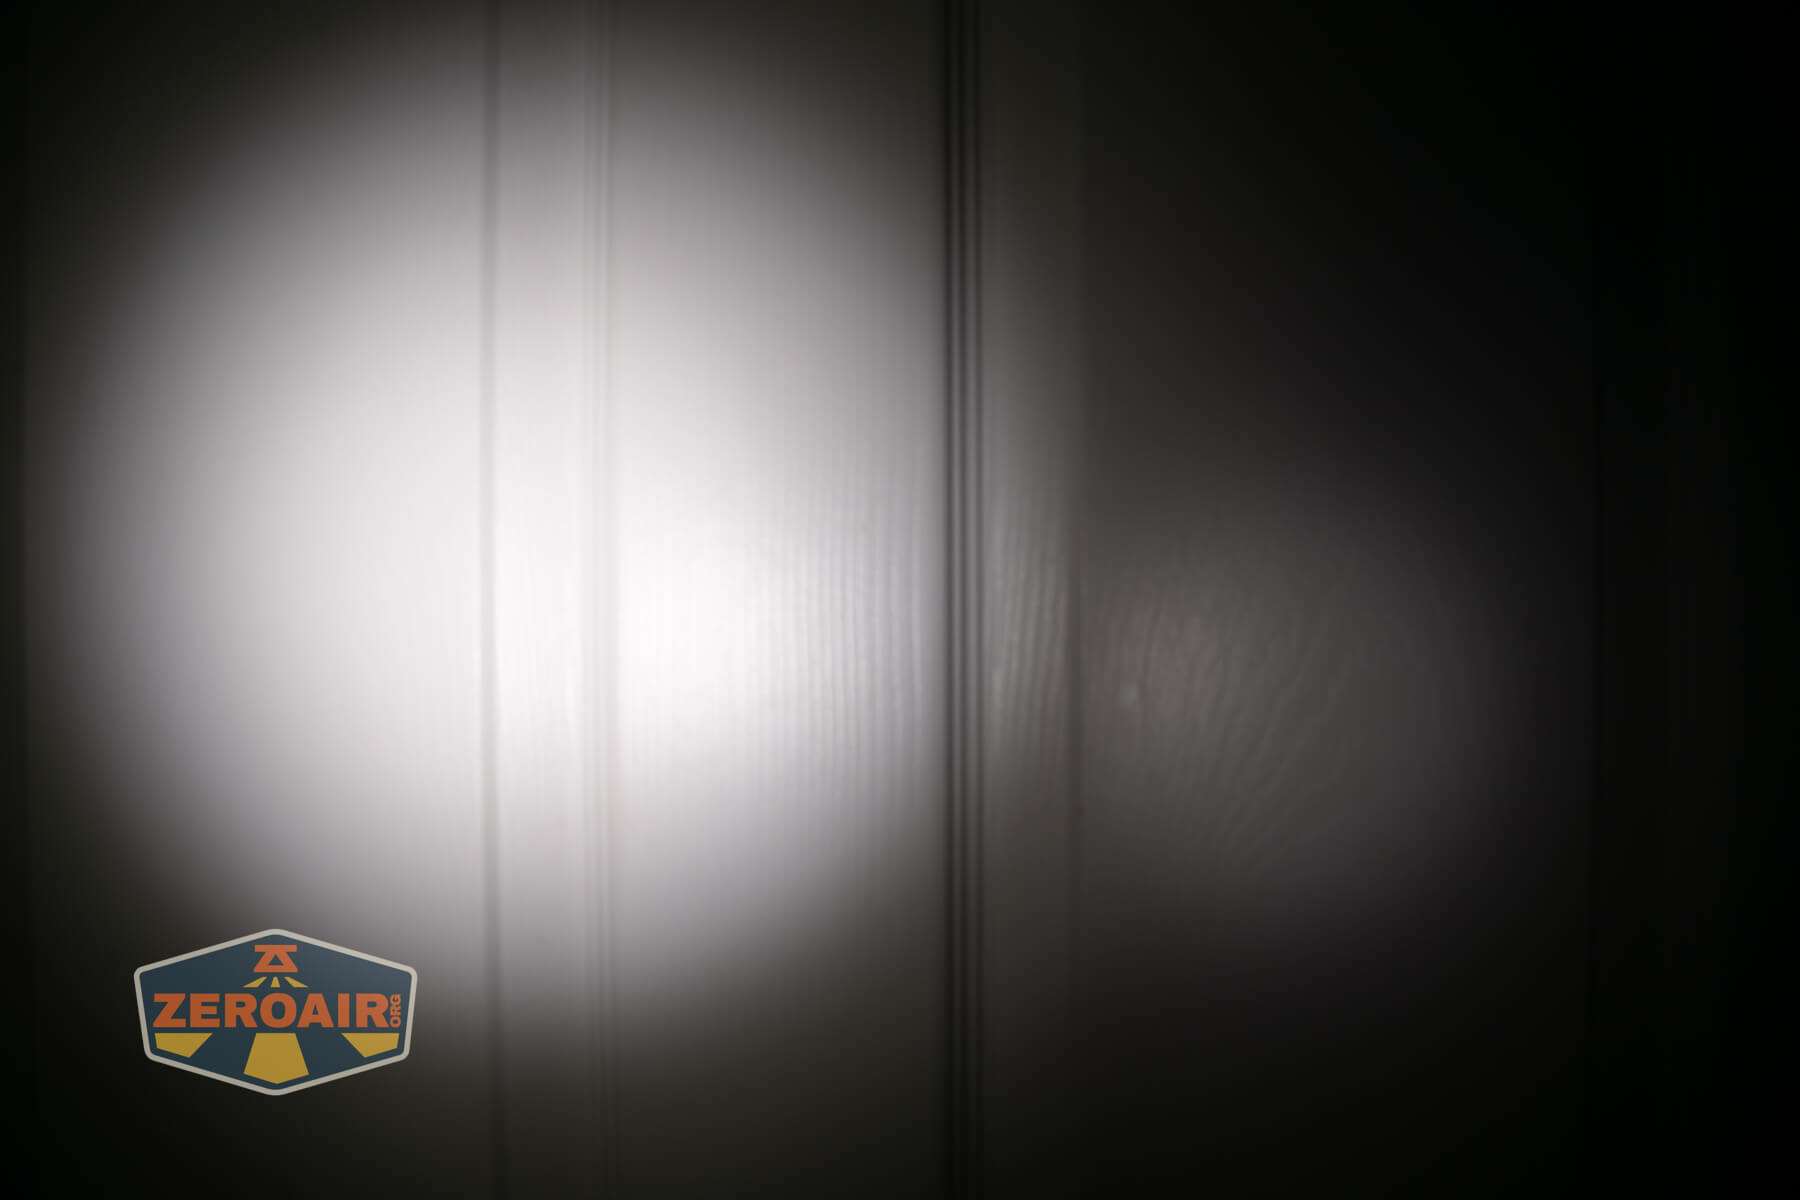
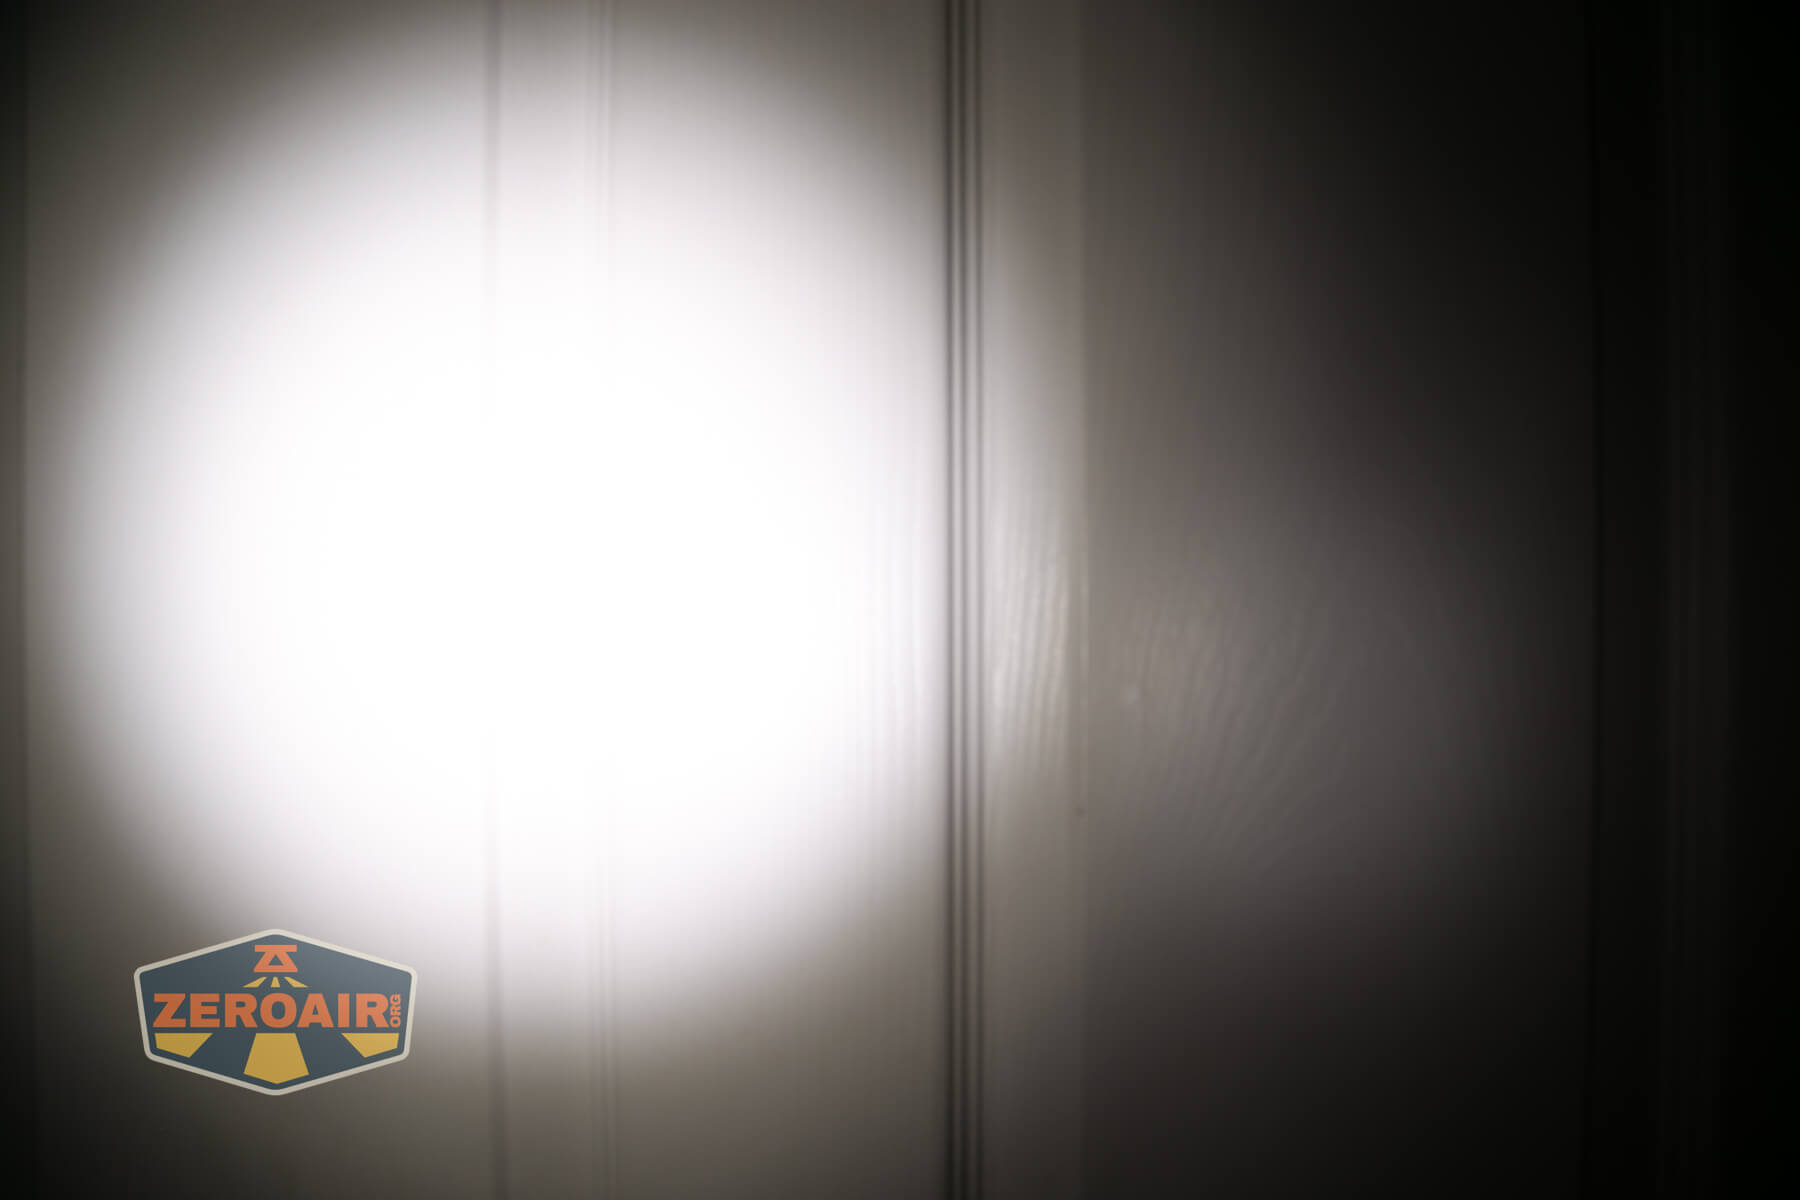
Beamshots
These beamshots always have the following settings: f8, ISO100, 0.3s shutter, and manual 5000K exposure. These photos are taken at floor level, and the beam hits the ceiling around 9 feet away.


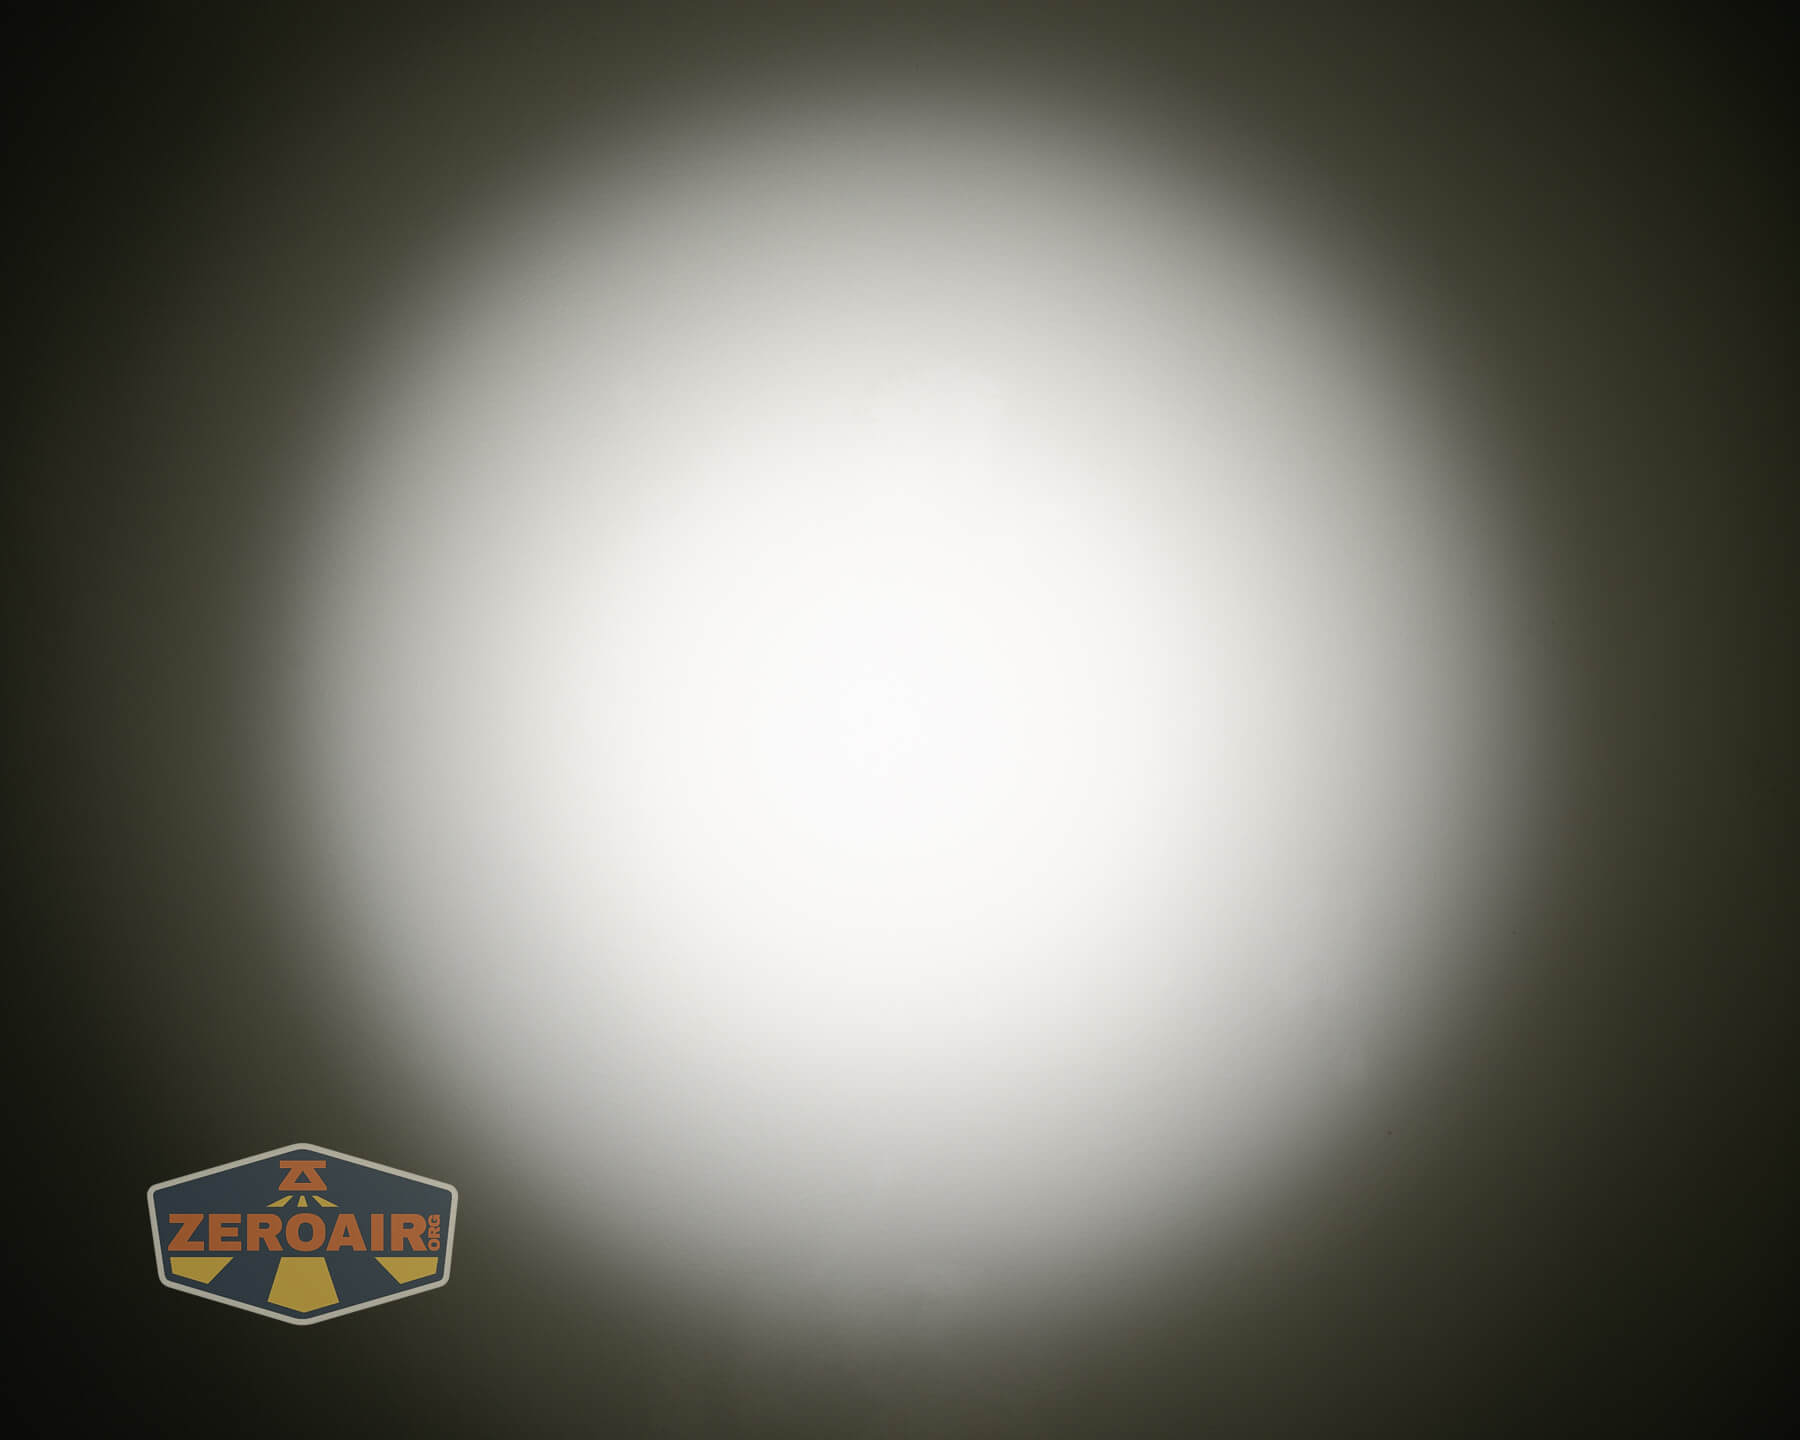
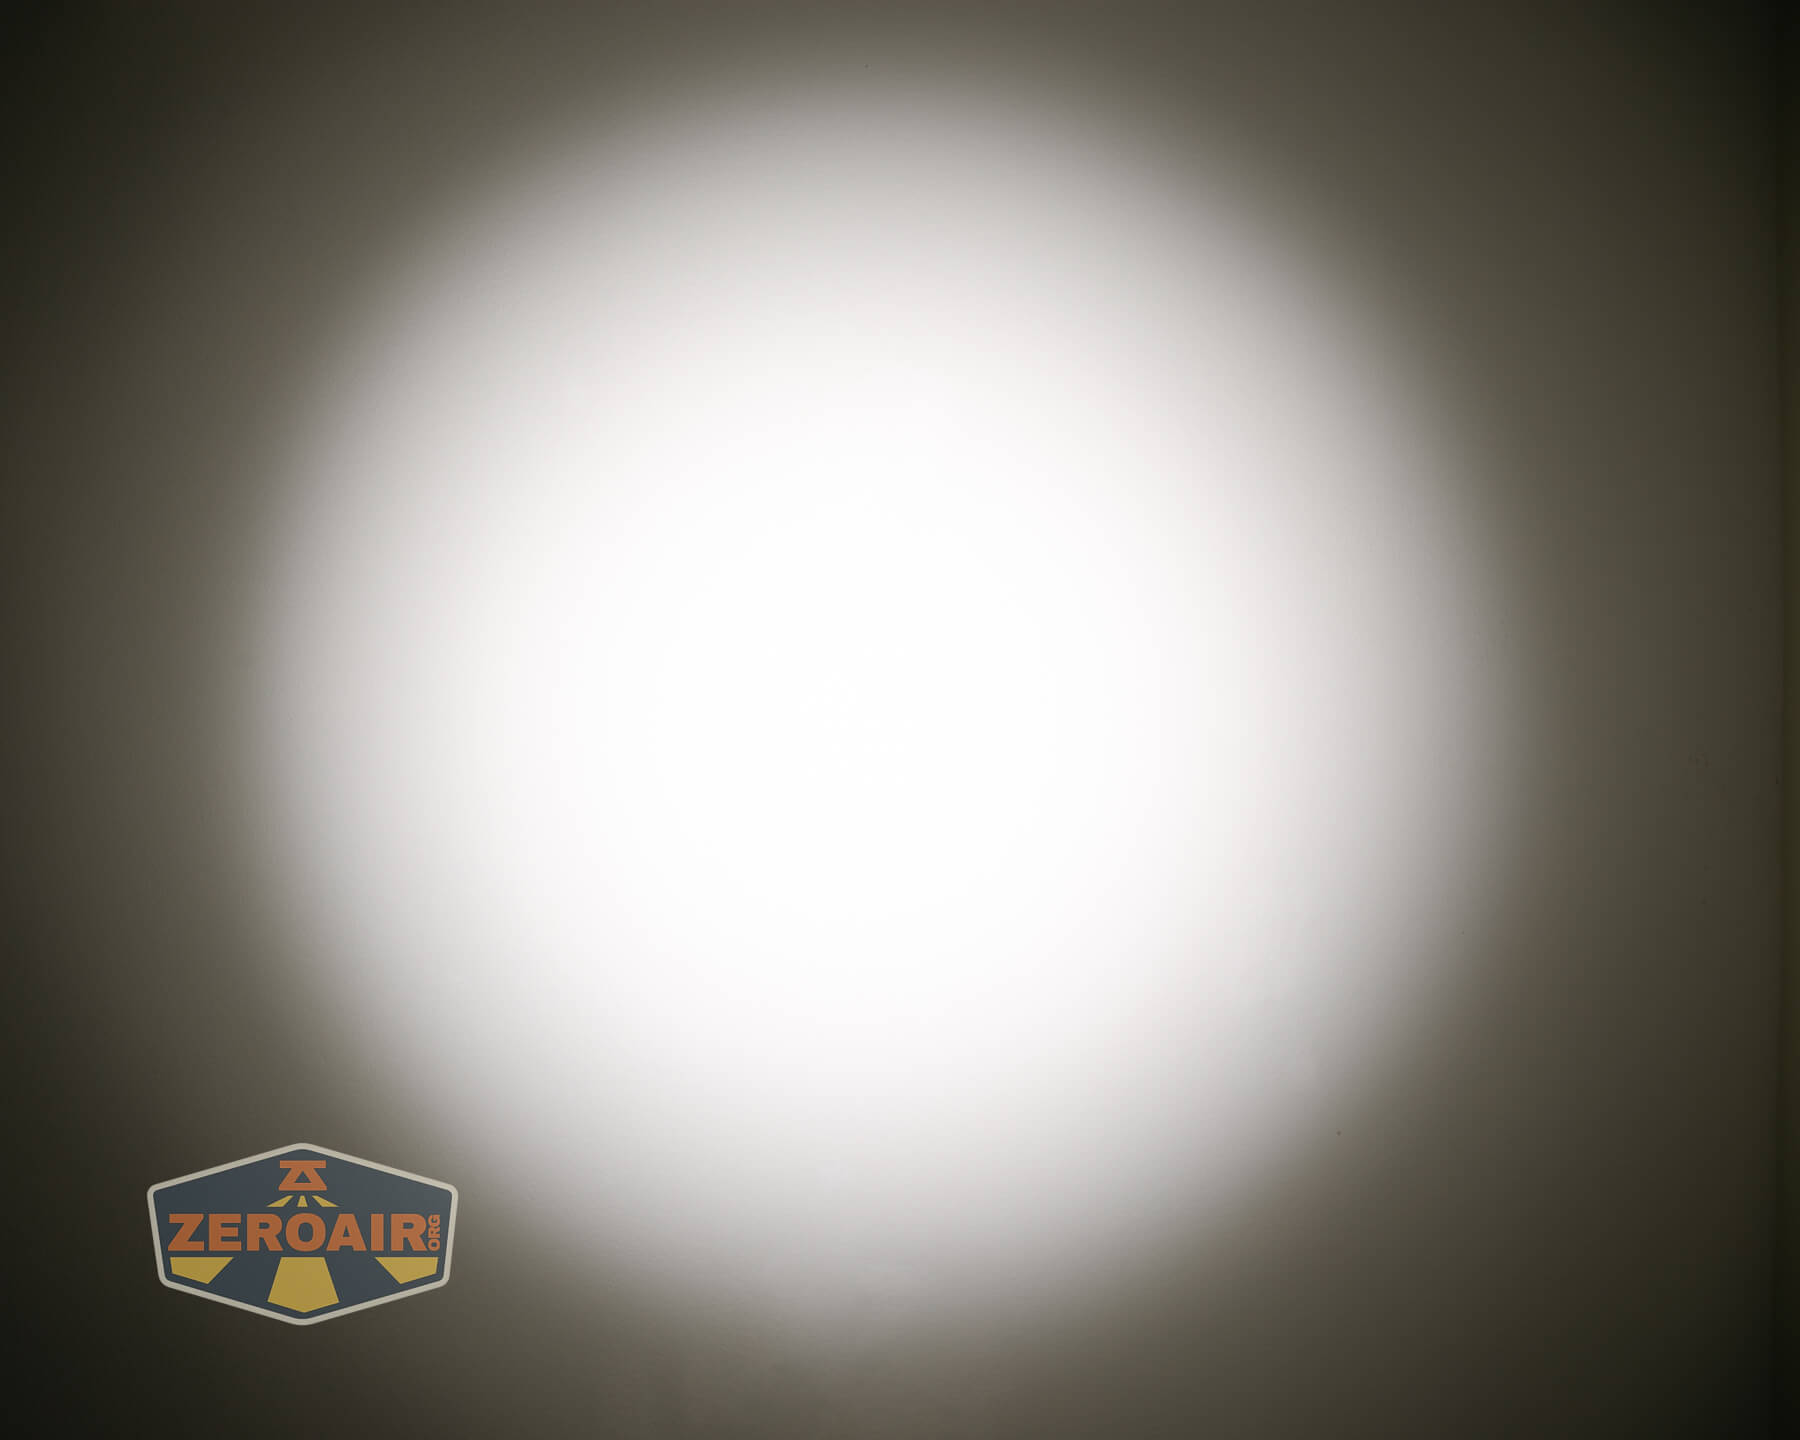
Tint vs BLF-348 (KillzoneFlashlights.com 219b version) (affiliate link)
I keep the test flashlight on the left and the BLF-348 reference flashlight on the right.
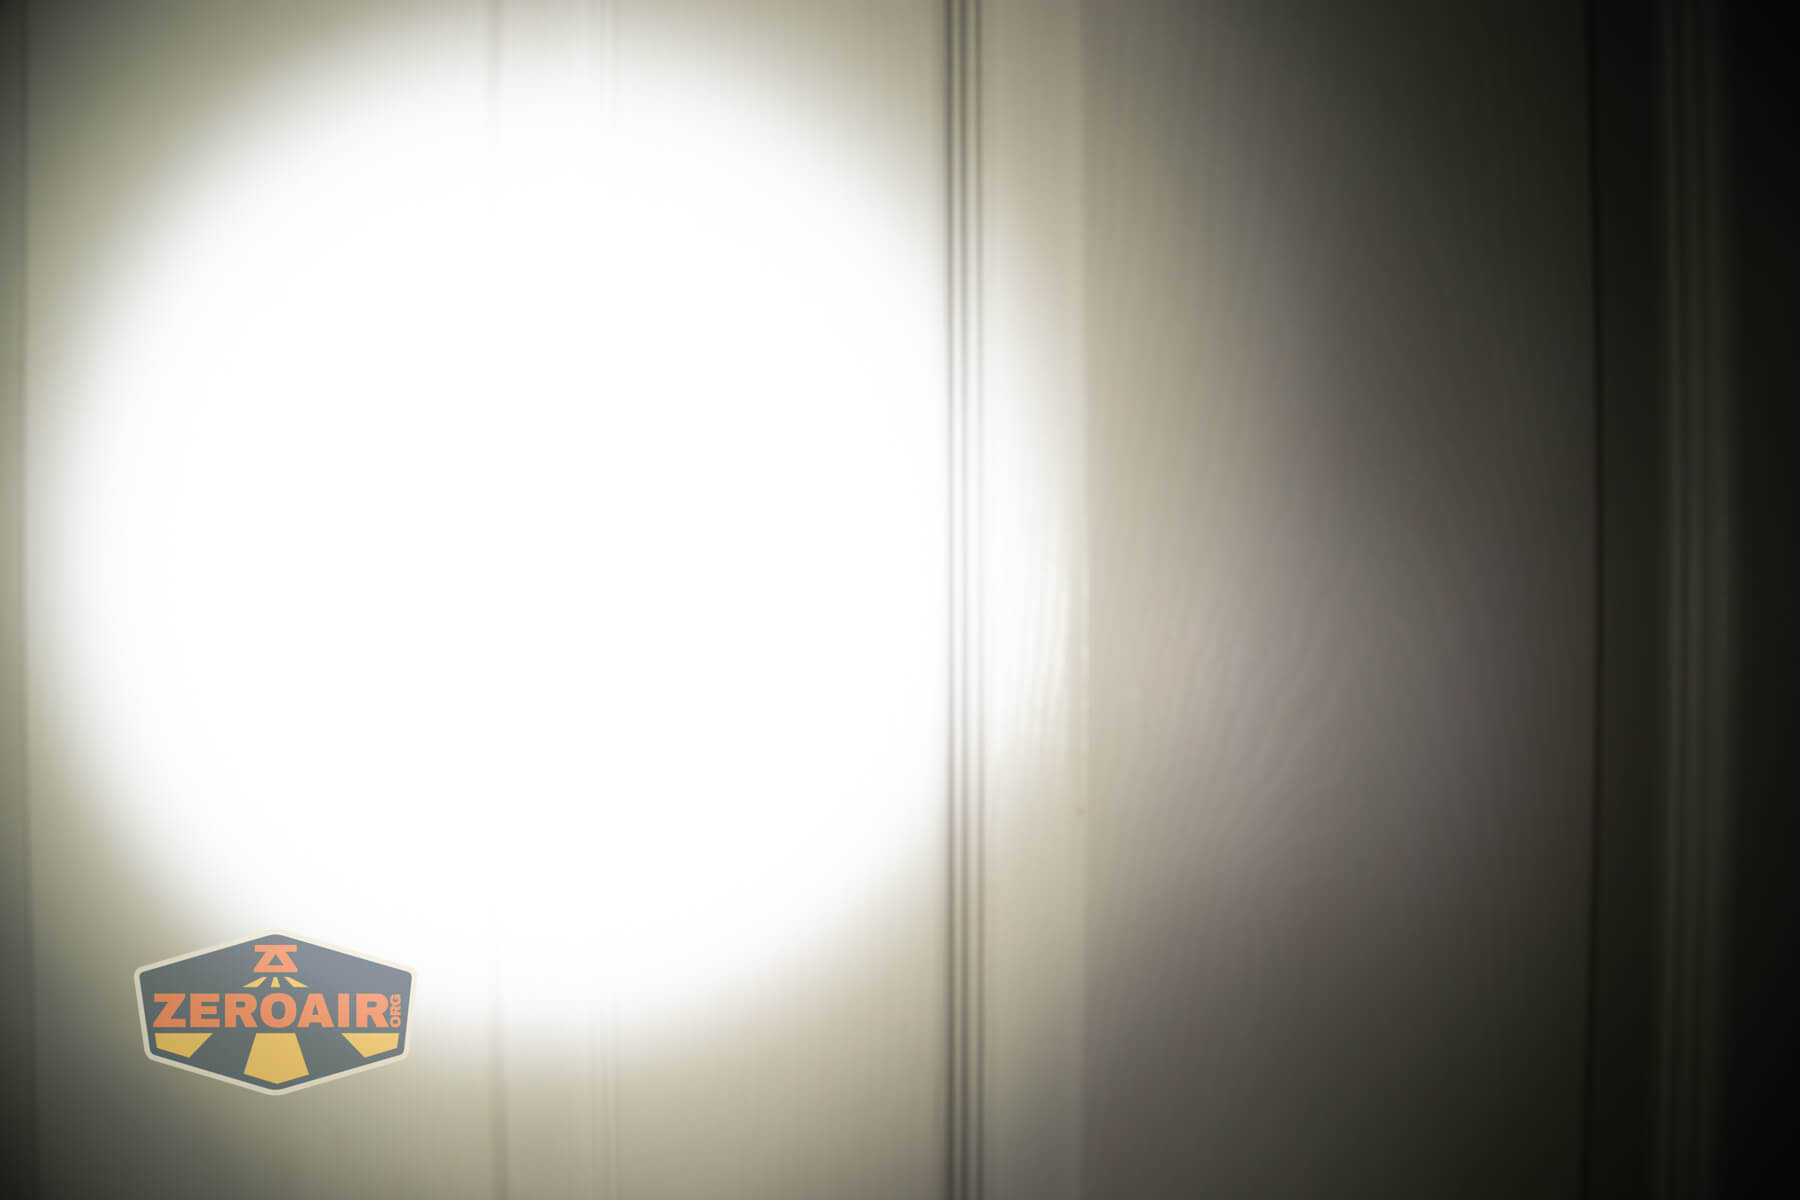
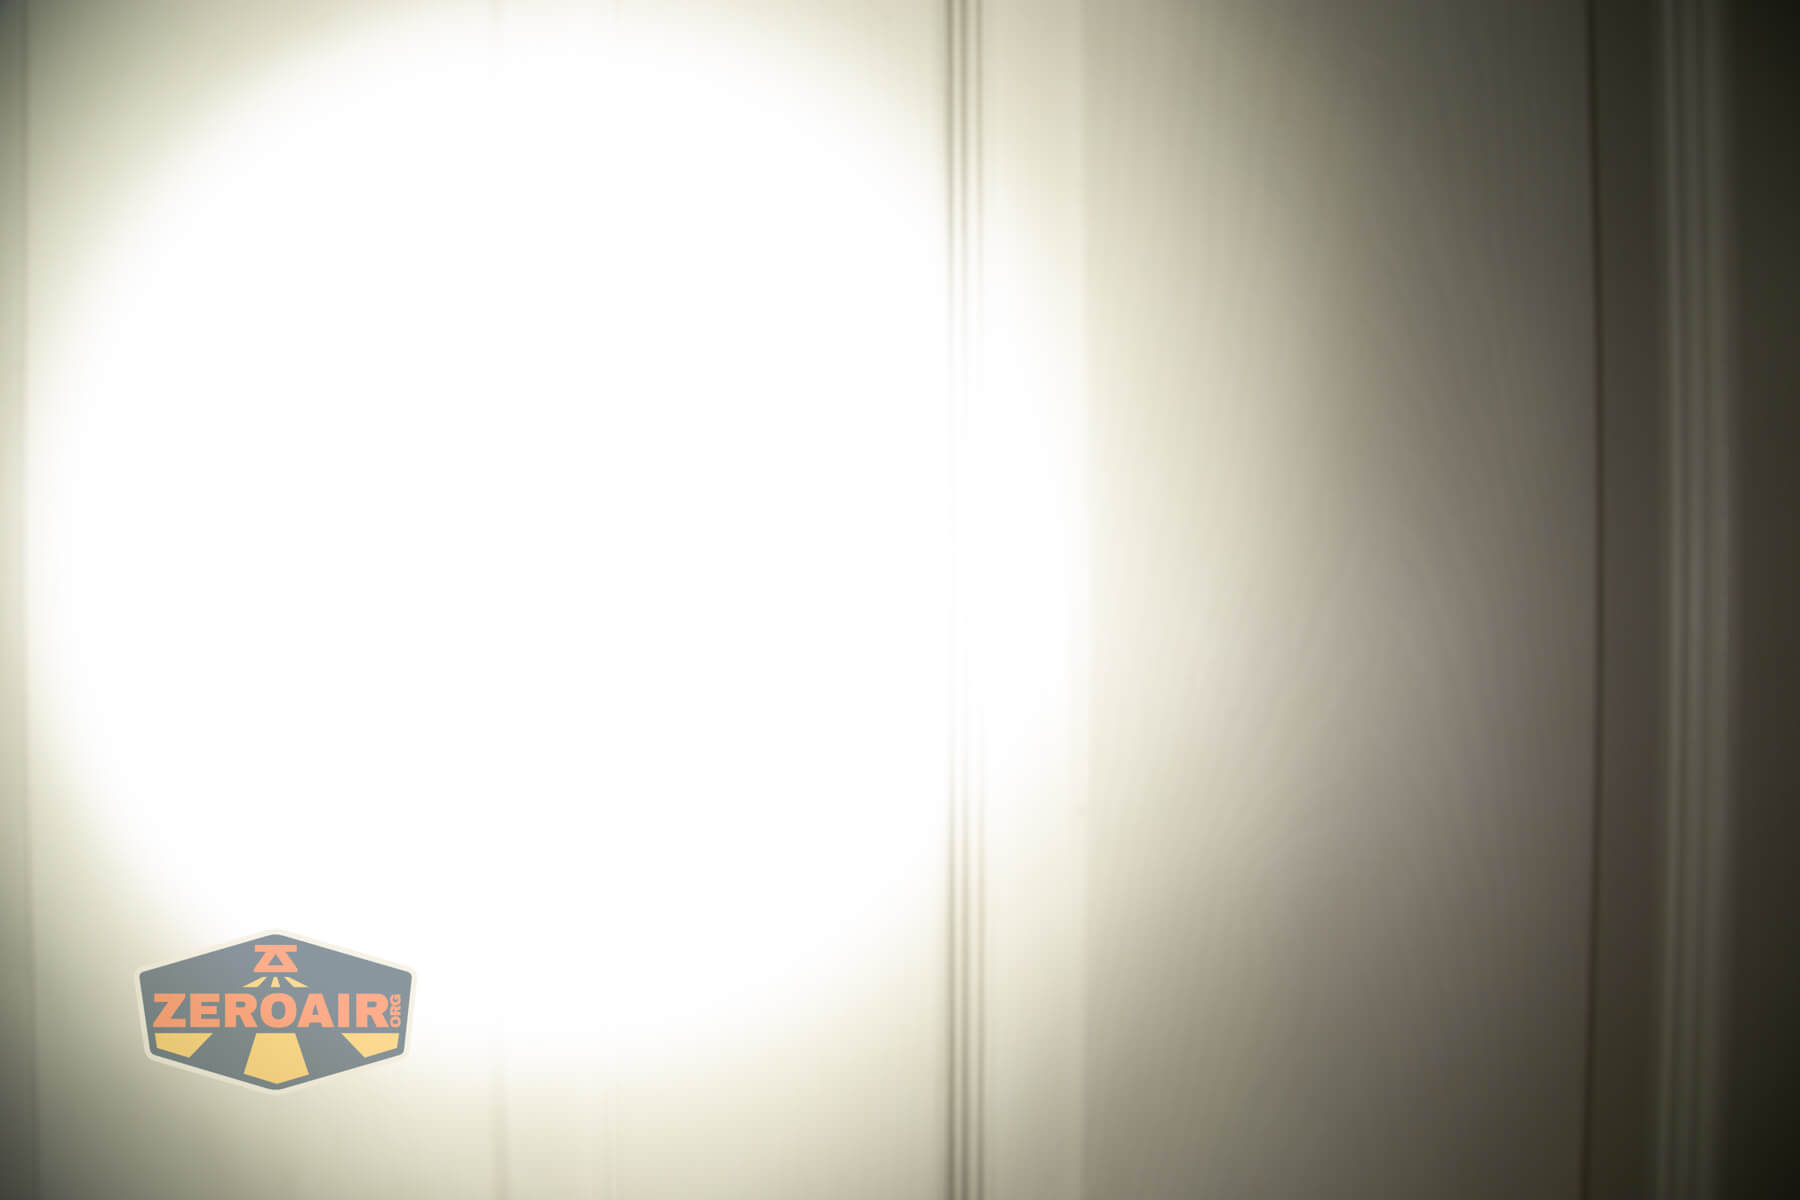
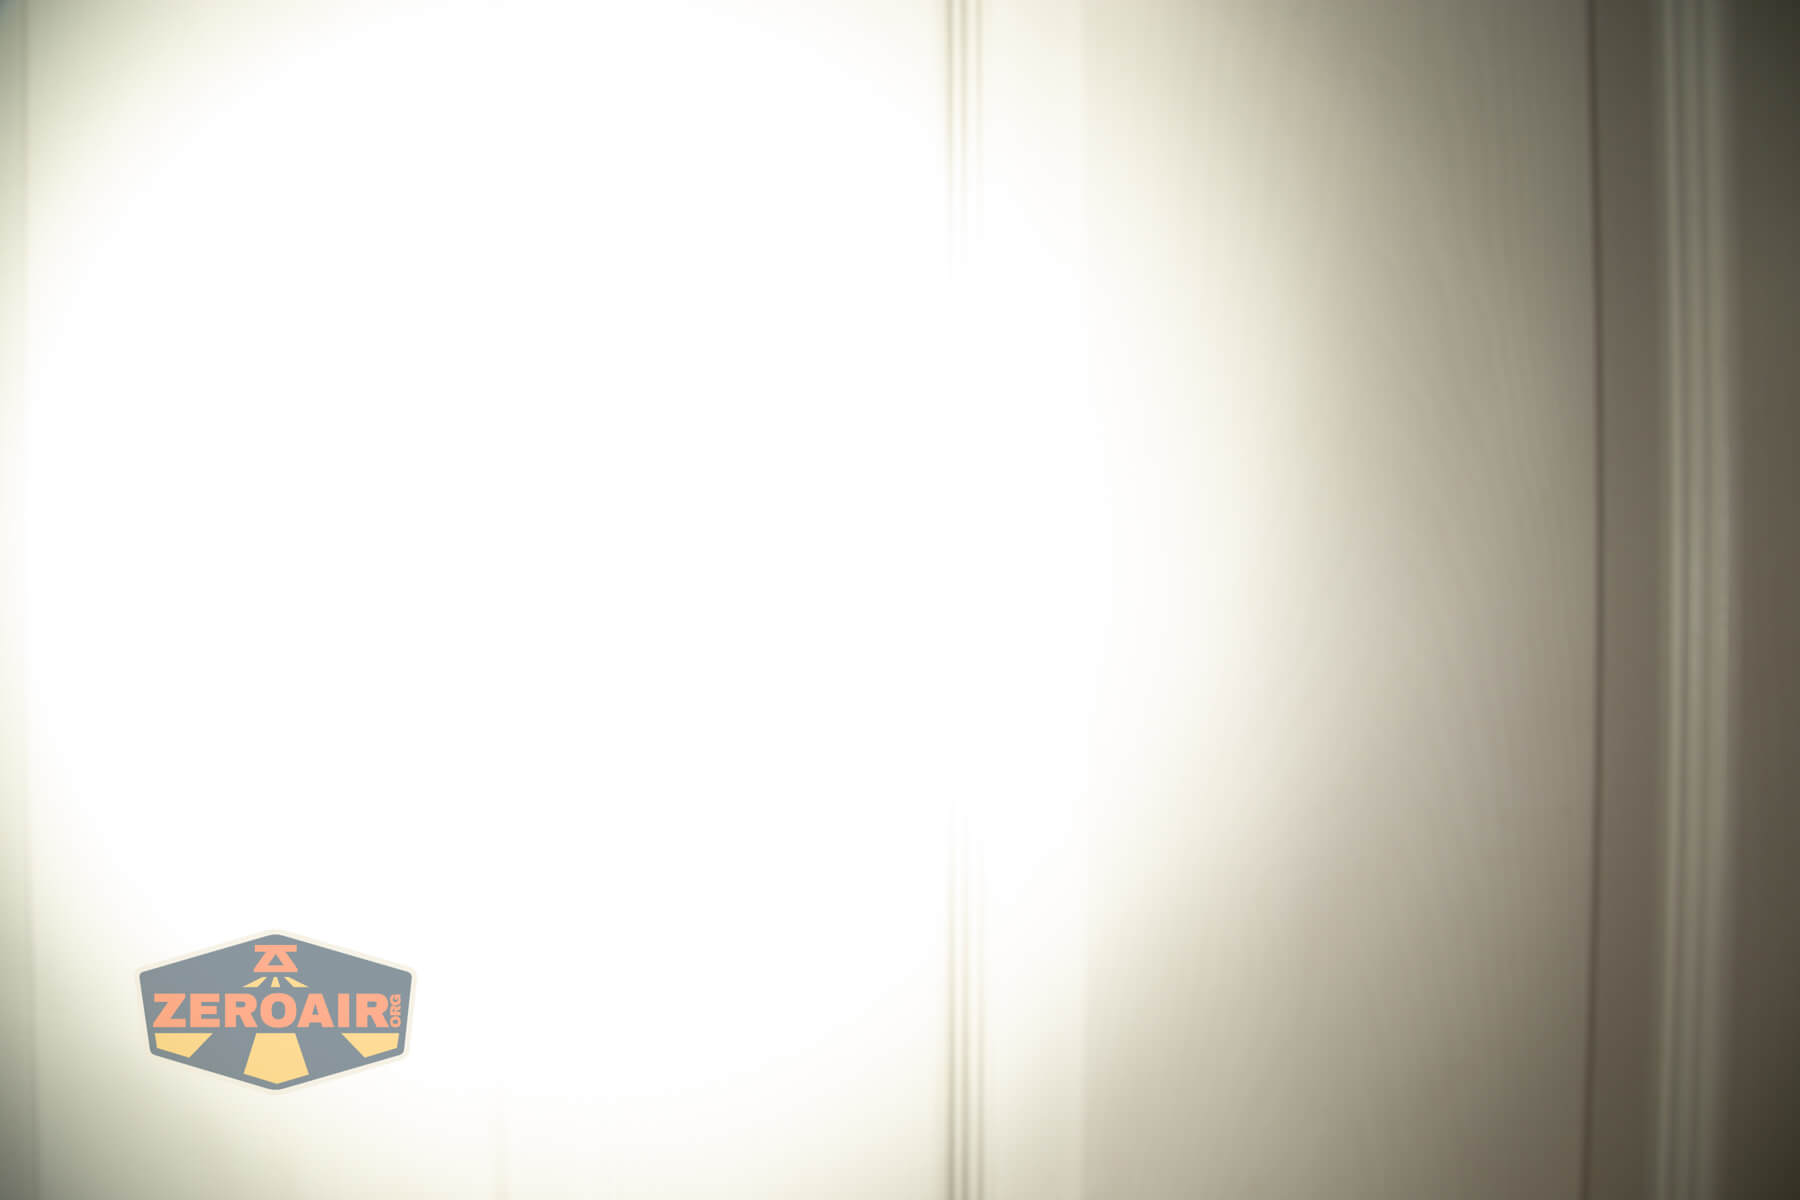
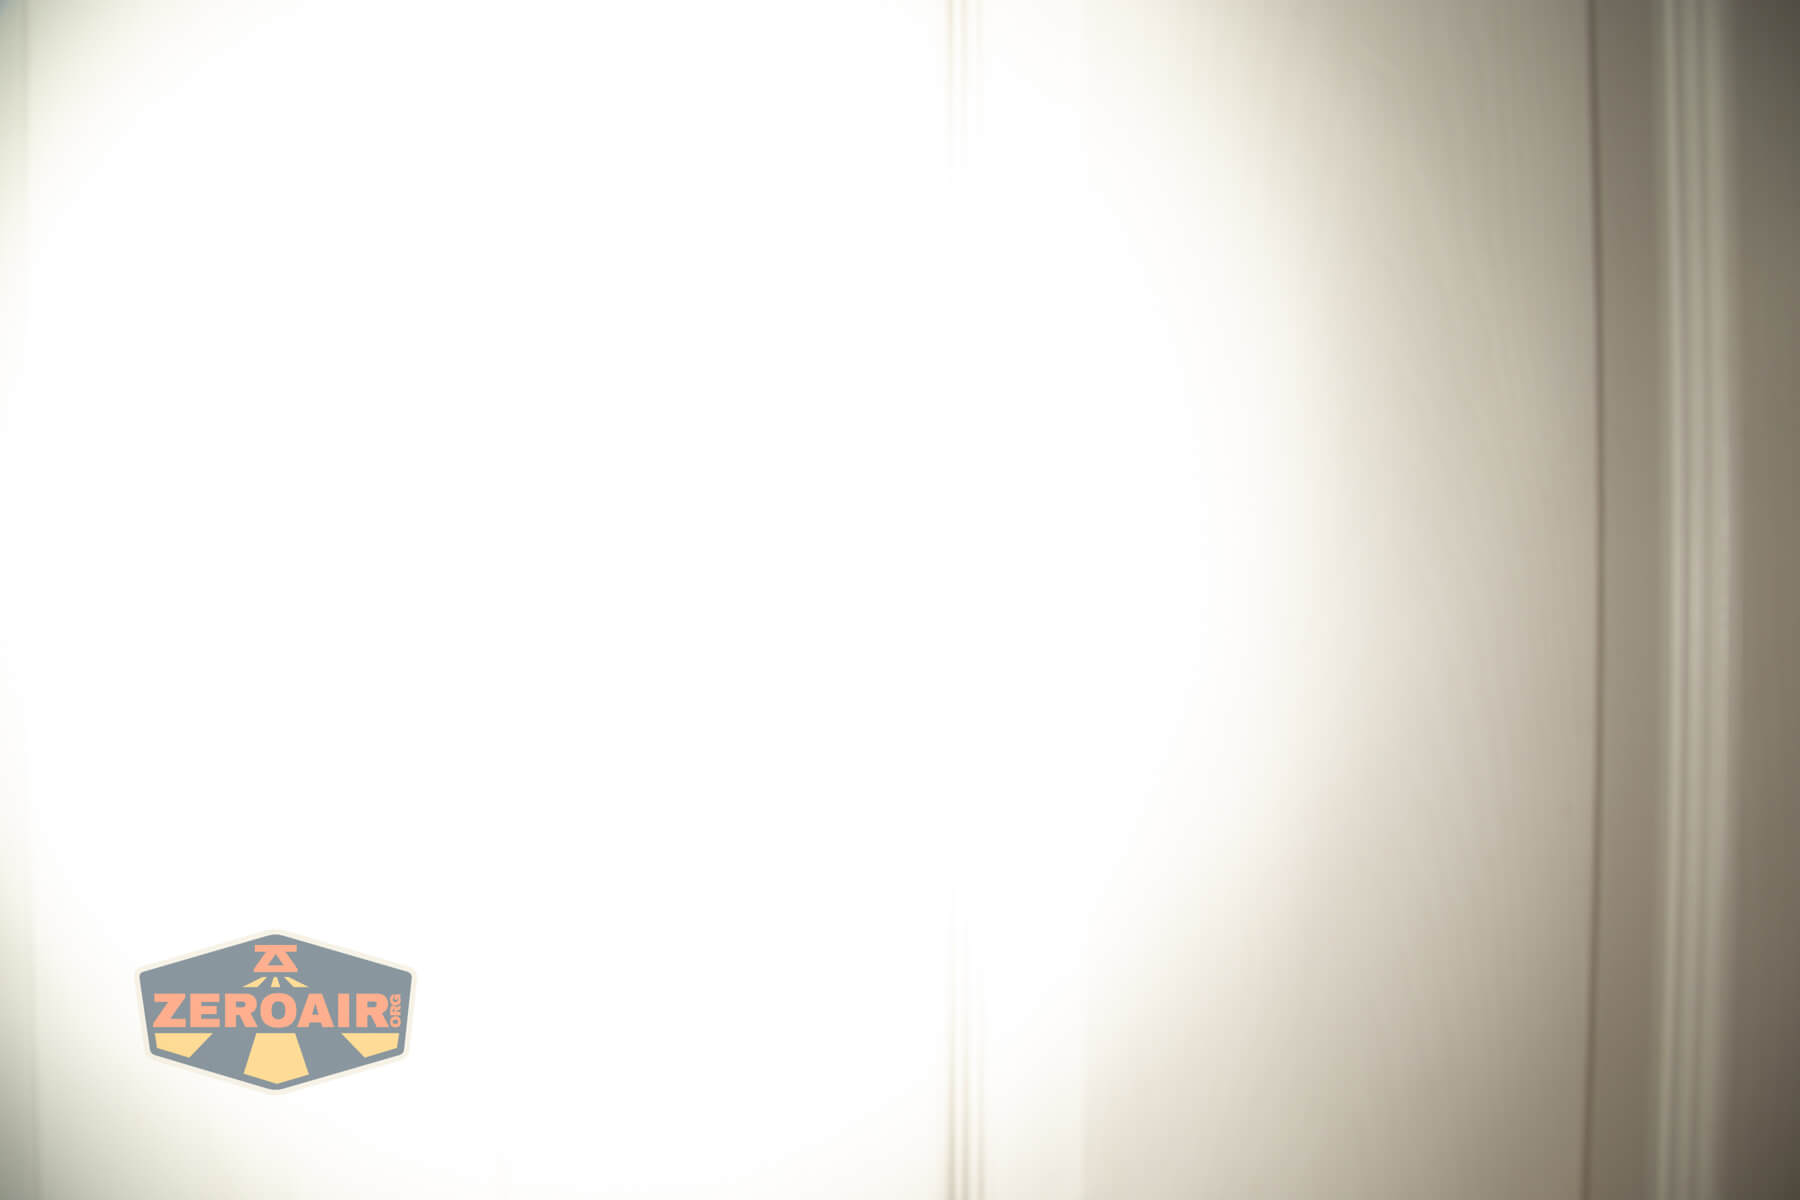

I compare everything to the KillzoneFlashlights.com 219b BLF-348 because it’s inexpensive and has the best tint!
Conclusion
What I like
- Great CRI from the Nichia 219c emitters
- Good build quality
- Nice package that includes 18650 and 18350 tubes
- Big head that should deal with heat well
- The lighted switch is a neat touch
- The ability to go backward through the output levels
- Programmable driver
- Very easy to take apart and modify
What I don’t like
- Stock driver doesn’t seem to have low voltage protection
- PWM on all but the highest output (but it’s fast, so “eh” to complaining about this)
- Box is mislabeled. Confirm with Neal which emitters you’re getting (if it matters to you)
Notes
- This content originally appeared at zeroair.org. Please visit there for the best experience!
- Please use my Amazon.com referral link to help support zeroair.org!
- Please support me on Patreon! I deeply appreciate your support!
Discover more from ZeroAir Reviews
Subscribe to get the latest posts sent to your email.
You received the 219C version, NOT XPL-HI! If the CRI doesn’t give it away, you can see the black and white boundary characteristic of 219C emitters in the pictures in the “LED and Beam” section.
Whew that’s a good catch right there! I’ve updated the text. I read it on the (mislabeled) box and didn’t ever think much about it again. But you’re right, the high CRI should have caused bells to go off!