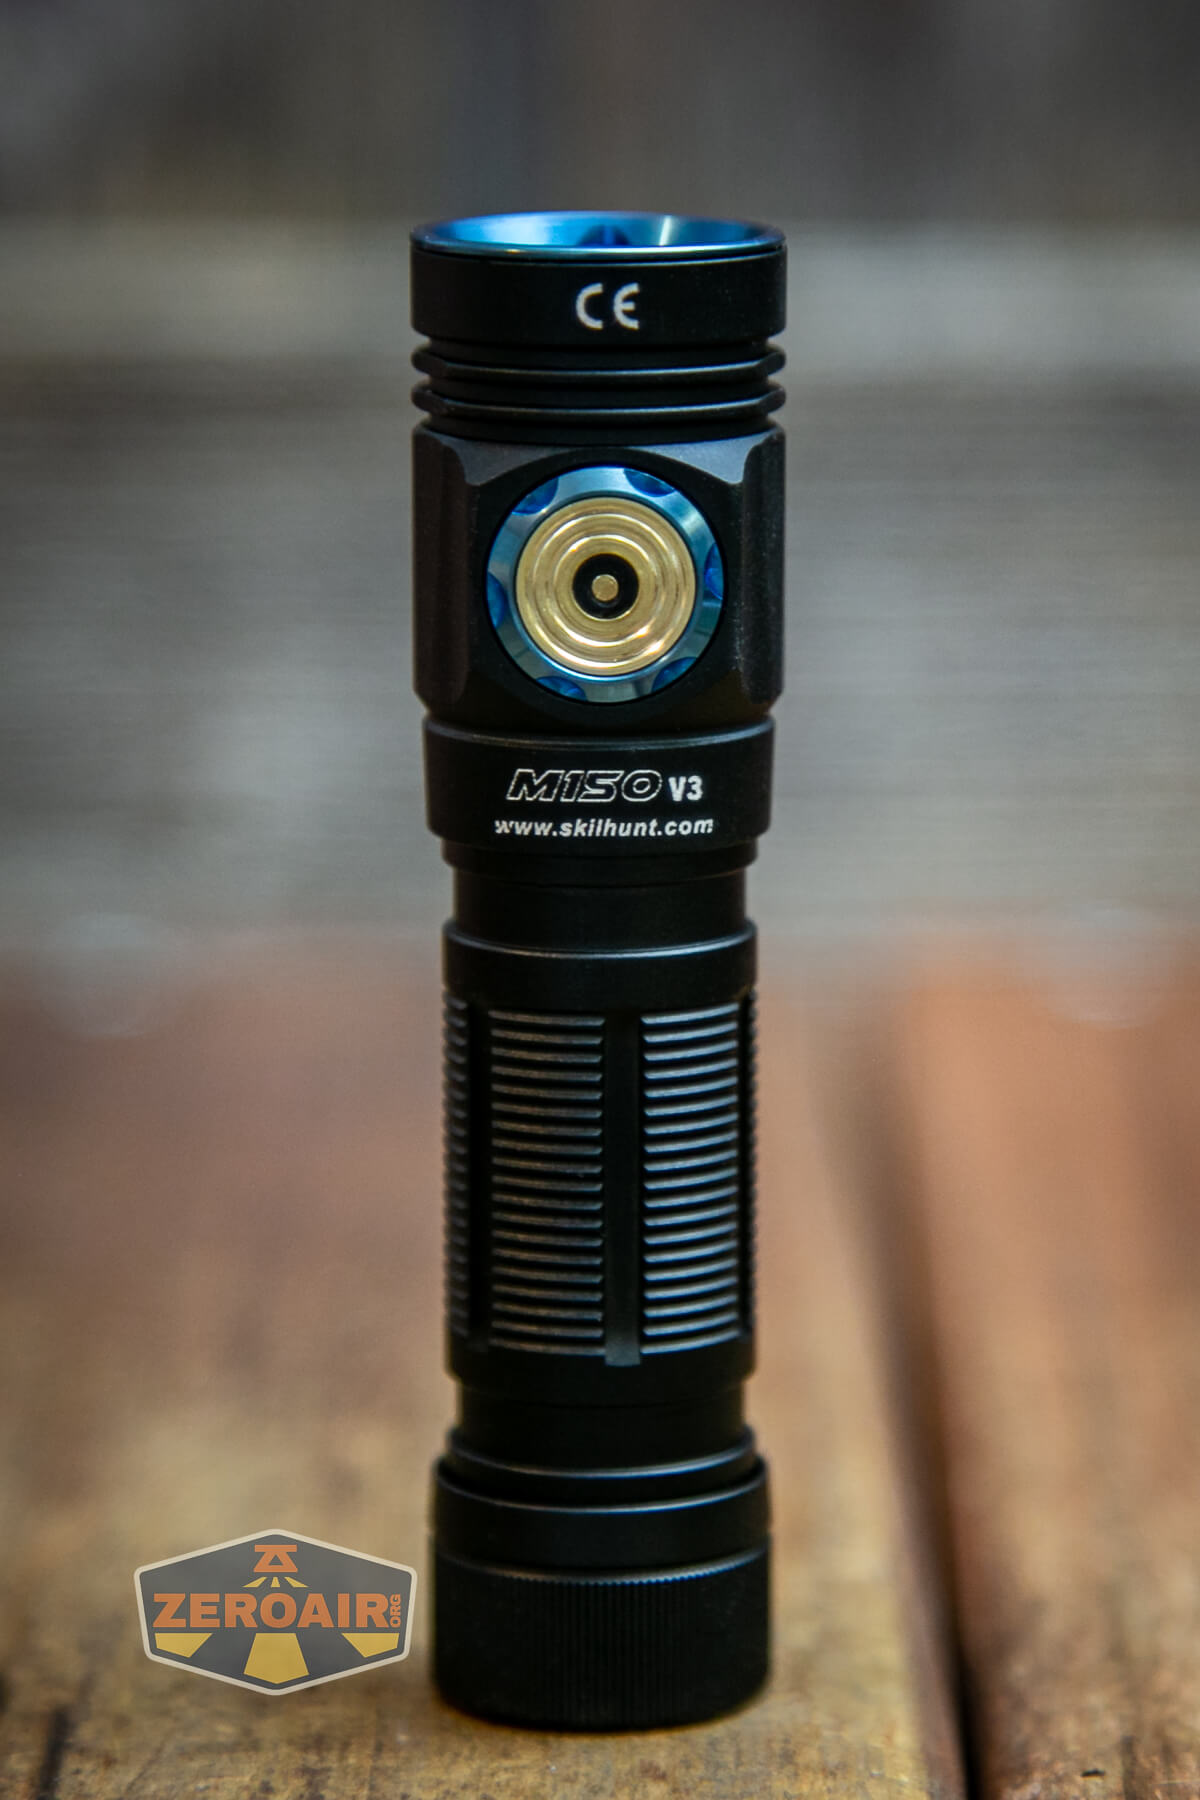
Skilhunt M150v3 Flashlight Review
The Skilhunt M150v3 Flashlight is available now!! This one features a great user interface and has a high CRI Nichia 519a. Read on for testing!
Official Specs and Features
Here’s a link to the Skilhunt M150v3 flashlight product page.
Versions
Of course, this is v3, so there are previous versions. I’ve tested one before (Skilhunt M150). Currently available are three emitters: cool white, Nichia 519A, and Samsung LH351d.
There are also two body colors: black (seen here) and grey.
Price
This specific version of the Skilhunt M150v3 flashlight is $44.90. Other emitter versions vary in price a bit.
Short Review
I love the other M150 I have. The only way I could probably love it more is if it had a better emitter. And the M150v3 does!! This Nichia 519a emitter is just fantastic. I like the user interface too – it’s very similar to what’s on the EC300 (which I also love!)
Long Review
The Big Table
| Skilhunt M150v3 | |
|---|---|
| Emitter: | Nichia 519a (NW, High CRI) |
| Price in USD at publication time: | $44.90 |
| Cell: | 1×14500 |
| Runtime Graphs | |
| LVP? | Yes |
| Switch Type: | E-Switch |
| Quiescent Current (mA): | ? |
| On-Board Charging? | Yes |
| Charge Port Type: | Proprietary Magnetic |
| Charge Graph | |
| Power off Charge Port | “With cell: all modes
Without cell: all but T1” |
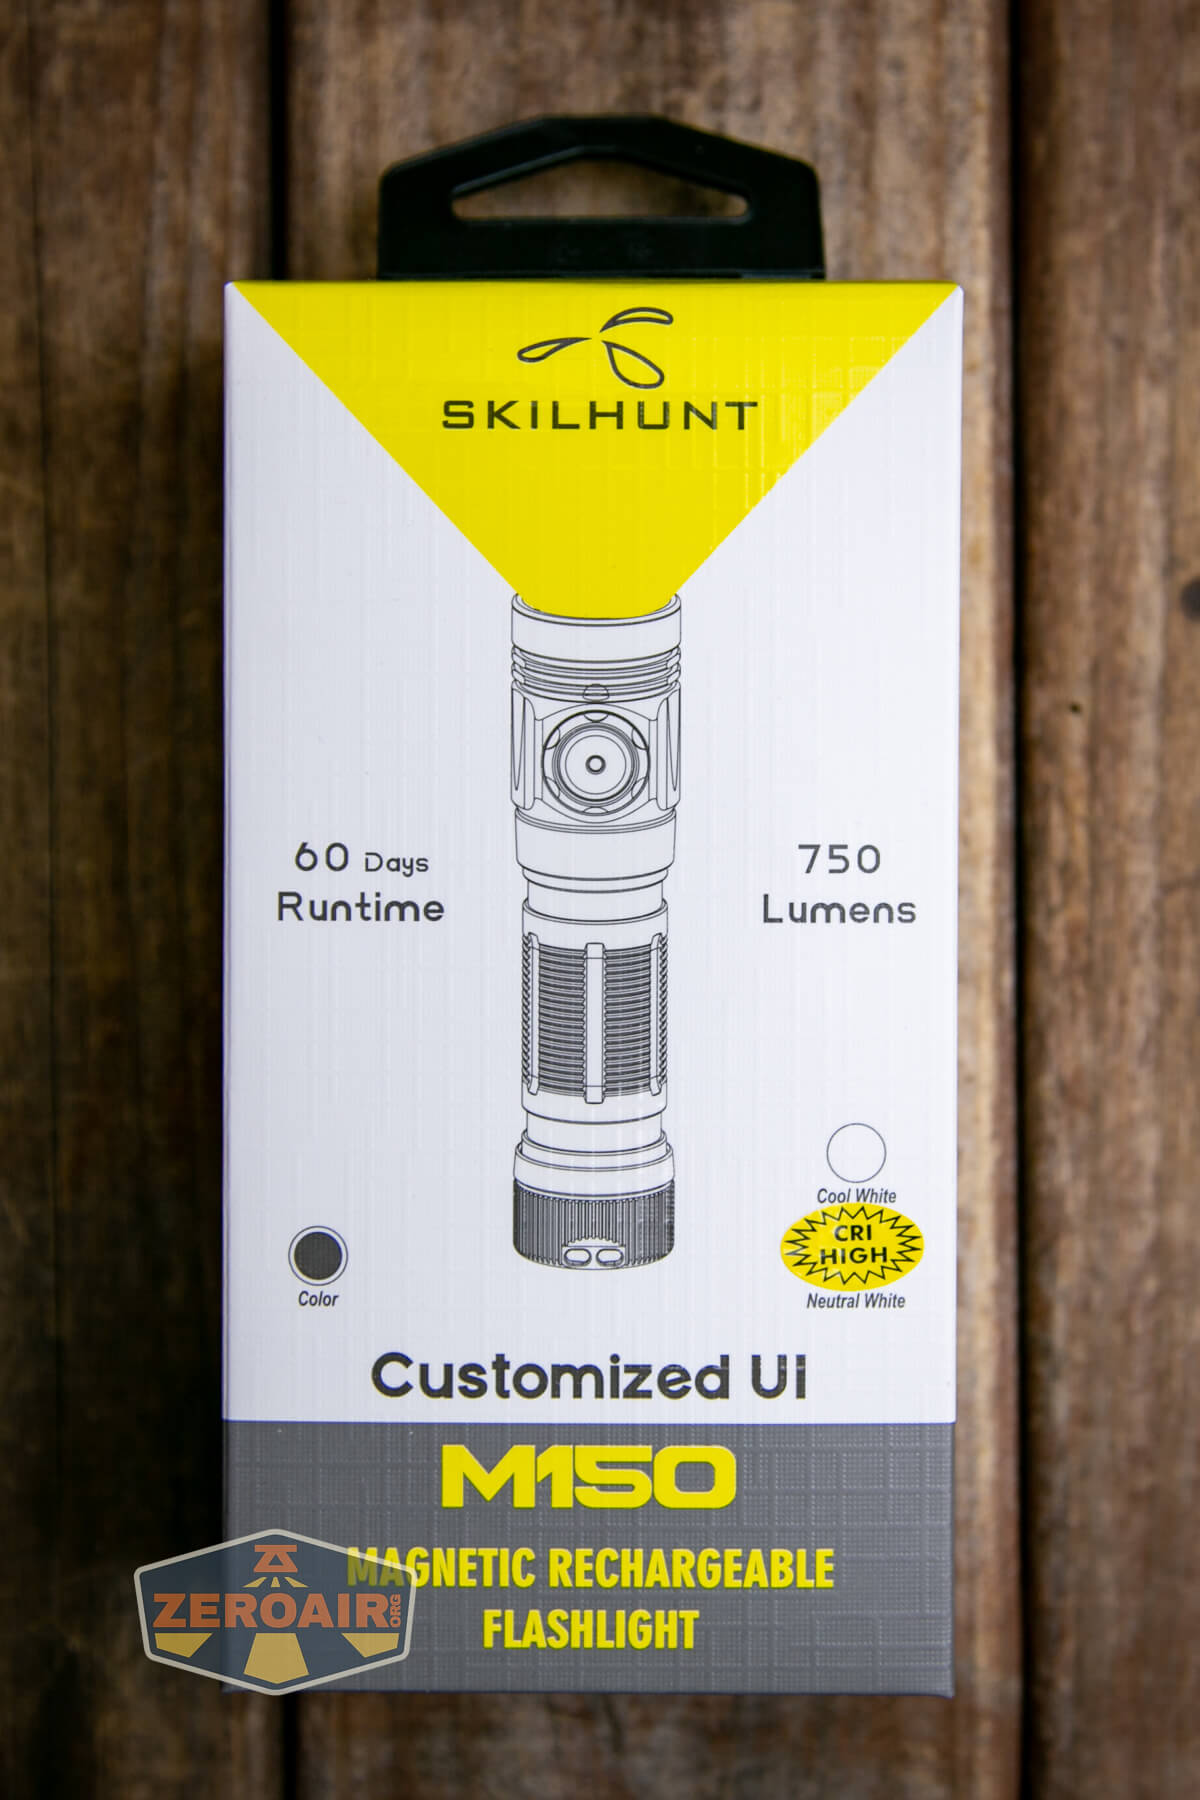
| Claimed Lumens (lm) | 750 |
| Measured Lumens (at 30s) | 410 (54.7% of claim)^ |
| Candela per Lumen | 6.8 |
| Claimed Throw (m) | 110 |
| Candela (Calculated) in cd (at 30s) | 126lux @ 4.74m = 2831cd |
| Throw (Calculated) (m) | 106.4 (96.7% of claim)^ |
| Claimed CCT | – |
| Measured CCT Range (K) | 4300-4400 Kelvin |
| Item provided for review by: | Skilhunt |
| All my Skilhunt reviews! | |
| Skilhunt M150v3 | |
|---|---|
| Emitter: | Nichia 519a (NW, High CRI) |
| Price in USD at publication time: | $44.90 |
| Cell: | 1xAA |
| Runtime Graphs | |
| LVP? | Yes |
| Switch Type: | E-Switch |
| Quiescent Current (mA): | ? |
| On-Board Charging? | No |
| Claimed Lumens (lm) | 240 |
| Measured Lumens (at 30s) | 140 (58.3% of claim)^ |
| Candela per Lumen | 6.8 |
| Claimed Throw (m) | 61 |
| Candela (Calculated) in cd (at 30s) | 40lux @ 4.883m = 954cd |
| Throw (Calculated) (m) | 61.8 (101.3% of claim)^ |
| Claimed CCT | – |
| Measured CCT Range (K) | 4200 Kelvin |
| Item provided for review by: | Skilhunt |
| All my Skilhunt reviews! | |
^ Measurement disclaimer: Testing flashlights is my hobby. I use hobbyist-level equipment for testing, including some I made myself. Try not to get buried in the details of manufacturer specifications versus measurements recorded here; A certain amount of difference (say, 10 or 15%) is perfectly reasonable.
What’s Included
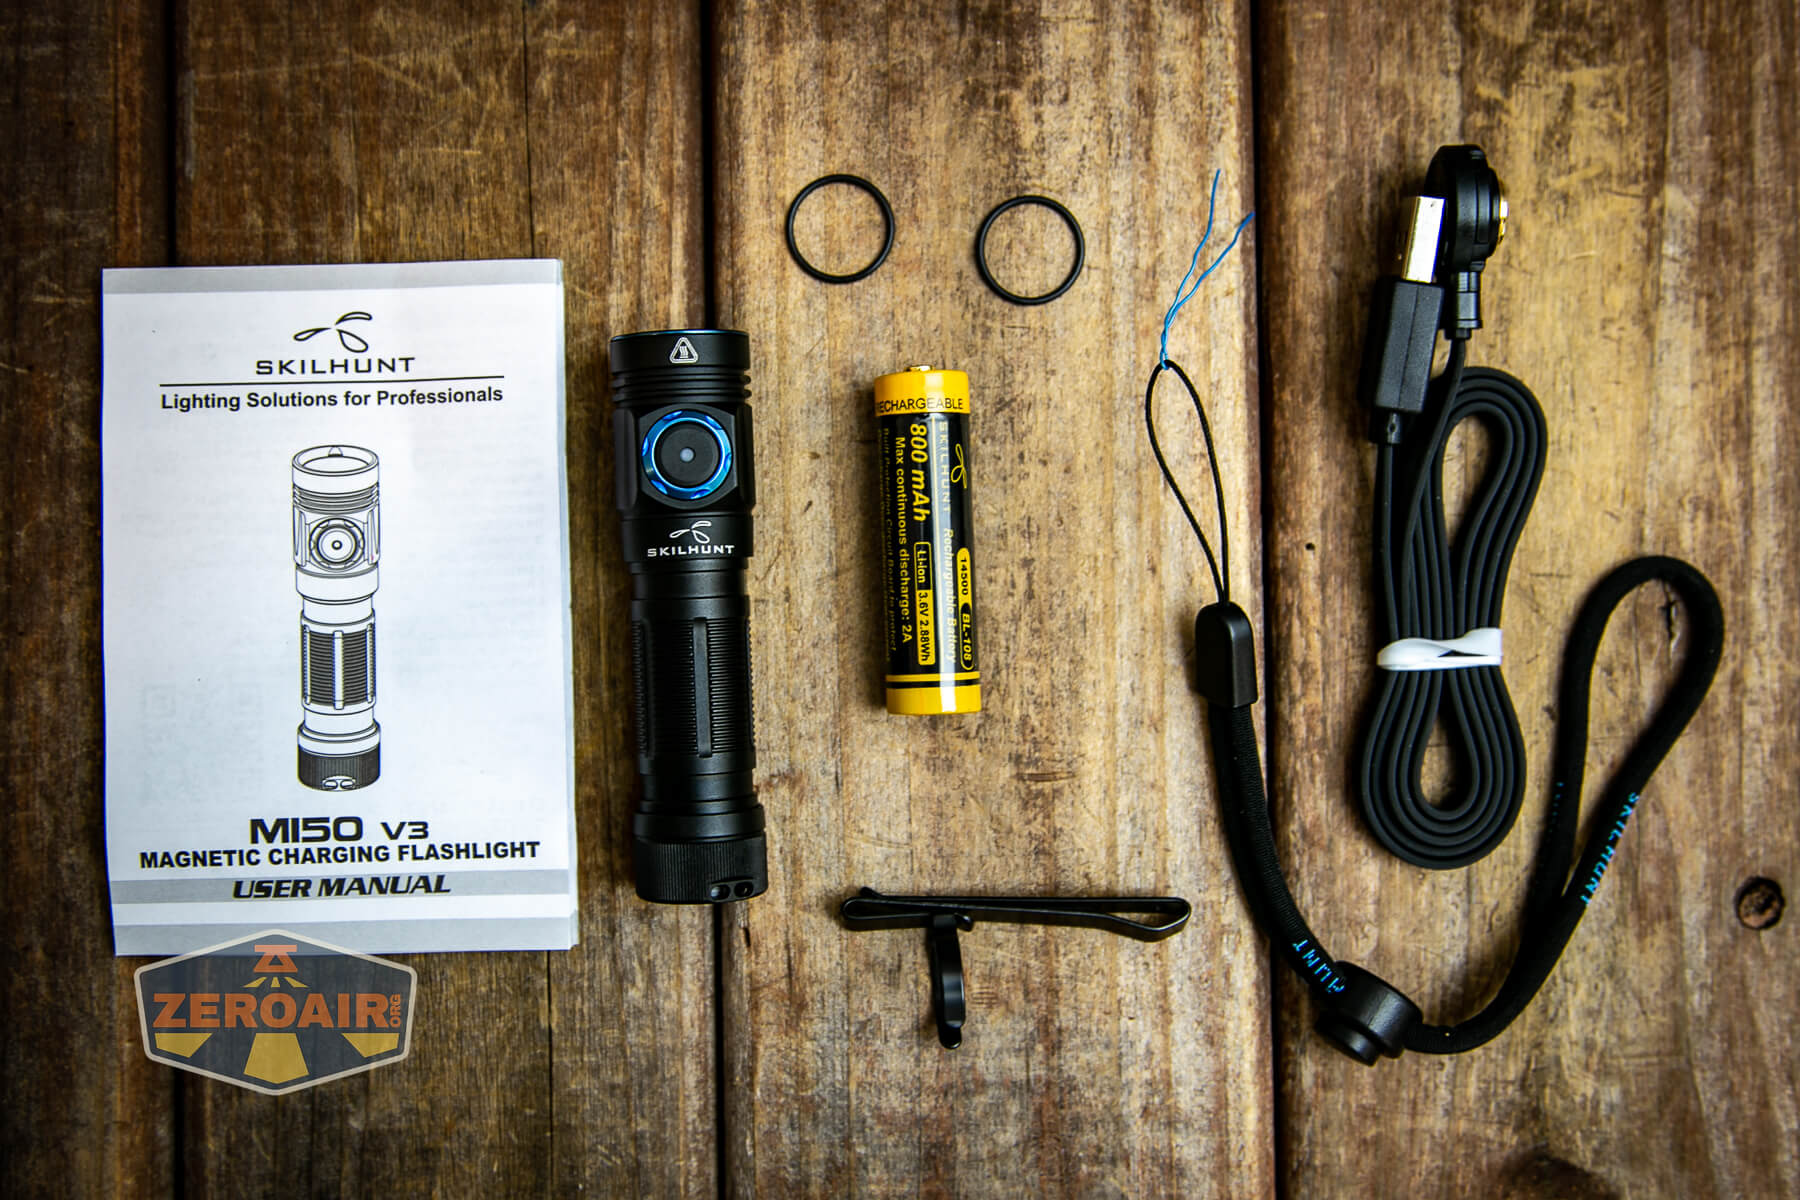
- Skilhunt M150v3 Flashlight
- Skilhunt 800mAh 14500 cell
- Charge cable (USB to proprietary magnetic)
- Lanyard
- Pocket clip
- Manual
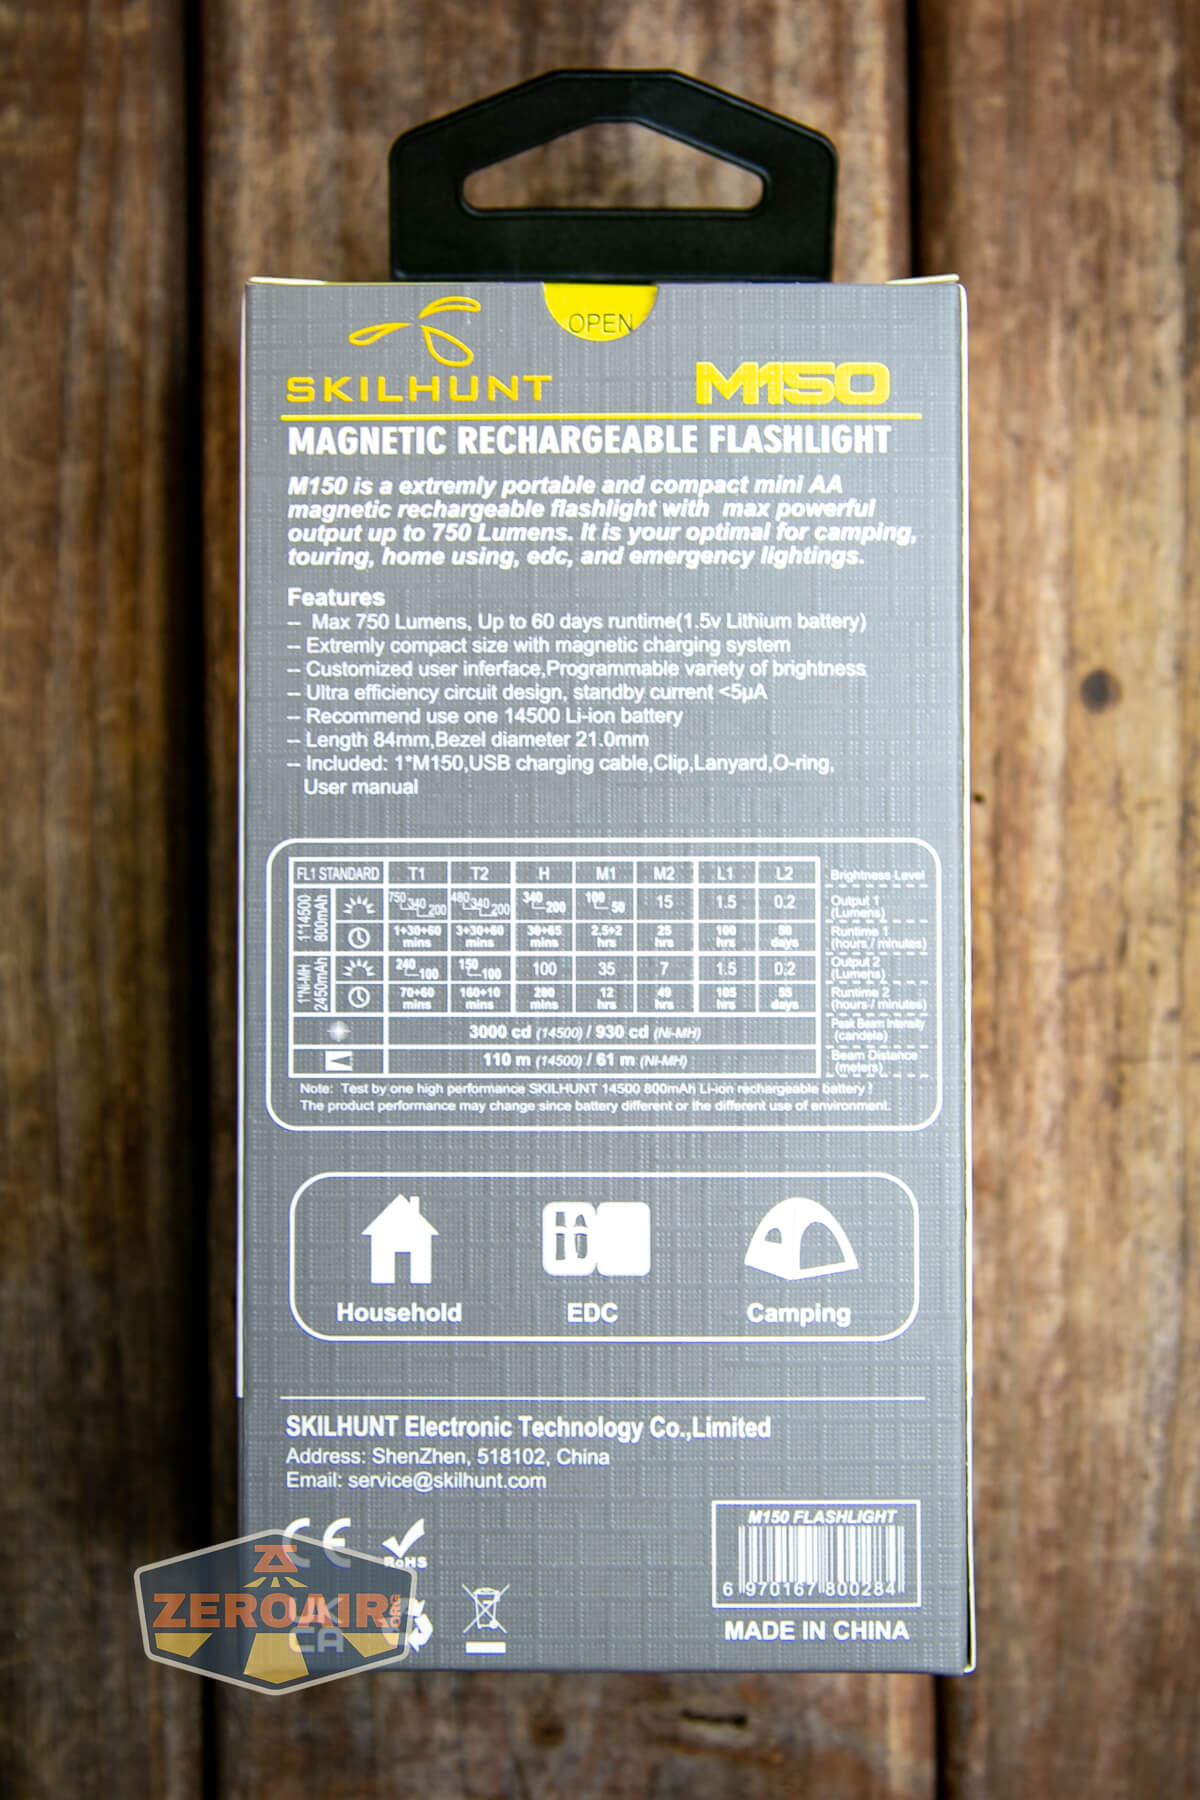
Package and Manual
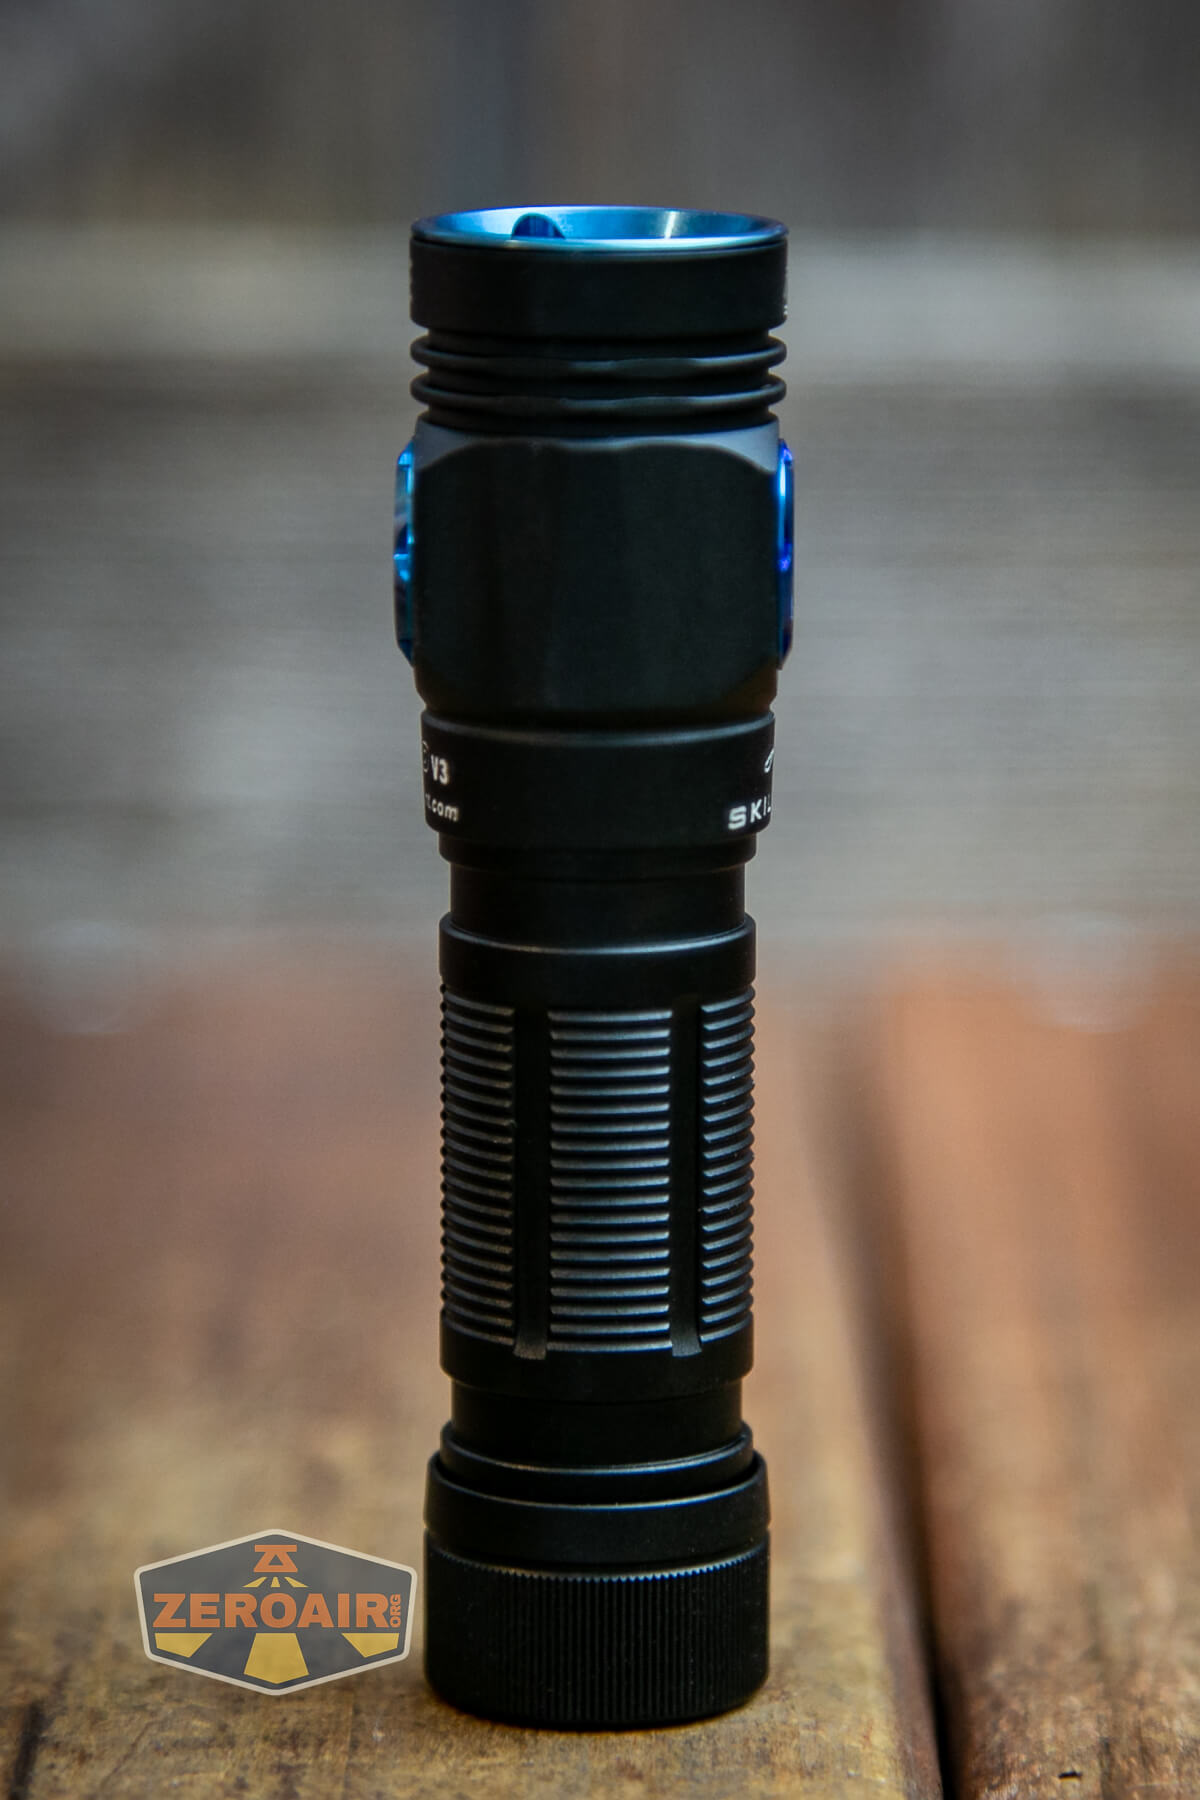
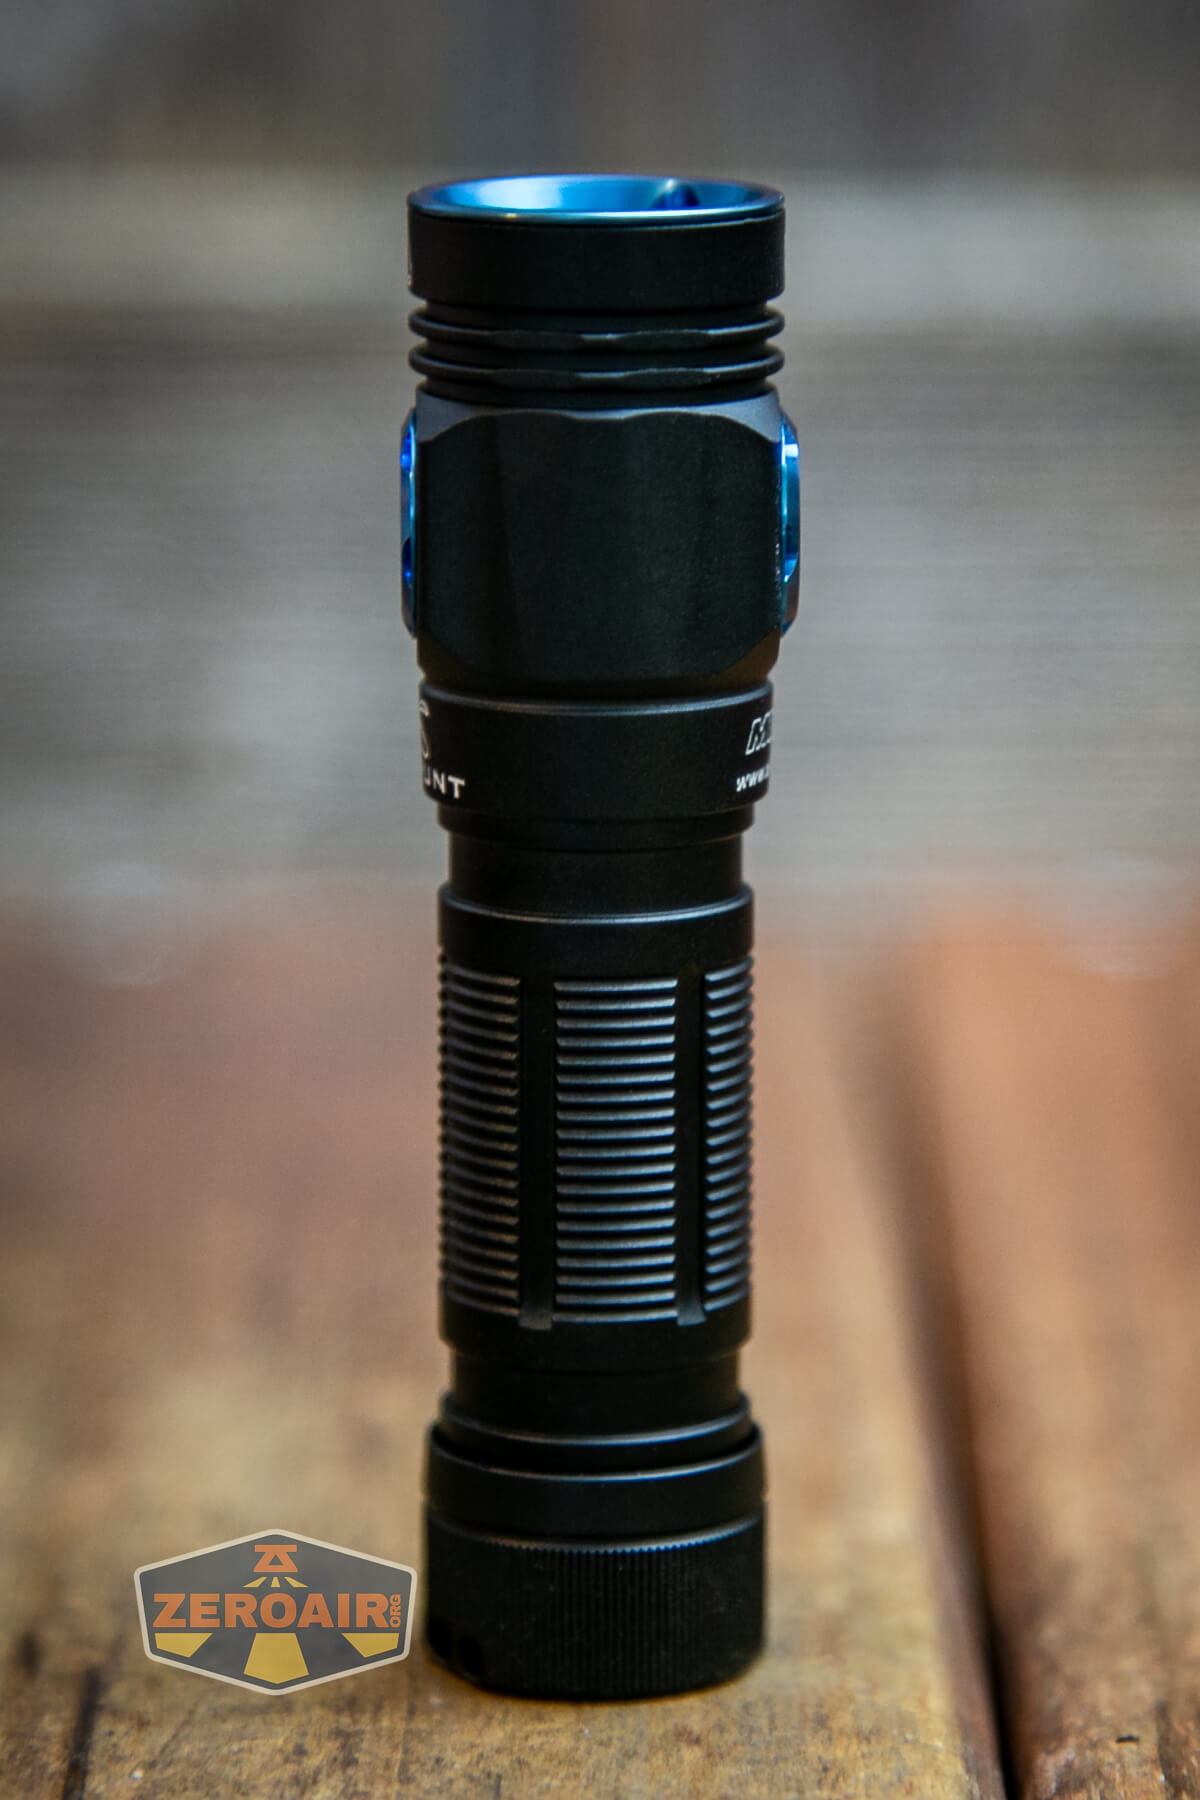
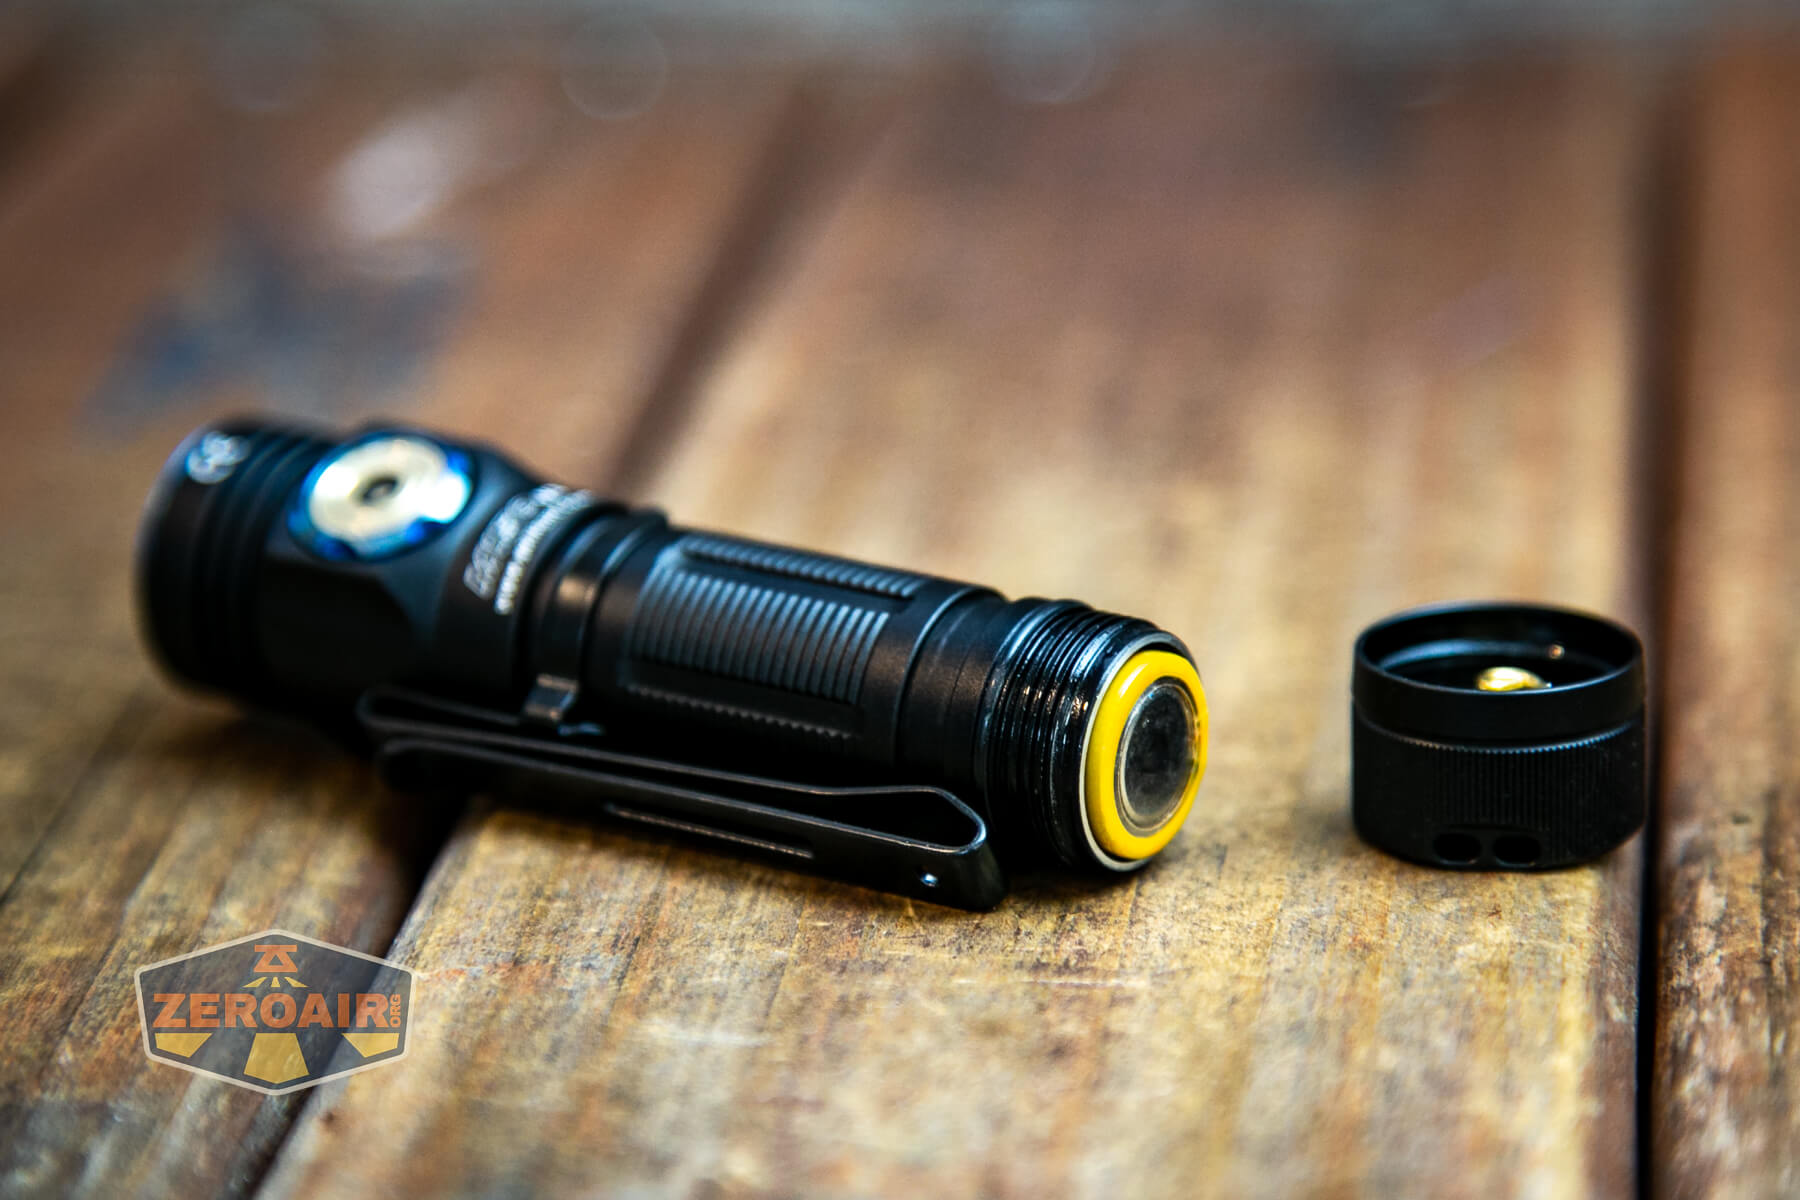
Build Quality and Disassembly
Skilhunts are usually well-built lights, and this one is no exception.
The threads are square-cut and lubed an appropriate amount. That spring is also removable so that the magnet can be removed, too.

Inside the cell tube is a sticker indicating that the cell should go with the positive end toward the head.
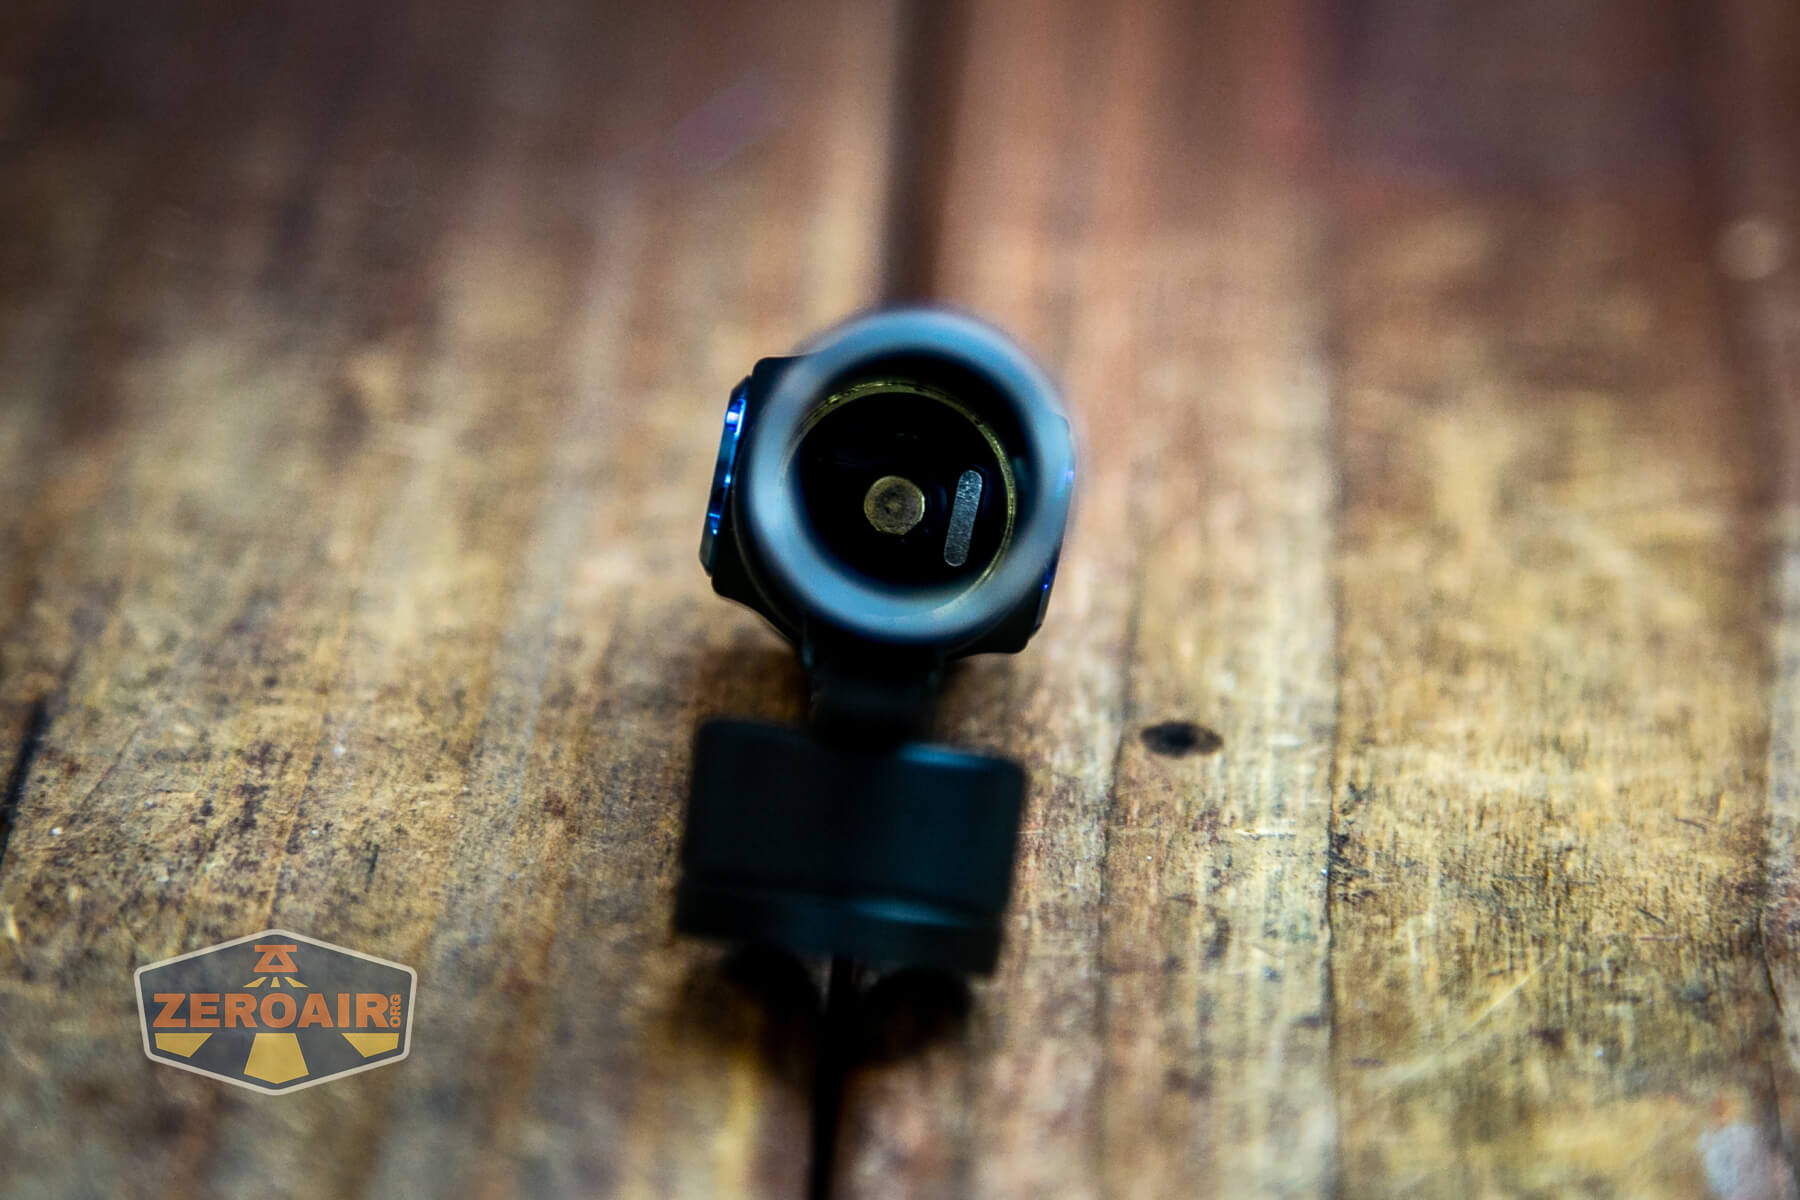
The head end doesn’t have a spring; just a brass button.
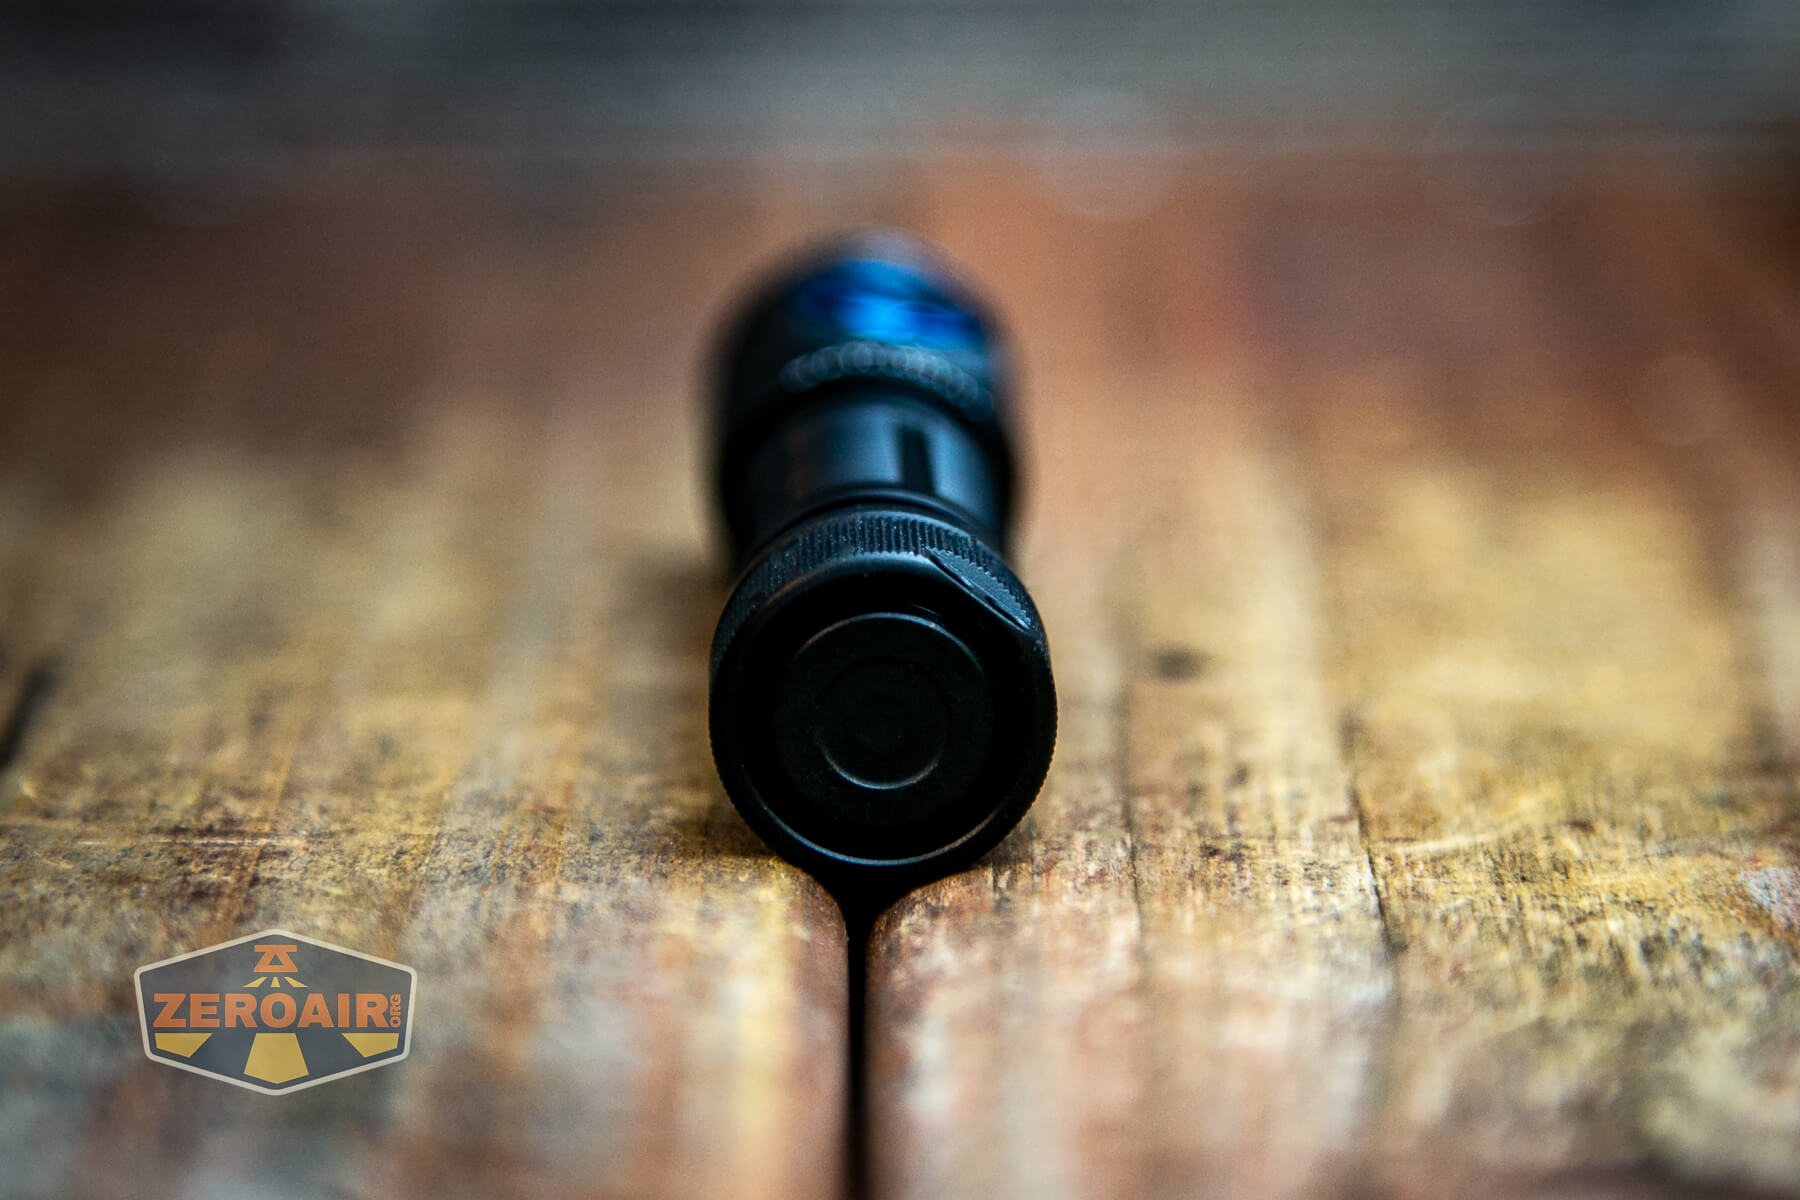
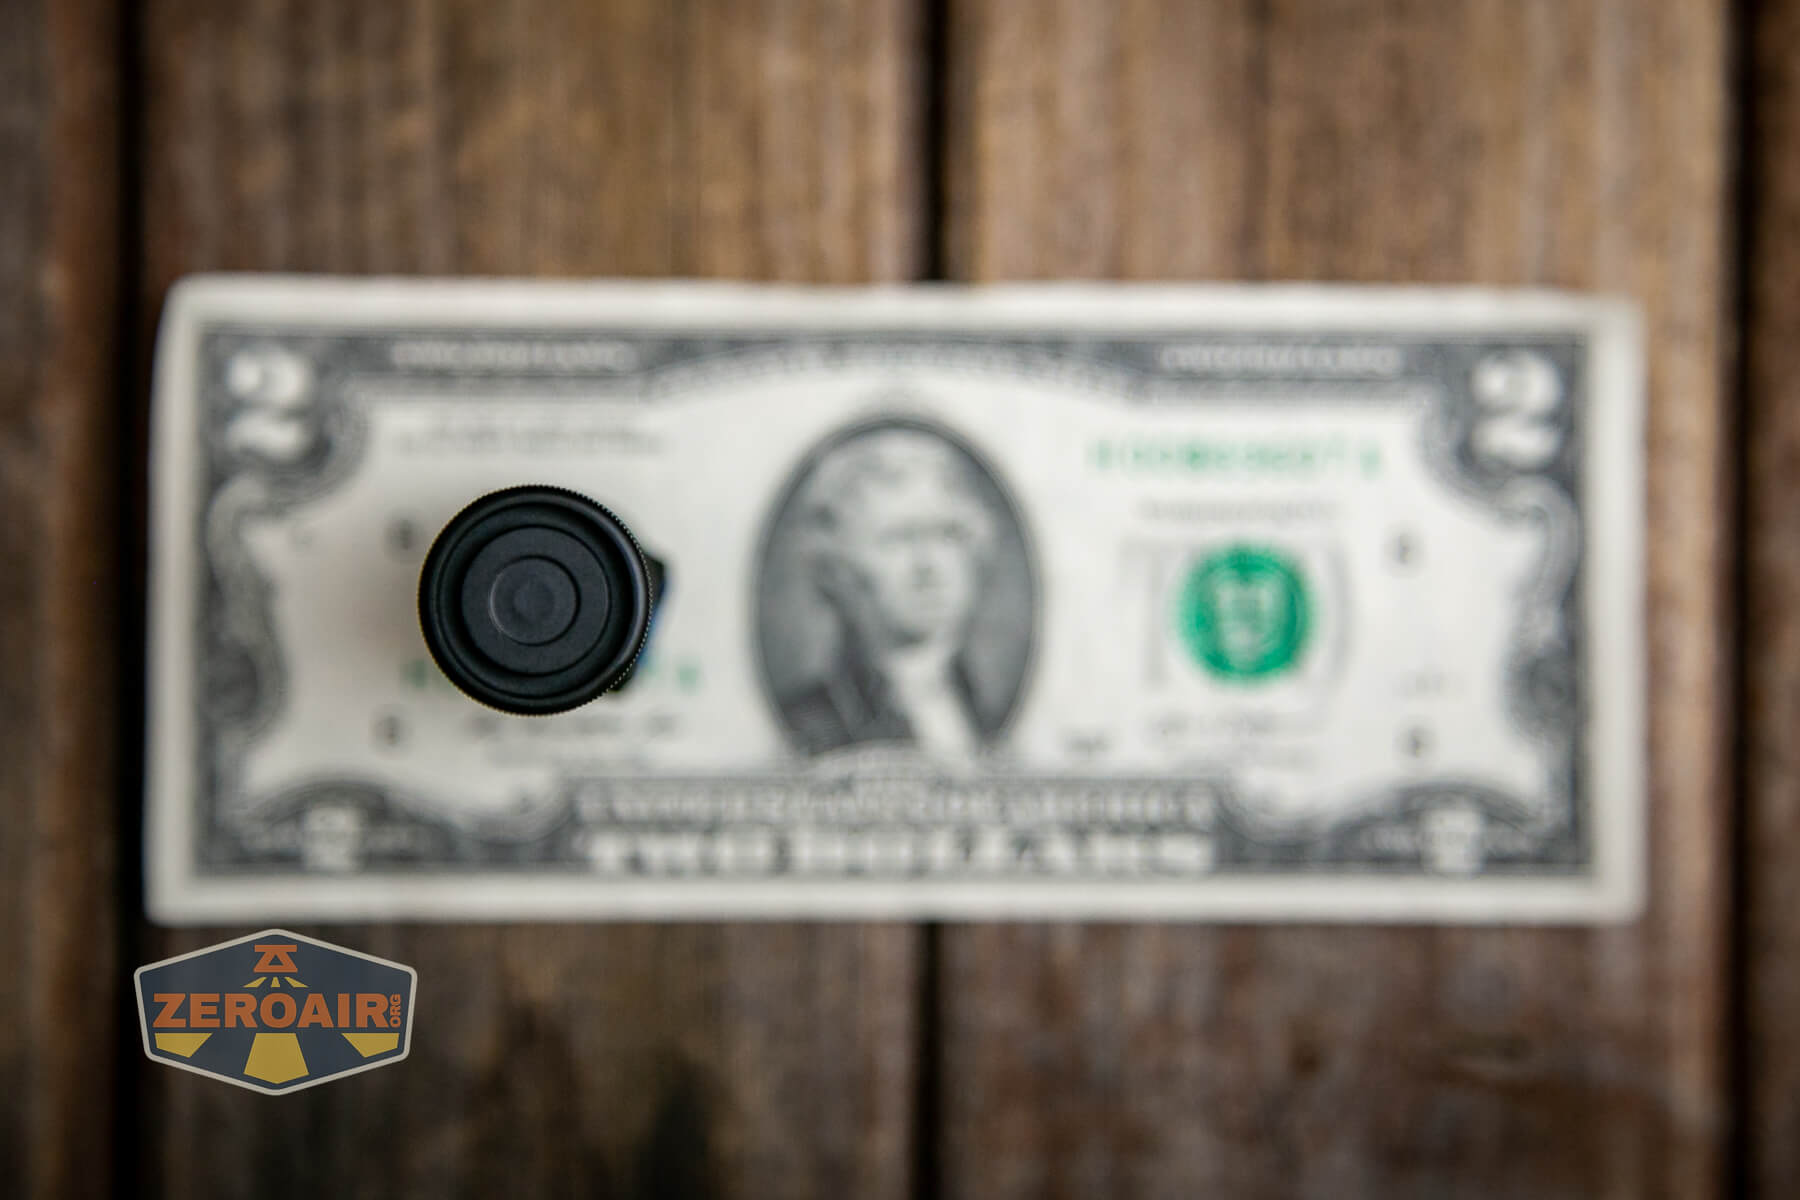
The tailcap has a ring to allow a lanyard attachment and also room for the magnet.
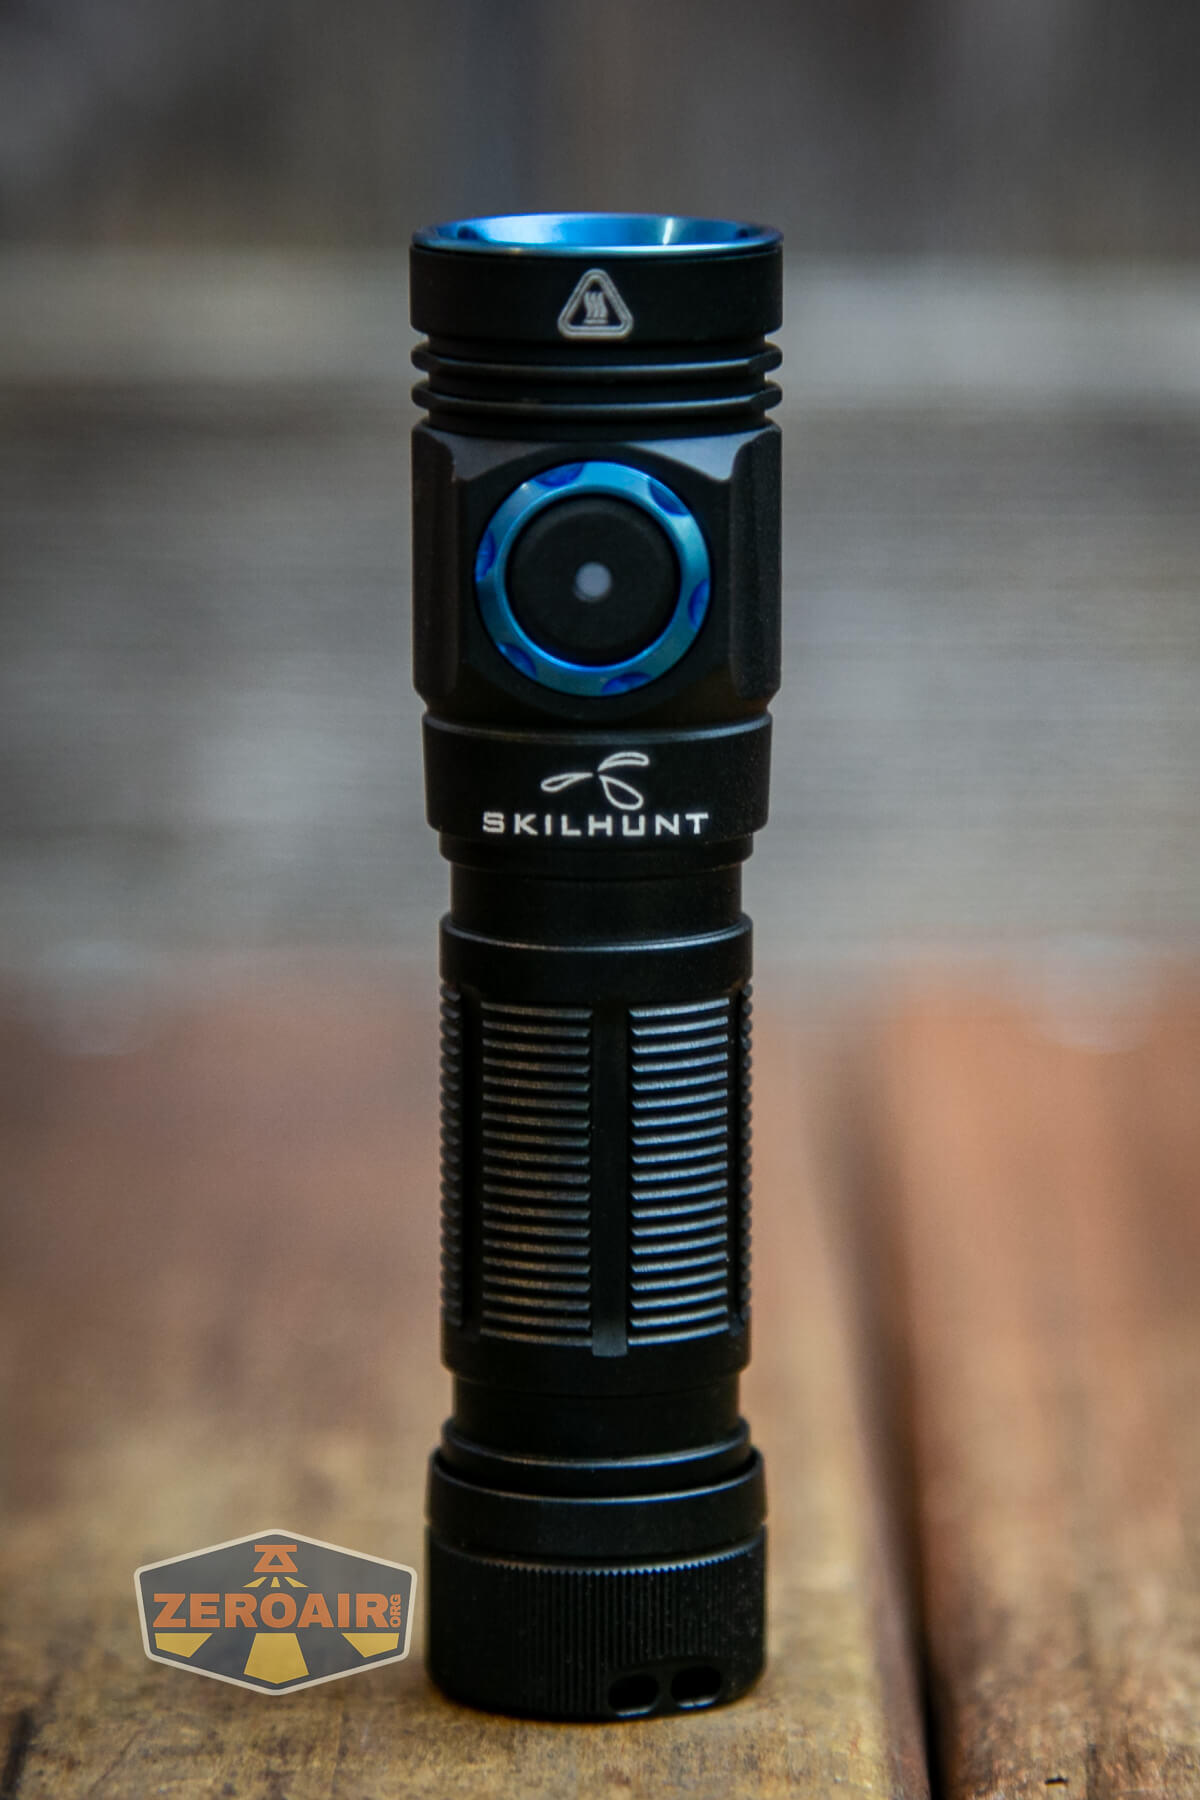
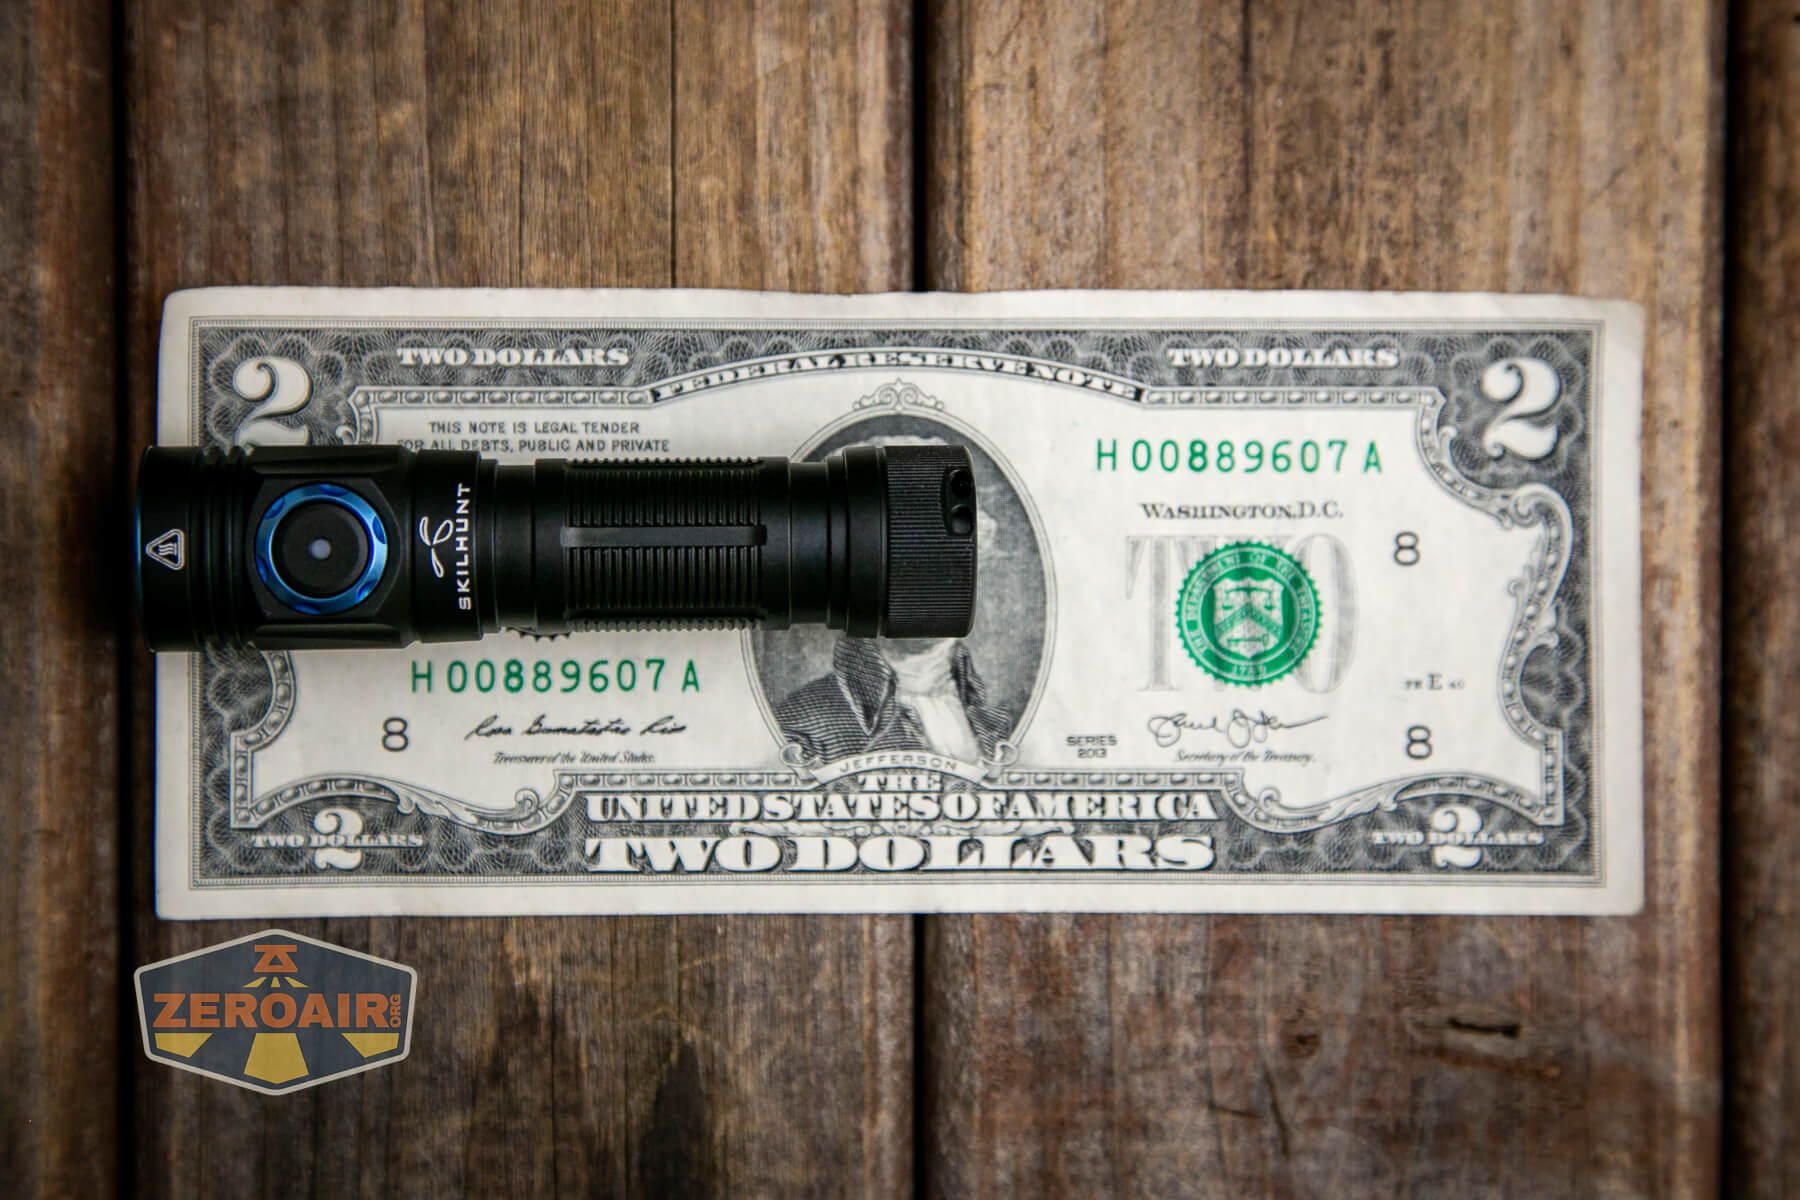
Size and Comps
Officially:
Length 84.0mm
Head diameter 21.0mm
Body diameter 18.0mm
Weight: 34 g (without battery)

If the flashlight will headstand, I’ll try to show it here. If the flashlight will tailstand, I usually show that here, too.
Here’s the test light with the venerable Convoy S2+. Mine is a custom “baked” edition Nichia 219b triple. A very nice 18650 light!
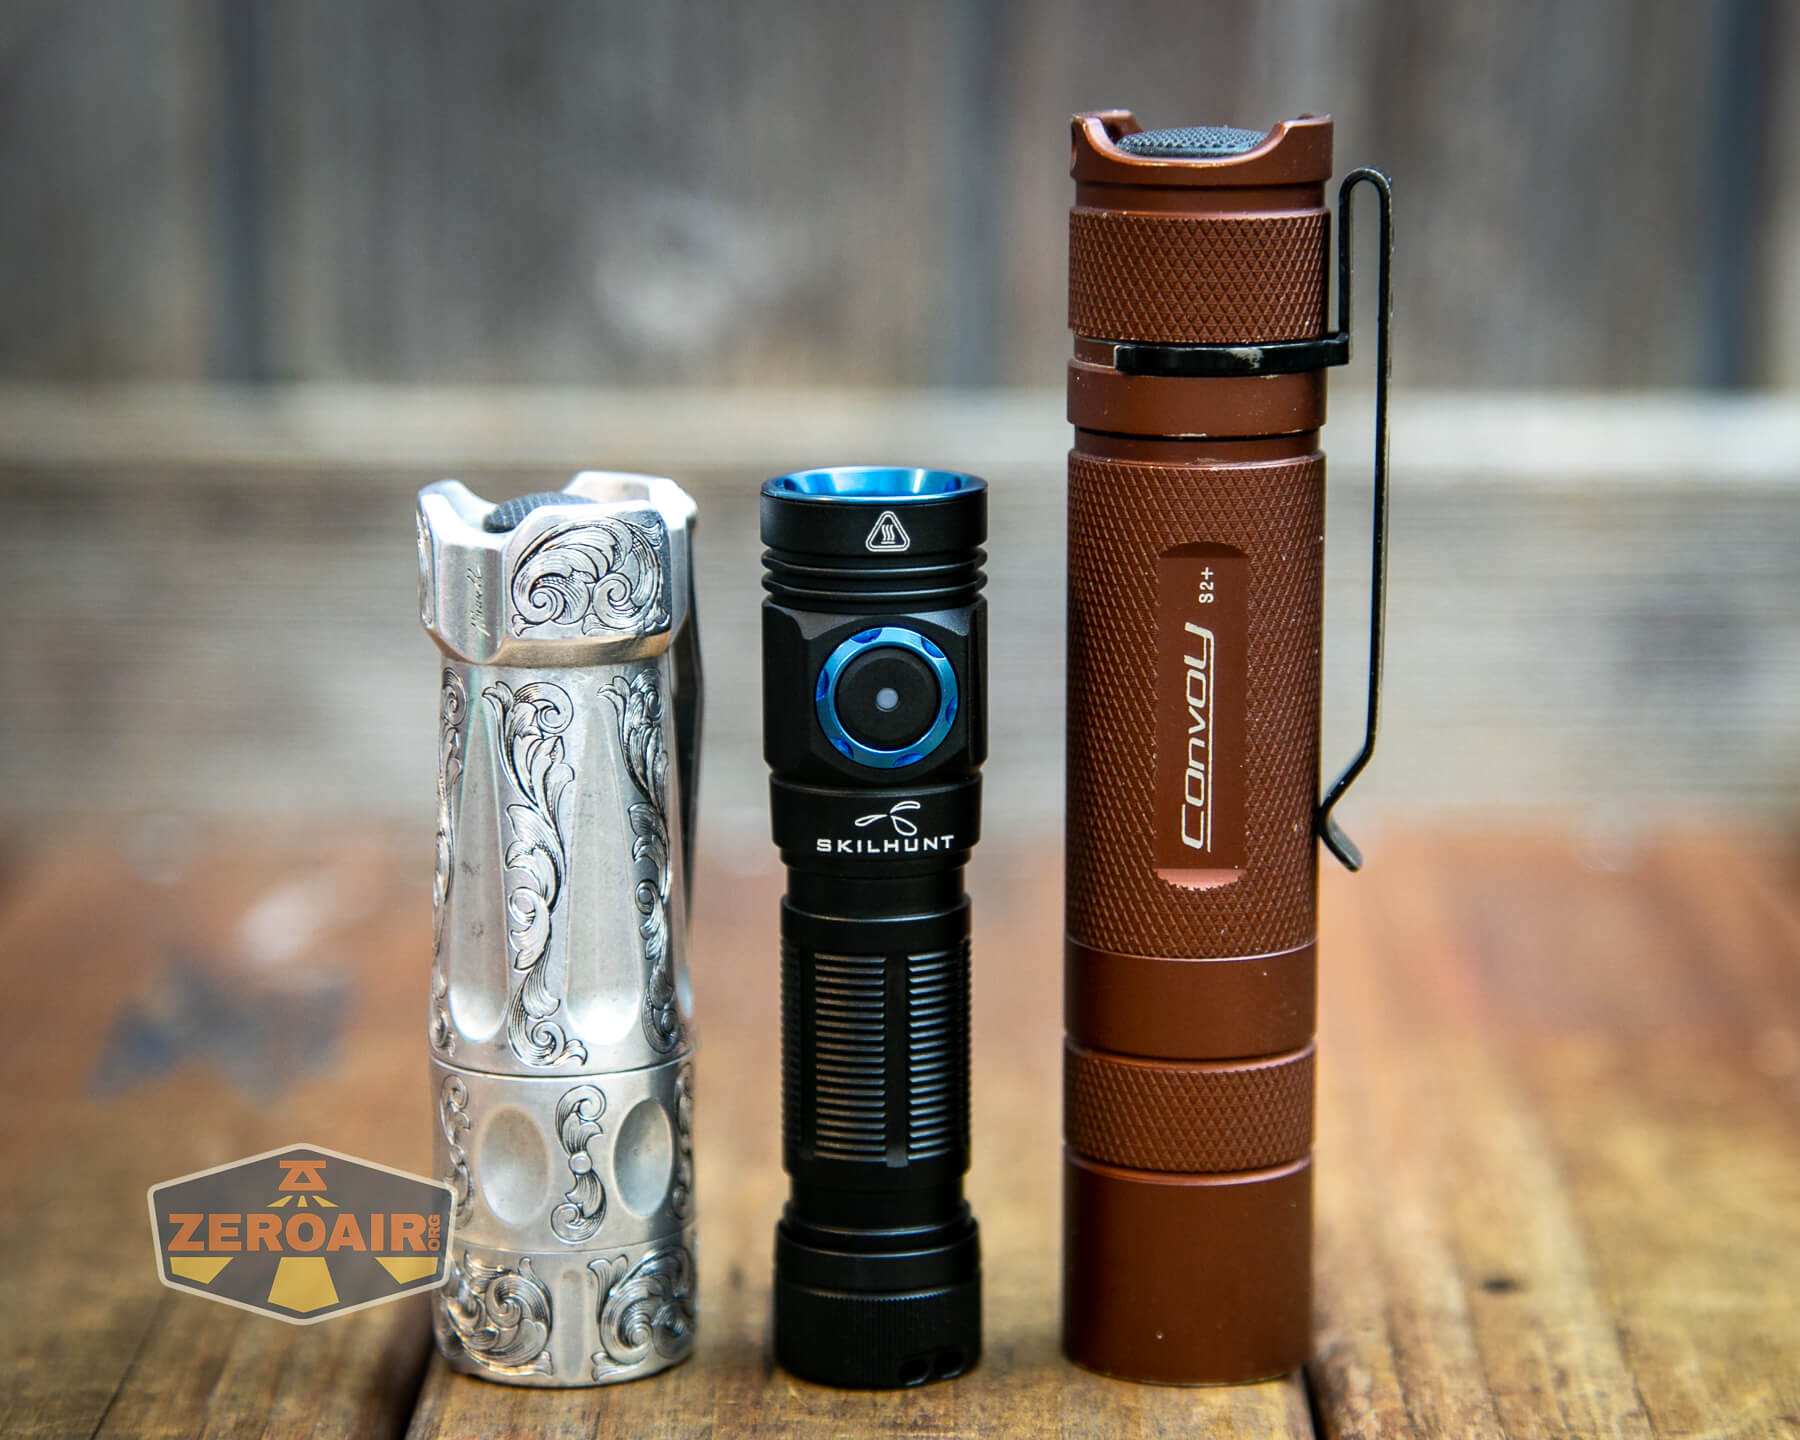
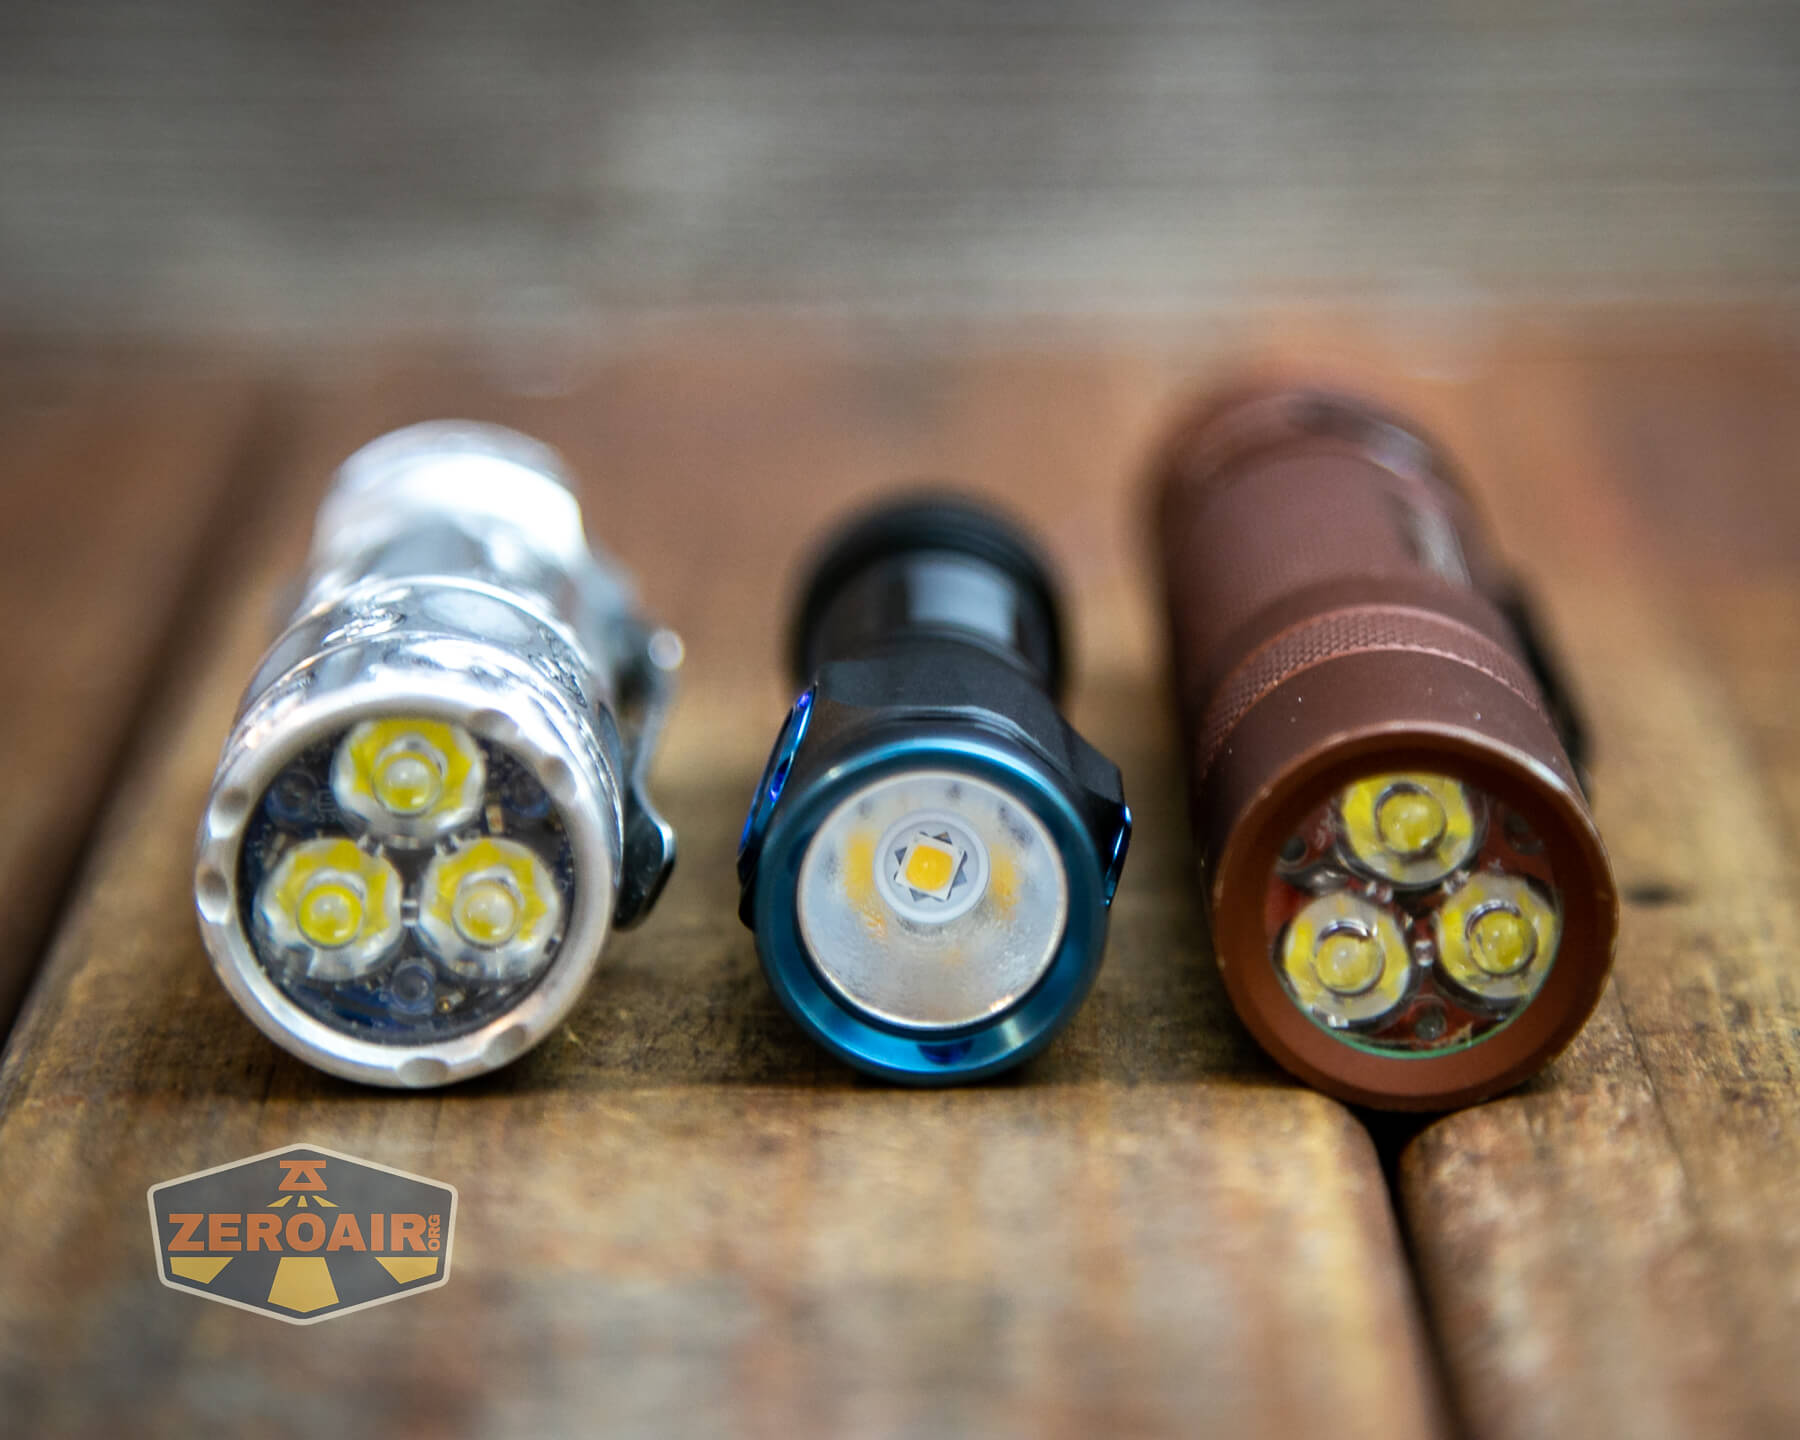
Also above is the light beside my custom-engraved TorchLAB BOSS 35, an 18350 light. I reviewed the aluminum version of that light in both 35 and 70 formats.
Retention and Carry
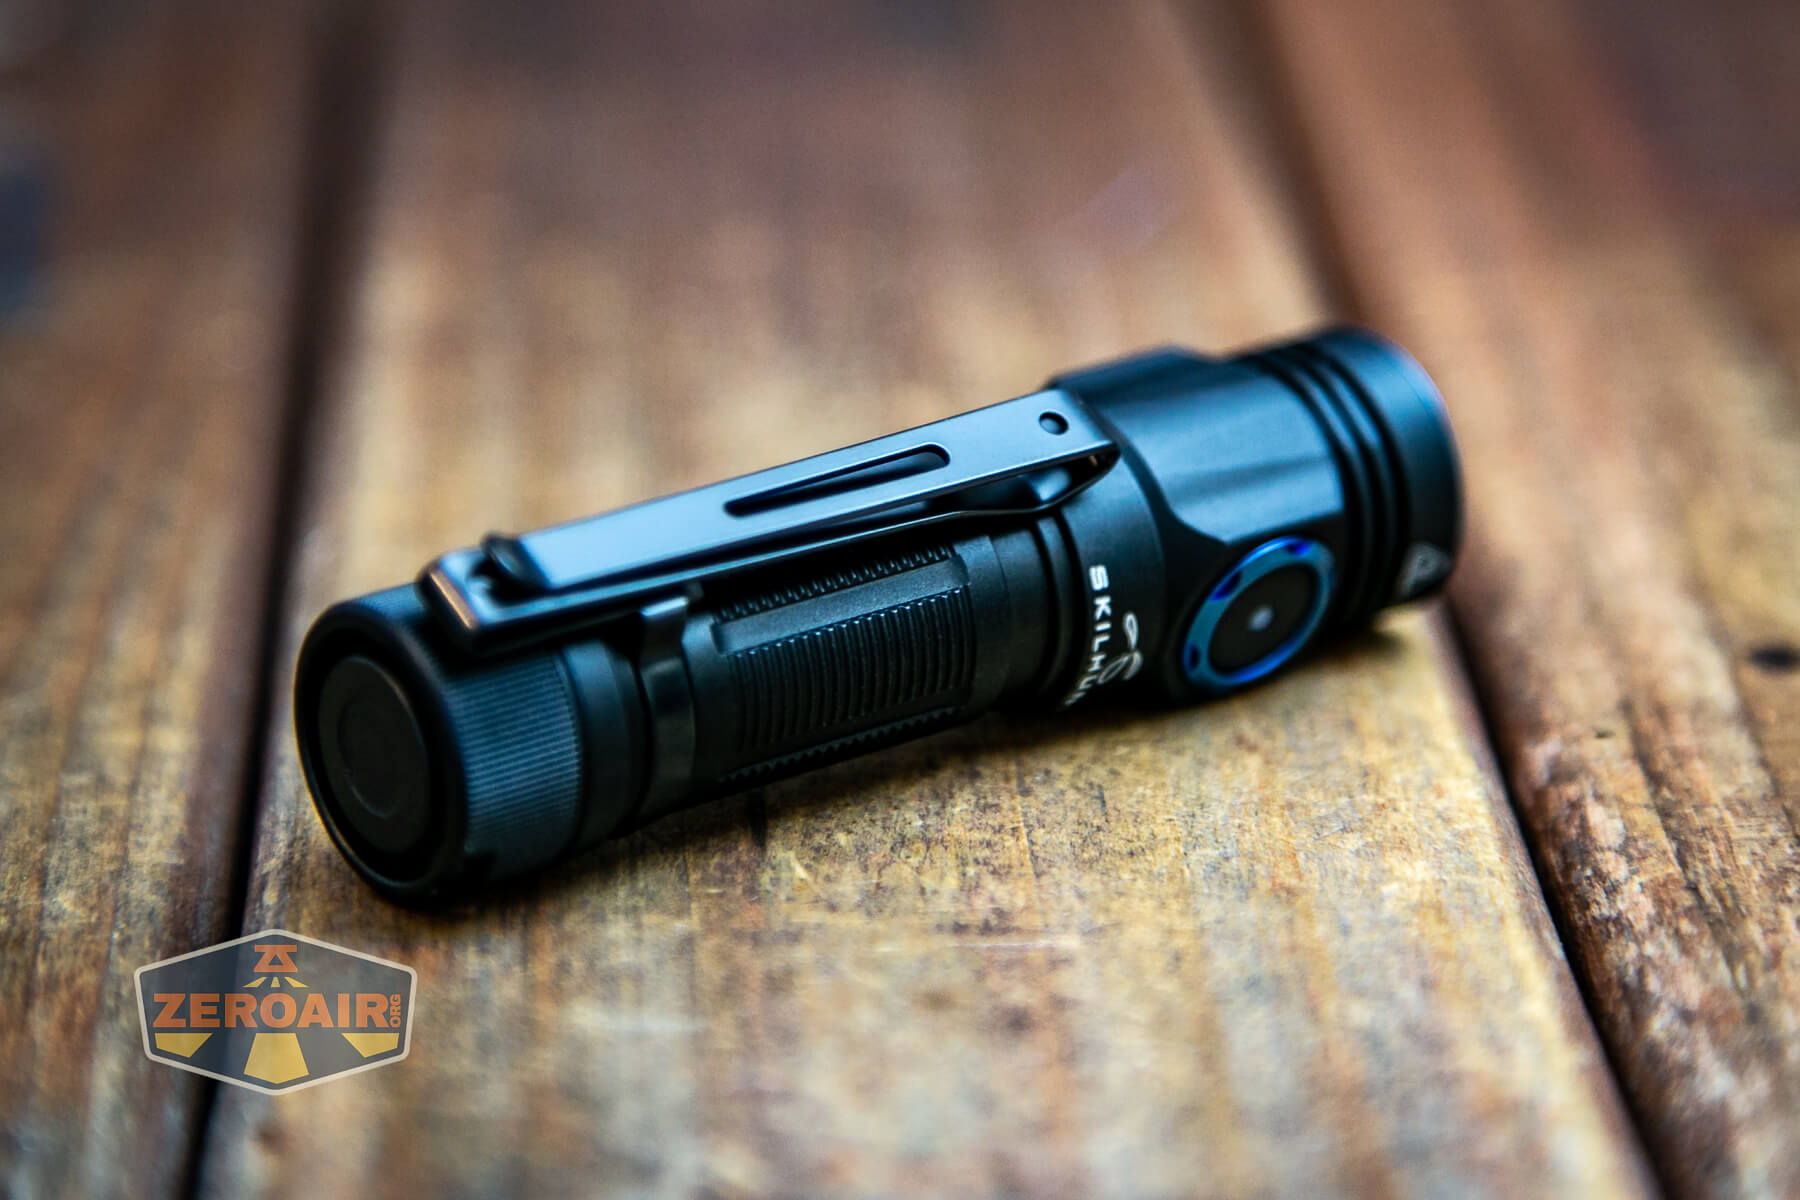
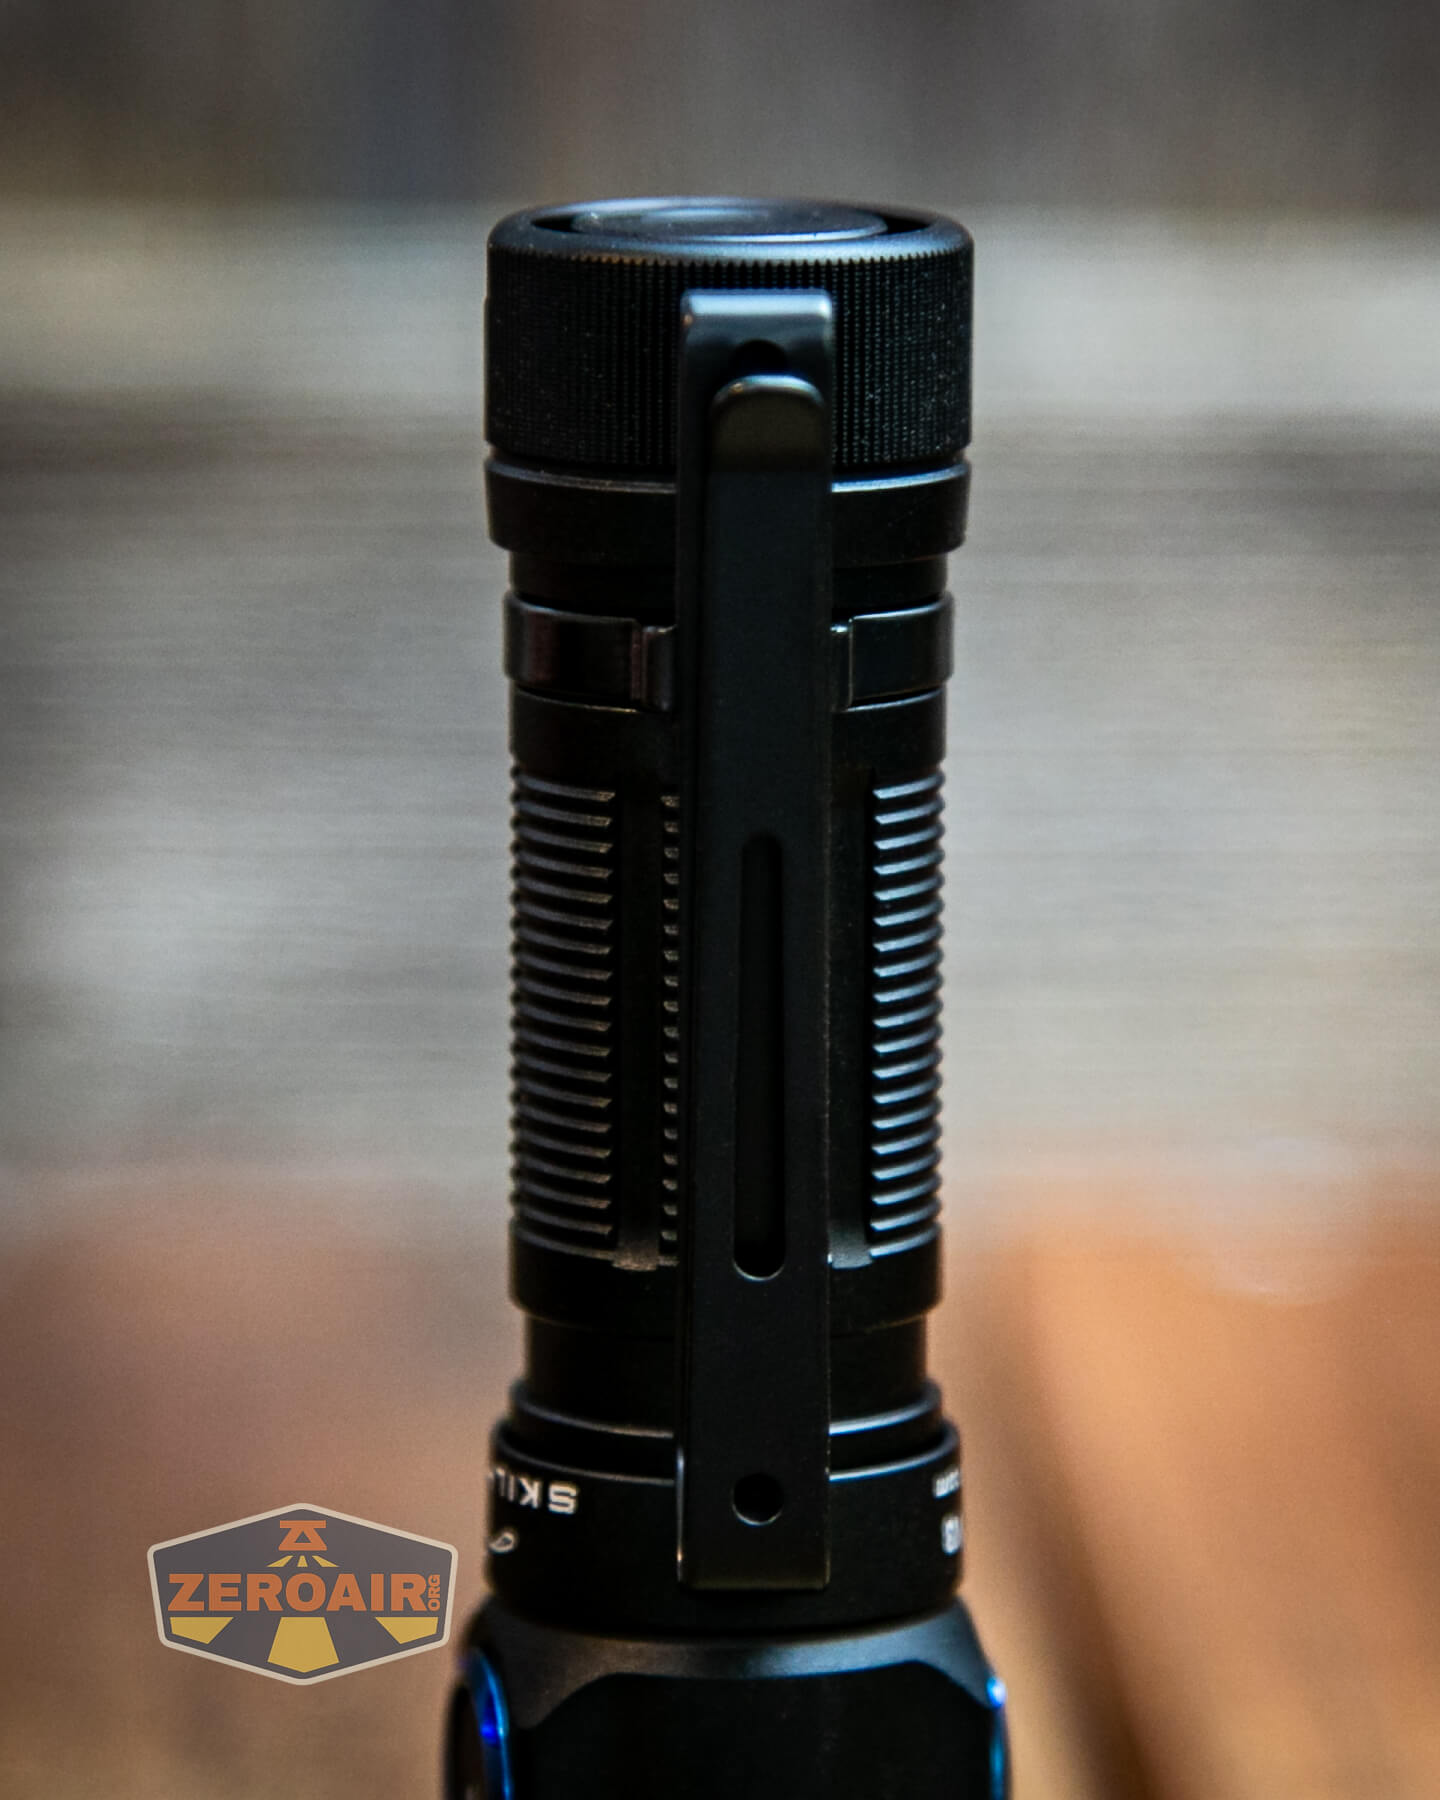
A pocket clip is included. It’s a pretty nice clip and updated from my previous version of the M150. This is a marked upgrade from the other version
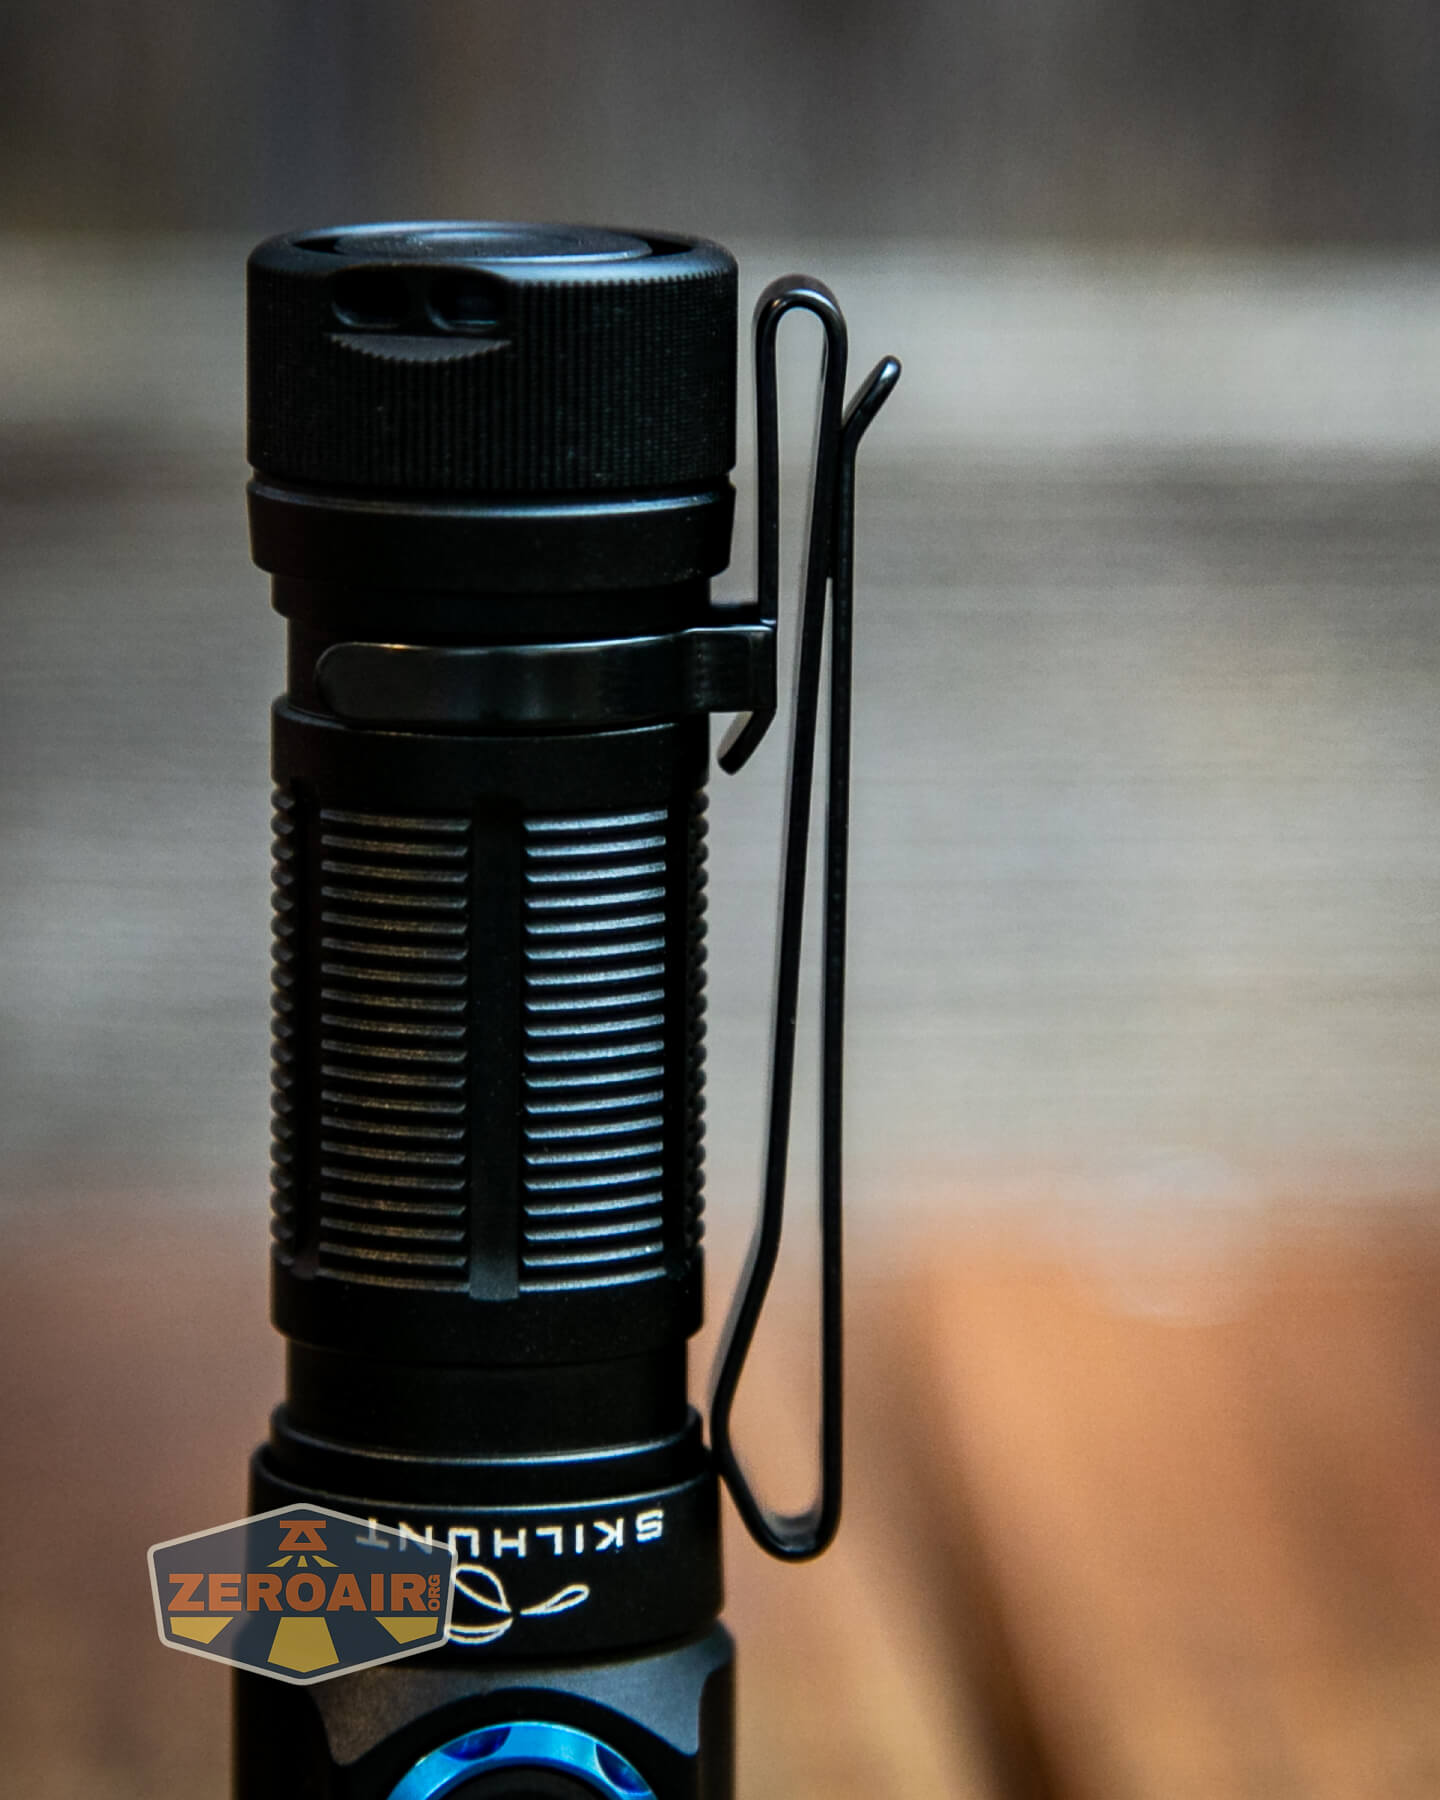
Also included is a lanyard, which attaches either through the pocket clip (less recommended) or the tailcap, where there are two holes for this express purpose.
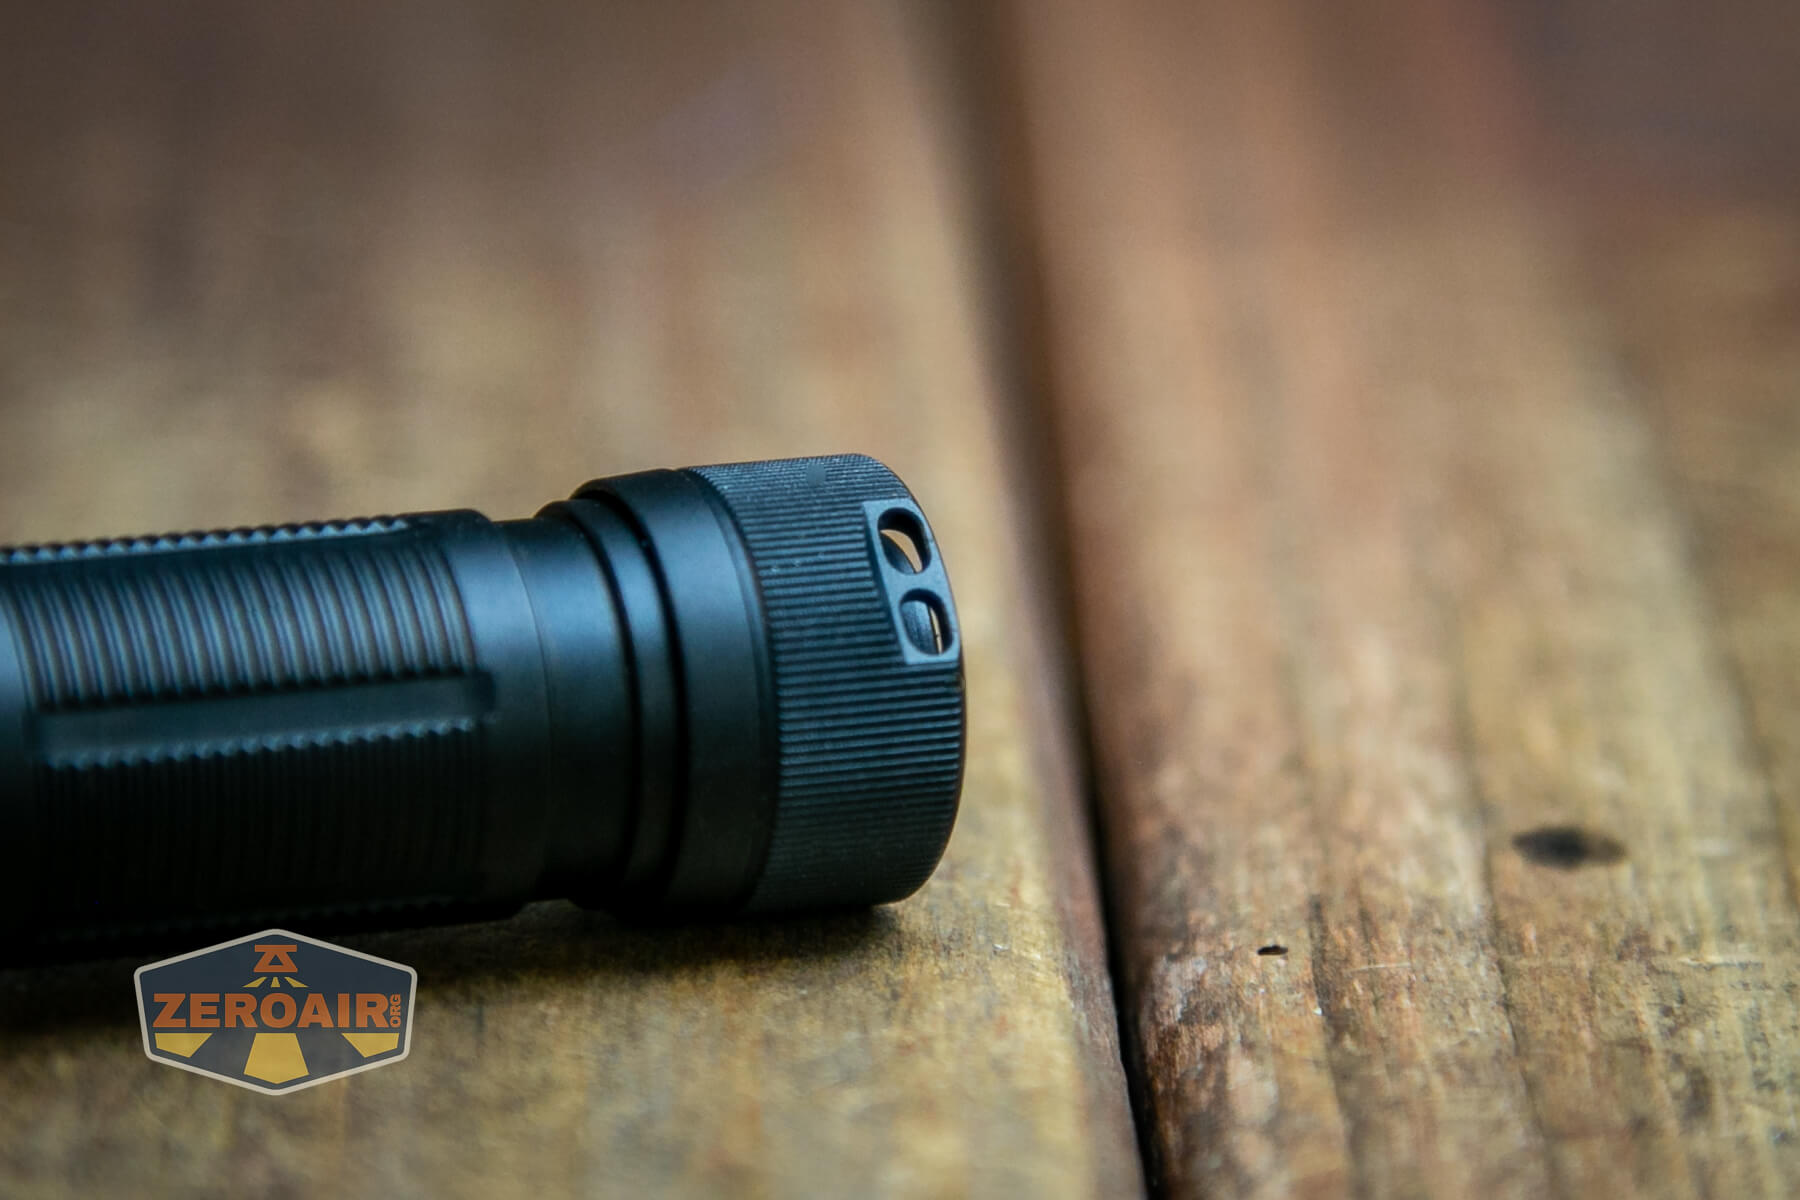
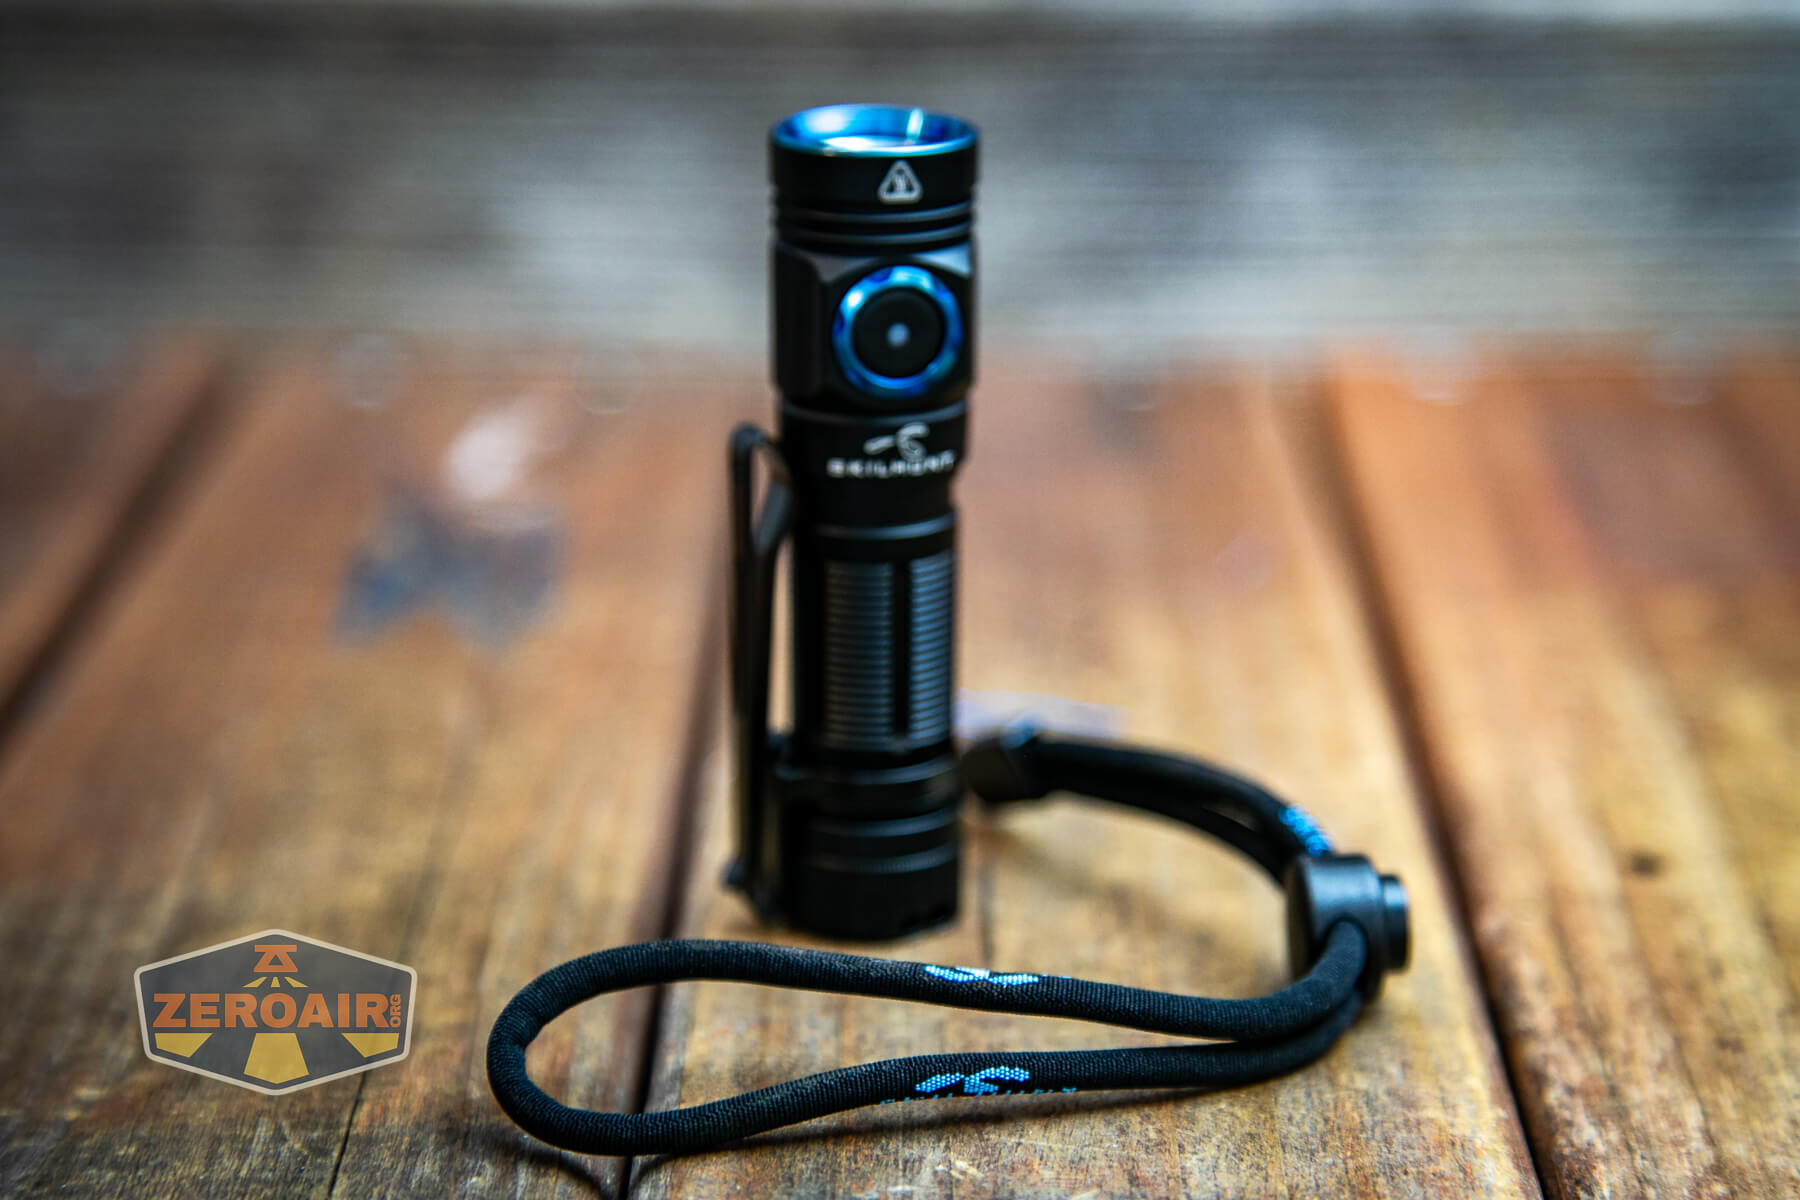
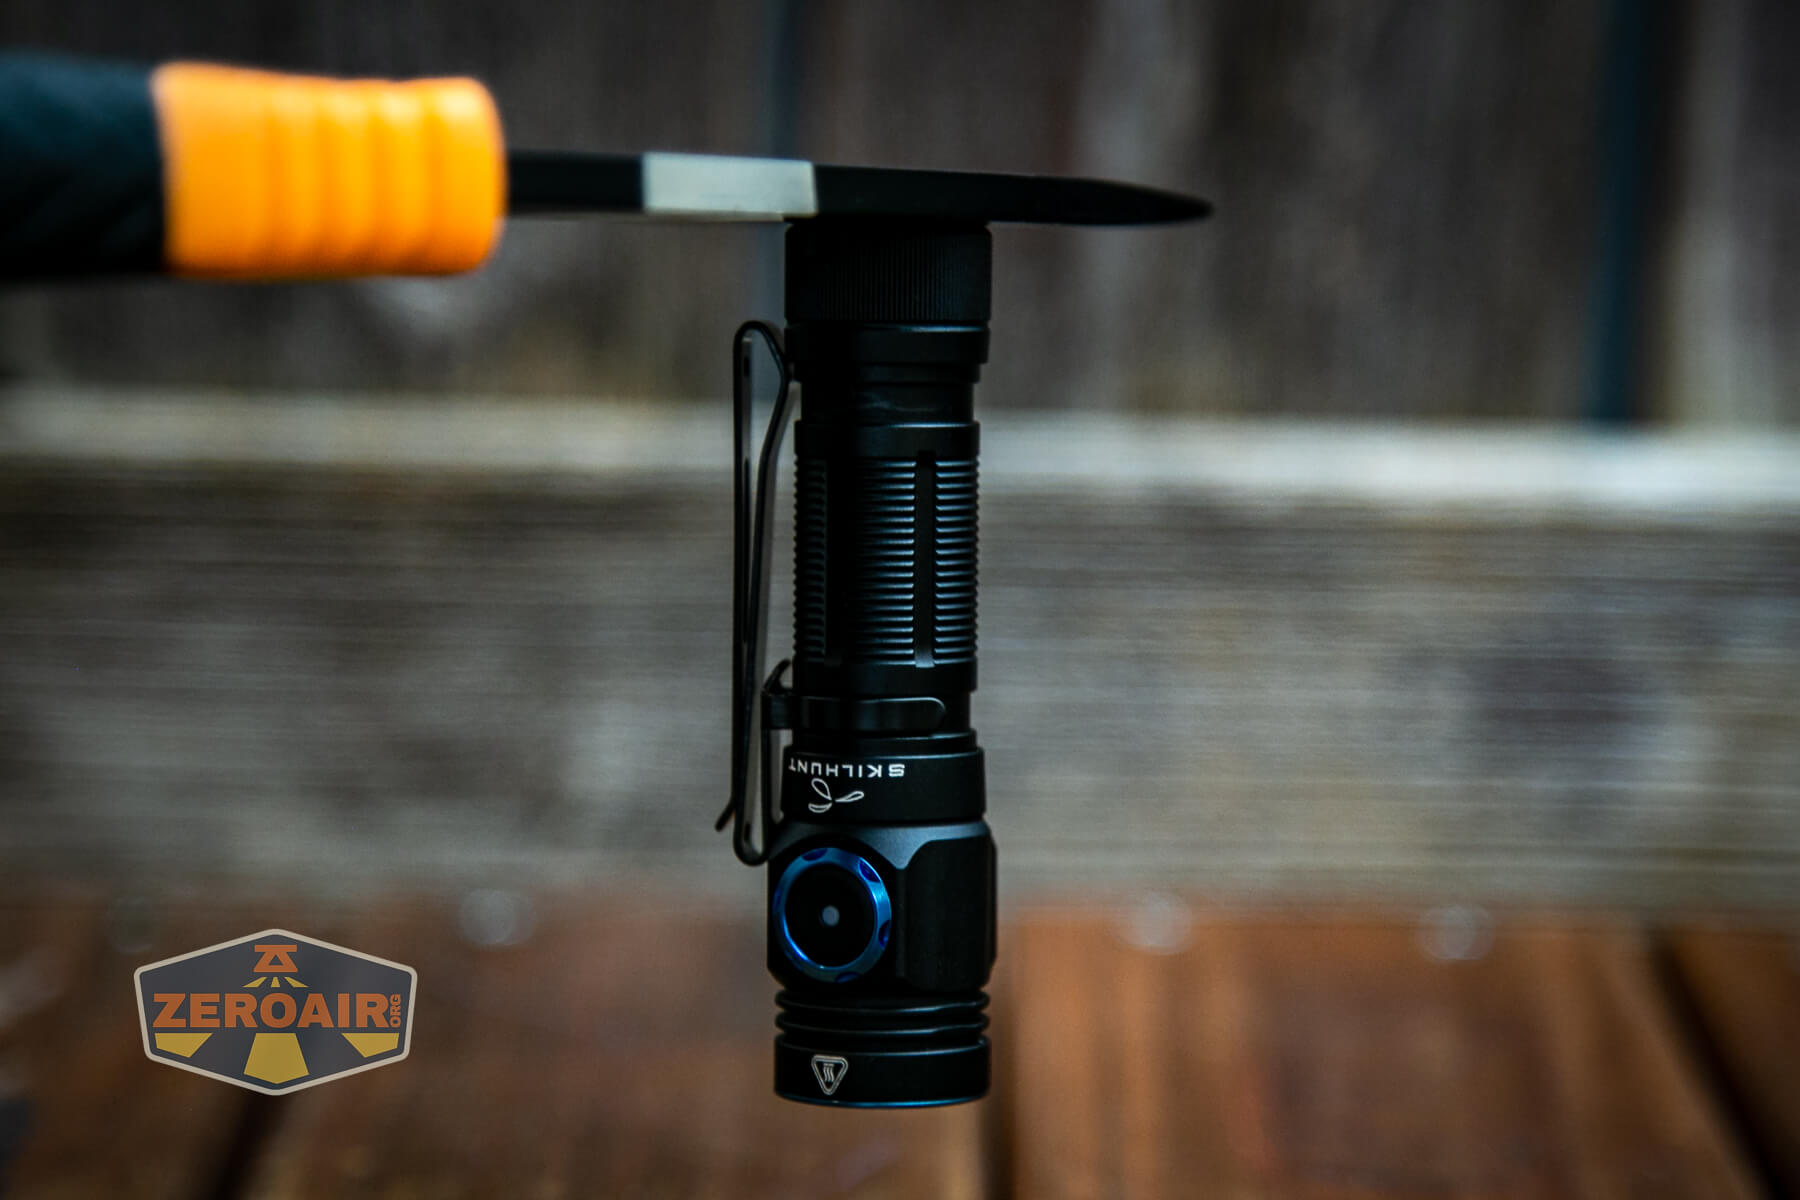
The tailcap has a magnet, too, which is plenty strong to hold the light. As stated above, this magnet is removable.

Power and Runtime
The M150 runs on a single Li-ion cell. It uses a 14500 cell, and Skilhunt includes an 800mAh version.
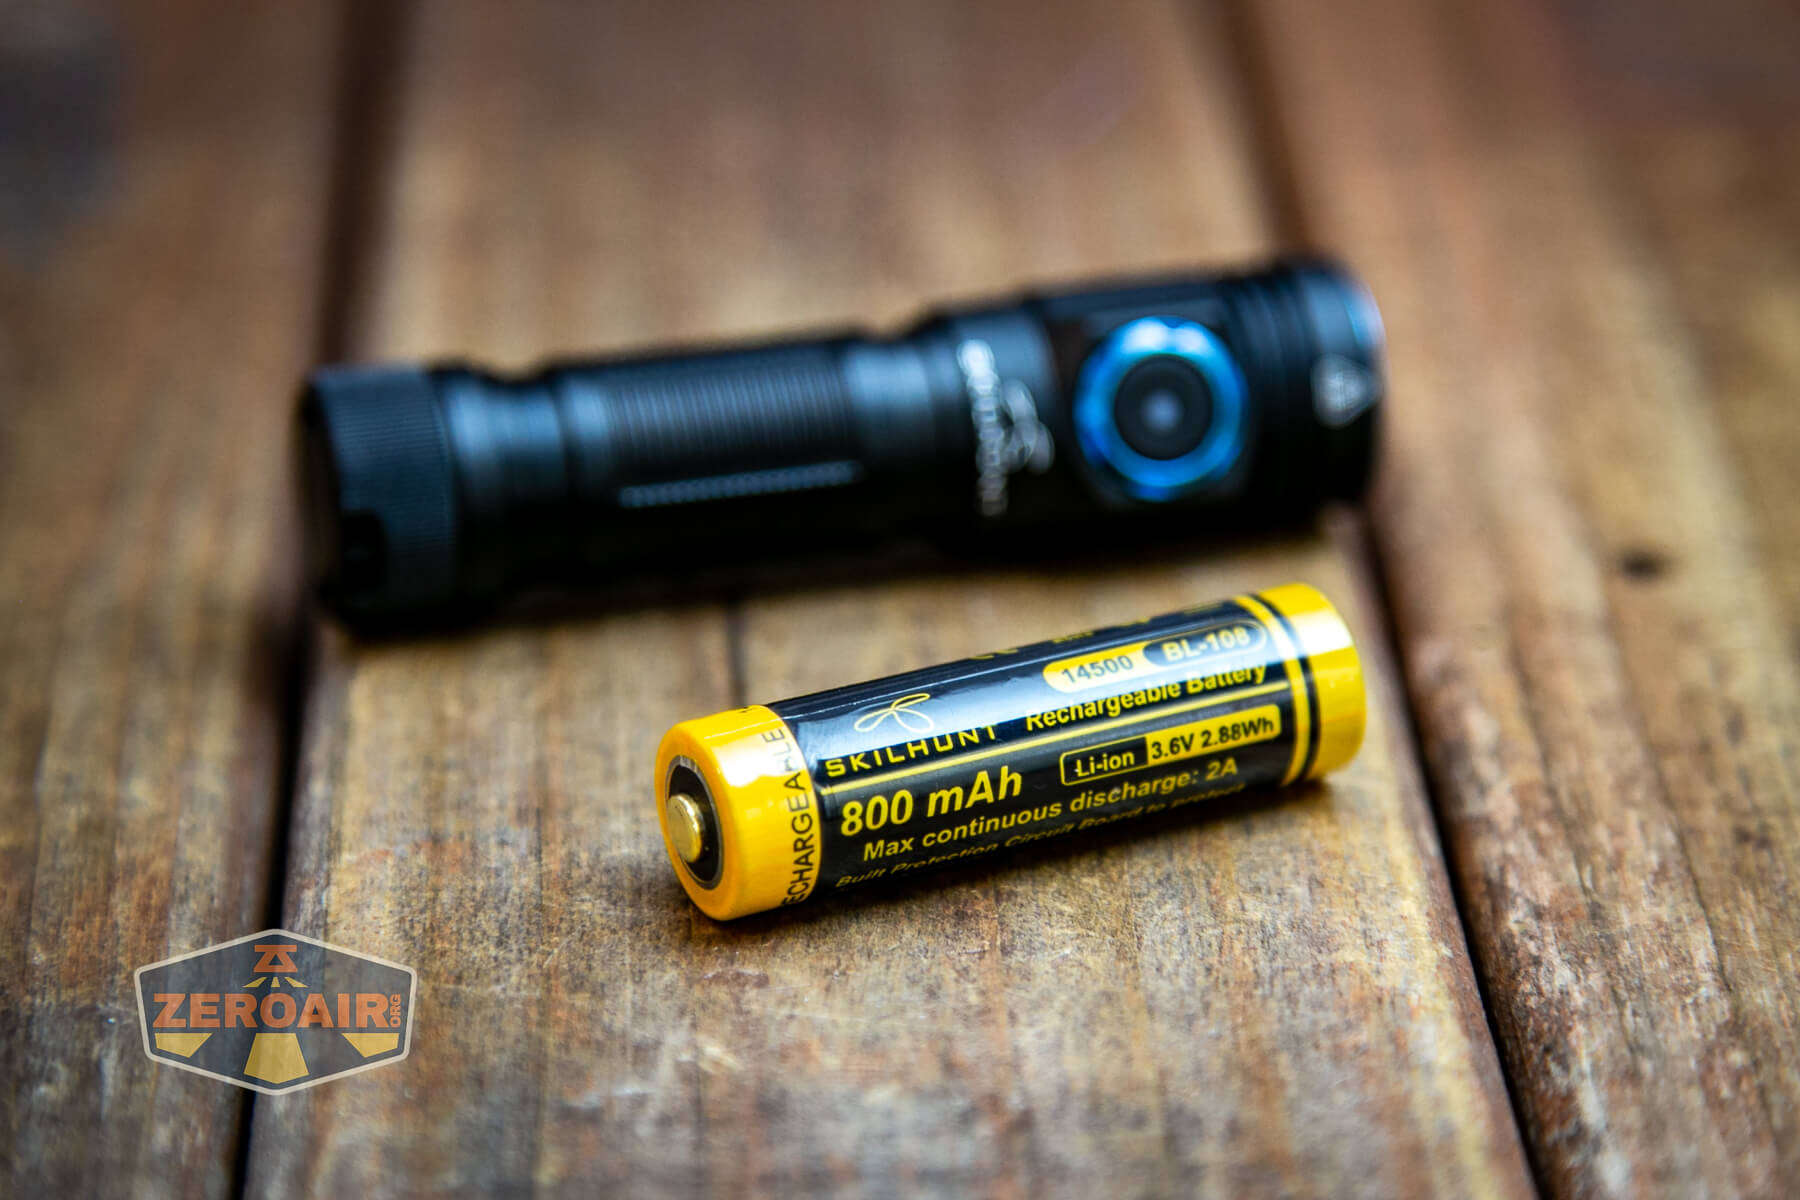
That cell is a button top, but any type of cell that fits should work fine – the positive end doesn’t have any physical protection that will prevent it. Any type of cell you use goes in with the positive end toward the head.
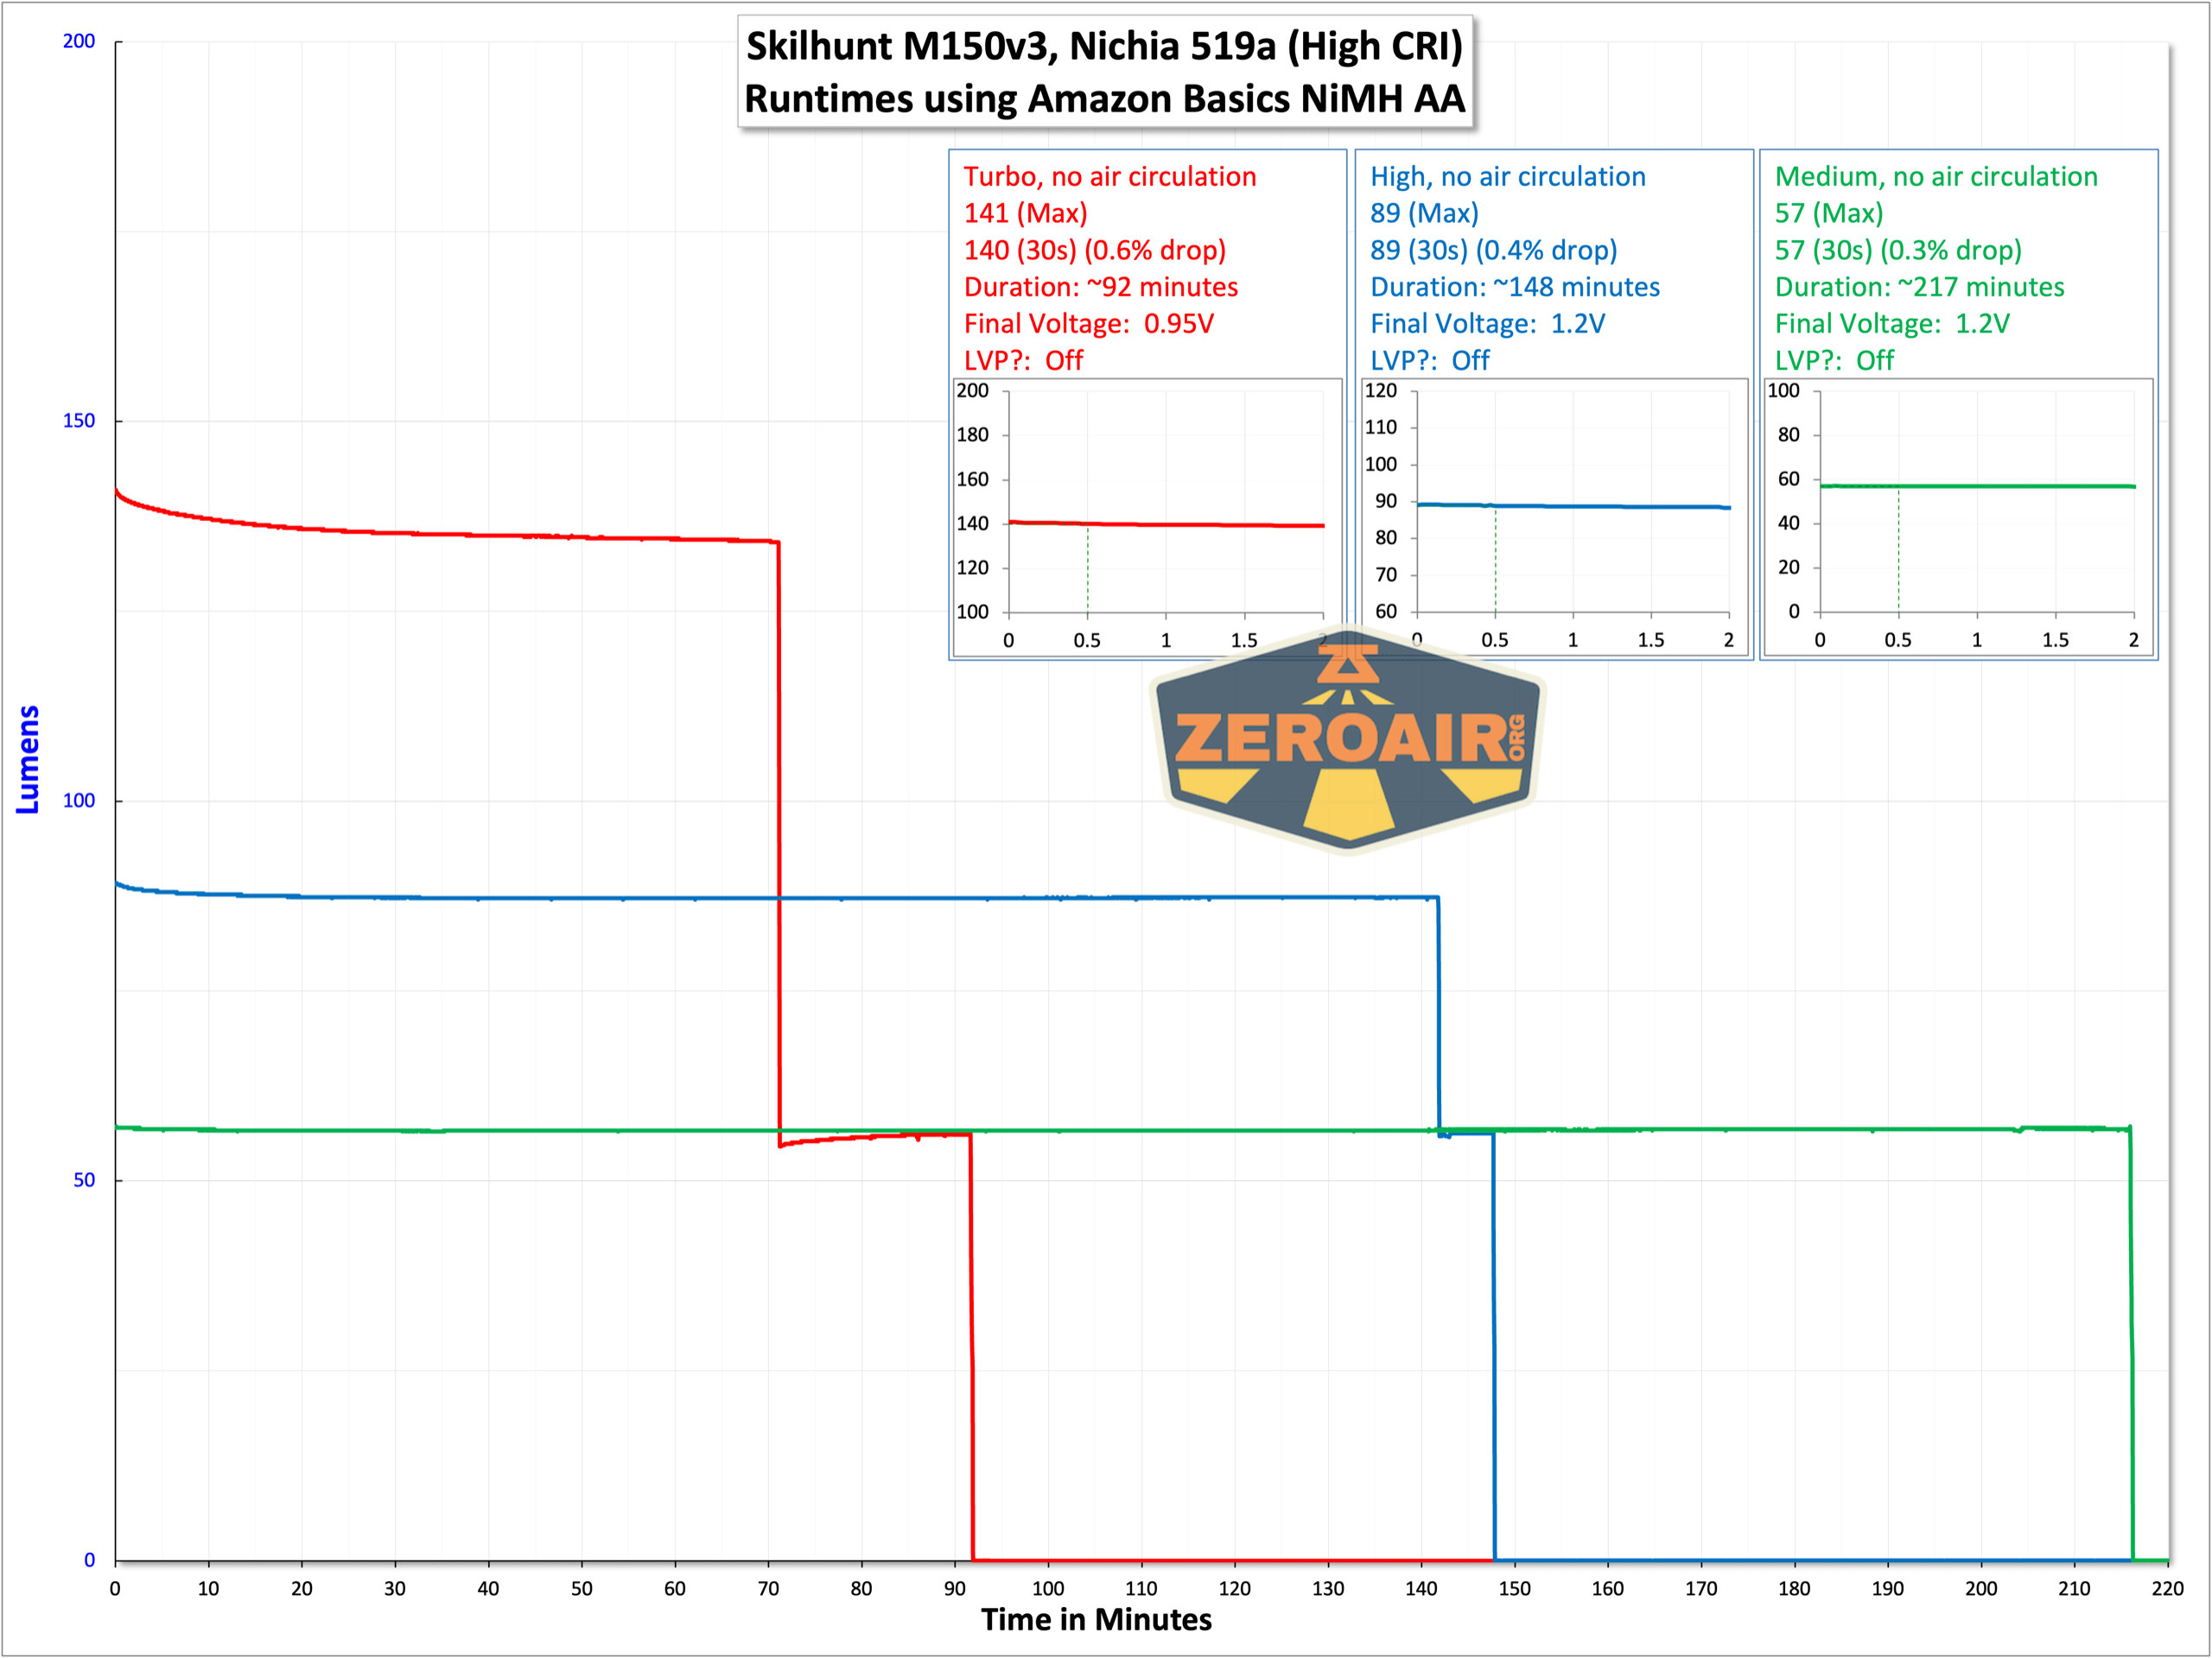
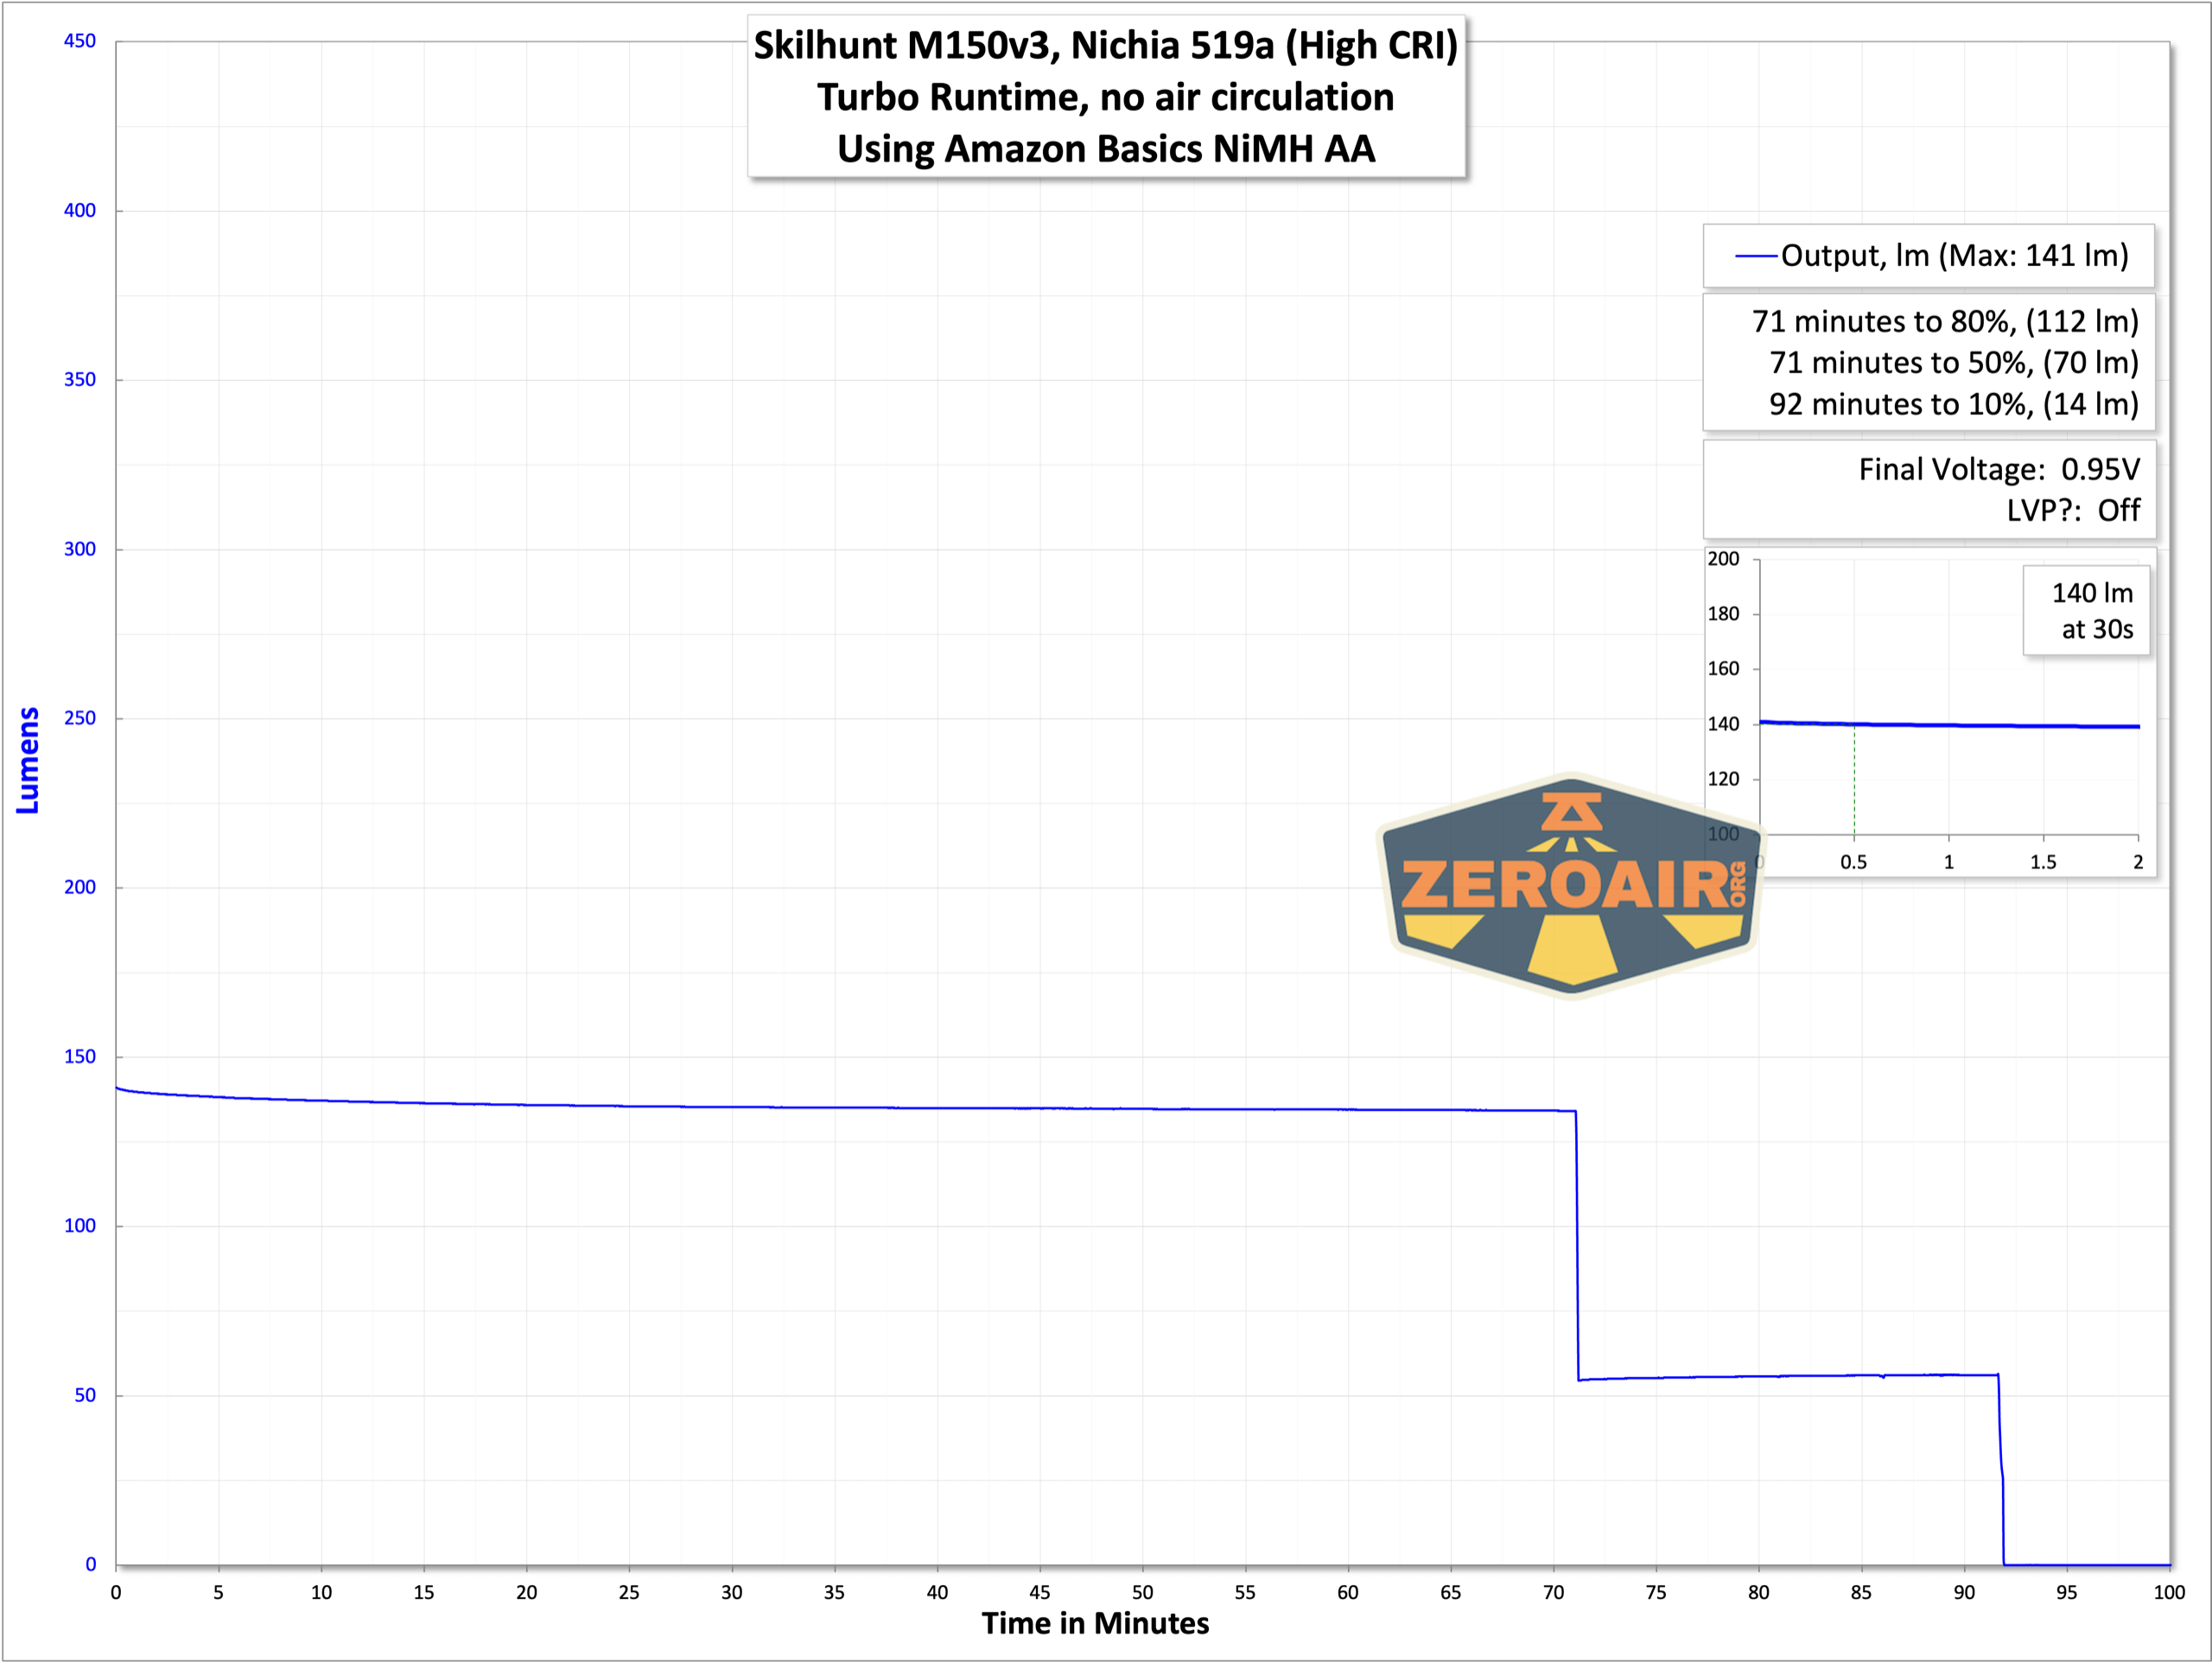
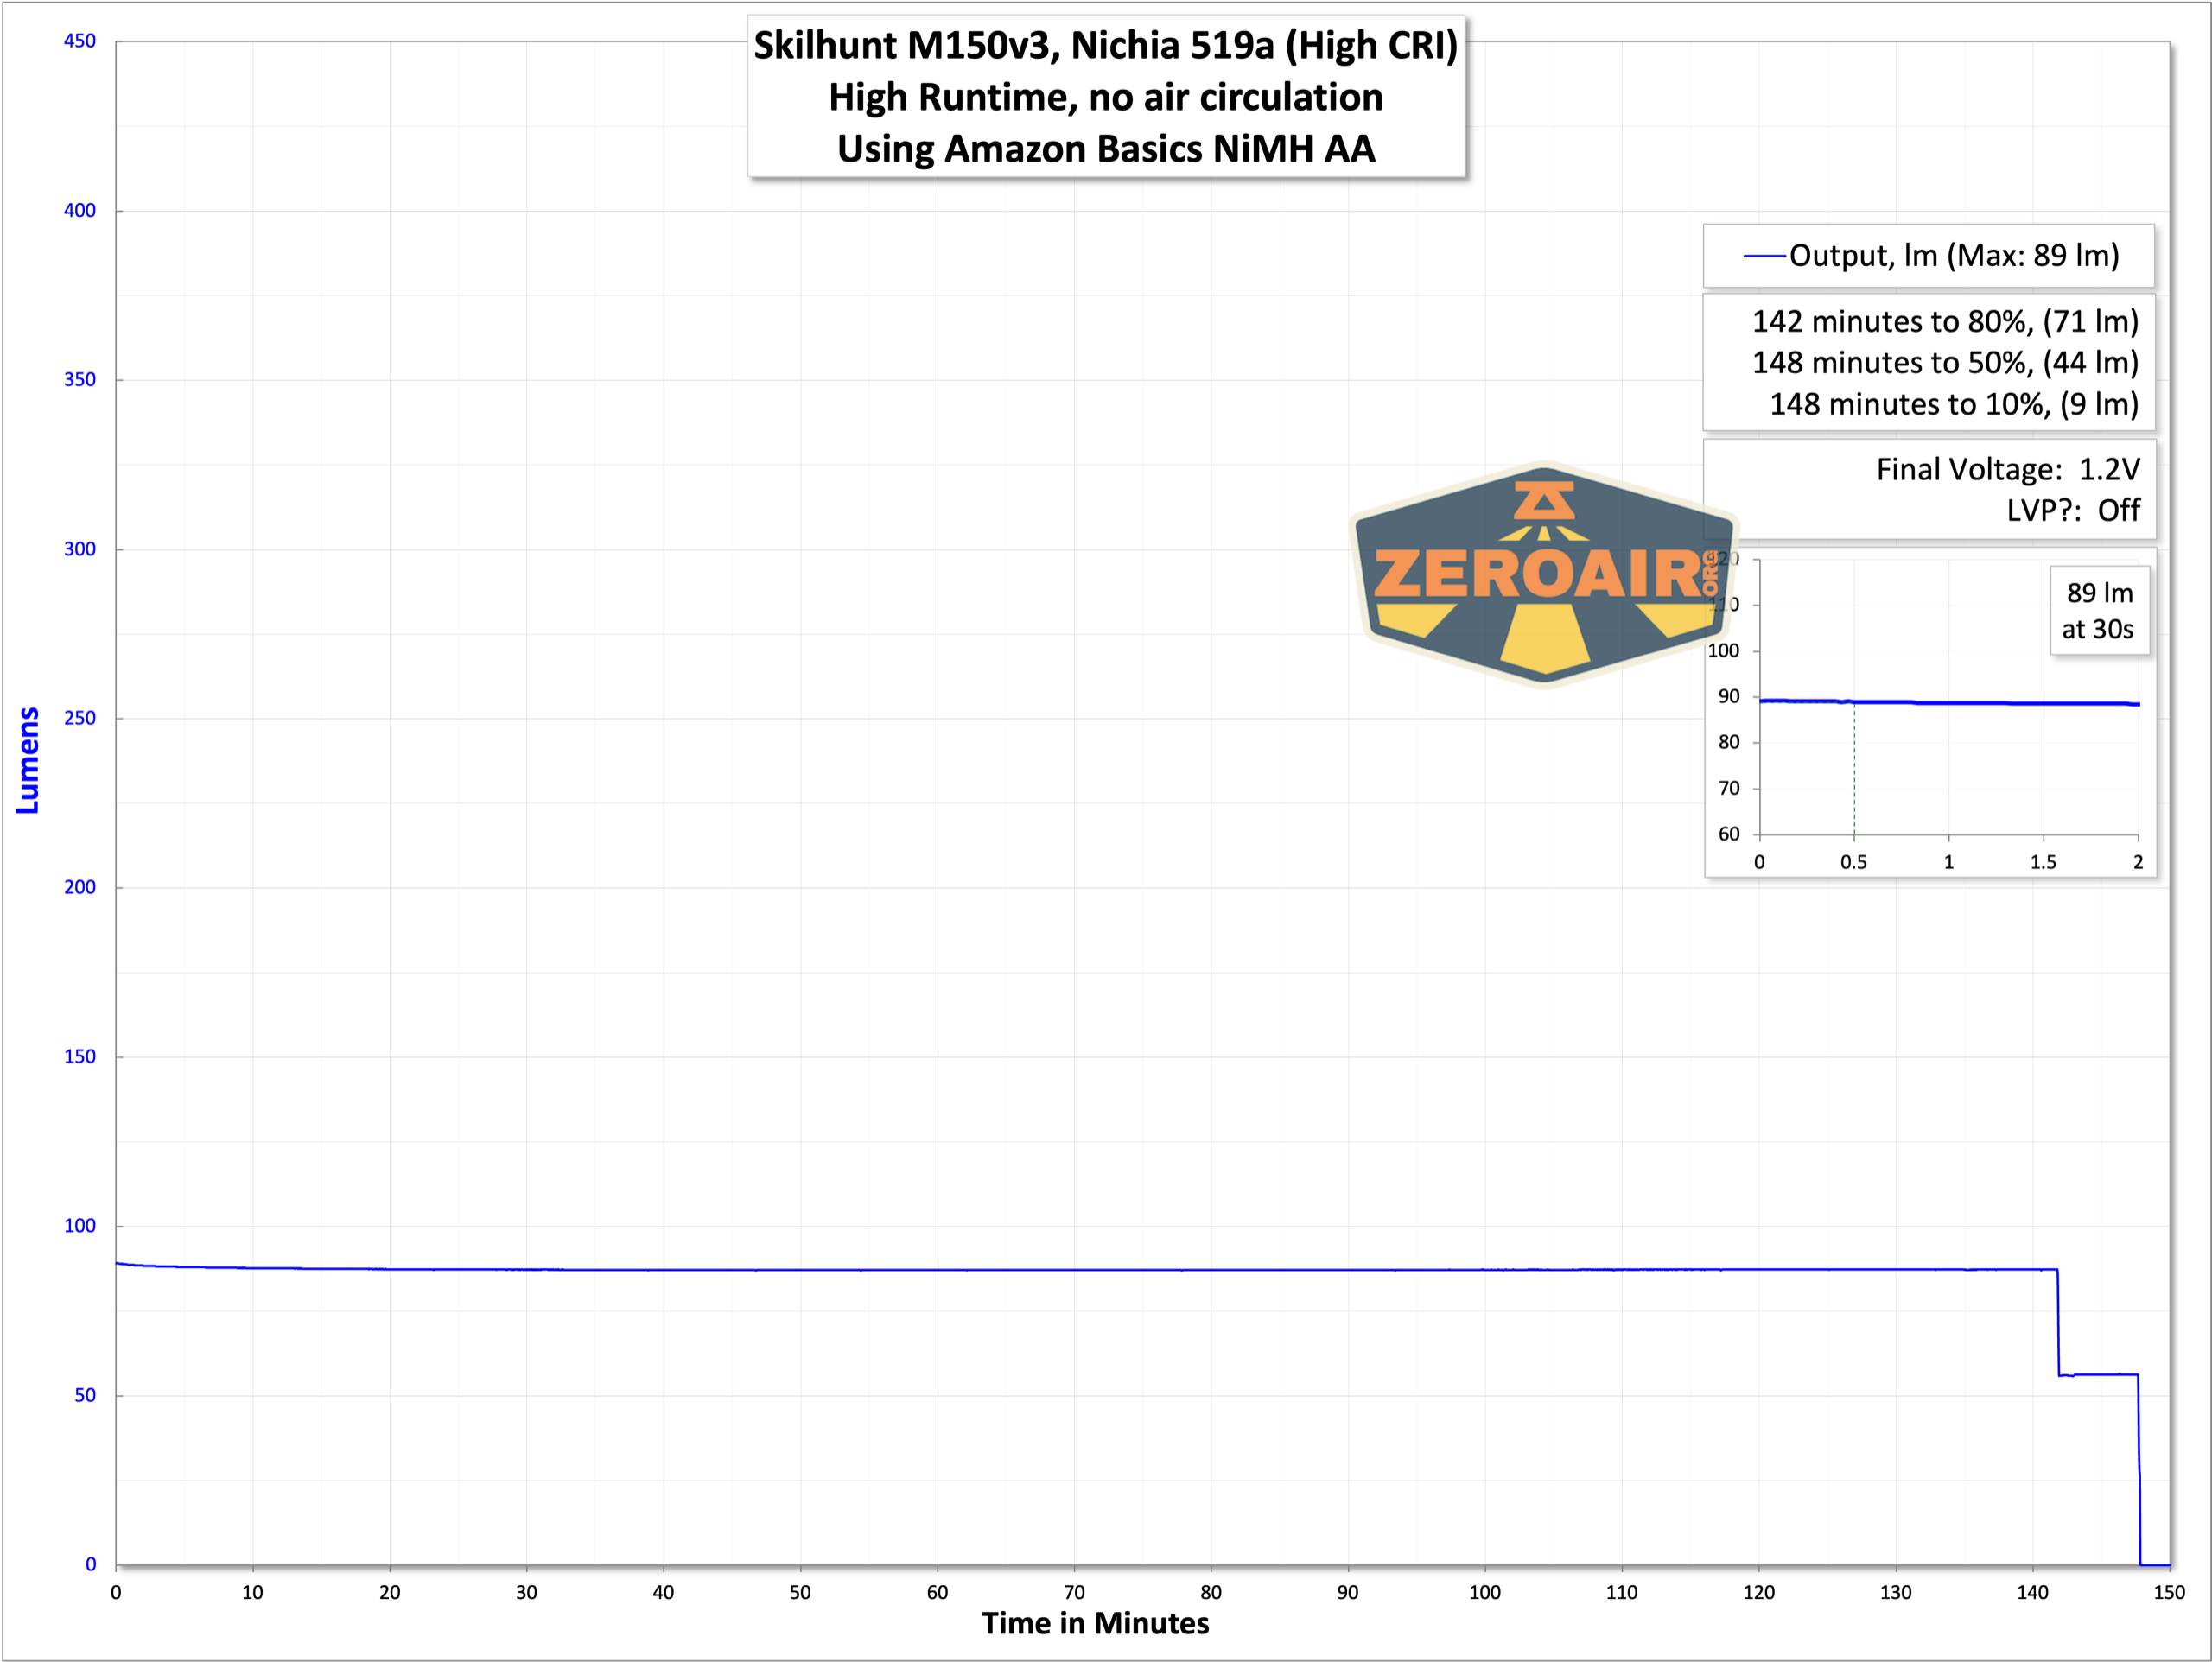
The M150 also operates on a 1.5V AA-sized cell, such as NiMH or Alkaline. The output with these will be greatly reduced, but every mode is available.

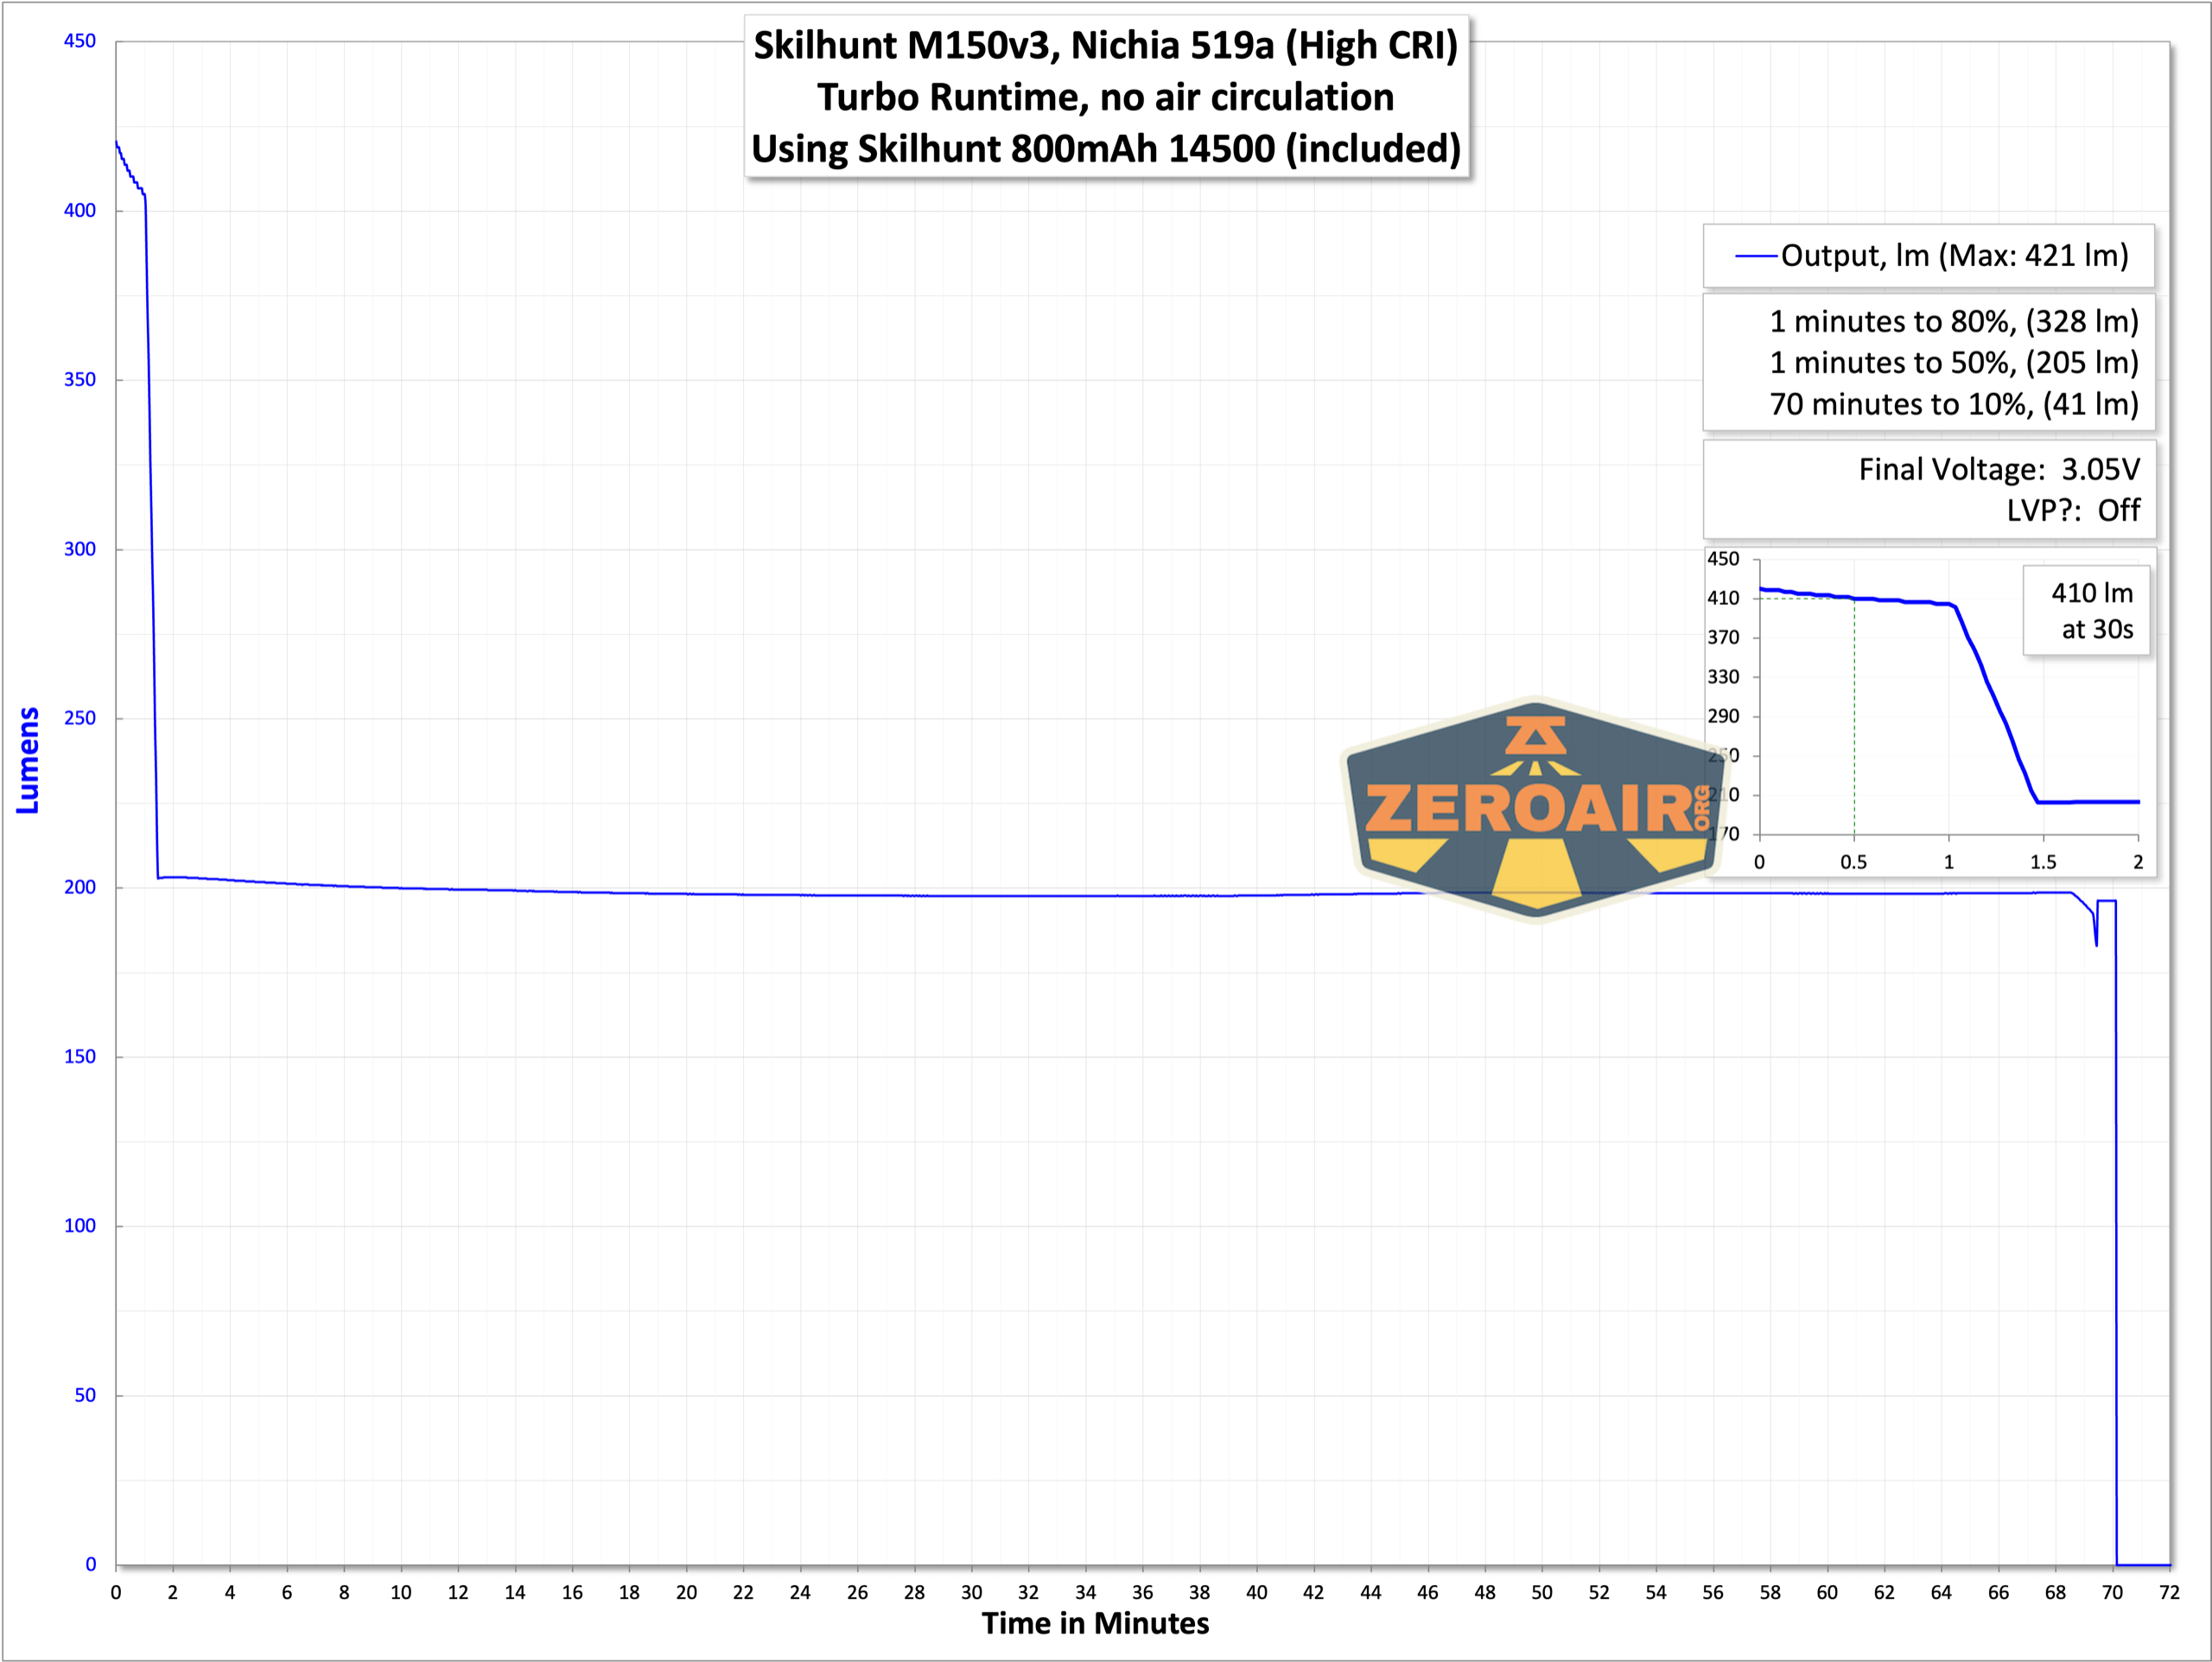
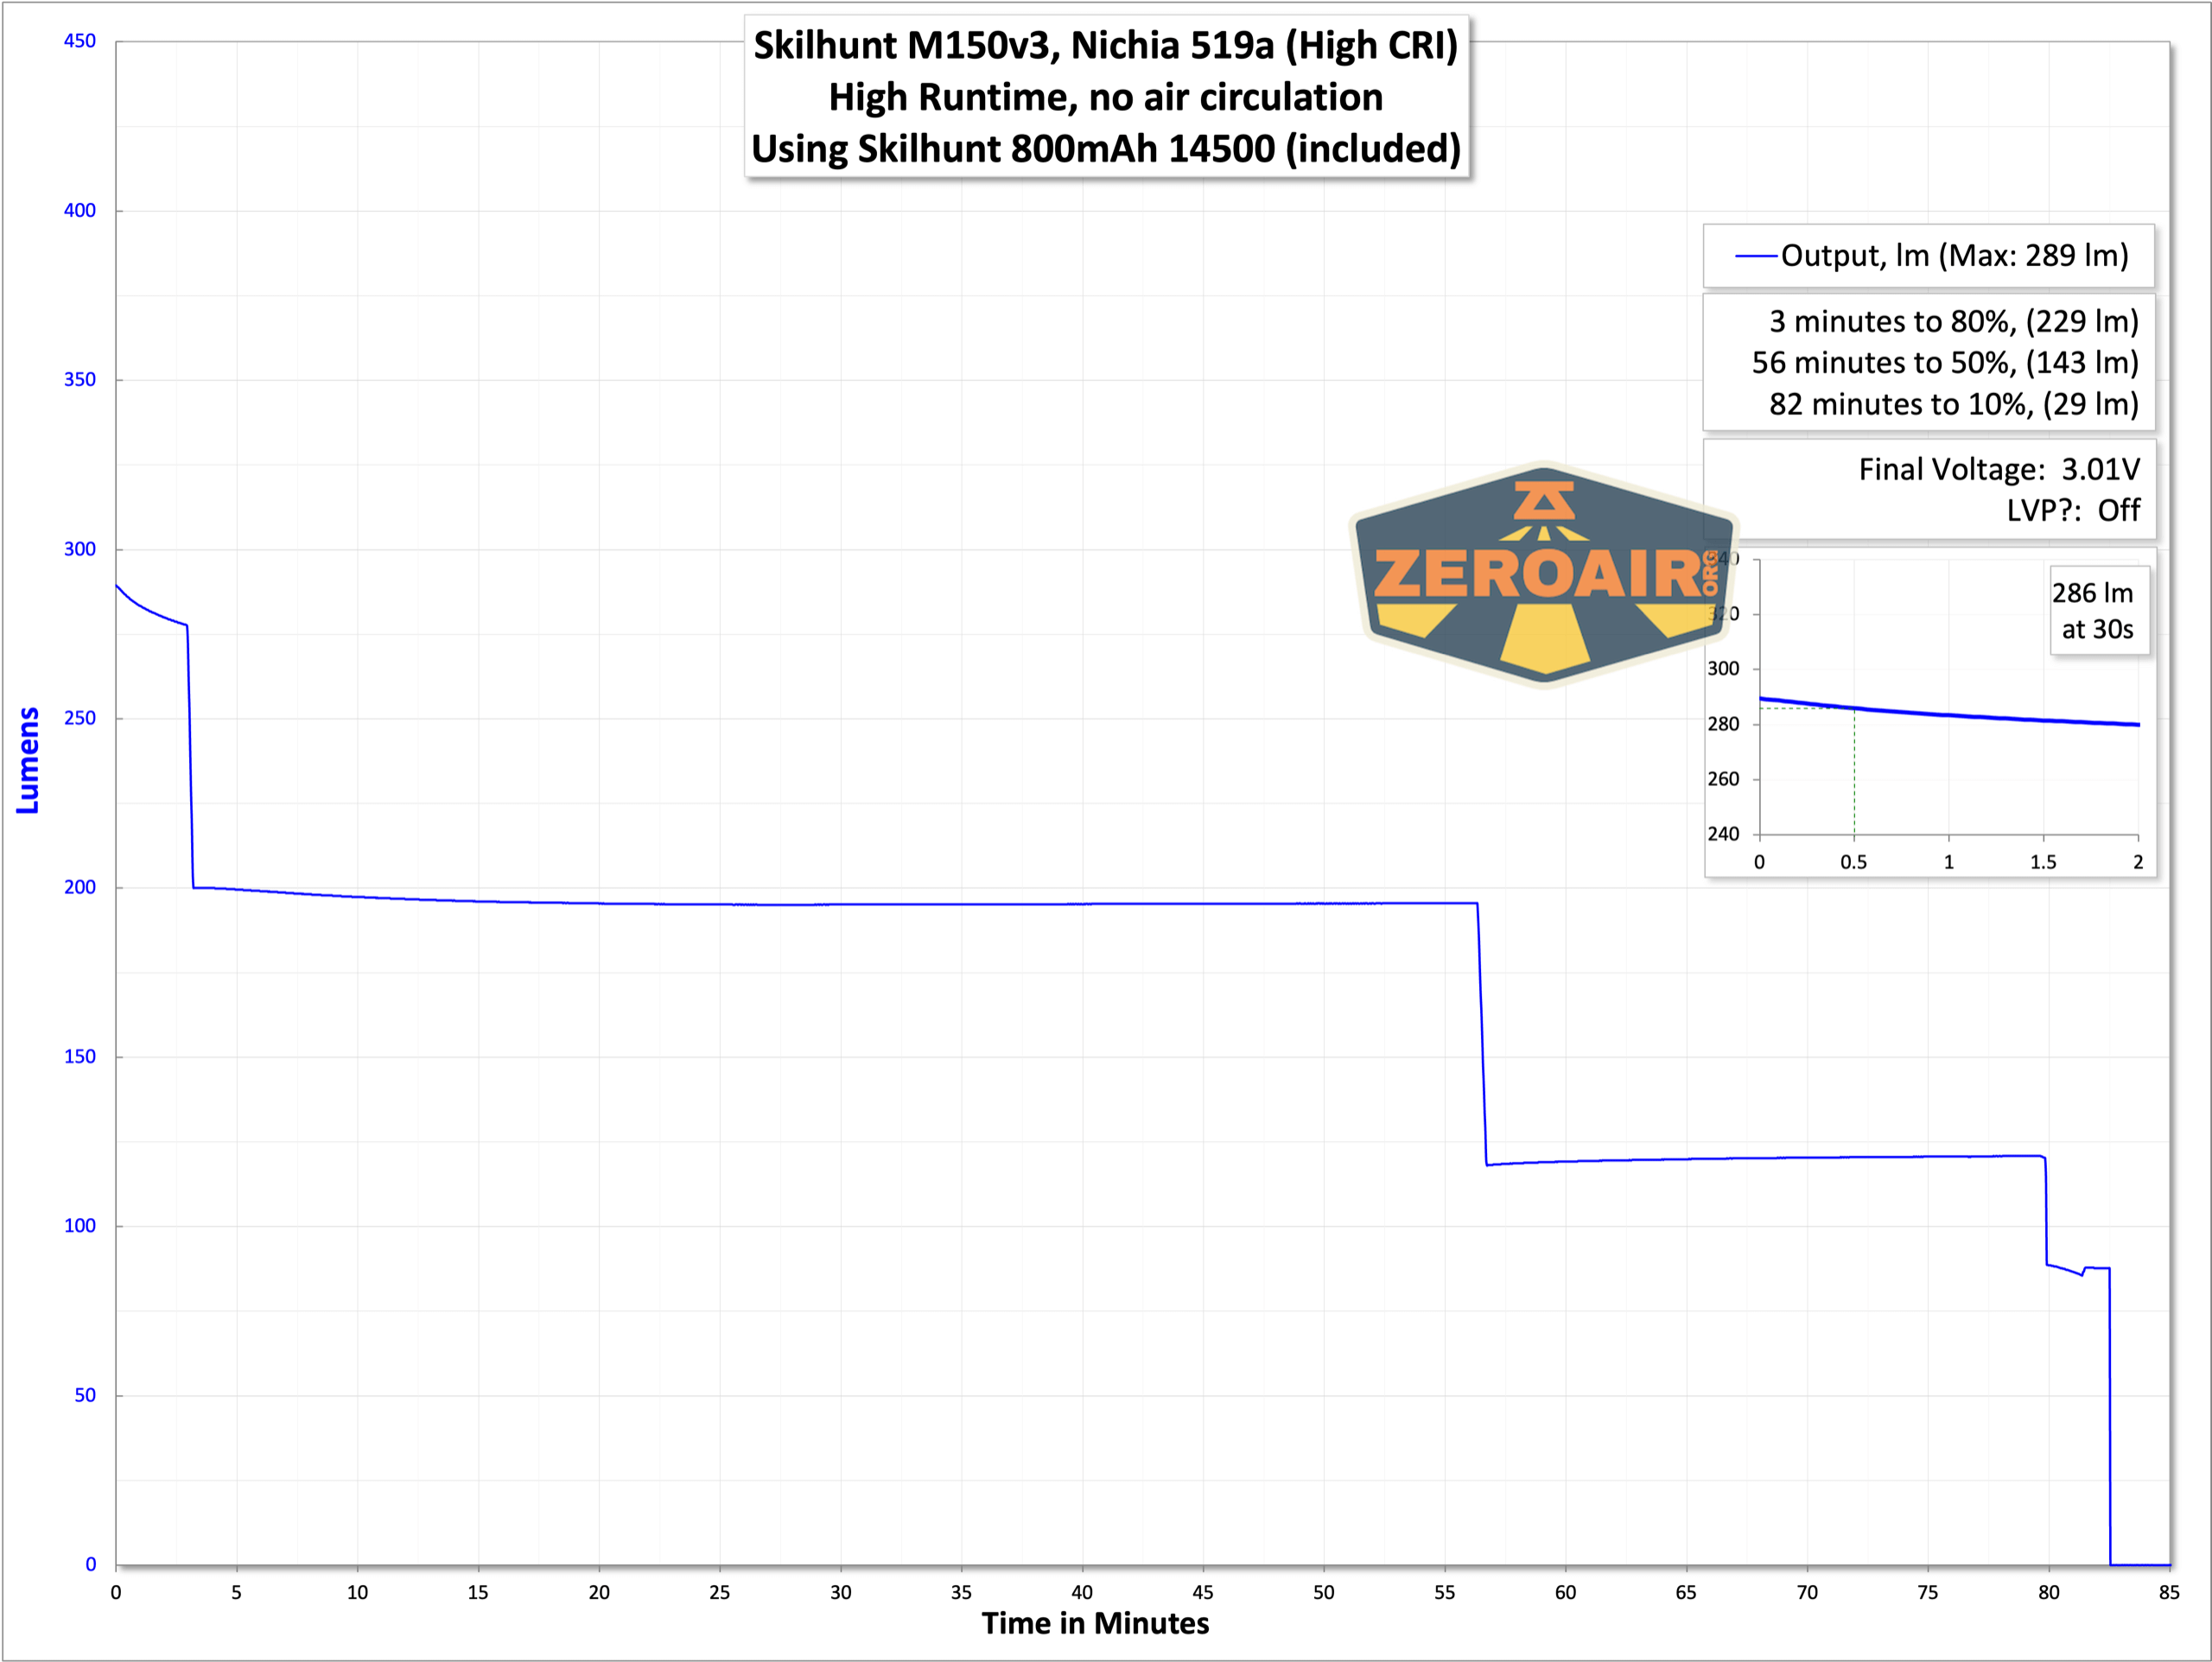
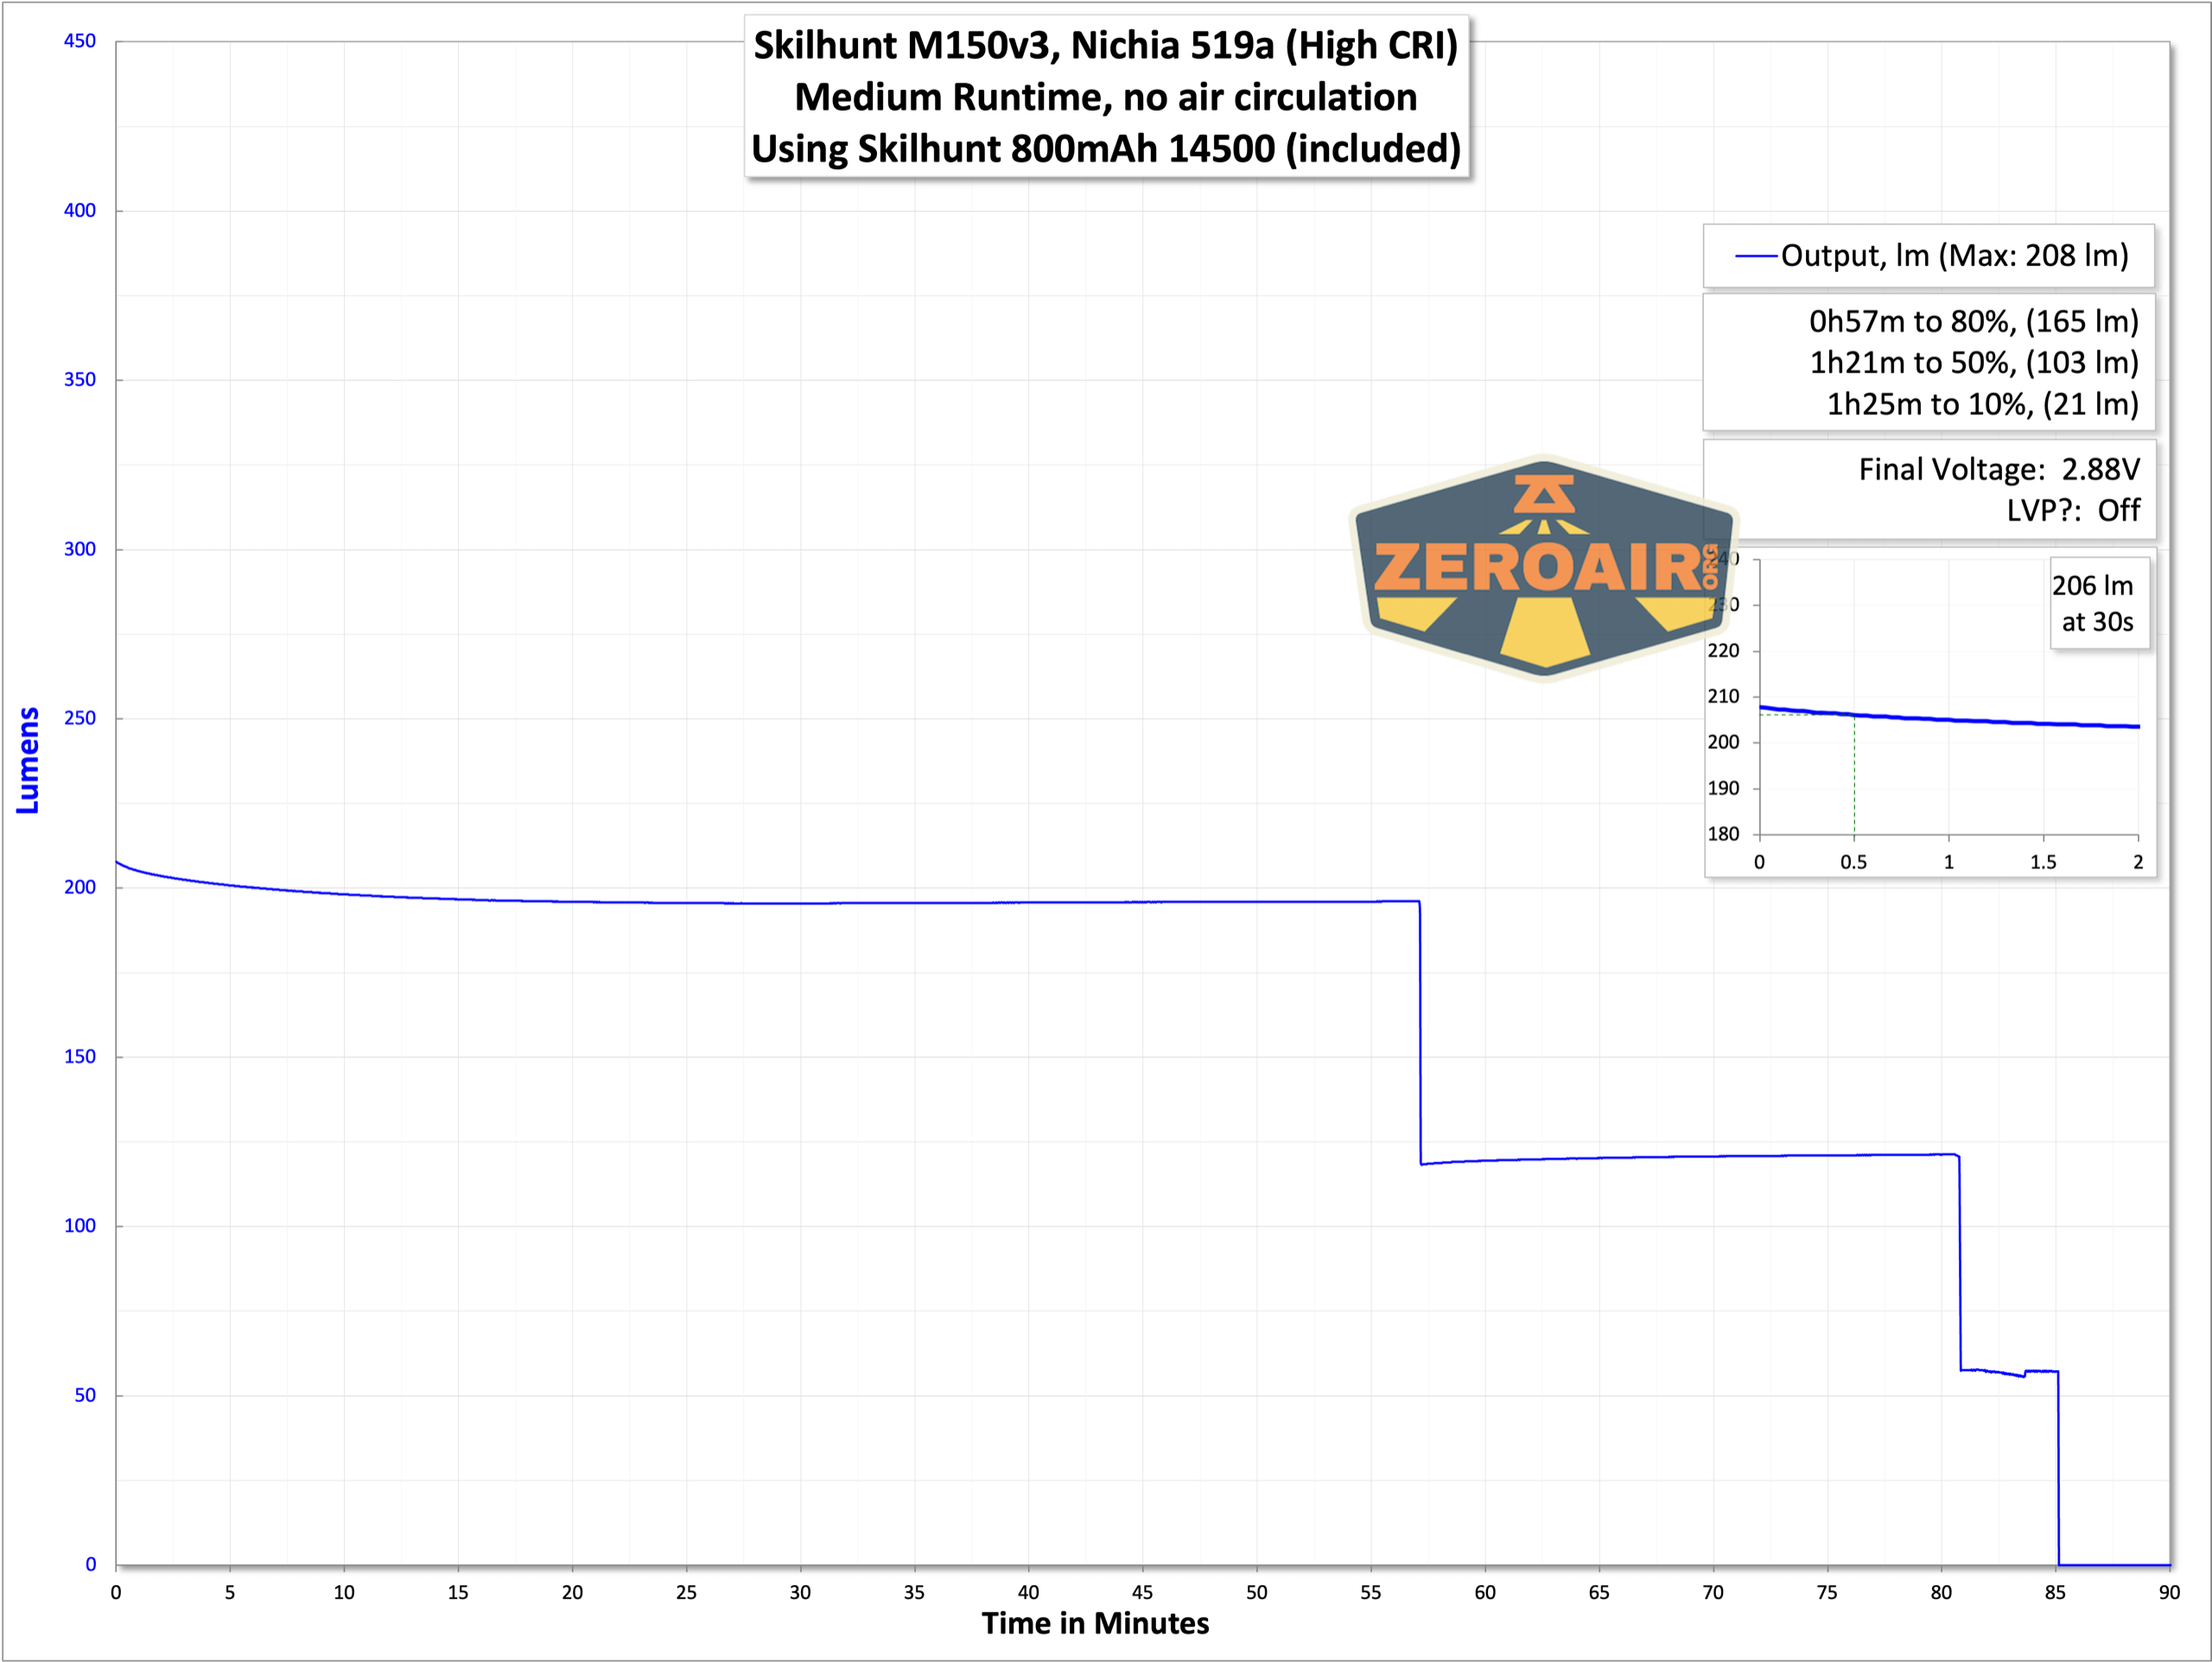
Using a 14500 cell, the light exhibits LVP, shutting off around 3V. Output steps down along the way, but the output is very flat.
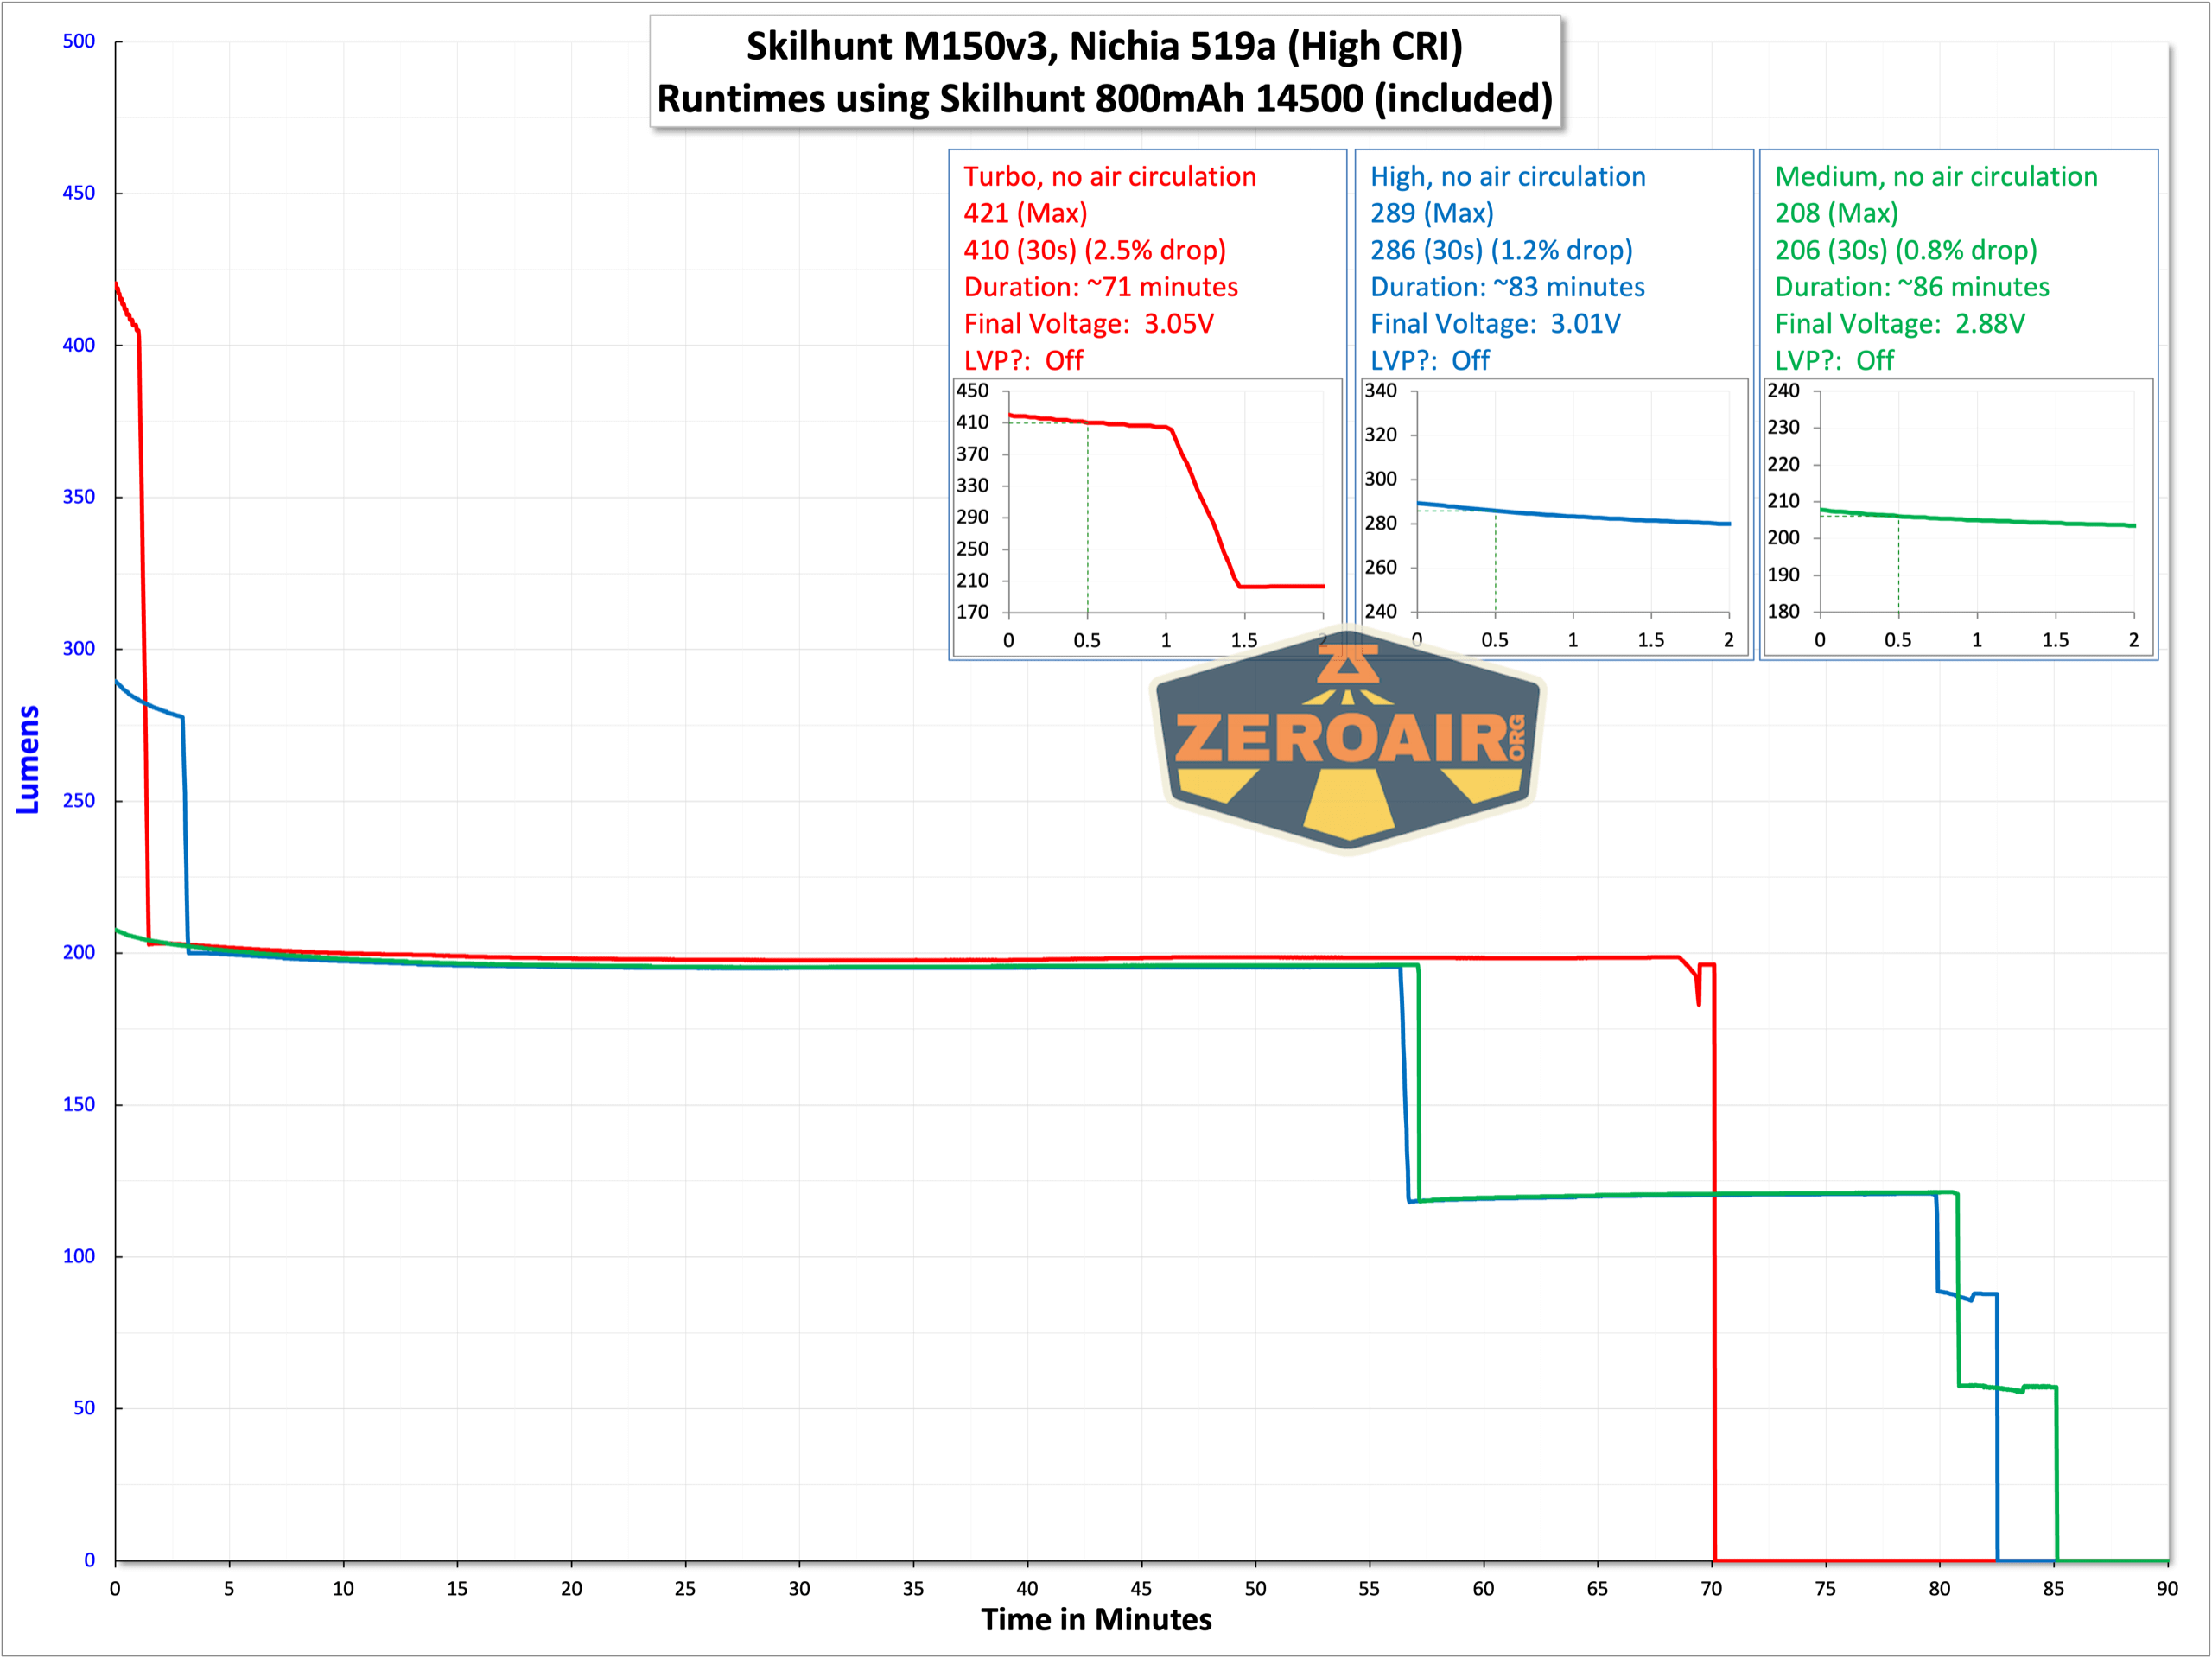
You may note that these outputs (nearly all of them) are much lower than what is written in the manual. I wonder if that specification is for some other non-Nichia-519a emitter. I don’t have a way to know that, though. I will say, though, that these outputs are “just fine.” I don’t need 2000 lumens (or 750 as stated in the manual) out of a little light like this. I’d much rather have steady output for longer (and this one has that!!)

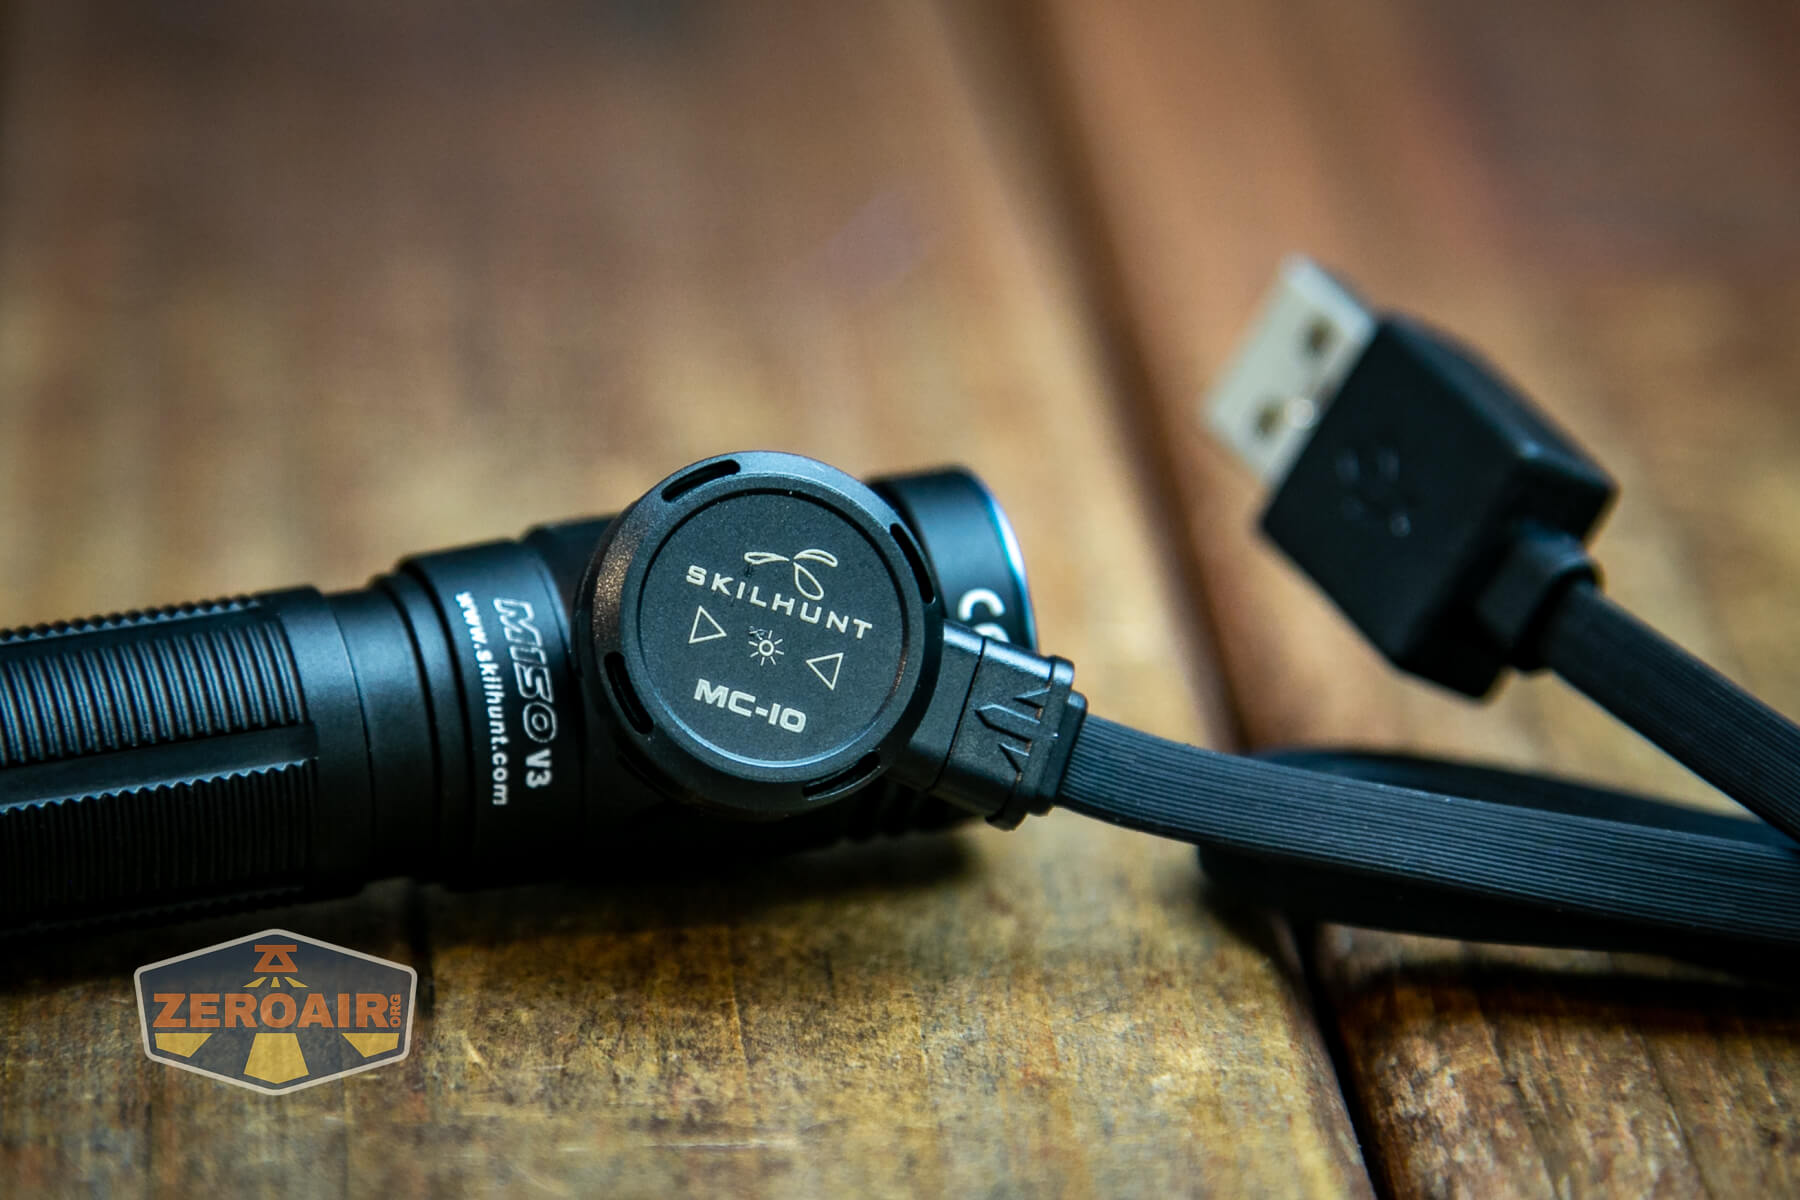
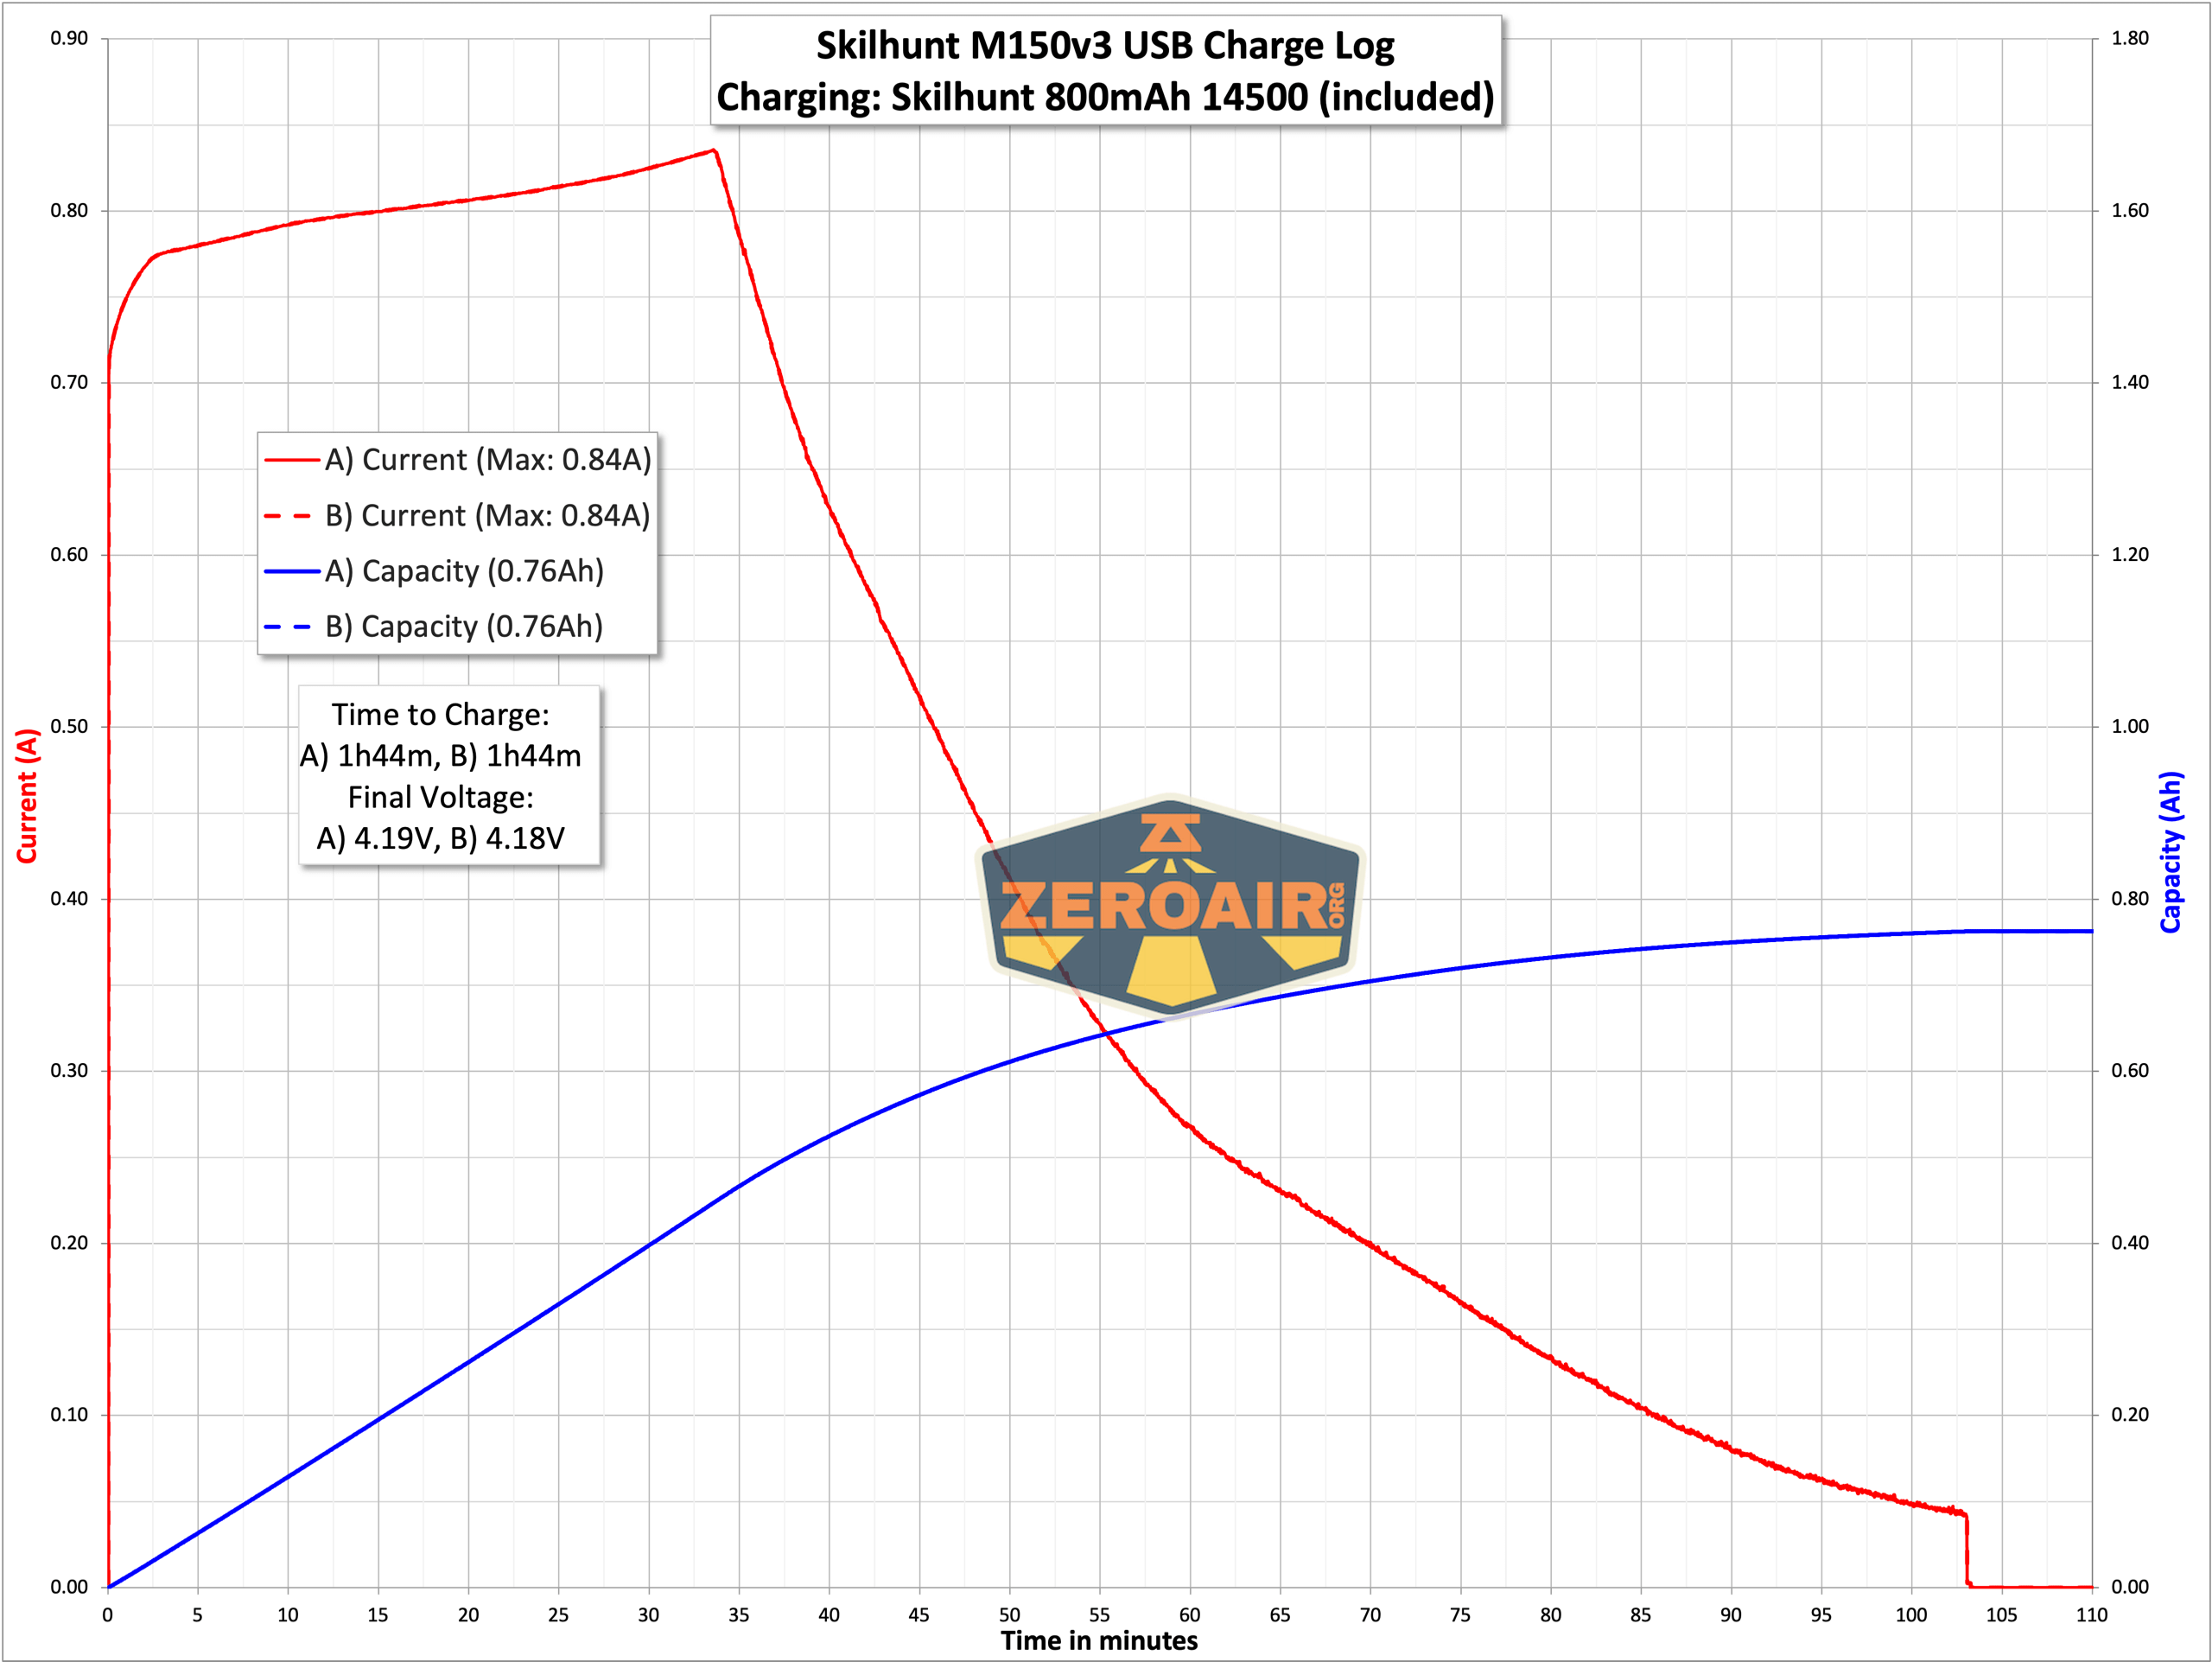
Charging
The light also has built-in charging. There’s a connector opposite the switch. One end is a USB plug, and the other is a proprietary magnetic connector.

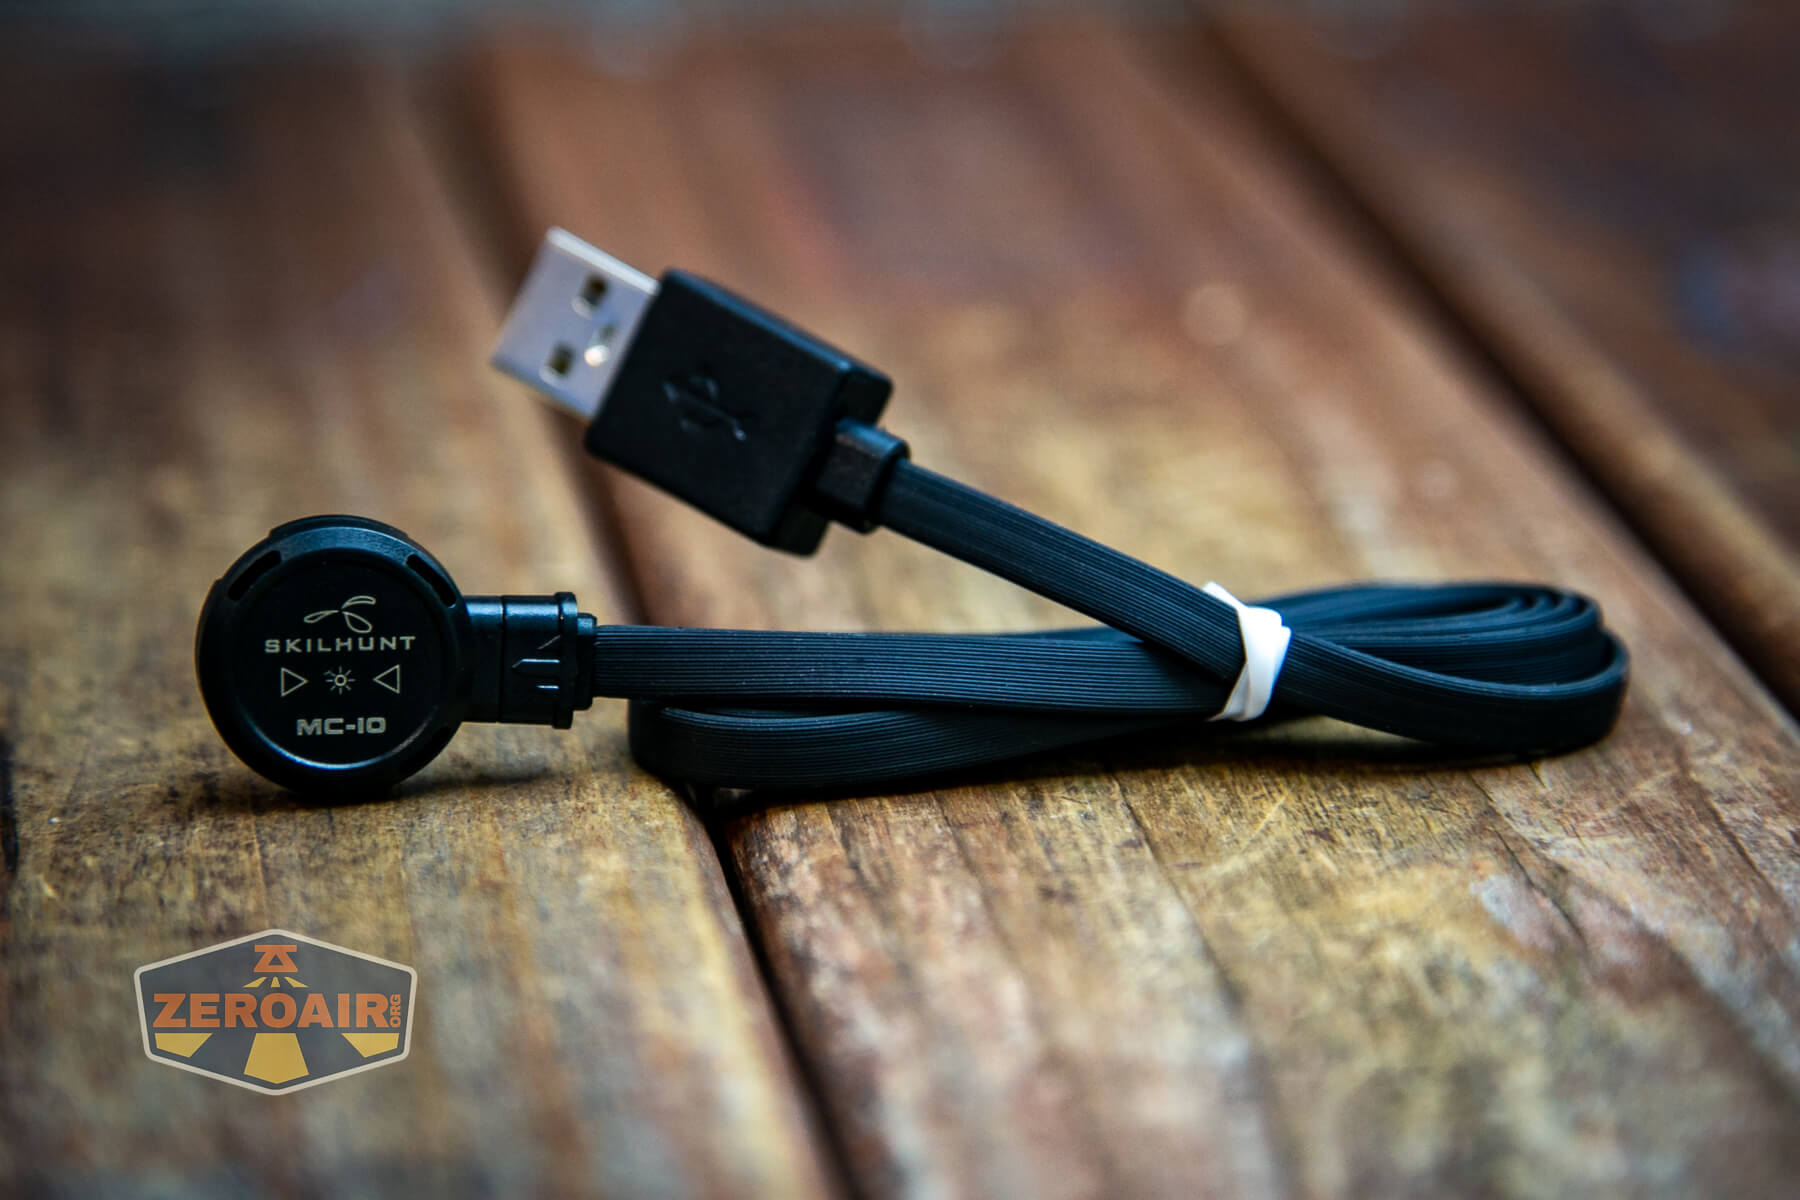
The connection works well.
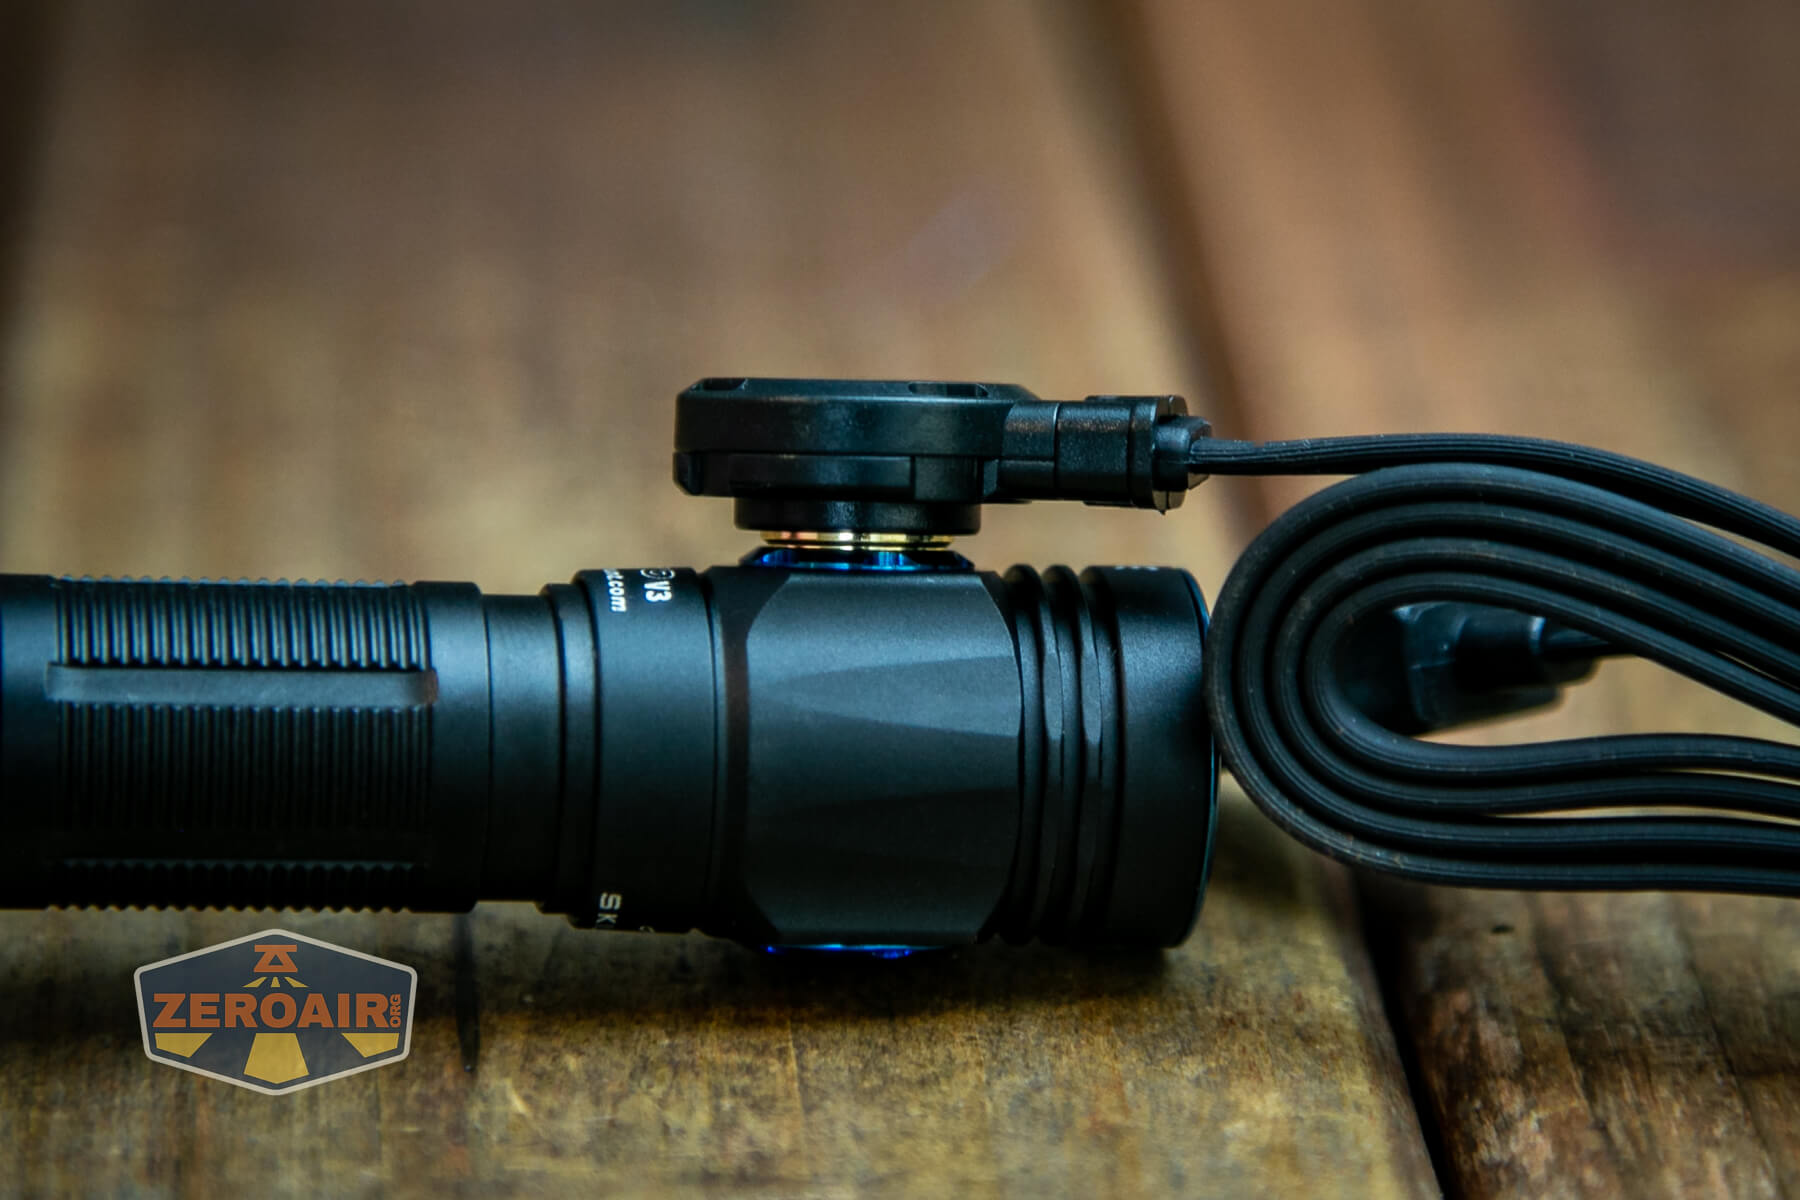
Charging on a 14500 cell commences at around 0.9A, which is plenty fast for an 800mAh 14500 cell. Charging looks very good.
Modes and Currents
14500 first:
| Mode | Mode Claimed Output (lm) | Claimed Runtime | Measured Lumens | Tailcap Amps (4.2V) |
|---|---|---|---|---|
| T1 | 750/340/200 | 1/30/60 | 410 | 1.64 |
| T2 | 480/340/200 | 3/30/60m | 286 | 1.06 |
| H | 340/200 | 30/65m | 206 | 0.73 |
| M1 | 100/50 | 2.5h/2h | 63 | 0.20 |
| M2 | 15 | 25h | 9.8 | 0.03 |
| L1 | 1.5 | 100h | 3 | ~ |
| L2 | 0.2 | 50d | 0.1 | ~ |
AA NiMH last:
| Mode | Mode Claimed Output (lm) | Claimed Runtime | Measured Lumens | Tailcap Amps |
|---|---|---|---|---|
| T1 | 240/100 | 70/60m | 140 (rt) | 1.24 |
| T2 | 150/100 | 160/10m | 89 (rt) | 0.68 |
| H | 100 | 280m | 57 (rt) | 0.41 |
| M1 | 35 | 12h | 19 | 0.13 |
| M2 | 7 | 49h | 4.7 | 0.03 |
| L1 | 1.5 | 105h | 2.6 | 0.02 |
| L2 | 0.2 | 55d | 0.10 | ~ |
Pulse Width Modulation
No PWM at all.
14500 is in the top row, and AA is in the second row.
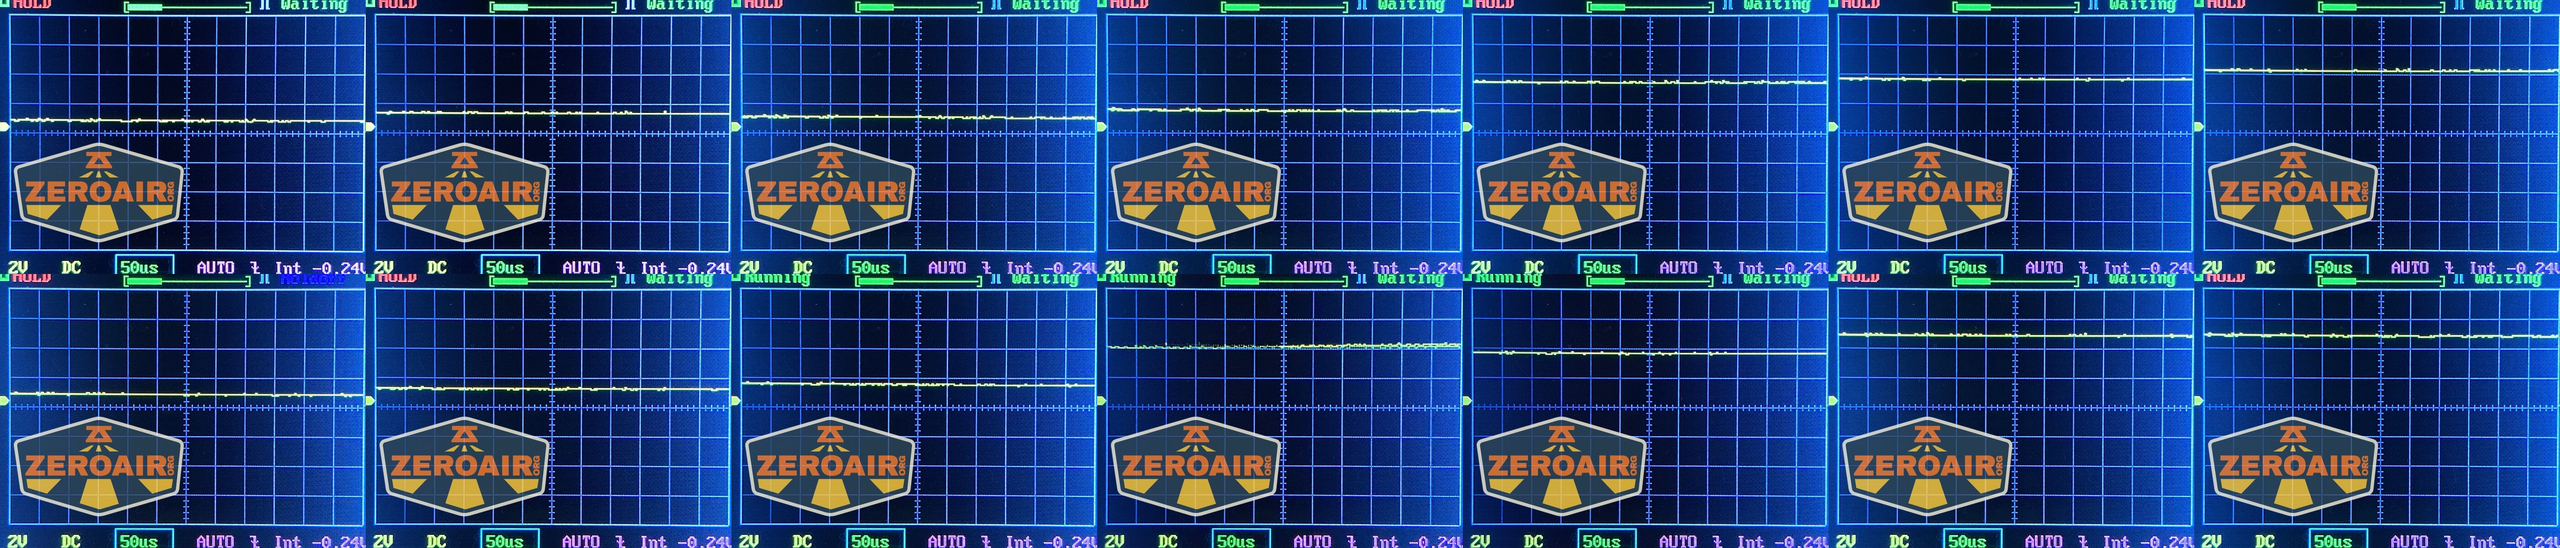 Here you can see a “baseline” – a chart with almost no light hitting the sensor.
Then there’s the Ultrafire WF-602C flashlight, which has some of the worst PWM I’ve seen. It’s so bad that I used a post about it to explain PWM! Here are multiple timescales (10ms, 5ms, 2ms, 1ms, 0.5ms, 0.2ms) to make comparing this “worst” PWM light to the test light easier. That post also explains why I didn’t test the WF-602C at the usual 50us scale.
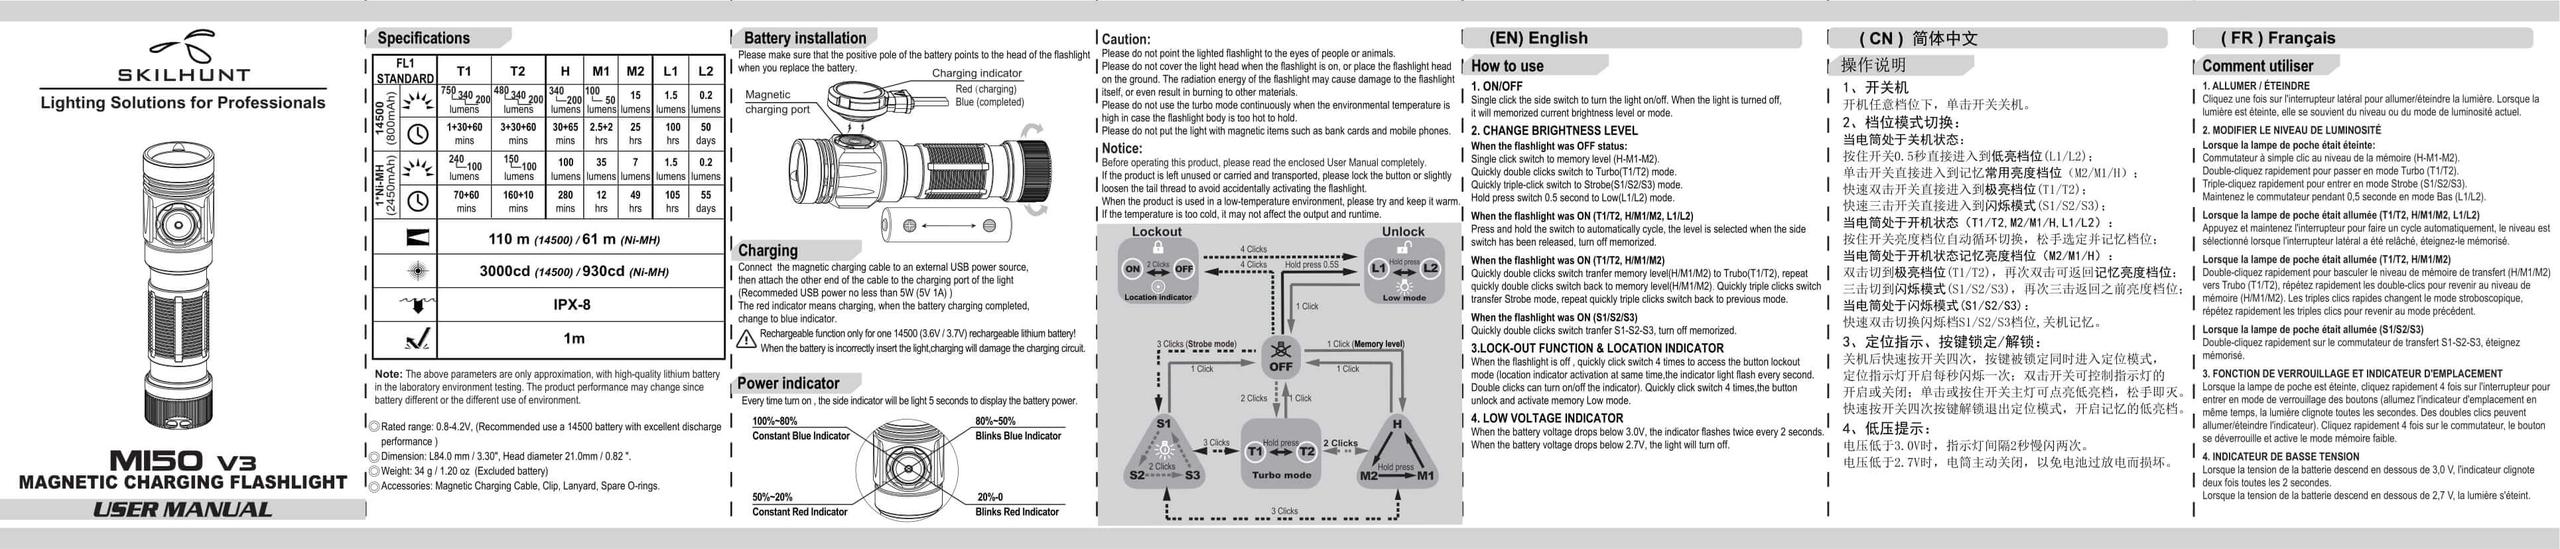
User Interface and Operation
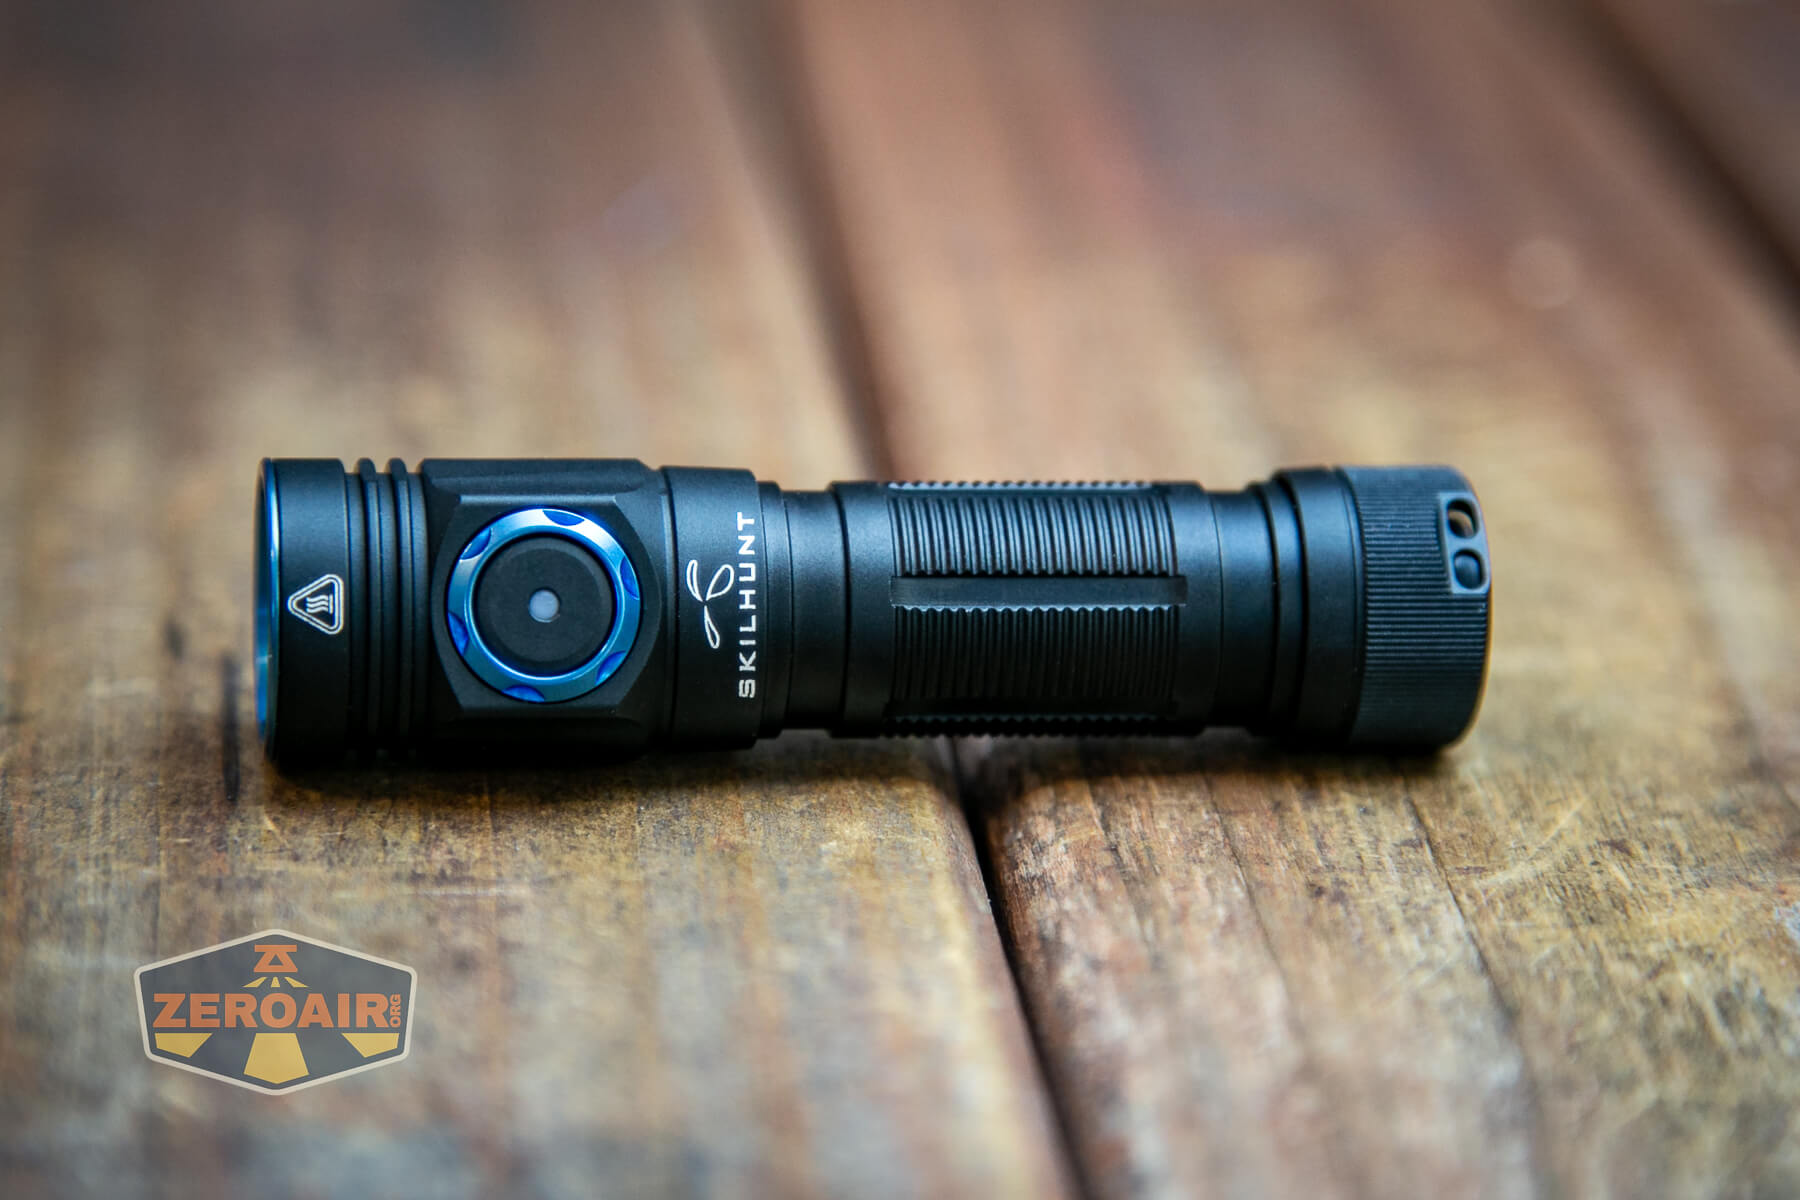
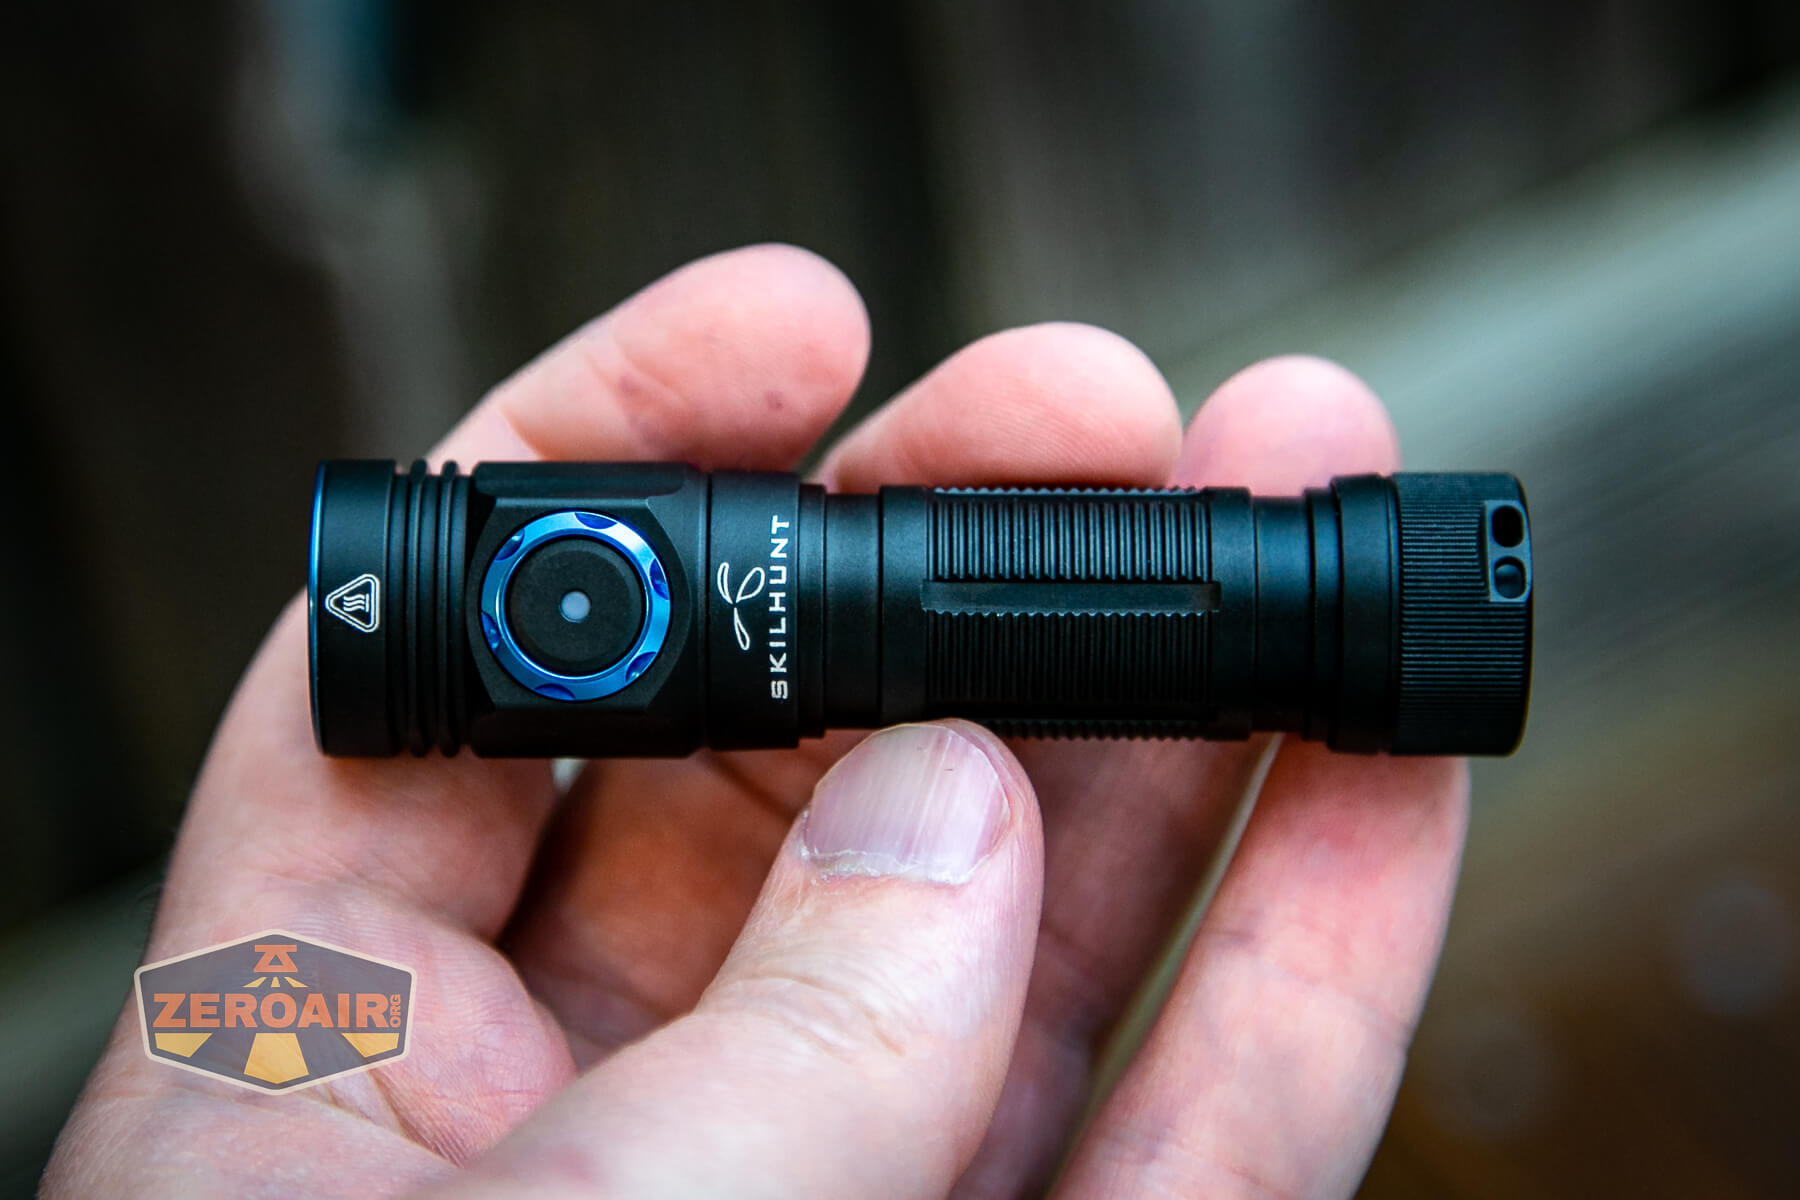
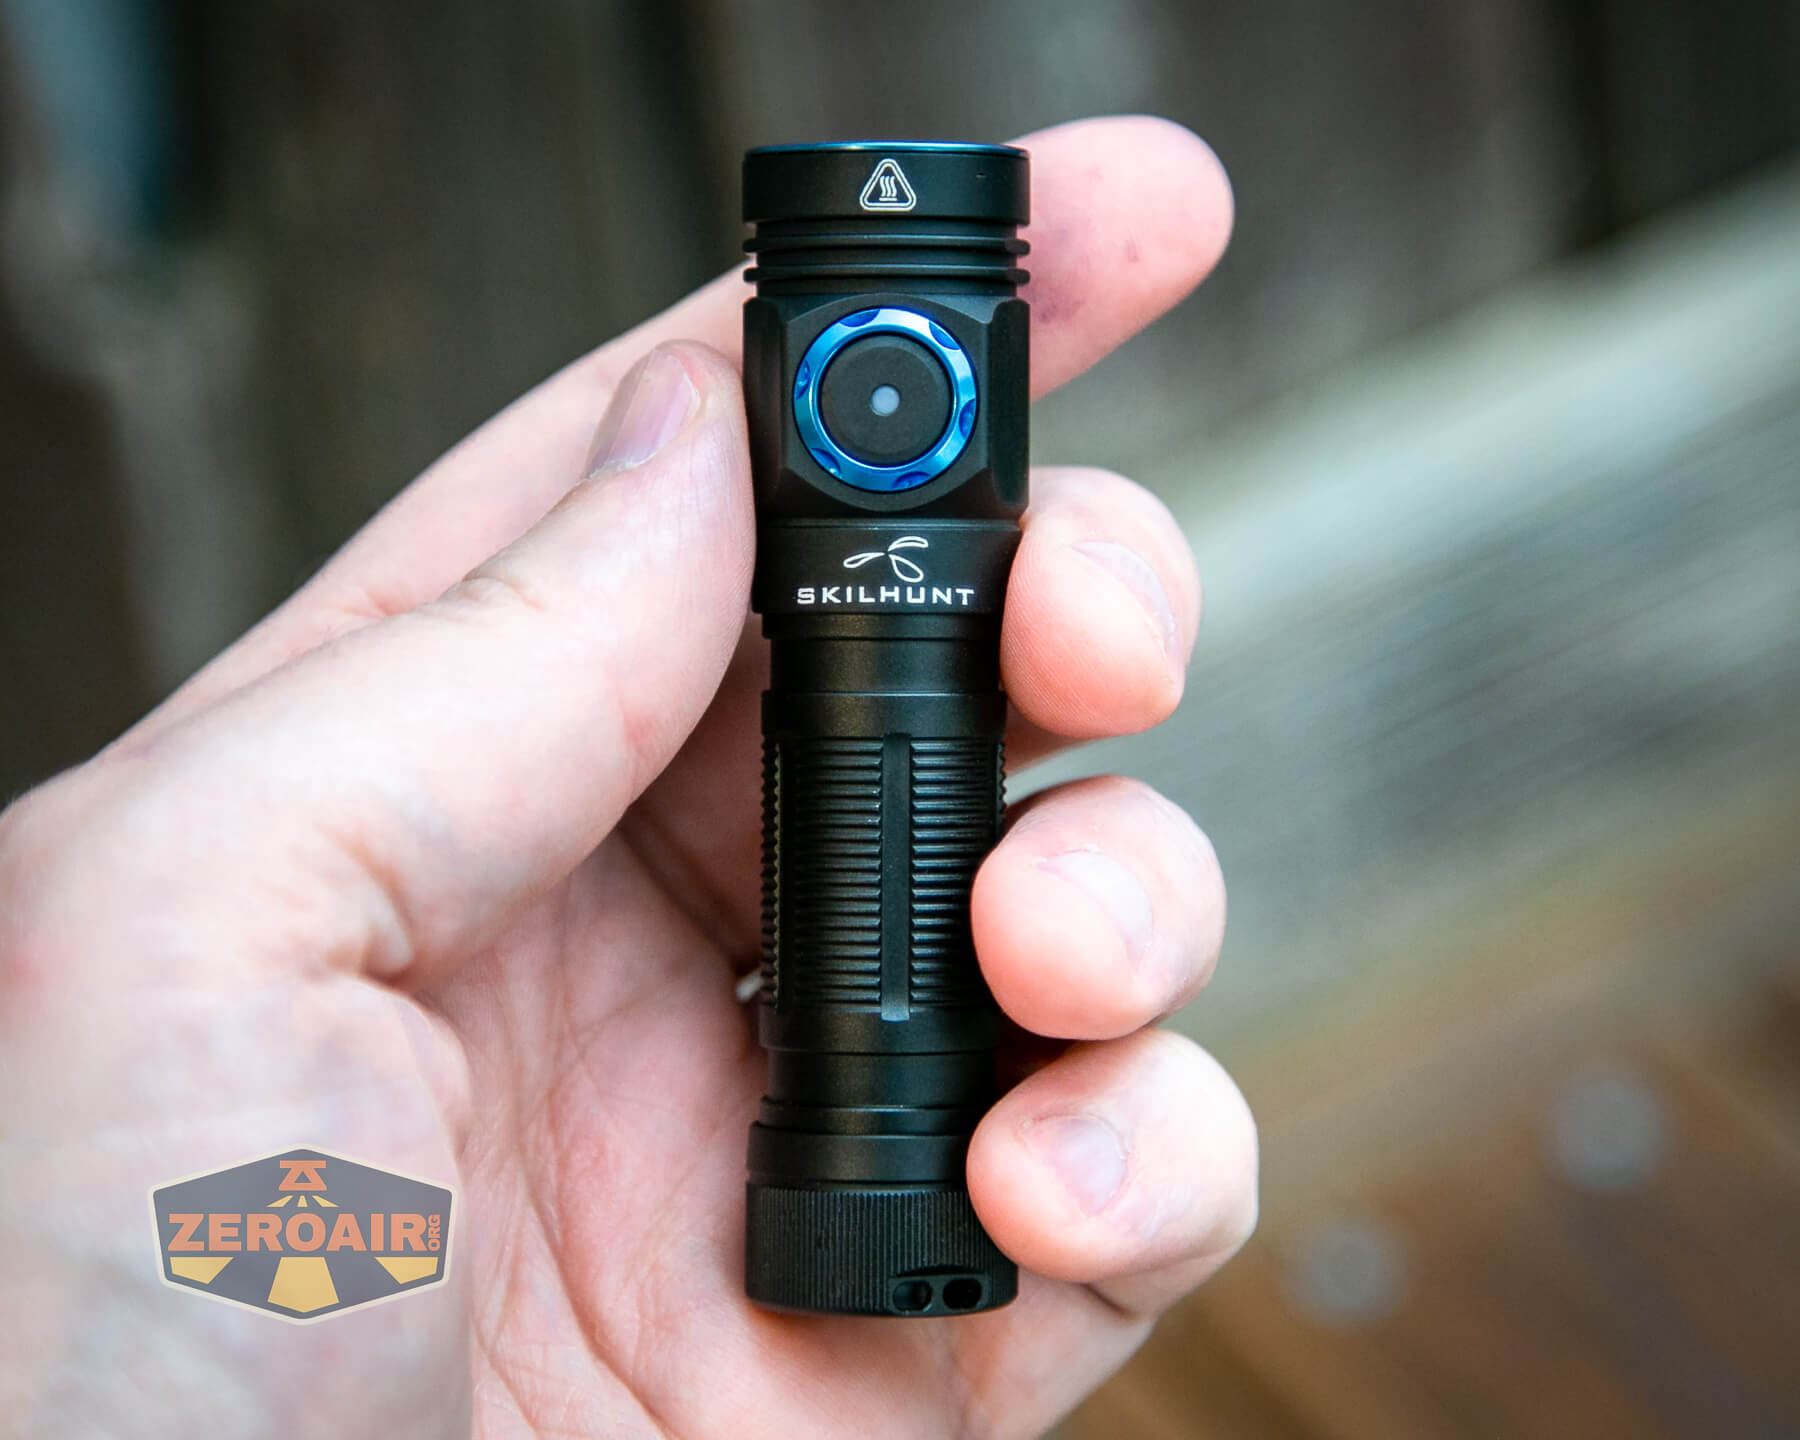
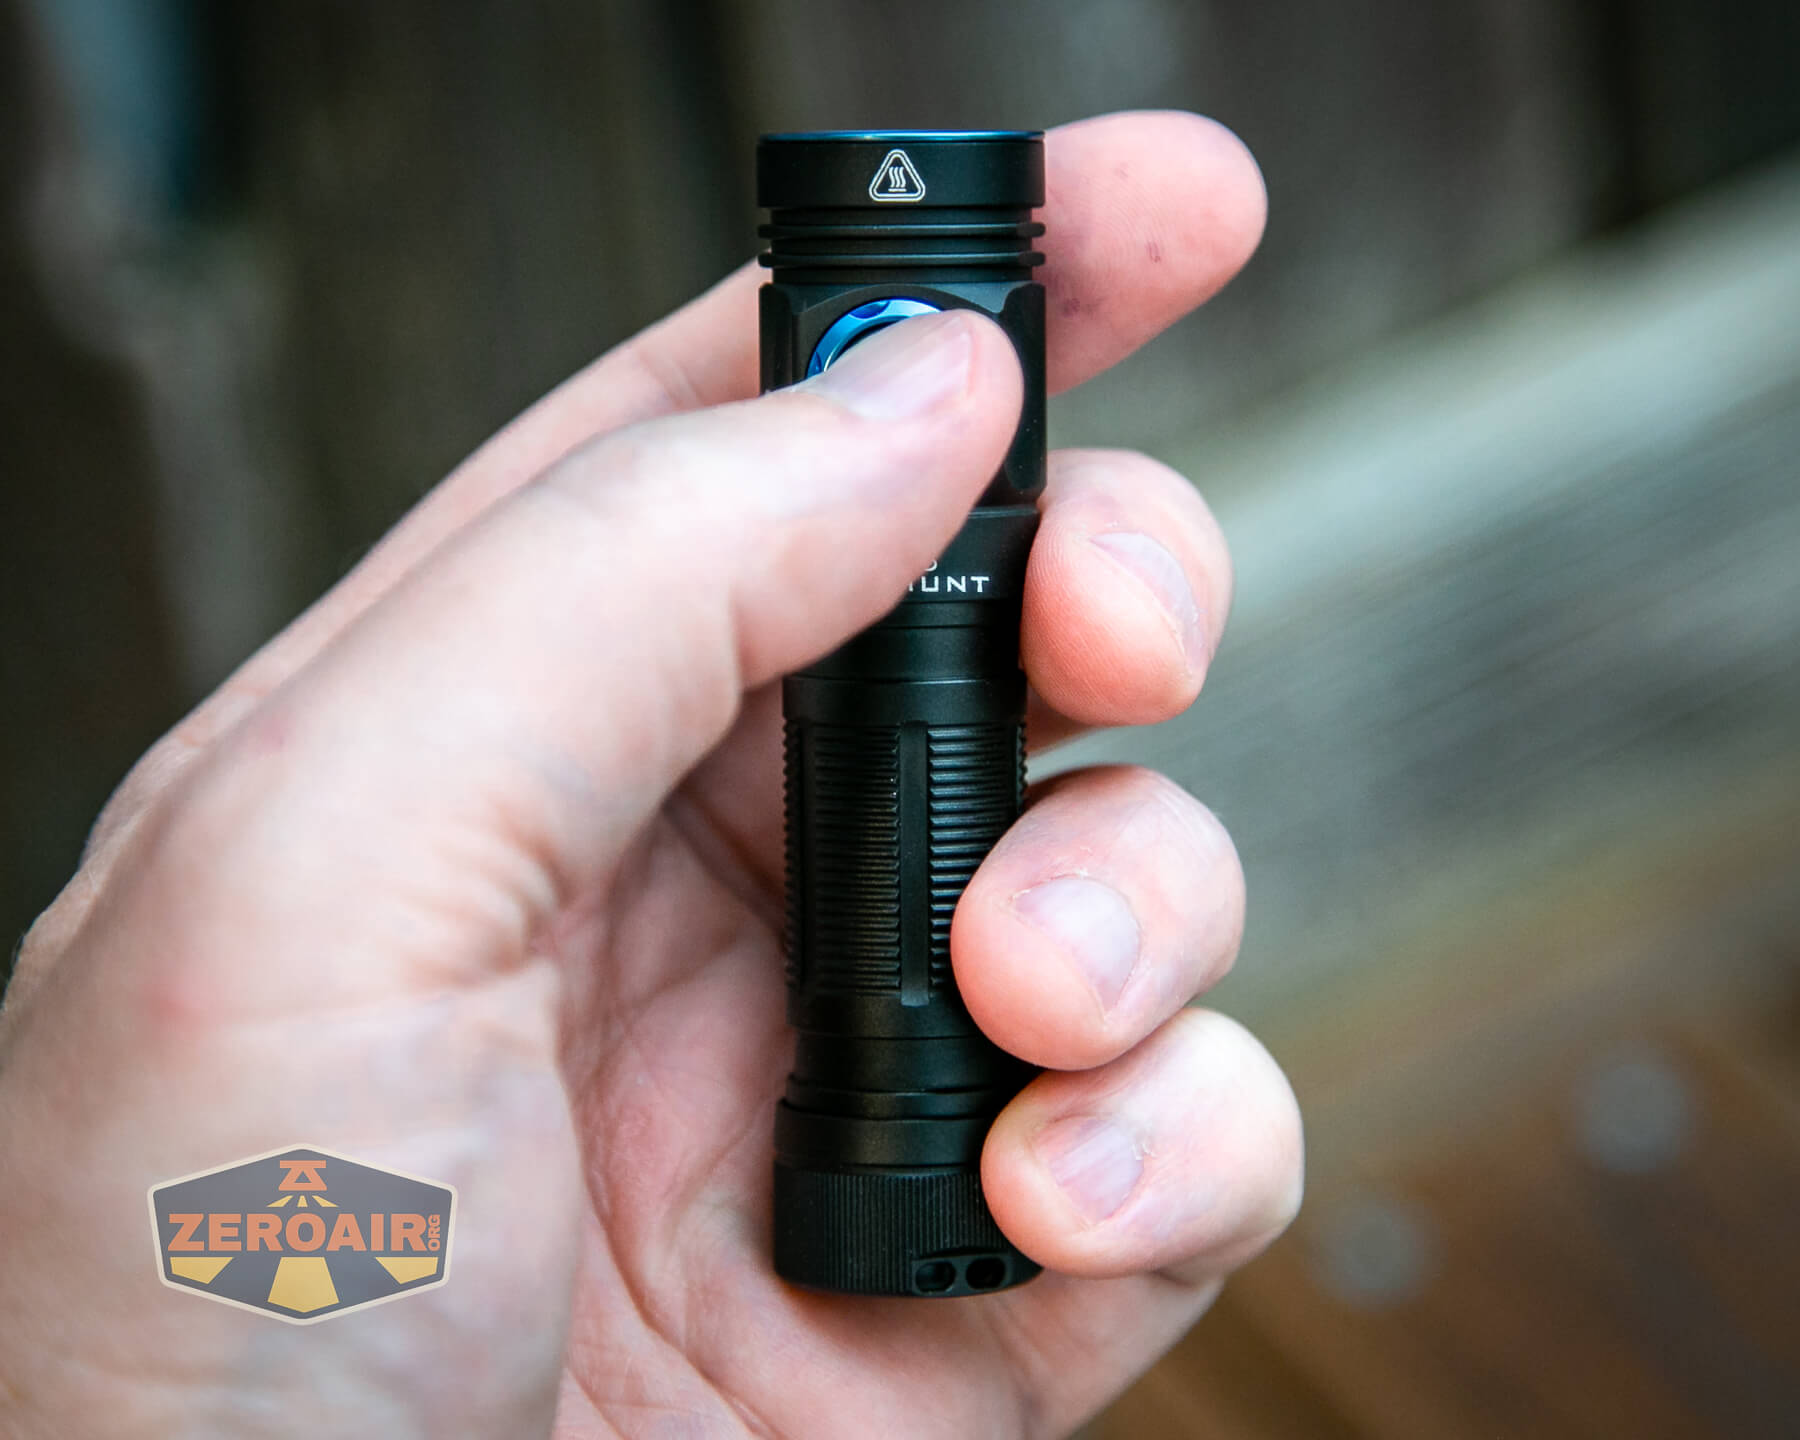
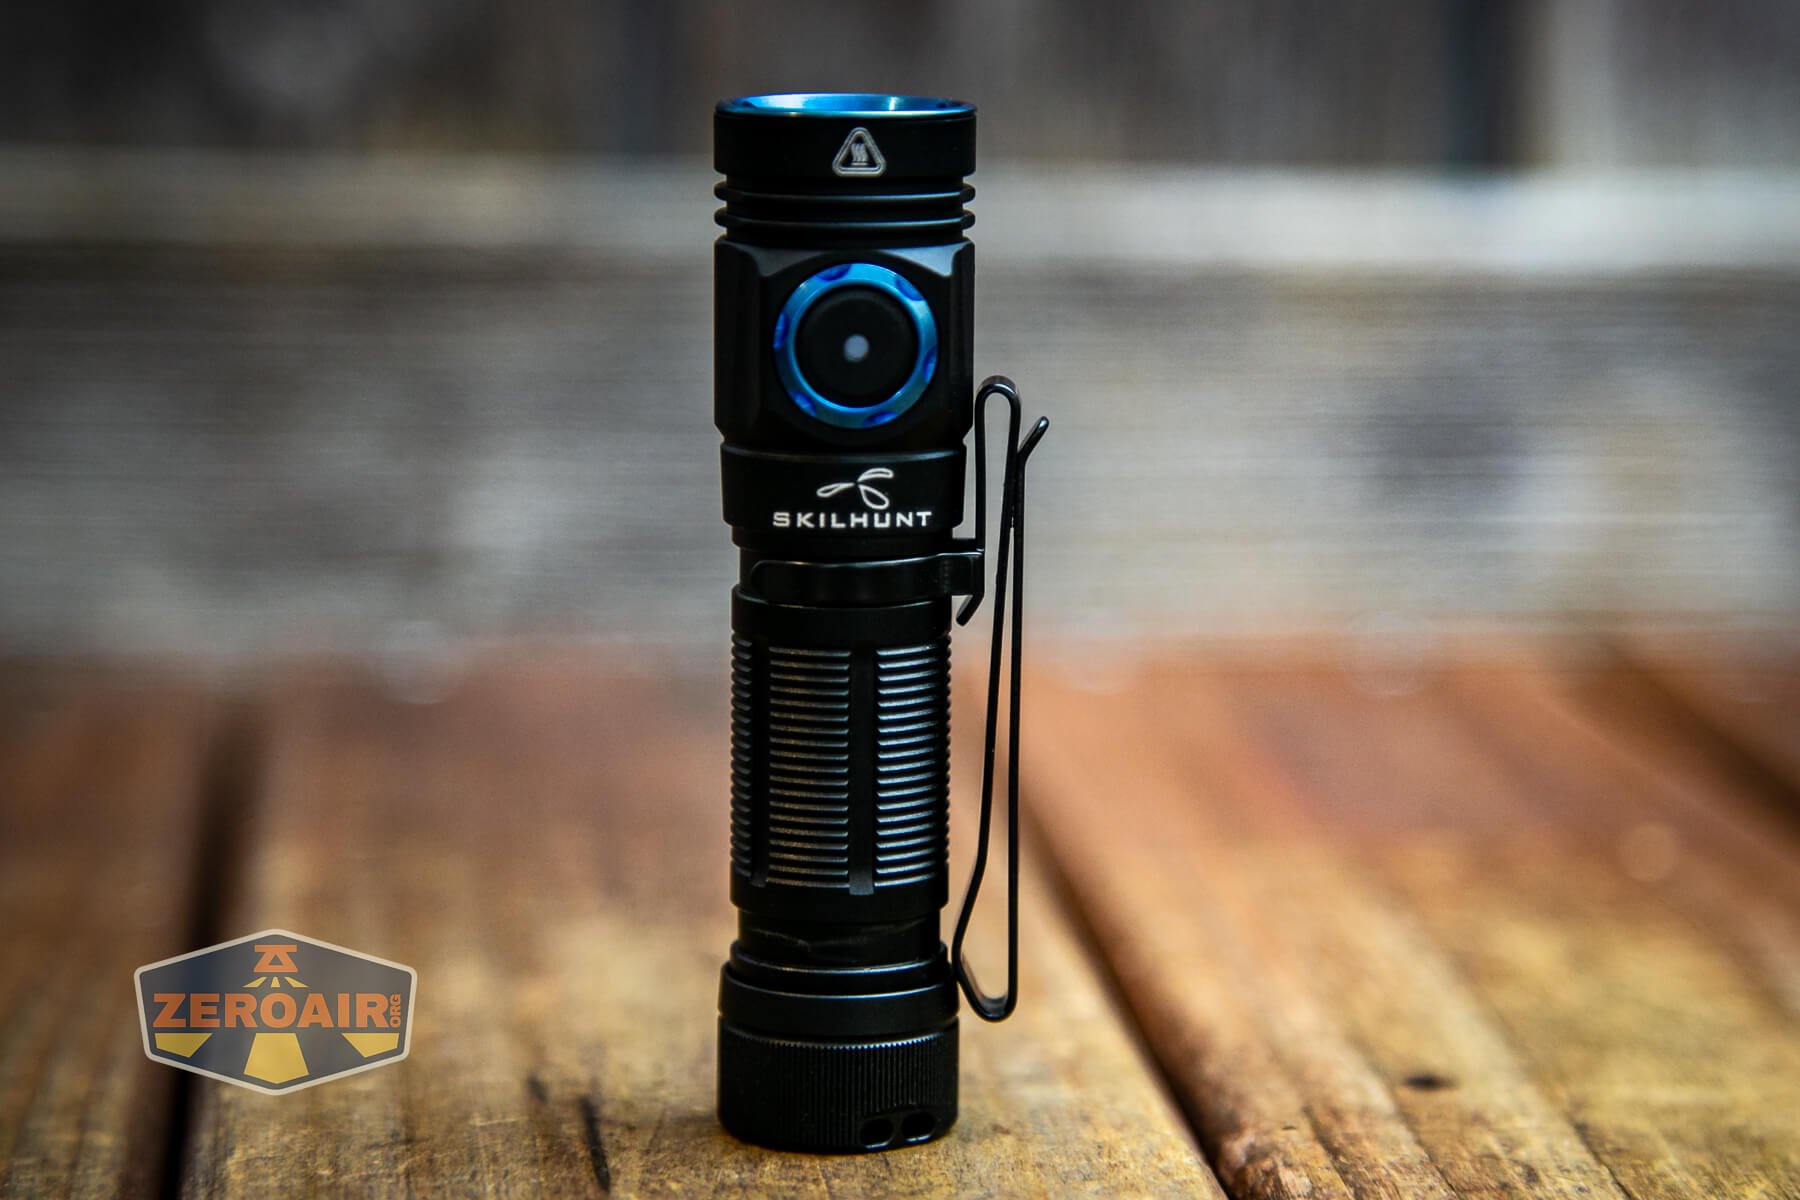
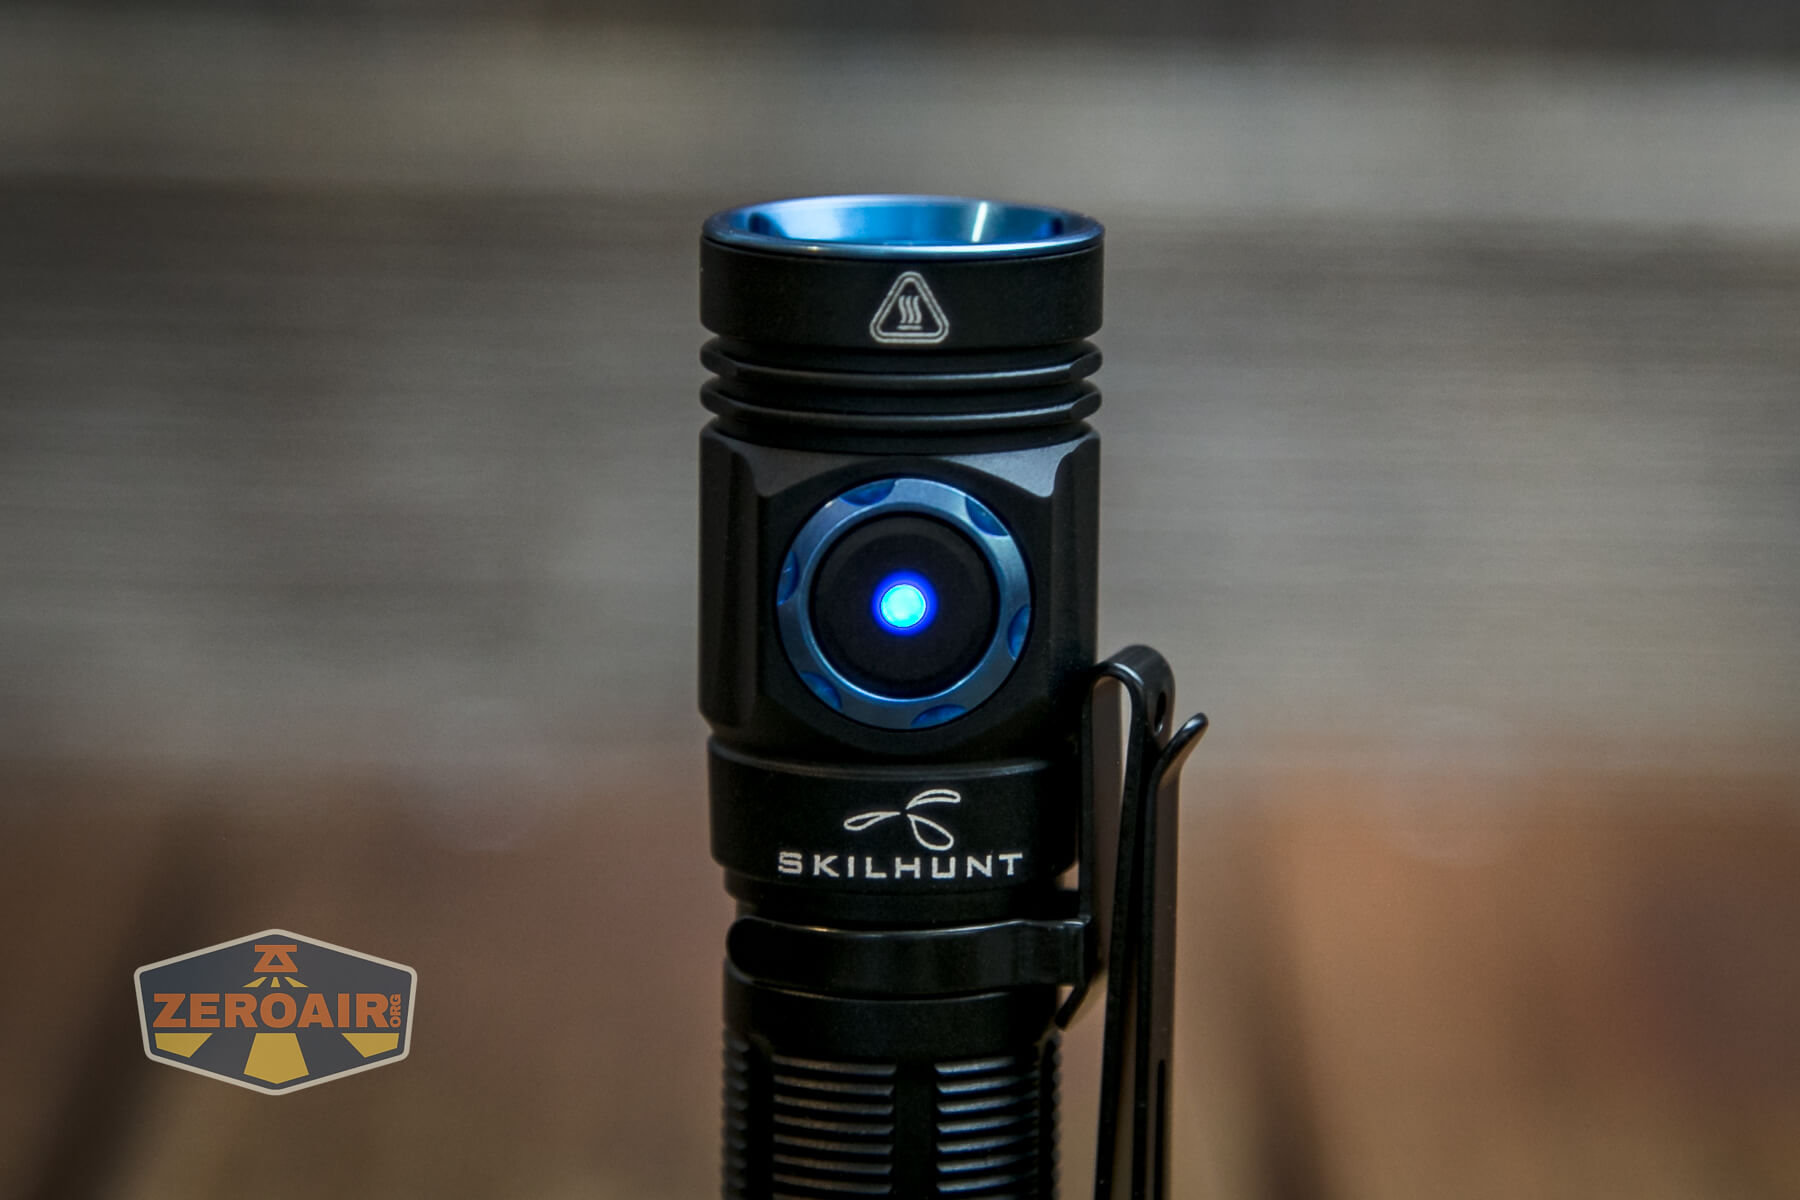
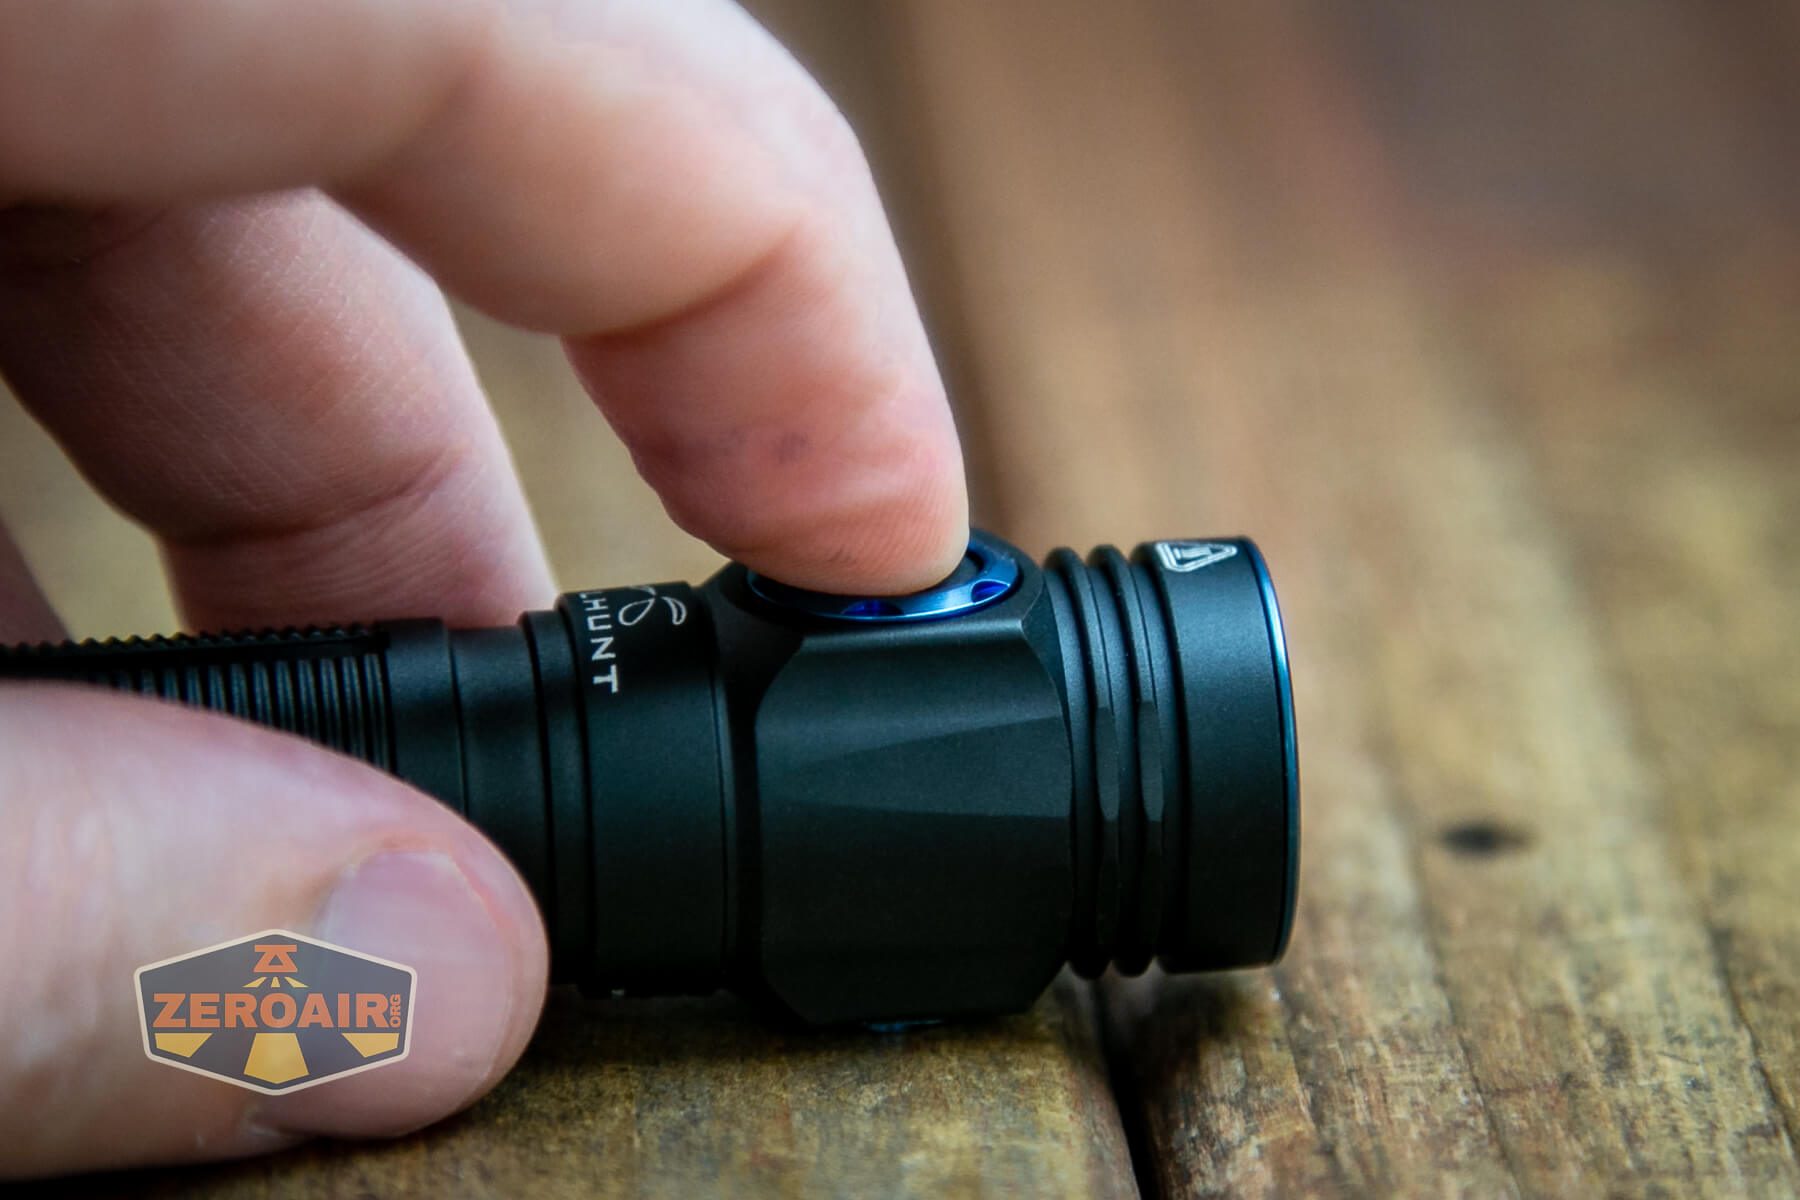
There’s a single switch on the M150v. It’s a side e-switch with an indicator in the center. It’s a big, secure switch, with a very positive but quiet click. I very much like this switch. The switch seems unchanged from the previous iterations.
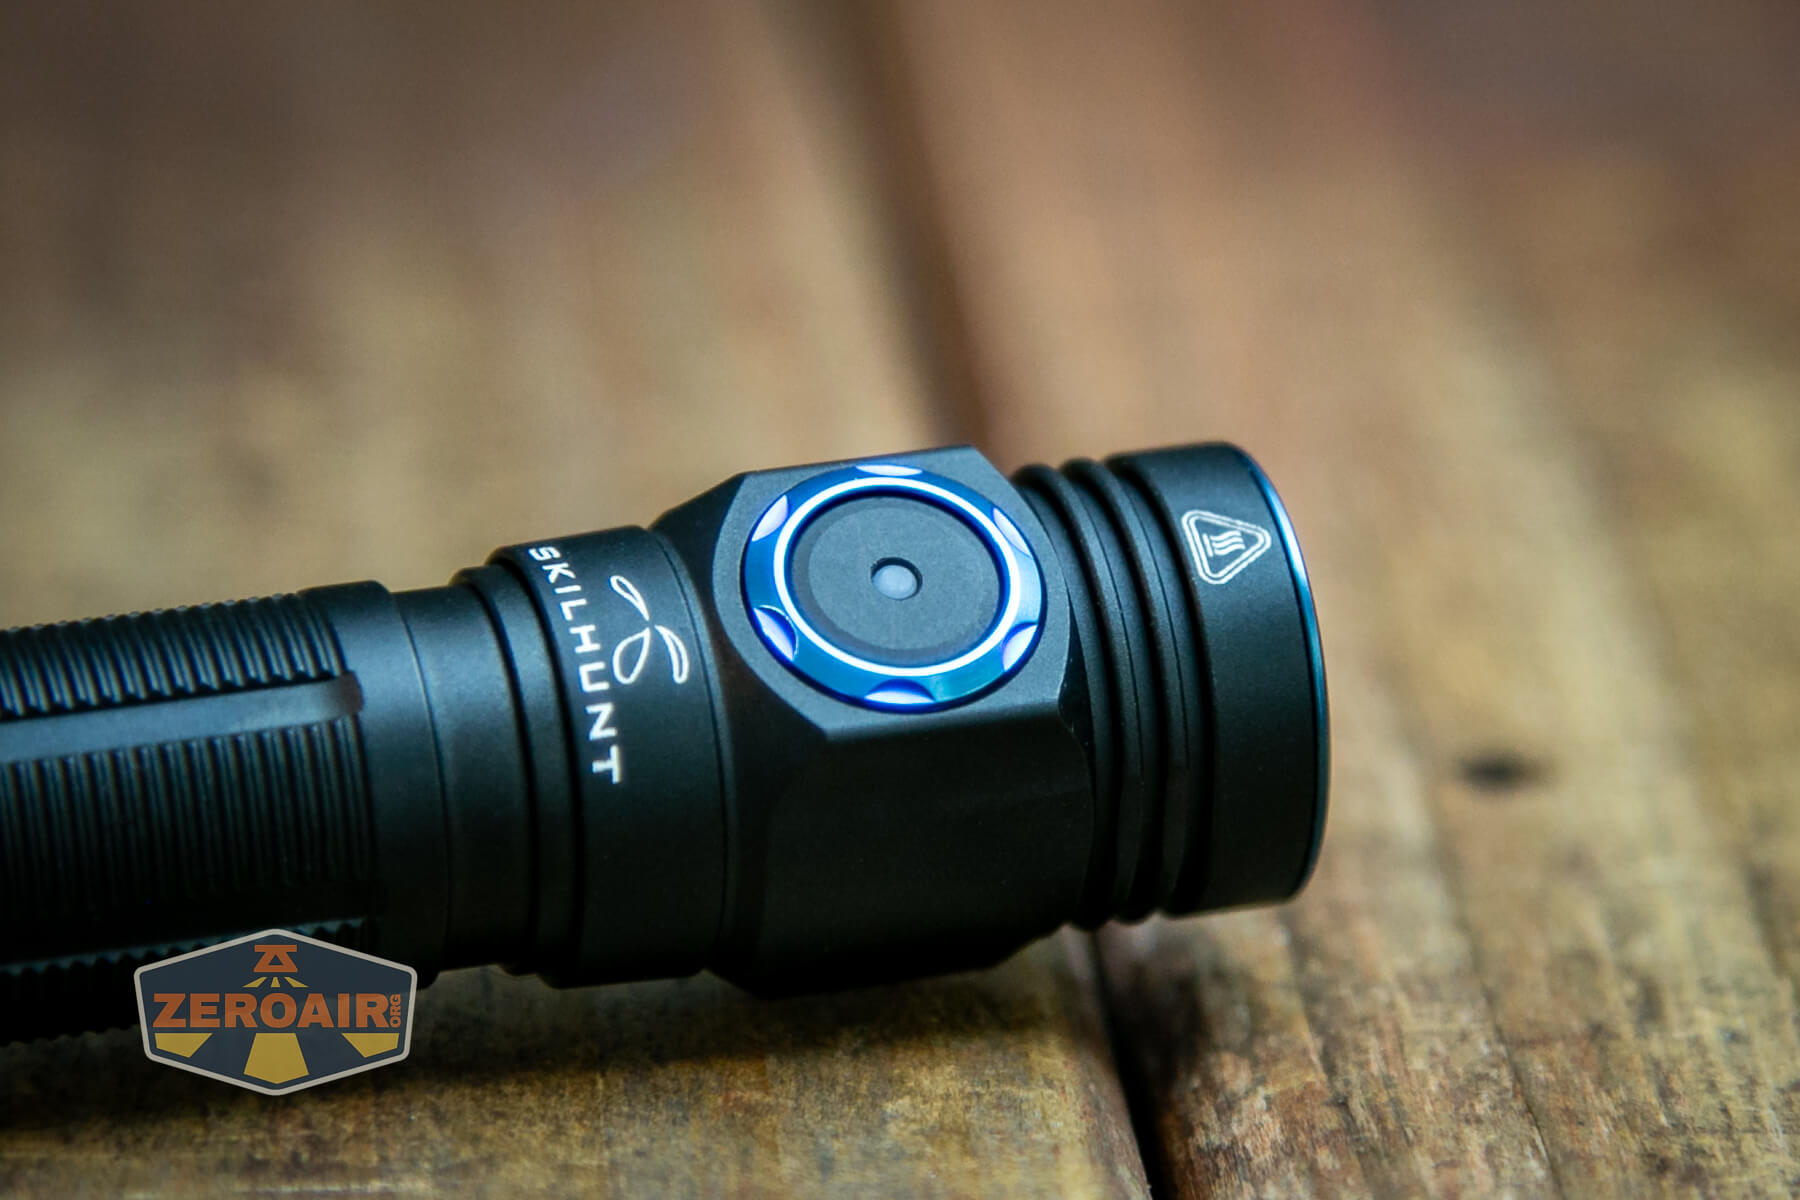
The cutout for the switch in the head is the same size as the charge connector, and while it’s hard to distinguish between the two while holding the light, I found that it didn’t matter; I’ll just pinch the light with both spots between my fingers and activate the light.
The user interface could be a bit daunting, but it’s very straightforward when you get used to it. It’s also very logical and provides access to low from off, which is as close to a requirement from a user interface as I have.
Here’s a user interface table!
| State | Action | Result |
|---|---|---|
| Off | Hold | Low (Memory between L1 and L2) |
| L1 or L2 | Hold | Iterate between L1 and L2 |
| L1 or L2 | Click 2x | No change in level |
| Off | Click 4x | Lockout (Three blinks of main emitters to confirm) |
| Lockout | Click 4x | Unlock to Low group (memory, can be L1/L2) |
| Lockout | Click 2x | Iterate lockout indicator^ |
| Lockout | Hold | Momentary Output (Appears to be approximately L1) |
| L1/L2 | Click | Off |
| Off | Click | On in “Main Group” (Mode memory M2/M1/H) |
| Main Group | Hold | Mode advance (M2 > M1 > H) |
| Main Group | Click | Off |
| Main Group or Off | Click 2x | Turbo Group (Mode memory T1/T2) |
| T1/T2 | Hold | Iterate between T1 (higher) and T2 (lower) output |
| T1/T2 | Click | Off |
| T1/T2 | Click 2x | Main Group (memory output) |
| Main Group or Off | Click 3x | Strobe Group (with memory) |
| Strobe Group | Click 3x | Previous Group (T1/T2 or M2/M1/H, depending on how you accessed Strobe Group)^^ |
| Strobe Group | Click 2x^^^ | Strobe Advance (S1 > S2 > S3)† |
| Strobe Group | Hold | No result |
^ Lockout indicator blinks a red switch every 2-3 seconds.
^^ Aside from just general mode memory (which you know I don’t like) this seems to me to be the only place where you may need to immediately remember what mode you were in so you have the experience you expect. However, the difference is getting the two highest white outputs, or the three main white outputs – it won’t be that dramatic even if you don’t remember. Also note that if you access the strobe group from off, triple-clicking will not return to off. For continuity, it should! In fact, if you accessed the strobe from an off state, a triple-click sends the light to the Main group!
^^^ Seems like the strobe group is the only group that isn’t advanced by a hold. Since there’s no hold anywhere else into or out of Strobe, I am not sure why that user interface continuity wasn’t maintained here.
† Strobes are like this:
S1: Disorienting strobe of White (turbo, ish)
S2: SOS (main white, some mid-High output)
S4: Beacon (one highish blink every second or so)
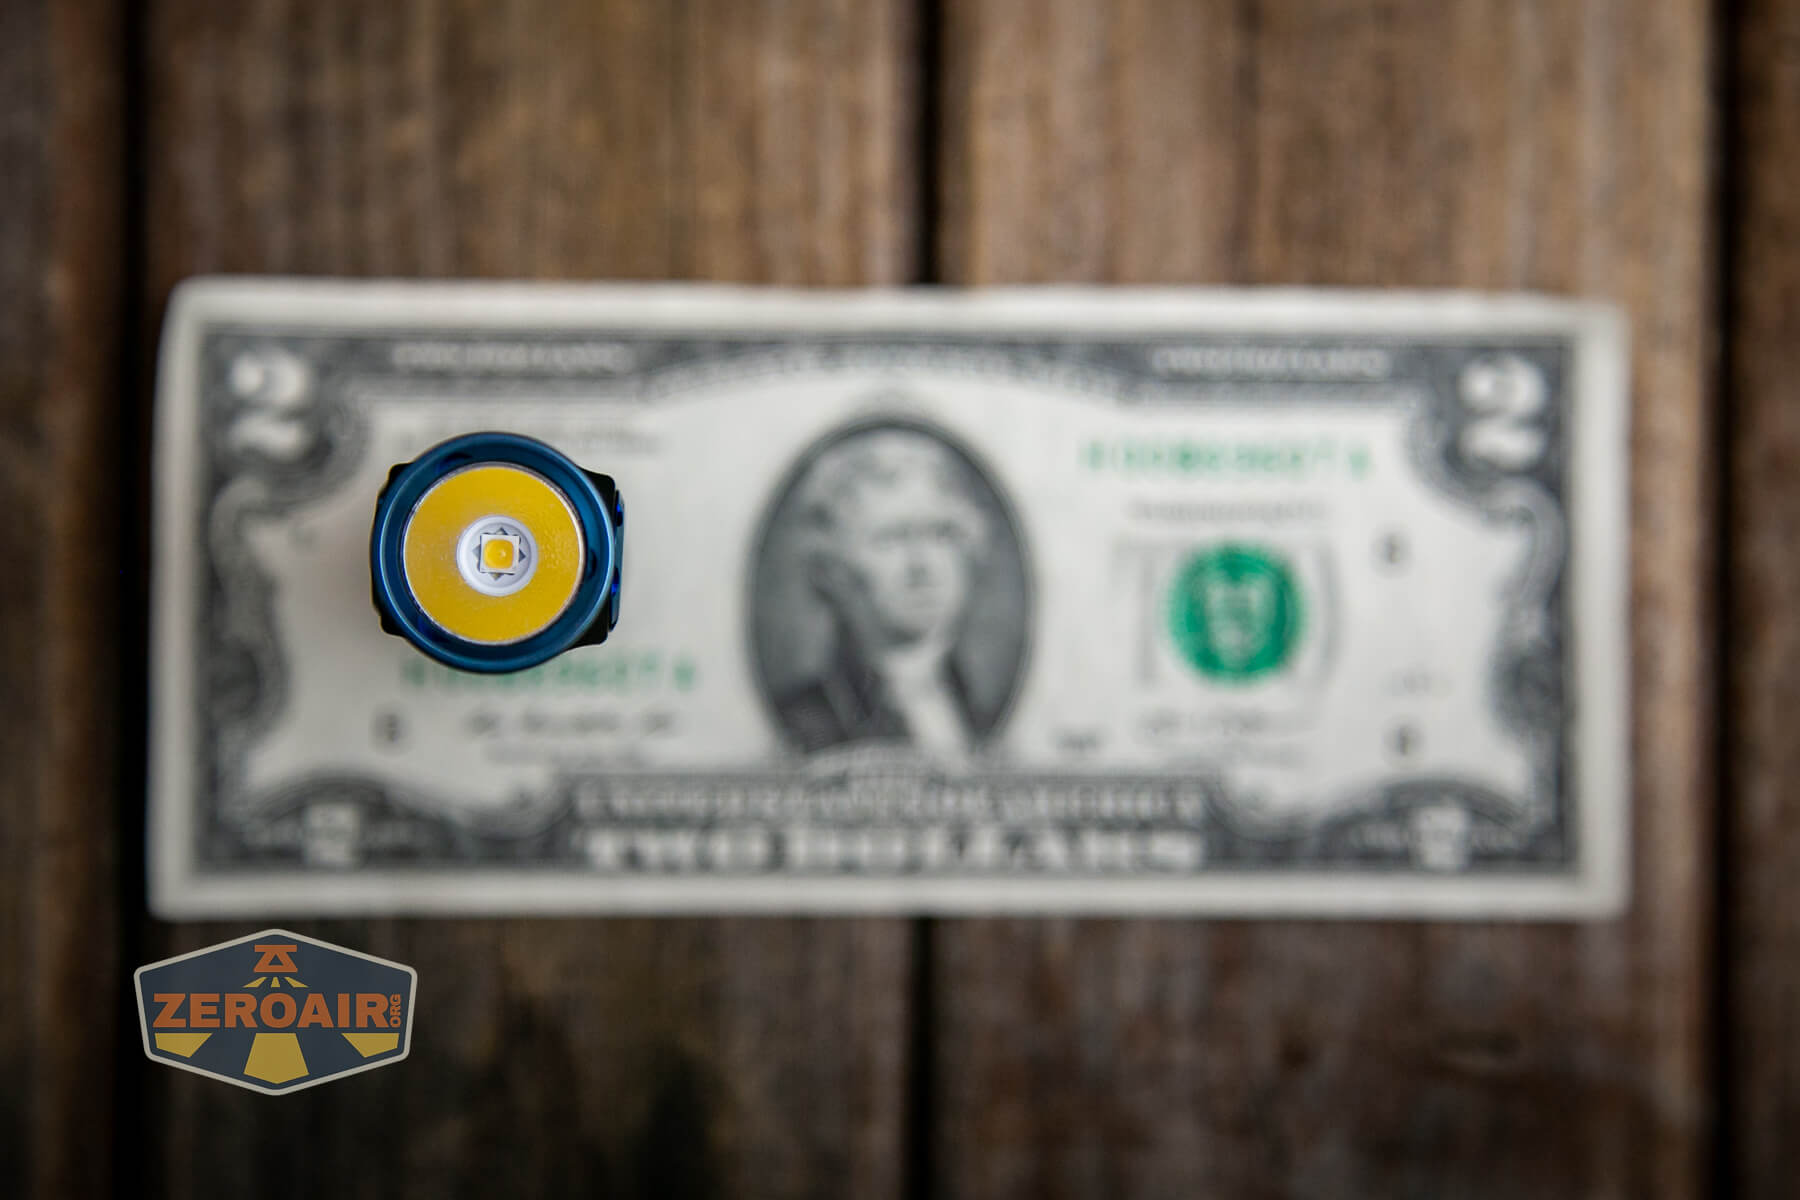
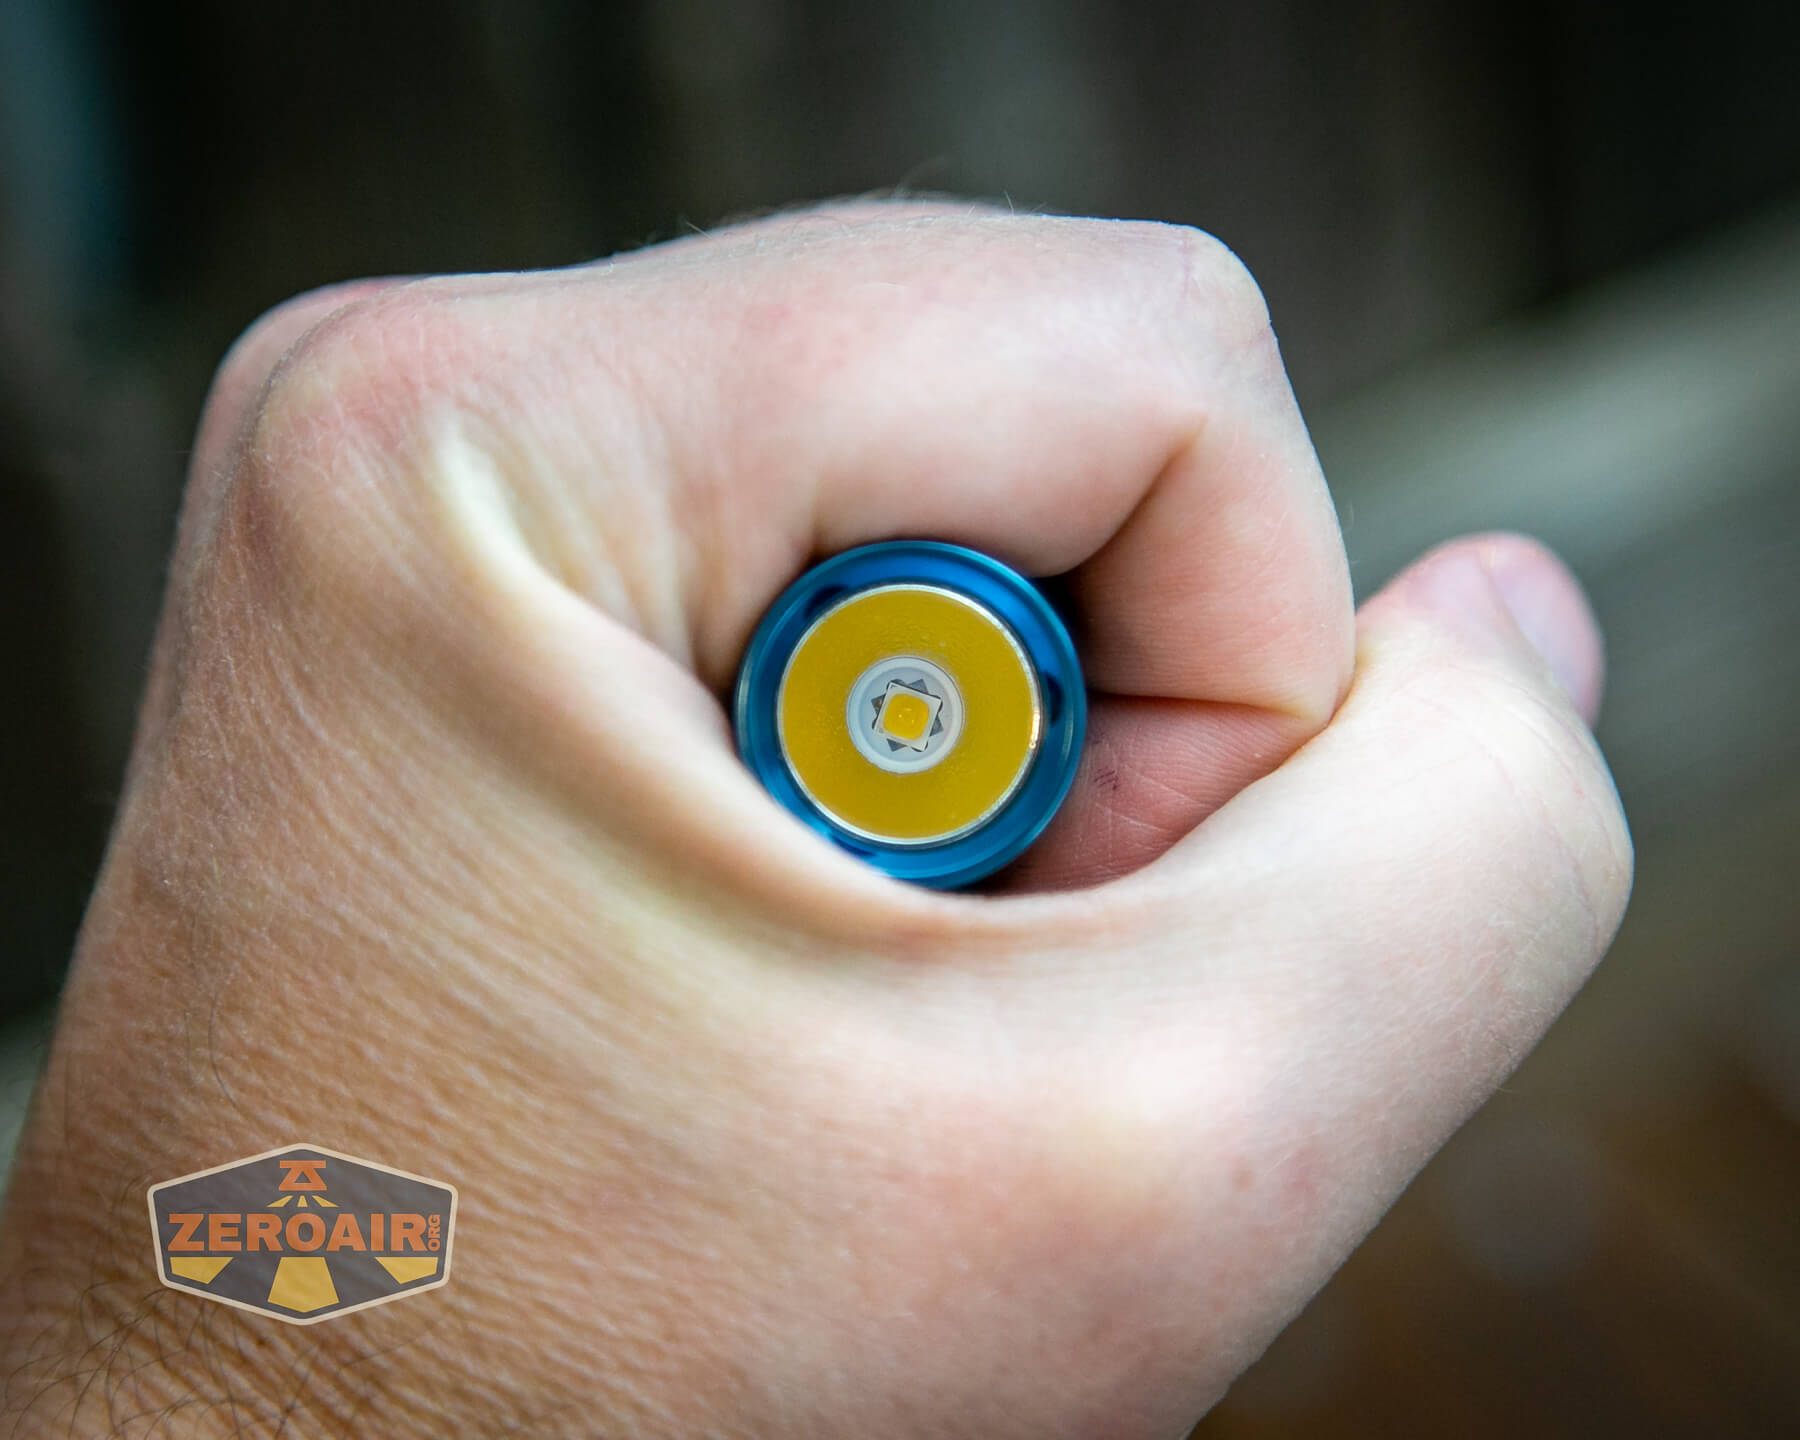
LED and Beam
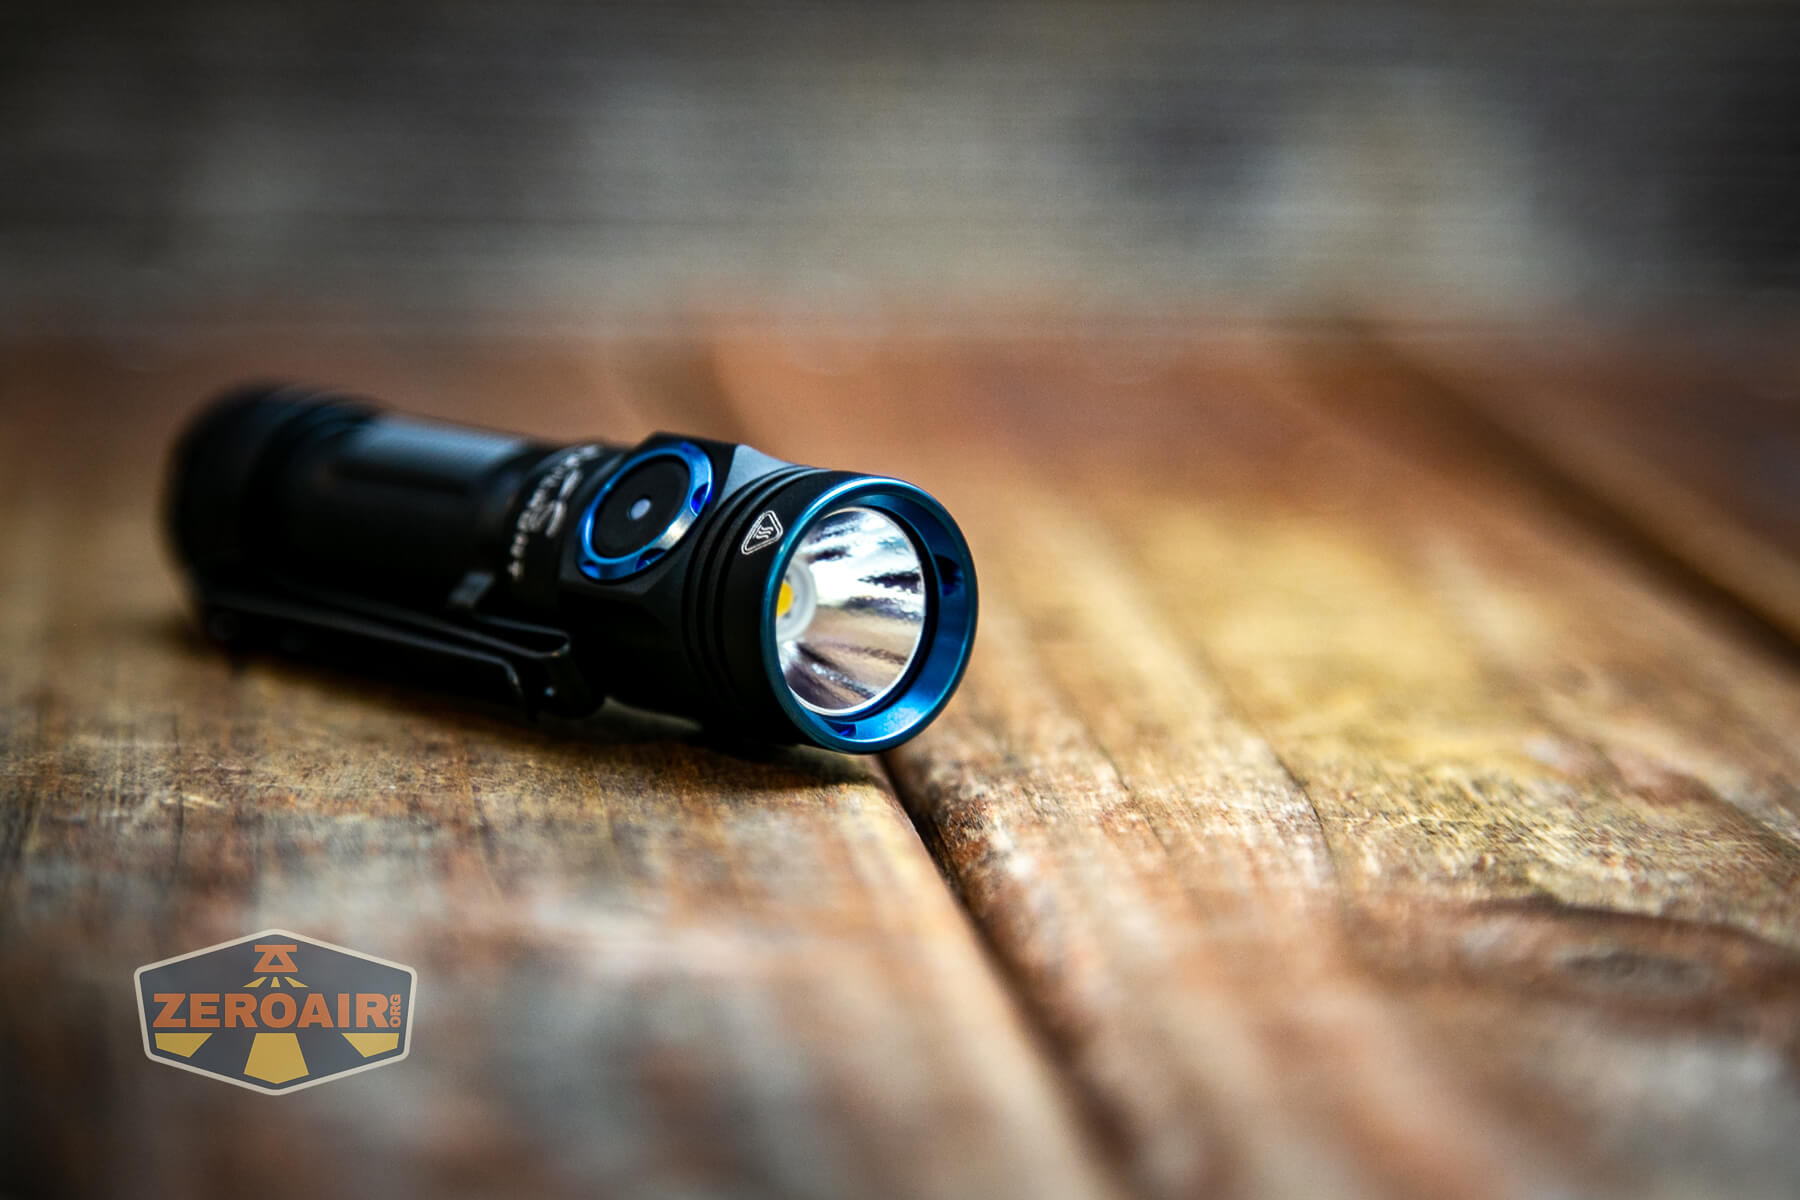
The emitter of choice here is a Nichia 519a and offers High CRI.

That’s a fantastic choice, and everything about this light’s output is great because of it.
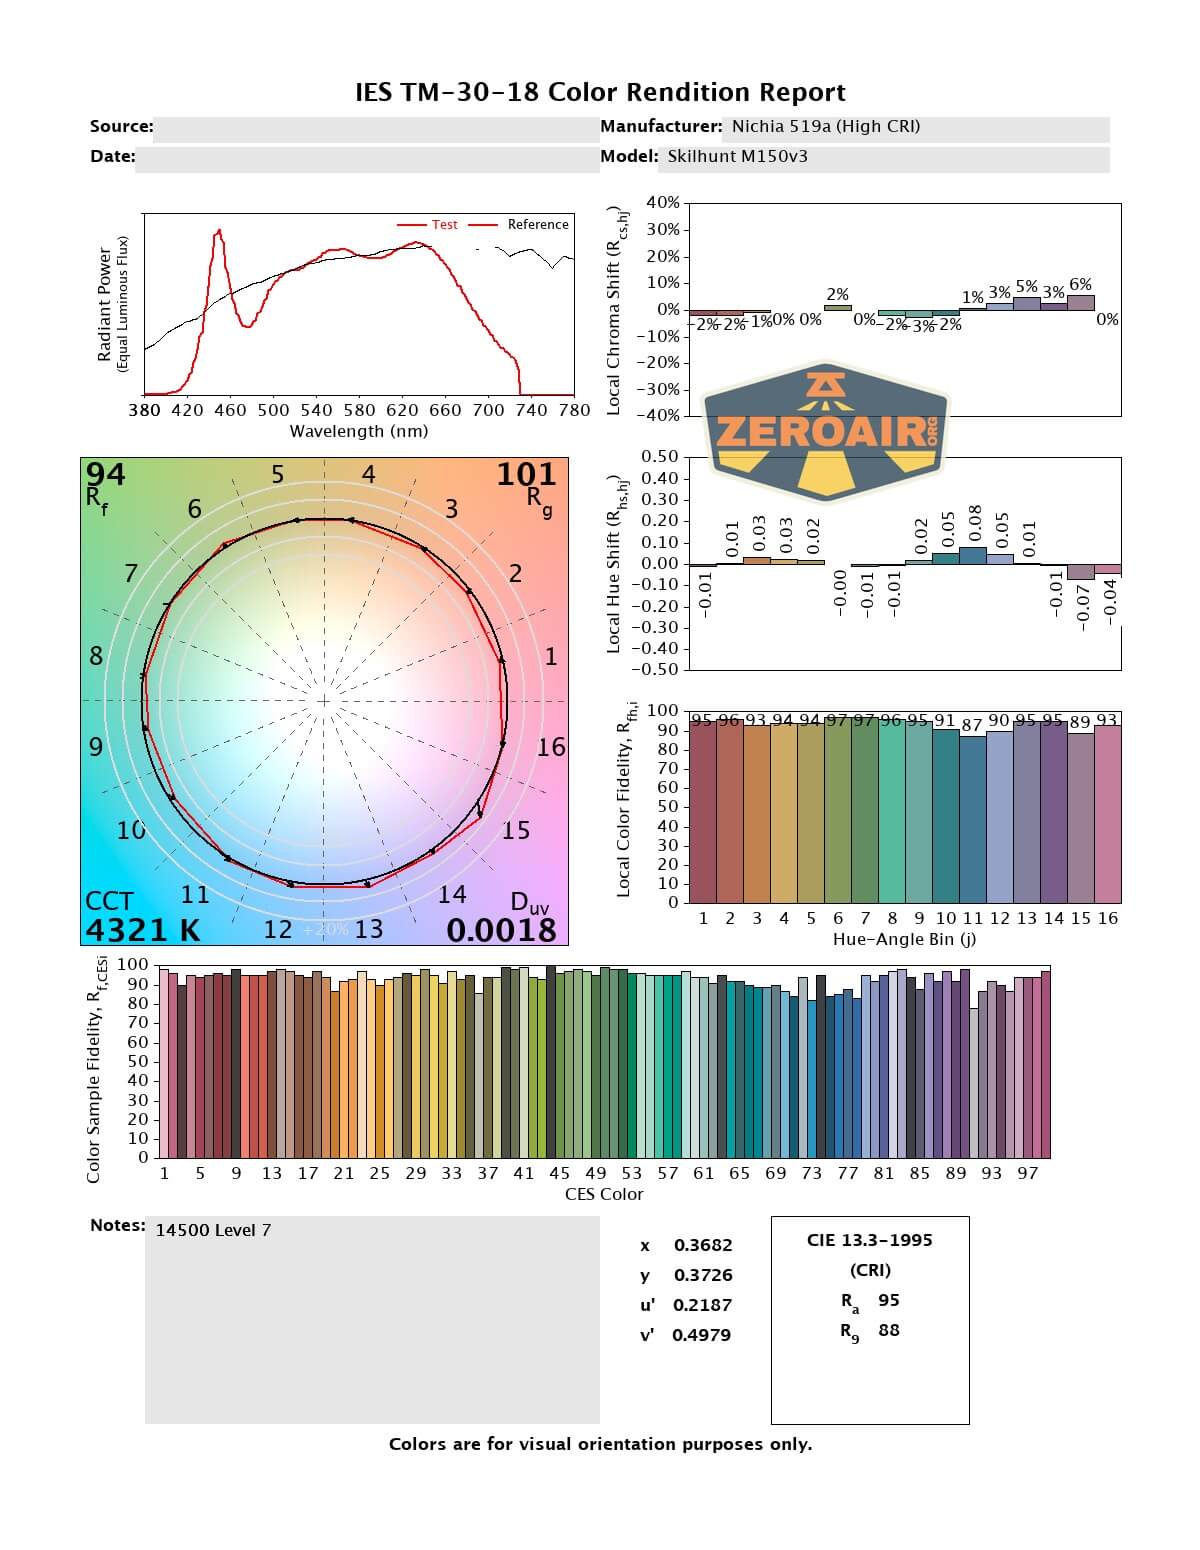
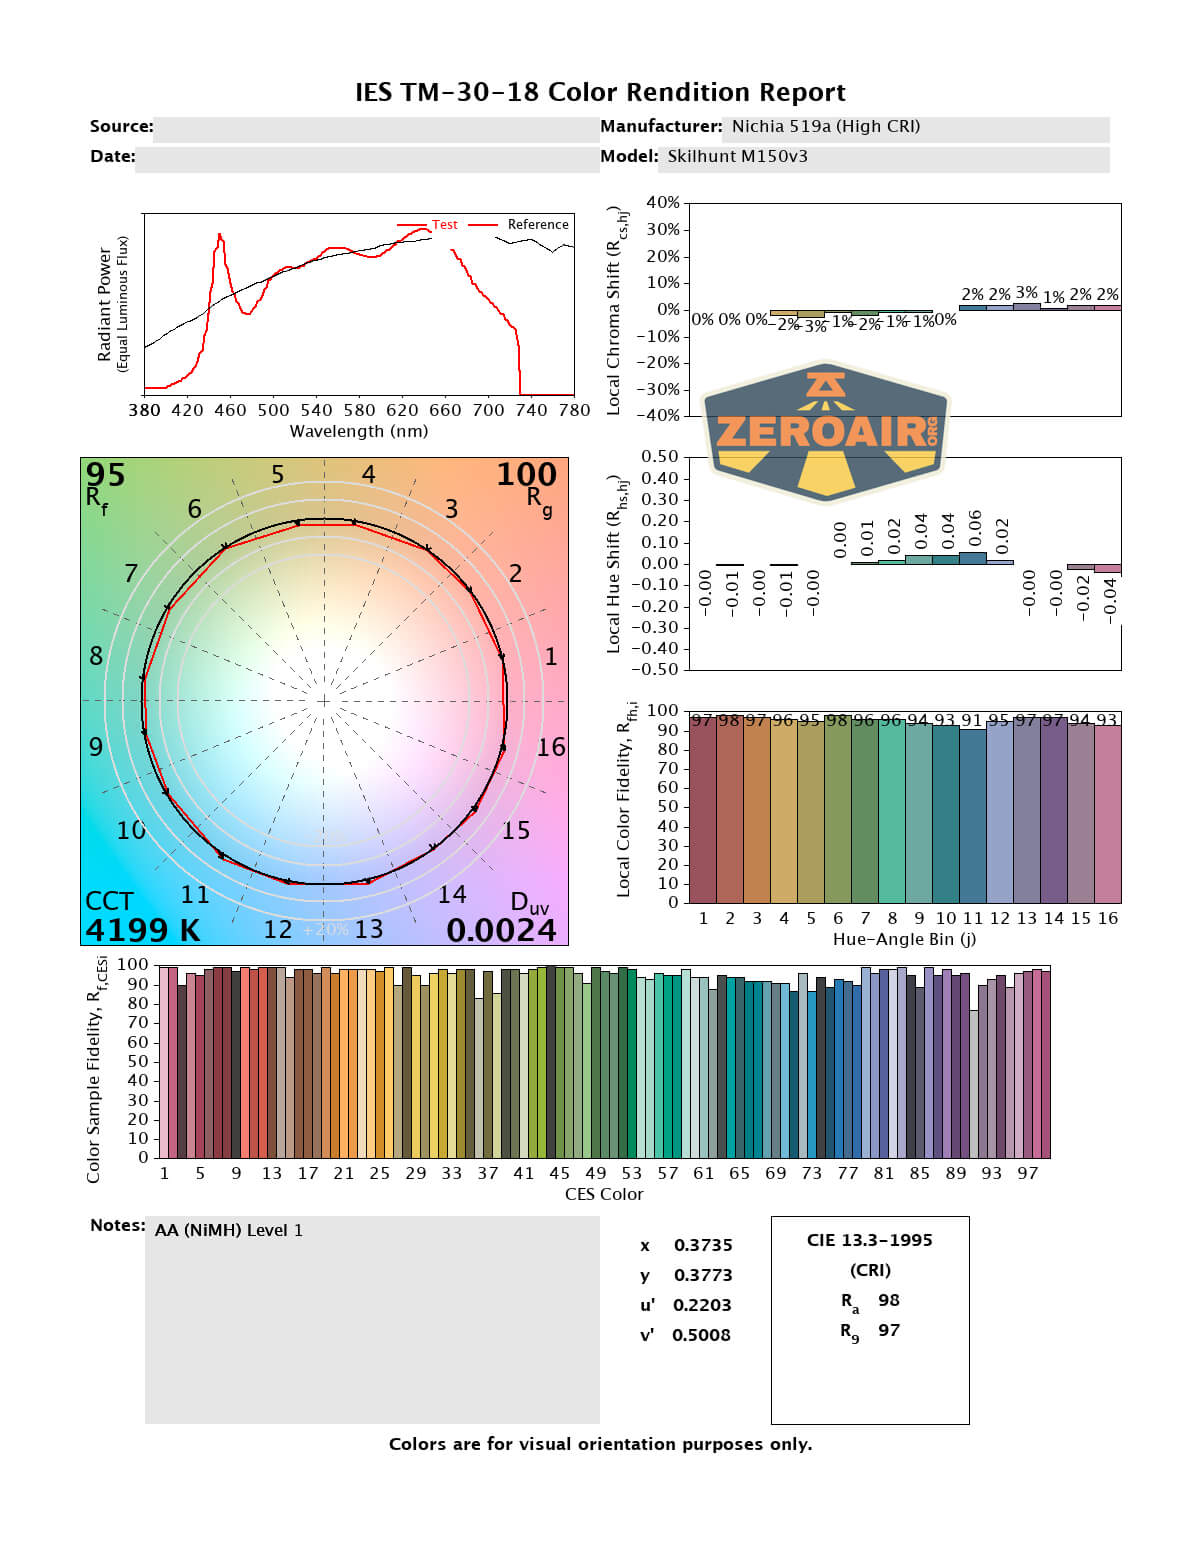
LED Color Report (CRI and CCT)
Check out those circles – the red and black circles. Black is “perfect” or “ideal,” and the closer the red (test light) circle comes to the black, the better! This one is one of the best. Great CCT (around 4200K) and very high CRI, at around 97. 14500 first, then AA.


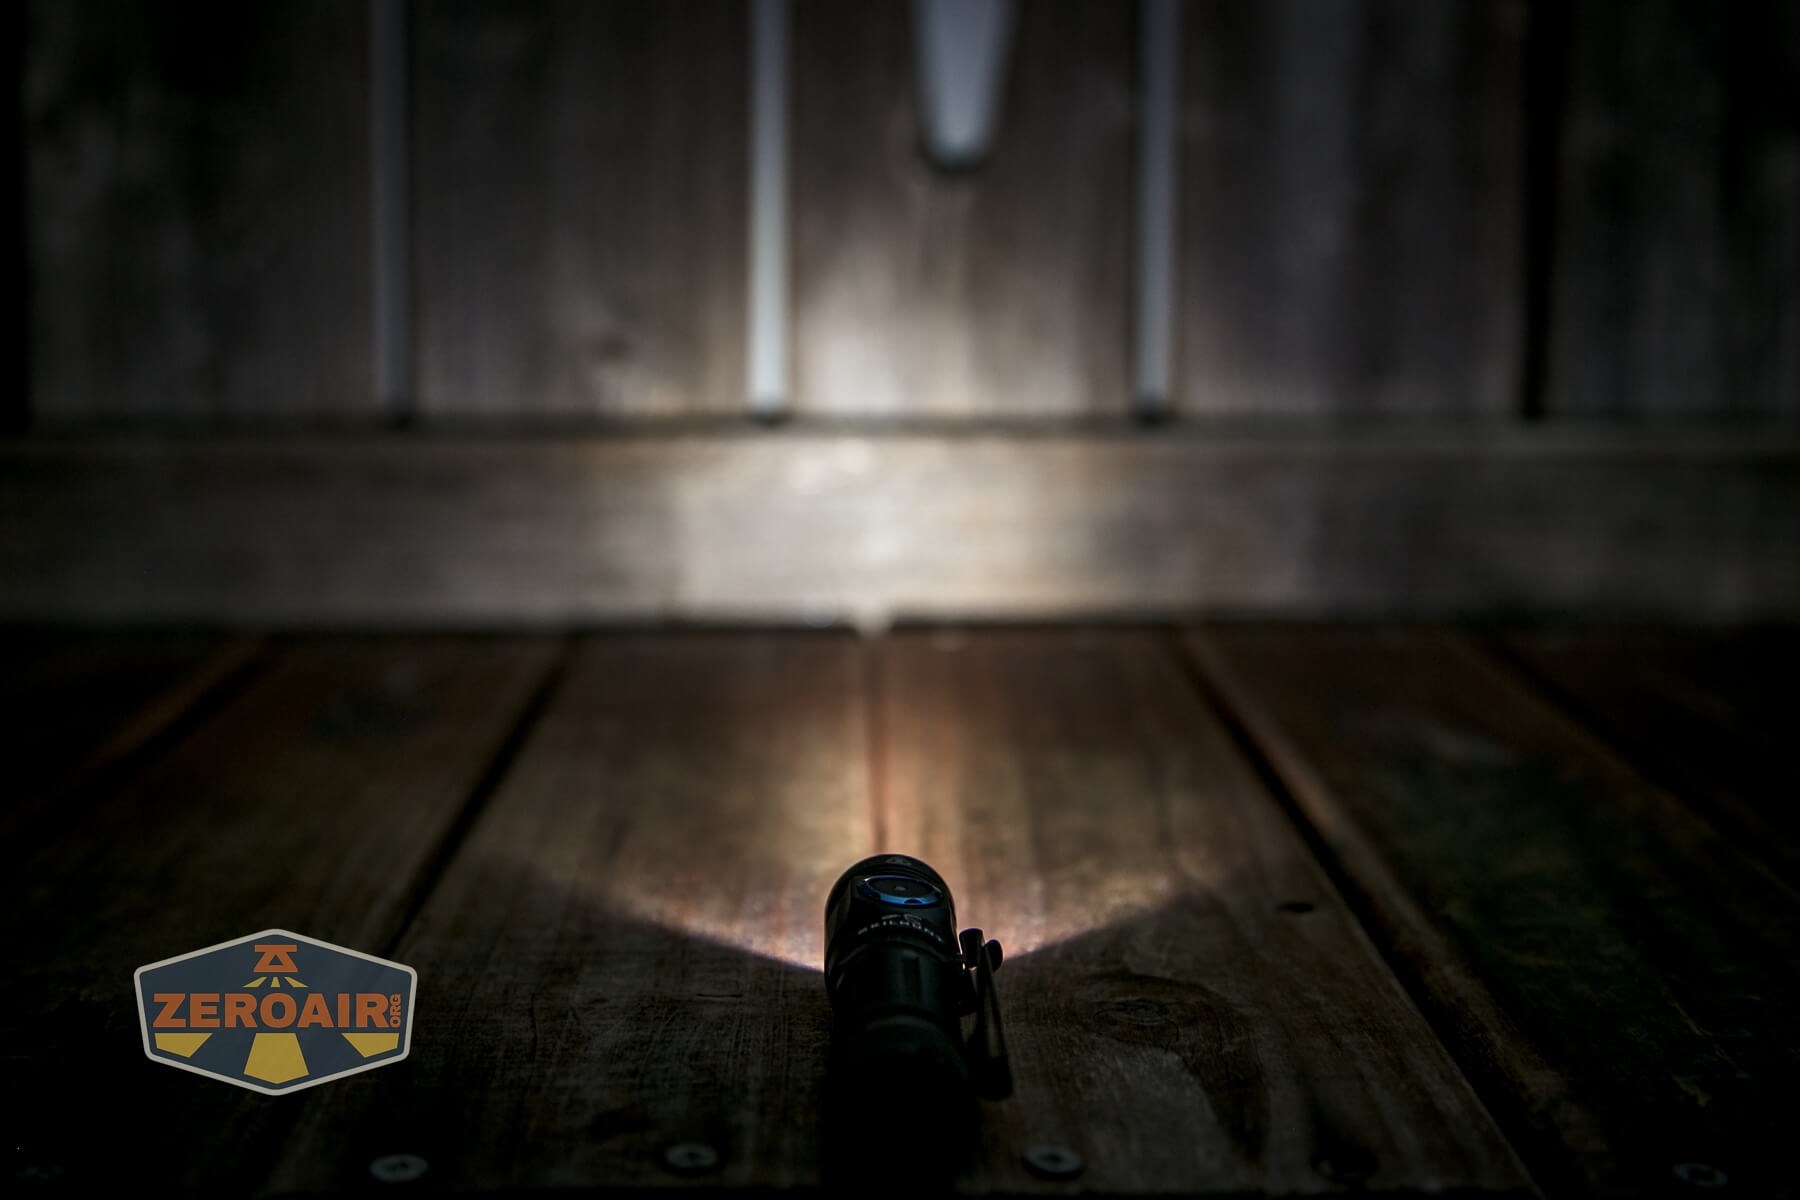
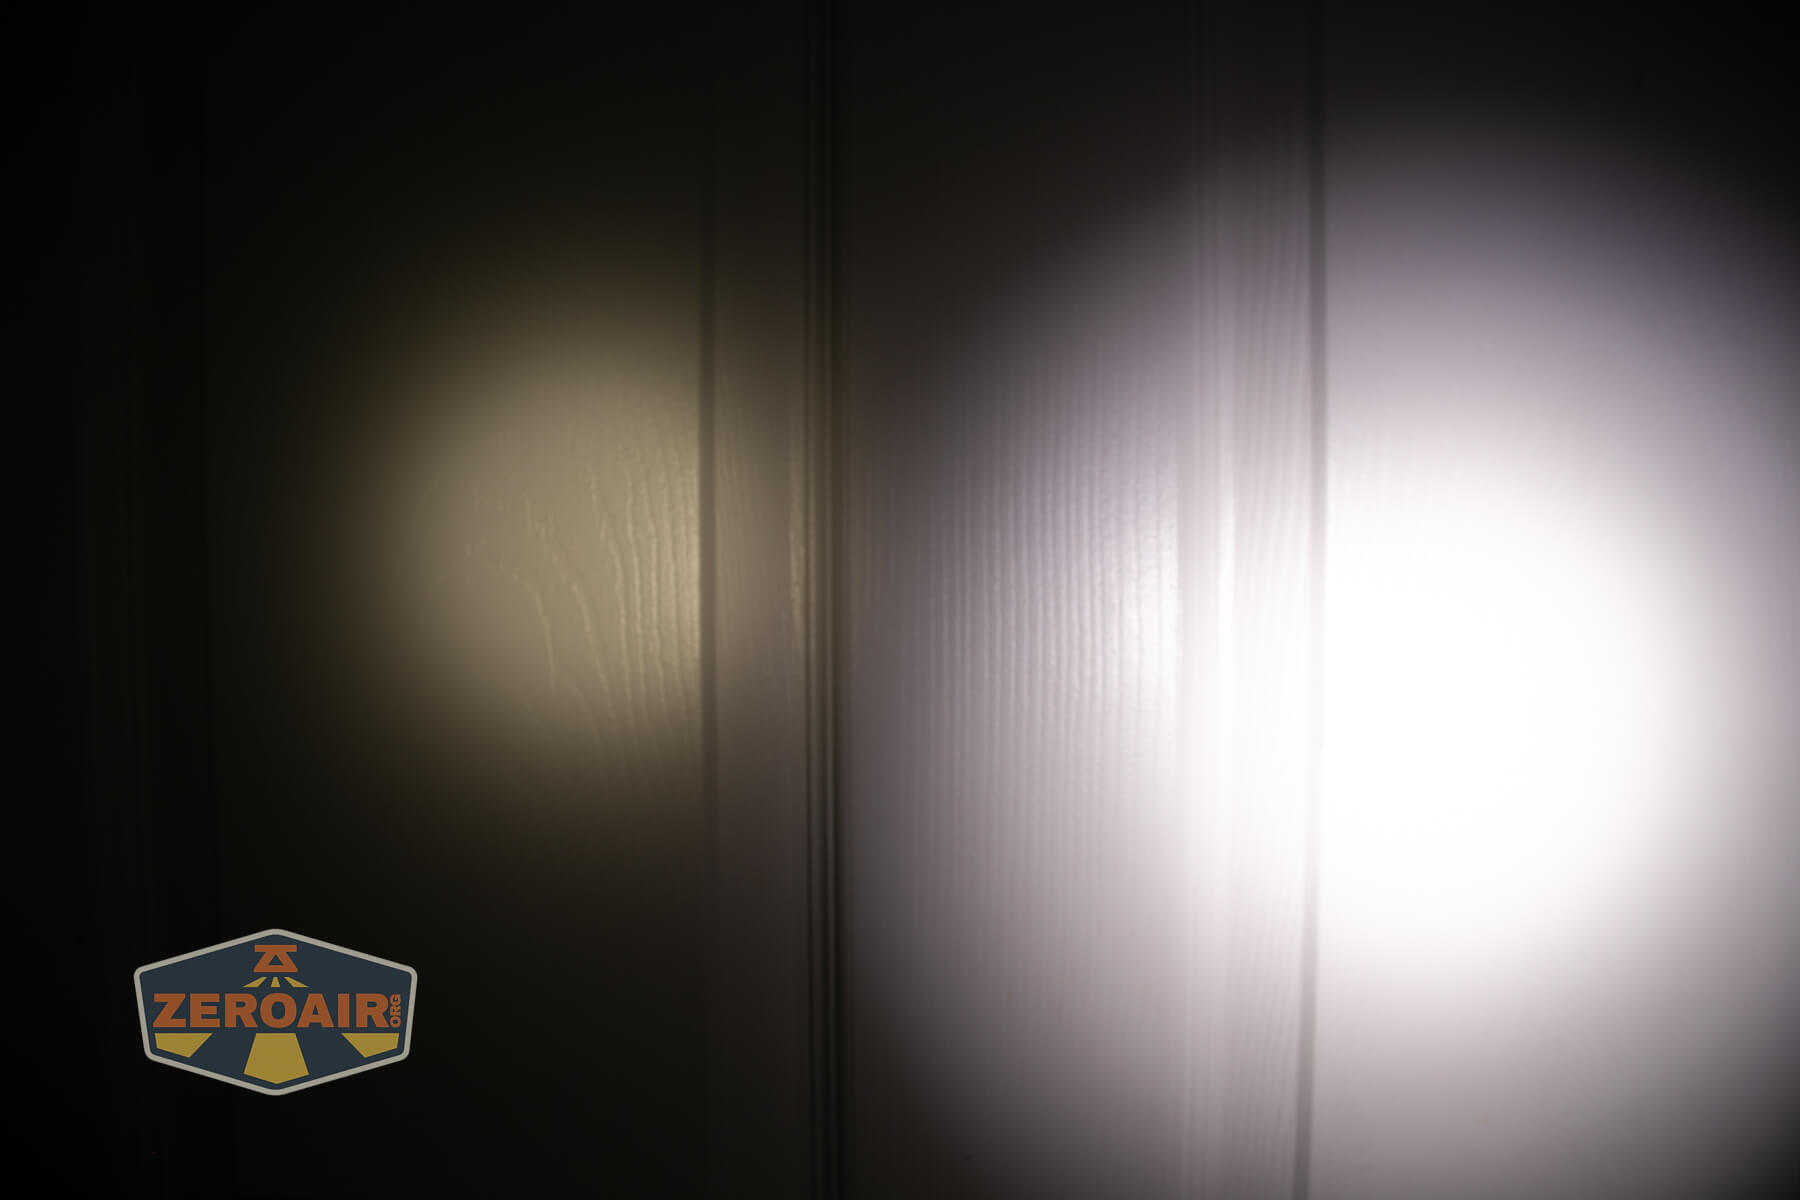
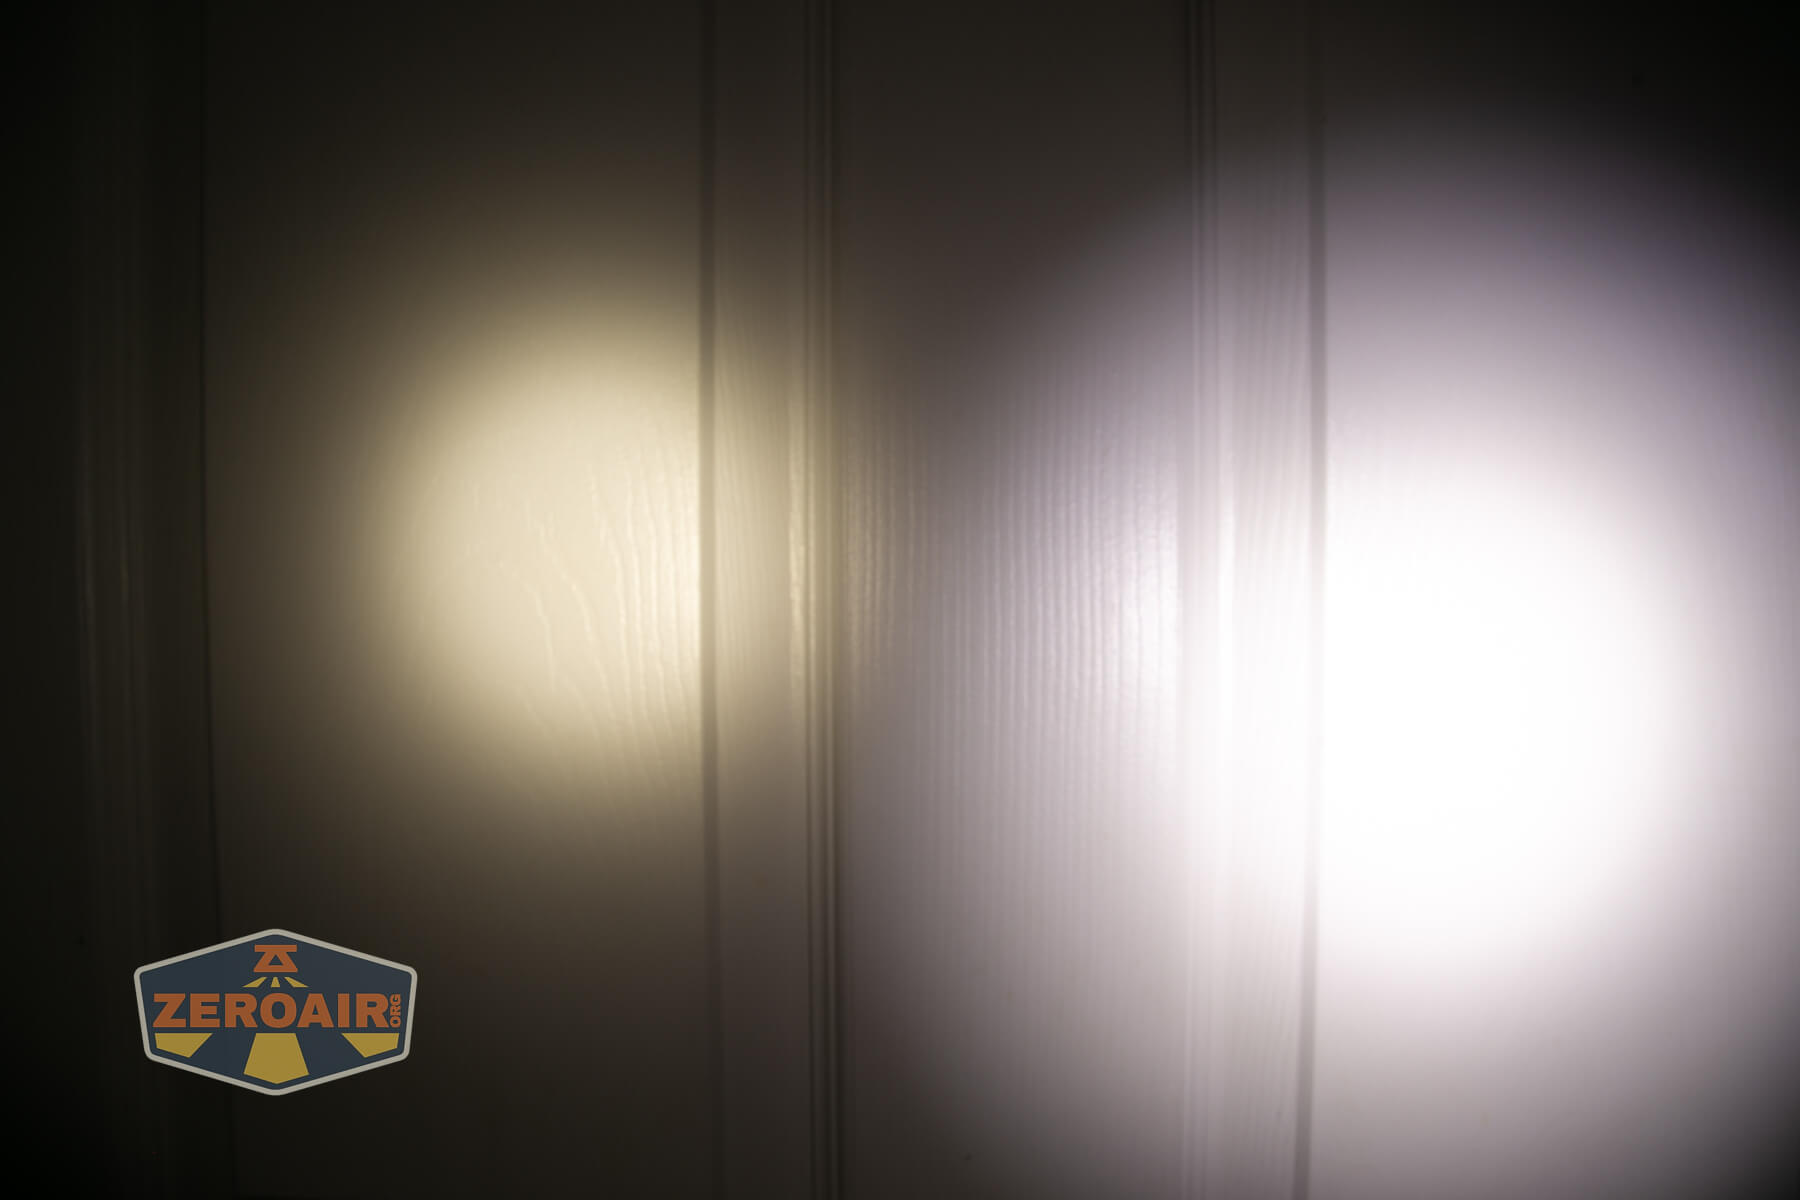
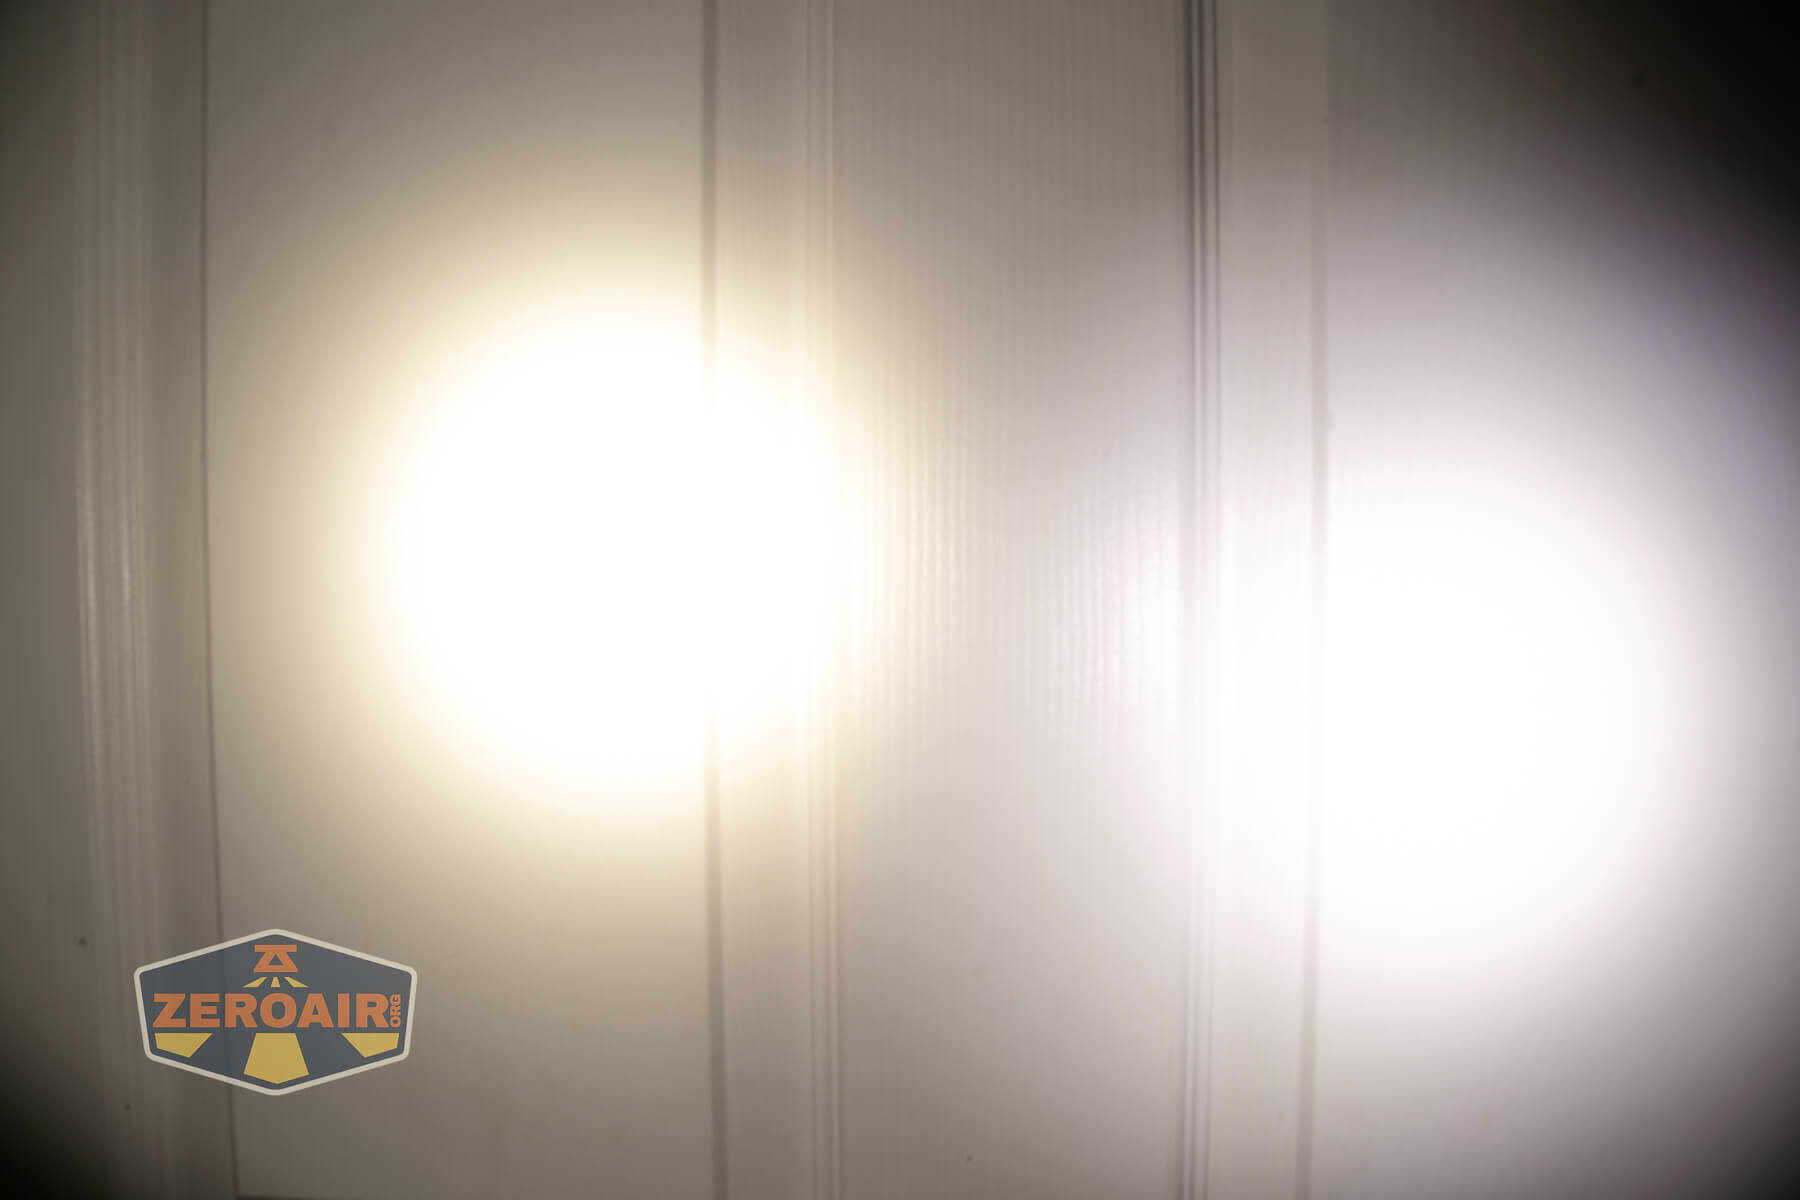
Beamshots
These beamshots always have the following settings: f8, ISO100, 0.3s shutter, and manual 5000K exposure. These photos are taken at floor level, and the beam hits the ceiling around 9 feet away. 14500 first, then AA.


Tint vs BLF-348 (KillzoneFlashlights.com 219b version) (affiliate link)
I keep the test flashlight on the left and the BLF-348 reference flashlight on the right. 14500 first, then AA.


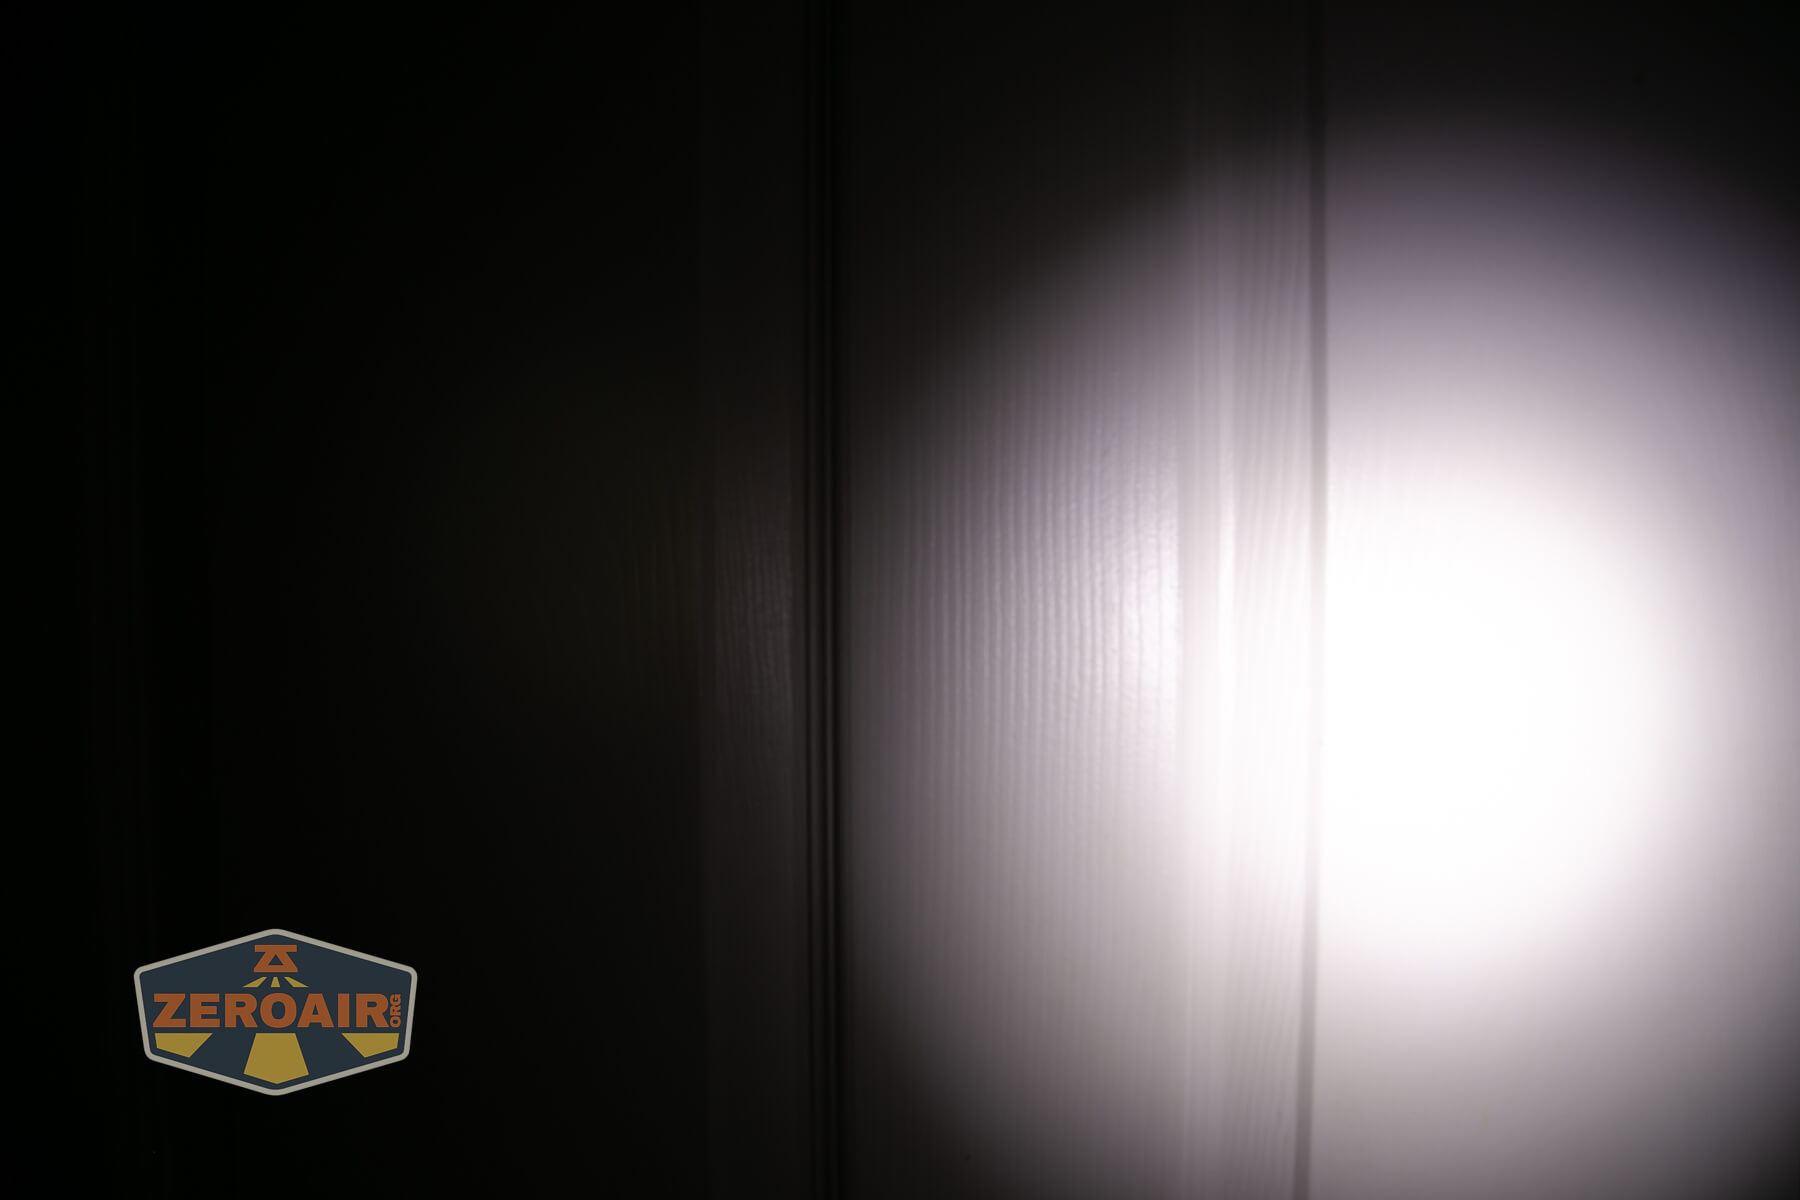
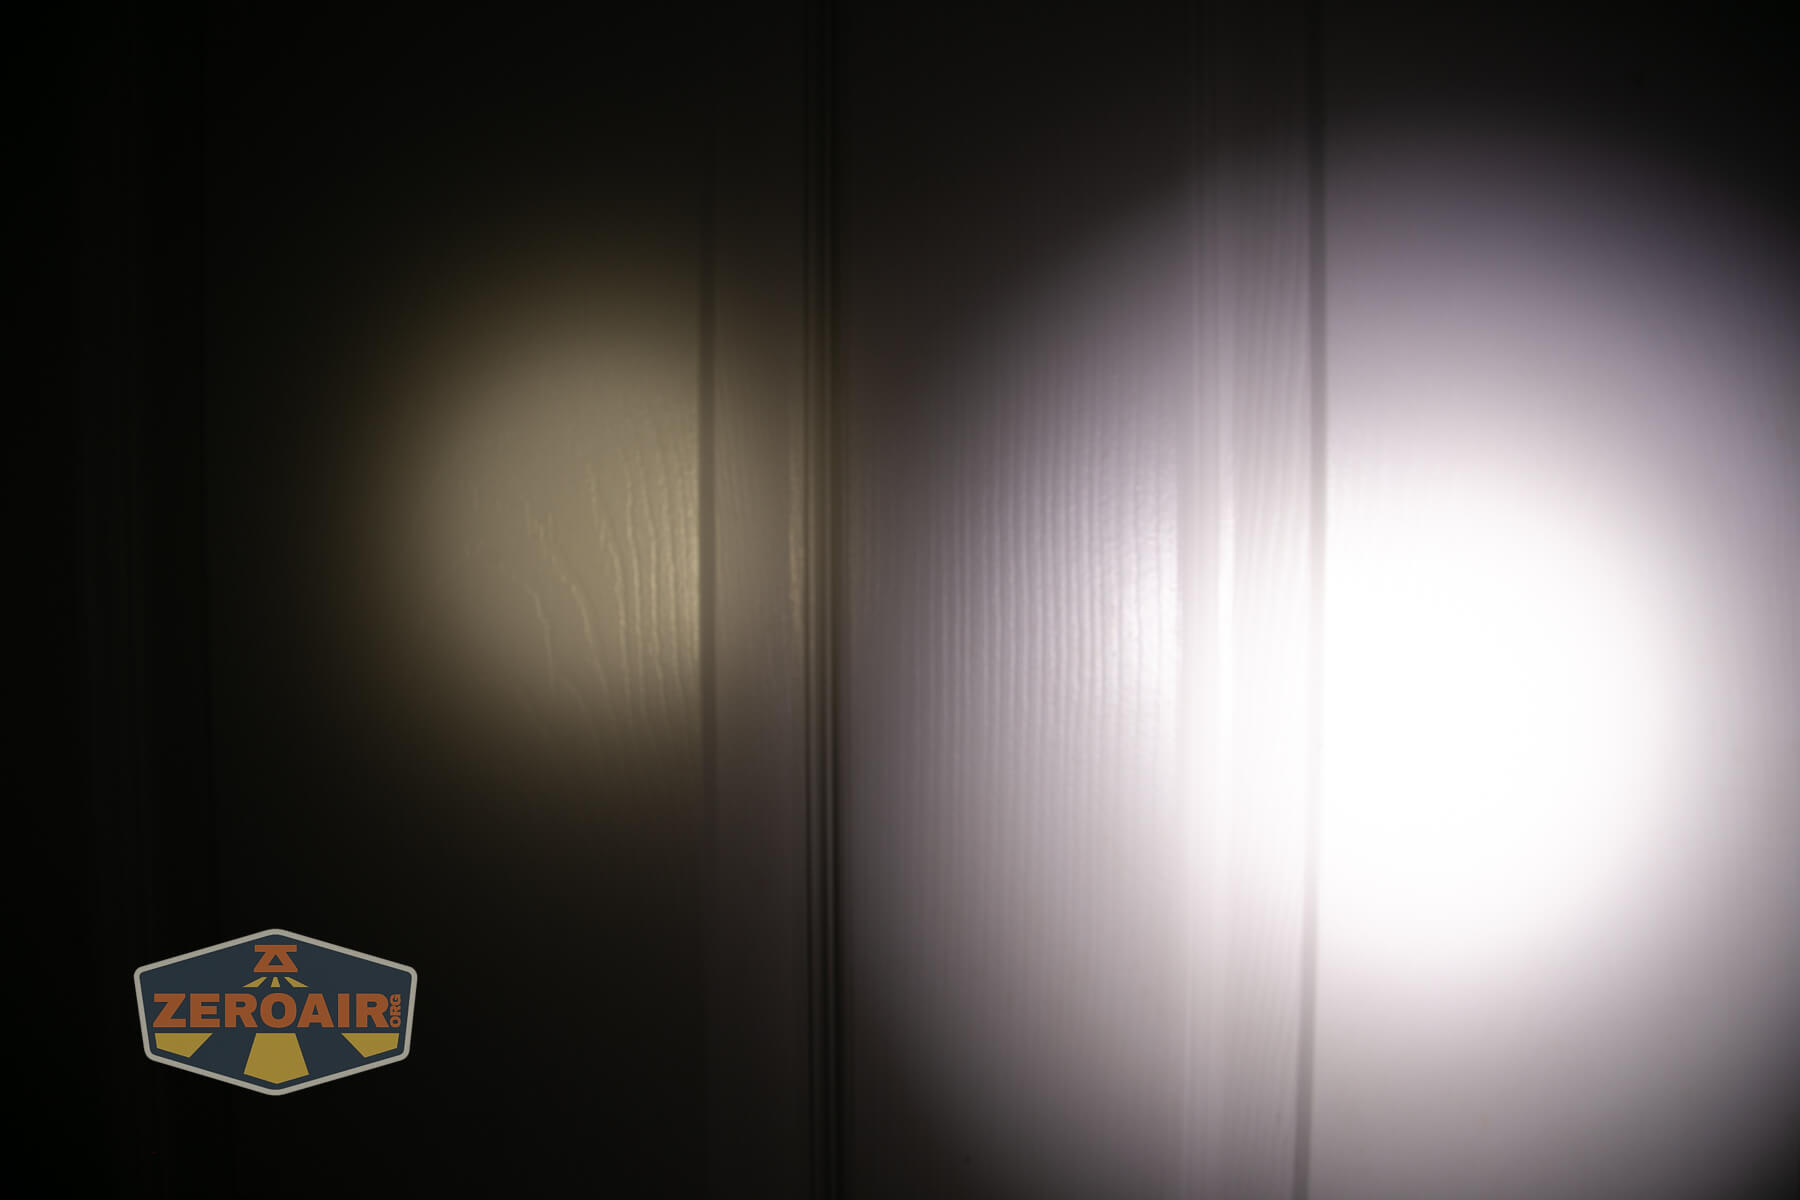

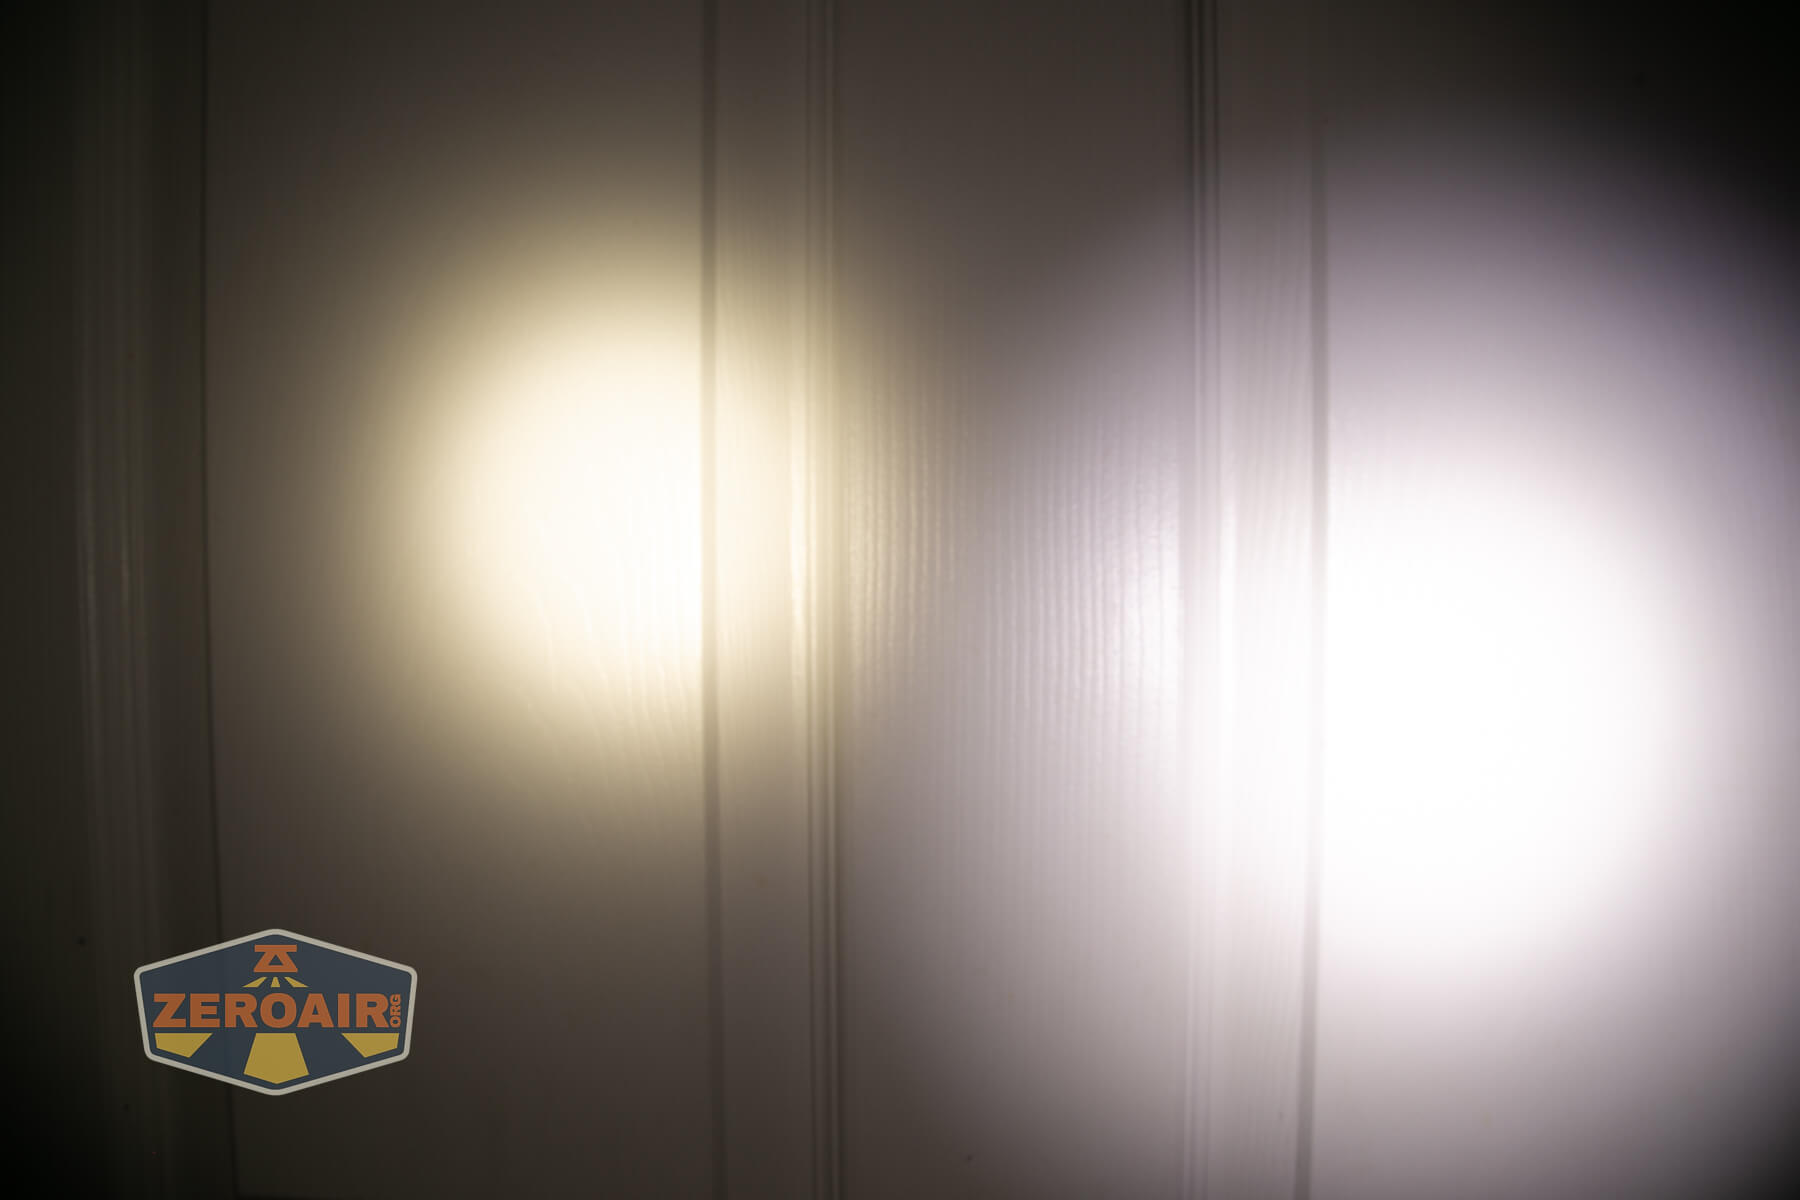
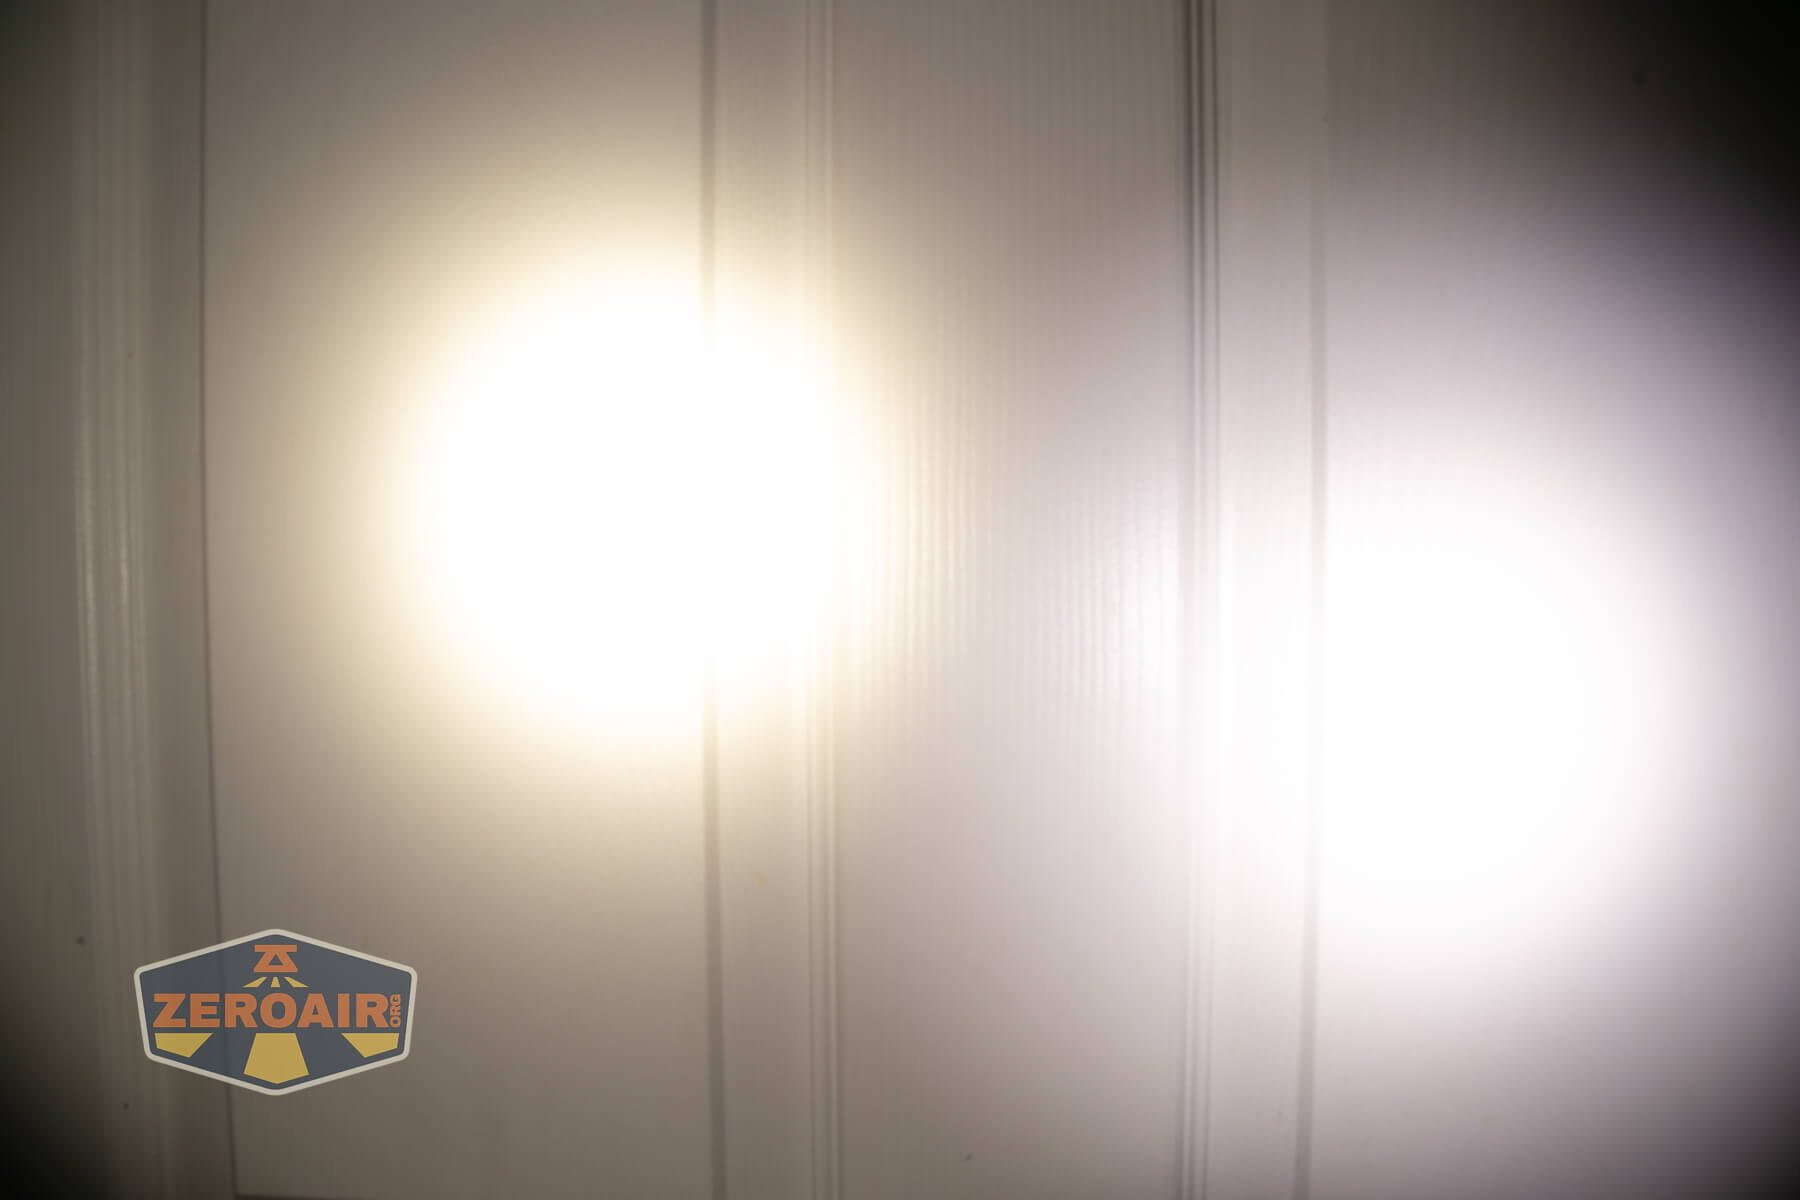
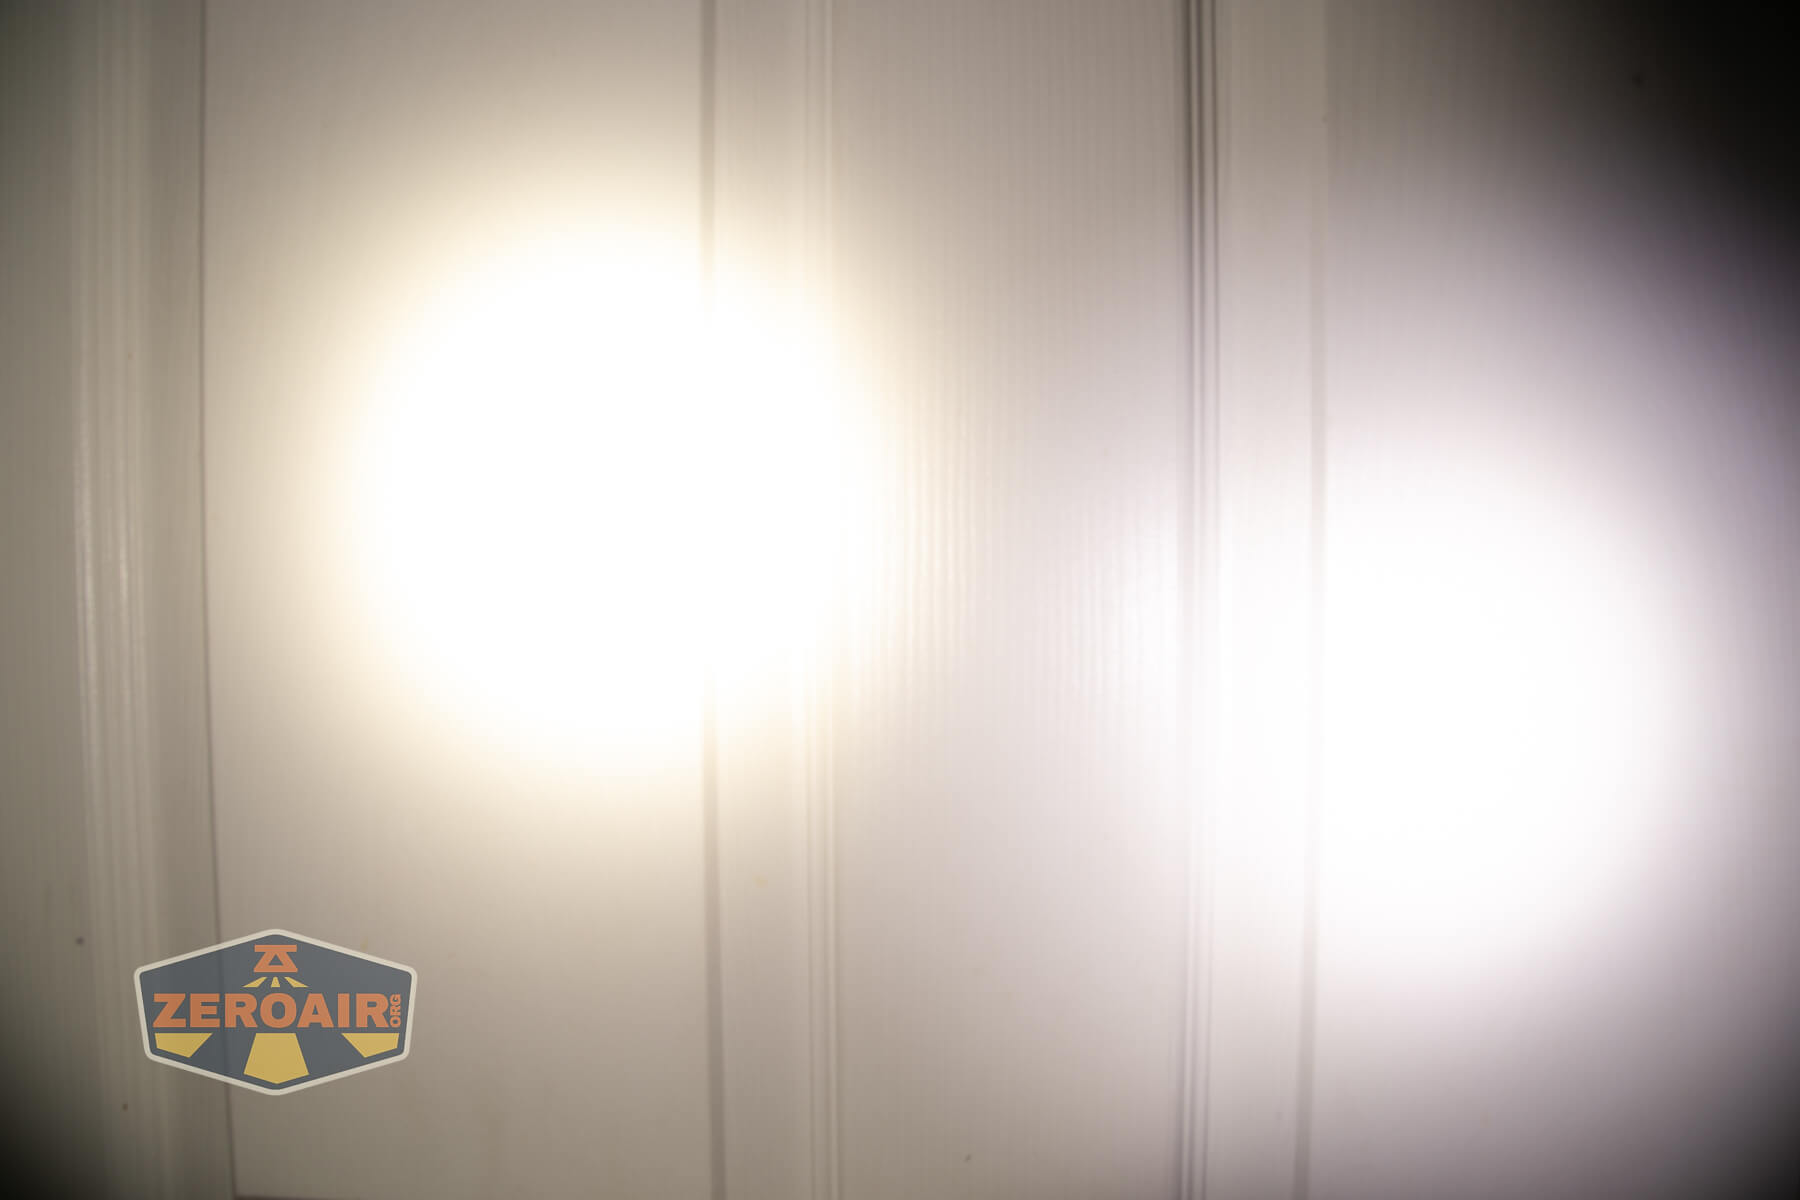

I compare everything to the KillzoneFlashlights.com 219b BLF-348 because it’s inexpensive and has the best tint!
Conclusion
What I like
- Complete package
- Runs on both 1.5V cells, and 3.7V (lithium-ion) cells
- This new Skilhunt user interface has something for everyone (and I like the UI)
- The button is perfectly clicky, and ‘pinch to click’ opposite the charge port works nicely too
- Nice charging built-in
- Updated pocket clip is fantastic
What I don’t like
- The output is way below the specification in the manual (I wonder if the manual is written for another emitter?)
- Charging requires a proprietary charger cable
Notes
- This content originally appeared at zeroair.org. Please visit there for the best experience!
- Please use my Amazon.com referral link to help support zeroair.org!
- Please support me on Patreon! I deeply appreciate your support!
Discover more from ZeroAir Reviews
Subscribe to get the latest posts sent to your email.
It appears that manufacturers are getting away from those incredible huge lumen counts. The turbo mode on those inflated lumen flashlights are useless so why do they even have a turbo mode?