Lumintop FW1A Pro Flashlight Review
The Lumintop FW1A Pro flashlight is a 18650 light with Andúril, a Cree XHP50.2 under a reflector. Read on to see what I think!
Official Specs and Features
Here’s a link to the Lumintop FW1A Pro Flashlight product page.
Versions
The FW series is storied – you can see all the many versions of that elsewhere. Of the FW1A Pro, there’s only this version. Worth mentioning is why this one’s called the “Pro”. There’s the FW1A version too, which is a Cree XP-L HI emitter light. I reviewed that one here.
Price
This one’s going for $49.95 currently.
Short Review
This Pro version is pretty fun. The output is just massive (but very short-lived), and the build is still great, just like it was on the FW1A. I do wish the XHP50.2 offered a better temperature/tint combo, but maybe that’s in the pipeline.
Long Review
The Big Table
| Lumintop FW1A Pro | |
|---|---|
| Emitter: | Cree XHP50.2 |
| Price in USD at publication time: | $49.95 |
| Cell: | 1×18650 |
| Turbo Runtime | High Runtime |
| LVP? | Yes |
| Switch Type: | E-Switch |
| Quiescent Current (A): | |
| On-Board Charging? | No |
| Claimed Lumens (lm) | 3500 |
| Measured Lumens (at 30s) | 891 (25.5% of claim)^ |
| Candela per Lumen | 3.9 |
| Claimed Throw (m) | 220 |
| Candela (Calculated) in cd (at 30s) | 180lux @ 4.798m = 4144cd |
| Throw (Calculated) (m) | 128.7 (58.5% of claim)^ |
| All my Lumintop reviews! | |
^ Measurement disclaimer: Testing flashlights is my hobby. I use hobbyist-level equipment for testing, including some I made myself. Try not to get buried in the details of manufacturer specifications versus measurements recorded here; A certain amount of difference (say, 10 or 15%) is perfectly reasonable.
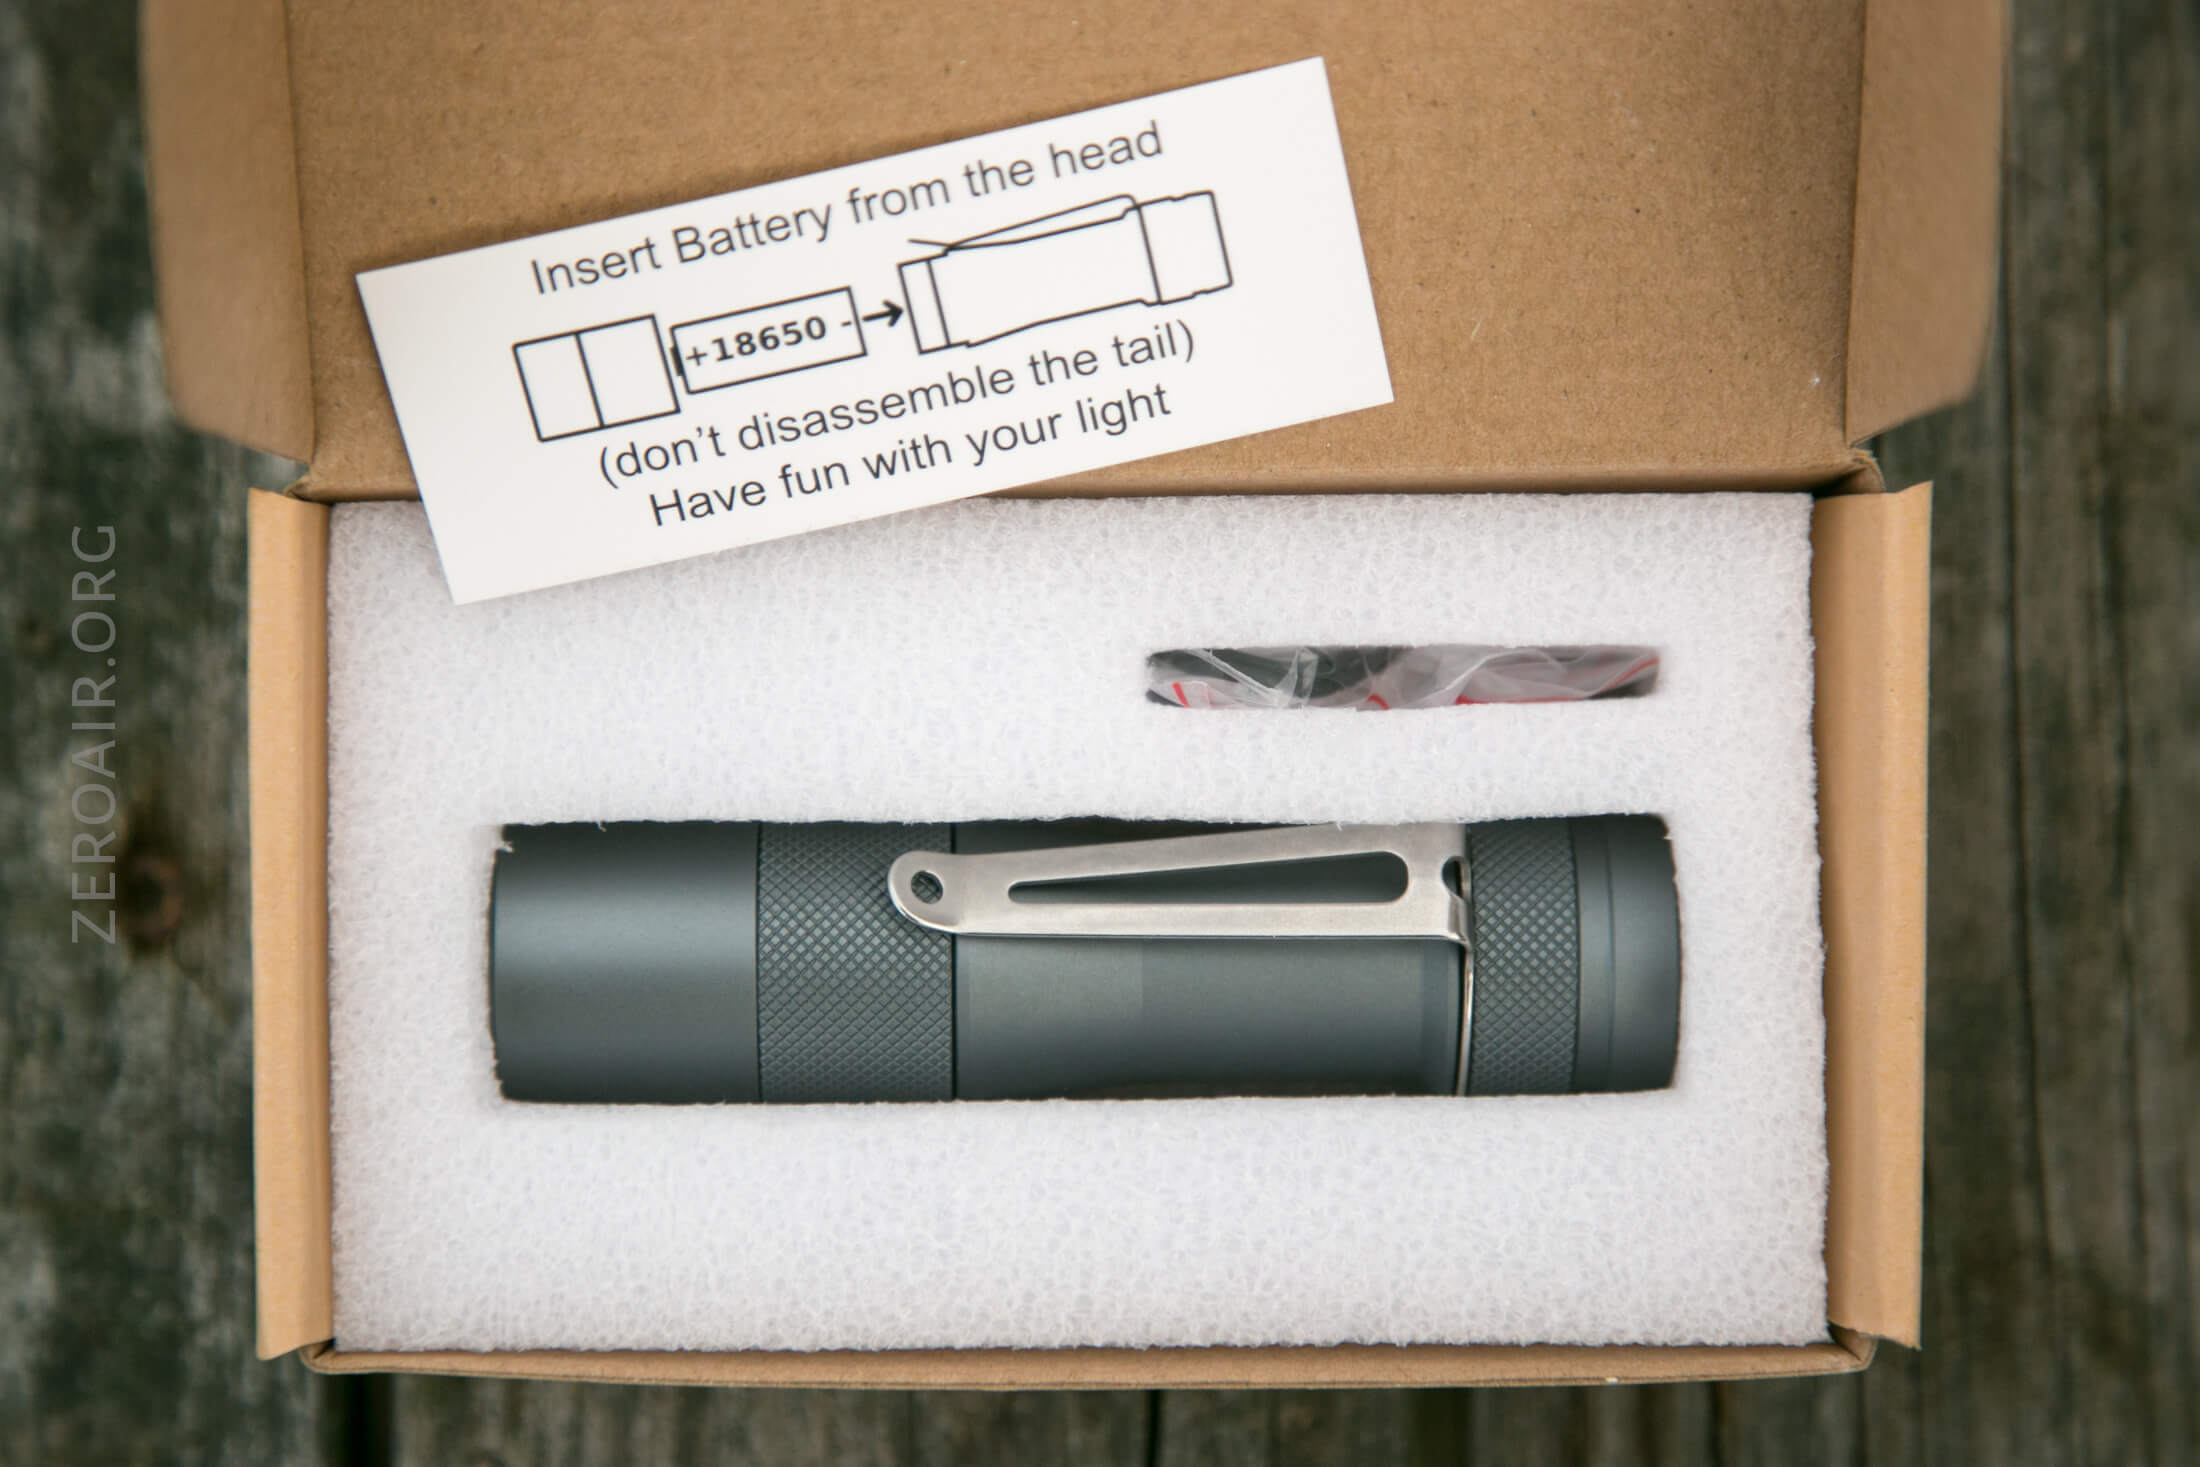
What’s Included
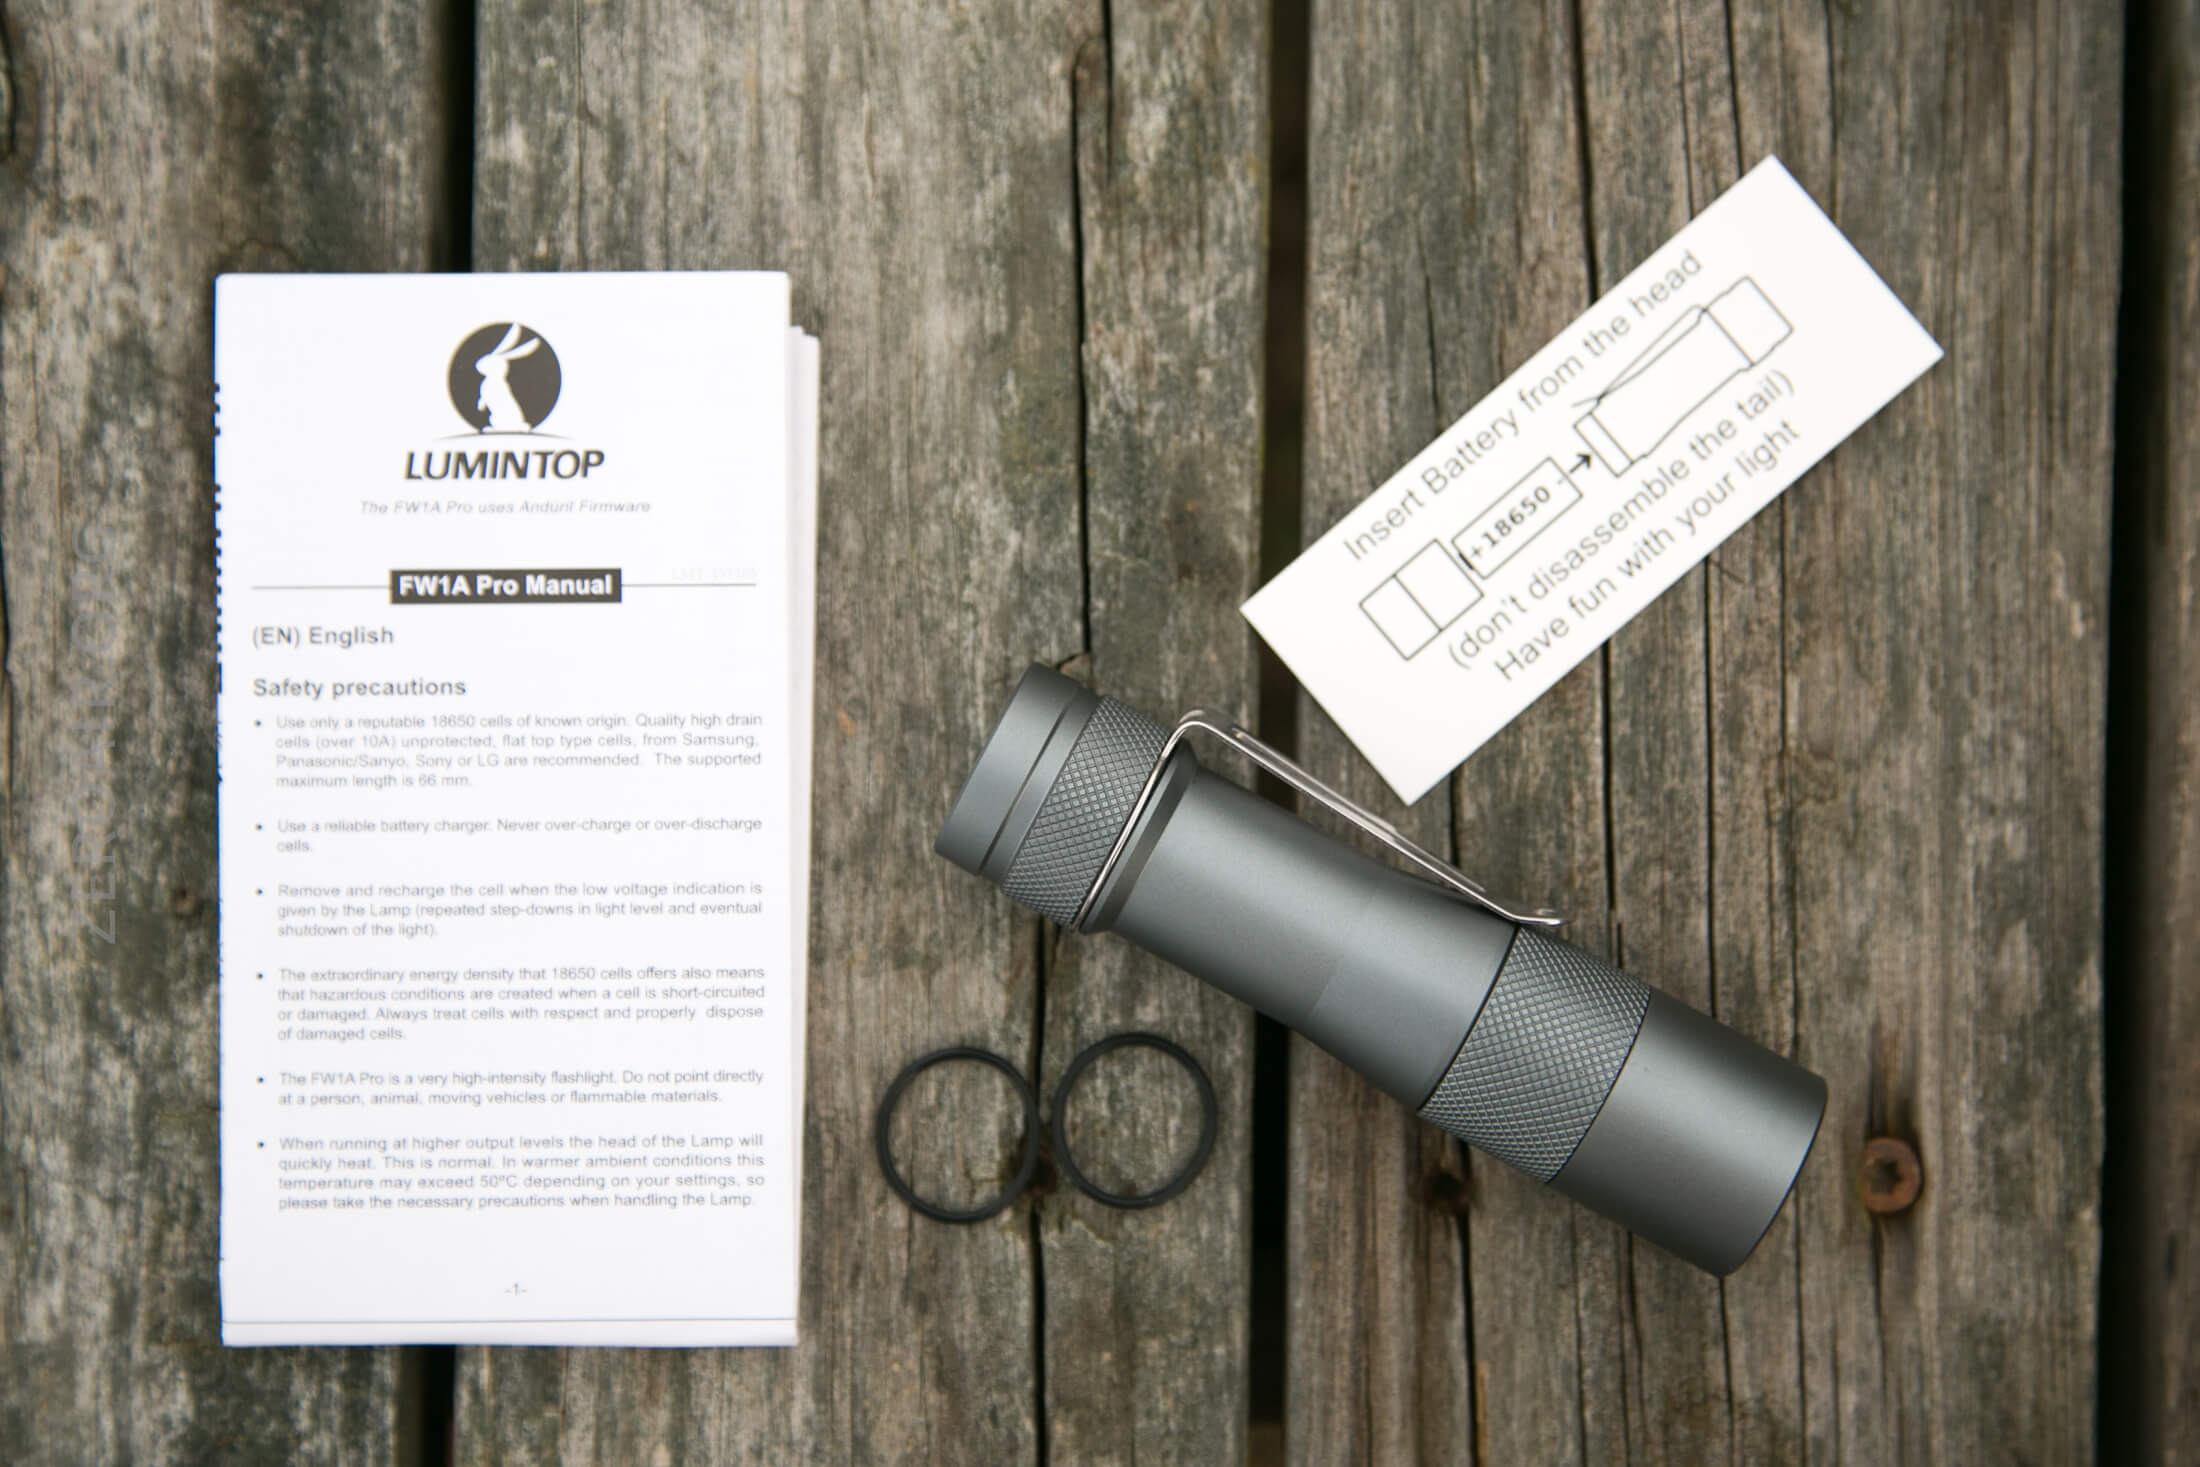
- Lumintop FW1A Pro Flashlight
- Spare o-rings (2)
- Manual
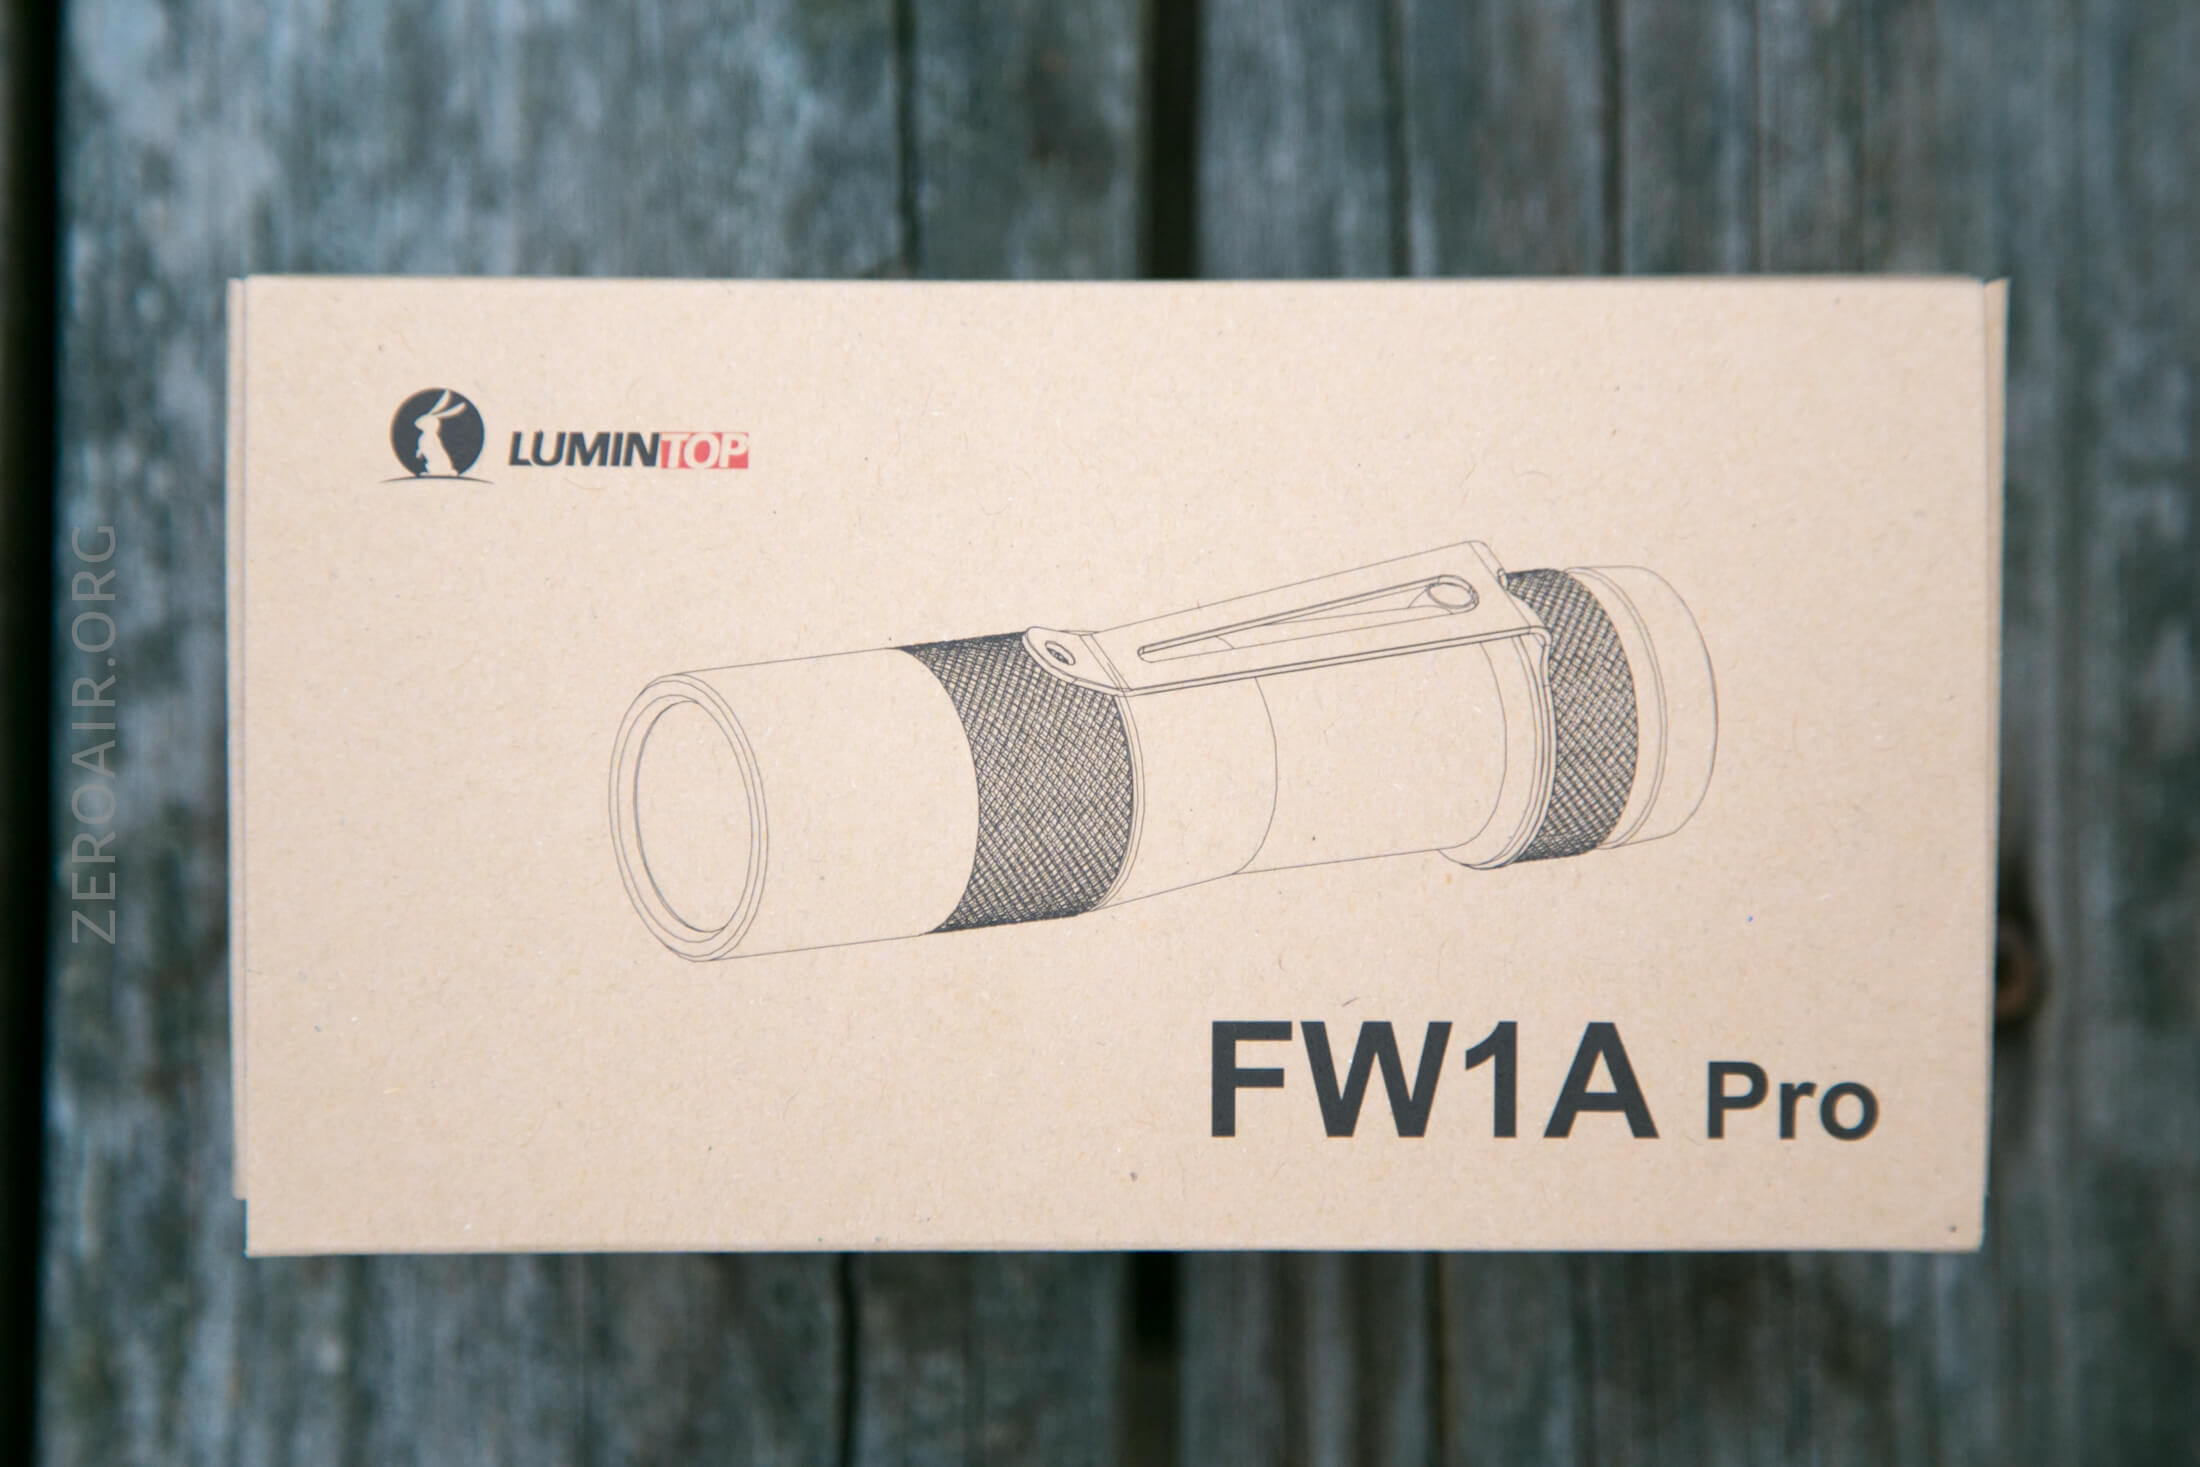
Package and Manual
Build Quality and Disassembly
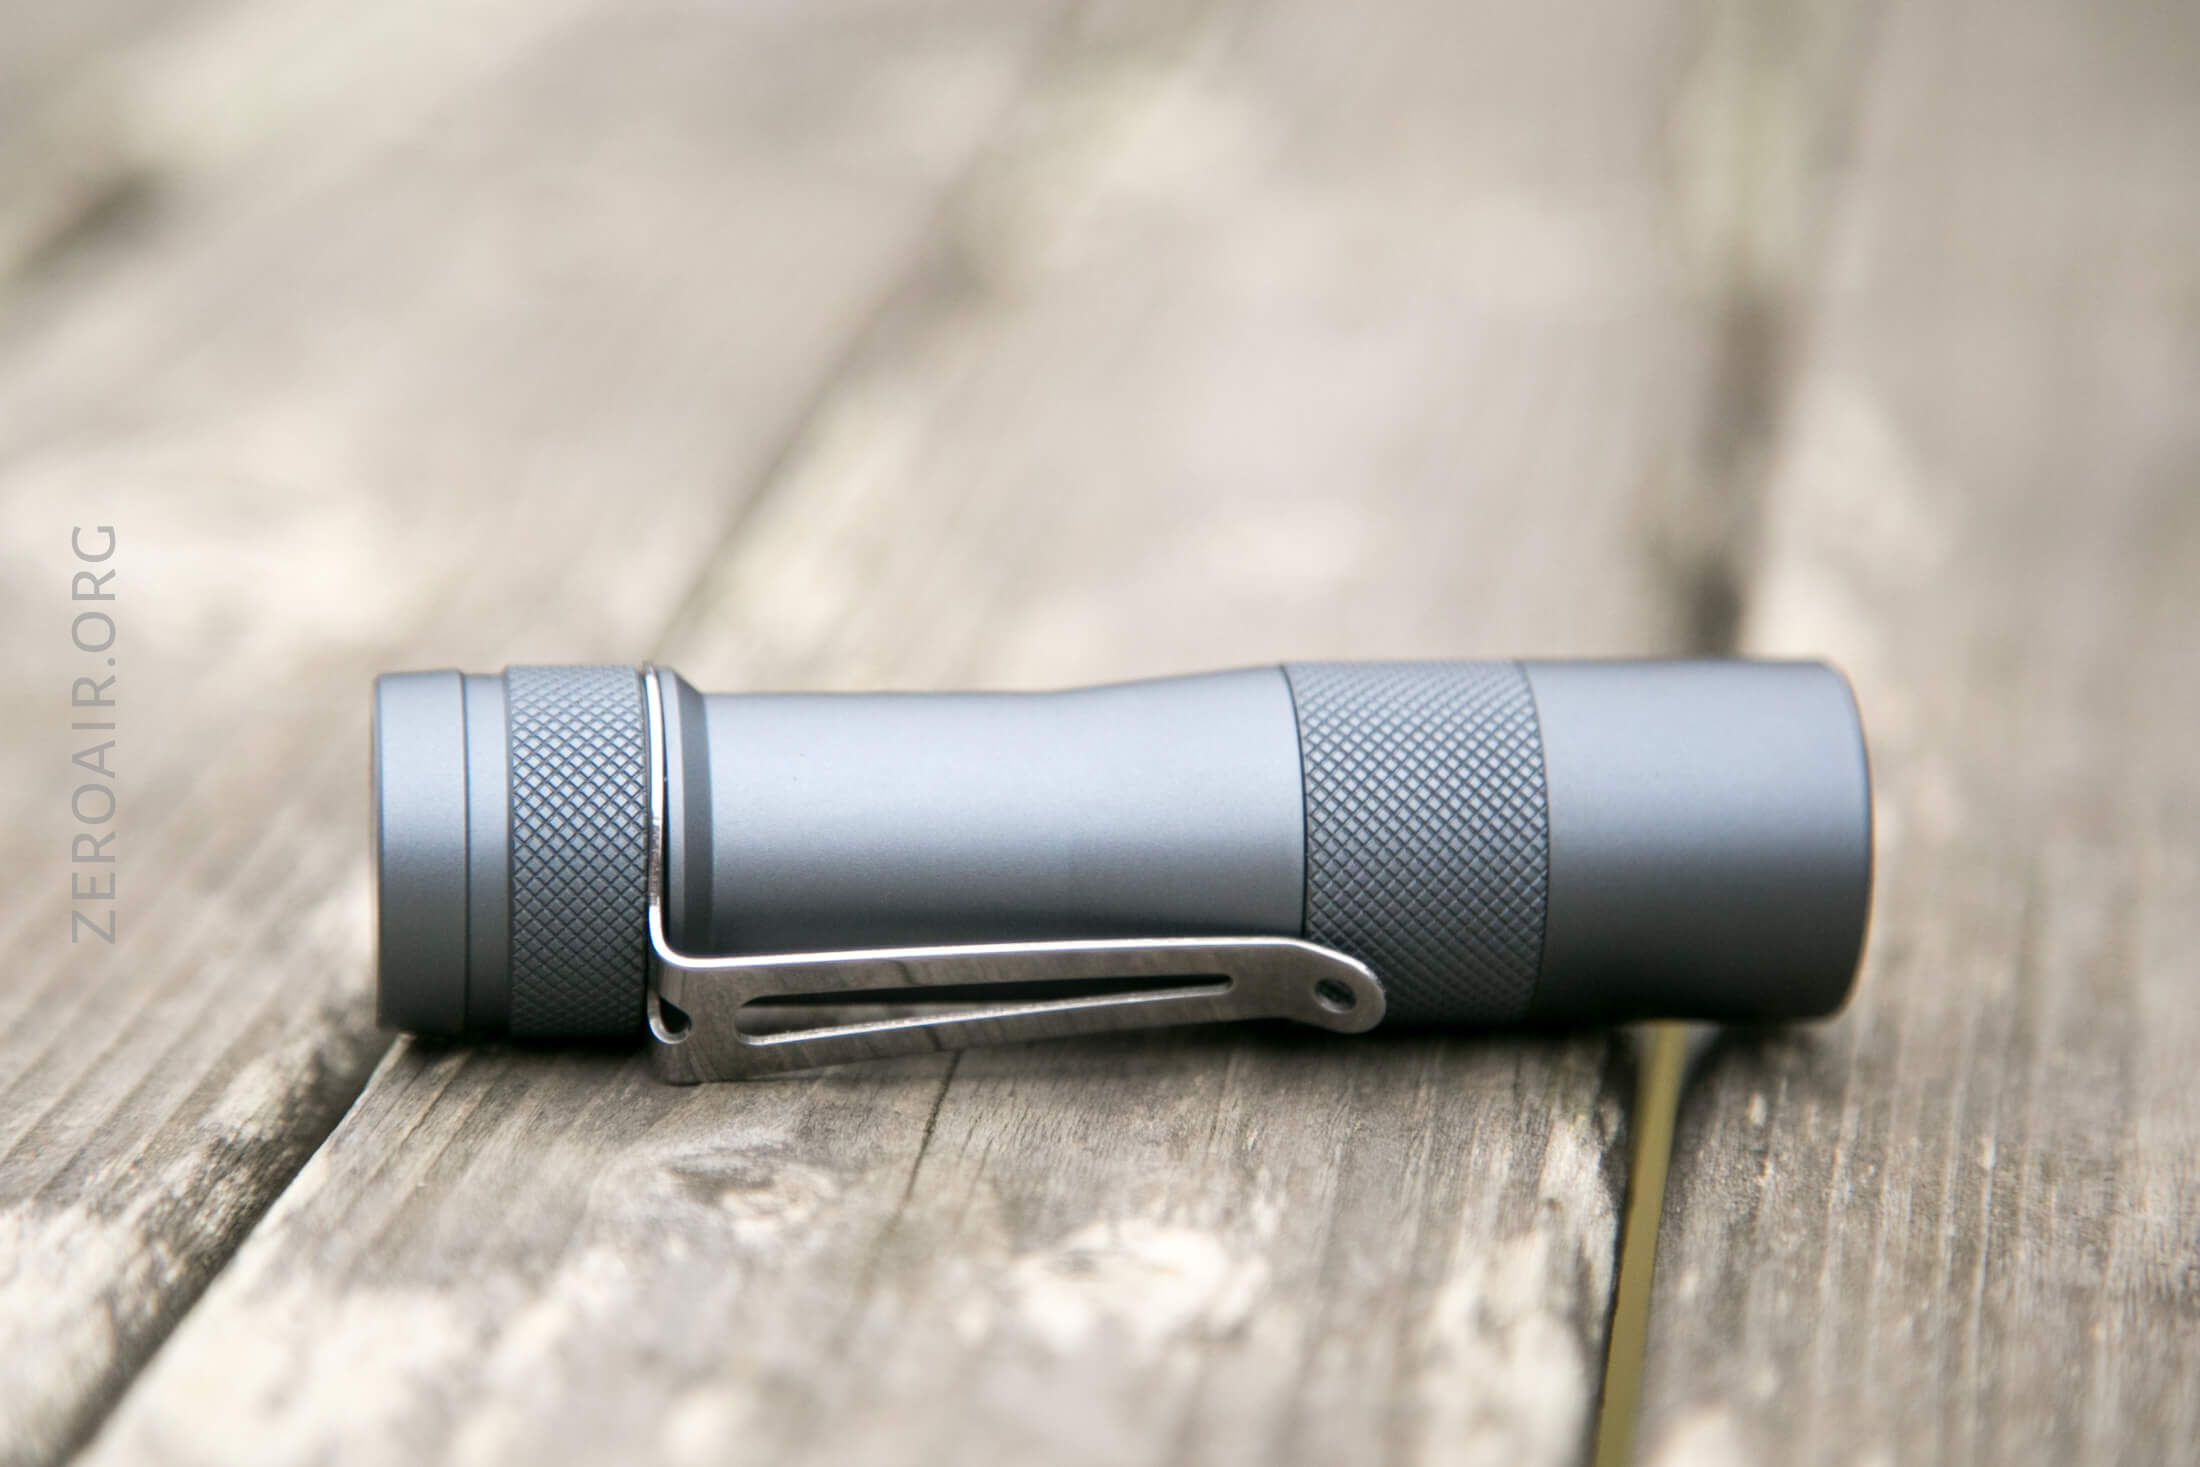
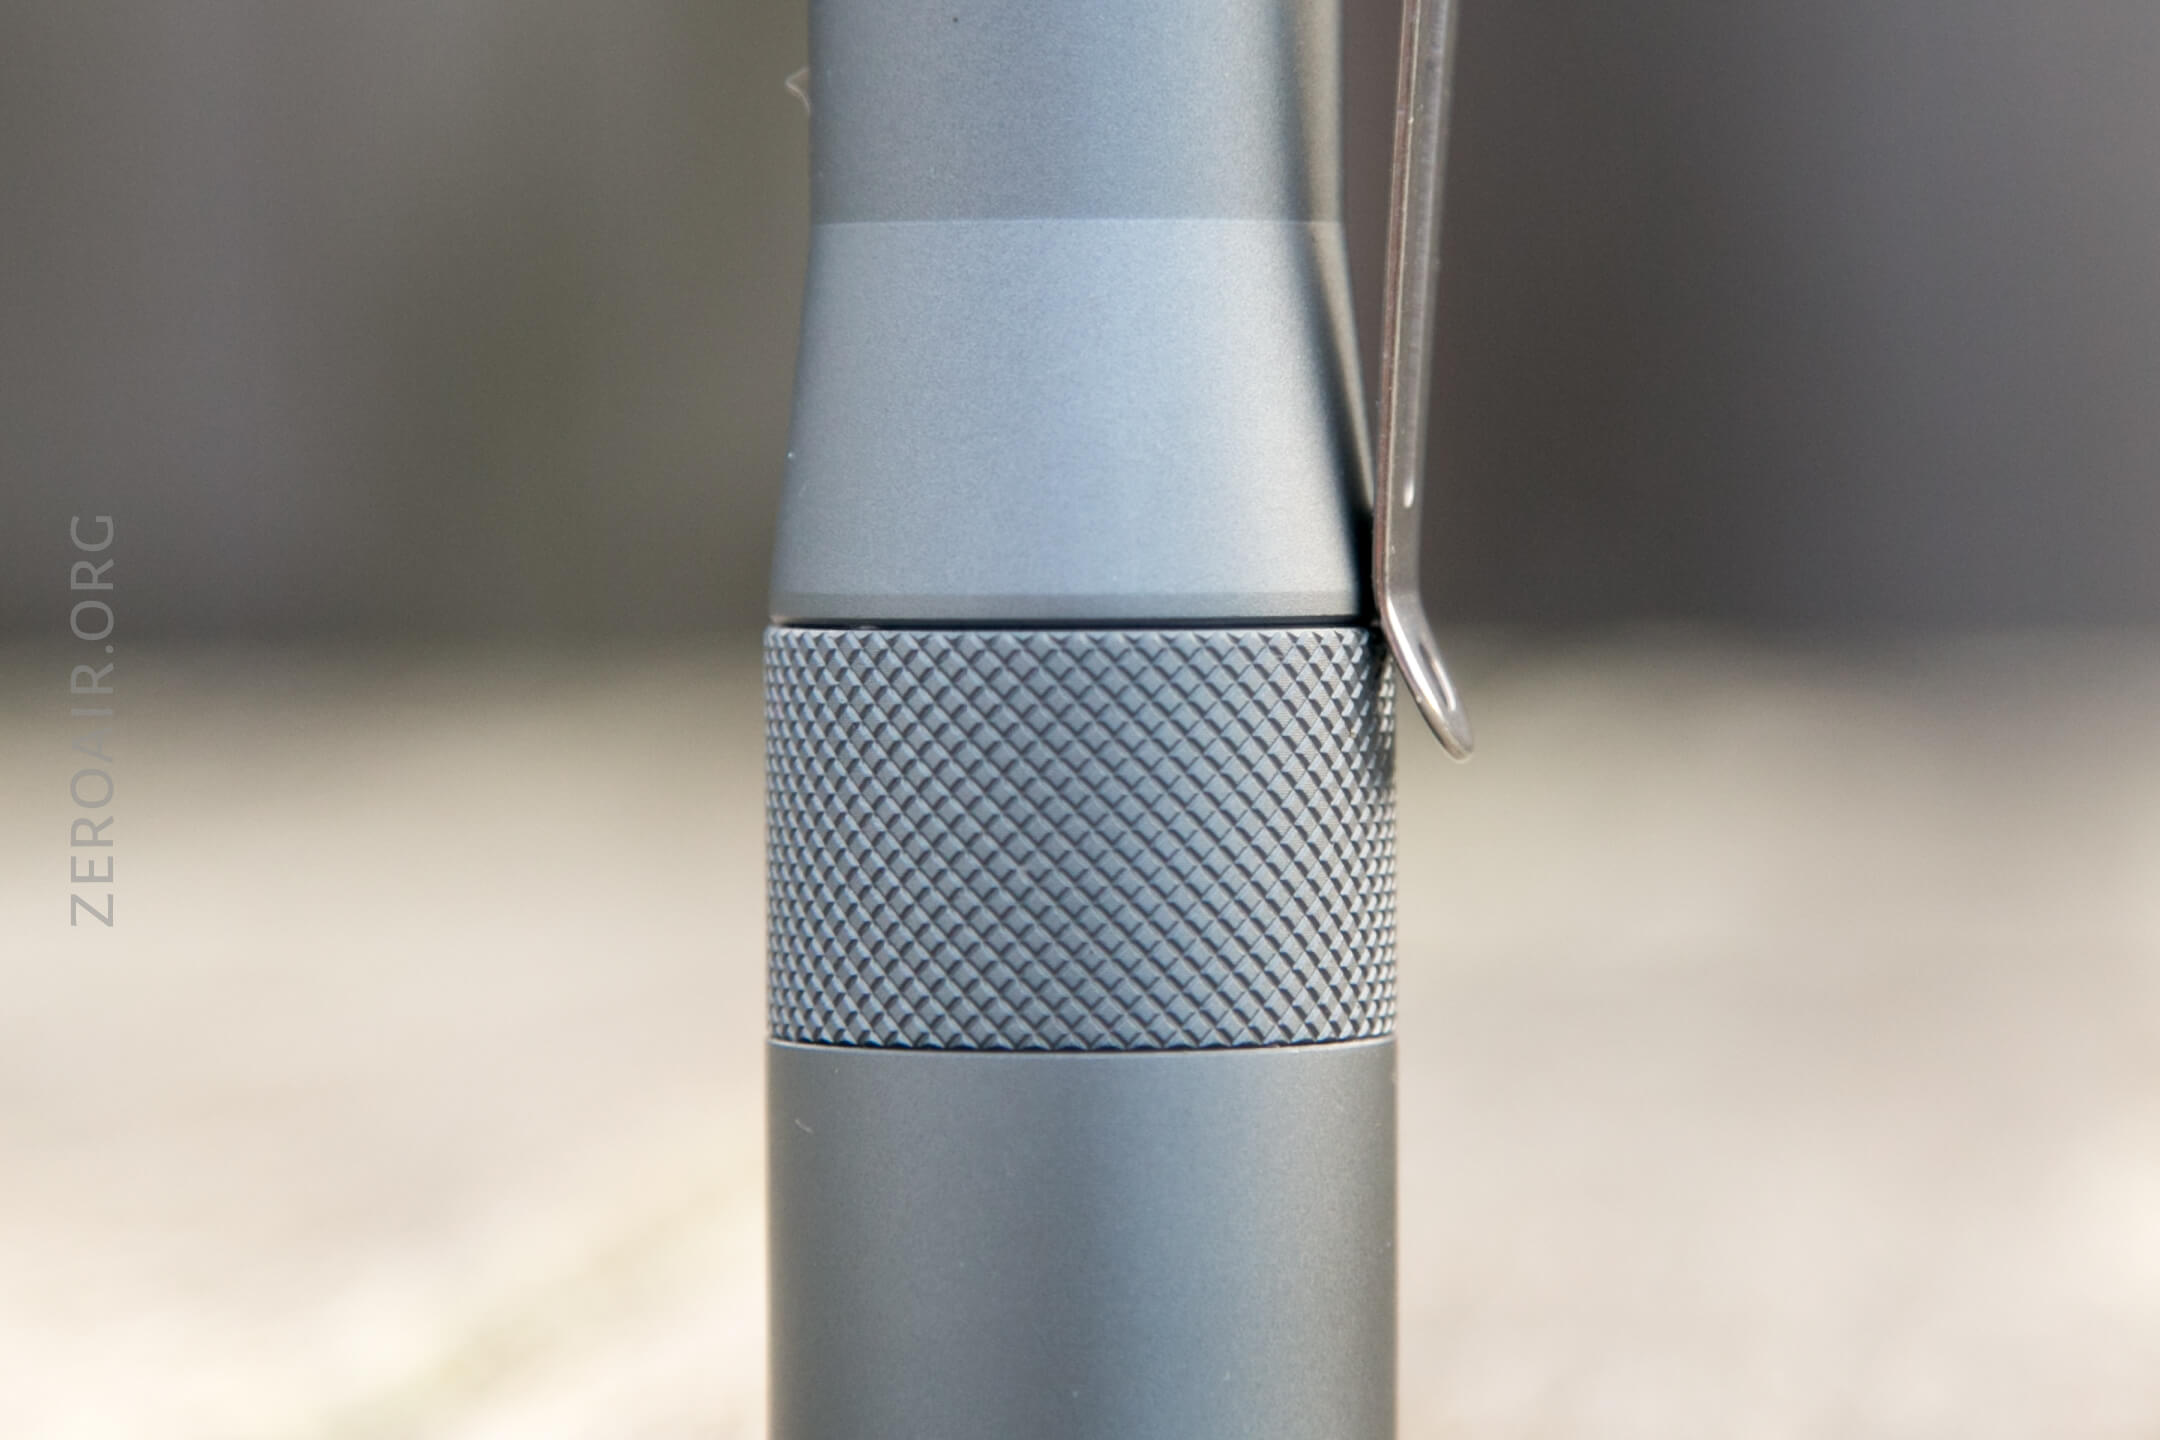
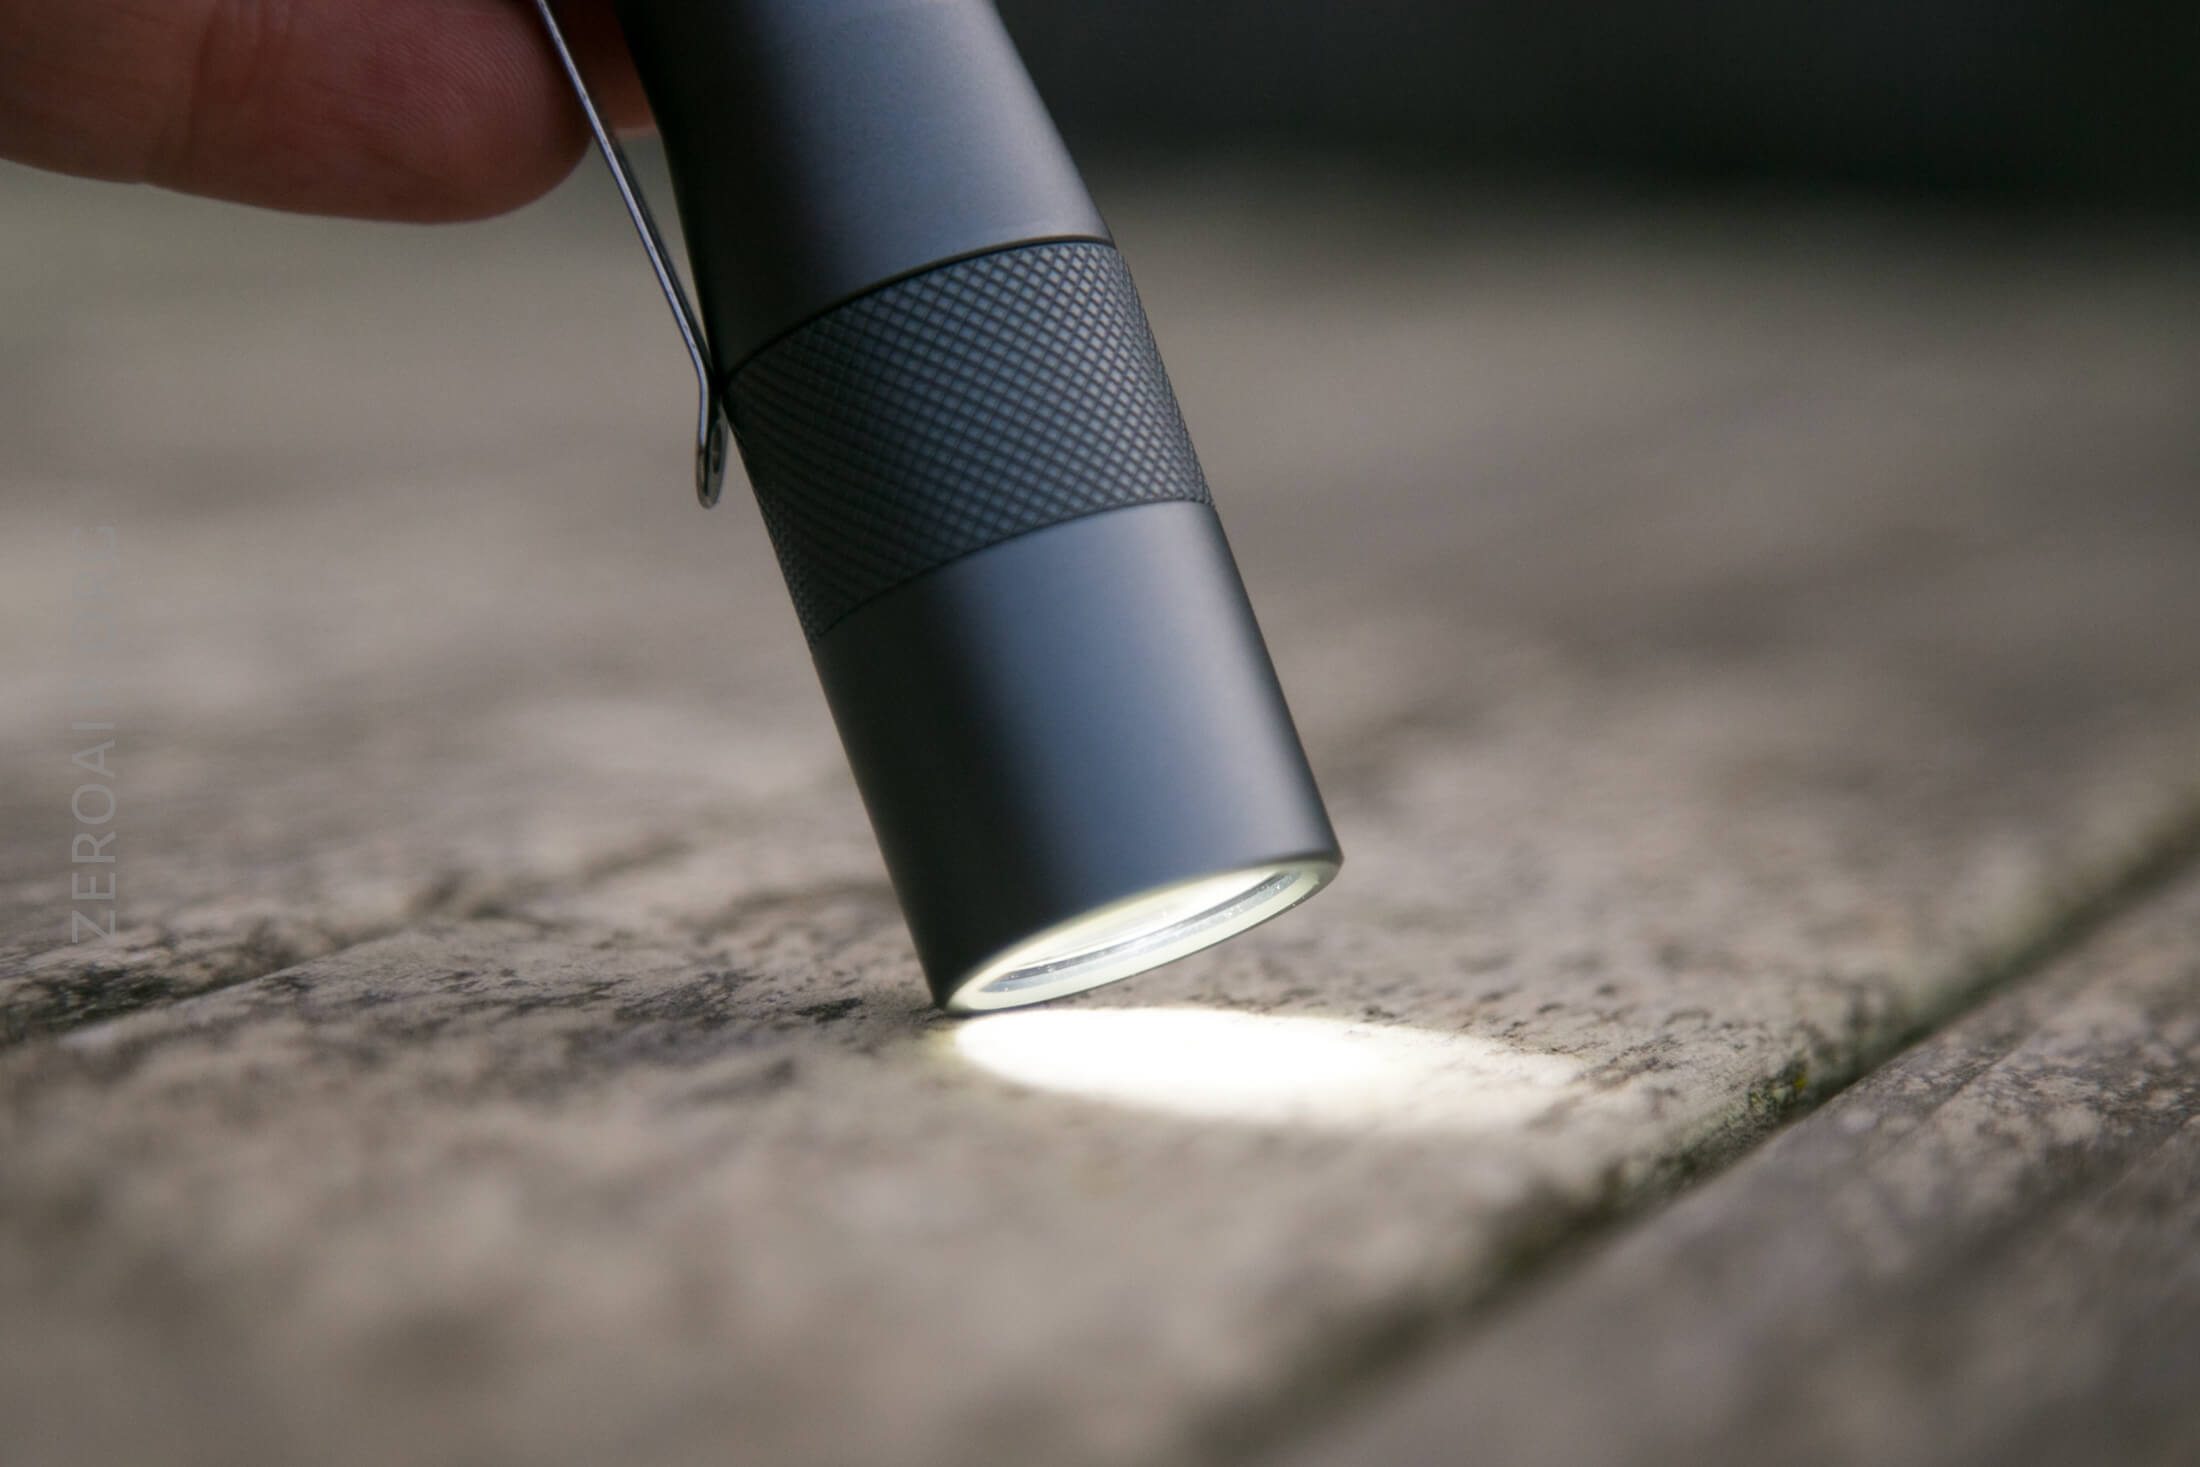
If you’ve handled any of the FW lights (and you should have by now!), then you won’t be surprised by the build quality of this light. It’s very good.
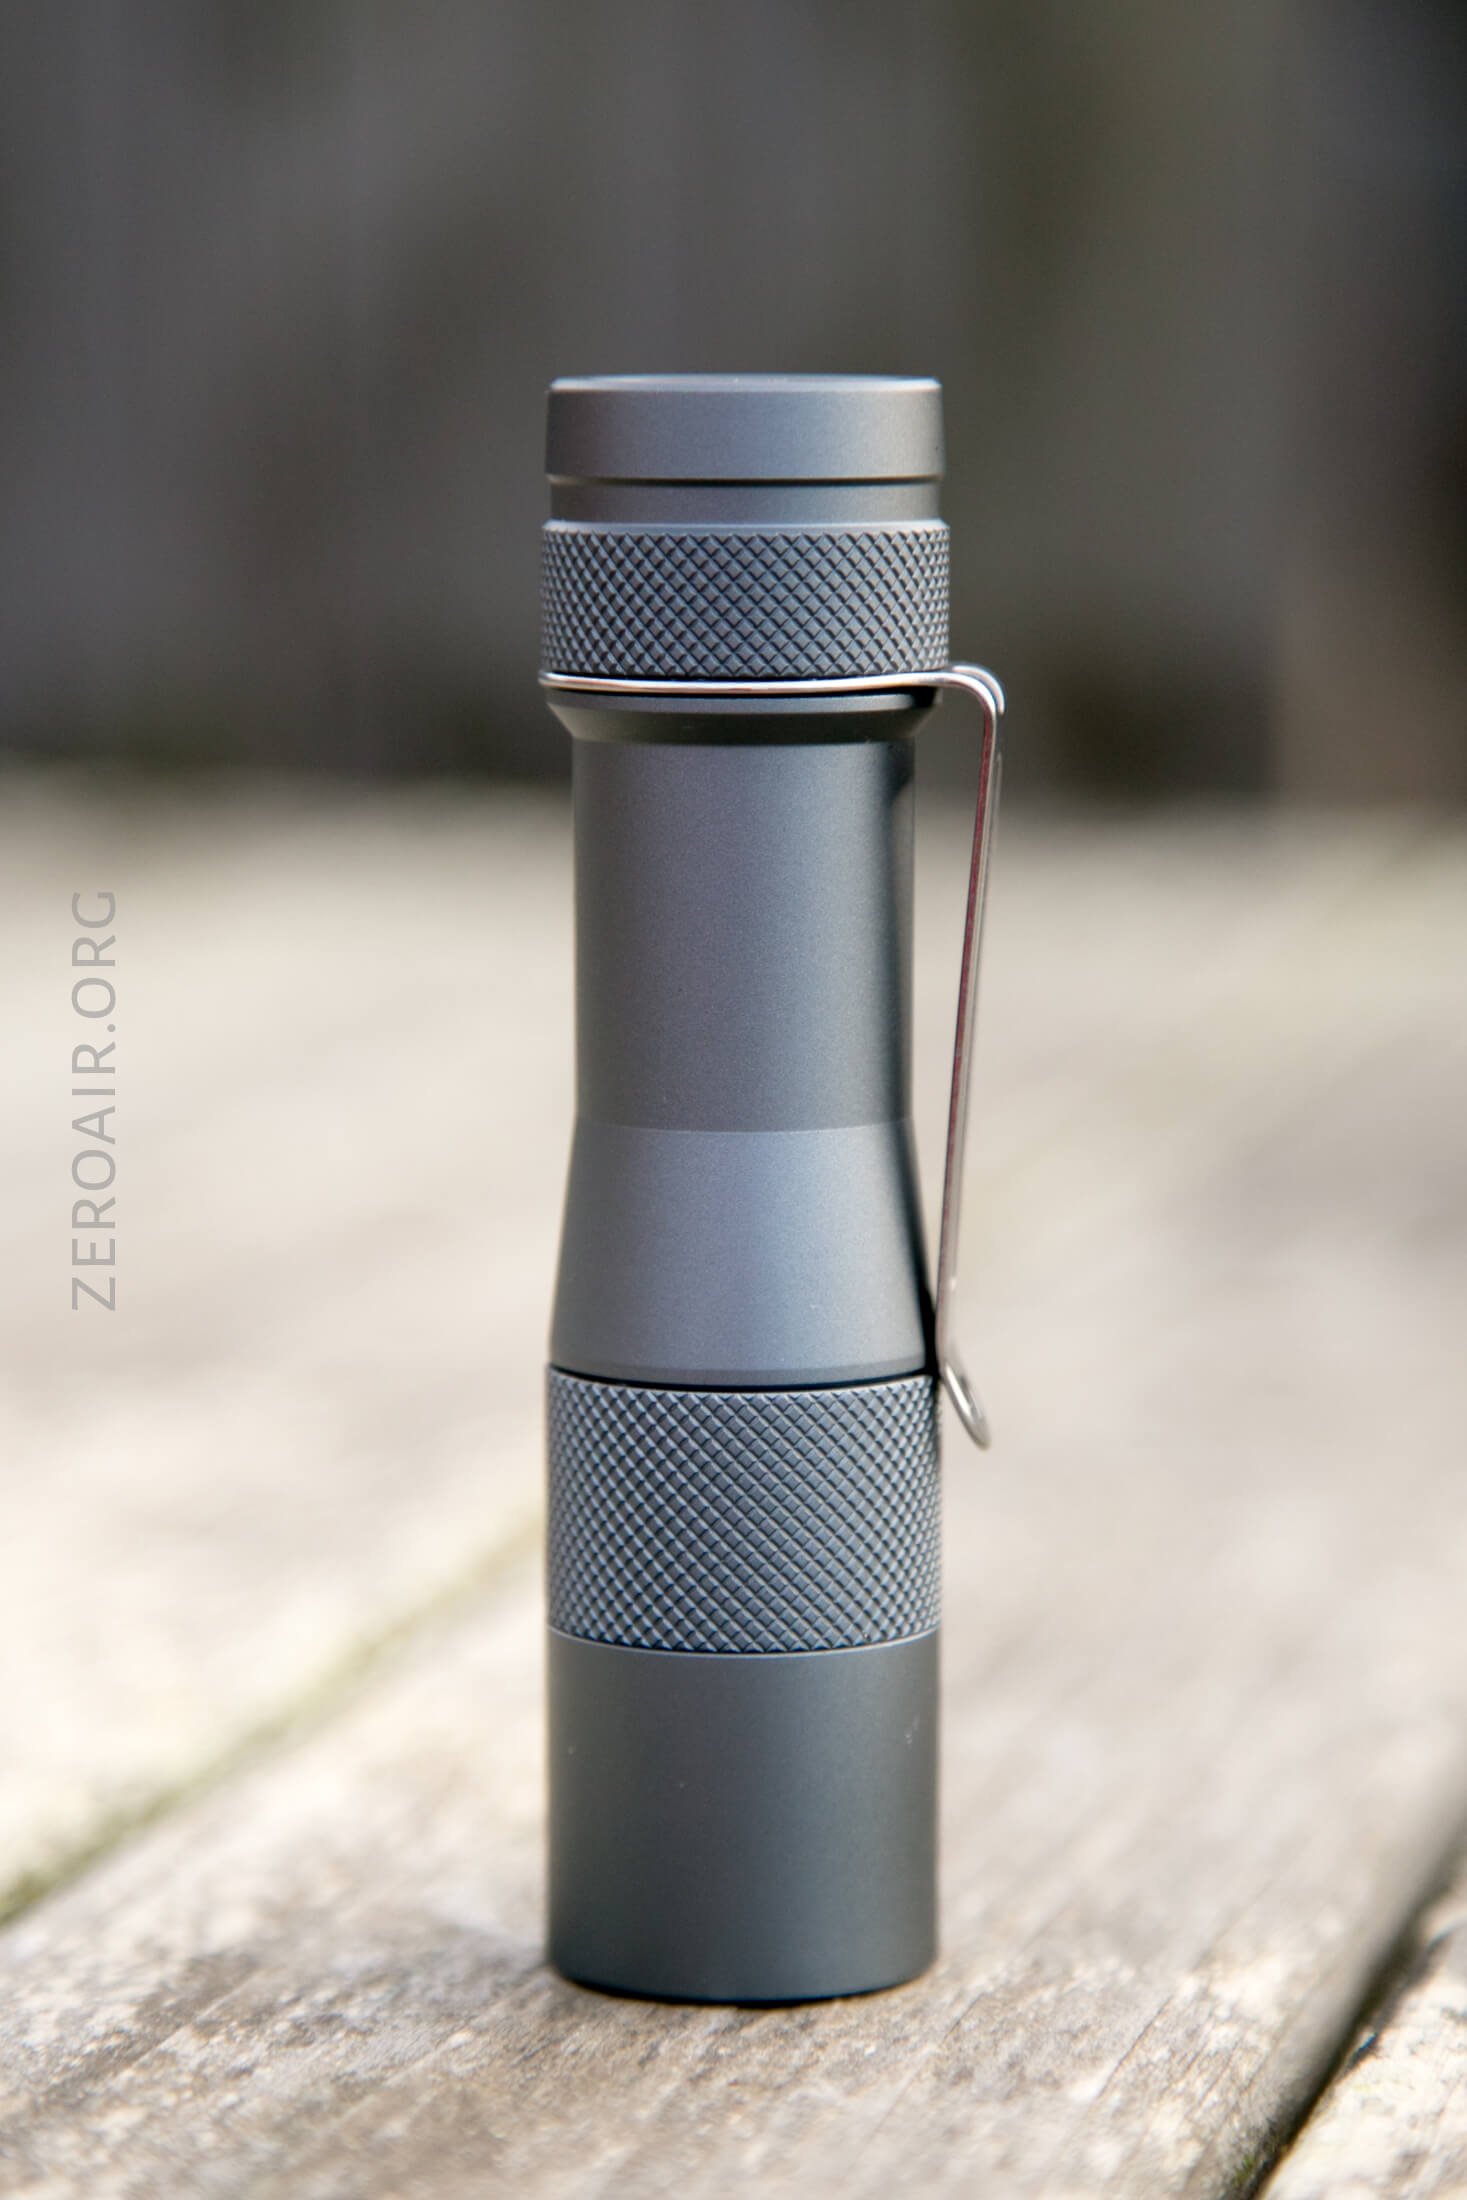
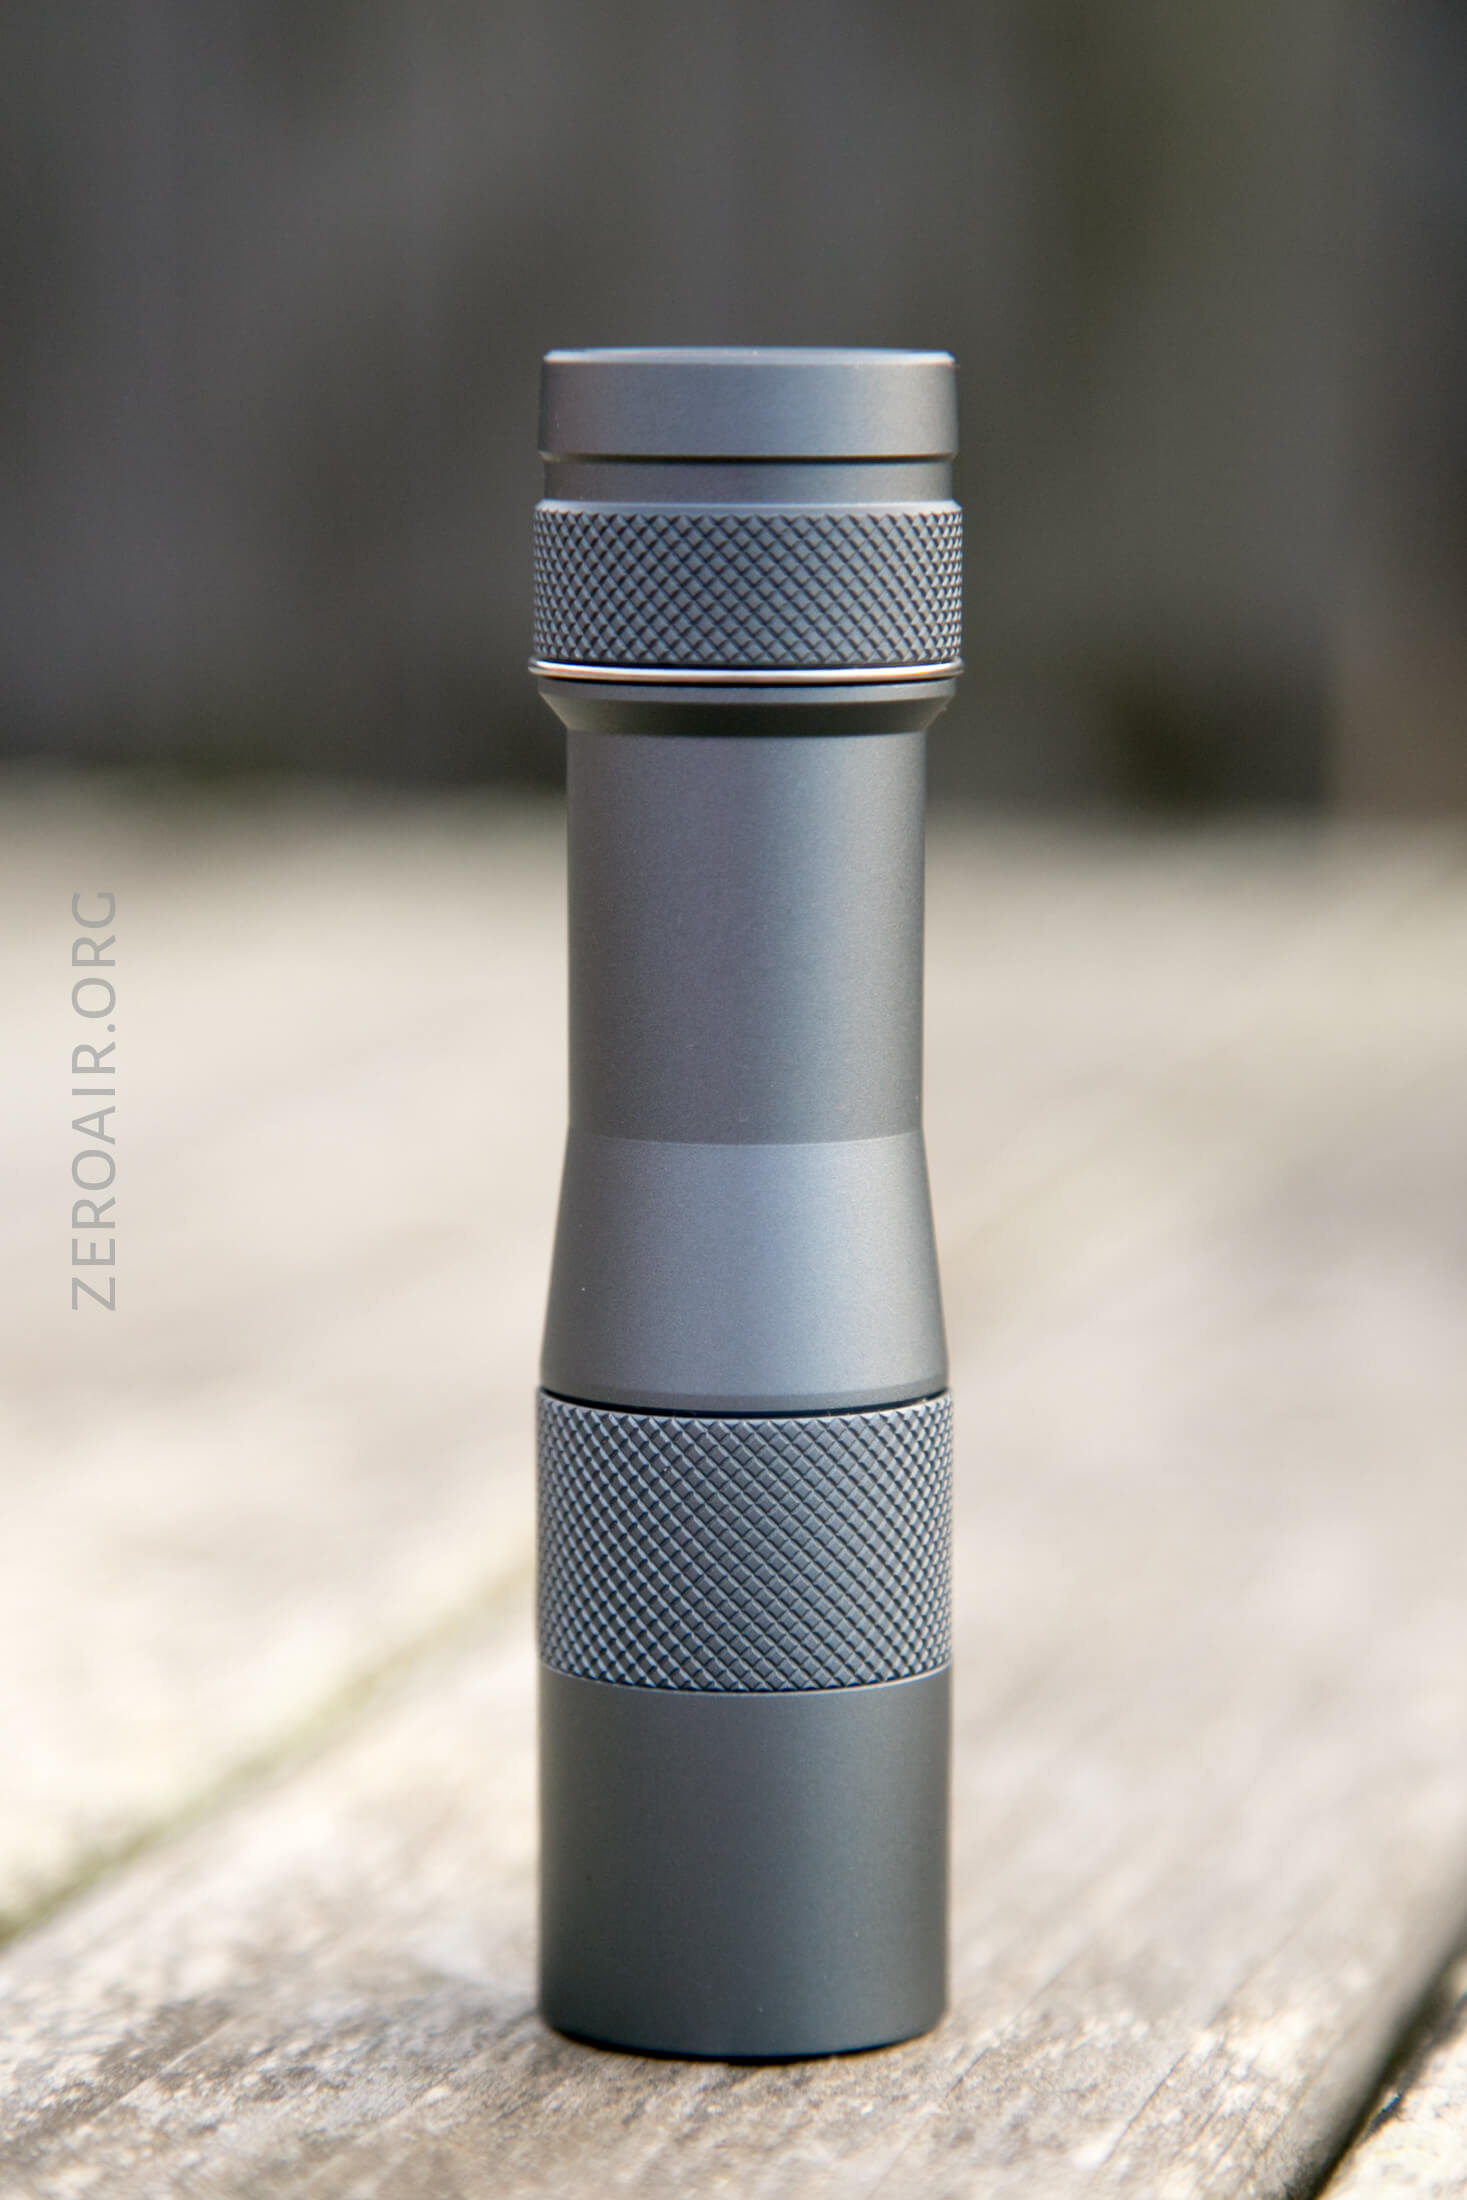
I love the knurling. Diamond cut, short, and not abrasive. Also the anodizing is very good, too.
The tailcap has knurling (still), and I think that’s probably not great (still) since you really don’t want to remove the tailcap on these lights. As a matter of fact, on this version, I’d guess that the tailcap is actually thread locked down – I could not get it to budge.
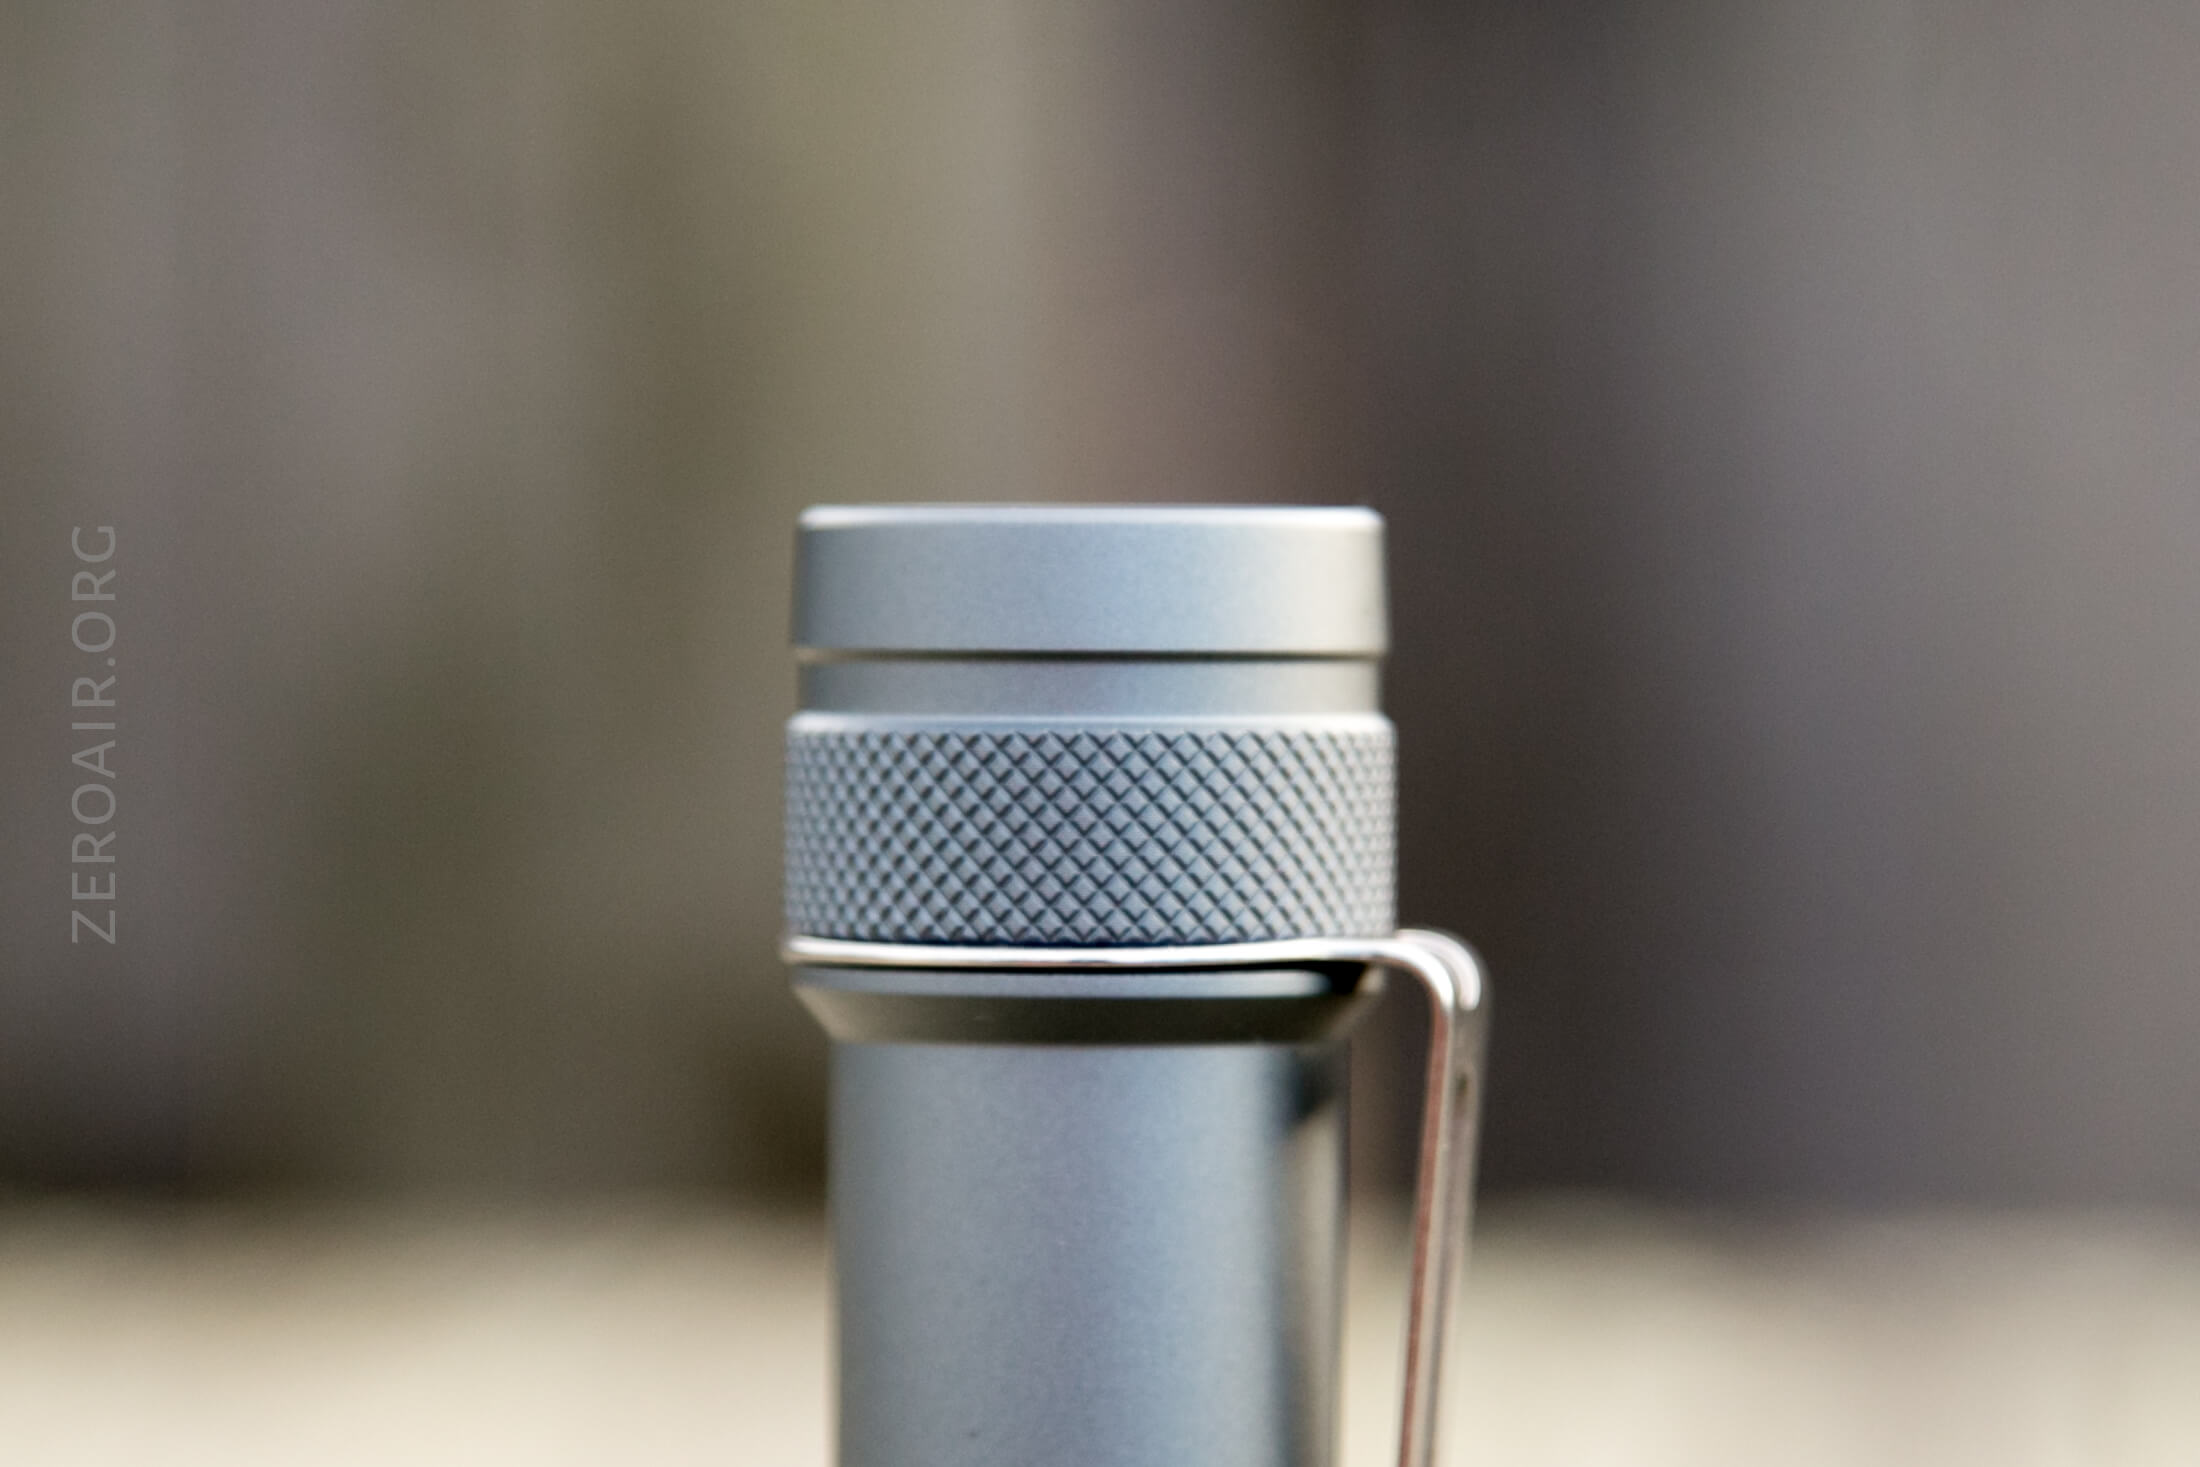
There’s a spring on the head and tail end.
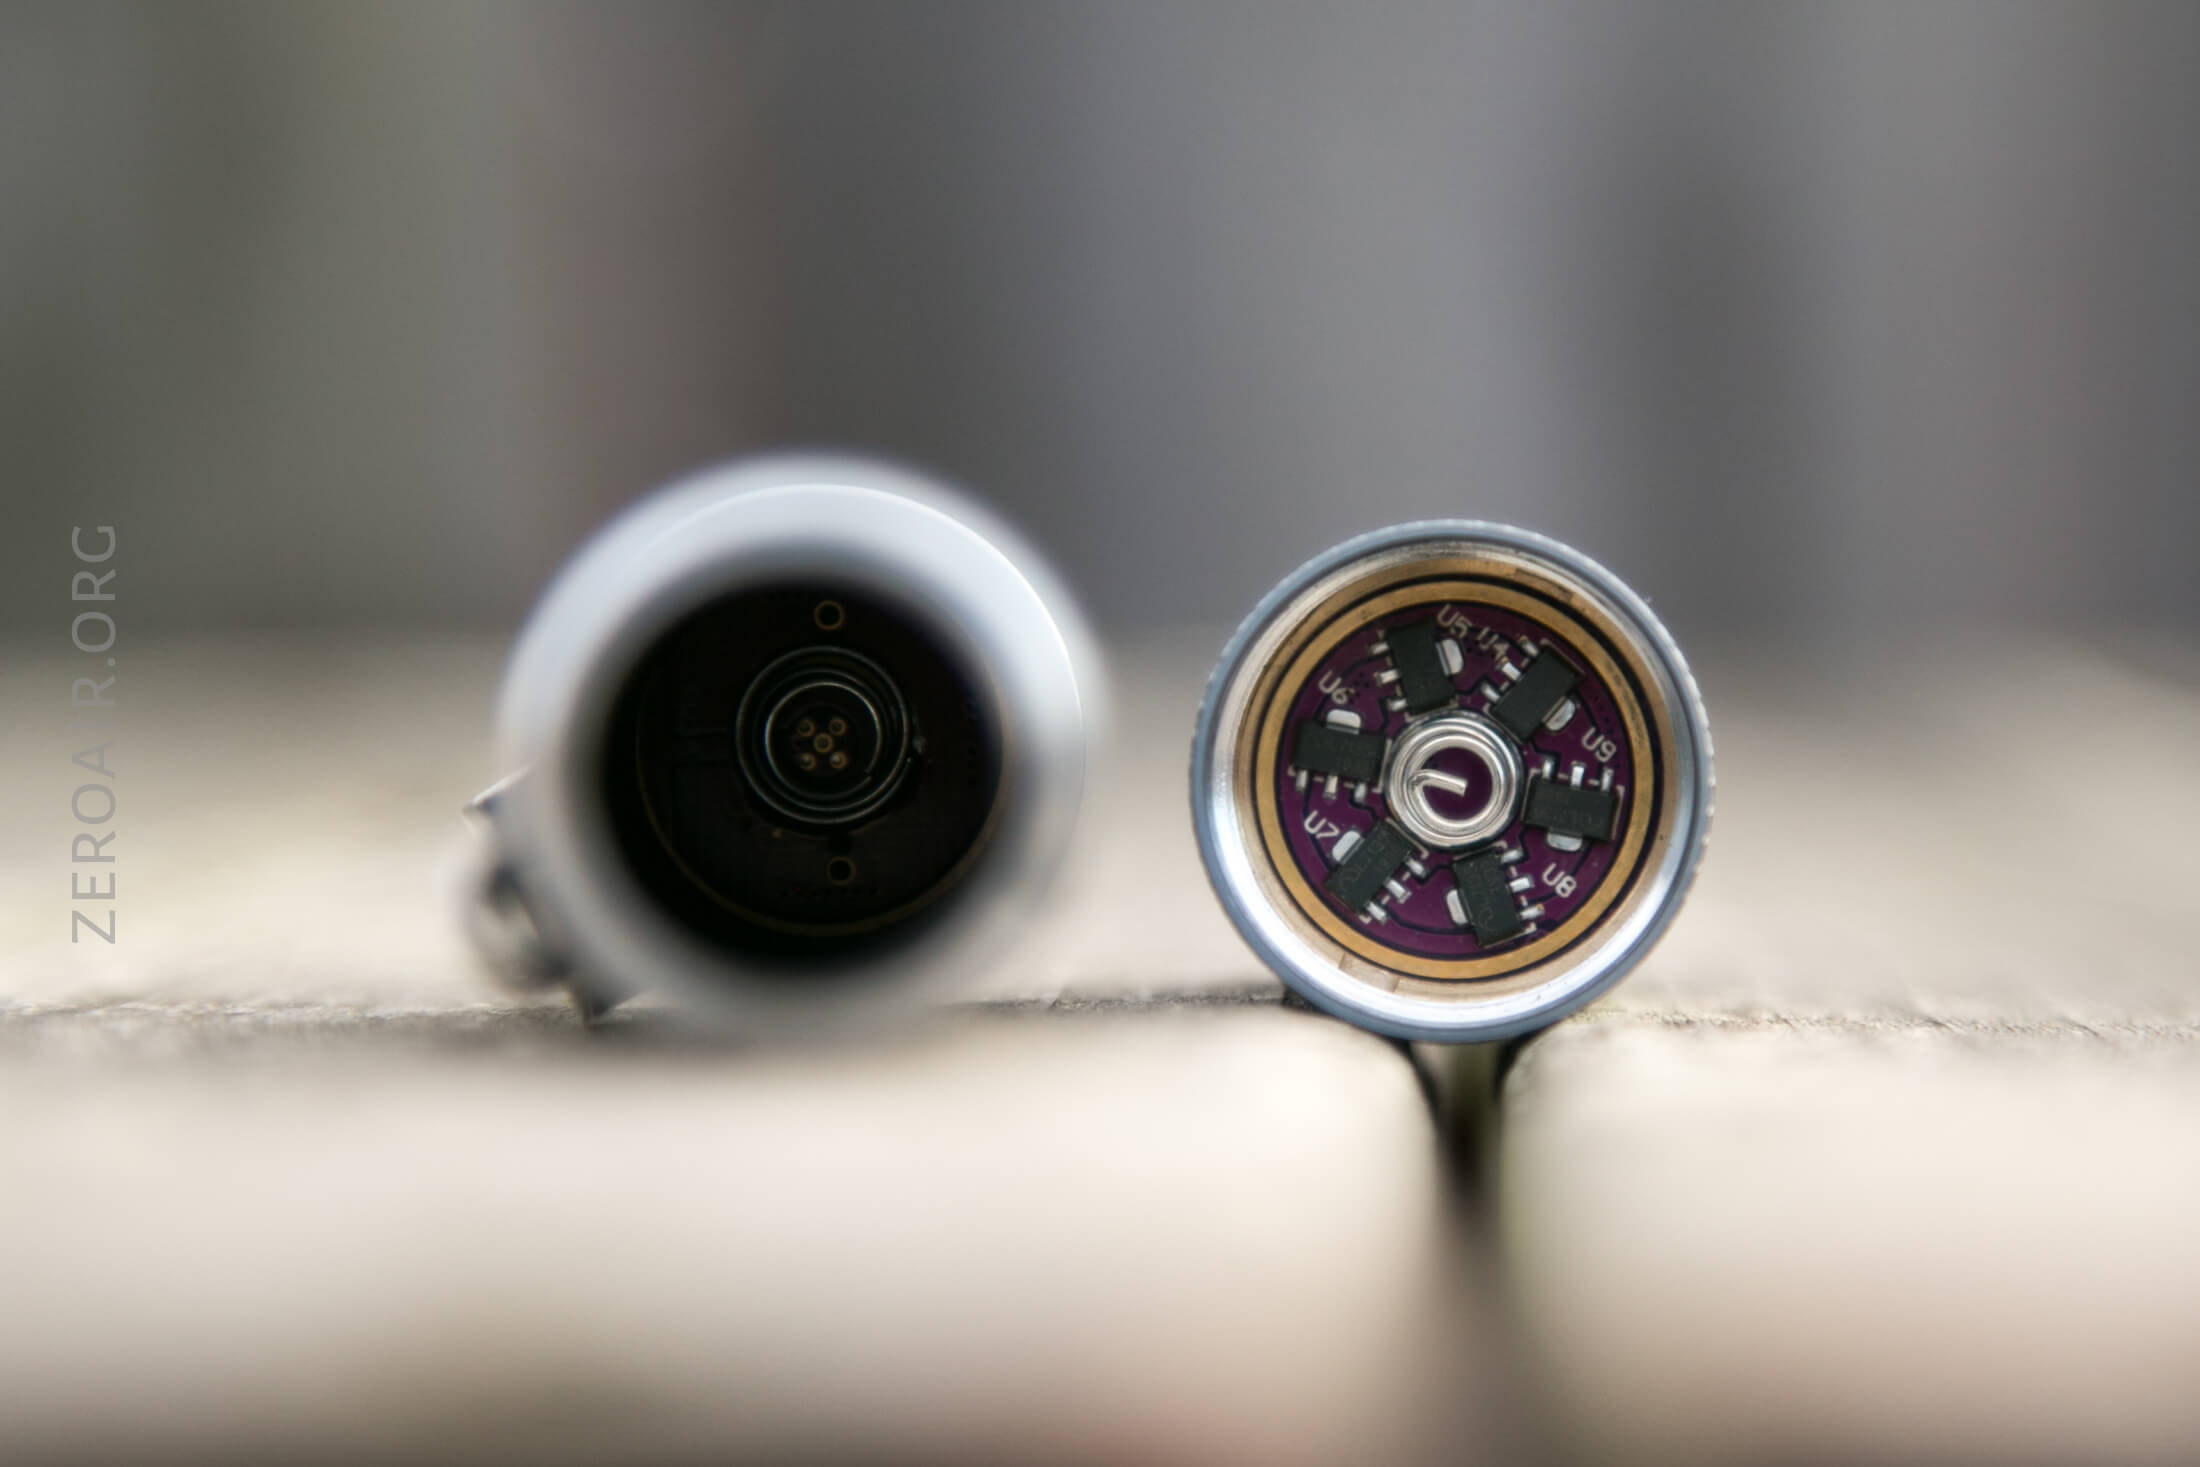
Of course, and as always, there’s an inner sleeve that provides electrical contact to the tail e-switch.
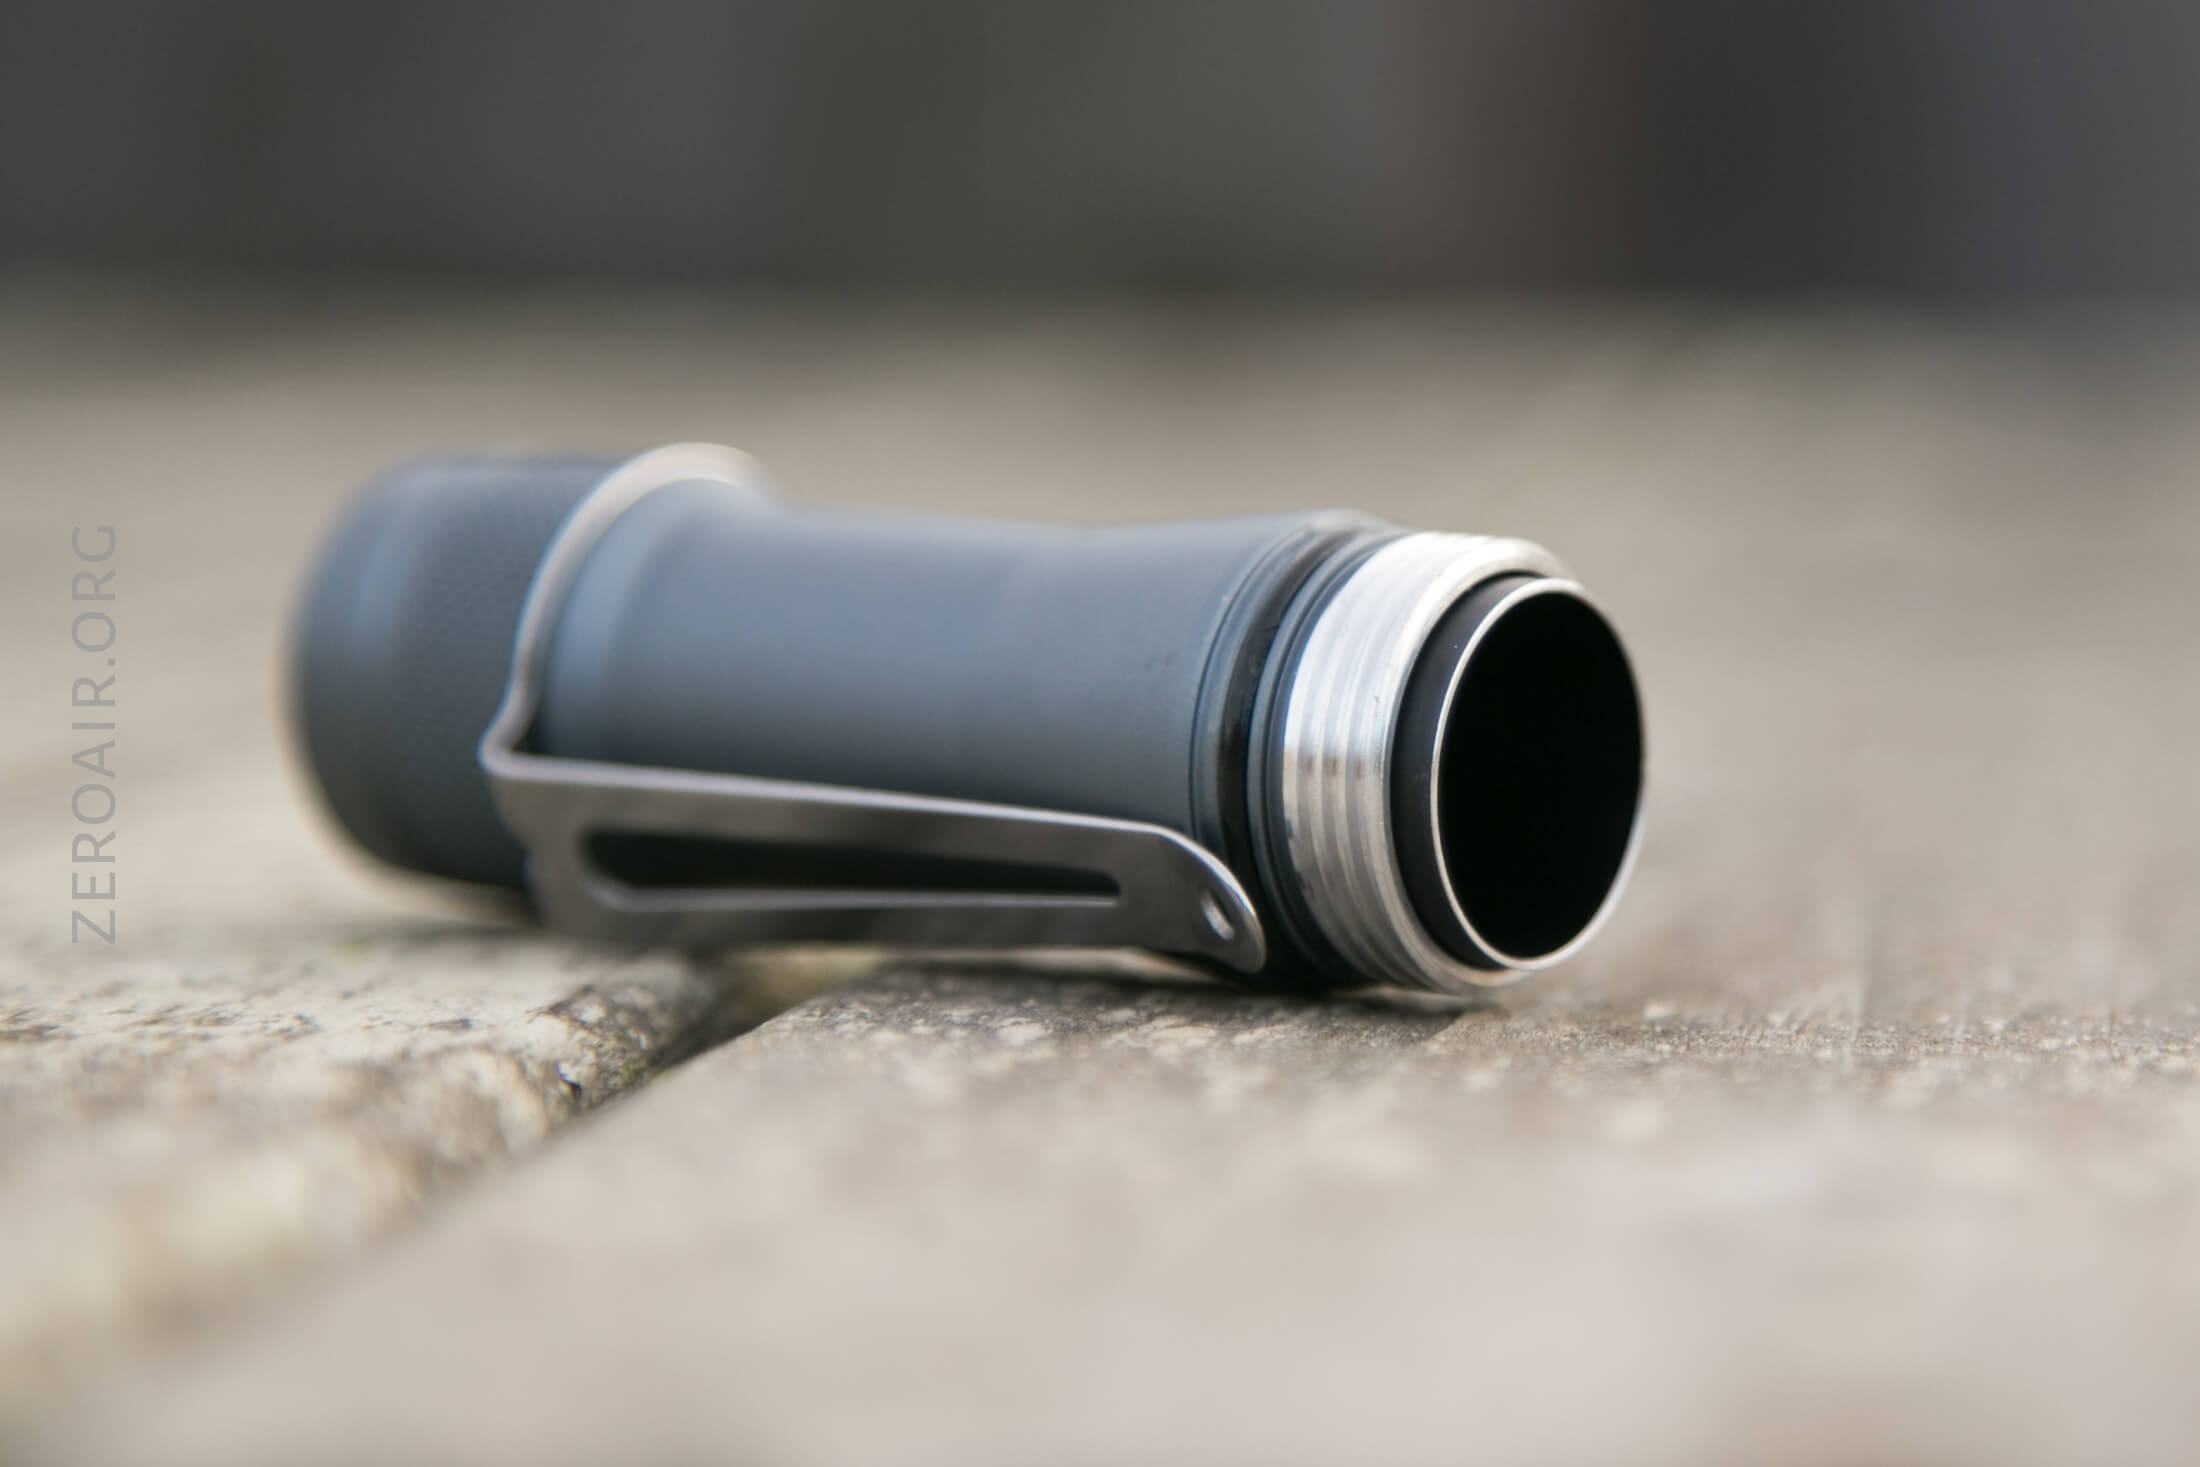
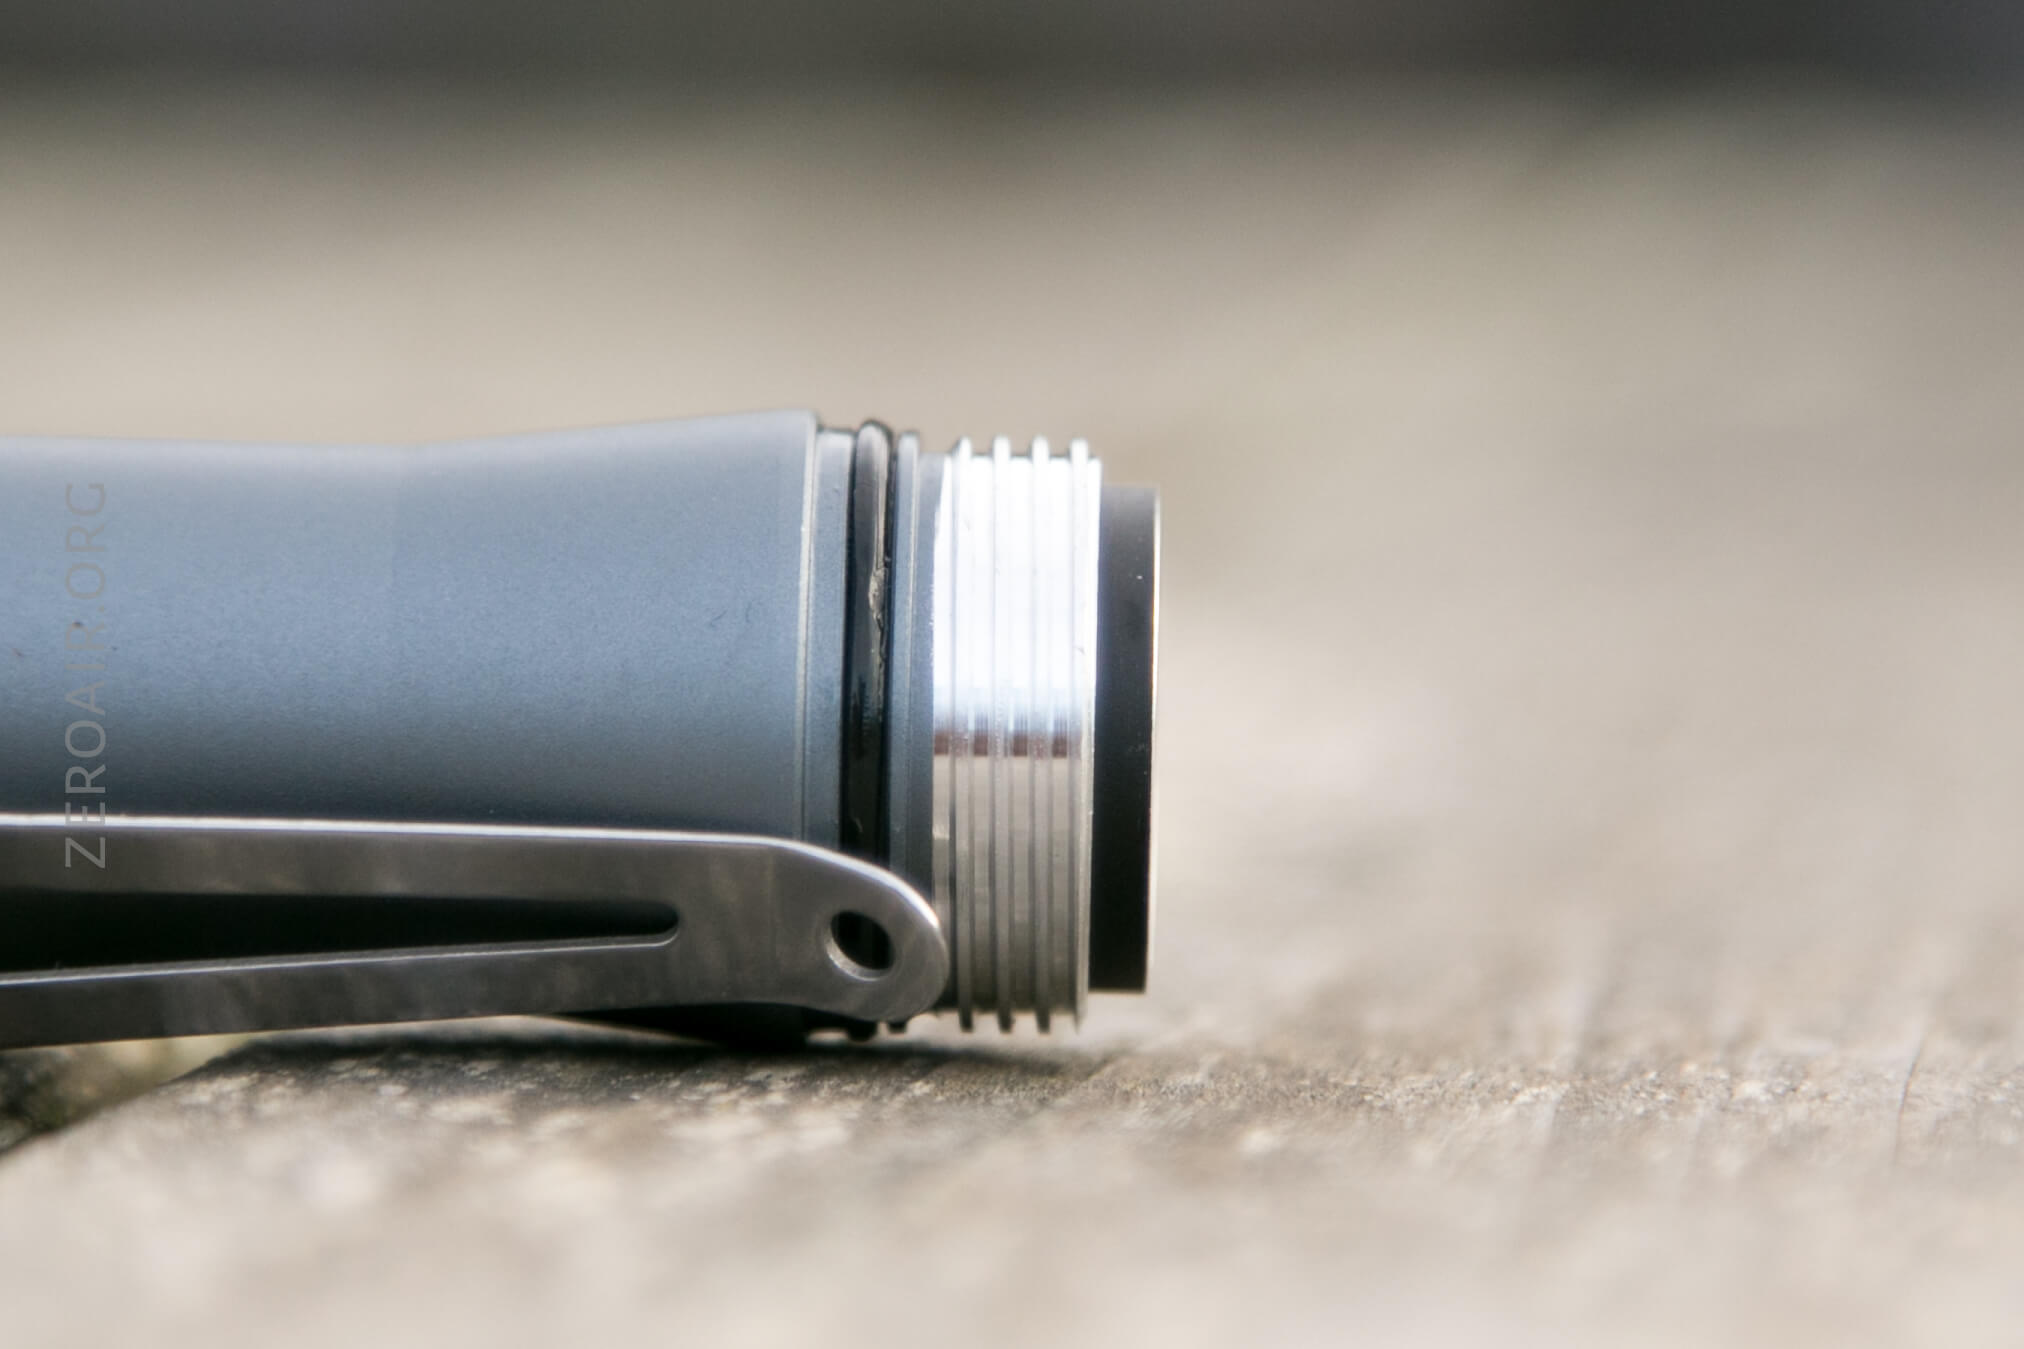
Without that, the light will not work. Without proper contact on that tube, the light will not work. Also, see the threads below. Big beefy unanodized square-cut threads. I love these threads.
The bezel unscrews easily, and the reflector comes out easily.
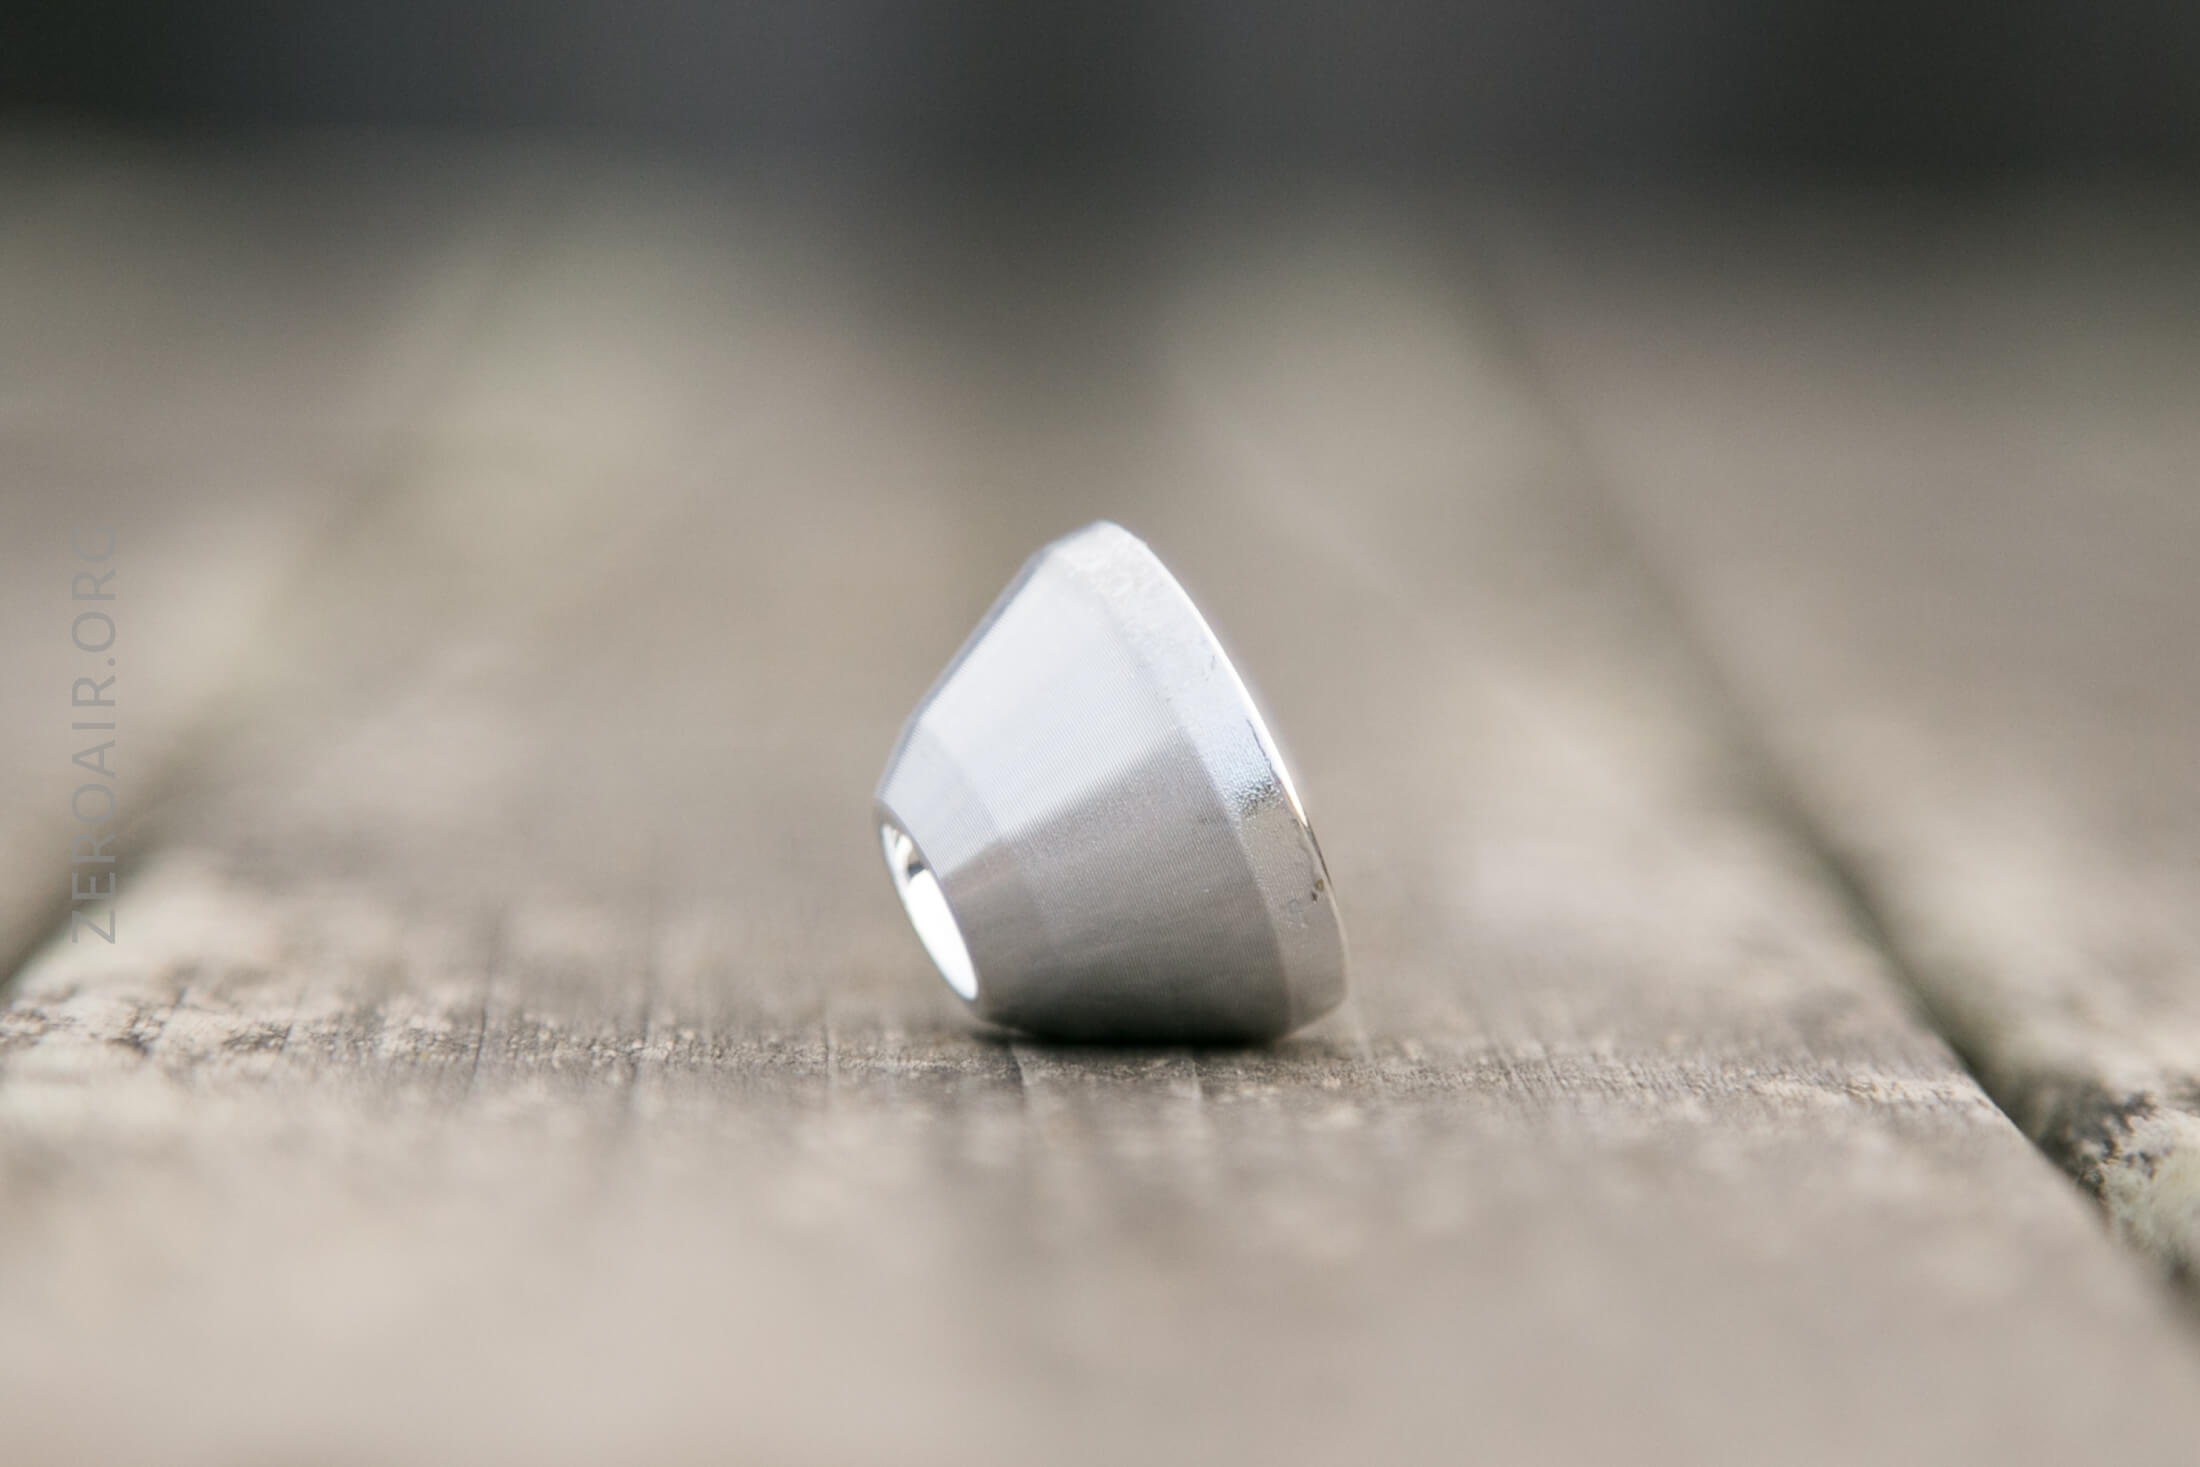
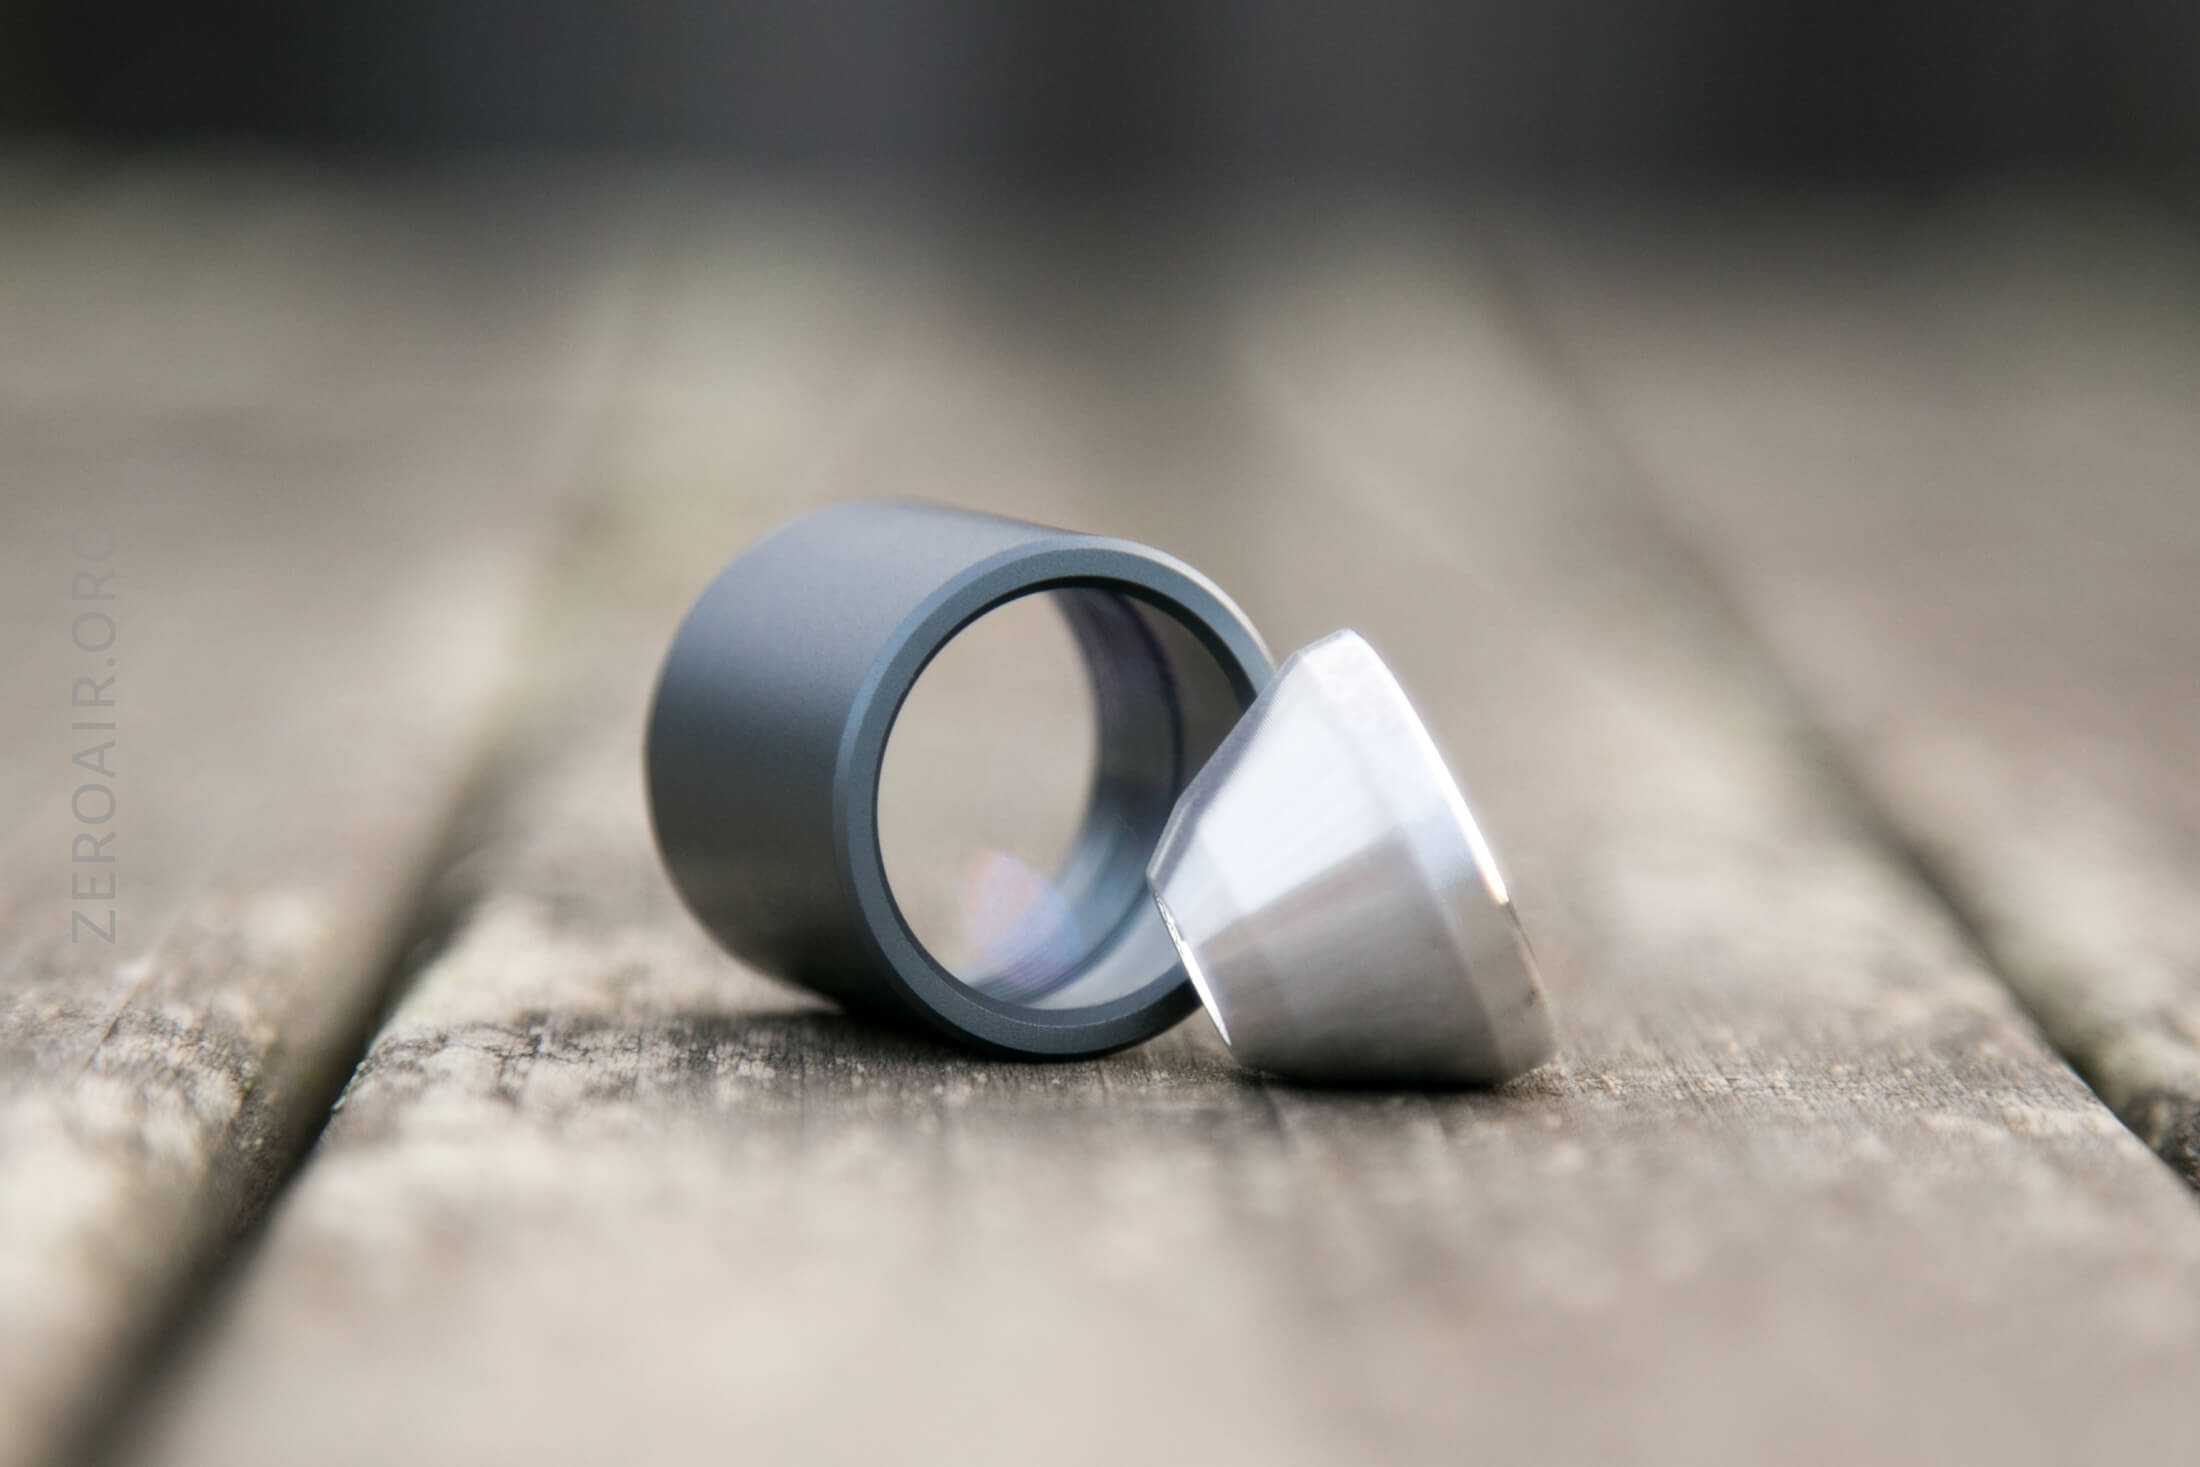
The bezel threads are anodized and triangle cut.

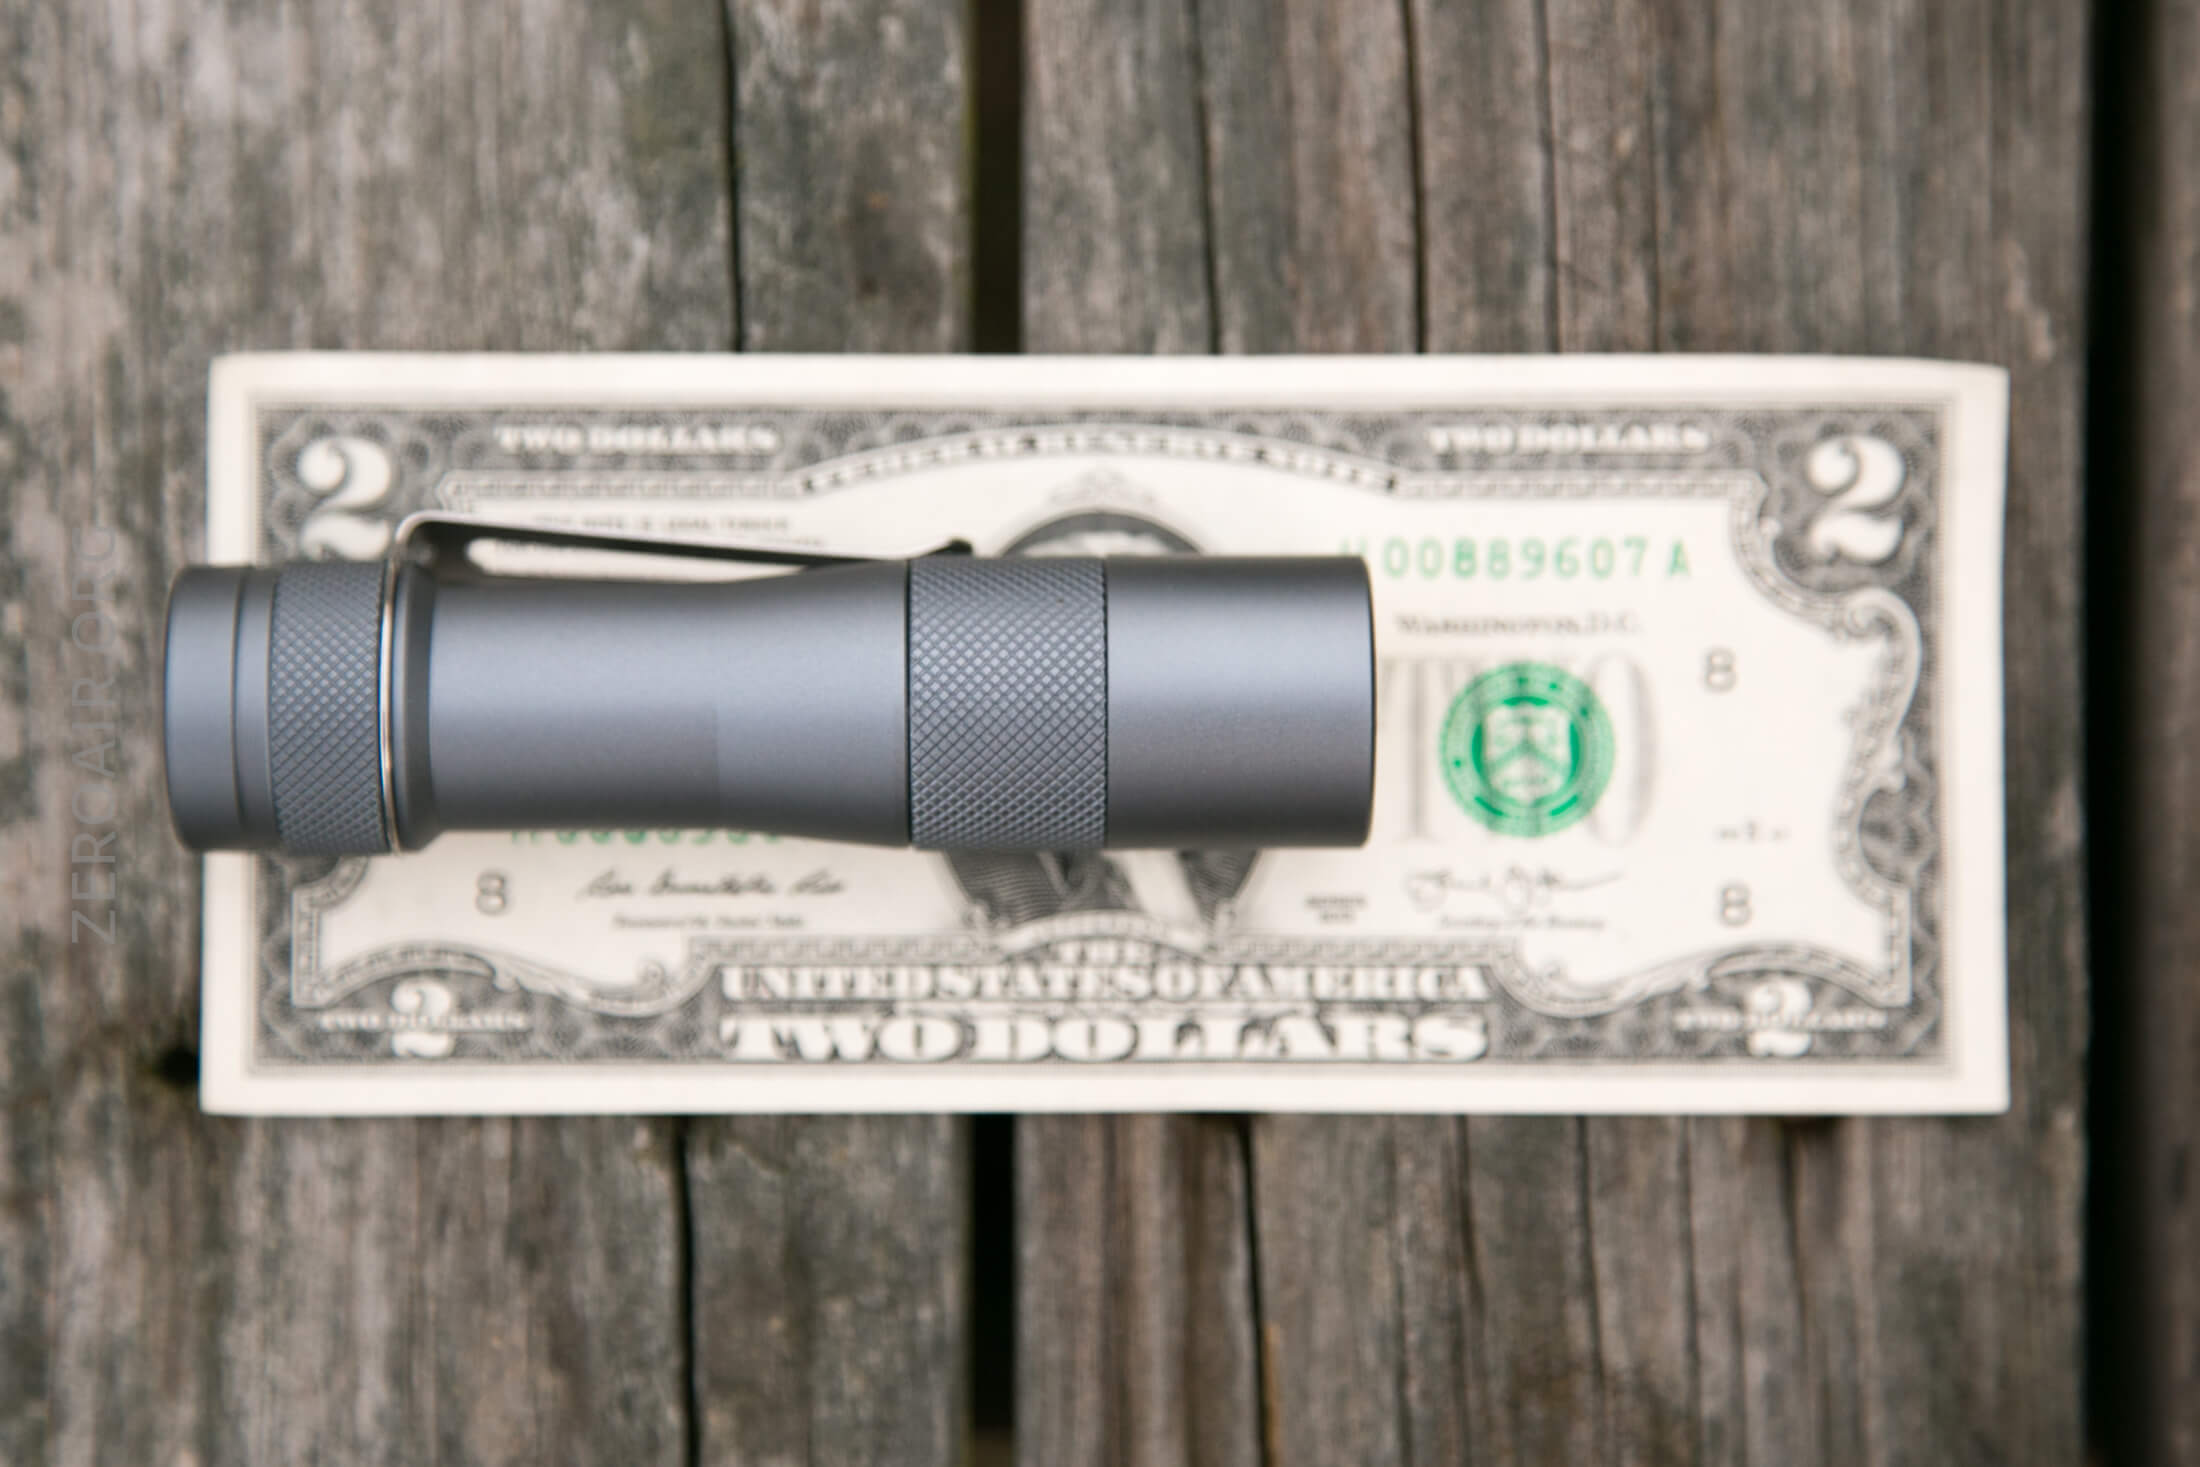
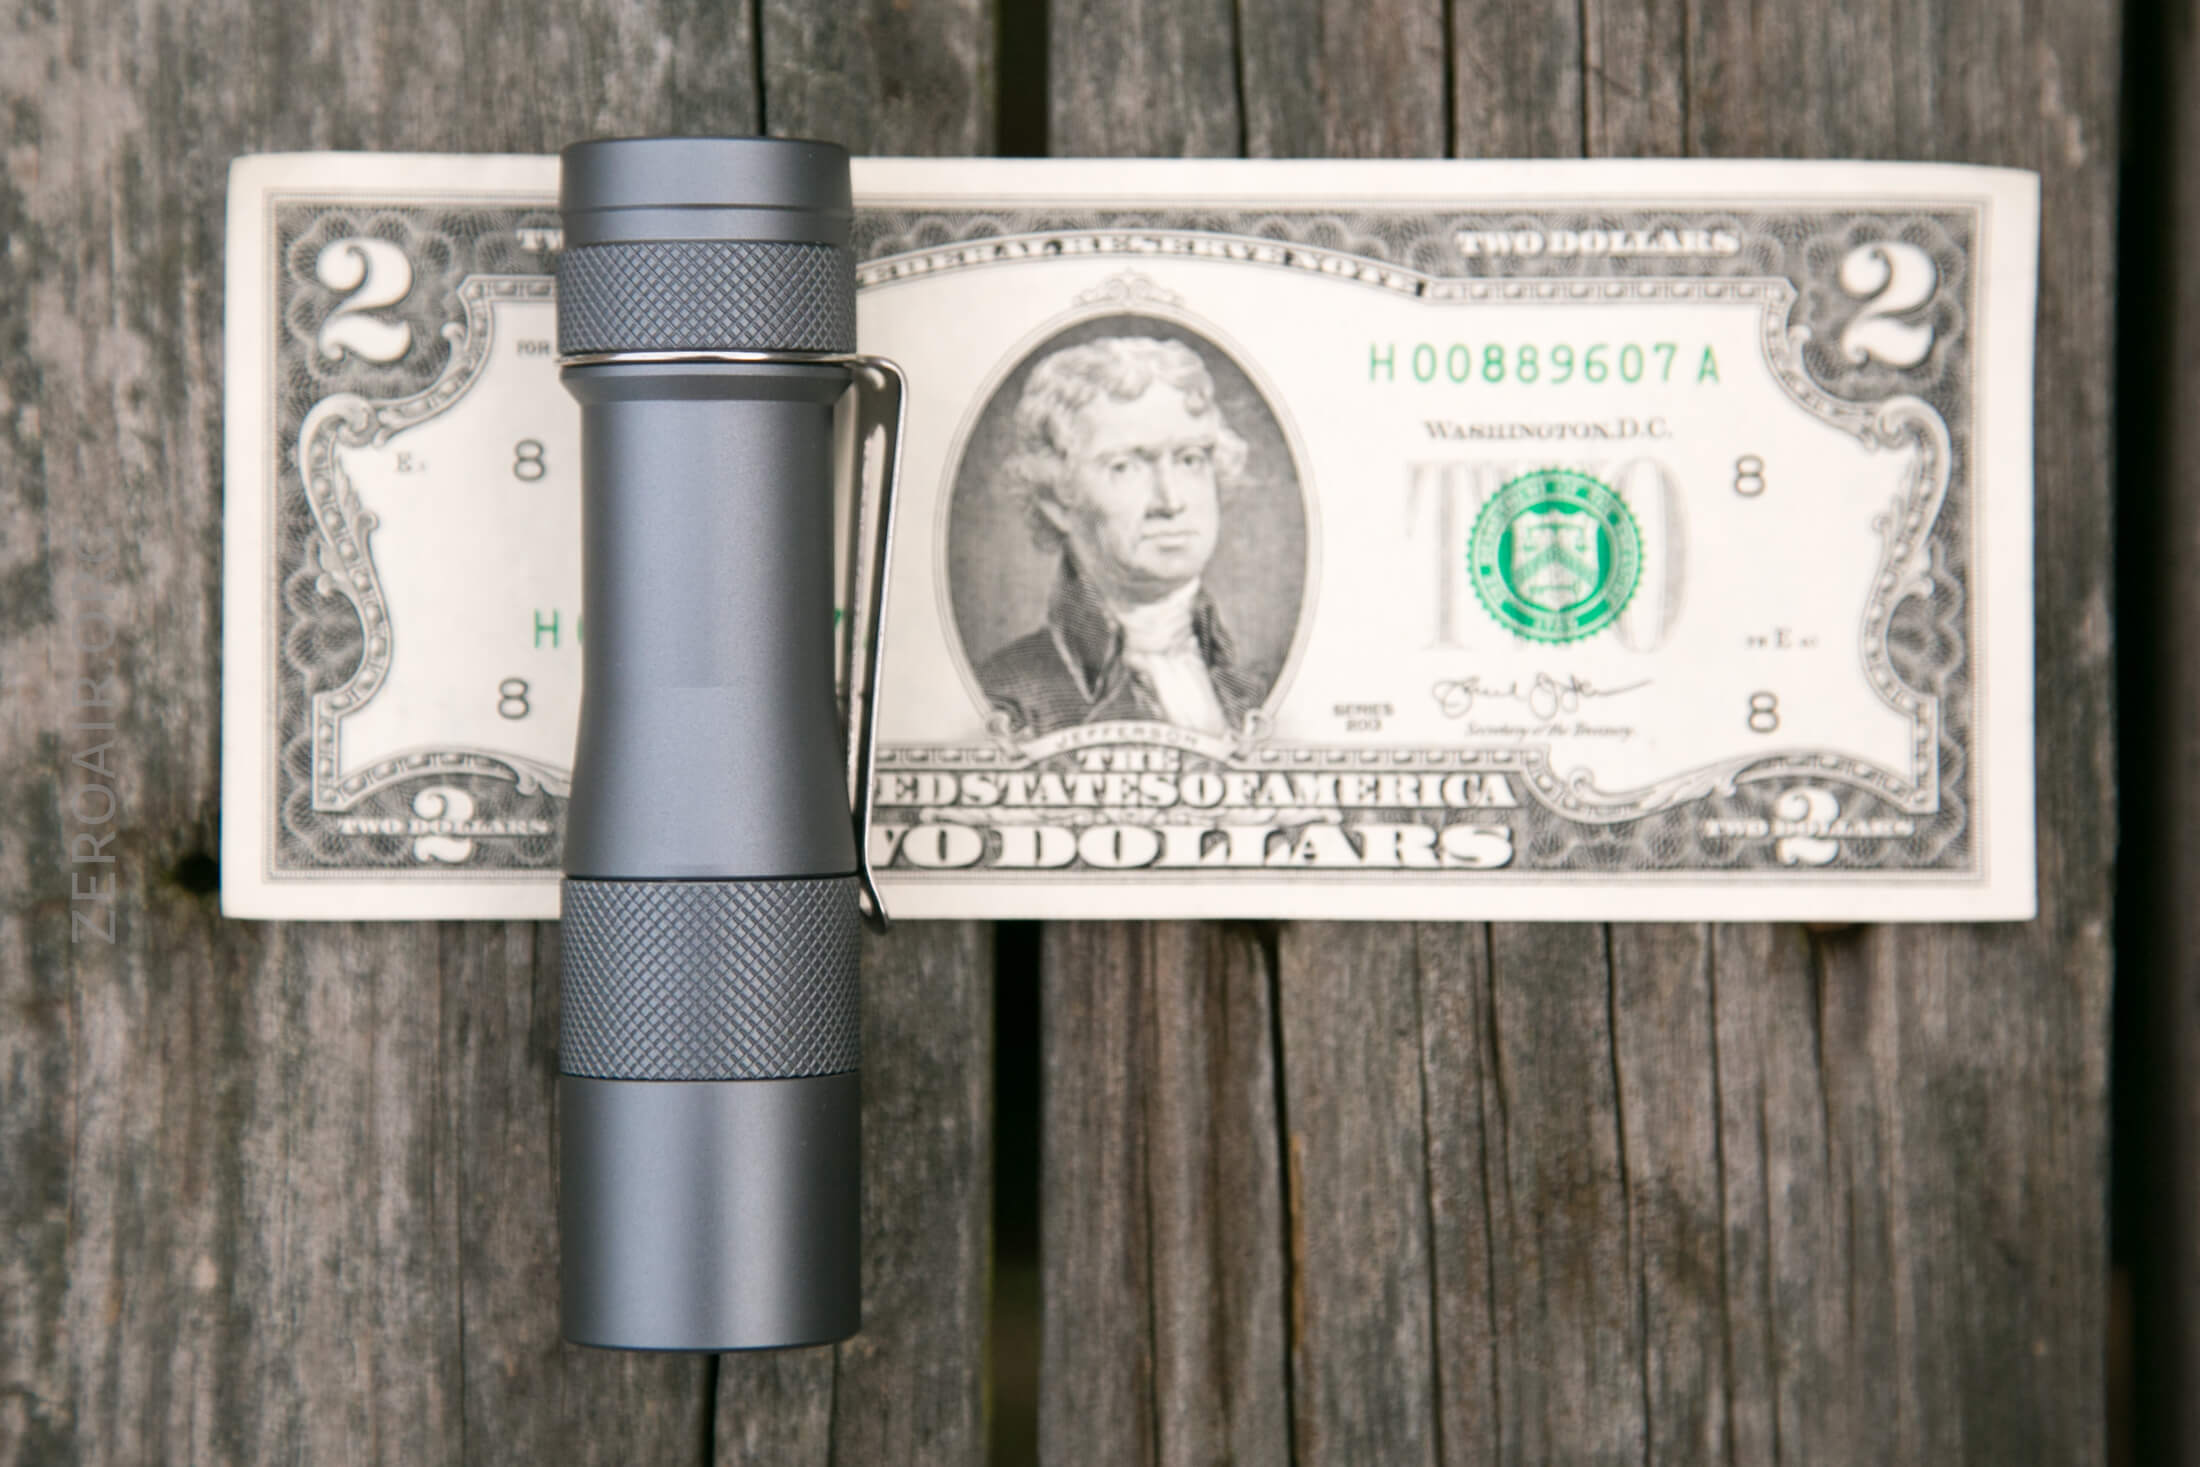
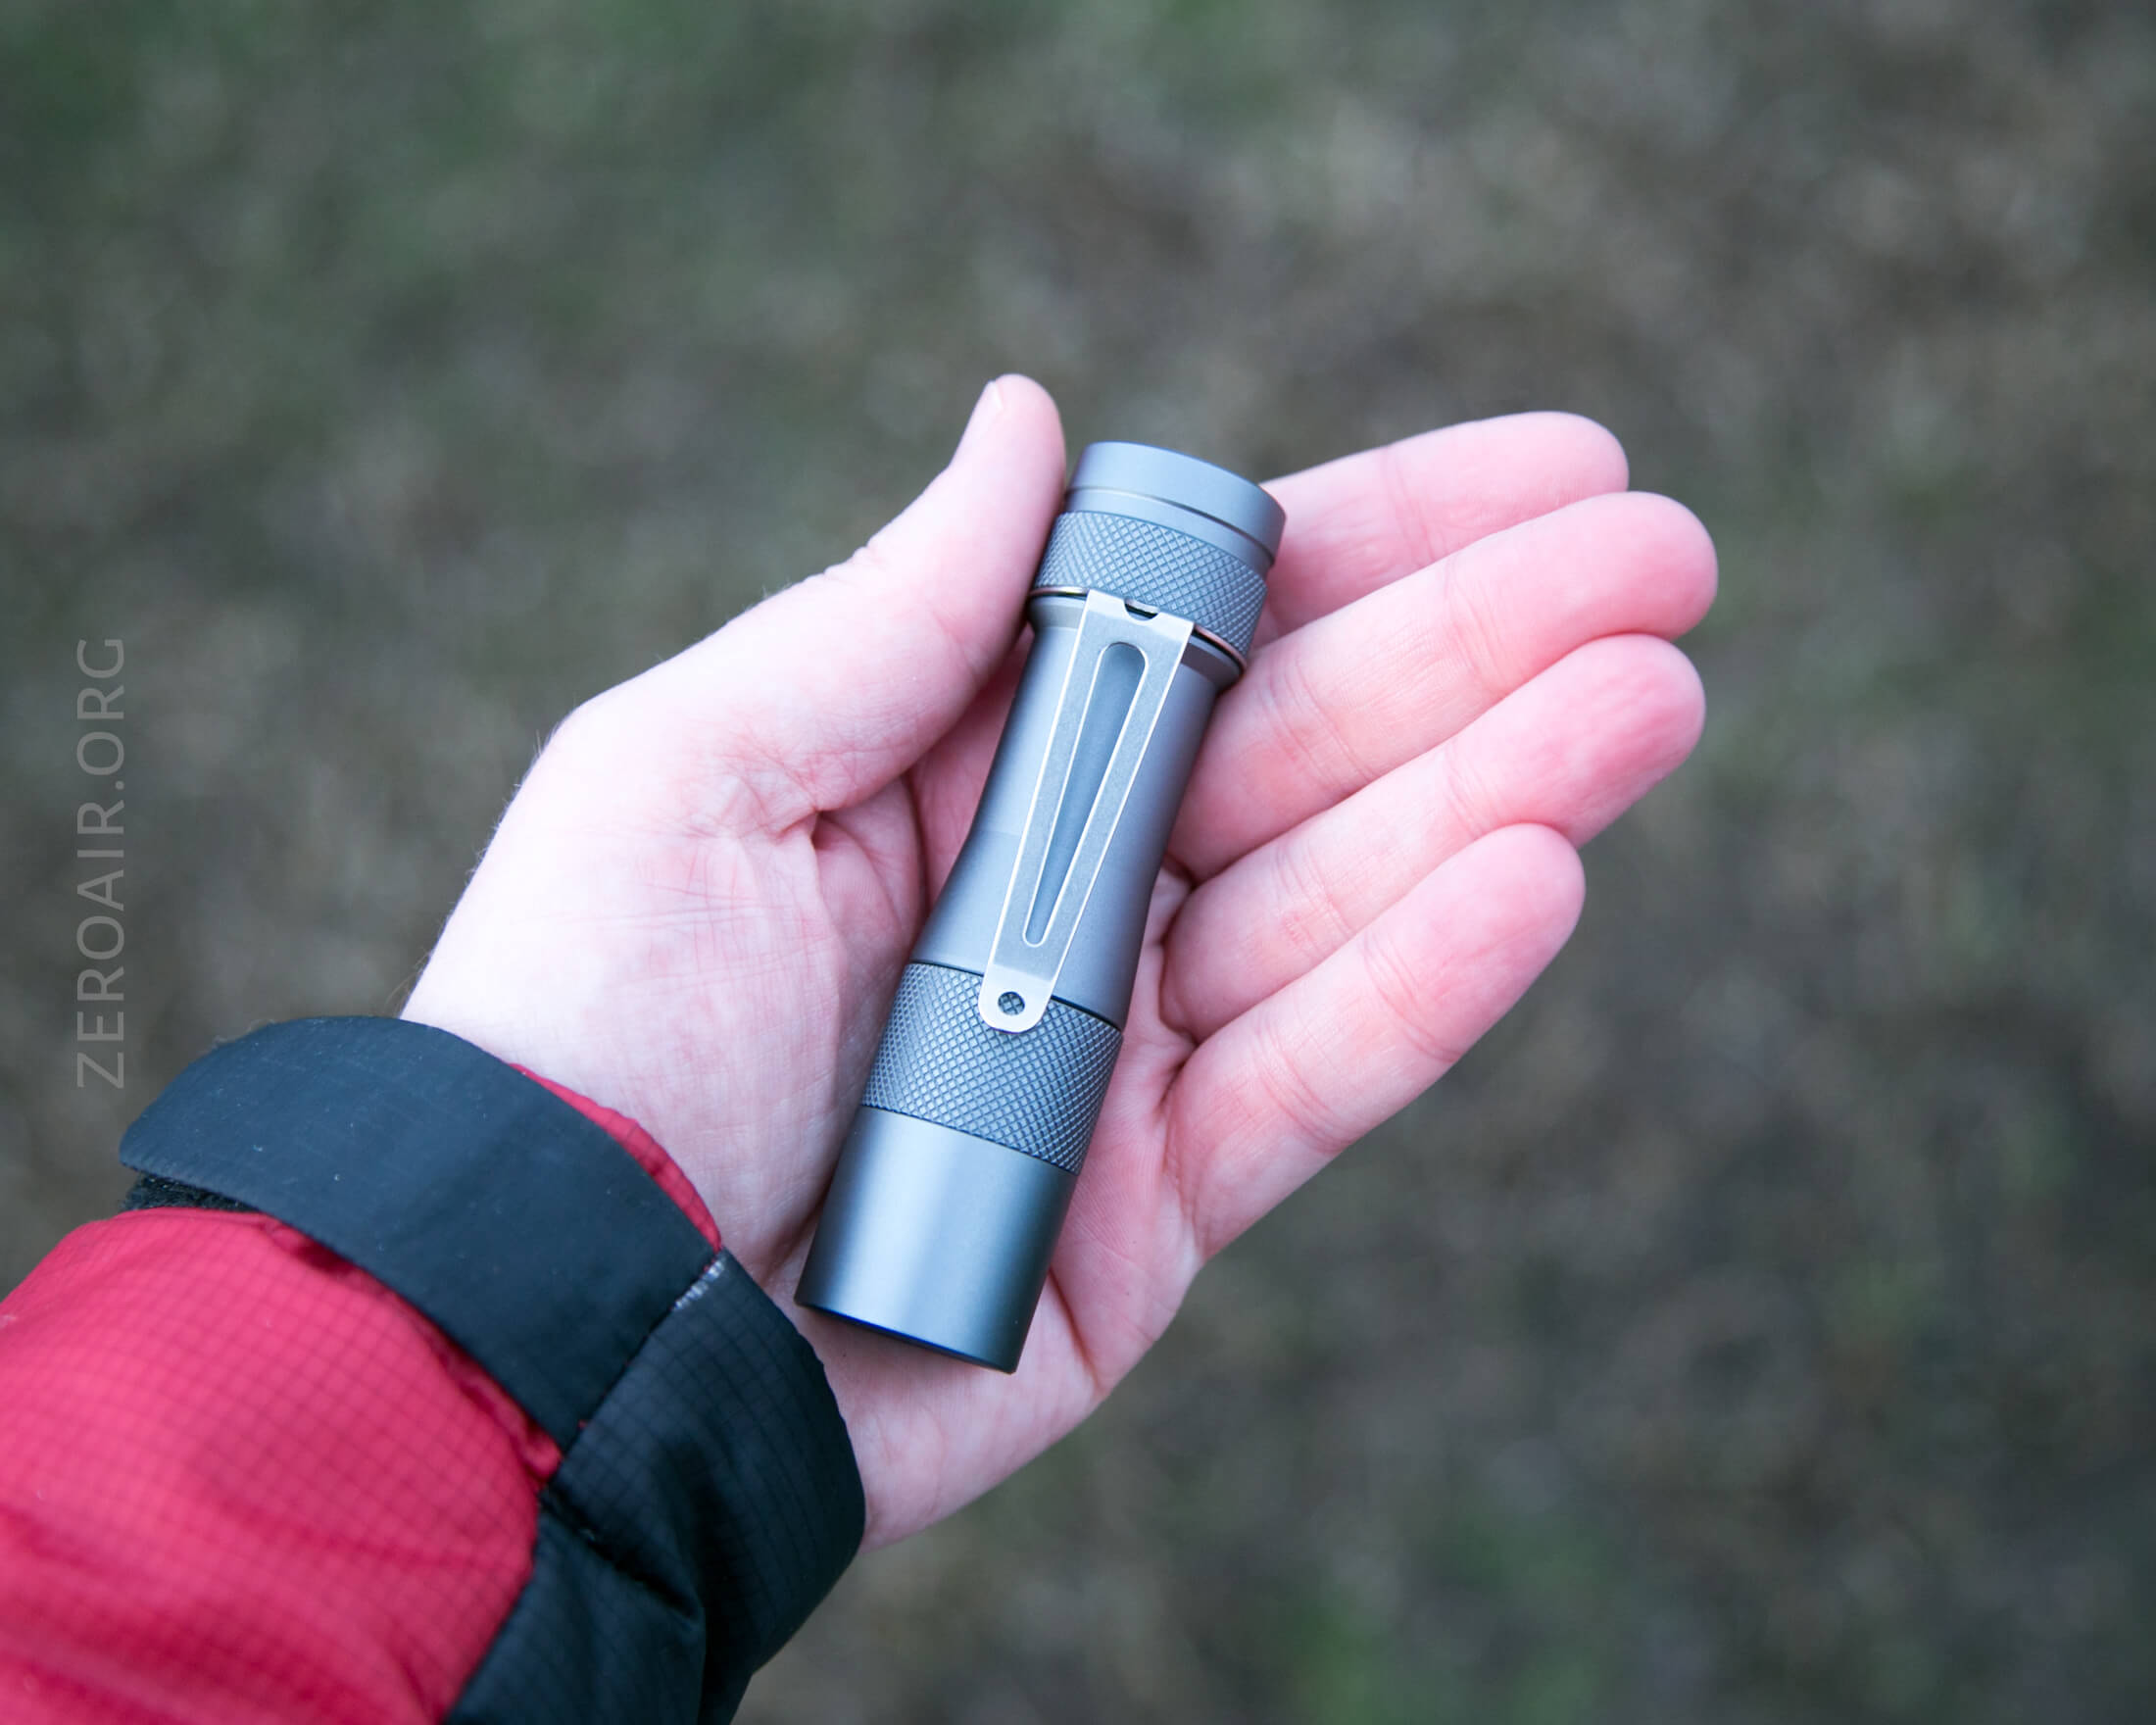
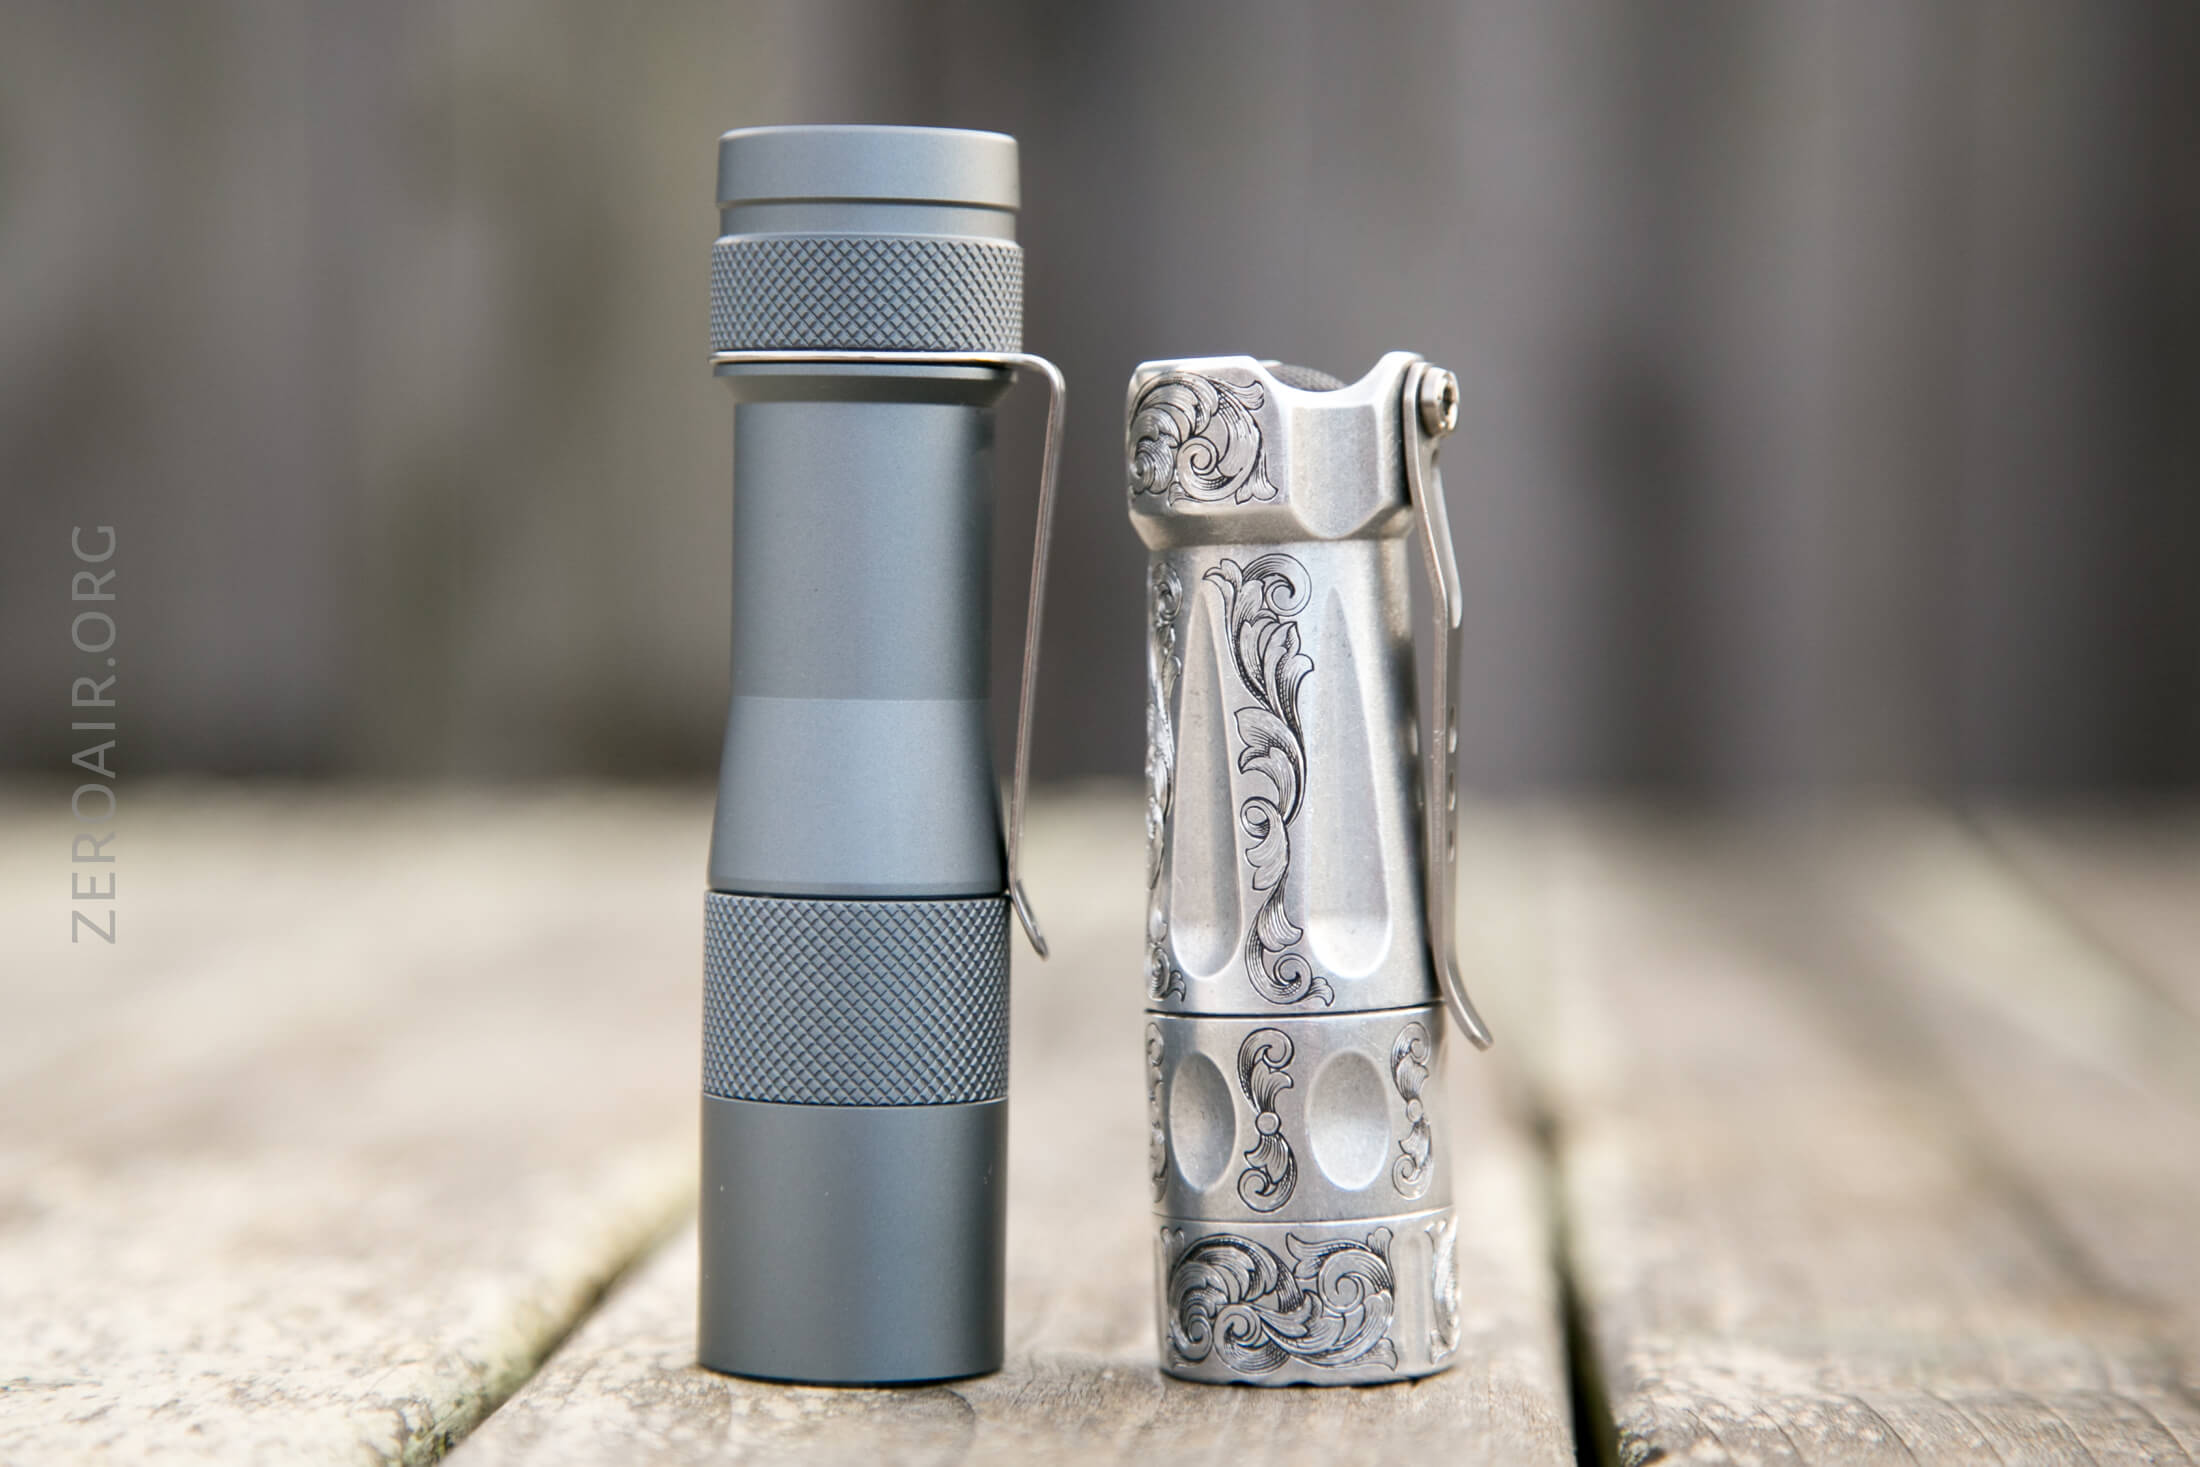
Size and Comps
Weight: Approximately 57 g without cells
Size: 25.5 mm Ø head x 100.7 mm length
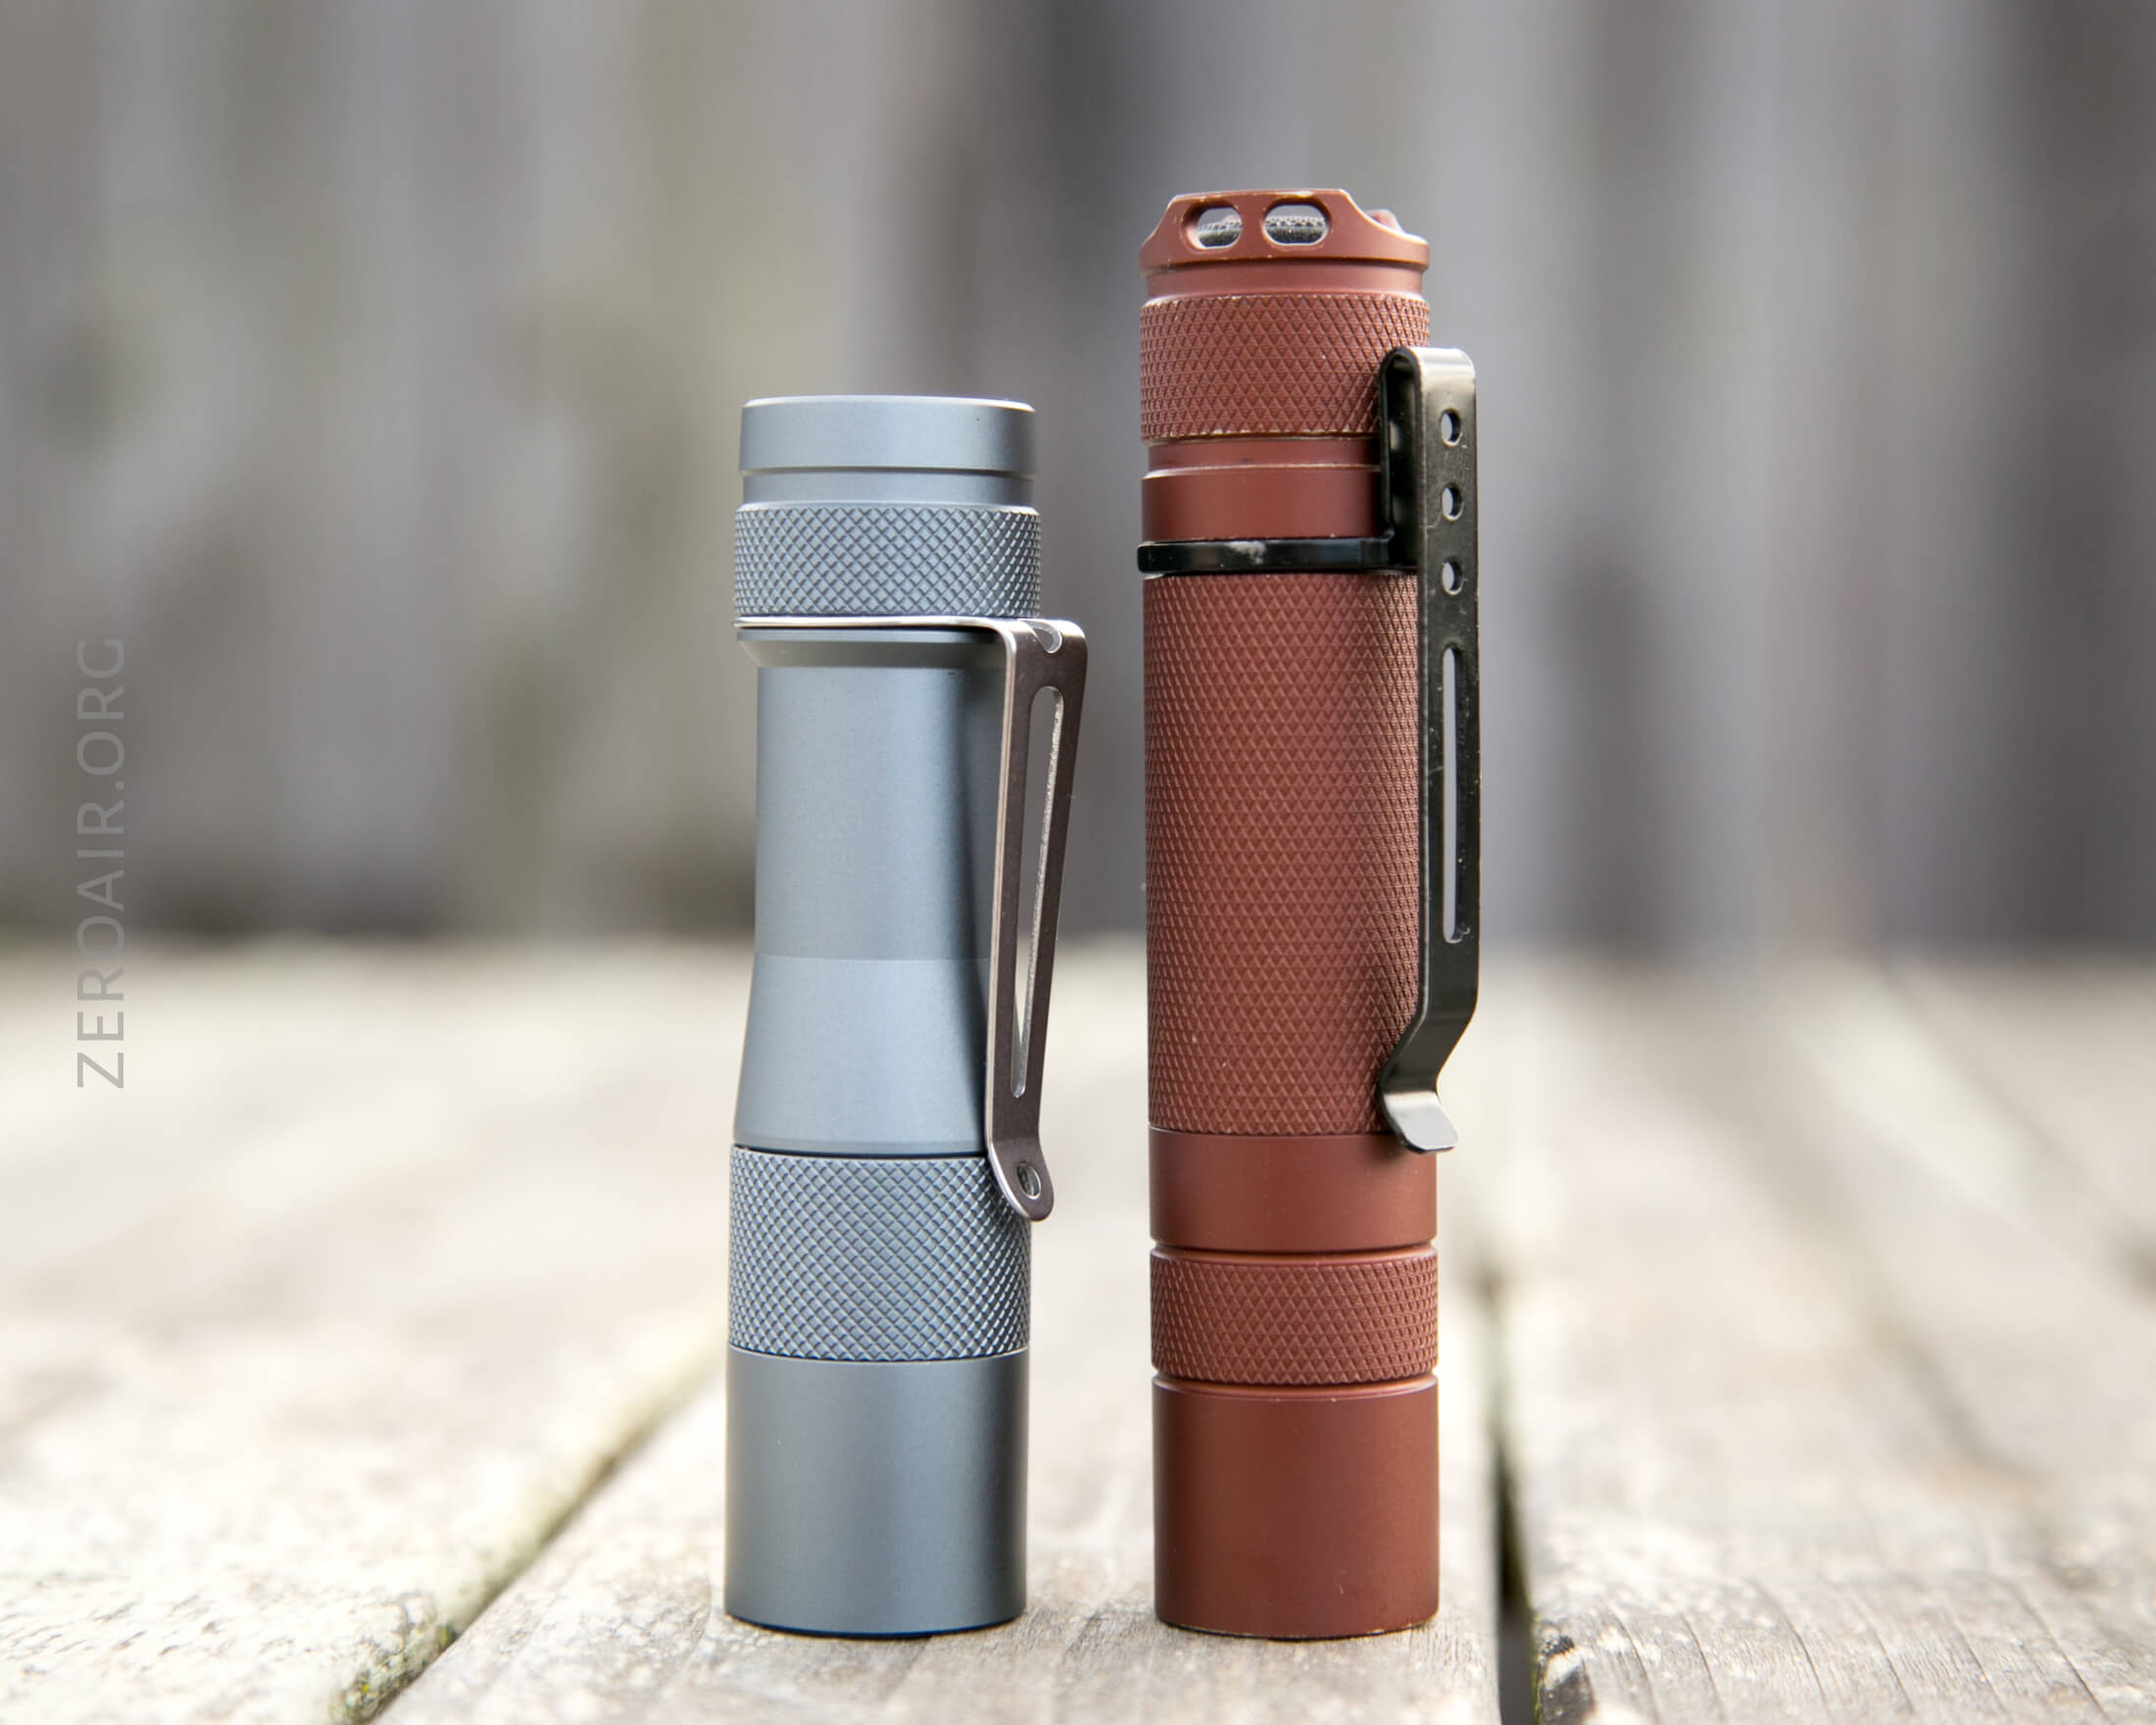
Here’s the family! The FW3A looks a little lighter below, but I think that’s an artifact of the photo, and not so much in real life.

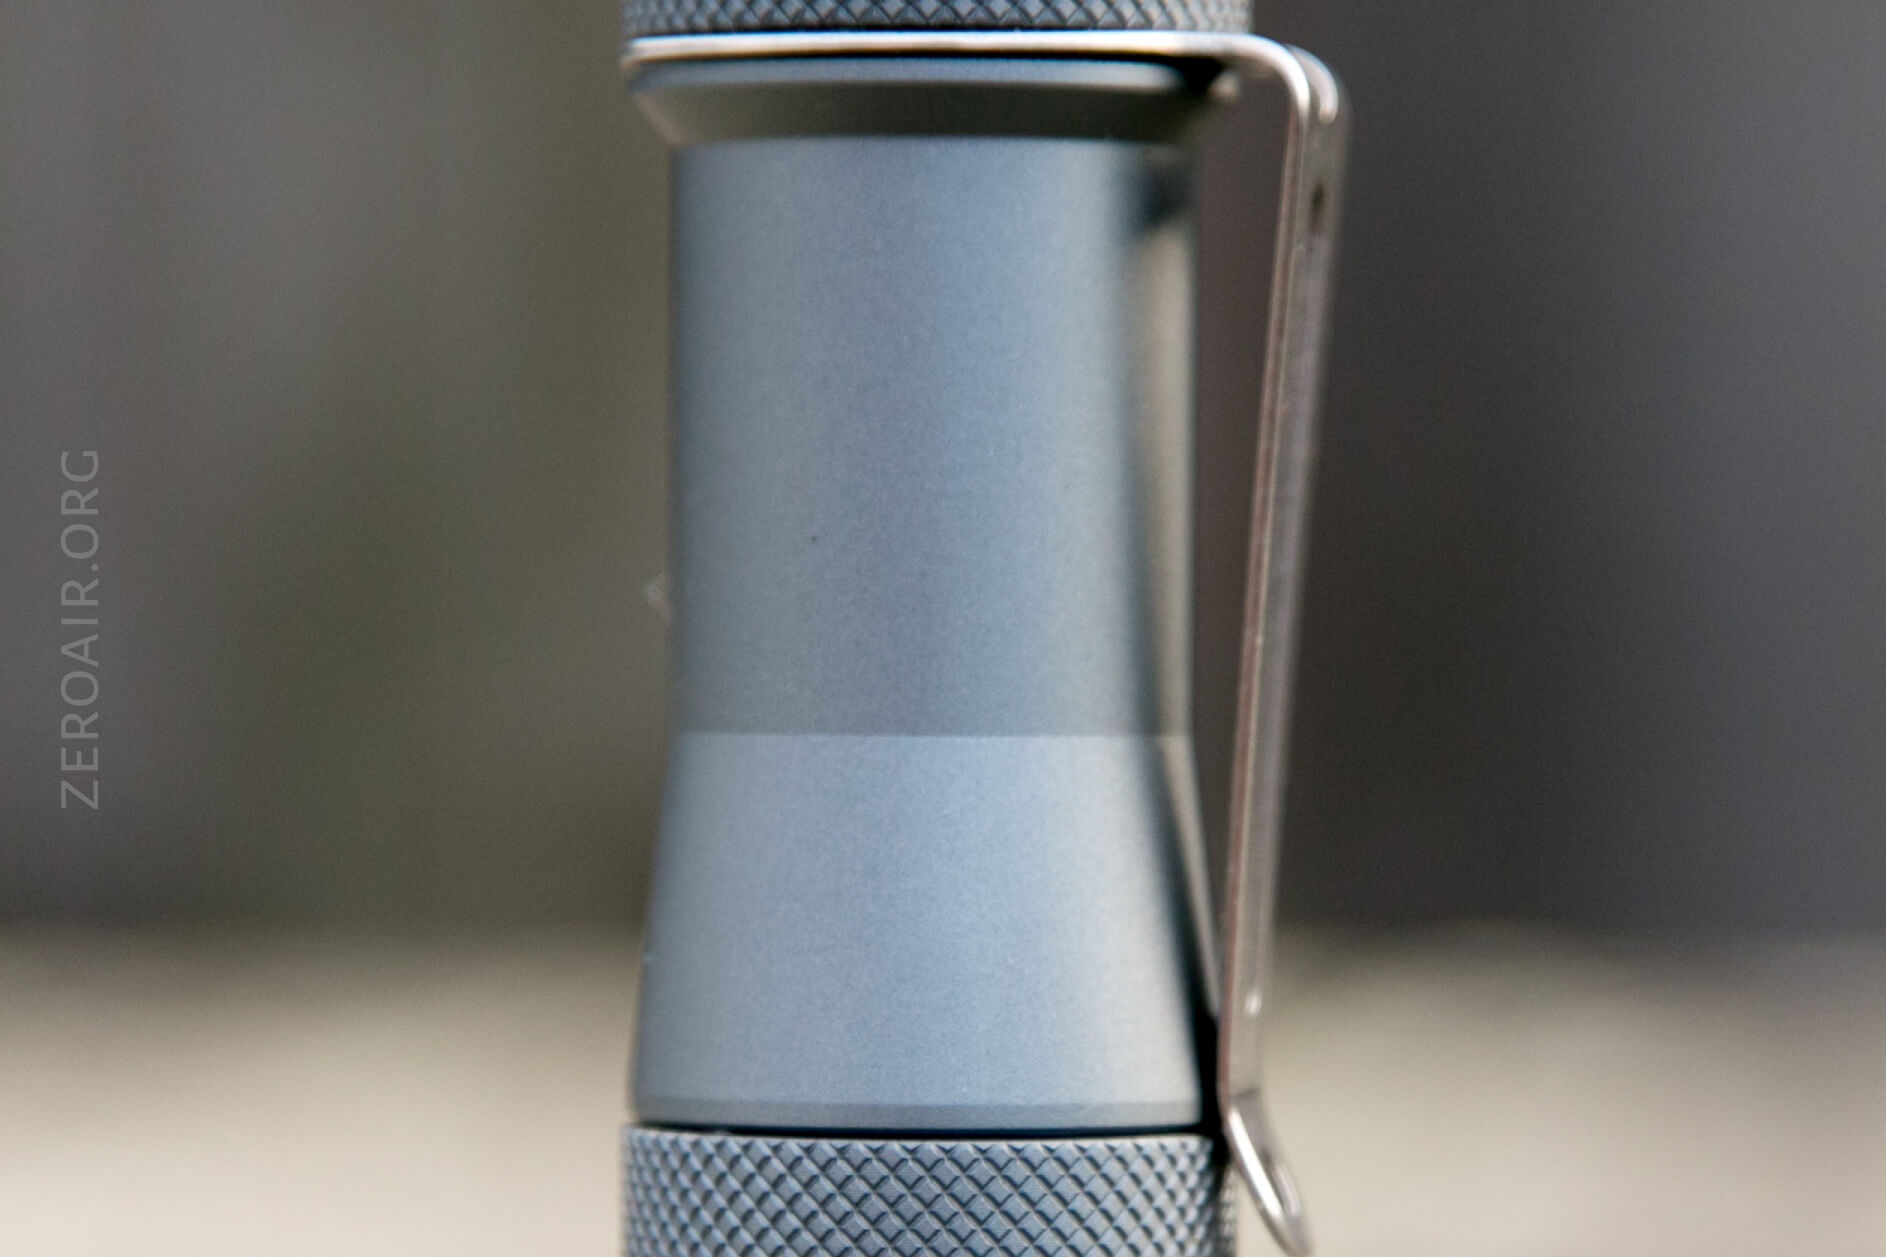
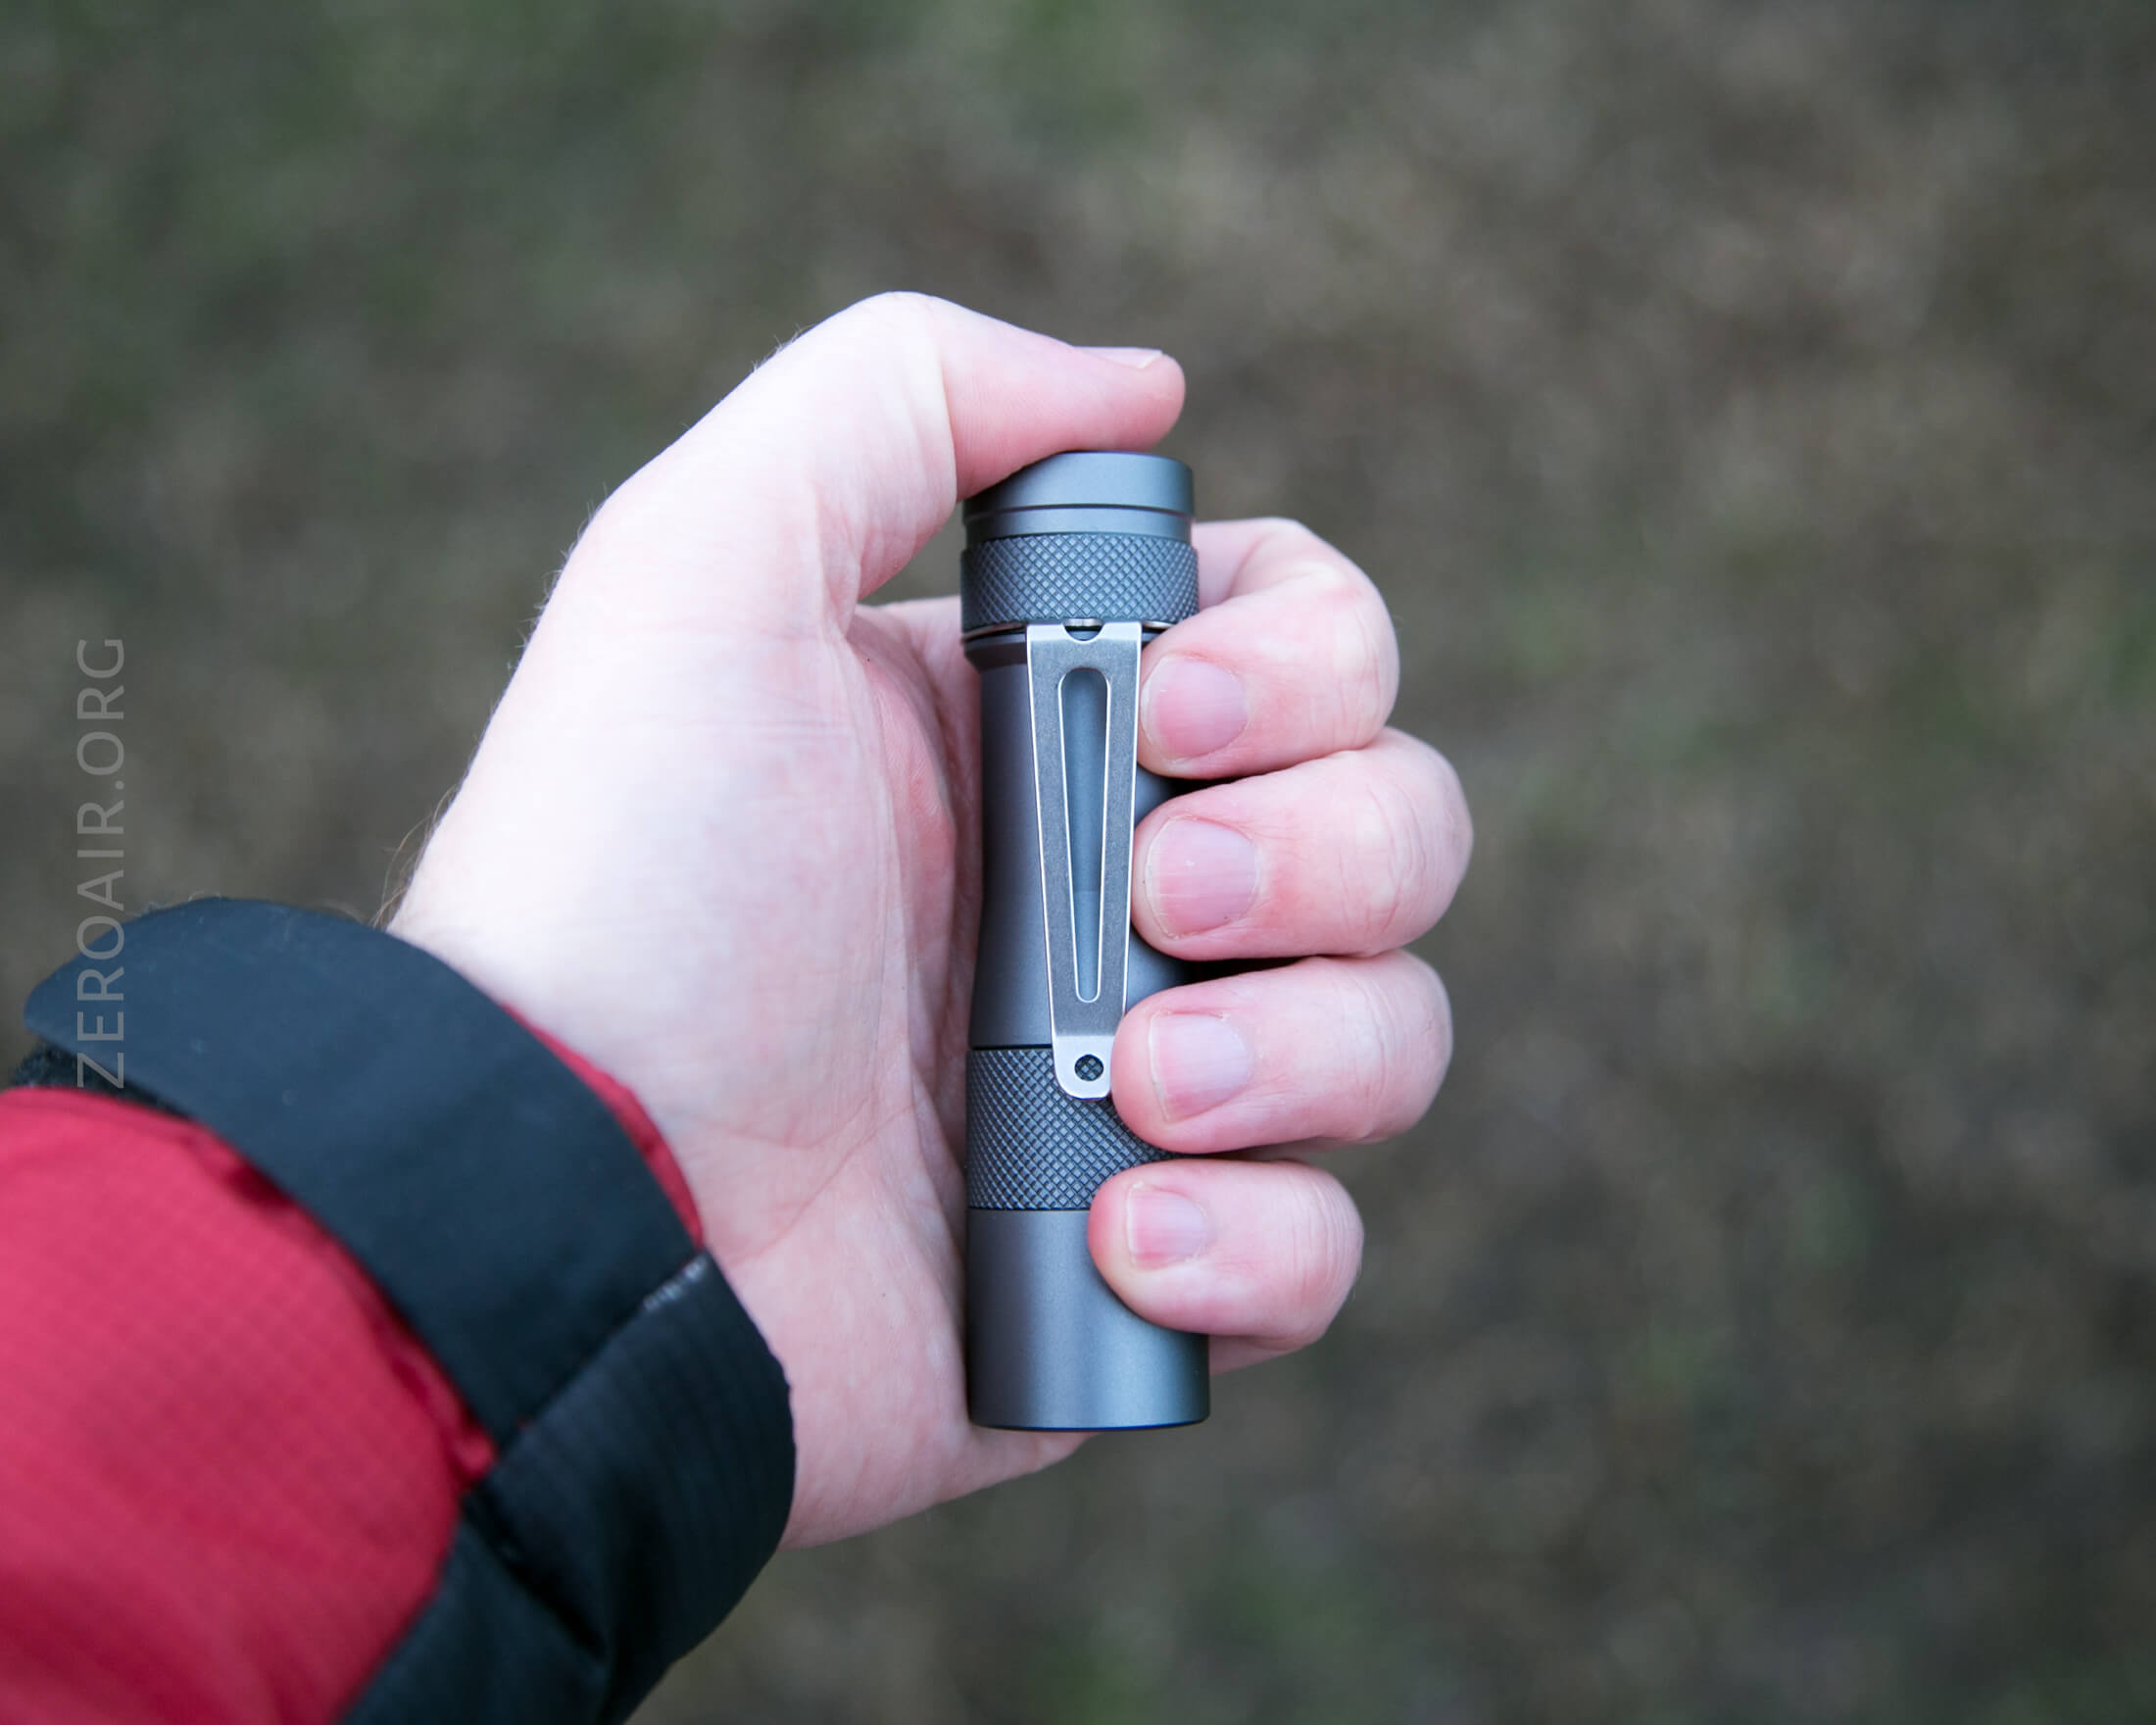
Retention and Carry
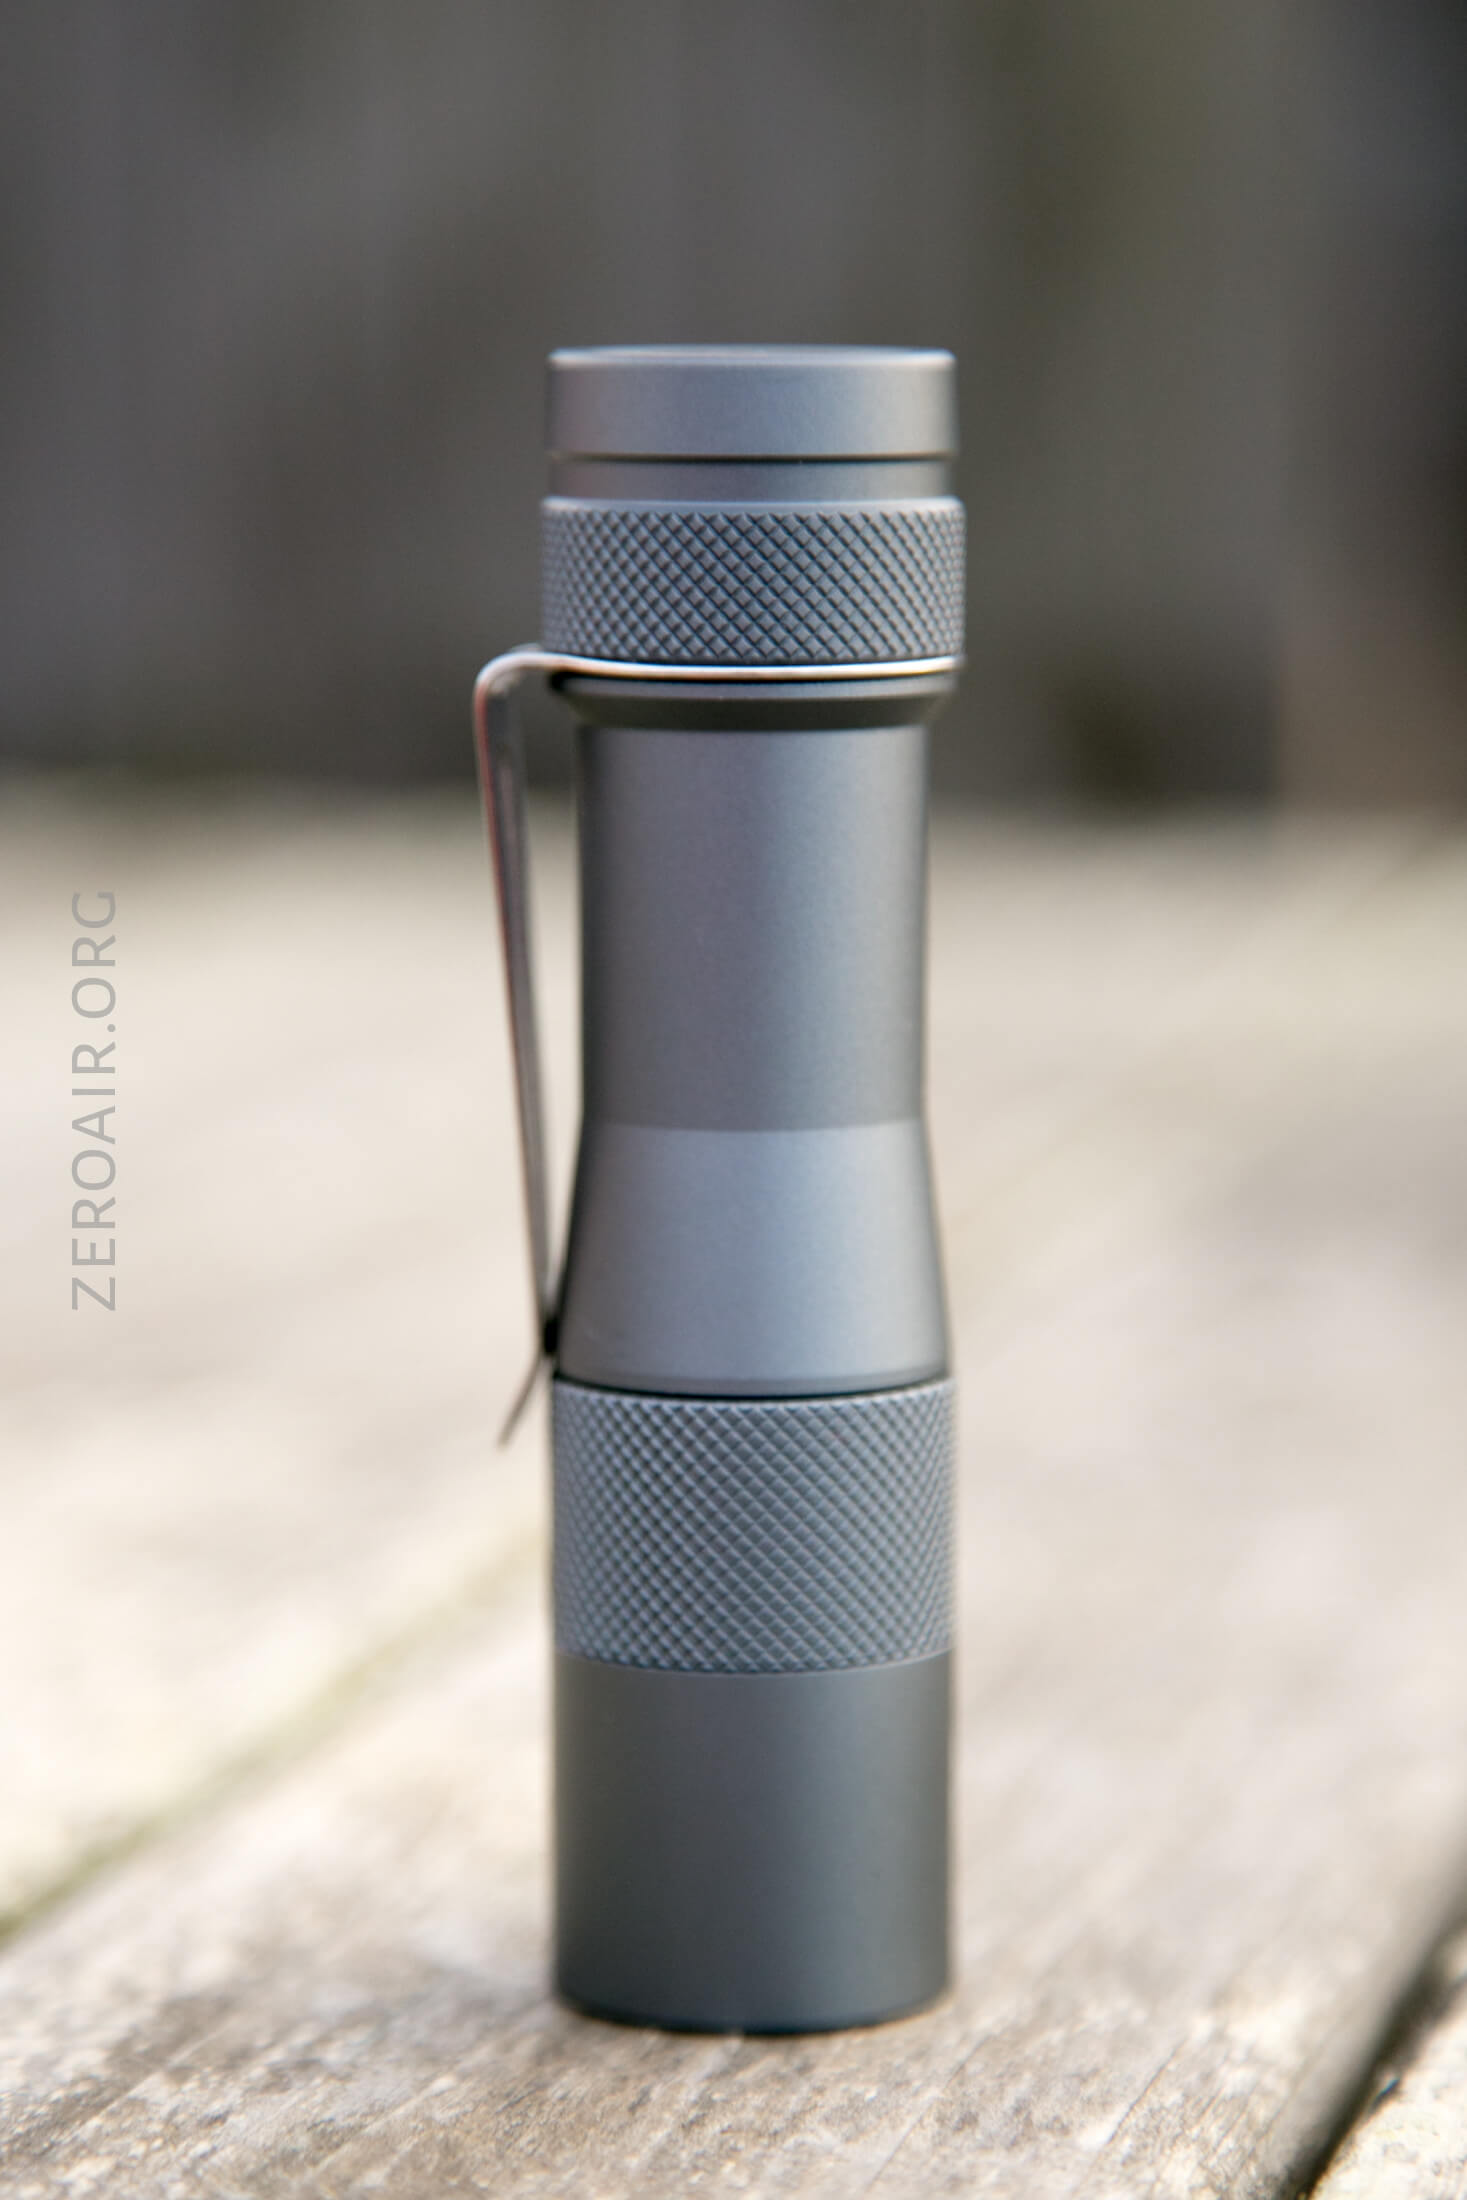
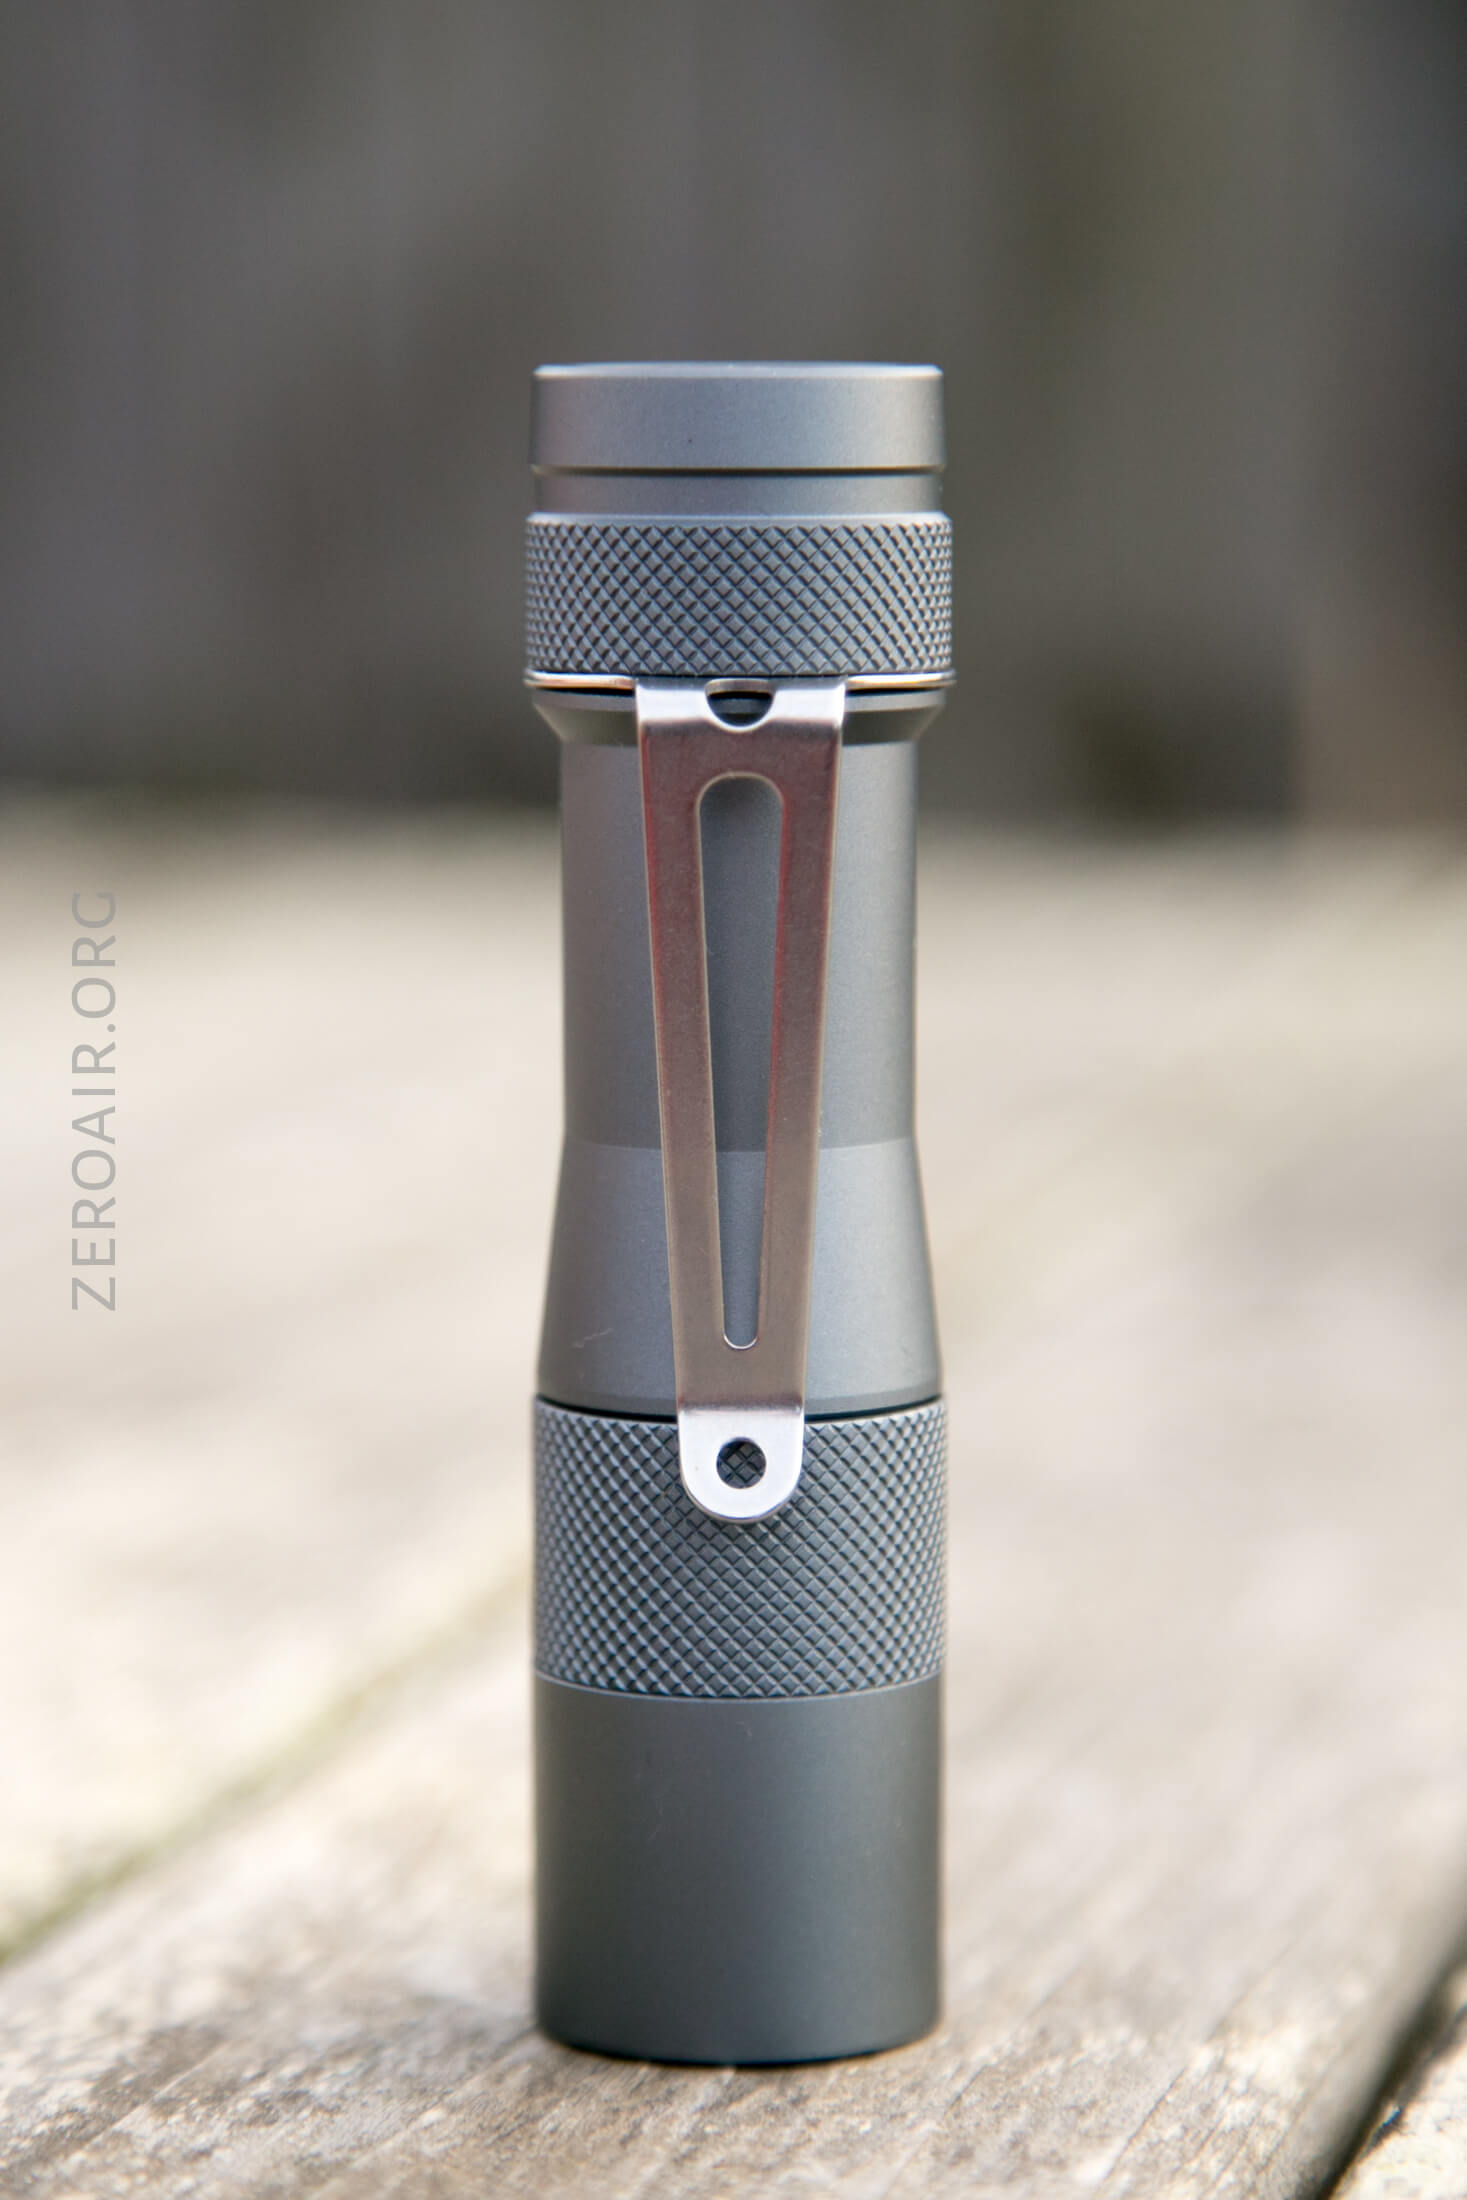
The only way included for carrying the FW1A Pro is the pocket clip.
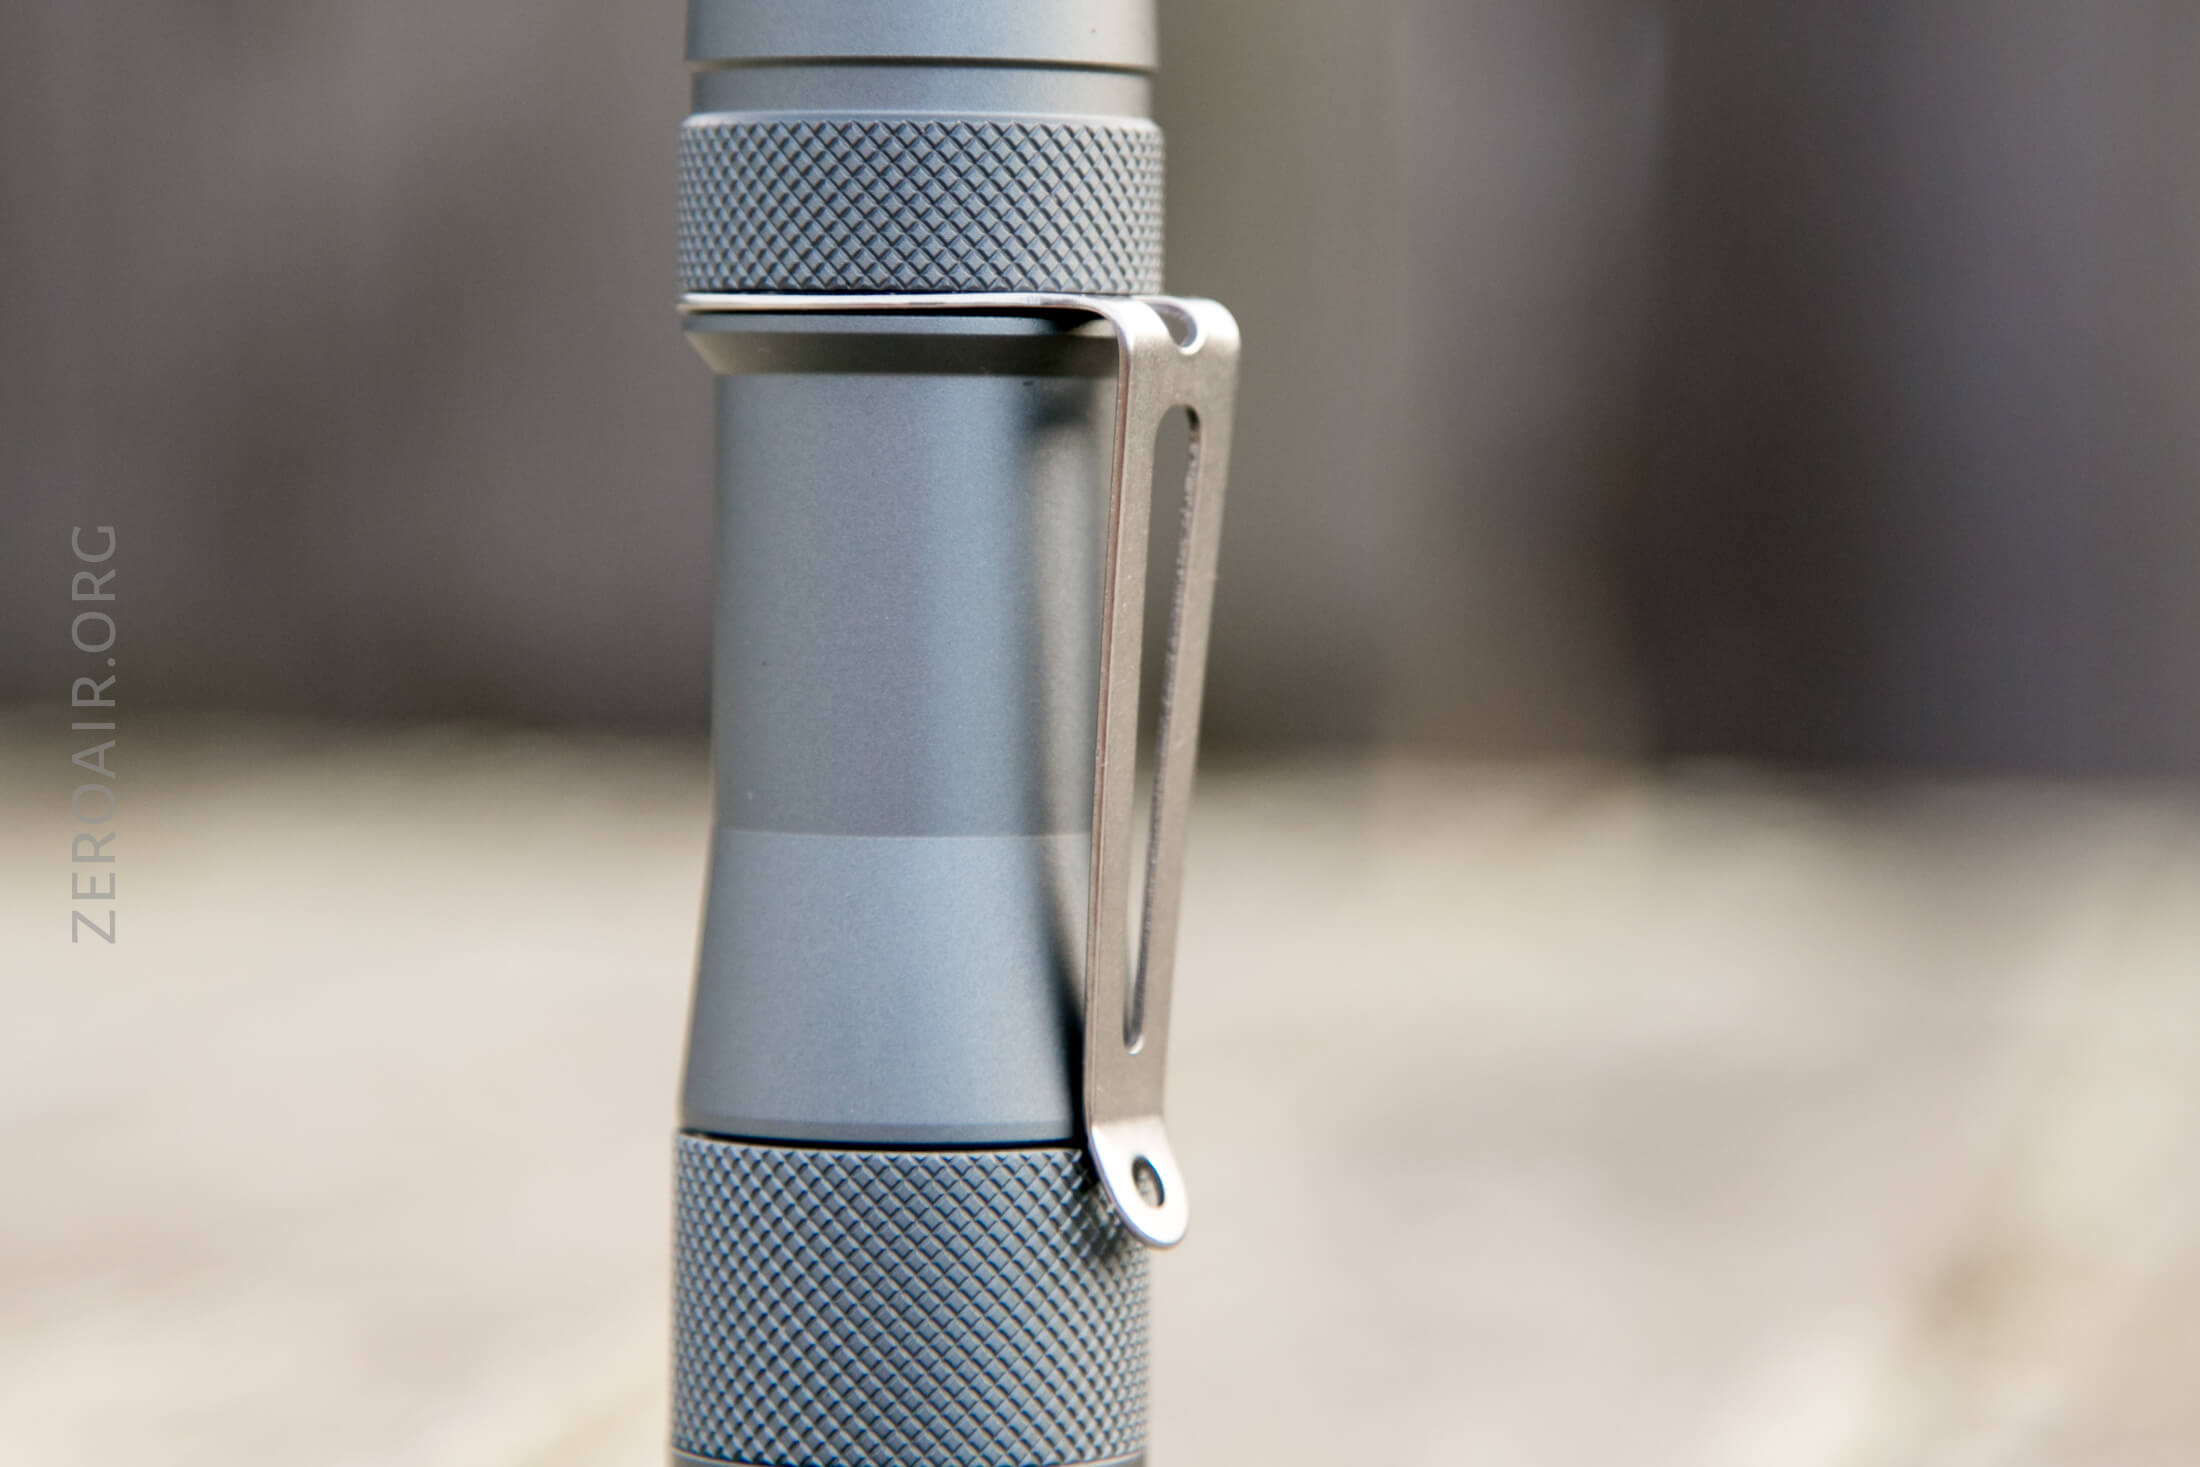
It’s a collar-type clip, and unfortunately, the collar has a slightly larger diameter than the body, but it’s only slight, and I haven’t been bothered by it. The clip is steel, and not incredibly thick; thick enough to be useful, but thin enough to be springy.
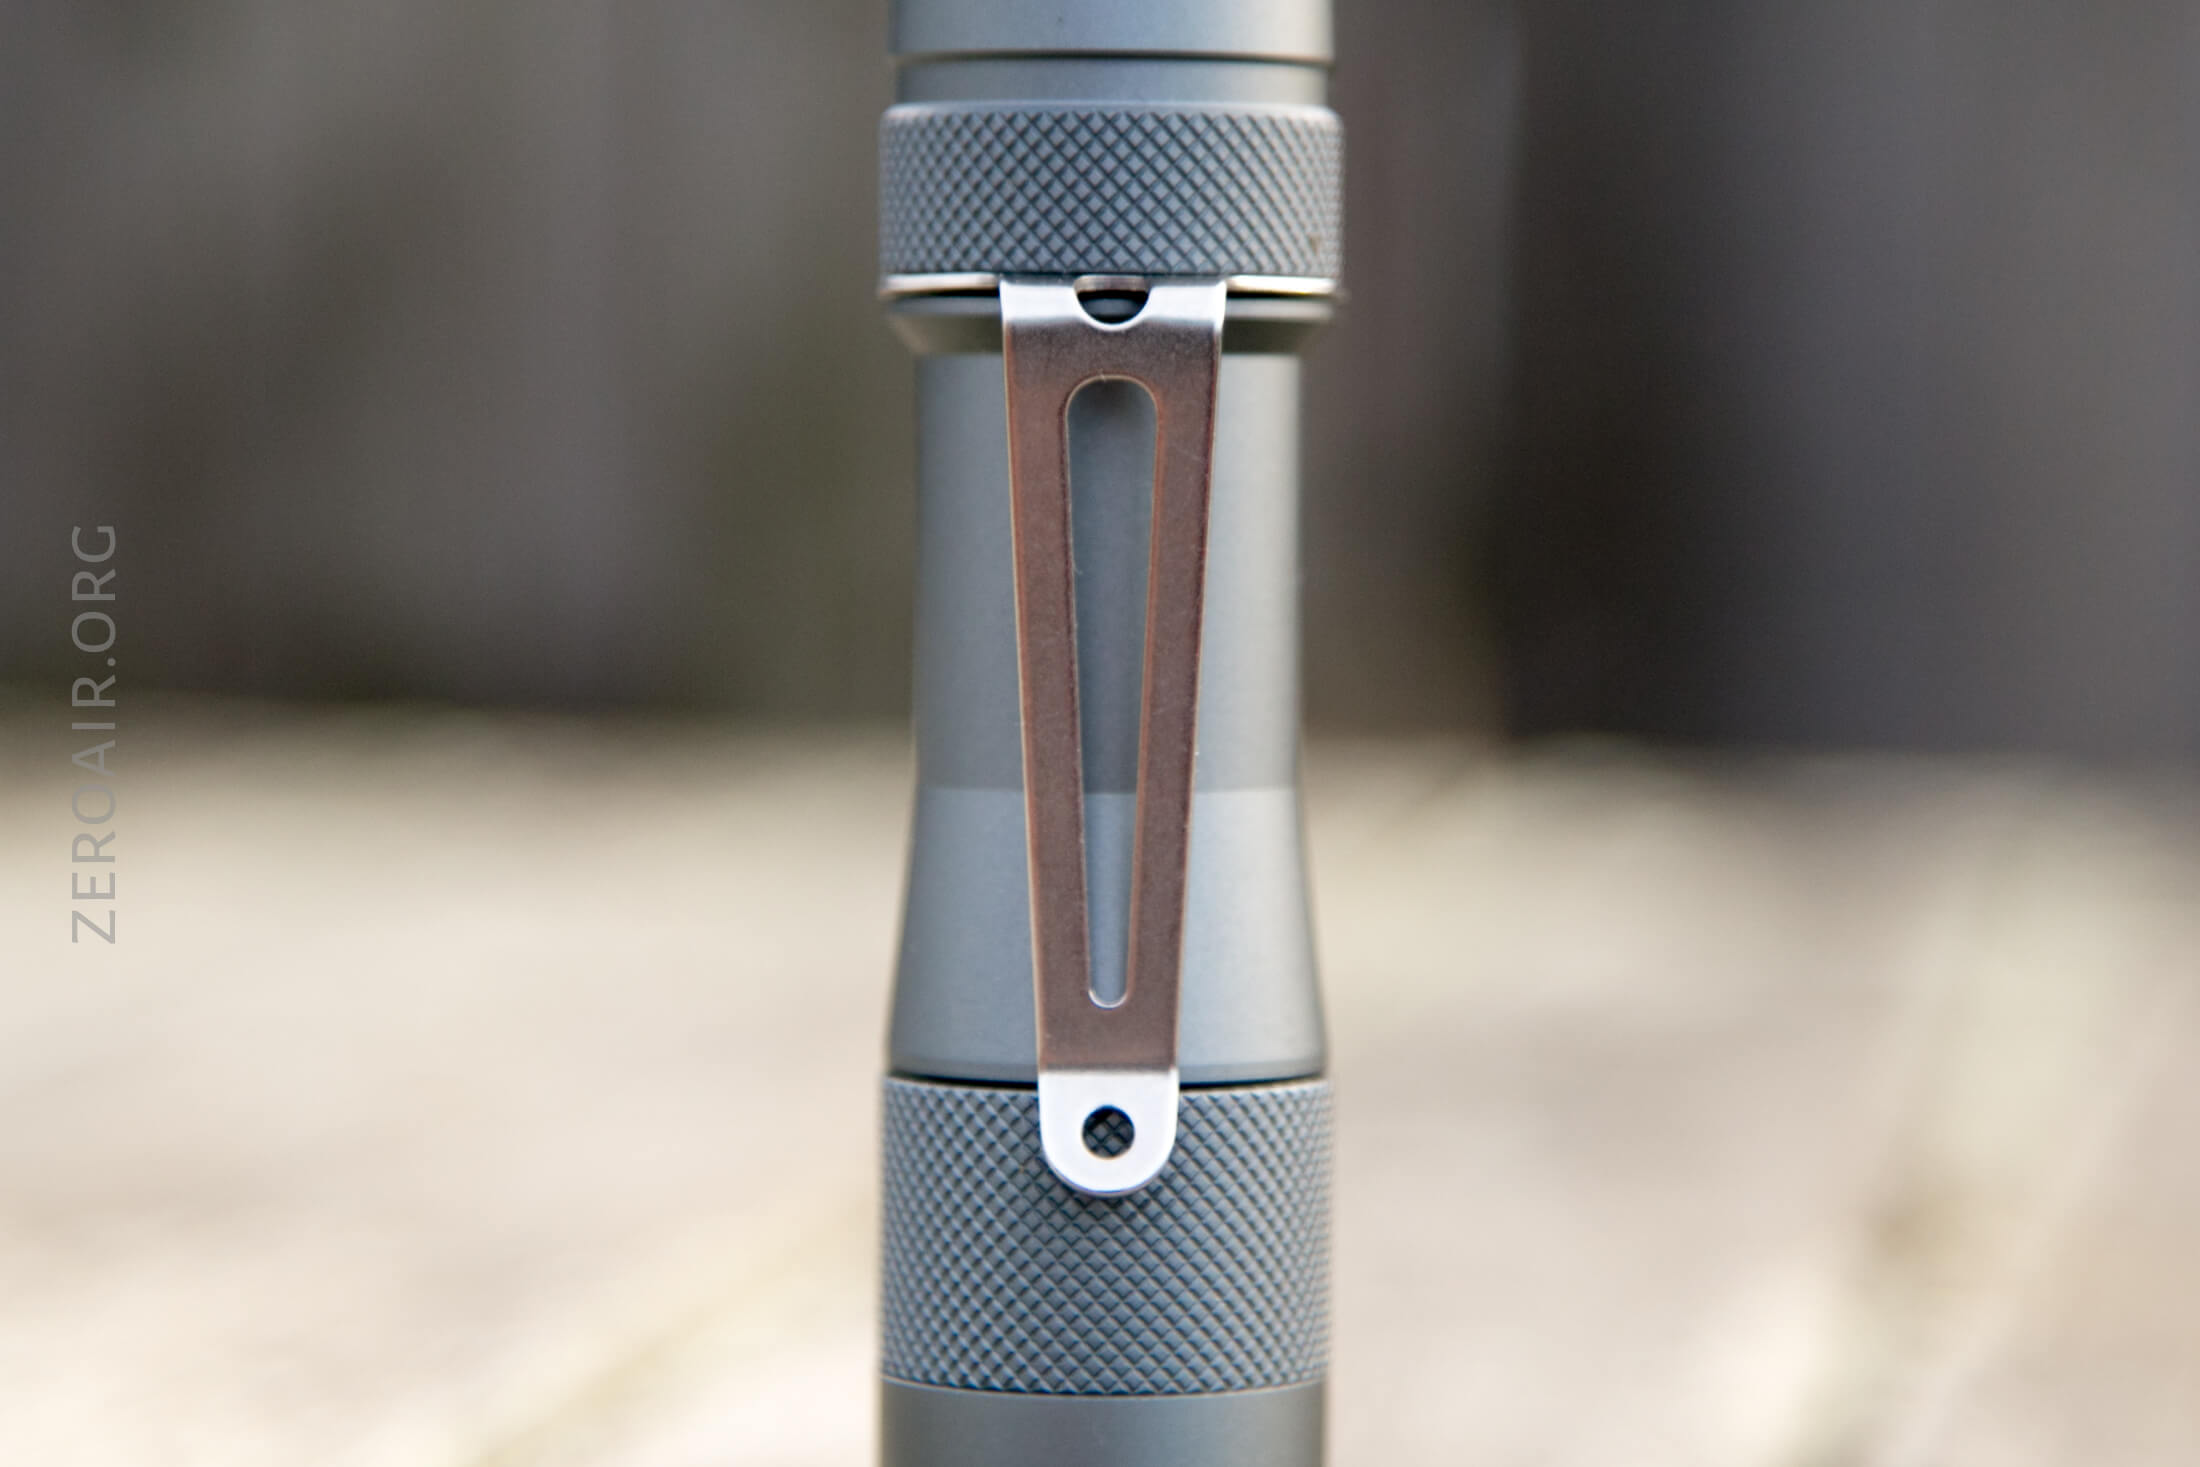
It’s bezel-down and non-reversible. So no hatlight use here. In fact, the collar won’t even fit over the bigger threads on the head end, and you’ll probably break the very thin o-ring that lives atop the clip when reinstalling it. I did anyway. And this is not one of the o-rings for which there are spares.
With how smooth the body is, and the mouth seen below, the light is very easy to get over a pocket.
There’s no way to use this light as a hatlight.
Power and Runtime
The FW1A Pro, like the others, wants only an unprotected flat top 18650. In my testing, I used an XTAR 18650, a high-current, lower-capacity (2600mAh) cell.
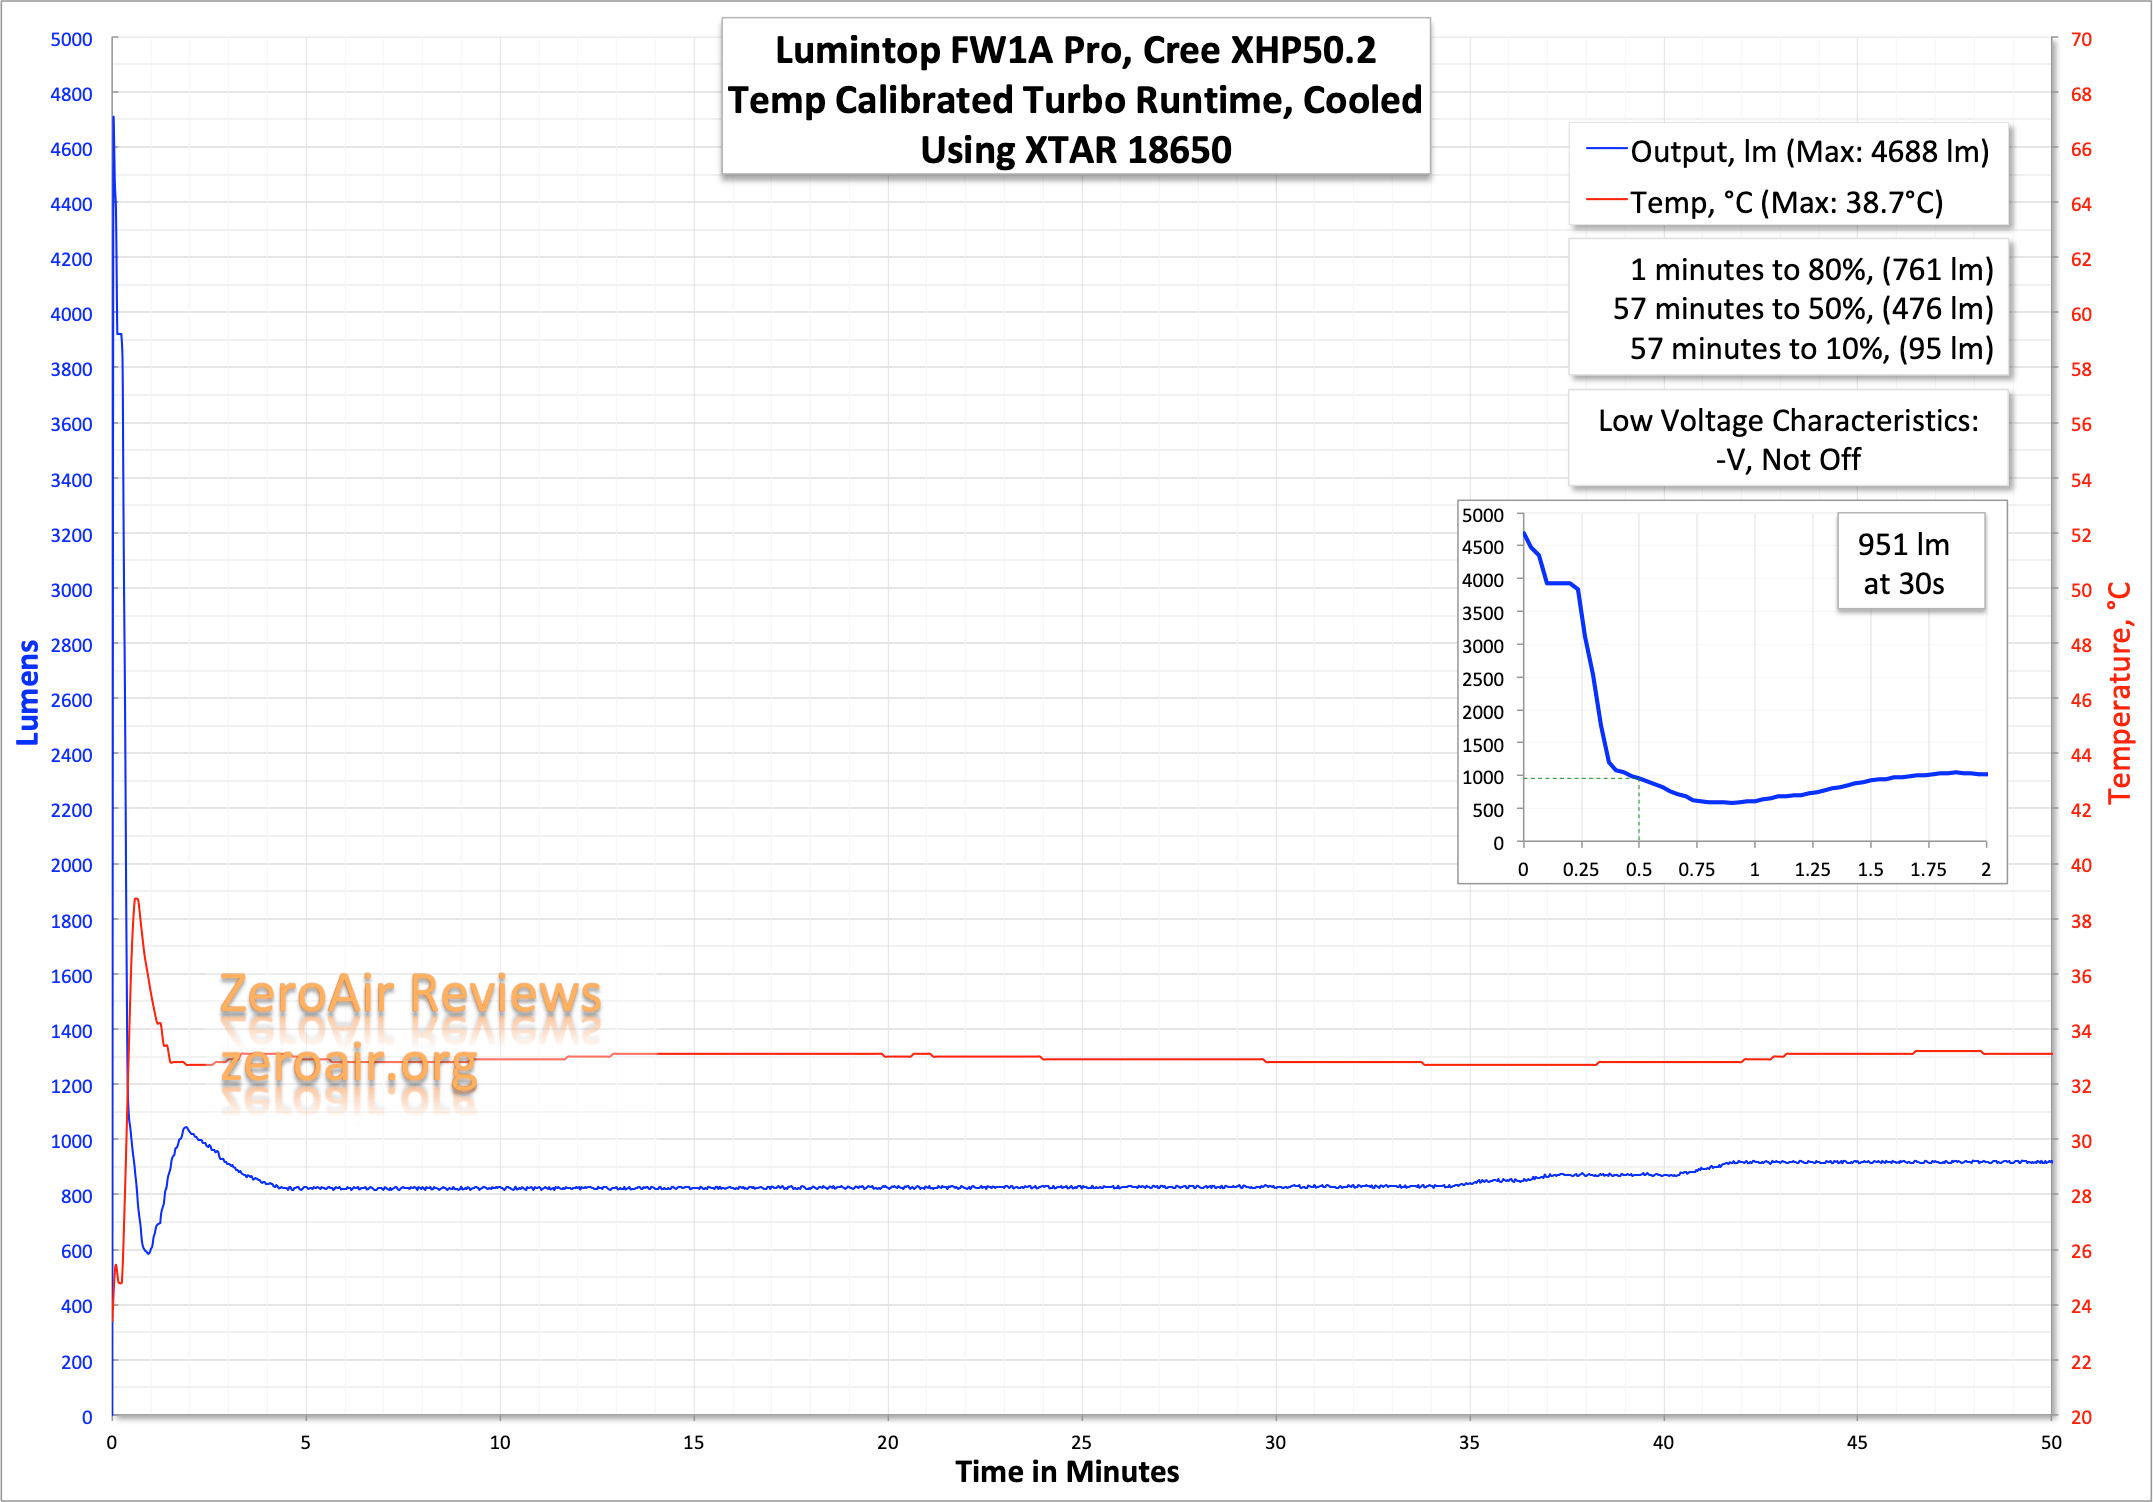
I didn’t test this light until the cell was empty. We know Anduril has LVP, and the modes will step down on the way to 2.7-2.8V. The light steps down very hard – it hits the claimed 3500 lumens but only within the first few seconds. At 30 seconds, it’s already stepped down very hard. The runtime below is Turbo – the one achieved when the light is on, and you double-click.
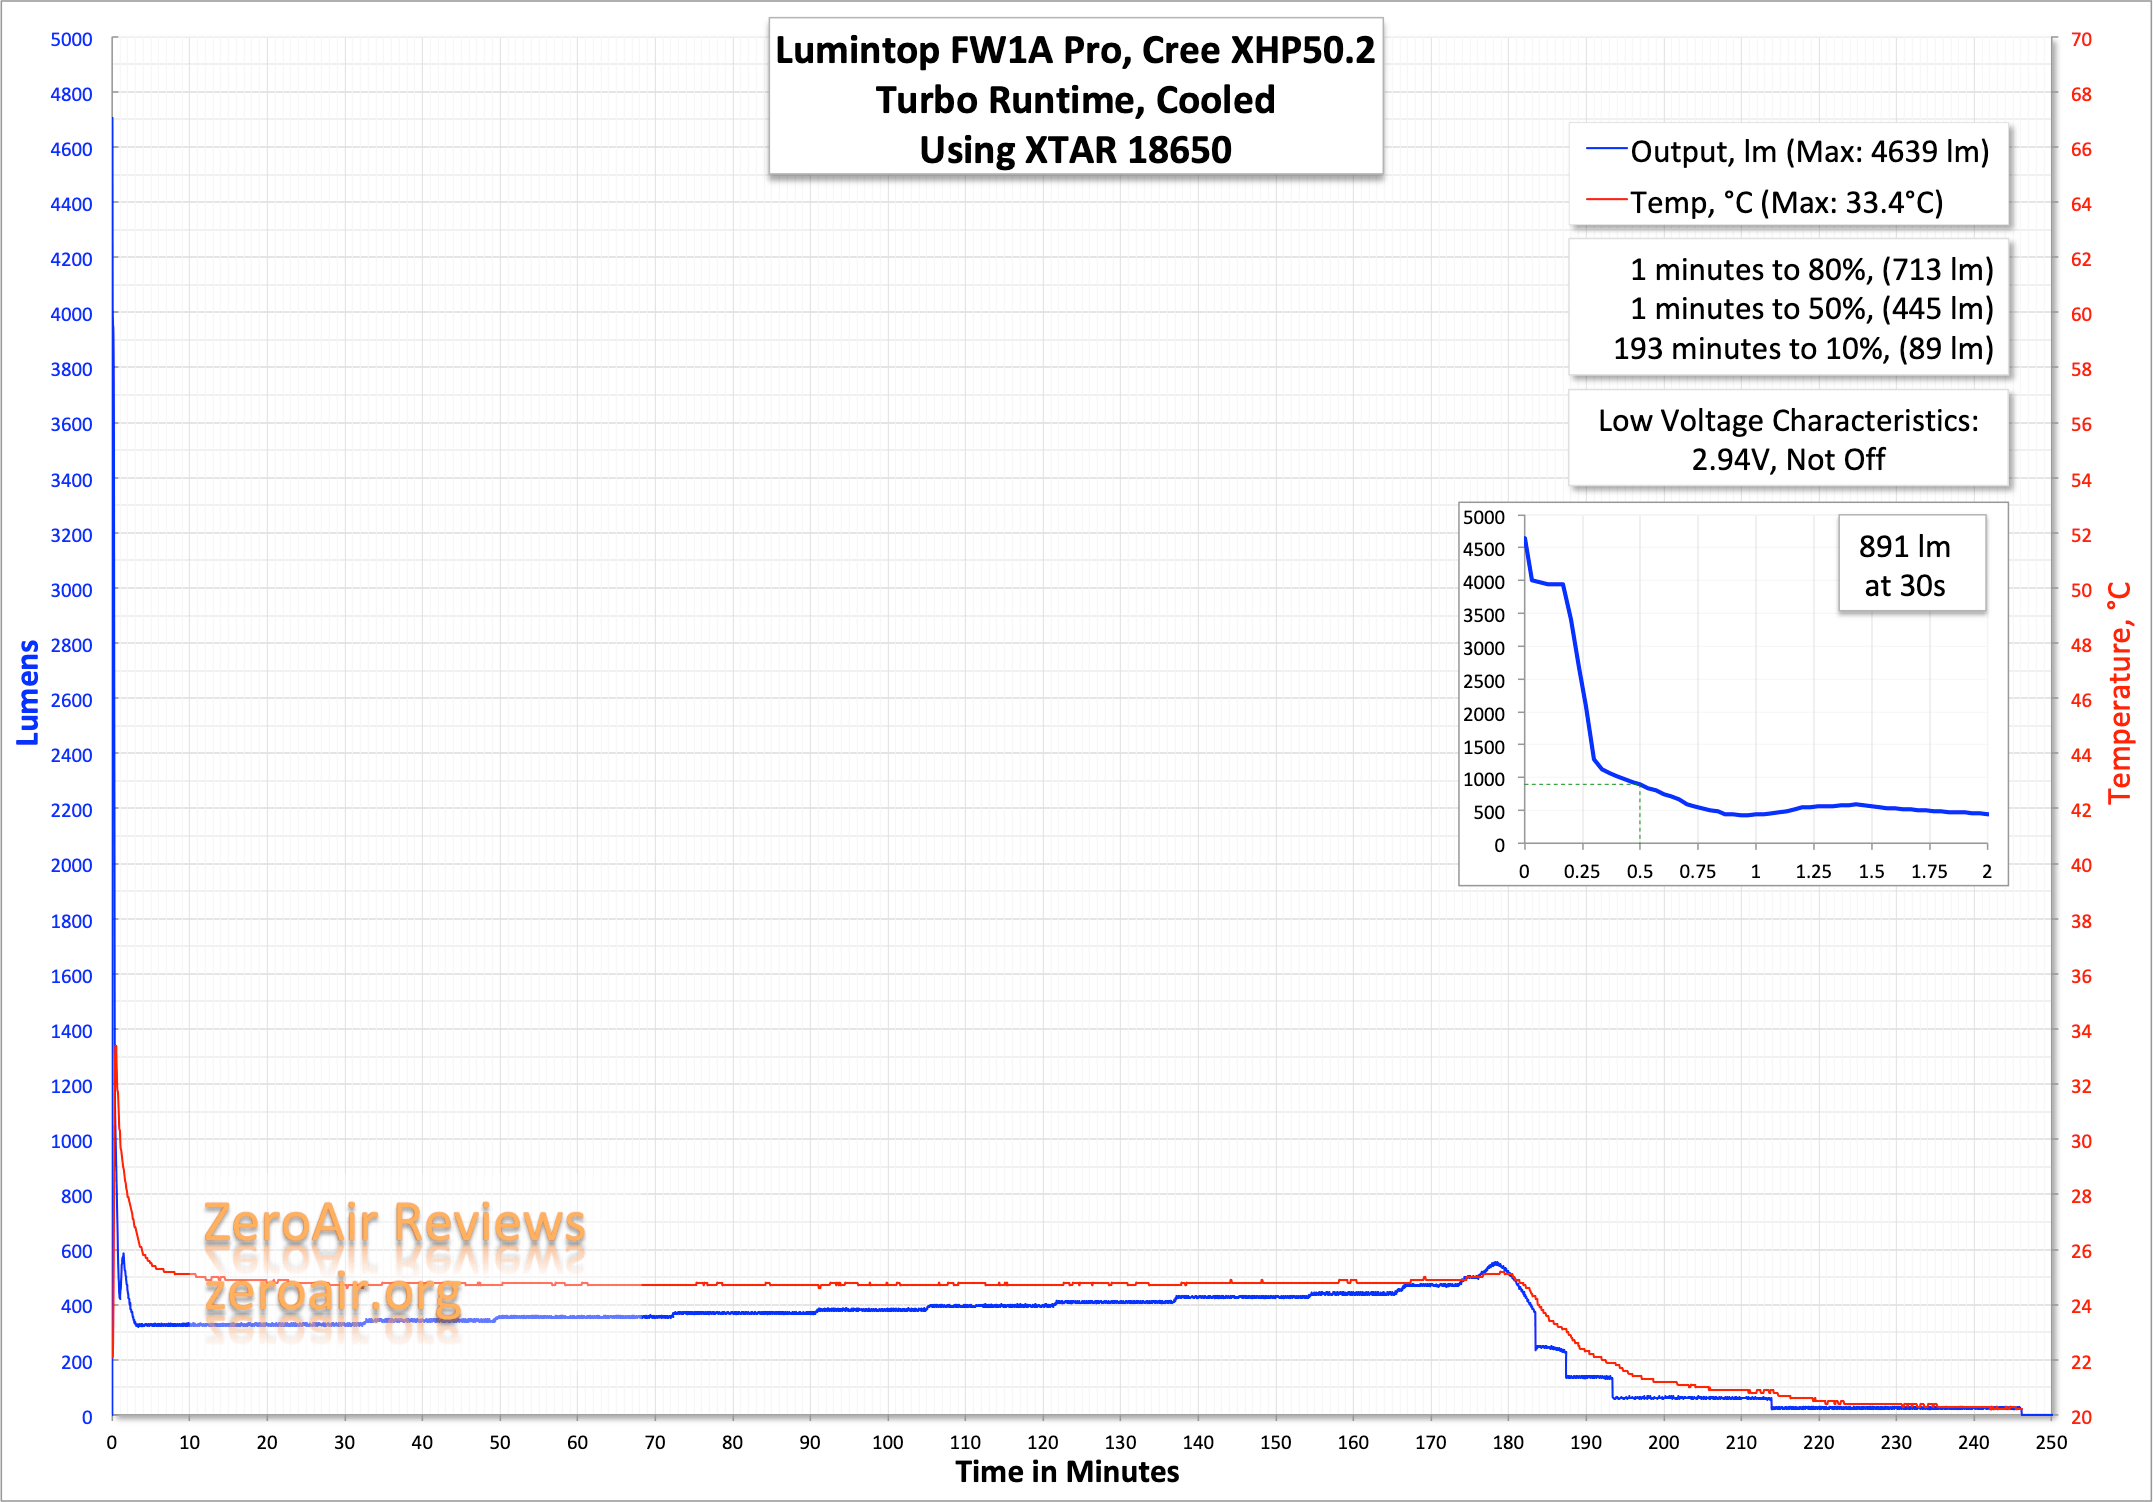
The runtime below is the highest of the stepped modes (I think this output is also the highest of the ramped modes). There’s still a massive stepdown. Likely temperature-based as Turbo above. After the stepdown, the output is nicely flat, but a little low at ~450 lumens.
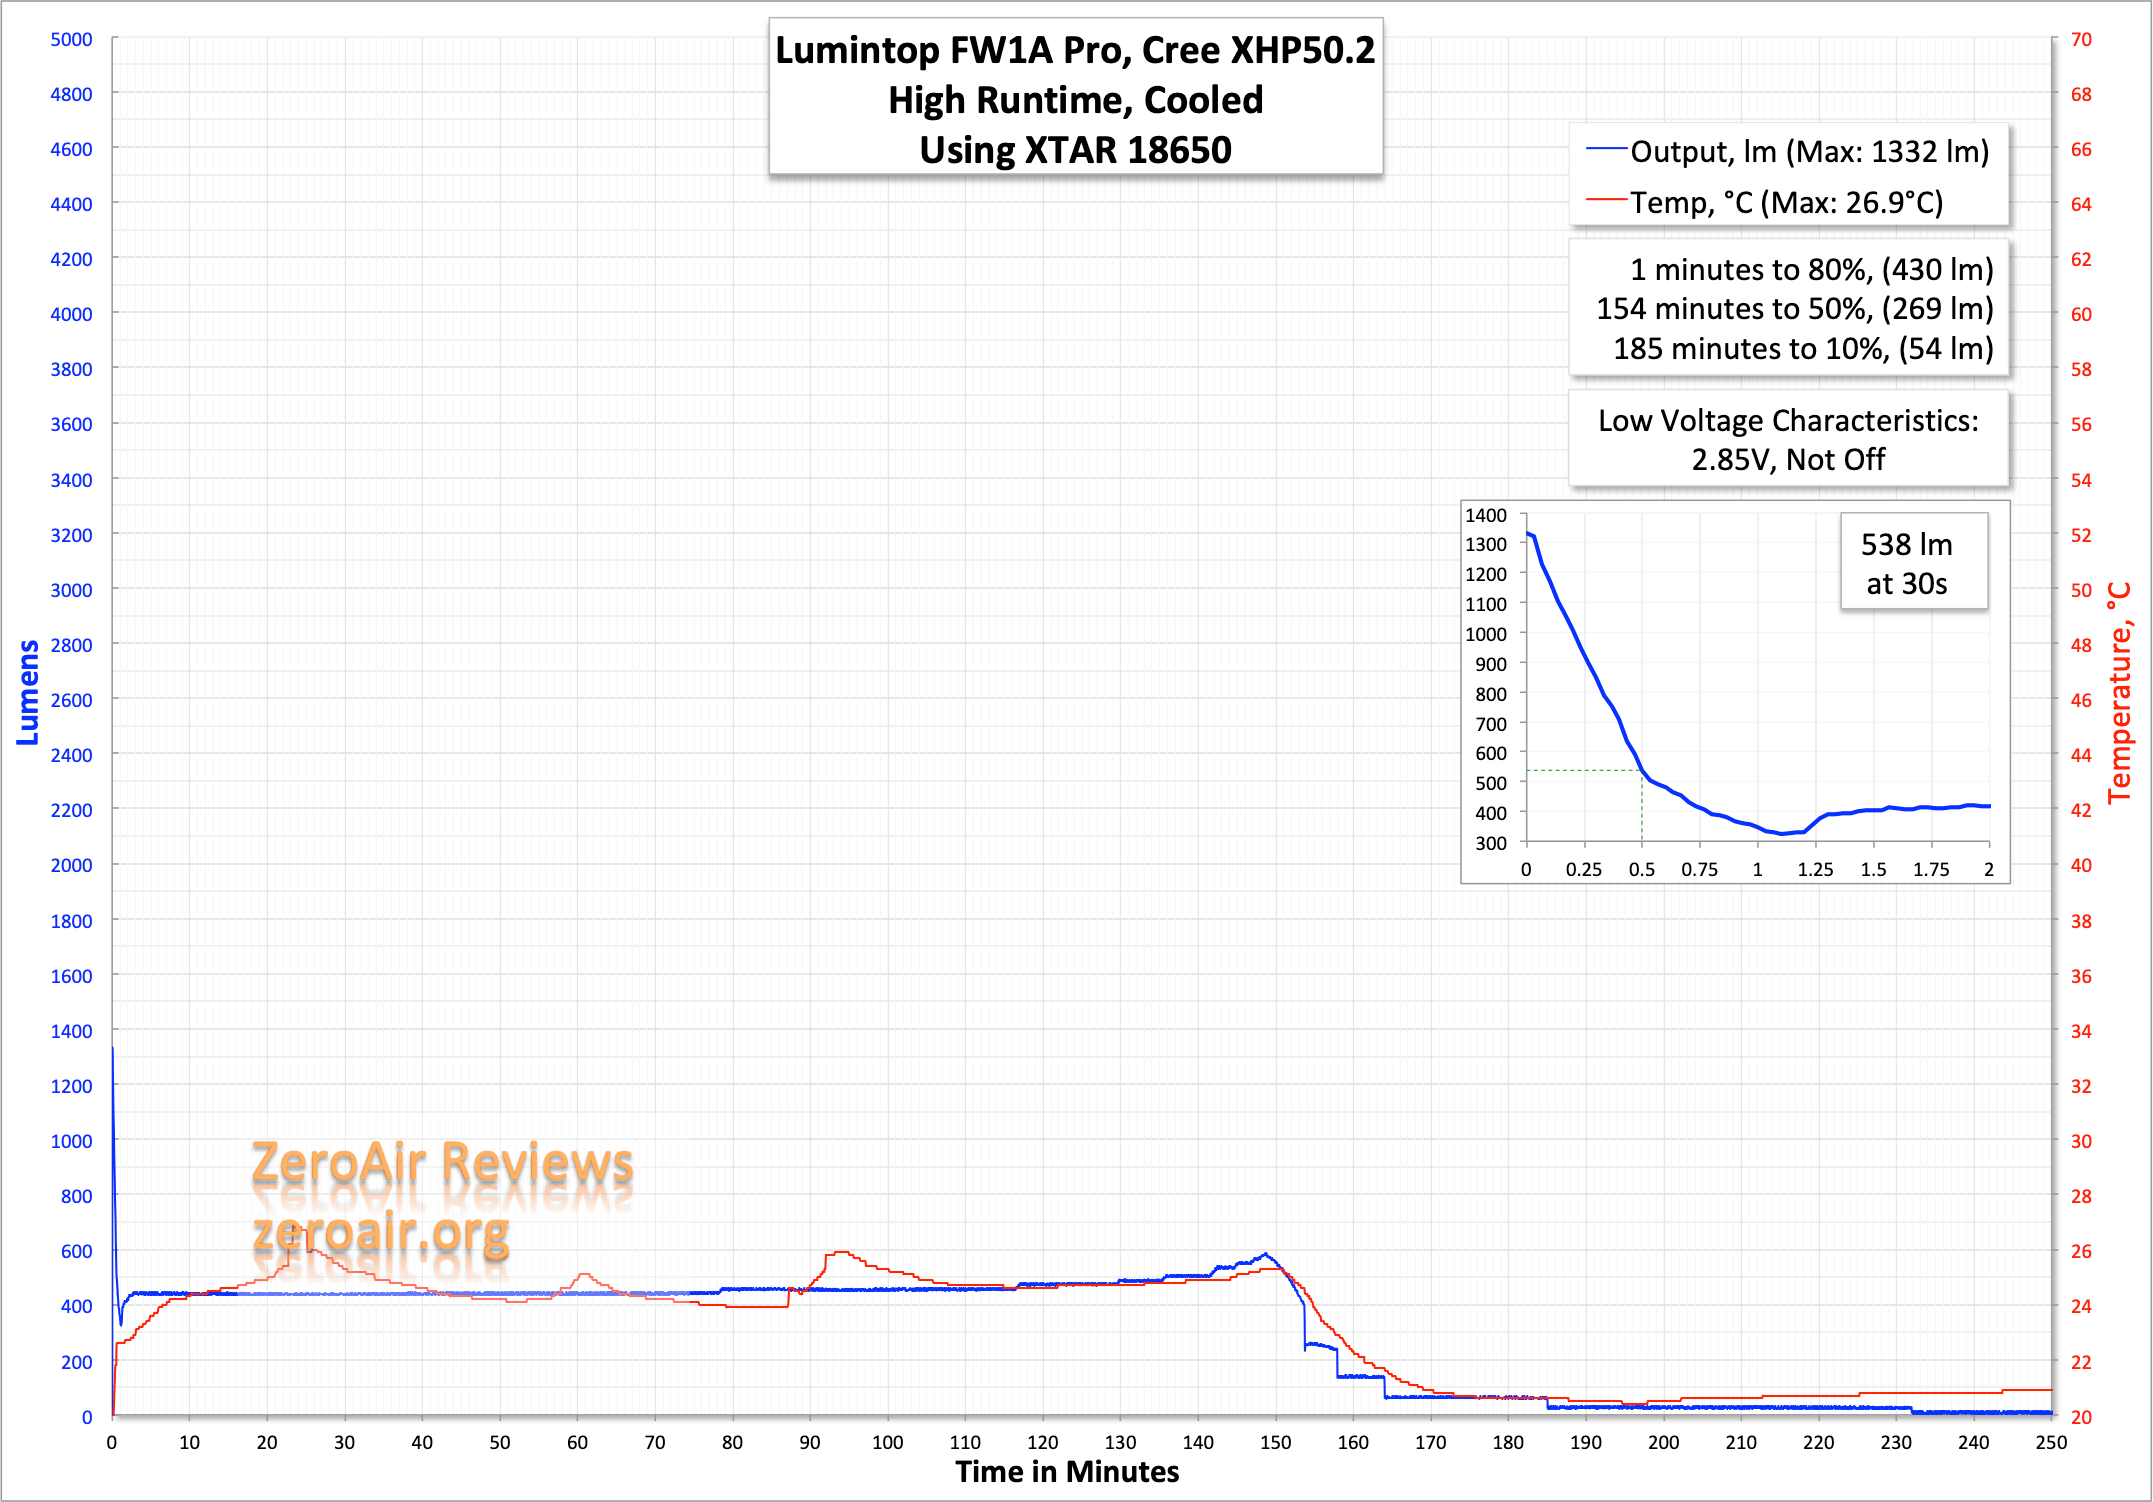
I performed temperature calibration on this light as I have on others with Andúril. A few things are notable. First, the max output does not really seem any higher, and the output at 30 seconds is approximately the same. The second very interesting thing you’ll see here is that once the light steps down, the output is much higher than it was on the uncalibrated Turbo test. Around 800 lumens calibrated, from around 300 uncalibrated.
So even if you don’t calibrate the light for more Turbo, calibrate it for higher stepdown output.
Here’s the excerpt from the FW1A review, regarding temperature calibration:
But what does calibration mean? There’s a lot that needs understanding, but I’ll try to sum it up. The firmware knows two things: room temperature and max operating temperature. On my copy, the room temperature was set at 37 degrees. For the max, the firmware uses a 5°C window, and by default, that range is 40°C to 45°C. So if my room temperature is set to 37°C, then I have a 3-degree window before my light starts to throttle. (!!!). That’s in effect what we see in the uncalibrated Turbo test.
What to do? The first thing is to tell the light a reasonable room temperature. I entered 21°C through the programming method. To do that, after you let the light settle to a normal room temperature:
The light is off.
Click 3x. This enters battery check.
Click 2x. This enters Sunset.
Click 2x. This enters Beacon.
Click 2x. This enters Temperature Check. (Note: “Temp Check” doesn’t blink the set temp, but the current temp.)
Click 4x. This enters Temperature Calibration.
In Temp Cal mode, the light will blink once brightly and then flash low very quickly for a few (4) seconds. Then the light will flash twice brightly, and flash low very quickly again for a few (4) seconds. After the first flash is calibration for room temperature. After the second two flashes is calibration for the max temperature.
During the first low blinks, for room temperature calibration, you should click exactly how many times you wish room temperature to be, in degrees C. If you want room temp to be 21°C, then you must click 21x. (You don’t have to rush – once you start during the low flash window, you have time to complete your 21 clicks.) If you wish for room temp to be set at 30°C, then you must click 30x.
Setting max temp isn’t the same. Max temp is always 30+[your clicks]. So if during the second window, you click 8x, you’ve set the max temp to 38°C. You’ll probably want something like 45°C, so you should click 15x in the second window.
And just like that your light is calibrated, and you’ll have much more …. expected… performance out of the Andúril lights!
Modes and Currents
| Mode | Mode Claimed Output (lm) | Claimed Runtime | Measured Lumens | Tailcap Amps |
|---|---|---|---|---|
| Turbo (Double Click) | – | – | 891^ | ? |
| High (top of ramp/highest stepped) | – | – | 538^ | ? |
| 6 | – | – | 804 | ? |
| 5 | – | – | 473 | ? |
| 4 | – | – | 245 | ? |
| 3 | – | – | 124 | ? |
| 2 | – | – | 48 | ? |
| 1 | – | – | 1 | ? |
^ These numbers are only after the stepdown, so don’t read too much into those.
Pulse Width Modulation
We know Anduril utilizes PWM. Note the timescale, though – the PWM is very fast, so not noticeable at all (for me anyway, and likely for you too).

Here you can see a “baseline” – a chart with almost no light hitting the sensor.
Then there’s the Ultrafire WF-602C flashlight, which has some of the worst PWM I’ve seen. It’s so bad that I used a post about it to explain PWM! Here are multiple timescales (10ms, 5ms, 2ms, 1ms, 0.5ms, 0.2ms) to make comparing this “worst” PWM light to the test light easier. That post also explains why I didn’t test the WF-602C at the usual 50us scale.
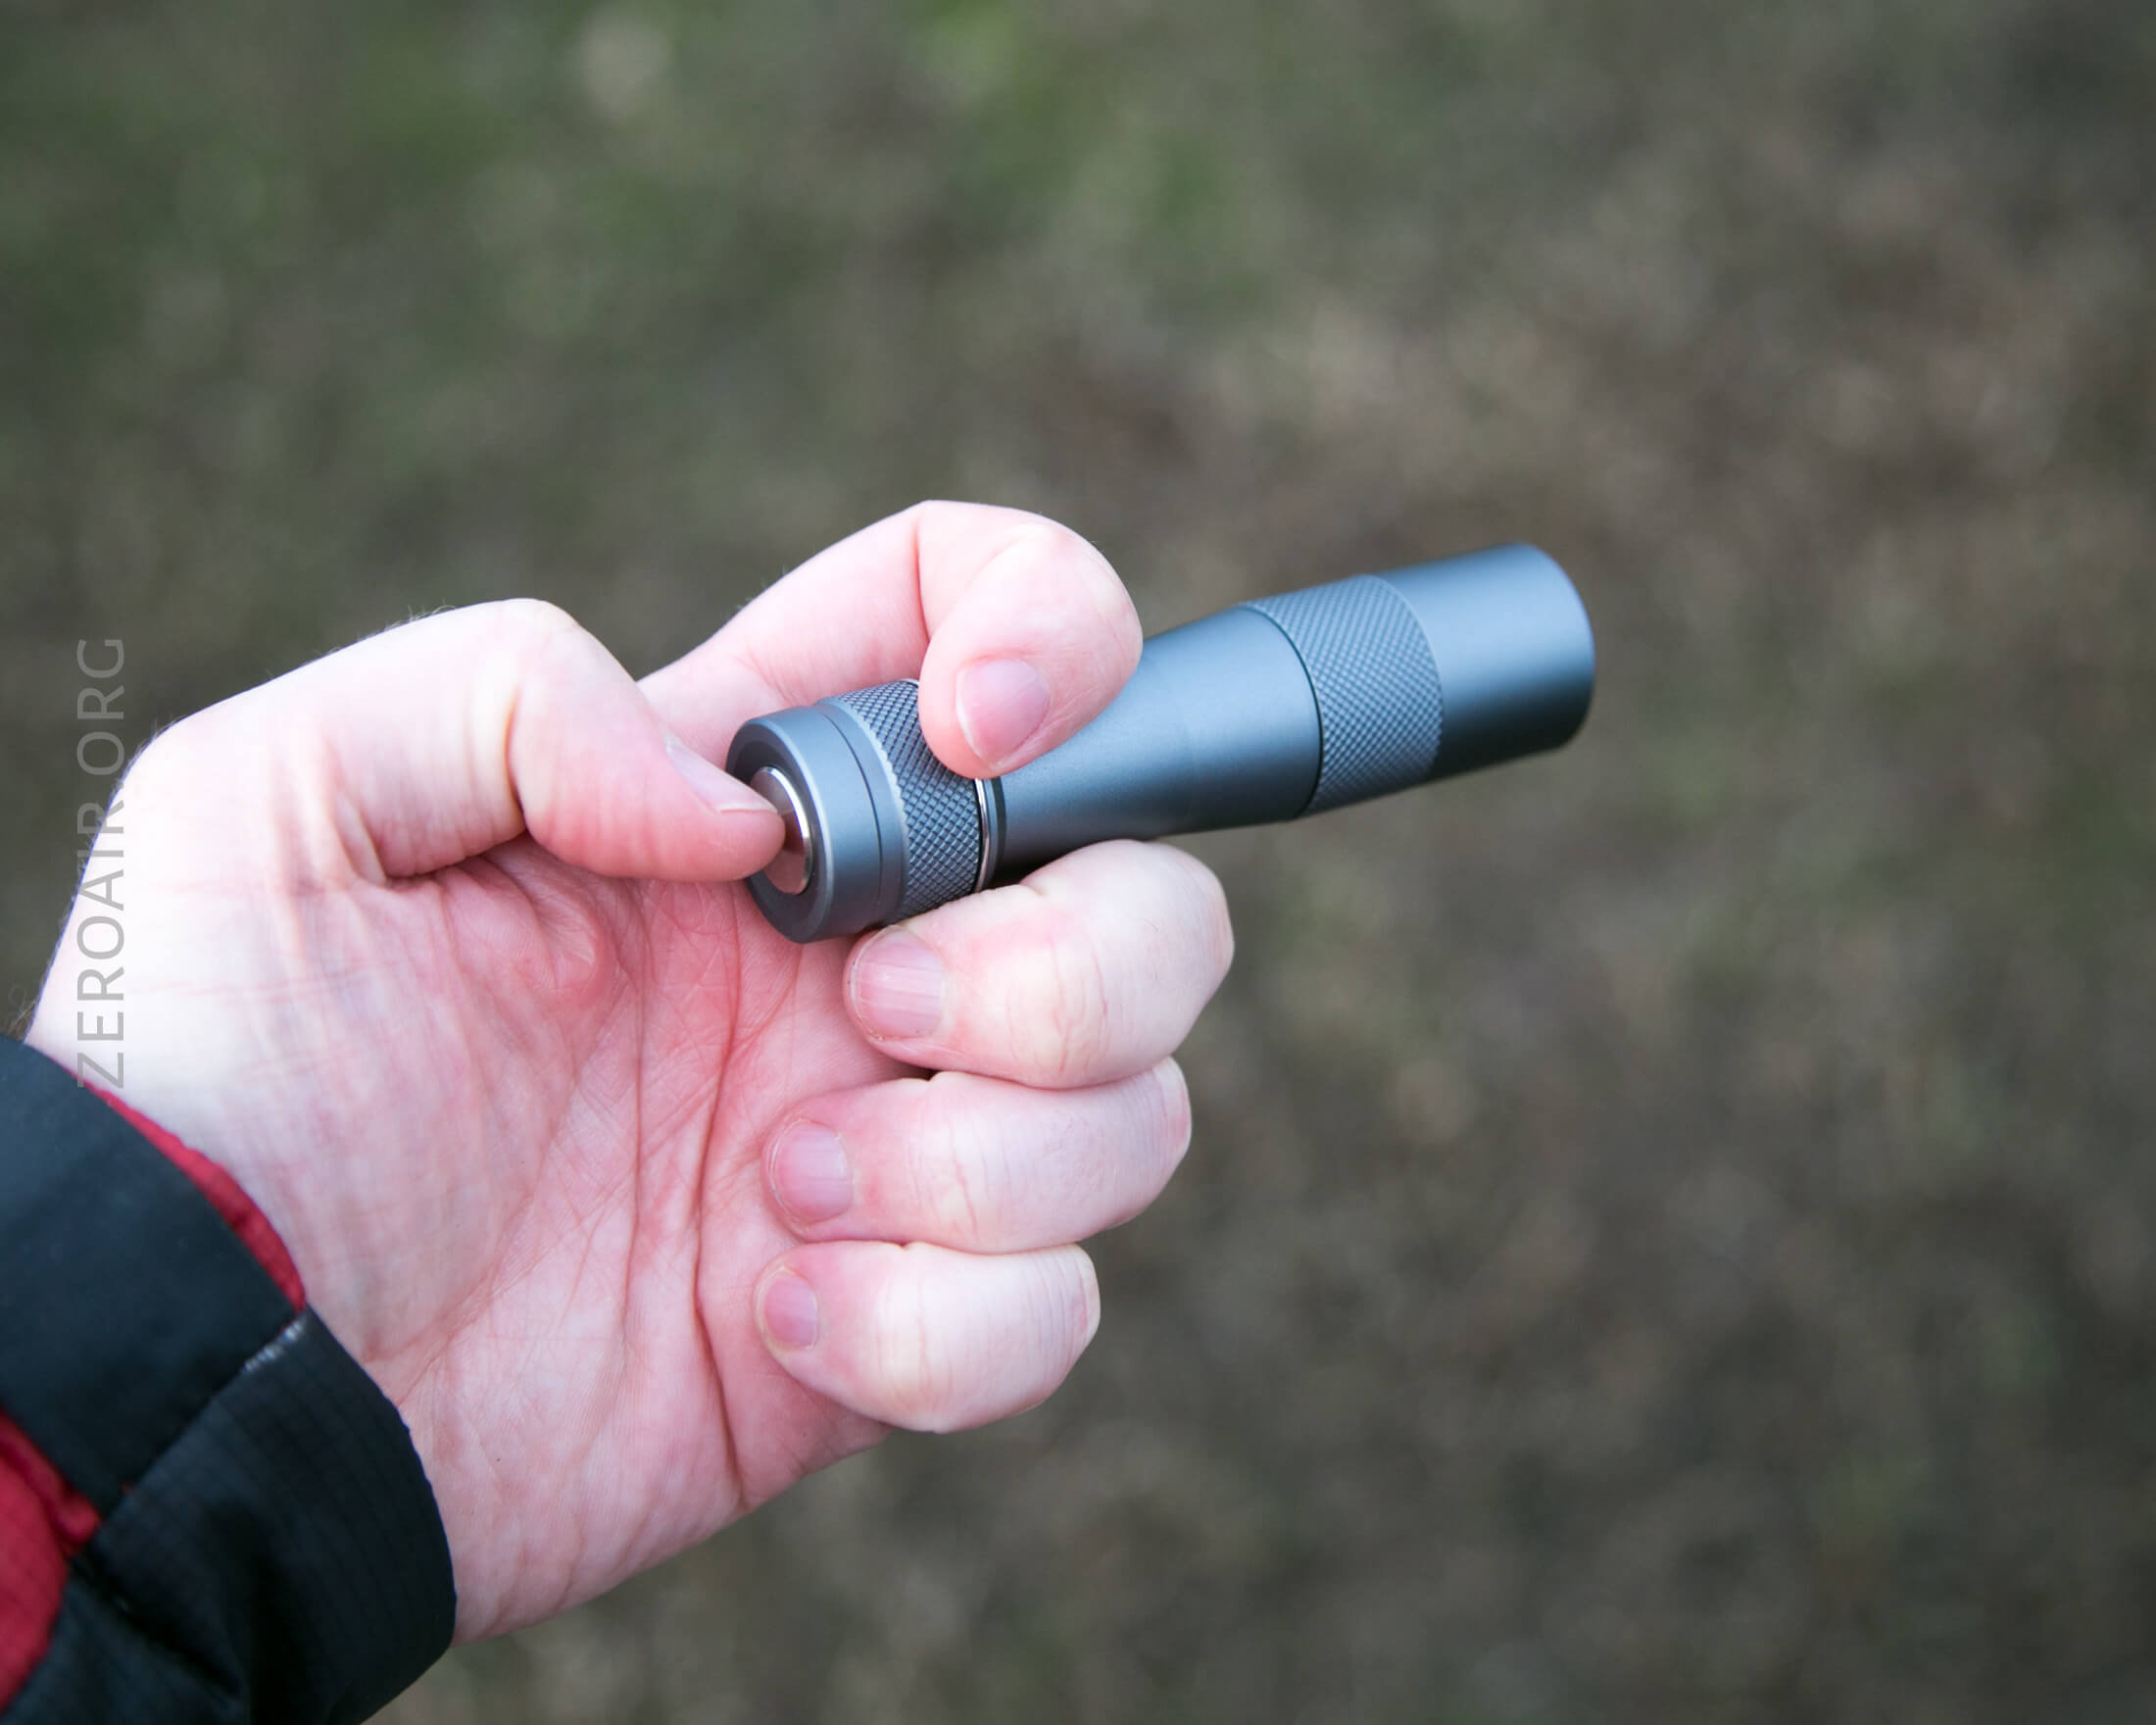
User Interface and Operation
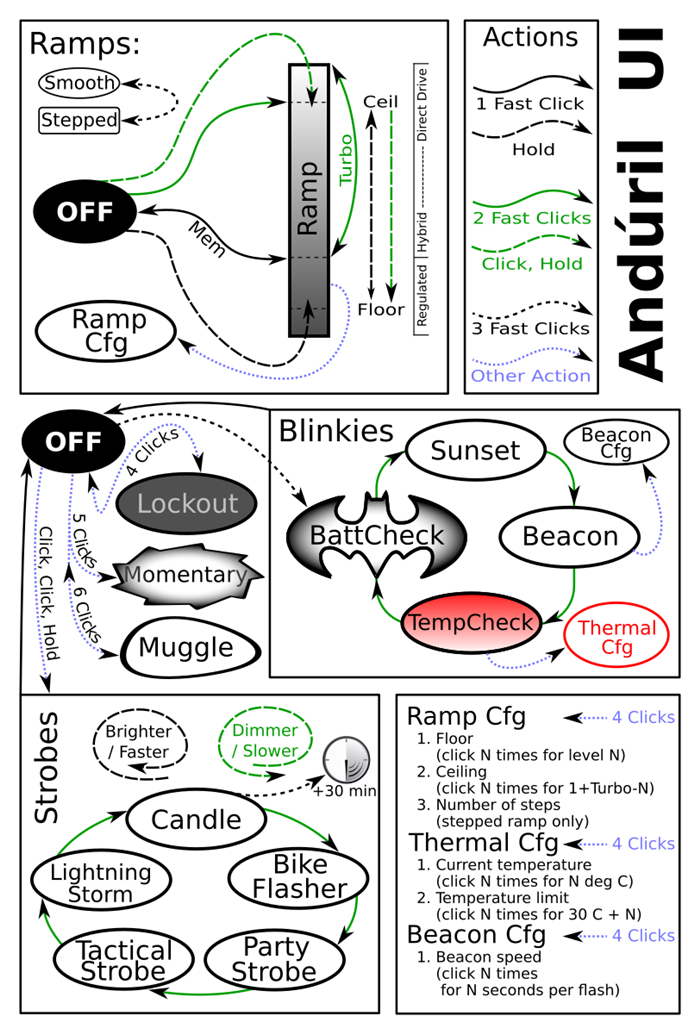
The user interface on this light is just like the other FW I’ve reviewed, so there’s no point rewording it.
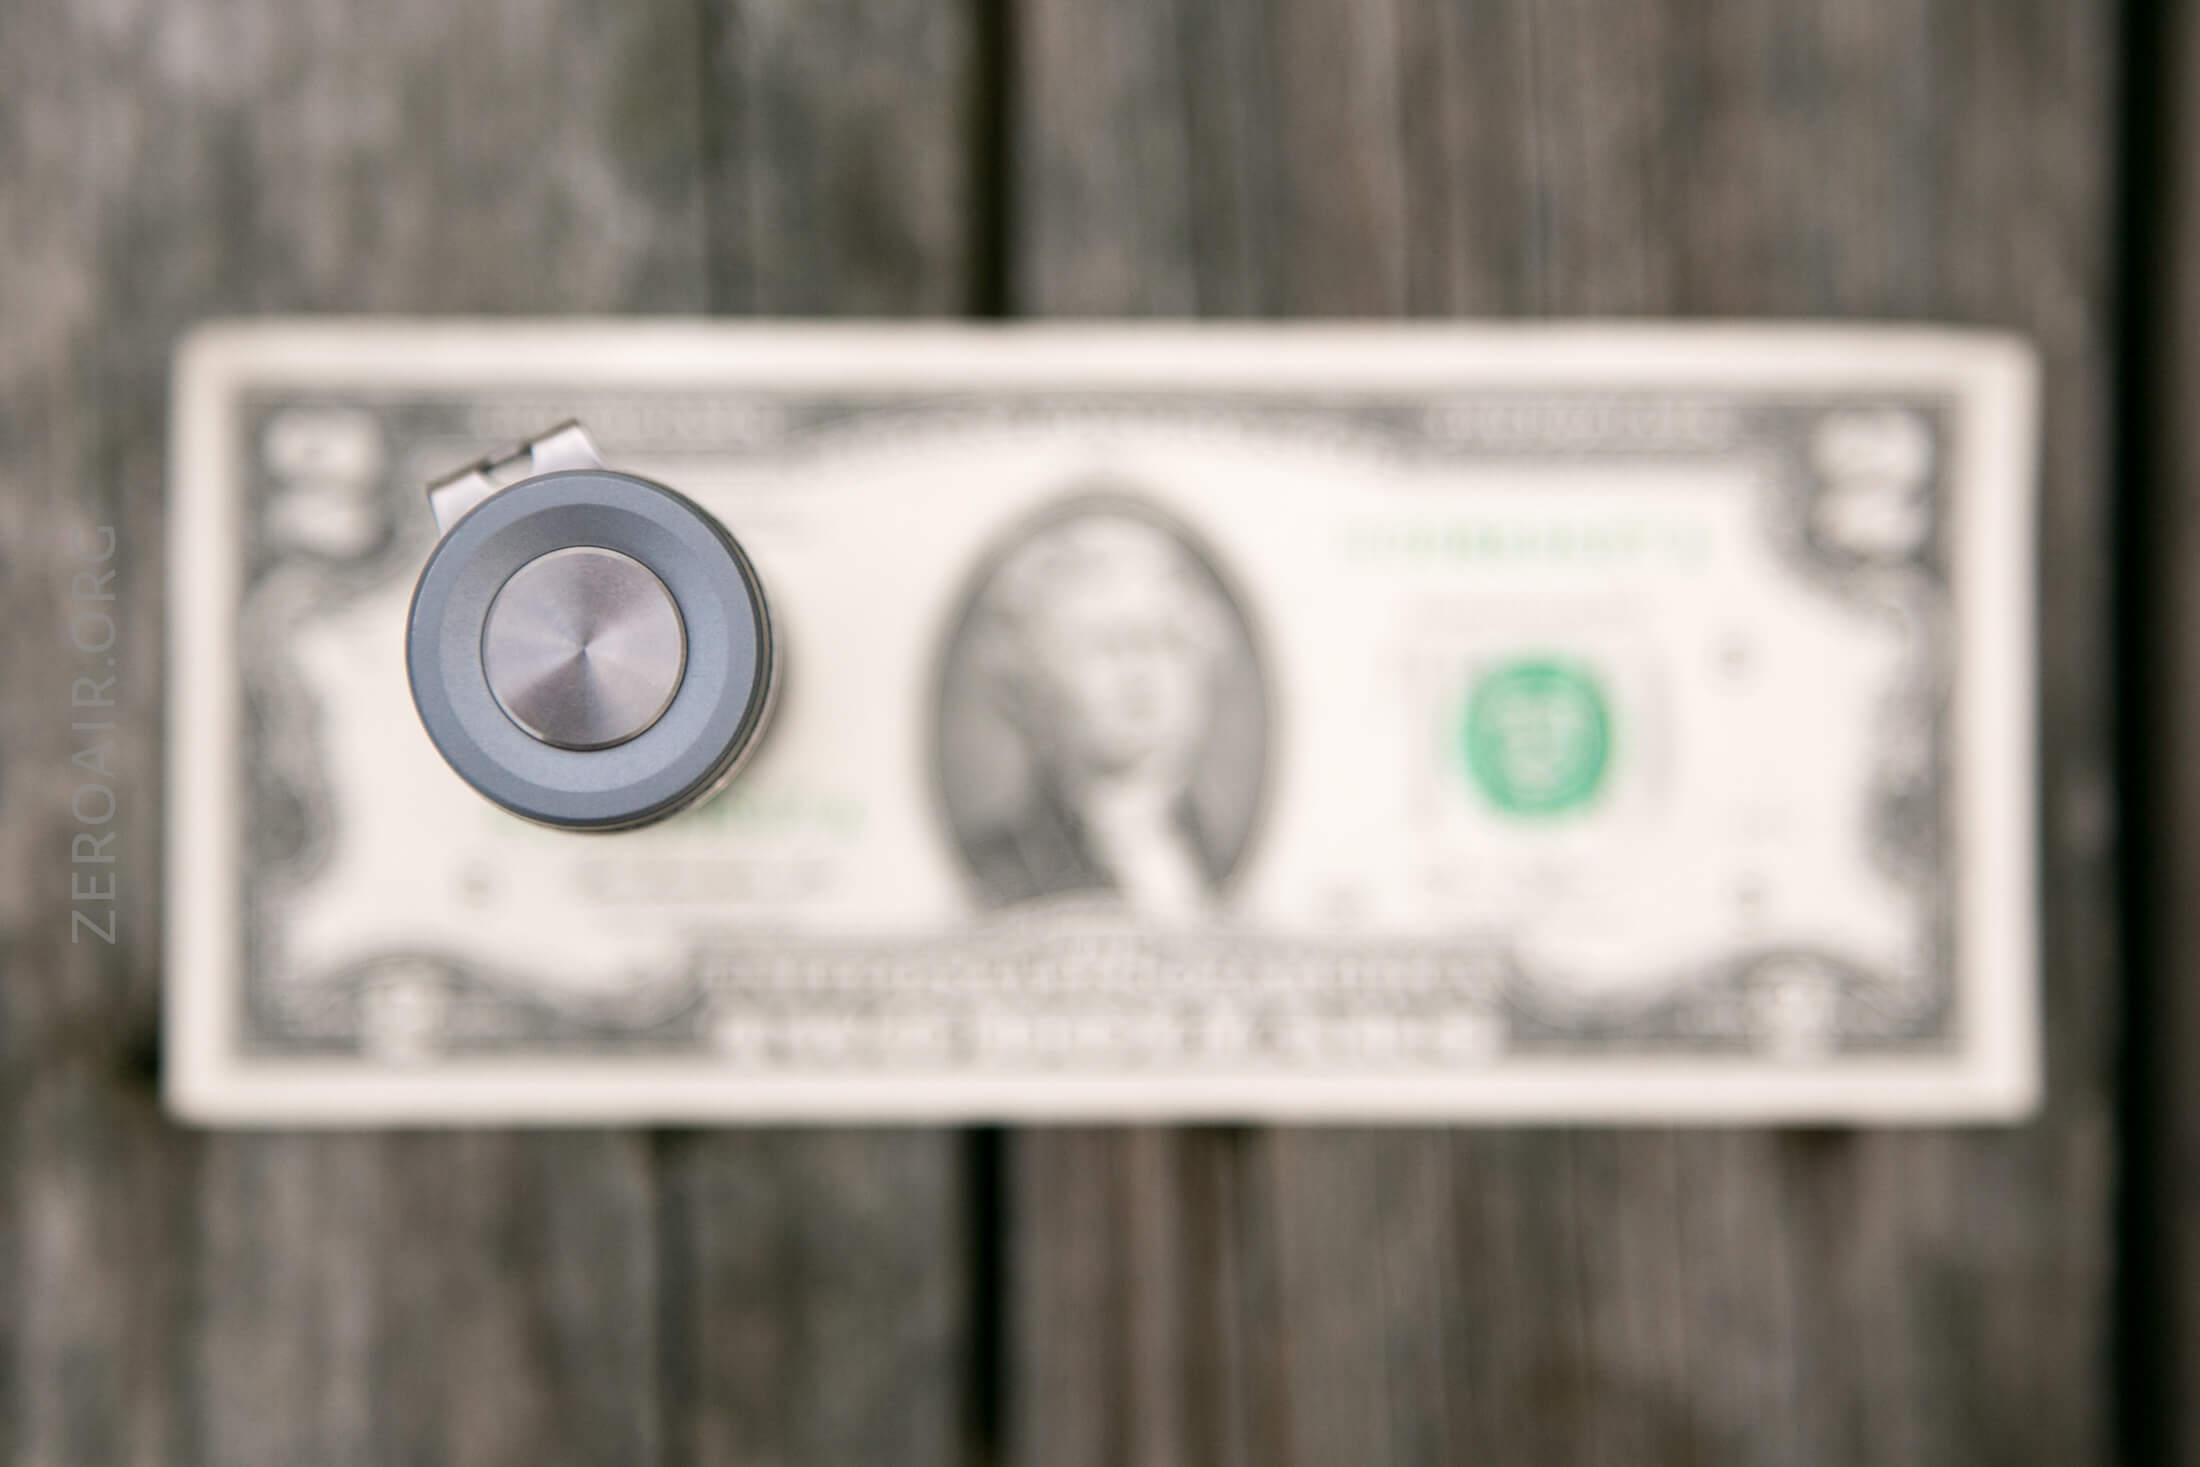
The interface for this light is a tail clicky, but unusually, it’s an e-switch. That’s a bit of a coup, and something not many manufacturers are doing (in tail-switch form). Lumintop actually has the Tool AAA, which has a tail e-switch option. And at least one more option I can’t think of right now.
The button itself is metal (with that rubber cover under it), and has a very minimal amount of travel (1mm or less). Despite being a very big switch, it’s possible to actuate from anywhere on the surface – even the tiniest fingernail on the very edge will still work.
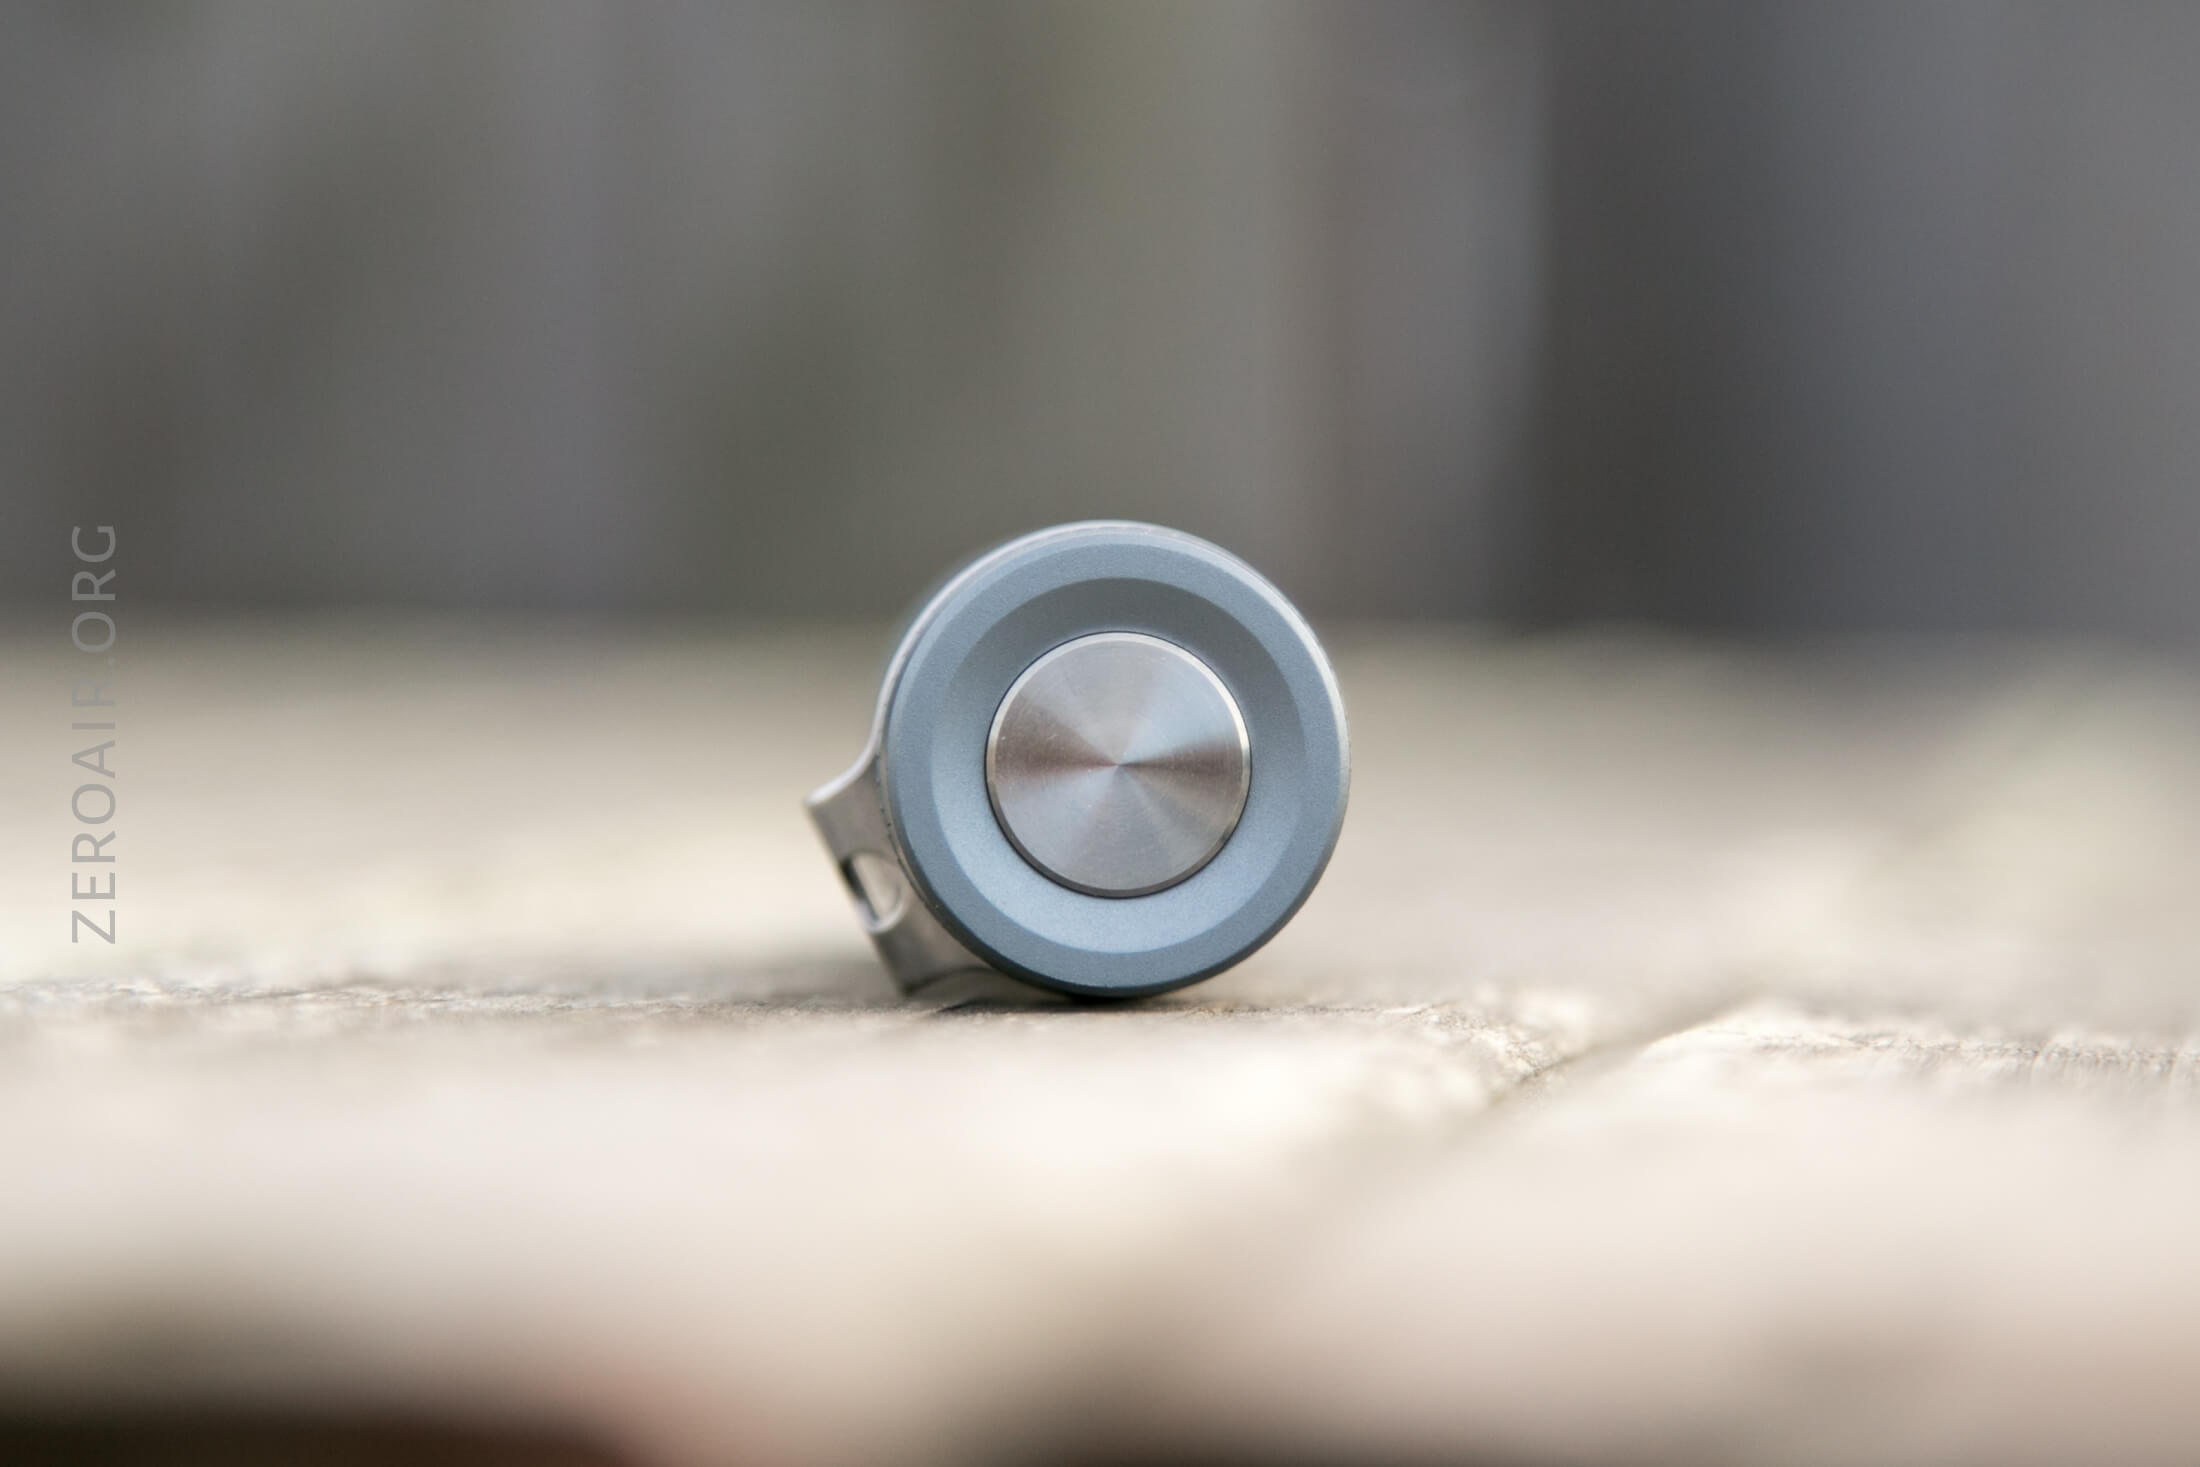
It should absolutely be noted that there are replacement switch covers. For example, Neal sells turboglow options (which I’ll be ordering obviously [r/GITD!!]). There are a bunch of color options. Here’s that option.
This chart will probably be more useful for you, right-brain users.
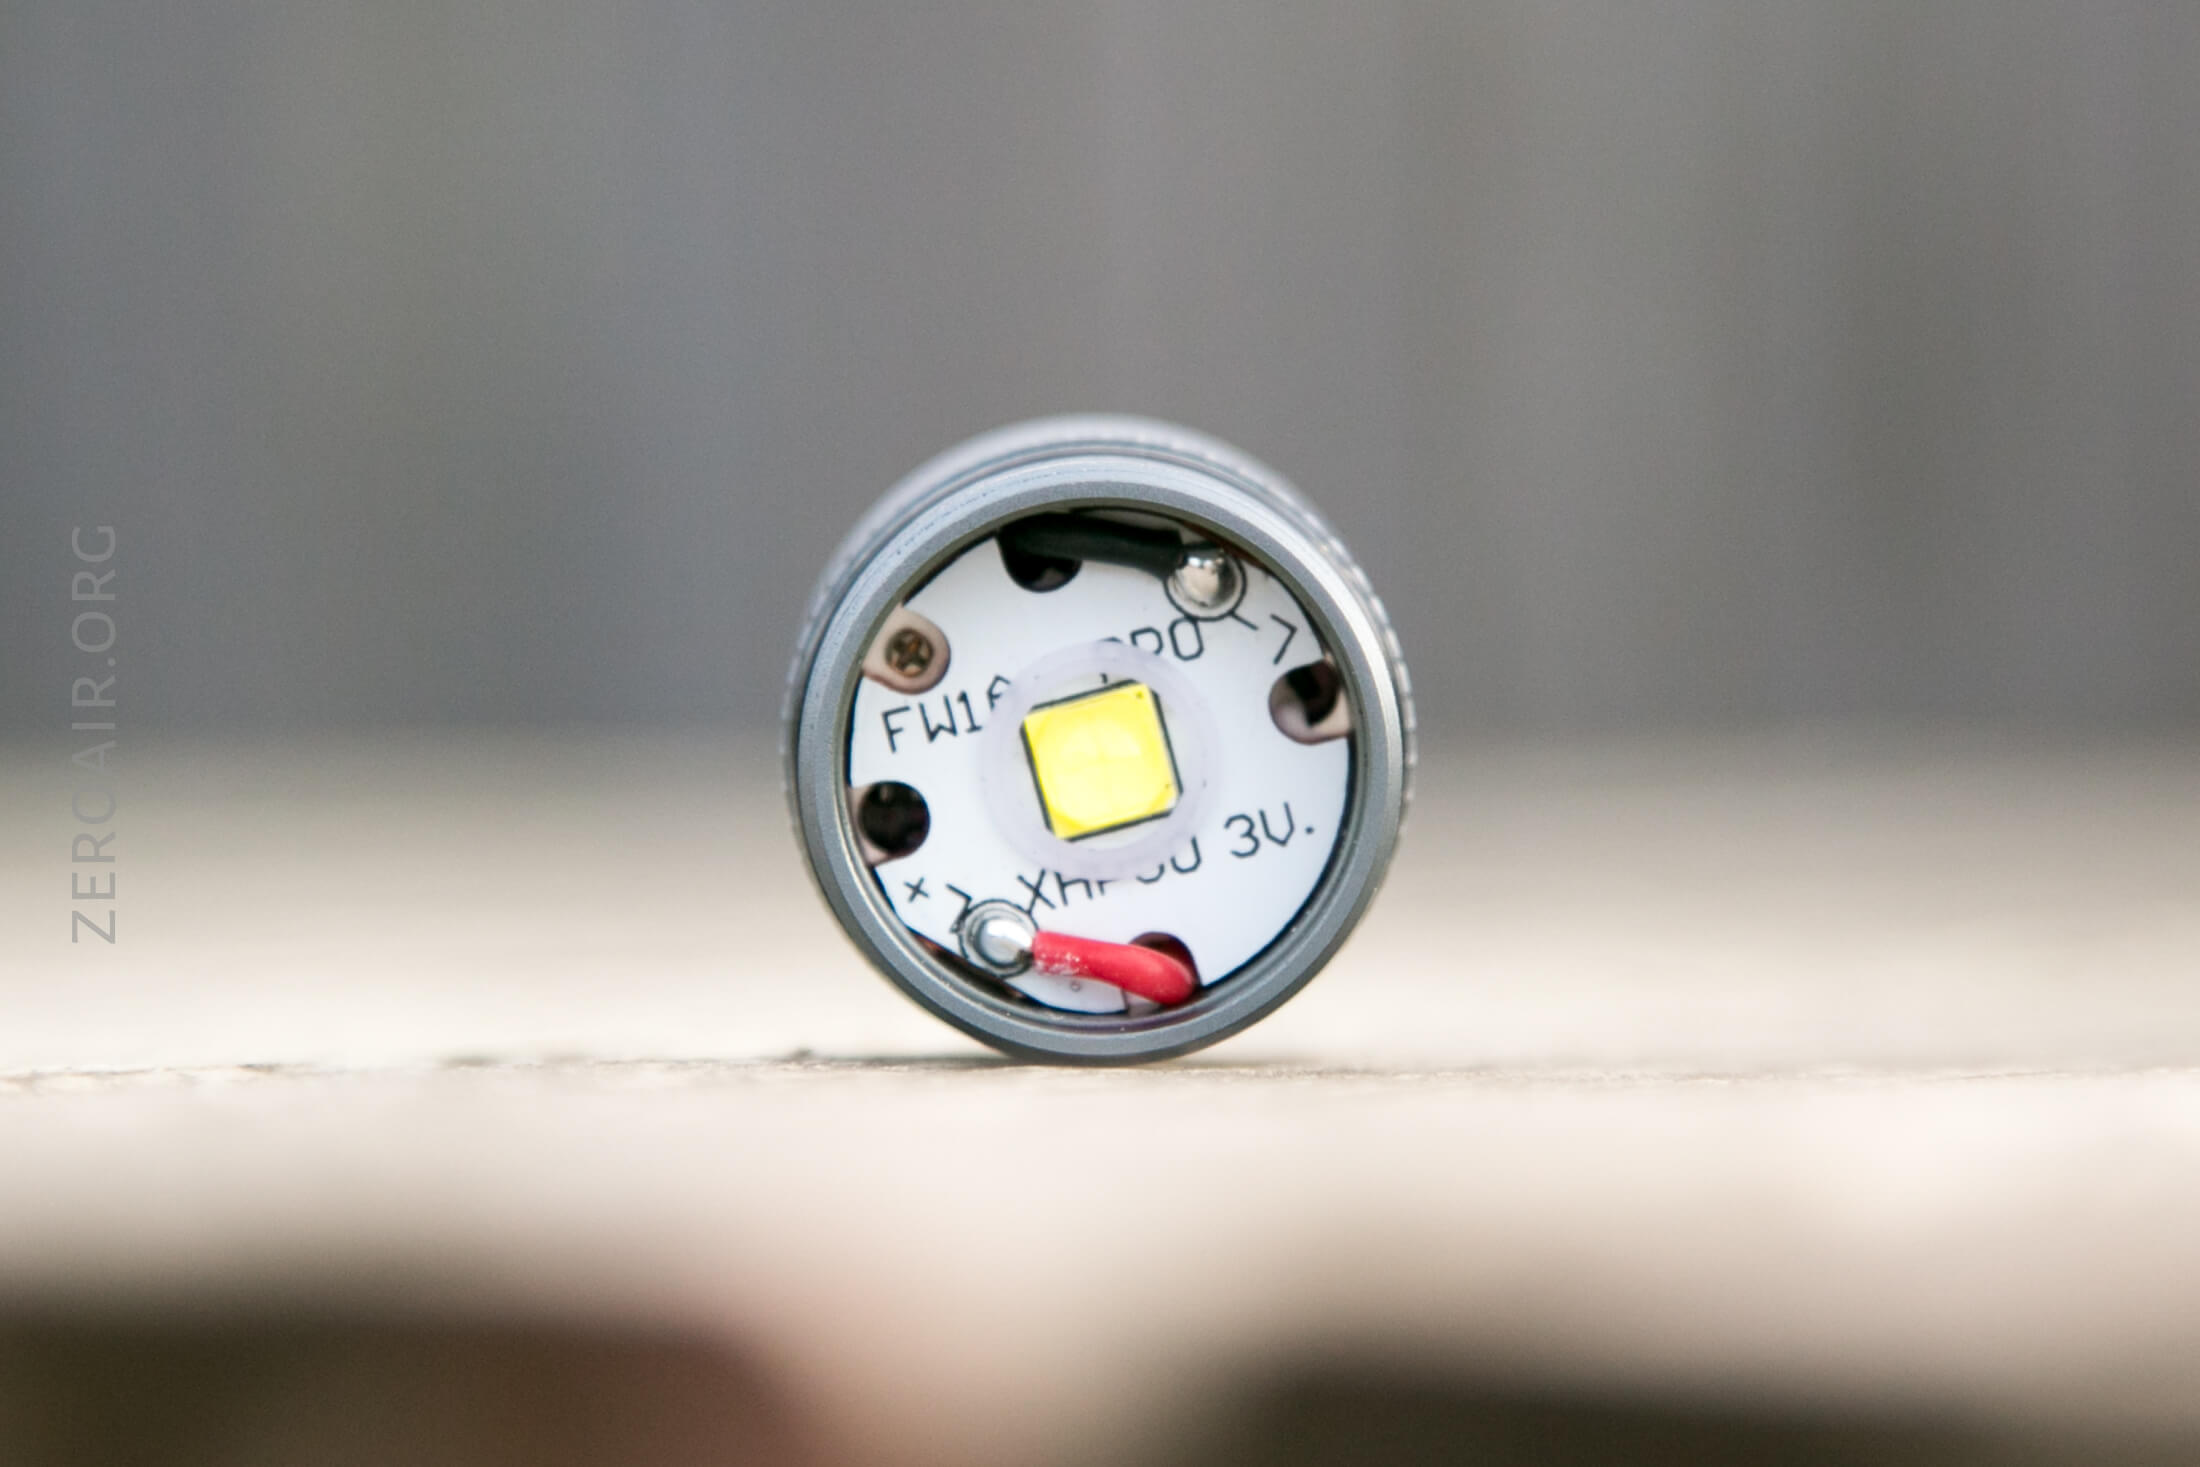
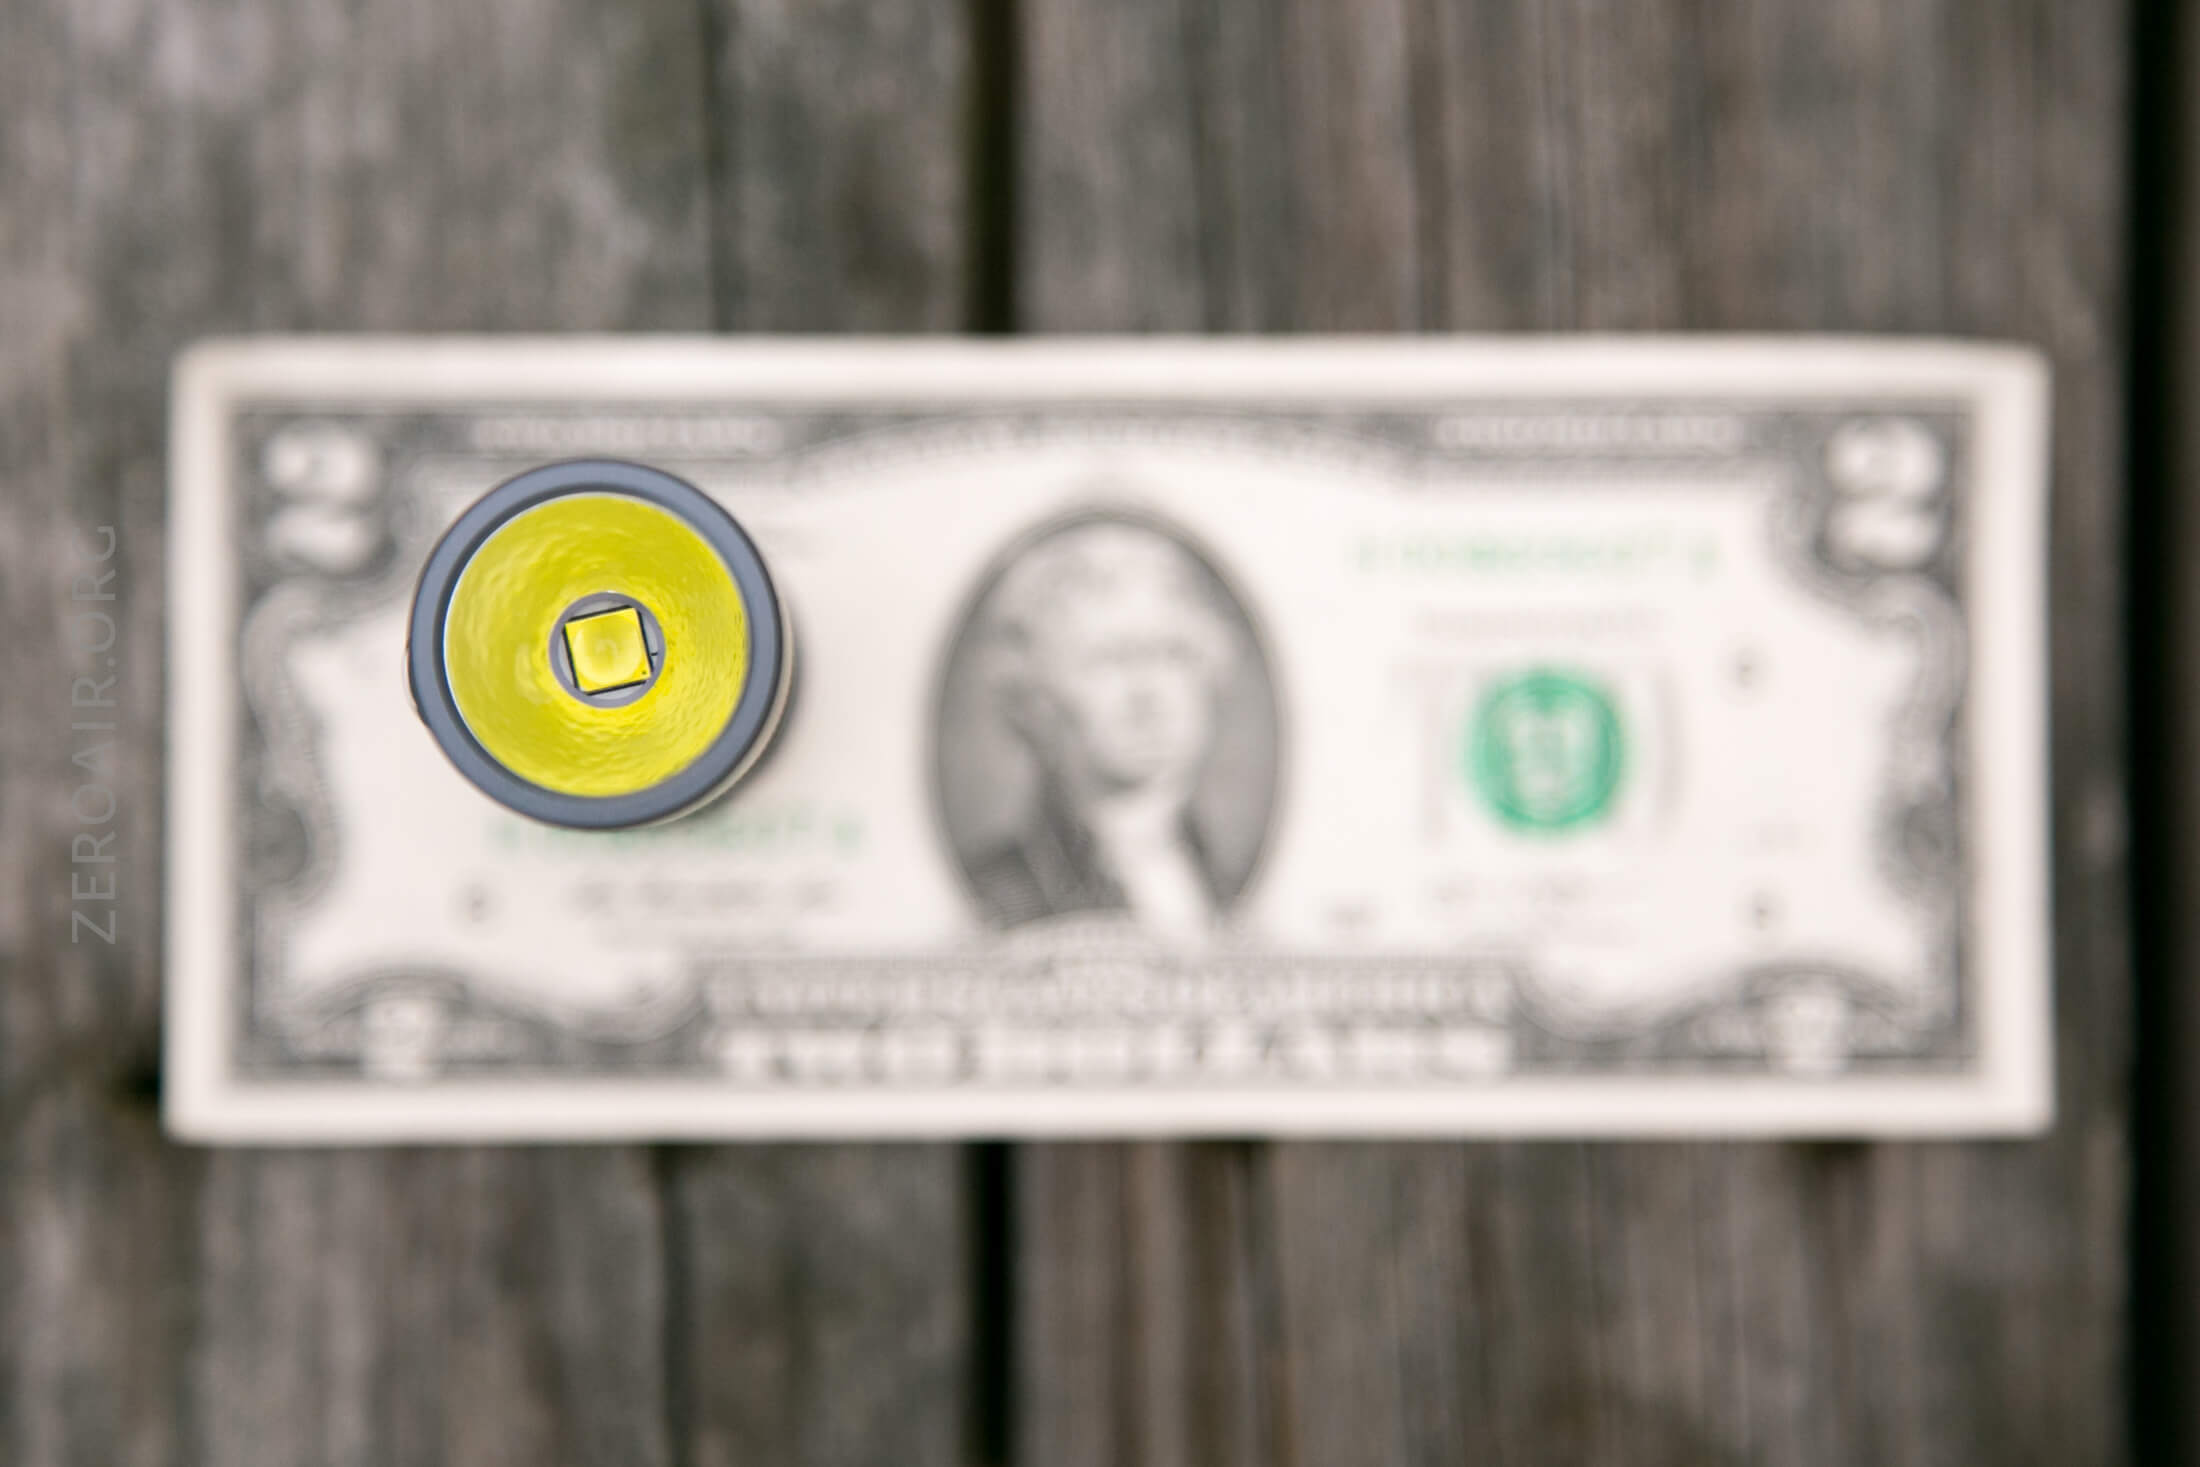
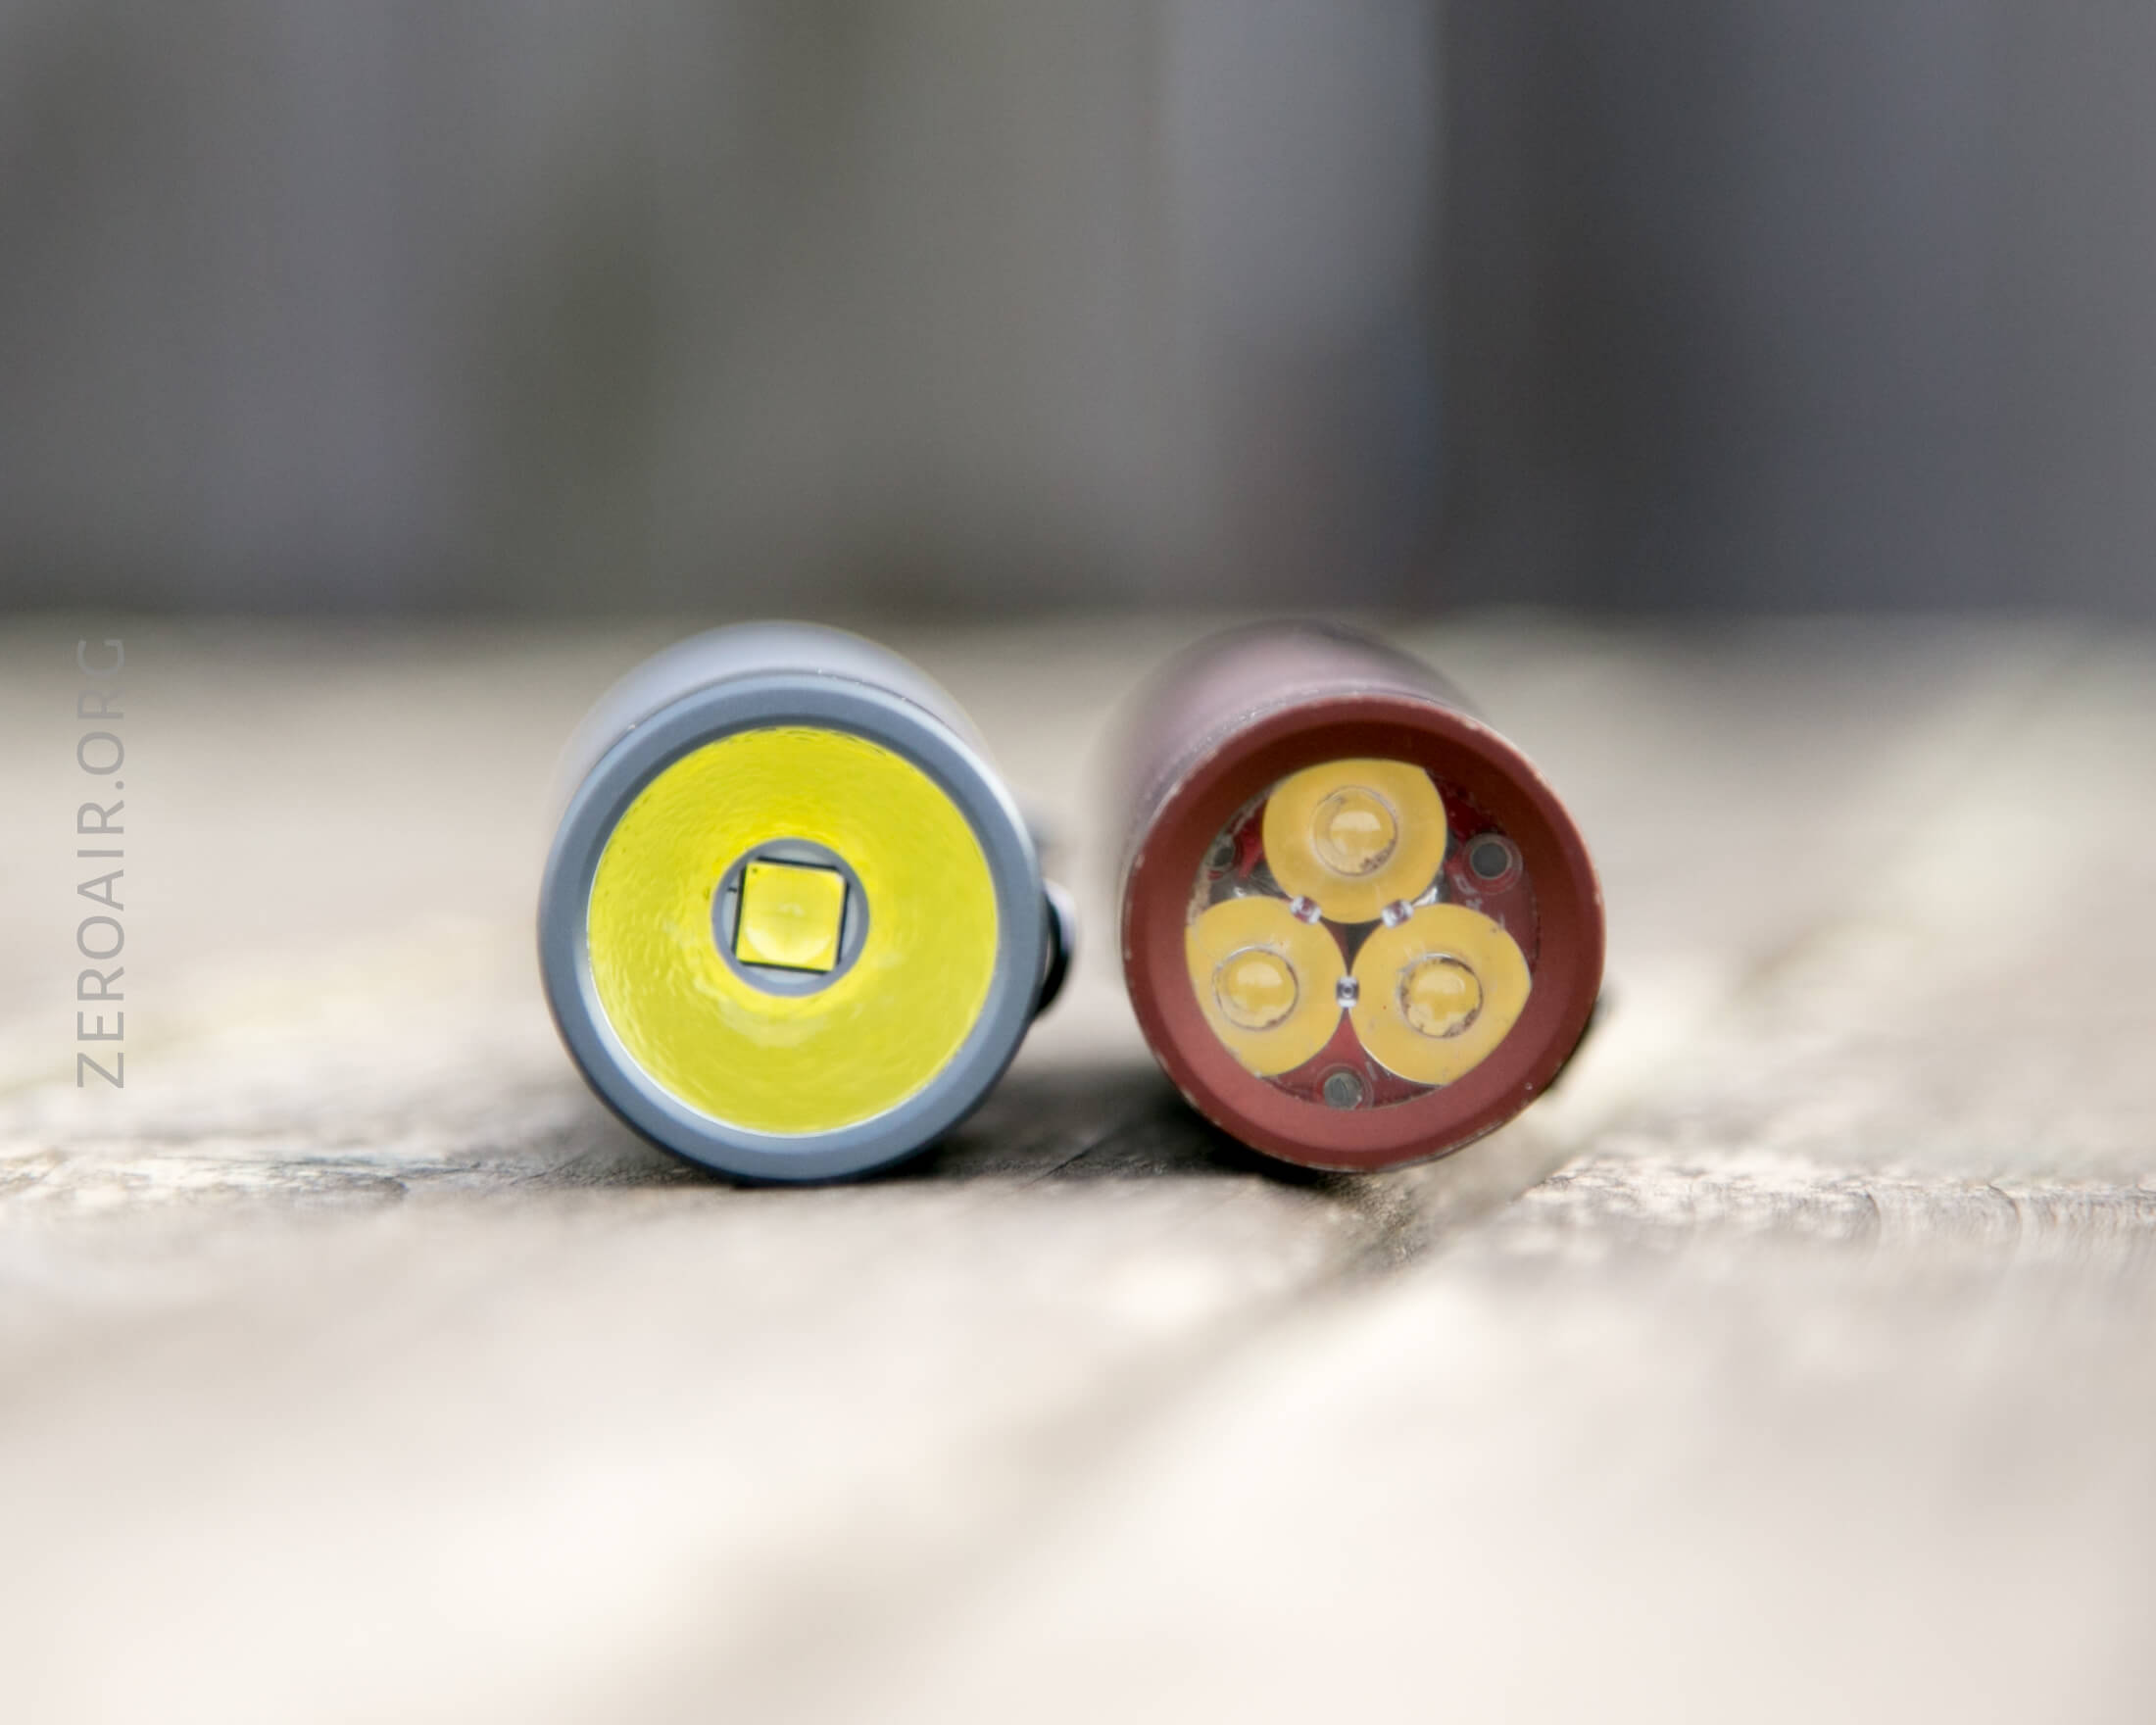
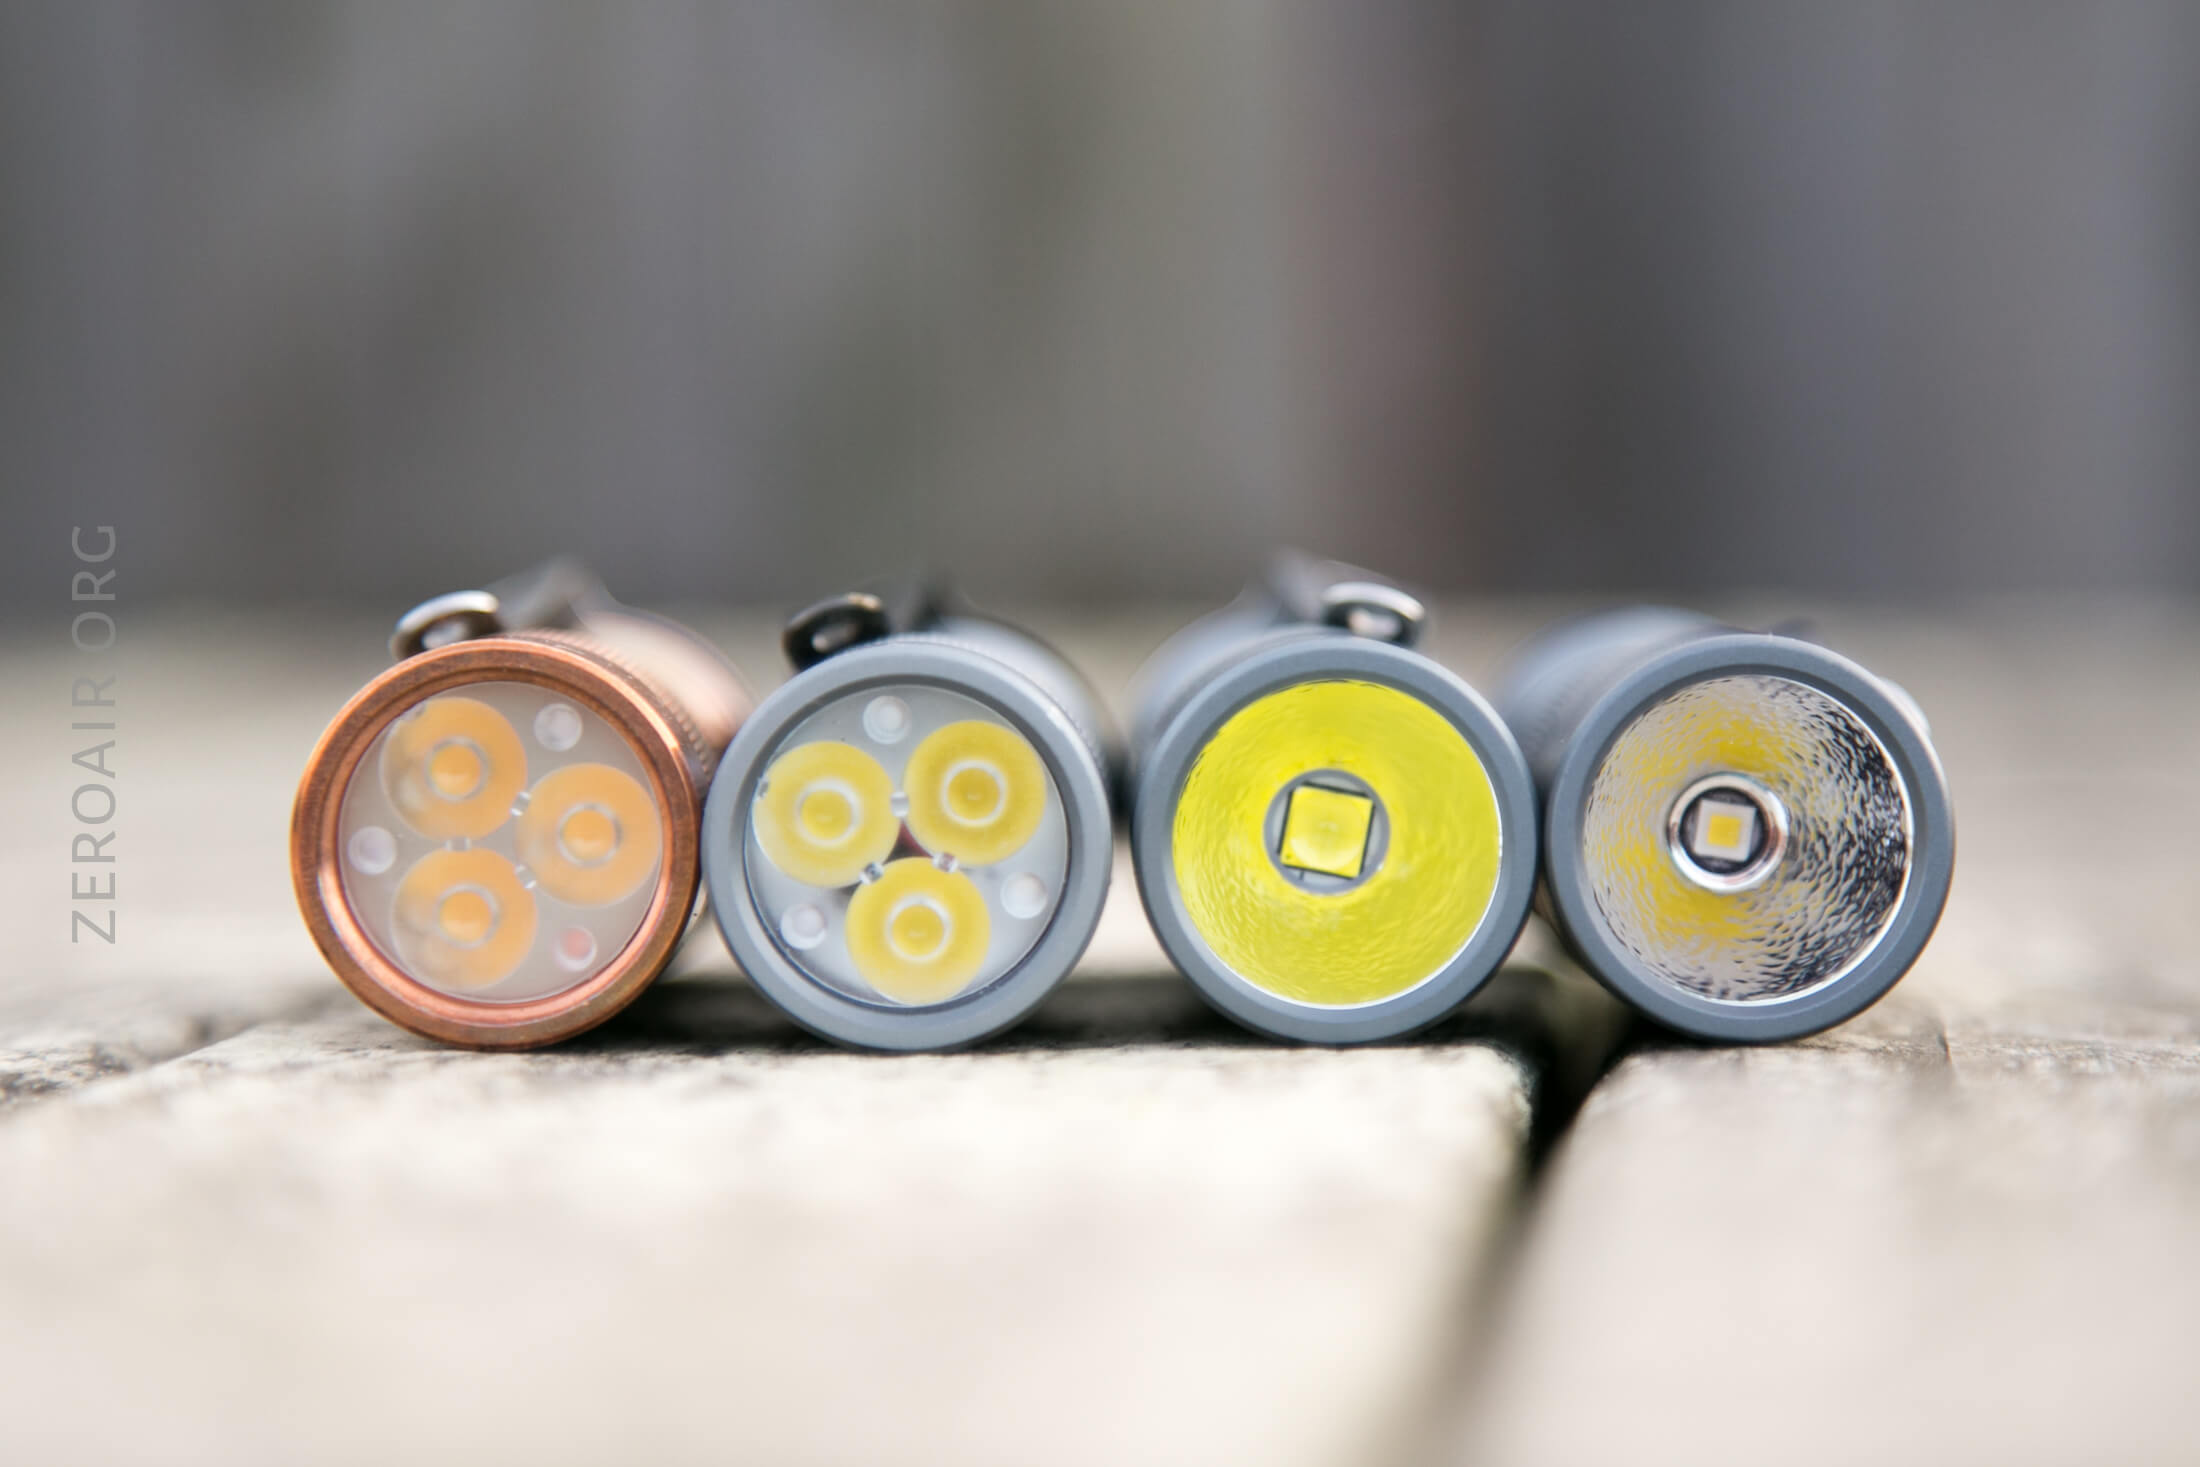
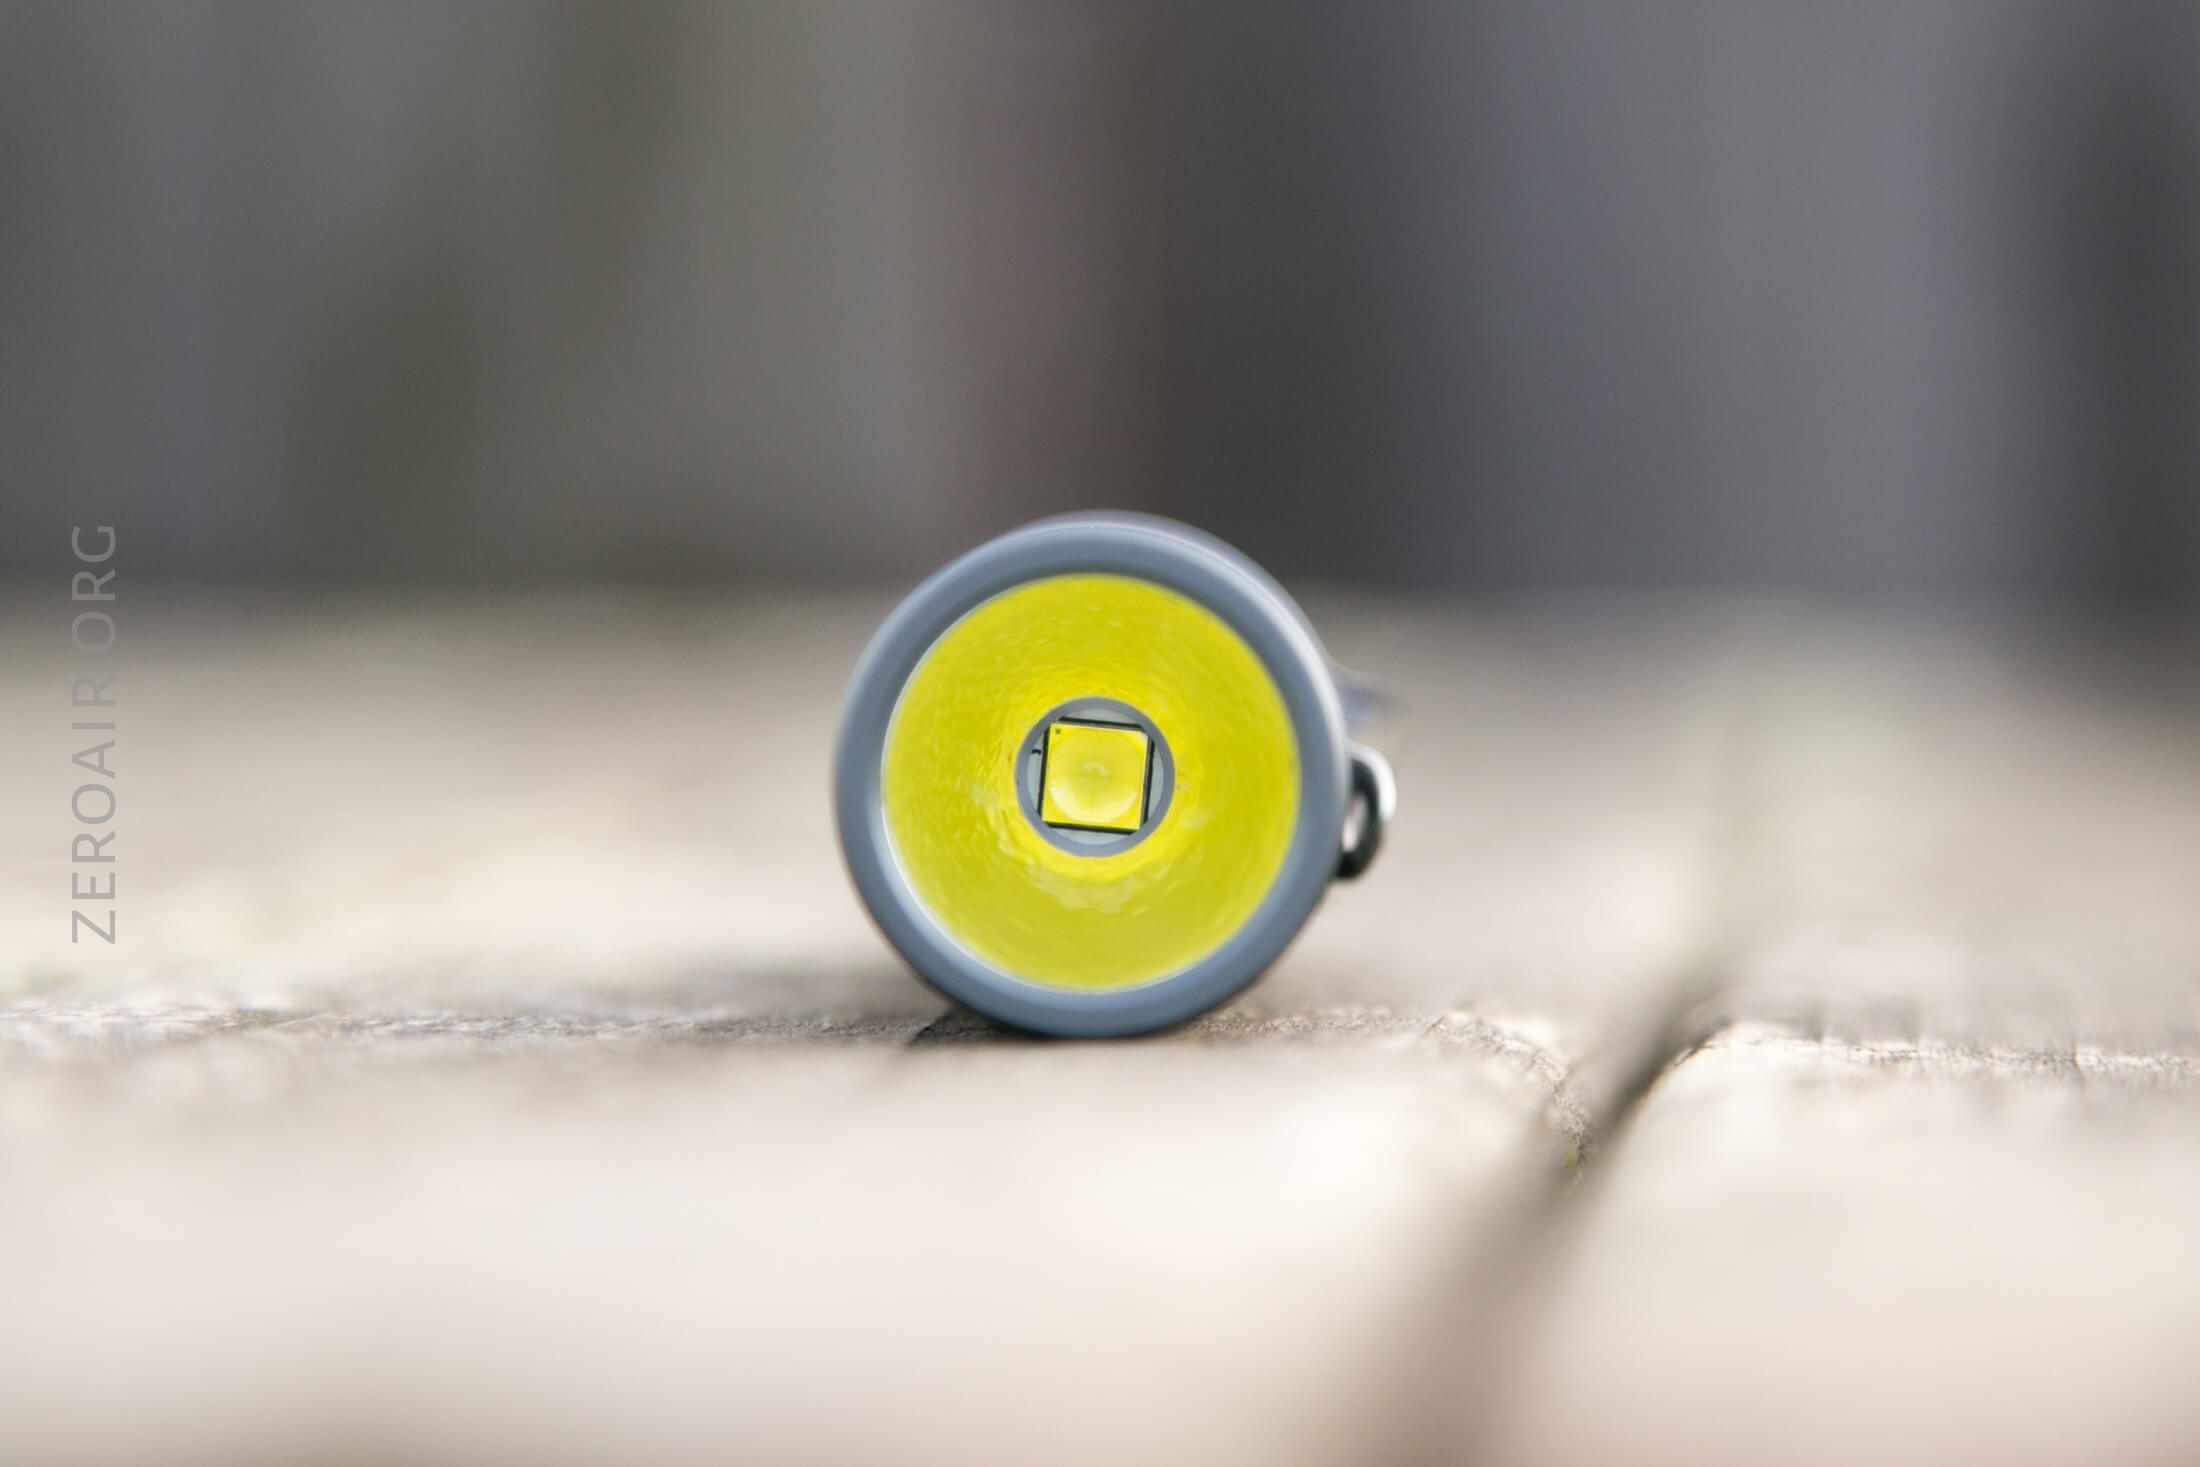
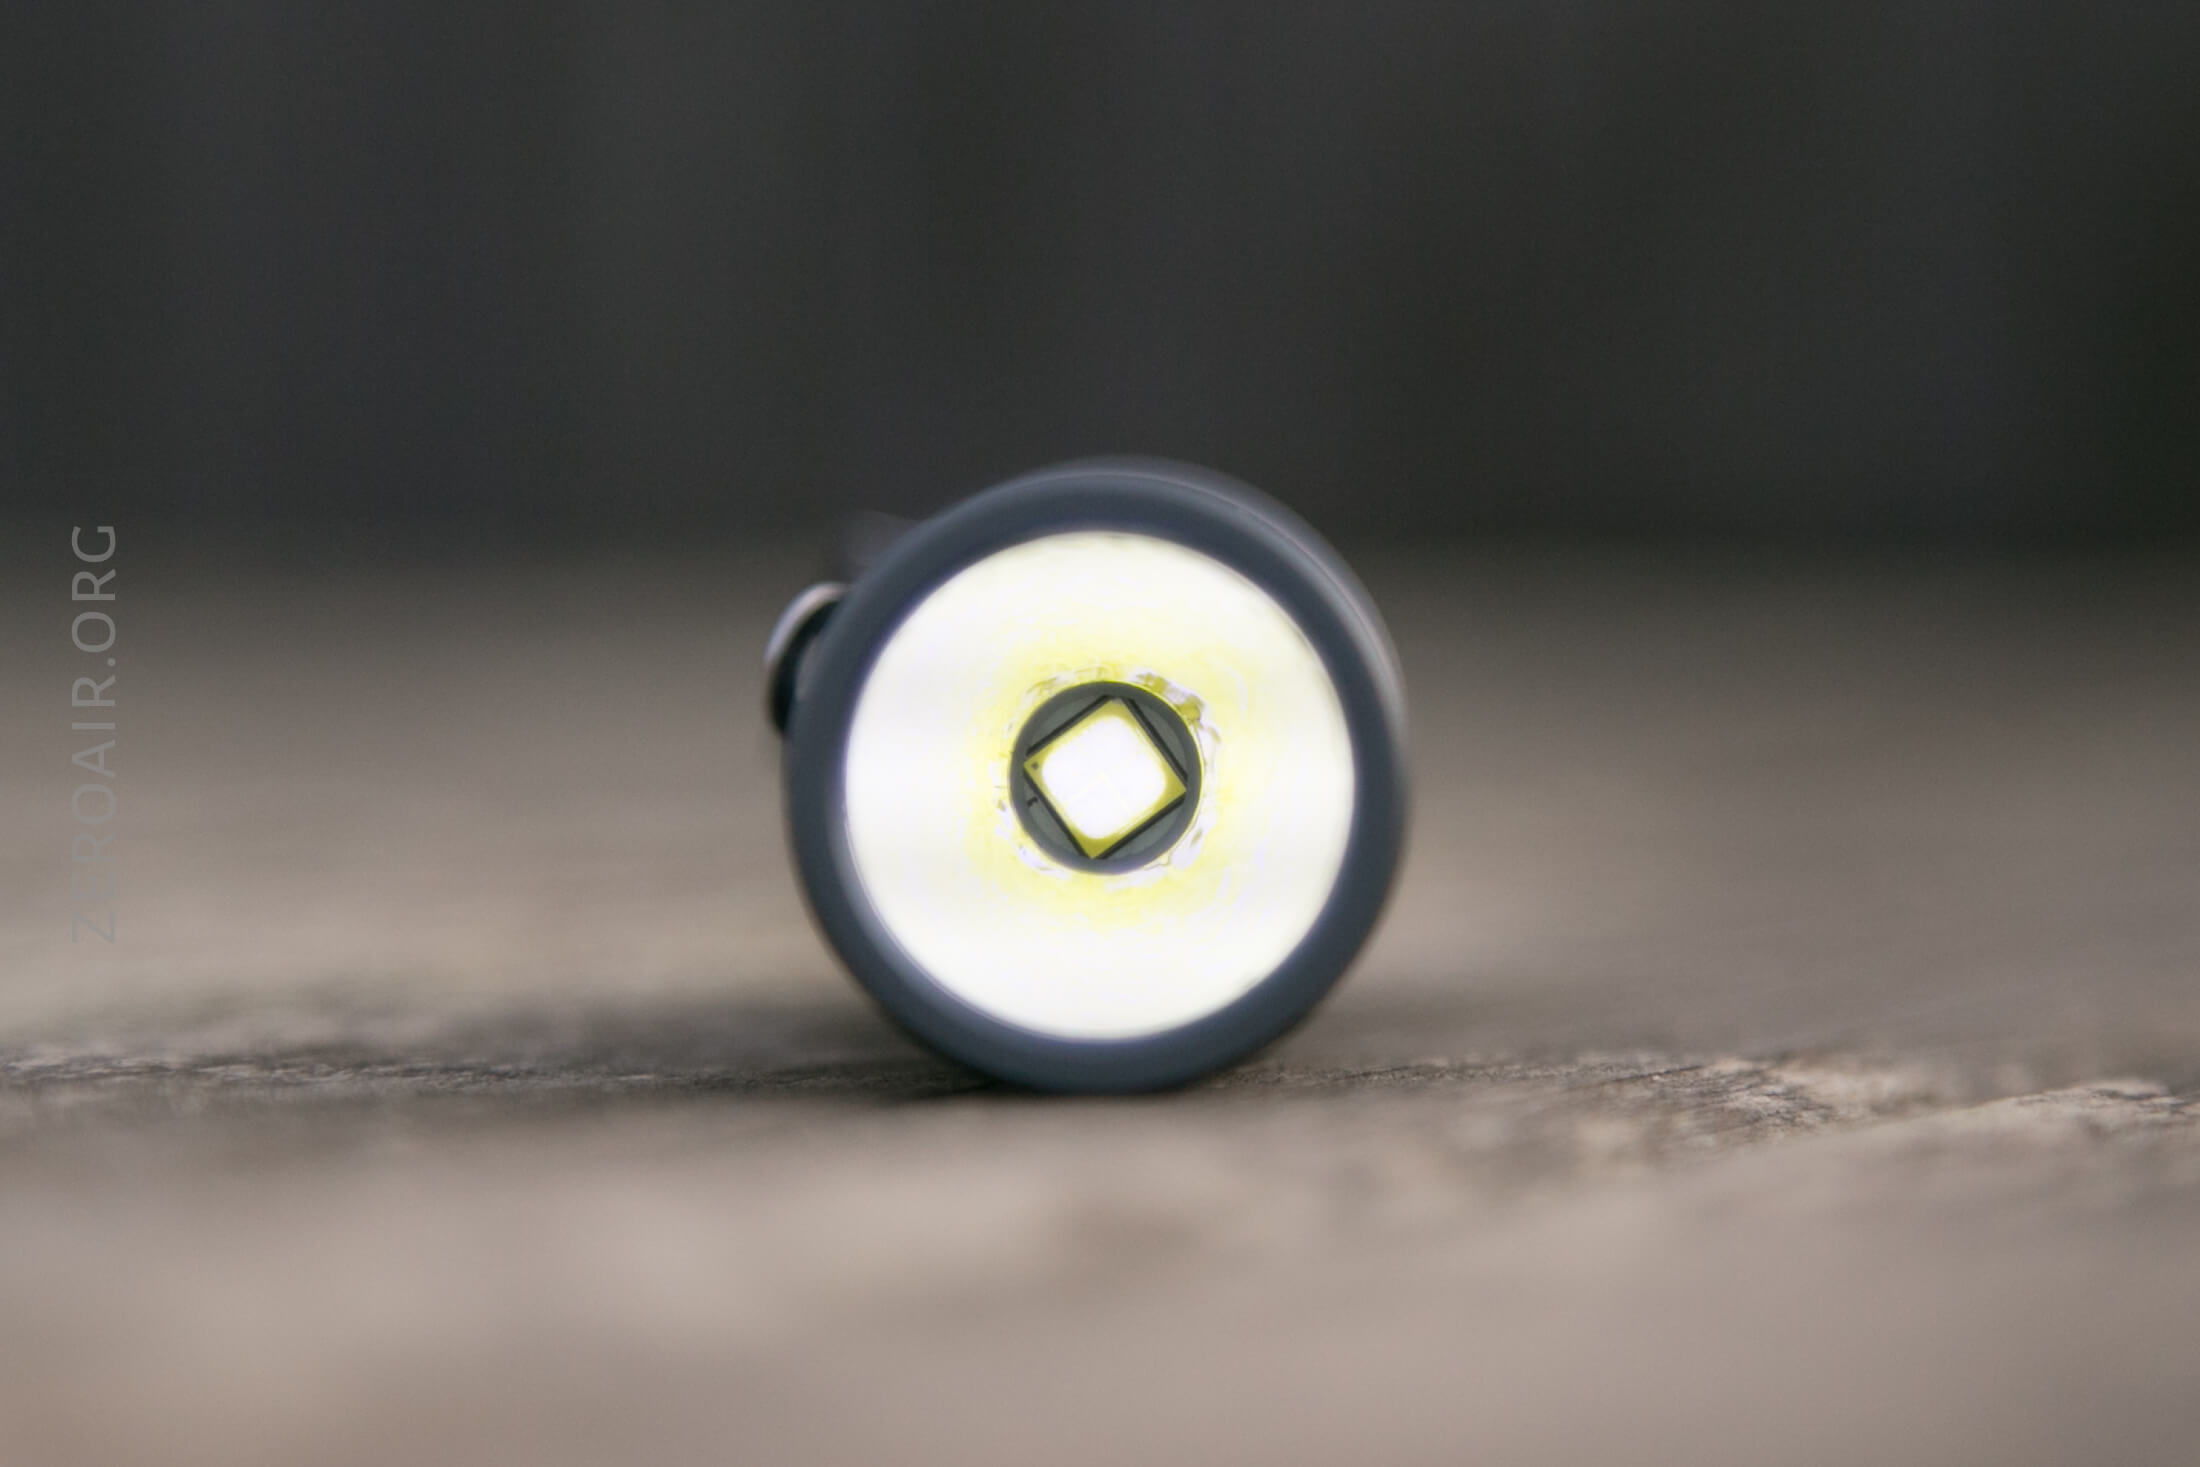
LED and Beam
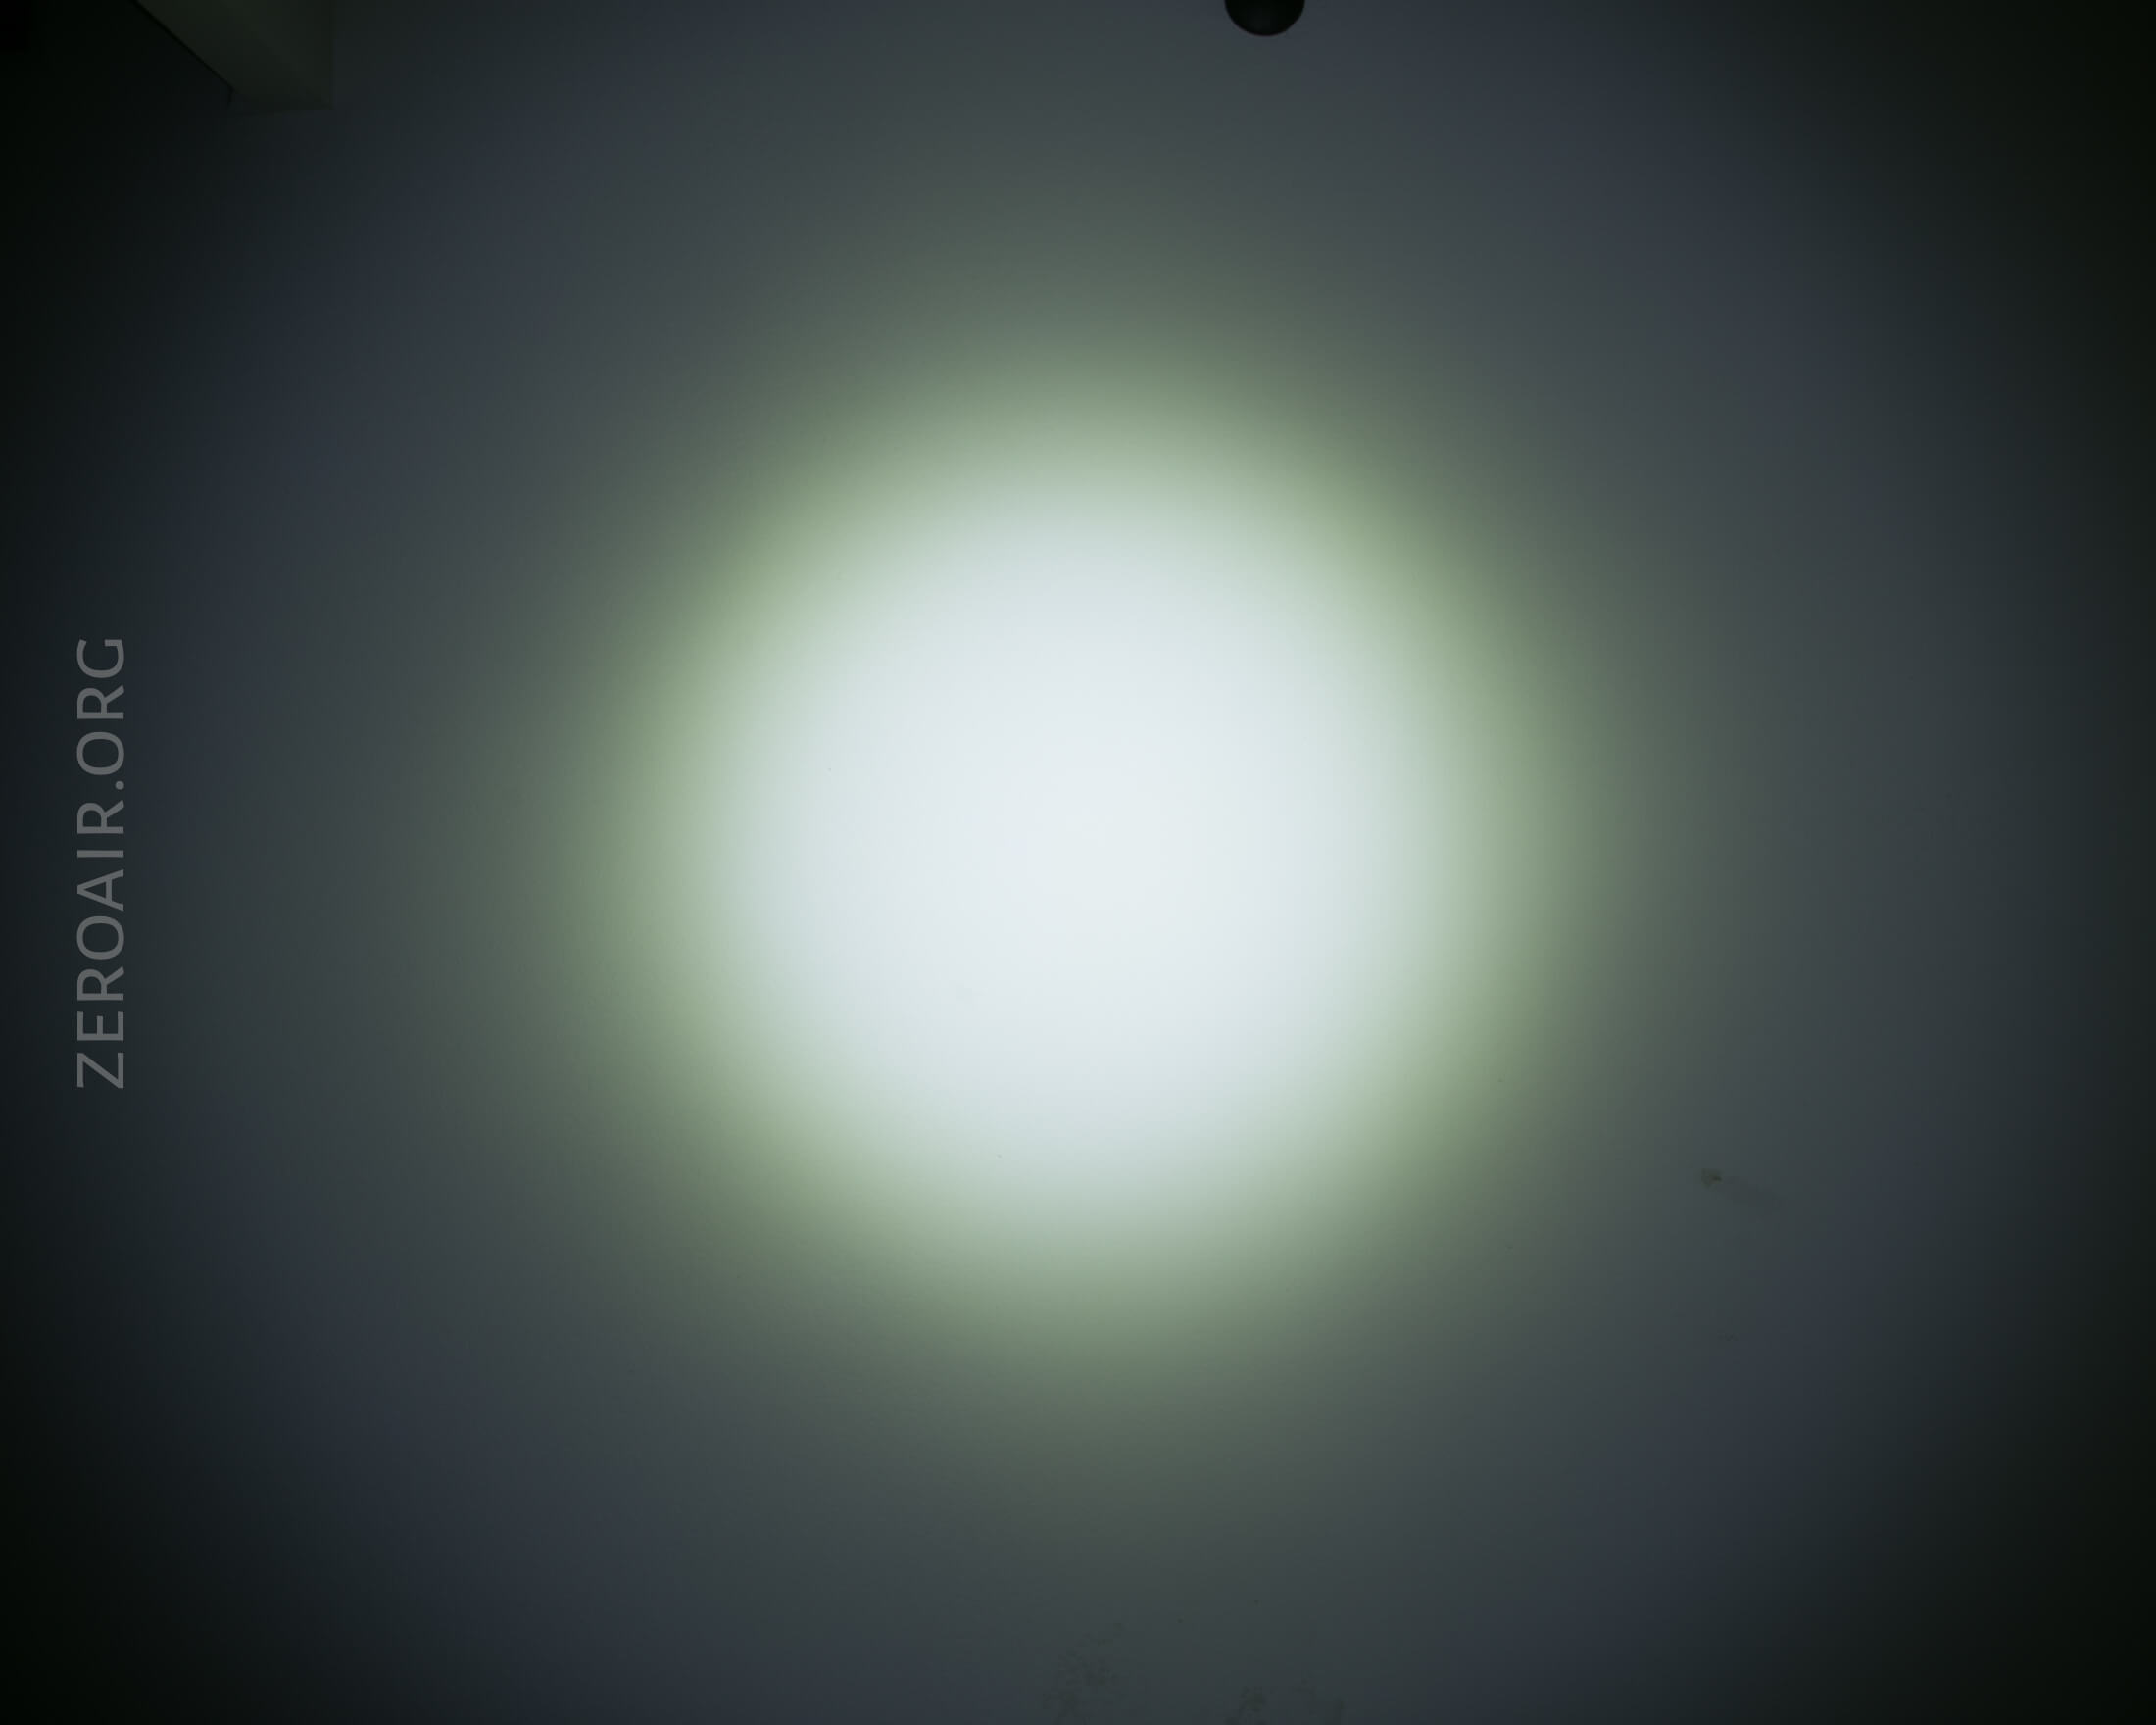
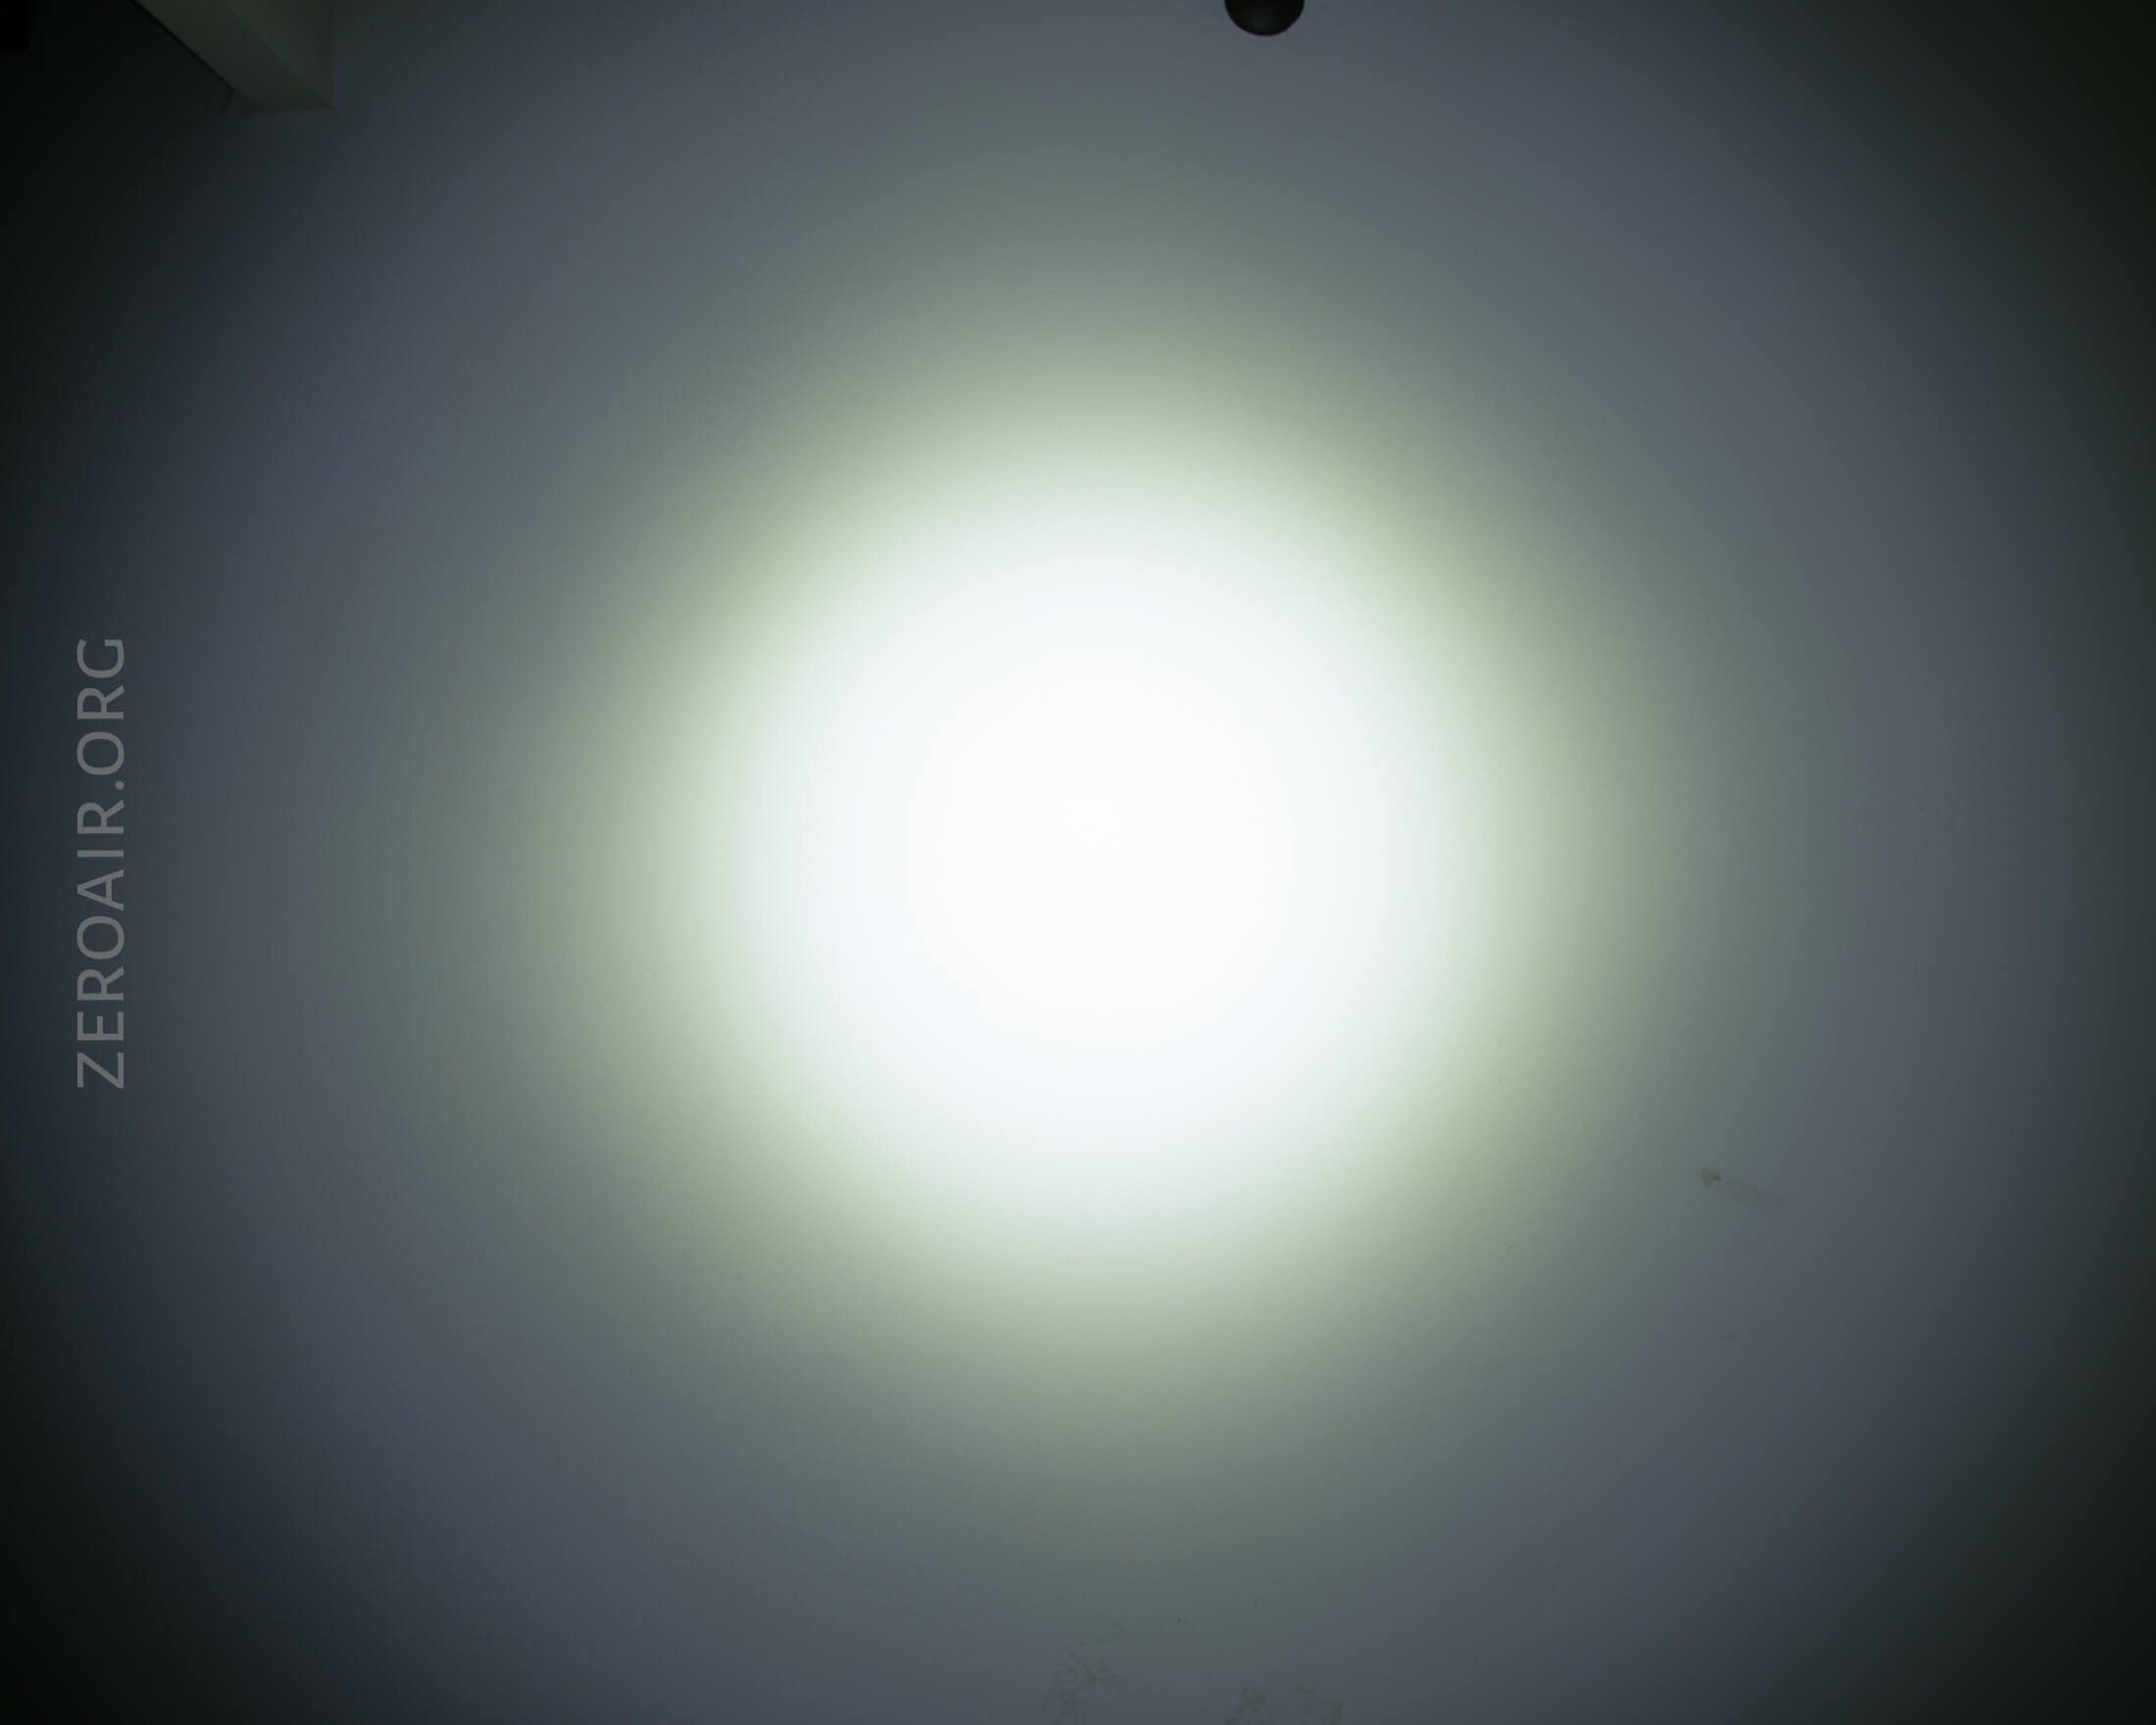
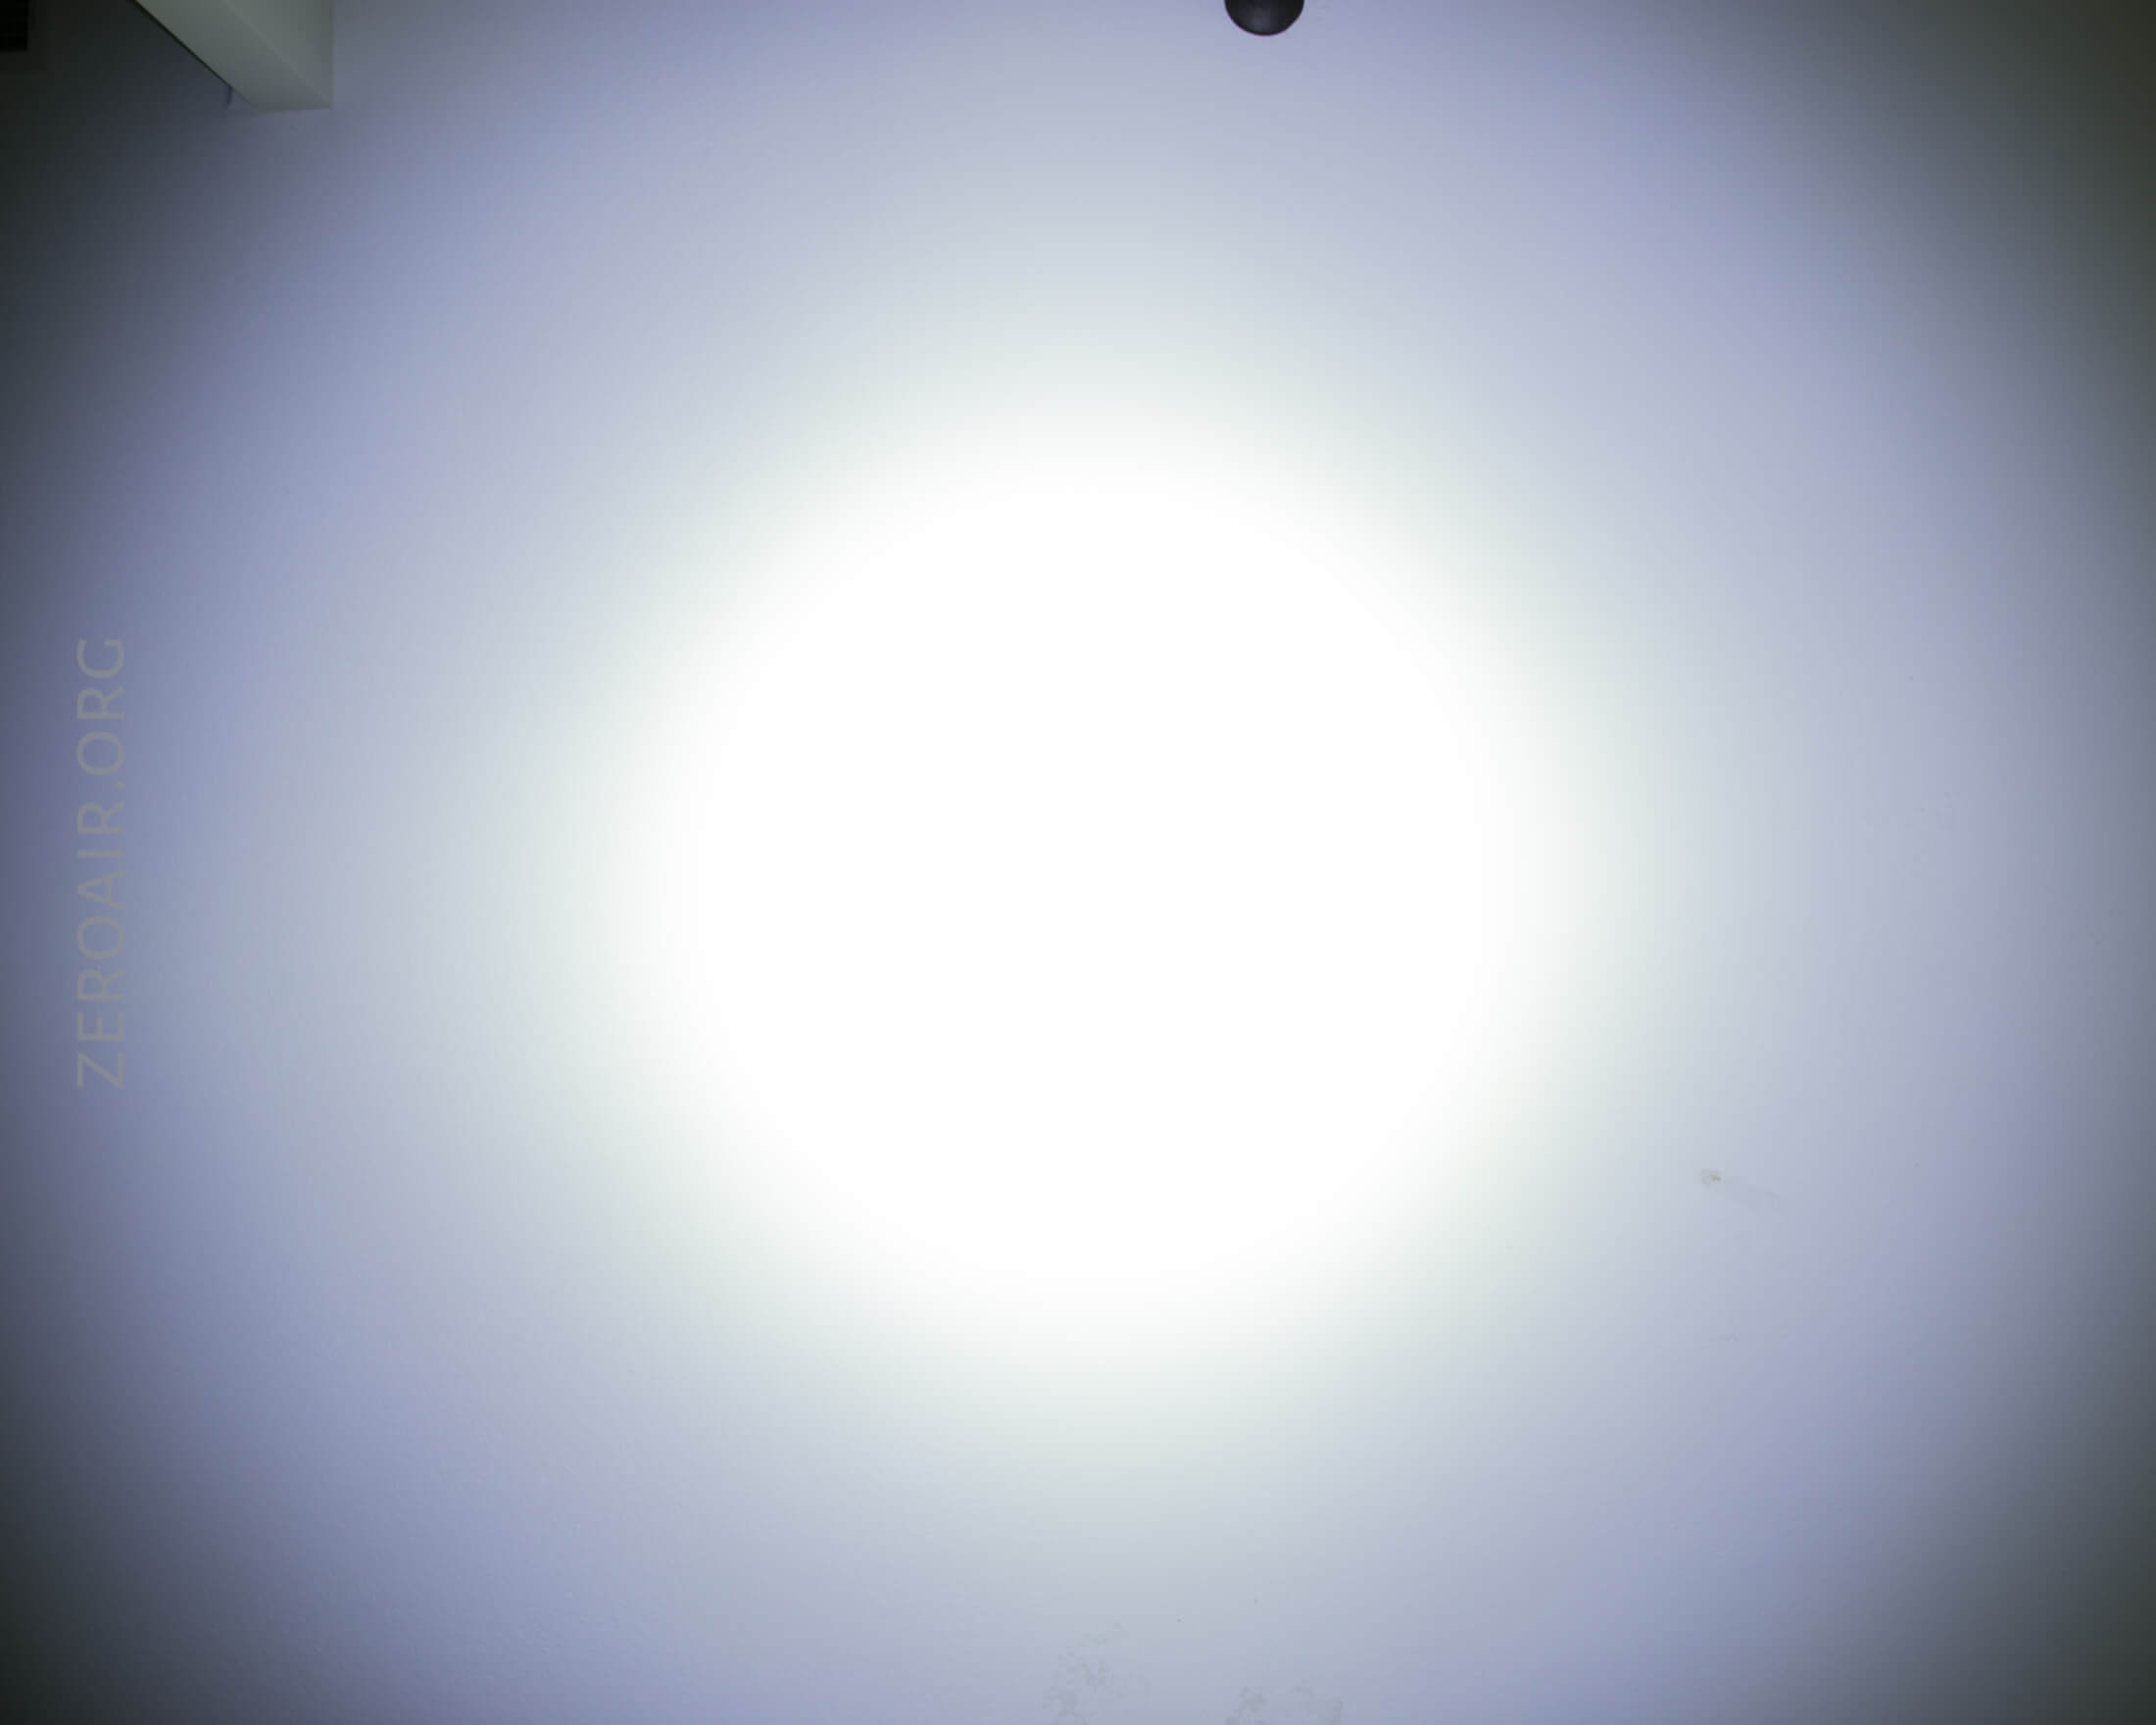
The emitter here is a Cree XHP50.2. And there’s a reflector – lightly orange peel (very light) and deepish. It’s a nice combo. The emitter is cooler in temperature, but I don’t know that an official statement has been made regarding the specific temperature.
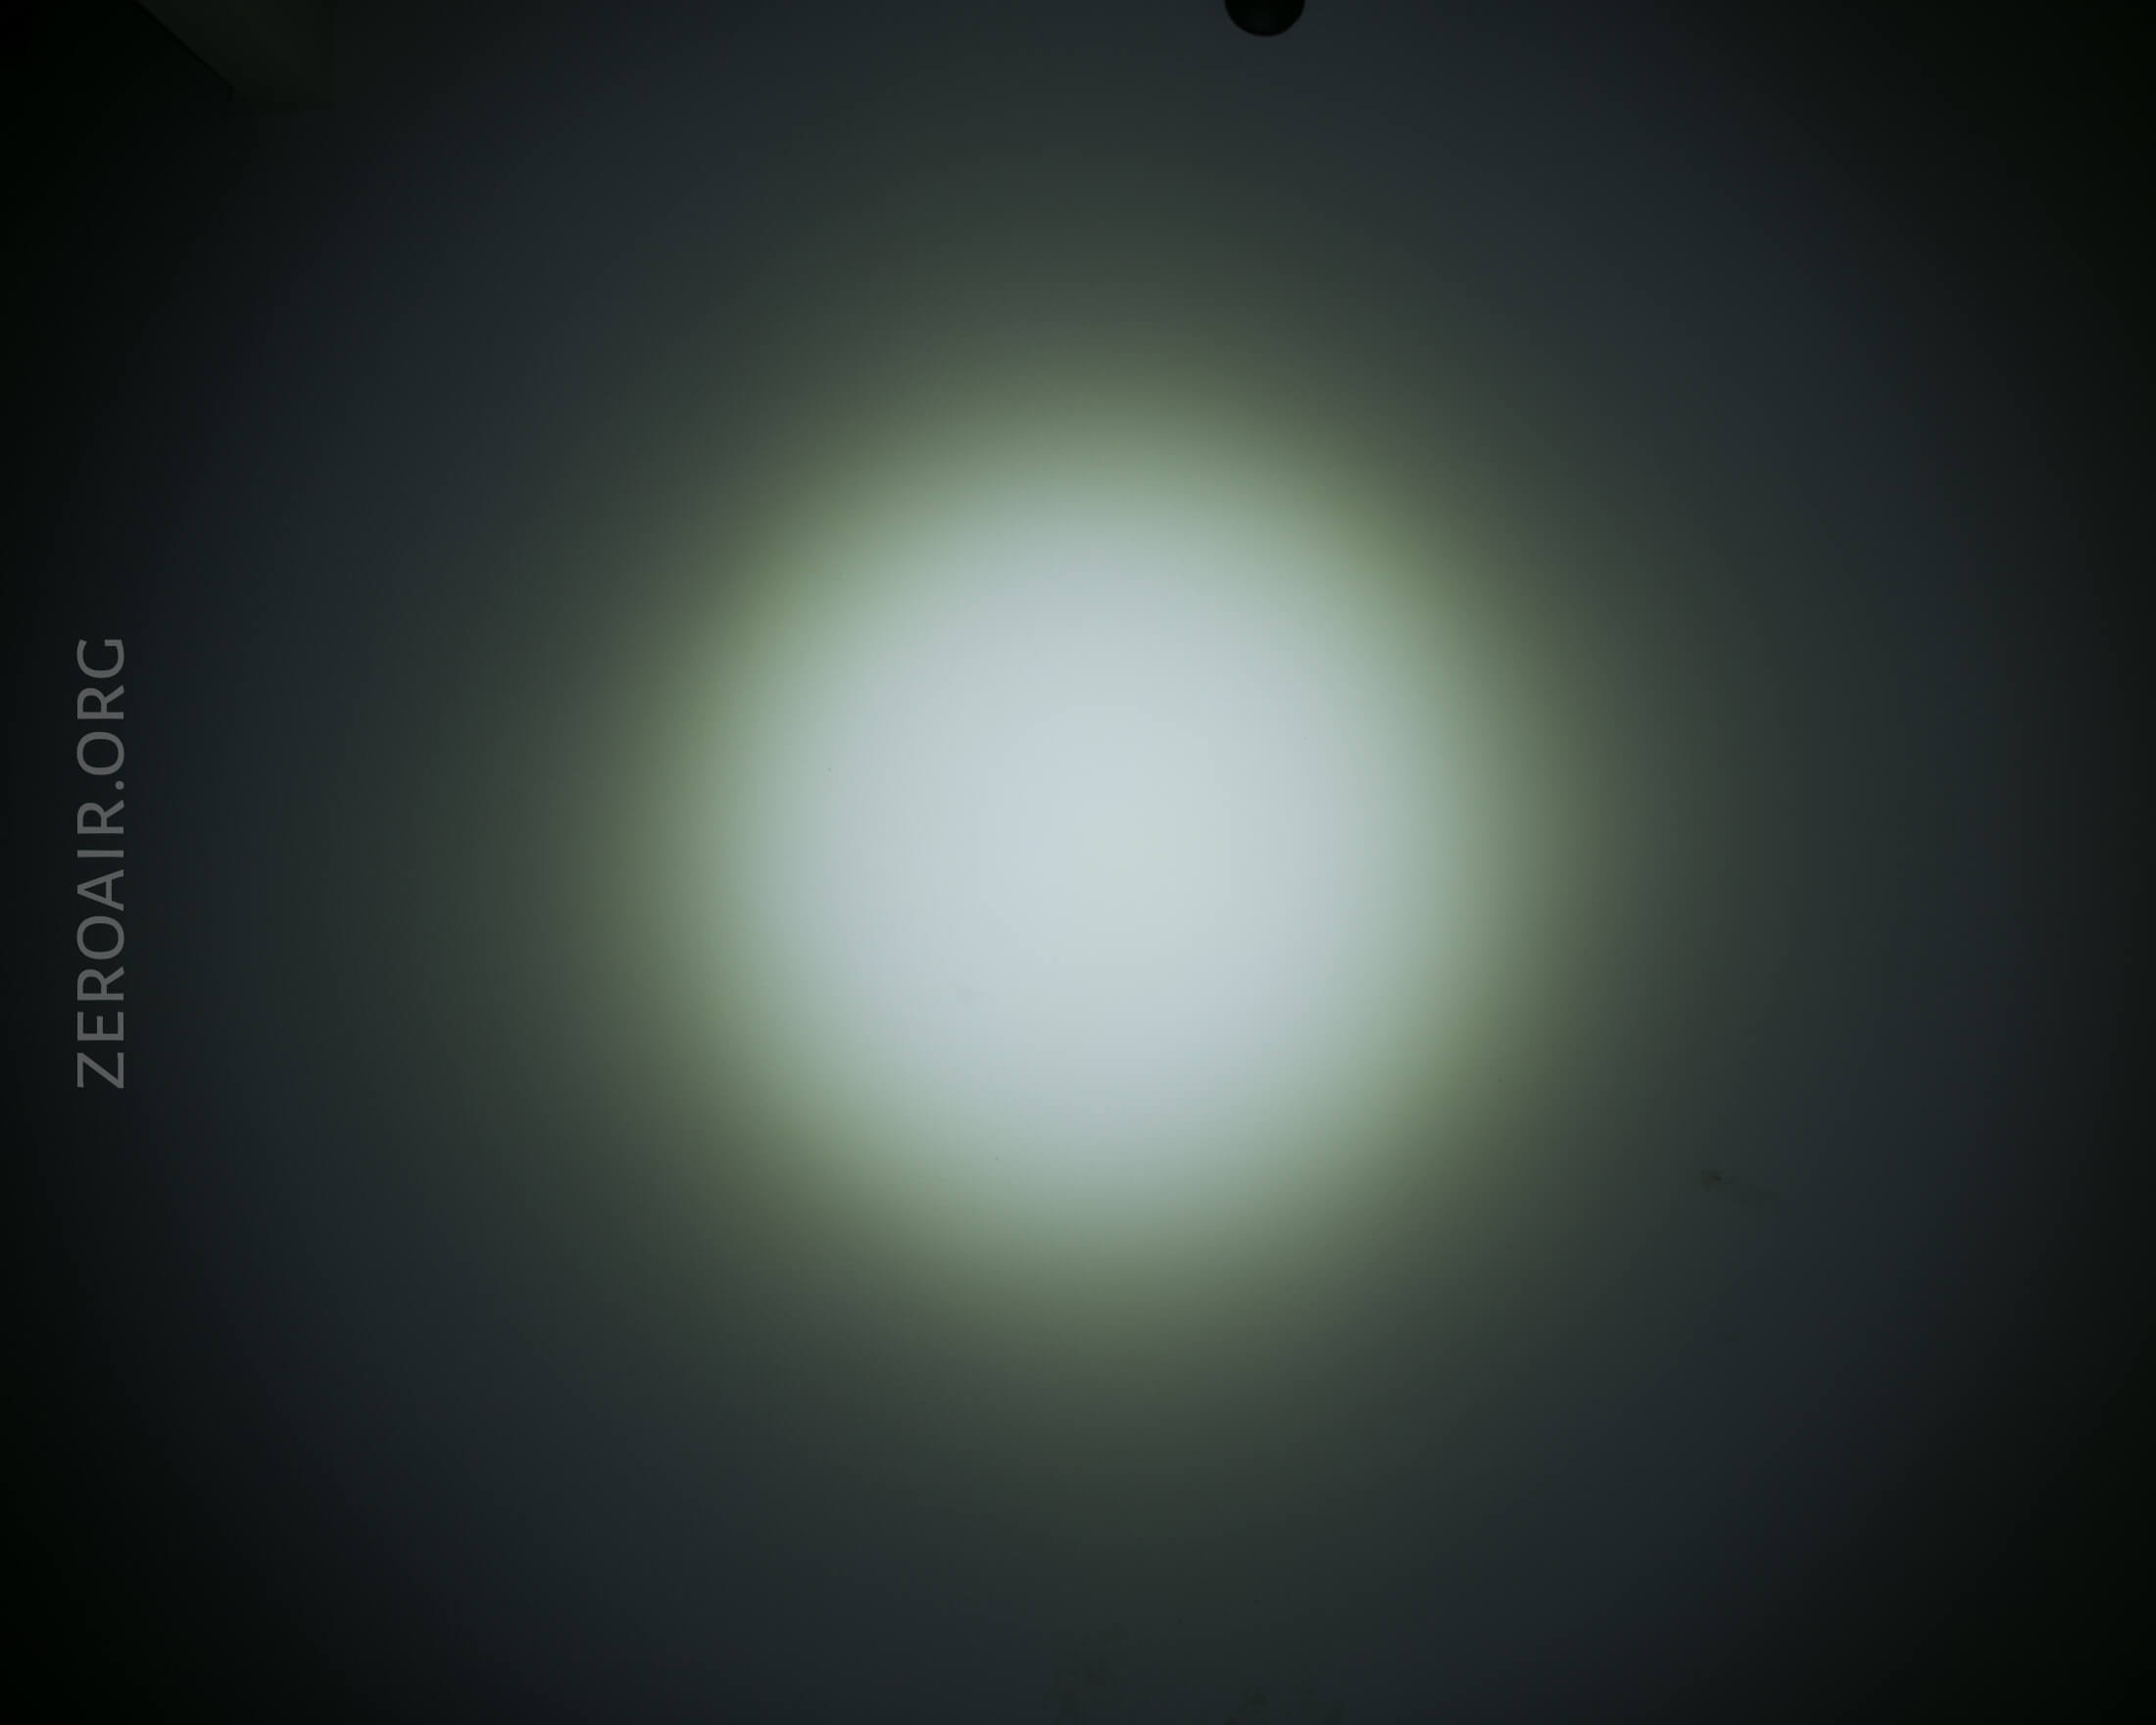
These beamshots always have the following settings: f8, ISO100, 0.3s shutter, and manual 5000K exposure. These photos are taken at floor level, and the beam hits the ceiling around 9 feet away. This is the stepped option of Andúril.


Tint vs BLF-348 (KillzoneFlashlights.com 219b version) (affiliate link)
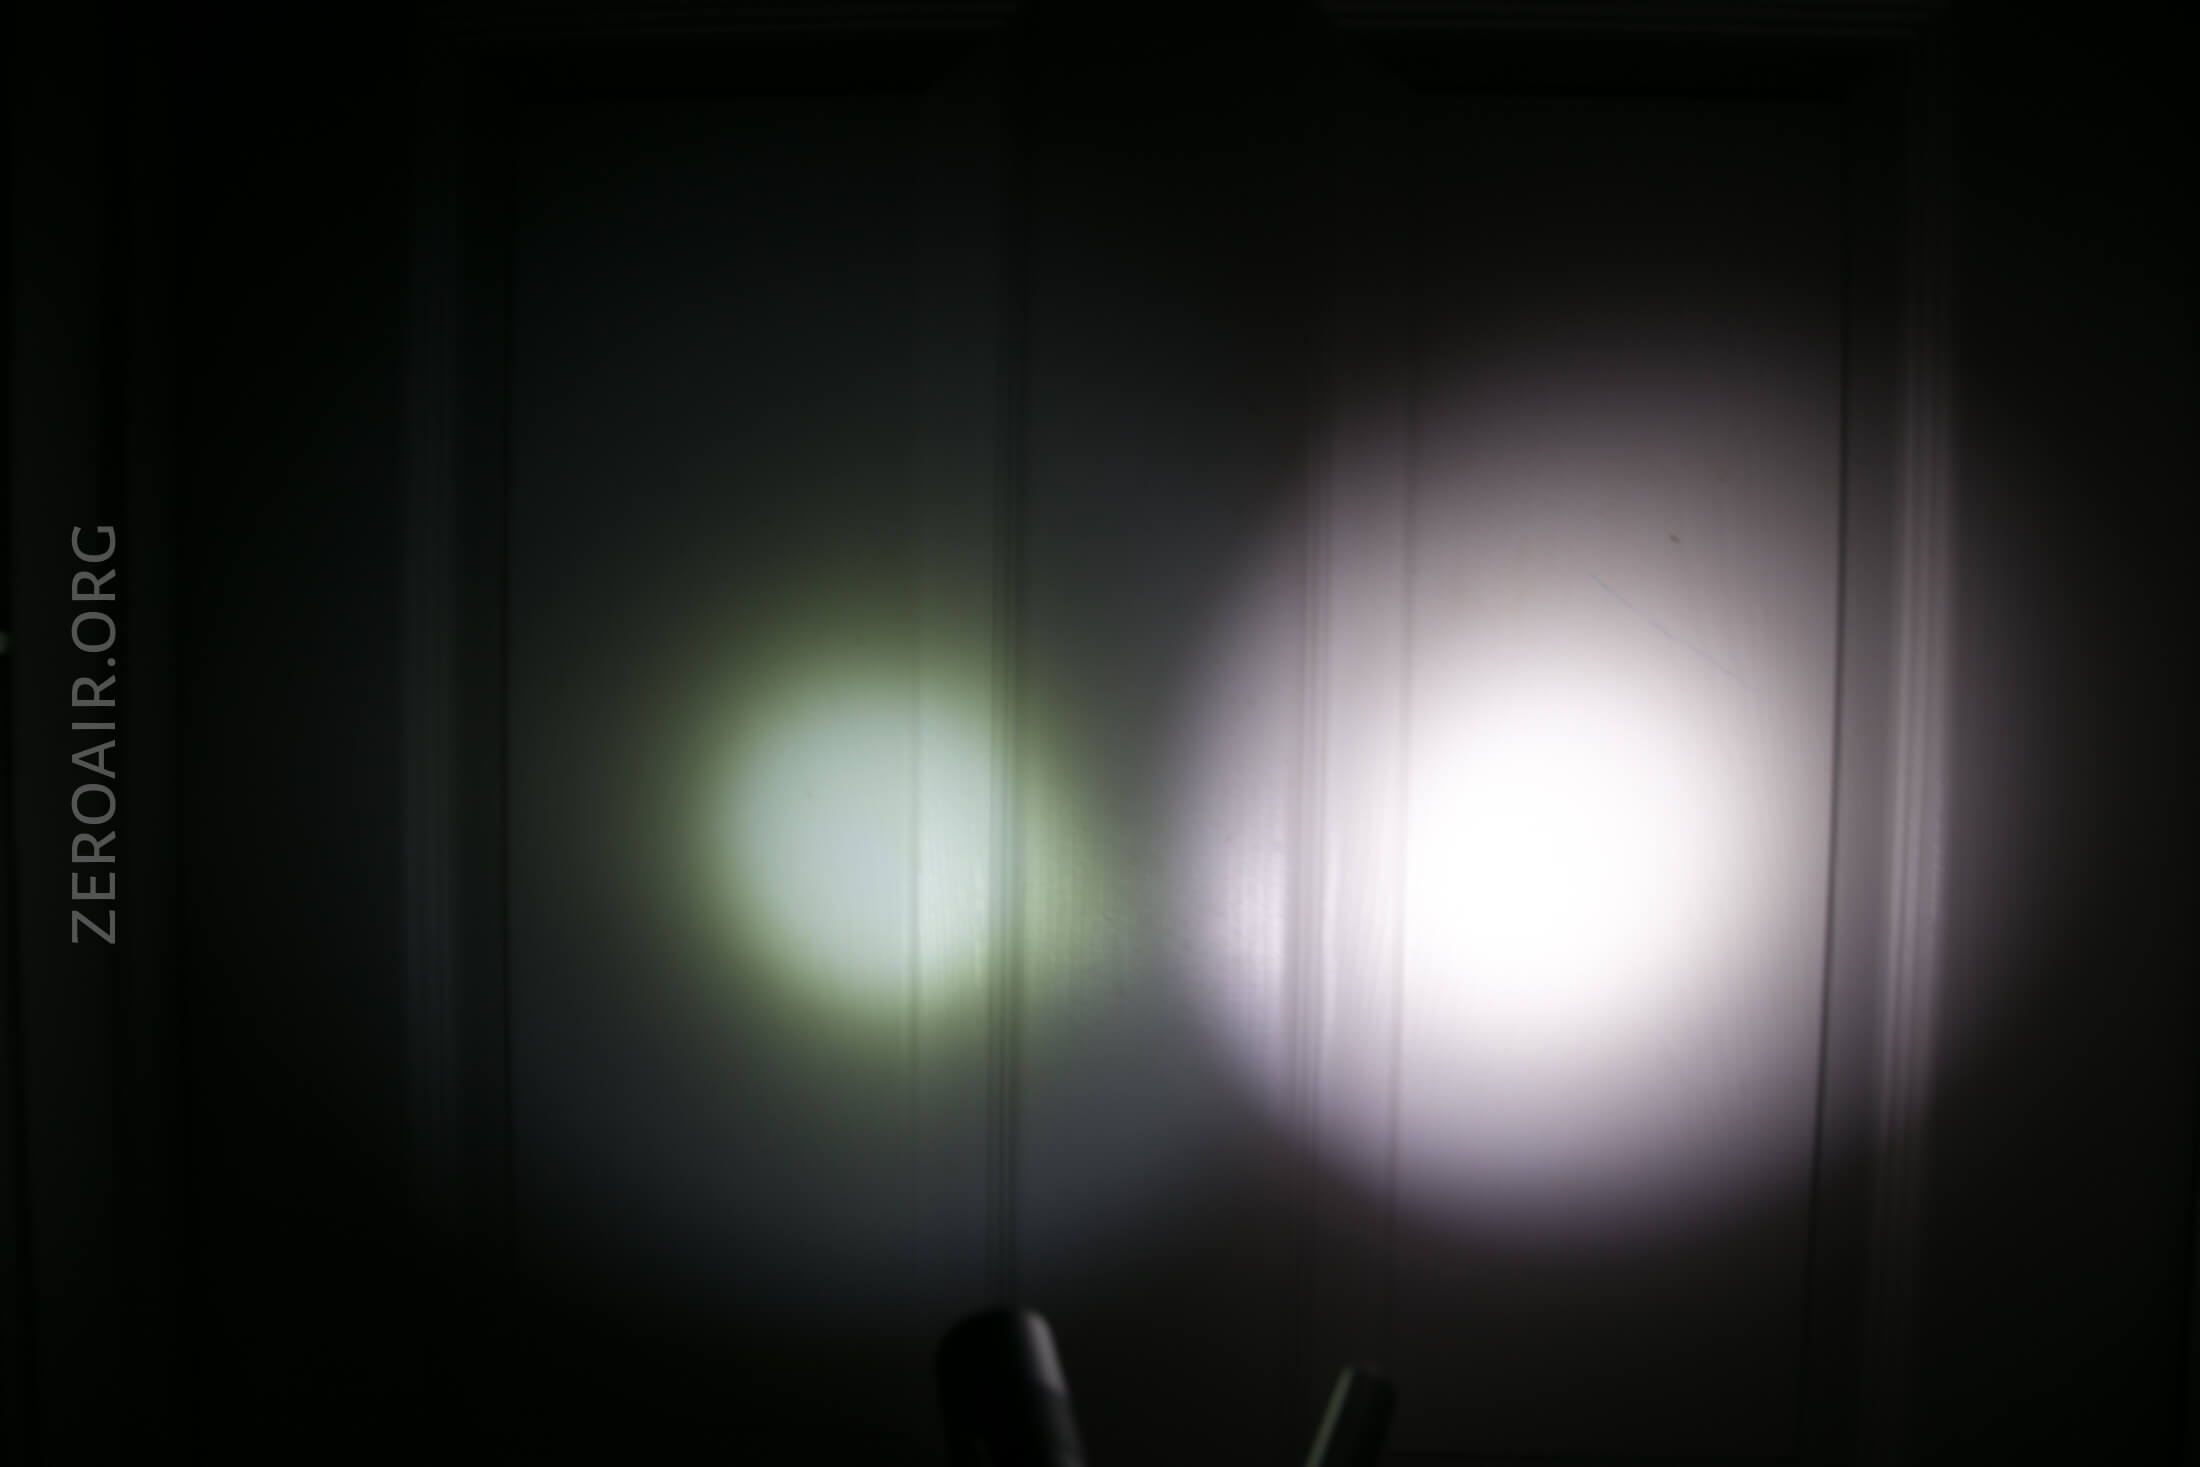
I compare everything to the Killzone 219b BLF-348 because it’s inexpensive and has the best tint!
Conclusion
What I like
- Nice use of the Cree XHP50.2
- Andúril is still fun and feature-rich
- FW series is mature, and this copy never even hiccuped with an error
- Tailcap is thread locked (no more tailcap issues with that little nub!)
What I don’t like
- Cool temp of this XHP50.2
Notes
- This light was provided by Lumintop for review. I was not paid to write this review.
- This content originally appeared at zeroair.org. Please visit there for the best experience!
- Use my amazon.com referral link if you’re willing to help support making more reviews like this one!
- Please support me on Patreon! I deeply appreciate your support!The Lumintop FW1A Pro flashlight is a 18650 light with Andúril, a Cree XHP50.2 under a reflector. Read on to see what I think!
Discover more from ZeroAir Reviews
Subscribe to get the latest posts sent to your email.
wow 10% reached in less than 1 minute :\
Yeah that surprised me, especially after the calibration. But just think about the body of this light, and 4000 lumens… those two things don’t match up – there’s not enough mass to deal with the heat made. It’s just a fact of the light.
Yes its’s small light for this turbo power.
But in High, start at 1333 and itisn’t much better.
I want to preface my question with thanking you for all you do here, it is extremely helpful. After giving my FW3A to my son I purchased an FW1A (or so I thought). I received this (FW1A Pro) in the mail. I know but look; it was late, she wouldn’t leave me alone….My question is simple, do you use the same Thermal Config on all the FW series lights you review?
Does the currently sold Lumintop fw1a pro have Anduril 2.0?