Olight Seeker 2 Flashlight Review
The Olight Seeker 2 flashlight is not necessarily a bleeding-edge model, but it’s a still-relevant 21700 light worth testing. Read on!
Official Specs and Features
Here’s a link to the Olight Seeker 2 Flashlight product page.
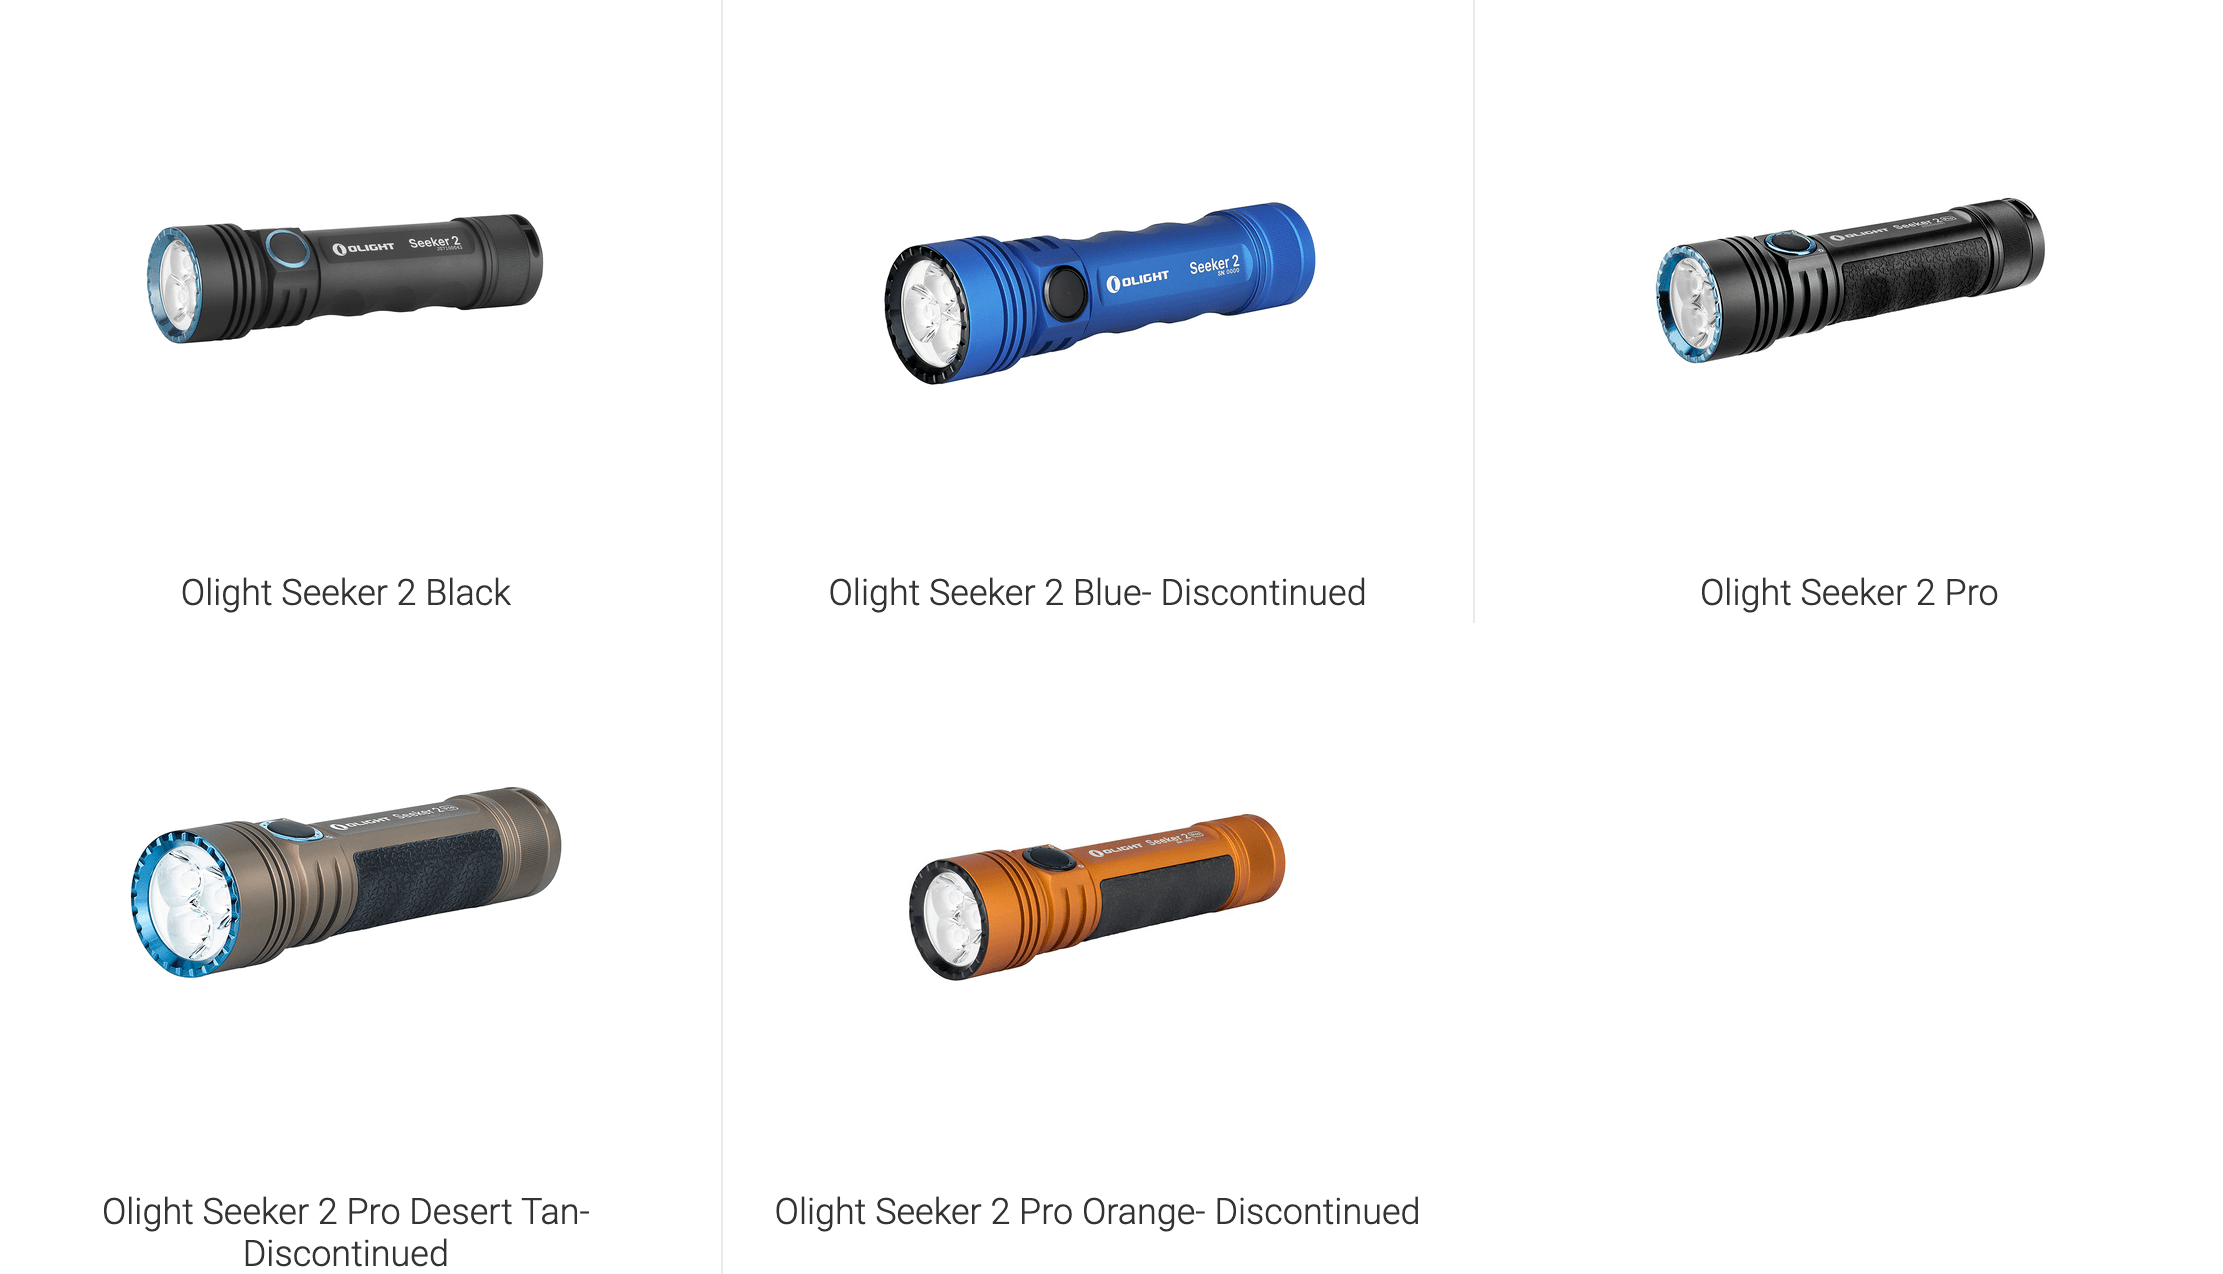
Versions
There are a few versions, including a Seeker 2 Pro (which I’ll also show below). What I have here is what I’d call the “base model” Seeker 2 – not the limited edition blue, and not the Pro, and certainly not the orange Pro limited edition… Essentially, the Seeker 2 black and Seeker 2 Pro black is still available.
Price
These (as reviewed) go for $109.95. That’s just for the standard edition, but there are a couple of other limited editions. Those are generally unavailable at this time.
Buy yours through my referral link at Olight.com/store!
Short Review
This is a nice light. Easy user interface and general user-friendly design. The proprietary 21700 cell is something that users should rail against, but Olight is going to keep making what sells – and their lights sell. And this being the “2” of the Seeker is worthwhile noticing, because the R50 Seeker (which I reviewed ages ago) also has a proprietary cell and built-in charging.
Long Review
The Big Table
| Olight Seeker 2 Flashlight | |
|---|---|
| Emitter: | Osram P9 |
| Price in USD at publication time: | $109.95 at Olight.com/store. |
| Cell: | 1×21700 |
| Turbo Runtime | High Runtime |
| LVP? | Yes |
| Switch Type: | E-Switch |
| Quiescent Current (A): | ? |
| On-Board Charging? | Yes |
| Charge Port Type: | Proprietary Magnetic |
| Chargetime | |
| Power off Charge Port with no Cell? | No cell: No working. With cell: all modes. |
| Claimed Lumens (lm) | 3000 |
| Measured Lumens (at 30s) | 3328 (110.9% of claim)^ |
| Candela per Lumen | 5.2 |
| Claimed Throw (m) | 220 |
| Candela (Calculated) in cd (at 30s) | 701lux @ 5.207m = 19006cd |
| Throw (Calculated) (m) | 275.7 (125.3% of claim)^ |
| All my Olight reviews! | |
^ Measurement disclaimer: Testing flashlights is my hobby. I use hobbyist-level equipment for testing, including some I made myself. Try not to get buried in the details of manufacturer specifications versus measurements recorded here; A certain amount of difference (say, 10 or 15%) is perfectly reasonable.
What’s Included
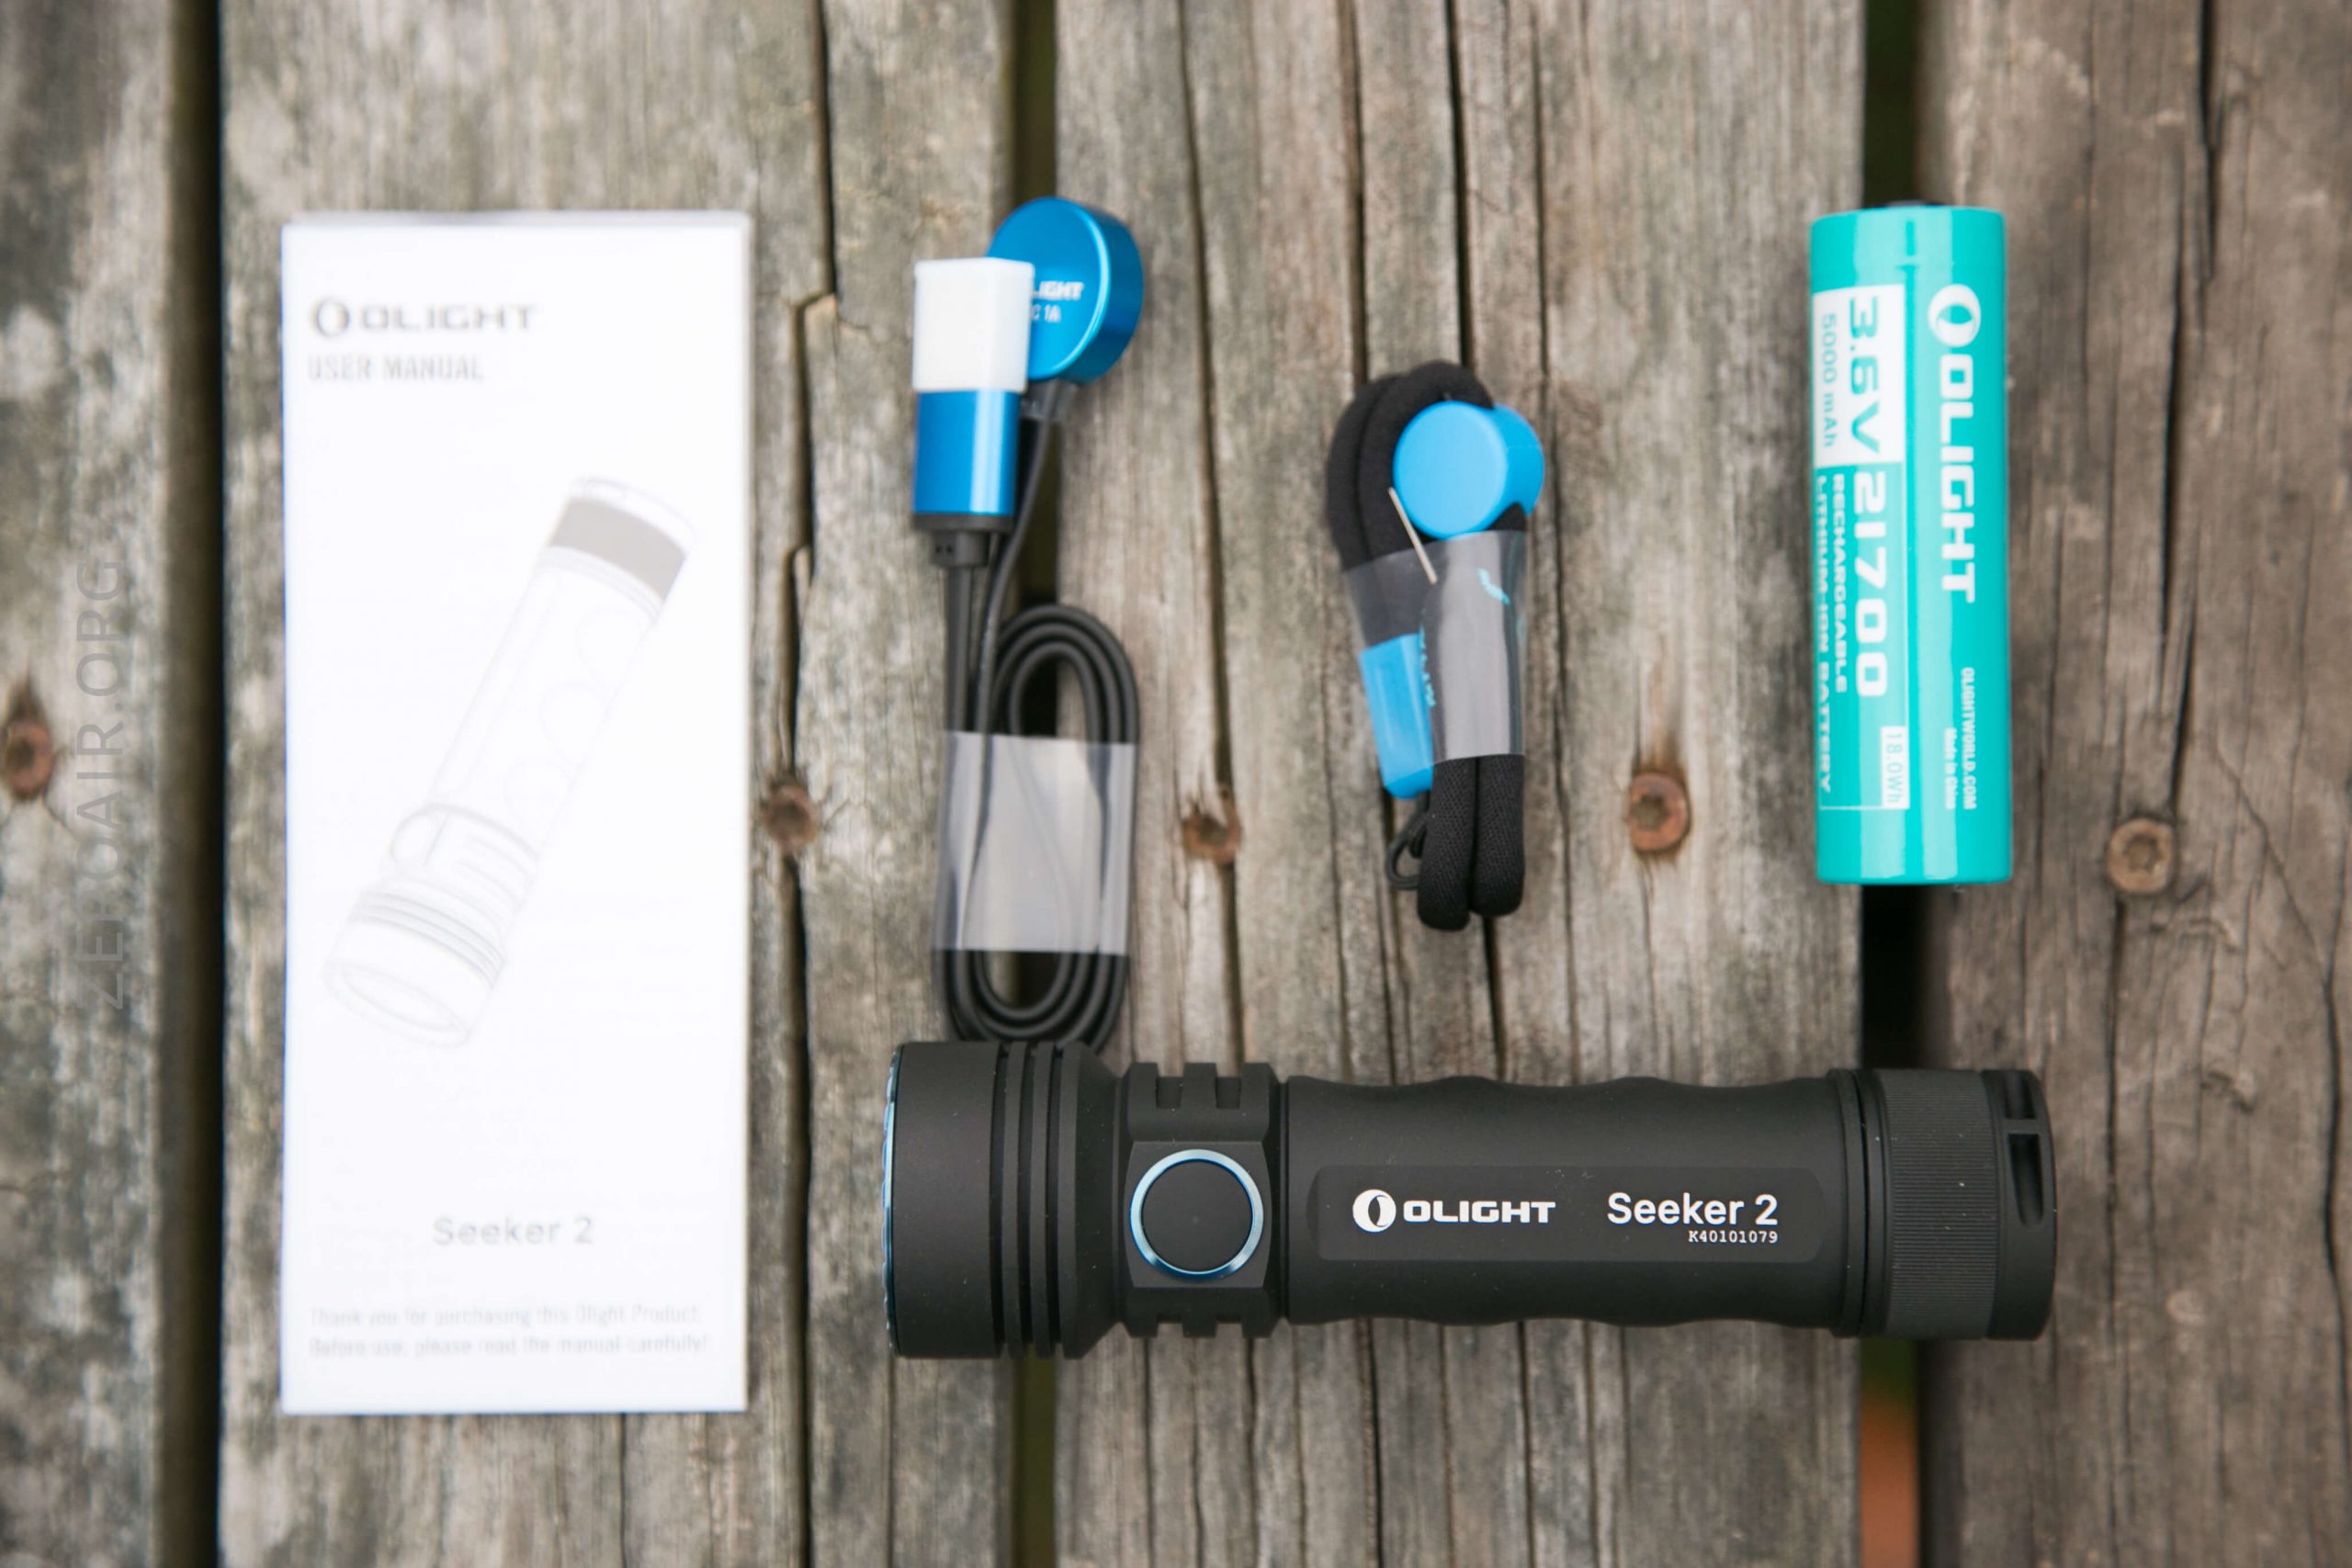
- Olight Seeker 2 Flashlight
- Proprietary Olight 5000mAh 21700
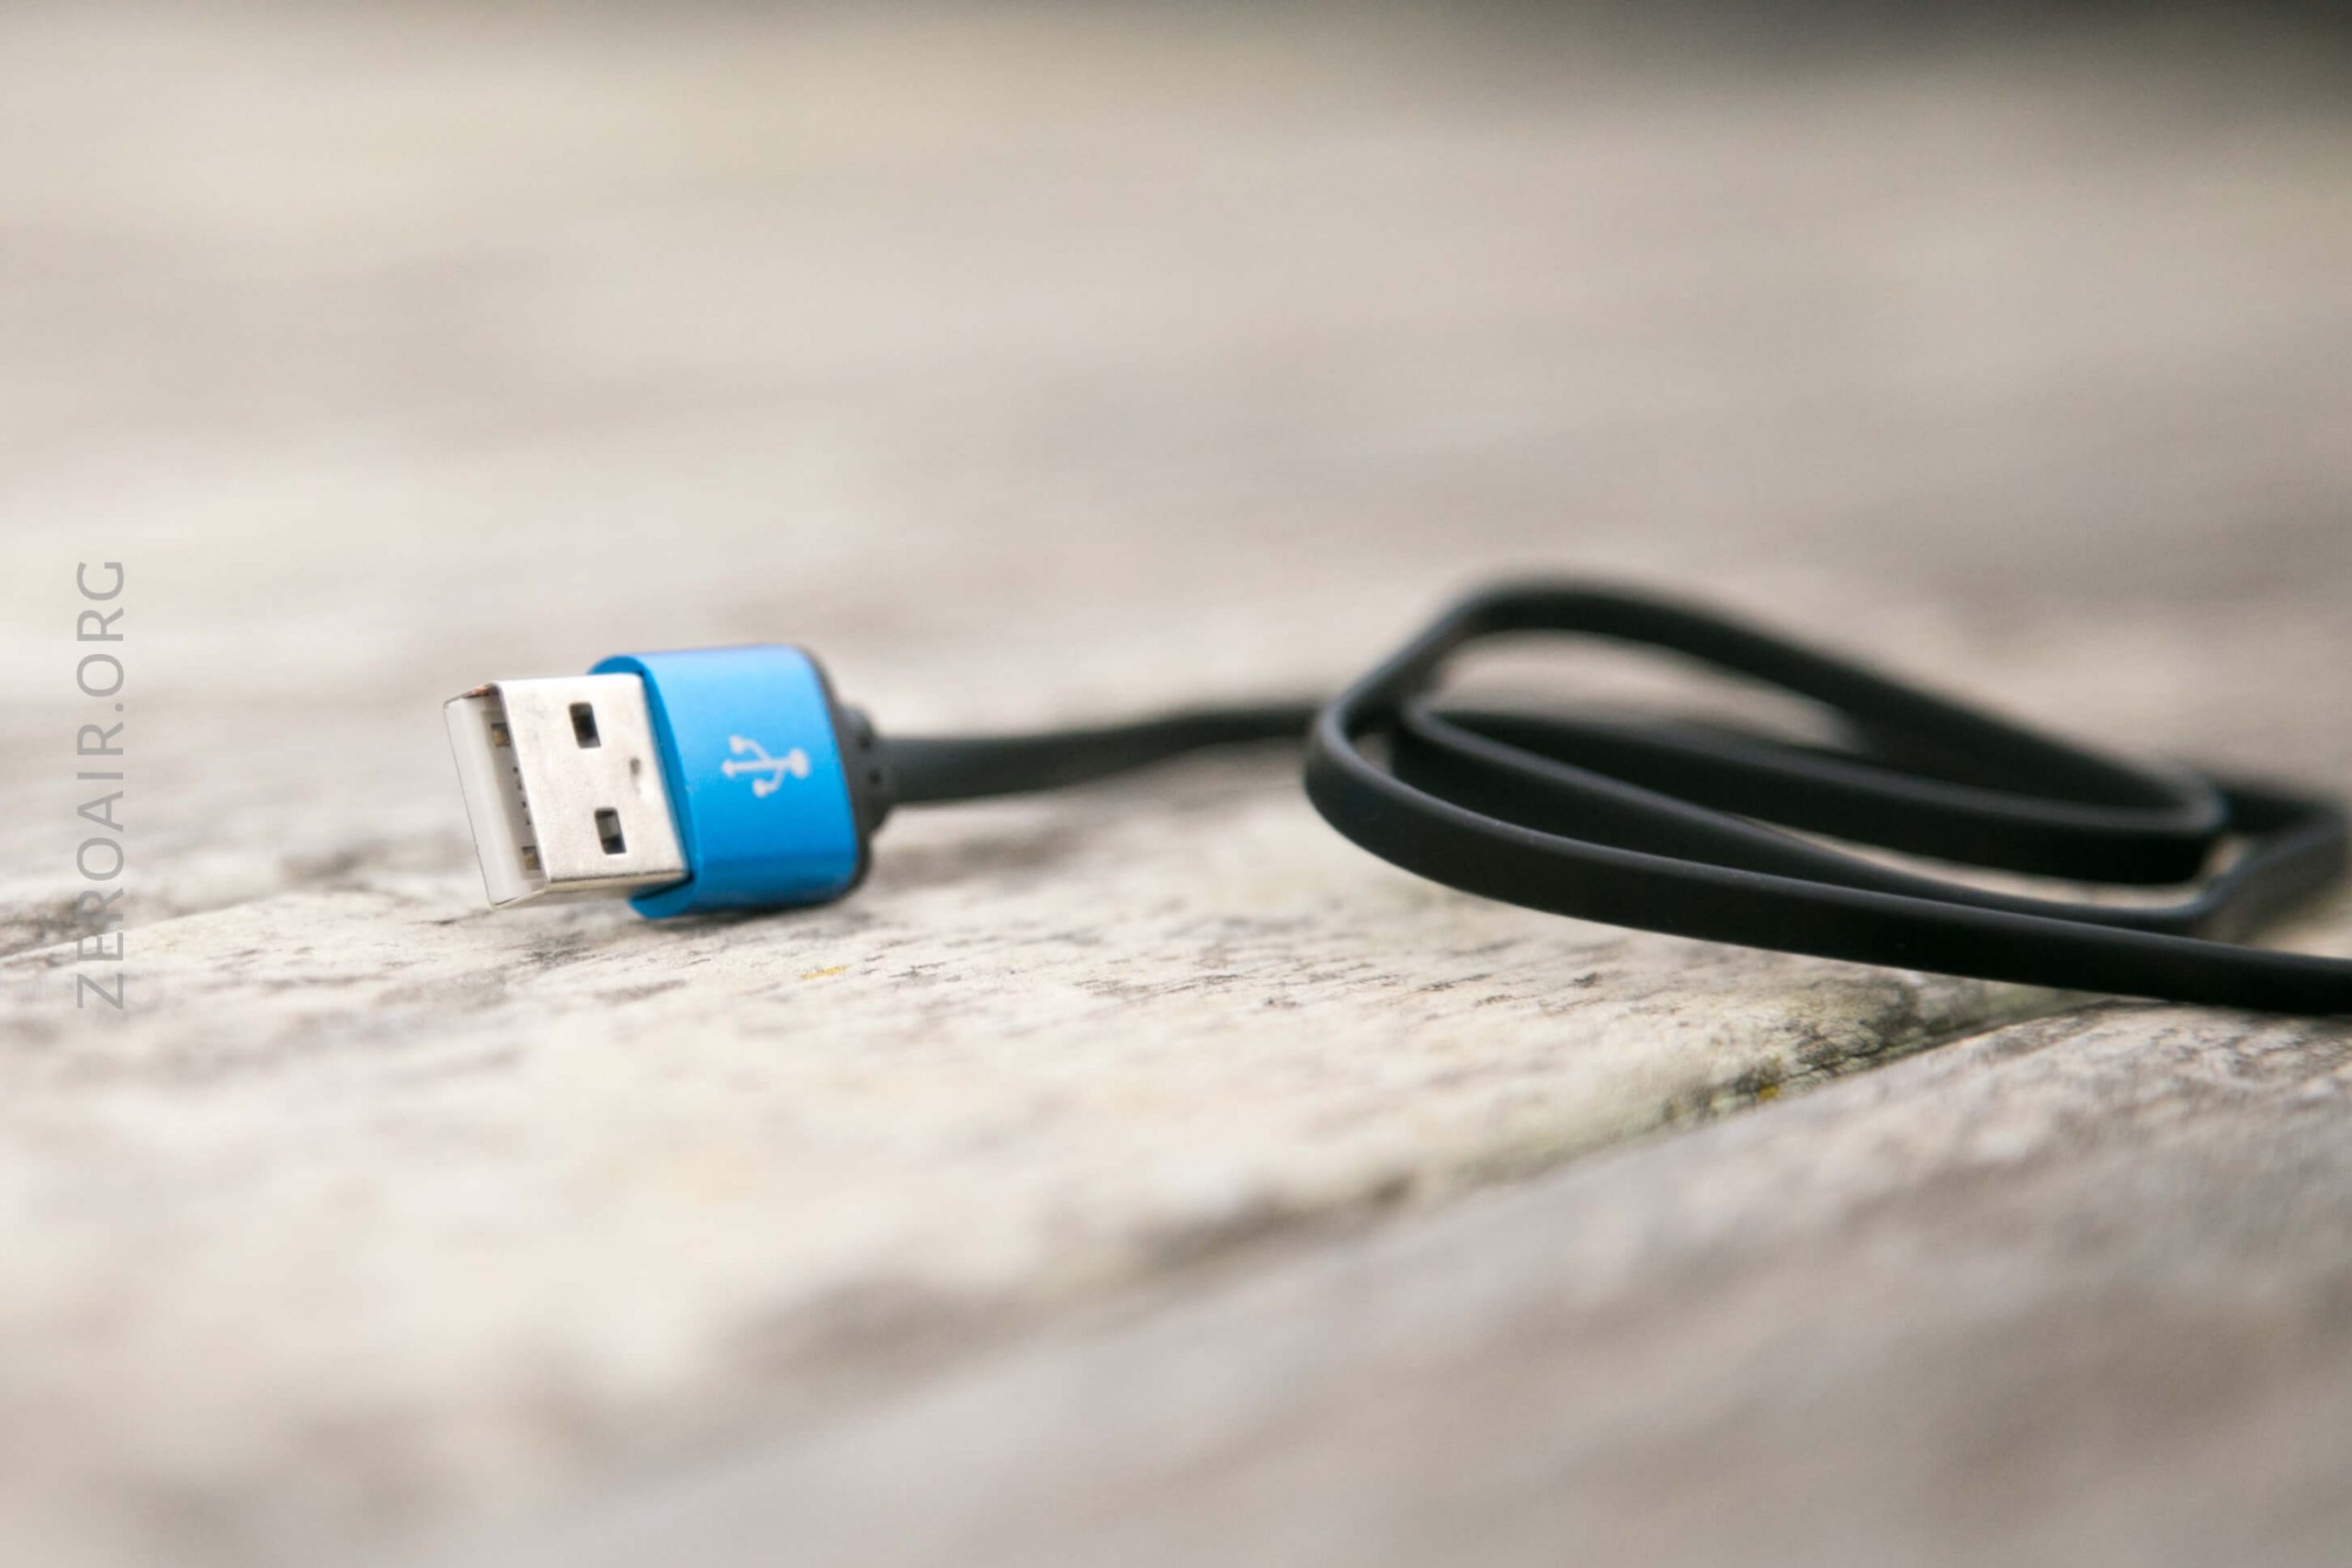
- Charge cable (USB to magnetic proprietary)
- Lanyard
- Manual
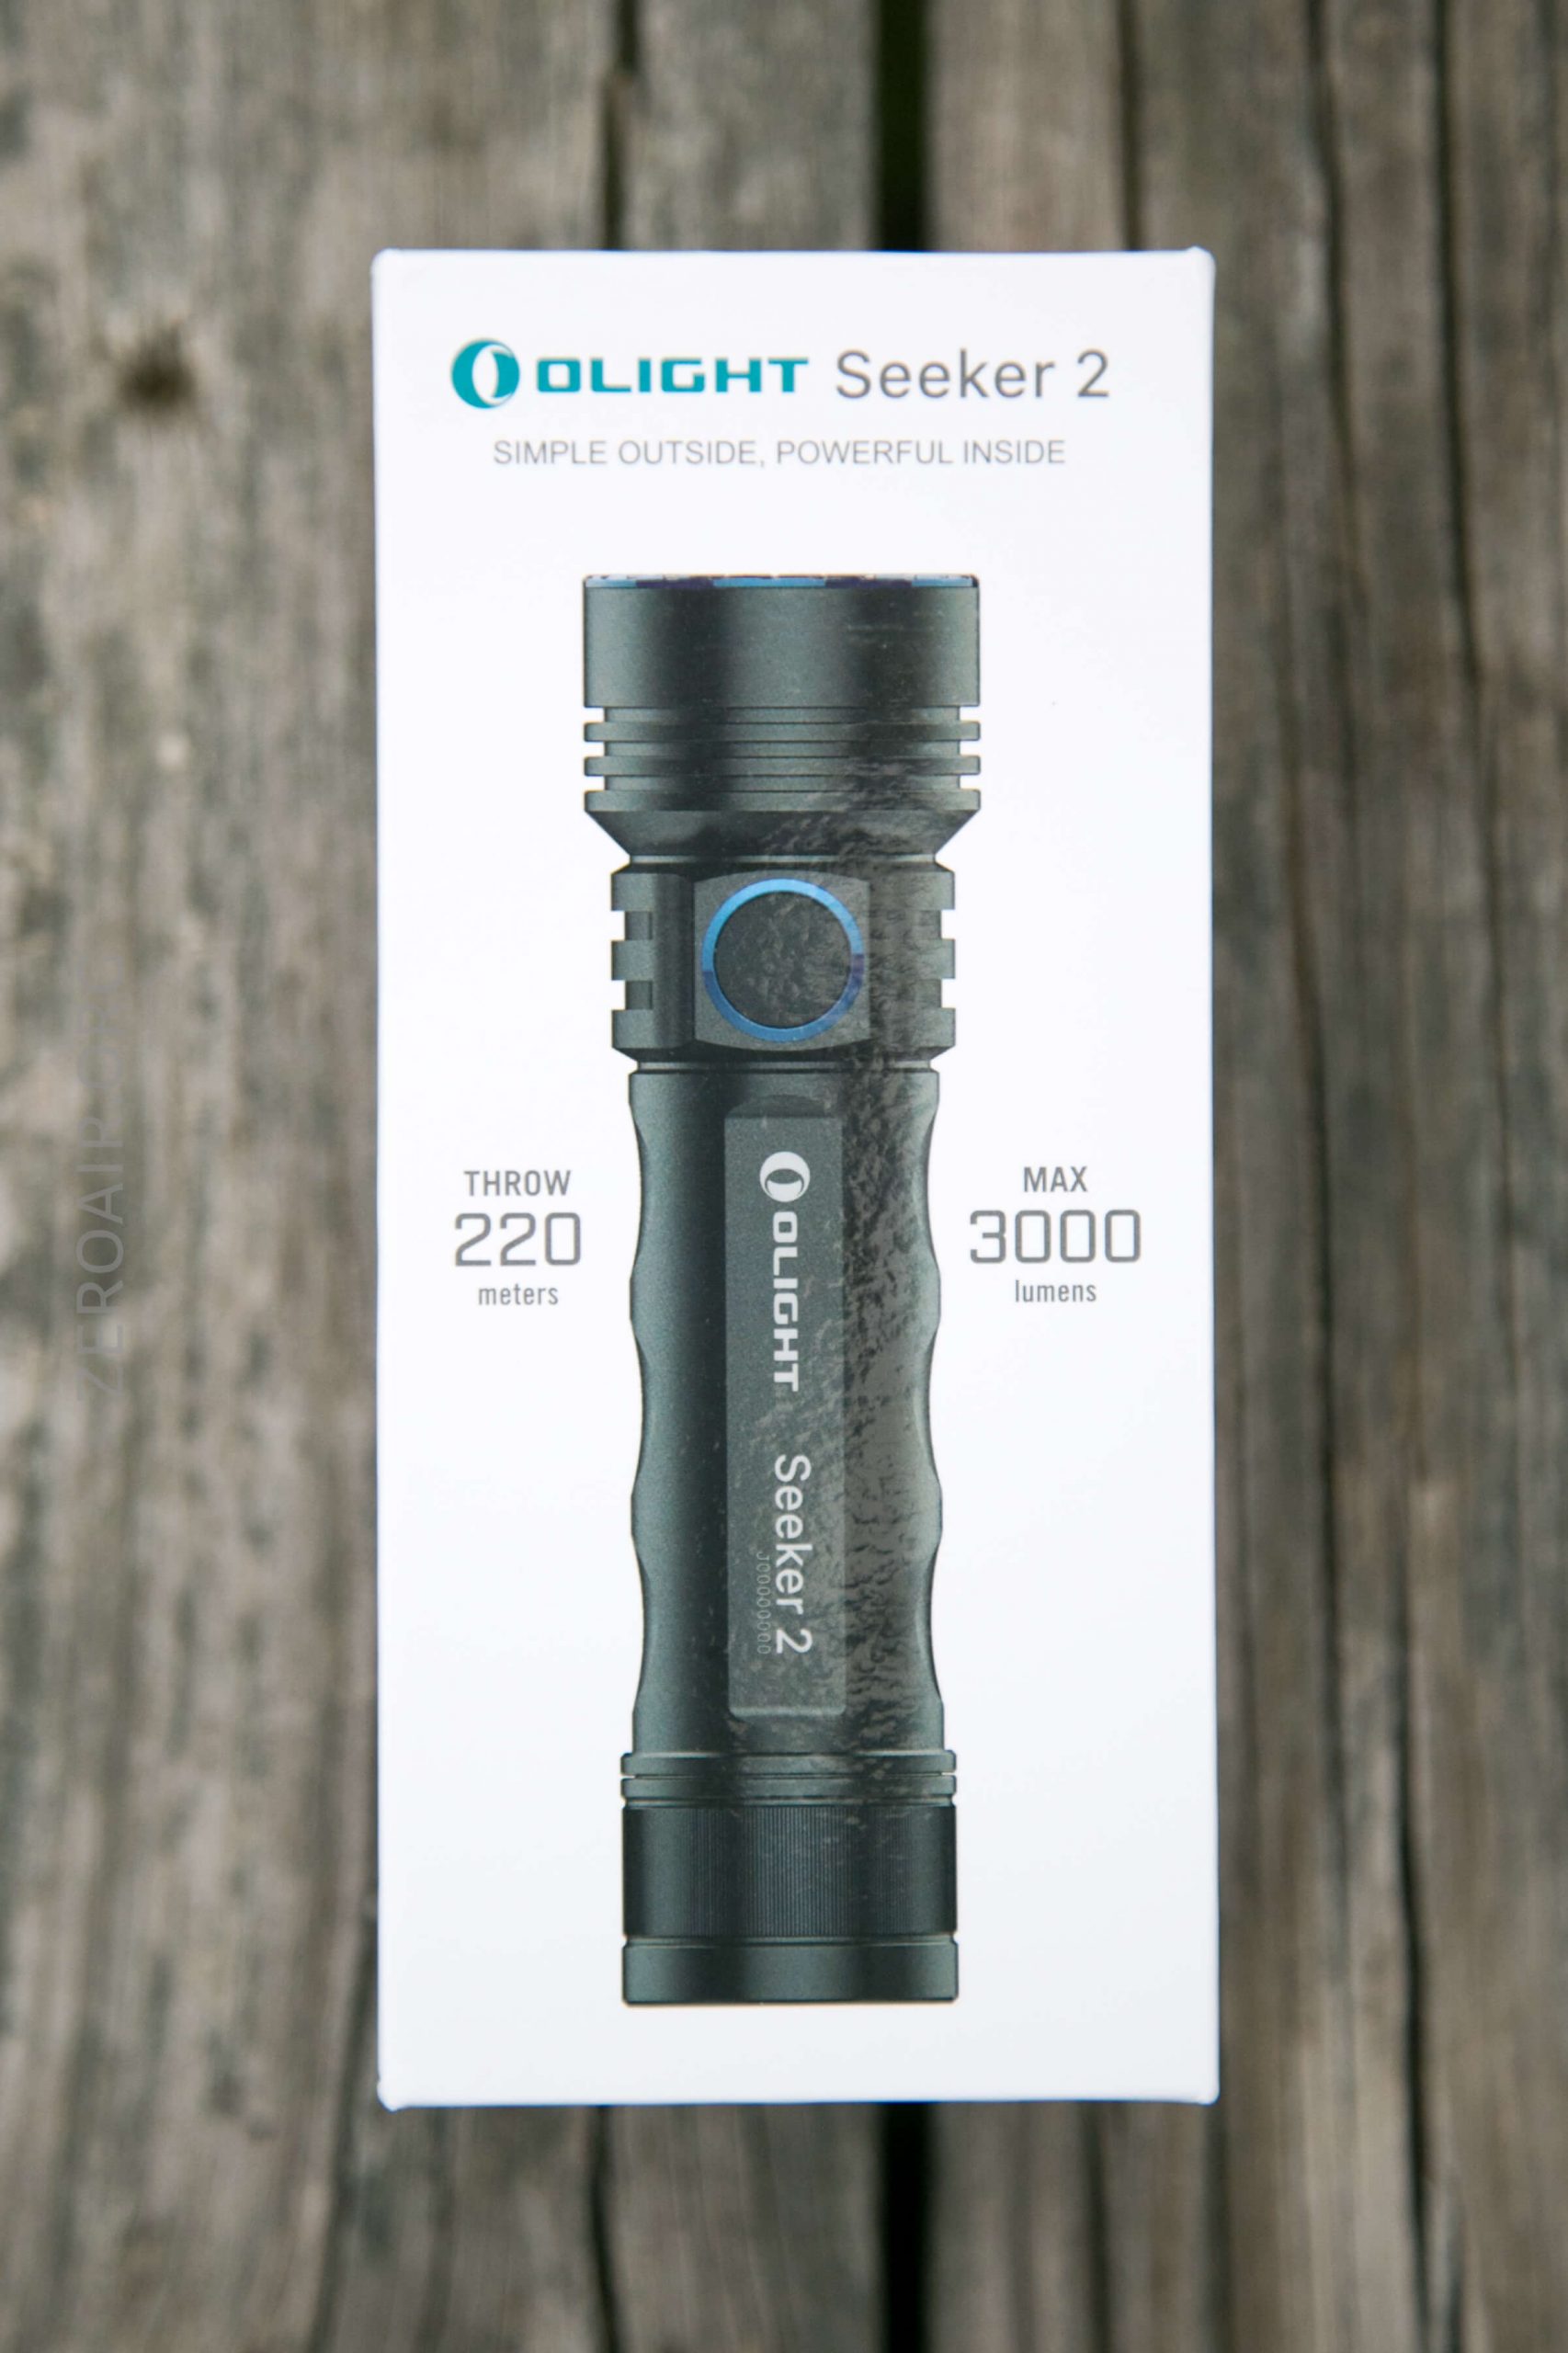
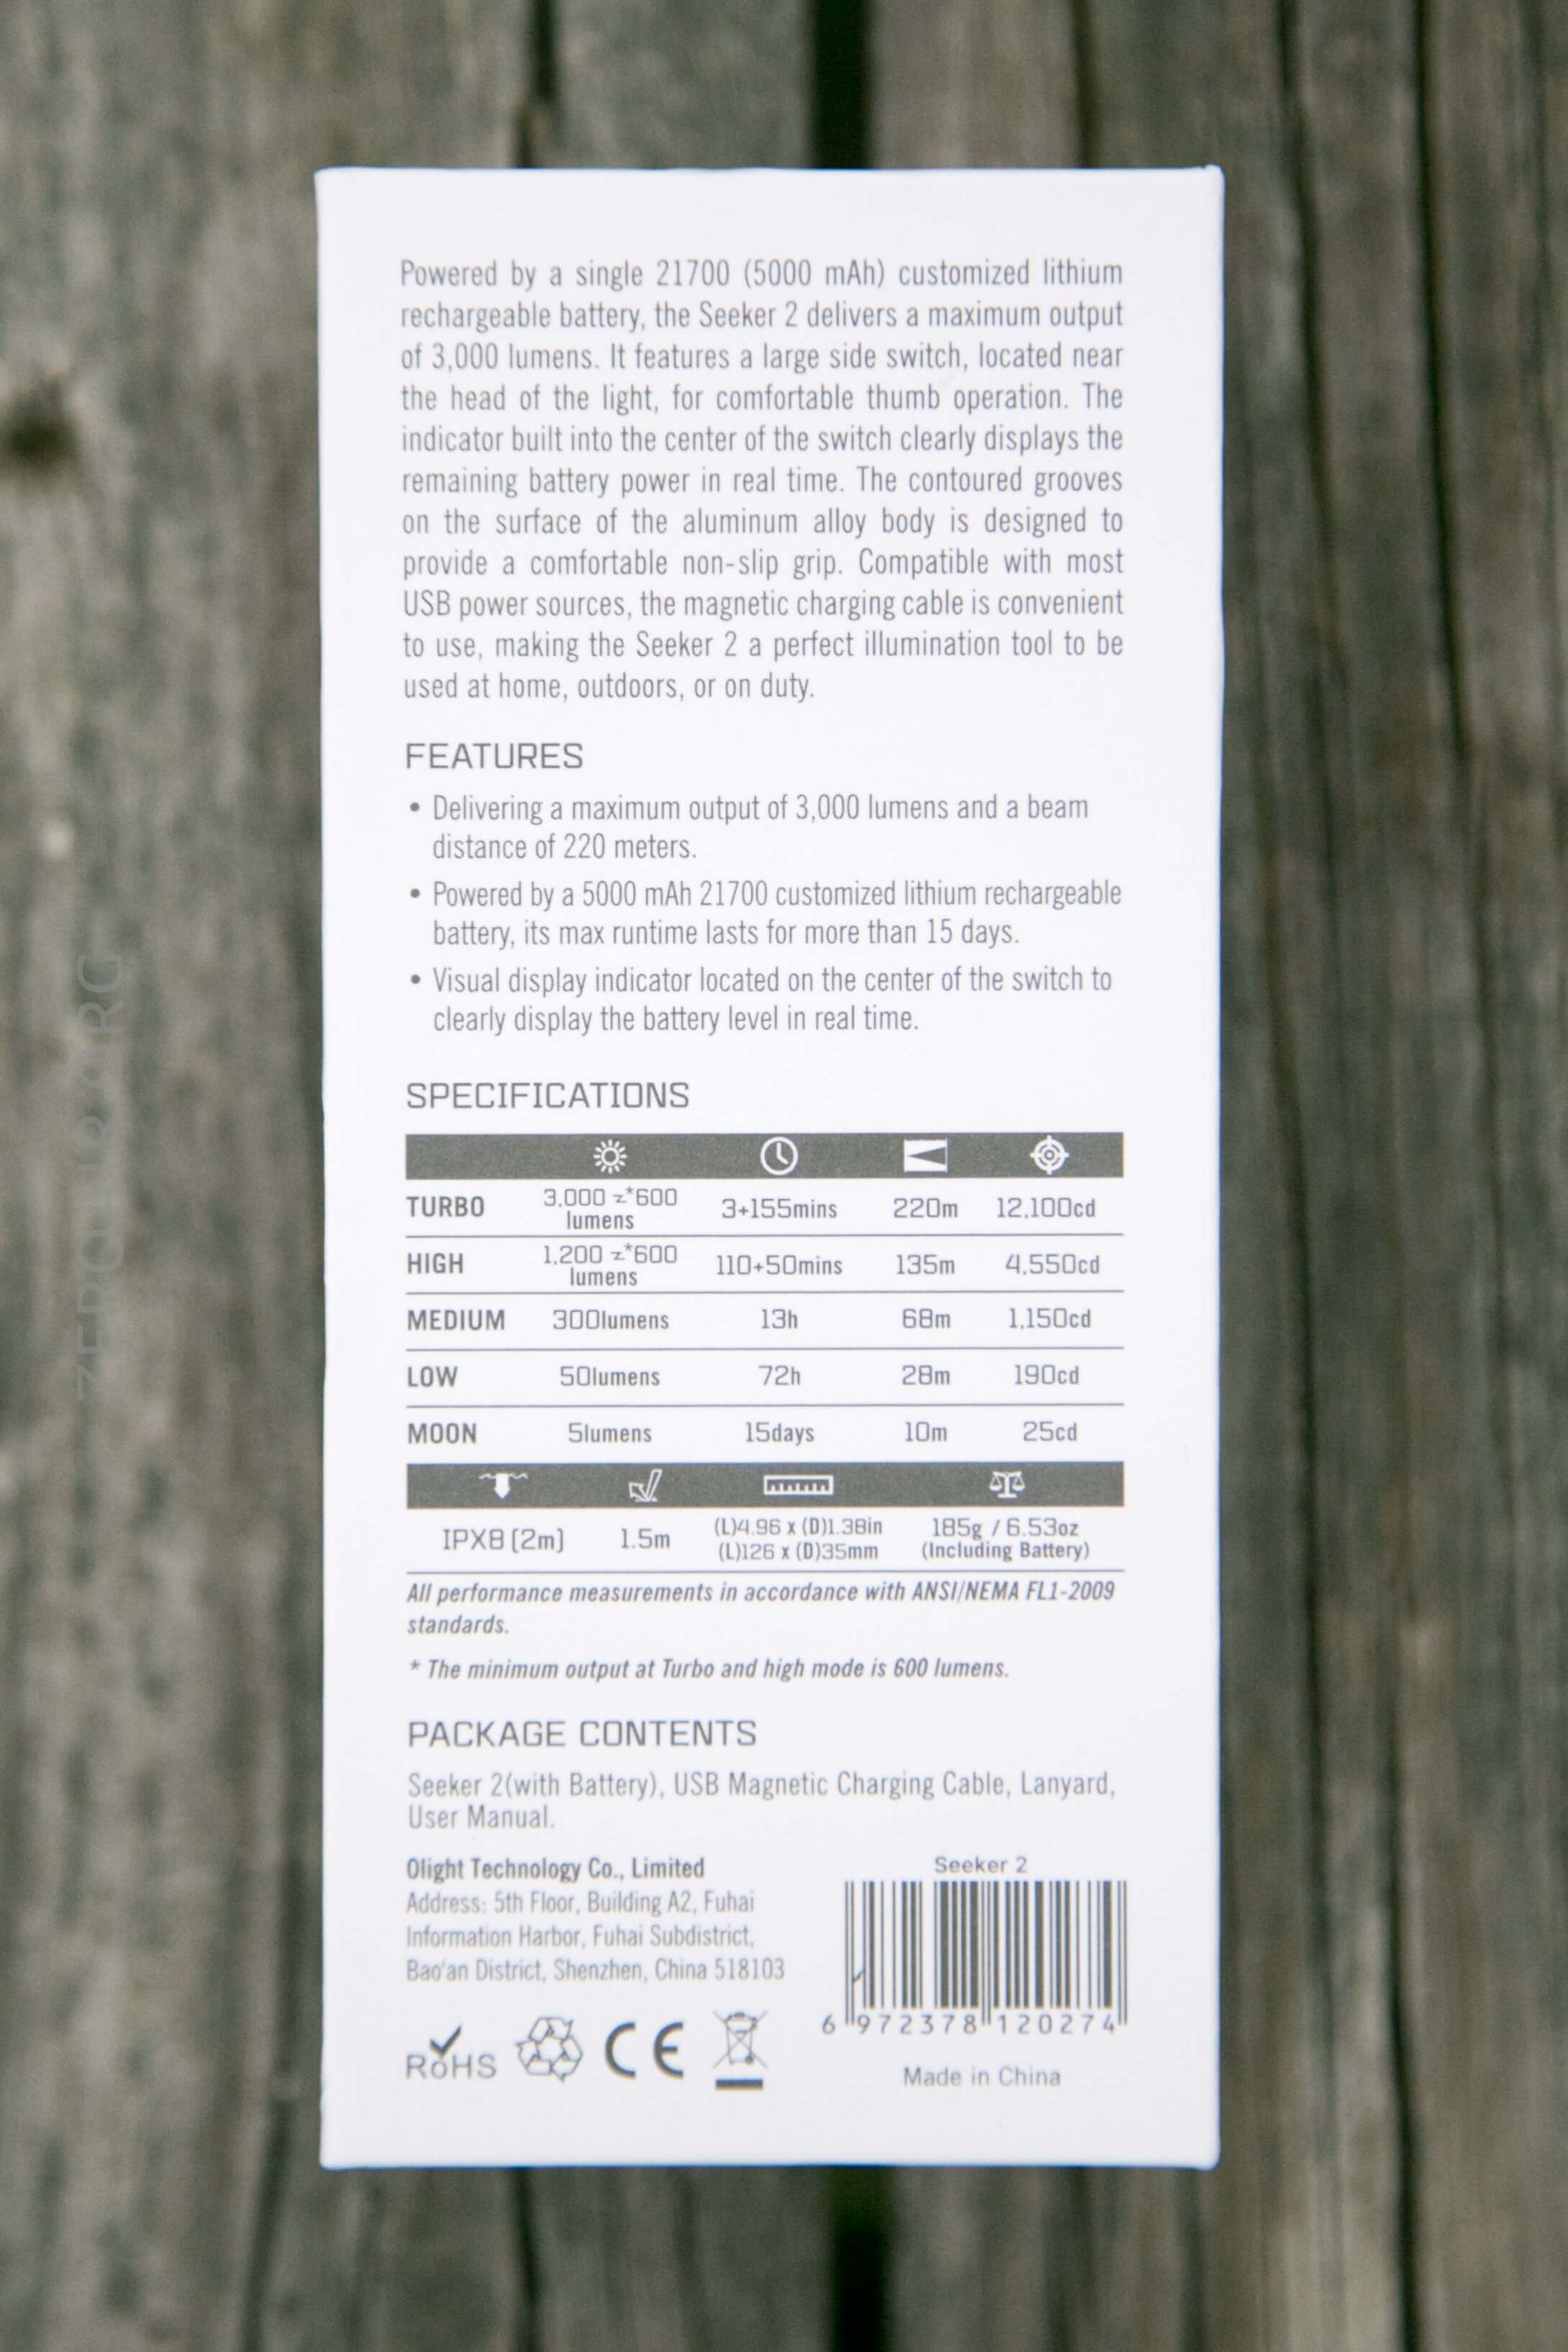
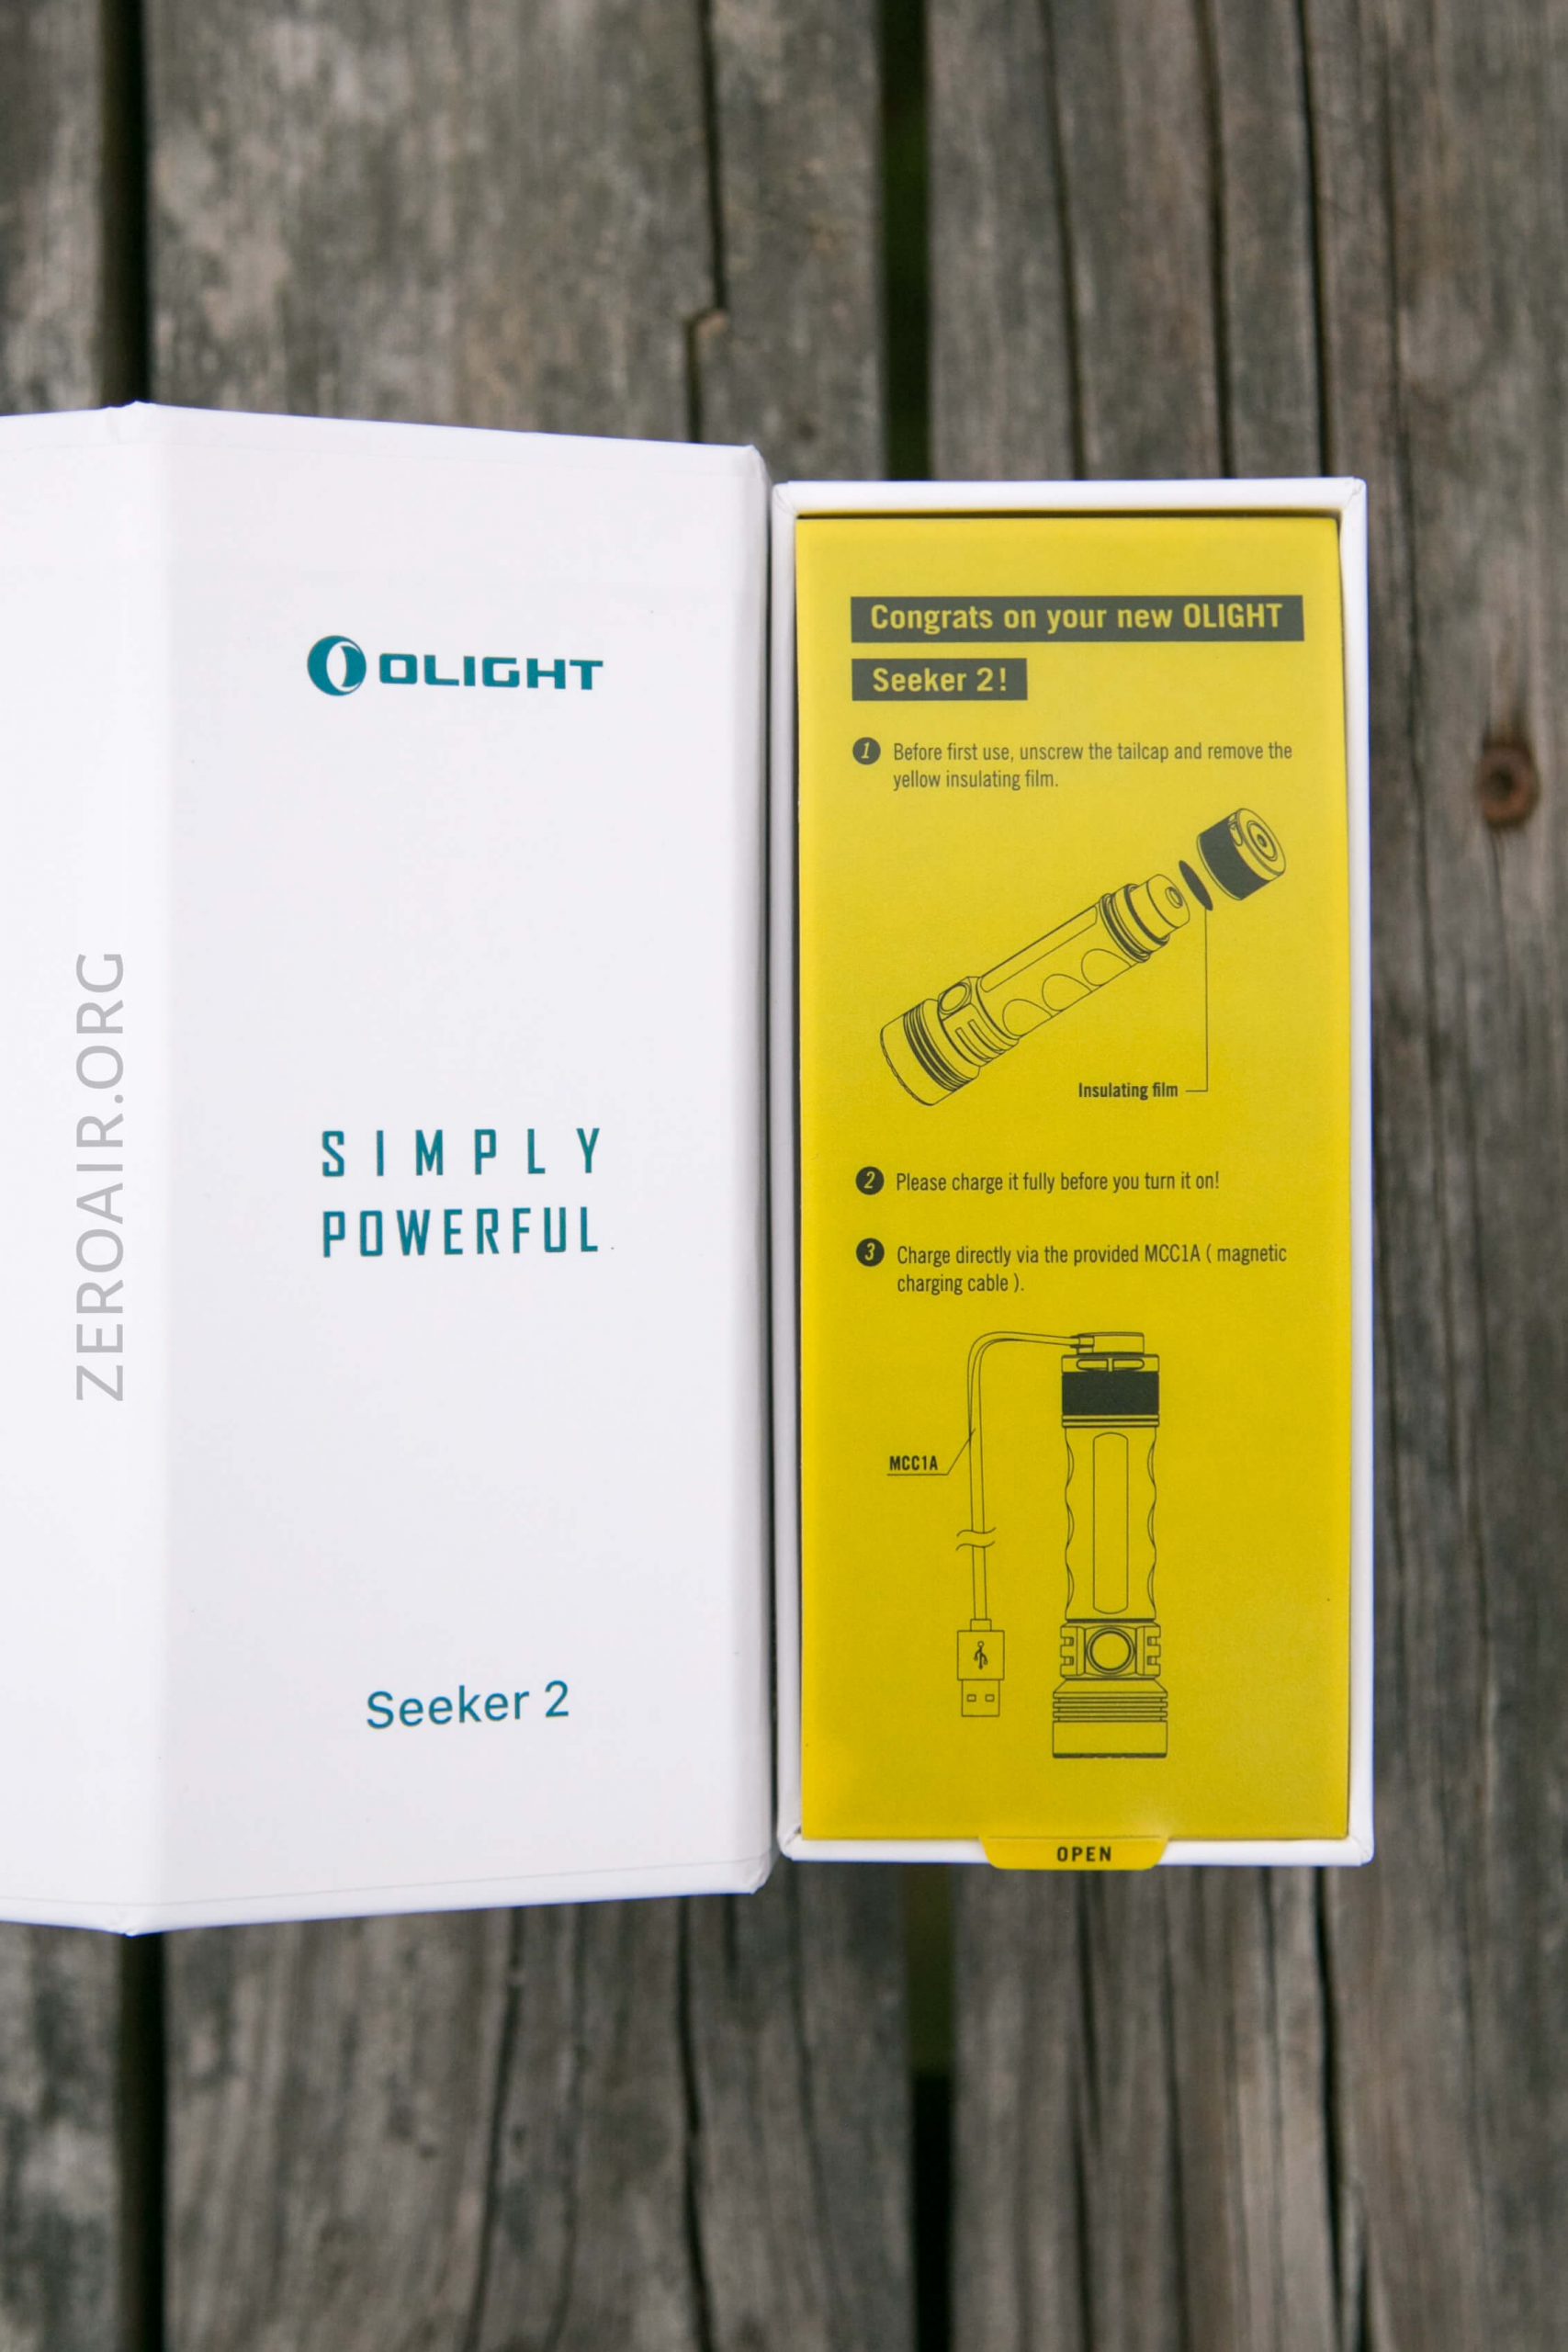
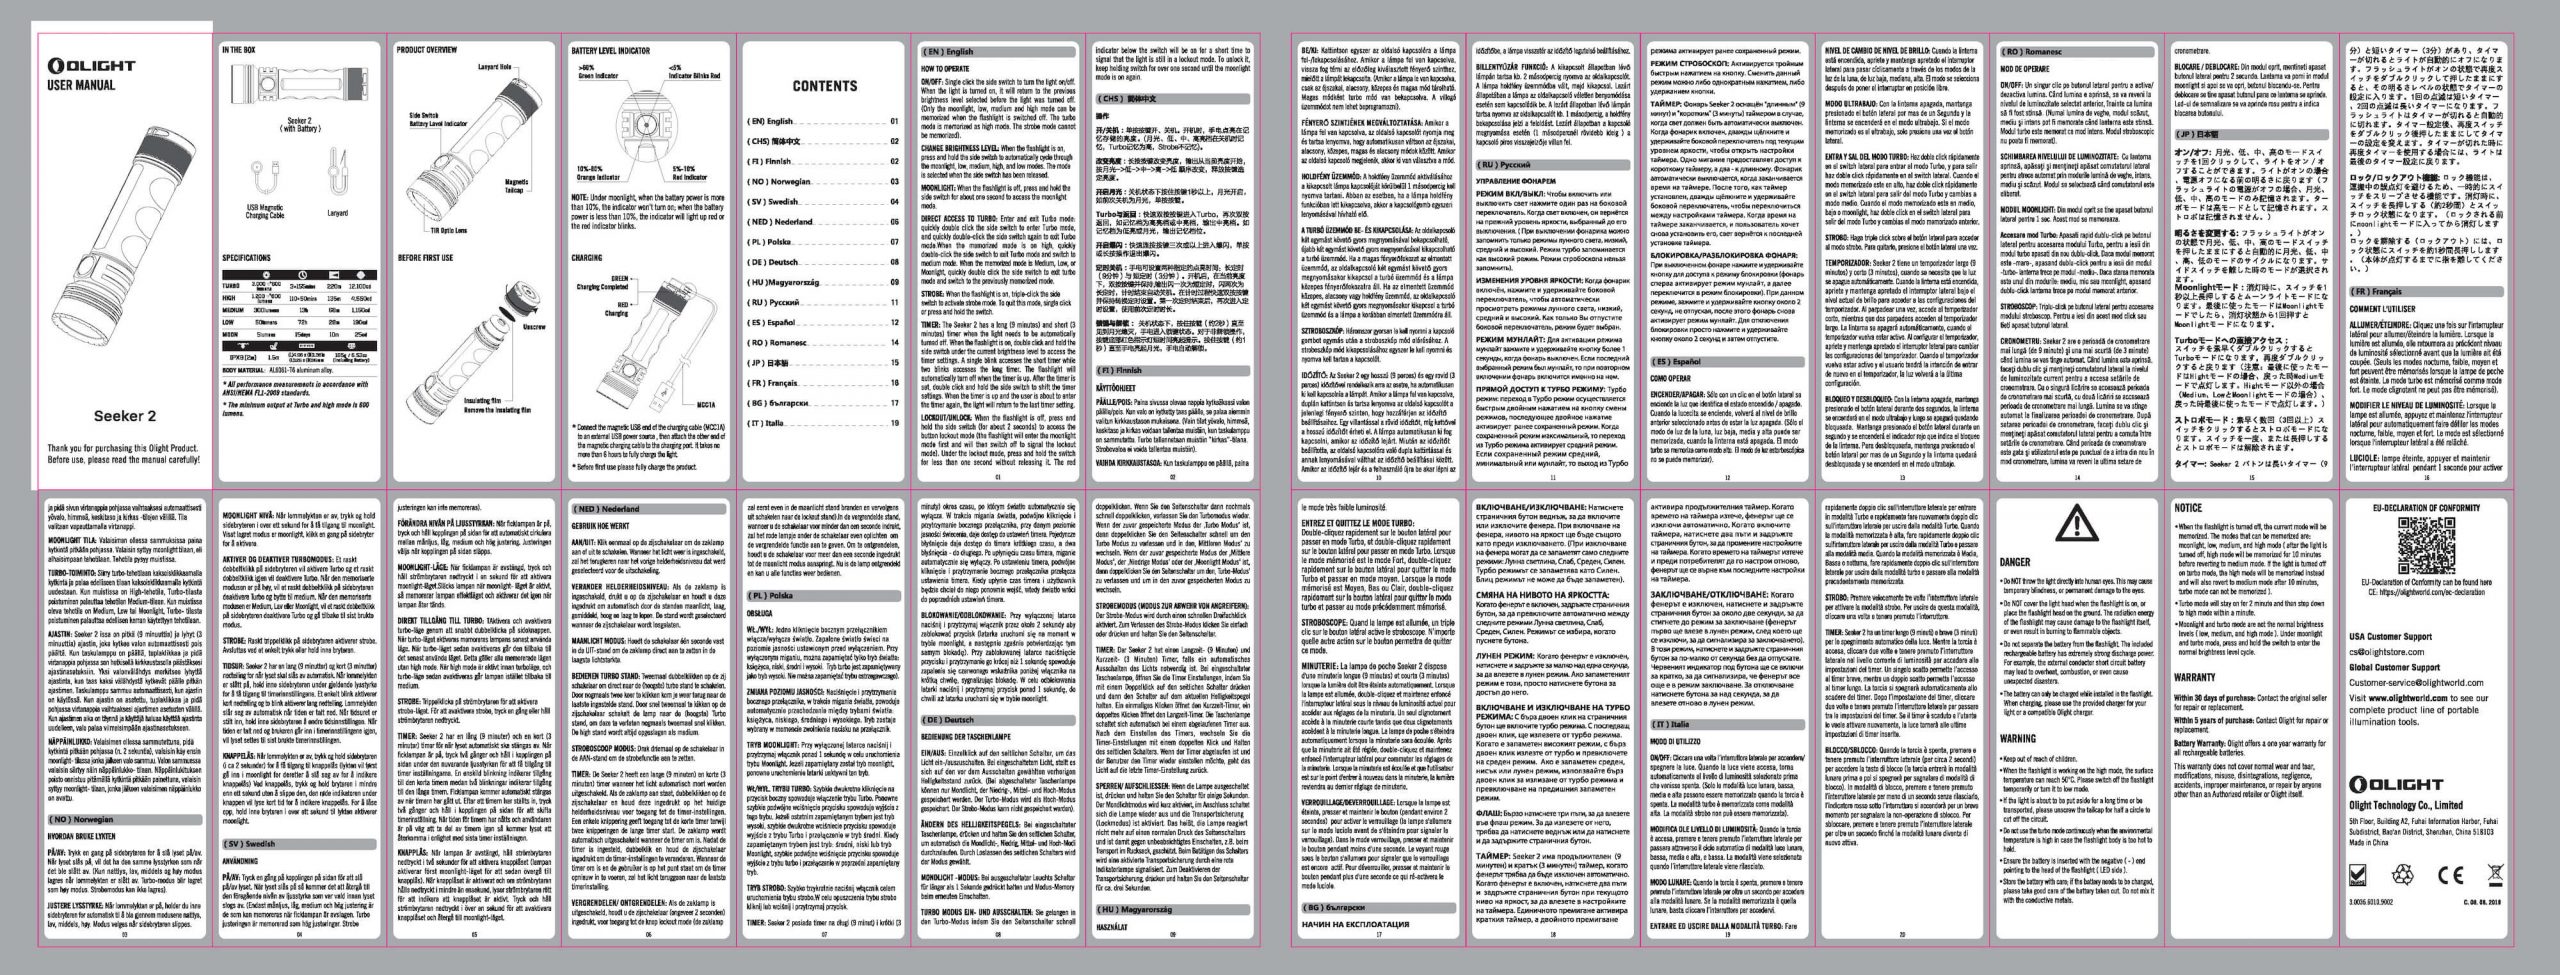
Package and Manual
Build Quality and Disassembly
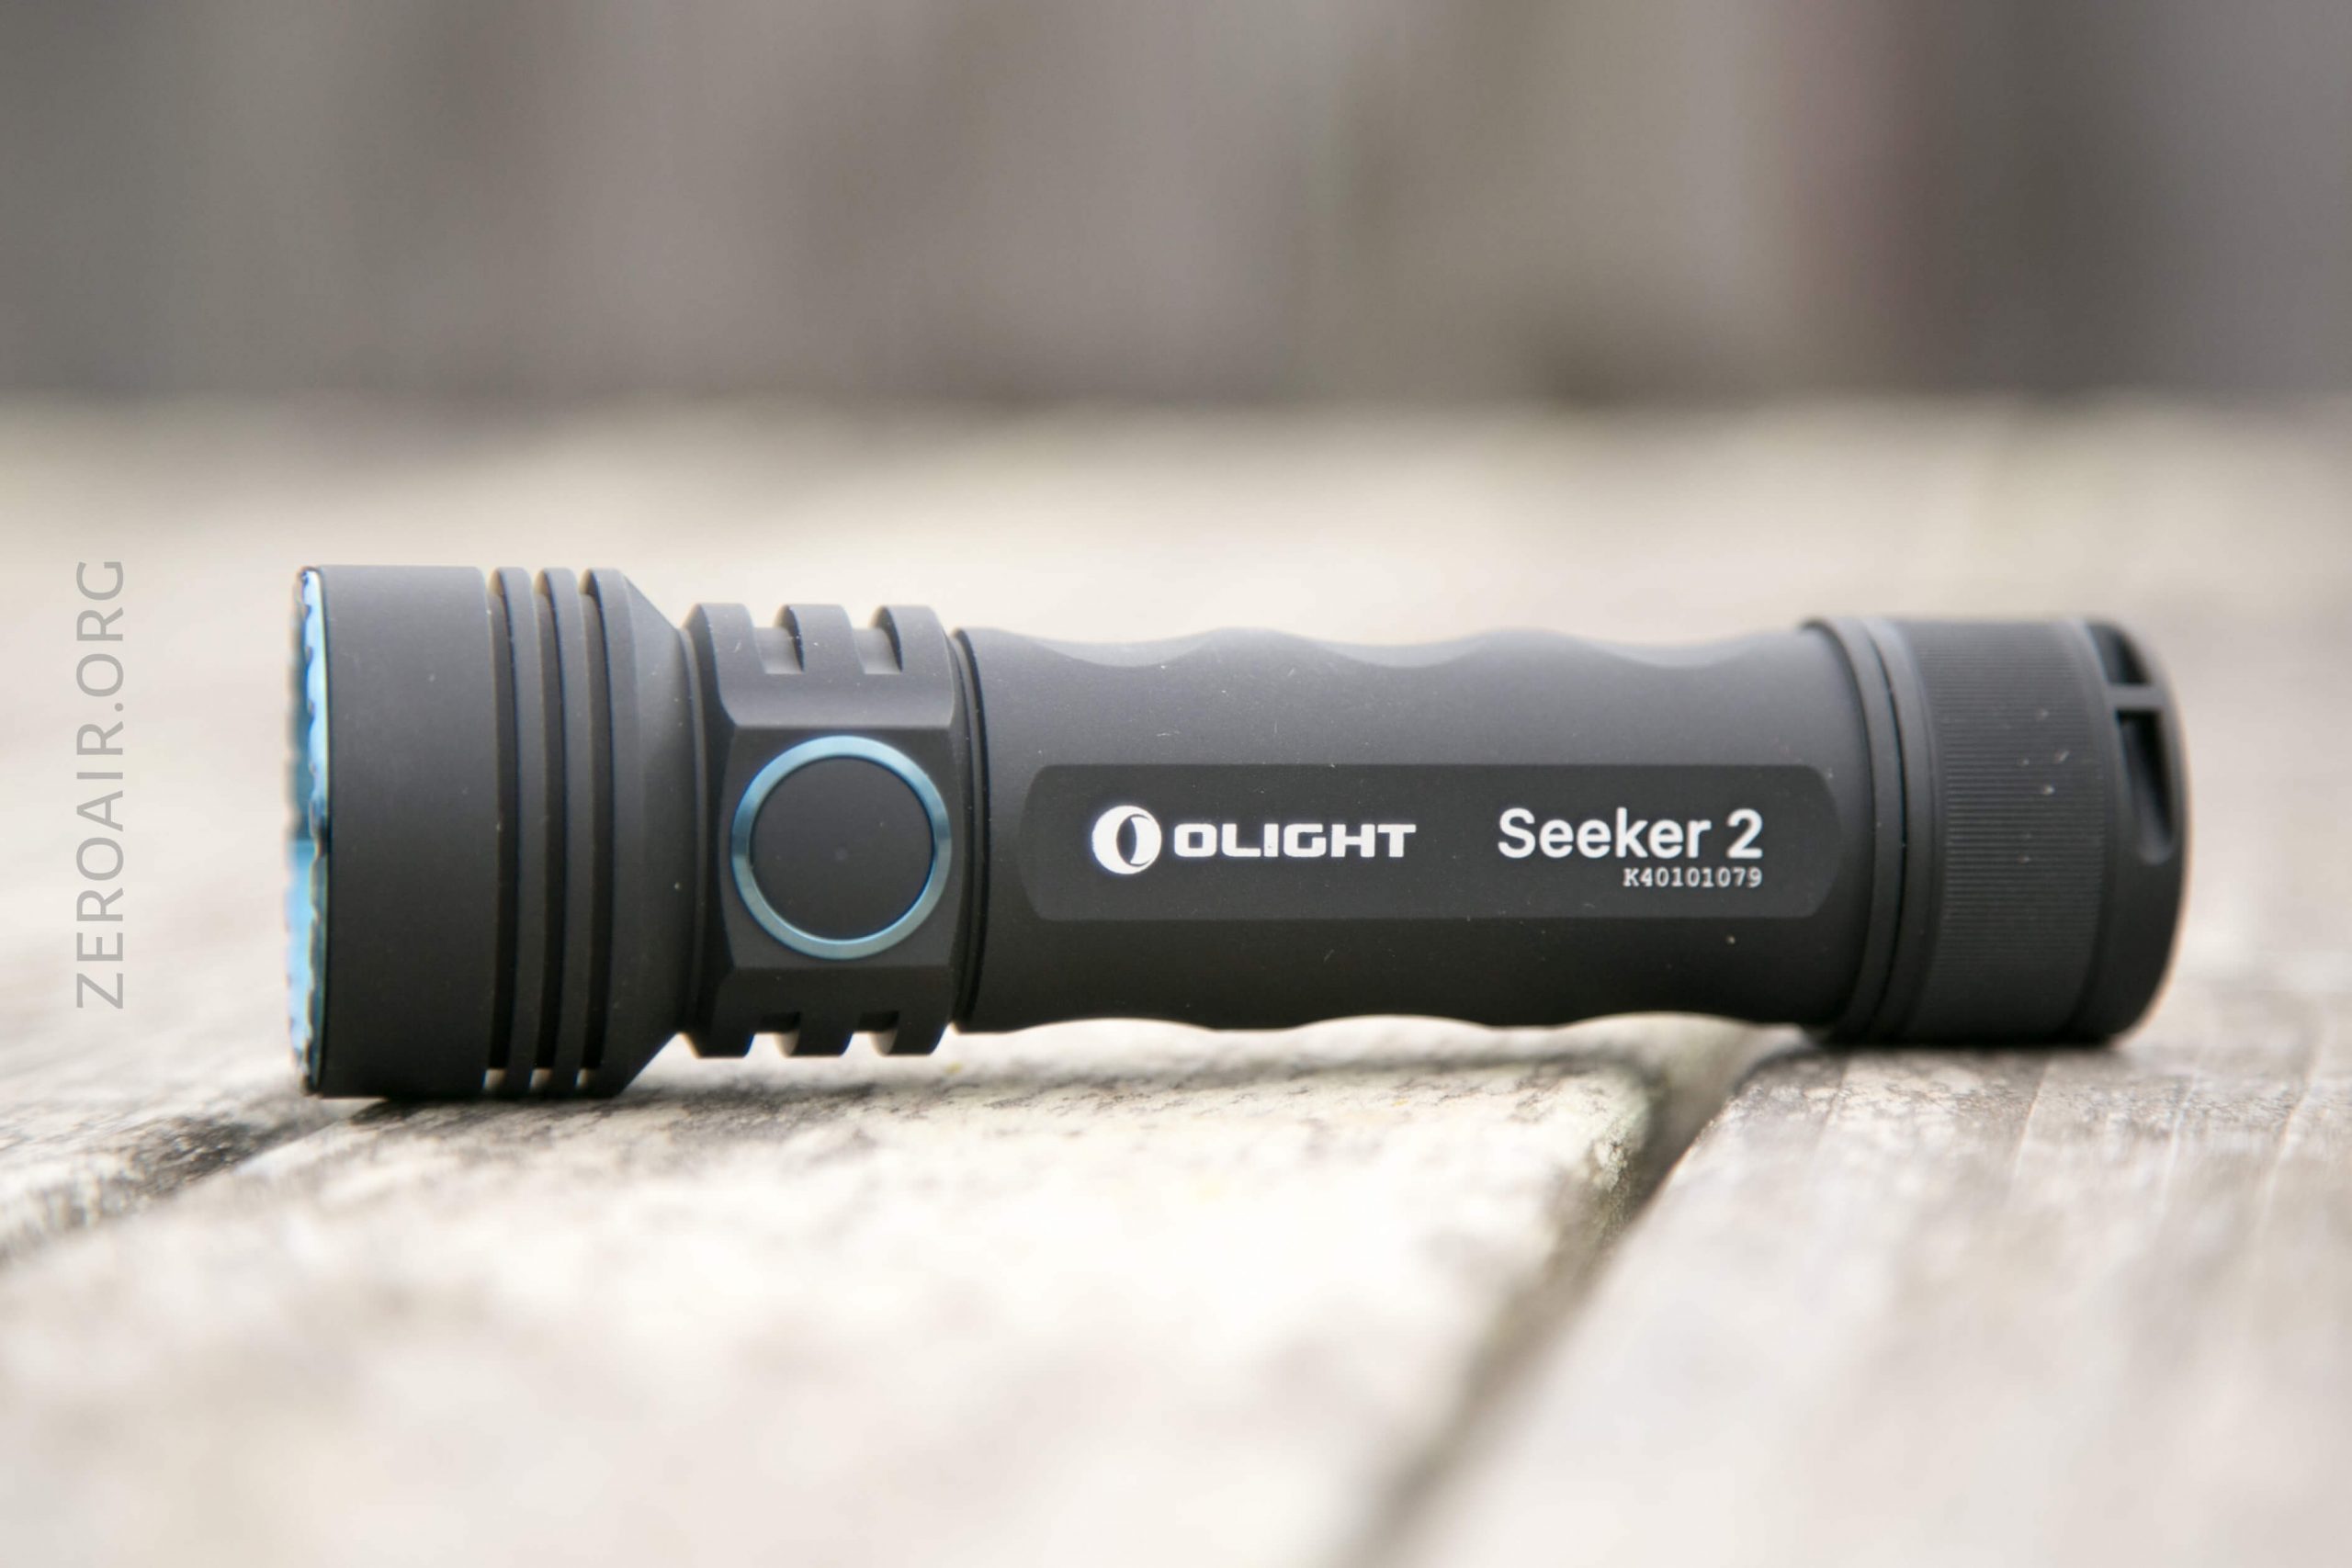
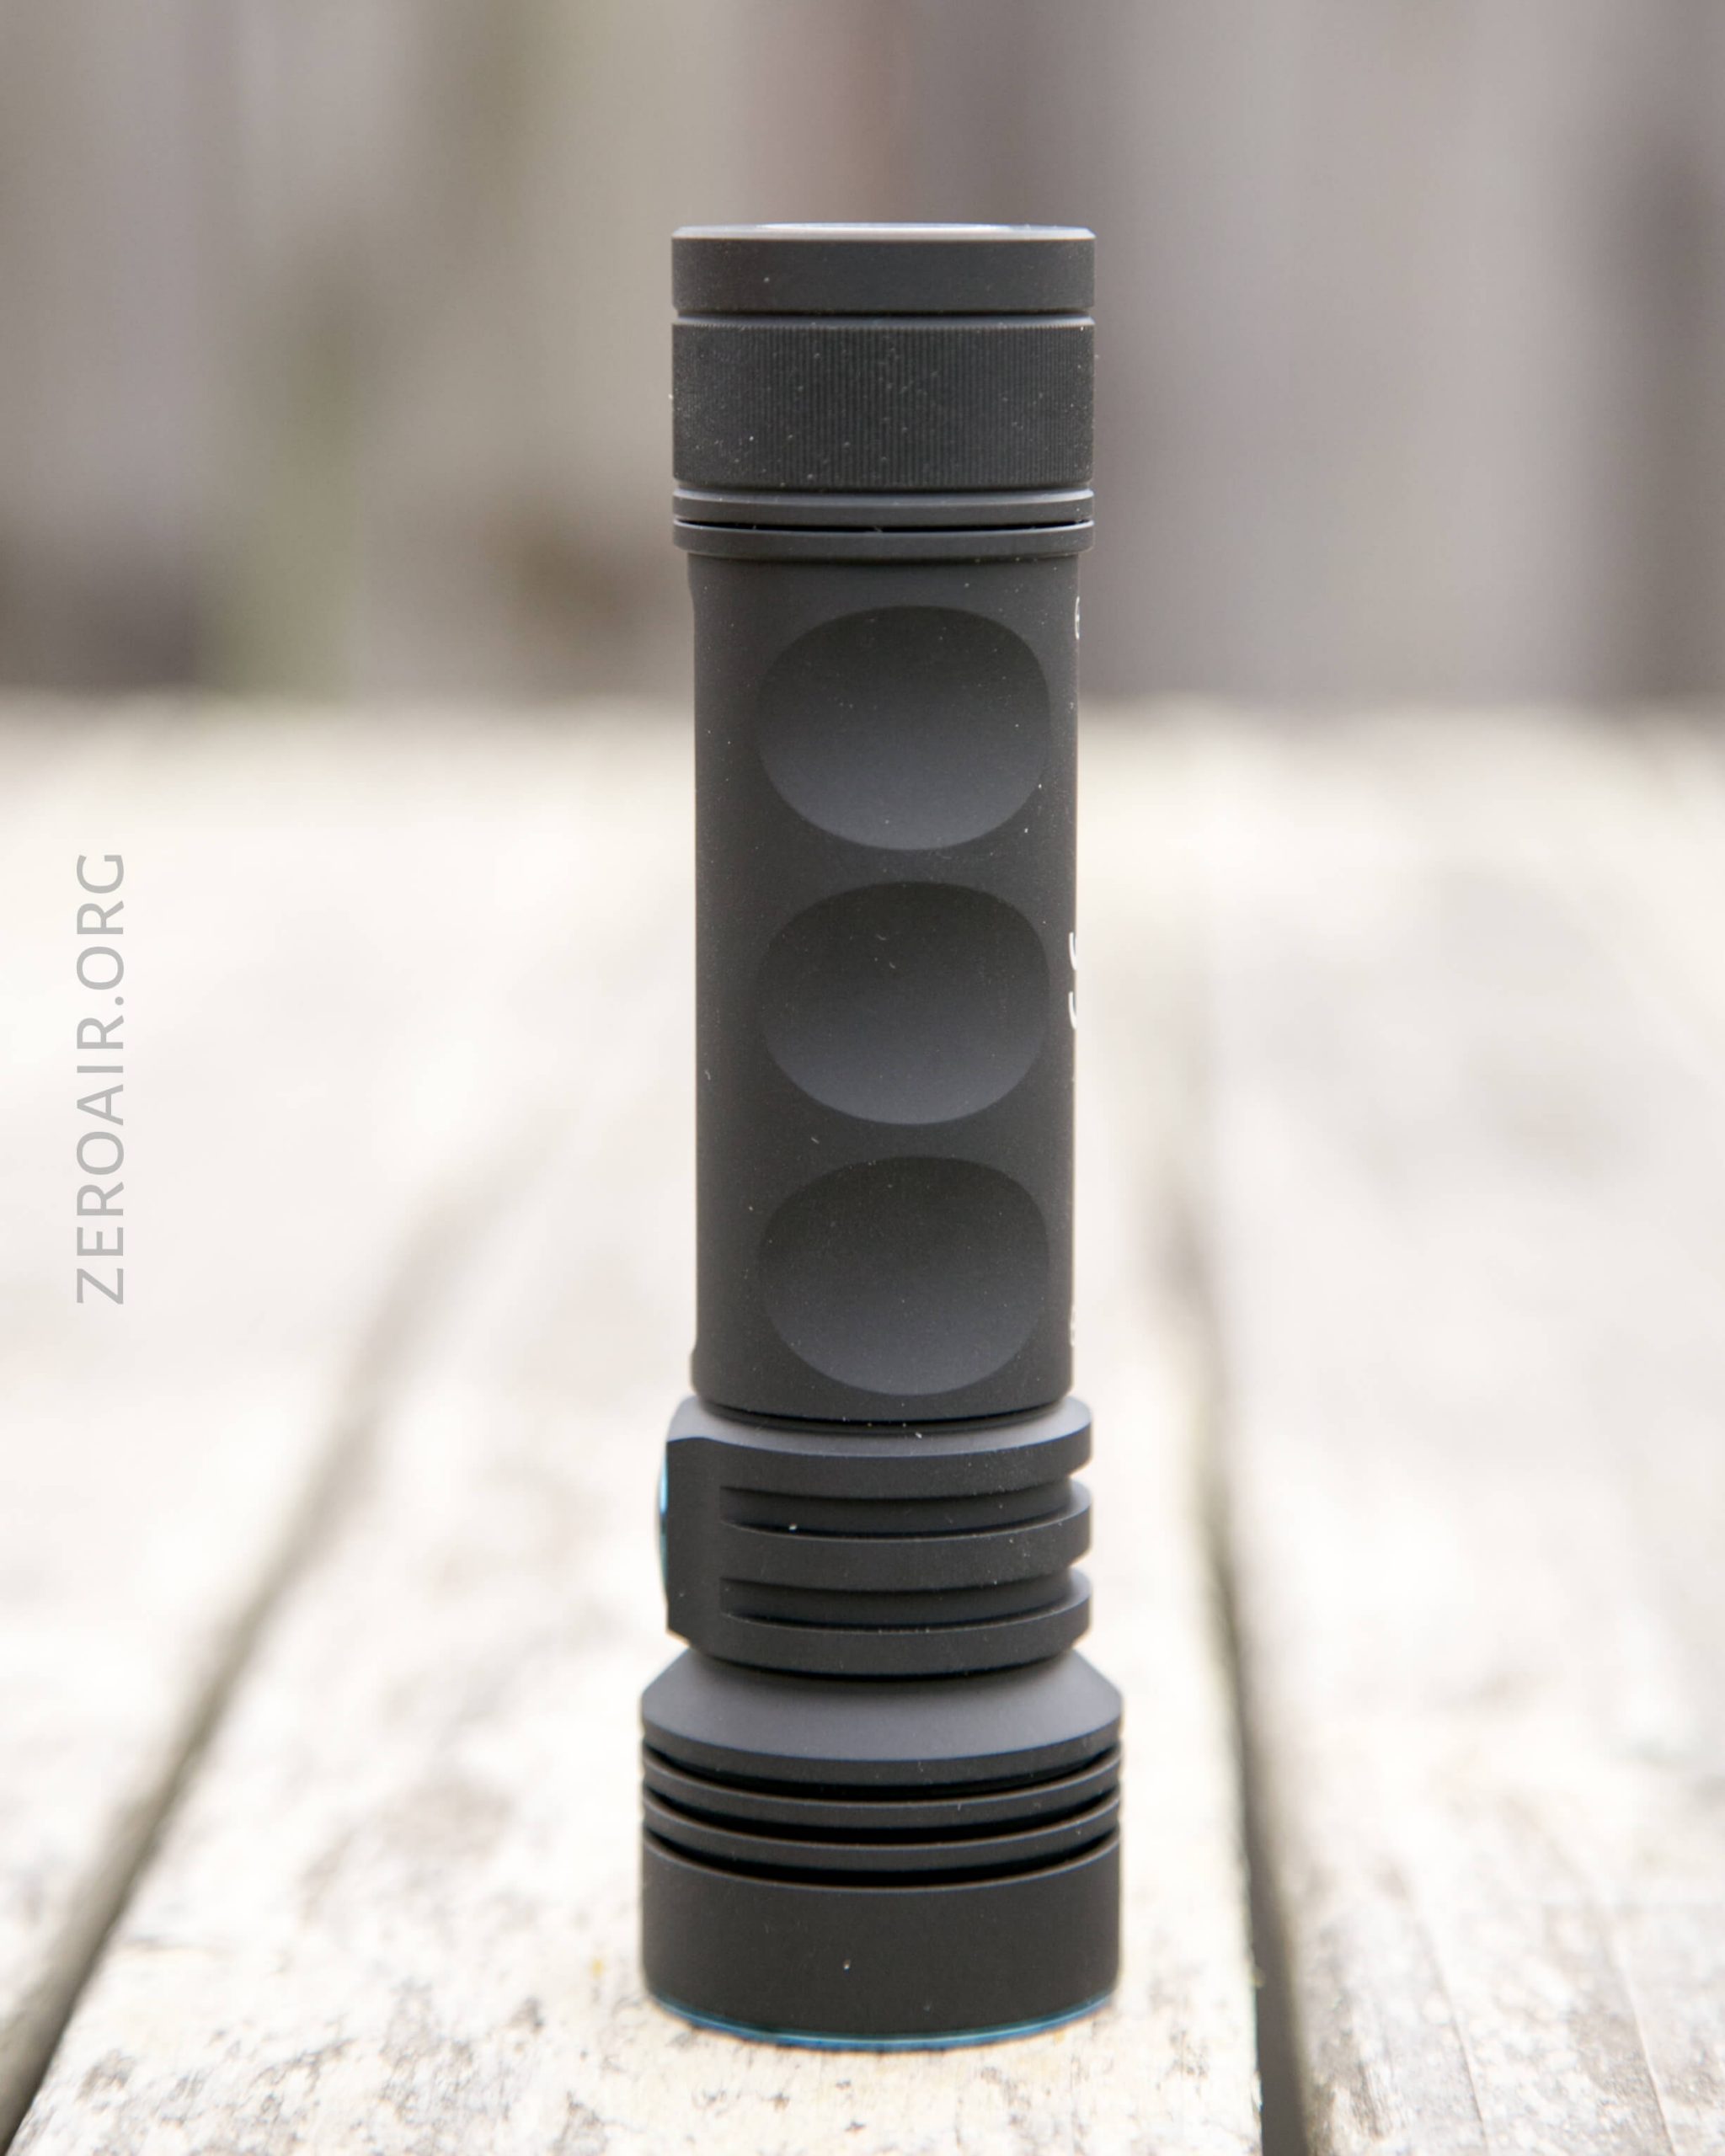
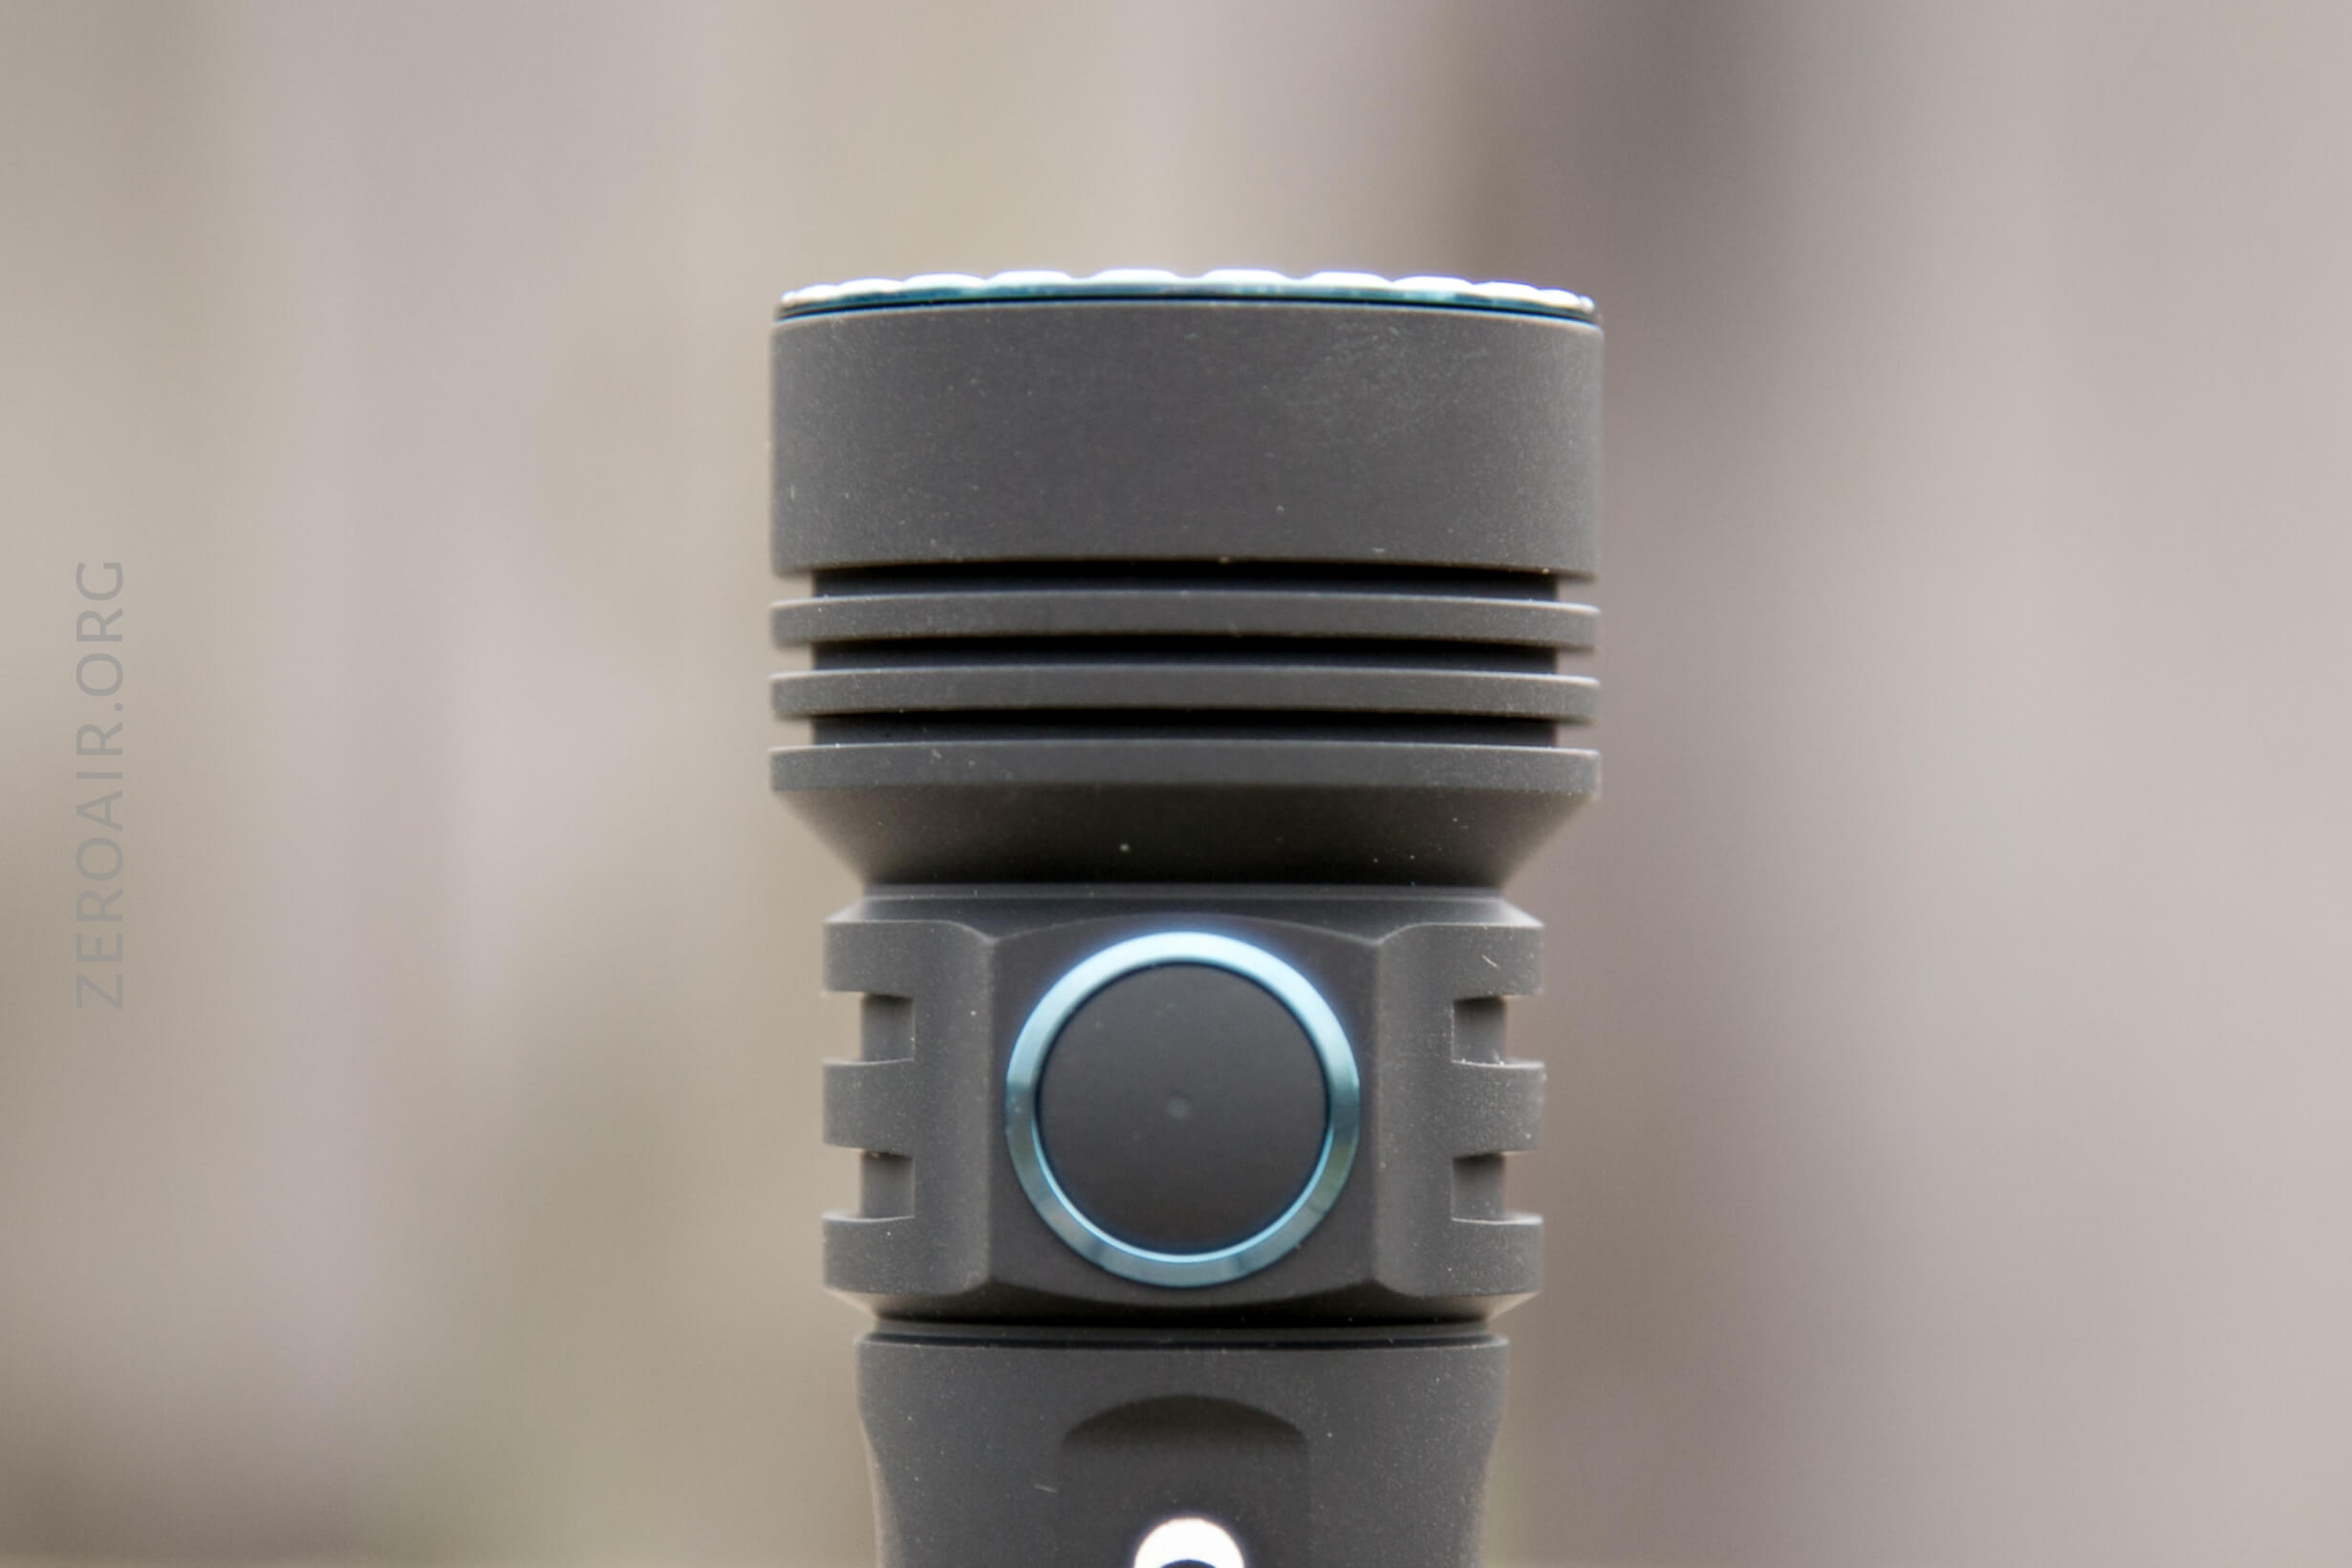
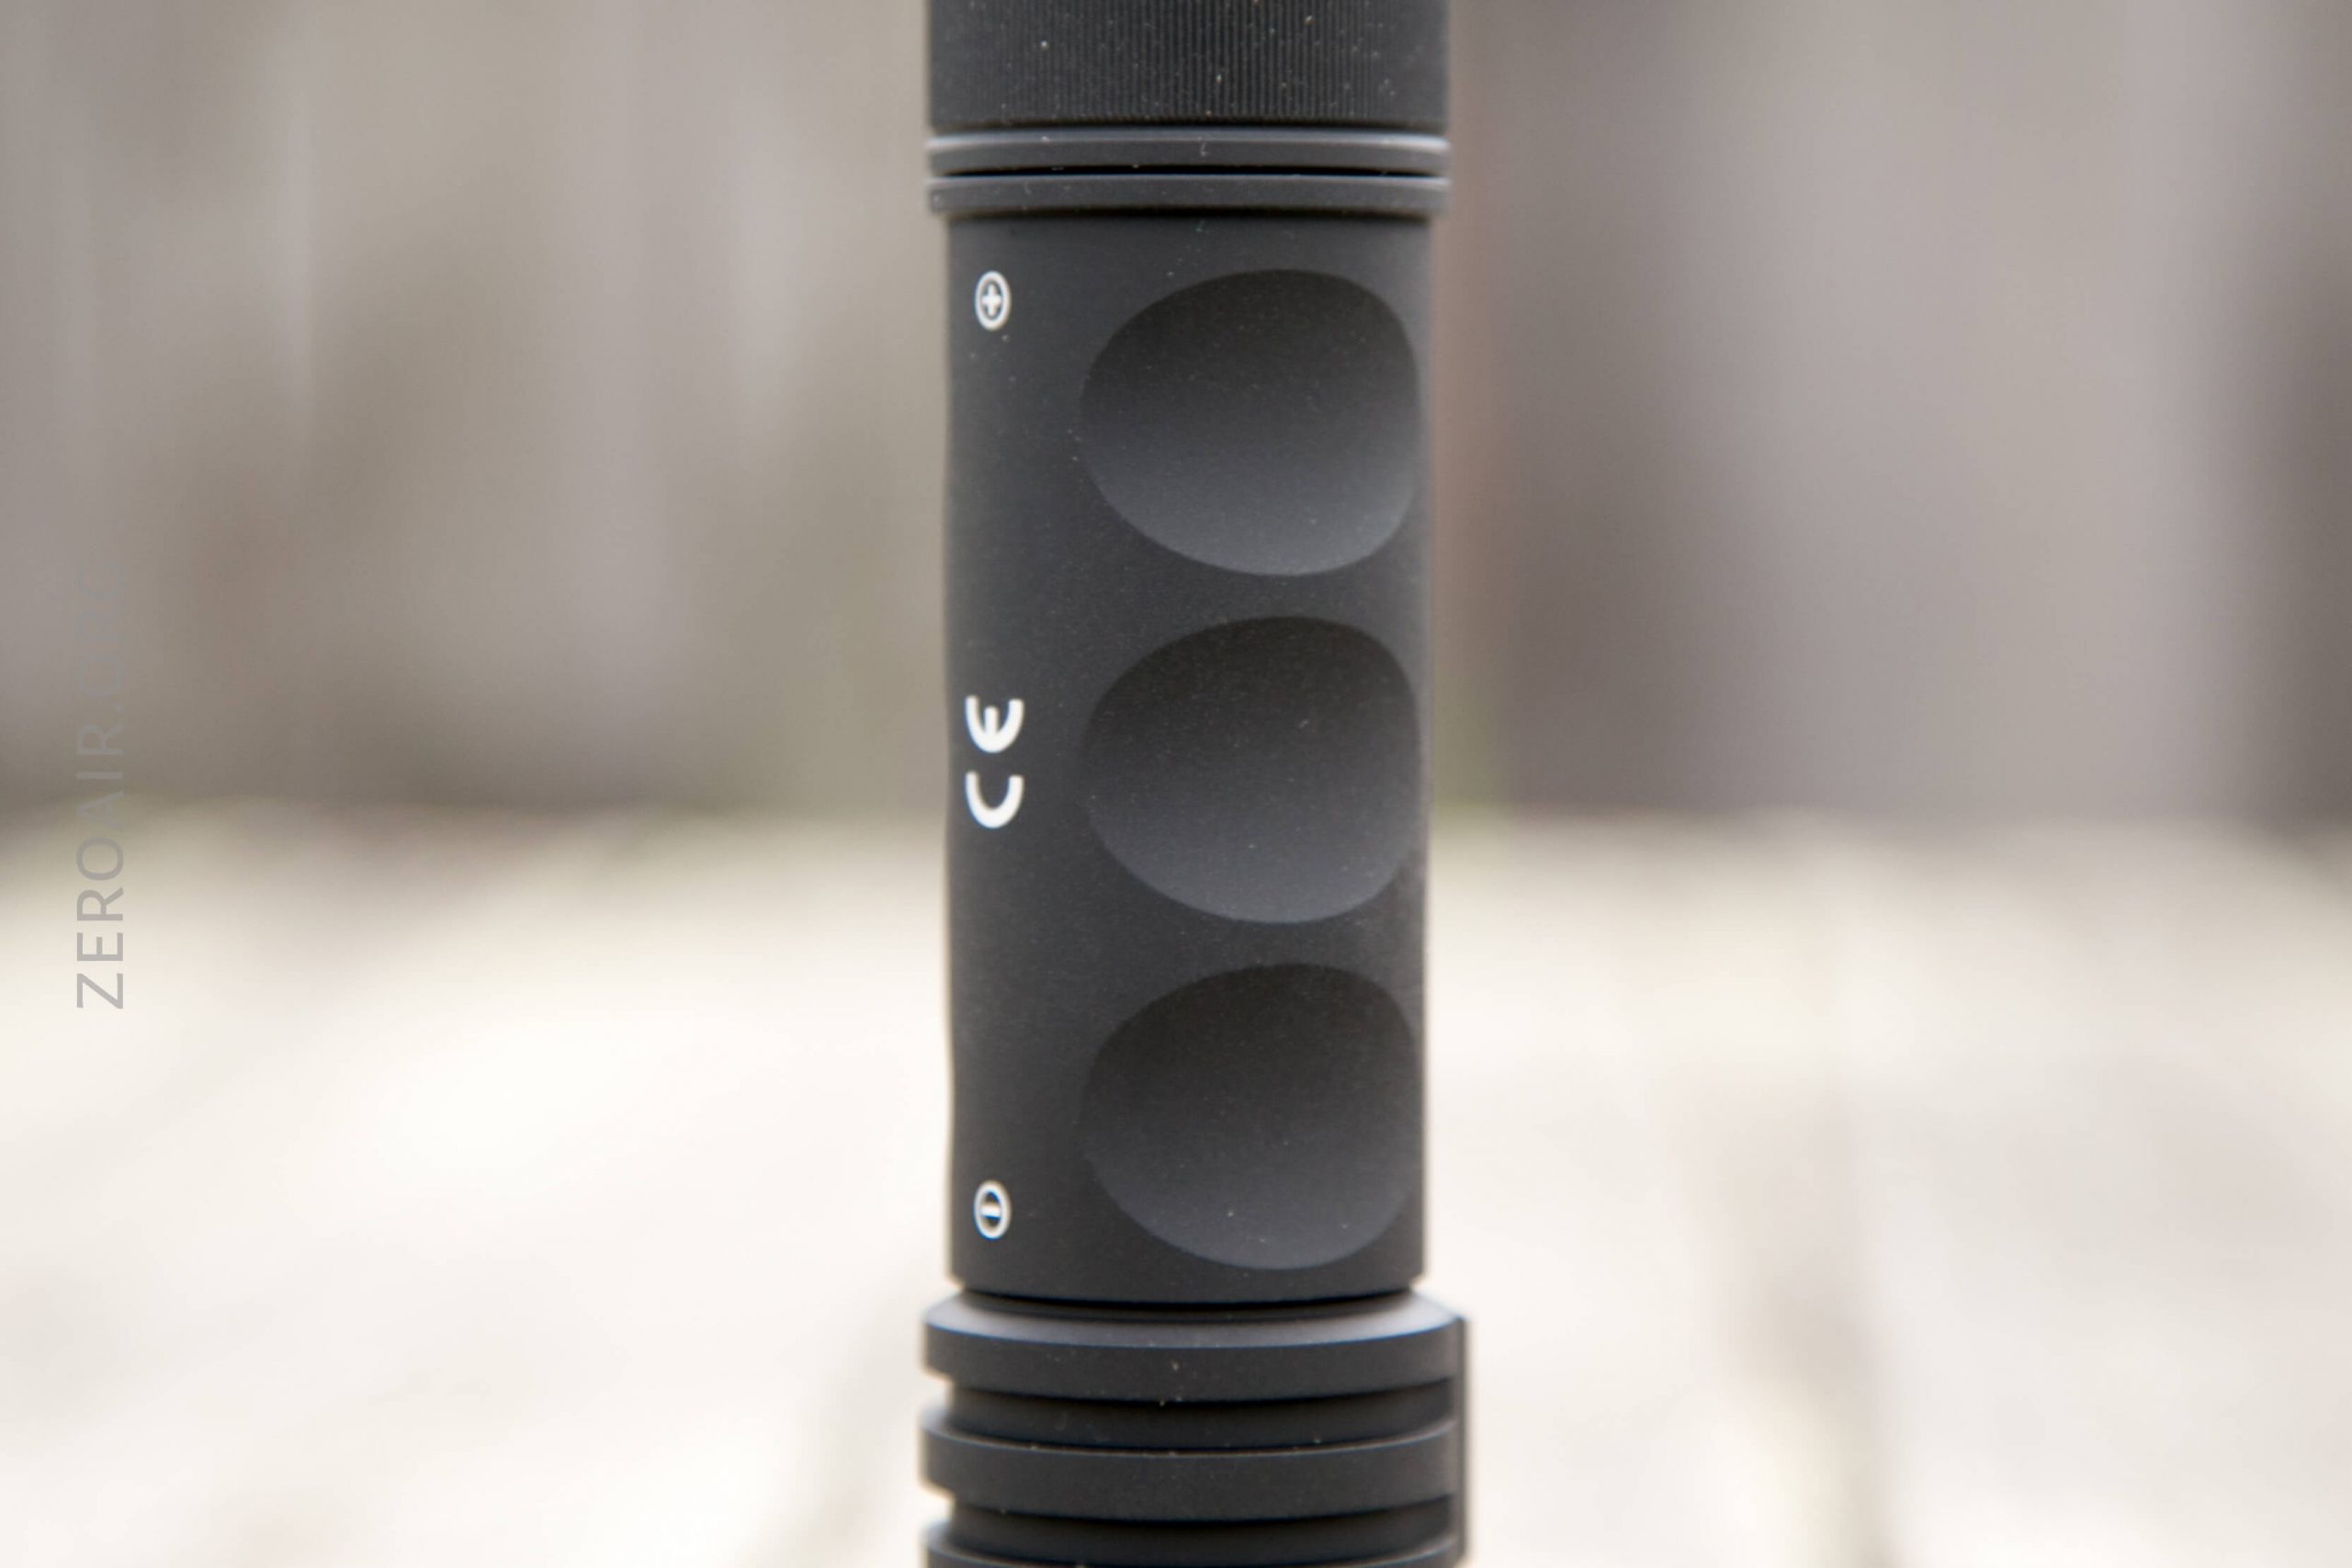
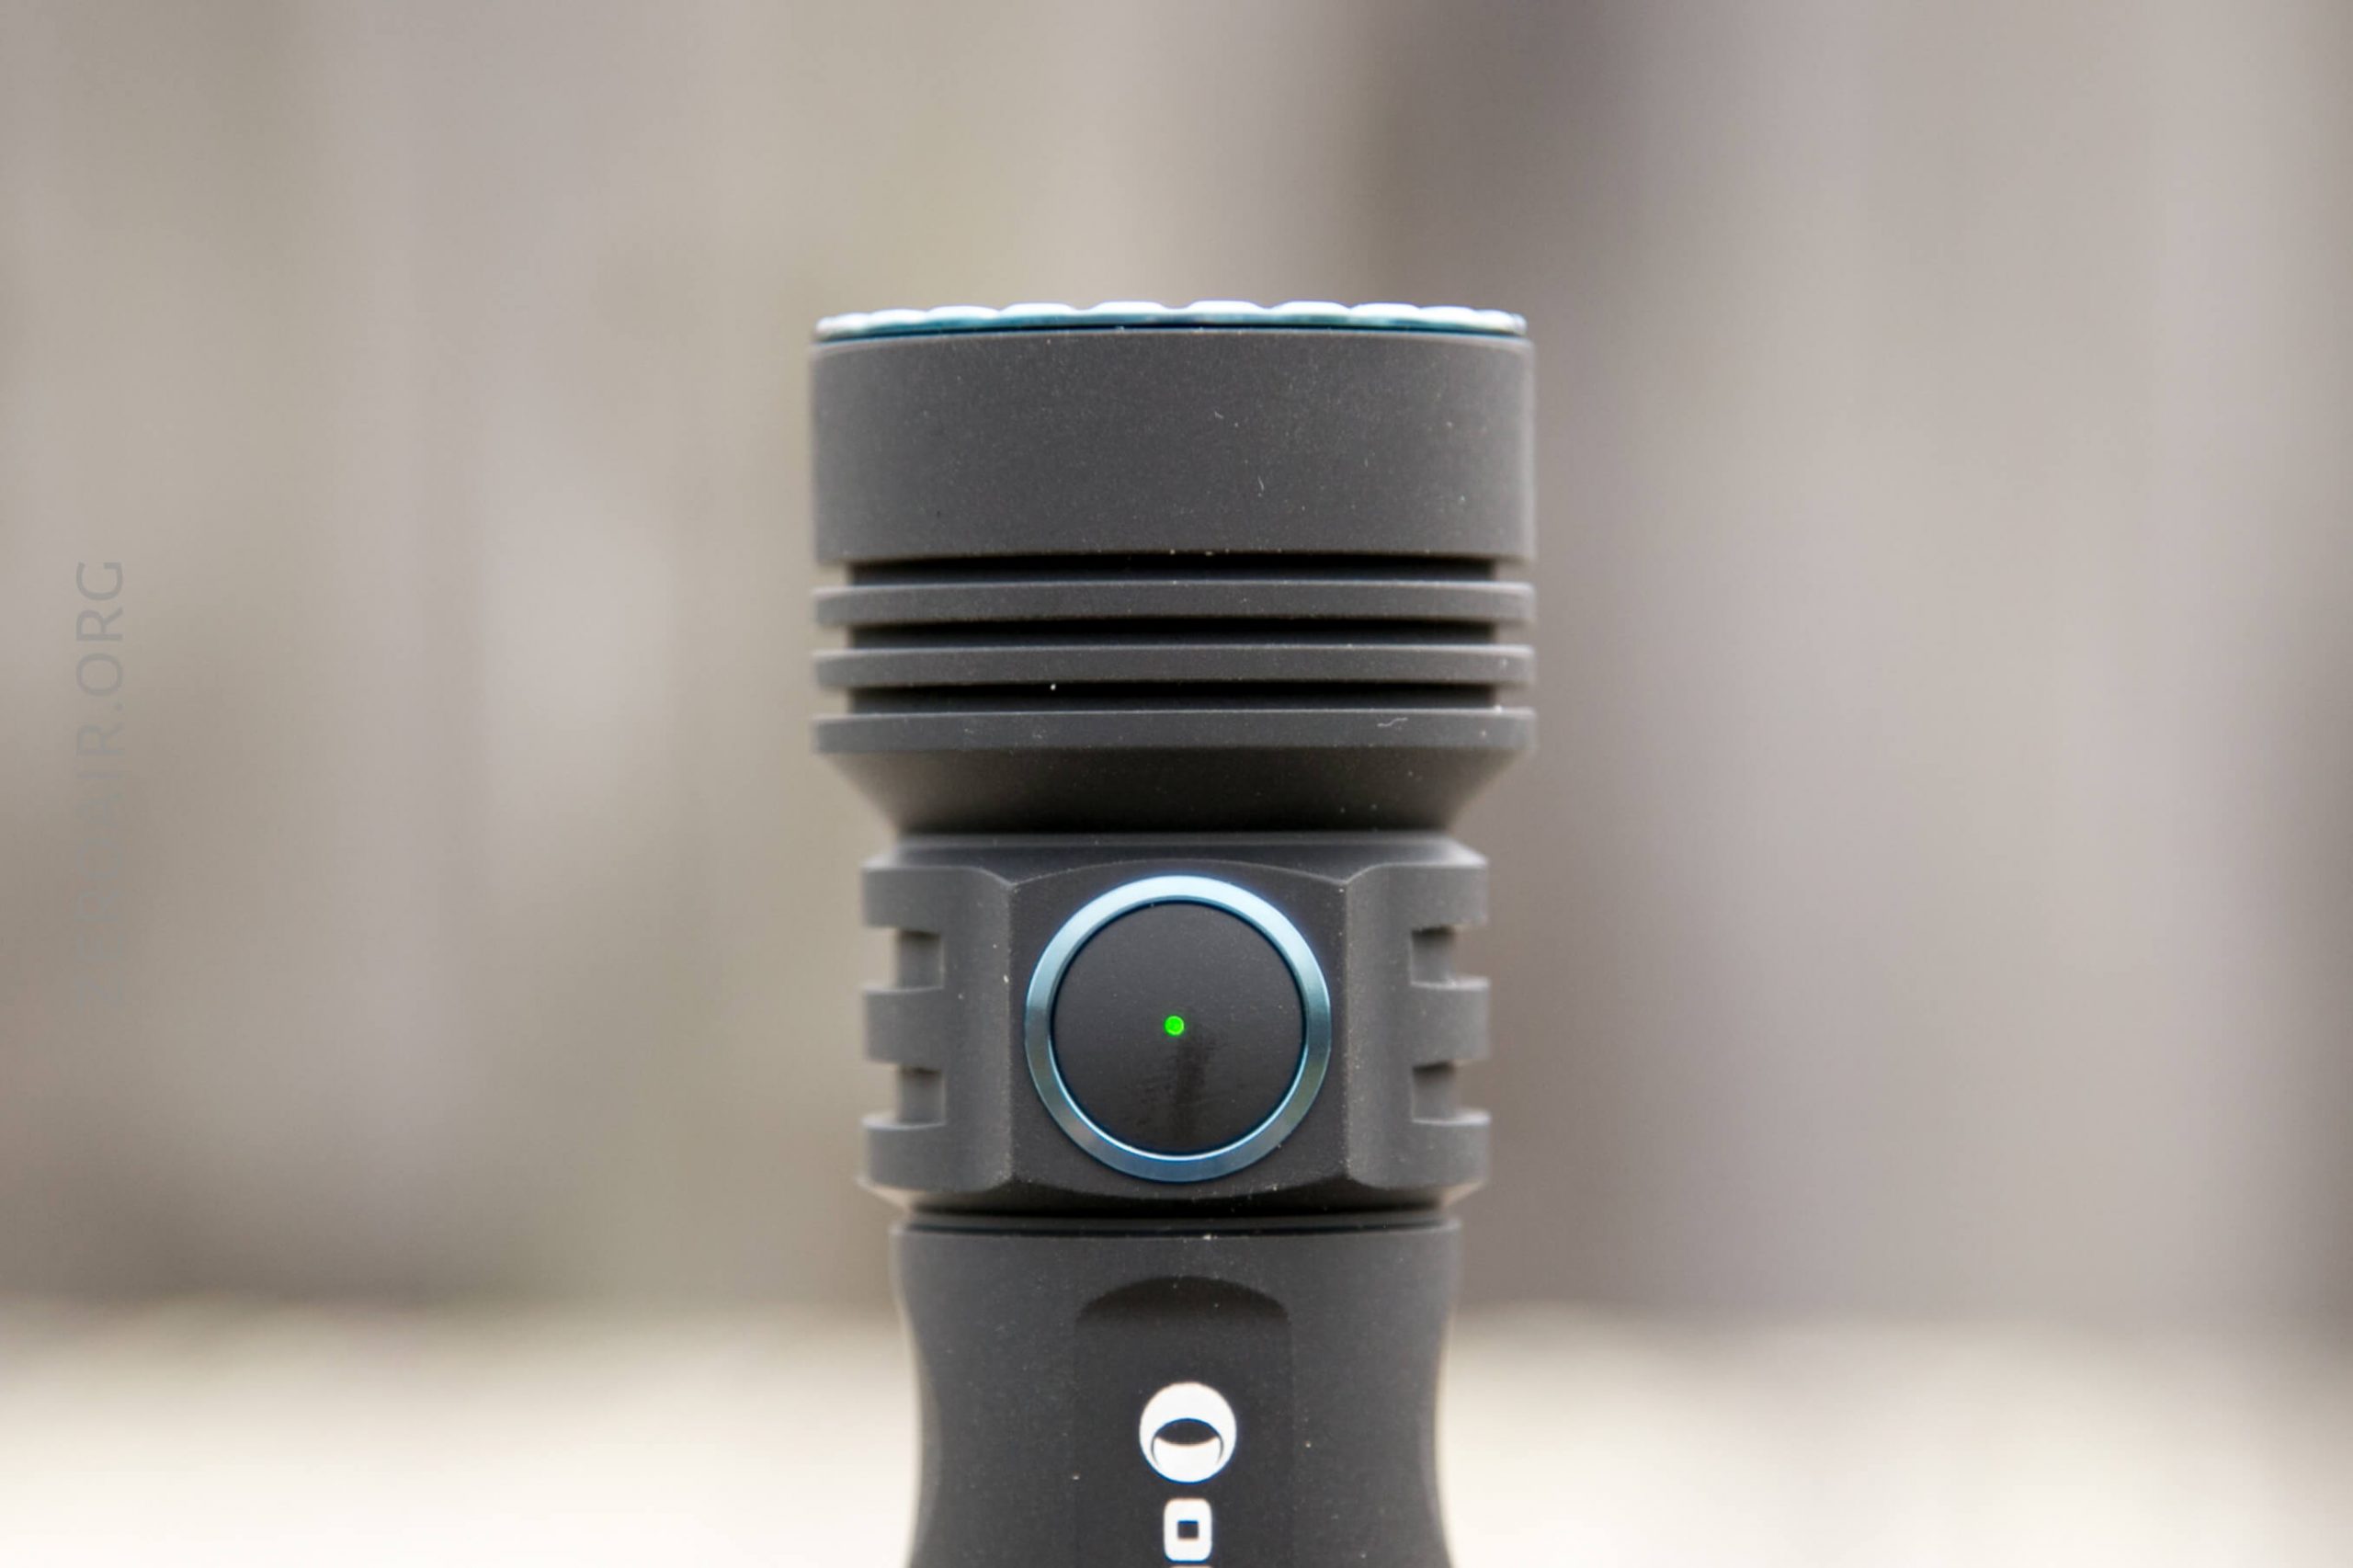
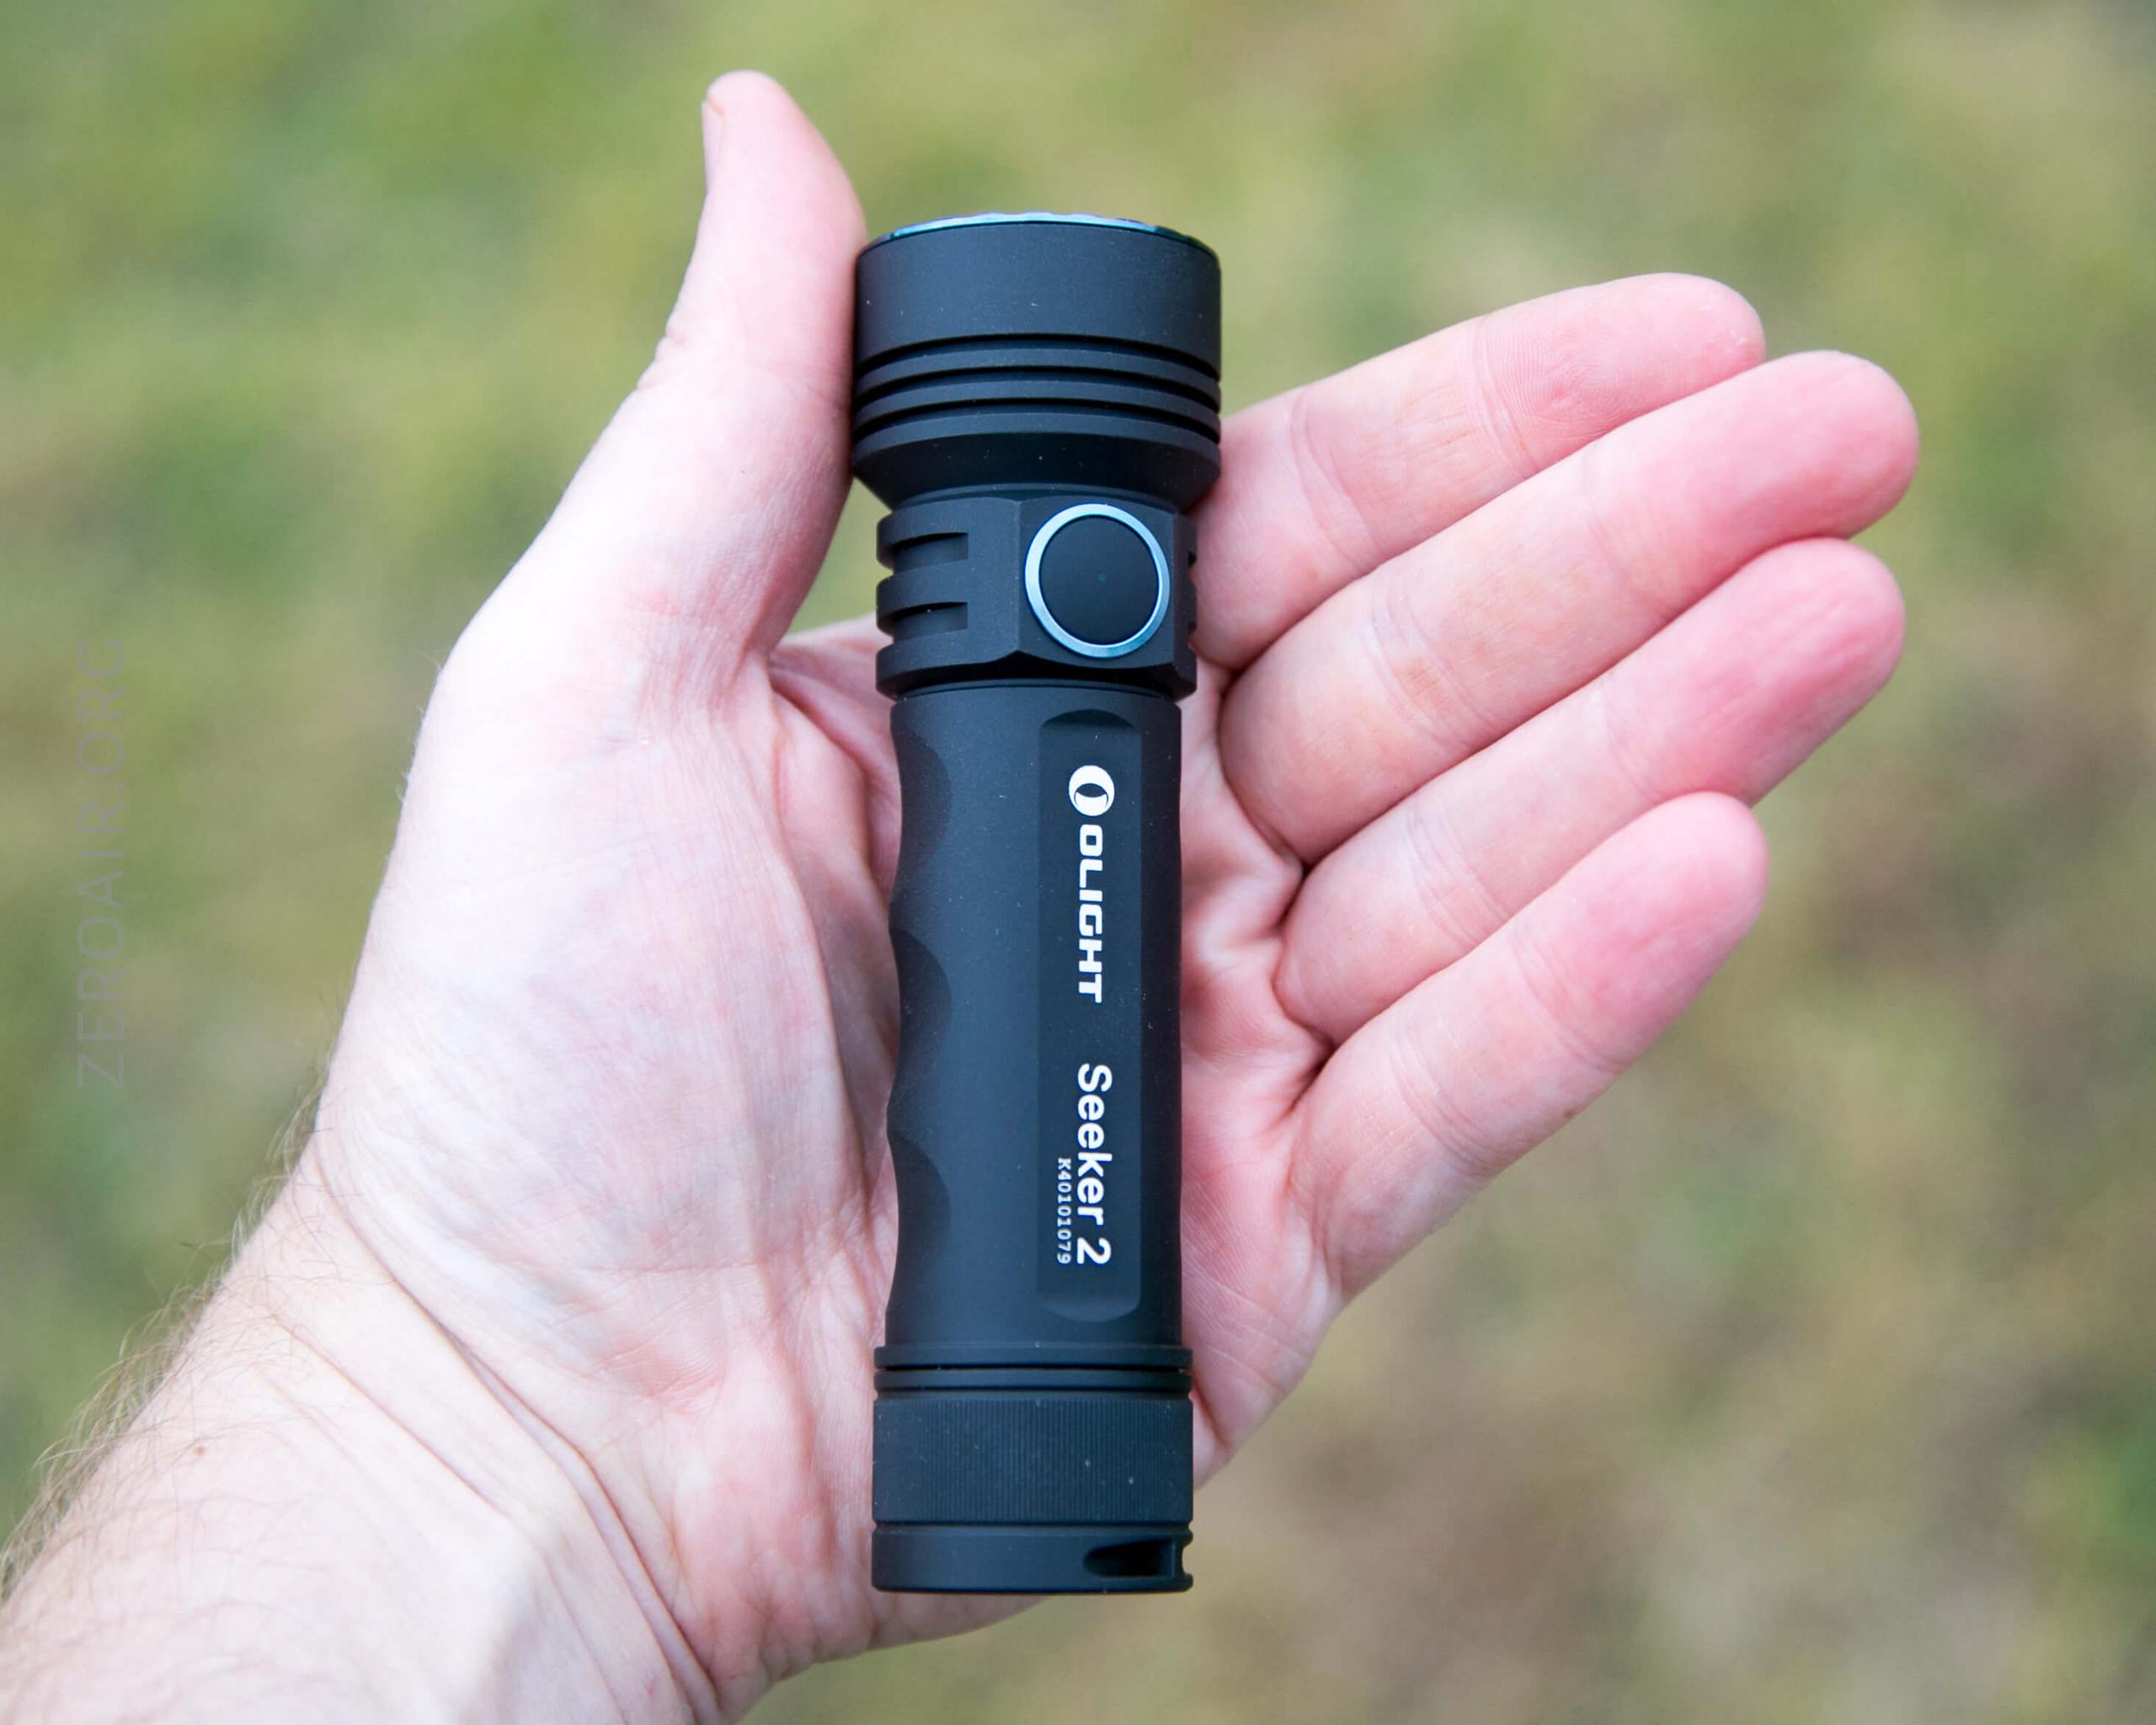
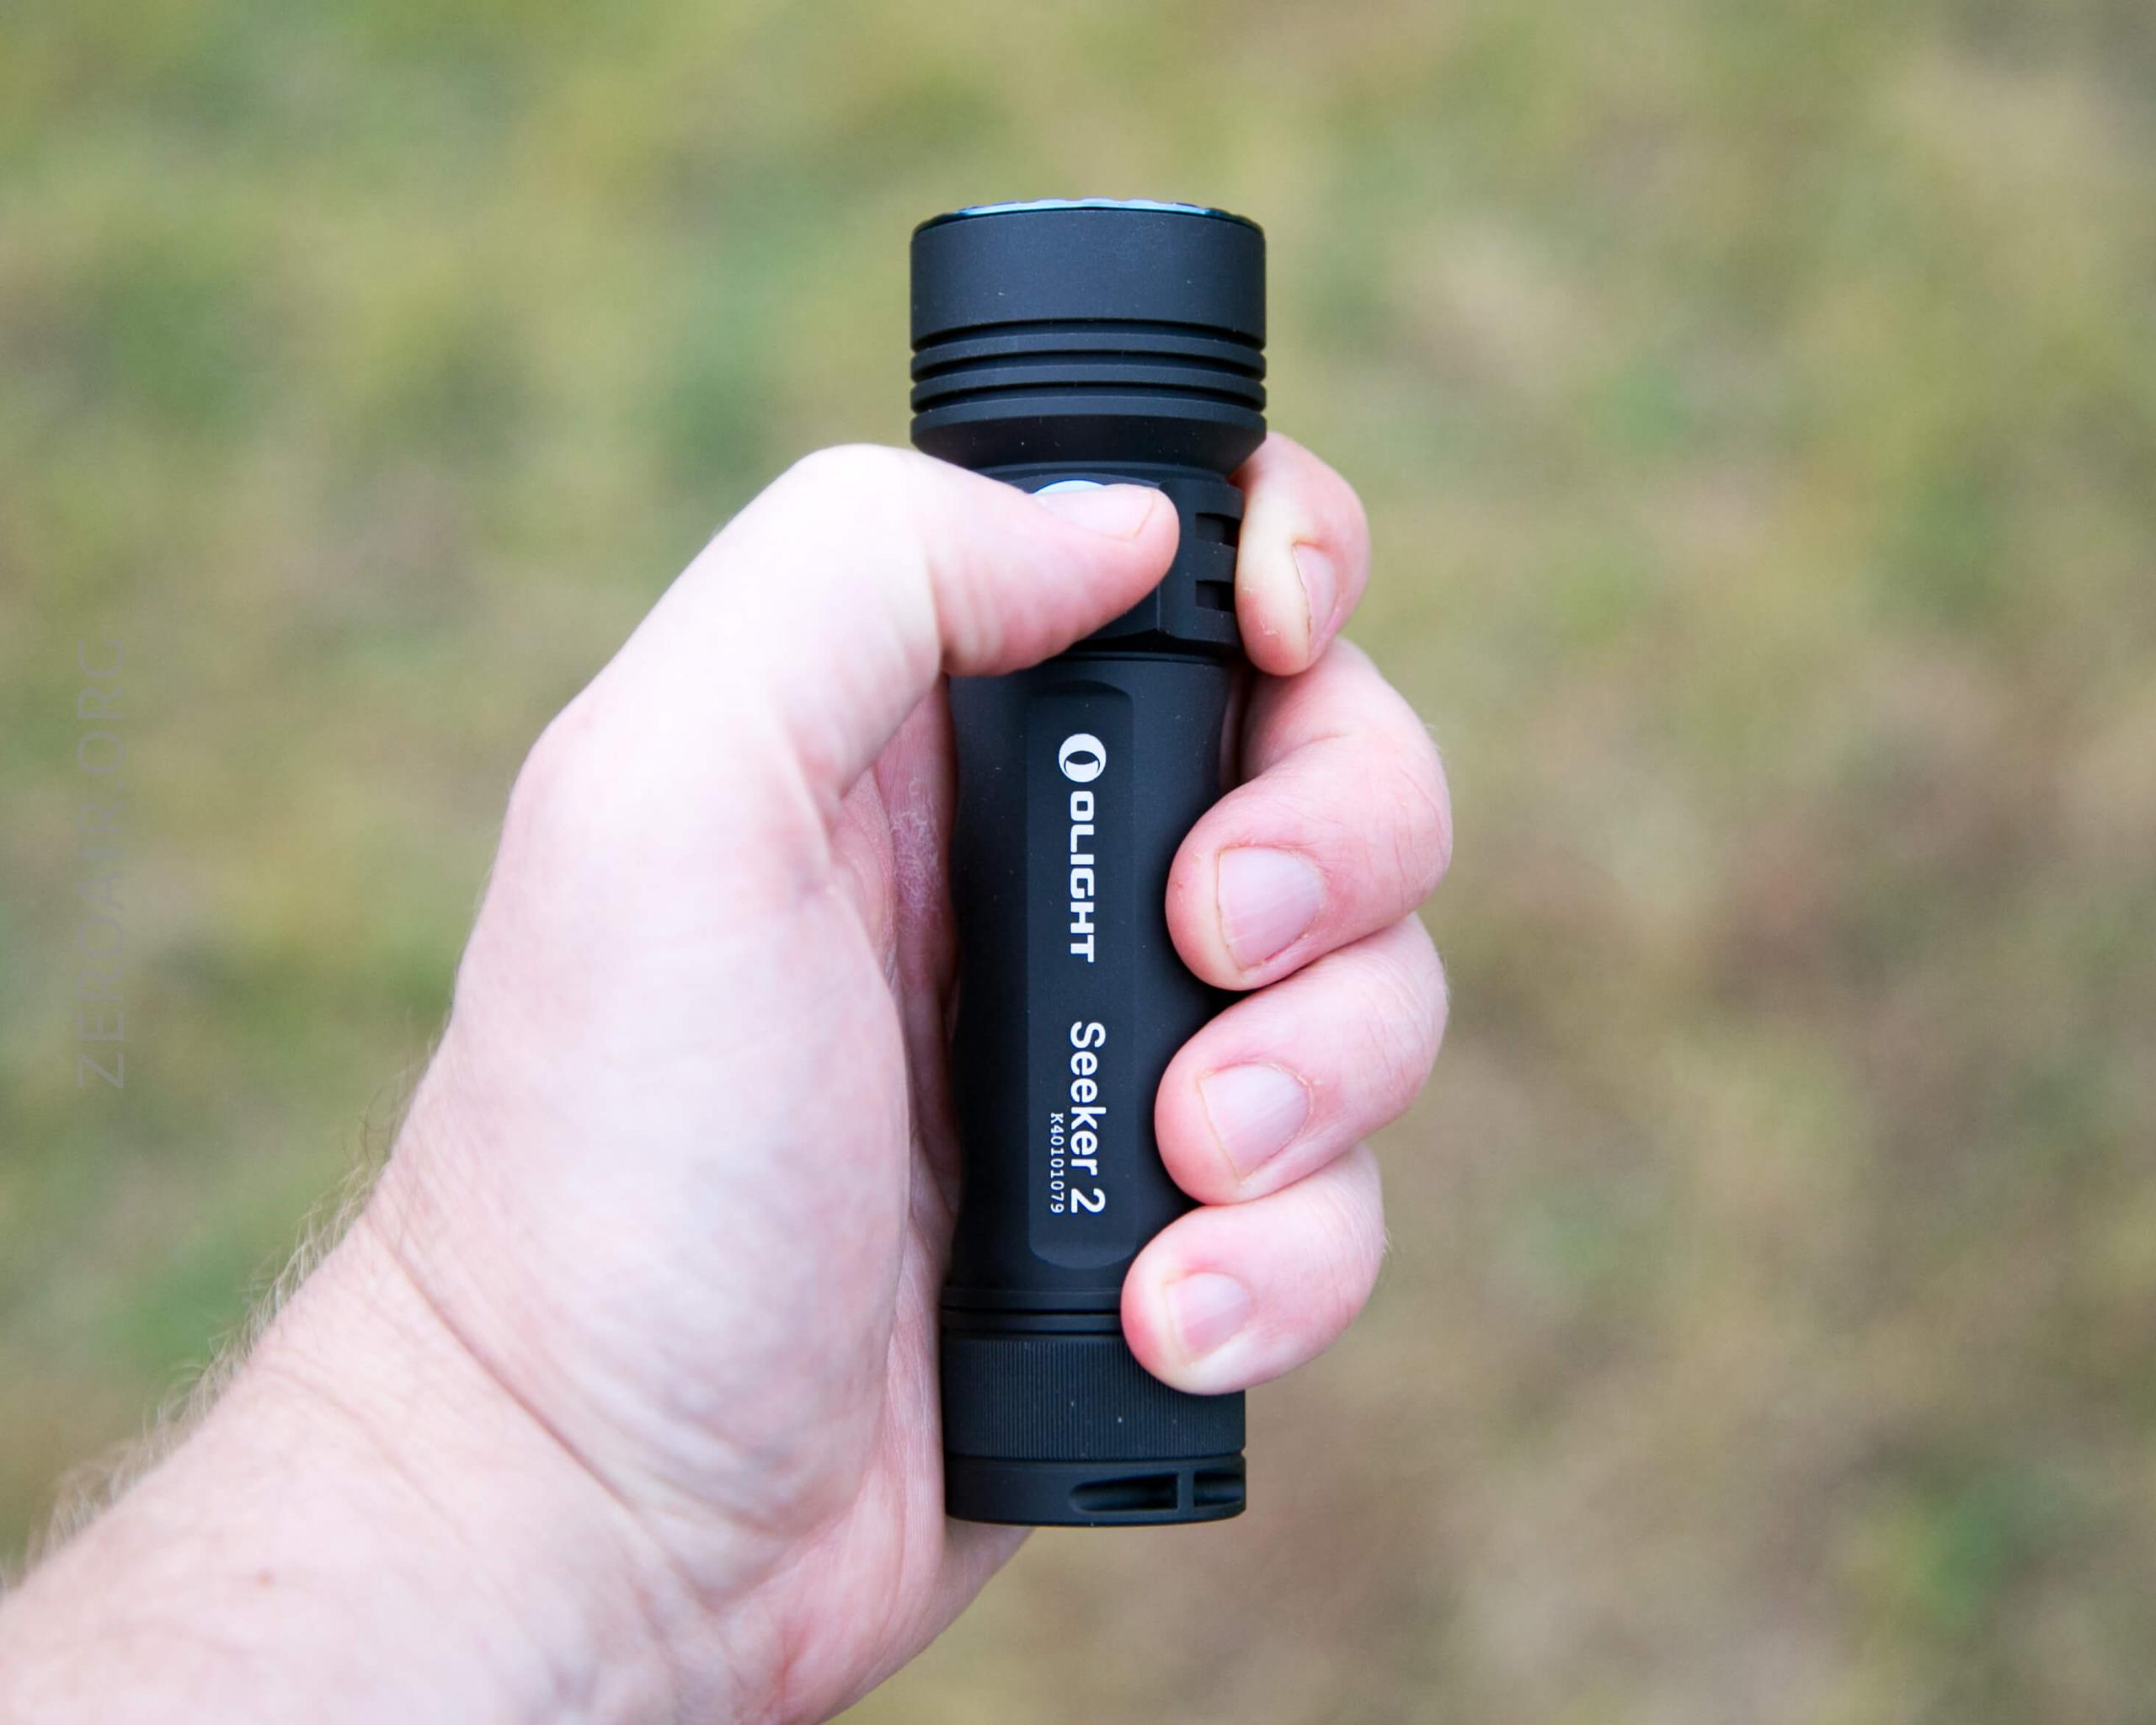
The feel of the Seeker 2 is a bit unusual. The anodizing has some of the chalky feel of Armyteks and none of the glossy feel Olights usually have. But it’s a nice middle ground between “too chalky” and “plenty grippy due to matte finish.”
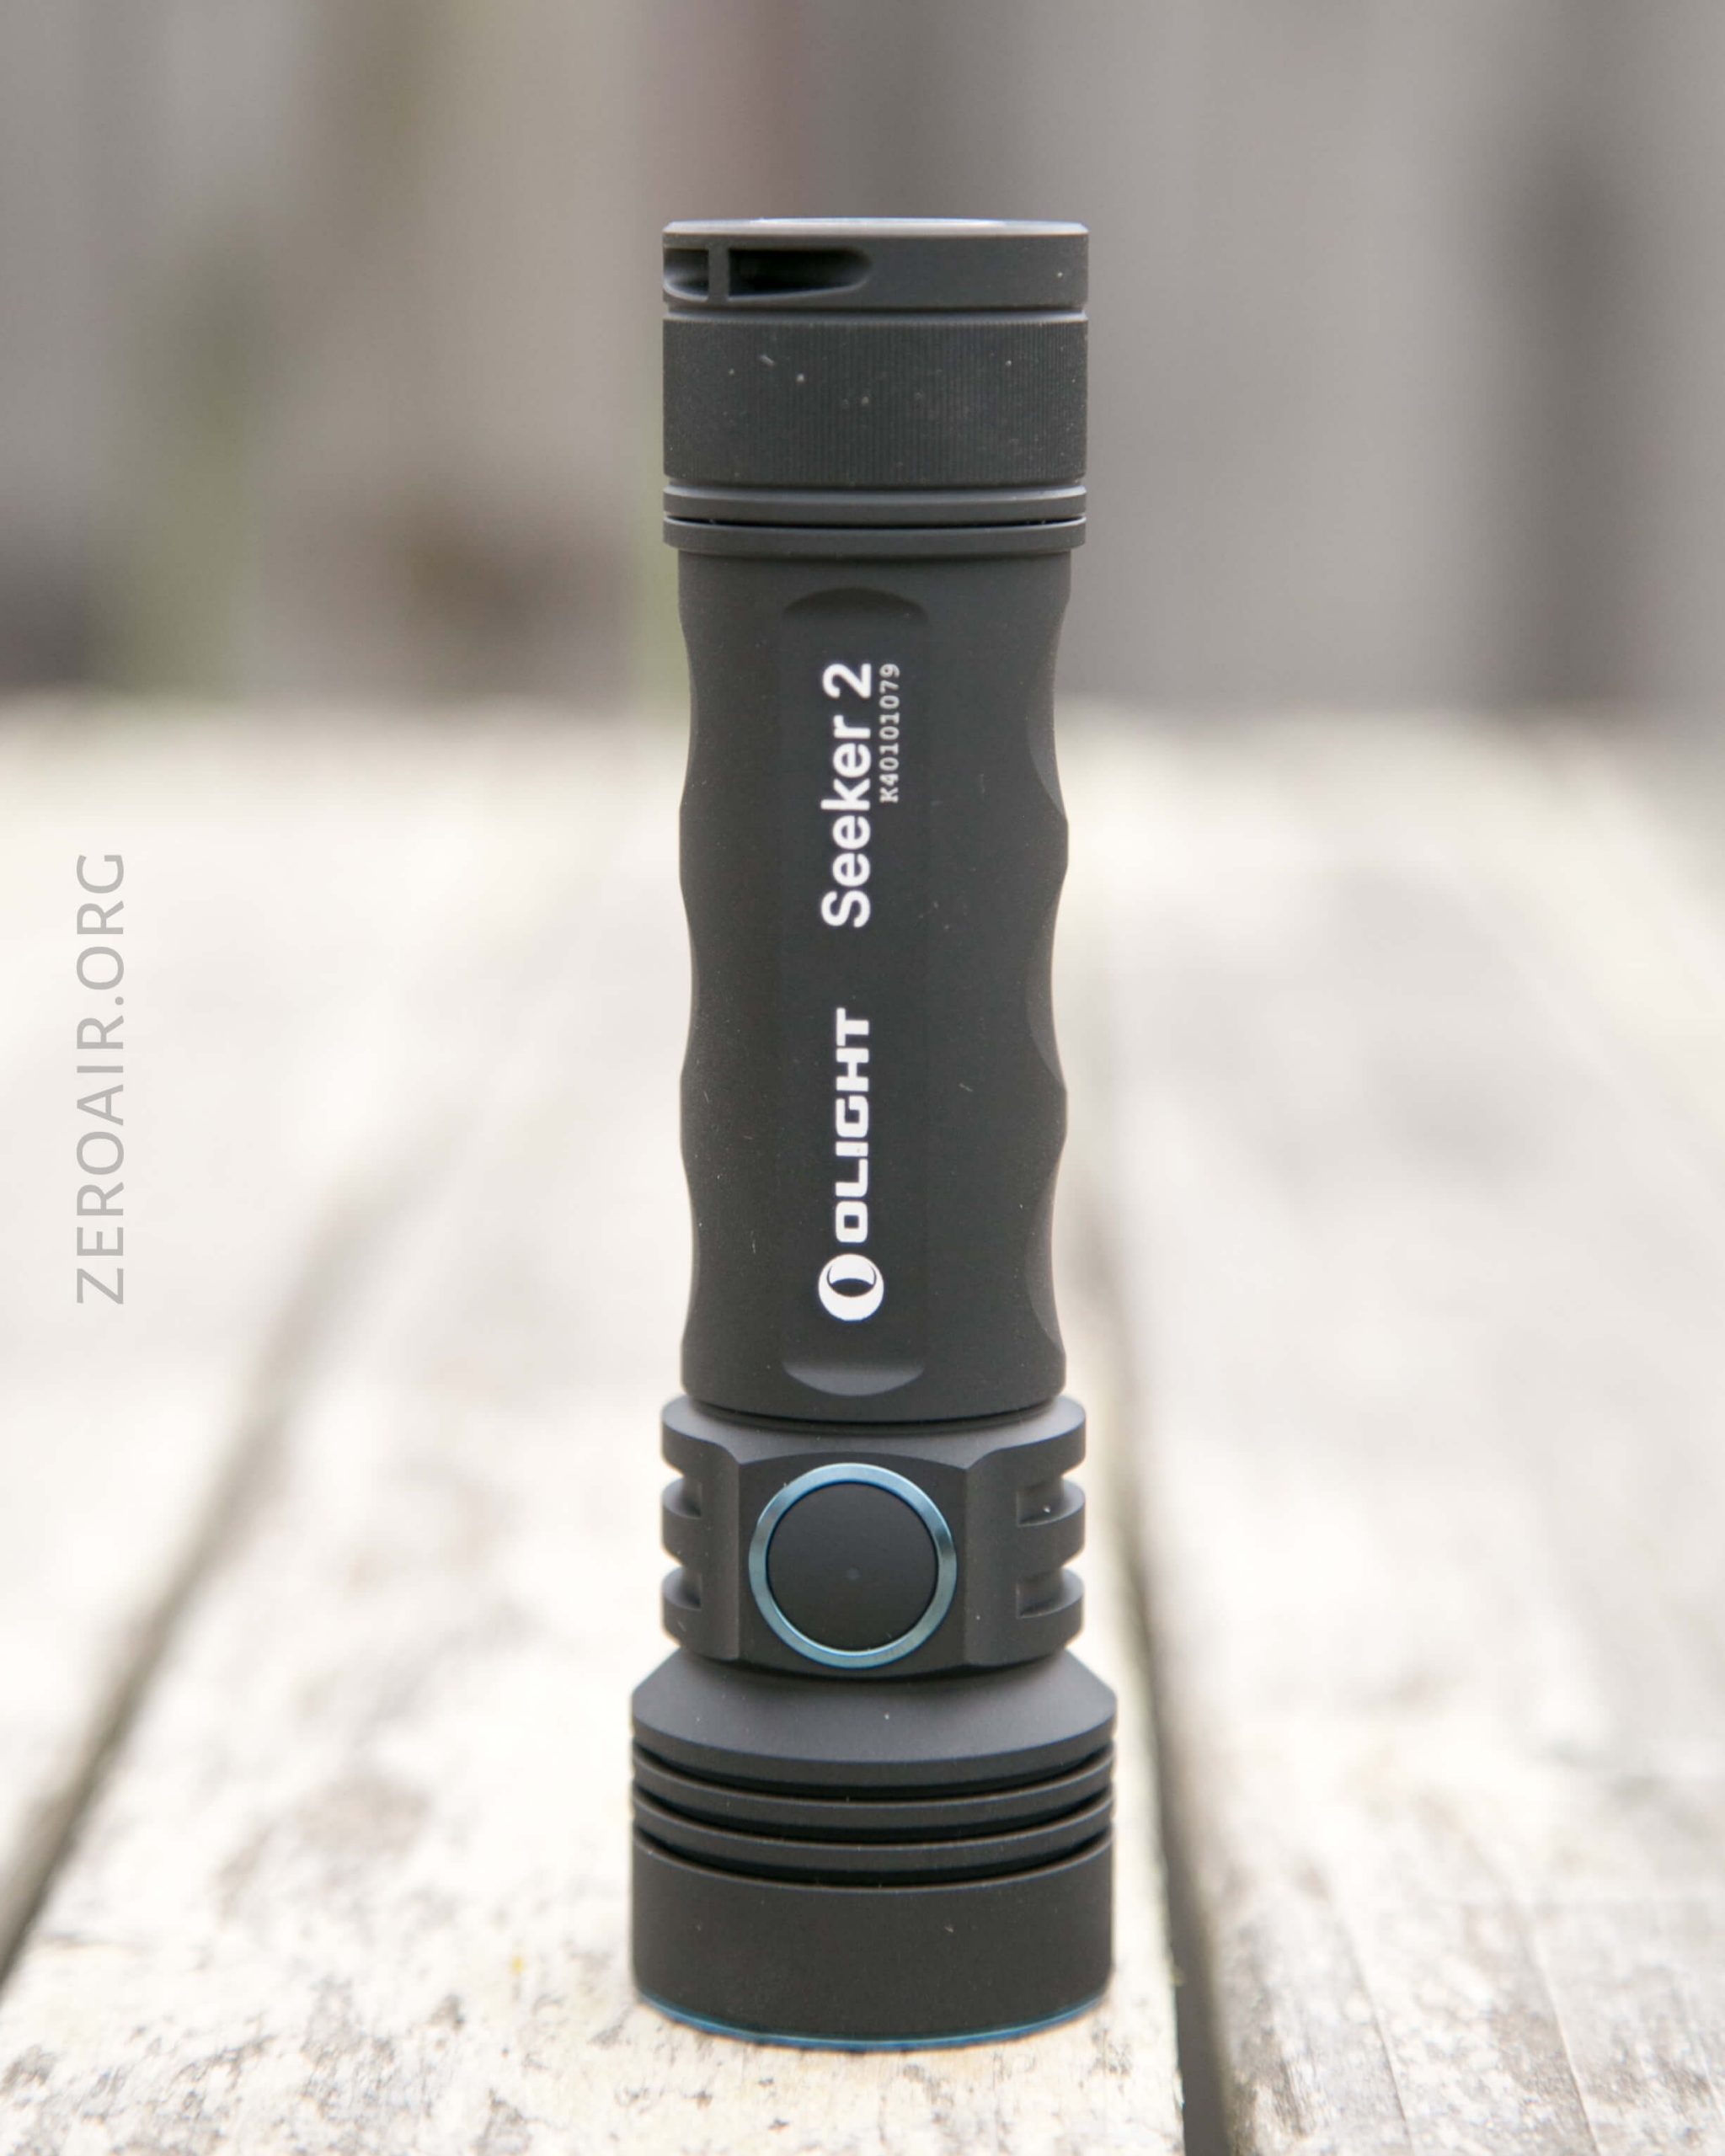
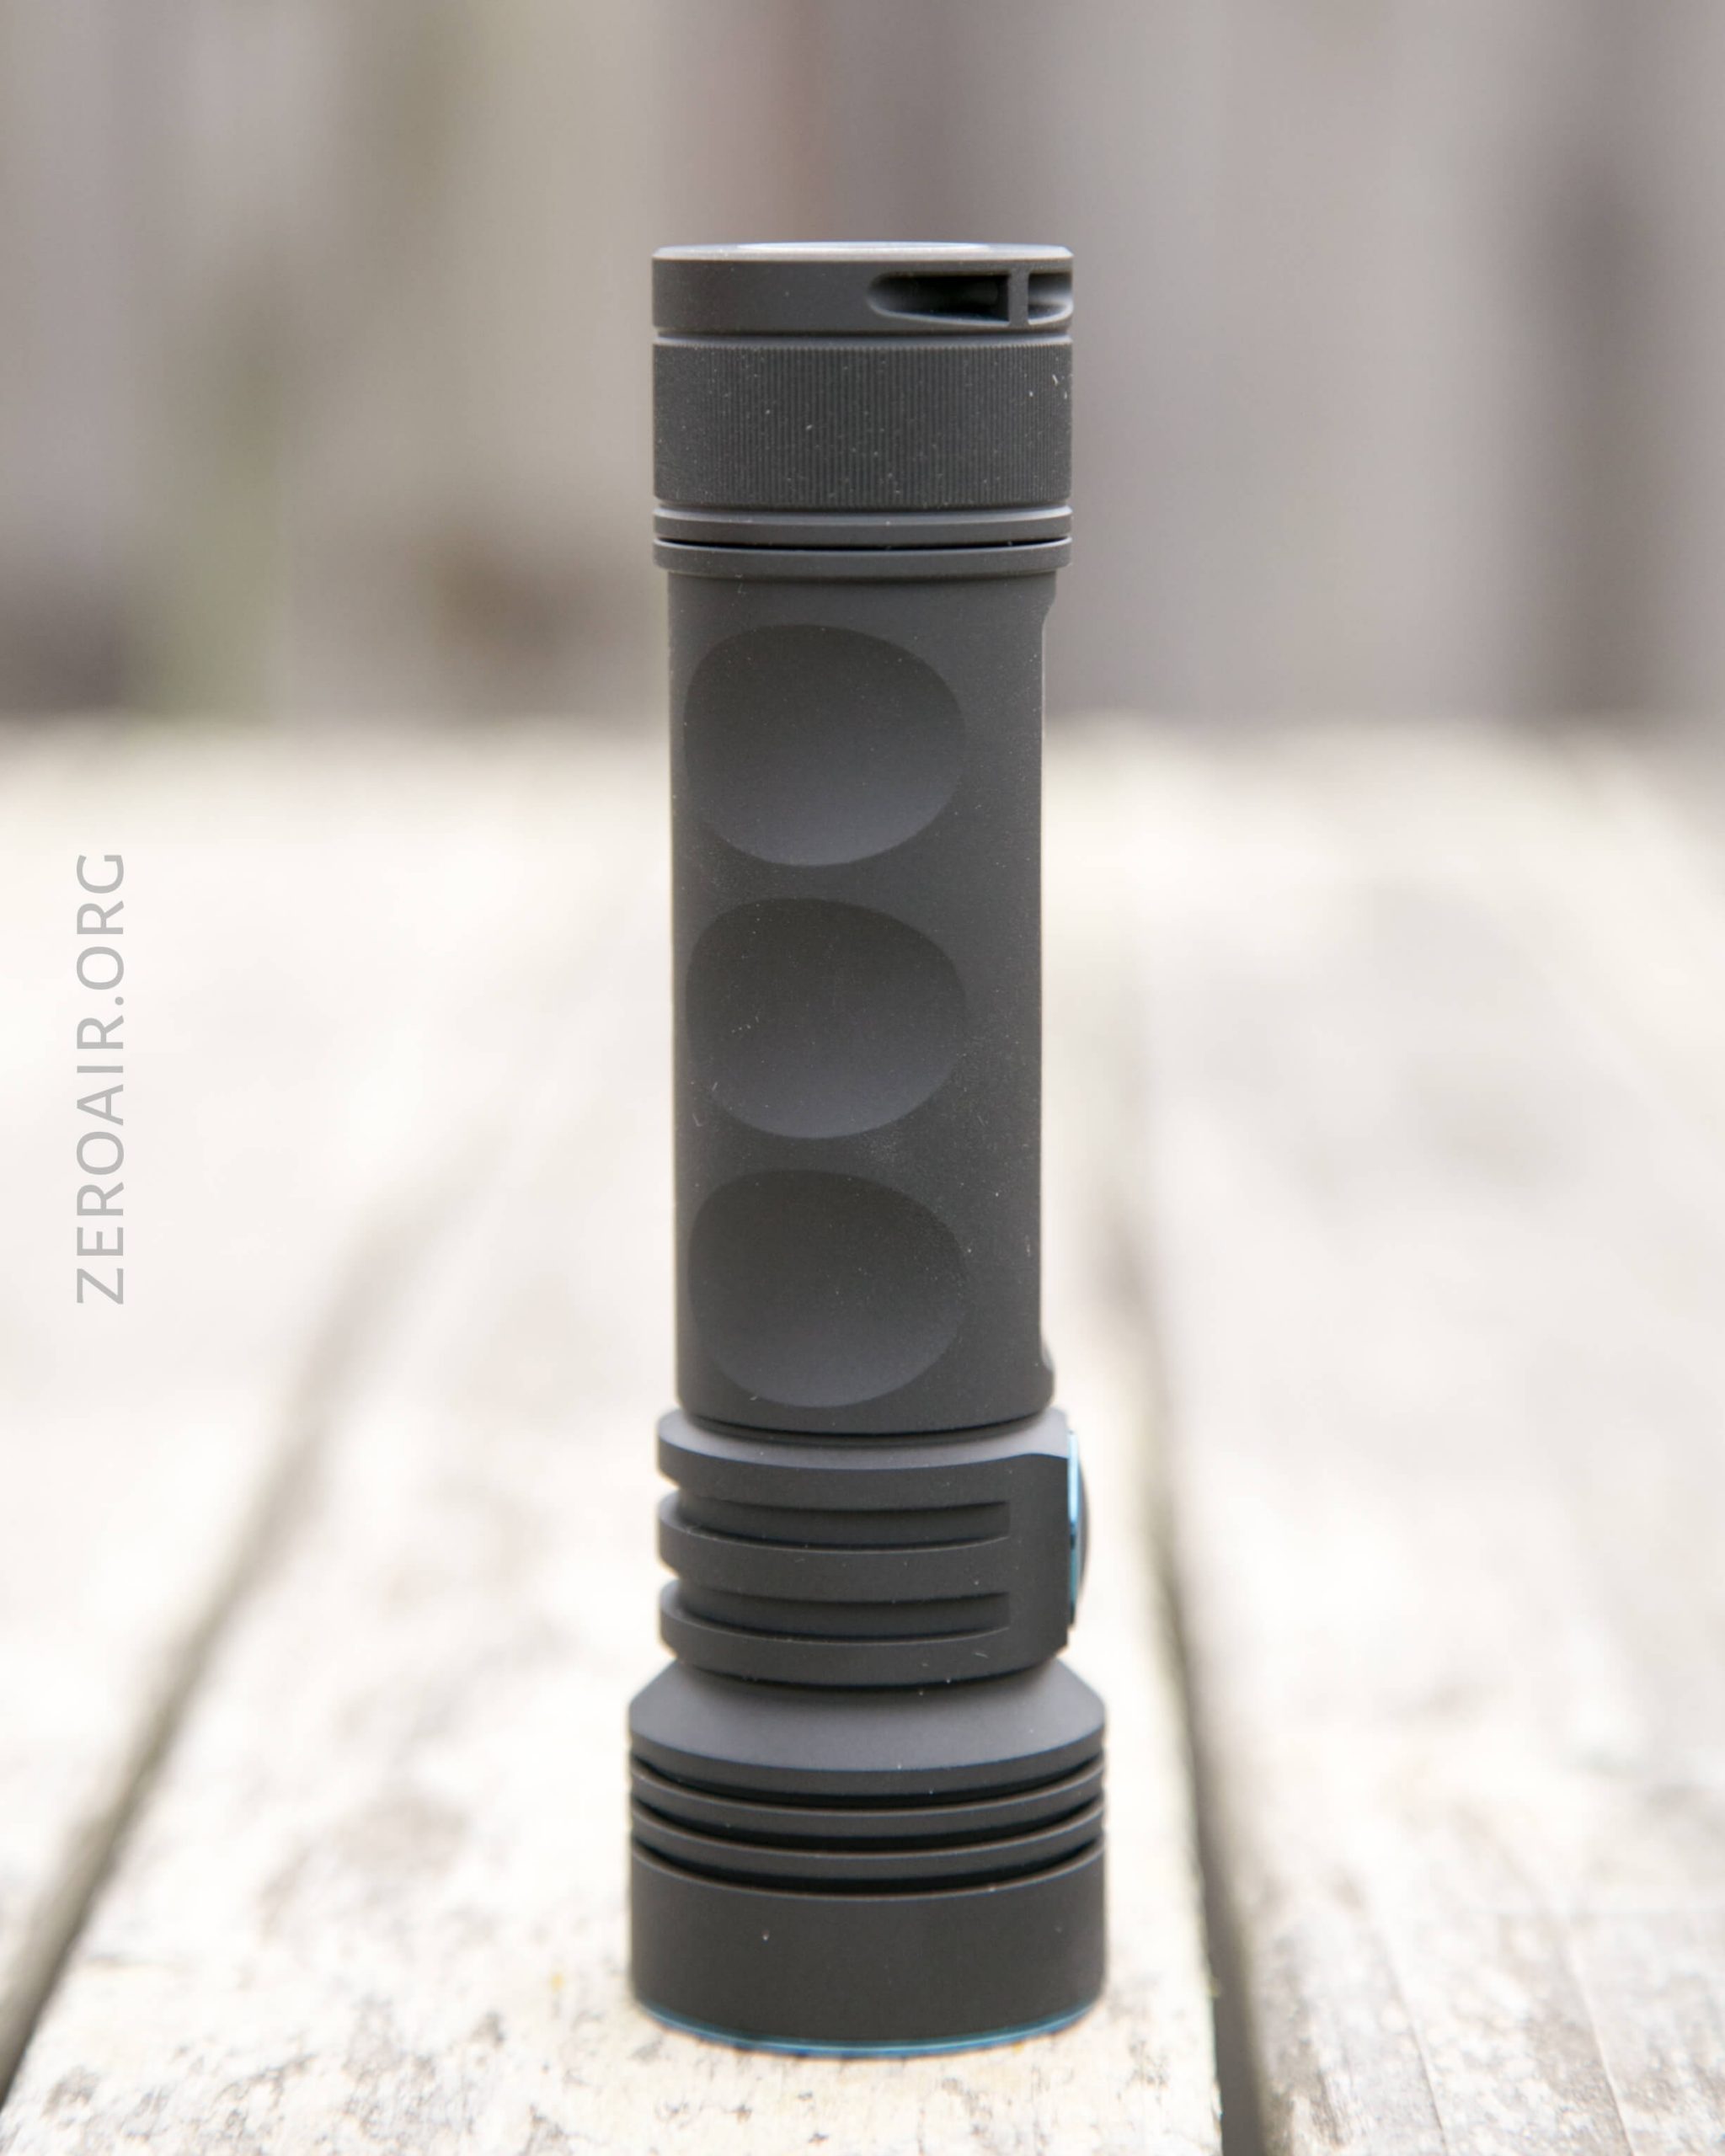
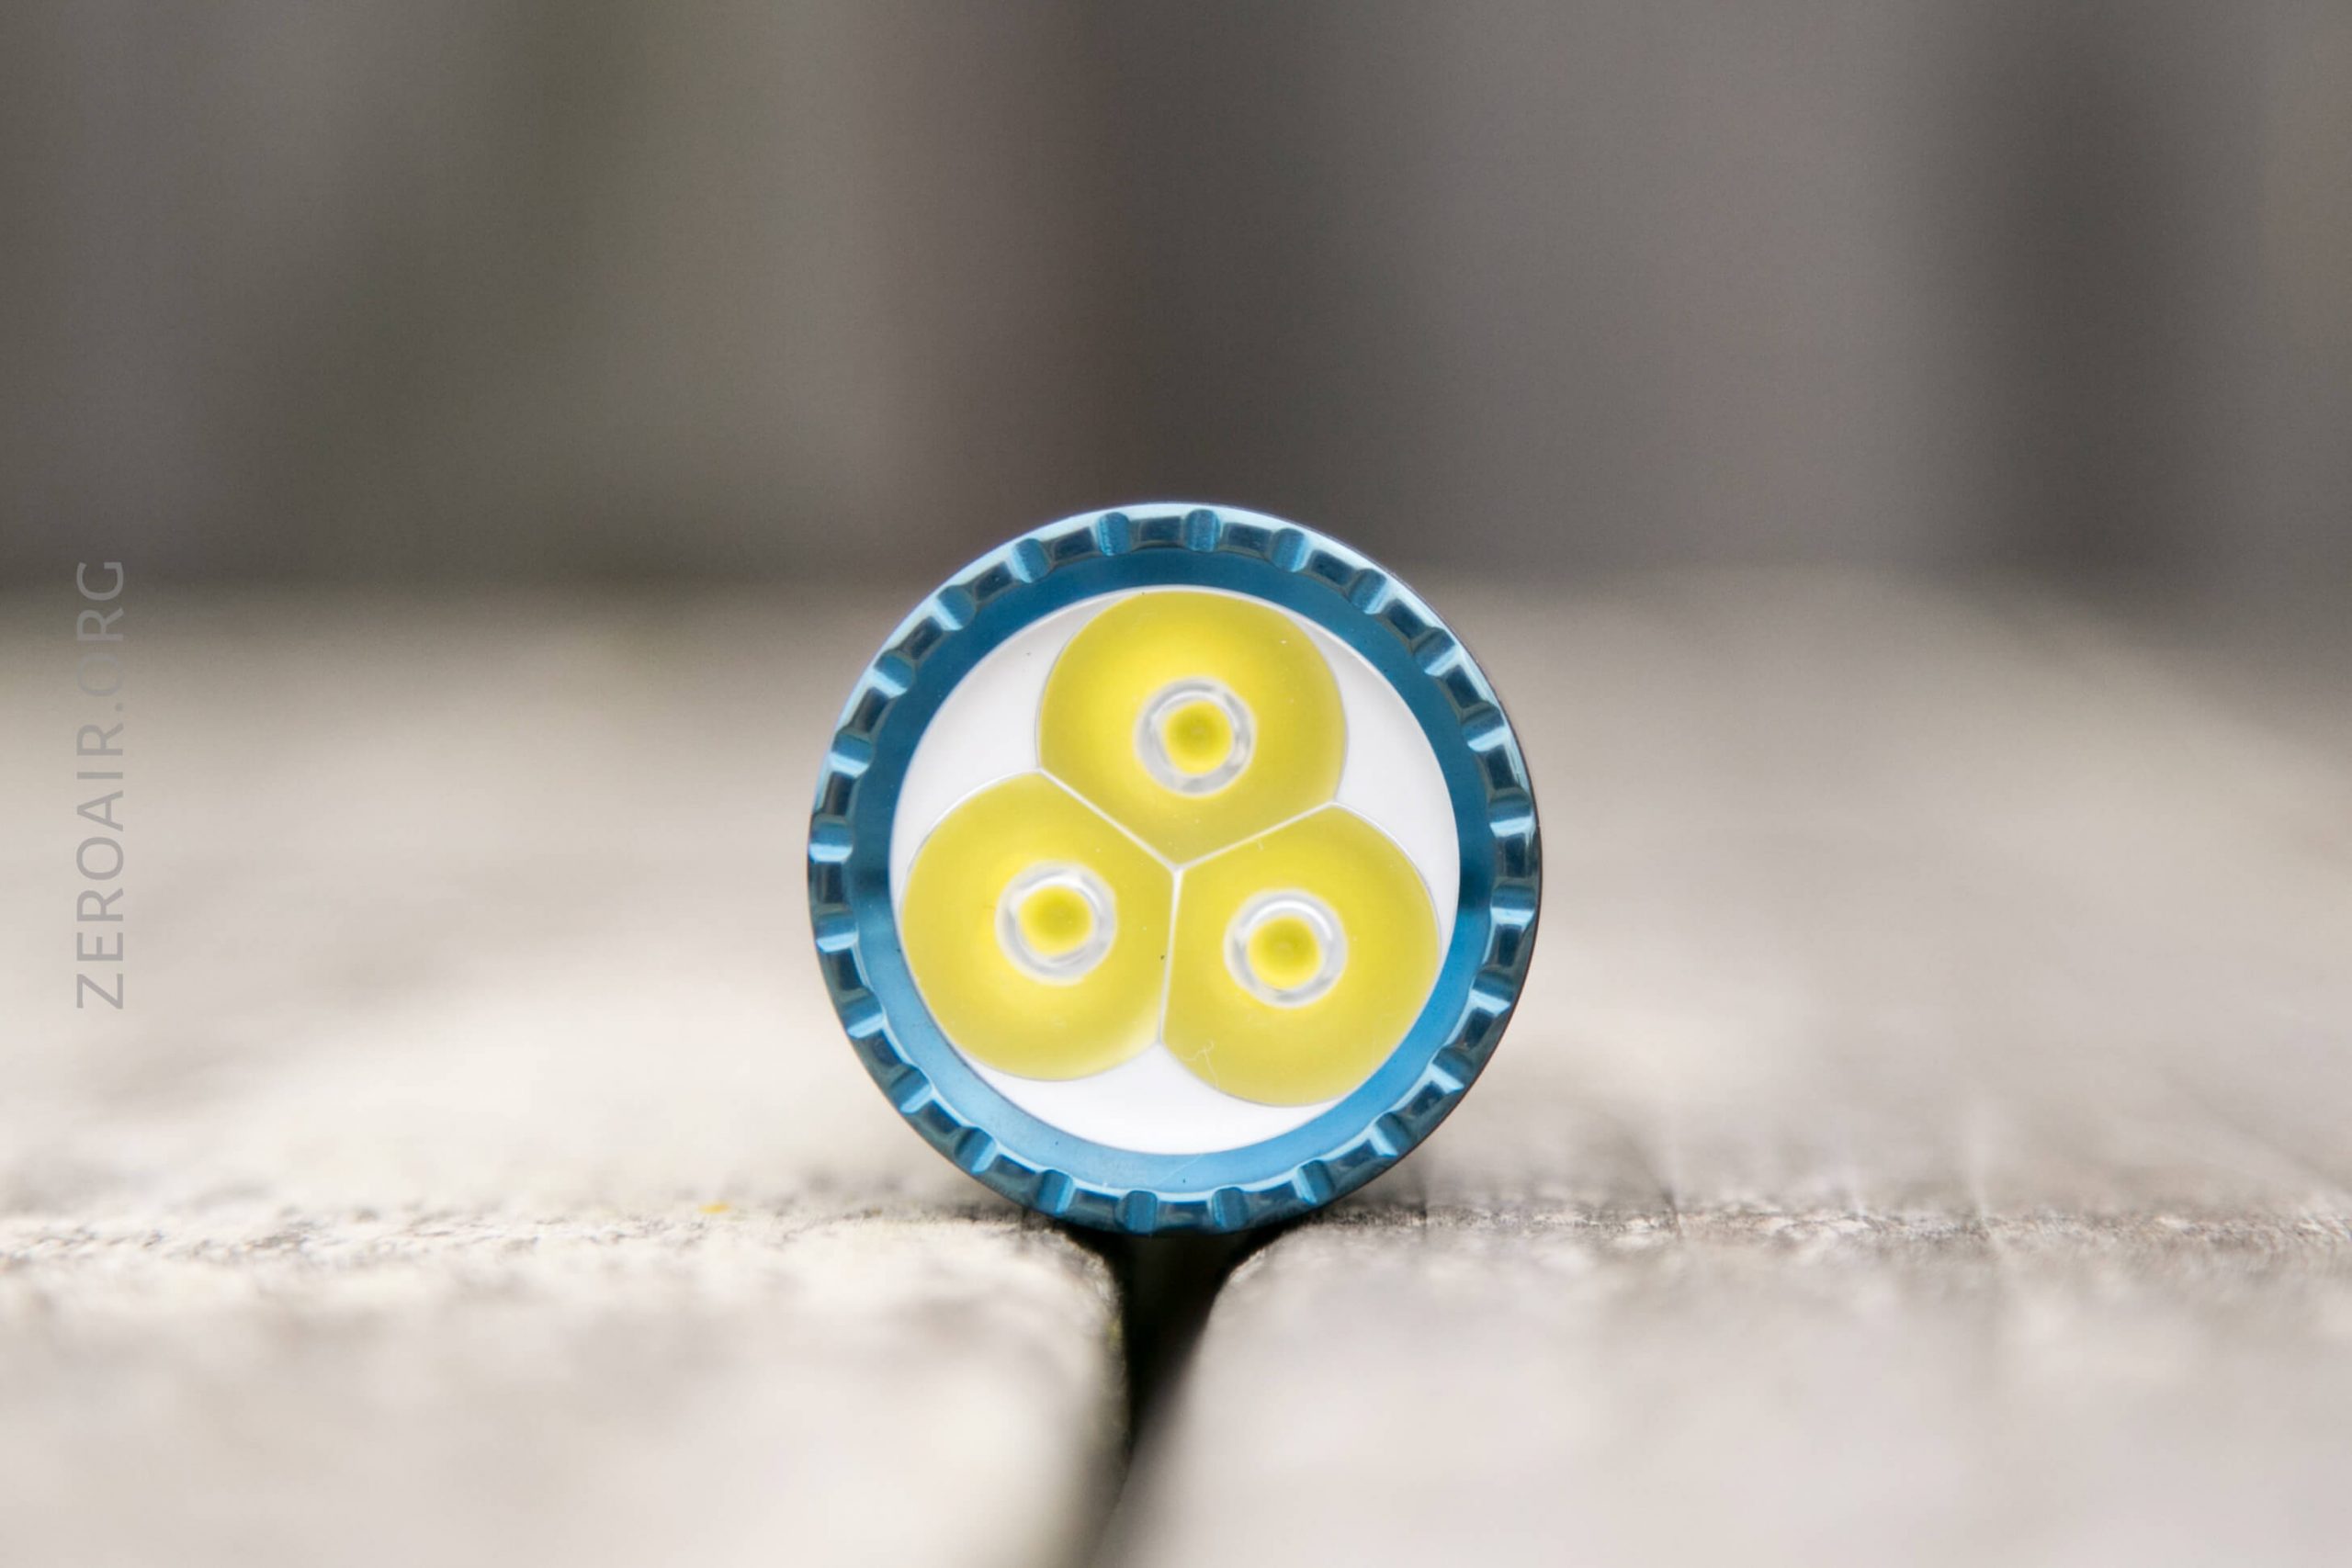
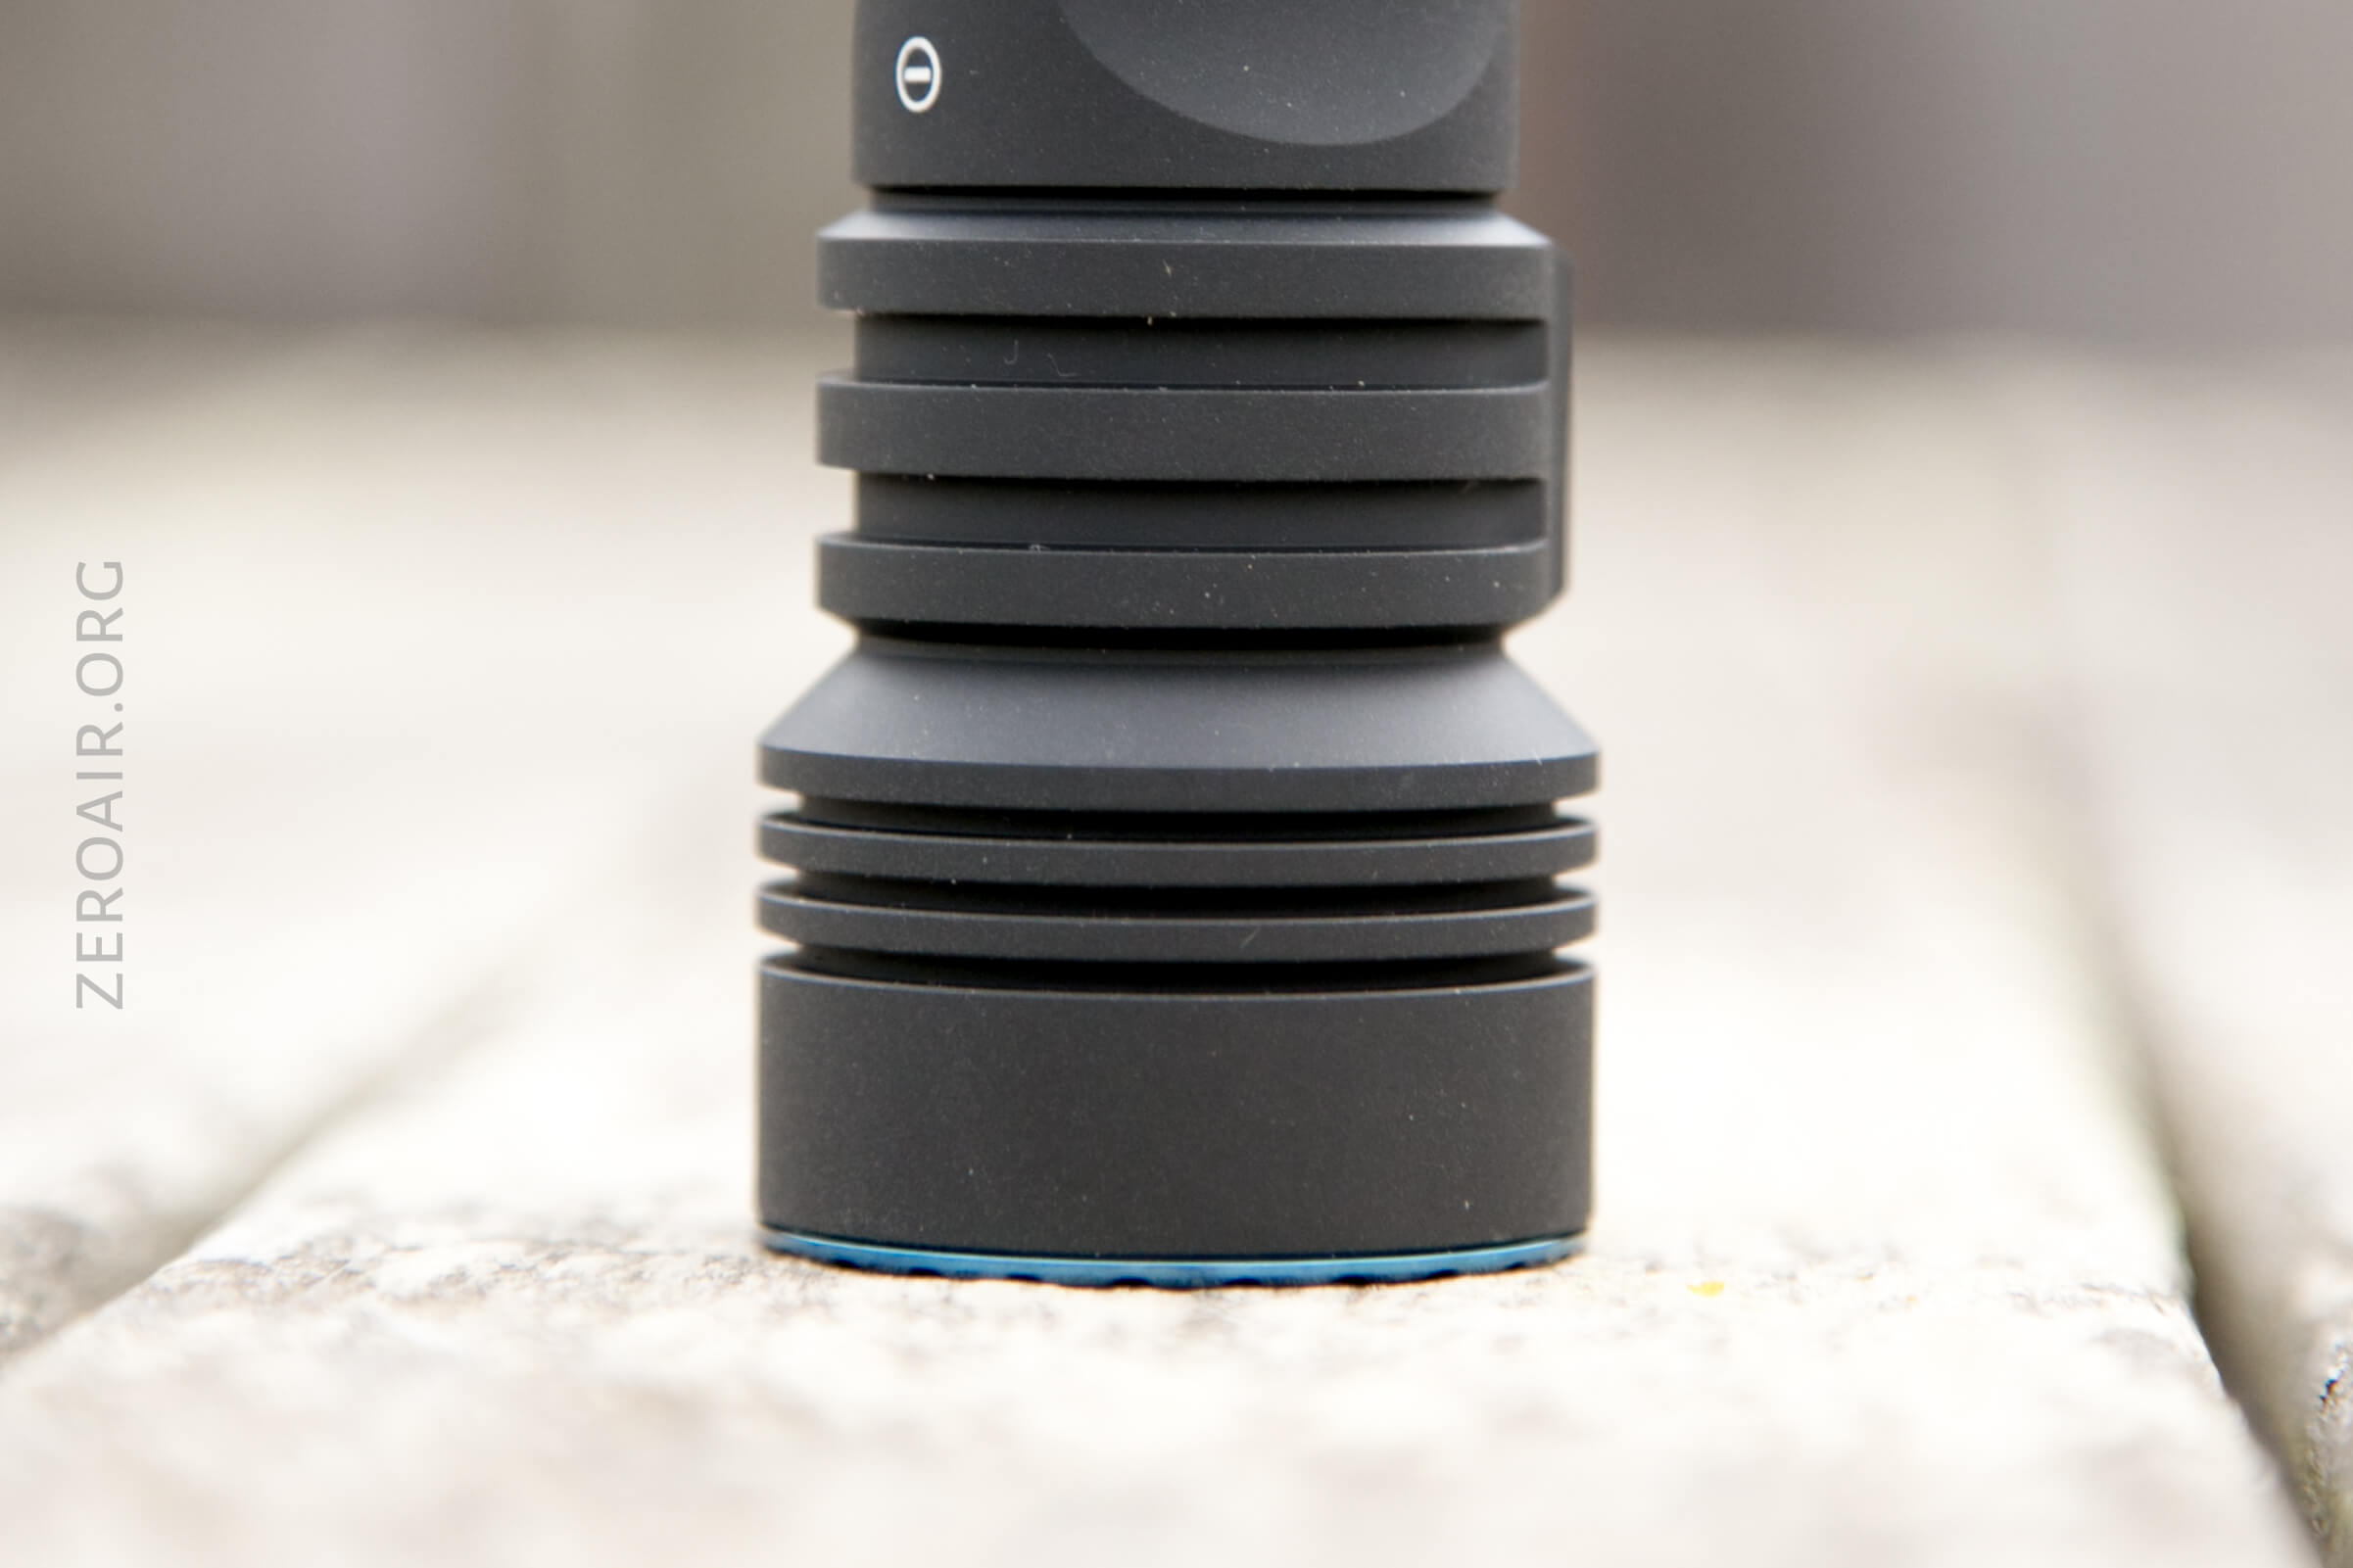
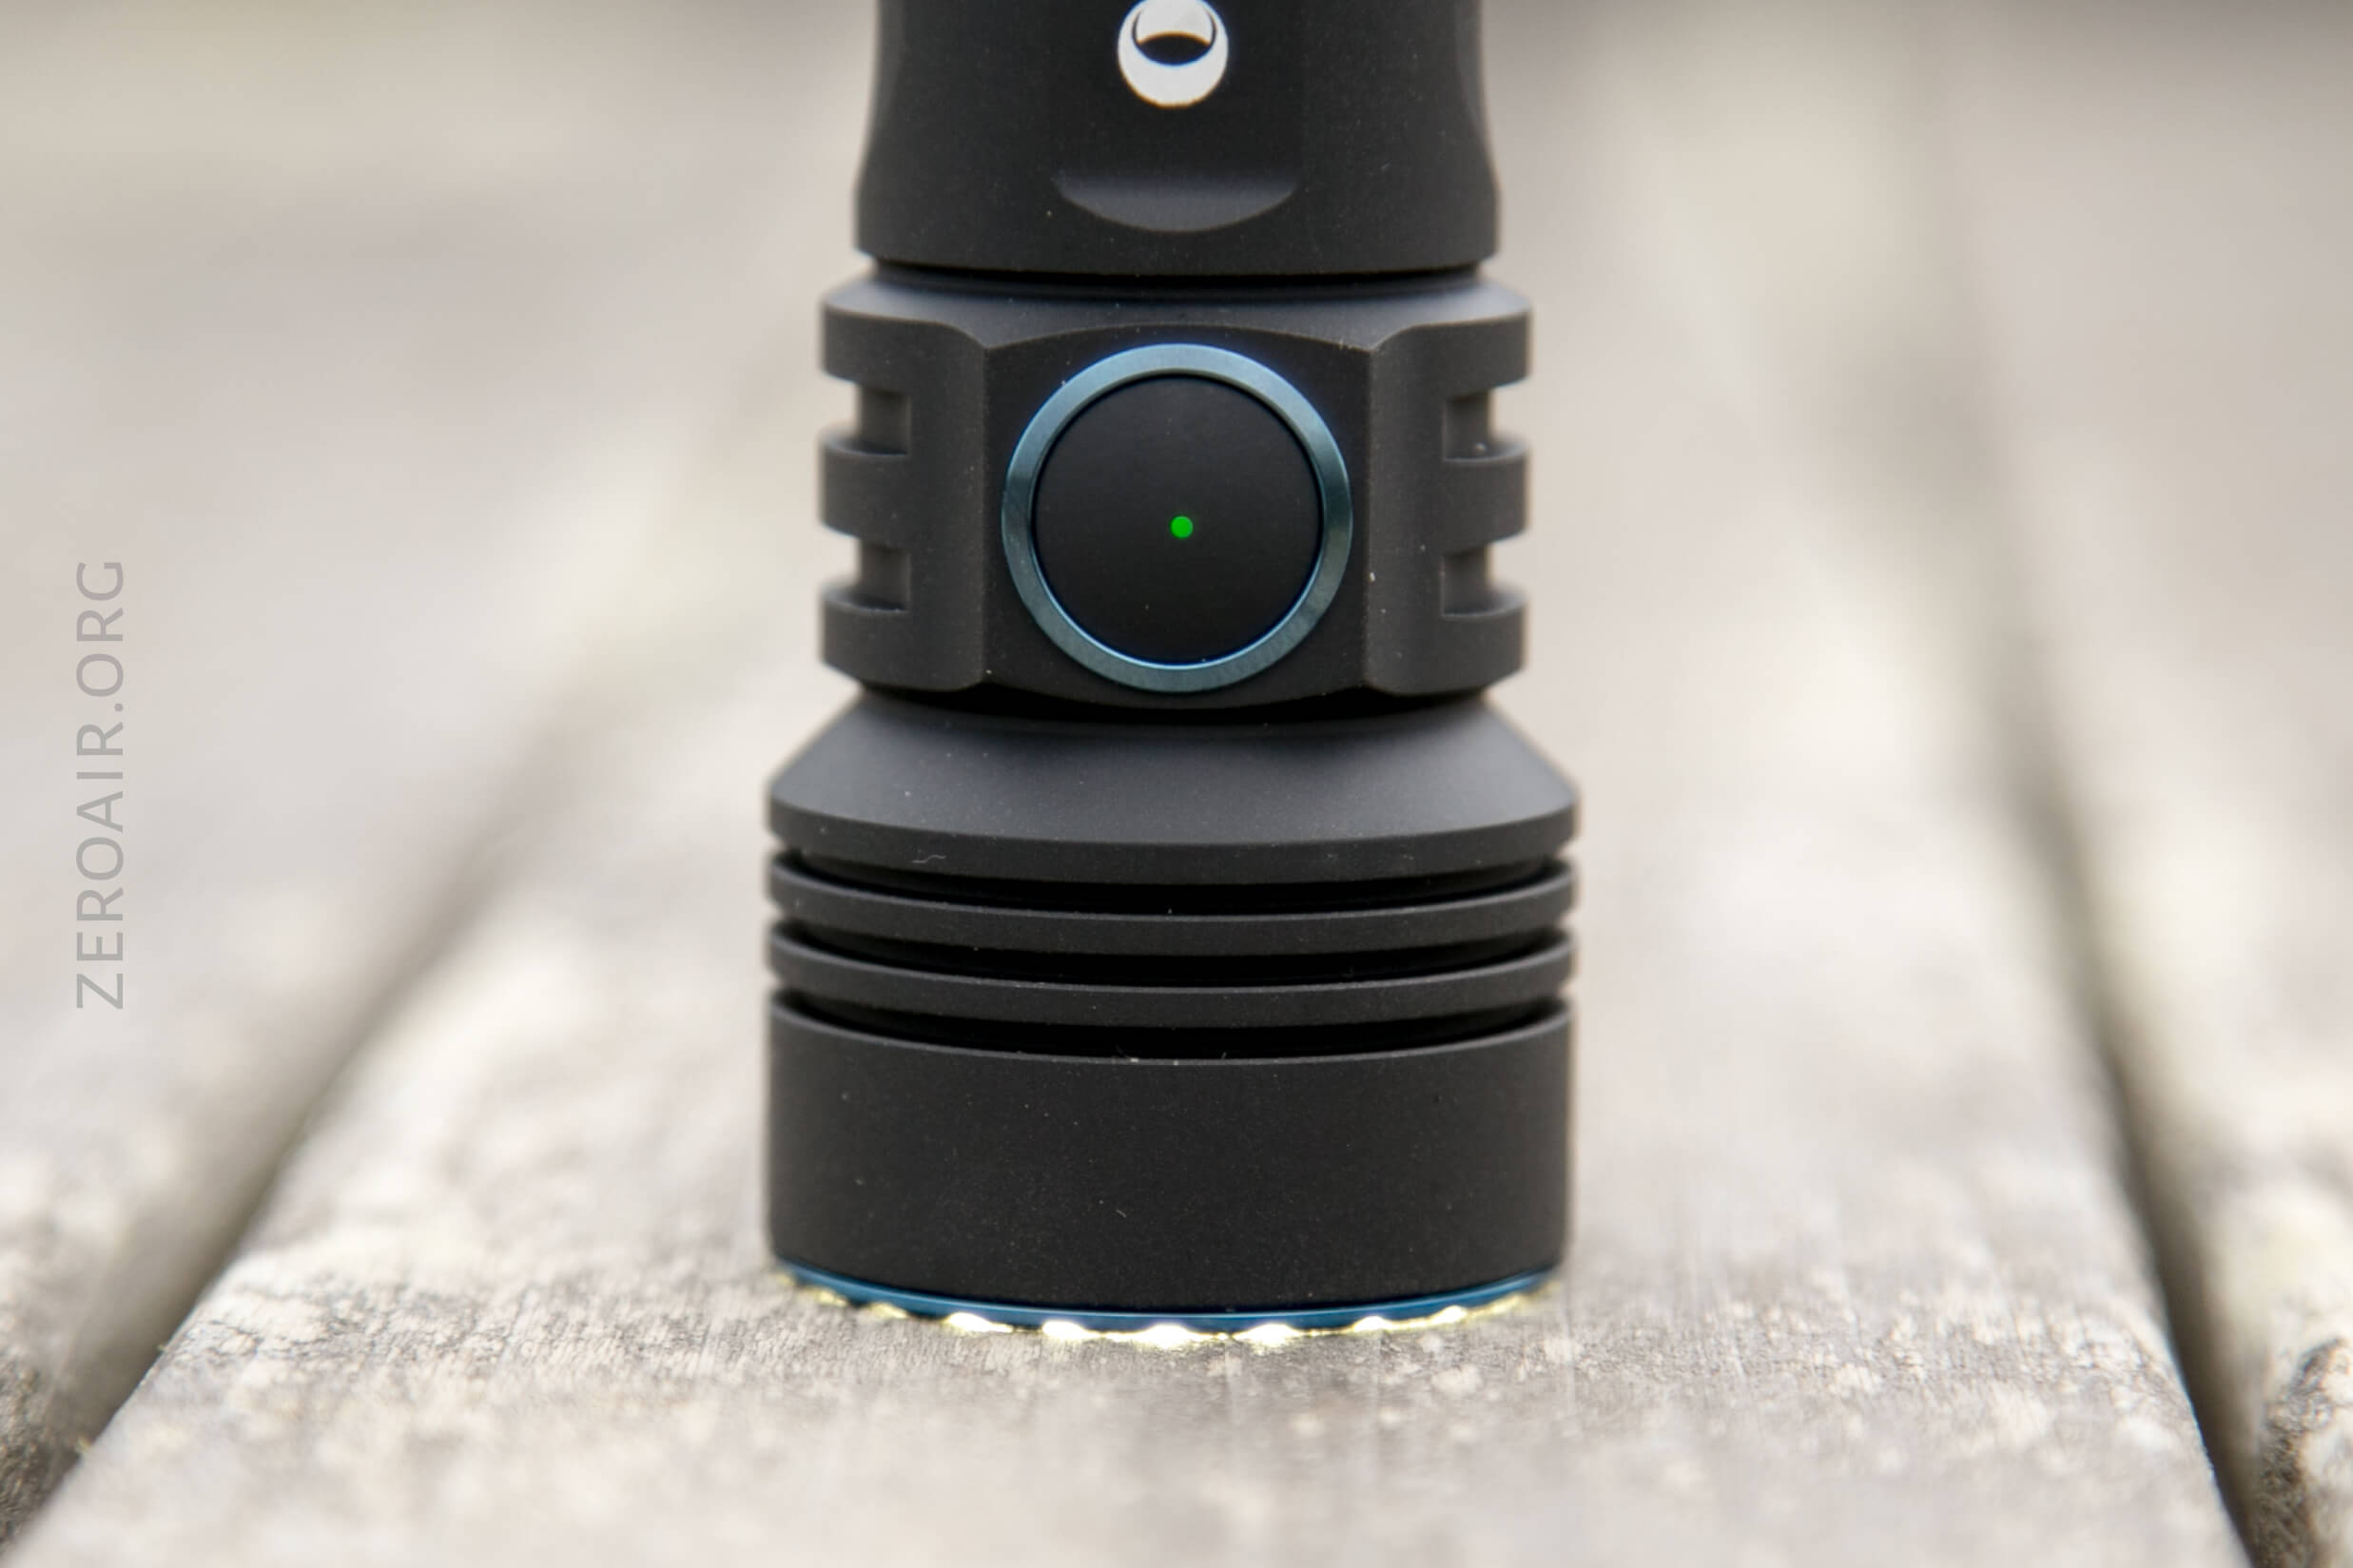
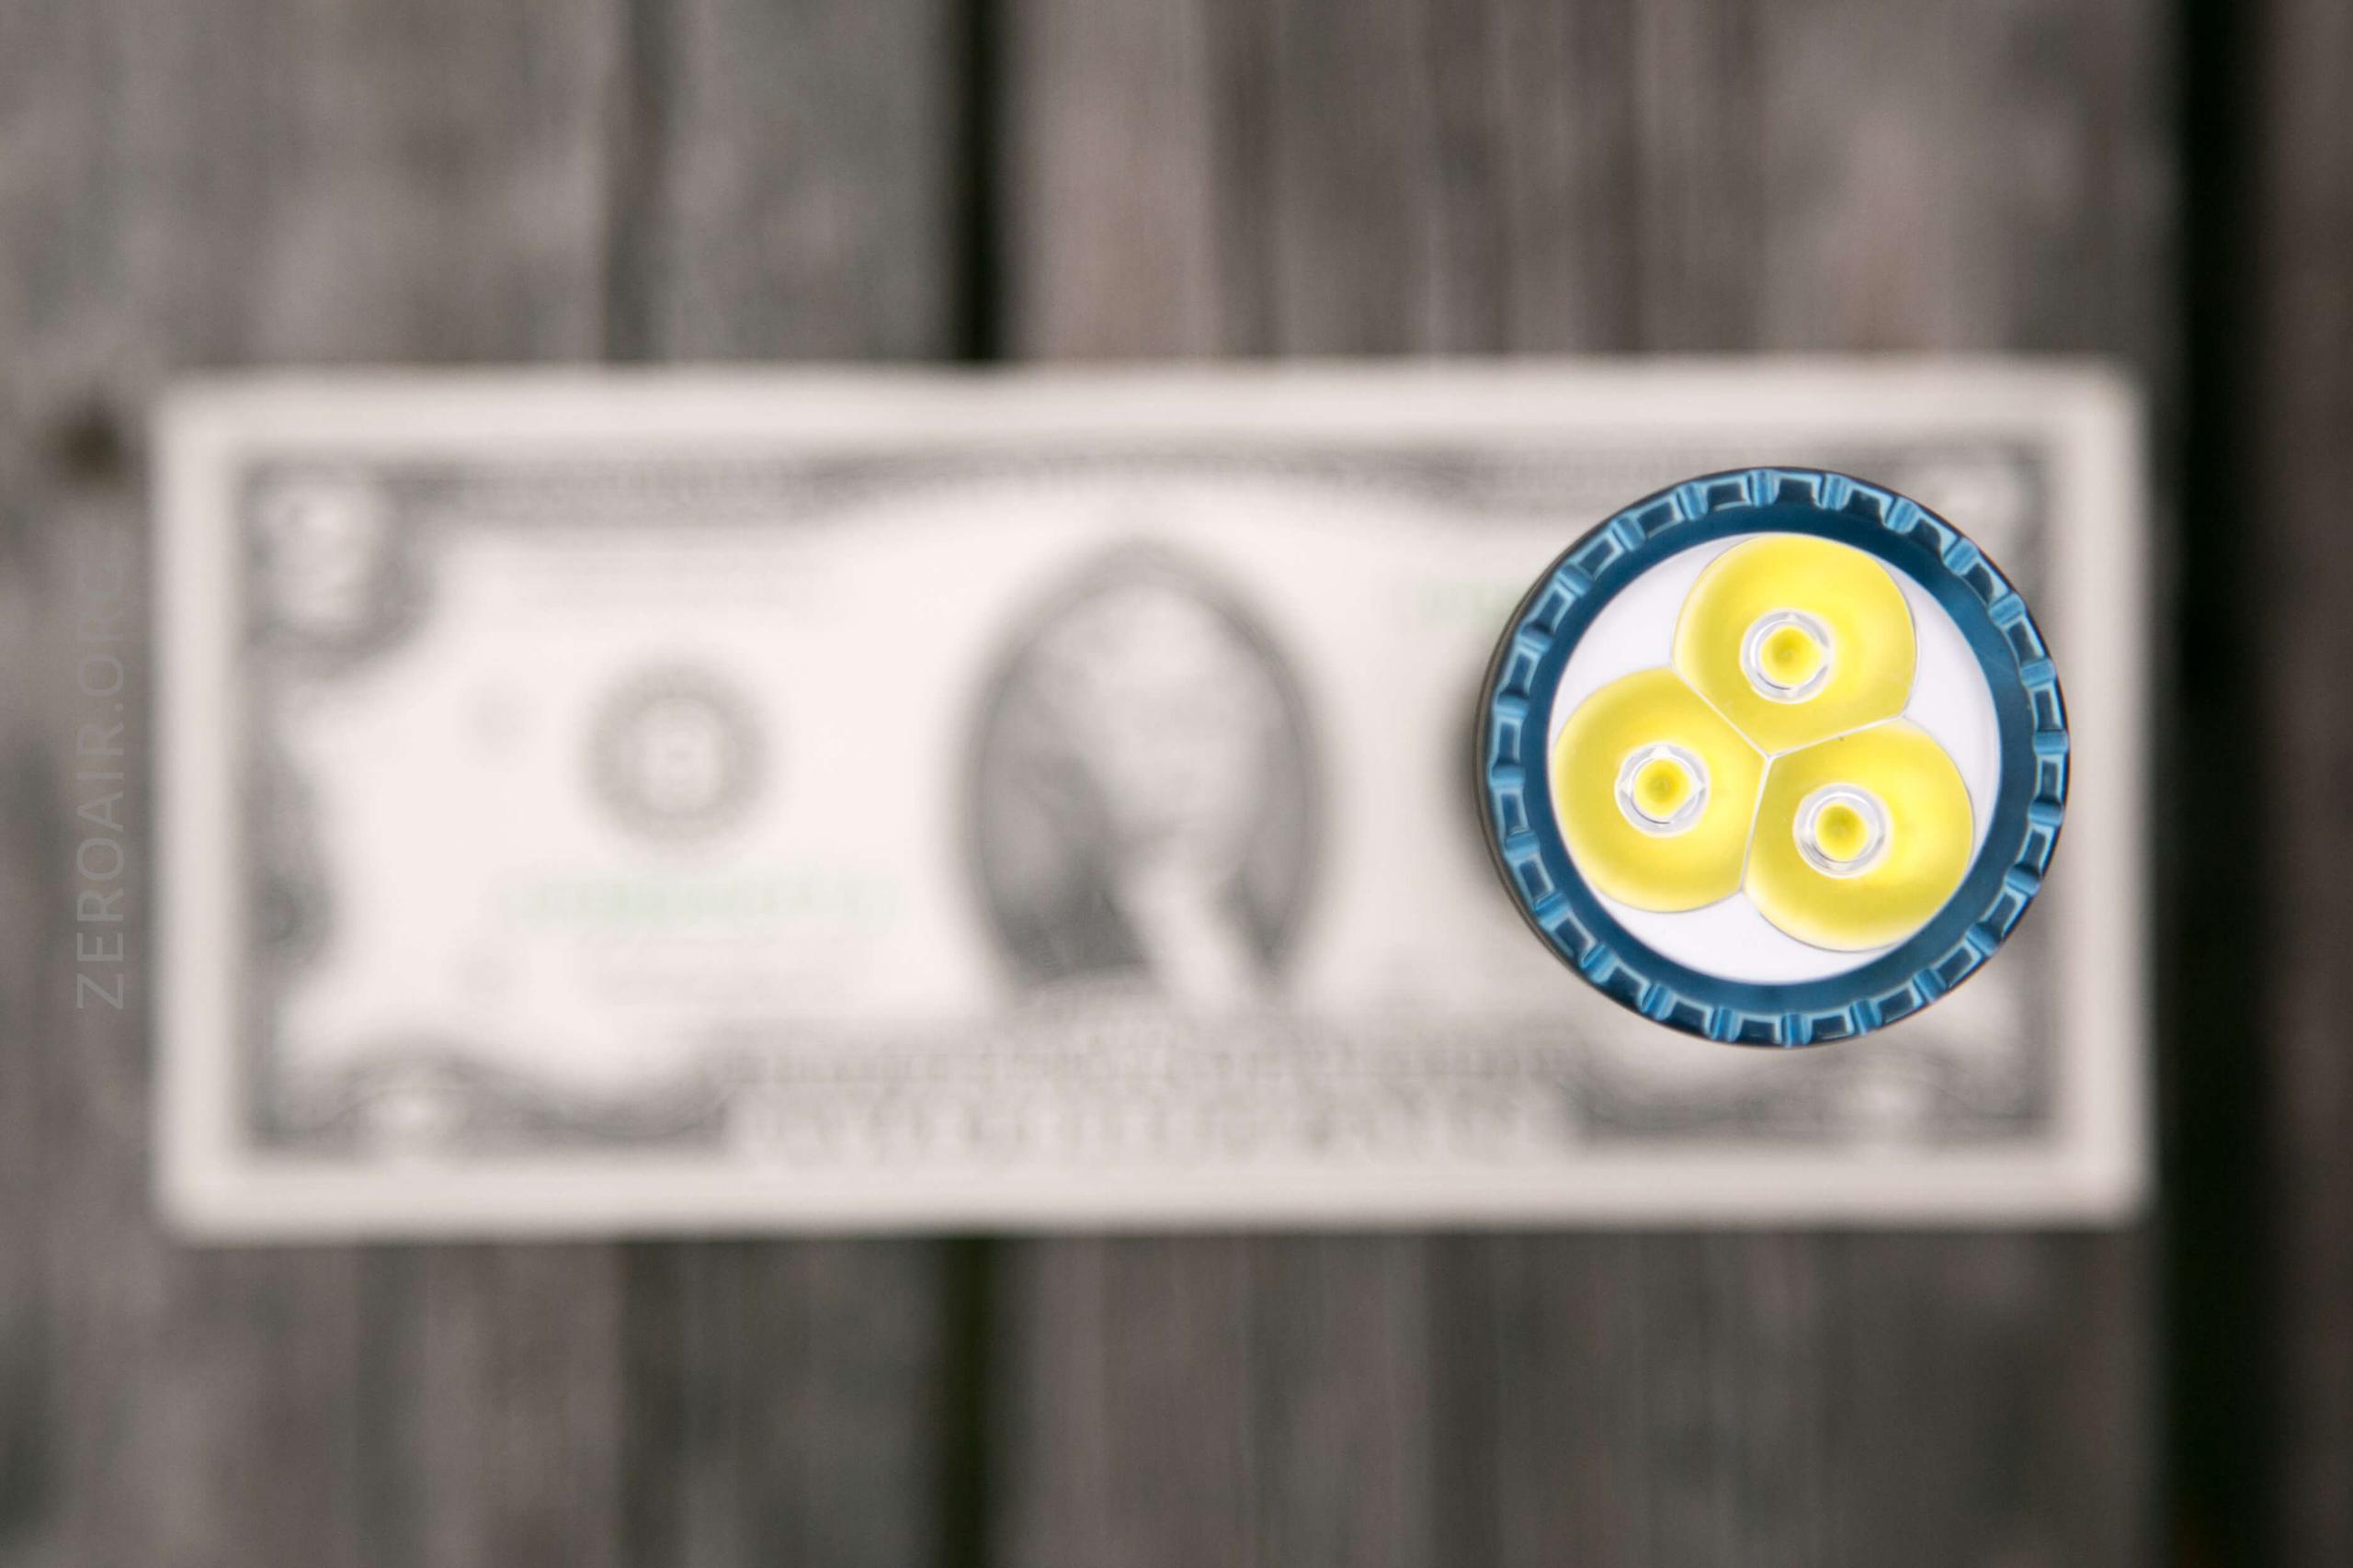
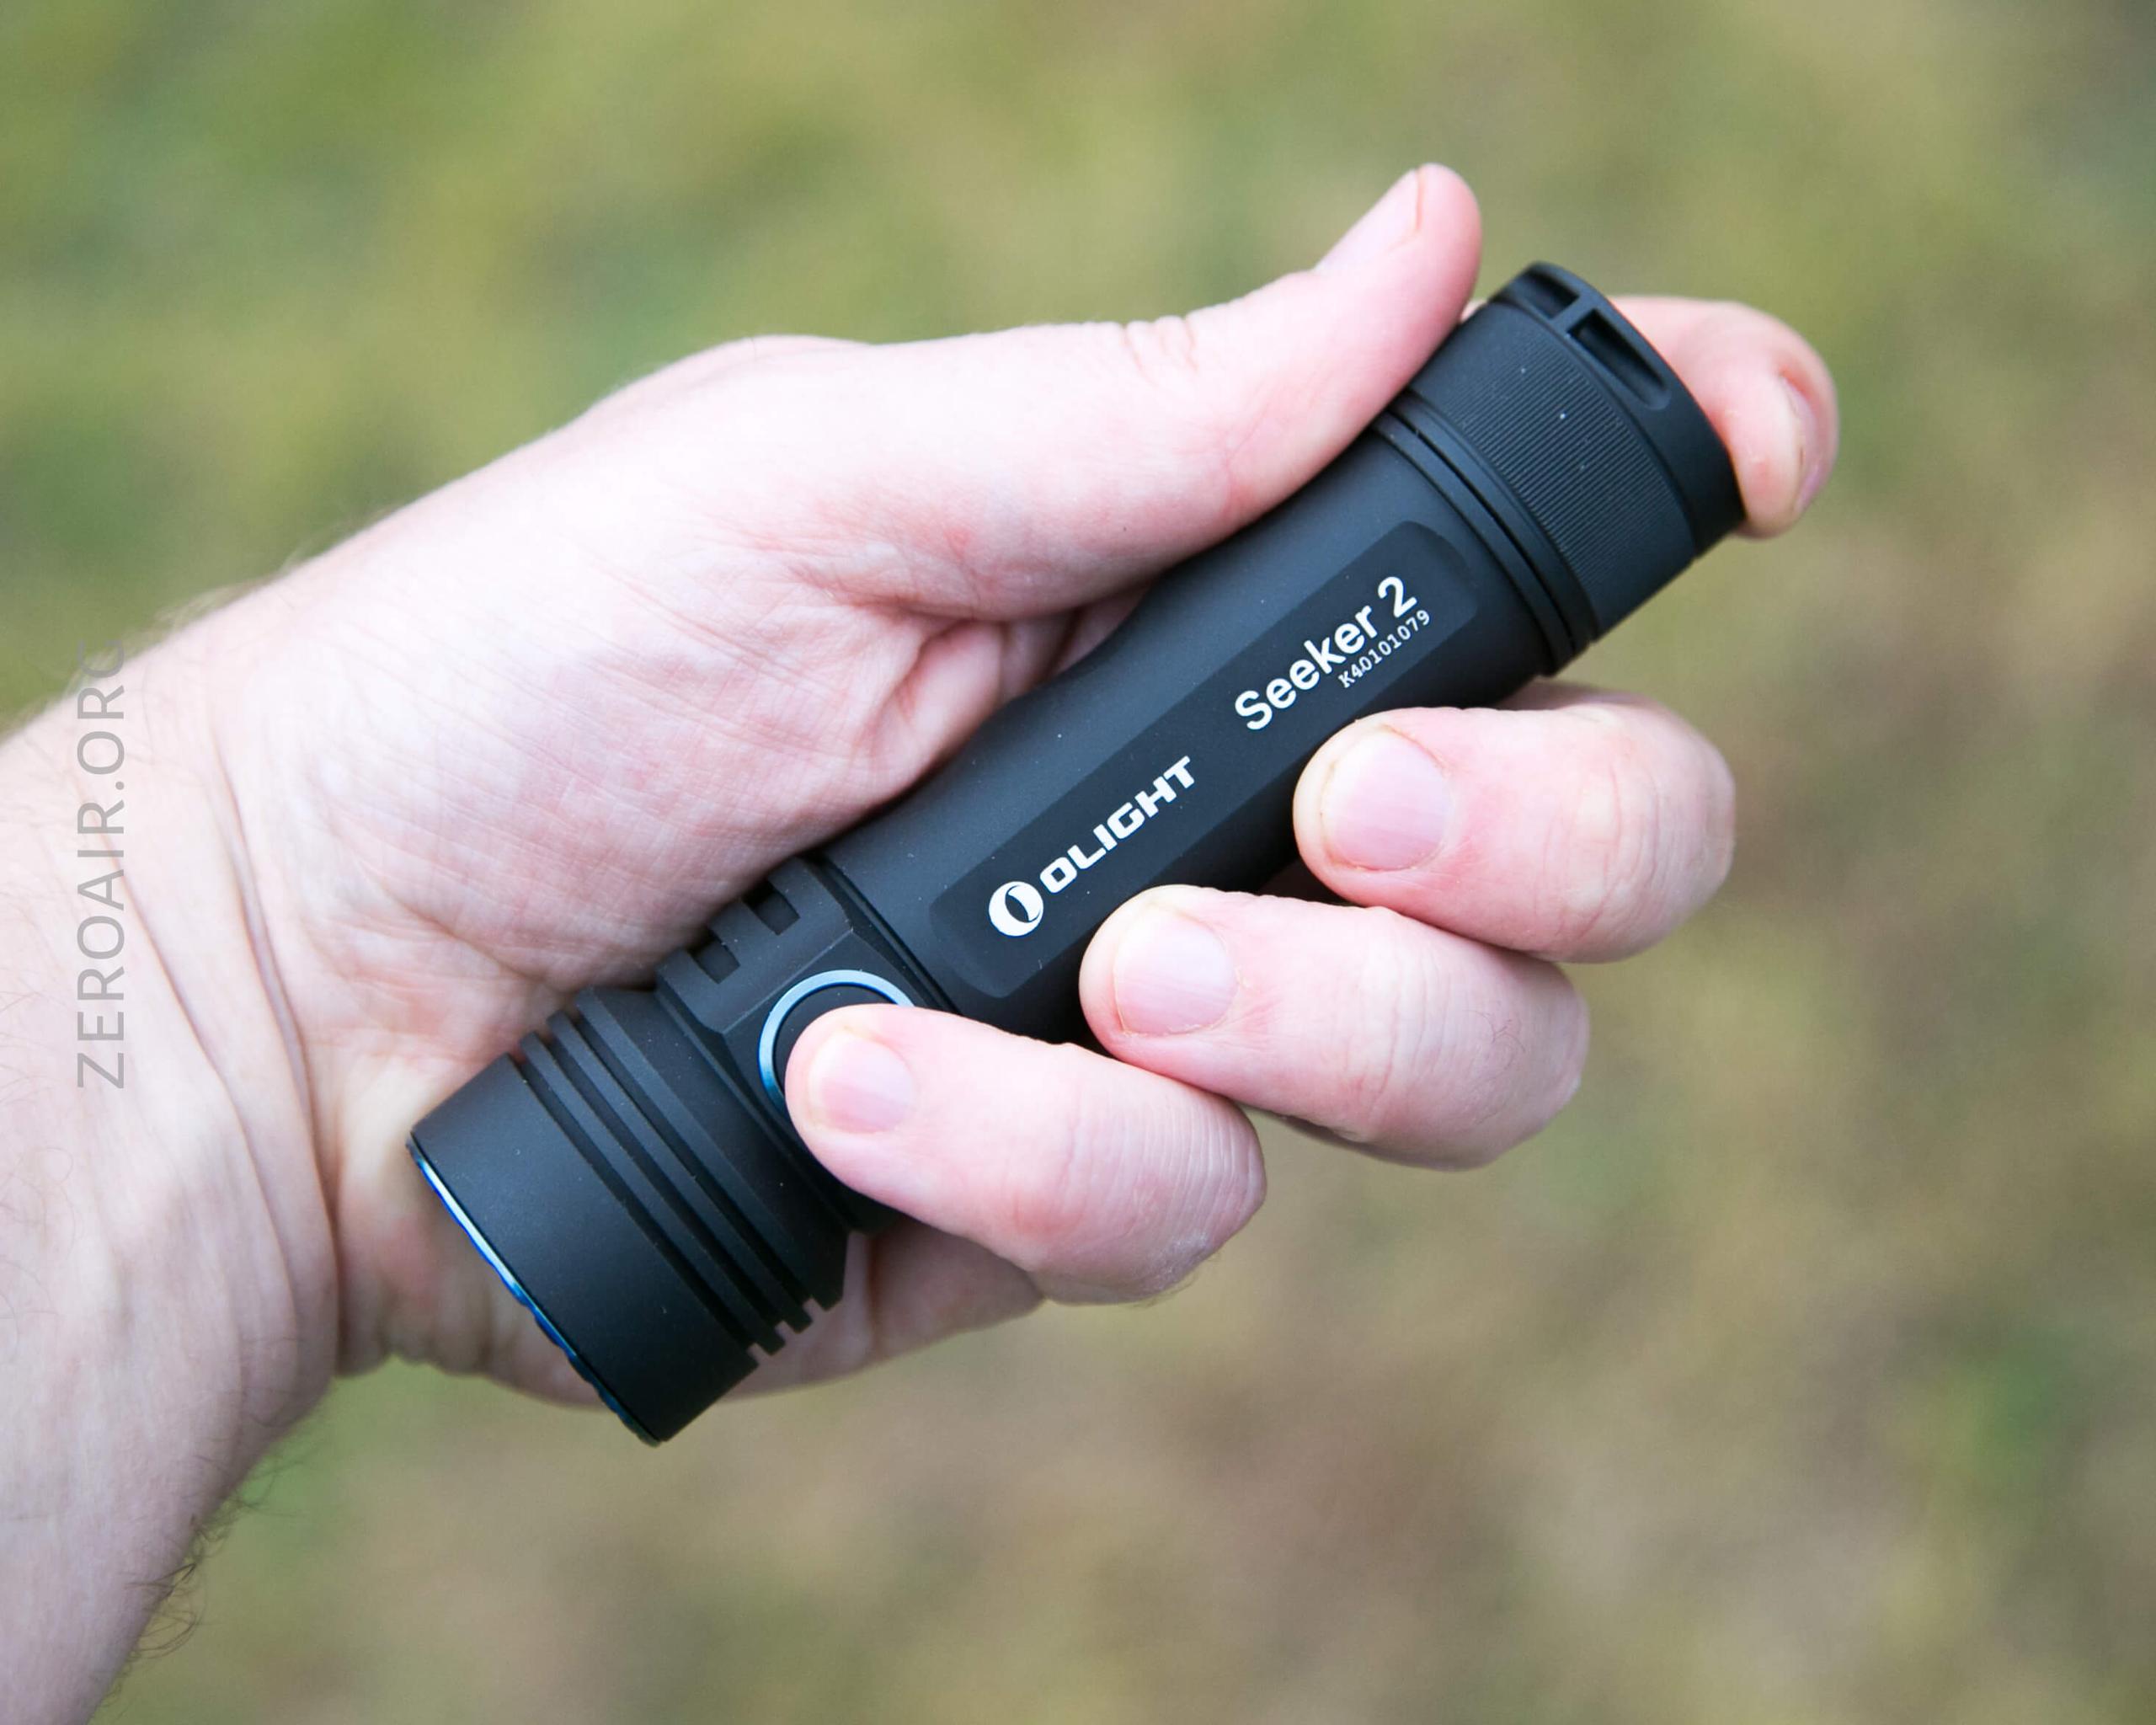
There are blue appointments that add a nice look – the switch shroud and the bezel are two examples.
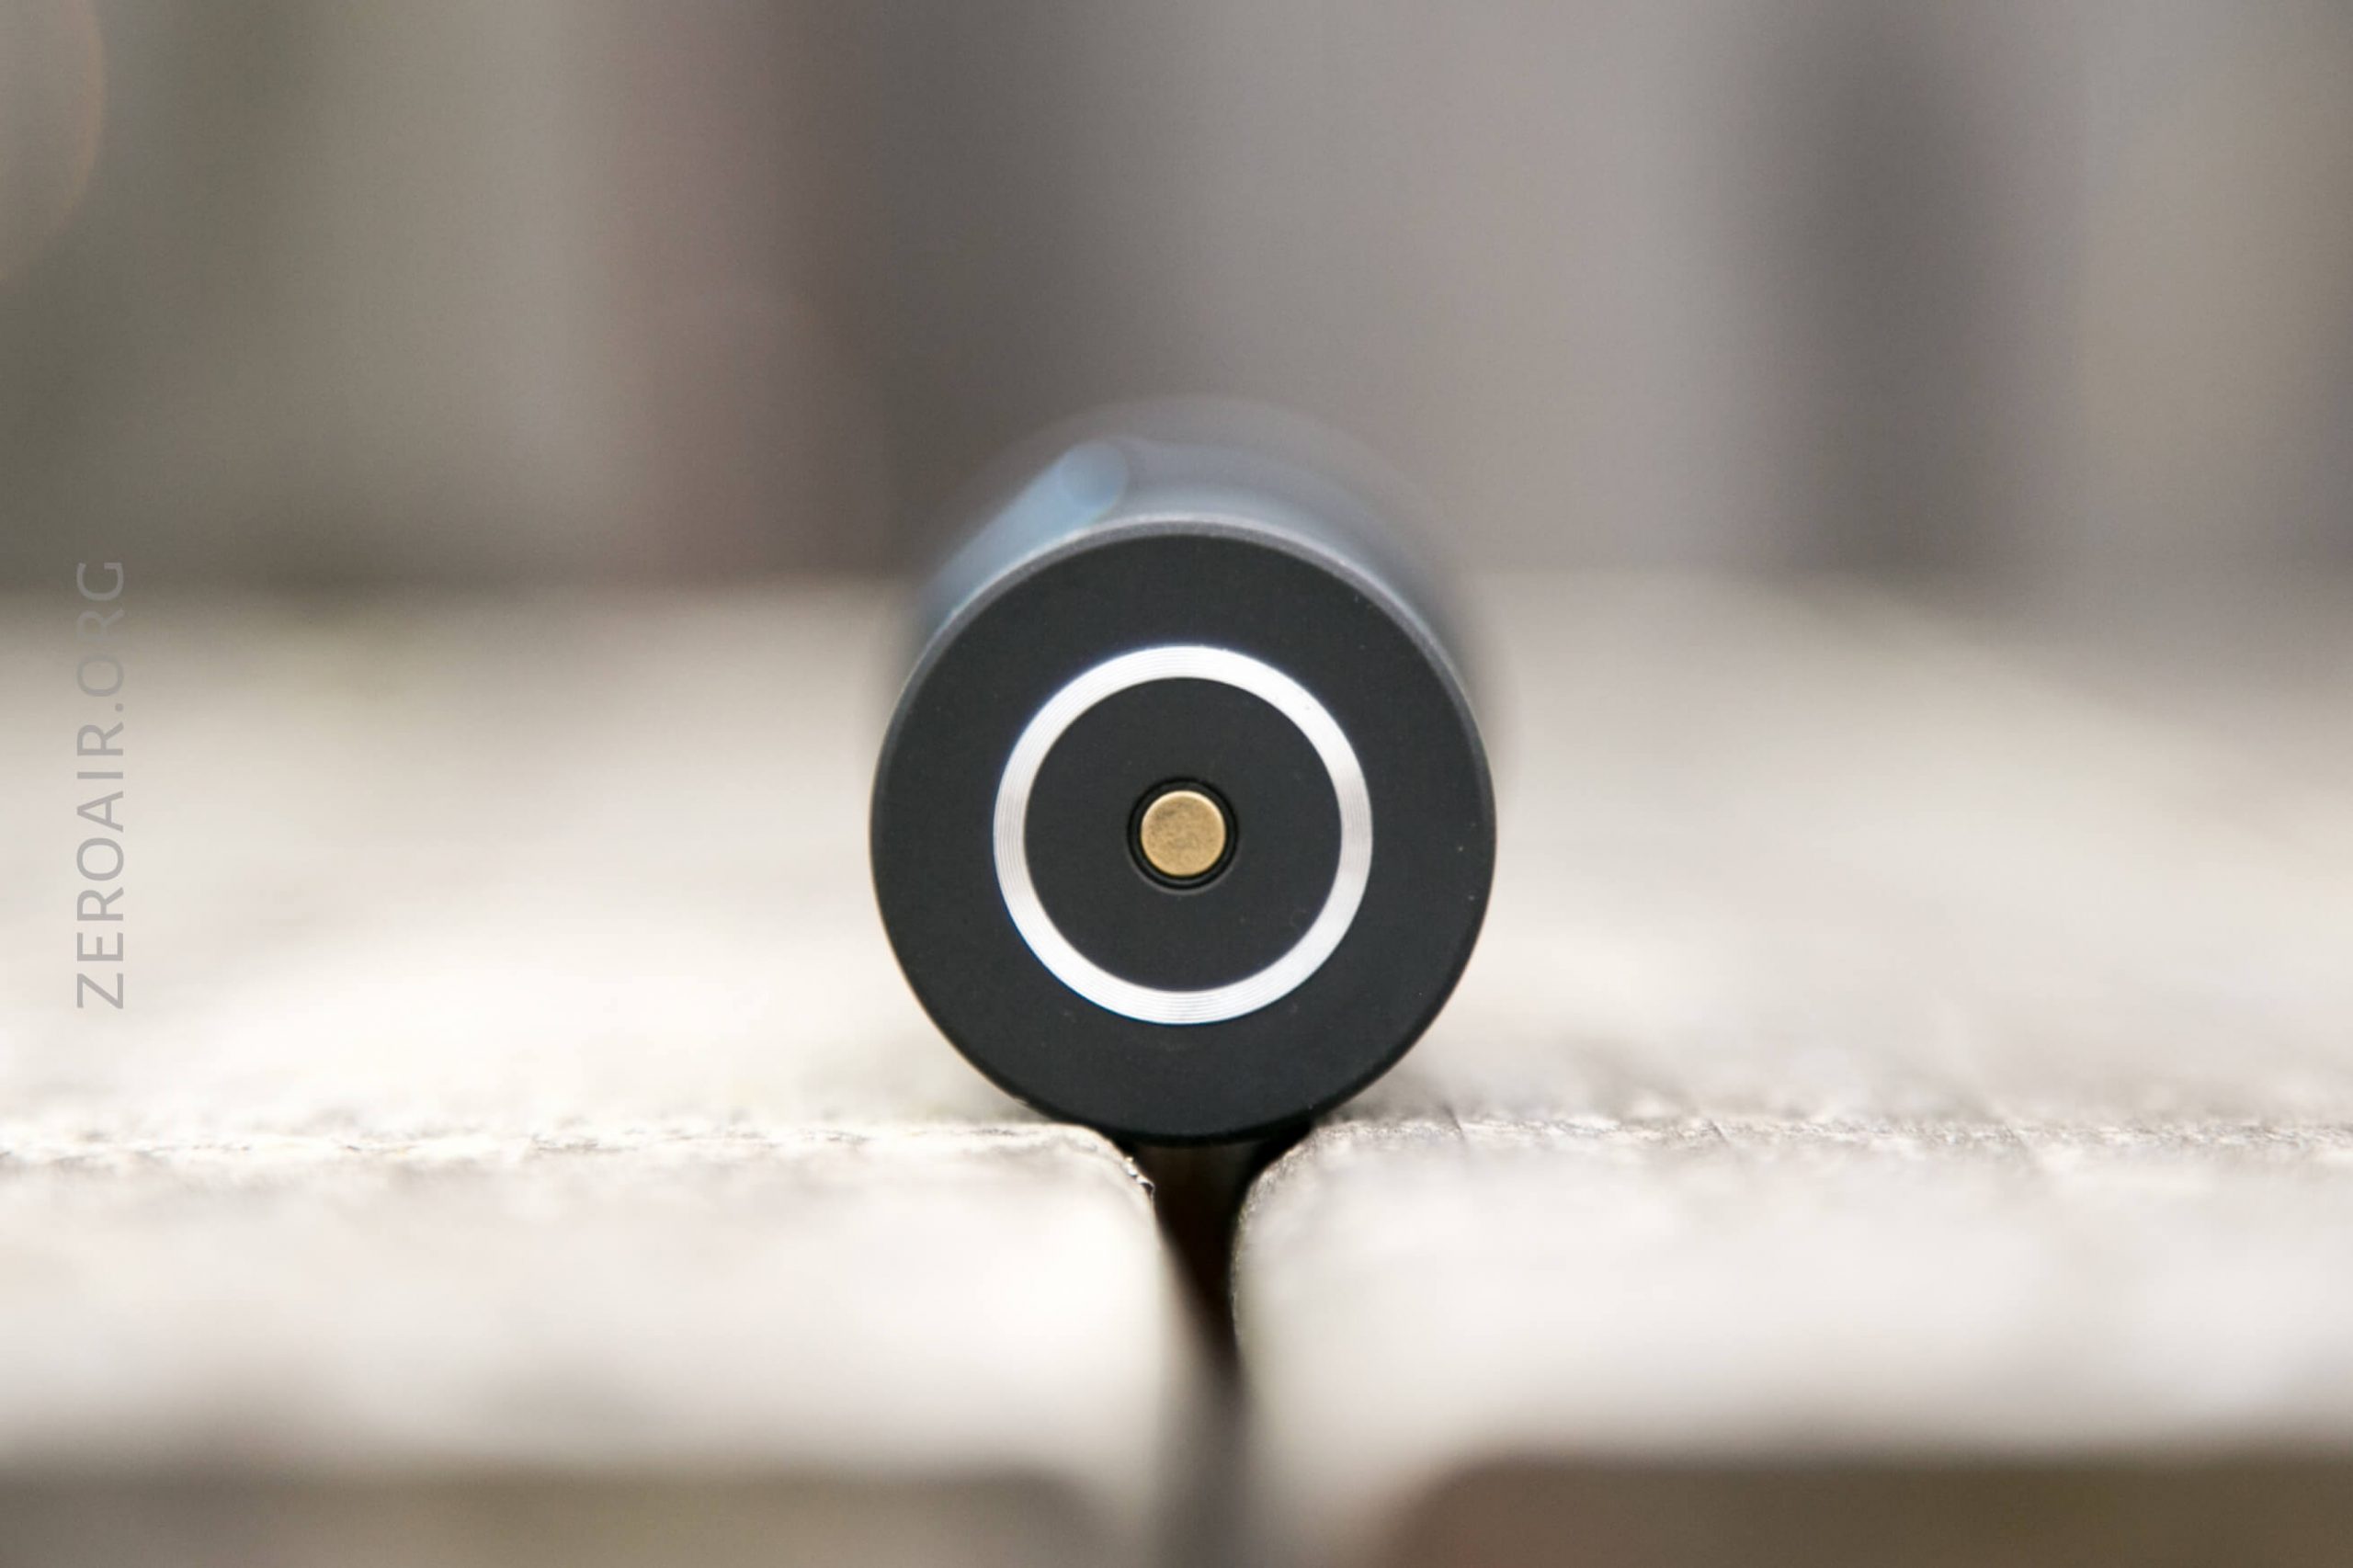
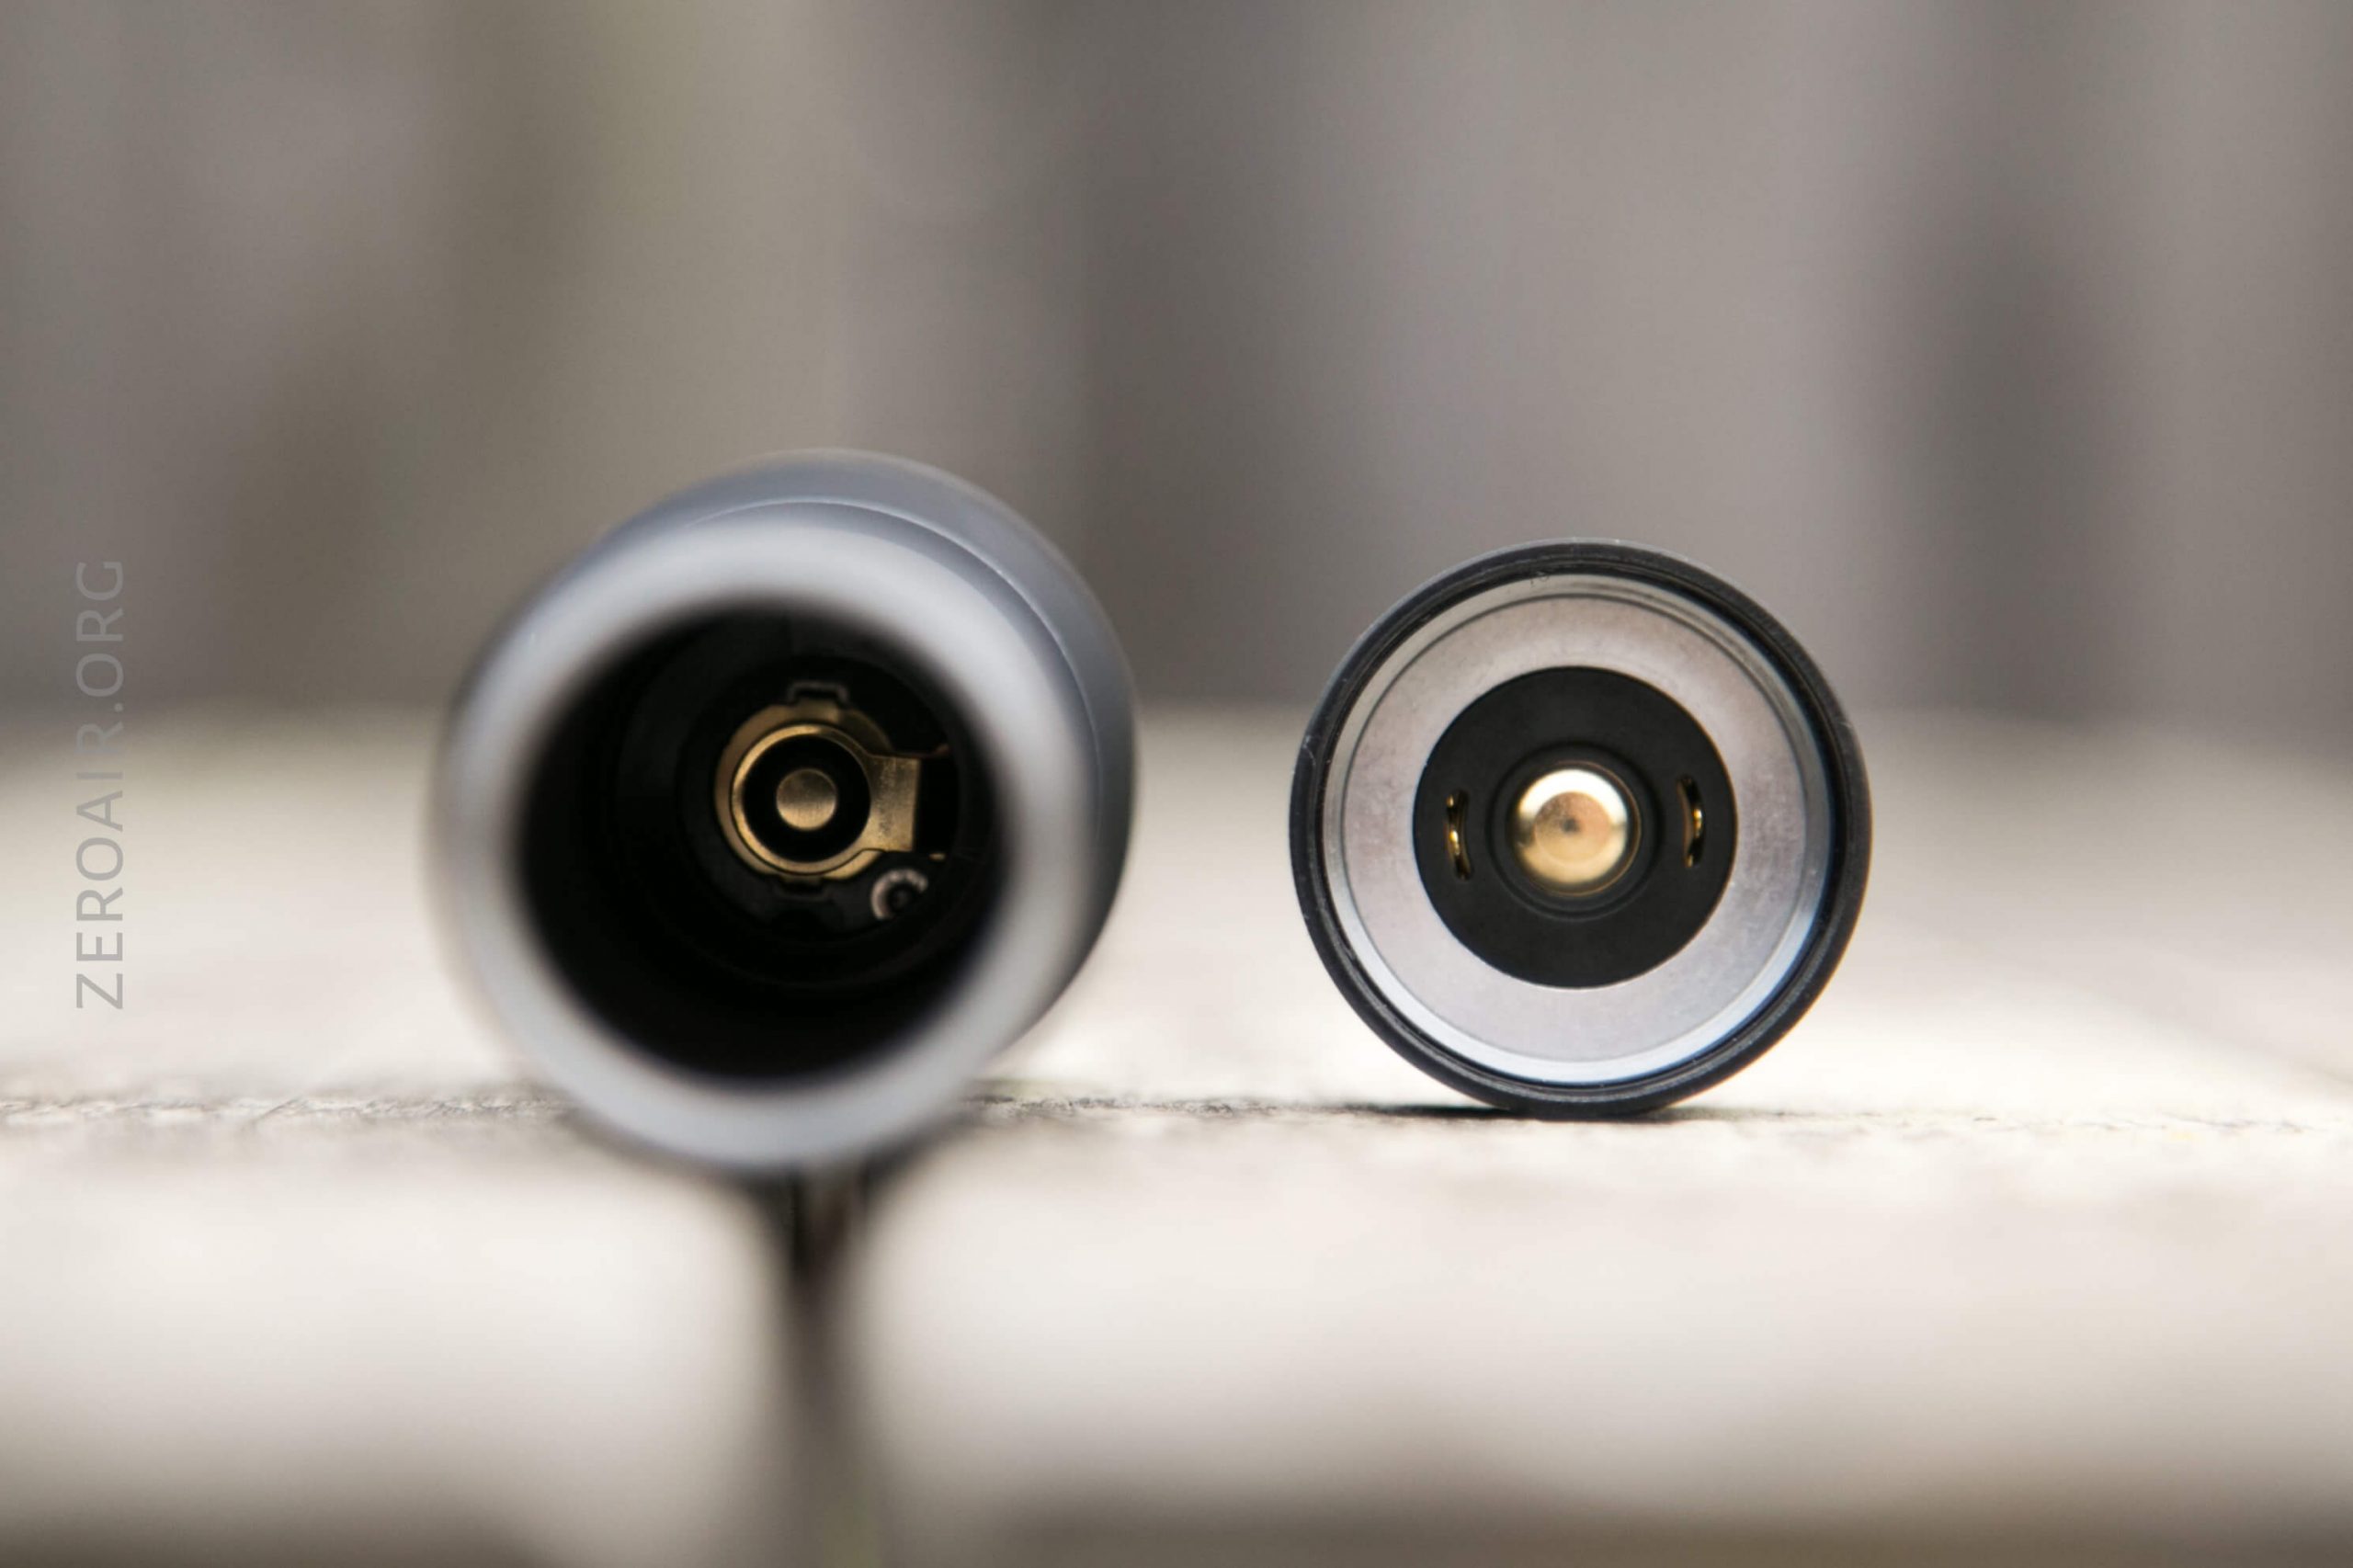
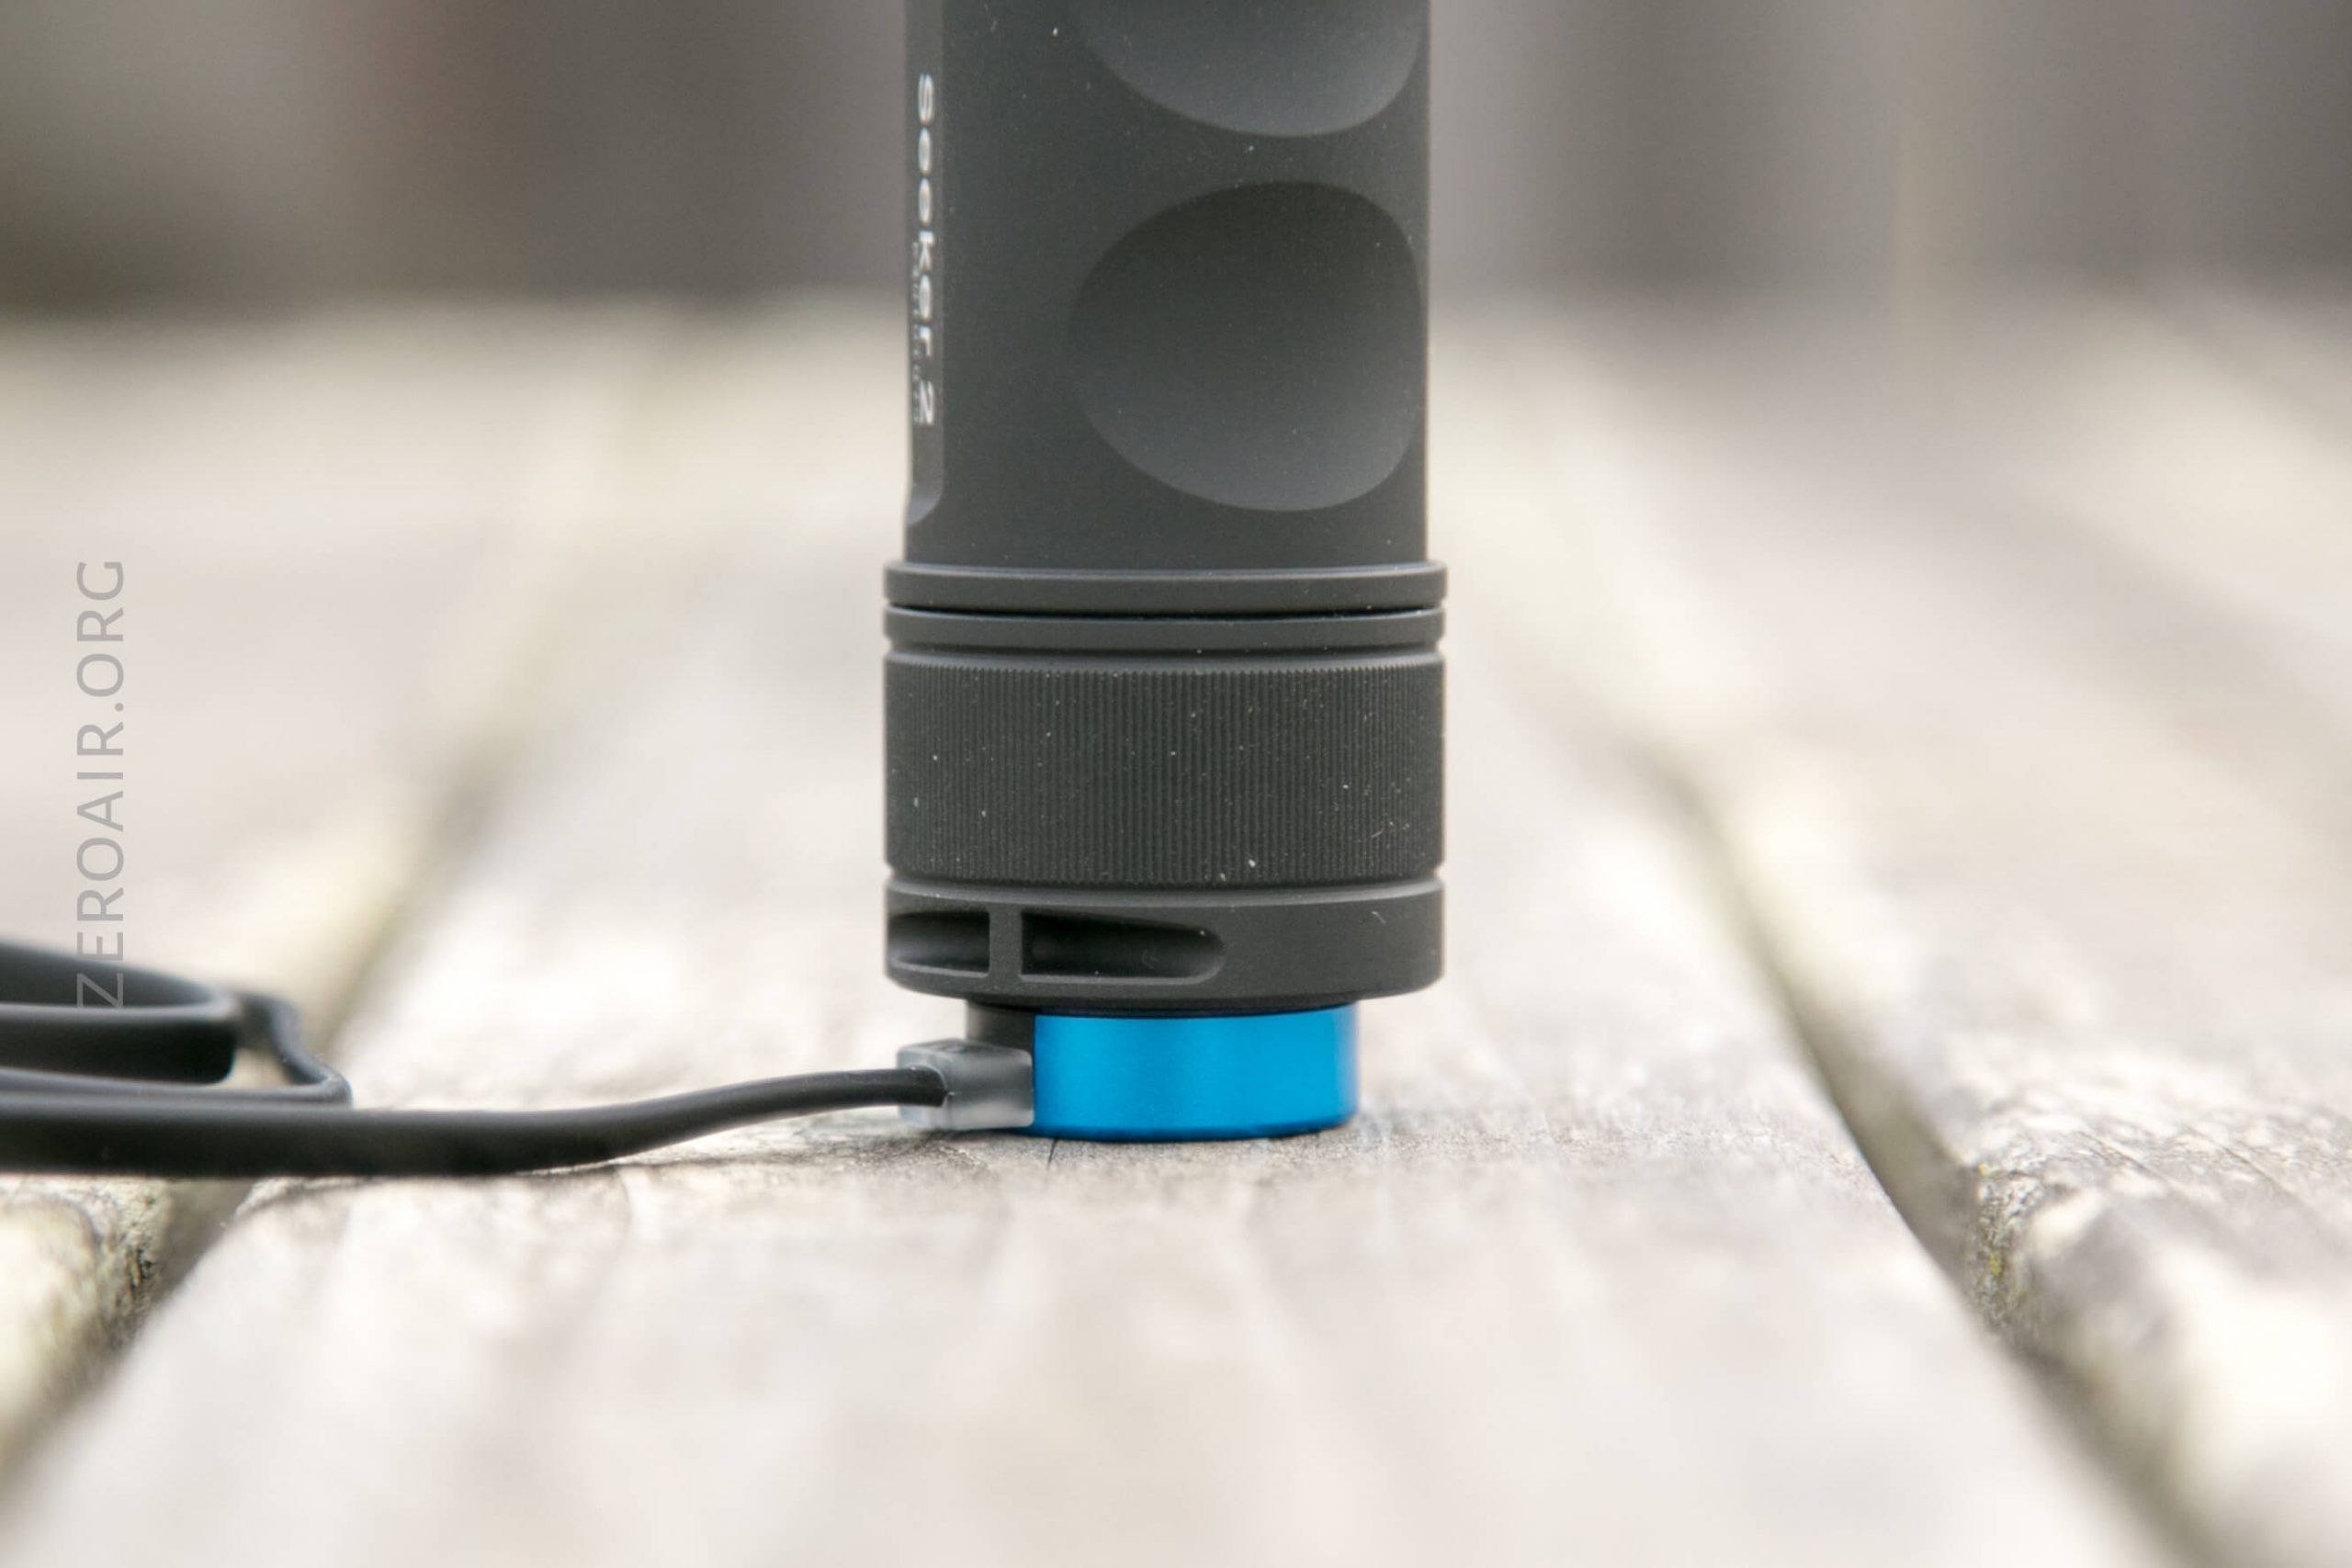
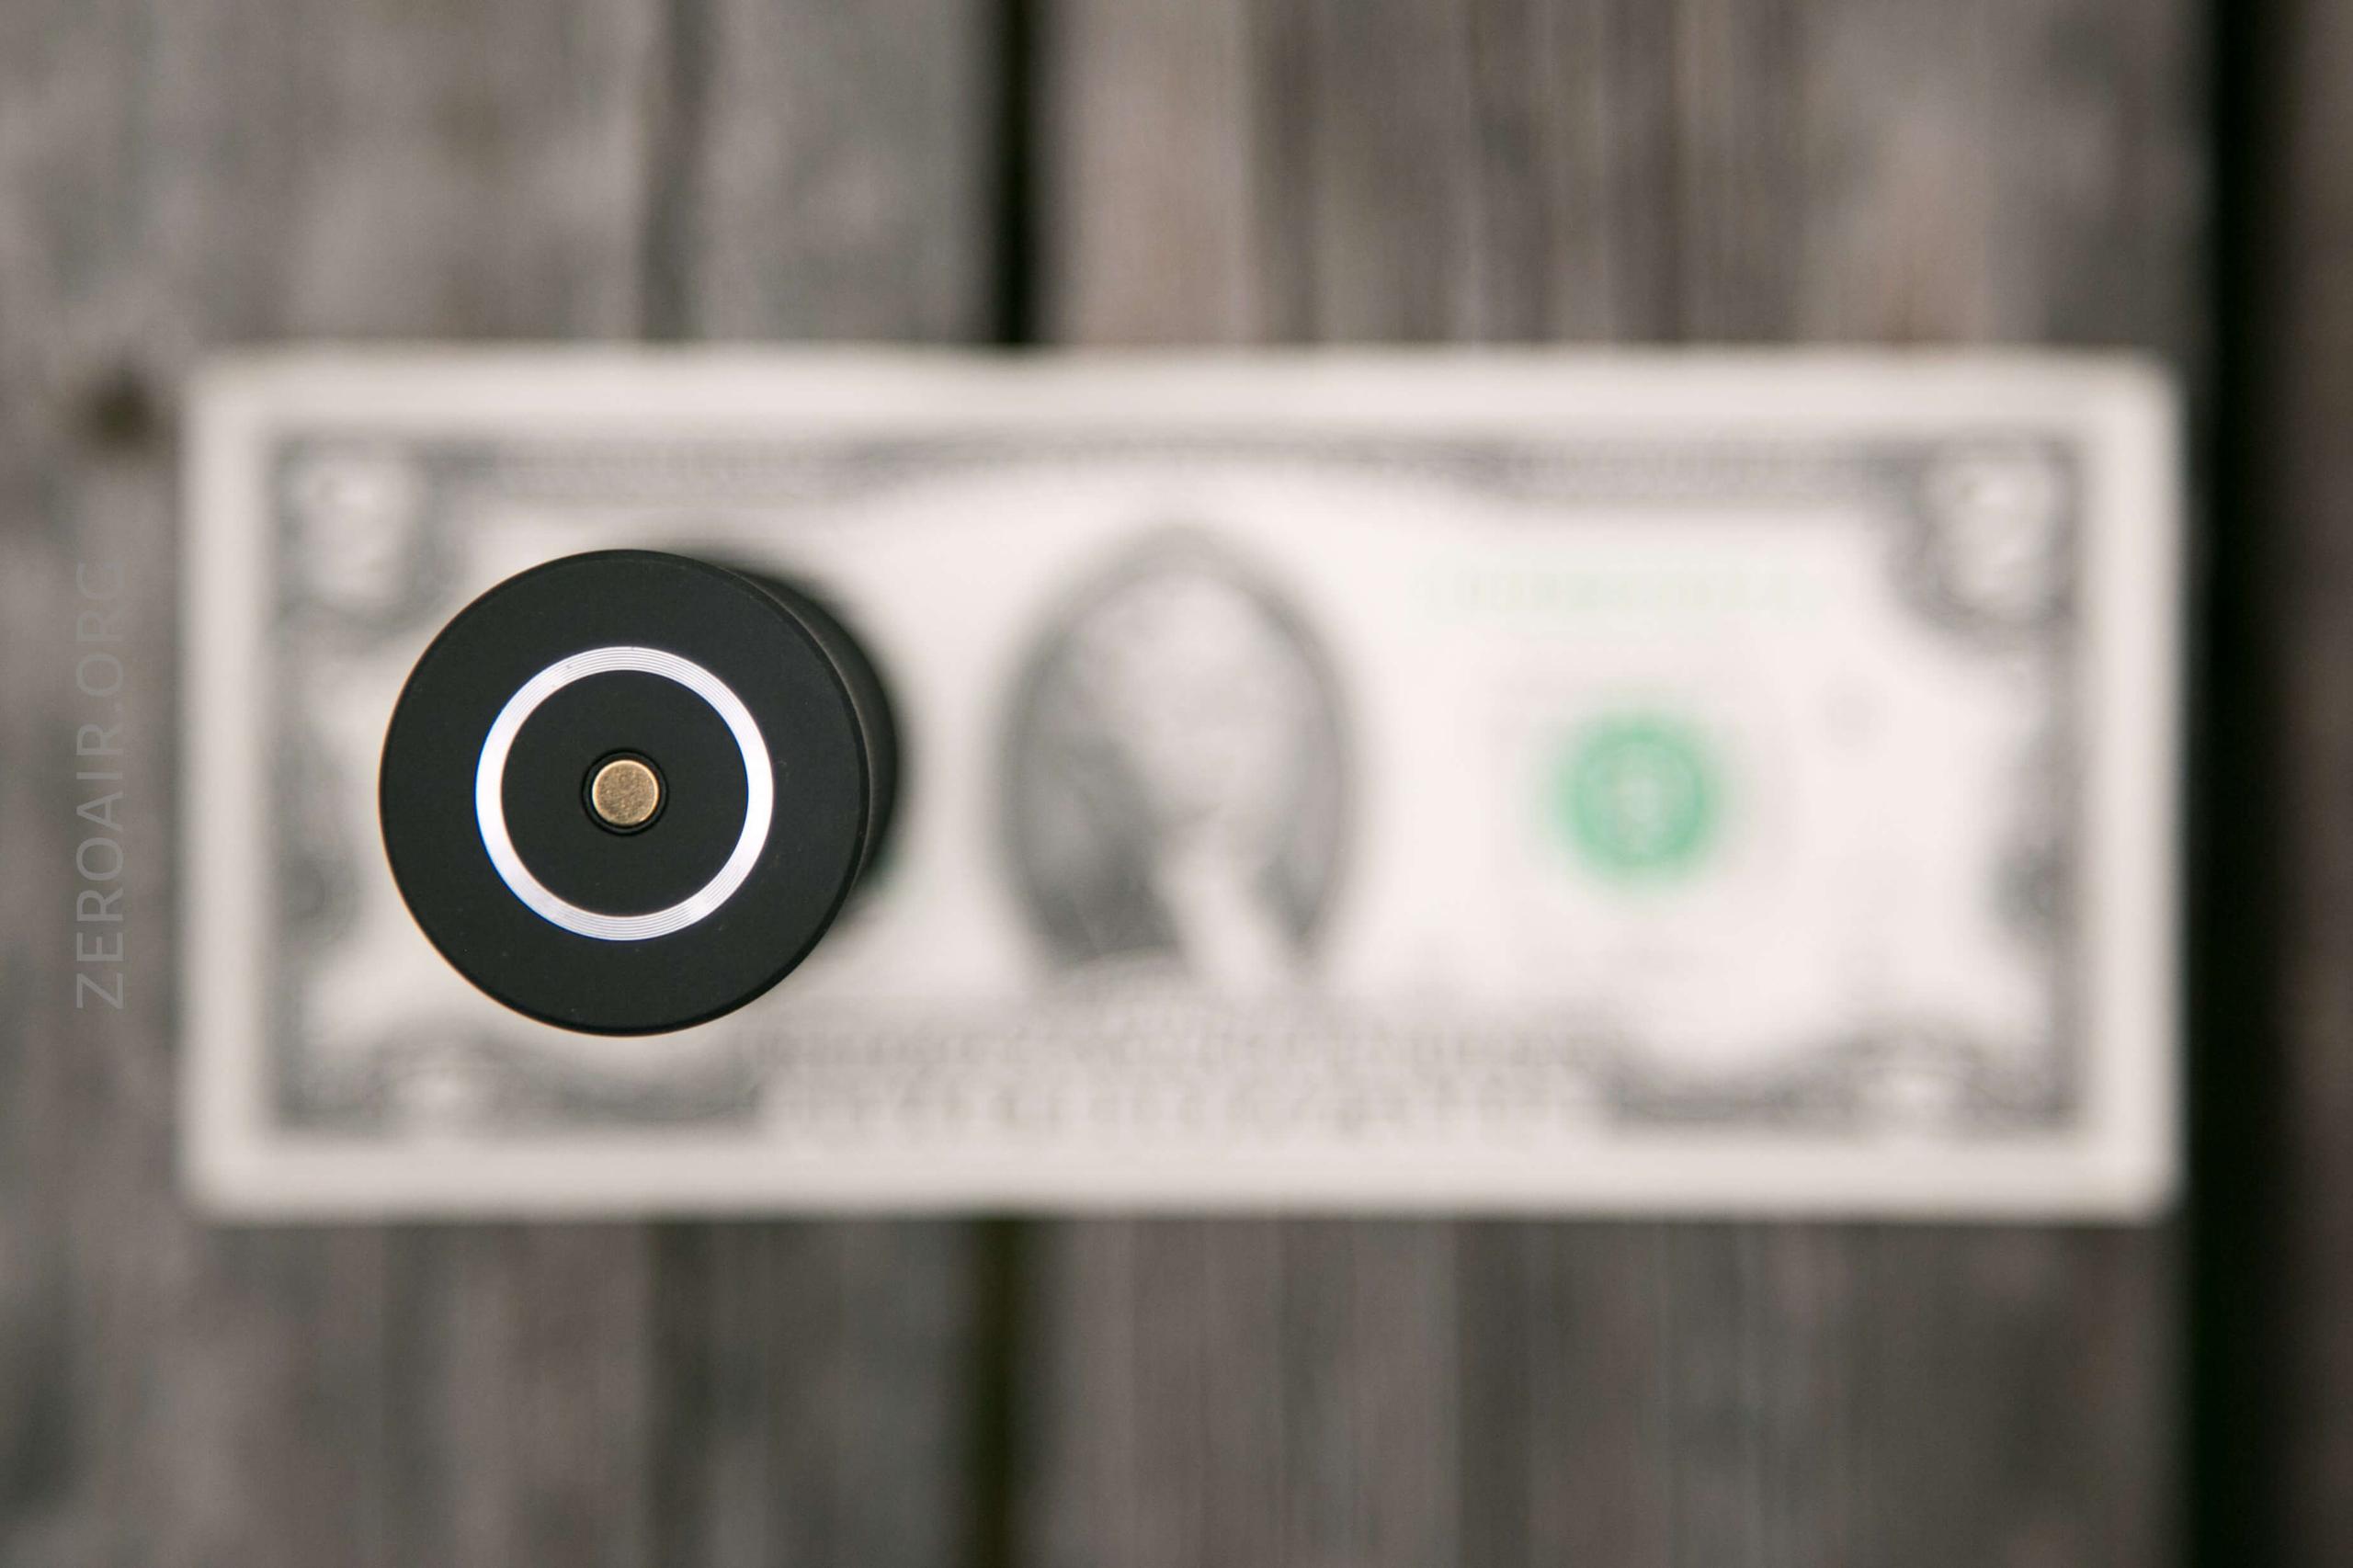
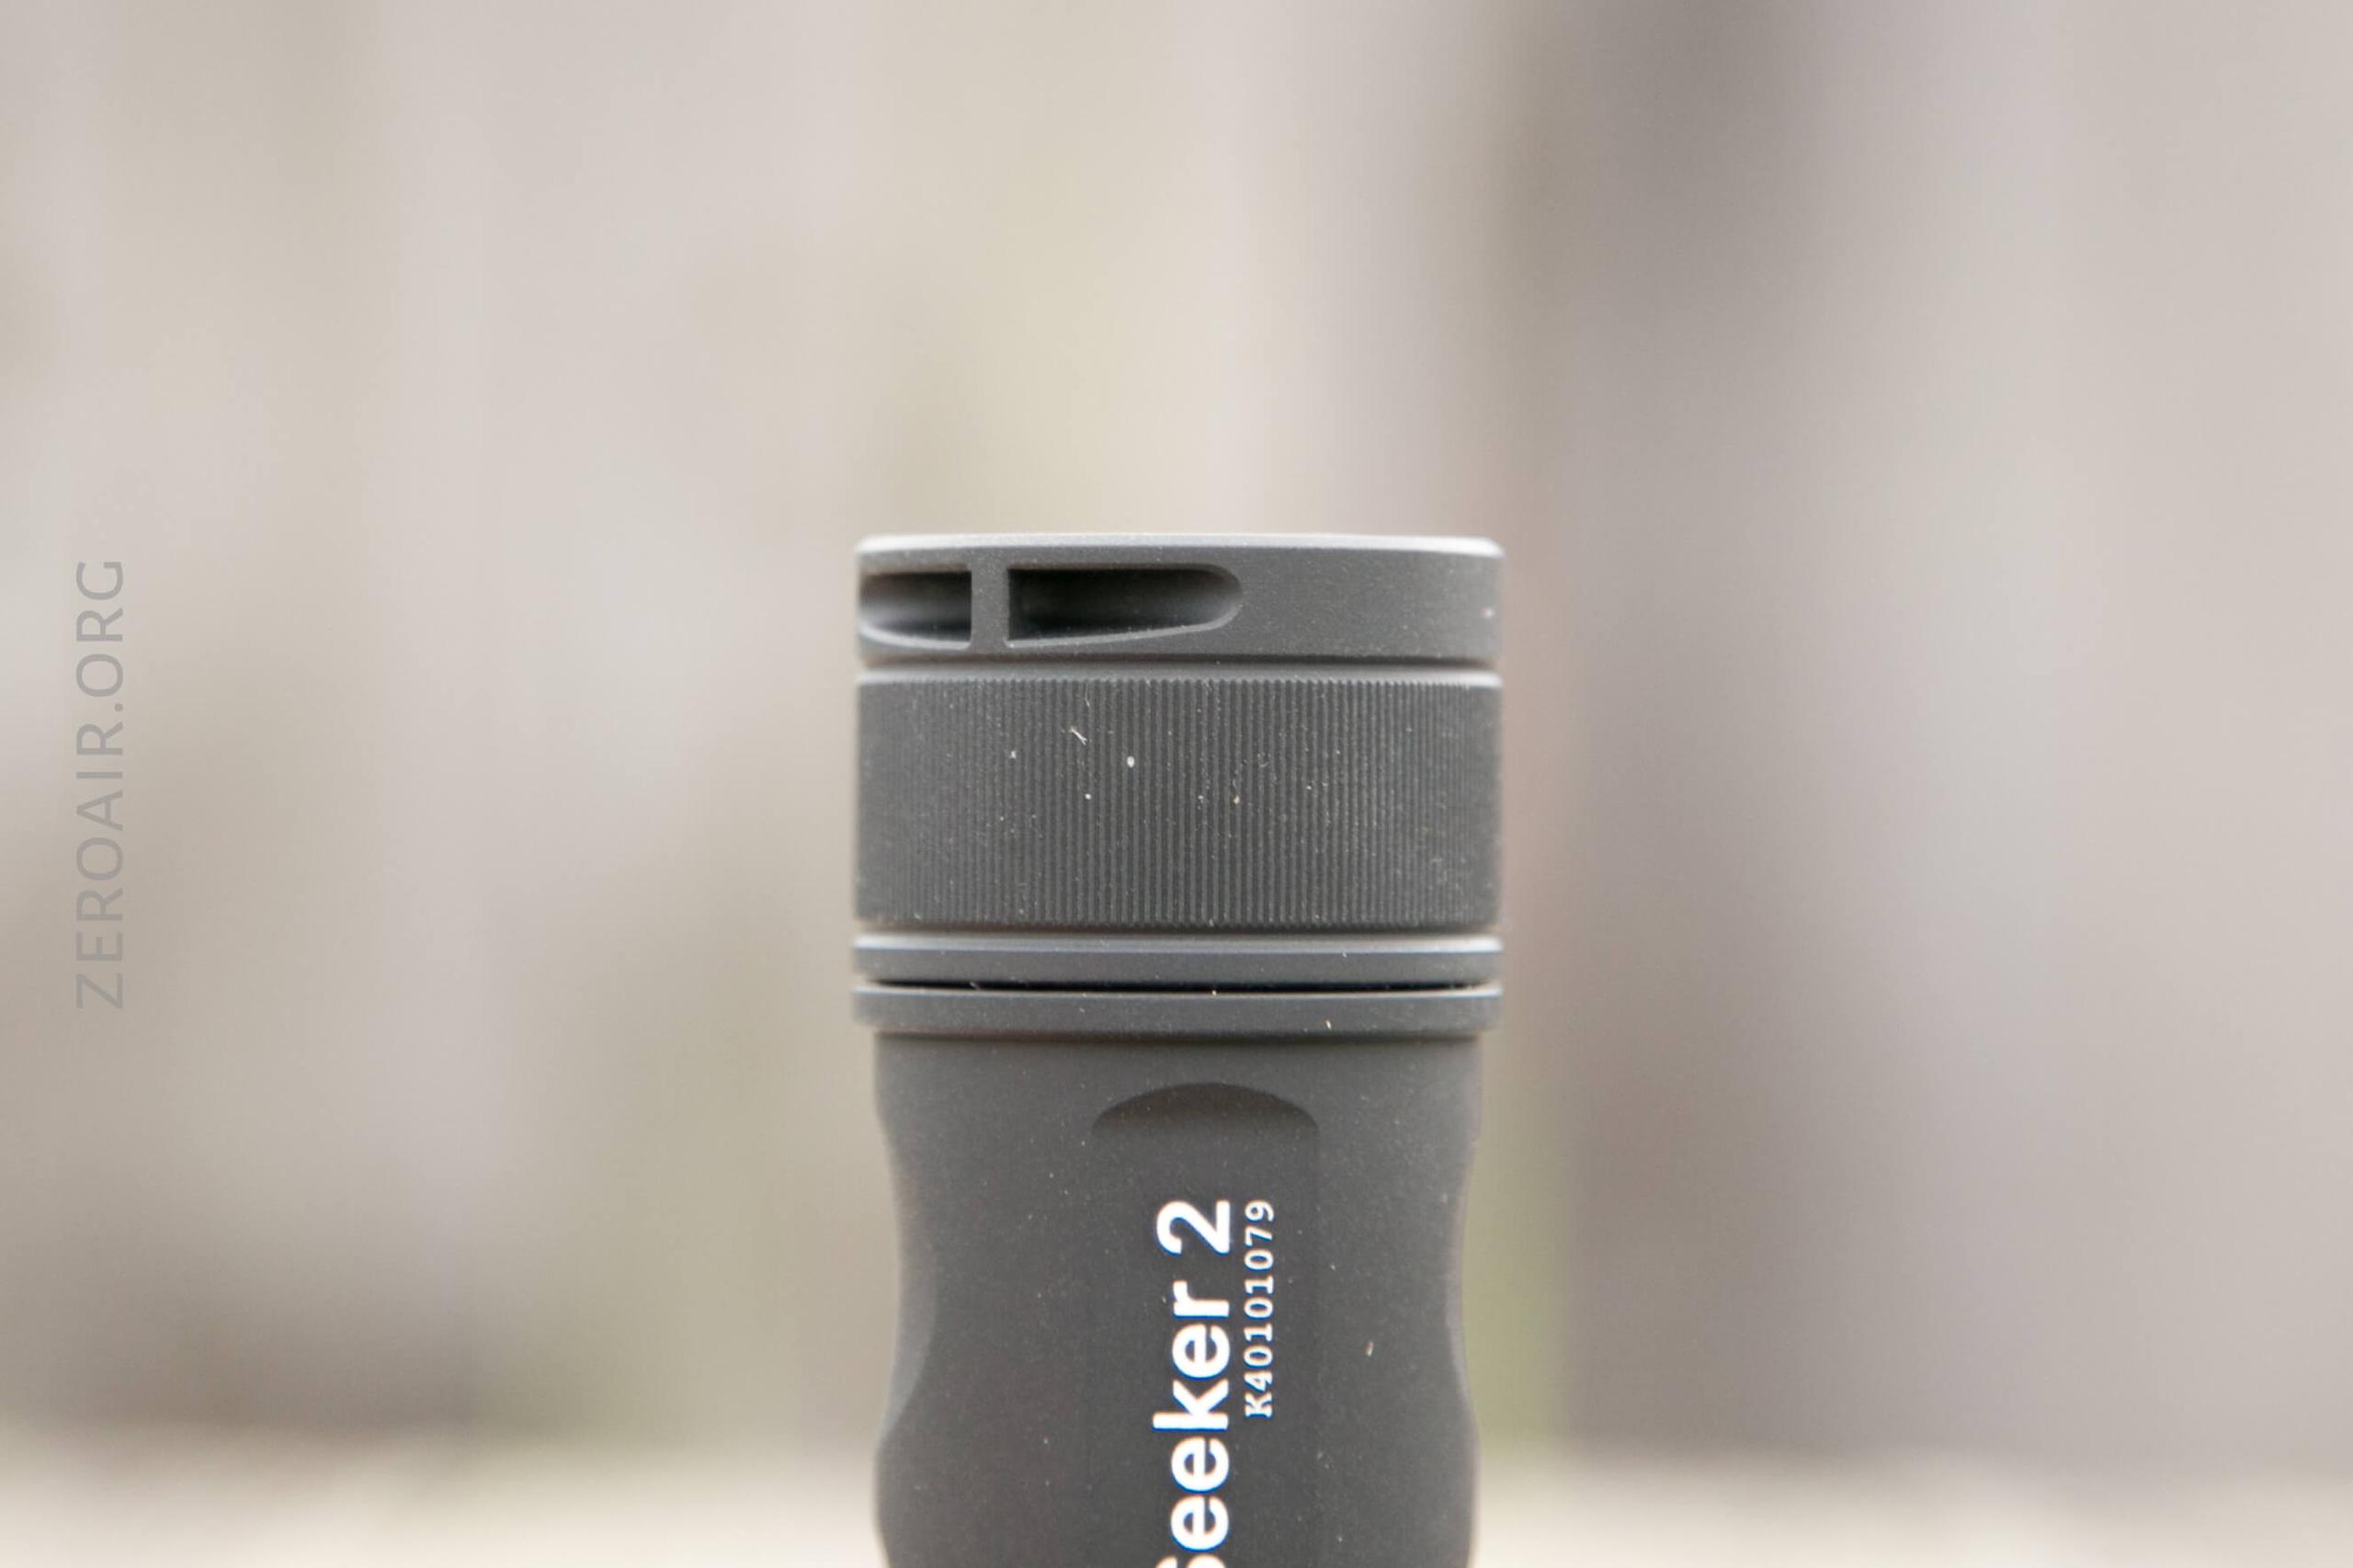
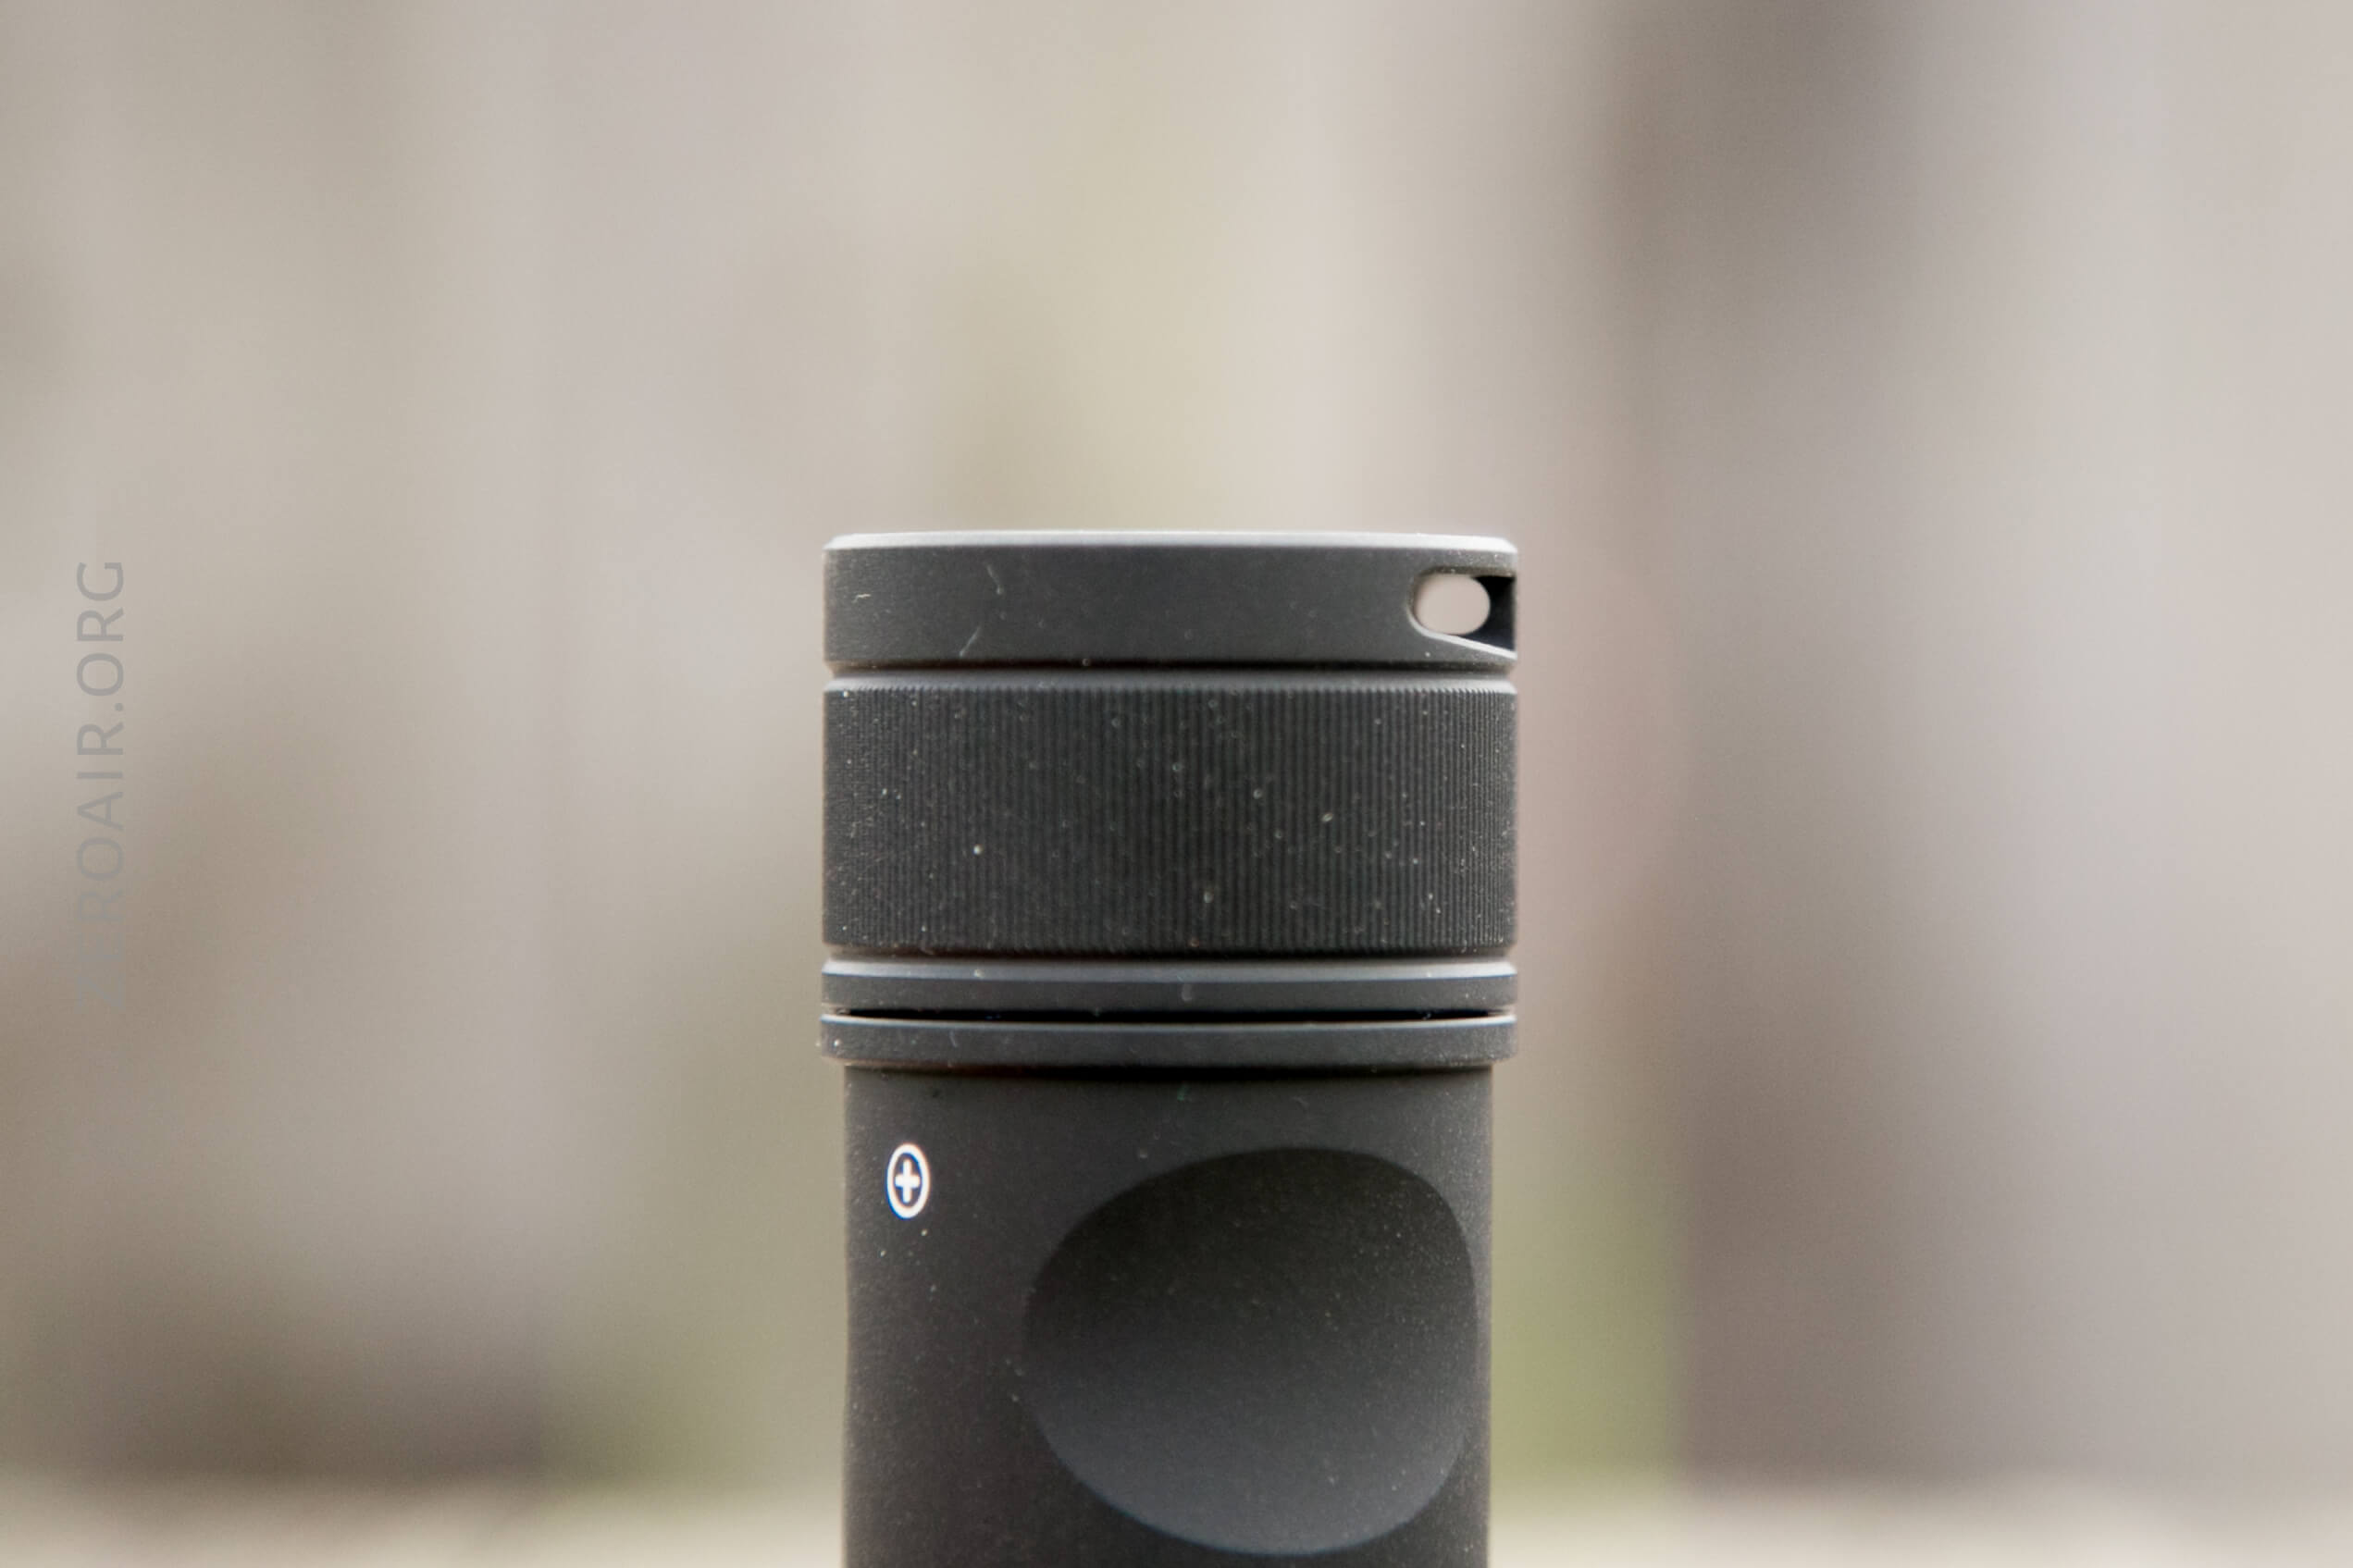
The tail end is dominated by the charge port. I can read voltage off this when a cell is inserted, but I haven’t tested its liveliness with any steel wool…
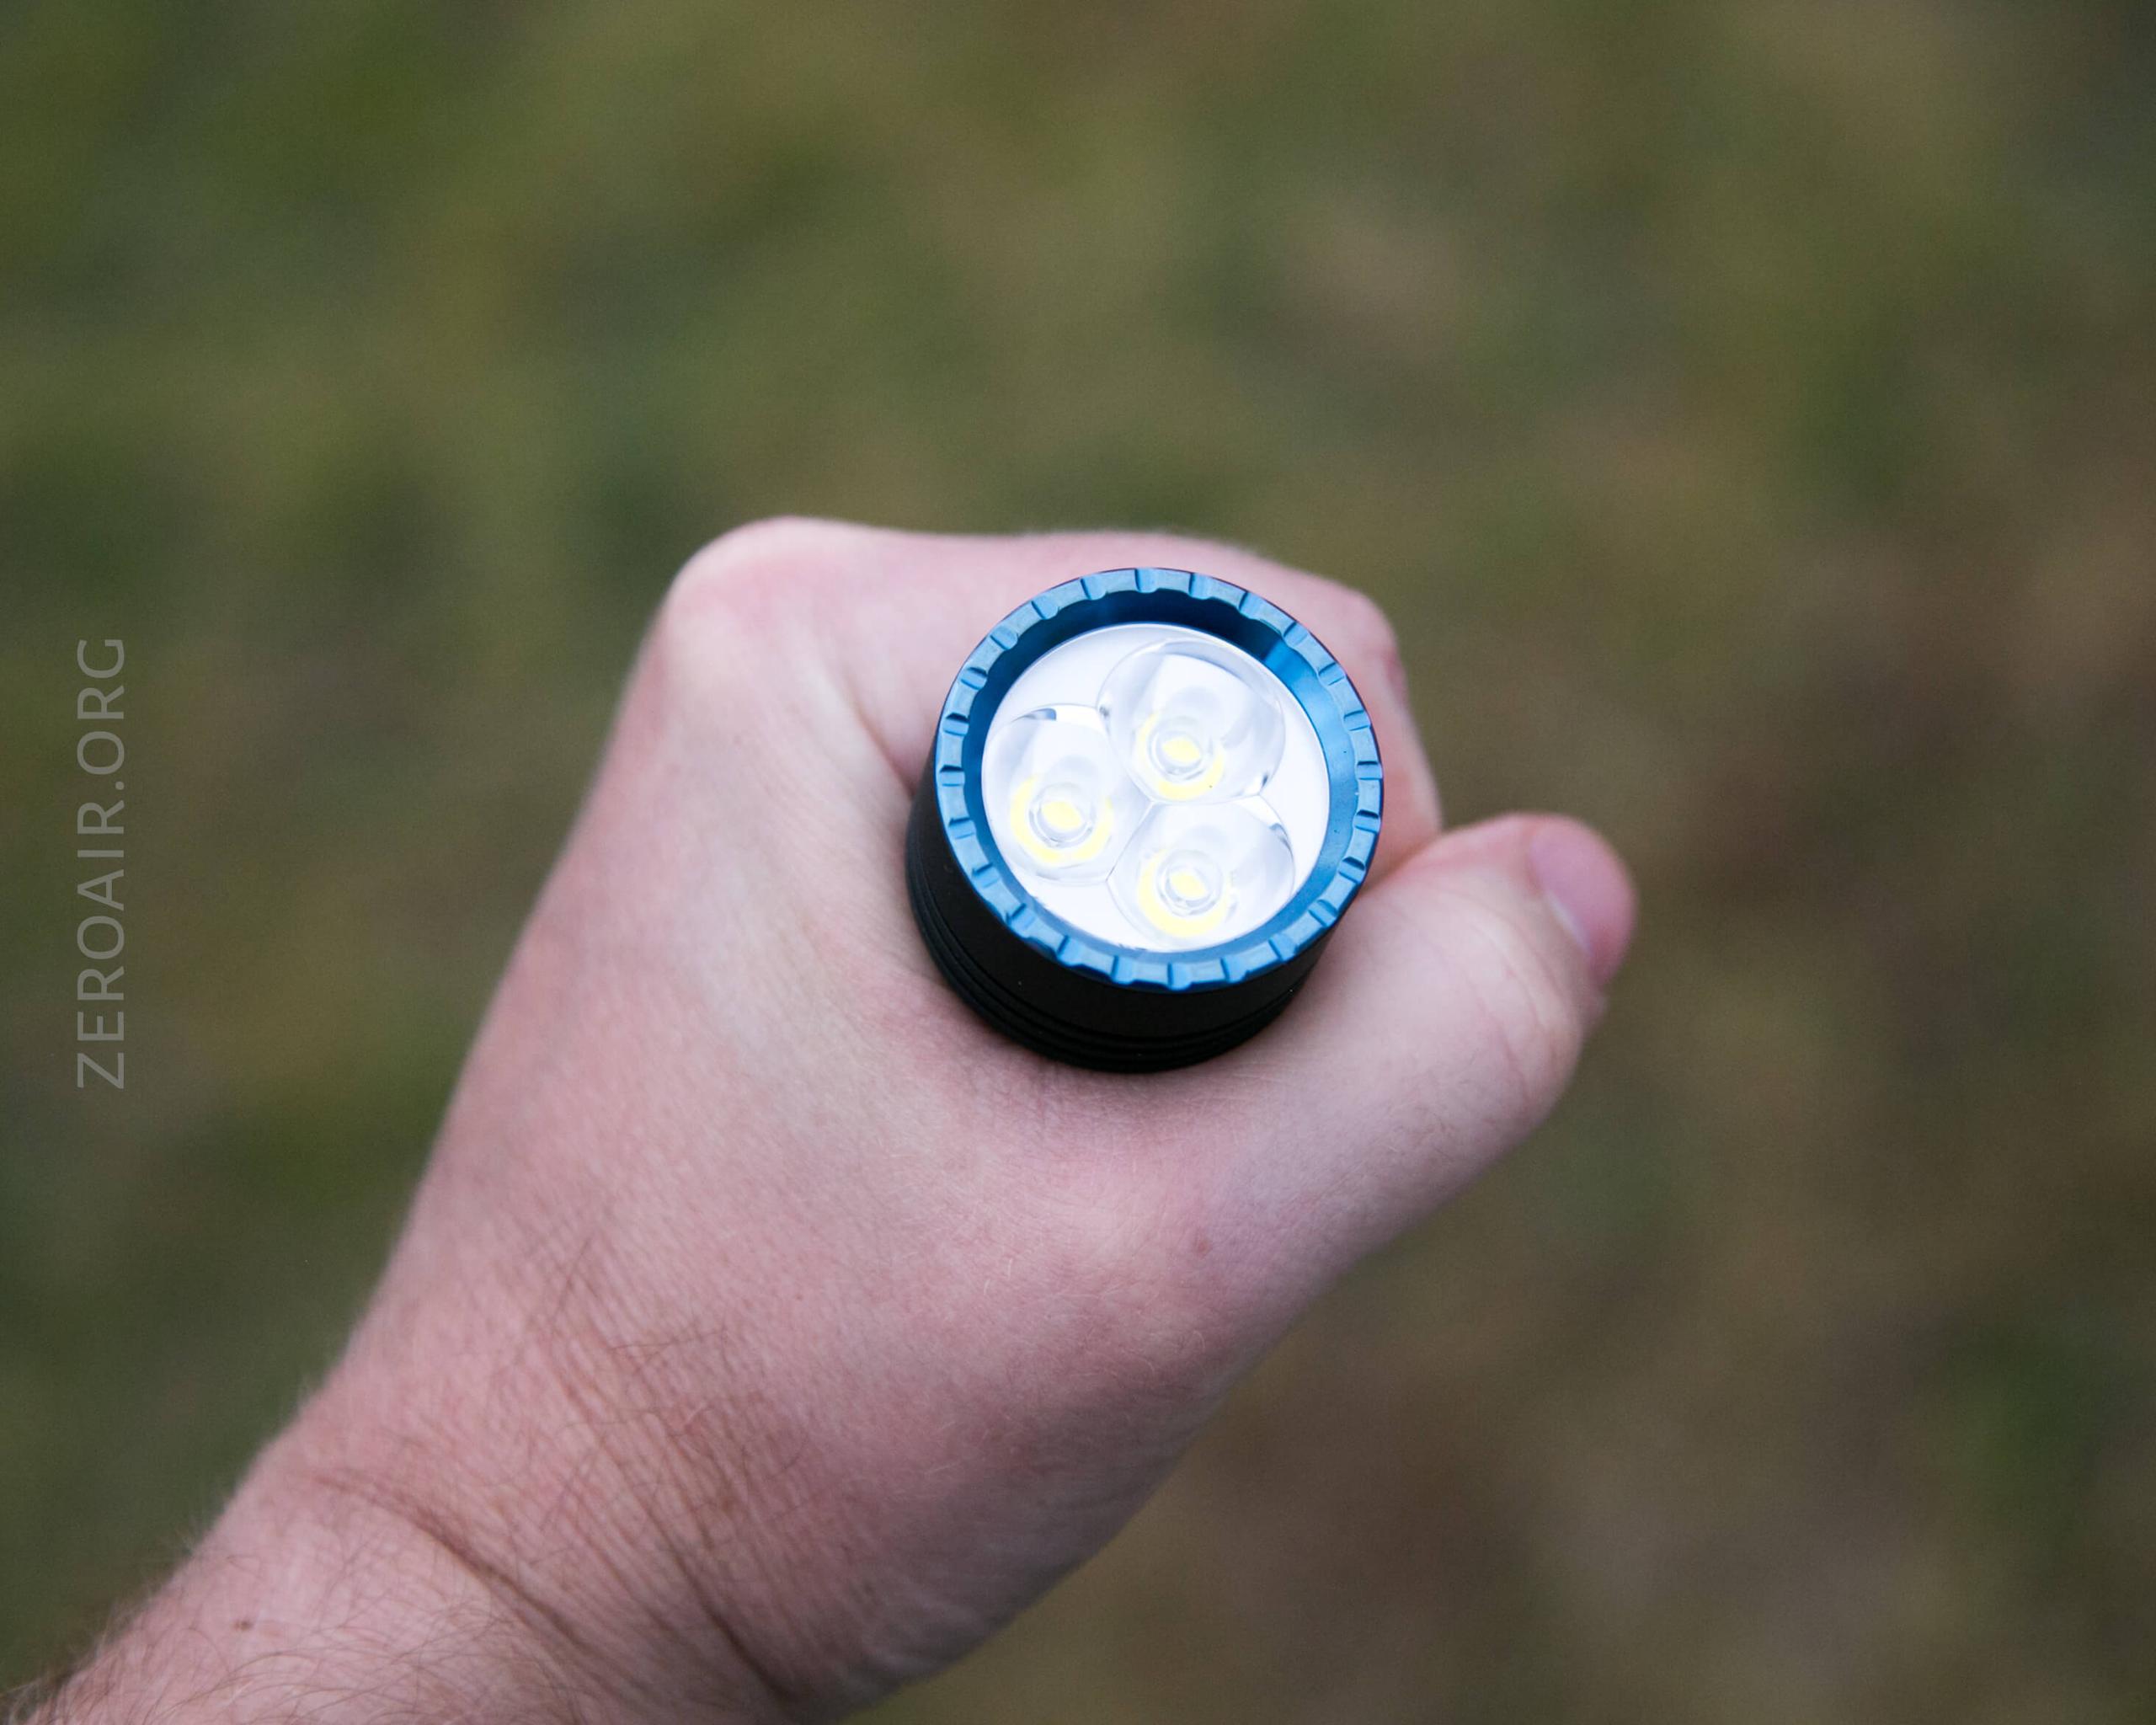
The blue bezel does appear to be removable, but my attempts did not prove fruitful. This is likely screwed in, but might also be press-fit (which wouldn’t be out of the question for Olight).
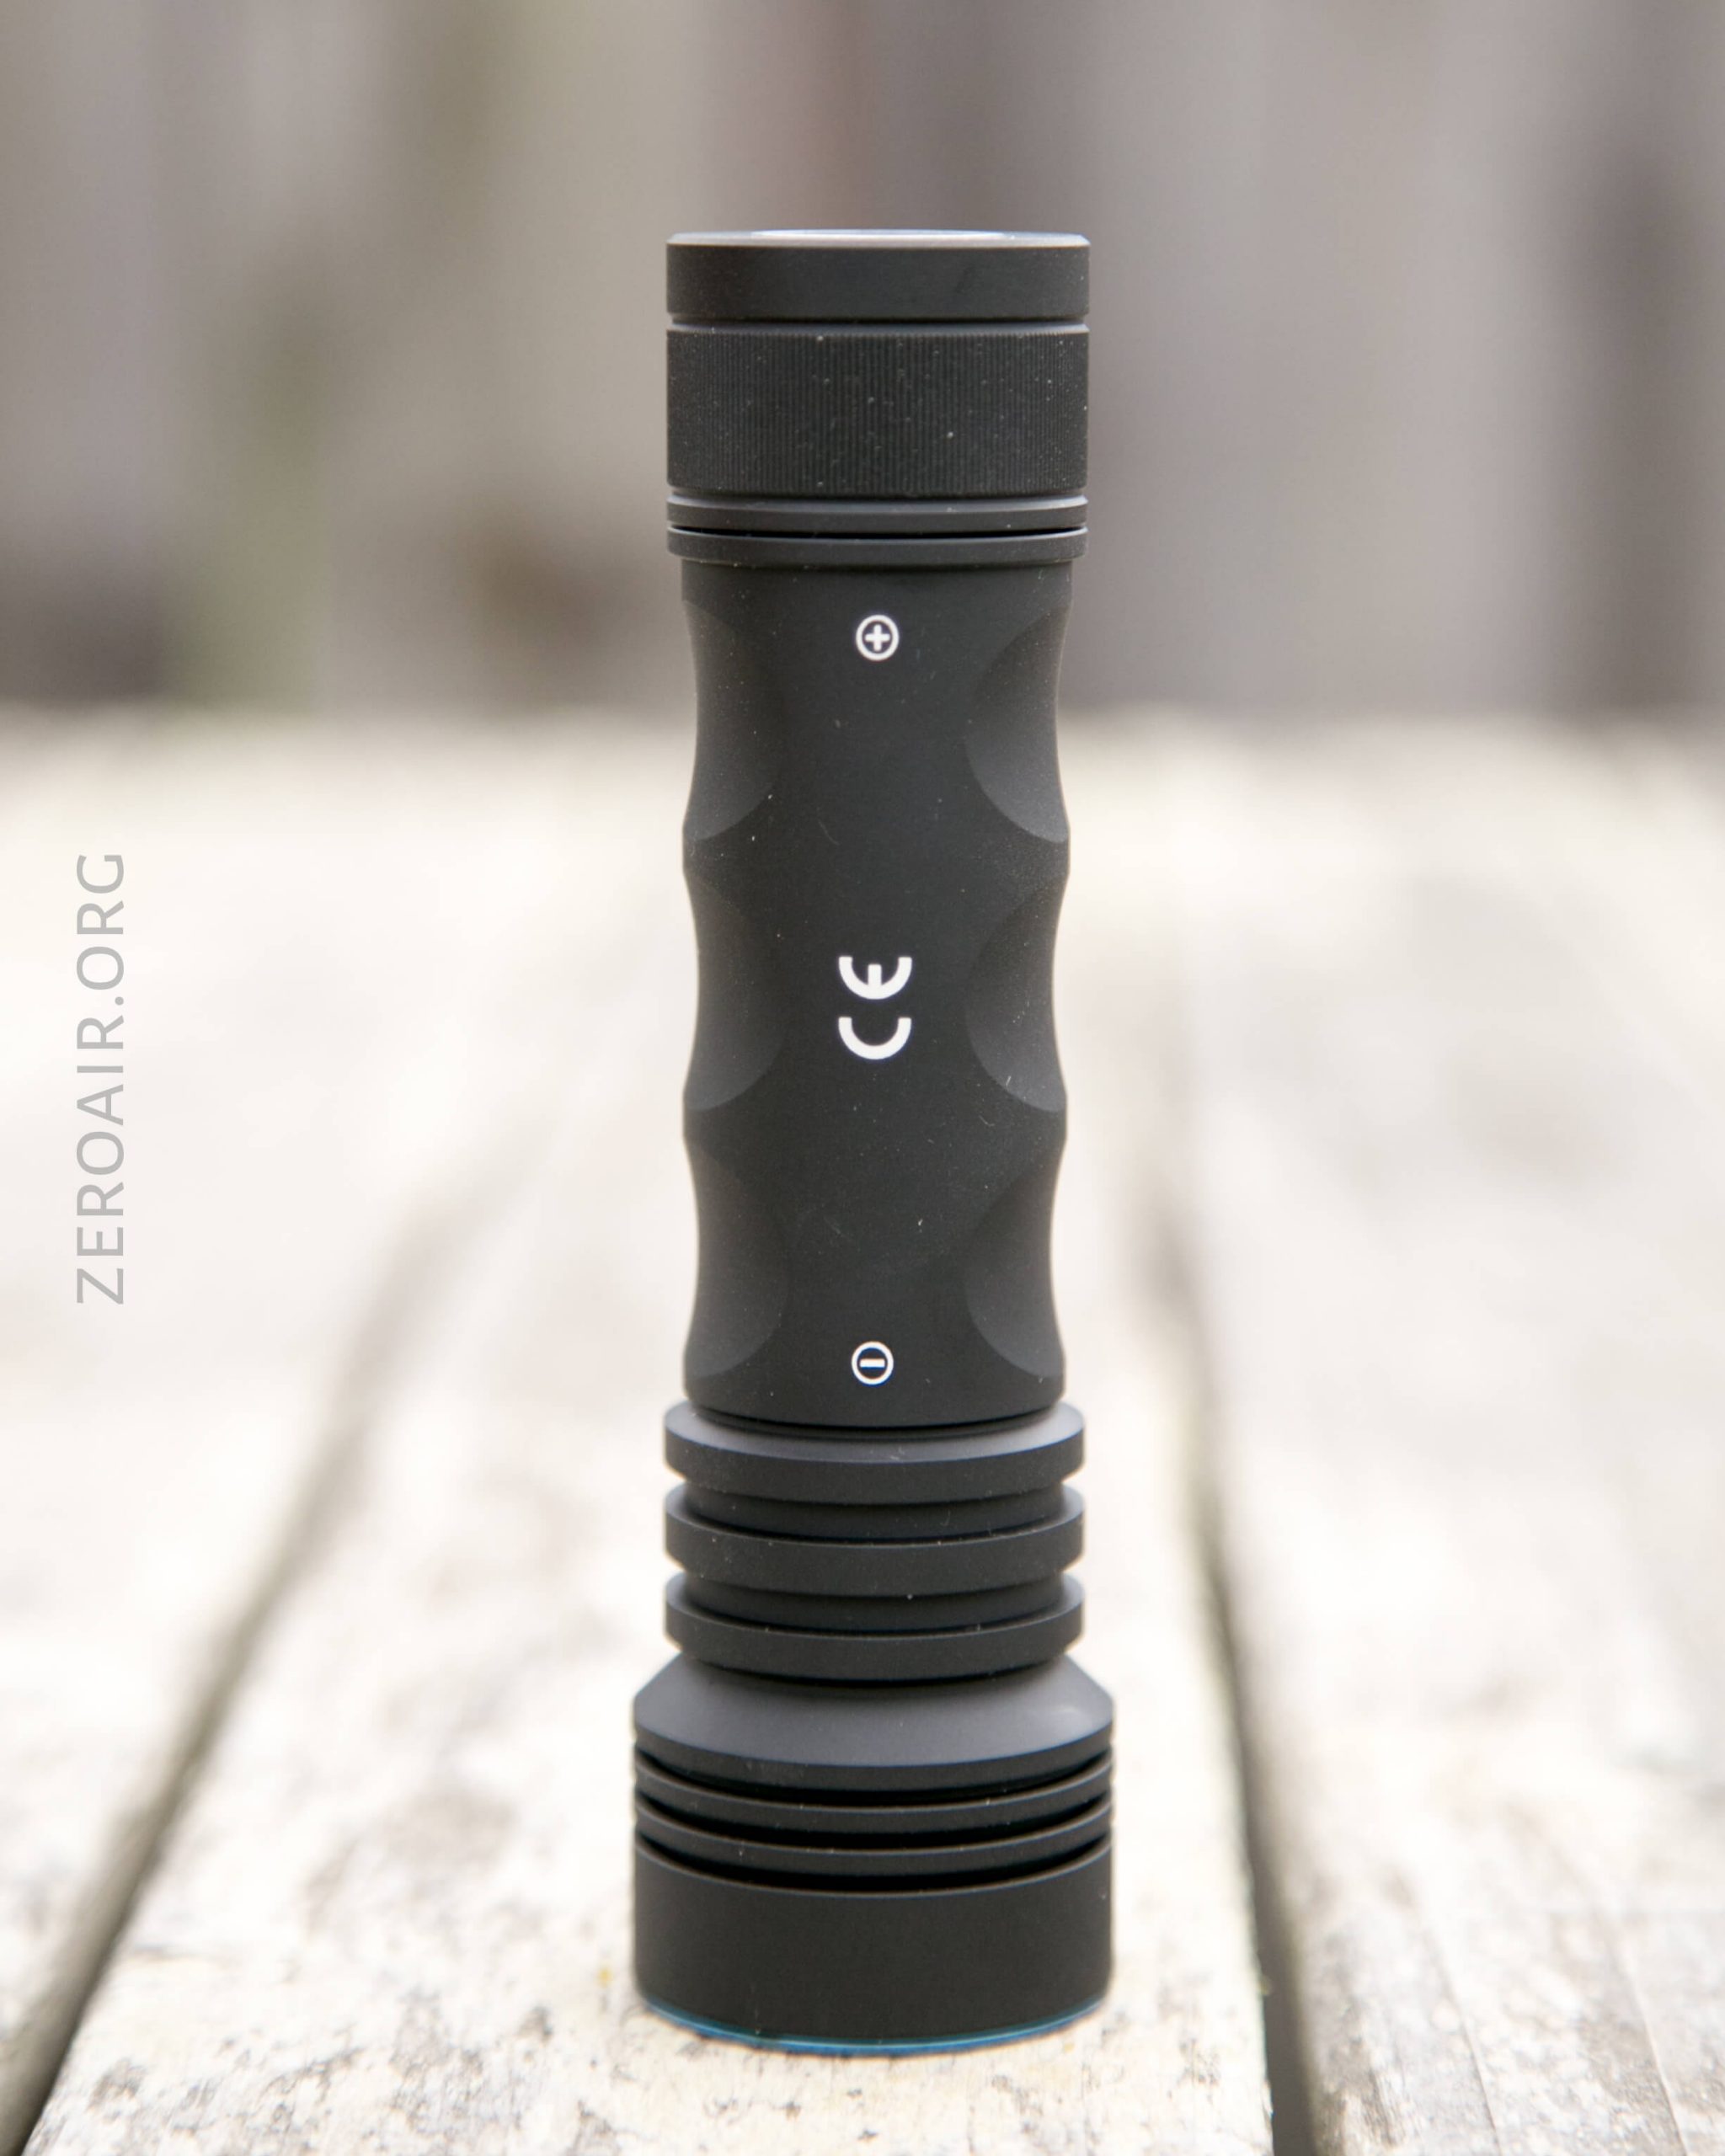
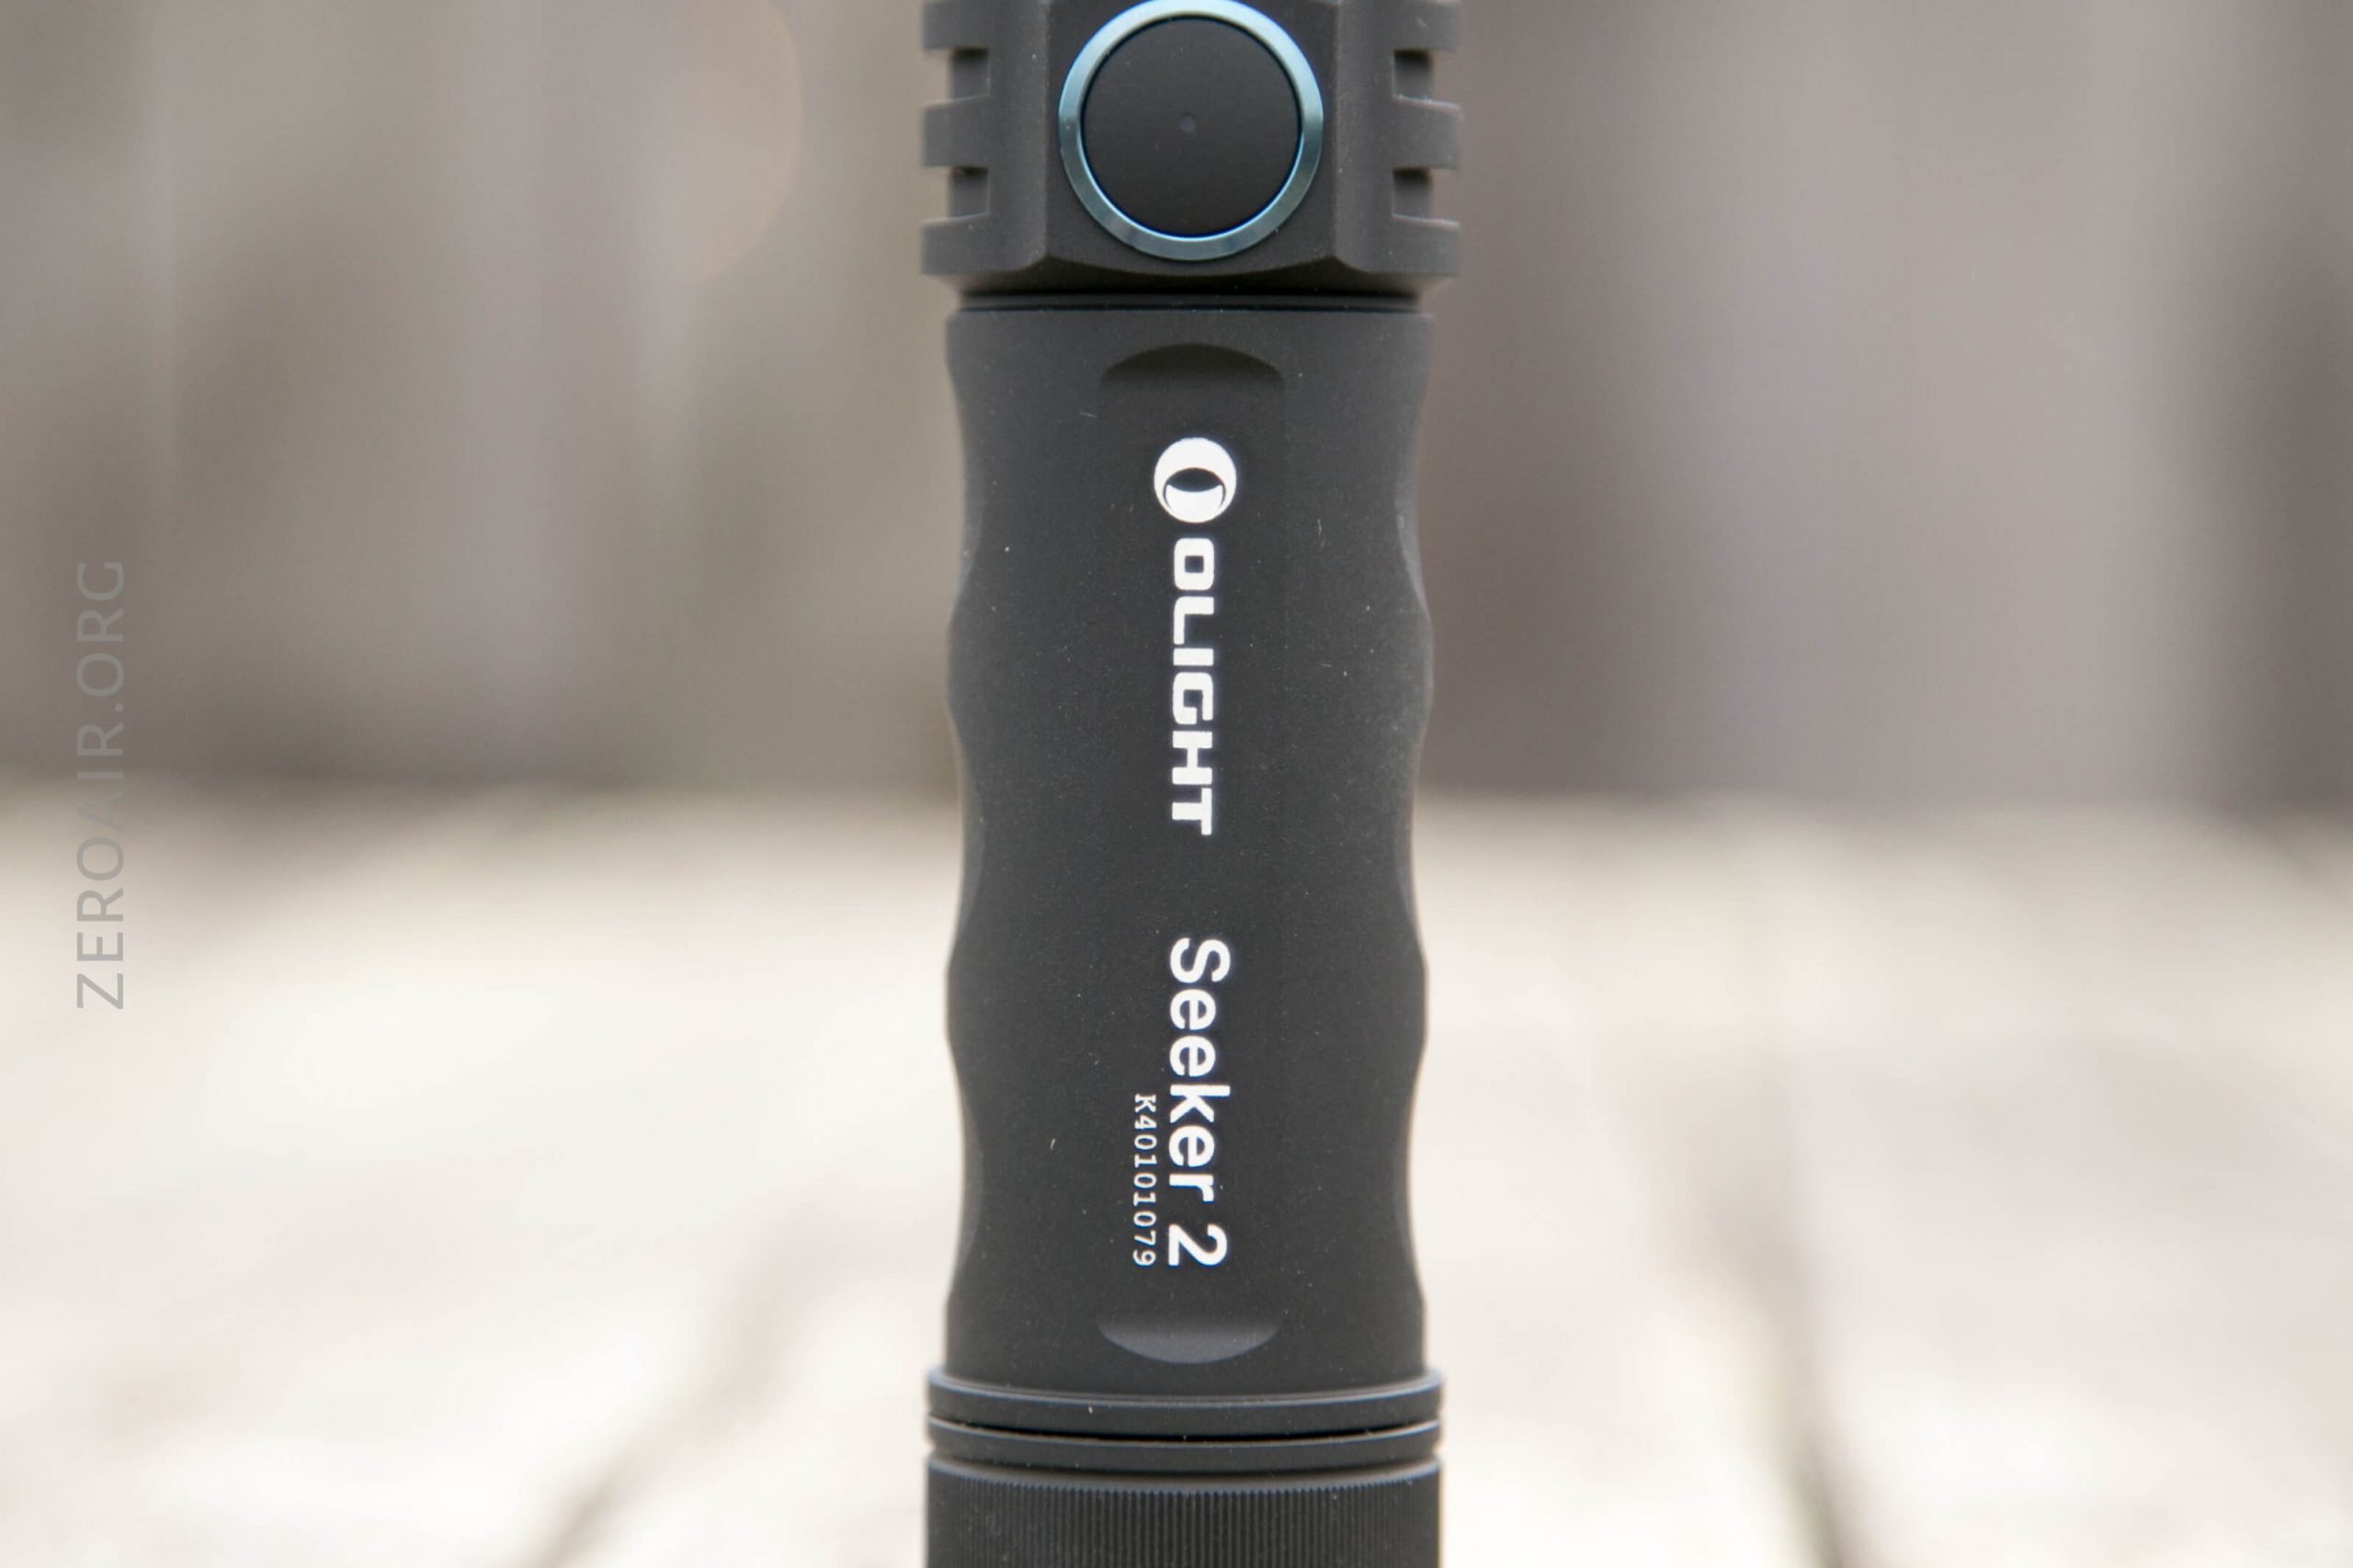
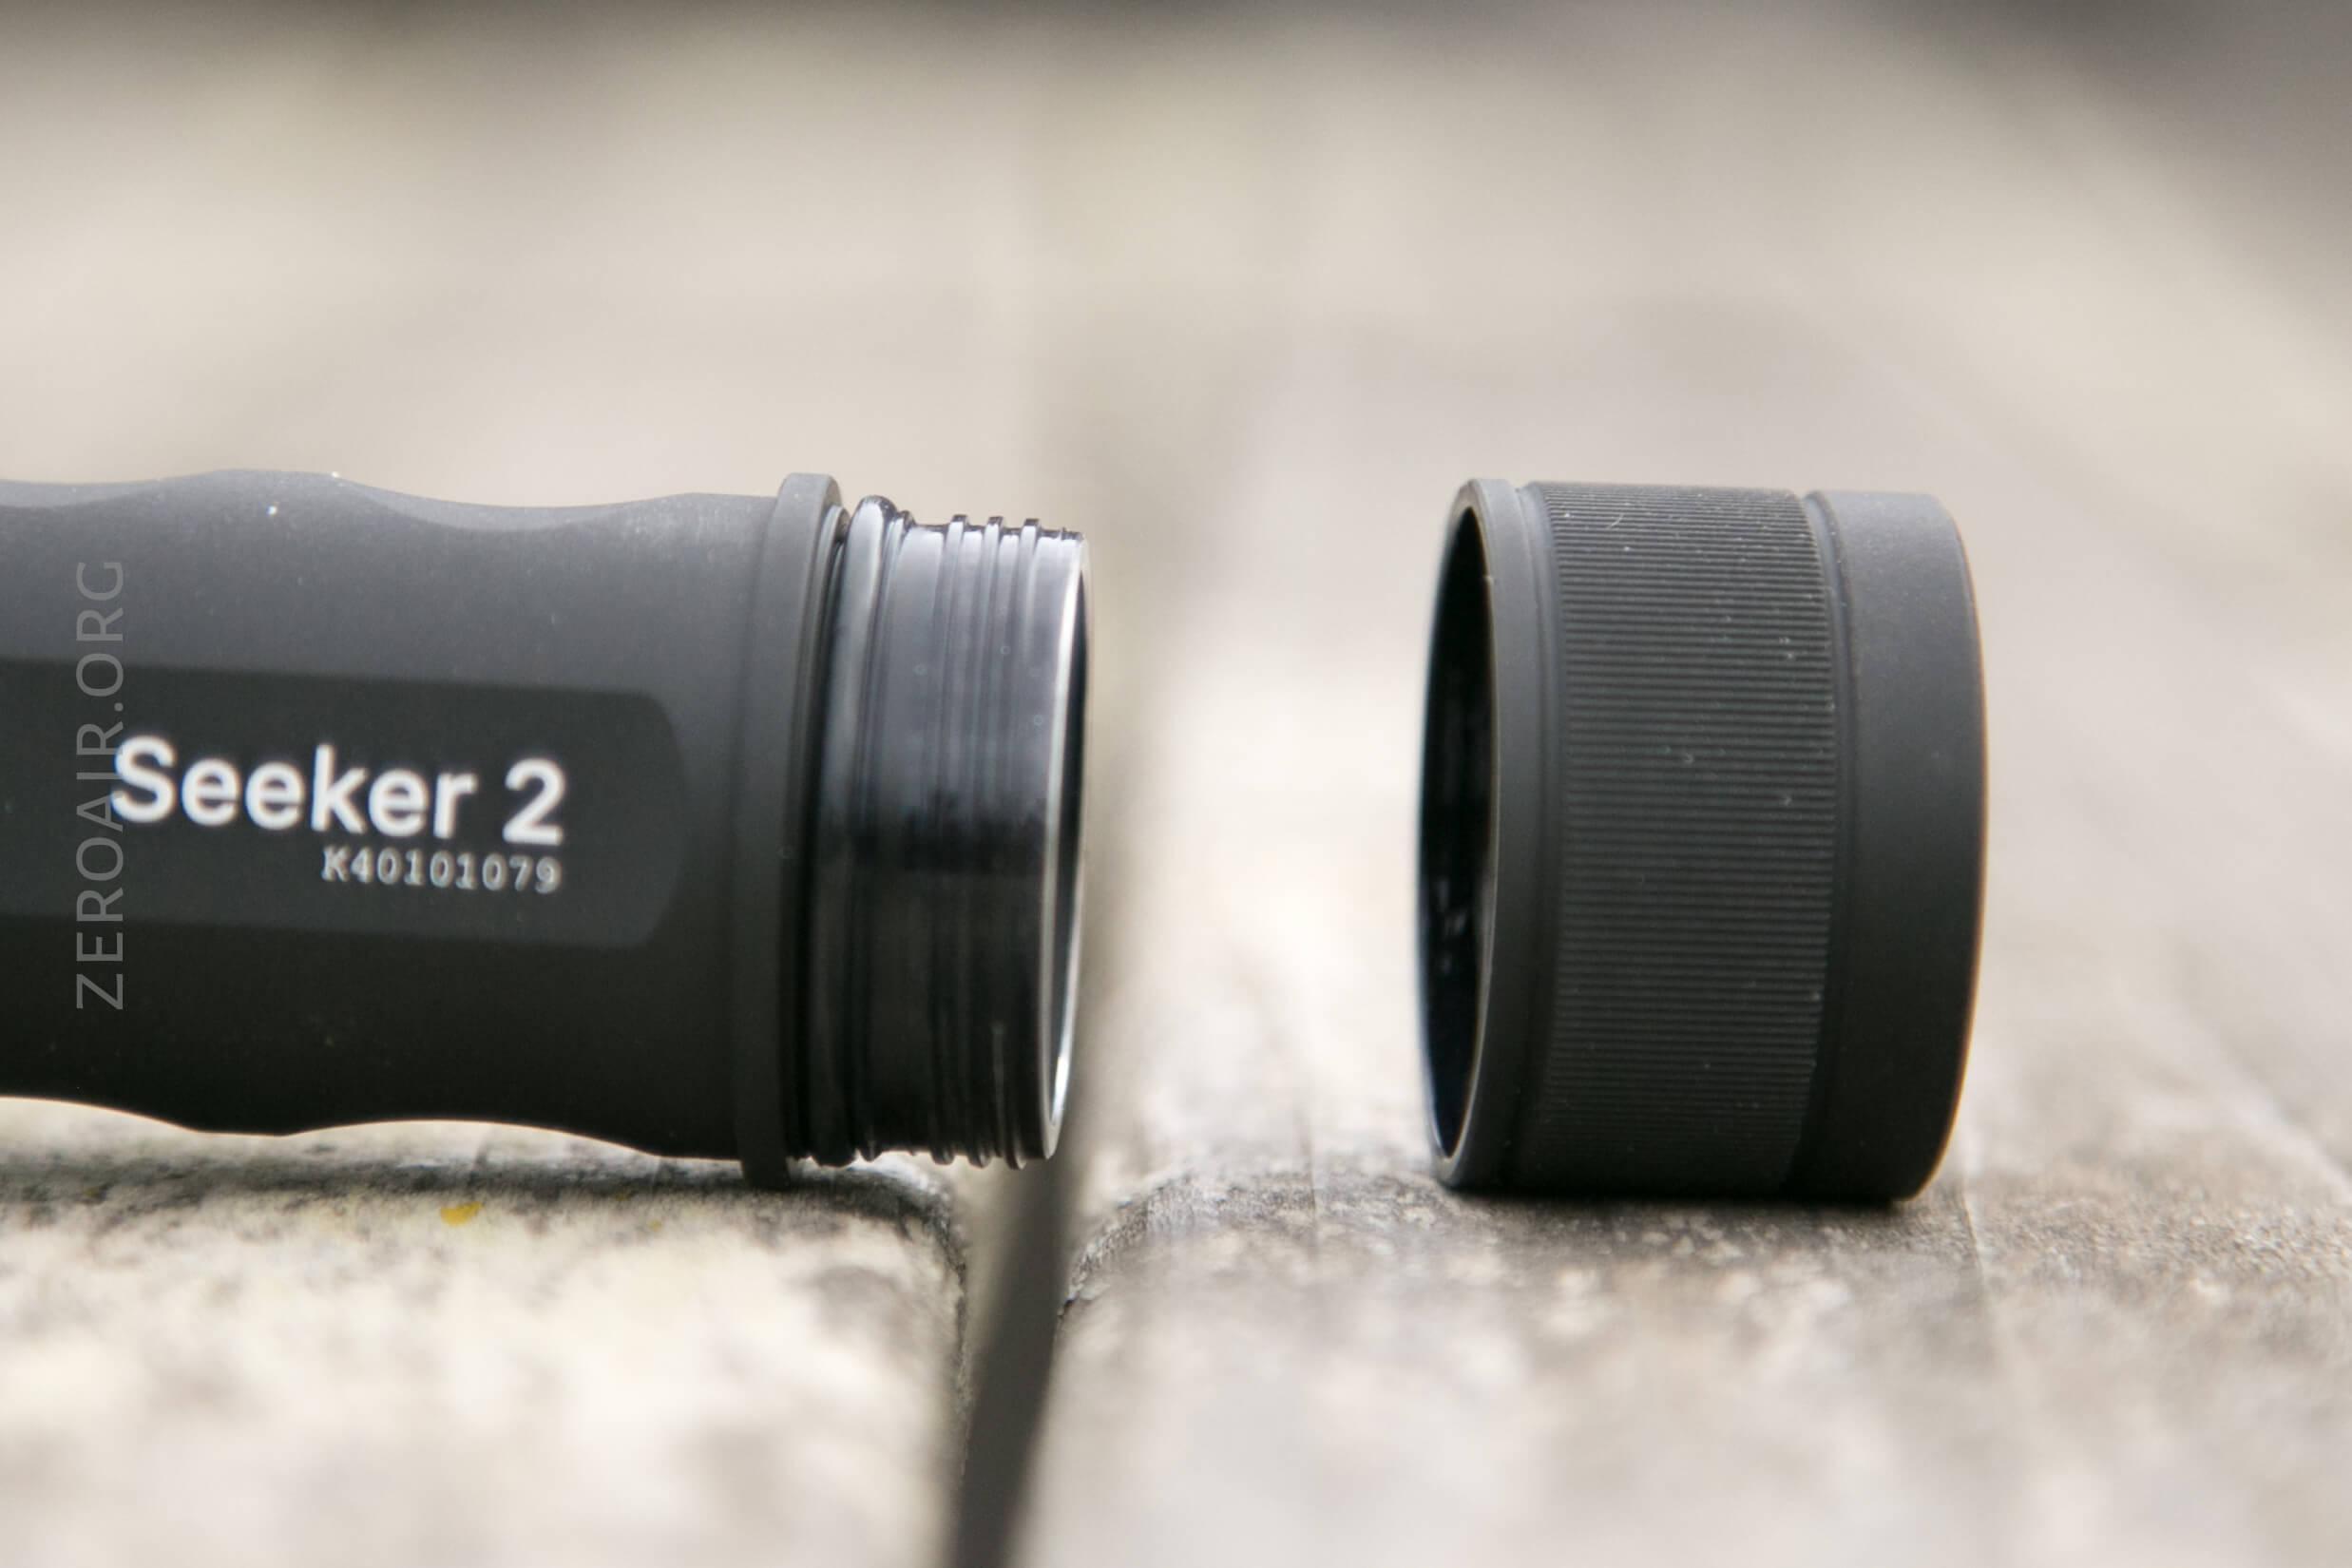
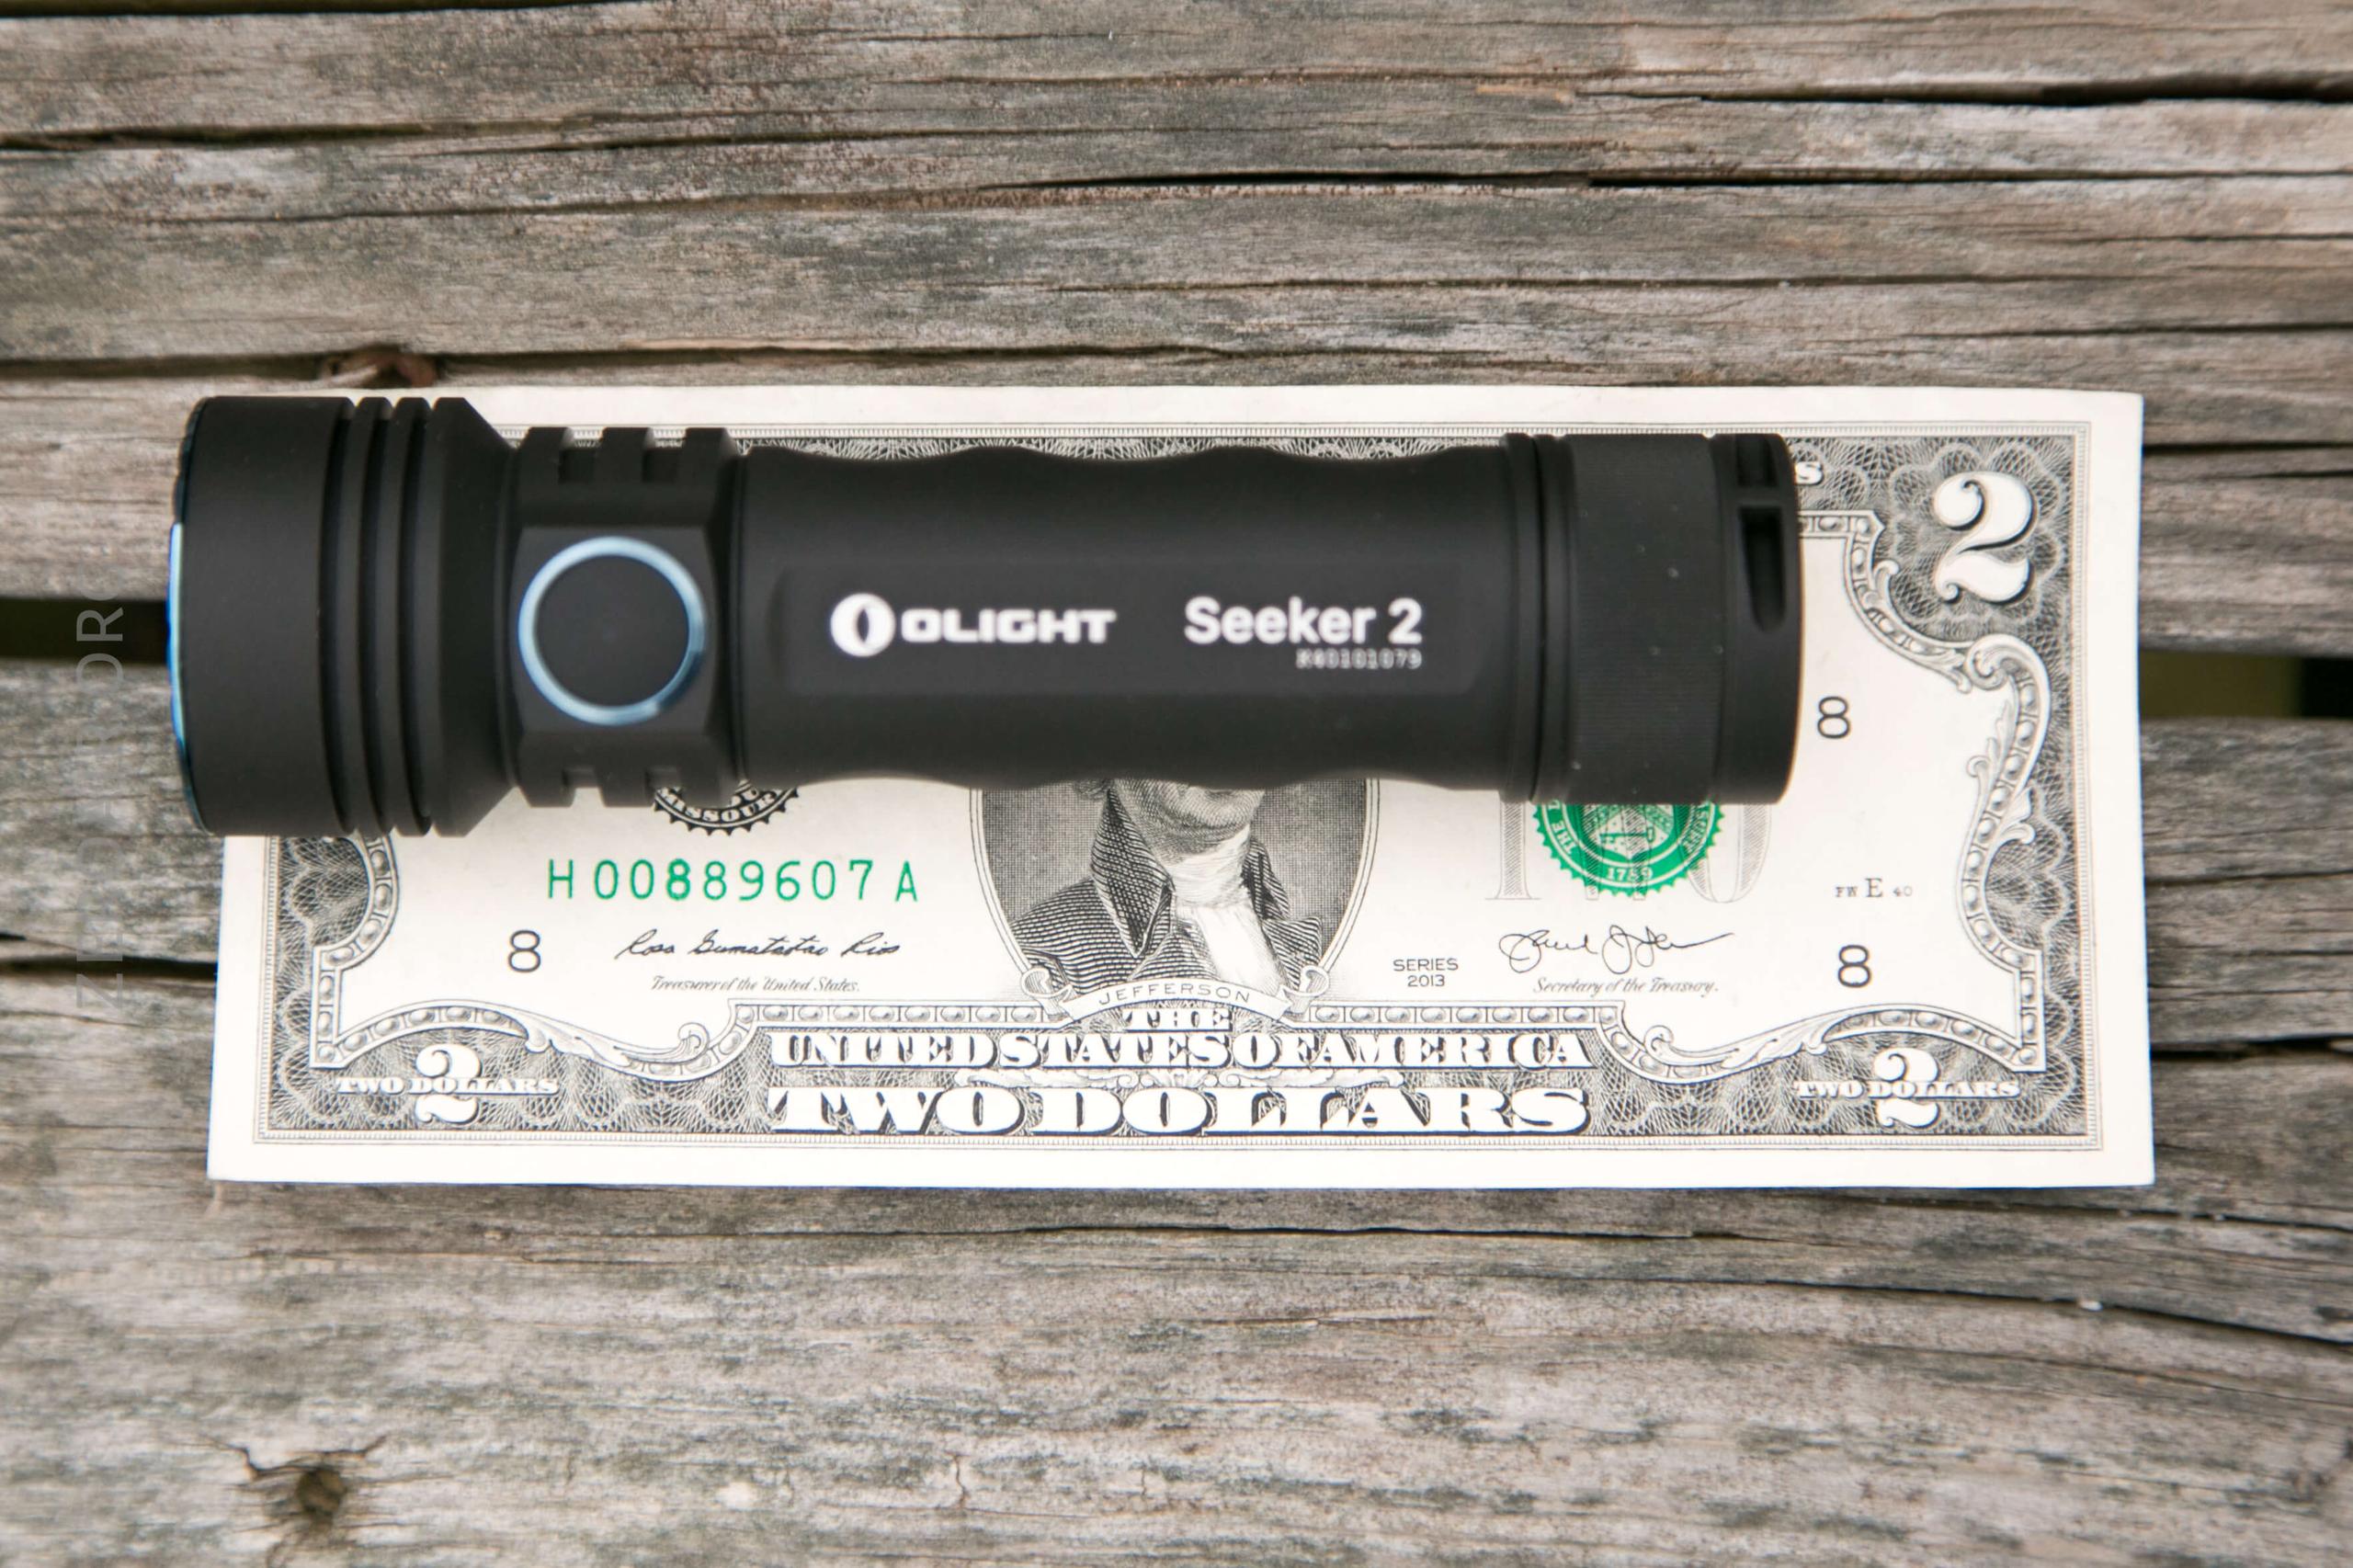
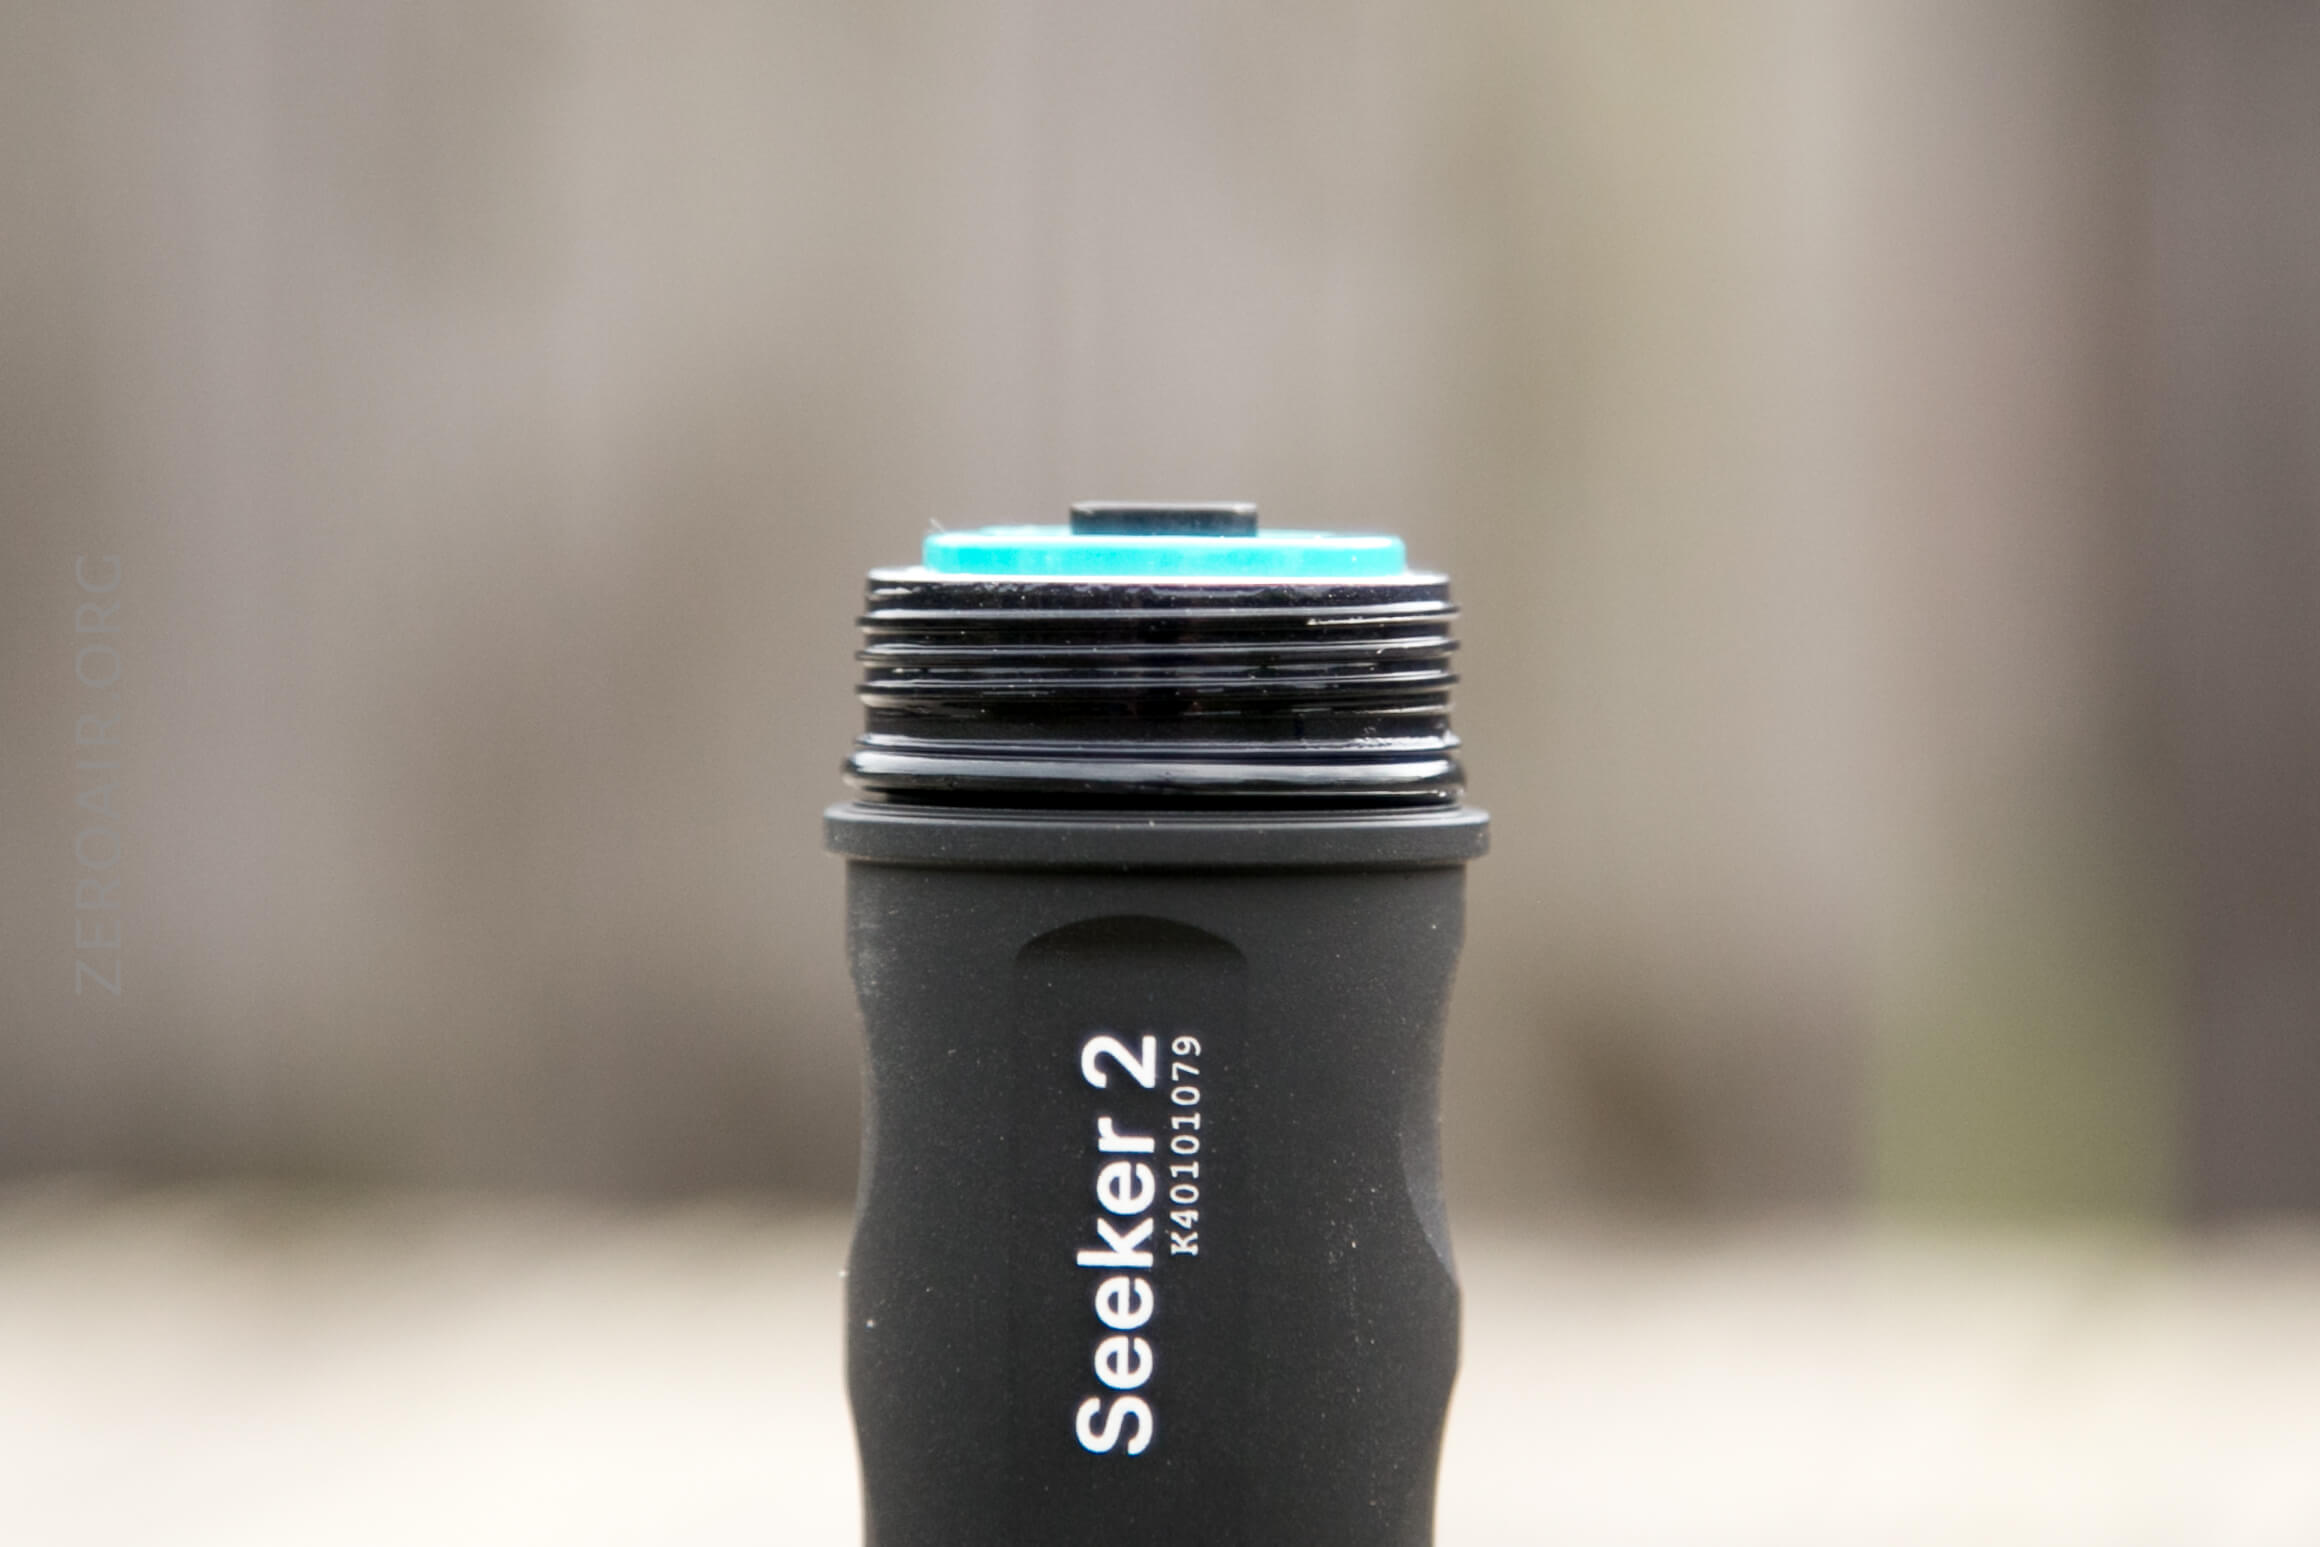
There’s minimal, but prominent branding.
The tailcap has nice reeding, which provides a good grip. You may never need to remove the cell, though, because it’s proprietary and the light has charging, and regular 21700 cells aren’t going to work anyway.
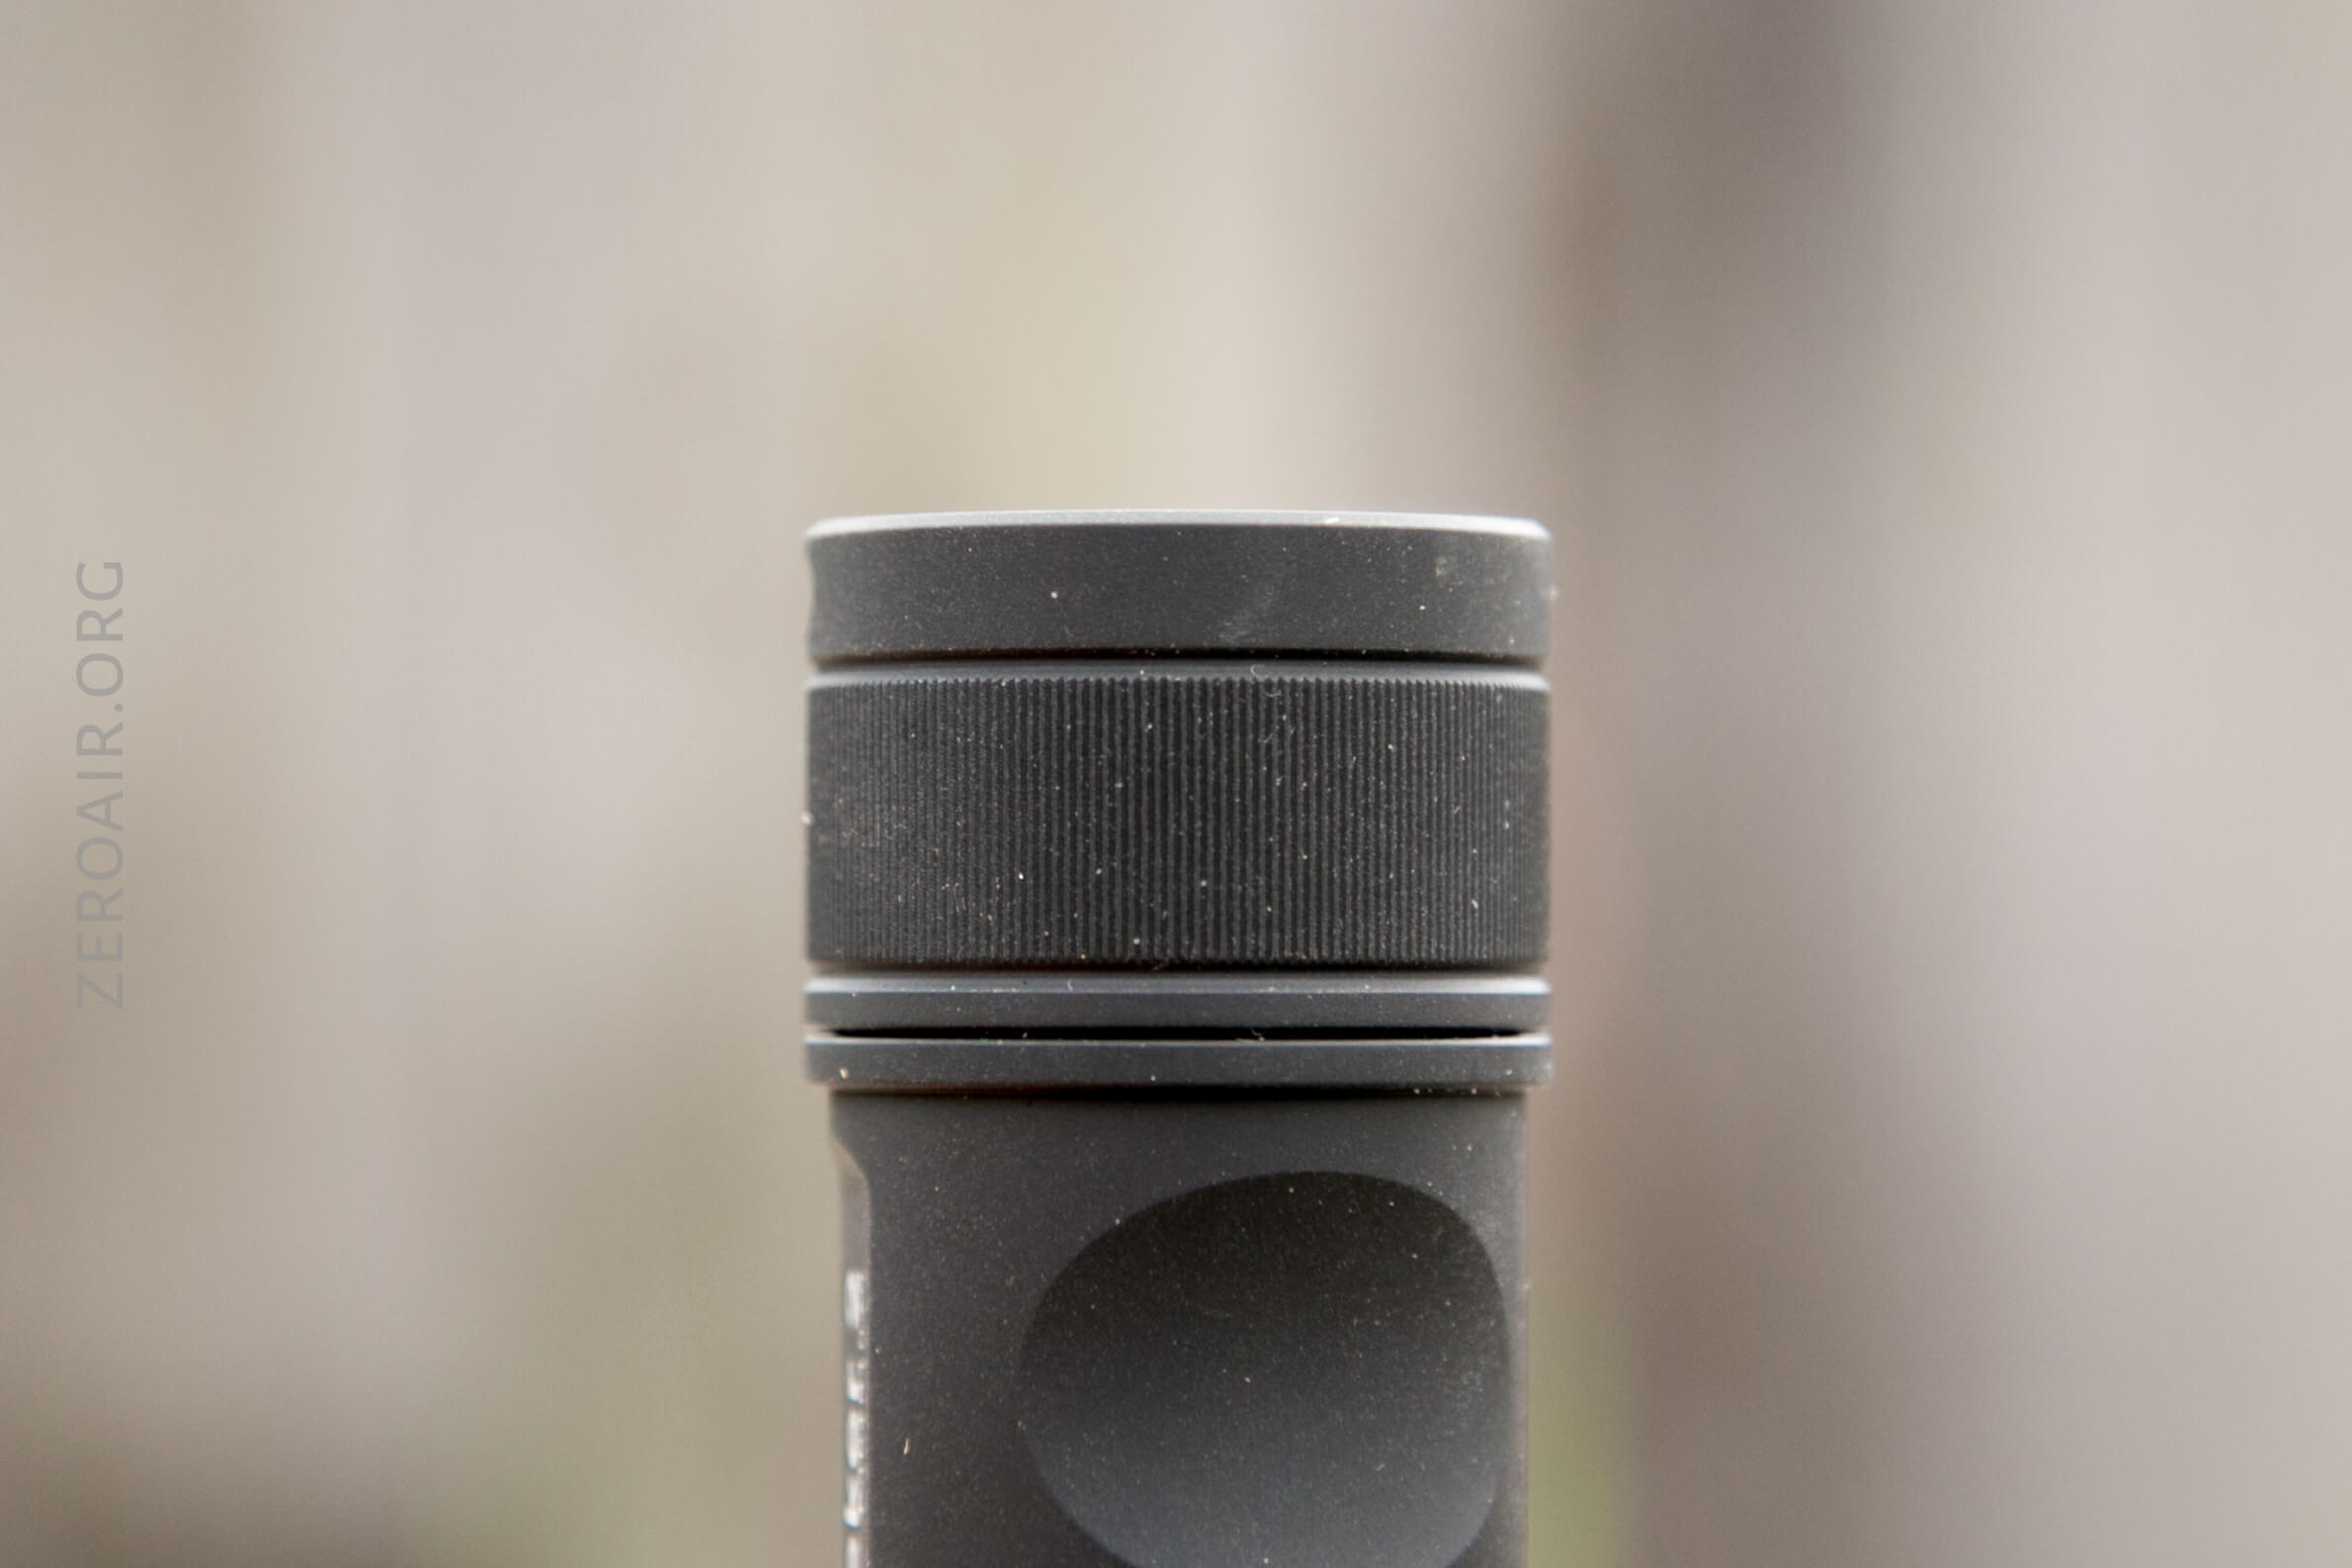
If you do decide to remove the tailcap, you’ll have a good experience. The threads are smooth, thick, square-cut, and well-lubed.
The head and tail appear not to have springs, but what’s there is slightly springy.

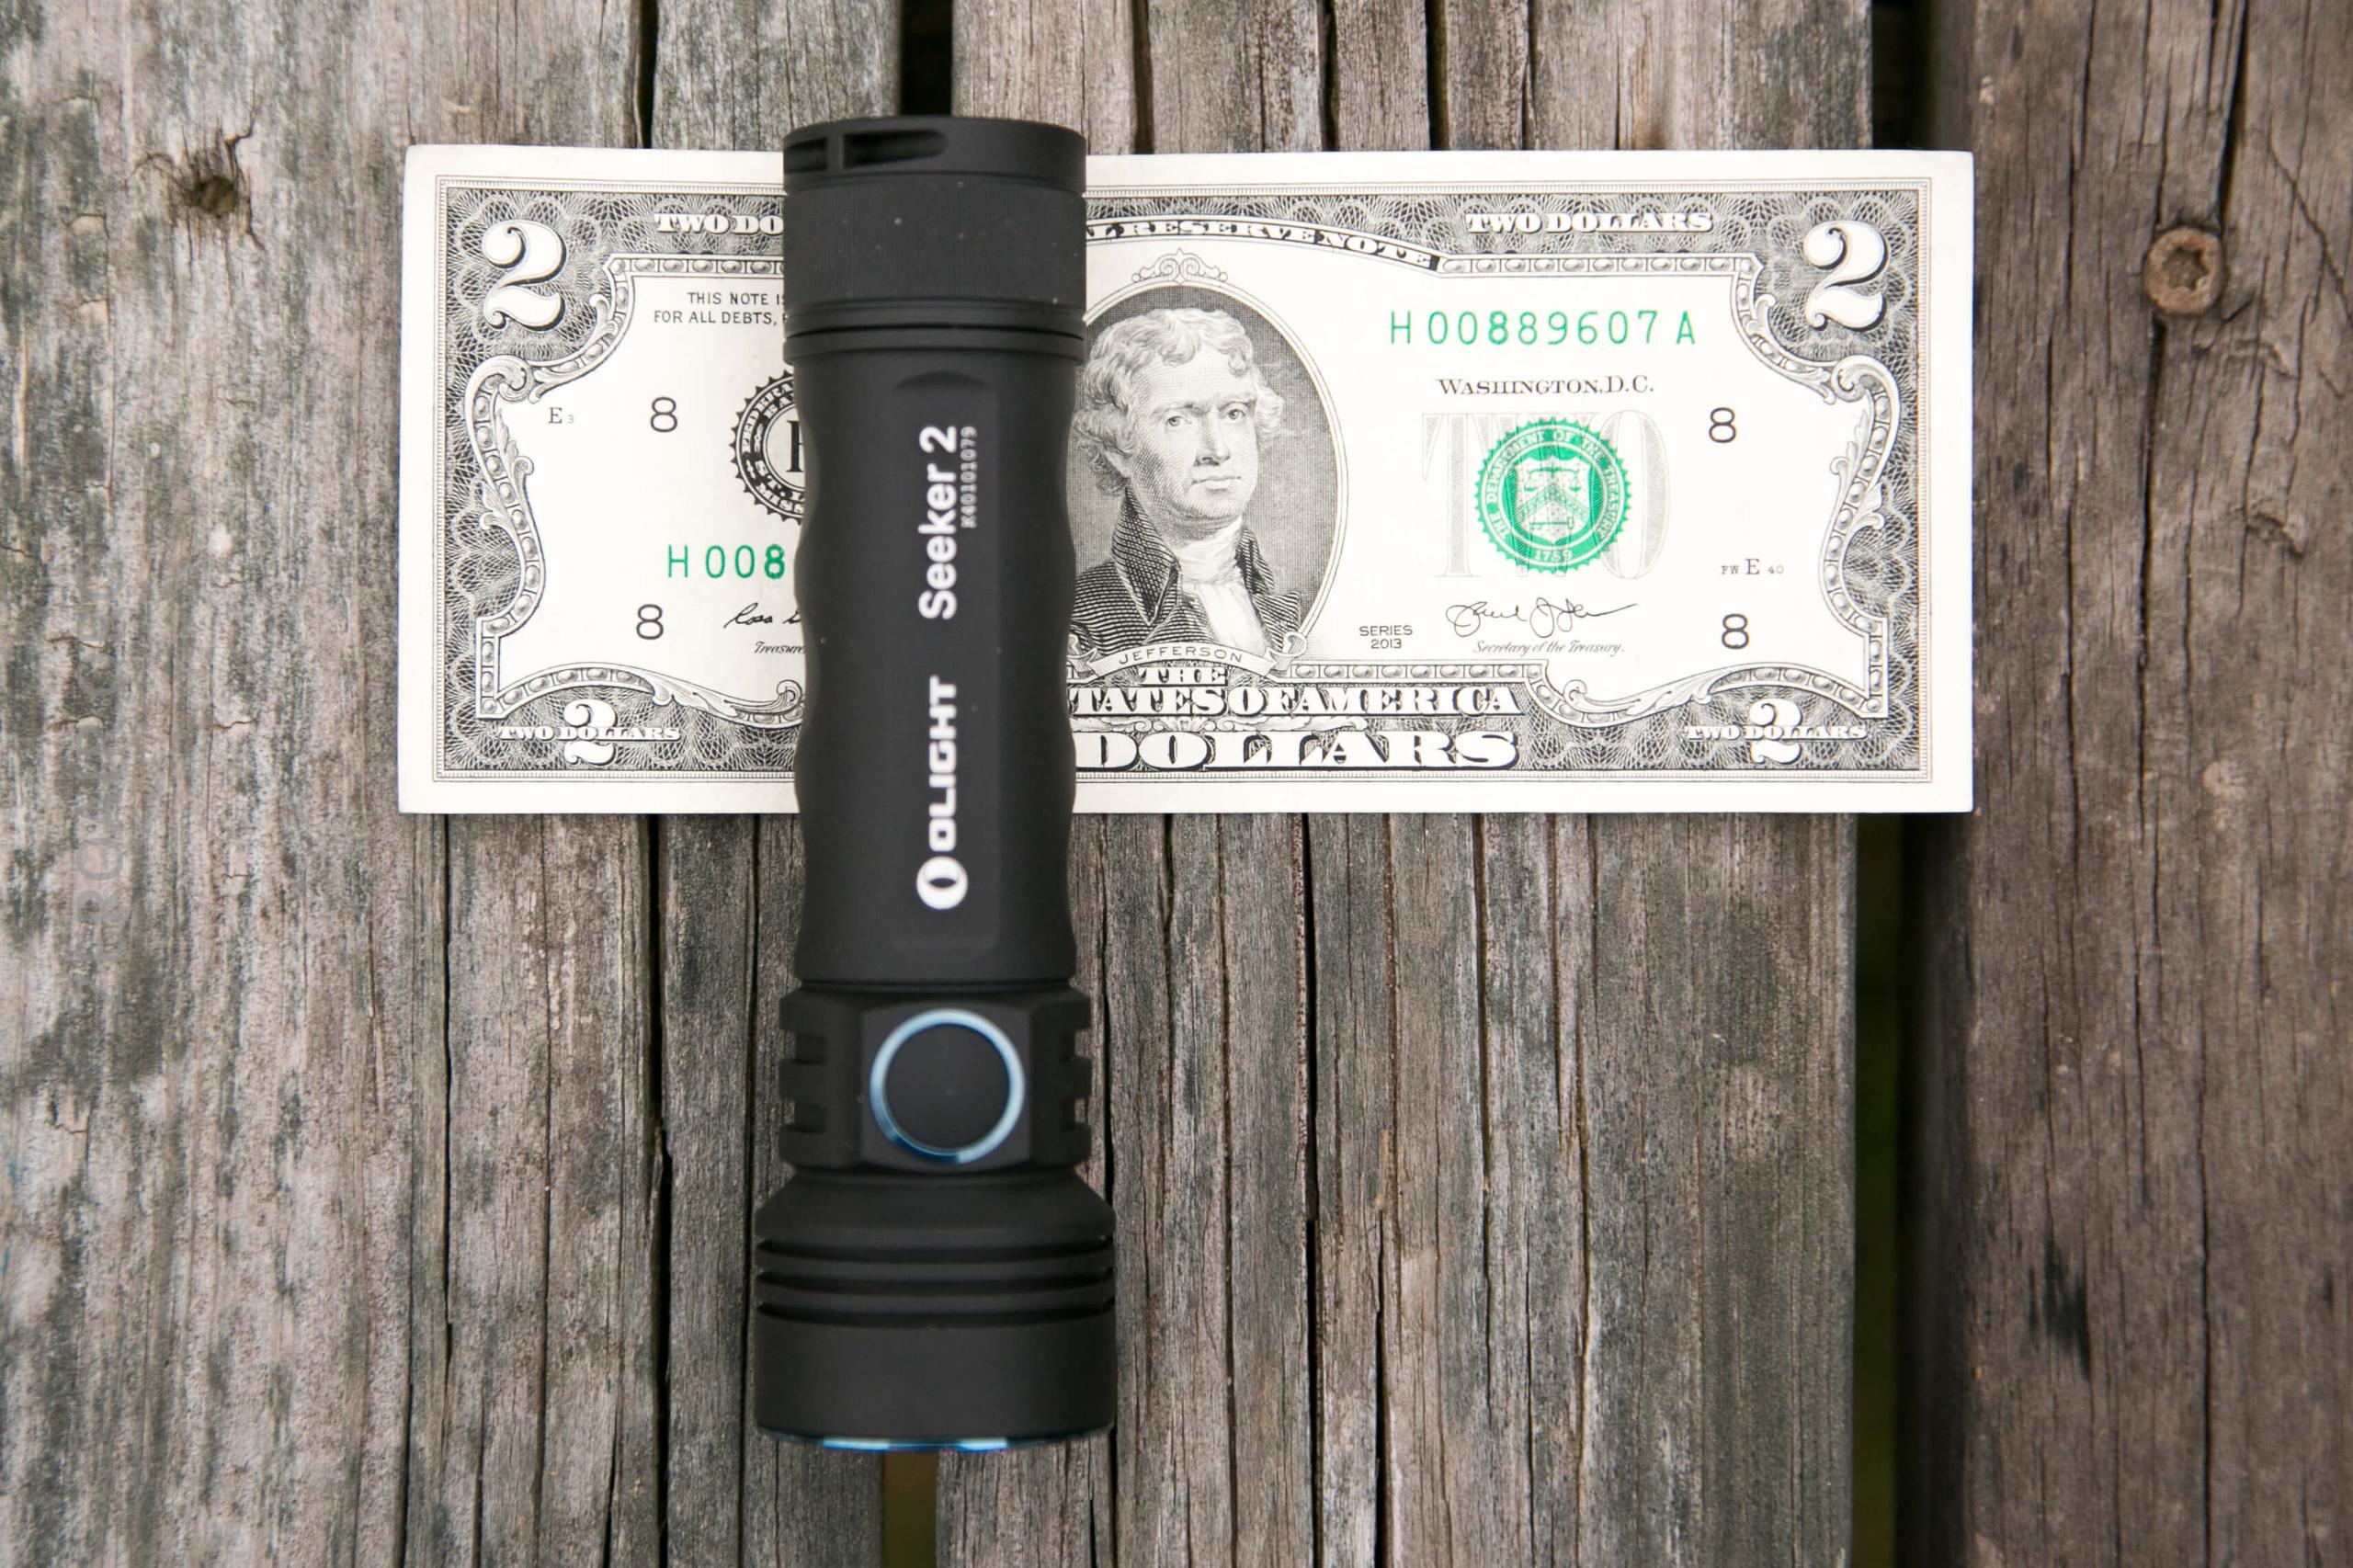
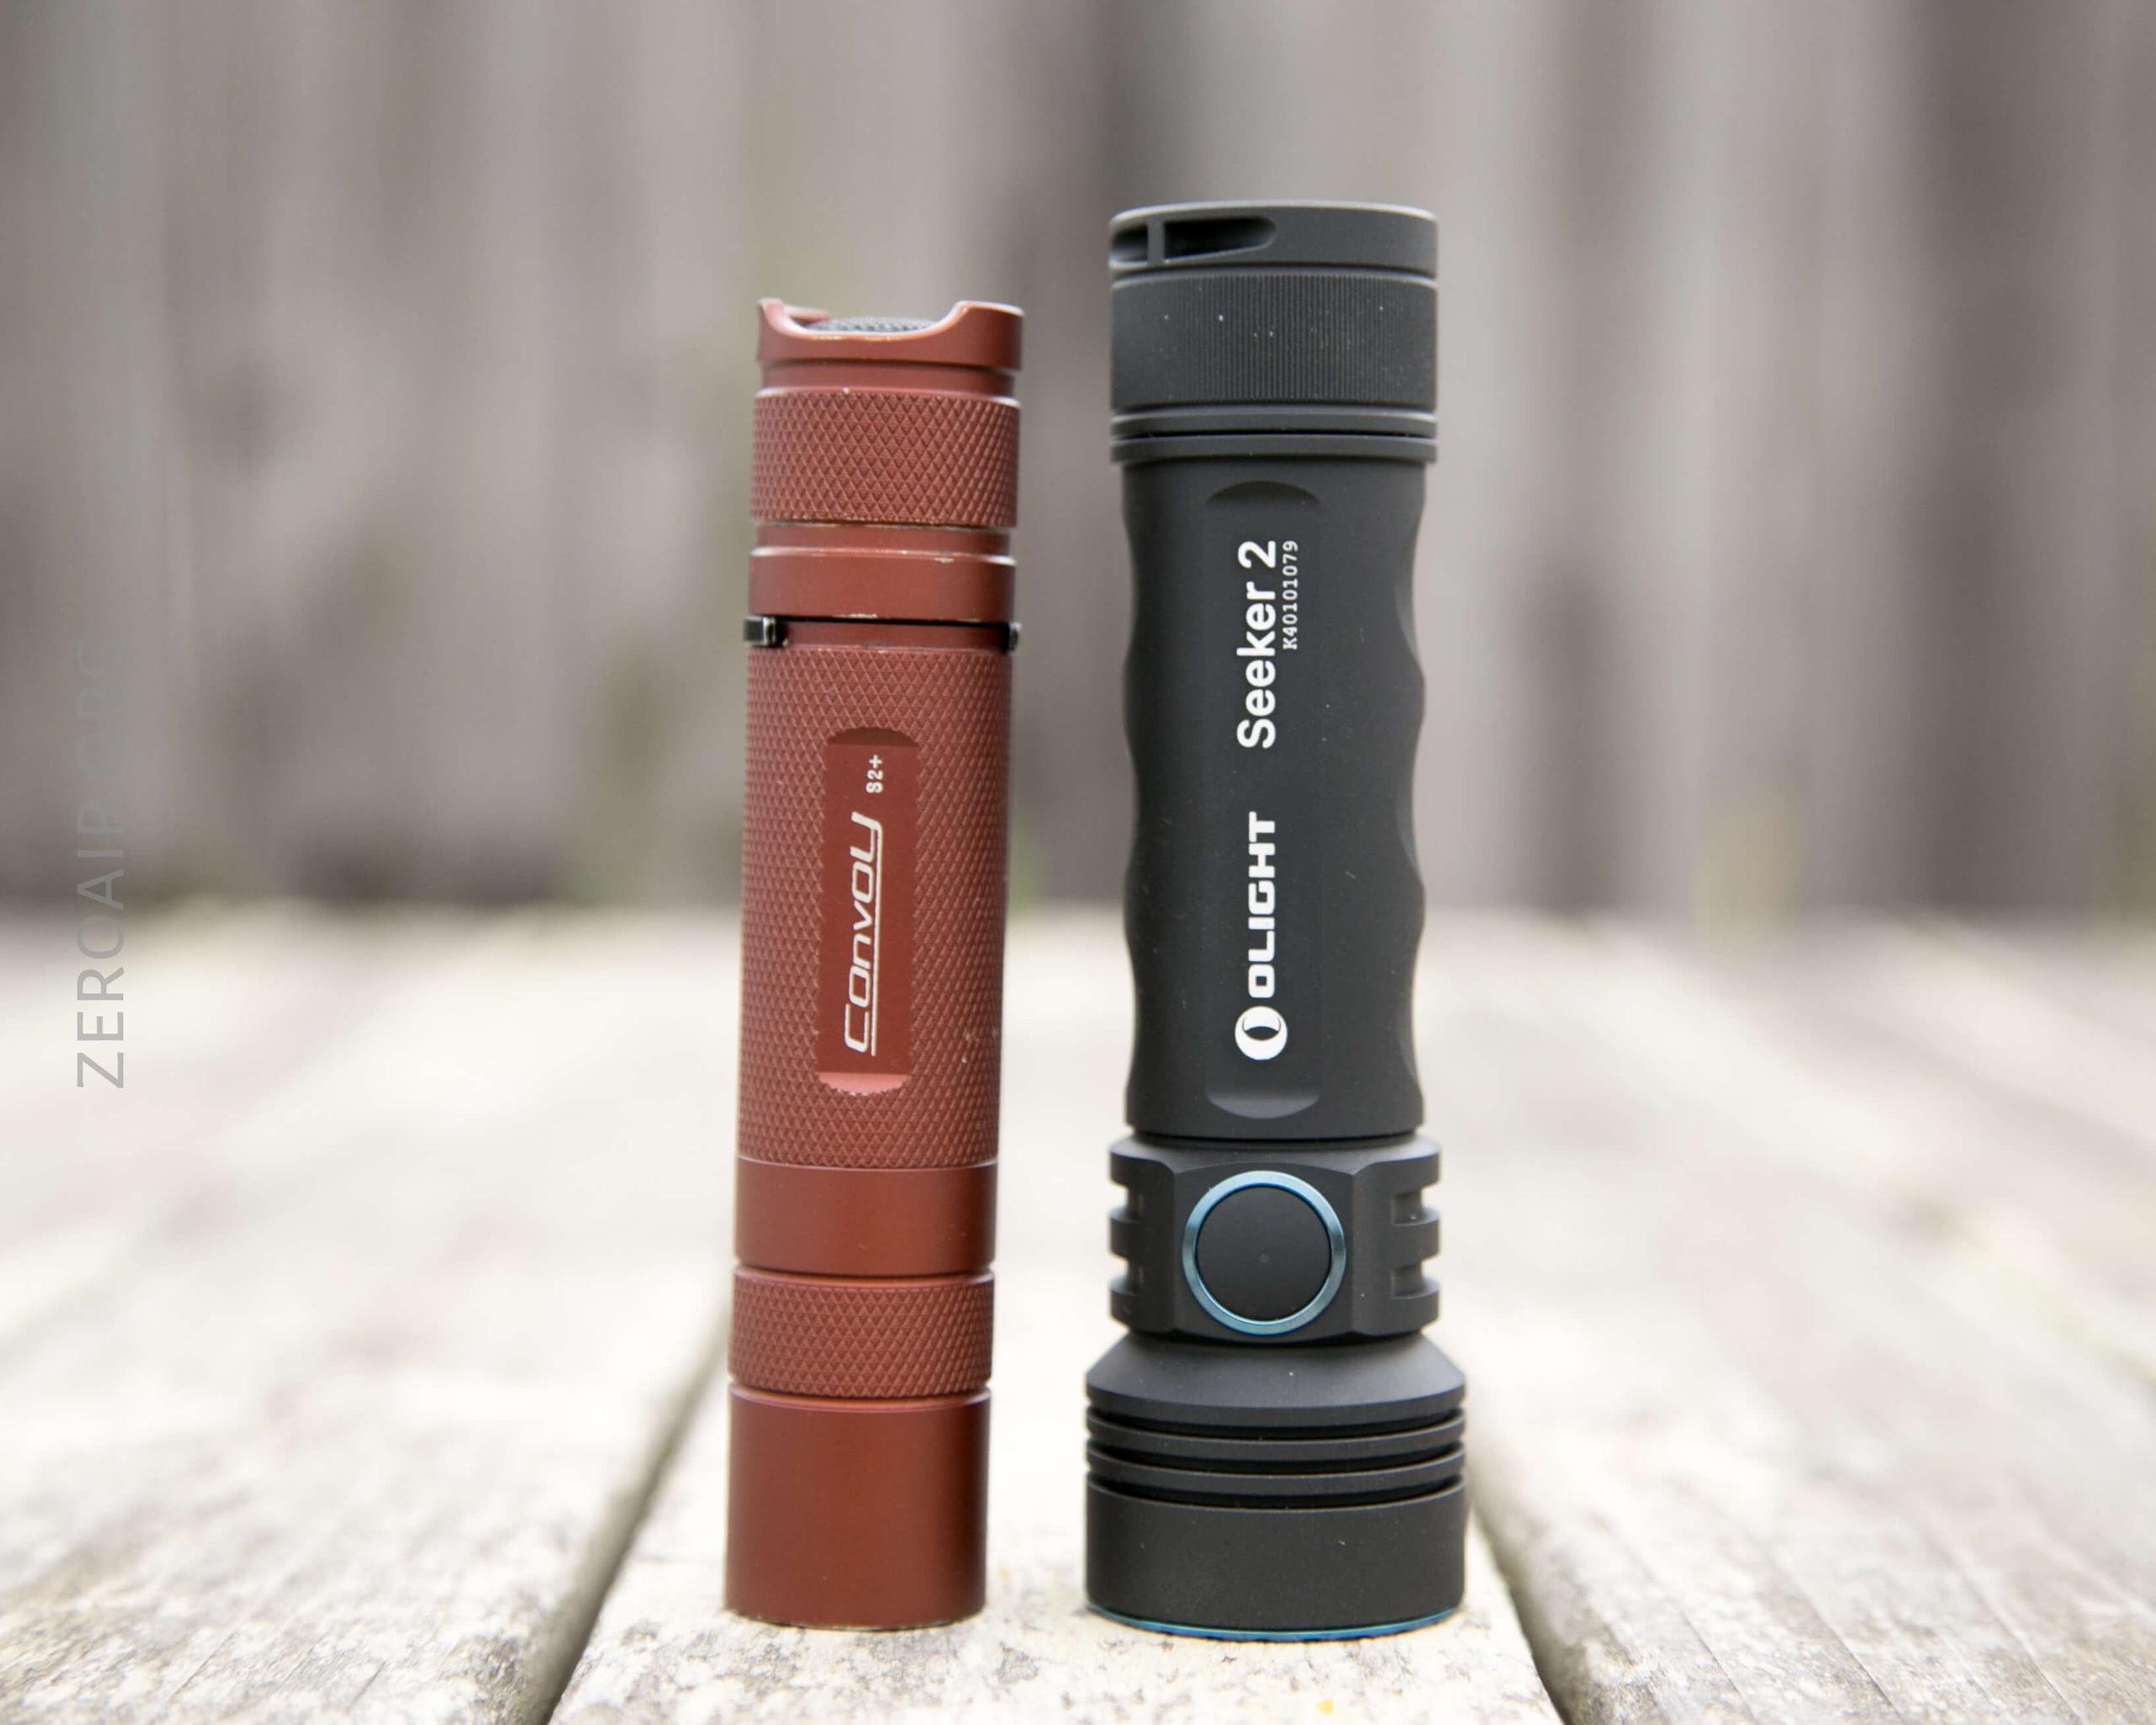
Size and Comps
Official dimensions:
Weight: 185g/6.53oz
Length (mm / in) 126mm/ 4.96in
Head Diameter (mm / in) 35mm/1.38in
Body Diameter (mm / in) 27.5mm/1.08in
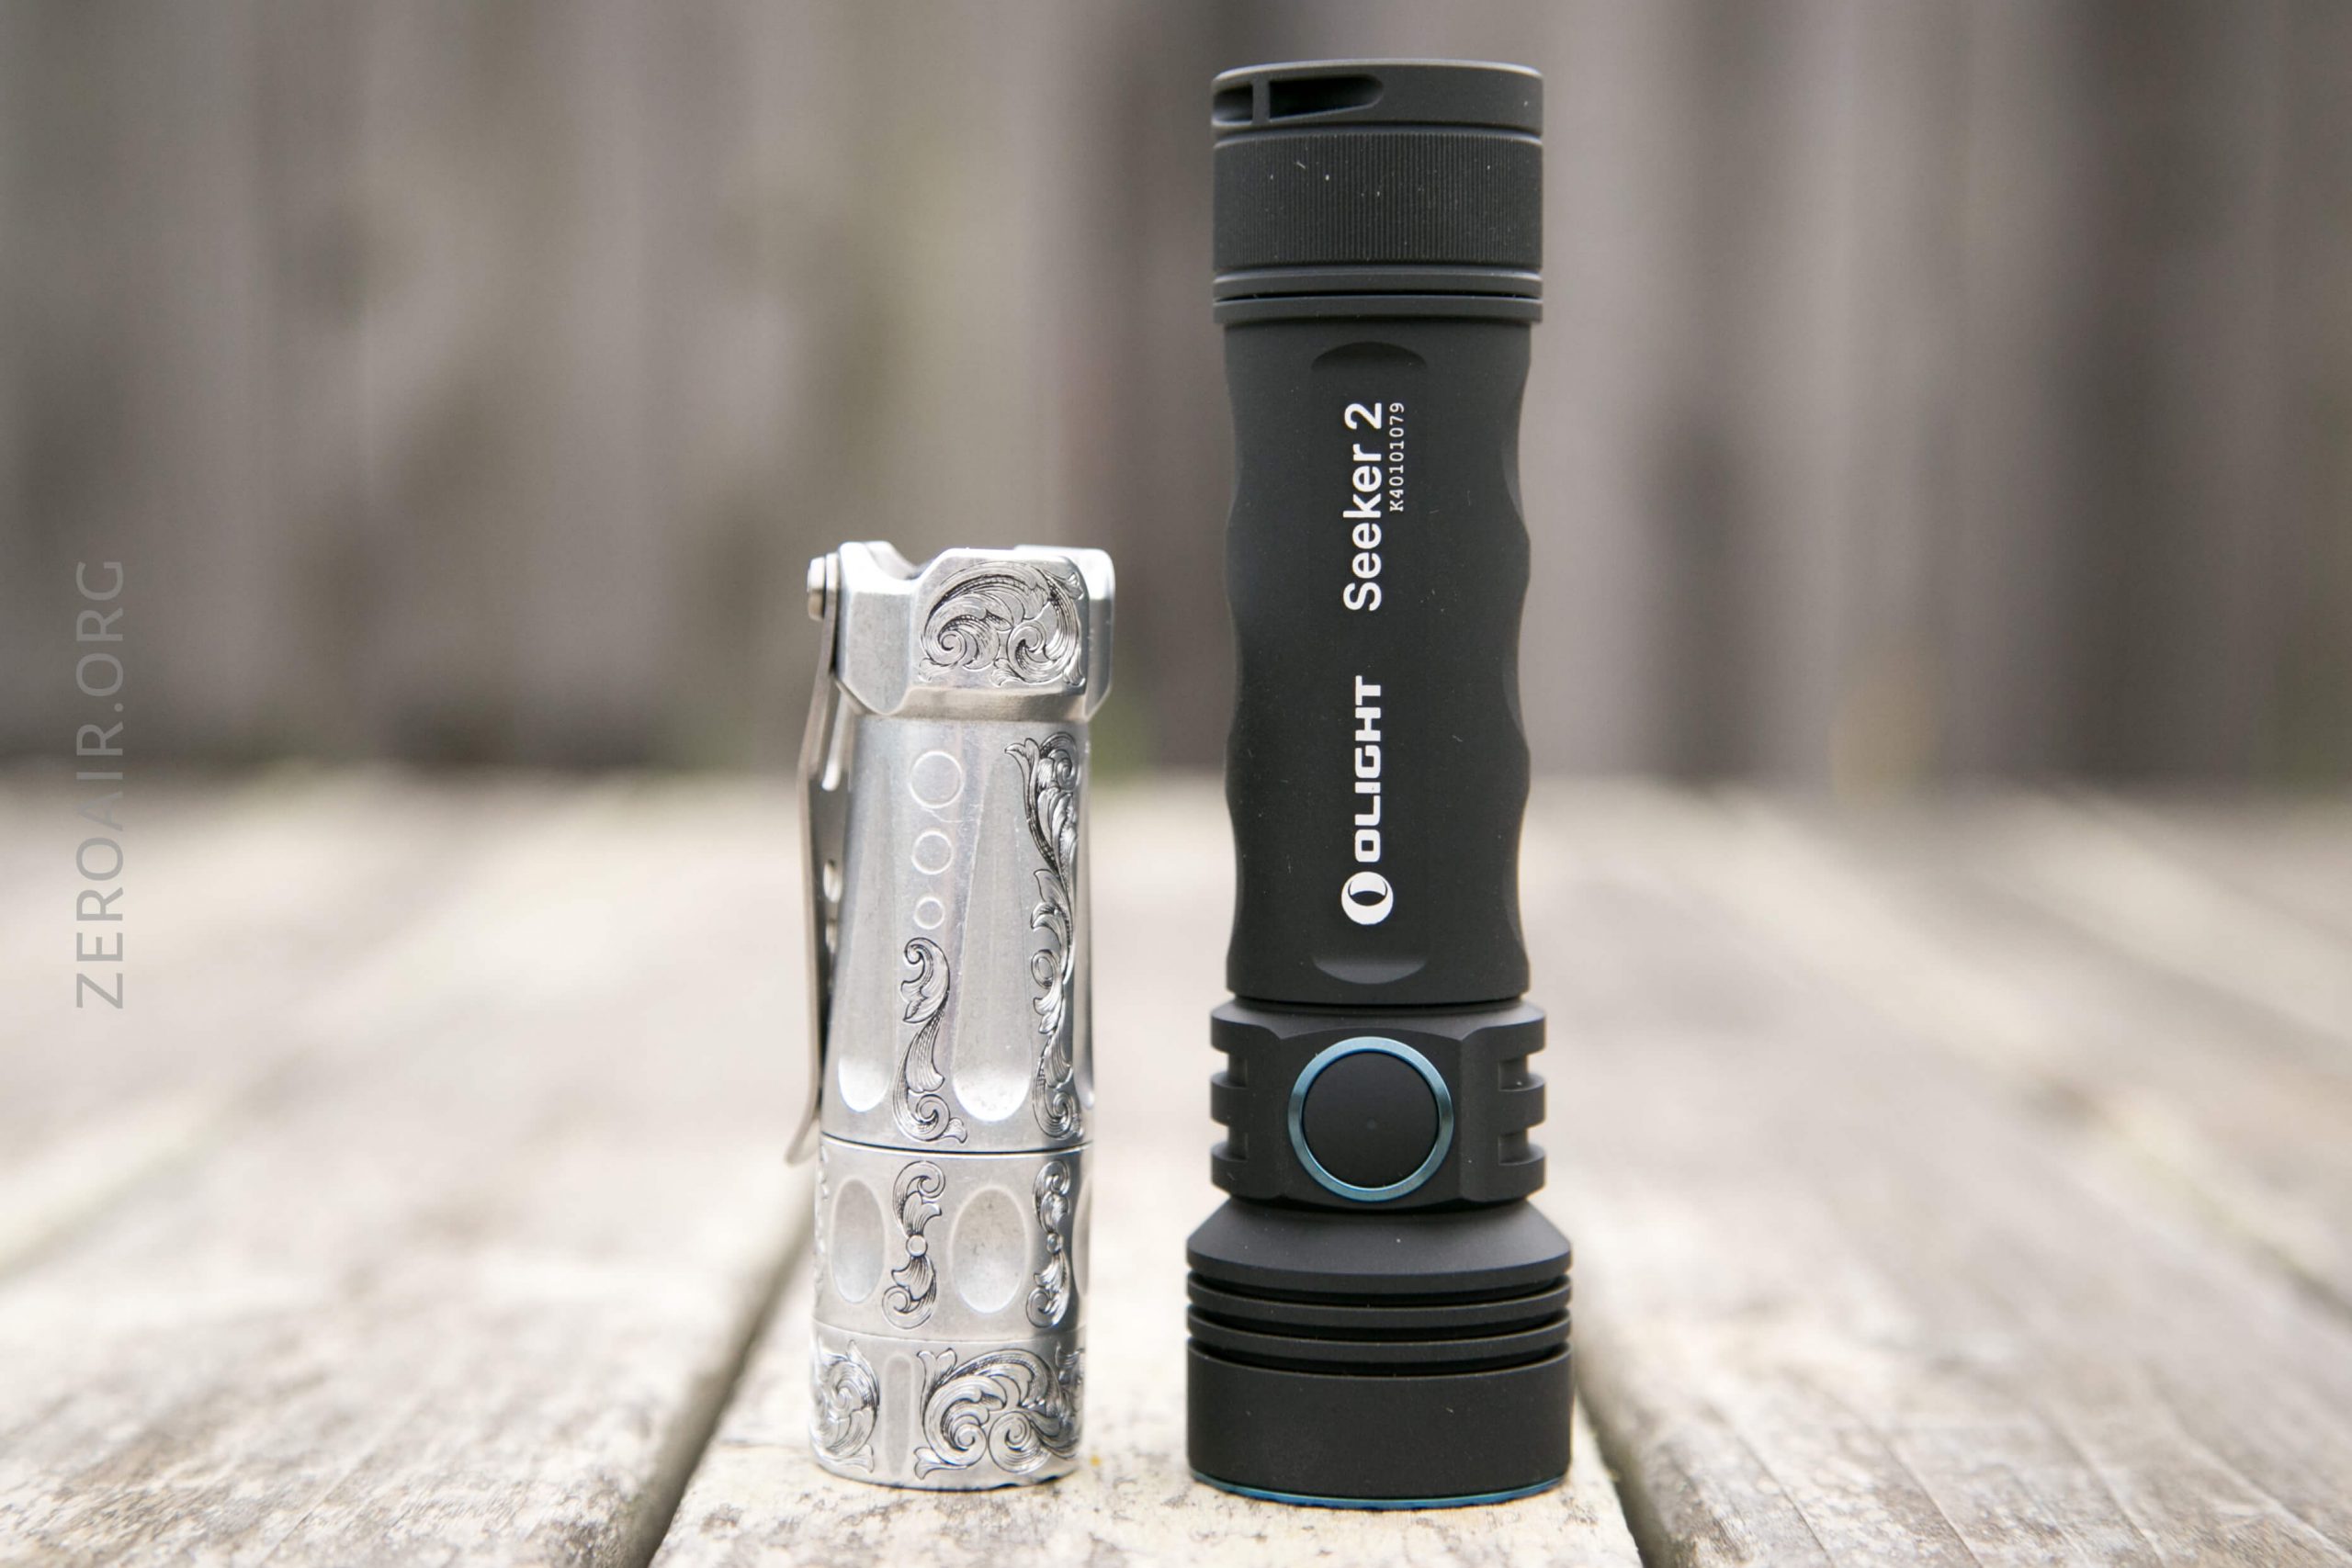
Retention and Carry
All you really get is the lanyard and the mount point seen above. There’s no pocket clip or pouch, or anything with the Seeker 2.
Power and Runtime
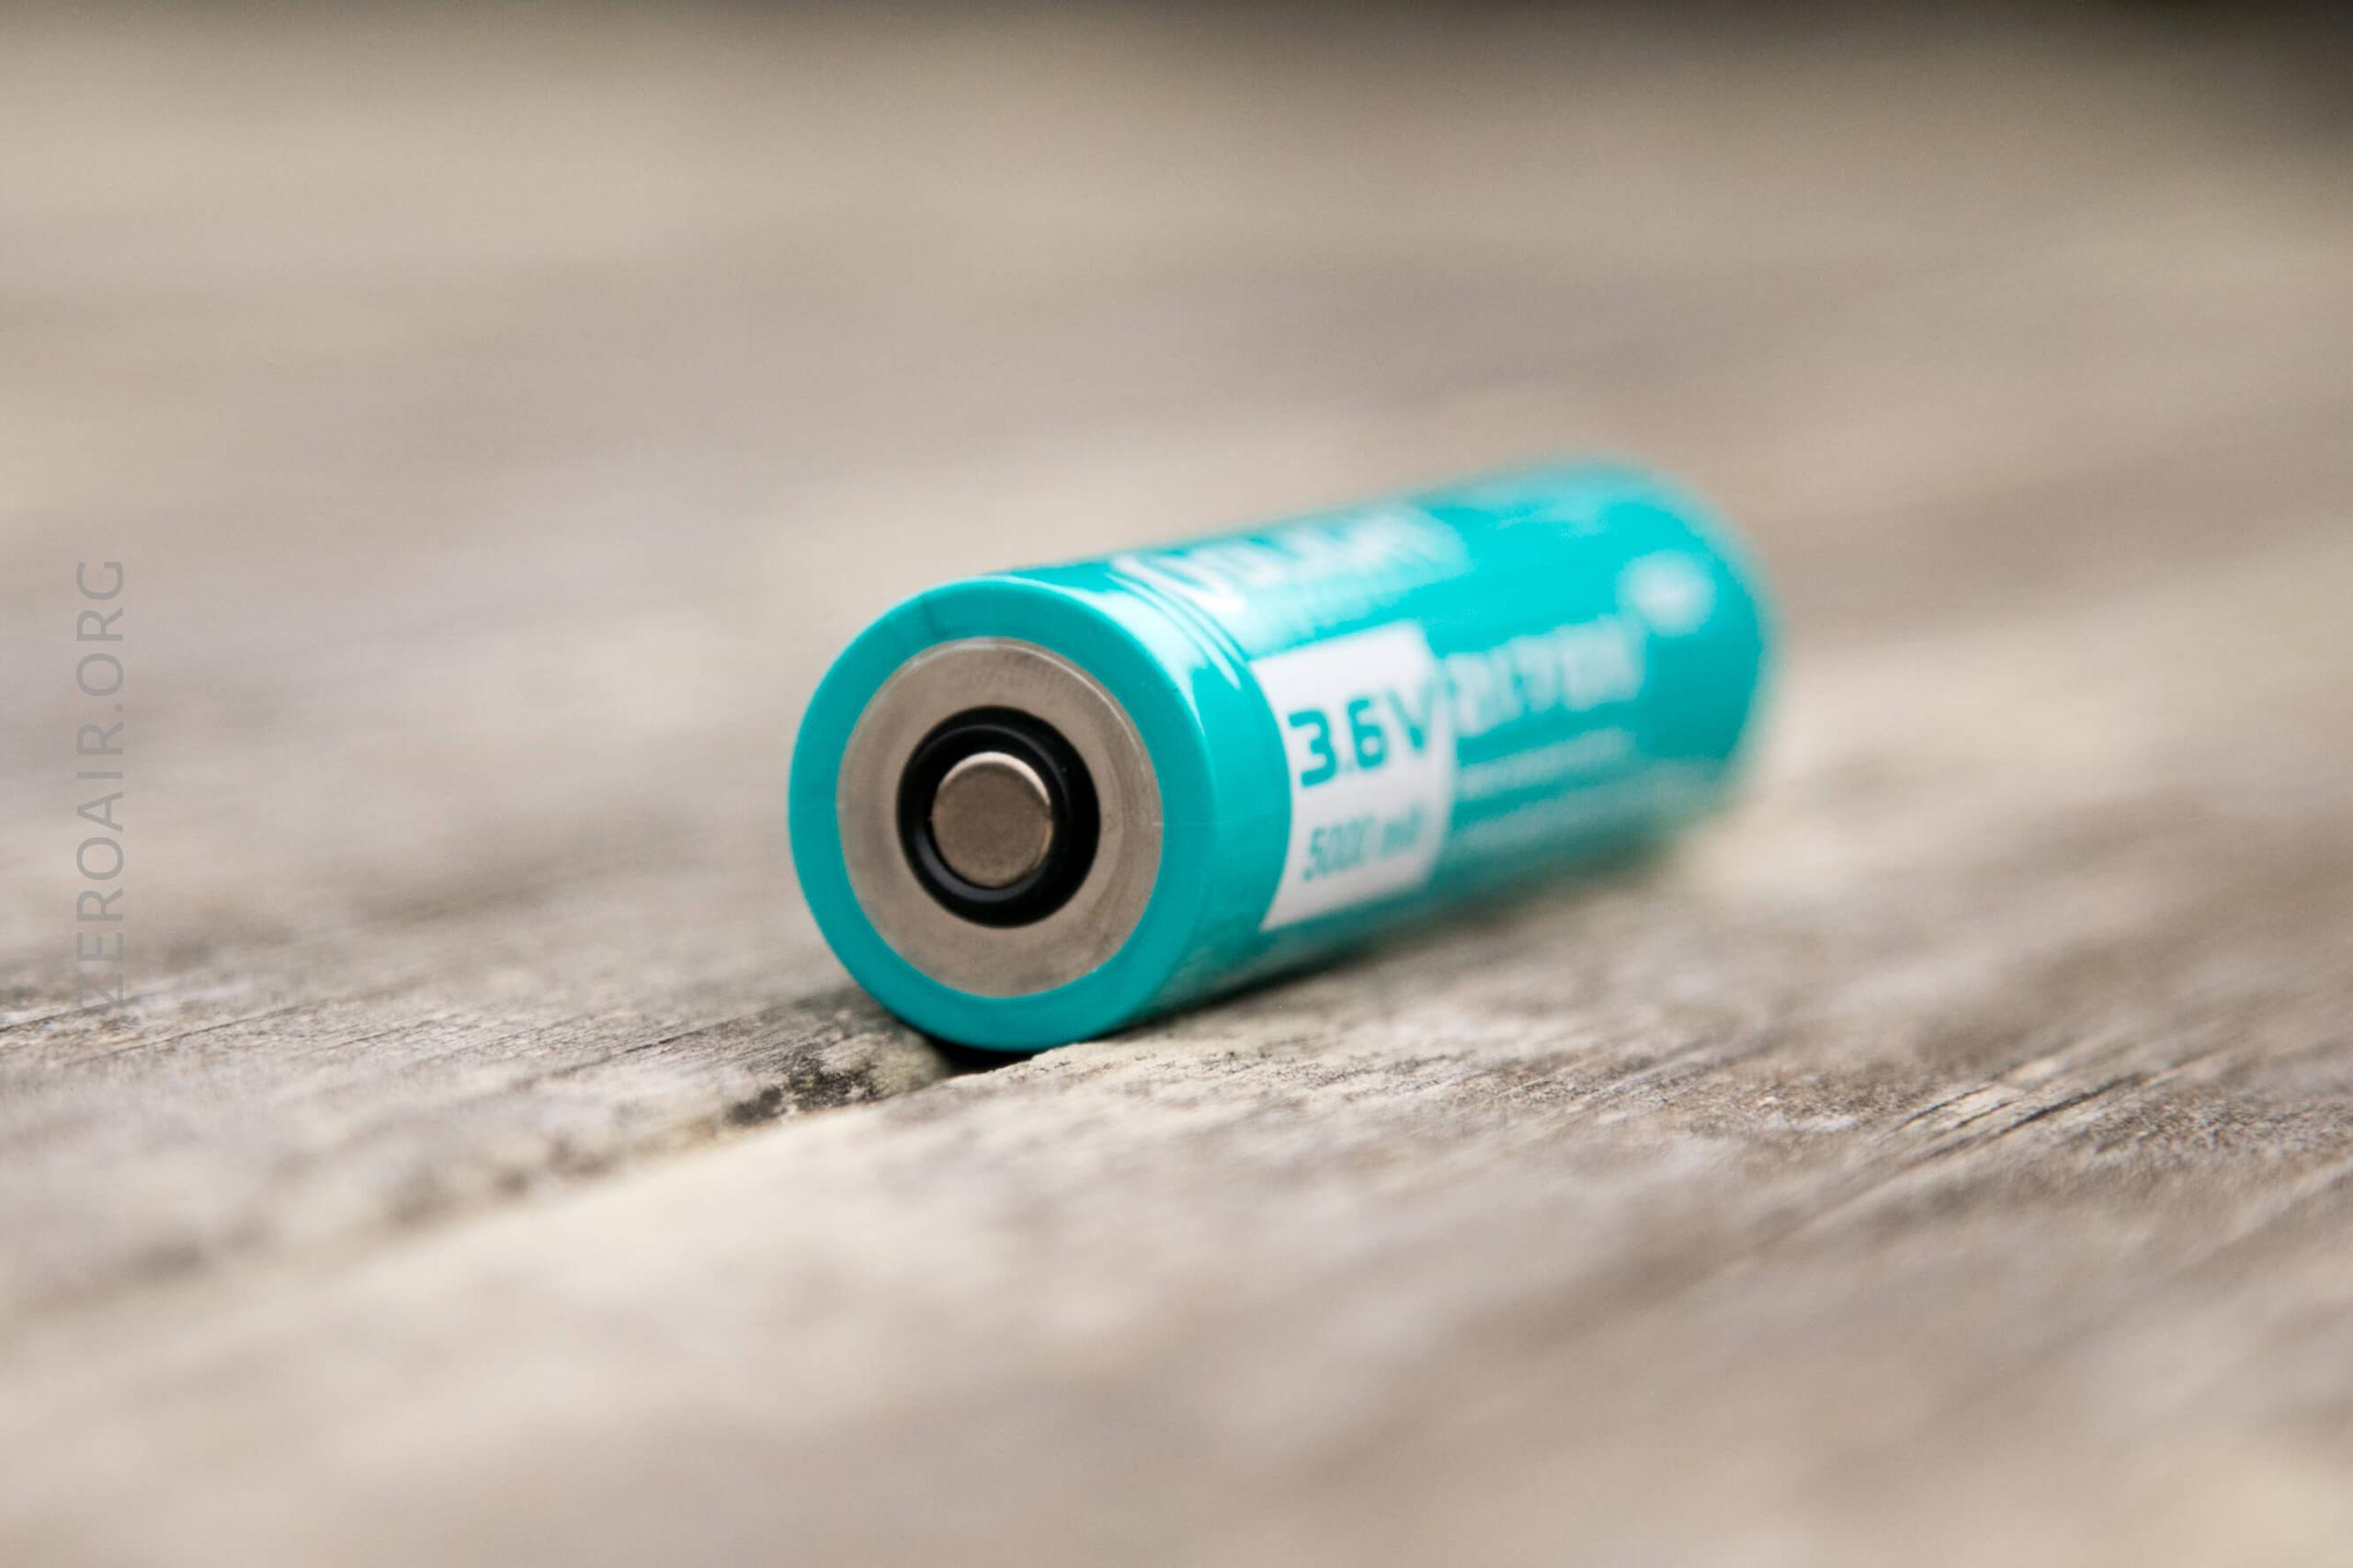
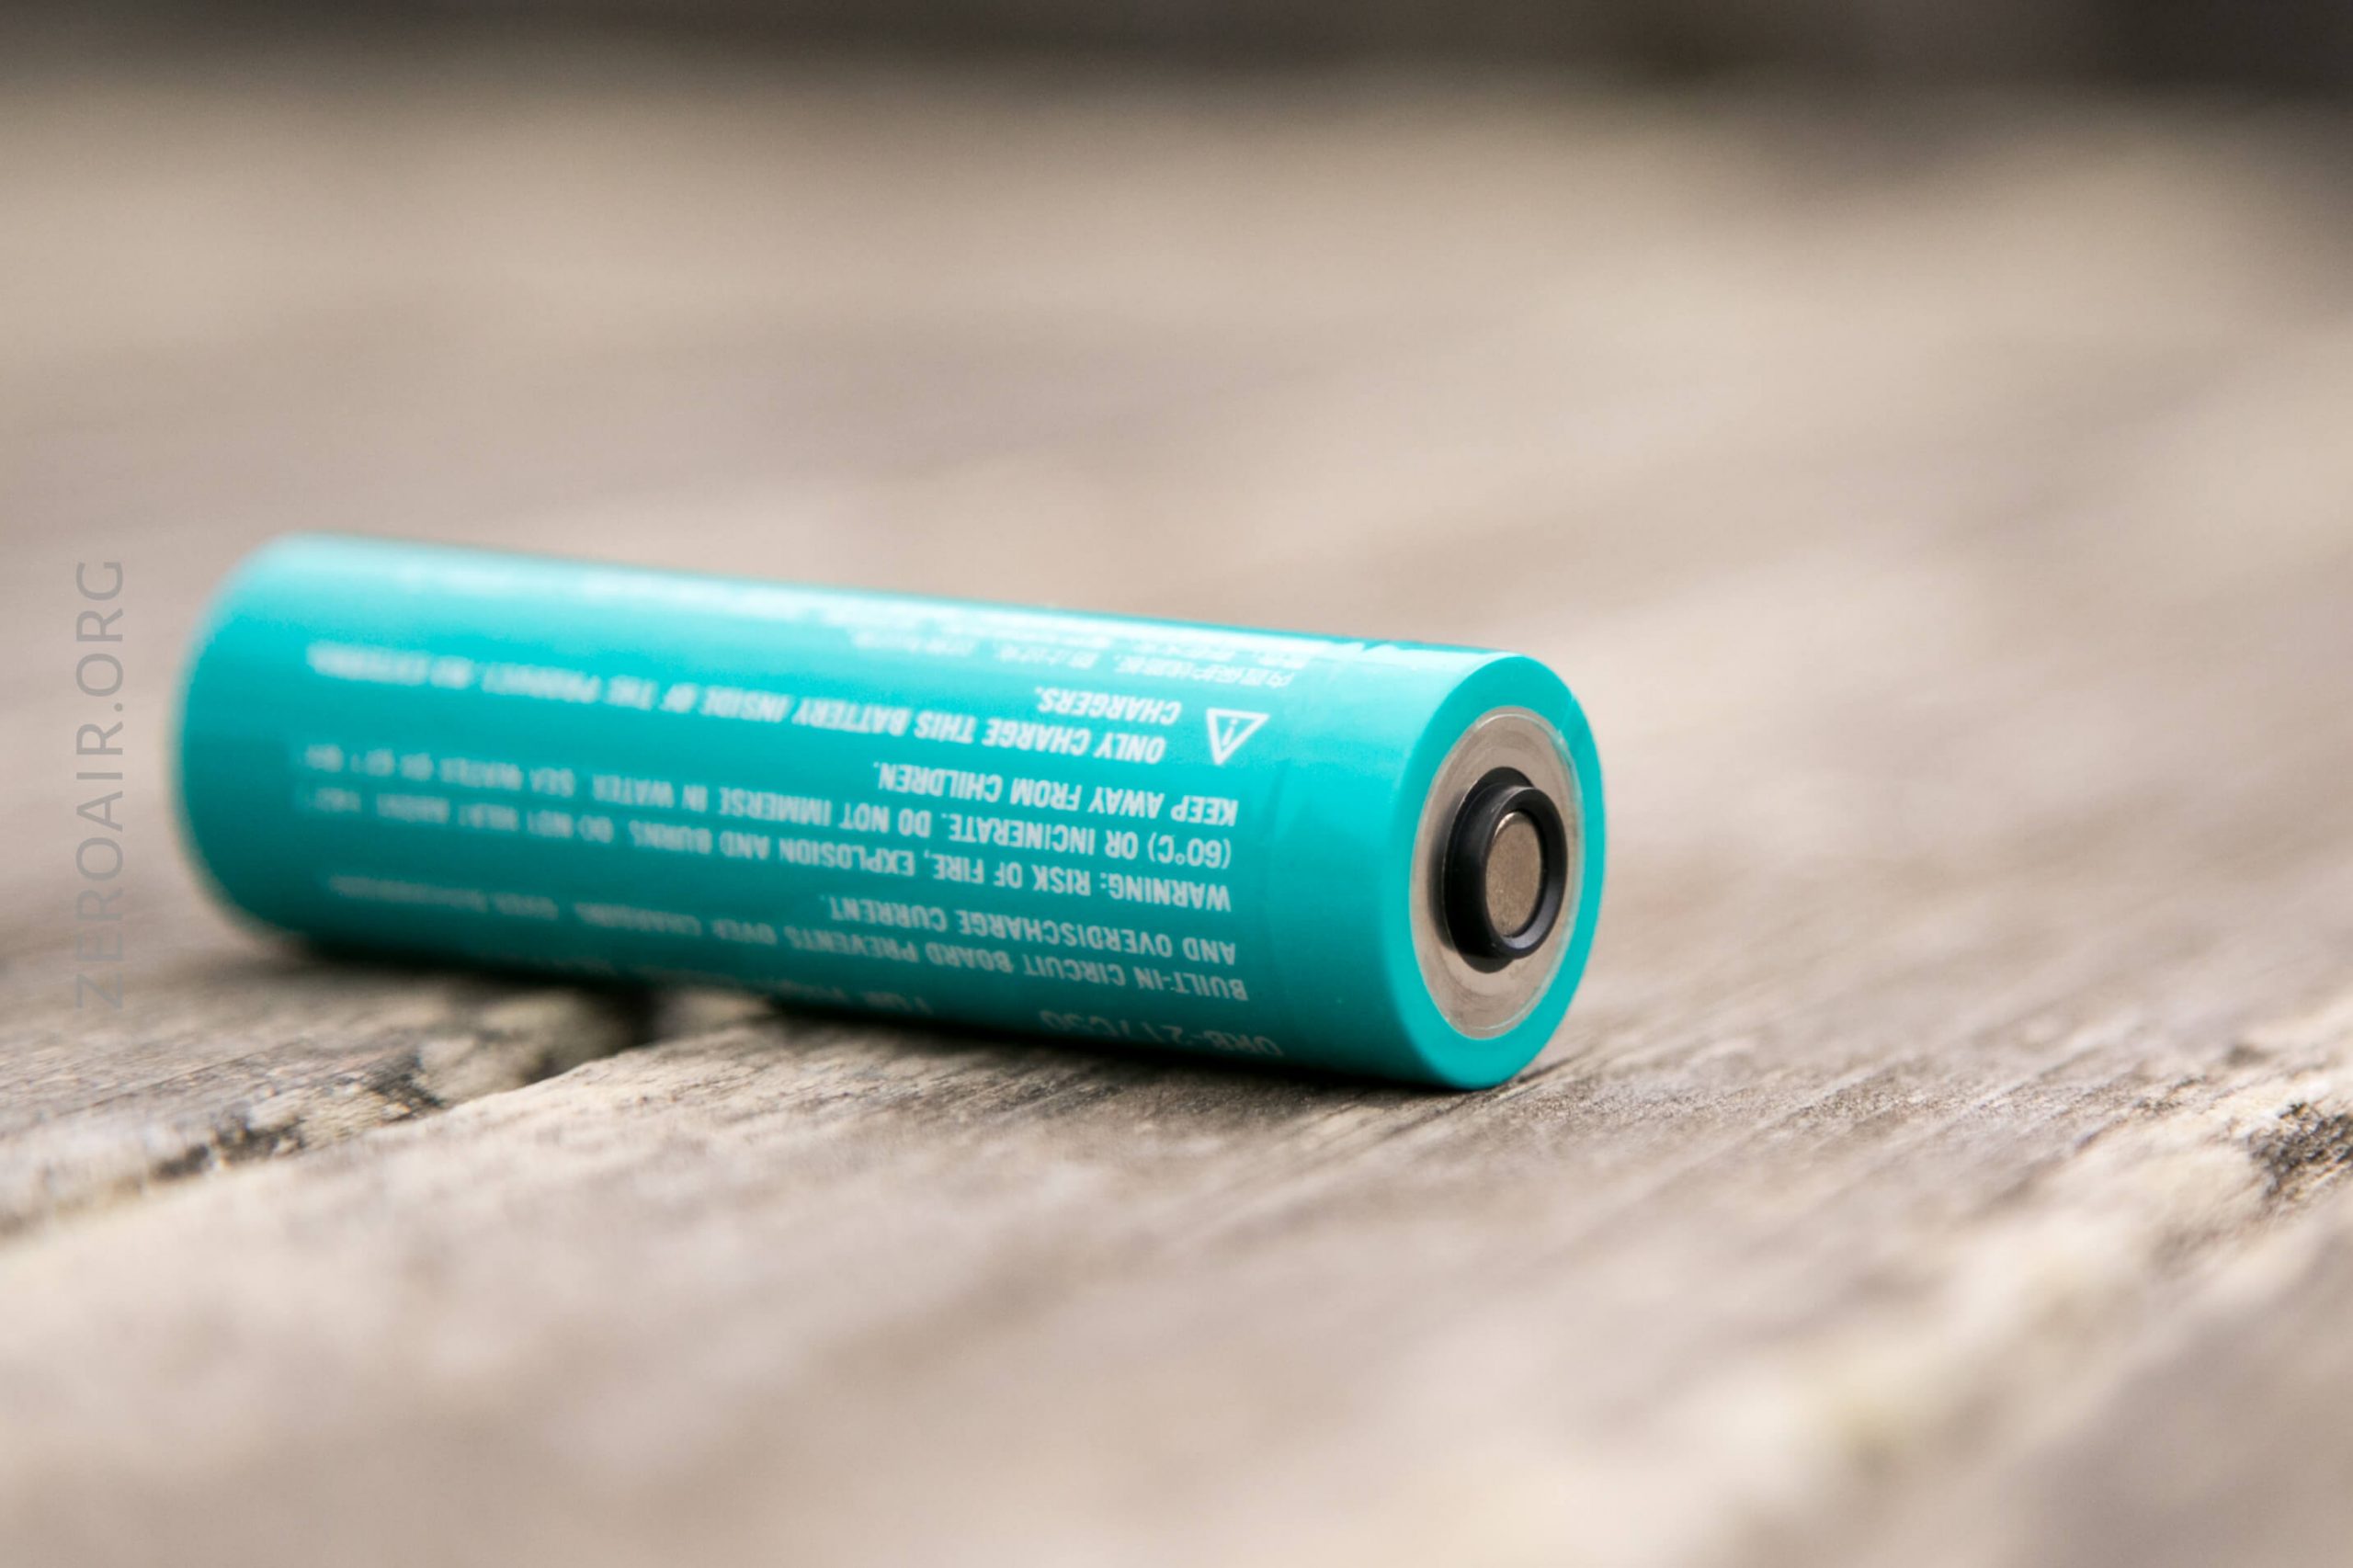
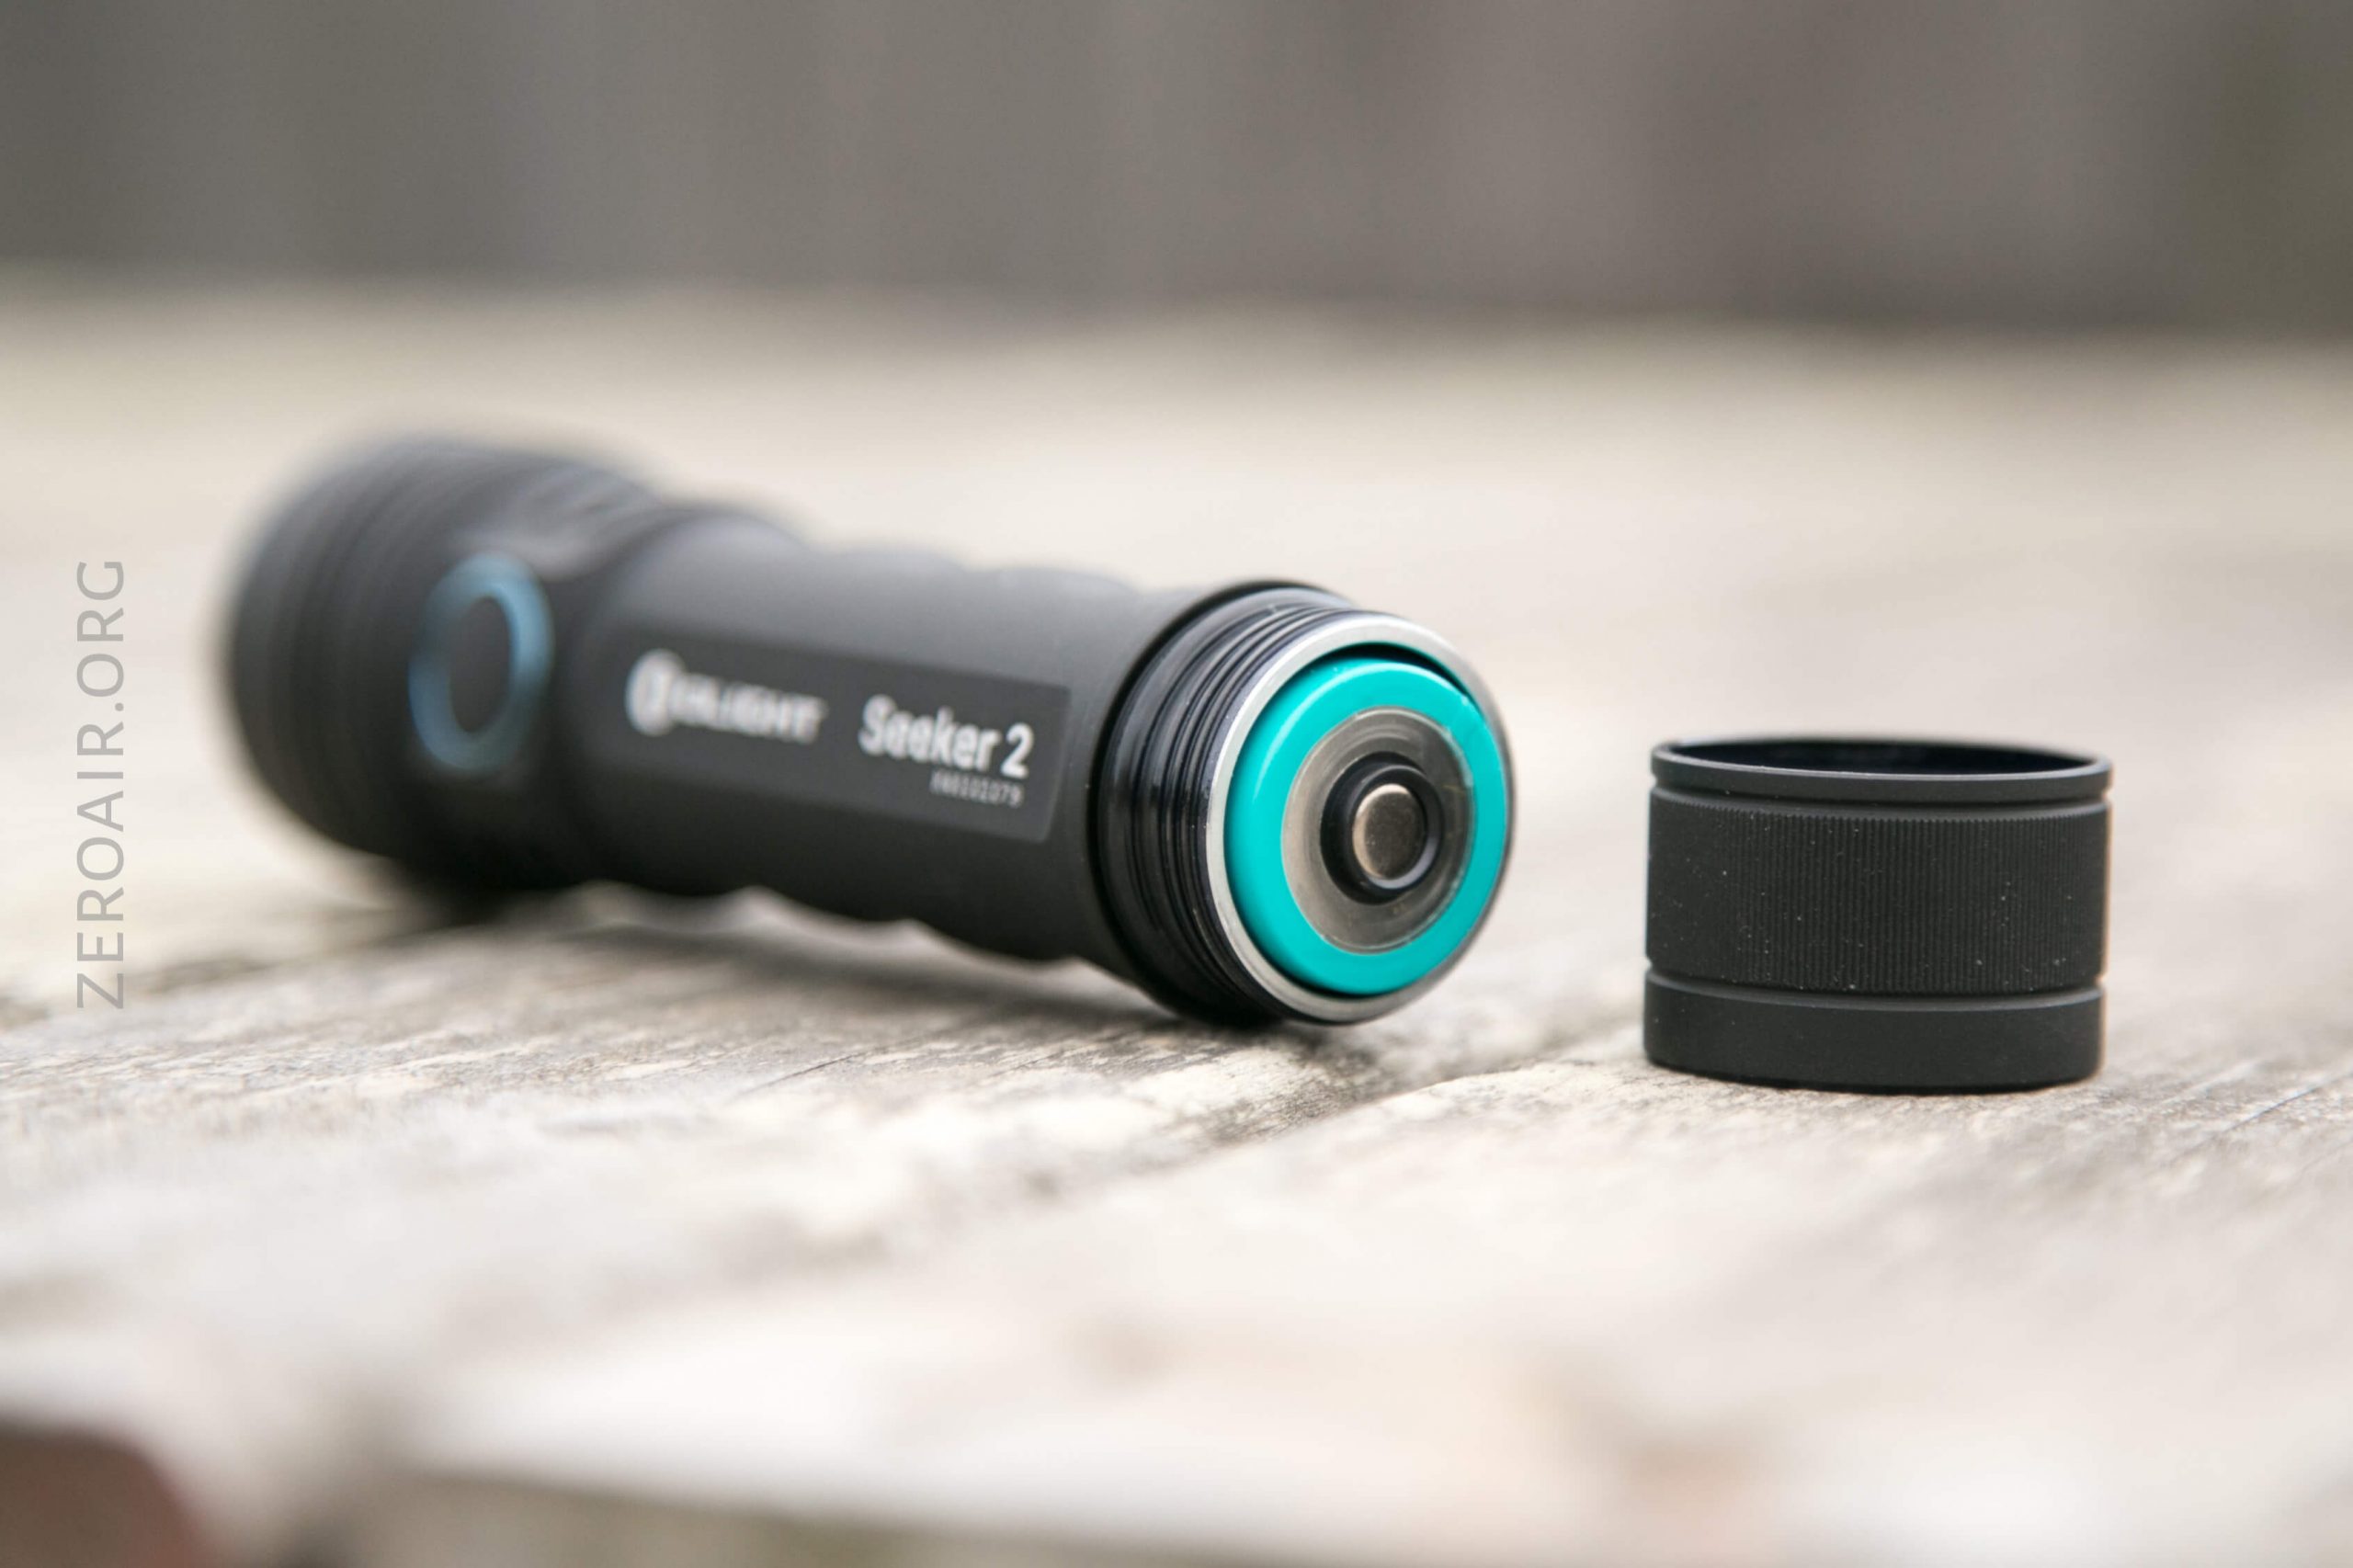
The Seeker 2 is powered by a single lithium-ion cell. One is included, and it’s proprietary. There are normal contact points, but the positive end has a negative ring exposed too, and this is where the light makes contact. The cell is a 5000mAh 21700. Non-proprietary cells will not work in this light!
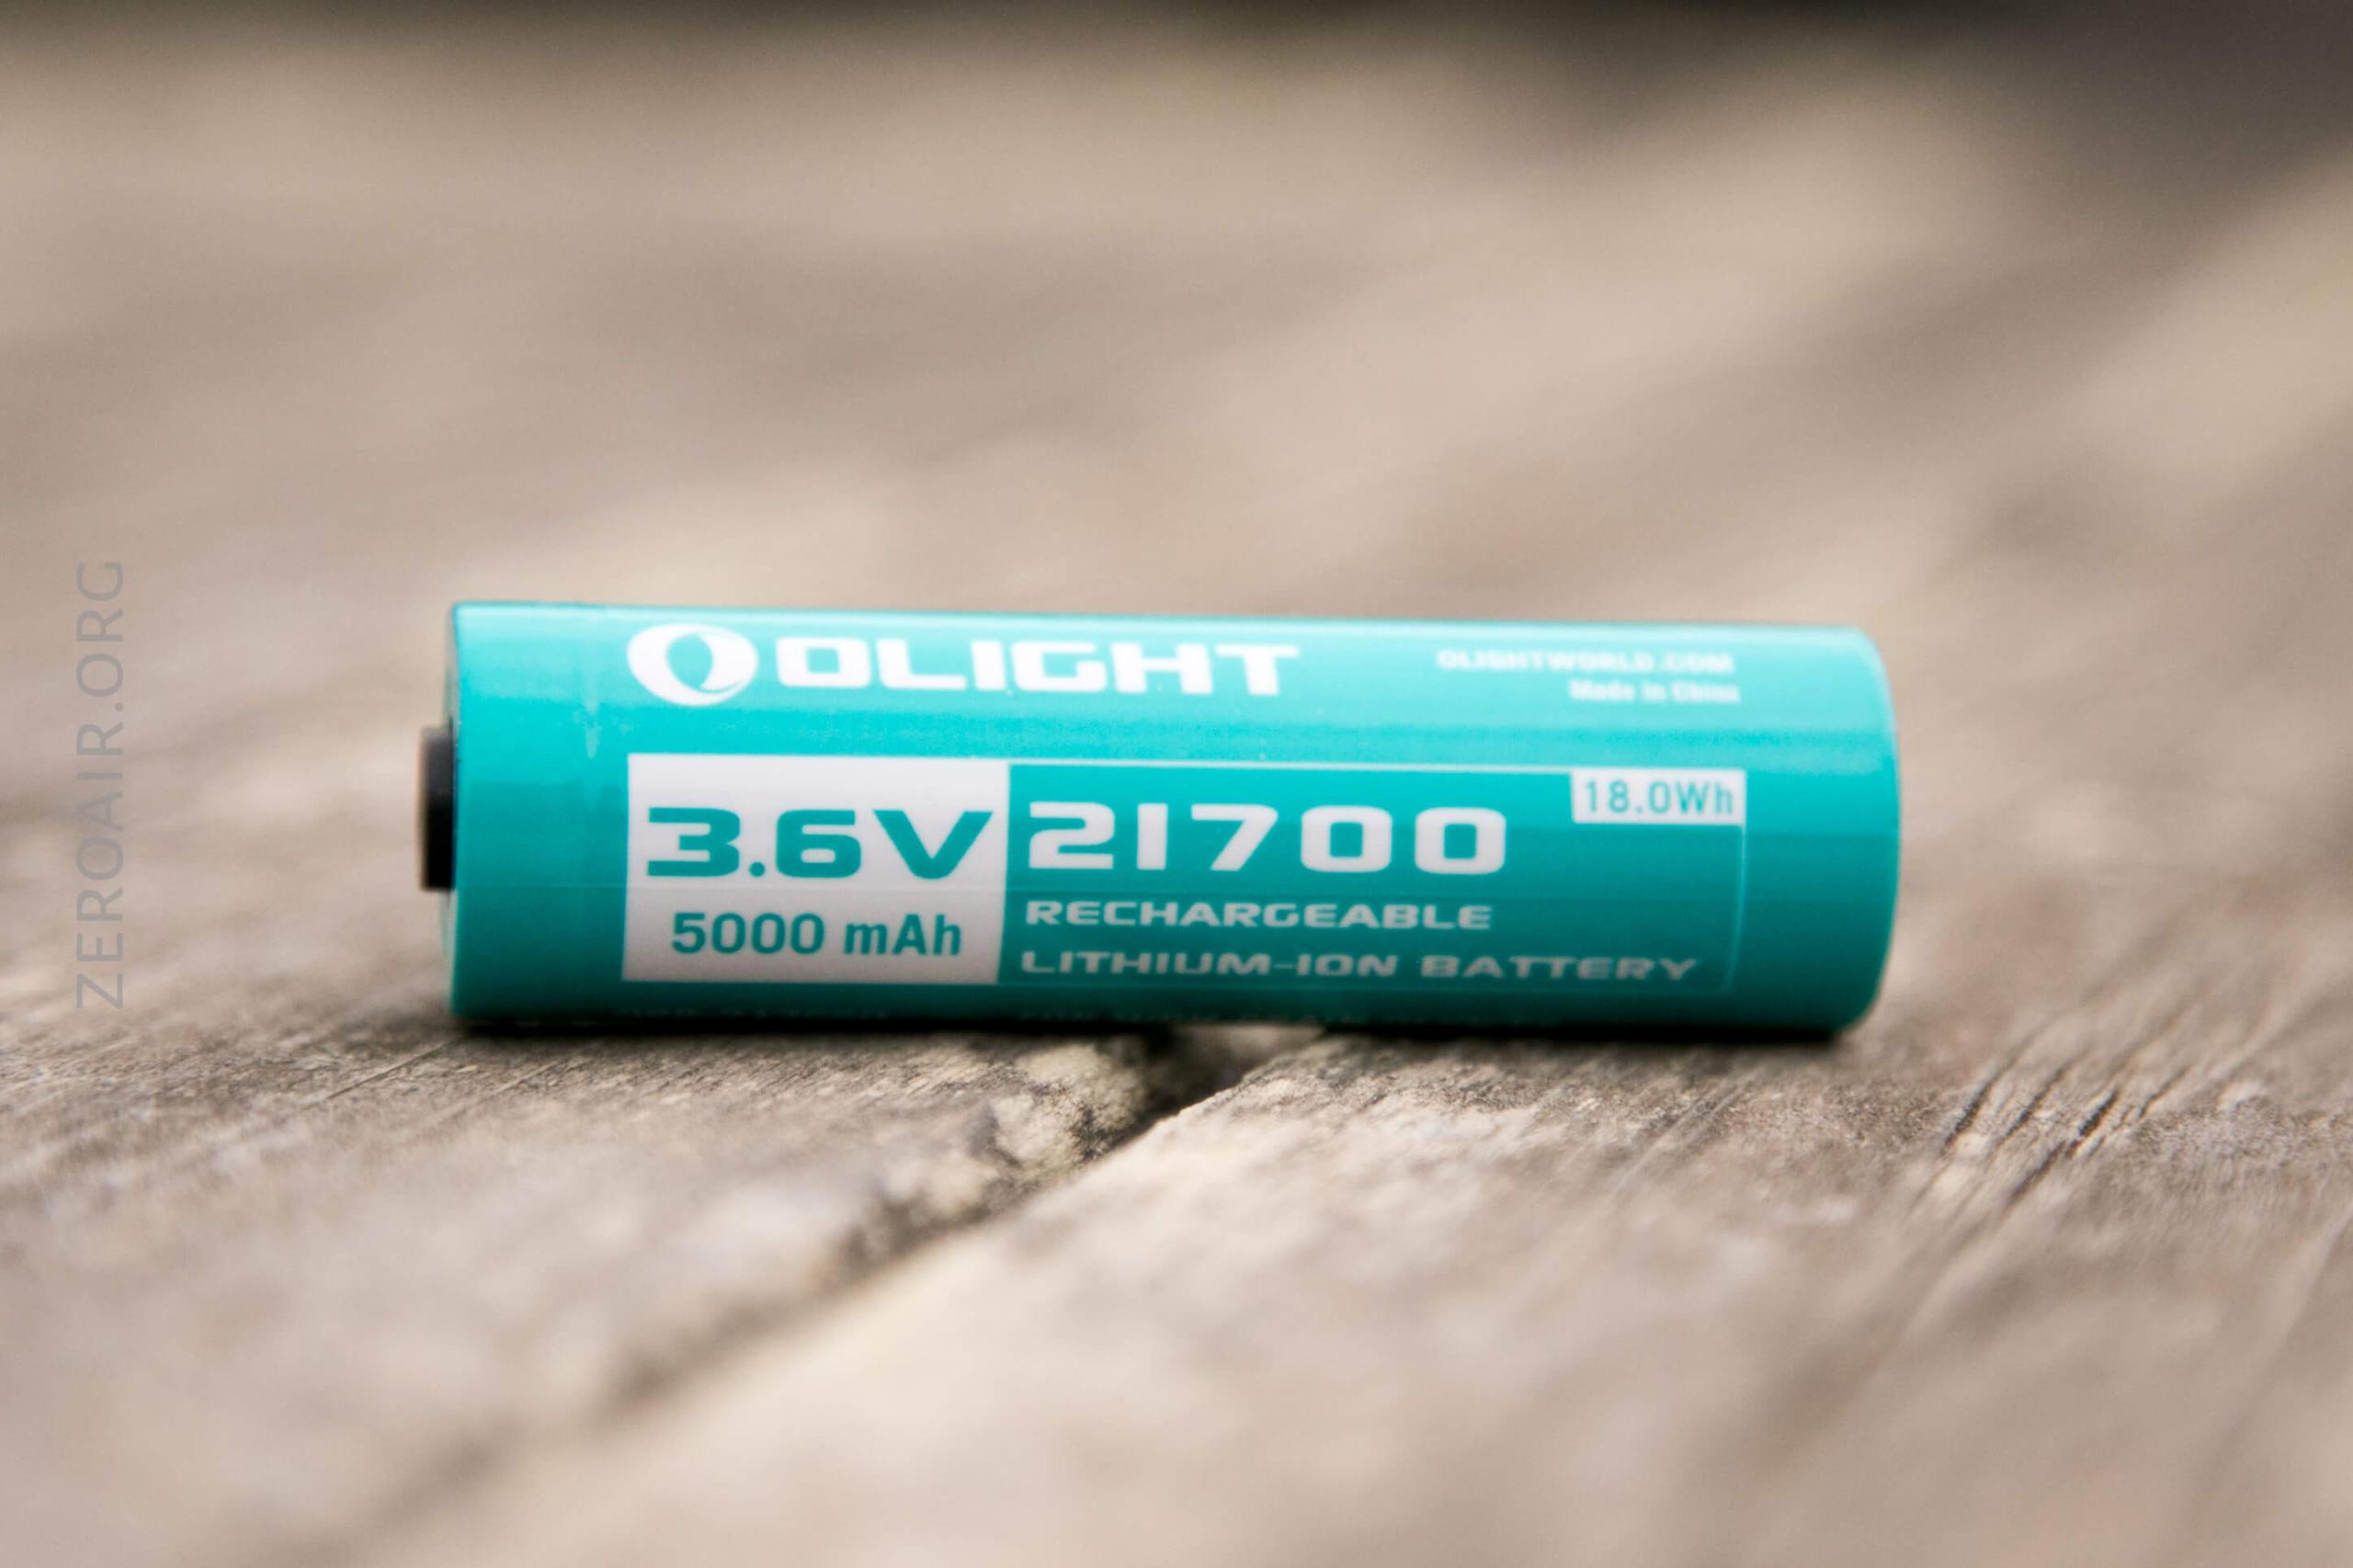
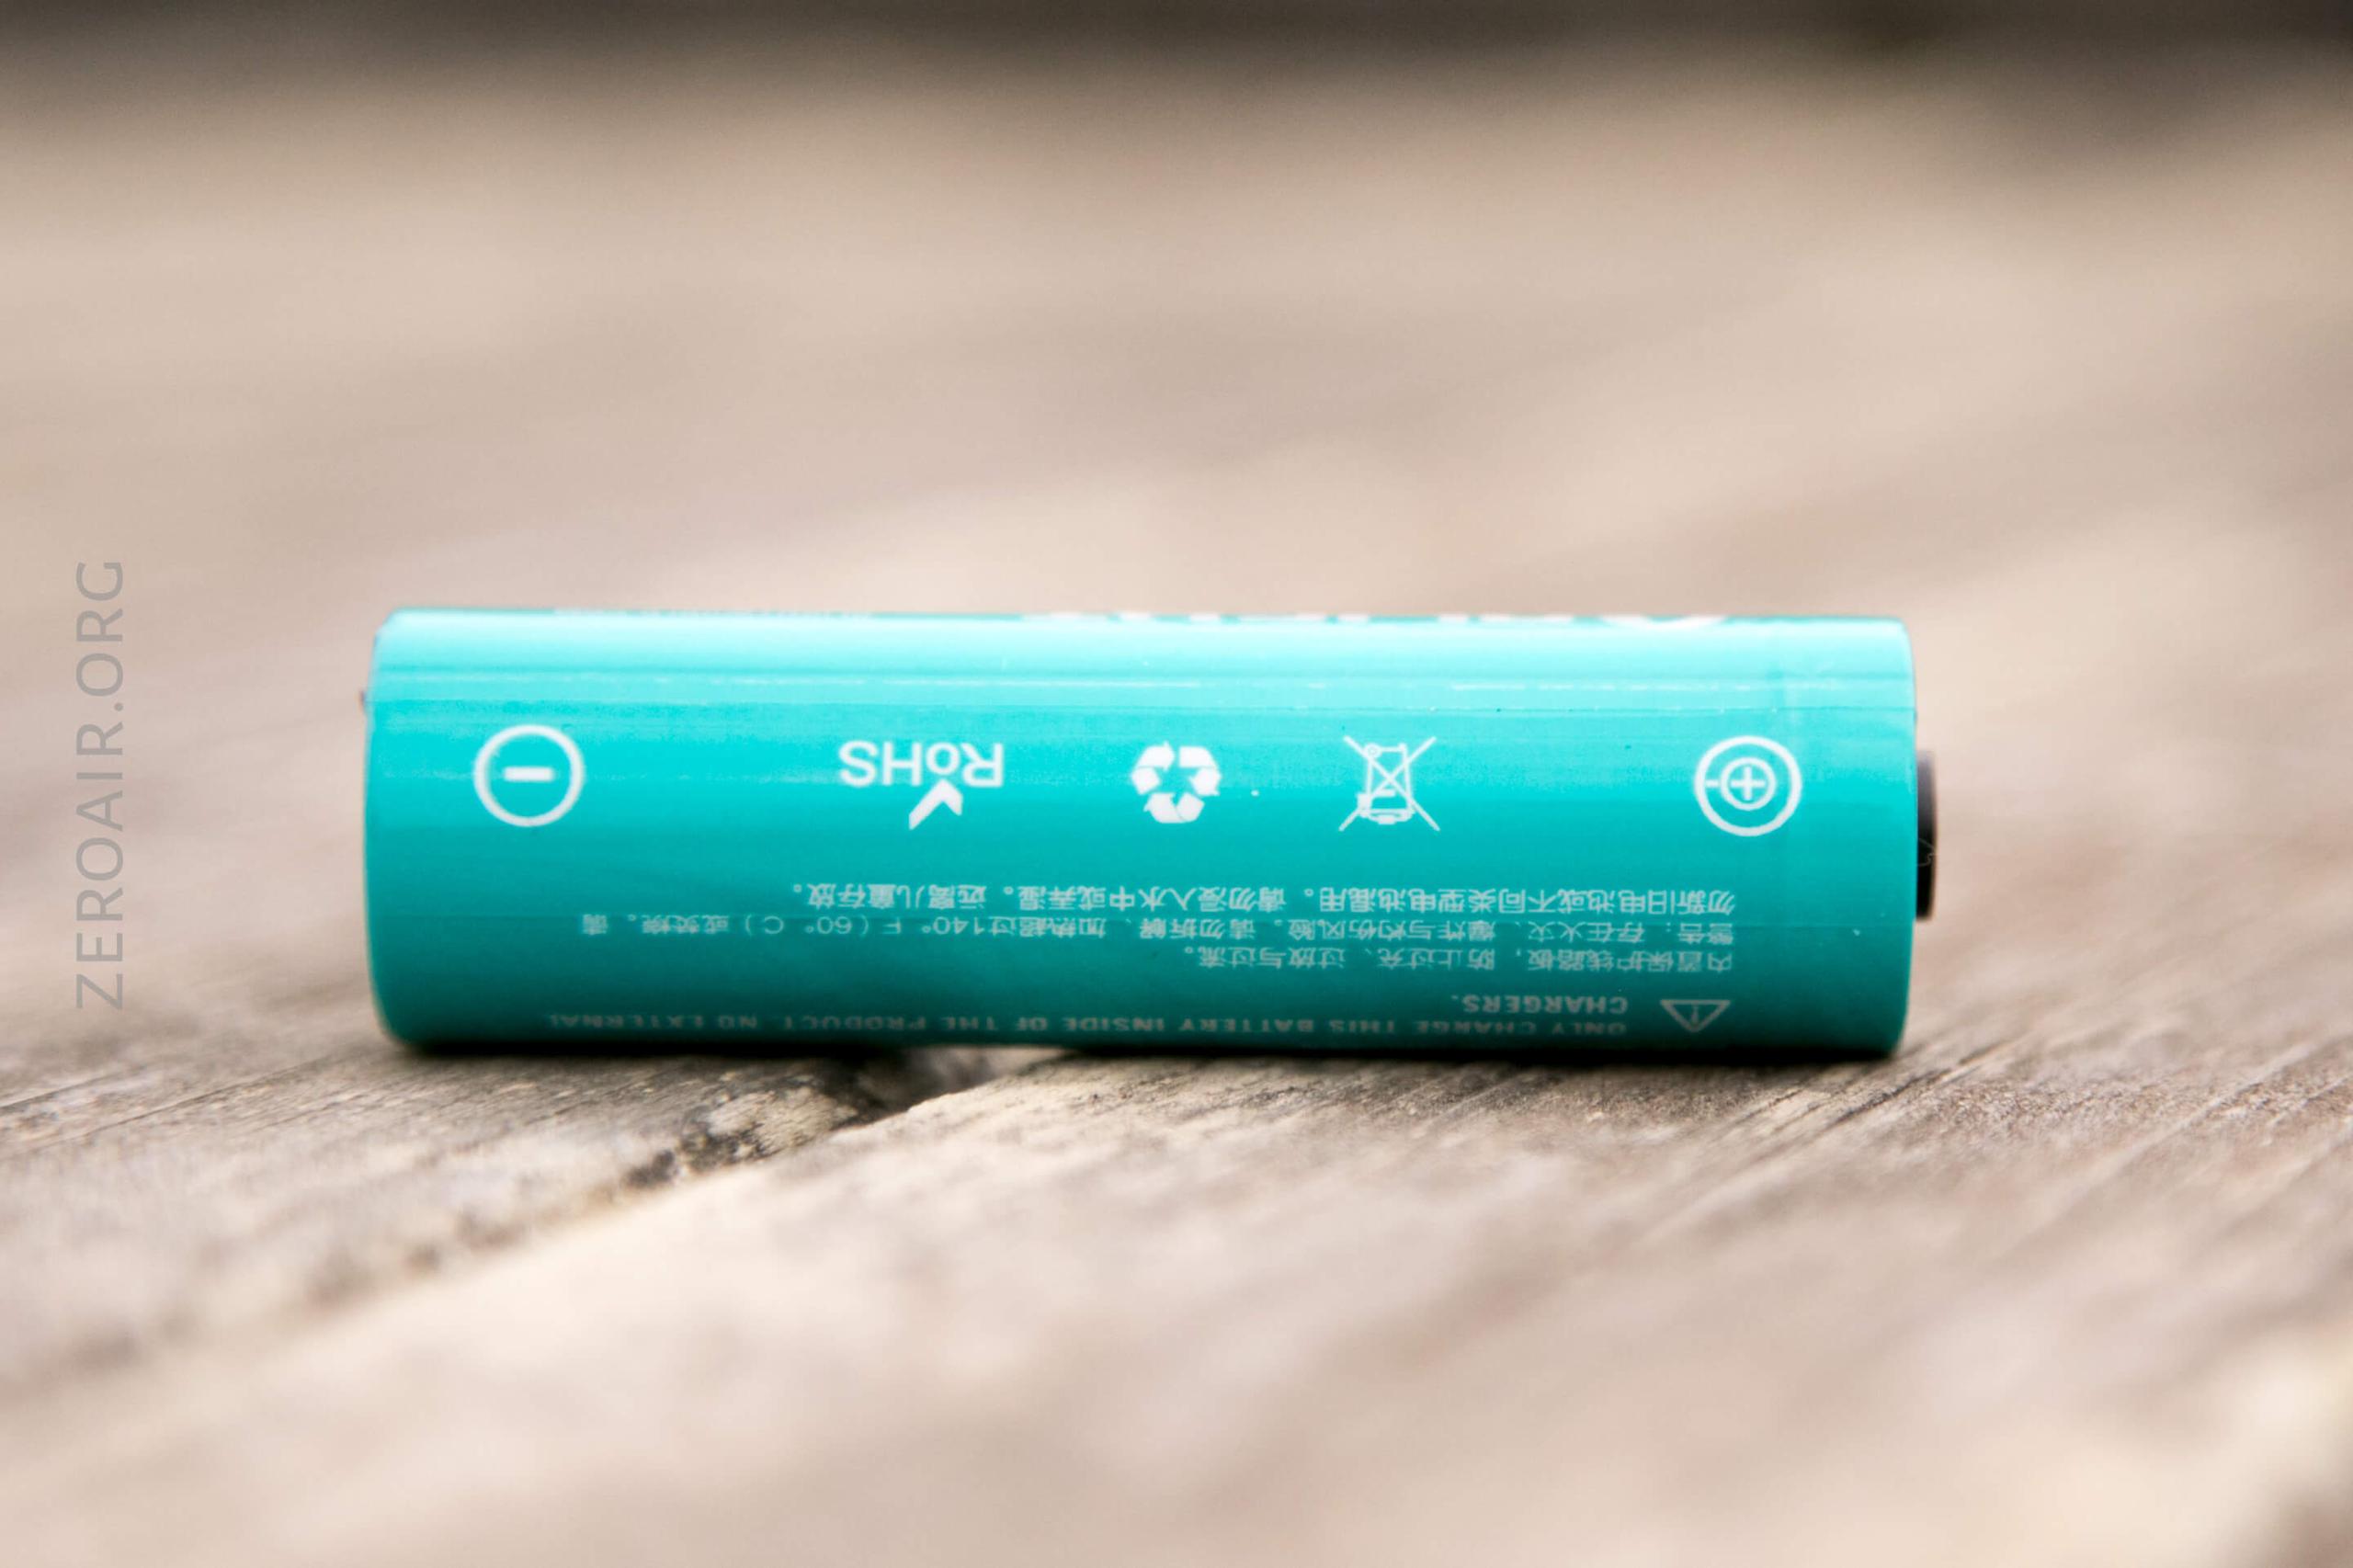
The cell will also not work in chargers. There’s a little shield on the positive terminal, and the positive connection itself is recessed enough that most (all?) chargers will not make contact with this. So you’ll have to charge this in the light.
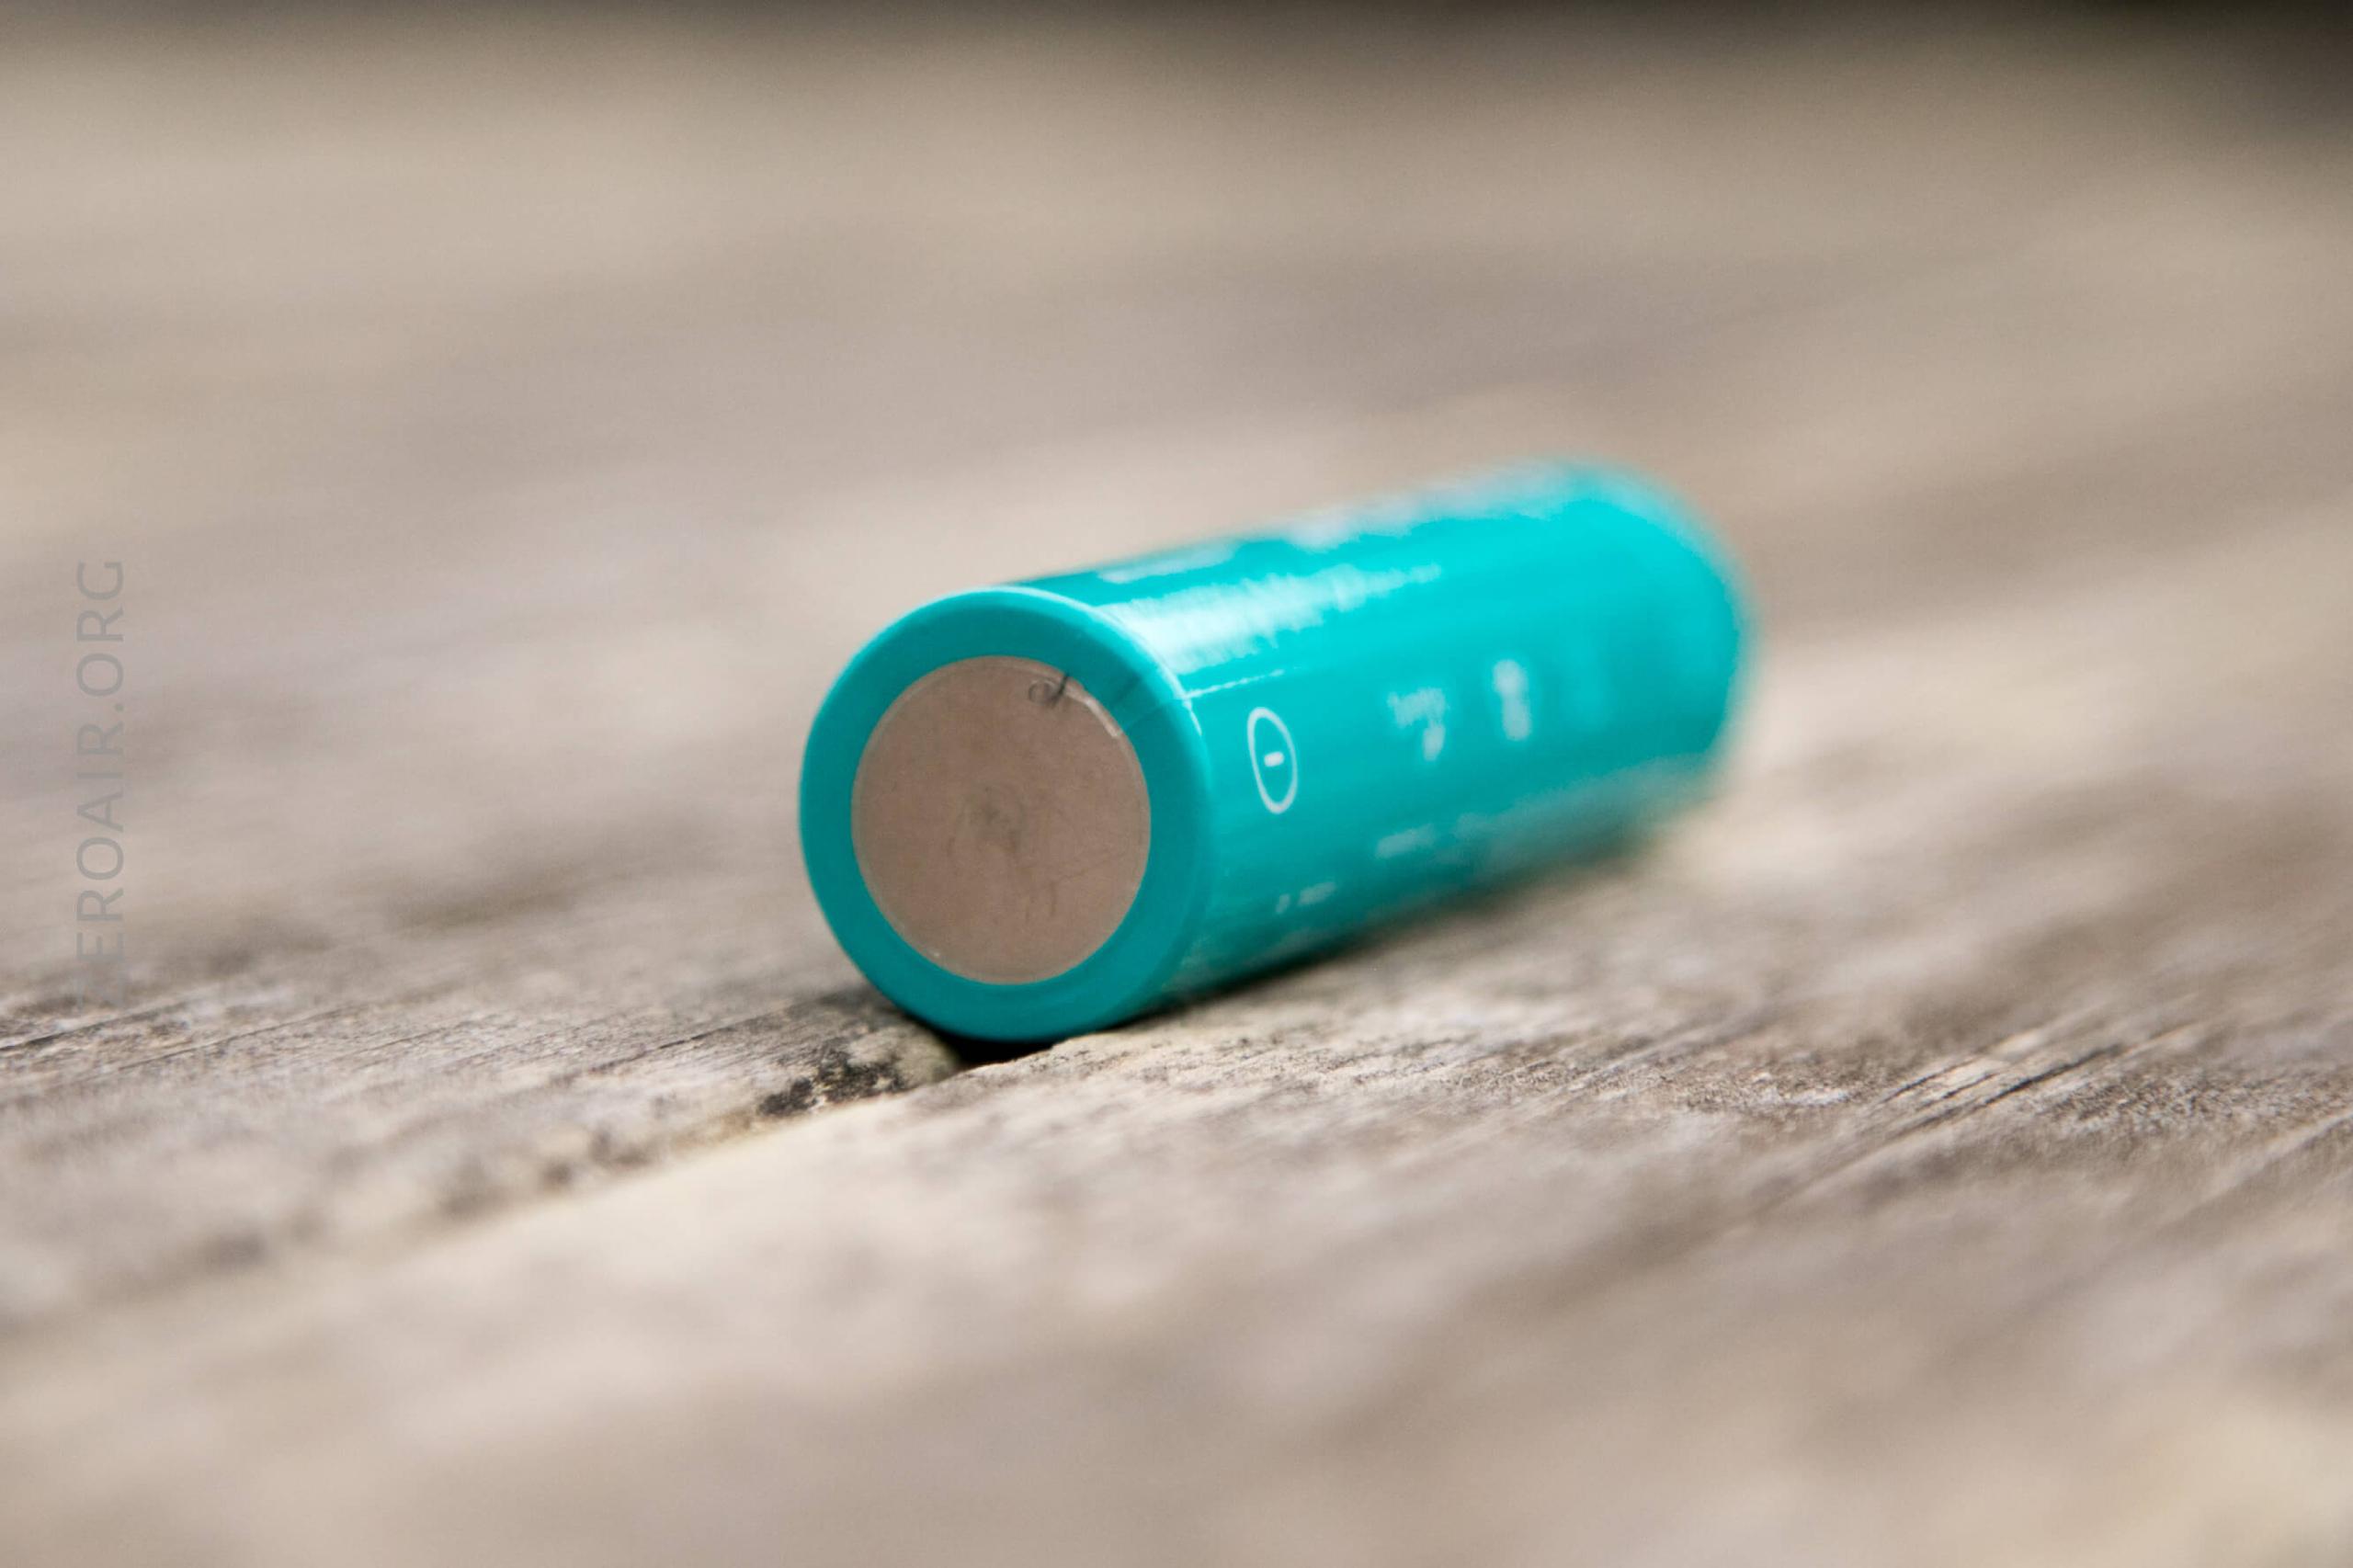
The cell also does not go in the light in the “normal” way (positive end toward head). It’s backward, but this is a thing Olight does fairly often – the positive end goes toward the tailcap).
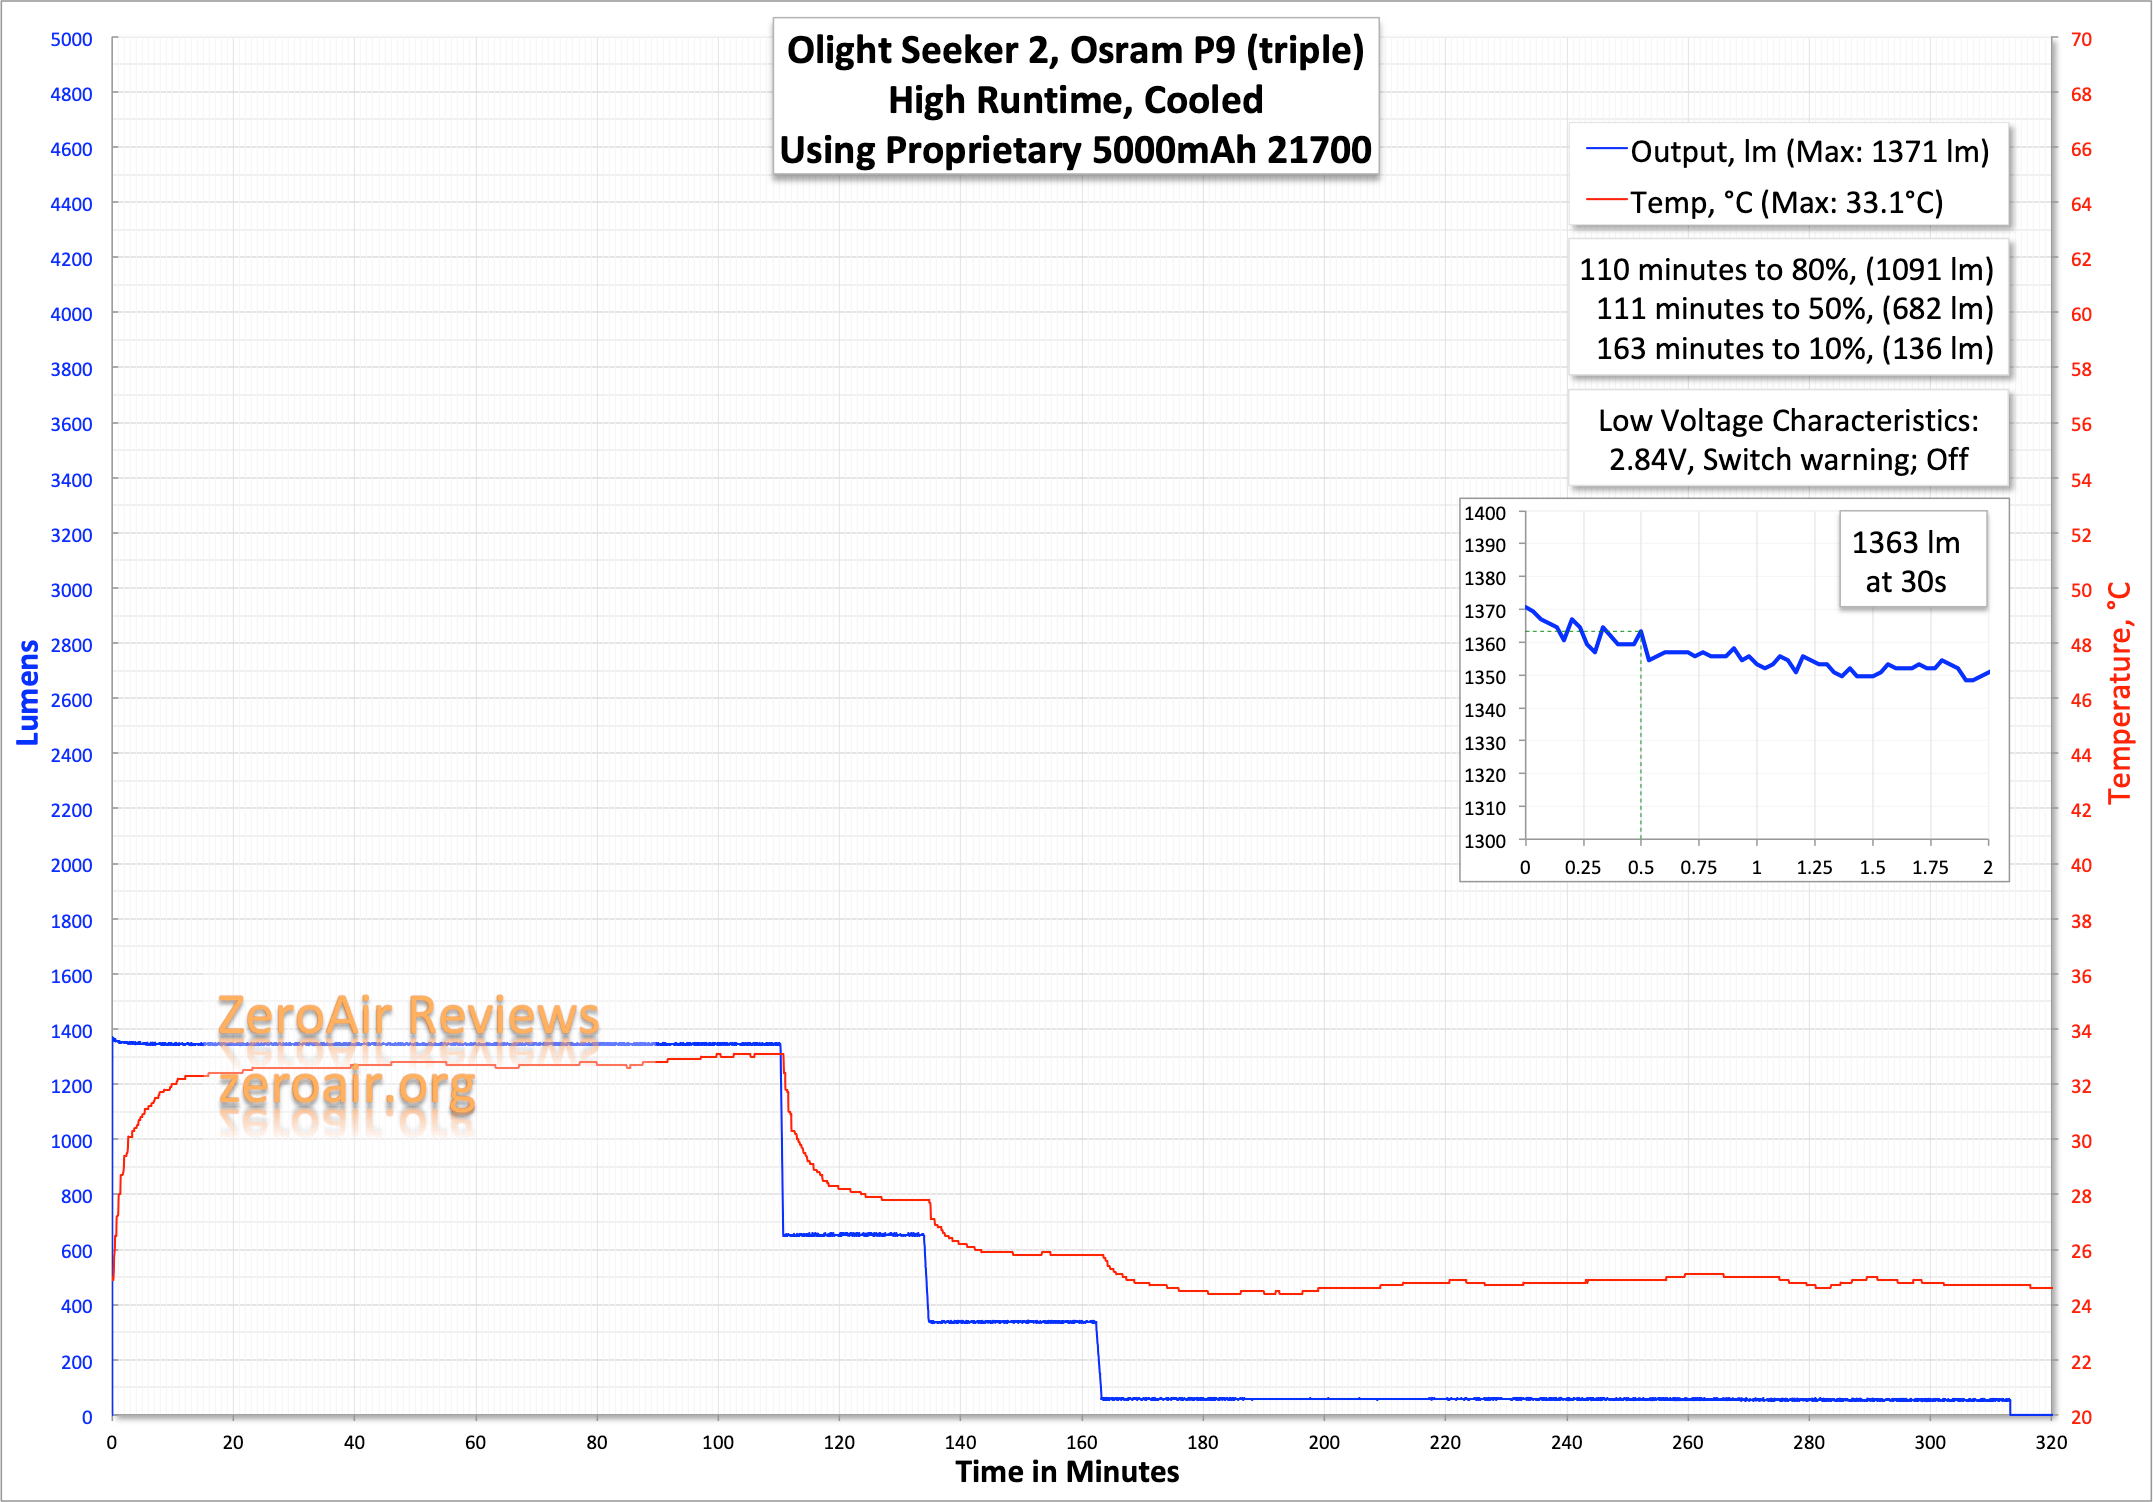
Here are a couple of runtimes. Turbo steps down after 3 minutes, as stated in the manual. The stepdown is to a much higher level than quoted, though (claim: 600 lumens). Eventually, the light steps down more and then shuts off. LVP is around 2.8-2.9V, which is good. The switch does warn of LV along the way, too.
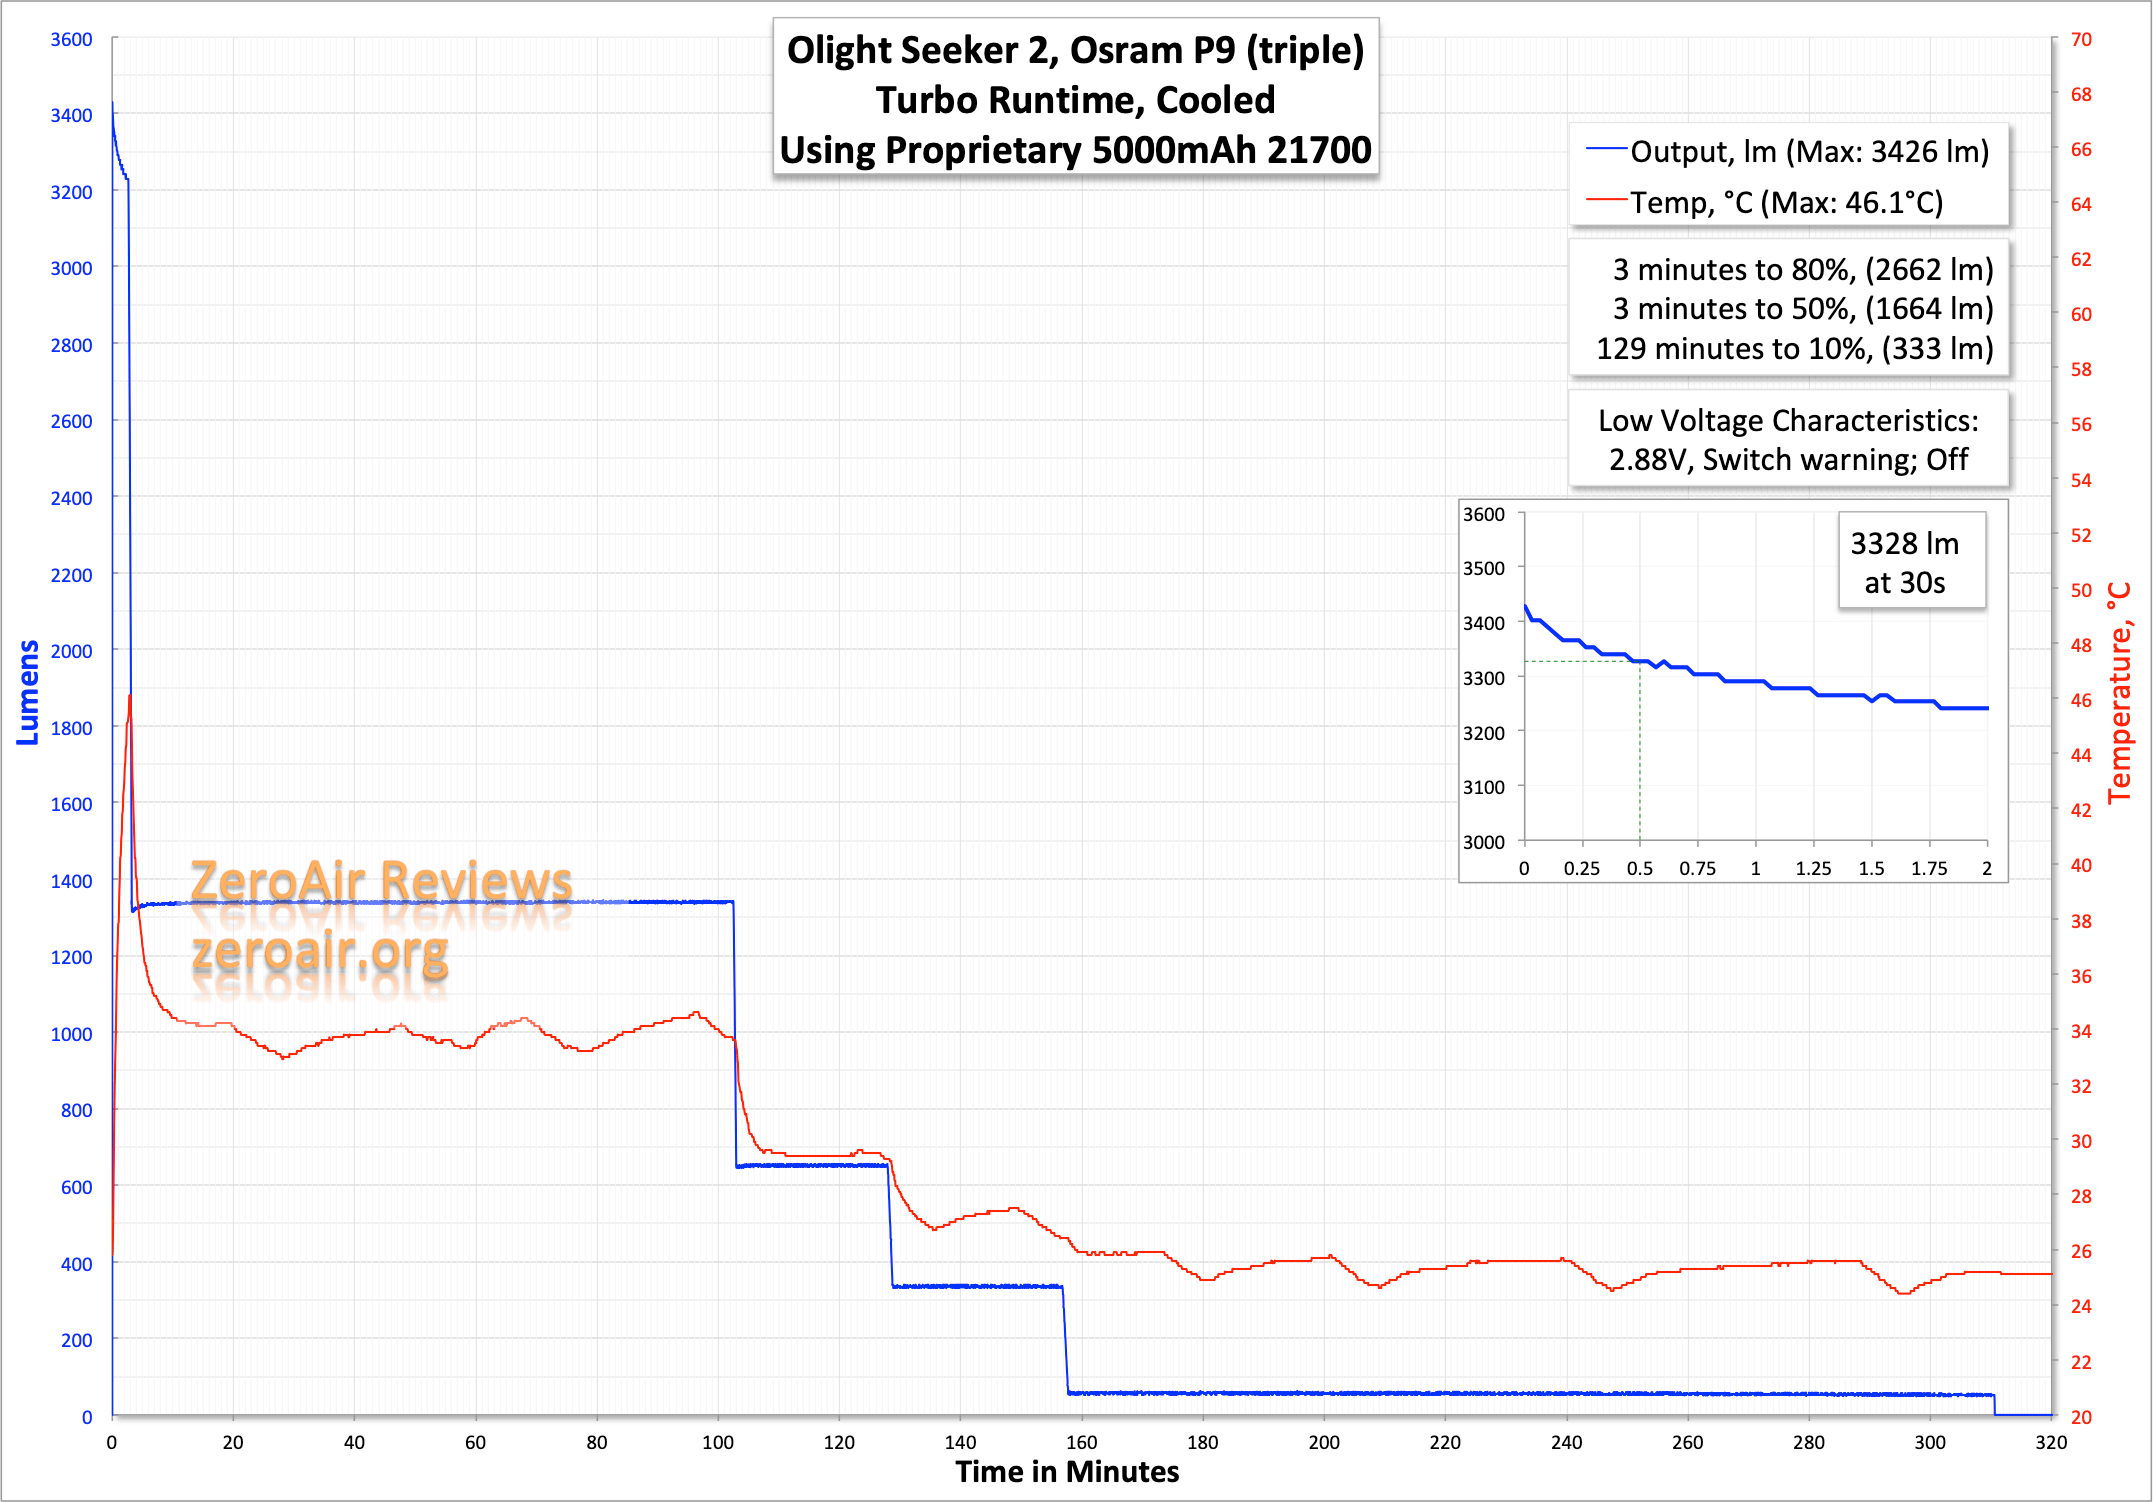
Output on High is very similar in duration and stepdown profile, including the shutoff. It can be said based on this runtime that Turbo steps down to High, and so on.
The switch indicates during runtimes too, most notably that the switch will blink red when voltage is low (and when the light has switched to the very lowest of its stepdowns.) More as follows:
Green: >60% charge
Orange: 10-60% charge
Red: 5-10% charge
Flashing red: <5% charge
Charging
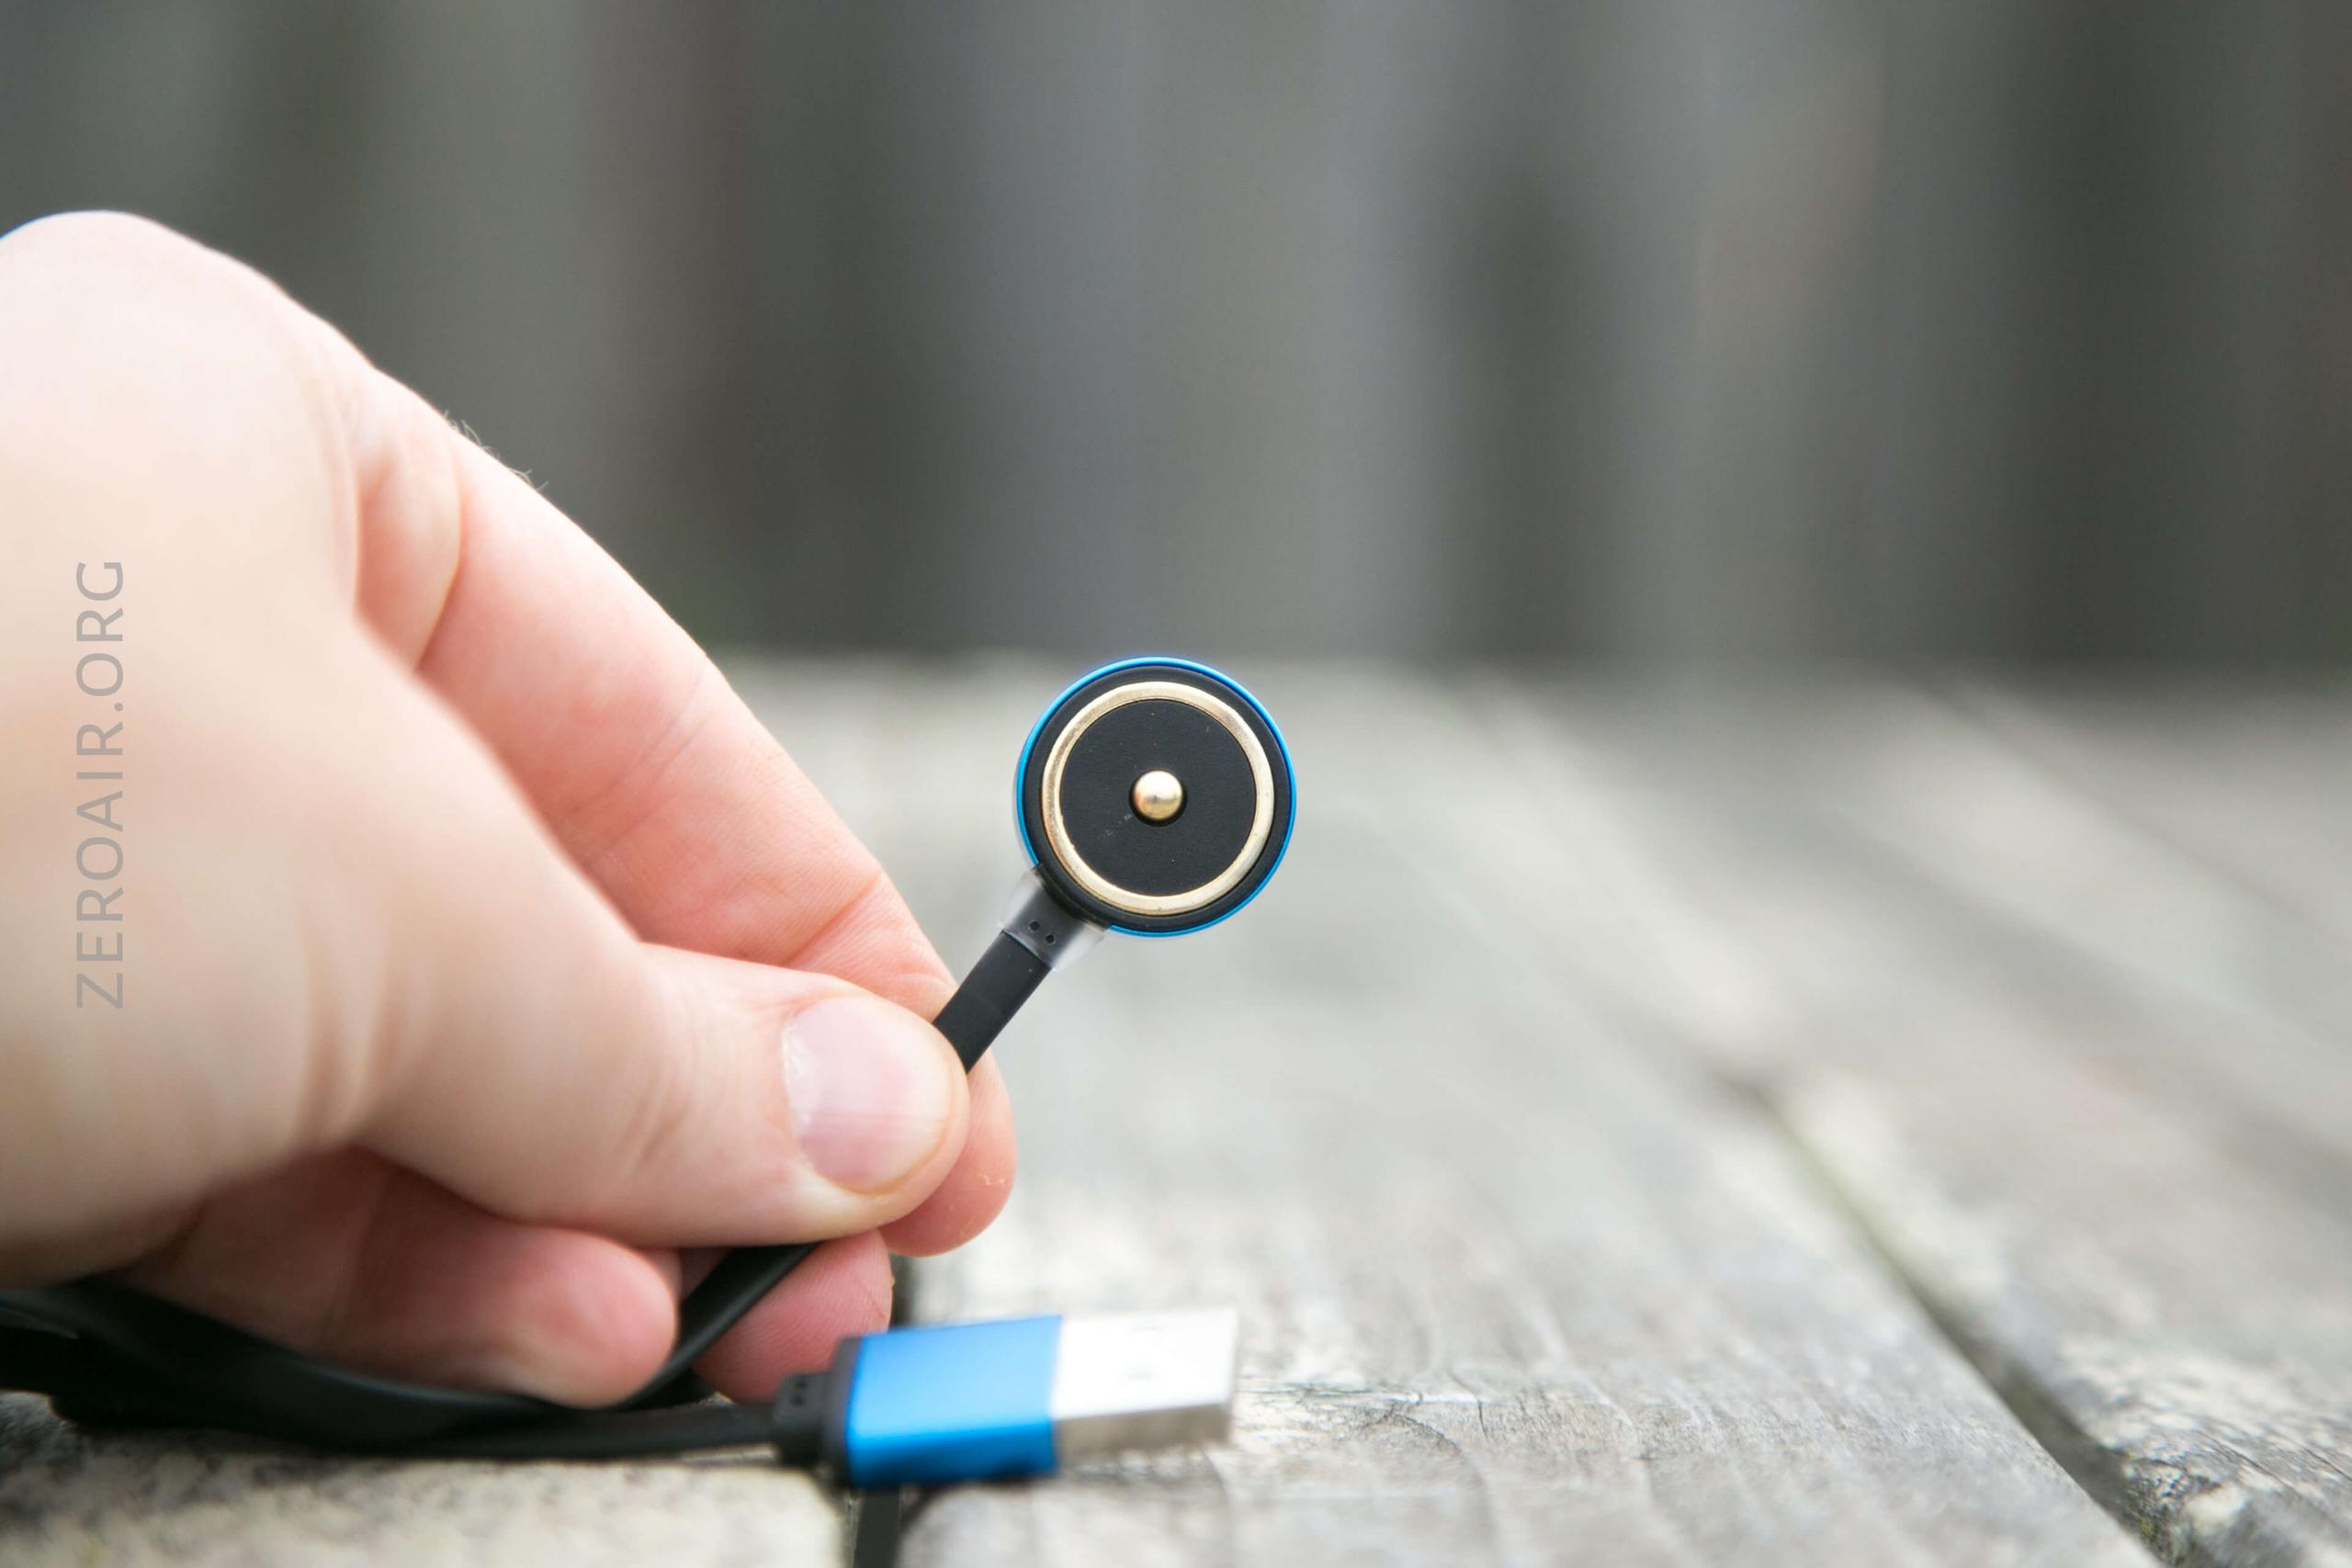
On-board charging is by way of a USB to magnetic-proprietary connector.
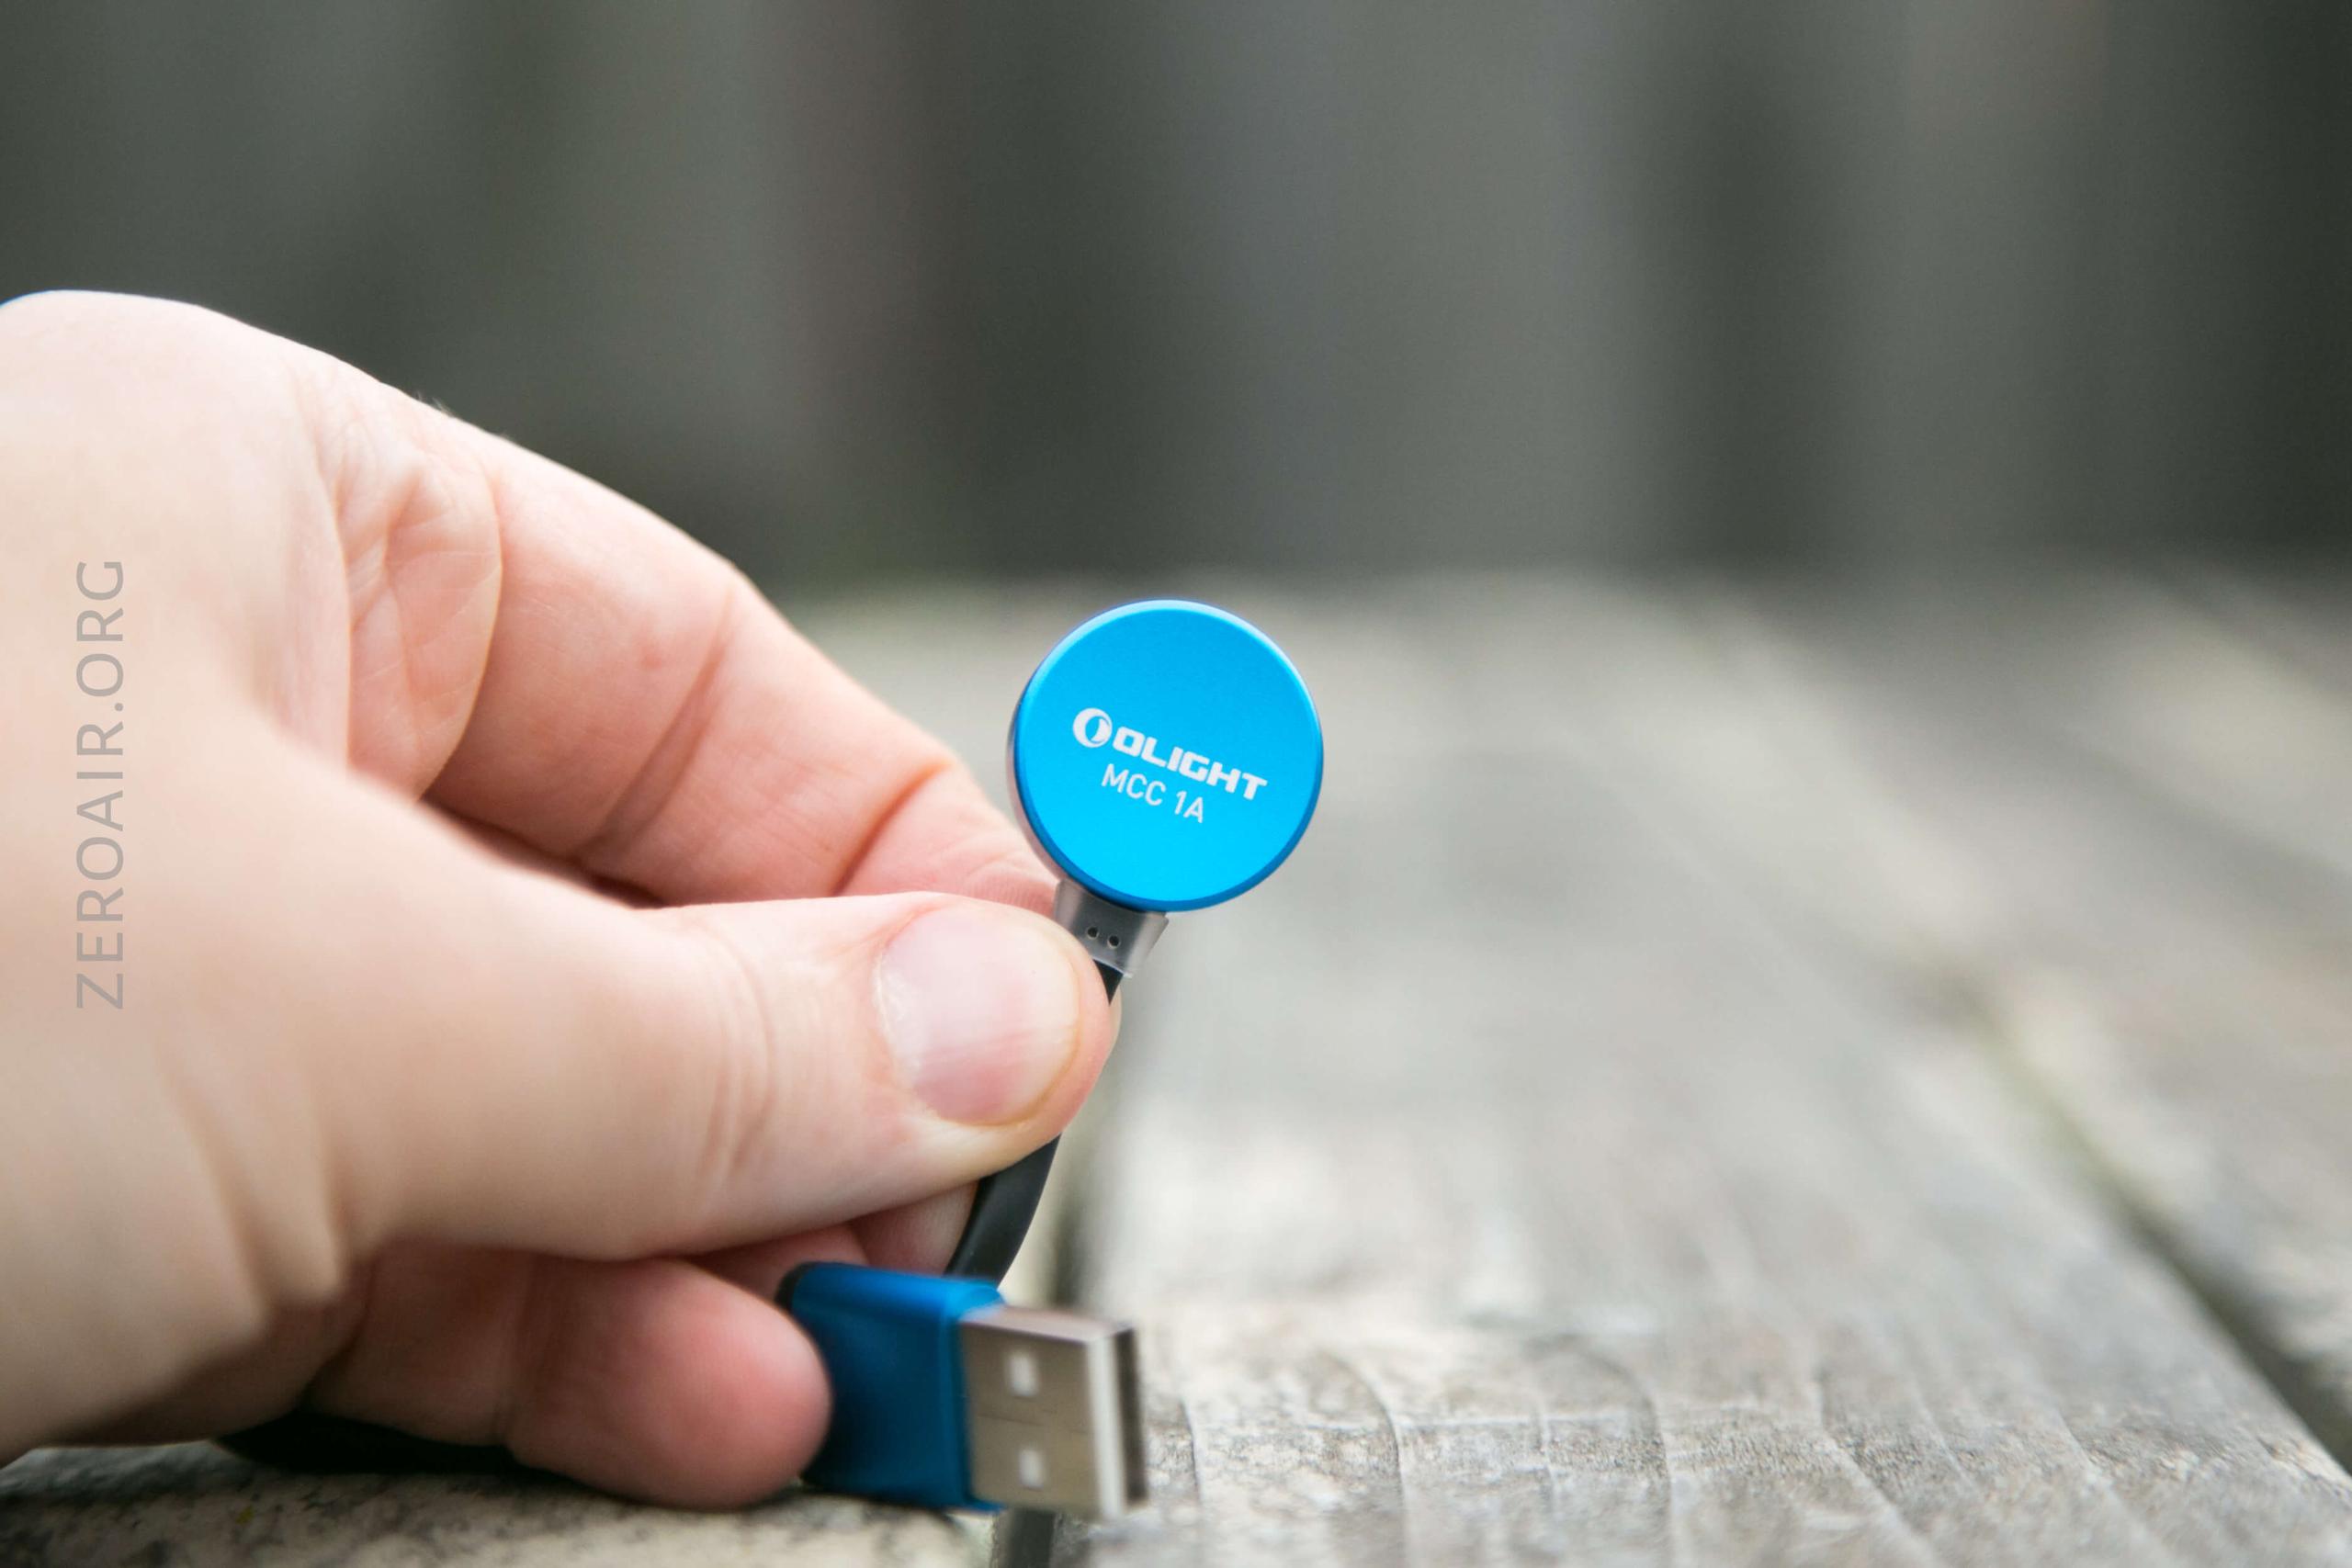
Despite having many lights that use a connector that looks like this, it’s not a guarantee that this one will work with any other Olight you have with a magnetic charge base (!!!). So keep your Olights organized well.
The charge connector on the light is on the tail, and while it is magnetic, it’s not really magnetic enough to hold the light securely in places.
The charge base snaps to the light very willingly, and the light may be stood on the charge base easily.
Charging is claimed at 1A, and since what I’m measuring is the 5V wall output, 1A is probably not wrong. Charging a 5000mAh cell at 1A is kind of slow, but good for cell health.
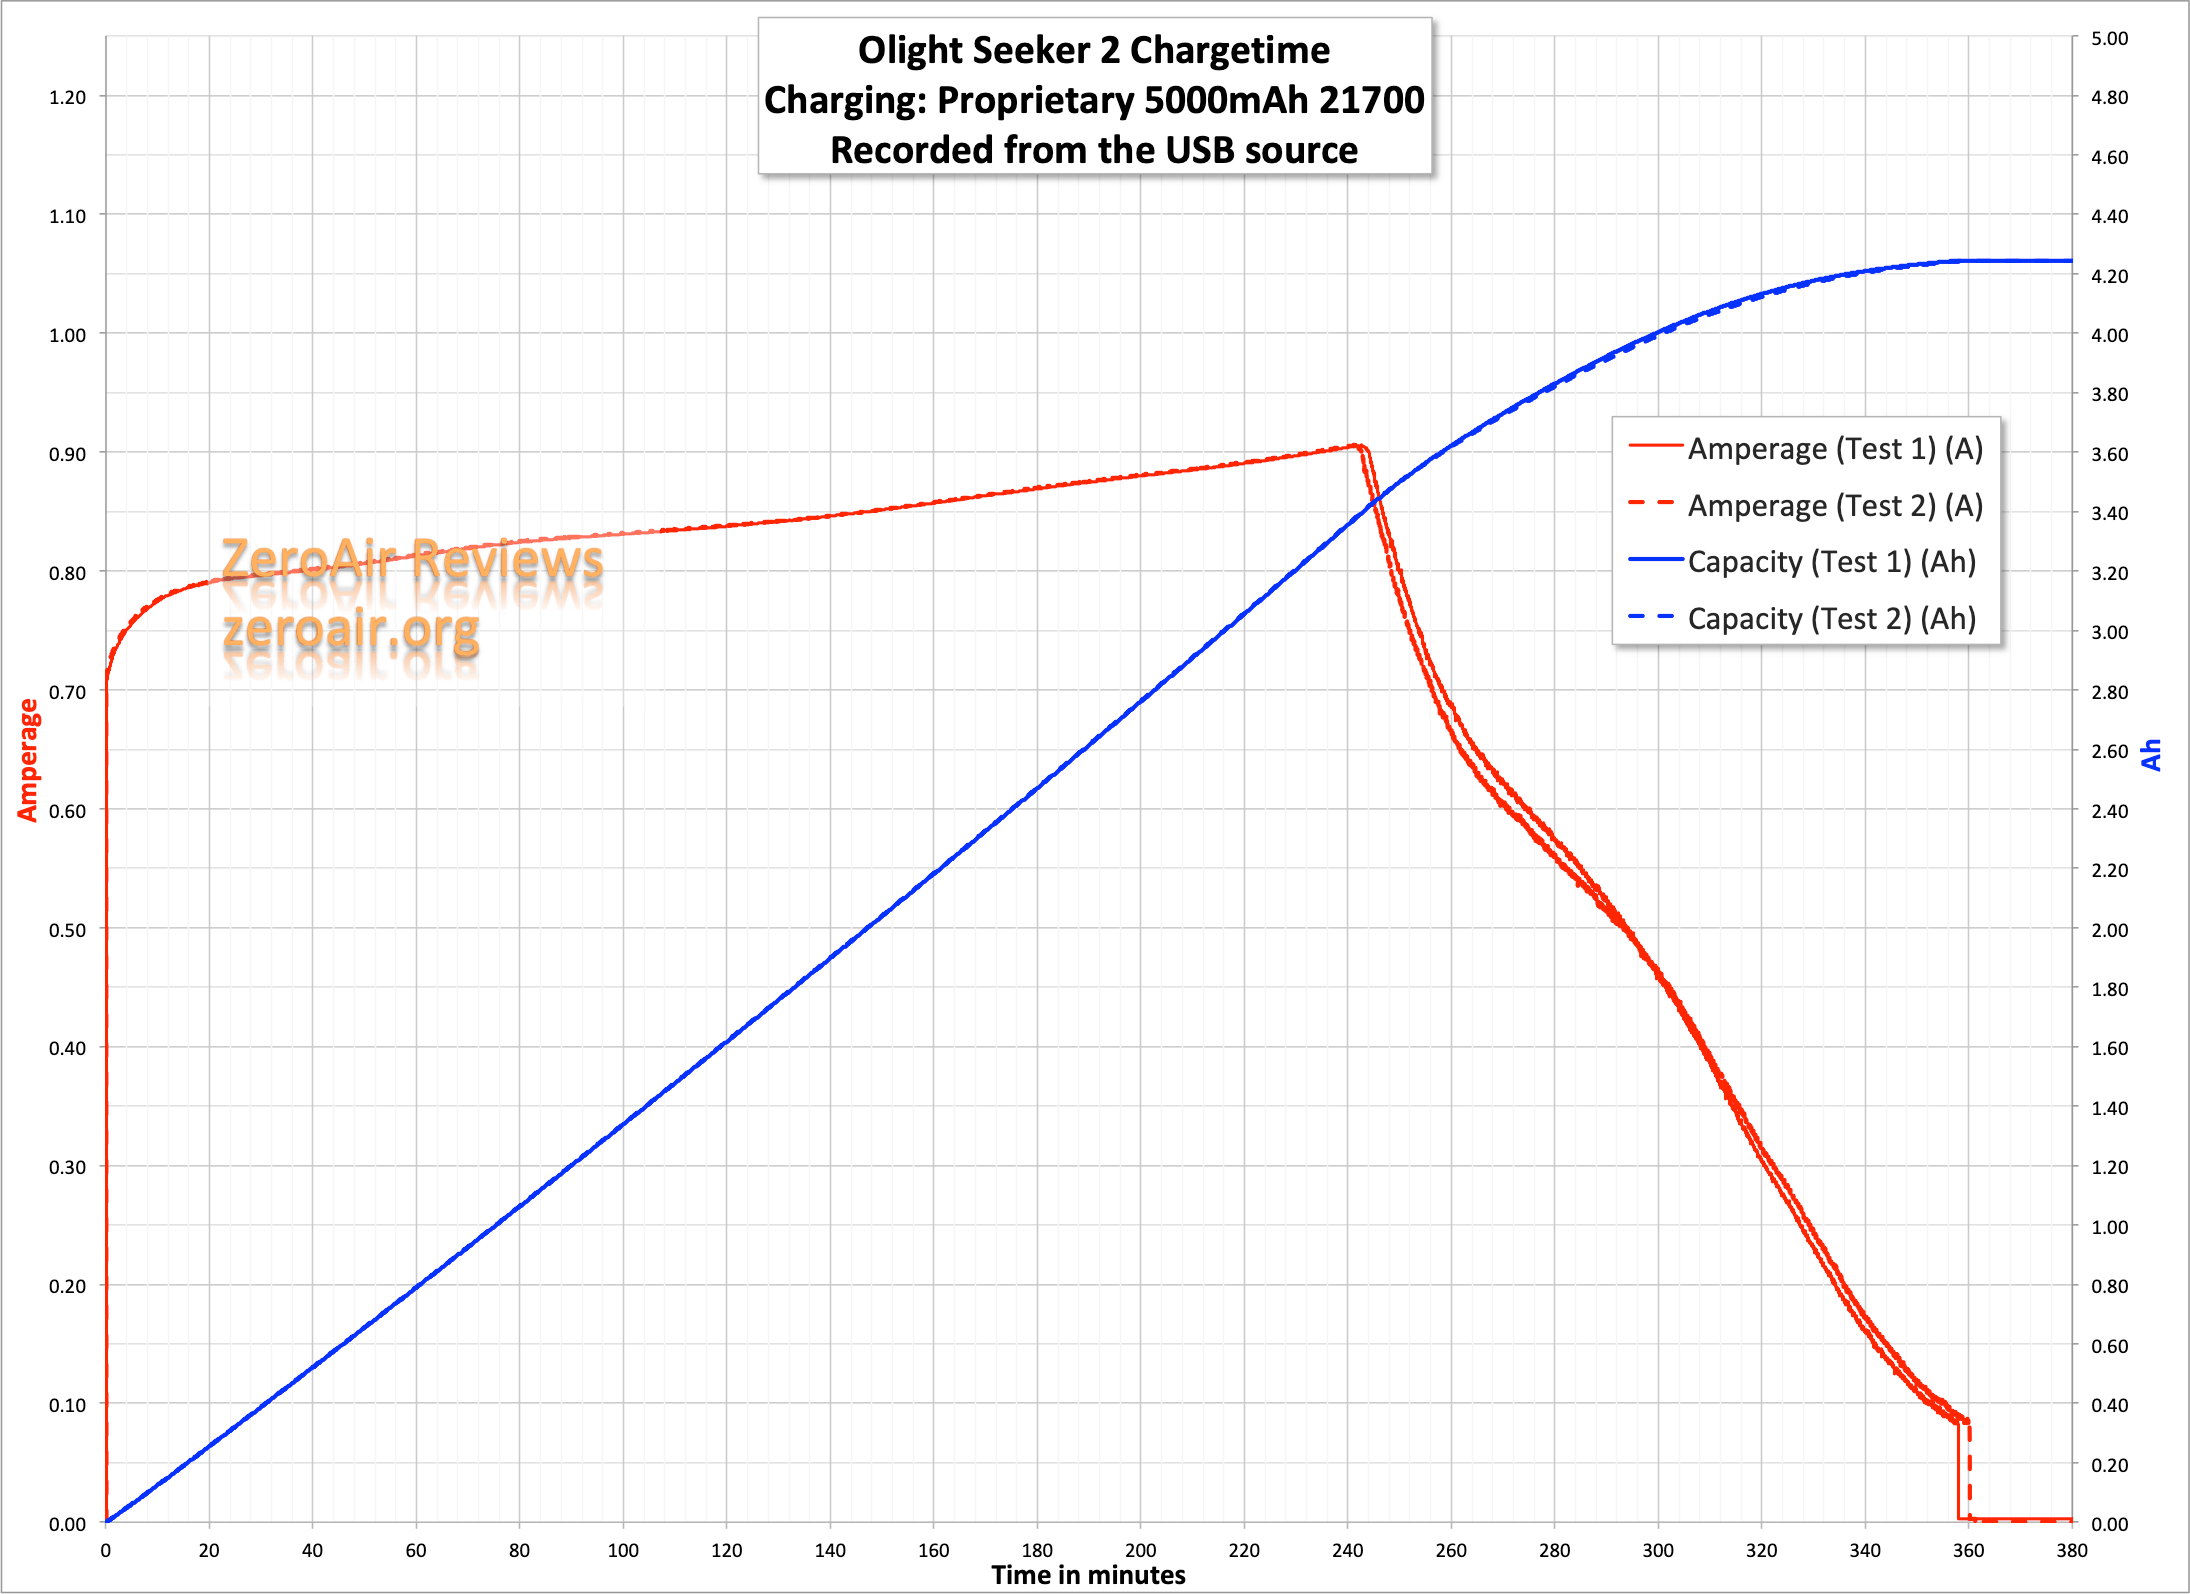
During the charge, the charge base indicates whether charging is happening (red) or charging is complete (green).
Modes and Currents
| Mode | Mode Claimed Output (lm) | Claimed Runtime | Measured Lumens | Tailcap Amps |
|---|---|---|---|---|
| Turbo | 3000/600 | 3m/155m | 3328/~1350 | 6.42 |
| High | 1200/600 | 110m/50m | 1363/~650 | 1.90 |
| Medium | 300 | 13h | 341 | 0.41 |
| Low | 50 | 72h | 58 | 0.08 |
| Moon | 5 | 15d | 6 | 0.02 |
Pulse Width Modulation

Here you can see a “baseline” – a chart with almost no light hitting the sensor.
Then there’s the Ultrafire WF-602C flashlight, which has some of the worst PWM I’ve seen. It’s so bad that I used a post about it to explain PWM! Here are multiple timescales (10ms, 5ms, 2ms, 1ms, 0.5ms, 0.2ms) to make comparing this “worst” PWM light to the test light easier. That post also explains why I didn’t test the WF-602C at the usual 50us scale.
User Interface and Operation
There’s a single switch on the Seeker 2. It’s an indicating e-switch on the head. It’s a very good-sized switch, and while mostly black, it has a tiny transparent dot in the center. The dot is used for indication and can be green, orange, or red.
Here’s a user interface table!
| State | Action | Result |
|---|---|---|
| Off | Click | On (Memorized Mode, Turbo Excluded (Turbo memorized as “High”)) |
| Off | Hold | Moon |
| Any | Double Click | Turbo |
| On | Hold | Mode Advance (LMH) |
| Turbo | Double Click | Previous Mode^ |
| Any^ | Triple Click | Strobe |
| Strobe | Click | Off |
| Strobe | Hold | Low |
| On | Double click and hold | Set timer for current mode: One blink is the 3 minute mode. Double click and hold again for the 9 minute mode (indicated by two blinks) |
| Off | Hold >2s | Moonlight then Lockout. Clicking switch during lockout activates the red switch, for notification. |
| Lockout | Hold >2s | Unlock |
^ This is always an “on” state since really the double click from off first turns the light on to the previously used mode, then reaches Turbo. Also “High” is memorized in this case as “Medium” (a bit inexplicable….).
^ The manual states that the light must be on, but in practice off works too.
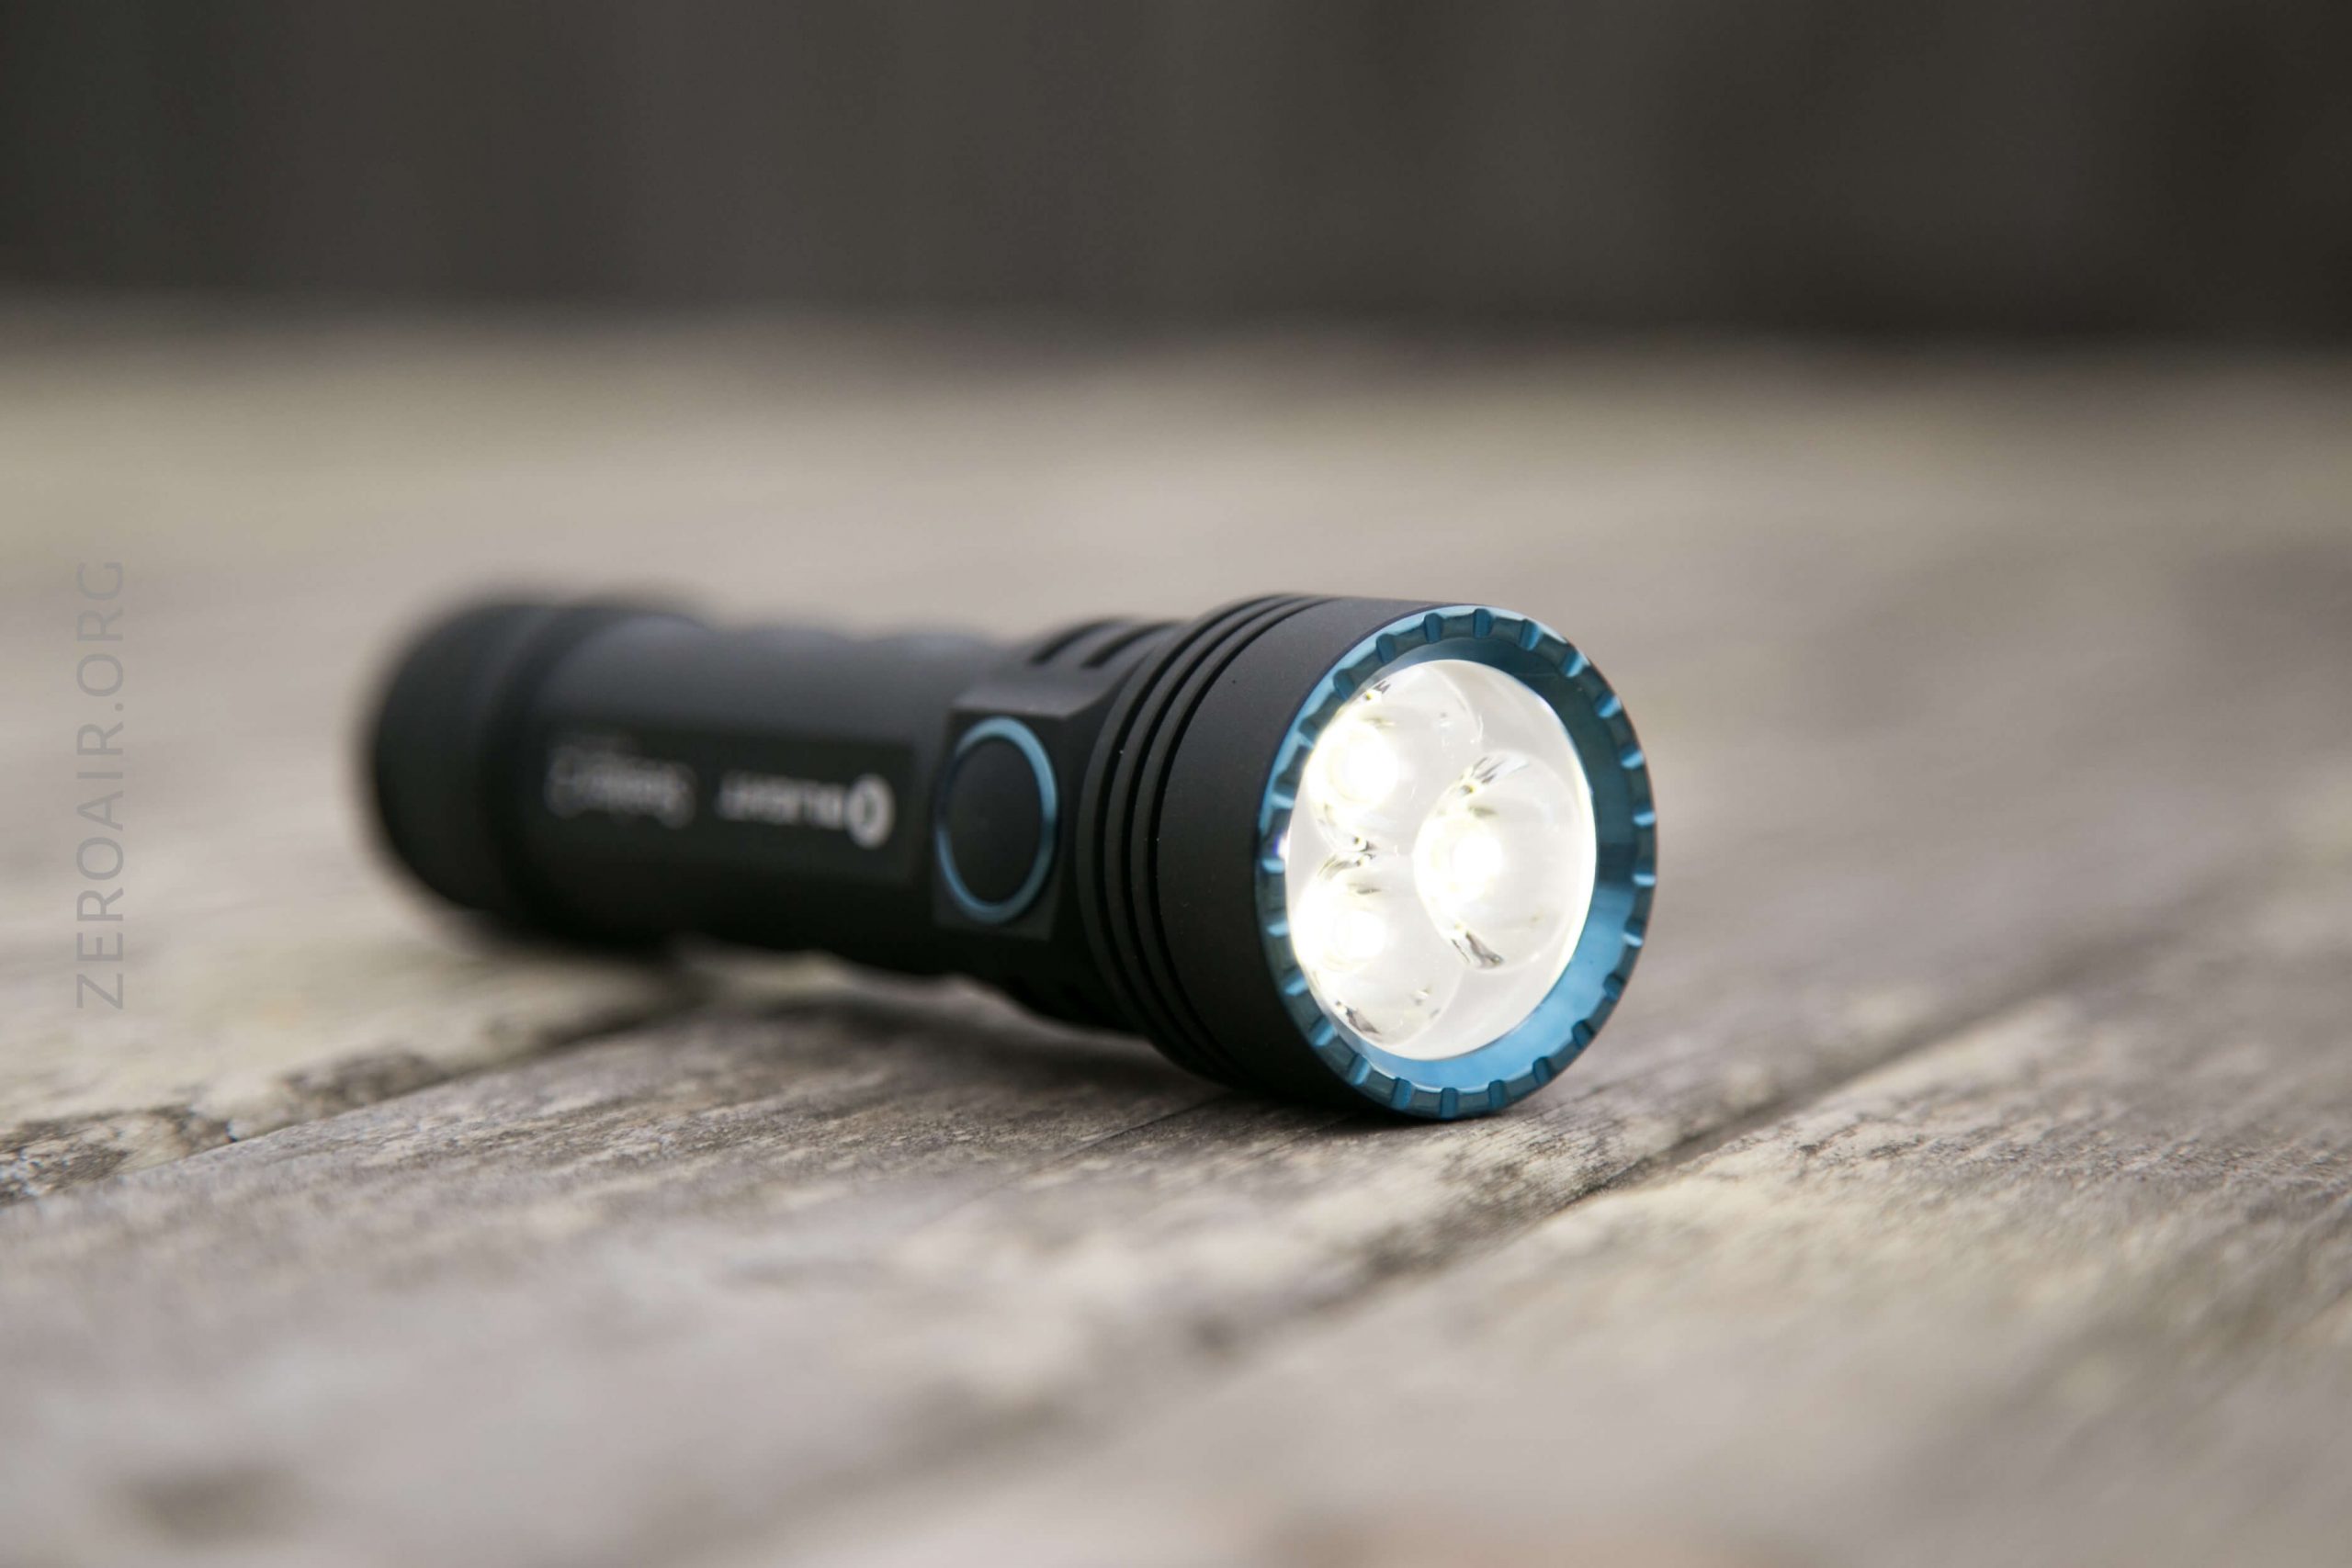
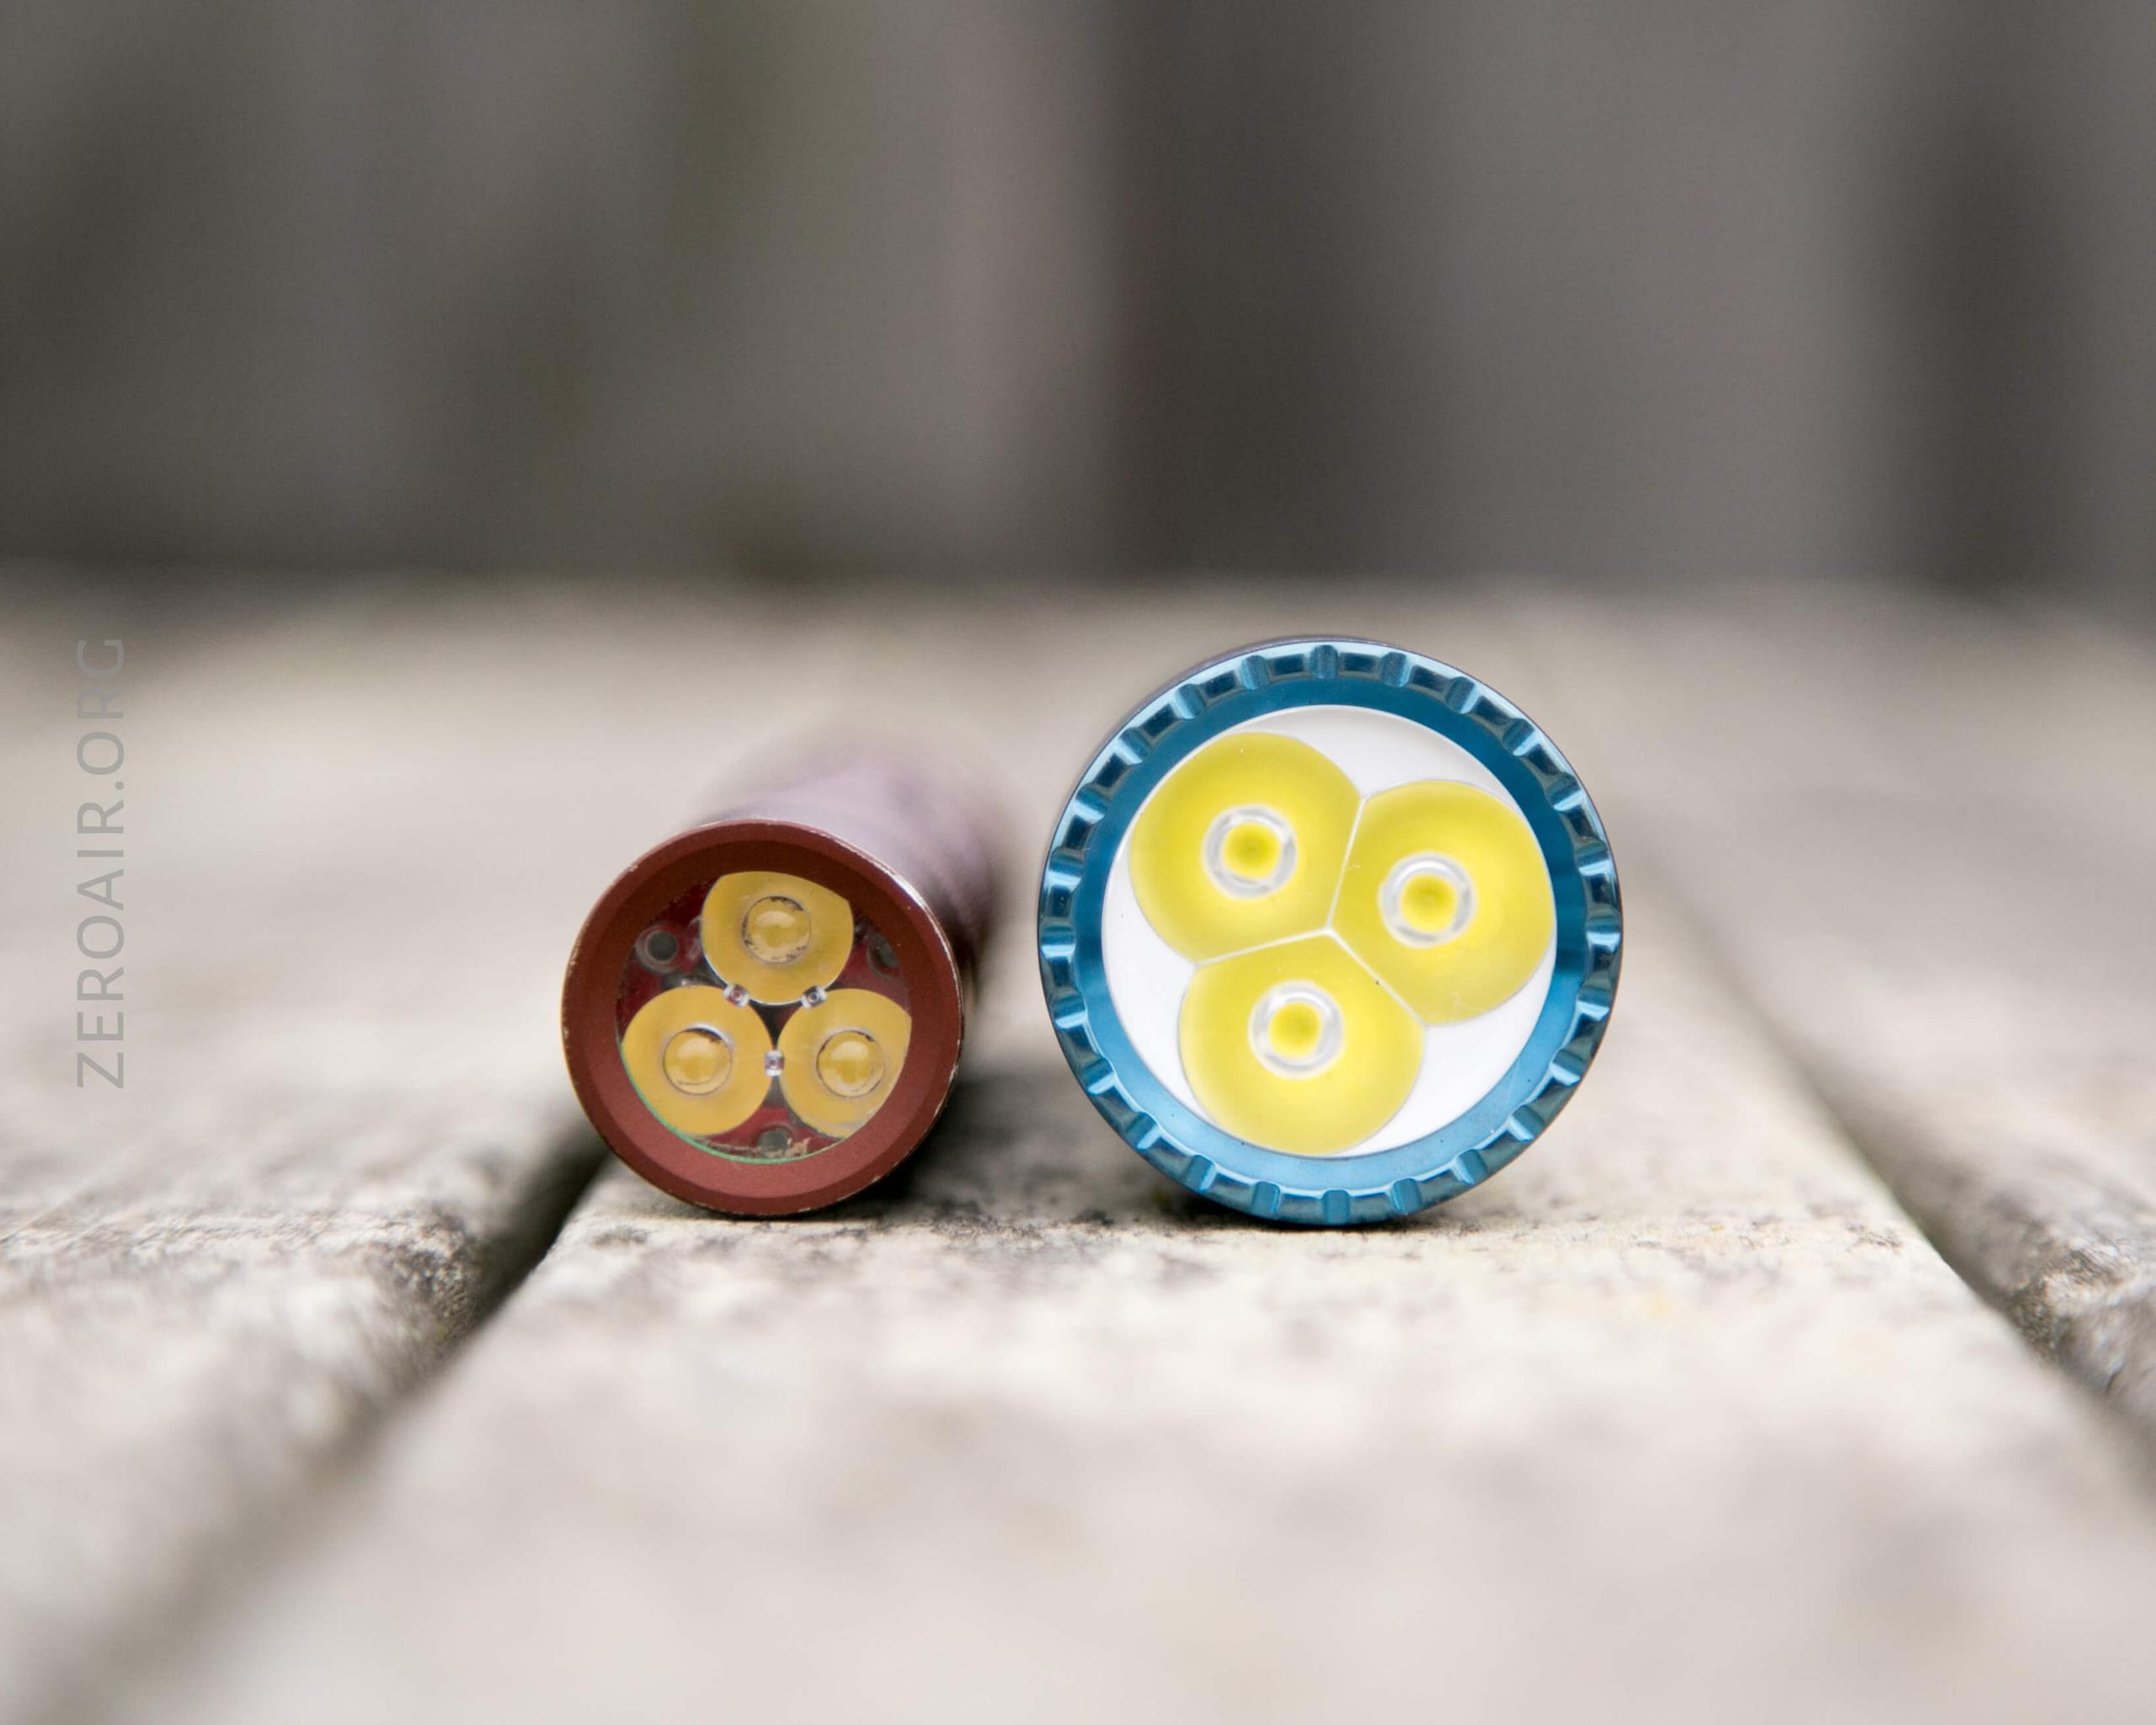
LED and Beam
The emitters here are three Osram P9 emitters, though I don’t believe the manual actually states this. The light has a three-part TIR and provides a nice fairly tight beam.
Beamshots
These beamshots always have the following settings: f8, ISO100, 0.3s shutter, and manual 5000K exposure. These photos are taken at floor level, and the beam hits the ceiling around 9 feet away.


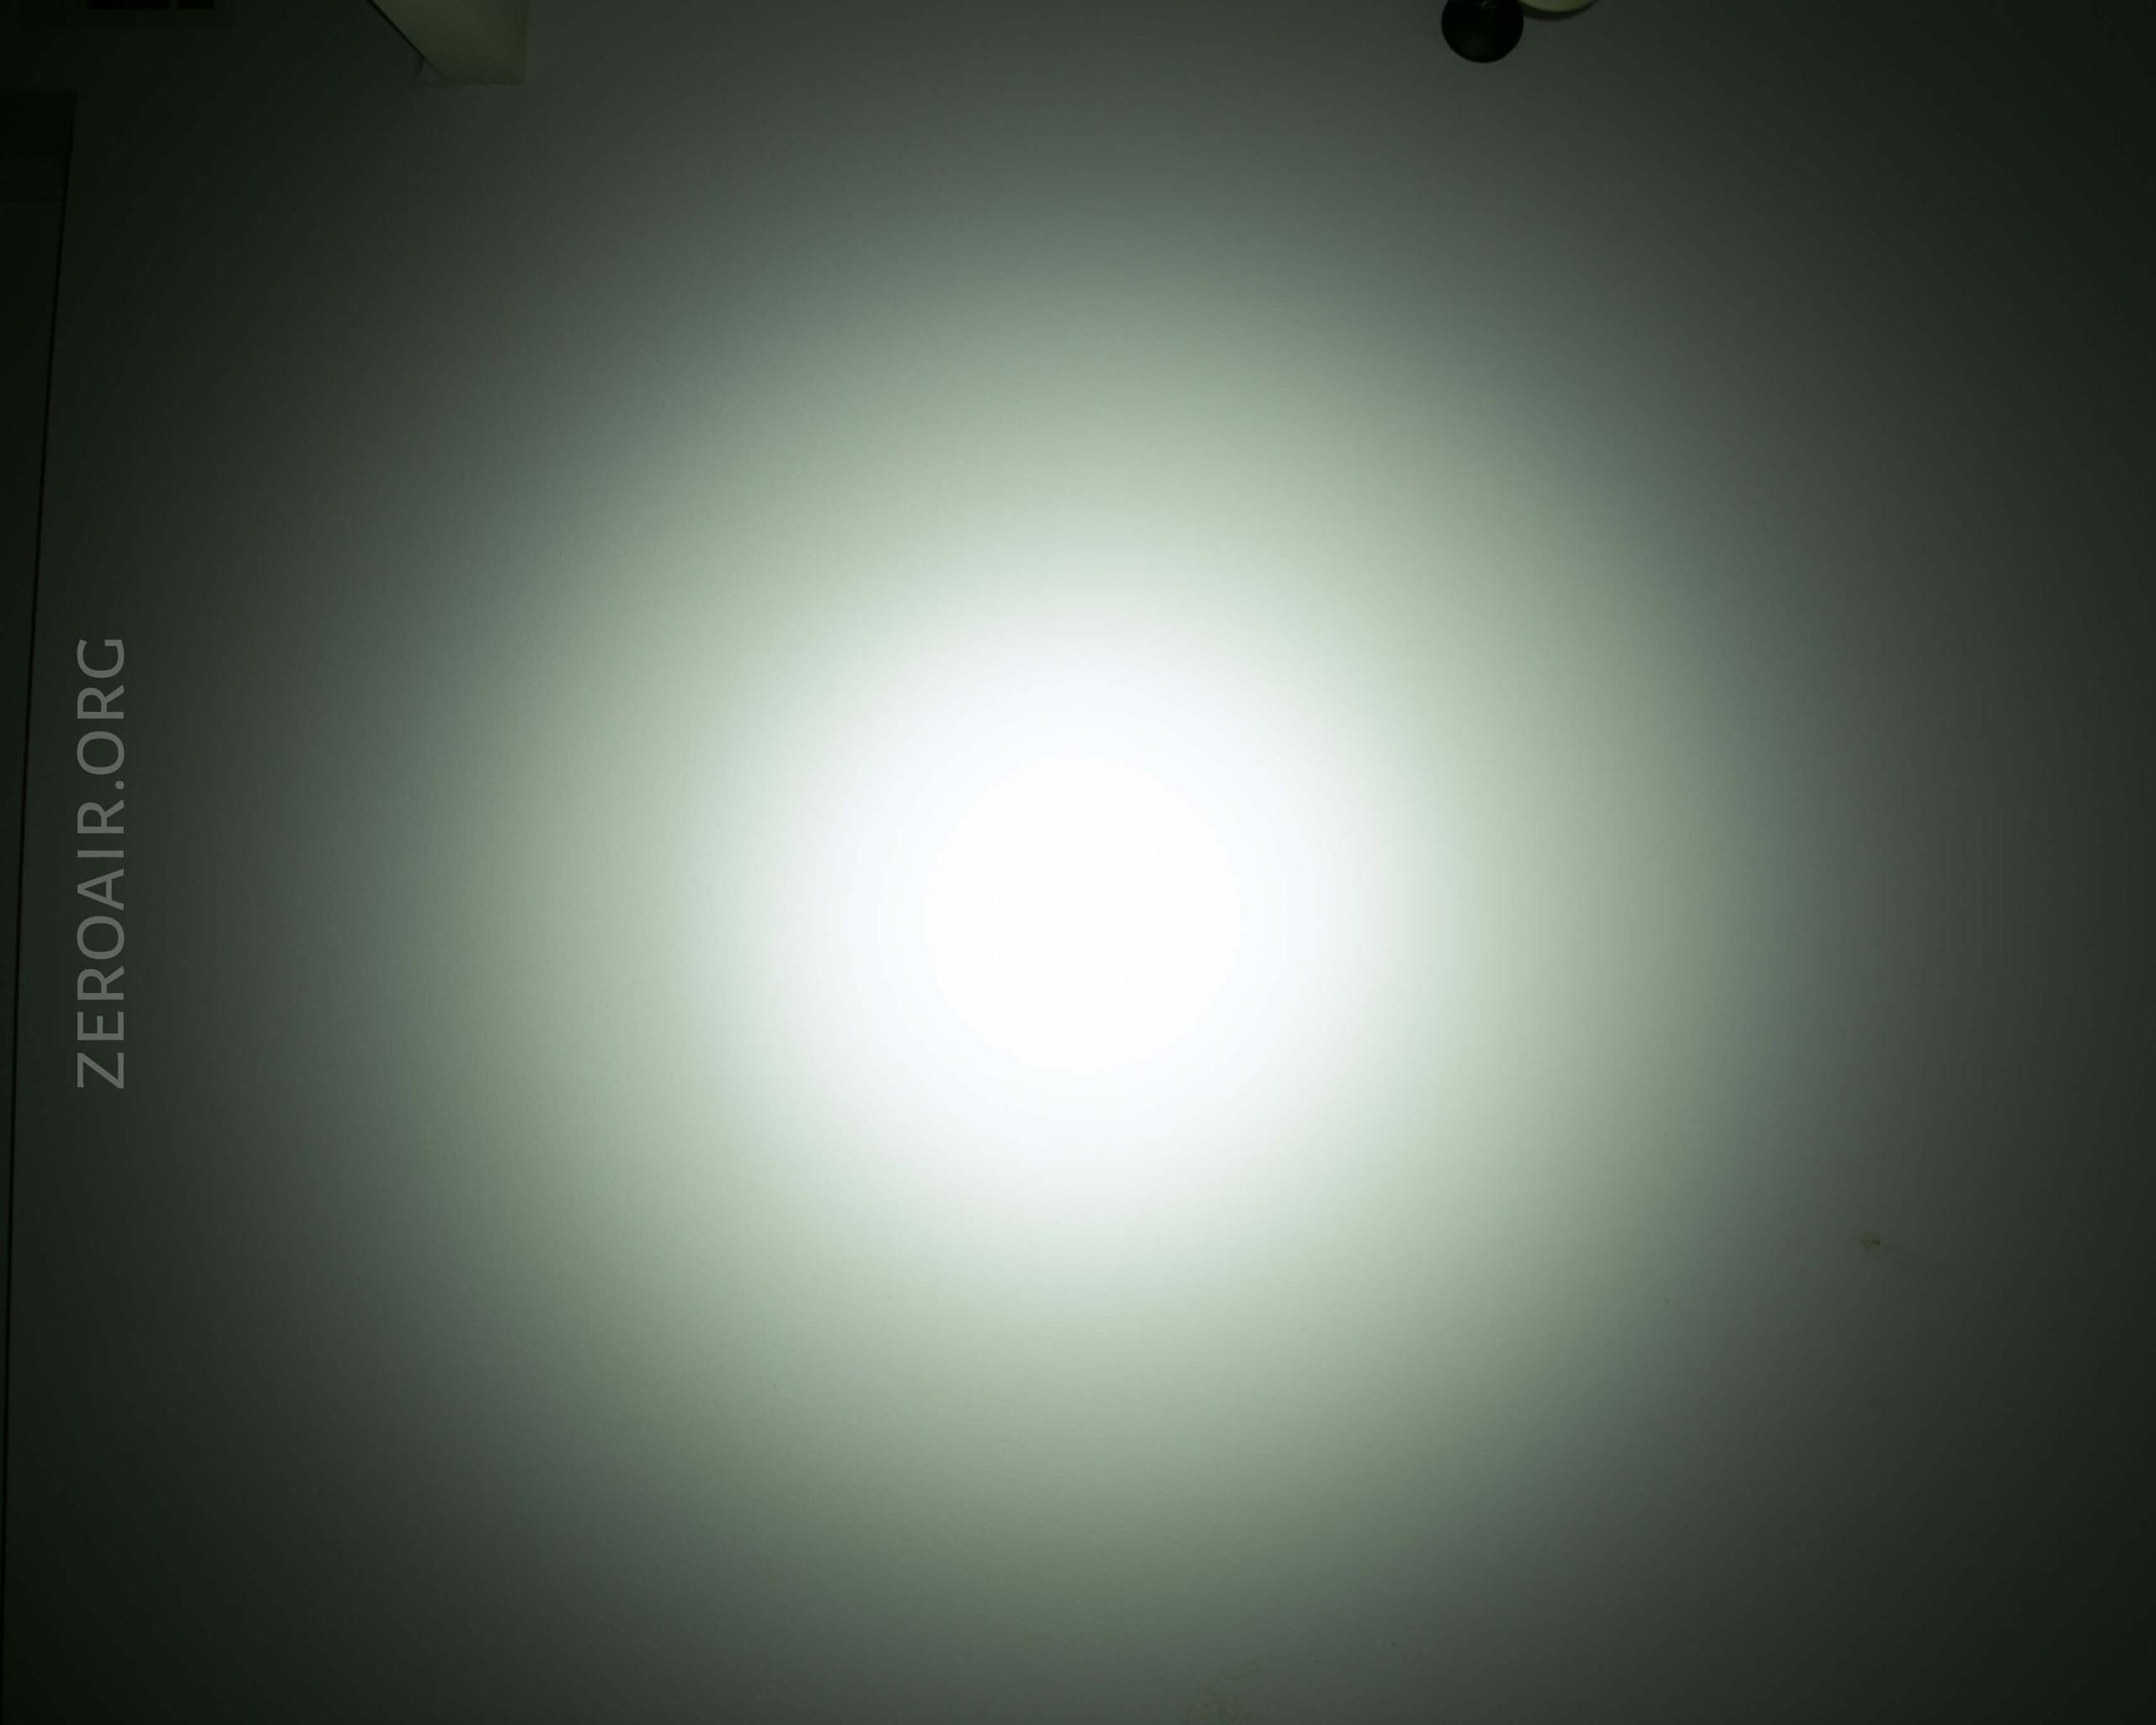

Tint vs BLF-348 (KillzoneFlashlights.com 219b version) (affiliate link)
I keep the test flashlight on the left and the BLF-348 reference flashlight on the right.
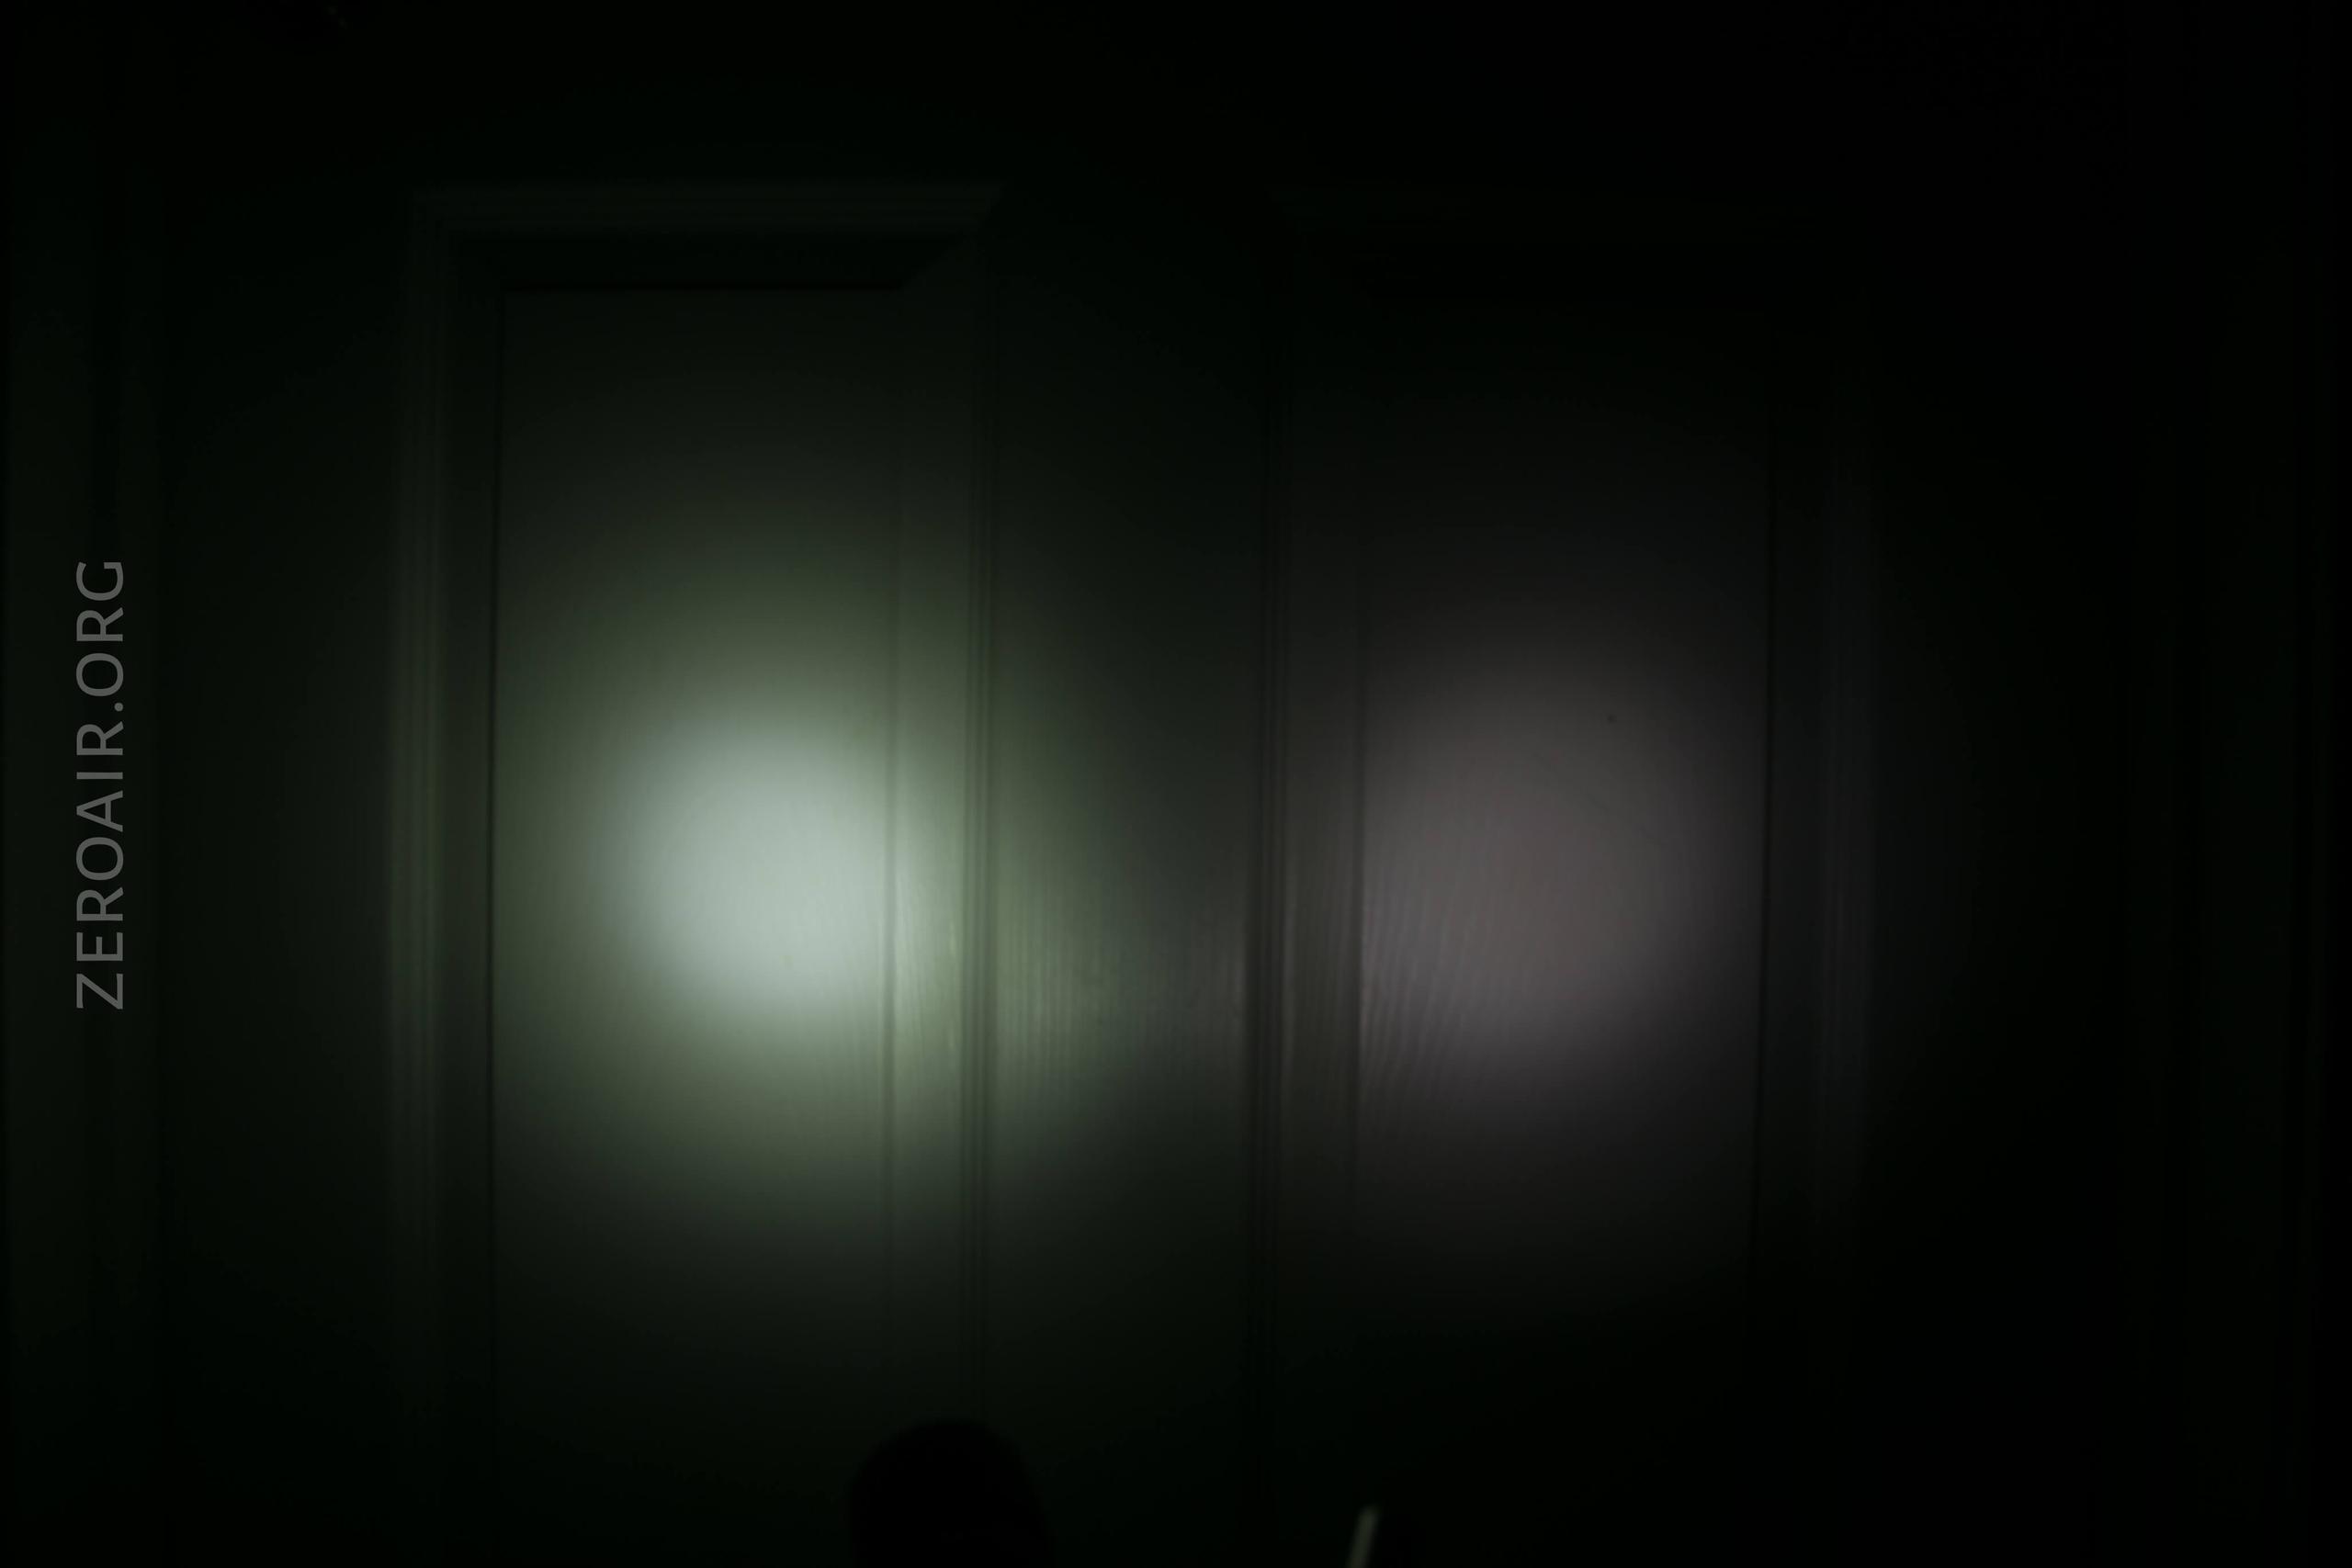
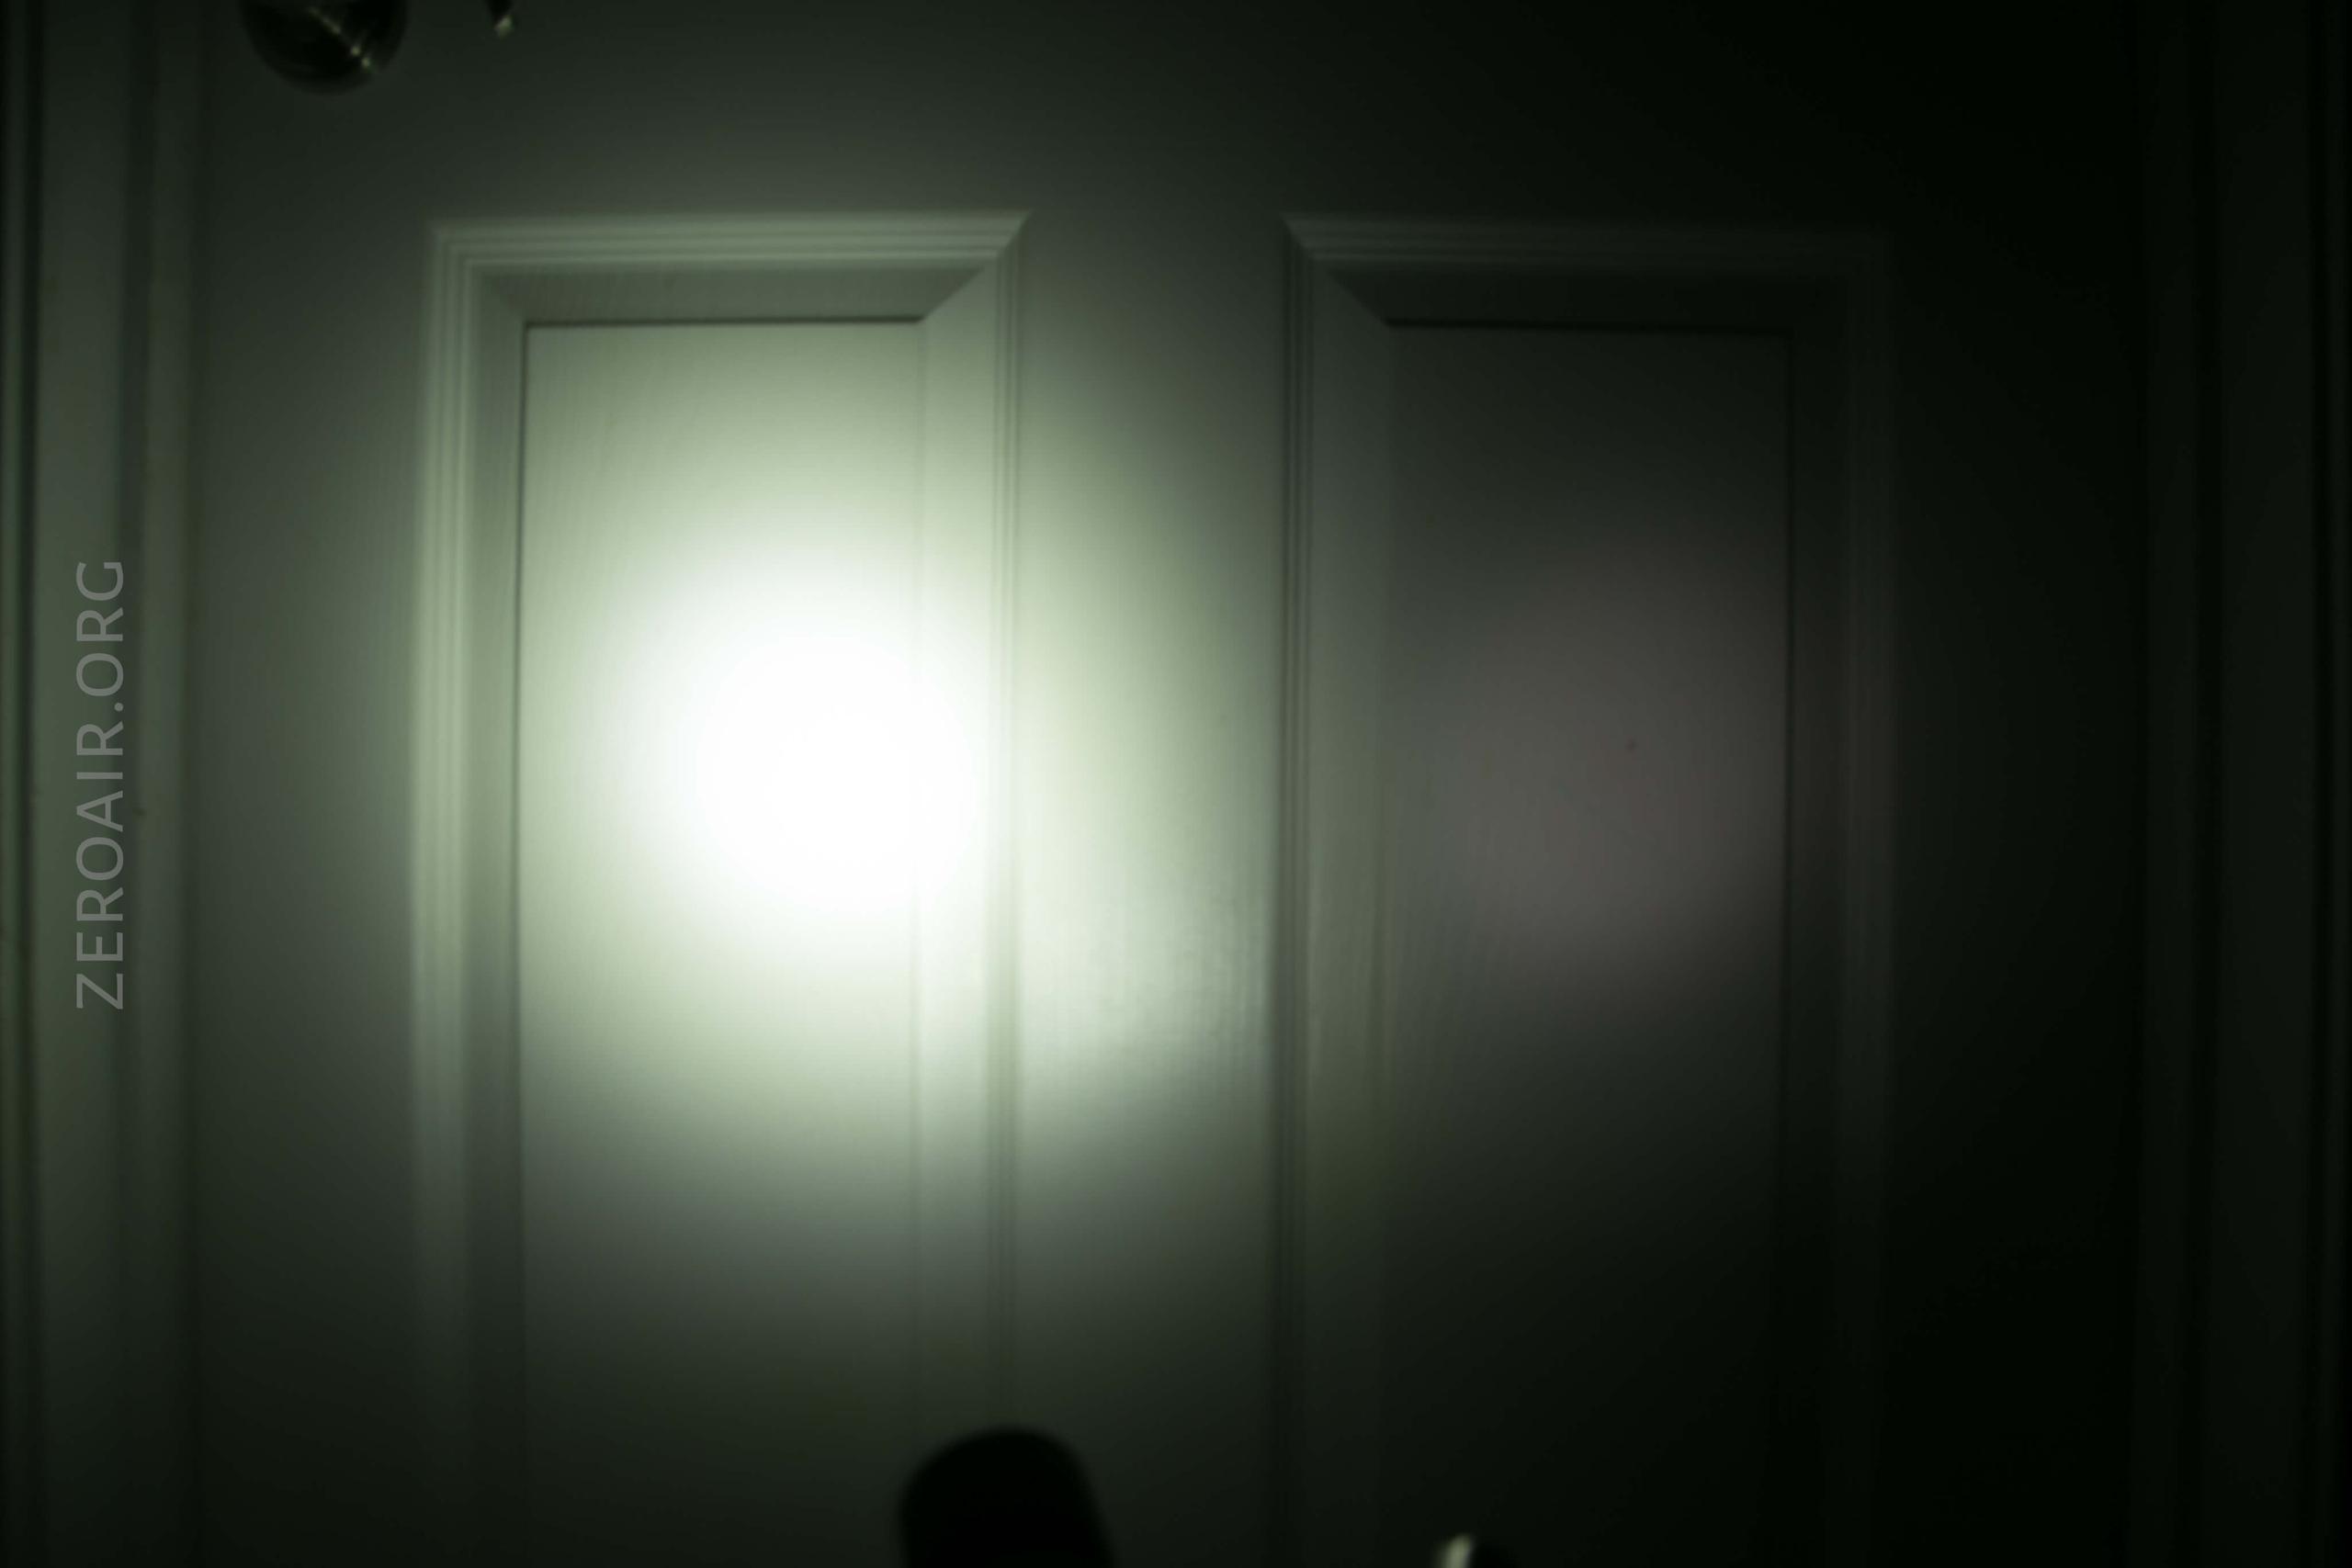
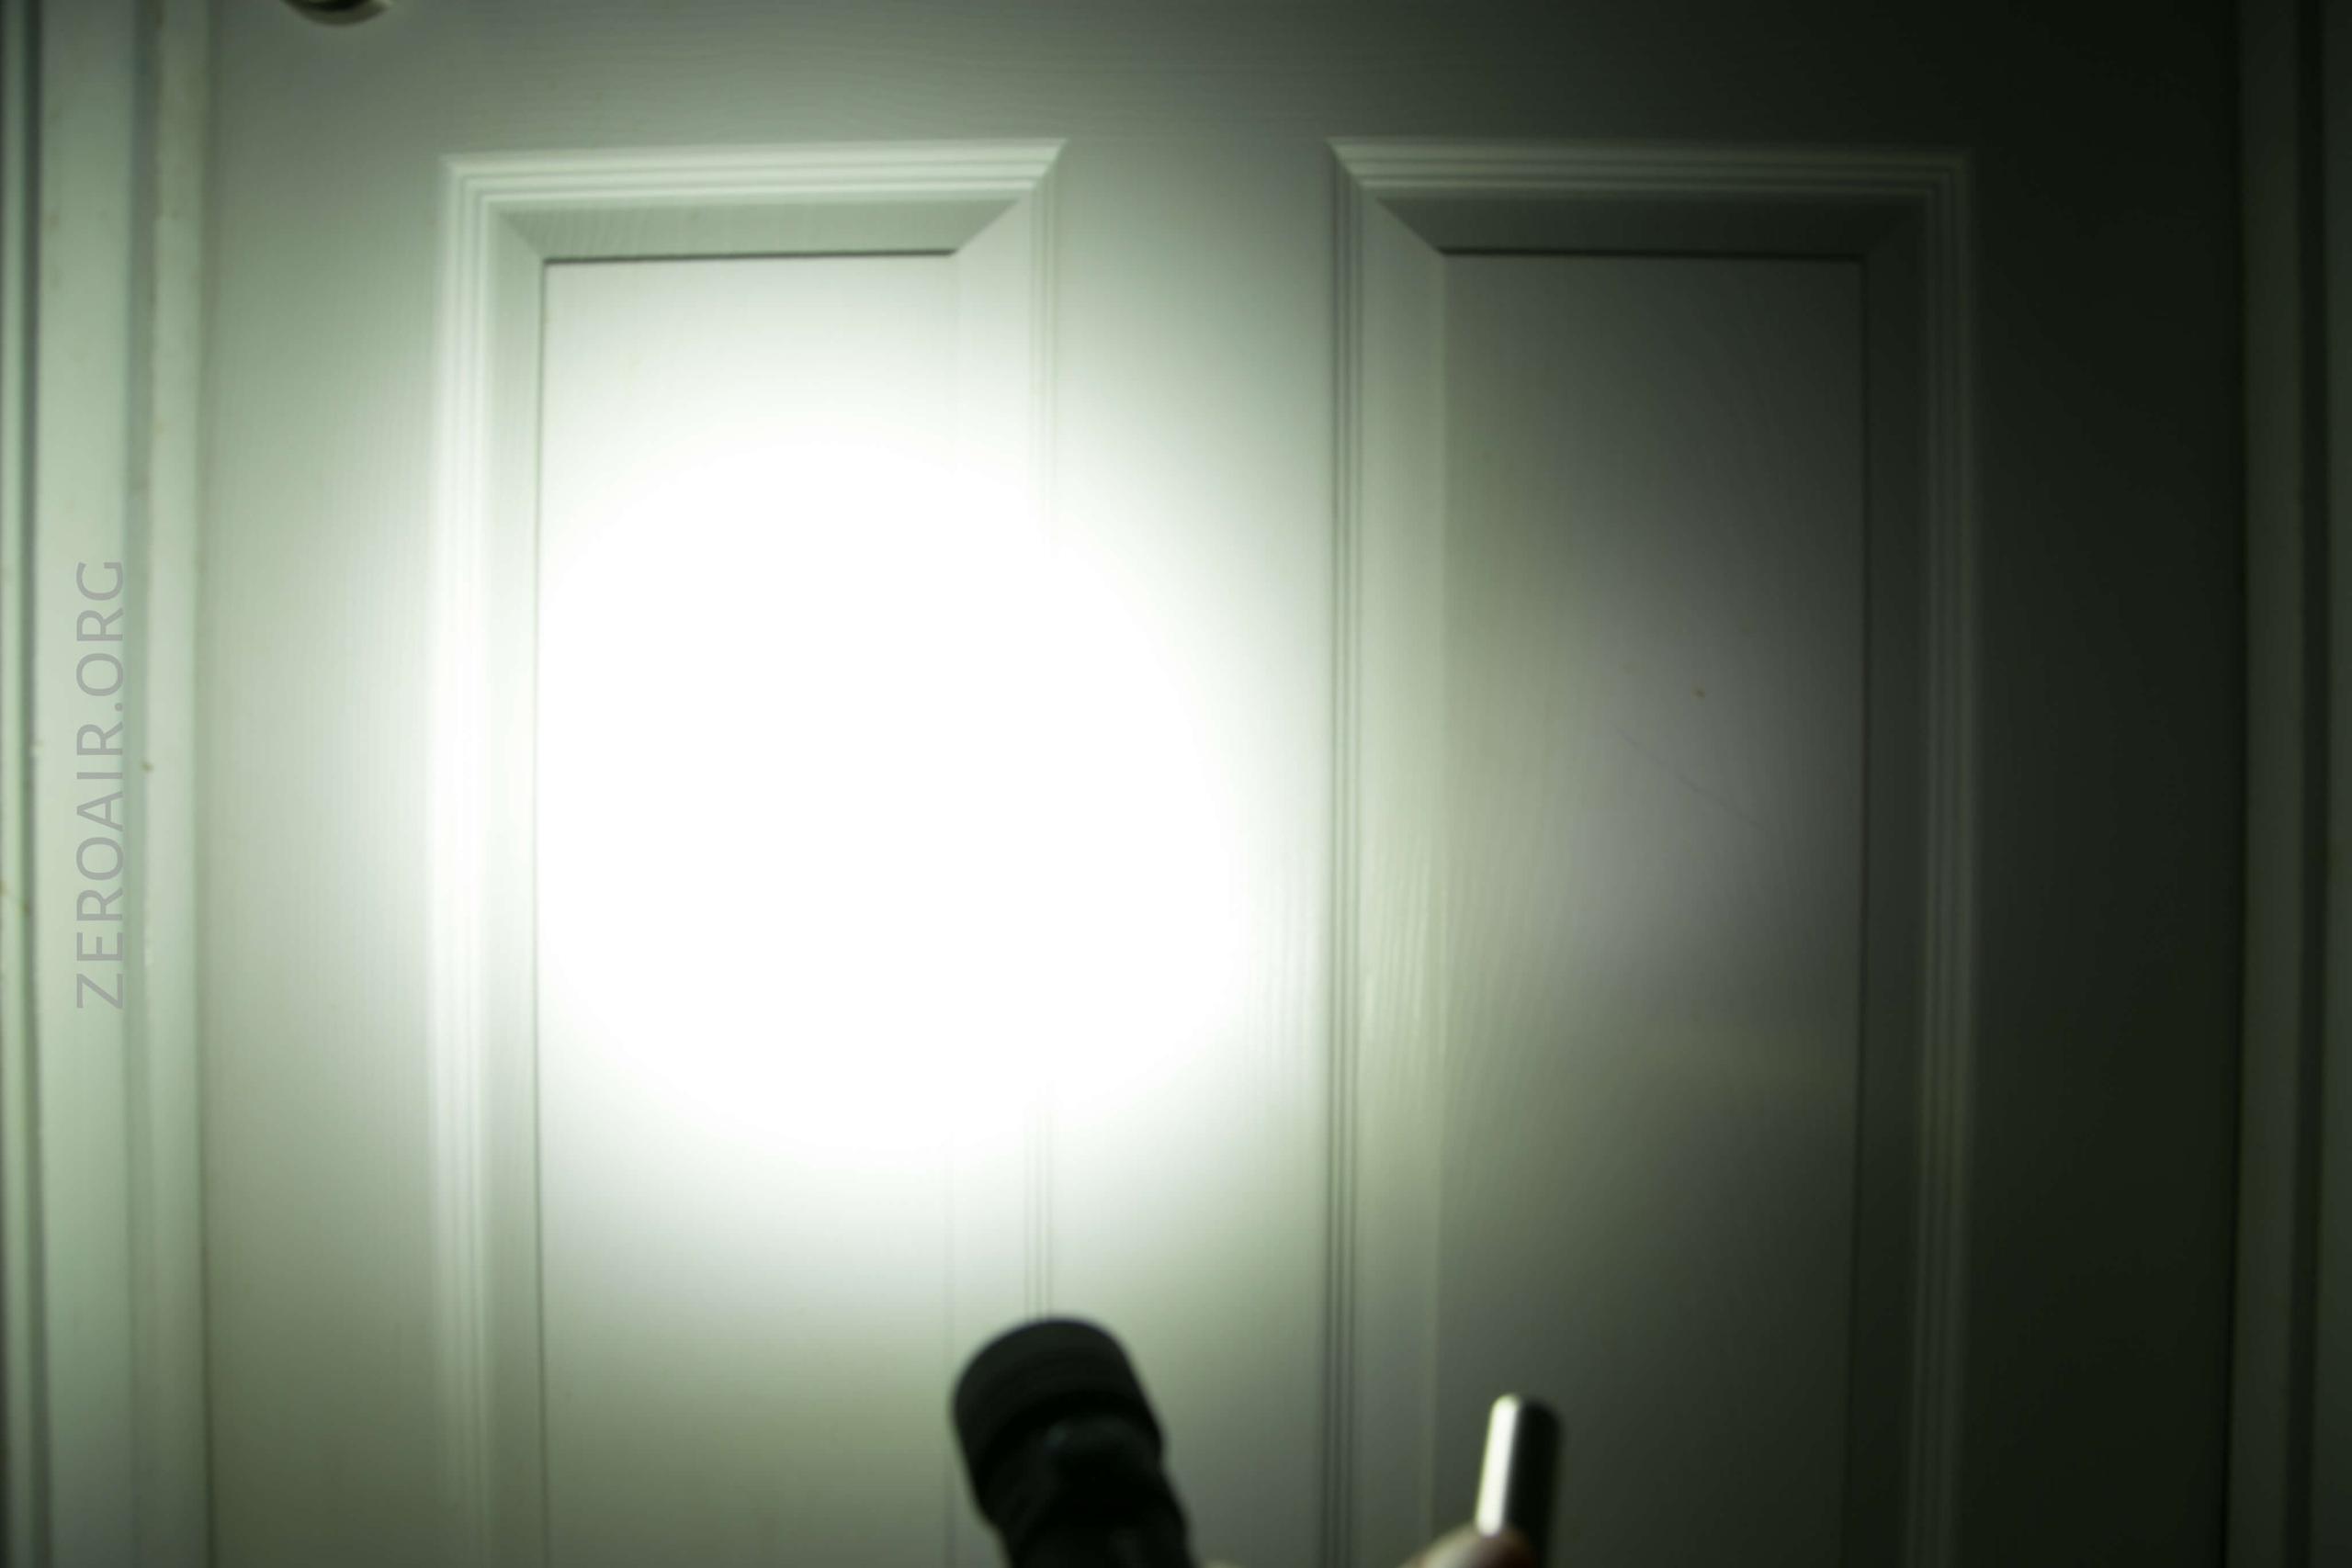


I compare everything to the Killzone 219b BLF-348 because it’s inexpensive and has the best tint!
Conclusion on the Olight Seeker 2 Flashlight
What I like
- Very good build quality
- Complete package
- Charging seems reliable
- Meets specifications for output and throw
- Basic aspects of the user interface are very simple and mostly straightforward
What I don’t like
- Proprietary cell and other cells won’t work
- Osram P9 leaves something to be desired regarding color temperature
- Fringe aspects of the user interface are a bit convoluted
Notes
- This light was provided by Olight for review. I was not paid to write this review.
- This content originally appeared at zeroair.org. Please visit there for the best experience!
- Use my amazon.com referral link if you’re willing to help support making more reviews like this one!
- Please support me on Patreon! I deeply appreciate your support!
Discover more from ZeroAir Reviews
Subscribe to get the latest posts sent to your email.