Klarus HC3 Headlamp Review
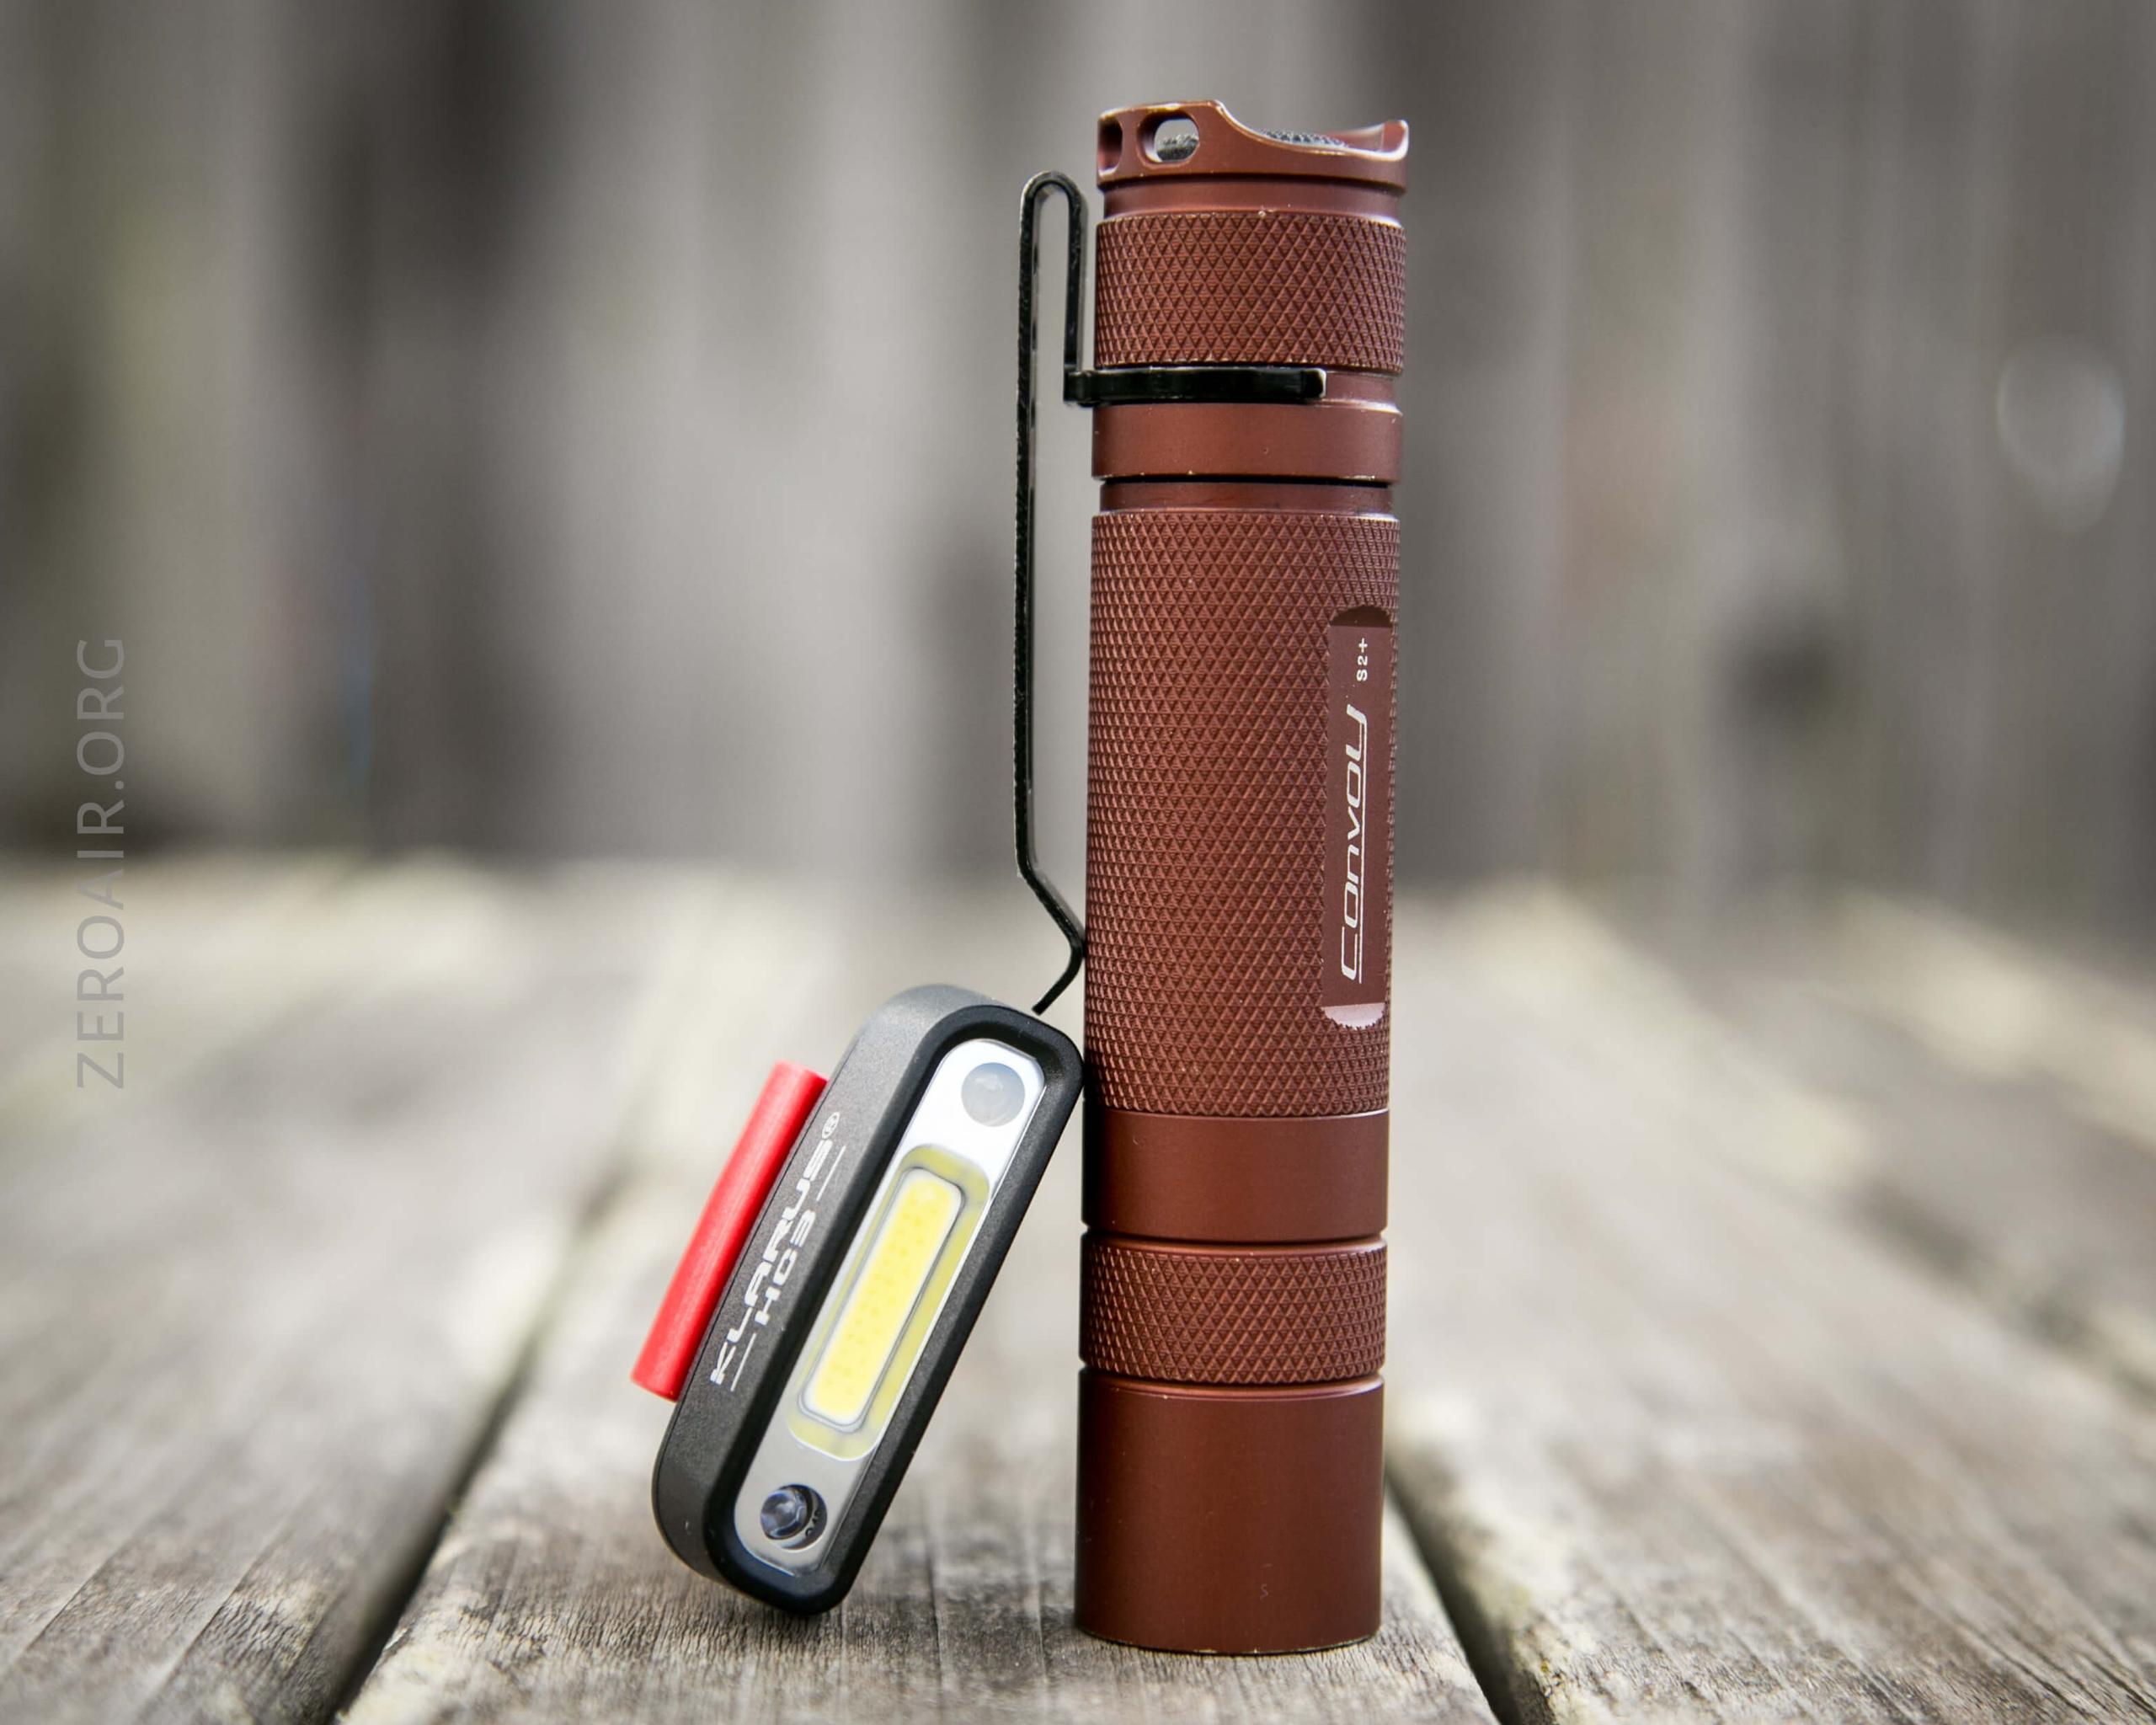
In for review today is the Klarus HC3 Headlamp. It’s a small COB style light with red secondaries and micro-USB charging. Read on for some testing and thoughts!
Official Specs and Features
Here’s a link to the Klarus HC3 Headlamp product page.
Versions
There’s just one version.
Price
These go for a reasonable price of $13.95.
Short Review of the Klarus HC3 Headlamp
It’s an interesting light. This is probably not one I’d have considered before having it for review, but as far as lights like this with secondaries go, it’s good enough. Charging works great, the output is great for reading and small tasks you’d face camping and the like, and the red is a nice bonus feature.
Long Review
The Big Table
| Klarus HC3 Headlamp | |
|---|---|
| Emitter: | COB (4500K) |
| Price in USD at publication time: | $13.95 |
| Cell: | Internal |
| Turbo Runtime | High Runtime |
| LVP? | ? |
| Switch Type: | E-Switch |
| Quiescent Current (A): | ? |
| On-Board Charging? | Yes |
| Charge Port Type: | micro-USB |
| Chargetime | |
| Power off Charge Port with no Cell? | |
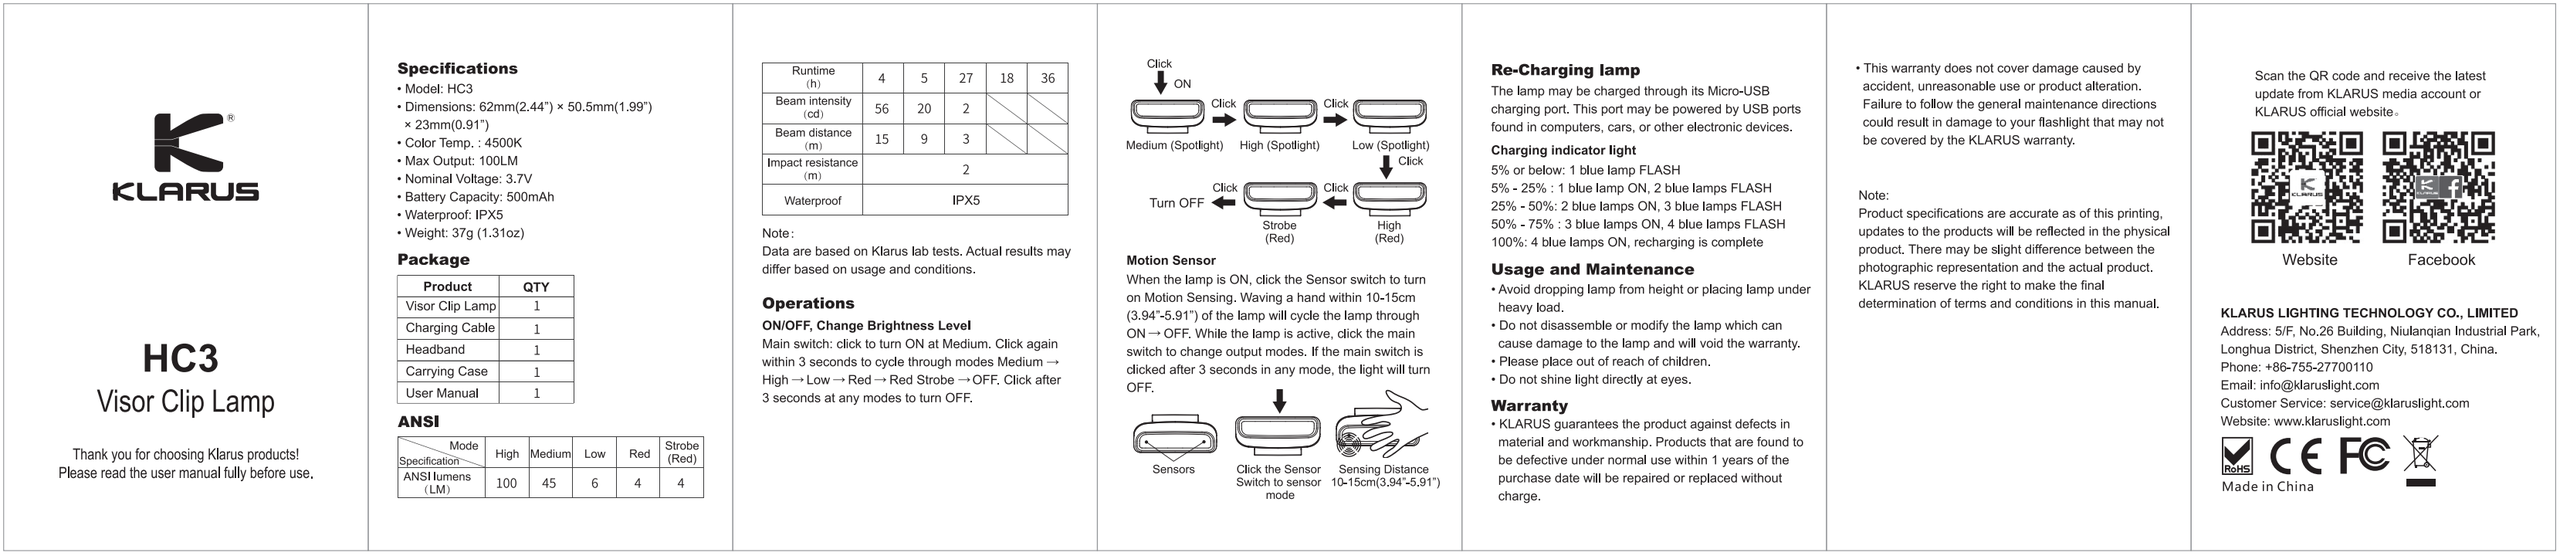
| Claimed Lumens (lm) | 100 |
| Measured Lumens (at 30s) | 100 (100% of claim)^ |
| Candela per Lumen | 0.8 |
| Claimed Throw (m) | 15 |
| Candela (Calculated) in cd (at 30s) | 13lux @ 2.816m = 103cd |
| Throw (Calculated) (m) | 20.3 (135.3% of claim)^ |
| All my Klarus reviews! | |
^ Measurement disclaimer: Testing flashlights is my hobby. I use hobbyist-level equipment for testing, including some I made myself. Try not to get buried in the details of manufacturer specifications versus measurements recorded here; A certain amount of difference (say, 10 or 15%) is perfectly reasonable.
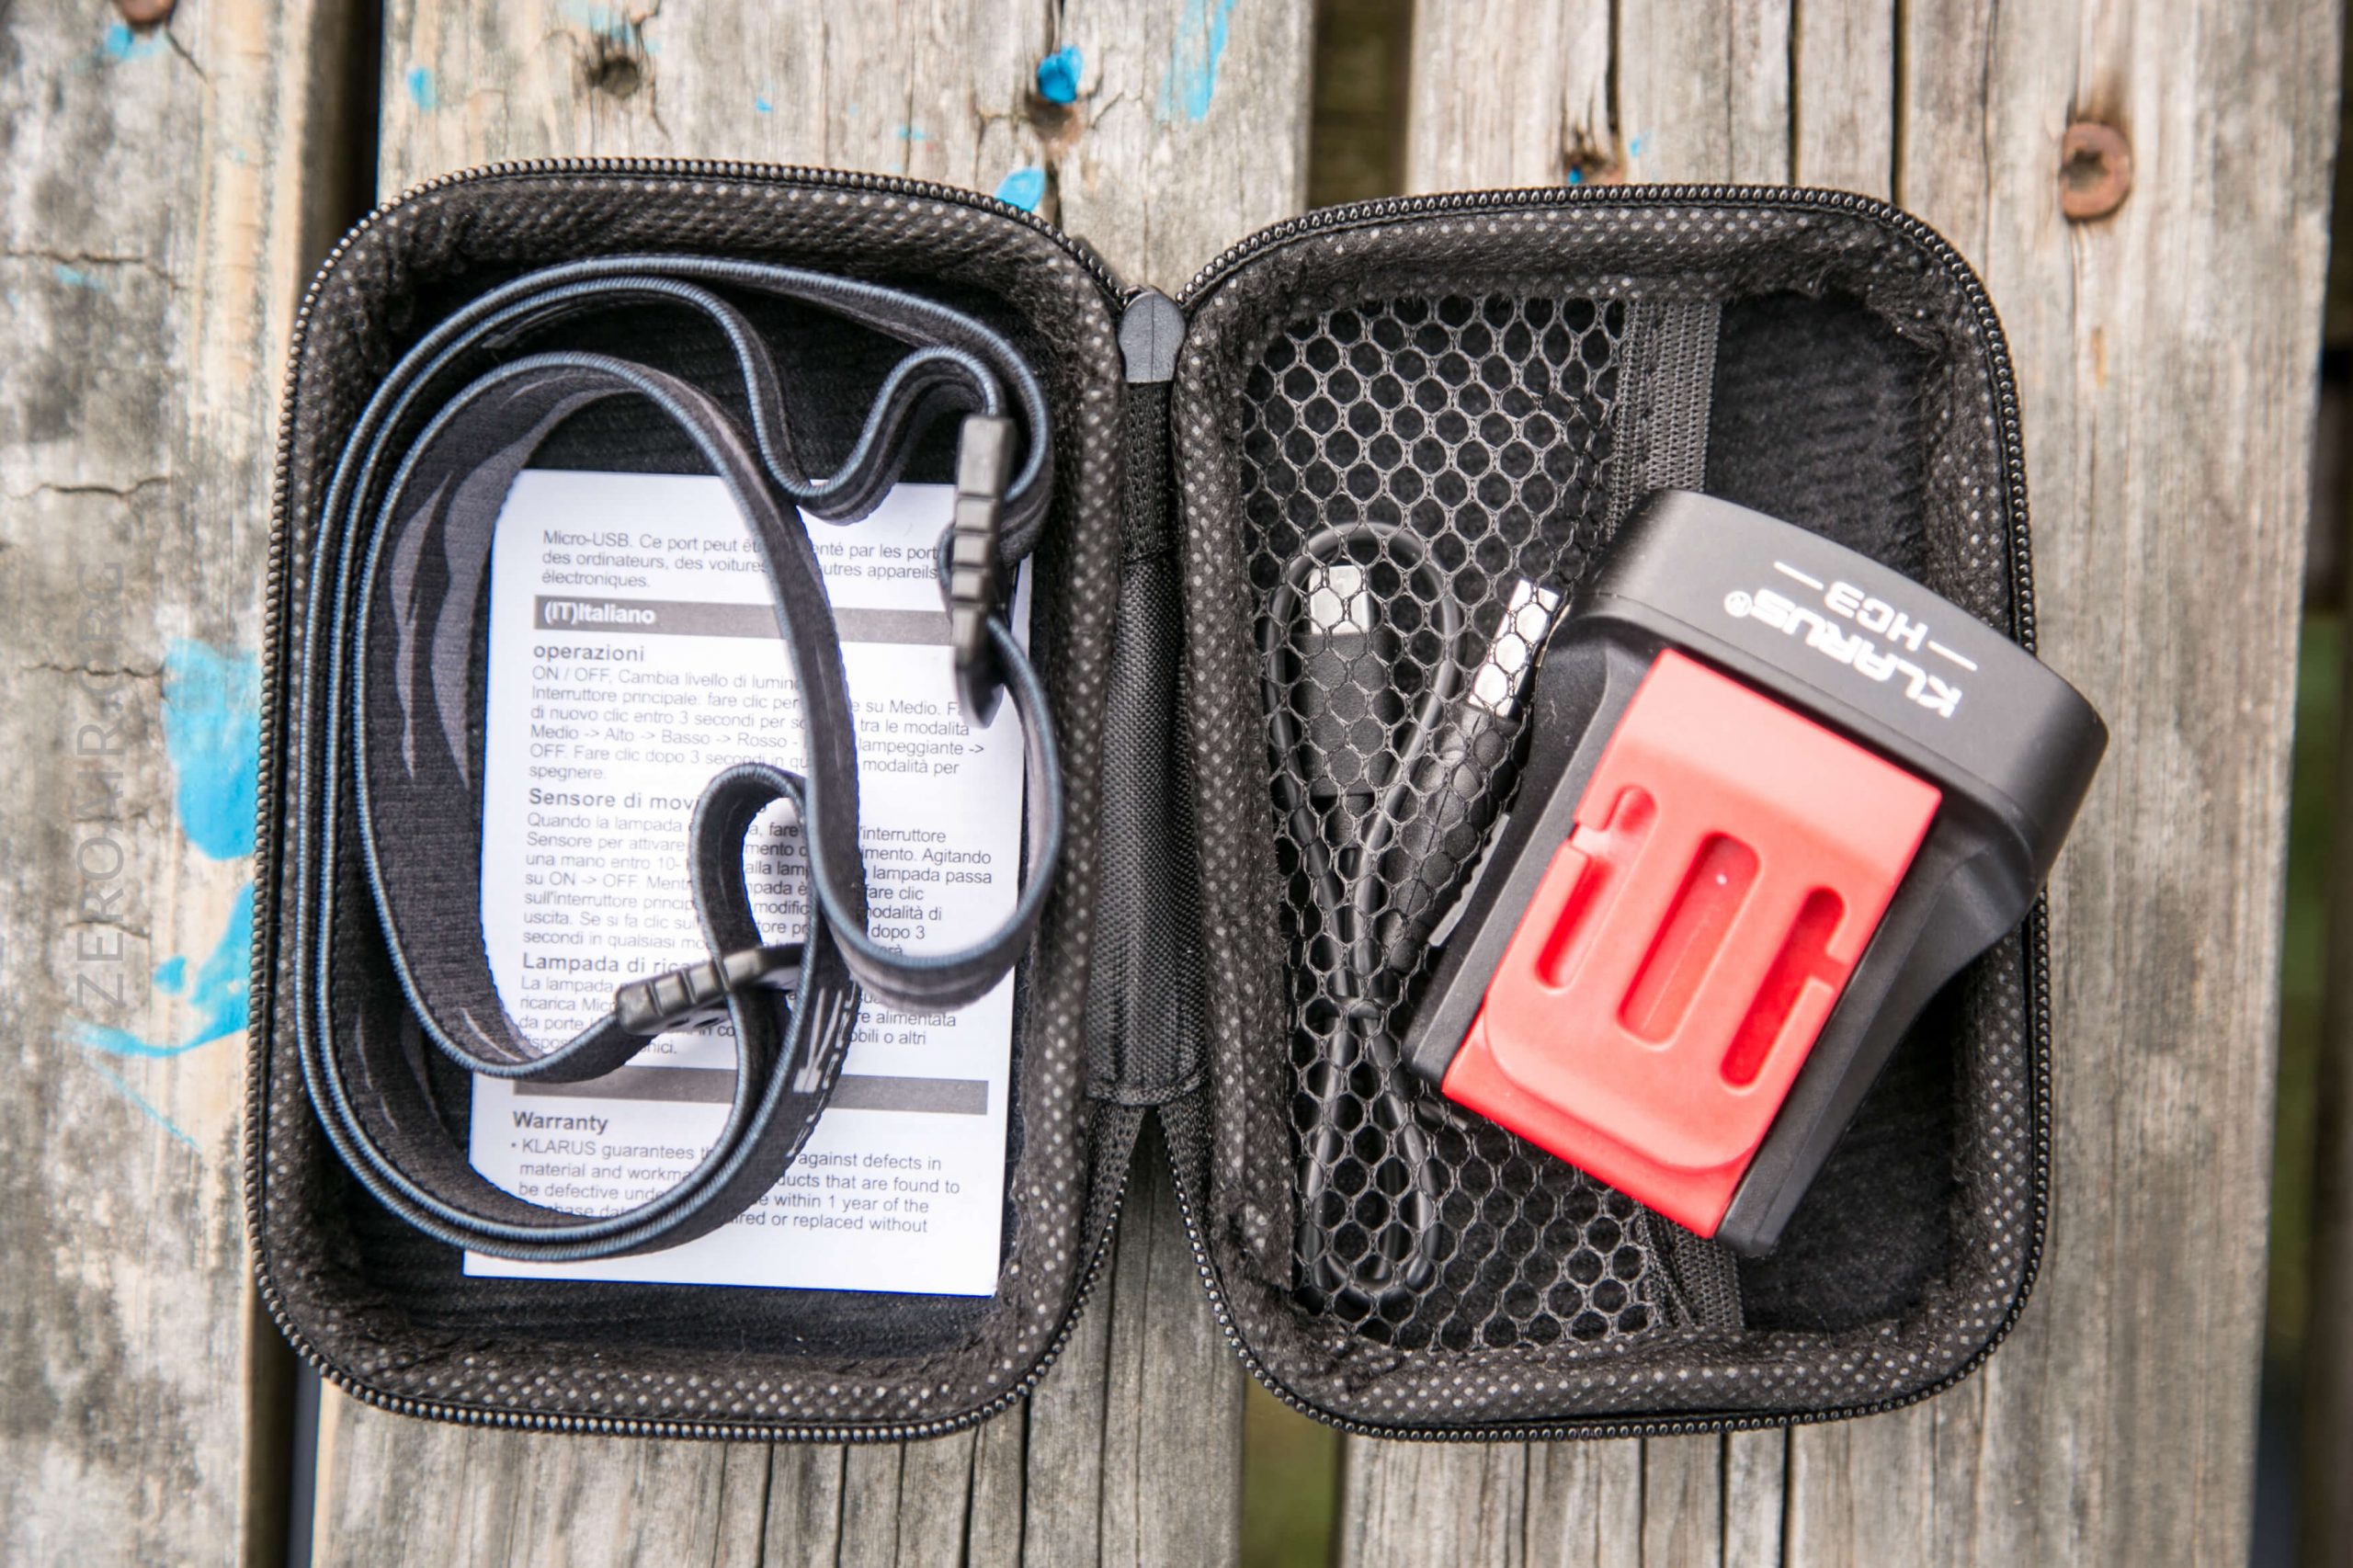
What’s Included
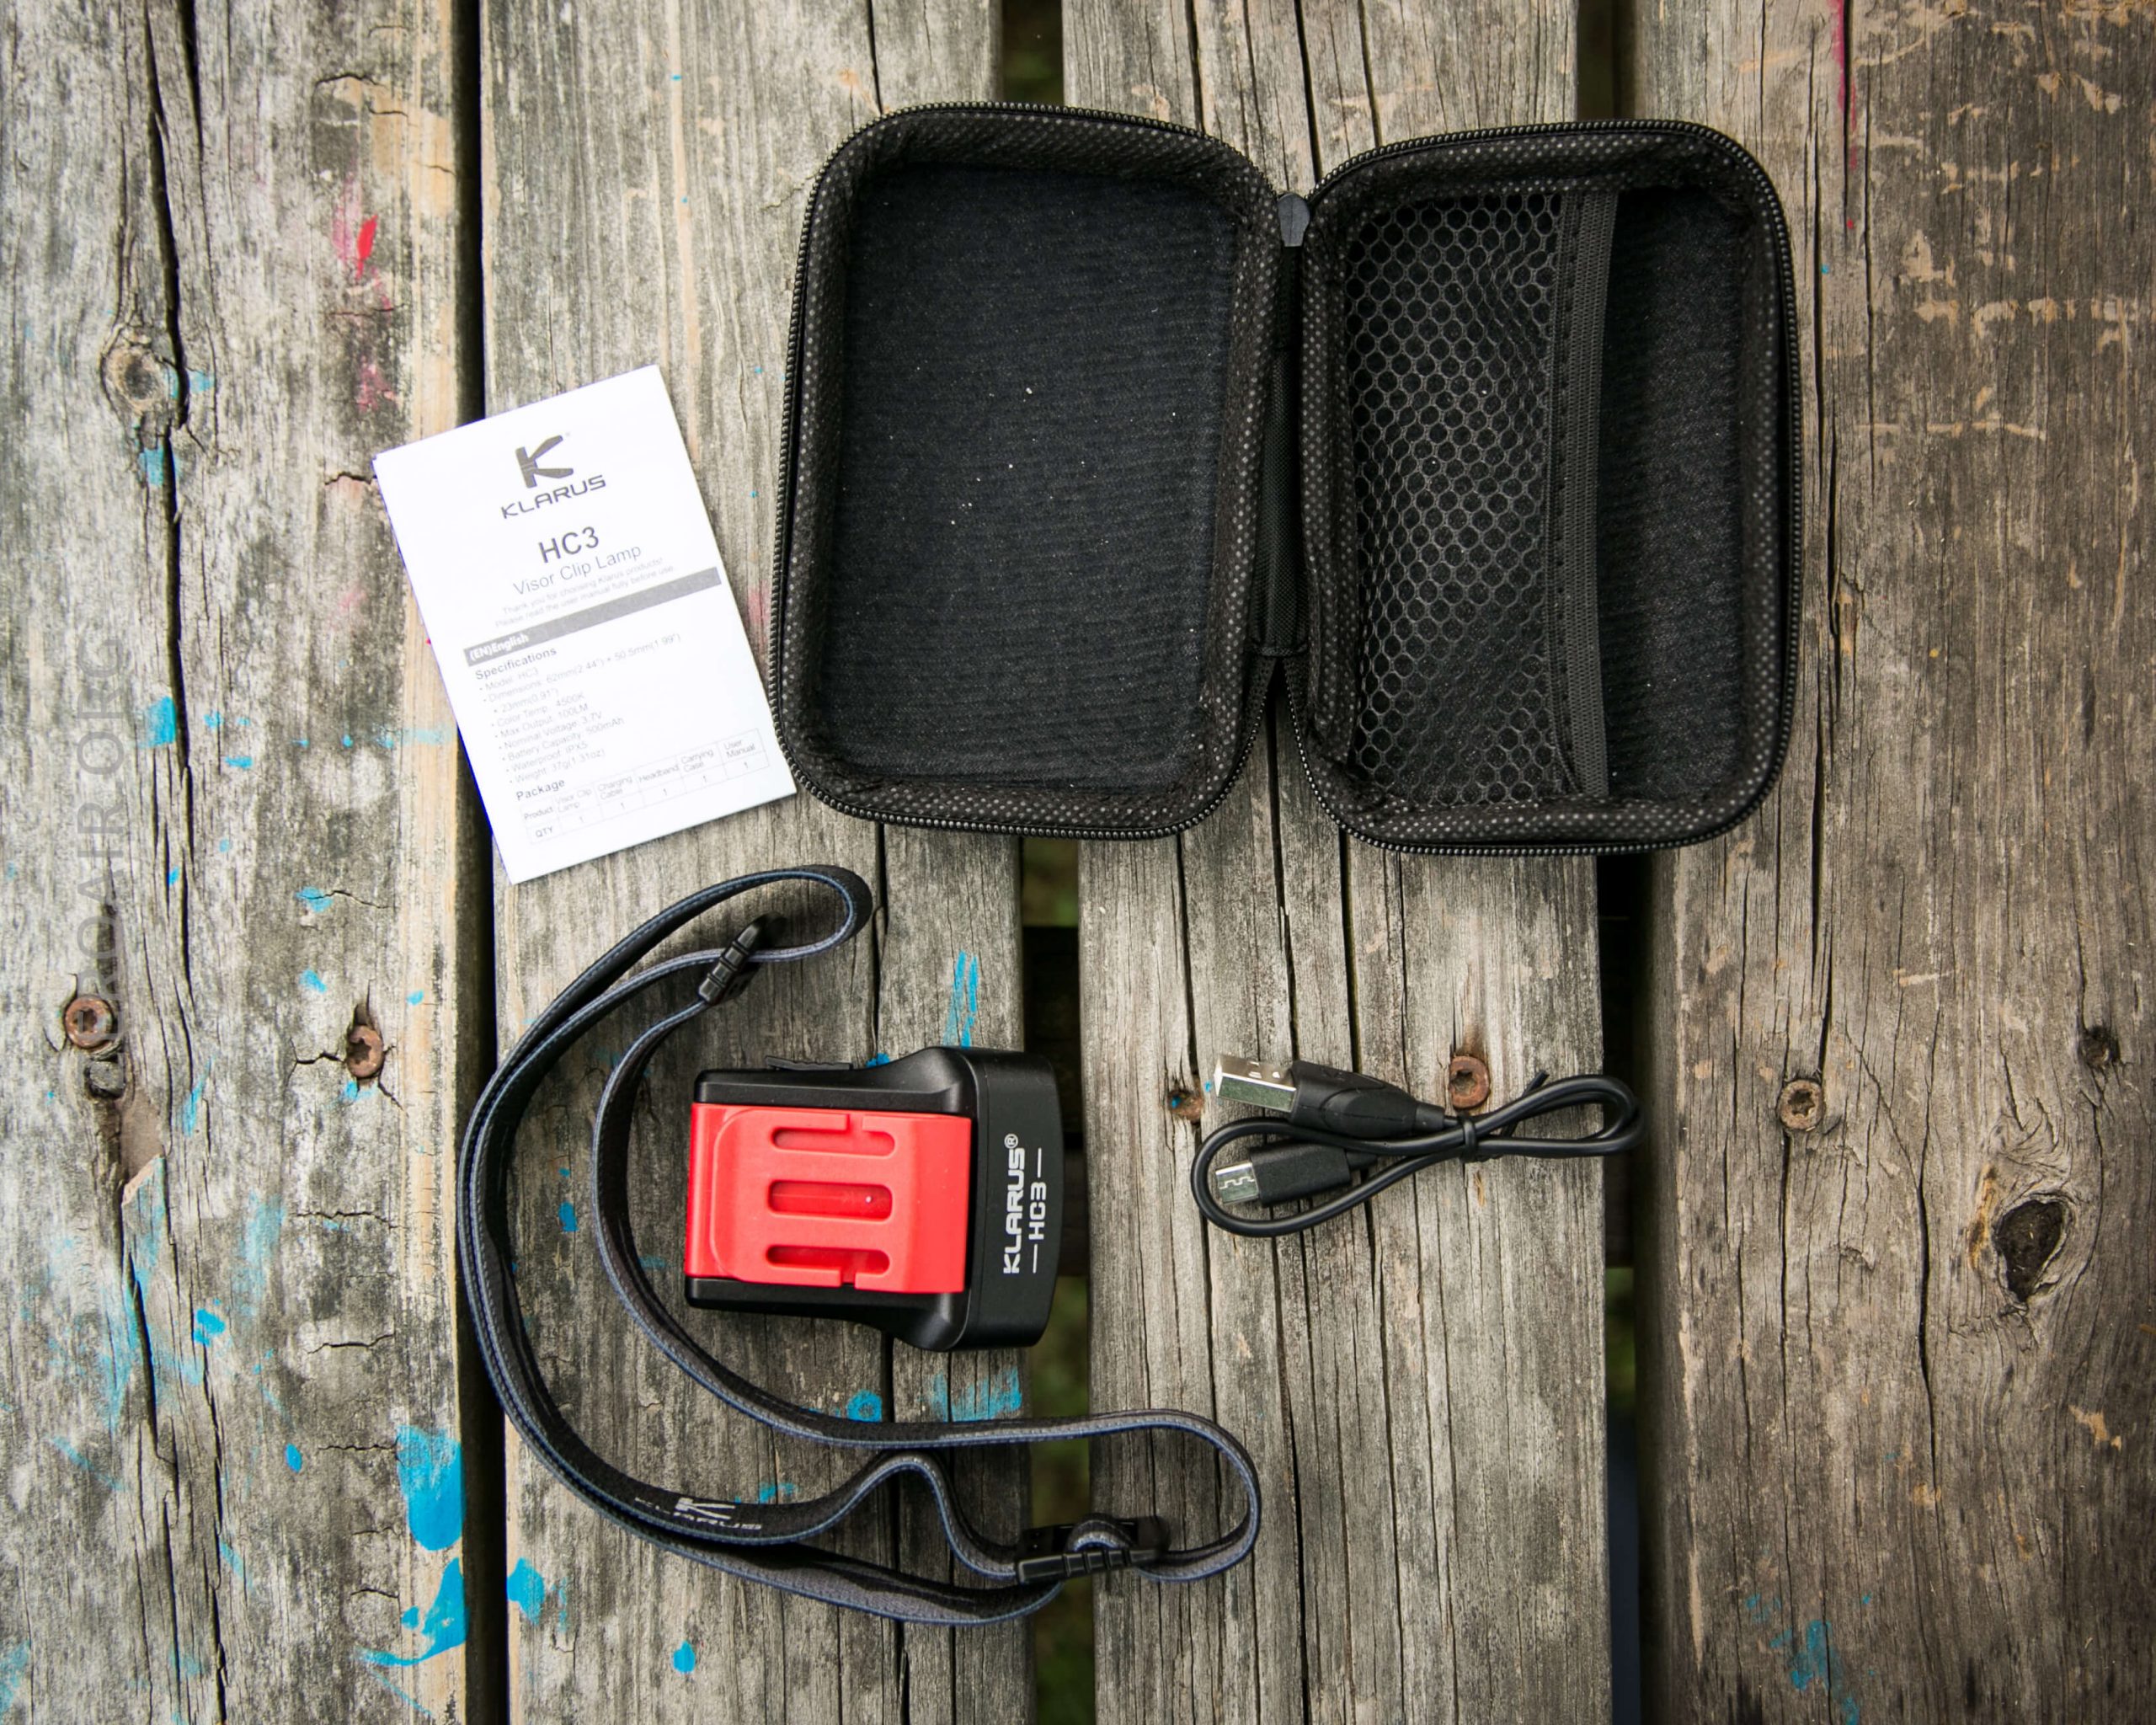
- Klarus HC3 Headlamp
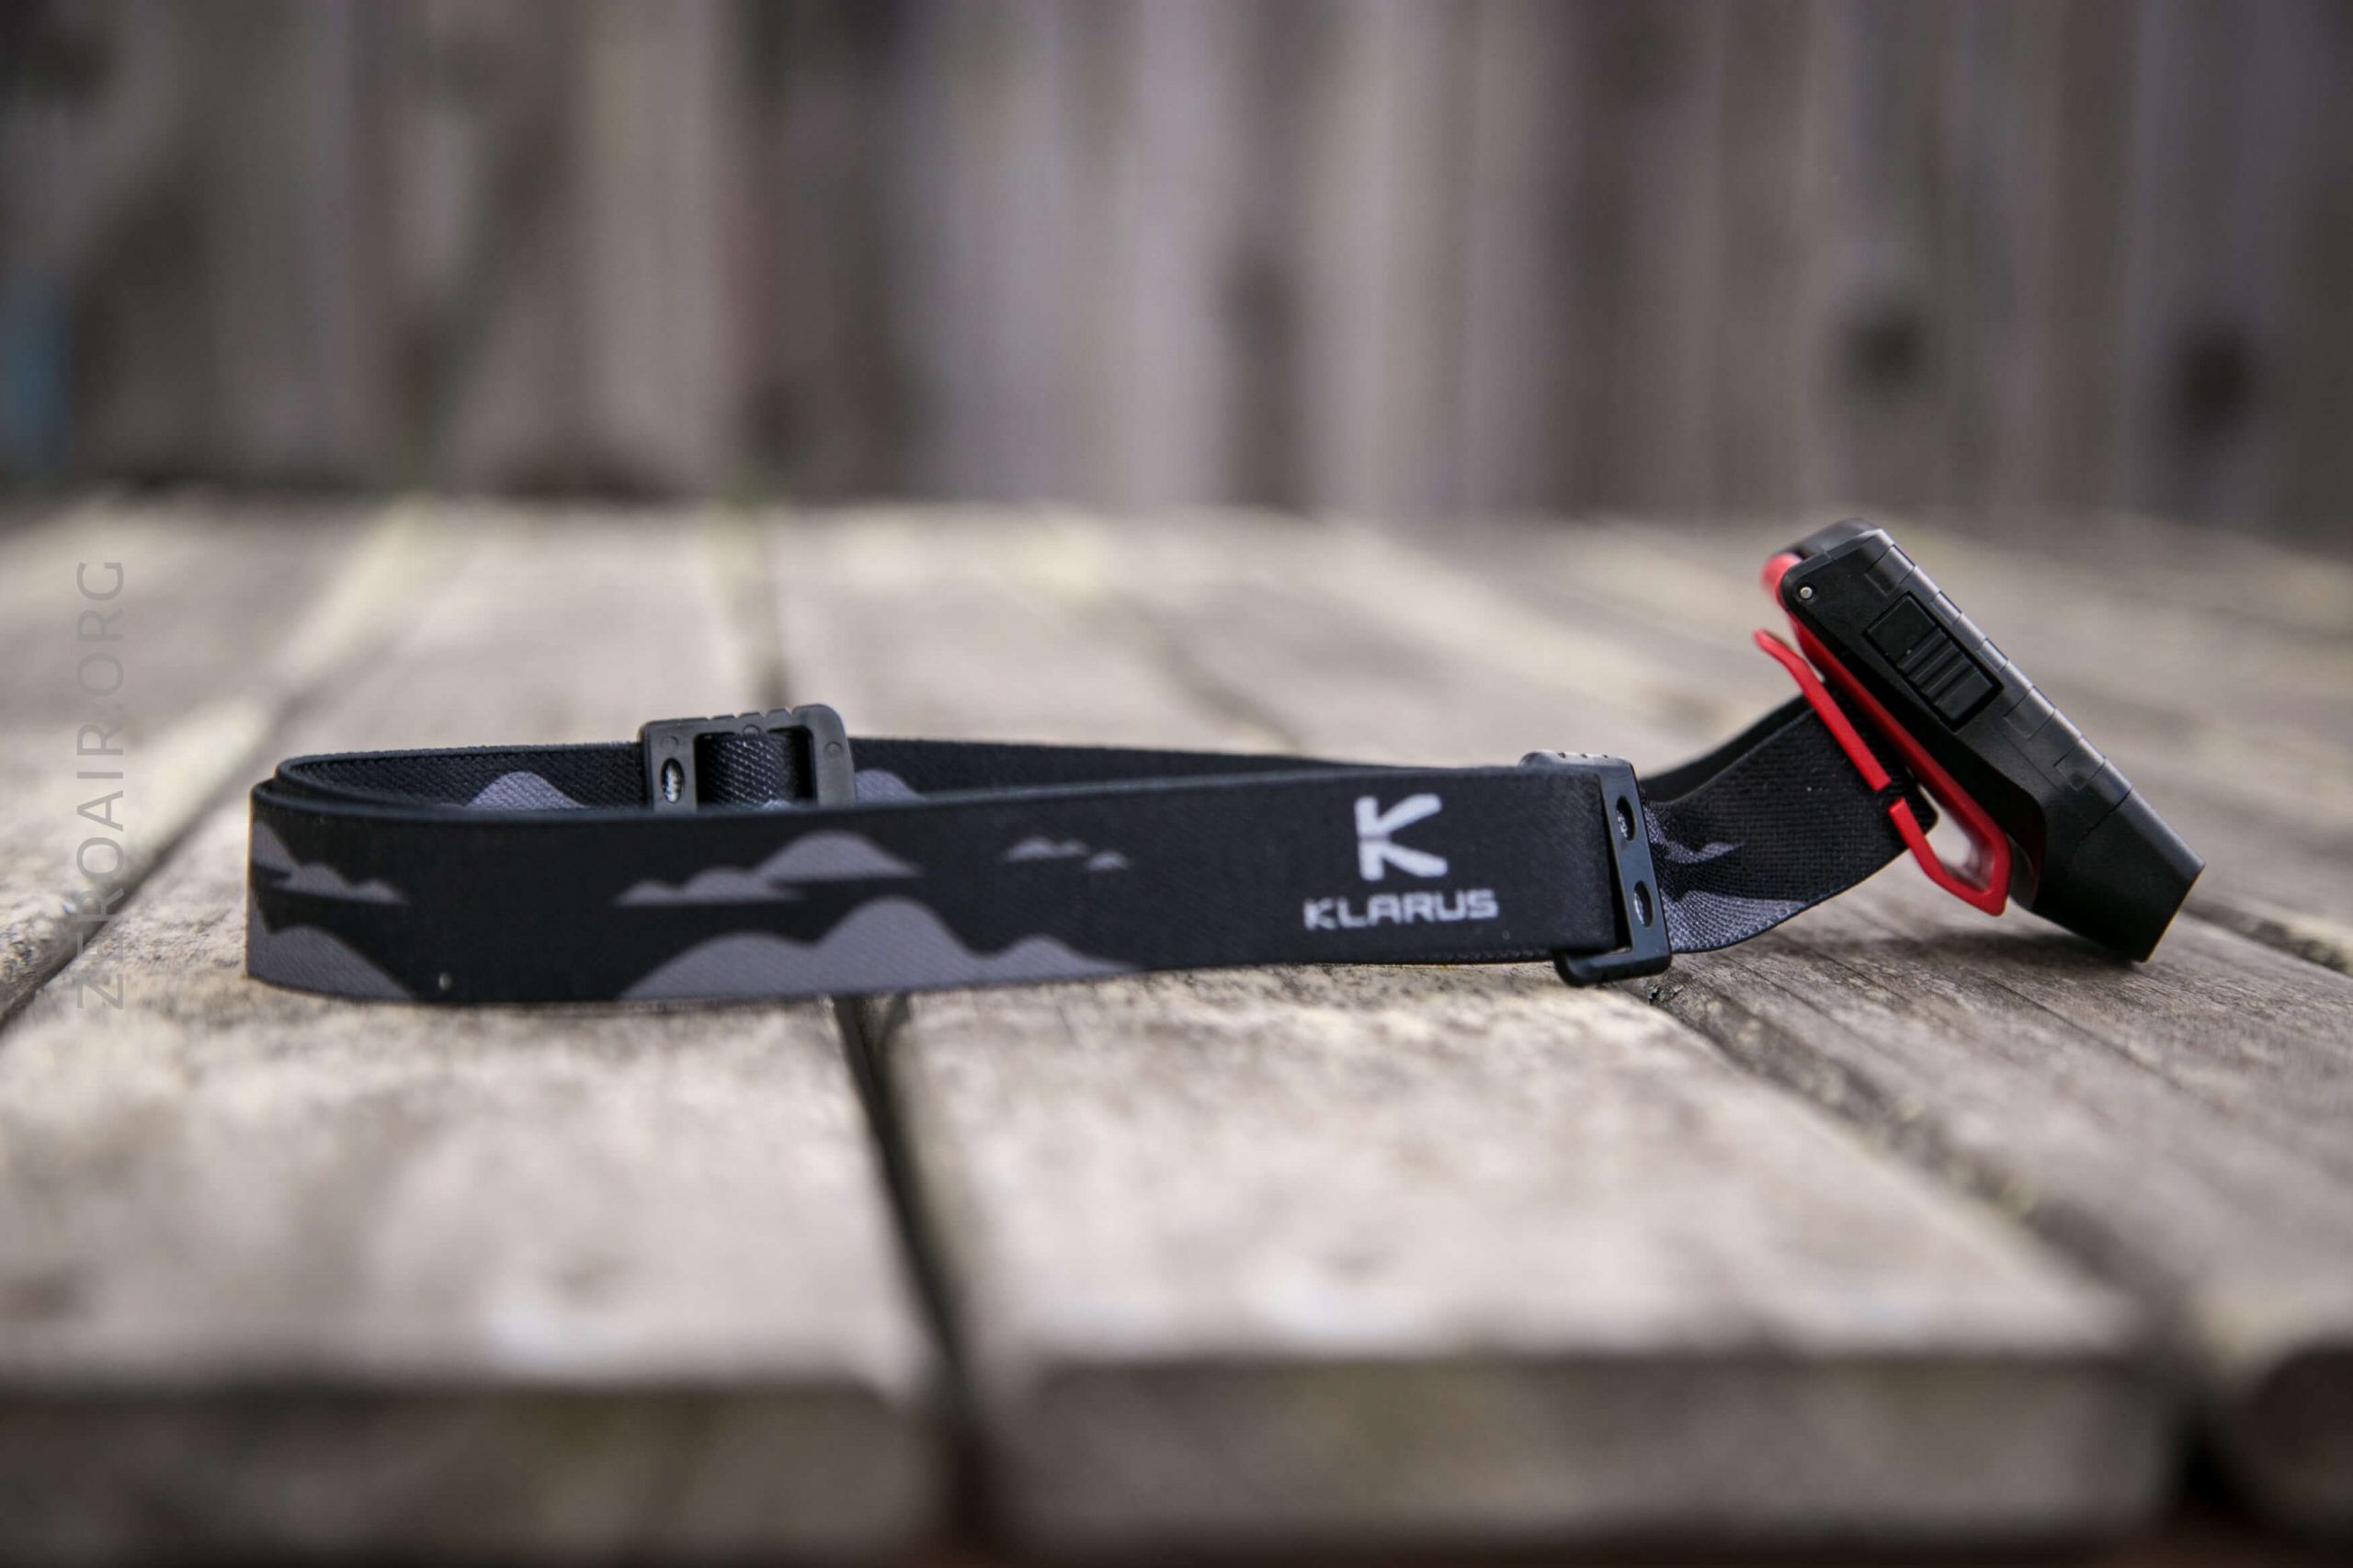
- Klarus headband
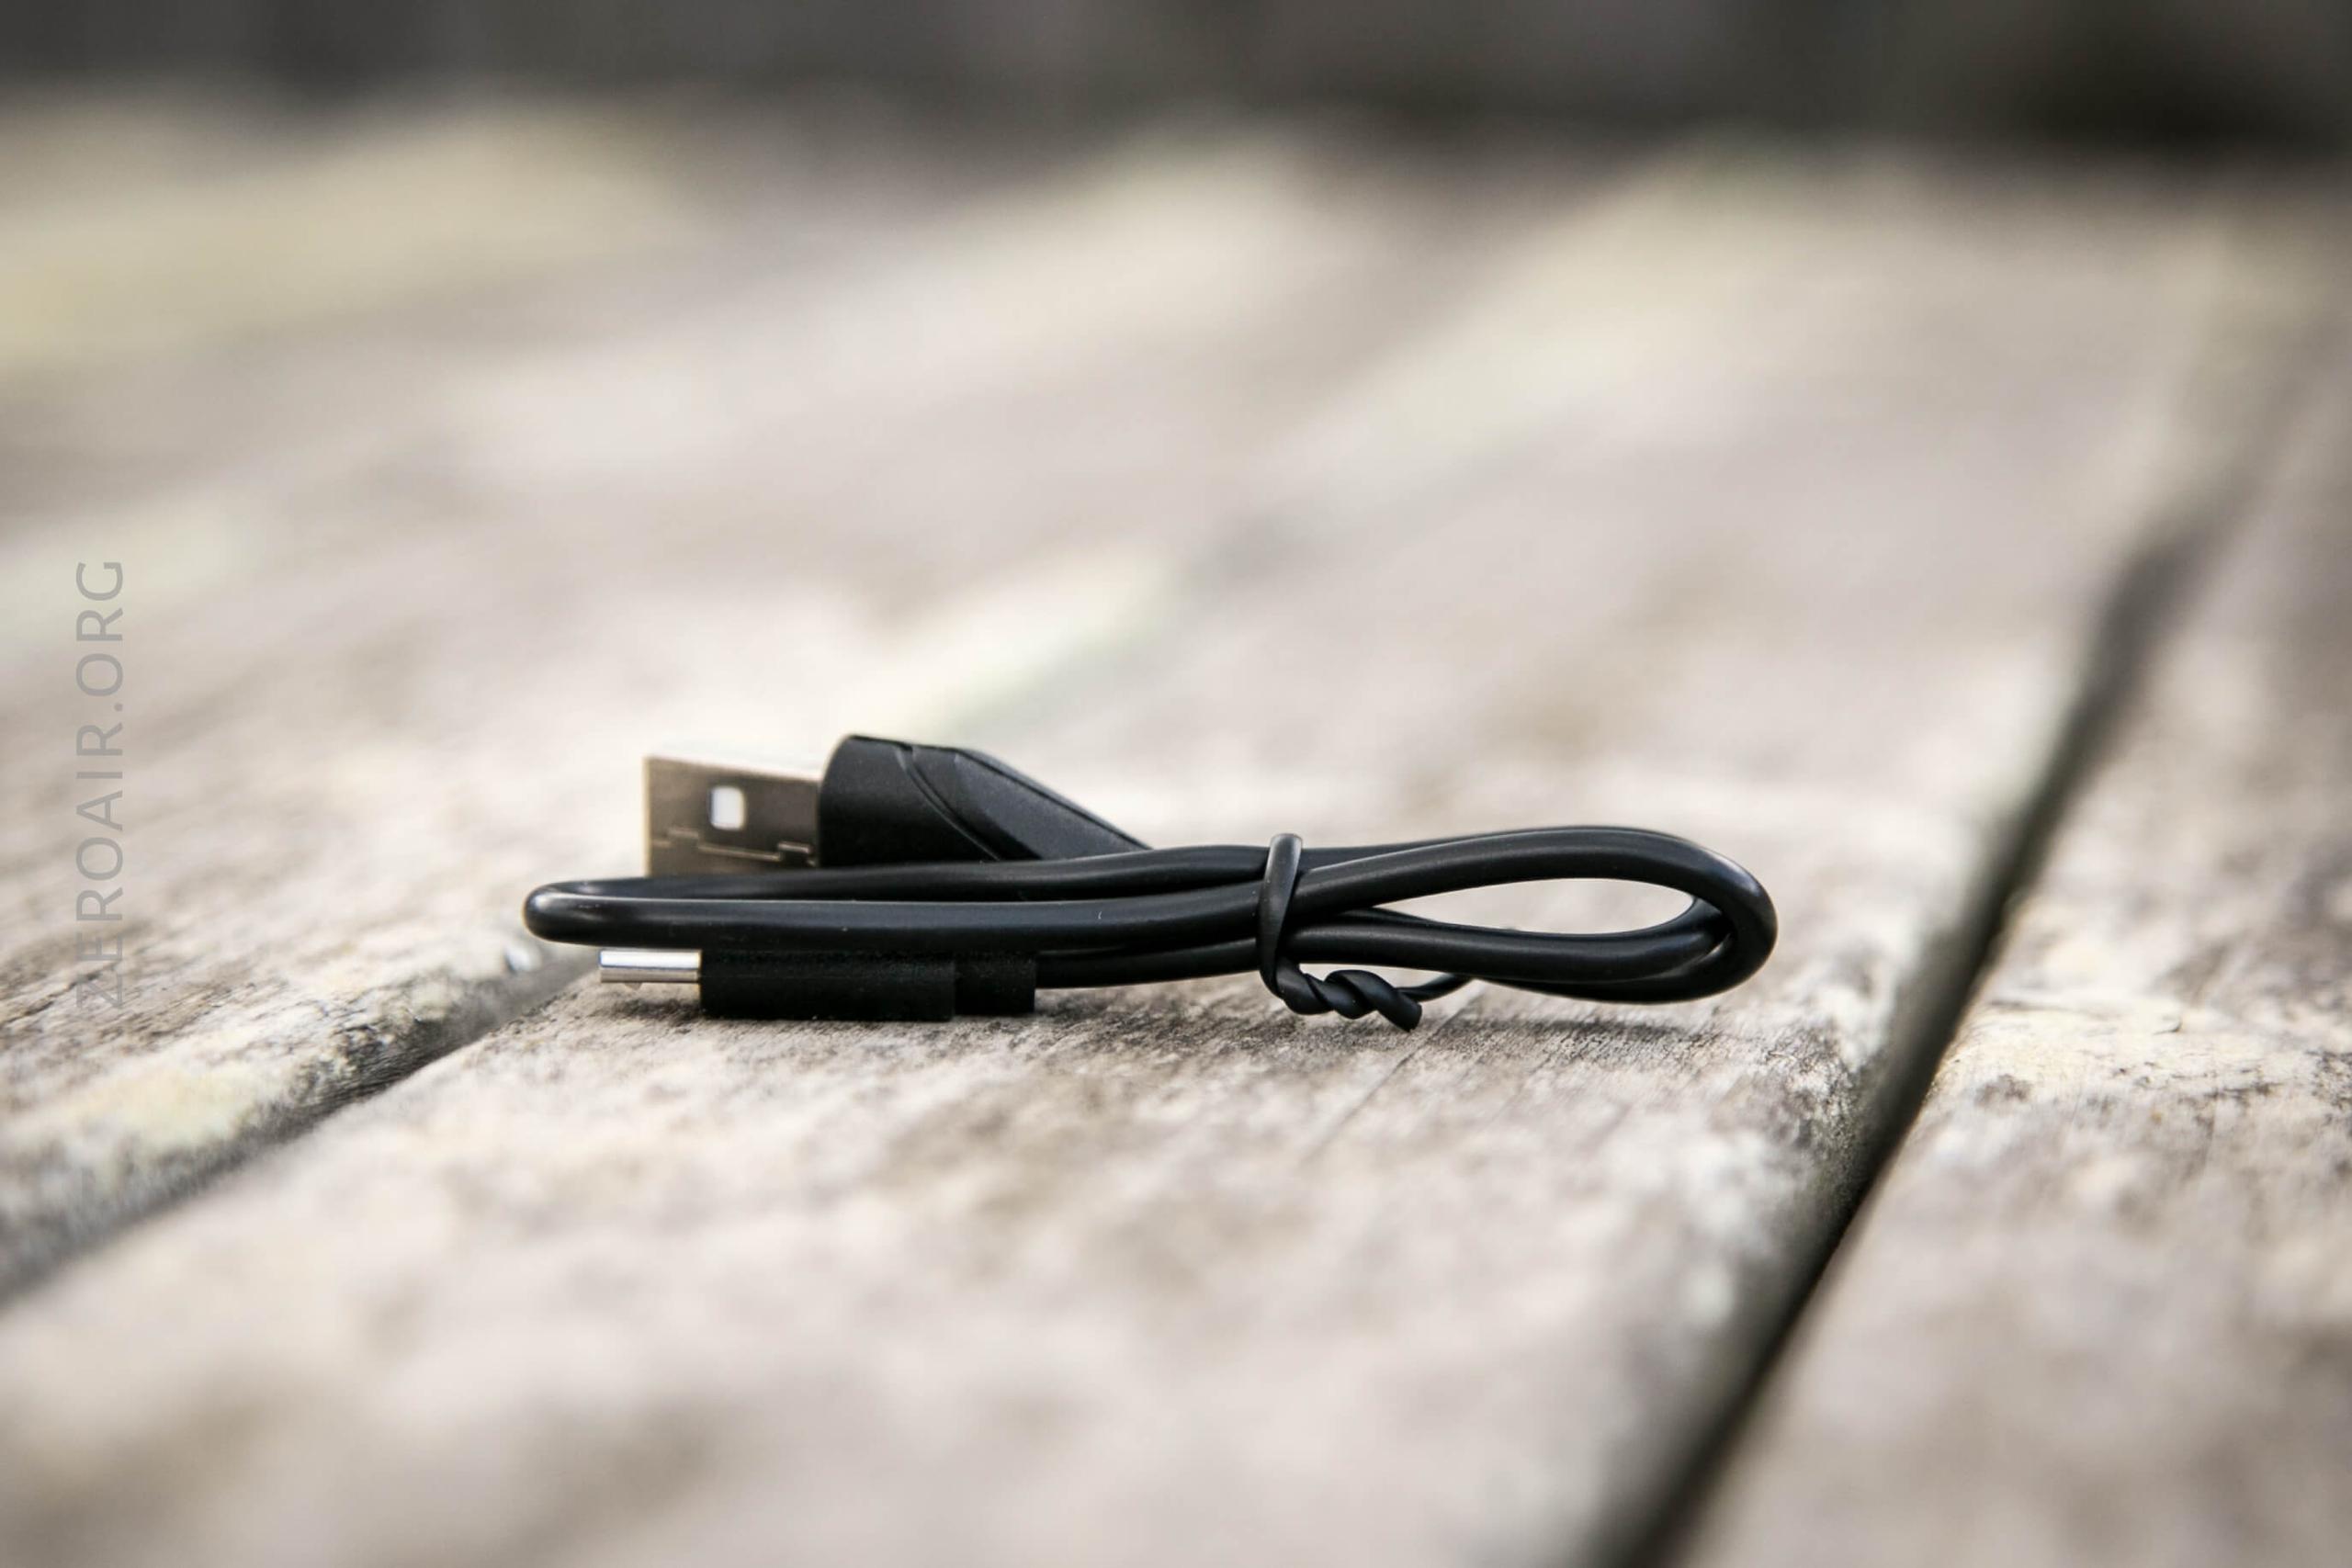
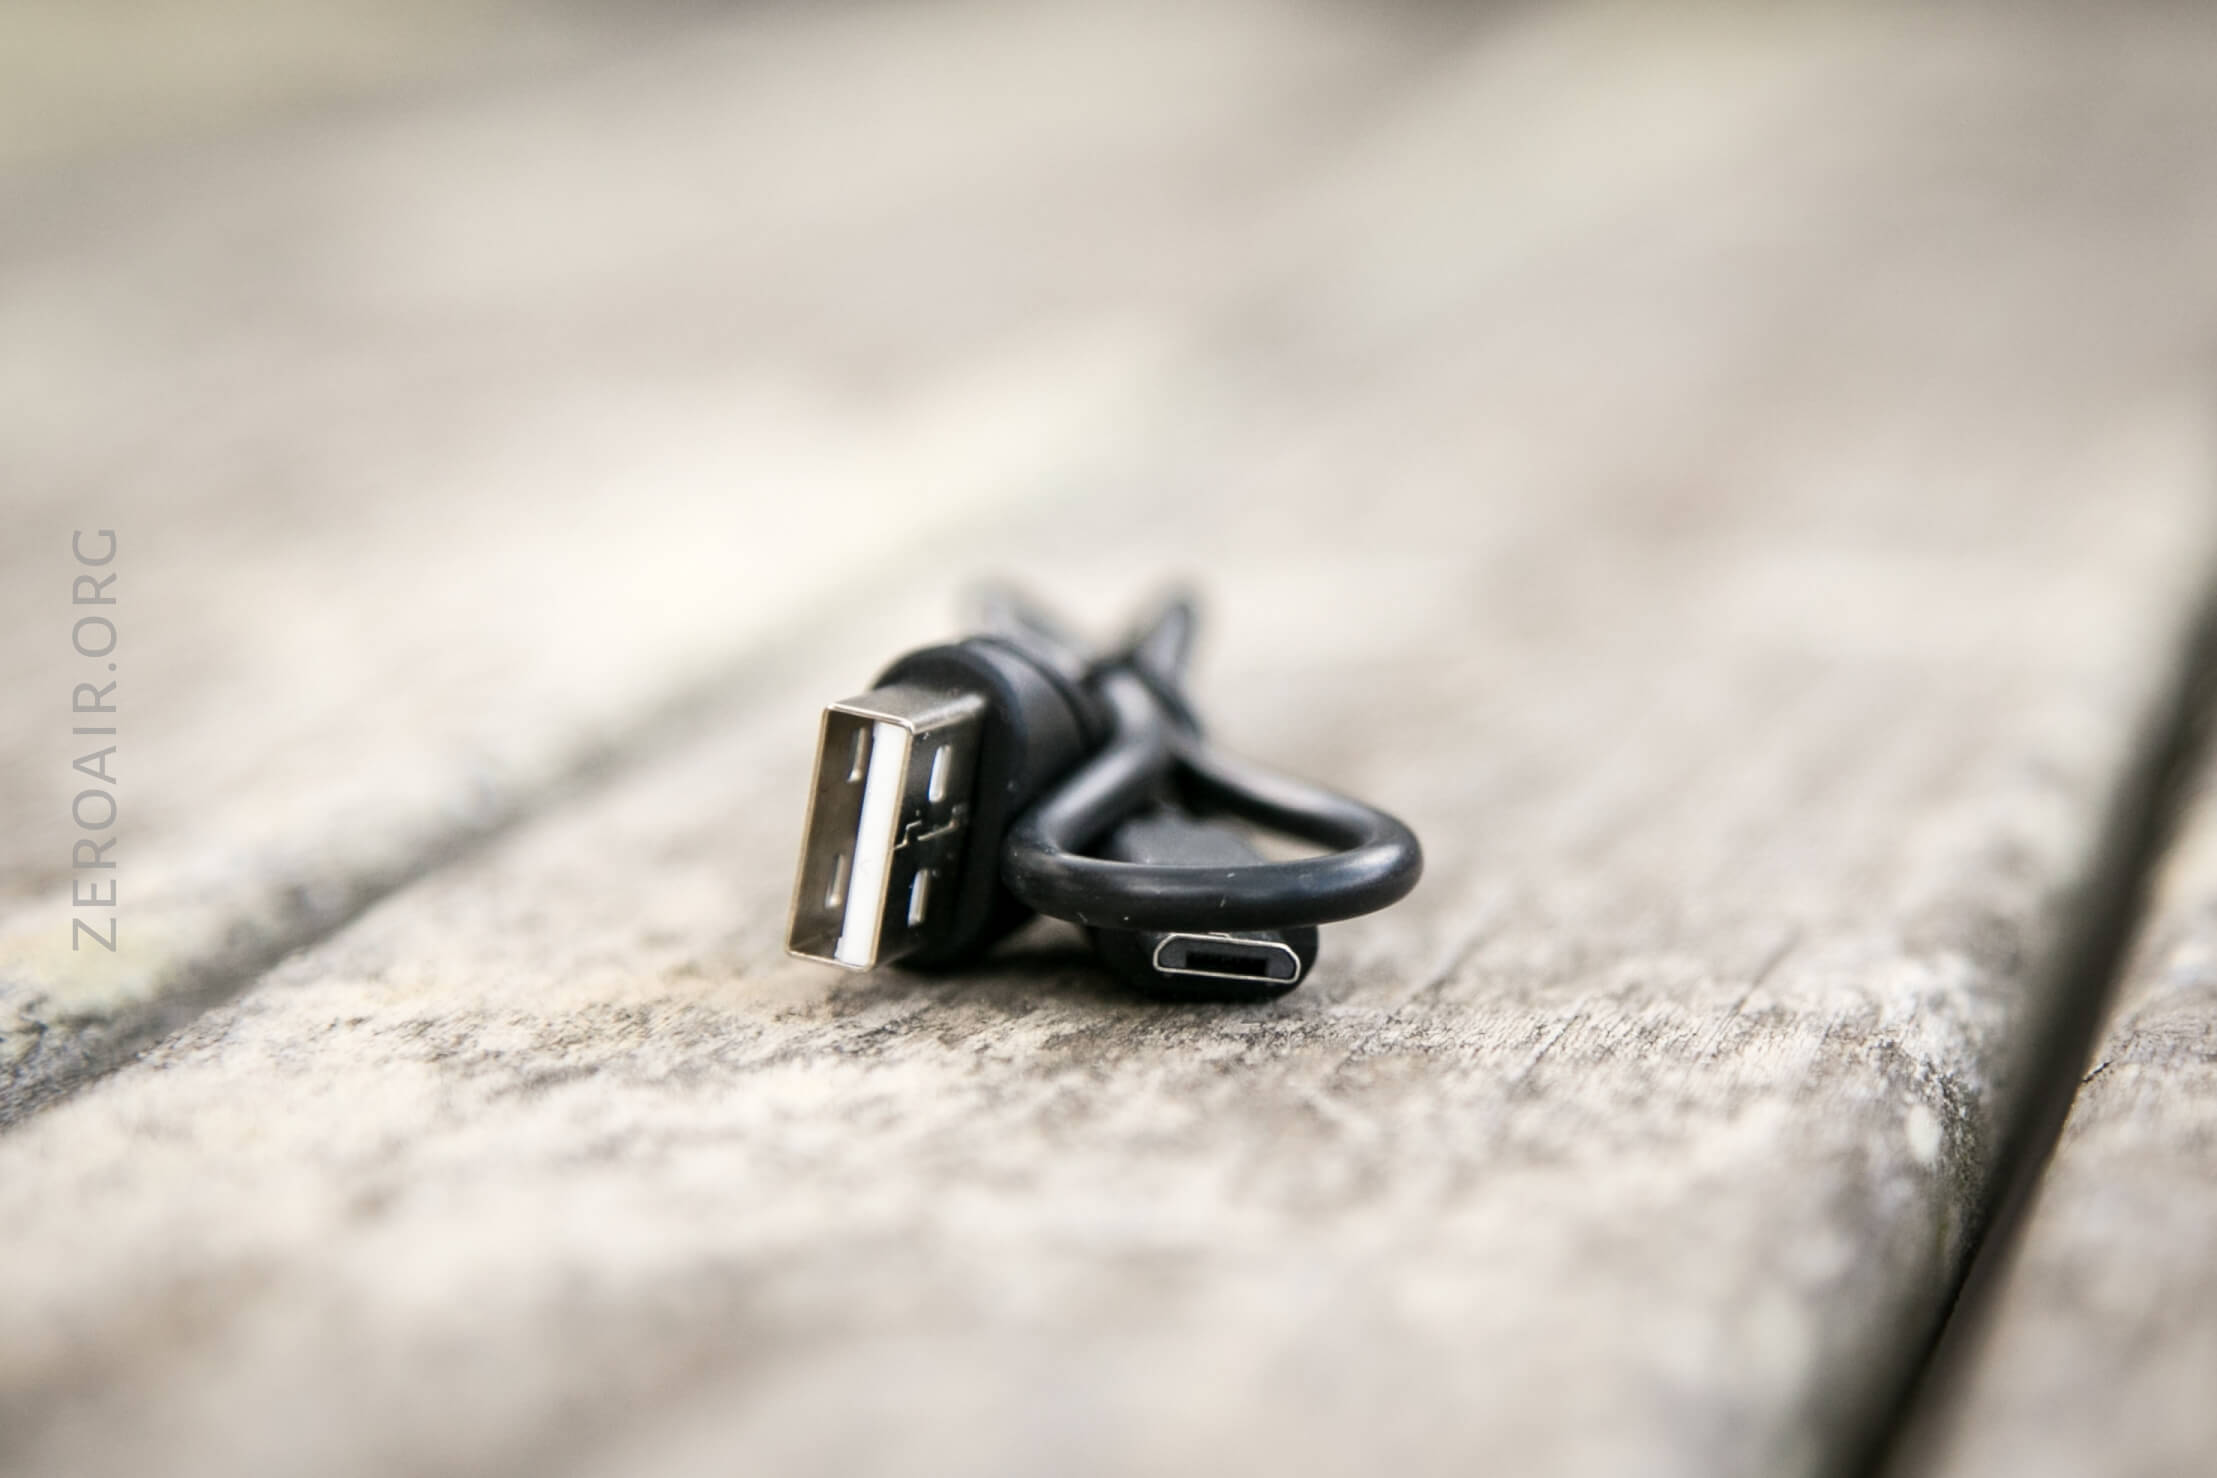
- Charge cable (USB to micro-USB)
- Zippered carry pouch
- Manual
Package and Manual

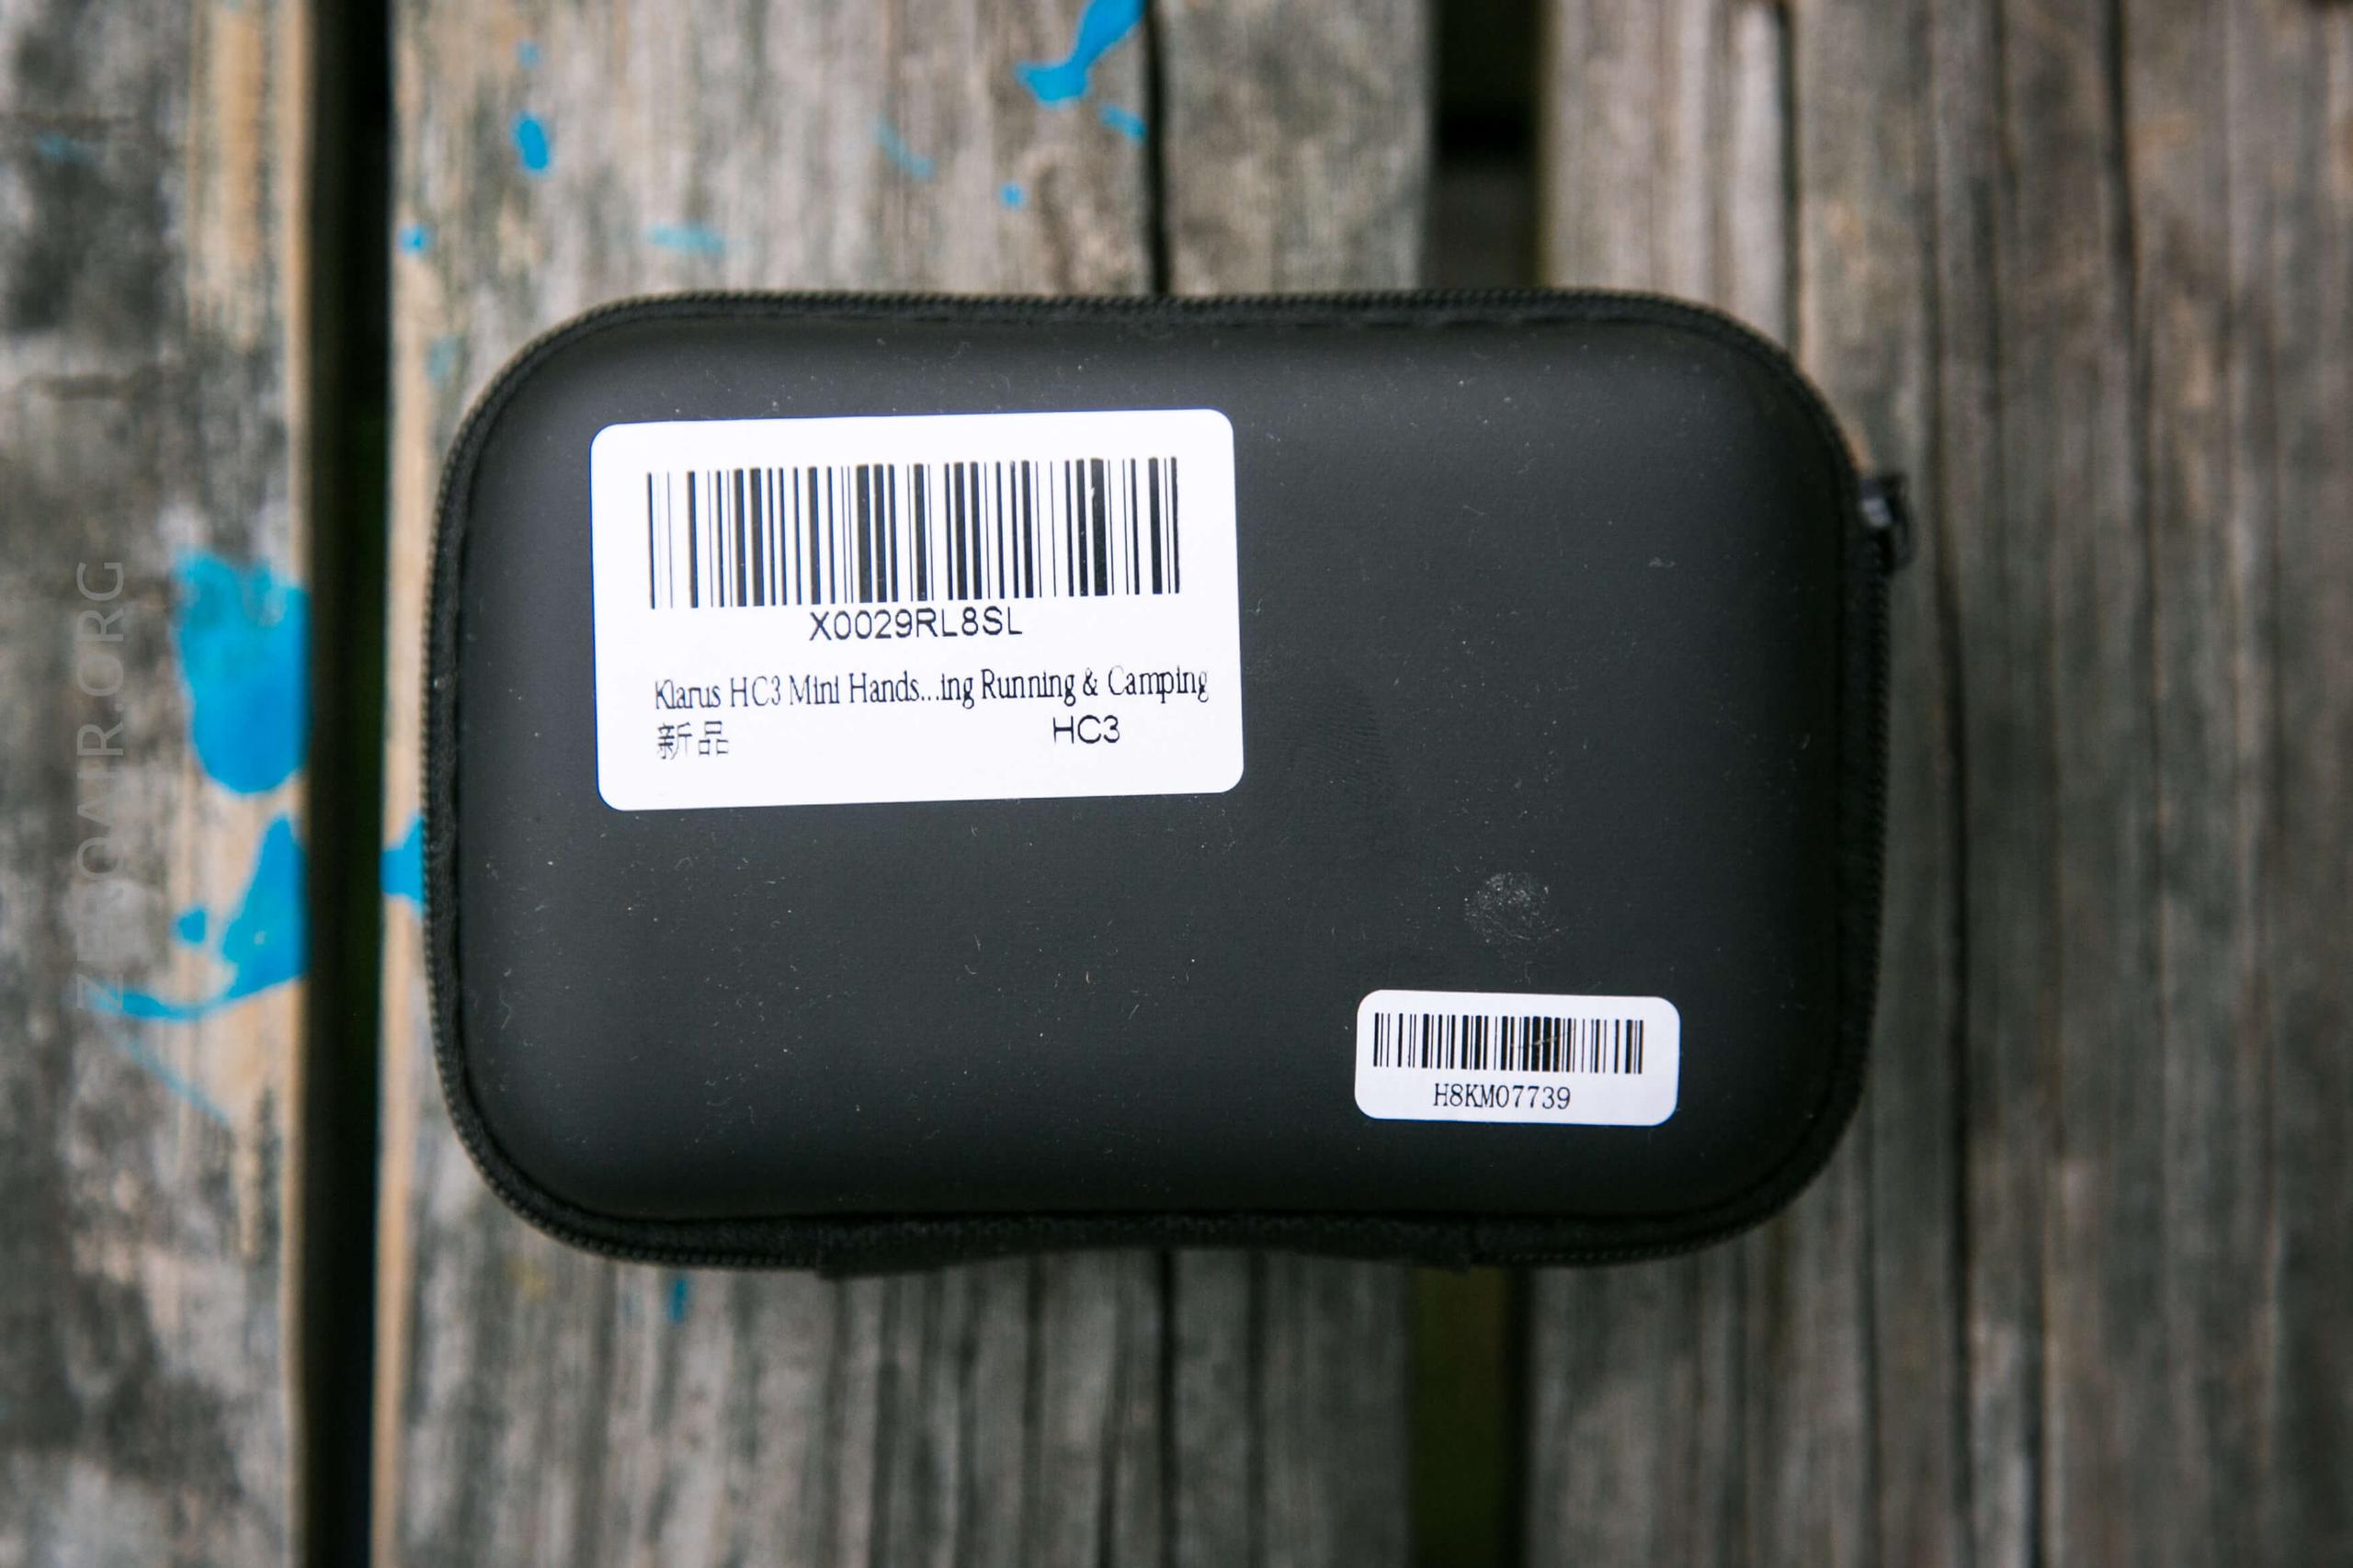
Unfortunately, Klarus puts a big ol sticker on the back of the soft cover carry pouch.
Build Quality and Disassembly
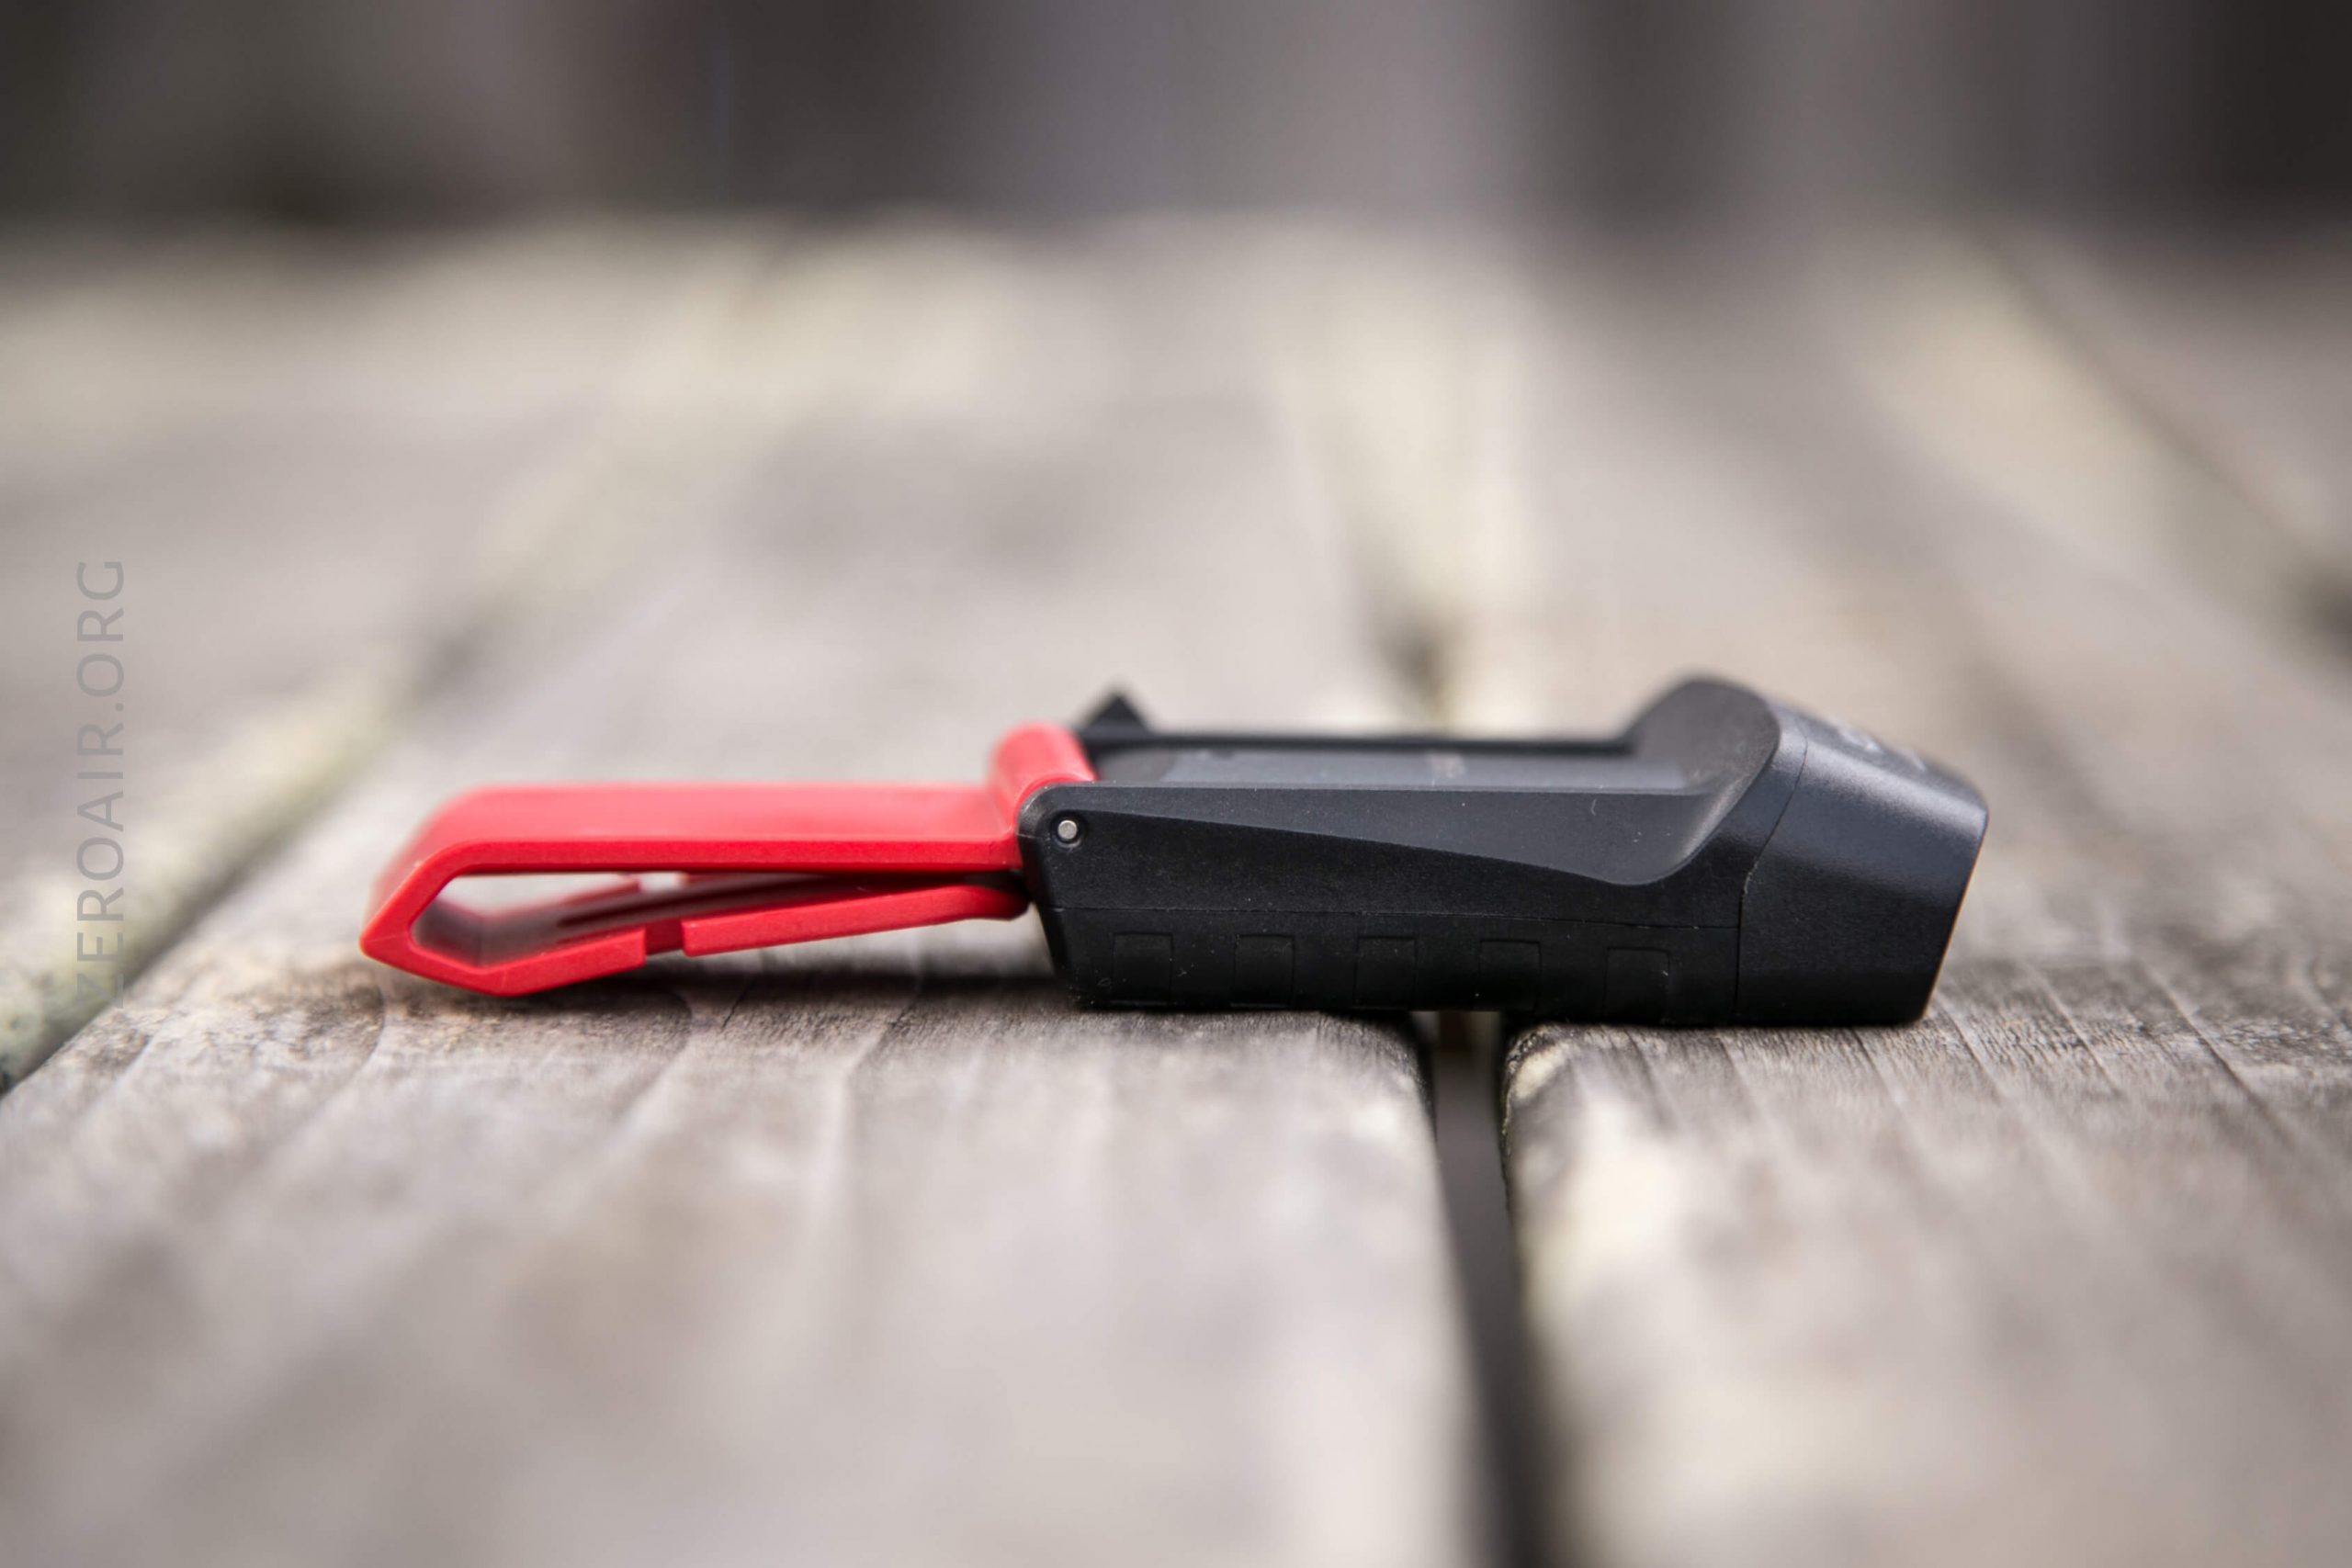
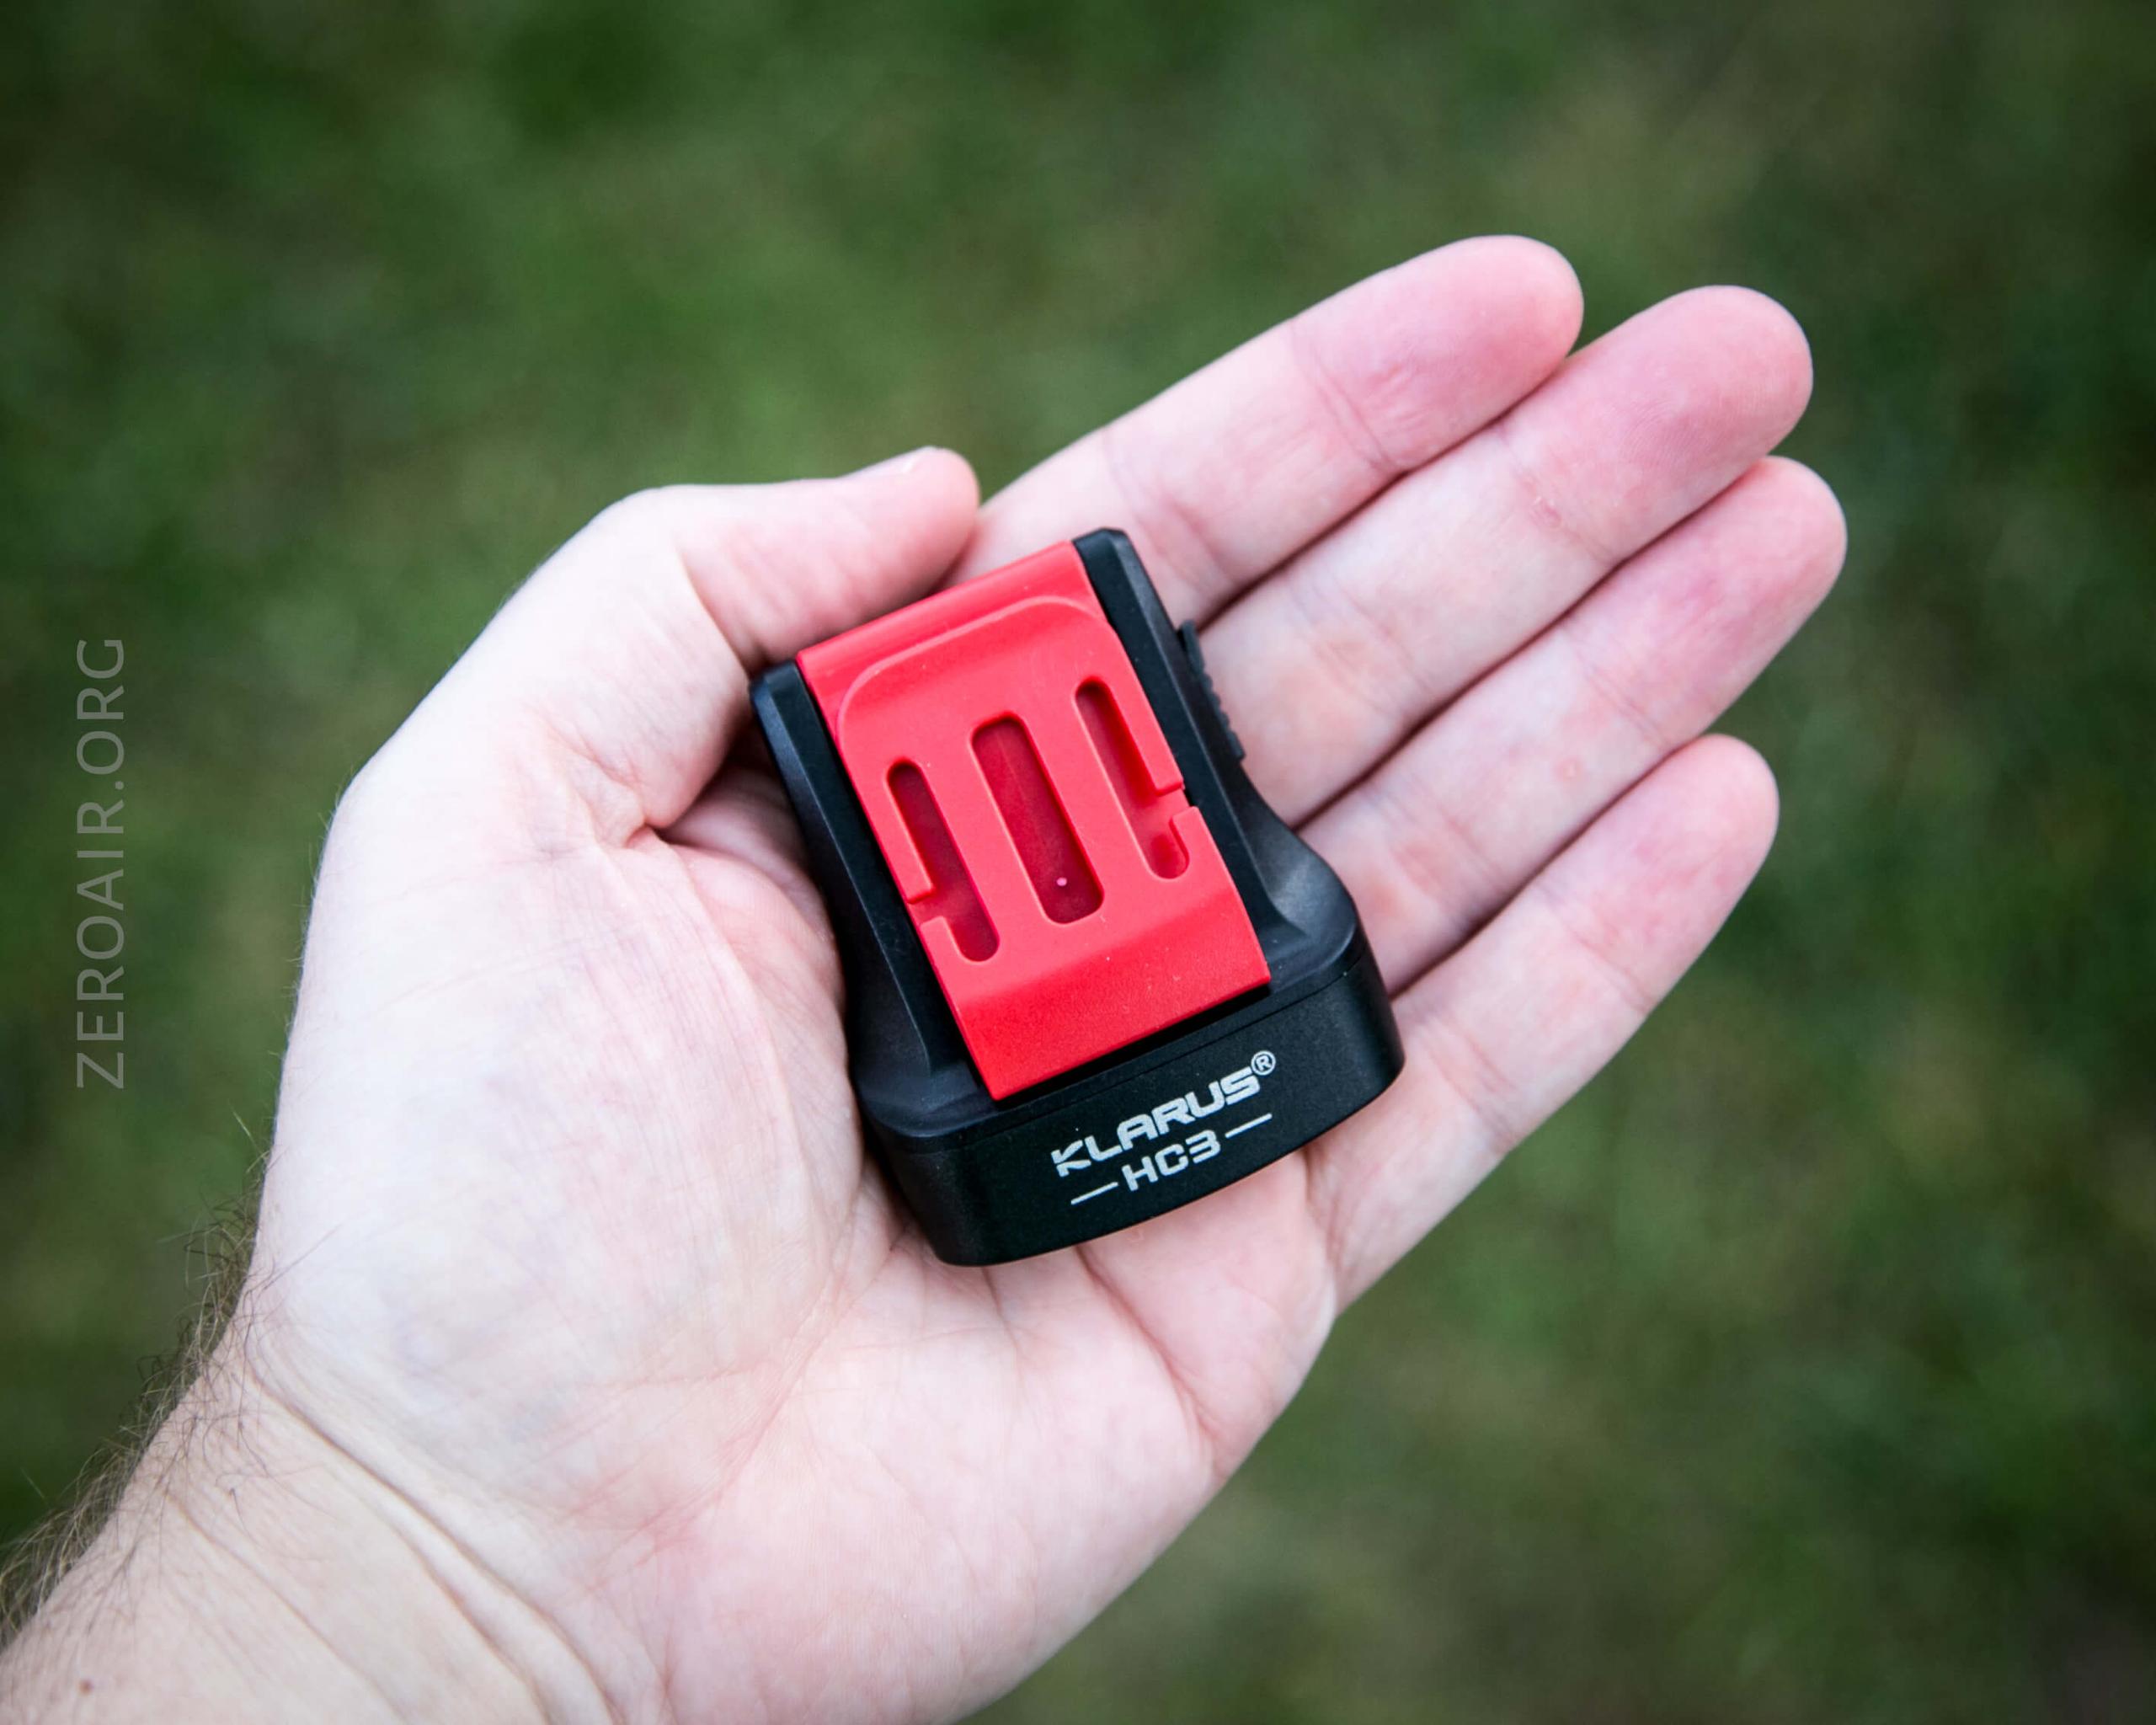
The HC3 is a plastic body headlamp. The headband attachment is plastic, too. It’s a very unusual design, but generally, the build quality is good.

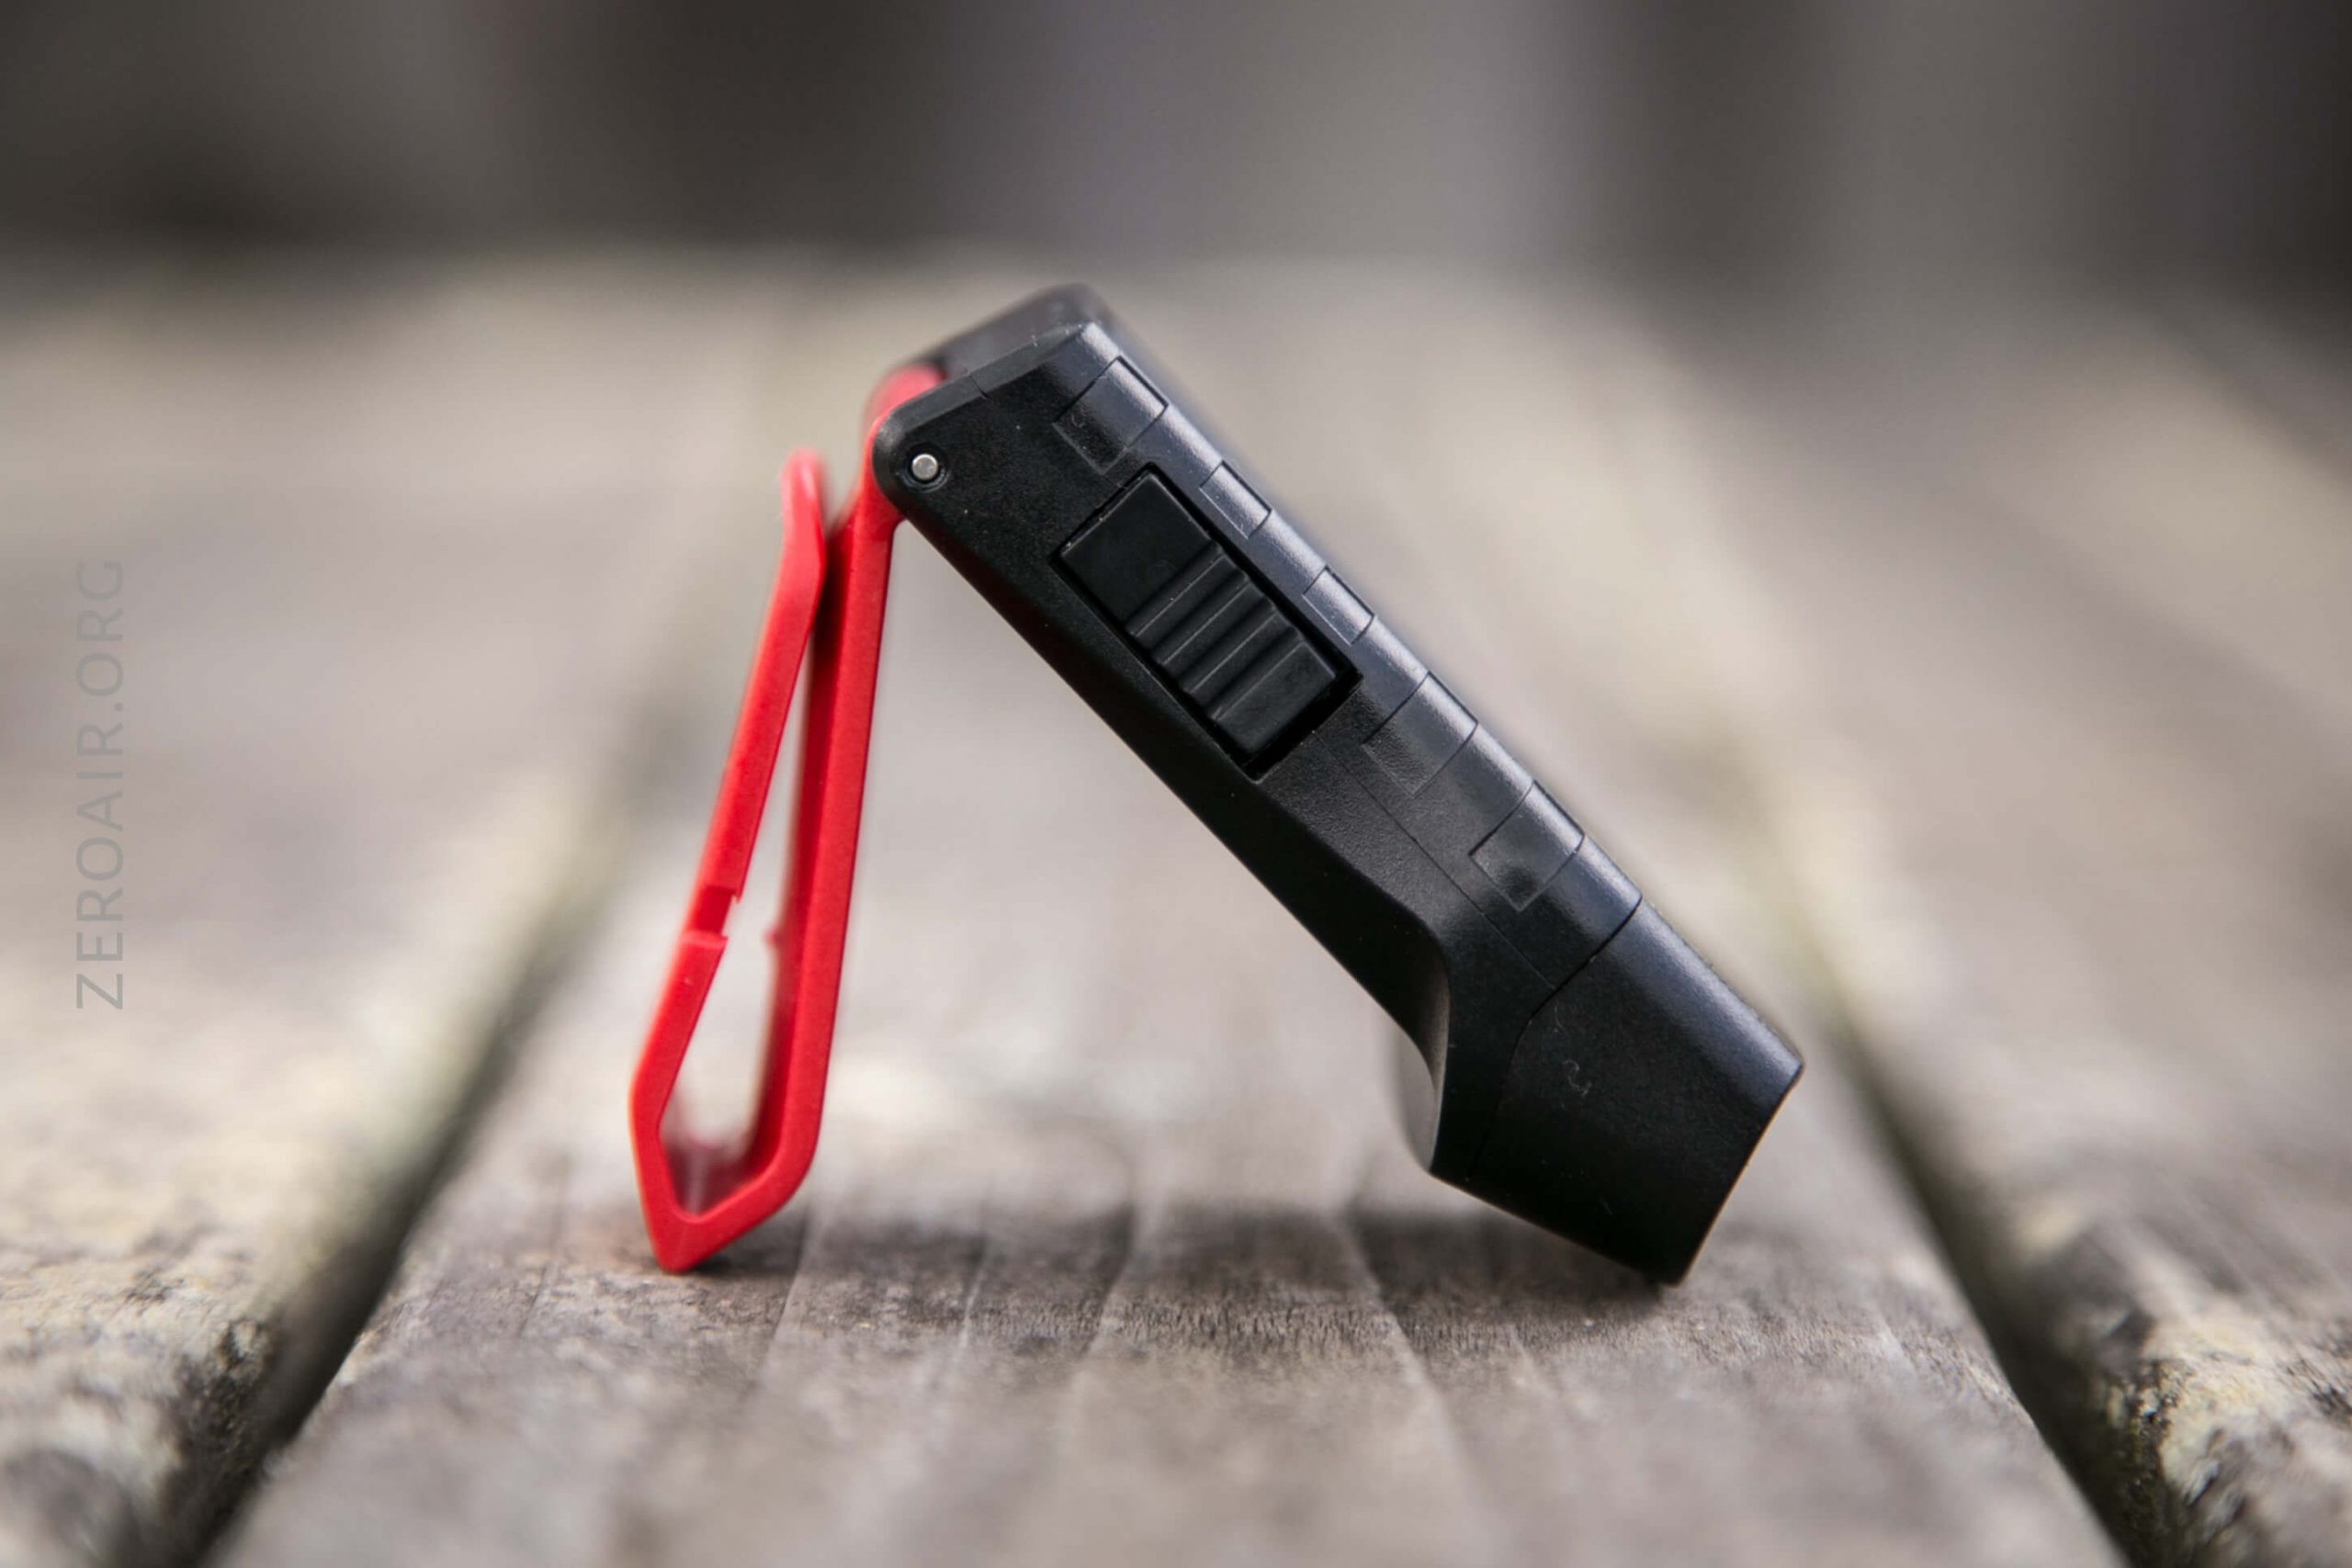
The hinge mechanism for the headband attachment is a metal pin.


There are no obvious points of entry into the light. I believe the light is either press-fit together (less likely), or there are some screws under the two switches – the switches are under a big appx 1″ x 1″ sticker. Here’s that sticker/area:
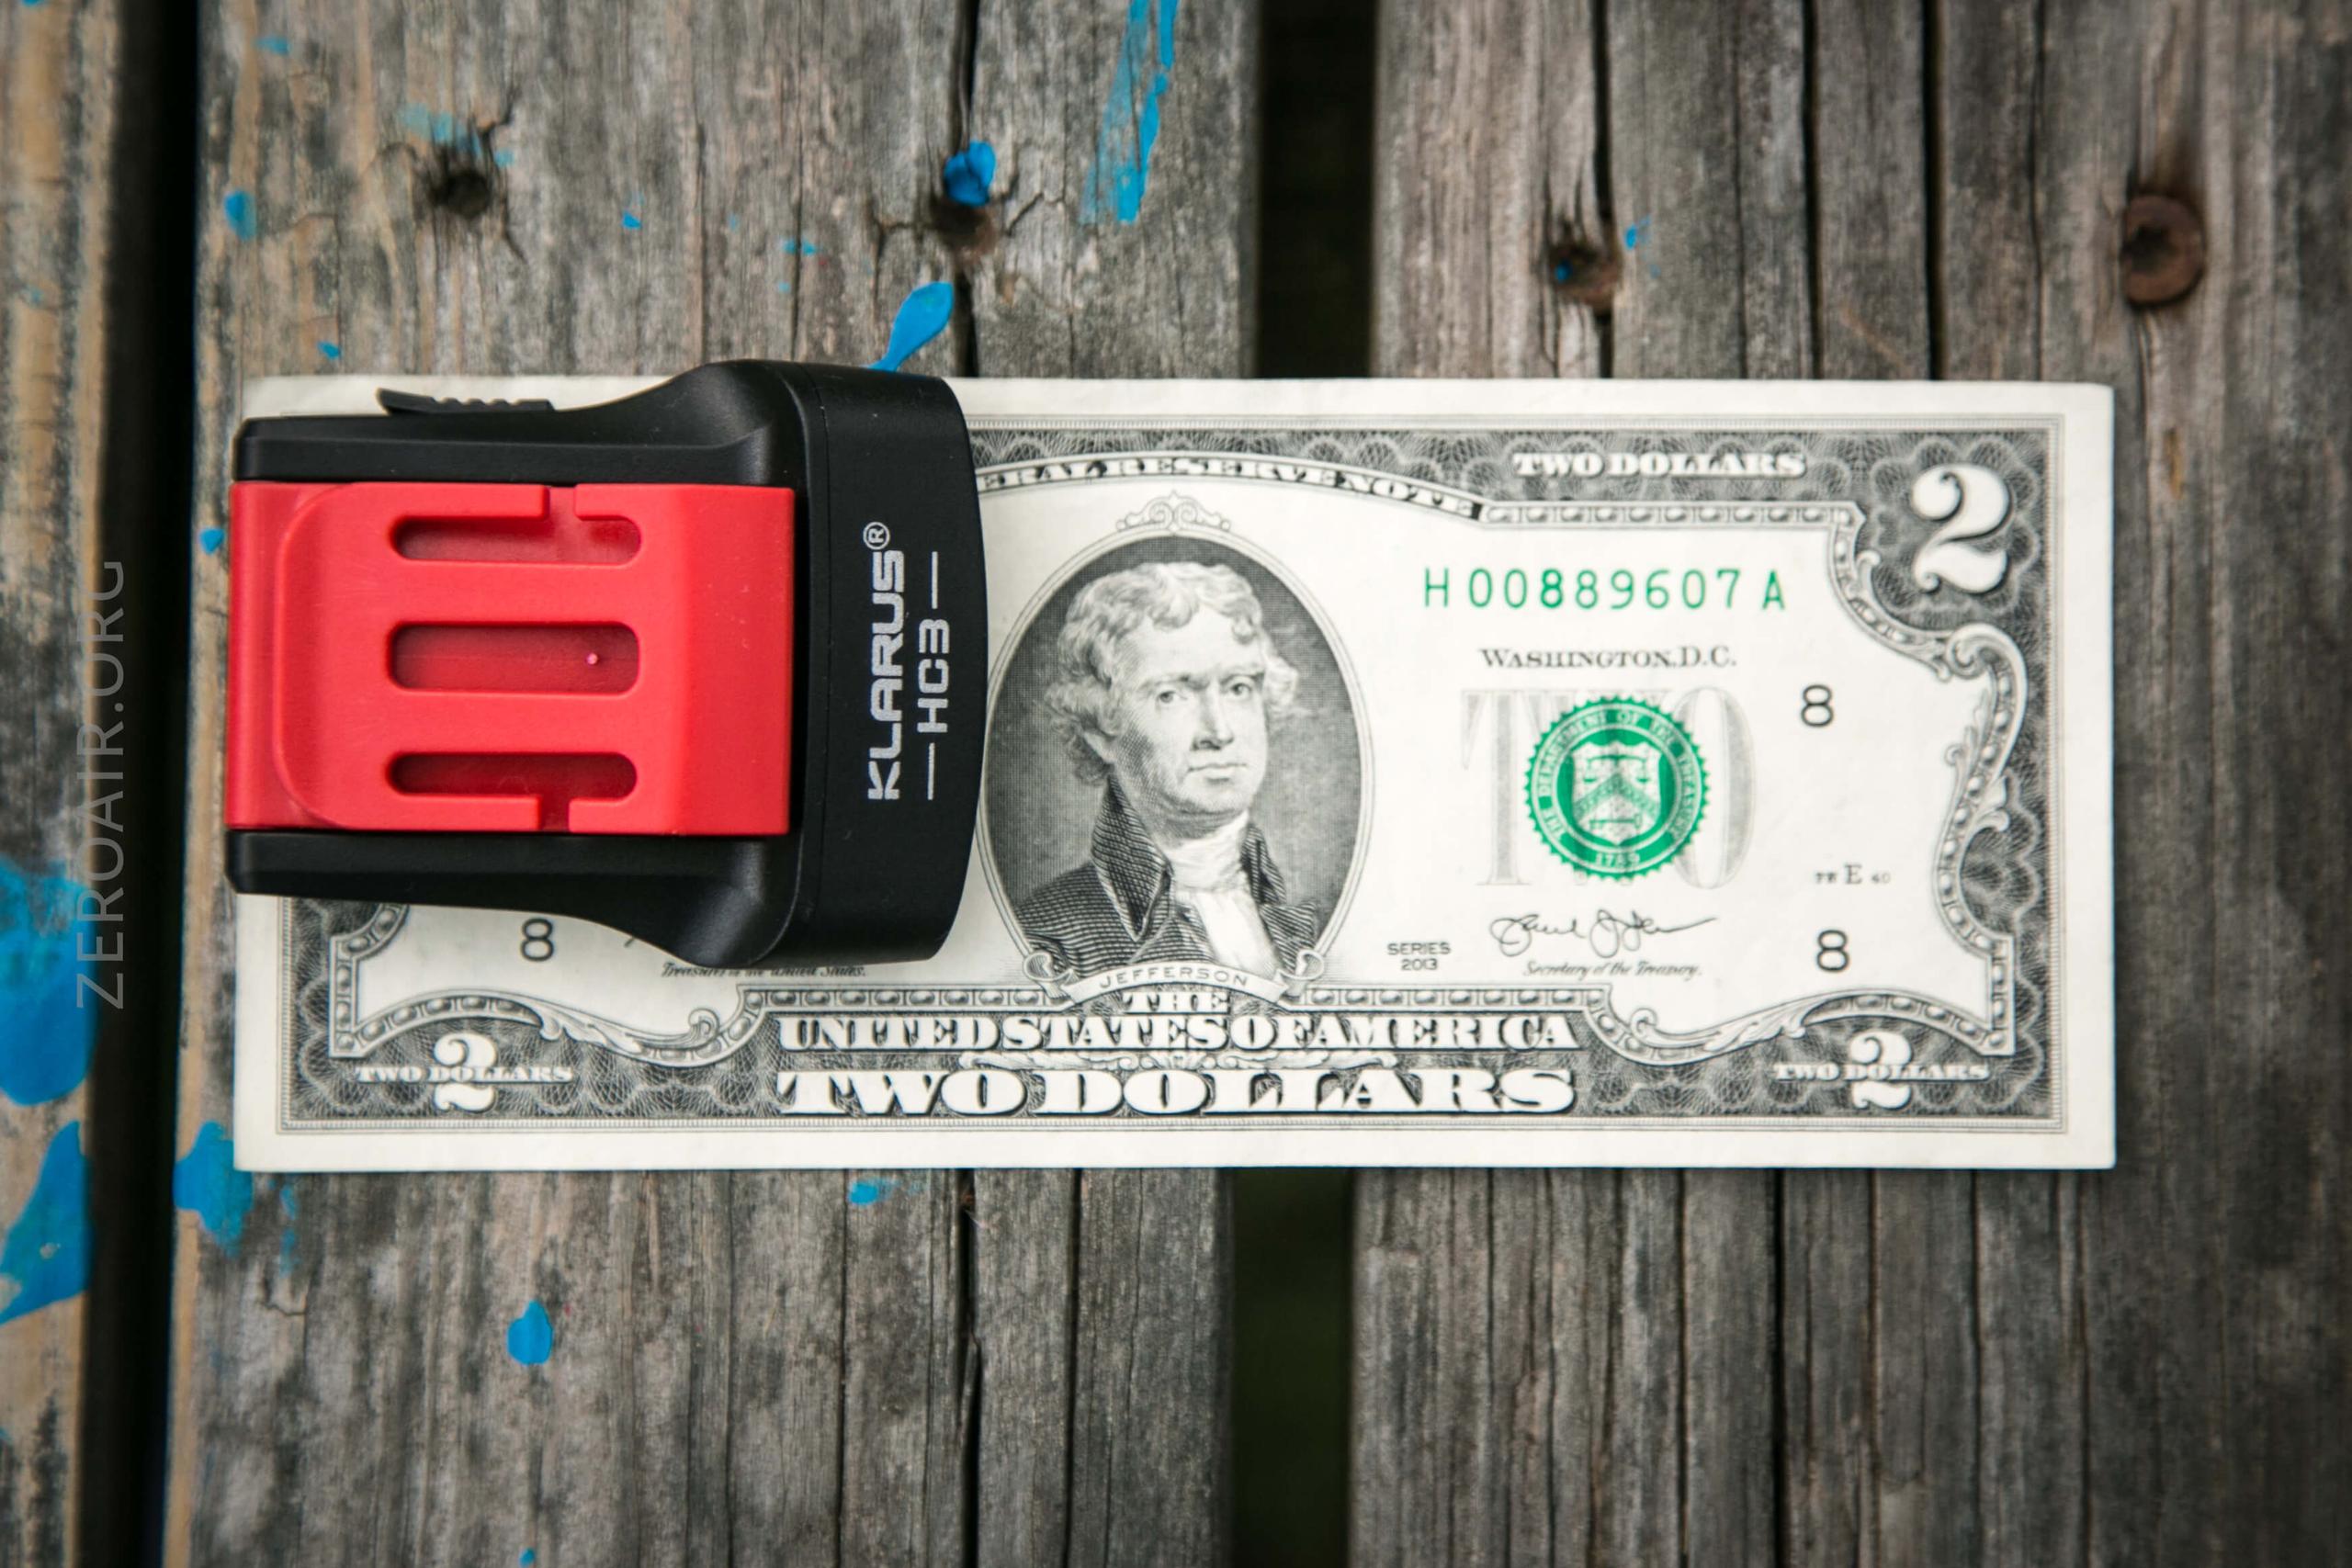
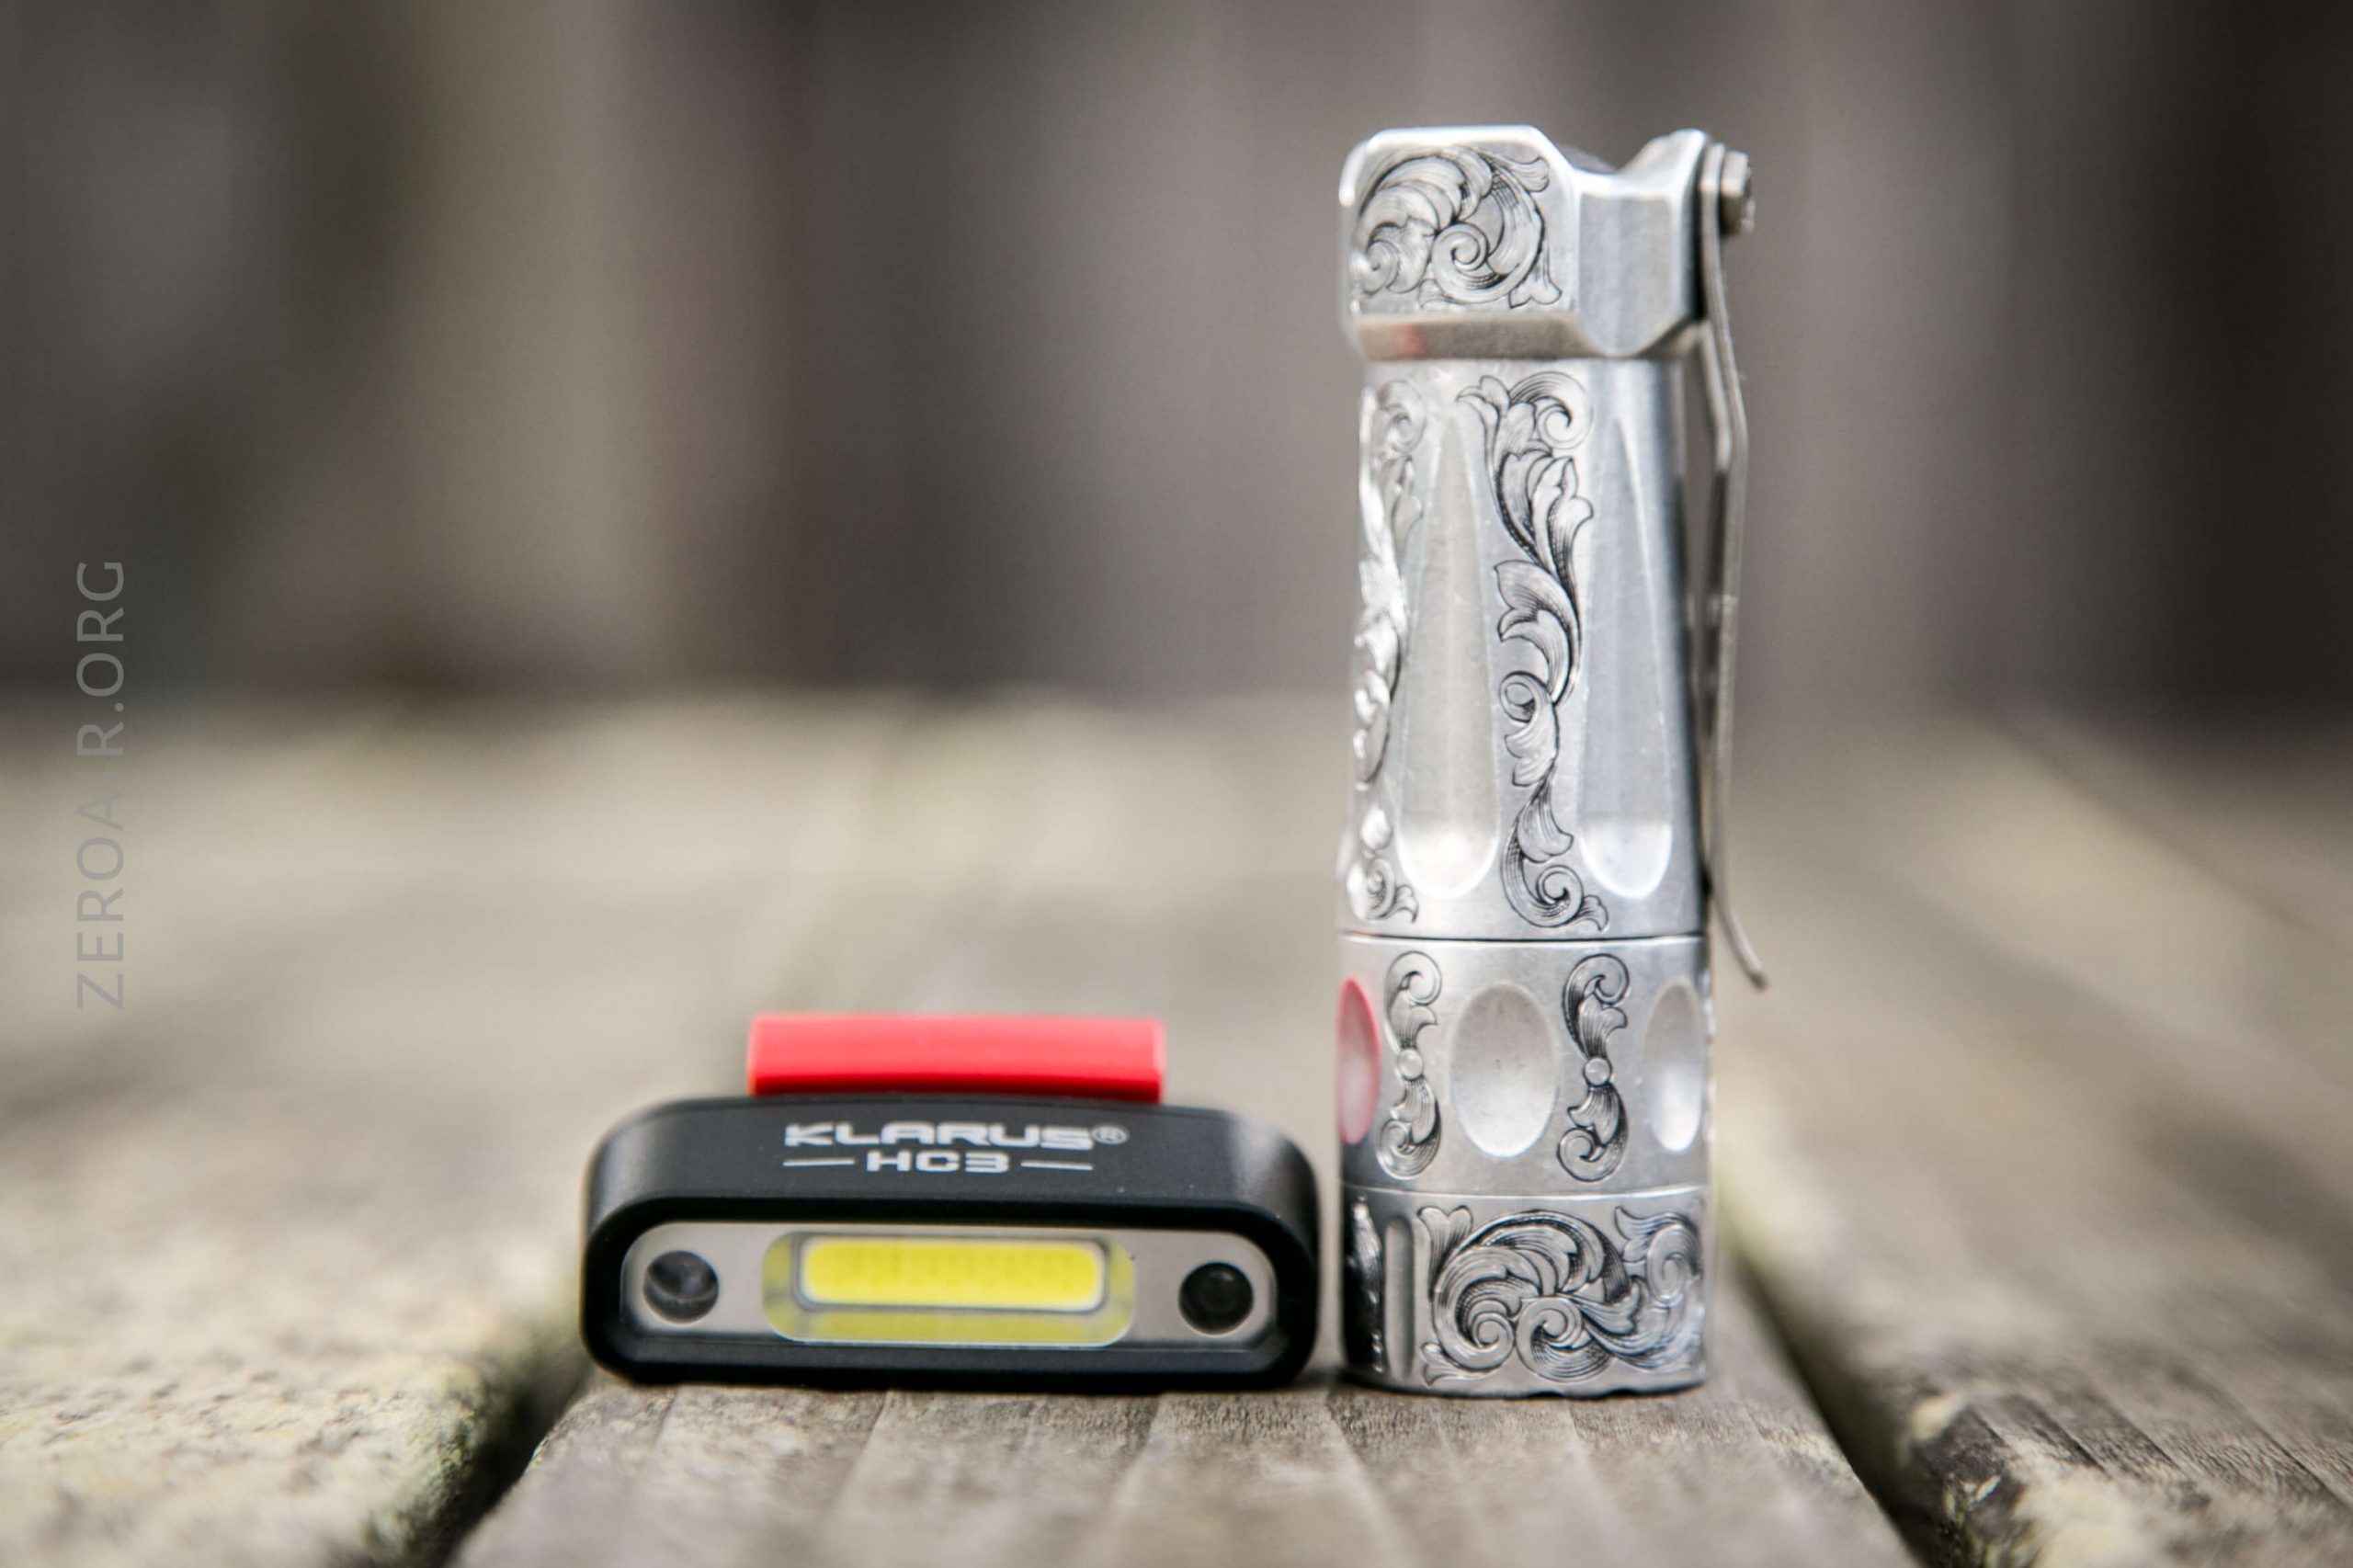
Size and Comps
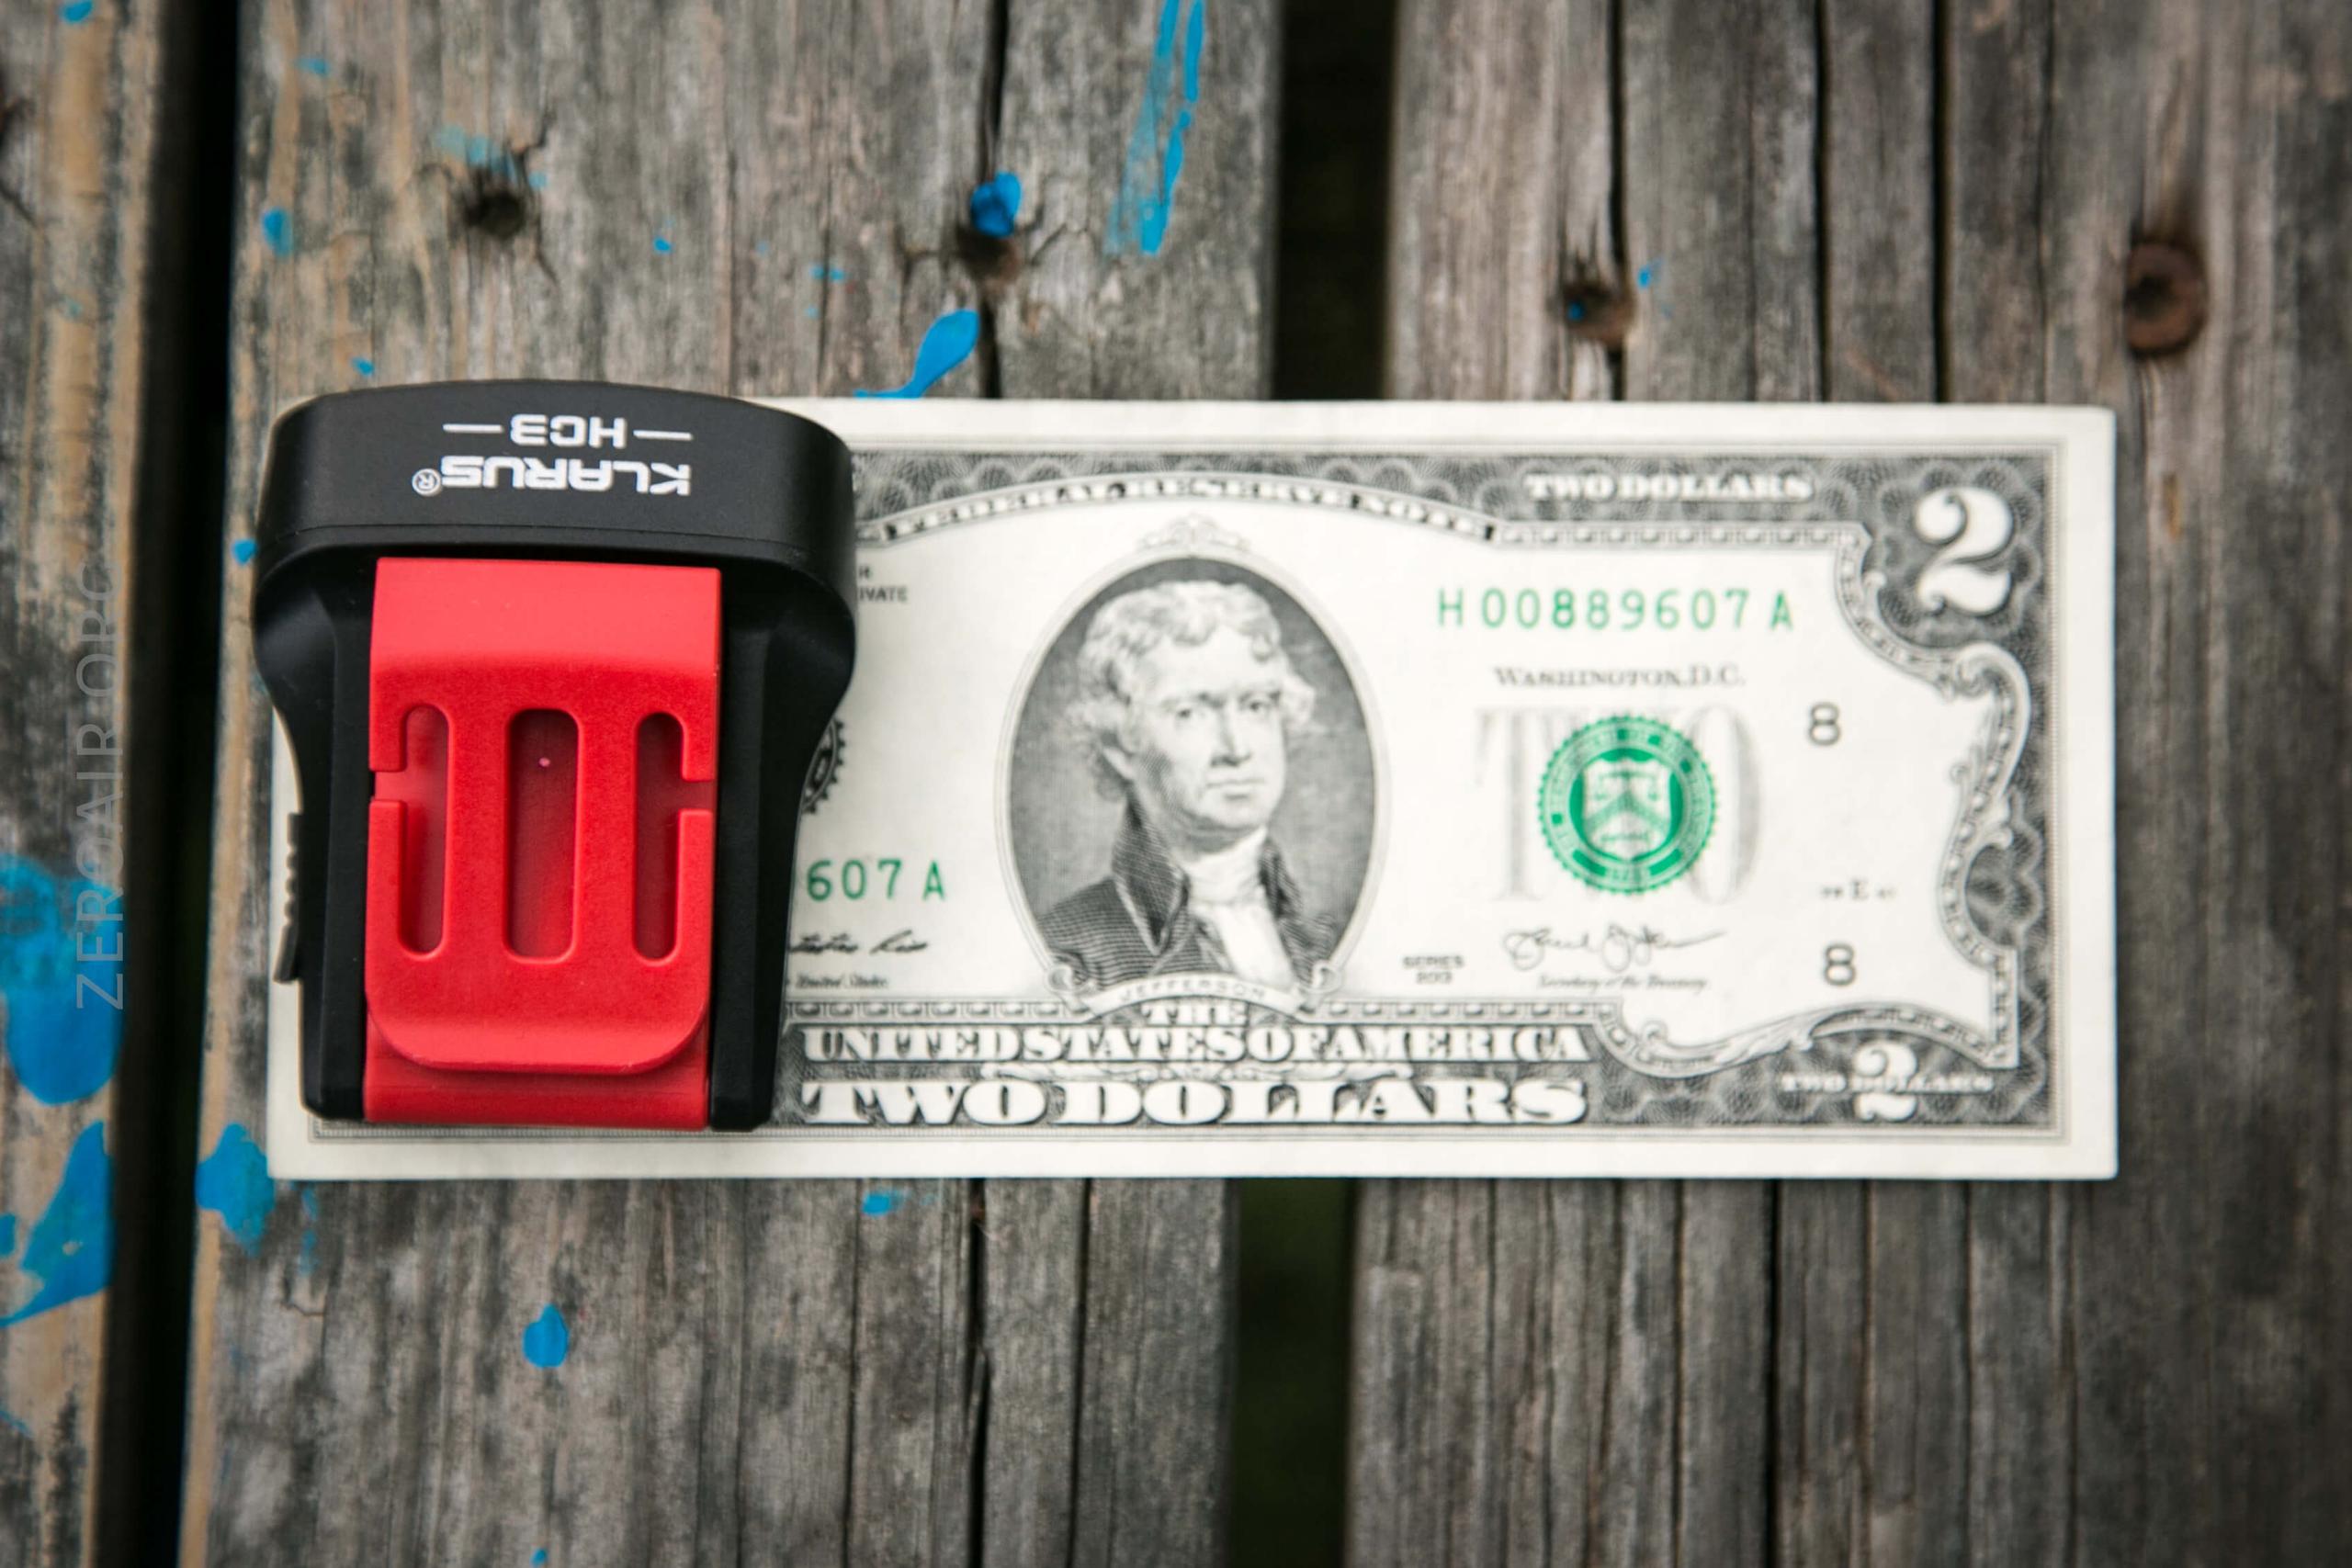
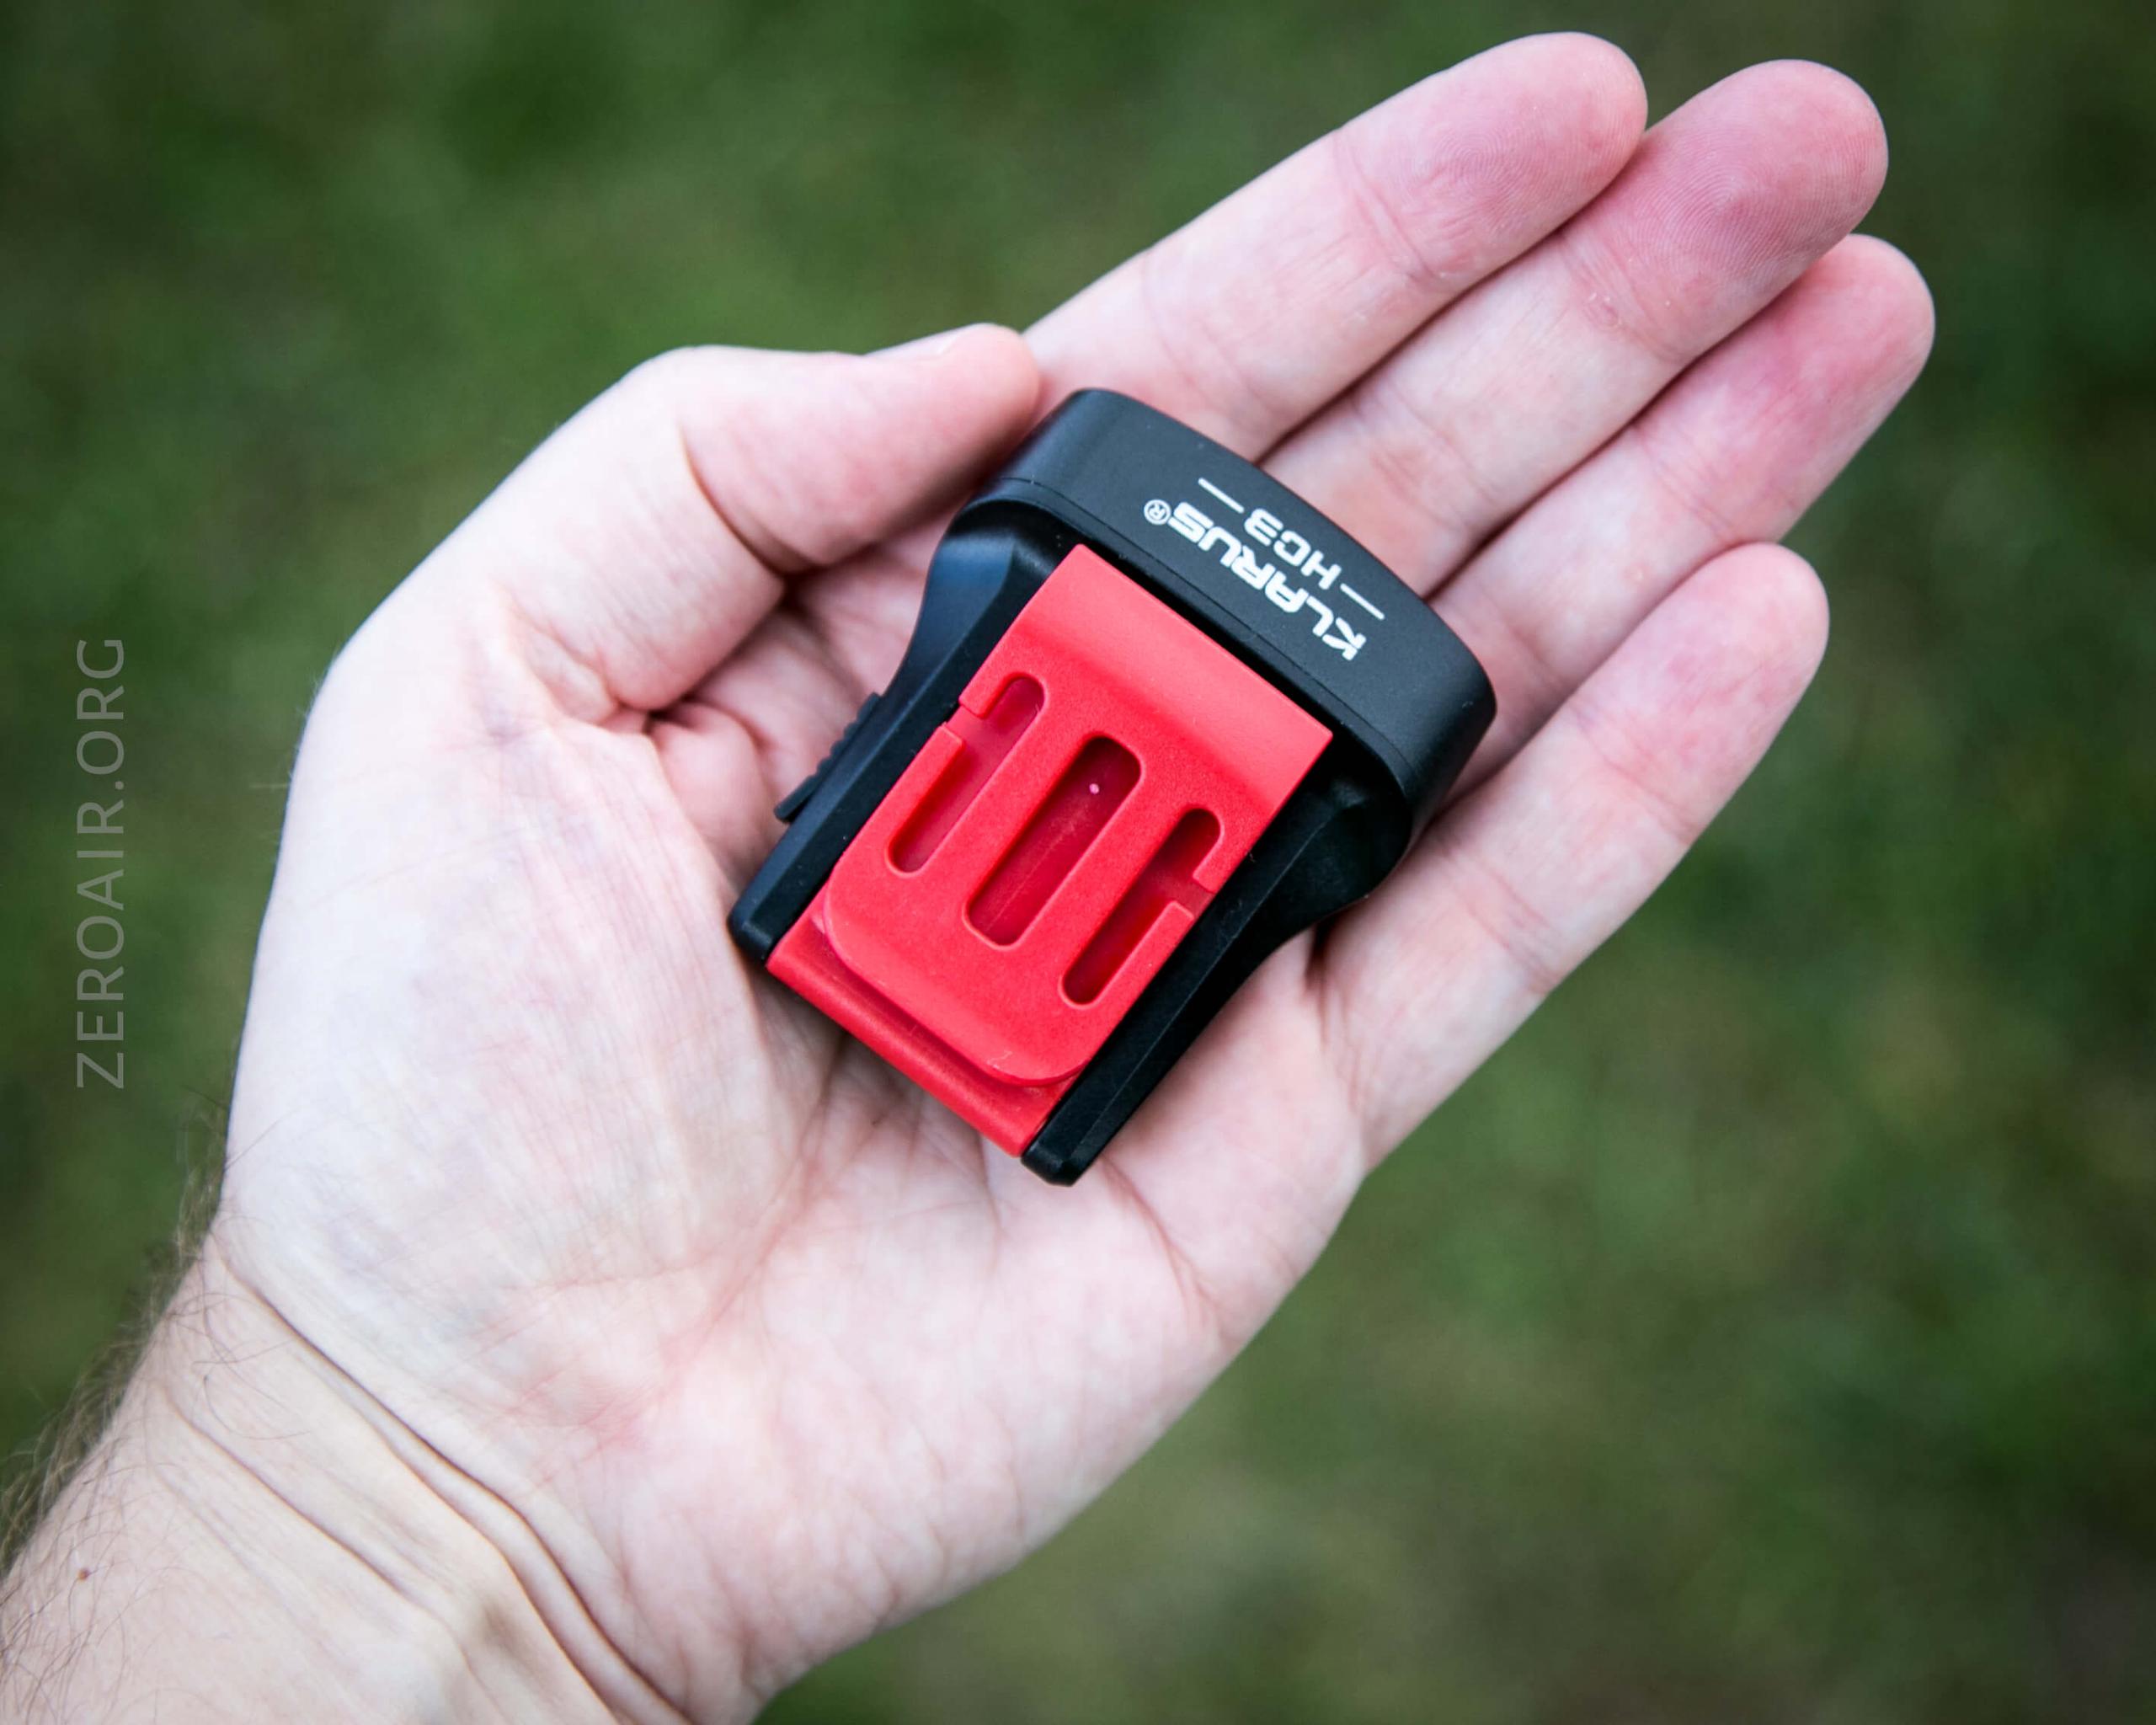
Officially 62mm x 50.5mm x 23mm, and 37g.
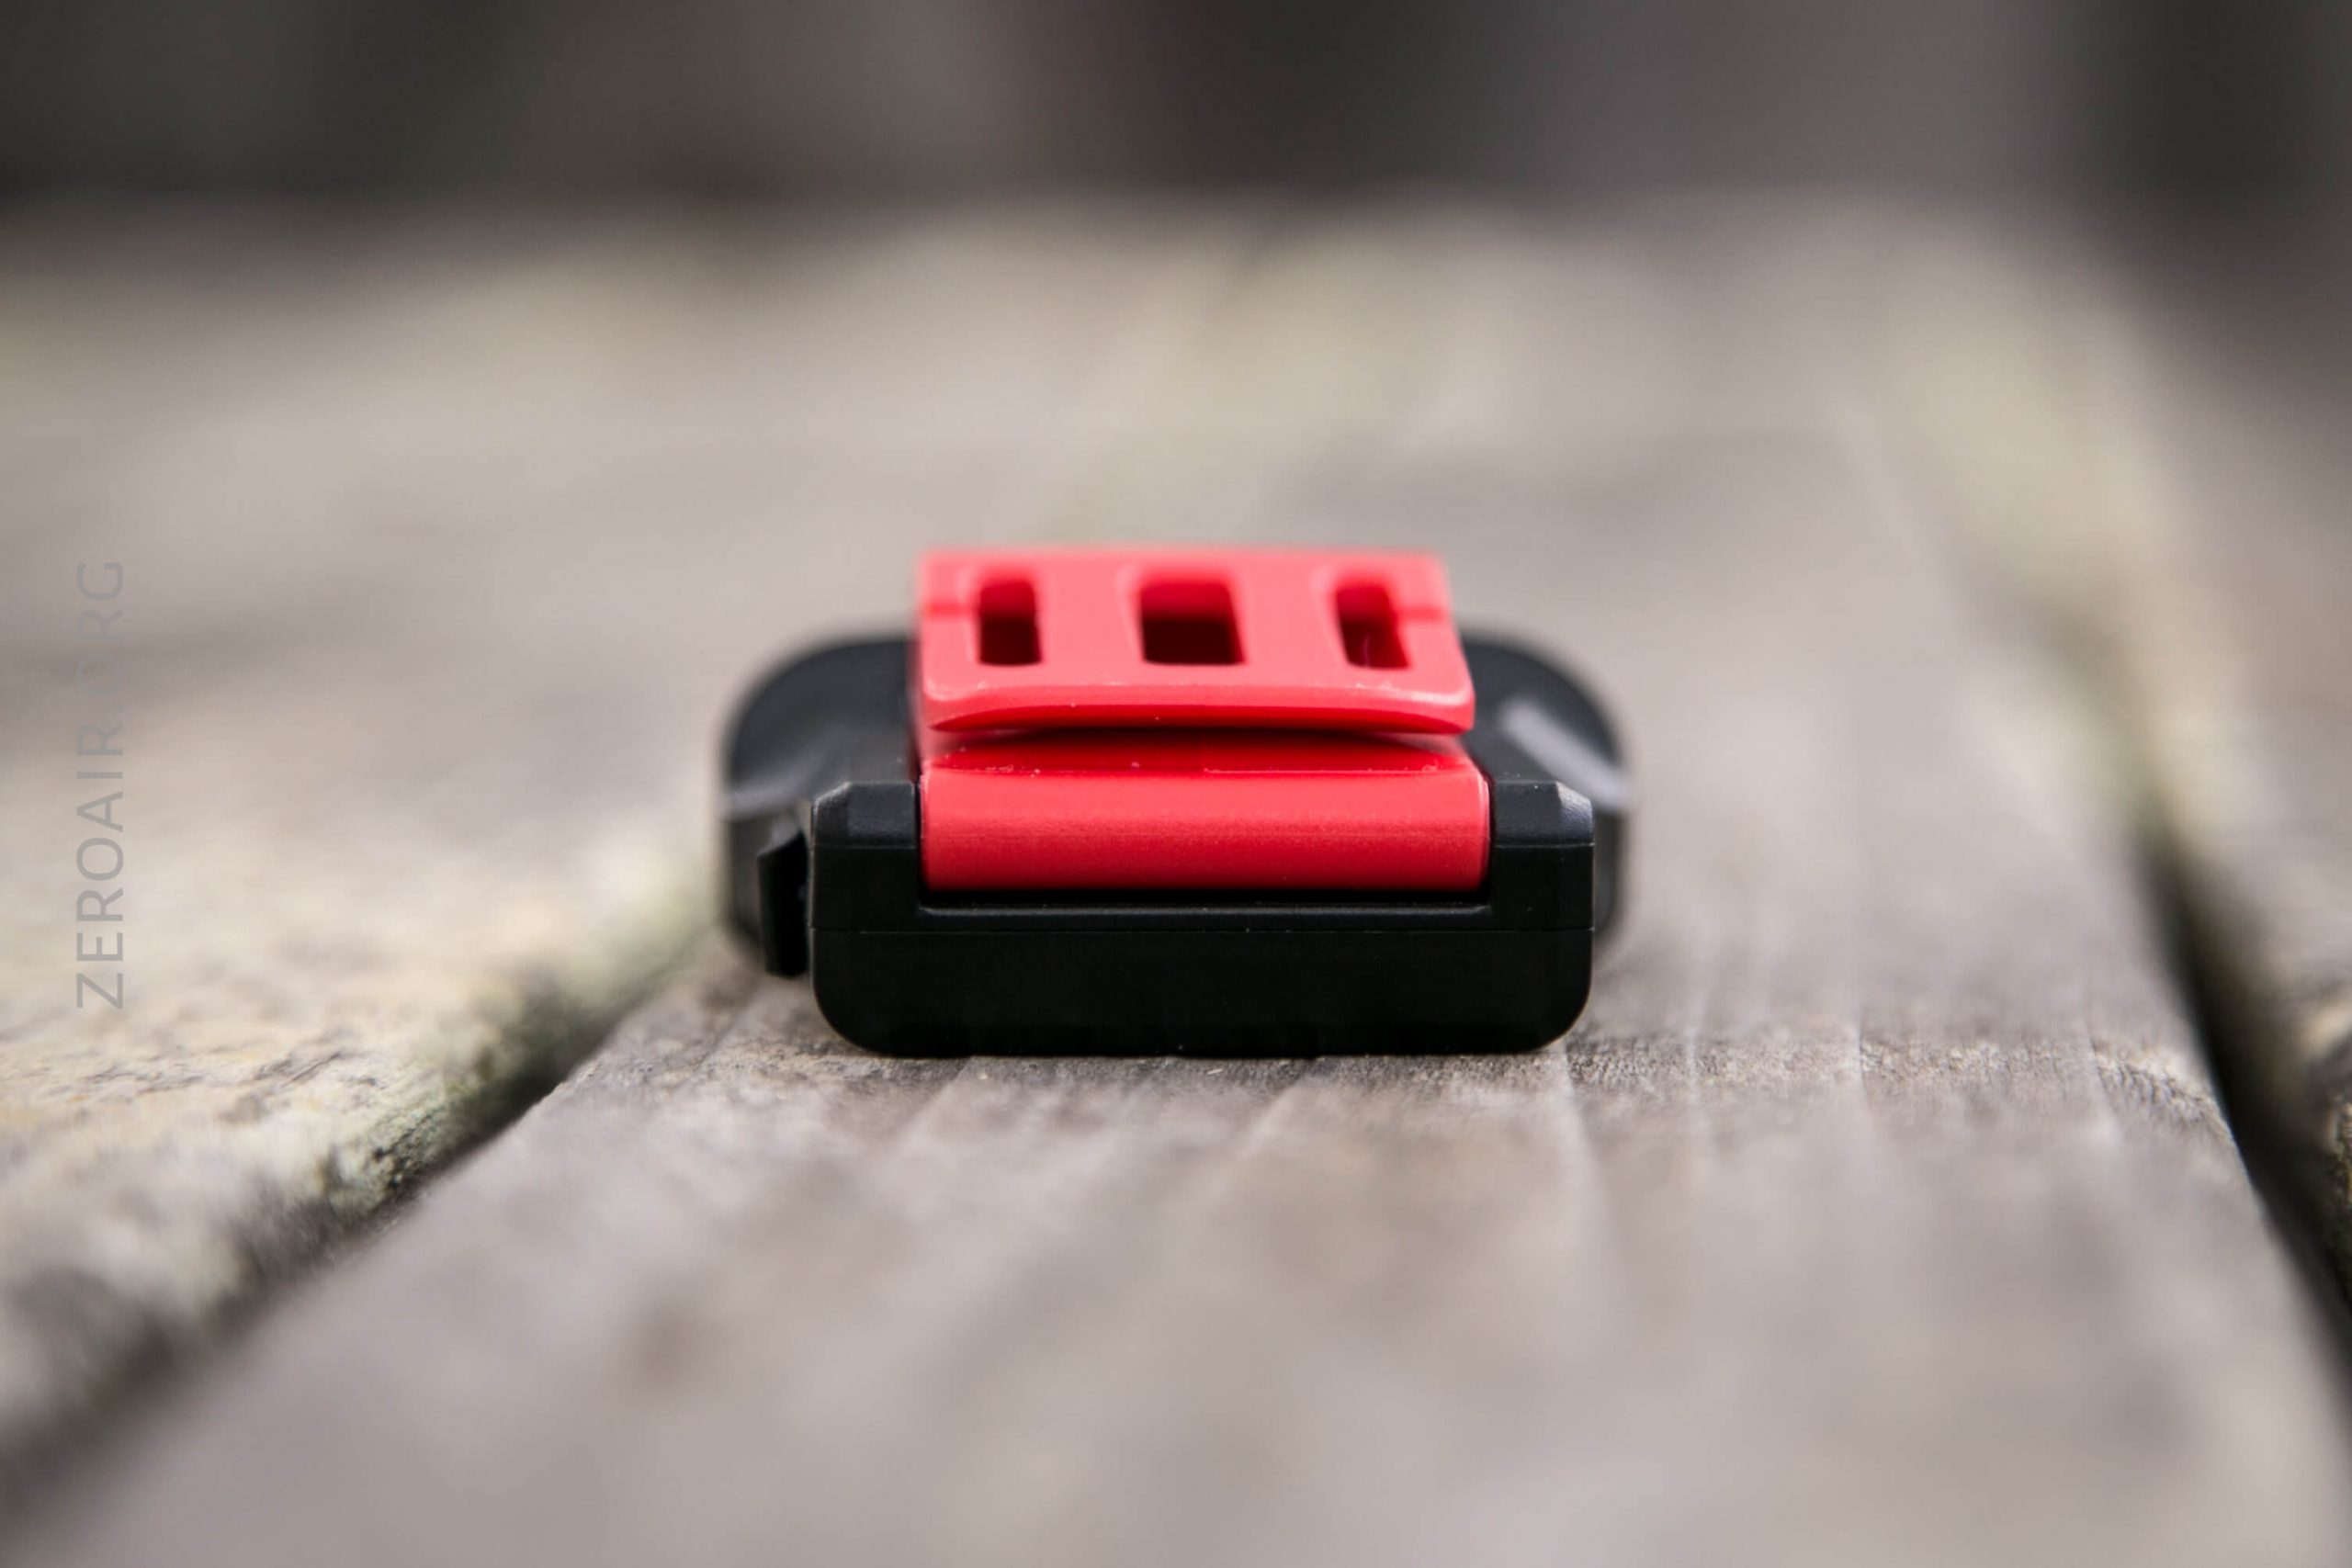
Retention and Carry
It’s a headlamp, so of course, the main means of carry will be the headband. The headband is nice and small (less than 1″ in band thickness), and fits into the headlamp with some difficulty.
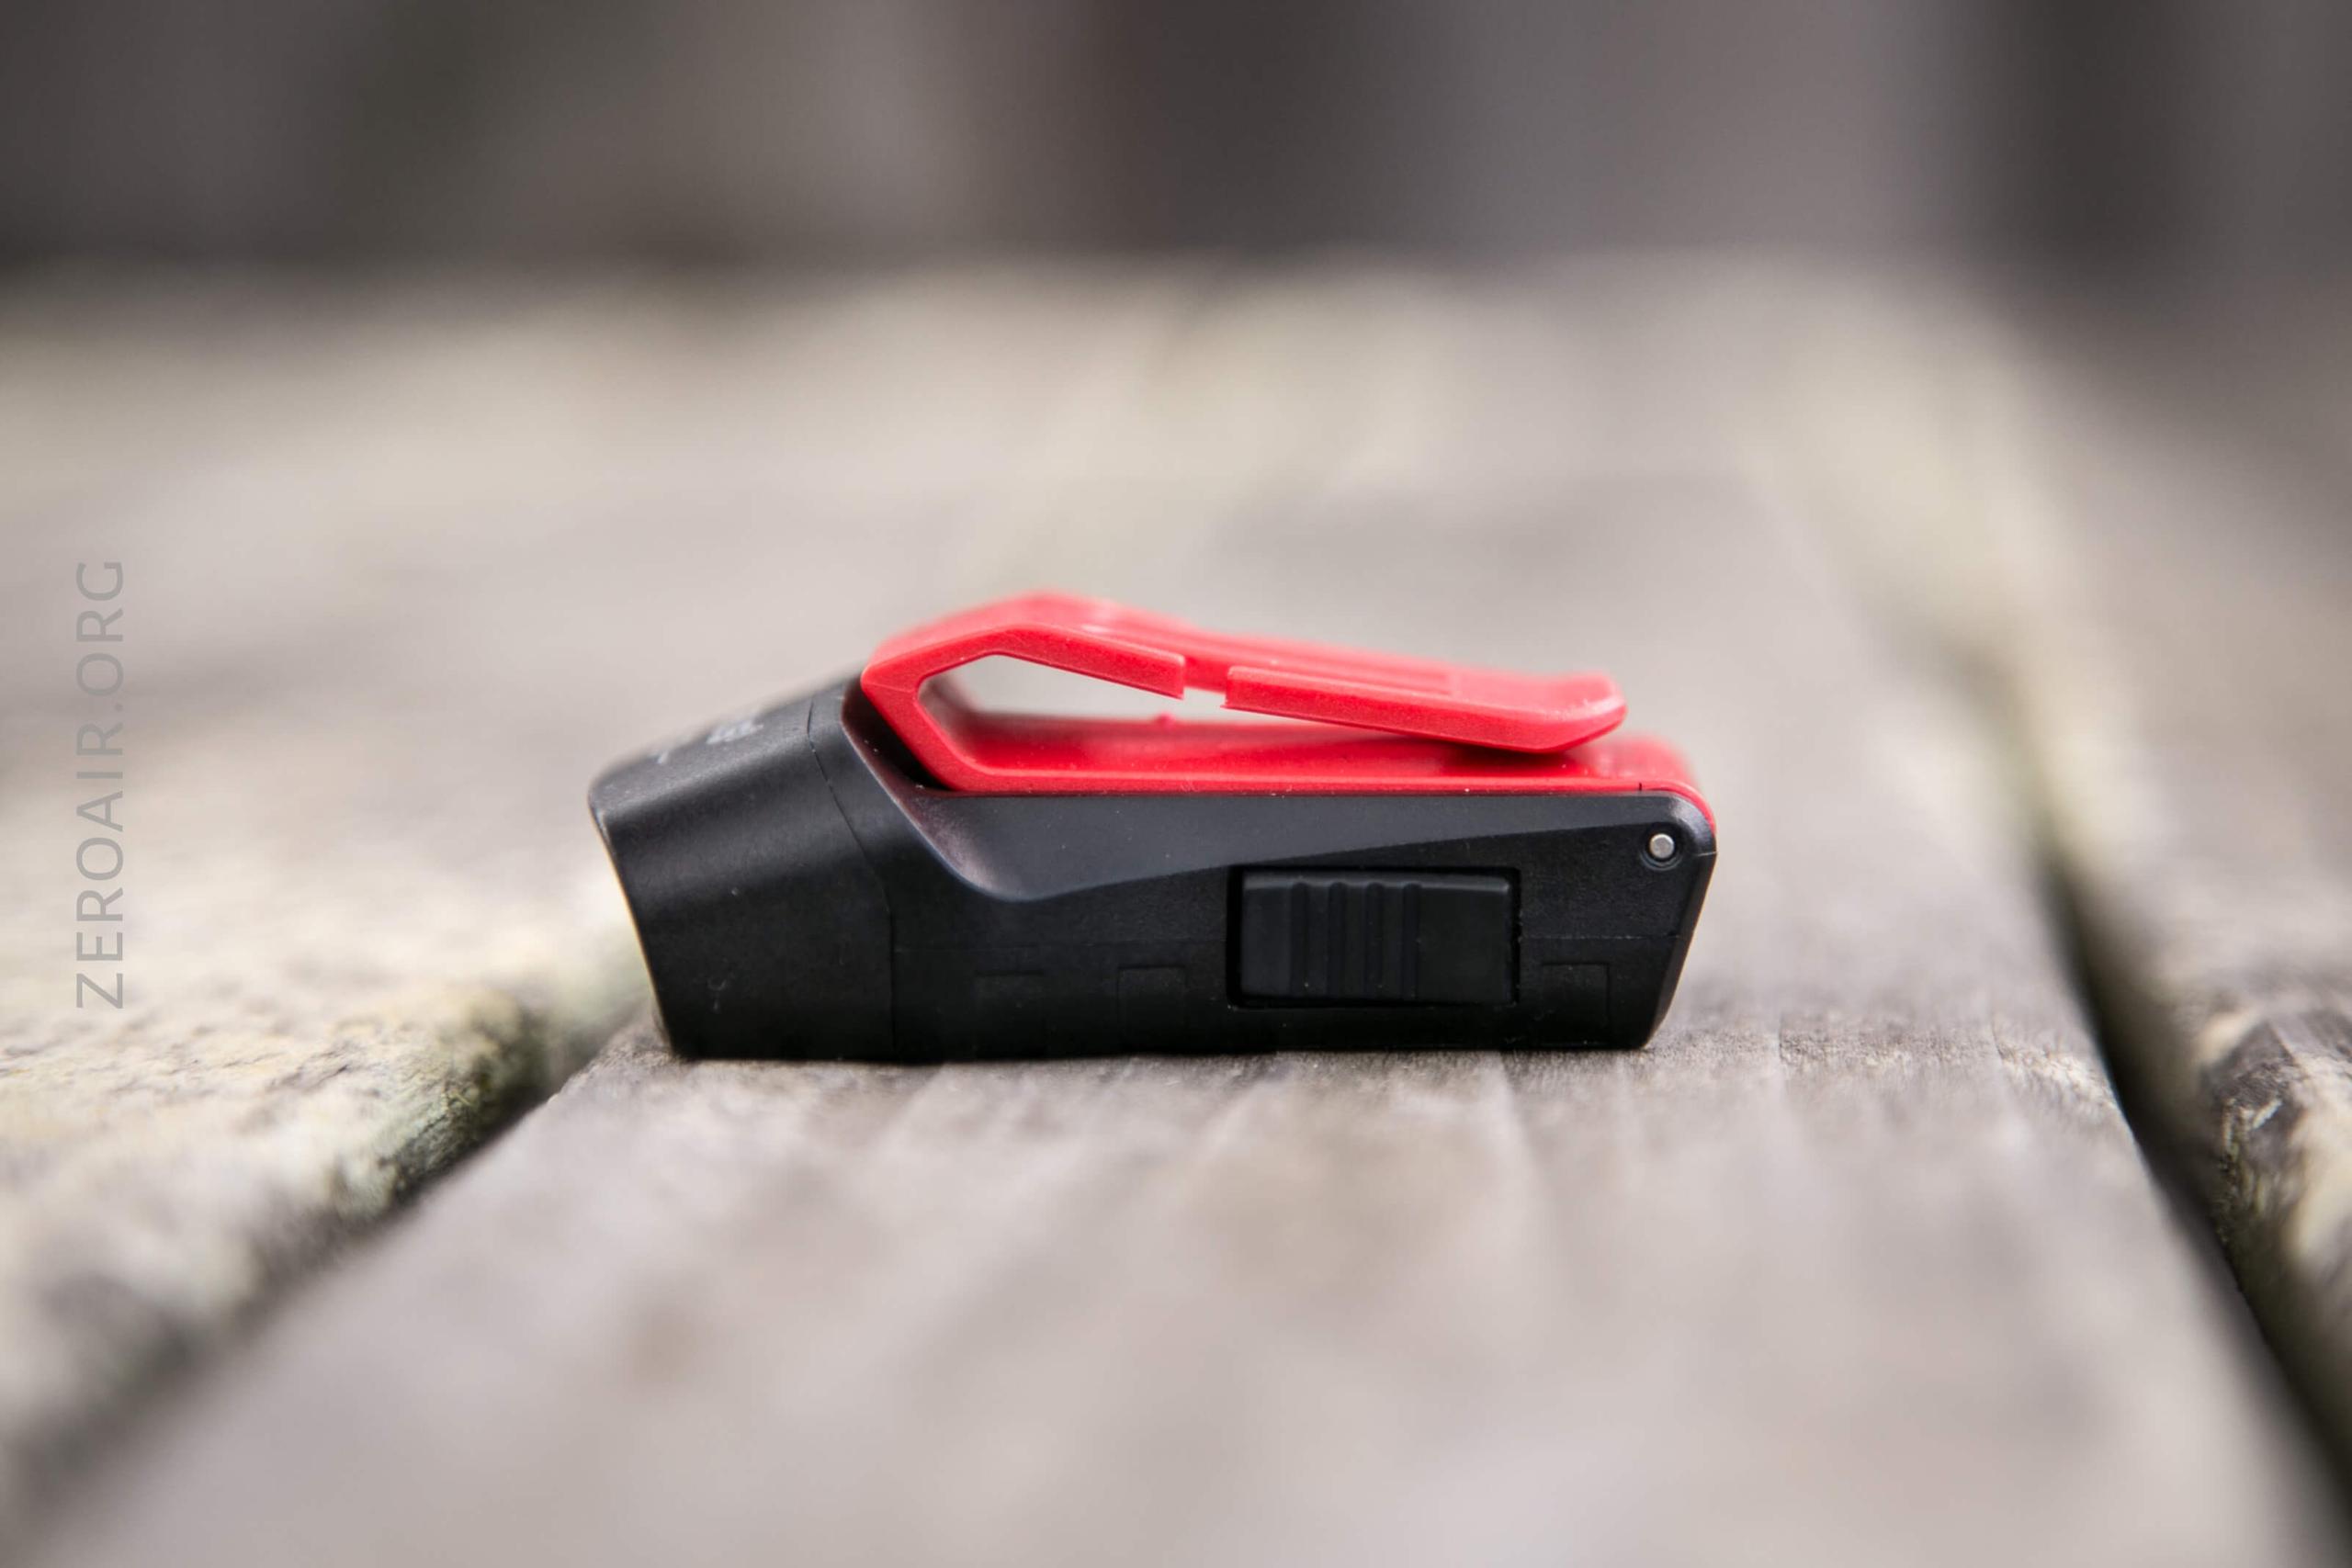
When attached to the headband, the full articulation of the hinge is still possible.
Note that when being used as a headlamp and pointed forward, the light sticks out a bit awkwardly:
This is probably satisfactory for hiking, but I doubt you’d want to do any heavy running like this.
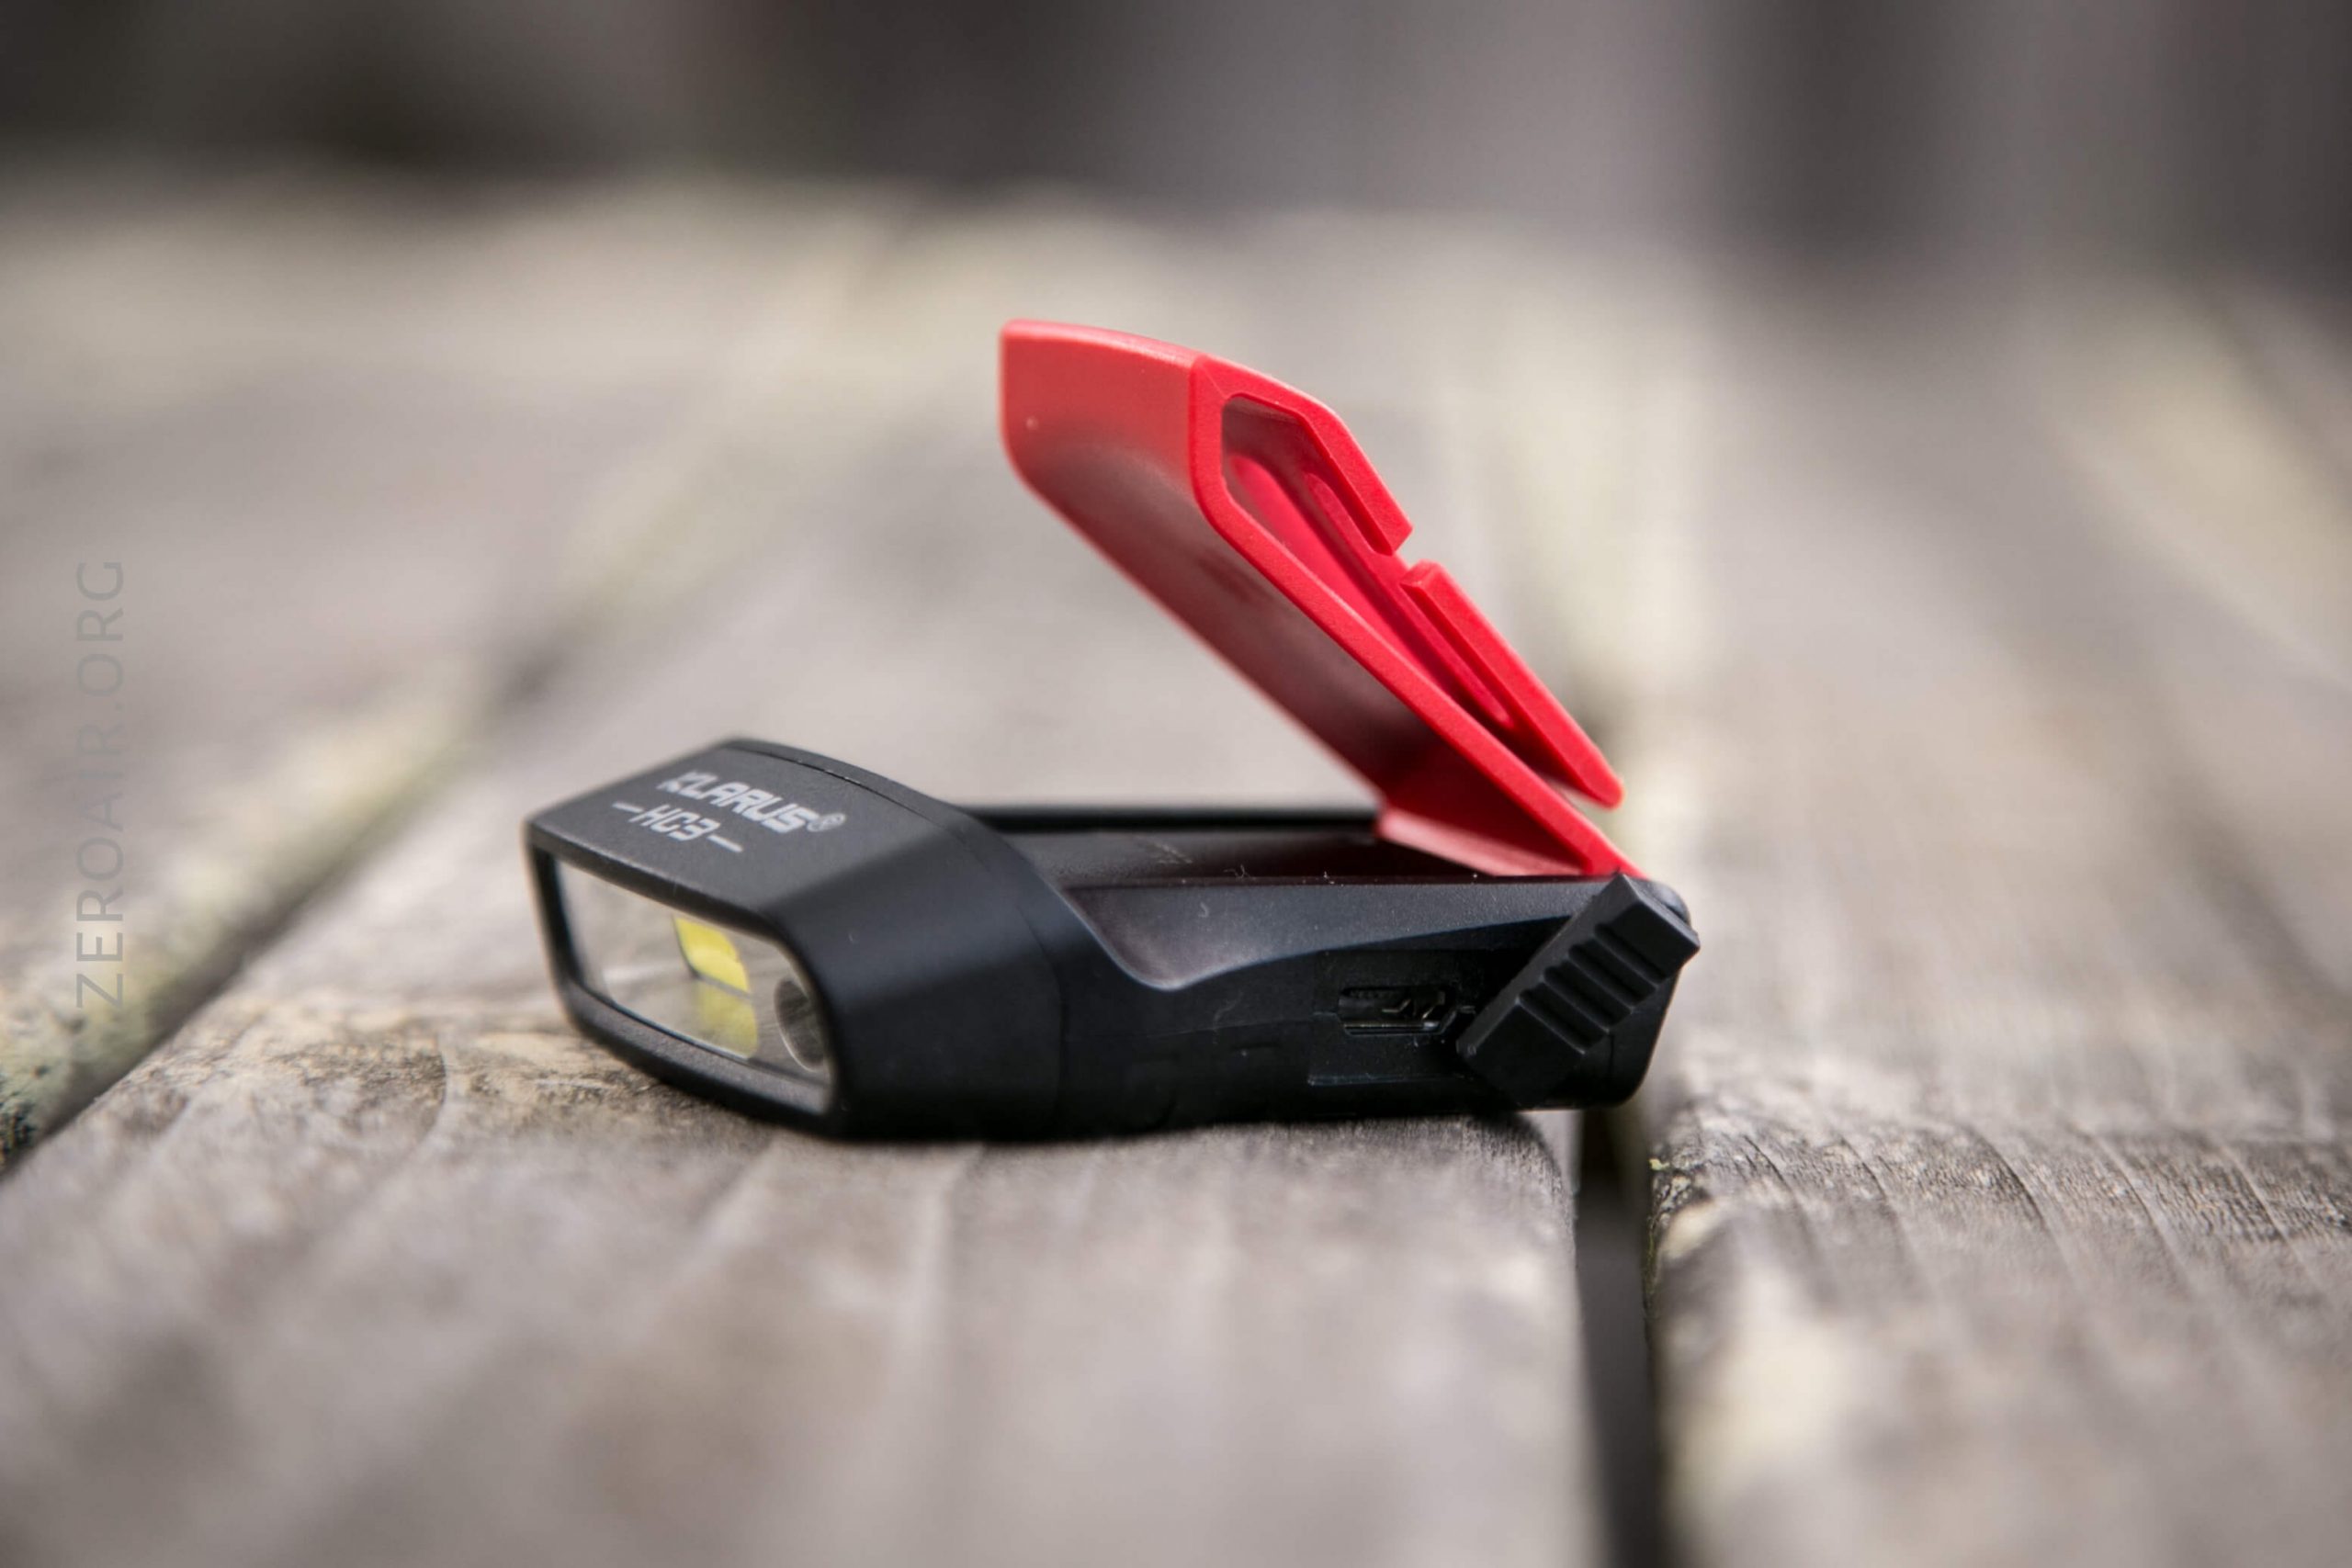
Also possible with this connector is to use it as a clip. It’ll fit on the brim of a cap easily and securely, and I’m inclined to say that’s a much better application for this light than the headband.
Power and Runtime
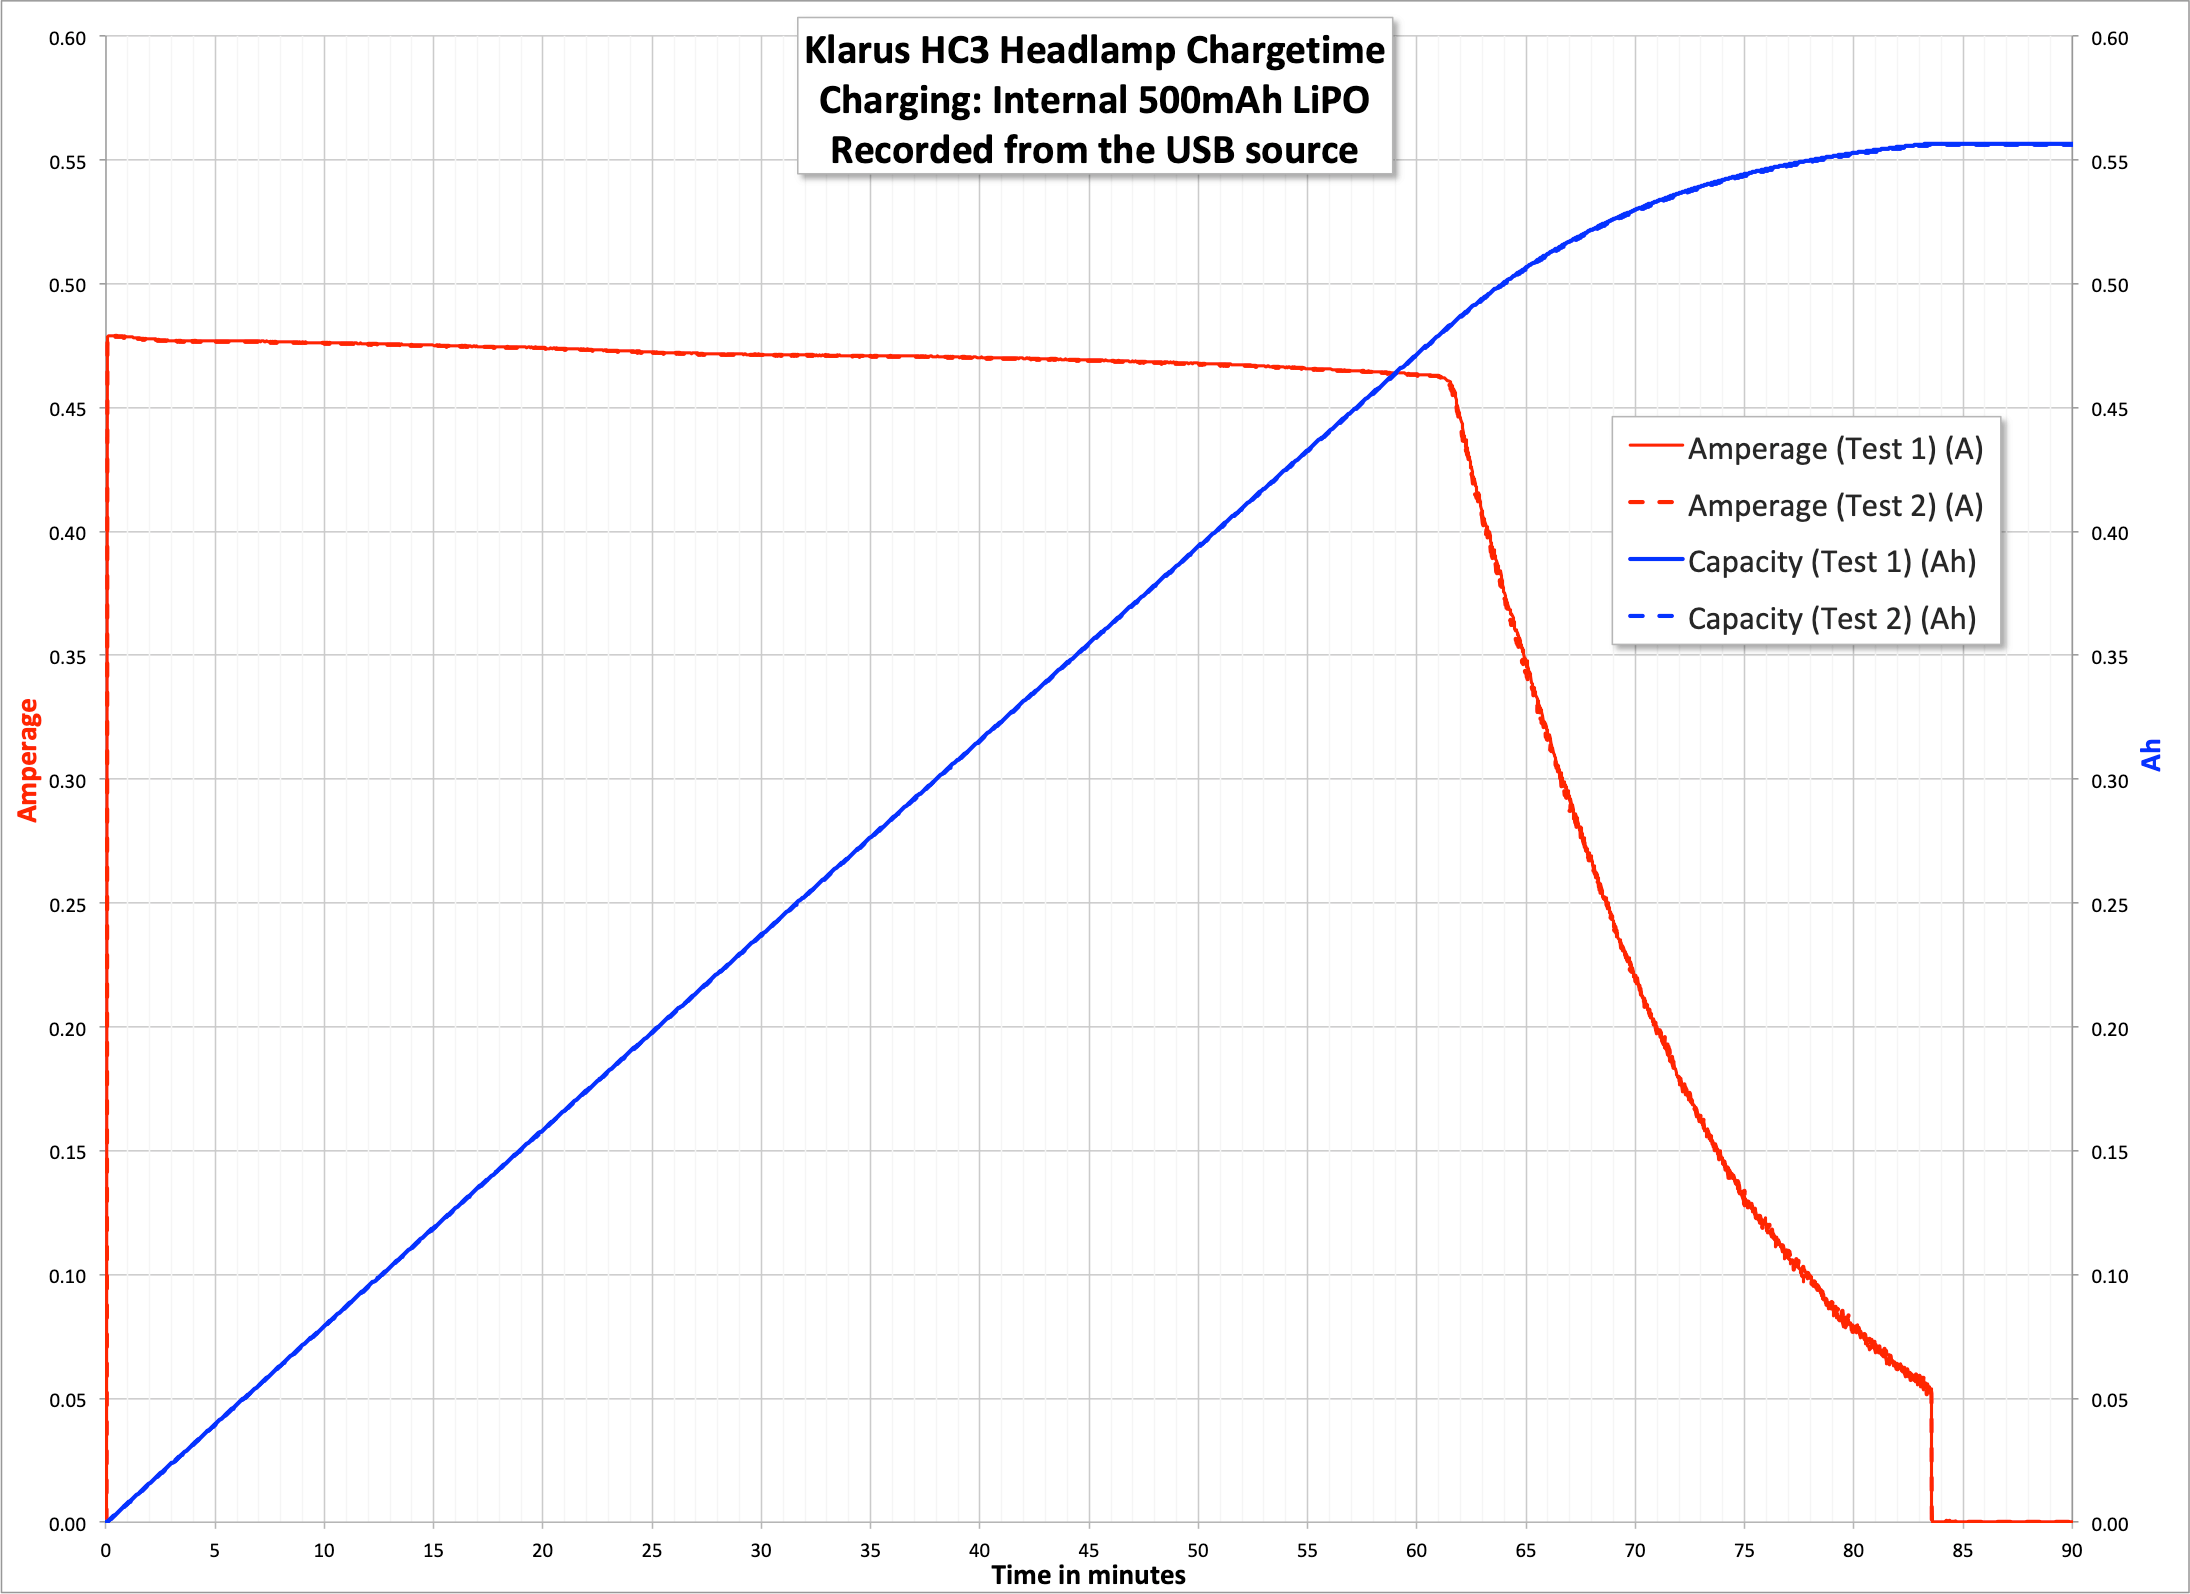
The light runs on a claimed 500mAh internal battery, almost certainly a LiPO pouch.
Here are a couple of runtimes – high and medium.

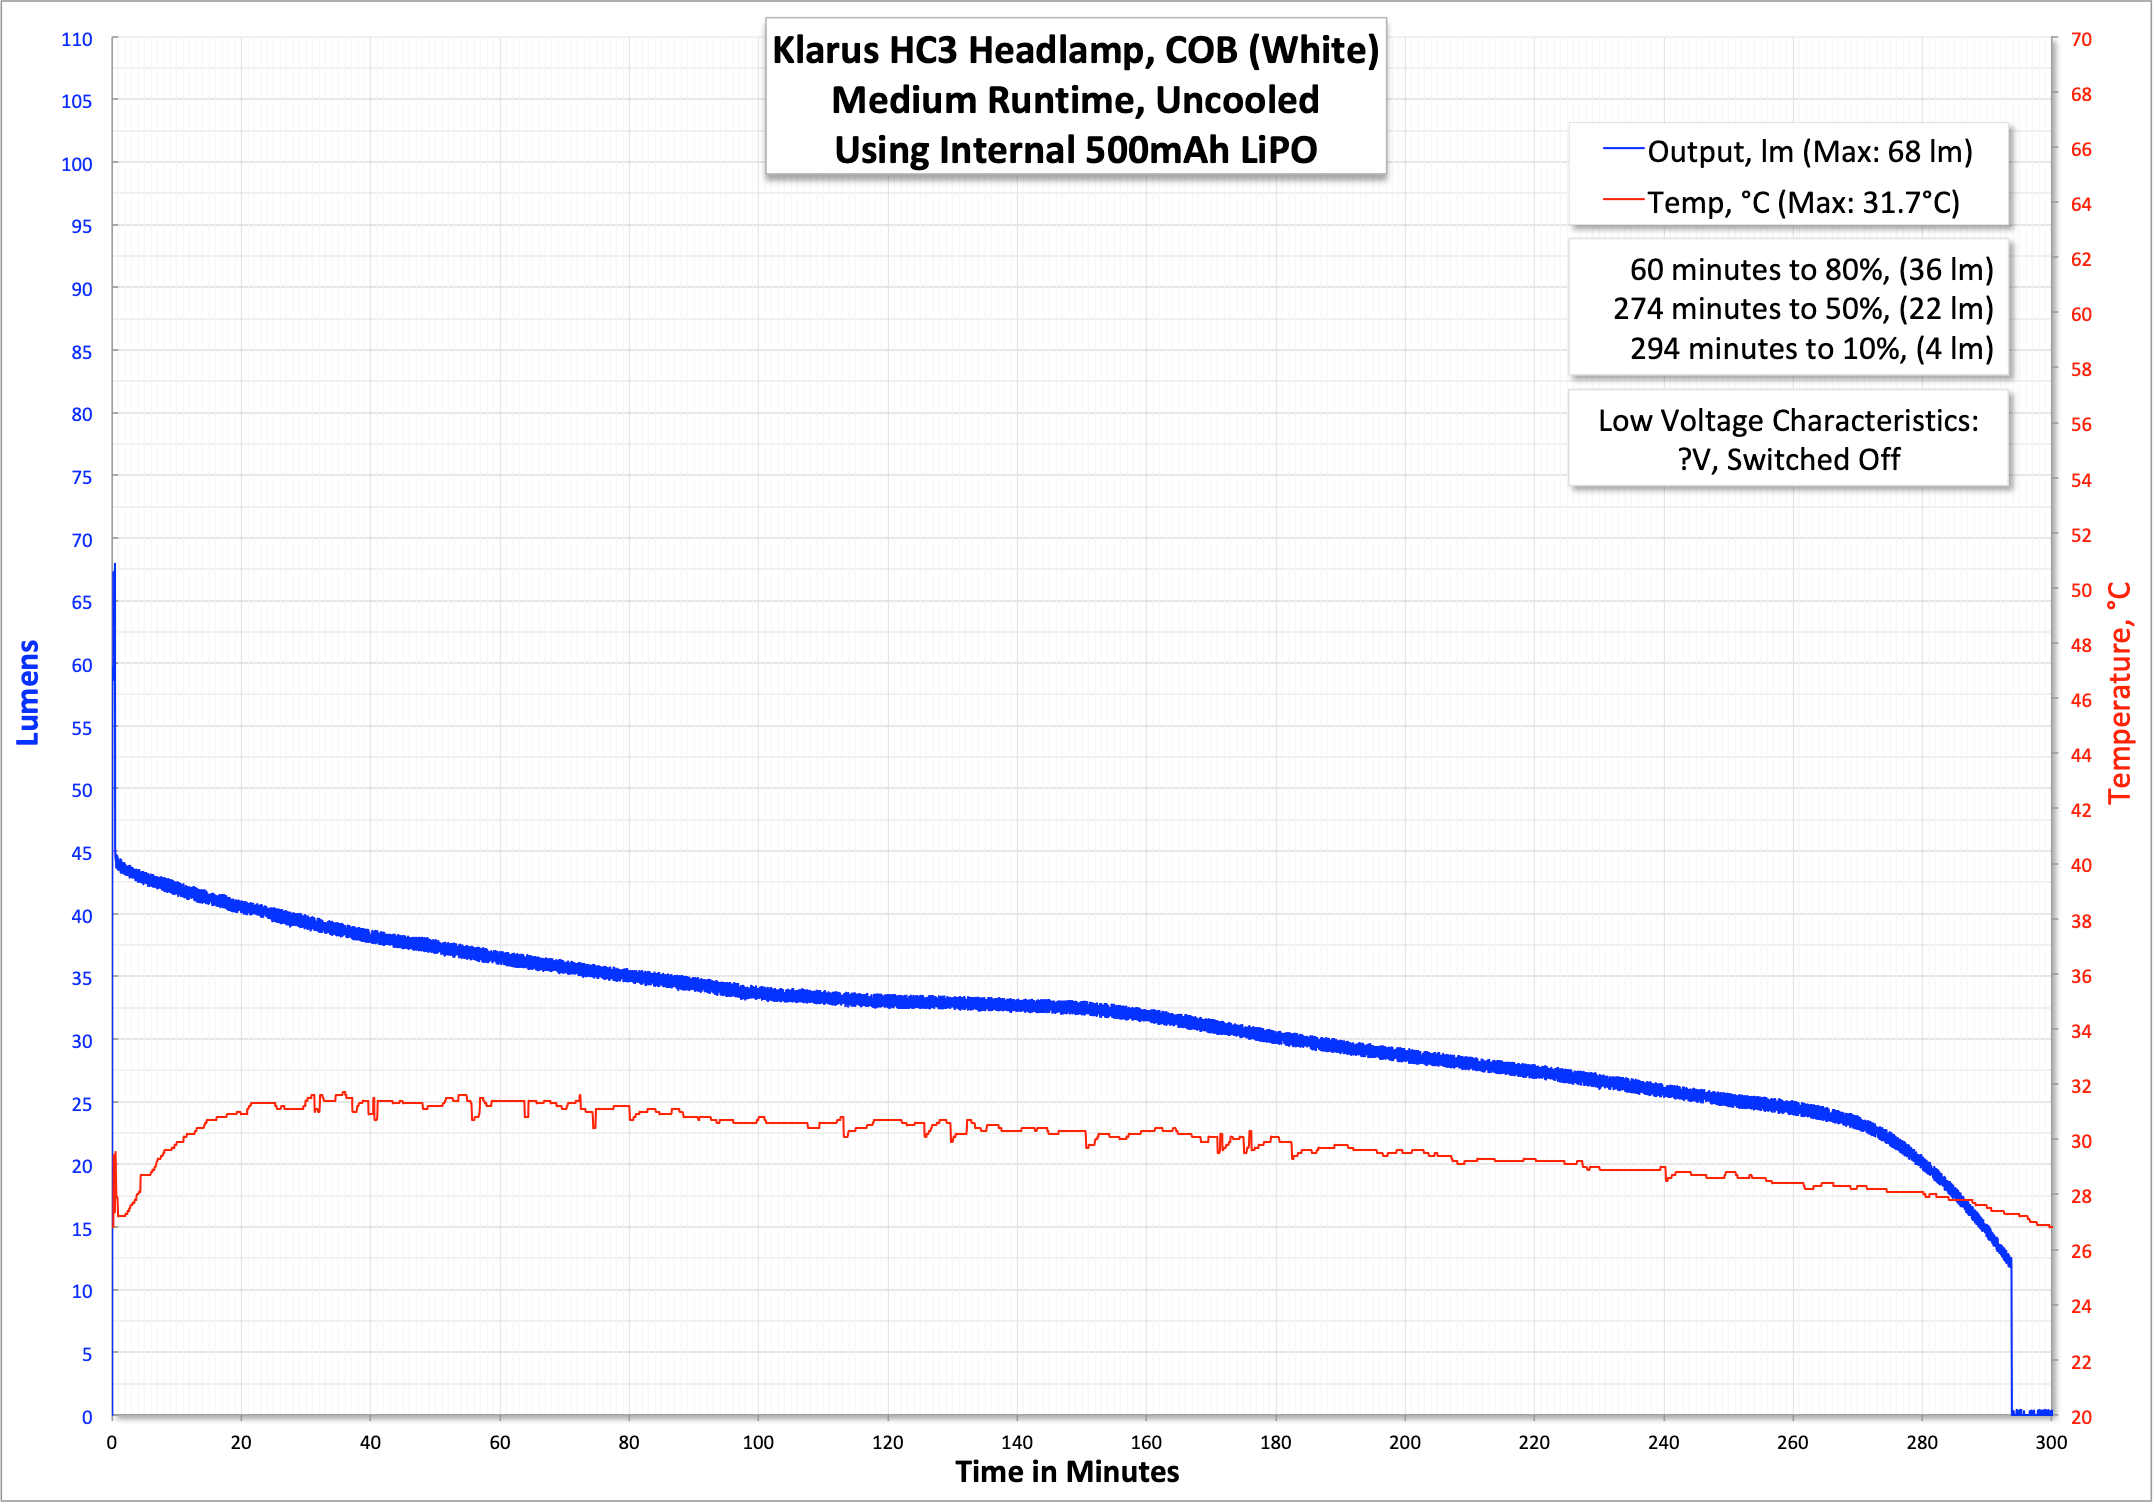
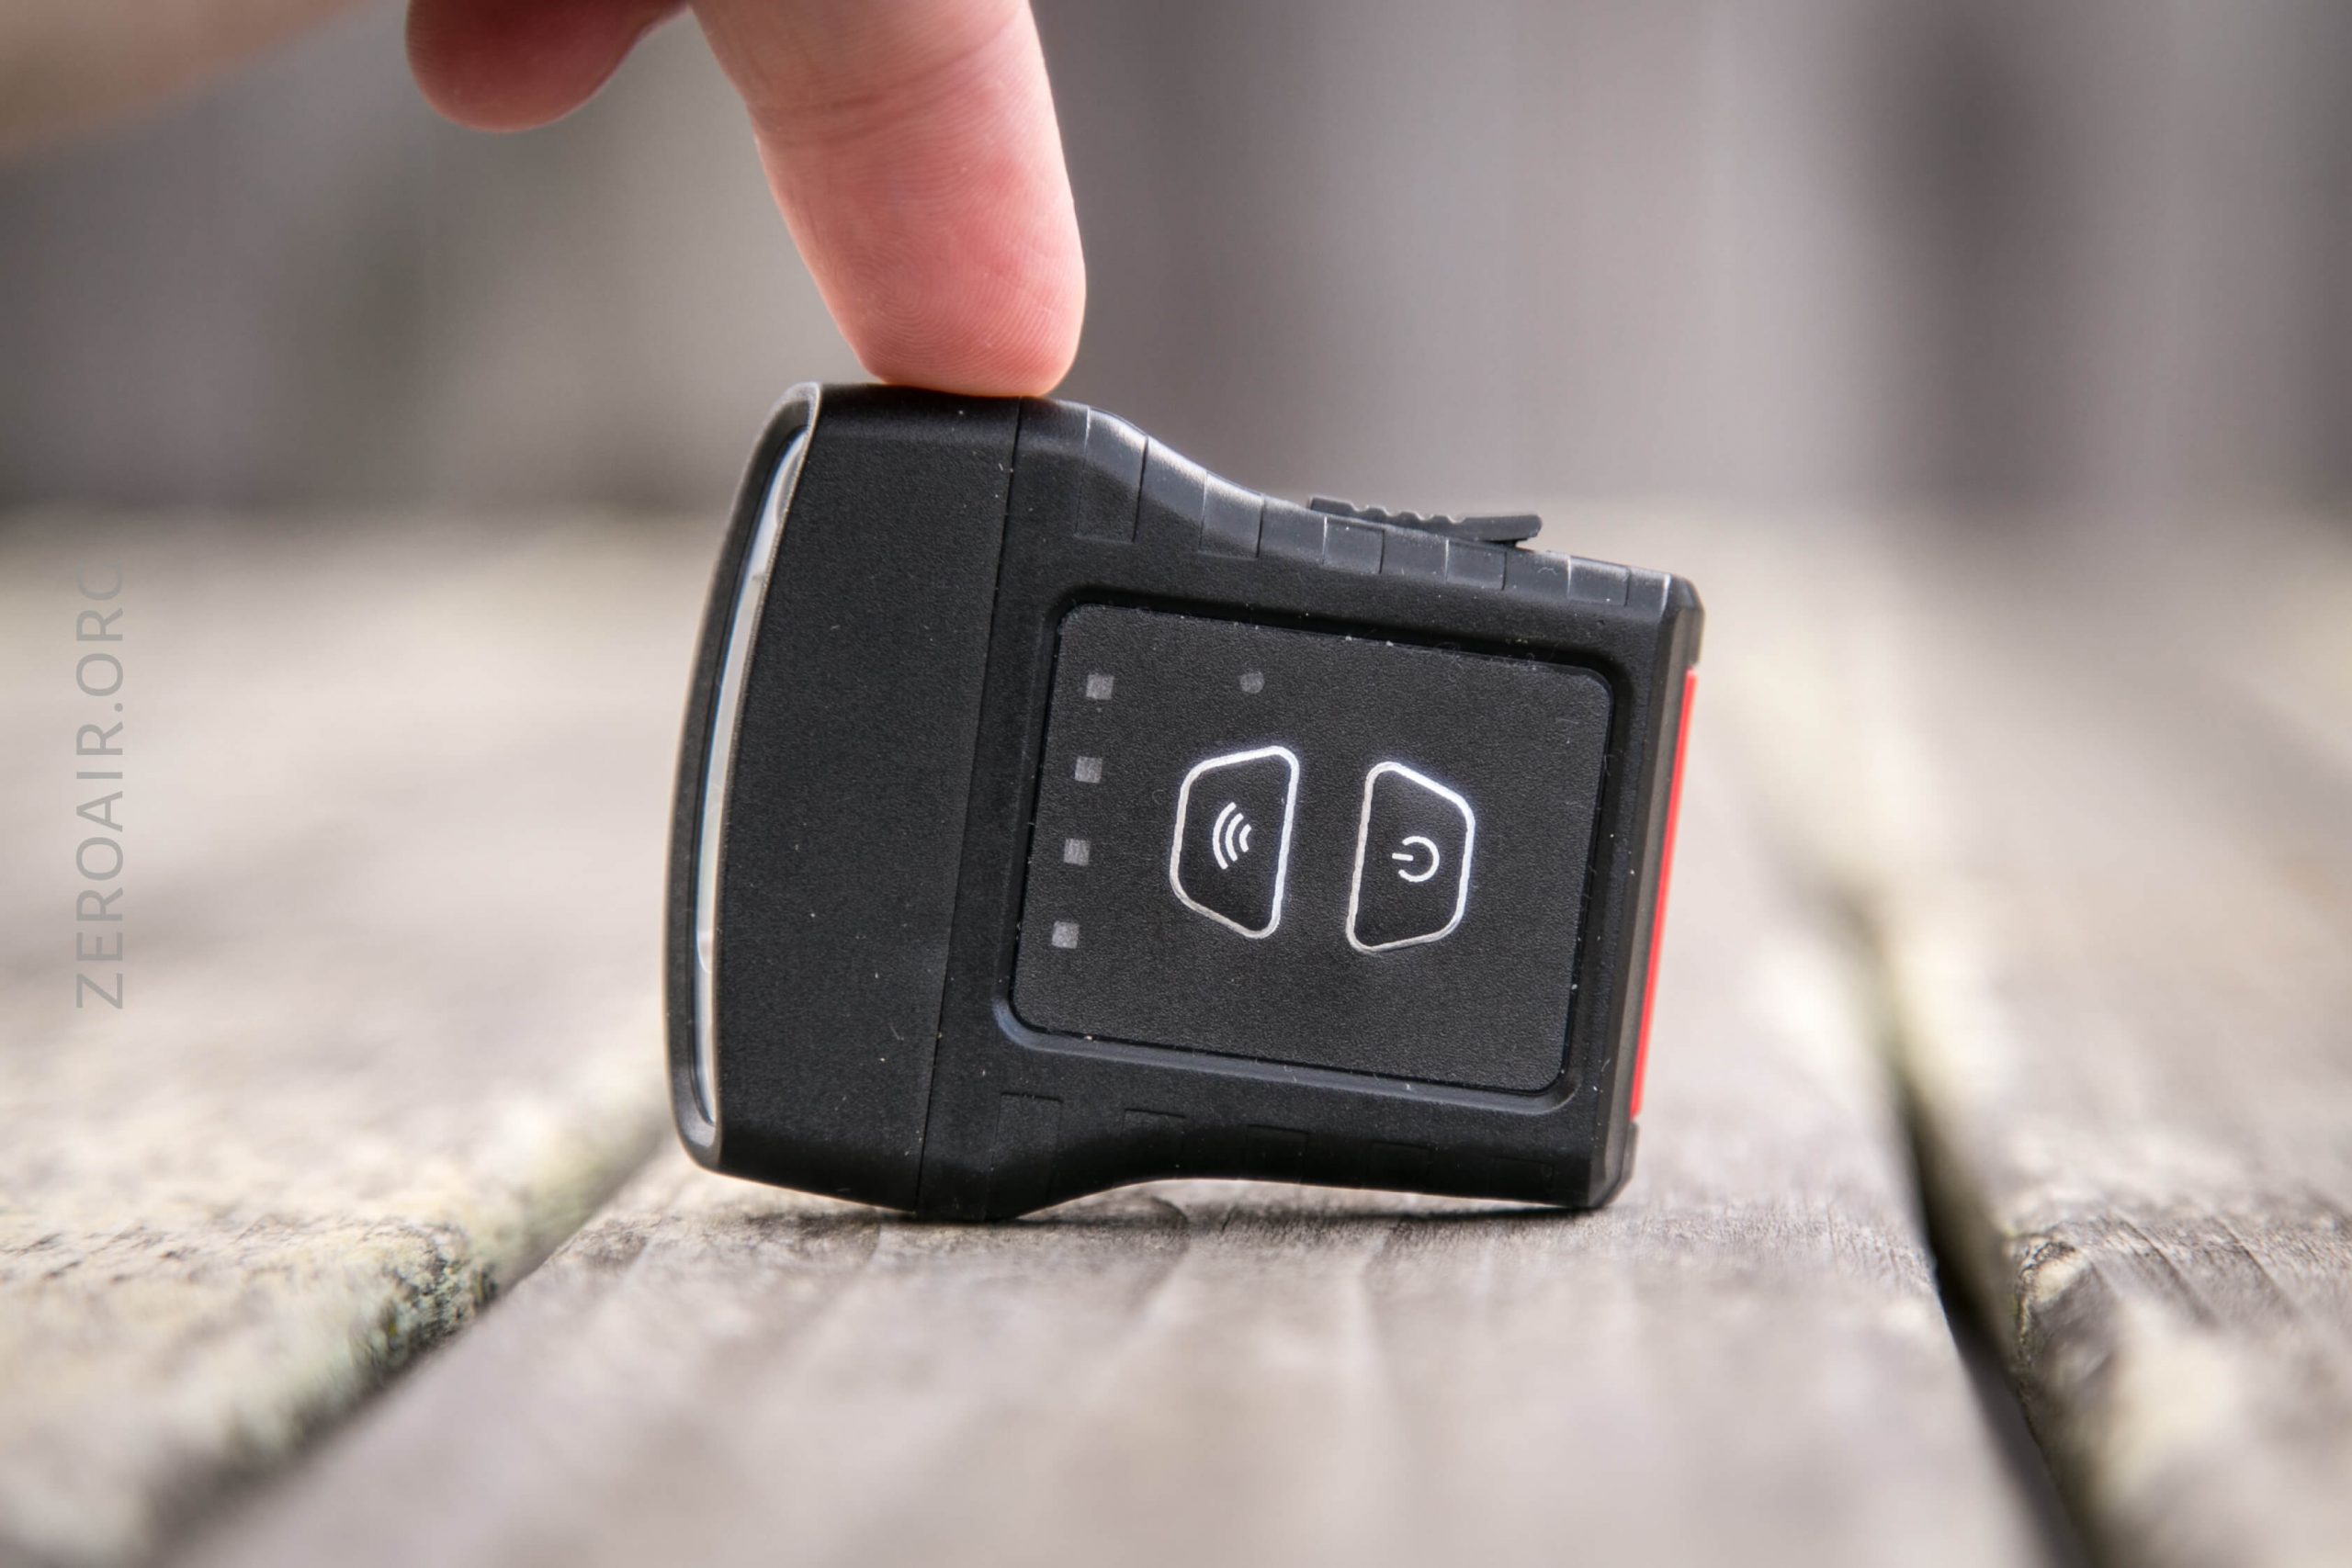
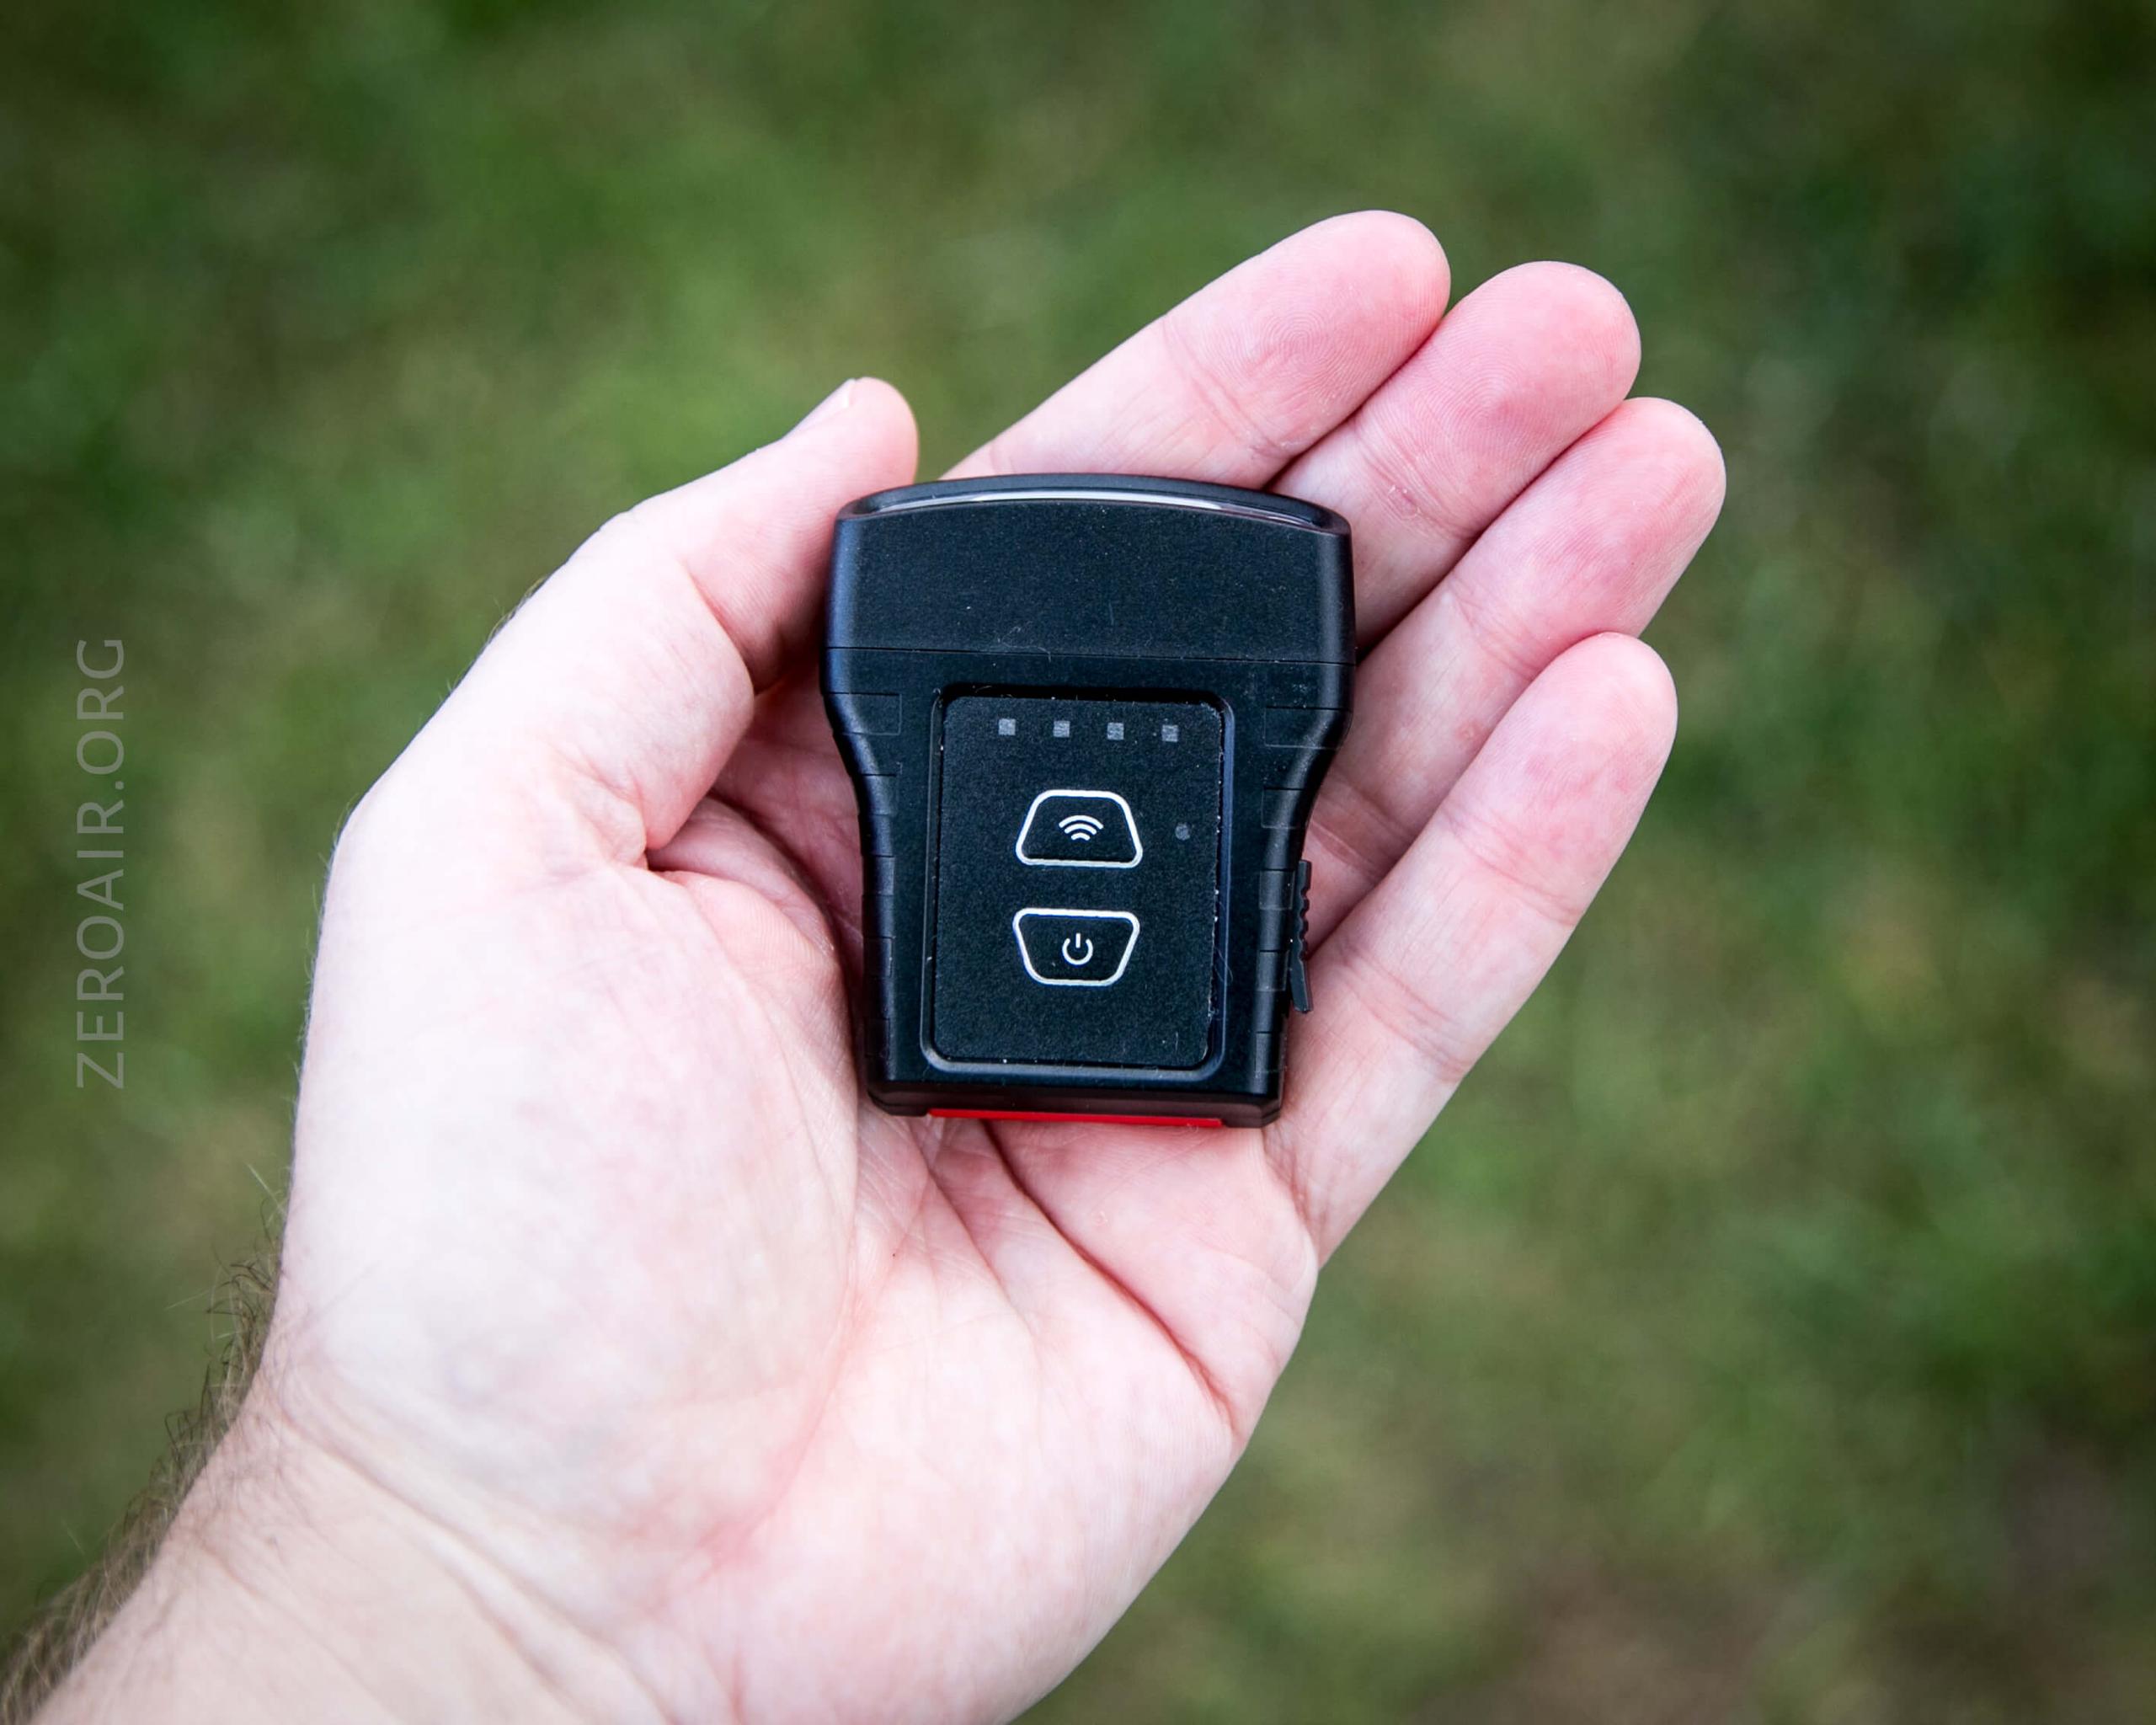
The light does shut off at the end of the runtime. There are four battery indicators near the switches, too. They do not indicate anything for runtime (only for charging (!!))
Charging
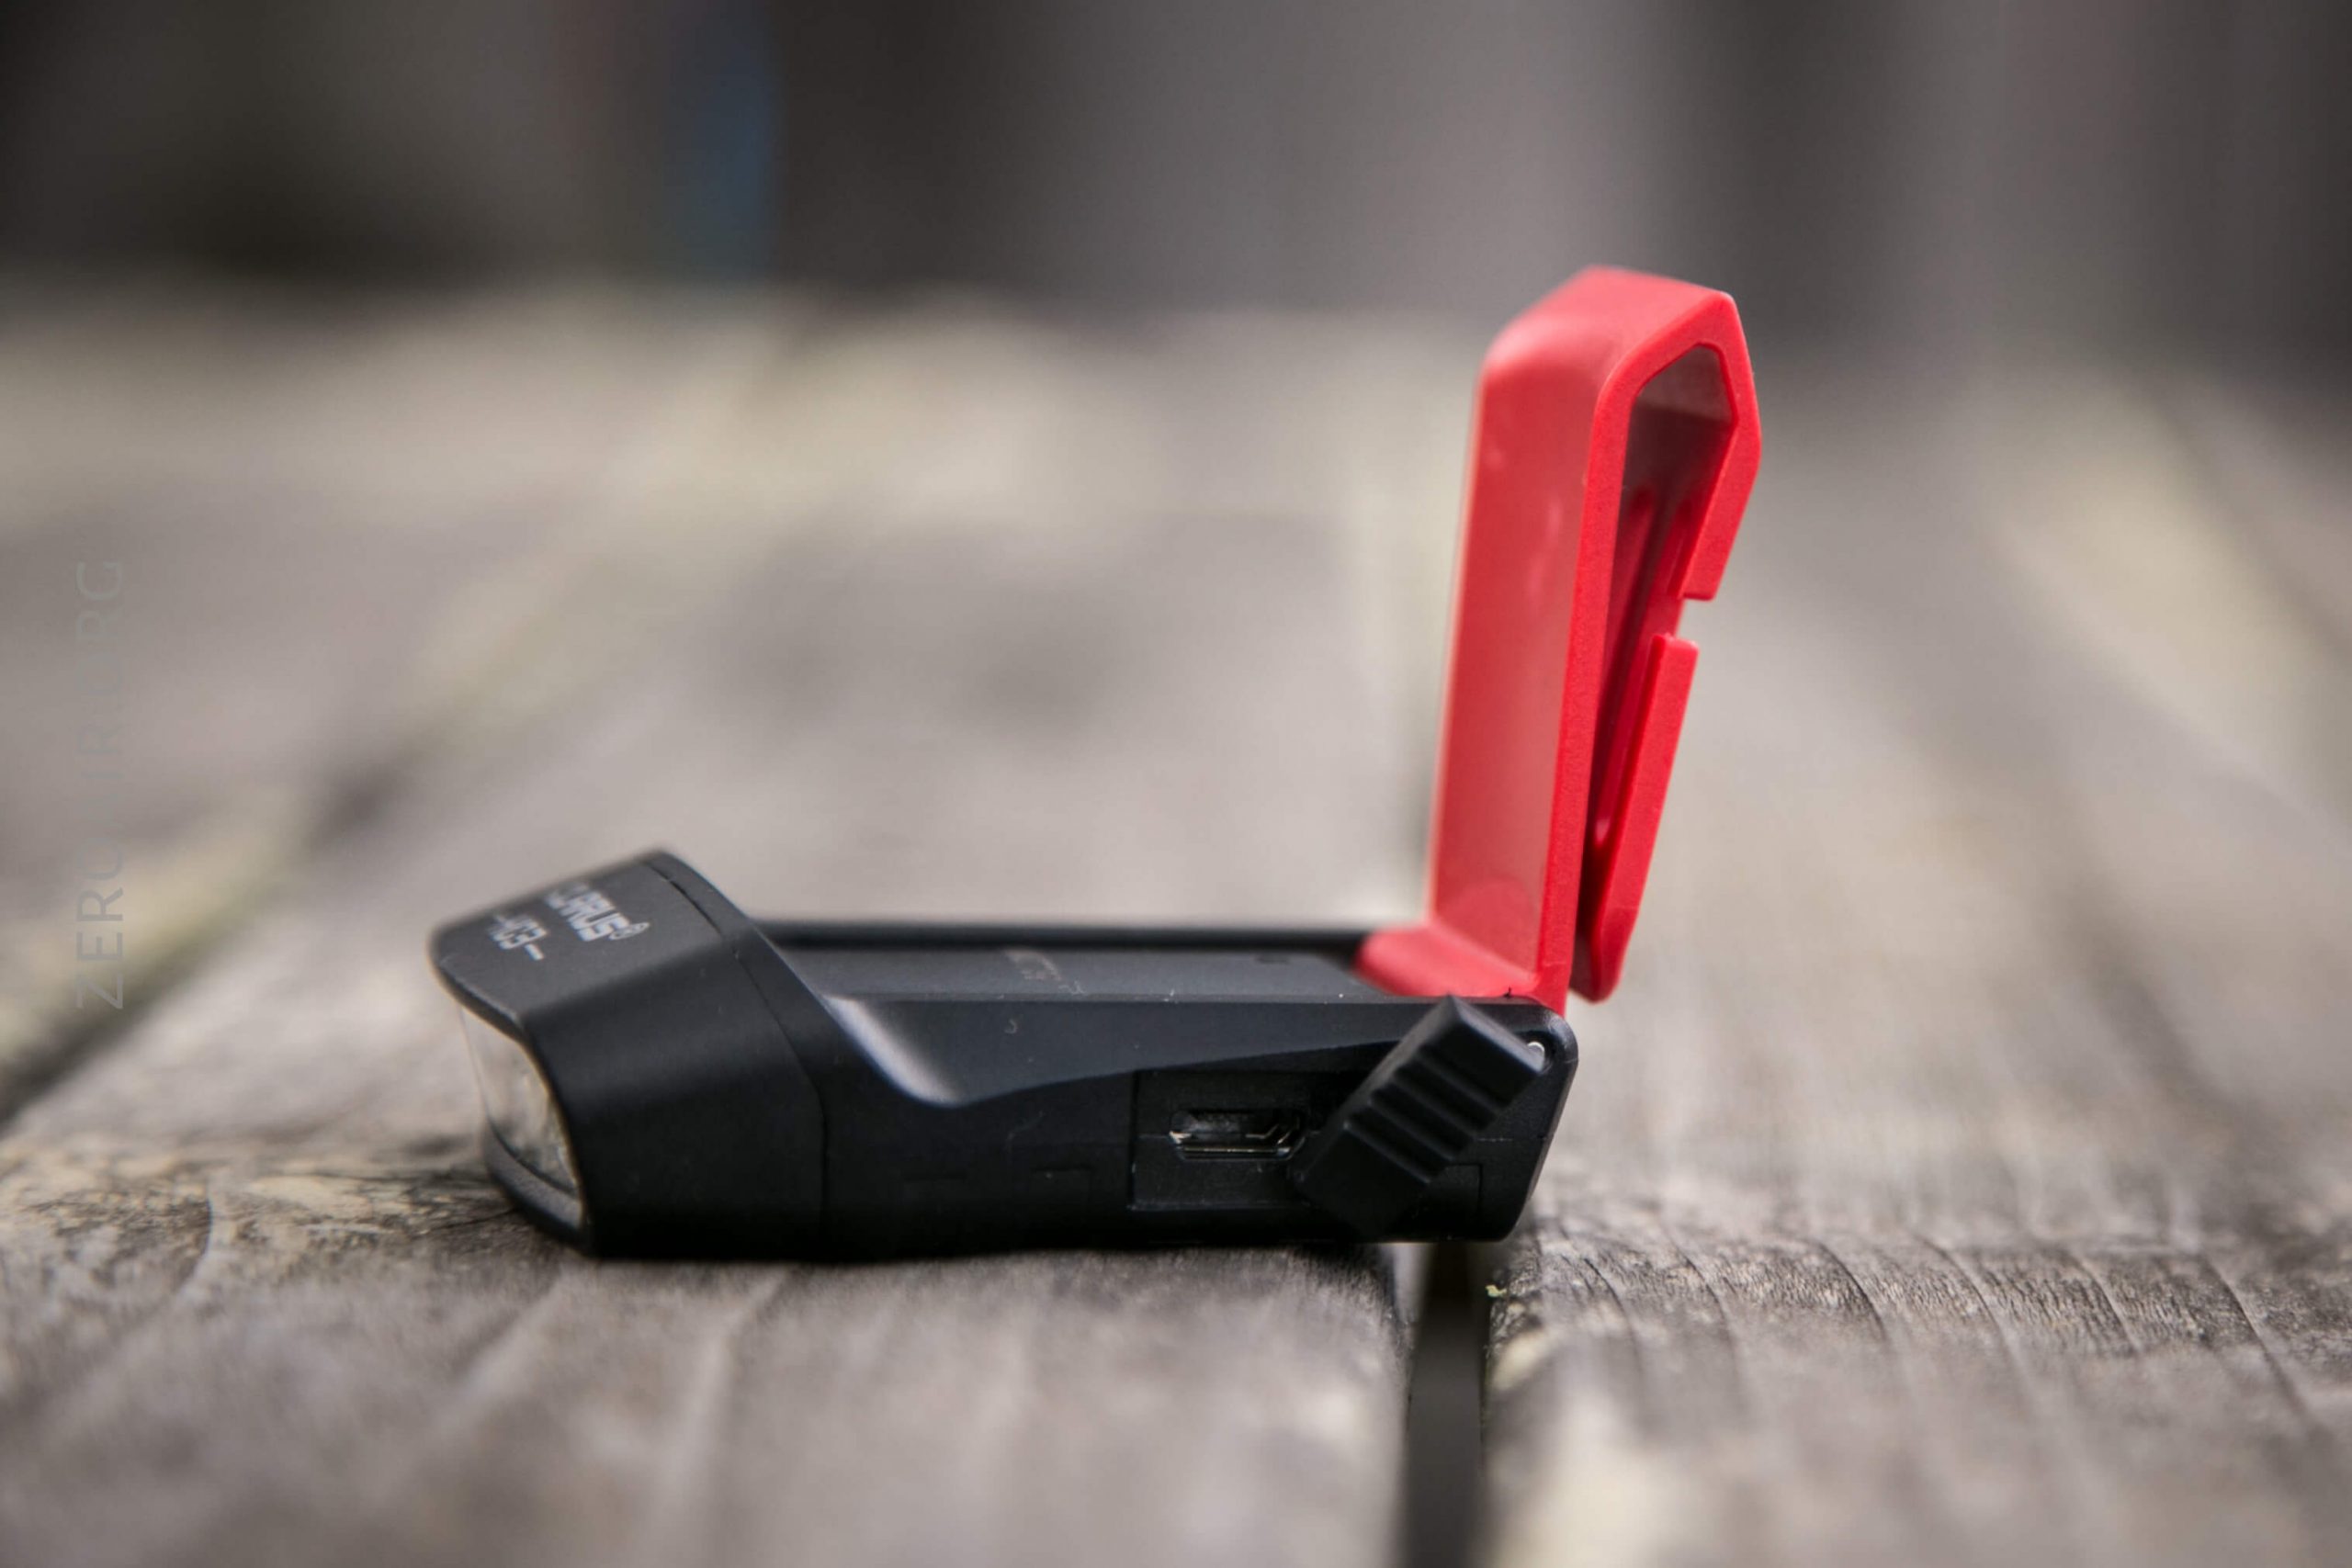
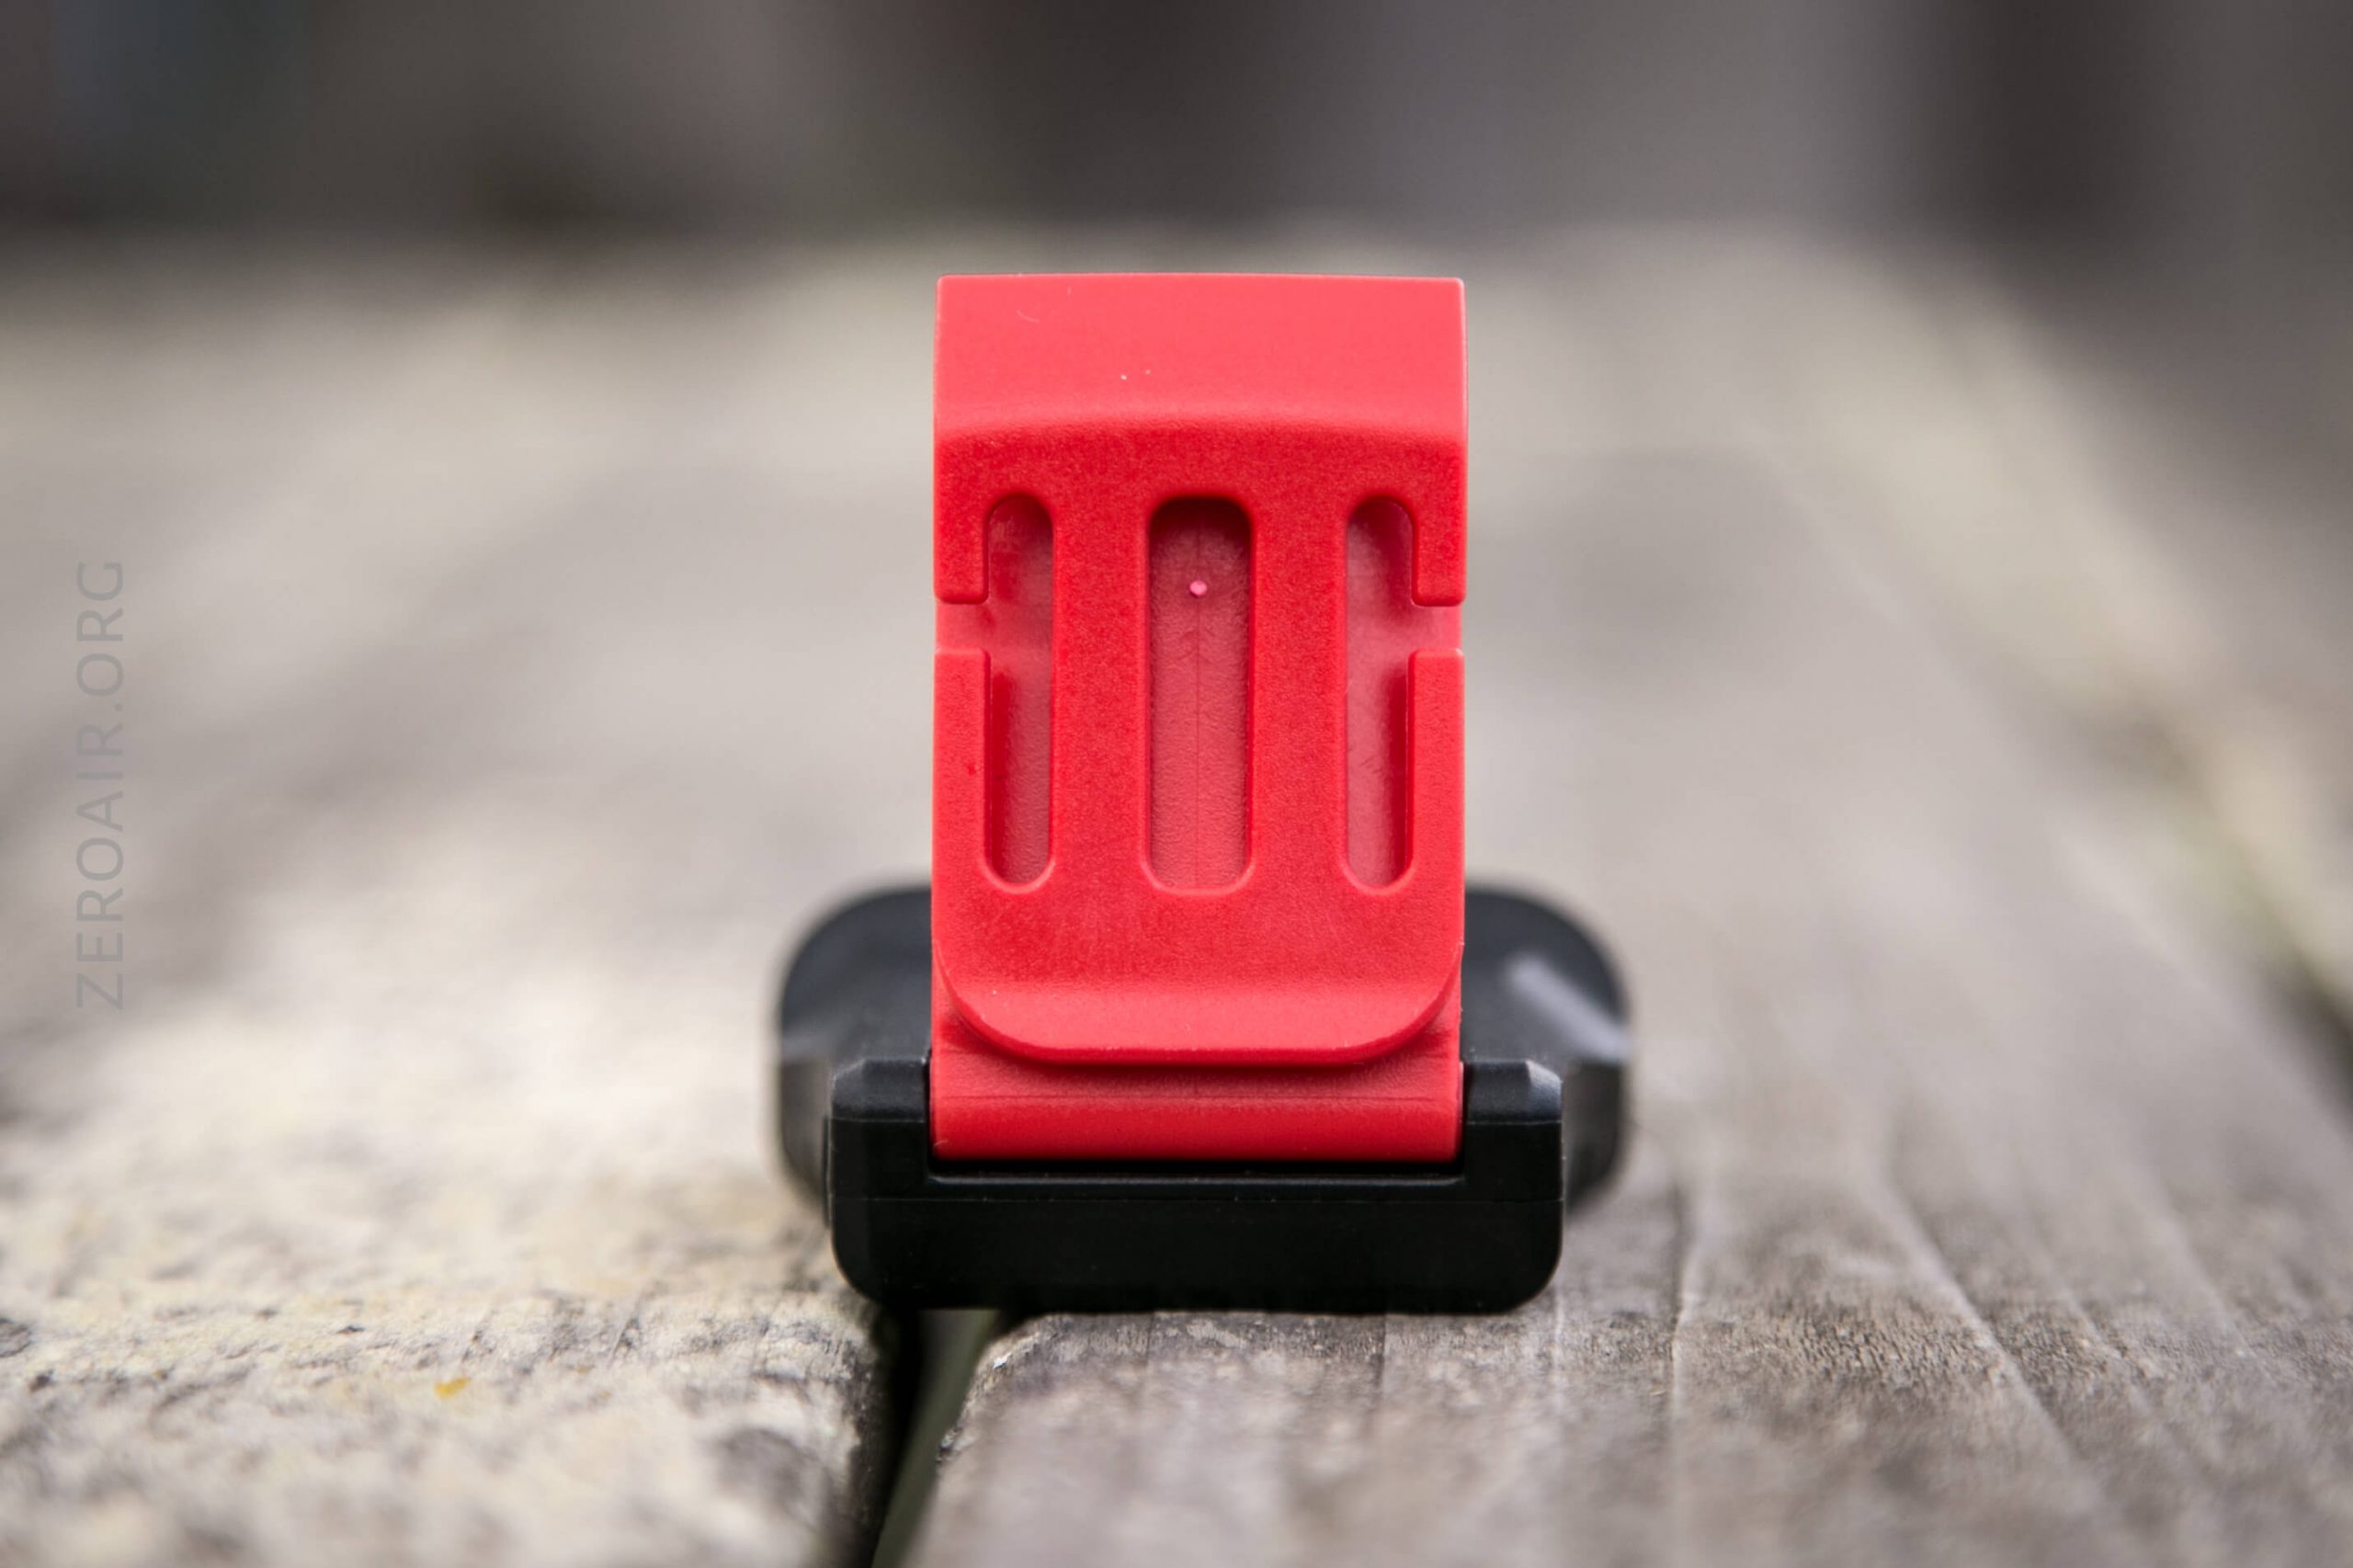
Charging happens via a USB port on the side of the light:
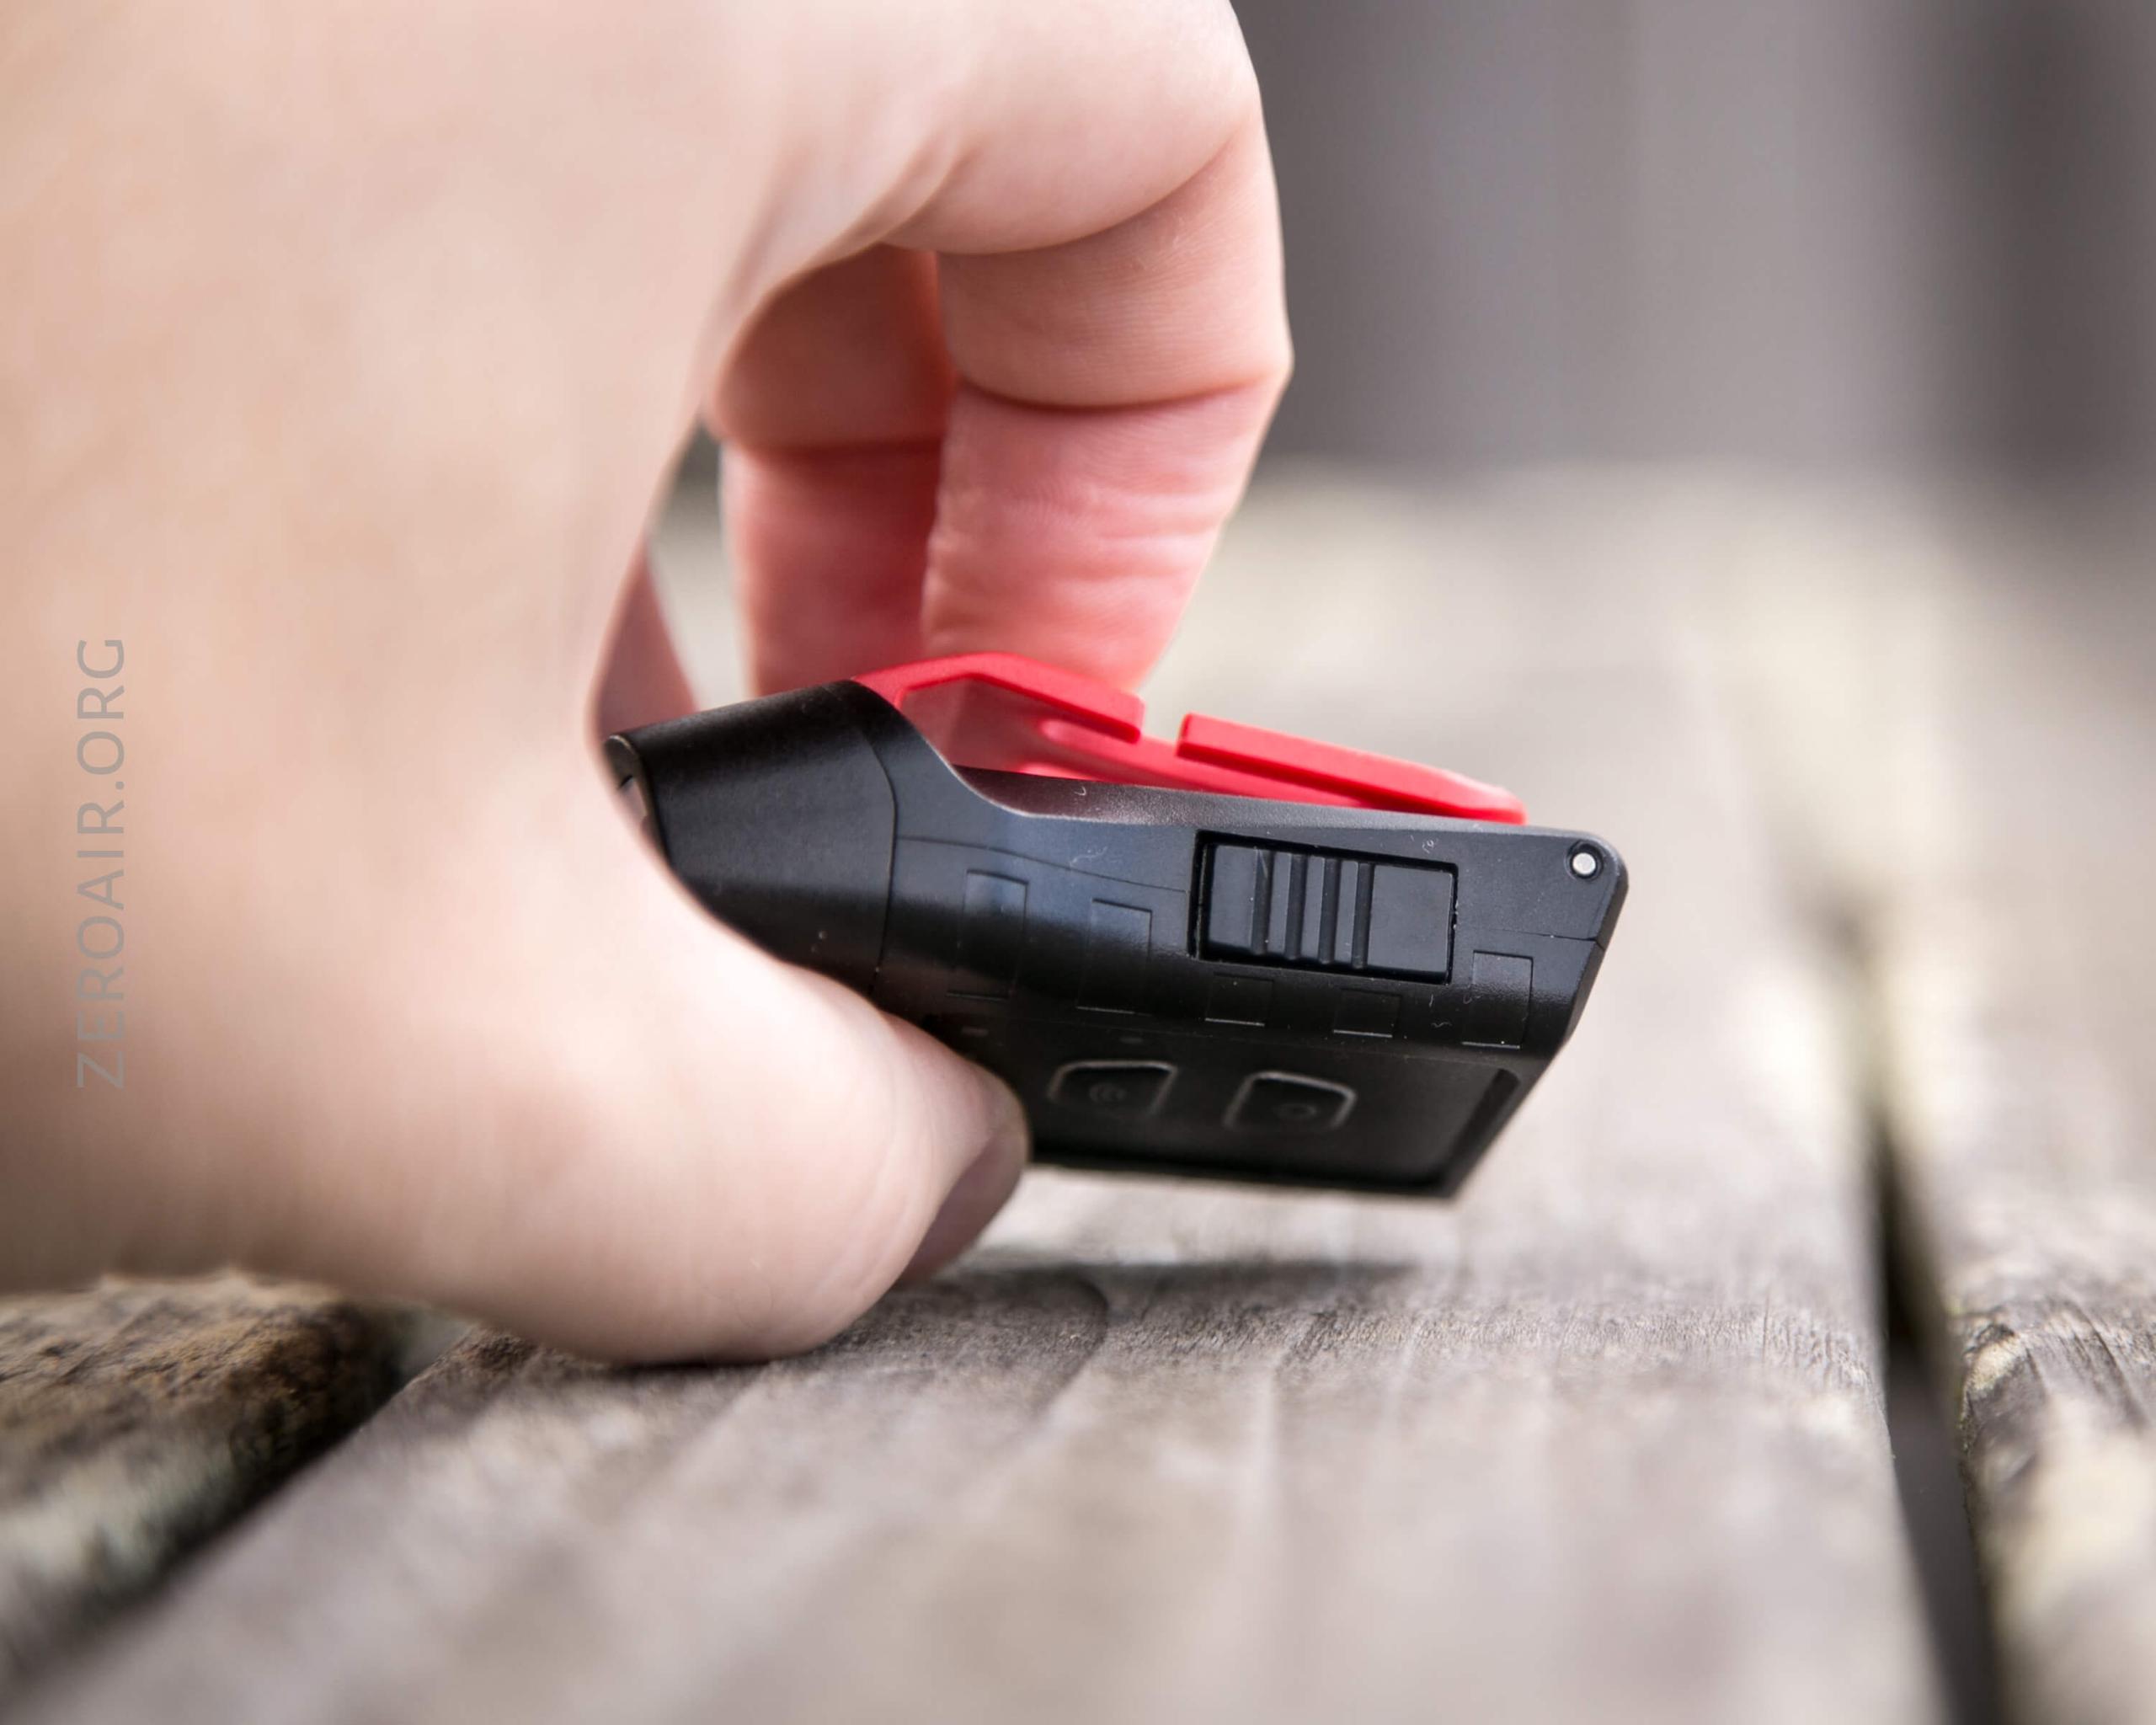
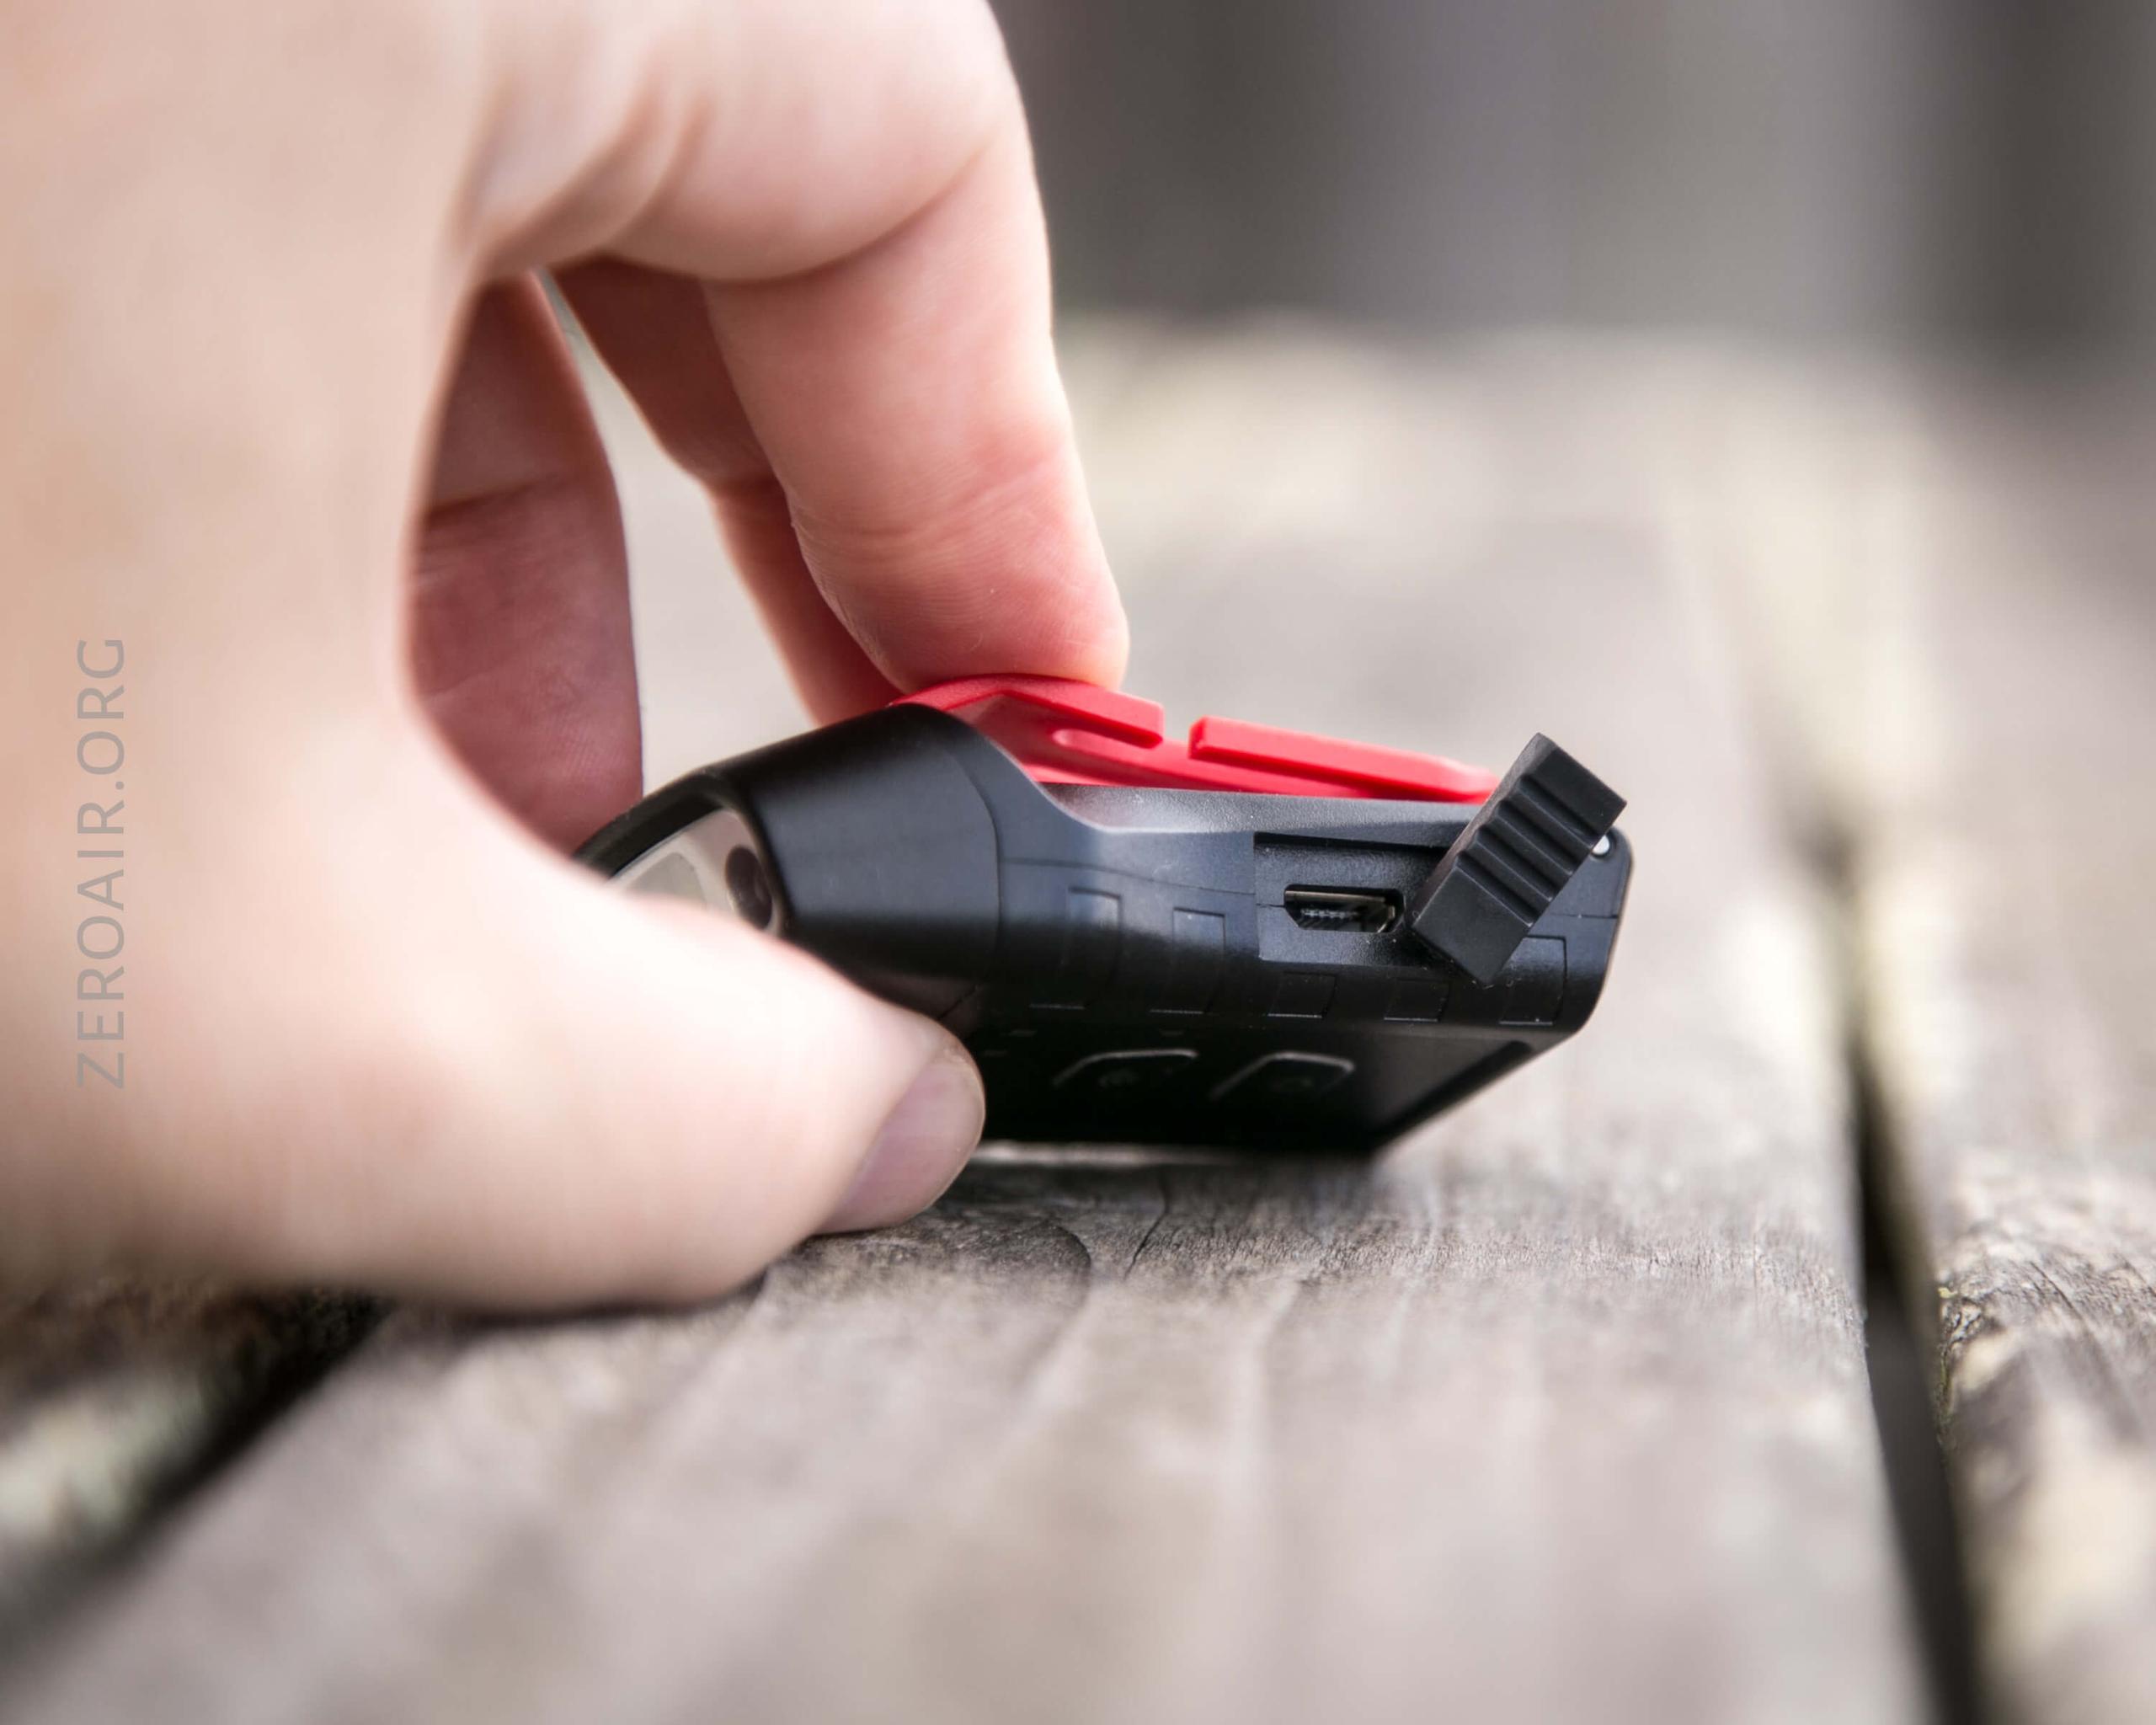
A cable is included – USB to micro-USB.
Charging happens at around 0.5A, which is great, and requires about an hour and a half to complete.
The four indicating LEDs on top of the light (top being “switch side”) indicate charge level while charging, as follows:
4 solid blue: 100% charged
3 solid blue, one flashing: 50-75% charged
2 solid blue, one flashing: 25-50% charged
1 solid blue, one flashing: 5-25% charged
1 flashing: <5% charged
Modes and Currents
| Mode | Mode Claimed Output (lm) | Claimed Runtime | Measured Lumens | Tailcap Amps |
|---|---|---|---|---|
| High (white) | 100 | 4h | – | |
| Medium (white) | 45 | 5h | – | |
| Low (white) | 6 | 27h | – | |
| Red | 4 | 18h | – |
Pulse Width Modulation
Low and Medium have fairly slow PWM – you’ll likely notice it on Low.
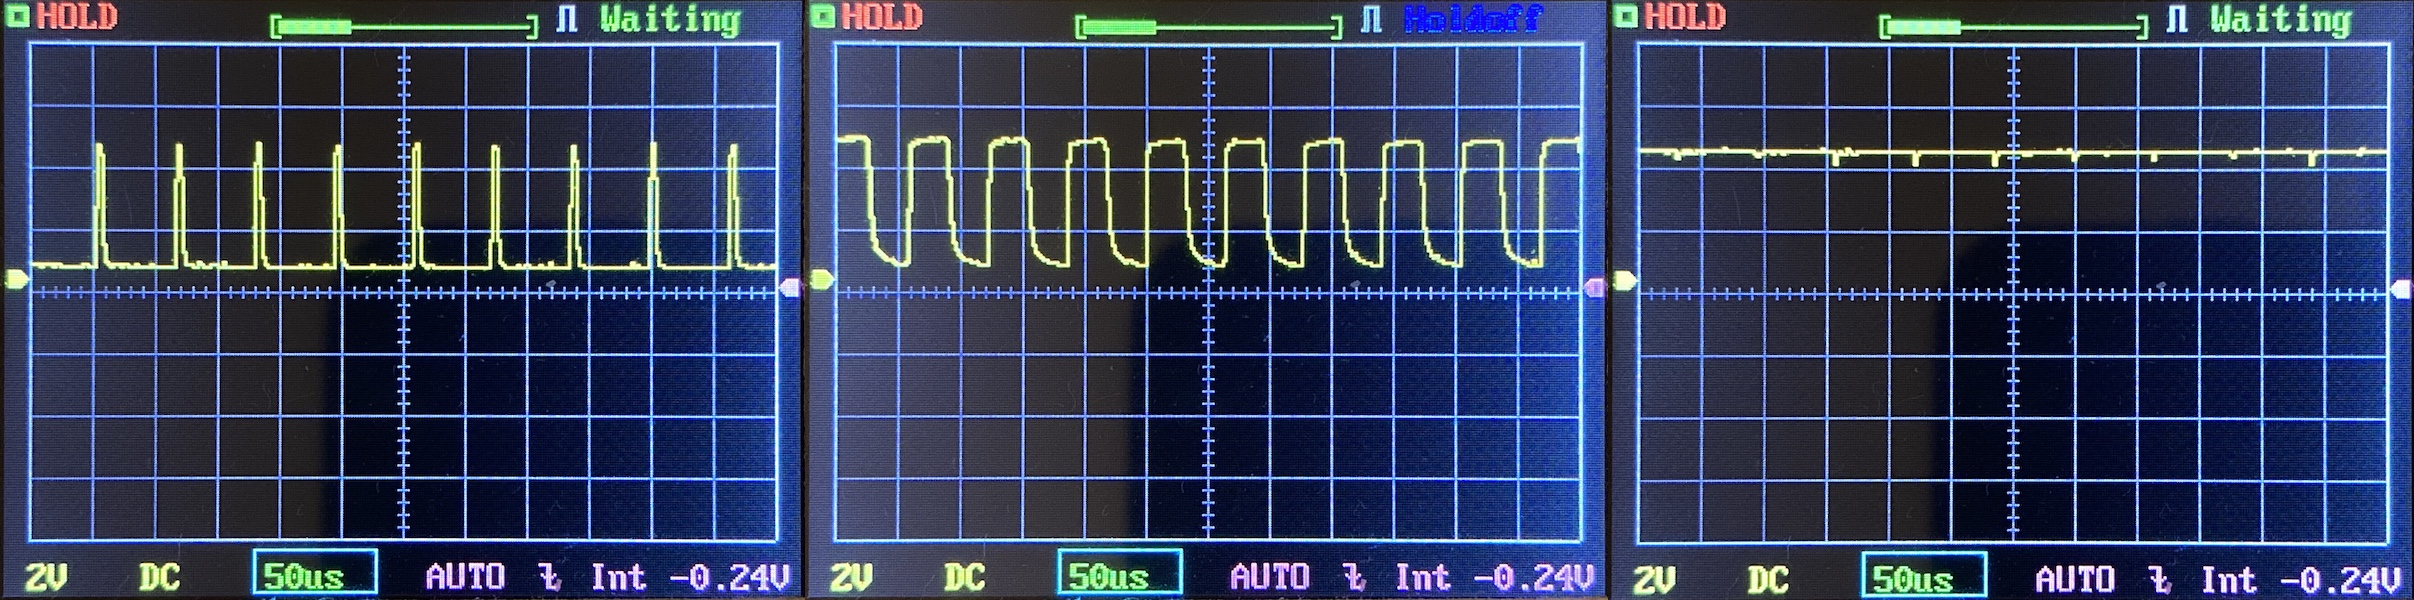
Red does not use PWM.
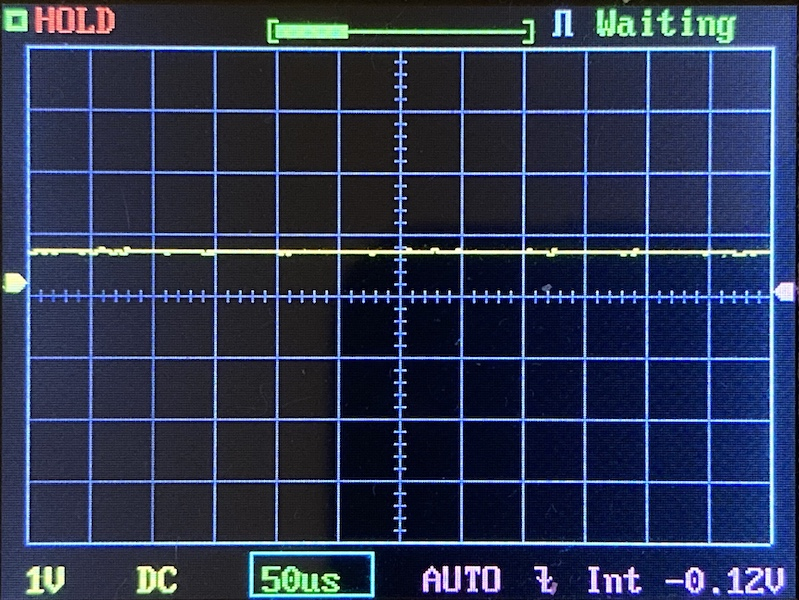
Here you can see a “baseline” – a chart with almost no light hitting the sensor.
Then there’s the Ultrafire WF-602C flashlight, which has some of the worst PWM I’ve seen. It’s so bad that I used a post about it to explain PWM! Here are multiple timescales (10ms, 5ms, 2ms, 1ms, 0.5ms, 0.2ms) to make comparing this “worst” PWM light to the test light easier. That post also explains why I didn’t test the WF-602C at the usual 50us scale.
User Interface and Operation
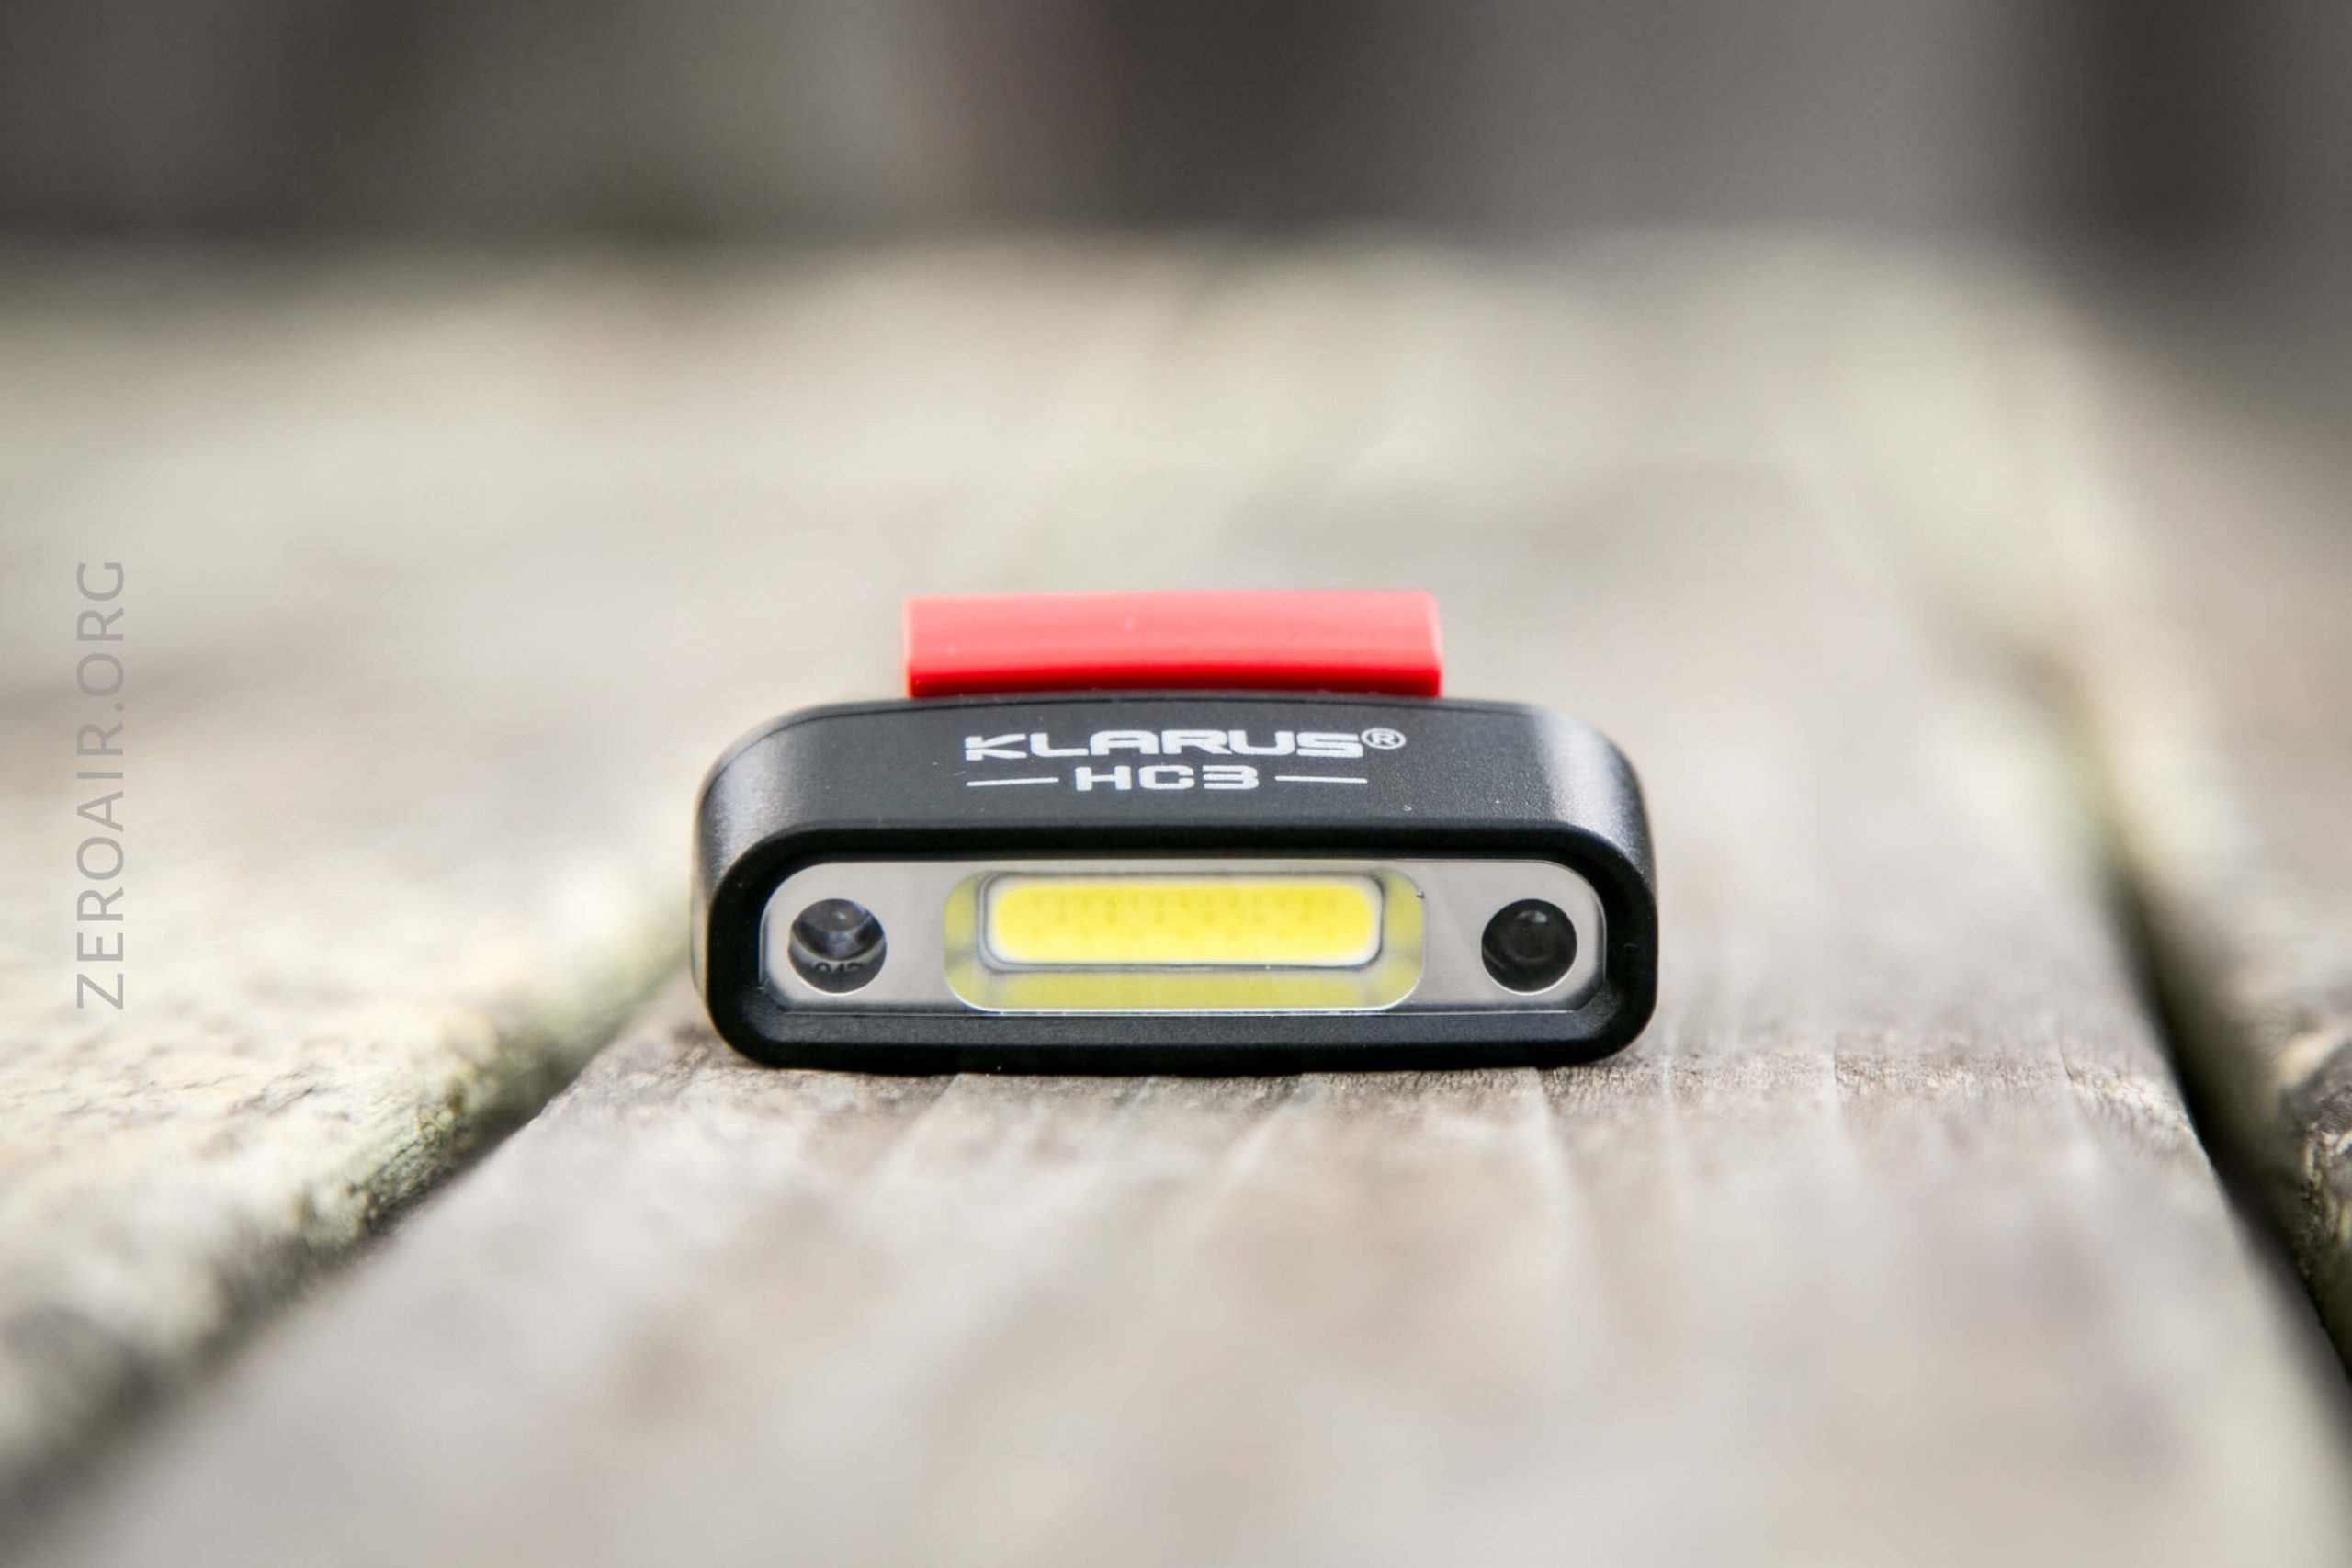
There are two switches on the HC3. The power switch (power logo, at right) is the power and mode switch. The other switch (at left, wireless symbol) only turns on/off the wireless sensor feature. Note that there’s a wireless indicator (in the photo below, it’s “above” the wireless switch).
Here’s a user interface table!
| State | Action | Result |
|---|---|---|
| Off | Click Power Switch (PS) | Medium |
| On | Click PS (immediately after “on”) | Mode advance (MHLR then red blink) |
| On | Click PS (after light has been on for few seconds) | Off |
| Off | Click Wireless Switch (WS) | No action |
| On | Click WS | Iterate Wireless Activation |
| Wireless On | Non-contact wave | Iterate off and on (mode memory) |
LED and Beam
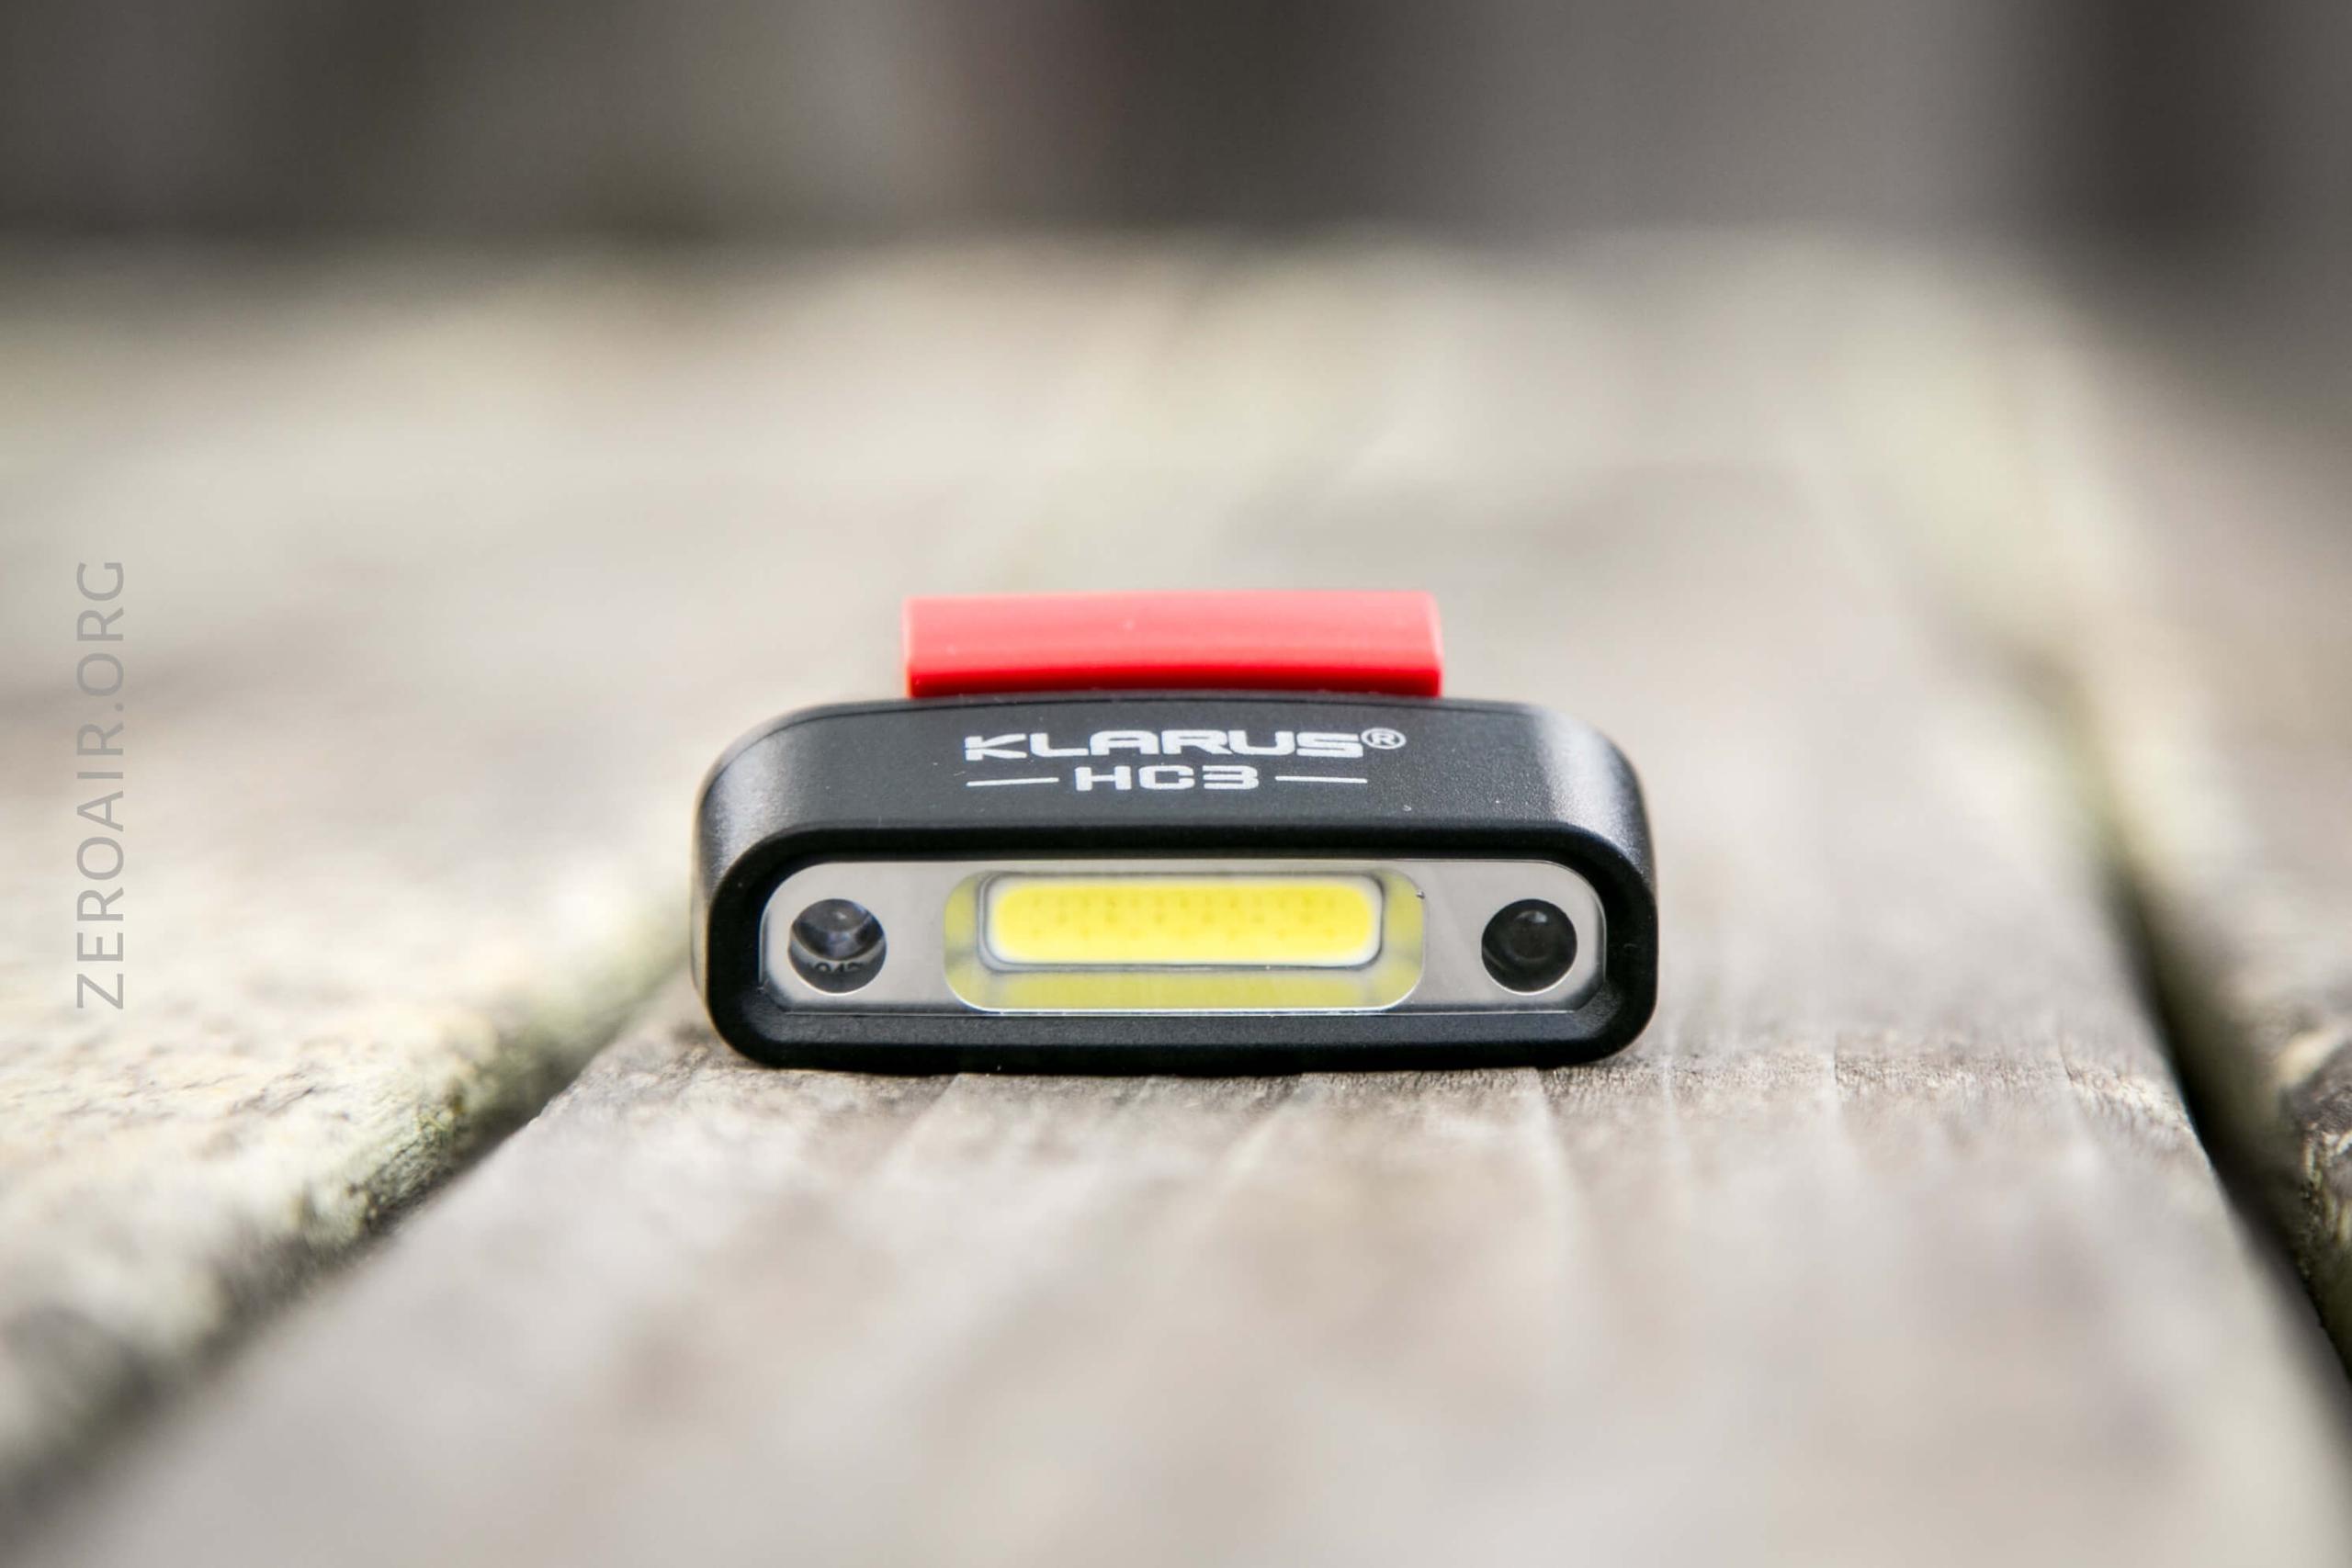
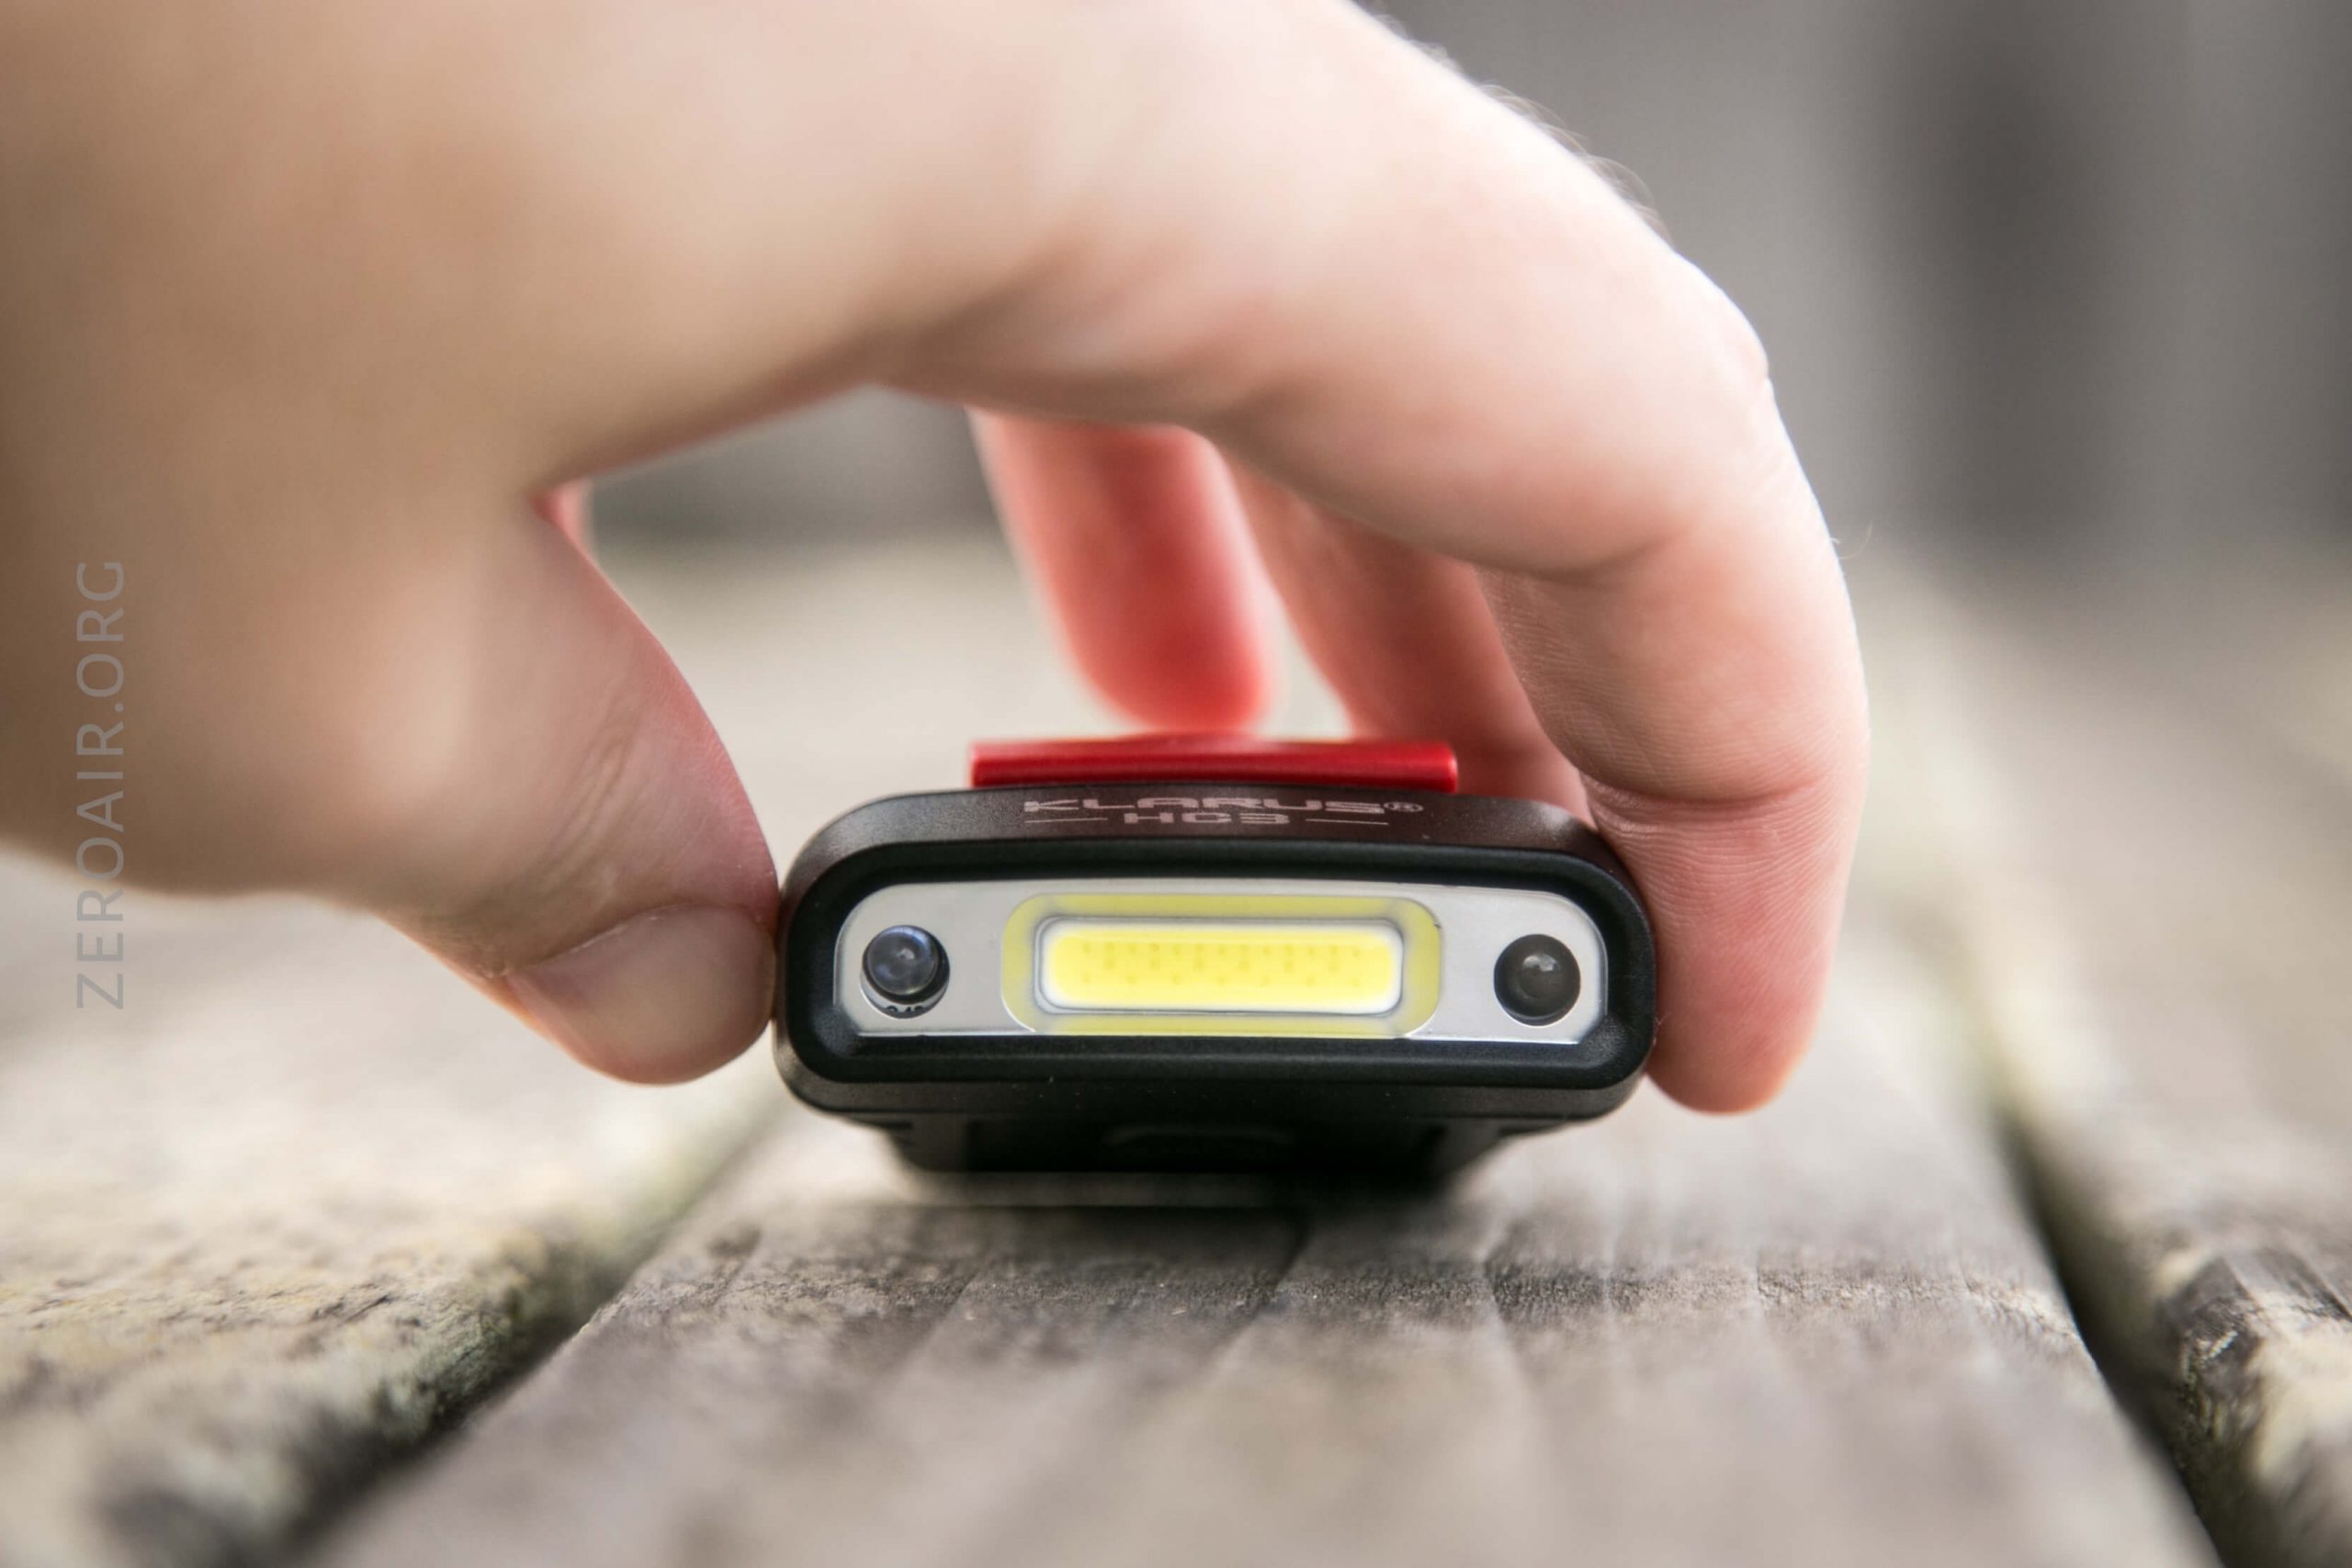
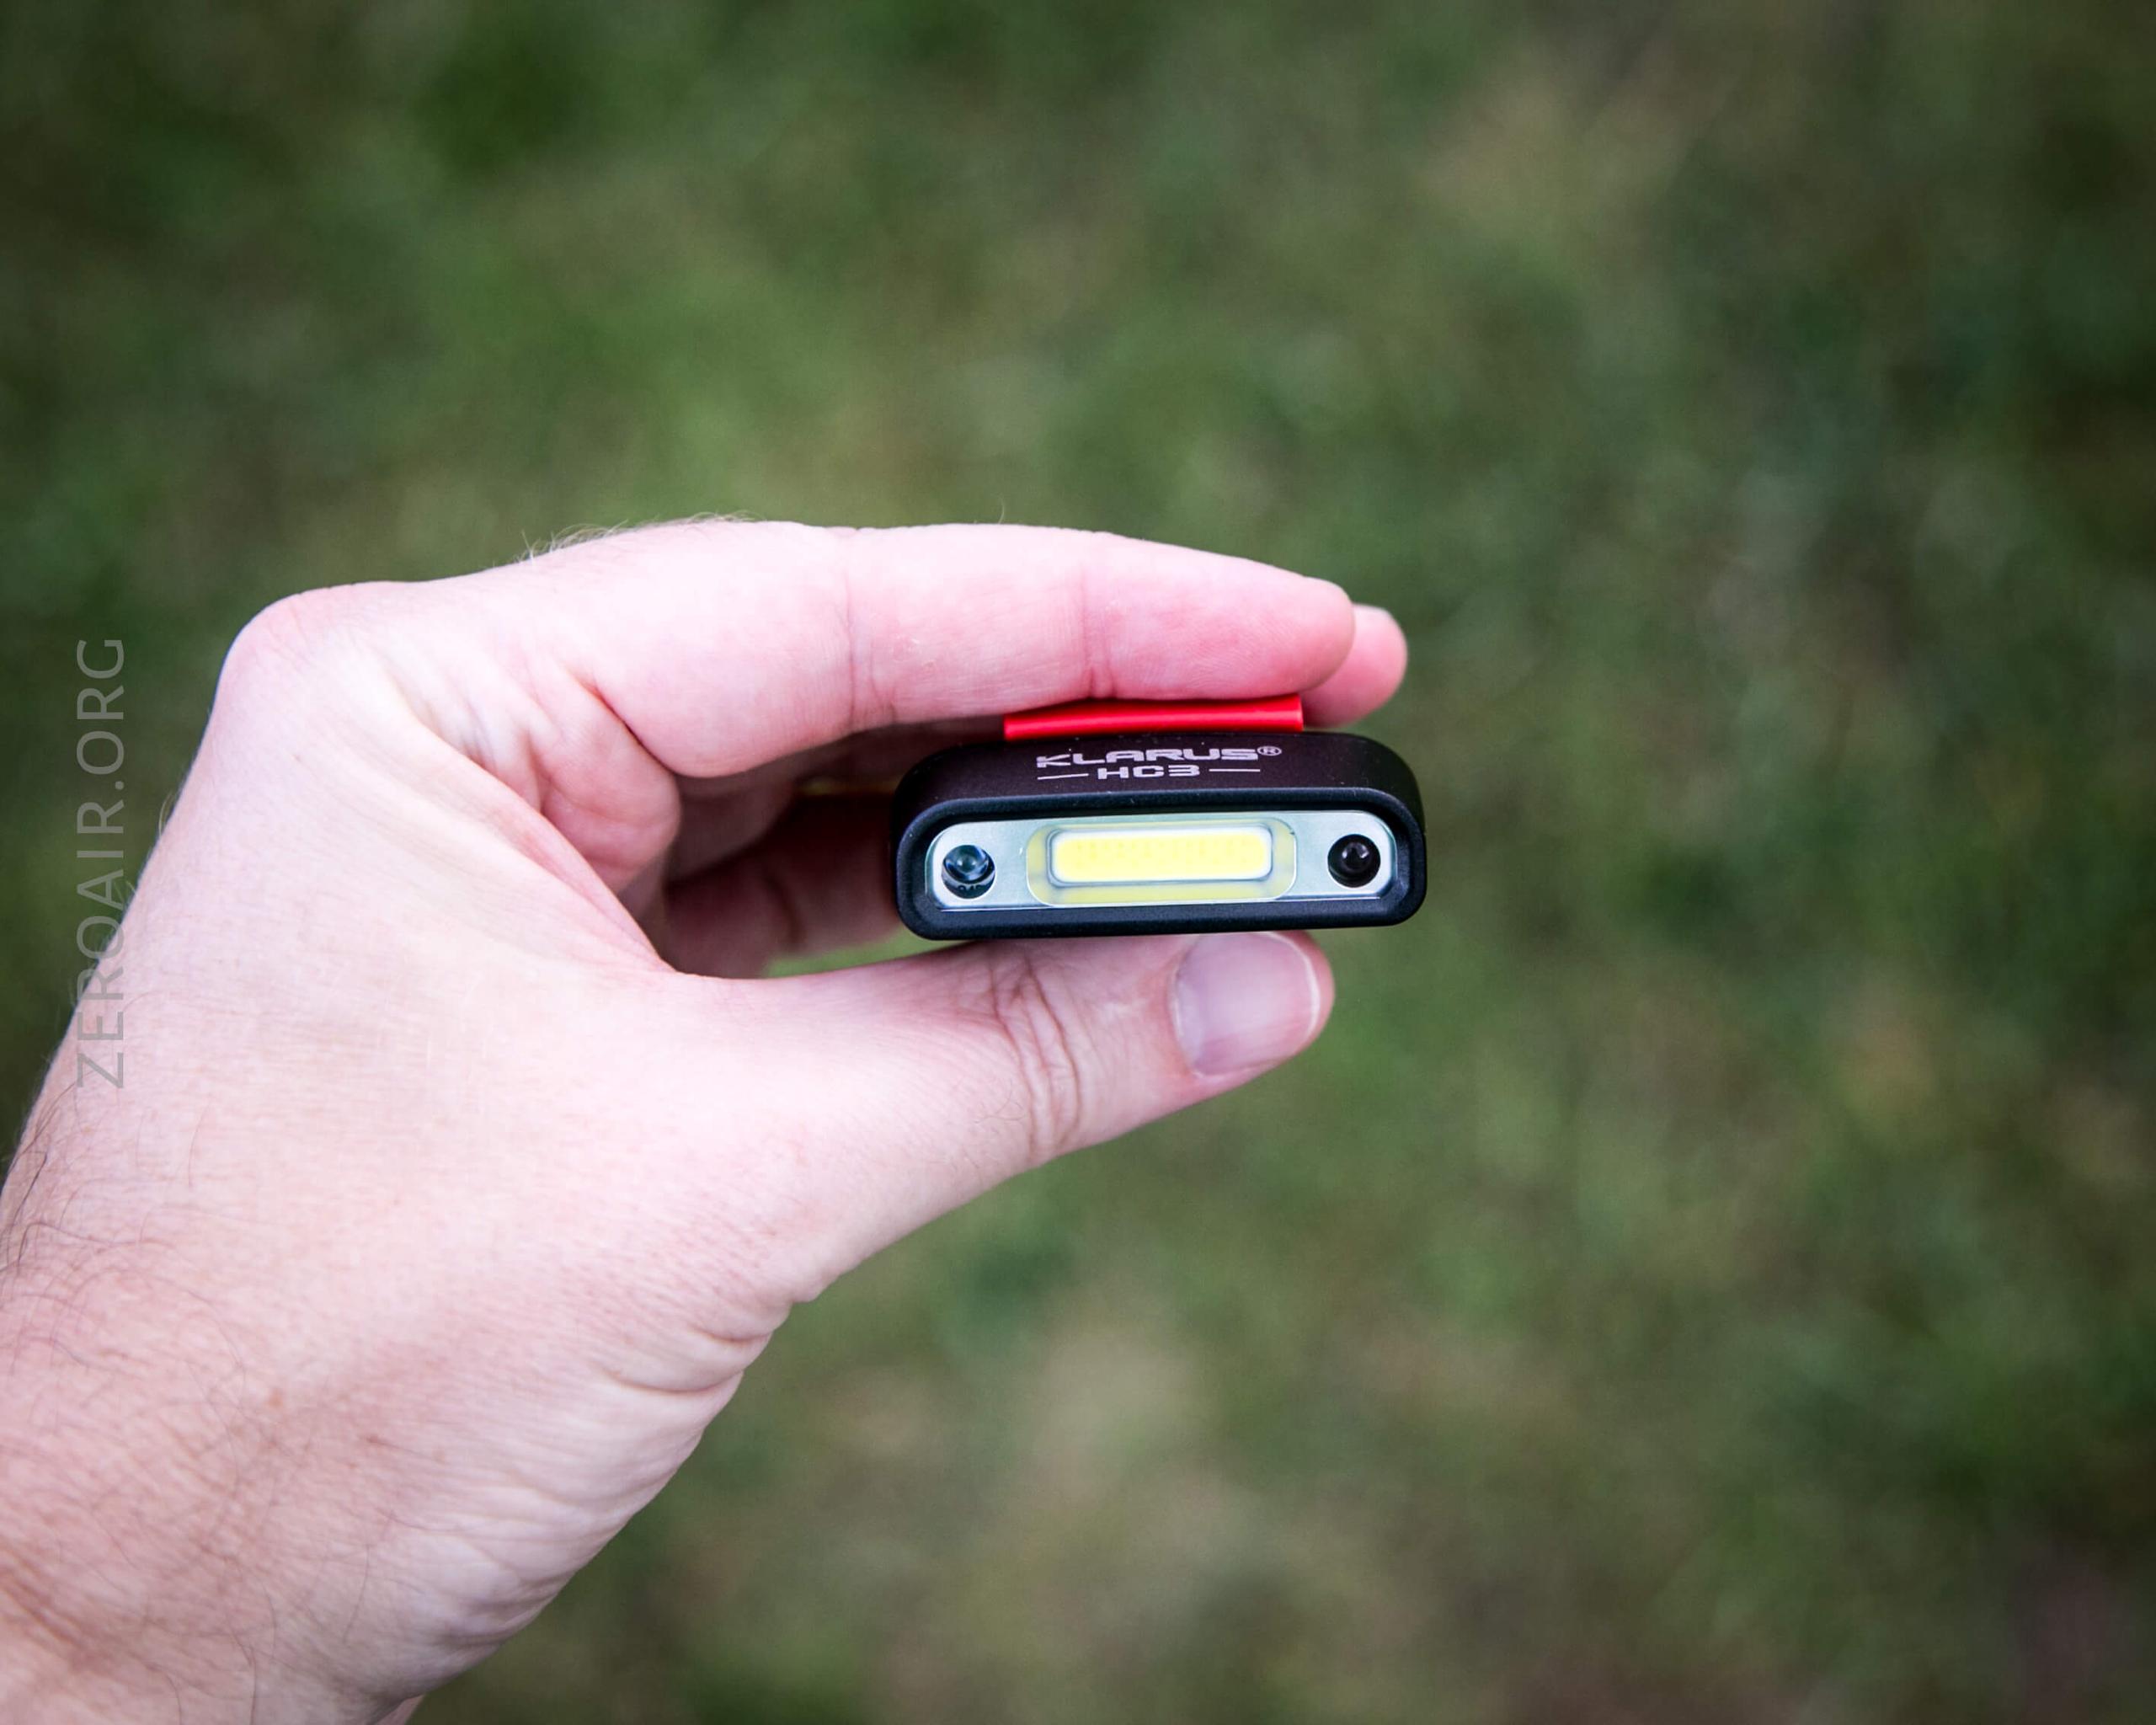
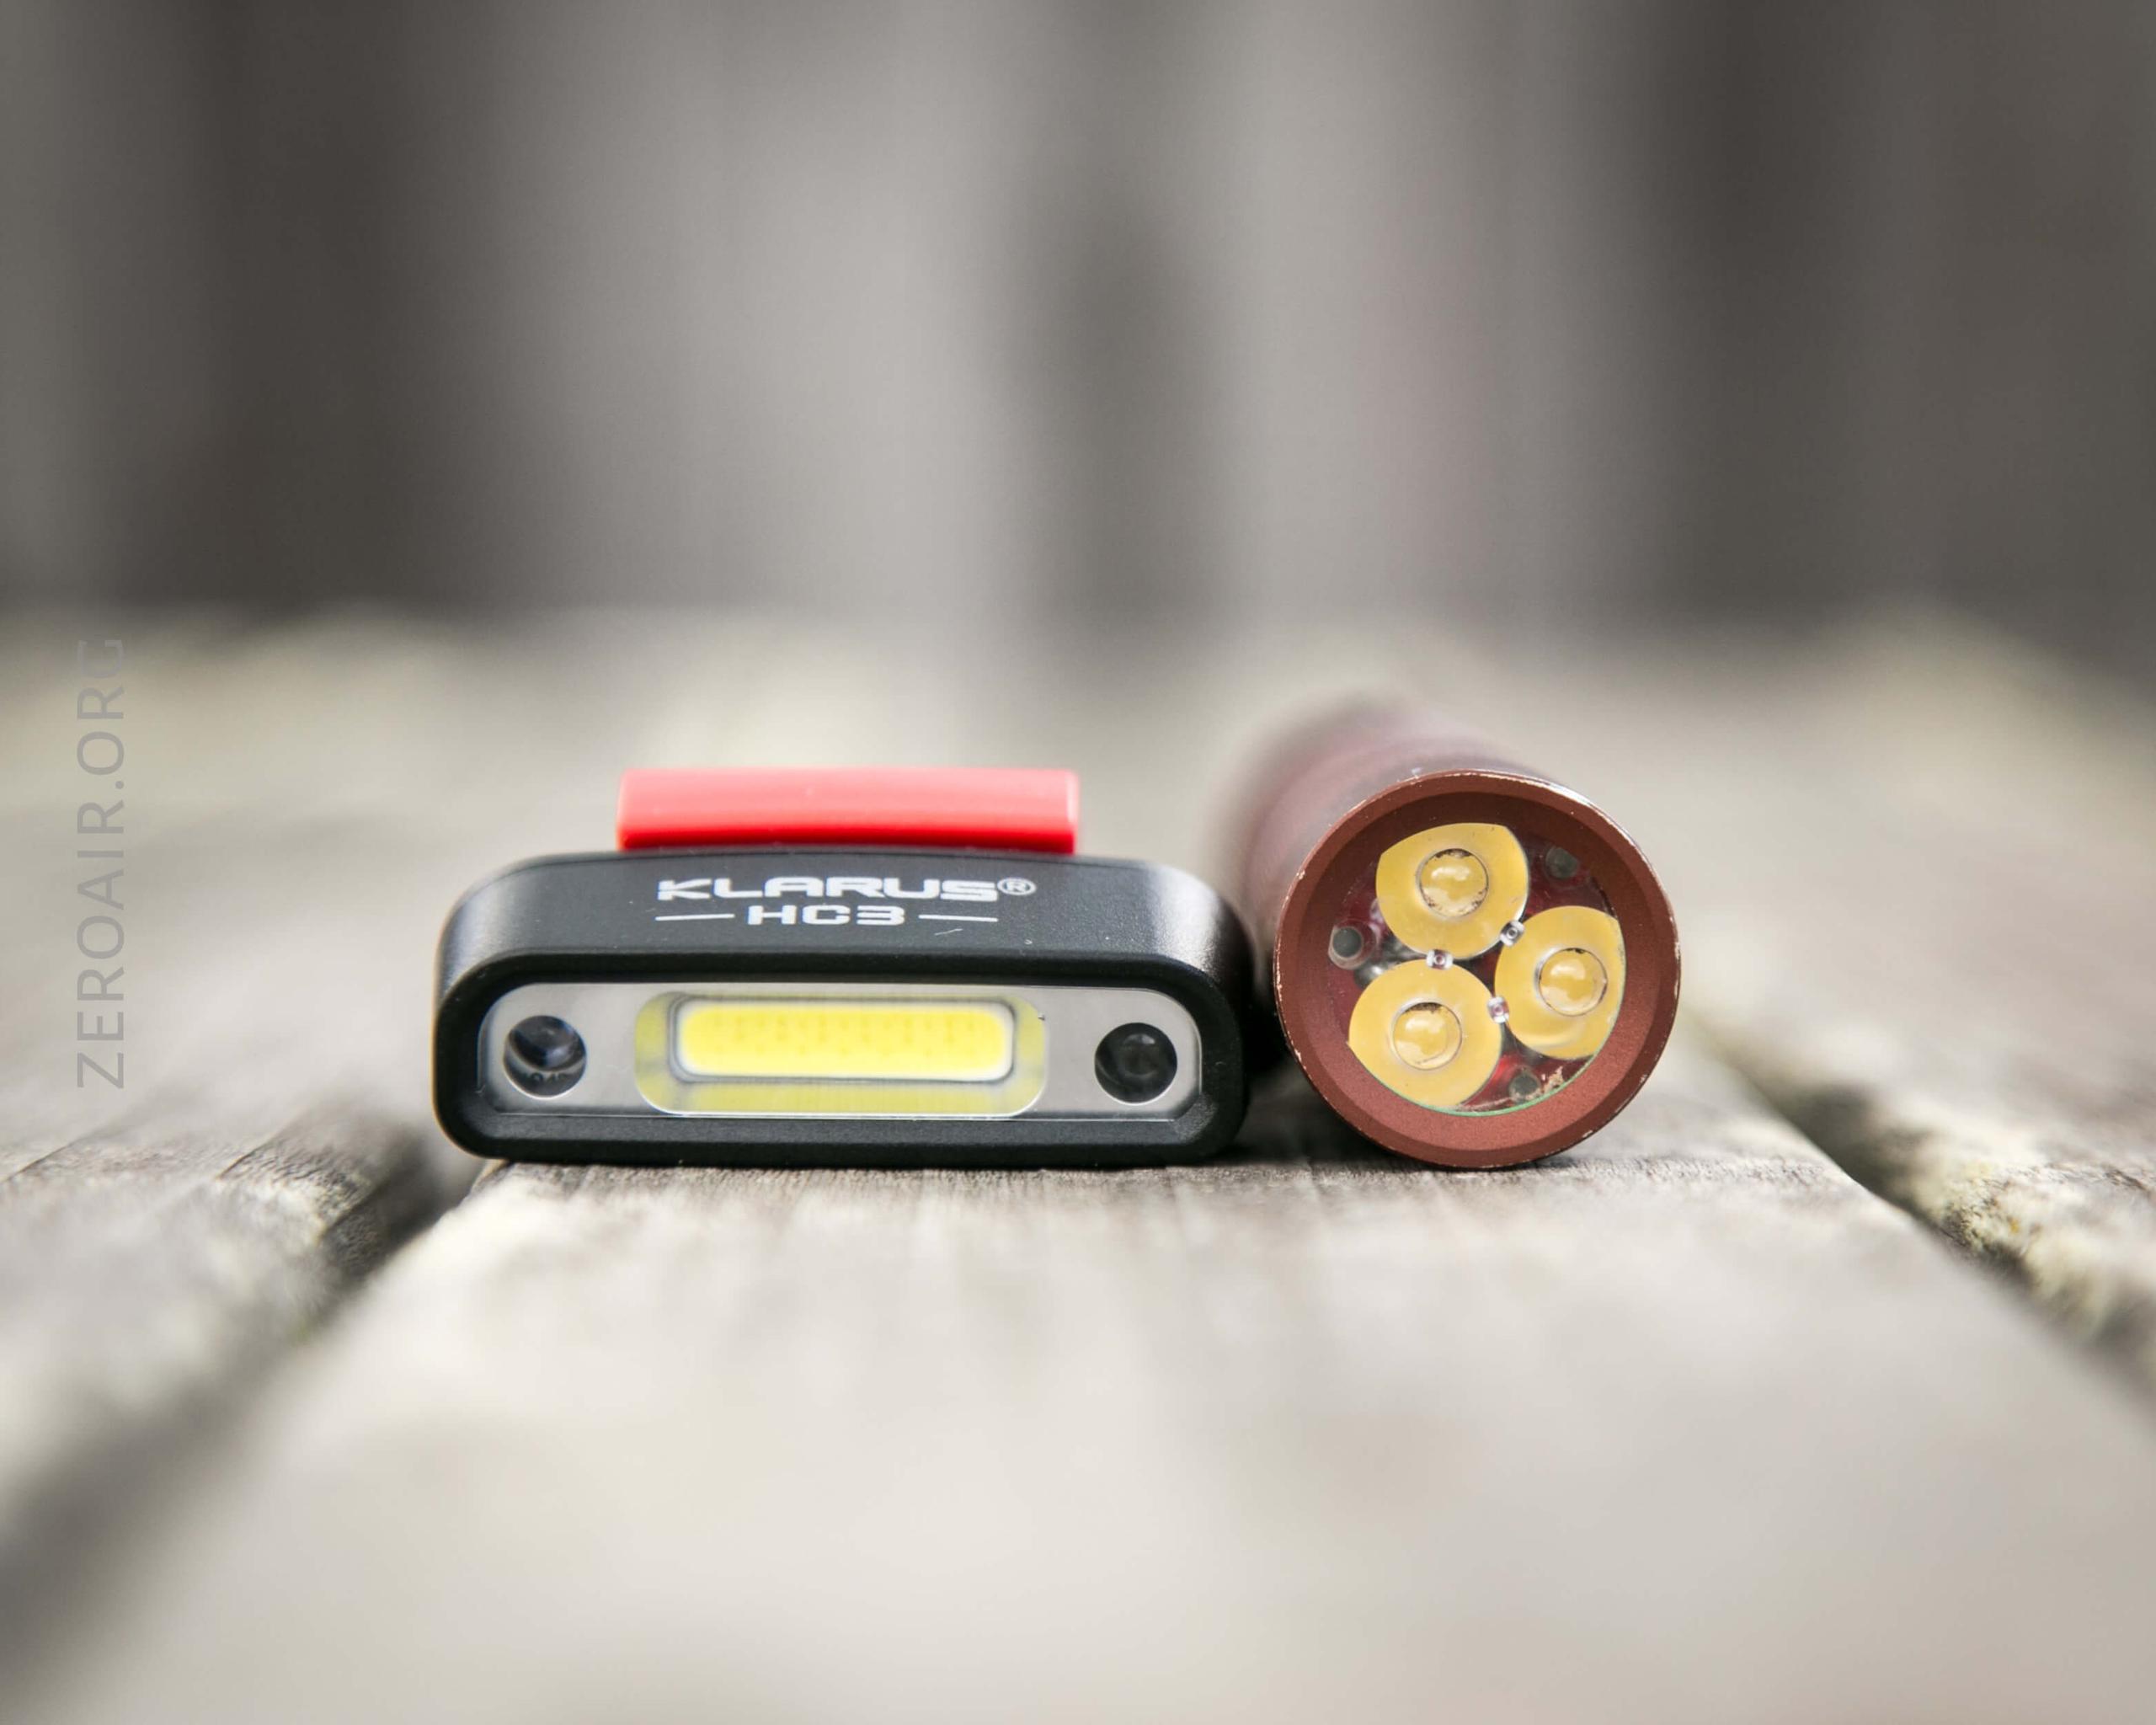
The main (white) emitter is a white COB (chip on board). It’s all flood. Alllllll flood. The red is actually on this COB as well (the red is not the side little circles!) That little circle on the left and right are wireless sensors. They work independently (if one is covered, the other still works.)
Beamshots
These beamshots always have the following settings: f8, ISO100, 0.3s shutter, and manual 5000K exposure. These photos are taken at floor level, and the beam hits the ceiling around 9 feet away. Yes, it’s true that these beamshots show practically nothing, BUT that’s the nature of standard settings and consistency.


Tint vs BLF-348 (KillzoneFlashlights.com 219b version) (affiliate link)
I keep the test flashlight on the left and the BLF-348 reference flashlight on the right. And these photos are shown in normal mode order: MHL, then red below.
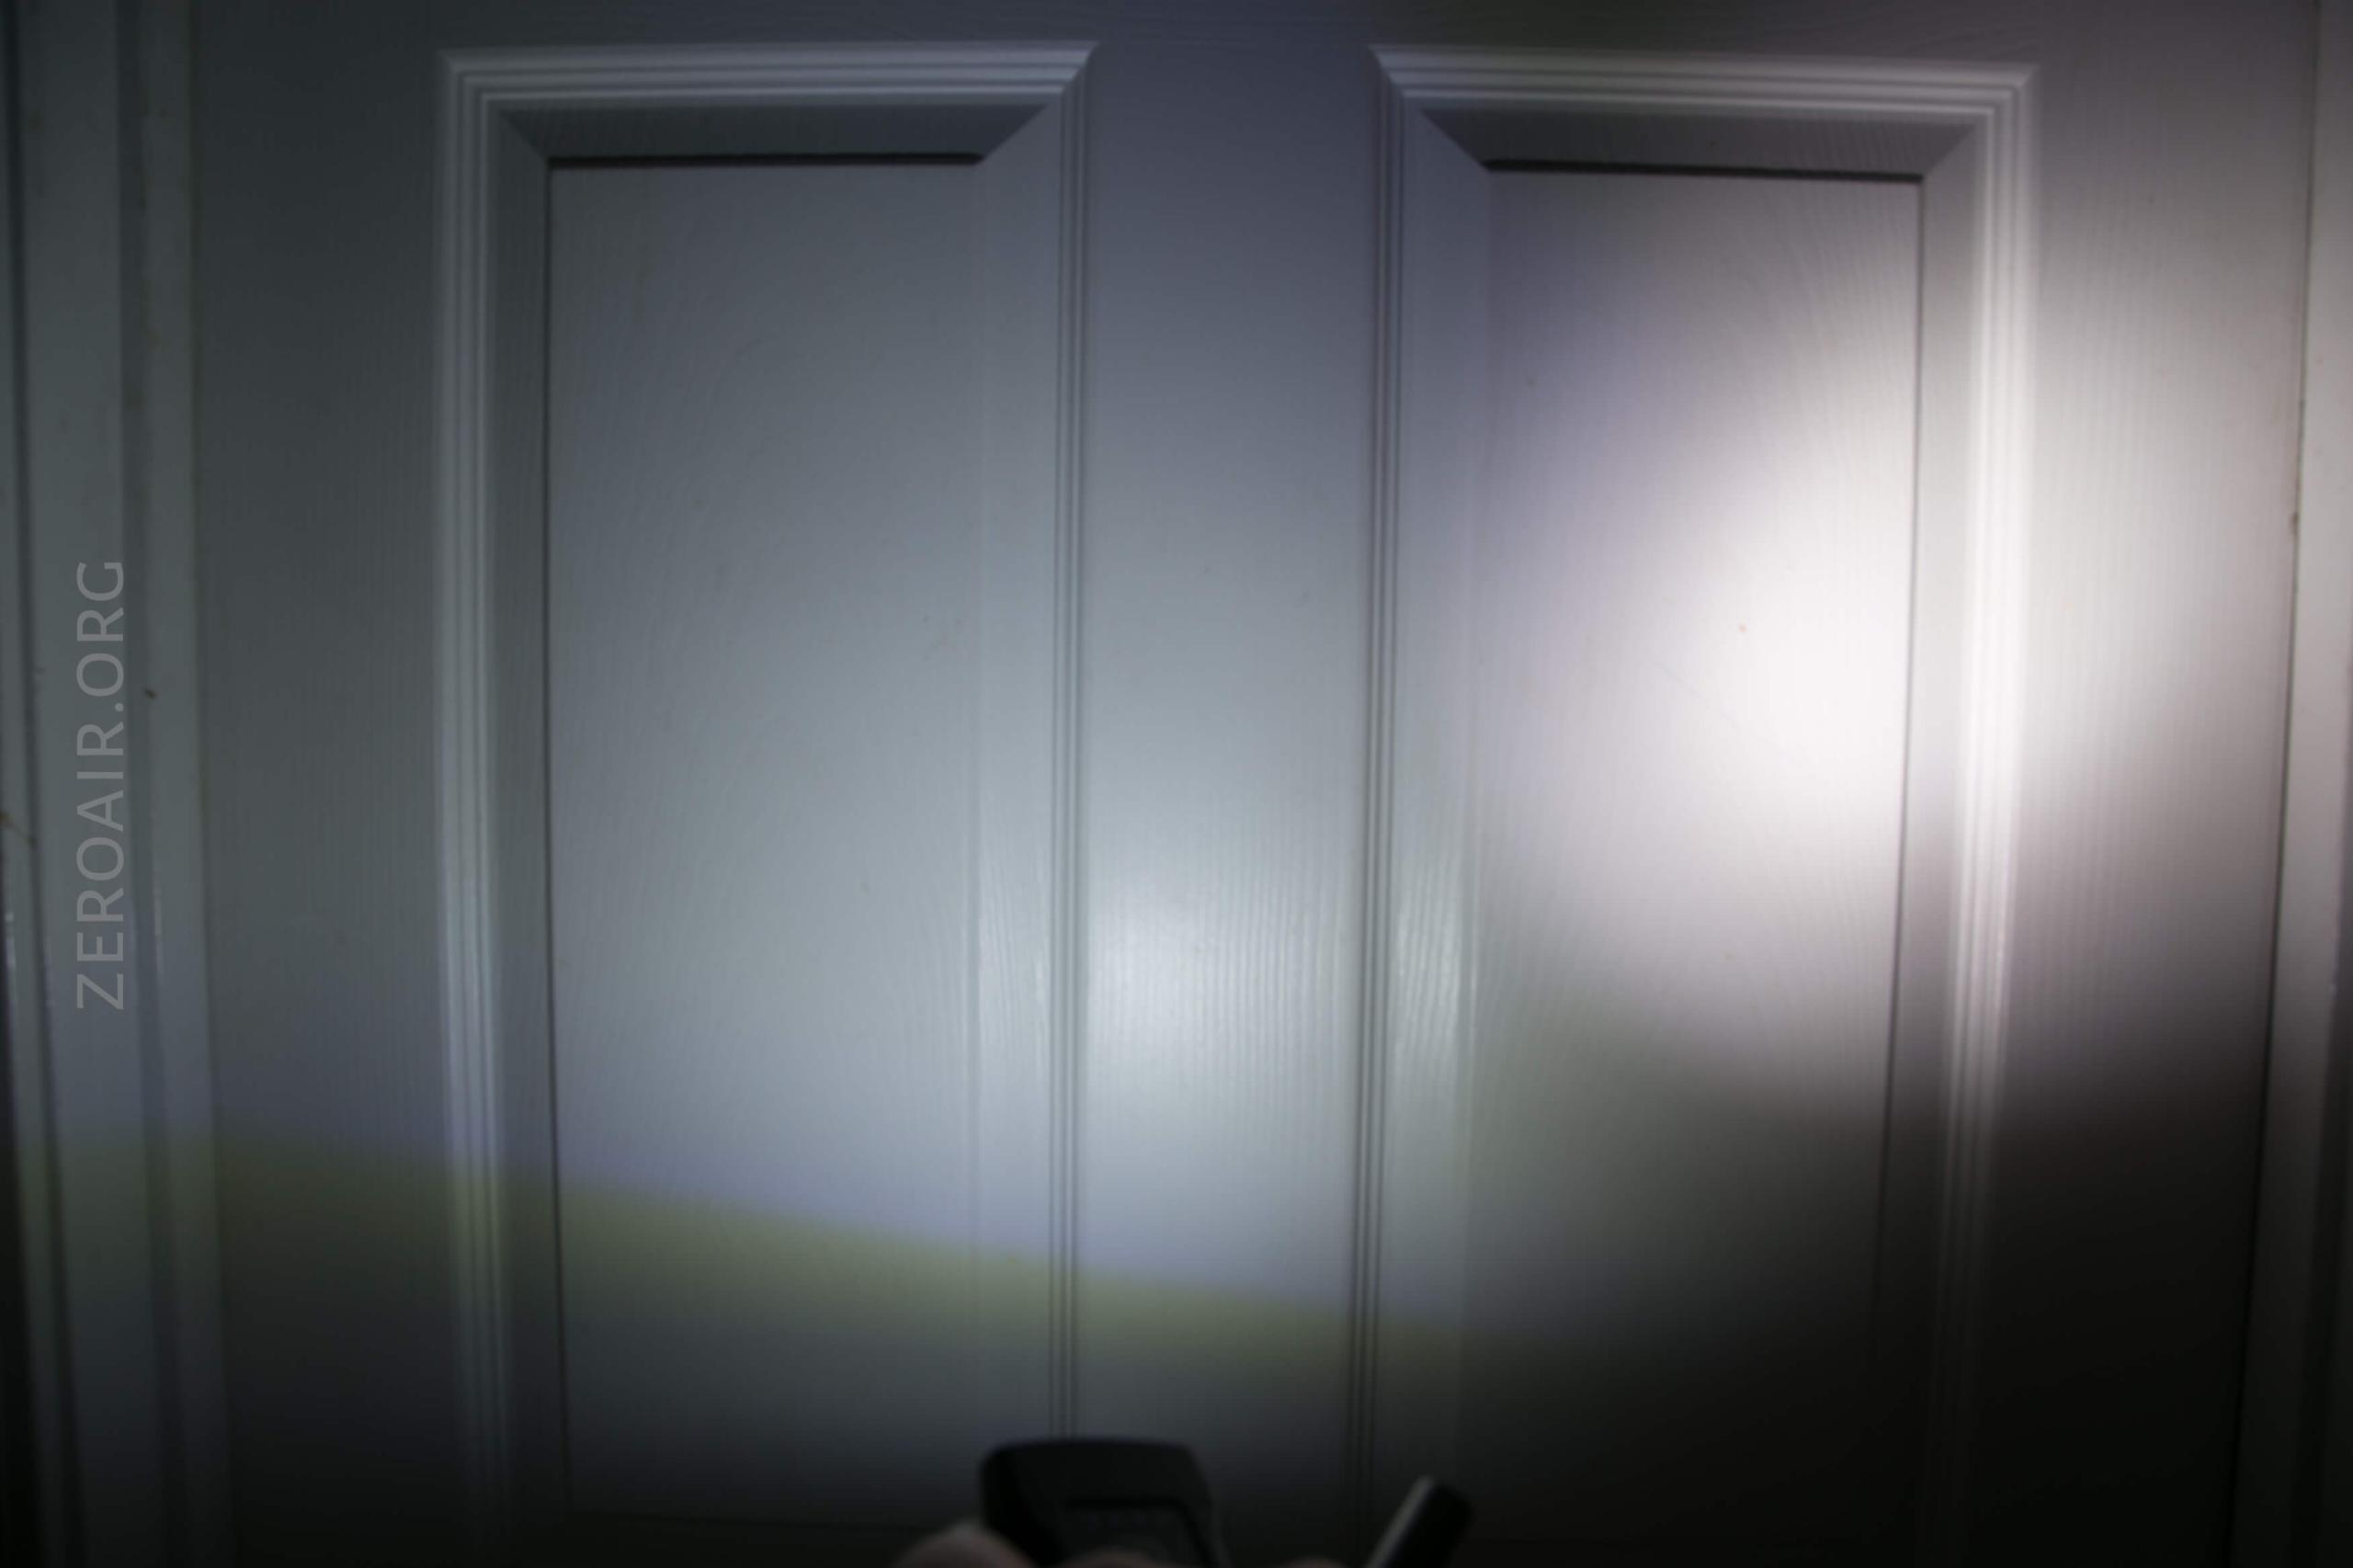
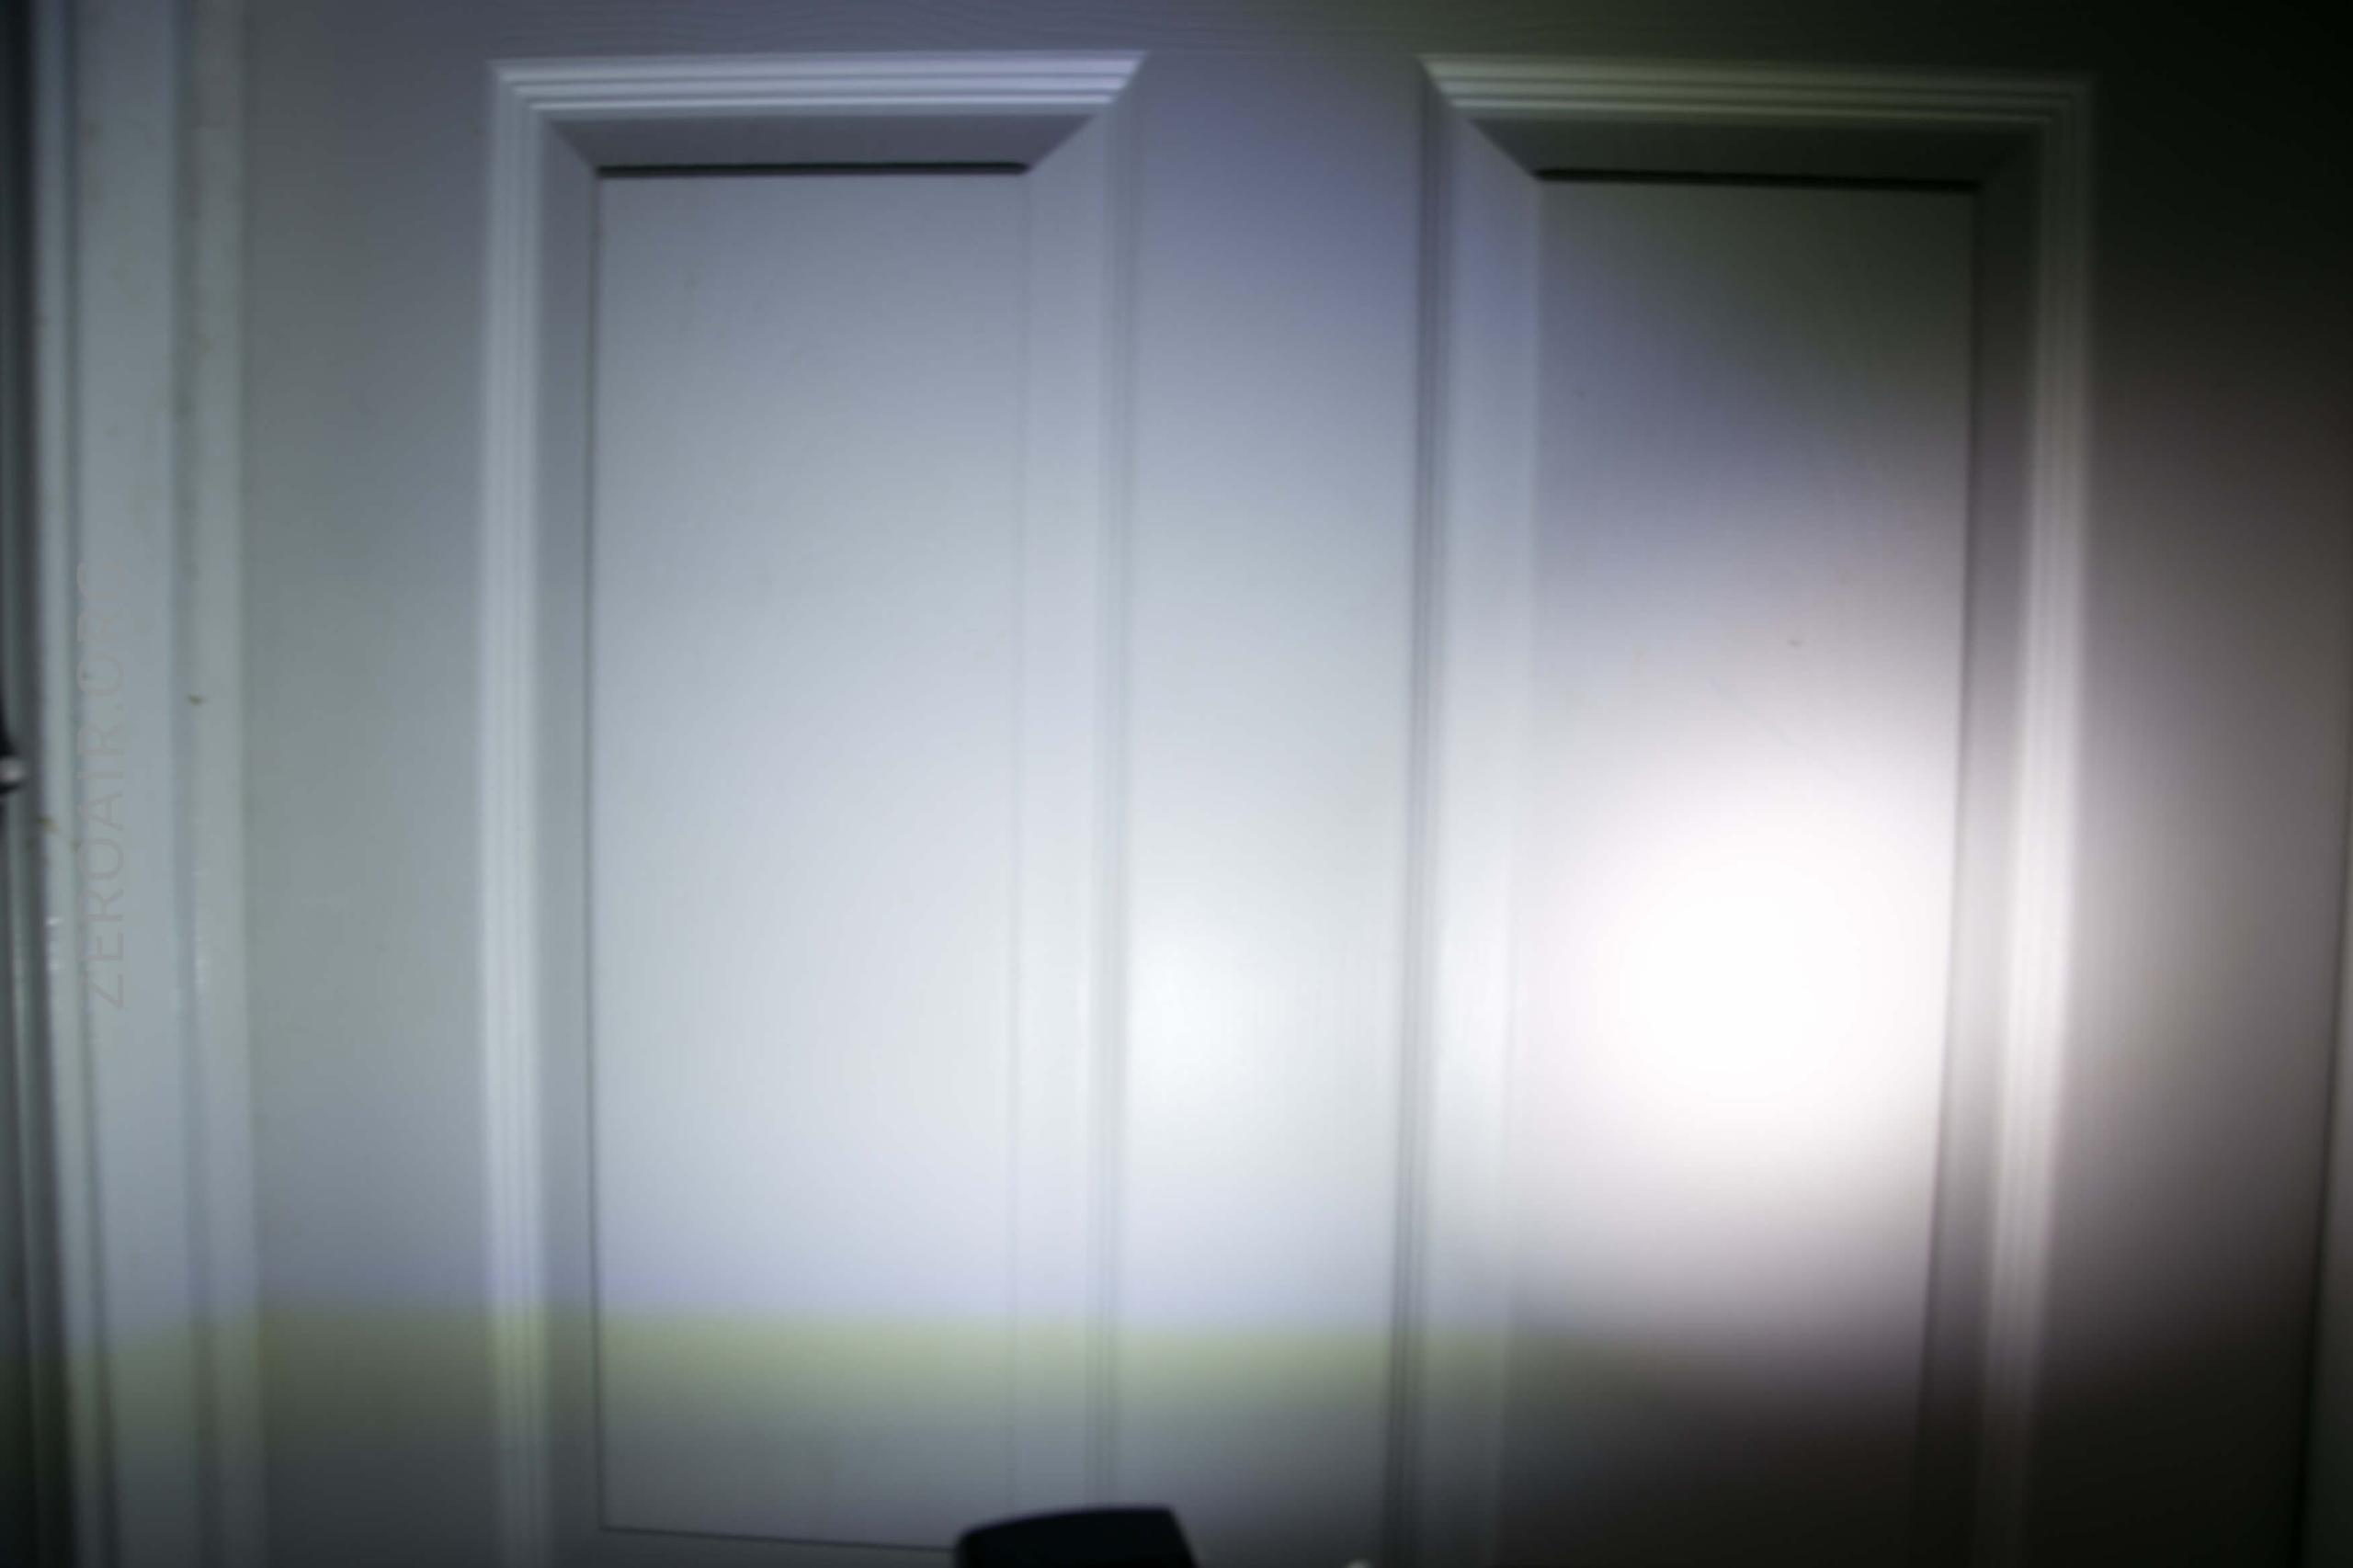
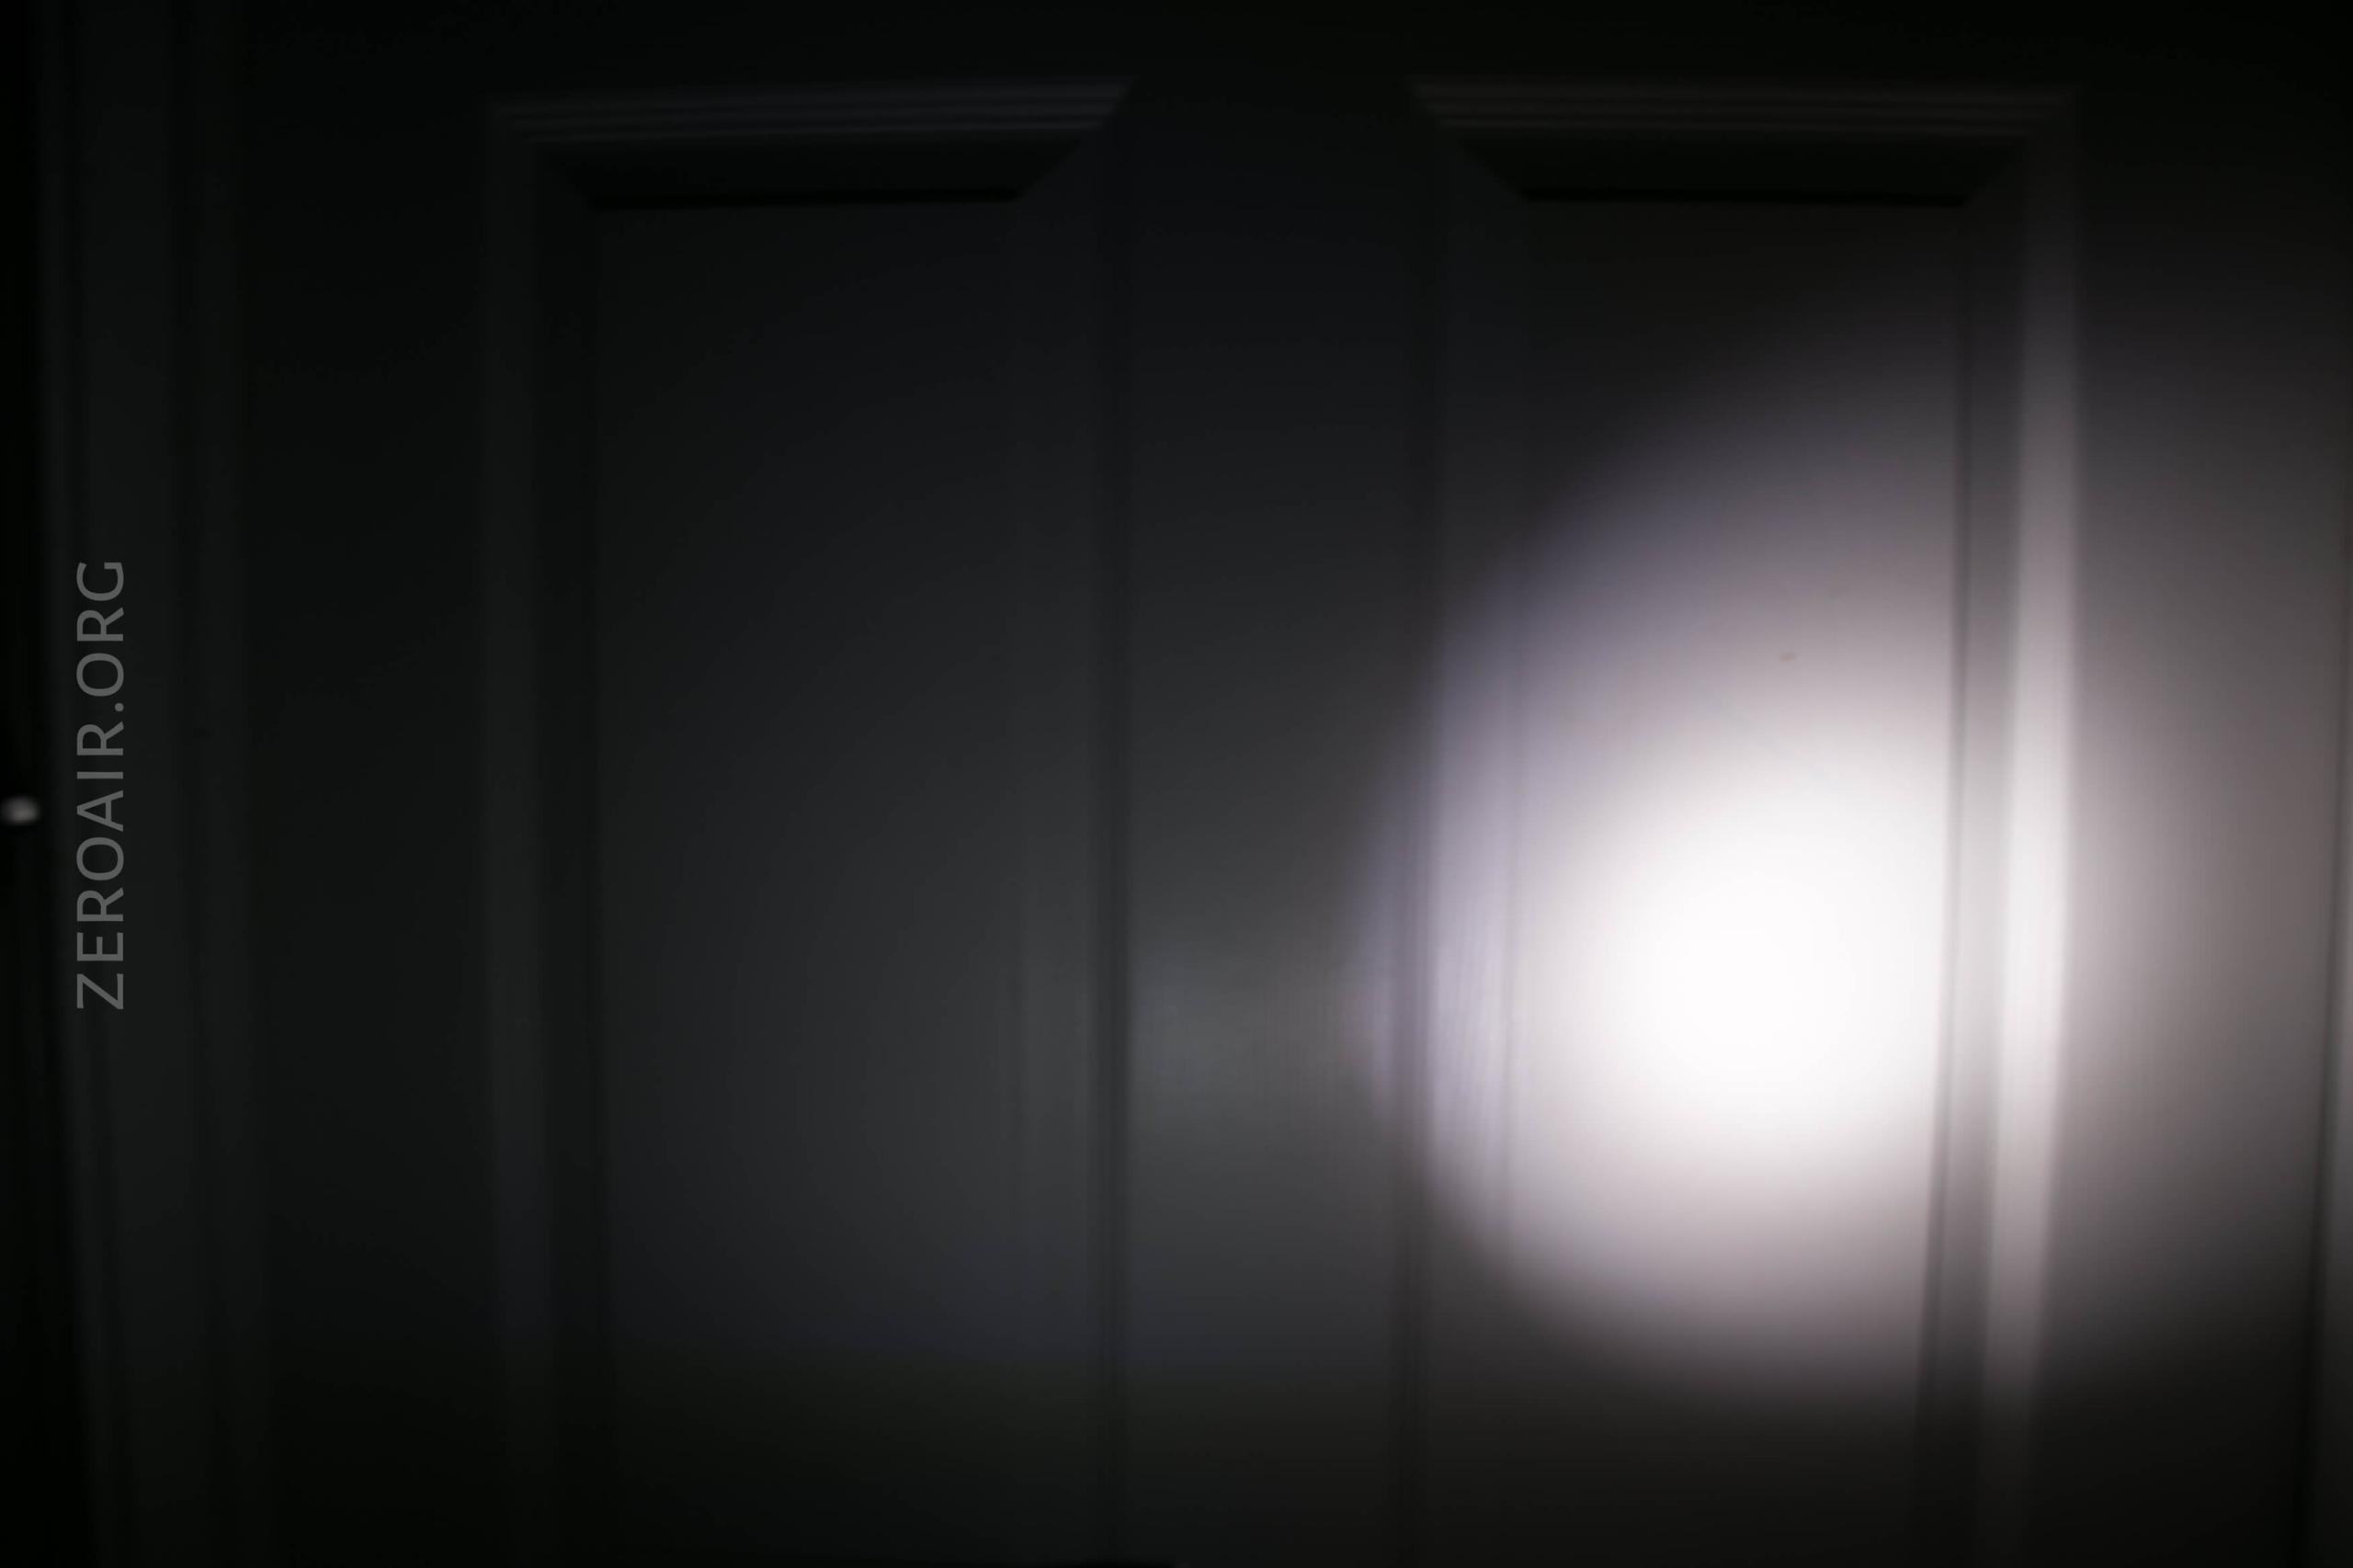
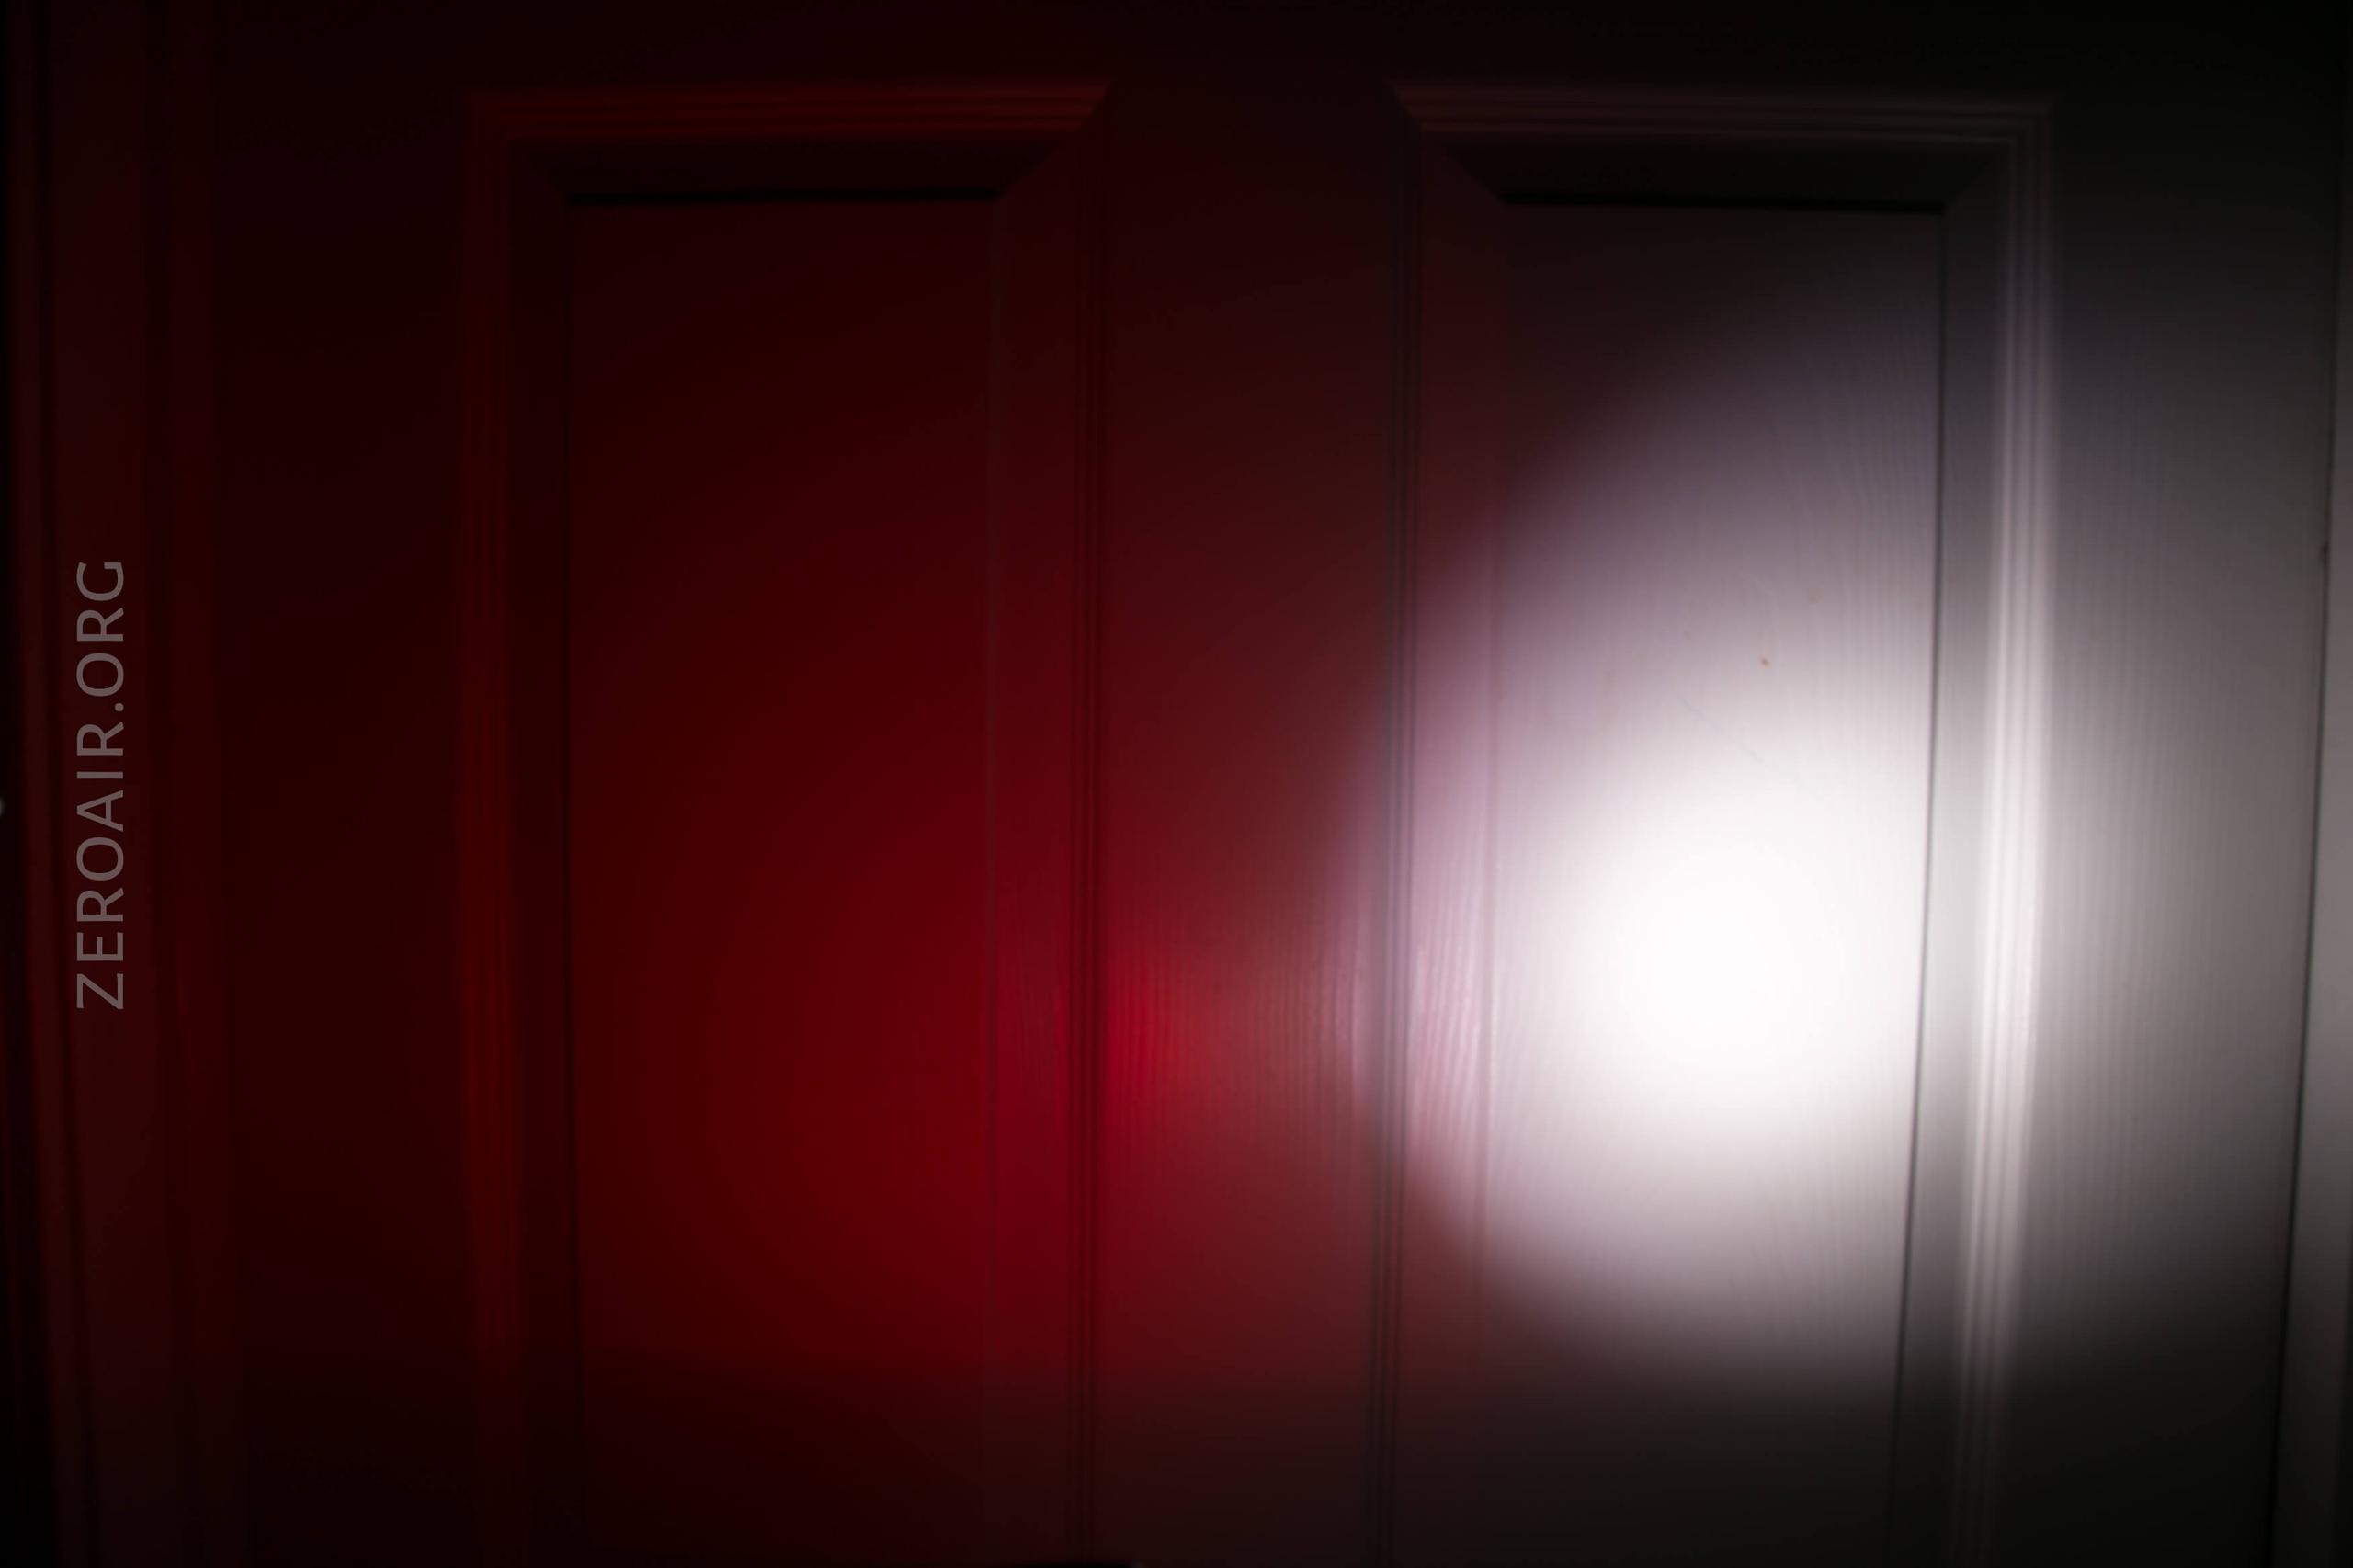
I compare everything to the KillzoneFlashlights.com 219b BLF-348 because it’s inexpensive and has the best tint!
Conclusion
What I like
- Low cost
- Good for reading
- Wireless feature is neat
What I don’t like
- On a cap, the hinge is in the wrong end of the light – hinging the light down puts it right in the field of view.
Notes
- This light was provided by Klarus for review. I was not paid to write this review.
- This content originally appeared at zeroair.org. Please visit there for the best experience!
- Use my amazon.com referral link if you’re willing to help support making more reviews like this one!
- Please support me on Patreon! I deeply appreciate your support!
Discover more from ZeroAir Reviews
Subscribe to get the latest posts sent to your email.