Imalent UT10 Tactical Weapon Flashlight Review
The Imalent UT10 tactical weapon flashlight has hit the market, and here you’ll find some thoughts and testing. It’s been a while since I’ve had a handgun light, but I threw this one on my Walther and discovered some interesting points. Read on!
Official Specs and Features
Here’s a link to the official product page.
Versions
There is only one version of the Imalent UT10 tactical weapon flashlight.
Price
These are listed at (and going for) $89.95 right now.
Short Review
As a light, I think the Imalent UT10 tactical weapon flashlight is great. I love the emitter choice, the switches are great, and right where you need them. The issue is that when the switches are where you need them, the charge port is completely covered. As such, the onboard charging is not really a convenience at all, since you’ll still have to remove the light for charging. If that’s ok with you, then you’ll probably love the Imalent UT10!
Long Review
The Big Table
| Imalent UT10 | |
|---|---|
| Emitter: | Cree XP-L HI |
| Price in USD at publication time: | $89.95 |
| Cell: | 1×18350 |
| Turbo Runtime | High Runtime |
| LVP? | |
| Switch Type: | E-Switch |
| Quiescent Current (mA): | ? |
| On-Board Charging? | Yes |
| Charge Port Type: | Proprietary Magnetic |
| Chargetime | |
| Power off Charge Port | ? |
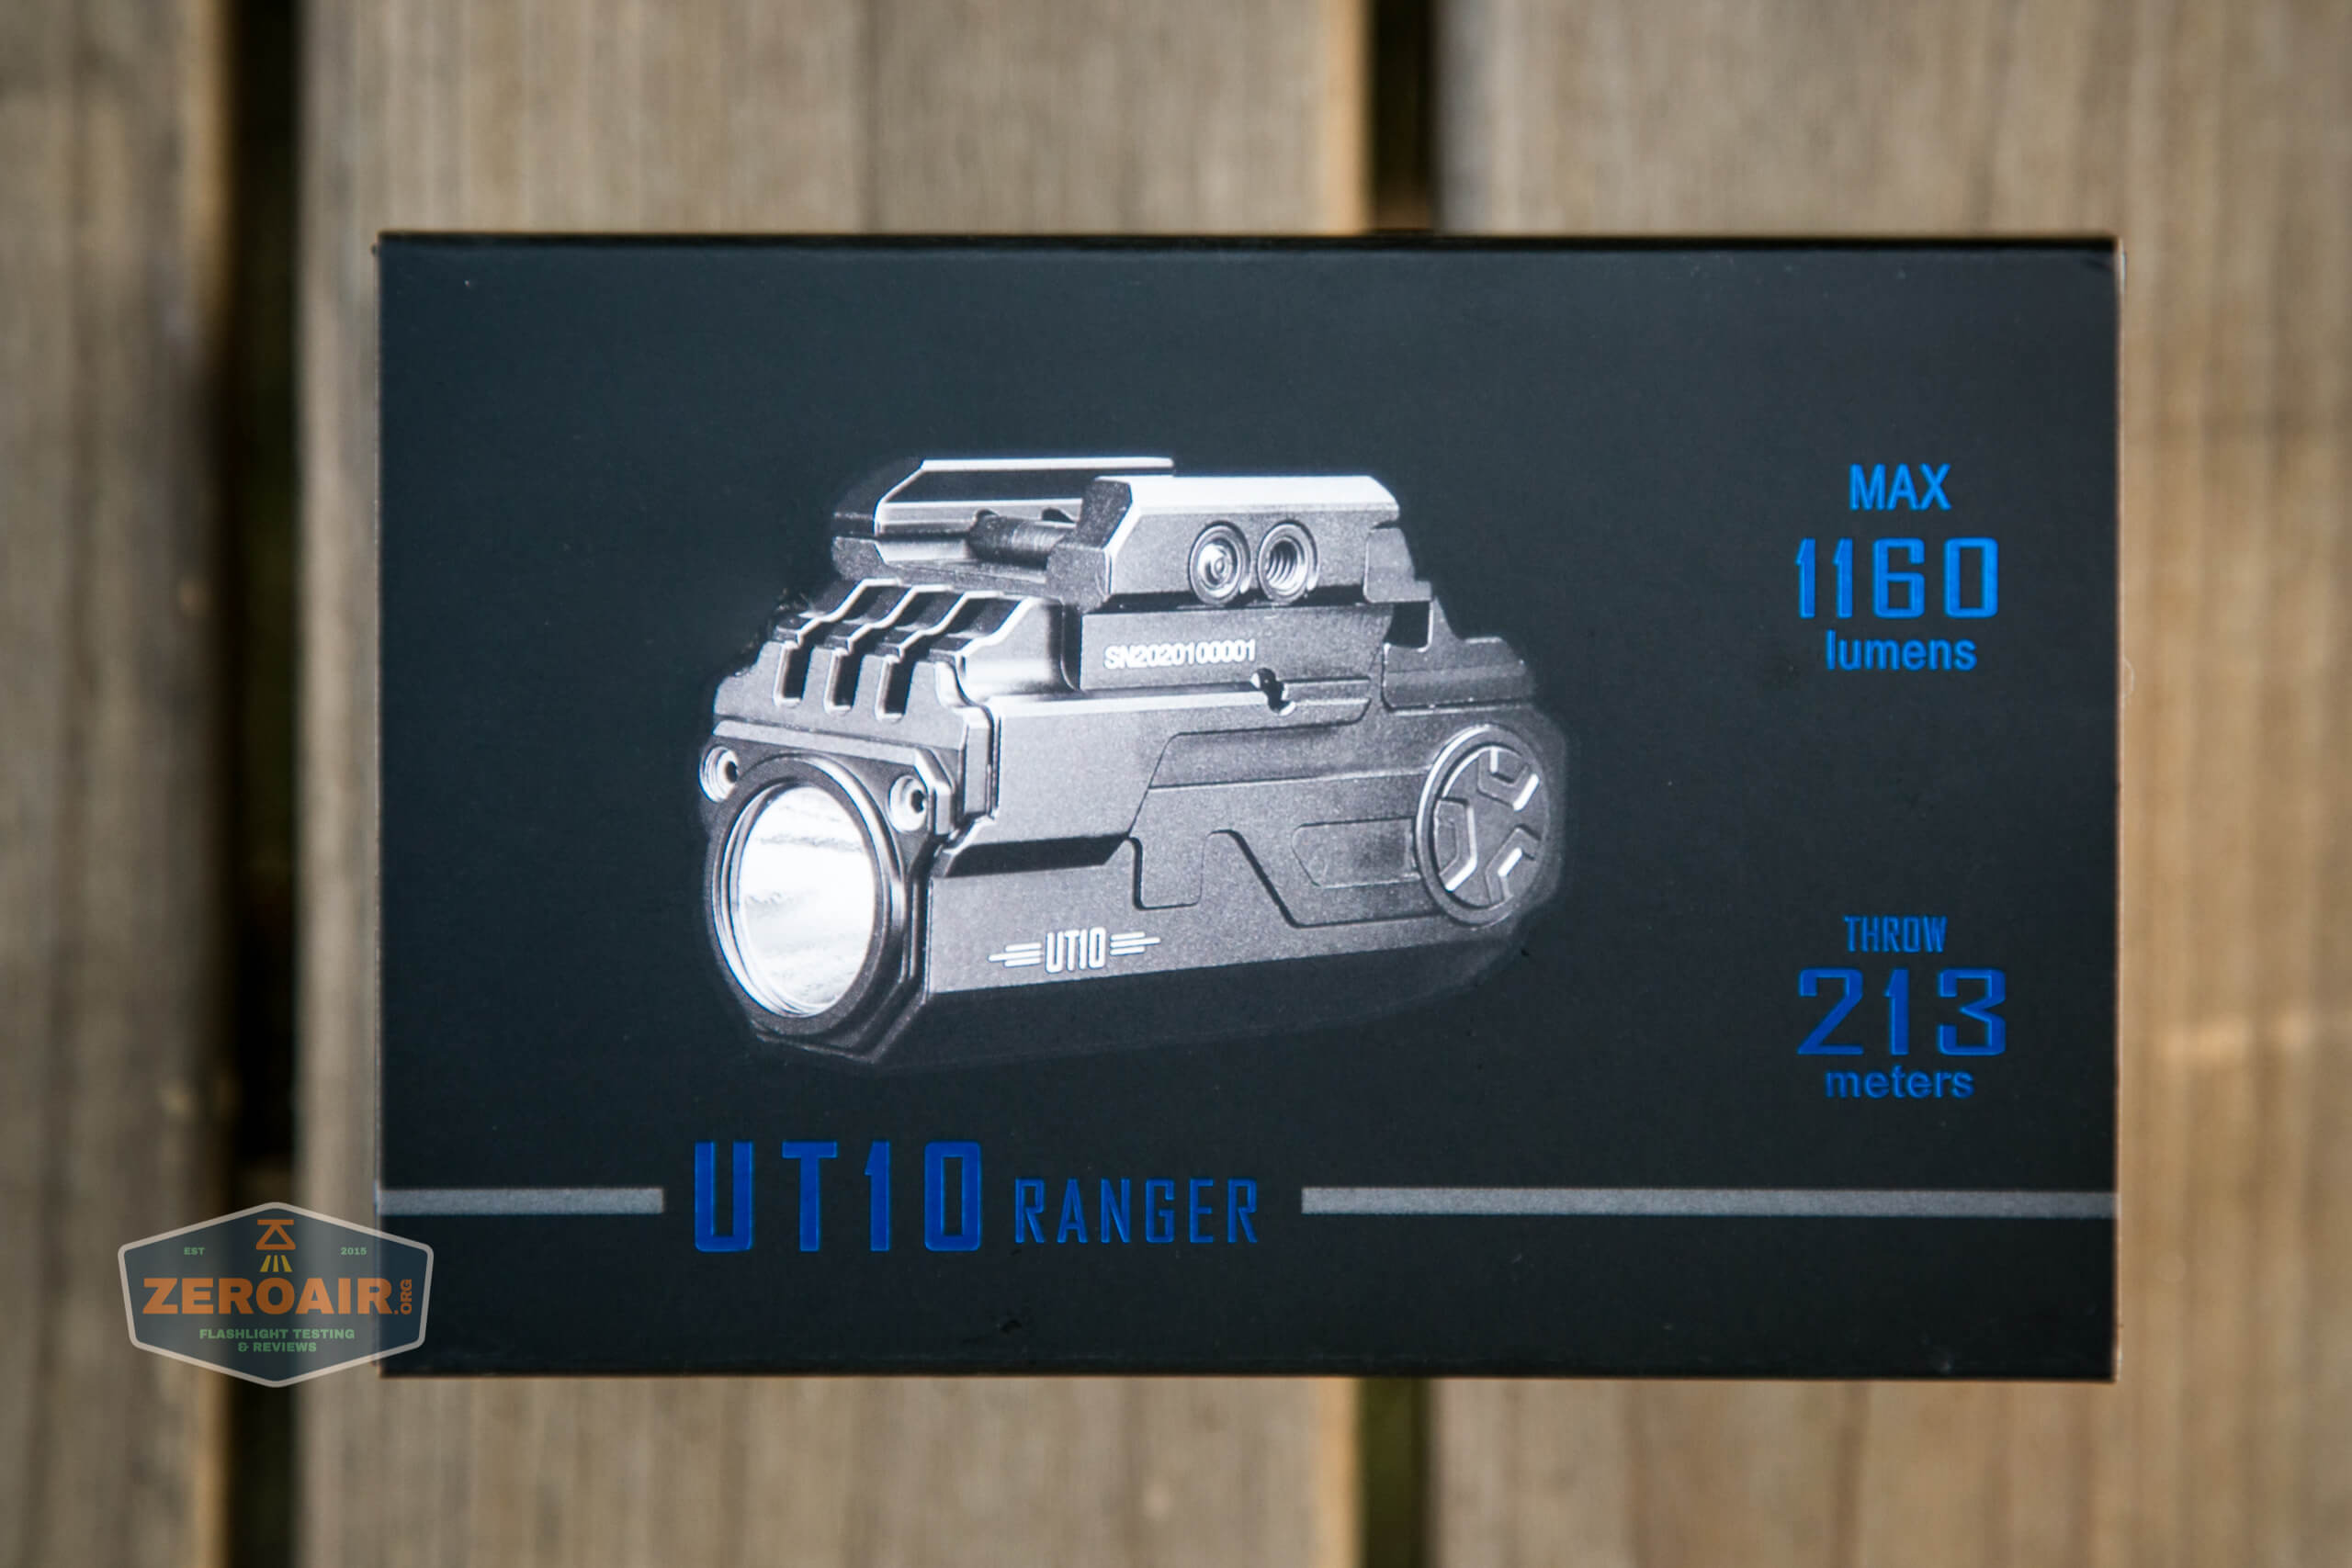
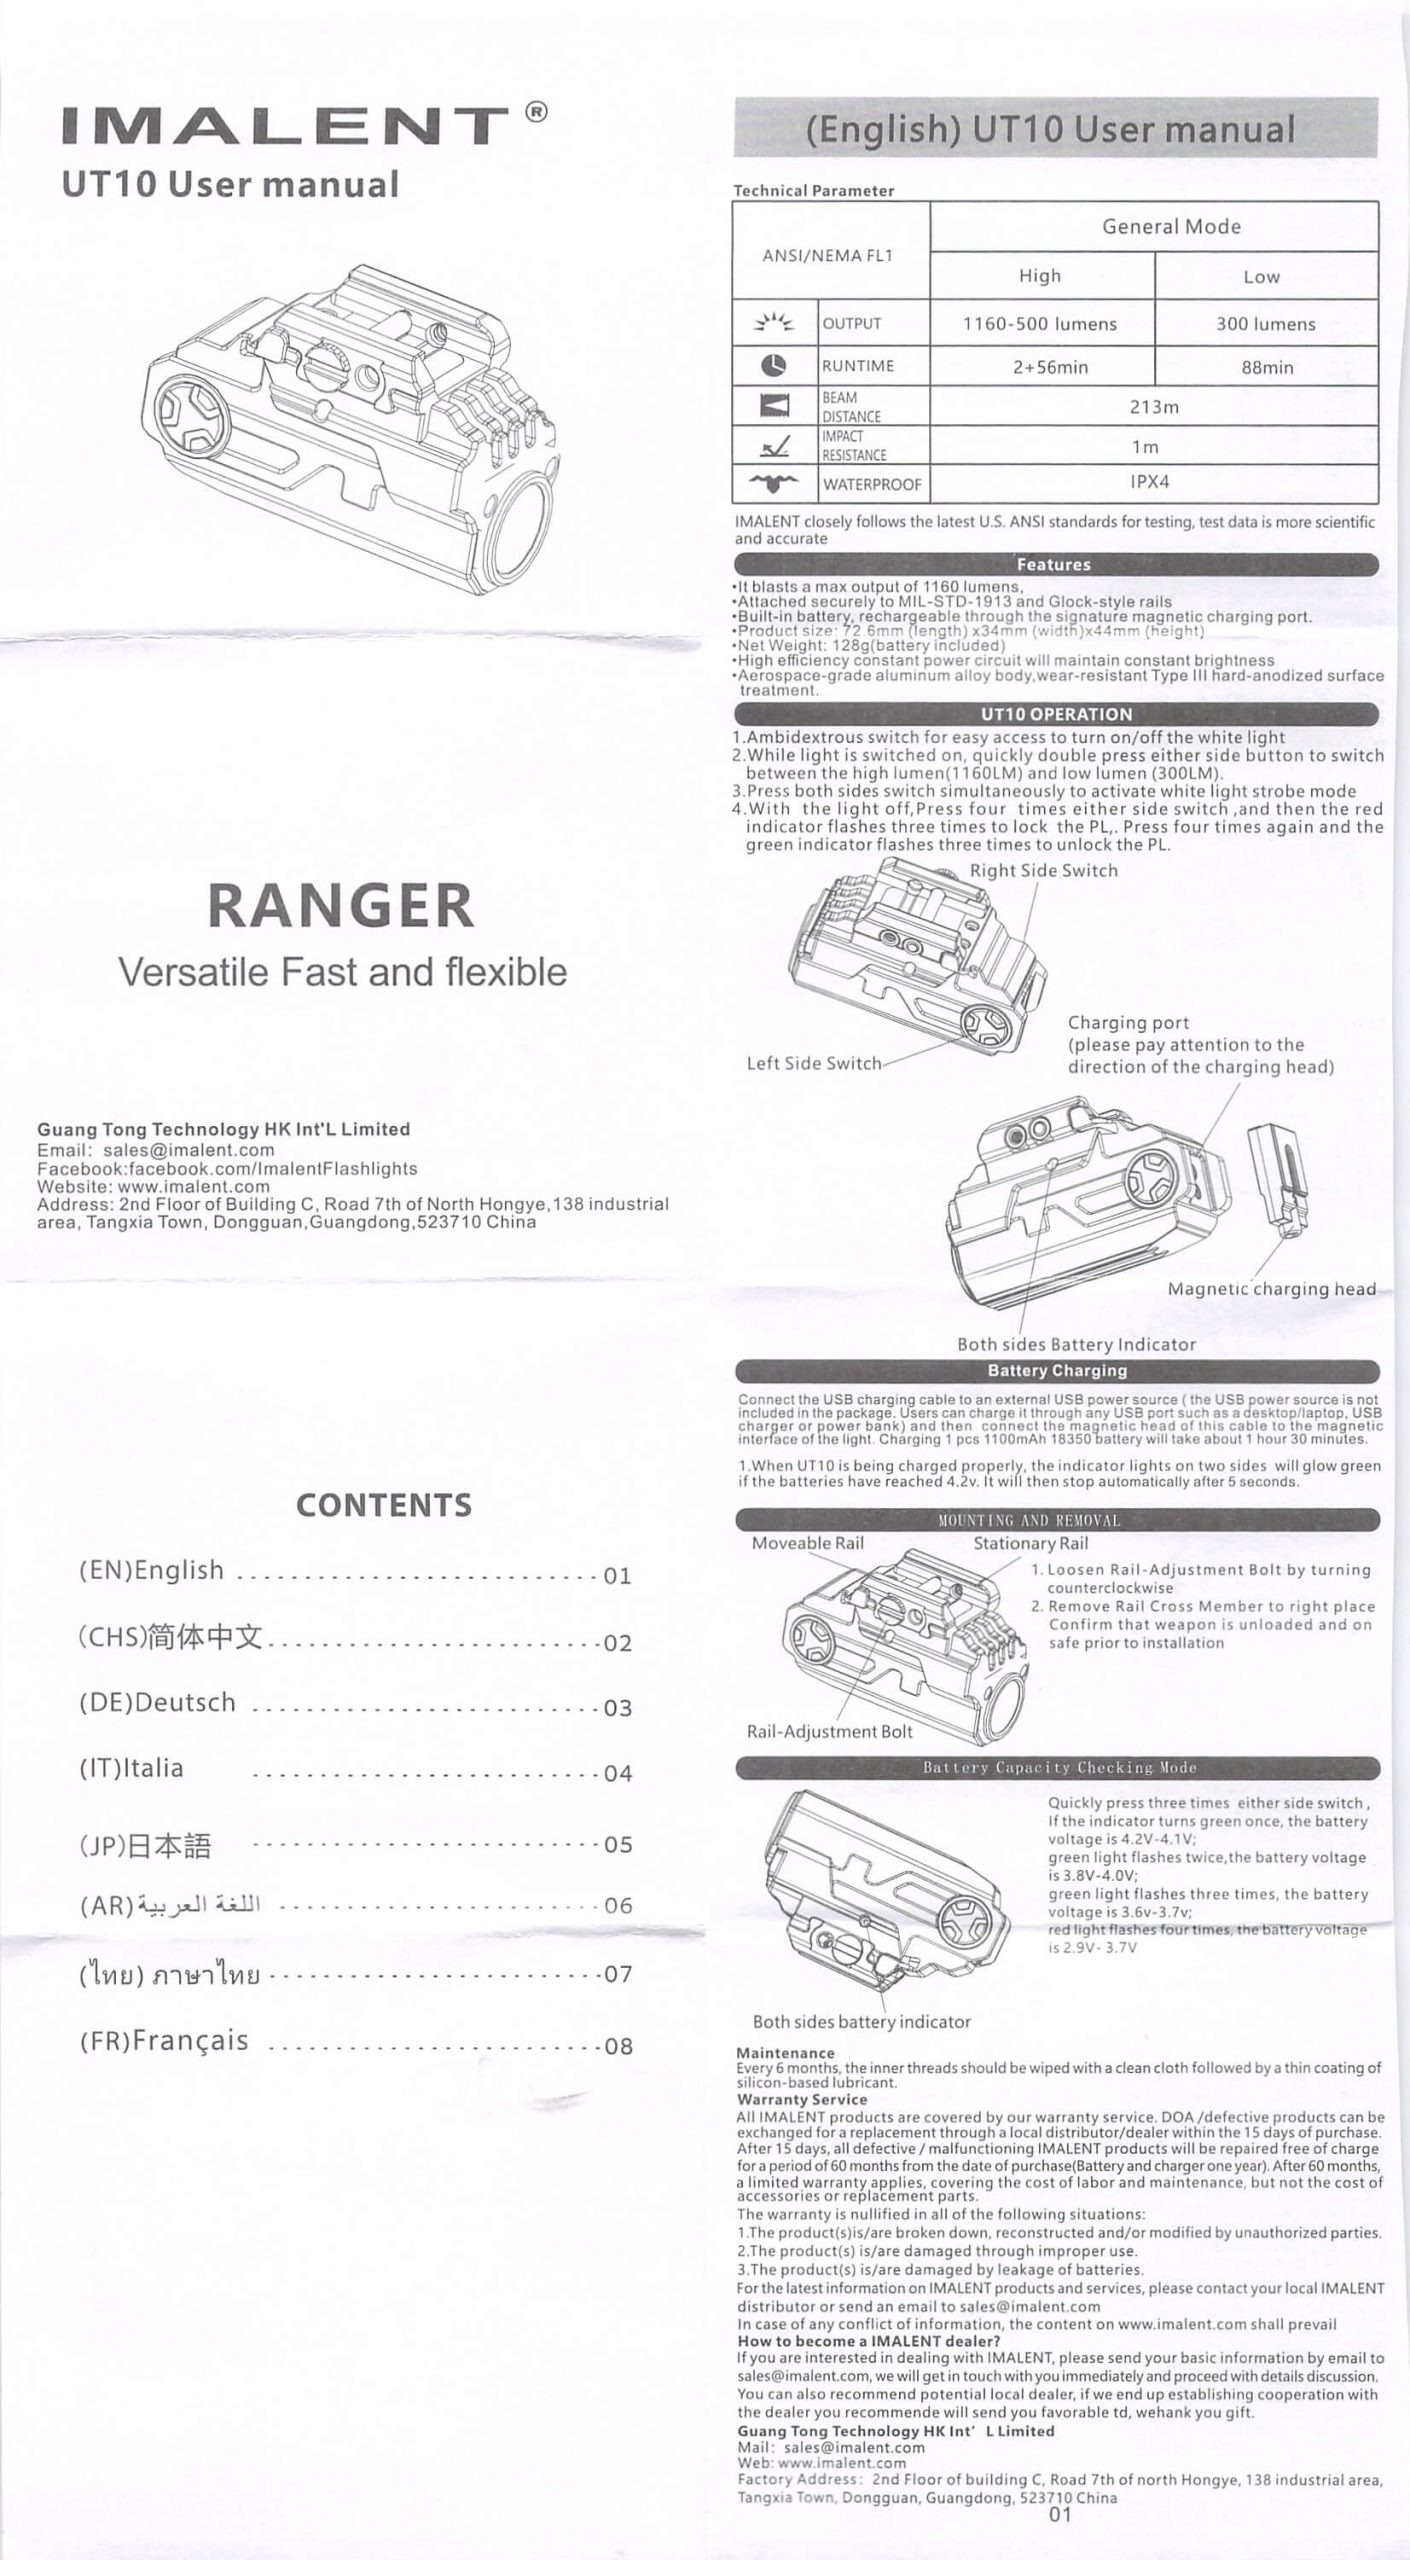
| Claimed Lumens (lm) | 1160 |
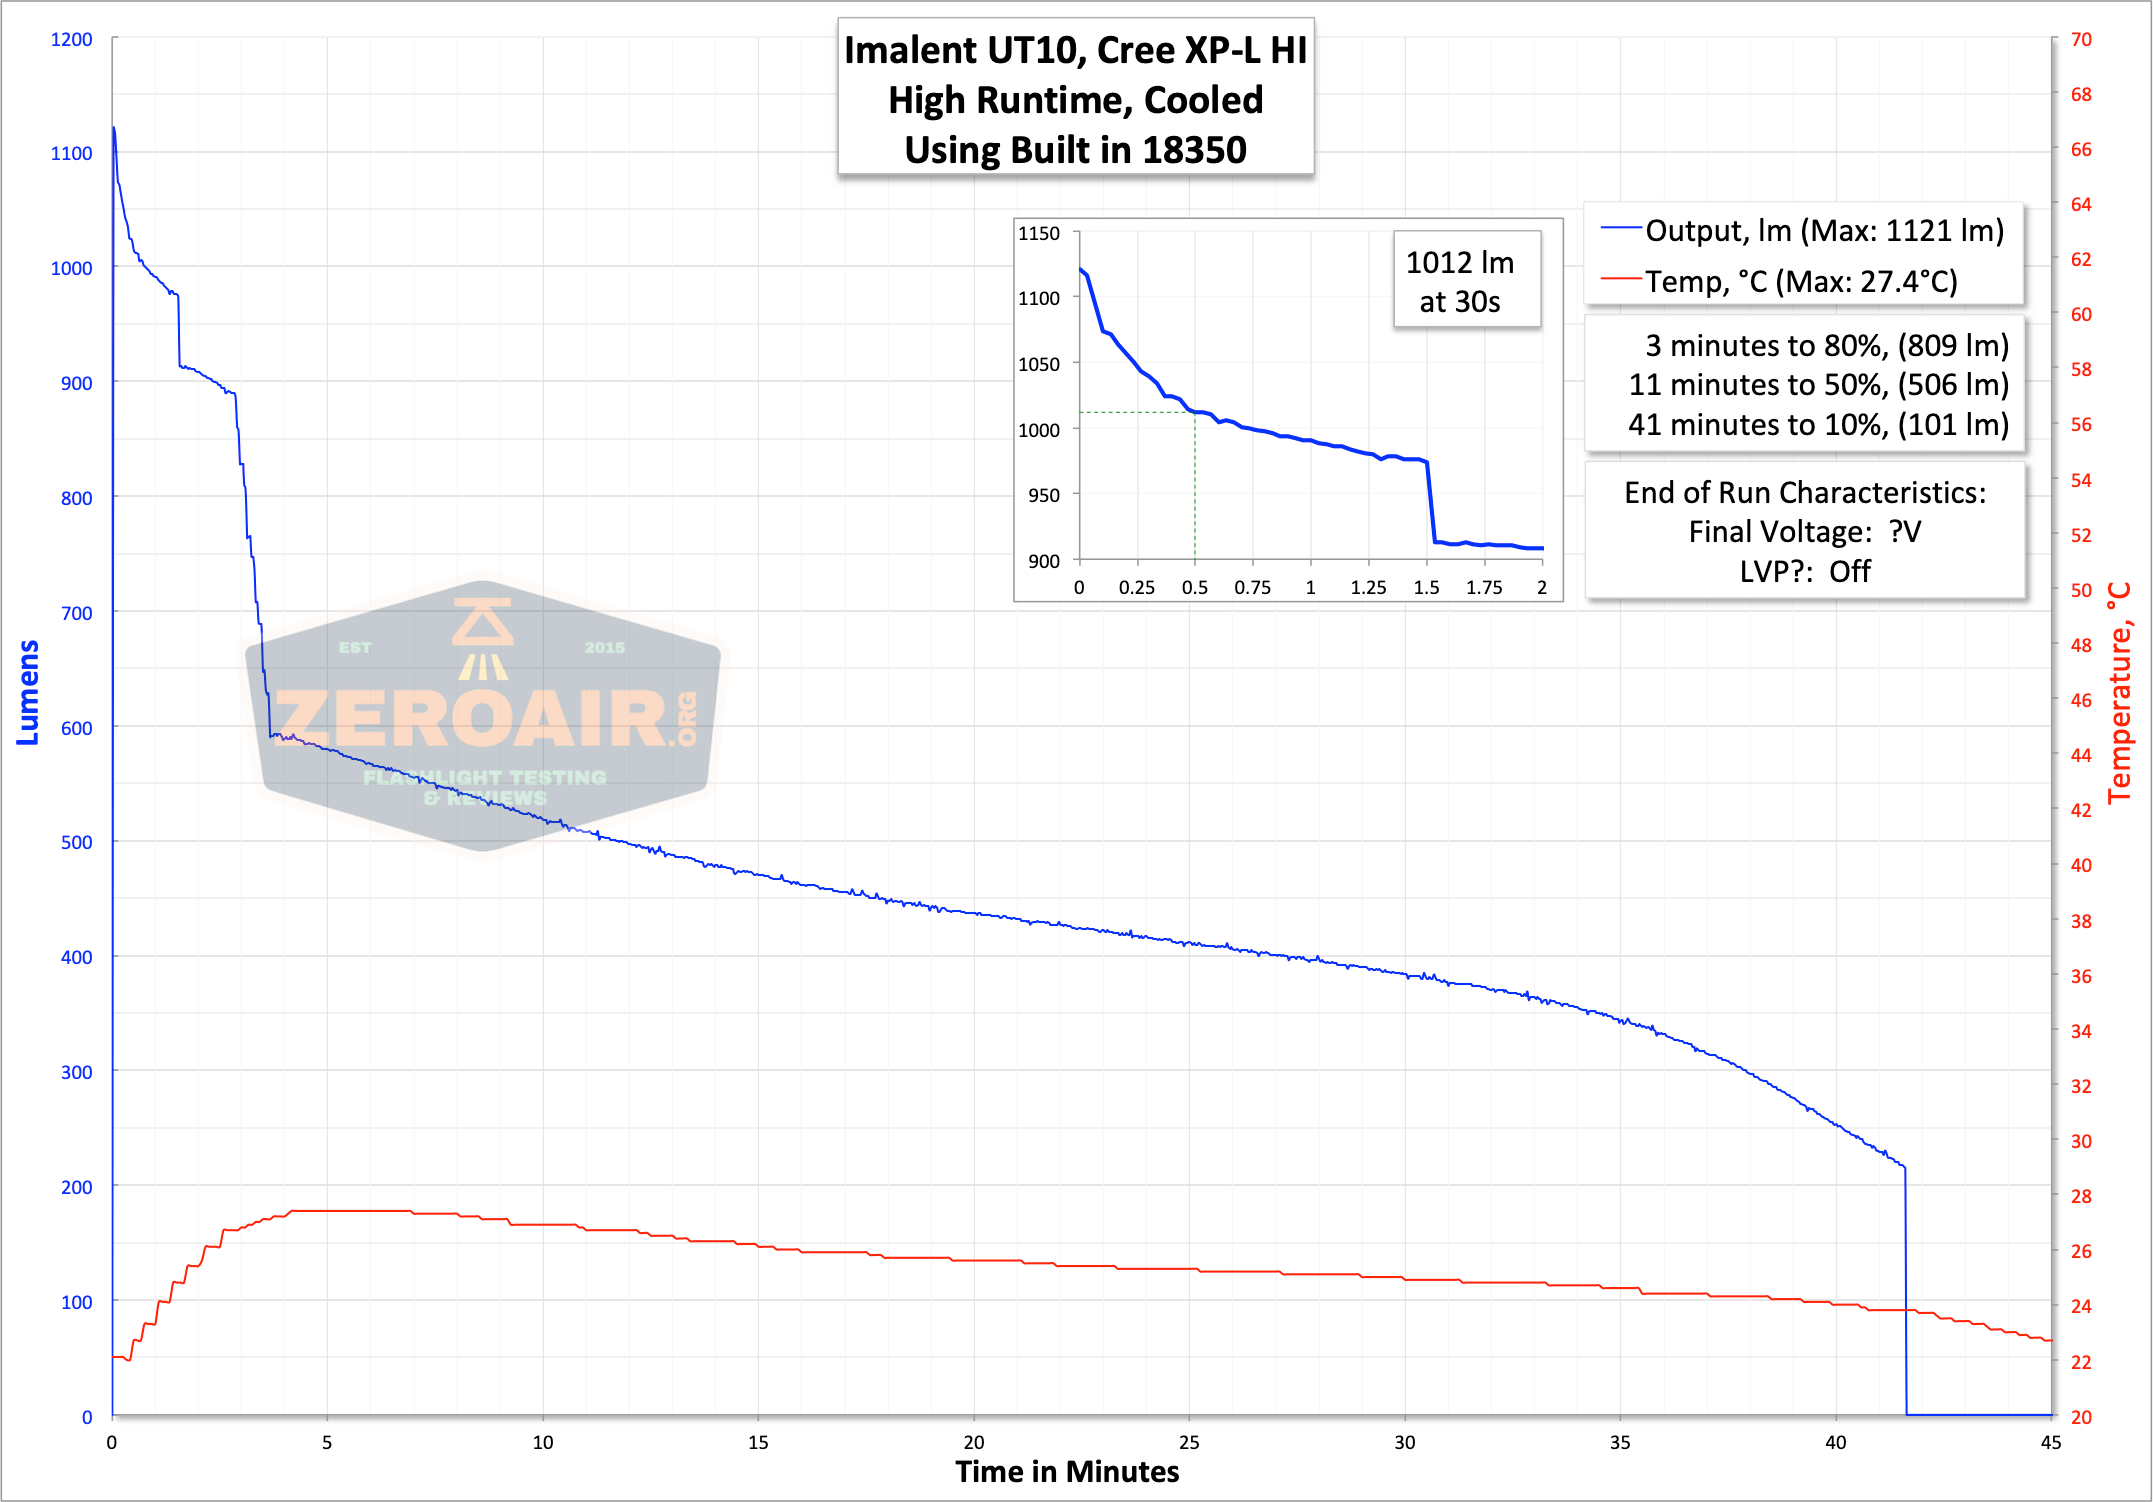
| Measured Lumens (at 30s) | 1012 (87.2% of claim)^ |
| Candela per Lumen | 13.3 |
| Claimed Throw (m) | 213 |
| Candela (Calculated) in cd (at 30s) | 889lux @ 3.969m = 14004cd |
| Throw (Calculated) (m) | 236.7 (111.1% of claim)^ |
| All my Imalent reviews! | |
^ Measurement disclaimer: Testing flashlights is my hobby. I use hobbyist-level equipment for testing, including some I made myself. Try not to get buried in the details of manufacturer specifications versus measurements recorded here; A certain amount of difference (say, 10 or 15%) is perfectly reasonable.
What’s Included
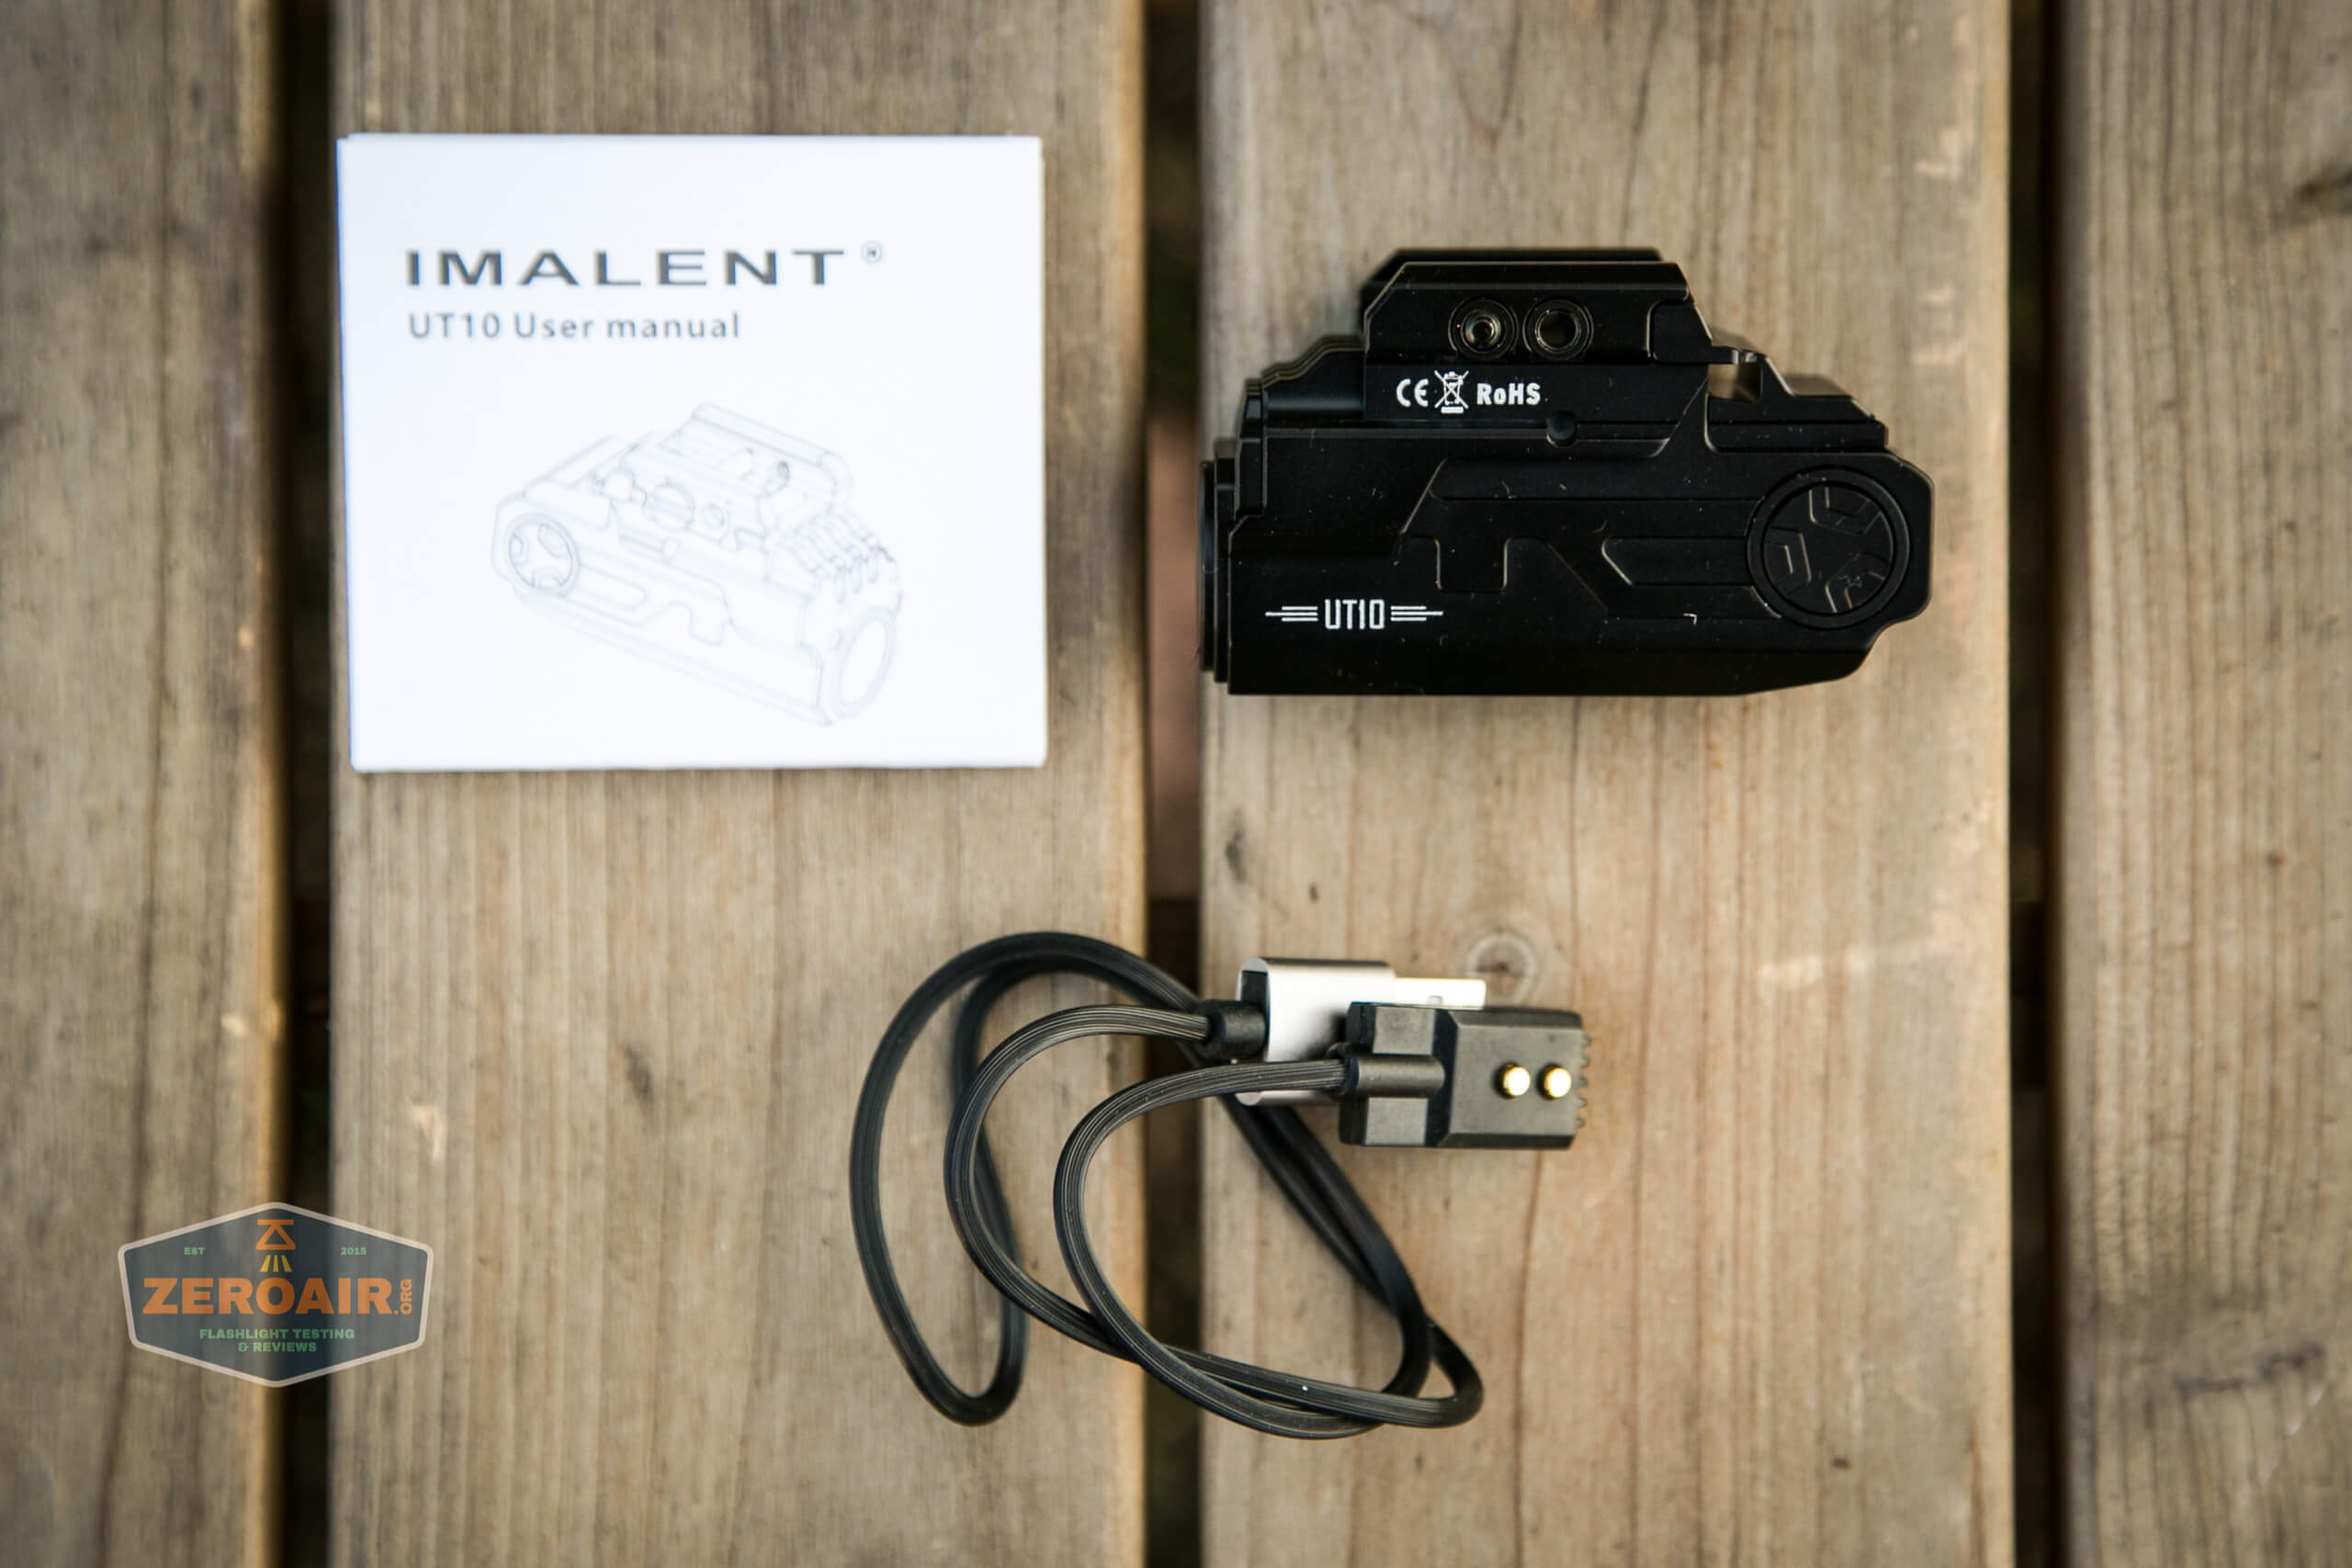
- Imalent UT10 Tactical Weapon Flashlight
- Charge cable (USB to proprietary magnetic)
- Manual
Package and Manual
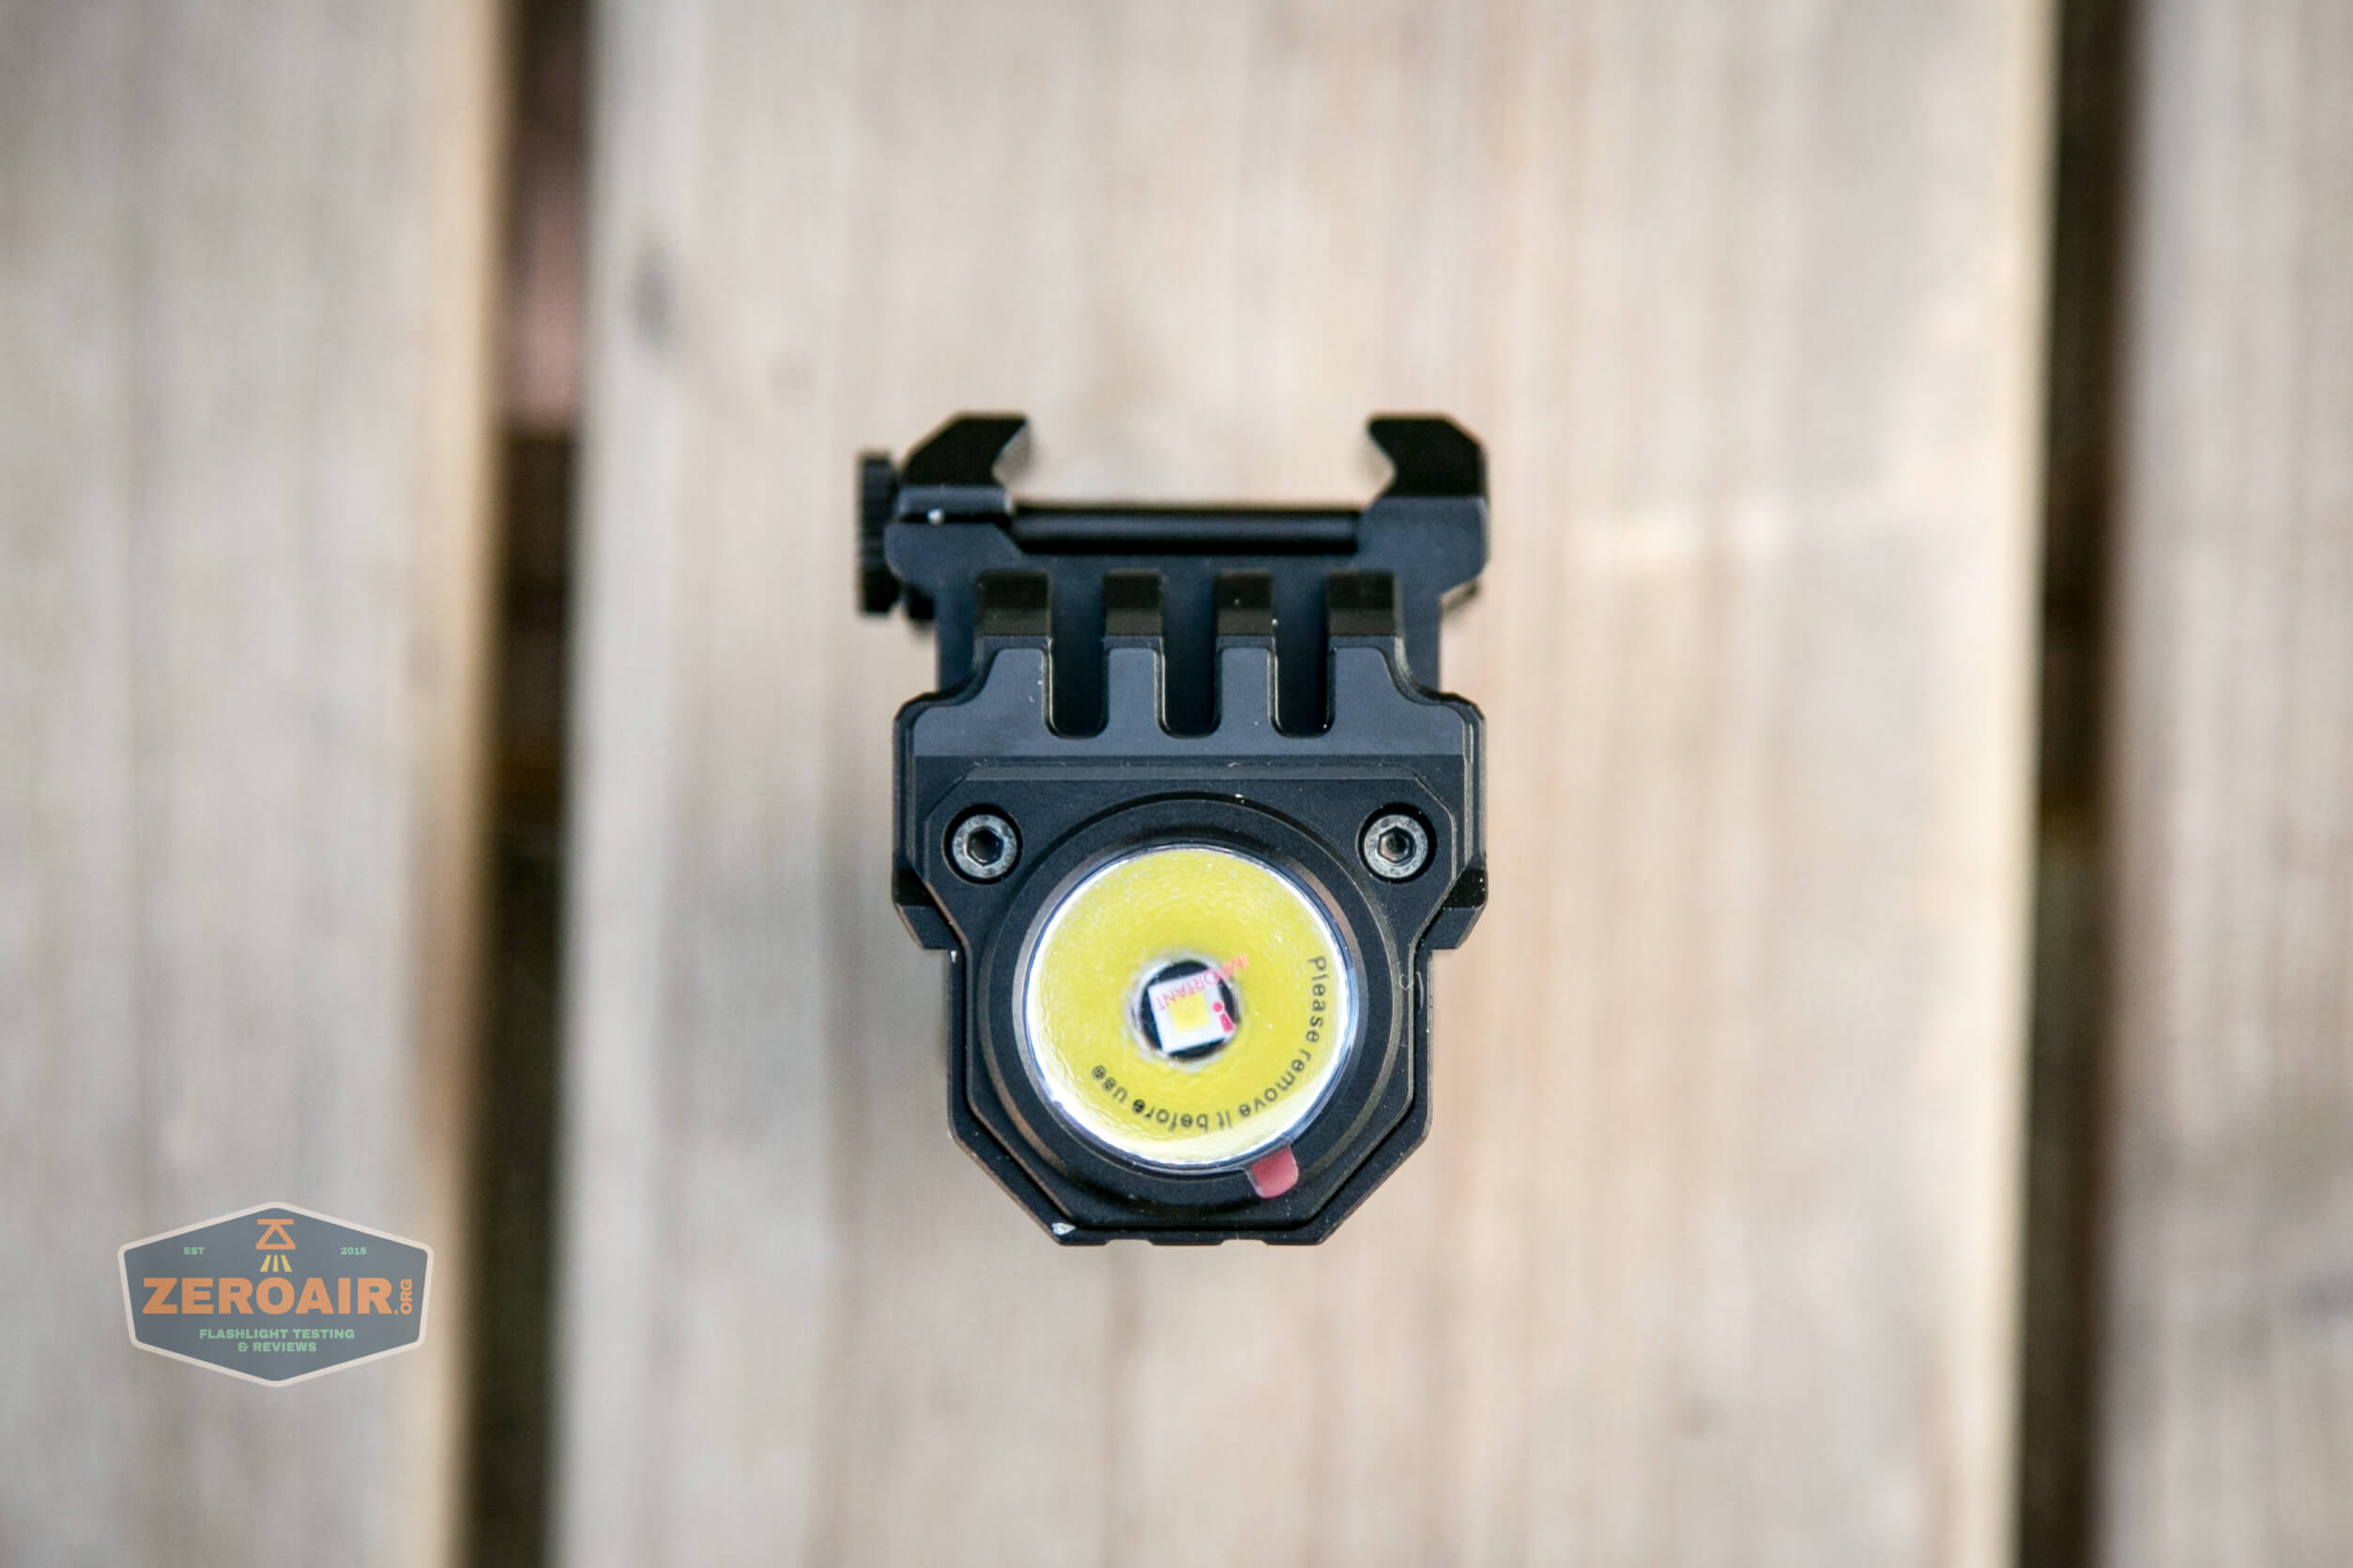
The lens has a protector, which you’ll need to remove.
Build Quality and Disassembly
The Imalent UT10 is a solid light. Notably the battery is built-in, and as far as I can tell, not replaceable.

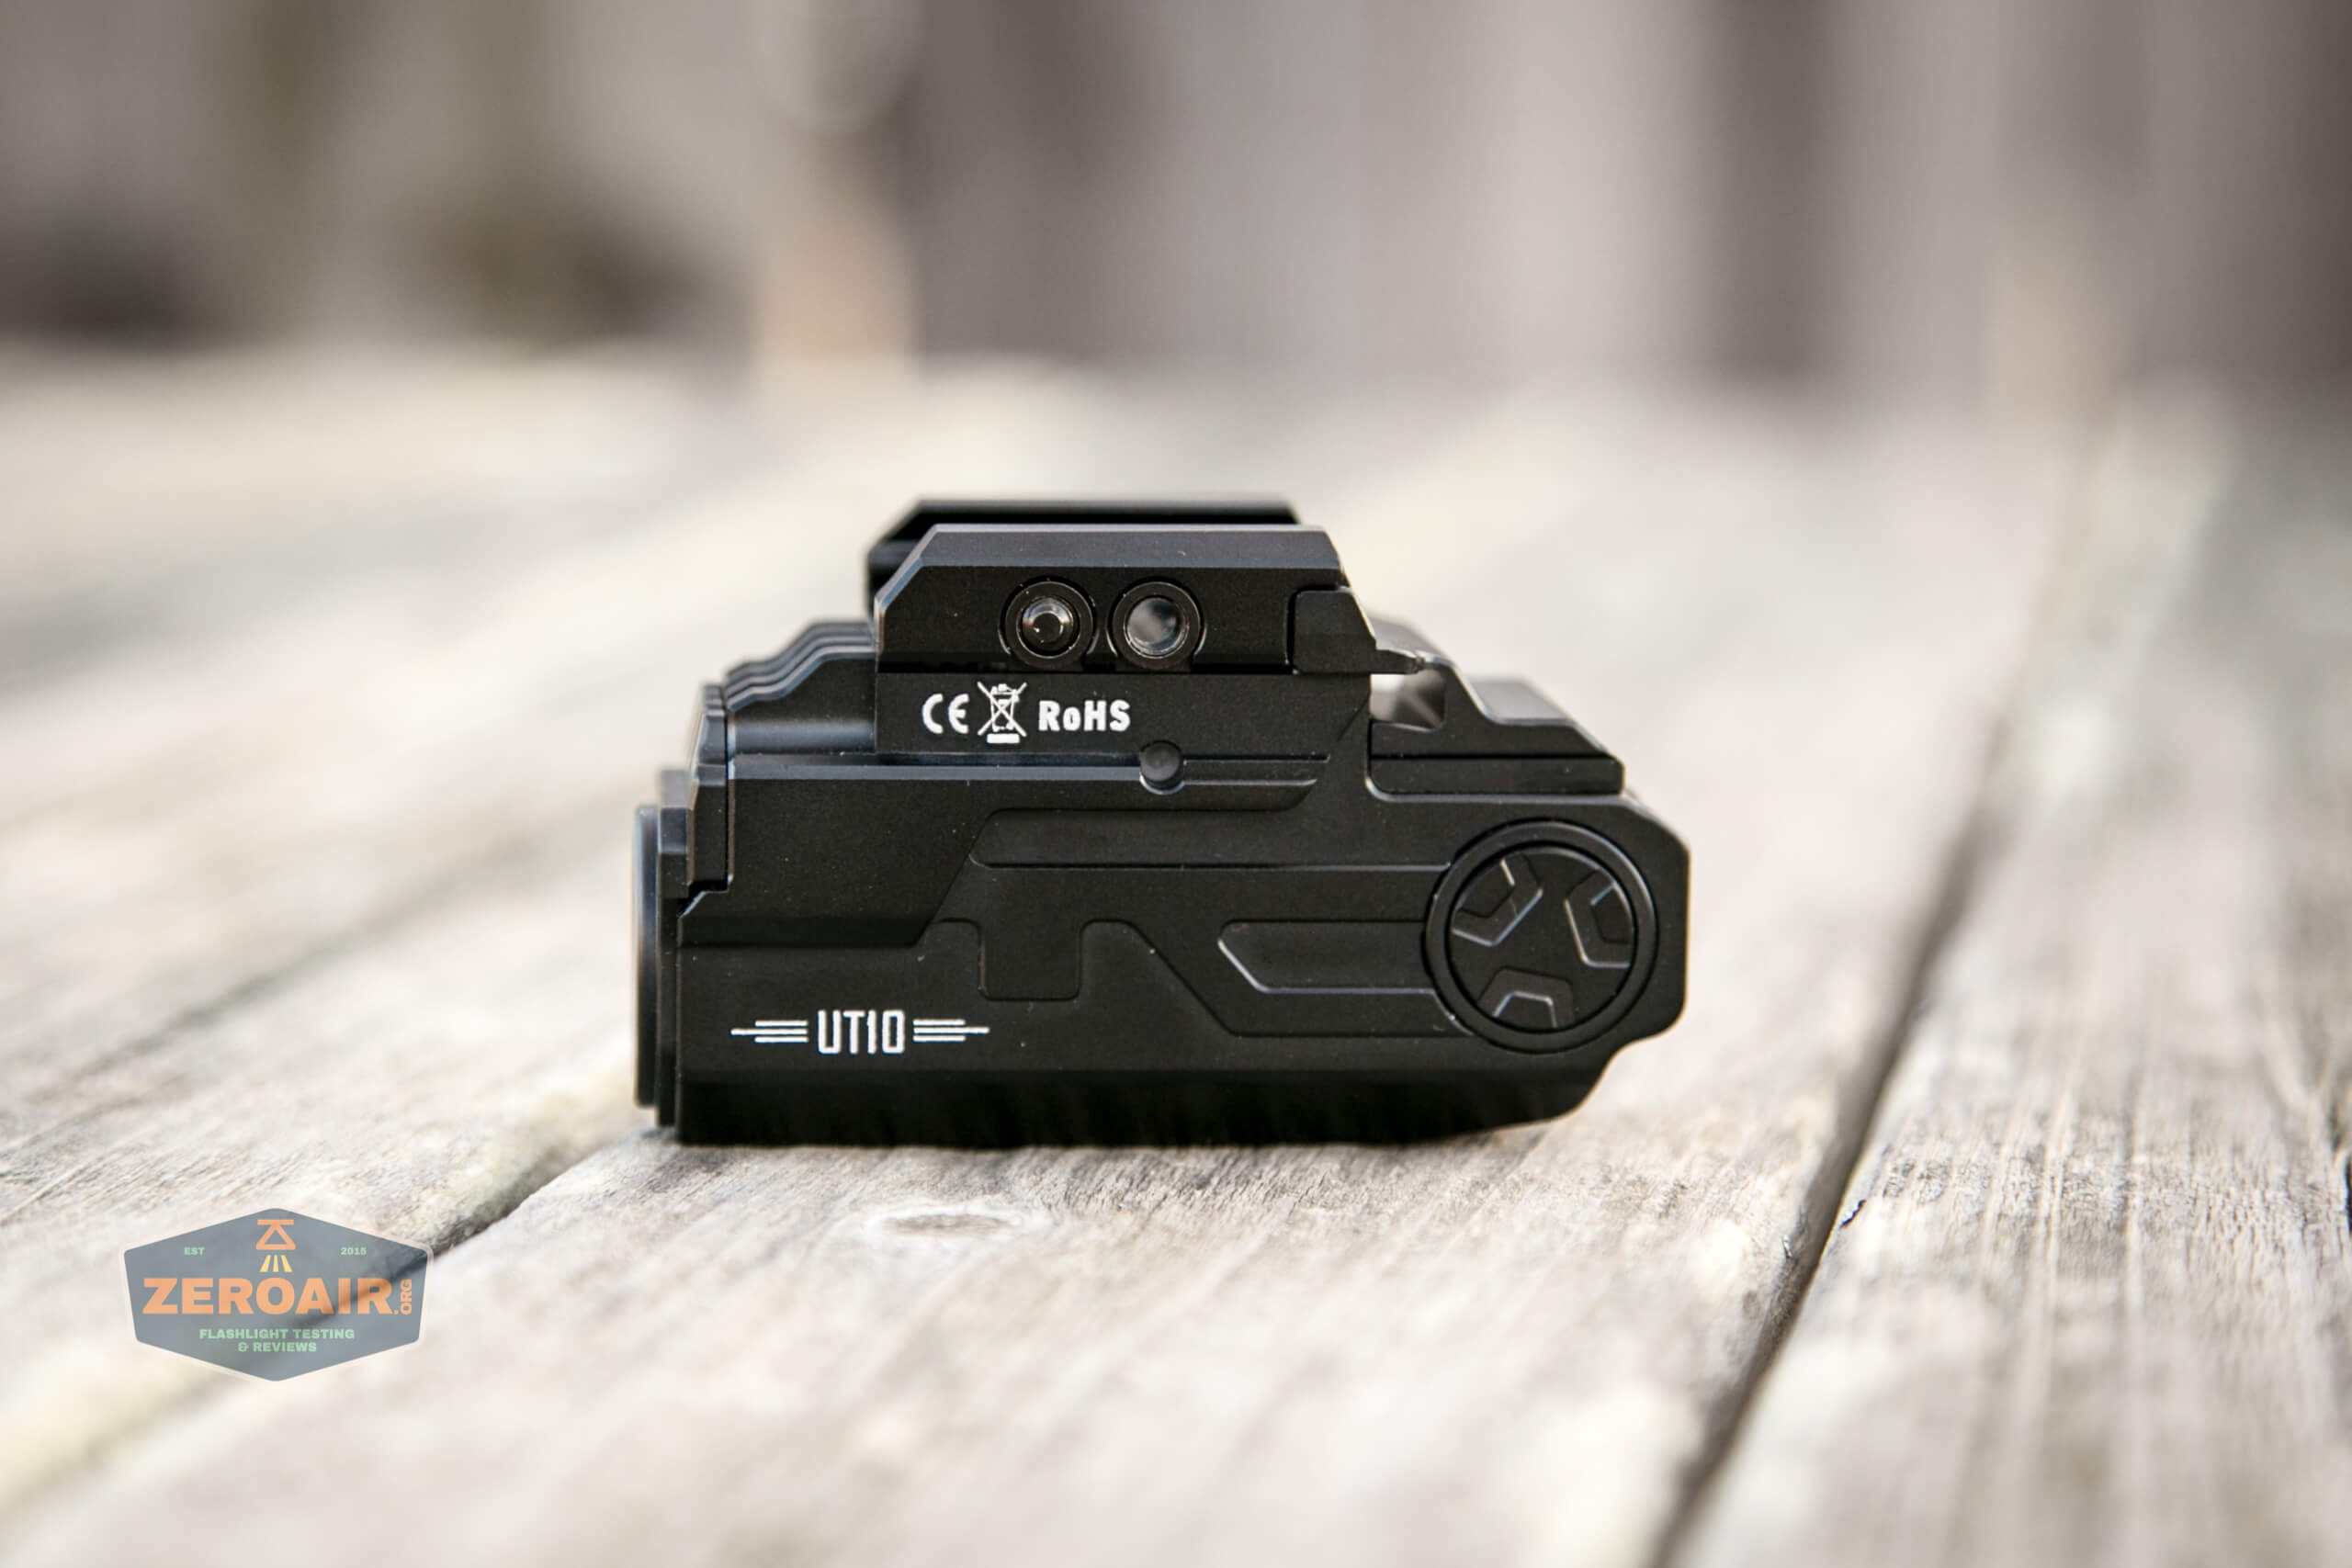
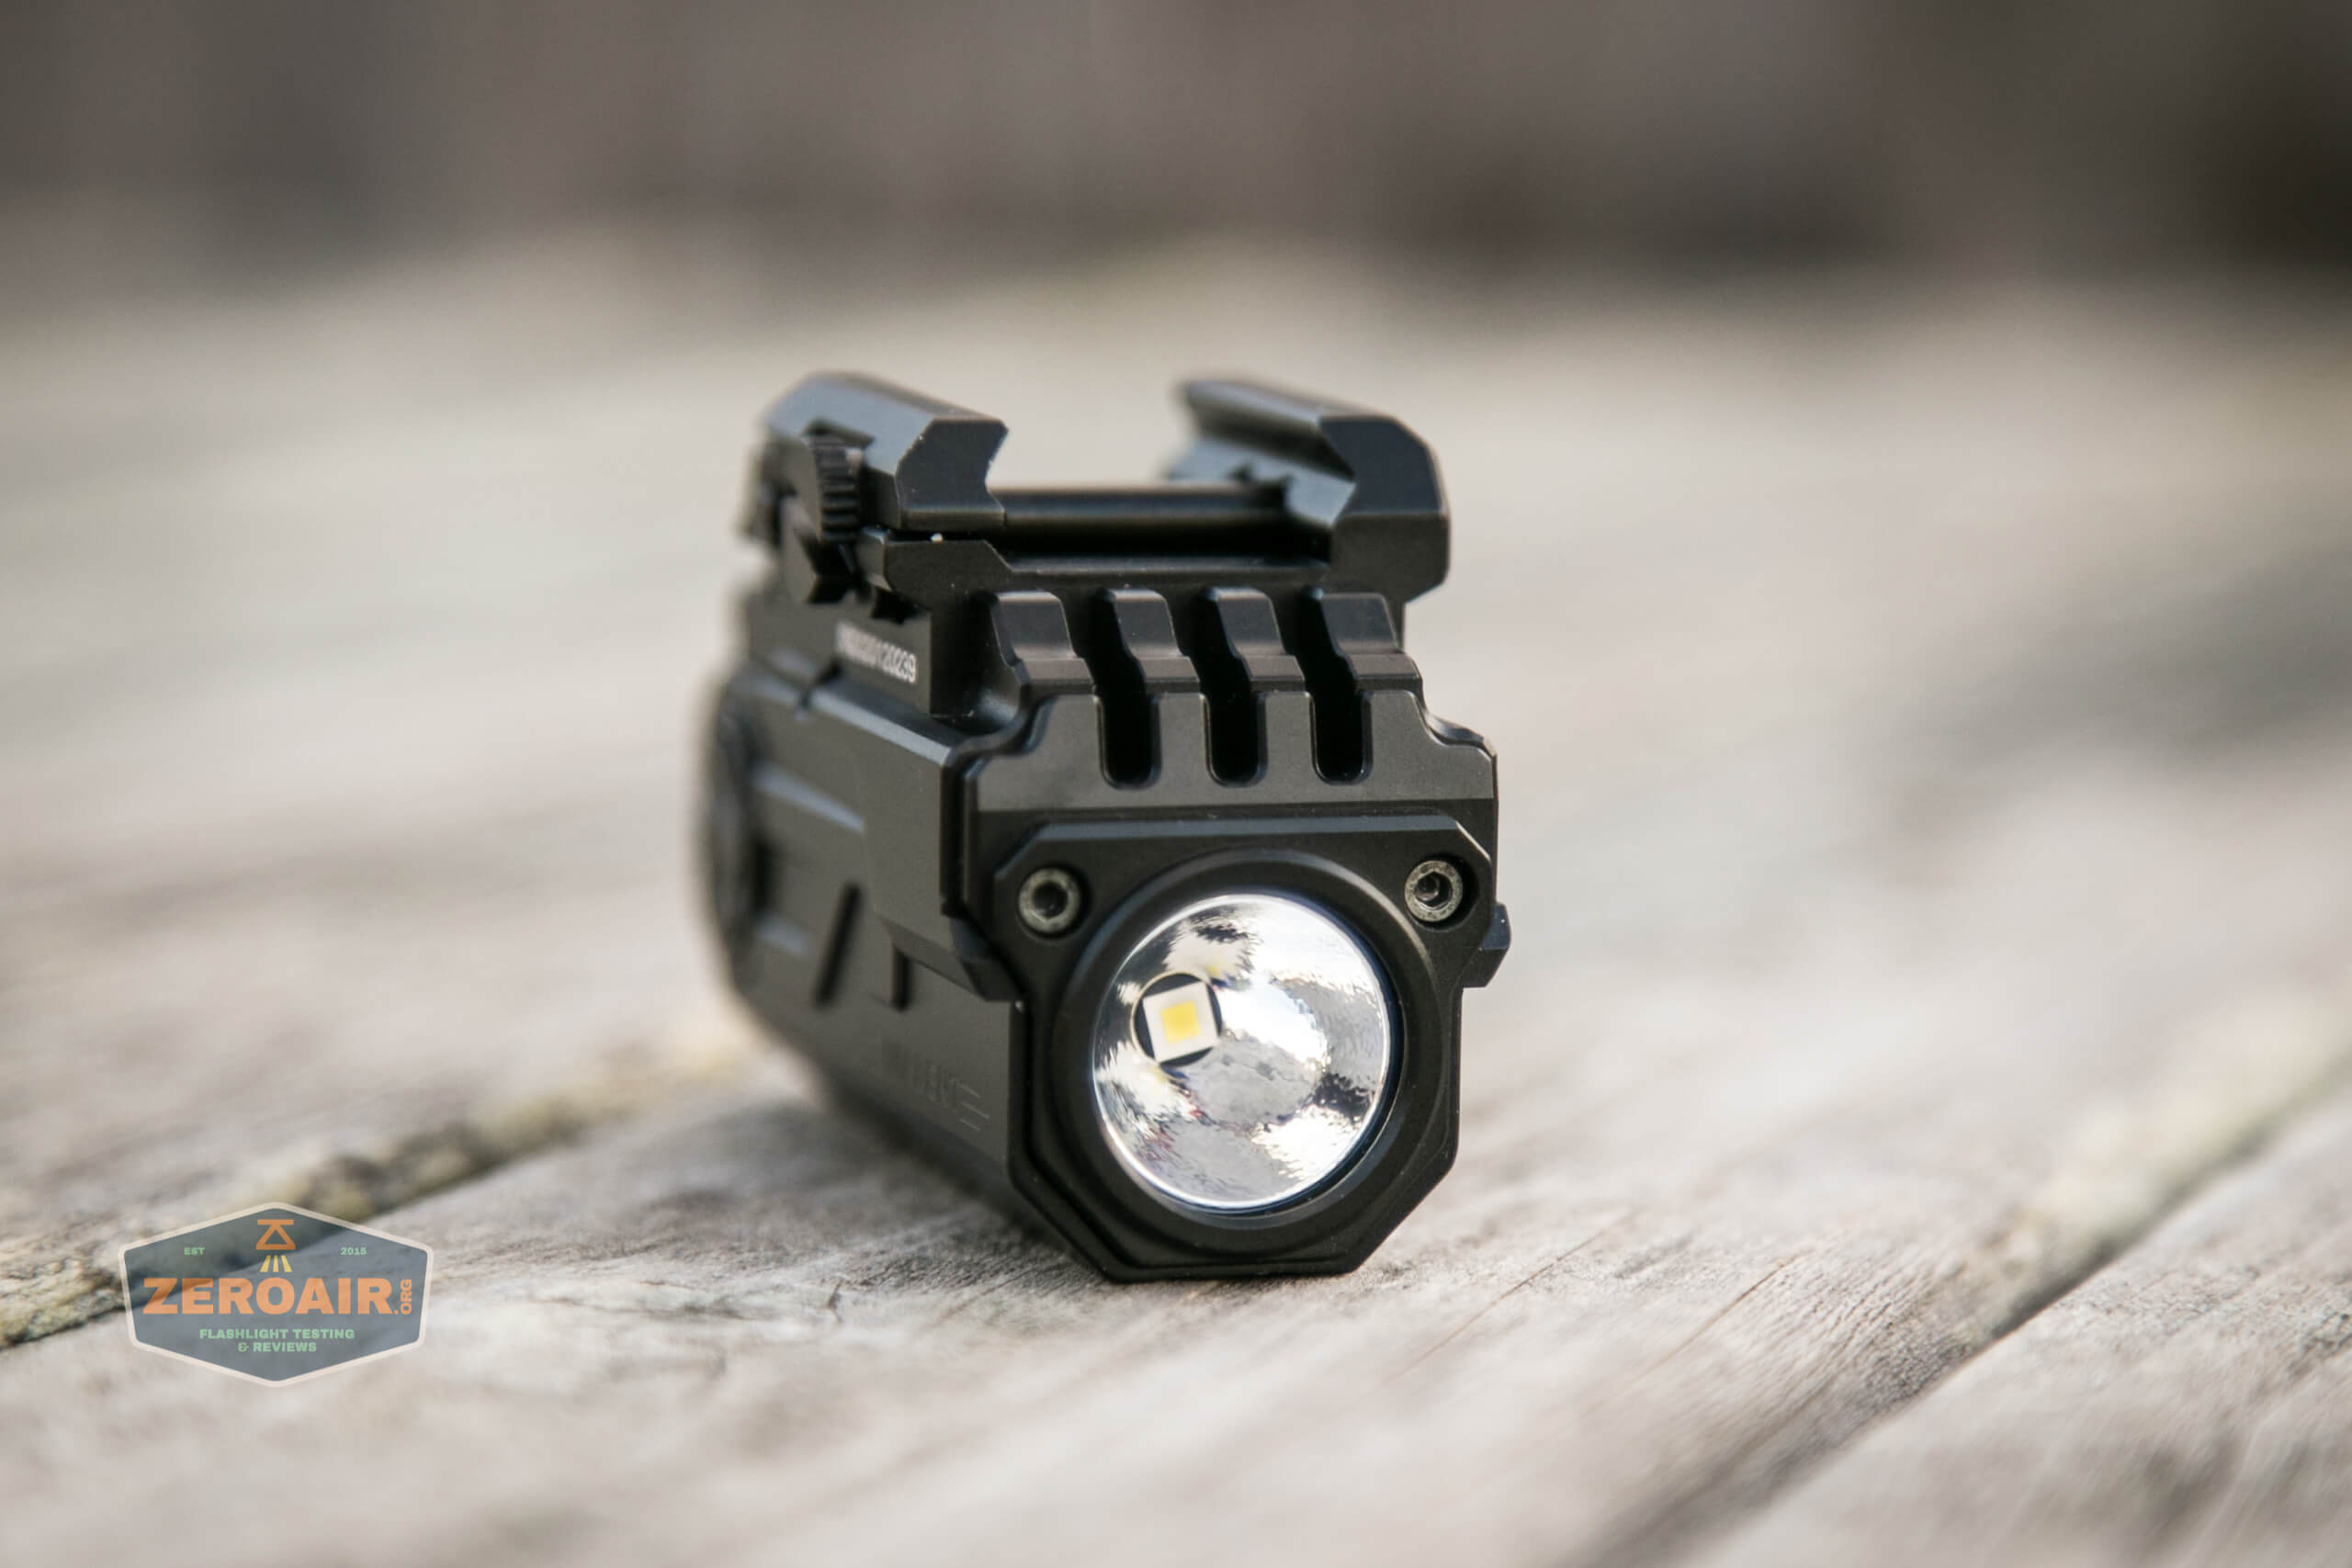
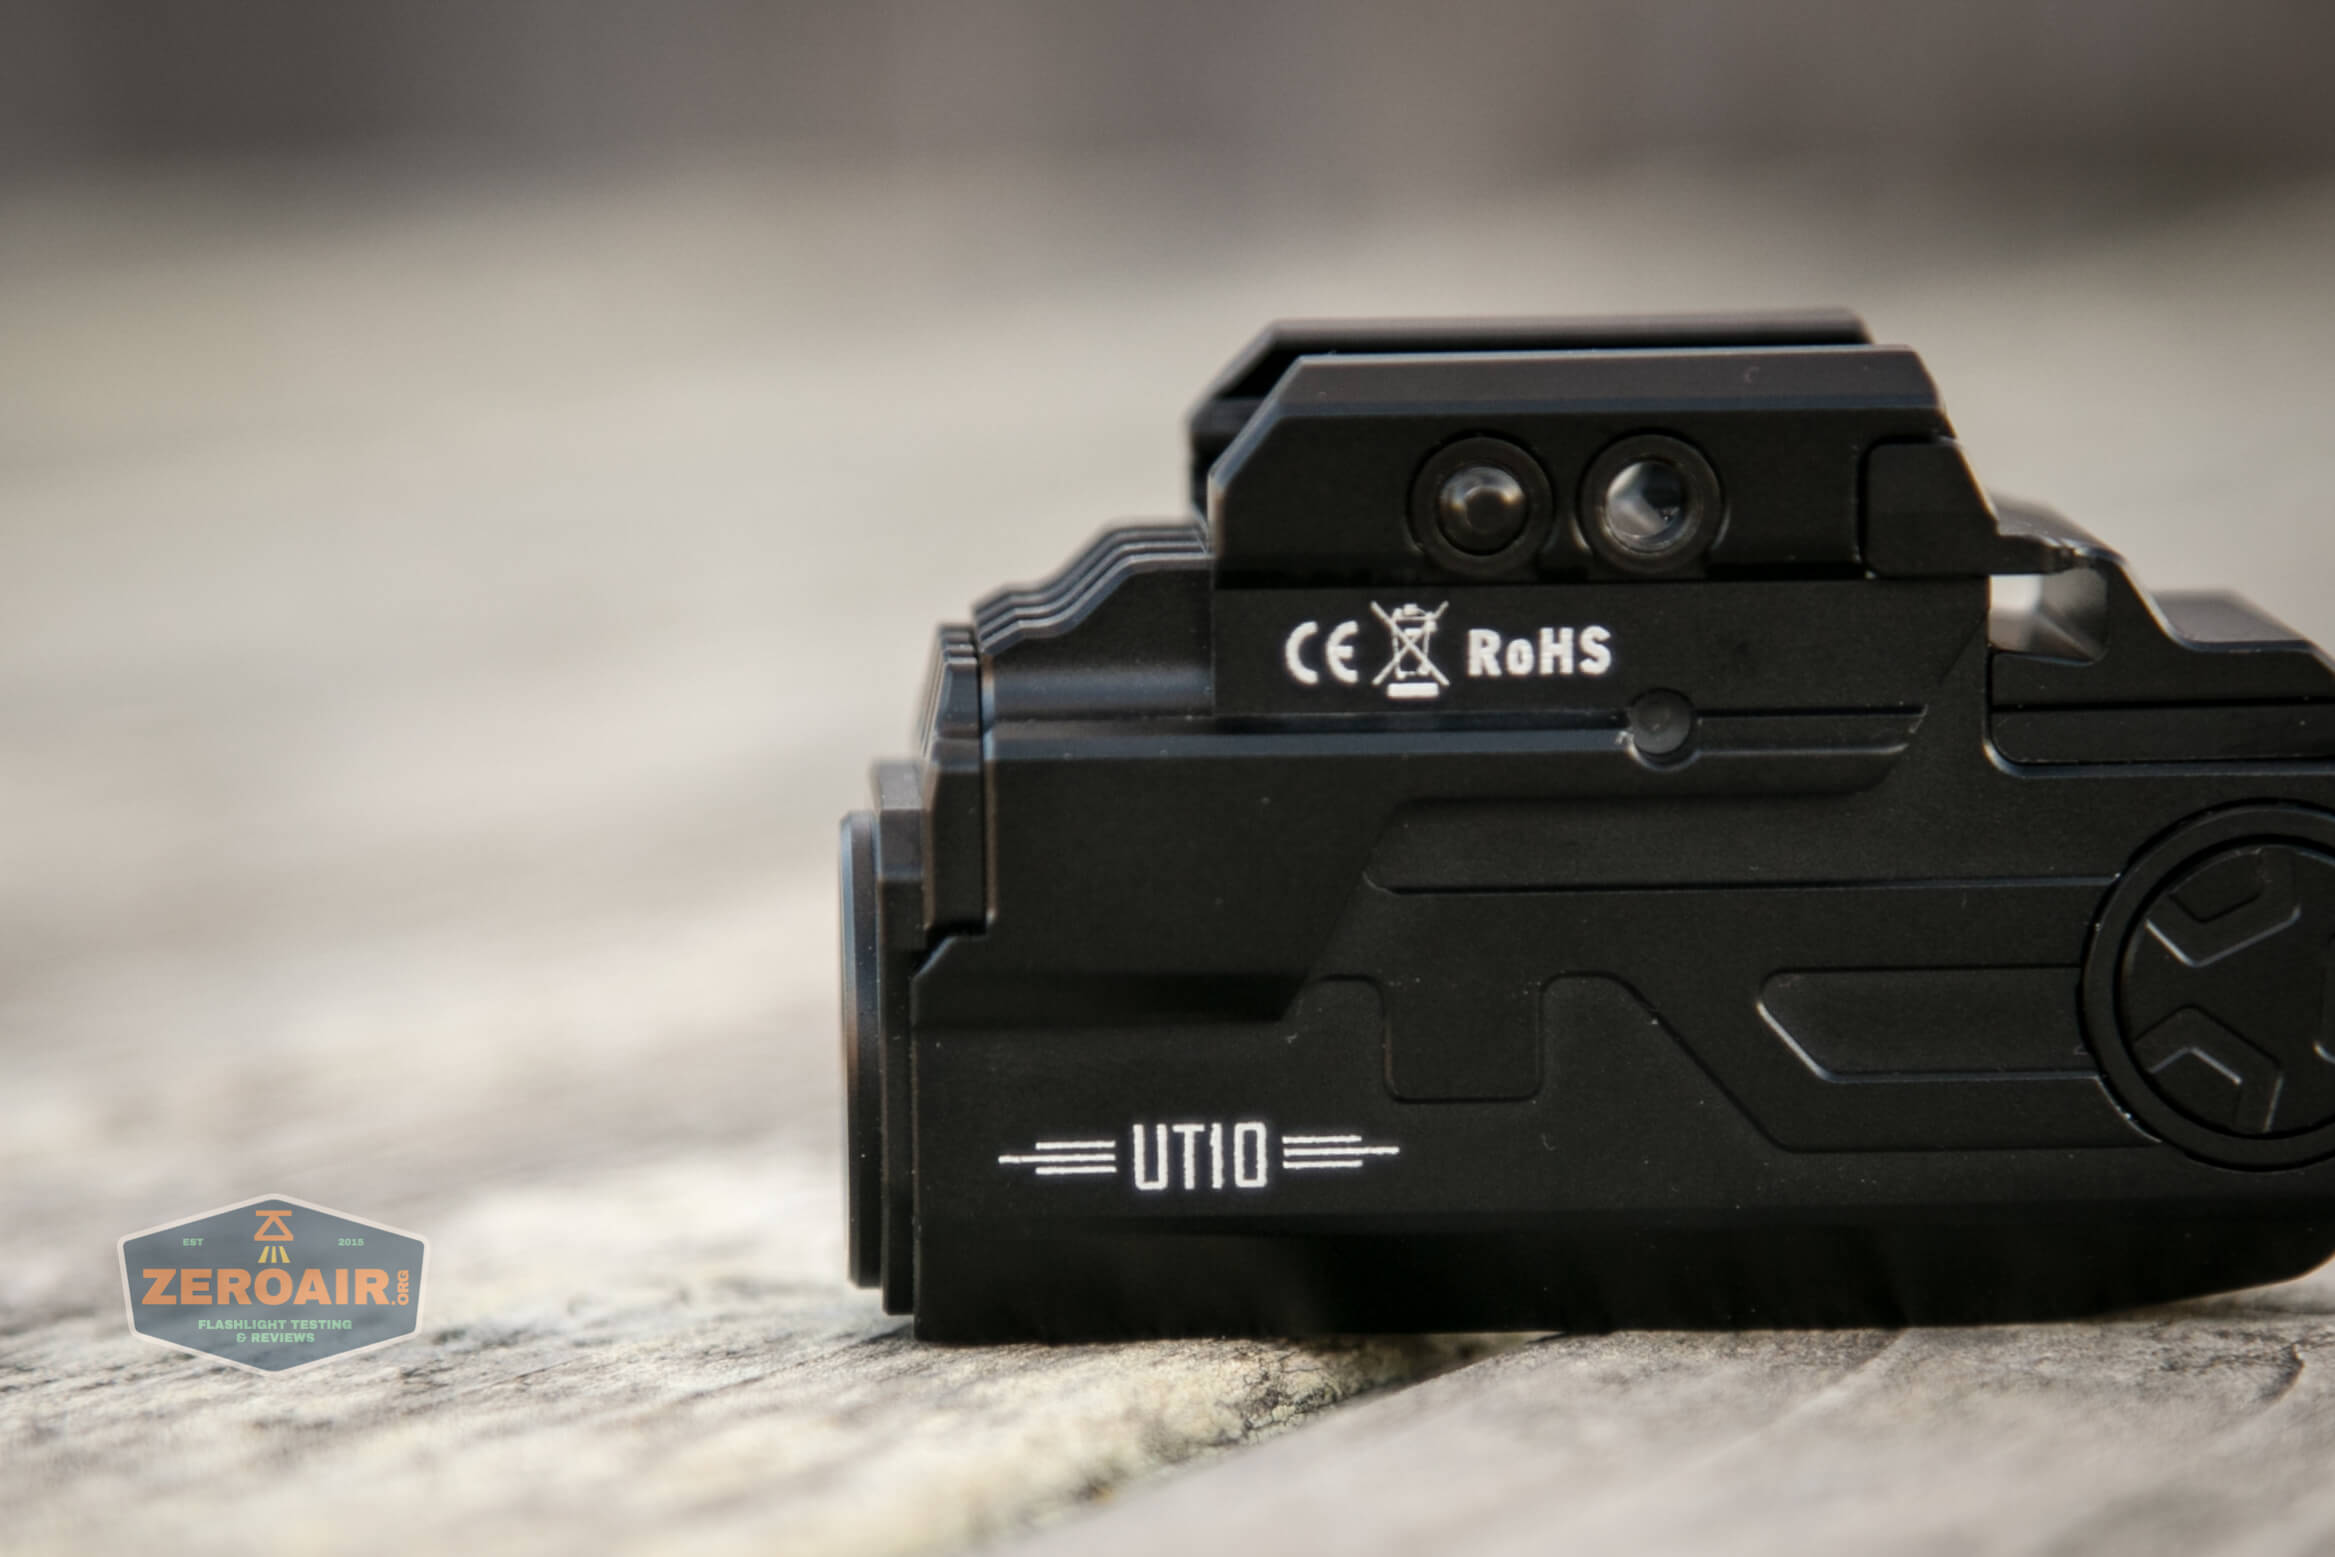
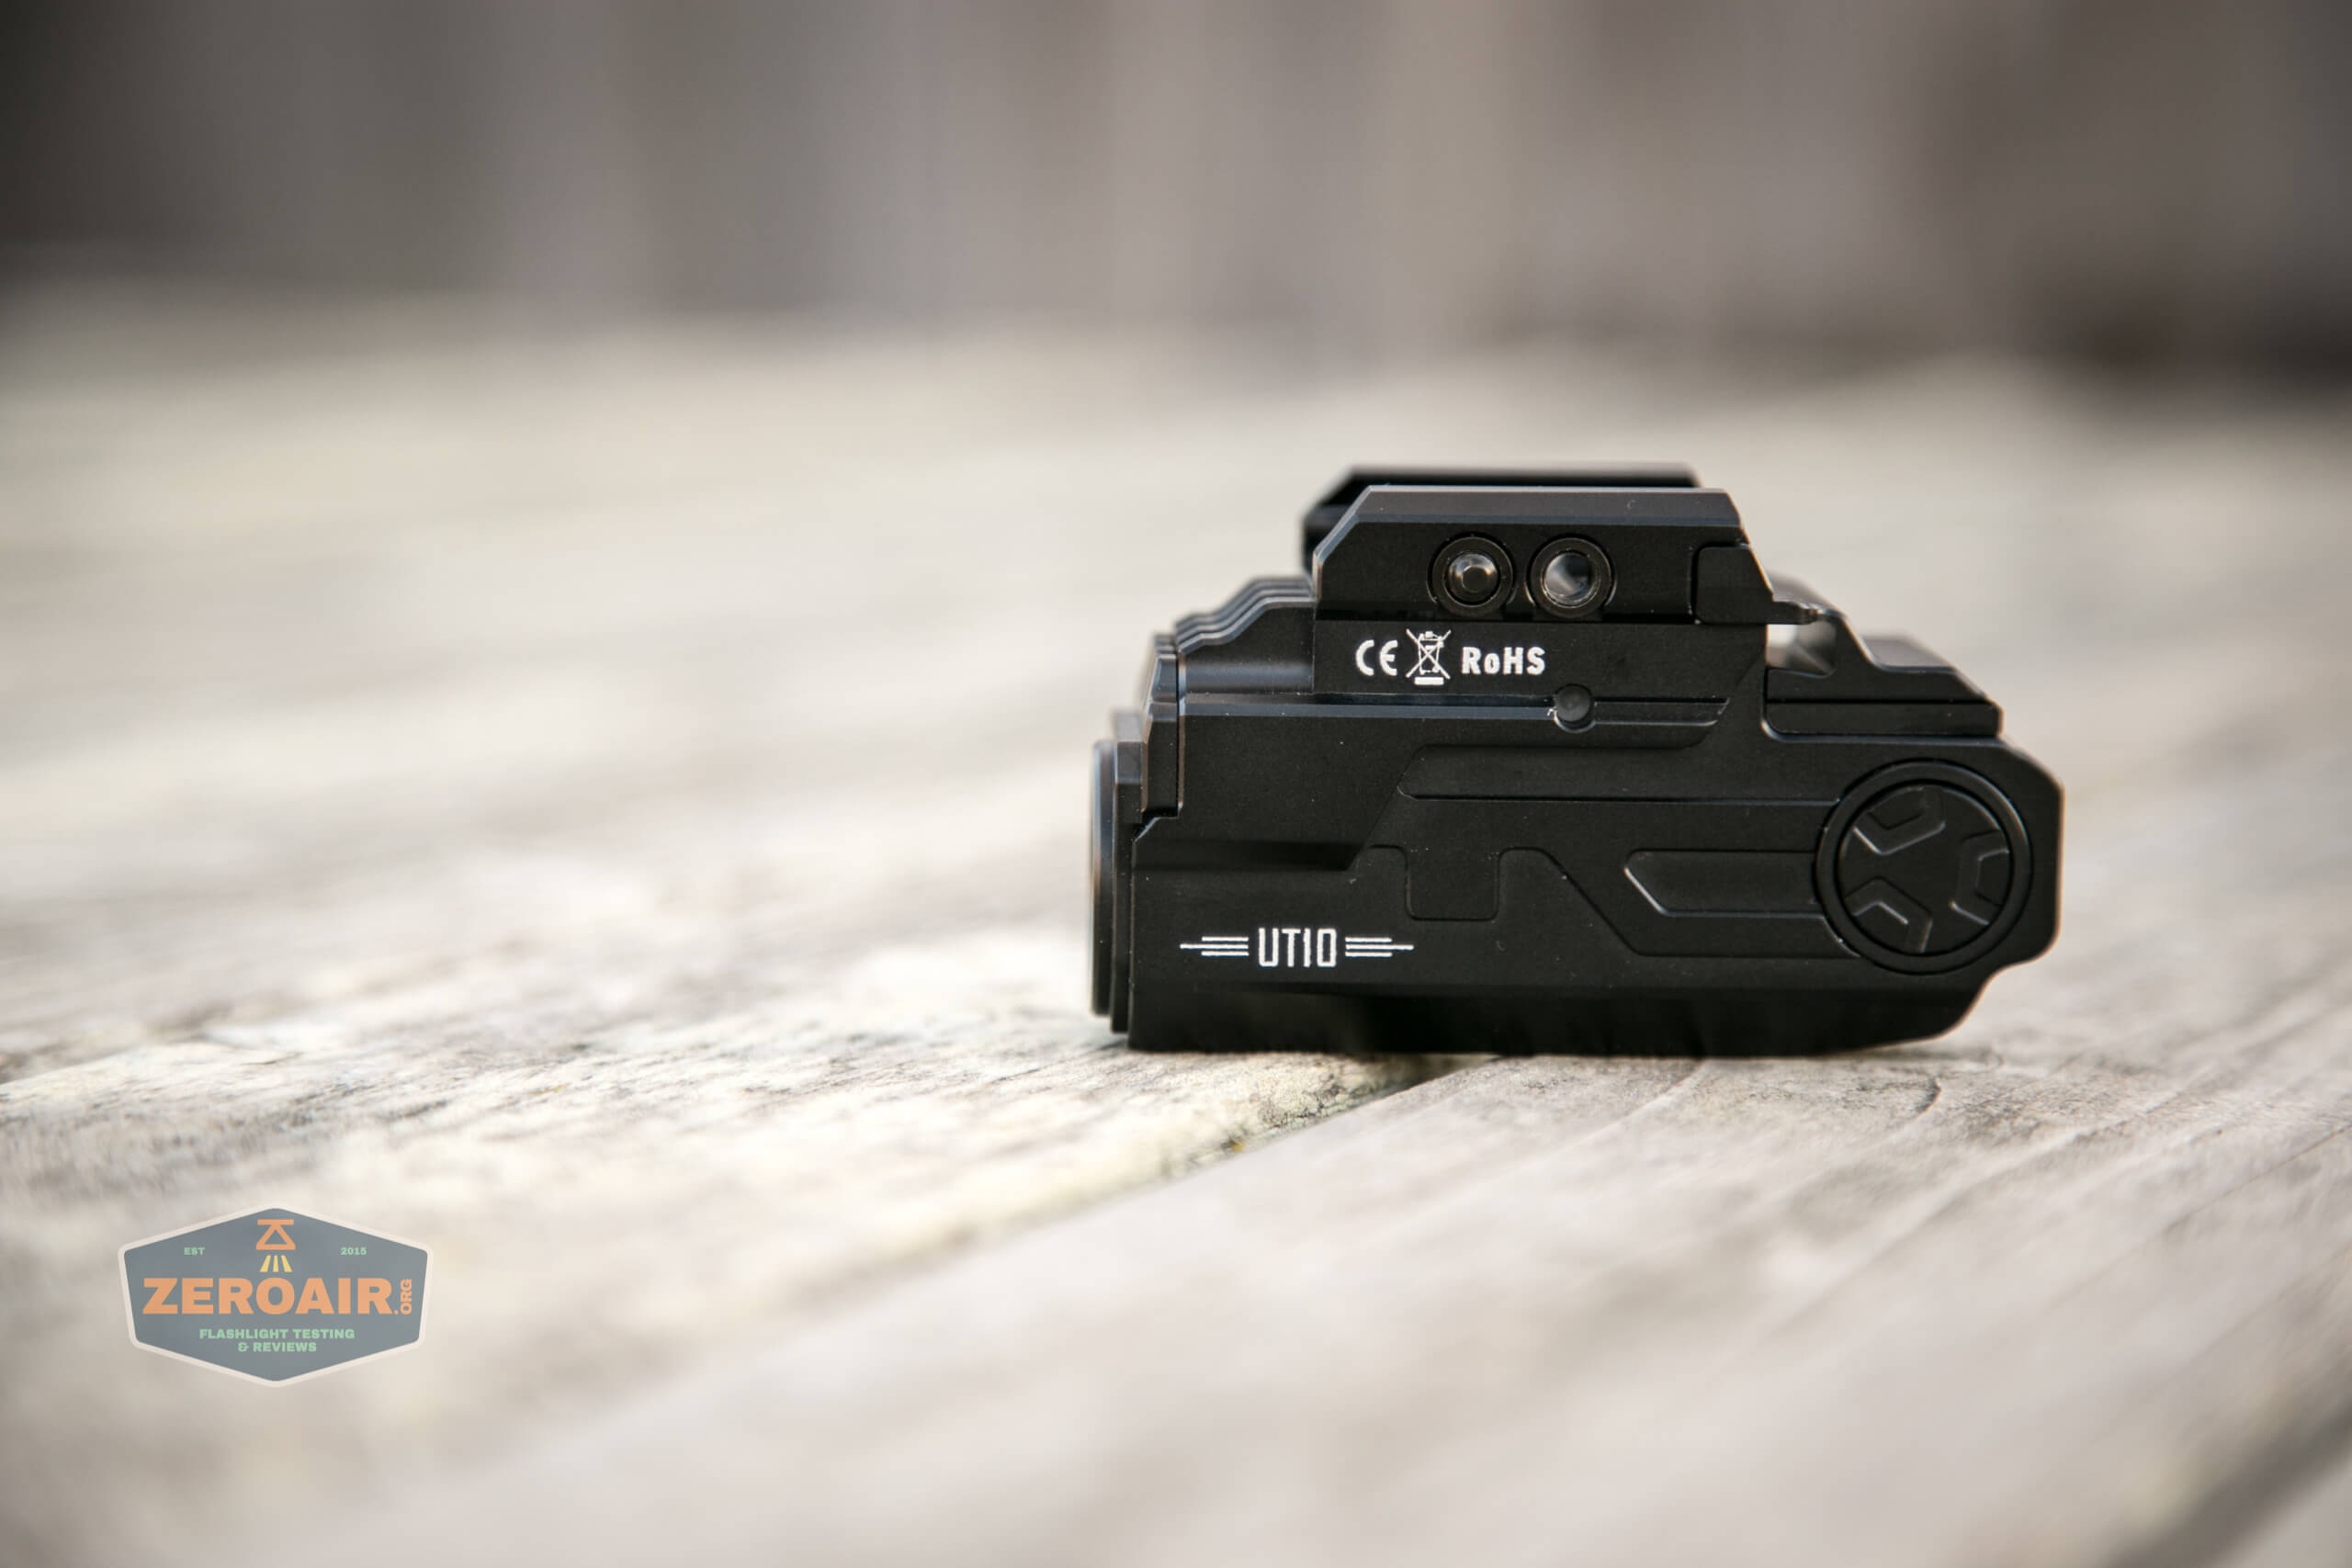
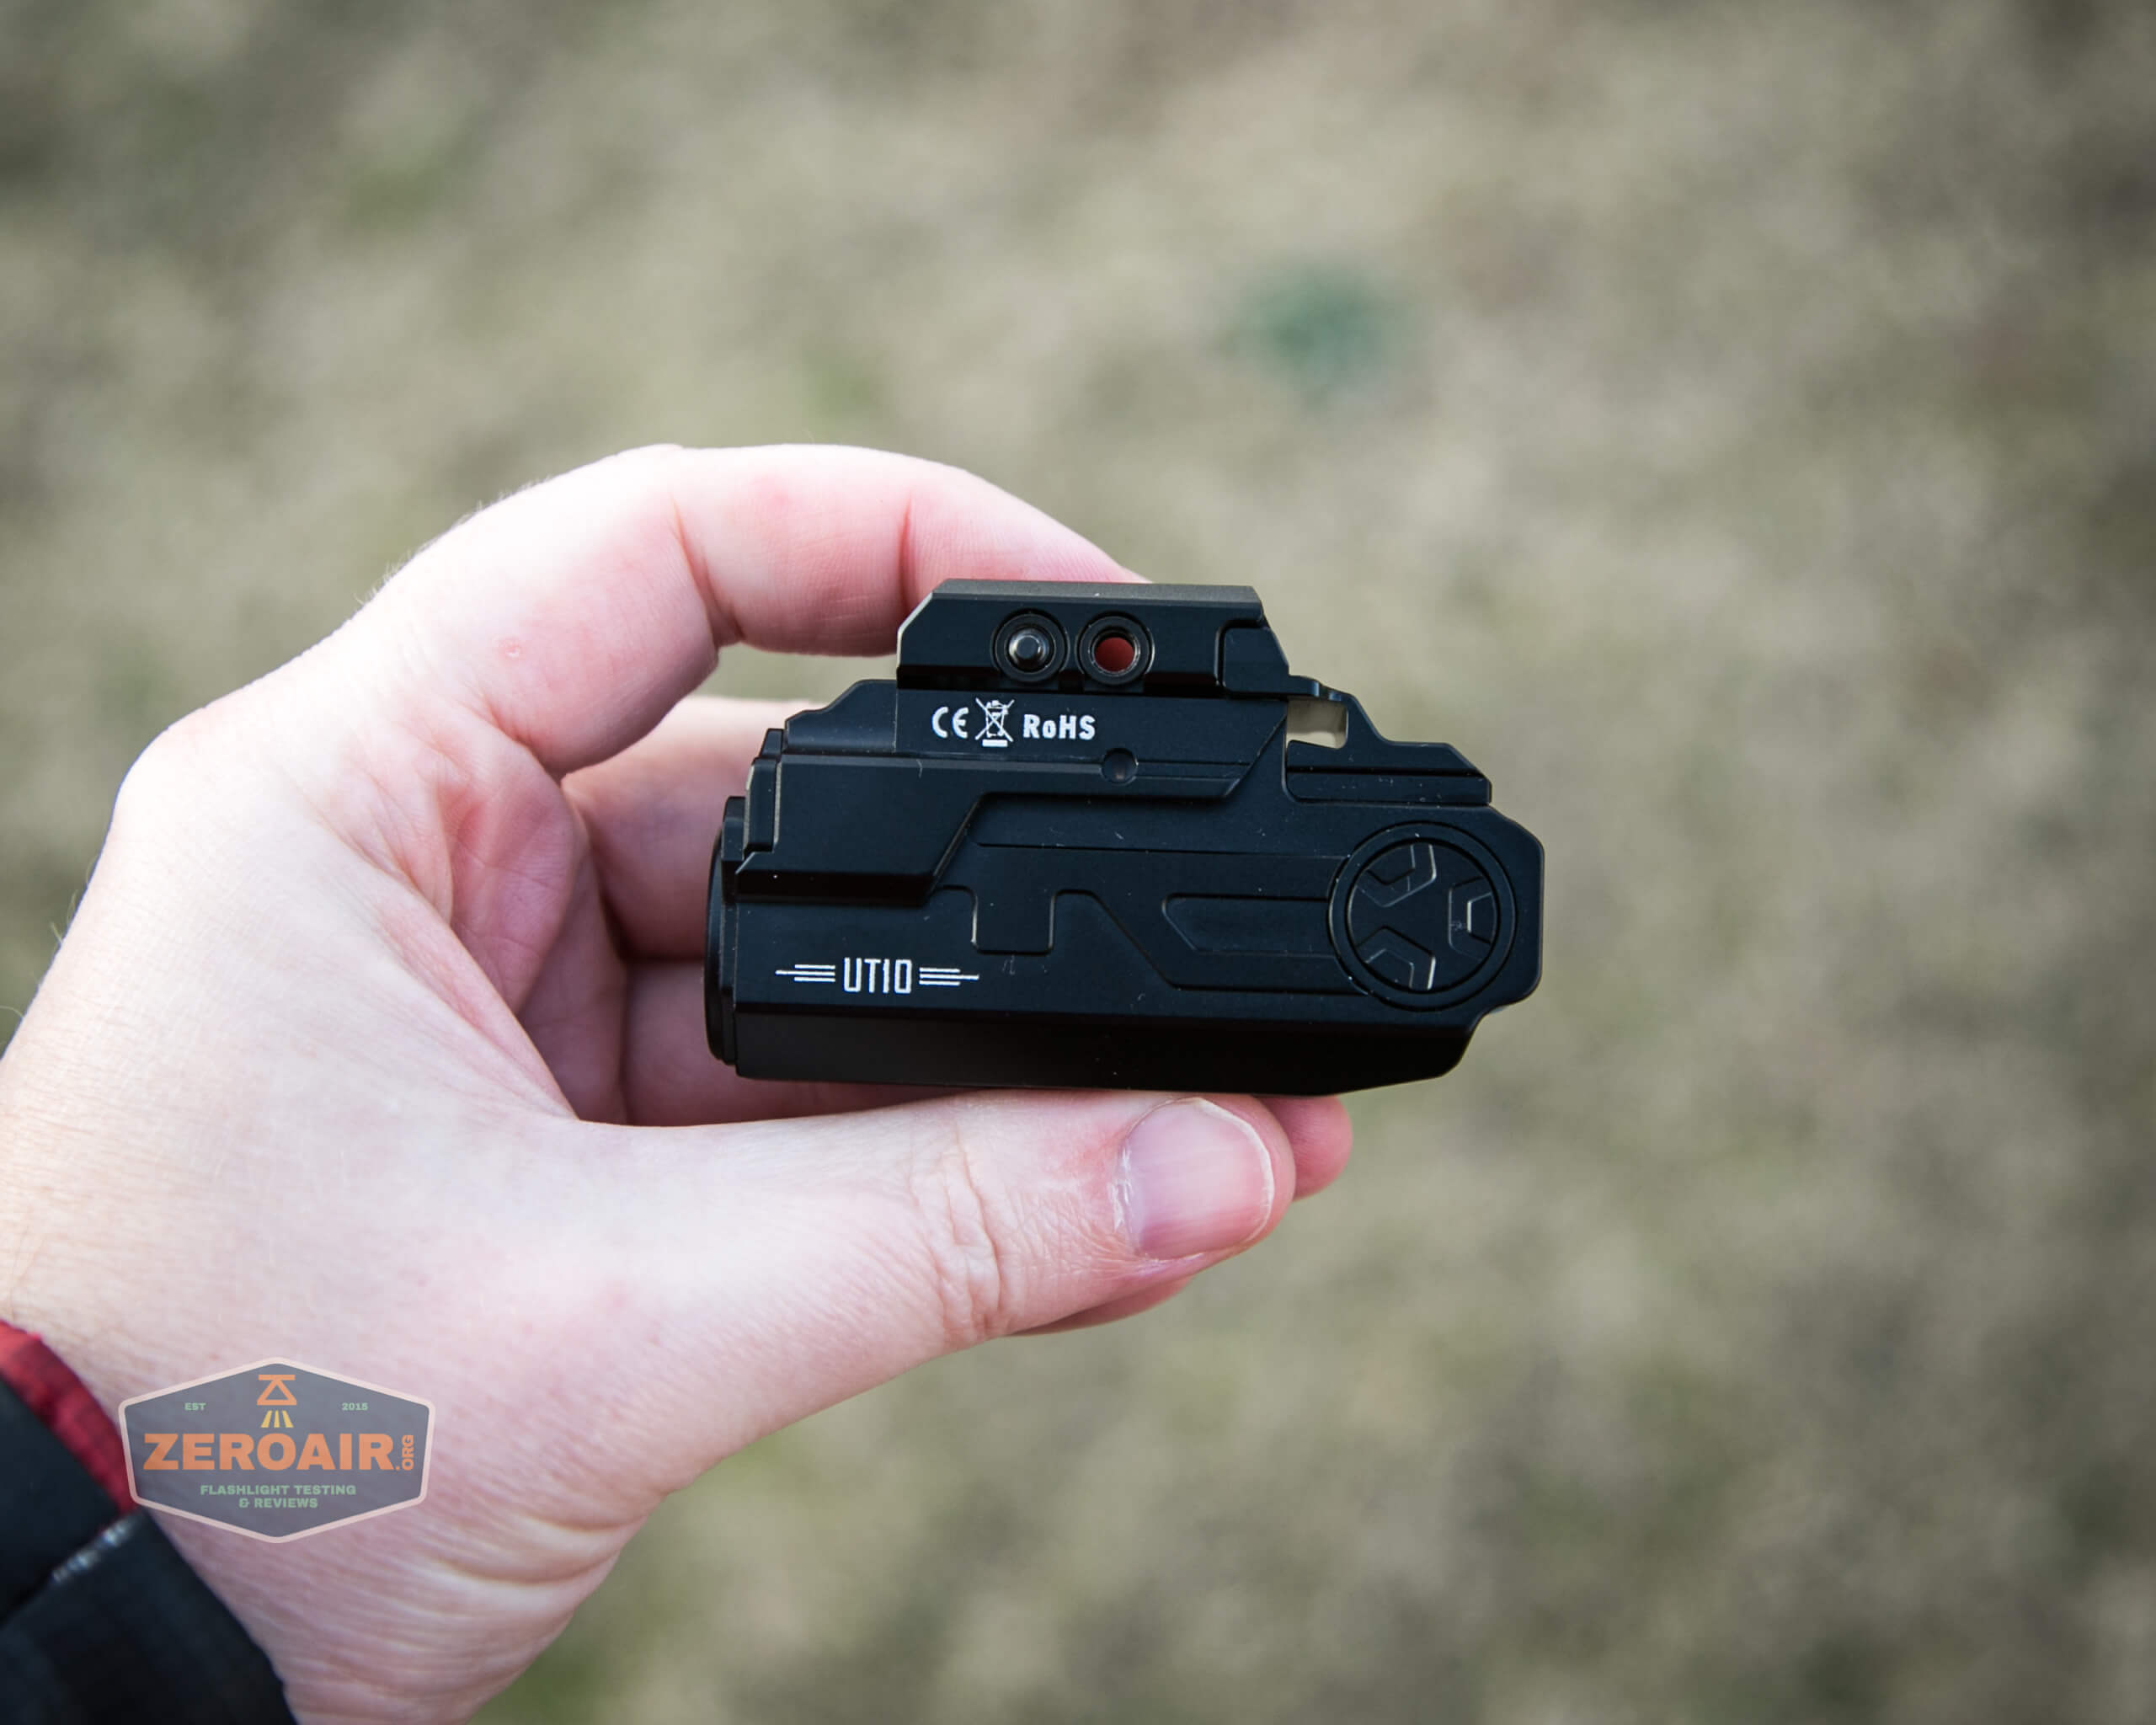
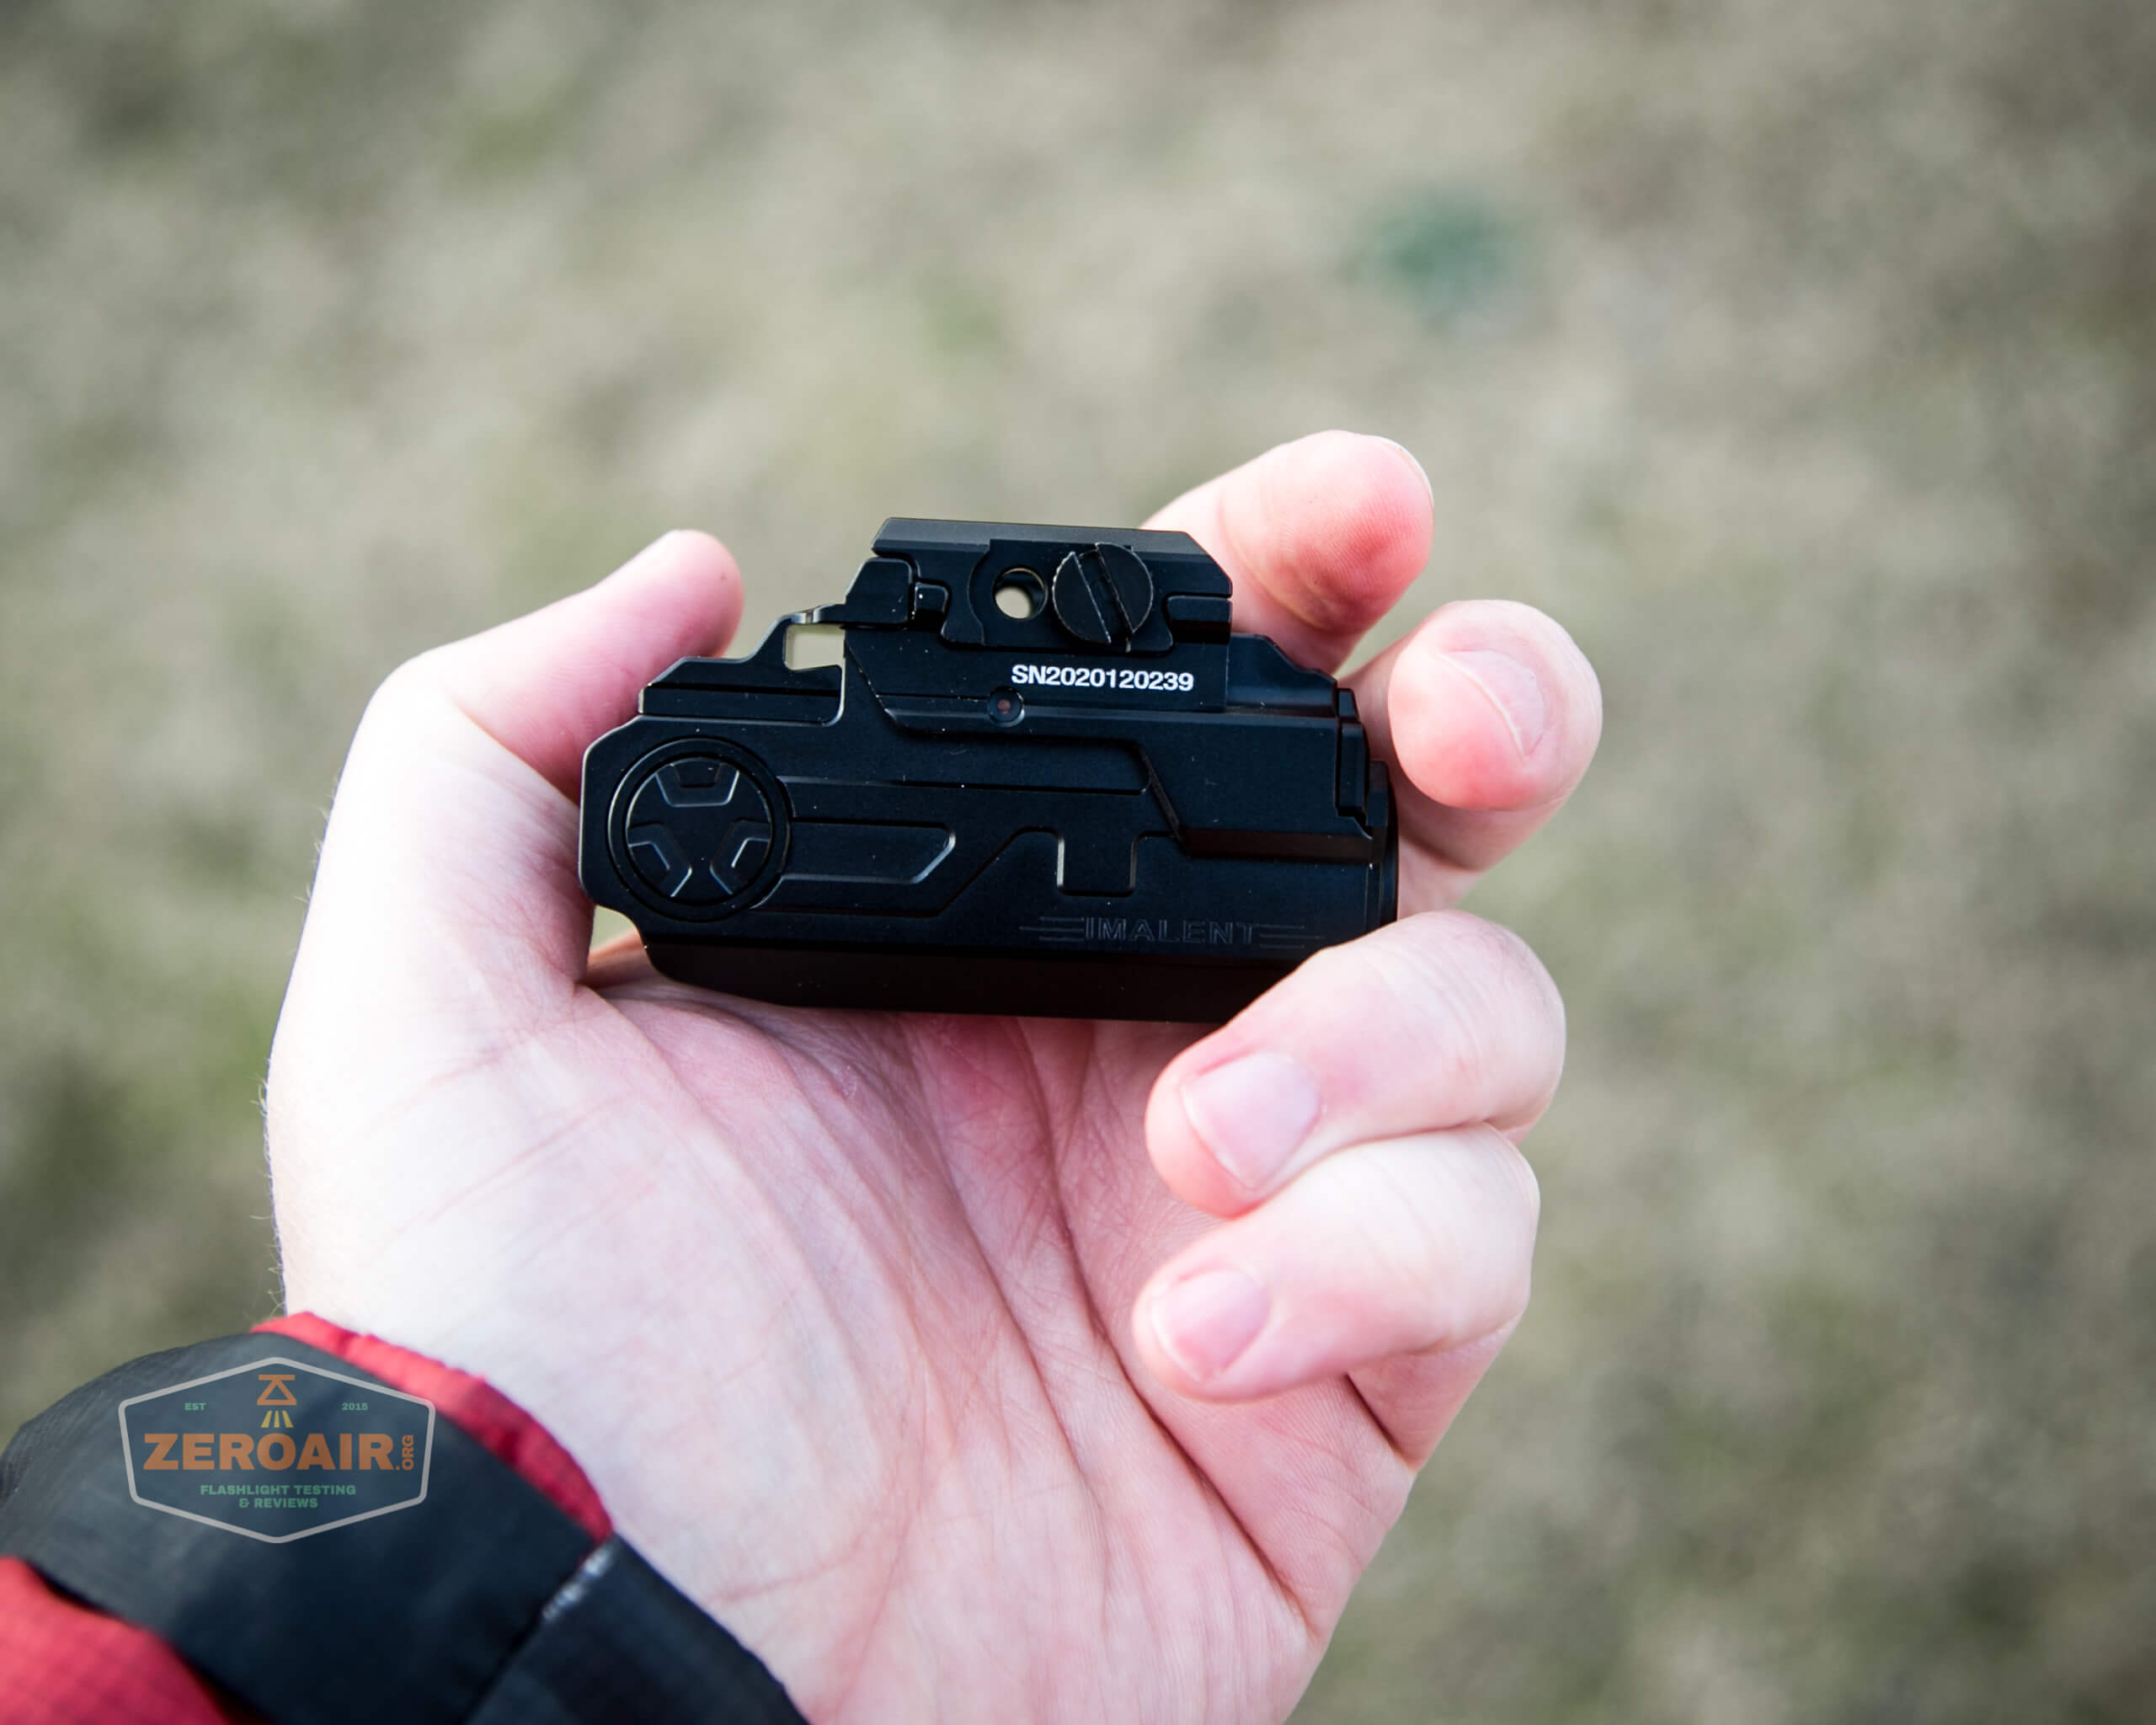
The UT10 looks possibly more “industrial” than many other handgun flashlights. There are a bunch of lines all over it – designs in the metal.
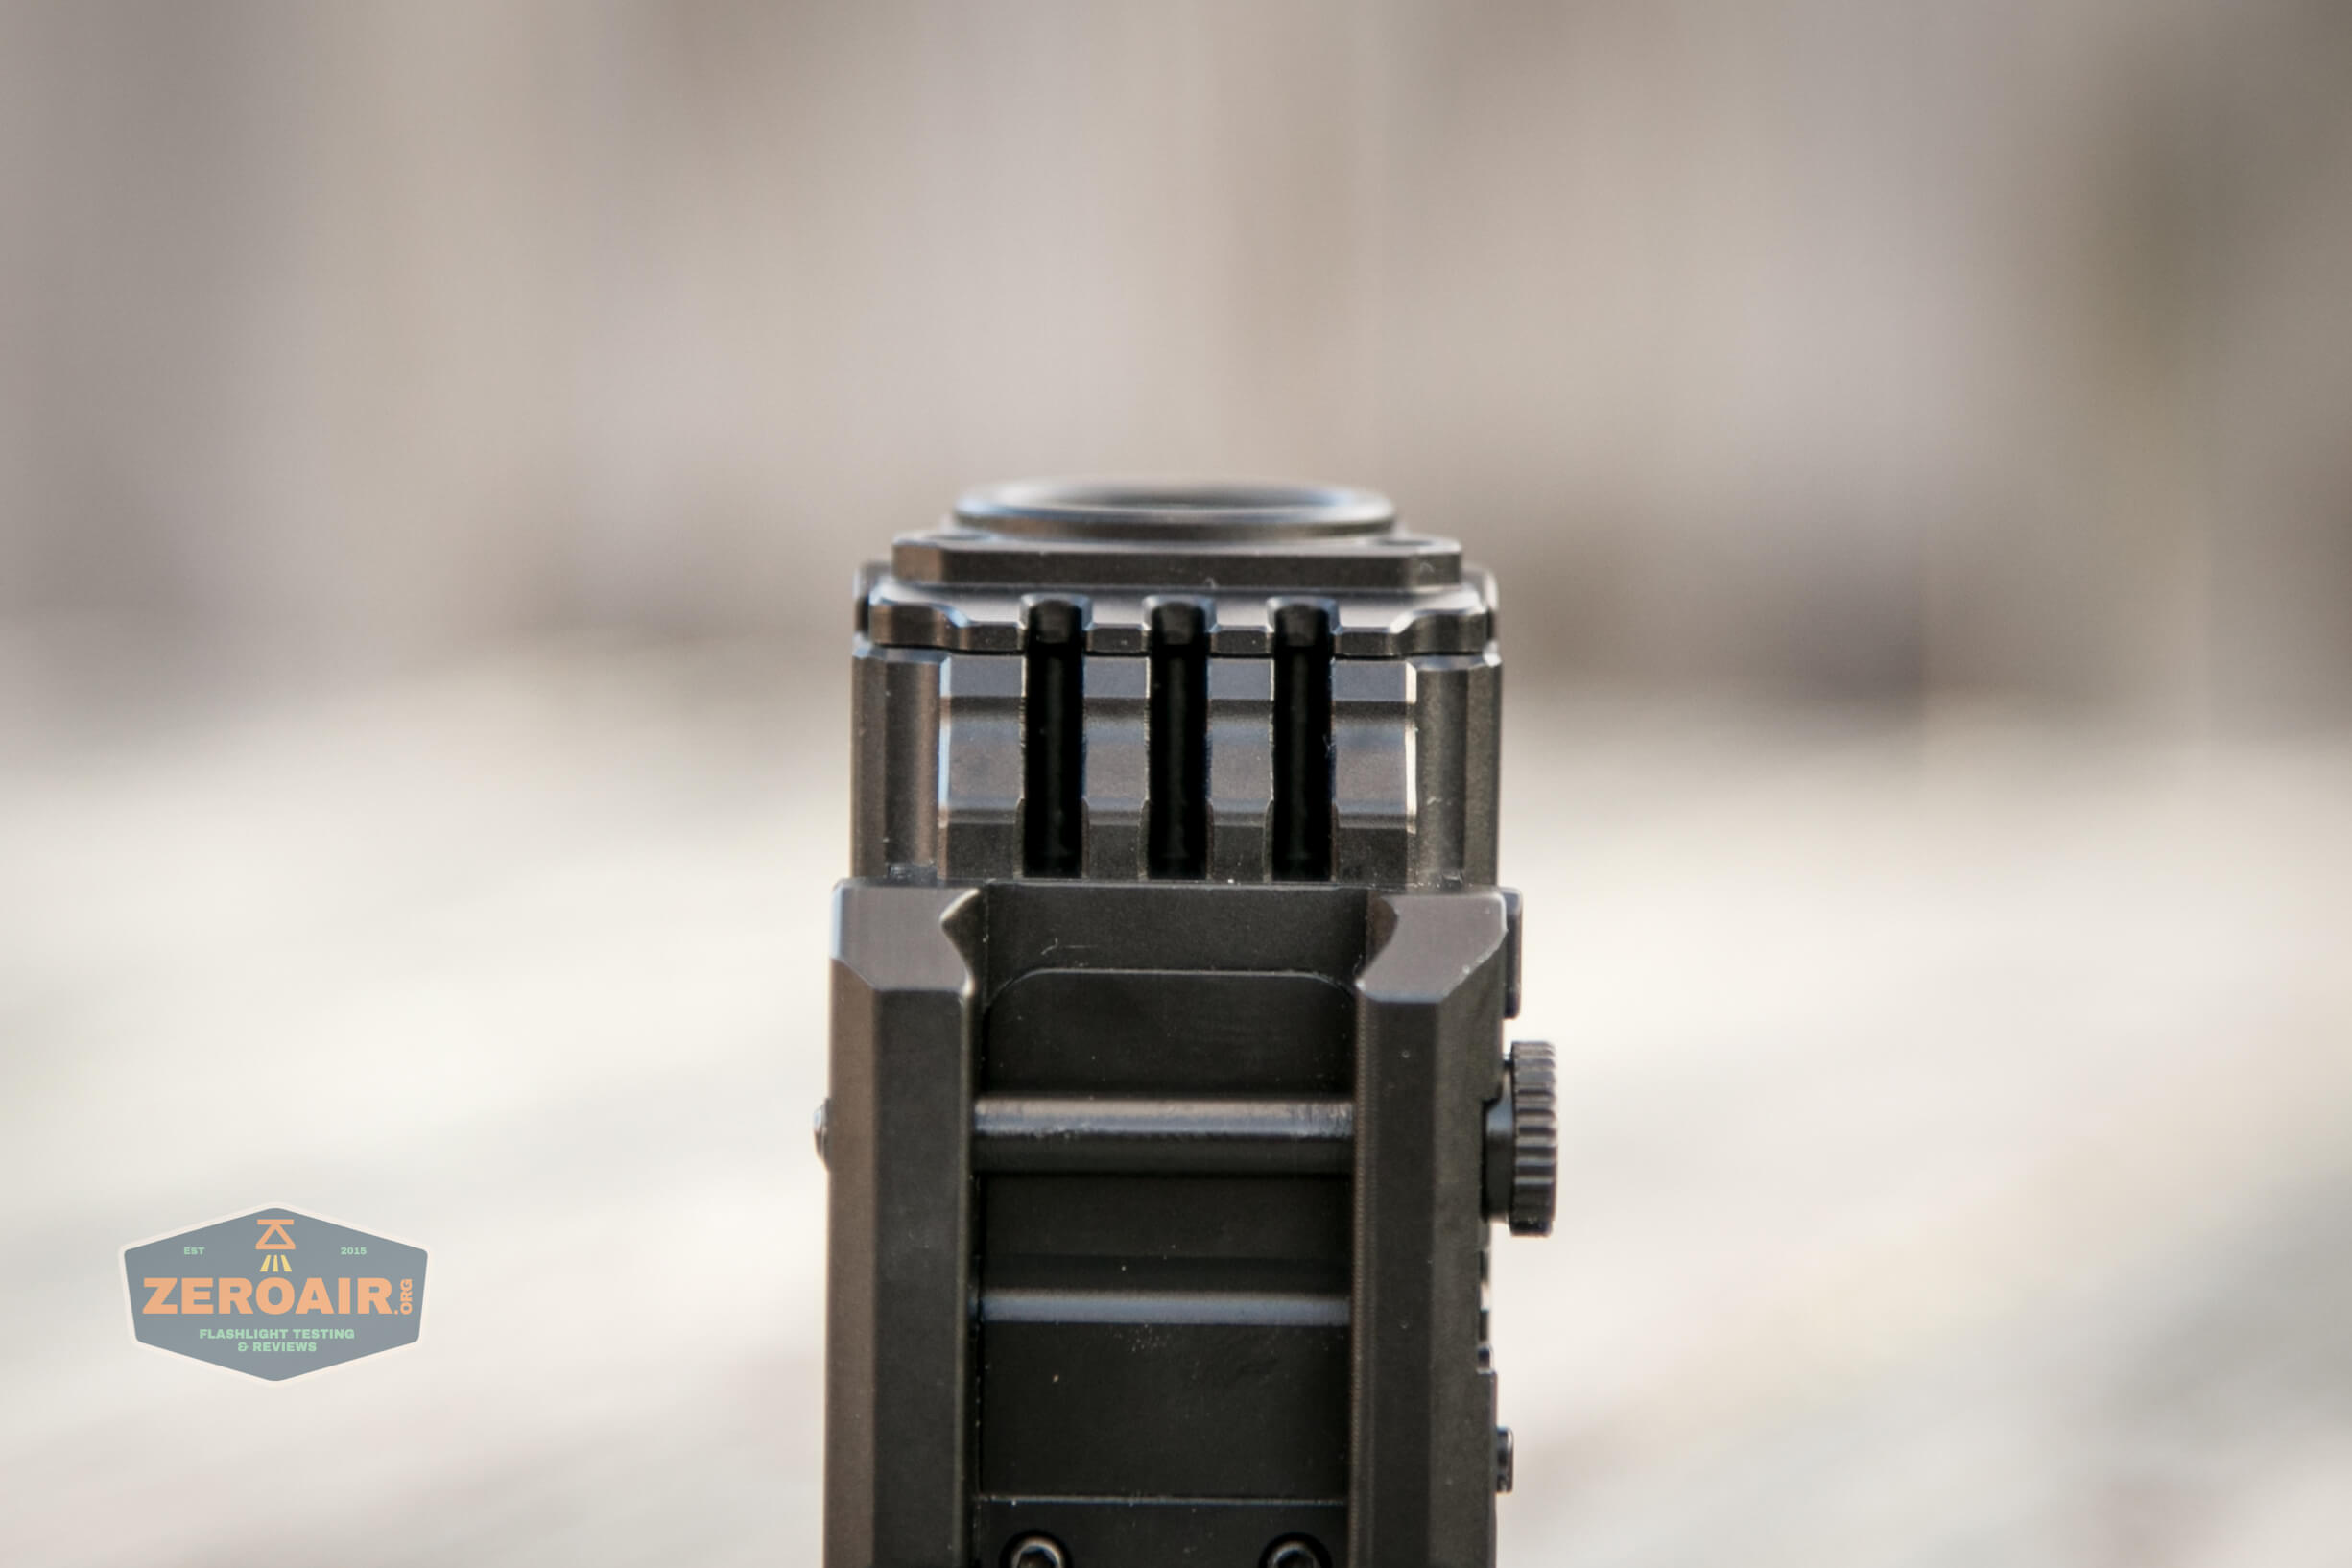
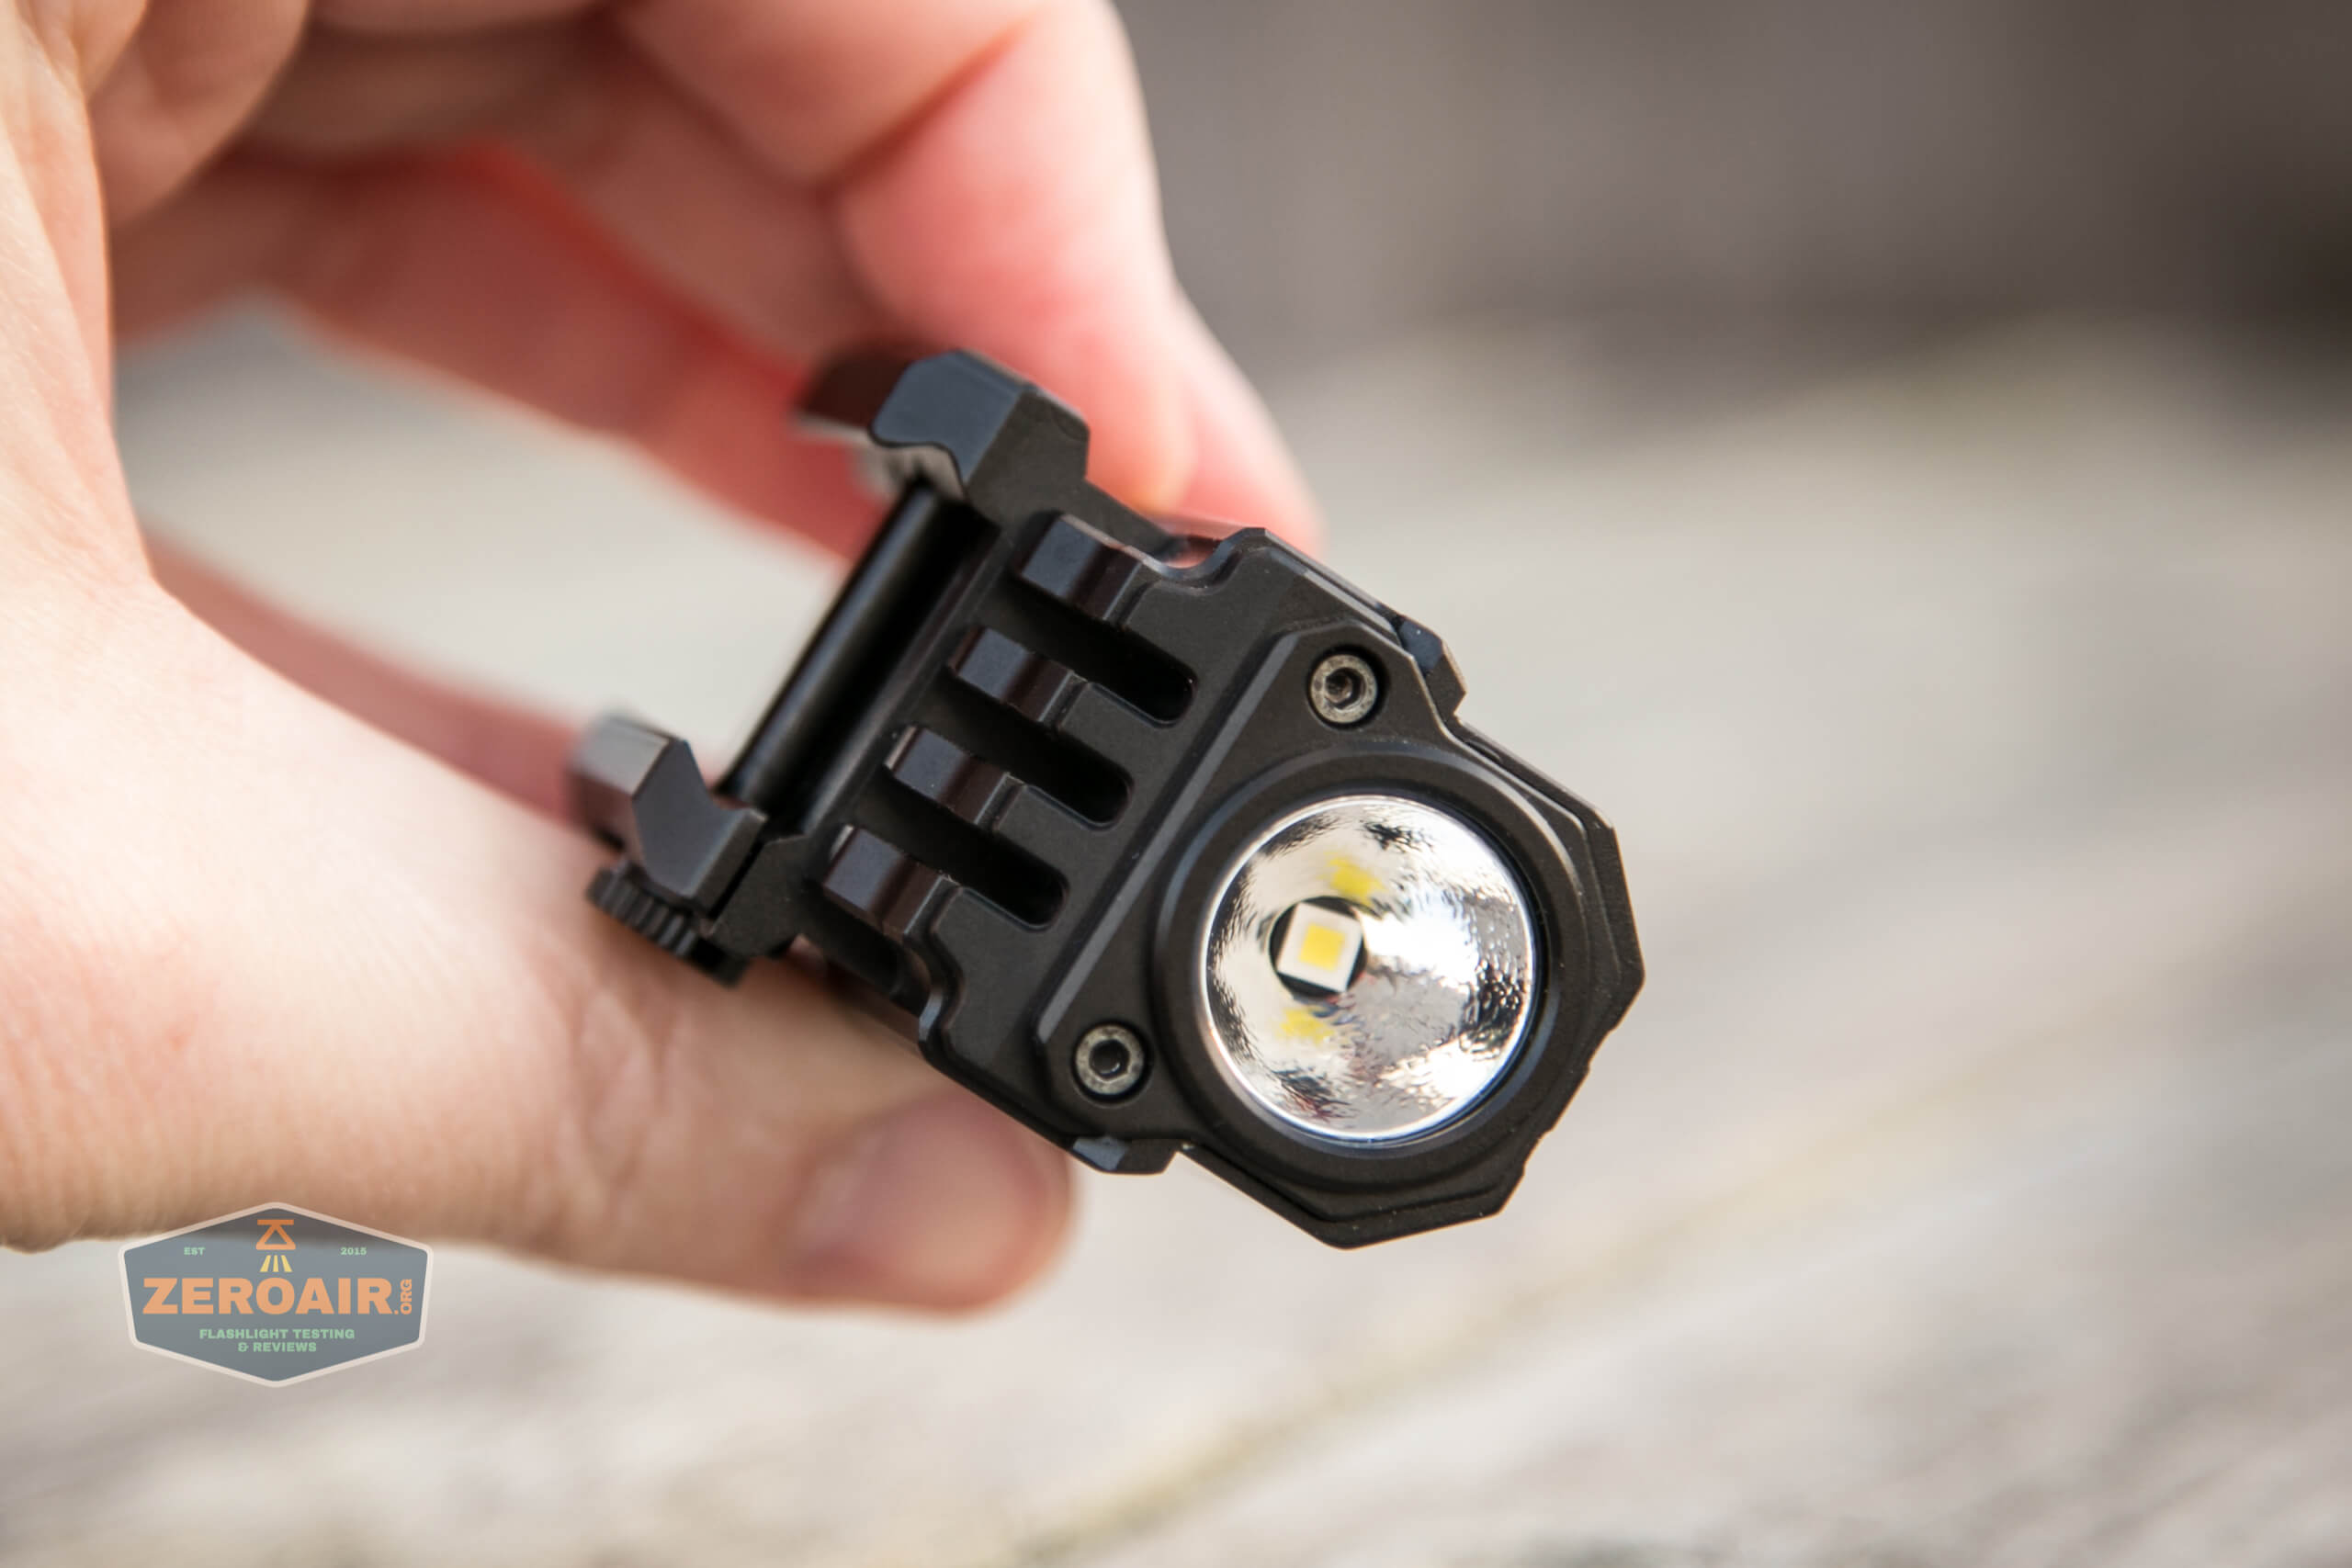
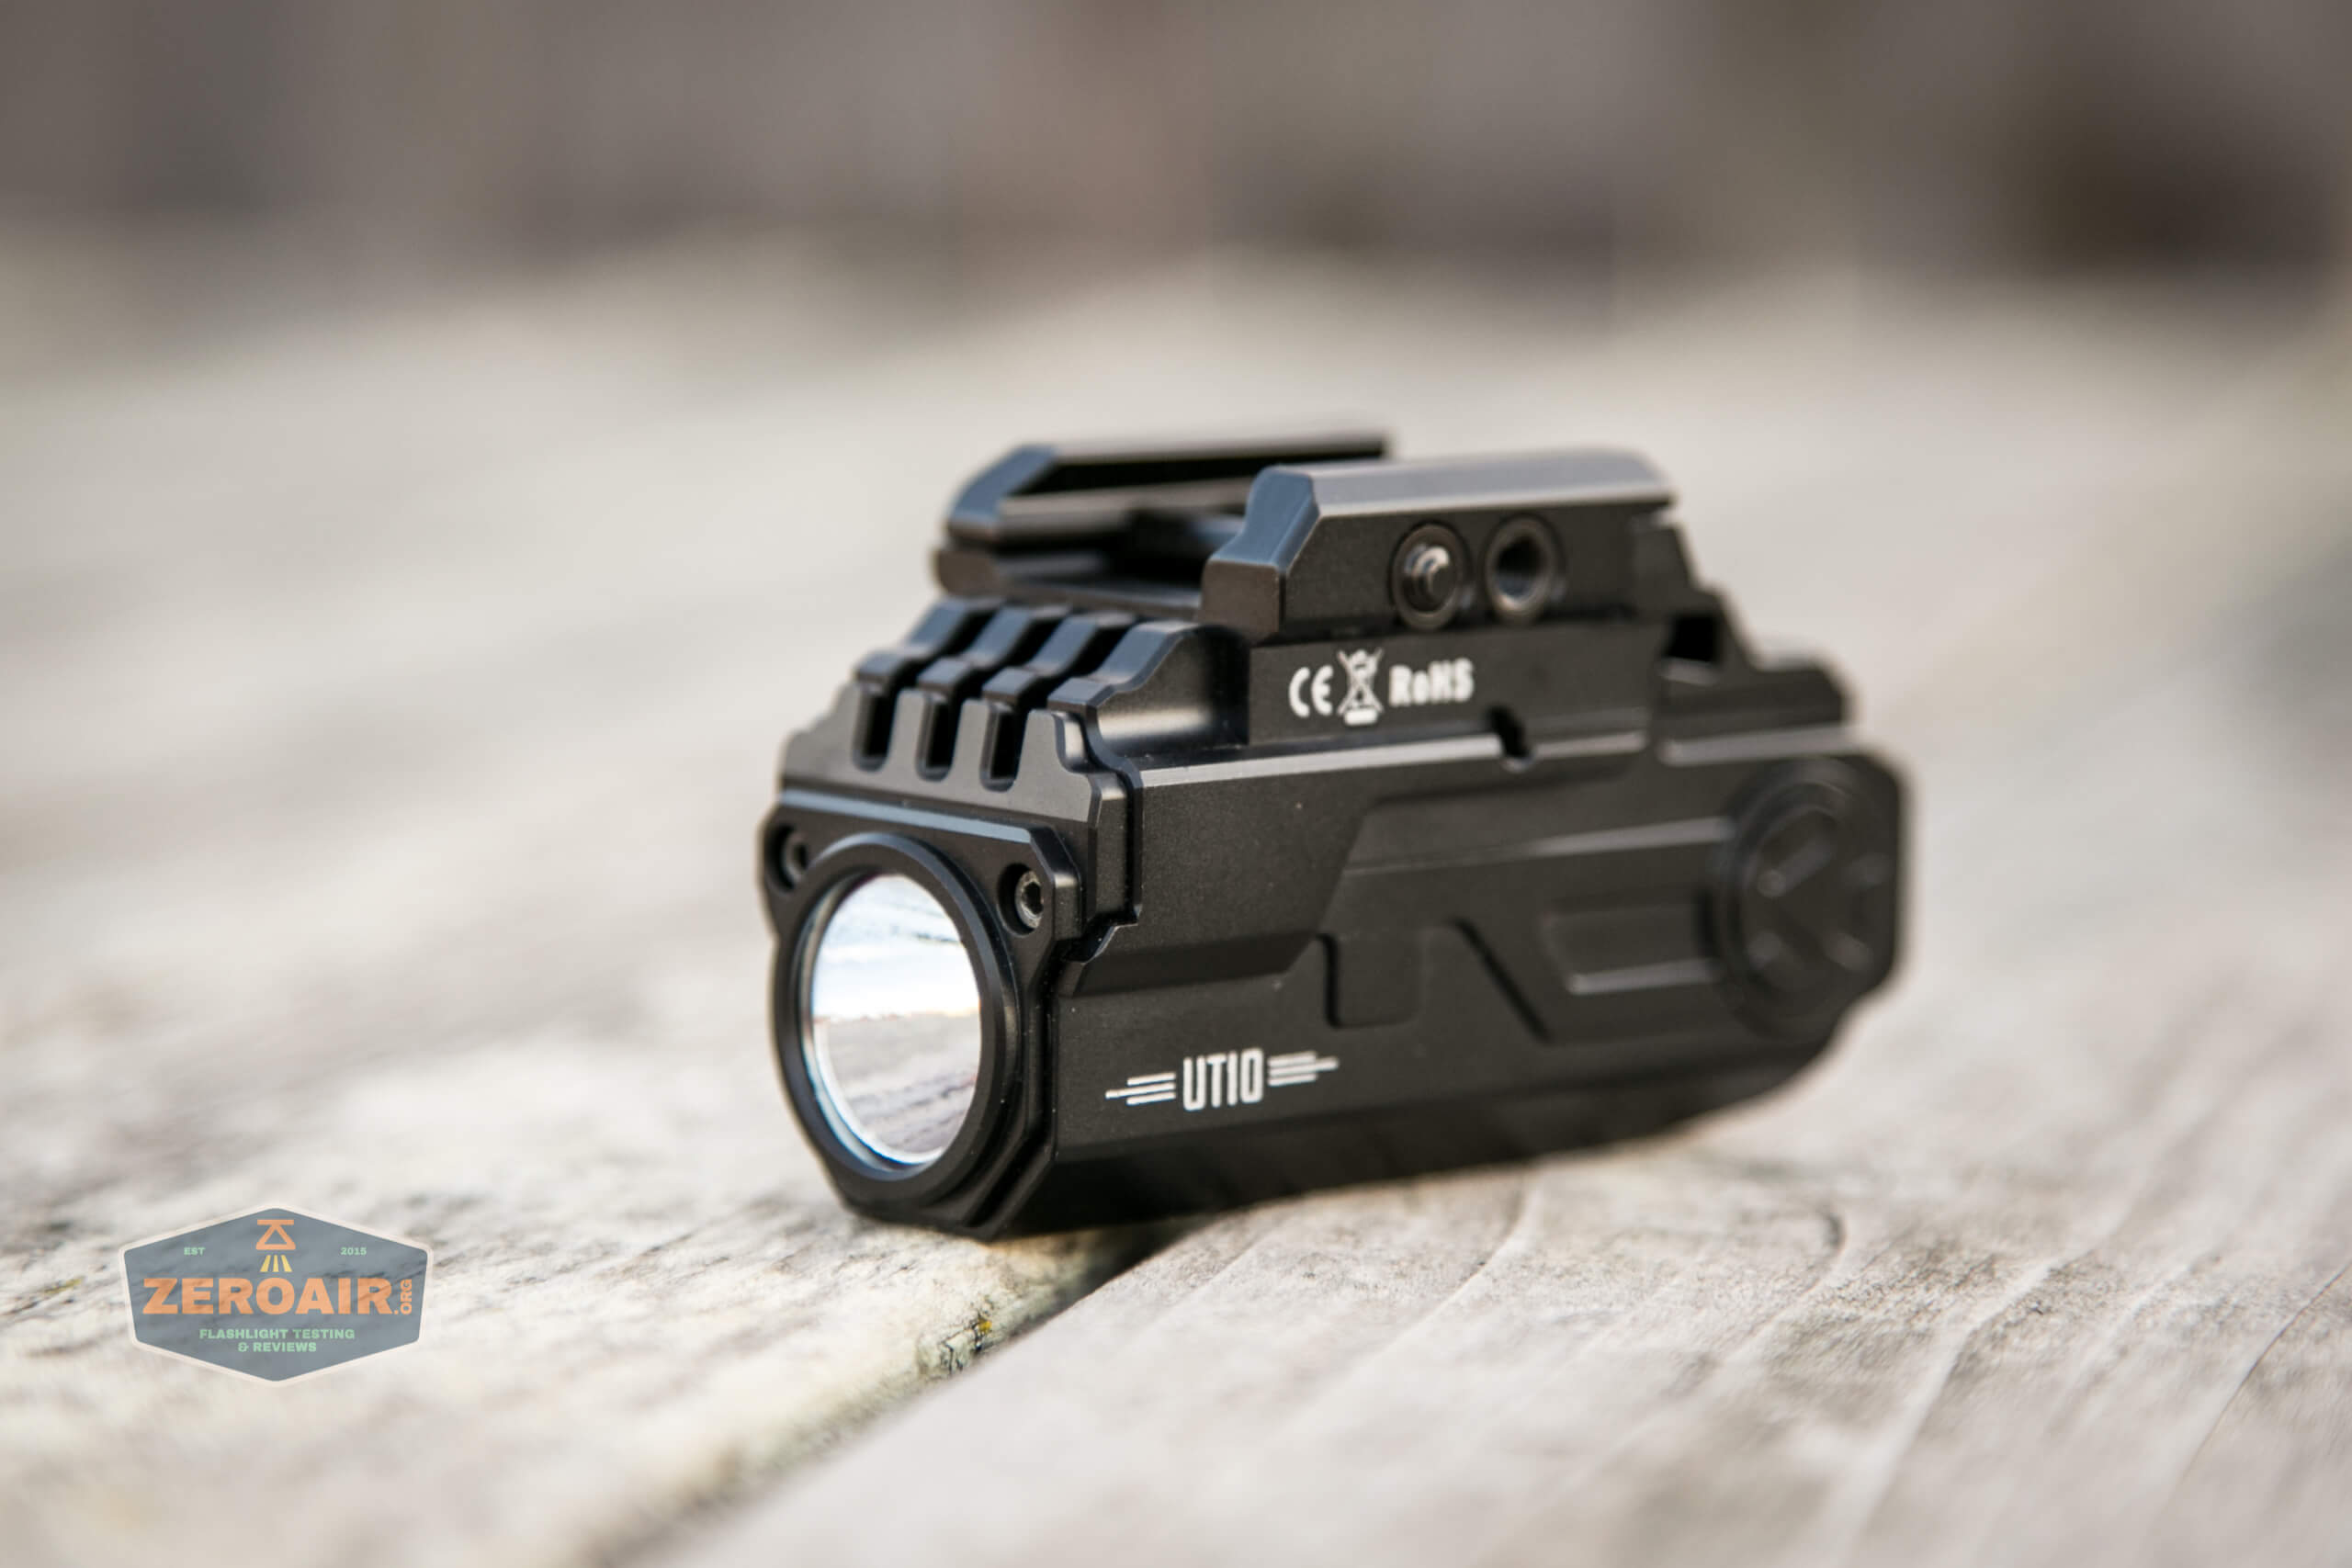
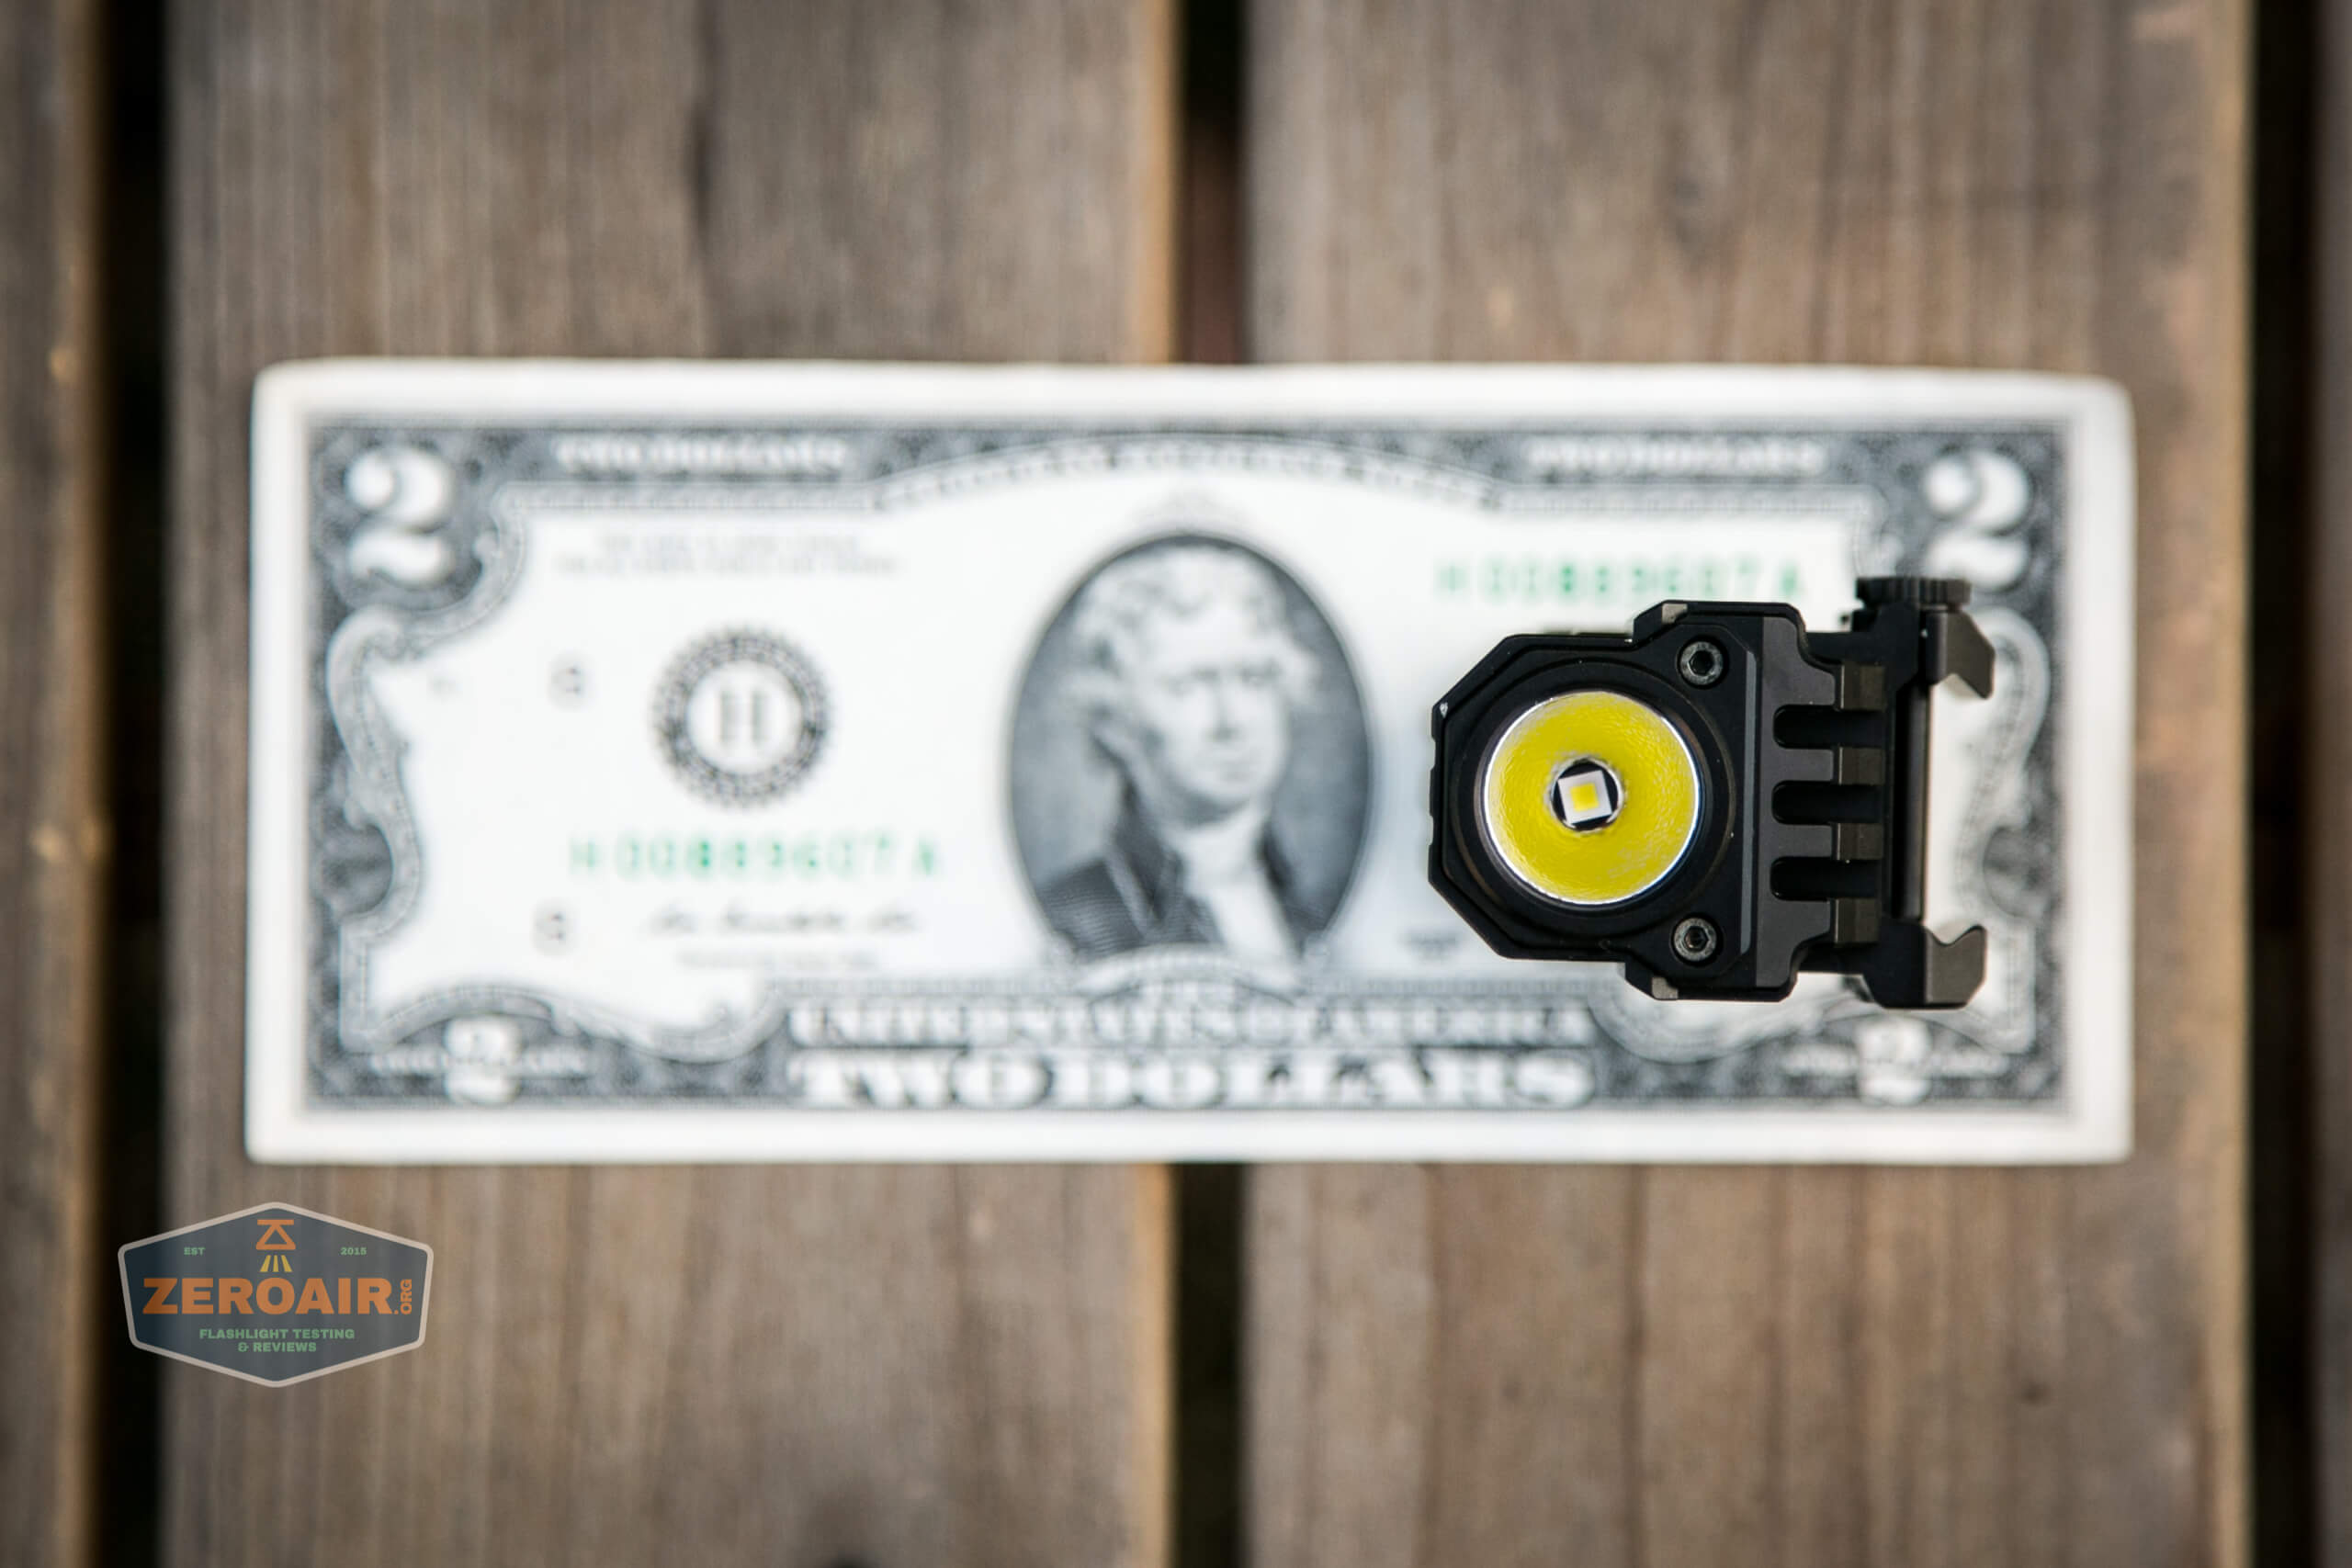
Even the front has some features – what I’d call cooling fins along the top.
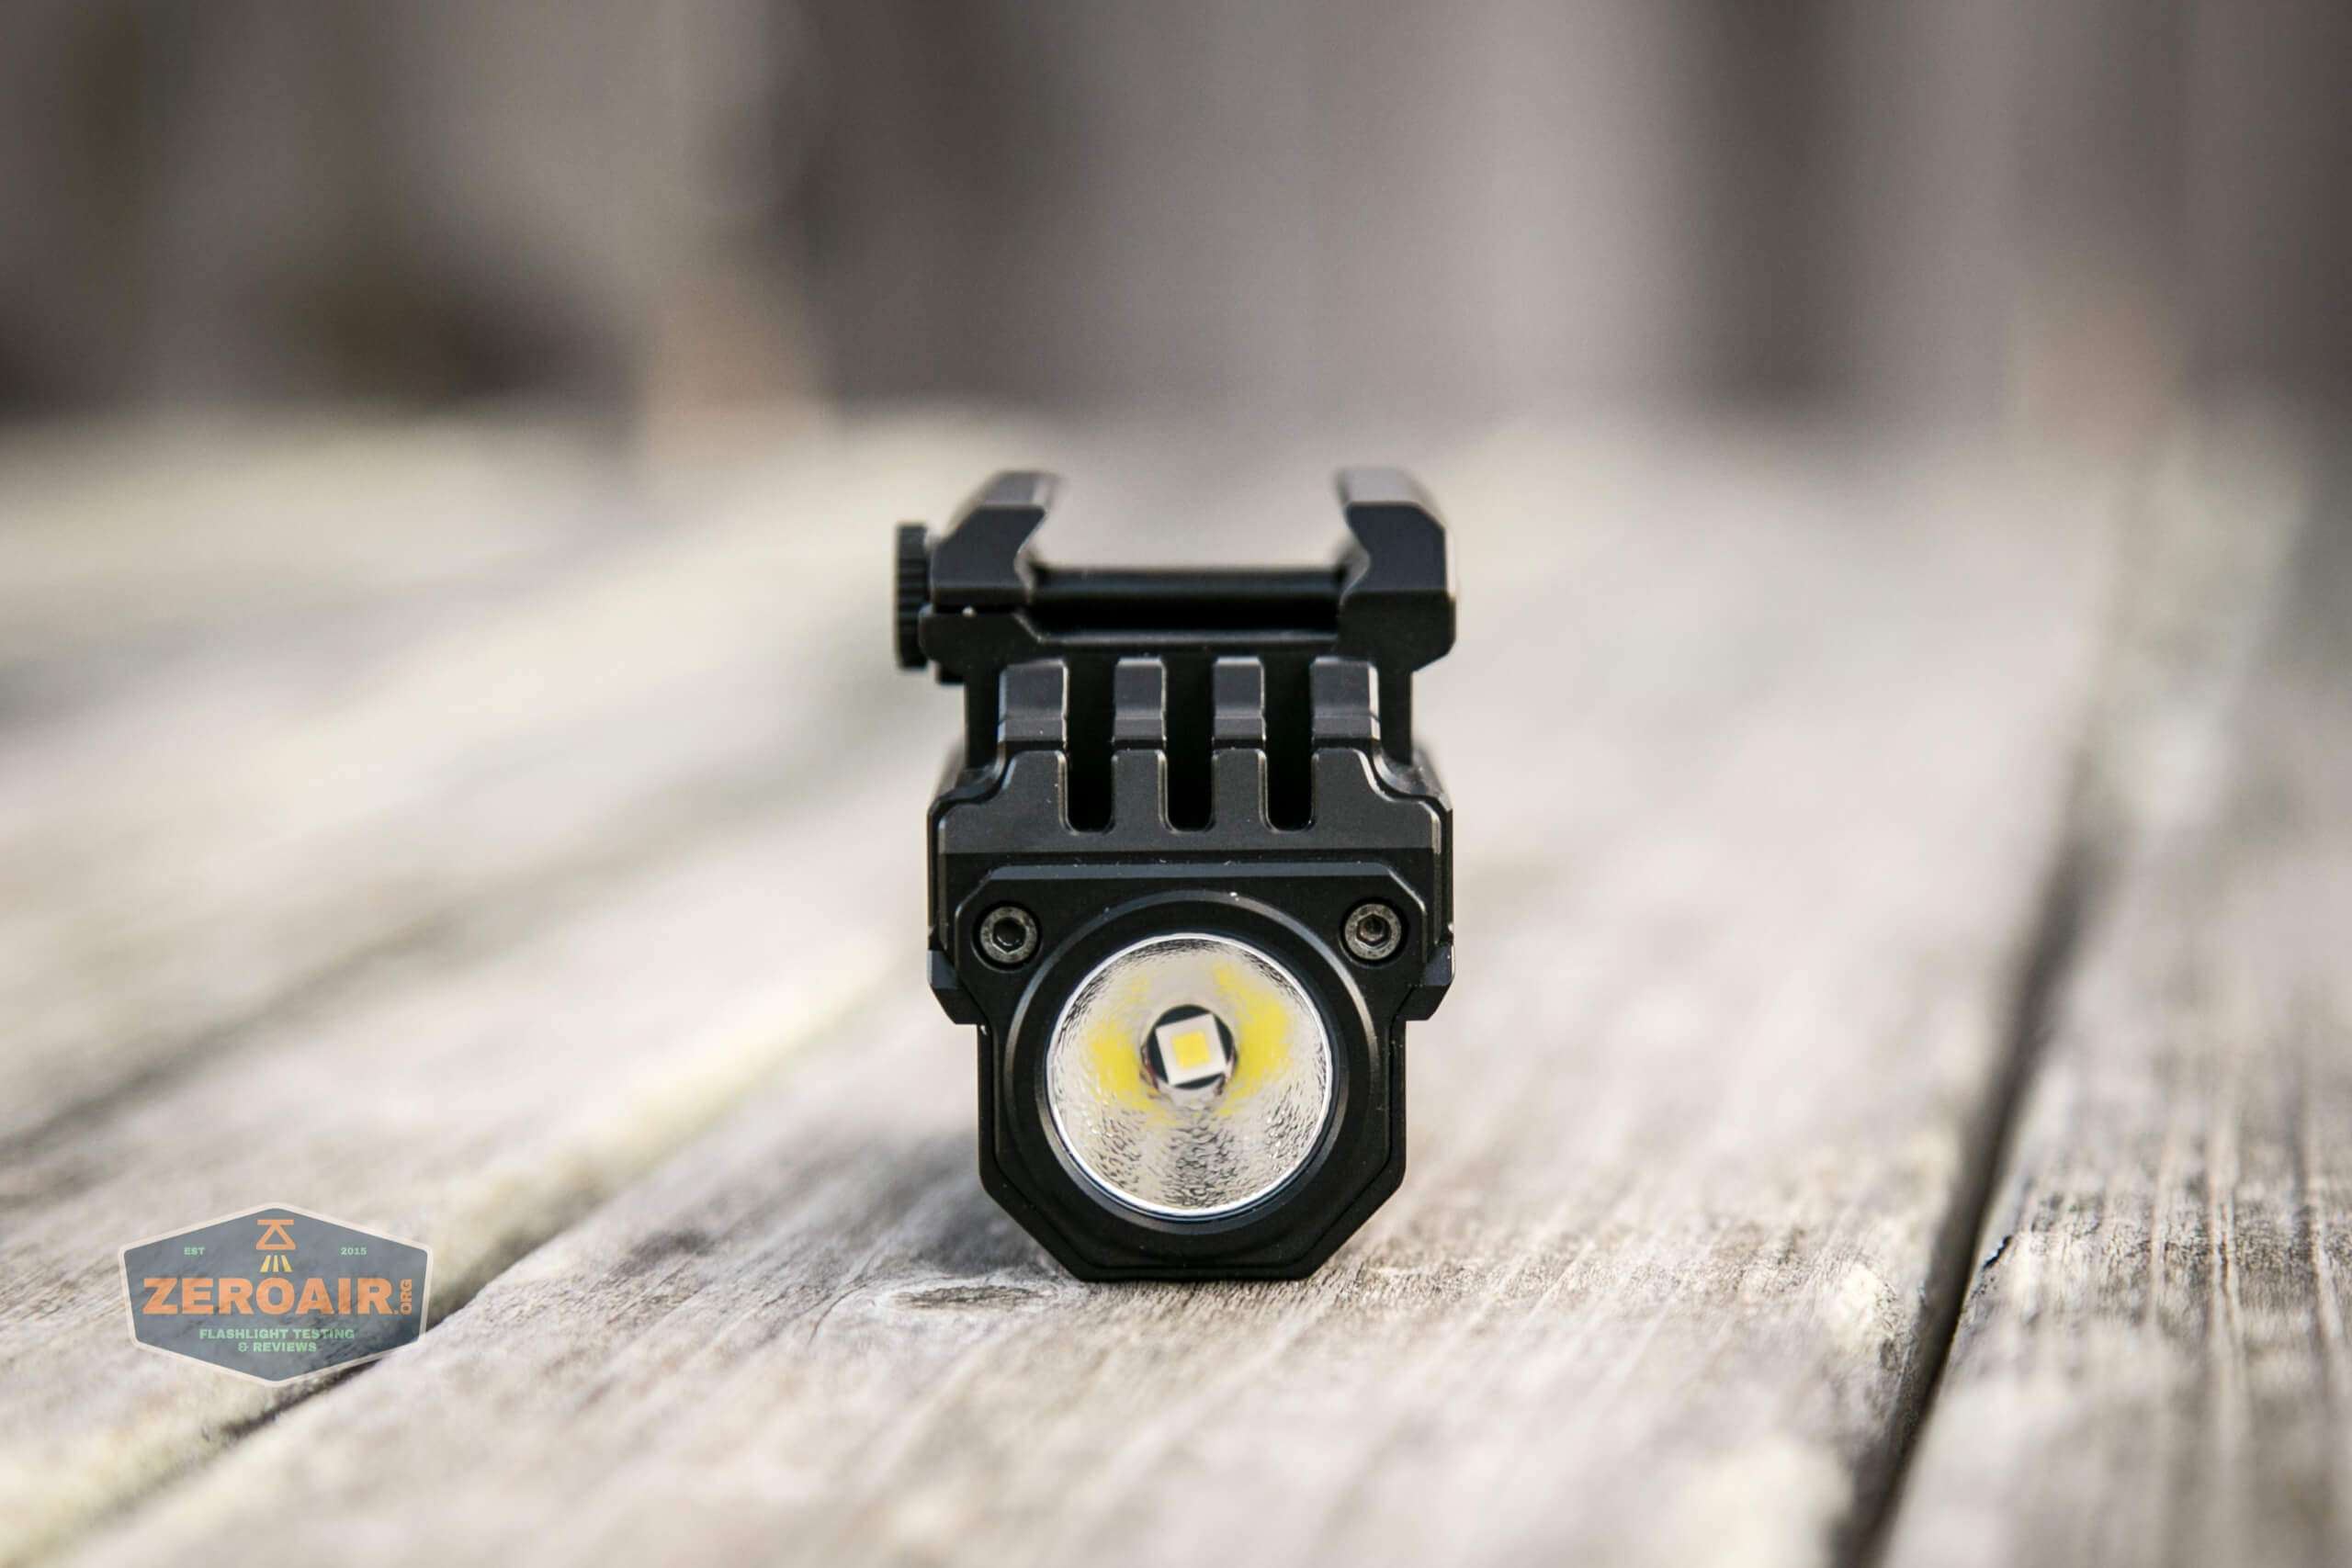
Also, I’ll add here since you can see those screws. They’re Torx T6 screws, and removing them doesn’t immediately reveal a way to get into the light. I remove them both and…. nothing. I couldn’t get the front of the light to budge at all. This is really the only access, so I know it’s possible, but I don’t think you’ll really be doing cell swaps on this light, and certainly not in the field.
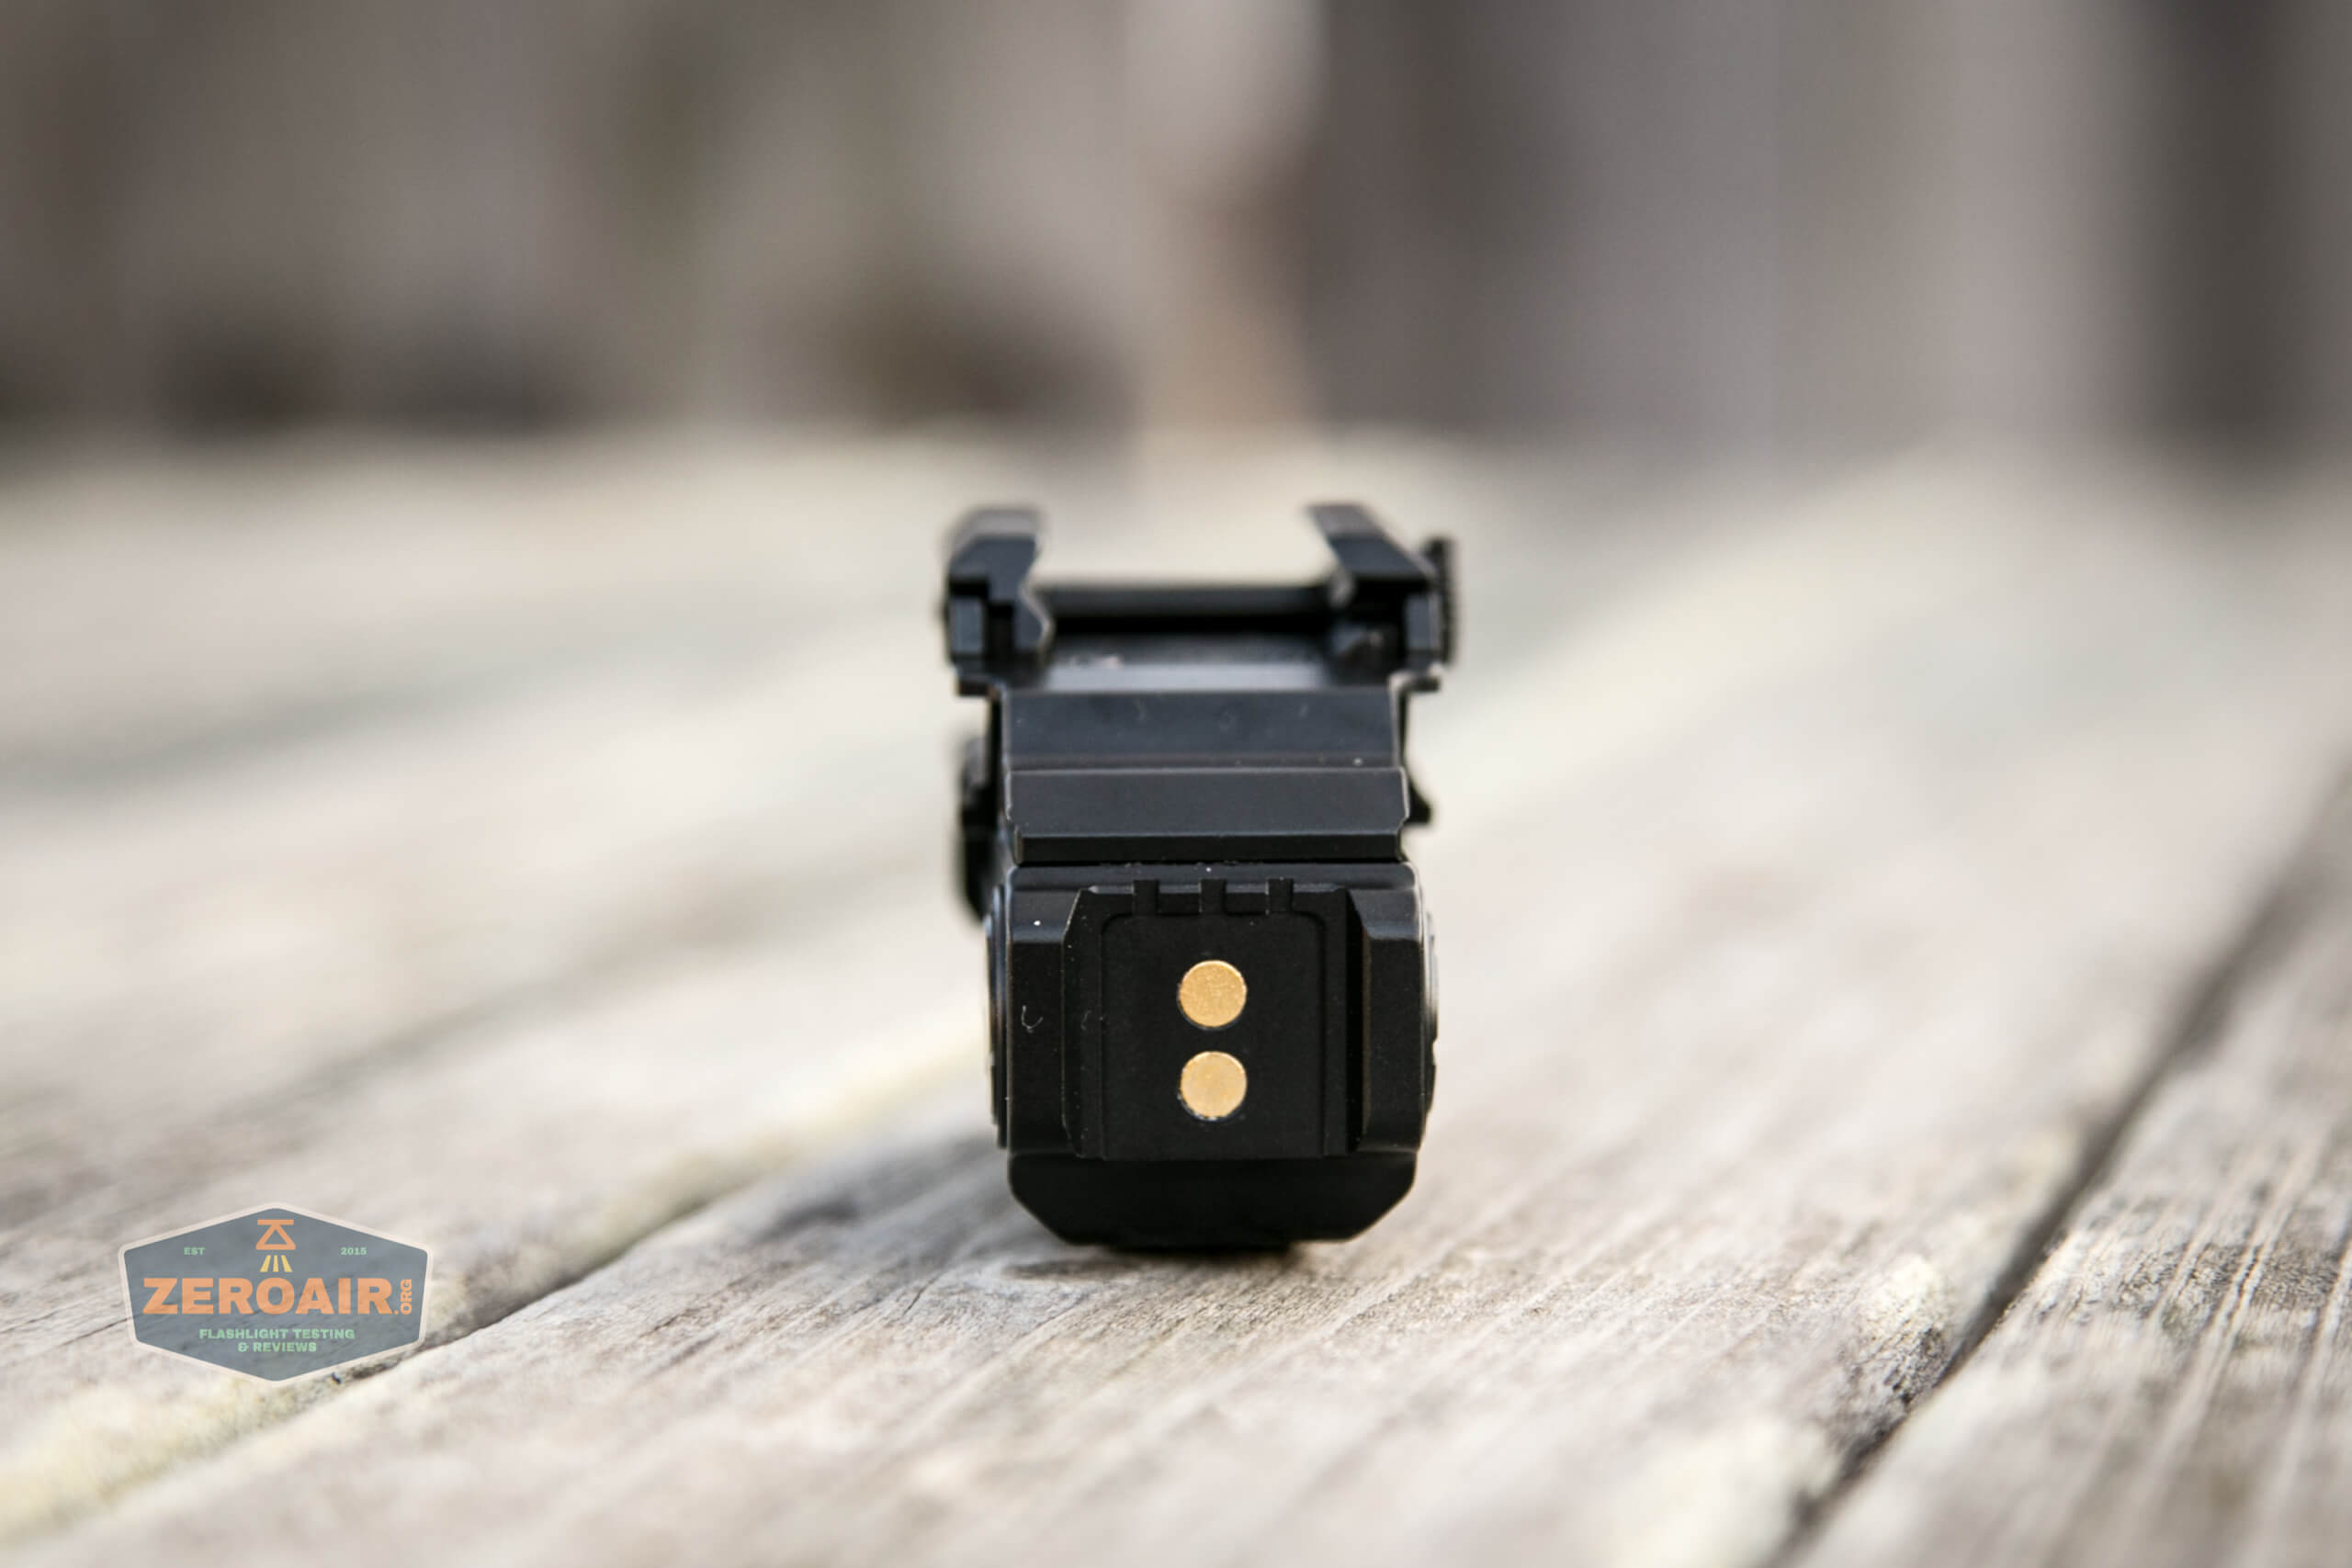
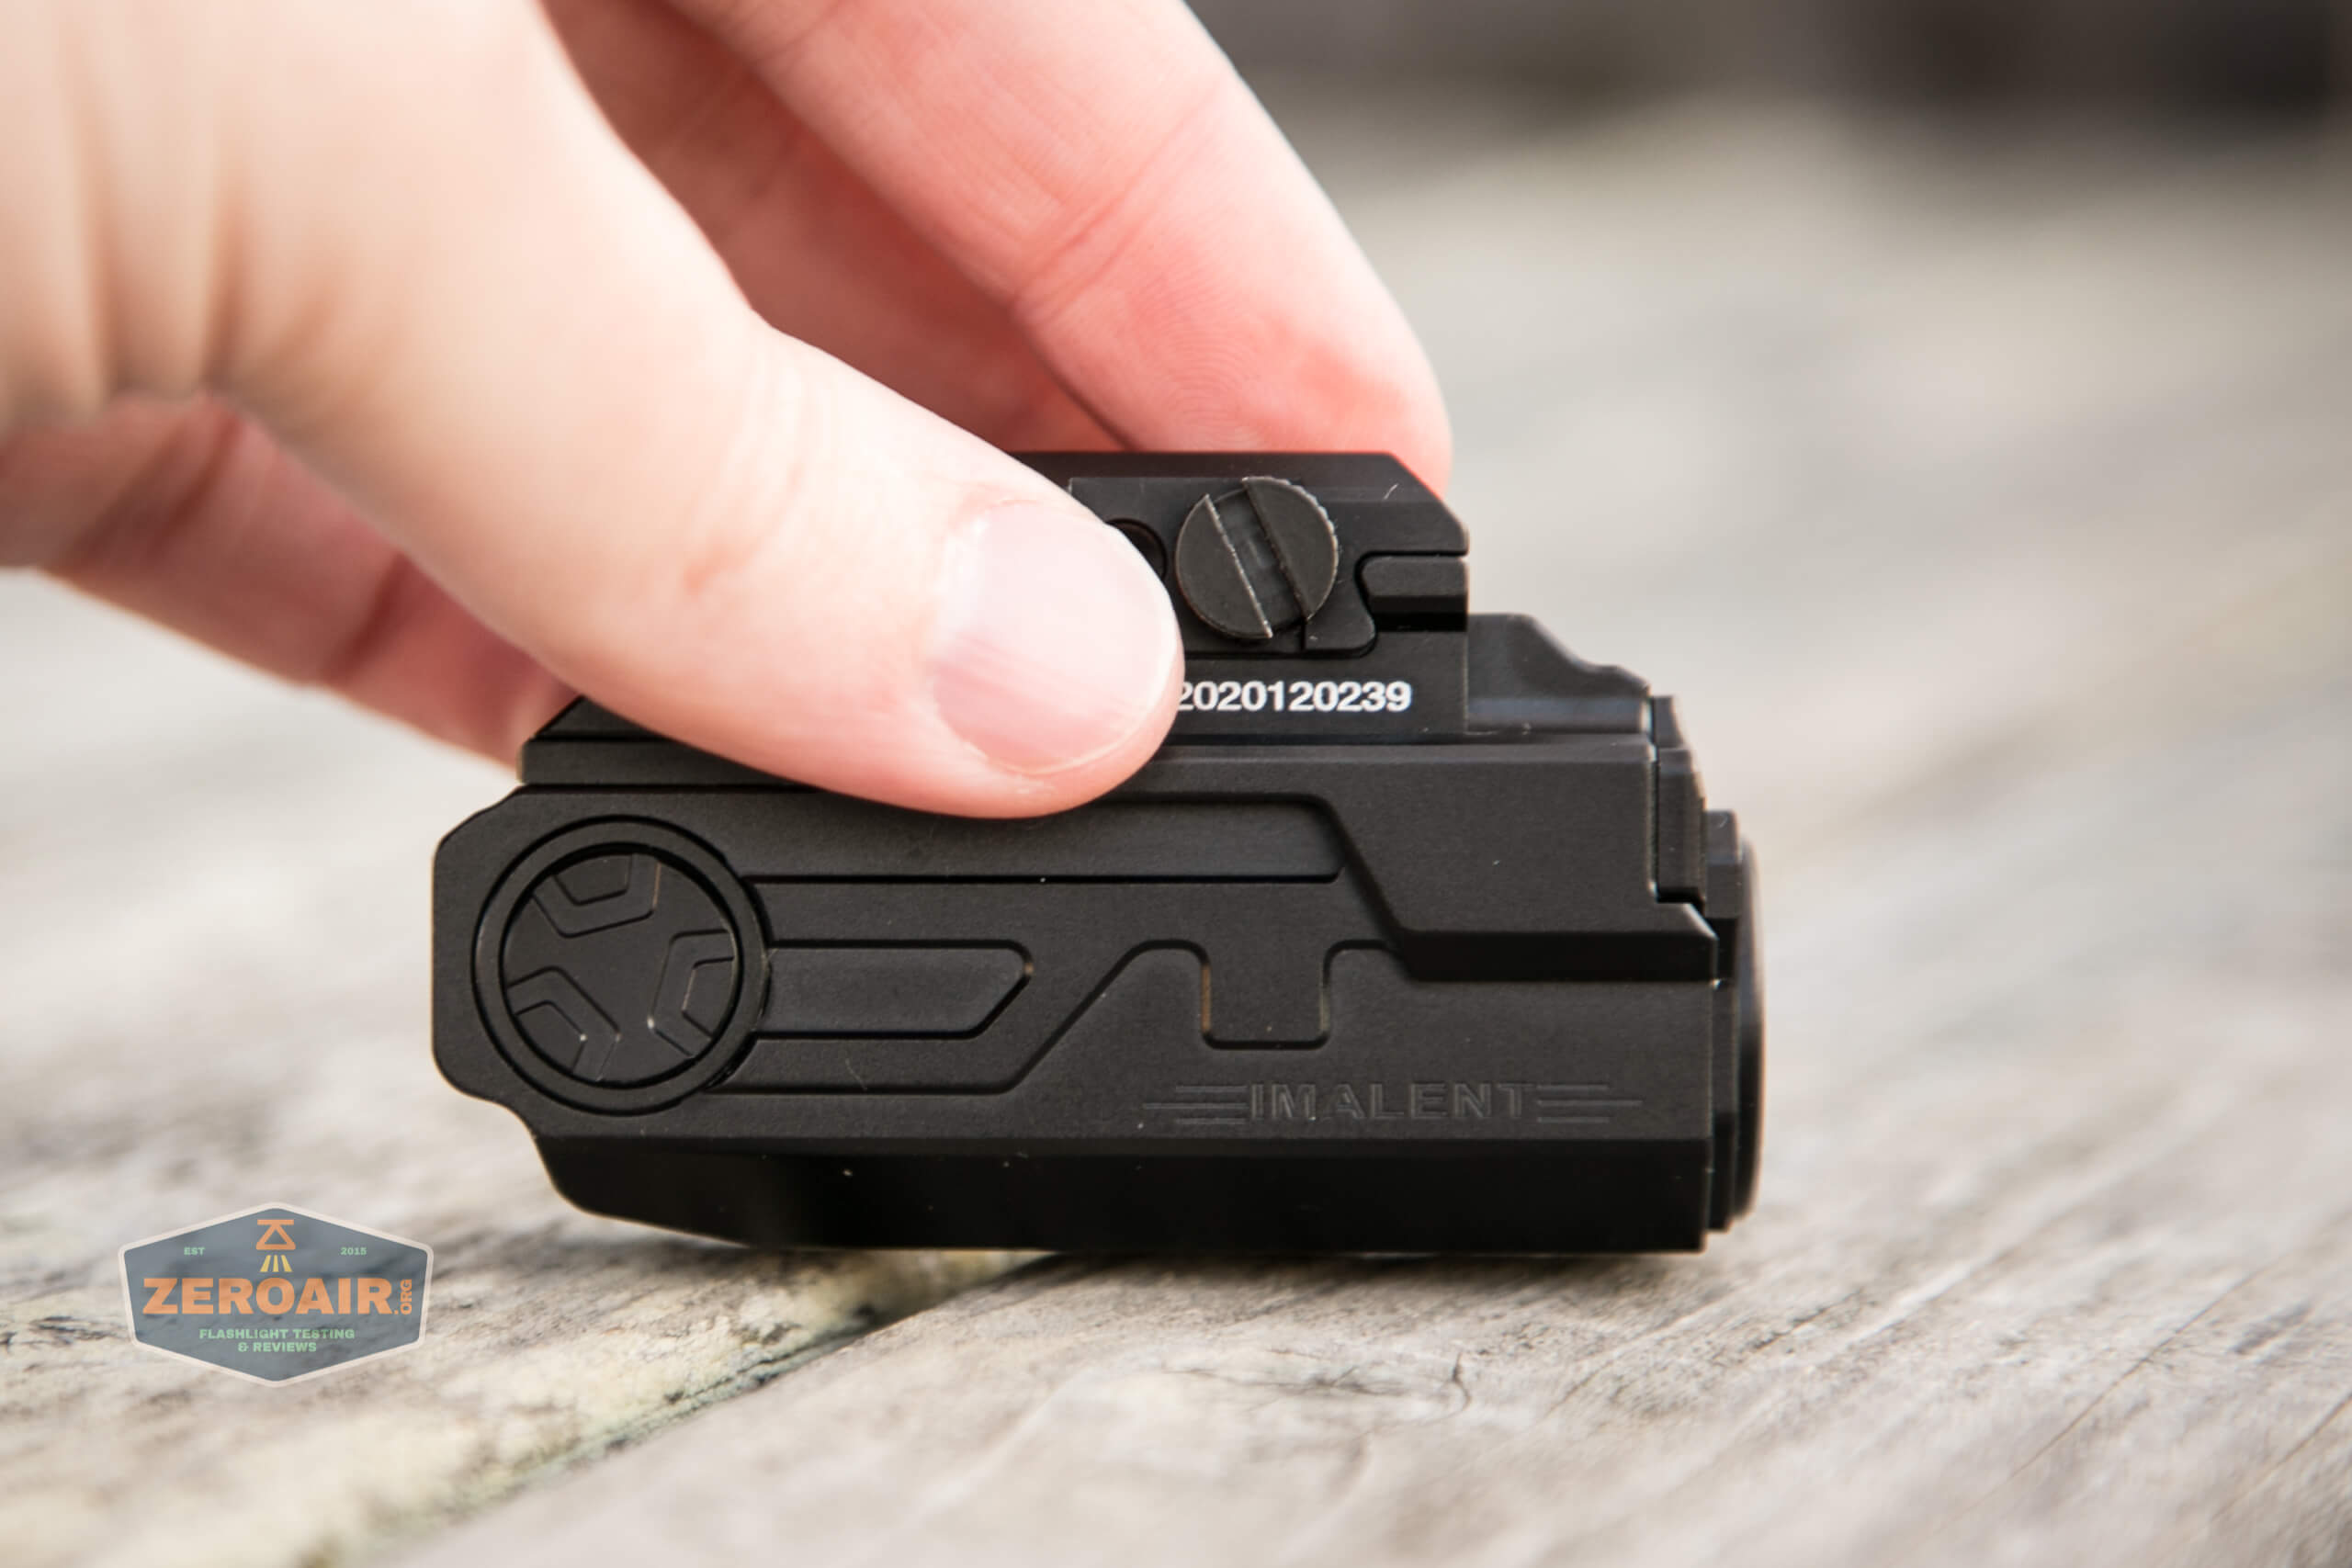
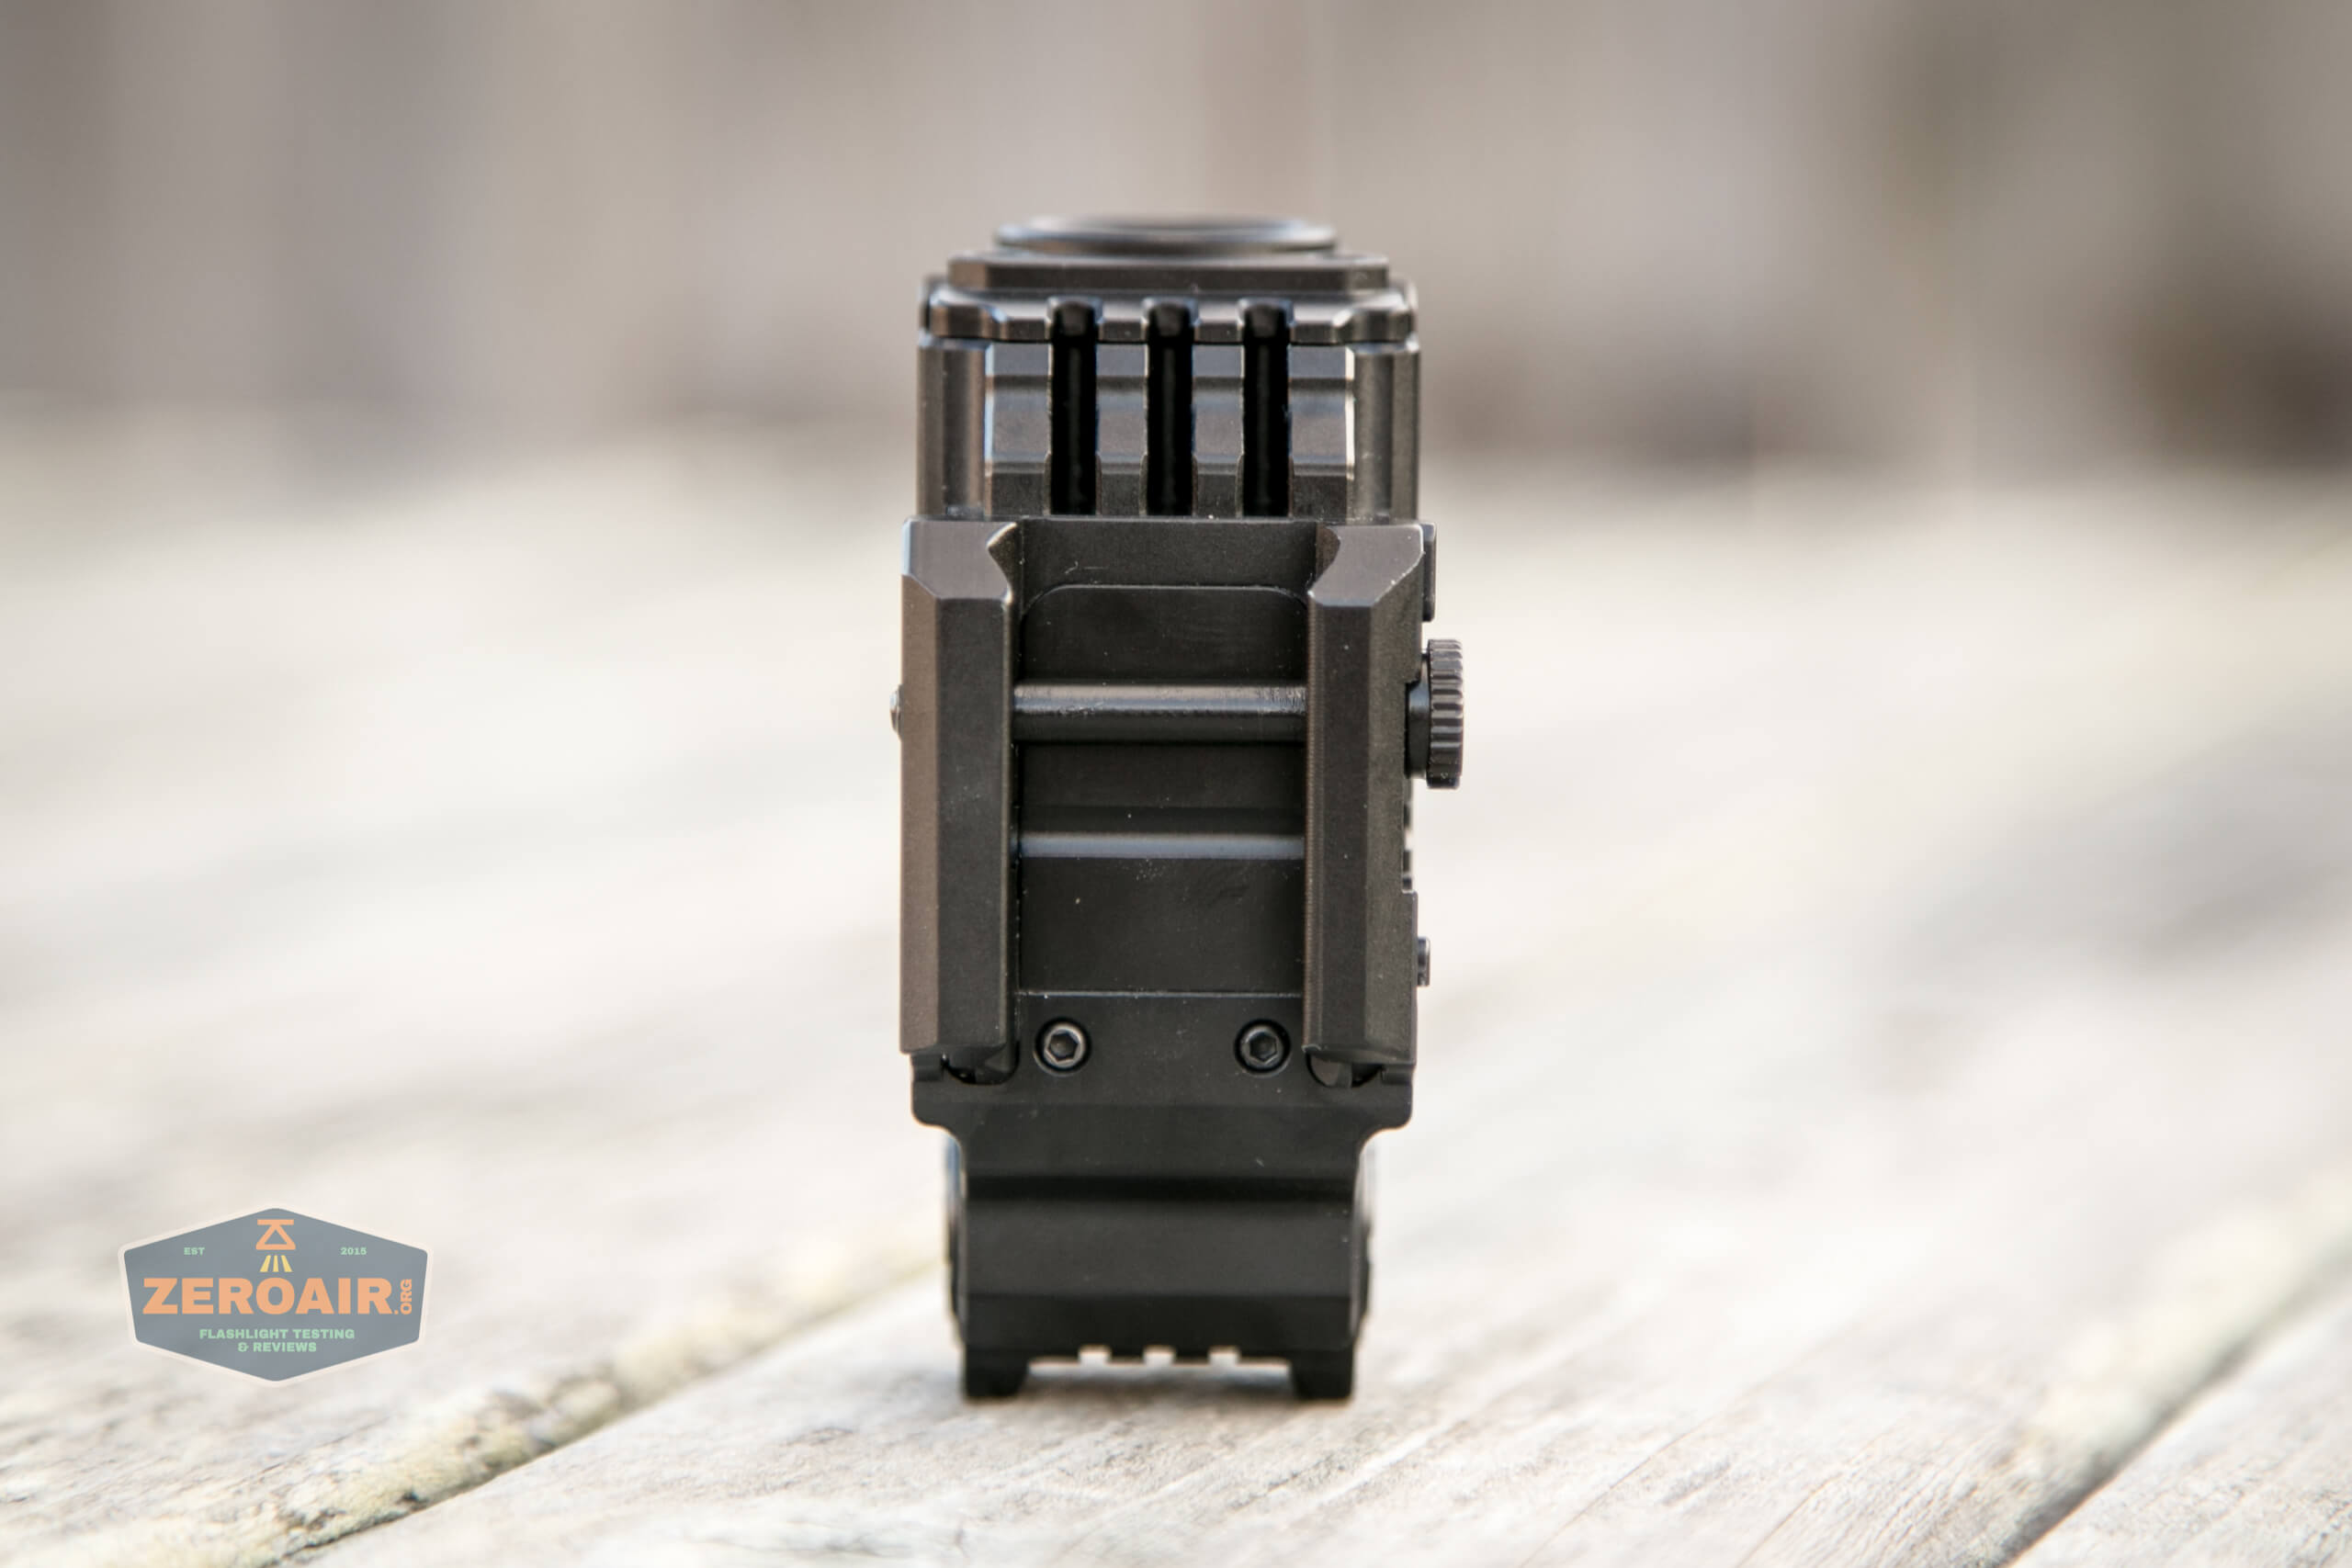
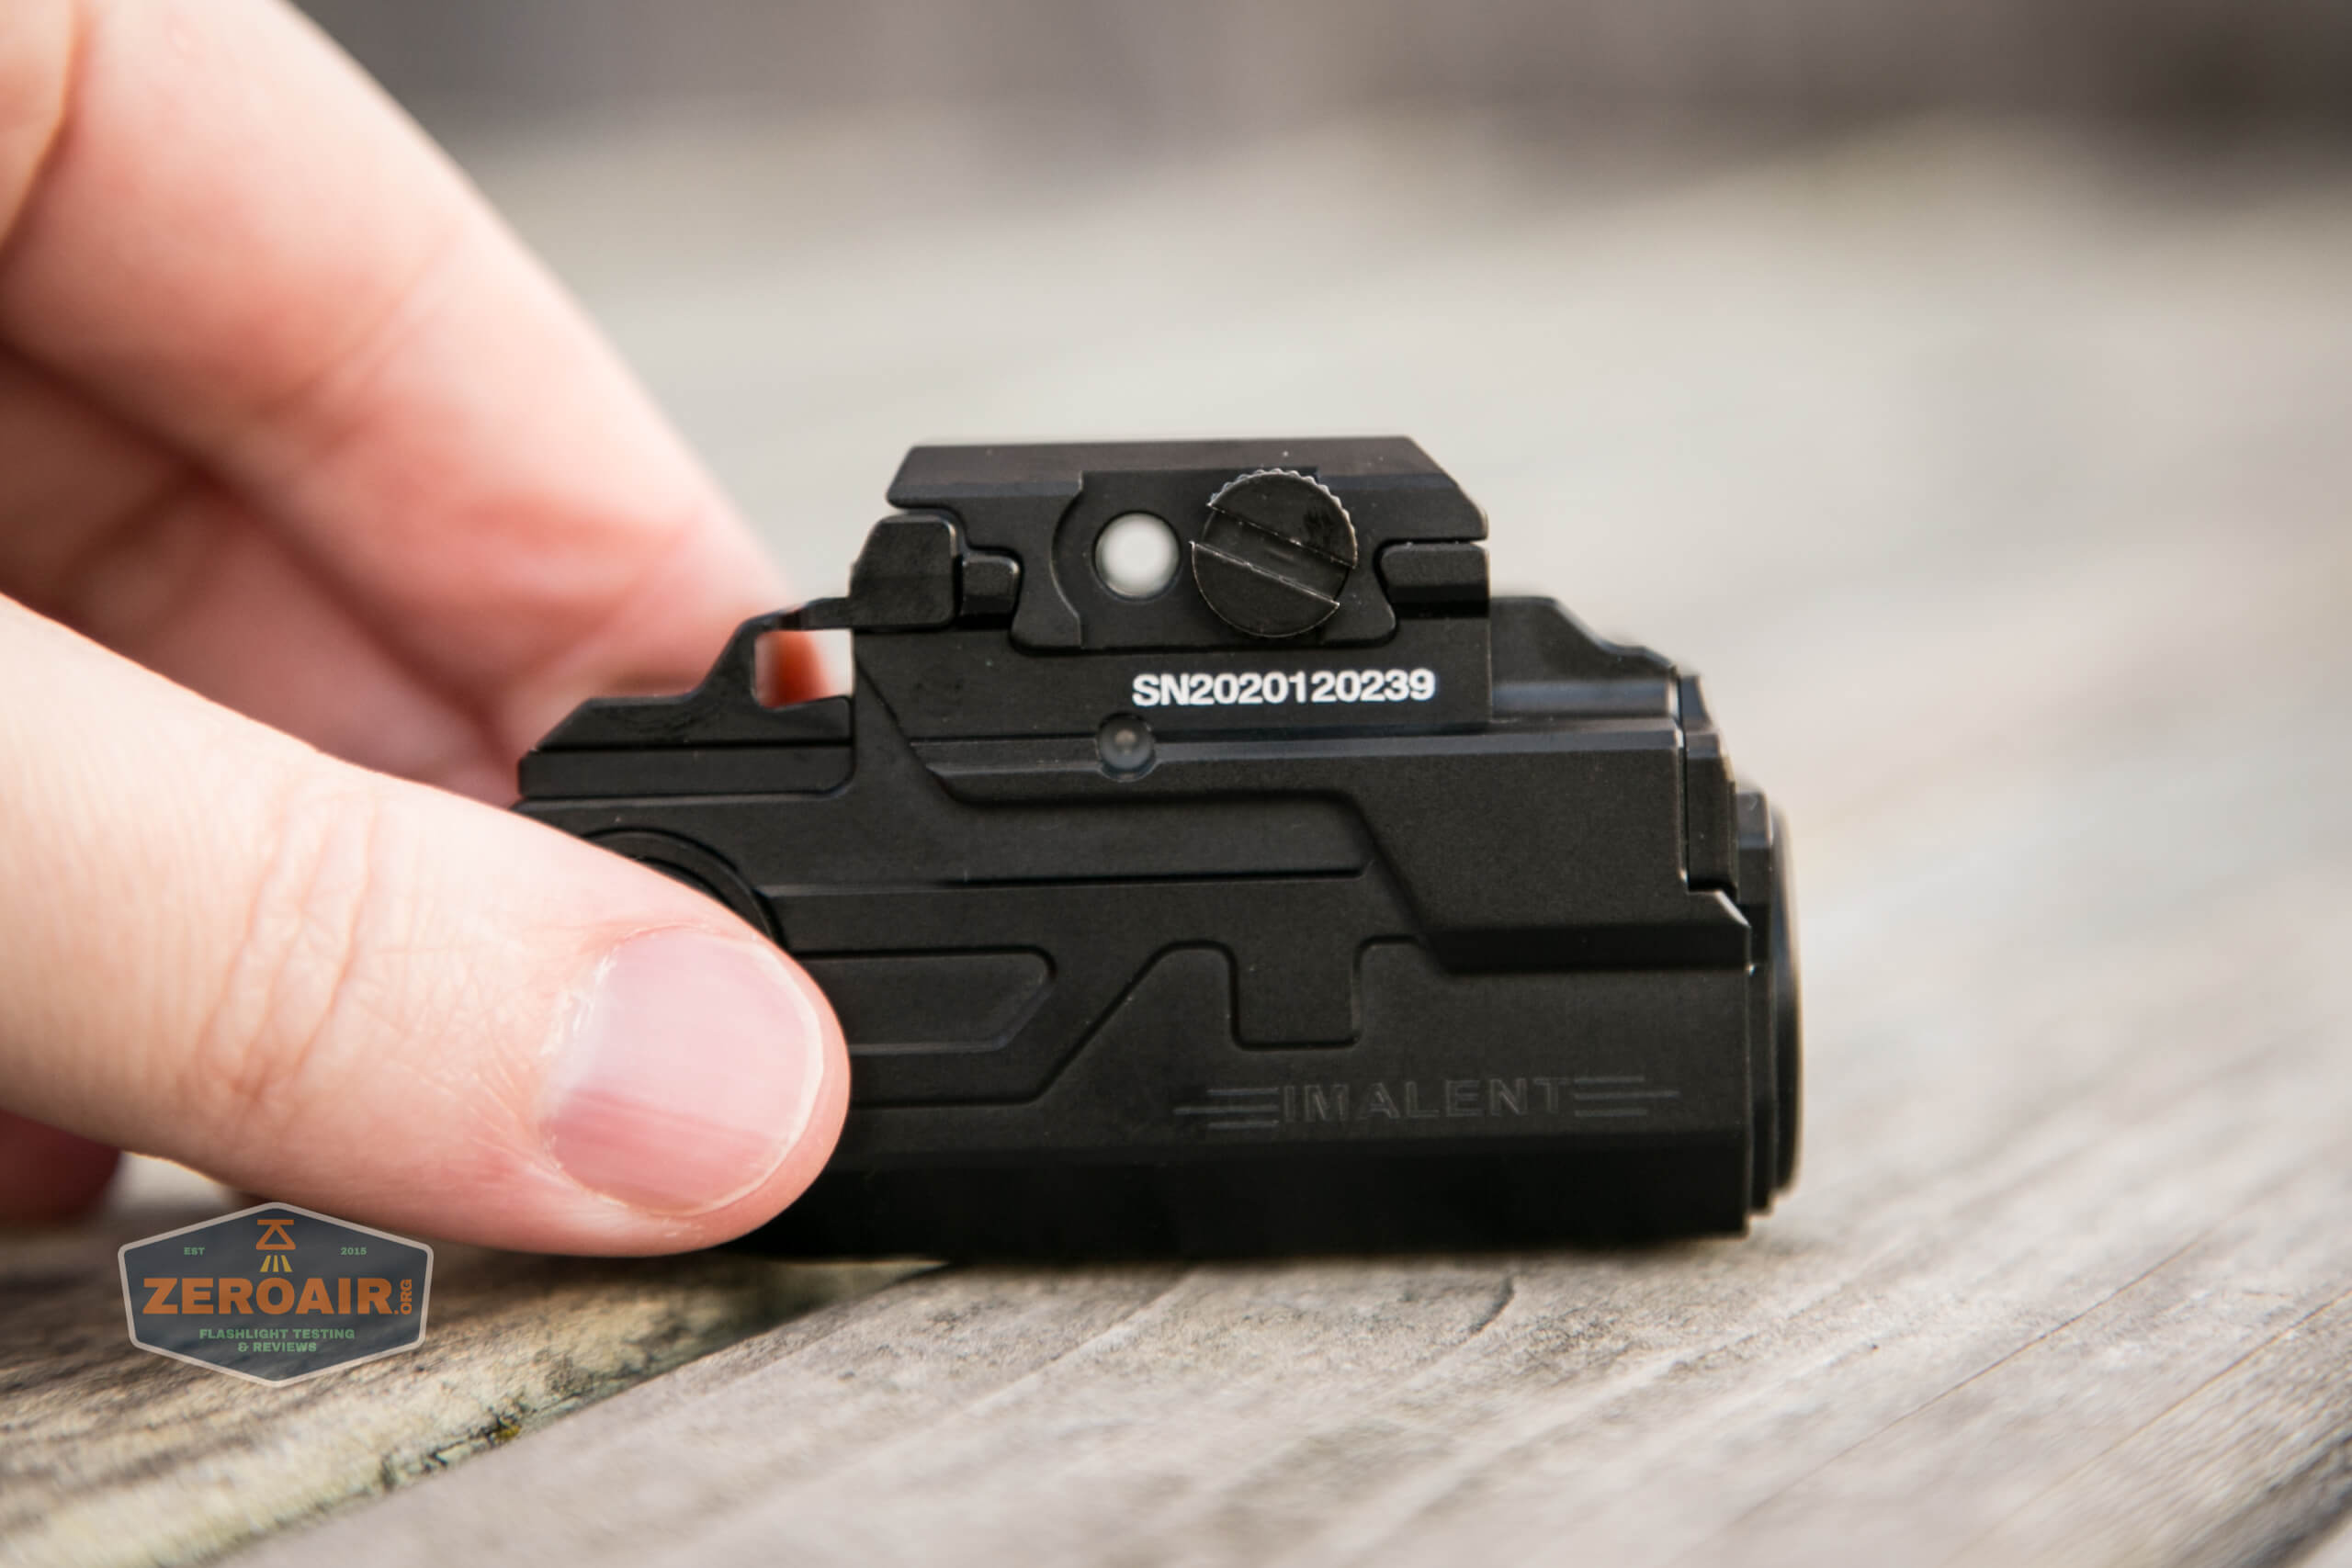
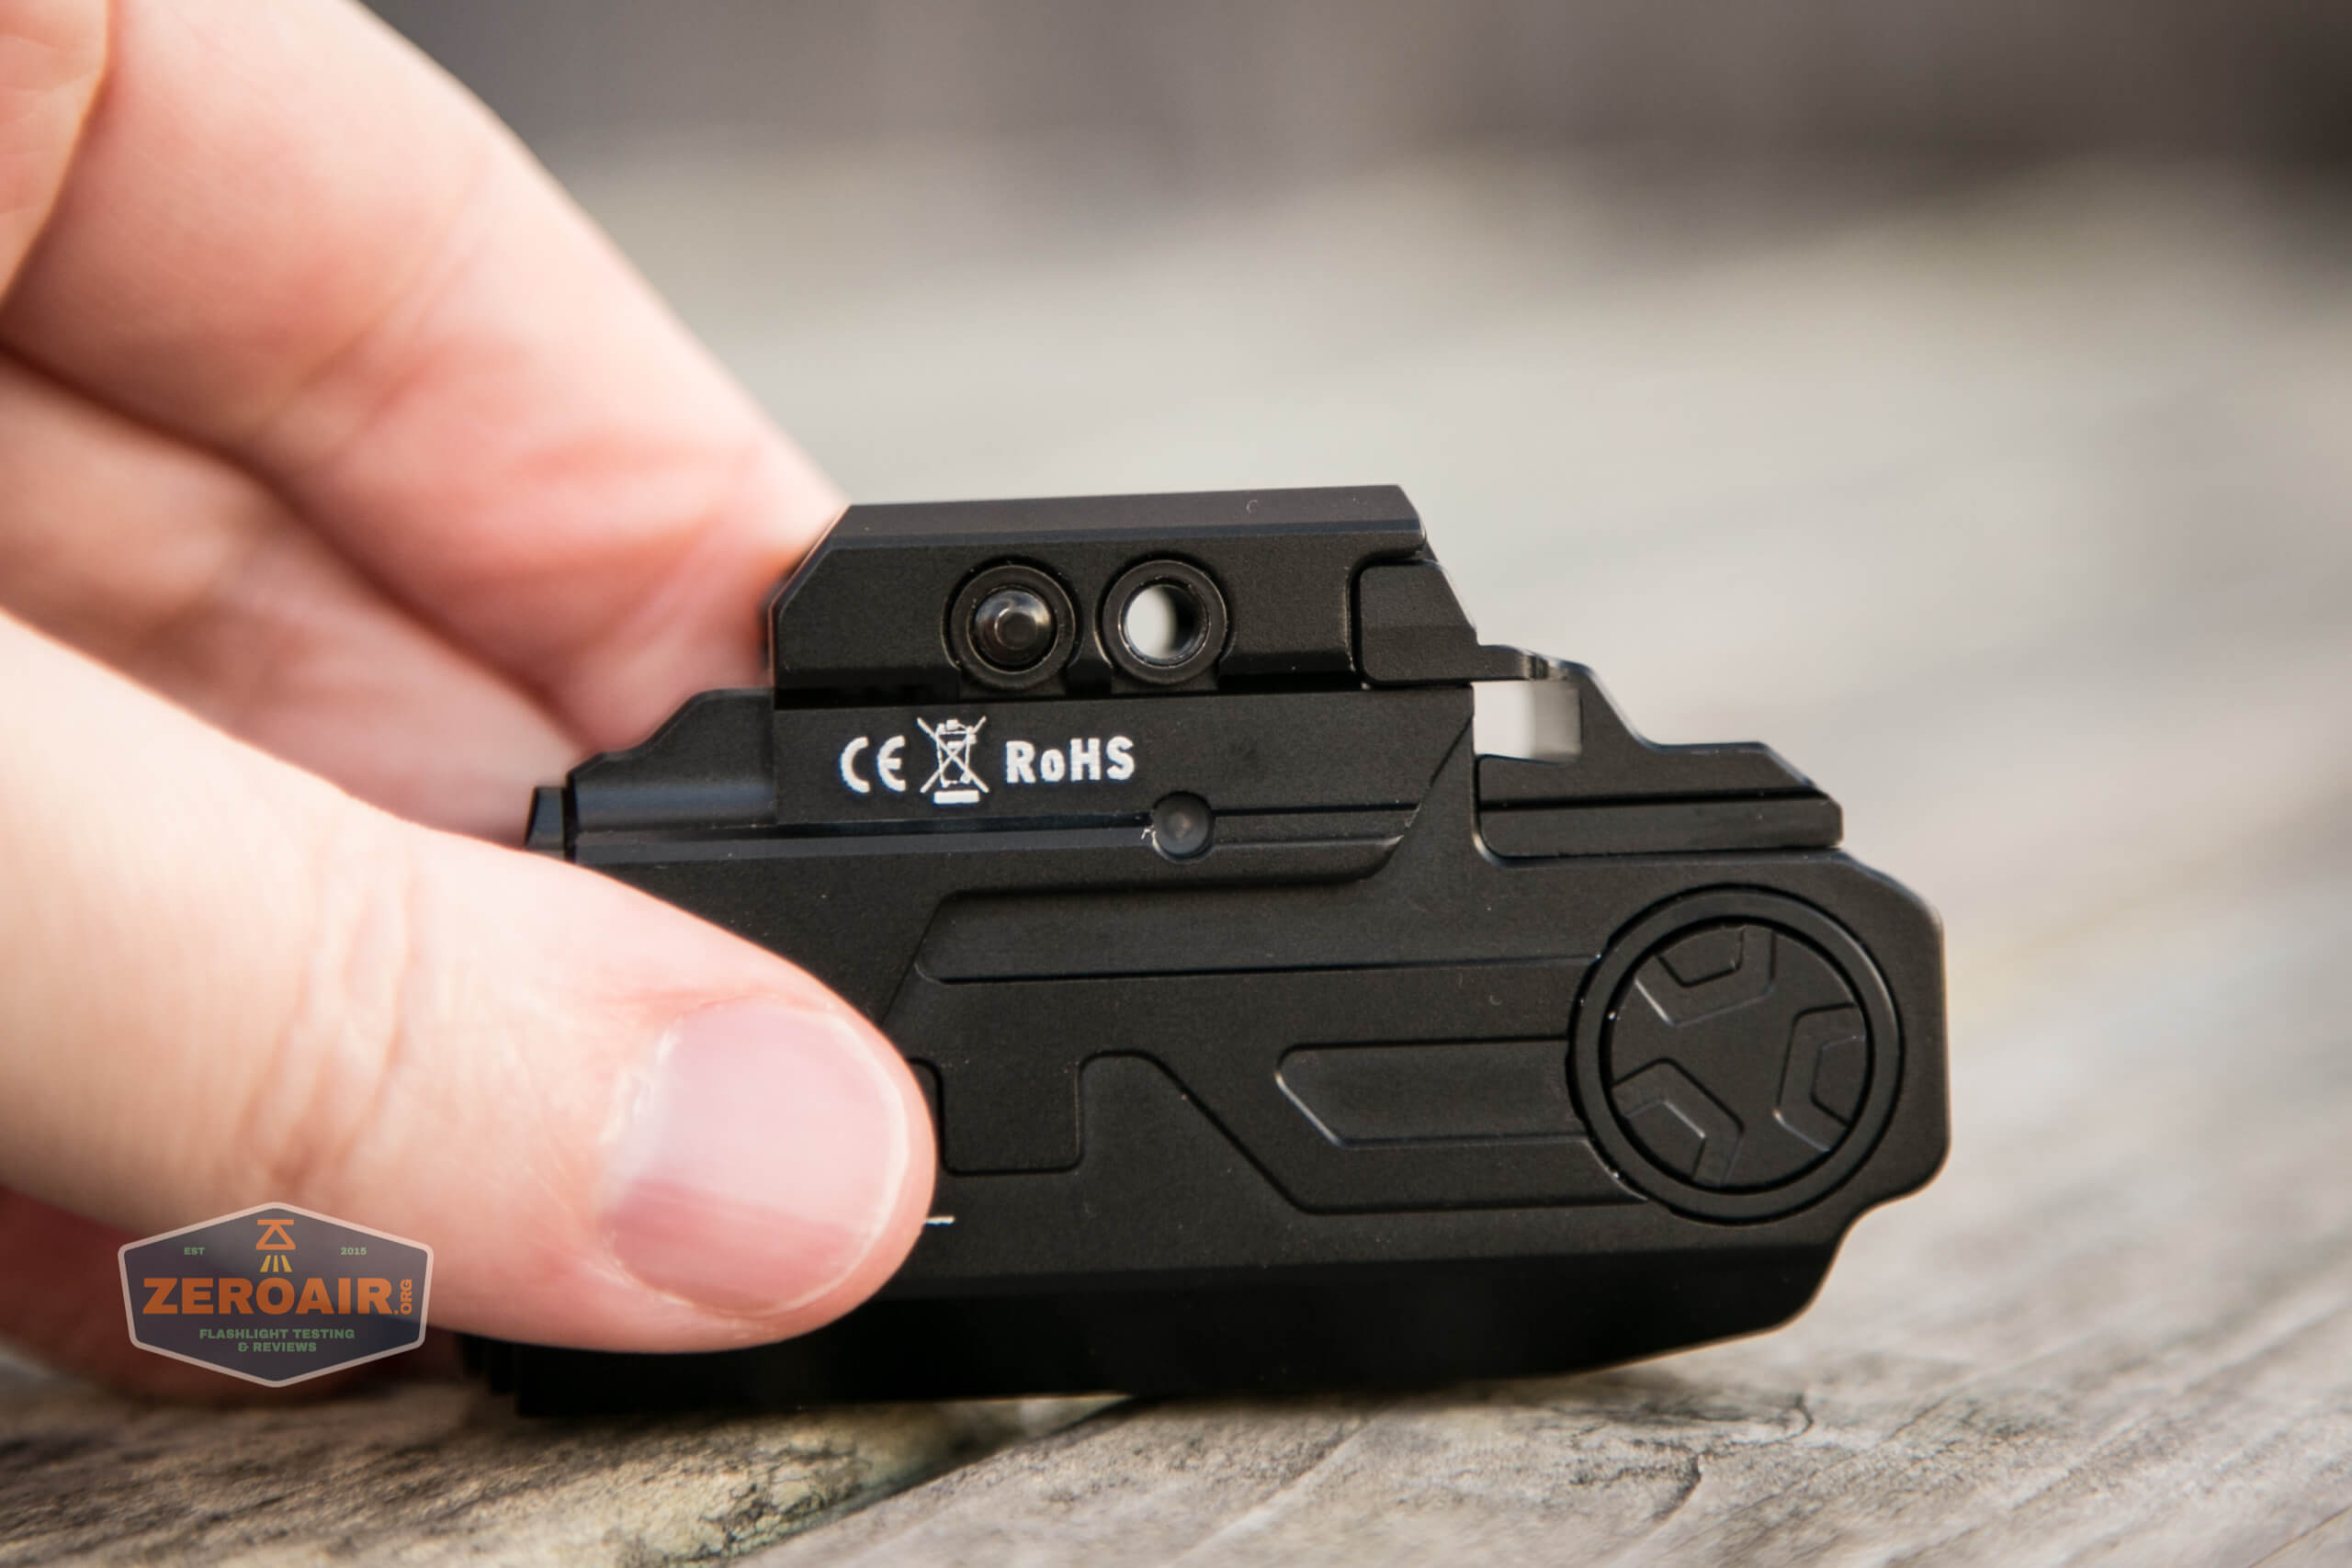
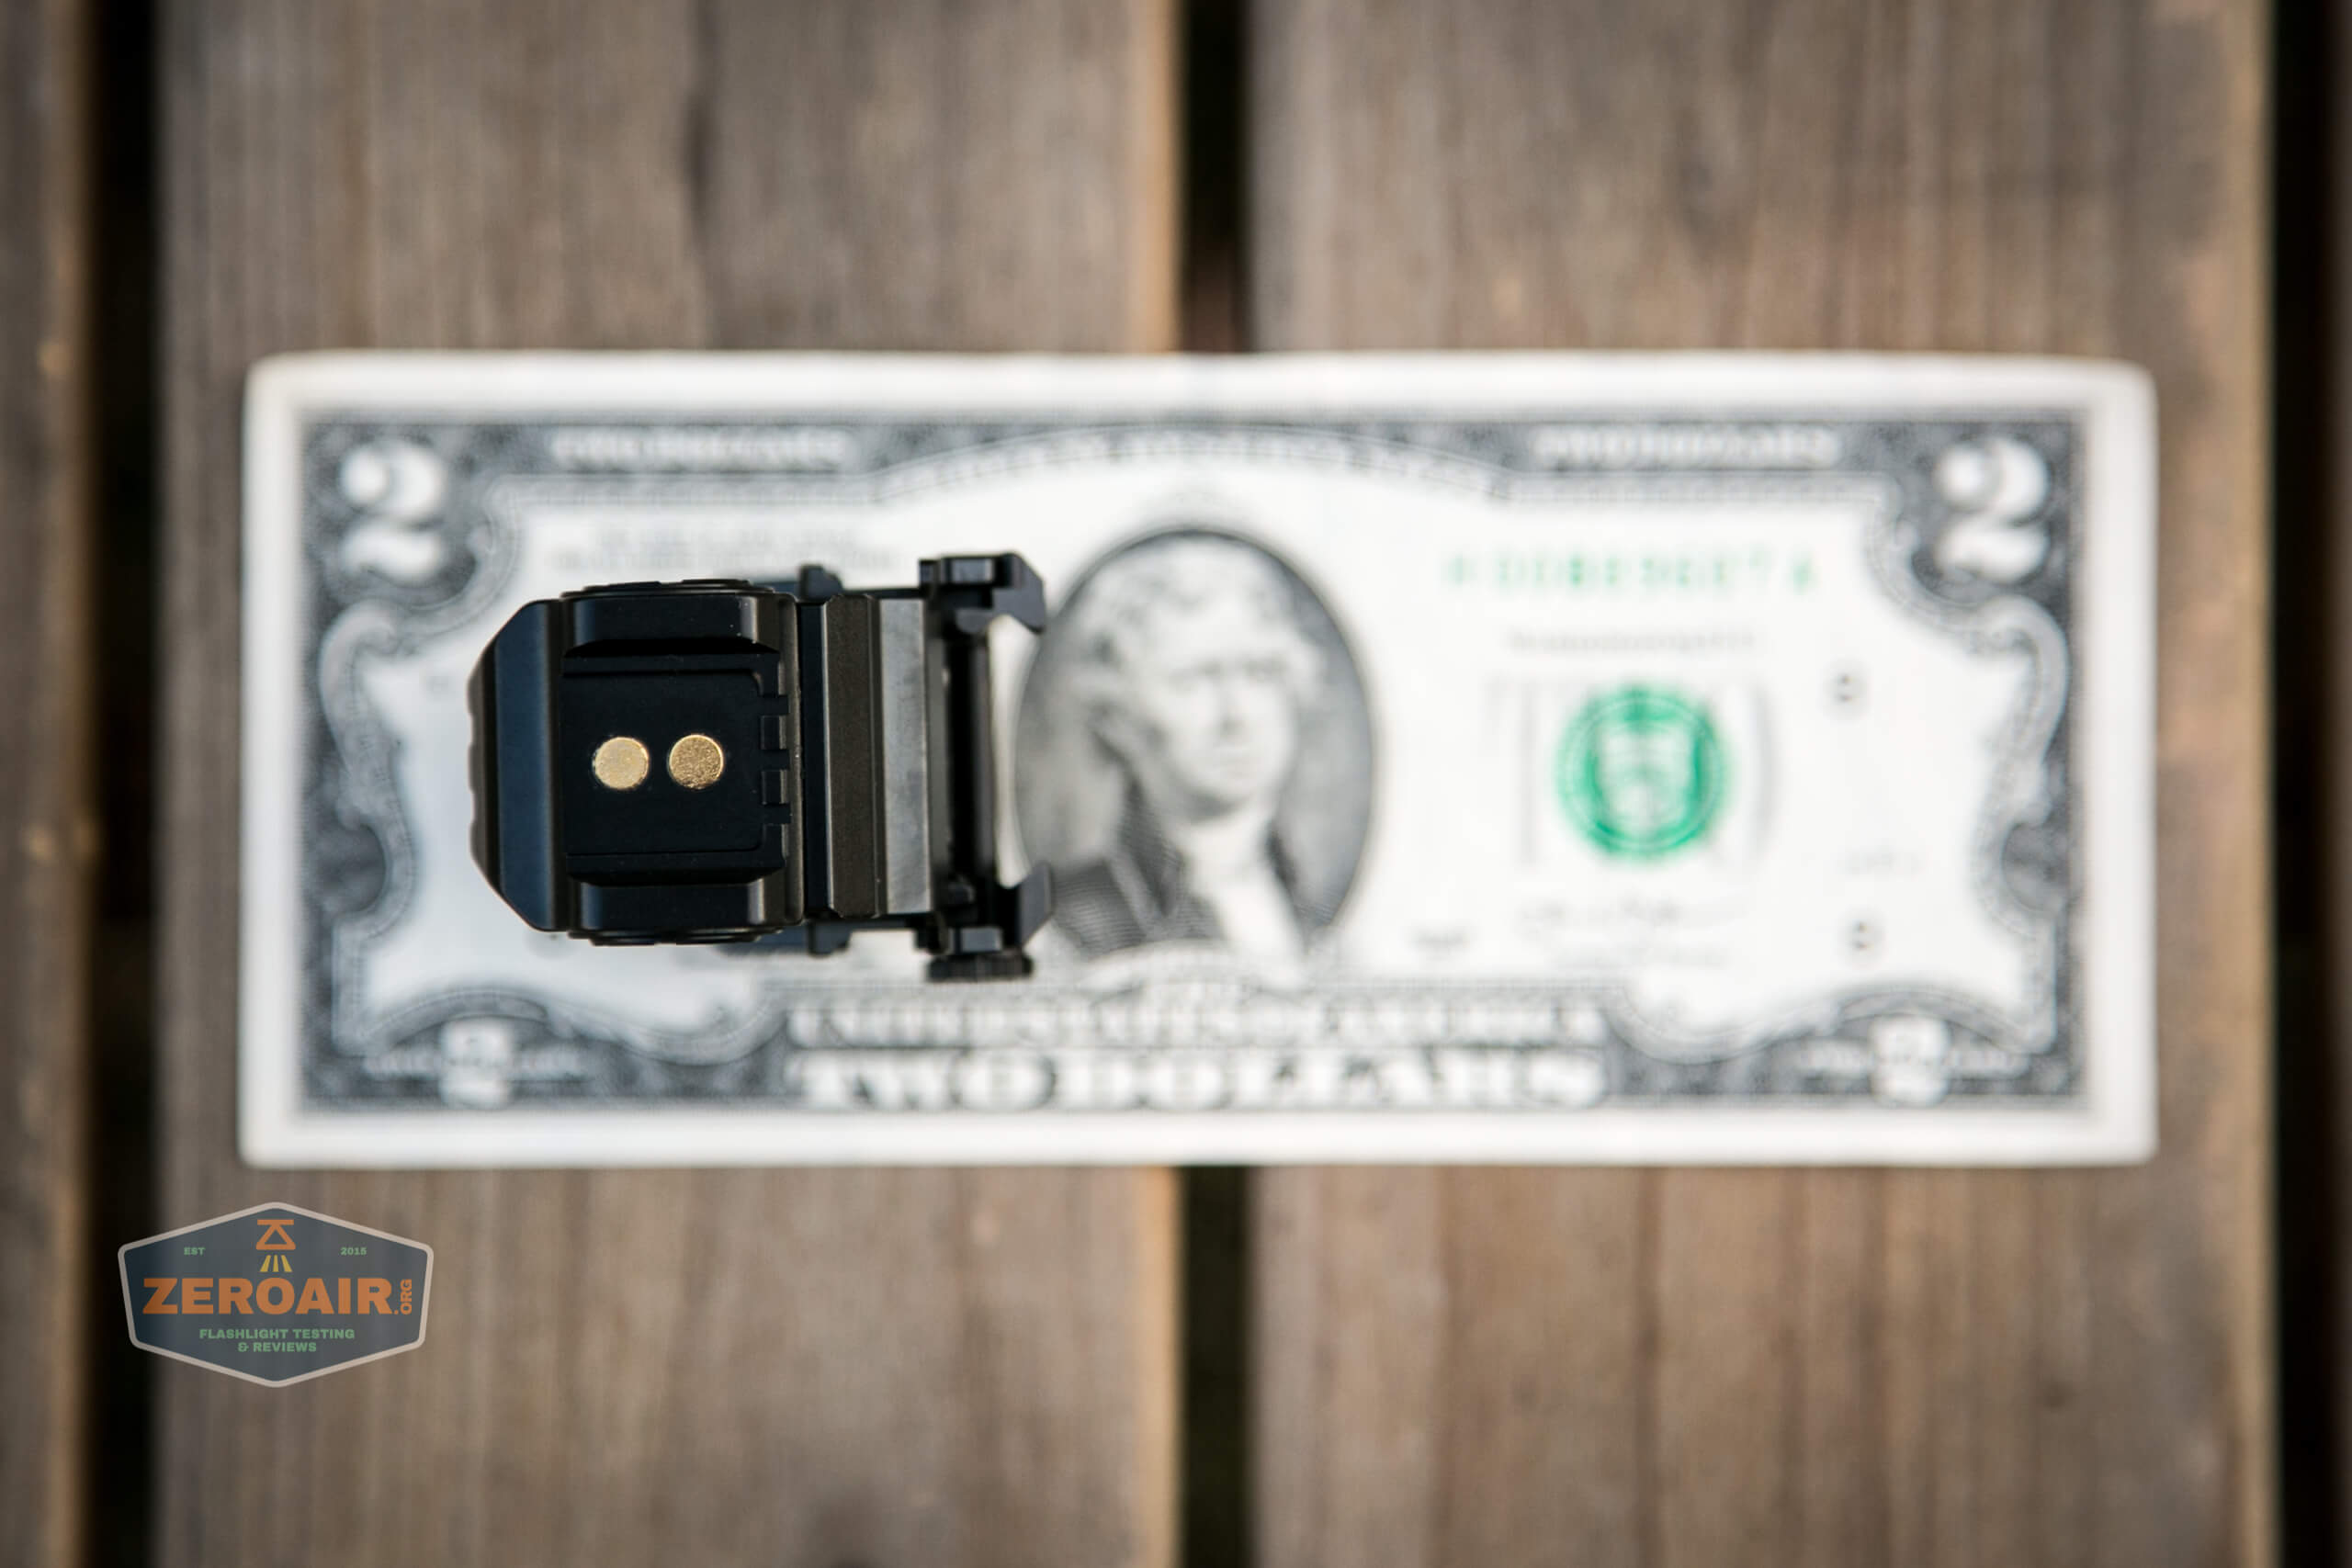
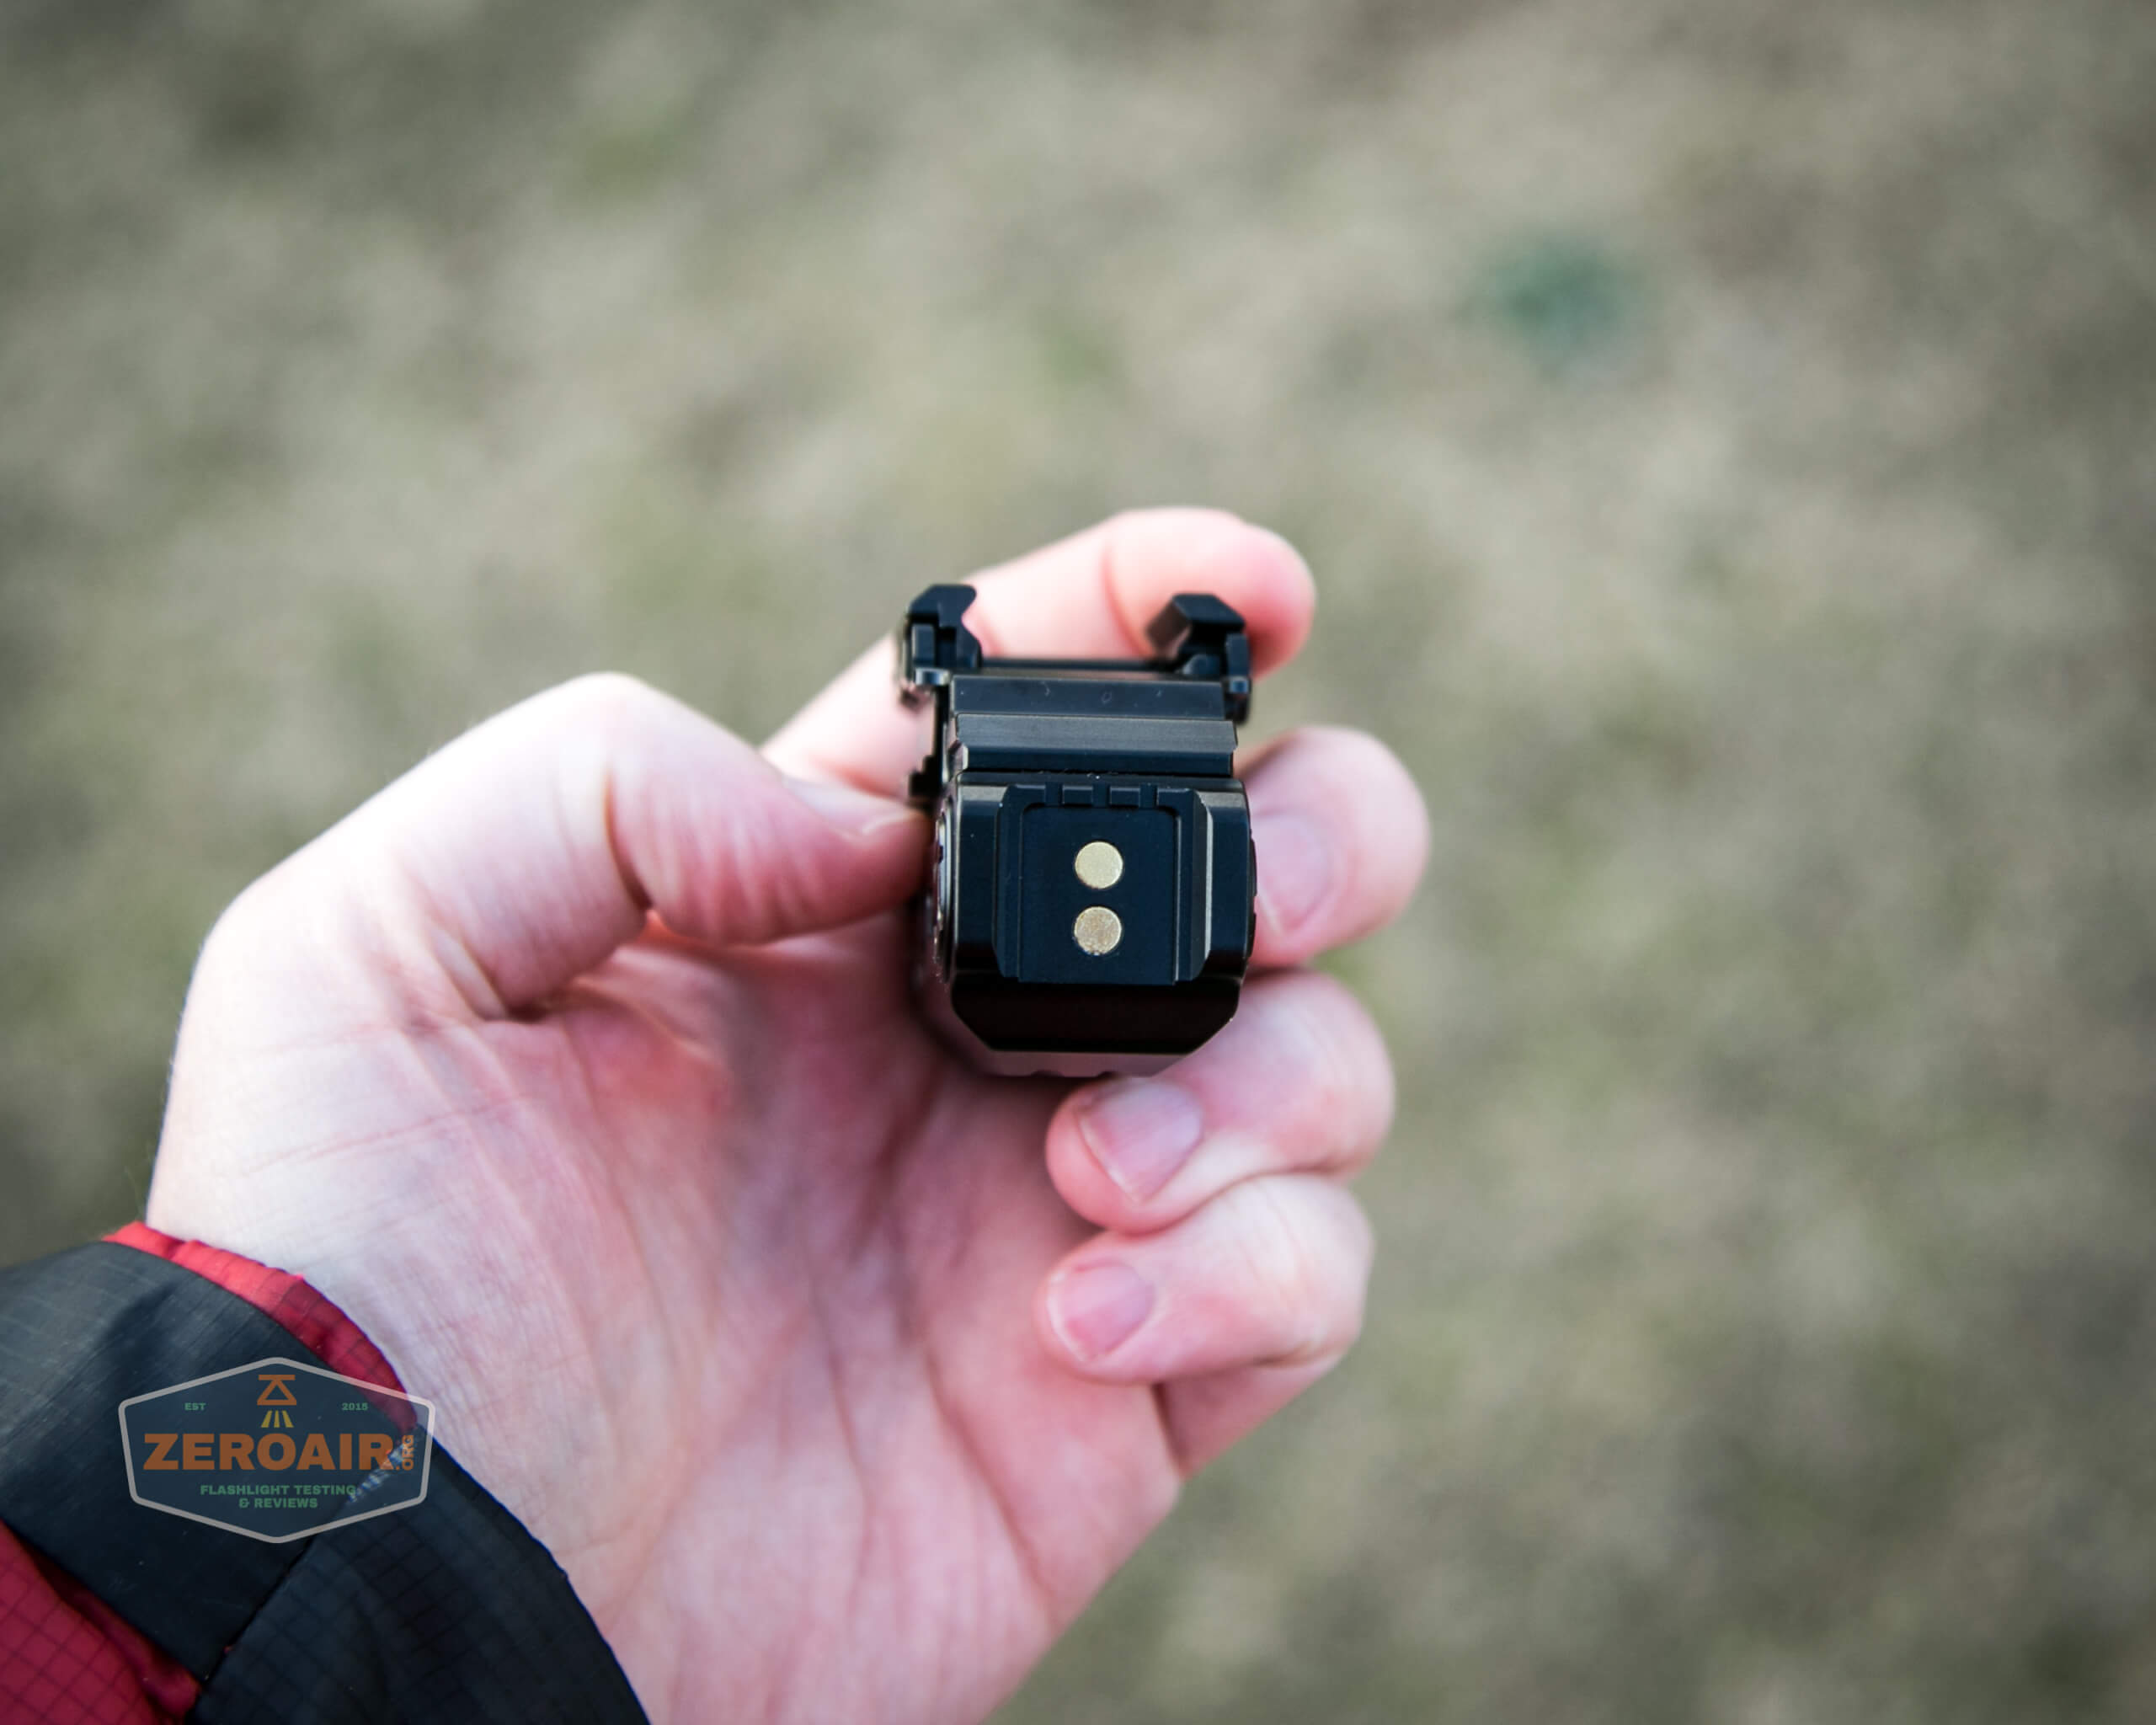
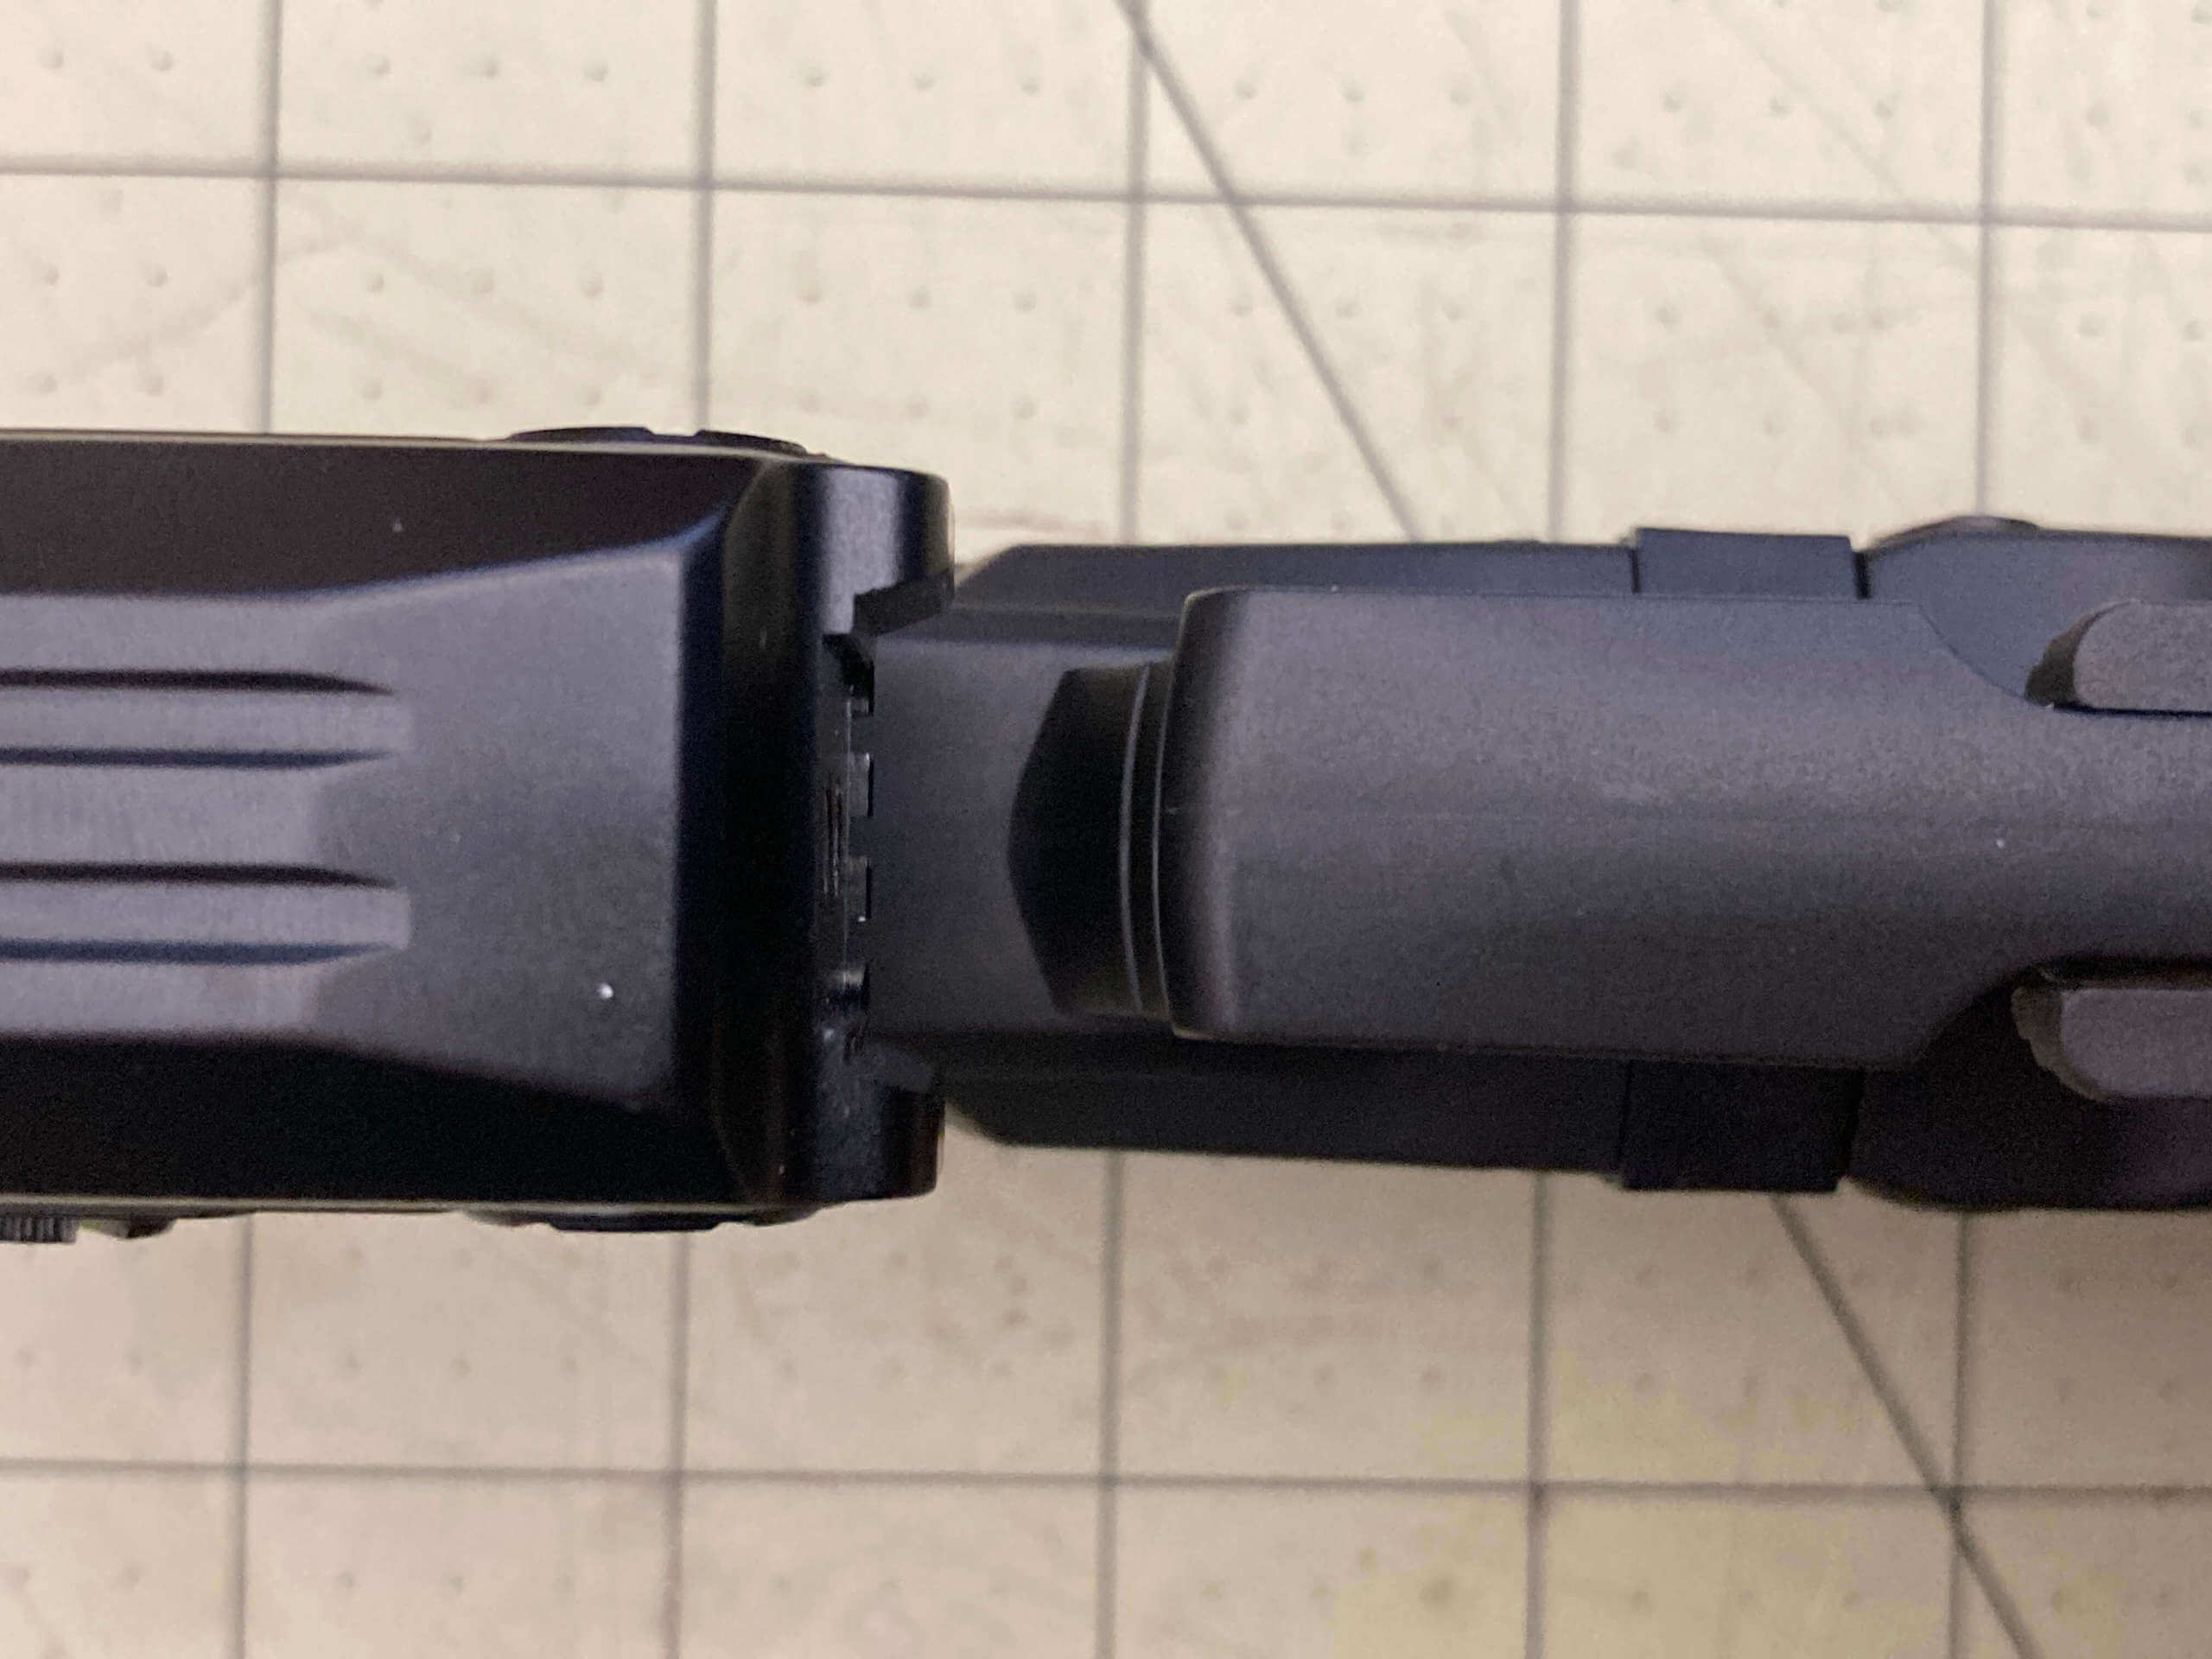
The back or “trigger side” of the UT10 is seen above. You can see where the charge port connects, and you can also see at the top of this that there are a few little pips. I believe these serve to keep the charge connector aligned properly.
The bottom of the UT10 is featured with only lines. I suppose these could be called “cooling fins” too.

Here you can see the rail mount. More on this later.
I really only just noticed these Torx screws – I’ll pull them and see what they uncover later.
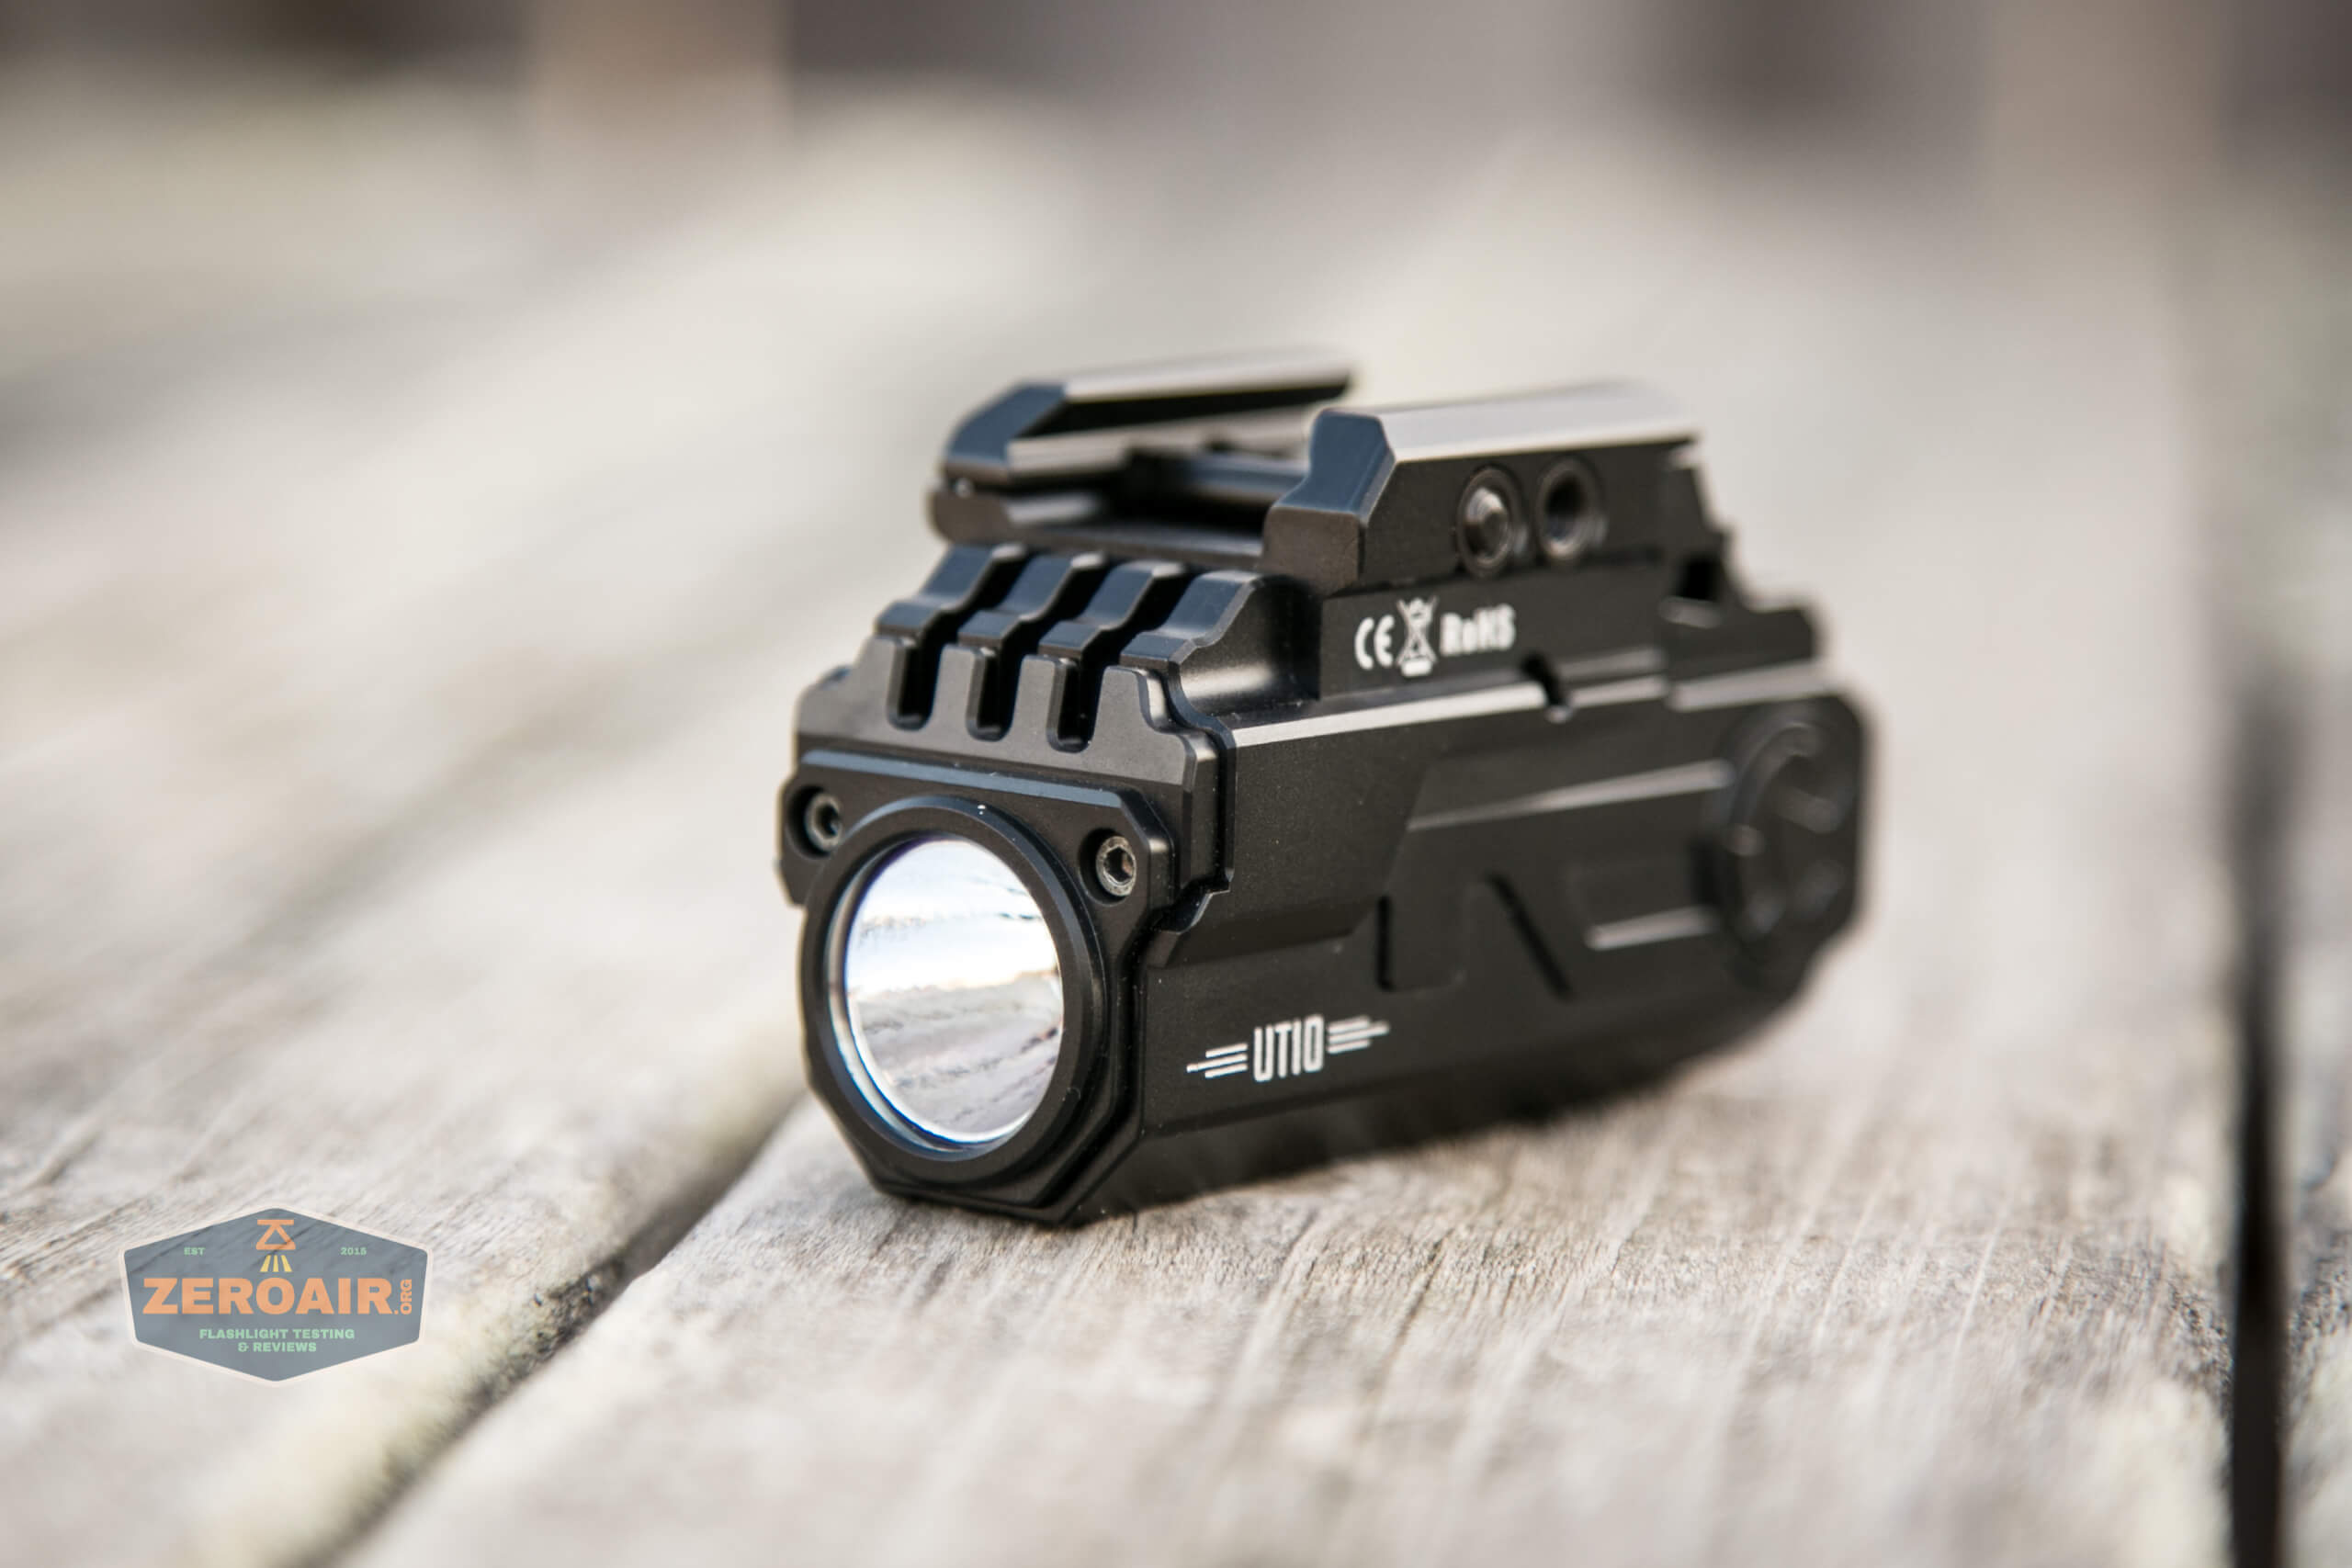
You can see a light logo on the side of the UT10. Surprisingly, not screen printed over.

Below is probably the best view of the part I tried to remove. Took out the screws, prying a razor blade under there, and … not even the slightest budge.
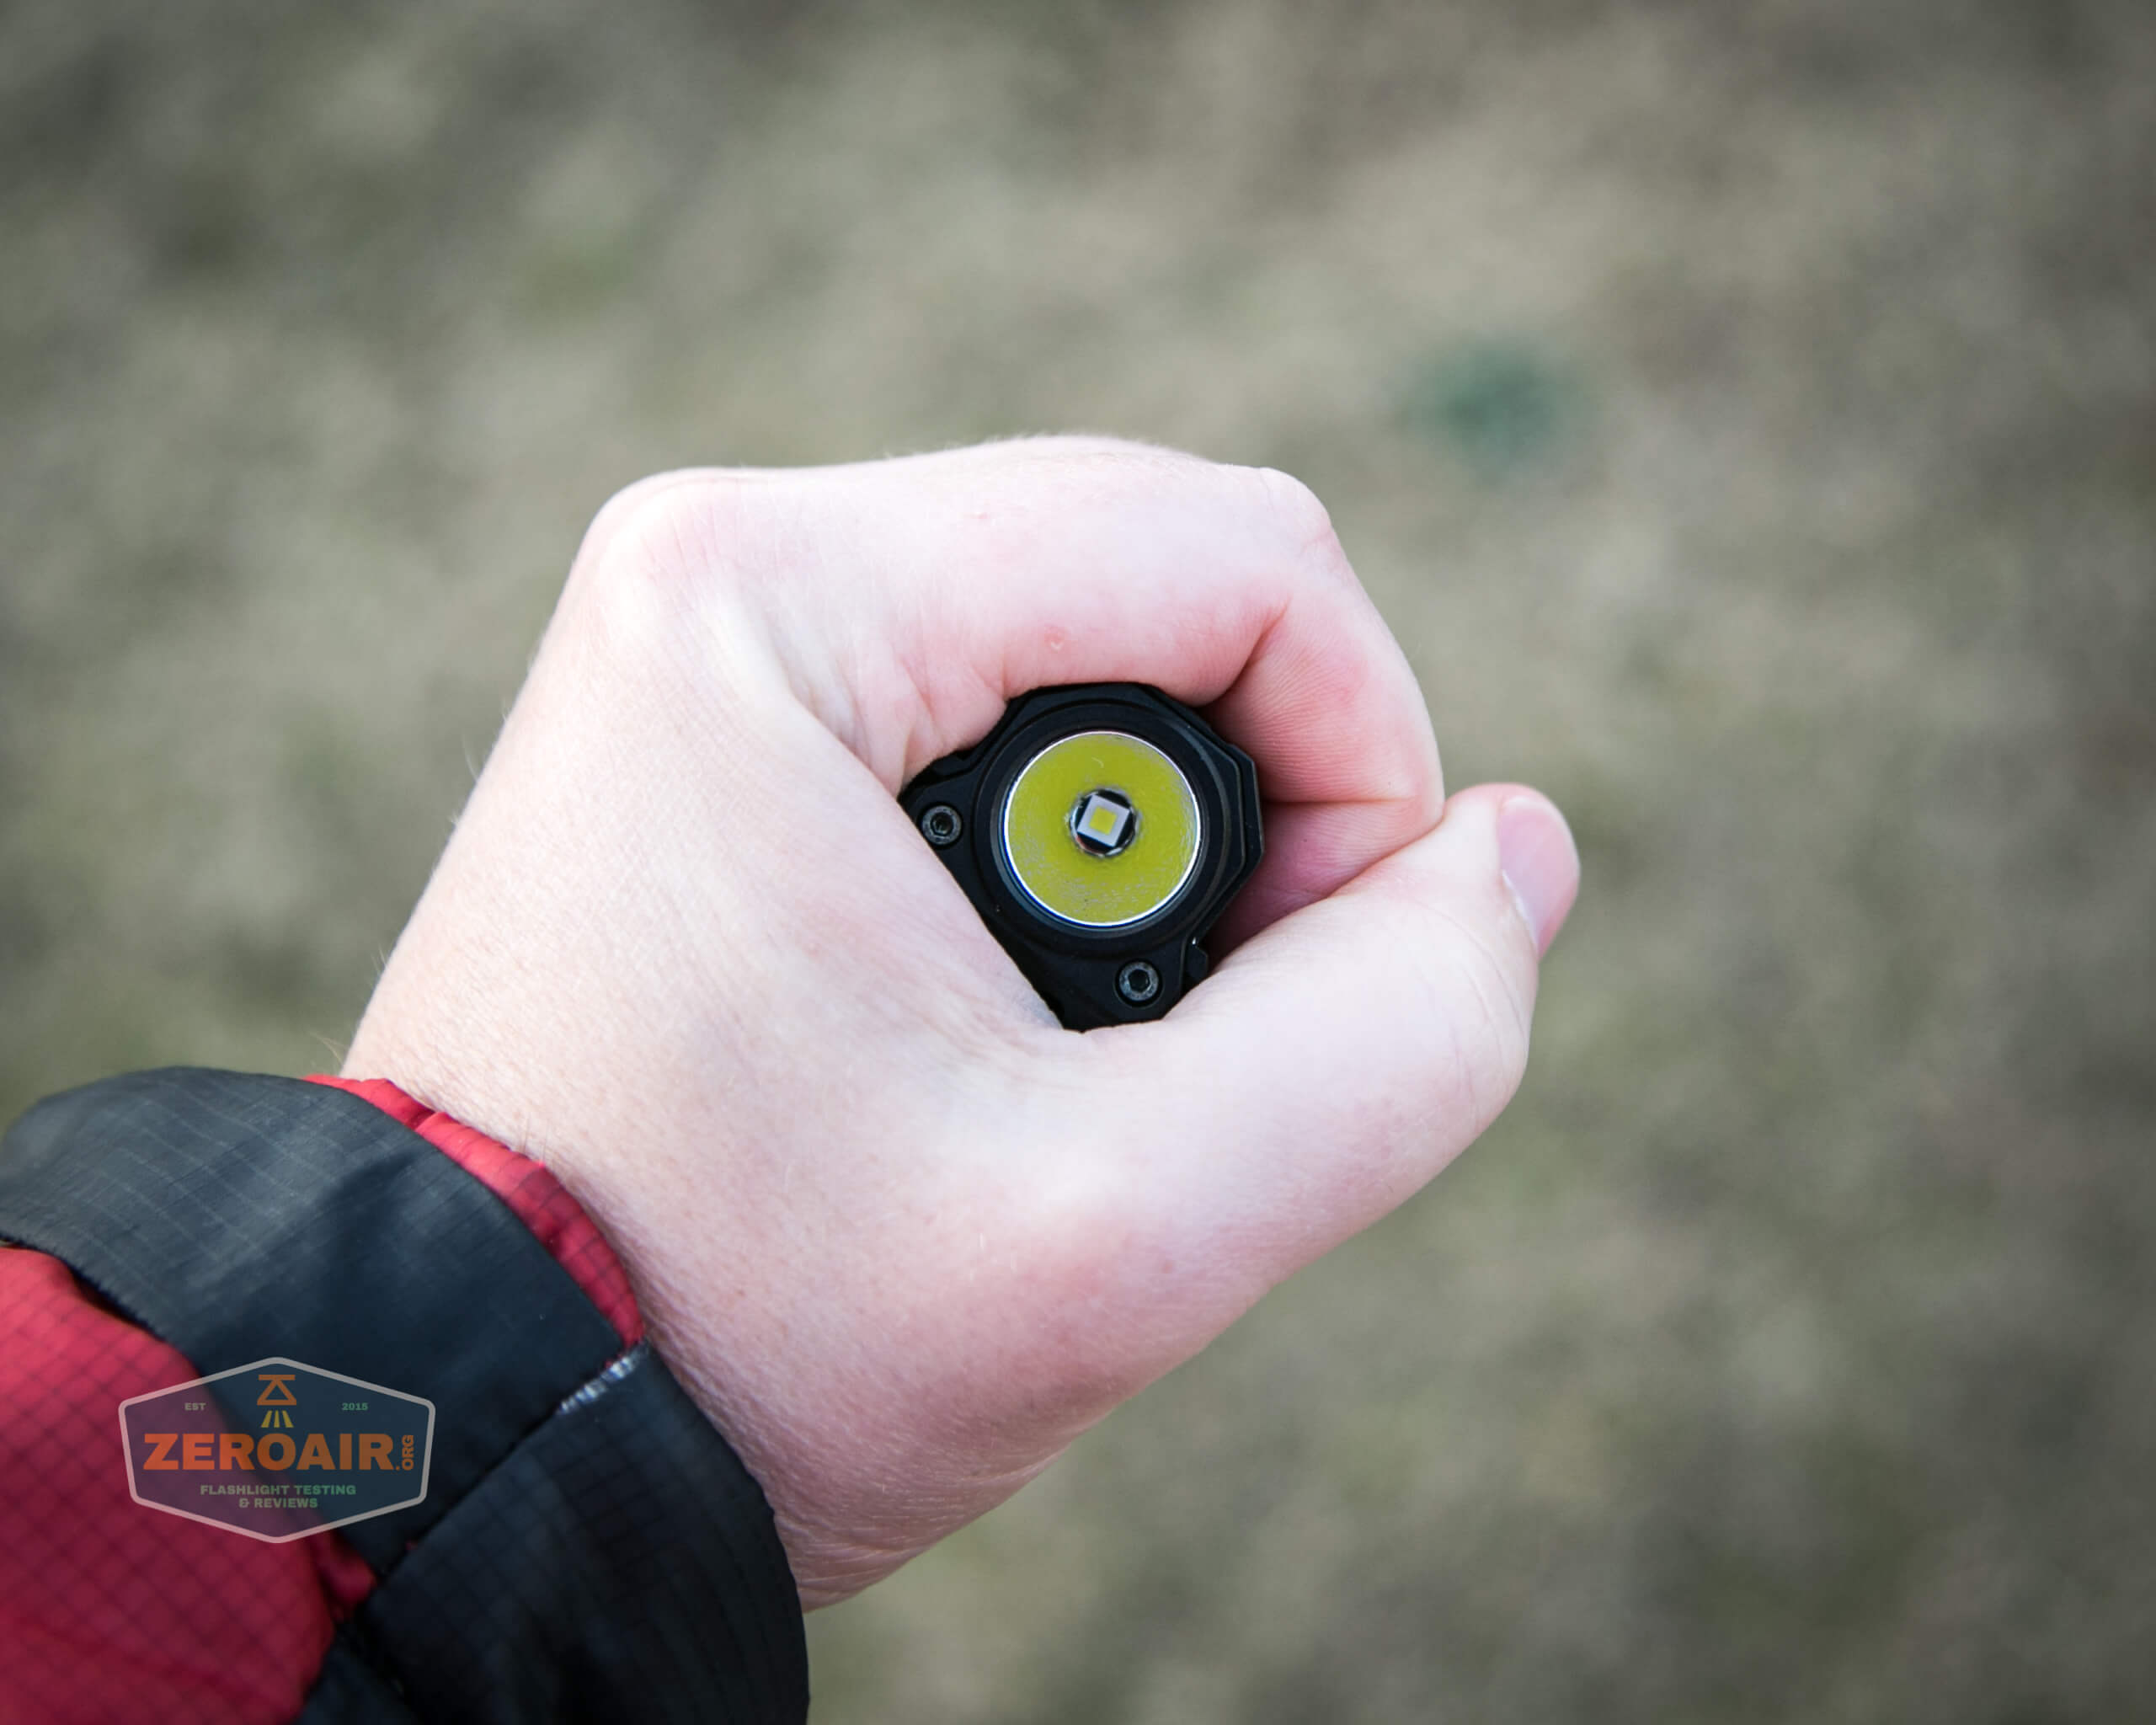
Wouldn’t it be neat if the emitter were on the same axis lines as the body? Too much to ask, of course.

Size and Comps
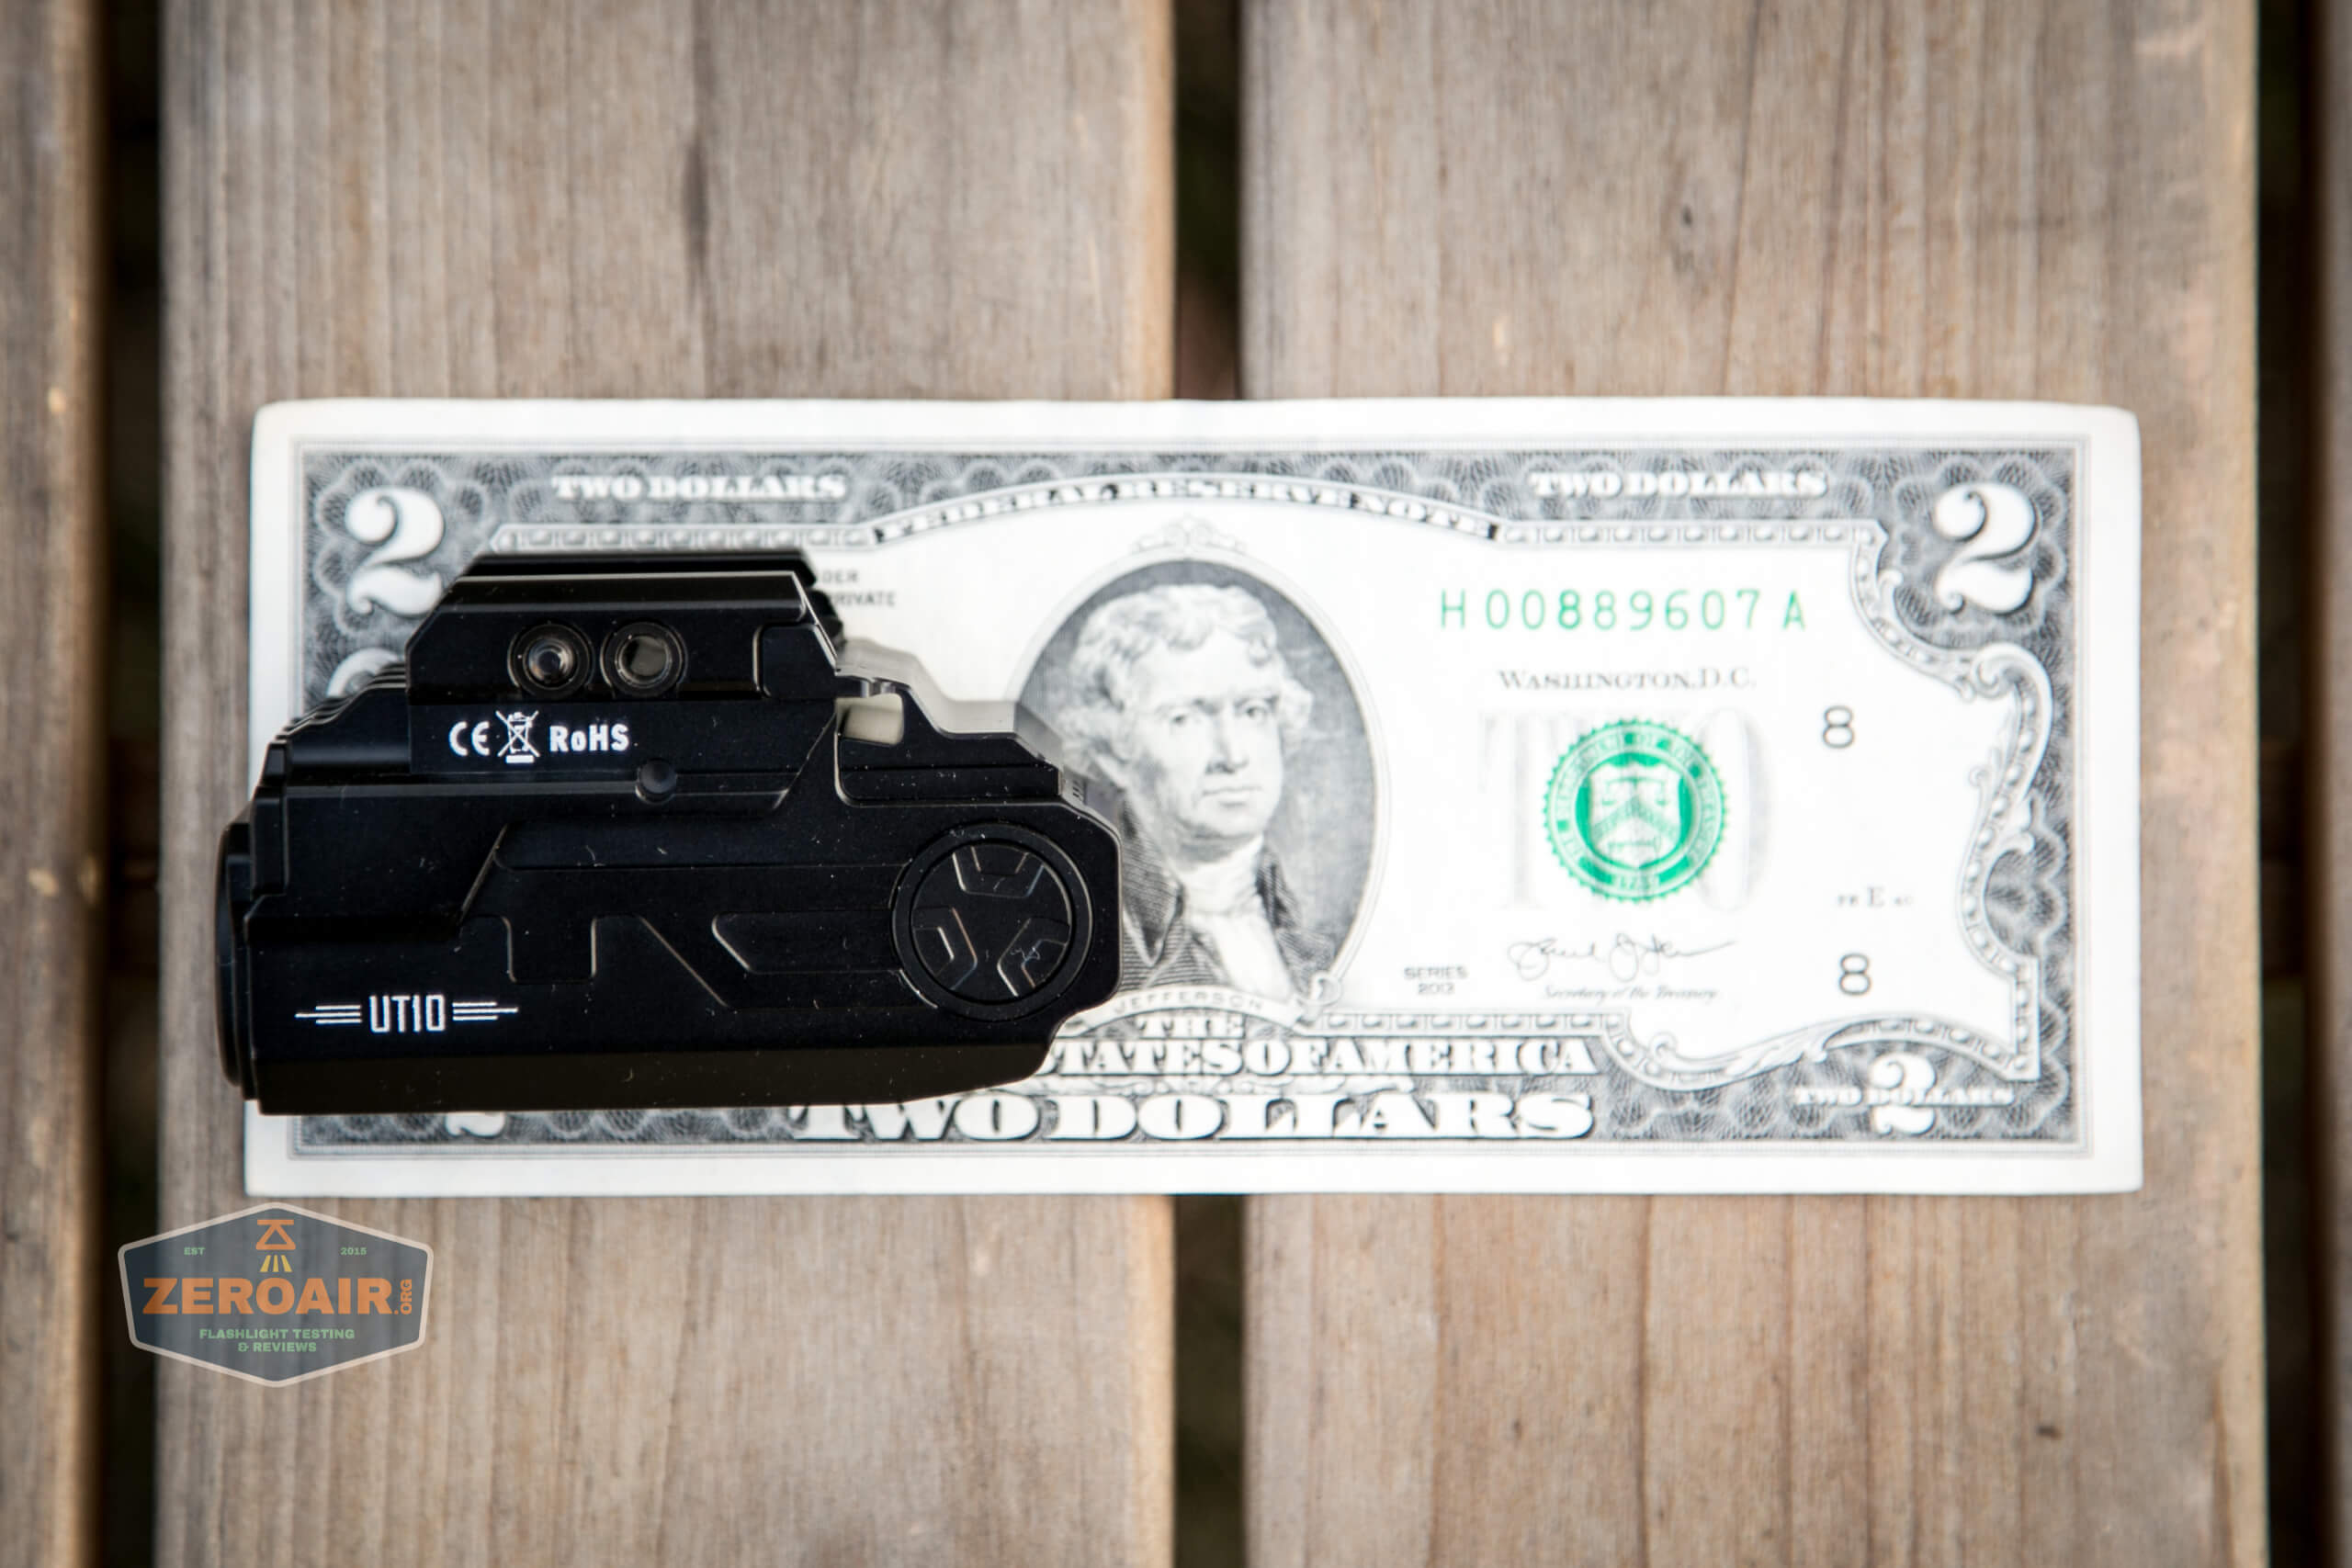
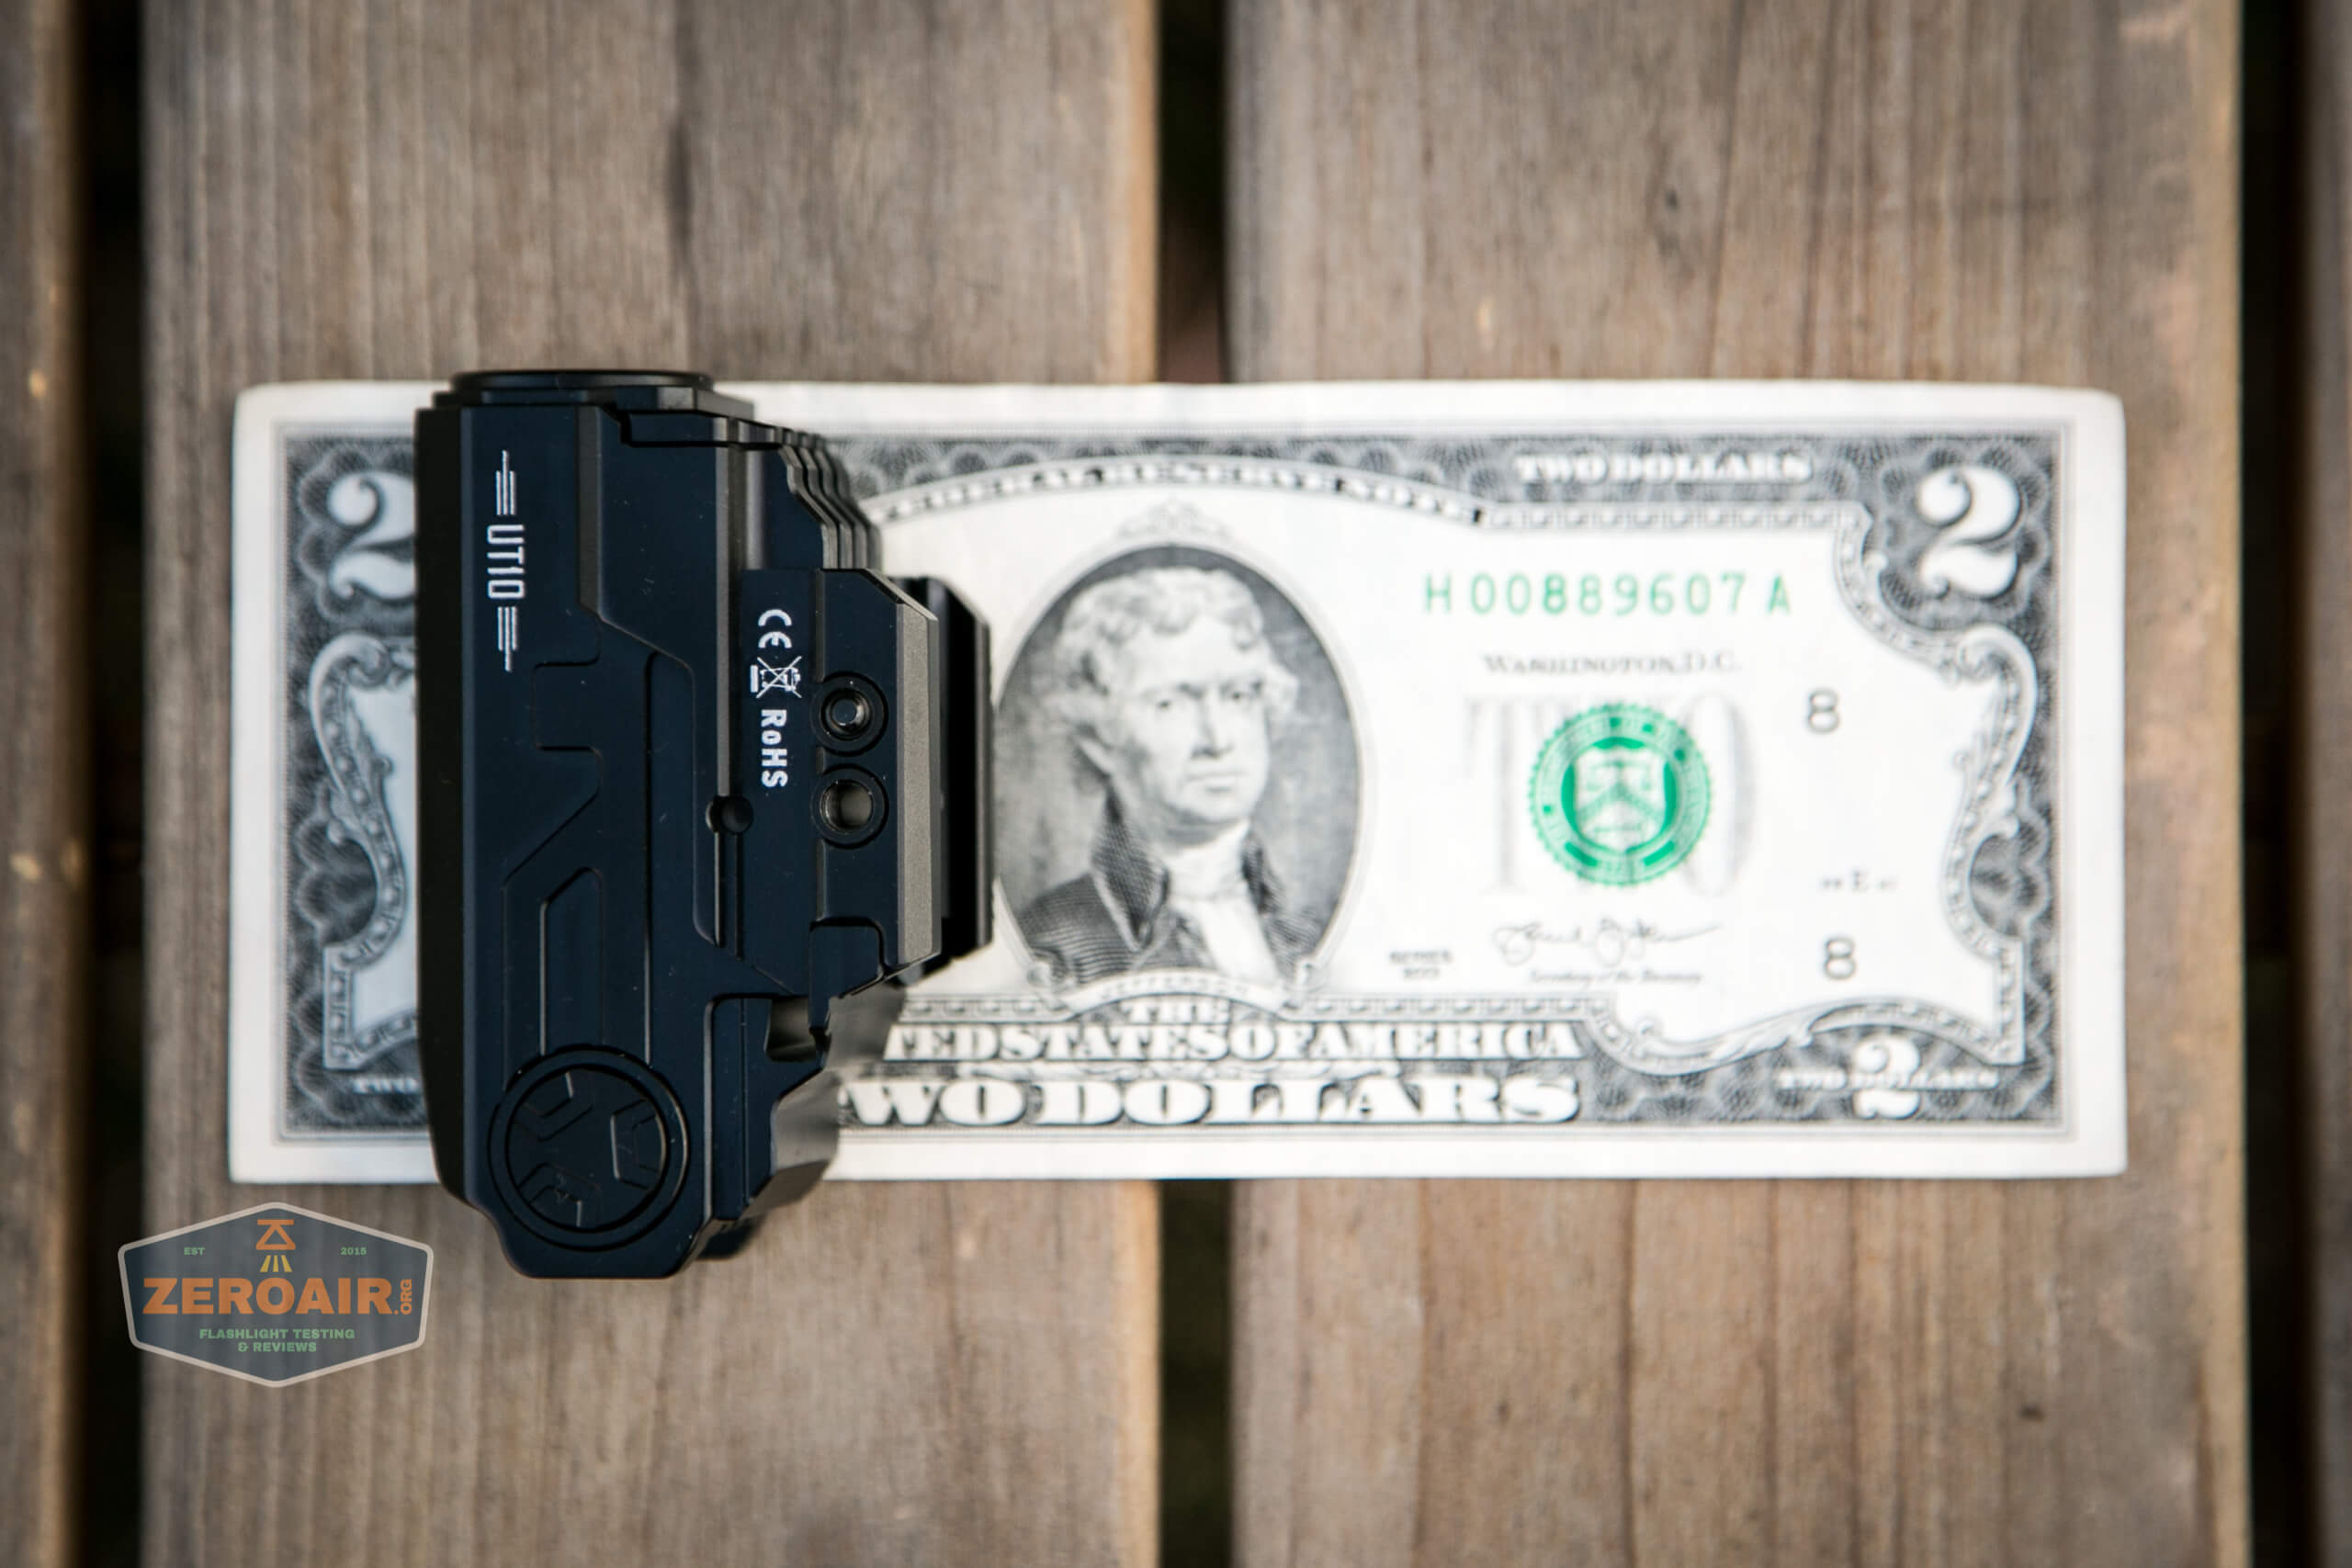
Measurements: 72.6mm (length) x34mm (width)x44mm (height)
Weight: 128g (battery included)
If the flashlight will headstand, I’ll try to show it here. If the flashlight will tailstand, I usually show that here, too.
Here’s the test light with the venerable Convoy S2+. Mine is a custom “baked” edition Nichia 219b triple. A very nice 18650 light!
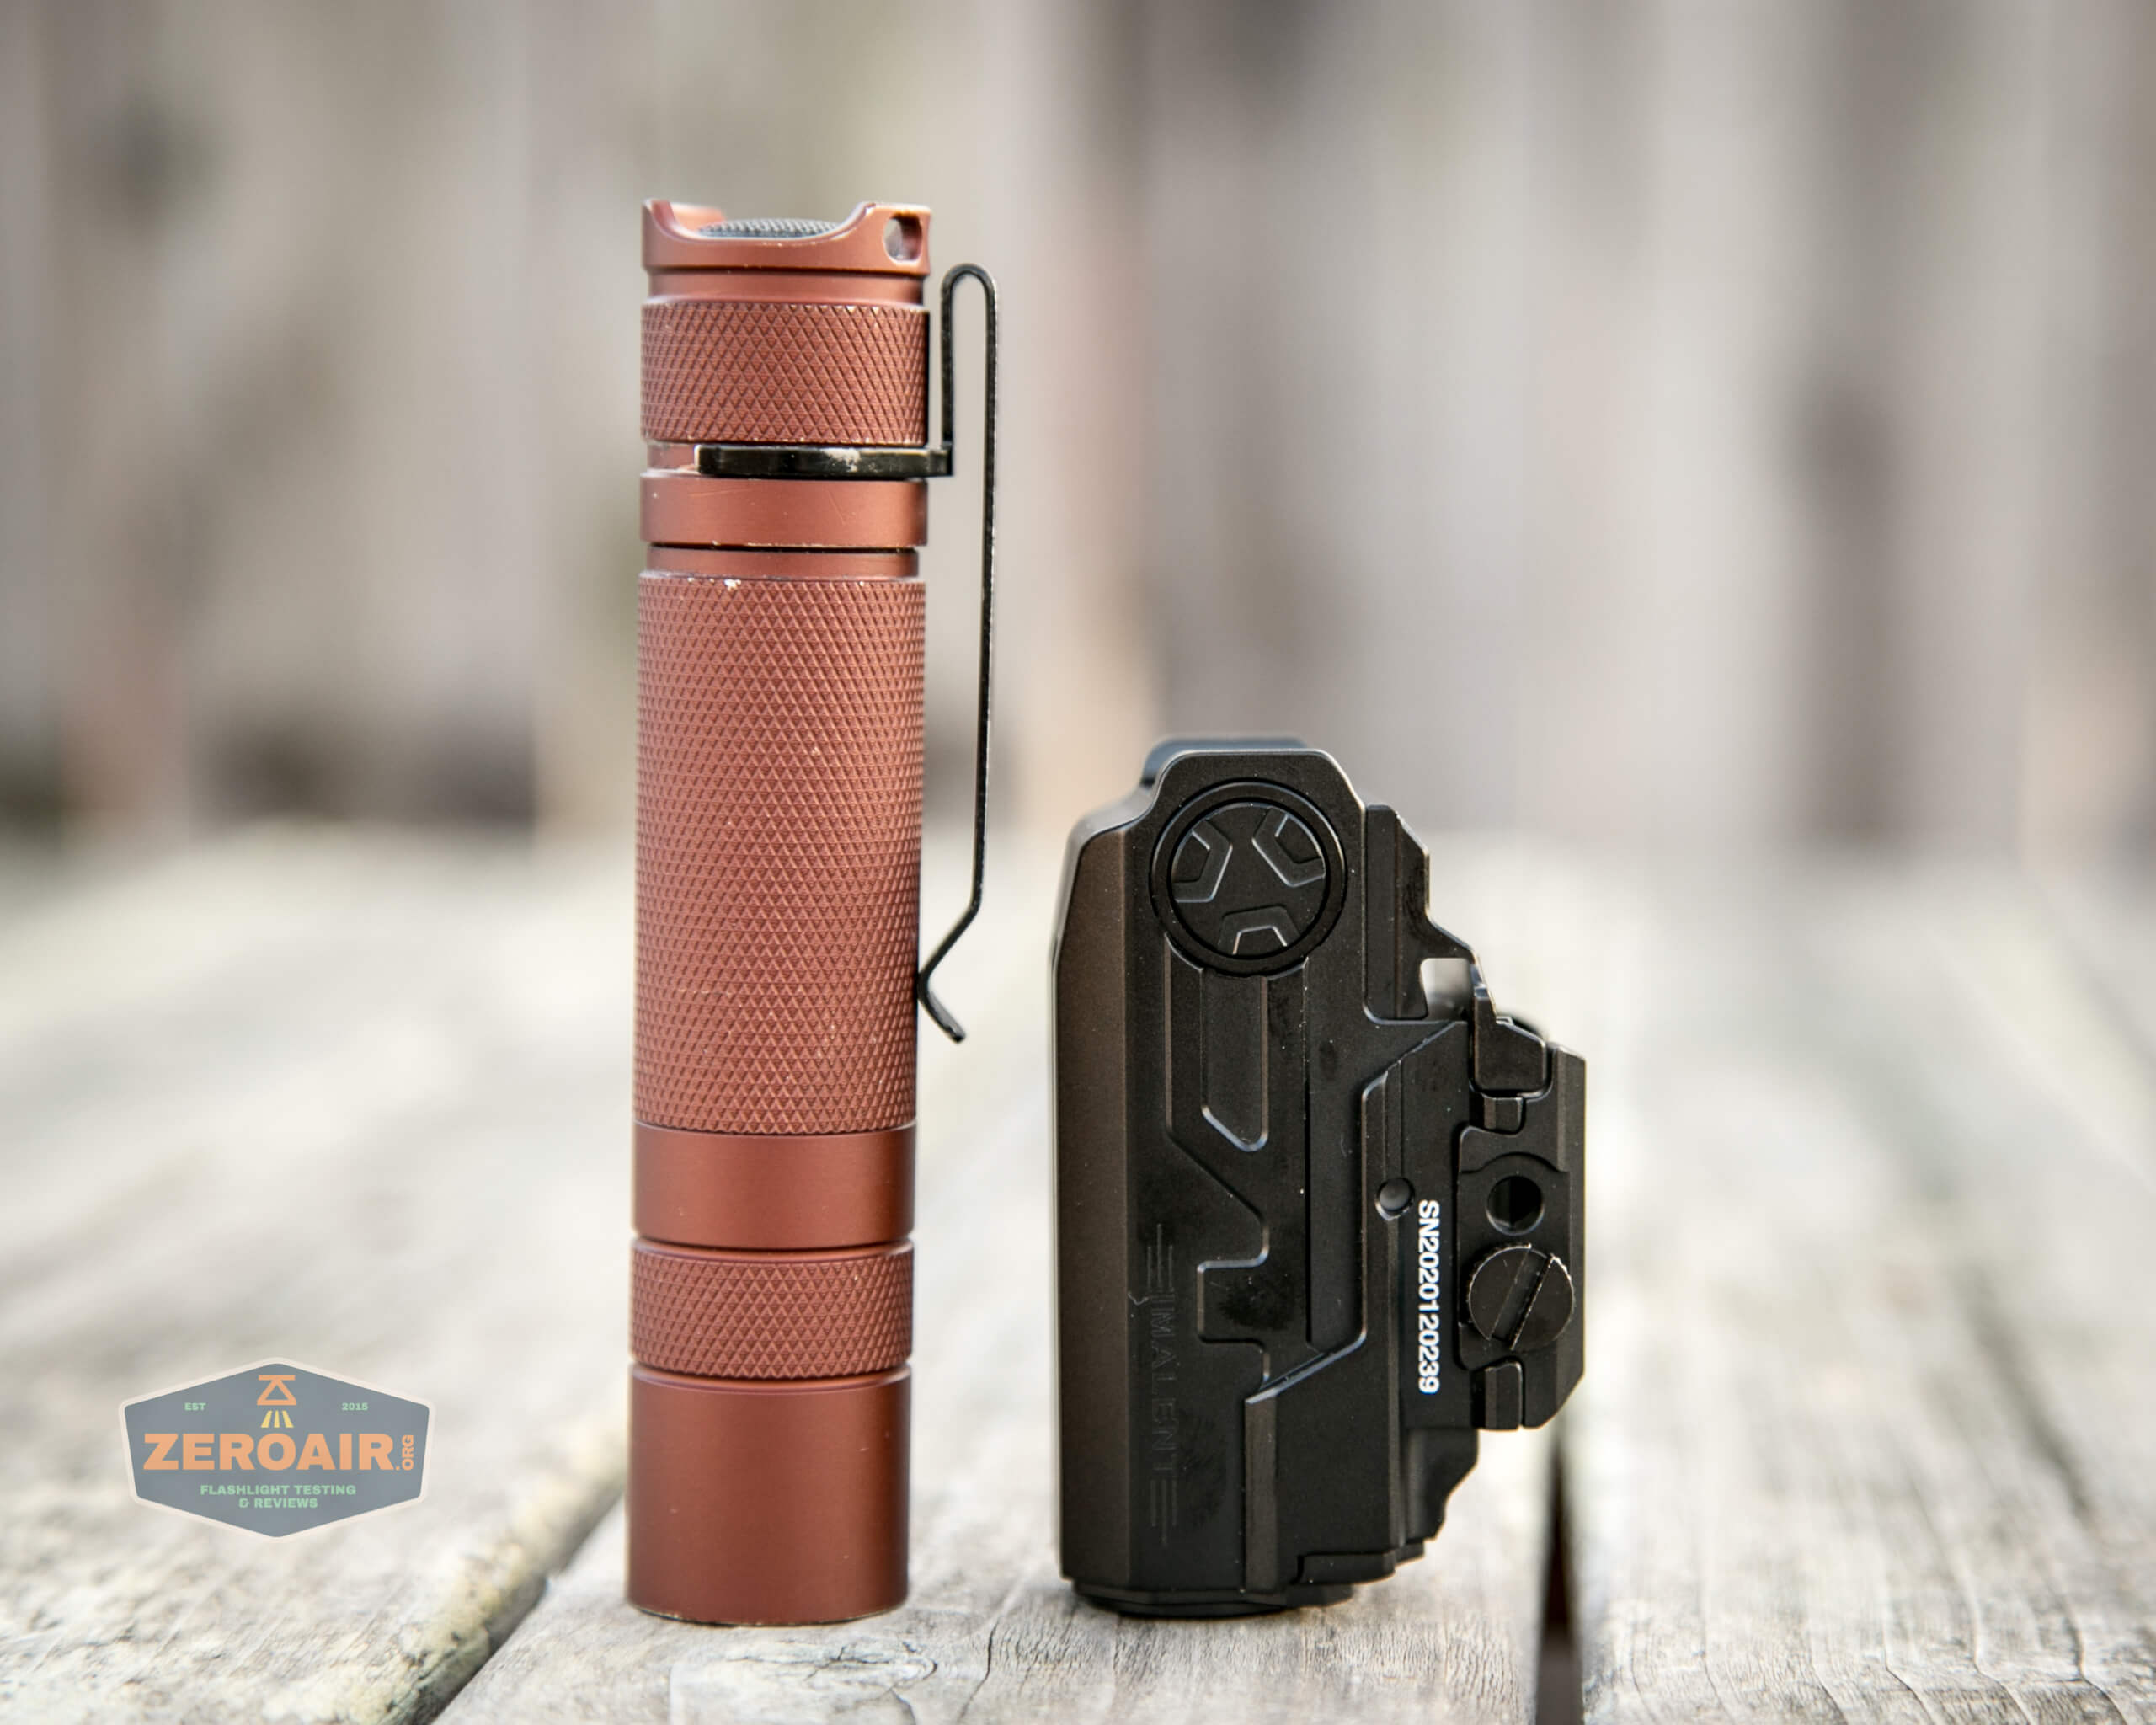
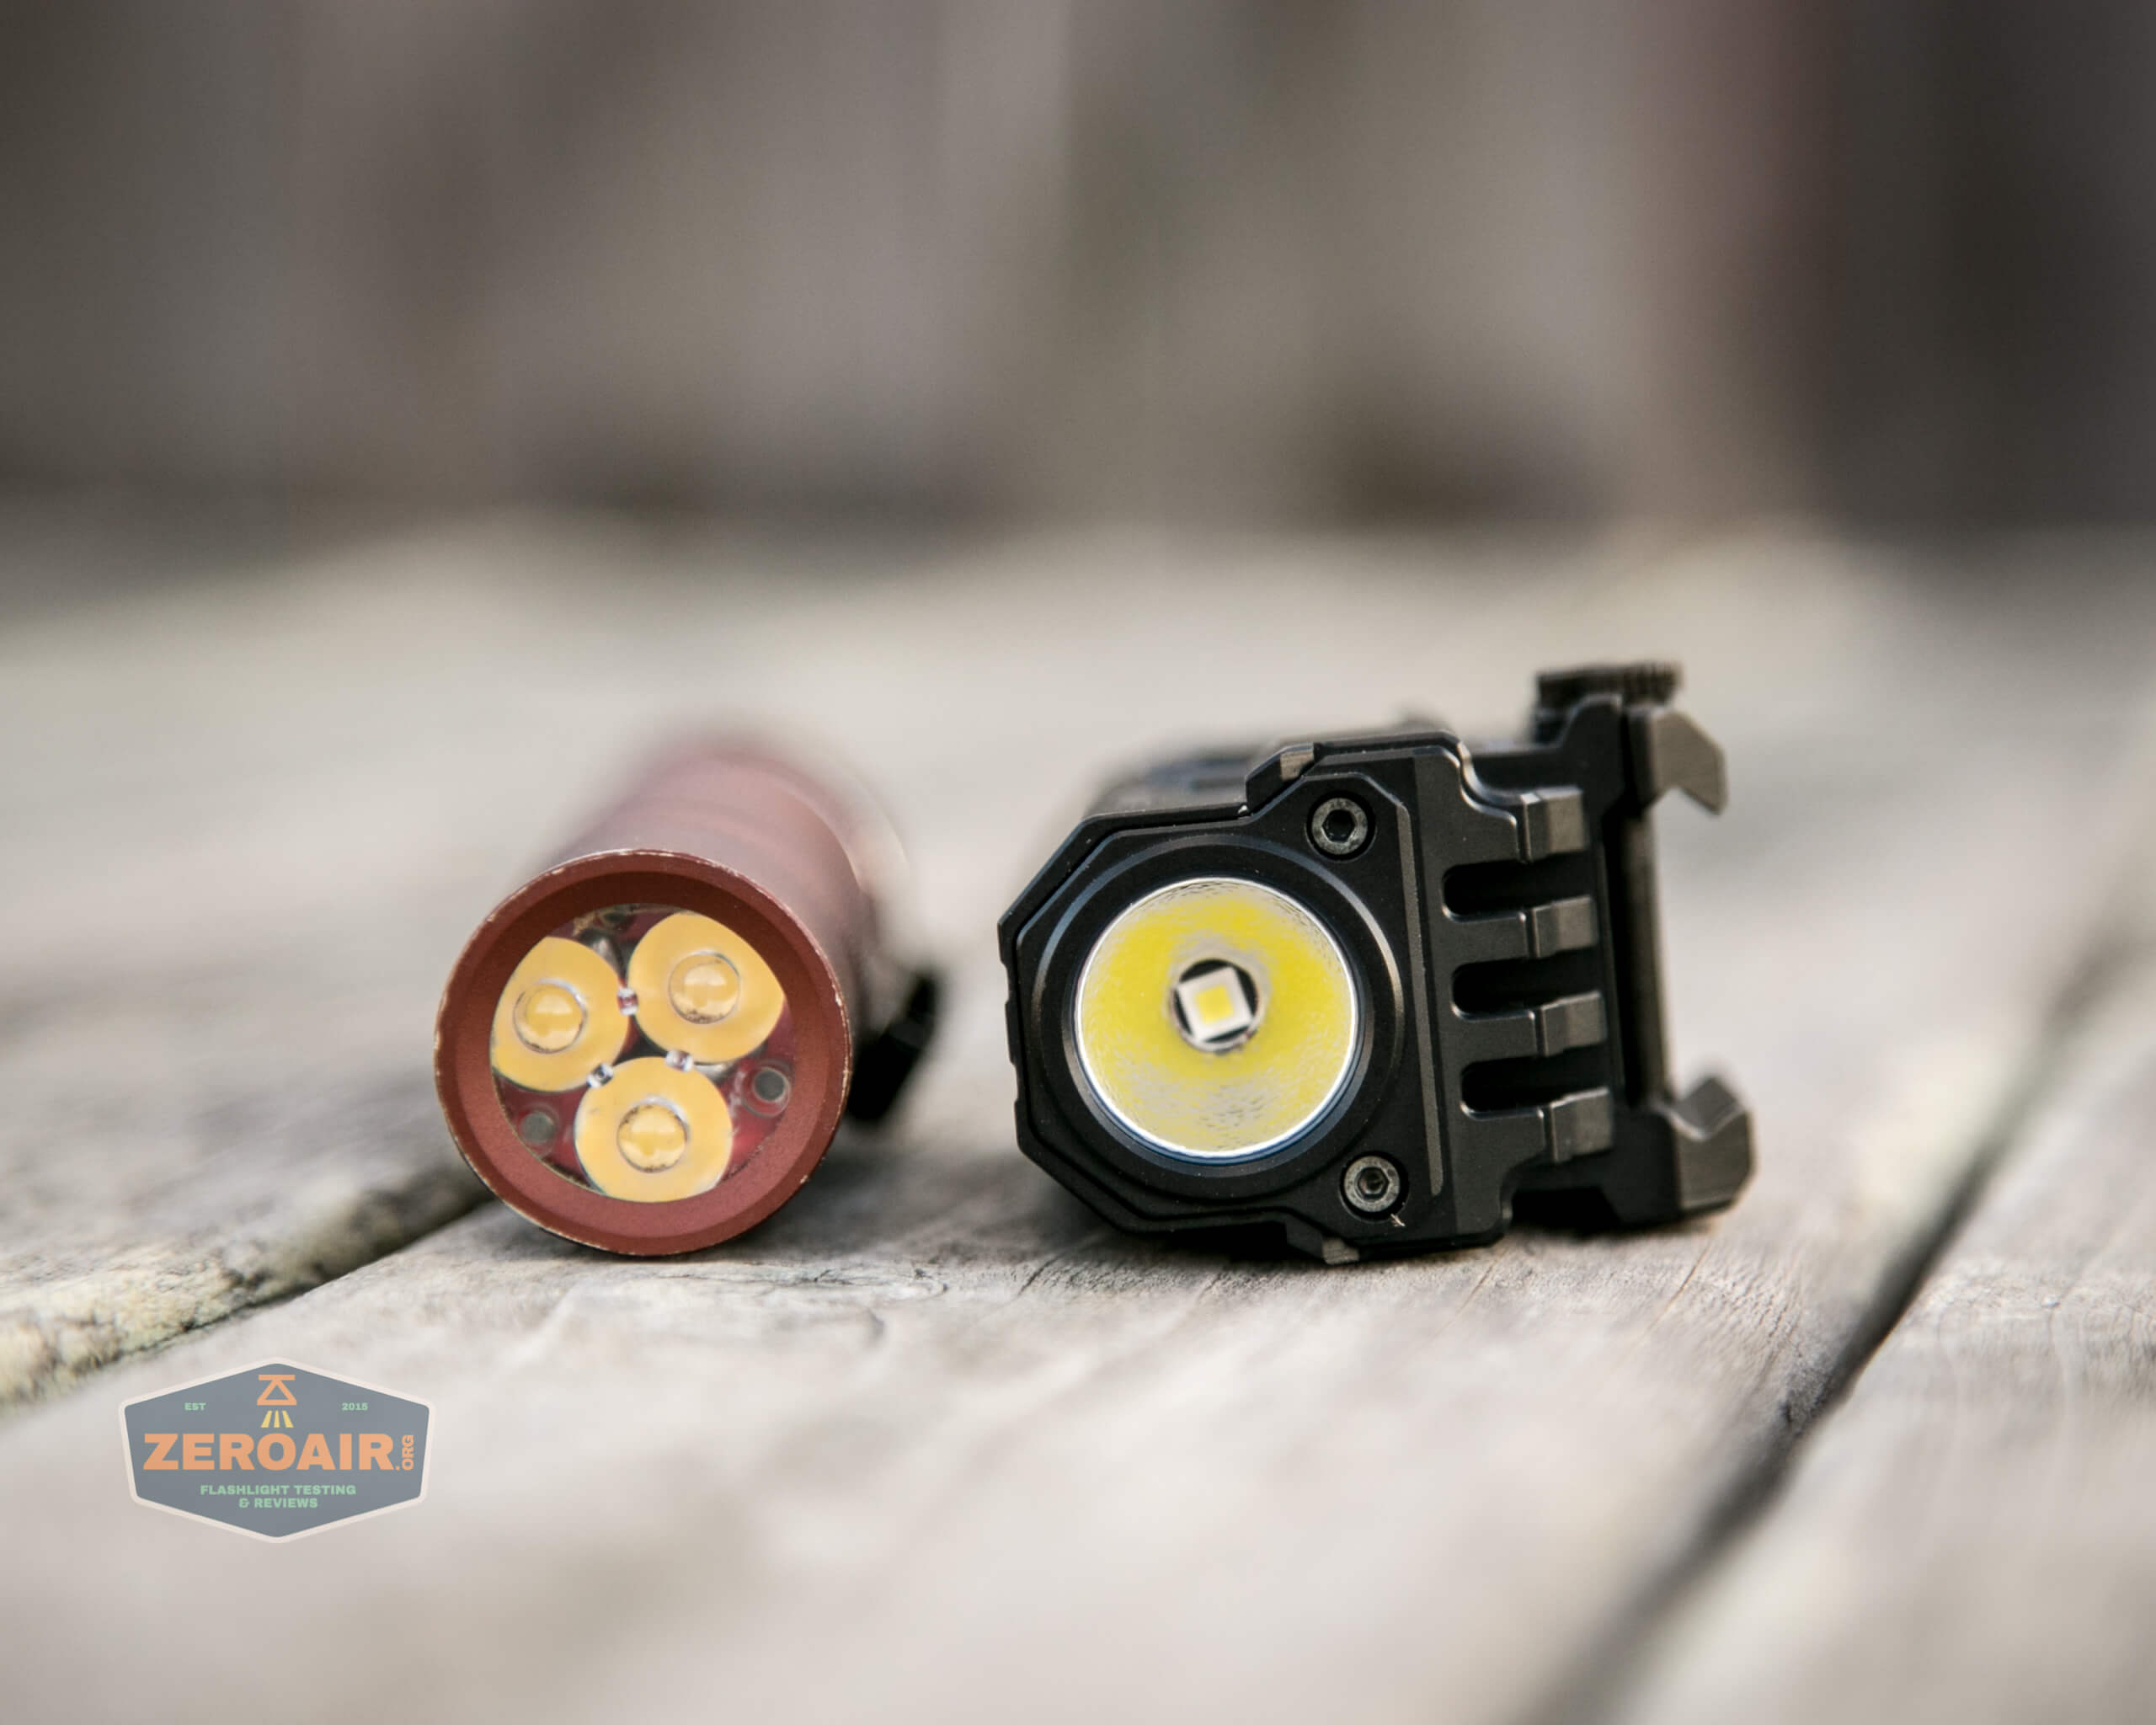
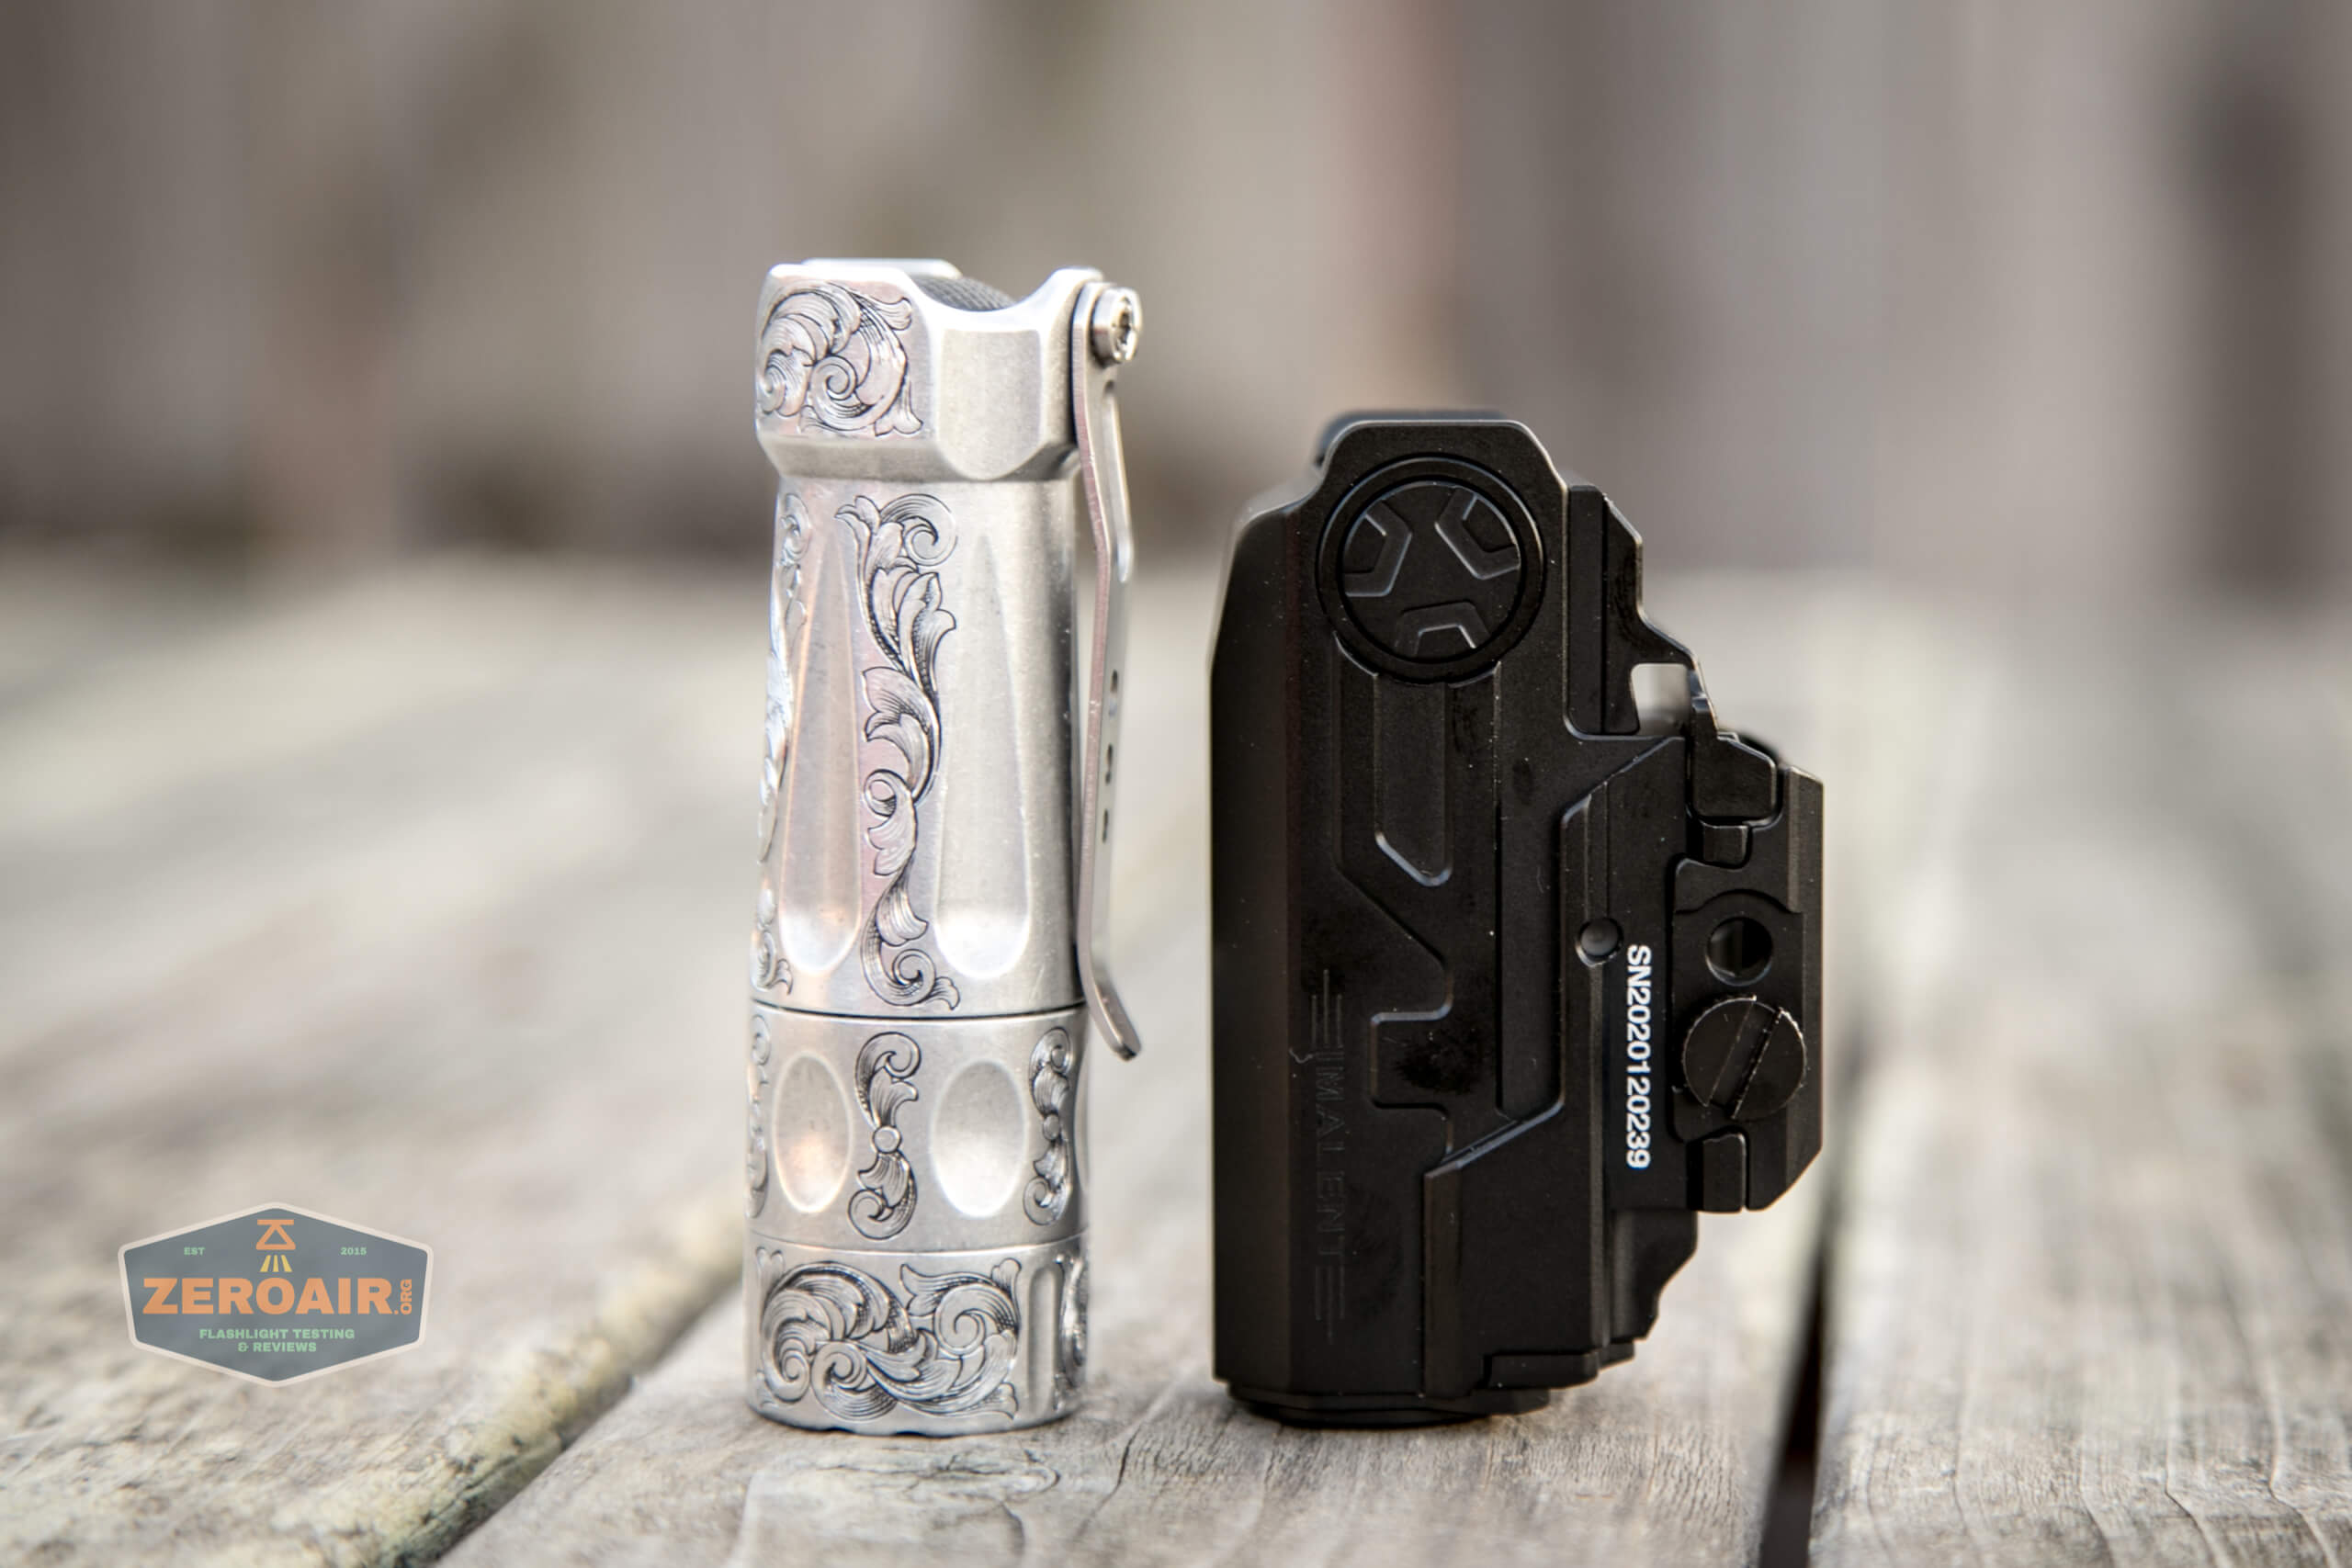
And here’s the light beside my custom-engraved TorchLAB BOSS 35, an 18350 light. I reviewed the aluminum version of that light in both 35 and 70 formats.
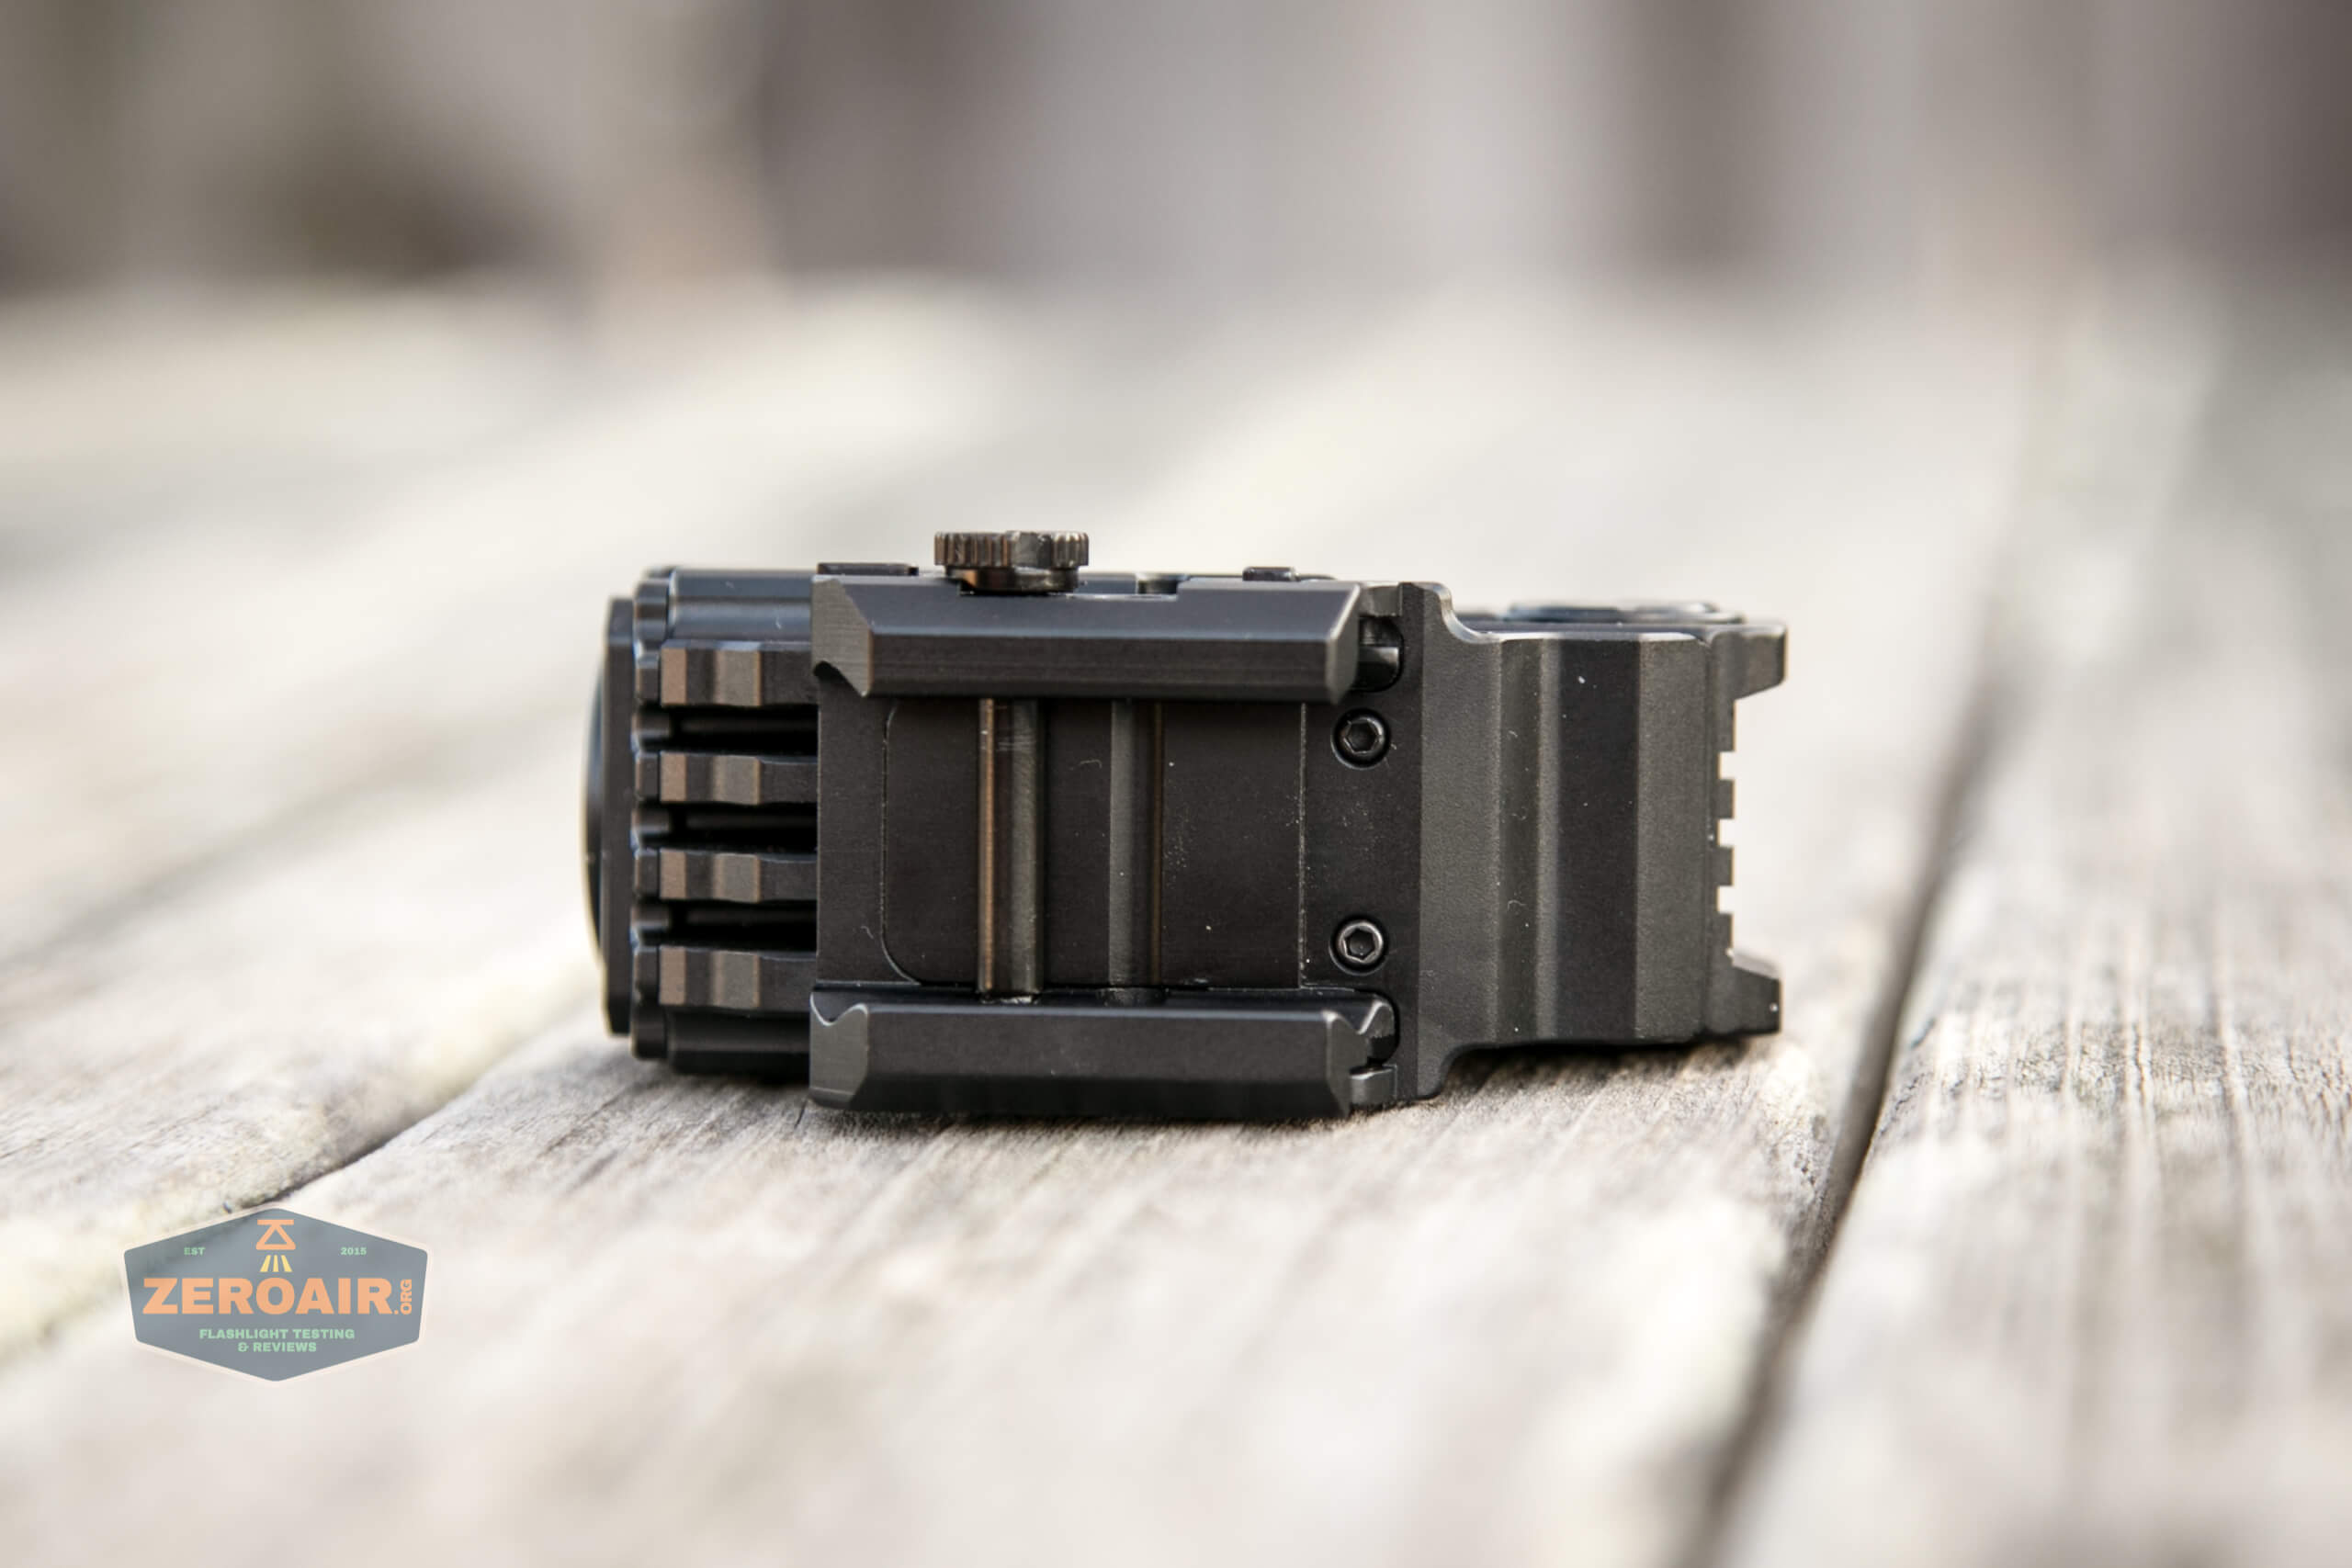
Retention and Carry
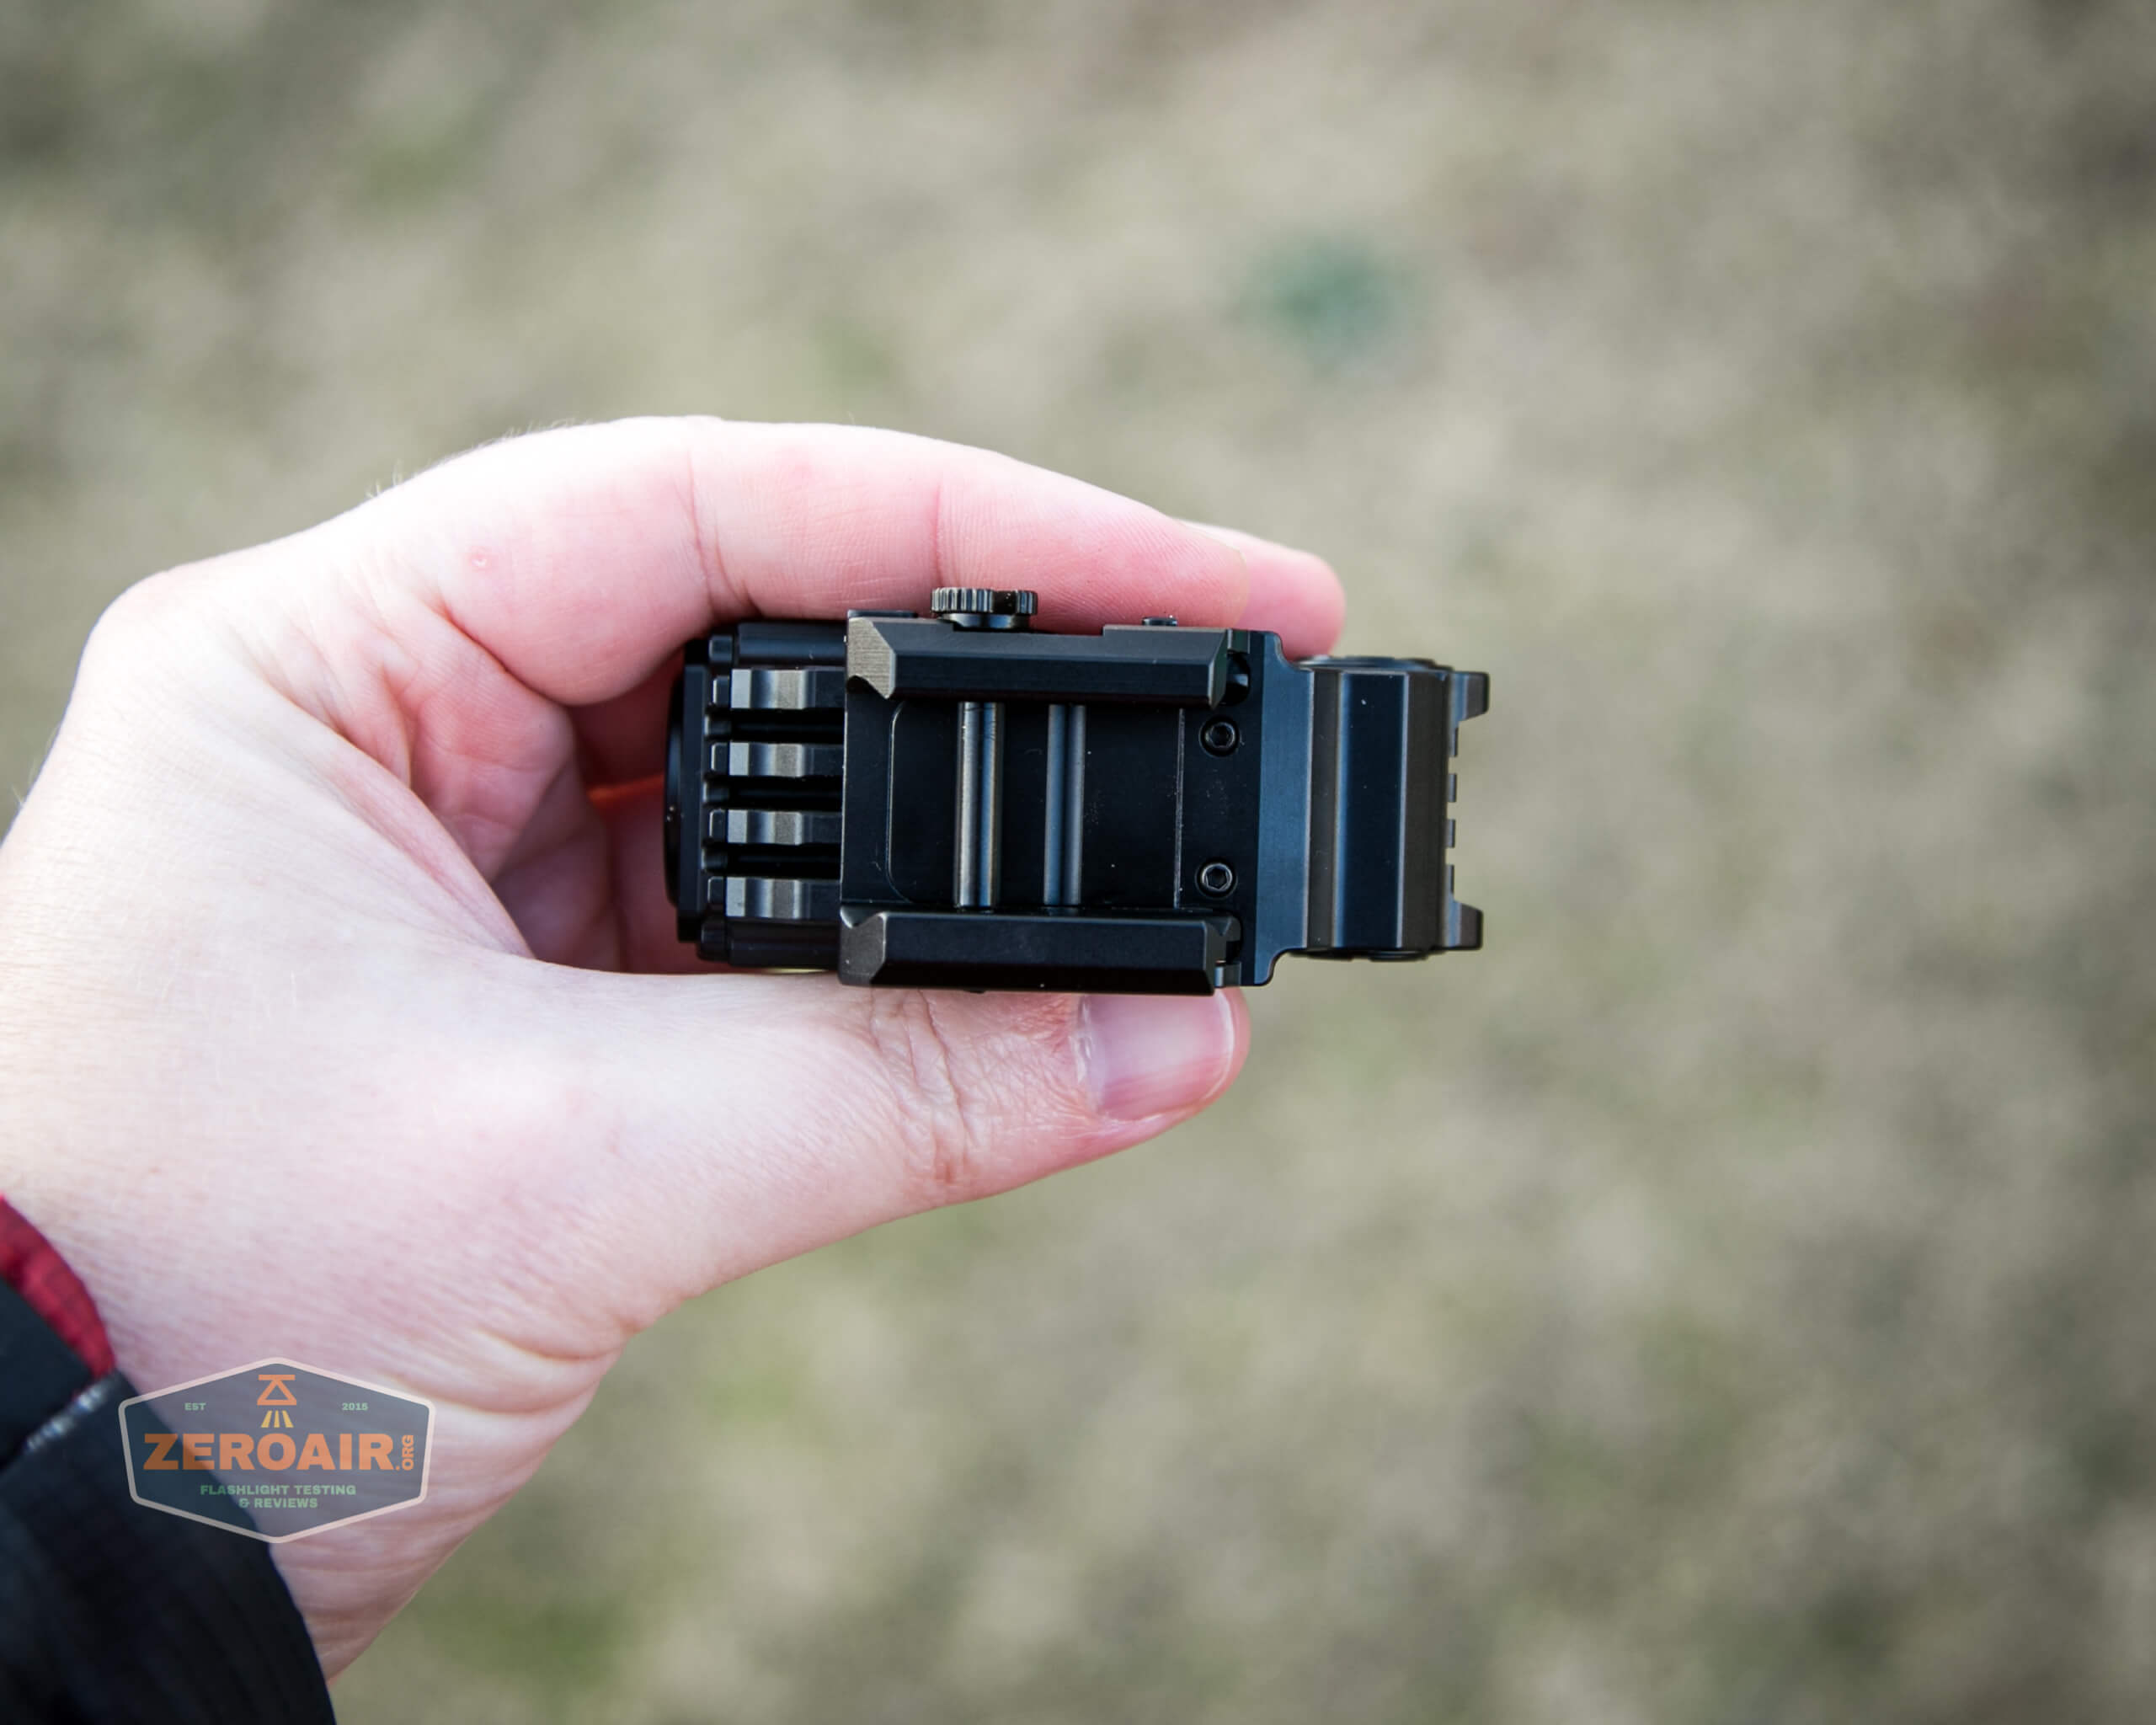
This is entirely a weapon-mounted flashlight. It’s not suited for much else. It doesn’t have good ergonomics for in-hand use, and it certainly won’t work as a headlamp. So the main (and only) means of retention and carrying of the UT10 is limited to the rail system.
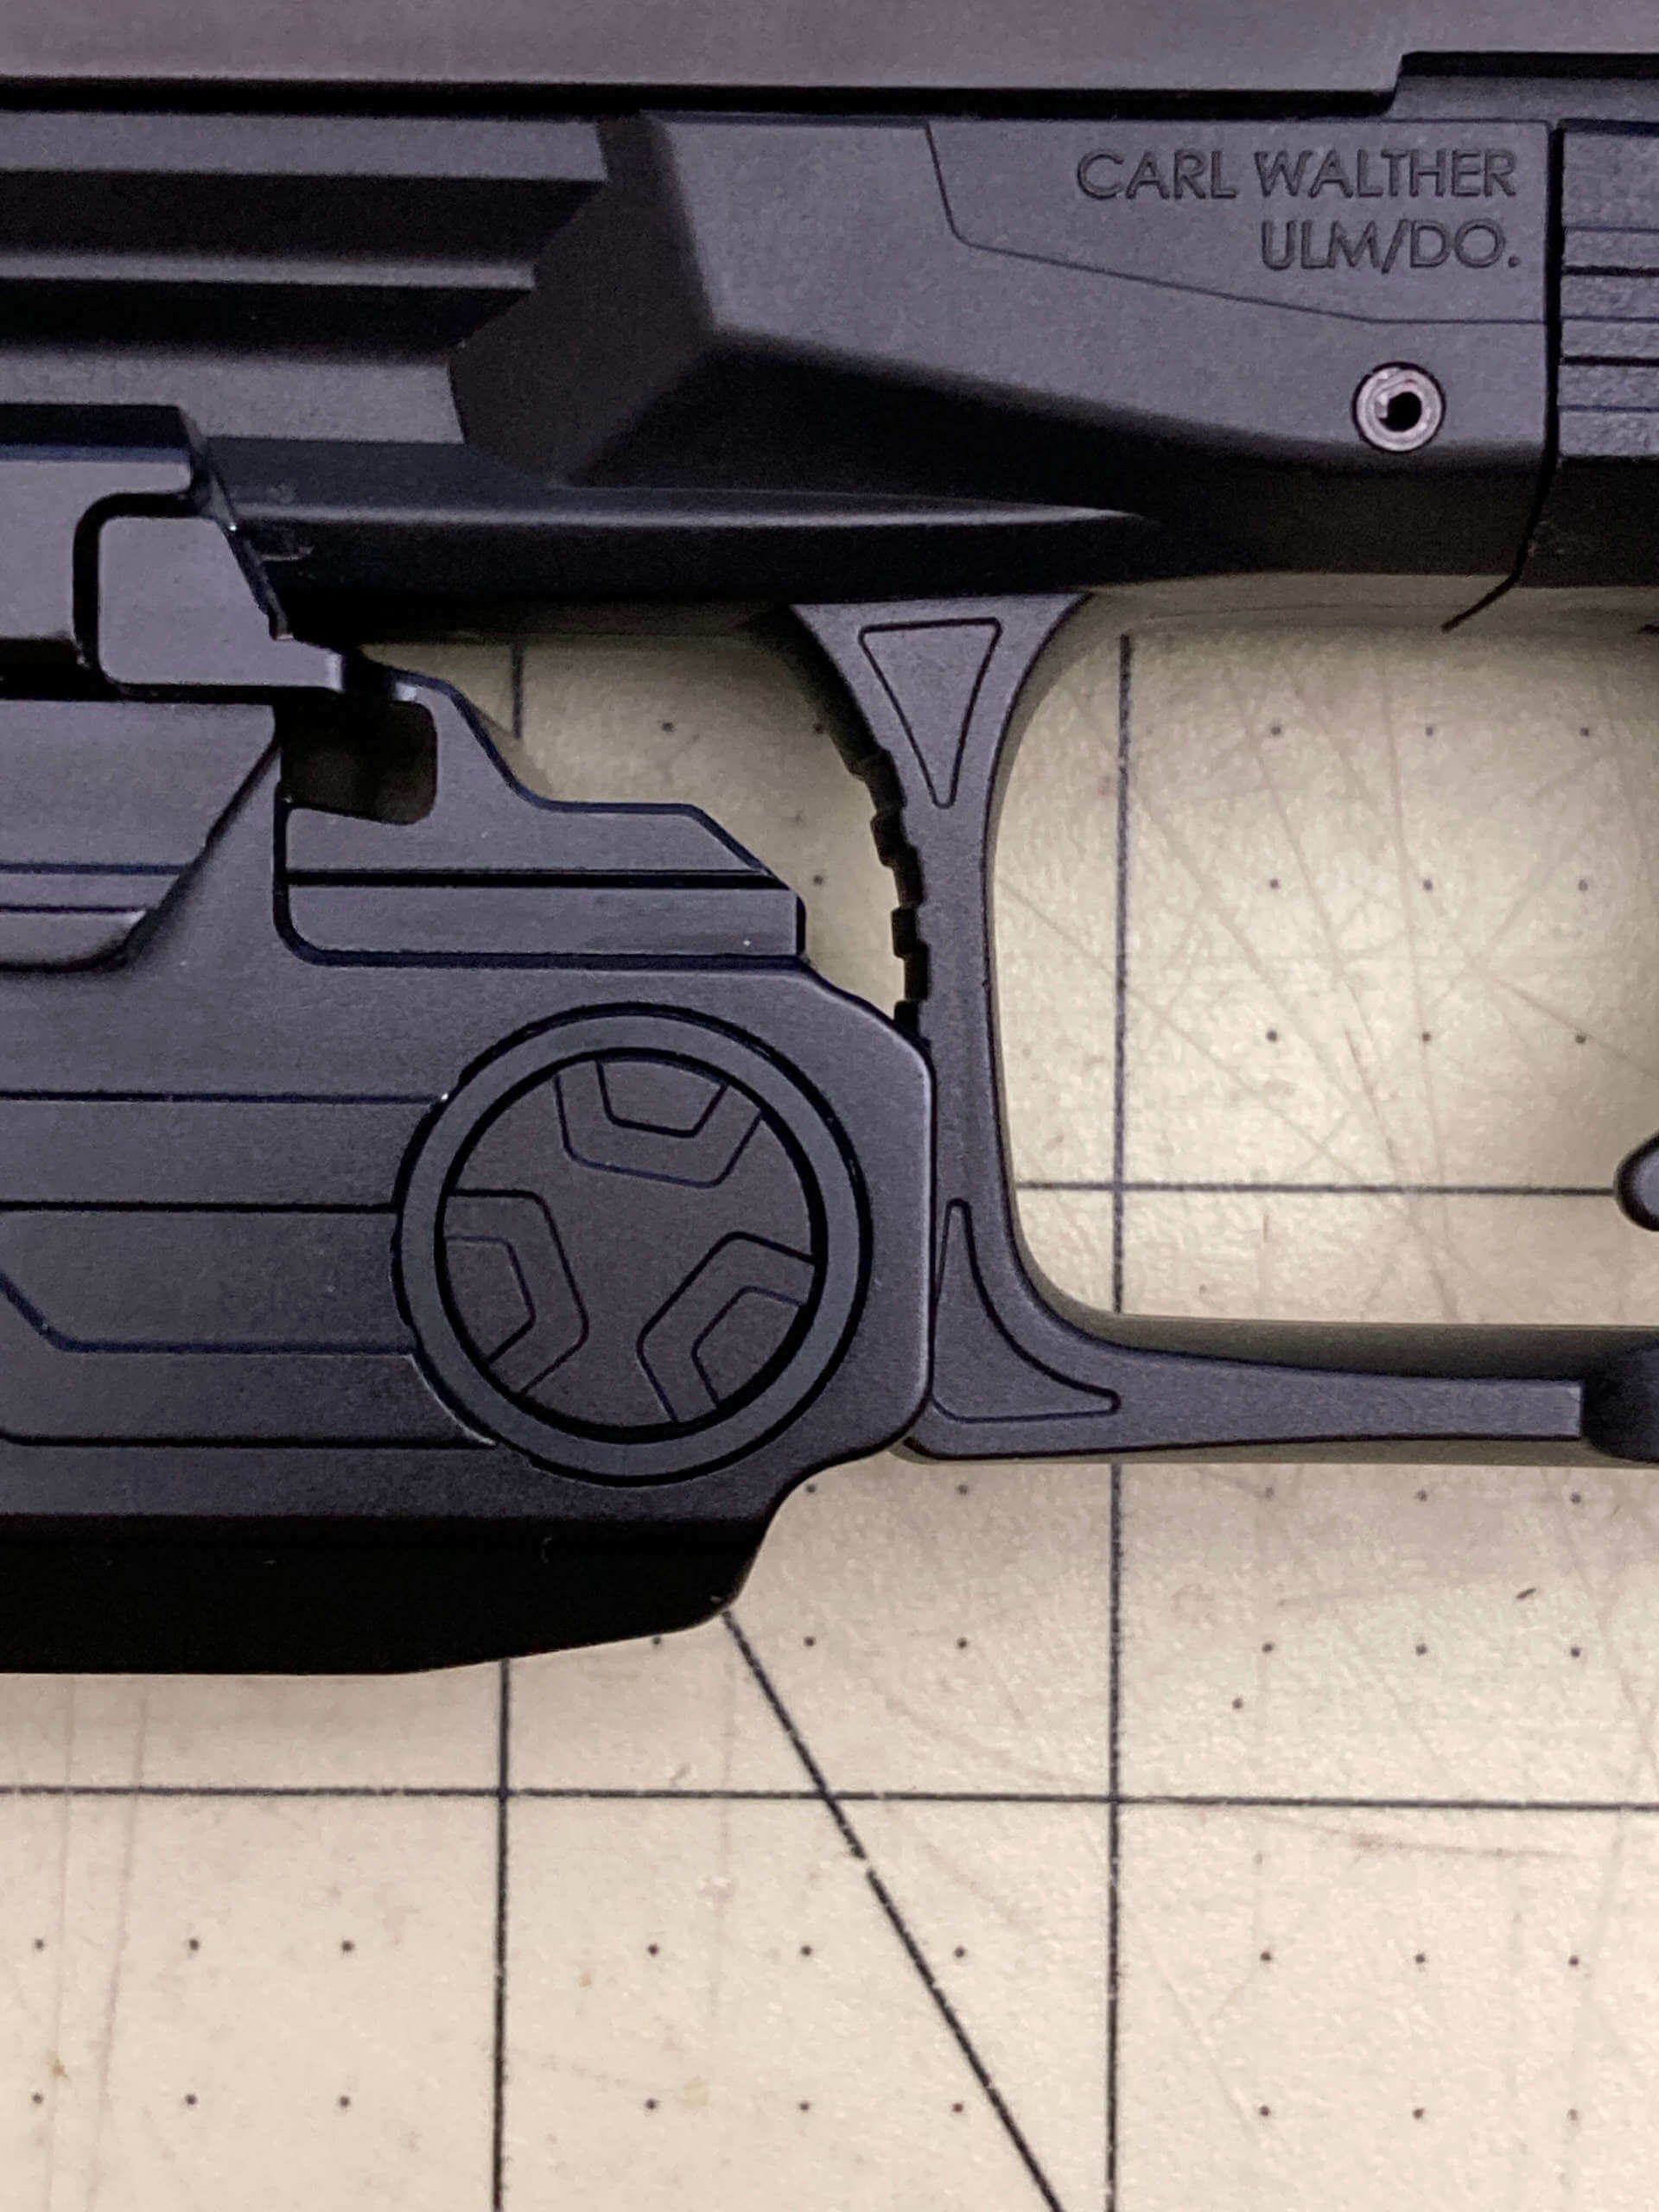
The rail system here has one movable side and one stationary side. Below you can see the movable rail, which is the one with the screw head, on the right side.
In my installation and removal, I found that I needed to remove the screw fully, and sometimes remove the movable rail fully, in order to attach the light to a rail.
The screw can go in two slots, which allows finer tuning of where the flashlight lands on your rail.
Also, note that the screw has a single long and wide slot. I wouldn’t call it “toolless” removal, but it’s close. A coin will fit in there easily. The screw even has some reeding, which might be enough for you to use to remove the light. Might.
Officially, these are “MIL-STD-1913” (this is “Picatinny” or “Pic” rails) and “Glock-style” rails.
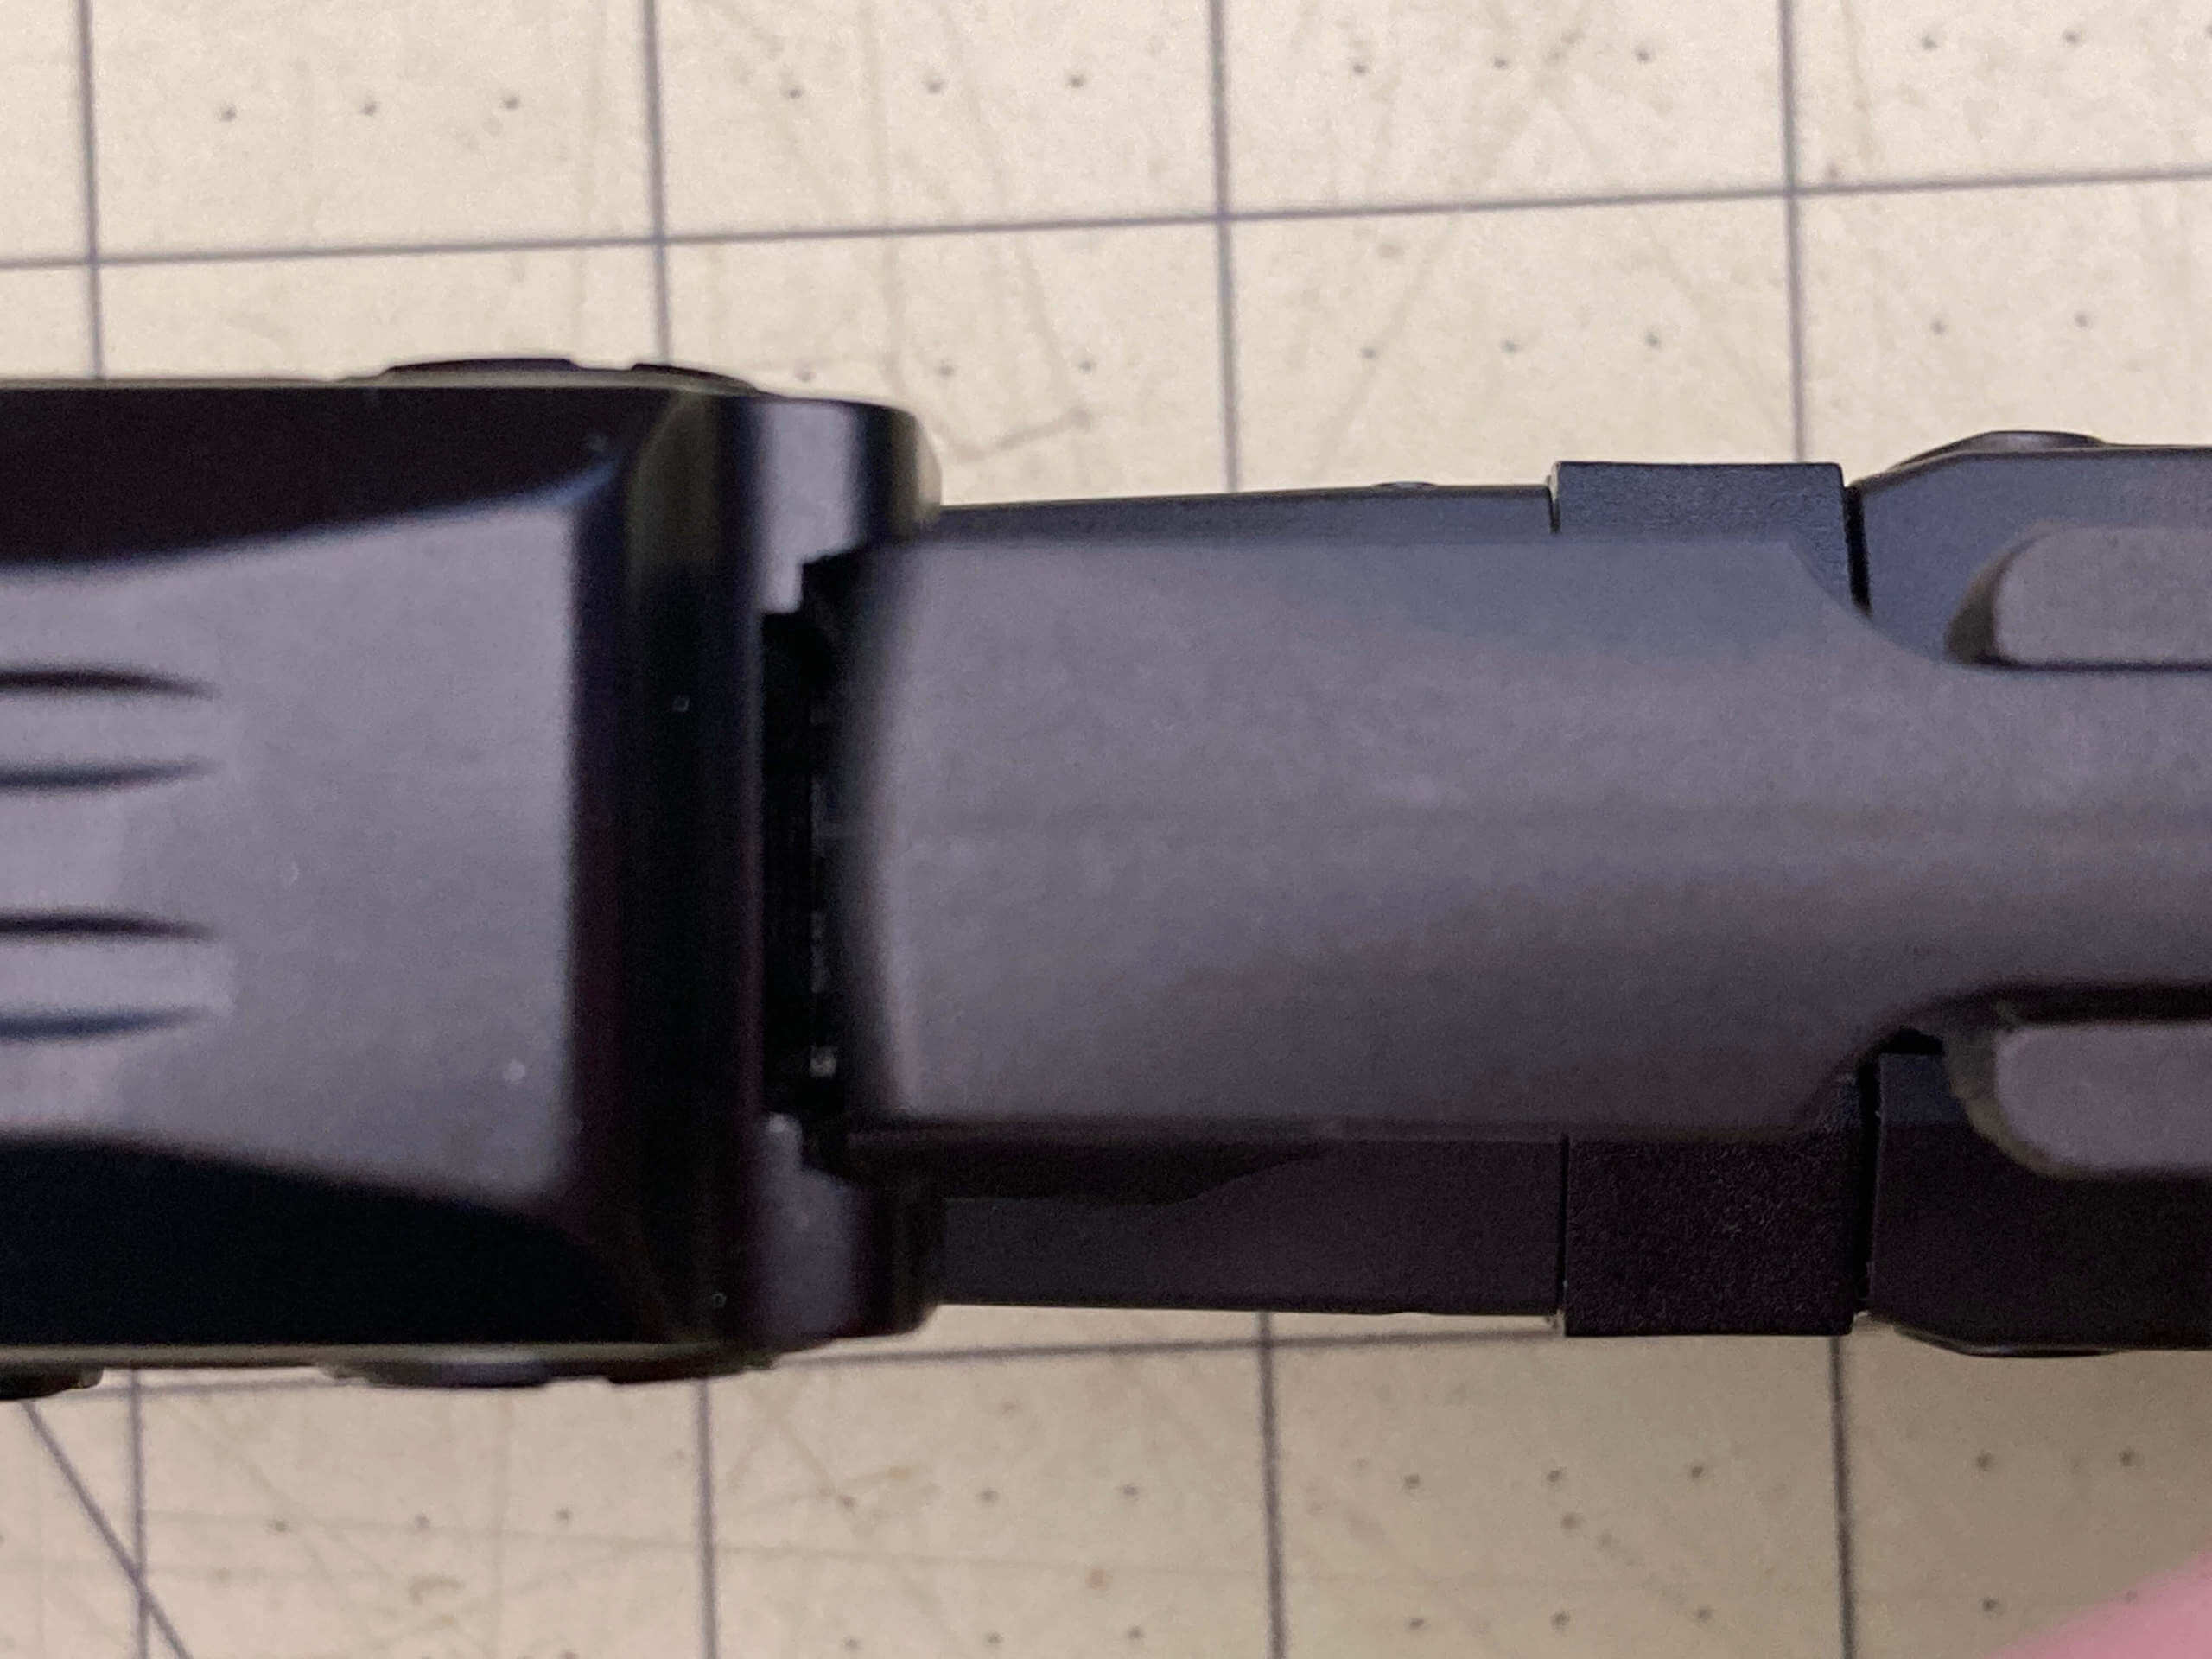
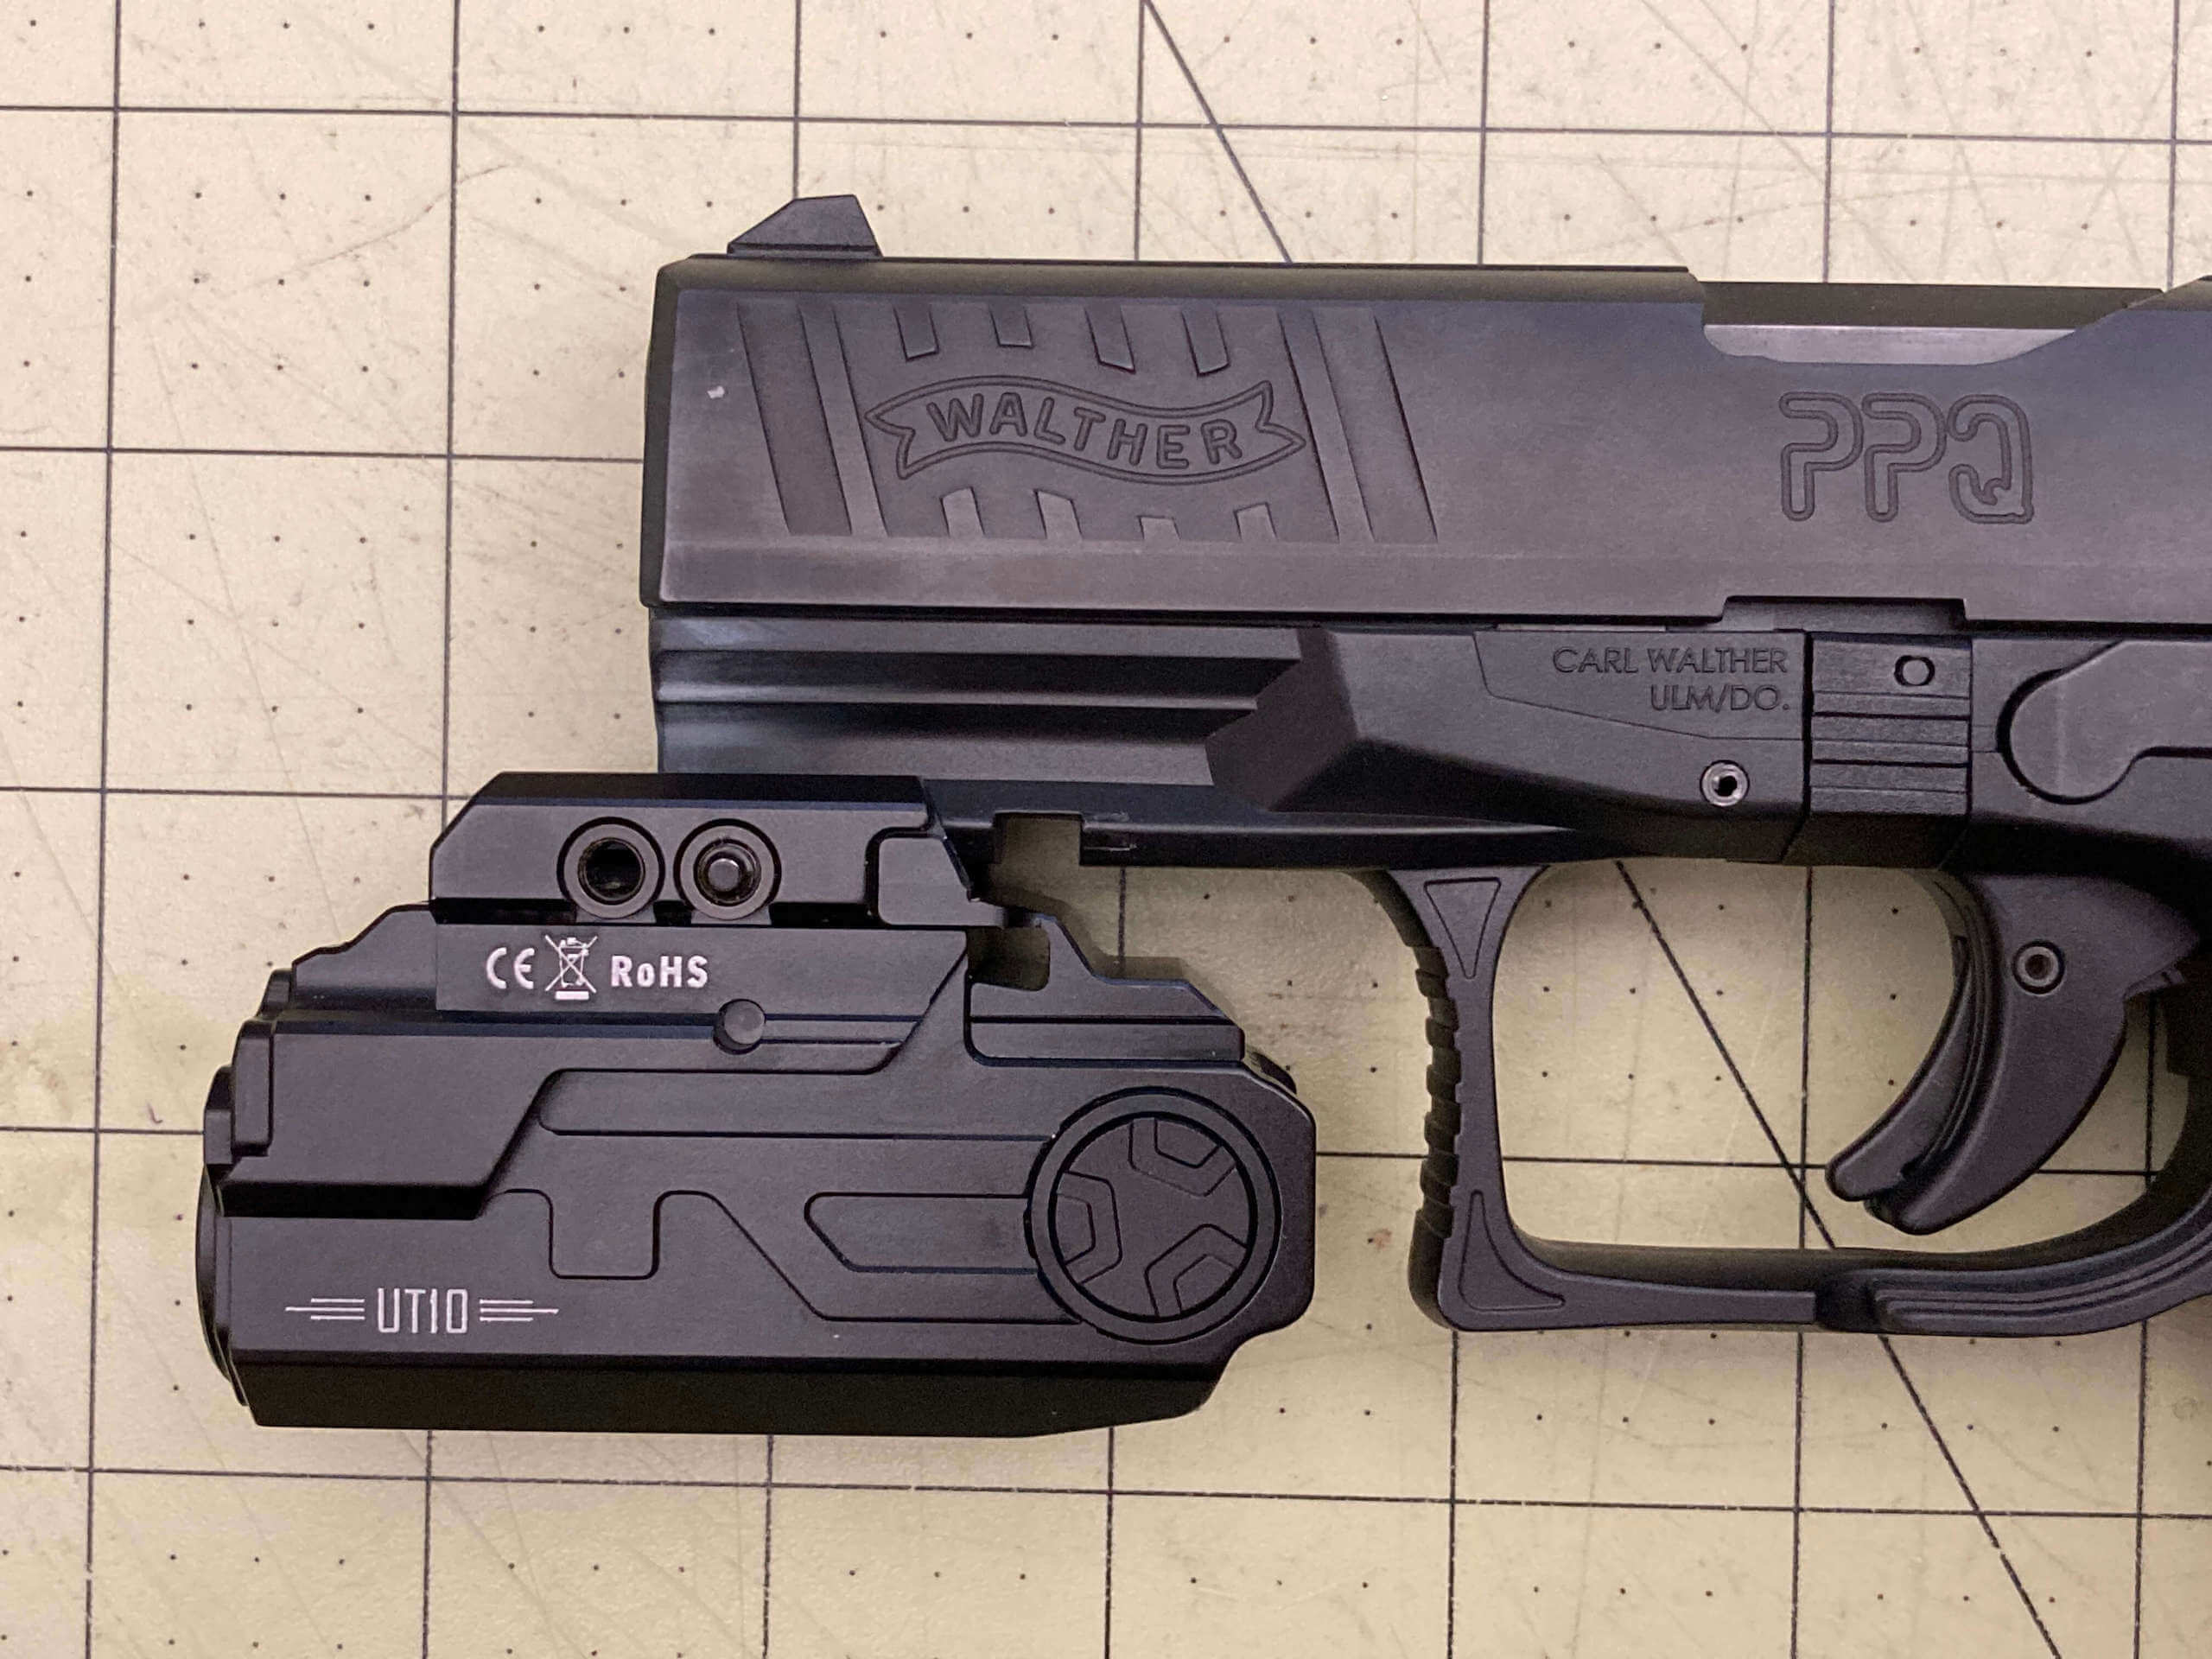
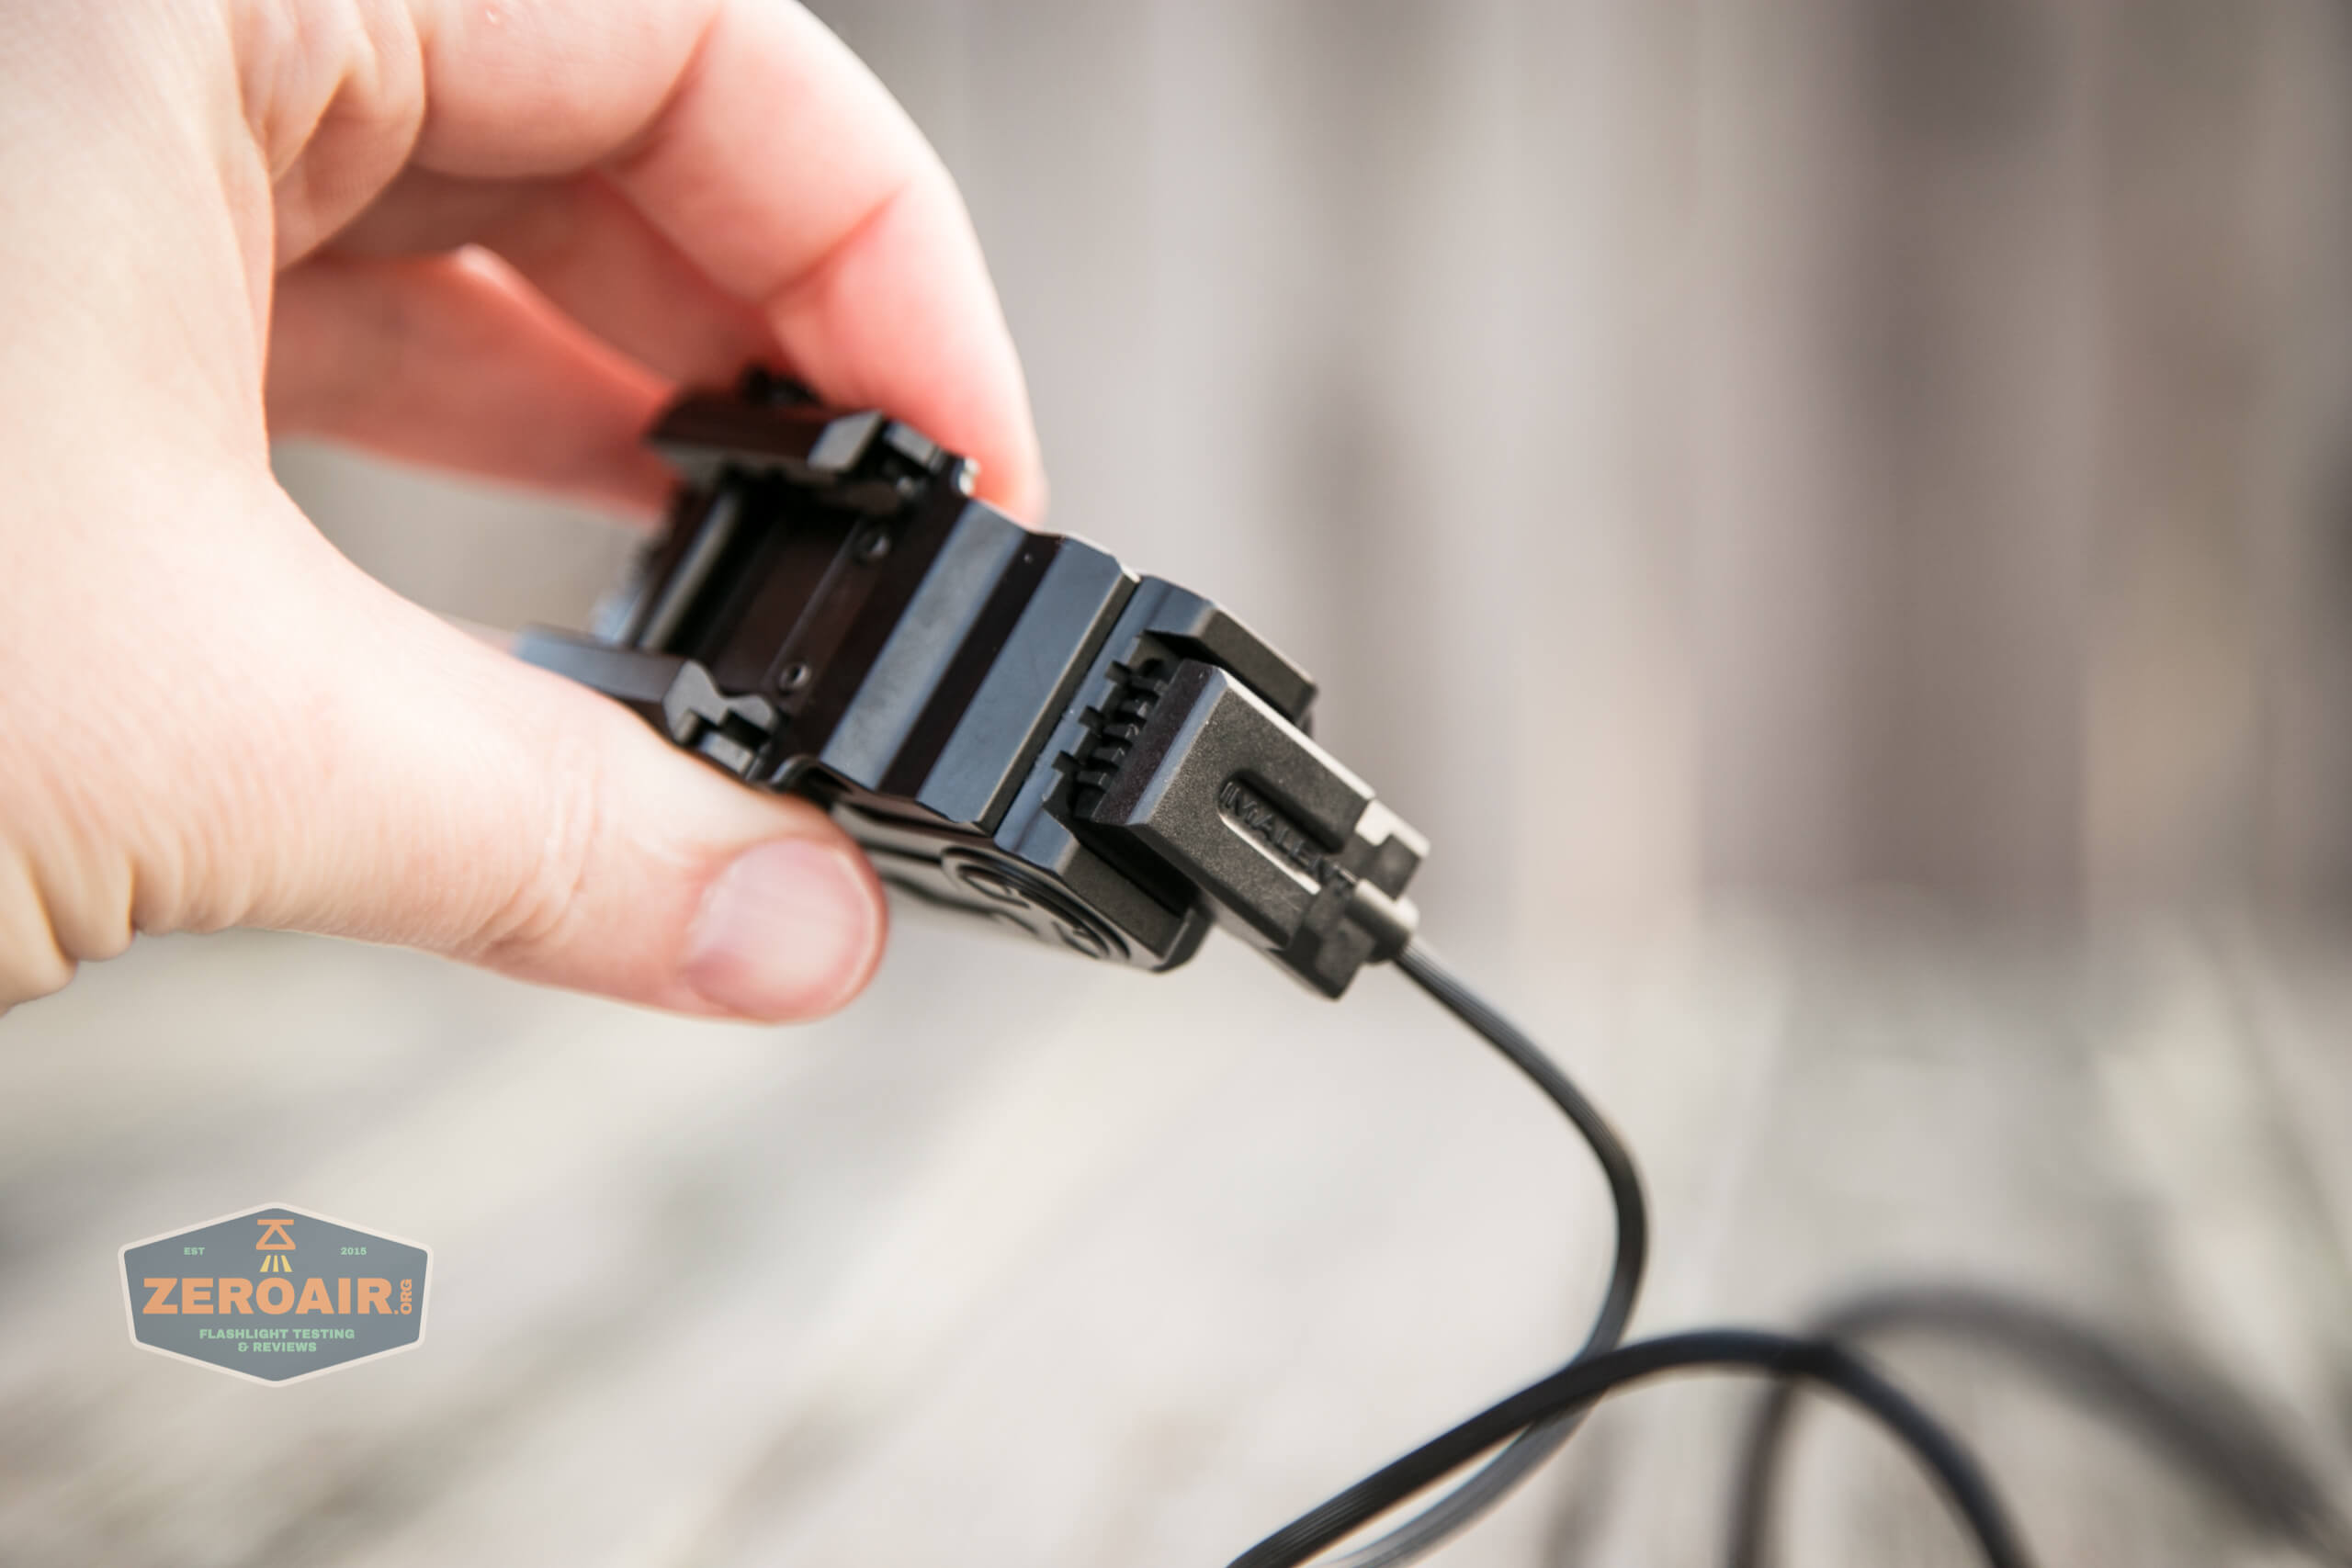
Here are some mounted photos. And here is where you can note some … silliness with the charge port.
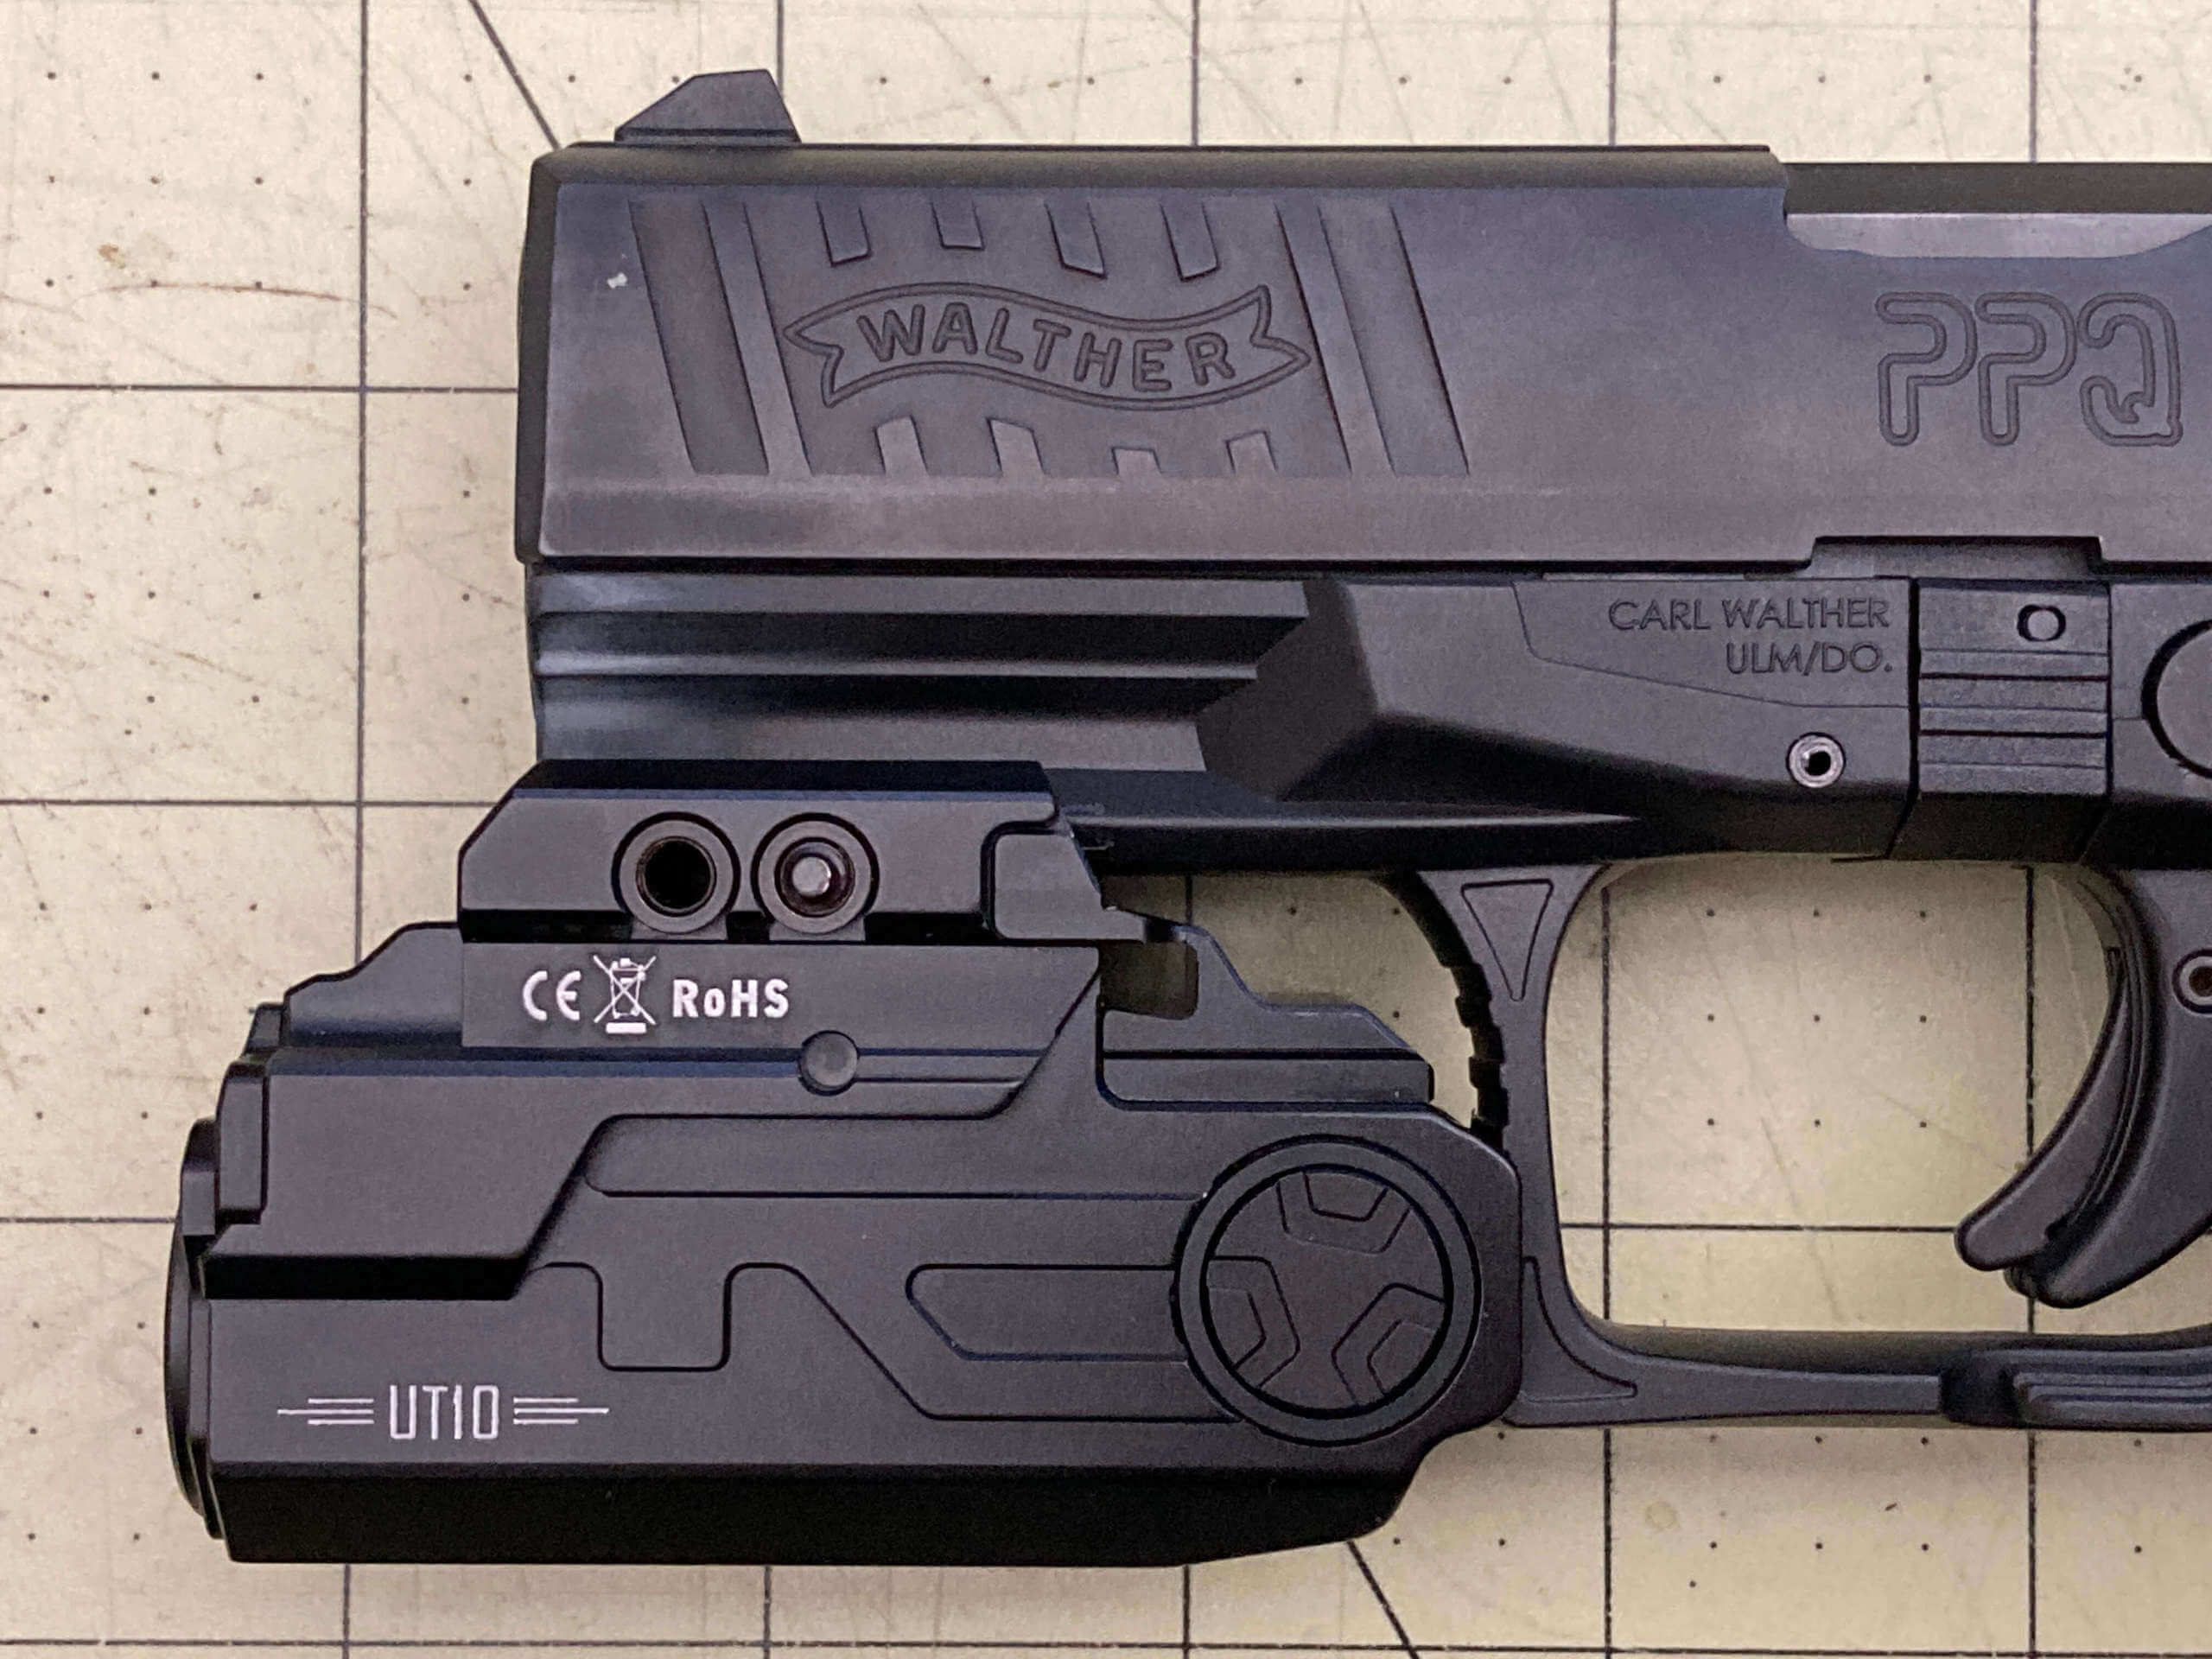
With the light fully installed in a place where the switch is just in front of the trigger guard, the charge port is completely covered. That means you’ll have to remove the UT10 for charging. Well then, what’s the point of built-in charging if the light has to be removed? We may as well be able to just swap cells.
And because of how the light is built, we actually can’t swap the cells. That makes this setup an unfortunate “worst of both worlds.” Now, the charging it has is great! If you have long fingers, you can possibly set the light up in a way that would allow charging and use. But that setup is not ideal.
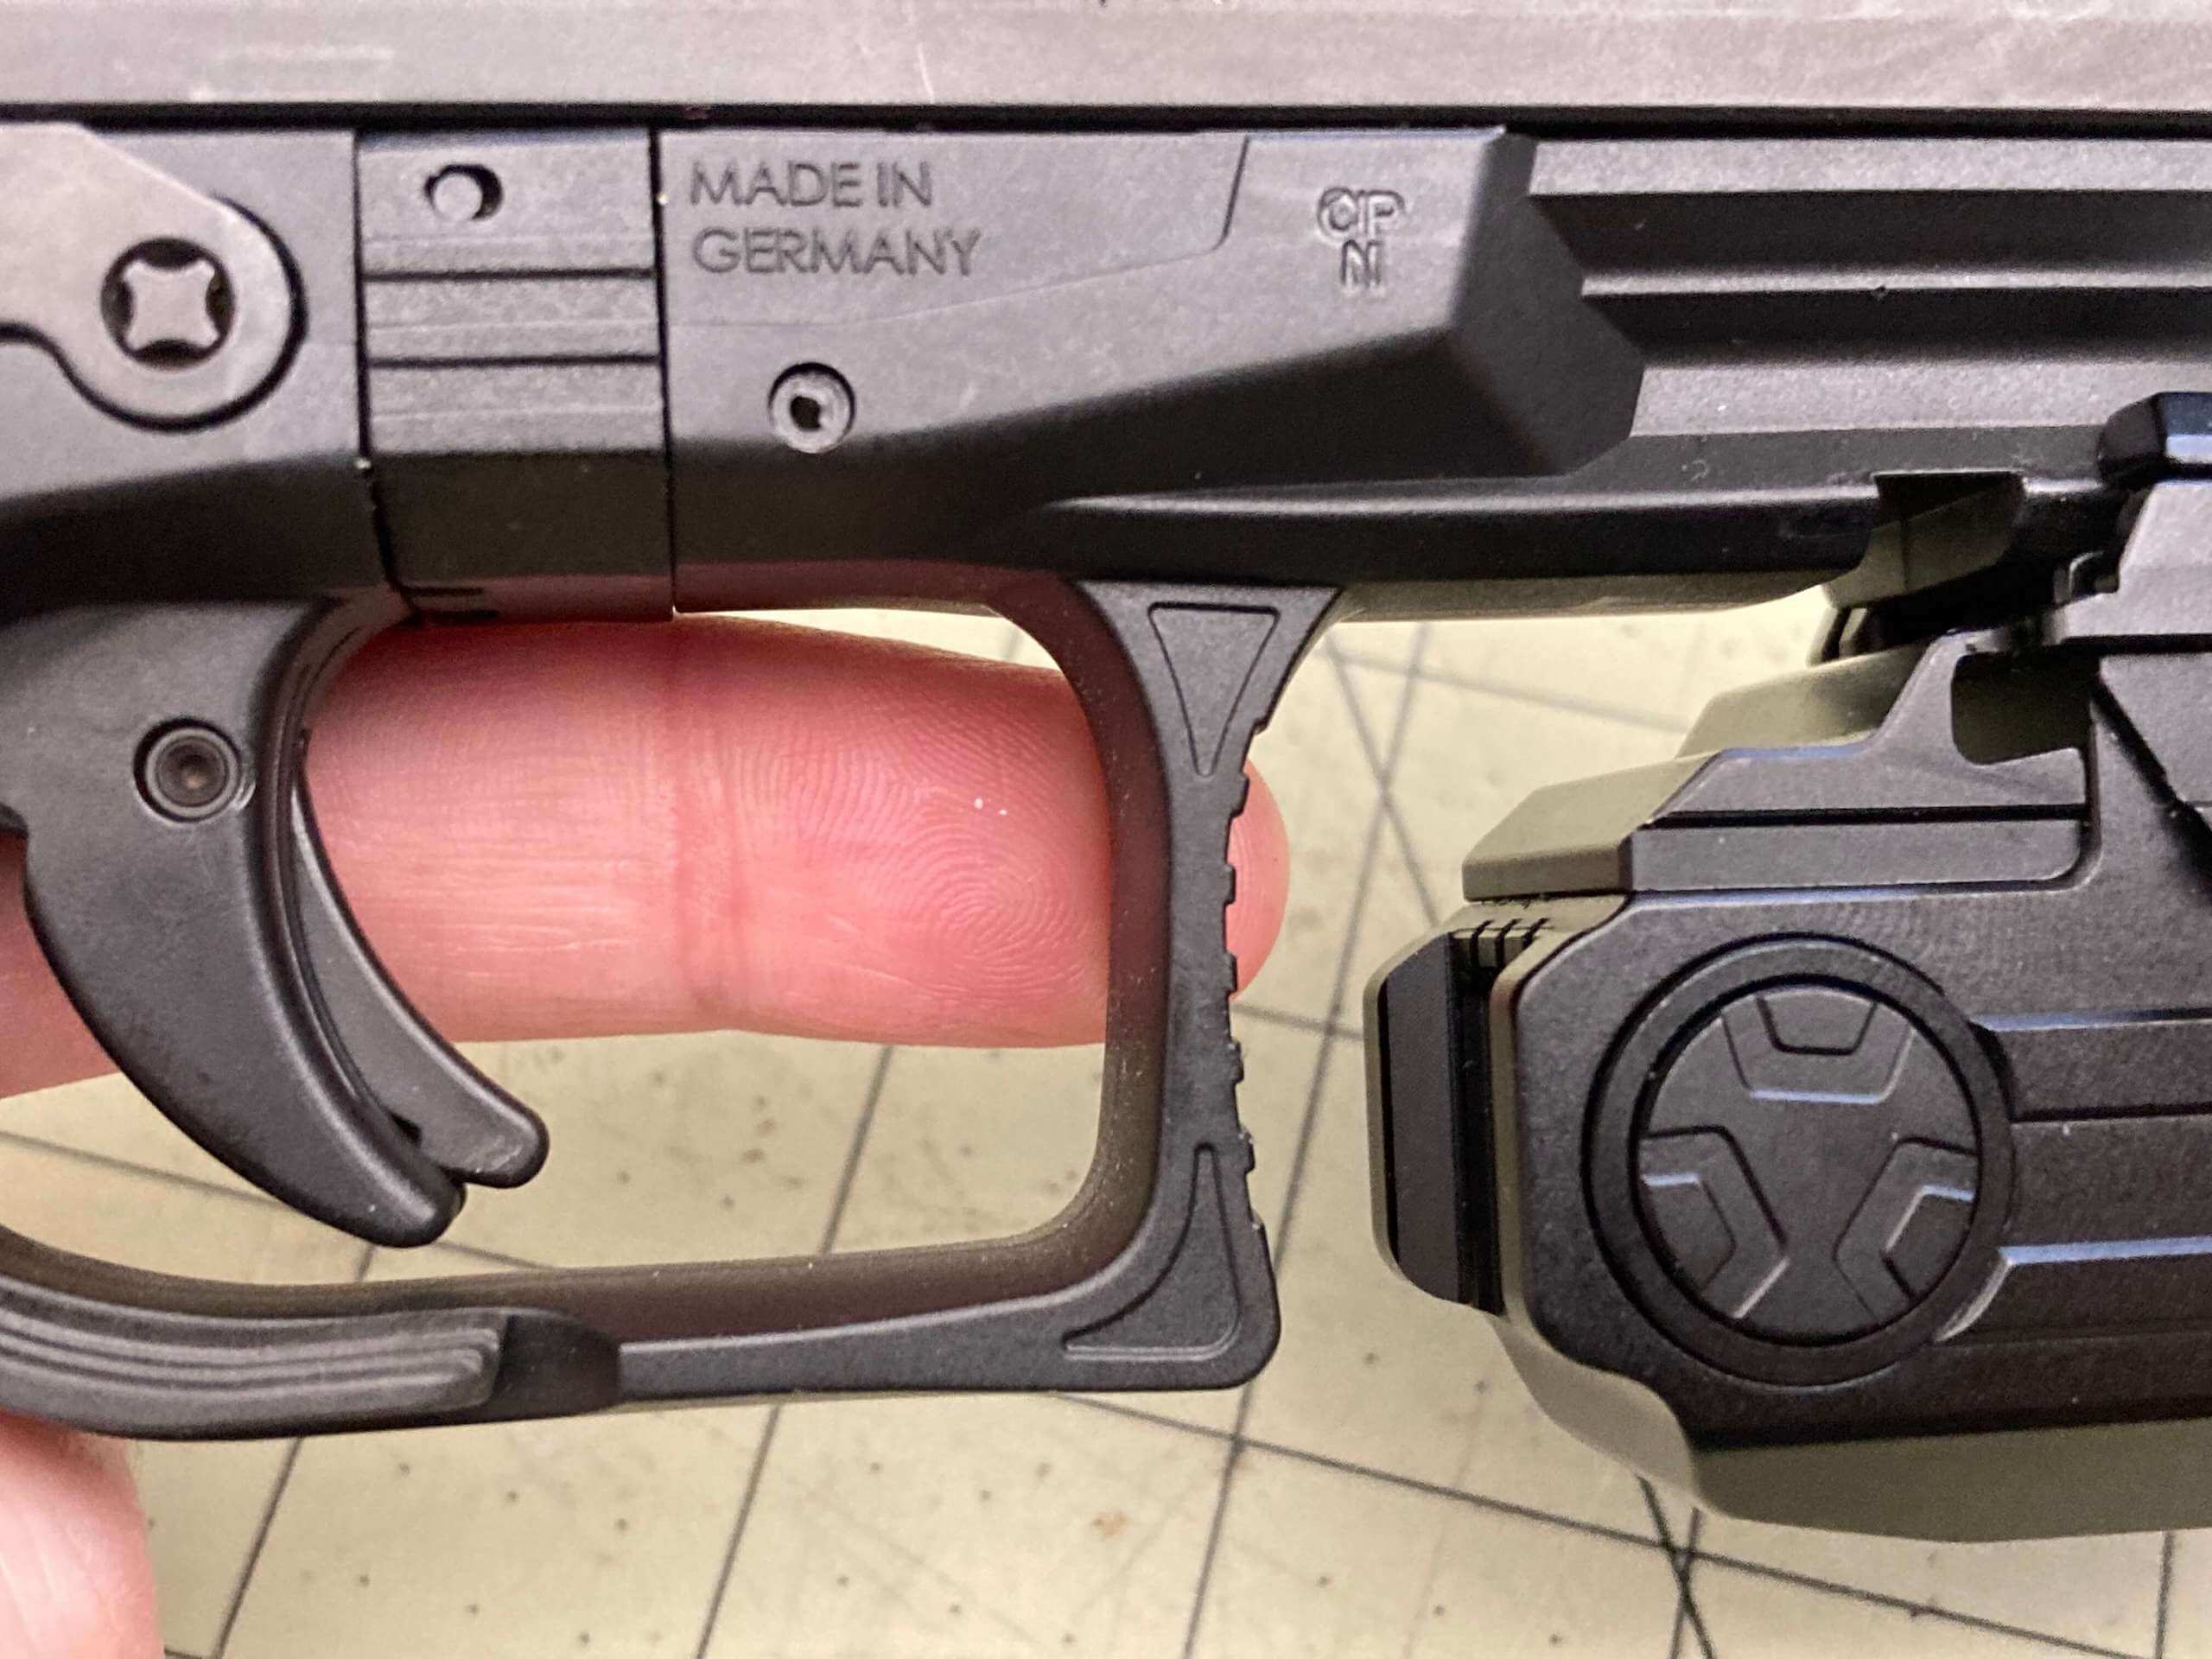

Above, I can’t reach the switch, but I can use the charge port while the light is mounted.
Power and Runtime
A single cell powers the UT10. It’s a built-in (probably not user-changeable) 18350 cell. I couldn’t disassemble the light, so I’m not sure if the cell is soldered in.
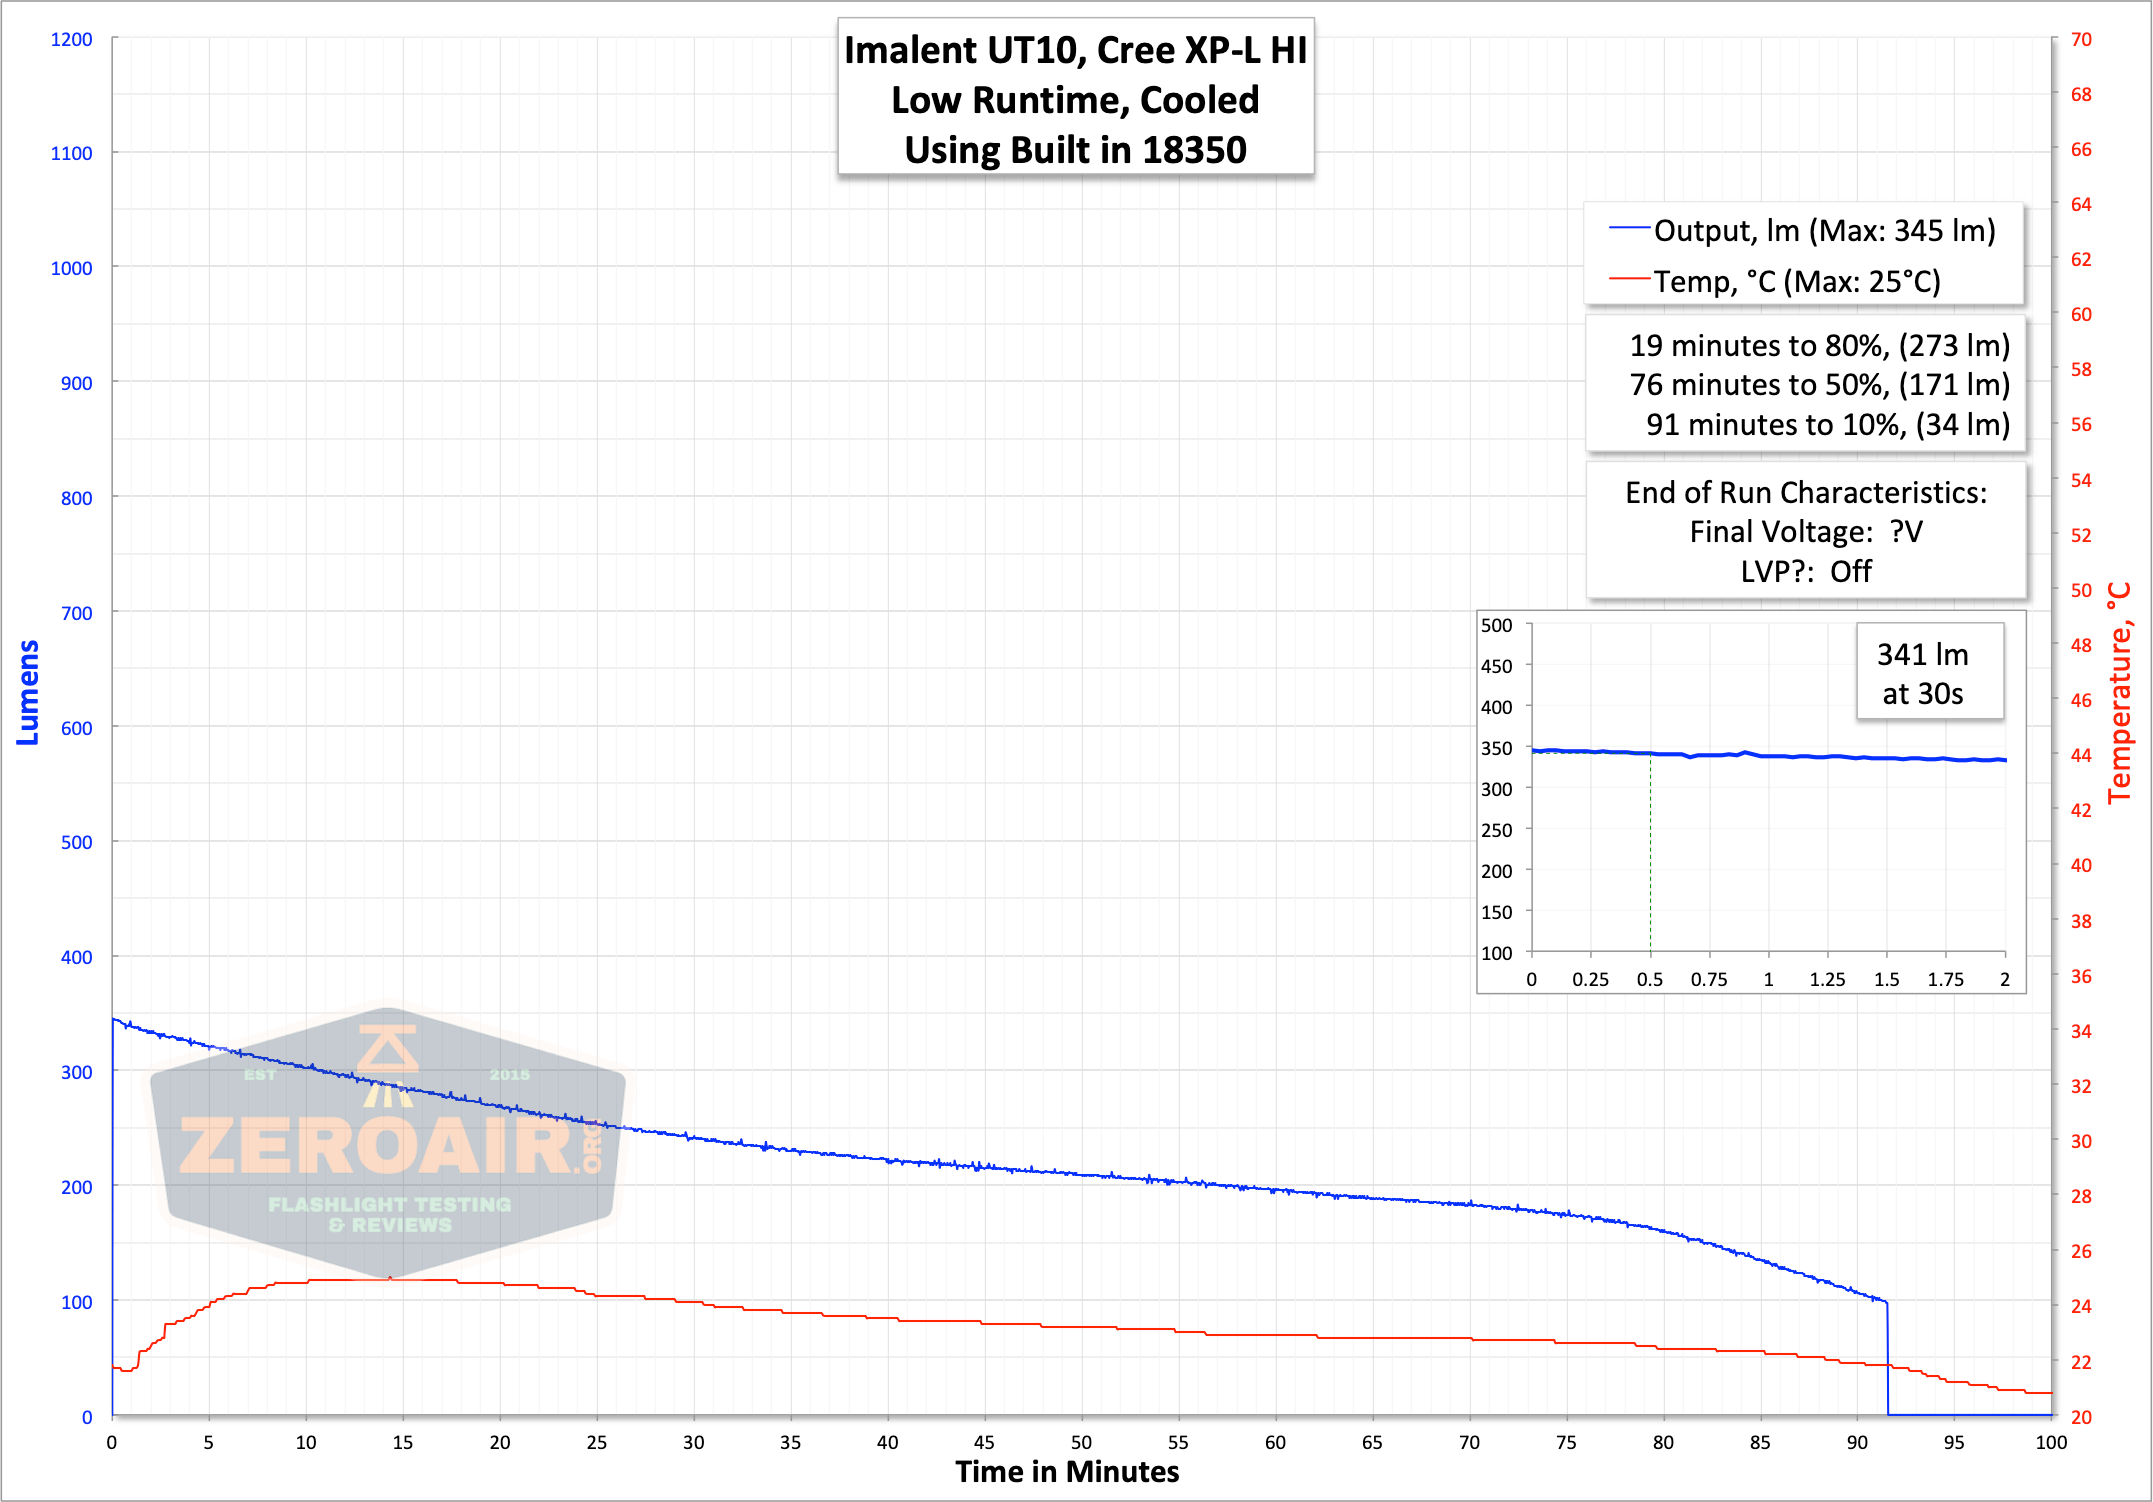
There are only two steady modes, so here are the runtimes for both. Performance is pretty good on both, but the output tracks downward as the cell voltage decreases.
The UT10 shuts off with low voltage protection, but since the cell was built in, I couldn’t test the cell voltage. It occurred to me to check the charge connector points on the back of the UT10 for cell voltage, but that didn’t work – the reading there doesn’t seem to correspond to the cell voltage.
It’s possible to check the battery voltage range through a triple-click of the switch, though. The results indicate as follows:
Green: 4.1-4.2V
Green flash twice: 3.8-4.0V
Green flash three times: 3.6-3.7V
Red light flash four times: 2.9-3.7V
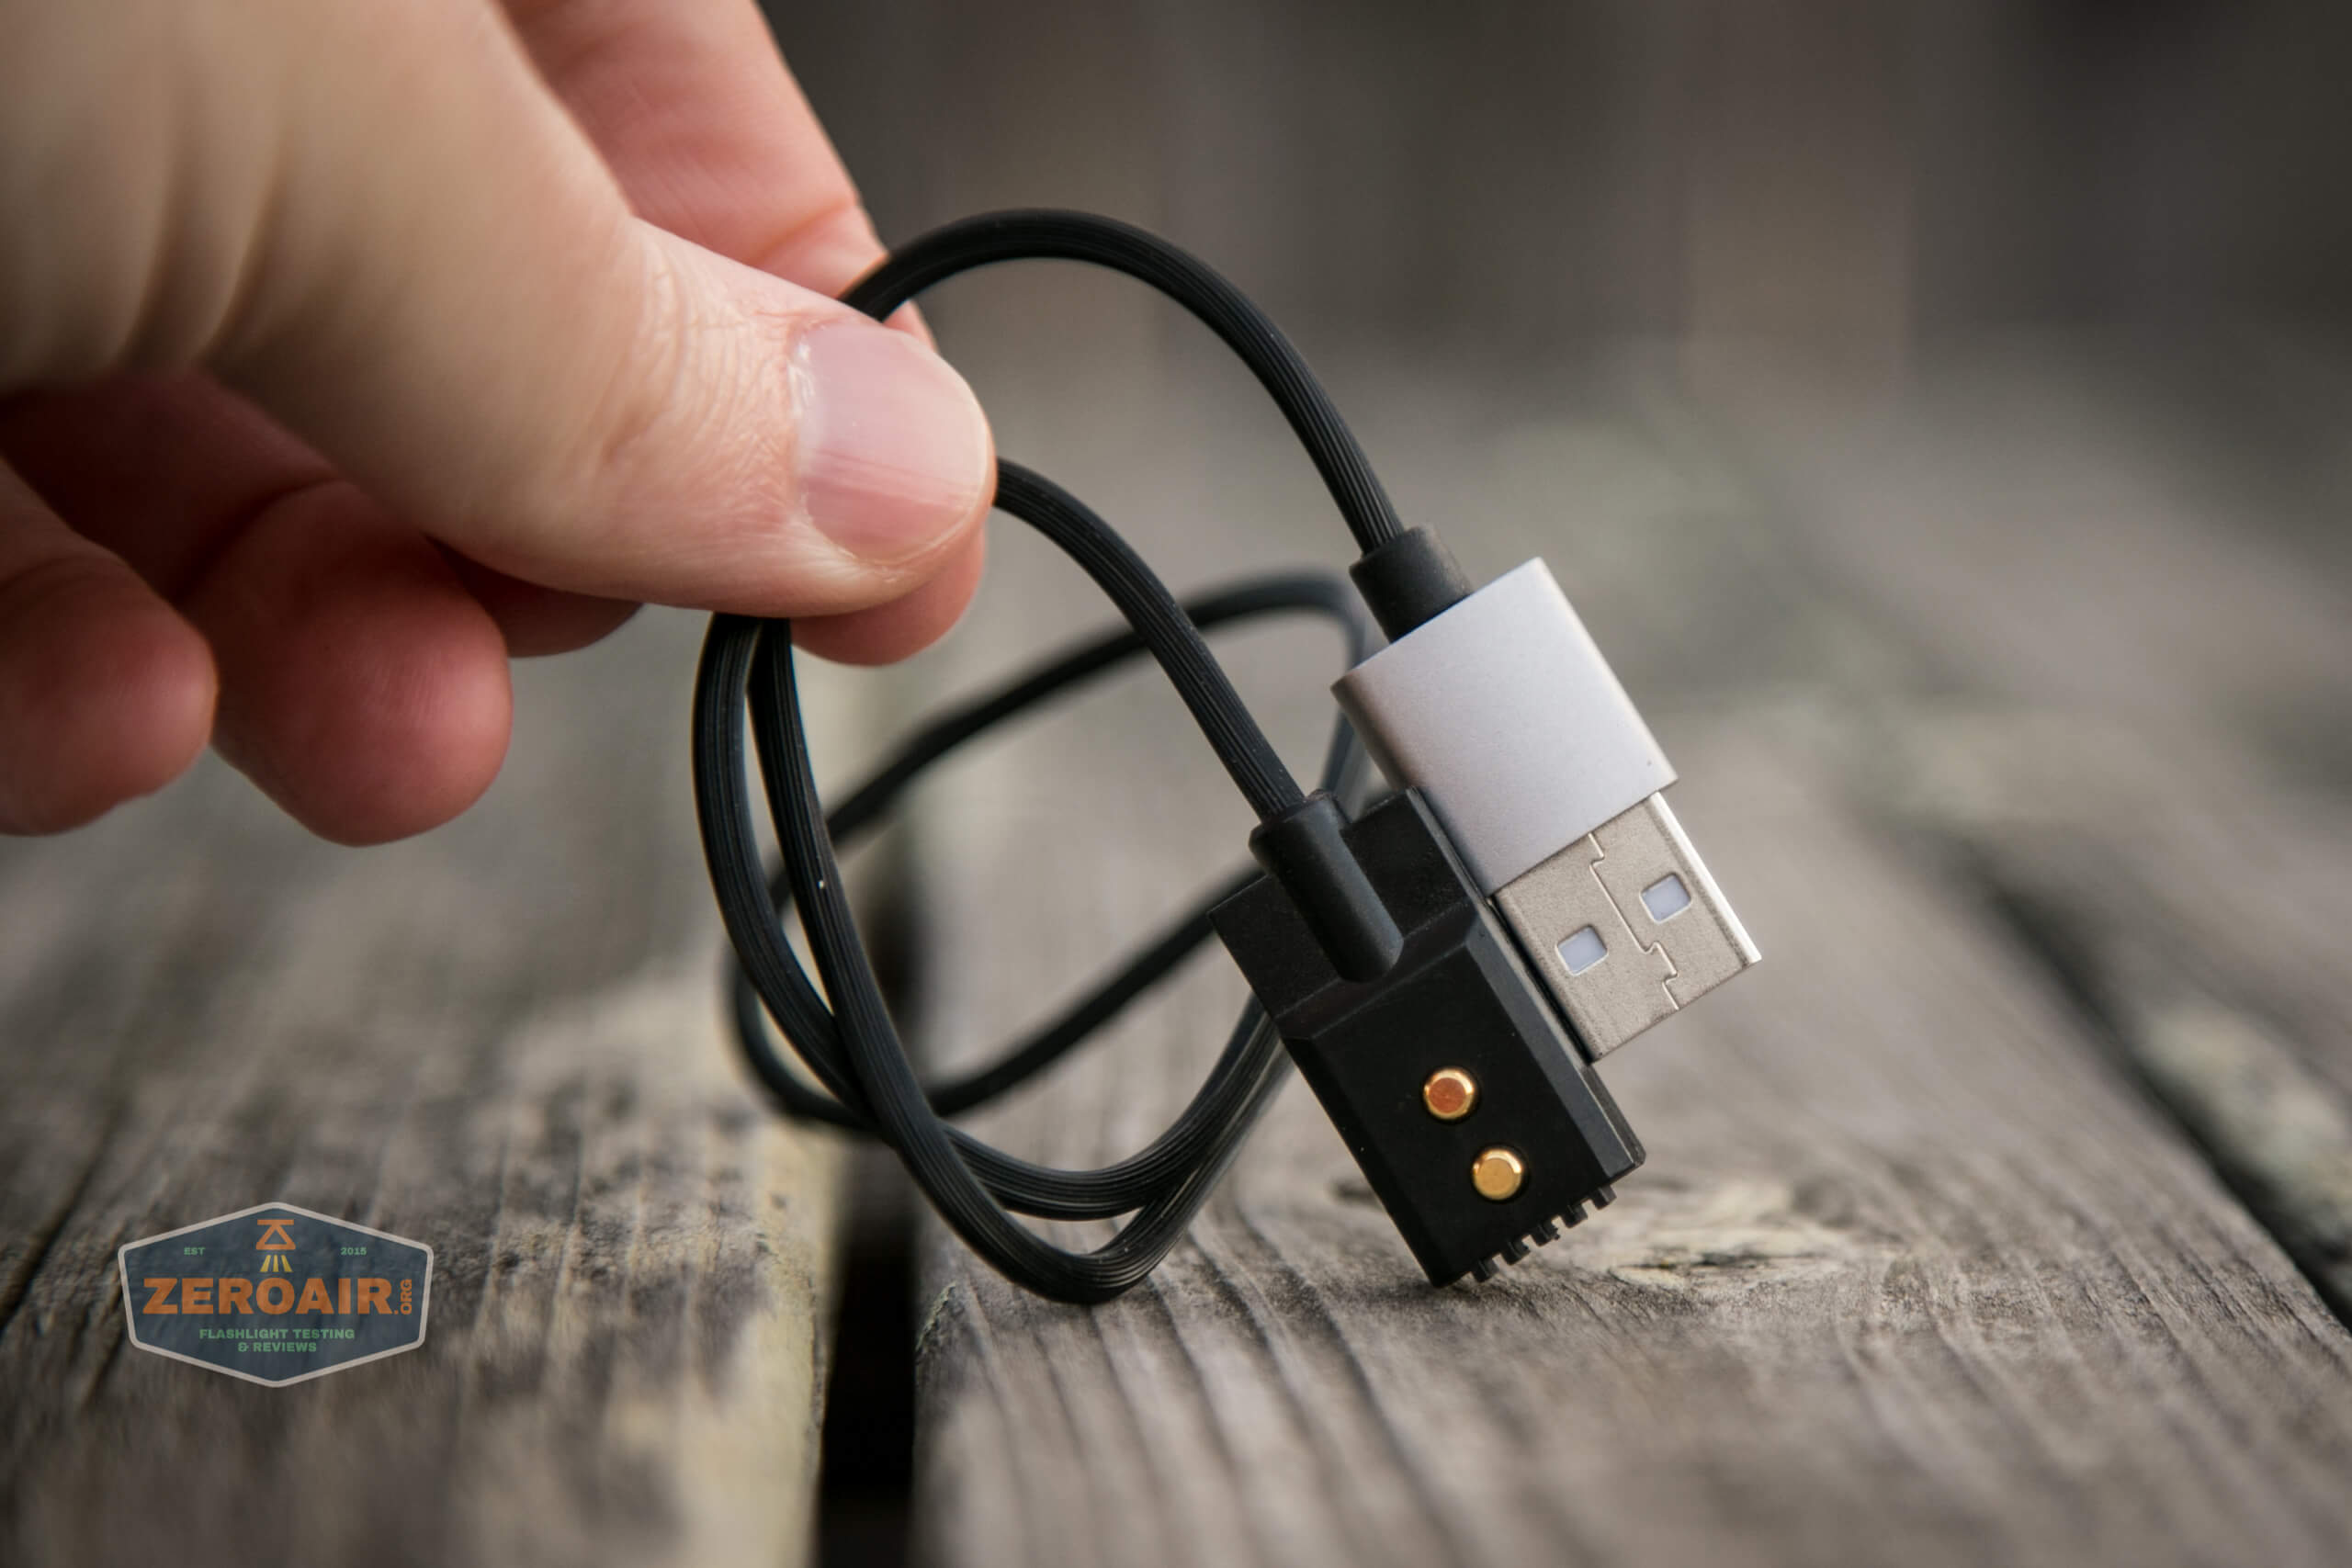
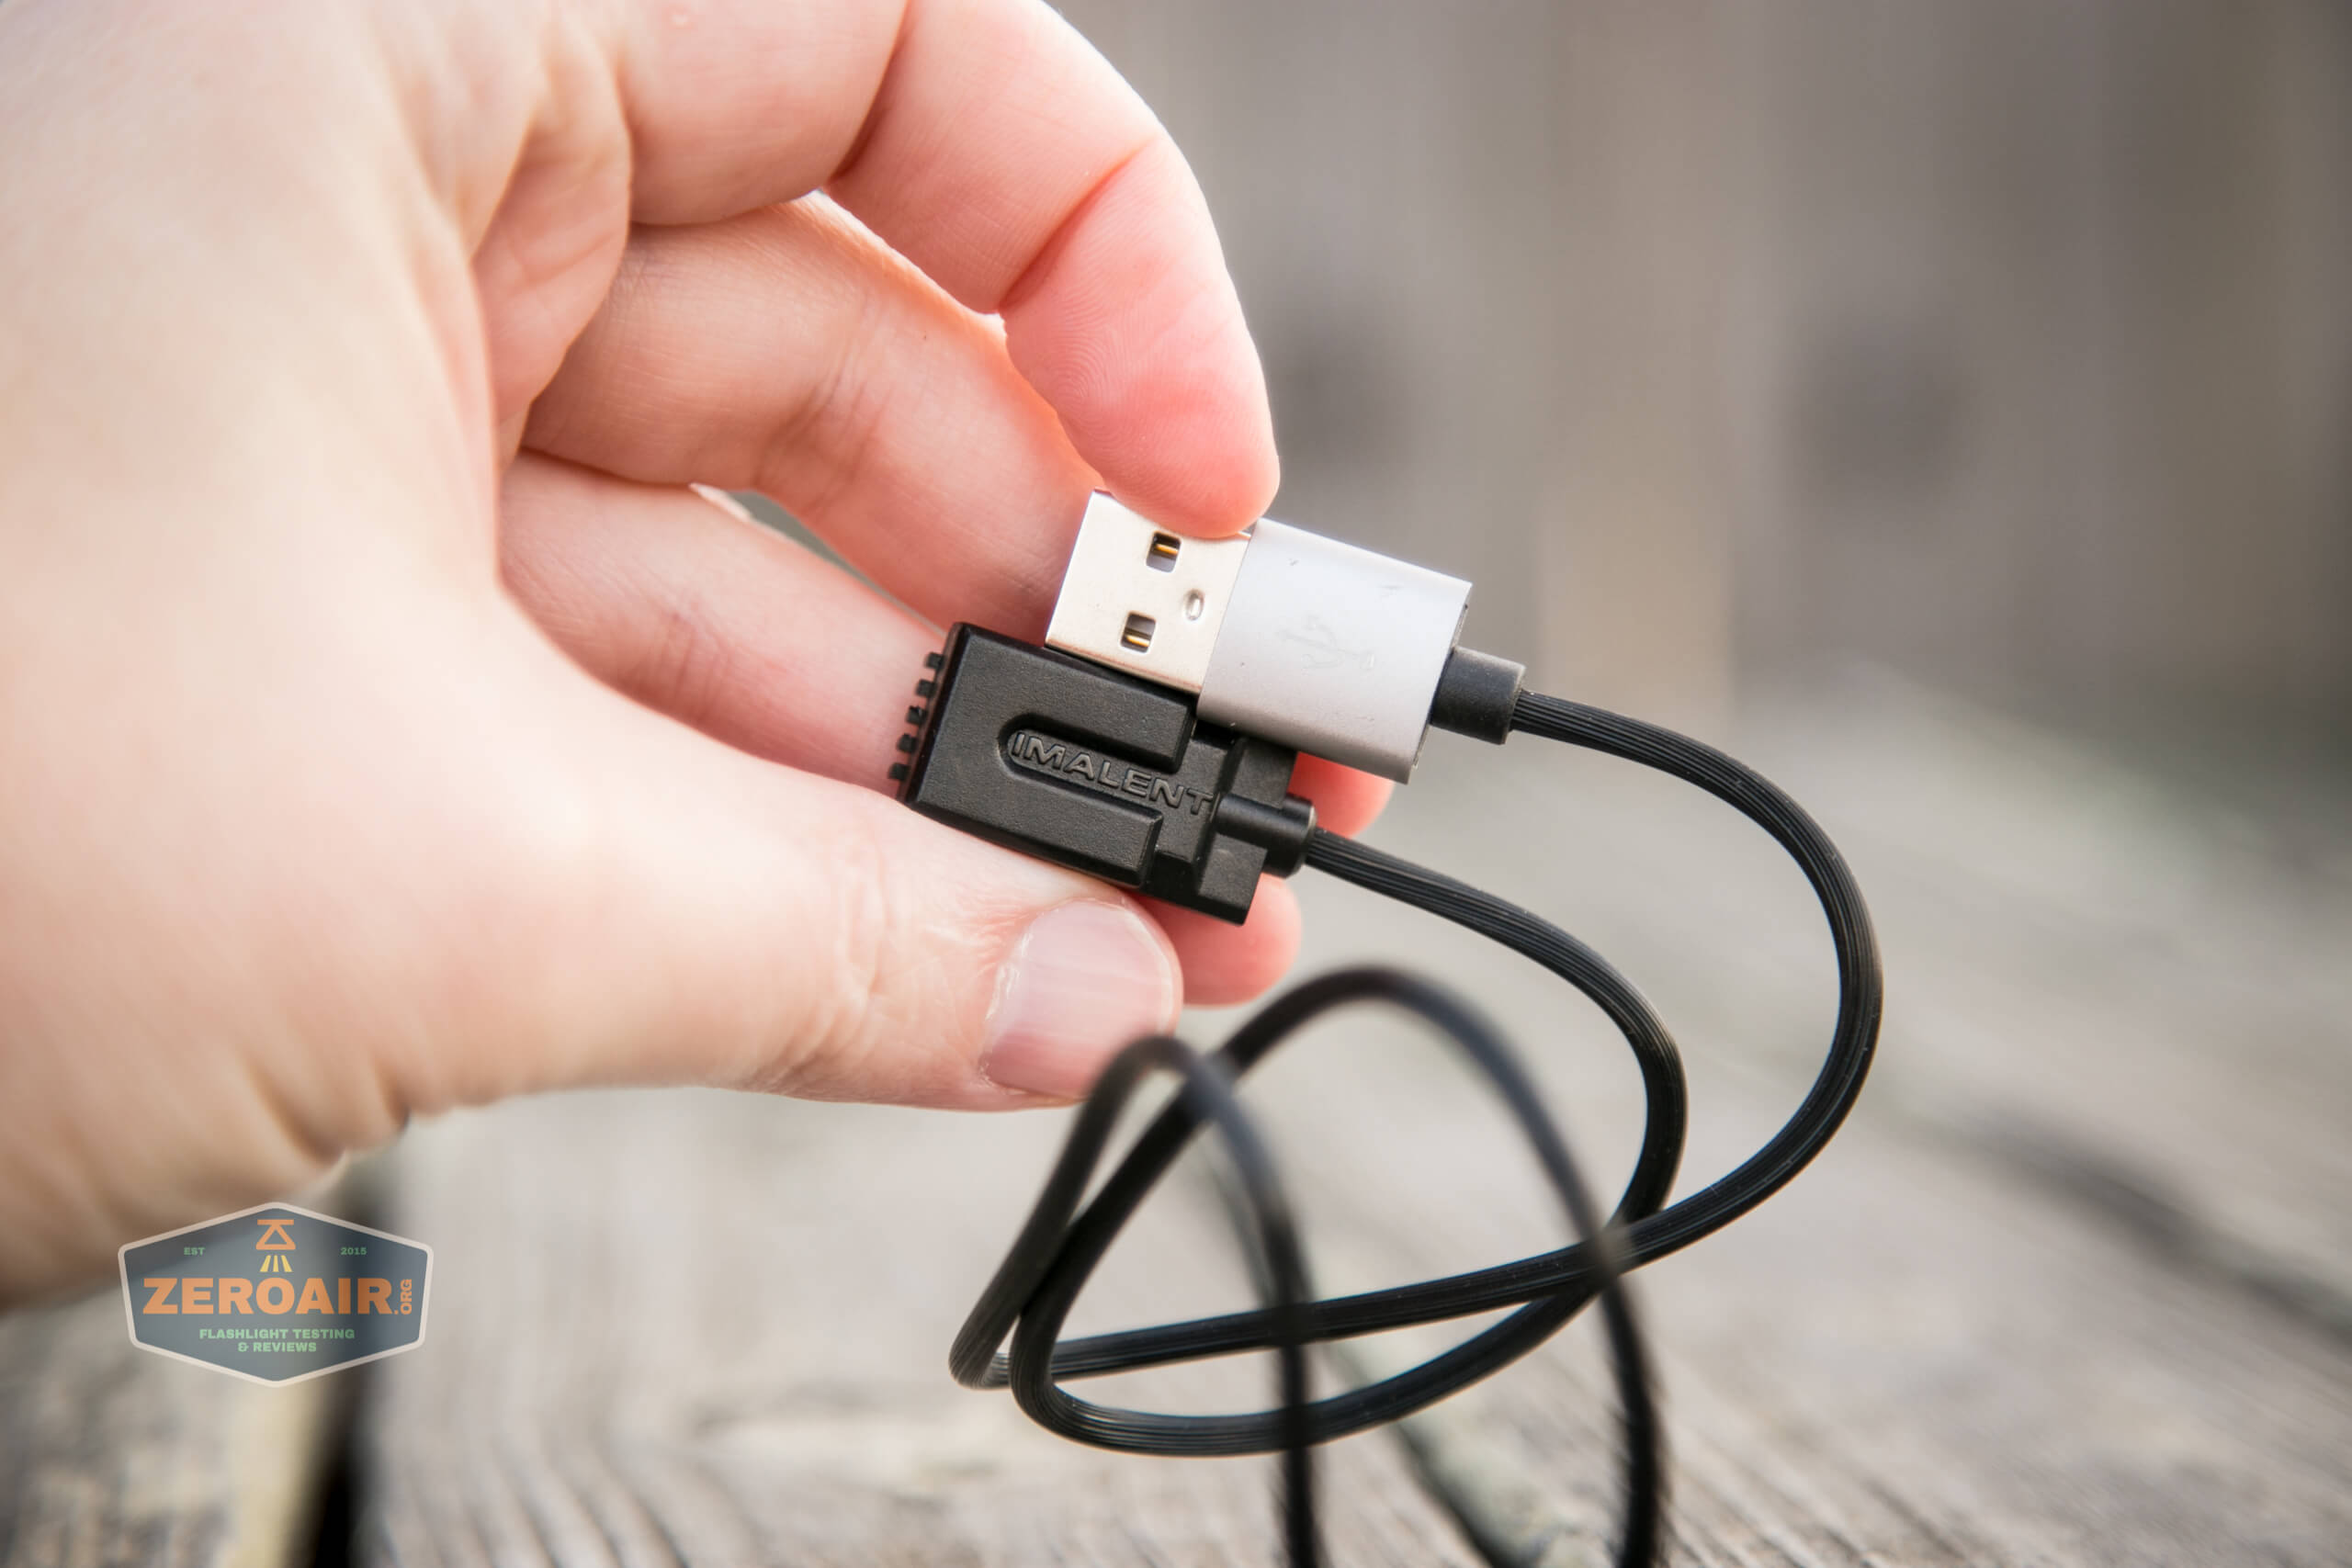
Also included for the UT10 is a charging cable. This is Imalent’s typical charge cable, which has USB on one end and proprietary magnetic charging on the other. This is the same cable as is on other current-generation Imalent lights, which have charging built in.
As stated above, the back of the UT10 has a charge connector.

The charge cable really only fits in one orientation. Those little pips above the charge port prevent connection in the wrong orientation. And the manual does say “please pay attention to the direction of the charging head,” so apparently it’s not reversible.
The magnetic connection is very snappy, but I did have to adjust it for the most secure fit.
Charging is good and also very consistent. The 18350 should handle a charge current of ~1A fairly well, without a diminished lifetime. The charge time of 90 minutes is respectable.
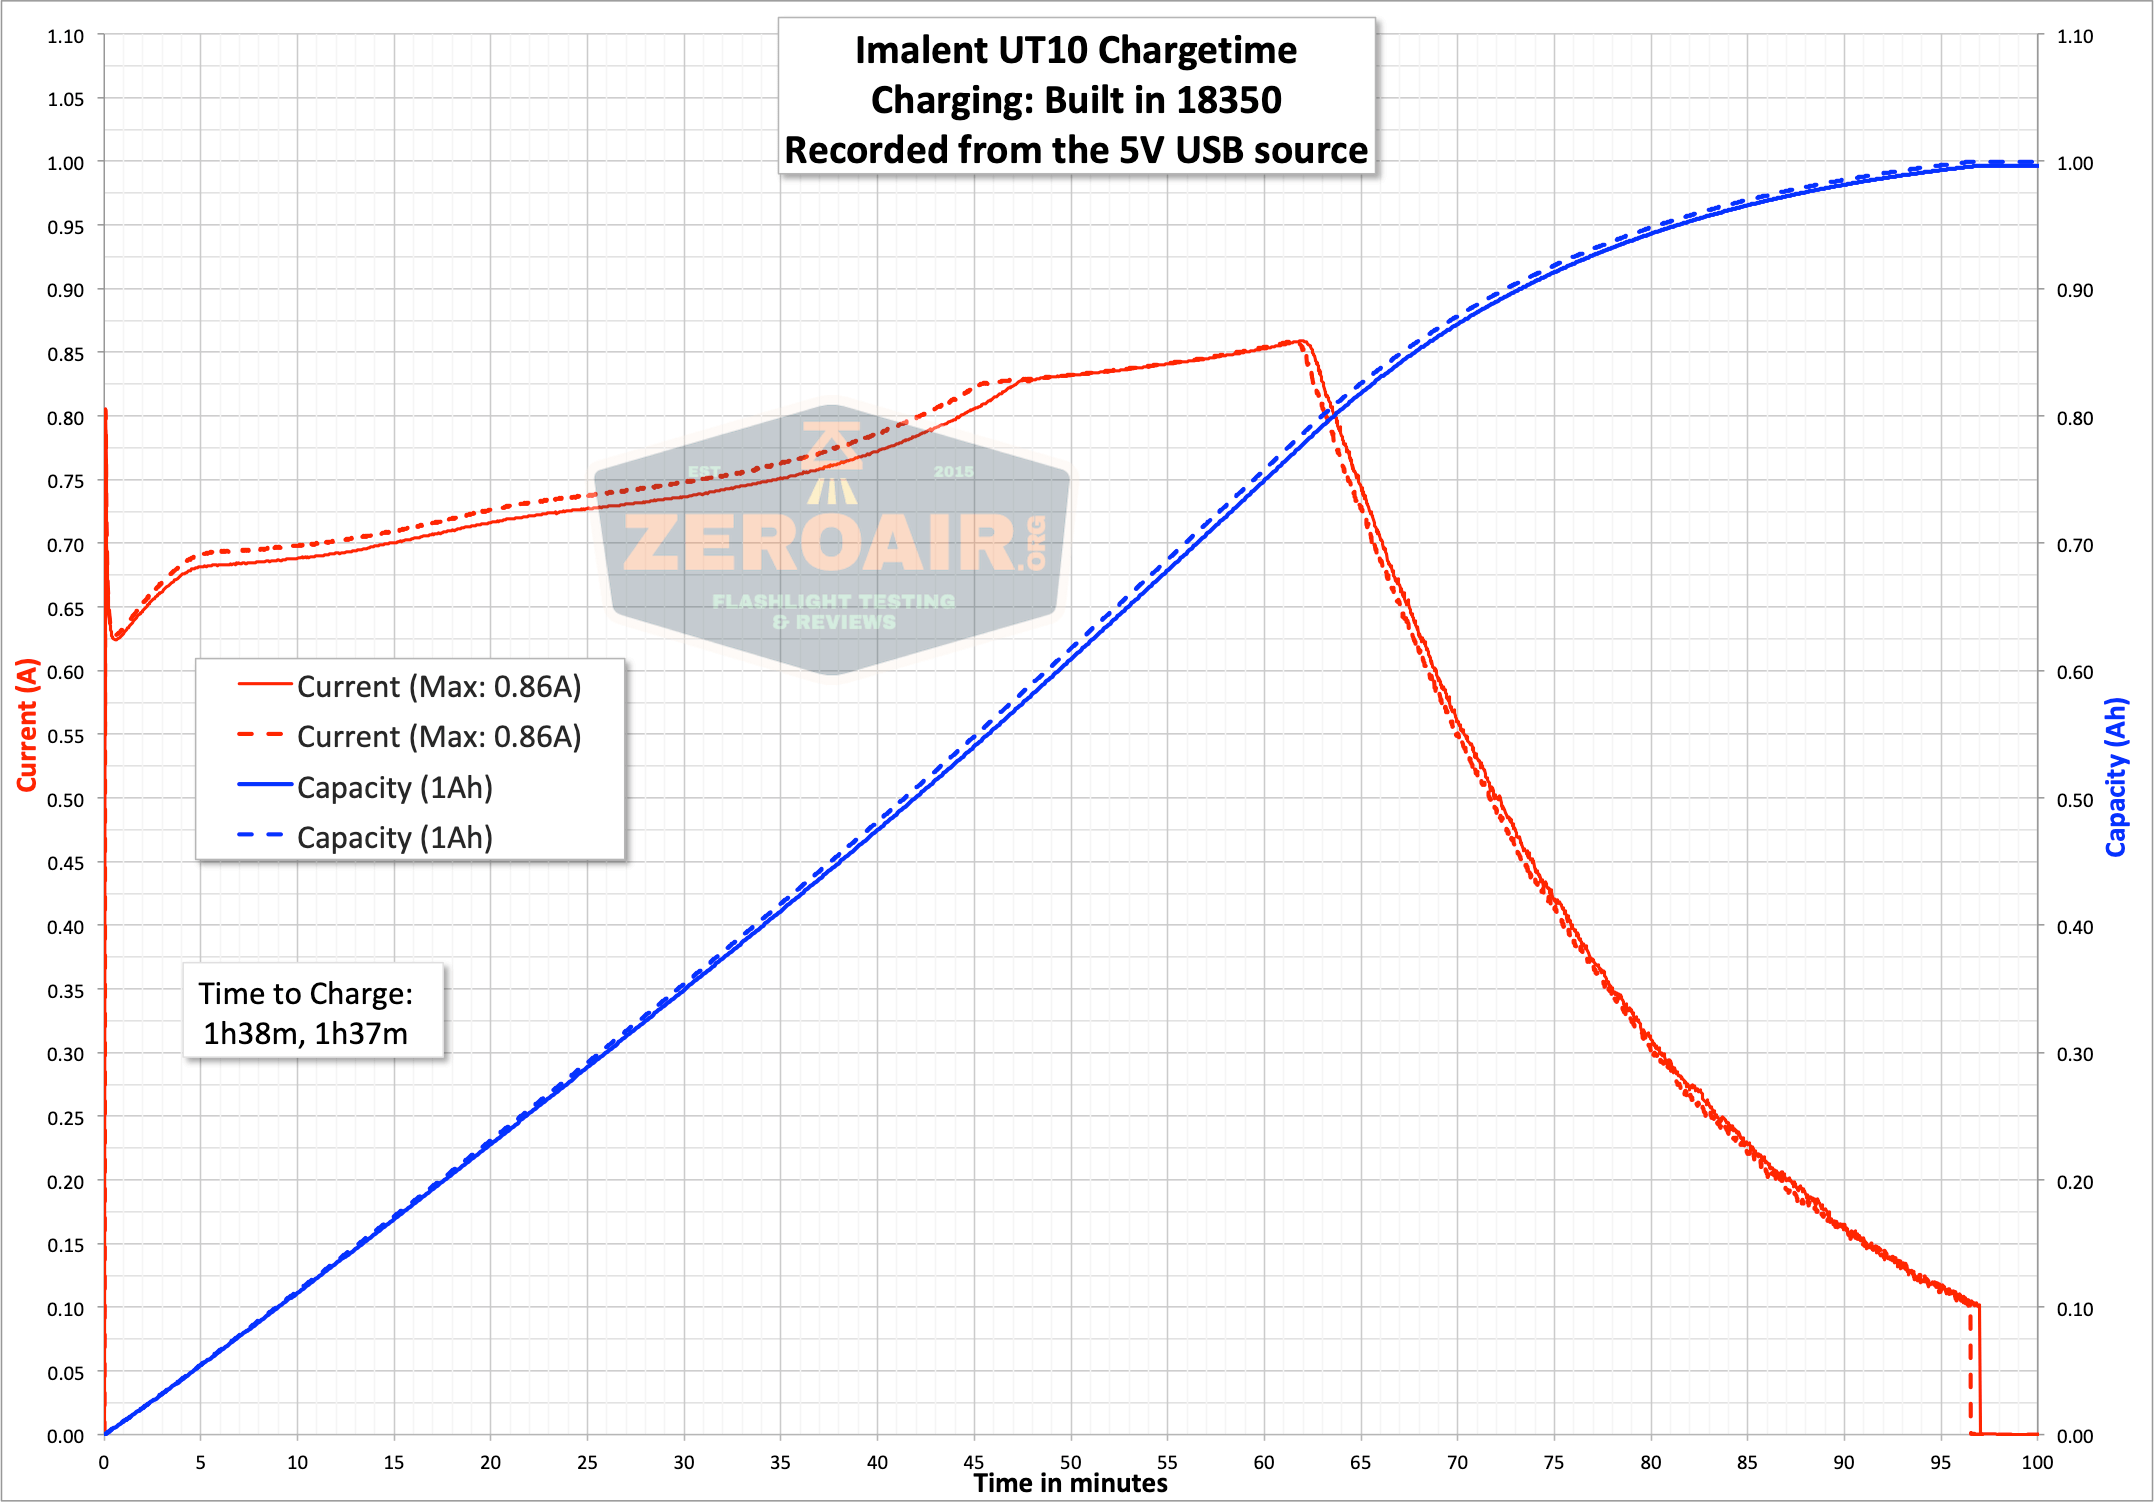
While charging, the indicating LEDs on the side of the UT10 are green. When charging is complete, the green lights turn off. That’s a strange use of the indicating lights, especially since there’s a red LED too. I’d expect red while charging, and green when charging is complete. But this works. Since the charger doesn’t seem to trickle charge at all, turning the indicator off after the charge cycle is complete does prevent parasitic loss of charge, so this is probably actually the sensible route. This also means if you find a way to mount the light to your weapon, you can leave it charging without fear of the indicators staying on.
Modes and Currents
| Mode | Mode Claimed Output (lm) | Claimed Runtime | Measured Lumens | Tailcap Amps |
|---|---|---|---|---|
| High | 1160/500 | 2m/56m | 1012 | ? |
| Low | 300 | 88m | 341 | ? |
Pulse Width Modulation
There’s some pulse width modulation noted on the low mode, but not on High.
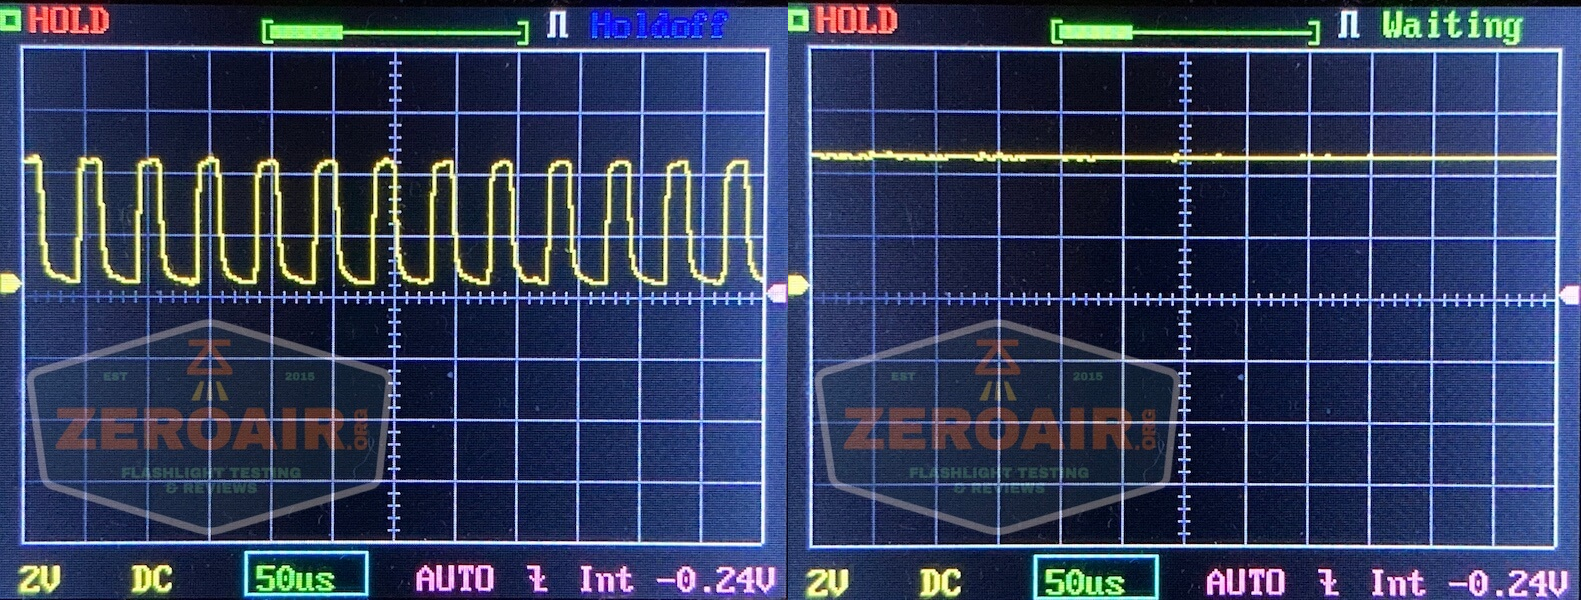
Here you can see a “baseline” – a chart with almost no light hitting the sensor.
Then there’s the Ultrafire WF-602C flashlight, which has some of the worst PWM I’ve seen. It’s so bad that I used a post about it to explain PWM! Here are multiple timescales (10ms, 5ms, 2ms, 1ms, 0.5ms, 0.2ms) to make comparing this “worst” PWM light to the test light easier. That post also explains why I didn’t test the WF-602C at the usual 50us scale.
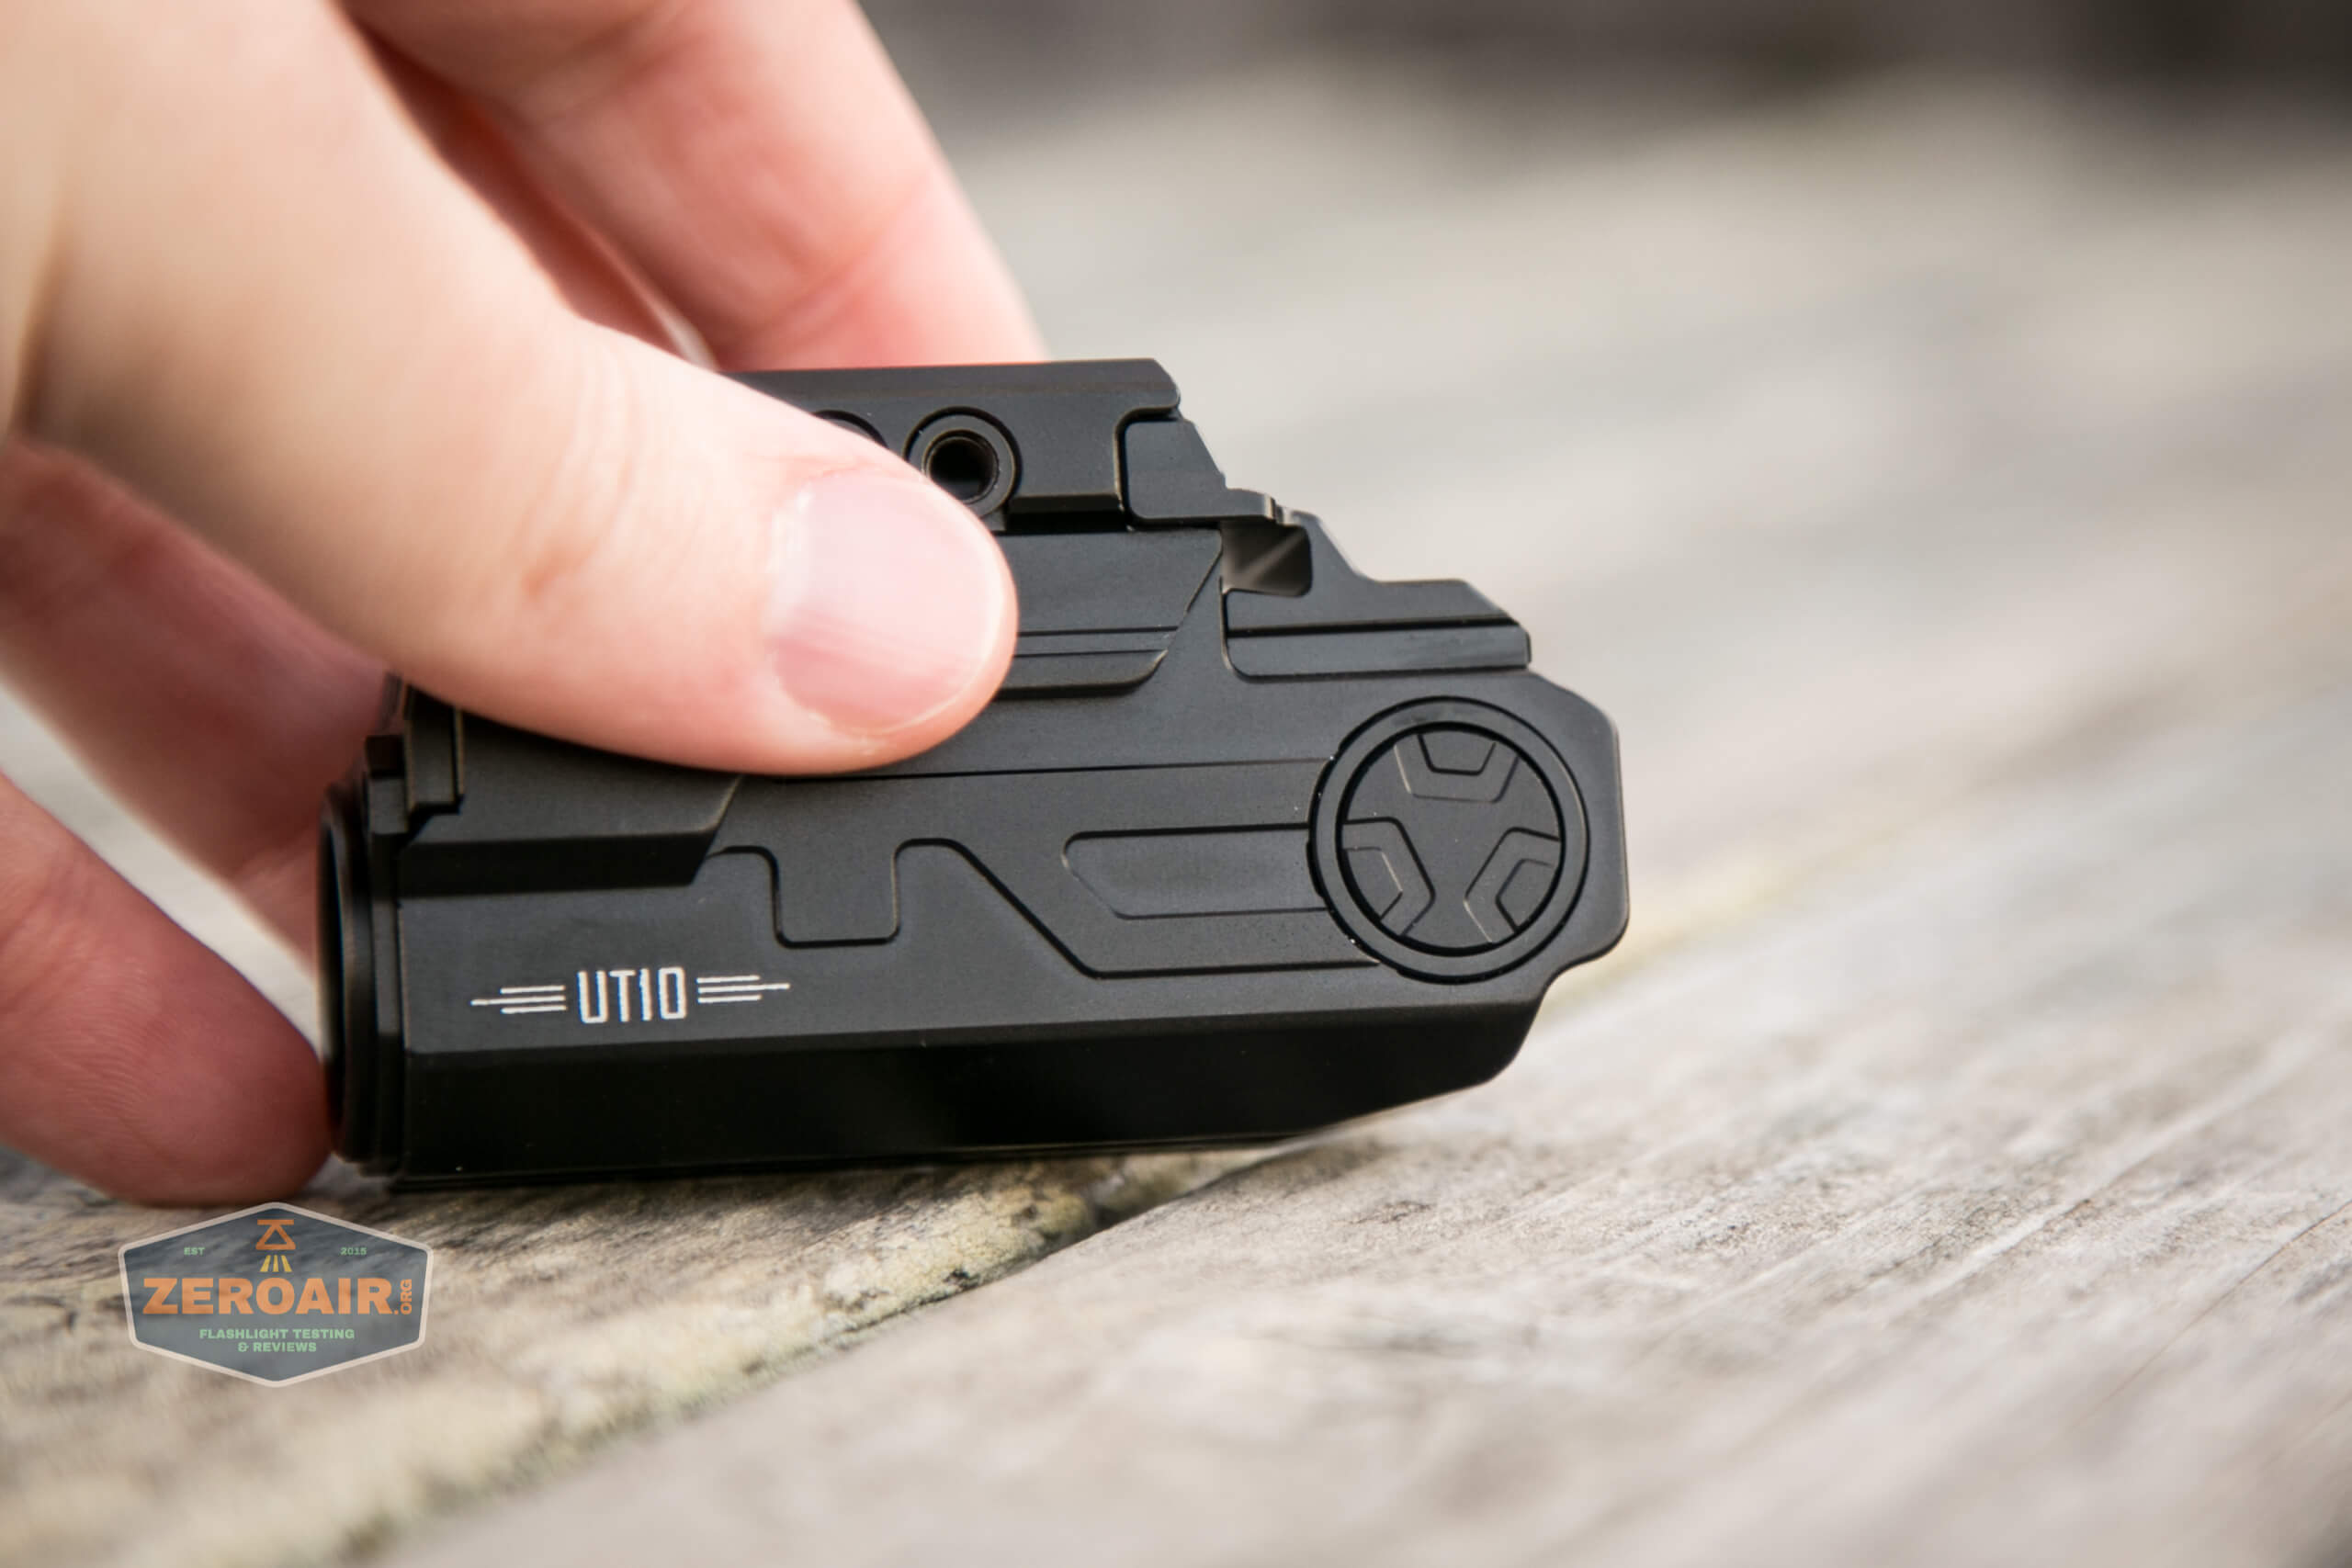
User Interface and Operation
There’s really one switch on the Imalent UT10 tactical weapon flashlight, but it has two locations. This means as a right or left-handed shooter, you will have access to the switch with your pointer finger.
The switch is perfect for the scenario, I think. It’s big, easy to press, and has a very low action. You may find some accidental activations, and you’ll likely want to test it in your holster to confirm it won’t activate. As for pocket carry, well, you have your own set of issues there. I have carried the light in a pocket without accidental activation, but just in holding and manipulating the light in my hands, I’ve turned it on many times without meaning to.
I can’t say that’s a bad thing, though. I’m no operator, but I’d imagine if you need light in a tactical situation, you’d rather the switch be easy to press than hard. You can let me know in the comments.
The switches also have a feature when they’re both pressed, too. This is how to get strobe.
As far as I can see, there’s no lockout.
Here’s a user interface table!
| State | Action | Result |
|---|---|---|
| Off | Click Either | On (mode memory) |
| On | Click Either | Off |
| Any | Click Both | Strobe |
| Strobe | Click Either | Previously used mode. |
| Off | Hold | No action (but really “On to mode memory when released”) (ie, it sees this as a click) |
| On | Double click either | Iterate modes between Low and High |
| Off | Click 4x | Battery check (Described above in the power section) |
Ultimately the user interface is very simple.
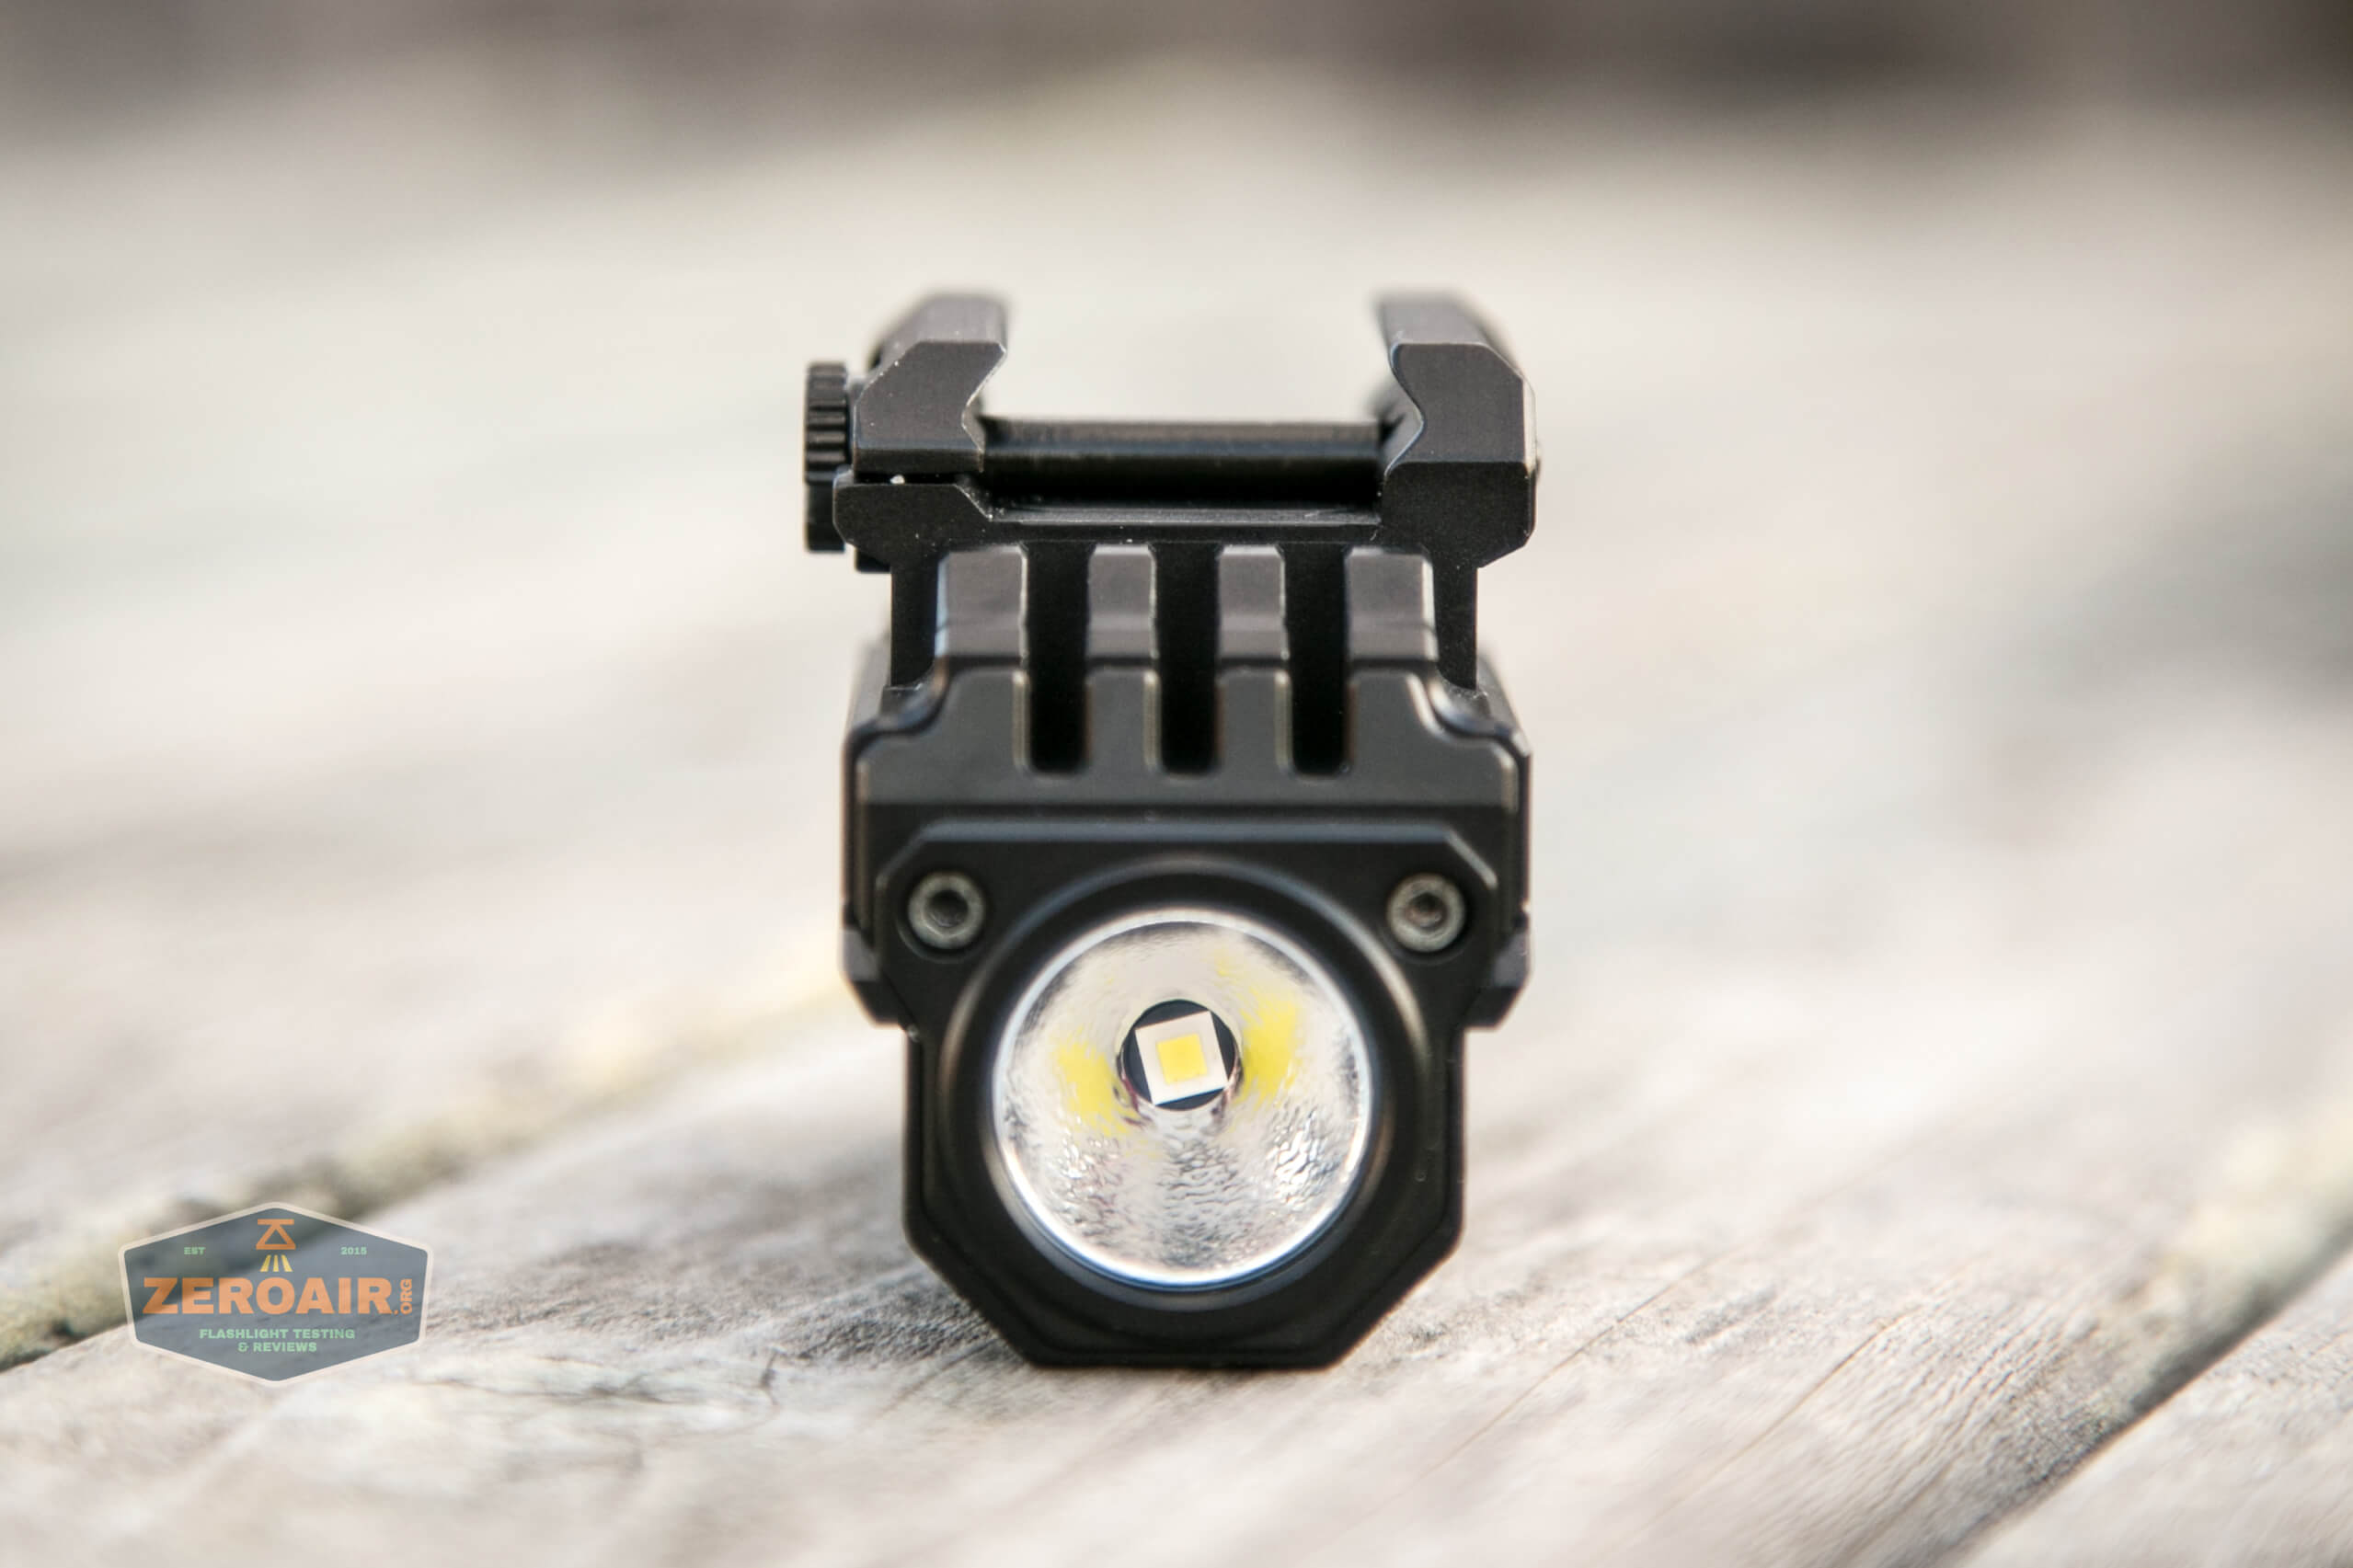
LED and Beam
Imalent went with a Cree XP-L HI emitter in the UT10. I like that choice, as I’m a huge fan of the XP-L HI emitter. I don’t see where a color temperature is claimed on this emitter, but it’s coolish (as you’d really expect on a weapon light.)
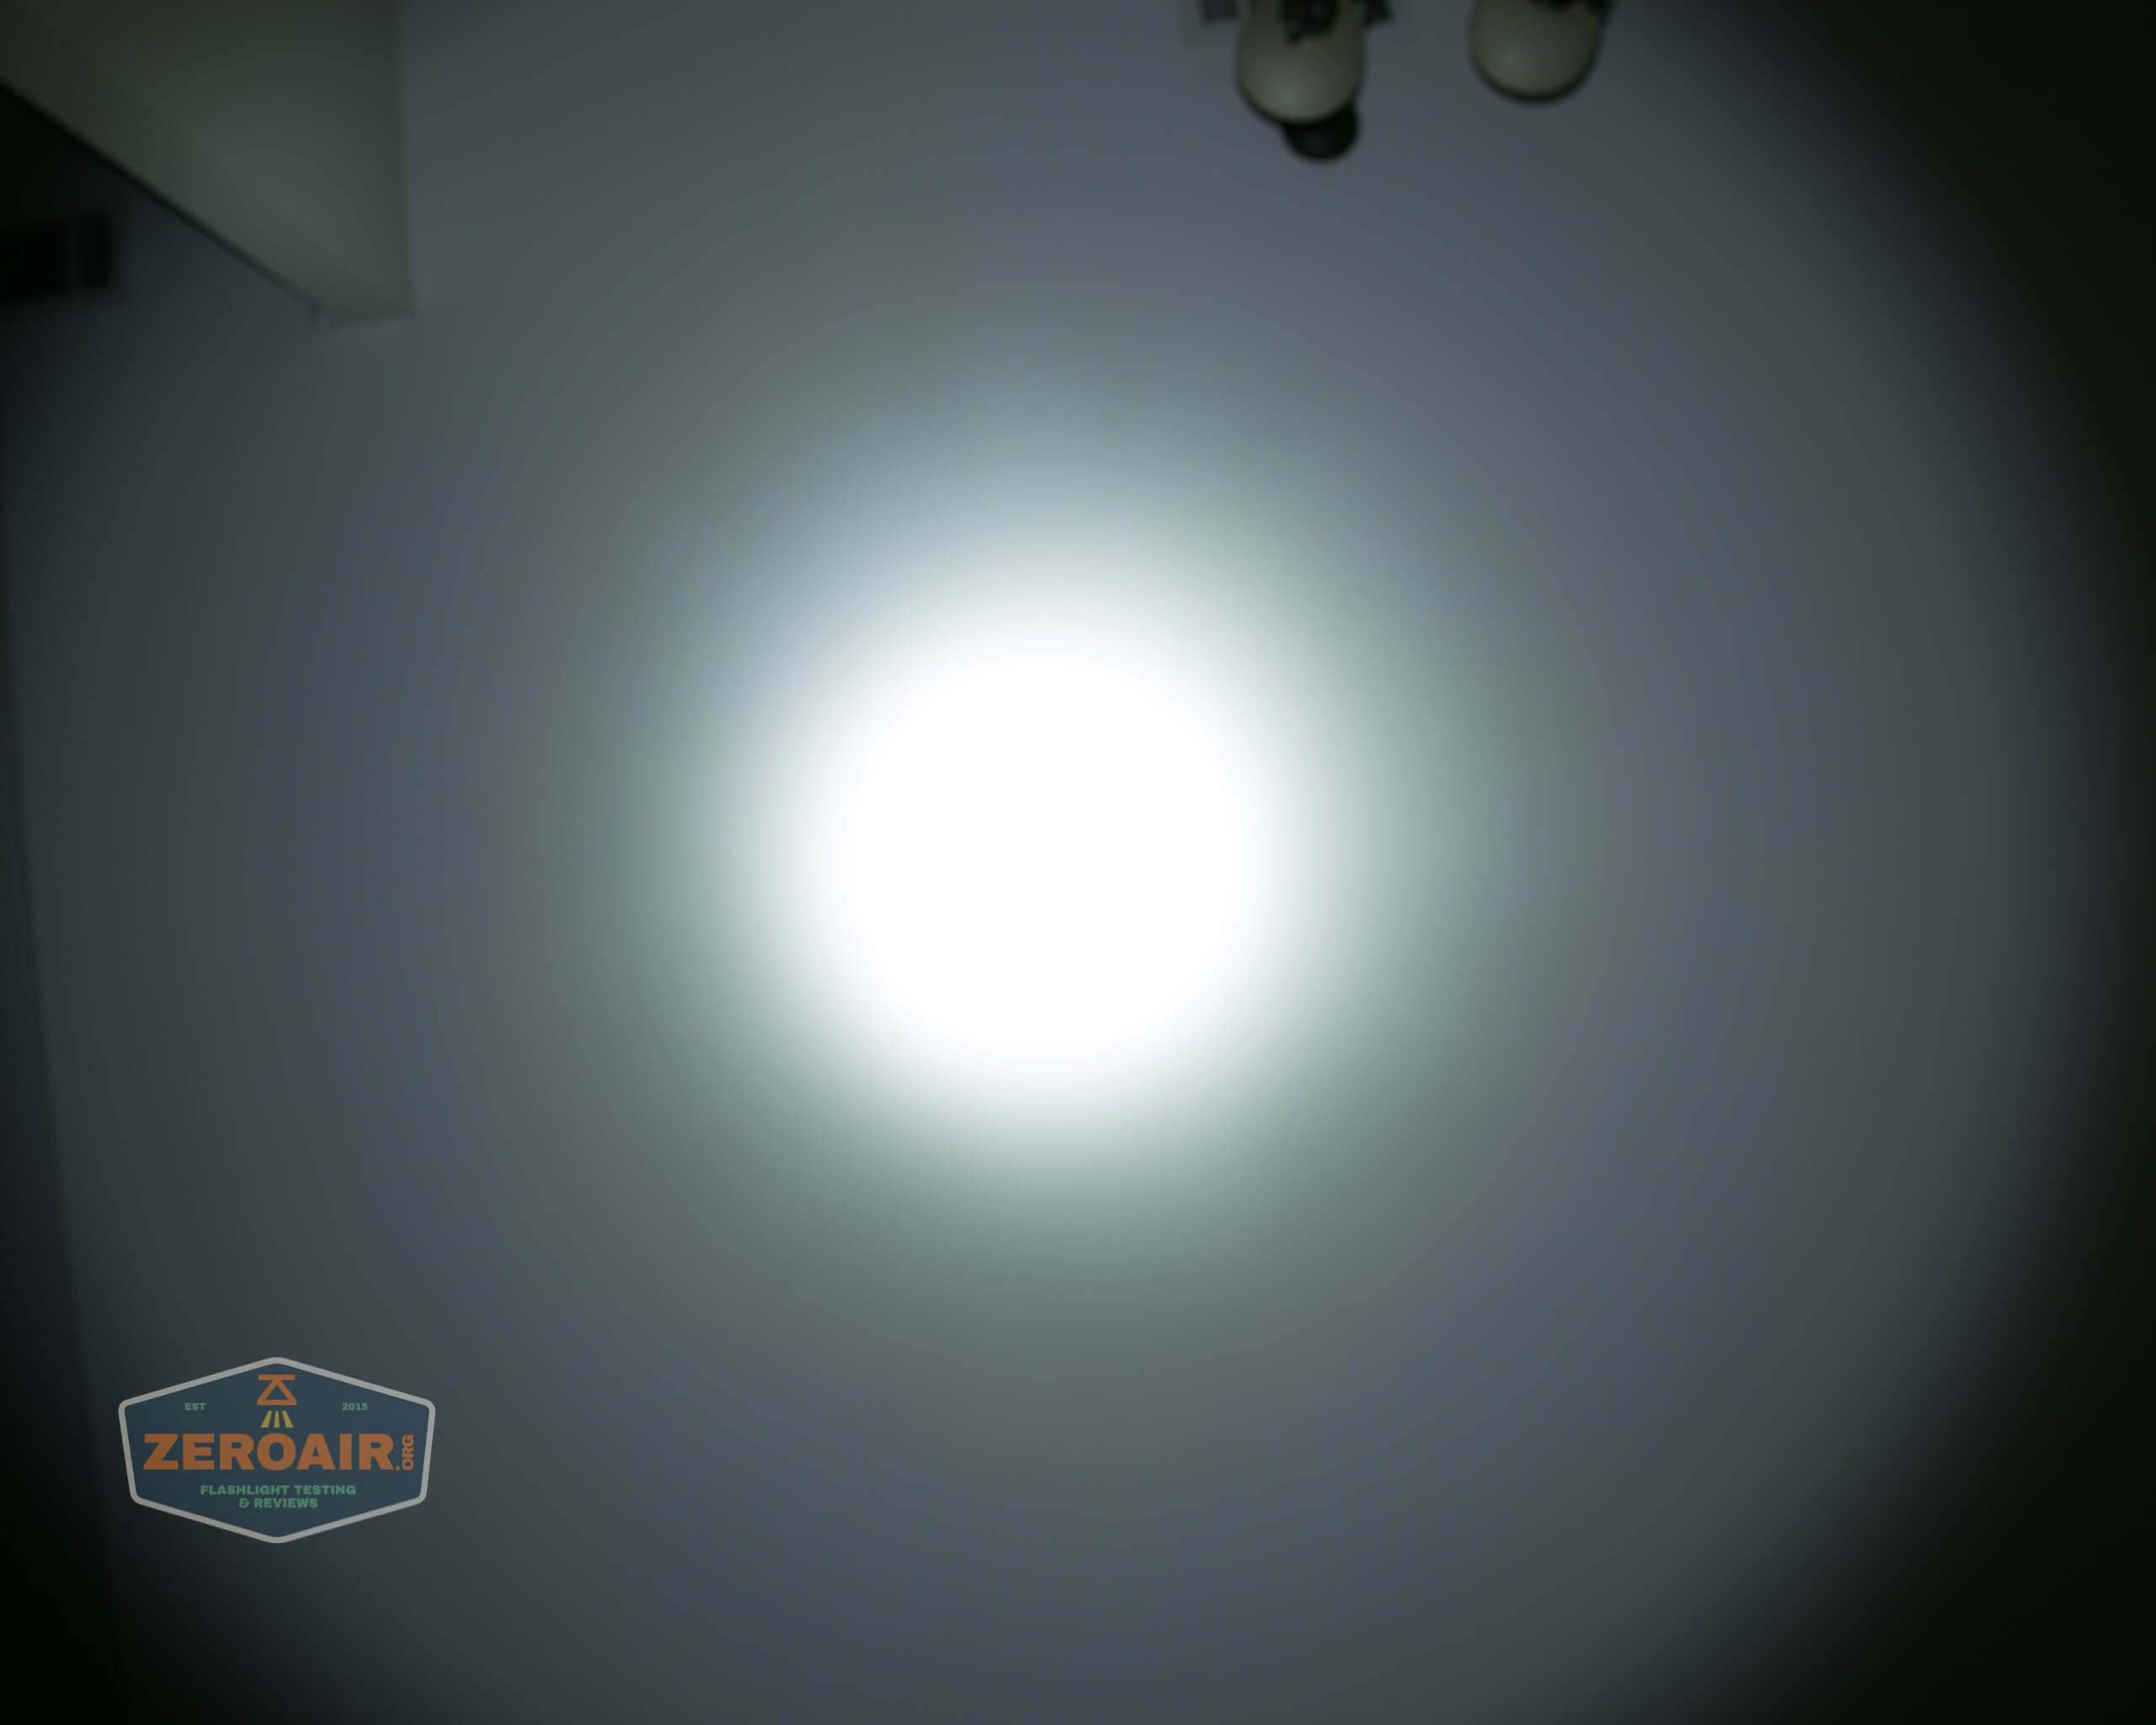
Beamshots
These beamshots always have the following settings: f8, ISO100, 0.3s shutter, and manual 5000K exposure. These photos are taken at floor level, and the beam hits the ceiling around 9 feet away.
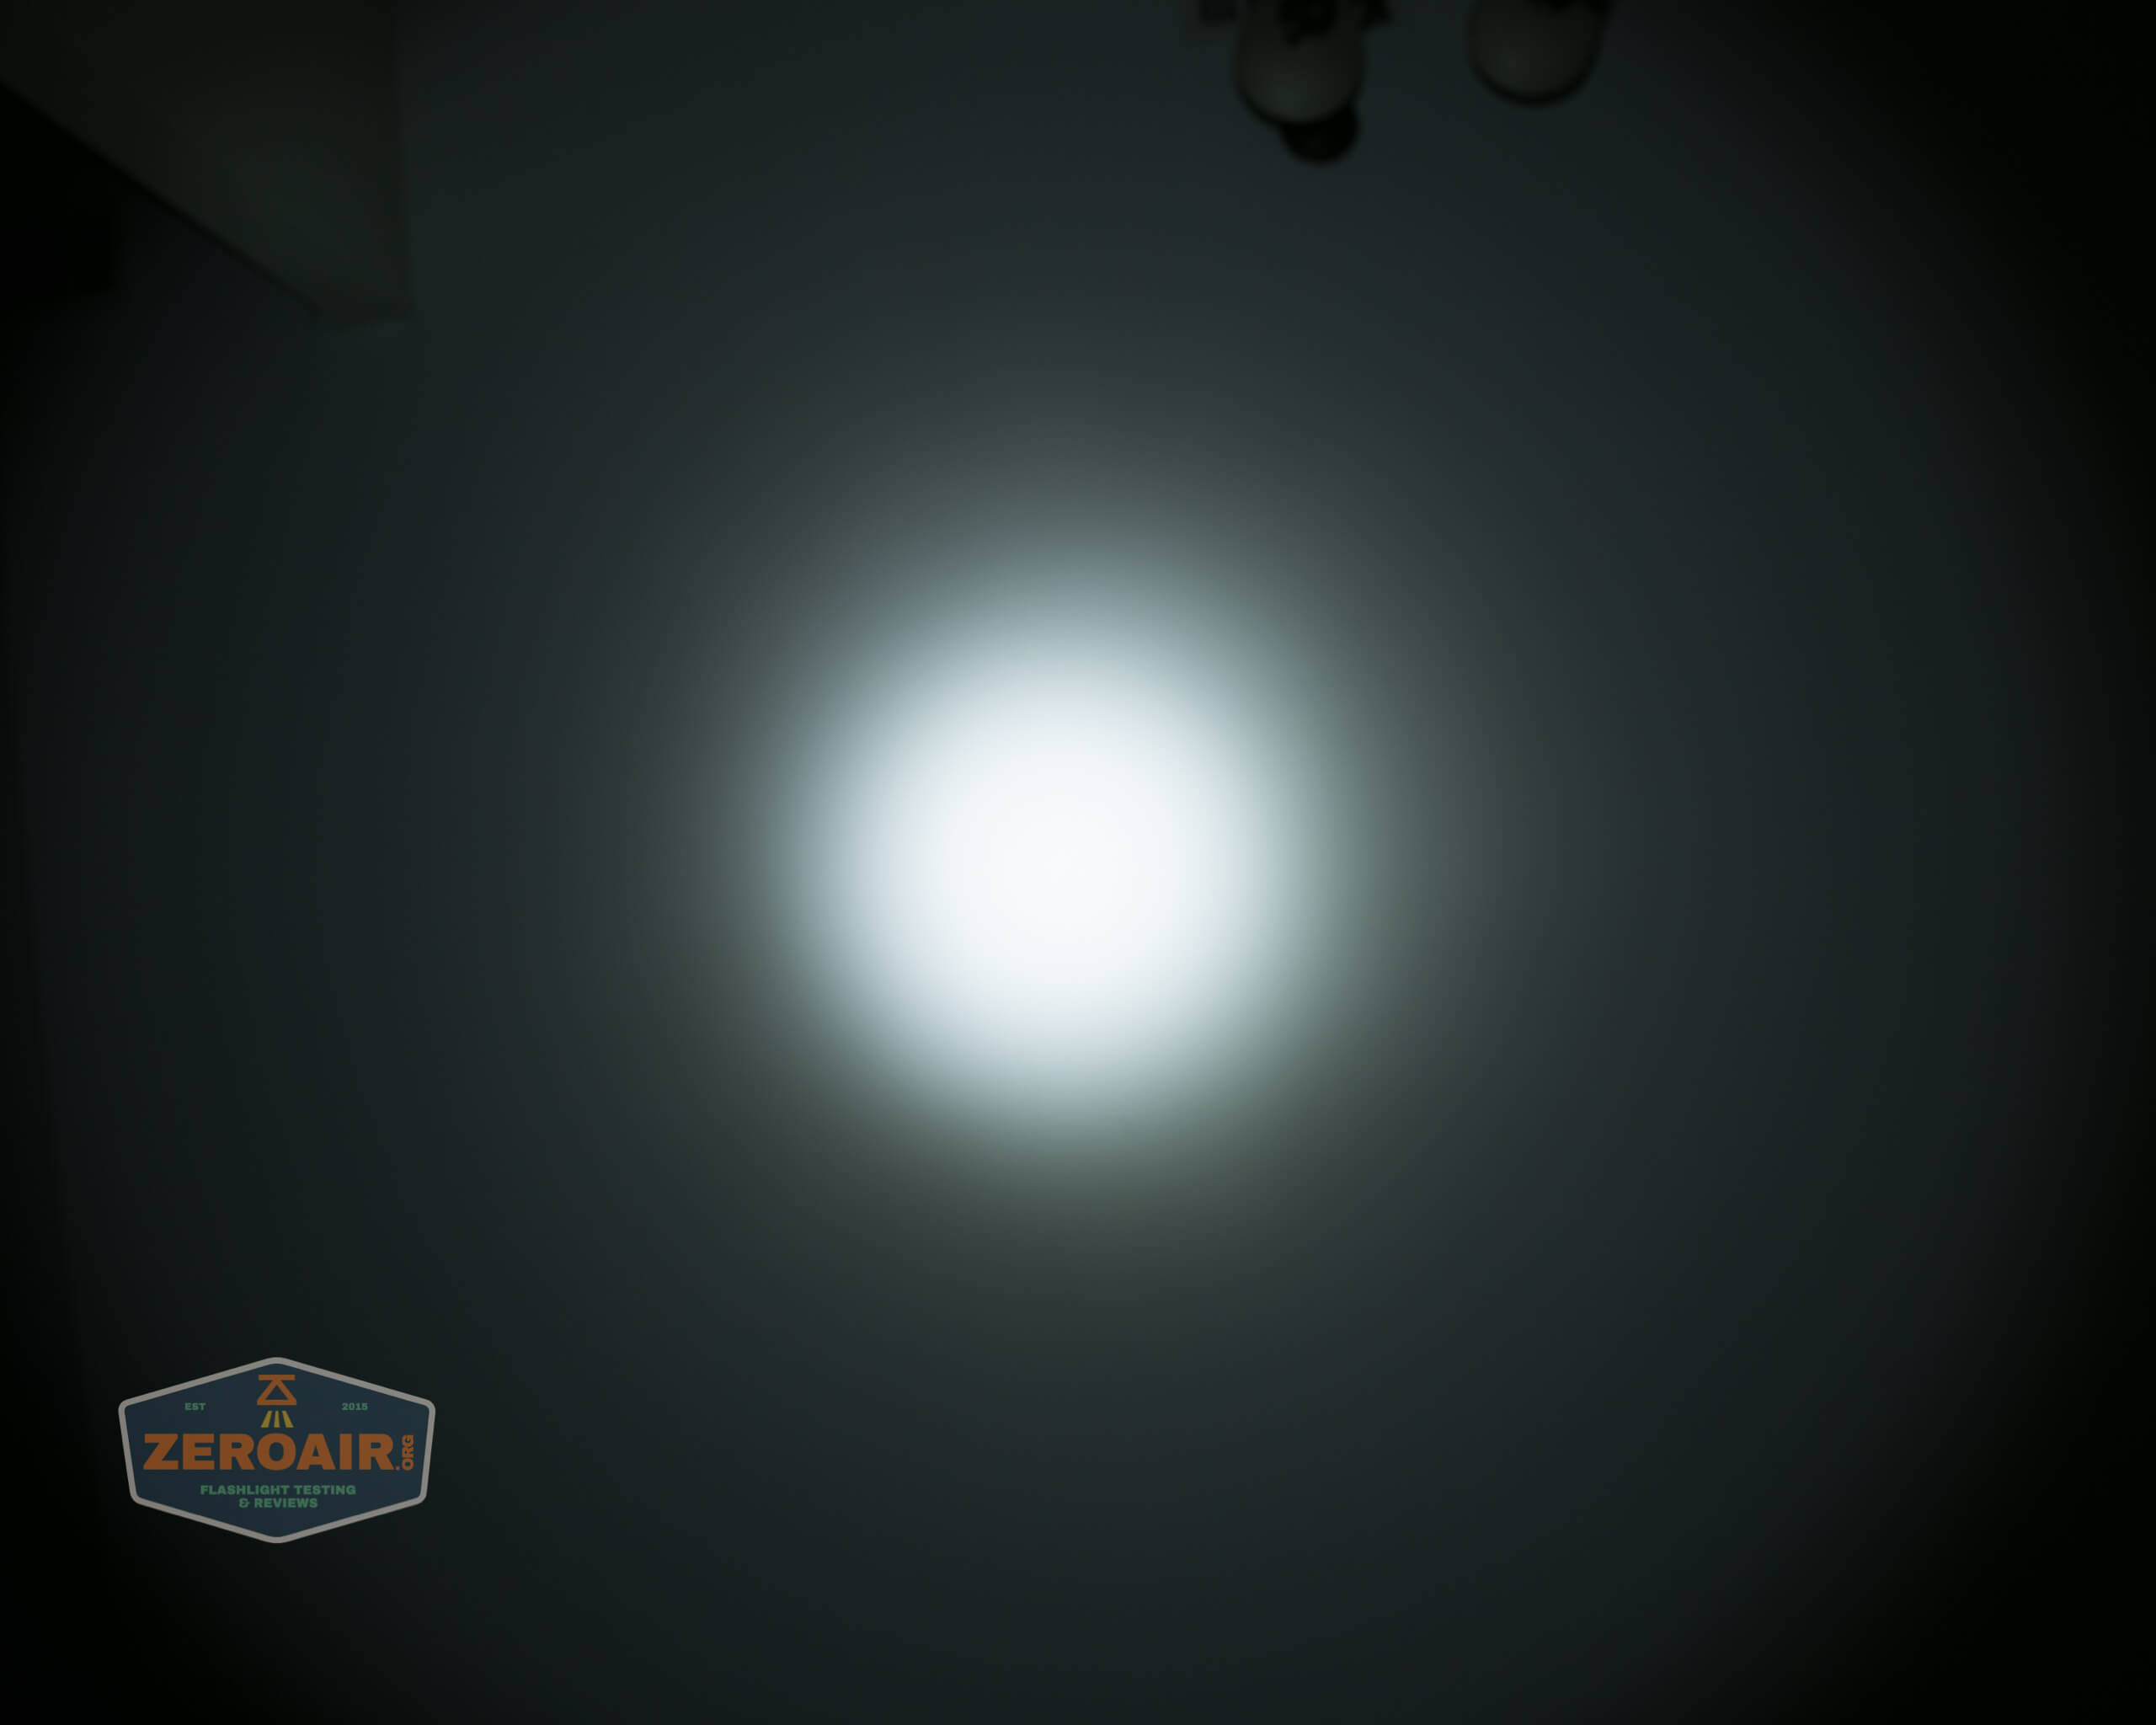
Tint vs BLF-348 (KillzoneFlashlights.com 219b version) (affiliate link)
I keep the test flashlight on the left and the BLF-348 reference flashlight on the right.


I compare everything to the KillzoneFlashlights.com 219b BLF-348 because it’s inexpensive and has the best tint!
Conclusion
What I like
- Good build quality
- Cree XP-L HI is a good emitter choice
- Reliable and fast charging
- Output mostly hits the specifications
- Throw beats the specification
- User interface is very simple
- Ambidextrous usage with dual switches
- Near-tool-less installation and removal
What I don’t like
- Charge port blocked when the light is properly mounted
- Claimed as an 18350 cell, but it can’t be accessed or changed
- Proprietary charging (but compatible with many other similar Imalent lights)
Notes
- This light was provided by Imalent for review. I was not paid to write this review.
- This content originally appeared at zeroair.org. Please visit there for the best experience!
- Please use my Amazon.com referral link to help support zeroair.org!
Discover more from ZeroAir Reviews
Subscribe to get the latest posts sent to your email.