
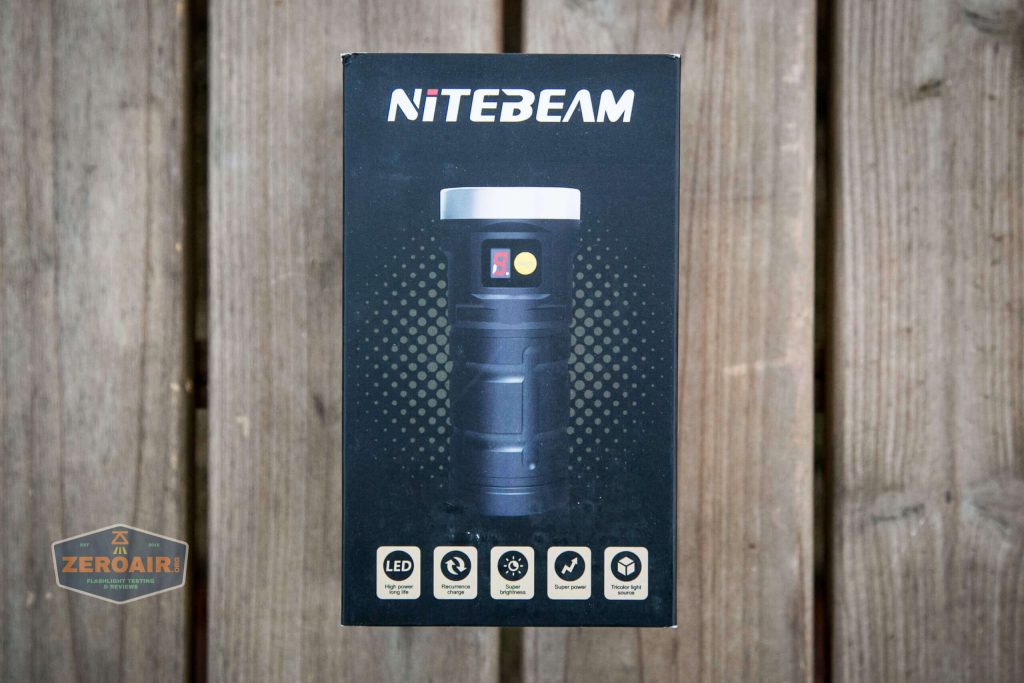
Nitebeam X12UV Flashlight Review
The Nitebeam X12UV is a flashlight with both 9x Osram emitters (unstated, but 6500K), and 3x ultraviolet emitters. A very simple user interface, and USB-C charging. Read on for thoughts and testing!
Official Specs and Features of the Nitebeam X12UV Flashlight with Ultraviolet
Here’s a link to the official product page.
Versions
There are two versions. First is the X12UV (seen here). There’s also an X12, which differs from the UV version in that the three center emitters are very warm white.
Price
The Nitebeam X12UV is available for purchase here, for $59.95.
Nitebeam X12UV Flashlight with Ultraviolet Short Review
This is a fairly neat light, which has a nice host of current features, including USB-C charging. The built-in cells don’t meet the demands of the host, though, and so the rated output of “10,000” lumens isn’t met even briefly. If you need a UV light and also a can light/wall of light flashlight, the Nitebeam X12UV flashlight is a respectable choice.
Long Review
The Big Table
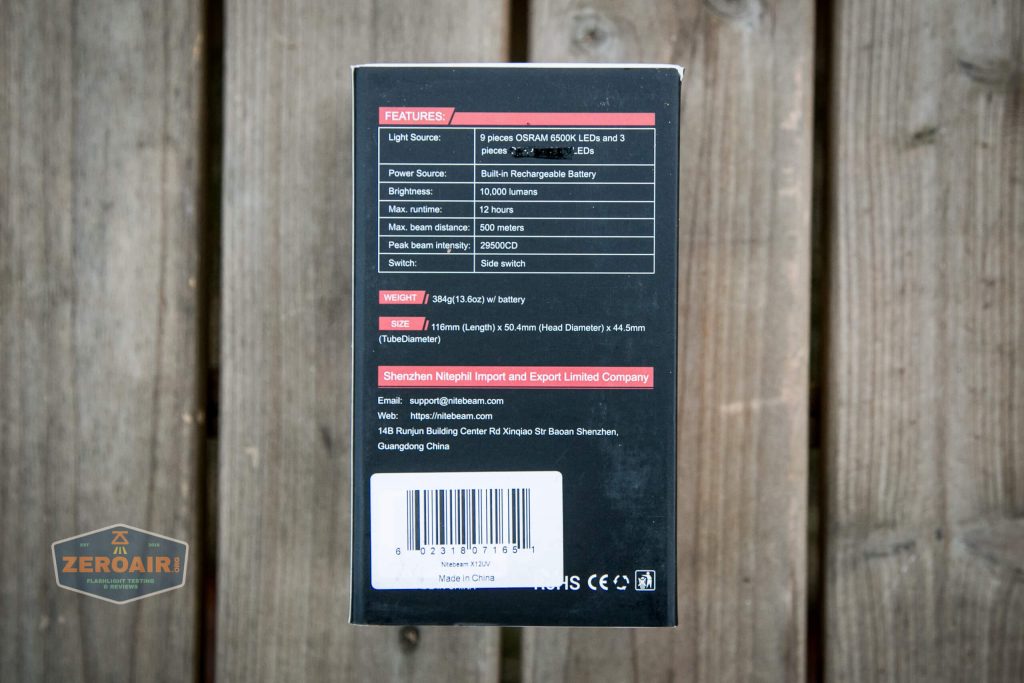
| Emitter: | Osram (9 total) (6500K) (Probably OSLON® Black Flat, LUW HWQP) |
| Price in USD at publication time: | $59.95 |
| Cell: | 3×18650 |
| High Runtime Graph | Low Runtime Graph |
| LVP? | Yes |
| Switch Type: | E-Switch |
| Quiescent Current (mA): | ? |
| On-Board Charging? | Yes |
| Charge Port Type: | USB-C |
| Charge Graph | |
| Power off Charge Port | |
| Claimed Lumens (lm) | 10,000 |
| Measured Lumens (at 30s) | 2113 (21.1% of claim)^ |
| Candela per Lumen | 7.5 |
| Claimed Throw (m) | 500 |
| Candela (Calculated) in cd (at 30s) | 1119lux @ 3.83m = 16414cd |
| Throw (Calculated) (m) | 256.2 (51.2% of claim)^ |
| All my Nitebeam reviews! | |
^ Measurement disclaimer: Testing flashlights is my hobby. I use hobbyist-level equipment for testing, including some I made myself. Try not to get buried in the details of manufacturer specifications versus measurements recorded here; A certain amount of difference (say, 10 or 15%) is perfectly reasonable.
What’s Included with the Nitebeam X12UV Flashlight with Ultraviolet

- Nitebeam X12UV Flashlight with Ultraviolet secondary emitters
- Carry baggie
- 18650×3 (“built in”)
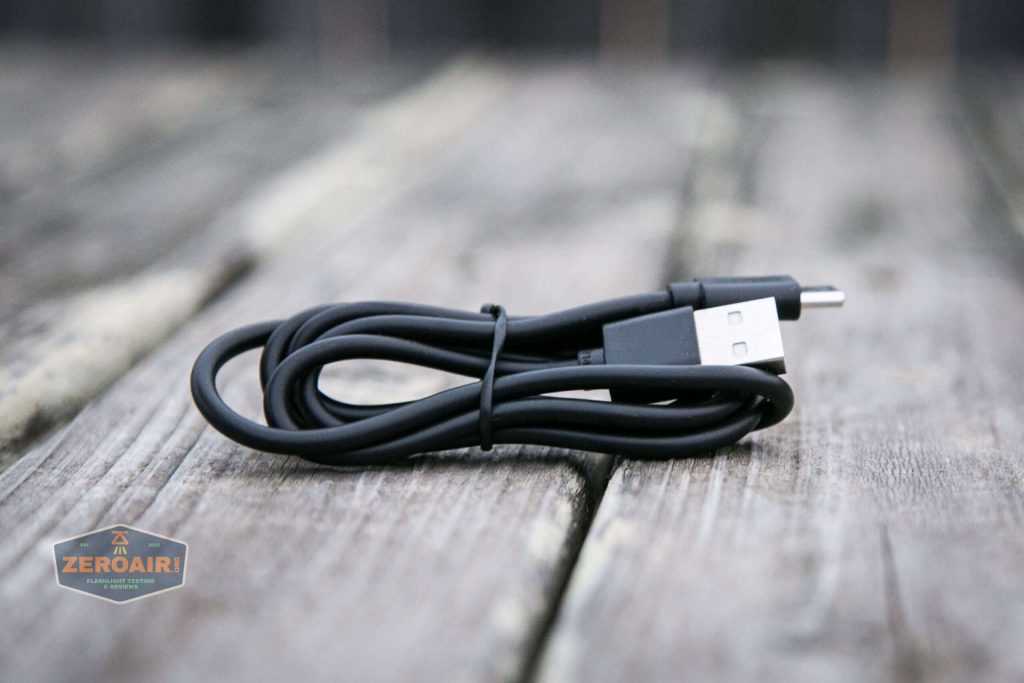
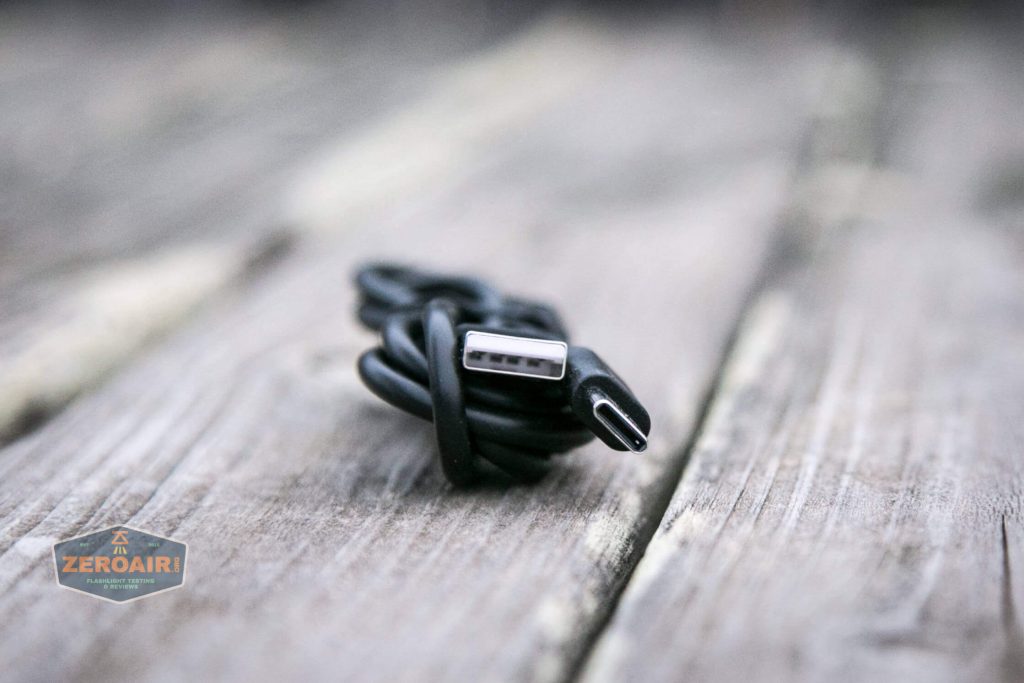
- Charge cable (USB to USB-C)
- Lanyard
- Manual
Package and Manual

Build Quality and Disassembly

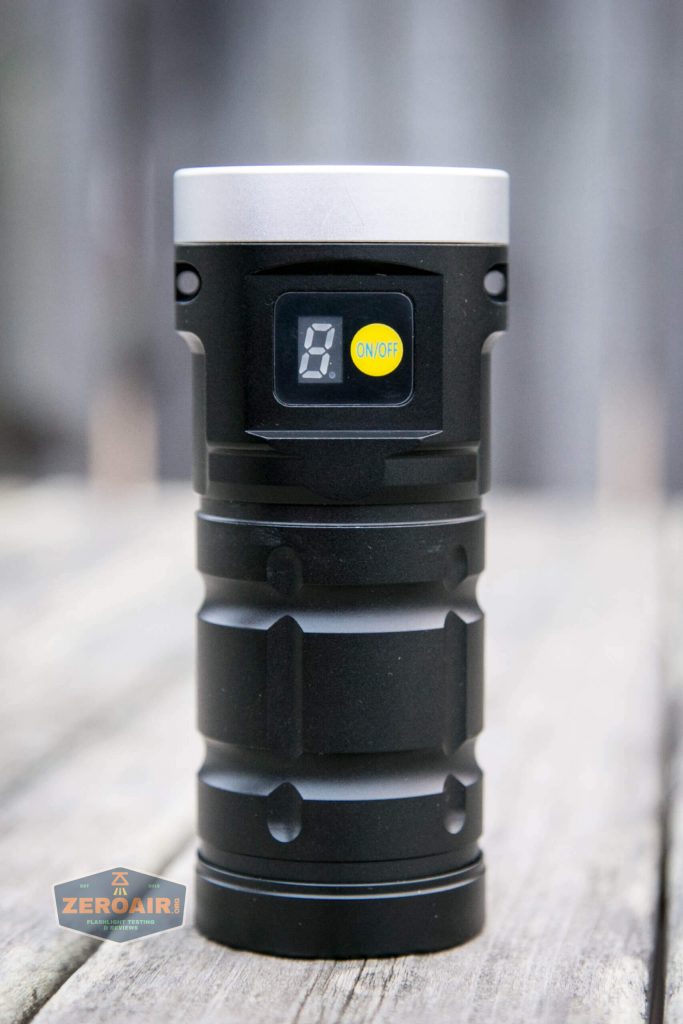
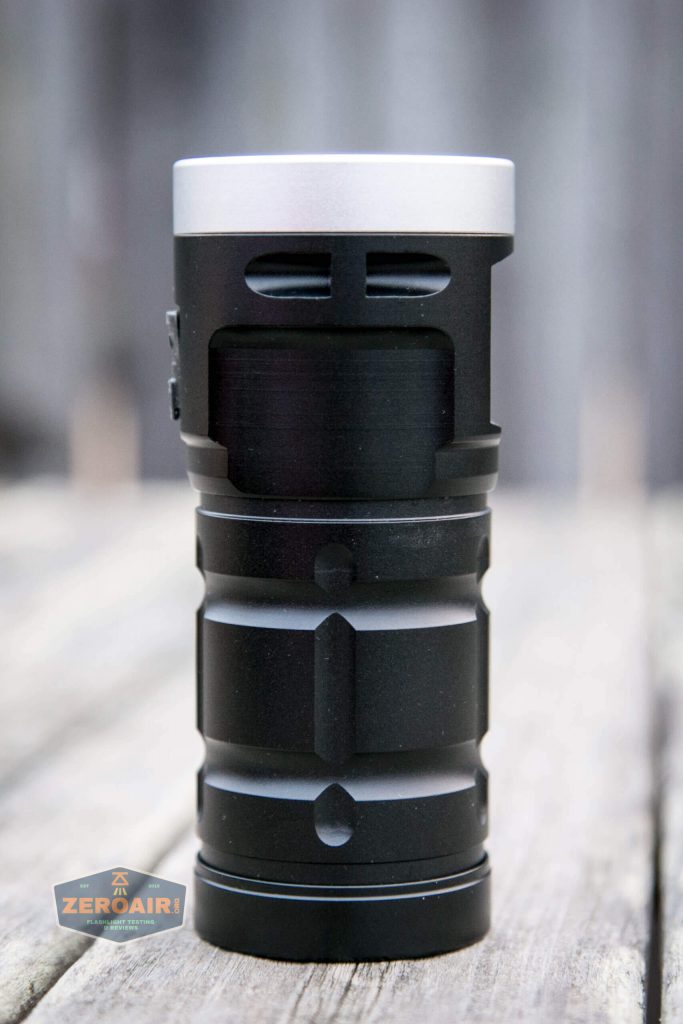
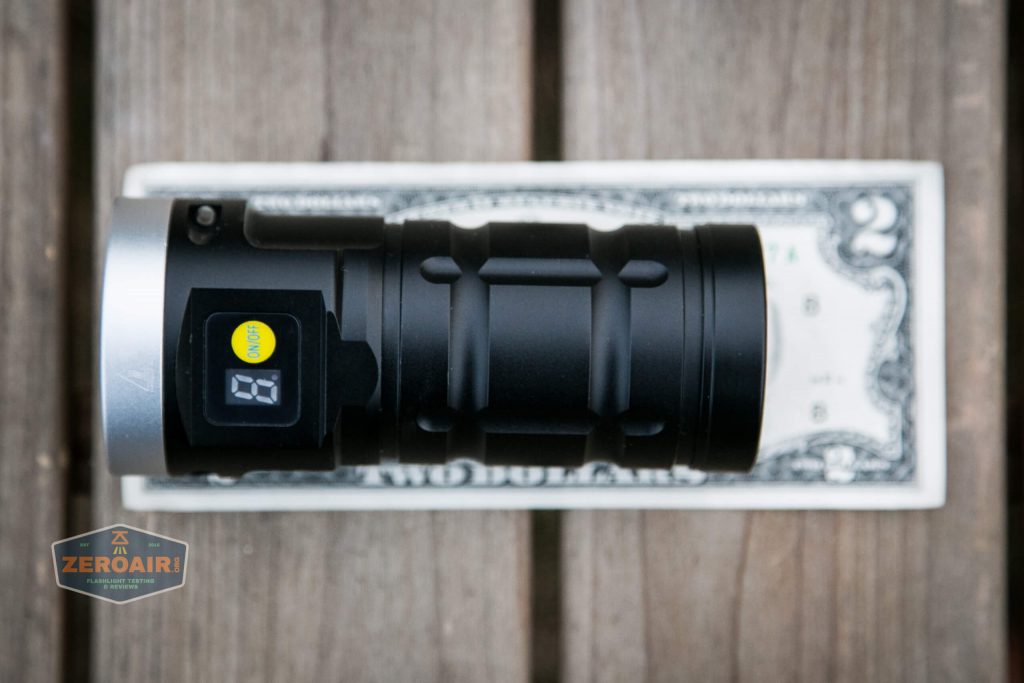
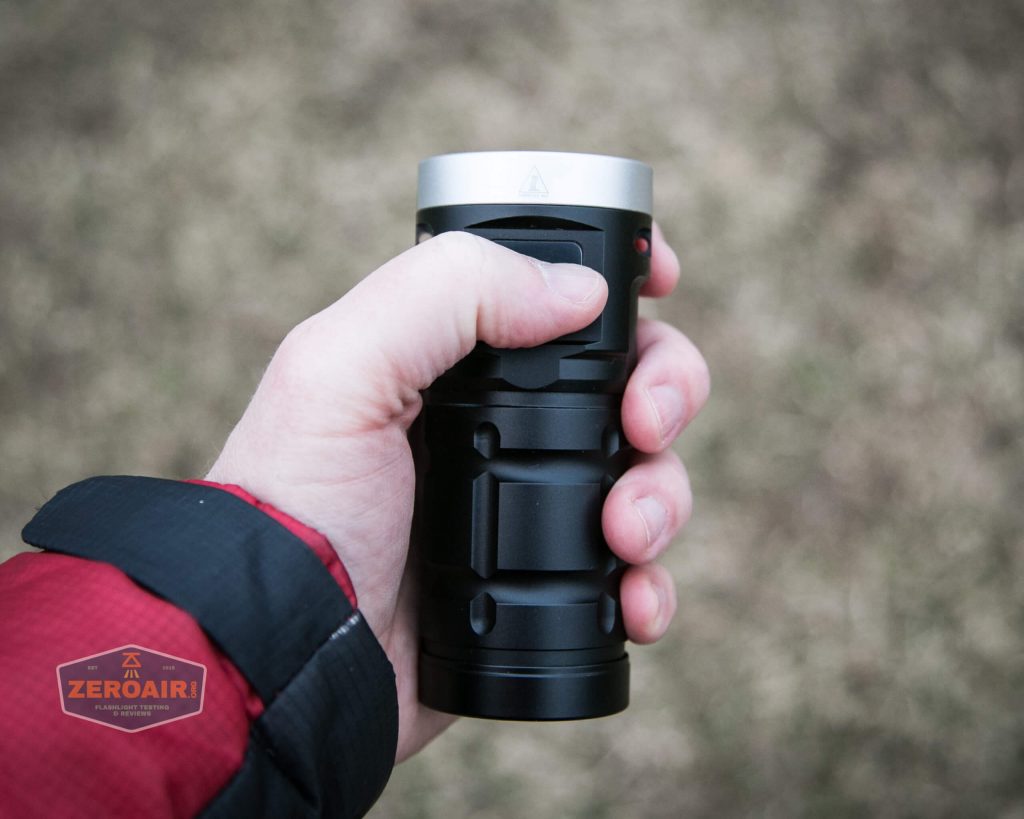
The Nitebeam X12UV flashlight with ultraviolet is solidly built. It feels like a bit of a chunk in hand. Not unusual for a can-style flashlight.
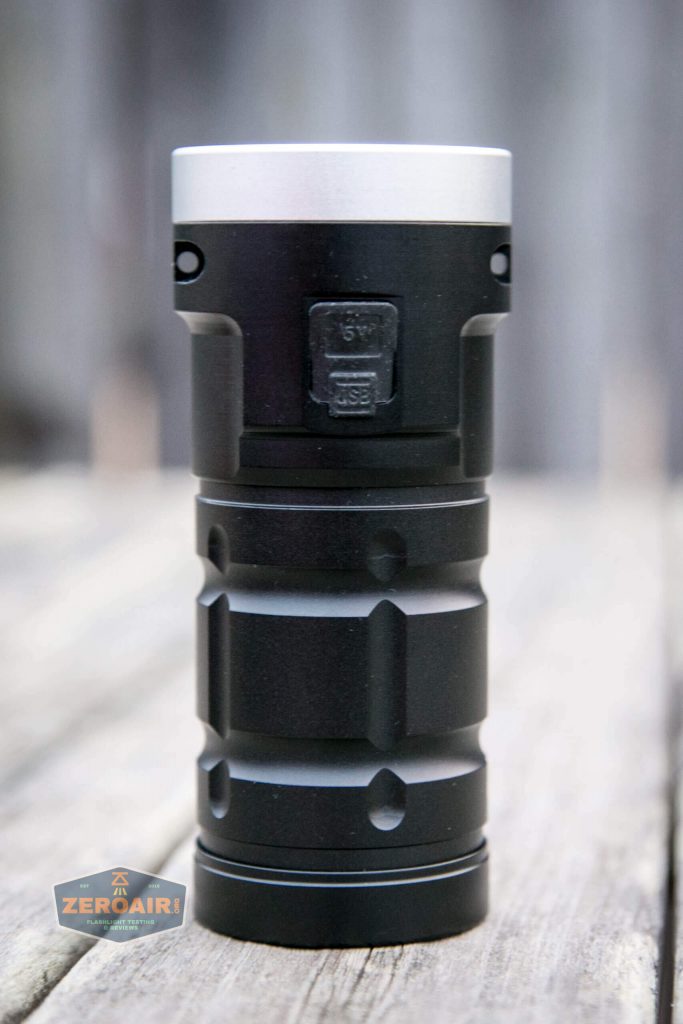

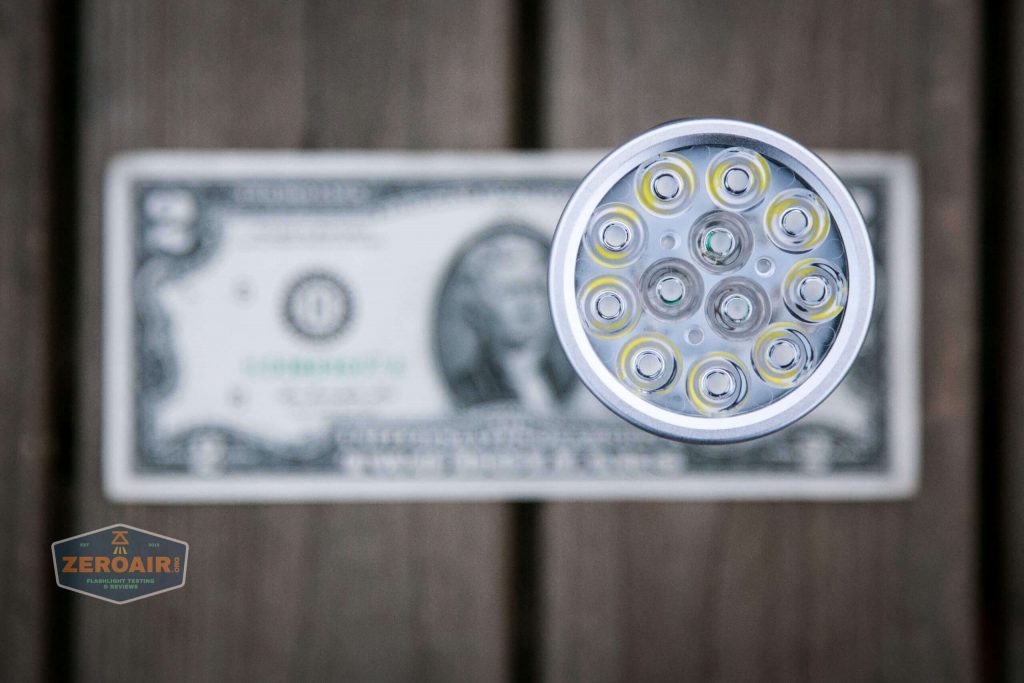
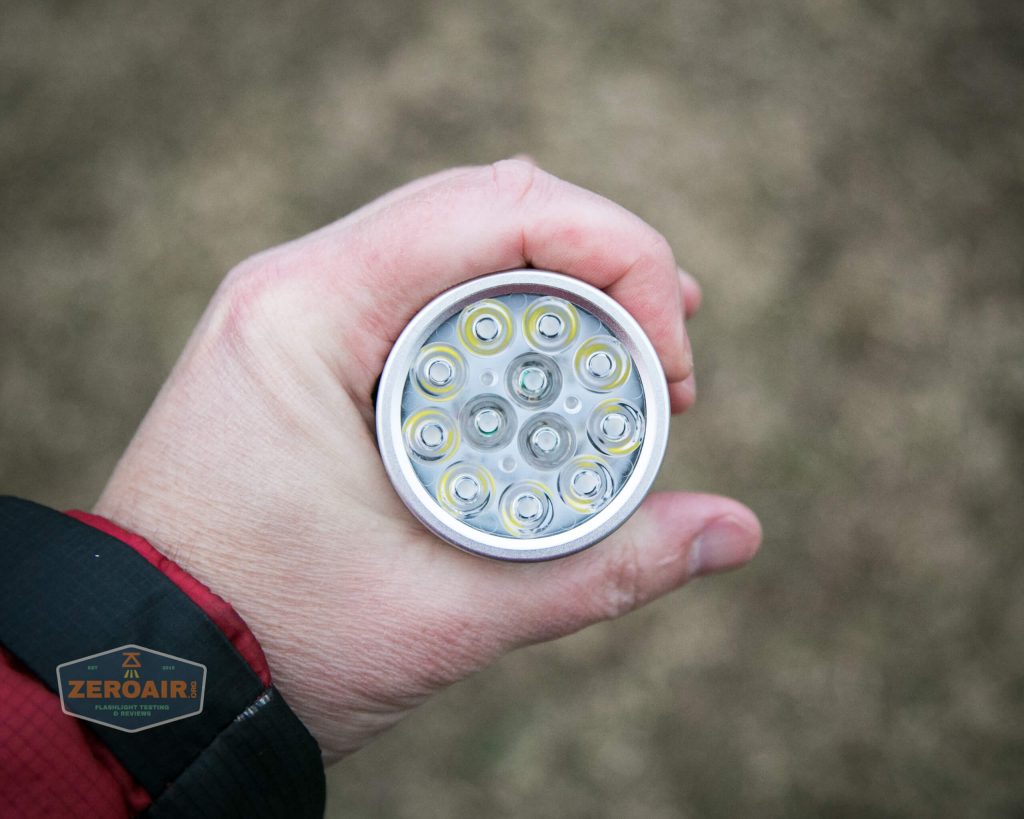
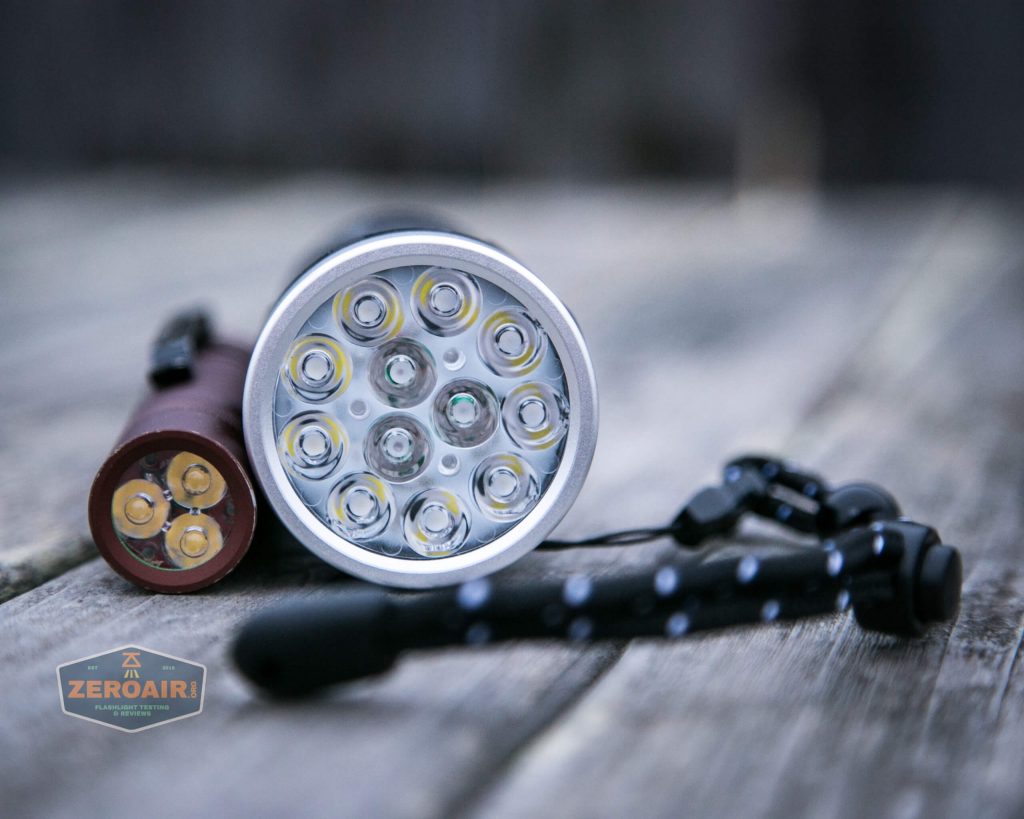
The emitters (9 Osram 6500K and 3x ultraviolet 365nm) are behind a standard optic.

The tailcap has a bit of printing, mentioning a website (www.nitebeam.com) which does not seem to be active now. Not up and running yet, I’d guess….

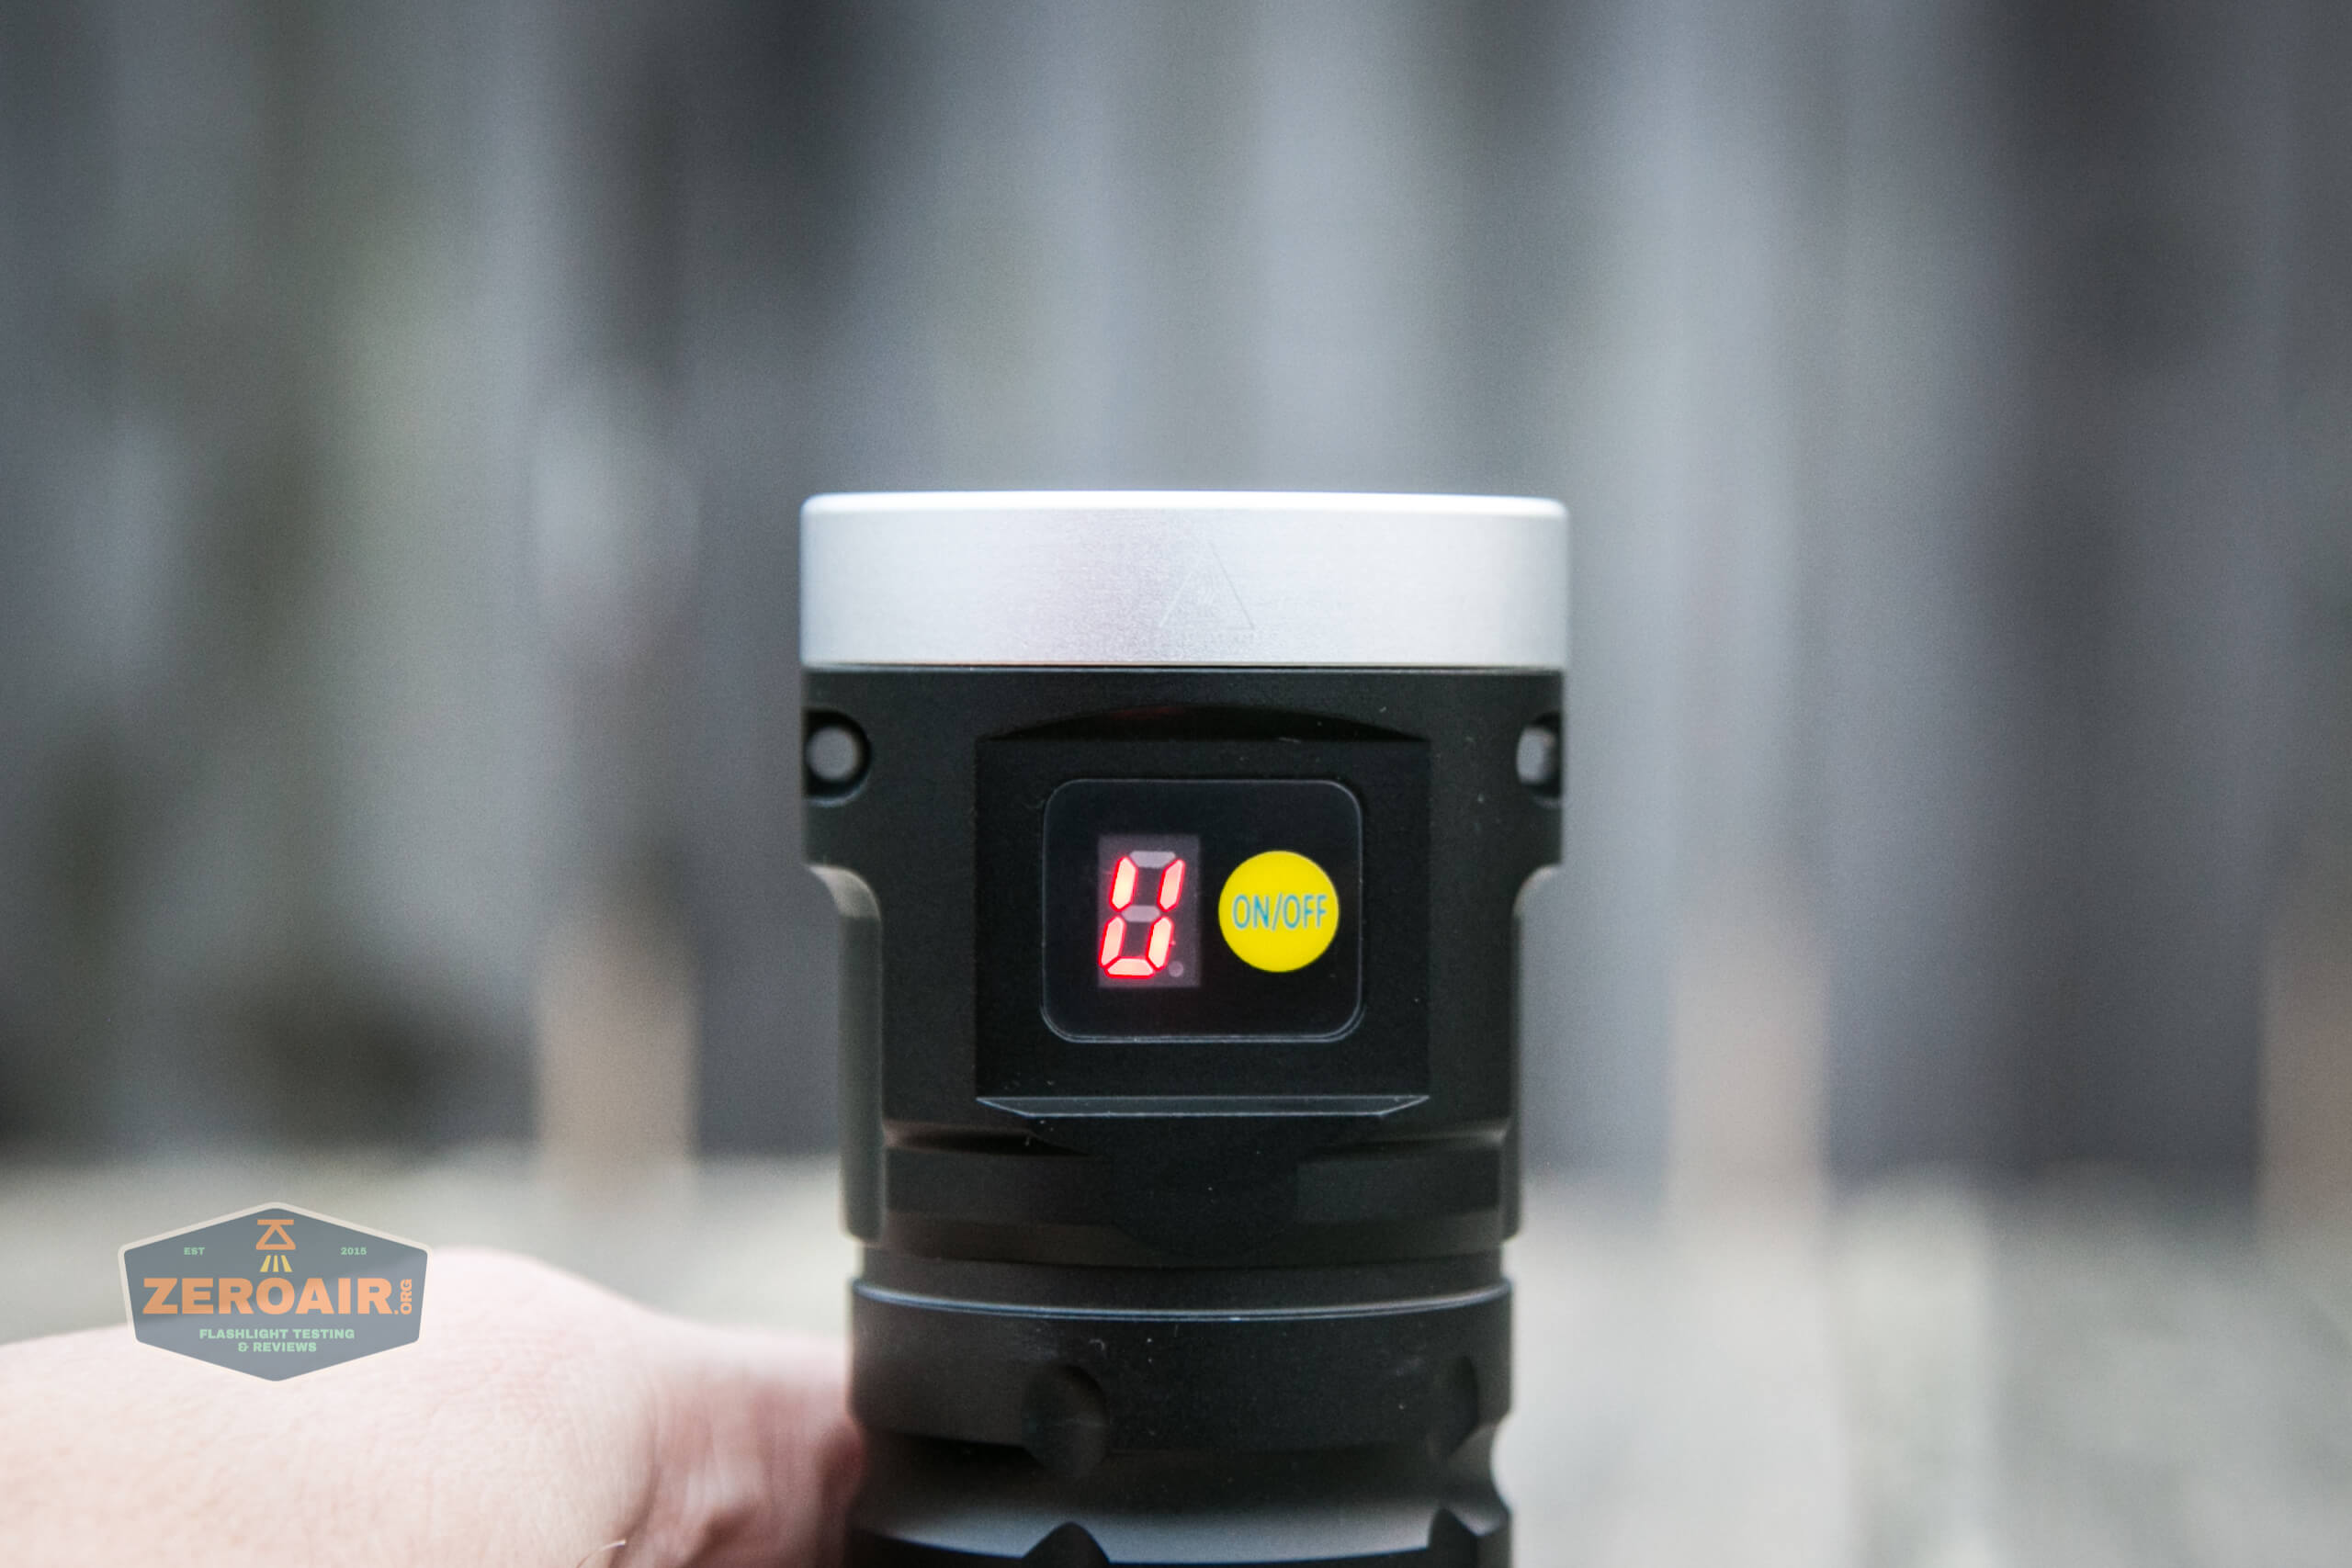
One of the biggest features of this light is the display. It will cover a few things about the light and status, which we’ll cover later.

The bezel is flat, so when headstanding no light escapes (except on my not-flat surface seen below.)


The UV emitters are driven quite strongly.


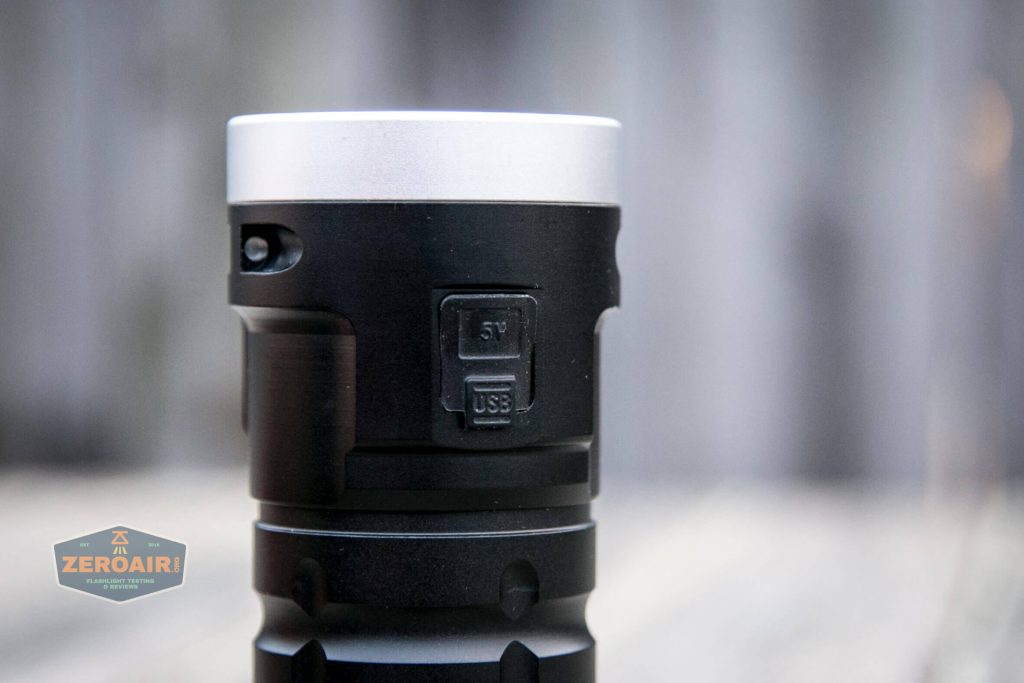
This is a USB-C charging light, which is nice to see.


I was unable to remove this bezel to show the emitters better. Sorry!
I said above that the cells are “built in,” in quotation marks. That’s true, they are “built in” but it’s very simple to get into them.

Just three Philips screws hold this pcb in place.


The flip side of that pcb are these three thick and sturdy springs.

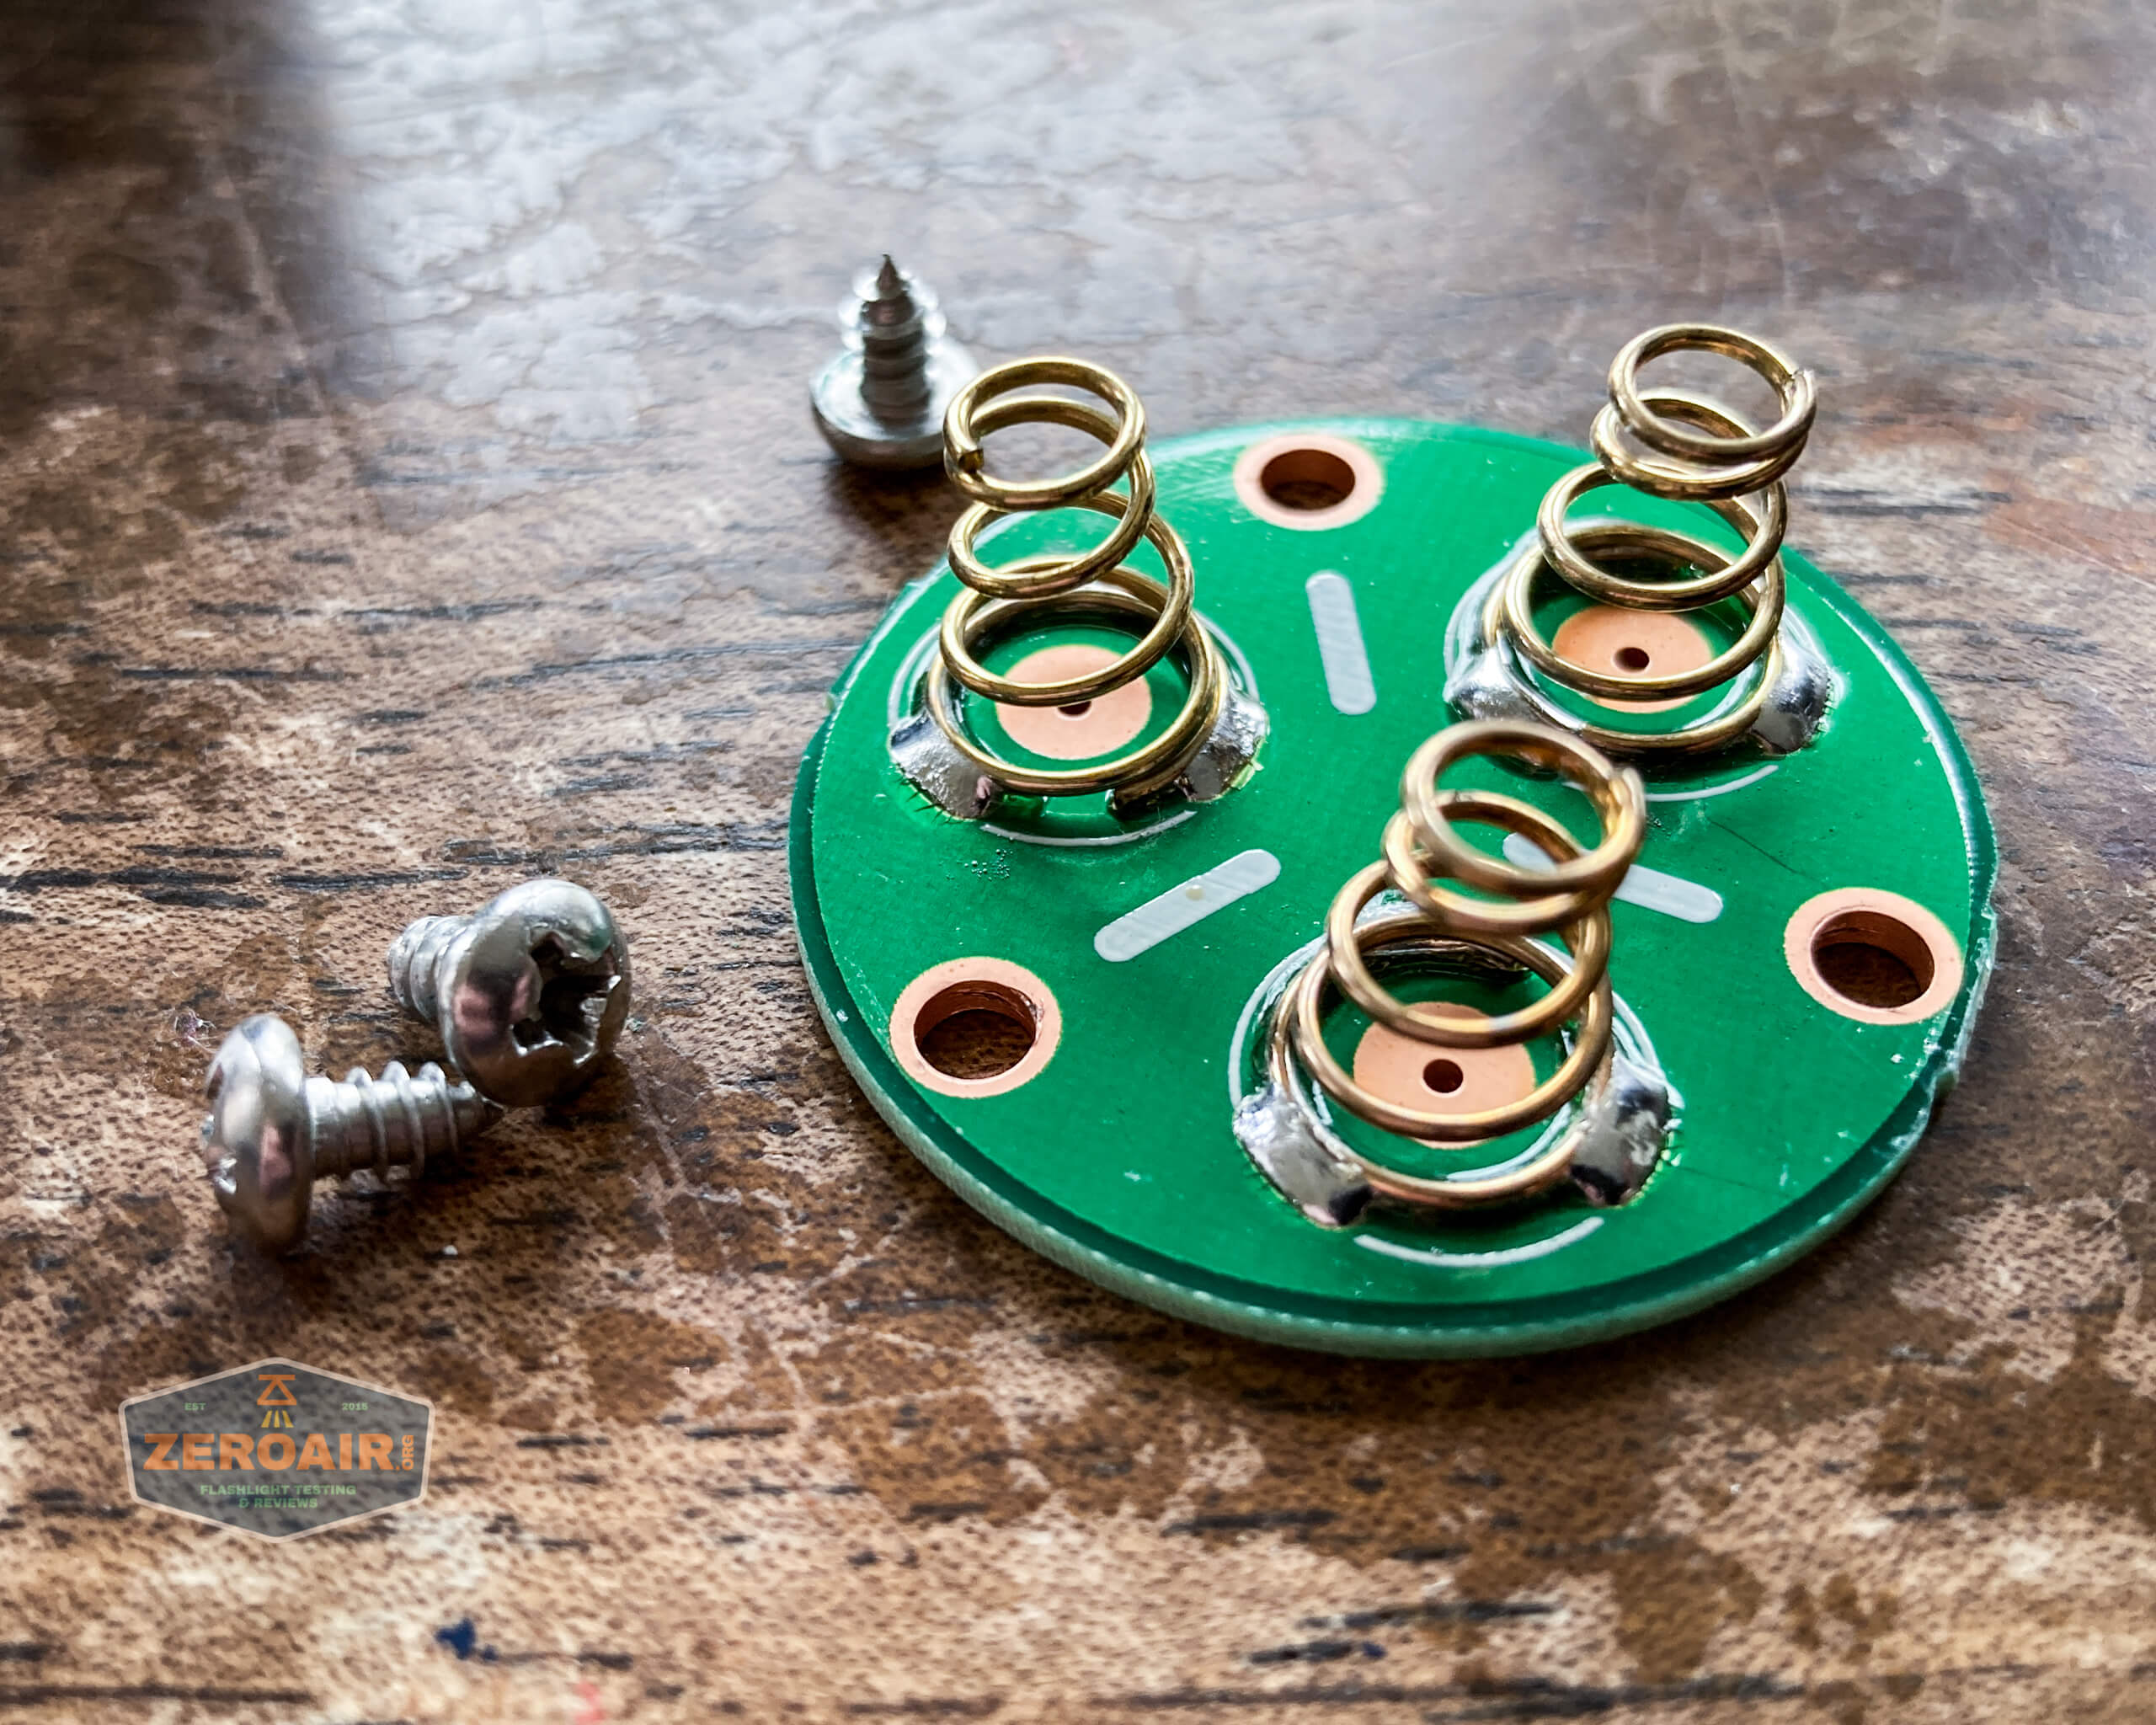
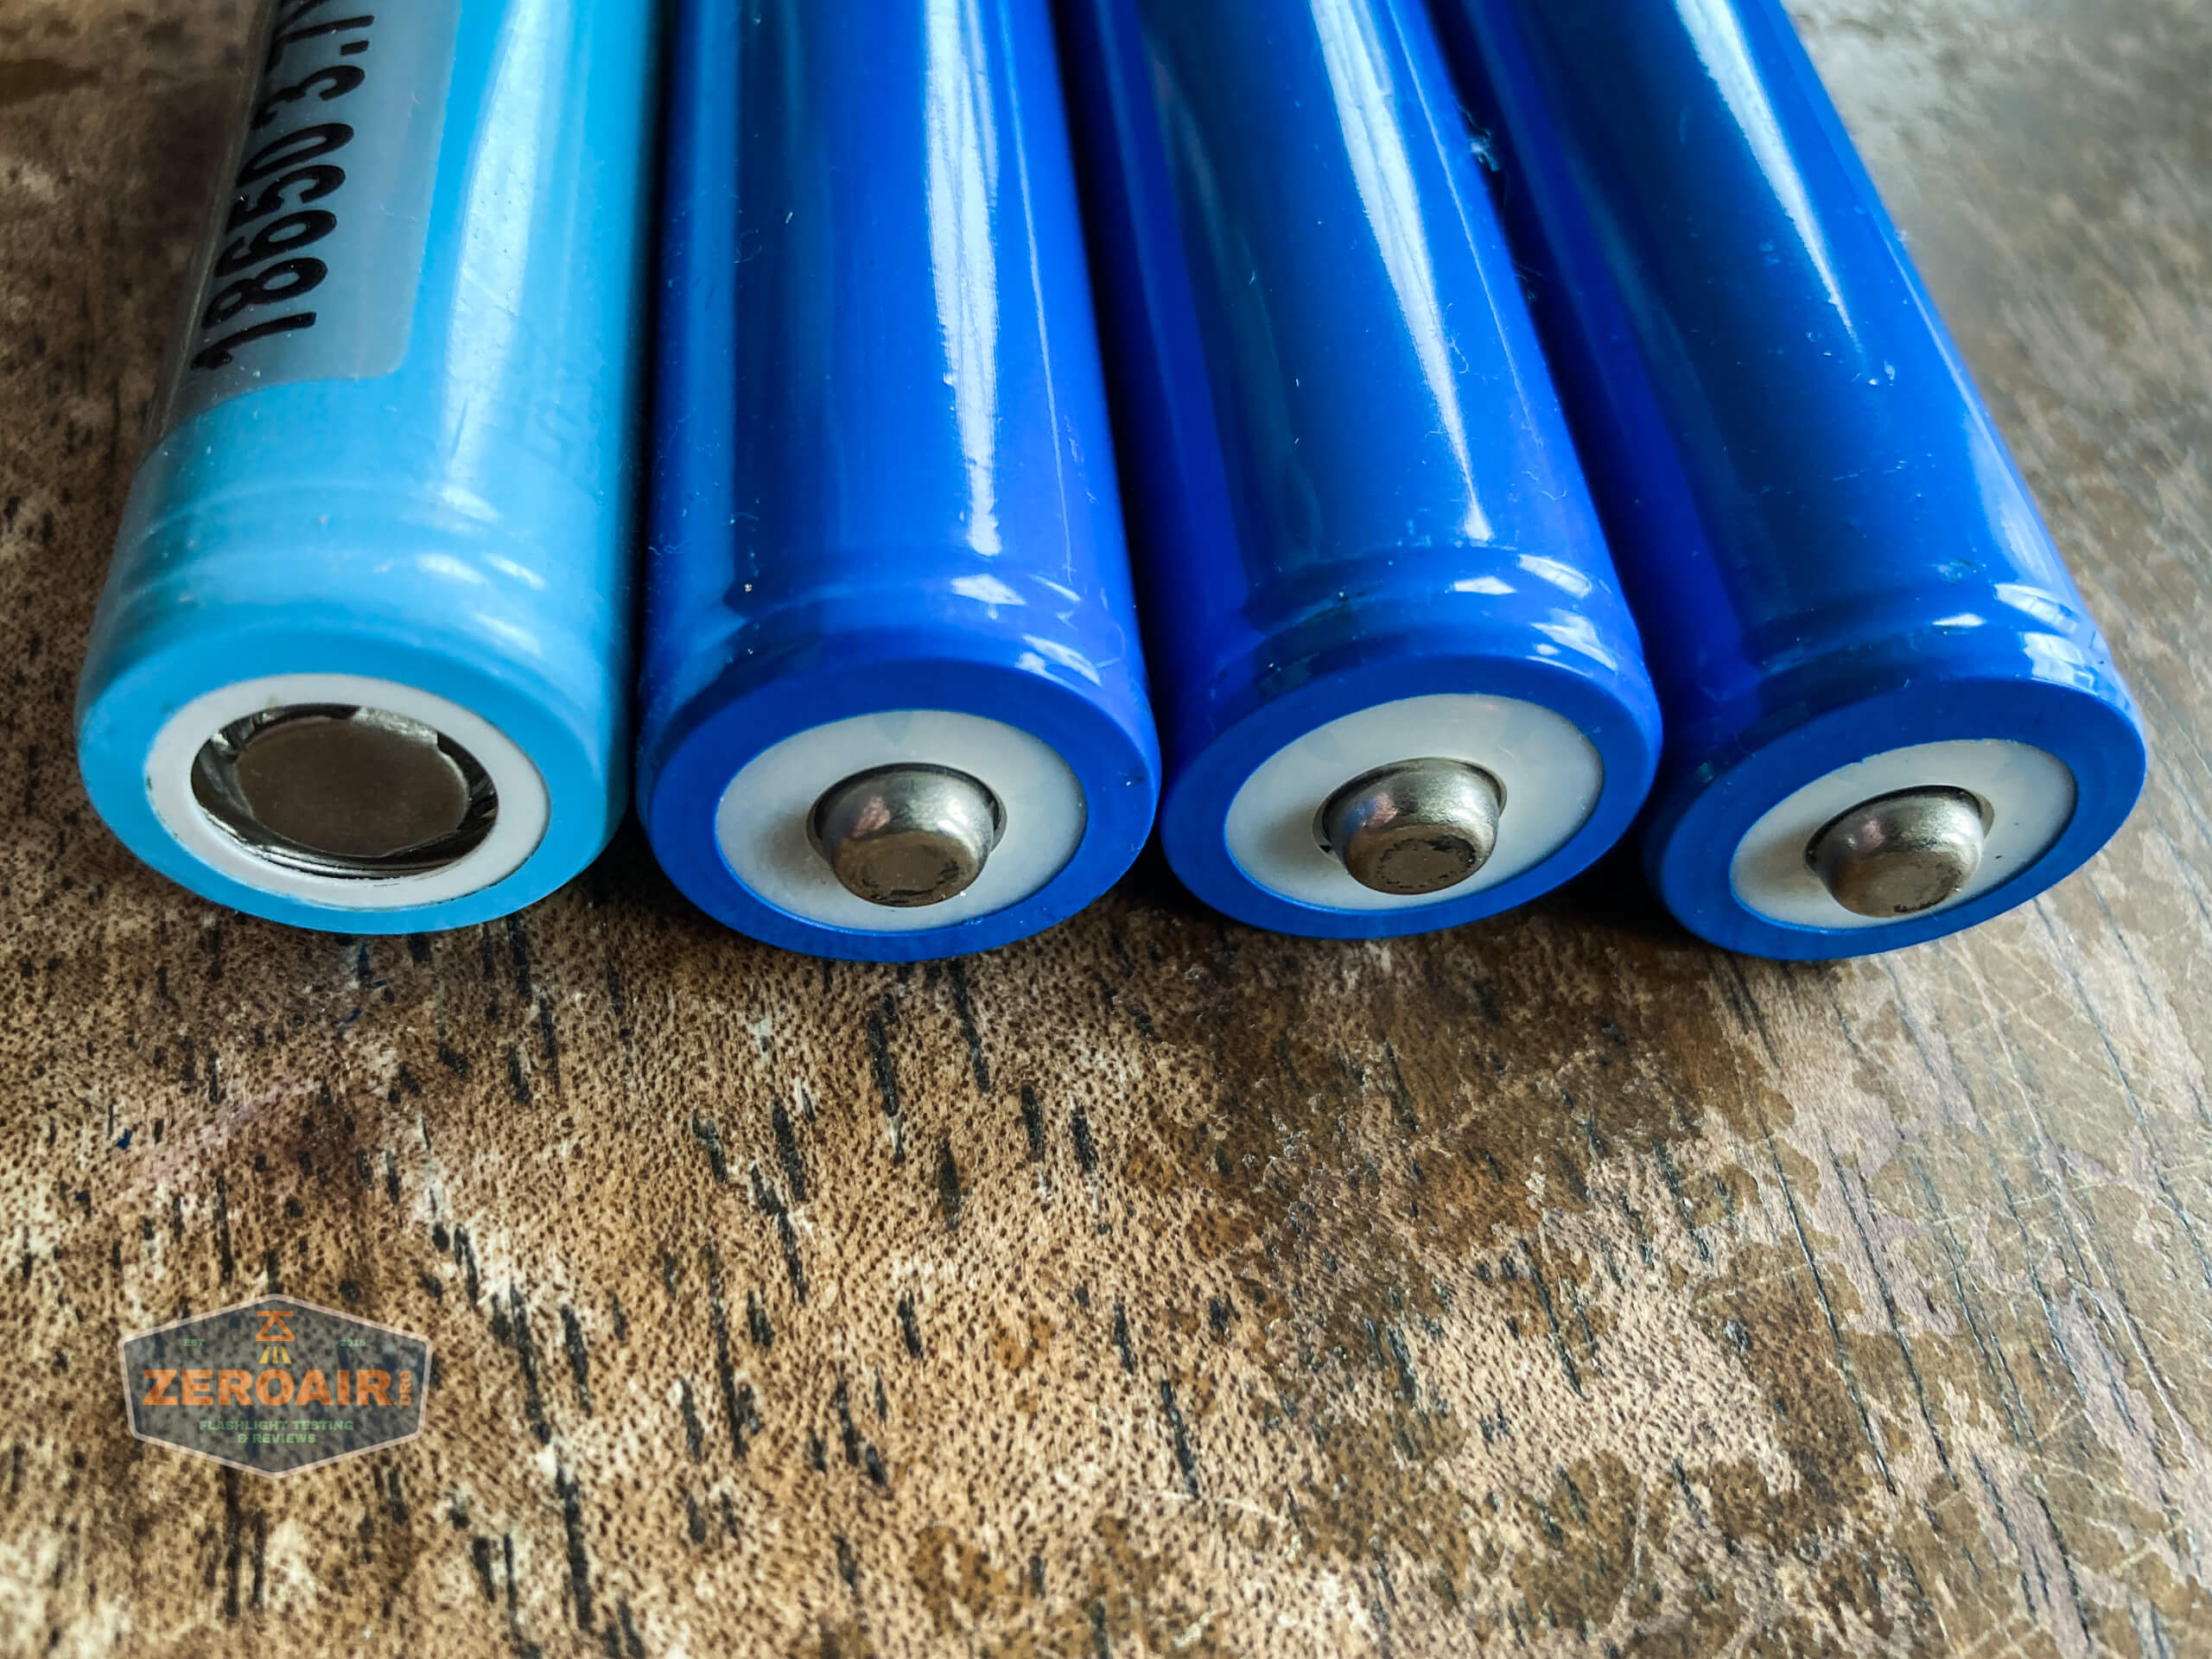
Once that pcb is removed, these three 18650 cells are revealed.

These cells are “standard” 18650 cells. More on that later!

The other end of the cell tube is the head of the light, with usual contacts.

As I said, those springs are very springy. When just resting in the tail of the light, they sit up this high (see below.) So when you’re returning the pcb to it’s place, you have to really press down against the springs. I recommend doing about a fourth turn per screw, to keep the pressure even. And you’ll need to screw them down all the way.

Size and Comps
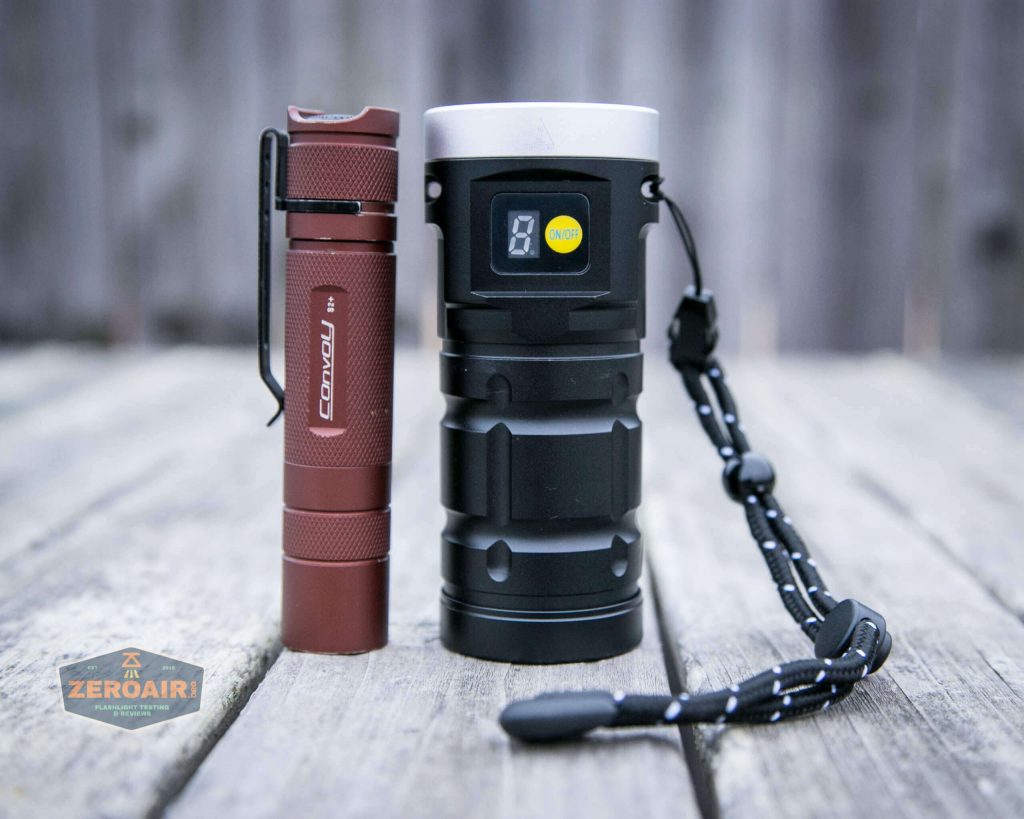
Officially the X12UV flashlight is 116mm long, 50.4mm in diameter (head), and 45.4mm in tail diameter. The X12UV weighs 384g.

If the flashlight will headstand, I’ll show it here (usually the third photo). If the flashlight will tailstand, I’ll show that here, too (usually the fourth photo).
Here’s the test light with the venerable Convoy S2+. Mine’s a custom “baked” edition Nichia 219b triple. A very nice 18650 light.
And here’s the light beside my custom engraved TorchLAB BOSS 35, an 18350 light. I reviewed the aluminum version of that light in both 35 and 70 formats.

Retention and Carry
There are two ways primarily to carry the Nitebeam X12UV. First is the lanyard, which can attach in either of these holes on the head.
The lanyard has a quick release, which if nothing else, makes installation simpler.


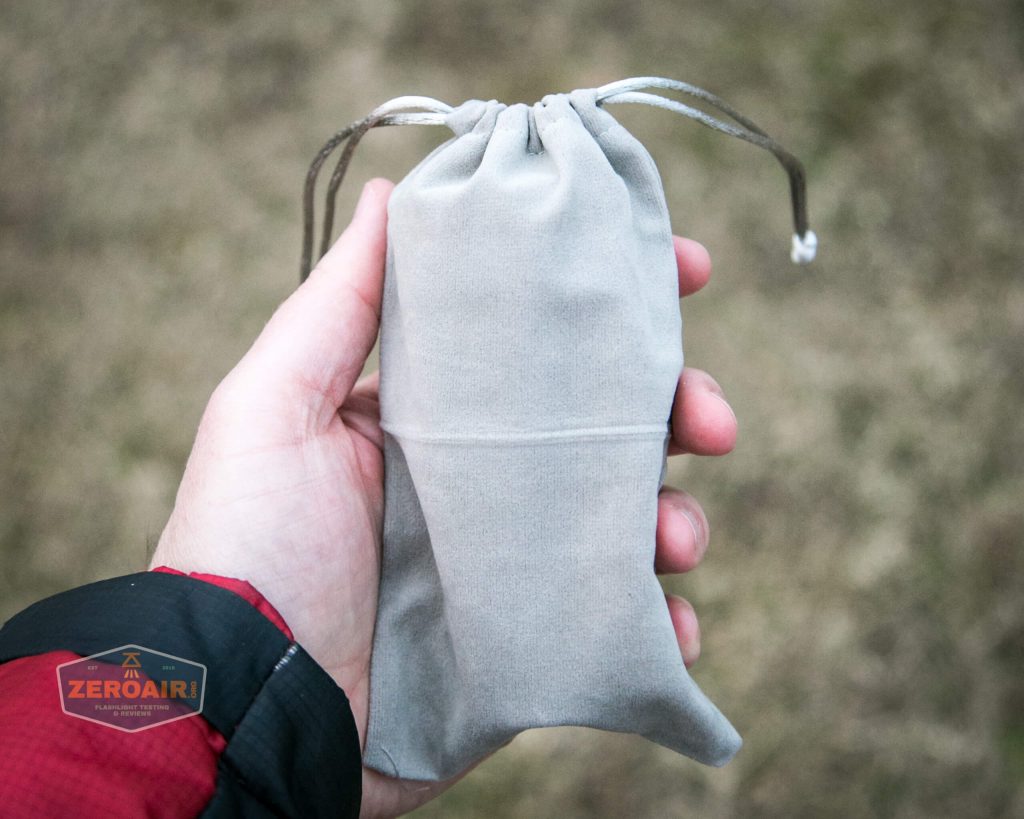
The second means of carrying is the pouch. It’s a crushed velvet type pouch, which has a double drawstring at the top.

No other means of carry is included. There are no magnets or pocket or belt clip.
Power and Runtime
As stated above, the X12UV is powered by three 18650 cells, which are included.
They’re “built in” but can be easily accessed with no specialized tools.
They’re “standard” cells, but probably the shortest 18650 cells that have button tops that I’ve ever seen. That is, with the button top included, they’re exactly the dimensions 18mm x 65mm. (Usually, the button would add a bit of length to the 65mm dimension.) So this is unusual but still considered standard.
Now there are a few things of note here. First, you’ll have to use button tops. Secondly, the springs on the tailcap PCB are already compressed pretty dramatically – I’m not certain a longer button top 18650 would fit. Thirdly, you’ll see below that the runtime on High doesn’t even come close to the claimed 10,000 lumens. I spoke with Nitebeam about this and they said that the output claim was a “theoretical maximum.” For example, if you used high current cells, then you could achieve this output.

And Nitebeam didn’t use high current cells in this light. So if you wish to have higher output, you may supply and swap in your own cells. Will anyone do that? Probably not. So you’re left with a can light which hits a fairly regular 2500 lumens or so.
The runtimes look fairly good, with the exception that the light never seems to shut off when the cell voltage is low. In both tests, I disassembled the light in order to test the cell voltage.

With the cell setup (parallel), you could likely run the light on any number of 18650 cells, though output would likely suffer with just 2 or 1 cell.

The display beside the switch is intended to serve also as a battery indicator. I did note when fully charged, the display would read “9,” which I took to be accurate. But the site describes a scenario where the display will read 8, 7, 6, 5, 4, 3, 2, 1 as the cell voltage descends. I didn’t experience that. It was either 9 or 1, and at 1, the cells were below 3V. So the display is mostly useless, except for a very broad idea of the cell state.
Charging
Another feature of the Nitebeam X12UV is built-in charging. This charging is by way of a USB-C port in the head. The USB-C port has a nice press-in cover, and is different enough from the switch that you’ll never confuse the two.
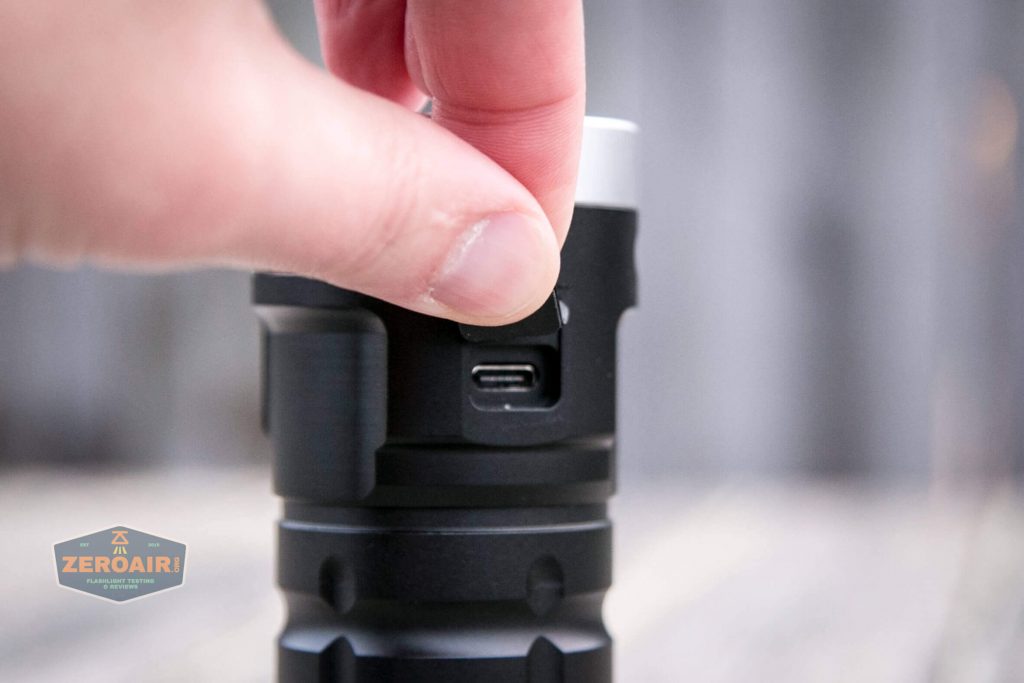
An appropriate cable is included: USB to USB-C.
Charging looks good, capping at around 2A, and taking just over 3 hours. That’s pretty good for a 3×18650 battery.

There are actually two charge indicators. One is on the display, which appears as a little red dot whenever power is connected through the USB-C port. This only indicates “on charger” and not “charging state.”
The other is a very small indication through the optic – when charging is active, this indication is red. When charging is complete, this indication is green. It’s very subtle, but useful.
Modes and Currents
| Mode | Mode Claimed Output (lm) | Claimed Runtime | Measured Lumens | Tailcap Amps |
|---|---|---|---|---|
| High | 10000 | – | 2113 | 7.80 (ish) |
| Low | 2000 | – | 846 | 1.53 |
| UV | – | – | – | 3.73 |
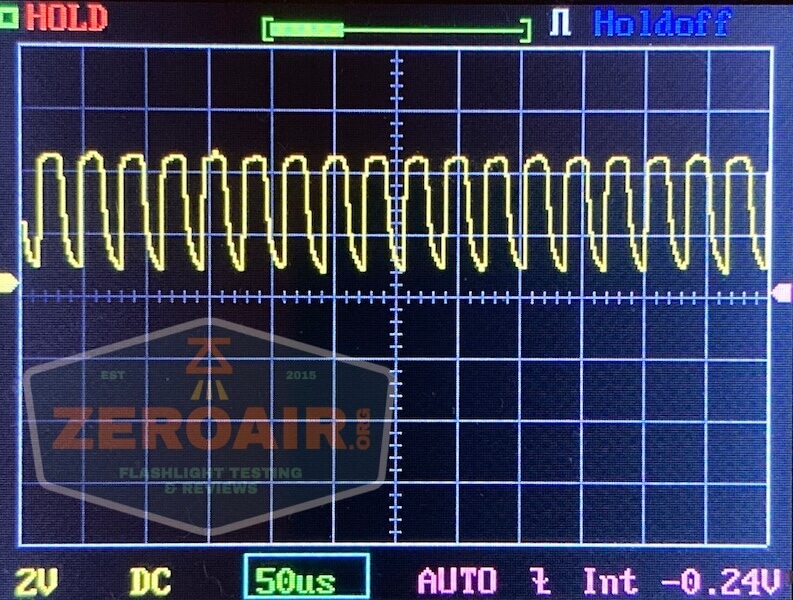
Pulse Width Modulation
Low utilizes PWM but it’s fast enough that I can’t pick up on it.
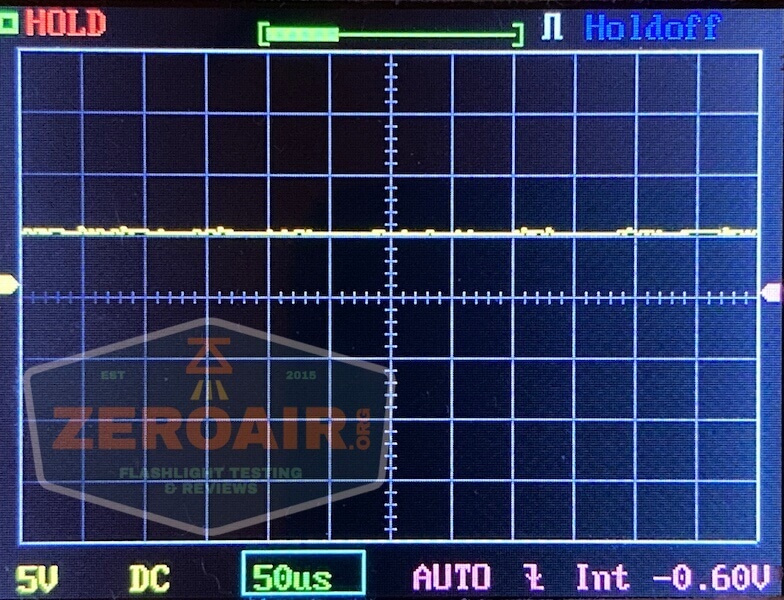
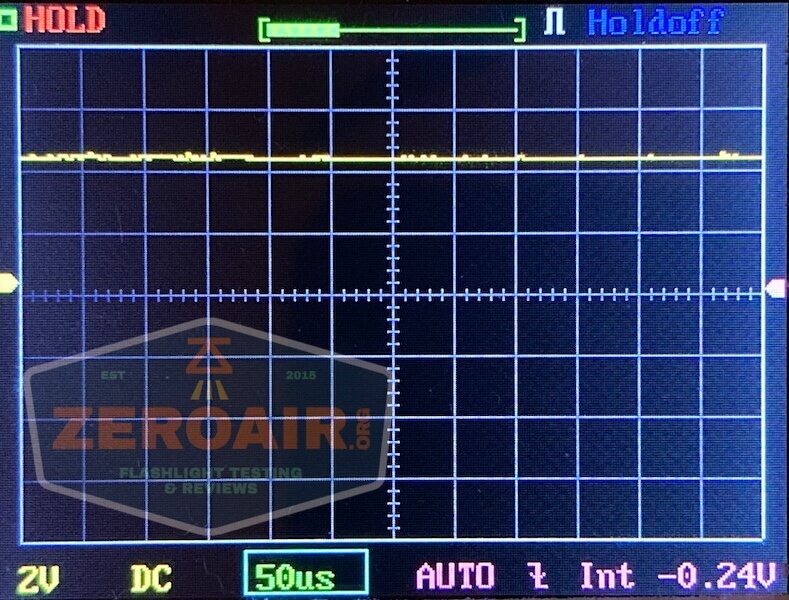
Here you can see a “baseline” – a chart with almost no light hitting the sensor.
Then there’s the Ultrafire WF-602C flashlight, which has some of the worst PWM I’ve seen. It’s so bad that I used a post about it to explain PWM! Here are multiple timescales (10ms, 5ms, 2ms, 1ms, 0.5ms, 0.2ms) to make comparing this “worst” PWM light to the test light easier. That post also explains why I didn’t test the WF-602C at the usual 50us scale.
User Interface and Operation
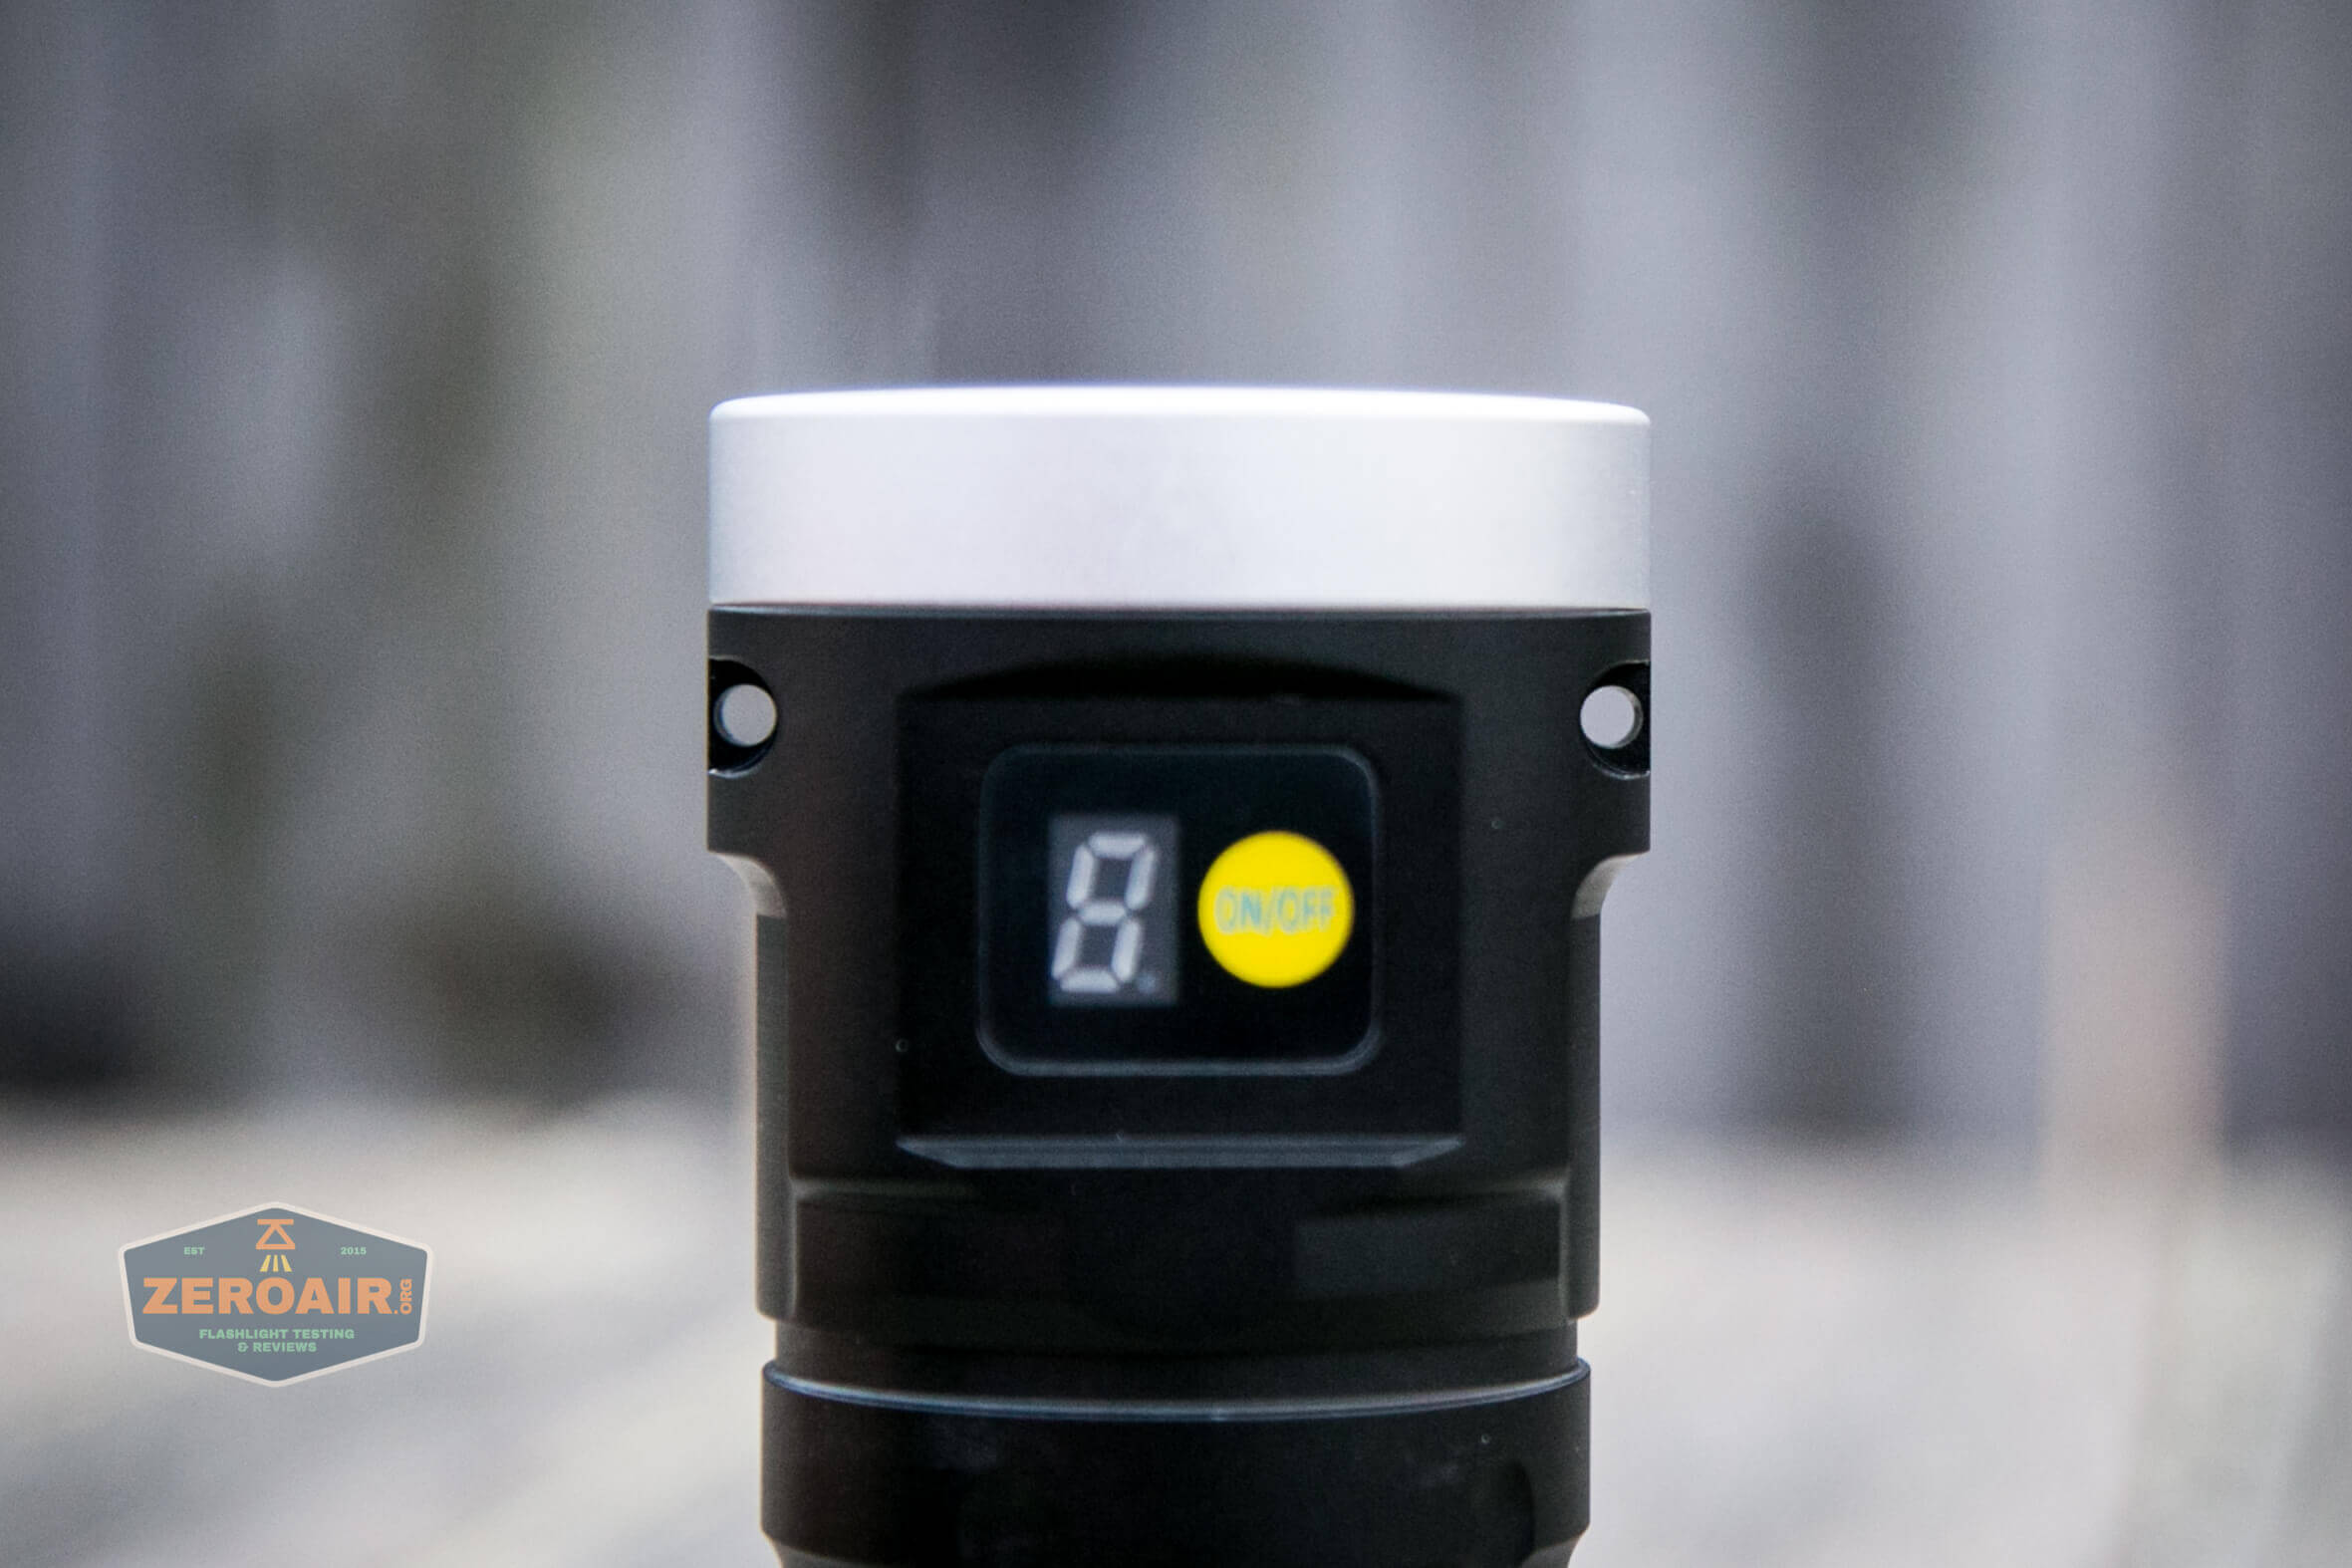
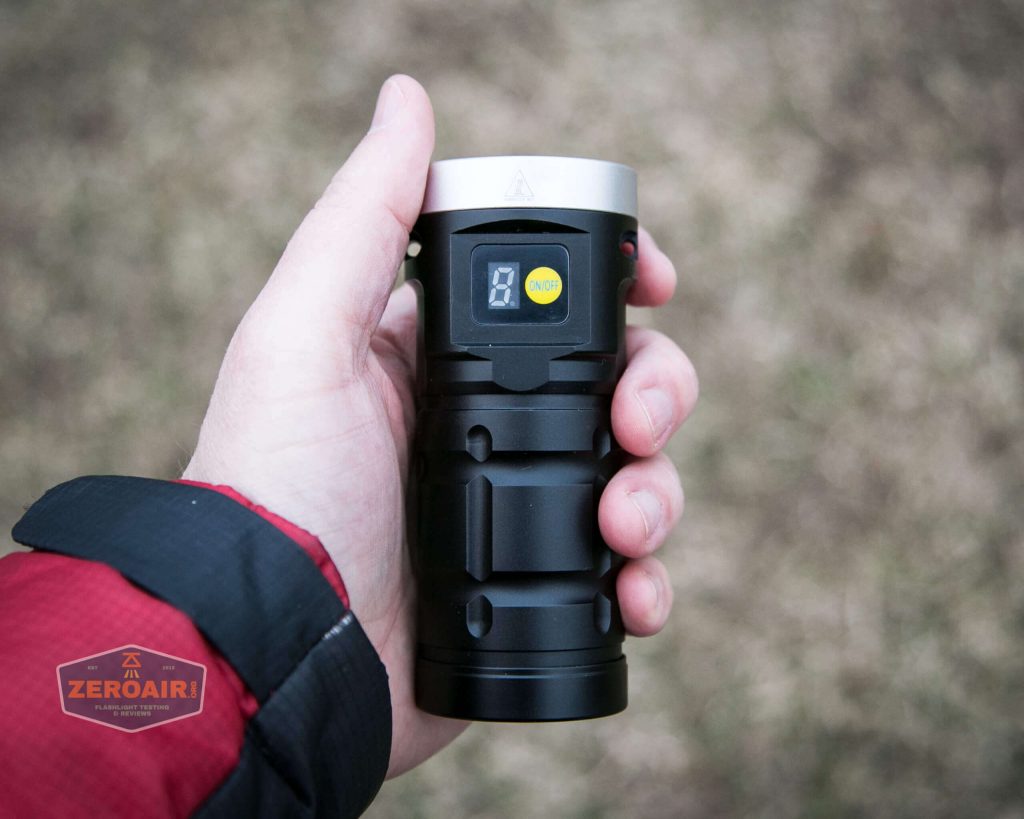
A single switch controls the X12UV. It’s an e-switch near the head, and beside the display. The switch is yellow, and fairly low profile.
This display beside the switch indicates some useful things. It will state the mode (L, H, U), or battery level.
“L” for “low”:
“9” for battery level:
“U” for “UV”:
Also “H” for high, but that’s not shown here.
Here’s a user interface table!
| State | Action | Result |
|---|---|---|
| Off | Click | Low |
| Off | Hold | High |
| Any | Double click | UV |
| Off | Click 5x | Lockout |
| Lockout | Click 5x | Unlock (also turns on Low) |
| On | Click | Off |
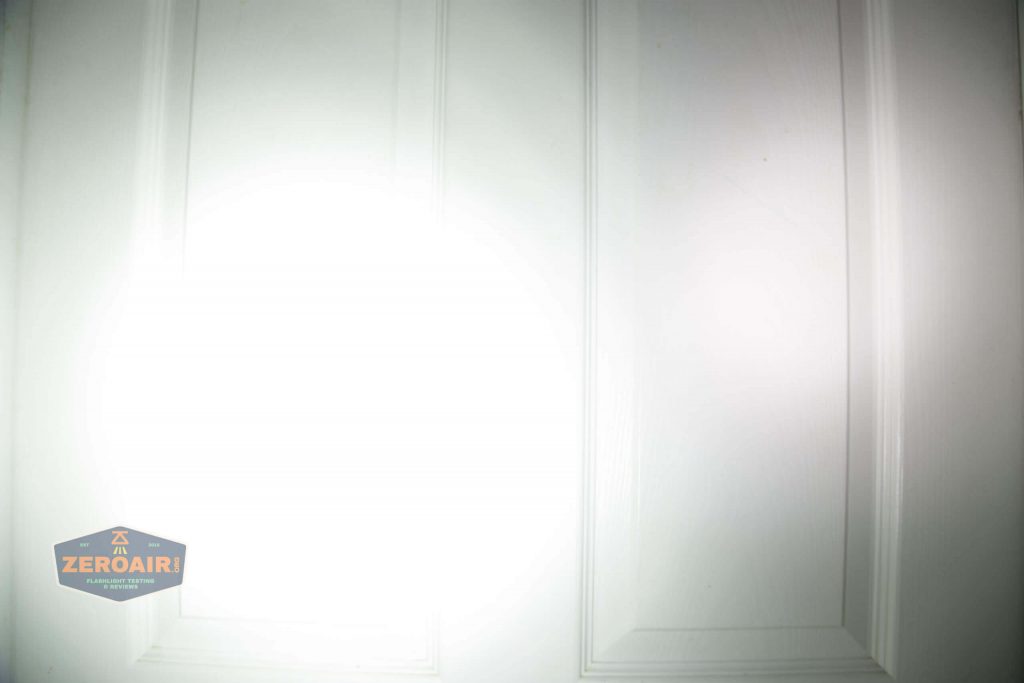
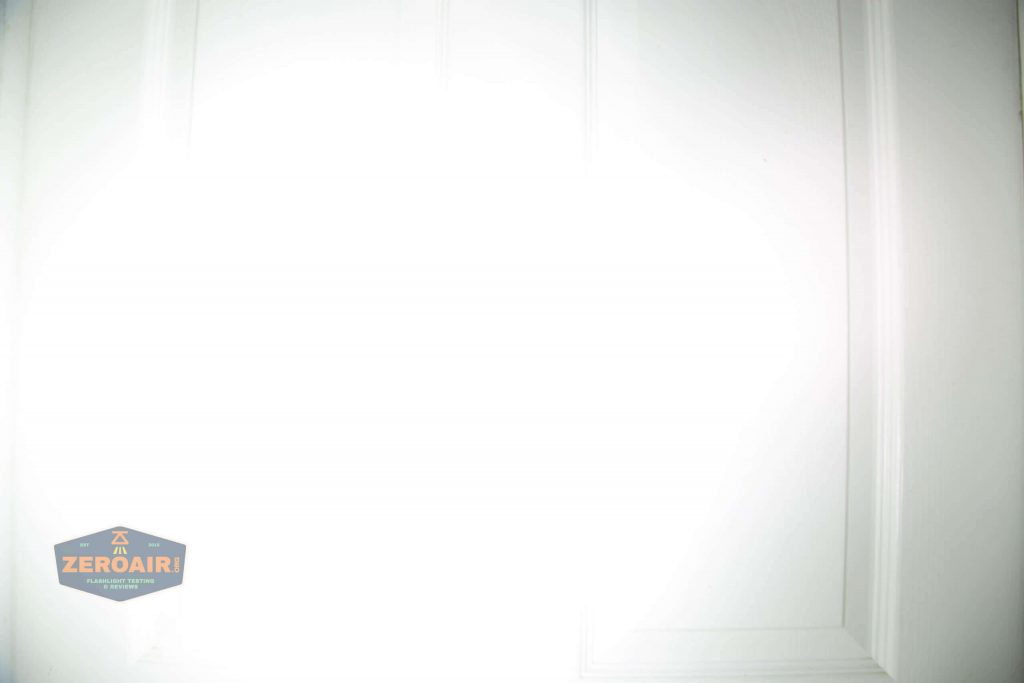
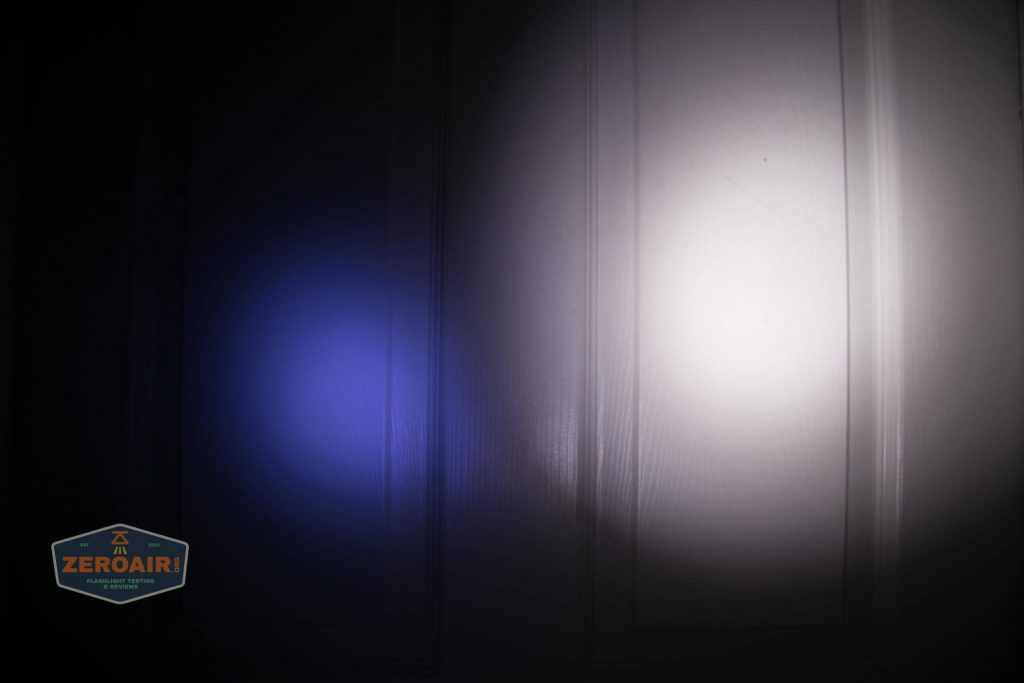
LED and Beam
Nitebeam uses two types of LED in the X12UV. First, on the outer rim are 9 Osram emitters, with a temperature of 6500K. That’s quite cool, and you’ll see that reflected in the photos below. Research indicates this is probably the OSLON® Black Flat, LUW HWQP emitter.
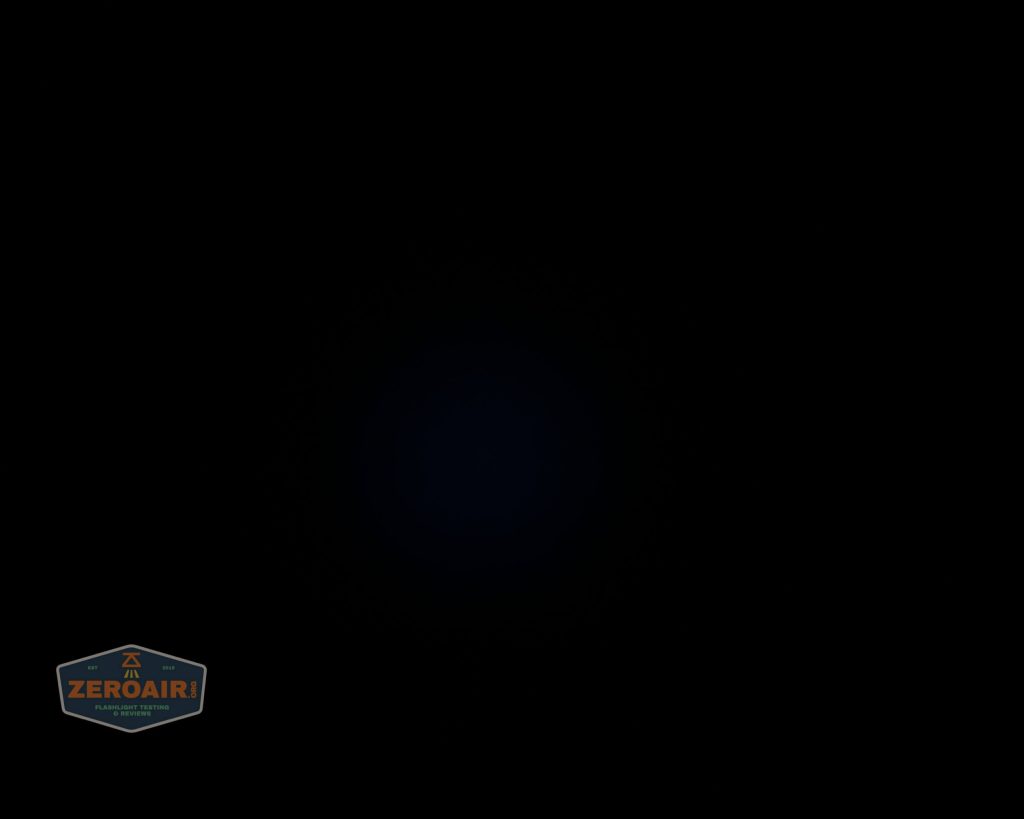
The inner three emitters are UV and have a wavelength of 365nm. They are operated separately from the cool white emitters.
These beamshots always have the following settings: f8, ISO100, 0.3s shutter, and manual 5000K exposure. These photos are taken at floor level, and the beam hits the ceiling around 9 feet away.
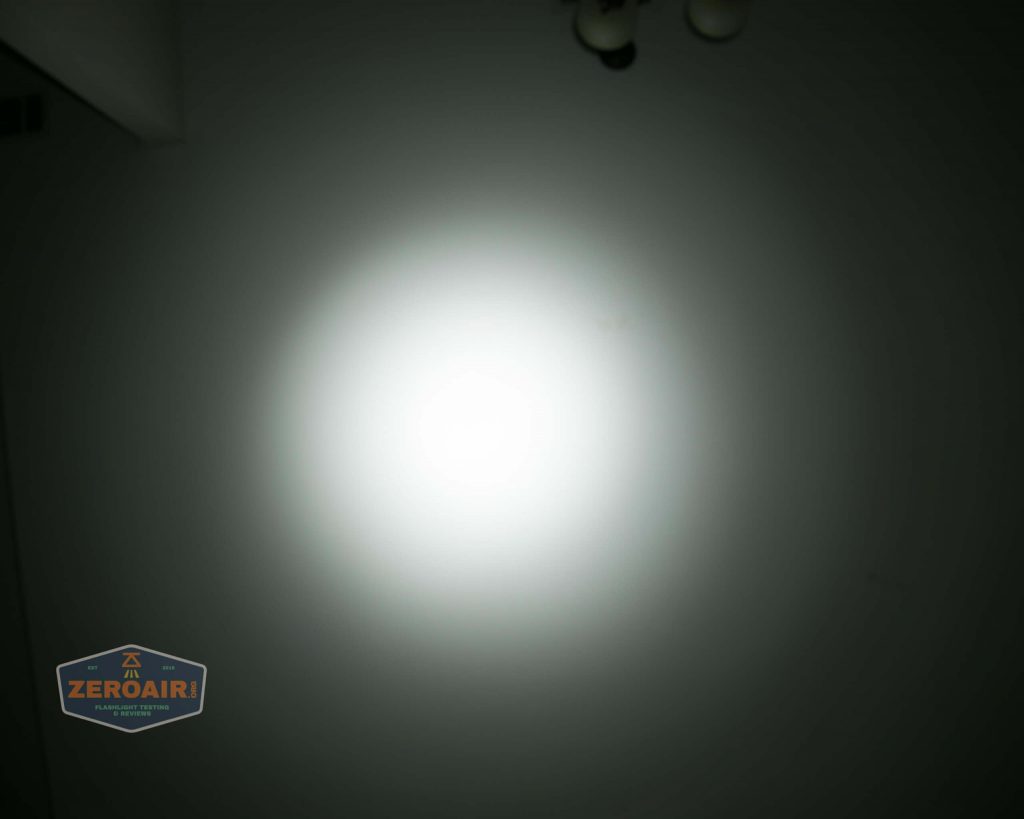
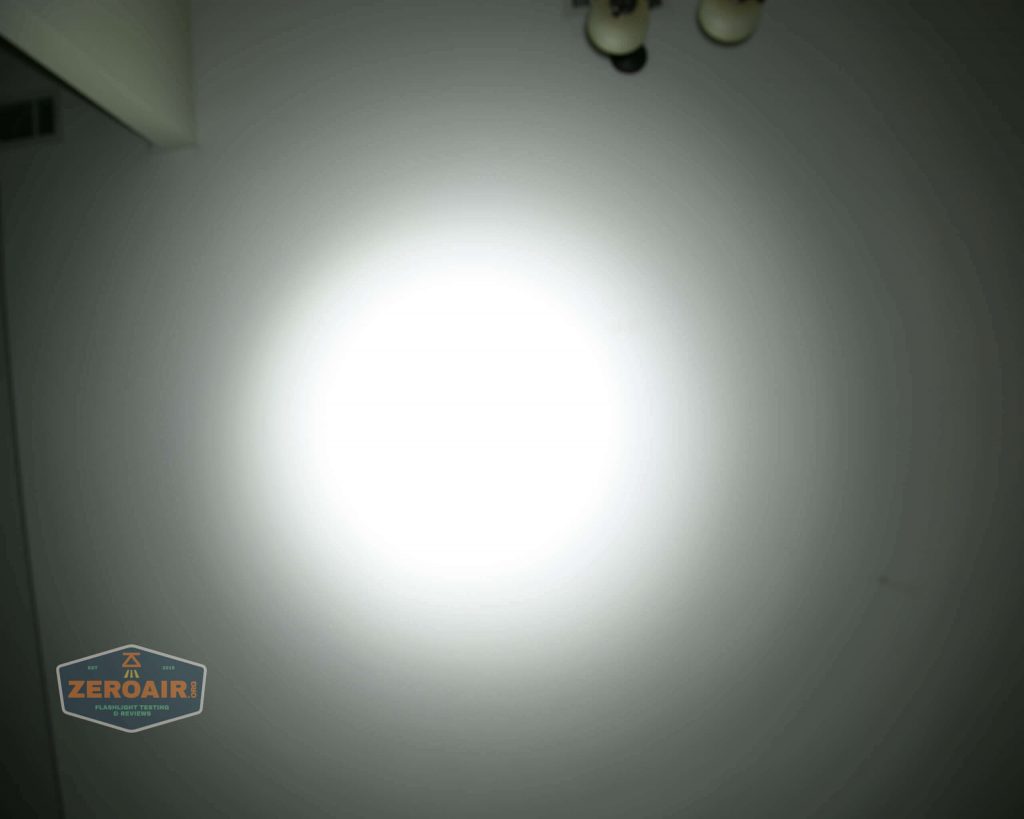
Tint vs BLF-348 (KillzoneFlashlights.com 219b version) (affiliate link)
I keep the test flashlight on the left and the BLF-348 reference flashlight on the right.
I compare everything to the KillzoneFlashlights.com 219b BLF-348 because it’s inexpensive and has the best tint!
Conclusion
What I like
- Solid build quality
- “Built in” cells can be changed easily if a user is determined to do so
- Very simple user interface
What I don’t like
- Not nearly the claimed 10,000 lumens.
- Only two white modes
- Battery indicator largely useless
Notes
- This light was provided by Nitebeam for review. I was not paid to write this review.
- This content originally appeared at zeroair.org. Please visit there for the best experience!
- For flashlight-related patches, stickers, and gear, head over to PhotonPhreaks.com!
- Please use my Amazon.com referral link to help support zeroair.org!
I may have missed it, but does the head unscrew?
The brass ring that makes contact with a positive end of the battery looks like it has the normal circular pattern of a head that screws on and off.
So did it come marked up that way from the factory?
Is the body a single piece?
How do you think they installed the driver?