
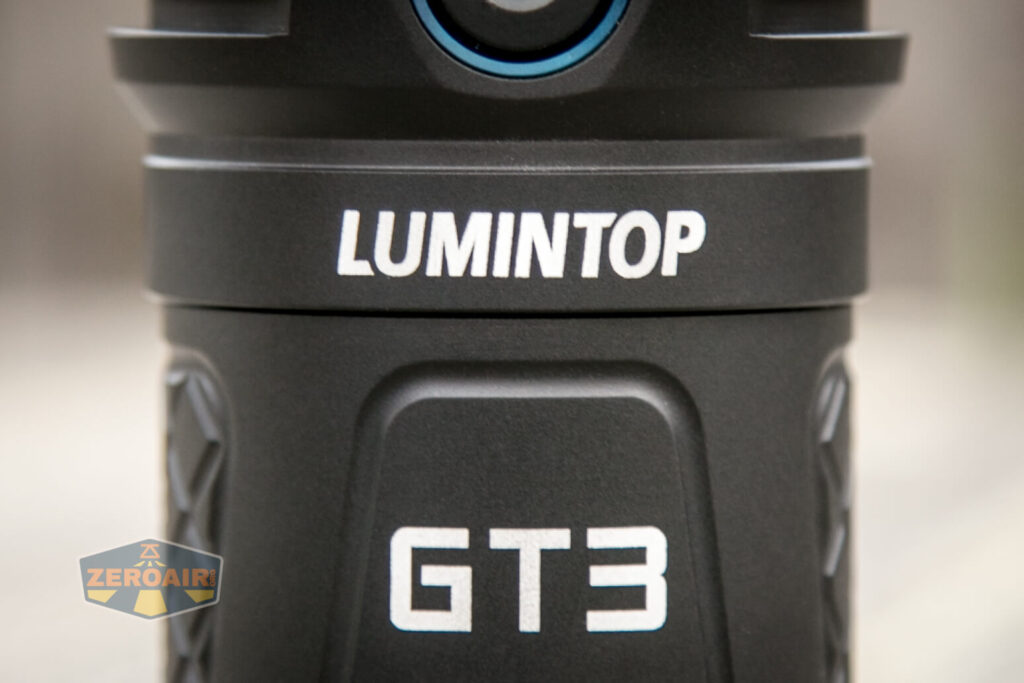
Lumintop BLF GT3 Flashlight Review
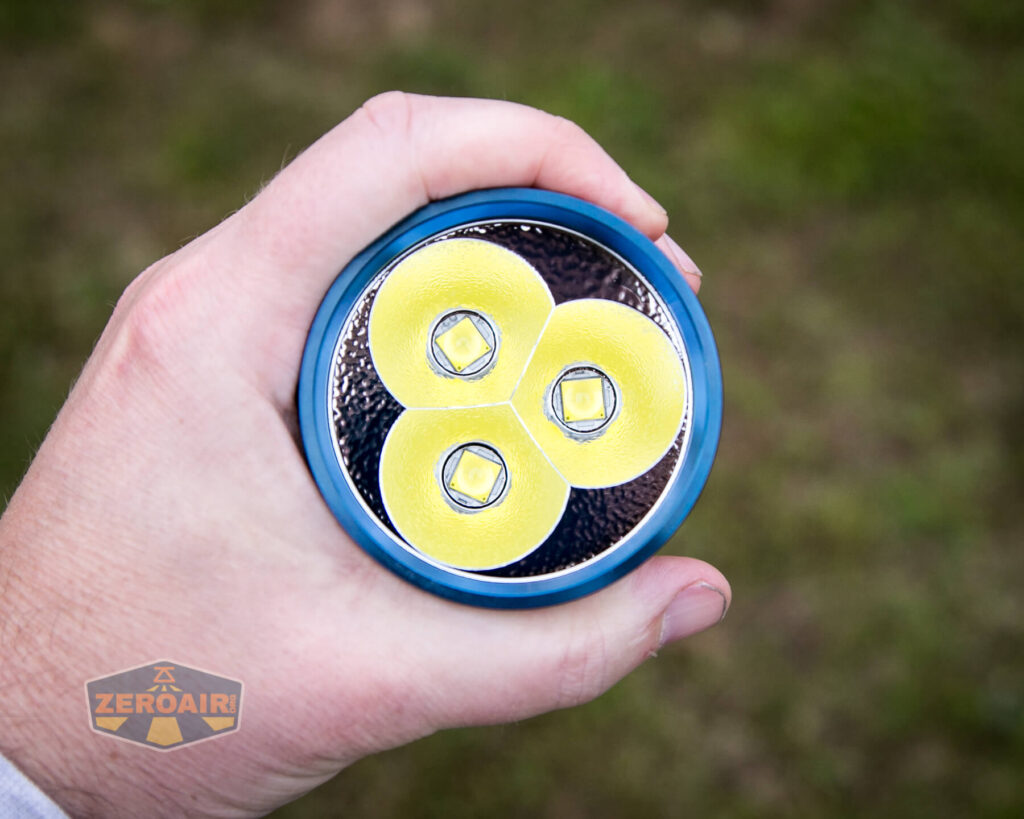
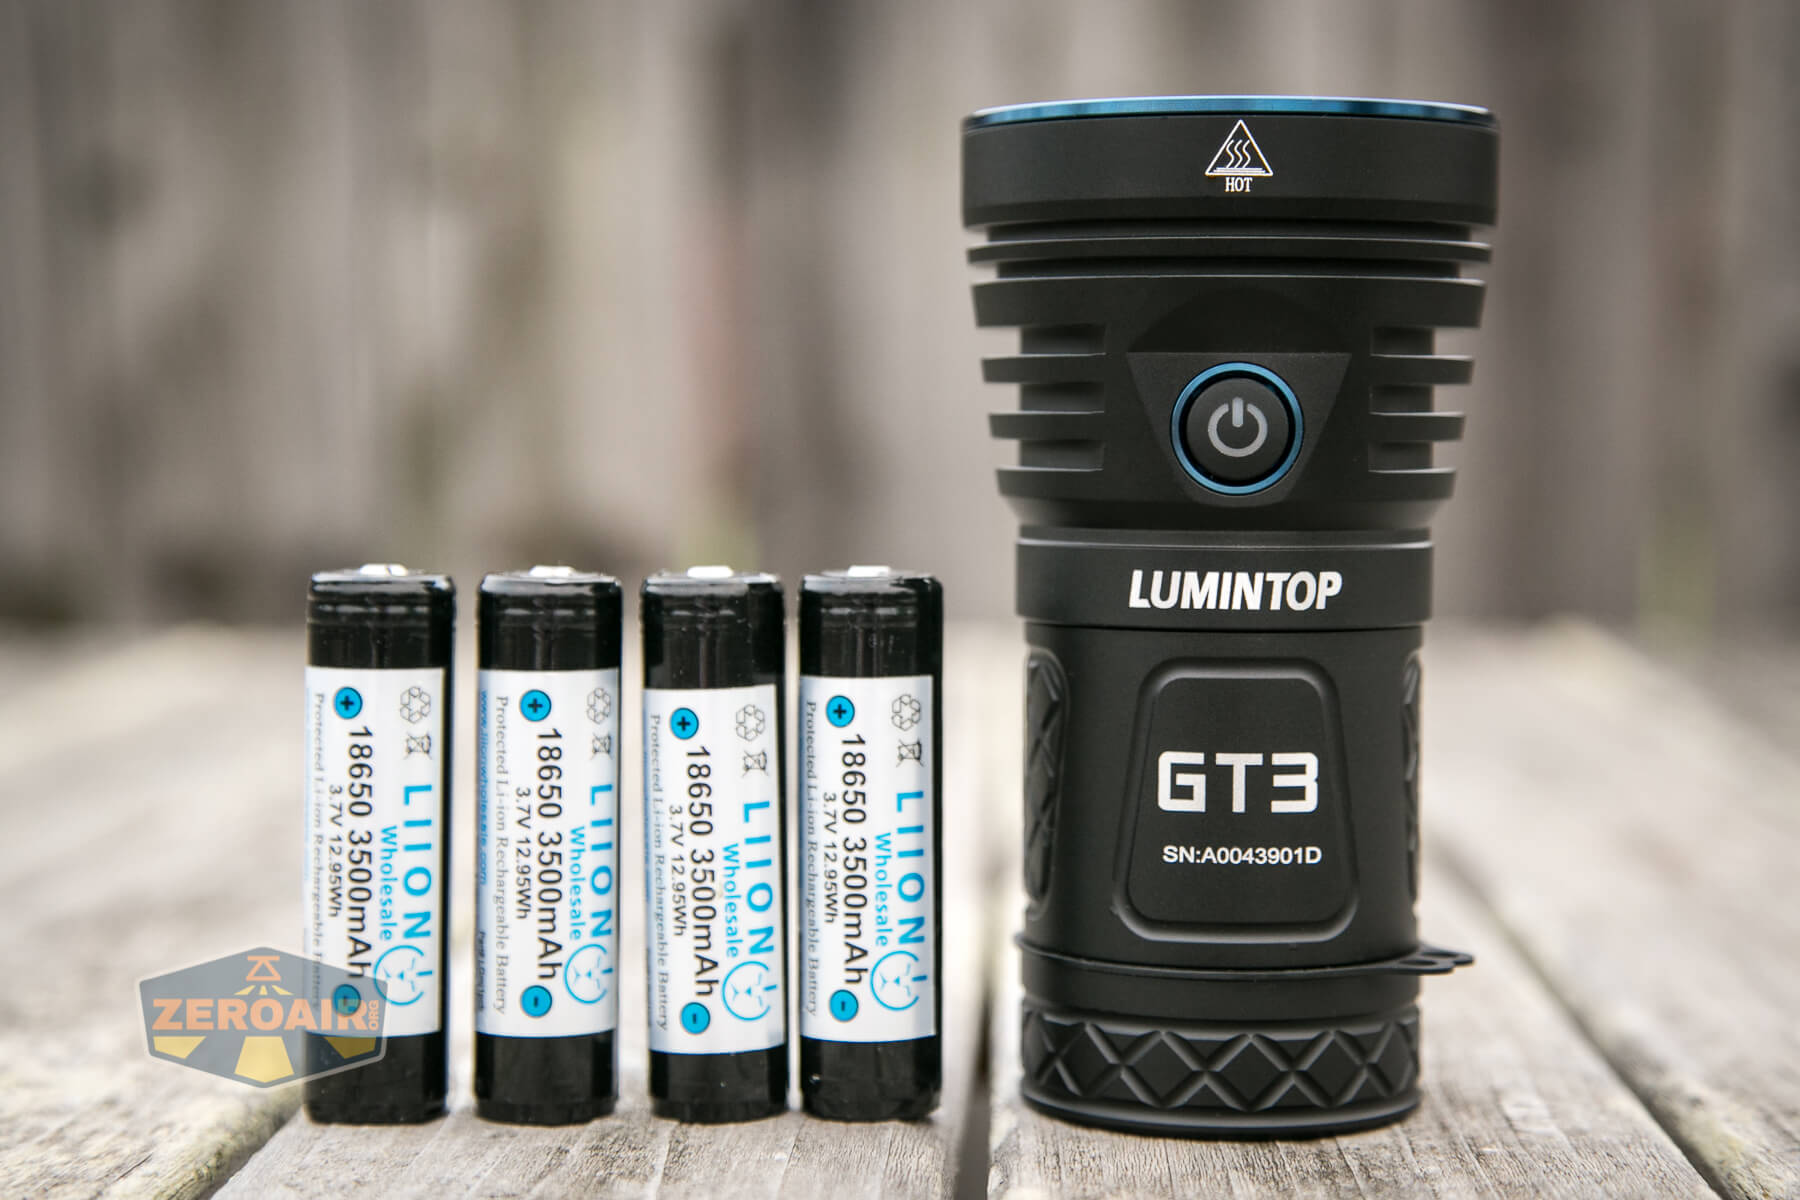
The Lumintop BLF GT3 flashlight is a massive output light using three Cree XHP70.2 emitters and running on four 18650 cells. Quite a little beast this one is!
Official Specs and Features
Here’s a link to the Lumintop BLF GT3 flashlight product page.
Versions
There seems to be just one body version, but it’s available in both cool white (seen here) and neutral white emitter options.
Price
The Lumintop BLF GT3 flashlight is selling for $139.95.
Short Review
The output from the Lumintop BLF GT3 flashlight is no joke. The claim of 18000 lumens seems to be met, and throw of over 700m is quite fantastic. Add in the benefits of Anduril, and this is a winning can-style wall-of-light!
Long Review
The Big Table
| Lumintop BLF GT3 Flashlight | |
|---|---|
| Emitter: | Cree XHP70.2 (x3) (Cool White) |
| Price in USD at publication time: | $139.95 |
| Cell: | 18650×4 |
| Turbo Runtime Graph | High Runtime Graph |
| LVP? | Yes |
| Switch Type: | E-Switch |
| Quiescent Current (mA): | ? |
| On-Board Charging? | No |
| Claimed Lumens (lm) | 18000 |
| Measured Lumens (at 30s) | 15599 (86.7% of claim)^ |
| Candela per Lumen | 5 |
| Claimed Throw (m) | 725 |
| Candela (Calculated) in cd (at 30s) | 3640lux @ 4.965m = 89730cd |
| Throw (Calculated) (m) | 599.1 (82.6% of claim)^ |
| All my Lumintop reviews! | |
^ Measurement disclaimer: Testing flashlights is my hobby. I use hobbyist-level equipment for testing, including some I made myself. Try not to get buried in the details of manufacturer specifications versus measurements recorded here; A certain amount of difference (say, 10 or 15%) is perfectly reasonable.
What’s Included
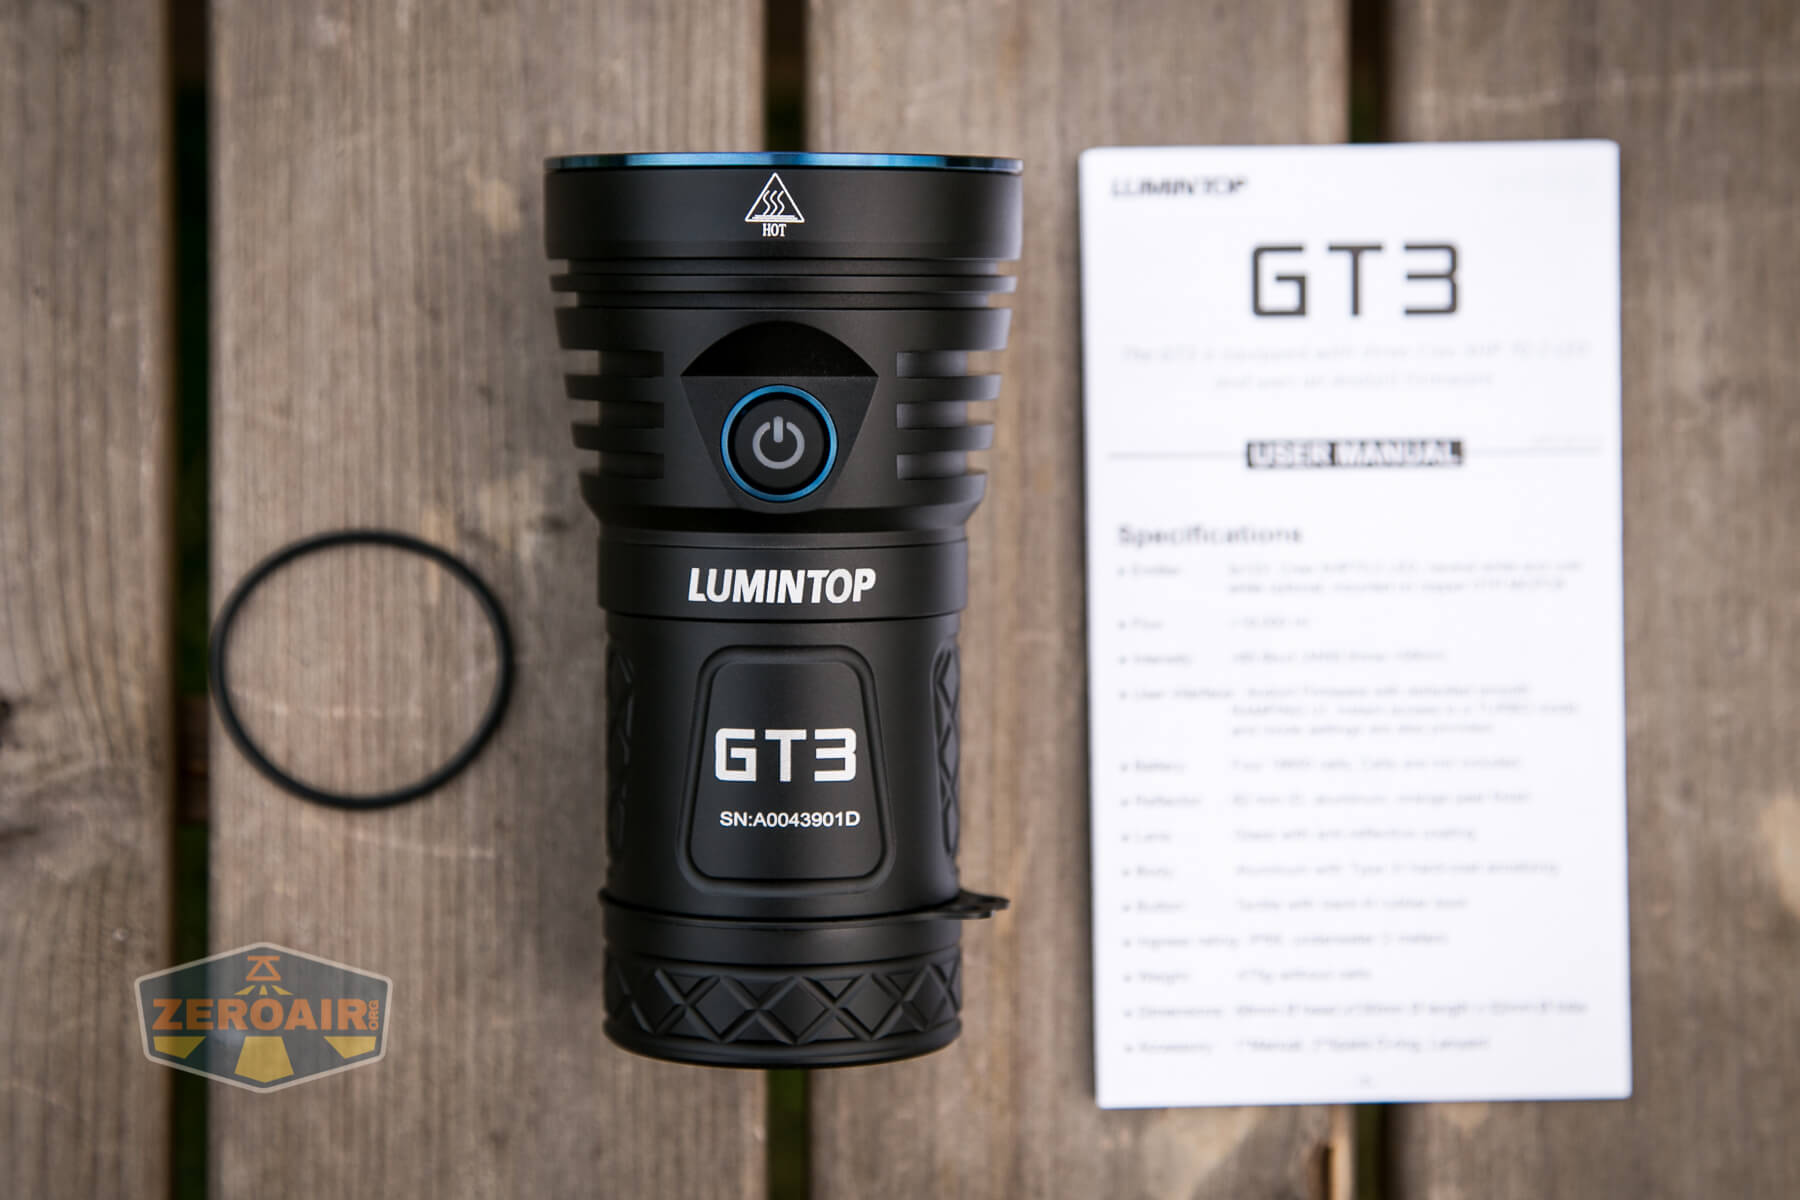
- Lumintop BLF GT3 Flashlight
- Spare o-ring
- Manual
Package and Manual


Build Quality and Disassembly

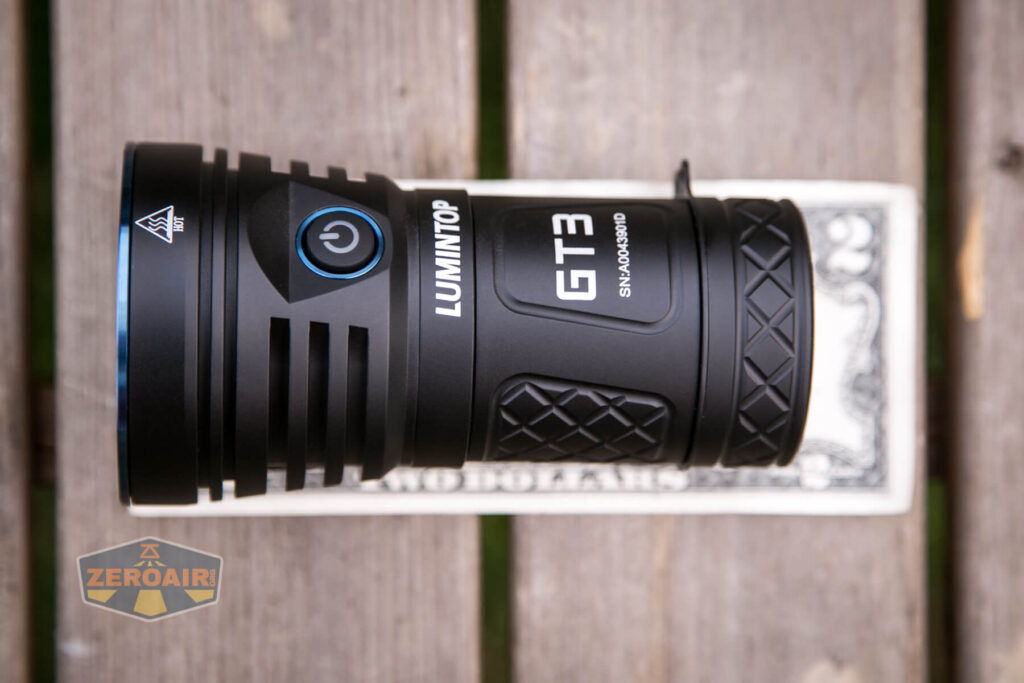
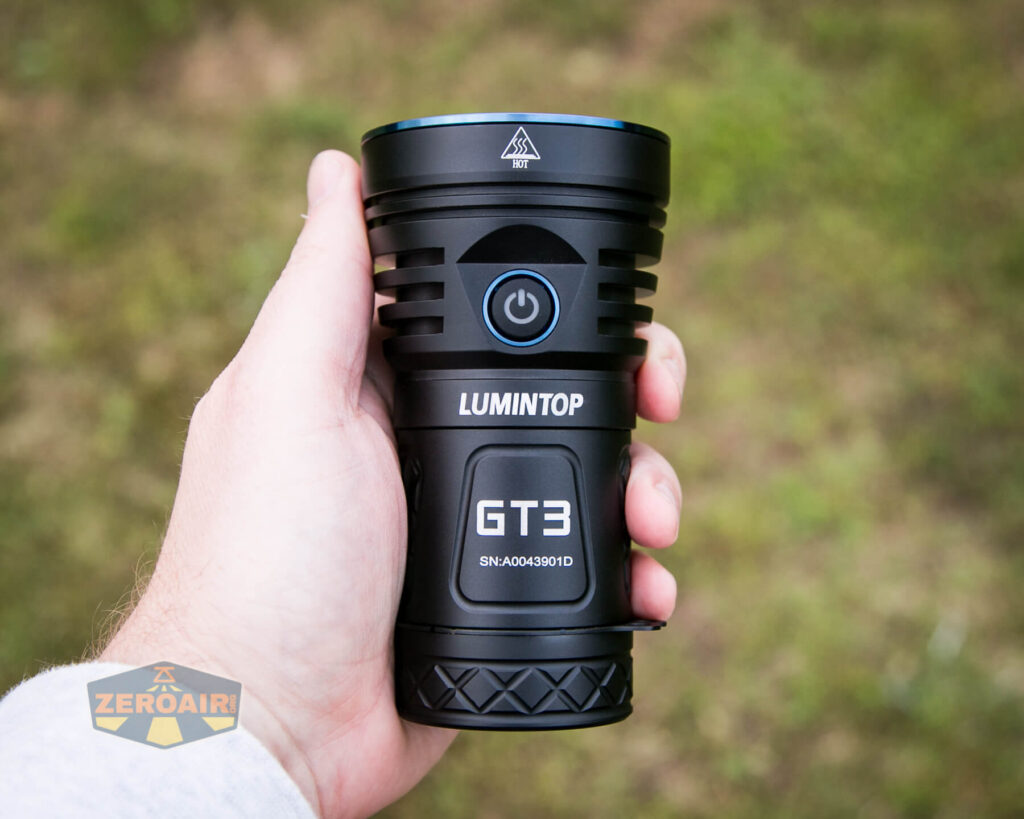
The Lumintop BLF GT3 flashlight makes it seem like there are two different Lumintop companies. On the one hand, we have lights like the FW3A lights, which are perfectly fine in their build quality. On the other we have lights like this GT3, which are so much nicer in build quality.
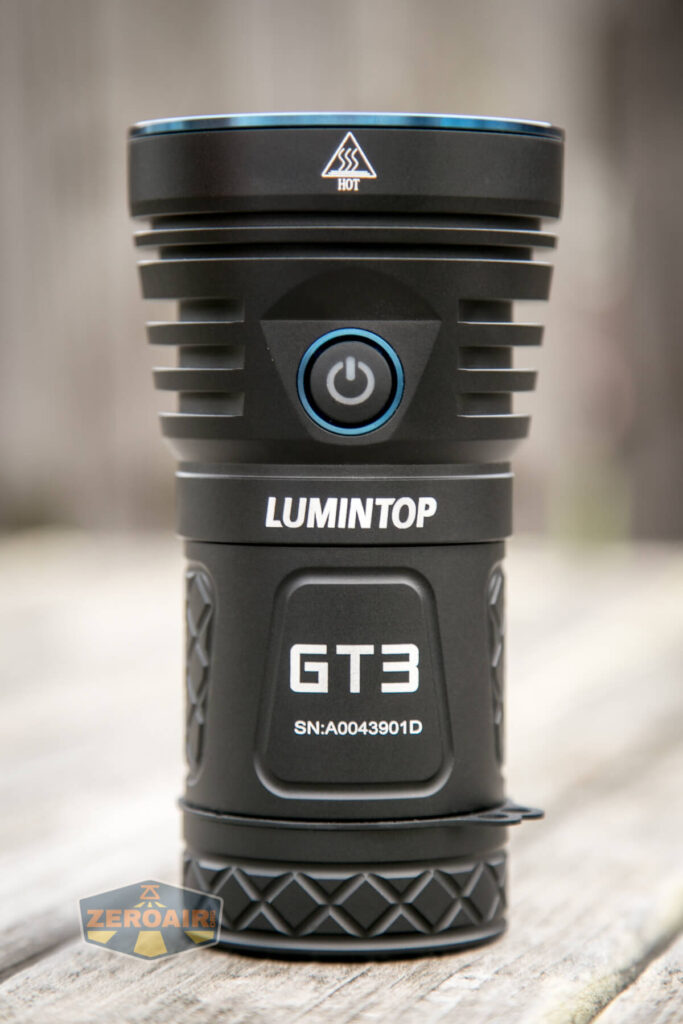
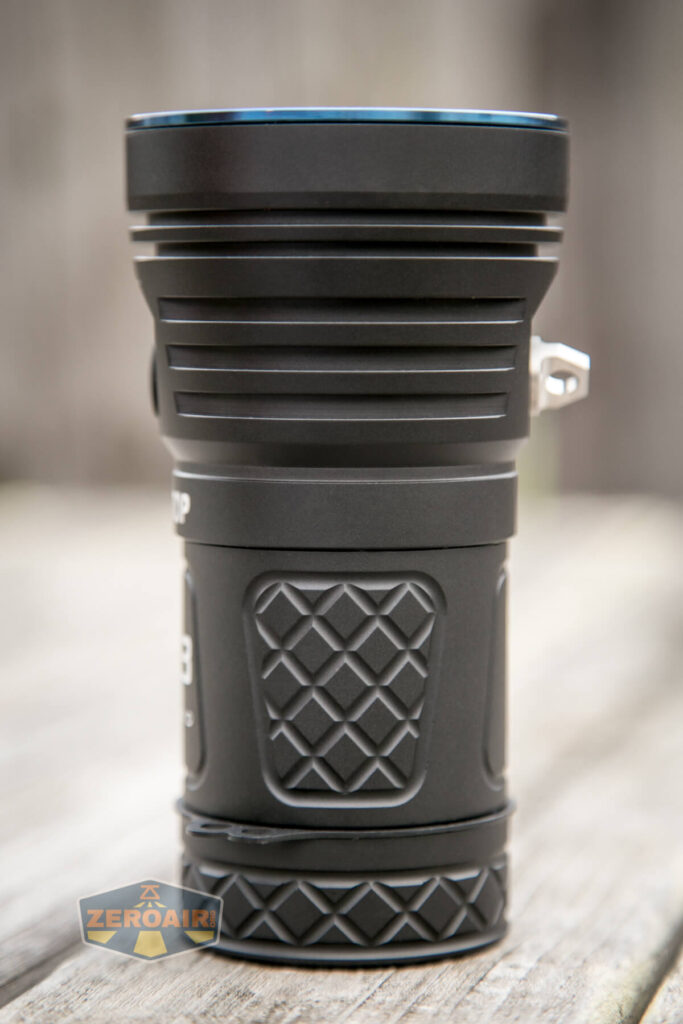
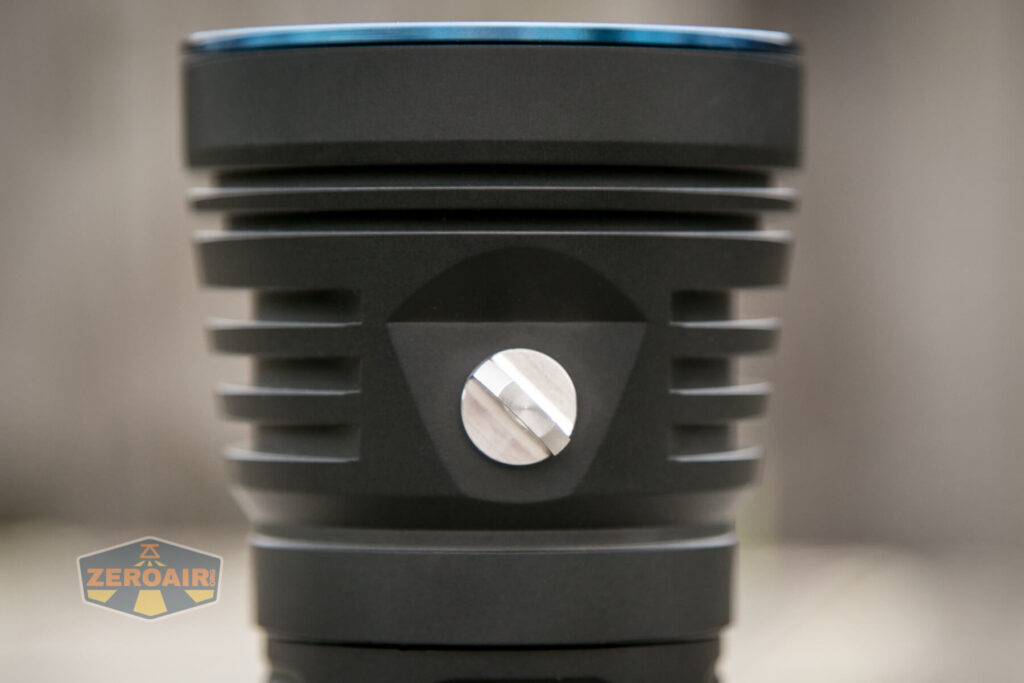
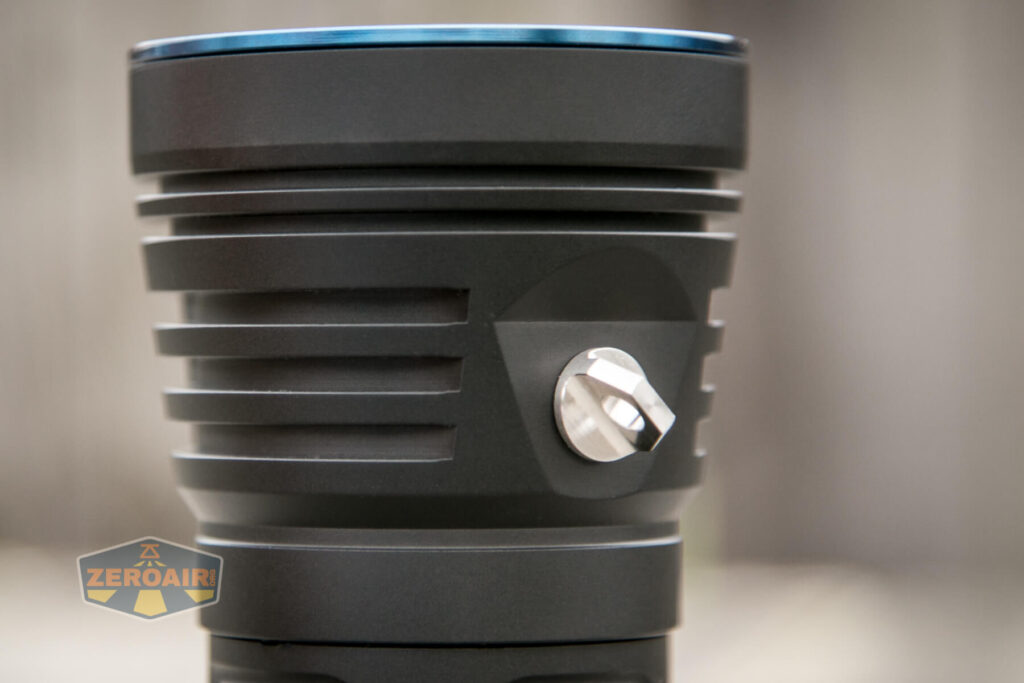
And it’s nothing specific. This light just seems higher quality. It’s very much a can style light, but the head flares a bit to make room for the big emitters with their deep orange peel reflectors.
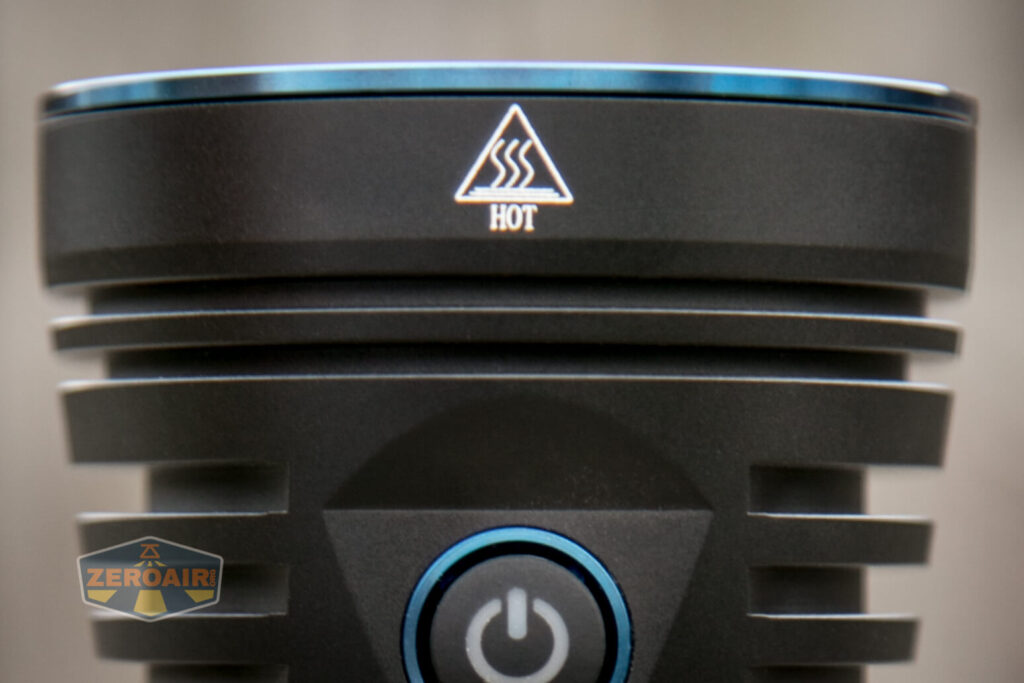
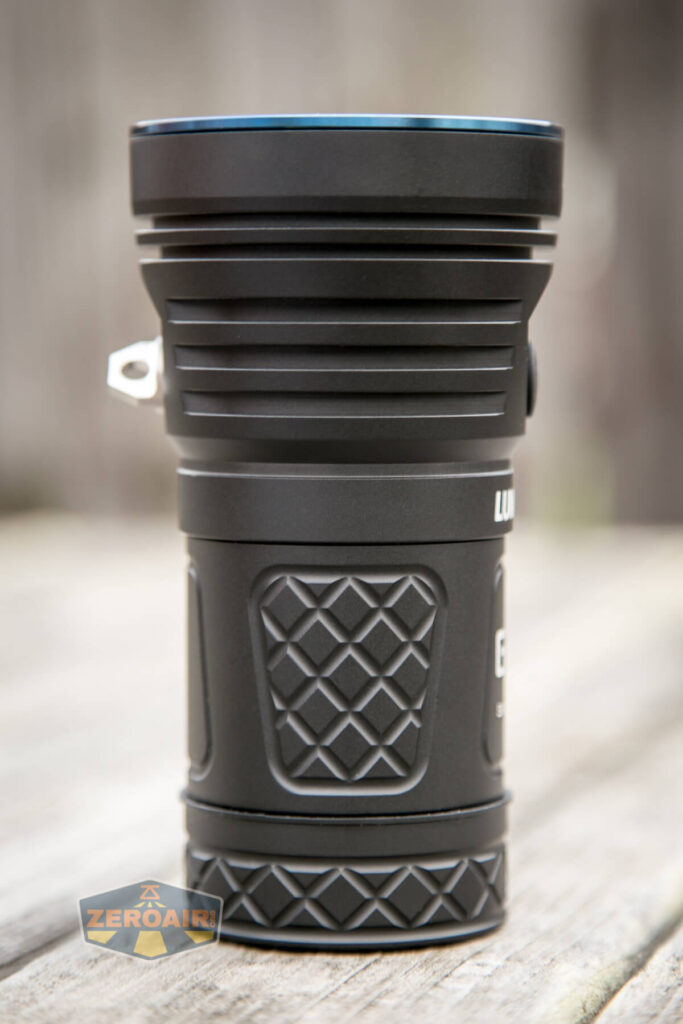
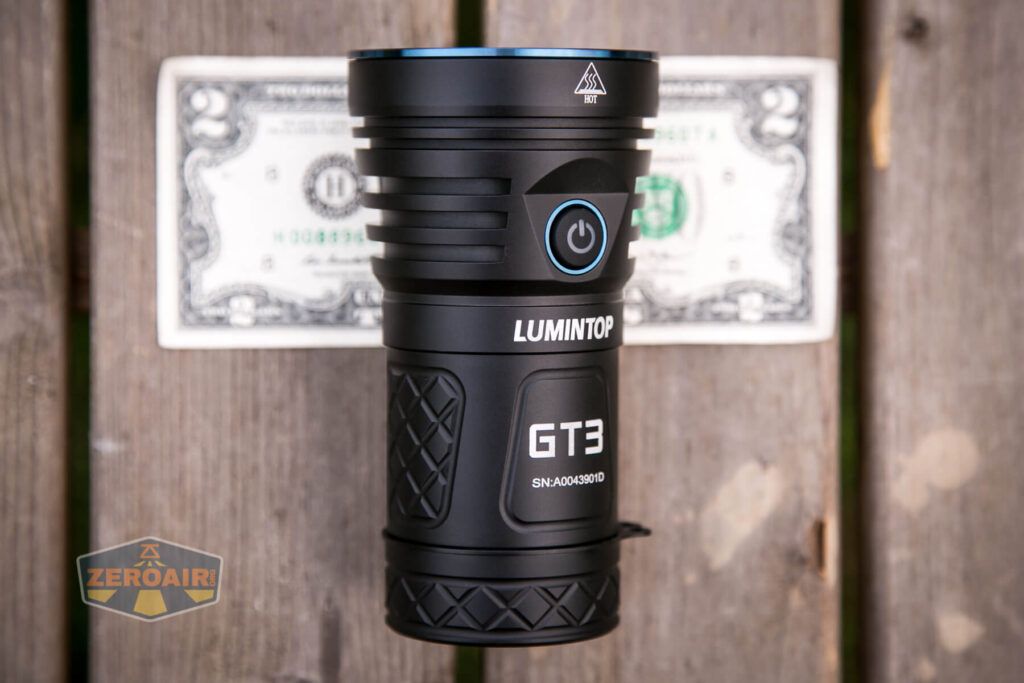
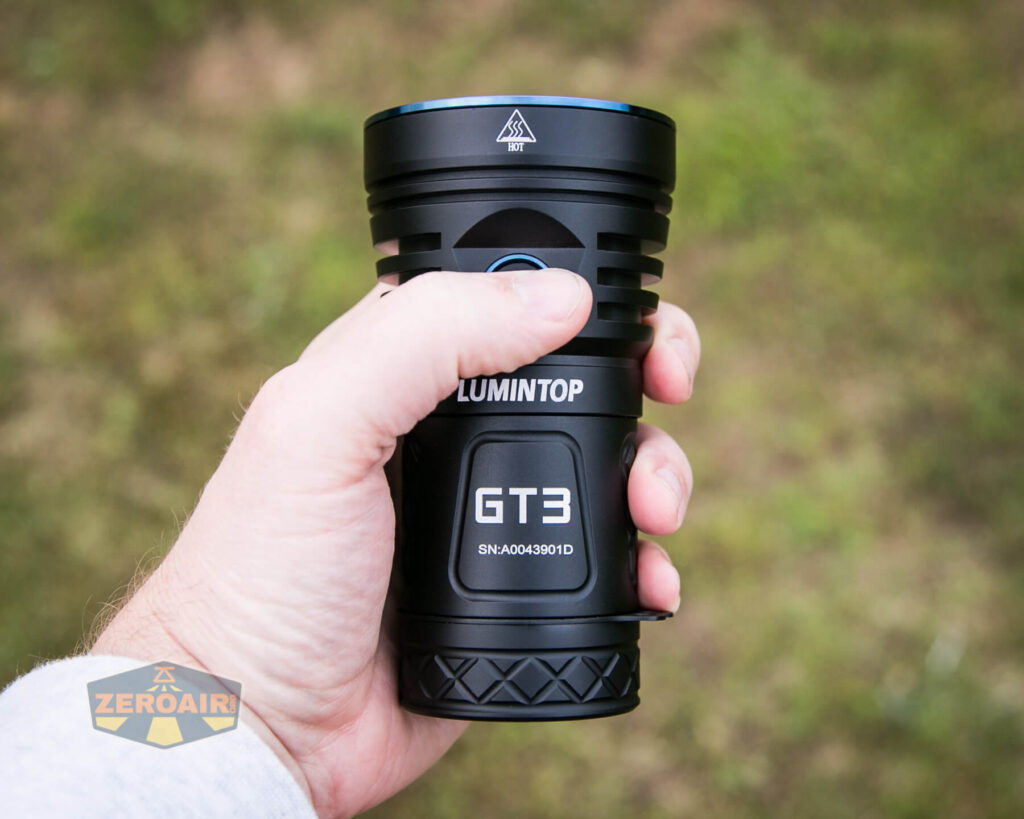
The head has some deep cooling fins.

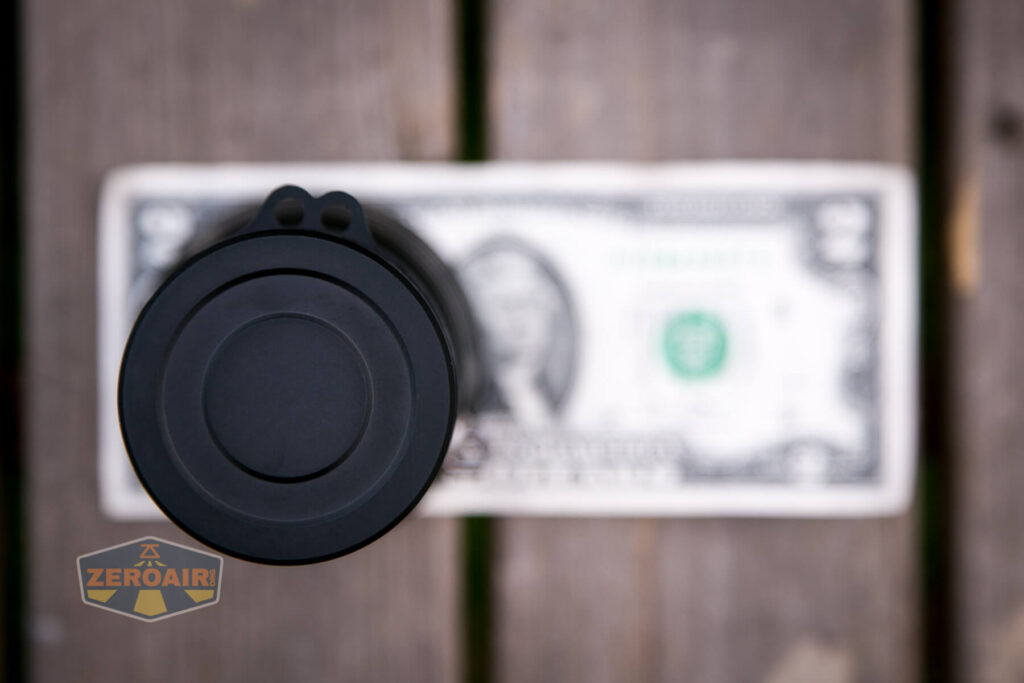
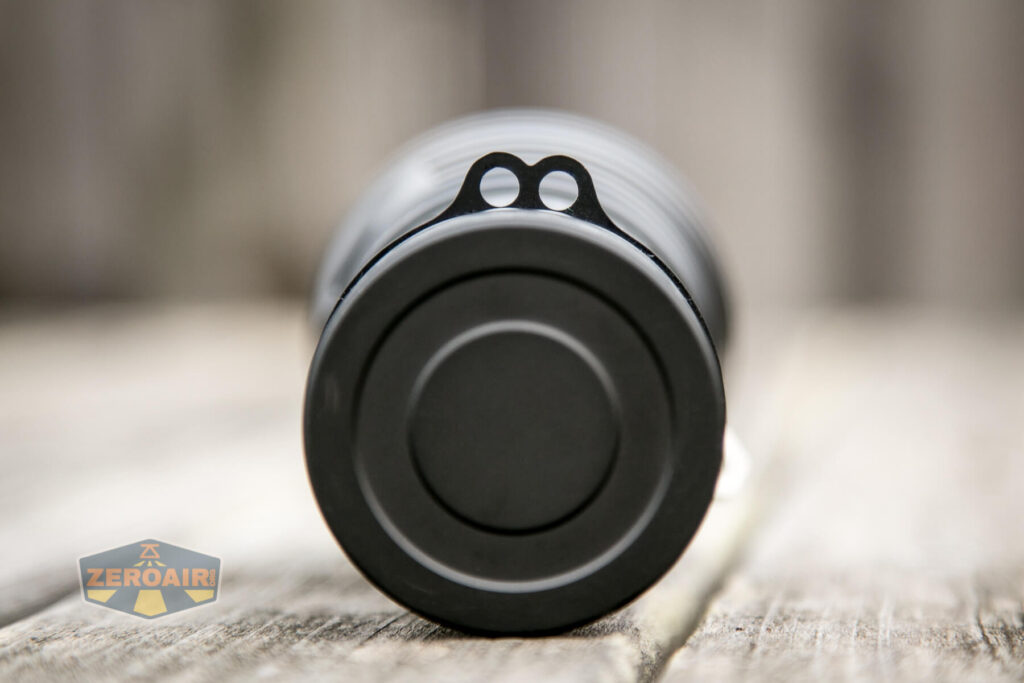
The tailcap doesn’t have much going on.

Threads on the tailcap are nice too – they’ll feel best if you use unprotected flat-top cells. If you use long cells as I have, you’ll need to press down on the tailcap, and you can expect a bit of grind. But they’ll work.

While the tailcap doesn’t really have any electronics, there are some important electrical pathways. More on that later. I will note that you may think these white pegs are inconvenient for screwing down the tailcap – they aren’t. They work great and seem to just seek to be in the right place.

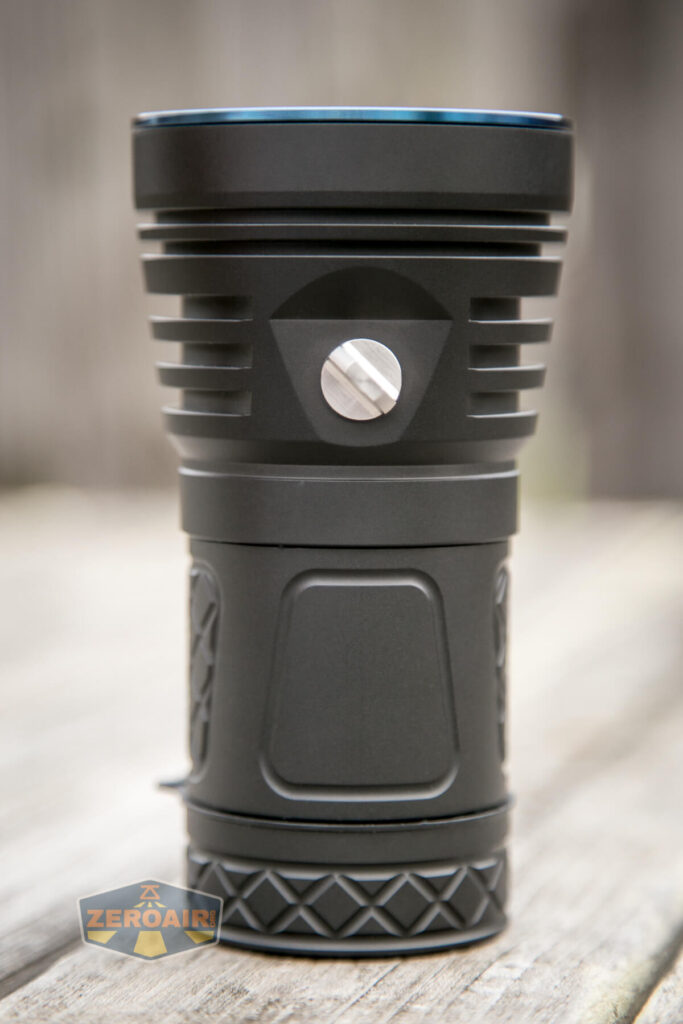
The head has springs, too.


Lumintop went with blue accents on the BLF GT3. They could pick so many other colors, I’d love to see non-blue on this light. I see blue and I think “Olight.” Either way, it’s a nice blue.

Size and Comps
Dimensions: 68 mm Ø head x 126.5 mm length x 52mm Ø tube
Weight: Approximately 475g without cells
If the flashlight will headstand, I’ll show it here (usually the third photo). If the flashlight will tailstand, I’ll show that here, too (usually the fourth photo).

Here’s the test light with the venerable Convoy S2+. Mine’s a custom “baked” edition Nichia 219b triple. A very nice 18650 light.
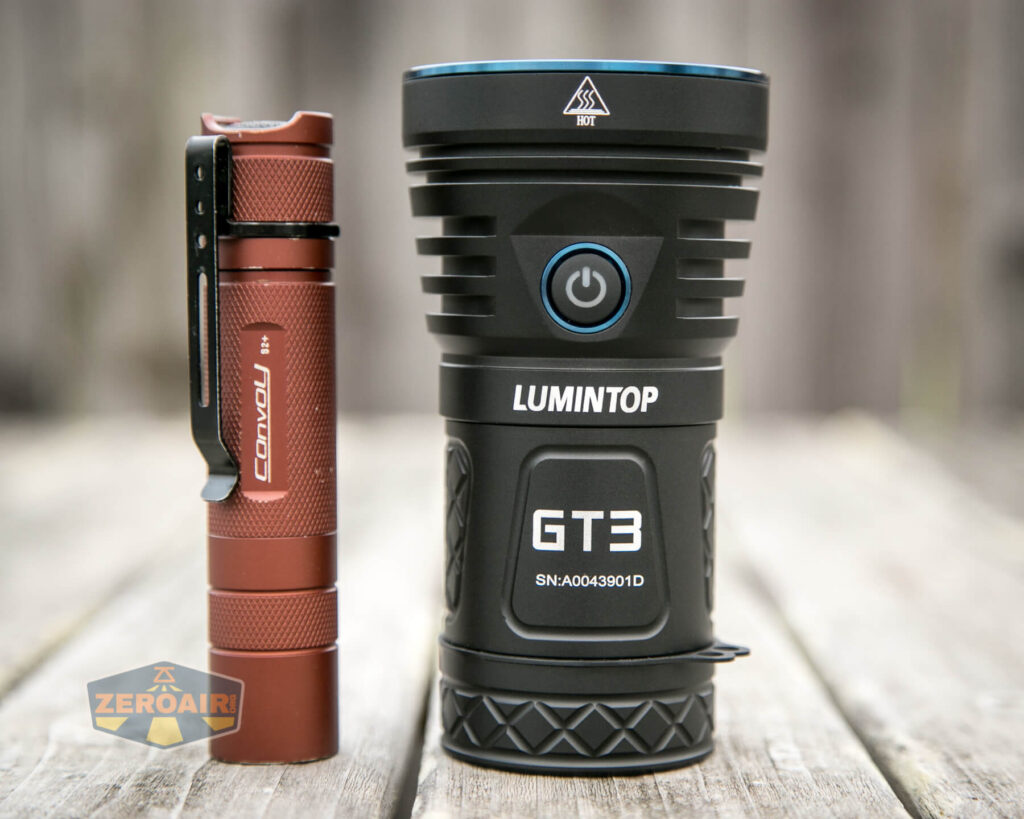
And here’s the light beside my custom engraved TorchLAB BOSS 35, an 18350 light. I reviewed the aluminum version of that light in both 35 and 70 formats.

Retention and Carry
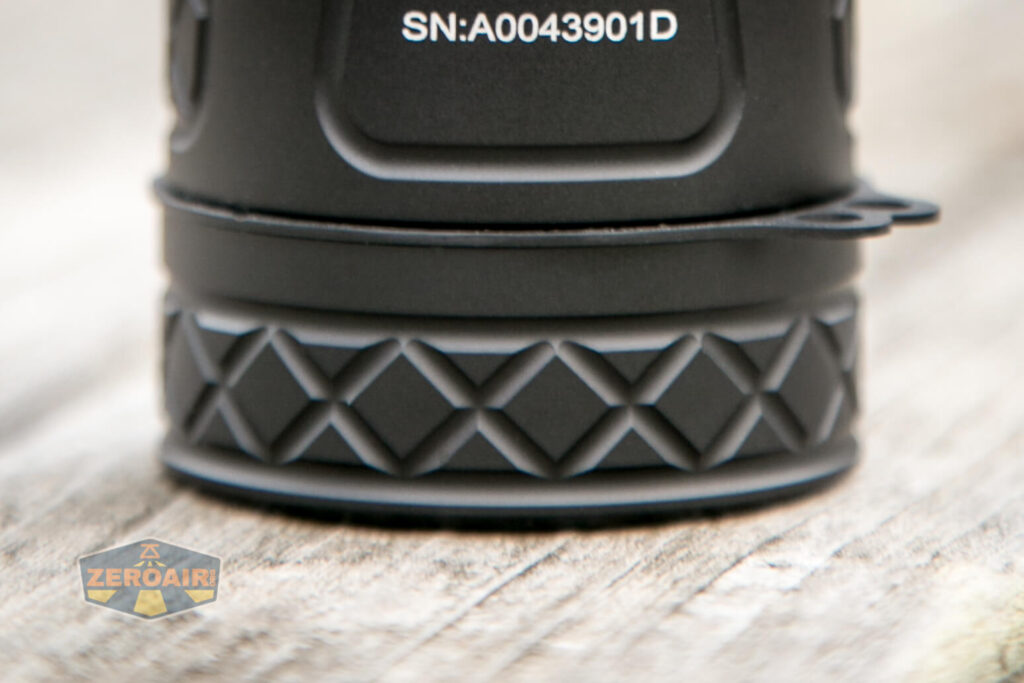
On the side exactly opposite the e-switch is a lanyard mount point. This is a screw-in mount, which also happens to double as a tripod mount. it’s a nice touch.
This lanyard connection is quite pronounced.
With this attachment removed, you can see the 1/4″ tripod mount point.

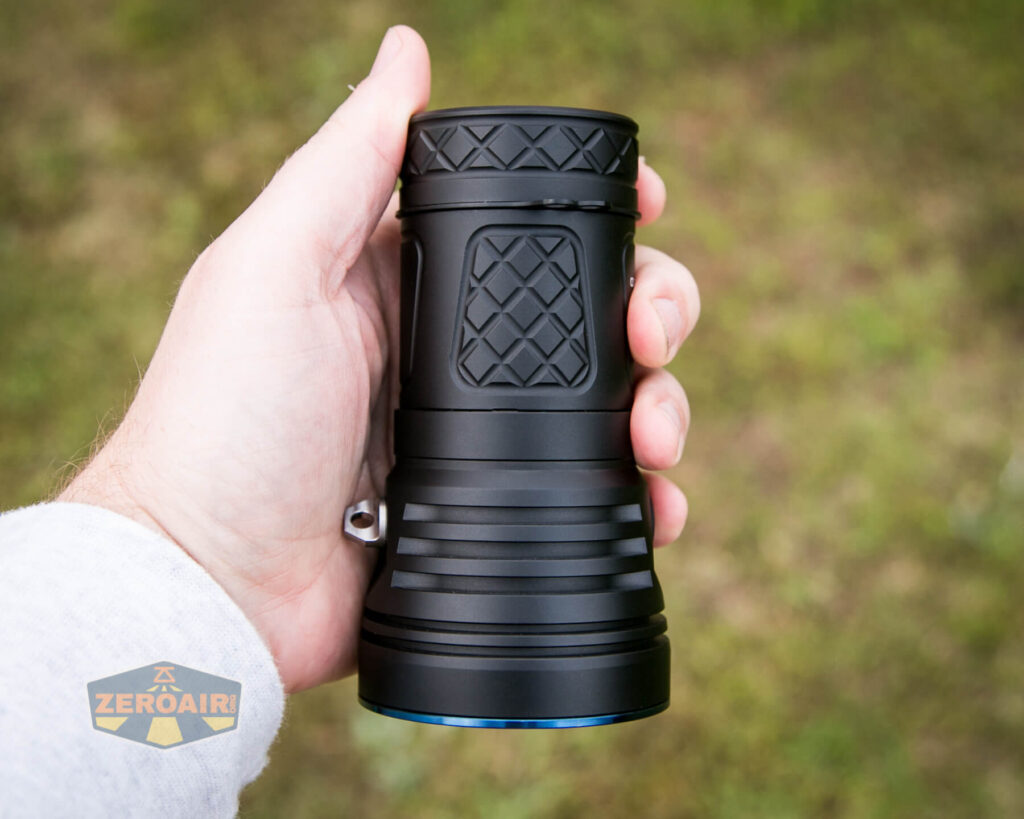
A second lanyard attachment point is this ring around the tailcap area. This is a free-moving ring, and removable. You’ll probably want to remove the o-ring that holds the ring in place, to prevent o-ring damage.
Because I’ve used very long protected button top cells for testing, you can see there’s a bit of a gap here around this ring. If you use the right cells (that is, unprotected flat tops), then there is no gap here at all. Even with no gap, this lanyard ring will still move around the body freely.


Interestingly there is actually no lanyard included. So despite the only way to carry the light being a lanyard, you’ll have to roll your own.
There is no pouch or any other means for carry included.
Power and Runtime
The Lumintop BLF GT3 flashlight is powered by four 18650 lithium-ion cells. I’ve tested mine with these four MJ1’s from Liion Wholesale (which I tested here). These are great cells, but probably not ideal for daily use of the GT3. You’ll really want unprotected flat top cells for daily use.
The Lumintop page specifies that this is the “12V Texas Avenger V2” driver. The “12V” means this light will not work on any combination of cells except exactly four. One, two, or three cells will not work. Also since these are in series, you should use four cells in here, and they should be married cells. (I would recommend married cells even if the setup was not fully series, actually).

Like I said above, while you might think those white pins are problematic, they really, truly seem to just find their proper placement with very little effort from the user. I had to be deliberate maybe twice out of many installations of this tailcap.


We’ve covered this gap, but as a reminder – you won’t have this gap if you use unprotected flat top cells!
Below find a few runtimes. While I’m not seeing 18000 lumens exactly, I did see over 17000 at startup. That’s well within my margin of error. Even 15600 lumens at 30s is quite fantastic. Now there is a pretty massive stepdown, but then we see over 4000 lumens for almost an hour. Pretty fantastic.
I did calibrate the thermals on this light. I set the room temperature to [accurate], and set the thermal ceiling to 60 degrees C. I’ve also noted that in my charts.

On the highest stepped mode, there’s still a big stepdown, but we’re seeing over 10000 lumens for two full minutes. That’s the real winner here, not the “18000 lumen” claim! At around 55 minutes, the temperature sensor fell off the light.

Even at the third-highest output level, we’re seeing over 3500 lumens sustained. This is pretty incredible!

In the higher two tests, I didn’t observe LVP, but in the lower test the light did shut off. In that case, I let it run for a long time (past the 95-minute mark) (overnight actually). We know Anduril has low voltage protection, and this is an example.
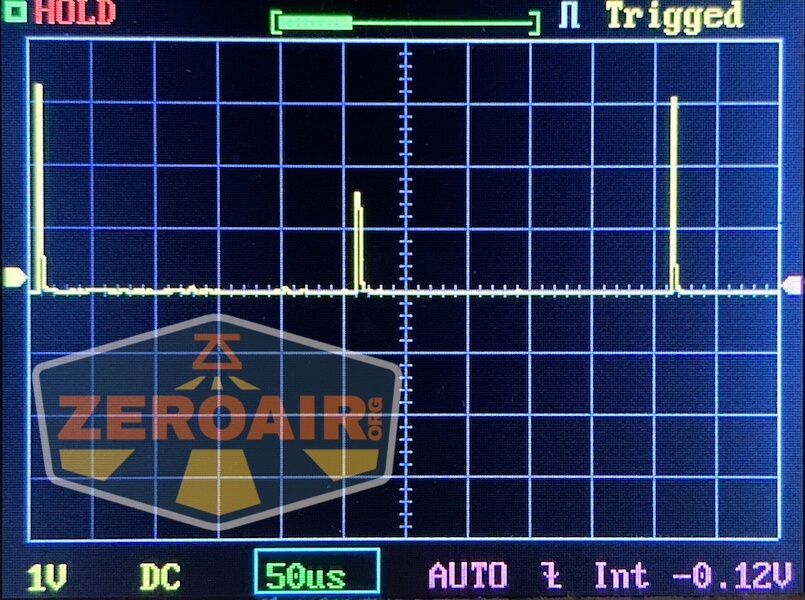
Pulse Width Modulation
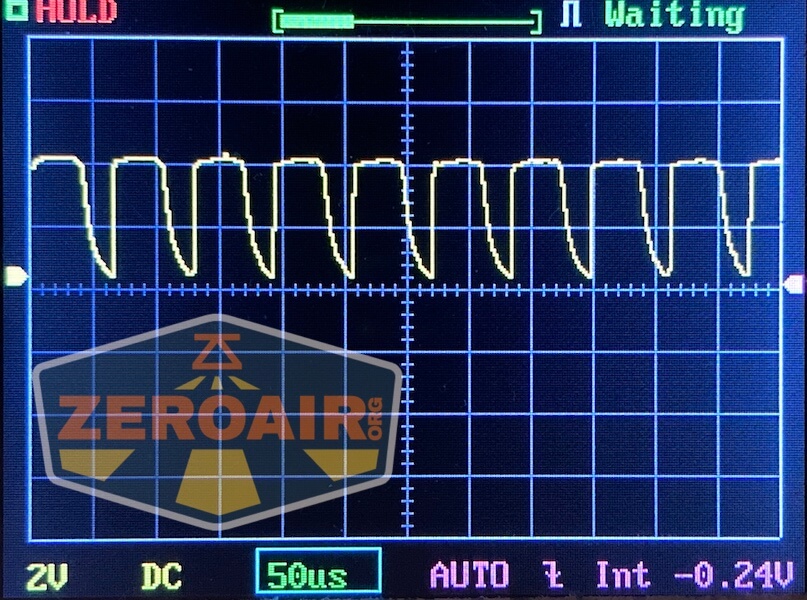
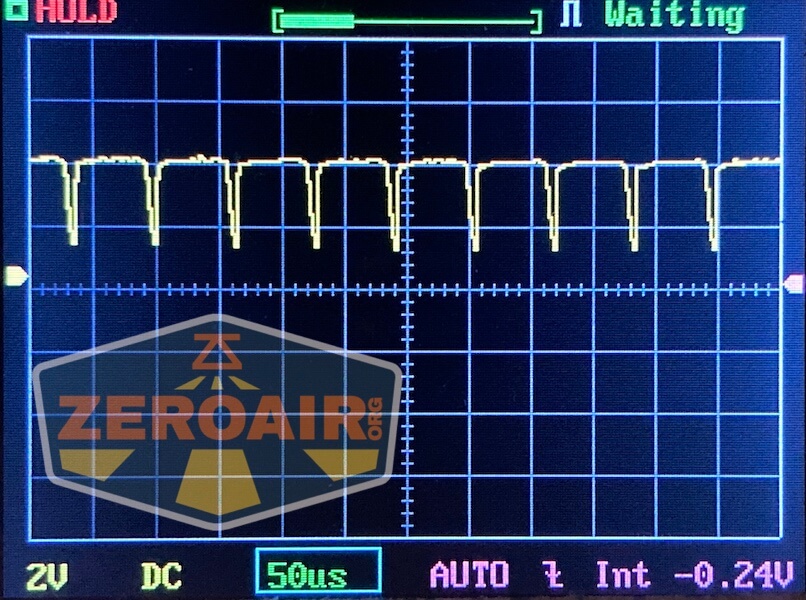
With Anduril, we know there’s PWM. Here are graphs to confirm that.
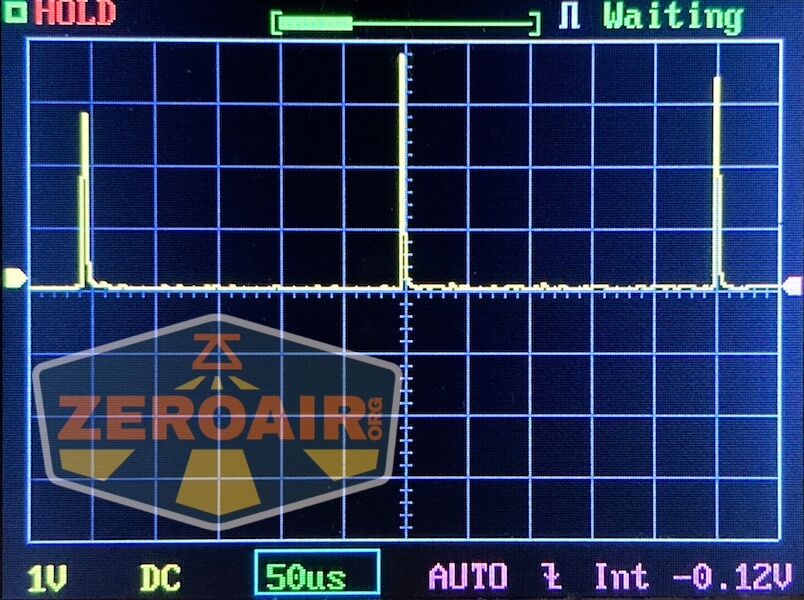
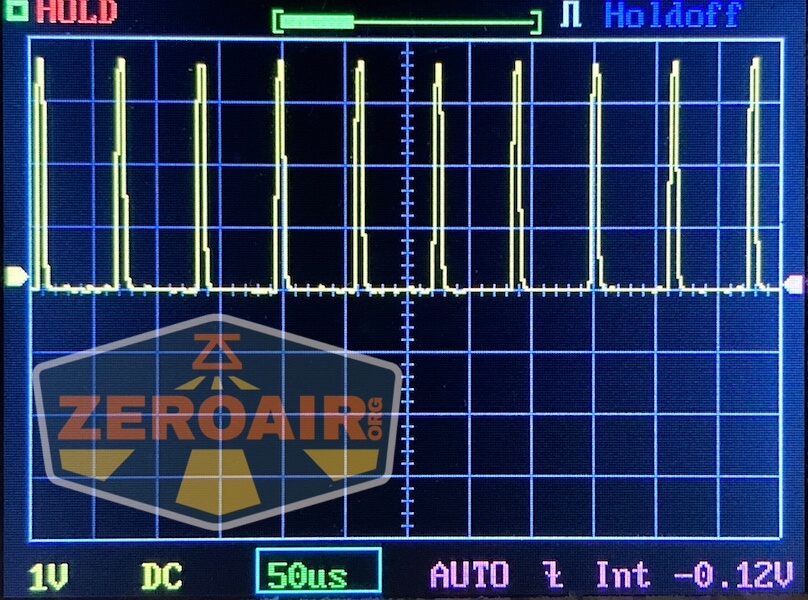
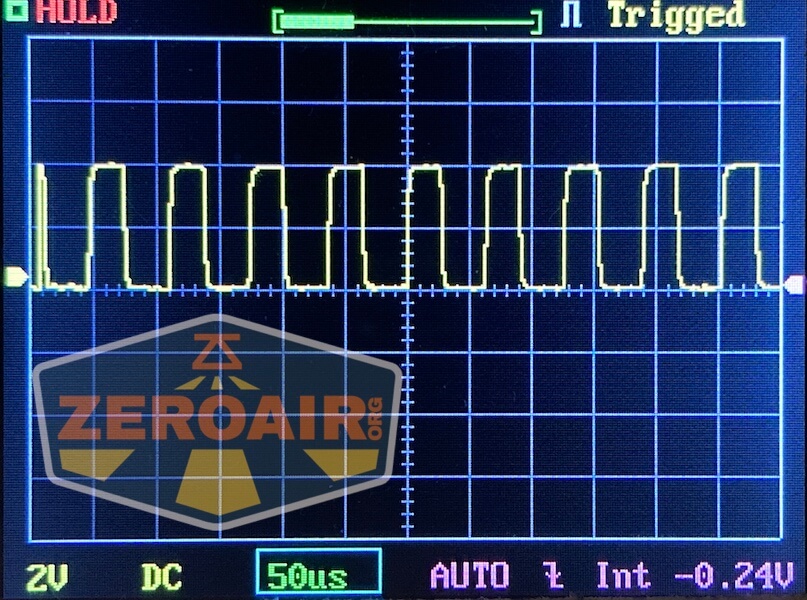
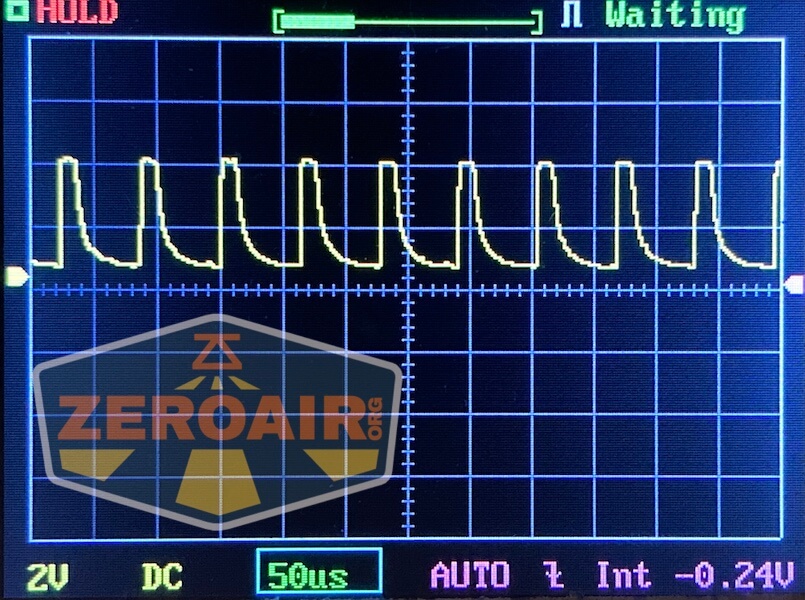
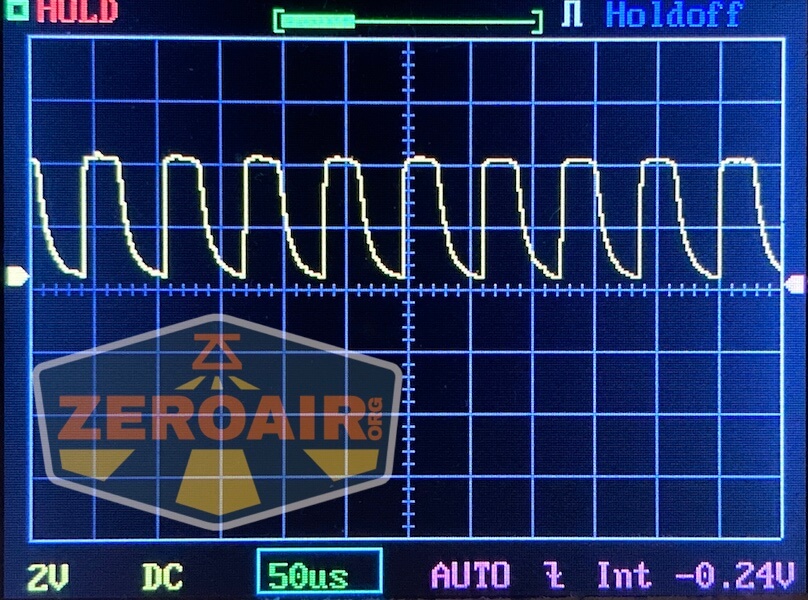
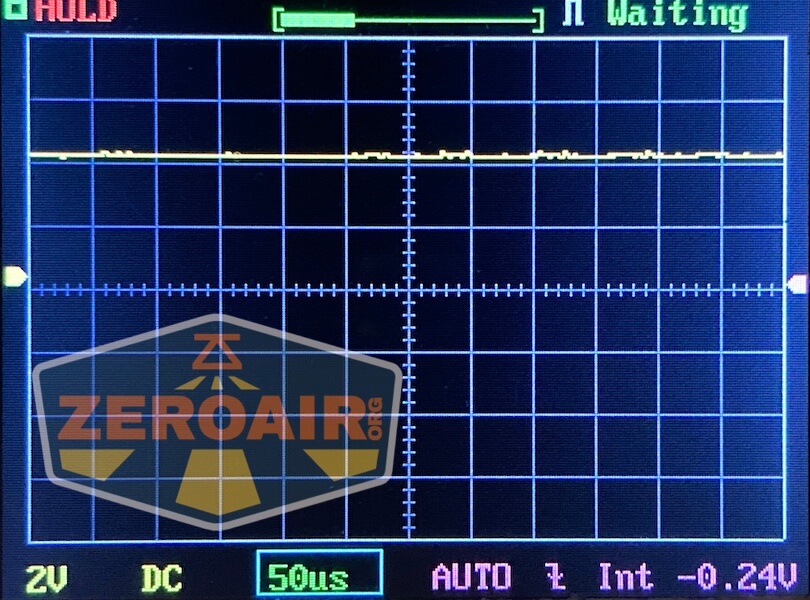
Here you can see a “baseline” – a chart with almost no light hitting the sensor.
Then there’s the Ultrafire WF-602C flashlight, which has some of the worst PWM I’ve seen. It’s so bad that I used a post about it to explain PWM! Here are multiple timescales (10ms, 5ms, 2ms, 1ms, 0.5ms, 0.2ms) to make comparing this “worst” PWM light to the test light easier. That post also explains why I didn’t test the WF-602C at the usual 50us scale.
User Interface and Operation
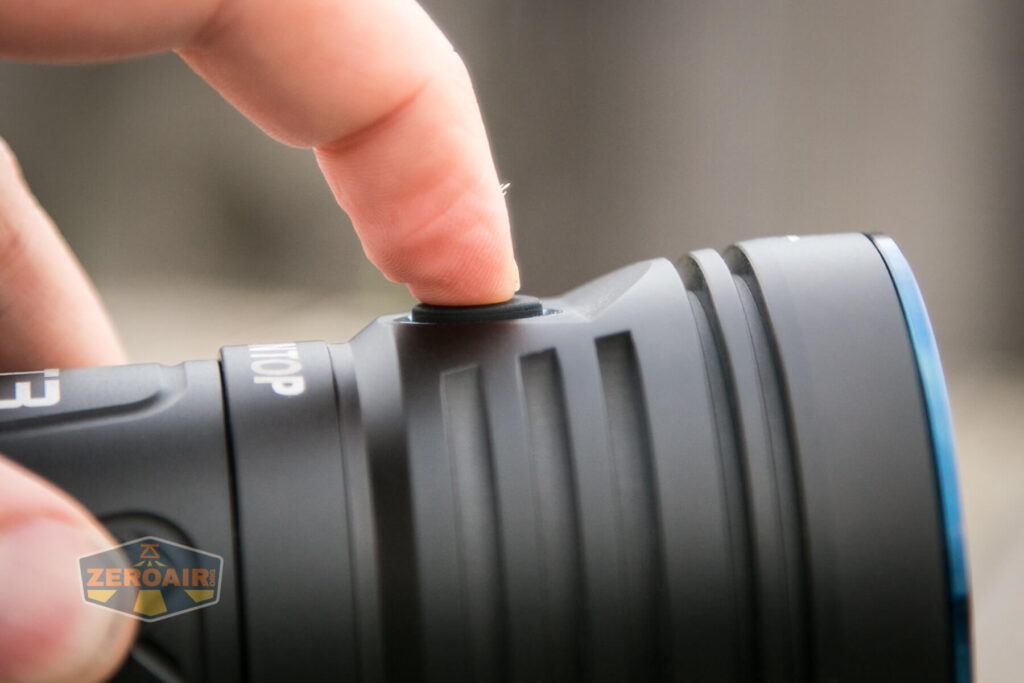
A side e-switch is used in the Lumintop BLF GT3 flashlight. There are two green emitters behind the switch, and the switch cover has a translucent power symbol.

The action of the switch is very low.


The user interface here is ToyKeeper’s Anduril, which at this point is very well covered. I’ve reviewed other lights with it, too. Here’s ToyKeeper’s user interface graphic:

Here’s a user interface table anyway!
| State | Action | Result |
|---|---|---|
| Off | Hold | On (Low) |
| Off | Click | On (Mode Memory) |
| Off | Click 2x | Highest Hybrid Mode |
| Off | Click 3x | Blinkie Mode Group |
| Off | Click 4x | Lockout |
| Off | Click 5x | Momentary |
| Off | Click 6x | Muggle |
| Off | Click, Click, Hold | Strobe Group (Mode Memory Strobe) |
| Strobe Group | Click 2x | Strobe Cycle (Candle > Bike Flasher > Party Strobe > Tactical Strobe > Lightning Storm) |
| Blinkie Mode Group | Click 2x | Blinke Cycle (Sunset > Beacon > TempCheck > BattCheck) |
| On | Click 3x | Switch between Stepped and Smooth Ramp |
| On | Click 4x | Ramp Configuration |
| TempCheck | Click 4x | Thermal Configuration |
| Beacon | Click 4x | Beacon Configuration |
| Lockout | Click 4x | Off |
| Strobe Group | Click | Off |
| (Basically) On | Click | Off |
| Candle | Click 3x | 30-minute timer to off |
| Strobe Group | Hold | Heighten selected mode (Make faster or brighter) |
| Strobe Group | Click, Hold | Lessen selected mode (Make slower or dimmer) |
| On | Click 2x | FET Turbo |
| Ramp Configuration | [Wait for Single flash] Click N time for level N. | Selection of the “Low” you like best by clicking 1, 2, 3, etc. where 1, 2, 3, etc are different levels of low. |
| Ramp Configuration | [Wait for Second flash] Click N time for 1+Turbo-N. | Selection of the “Ceiling” you like best by clicking 1, 2, 3, etc. where 1, 2, 3, etc are different Ceiling levels. |
| Ramp Configuration | [Wait for Third flash] Click for how many steps you want in Stepped mode. | Sets Number of Steps. |
| Thermal Configuration | [Wait for First flash] Click for N times for N degrees C. | Displays Current Temperature. |
| Thermal Configuration | [Wait for Second flash] Click for N times for 30C + N. | Sets Temperature Limit. |
| Beacon Configuration | [Wait for First flash] Click for N times N seconds per flash | Sets Beacon Speed. |
If you want to see how to calibrate the thermals, see this part of the FW1A review. (I did calibrate this light; you can read more about that above.)
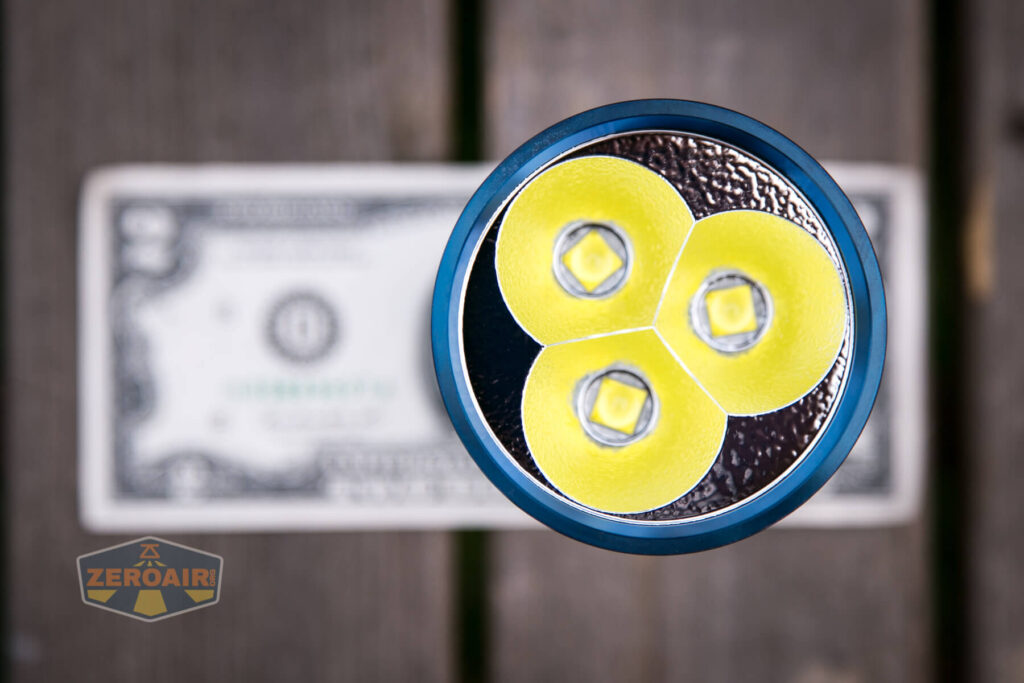
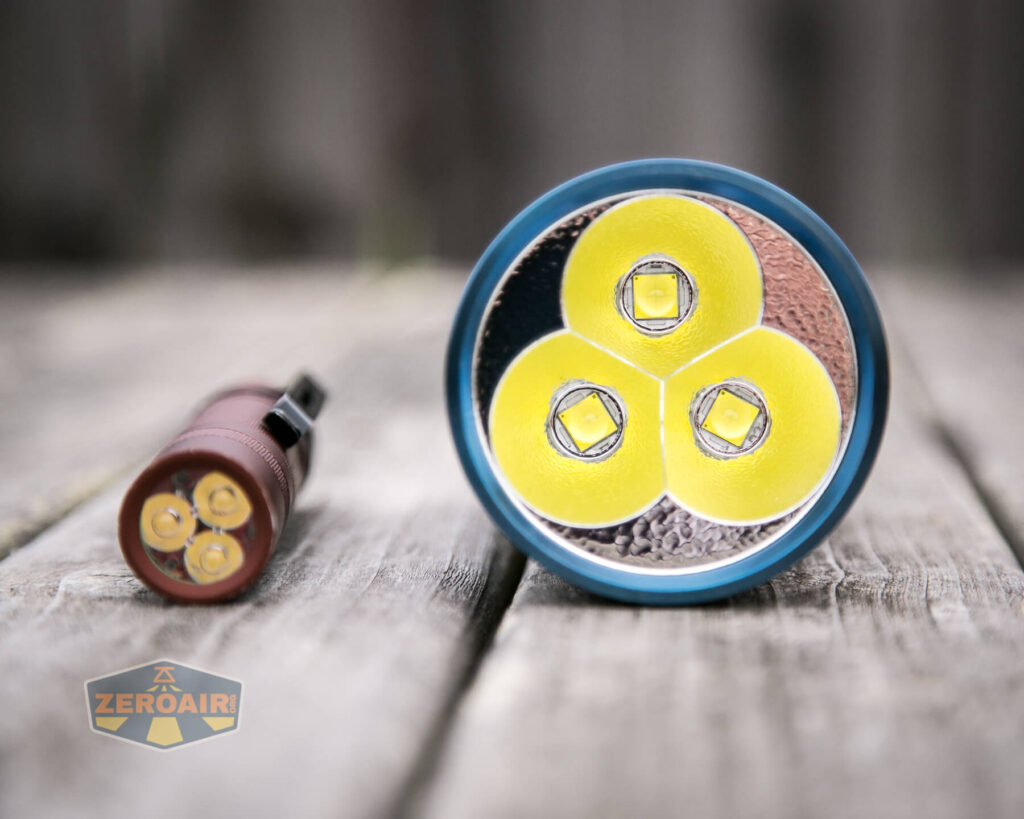
LED and Beam
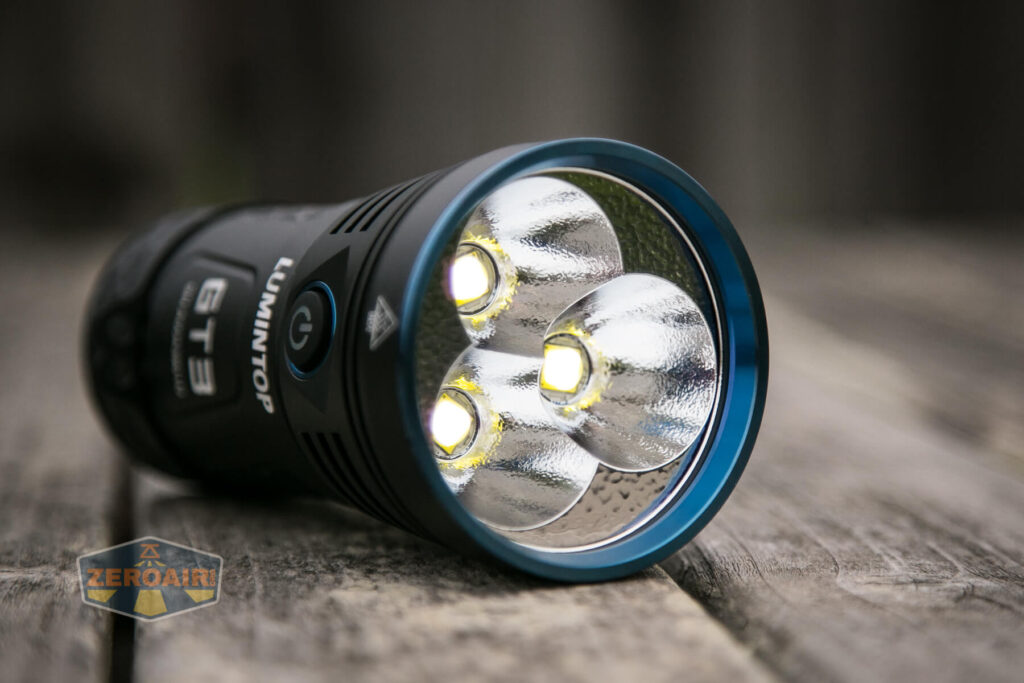
In the Lumintop BLF GT3 are three Cree XHP70.2 emitters. Mine are cool white, but it looks like neutral white is available too. You’ll take an output hit with the NW option.
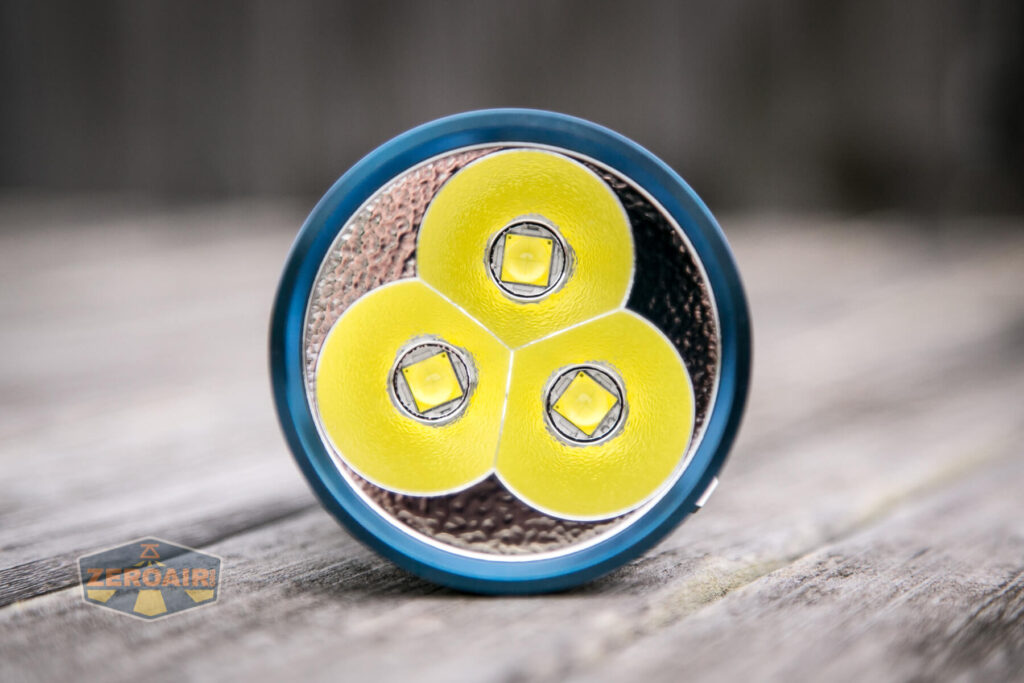
These emitters are surrounded by reflectors that are orange peel and surprisingly deep.

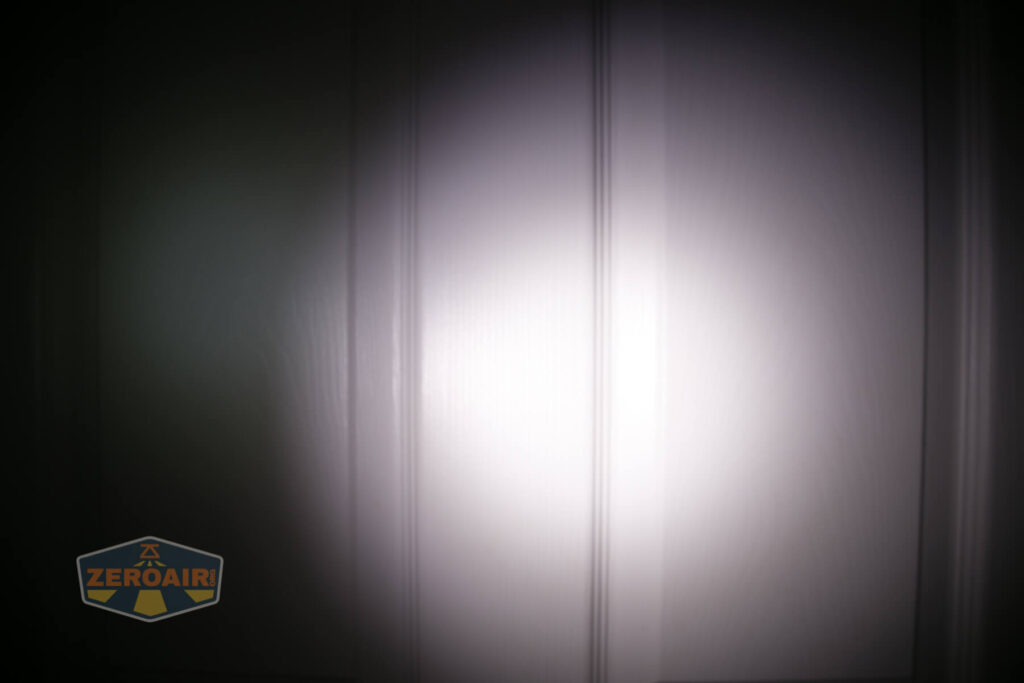
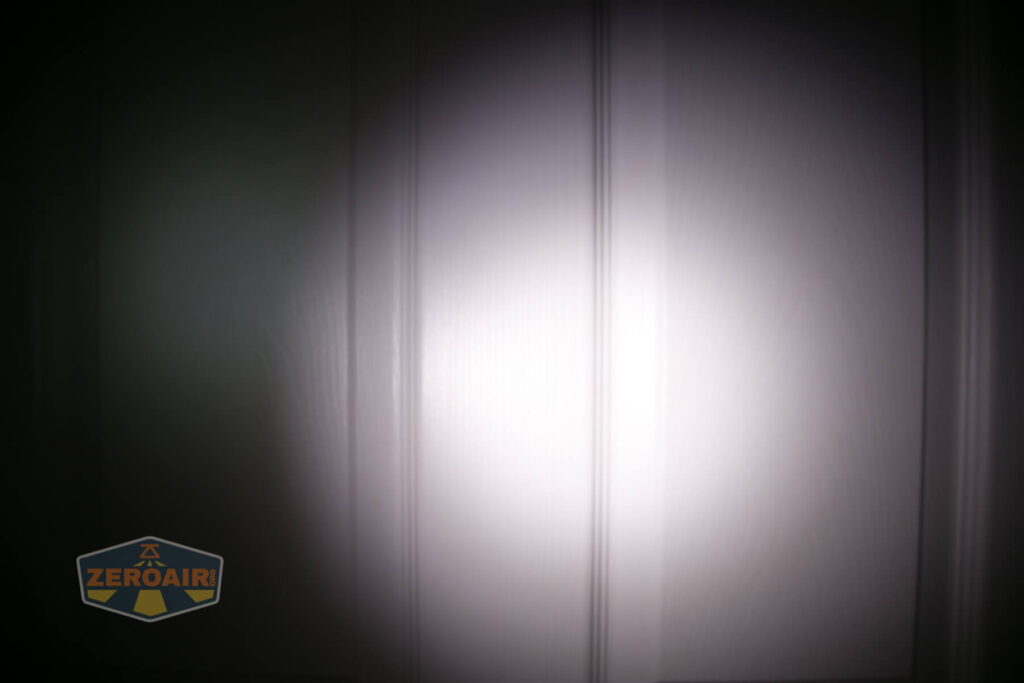
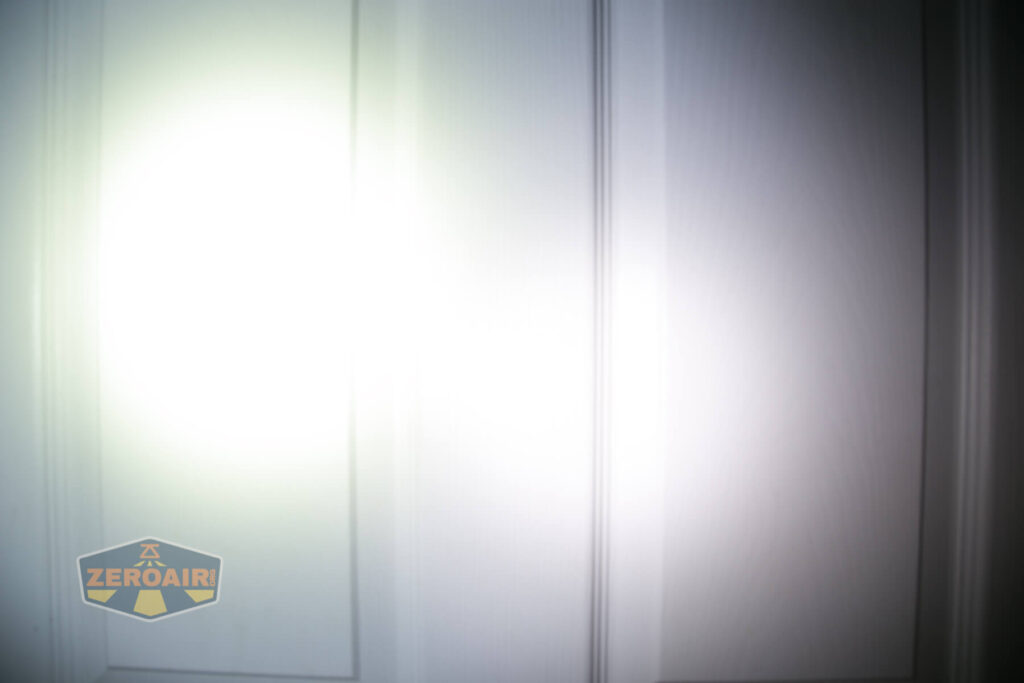
Here’s an uncalibrated beam shot – this is broad daylight, with the light on turbo, and automatic camera settings – the point being this thing’s so bright it made daylight seem dark!

These beamshots always have the following settings: f8, ISO100, 0.3s shutter, and manual 5000K exposure. These photos are taken at floor level, and the beam hits the ceiling around 9 feet away. As with most other Anduril flashlight reviews, I’ve included a shot of the lowest mode of ramping (that’s the absolute lowest mode), then the seven stepped modes, then the highest mode available (double click from on state). Same below with the comparison photos.


Tint vs BLF-348 (KillzoneFlashlights.com 219b version) (affiliate link)
I keep the test flashlight on the left and the BLF-348 reference flashlight on the right.


I compare everything to the KillzoneFlashlights.com 219b BLF-348 because it’s inexpensive and has the best tint!
Conclusion
What I like
- Massive output, especially on the non-turbo modes
- Excellent build quality
- Works with any type 18650 (but best with unprotected flat tops)
- Available in neutral white
- Great throw for such a wall-of-light style can light
- Anduril
What I don’t like
- Lanyard is not included
Notes
- This light was provided by Lumintop for review. I was not paid to write this review.
- This content originally appeared at zeroair.org. Please visit there for the best experience!
- For flashlight-related patches, stickers, and gear, head over to PhotonPhreaks.com!
- Please use my Amazon.com referral link to help support zeroair.org!
- Please support me on Patreon! I deeply appreciate your support!
gt3 actually can drain over 250 watts and use MJ1?I dont think it’s a good idea
There much be two different versions of this light. I have a GT3 that has silver accents, runs narsil, and will only accept button top batteries.
Pingback: Flashlight News: Phreaky Briefing Issue 41 – PhotonPhreaks