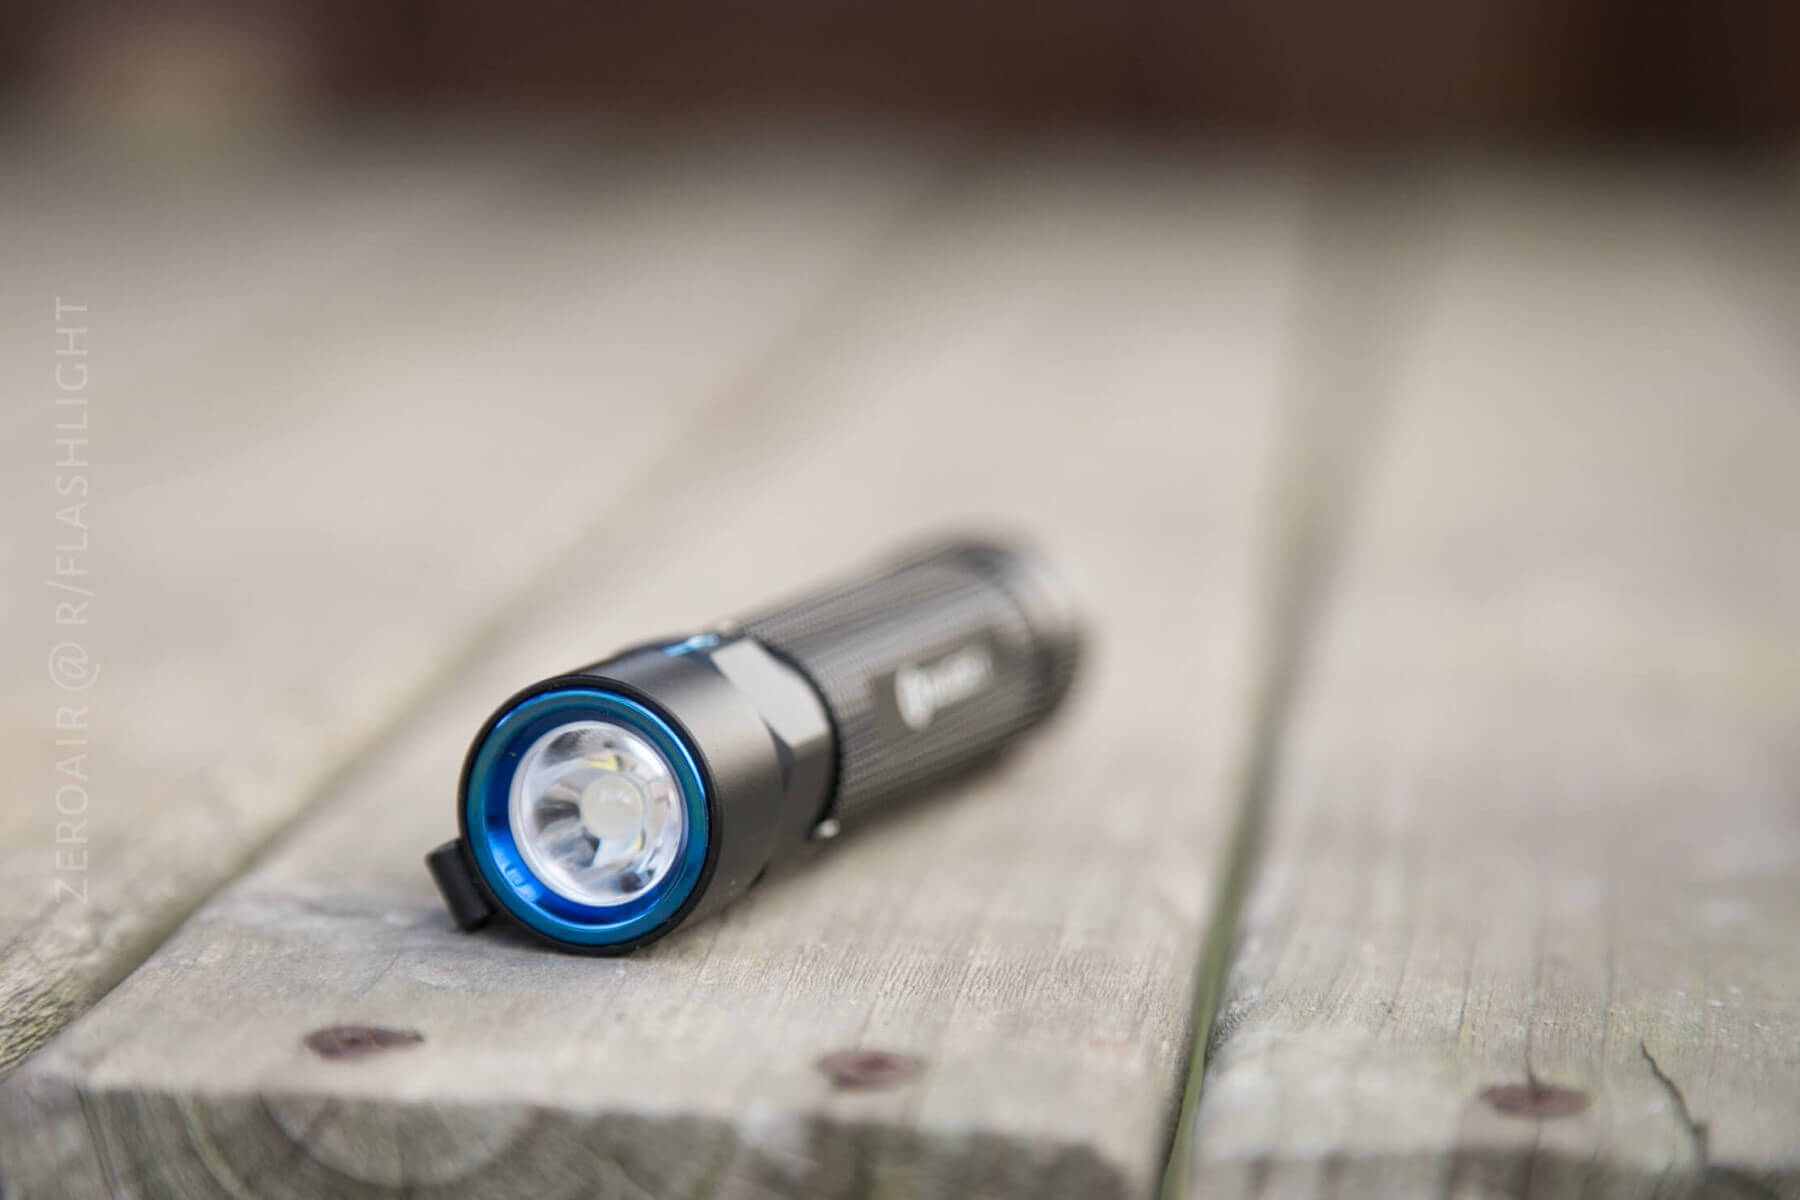
Olight S1Rv2 and Olight S2R Flashlights Review
These flashlights by Olight, the S1Rv2 and S2R, have similar specifications. They both use a Cree XM-L2 emitter, but different cells. Read on!
These were both sent to me by Olight, through Going Gear. I’m a fan of 16340-size lights, and the S1 is one of my favorite lights to carry, so I was interested in this light for sure! I’m also a (relatively) recent convert to the 18650 world and many of my favorite lights are 18650 lights! I’m doing these two lights together since they’re so similar – differing really only in the cell they use. Special thanks to Going Gear for sending these my way! My MO for this review will be to assume that the lights are the same in said characteristic, except where differences are explicitly stated (just like in the H05/H05S review.)
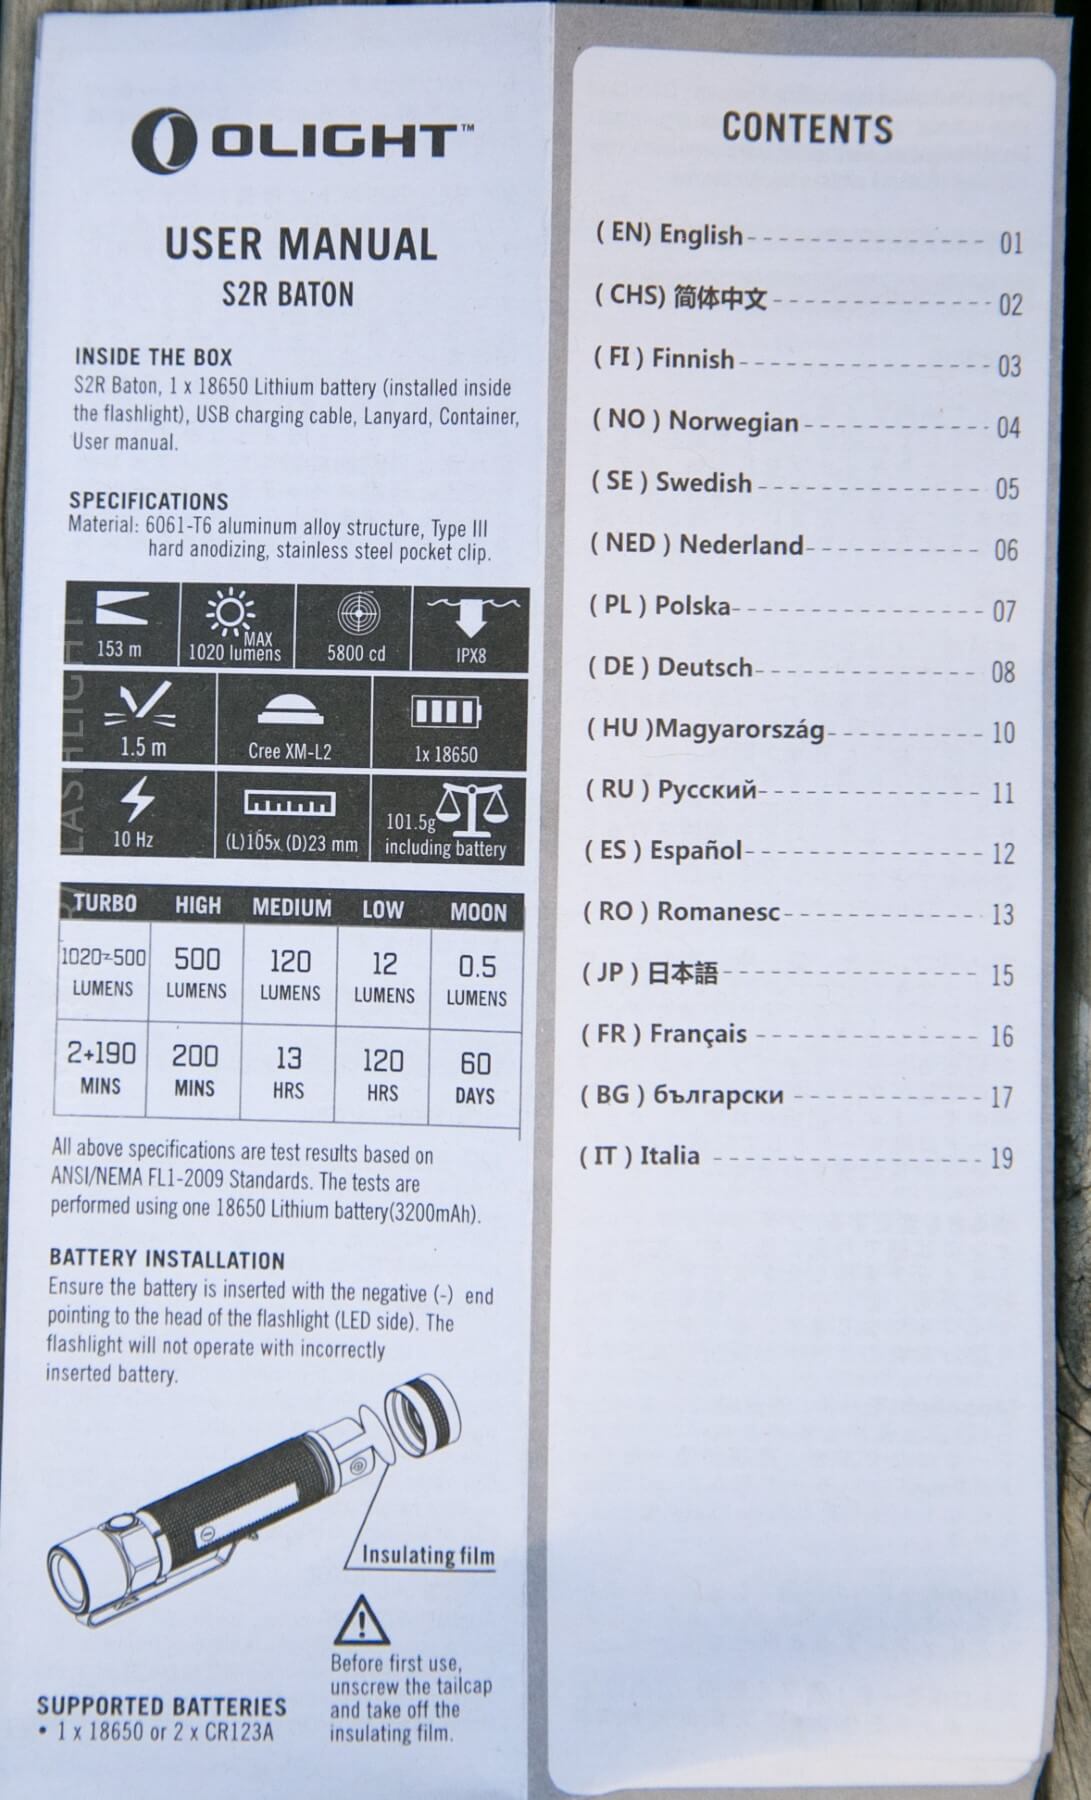
Official Specs
Features
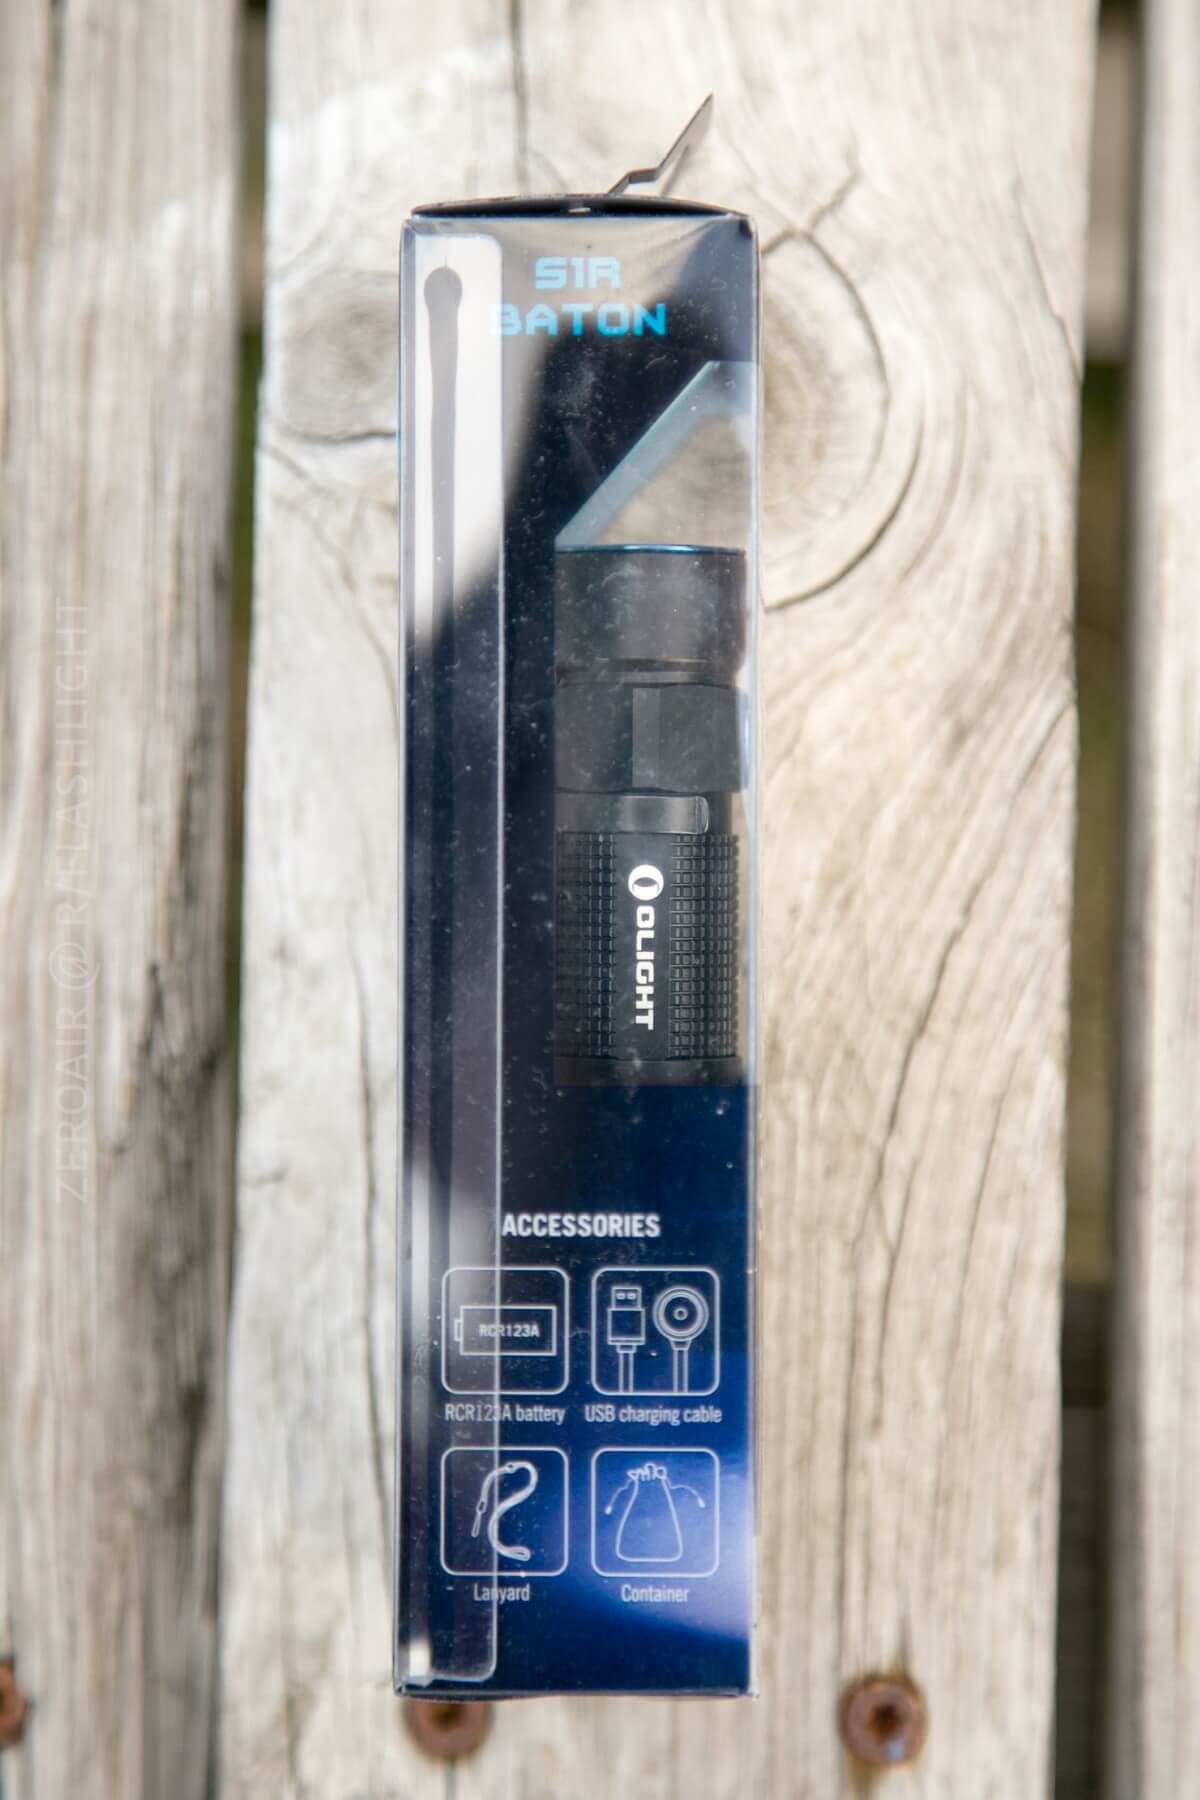
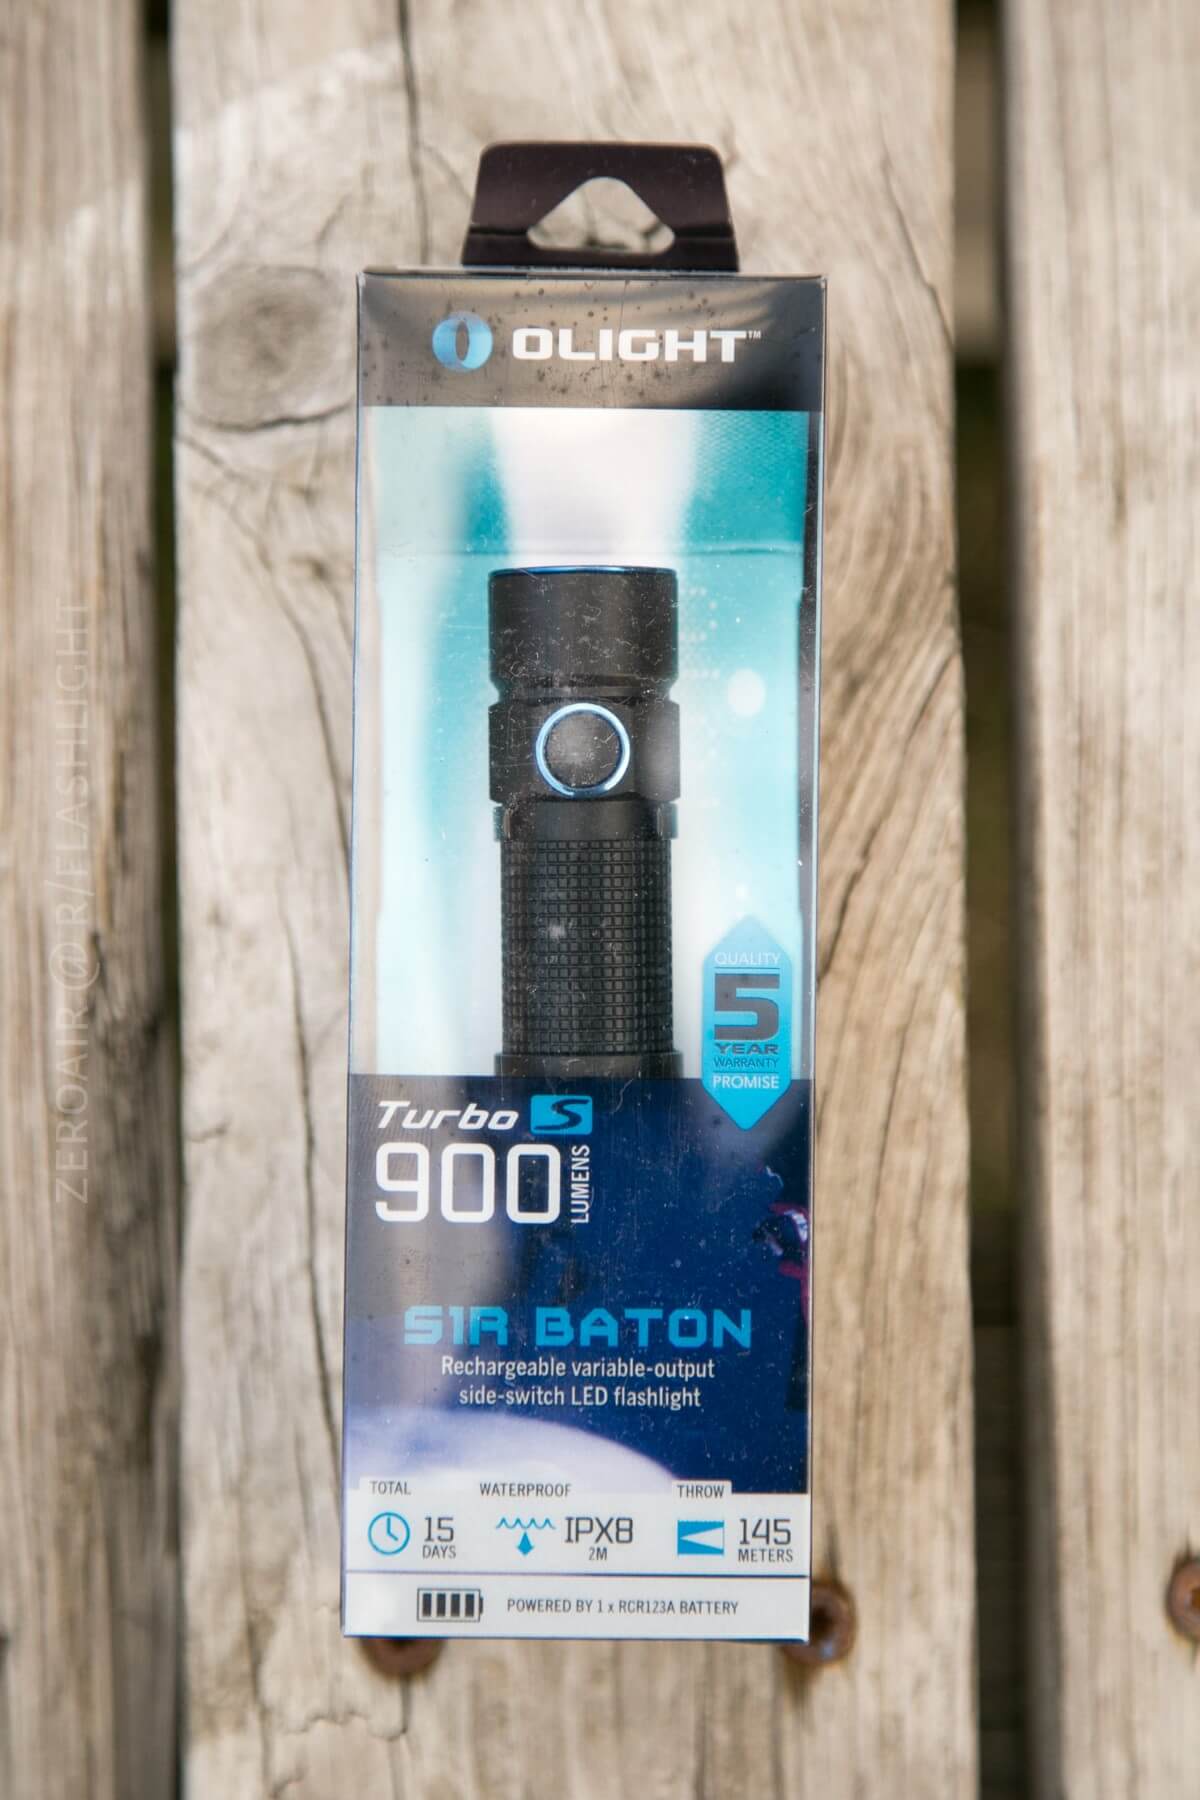
Here’s a link to the Olight S1R Baton product page.
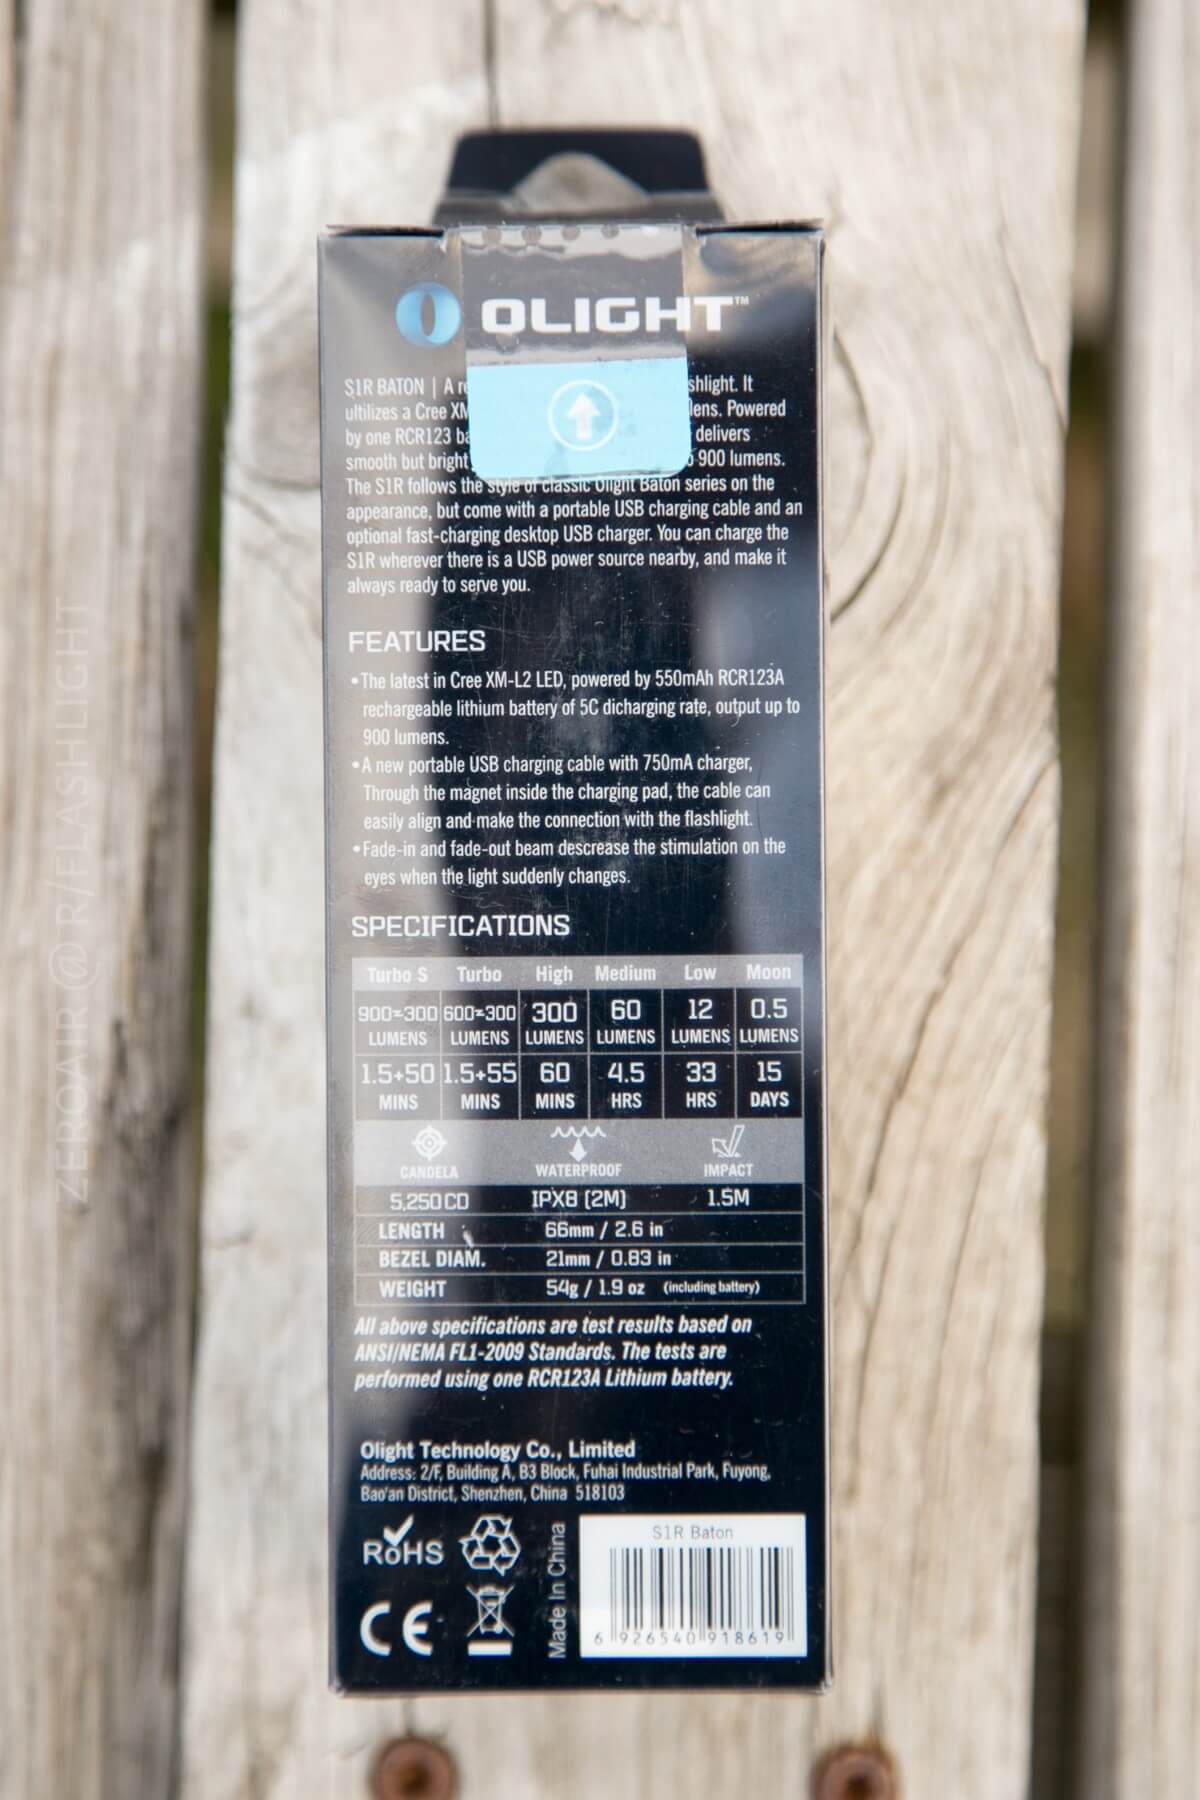
- Powered by an included 550mAh RCR123 customized battery of five times discharging rate, giving a maximum output up to 900 lumens
- Brightness increases or decreases gradually: when the flashlight is switched on/off, it will light up or fade gradually to protect eyes from the stimulation caused by sudden brightness changes
- The standby current is below 30uA
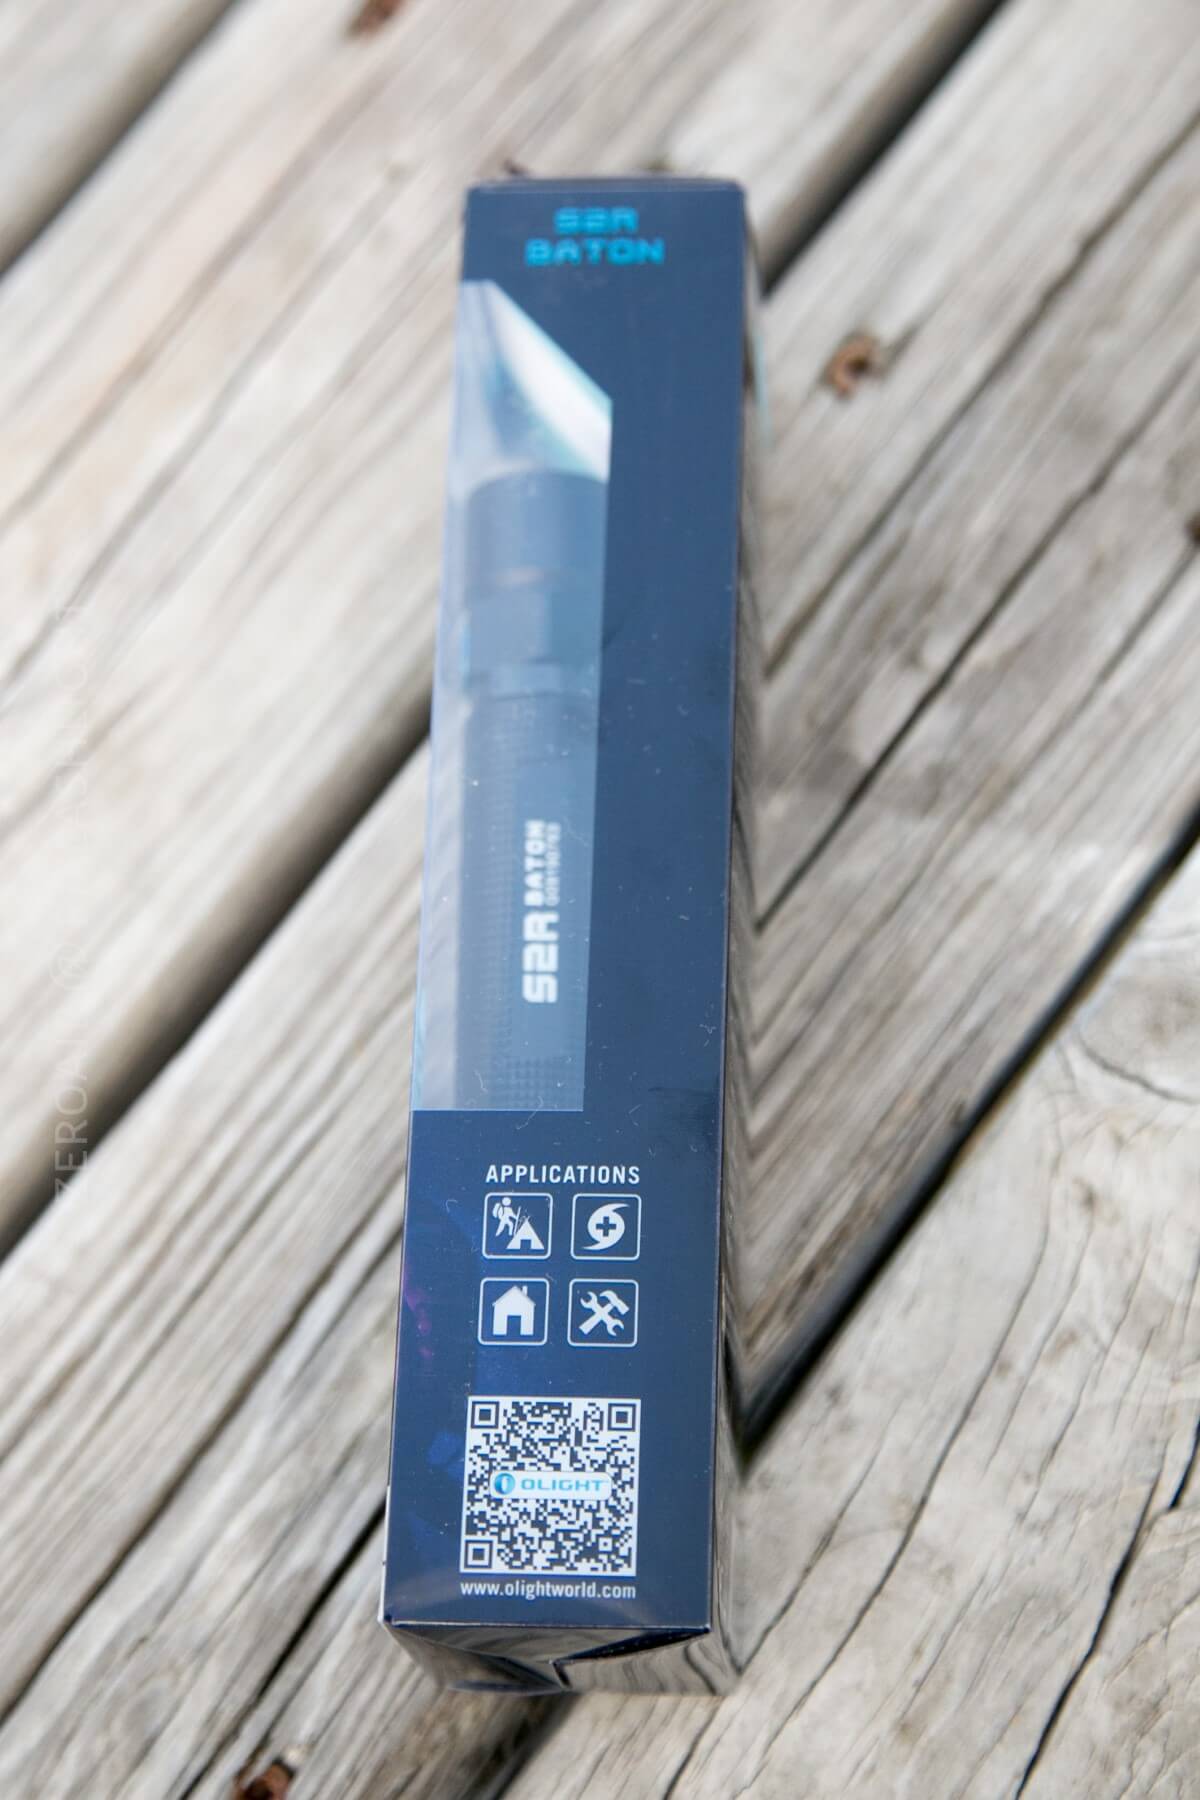
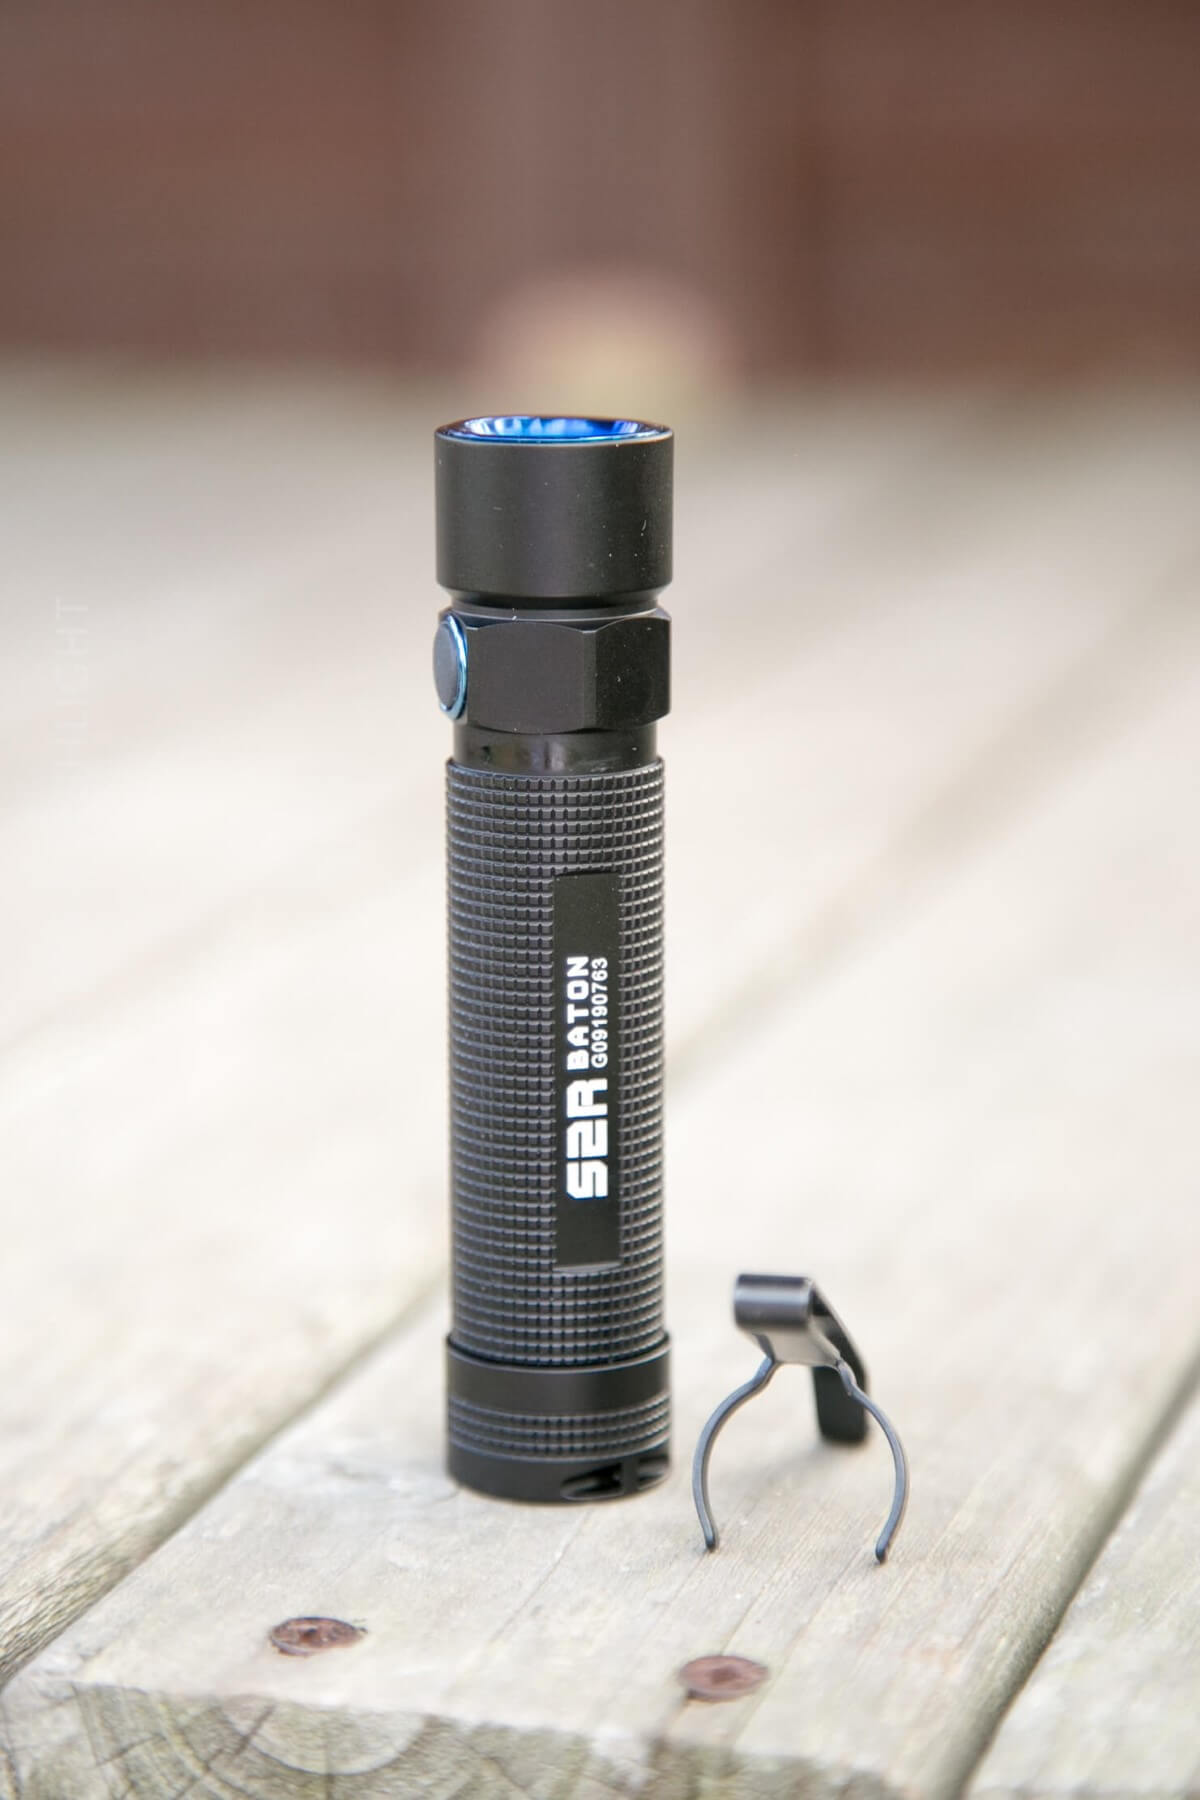
Here’s a link to the Olight S2R Baton product page.
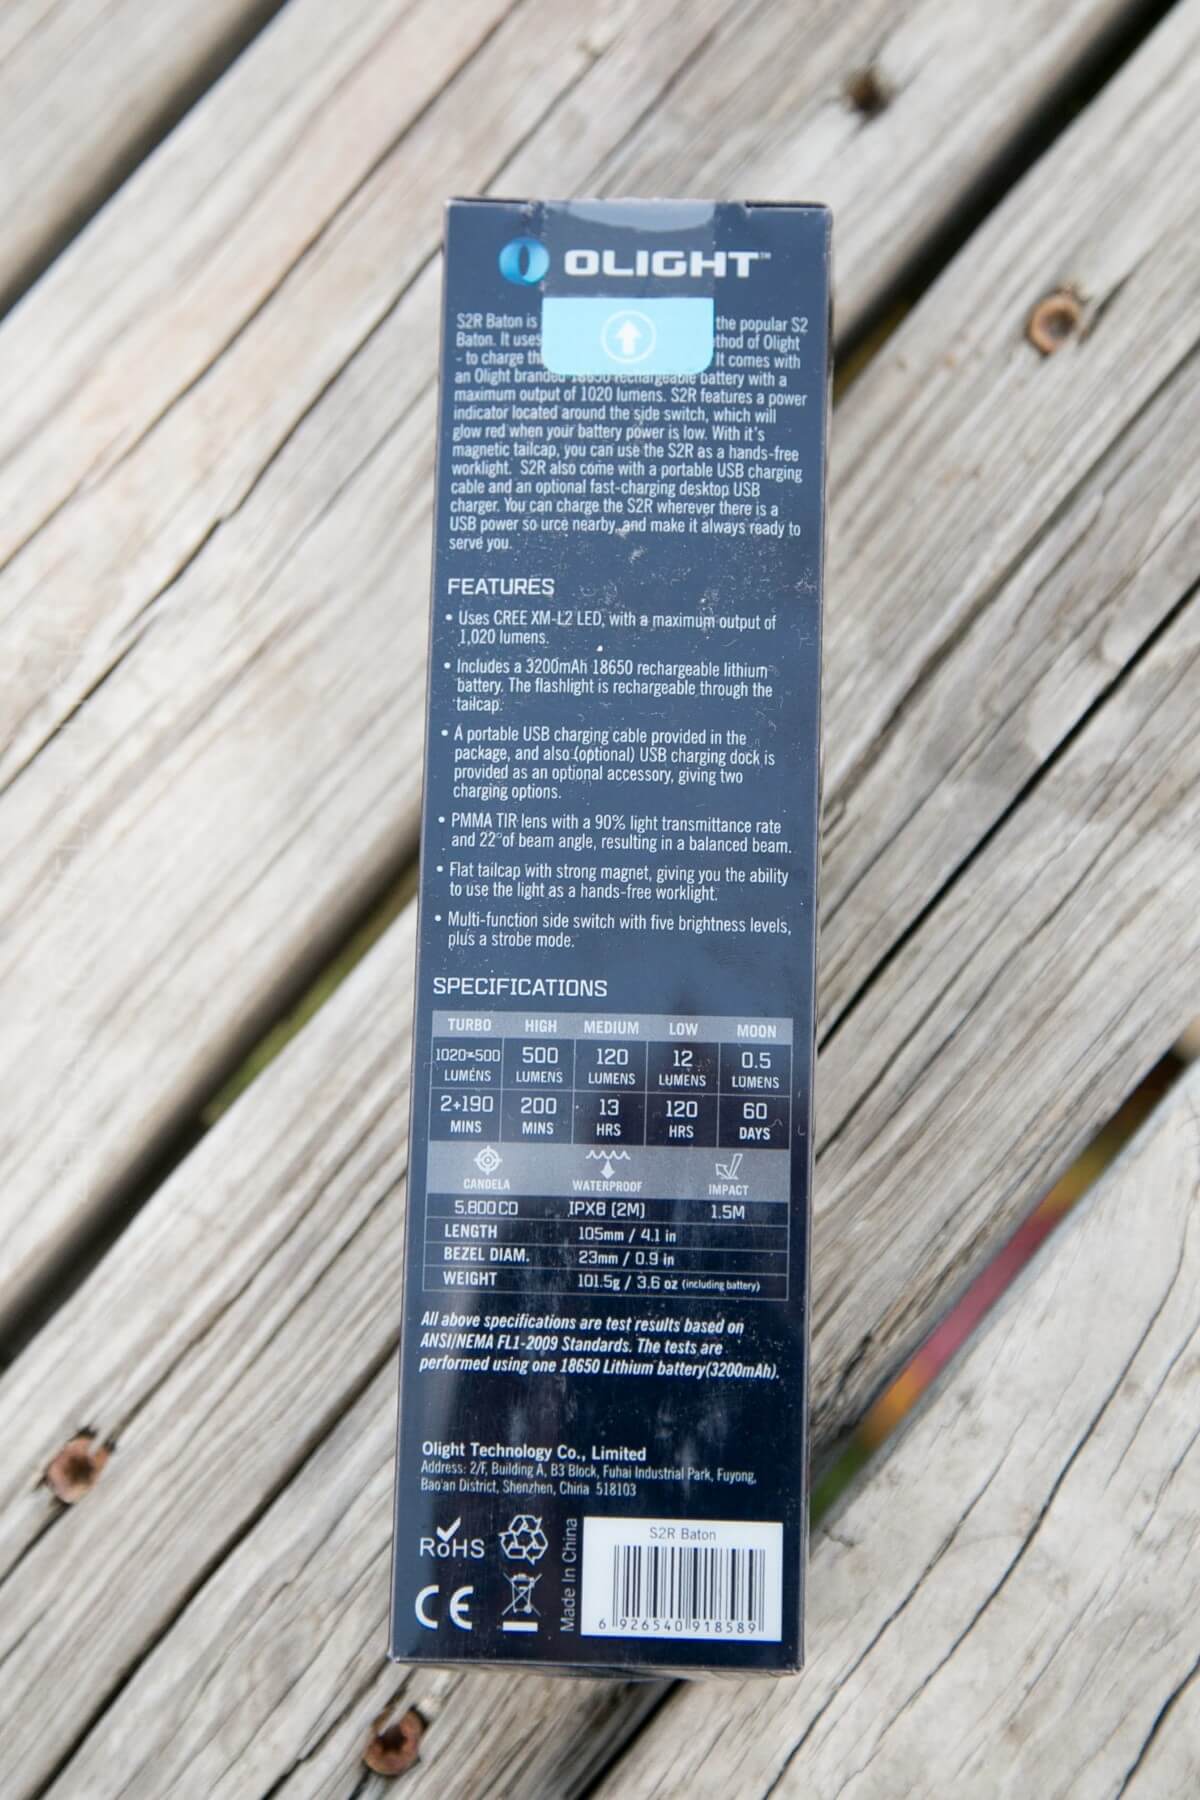
- Powered by an included 3200mAh 18650 customized rechargeable lithium battery
- Pouch included for better storage and organization of cables and the flashlight
- Quick access to turbo mode: Simply double-click the side switch to enter.
- The standby current is below 10uA
Both Olight S1R and S2R Baton:
- Cree XM-L2 LED
- The flashlight can be charged through the magnetic contact charging port (other batteries may also be used, but cannot be charged)
- New 750mA portable USB charging cable
- Timer Setting: Short (3 minutes) and long (9 minutes)
- Reverse polarity protection circuits
- Lockout mode can be activated on the side switch for accidental triggering protection, along with a low-voltage indicator underneath
- Flat magnetic tailcap that allows it to be secured to ferrous metal surfaces as a hands-free option
ANSI/NEMA FL1-2009 Standards:
| Category | S1R (v2) | S2R |
|---|---|---|
| Max Output (lumens) | 900 | 1020 |
| Low (lumens) | 0.5 | 0.5 |
| Max Run Time (hours) | 15 days | 60 days |
| Beam Distance | 145 m | 153 m |
| Peak Beam Intensity (candela units) | 5250 | 5,800 cd |
| Water Resistance | IPX8 | IPX8 (waterproof up to 2 meters) |
| Impact Resistance | 2m | 1.5 m |
| Head Diameter | 0.83 in. / 21mm | 0.9 in. / 23mm |
| Length | 2.6 in. / 64mm | 4.13 in. / 105mm |
| Battery Type | CR123A | 18650 |
| Weight (oz) | 1.2700 | 3.5800 |
| Pocketclip | No [sic] | No [sic] |
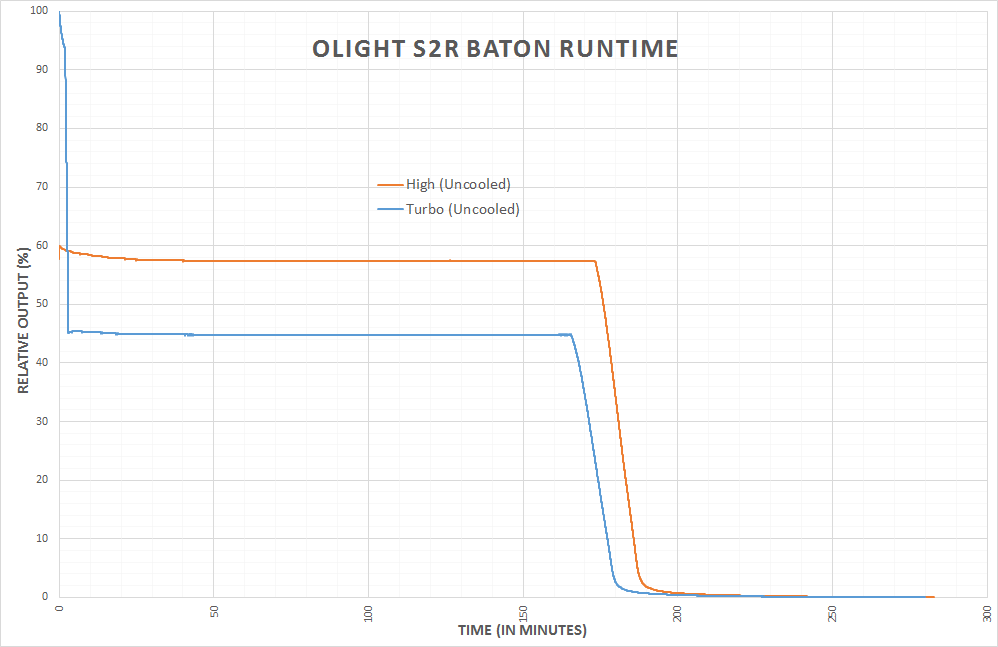
| Mode | S1R v2 Output (lm) | S1R v2 Runtime (h) | S2R Output (lm) | S2R Runtime (h) | |
|---|---|---|---|---|---|
| Turbo S | 900 | 1.5 | – | – | |
| →Stepdown | 300 | 50 | – | – | |
| Turbo | 600 | 1.5 | 1020 | 2 | |
| →Stepdown | 300 | 55 | 500 | 190 | |
| High | 300 | 60 | 500 | 200 | |
| Medium | 60 | 4.5h | 120 | 12h | |
| Low | 12 | 33h | 12 | 120h | |
| Moon | 0.5 | 15d | 0.5 | 60d |
Versions
There are two versions of the S1R, aptly named The S1R and S1R v2. V2 has a much higher output of 900 lumens (rated). The original (let’s call it “v1”, unofficially) was somewhere around 900 lumens, I believe, but lacked a 600 lumen mode, and came with a lower mAh cell. I have v1 and v2 of this light, and to be honest, it looks like it’ll take a serial number search to identify which is which. Or if you have the lights in hand, you could test getting to Turbo S – only the v2 will reach Turbo S.
S2R is in its first version now.
You can get either of these lights in ANY COLOR YOU WANT, so long as it’s black with a blue bezel.
Short Review
Two winners in the baton series from Olight! No surprises from either of these quality lights! Ultimately, your decision will probably boil down to what type of cell you prefer.
Long Review
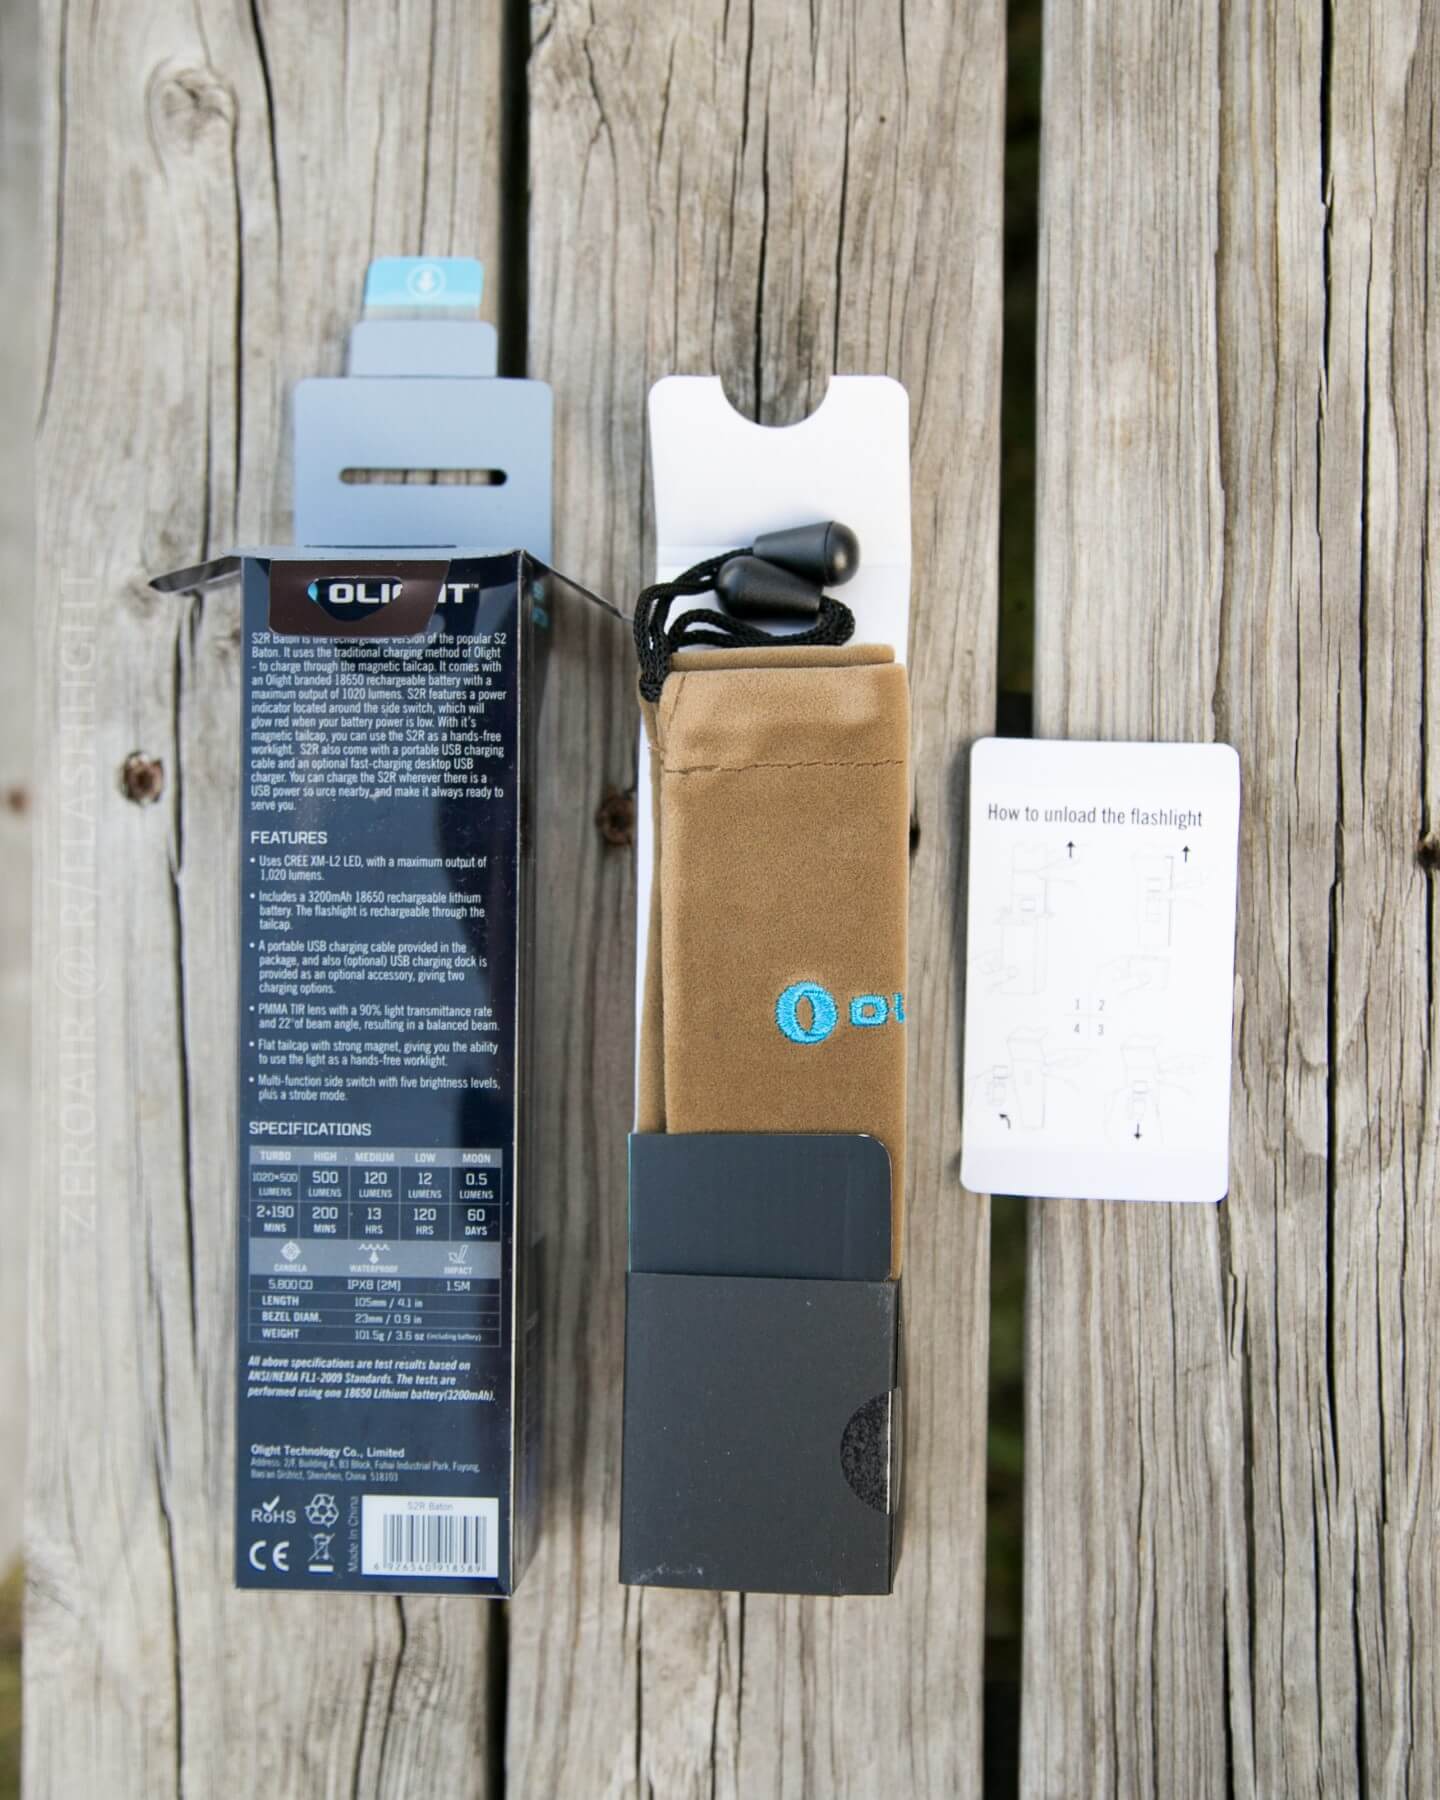
What’s Included
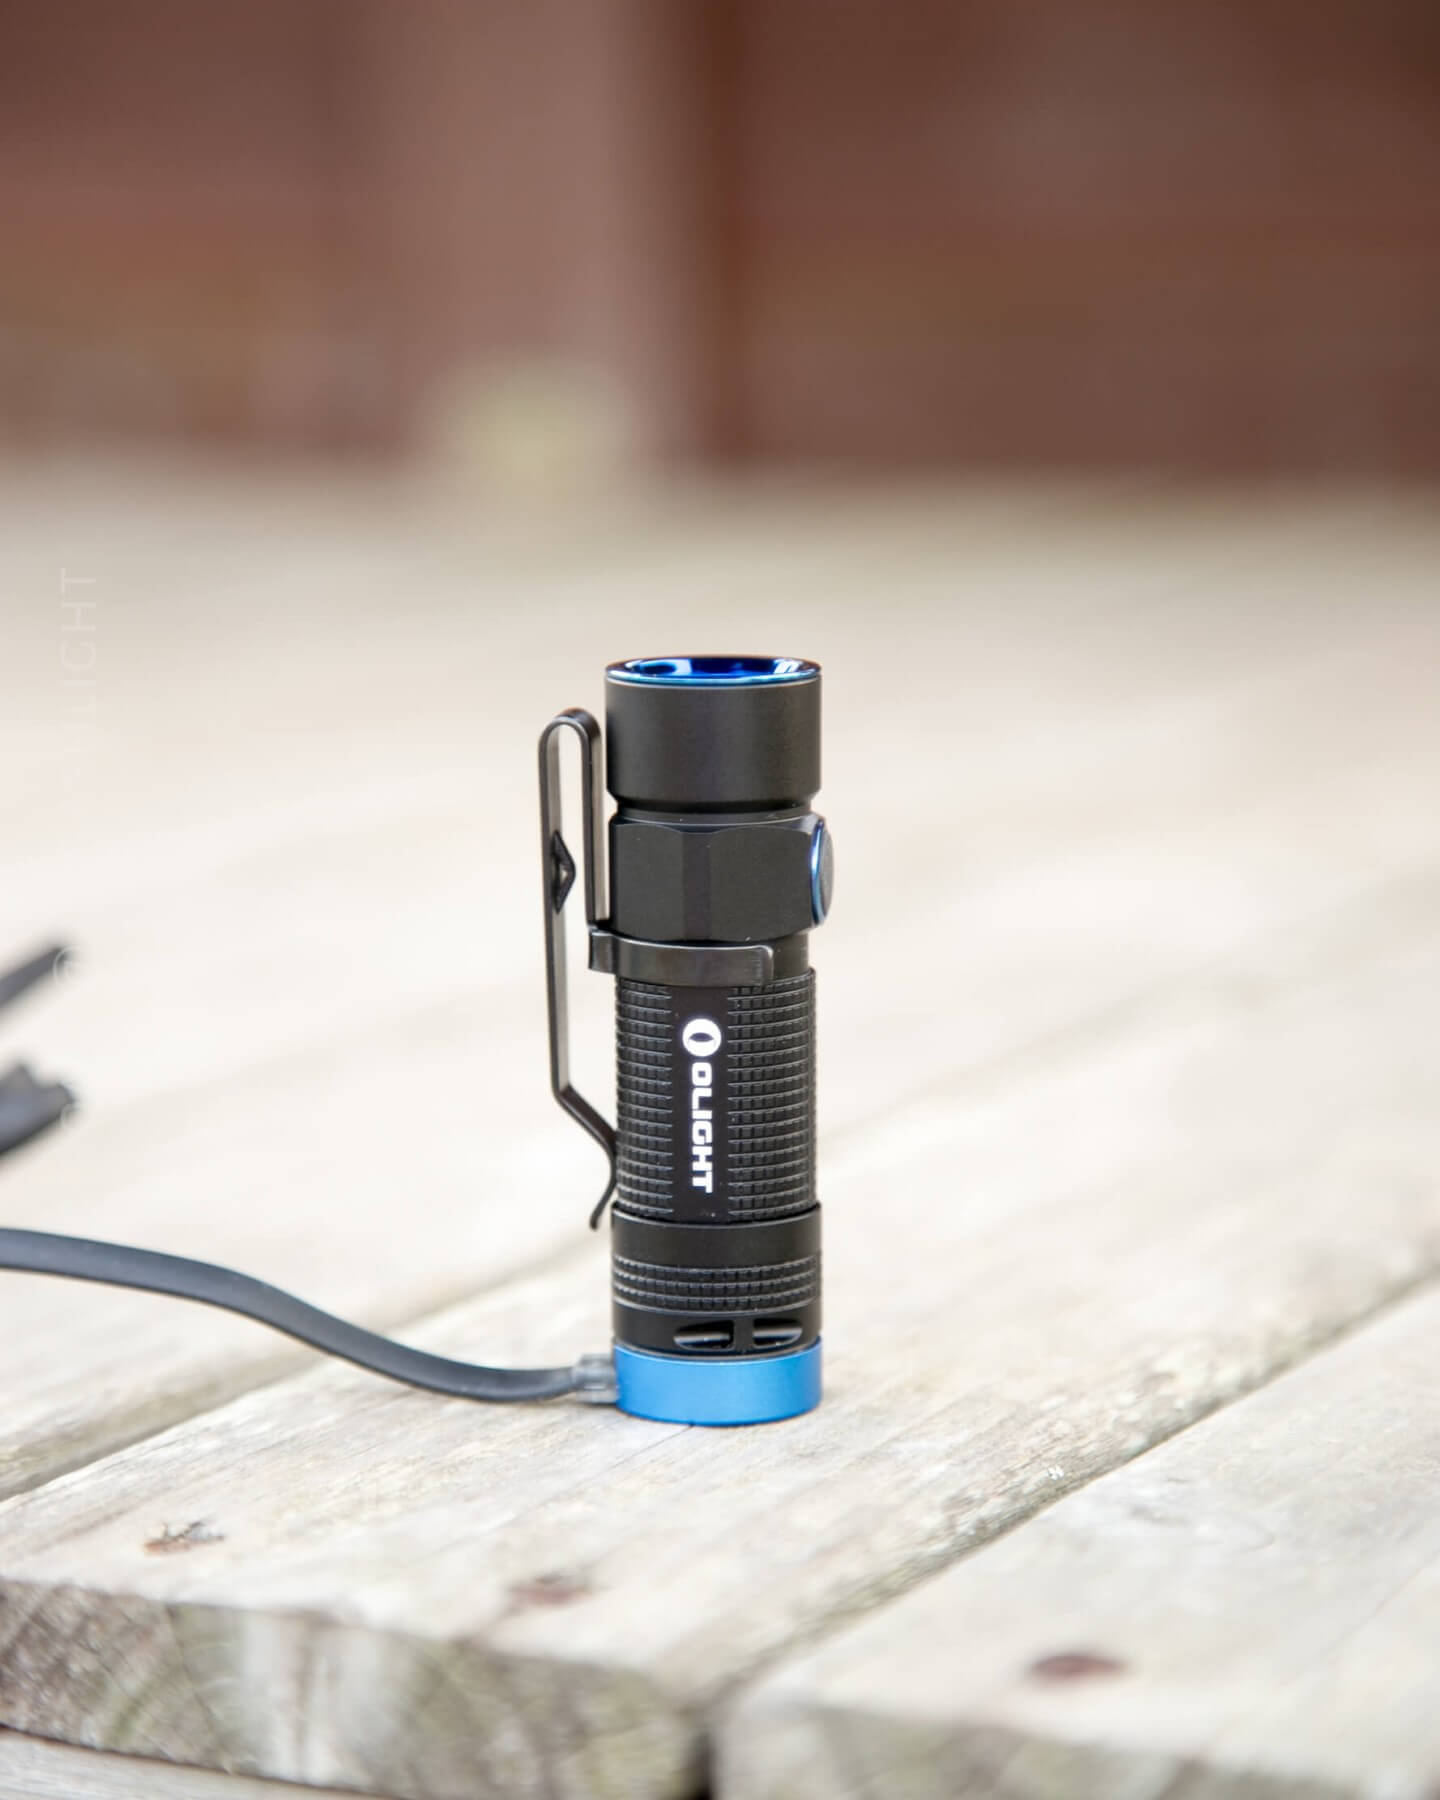
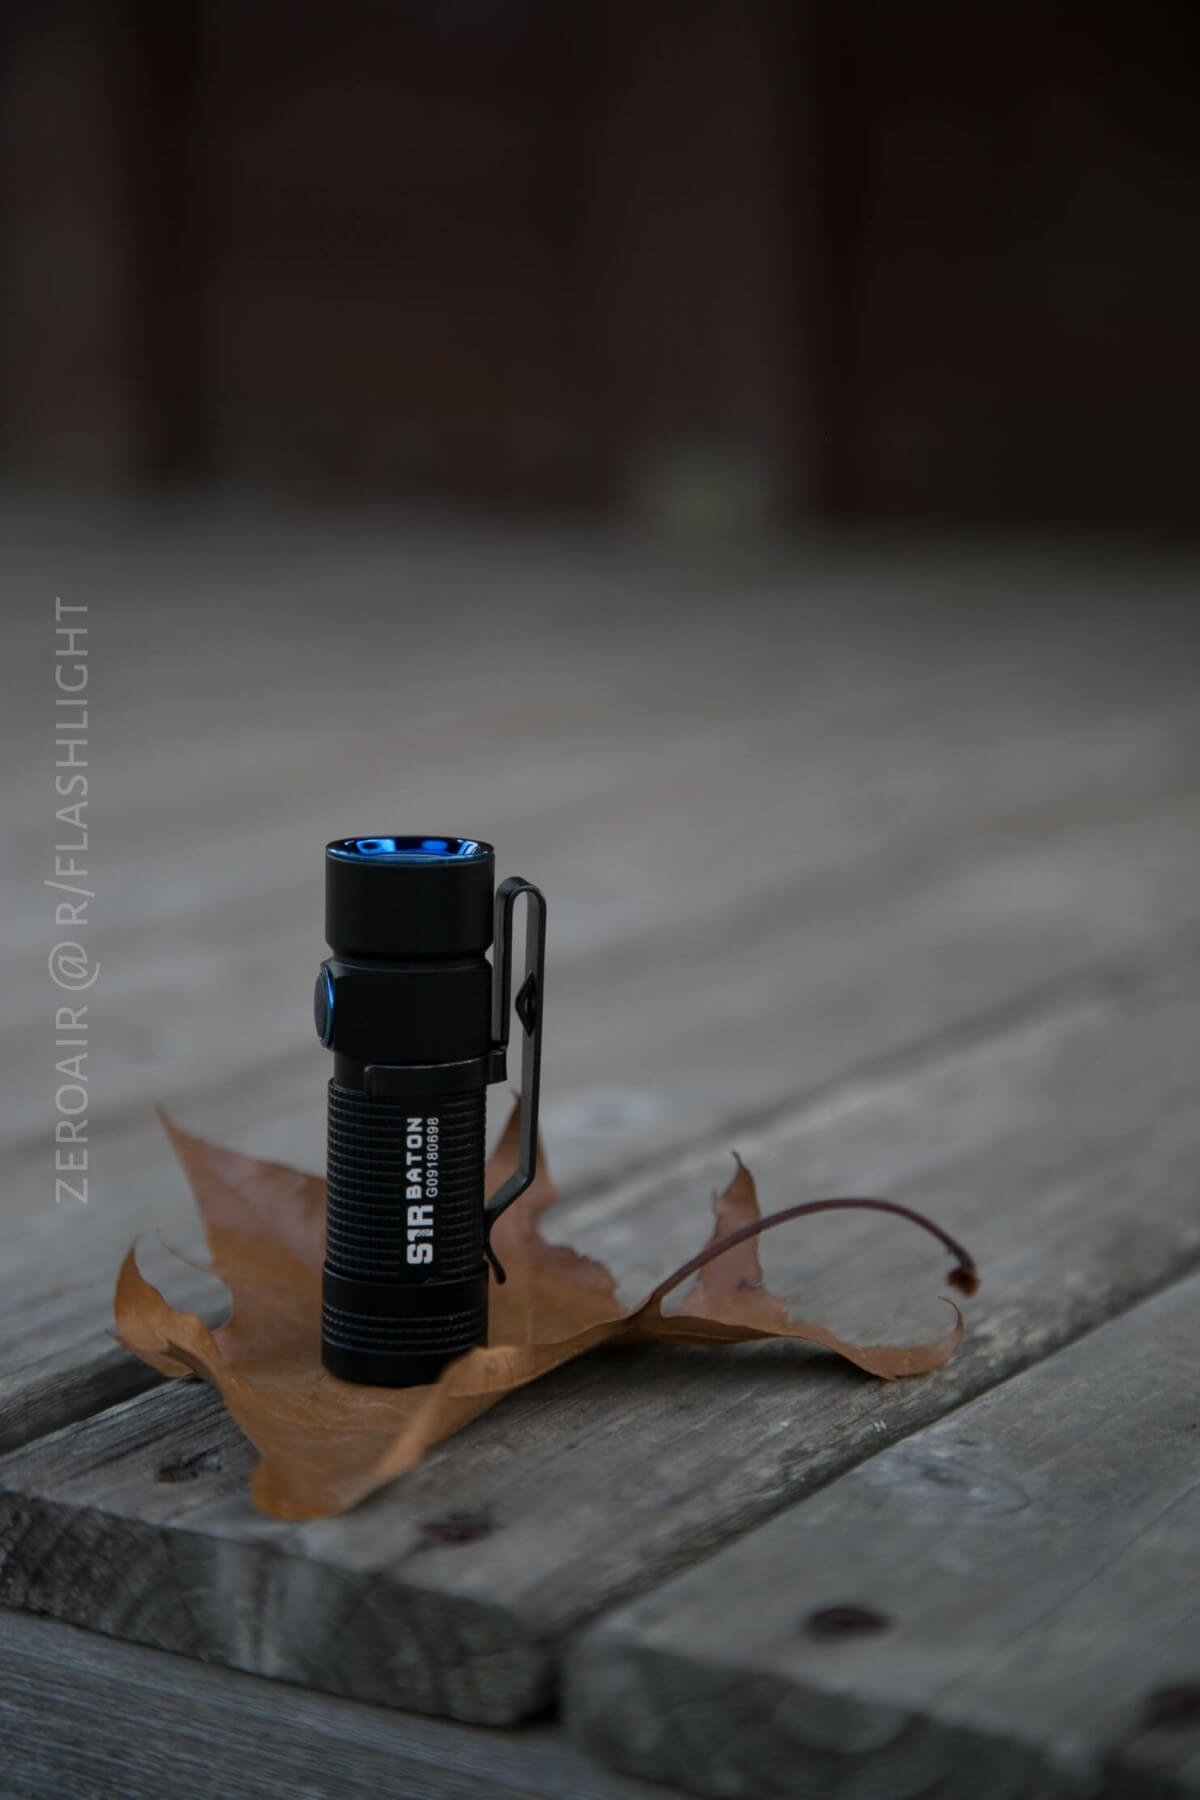
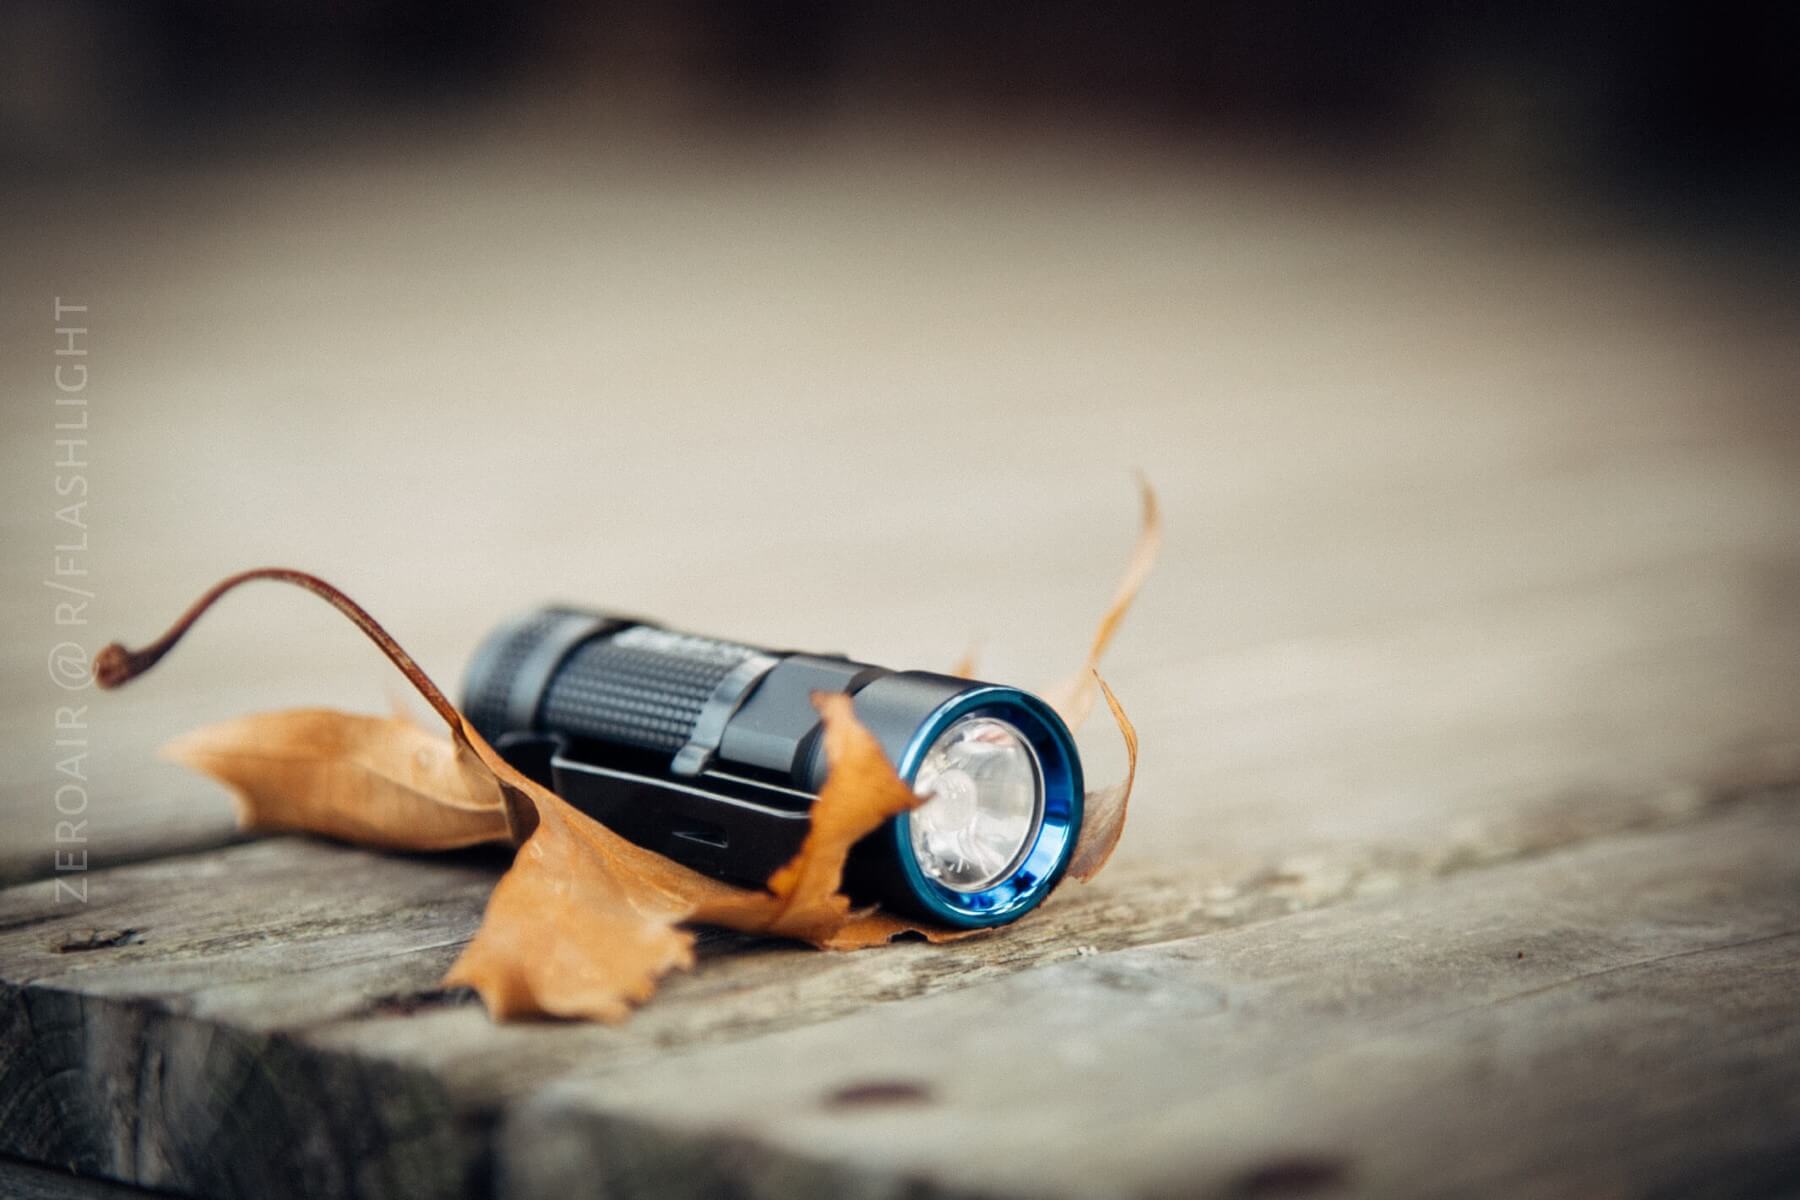
Olight S1R v2.
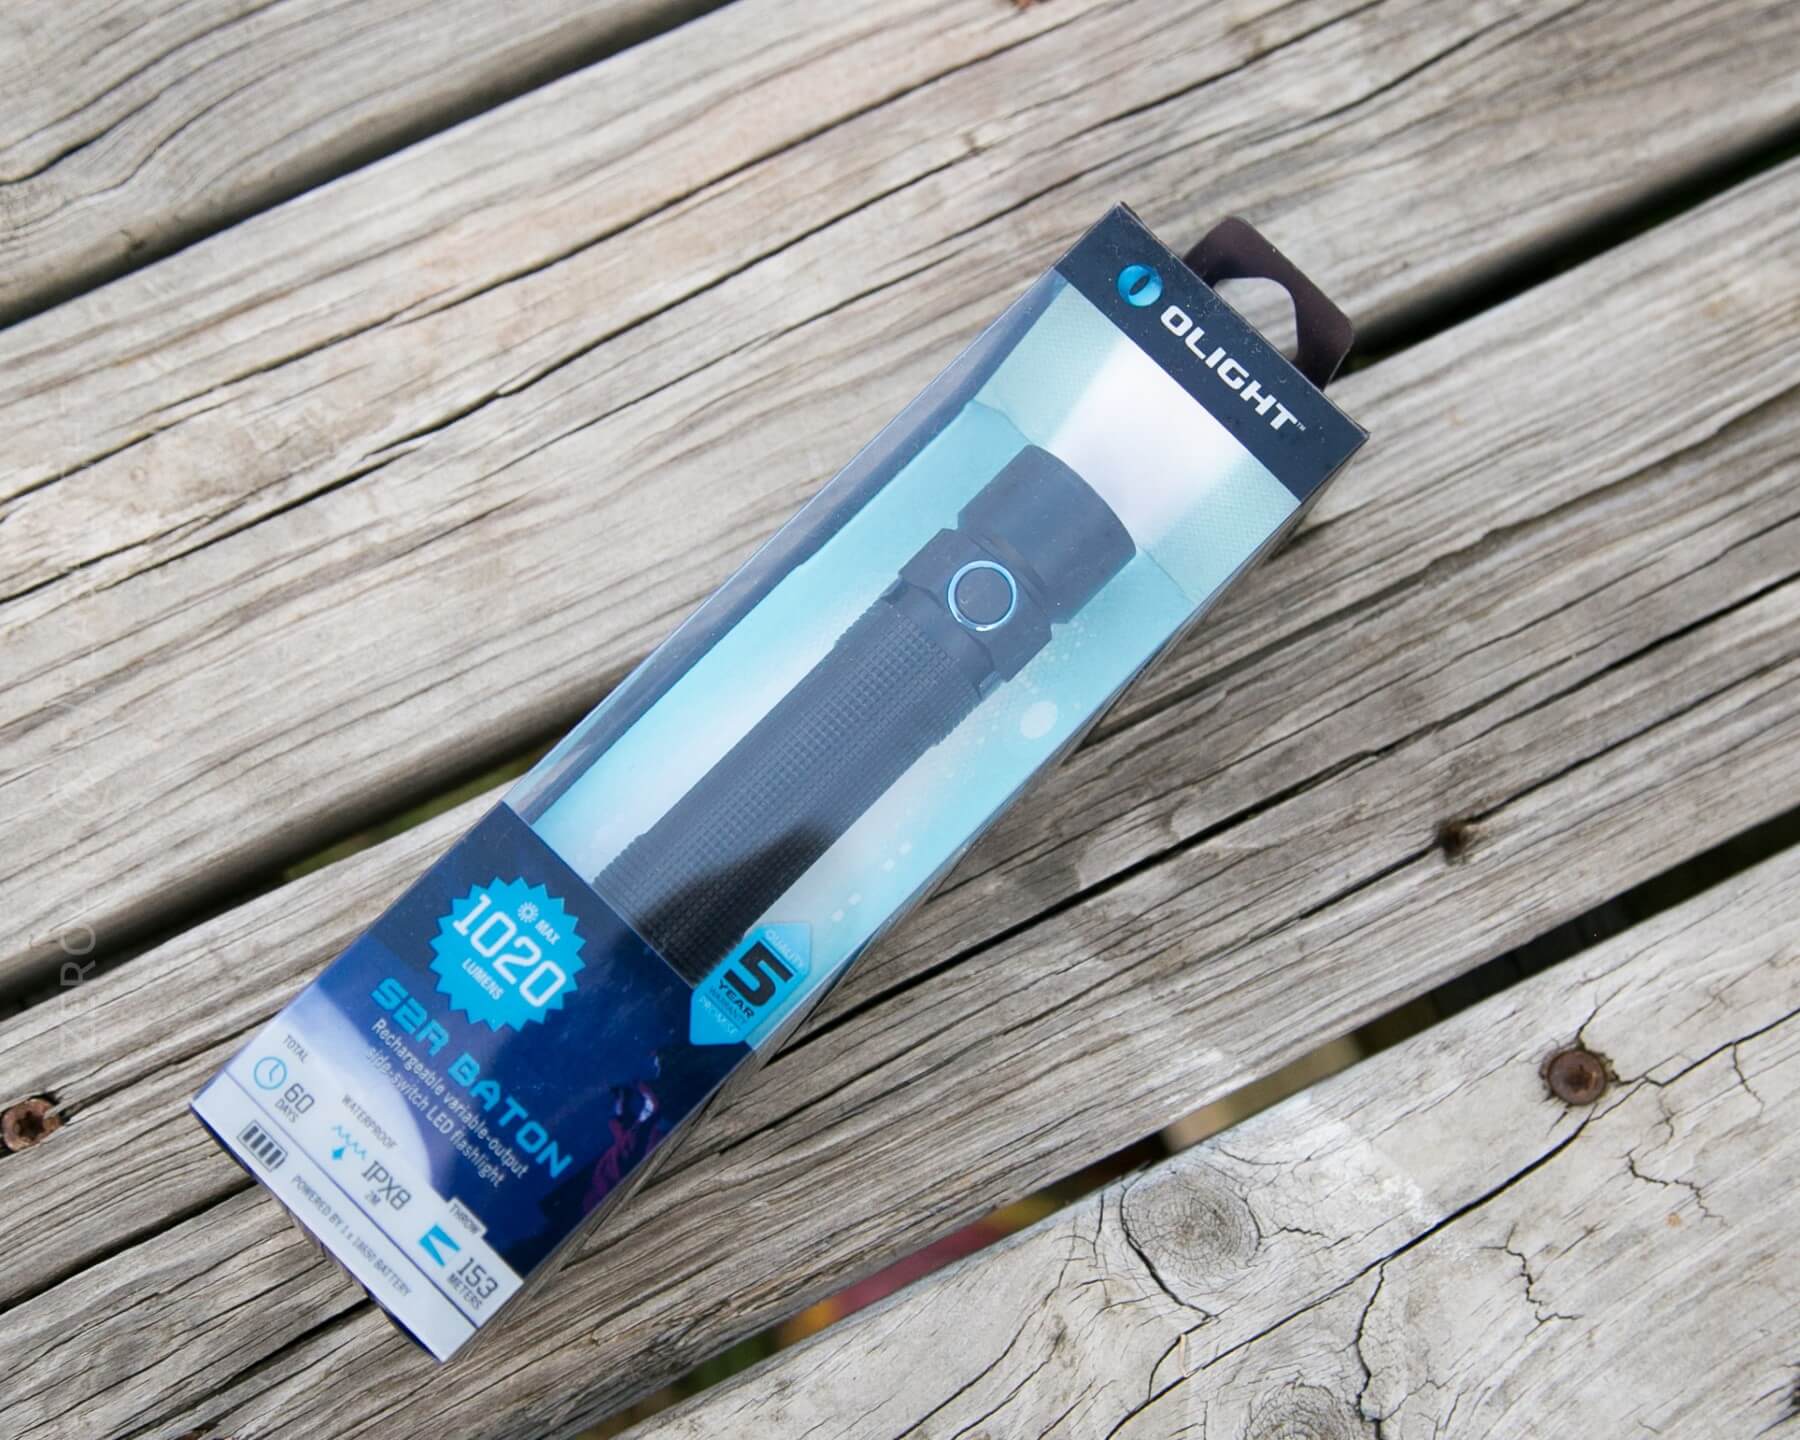
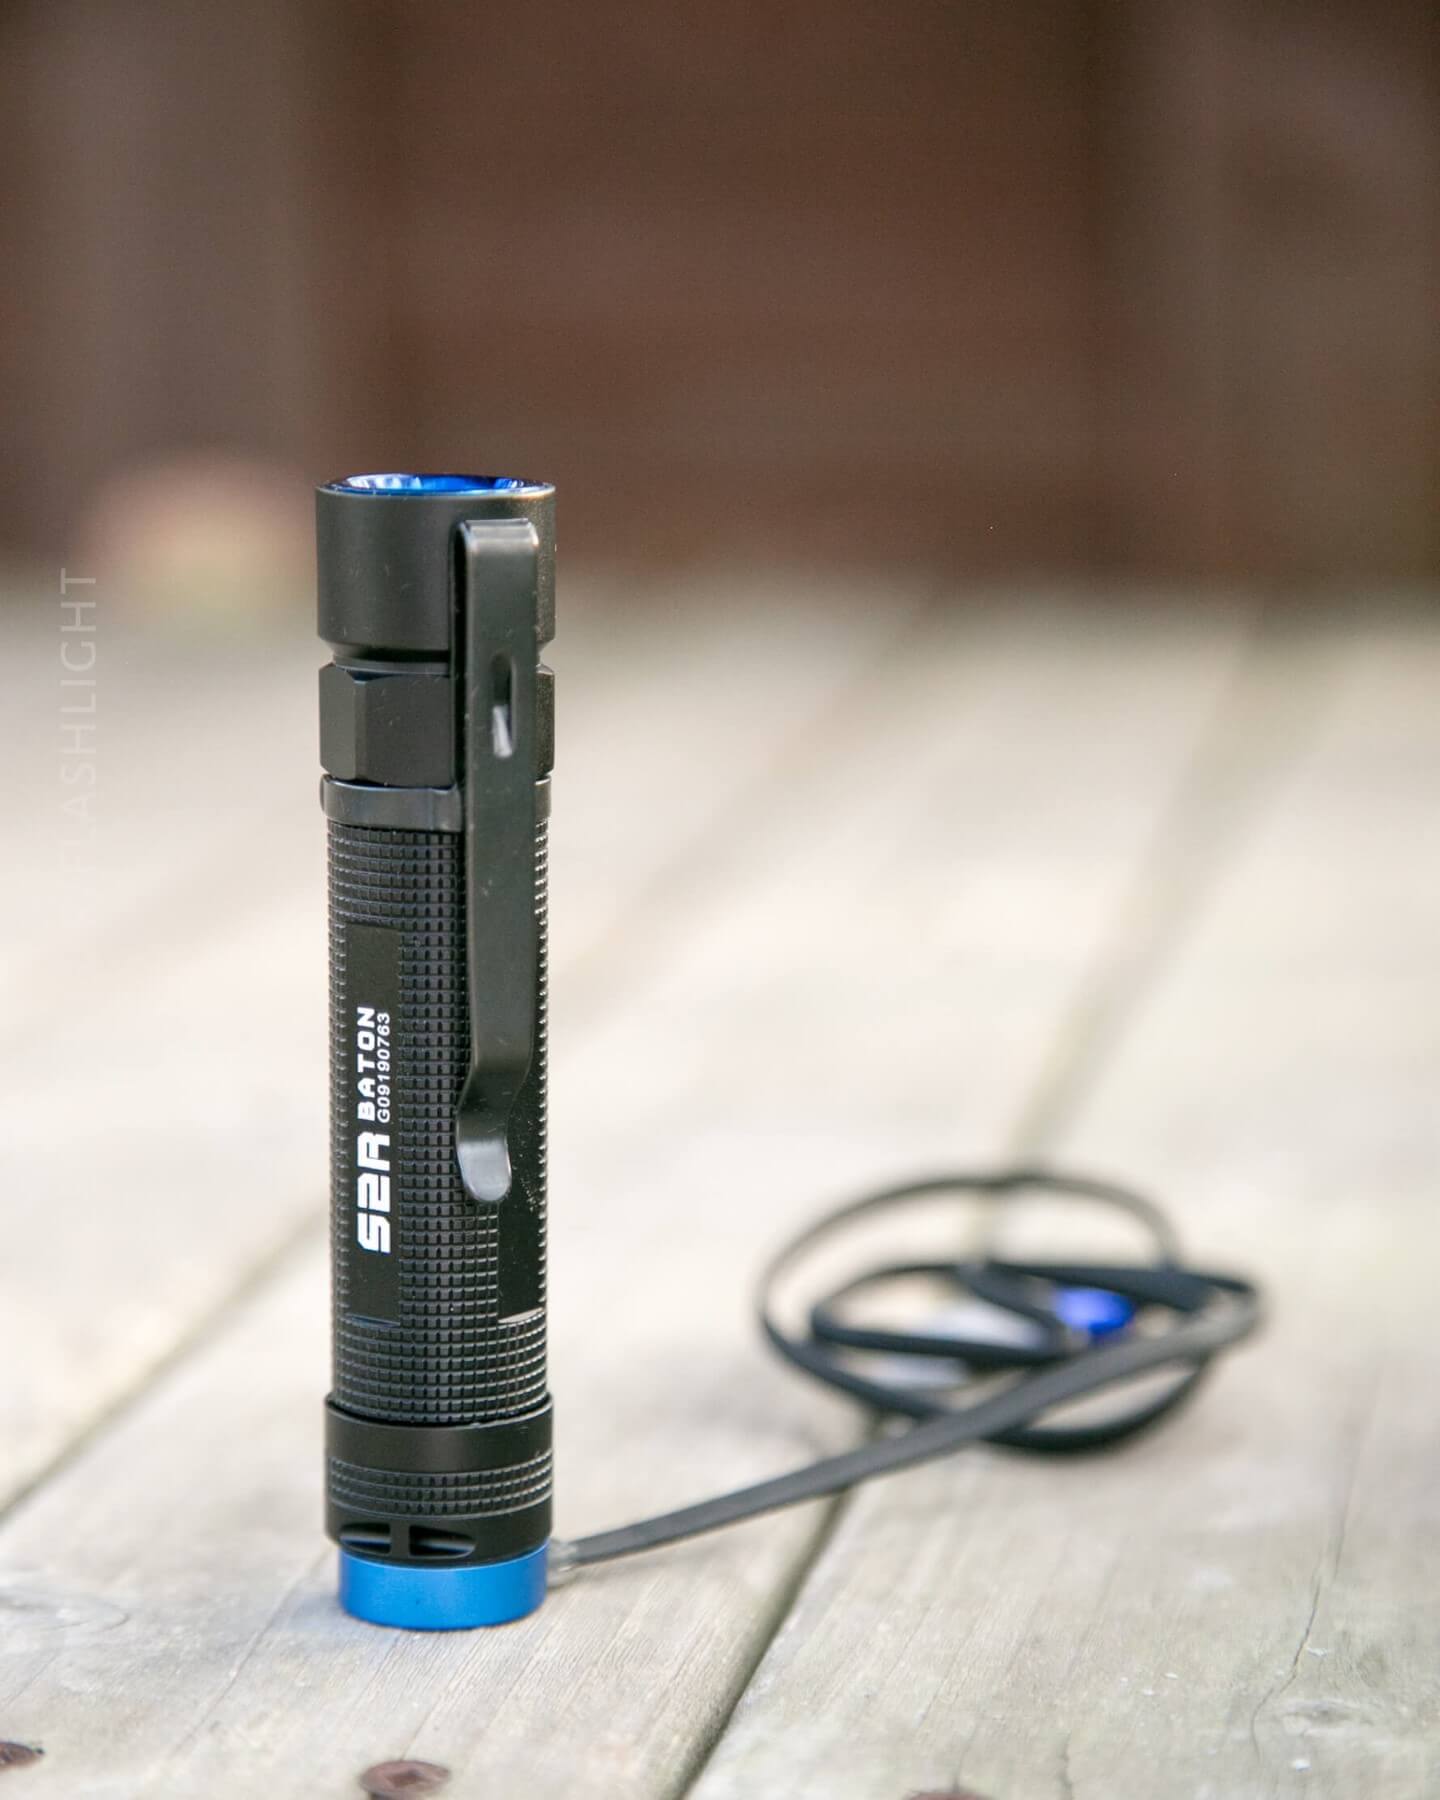
Olight S2R.
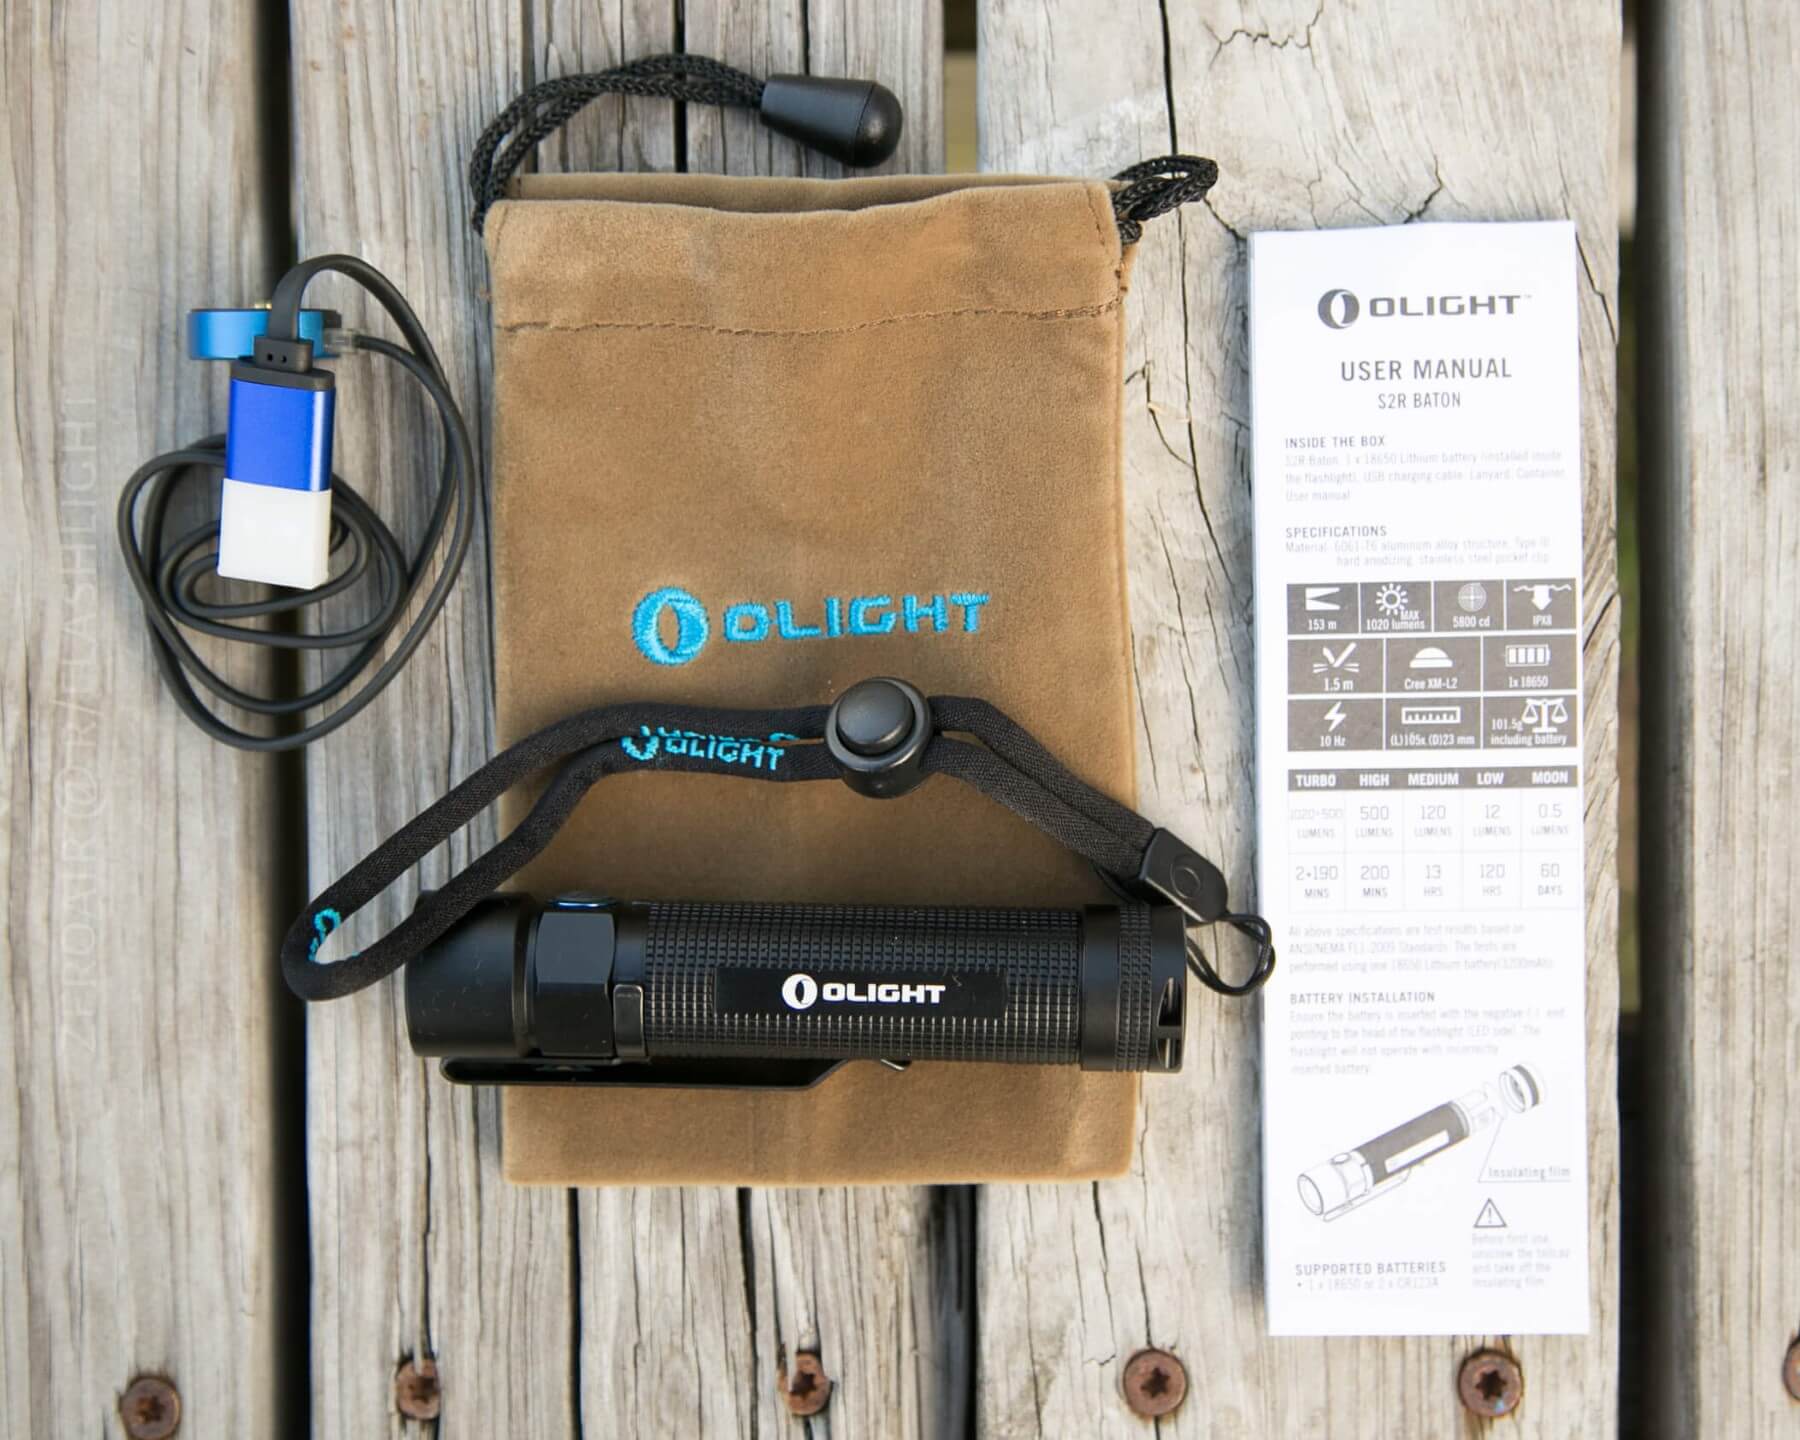
- Lanyard
- Pouch
- User Manual
- Micro dock
- Magnetic Charging Cable
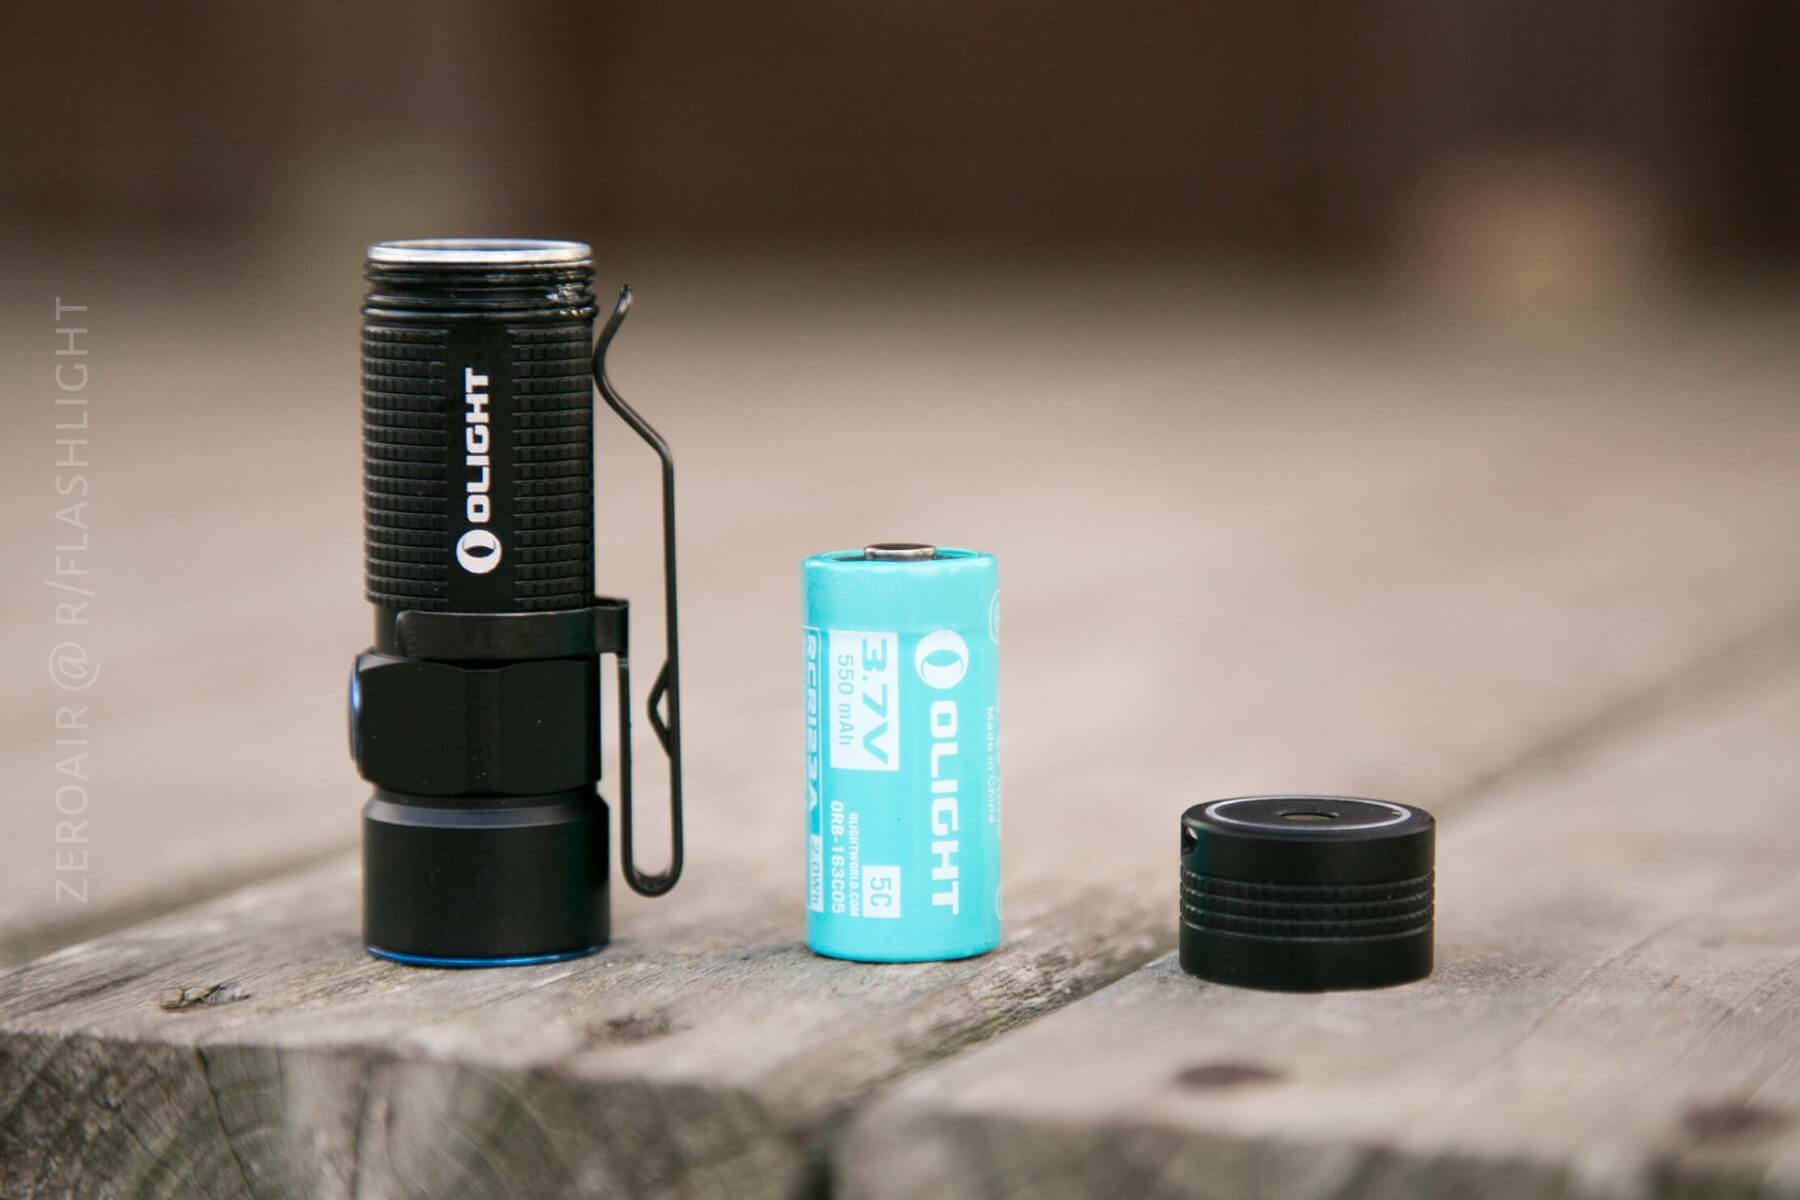
- (S1R v2 only) 550 mAh 5C protected RCR123A Battery
- (S2R only) 3200 mAh protected 18650 Battery

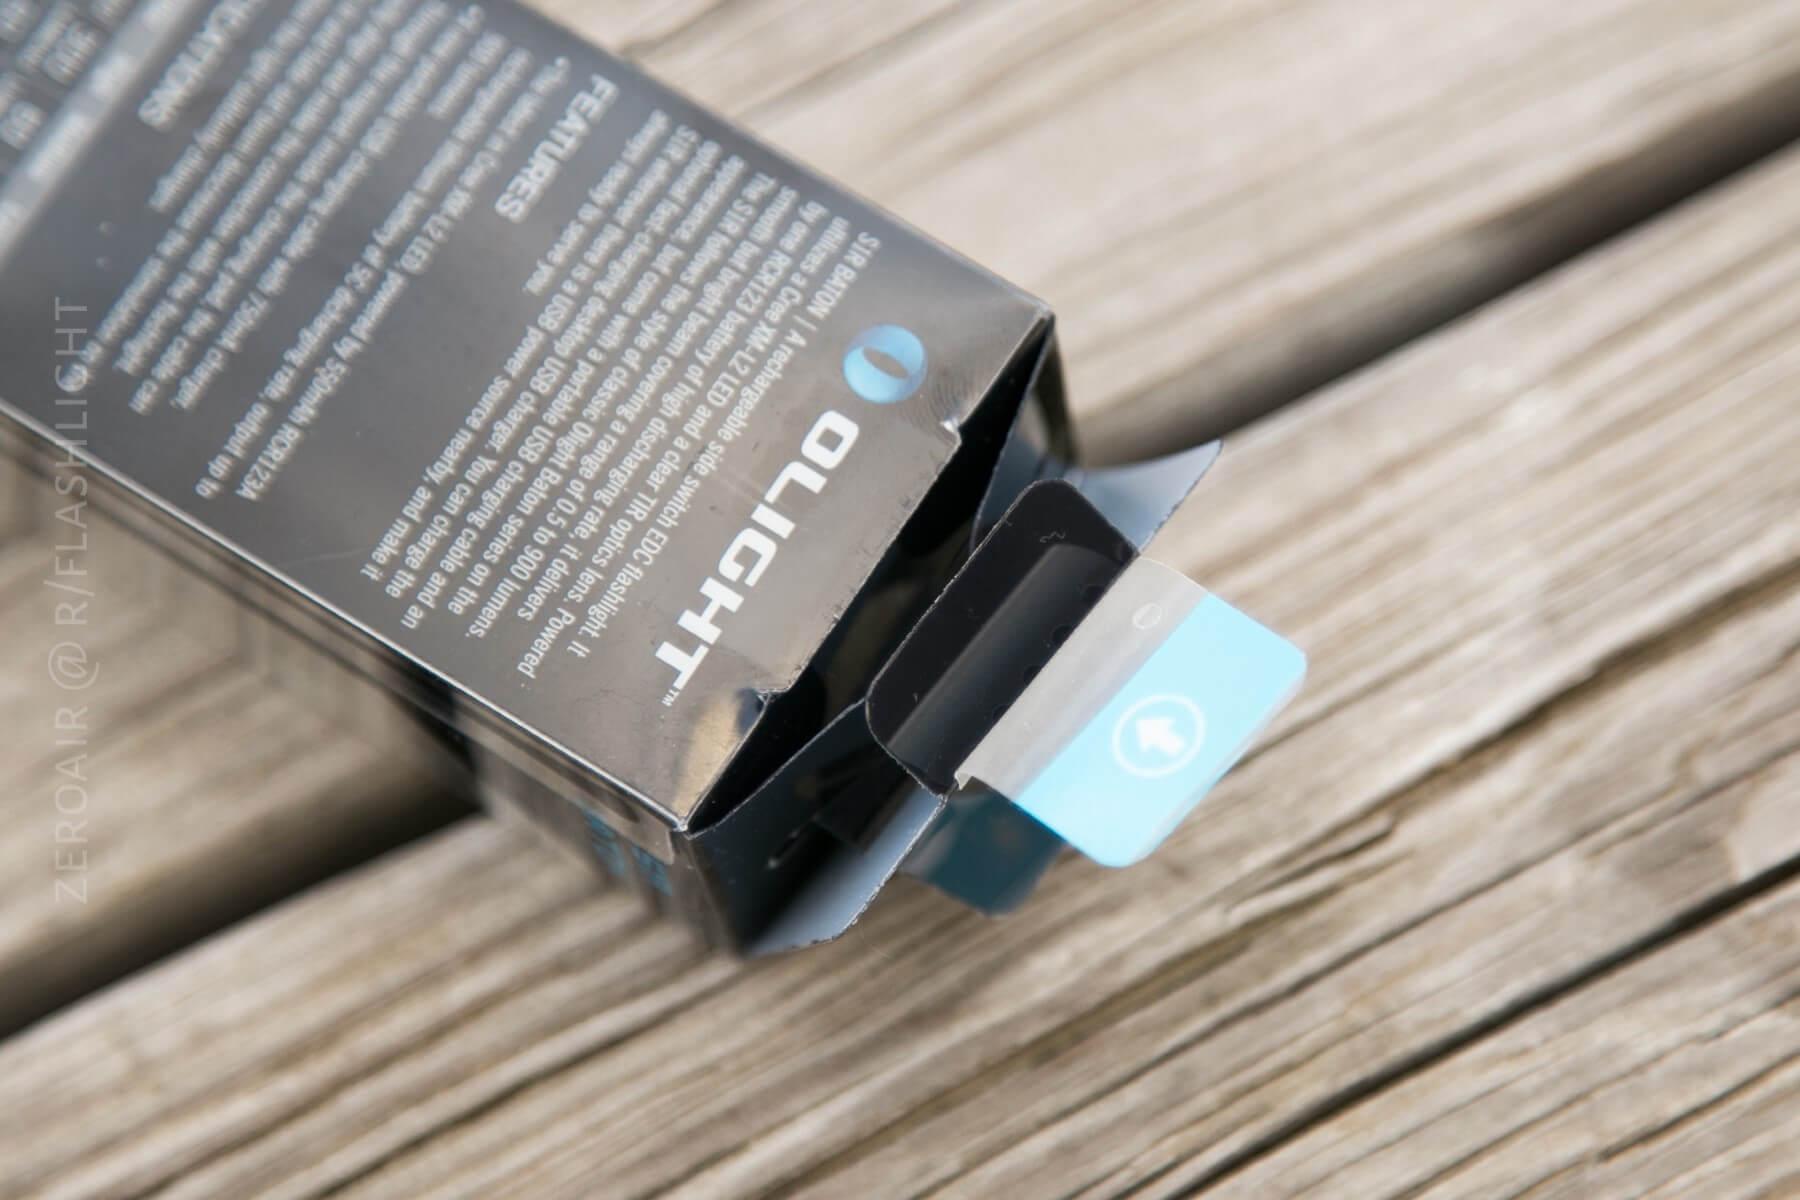
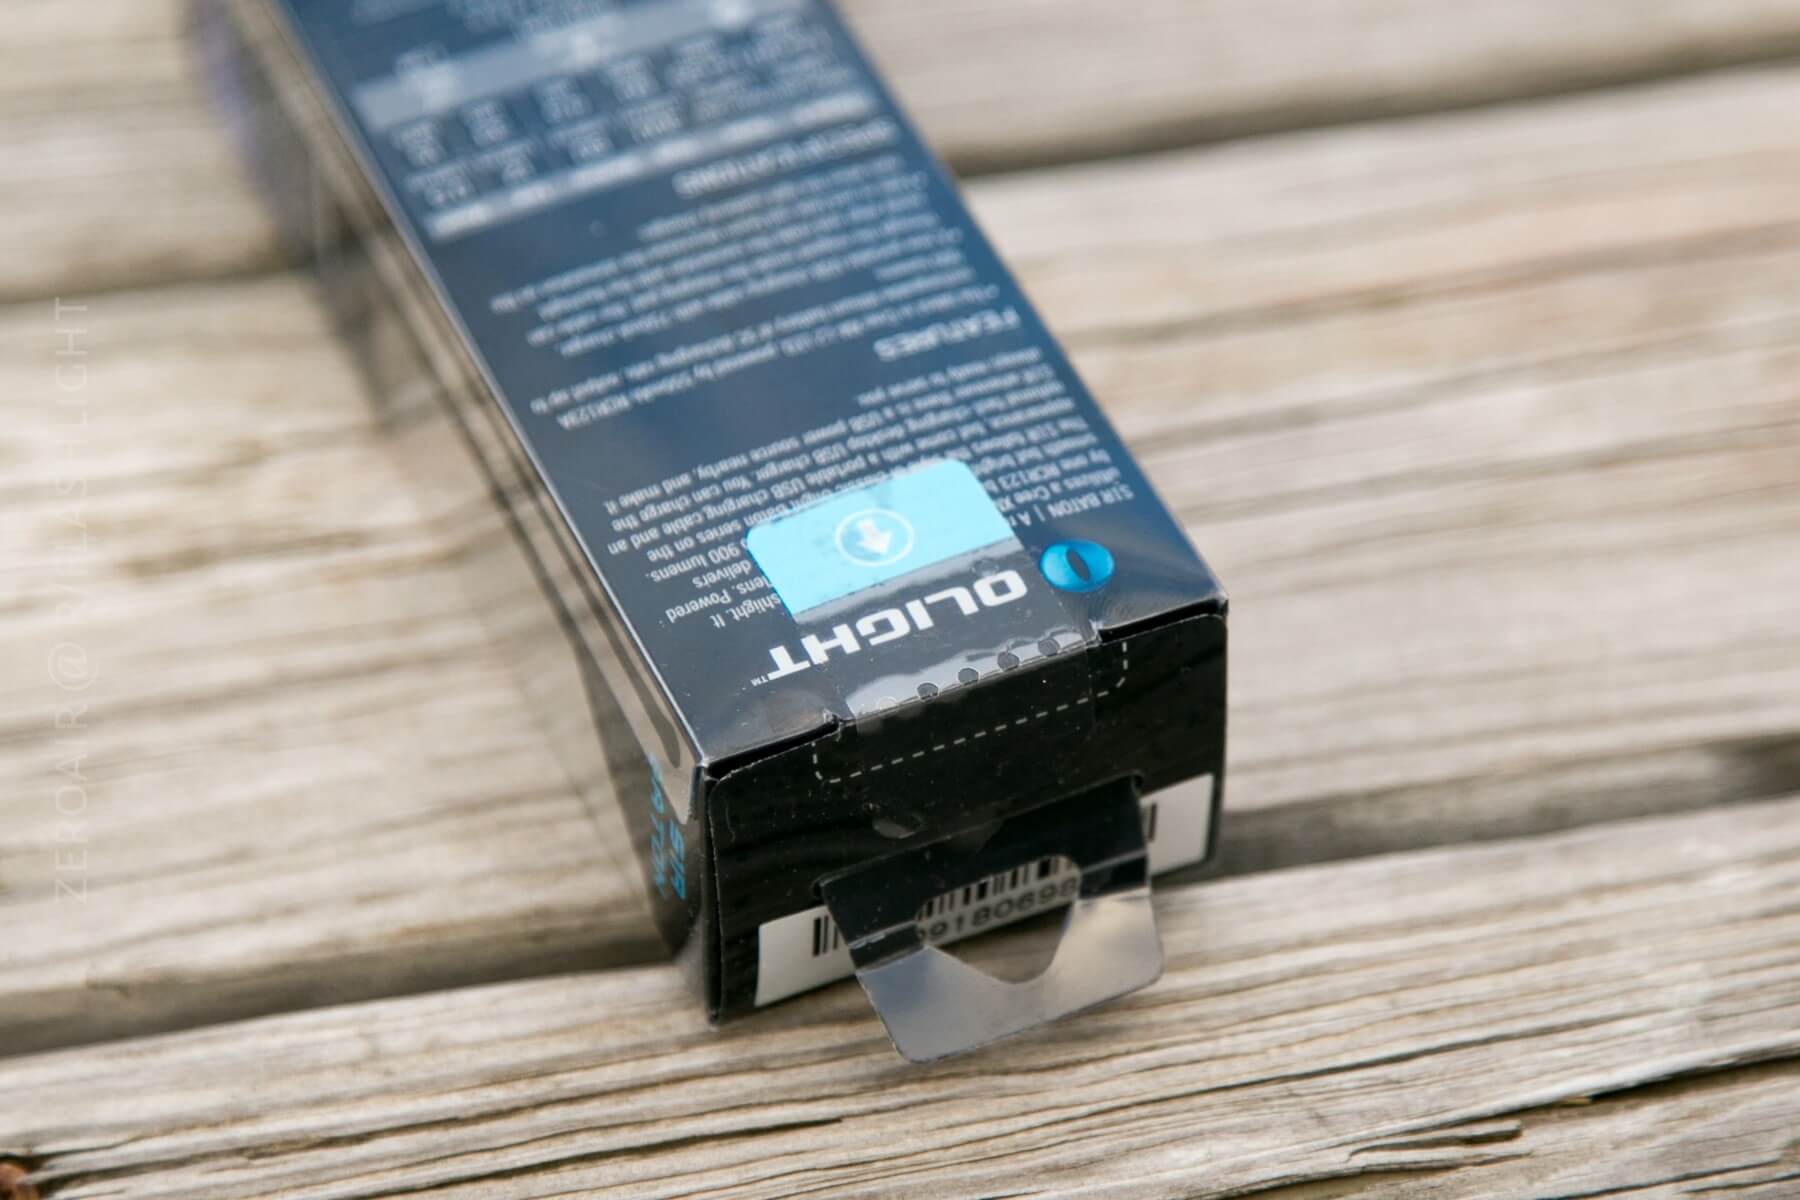
Package and Manual
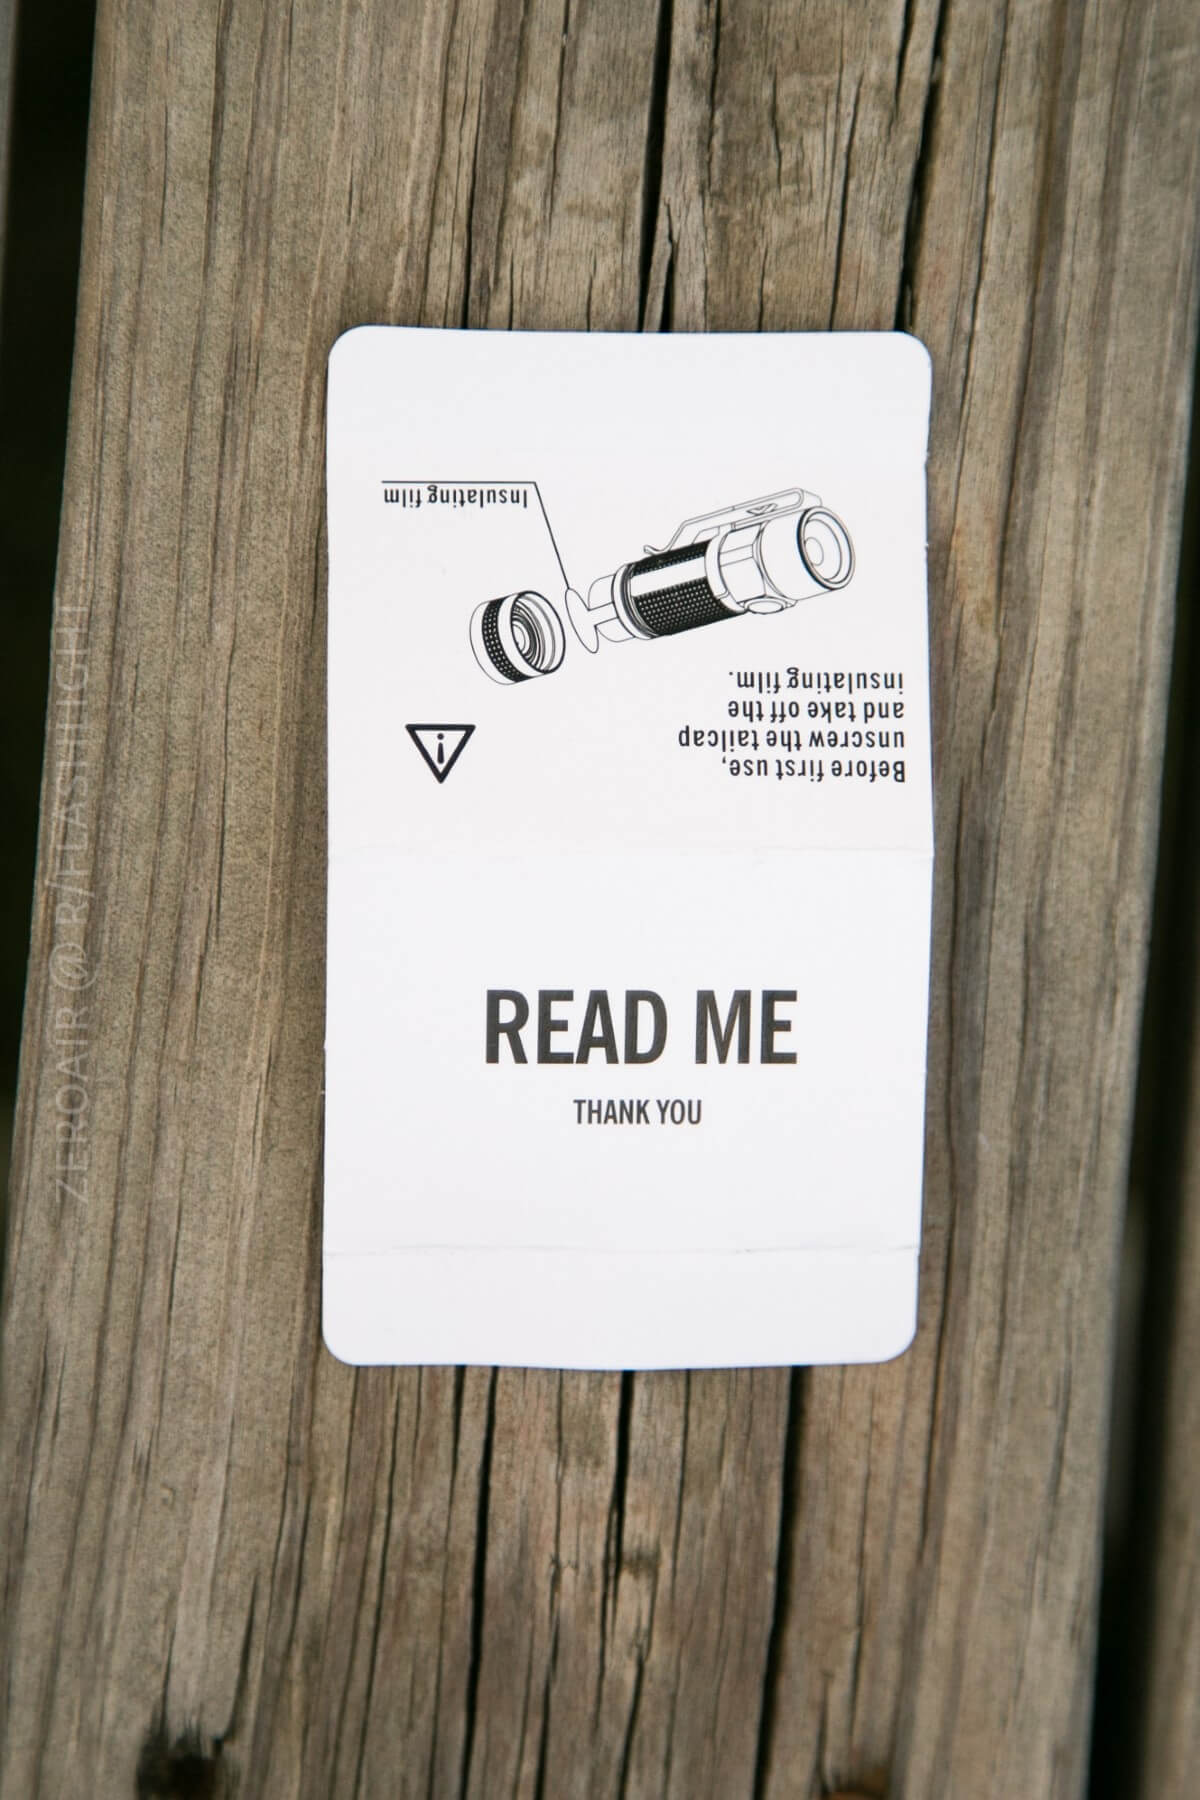
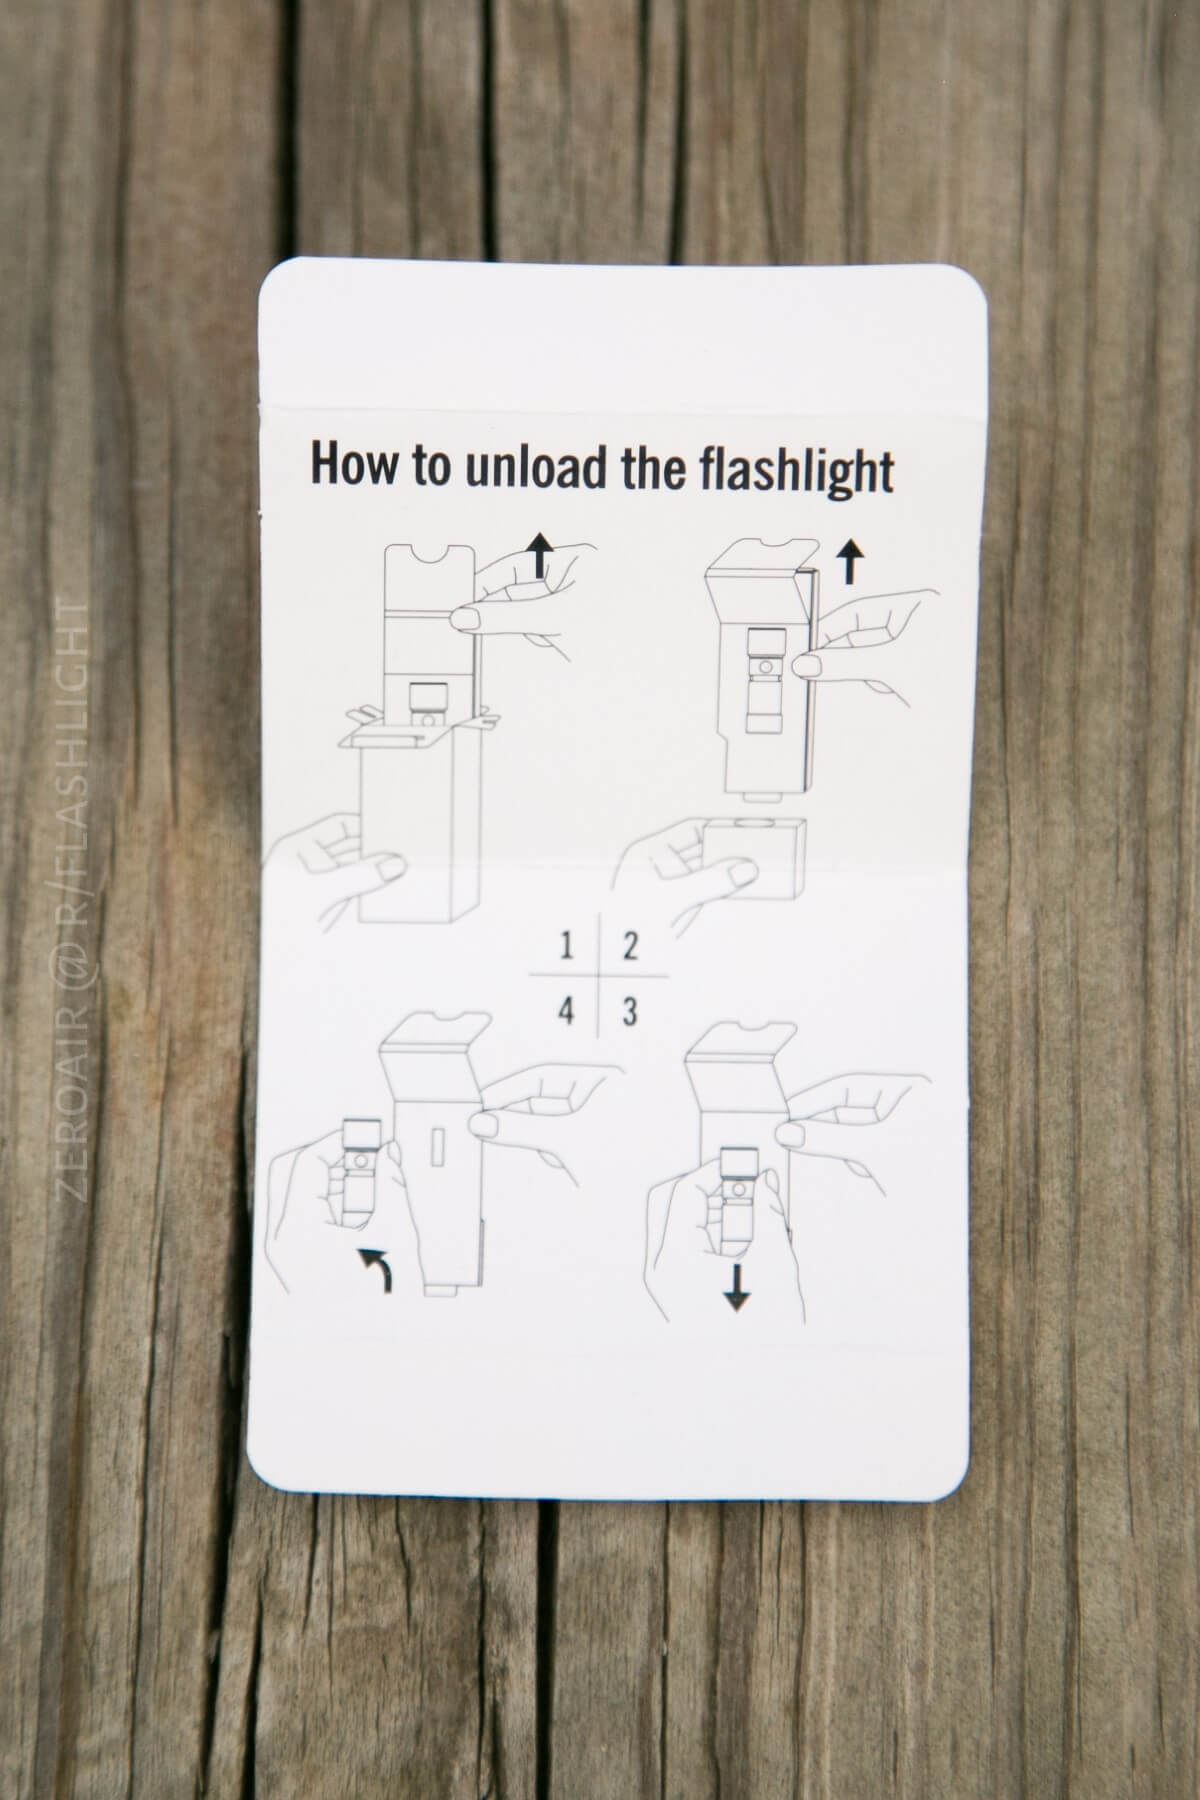
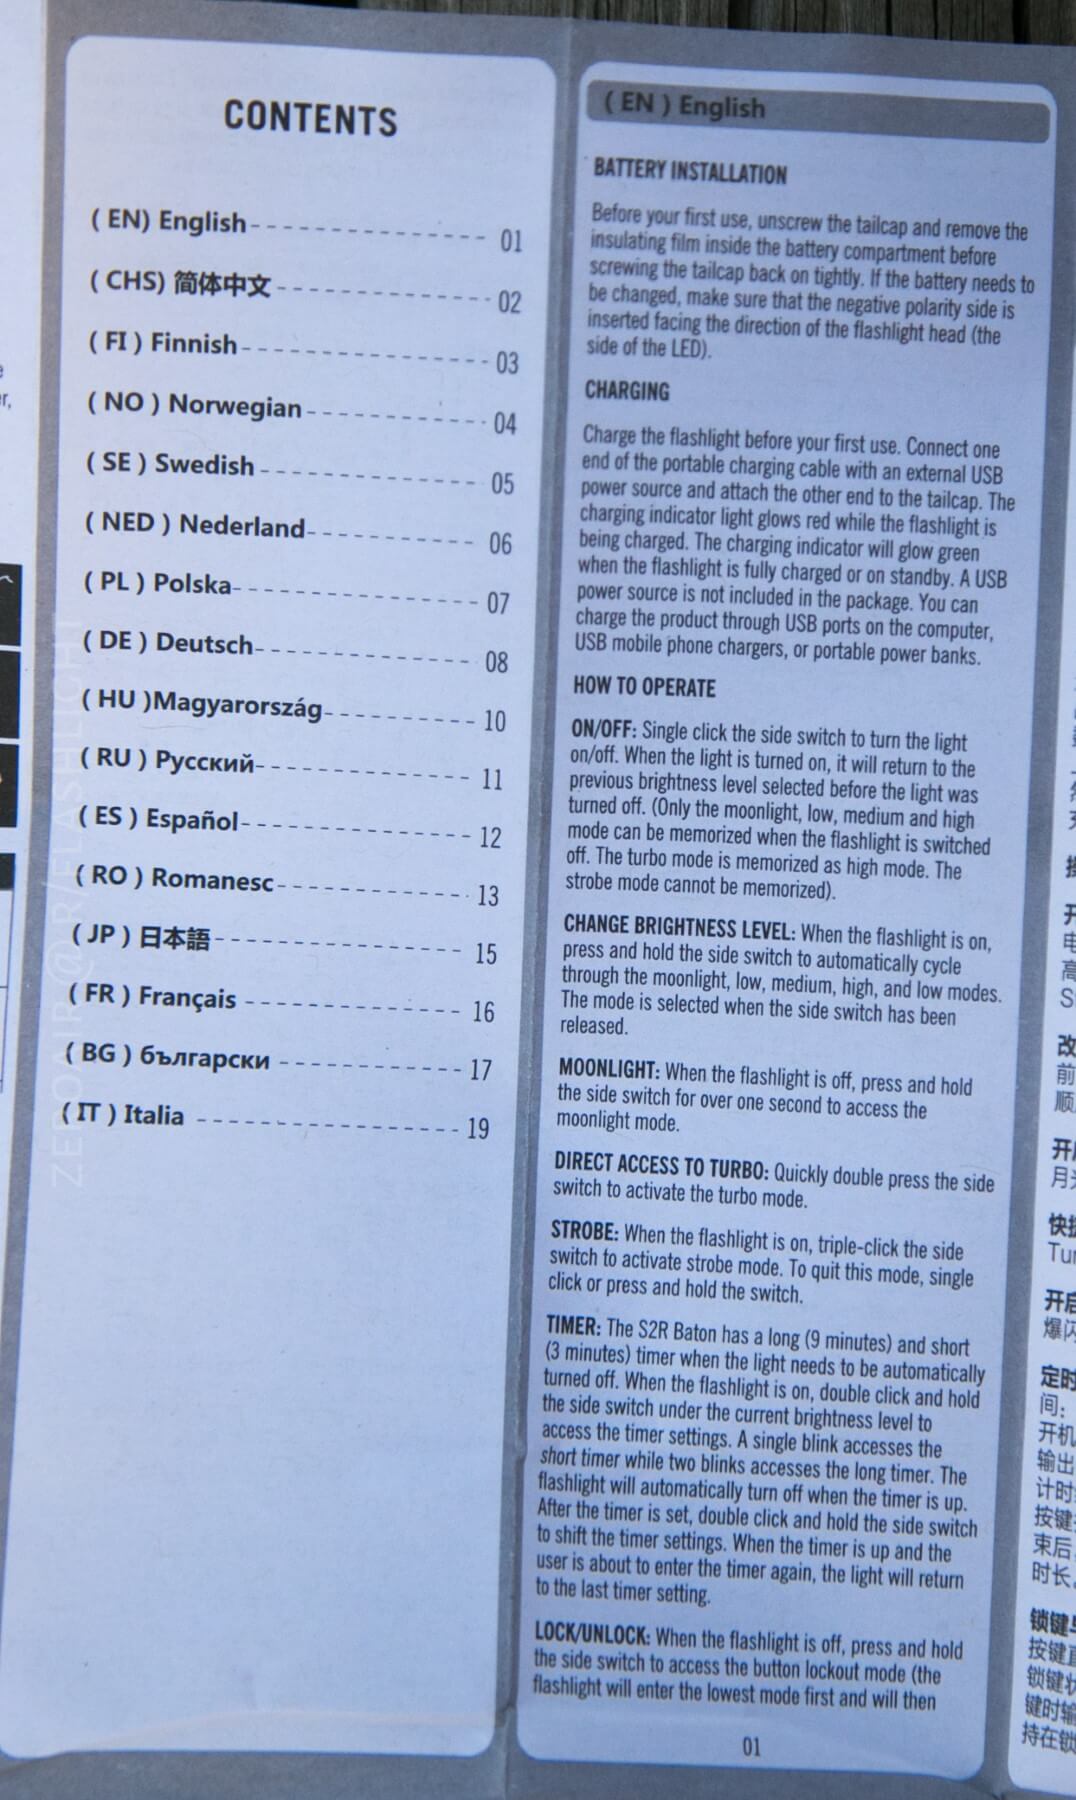
Olight has started packaging in very friendly packages. Everything – every step along the way of opening the package is described by a slip of paper. That’s fine, it works well, but it is a pain in the butt to get everything back in there like I want it. So win for descriptive packaging, but lose for complicated packaging on the same hand. The manual is also the current typical Olight manual – a large sheet of folded-up paper with many languages included. The manual has all the usual suspects like runtime quotes, user interface (UI), warranty concerns, etc.
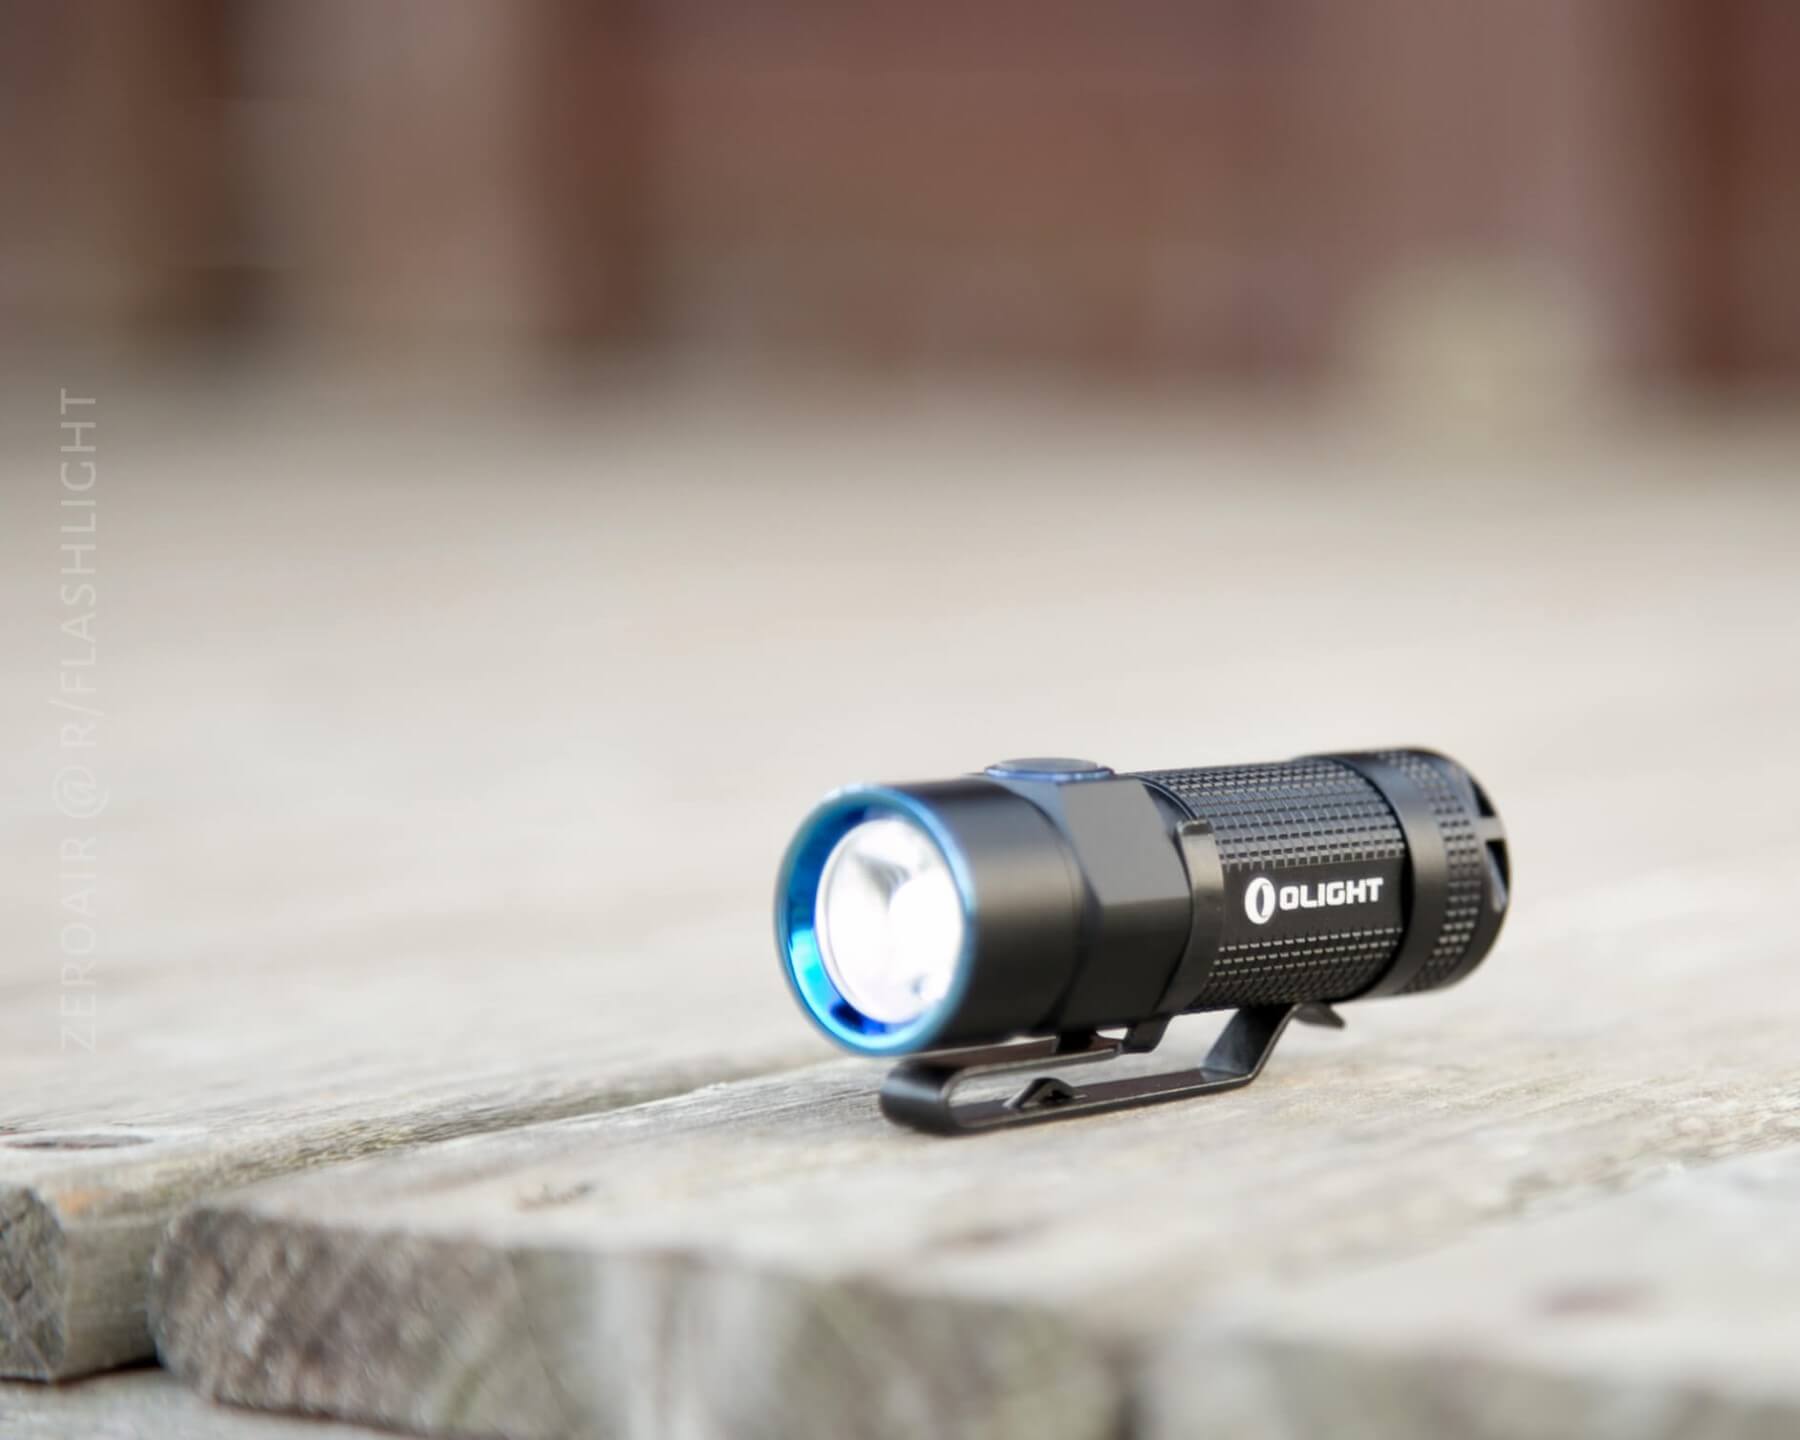
Photo detail S1R v2:

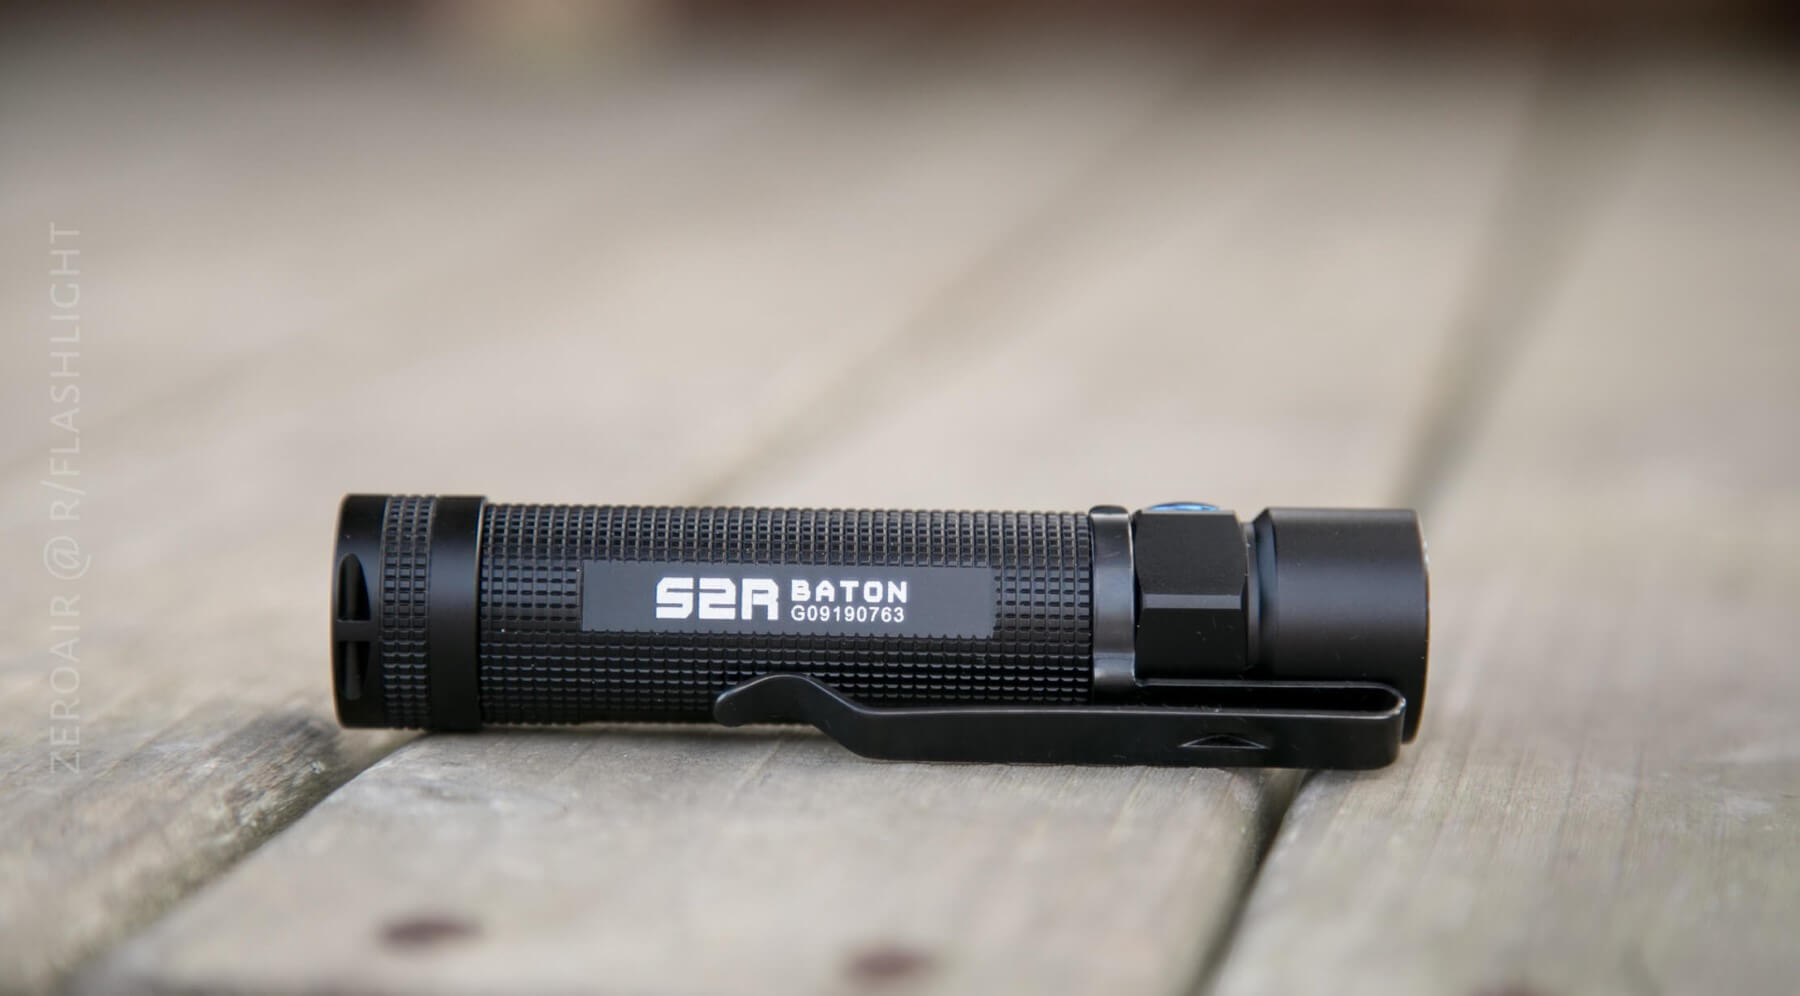
S2R:

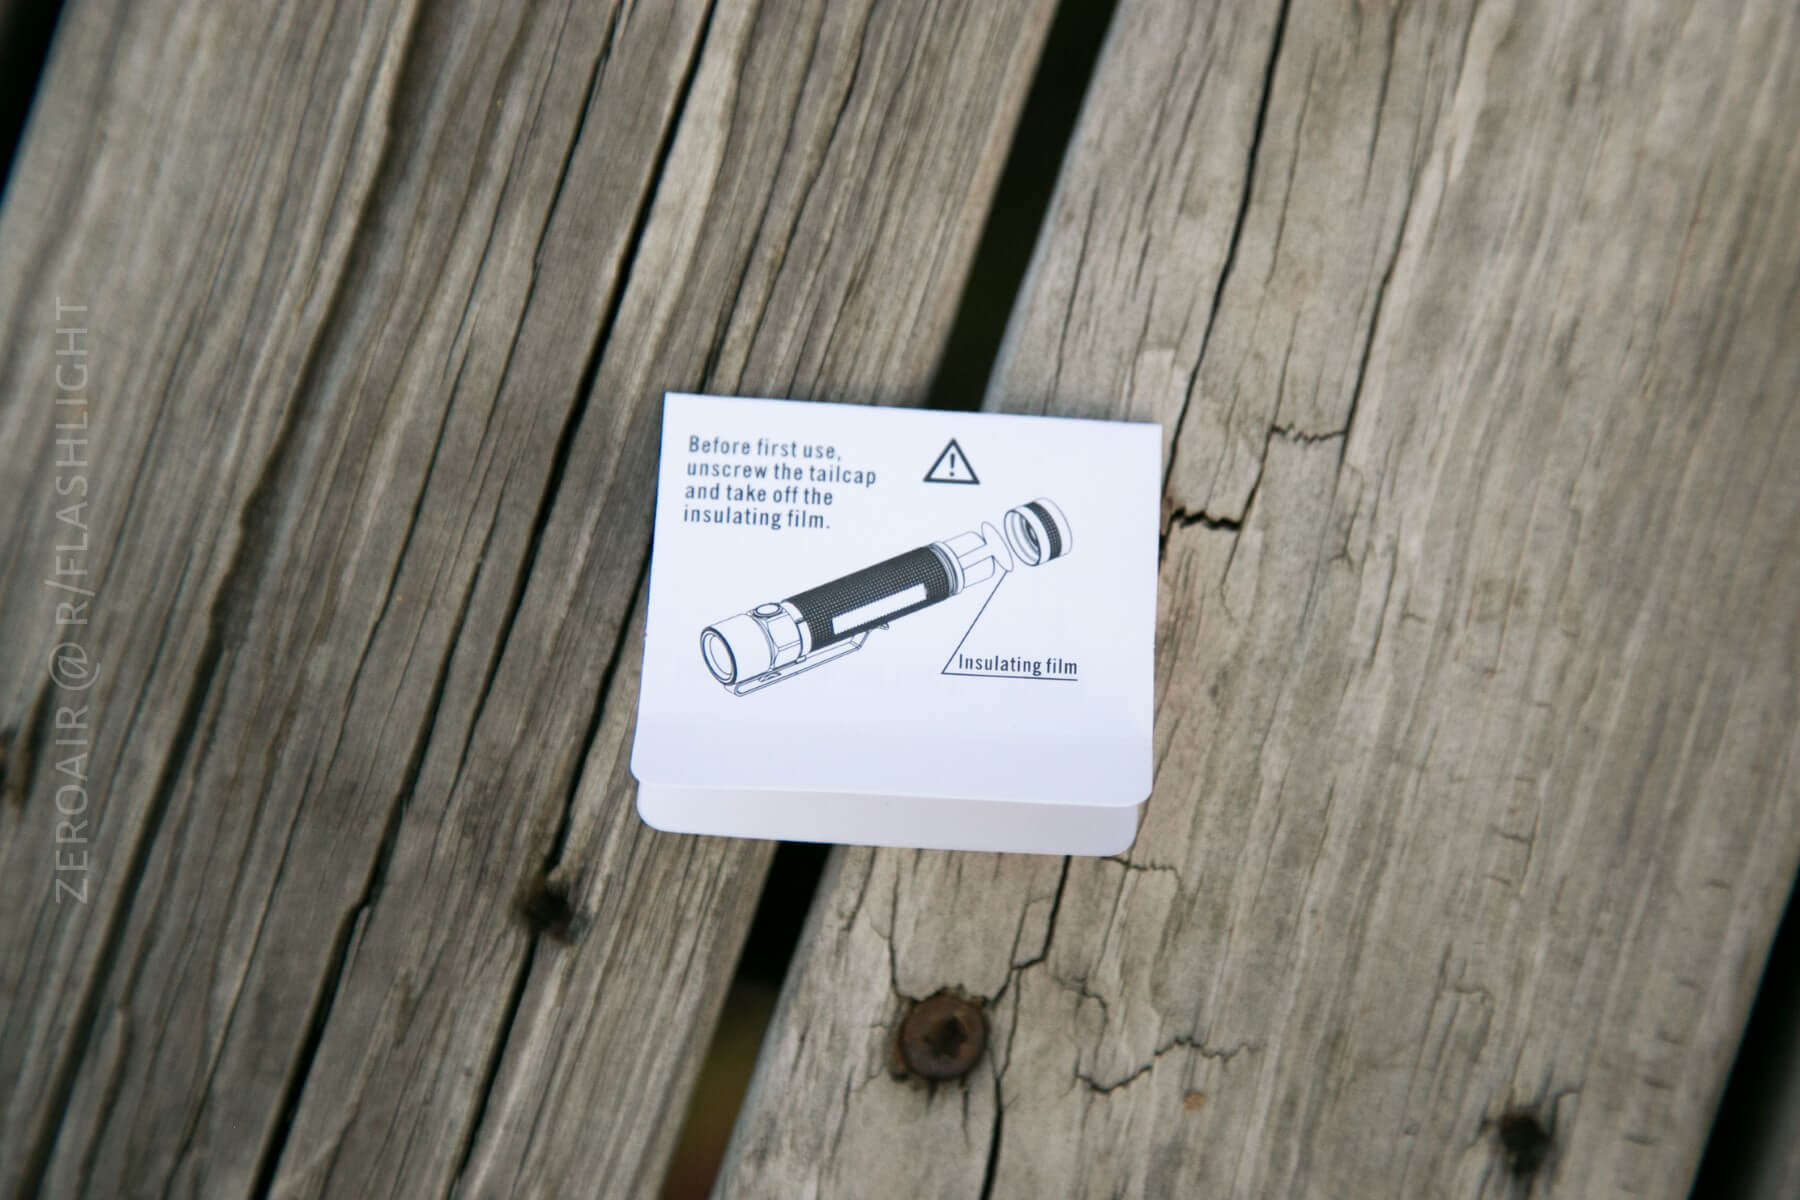

[As you can see, Olight really holds the user’s hand through the unboxing process. I guess I just open packages like a neanderthal and haven’t needed this guide in the past….
Build Quality, Durability, and Disassembly
These batons… They’re all built superbly. They’re also all very similar, differing mainly in what cell they take. If you want a small light and have a battery preference, Olight probably has a Baton for you. Anodizing is great, threads are square-cut and well-lubed, button is just the right amount of clicky and quiet… It’s all here! (Actually, I have three more Olight S Baton reviews upcoming, and so you can expect to hear this same phrase over and over.) The build quality of these lights is great.
I have had zero issues with durability the whole time I’ve used this S1R baton. Everything, down to the anodizing, has held up well and just like it should.
The downside of these batons is that they’re not to be disassembled. They can be, and emitter swaps can be done, but generally speaking, it’s not an easy task.
Size
The S1R v2 Baton is a good pocket size, but the length suffers from the tail cap charging mechanism. So this one will be slightly longer than, say, the Olight S1 (which doesn’t have charging). And of course, much longer than the S1 Mini (which doesn’t have charging and also doesn’t have a magnet). I measure it at about 66mm long and 22ish mm across (depending on where you measure). That’s essentially the same size (though a little more girthy) as an unprotected 18650 cell.

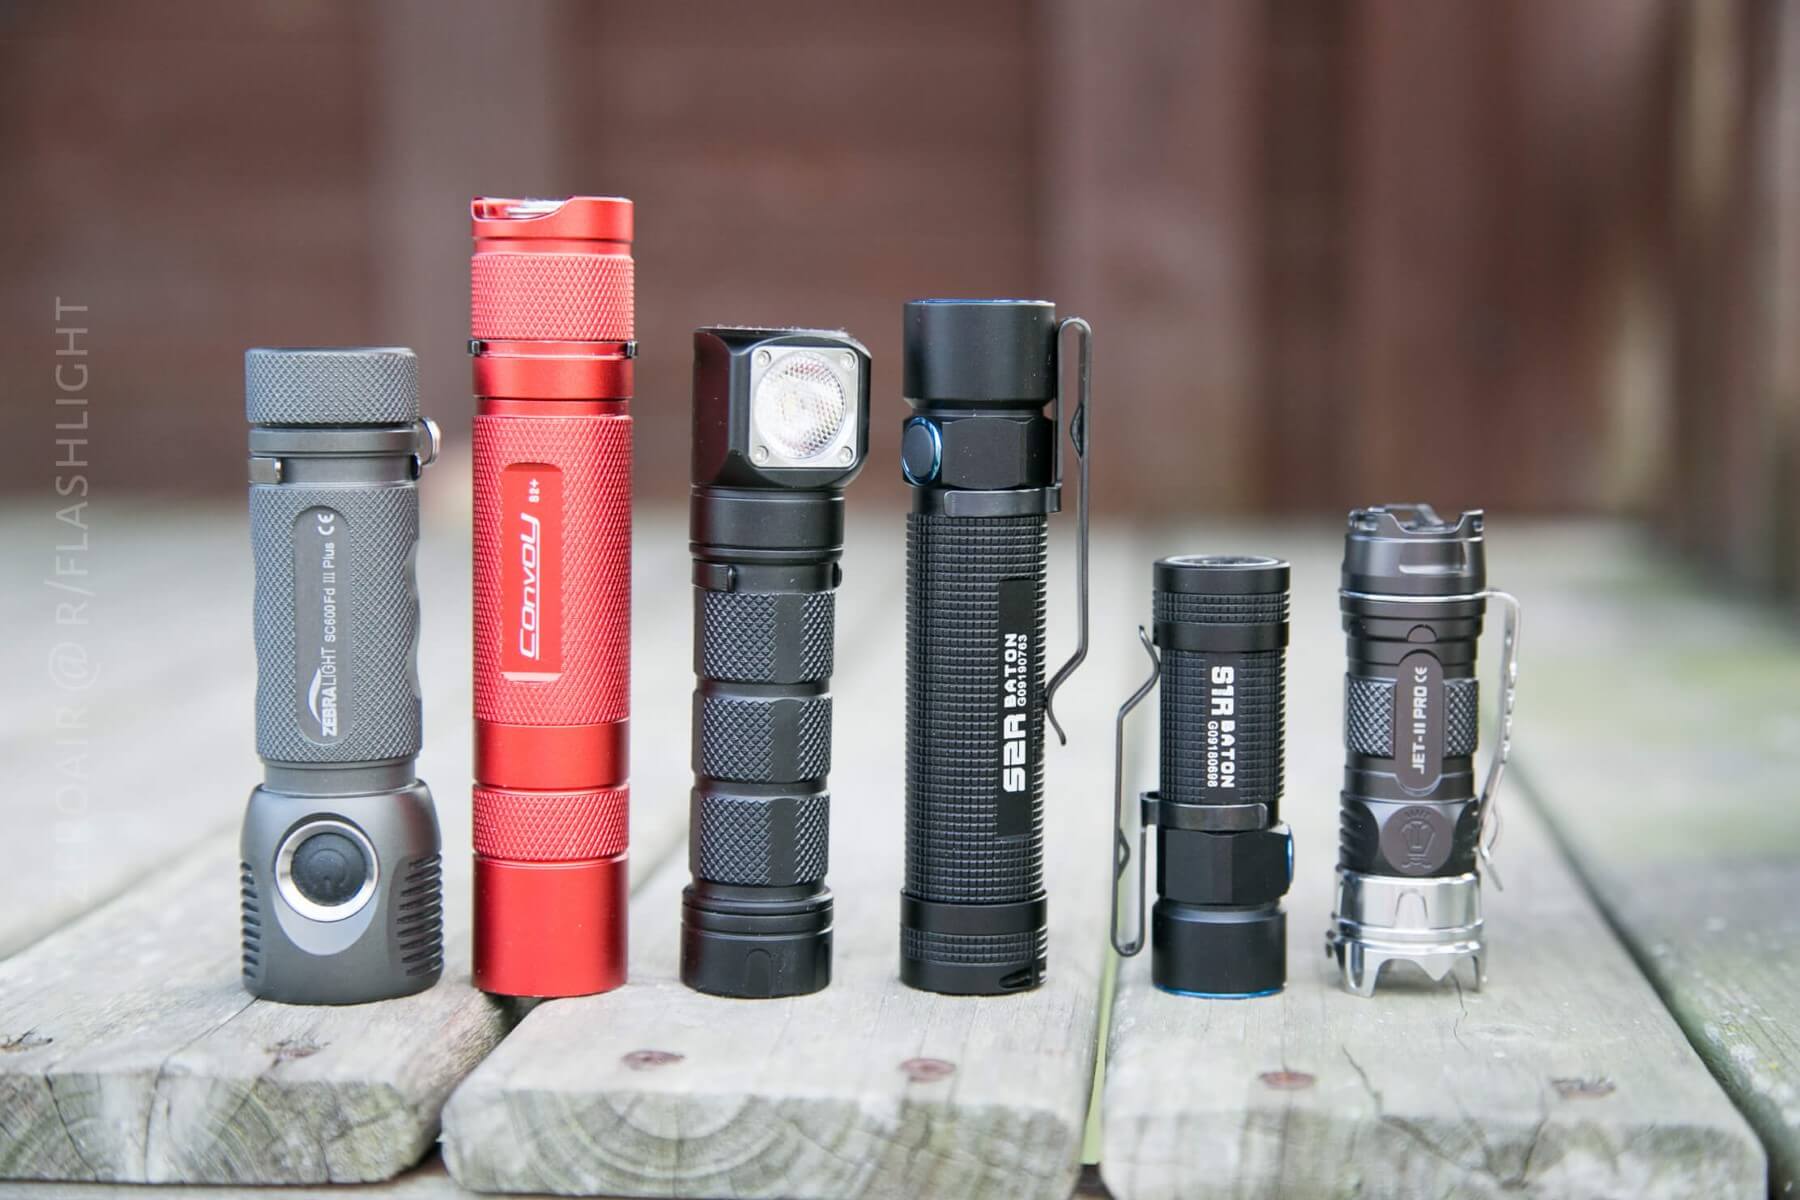
Here are both Batons compared to other lights you may know and love.
Retention
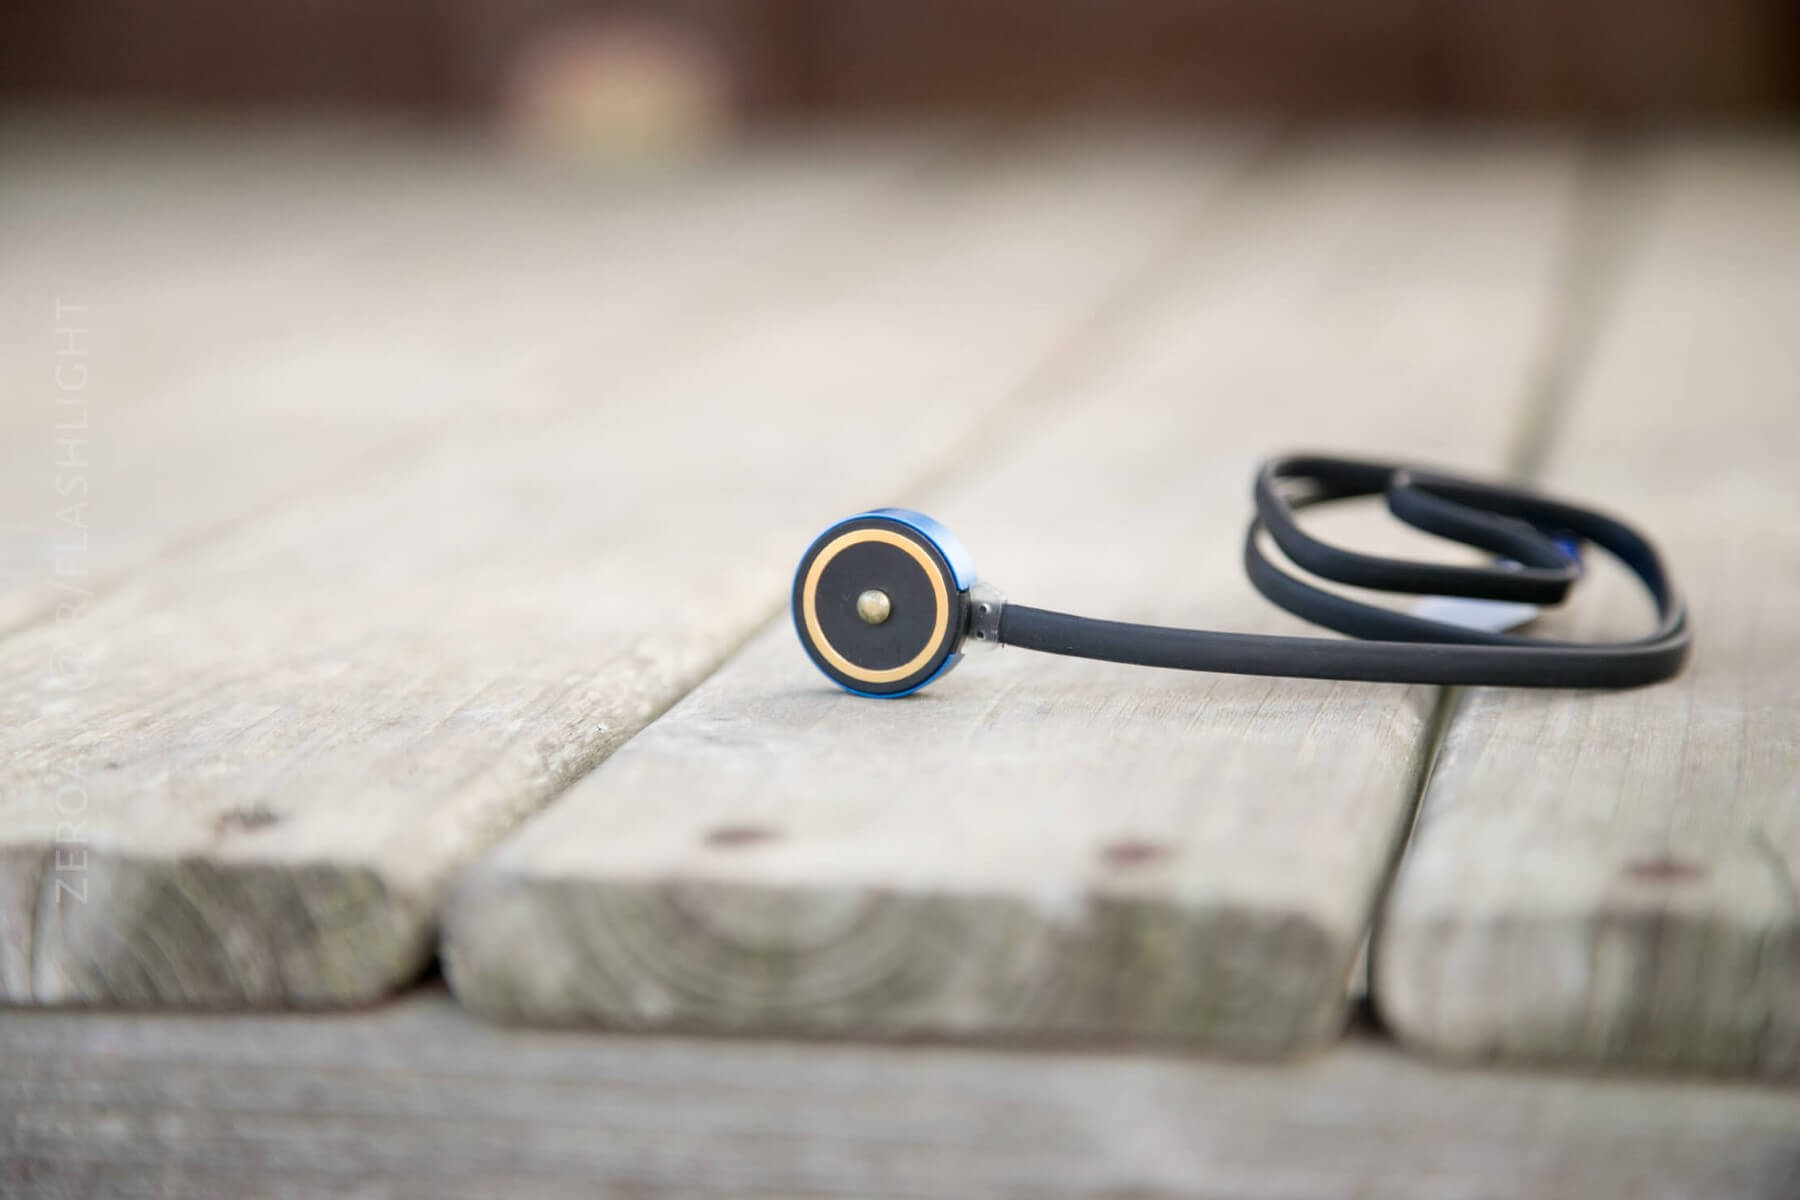
Some good options for retention here. First, there’s a [removable] pocket clip (which comes installed). Included is a lanyard (which includes a little pin for easy insertion) through the tiny hole in the tailcap. And there’s a brown velvet draw-string bag (which I have never, ever used). There’s also the tailcap magnet, which is my most frequently used retention mechanism: I keep this light plugged to my work computer’s front USB, and the magnetic charging base attached to a light on my desk. When I need to charge the light, I just put it on that charger. The magnet in the light plus the magnet in the charger keep the light hanging right there on that light. It’s ideal.


Power
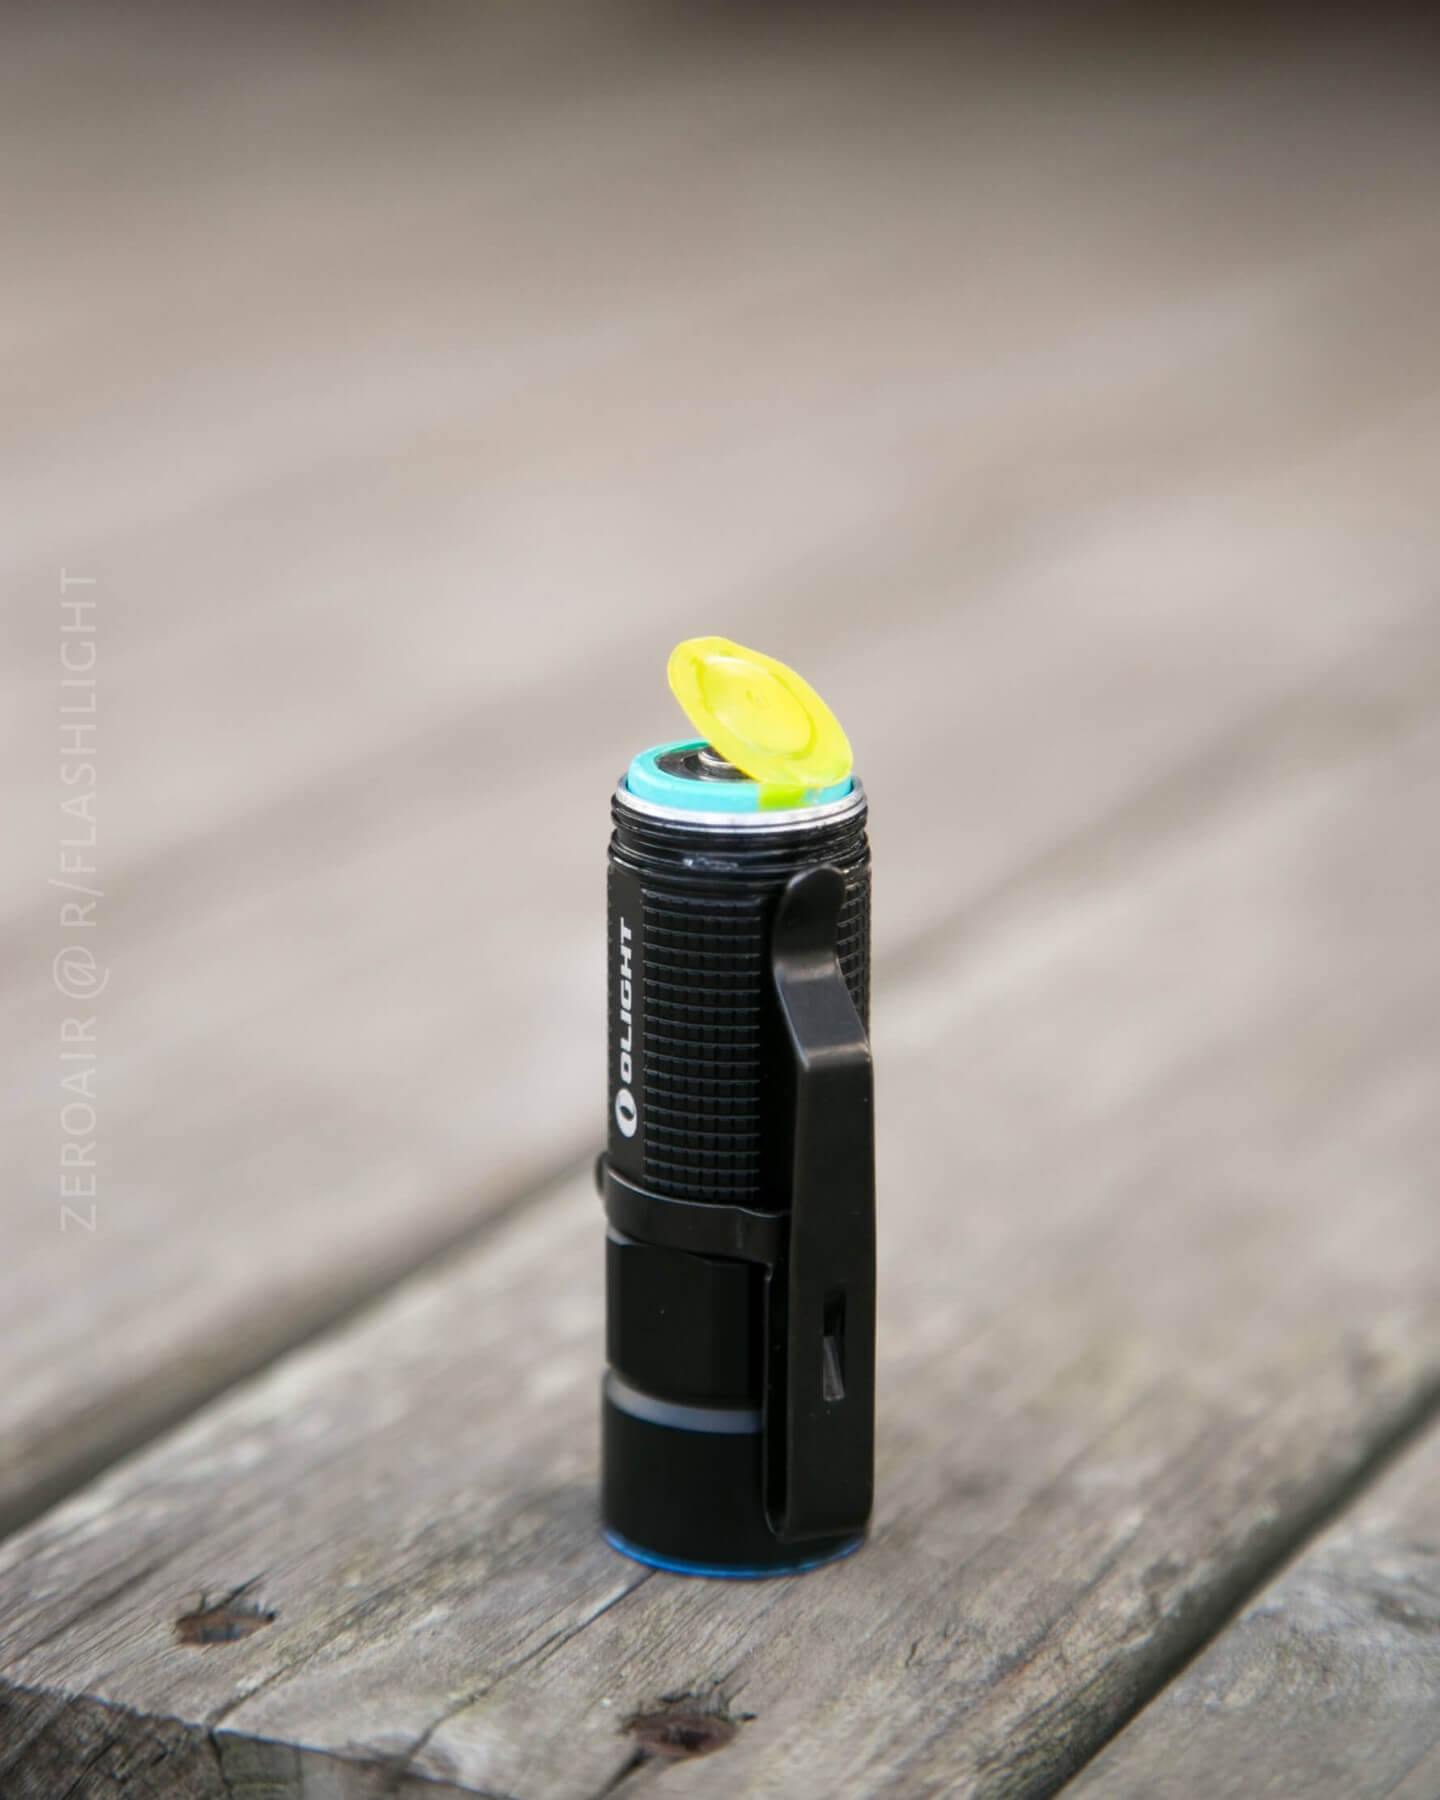
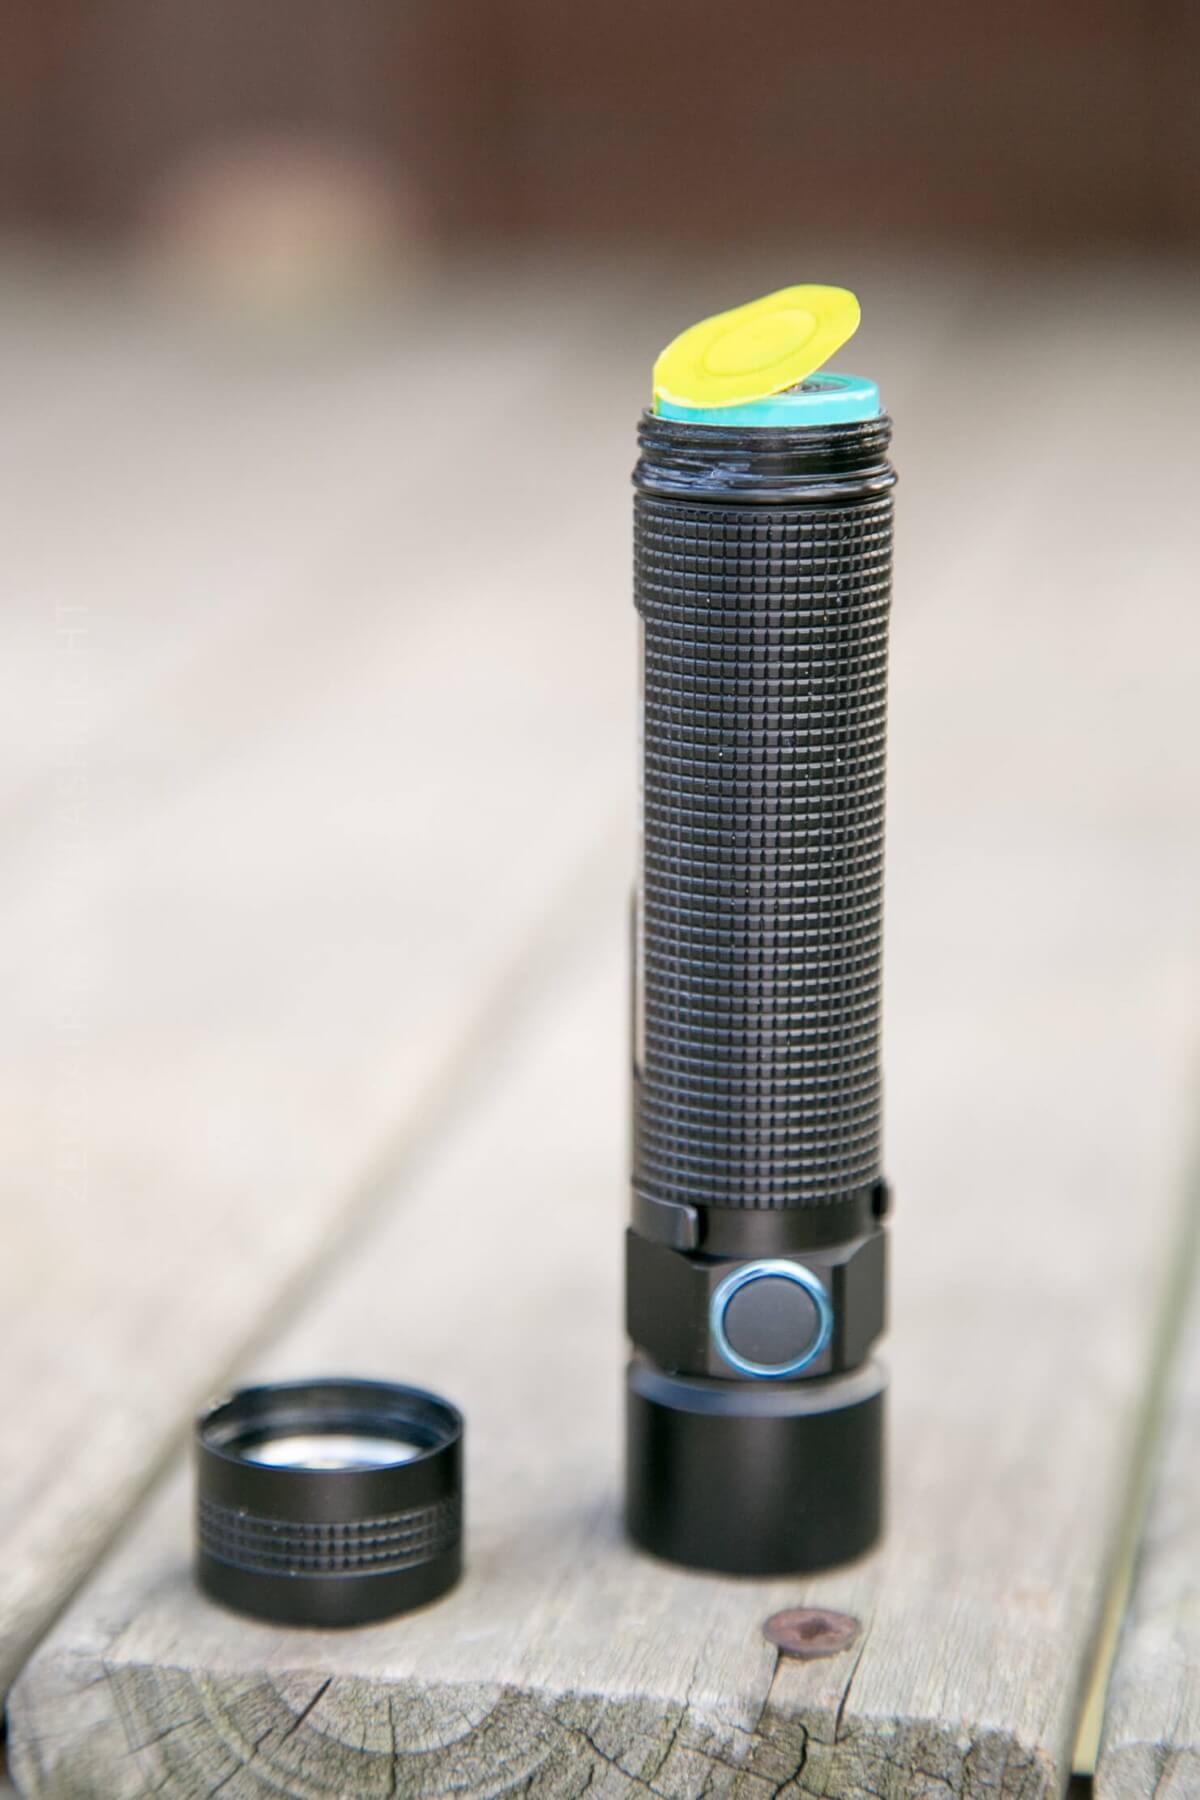
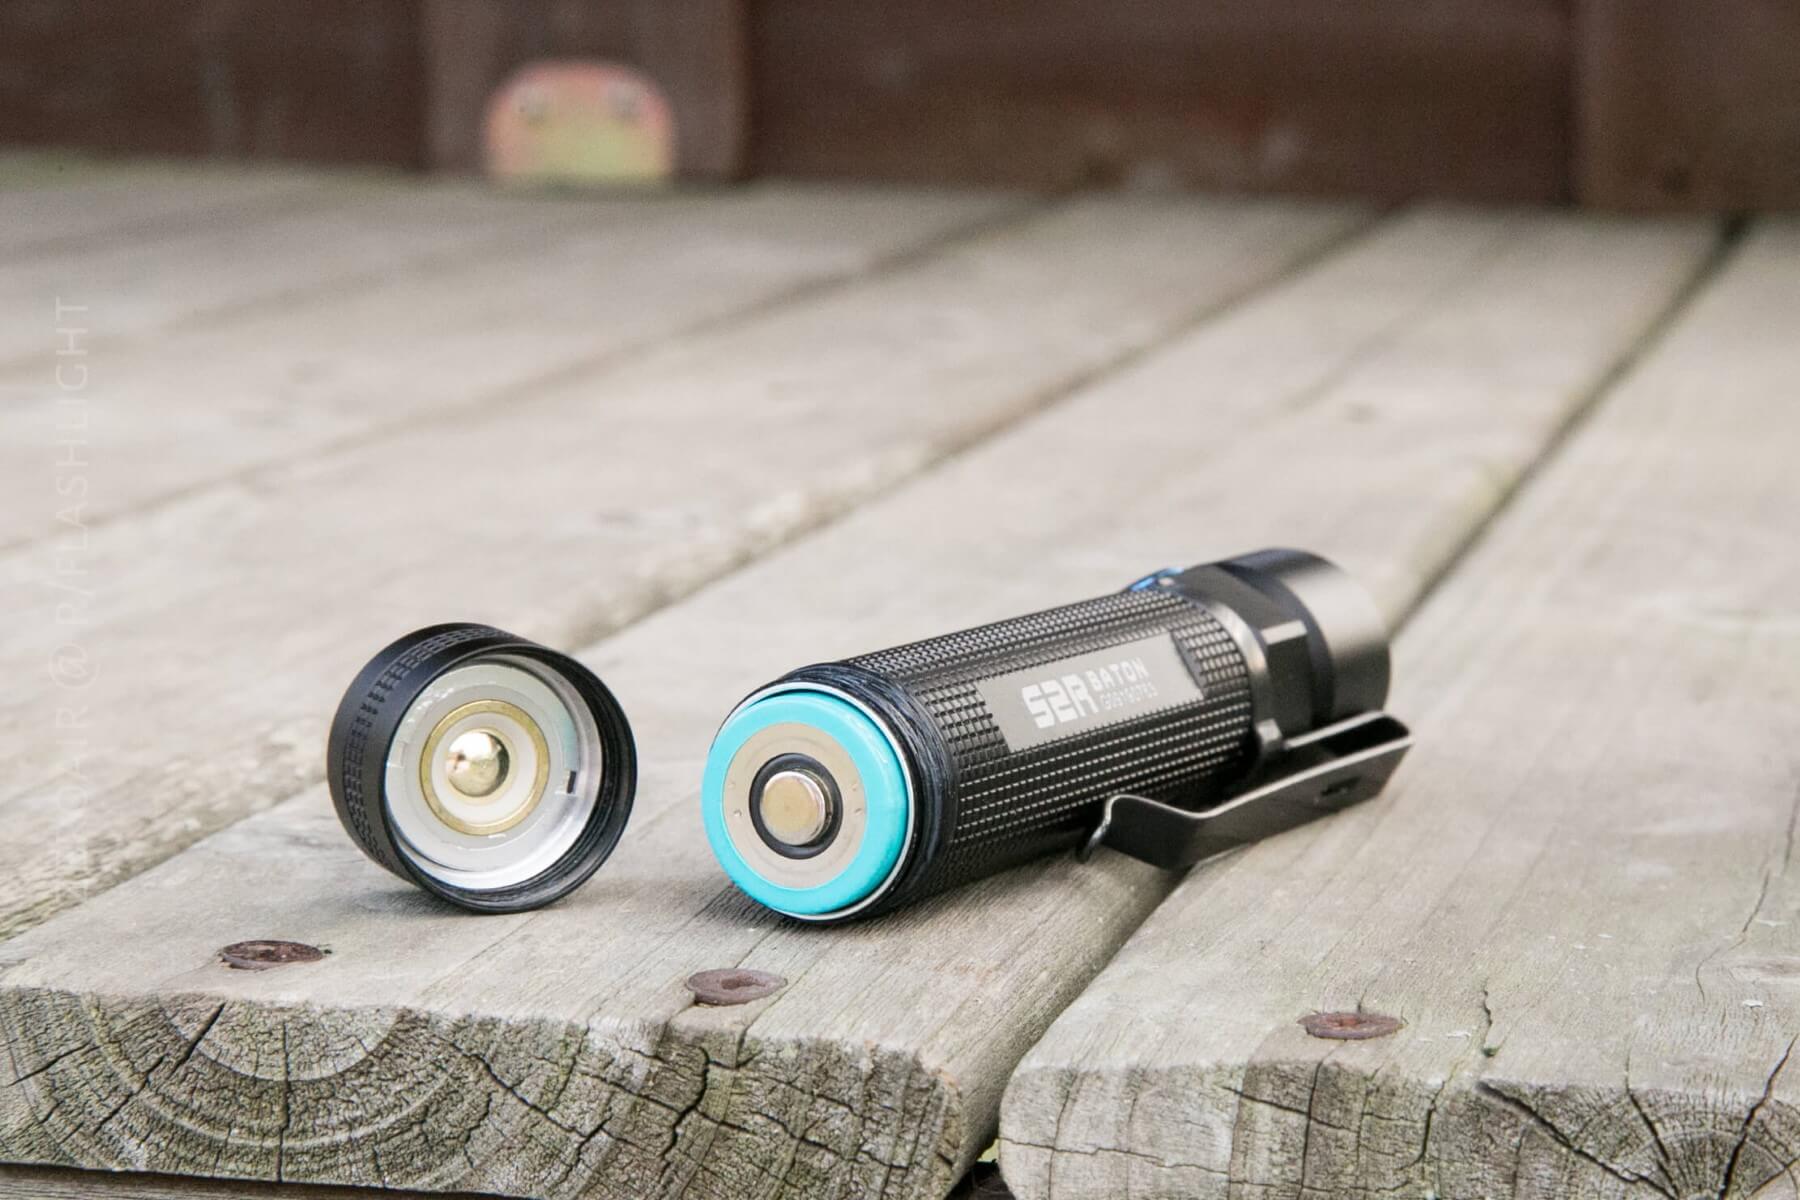
A RCR123 is provided with the light, and for good reason: The onboard charging will only charge that Olight cell. Other cells will work in the light, but they just will not charge. The Olight cell is 550mAh for the S1R v2, and 3200 mAh for the S2R. I’d love for Olight to get away from proprietary cells like these, but that doesn’t seem like the direction Olight (and others) are headed. Maybe the best we can hope for at this point is a good standard cell for these lights? The S2R will work with two CR123’s, as well. You’ll have to remove this little safety shipping plastic before use (they both have it).

 \
\
Proprietary cell aside, I do love this little charging base.
It’s well-made and magnetic! (I still basically see magnets as magic, so I guess I love lights with magnets. Truth.) When the light is placed on the charge base, there’s a nice little snap of them clicking together magnetically. There’s a light to let you know if the Baton needs charging (red) or if it’s fully charged (green). Furthermore, this charging base will charge the other S*R series Batons.

It’s a little small on the S2R, but they all fit the same.
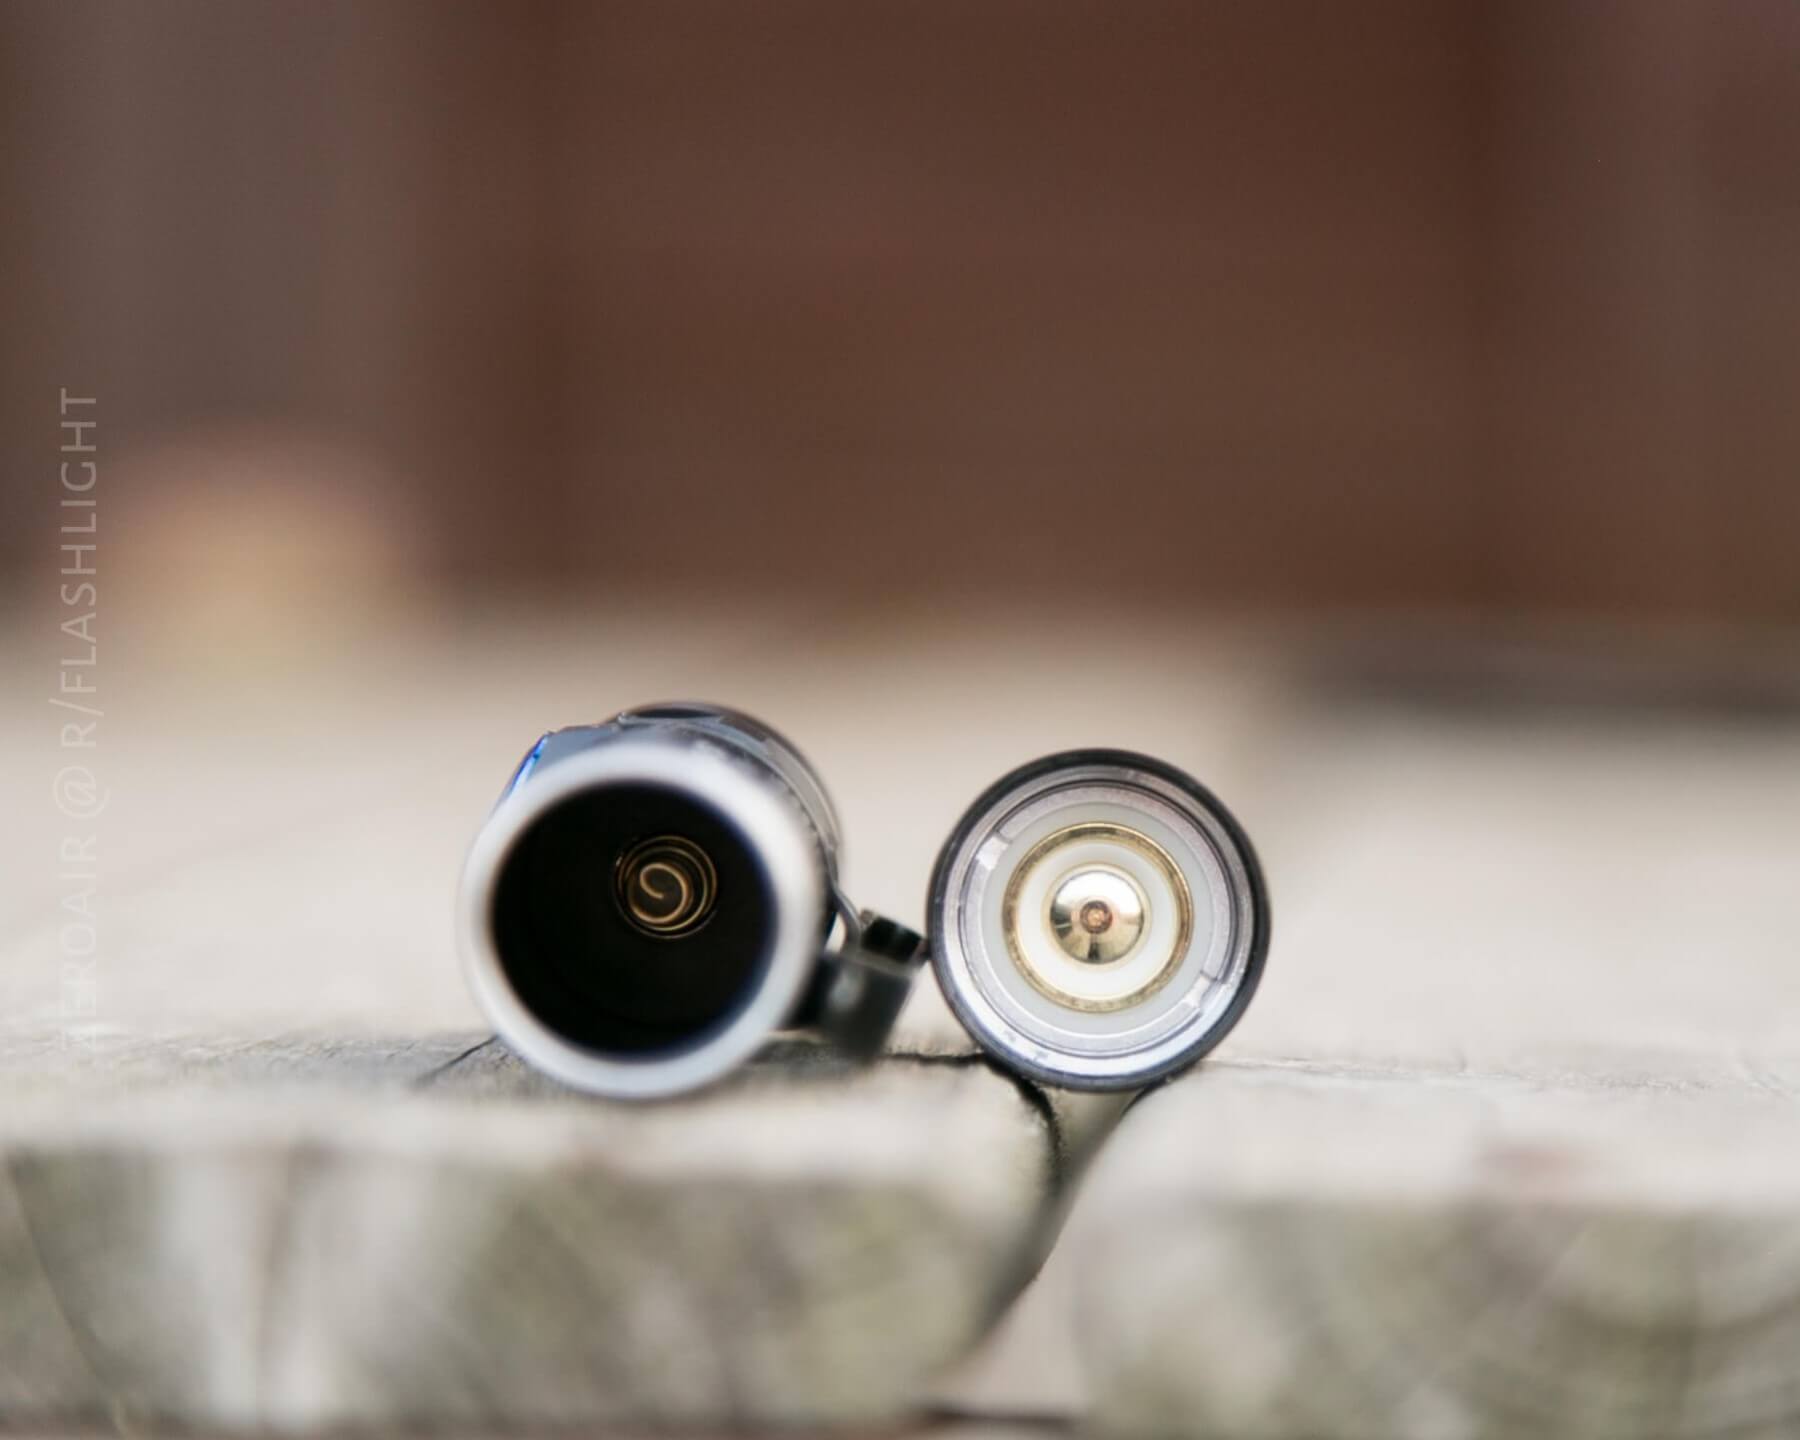
The charging base does mean that the Batons have terminals on the base, which clearly line up with the base, as you could imagine.

And inside the tailcap, you can see how the contact is made.
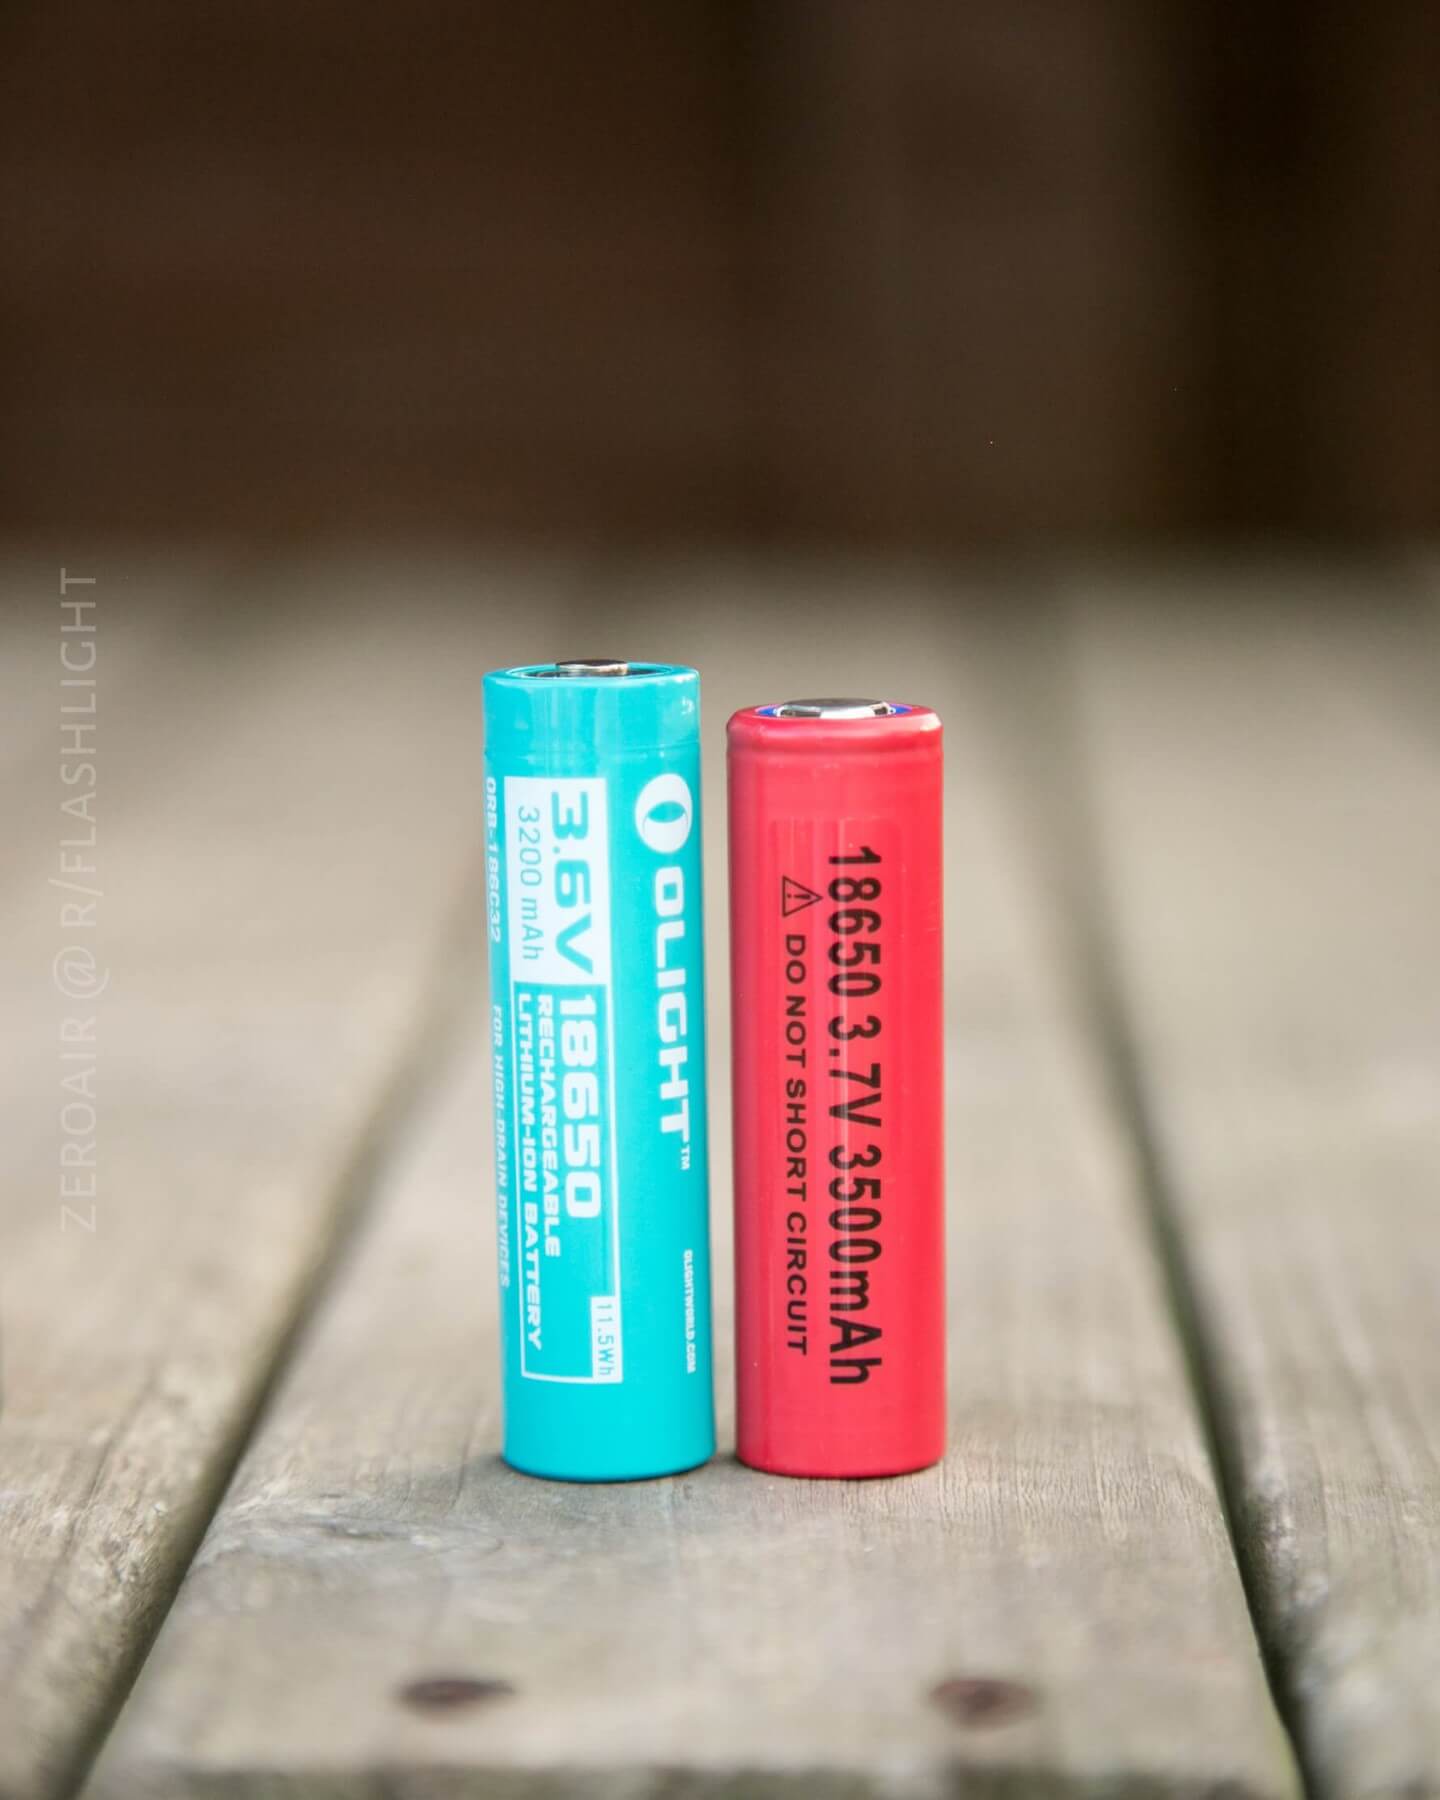
Here’s the 18650 from the S2R compared to a flat top 18650. Much taller, thanks to the protection.
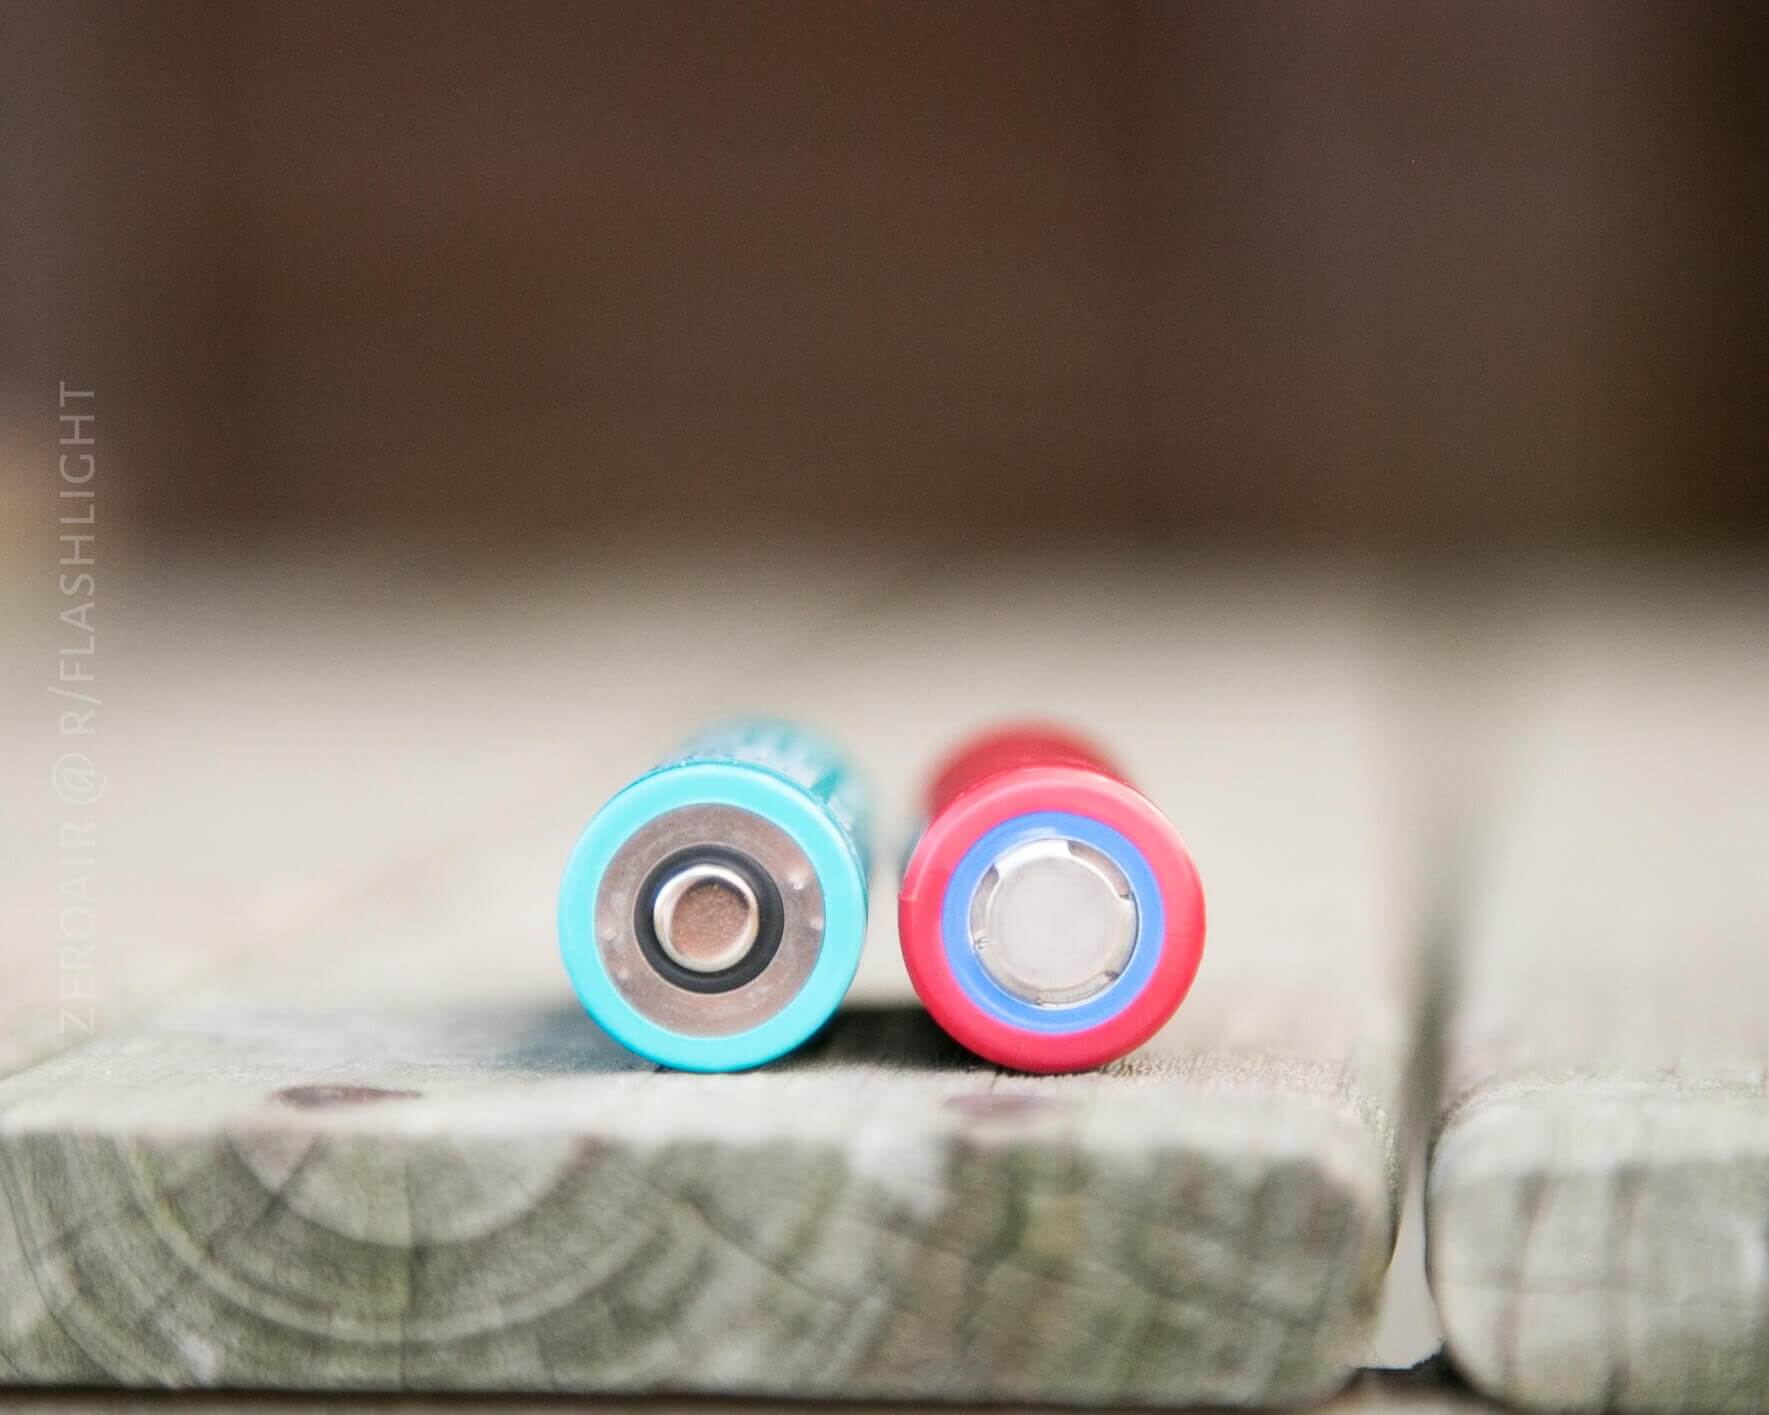
Noteworthy about these lights (and … all I can think of) with tailcap charging is that the cell is placed in reverse of the normal way – the positive terminal is away from the LED. It’s pretty intuitive once you realize how the cell is charged. But something to think about.
Sorry to say, I forgot to check the termination voltage on the first S1R v2 runtime test! The second runtime test, the cell read 1.8mV after the test. 1.8mV that’s right. That’s with a protected cell. I wasn’t sure what was going on there. I immediately tested a different cell (actually a D cell), and it tested about right (around 1.4V ish), so my equipment and technique were fine. As far as I know, I’ve never tripped protection on a cell, but I believe this is what it looks like. I charged the cell all day, and it now works just fine. The take-home is that it appears the S1R v2 does not have low voltage protection. One nice sidenote is that this means that the onboard charging can, in fact, recover 0.0V Olight cells. In later tests, the S2R performed exactly the same way – no low voltage protection, but with the protected cells, this isn’t really a problem. Tripping the protection in this way does not hurt the cells.
User Interface and Operation
The button is a small (6mm across) black silicone button with a blue retaining ring. It has a nice click with short travel and a relatively quiet sound. That’s it as far as input you can give the light! Easy!


User interface Table
| State | Action | Result |
|---|---|---|
| Off | Press | Last mode (Memory)^ |
| Off | Hold | Moonlight |
| Off | Double Click | Turbo |
| On | Press | Off |
| On | Hold | L>M>H^^ |
| On | Double Click | Turbo |
| Turbo | Double Click | Turbo S^^^ |
| On | Double Click +Hold | Timer: 3m |
| Timer: 3m | Double Click+Hold | Cycle 9 and 3-minute timers |
| Any | Triple Click | 10Hz Strobe |
^ Moon, L, M, H only. T and T’S memorized as High for 10 minutes, then Medium (S1R v2), and High (S2R).
^^ The manual for both incorrectly states that Moon cycles, but it does not.
^^^ S1R v2 only
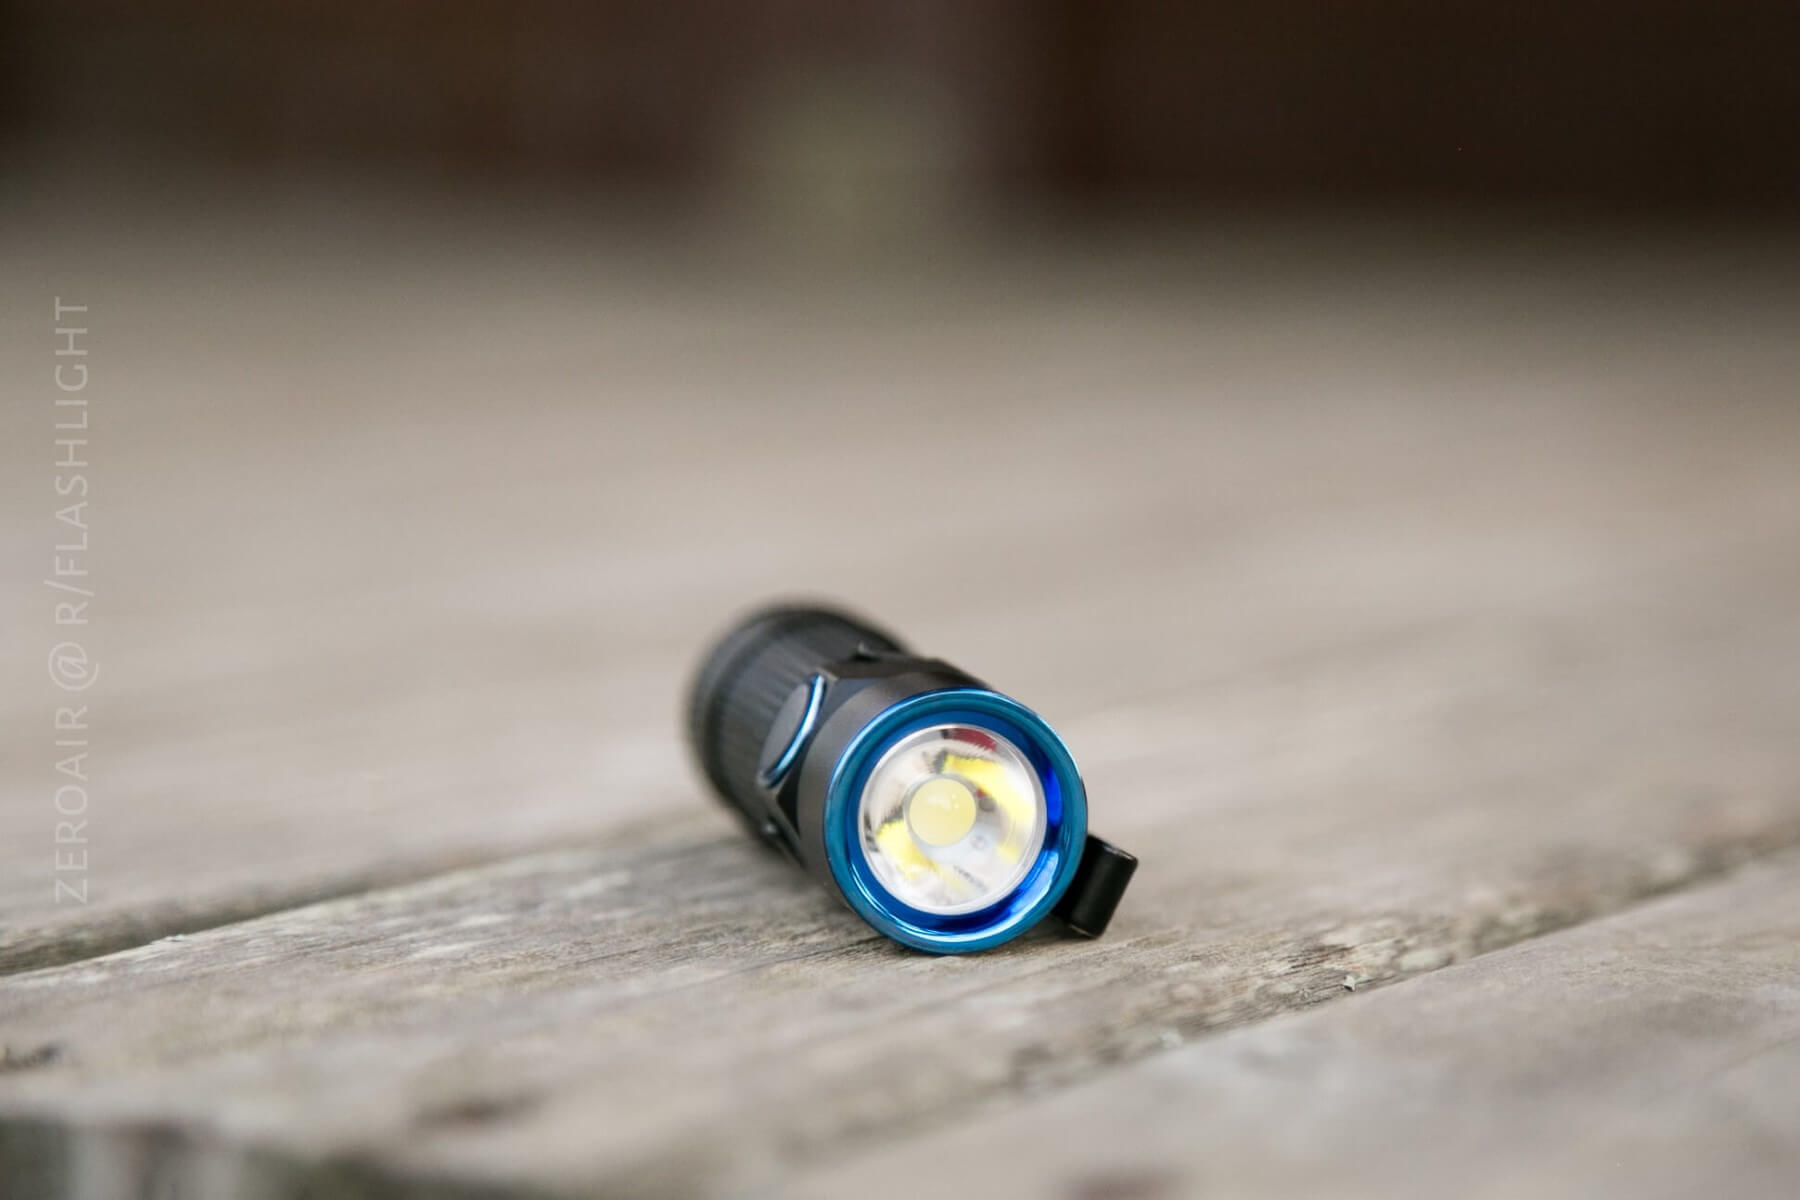
LED and Beam
Both Batons utilize a TIR.
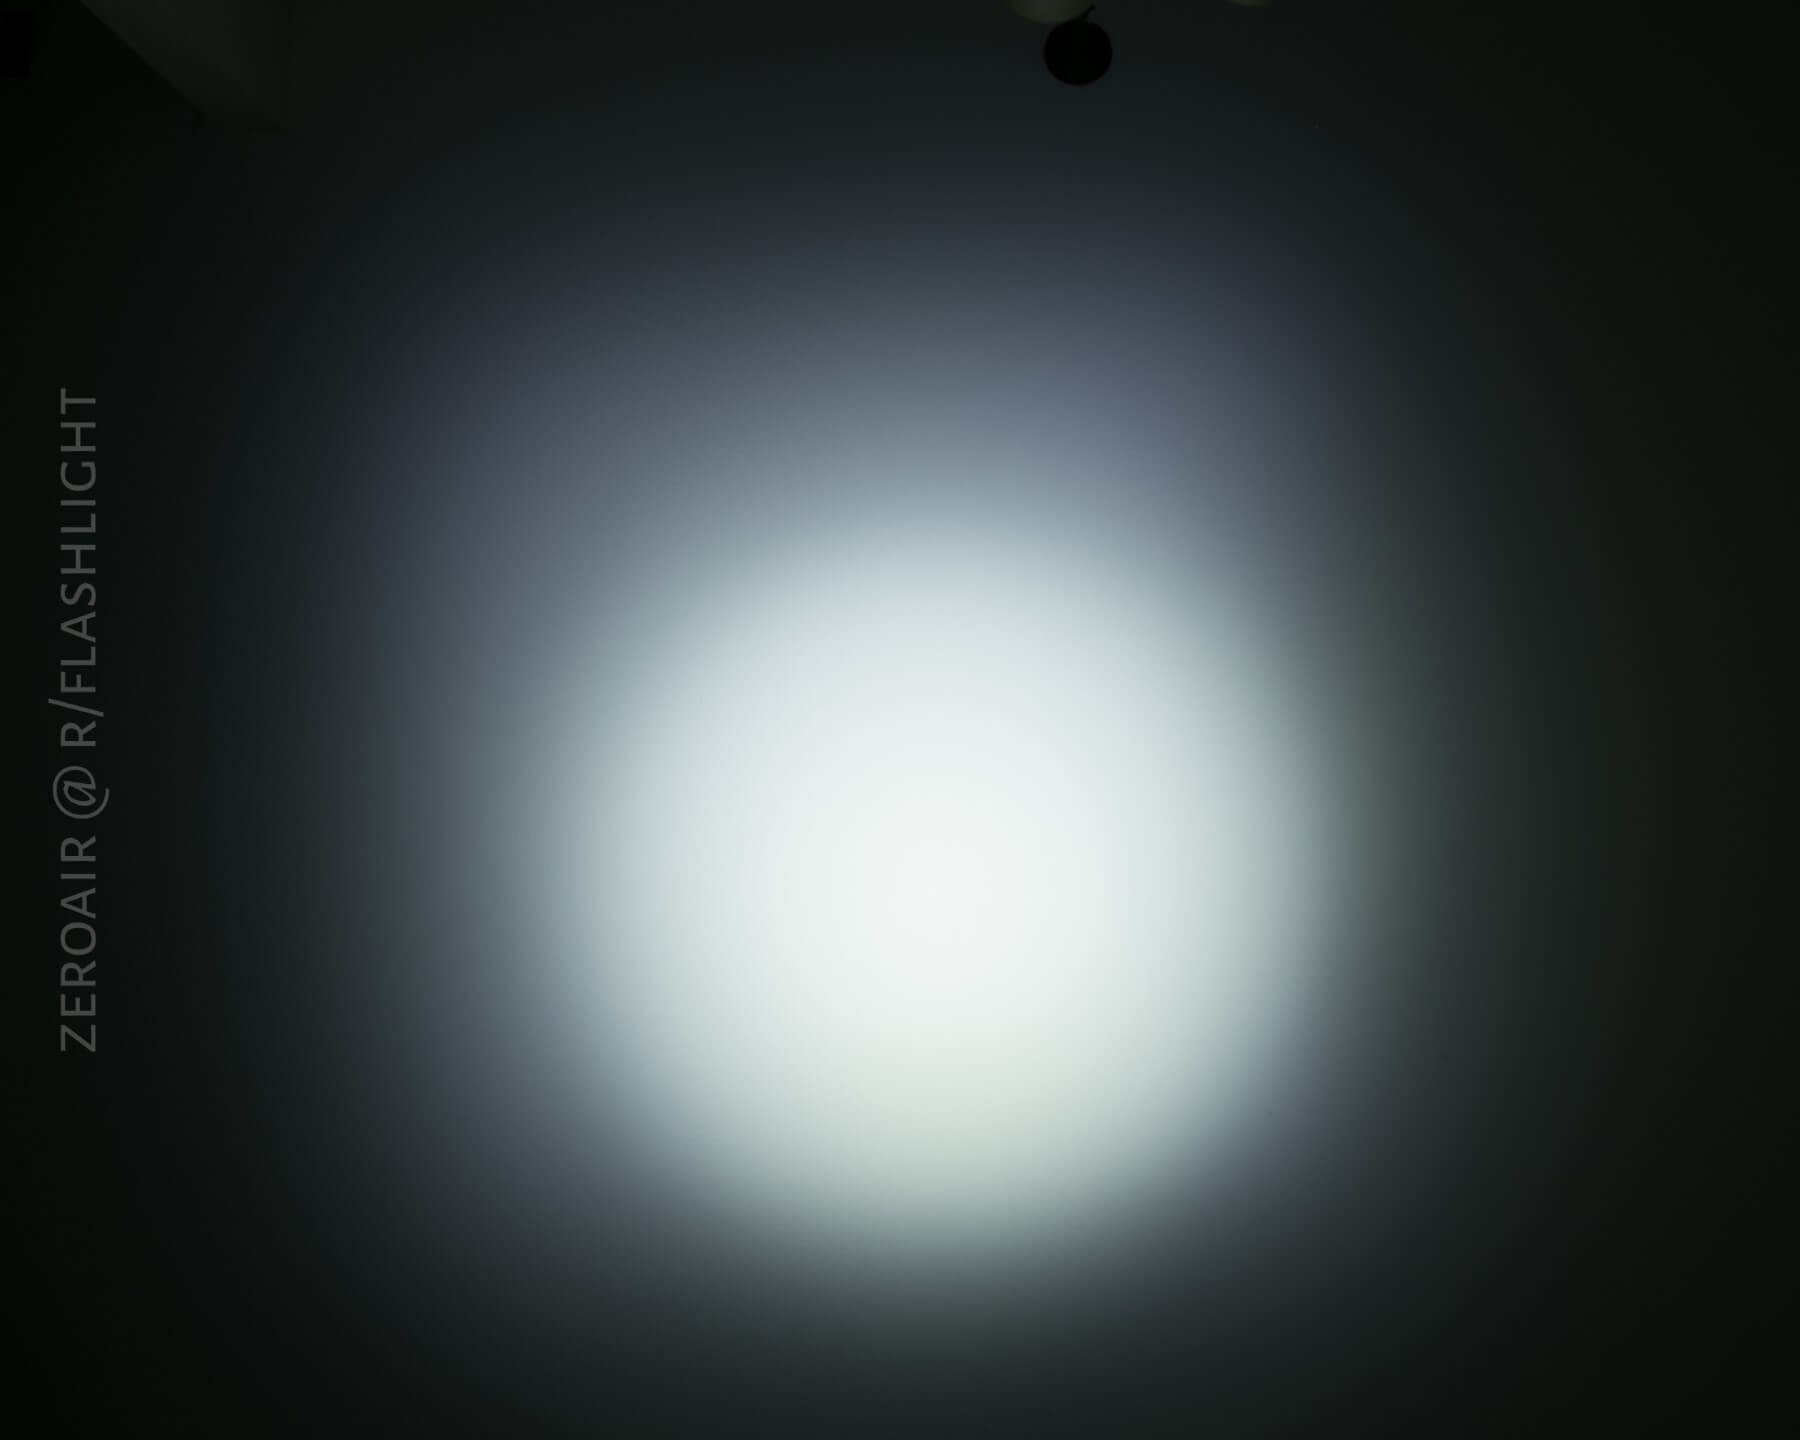
This is really just a glamour shot of the S1R v2’s beam – probably not all that useful in real life!
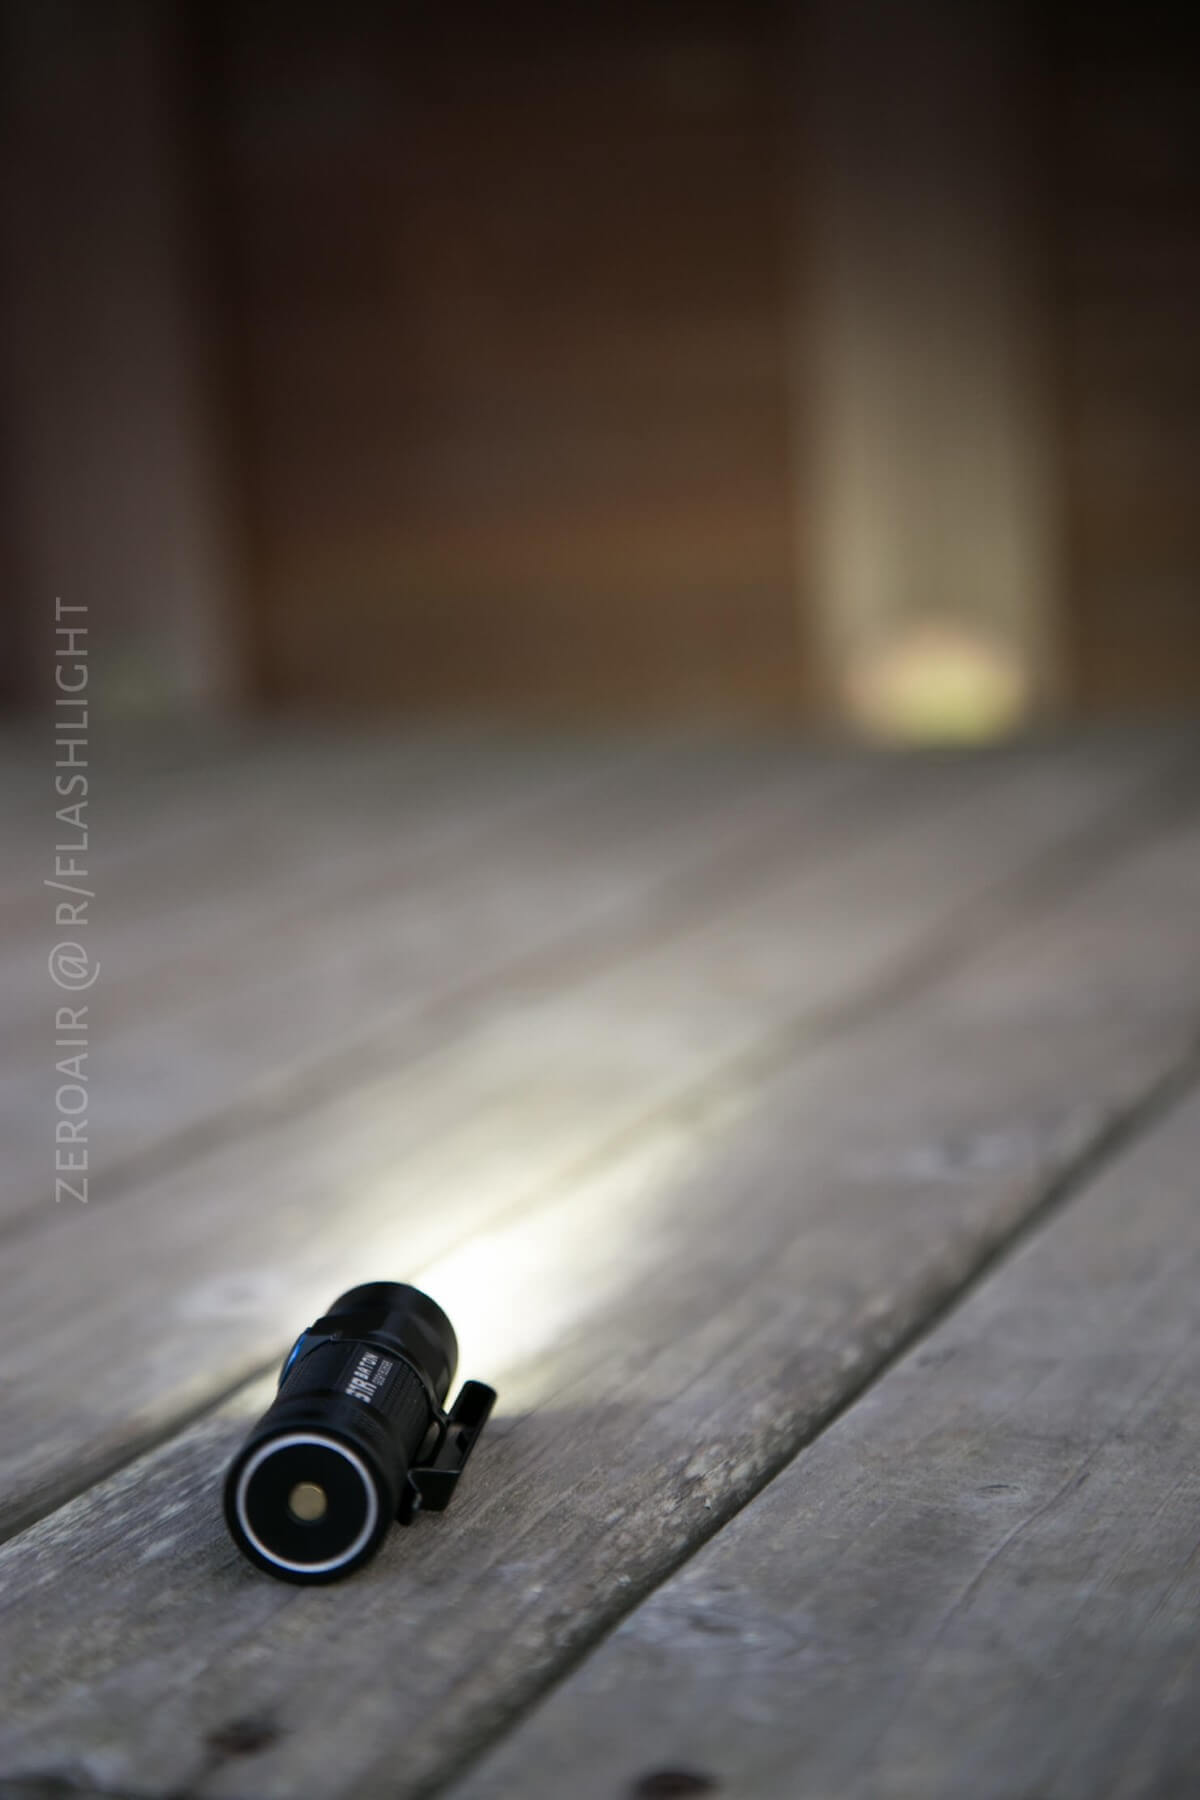
Beamshots
These beamshots always have the following settings: f8, ISO100, 0.3s shutter, and manual 5000K exposure. These photos are taken at floor level, and the beam hits the ceiling around 9 feet away.
Olight S1R (v2) Beamshots (0.3″ ISO100, f8, 5000K):


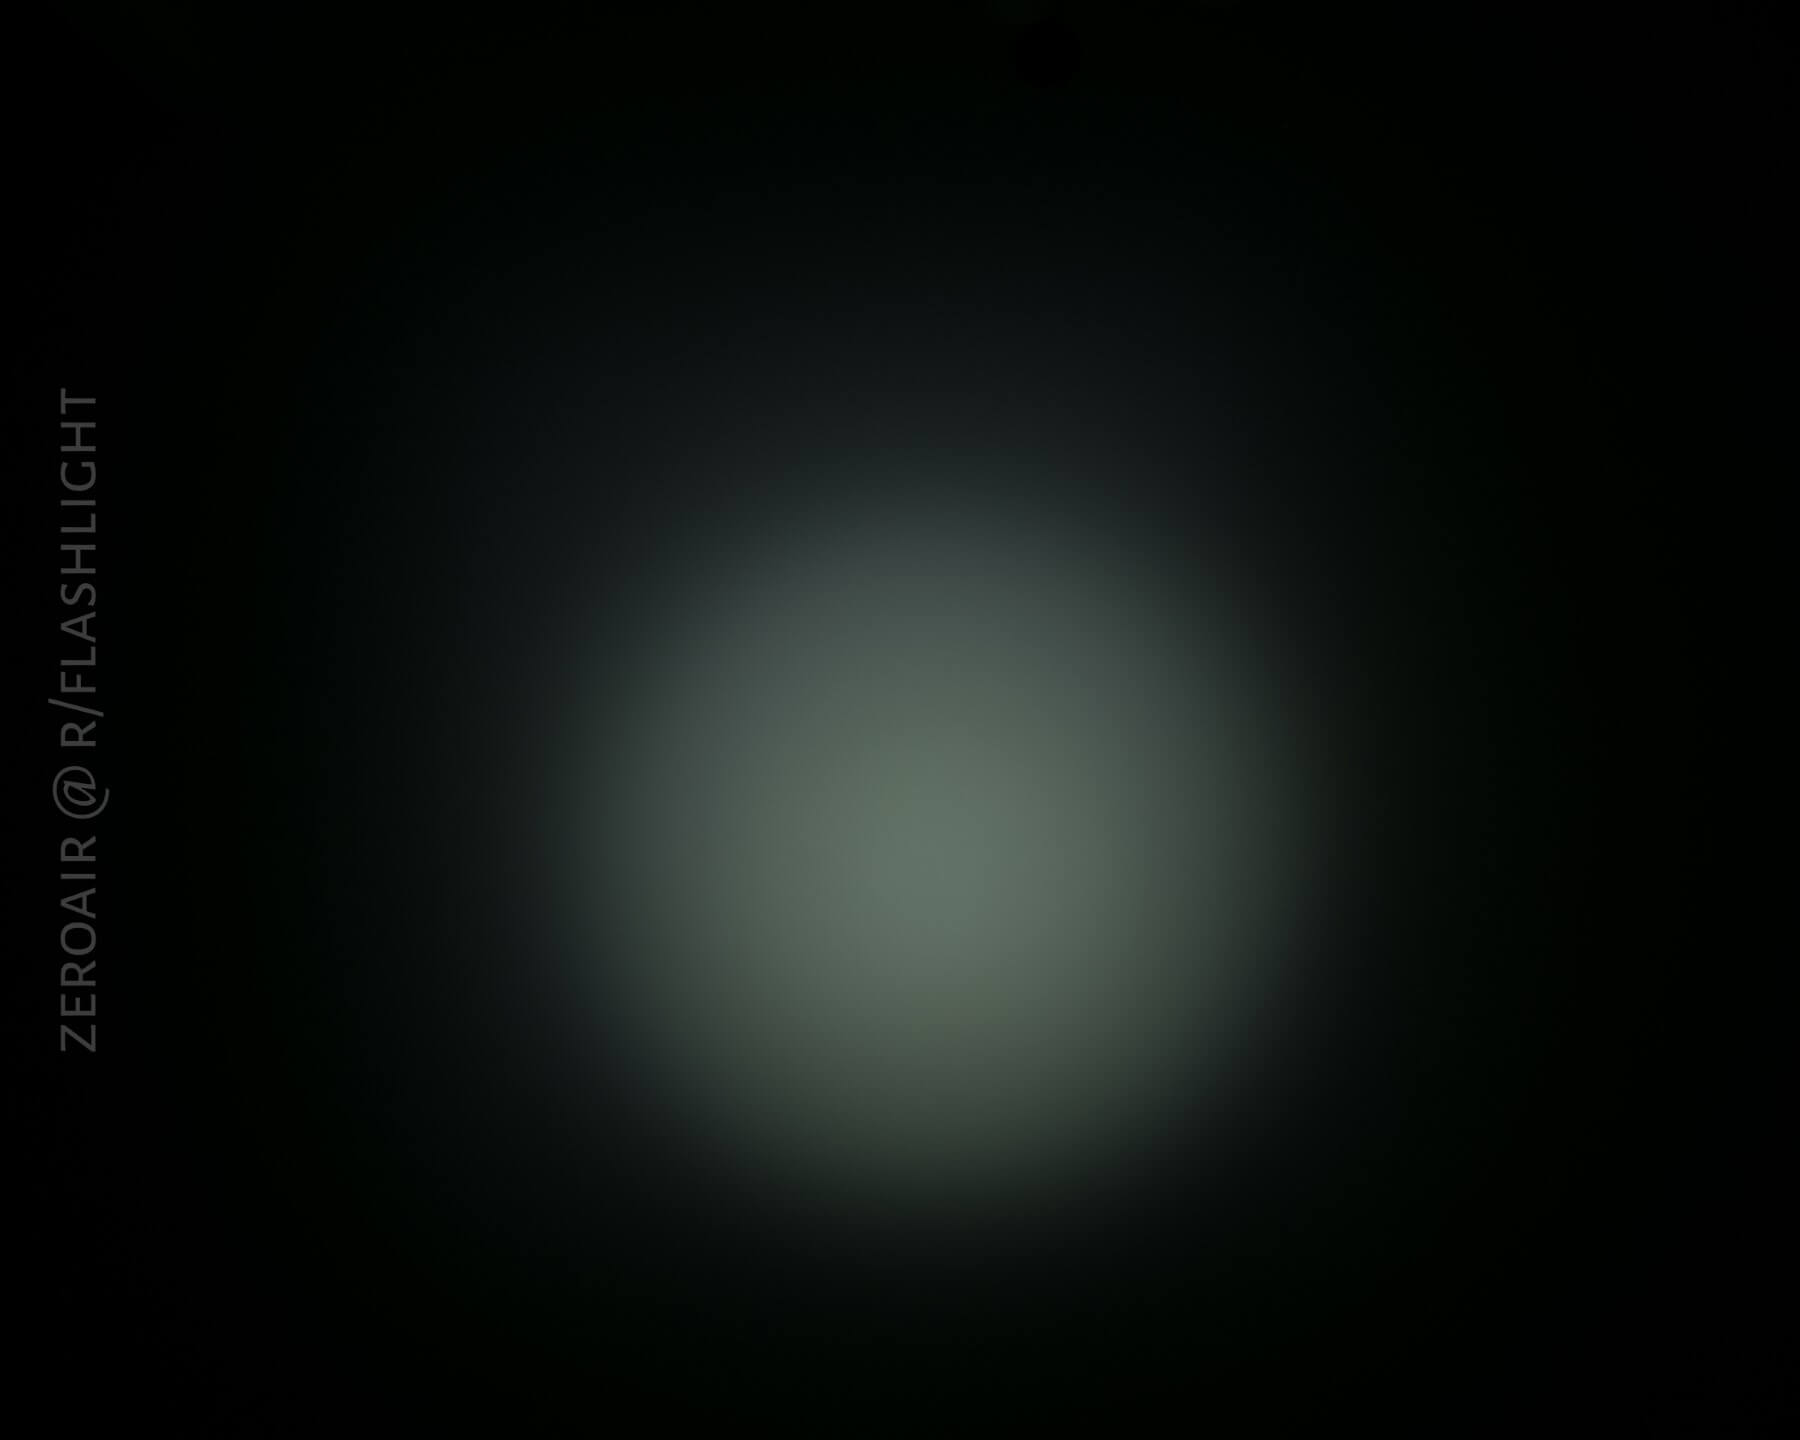
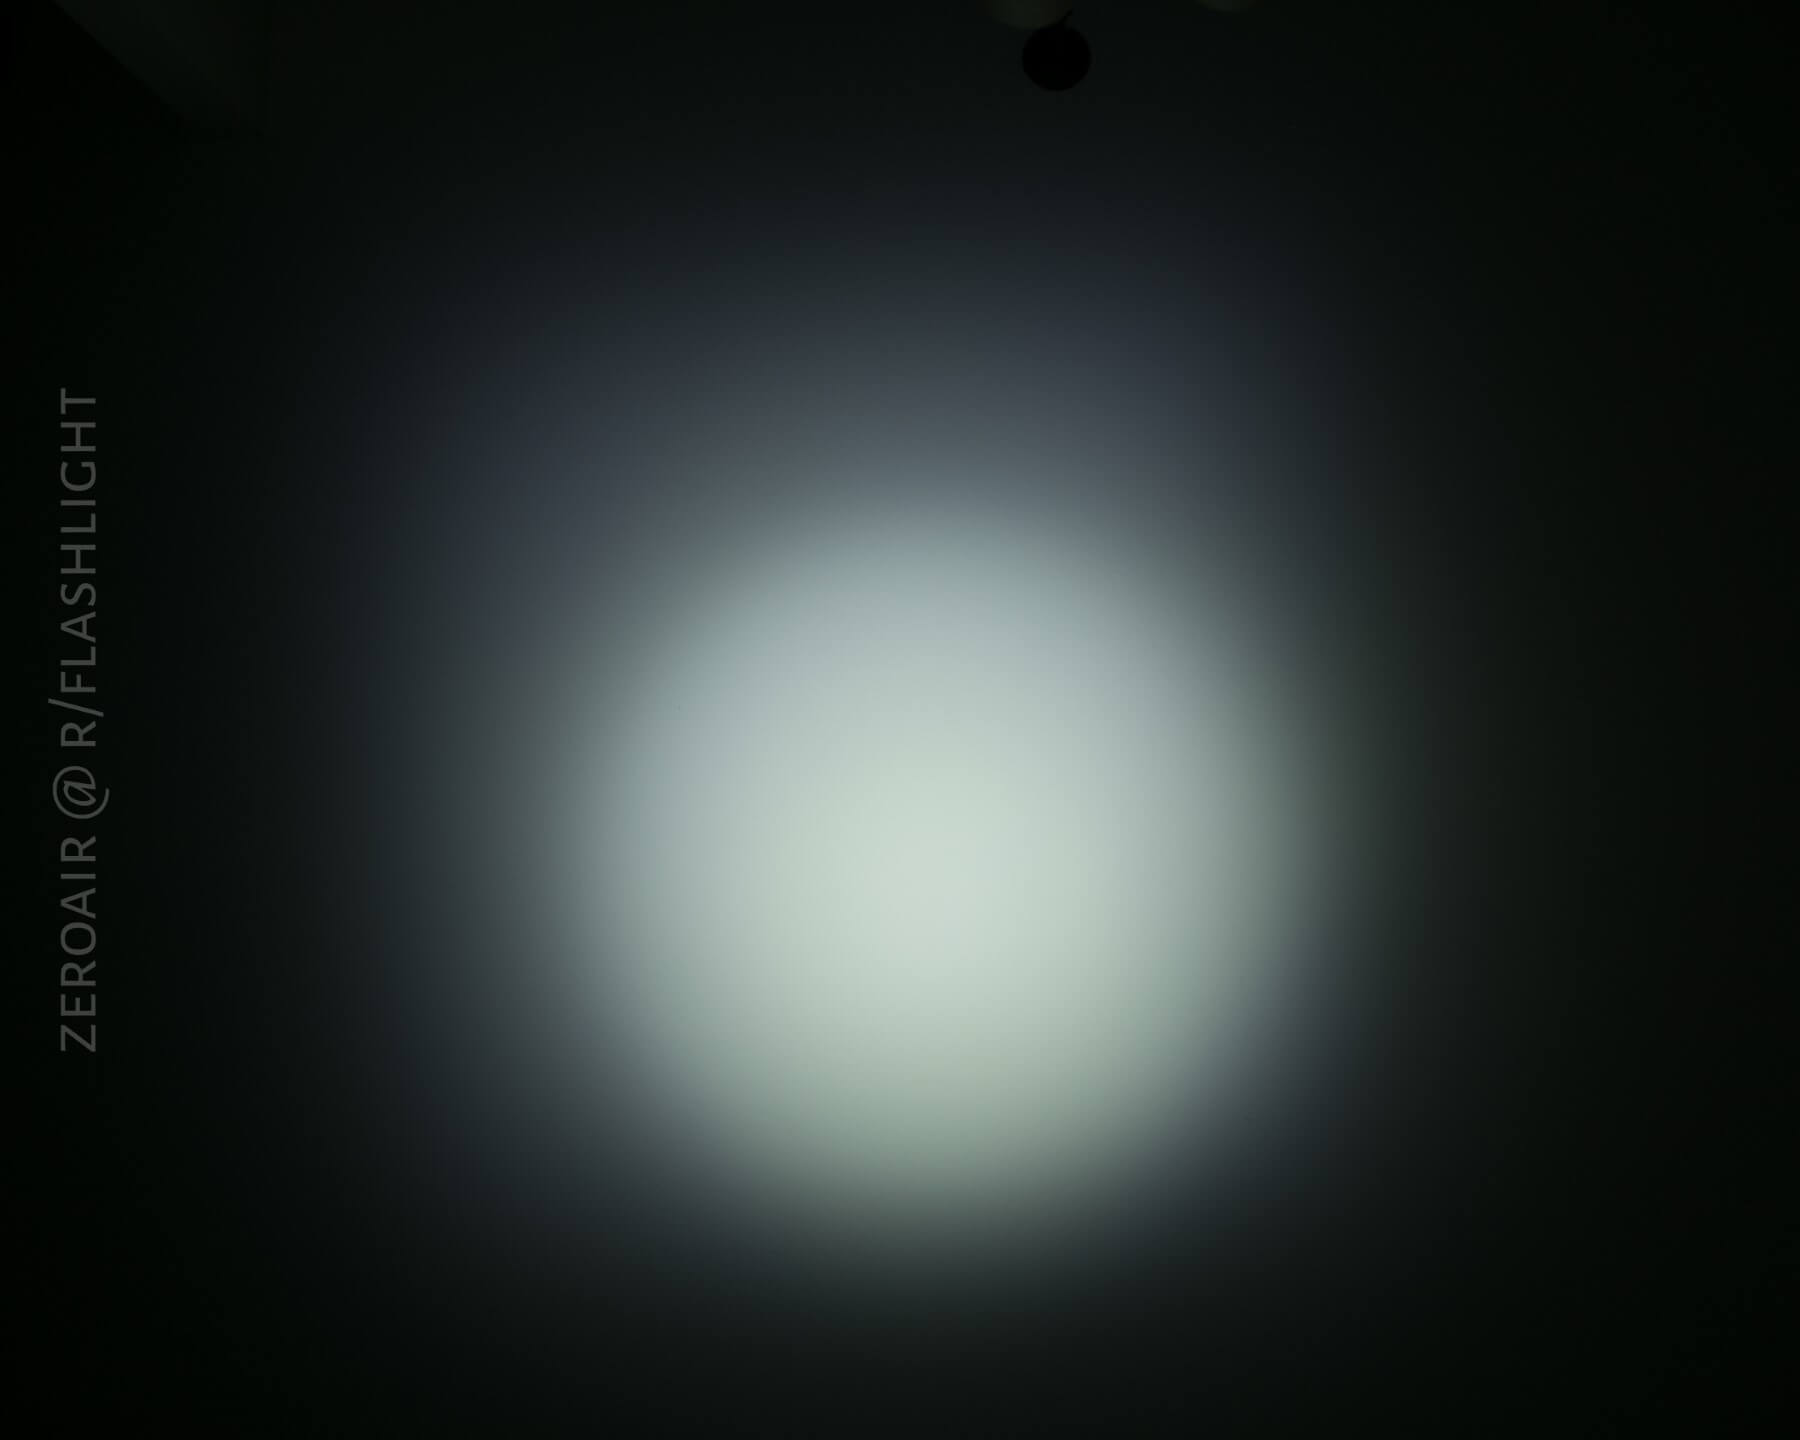
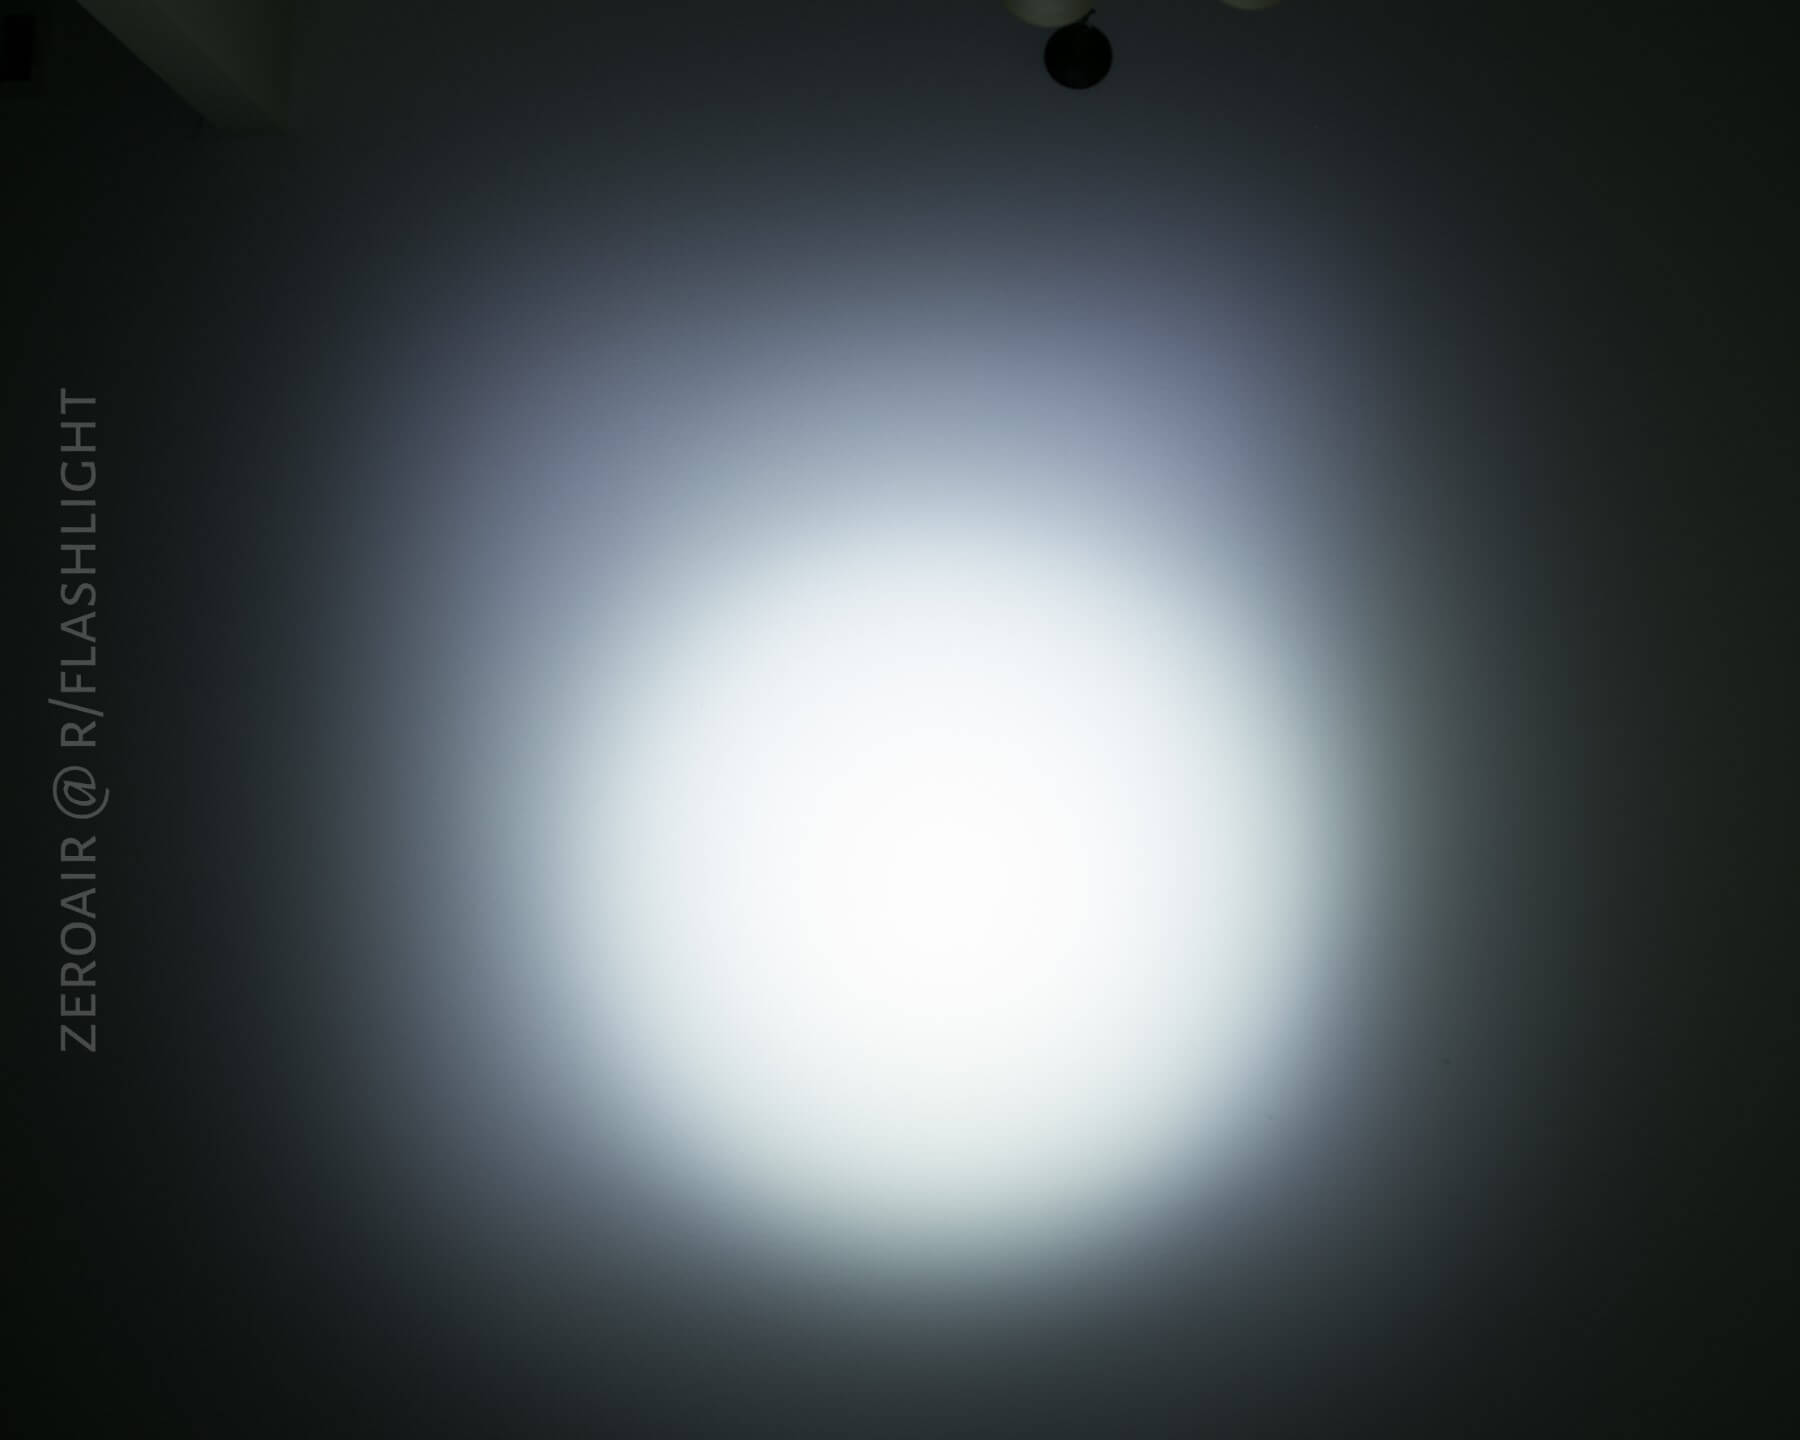
Olight S2R Beamshots (0.3″ ISO100, f8, 5000K):


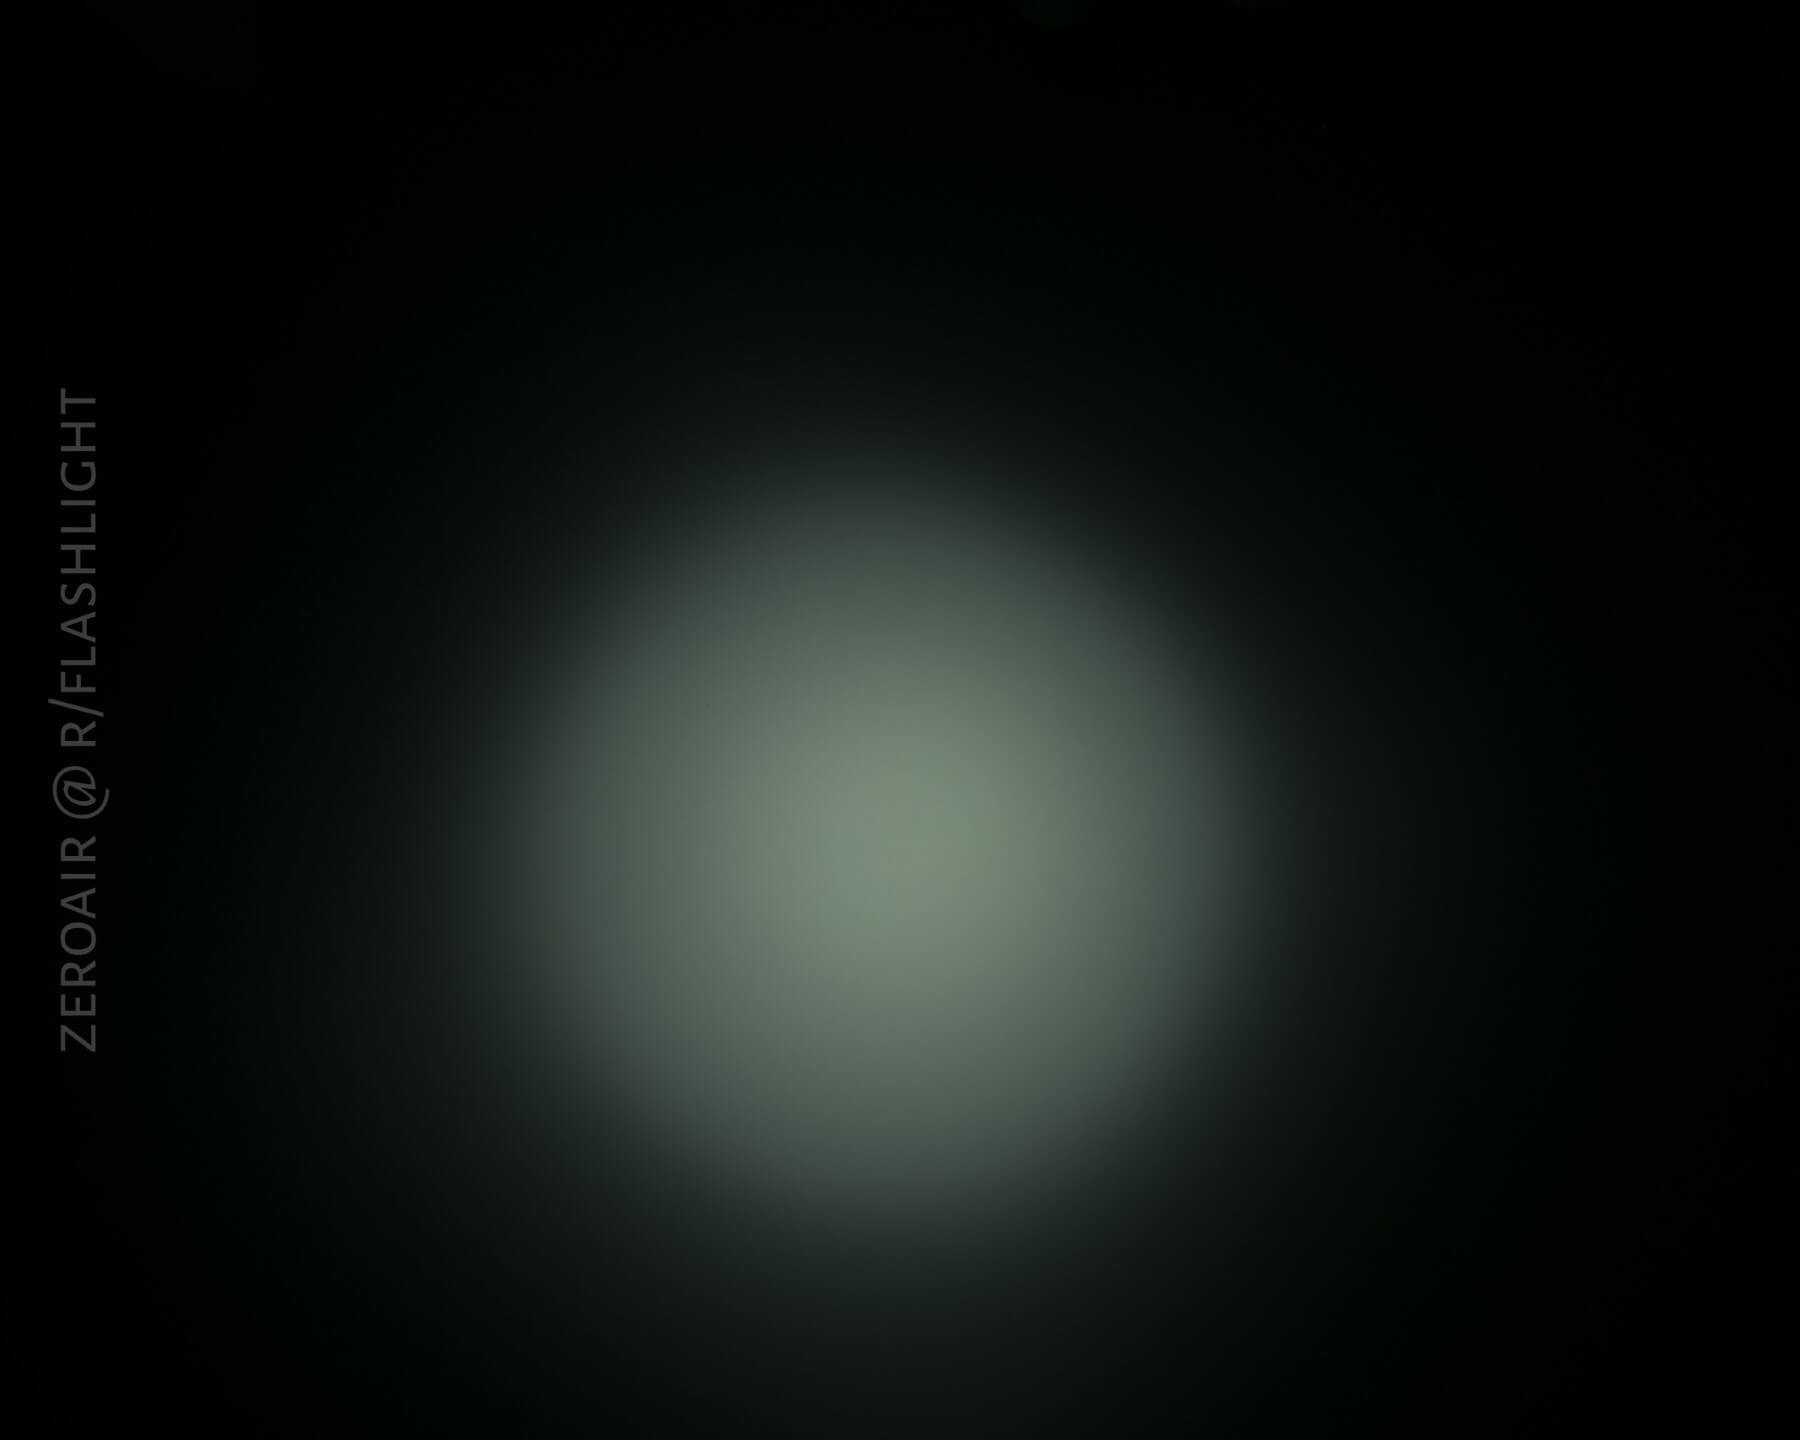

Tint vs BLF-348 (KillzoneFlashlights.com 219b version) (affiliate link)
I keep the test flashlight on the left and the BLF-348 reference flashlight on the right.
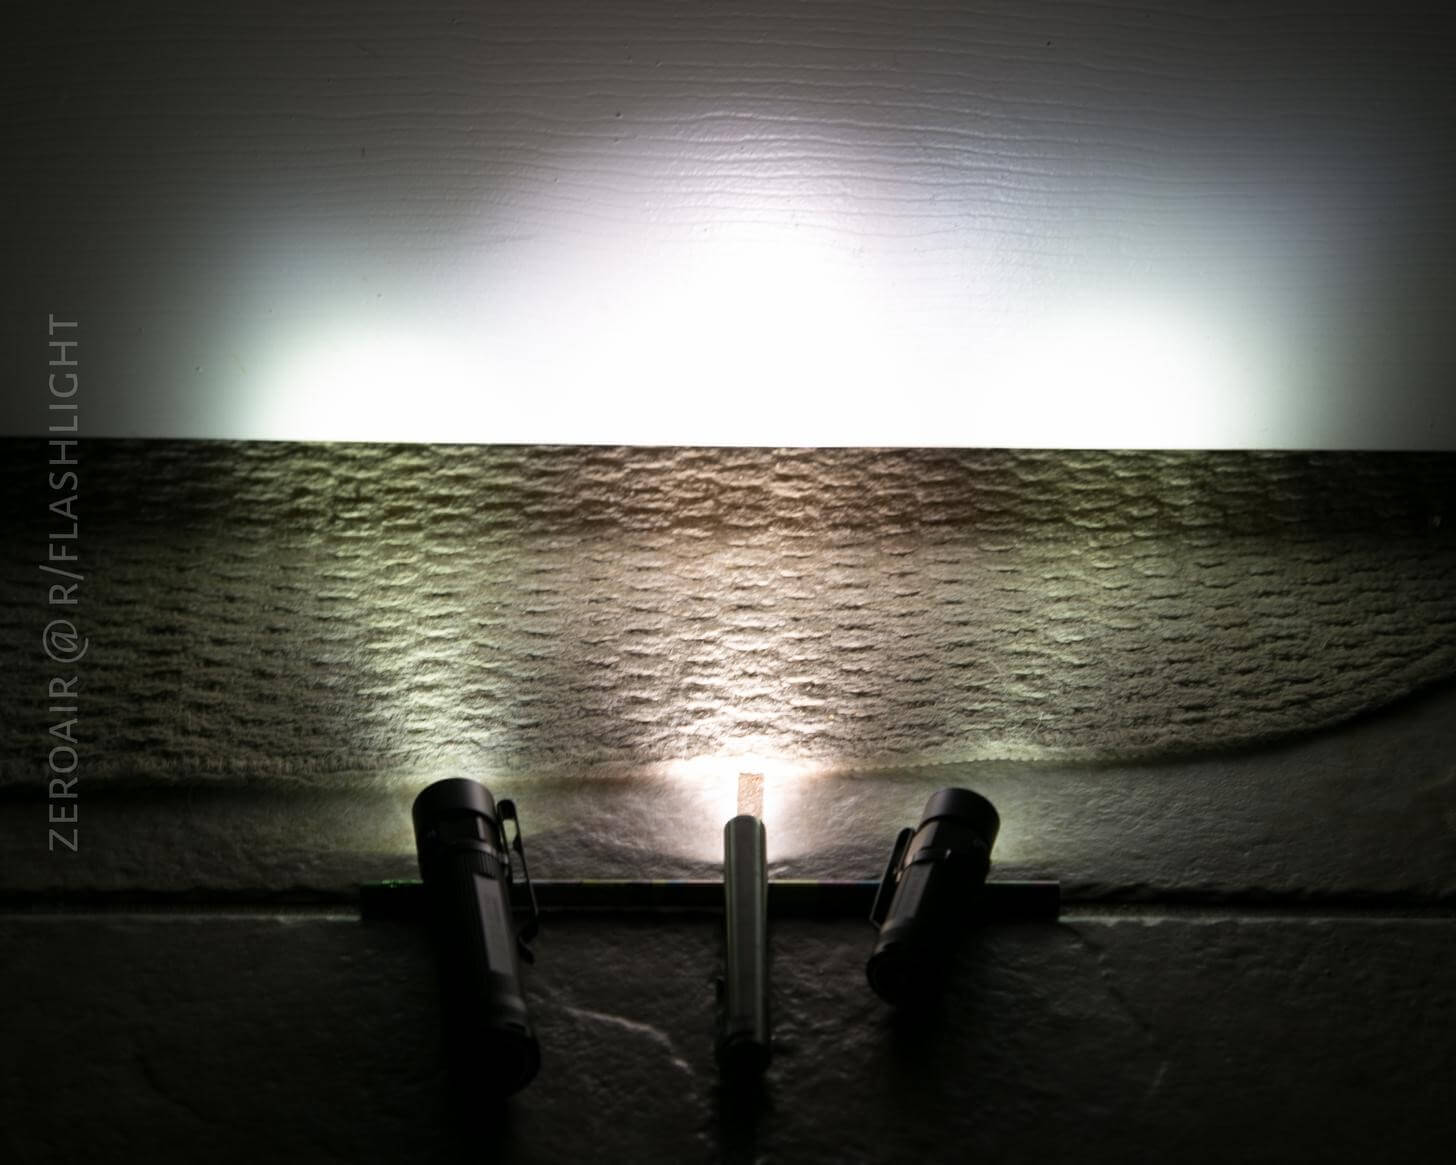
That’s a BLF-348 between the Batons, and all my 348s are quite rosy. Nevermind how the photo makes the Batons seem extra green, they are still quite green.
Random Comparisons and Competitive Options
There are at least a couple of lights that would compete with the S1R v2. The Fenix RC09 and the Nitecore MH1C. Both are a little bigger than the S1R v2 and have much less total output, but do not require proprietary cells to utilize onboard charging.
And there are some lights that would compete with the S2R as well – three of those are Olights, and the other is the Klarus AR10. The AR10 looks to be an interesting little light and worth considering in this class. It has an unusual angle (twisting) head, and does not require proprietary cells. Like the S2R, it works with 18650 or CR123A x 2.
Conclusion
What I like
- Olight Quality
- Onboard Charging (I like the base)
- The user interface is good
- Magnets!
- The “Olight blue” trim is growing on me. Recognizability is good.
- TIR optics
- S2R has *good* tint, but S1R v2 is a little green for me.
What I don’t like
- Proprietary cells for charging
- *Cool/green tint (though, honestly, it’s not that bad)
- Mode memory
Final Thoughts
Both of these lights are fine options in their respective categories. I’m not in love with requiring Olight cells for charging, but with the charging base, it’s a nice setup. This is the light I keep as my work desk light! Which you’ll need will come down to size preference or cell preference; otherwise, these lights are very similar. I personally find the 18650 S2R more comfortable in the hand. But I like having both because now I have two bases – home and work!
Pick up v2 of the Olight S1R and the Olight S2R at Going Gear!
Parting Shot
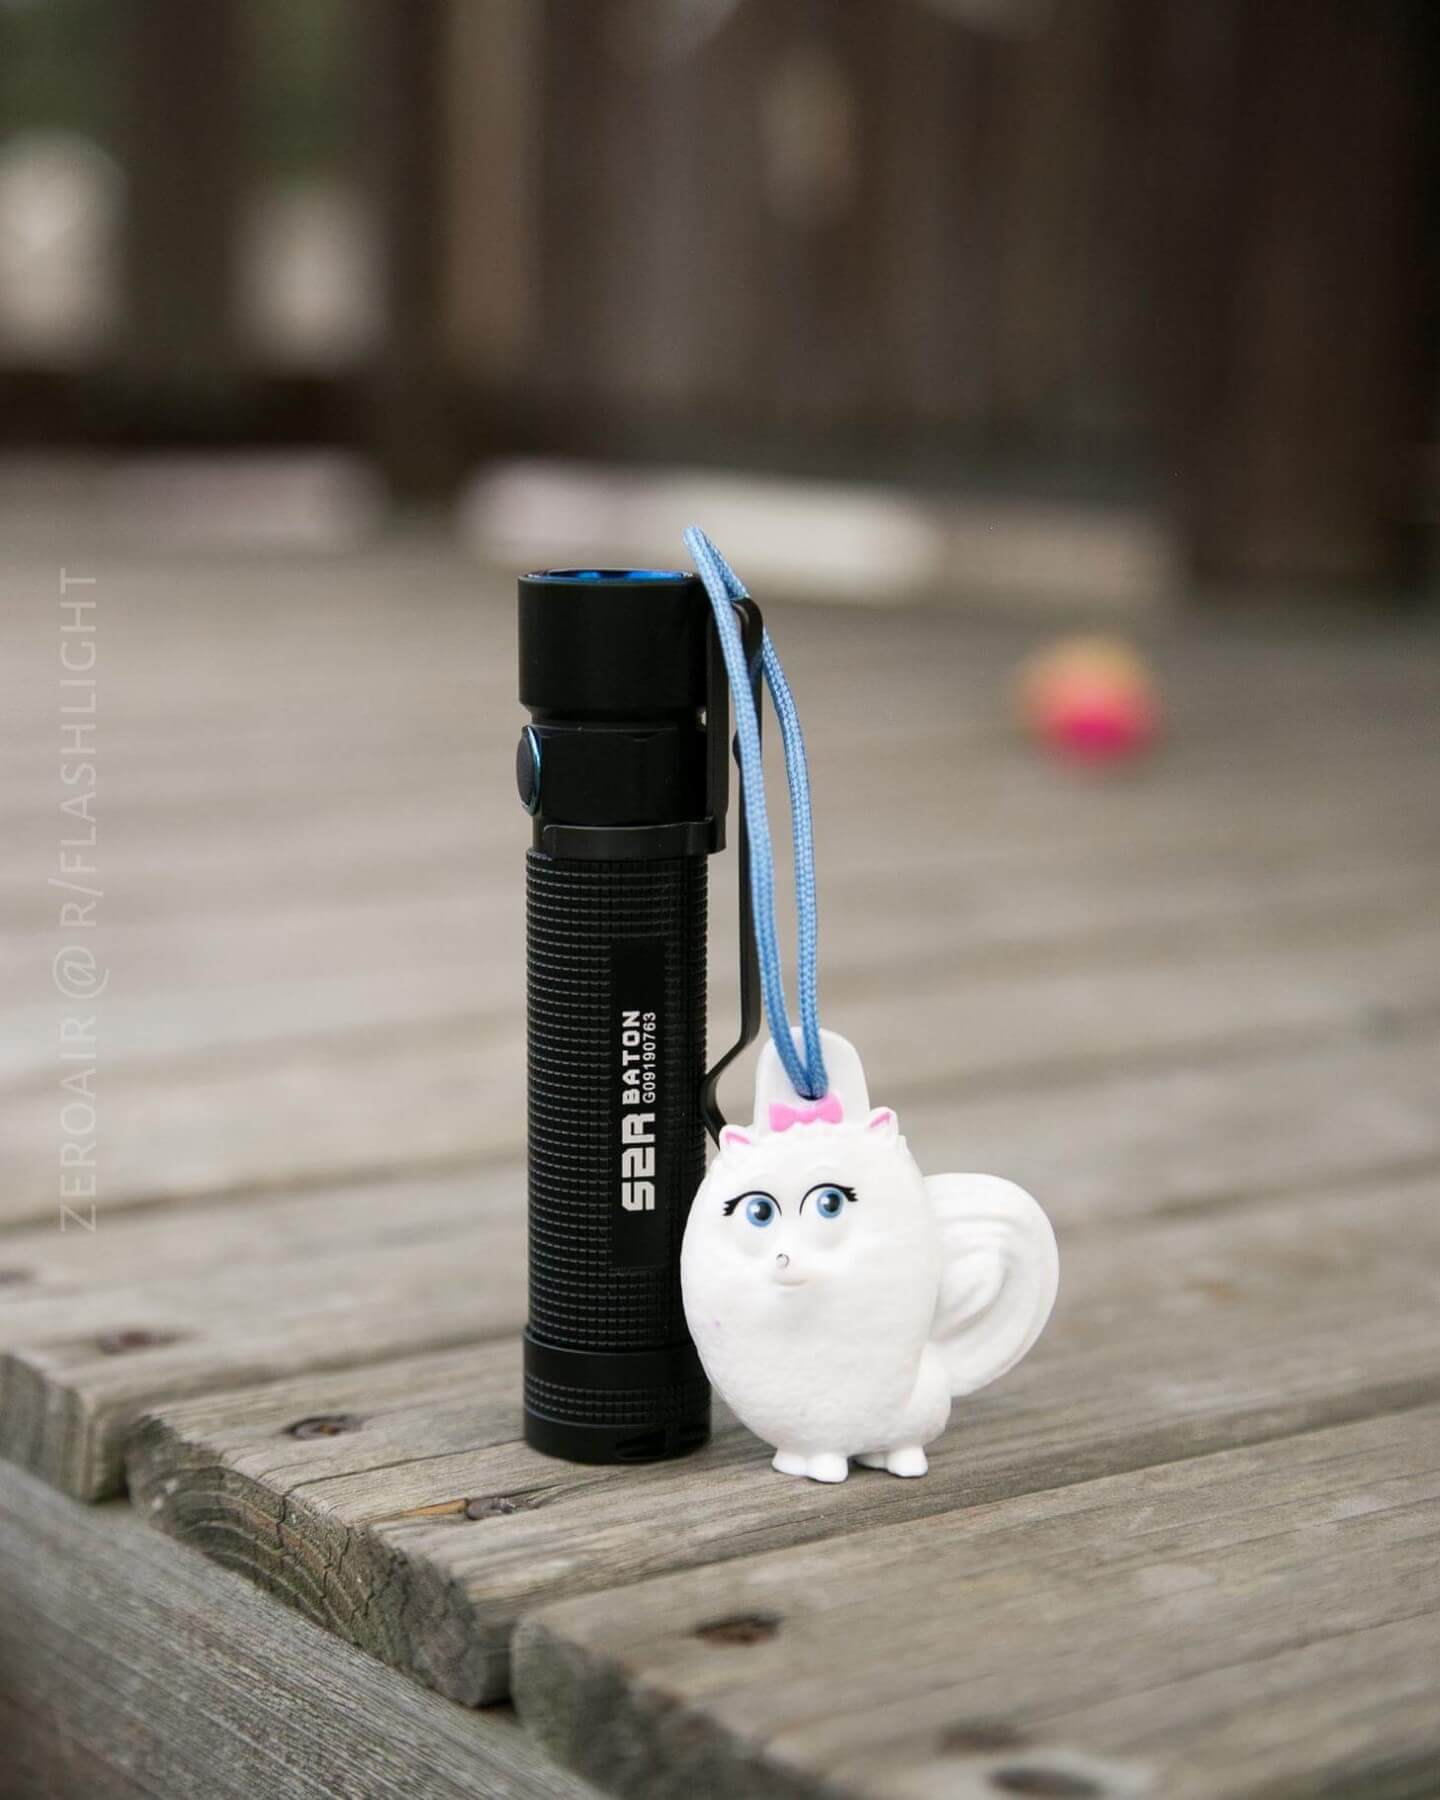
S1R in its natural habitat, and Gidget with my S2R gadget.
Notes
- This light was provided by Olight for review. I was not paid to write this review.
- This content originally appeared at zeroair.org. Please visit there for the best experience!
- Use my Amazon.com referral link if you’re willing to help support making more reviews like this one!
- Please support me on Patreon! I deeply appreciate your support!
Pingback: Olight S2A Baton Flashlight Review - ZeroAir Reviews