
Fenix TK35UE 2018 Flashlight Review
The Fenix TK35UE 2018 is an interesting flashlight that uses a Cree XHP70 emitter and has onboard charging for the two 18650 cells. Read on!
Official Specs and Features
Here’s a link to the Fenix TK35UE 2018 Flashlight product page.
Versions
I believe this is the only version. I expect there will be some kit versions available, which will include the Fenix brand cells I have here.
Price
Price has not been announced. Expected to be around $150.
Short Review
The TK35UE is really quite a light. Better-than-rated throw and very good onboard charging with dual switches. This is a nice light! The tint could be better, but such is the nature of many Cree emitters.
Long Review
The Big Table
| Fenix TK35 2018 | |
|---|---|
| Emitter: | Cree XHP70 |
| Price in USD at publication time: | ~$150 |
| Cell: | 2×18650 |
| Turbo Runtime | |
| LVP? | Soft |
| Switch Type: | Dual |
| On-Board Charging? | Yes |
| Charge Port Type: | micro-USB |
| Chargetime | |
| Power off Charge Port with no Cell? | No |
| Claimed Lumens (lm) | 3200 |
| Claimed Throw (m) | 300 |
| Candela (Calculated) in cd (at 30s) | 762lux @ 6.249m = 29756cd |
| Throw (Calculated) (m) | 345.0 (115% of claim)^ |
| All my Fenix reviews! | |
^ Measurement disclaimer: Testing flashlights is my hobby. I use hobbyist-level equipment for testing, including some I made myself. Try not to get buried in the details of manufacturer specifications versus measurements recorded here; A certain amount of difference (say, 10 or 15%) is perfectly reasonable.
What’s Included

- Fenix TK35UE Flashlight
- Nylon pouch
- Micro-USB charge cable
- Manual
- Lanyard
- Spare o-ring
- 18650×2 (depending on your kit)
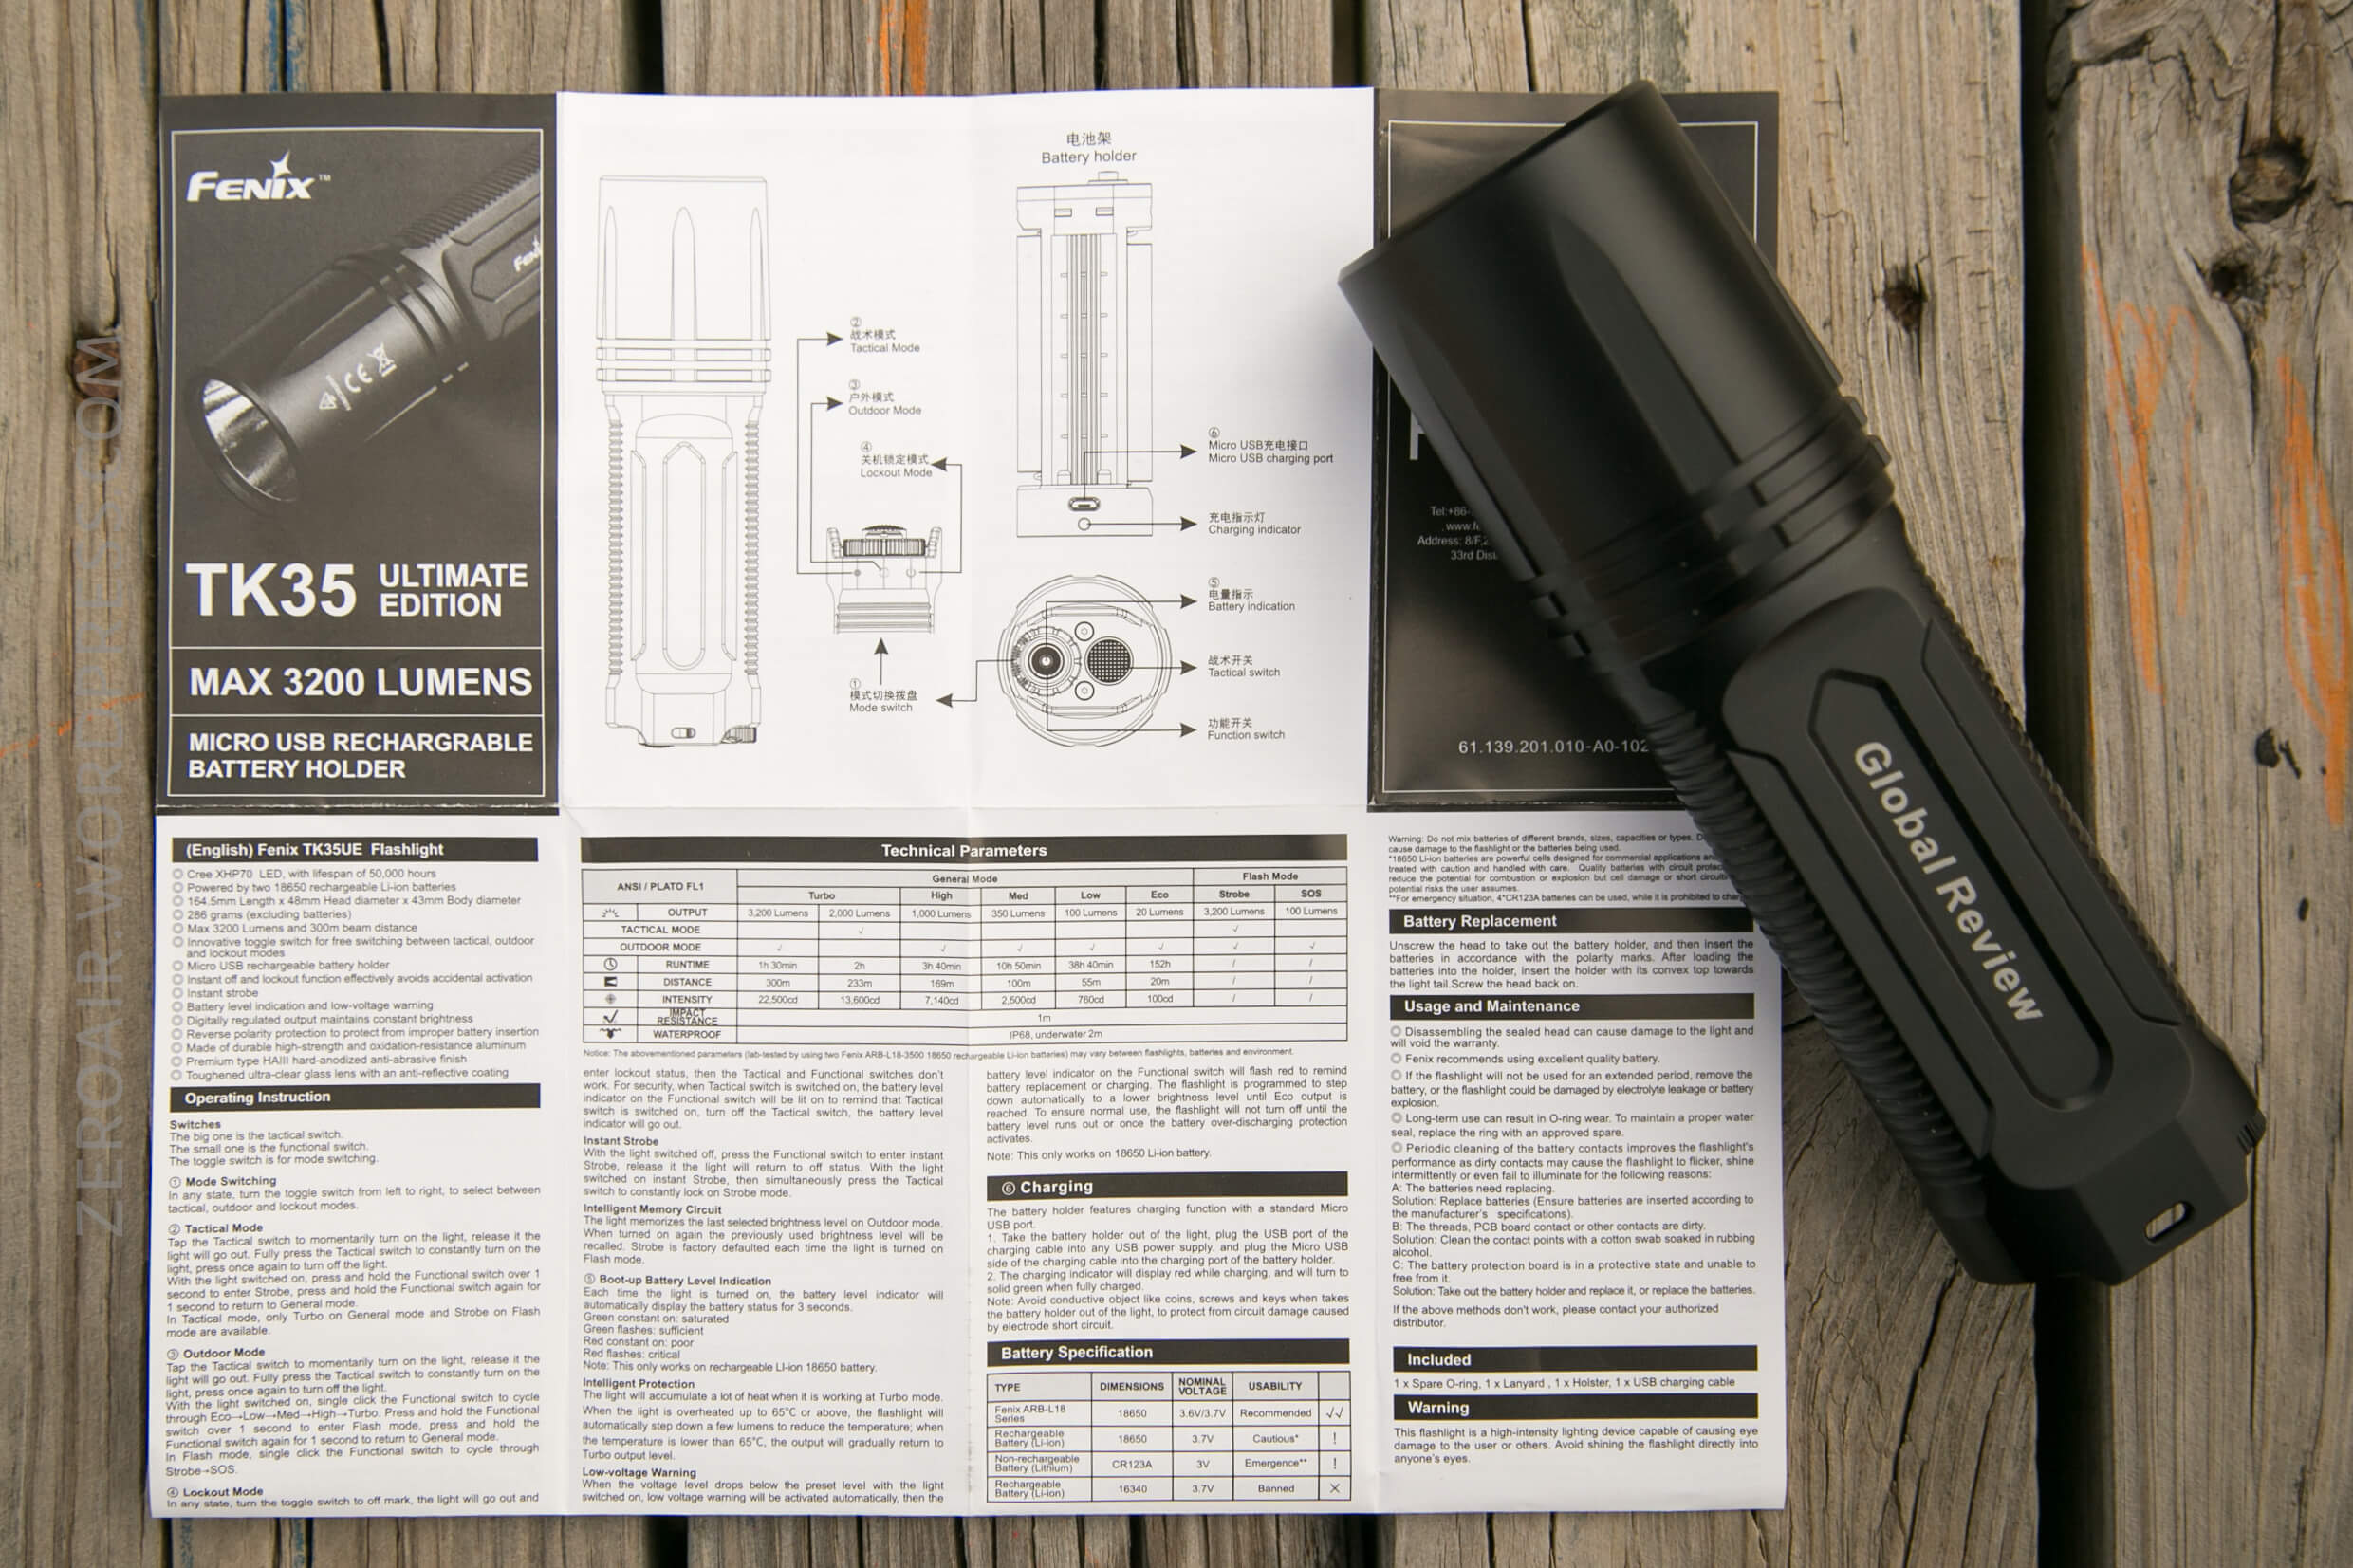
Package and Manual
Fenix ships this light in a nice cardboard box. Lots of printing, with modes and features on the back. Comprehensive packaging.


The manual is also good. There’s a nice switch diagram and, like the box, a bunch of specs and features. The manual does seem to really want the user to use Fenix brand cells. I don’t believe they’re special in any way, but they are charged in series – something to bear in mind.
Build Quality and Disassembly
This is a very high quality light. The in-hand feel is just great. The anodizing is nice quality, there’s a nice heft…. just feels like a good light.
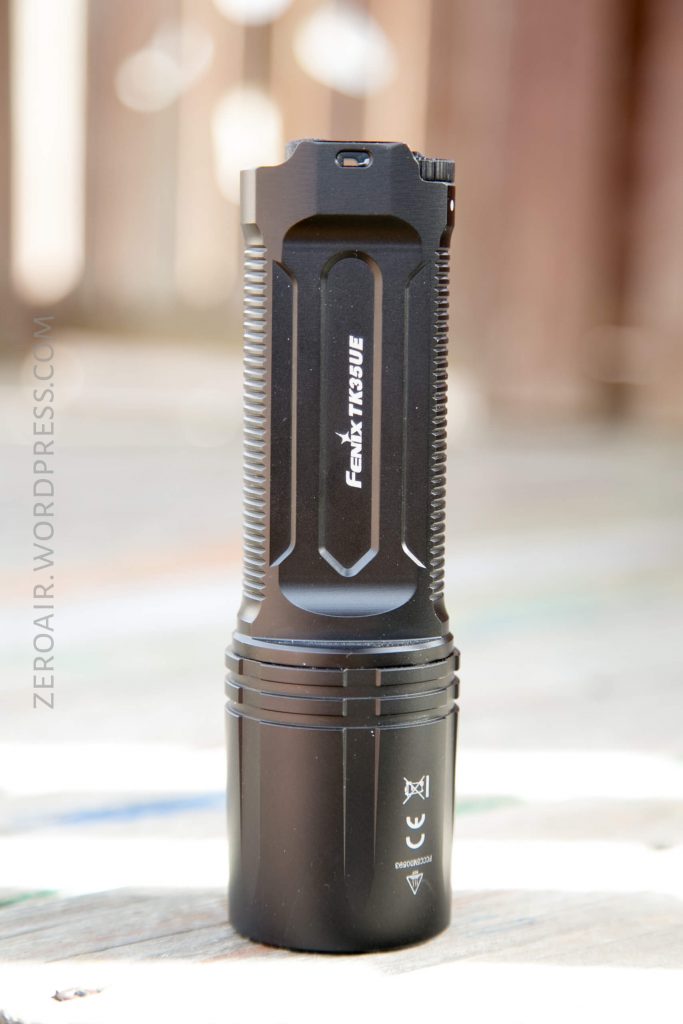
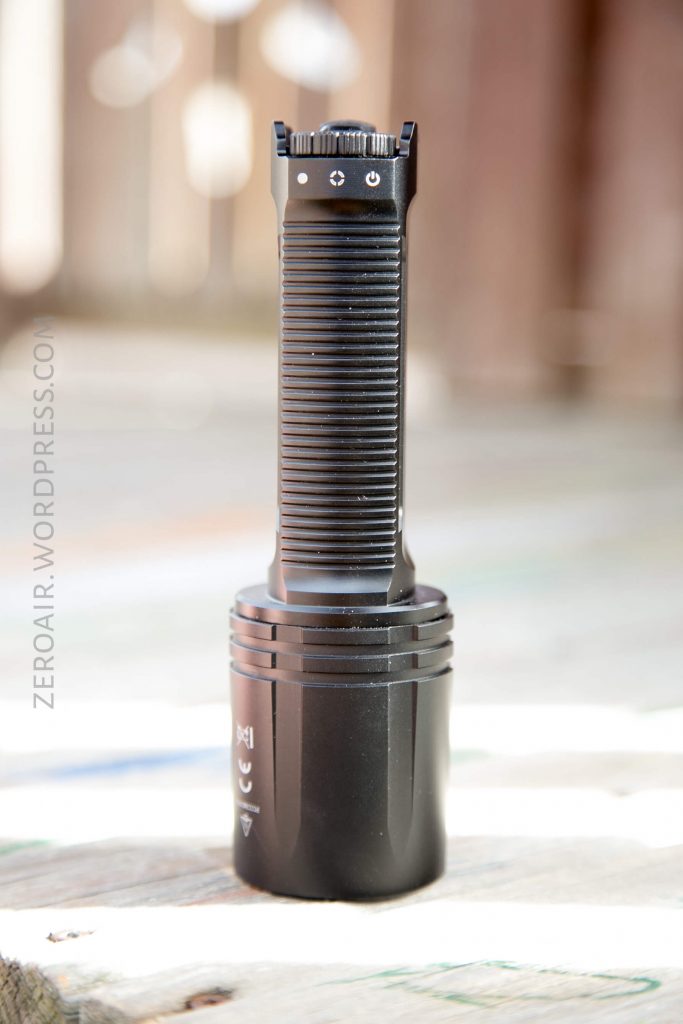

There’s not a lot of heatsinking on the head. Since the cells are side-by-side the body is oblong, and quite comfortable to hold.


Since the cells are held in place with a …. cell holder… that of course comes out very easily. The electronics of that are held in with just Philips screws. The head bits are held in by a plastic retaining ring. In fact there’s plastic all the way around the driver, surrounding the [beefy, short] spring. The other terminal isn’t through the threads as with some lights. There are three little springy contacts perfectly designed to contact the cell holder. The anodized threads are thick and square-cut, and perfectly lubed. They’re very smooth (until I dropped the head and got some sand in there, but that’s my own stupid fault.)


The tail switches are serviceable too. They’re held in place by two hex screws, which, when removed, allow the parts so slide out through the tube.
Size
Officially 164.5mm x 48 mm (head) x 43mm (body), and 286g (without cells).
This is a bit of a large light. The head is big, the reflector is deep, and it’s a side-by-side 18650 light.


Retention
Fenix includes a pouch unlike any I’ve seen before. There’s a half pouch, with a bit of retaining velcro at the top. The light will only fit in the holster one way (bezel up). The velcro is “quick release” with a nice tab for easy access. The holster can connect to the belt in the usual way.


The lanyard attaches on the tail of the light, through this hole. There’s a hole on both sides.
There is no pocket clip.
Power
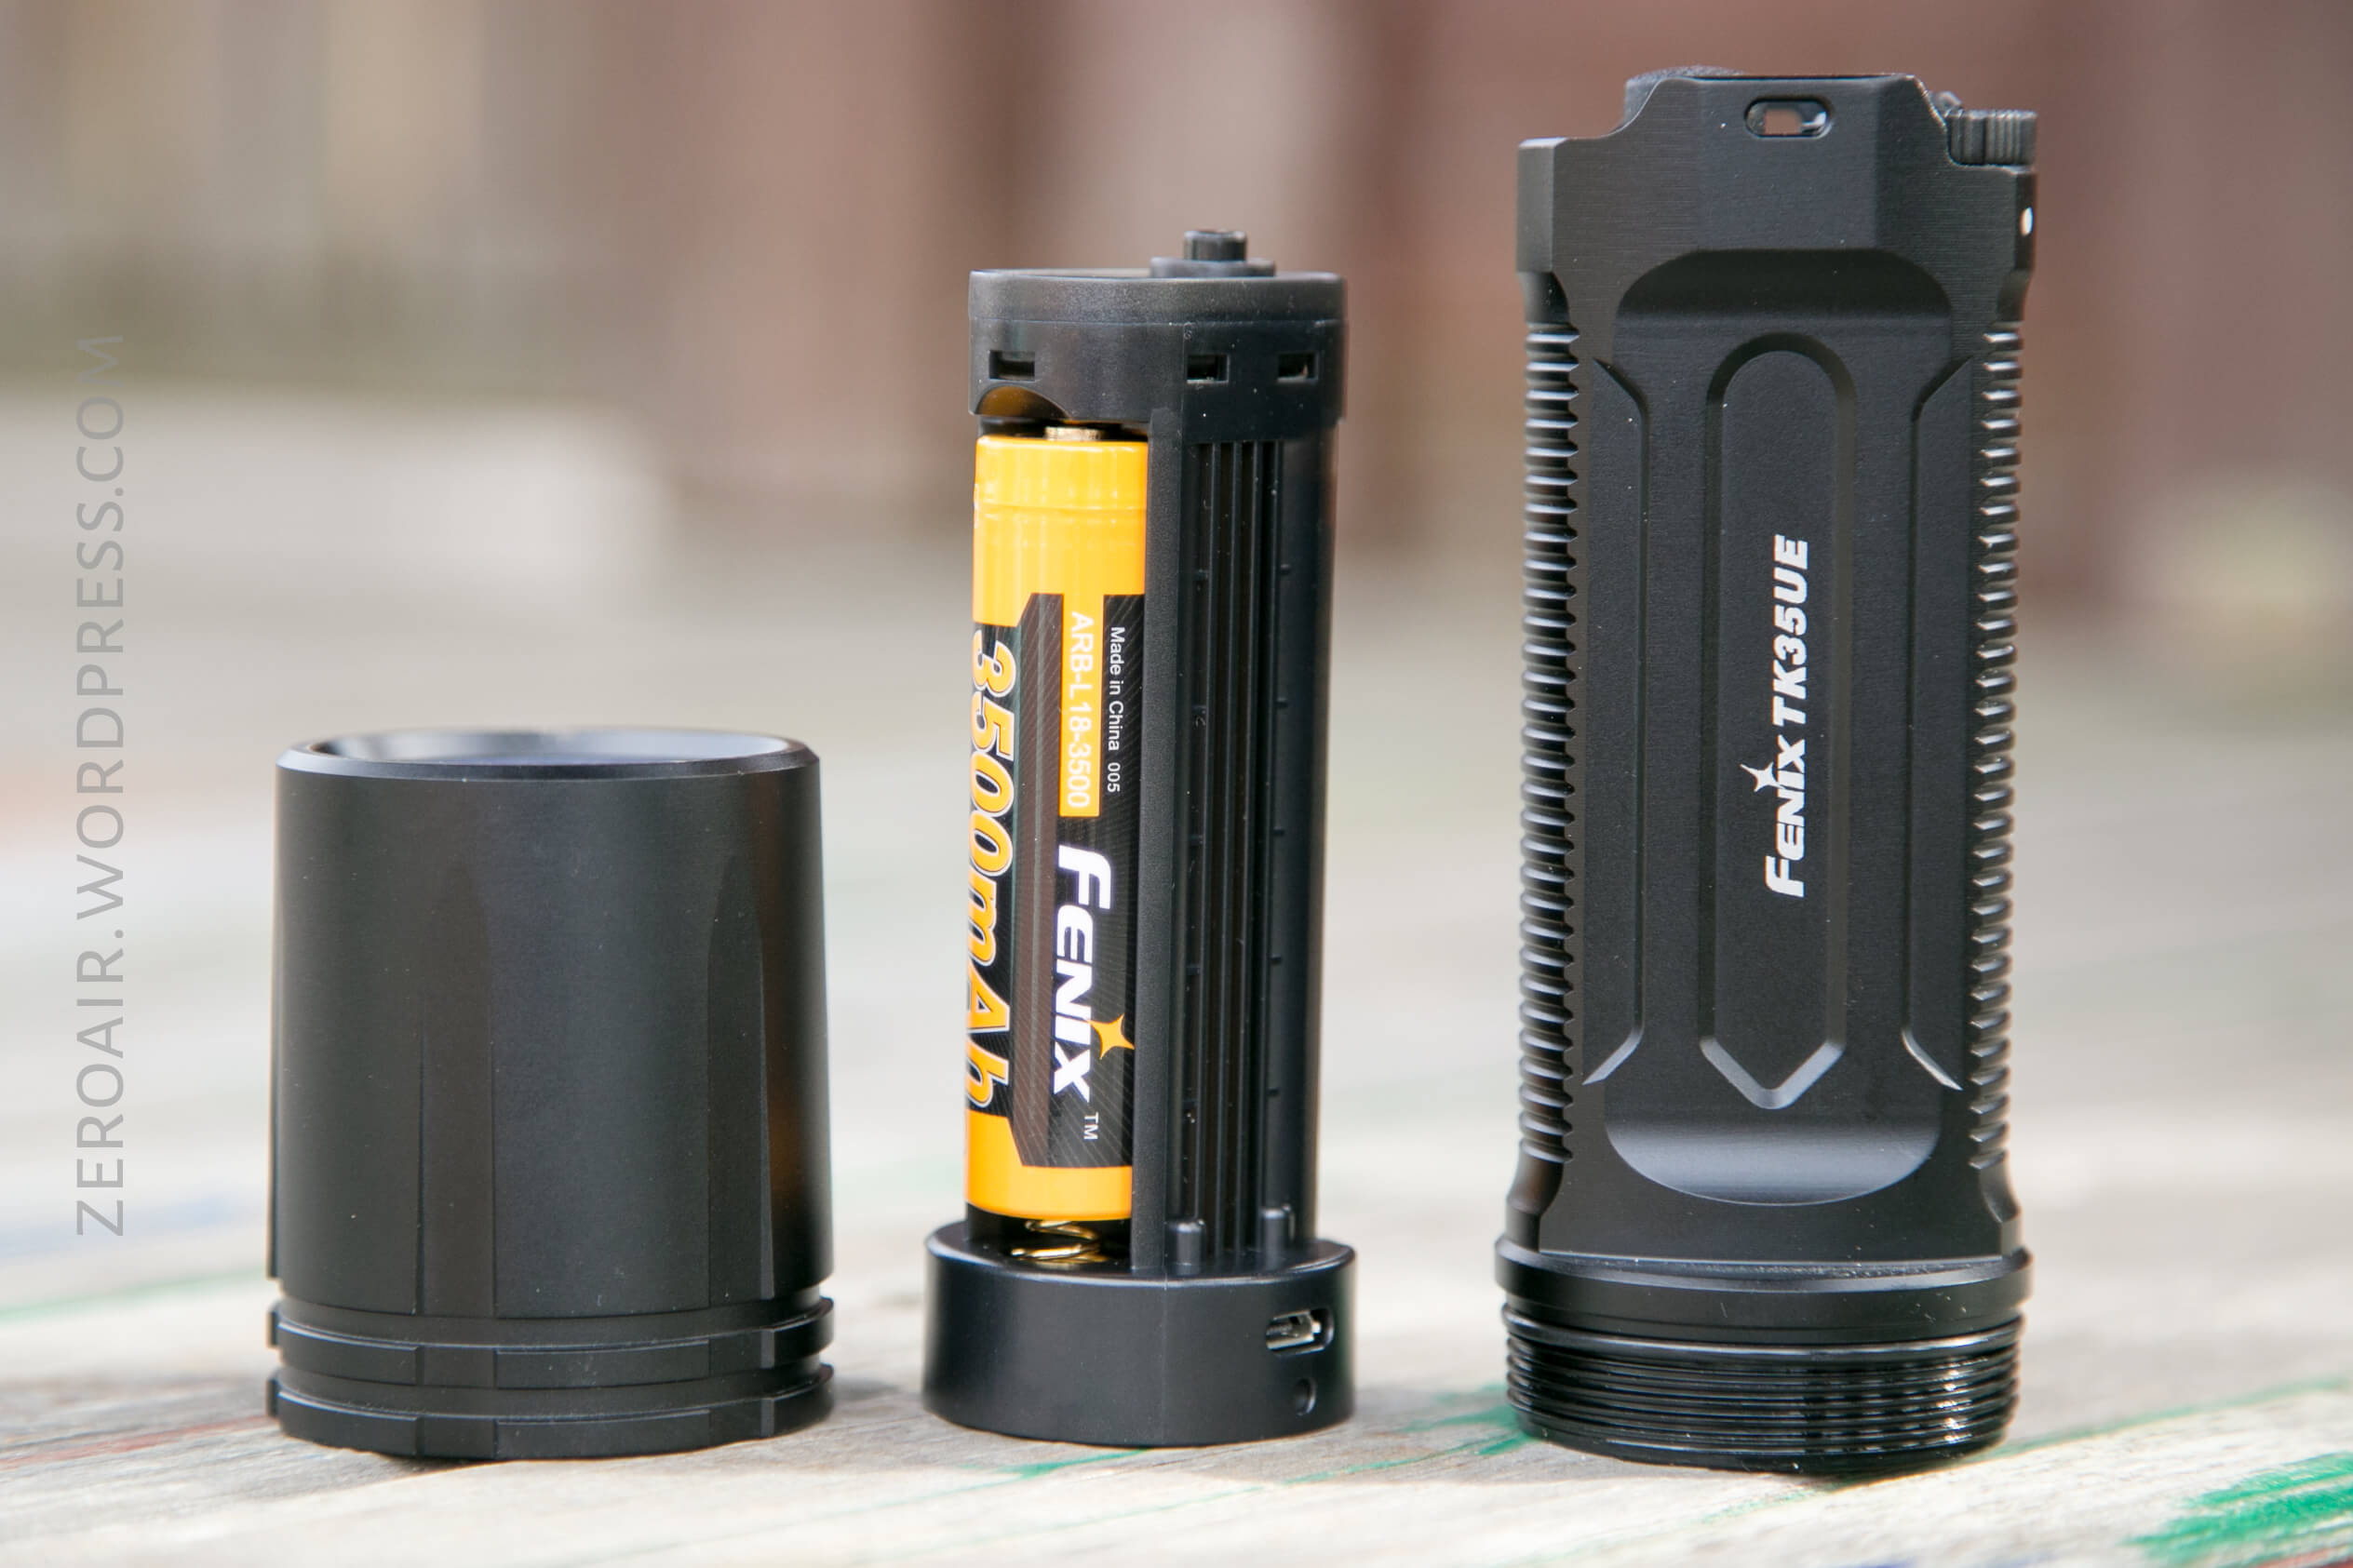
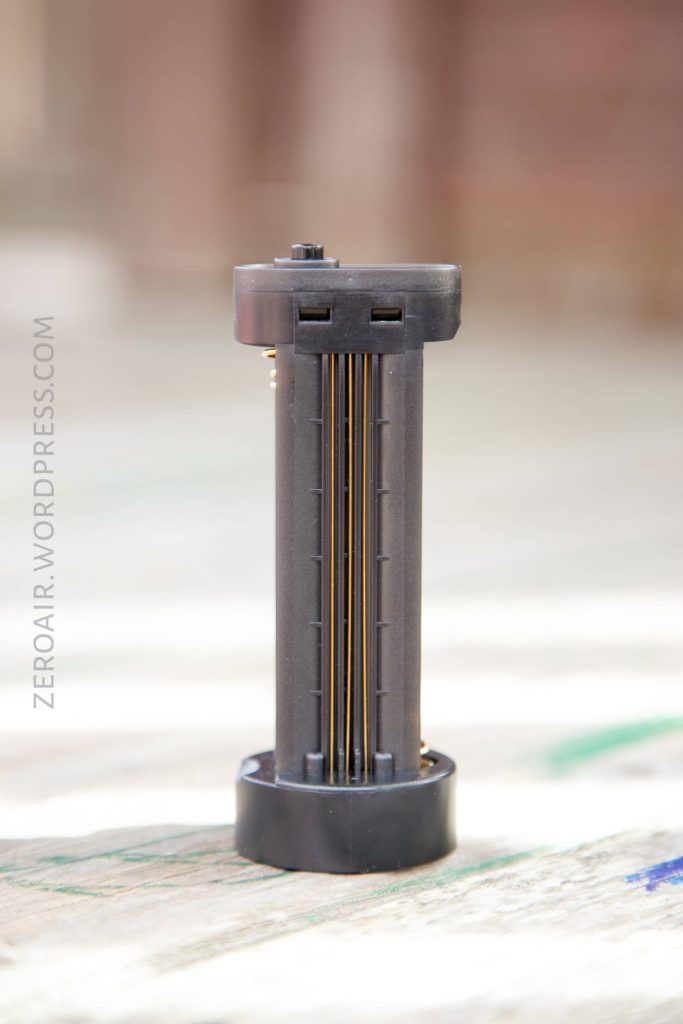
The TK35UE is powered by two 18650 cells. There’s a cell holder which puts the cells in series – the emitter in this light requires this much voltage. As a result the cell tube can’t be used with just one cell; there’s not enough voltage to run the emitter. (This is called “forward voltage” – the Vf of the XHP70 is 5.8 (in the 6V version – there’s also a 12V version).
Below are the cells that Fenix provided for the review. I believe there will be a kit which should include these cells.

The cell tube is the same type plastic as Nitecore F1/F2 chargers (for example). It’s marked with the proper cell direction. The negative terminal has a fairly beefy spring and a ‘protected’ positive terminal which disallows flat-top cells. As a matter of fact, the length of the bay really needs quite a long cell. Definitely button top, but probably also protected cells will fit best. This cell holder is directional. The clicky button on the top of it goes on the side of the rubber boot switch (this is the mechanical clicky.)


I tested the highest two modes, with the cells Fenix provided. Both are cooled runtimes.
Turbo drops off fairly quickly but it is temperature responsive. As the temperature goes down, the output will go back up. The high mode, on the other hand, is rock solid for nearly 3 hours.

Charging
Even though these cells are in series, the TK35UE has onboard charging. Normally it’s a terrible idea to charge Li-ion cells in series, but it seems Fenix has an appropriate battery management system built-in. Below is a chargetime, from the end of the runtime on High. Strangely the current creeps upward during the CC phase – I don’t have a good explanation for that. Either way it’s a fine graph, and a peak of around 1.7A across the 2 cells is certainly respectable (and from just USB, too.) You’ll note that the “3500mAh” cells aren’t really testing at 3500mAh, which is no real surprise.

Each time the light is turned on, the indicating e-switch will show the battery level, as follows (quoted from the manual):
Green constant on: saturated
Green flashes: sufficient
Red constant on: poor
Red flashes: critical
The light has a low voltage warning in the same way as above – when there’s low voltage (during operation) the e-switch will flash red. Also per the manual: “The flashlight is programmed to step down automatically to a lower brightness level until Eco output is reached. To ensure normal use, the flashlight will not turn off until the battery level runs out or once the battery over-discharging protection activates.” So, either use protected cells, or monitor your cell voltage carefully. This is what I call soft LVP.
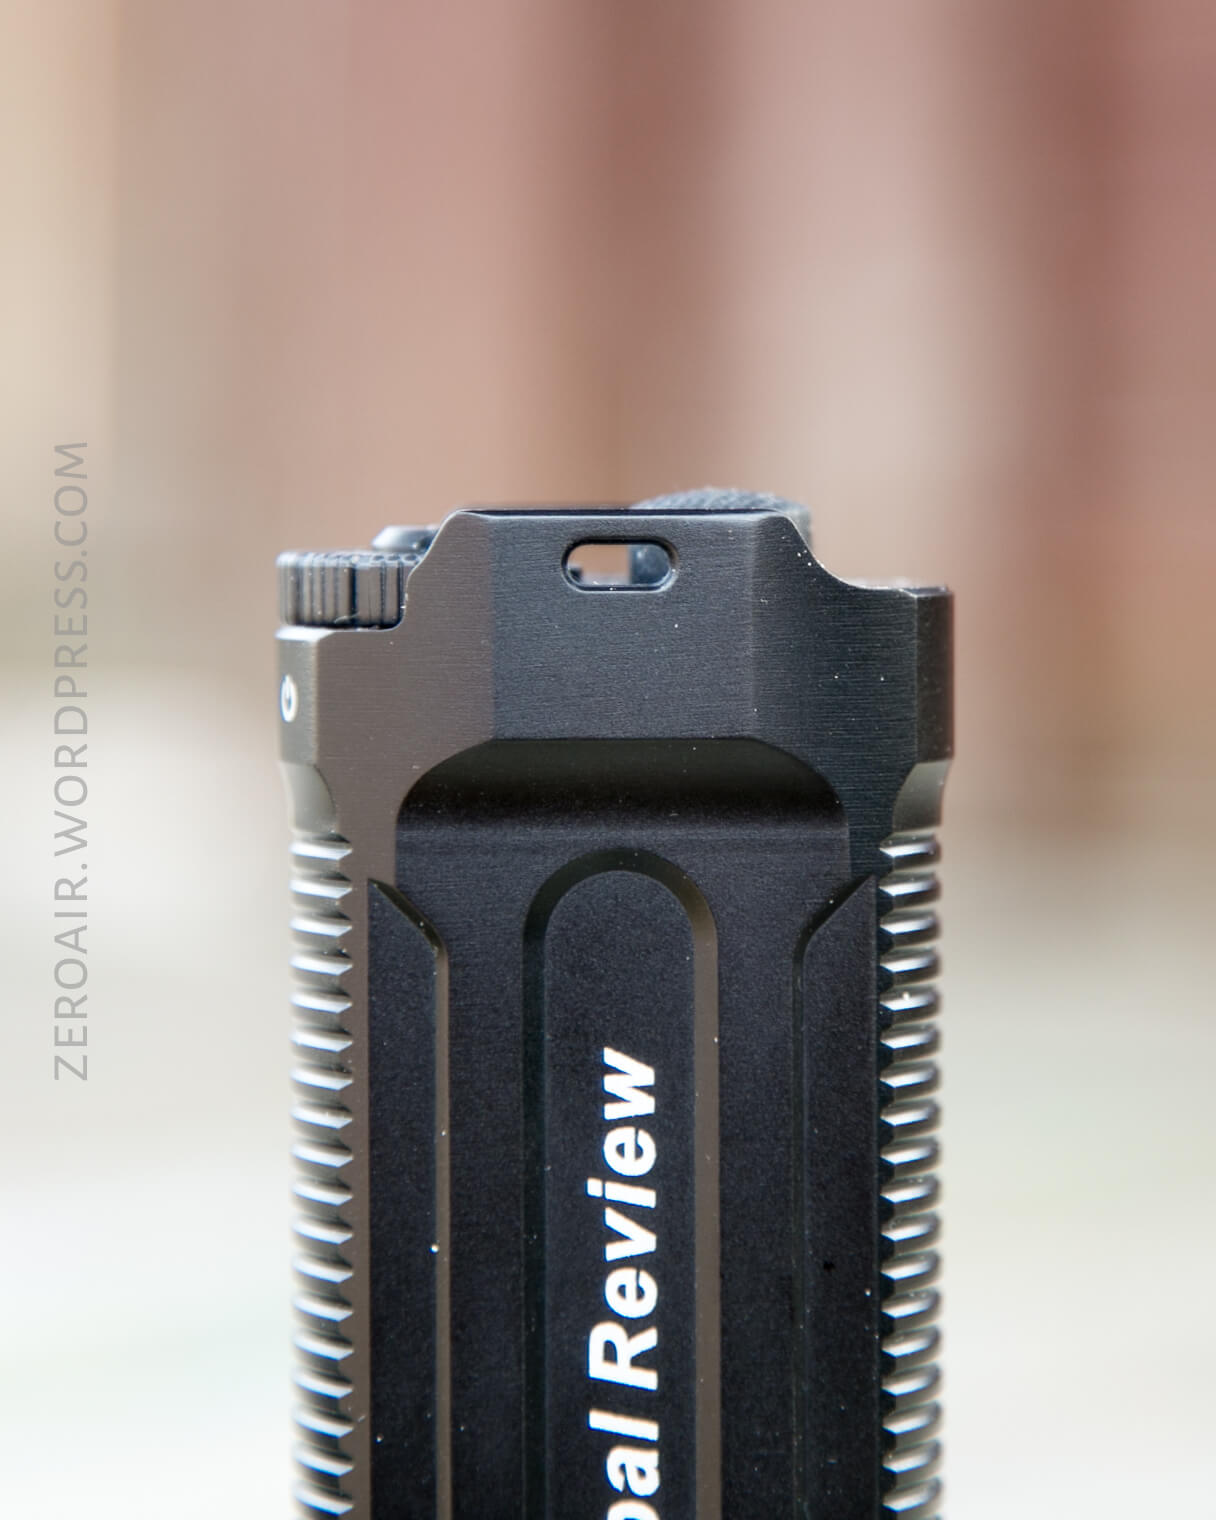
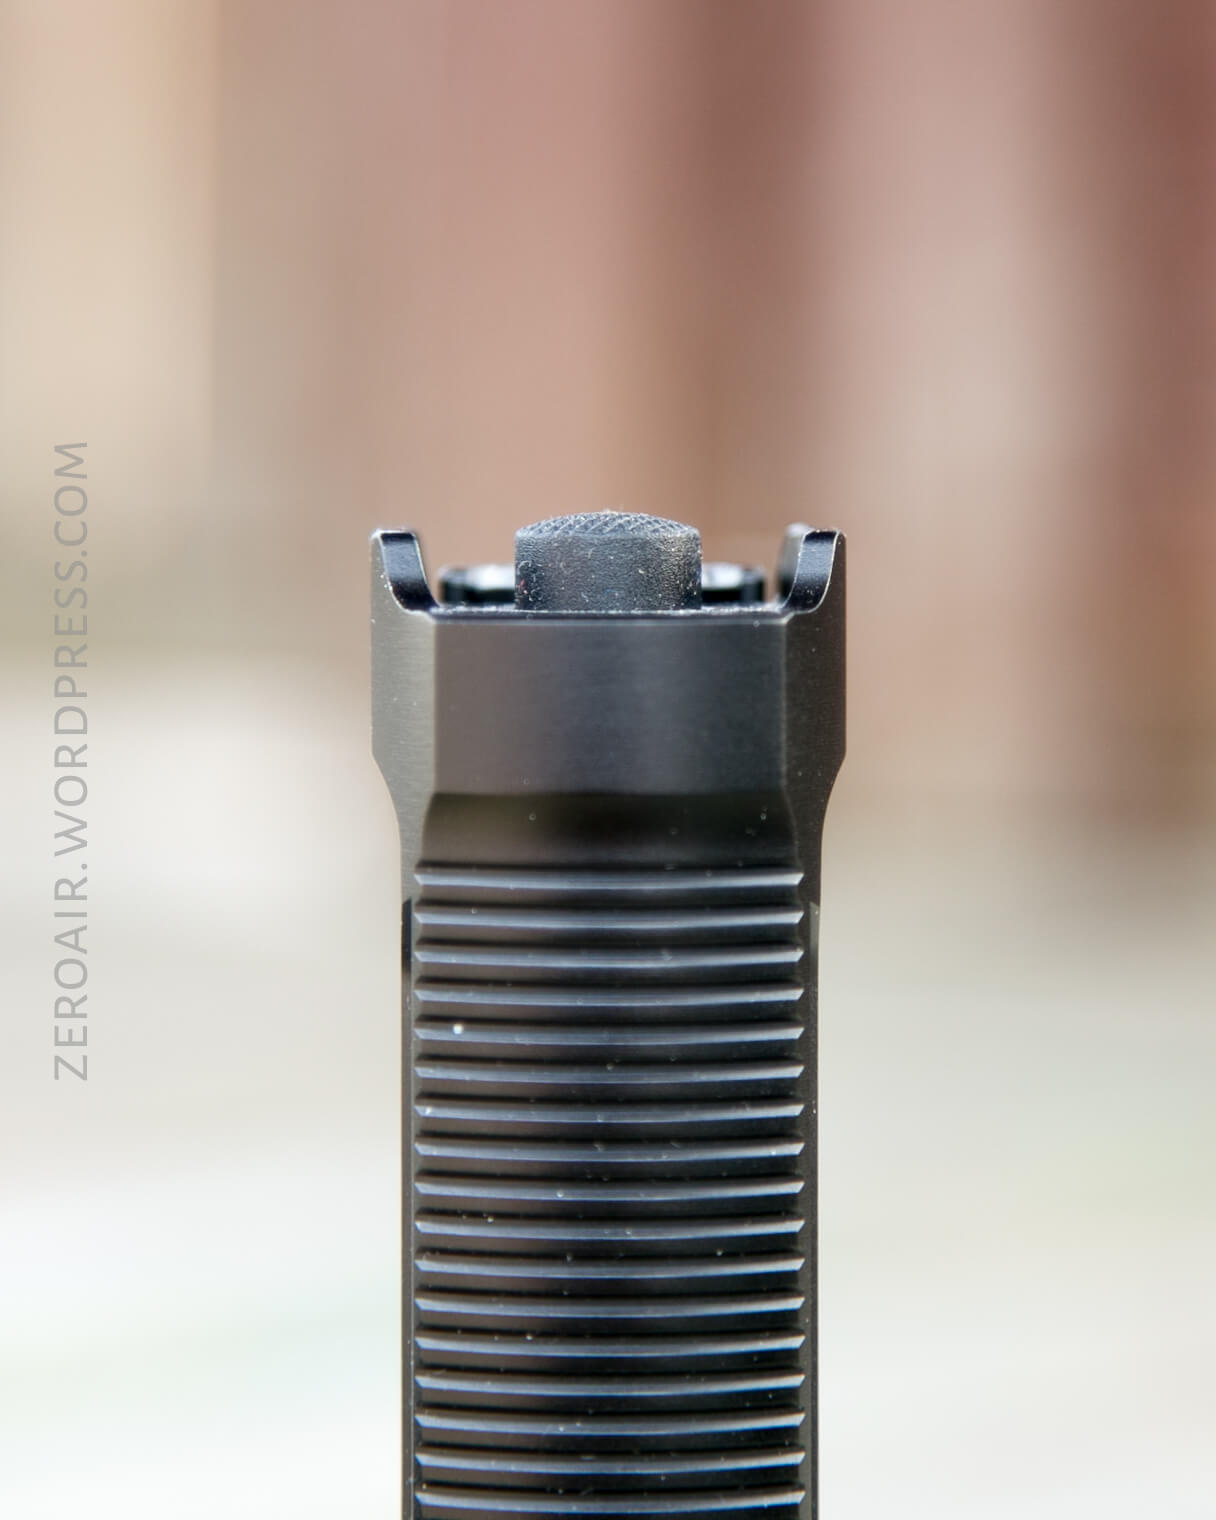
User Interface and Operation
There are actually three (3) ways to interact with this light. First there’s a mechanical rubber forward clicky button (seen at left below). Beside this is a metal indicating e-switch. Surrounding the e-switch is a paddle, which has three options.
The user interface is fairly intuitive. Here’s how Fenix introduces the switches:
The big one is the tactical switch.
The small one is the functional switch.
The toggle switch is for mode switching.
The toggle switch allows three modes. Tactical, outdoor, and lockout.
Tactical mode:
Tactical mode is the leftmost (solid circle) on the toggle switch.
The mechanical switch brings the light on to turbo. Soft pressing will achieve momentary turbo; fully pressing will achieve constant turbo. Hold the e-switch for >1s for strobe. Hold the e-switch for another second (while in a strobe) to get to general mode, where only Turbo is available. (In Tactical, only Turbo and Strobe are available [but there are two ways to get to Turbo]).
Outdoor mode:
Outdoor mode is the center option on the toggle switch.
Click the mechanical switch to turn the light on (momentary is available too). The light will come on to mode memory mode (any of the 5 regular modes, not strobes). Modes cycle with the e-switch from L>H. Hold the e-switch >1s for strobes. Click the e-switch once to cycle the strobes, and hold it >1s to return to General modes (where it will return to the previously used mode).
Lockout mode:
Lockout mode is the rightmost option on the toggle.
If the mechanical switch is clicked to the “on” position, the indicating e-switch will give an indication of the battery level.
In either Tactical or Outdoor mode:
Hold the e-switch for momentary strobe. If in strobe by this means, the mechanical switch may be clicked for constant strobe.


Modes
| Mode | Mode Claimed Output (lm) | Claimed Runtime | Mode Measured Lux |
|---|---|---|---|
| Turbo | 3200 | 1h30m | 64900 |
| High | 1000 | 3h40m | 19650 |
| Med | 350 | 10h50m | 6940 |
| Low | 100 | 38h40m | 2220 |
| Eco | 20 | 152h | 350 |
LED and Beam
A Cree XHP70 is used here. I confirmed with Fenix that this is not the XHP70.2. It’s a big emitter, in a big light. The reflector is orange peel.
The beam has both a lot of spot and a good bit of spill. And it’s really, really bright (duh?)! The reflector is surprisingly deep for this type of light, which accounts for the respectable throw.

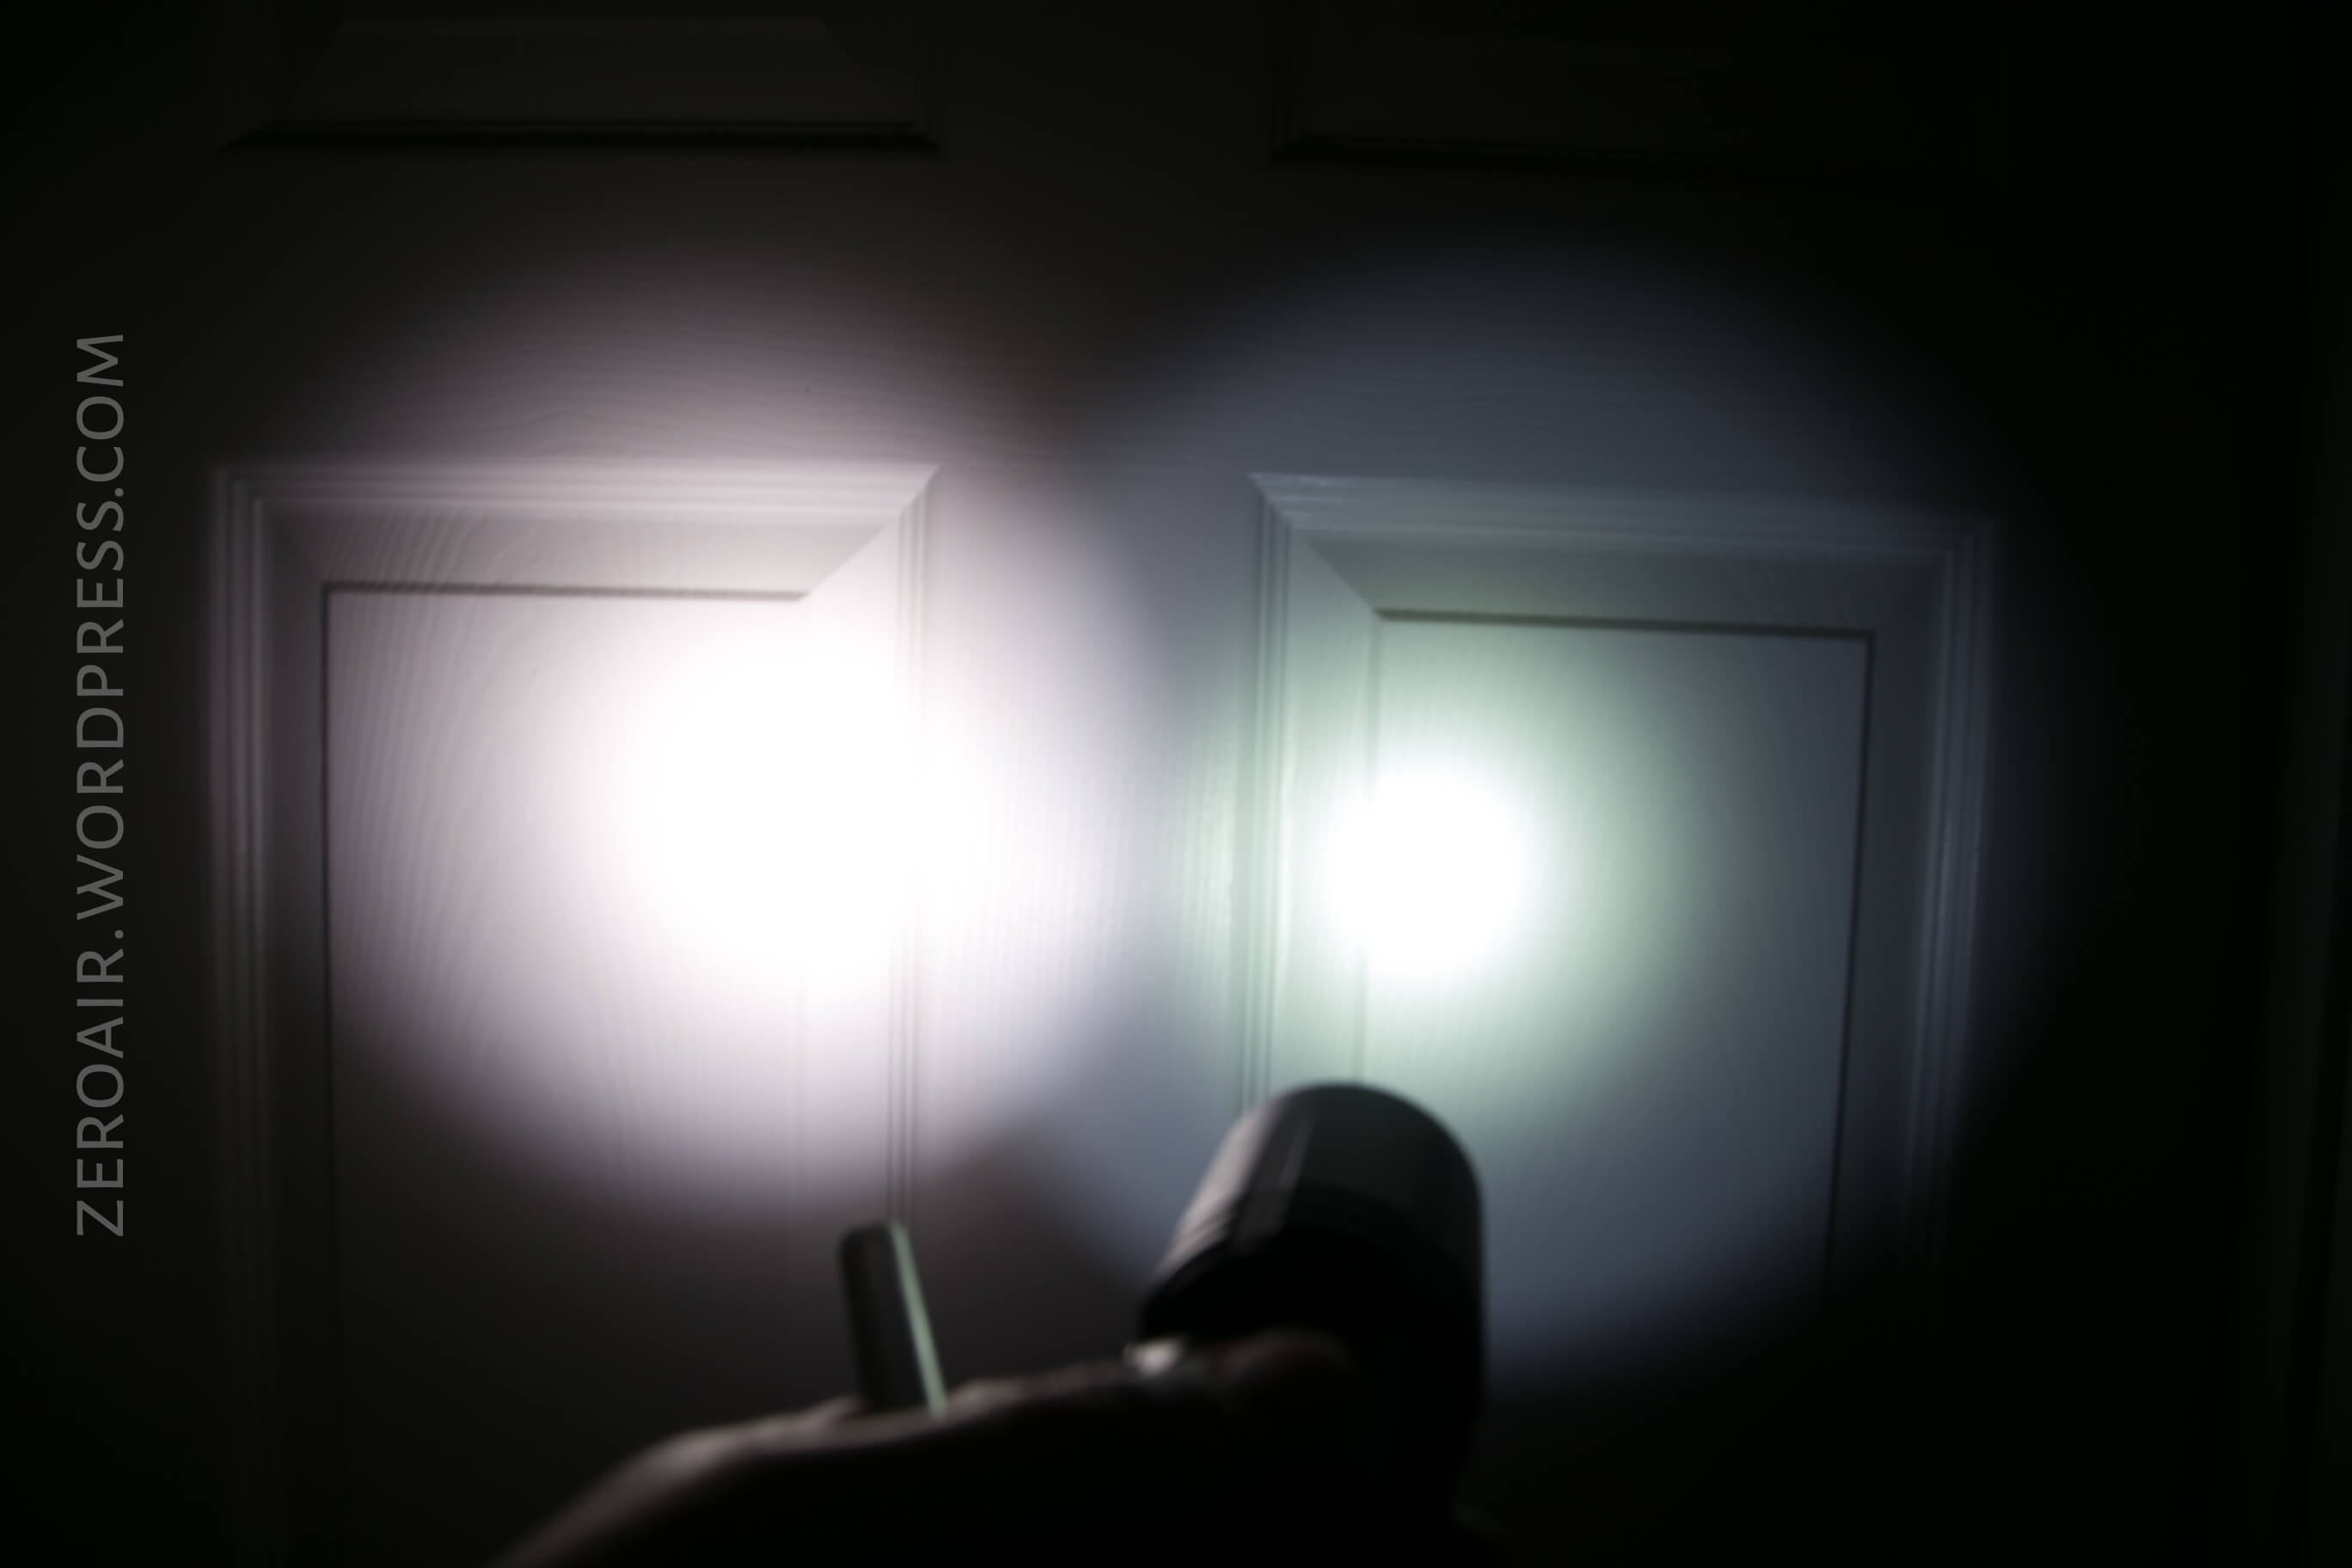
Beamshots
These beamshots always have the following settings: f8, ISO100, 0.3s shutter, and manual 5000K exposure. These photos are taken at floor level, and the beam hits the ceiling around 9 feet away.


Tint vs BLF-348 (KillzoneFlashlights.com 219b version) (affiliate link)
I keep the test flashlight on the left and the BLF-348 reference flashlight on the right.
Conclusion
What I like
- Output is great
- user interface is versatile
- Indicating switch
- On-board charging works well and has respectable speed
What I don’t like
- Not the most current Cree XHP70.2 emitter
- Tint is much too cool
- I’d love for the light to be a little smaller
Notes
- This light was provided by Fenix for review. I was not paid to write this review.
- This content originally appeared at zeroair.org. Please visit there for the best experience!
- Use my amazon.com referral link if you’re willing to help support making more reviews like this one!
- Please support me on Patreon! I deeply appreciate your support!