
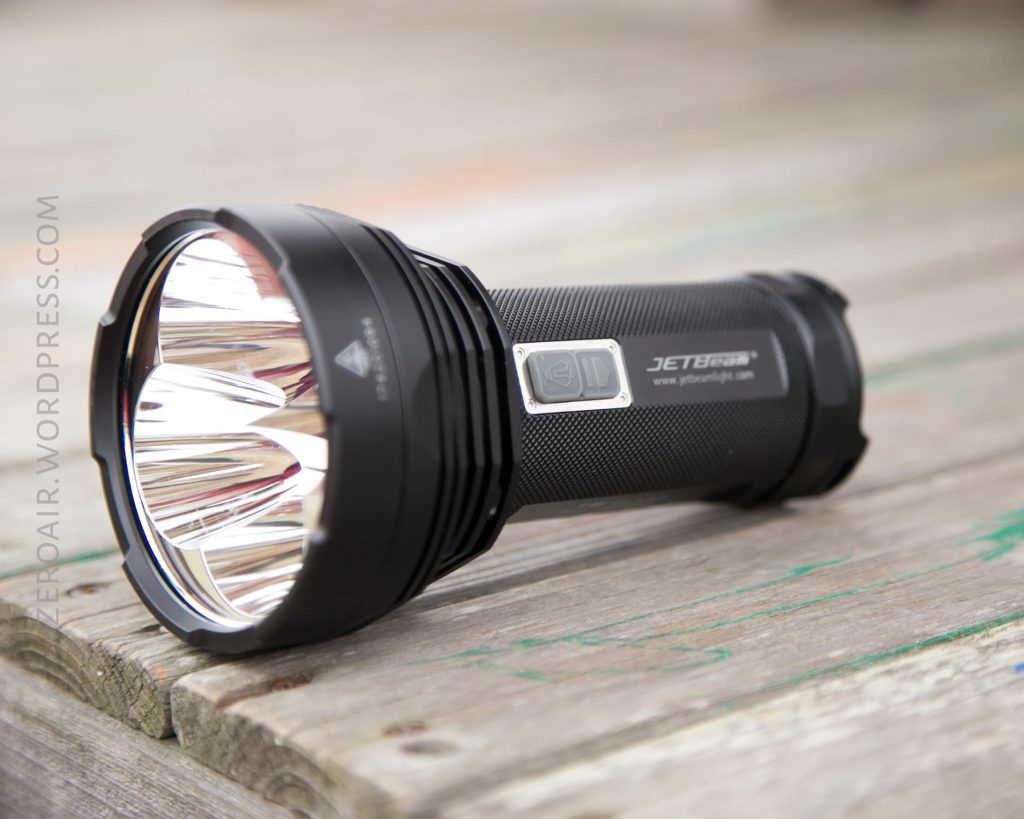
JETBeam T6 Flashlight Review
What beast of a flashlight the JETBeam T6 is! Quad Cree XP-L HD emitters with 18650×4 cells. The e-switch rounds out this thrower. Read on!
Official Specs and Features
Here’s a link to the JETBeam T6 flashlight product page.
Versions
There seems to be just one version of this light.
Price
I believe this light was well North of $240 when it was released, but now it’s available for around $100.
Short Review
I’m very pleased with this light. Over 700m of throw is pretty ridiculous, and on a light with a nice indicating side switch, even better!
Long Review
The Big Table
| JETBeam T6 | |
|---|---|
| Emitter: | Cree XP-L HD |
| Price in USD at publication time: | $100 |
| Cell: | 4×18650 |
| Runtimes | |
| LVP? | Flash, Side Switch Warning |
| Switch Type: | E-Switch |
| On-Board Charging? | No |
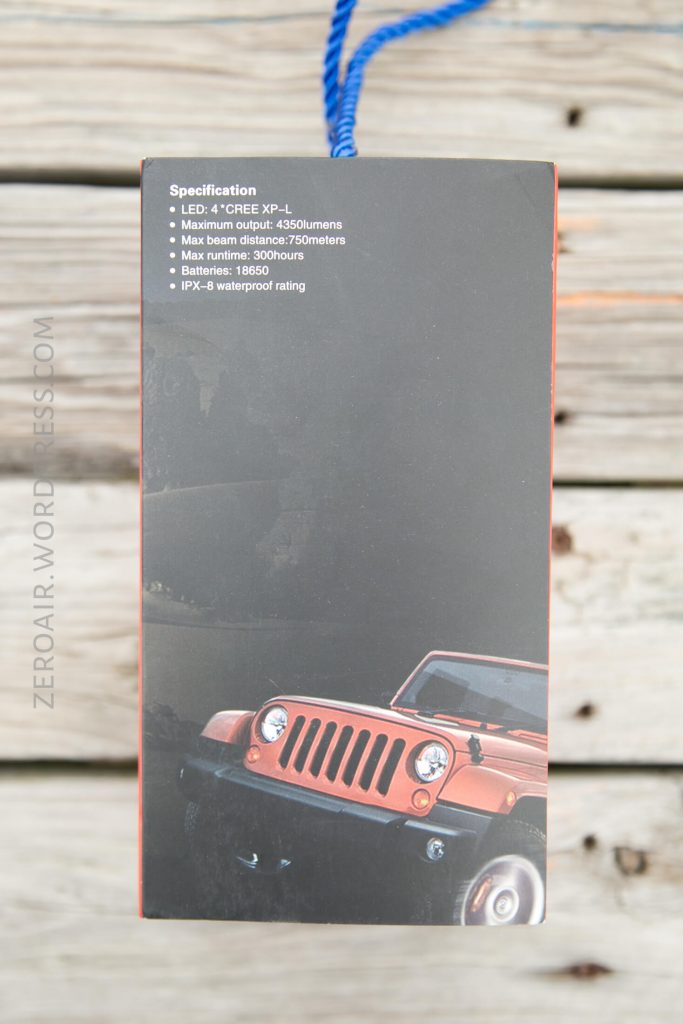
| Claimed Lumens (lm) | 4350 |
| Claimed Throw (m) | 750 |
| Candela (Calculated) in cd (at 30s) | 4100lux @ 5.751m = 135603cd |
| Throw (Calculated) (m) | 736.5 (98.2% of claim)^ |
| All my JETBeam reviews! | |
^ Measurement disclaimer: Testing flashlights is my hobby. I use hobbyist-level equipment for testing, including some I made myself. Try not to get buried in the details of manufacturer specifications versus measurements recorded here; A certain amount of difference (say, 10 or 15%) is perfectly reasonable.
What’s Included
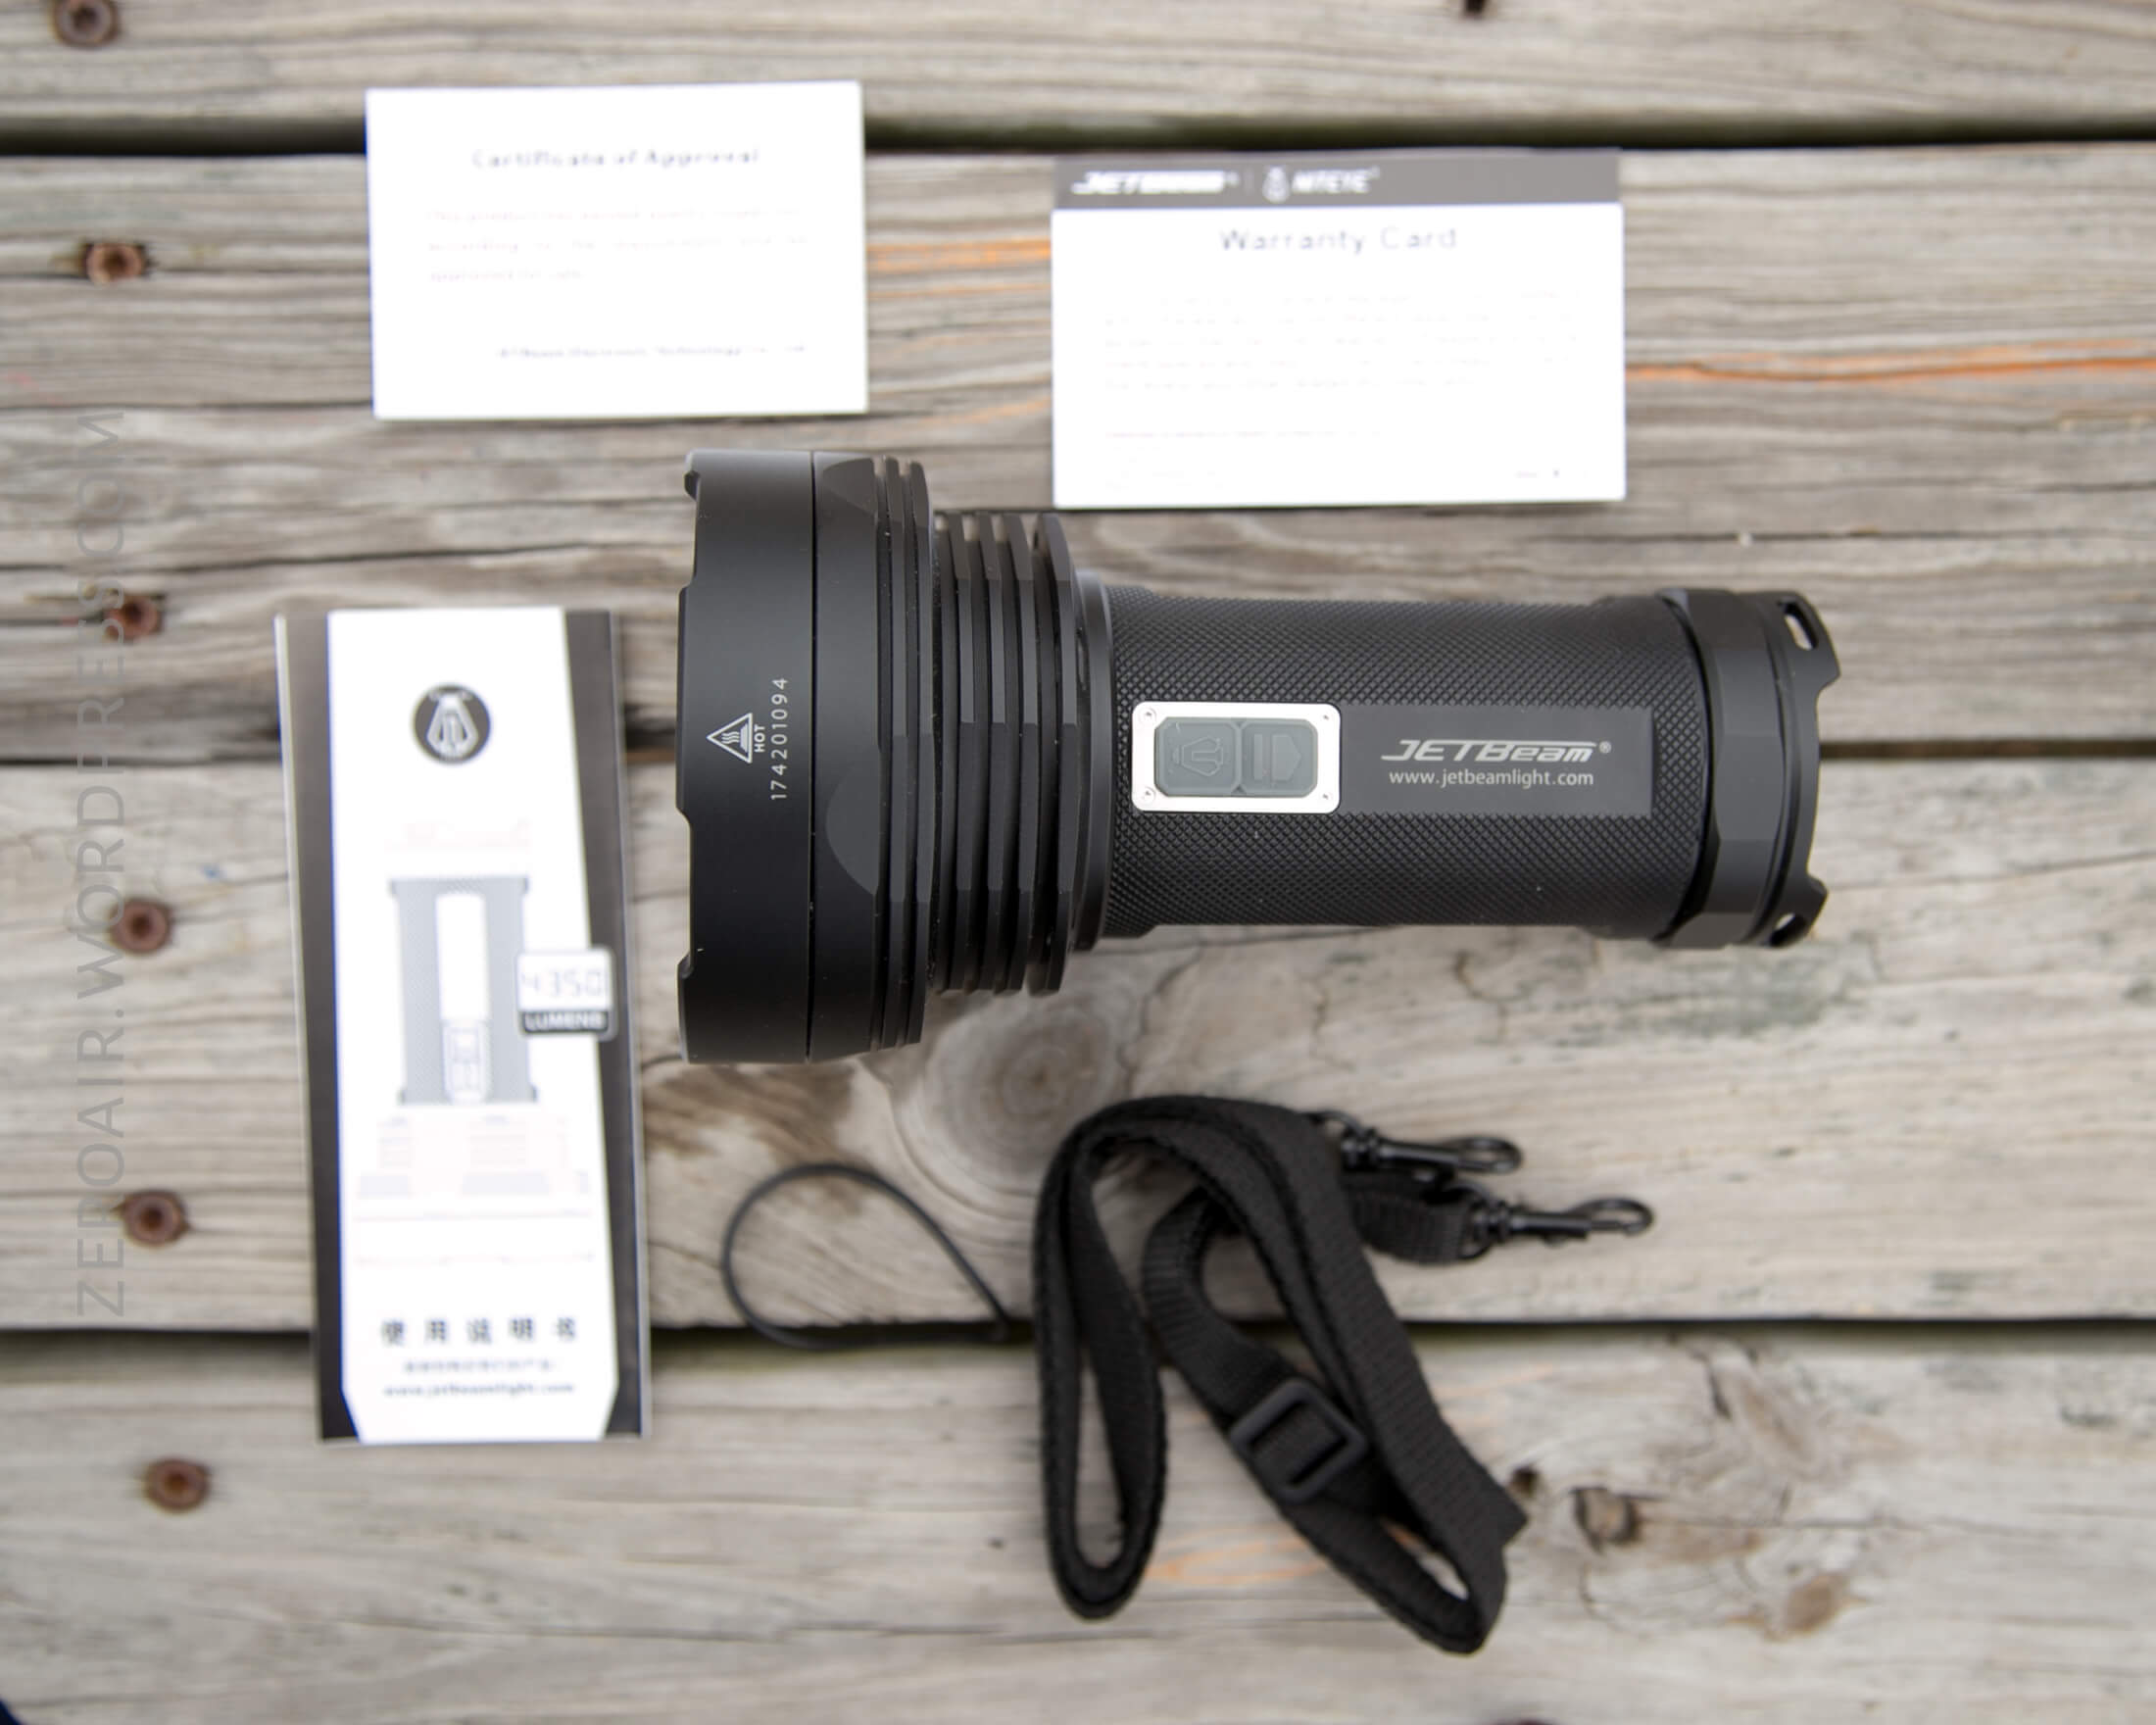
- JETBeam T6
- Lanyard
- Spare o-ring
- Manual and paperwork
Package and Manual
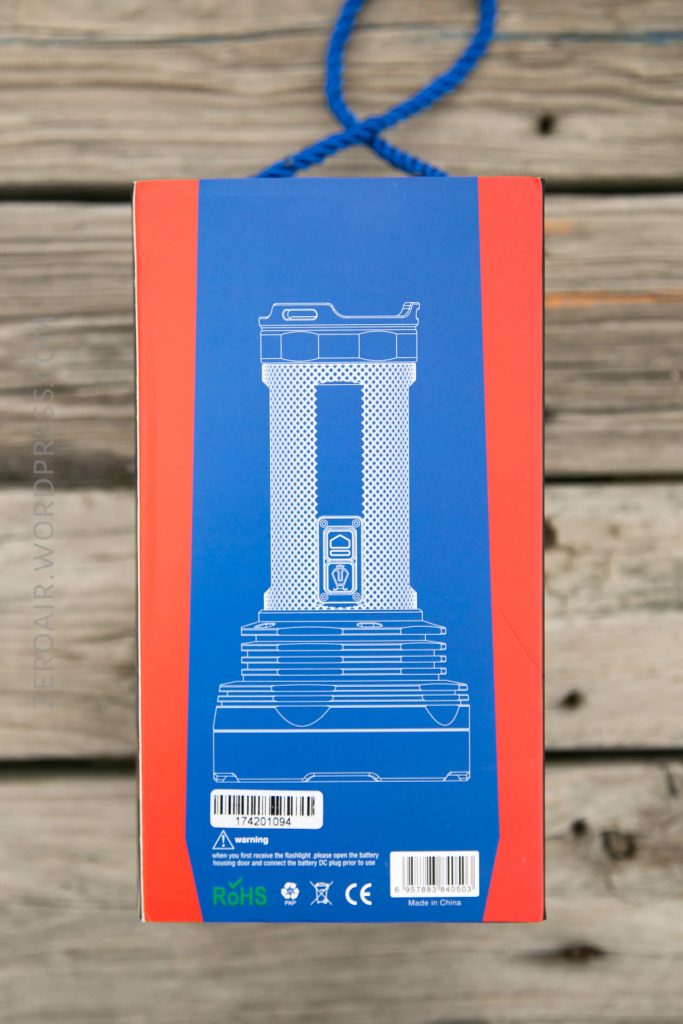
The coloration is usual for JETBeam (red and blue) but the package itself is a bit unusual. There’s a printed outer sleeve, and a rope pull.


The light is held in a foam cutout, which keeps things nice and secure.
The manual is quite good. A long paper, printed on two sides; one English one Chinese. Lots of feature info, lots of specs, etc. A very full featured manual!
Build Quality and Disassembly
The build on this light is very good. The outside looks fine of course (as all lights should) but the story is told by the threads, which are square-cut, thick, and perfectly lubed.
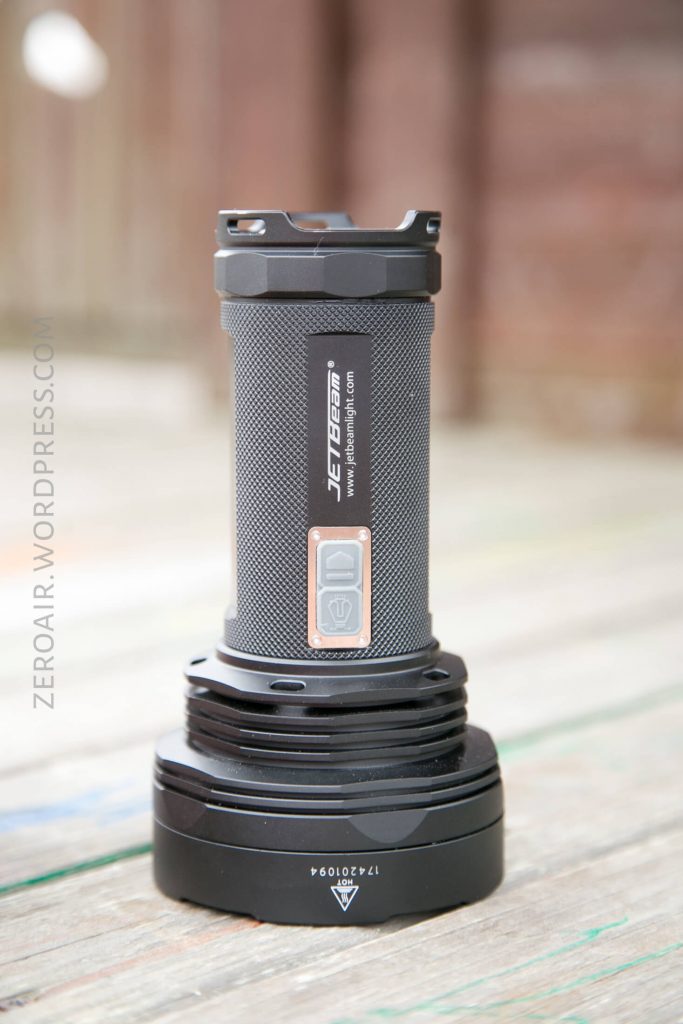
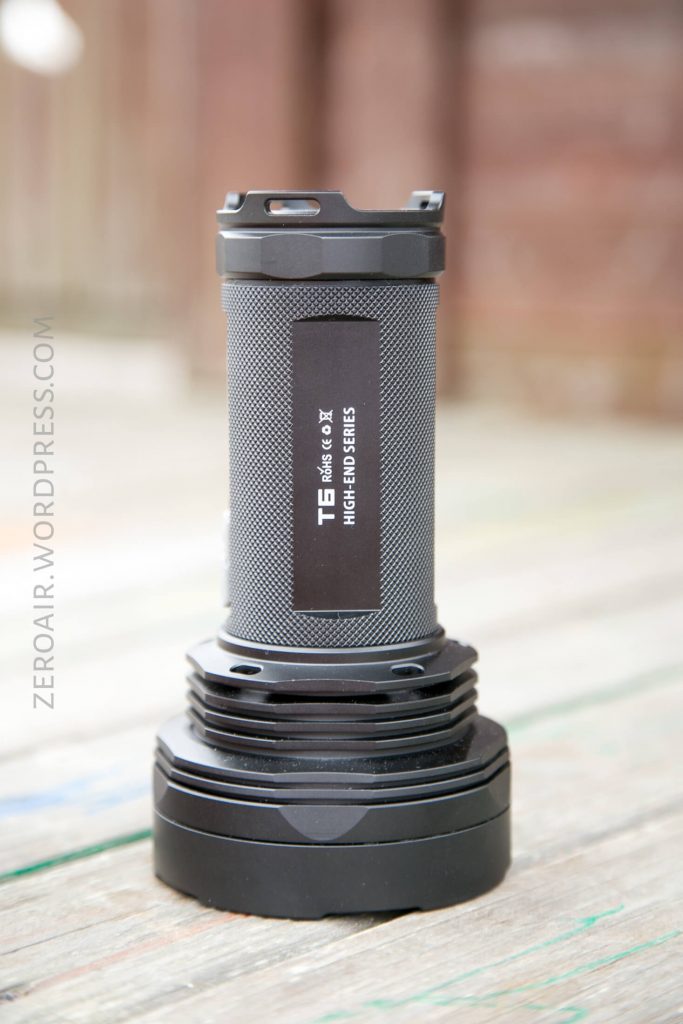
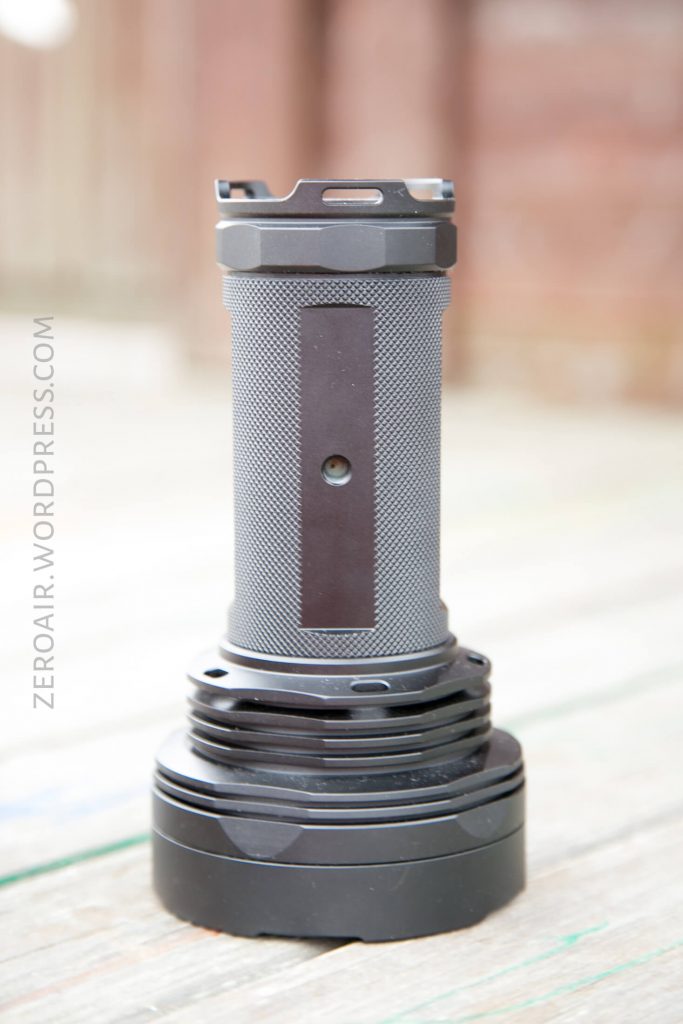
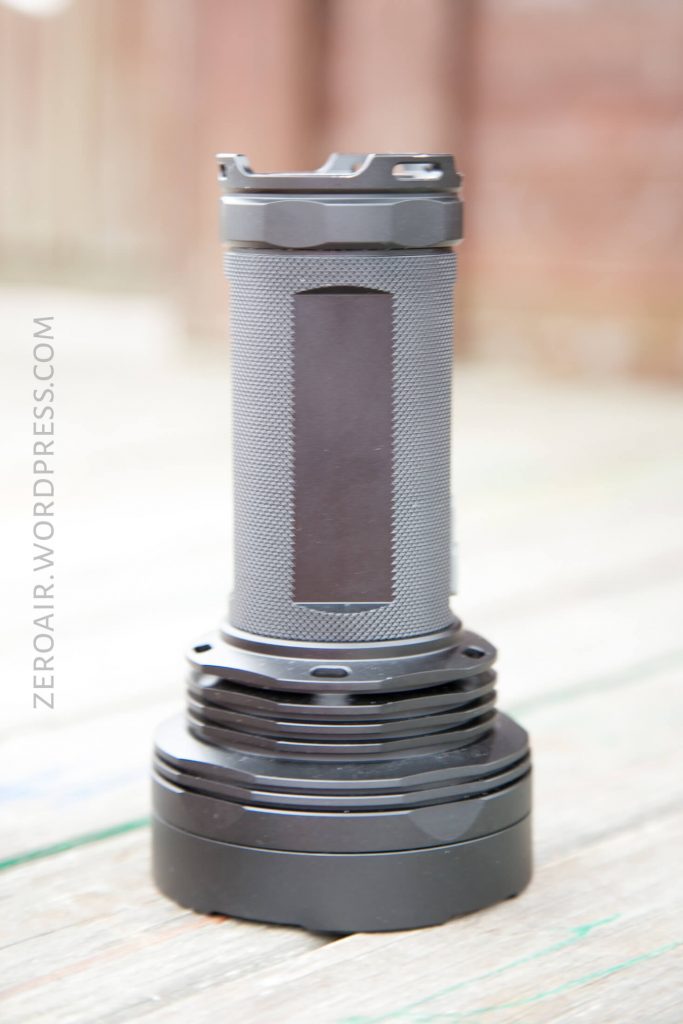
The body has some nice appointments, which include a tripod mount, and big cooling fins around much of the head.
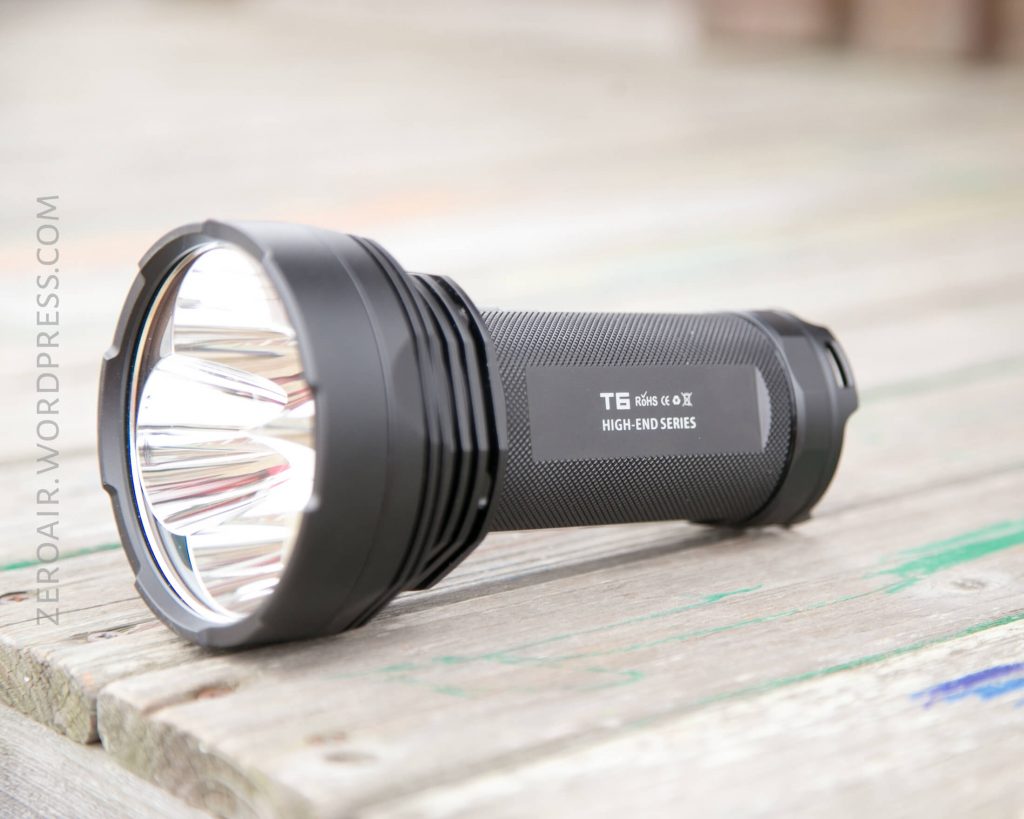

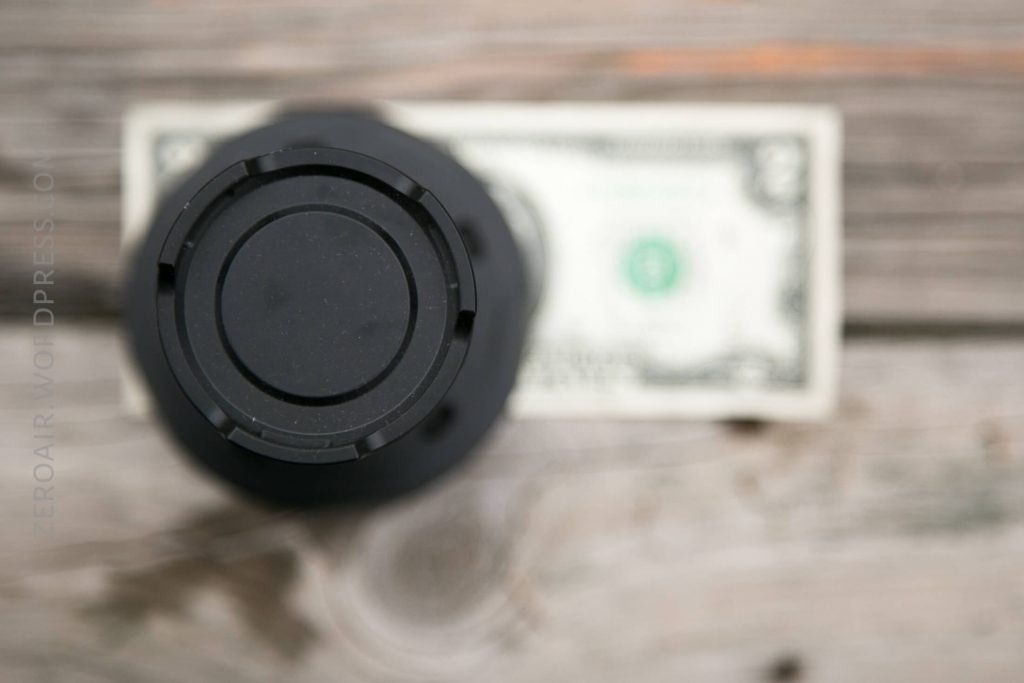
The tailcap has three lanyard attachment points. The bezel has ‘crenelations’ but just barely – fortunately not an “attack” bezel or anything.

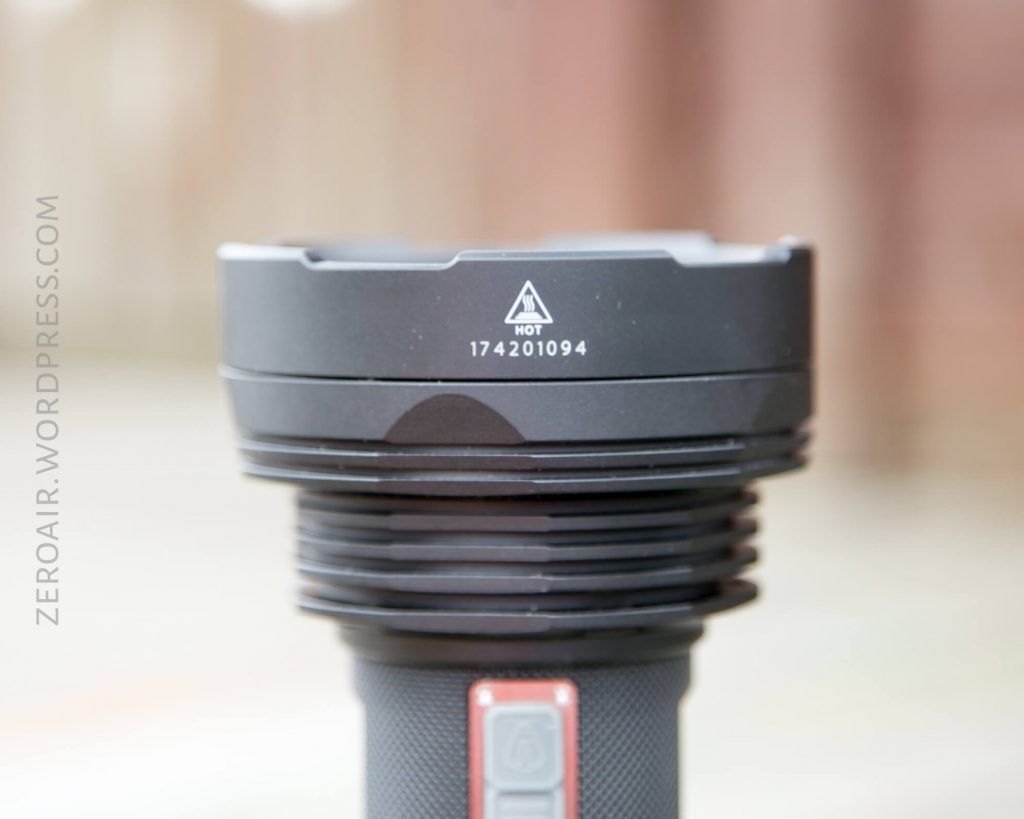
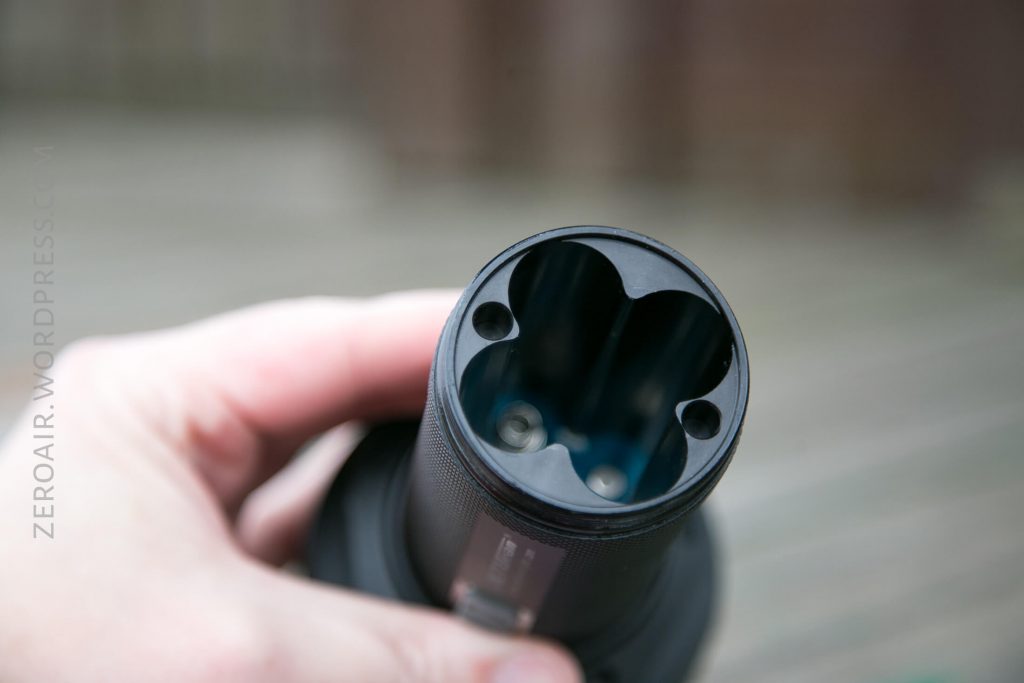
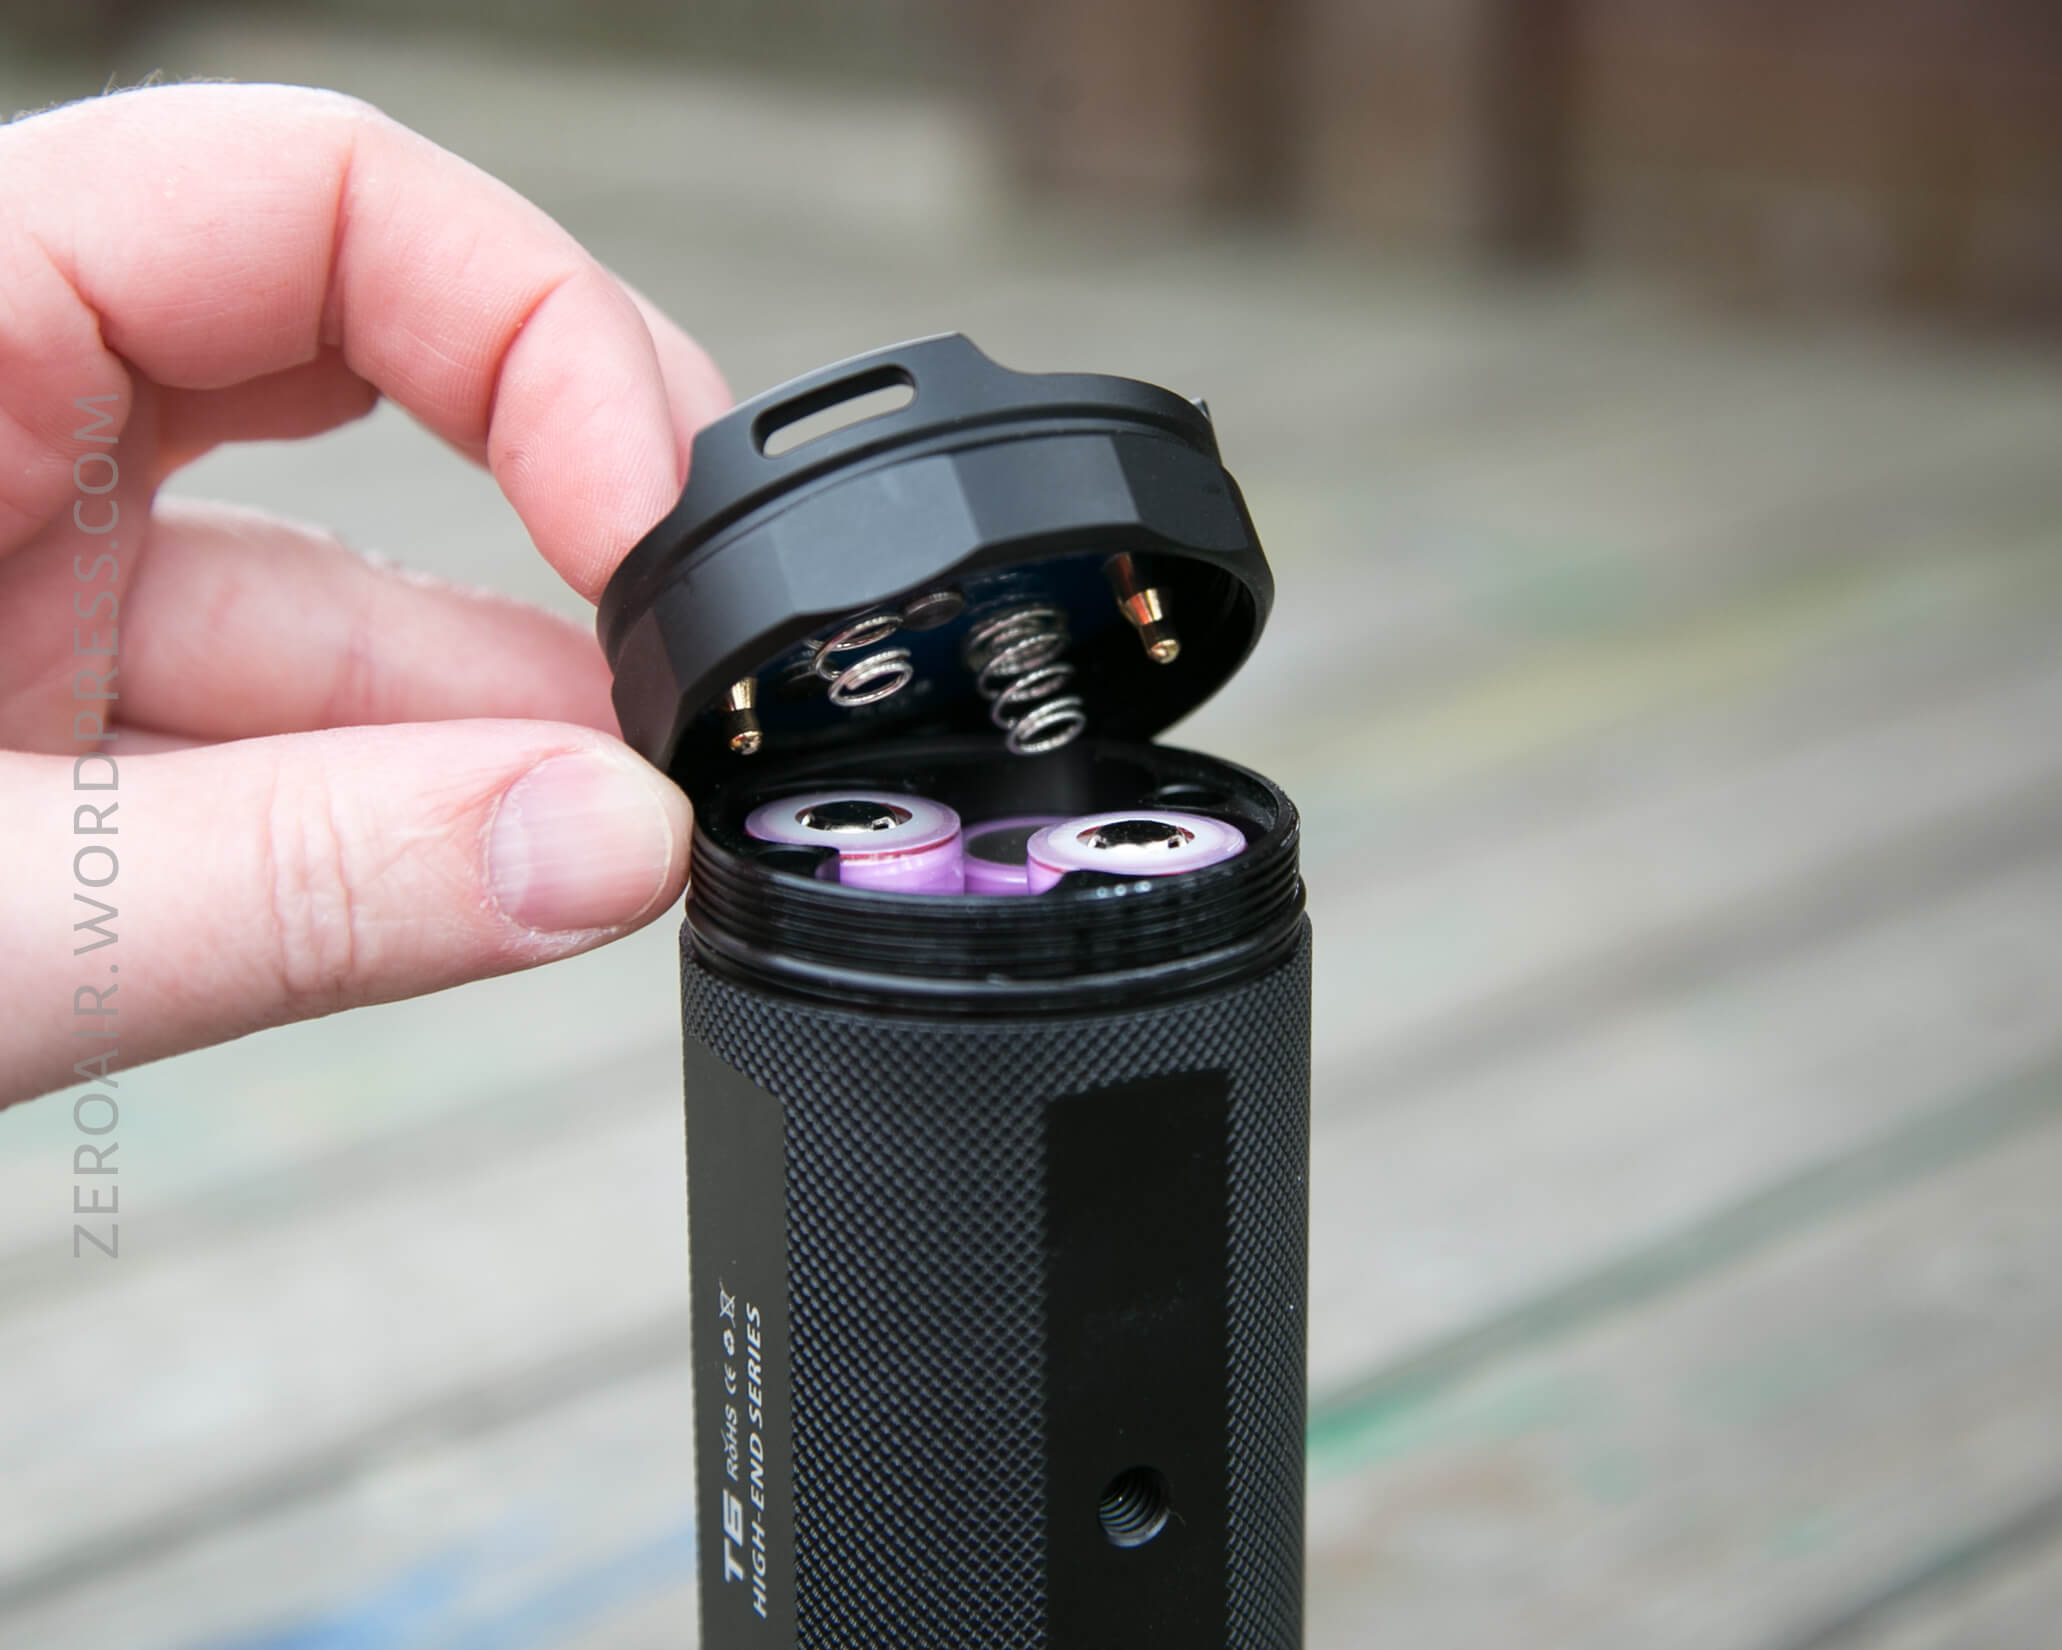
As for disassembly…. yes the emitters are accessible (just ask u/zak) but generally, the tailcap unscrews for changing the cells. The tailcap is directional and has two posts that keep the proper contact points aligned with the proper cell terminals.


I would imagine removing the bezel requires a strap wrench or something, but it can be done.
Size
Officially it’s 163mm long by 88 mm wide (head). This is a large light, but really, for 4 x 18650, and 700+ meters of throw, it’s not all that big.


Retention
There are one main means to carry this light, and it’s a very well executed adjustable lanyard. This lanyard connects at the head and tail – three points on the tail and 5 points on the head are options. The lanyard has a swivel bolt snap on both ends.


That’s all for carrying this light. No pouch is included.
Power
The T6 runs on four 18650 cells. The photo below shows flat button top 30q cells, but these were too short to make consistent contact, so I added a magnet to all 4 (two cells below have the magnets), and connection was good. The light will not work in any configuration of 2 cells. (That begs the question of why it worked a little when contact wasn’t great, but not at all when there was only two cells – the take home is to be sure you have good contact with all your cells. I’d probably just recommend protected 18650s.

The springs used are tall but if the cells aren’t long enough, bumps will still cause a disconnect. Also, see the posts that fit into the holes on the body.
I performed two runtimes, the first one with cells making poor contact. The voltage at the end was 4.14 on two cells and 2.95 on the other. This isn’t a fault of the light, but a fault of the cells not connecting. The second runtime, with magnets, displays longer output and also cells that discharged to the same voltage.
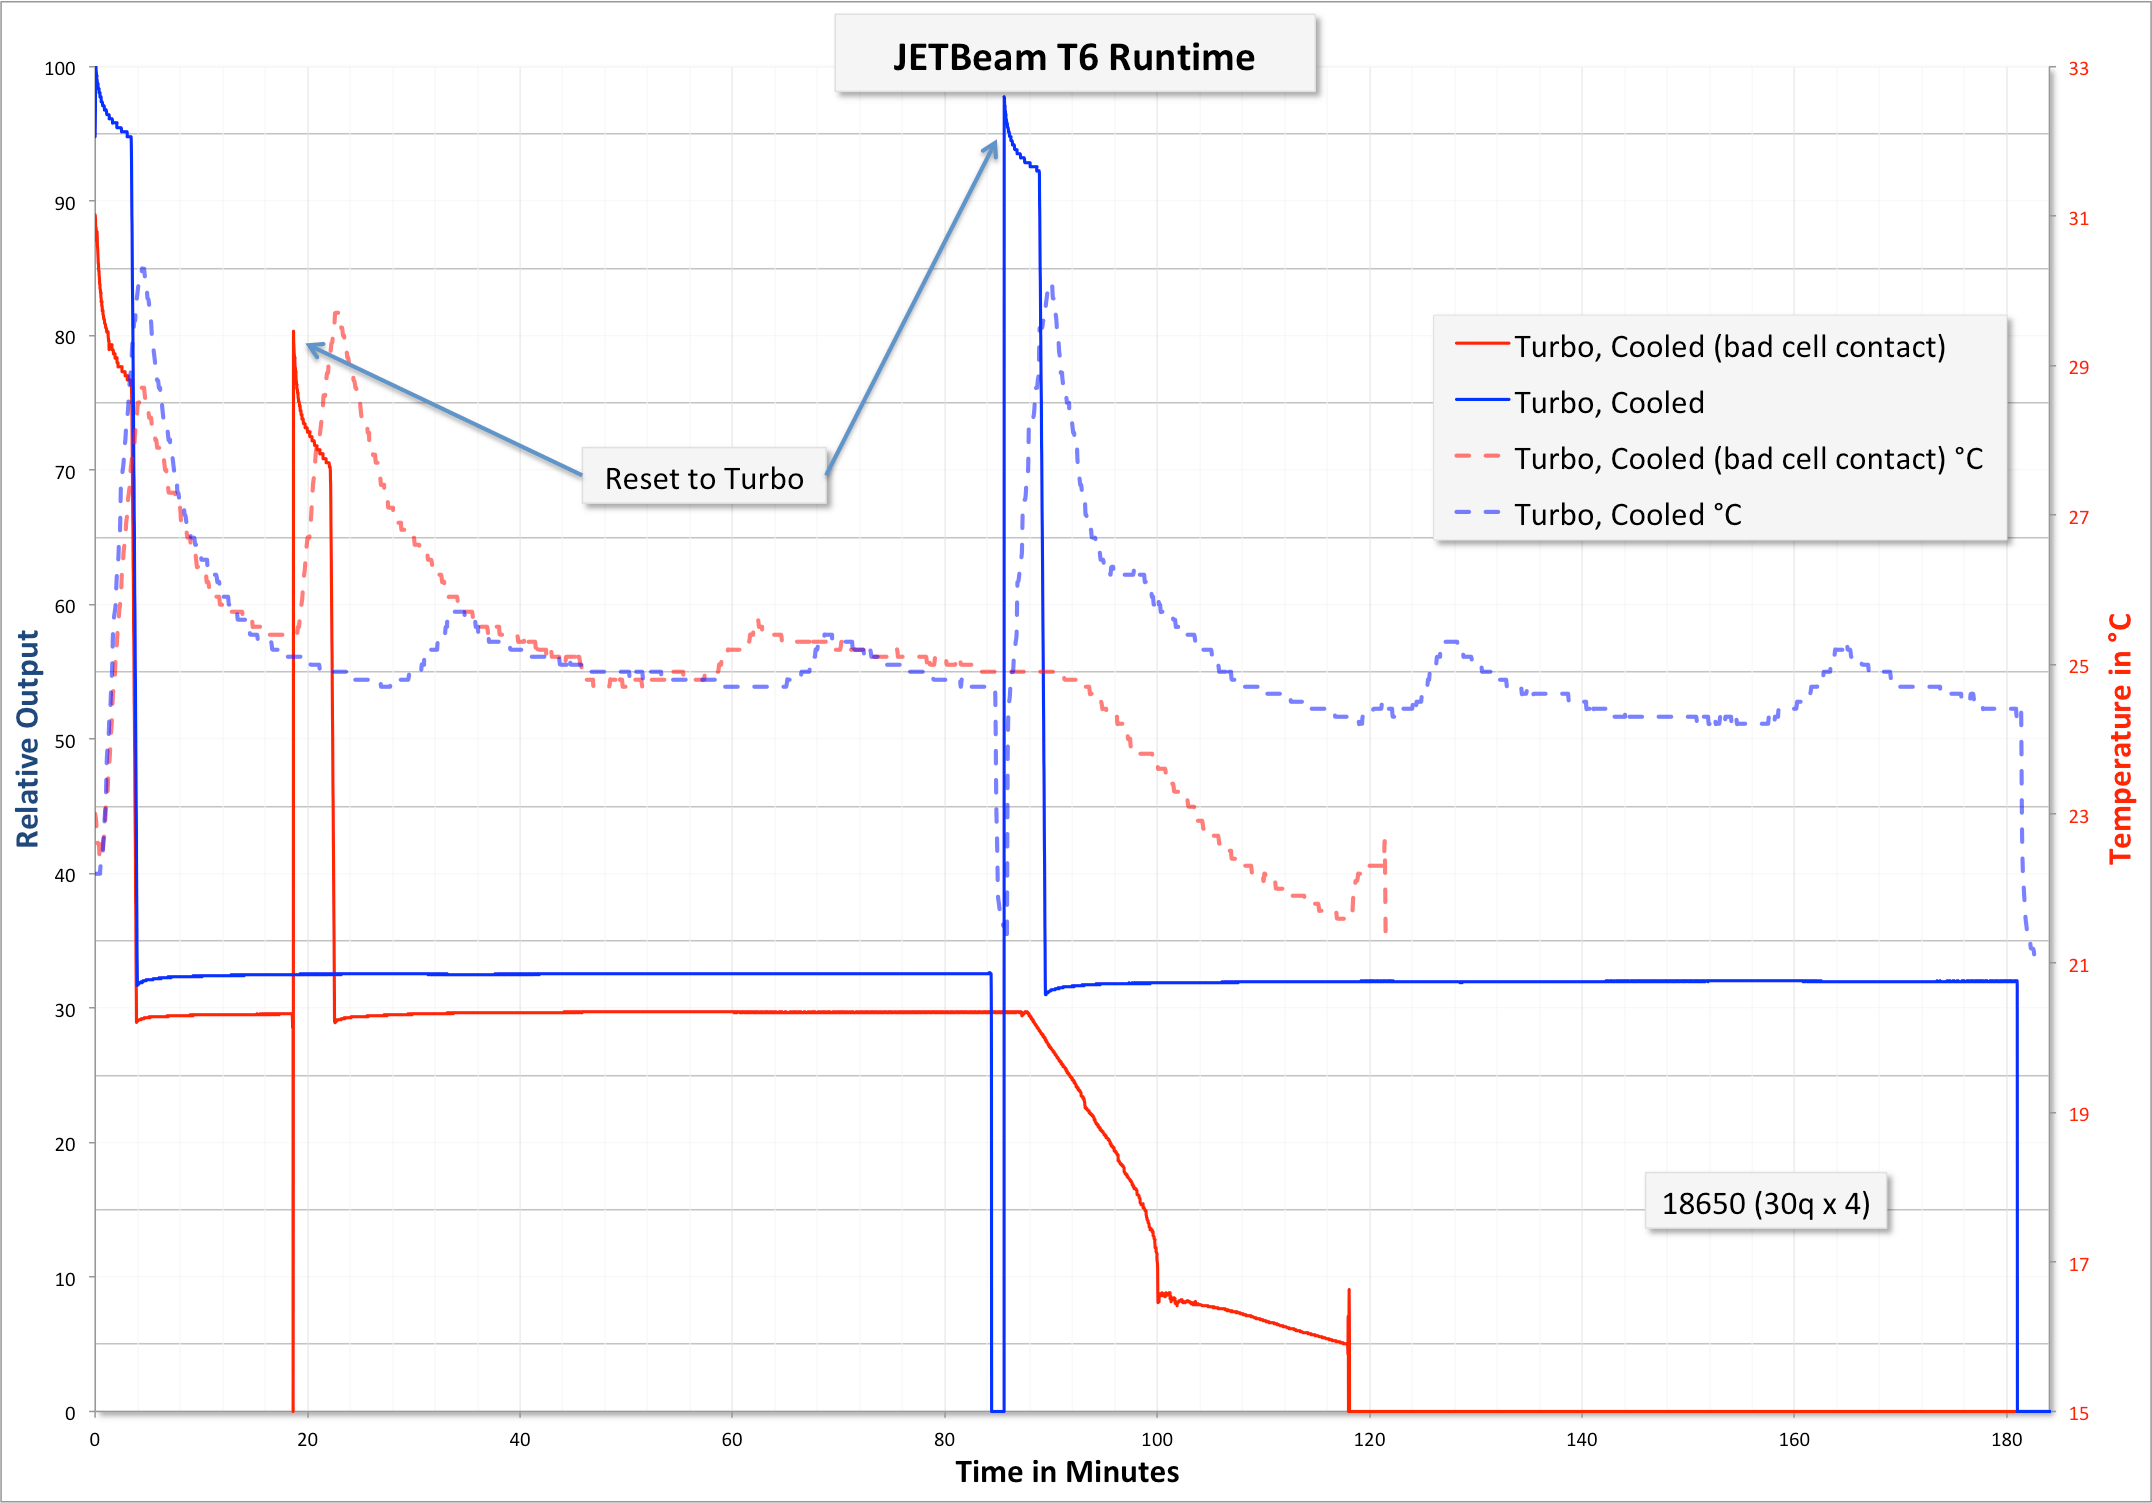
The manual doesn’t state it directly, but there seems to be no reverse polarity protection. Note how the light will reset to turbo (at almost full turbo).
Also note that this runtime is in stark contrast to the prototype review by Zak. in that review Turbo never stepped down, and the output was a gradual decline probably approximately tracking battery voltage. It then seems as if JETBeam has added a timed stepdown, which starts at around 3.5 minutes (95%), and by 4 minutes is down to 35%. That’s quite a heavy stepdown, but provided the temperature doesn’t get out of hand, the light should be able to be reset immediately back to near-turbo.
User Interface and Operation
The T6 operates from a side switch, which is actually two e-switches. The manual describes these as the “lighting switch” (LS) (nearer the head) and the “warning switch” (WS) (nearer the logo).

The user interface here is fine. I love that there’s one-button access to Turbo and Low.
| State | Action | Result |
|---|---|---|
| Off | Click LS (or WS) | No action |
| Off | Hold LS | Mode memory |
| Off | Hold WS | Strobe |
| On | Click LS | Mode cycle (H>L direction) |
| Any | Double click LS | Turbo |
| Any | Double click WS | Low |
| Strobe group | Click WS | Strobe cycle (Strobe>SOS>Beacon)^ |
^ Manual is wrong here, it’s Strobe SOS Beacon not SOS Strobe Beacon
The switch is also an indicating switch. Here’s what the manual says for power indication:
Over 20%: No indicator.
Between 10-20%: Slow blink.
Less than 10%: Quick blink.
Modes
| Mode | Mode Claimed Output (lm) | Claimed Runtime | Mode Measured Lux | Tailcap Amps |
|---|---|---|---|---|
| Turbo | 4350 | 1.8h | 30900 | 3.07 |
| High | 1500 | 4.5h | 10180 | 0.66 |
| Middle | 350 | 21h | 2090 | 0.10 |
| Low | 30 | 300h | 78 | – |
(Remember this is at nominal 7.2V, so really 21W on Turbo.)
LED and Beam
Cree XP-L emitters are in this light, times four. These are the HD variety, and though the HI version might be better for throw, this light throws quite well. The reflectors for each of the four emitters are smooth, and very well executed.


I’m not entirely sure why XP-L HI wasn’t chosen. That’s one of my favorite emitters if I’m quite honest, and this light would be fantastic with those emitters.

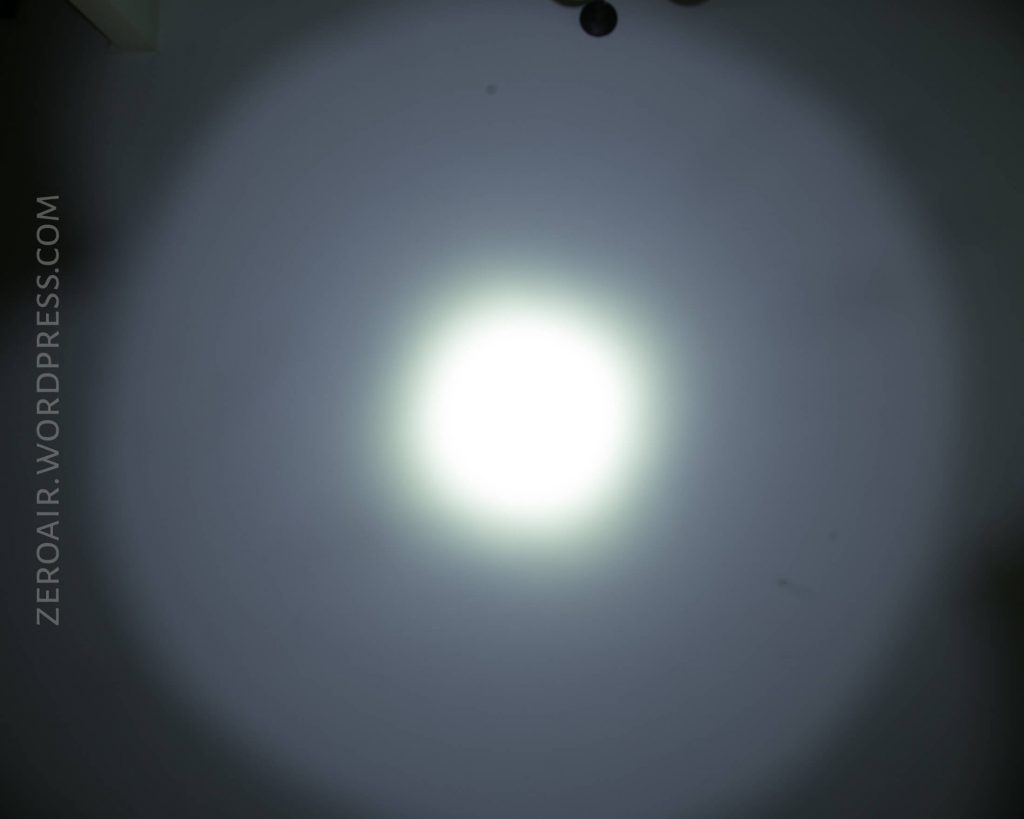
The beam at close range does exhibit a beam pattern showing four emitters. At range this pattern can be seen in the opposite way – the beam converges well but there’s a distinctive spill pattern of four emitters. Some users might be bothered by this. I am not one of those users.
Beamshots
These beamshots always have the following settings: f8, ISO100, 0.3s shutter, and manual 5000K exposure. These photos are taken at floor level, and the beam hits the ceiling around 9 feet away.


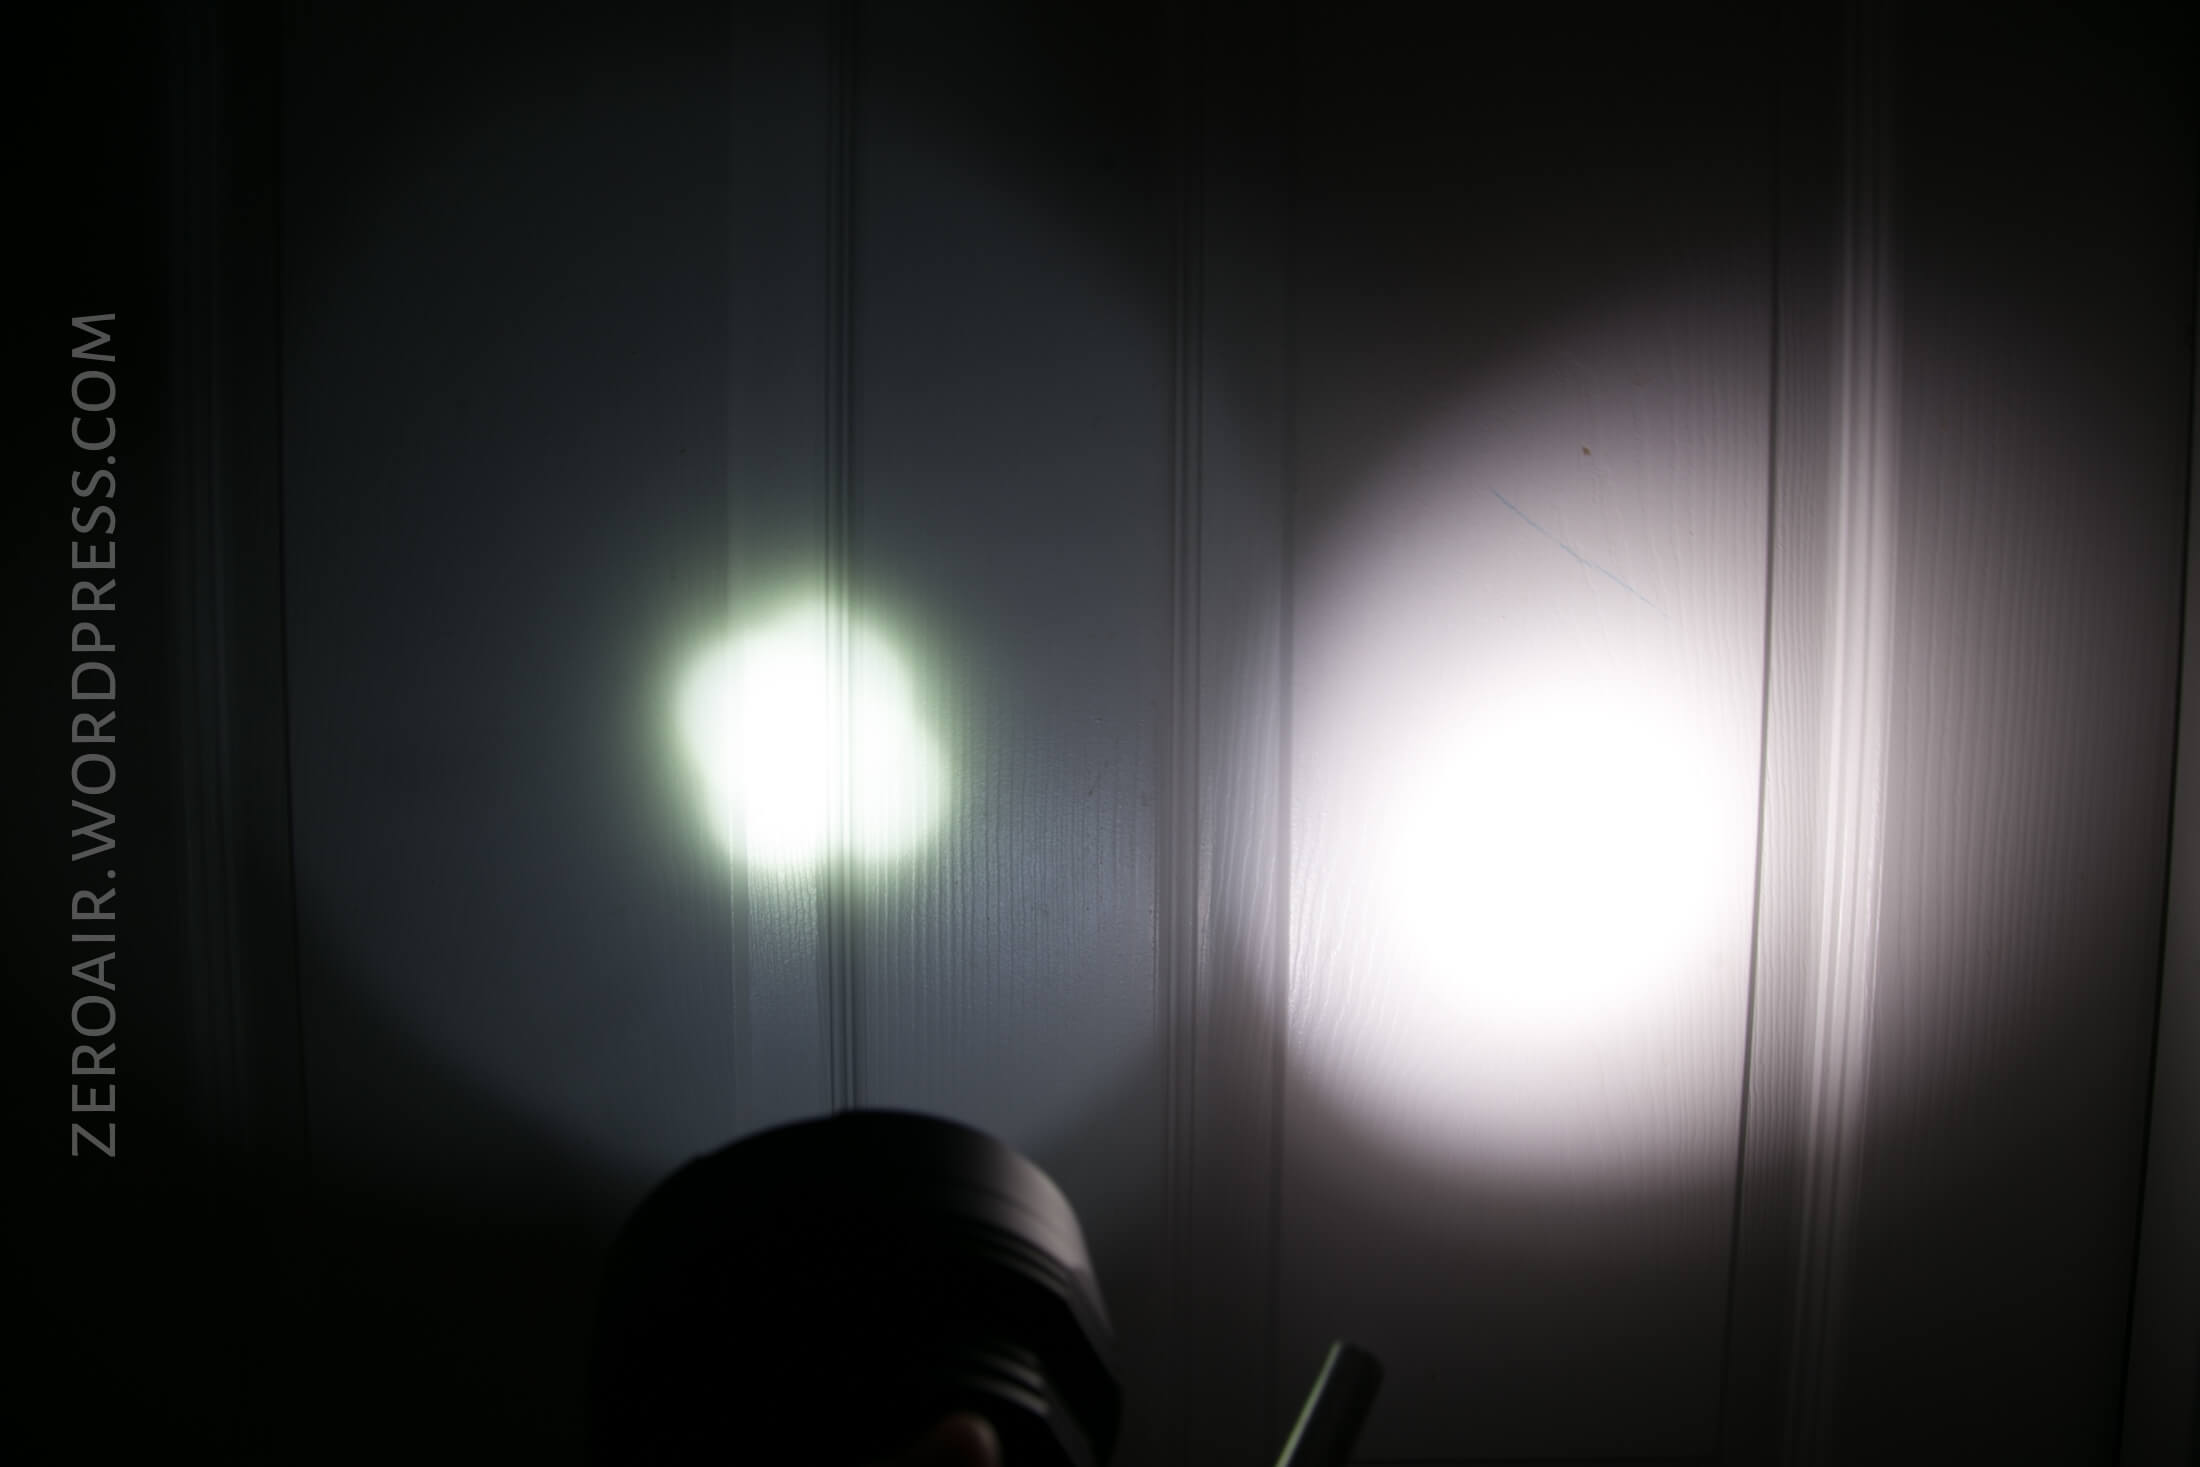
Tint vs BLF-348 (KillzoneFlashlights.com 219b version) (affiliate link)
I keep the test flashlight on the left and the BLF-348 reference flashlight on the right.
Random Comparisons and Competitive Options
Here’s a relevantly filtered page on parametrek.com. Thrunite has the TN40S, which is comparable but with XP-L HI emitters, and similar throw. There are many other single emitter lights in a similar format and with similar throw.
Conclusion
What I like
- Size and build
- Easy access to bookend modes
- Lanyard is cool, and easy to attach and detach
- It’s just a cool light!
What I don’t like
- Strobe is too easy to get to
- Would rather XP-L HI emitters
Notes
- This light was provided by GearBest for review. I was not paid to write this review.
- This content originally appeared at zeroair.org. Please visit there for the best experience!
- Use my amazon.com referral link if you’re willing to help support making more reviews like this one!
- Please support me on Patreon! I deeply appreciate your support!