
Nitecore Concept 2 Flashlight Review
The Nitecore Concept 2 is an impressive flashlight, offering four Cree XHP35 HD emitters and an indicating switch, and more! Read on!
Official Specs and Features
Here’s a link to the Nitecore Concept 2 flashlight product page.
Versions
There’s only one version of the Concept 2!
Price
The current price for the brand new Concept 2 is $199.95 from NitecoreStore.
Short Review
This is a spectacular light. It’s smaller than you thought it’d be, and the output is very impressive. I do wish the cells were replaceable, though.
Long Review
The Big Table
| Nitecore Concept 2 | |
|---|---|
| Emitter: | Cree XHP35 HD (four) |
| Price in USD at publication time: | $199.95 |
| Cell: | Internal (18650×4) |
| Turbo Runtime | High Runtime |
| LVP? | Yes |
| Switch Type: | E-Switch |
| Quiescent Current (A): | ? |
| On-Board Charging? | Yes |
| Chargetime | |
| Power off Charge Port with no Cell? | – |
| Claimed Lumens (lm) | 6500 |
| Measured Lumens (at 30s) | 5600 (86.2% of claim)^ |
| Claimed Throw (m) | 398 |
| Candela (Calculated) in cd (at 30s) | 1026lux @ 6.746m = 46692cd |
| Throw (Calculated) (m) | 432.2 (108.6% of claim)^ |
| All my Nitecore reviews! | |
^ Measurement disclaimer: Testing flashlights is my hobby. I use hobbyist-level equipment for testing, including some I made myself. Try not to get buried in the details of manufacturer specifications versus measurements recorded here; A certain amount of difference (say, 10 or 15%) is perfectly reasonable.
What’s Included

- Nitecore Concept 2 Flashlight
- Cells (integrated, not replaceable)
- Wall wart (barrel plug)
- Nylon pouch
- Lanyard (attached)
- Manual and paperwork
Package and Manual
The package for the Concept 2 is quite nice! It’s a slip-fit cardboard box, and there are no reliefs for gripping to separate the parts. However, the coating on the box is such that they slide apart fairly easily. The image you see below on the cover of the box is actually embossed! My package had two warnings about the light getting hot.


Here’s a pdf of the user manual. It’s a very typical, and good, Nitecore manual.
Build Quality and Disassembly
This is a little chunk of a light. I’m going to say it’s smaller than you think it is, but it still has 4×18650 cells – so it’s probably heavier than you might expect after first sight, too. But it’s all put together very well.
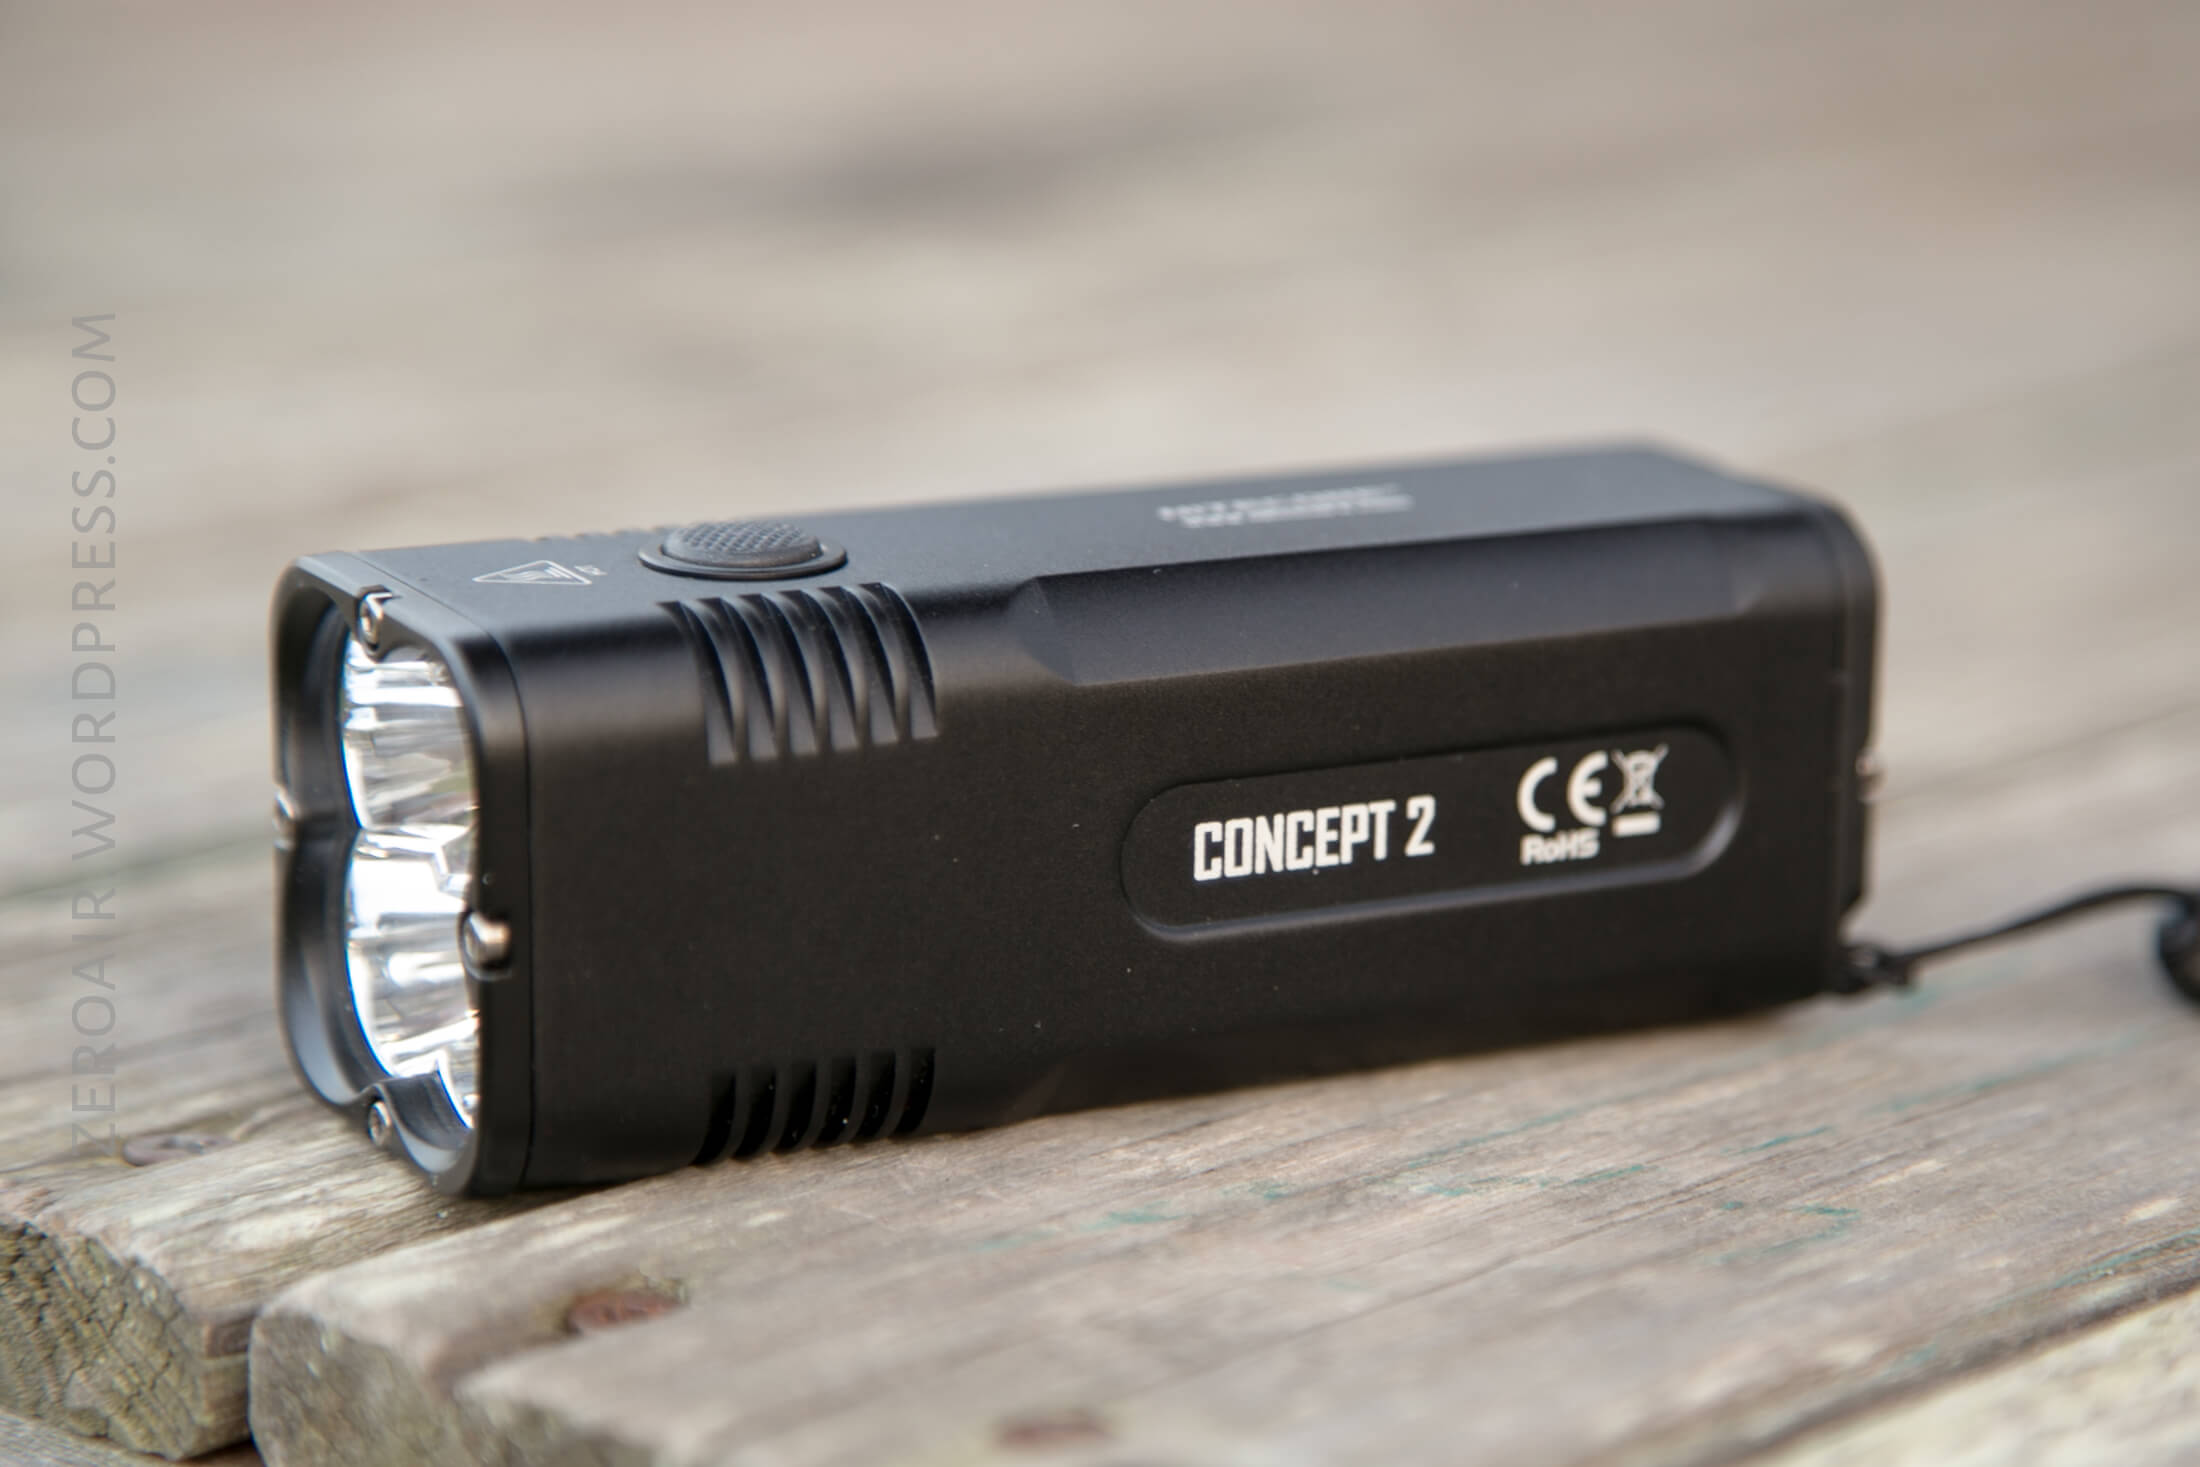
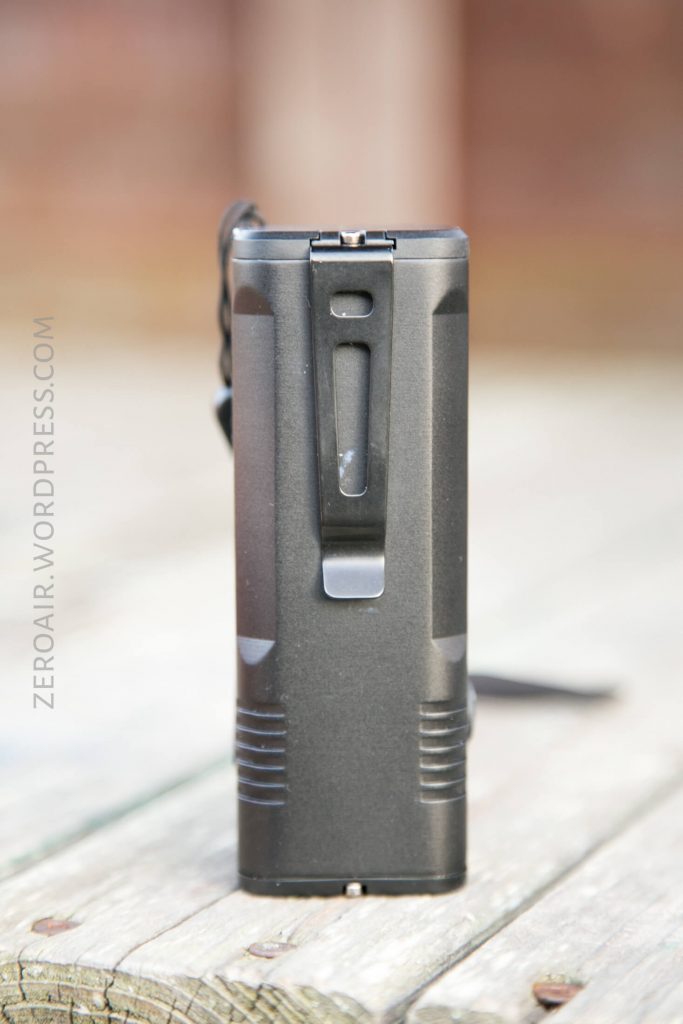
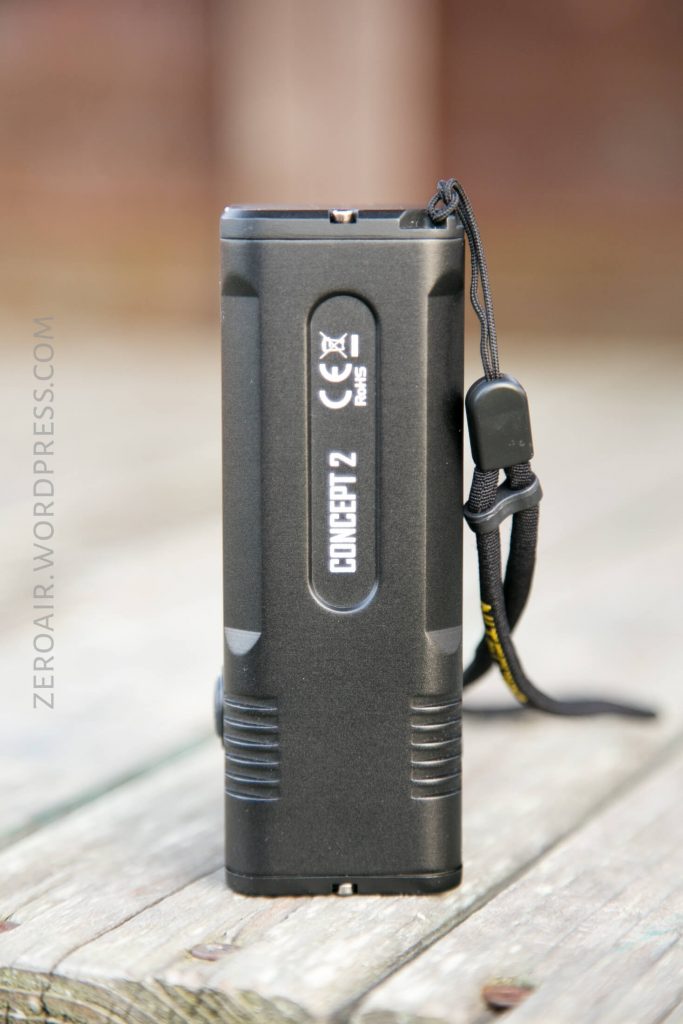
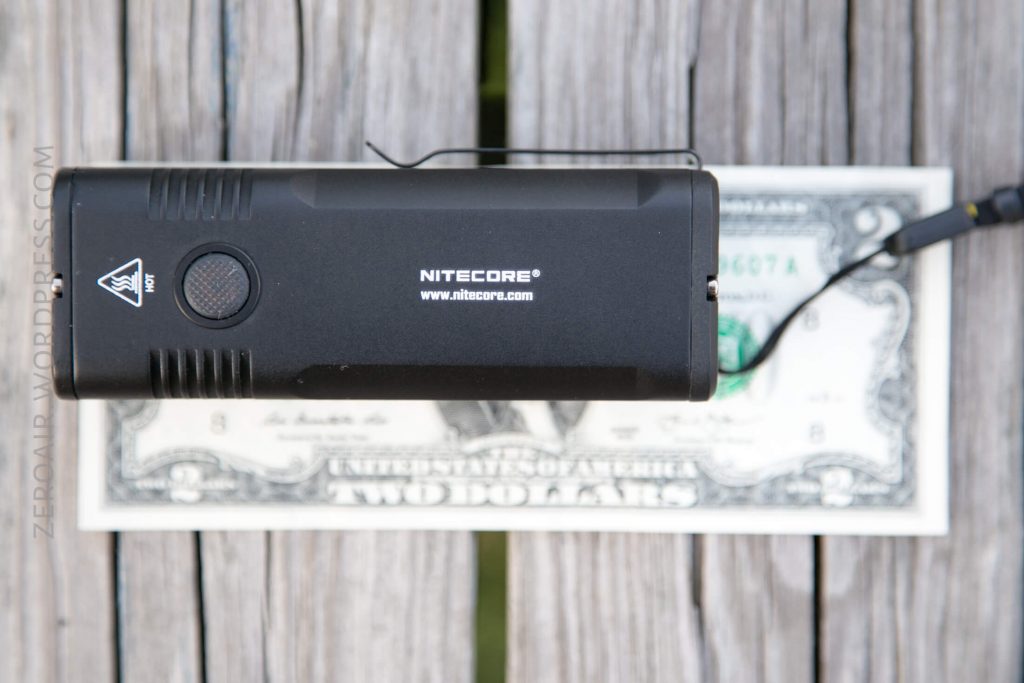
The Concept 2 really is just a rectangular tube light. The sides are more or less the same, except that each side has its own feature. One side has the switch. Opposite the switch is the charge port. Another side has a pocket clip. Opposite that is the branding.


But the whole thing is put together quite snugly, and there’s no rattle at all inside.
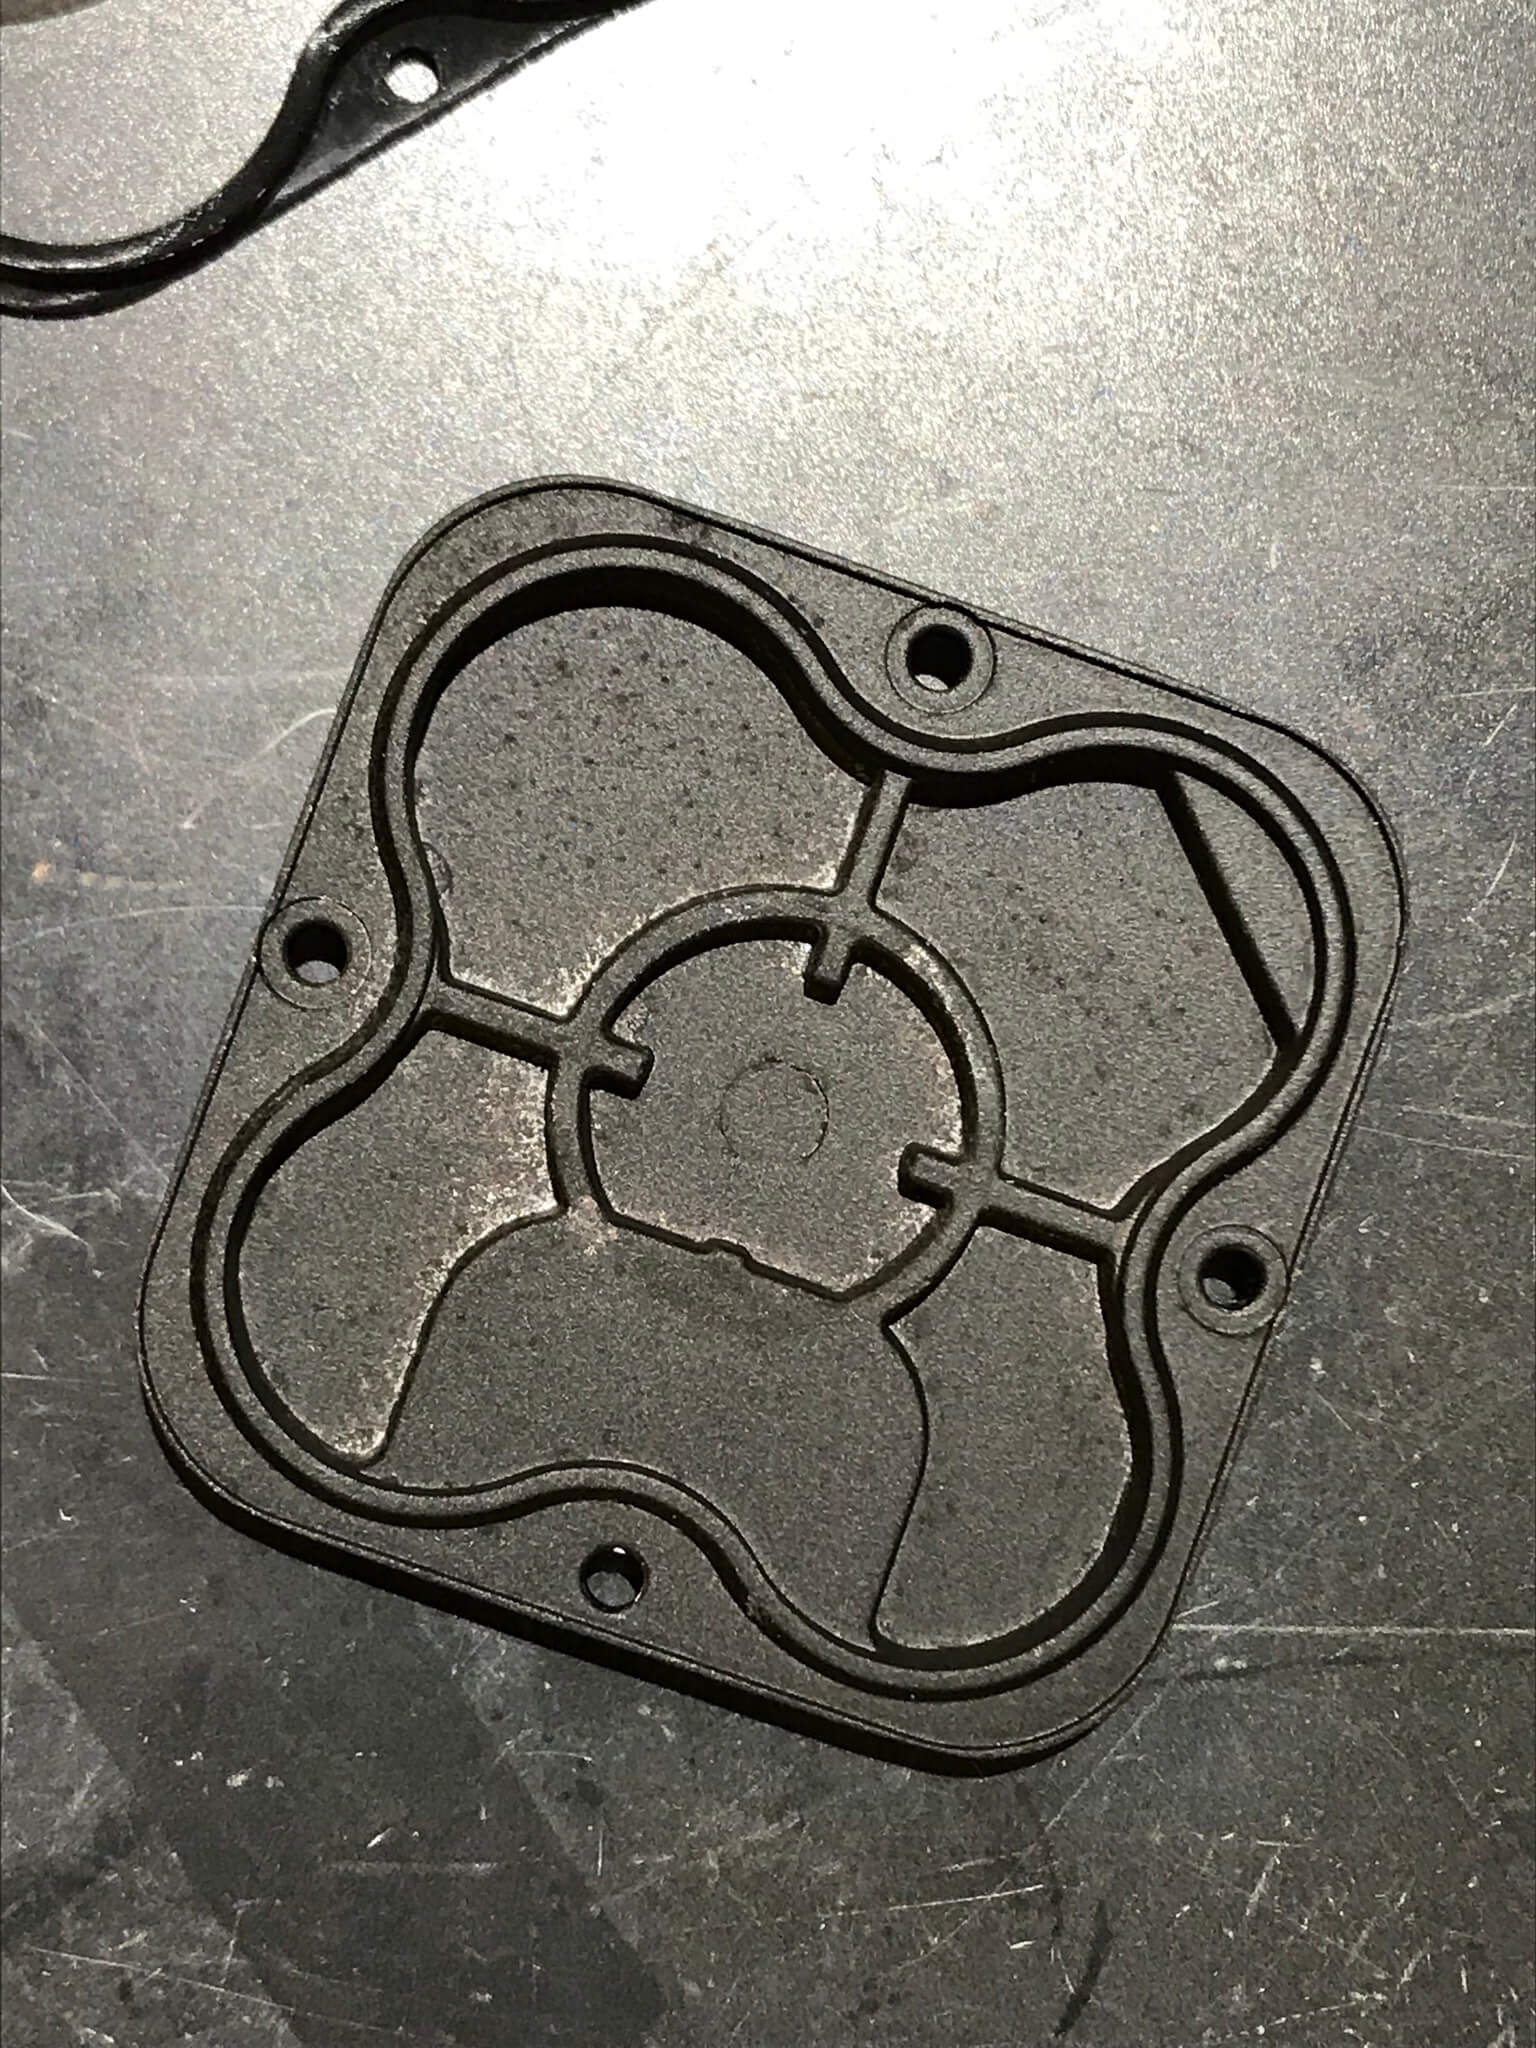
Now, you might be thinking that it is just a tube. It’s not. The [square] MCPCB rests on an actual shelf, which separates the head from the cell area.
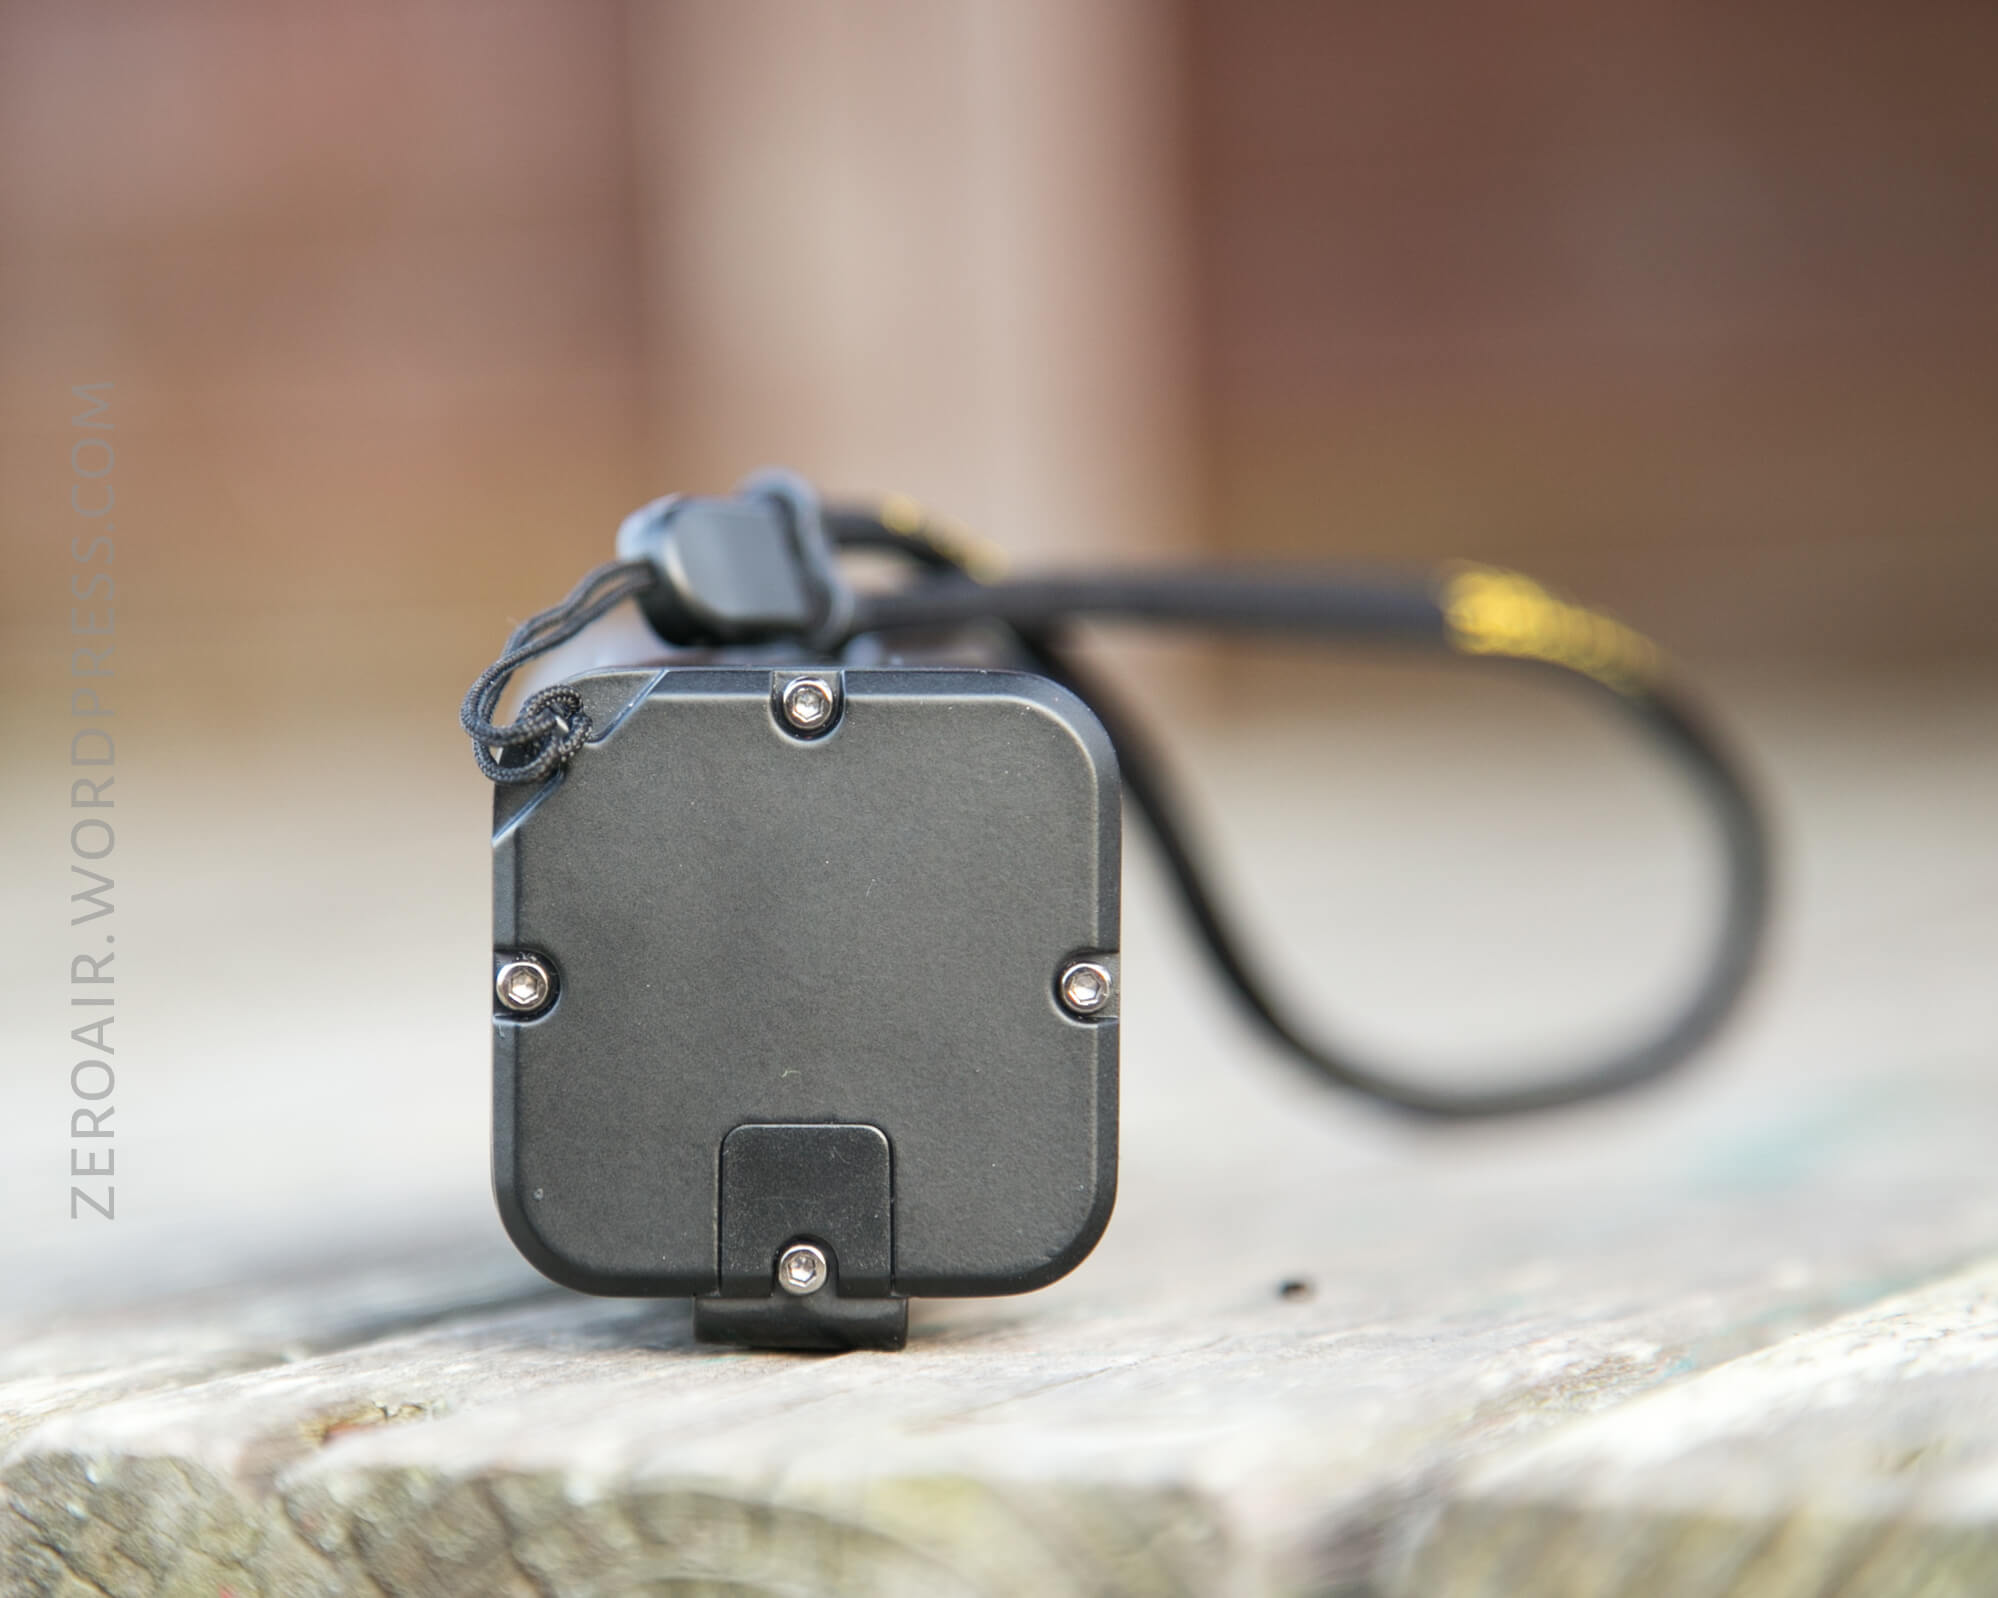
Both the head and tail are held on with four Hex screws.
I took the light apart as far as I could without fear of breaking it, and here are the results.

The bezel has a black custom gasket underneath. Once those two parts are removed, the reflector doesn’t just fall right out. It’s held in place with a custom clear o-ring. That took some persuasion, but a fine point to lift it worked perfectly. After that’s gone, the reflector comes right out.


And then you’ve revealed the MCPCB. It’s a square job, with what looks like individually rounded corners (ie, rounded off just for this light). It’s held in place by a bunnnnnch of wires. The green/black/red/yellow combo goes to the switch. The MCPCB is held in place on the light’s shelf by two screws.

The tail end comes off just the same, and also has a custom gasket (different from the one on the head.) In fact this gasket is soft, whereas the one on the head is not – it’s much firmer.
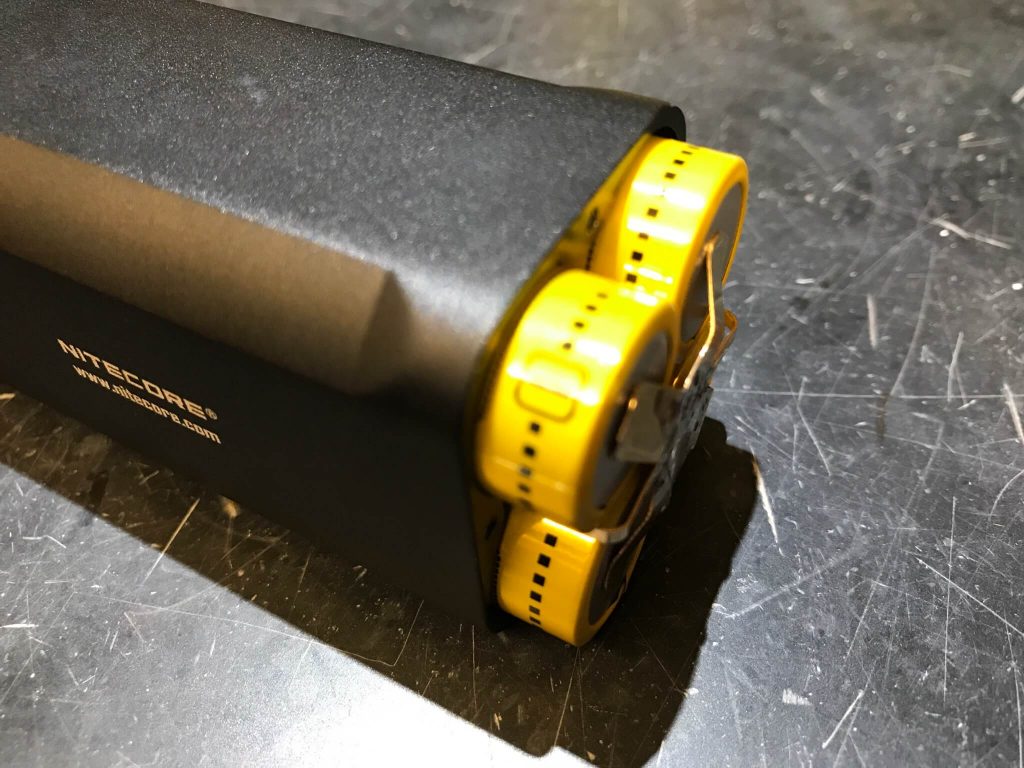
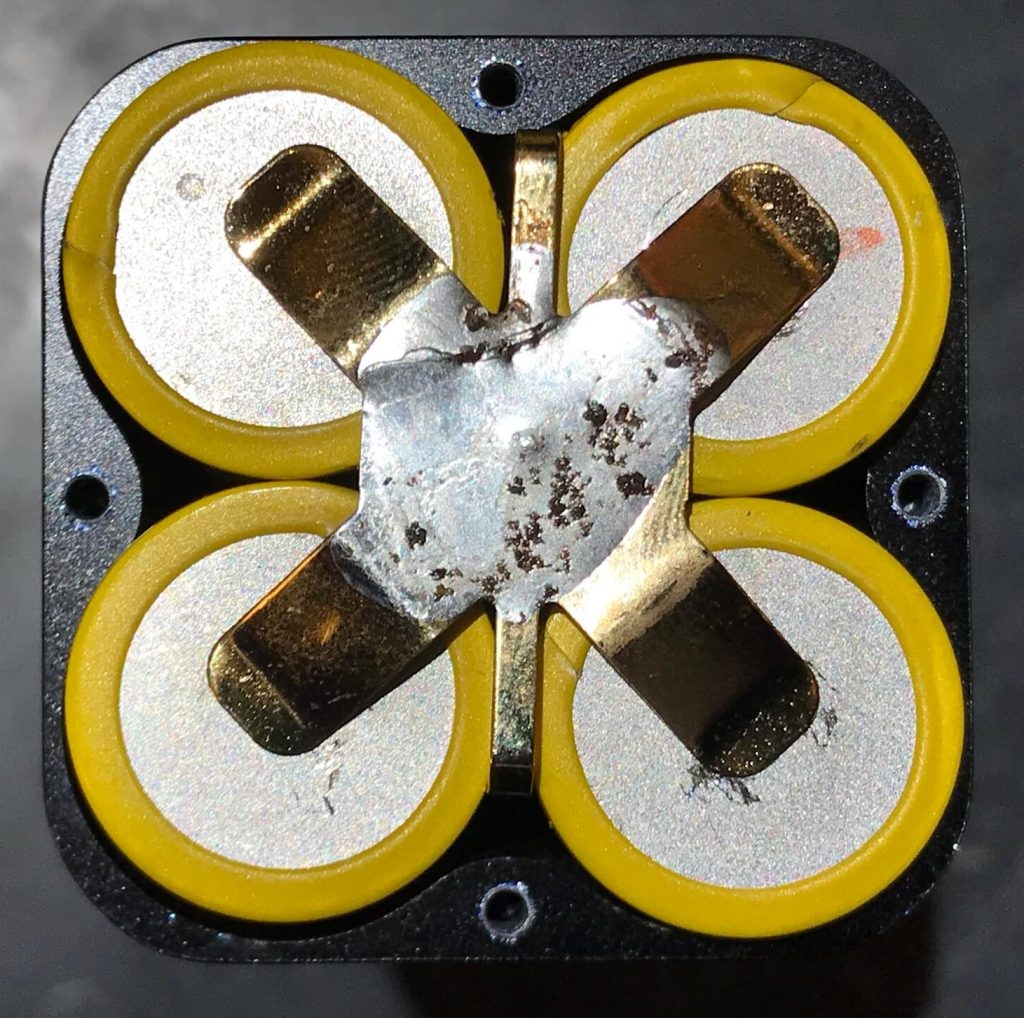
Here’s what you reveal. There are four 18650s being held in place by this unusual pressure-mounted holder. Contrary to what you might expect, the cathode here is not soldered. The cathode is touched by that brass piece, and that’s soldered together in the center. From there, a rod runs between all 4 cells to the other end of the light.

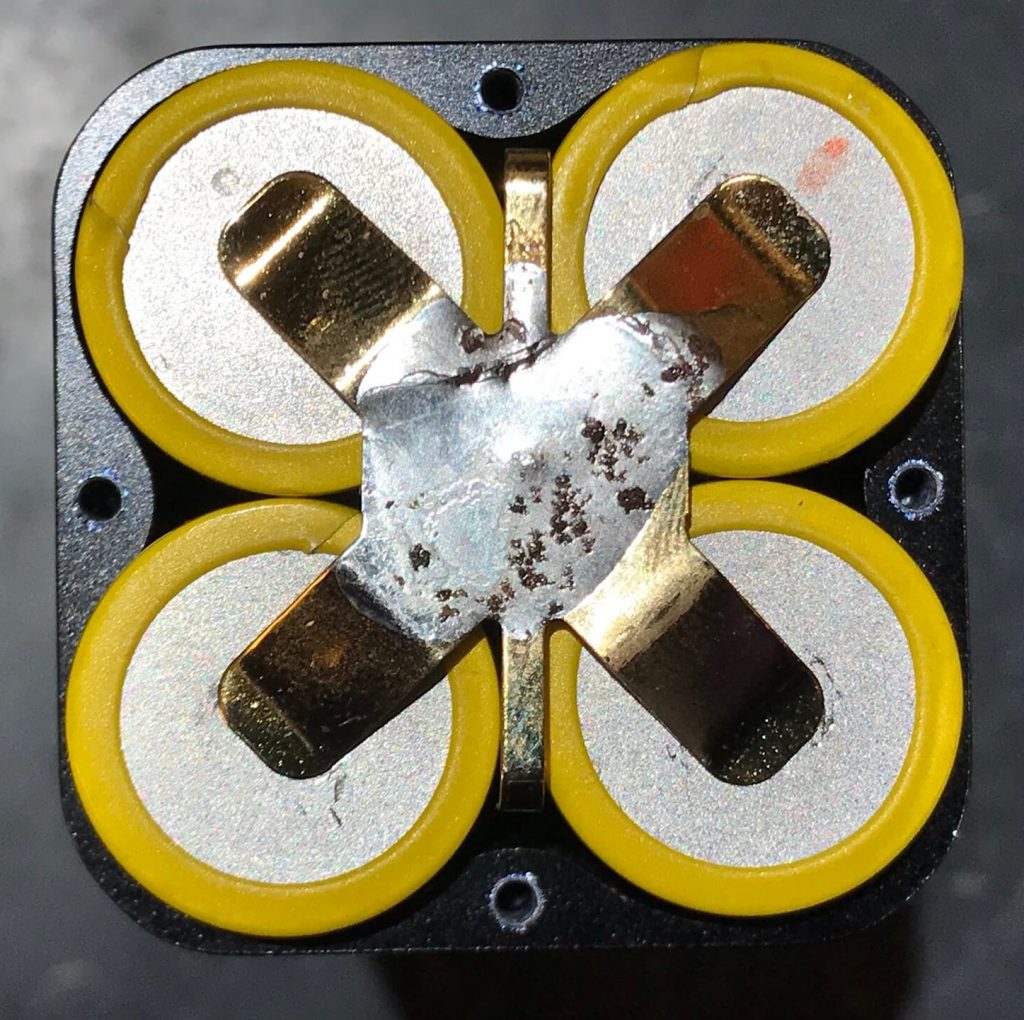
This whole unit isn’t user-serviceable. See below how far the cells were willing to budge, and that’s with considerable effort. My suspicion is that the anode of these cells are soldered to wires. That’s the kind of give the cells have. Nitecore has a bunch of cell types, and they all have this Cohiba style line around the bottom. That at least tells us the cell is high quality – the “worst” possibility is a 2100mAh 30A cell. The best is a 3100mAh 35A cell. Whatever it is, these cells provide plenty of juice for the light.

As I said, the cells aren’t soldered to the brass tension holder on the cathode. I’ve marked one (top right) and rotated it – note the movement of the mark. That’s about as far as it’ll turn, too. So it’s not soldered, but it’s not free.
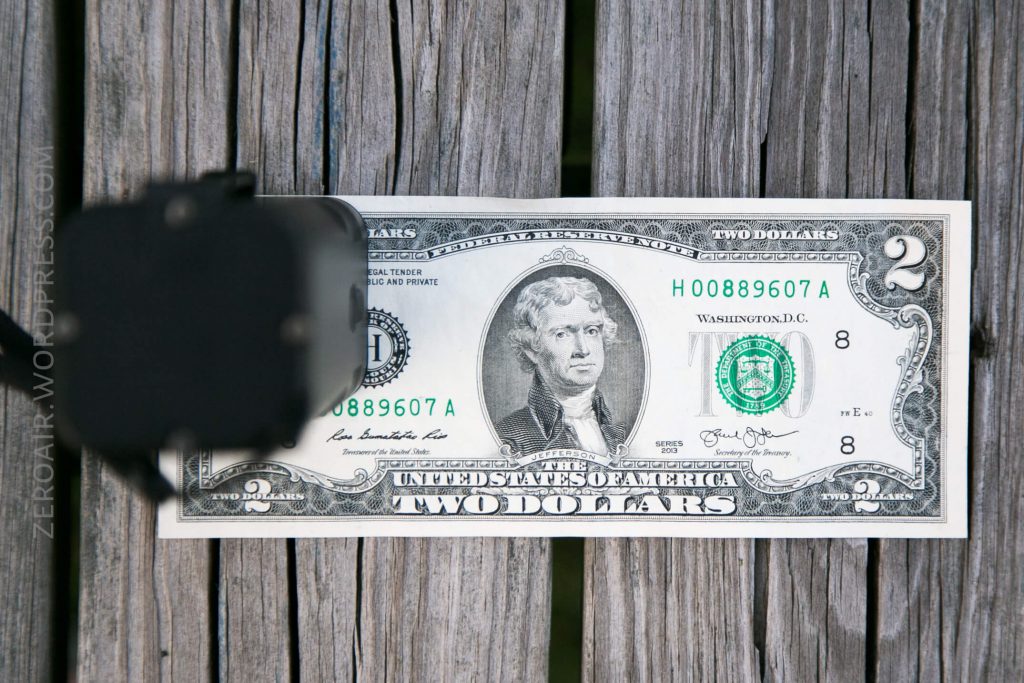
Size
Officially 112.5 x 40 x 40mm. And the weight is 348g (with cells, of course).
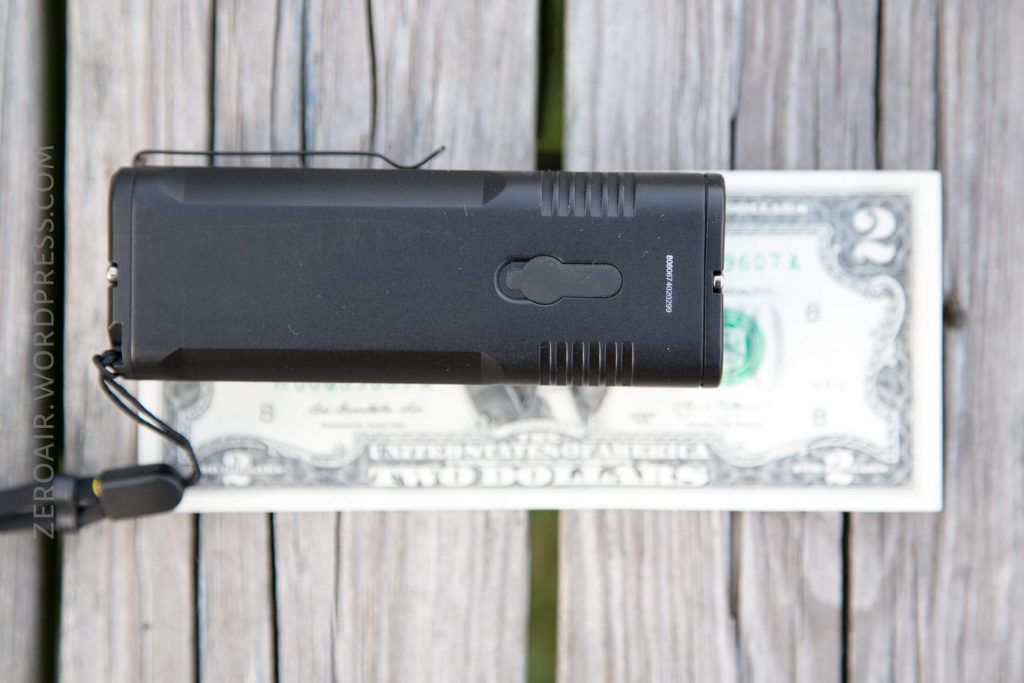
This was very much smaller than I expected, based on product shots I’d seen. Slimmer than the Meteor M43 (though, maybe not a huge surprise there; that has 12 emitters and the Concept 2 has 4.)

Here’s the test light with the venerable Convoy S2+. Mine’s a custom “baked” edition Nichia 219b triple. A very nice 18650 light.
Retention
There are three options for carry of the Concept 2. Two are already installed.
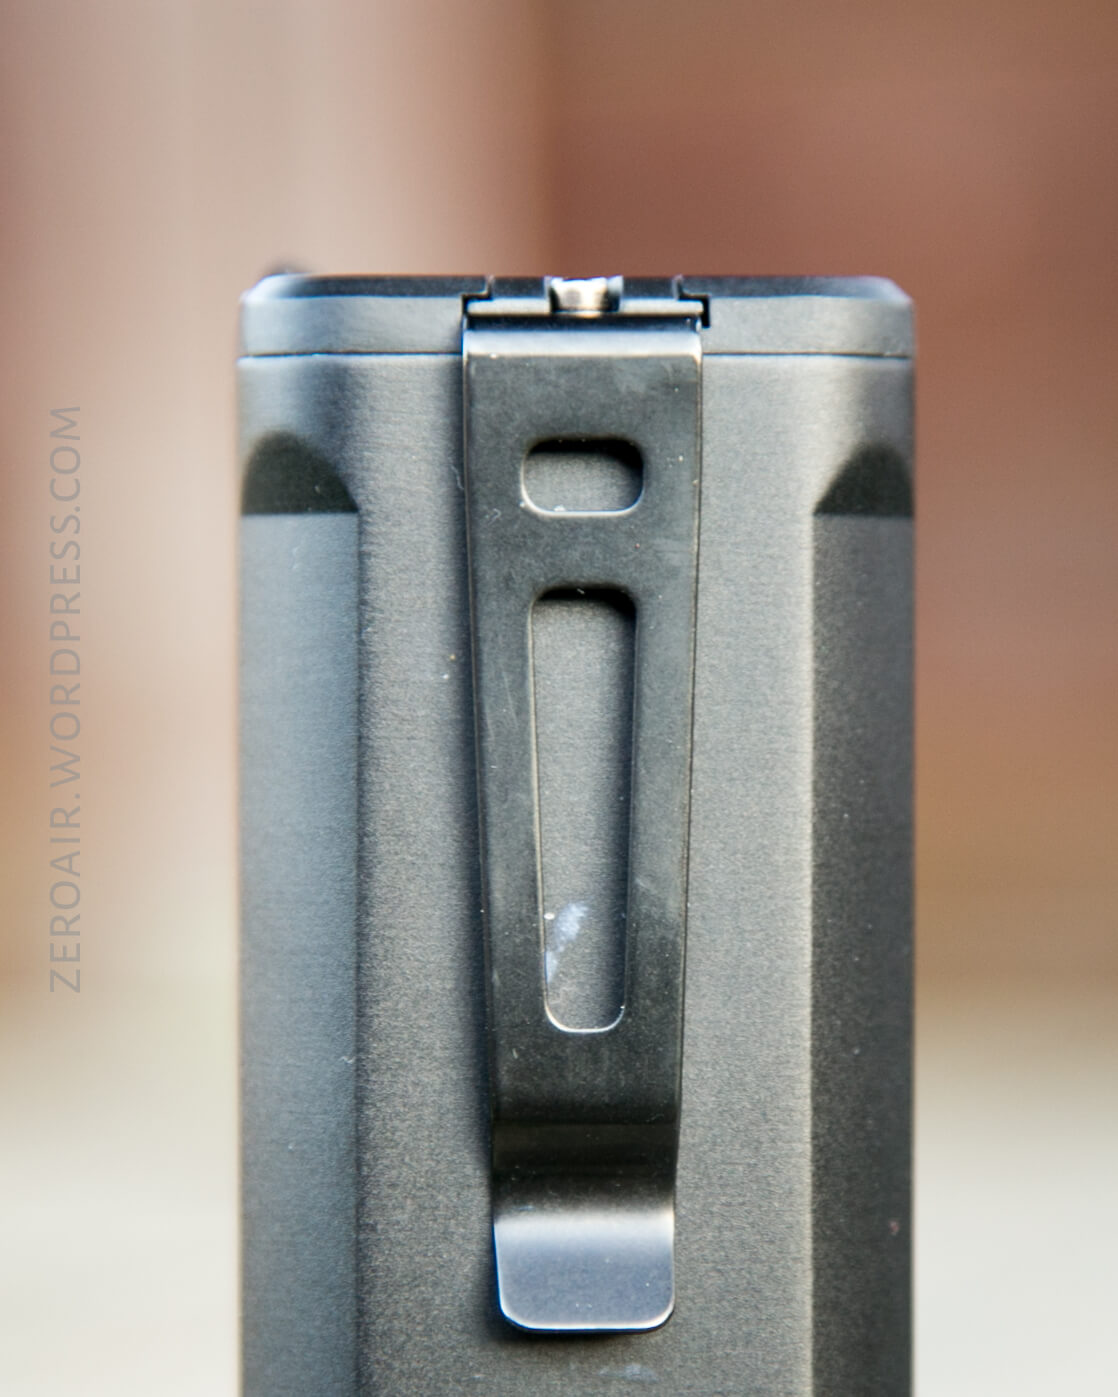
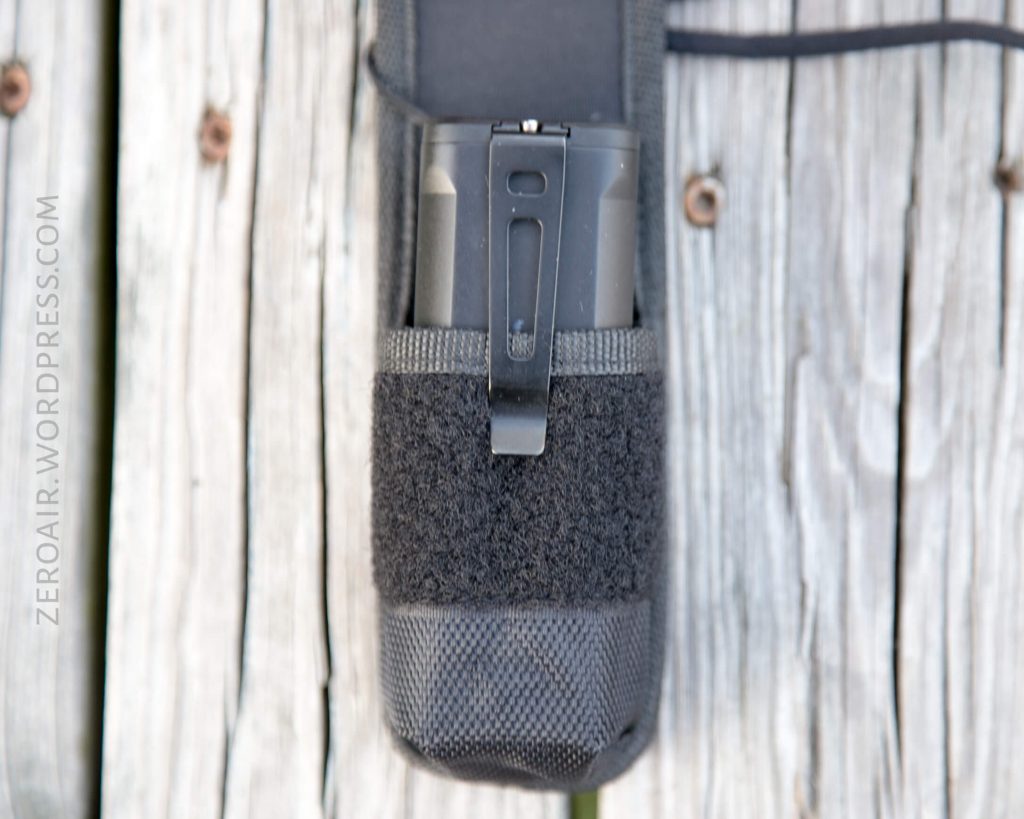
First is the pocket clip. Or more likely, the belt clip. This is a beefy, springy clip, held in place by one of the 4 screws on the tailcap. It’s removable – just one screw and a steel plate hold it in place. It’s quite slim, too. Perfect for a belt. It doesn’t overly expose the light. That said, you’d have to really want to wear this light on the belt for it to work. It’s 348g, after all.
Next is the lanyard. It connects on the tailcap too, through a very small hole. I removed this later, and I have to recommend against that if you ever want to use the lanyard again. It’s a very tight fit.

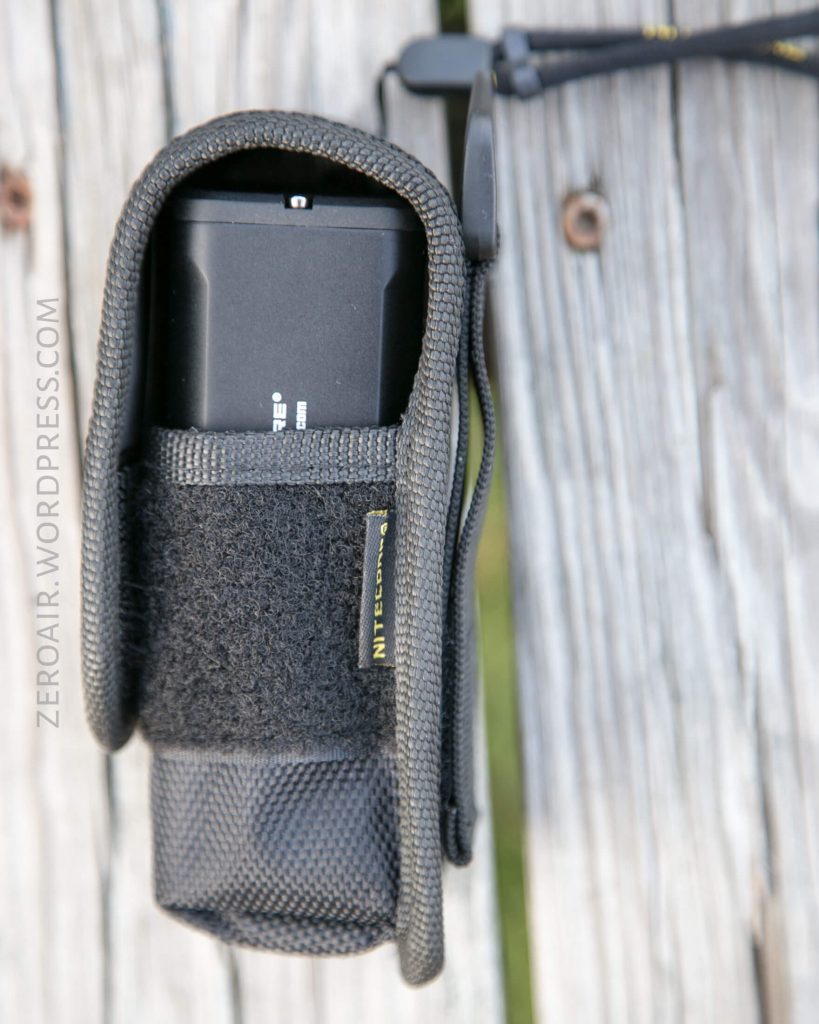
And finally, the nylon pouch. It’s a great pouch and fits the light very well. The light will go up or down.
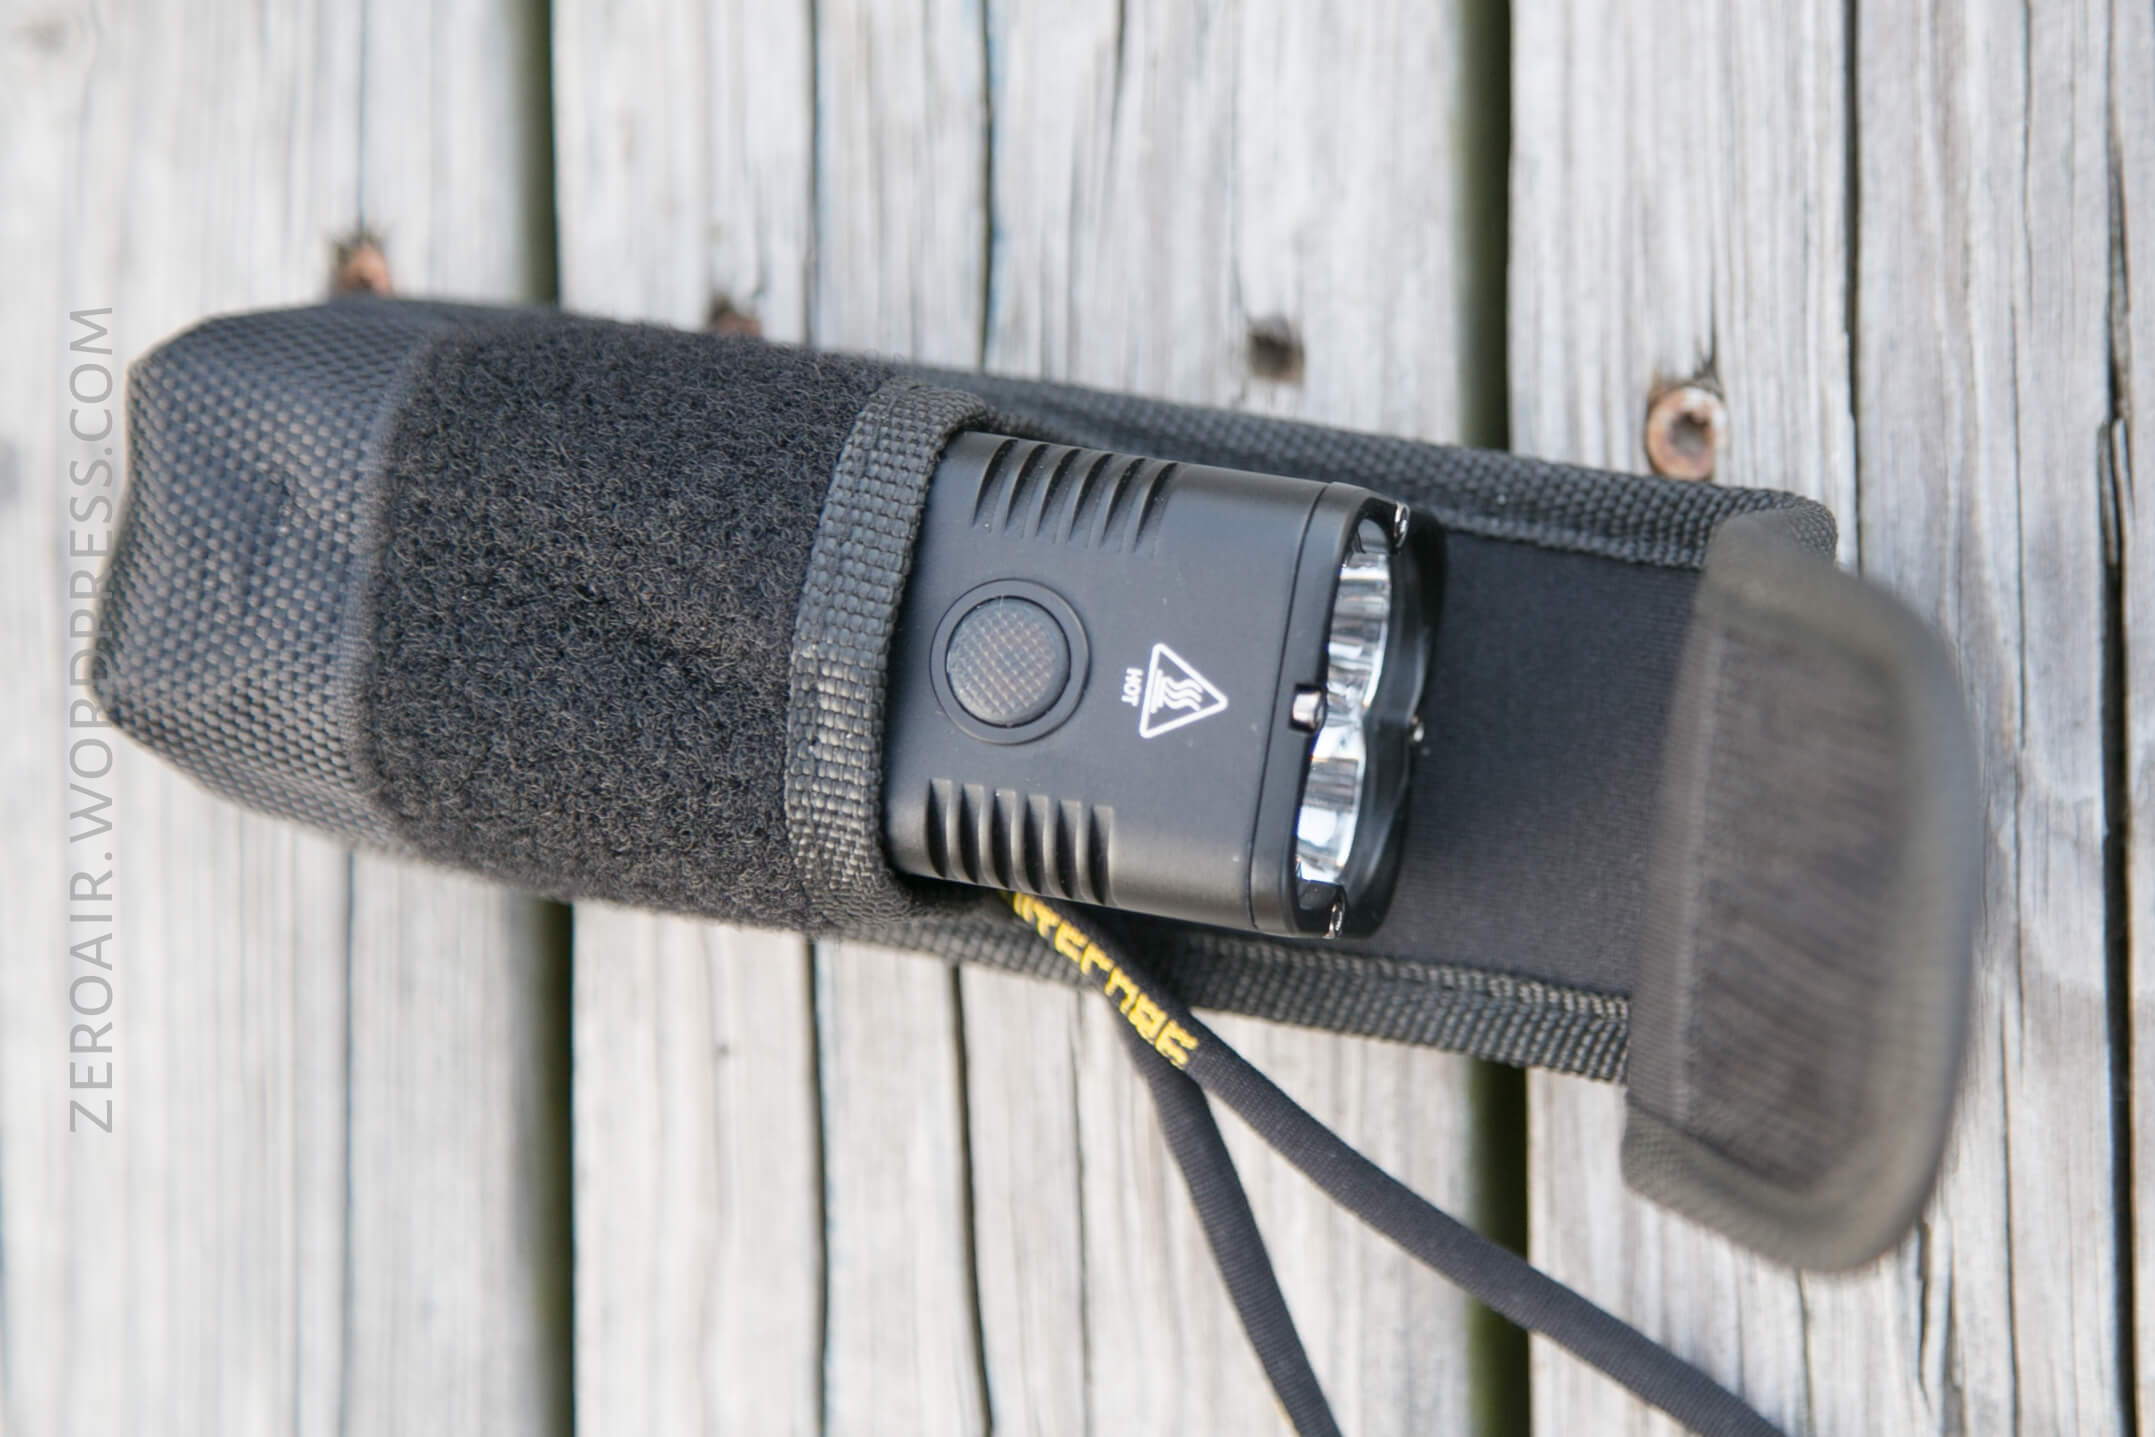
Bezel down is probably the best option, though, because otherwise, the clip gets in the way a little.


Power
As has been said above, the light has 4 18650 cells installed. These cells are about as user-serviceable as the ram on a new Macbook Pro. Is it possible? Yes. Soldering iron required? Yes.
But based on the parts of the cell I’ve seen, these seem to be high-quality cells.
I performed a runtime on Turbo. When I initially played with the light, I thought “man this gets hot” but in truth, it doesn’t really get that hot. And doesn’t stay that hot, either. it’s throttled quickly. Notably though, (as seen below), it is possible to hit turbo again, and the output is nearly equal to startup output. But also note that the stepdown is much quicker in those cases. Once the temperature comes back down, the light will step up. This step up, as you can see from the second graph, is really stepping into the same stepdown High goes into mode.

Below is a runtime of High. High actually has a bit of a thermal throttle too, but lasts much longer at High than Turbo does at Turbo. Also the stepdown isn’t into “Medium” (which is around 1000 lumens), nor is it actually “High” (which should be around 2500 lumens). But either way, it’s very steady for the remainder of the runtime.

Charging
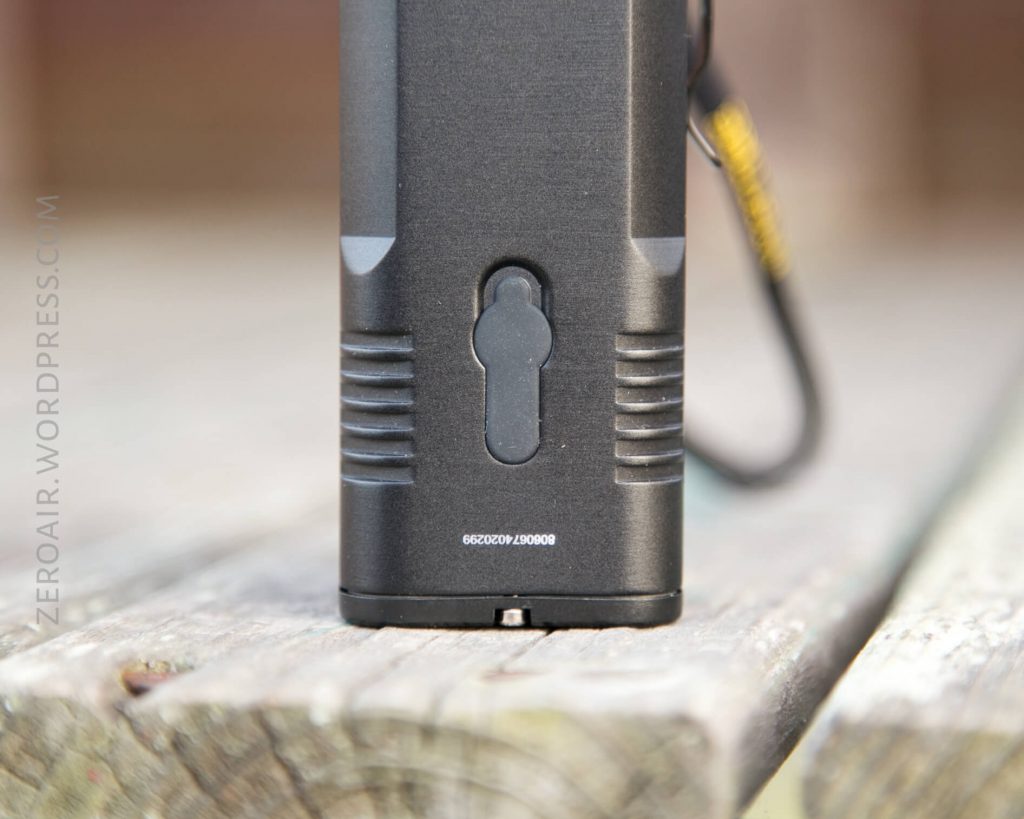
Since this has an integrated cell, there’s onboard charging too. The package includes a wall wart.

The wall wart has a barrel plug for connecting to the light, and although it’s a 12V system, the barrel plug is smaller than most of my other 12V barrel plugs.

The port is covered by a rubber boot. The connection is secure, and the boot is flush with the body of the light. It’s a little hard to get a fingernail under, but that’s probably a good thing.
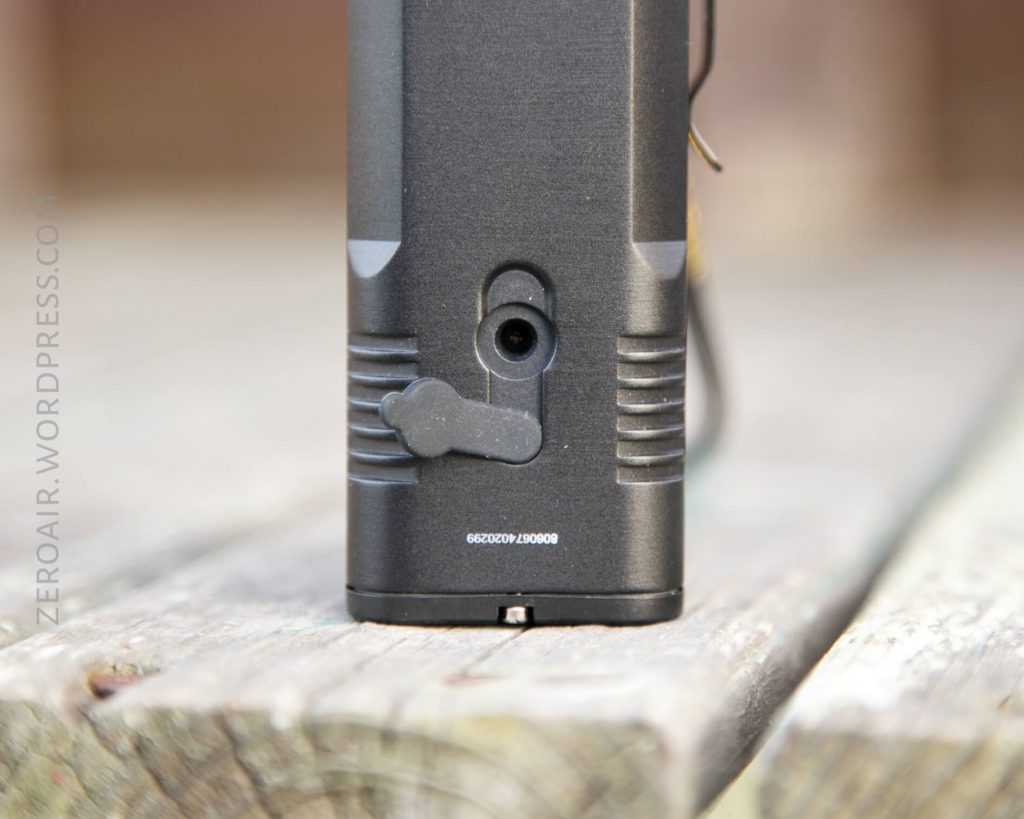
I don’t have a way to log this type of charging, but I timed it to somewhere under 6 hours and 30 minutes. The wall wart is rated at only 1A, but I really expect it’s putting out a fair bit more than that – the light does get quite warm while charging.
User Interface and Operation
There’s a single e-switch on the head of this light. It’s a big, textured, indicating switch. The indicator has two blue LEDs. I quite like this switch. It’s a double-action, responsive clicky switch. It’s exactly like the switch on the Nitecore MH23. I liked the switch then, and I still like it now.

Here’s a user interface table!
| State | Action | Result |
|---|---|---|
| Off | Click | On (Mode Memory) |
| Off | Half Hold | Lockout |
| Off | Full Click and Hold | Momentary Turbo |
| Off | Half Click | Battery Check |
| On | Click | Off |
| On | Half Click | Mode Advance (L>H direction) |
| On | Half Press and Hold | Momentary Turbo |
| Lockout | Full Click and Hold | Unlock |
| On | Click and Hold | Strobe |
| Strobe | Half Click | Strobe Advance (Strobe> Beacon> SOS) |
That’s a fairly versatile UI! And I believe a bit of an improvement from the MH23, which differs slightly.
Modes
| Mode | Mode Claimed Output (lm) | Claimed Runtime | Measured Lumens |
|---|---|---|---|
| Turbo | 6500 | 30m | 5600 (6036 at startup) |
| High | 2500 | 1h30m | 2733 |
| Mid | 1000 | 6h30m | 1087 |
| Low | 285 | 16h | 298 |
| Ultralow | 1 | 2000h | – |
LED and Beam
The emitter of choice here is the Cree XHP35 HD. The reflectors are smooth. This gives a surprisingly circular spot output, with four bits of spill.
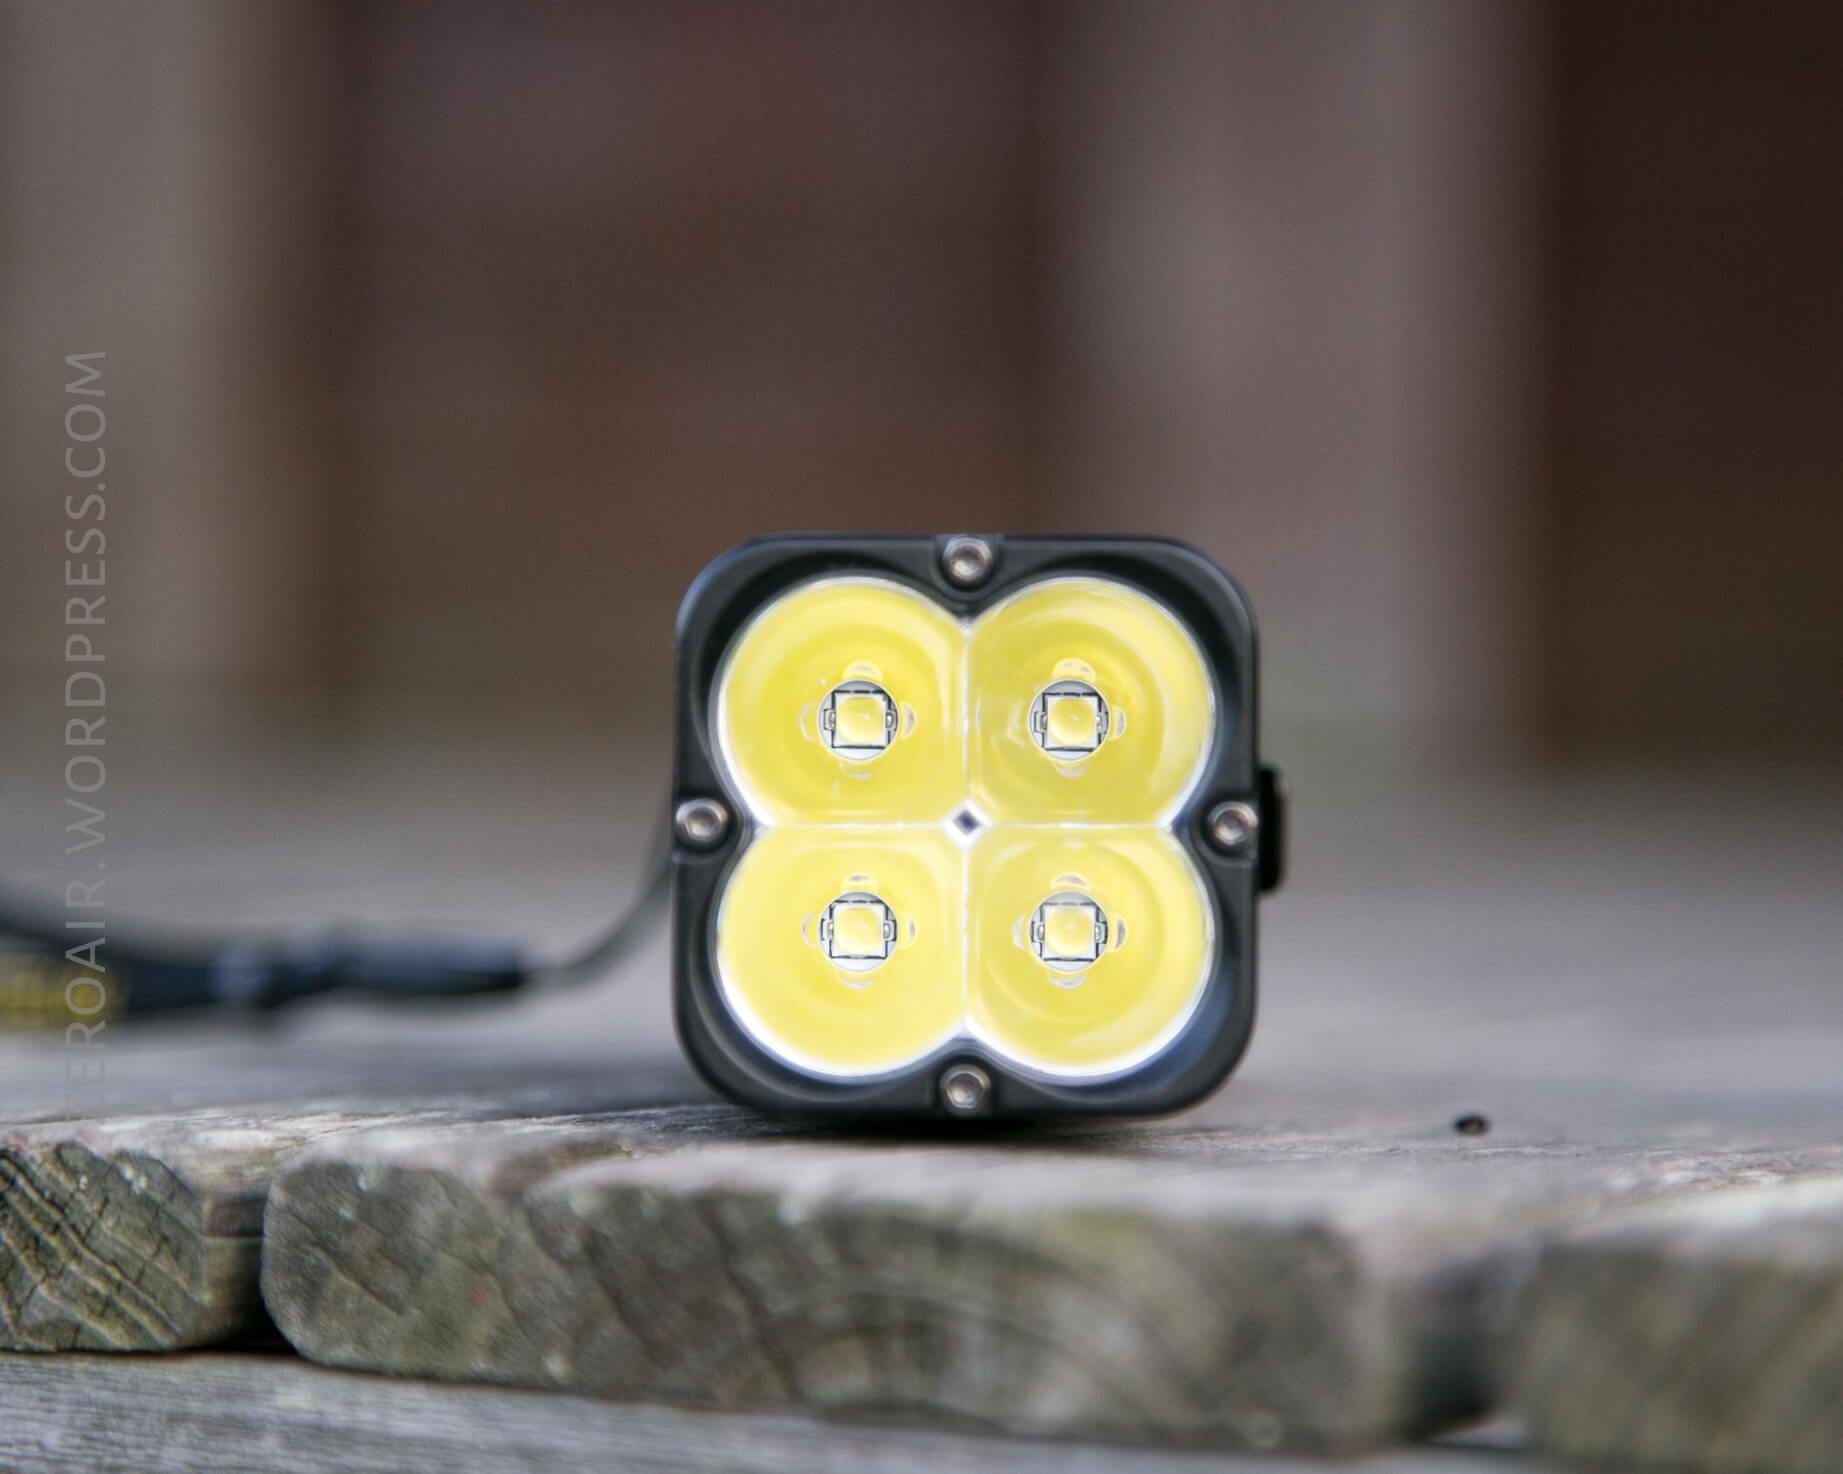
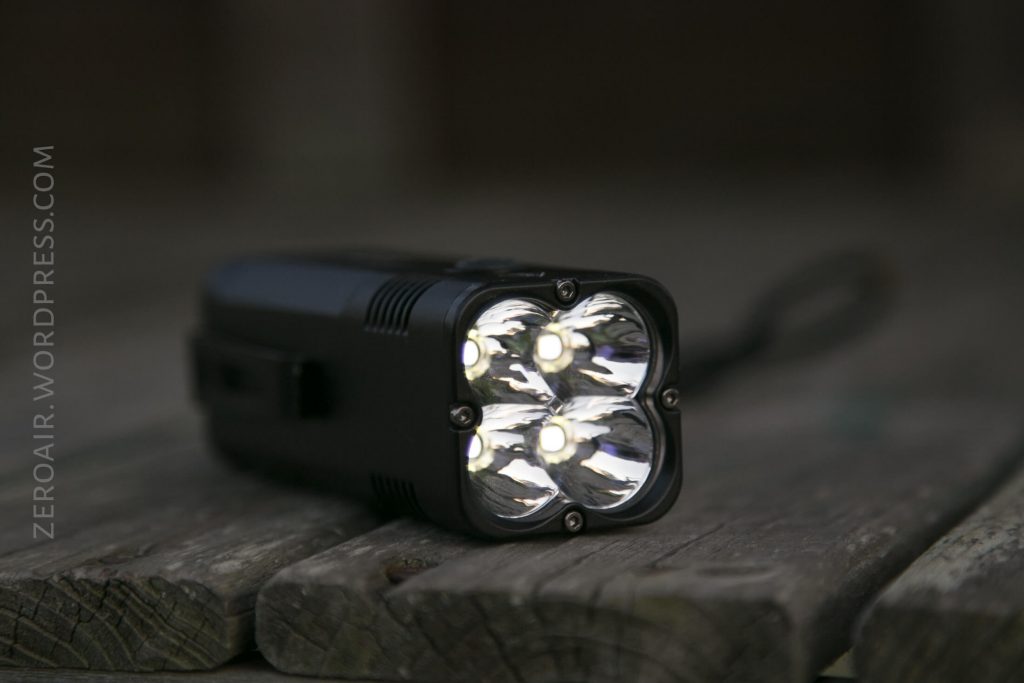
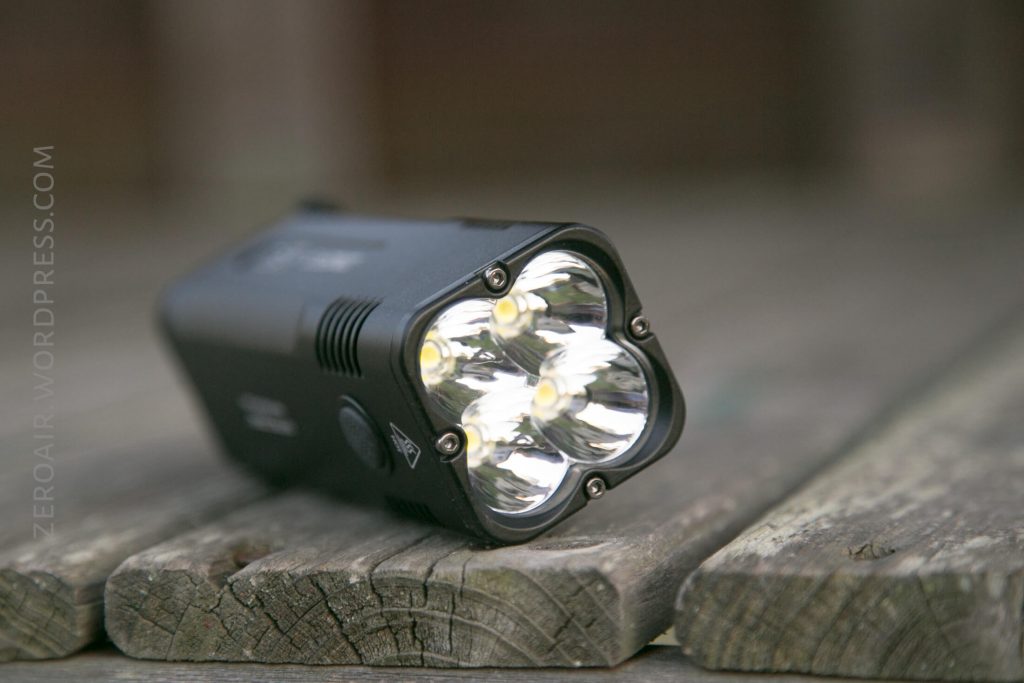
The result of the reflector, at least up close, looks like a flower.

Tint vs BLF-348 (KillzoneFlashlights.com 219b version) (affiliate link)
I keep the test flashlight on the left and the BLF-348 reference flashlight on the right.

Random Comparisons and Competitive Options
Here’s a relevantly filtered page on parametrek.com. What compares to this light? Not much, to be honest. Anything else you might chose to buy would be a tradeoff of some sort (if 4×18650 XHP35 HD light is what you were after.) There are other “wall-of-light” lights, but I love the uniqueness of the body shape on this one.
Conclusion
What I like
- Unique body shape
- user interface is good, and the two-stage switch is great
- Pocket clip and pouch are both great for this light
- Switch has battery check!
What I don’t like
- Cells can not be swapped.
- Output throttles a little soon in my opinion
- I really wish this used a common 12V barrel plug if it has to use a barrel plug. And if the barrel plug is charging at only 1A (per the wall wart specs) then please let’s switch to USB-C.
Notes
- This light was provided by NitecoreStore for review. I was not paid to write this review.
- This content originally appeared at zeroair.org. Please visit there for the best experience!
- For flashlight-related patches, stickers, and gear, head over to PhotonPhreaks.com!
- Use my amazon.com referral link if you’re willing to help support making more reviews like this one!
- Please support me on Patreon! I deeply appreciate your support!