
Nitecore TM10K Flashlight Review
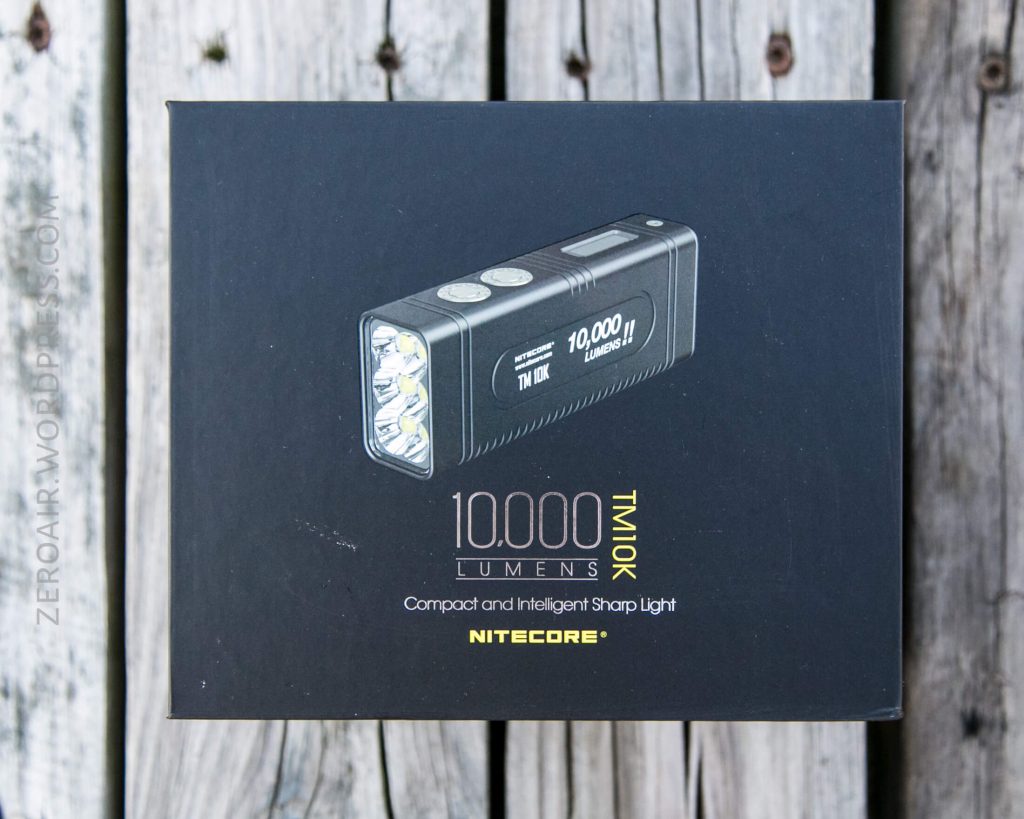
The Nitecore TM10K flashlight offers 10,000-lumen output from multiple Cree XHP35 HD emitters. There’s a built-in 21700 cell. Read on!
Official Specs and Features
Here’s a link to the Nitecore TM10K flashlight product page.
Versions
There’s only one version of the TM10K.
Price
This one’s going for $300 on amazon. Referral link right there!
Short Review
This light absolutely hits 10,000 lumens. This light has USB-C charging. It’s an unusual shape and has 6 emitters. Also unusual. I like the user interface and I like the output and charging and all that. $300 is steep for a light, but to be fair, most of the 10k+ lumen lights are this much, too. So all in all the value probably is there.
Long Review
The Big Table
| Nitecore TM10K | |
|---|---|
| Emitter: | Cree XHP35 HD (Six emitters) |
| Price in USD at publication time: | $300.00 on amazon. |
| Cell: | Internal (built-in) |
| Turbo Runtime | High Runtime |
| LVP? | Warning |
| Switch Type: | E-Switch |
| Quiescent Current (A): | ? |
| On-Board Charging? | Yes |
| Chargetime | |
| Power off Charge Port with no Cell? | – |
| Claimed Lumens (lm) | 1000 |
| Measured Lumens (at 30s) | 1000 (100% of claim)^ |
| Claimed Throw (m) | 90 |
| Candela (Calculated) in cd (at 30s) | 139lux @ 4.608m = 2951cd |
| Throw (Calculated) (m) | 108.7 (120.8% of claim)^ |
| All my Nitecore reviews! | |
| Nitecore TM10K | |
|---|---|
| Emitter: | Cree XHP35 HD (Six emitters) |
| Price in USD at publication time: | $300.00 on amazon. |
| Cell: | Internal (built-in) |
| Turbo Runtime | High Runtime |
| LVP? | Warning |
| Switch Type: | E-Switch |
| Quiescent Current (A): | ? |
| On-Board Charging? | Yes |
| Chargetime | |
| Power off Charge Port with no Cell? | – |
| Claimed Lumens (lm) | 10000 ***startup*** |
| Measured Lumens (at 30s) | 1000 (10% of claim)^ |
| Claimed Throw (m) | 288 |
| Candela (Calculated) in cd (at 30s) | 1151lux @ 4.898m = 27613cd |
| Throw (Calculated) (m) | 332.3 (115.4% of claim)^ |
| All my Nitecore reviews! | |
^ Measurement disclaimer: Testing flashlights is my hobby. I use hobbyist-level equipment for testing, including some I made myself. Try not to get buried in the details of manufacturer specifications versus measurements recorded here; A certain amount of difference (say, 10 or 15%) is perfectly reasonable.
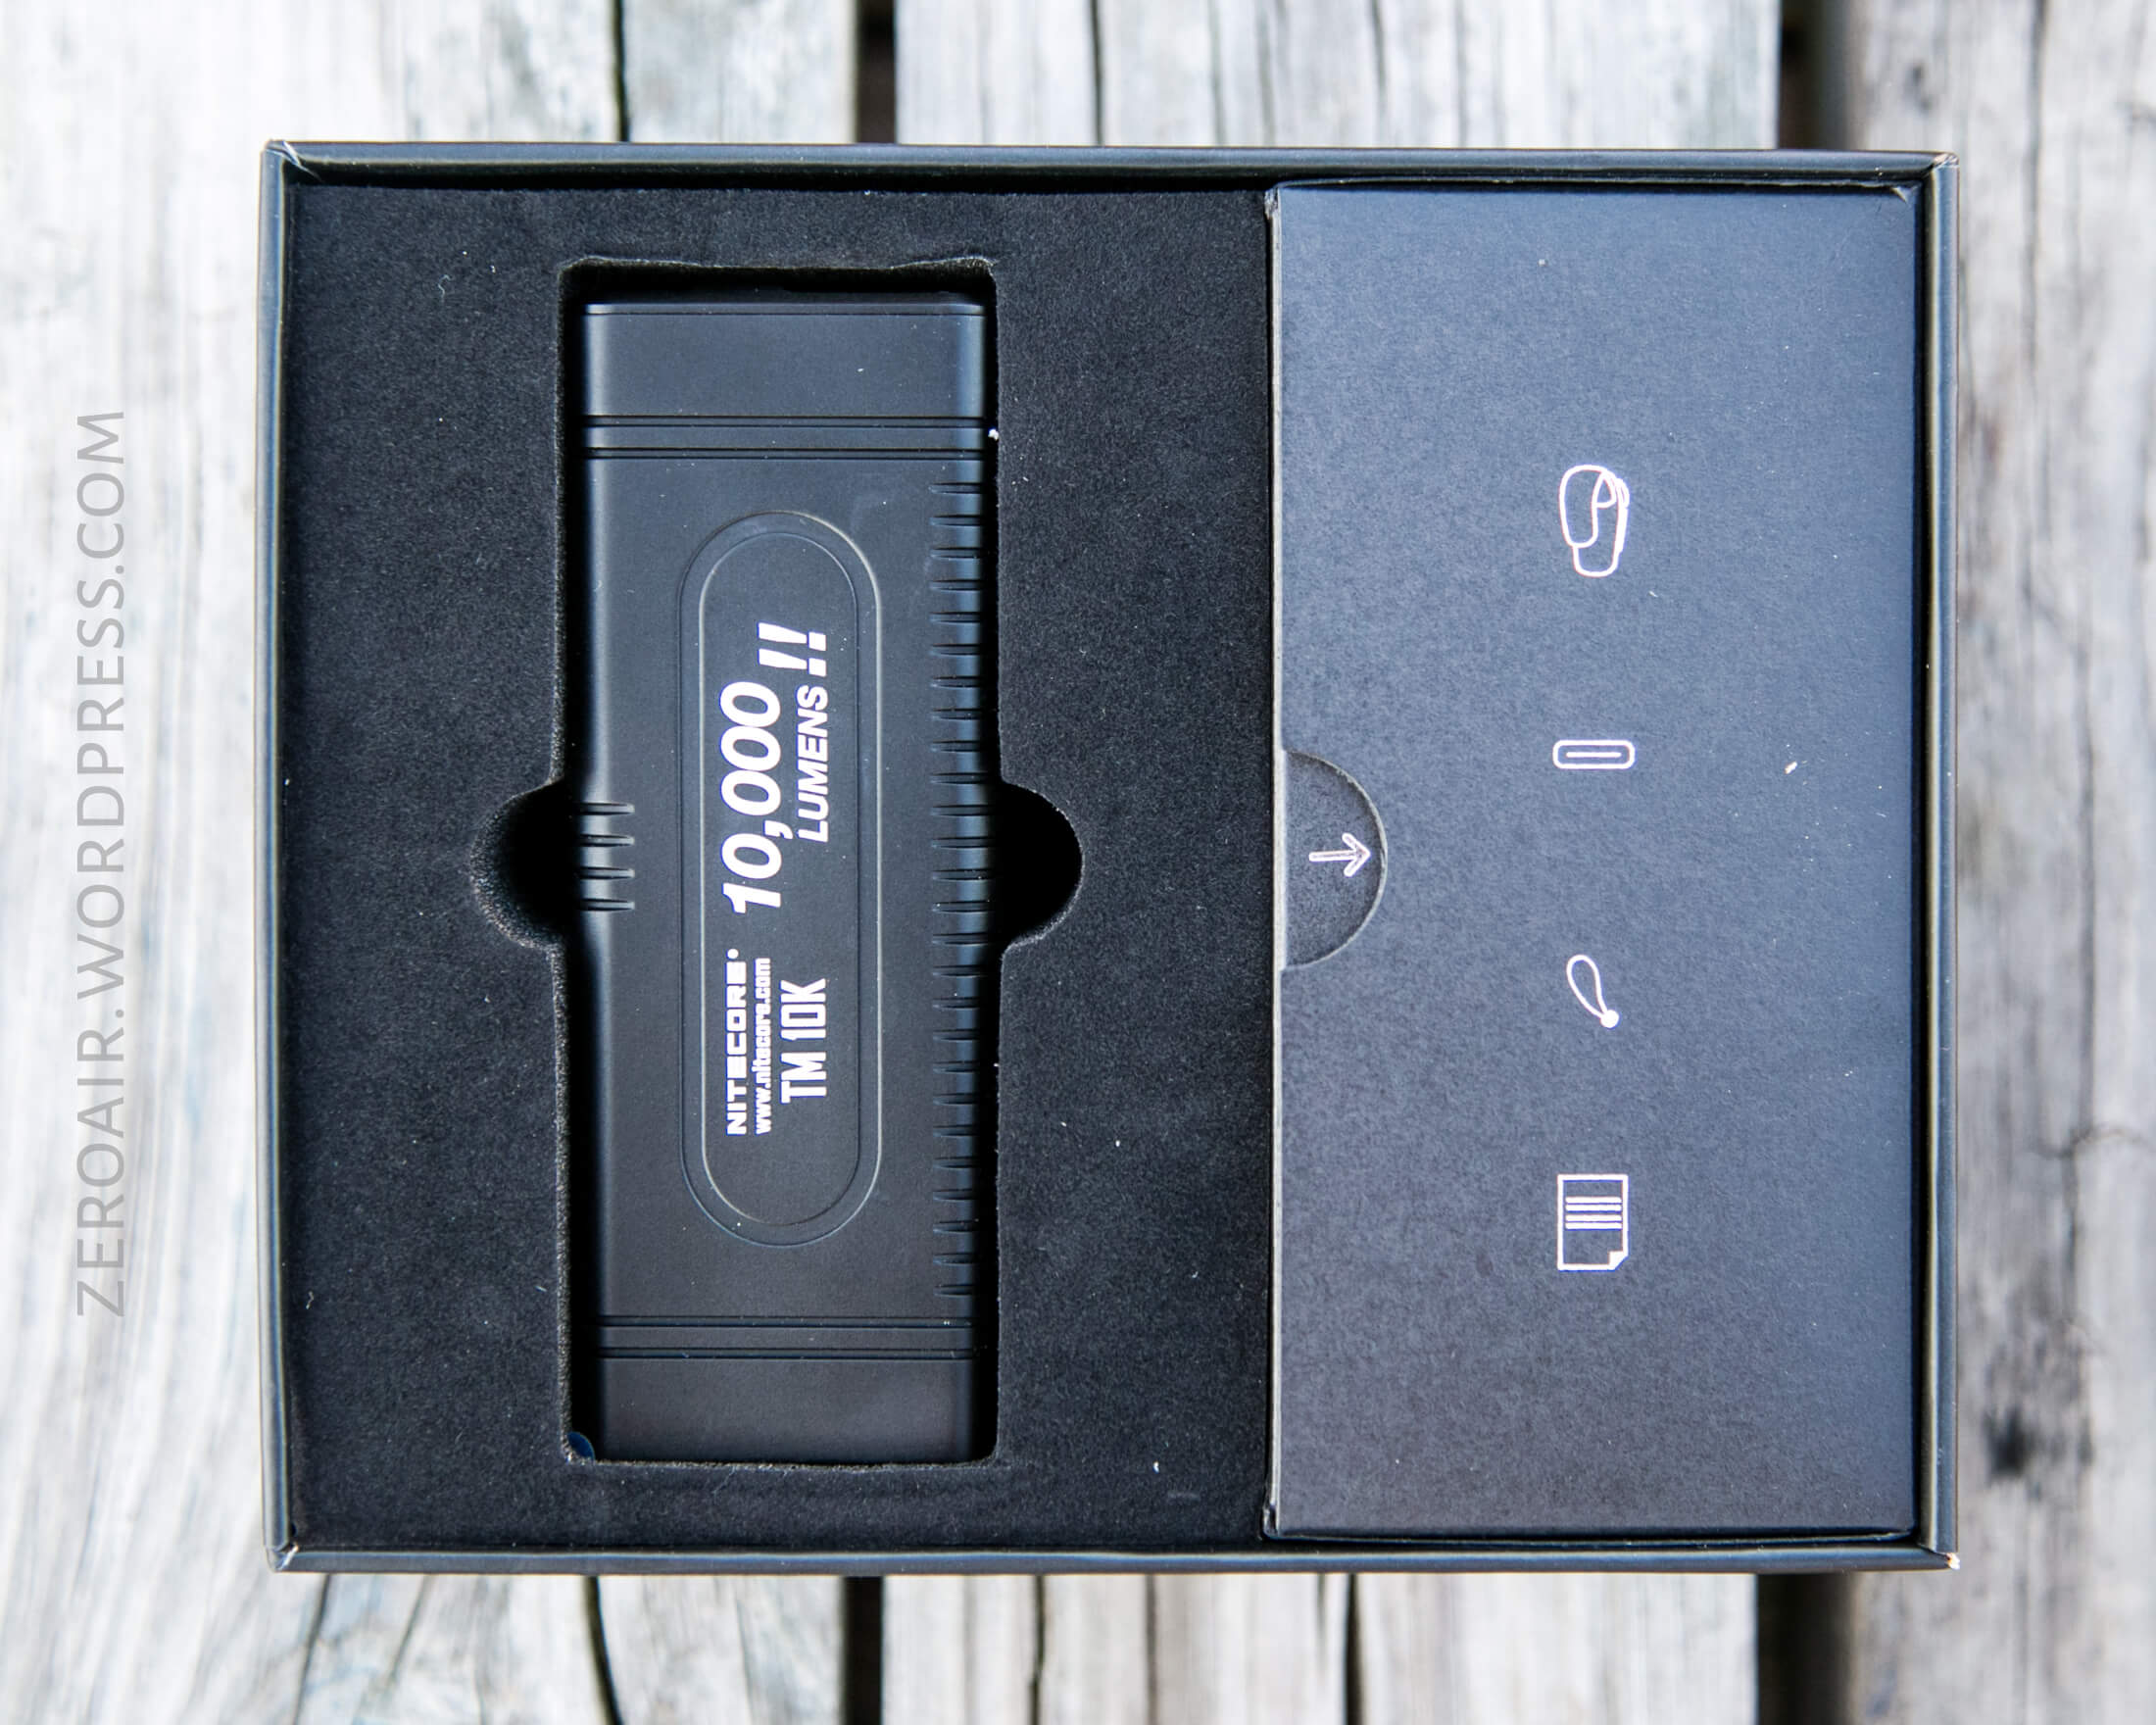
What’s Included

- Nitecore TM10K 10,000 Lumens!! Flashlight
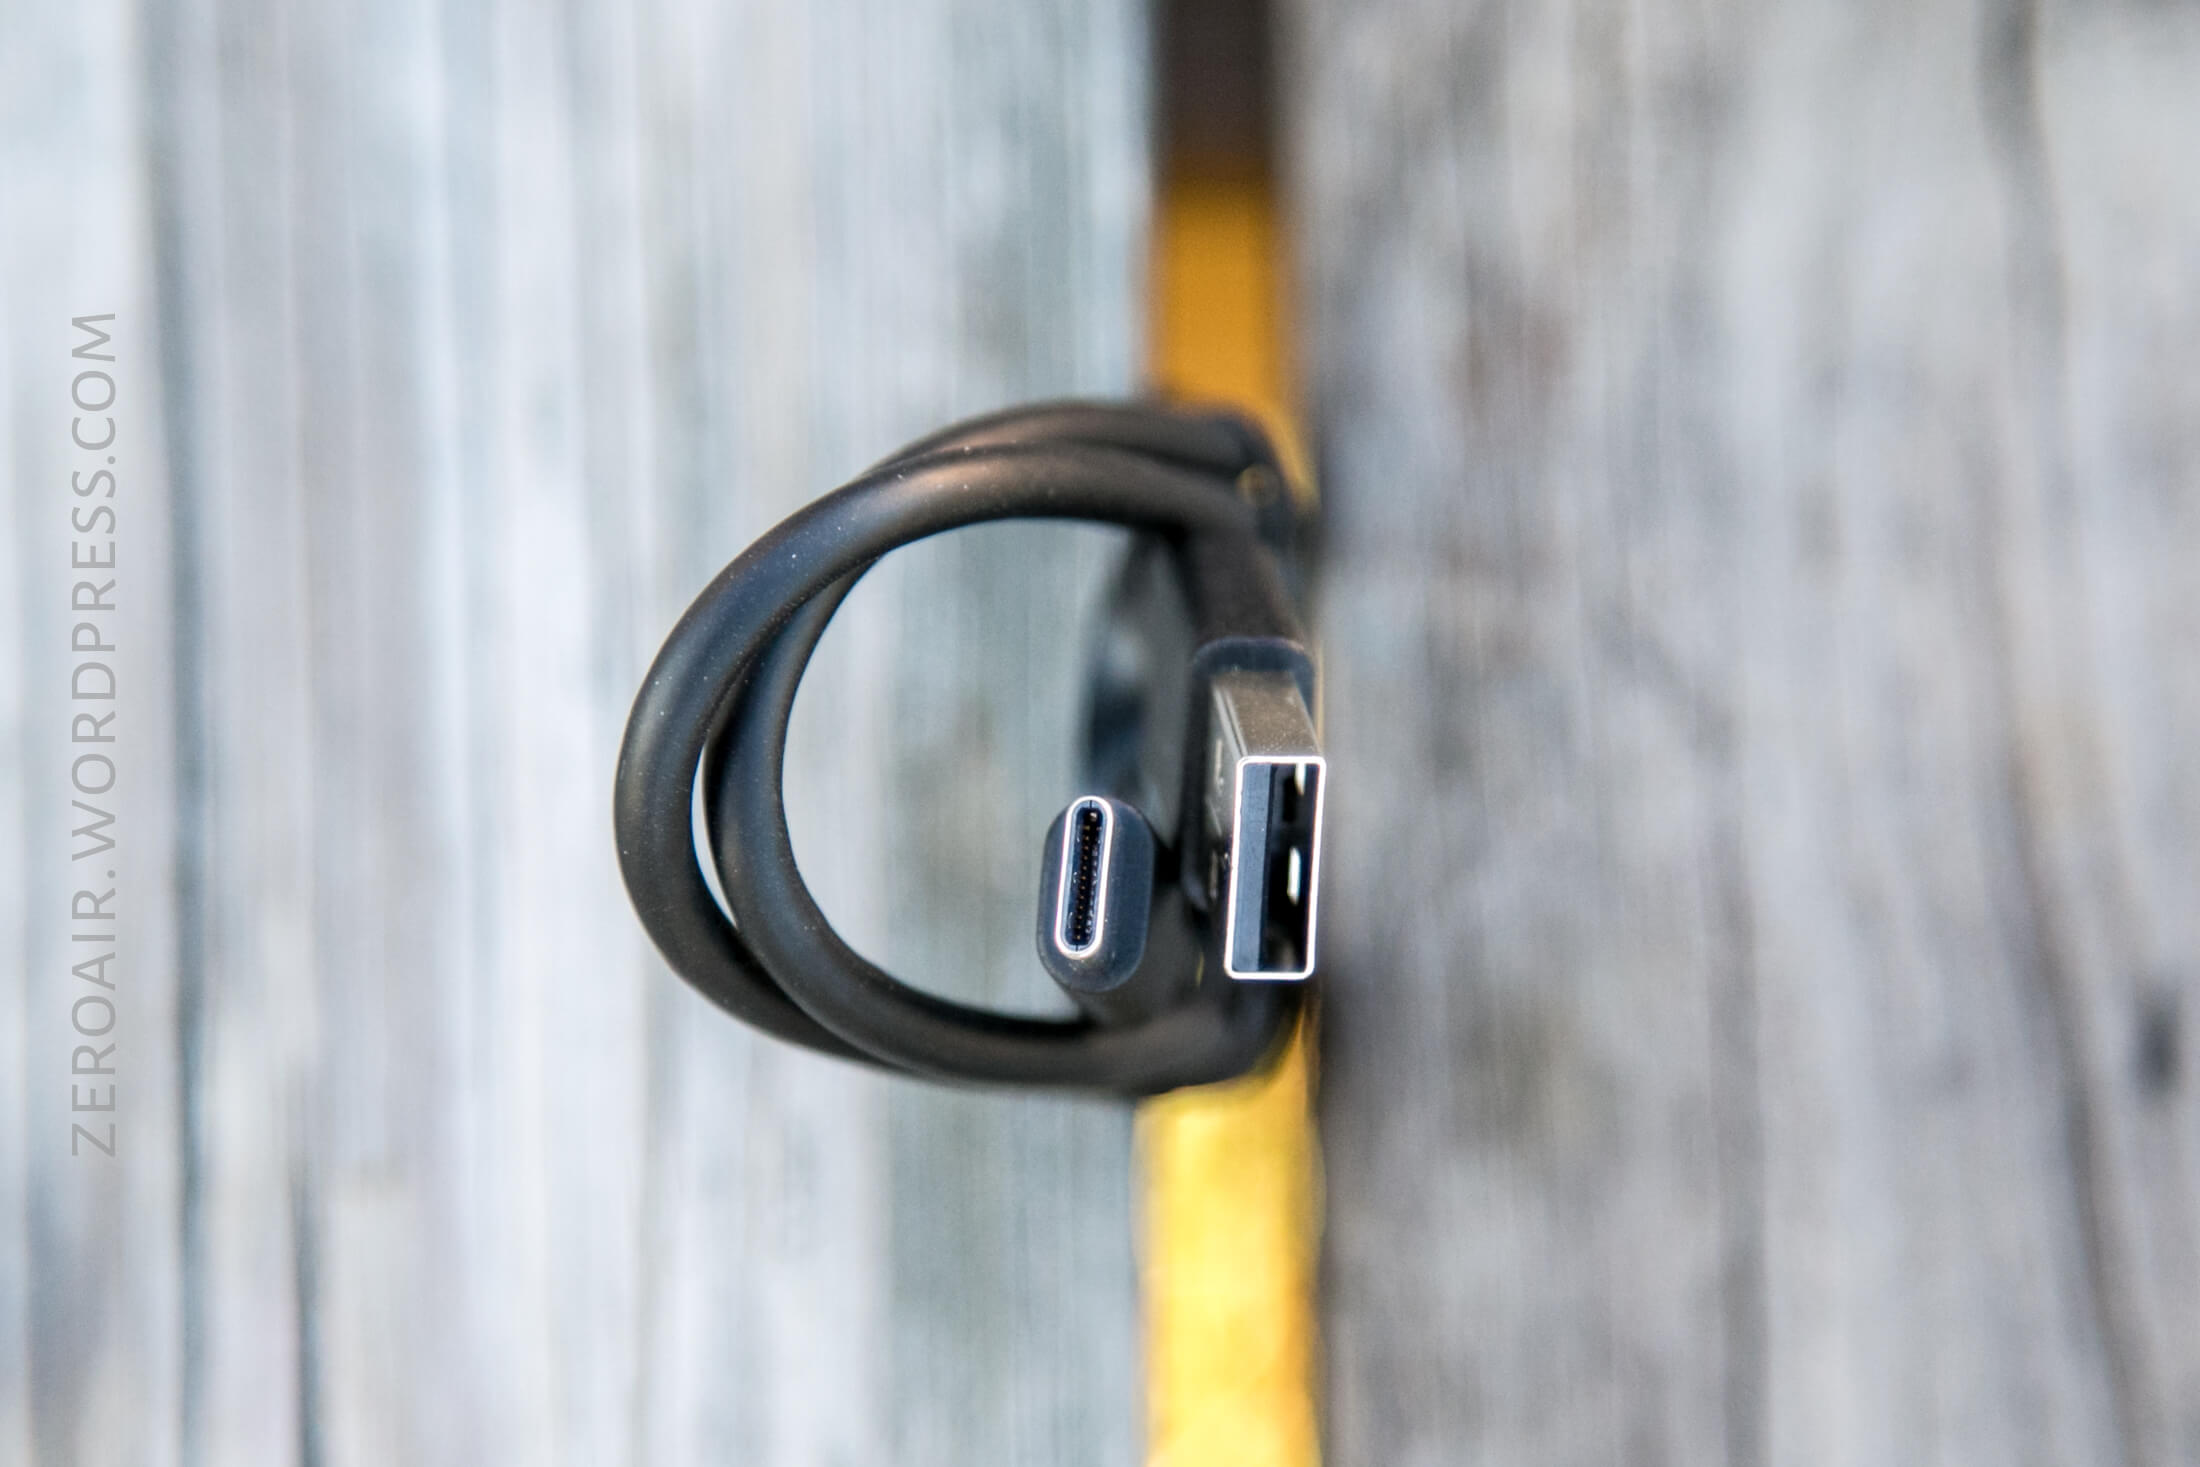
- Charge cable (USB to USB-C)
- Lanyard
- Nylon pouch
- Manual and paperwork
- Lanyard installation helper
Package and Manual
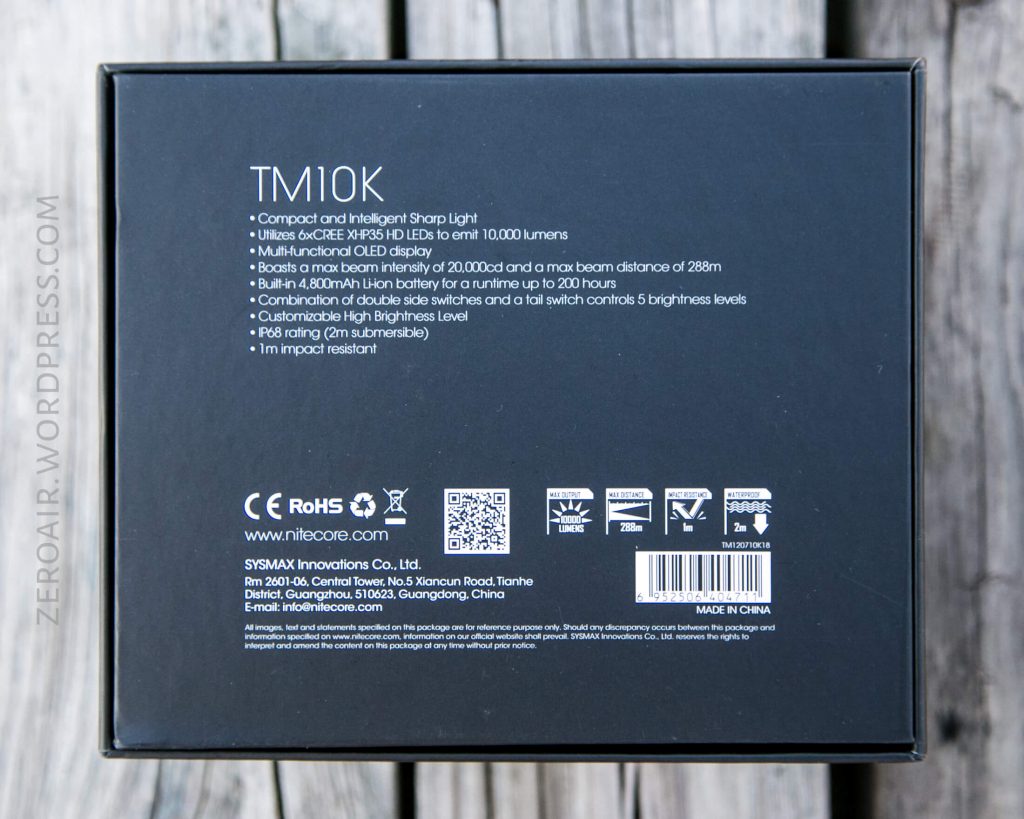
Nitecore has an upscale version of their standard packaging – I’d call this their upscale “normal” package really, and that’s what the TM10K ships in. The box slides open pretty easily, and is nicely labeled.
The light is held in place with some custom foam, and all the accessories are in the box to the right.
Here’s a link to the pdf manual.
Build Quality and Disassembly
The very first thing you’ll have (get?) to do when you unbox this light is to take the lens protector off. Easy to do, just grab the little pull tab.
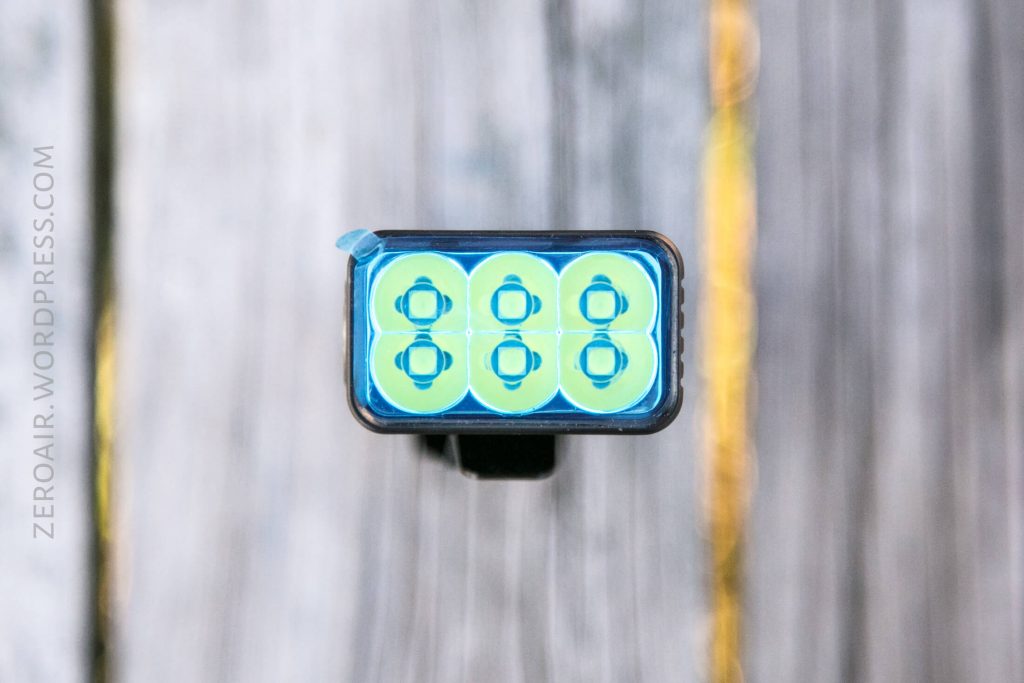
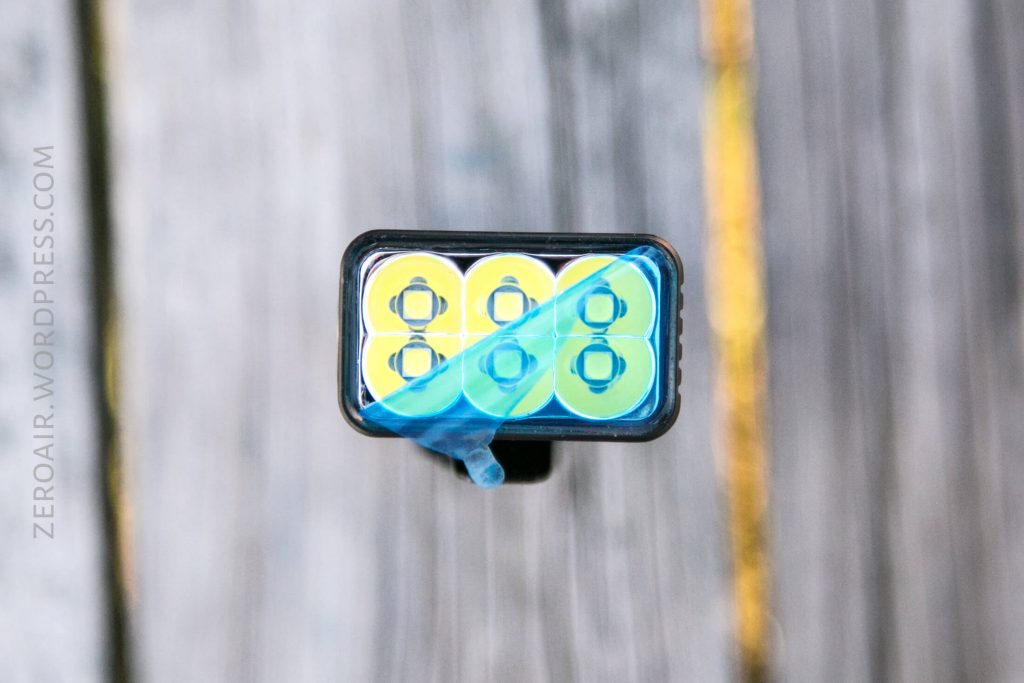
Then enjoy your new TM10K!

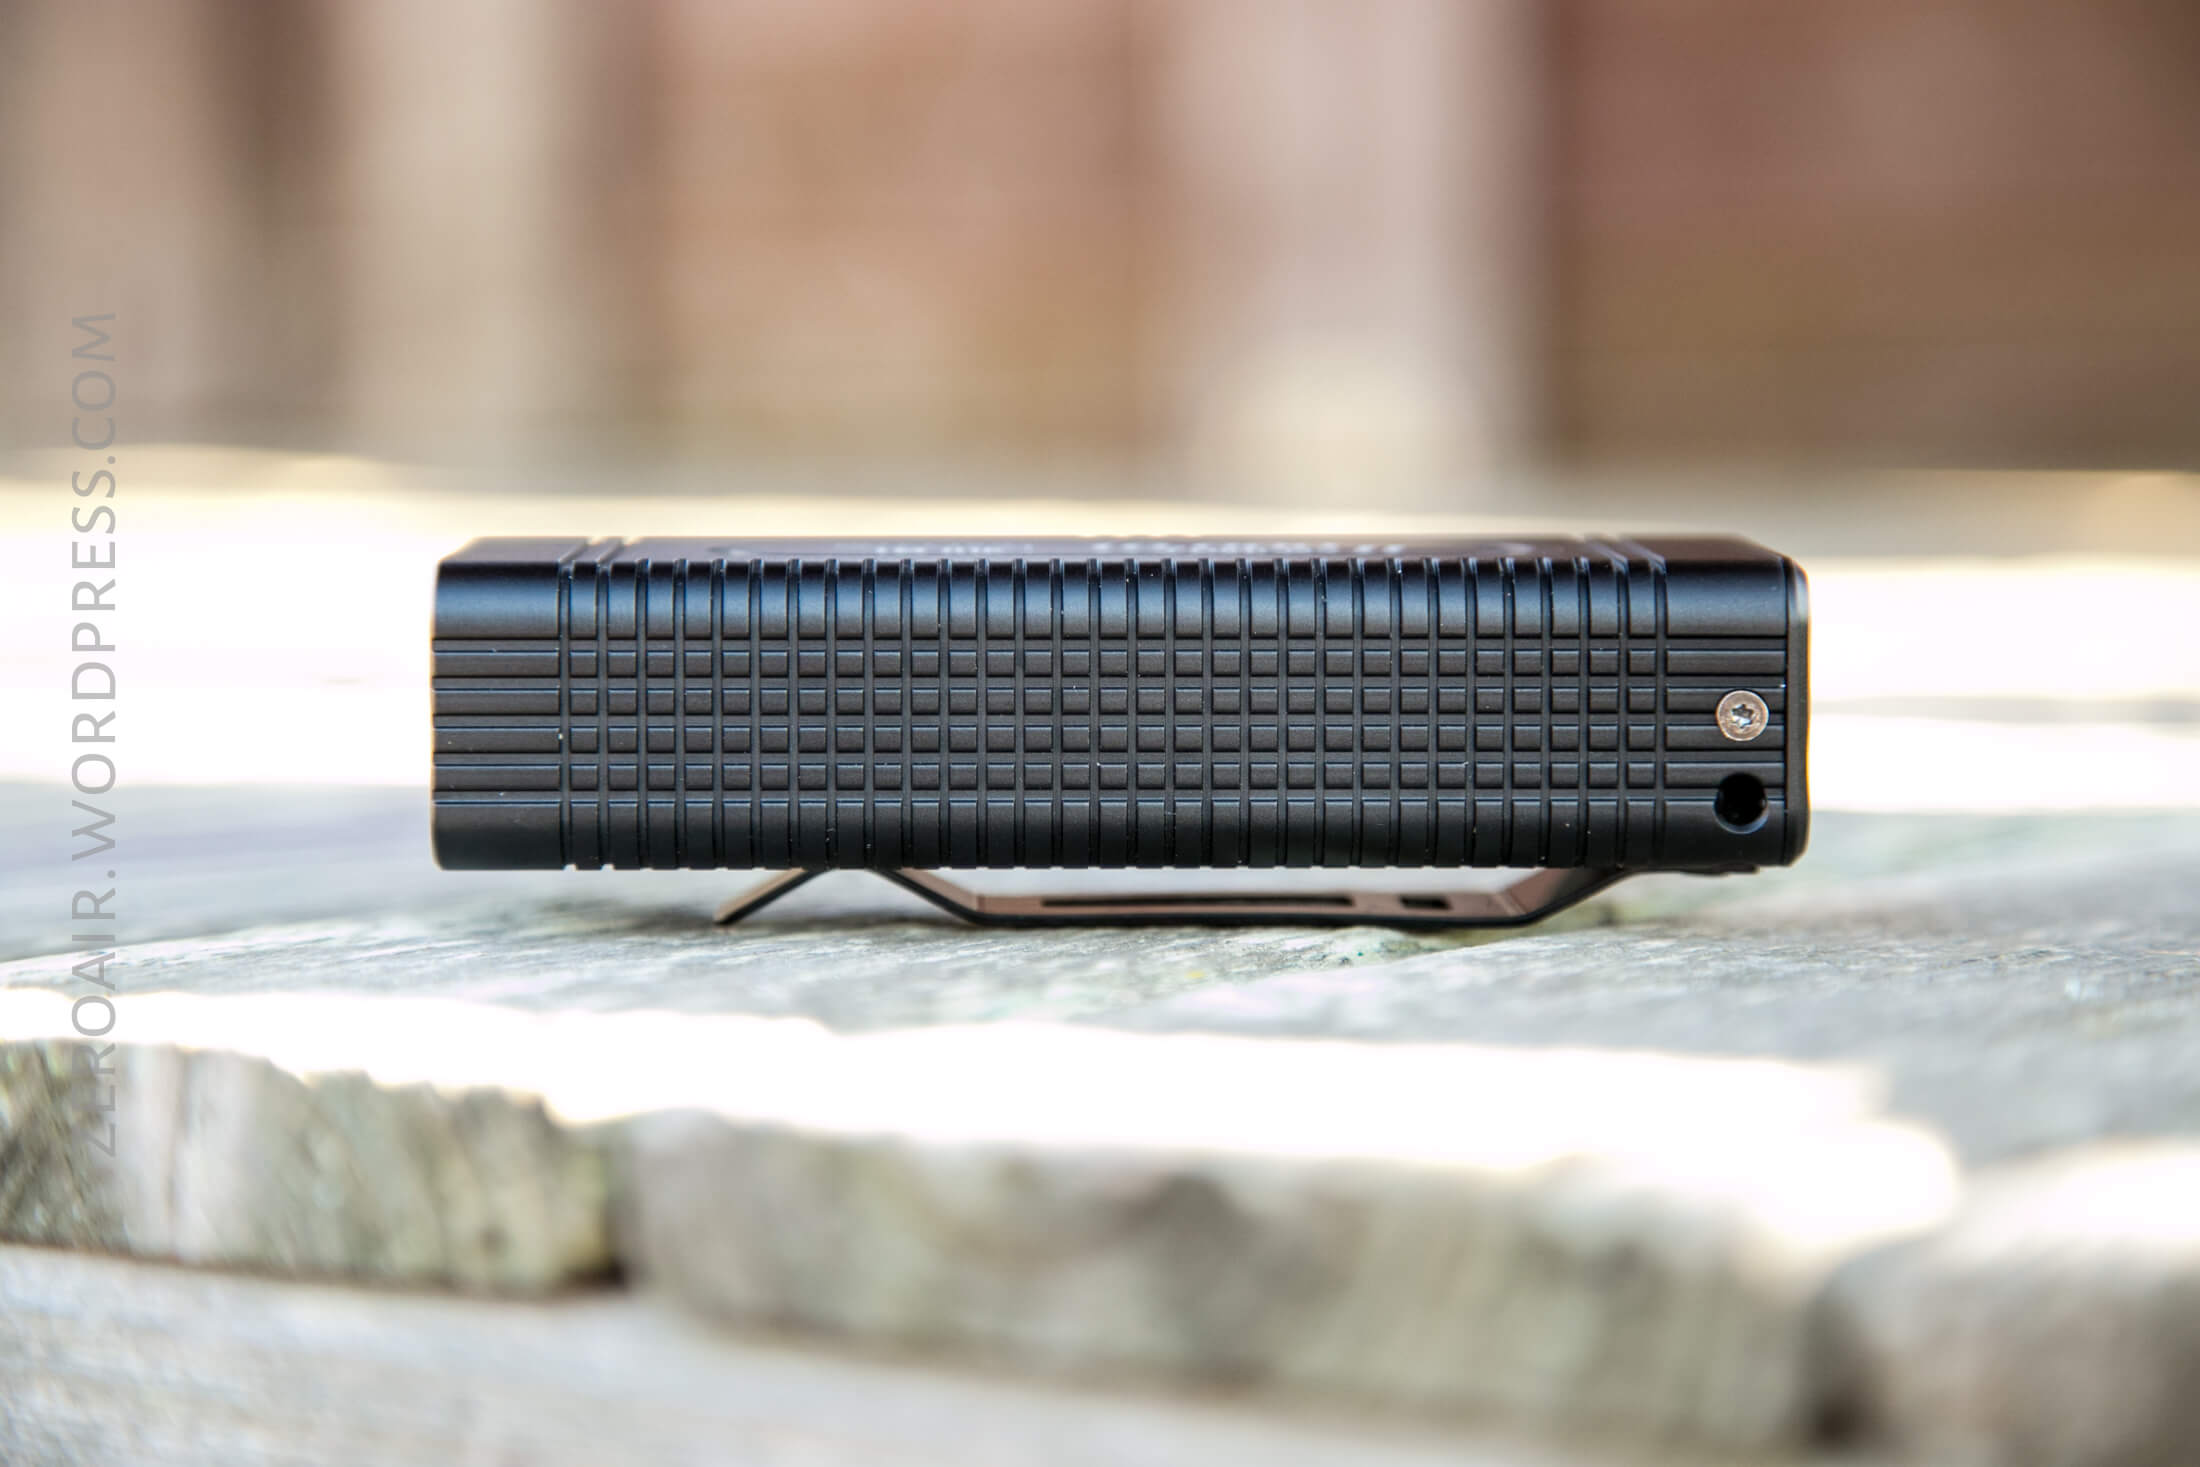
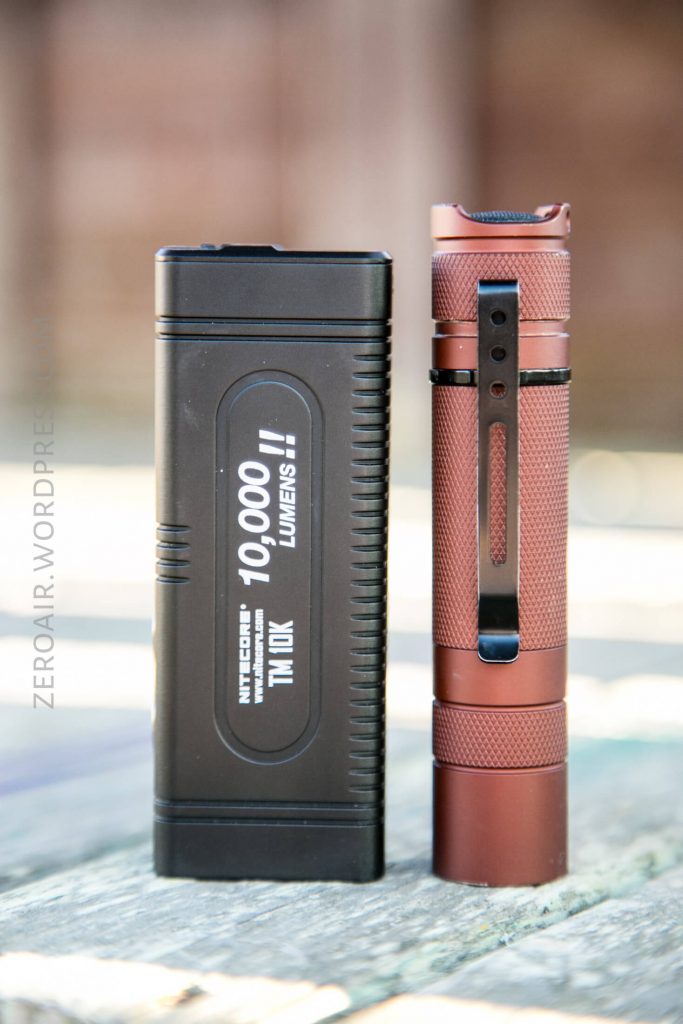
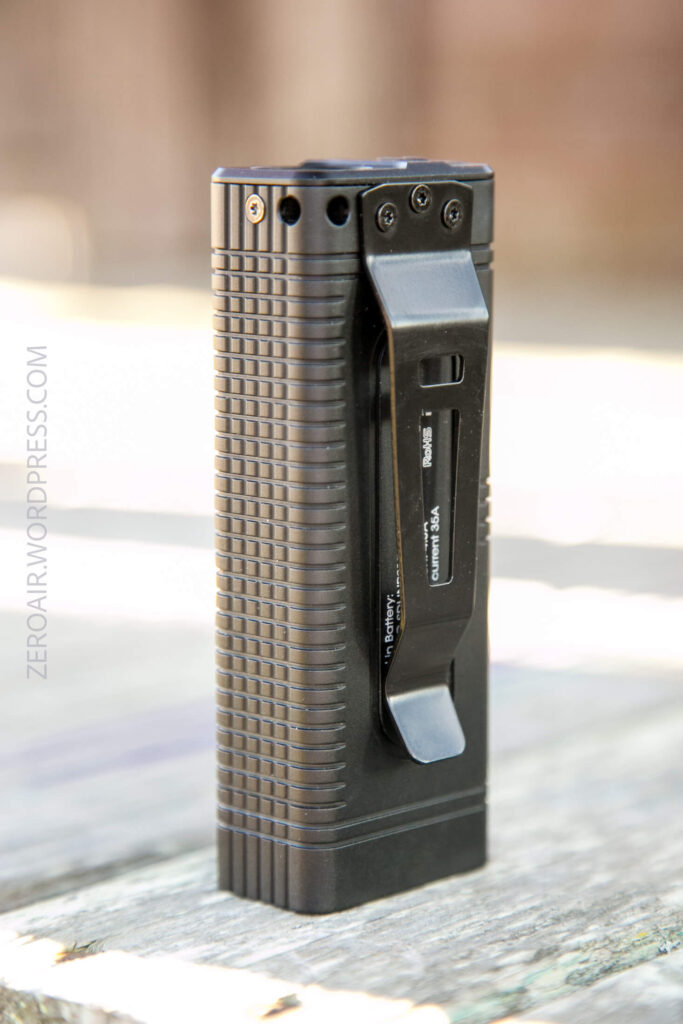
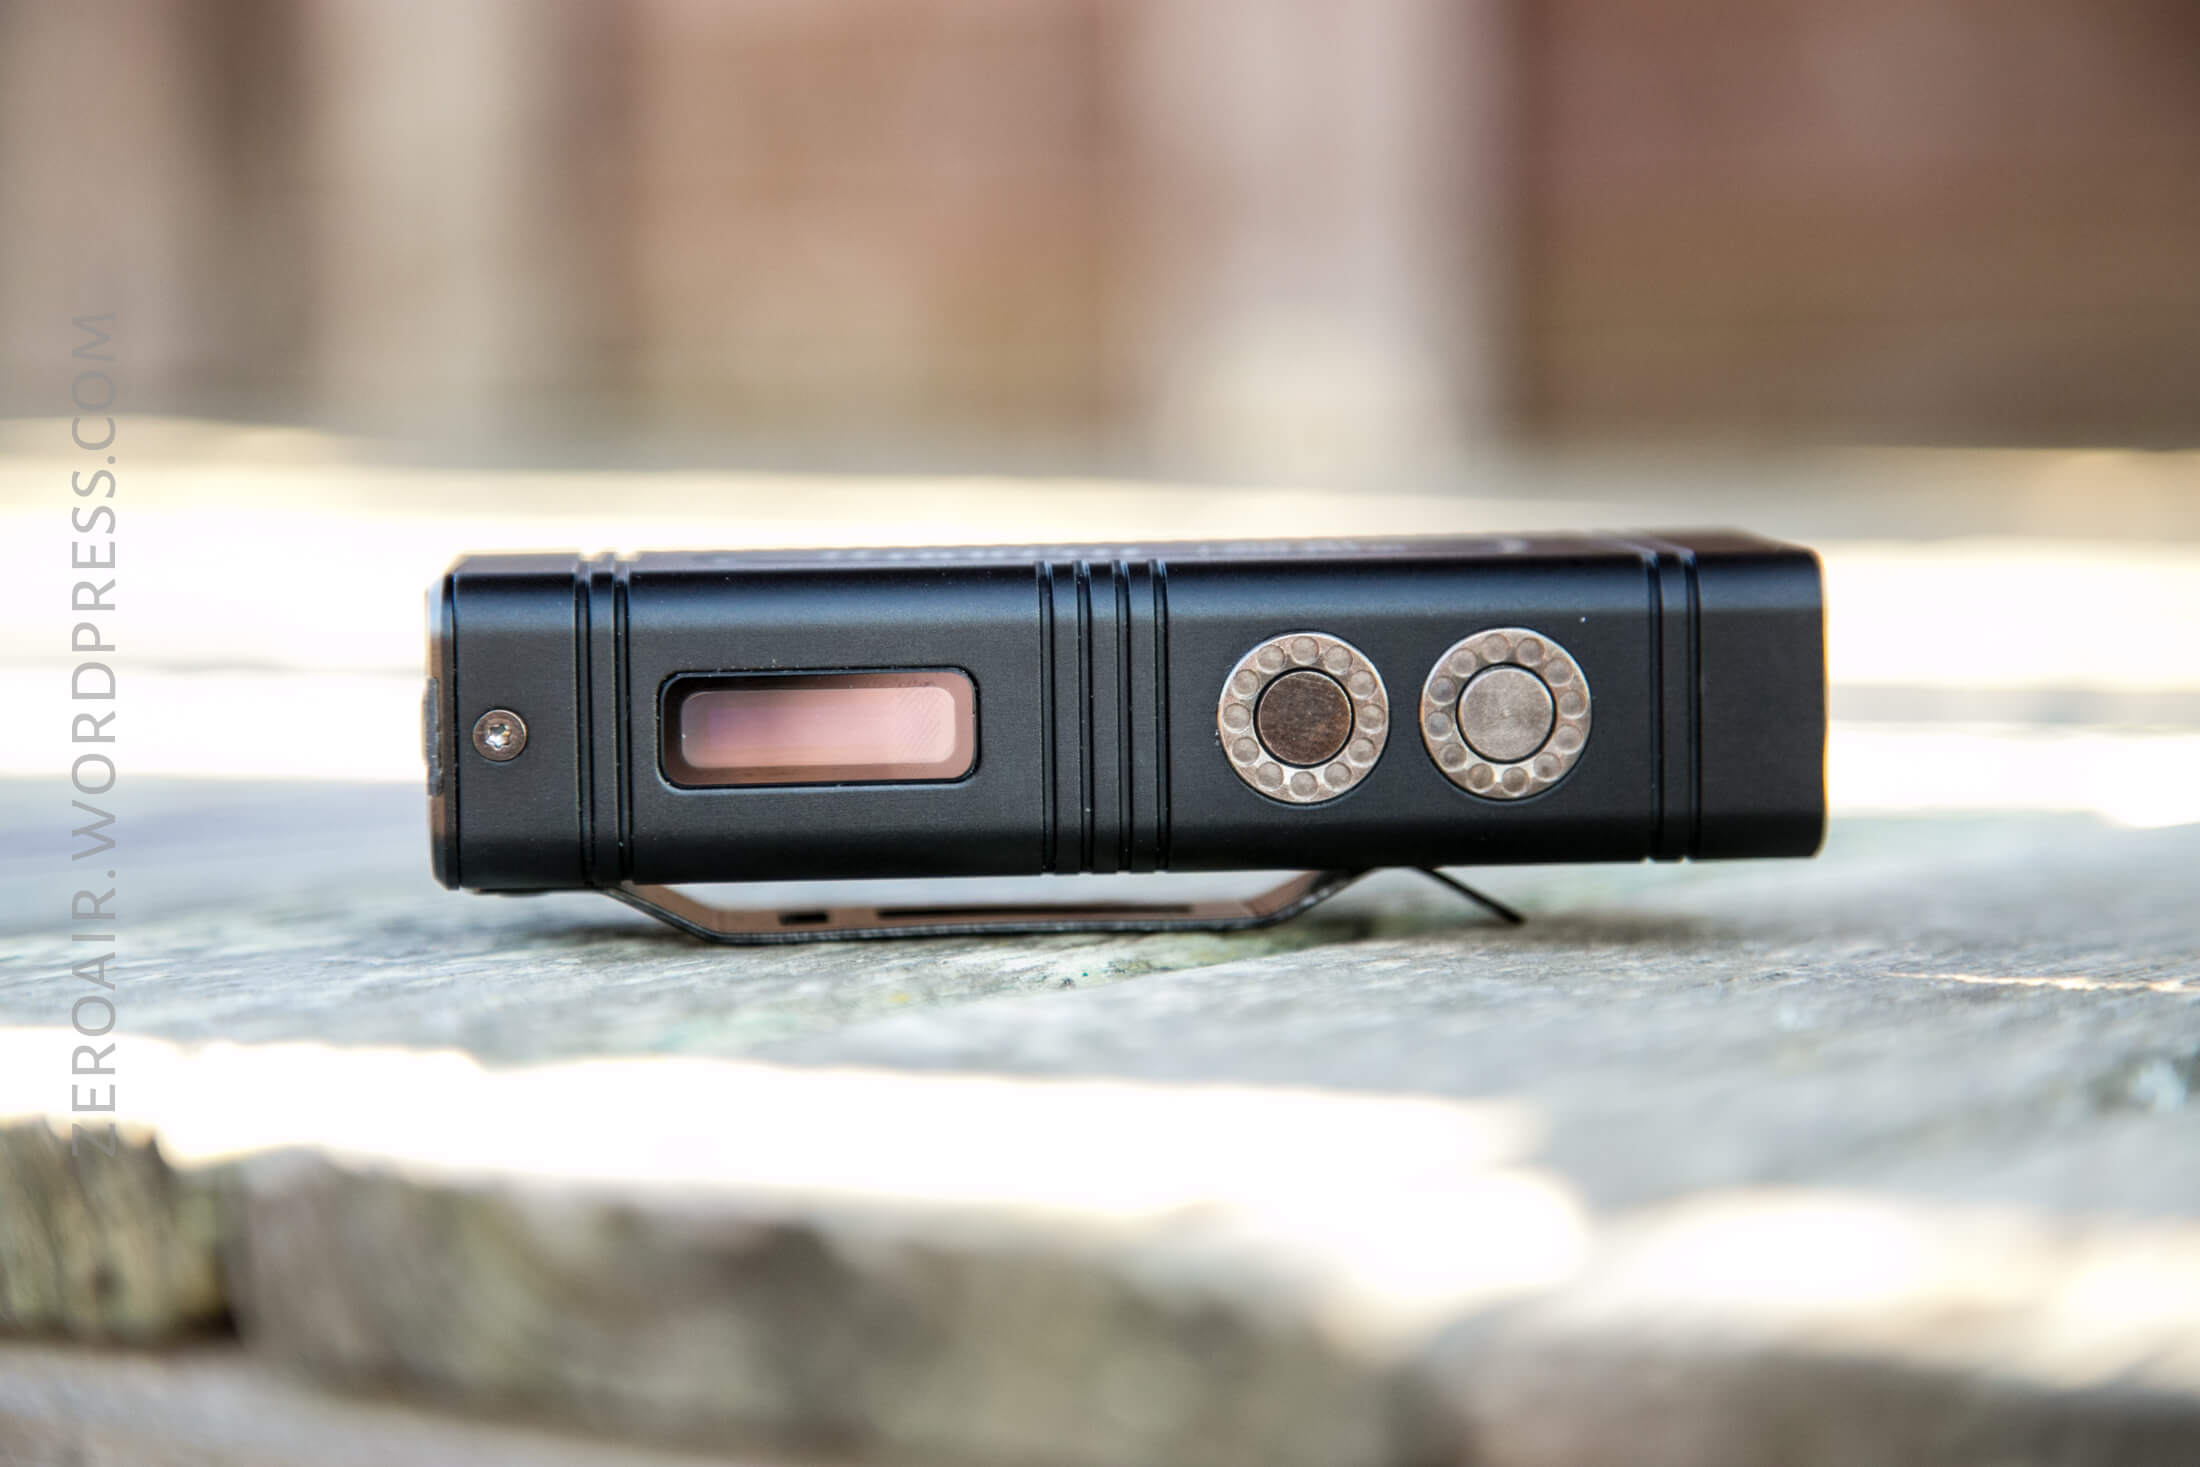
This light is unusual with its rectangular shape. But don’t assume that means it’s hard to hold or unpleasant because it’s unusual. There’s a good bit of grip on the “bottom” side.
I have not disassembled this light for two reasons. Primarily, Nitecore has some very useful illustrations on their site, describing the guts. Secondarily; I really didn’t want to. I have a knack for not being able to reassemble things properly….

It’s unclear based on these photos whether the cell is soldered in. In my experience with the teardown of the Nitecore bike light, I’m practically certain that the cell is soldered in.
Size and Comps
Officially this light is 110mm x 41mm x 31mm, and weight 246.5g, including the clip.
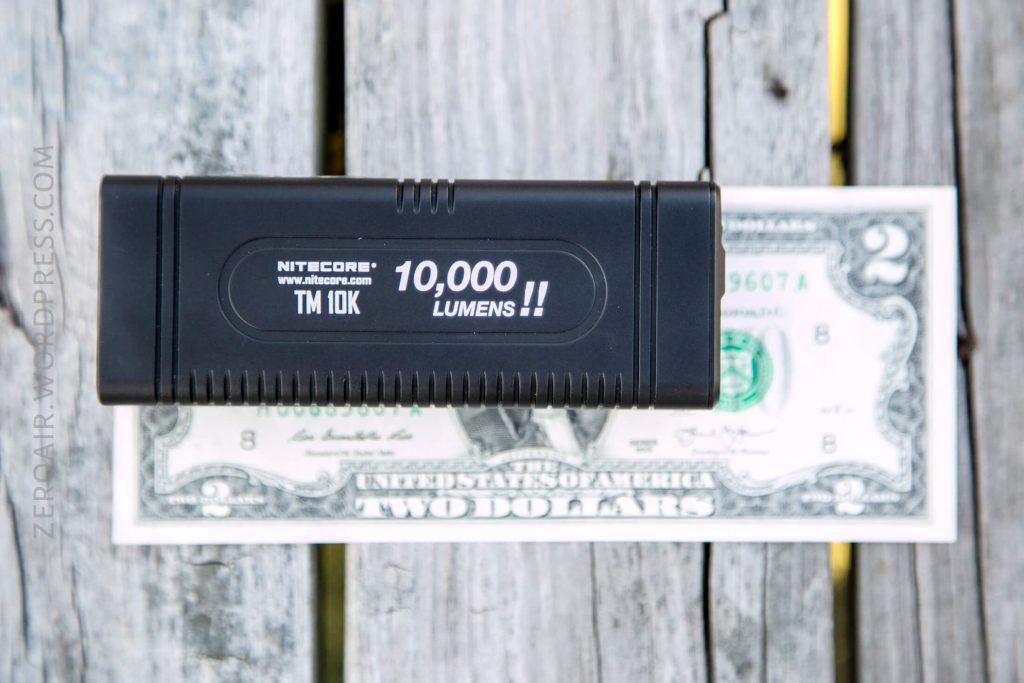
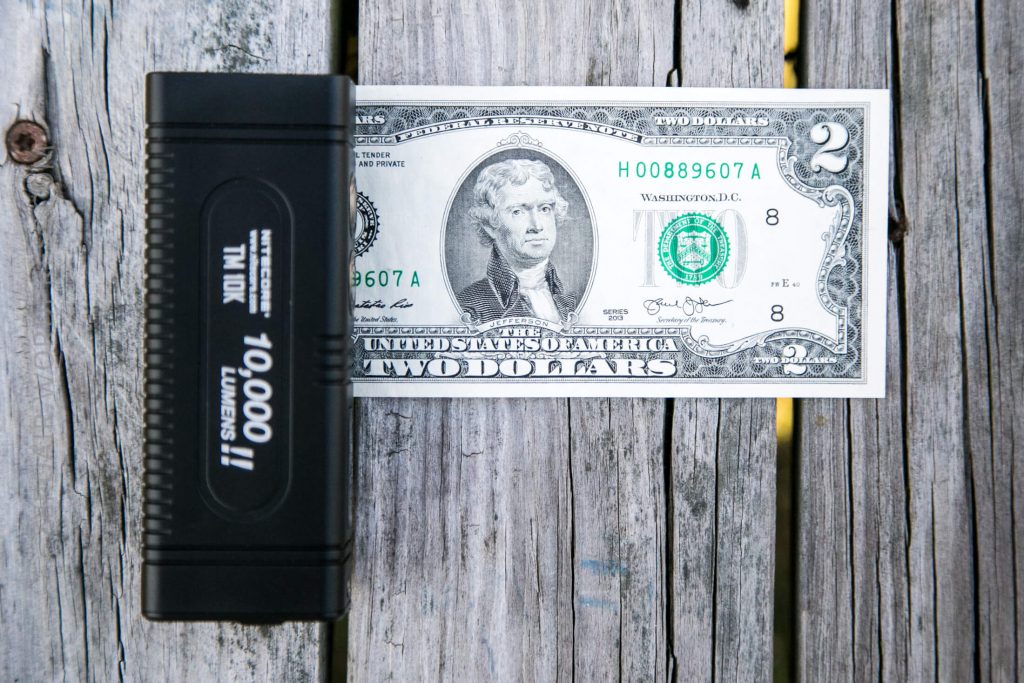
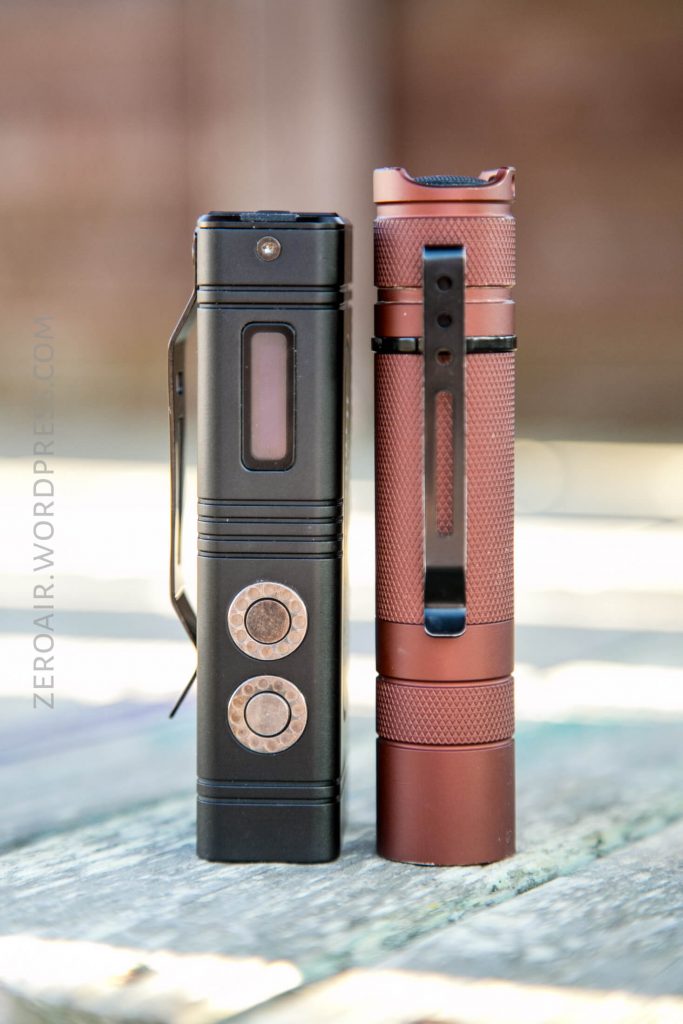
To be honest, it’s quite small for its max output level, especially given that it has onboard charging. Here’s the test light with the venerable Convoy S2+. Mine’s a custom “baked” edition Nichia 219b triple. A very nice 18650 light.
Retention and Carry
There are a few options on the TM10K for carry. Primarily is probably the nylon pouch. The
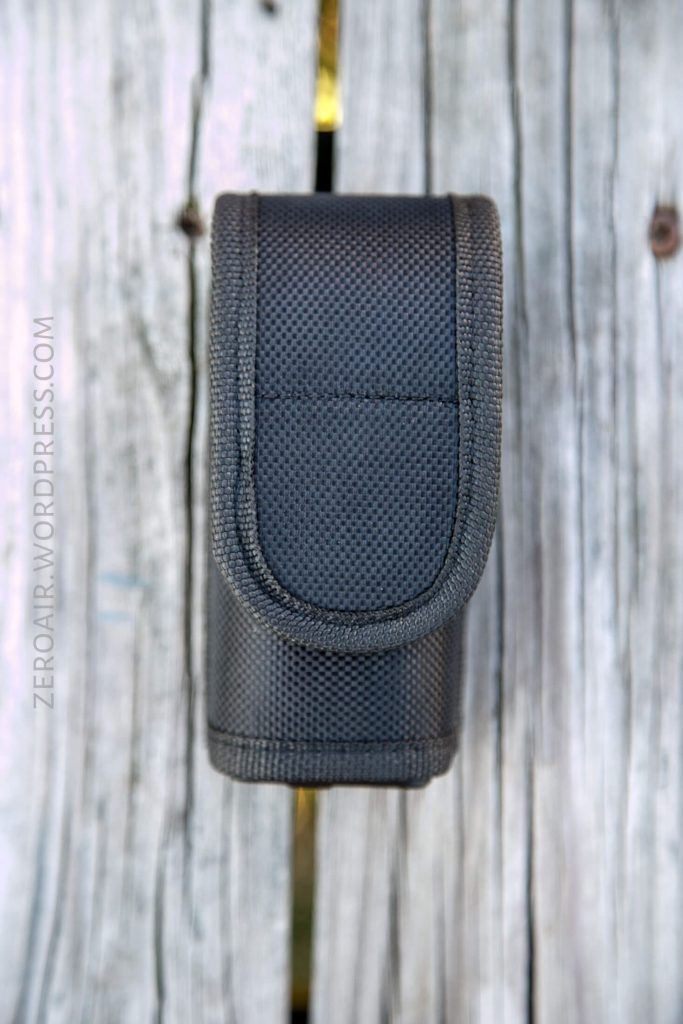
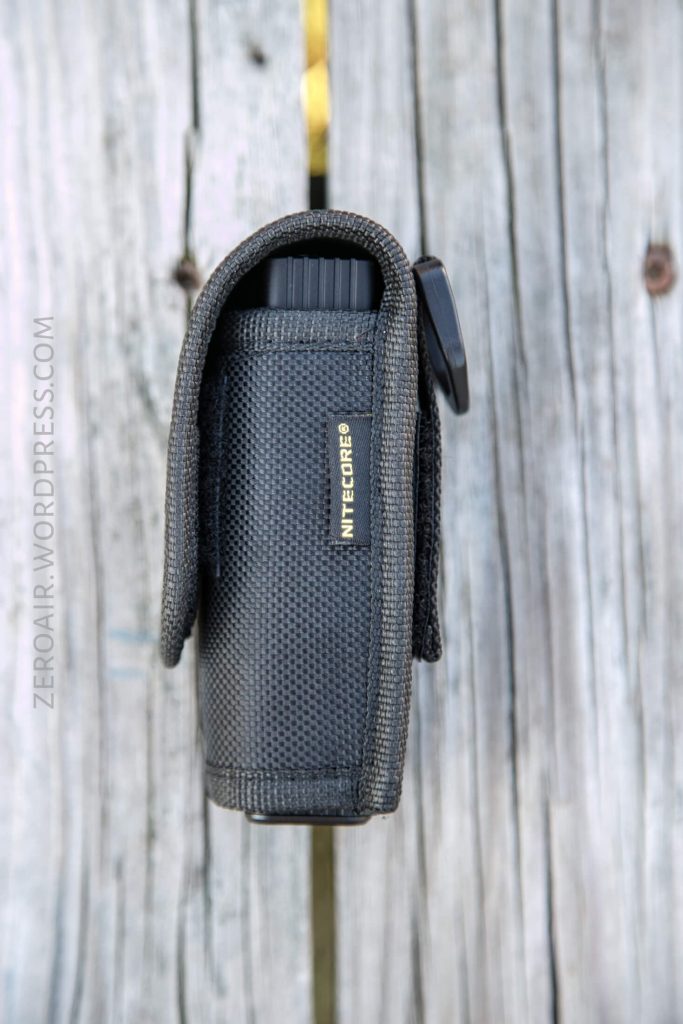
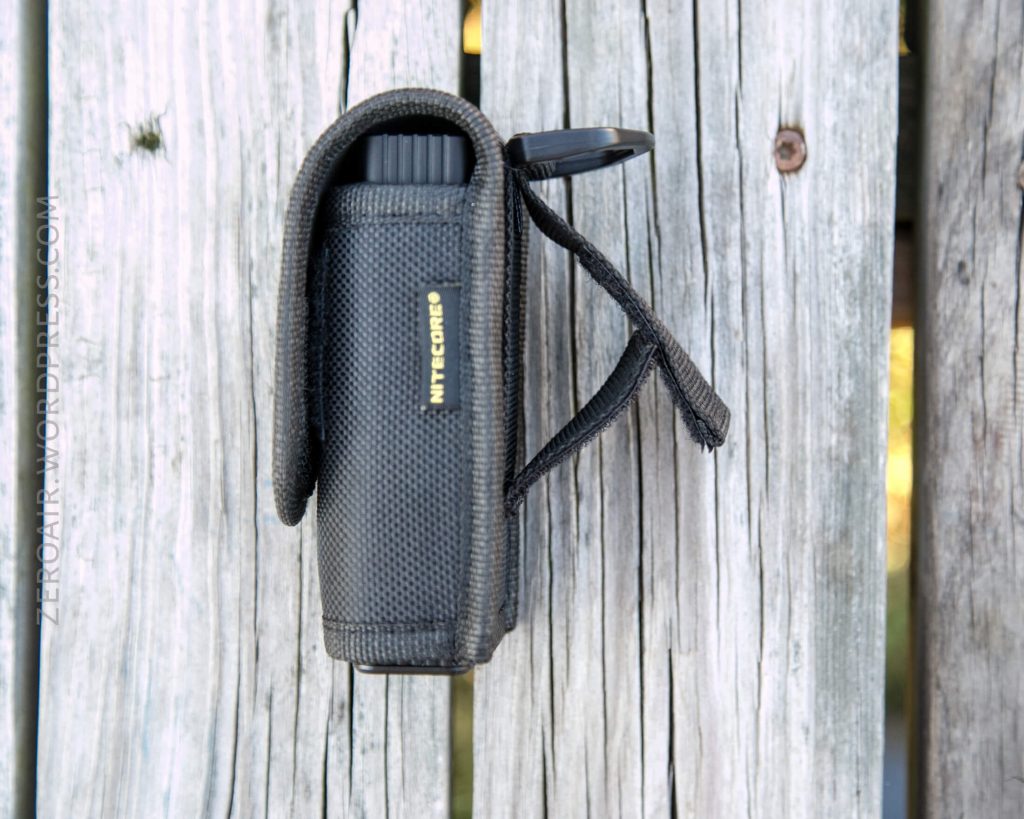
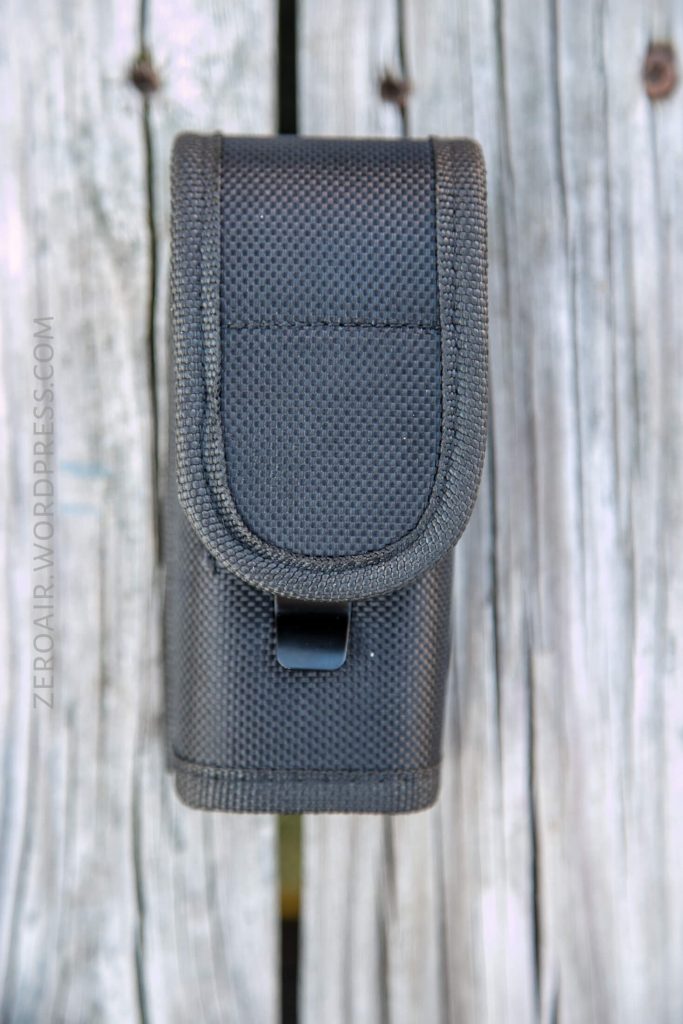
The light will fit in the pouch bezel up or bezel down, and the bottom is open to allow easier removal of the light.
Next up is the pocket clip, which is installed from the factory. It’s held in place with three screws, and is removable. I call it a pocket clip, but it’s more reasonably a belt clip.
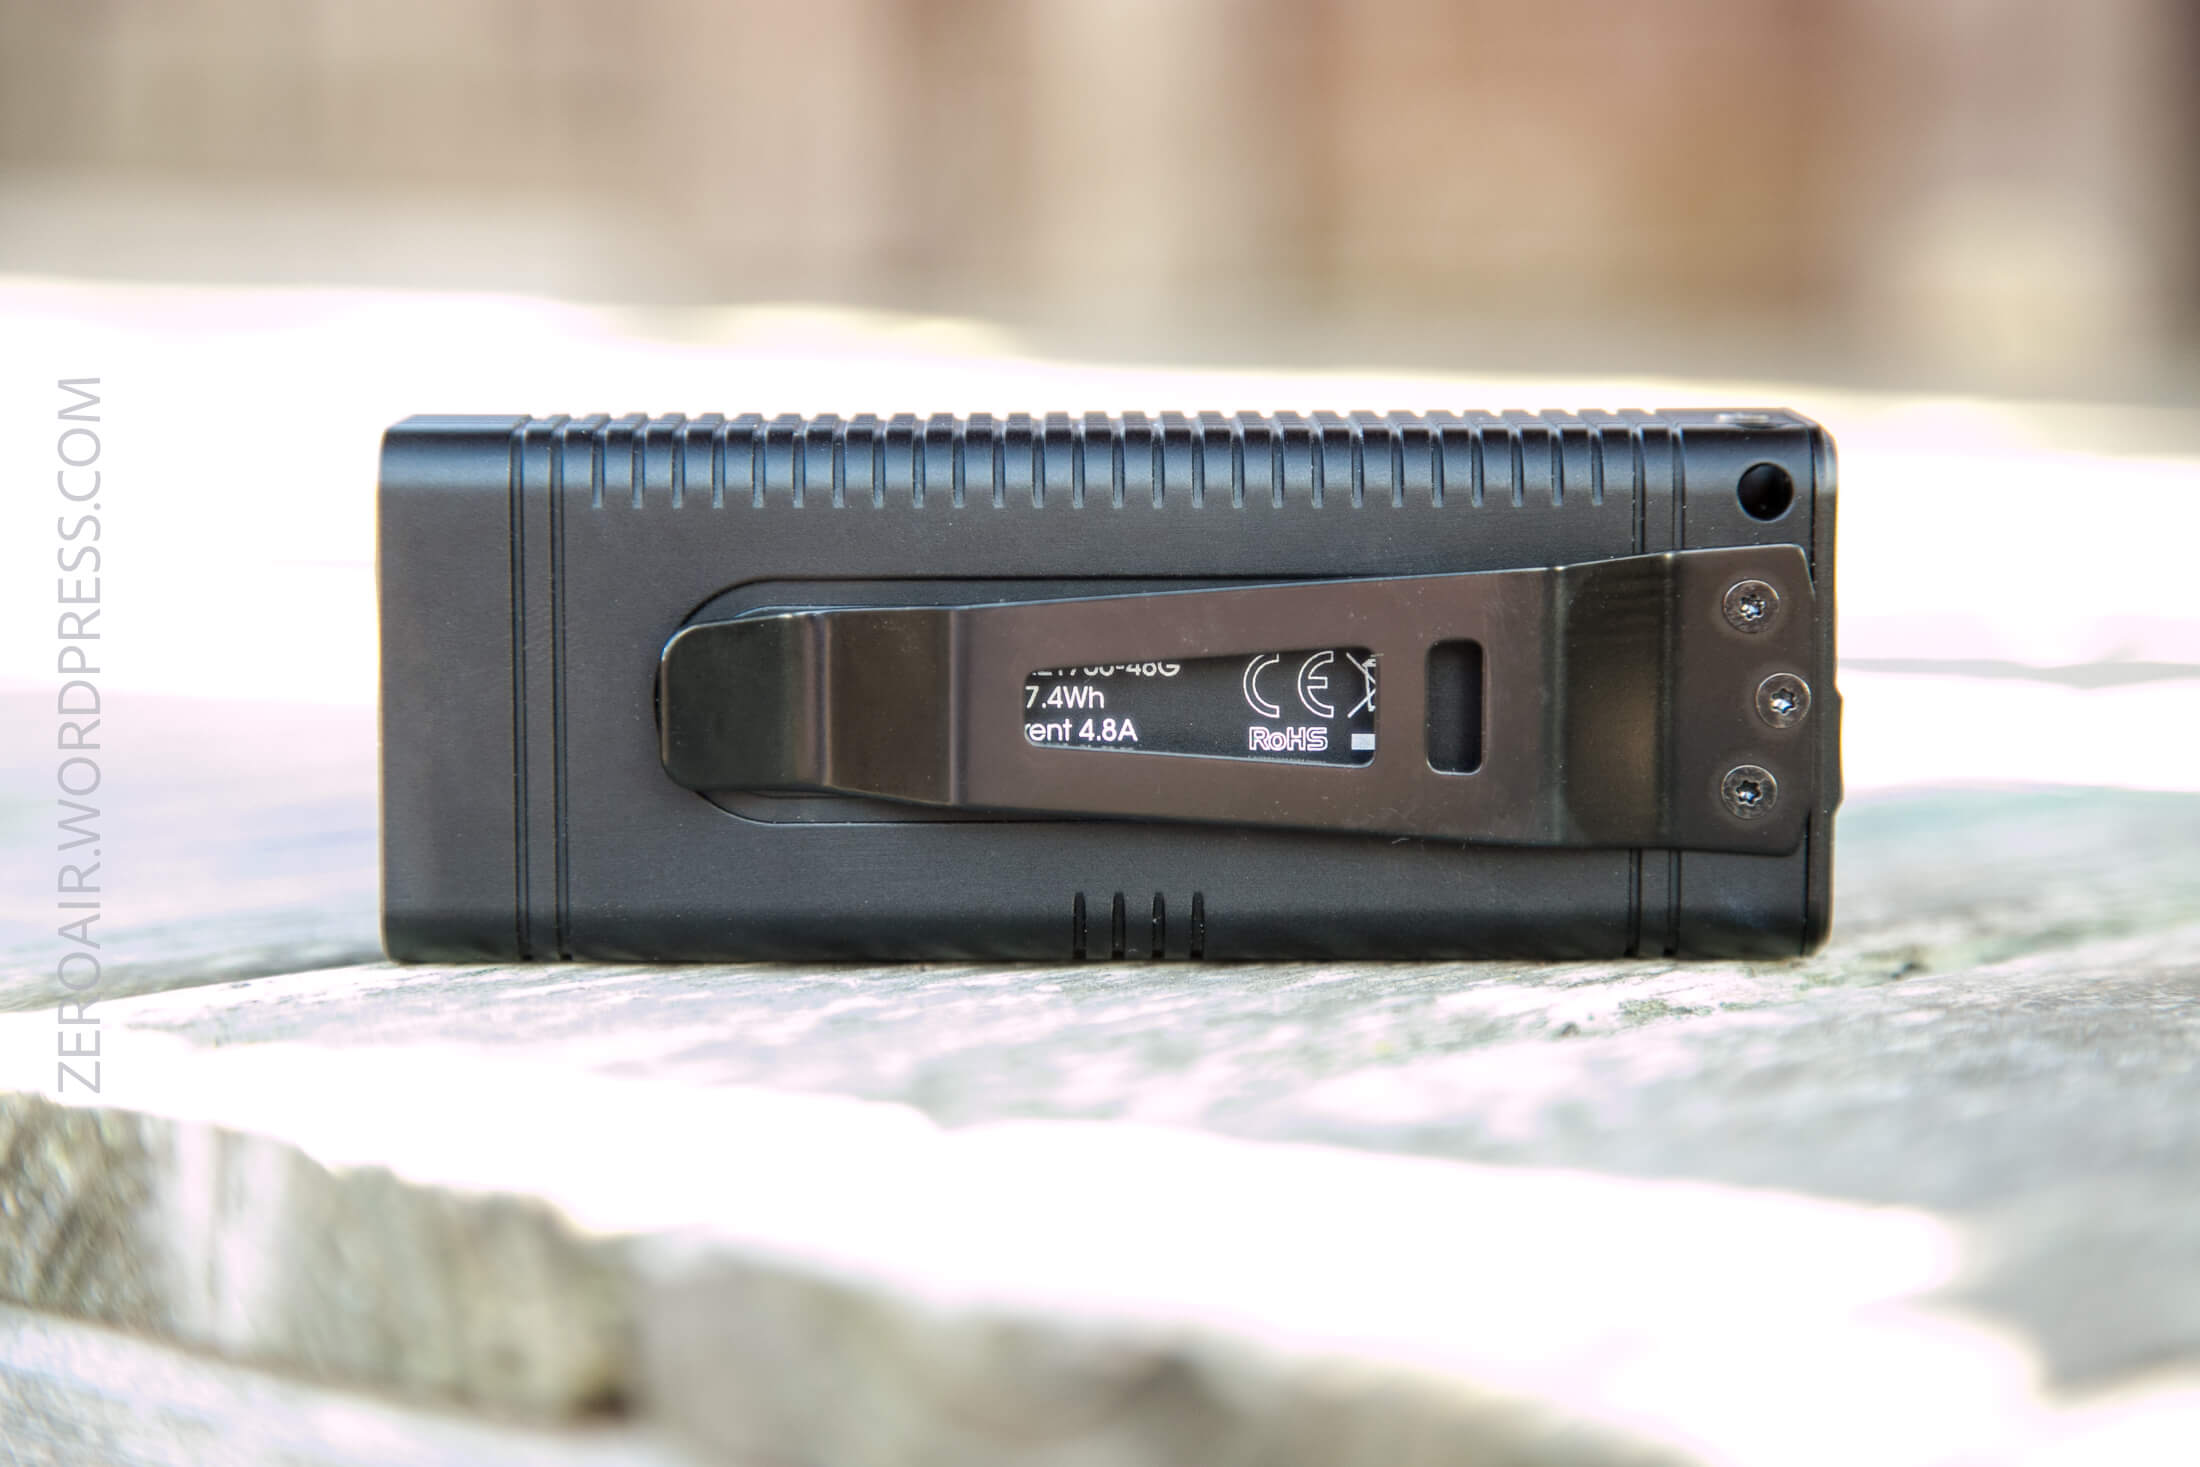
There’s plenty of room for it to ride on even a very thick belt. The clip is not reversible; bezel down carry only.

Also included is a lanyard, which connects near the pocket clip on the tail of the light. There’s a little wiry string included to help with the installation. The lanyard could also easily attach on the pocket clip, especially since the clip is firmly affixed to the light.

Power and Runtime
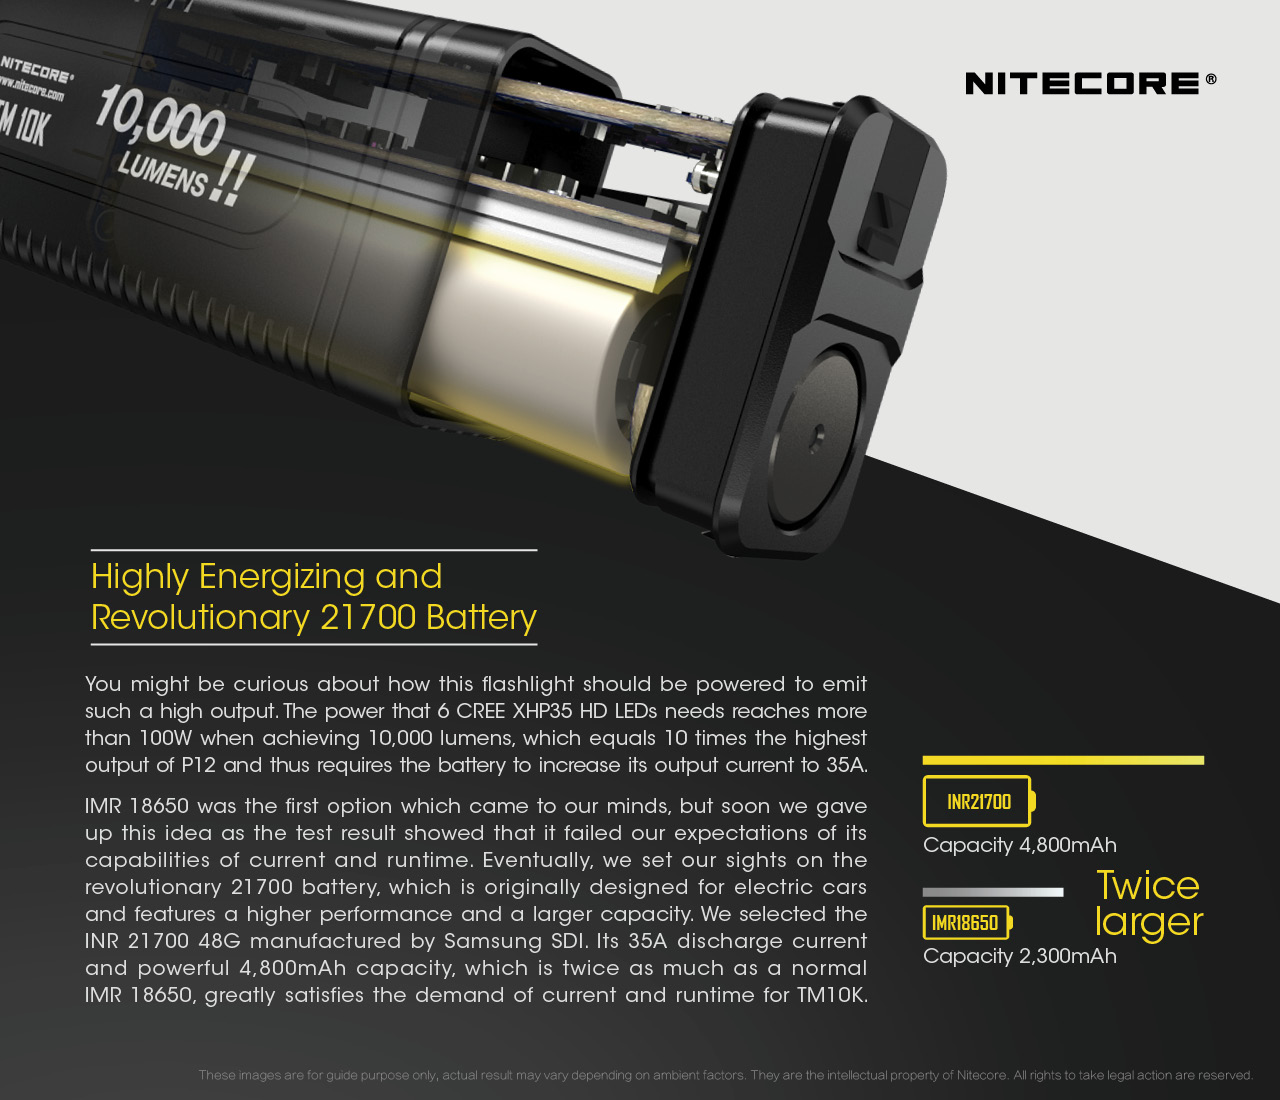
The TM10K is powered by an internal cell (a 21700, in fact), which is not [intended to be] user replaceable. It’s possible to access the guts of the light by removing some Torx screws. As covered above, I haven’t done that disassembly on this light. One of the reasons Nitecore claims that this setup (that is, an internal cell) is needed, is in order to reduce resistance to allow for the higher output.
Now, I’m no electrical engineer, but we can put 2 and 2 together and make some good sense out of this. These emitters are 12V emitters, and there are 6 of them. So the light will have to boost the voltage from a single cell up to 12ish volts. Texas_Ace has tested these emitters to death, and at around 10W, one of these emitters can output around 1200-1500 lumens. So for 6 of them to output 10,000 lumens, they all need to be seeing >10W. To pull enough current from a single cell to power 6 emitters at 10+W…. well you get the idea I hope. You need to reduce resistance anywhere you can, and start with the absolute highest quality cell you can. So Nitecore apparently solves this two ways. One, with the permanently installed cell. And two, with disallowing the possibility for the user to install their own, potentially lower quality cell.
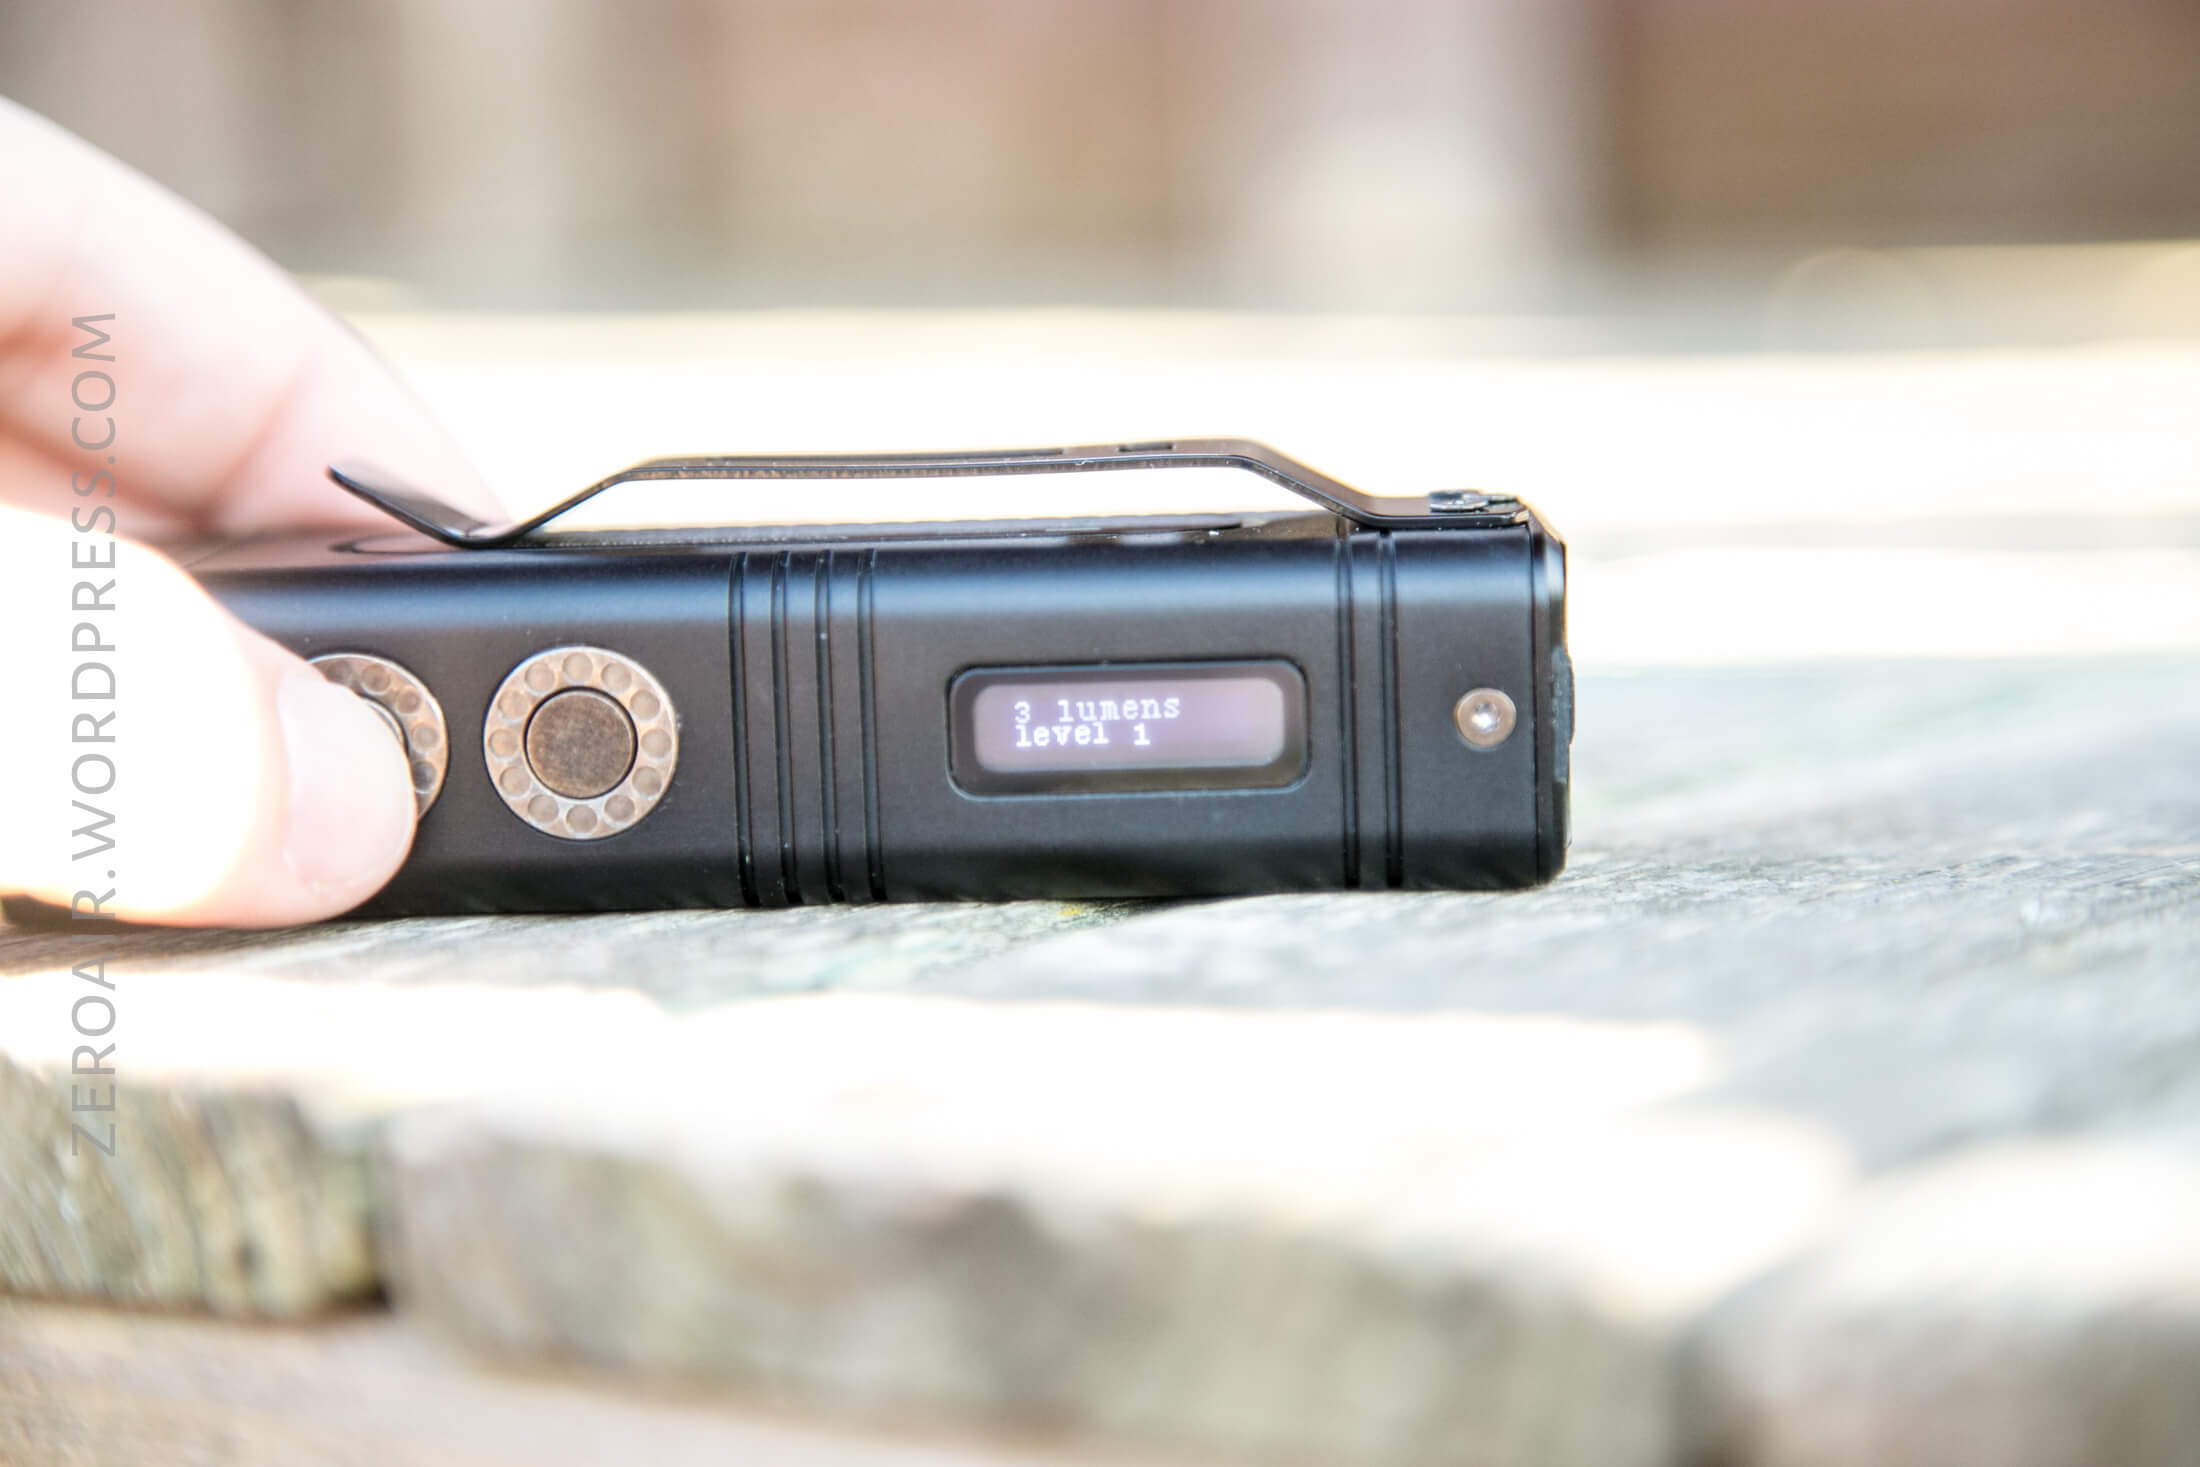
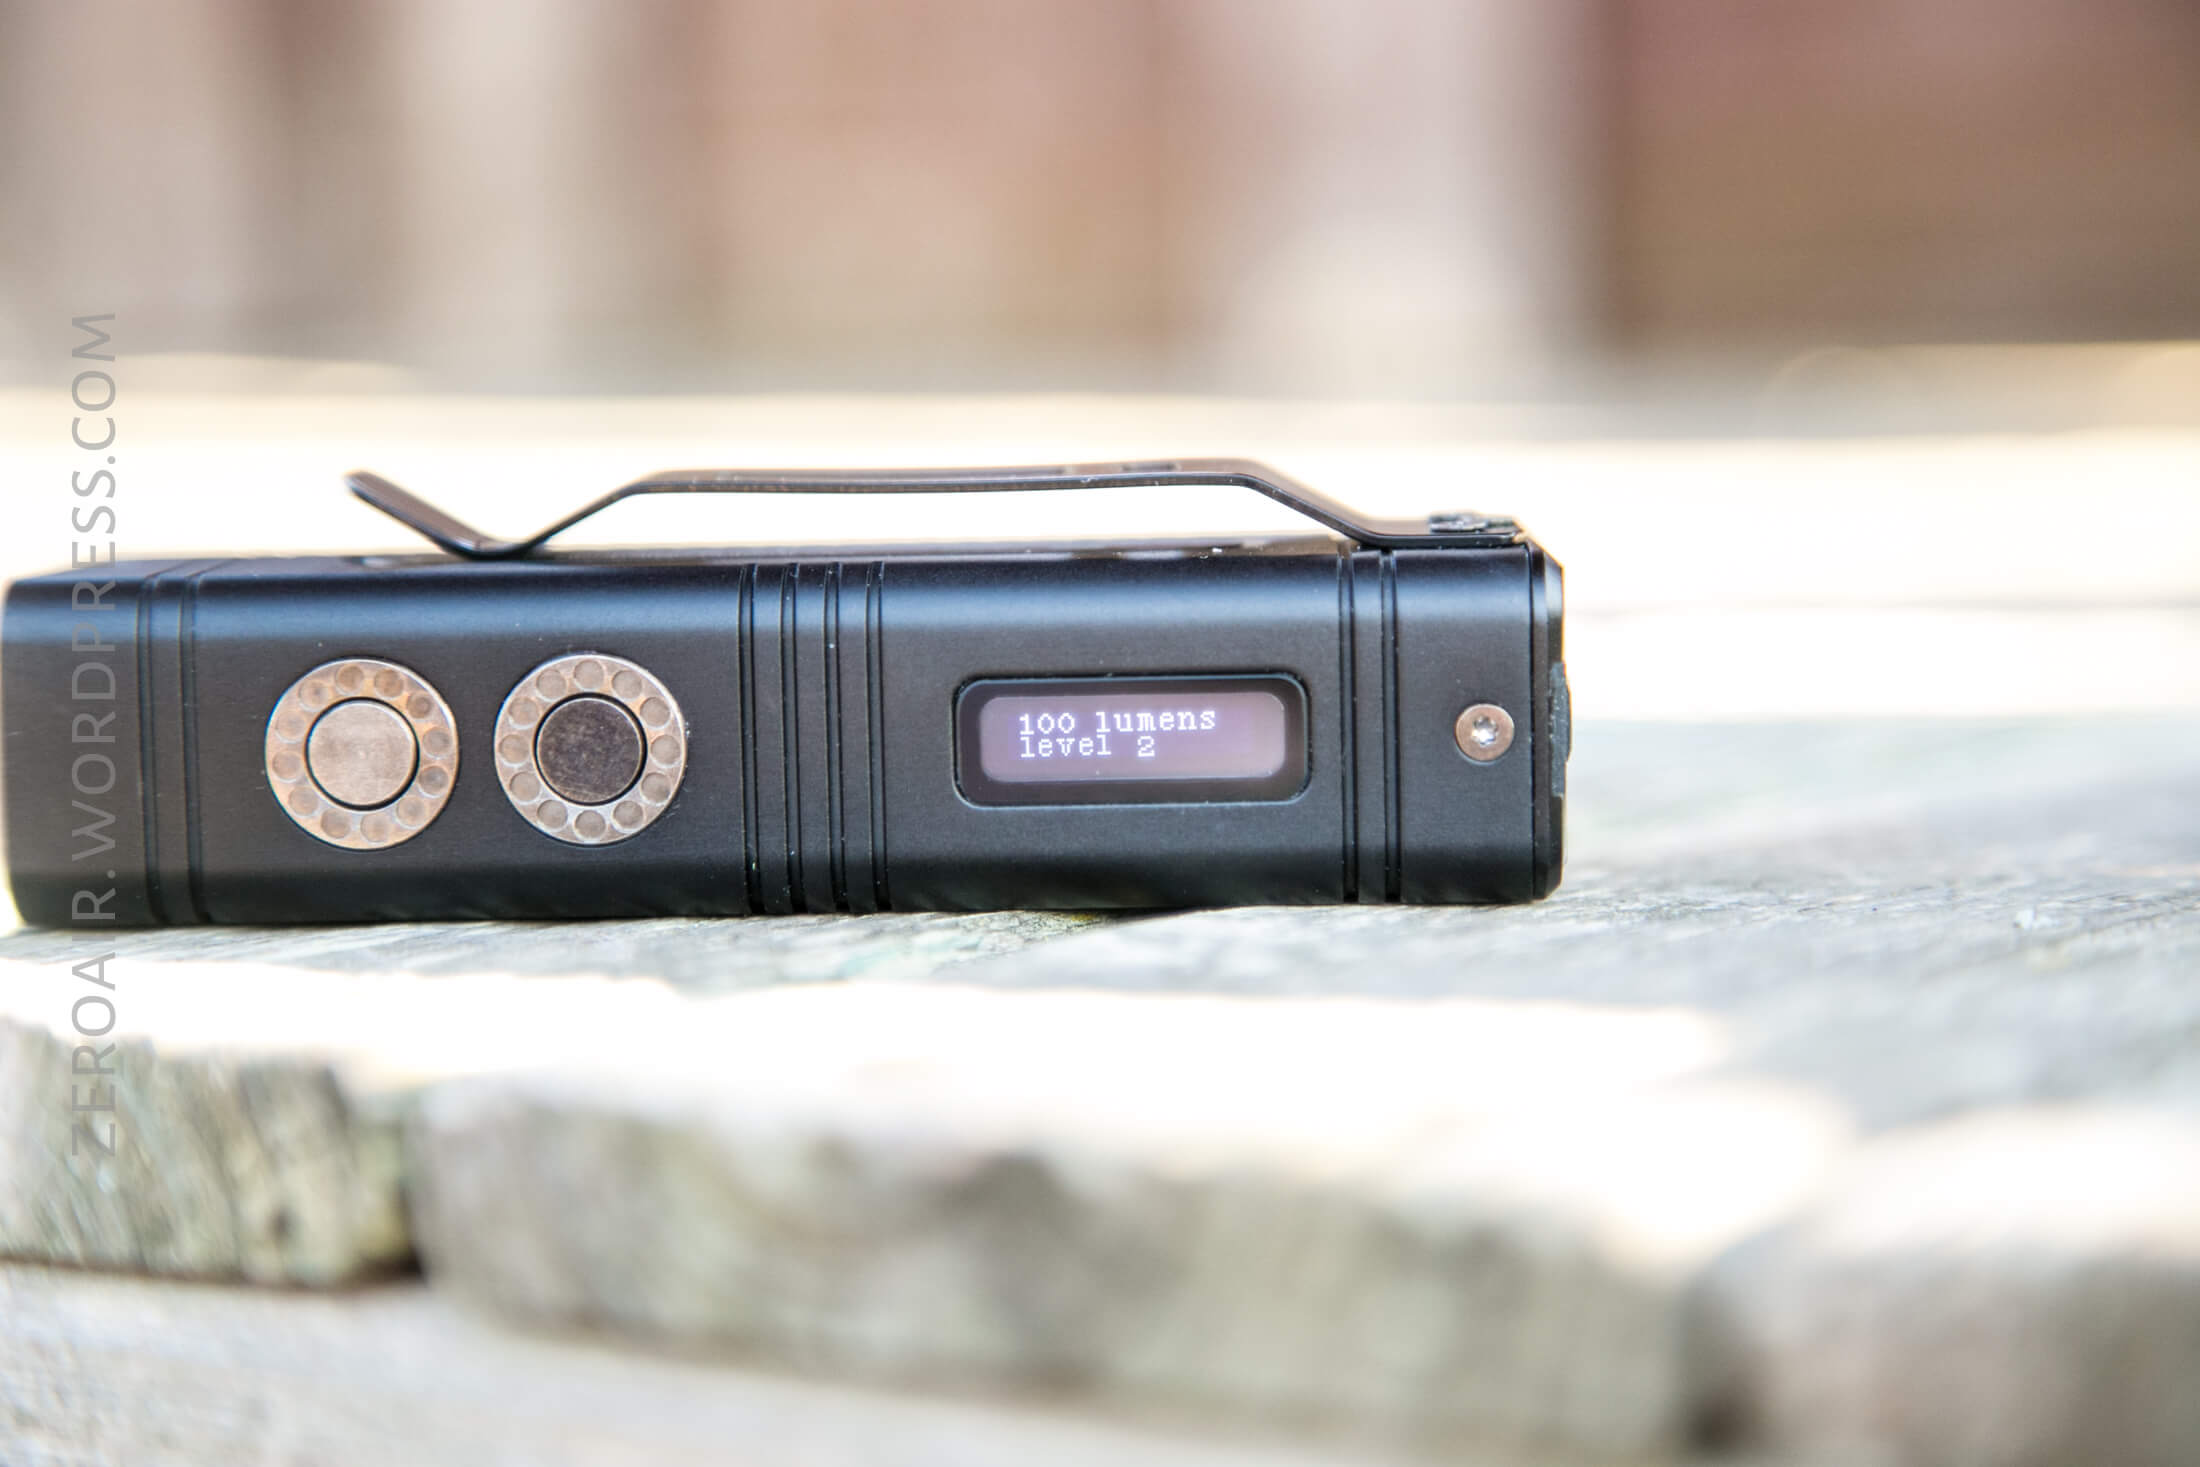
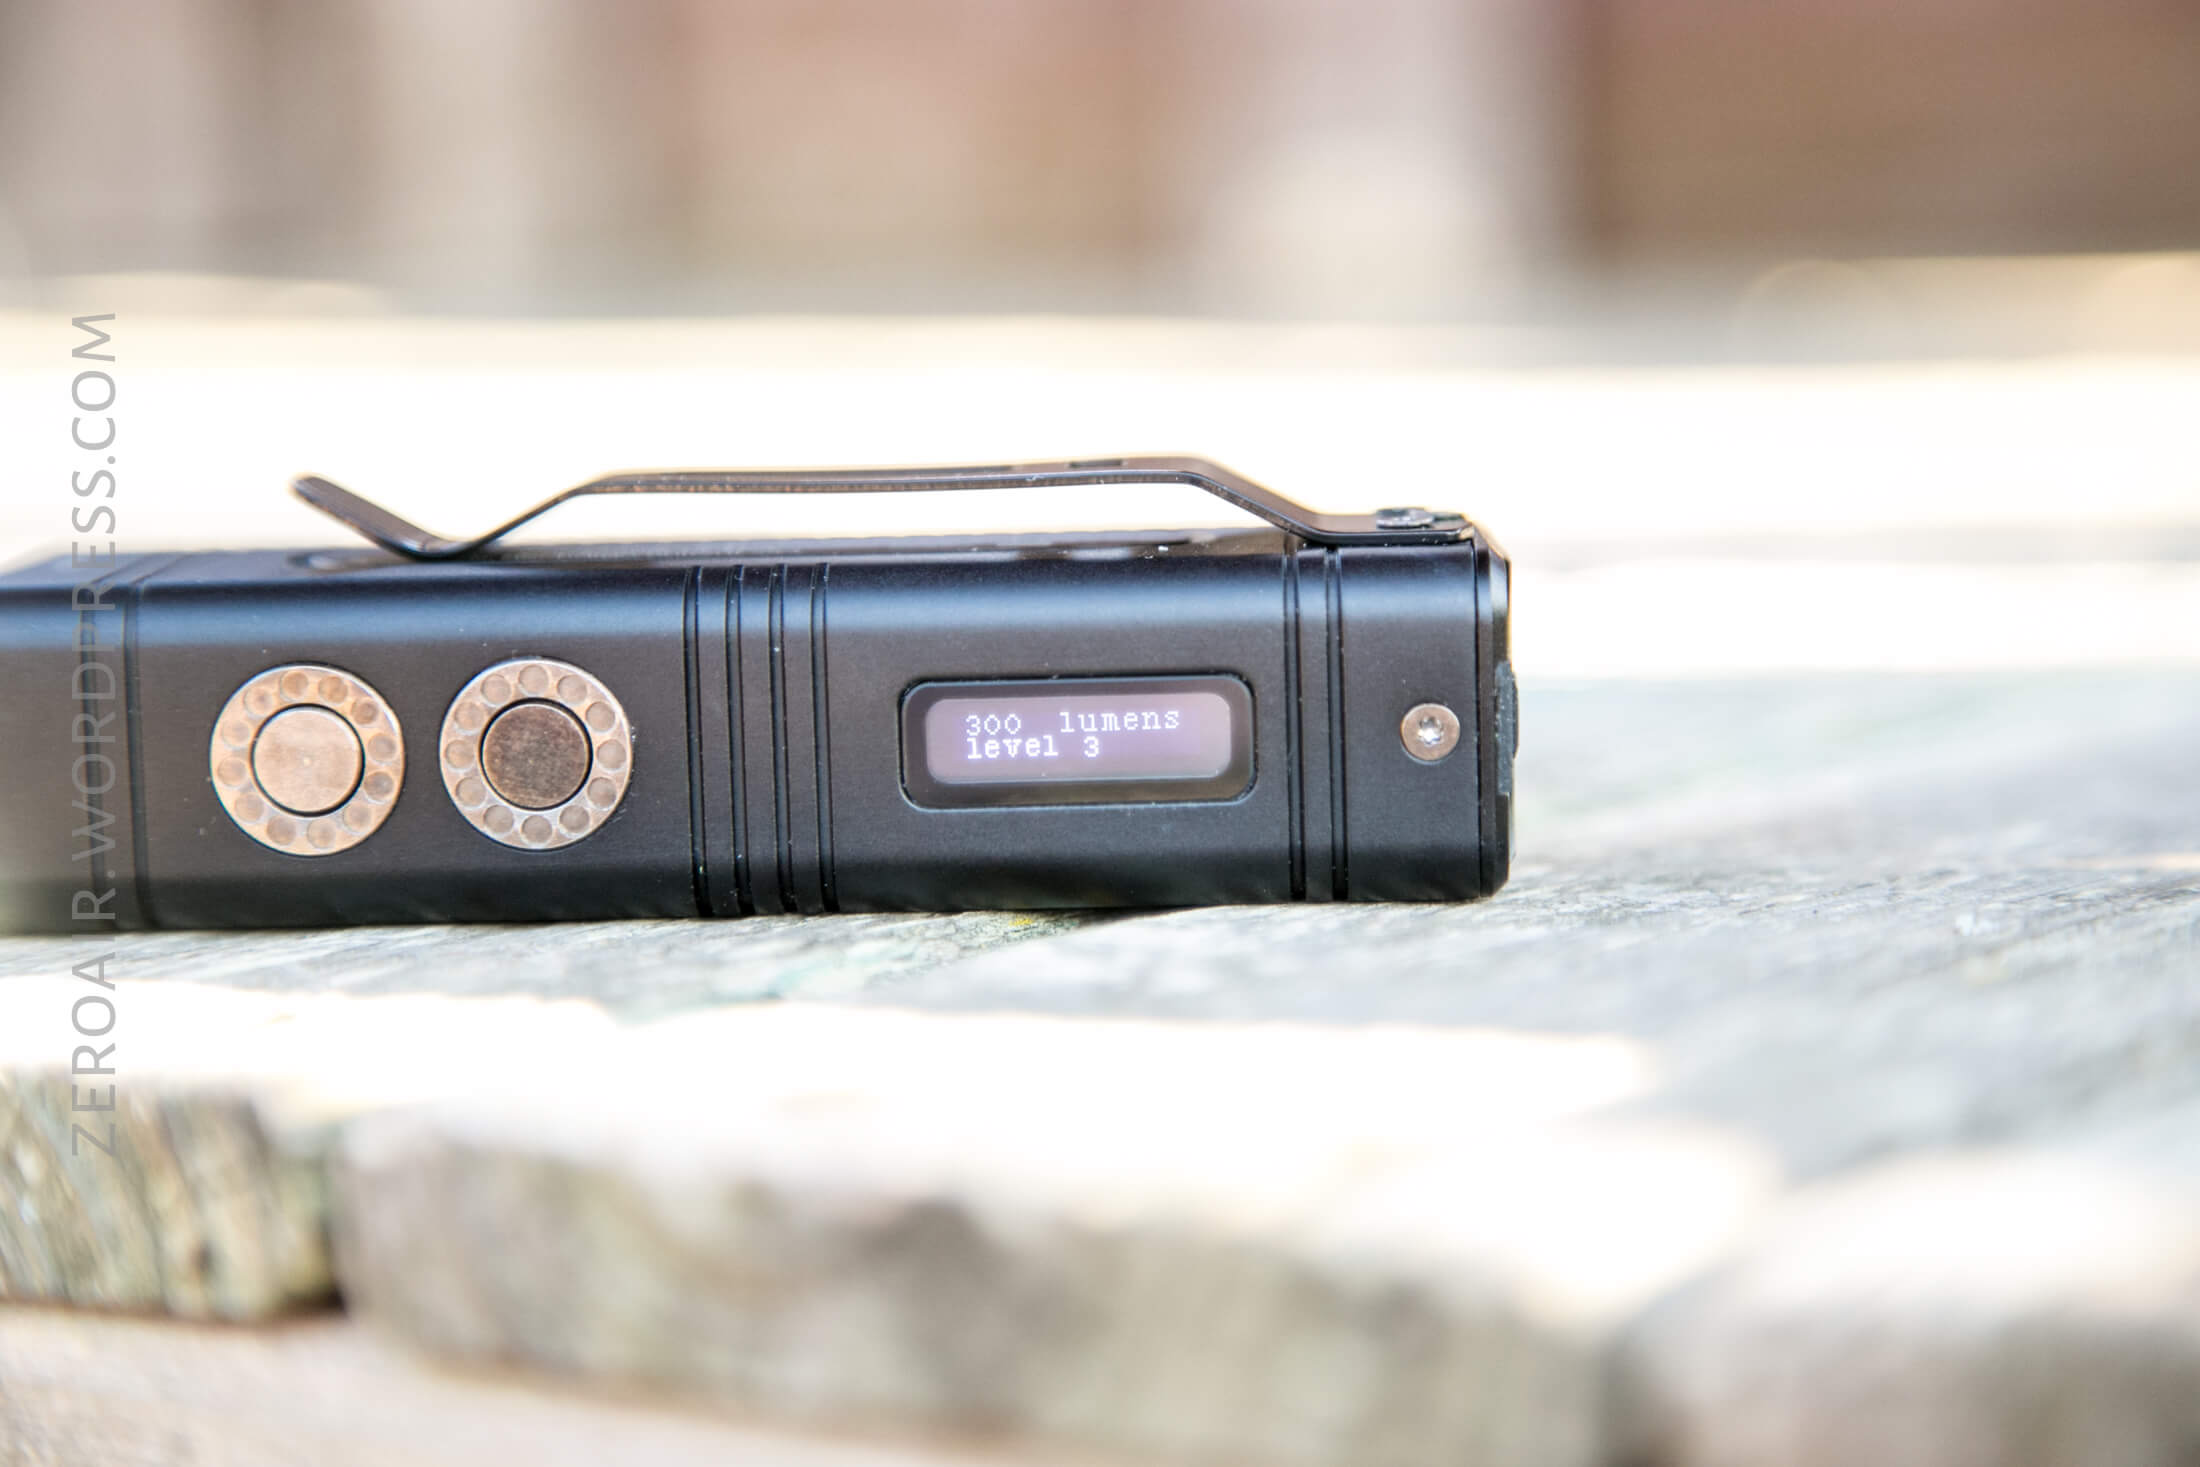
All of that said, the lit really only outputs 10K lumens very briefly. So briefly that any runtime on “Turbo” is effectively a runtime on High, as the light steps down to the 1000 lumen mode very quickly. So here are two runtimes, both on Turbo, but this is essentially how High mode (1000 lumens) acts too. Each of the step downs it so one of the discreet modes and isn’t arbitrary. Turbo steps down to 1000 High. High steps down to ~300 Mid. Mid steps down to ~100 Low. Low steps down to ~3 Ultralow.
Turbo output lasts for approximately 7 seconds. Late in the runtime (or when cell voltage has decreased), it’s not even possible to access turbo. In fact, the lower the cell voltage, the lower the modes that are accessible. At some point (at some cell voltage), this means that it’s not even possible to get out of Ultralow (ie it’s time to charge the light.)

Turbo is just a tinnnyyyyyy blip at the beginning of these tests.

Charging
Since this has an internal cell, it also includes onboard charging, of course. This is via USB-C, and Nitecore includes a USB to USB-C cable.
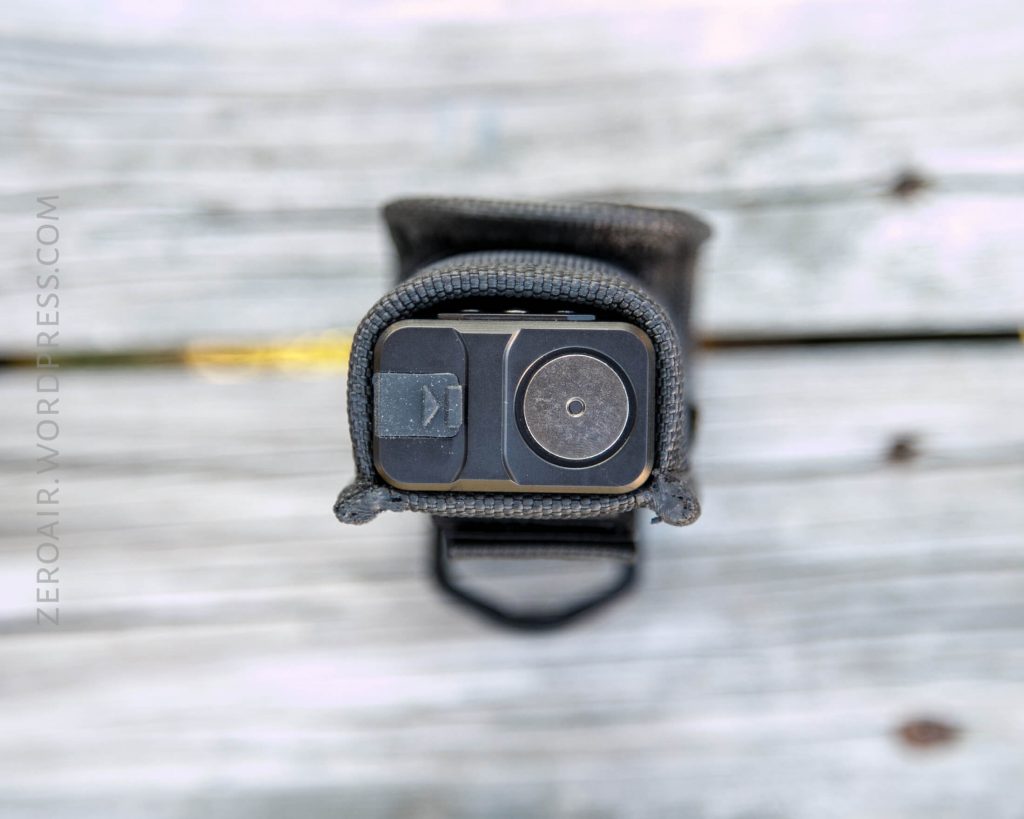
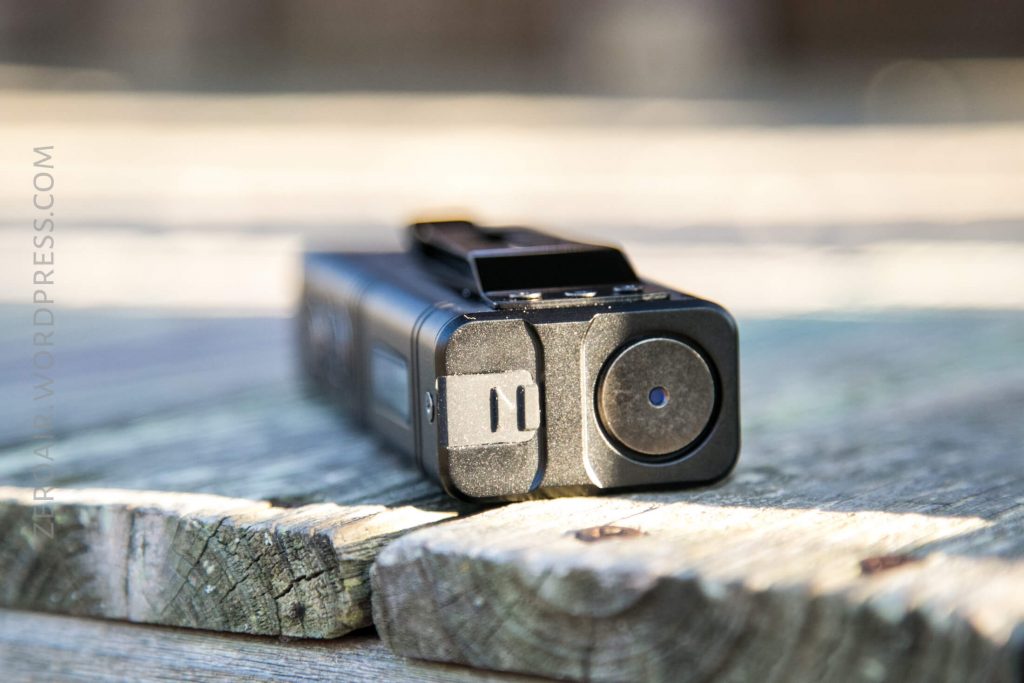
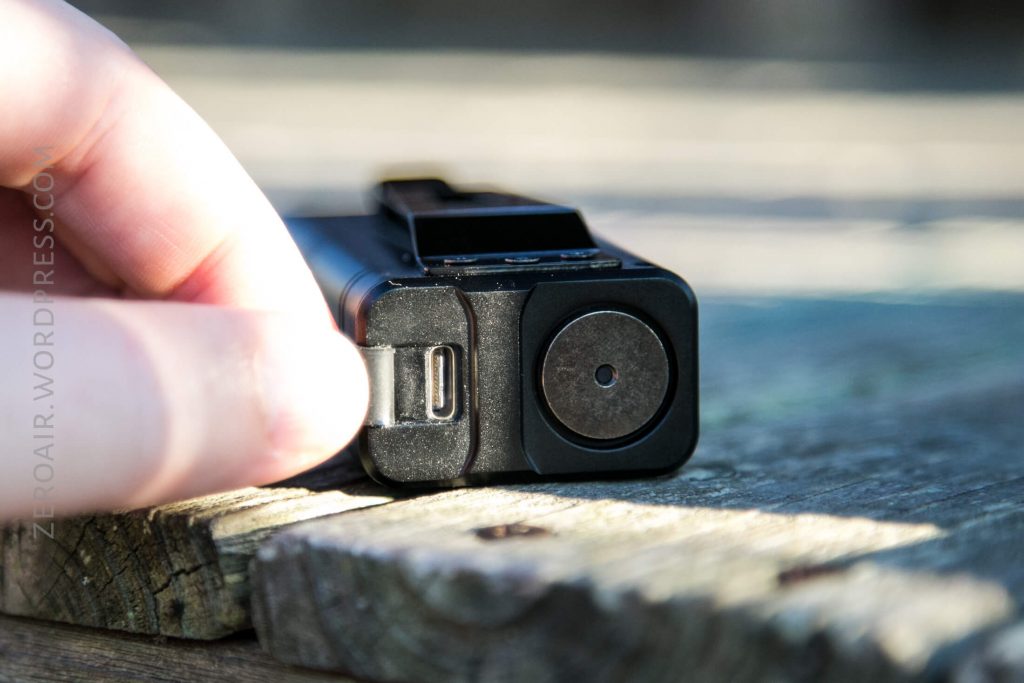
The charge port is on the tail end of the light, with the indicating momentary Turbo button. The boot that plugs this port is quite secure. So secure that I had trouble opening it, and had to get a sharp tool to help. That’s much better than the cover just flapping in the wind, of course.
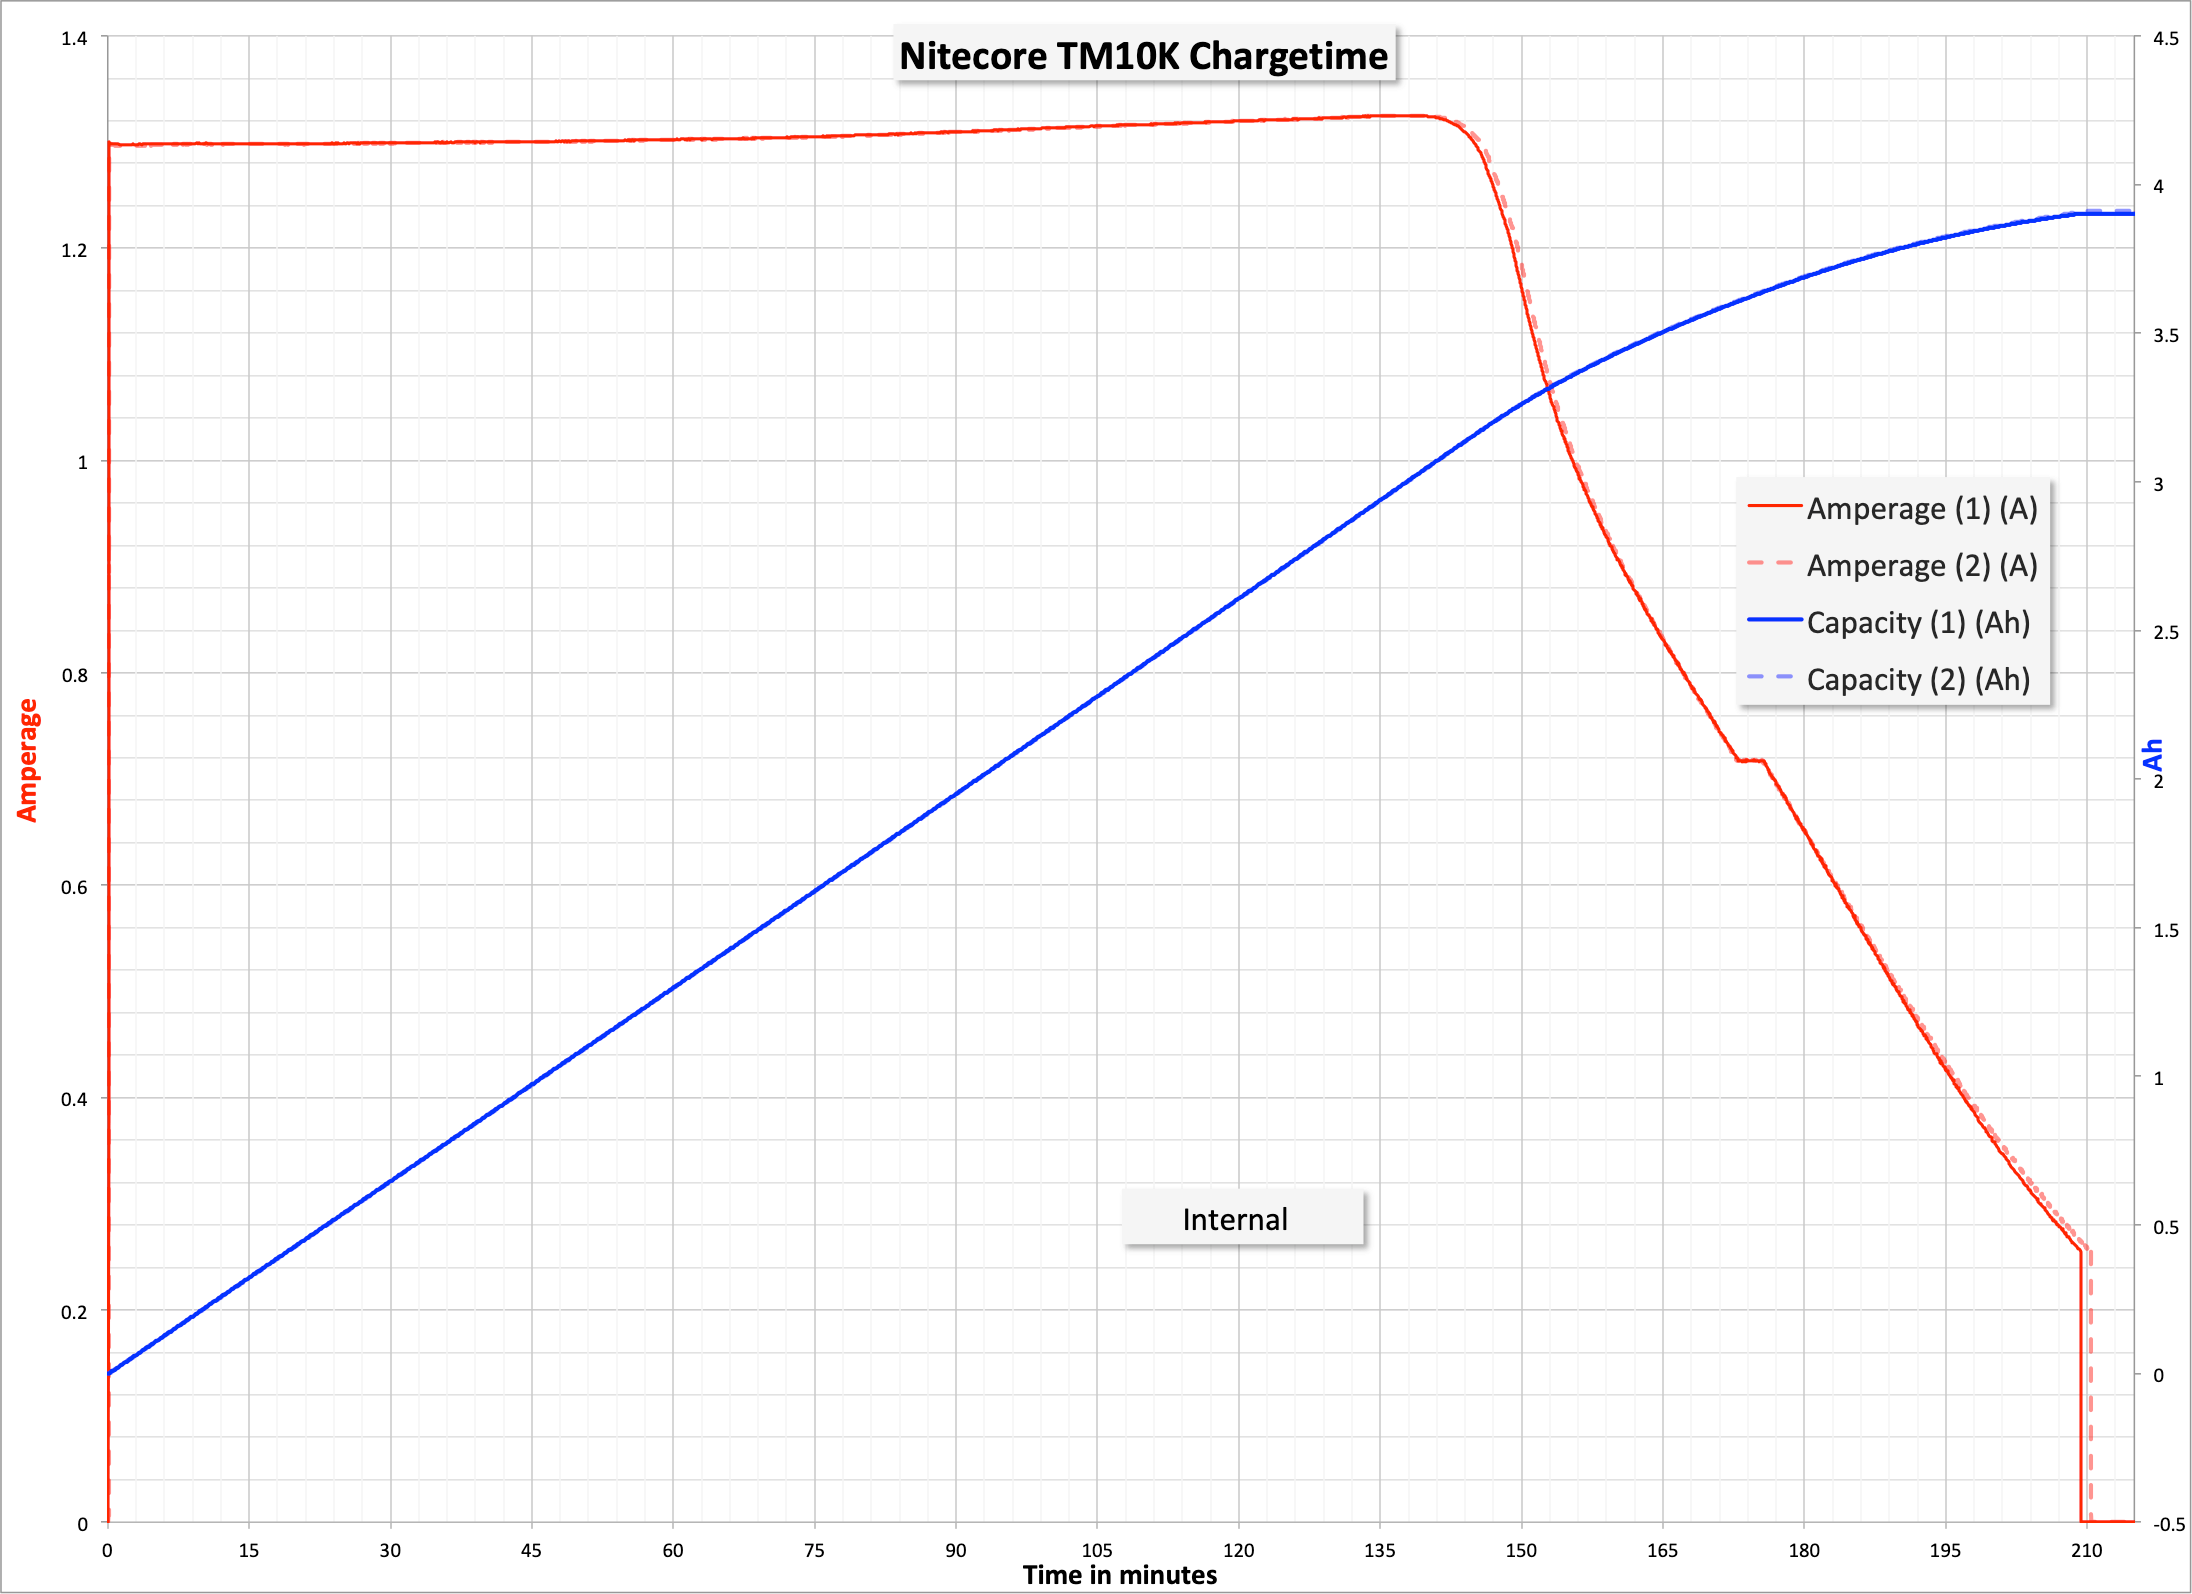
Below are two charge tests, so identical it’s hard to even tell them apart. Charging proceeds at around 1.3A in the CC phase, and overall takes about 210 minutes. This also tells us that the cell capacity is around 4Ah. Not bad at all.
The manual says the light is Quick Charge capable. Unfortunately, I don’t recall if my setup is using the QC, but based on the time taken (3.5 hours), probably not. Even still, 3.5 hours isn’t really all that bad for charging the cell. But note that faster charging is possible if you have a QC-capable setup.
Just for your enjoyment, below is a slideshow of using the Turbo output. A timescale would probably have been useful, but just put in your mind that the turbo only lasts the time of that turbo bar. Once that is empty, the light has to recover. Interestingly, since the display includes a voltage readout, it’s possible to note the voltage drop caused by such a high drain on the cell. If the cell is fully charged, after the full turbo run (which is around 7 seconds), the cell voltage drops to ~3.7. It is possible to just continue to hit Turbo on and on after the 8 second Turbo runtime…. the light will get very hot, and the cell voltage will continue to drop.
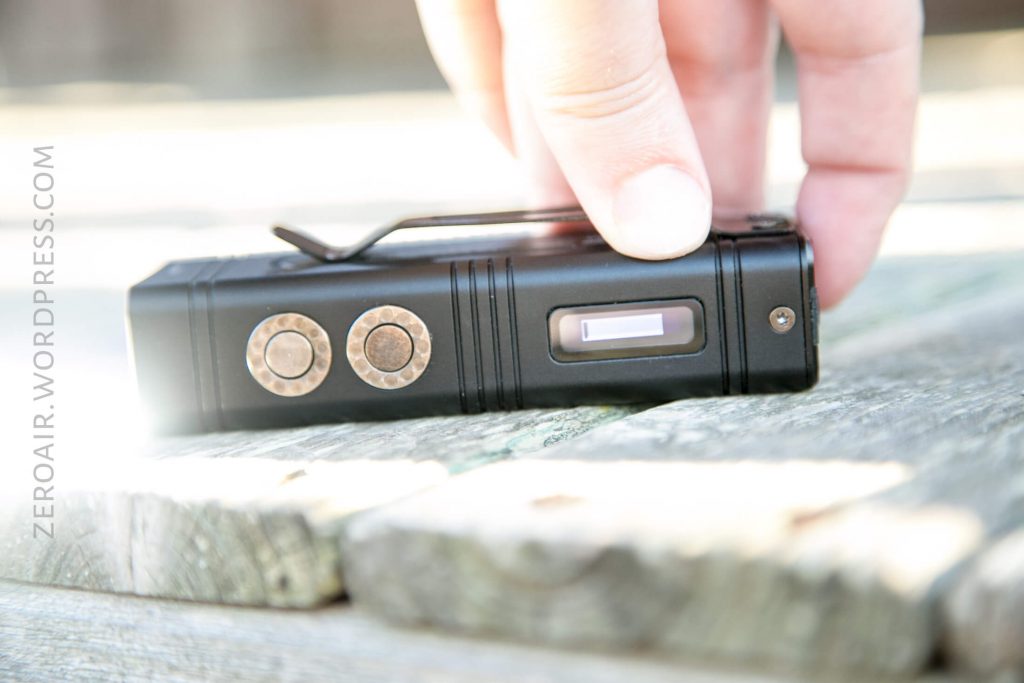
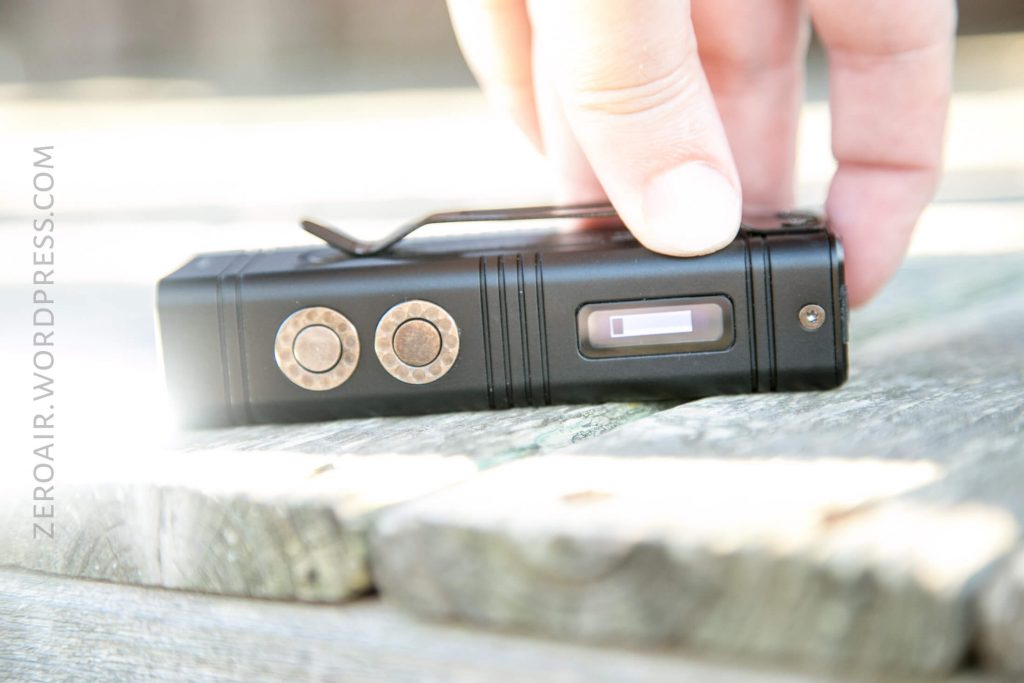
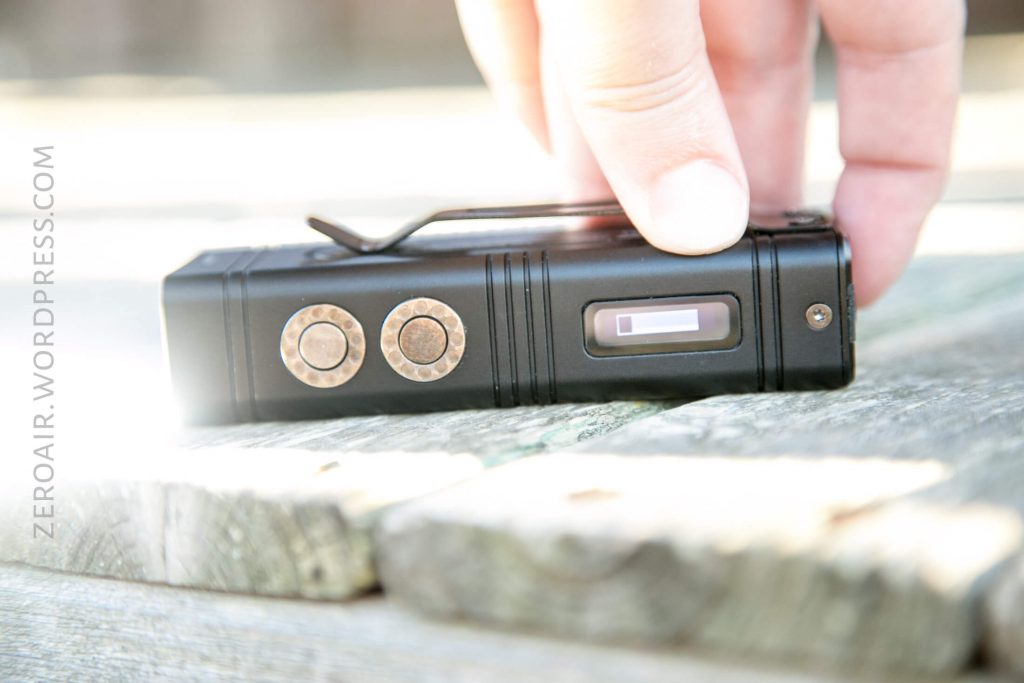
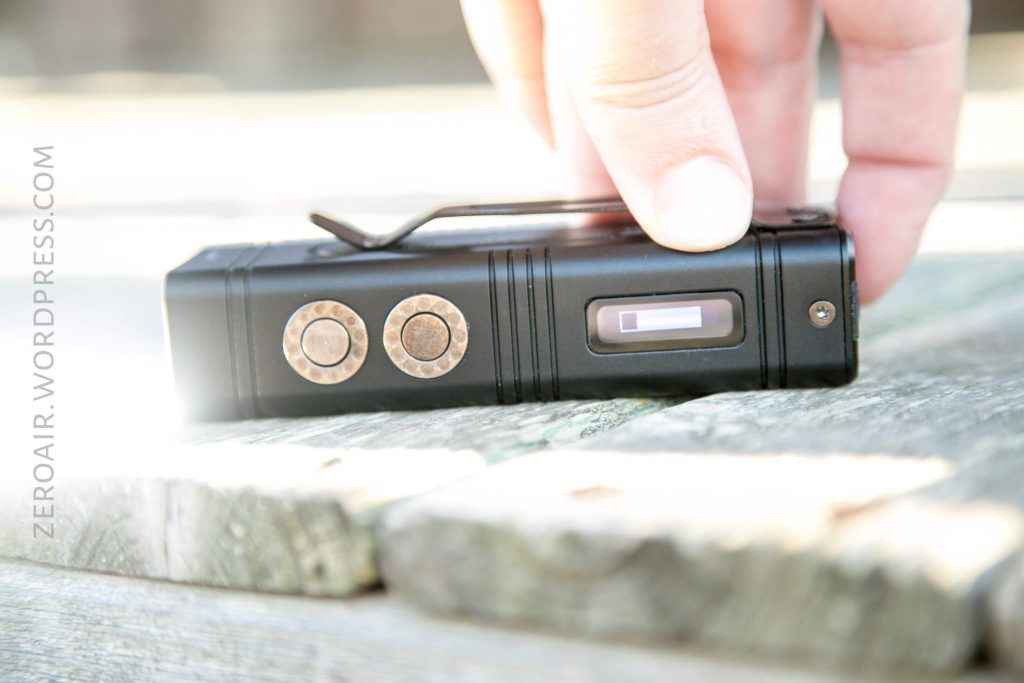


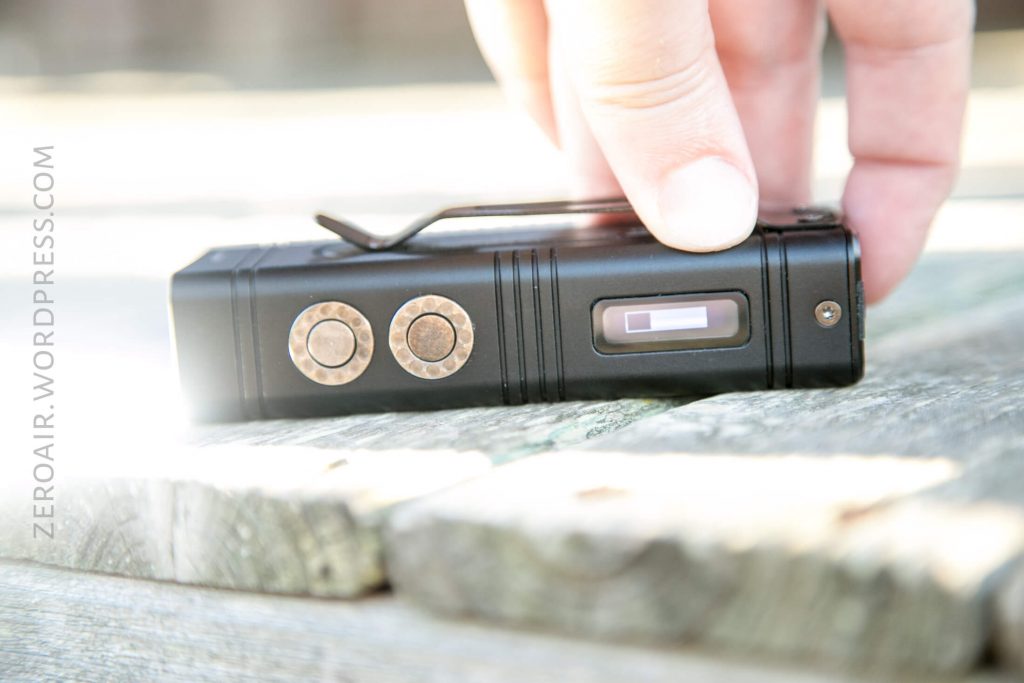
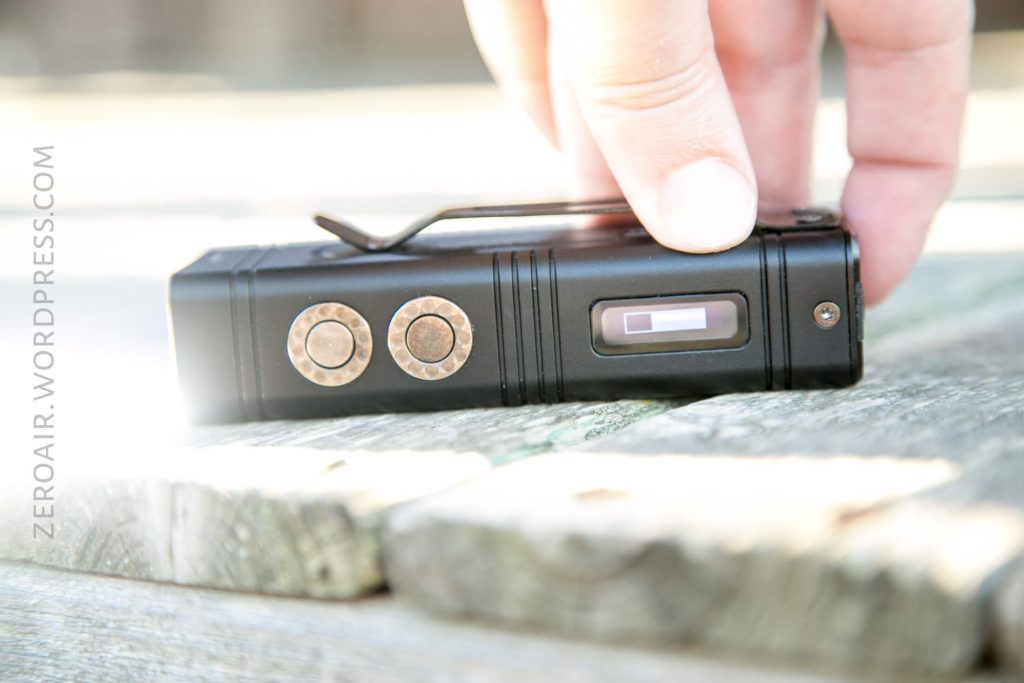

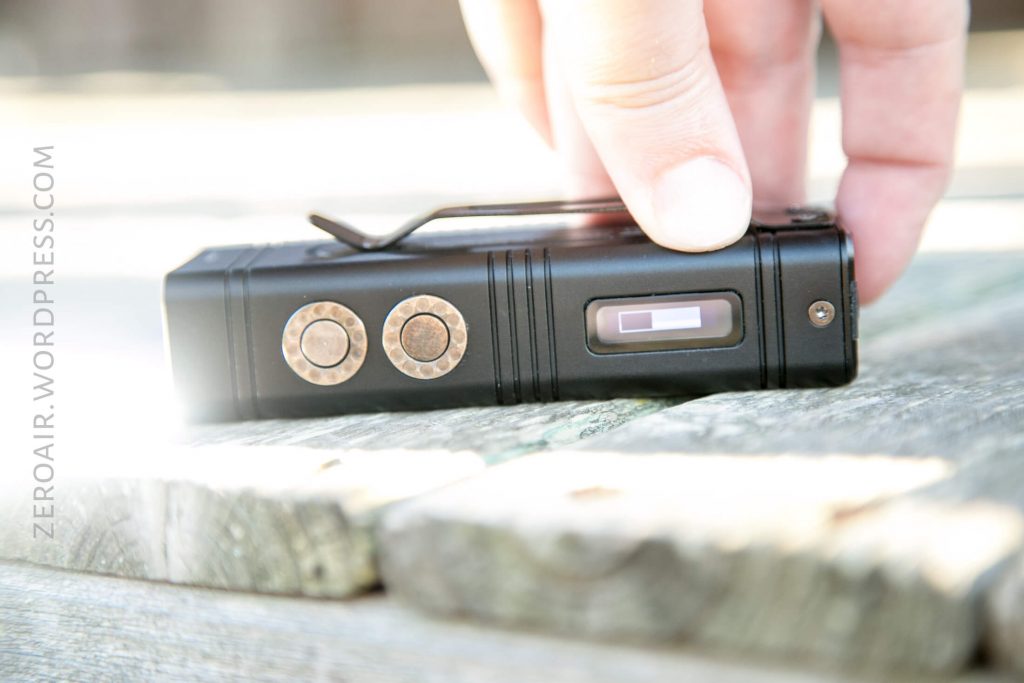

User Interface and Operation
There are three buttons on the TM10K. The momentary Turbo button is on the tail of the light and has a blue center indicating emitter. It’s a metal switch (so metal \m/(>.<)\m/ ), as are all 3 switches. This is a big, ~1cm switch. Flat and clicky, and a very even press (not wobbly.) This is a great switch. I wish we got to click it more! (And I hope they start using this switch in a bunch of products).

The other two switches are on the display side. They’re the same in size and clickiness. The rearward (display side) switch is the Power Switch. The more forward (bezel side) is the Mode Switch. Again, they’re metal and have no markings or indicators.
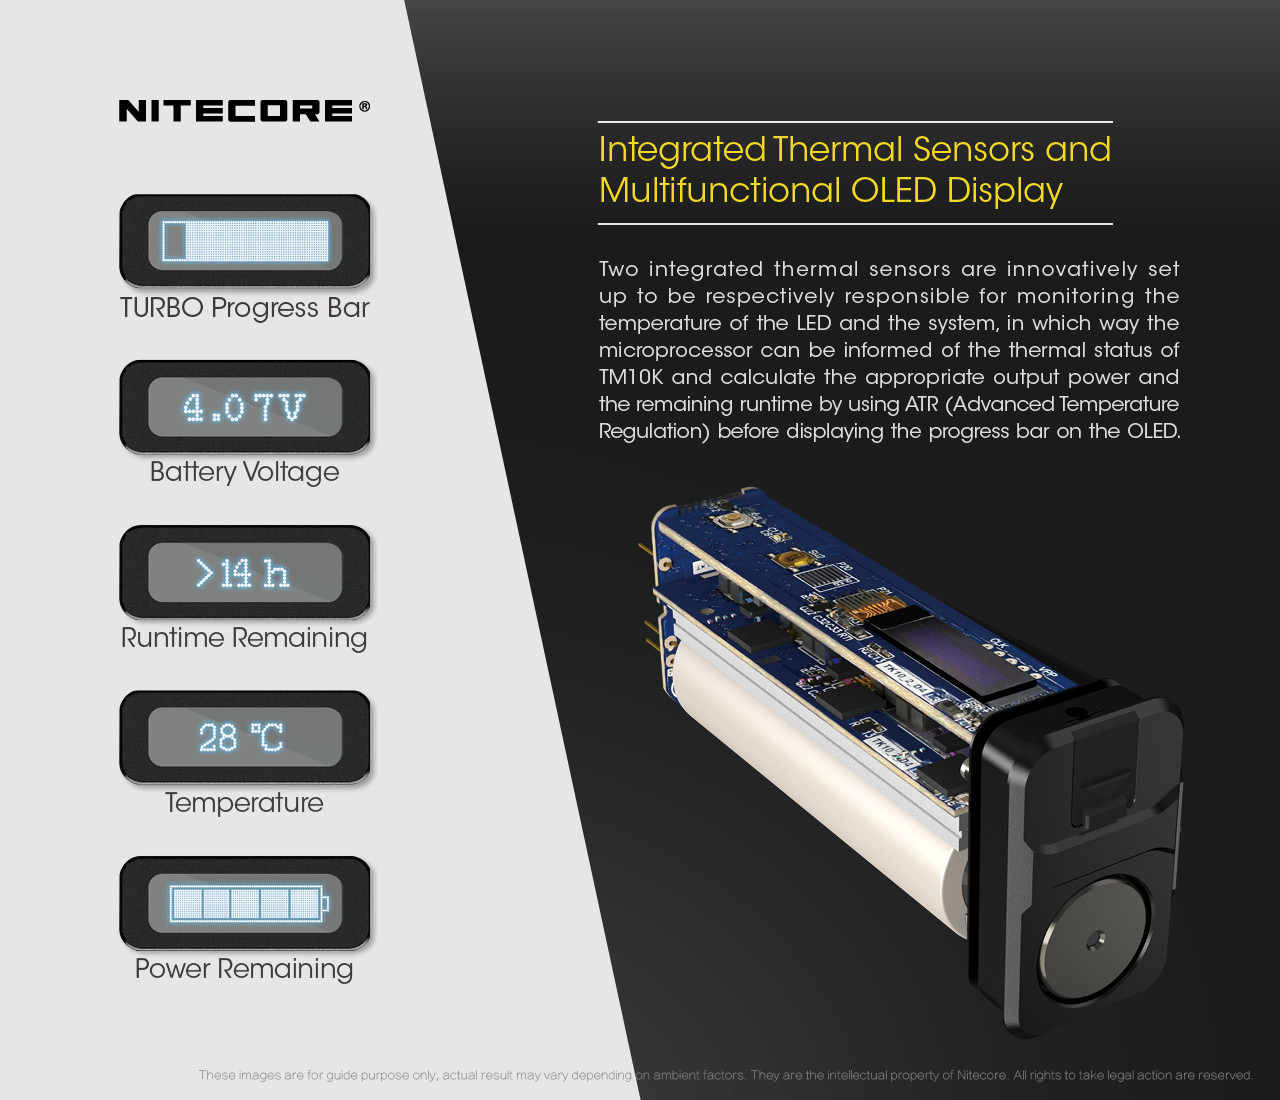
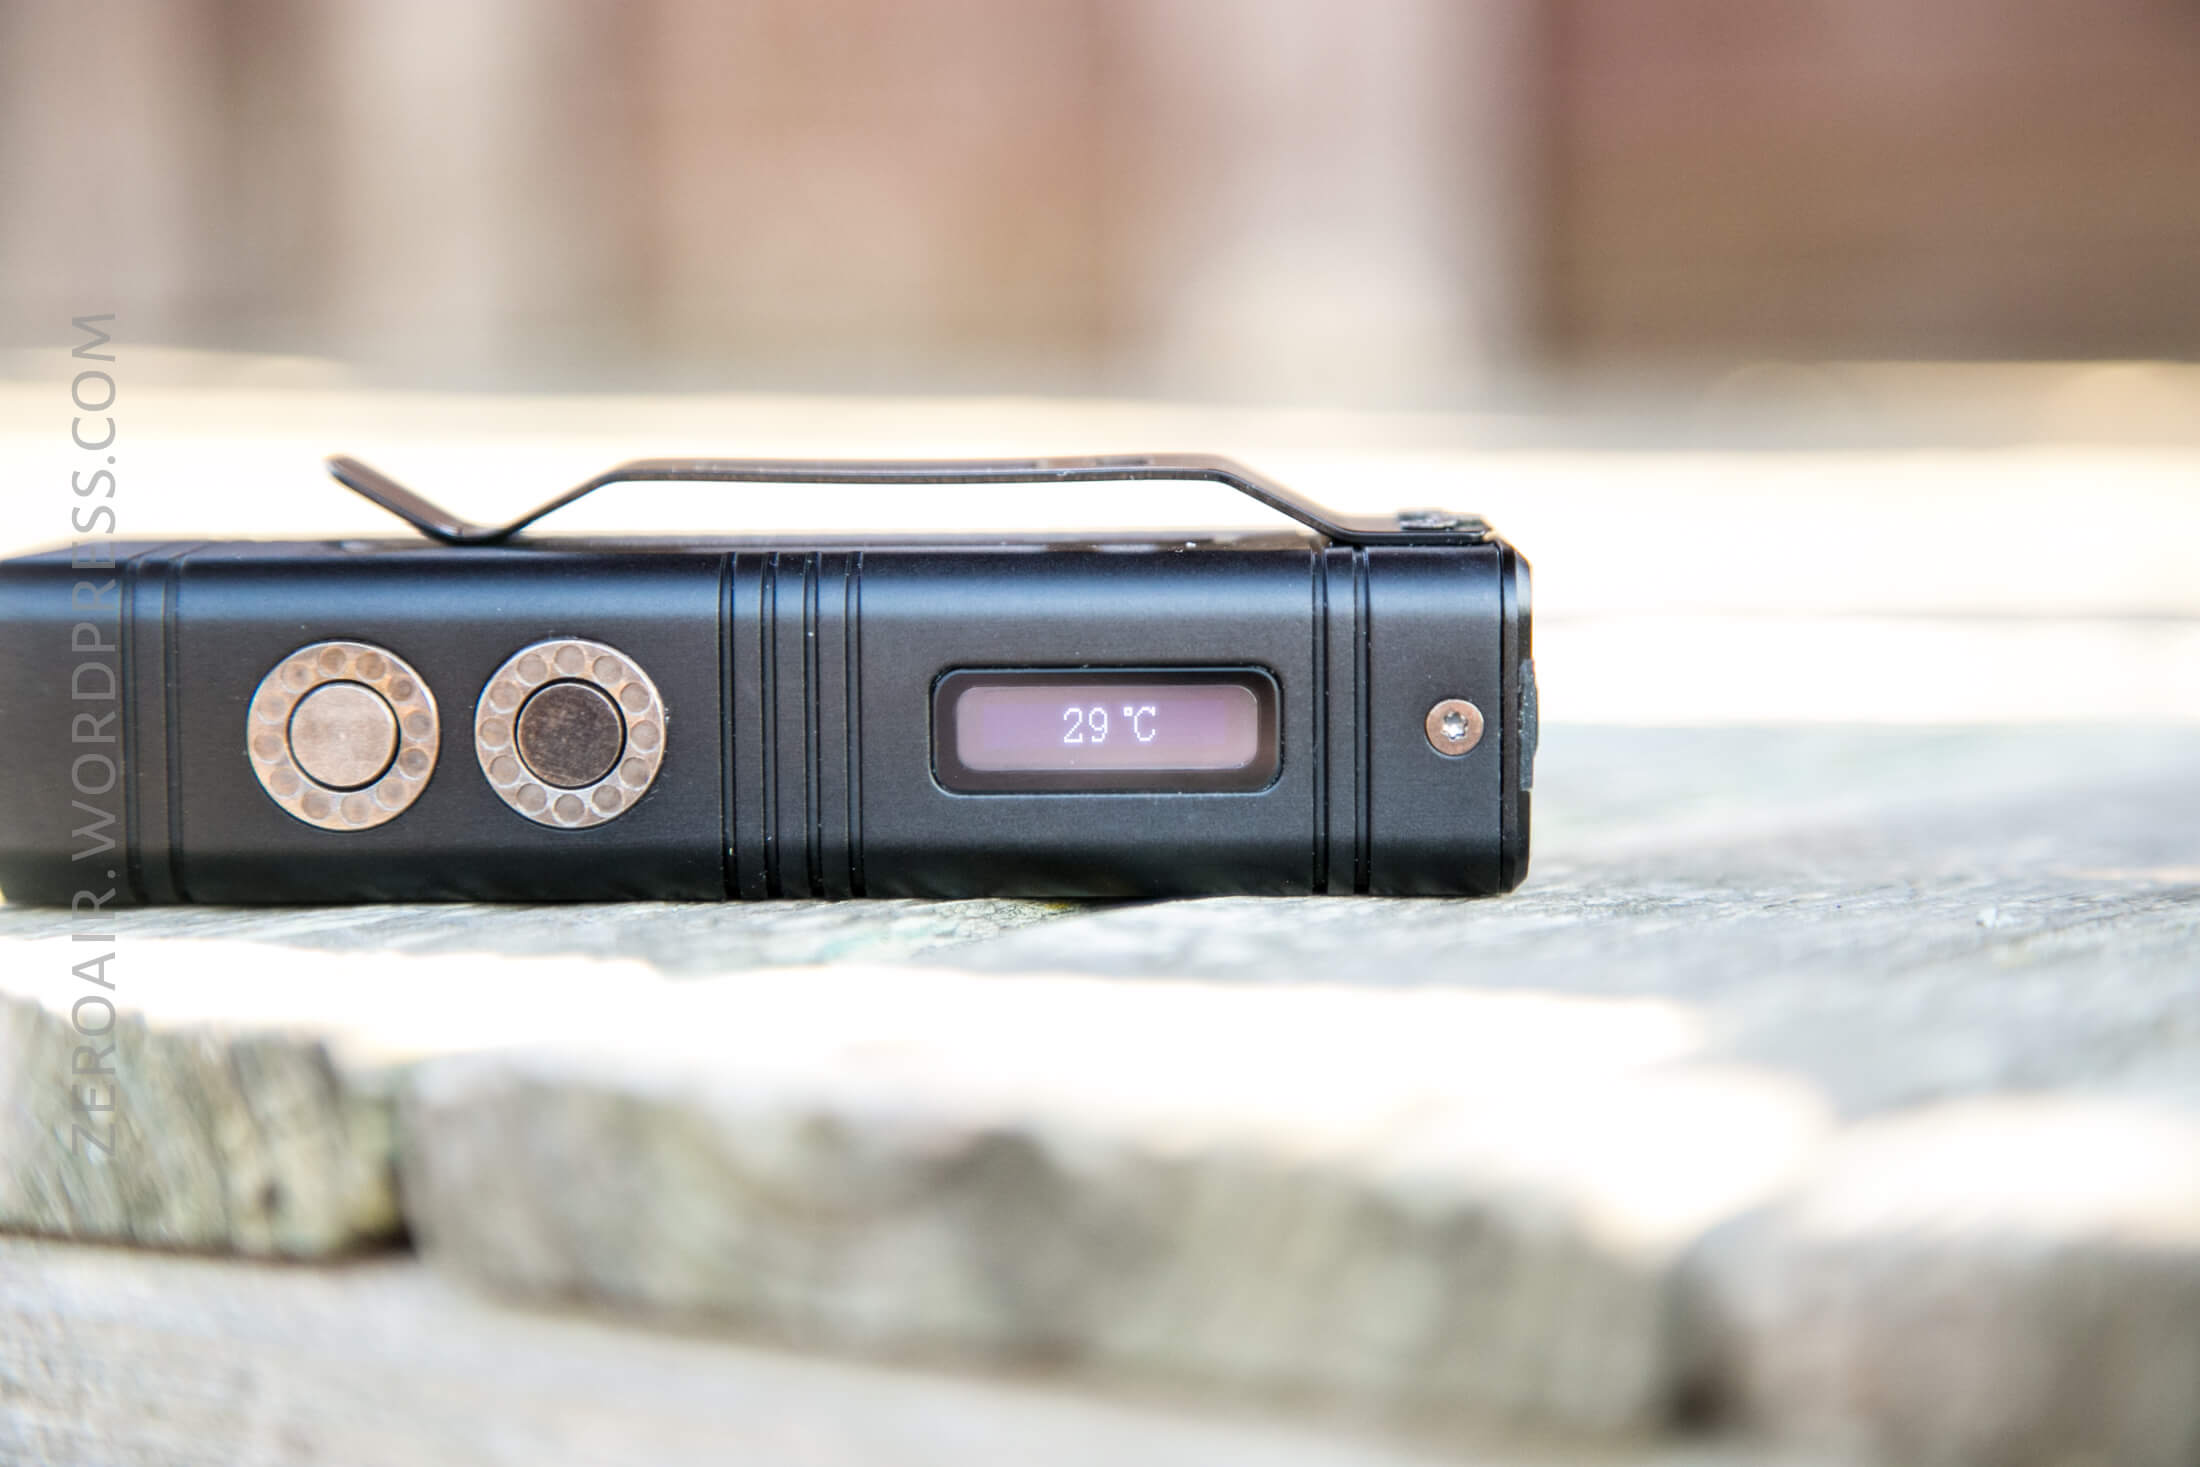
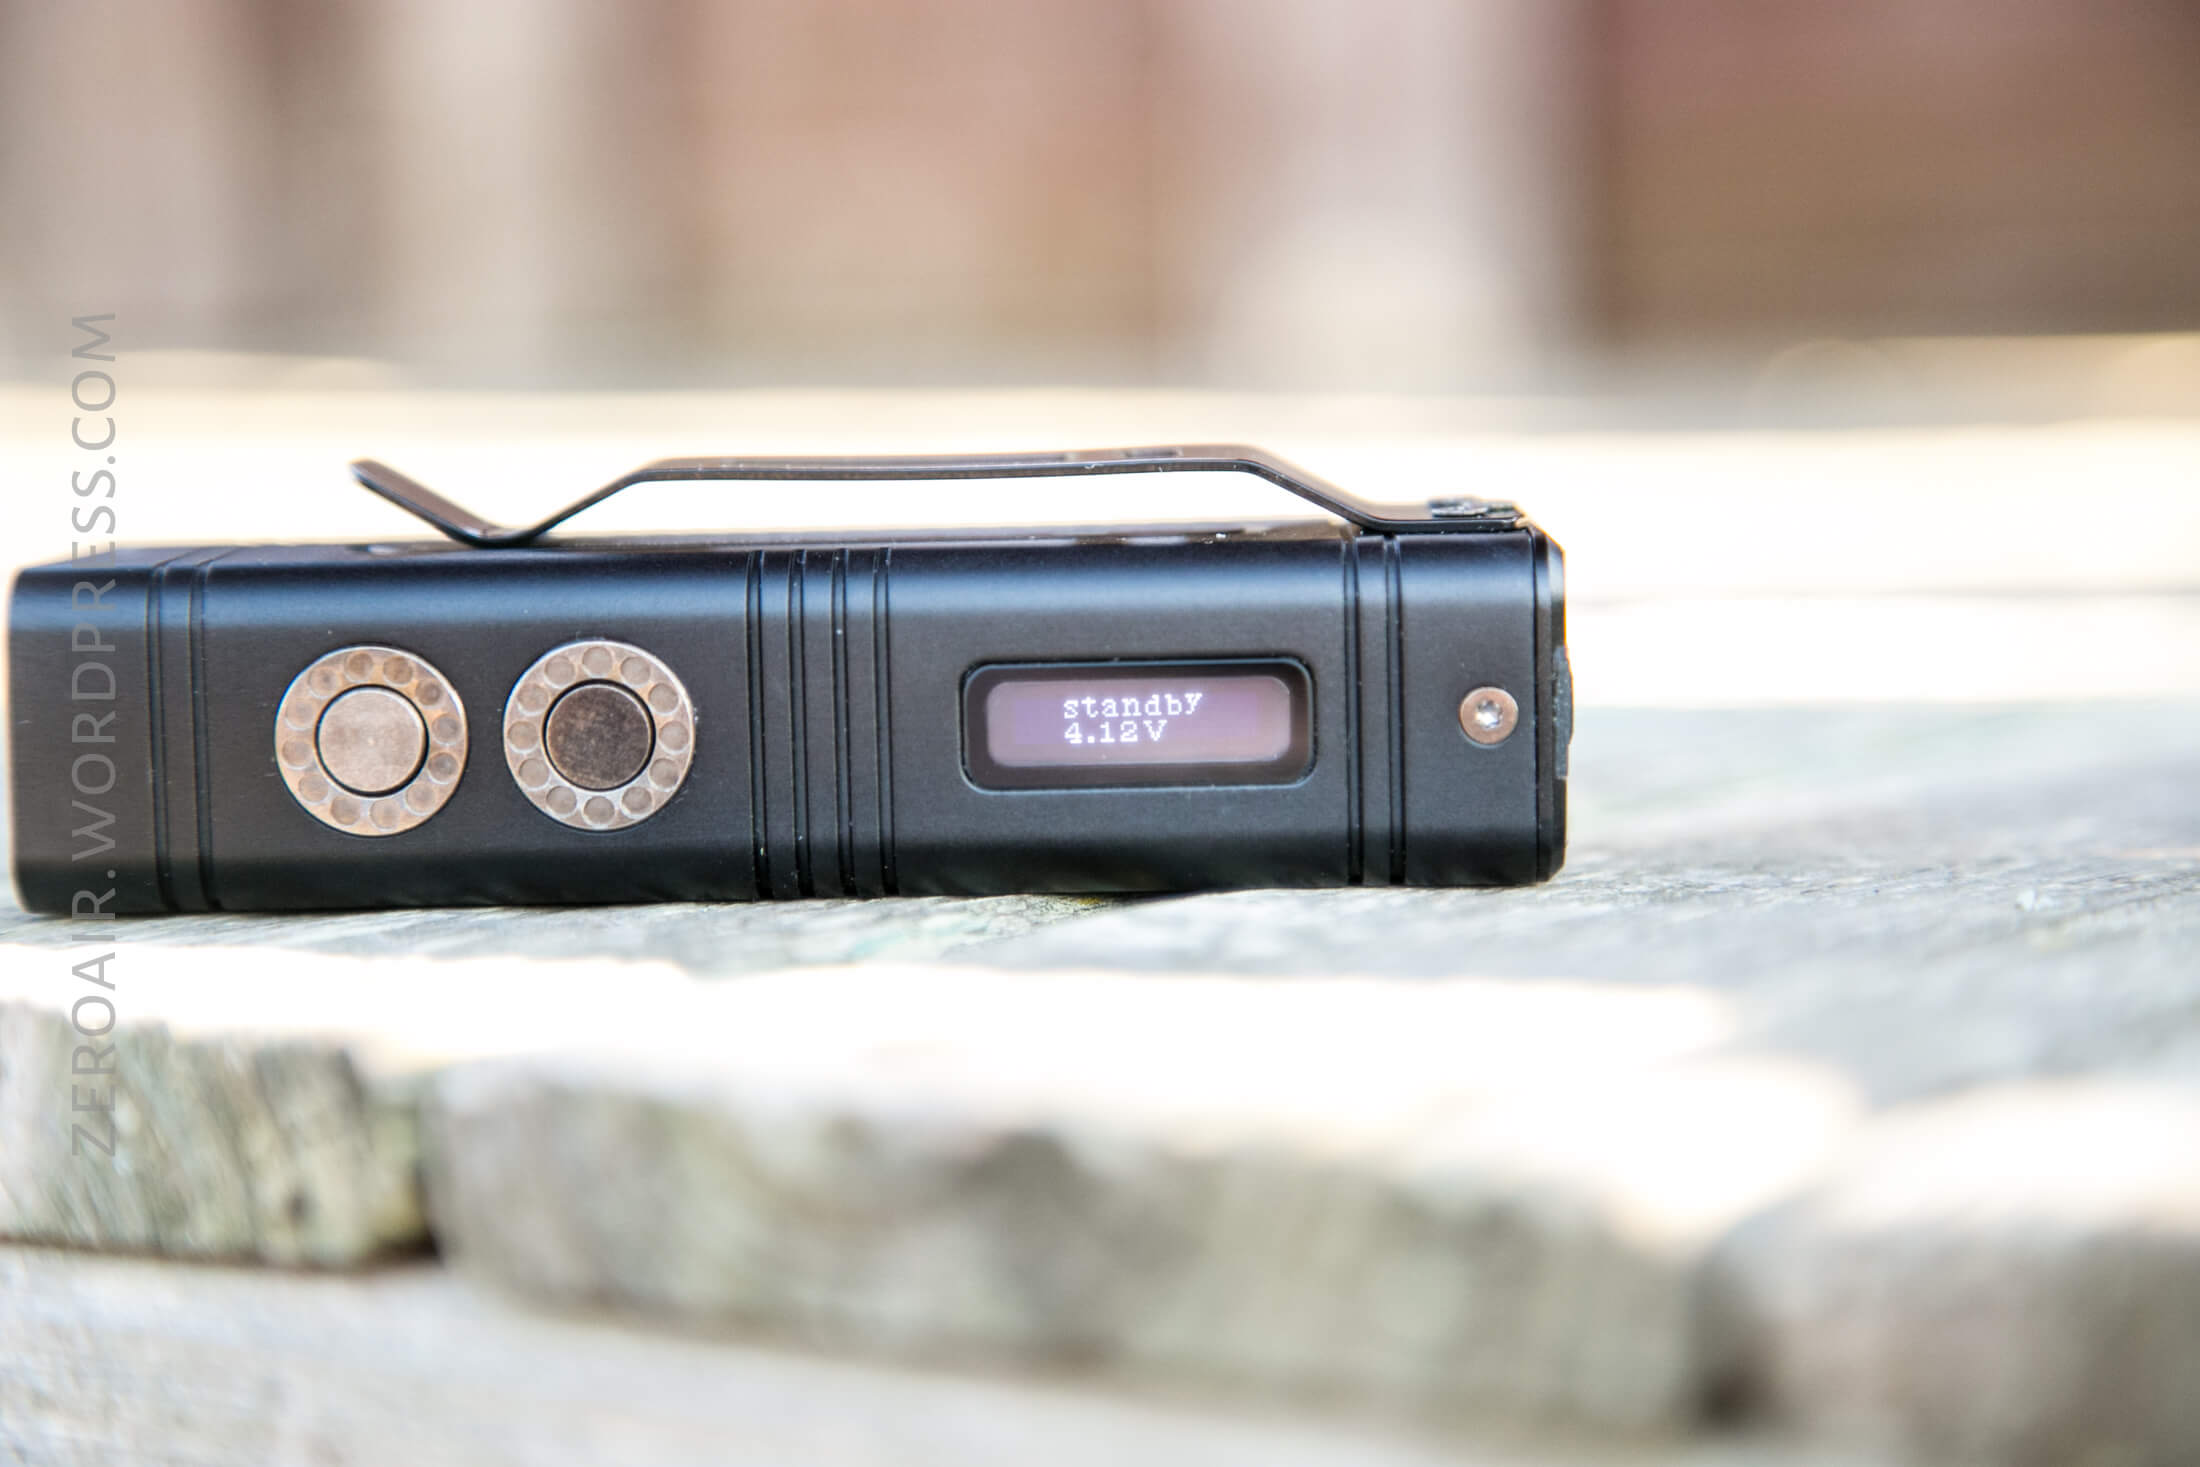
Below are some shots of what the display can display.
Voltage:
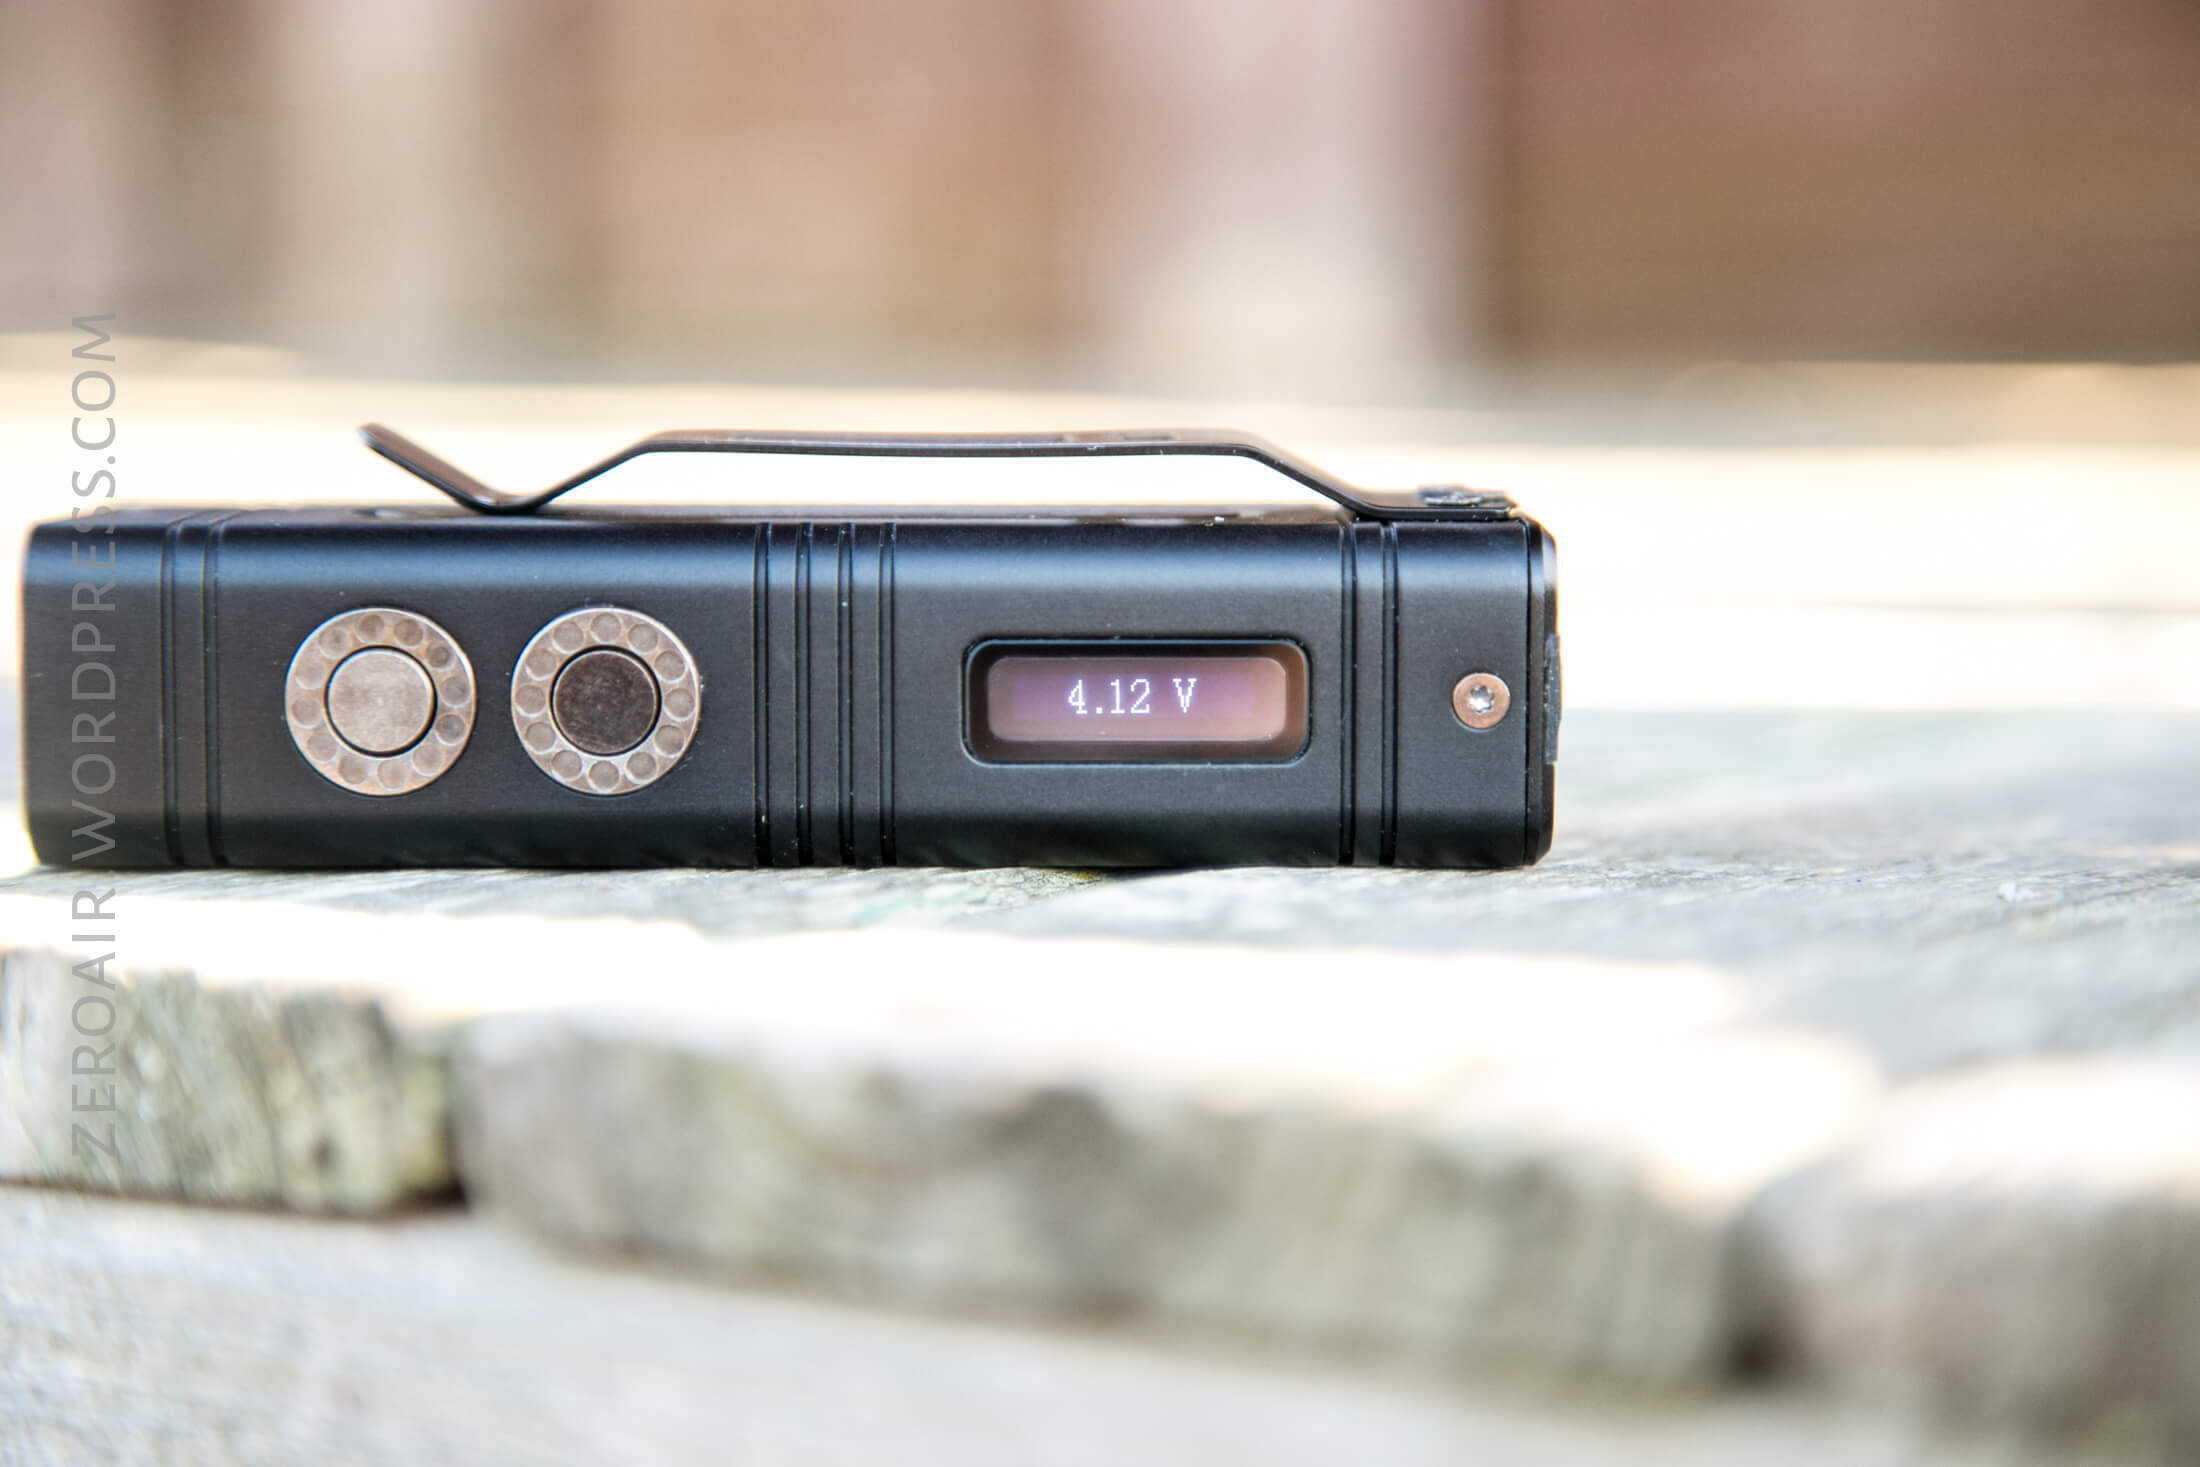
Battery Level:
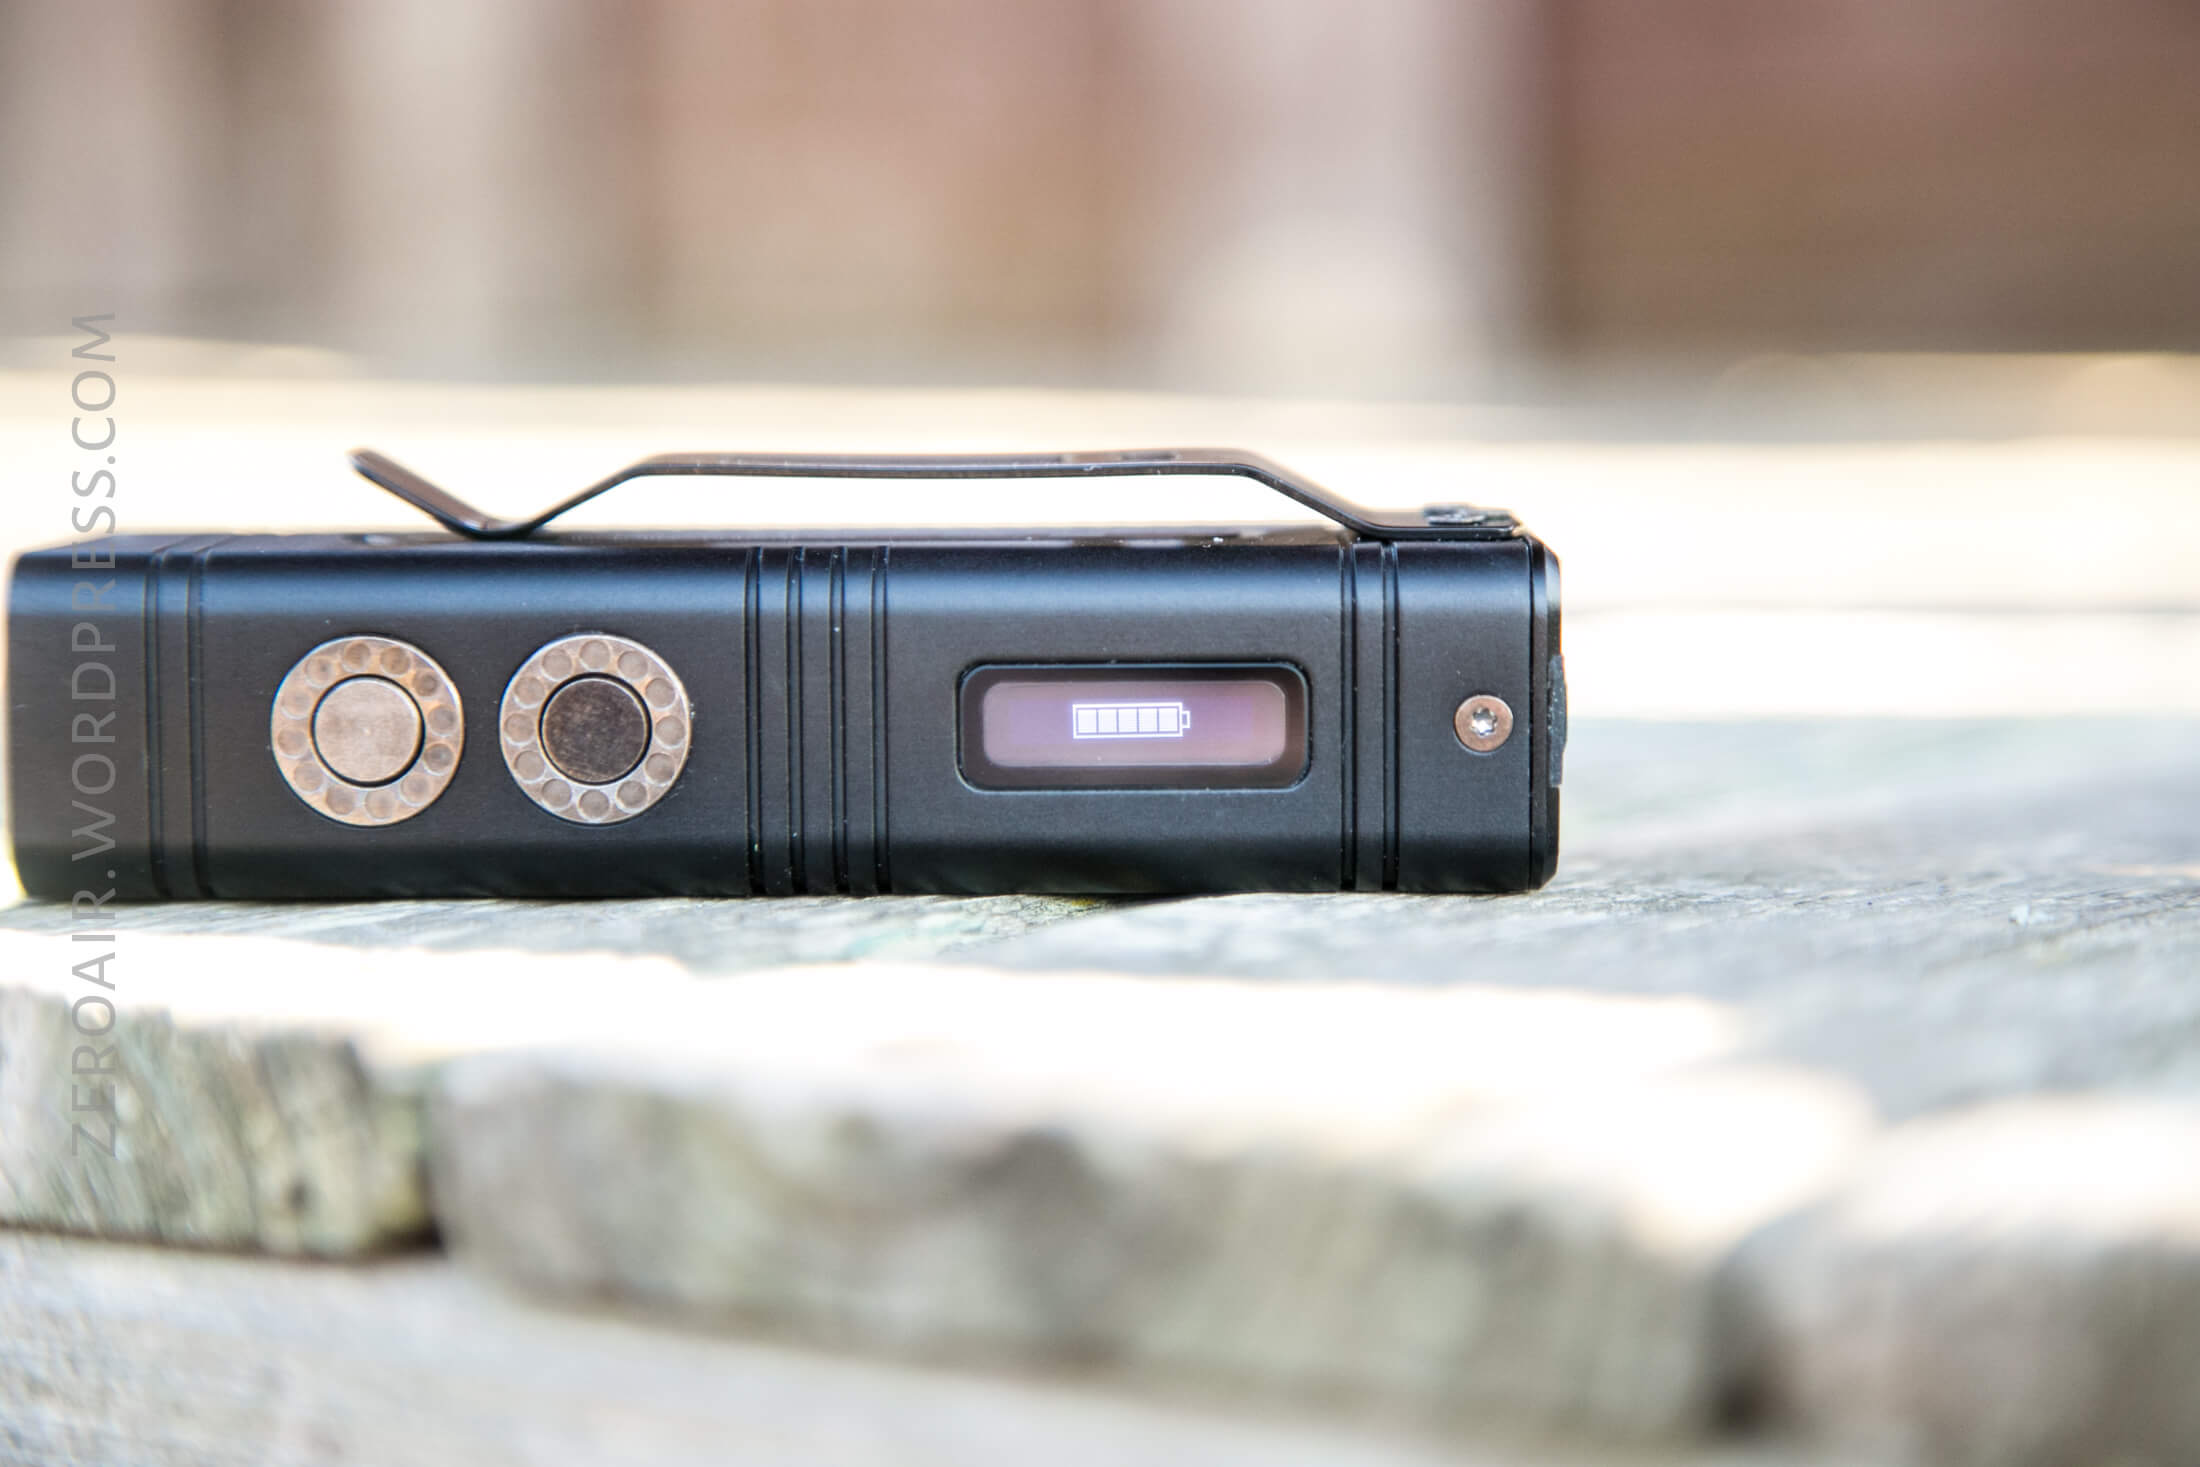
Estimated runtime remaining:

Temperature:
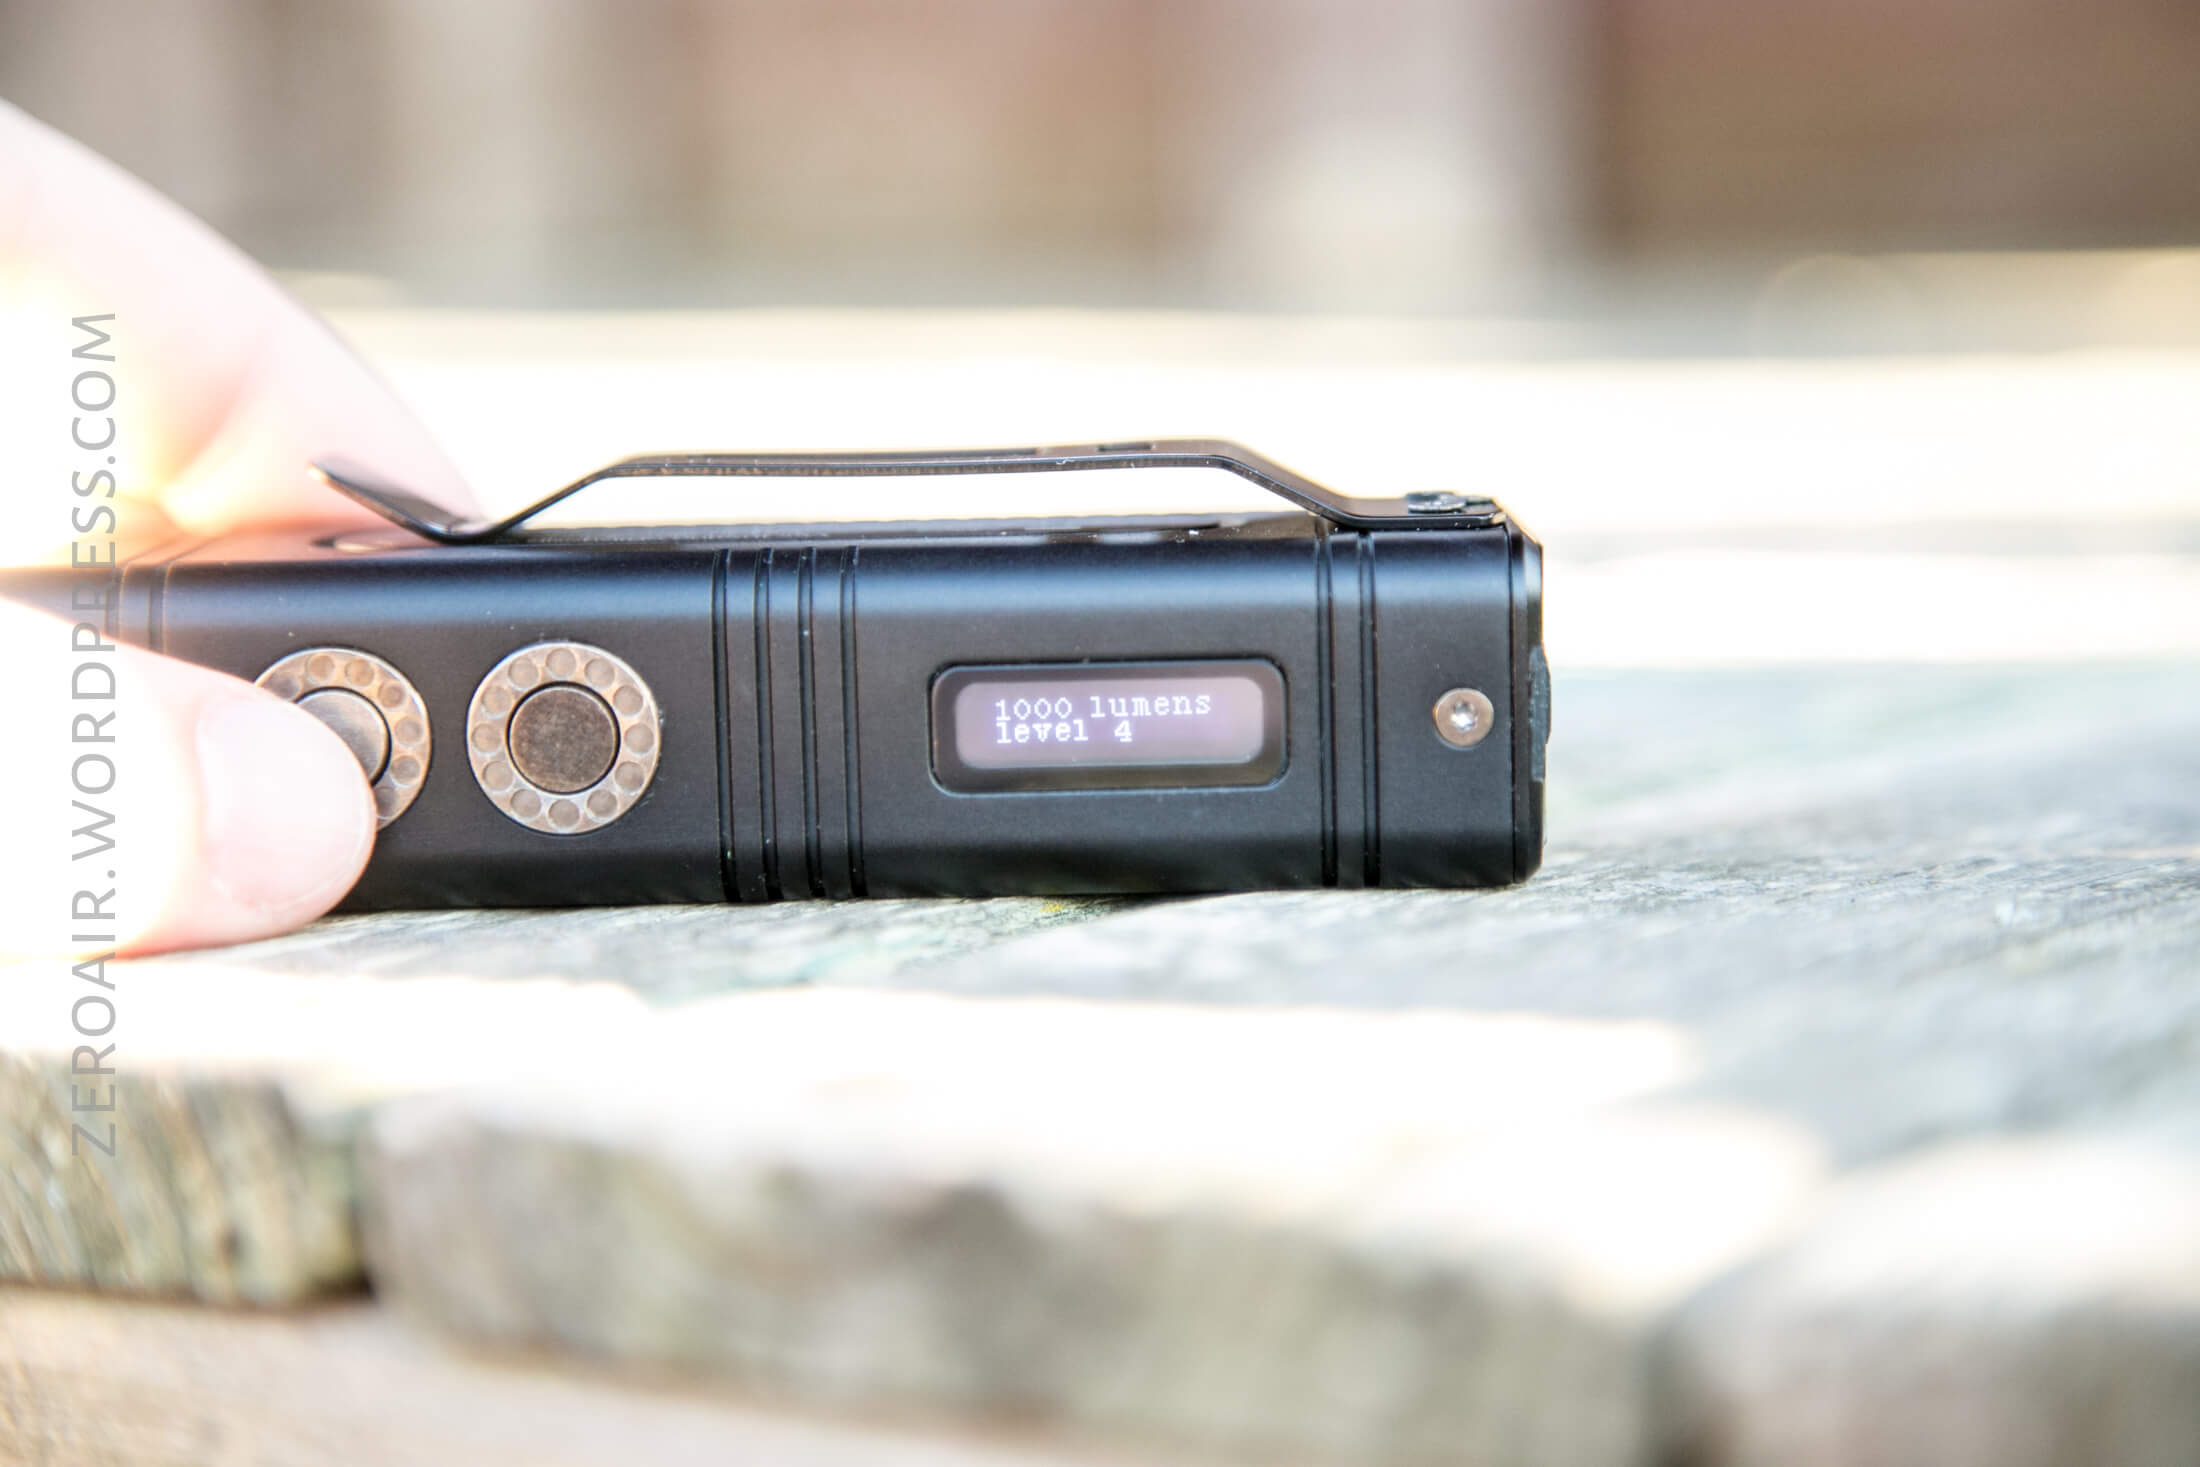
And what the screen shows on various outputs
And the 1000 lumen level – level 4. This level is customizable, from 400 lumens to 2000 lumens. I think that’s a fantastic option since 1000 lumen “High” on a “10,000 lumen” light seems too low.
Here’s a user interface table! There are three switches: Power Switch (PS), Mode Switch (MS), and Turbo Switch (TS) (and their positions have been described above.
| State | Action | Result |
|---|---|---|
| Off | Press TS | Momentary Turbo (7s, then switch to High) |
| Off | Click PS | On (Mode Memory) |
| Off | Hold PS | Ultralow |
| Off | Click MS | Voltage display |
| Off | Hold MS | High |
| On | Click PS | Off |
| On | Click MS (if the screen is active (!!!) | Mode advance (ULMH) |
| On | Click MS (if the screen is inactive, to activate the screen), then Click MS | Mode advance (ULMH) |
| High | Hold PS MS >3s | Configure High output from 400-2000 lumens |
| On | Hold PS | Lockout 1 (confirmed with High flash). Only Turbo available during Lockout 1. |
| On | Hold PS through Lockout 1 | Lockout 2 (confirmed with High flash). All buttons inactive (any button activates display) |
| Lockout (either) | Click PS to activate display, then hold PS | Unlock |
| Off | Hold PS MS | Beacon on/off |
| On | Hold MS | Momentary Turbo |
There’s really a lot going on with that UI. All but the obscure stuff is very intuitive, and I’ve had no issues catching on.
You’ll notice that there are no strobes mentioned. The light doesn’t include strobes!
I find it very interesting that the light requires the screen to be active in order to advance the modes. That’s quite unusual.
The two lockouts are nice too, but I think I’d rather have access to Ultralow than turbo in most cases, if I can have only one mode.
Modes
| Mode | Mode Claimed Output (lm) | Claimed Runtime | Measured Lumens |
|---|---|---|---|
| Turbo | 10000 | – | 10749* (initial) |
| High | 1000 | 2h | 1171 (30s) |
| Mid | 300 | 7h | 435 |
| Low | 100 | 14h | 115 |
| Ultralow | 3 | 200h | 1 |
Of course, since Turbo lasts only 7 seconds, that’s not an ANSI standard 10749 lumens. But I’ve included it, just for your info.
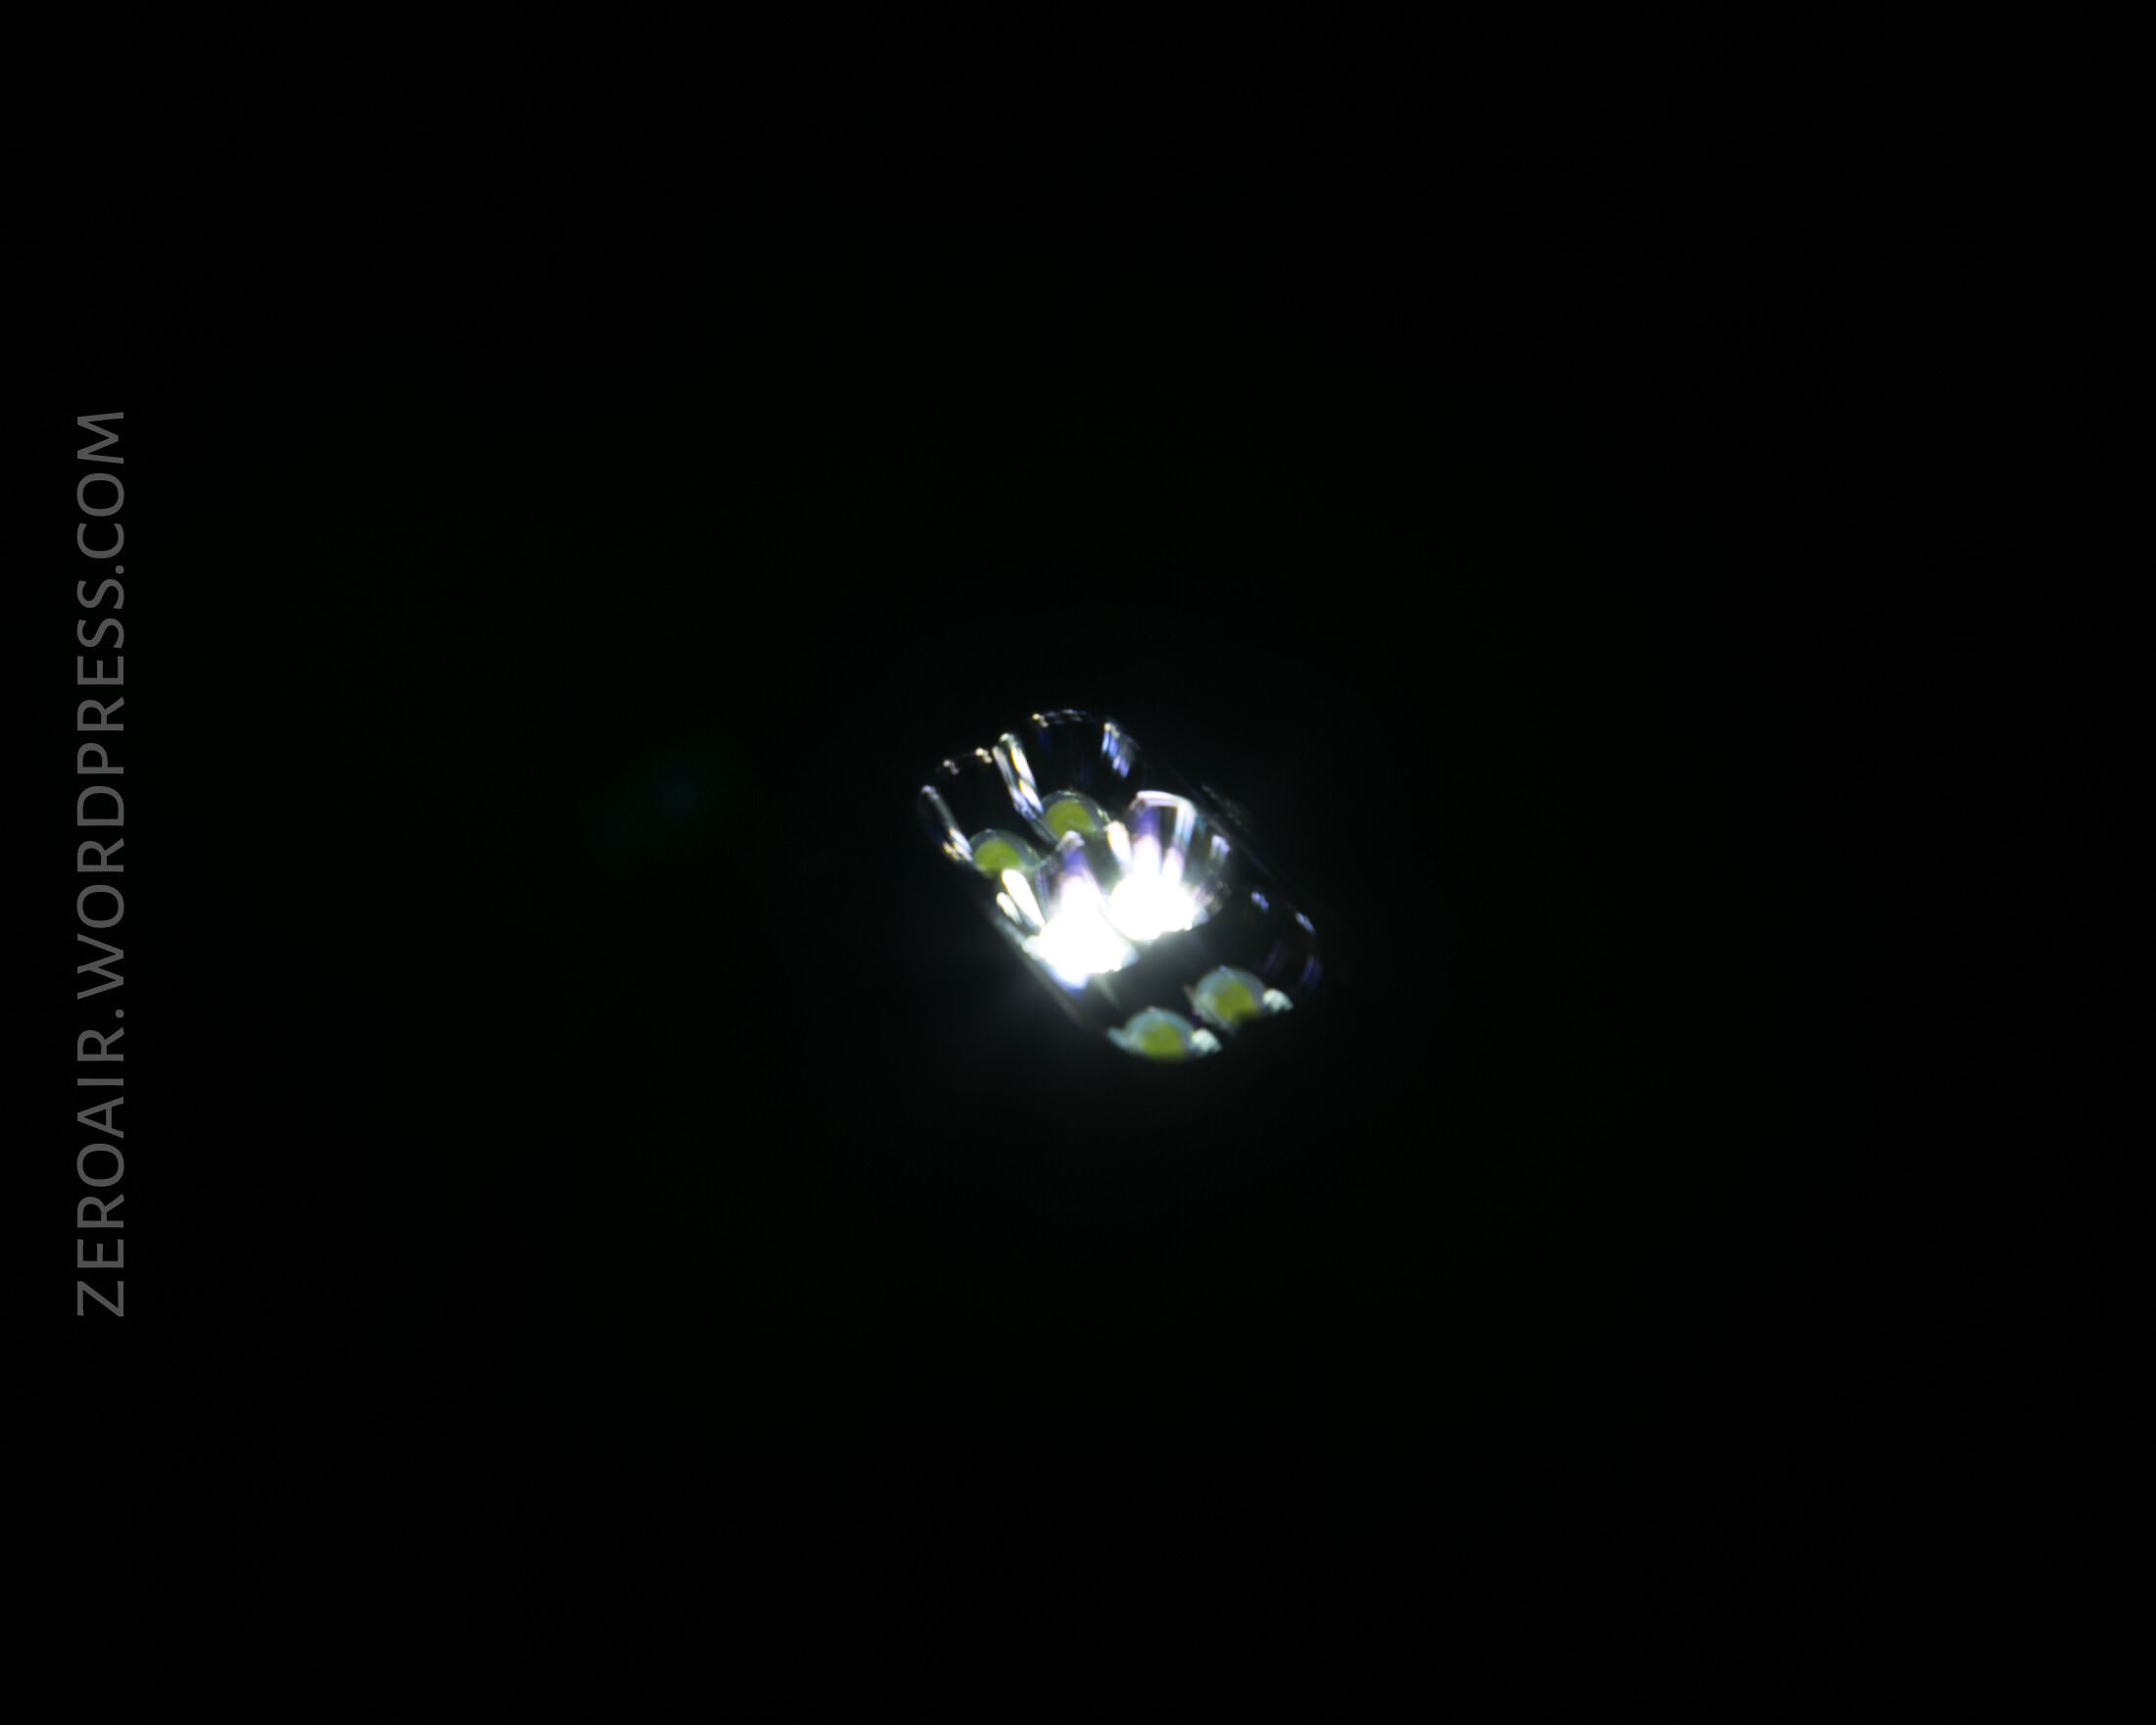
LED and Beam
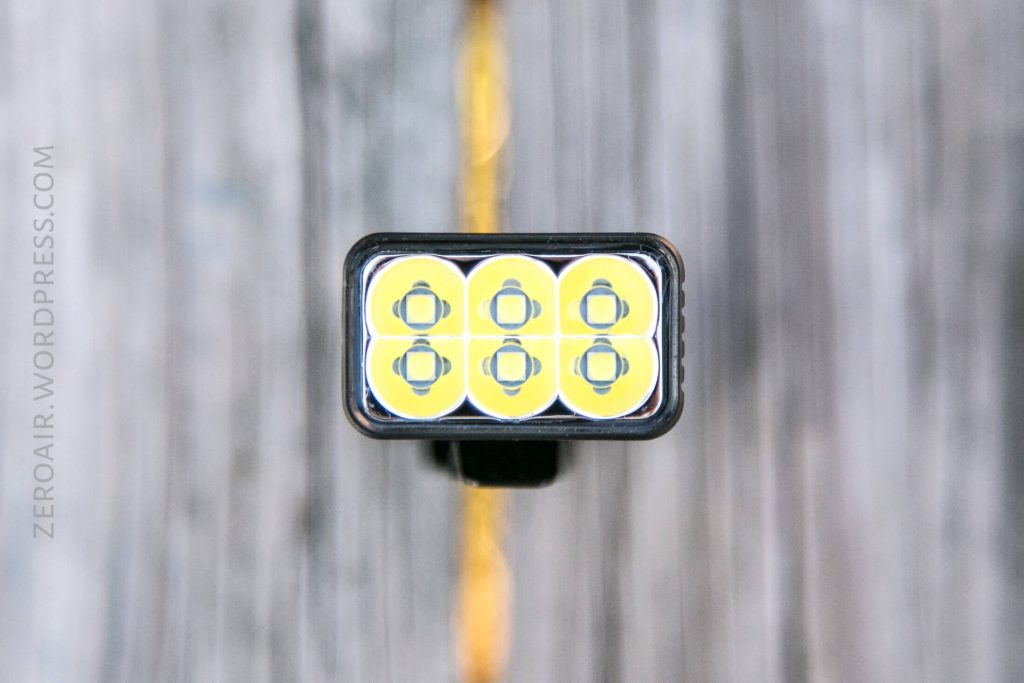
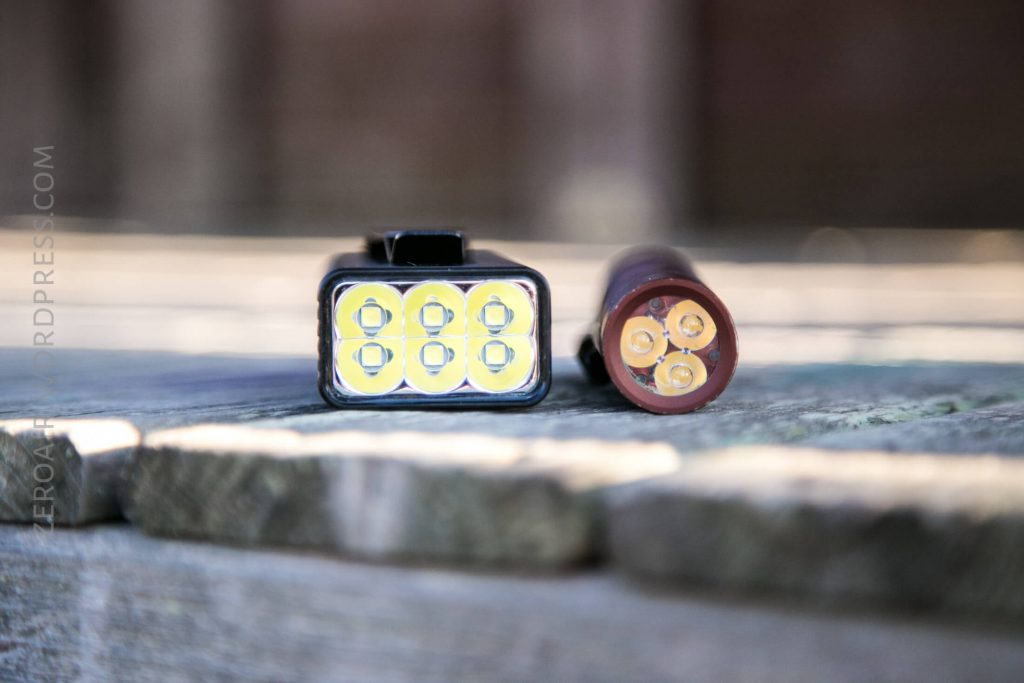
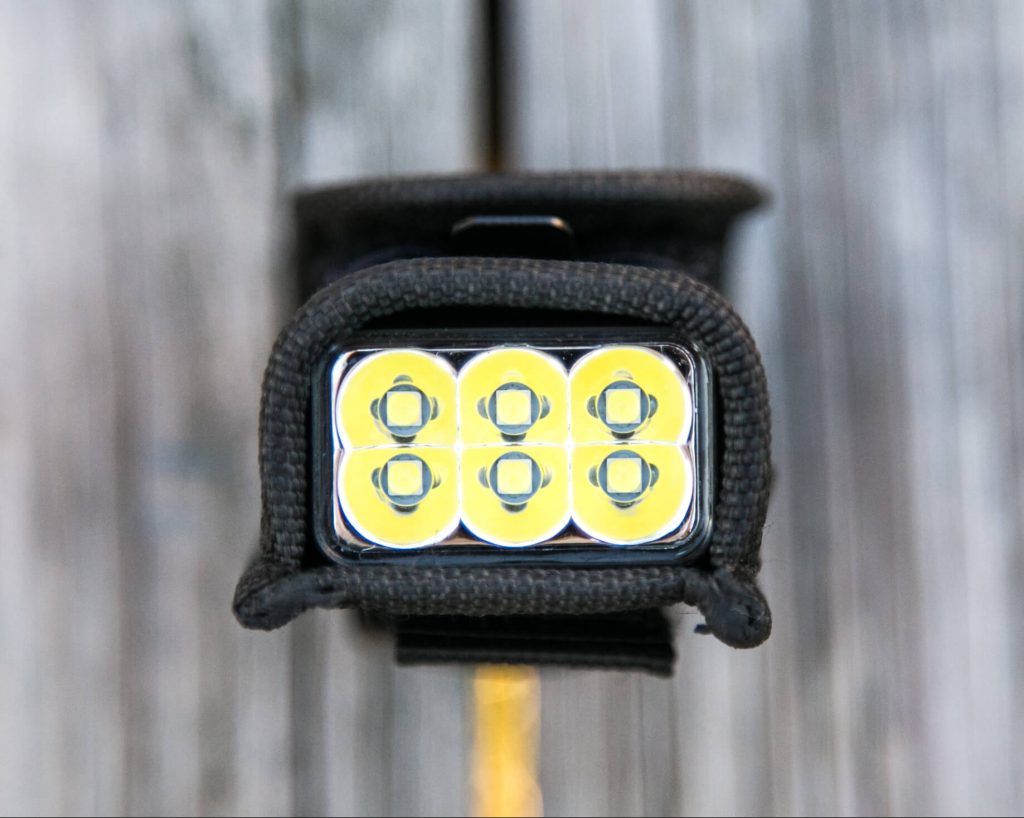
The emitters (six) are Cree XHP35 HD’s. That’s a good choice for high-output lights. The very shallow and incomplete (ie not fully round) reflectors are smooth.
Despite the unusual emitter arrangement, the beam profile isn’t really that unusual. There’s a hotspot and a load of spill.

The lowest mode uses only the center two emitters. All other modes use all the emitters.
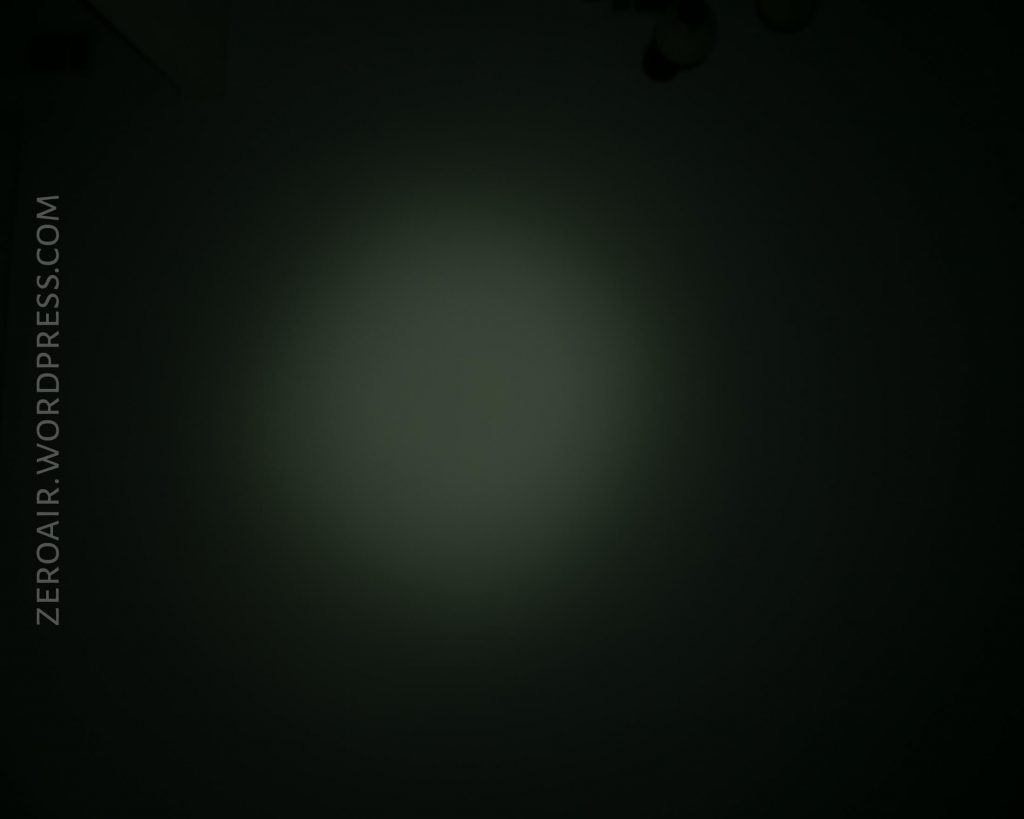
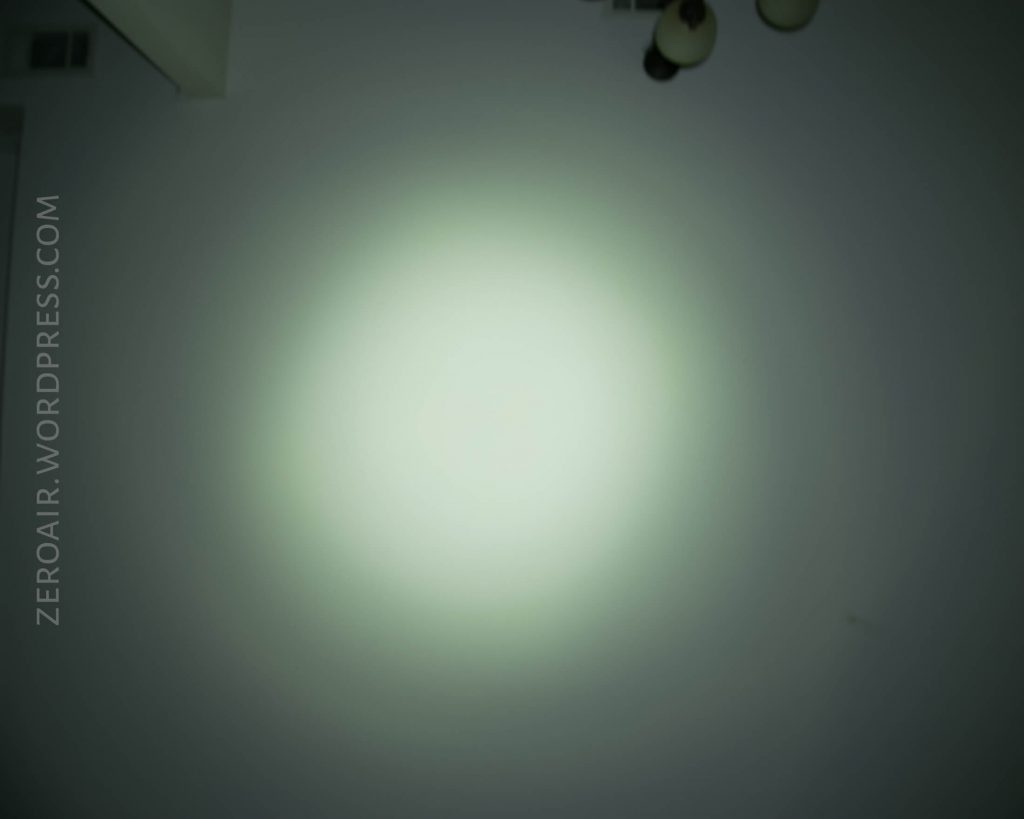
Beamshots
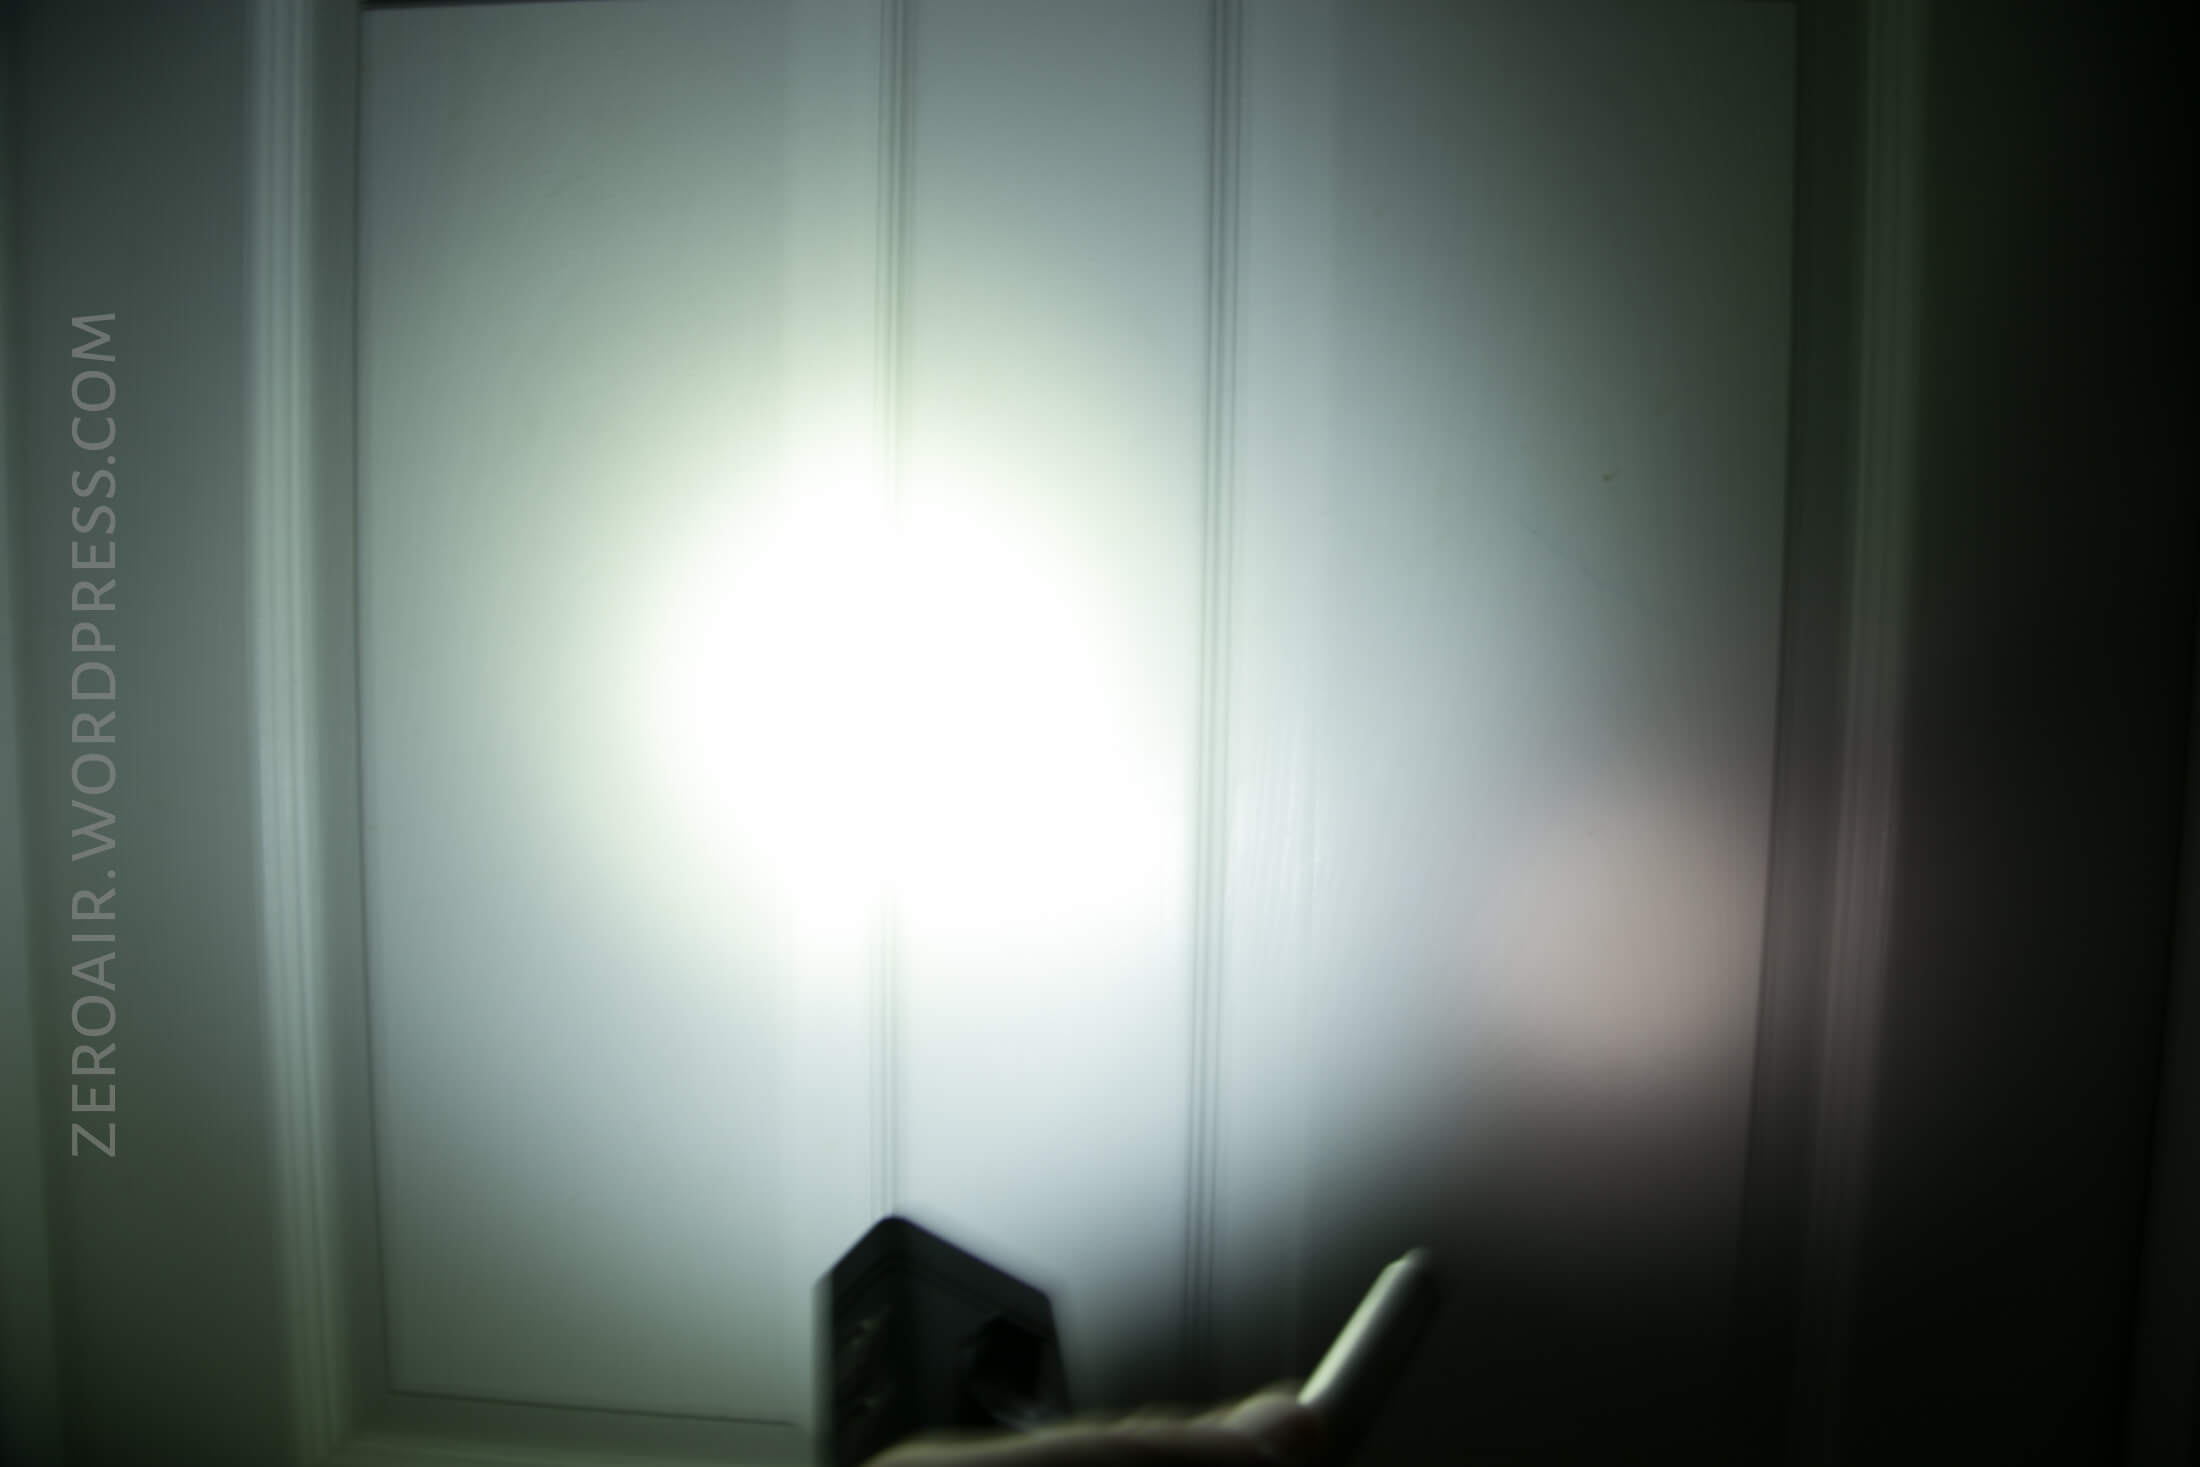
These beamshots always have the following settings: f8, ISO100, 0.3s shutter, and manual 5000K exposure. These photos are taken at floor level, and the beam hits the ceiling around 9 feet away.
Turbo is absolutely worlds brighter than the default High mode (1000 lumens, pictured below).


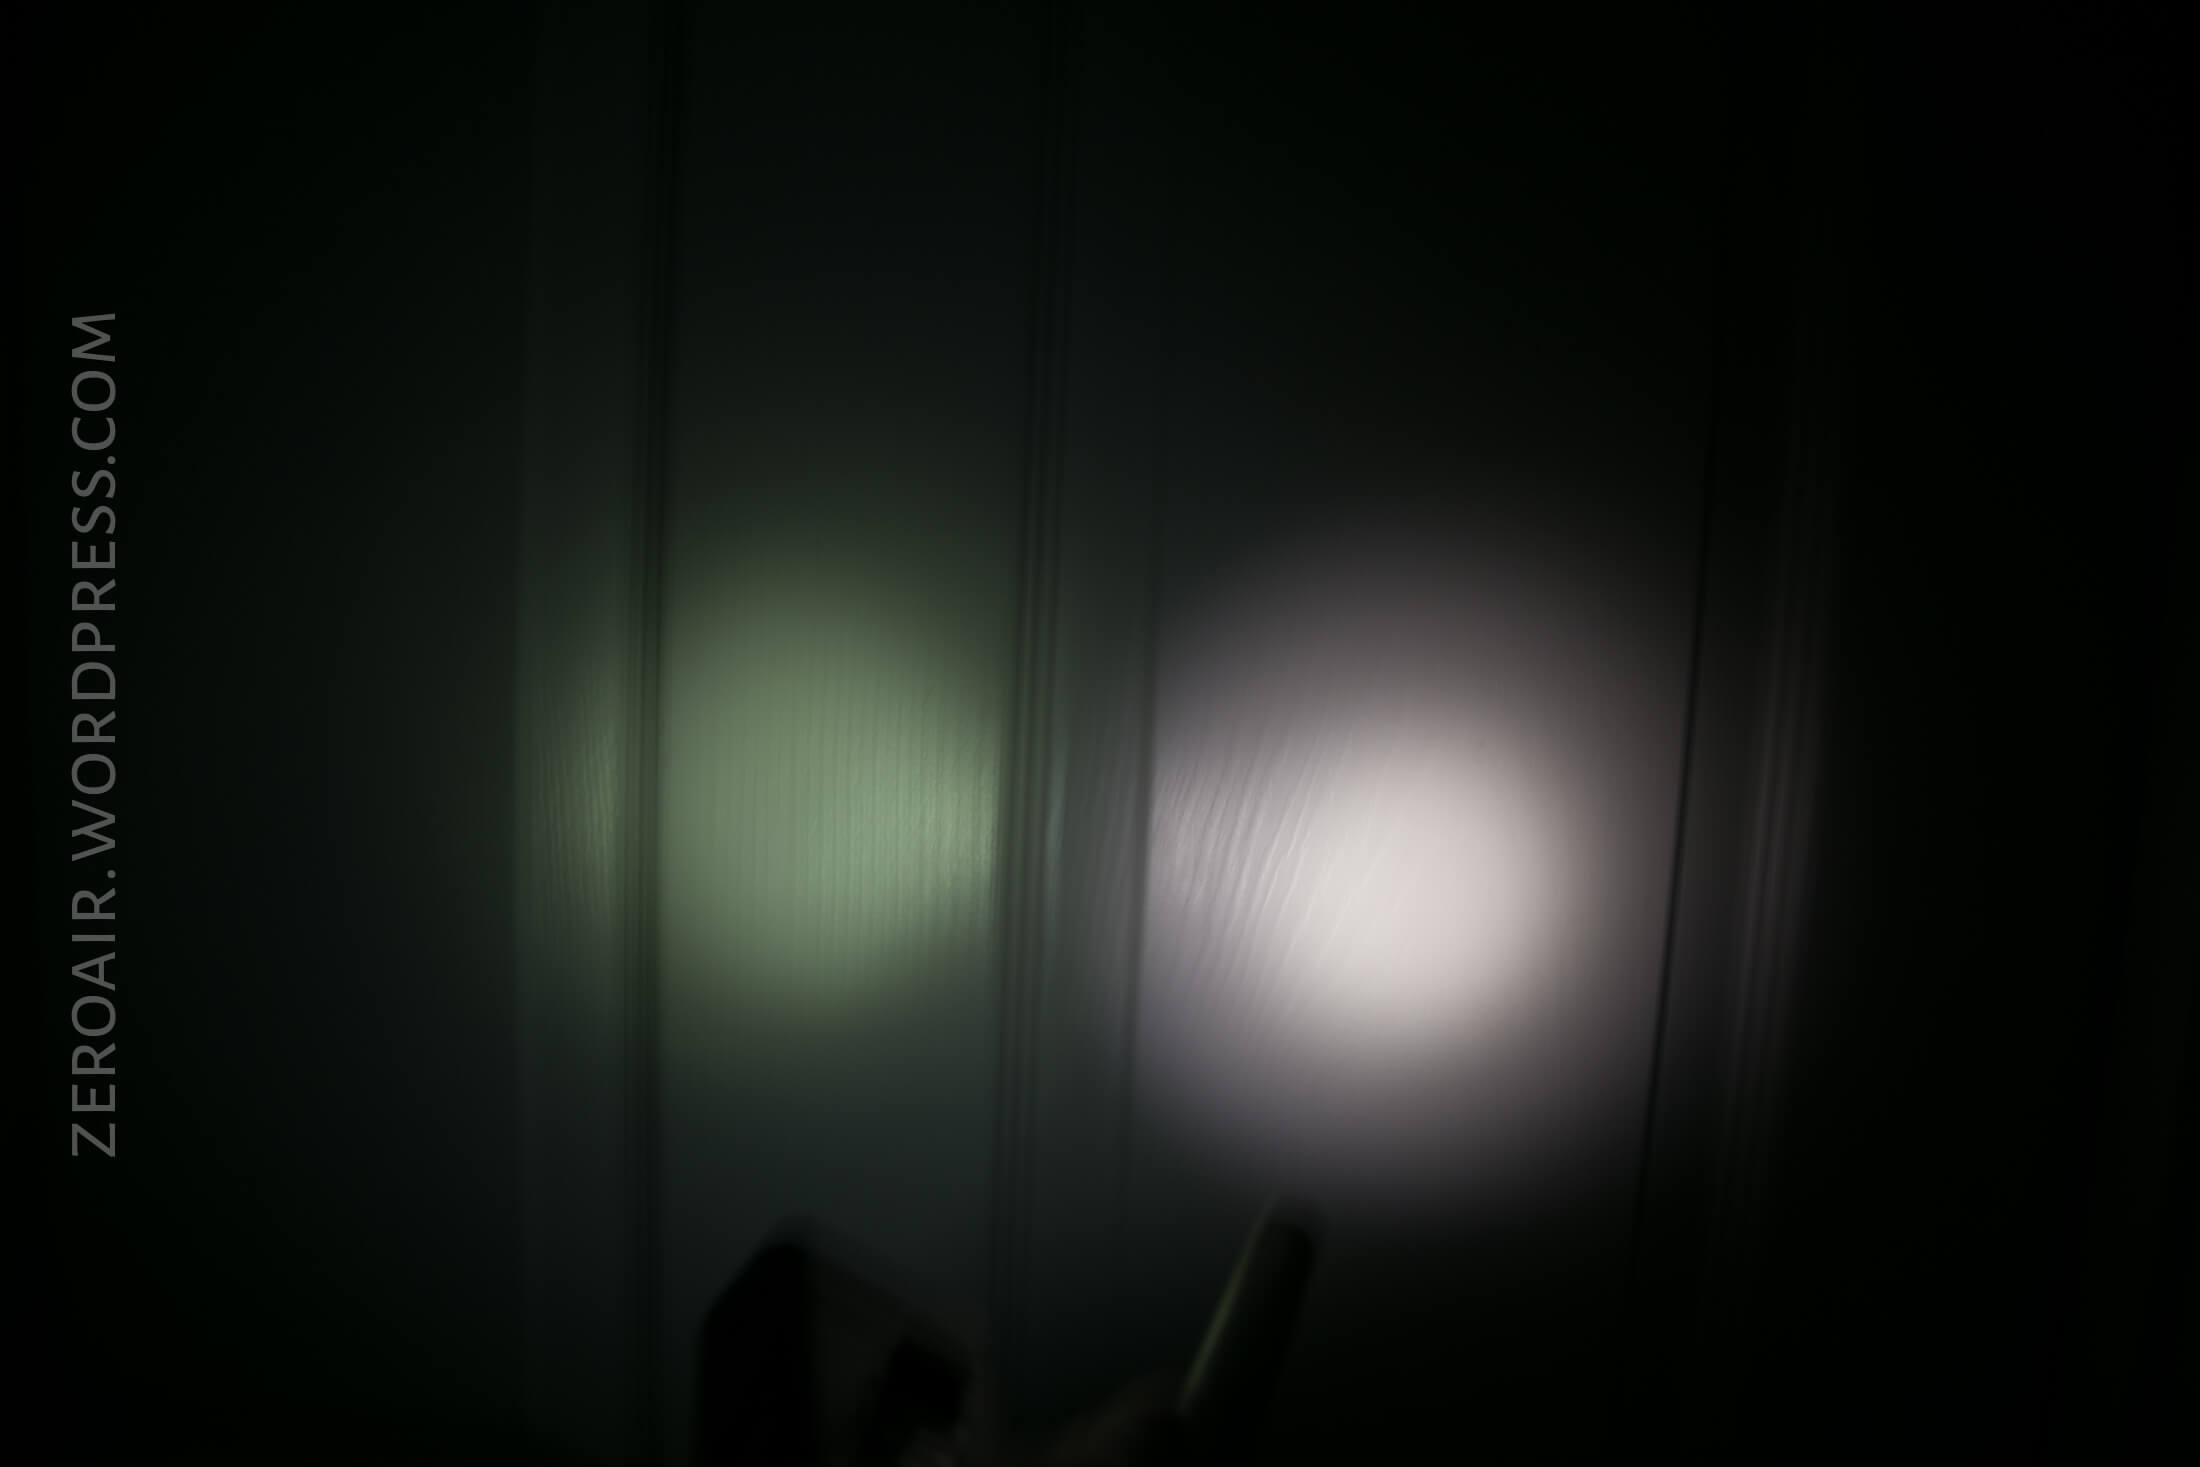
Tint vs BLF-348 (KillzoneFlashlights.com 219b version) (affiliate link)
I keep the test flashlight on the left and the BLF-348 reference flashlight on the right.
Unfortunately, the tint isn’t that great. These photos always exaggerate it, but in person, it’s a little green too.
Modified chart, because I wanted to be able to show the throw of Turbo mode. I always measure throw at 30 seconds, but Turbo only lasts for 7 seconds. Anyway it’s an interesting number and Nitecore gives claimed throw for each mode. So Turbo is measured at startup, and High is measured on the 1000 lumen output, at 30 seconds. In both cases, throw bested the claim.
Random Comparisons and Competitive Options
Here’s a relevantly filtered page on parametrek.com. Normally I limit my comparison link to same-emitter lights. But this time, clearly output is more important. So any light over 10,000 lumens is included. There is really only one light less expensive than $280 or so, and that’s the Thrunite TN36. I haven’t had a chance to handle one of those, but the TM10K is certainly more pocketable – in fact this could easily be an EDC light with the right pants and carry…. The TM10K is absolutely the only option that can claim that.
There’s another option. A light like the Sofirn Q8 can be had for around $40, and another $10 or so for cells (depending where you get your cells). For $300, you could buy six of those, and make 30,000 lumens for longer (maybe not much longer) than 7 seconds. The user interface would be horrible though…. (Press 6 switches for “on”)….
Conclusion
What I like
- Form factor – unusual and neat
- Output really is “10,000 Lumens!!”
- Metal switches are my favorite
- Most used parts of user interface are intuitive
- Easy access to important modes
- Configurable High
What I don’t like
- Branding on side of light
- Depths of user interface can be confusing
- Would USB-C-out be awesome, making this a powerbank? Yes it would.
Notes
- This light was provided by Nitecore for review. I was not paid to write this review.
- This content originally appeared at zeroair.org. Please visit there for the best experience!
- For flashlight-related patches, stickers, and gear, head over to PhotonPhreaks.com!
- Use my amazon.com referral link if you’re willing to help support making more reviews like this one!
- Please support me on Patreon! I deeply appreciate your support!
Pingback: Nitecore P12 Flashlight Review – ZeroAir Reviews
Nive review! Very interesting concept, but the price is too high, and the inscription on the side really terrible.