Zonestar Z8XM2 3D Printer Kit Review
The Zonestar Z8XM2 is a 3D Printer that supports multi-material and can run two filaments at one time! Read on for some photos.
Official Specs and Features
Here’s a link to the Zonestar Z8XM2 3D Printer product page.
Versions
Zonestar makes a number of printers that are practically the same as this but with small variations. For example, there’s a two print head version of this printer (seen here) and a single print head version.
Price
Around $380 when it was available, and while it’s still listed on the site, it’s listed as Out of Stock, and has been for a while.
Short Review
This printer is hard to build. It took me over 20 hours of actual built time, and in the end (either due to me using the wrong length screws, or the kit not including enough), I had to buy a few replacement screws to make the kit complete.
Long Review
What’s Included
The kit is flat pack like Ikea parts. VERY compact, and ships heavy.

All the needed parts are bagged in the general order they’ll be needed. Only the general order though, as sometimes a bag will be called for in the instruction manual out of order.

I had in mind to do a top-down timelapse build of this but quickly realized that won’t work in my space, for an item this tall.

Package and Manual
There are a bunch of pdfs available. Wroth having a look at, in case you’re considering building one of these. It’ll give you some idea what you’re in for.
Parts list:

How to connect the printer to PC (repetier-host)
How to off-line print(Print from SD card)
3D Printer DIY Kit User Guide(V2.0)
There are some other files. Many mp4’s are included to help level the bed and the like. If there’s a need I can upload those to youtube.
Build
I quickly realized when building this, that it was going to be too big a job to video or even timelapse. (I don’t think even the bench power supply I built was as daunting a task.
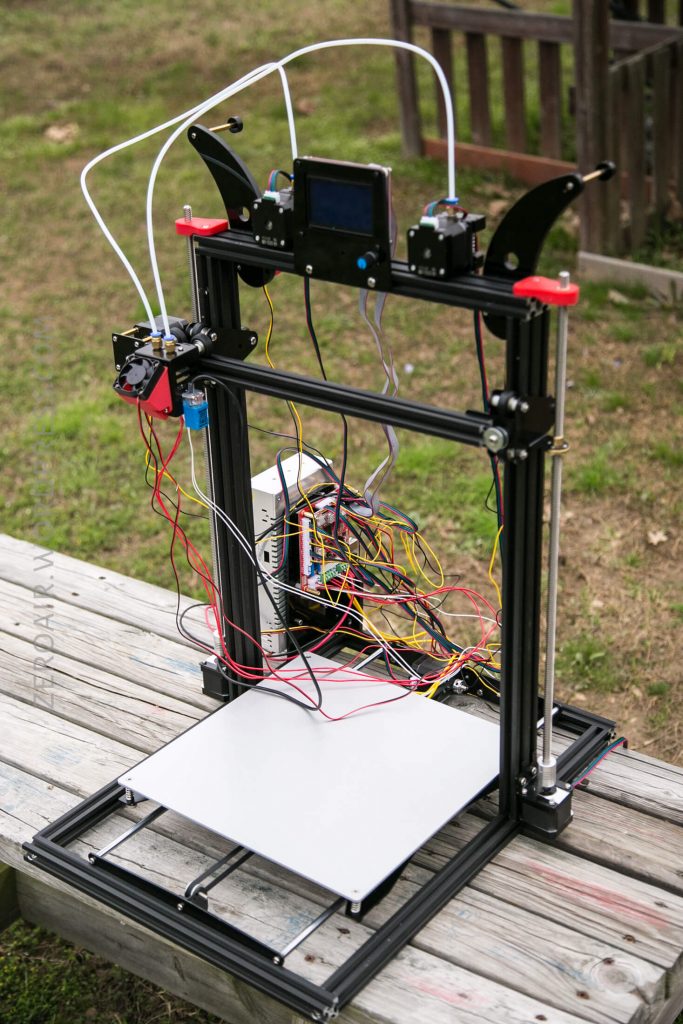
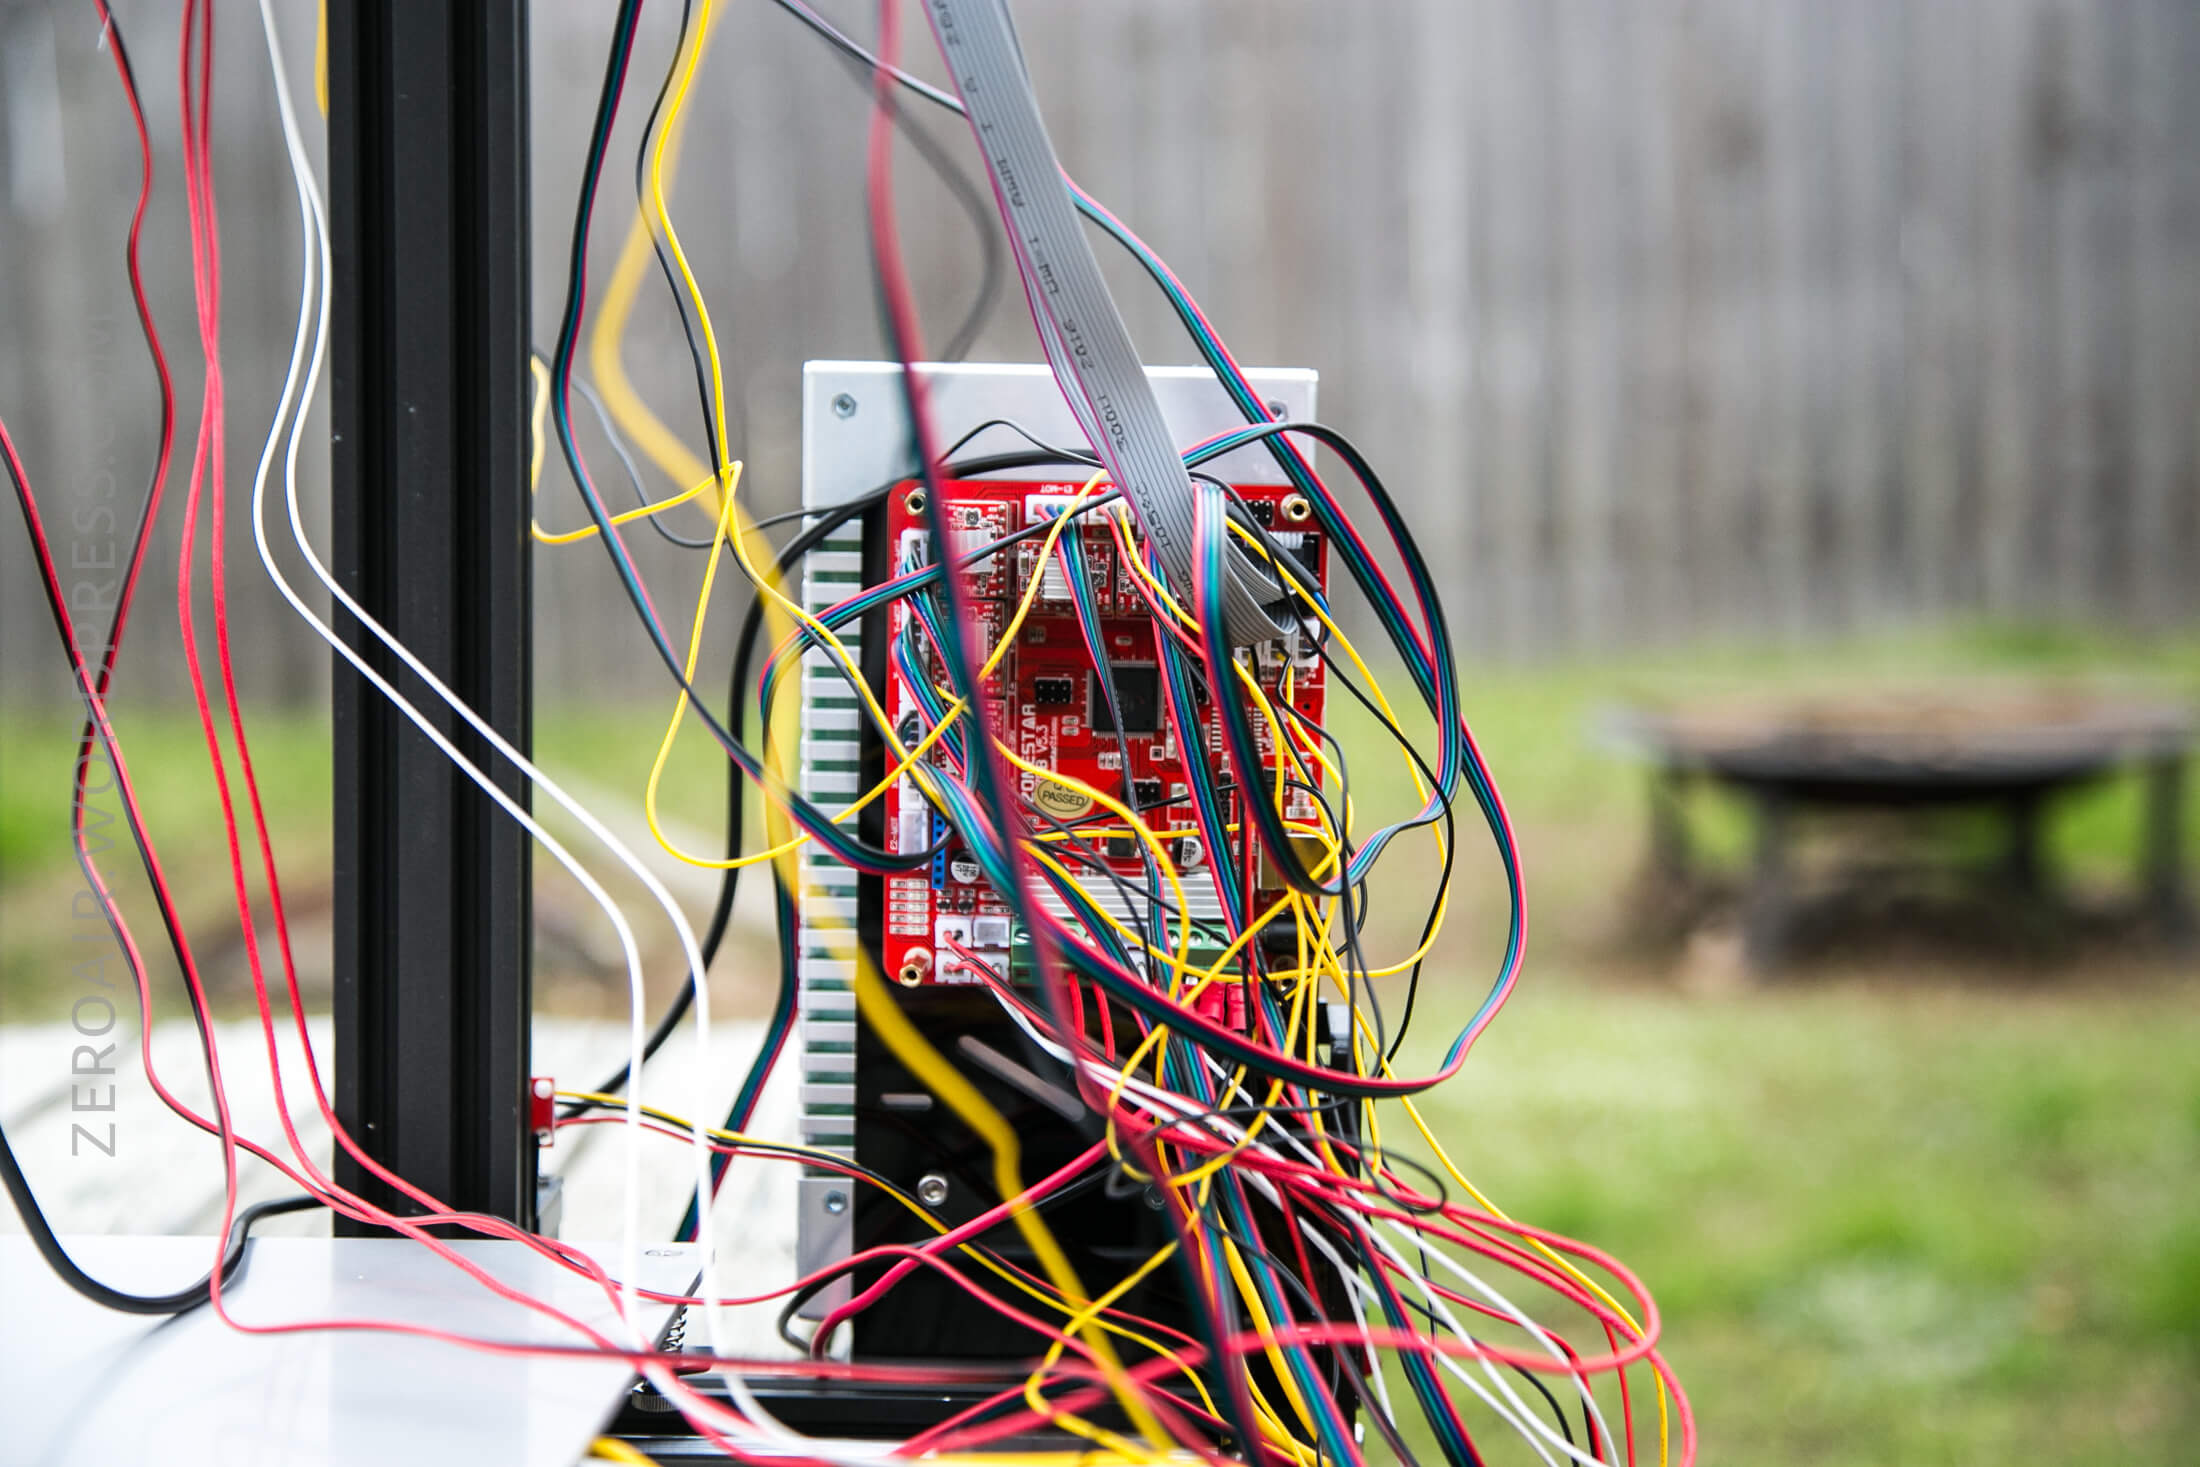
Because of that, all these photos are of just after the build, before I’d wrapped the wires.

As you can see, the wires are a spaghetti rat’s nest mess until they’re properly dealt with. But they can be properly dealt with!


There are a few 3D-printed parts included. Fortunately, they are included. Sometimes a kit will include plans for certain parts, and you’d need to test your printer by printing those parts. In this case, you can see the fan shroud. There are a couple of others, too.
You’ll notice that the print head has two white tubes coming out – two filaments can be fed into the head. It is possible to print one color, two colors separately, or print some mix of the colors defined in the software.


Each of the axes has a switch to prevent any of the stepper motors from going too far. Below, see the little clicky switch.
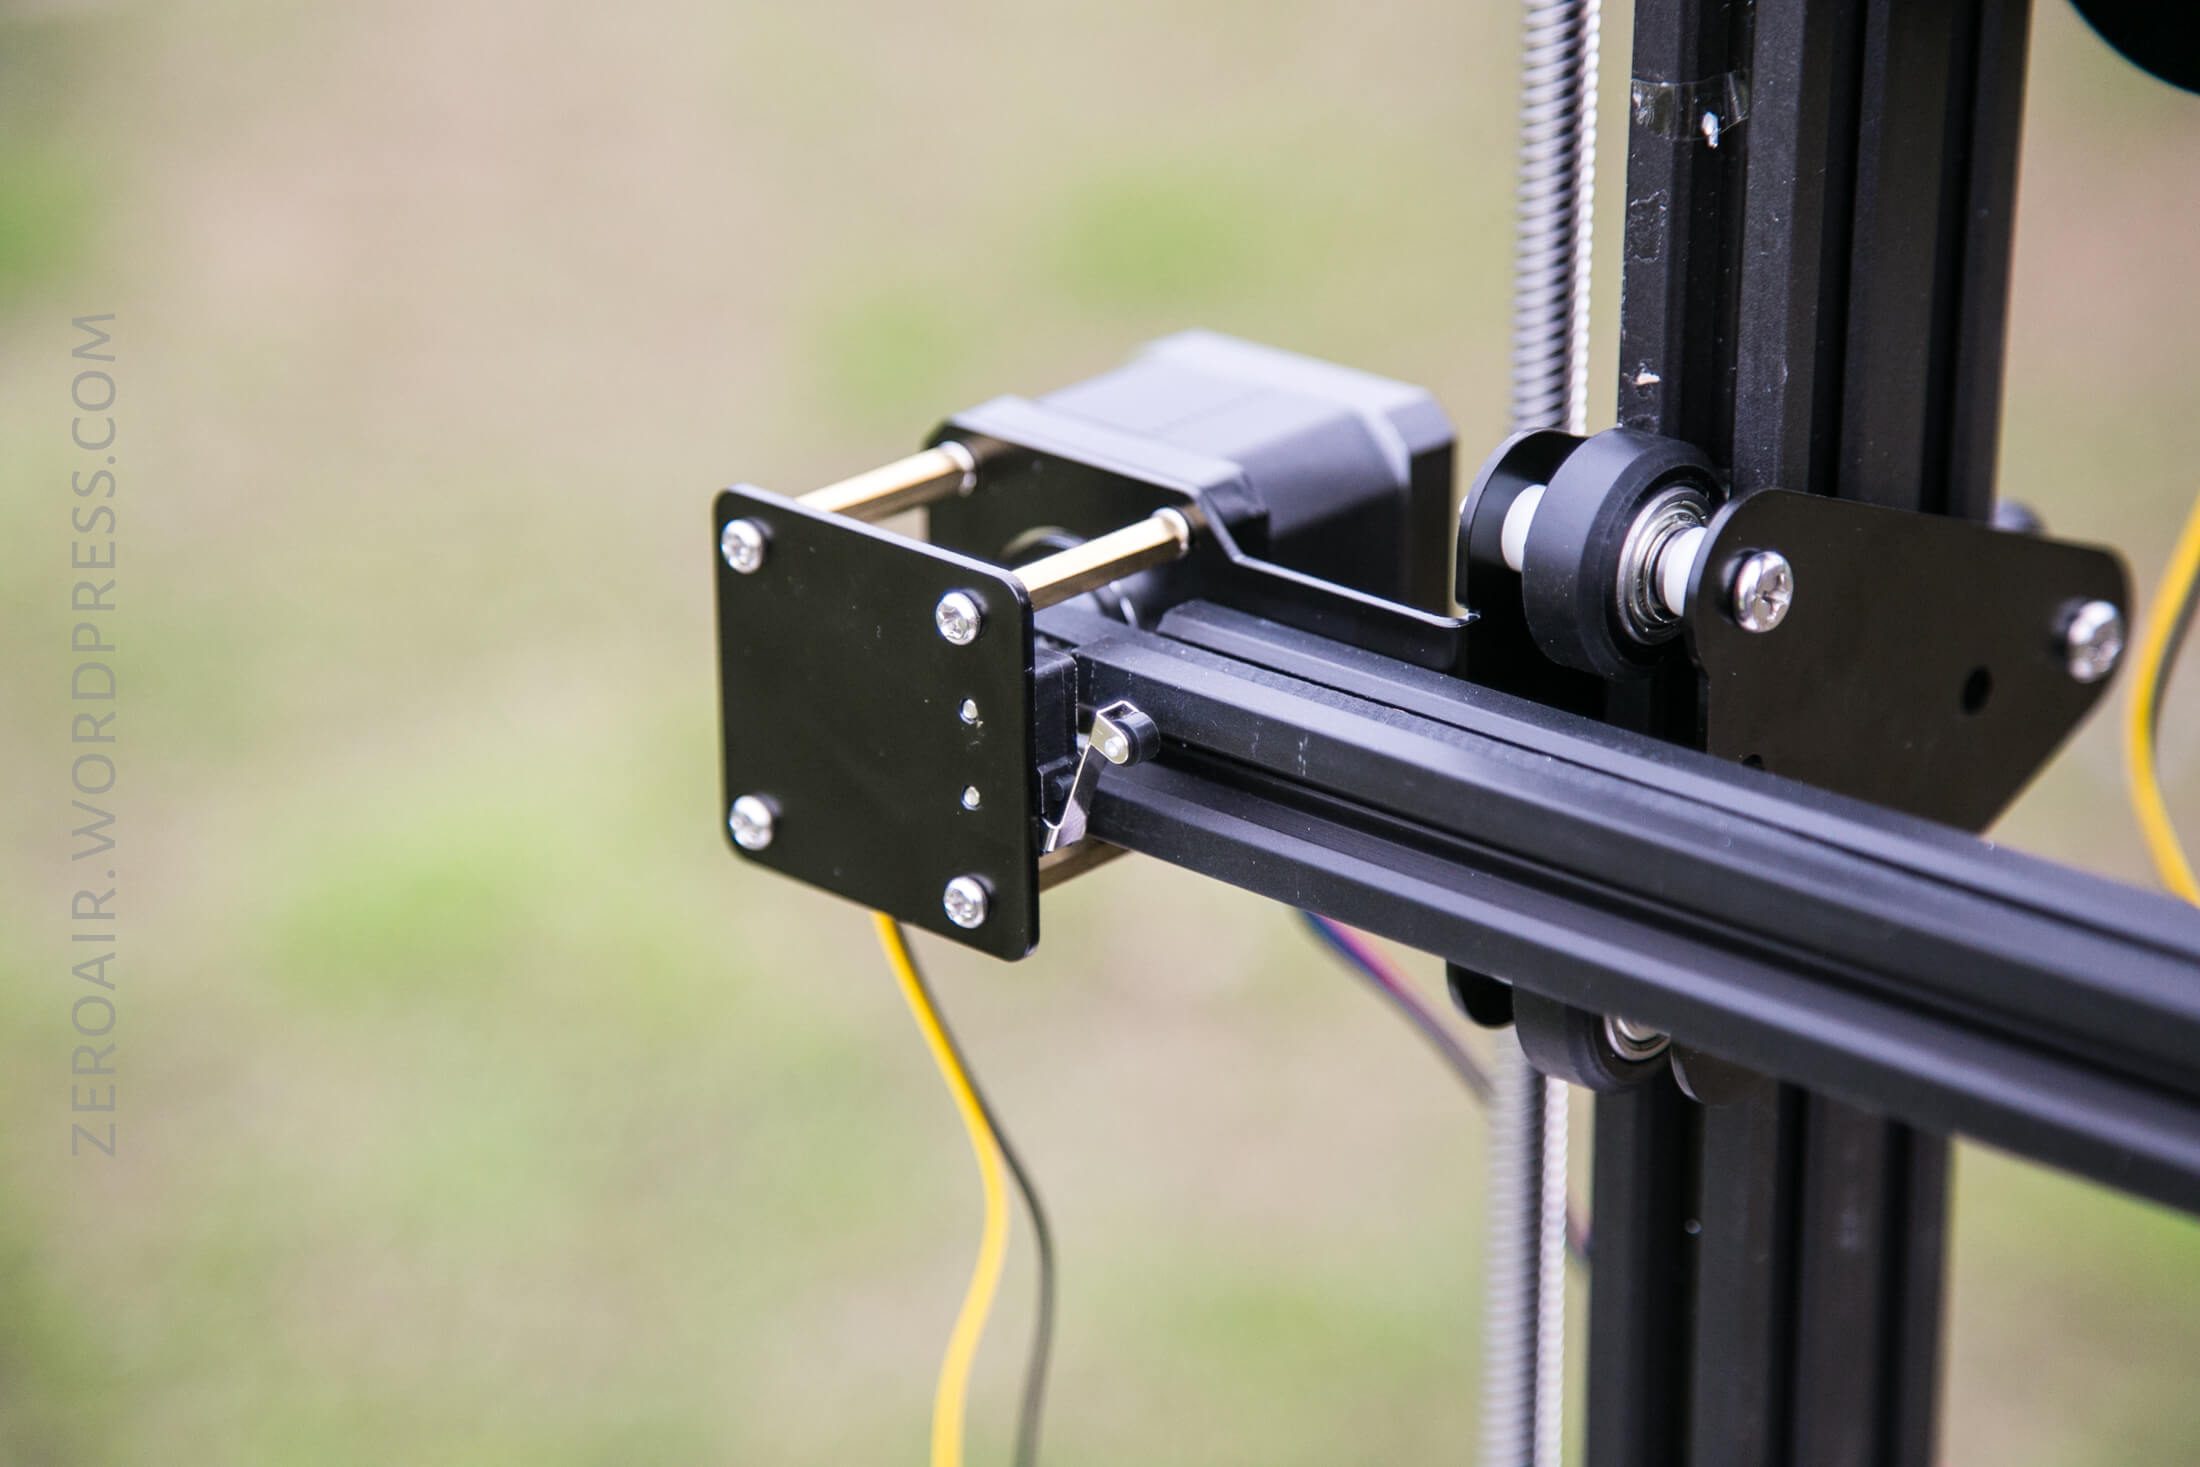
Here’s another one.
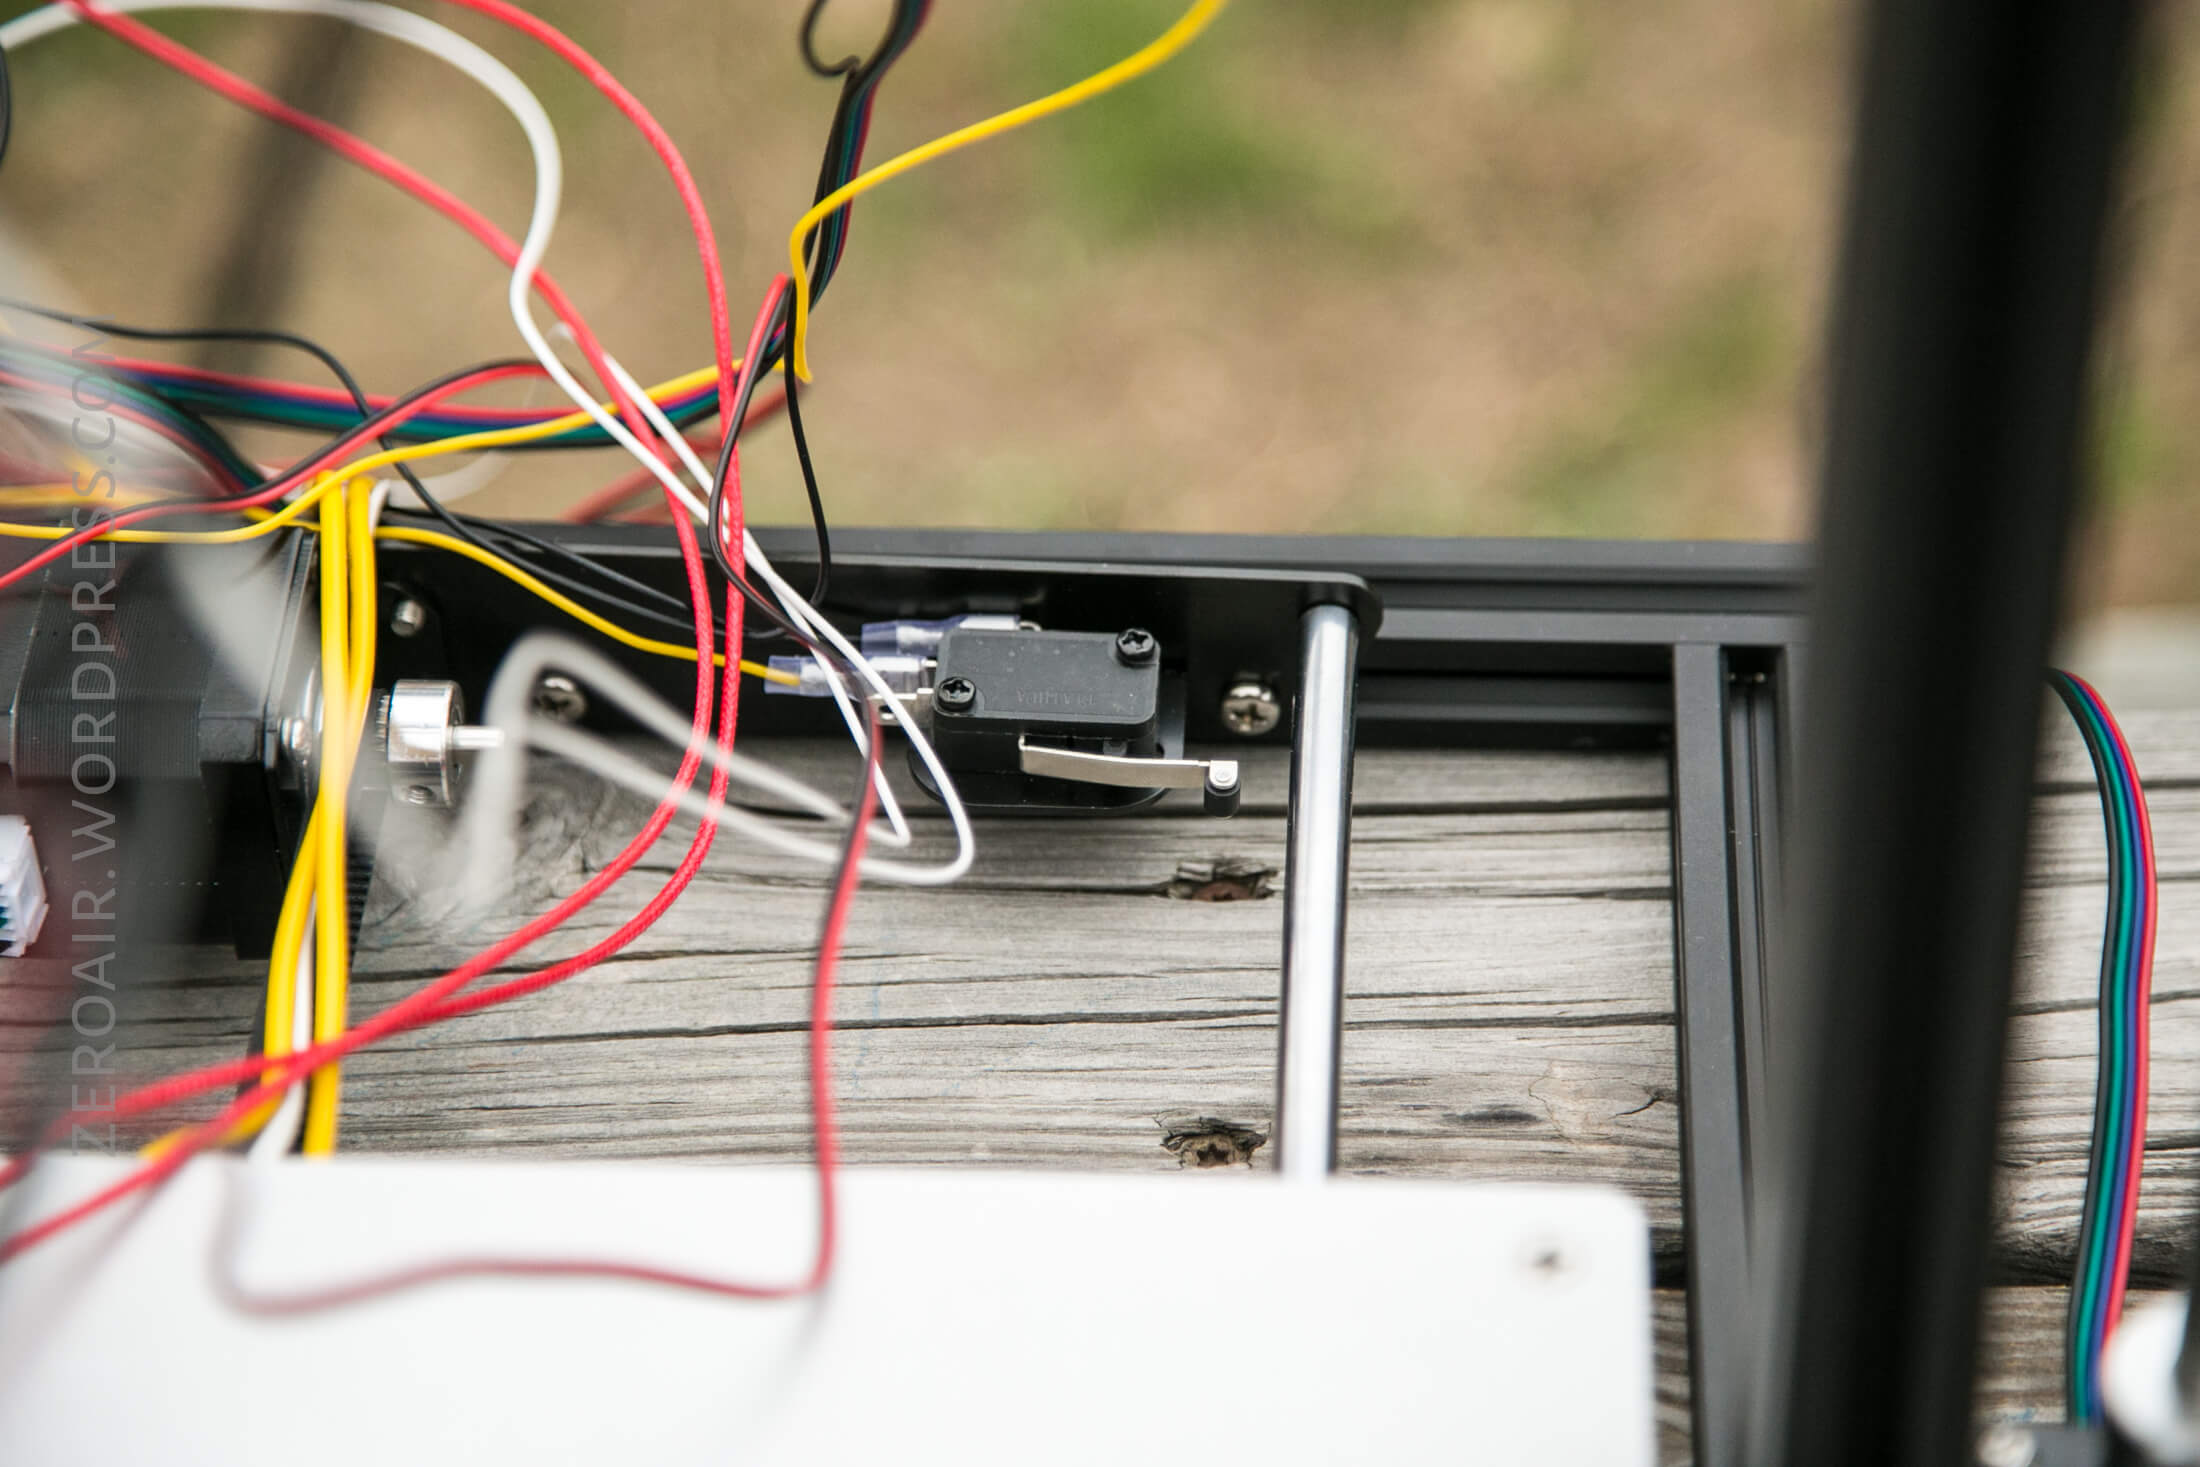
And the third:

Now, you’ll get to a point in your build, where you start putting parts on stepper motors, and you may realize that things can go one way or another. I propose these photos as the working way for this kit. While I haven’t printed with it, I have run through the movements and everything seems proper.


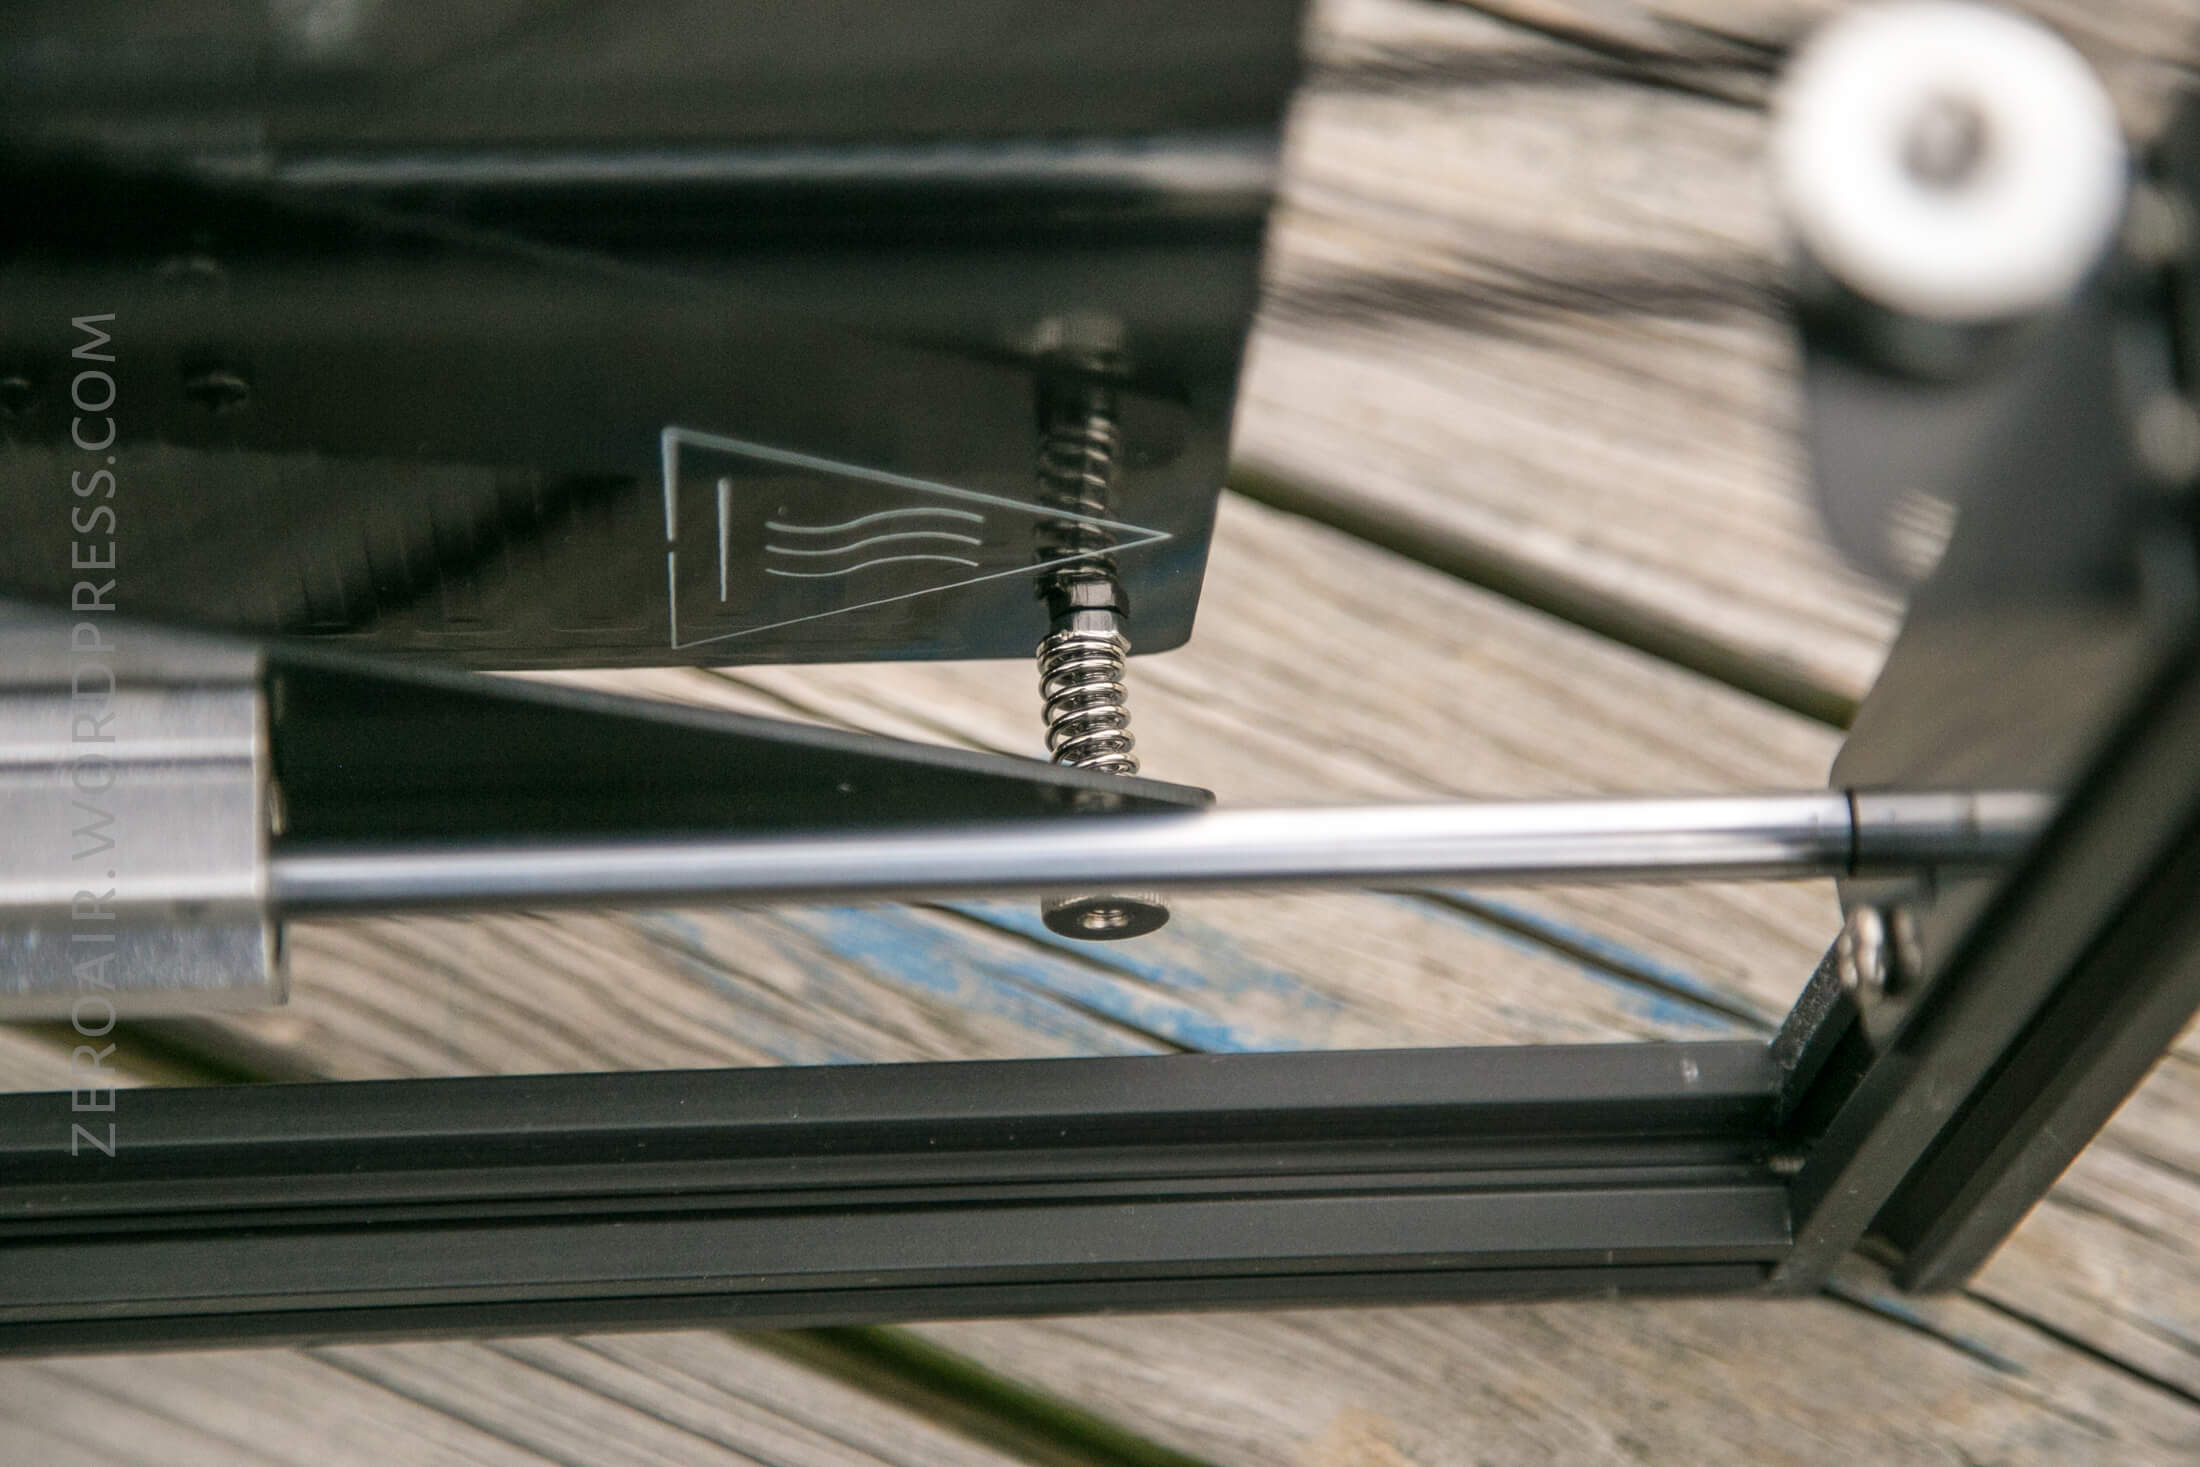
These screws were tricky. They set the proper bed height/tension.
Wires, all the wires….
Size
Officially this unit is 47cm x 54cm x 61.5 cm. This isn’t a small unit.
Most notably about this printer is that the print bed is fairly massive. 400mm in height, with 300mm depth and width. That allows quite a range of item sizes!
Power
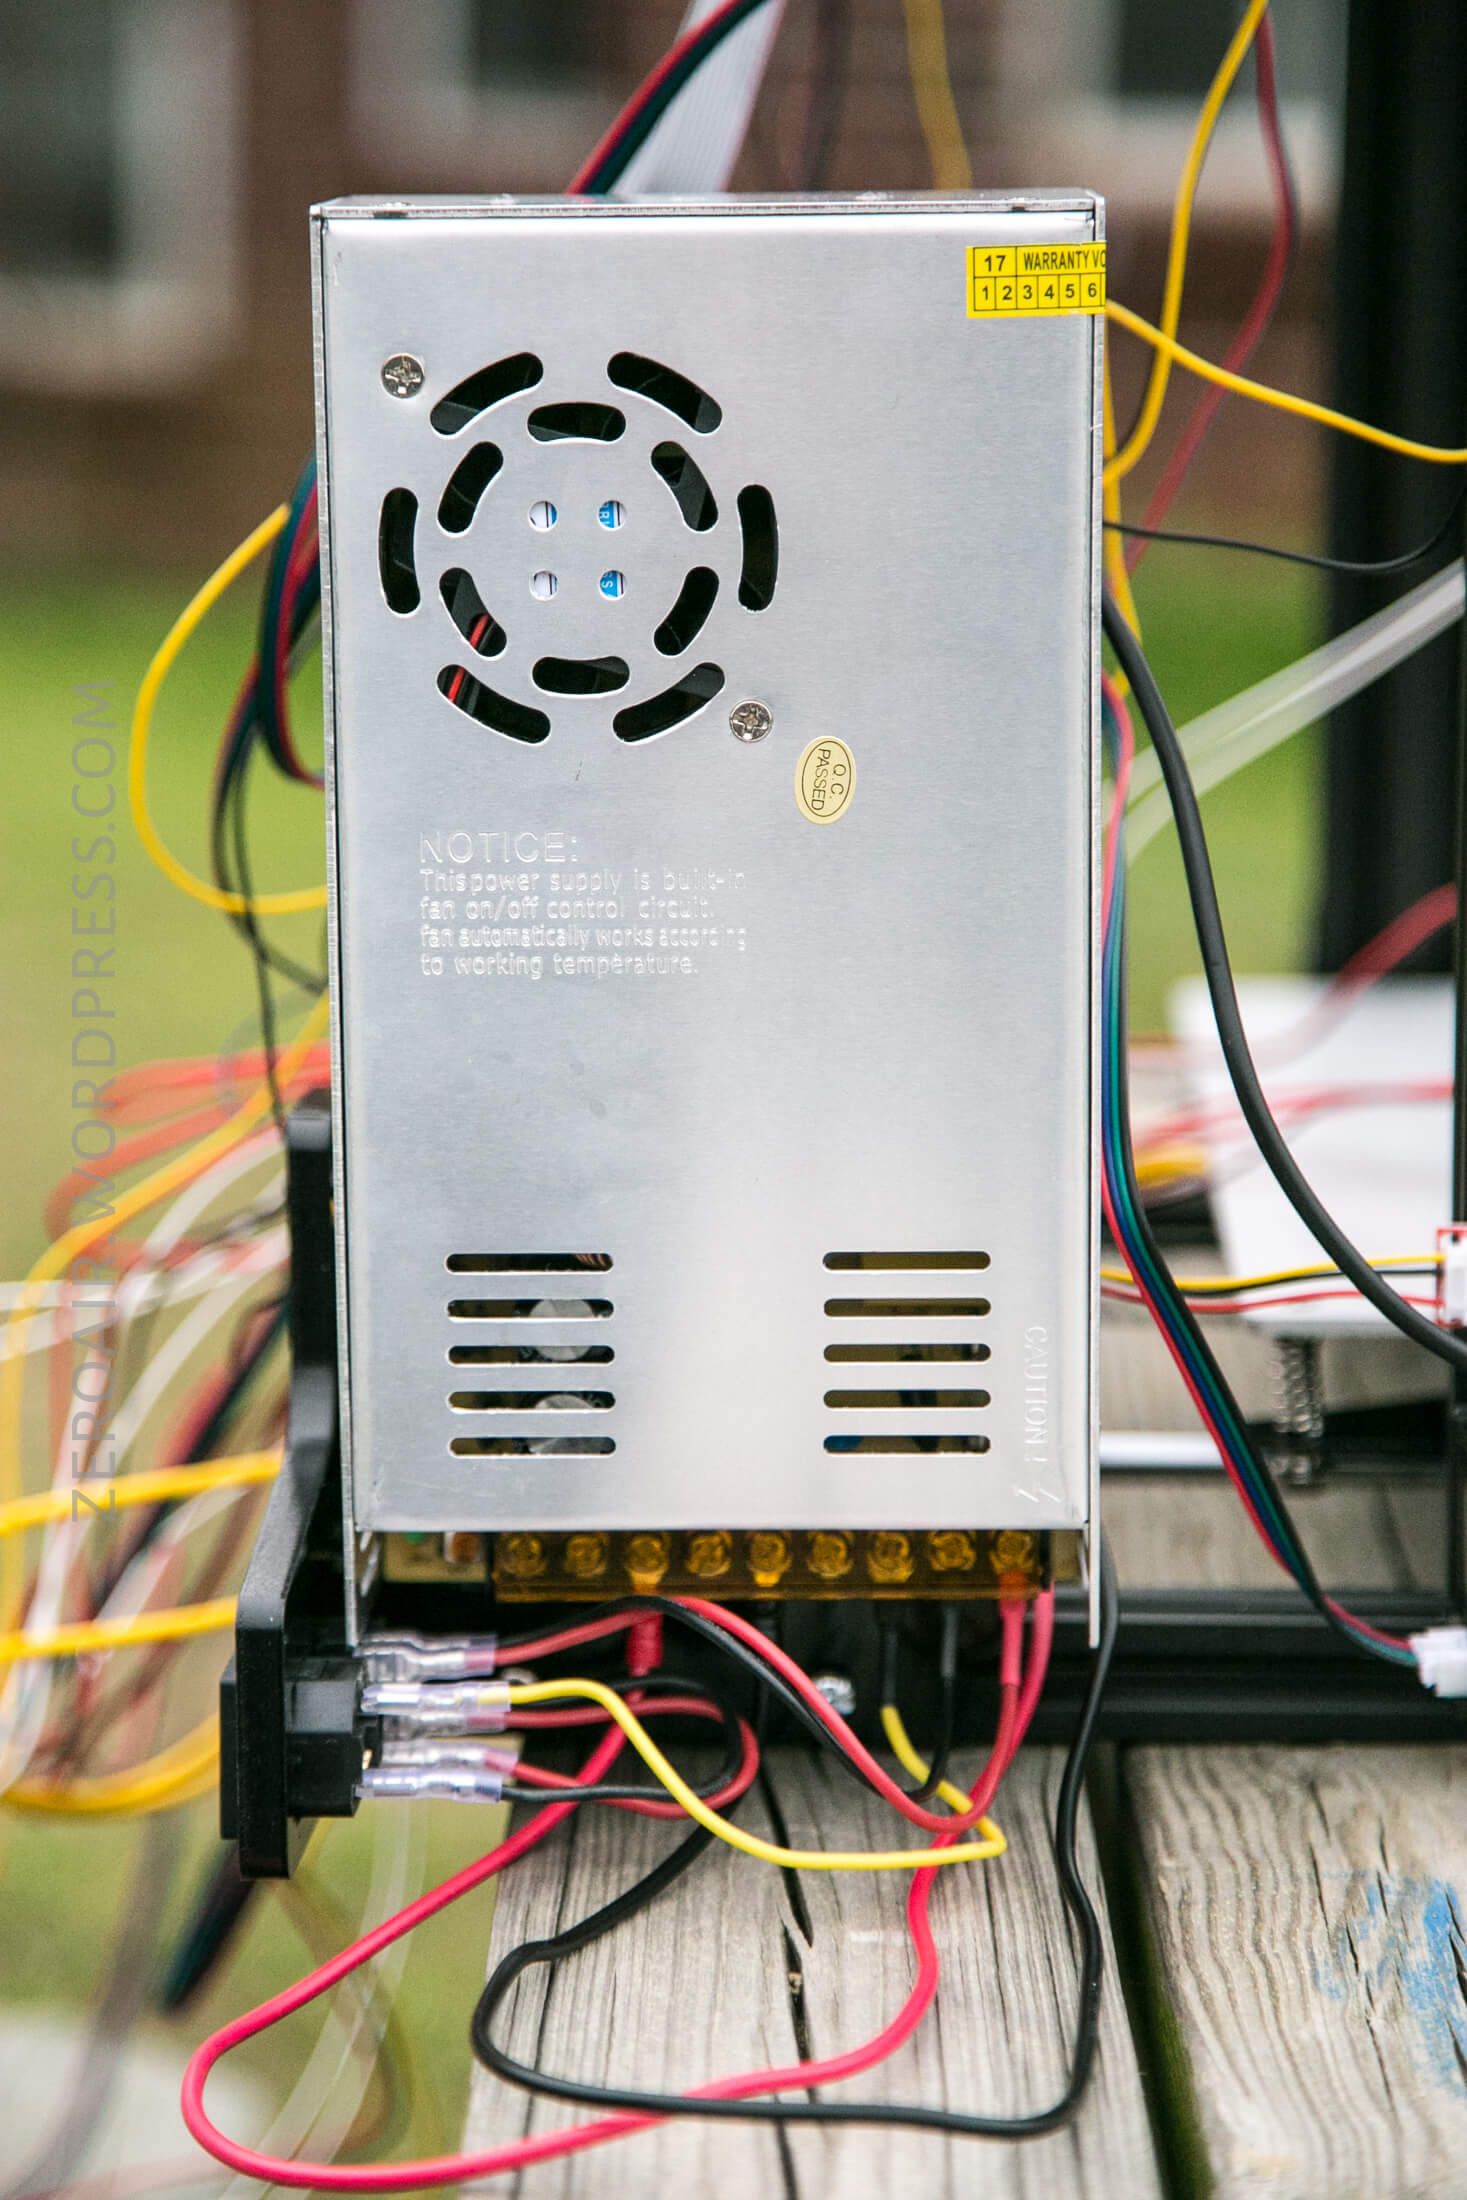
Included in the package are all the parts needed to connect the printer to US wall power. There are some acrylic parts that are connected to the metal frame. Into one of those is placed a power switch, and a plug. A power cable is included (but you probably have 50 of these – the same one as is used to connect a computer to power.

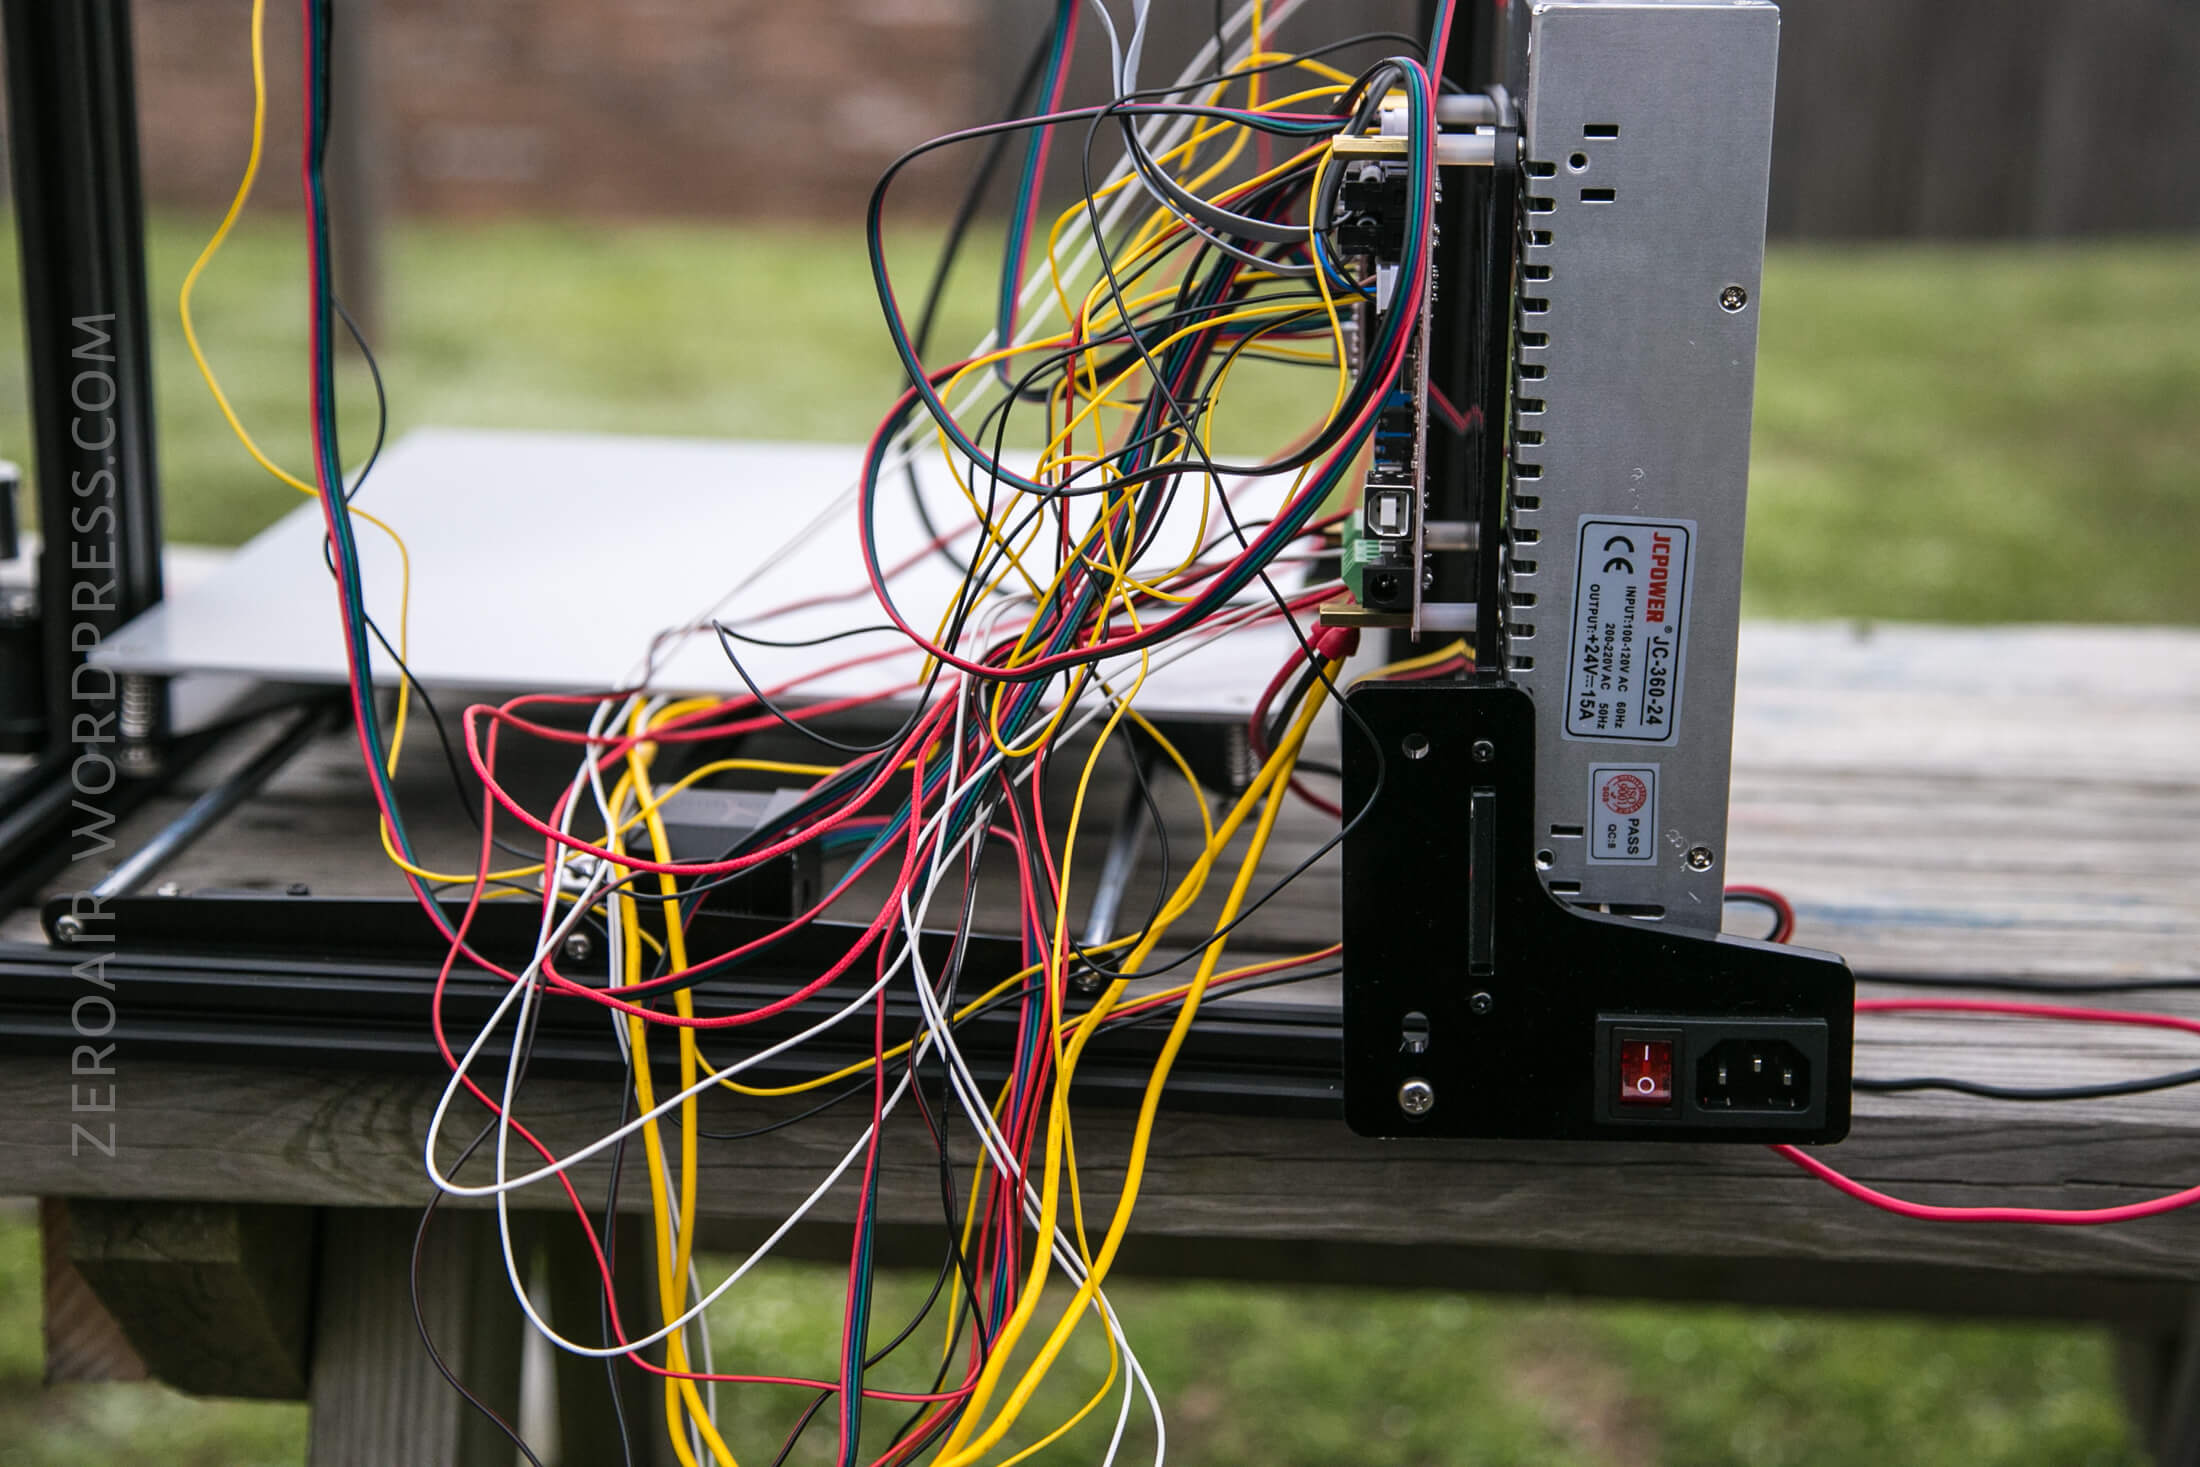
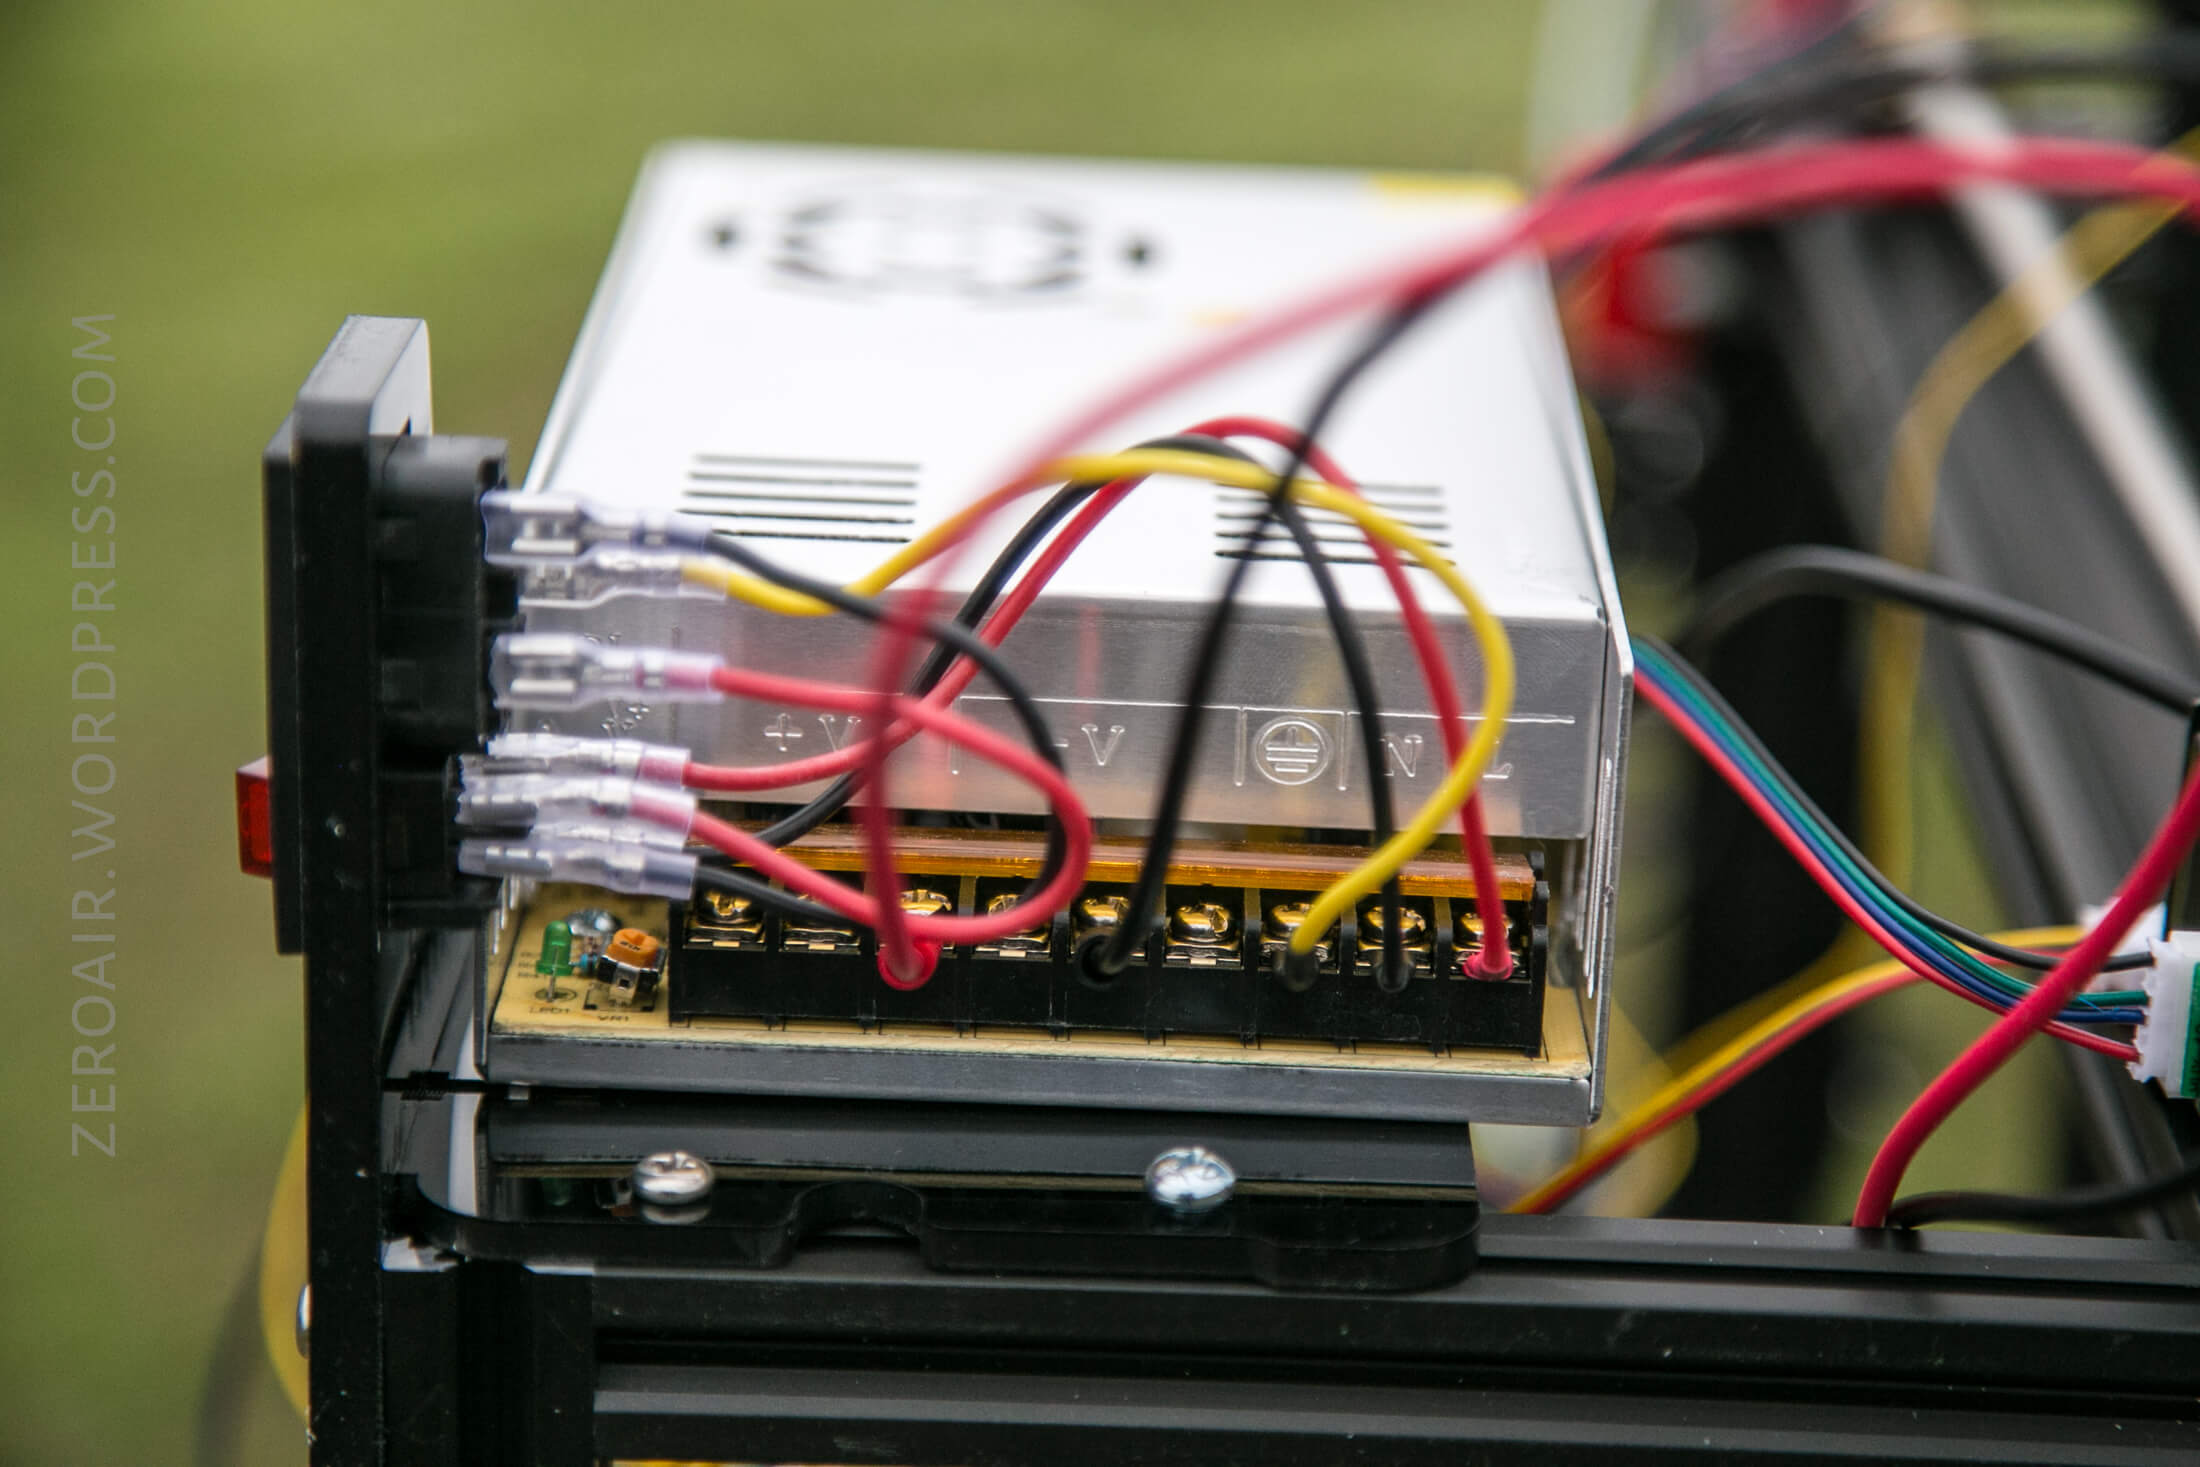
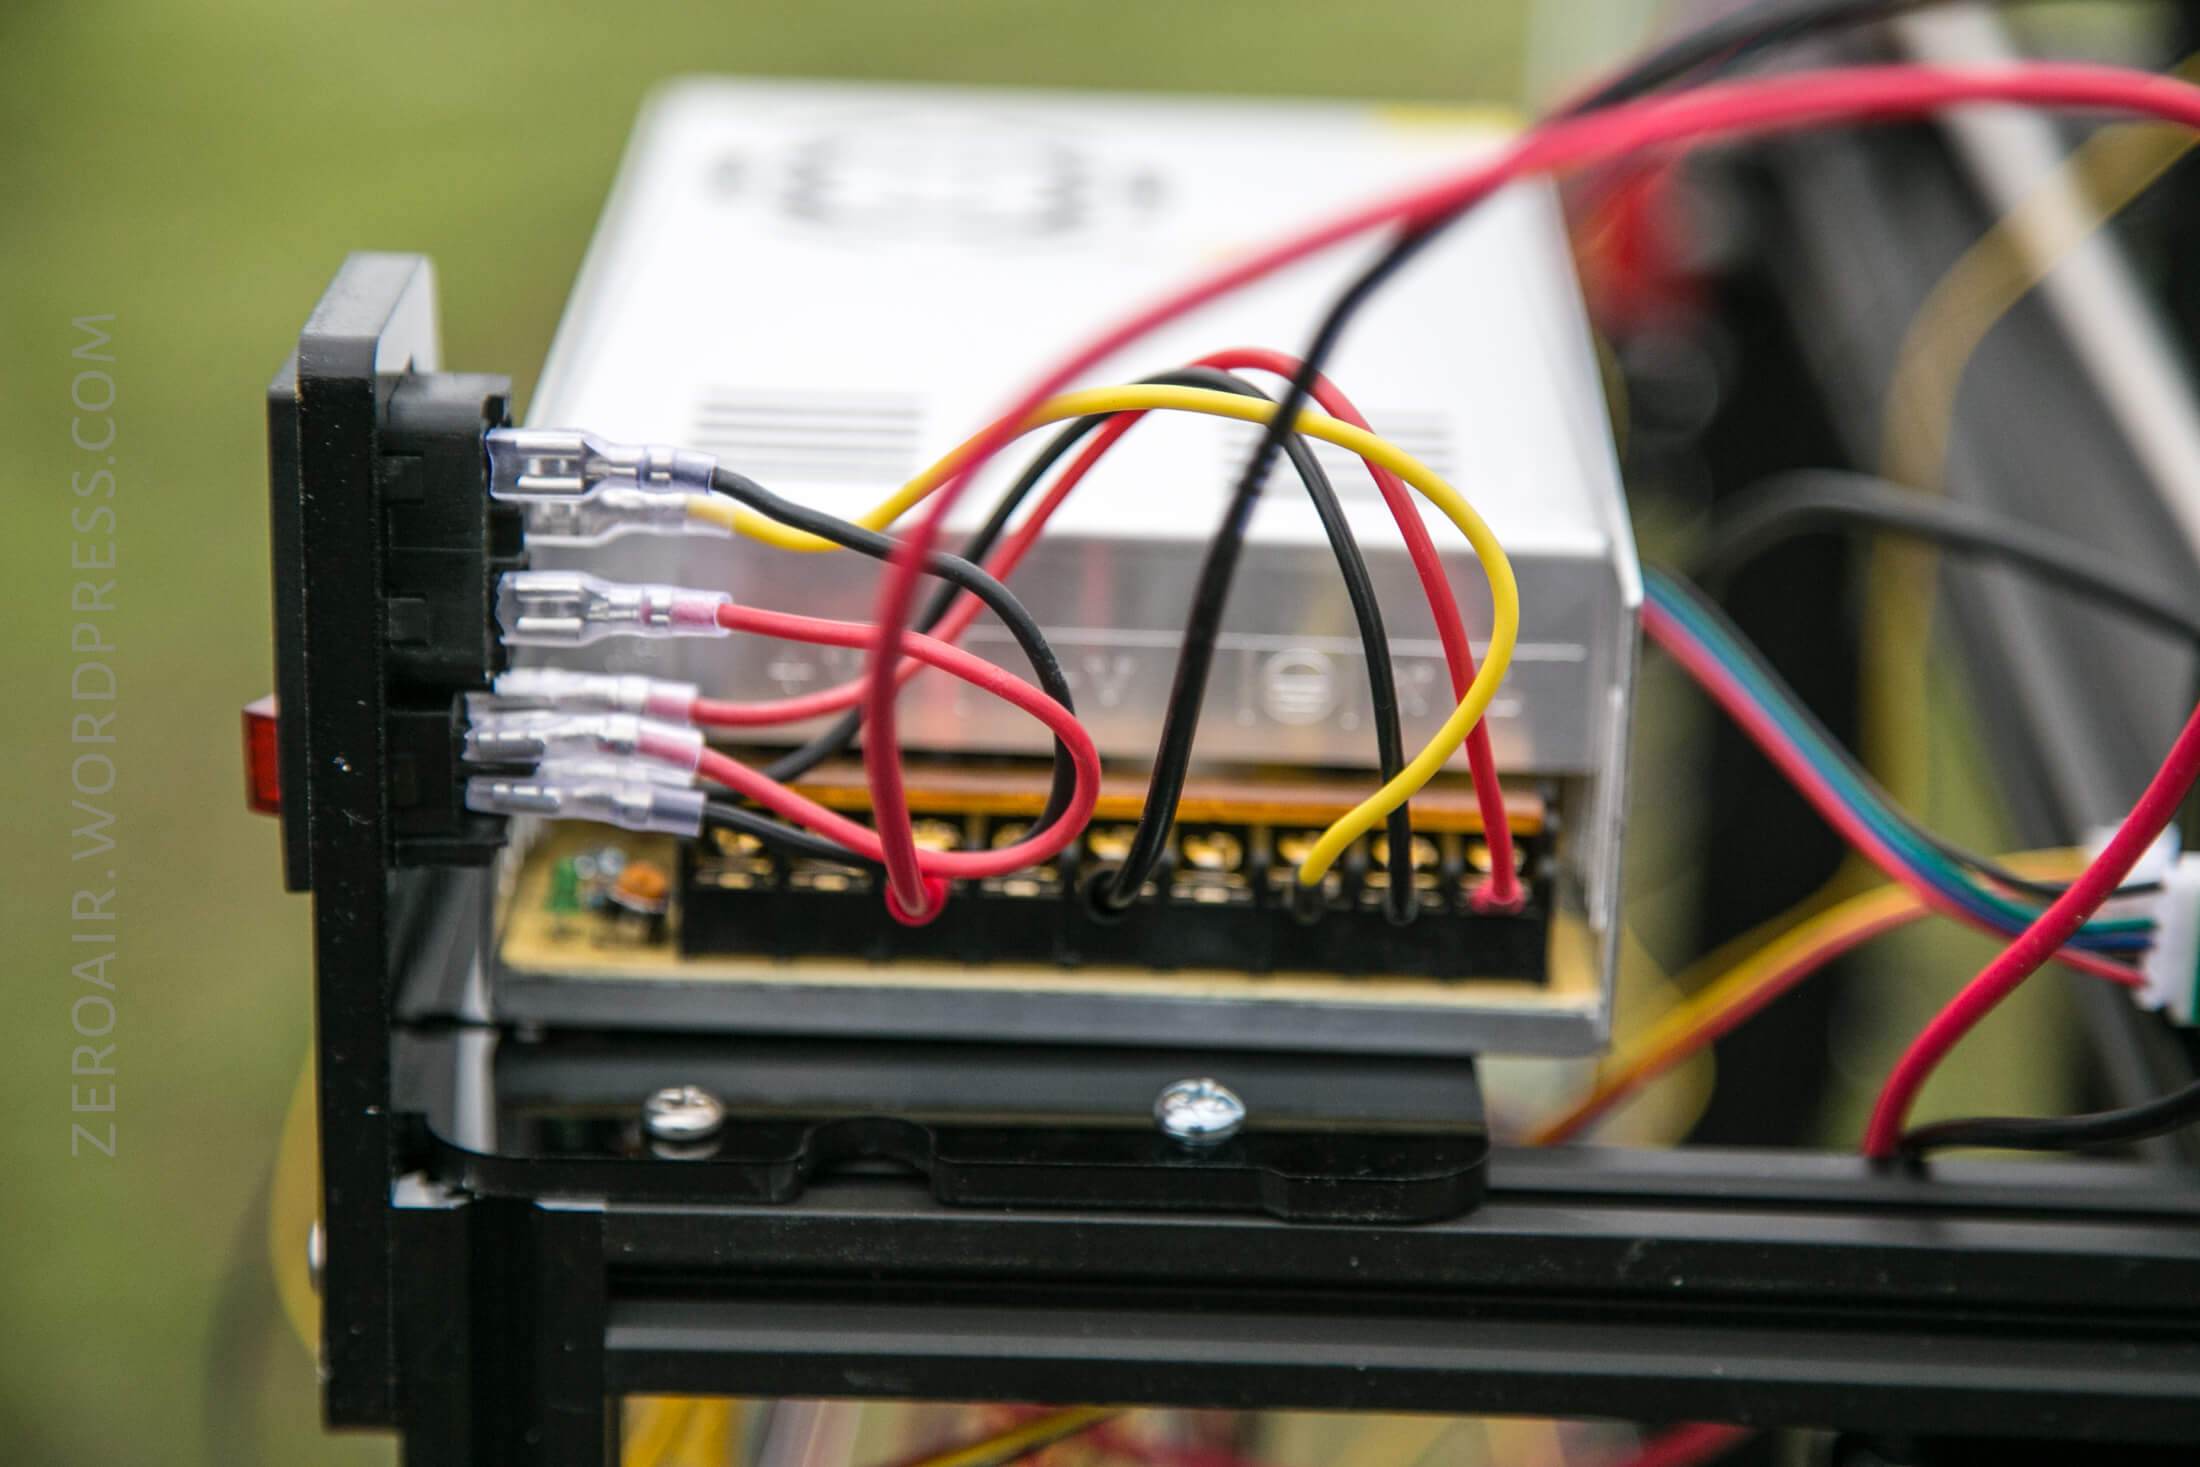
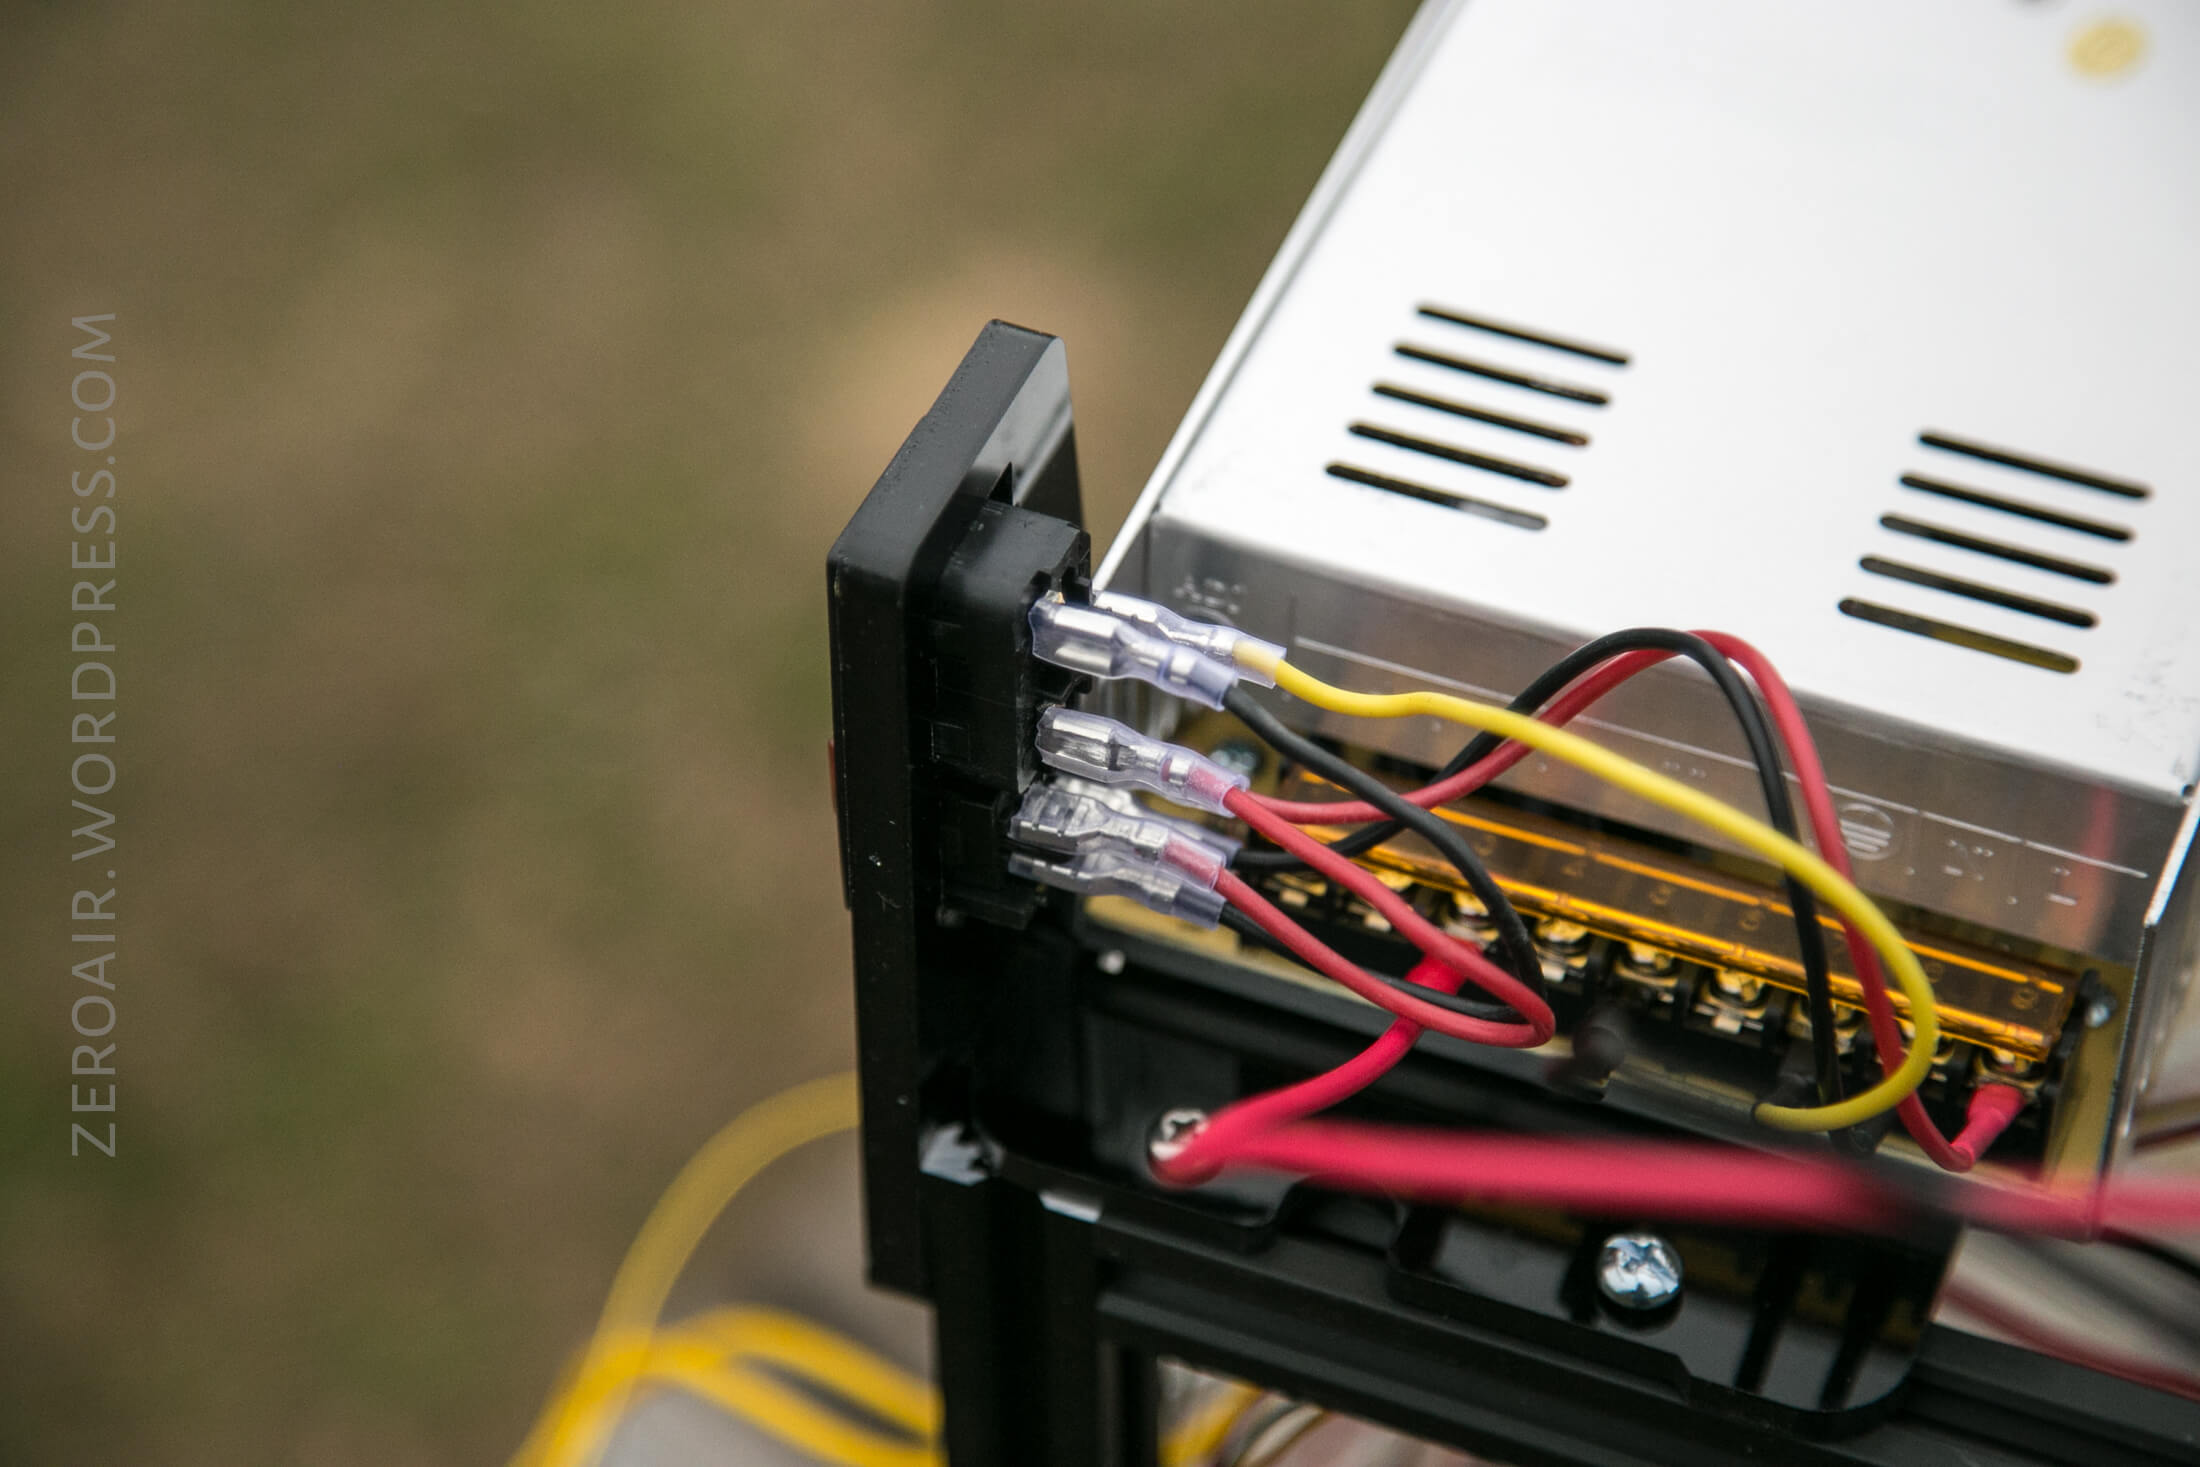
The DC side of power is included too. This is a nice (expensive) dc power supply that outputs up to 15A at 24V. This power supply handles power for all of the parts in the unit (including the heated bed).
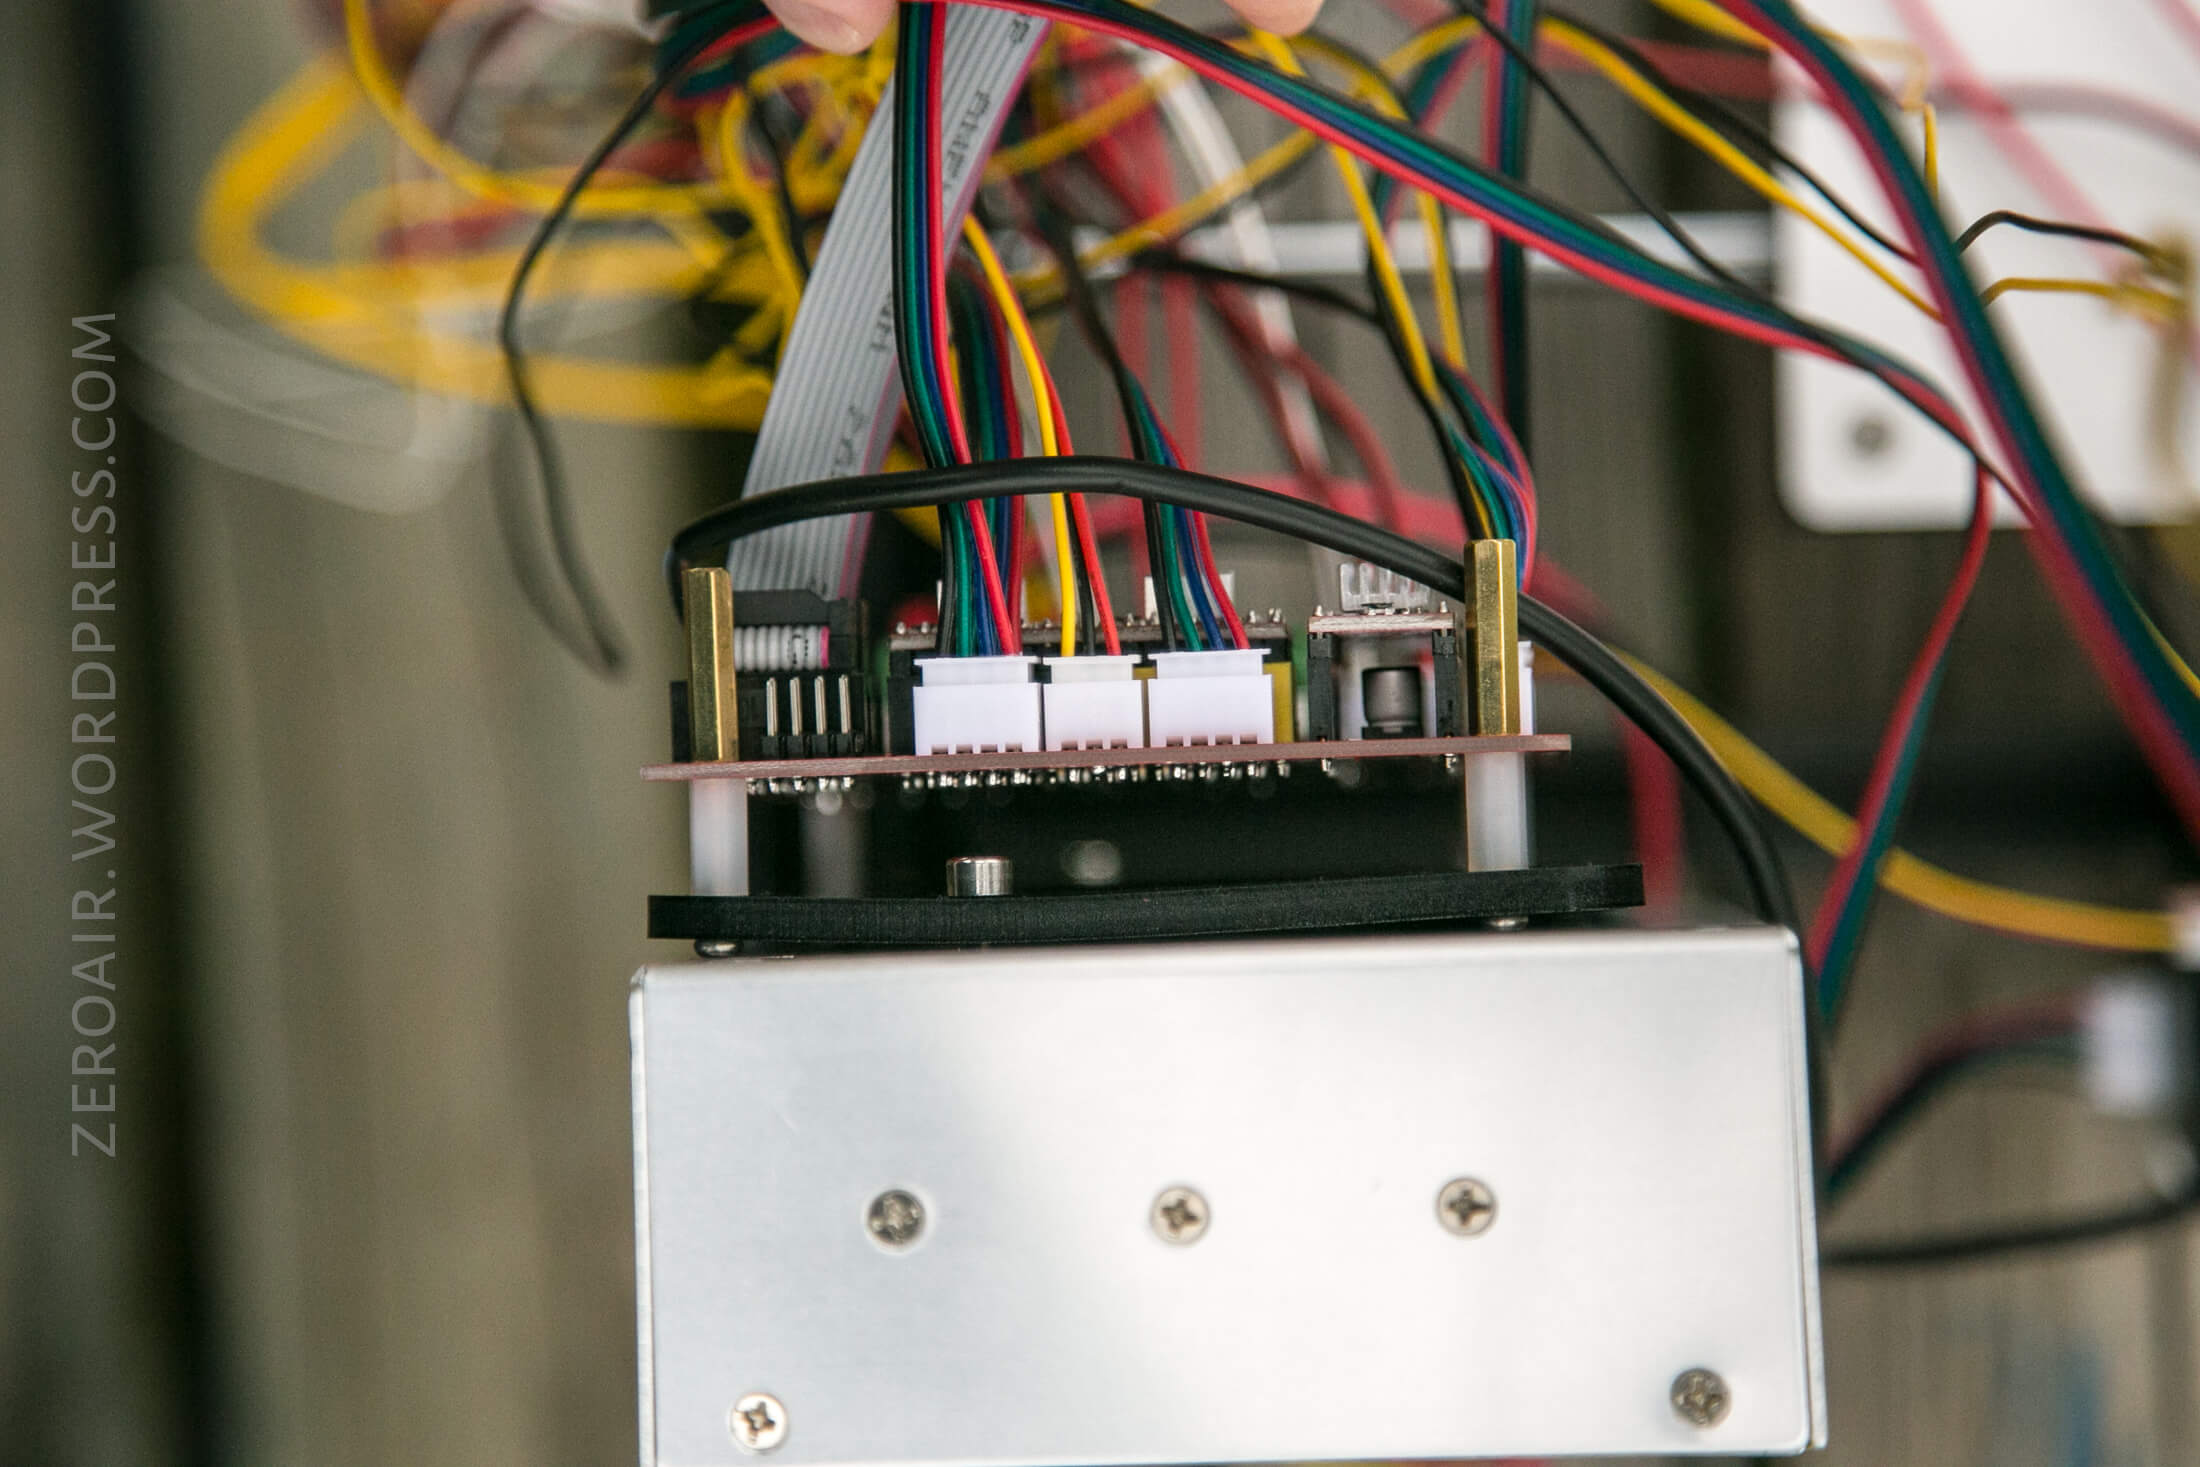
You’ll have to wire all the power from the AC input to the DC supply and then from the DC supply to the brains of the printer. There are documents for doing this, but remember AC power is no joke, and it’s not a trivial thing to do, even if it is fairly simple.
From the DC power supply, you’ll connect the brain of the unit. Each of the stepper motors, heating bed, LCD screens, heated nozzle, etc, all connect directly to this PCB. There are a lot of things to connect, but again the instructions are thorough.

User Interface and Operation
The software for operating the Zonestar printer is included on an SD card. There’s really only one button to interact with. It’s a rotary button – it can rotate and click too. That unit is a pre-built piece and basically just bolts on and is wired up. Fortunately, there’s no soldering or anything required.
Here are the same user guides from above:
3D Printer DIY Kit User Guide(V2.0)
How to off-line print(Print from SD card)
Software
Drivers are included for Linux, Windows, and Mac. They can be found here:
https://www.silabs.com/products/development-tools/software/USB-to-uart-bridge-vcp-drivers
The software for slicing and control of the printer may be found here:
https://ultimaker.com/en/products/ultimaker-cura-software
I recommend just finding the newest version.
The first link above is just drivers for connecting the printer to your computer. The second is the actual software for prepping designs and using the printer. This isn’t printer specific software – it’s fairly universal. Cura is well known and well regarded, so this is a good choice.
Conclusion
What I like
- Once built, the printer is sturdy
- Linux, Mac, and PC support
- Two print heads and the ability to mix colors (or print the colors separately)
- Massive print bed
What I don’t like
- Extremely time-consuming to build
- Quite difficult to build, too
- You’ll probably have to source a few screws on your own
- Even when built, there is a fair bit of troubleshooting that must be done for accurate prints
Notes
- This printer was provided by GearBest for review. I was not paid to write this review.
- This content originally appeared at zeroair.org. Please visit there for the best experience!
- For flashlight-related patches, stickers, and gear, head over to PhotonPhreaks.com!
- Use my amazon.com referral link if you’re willing to help support making more reviews like this one!
- Please support me on Patreon! I deeply appreciate your support!
