MechForce MechTorch Flashlight Copper Host Review
he MechForce MechTorch Flashlight Copper is a shiny empty item. It’s just a host, into which I must install electronics! Read on!
Official Specs and Features
Here’s a link to the MechForce MechTorch Flashlight Copper product page.
Versions
There are two options for the host from MechForce. There’s the copper, seen here, and a titanium version. The titanium version is the same as my previous (full flashlight) review, linked above.
Price
The price on these two is $149.95 for the copper and $159.95 for the titanium.
Short Review
I already knew I liked the light as a whole, so that’s known. From a complete beginner standpoint, I really like the host option, because it’s very beginner-build-friendly. I was able to build it out successfully on my first try!
Long Review
What’s Included
- MechForce MechTorch host
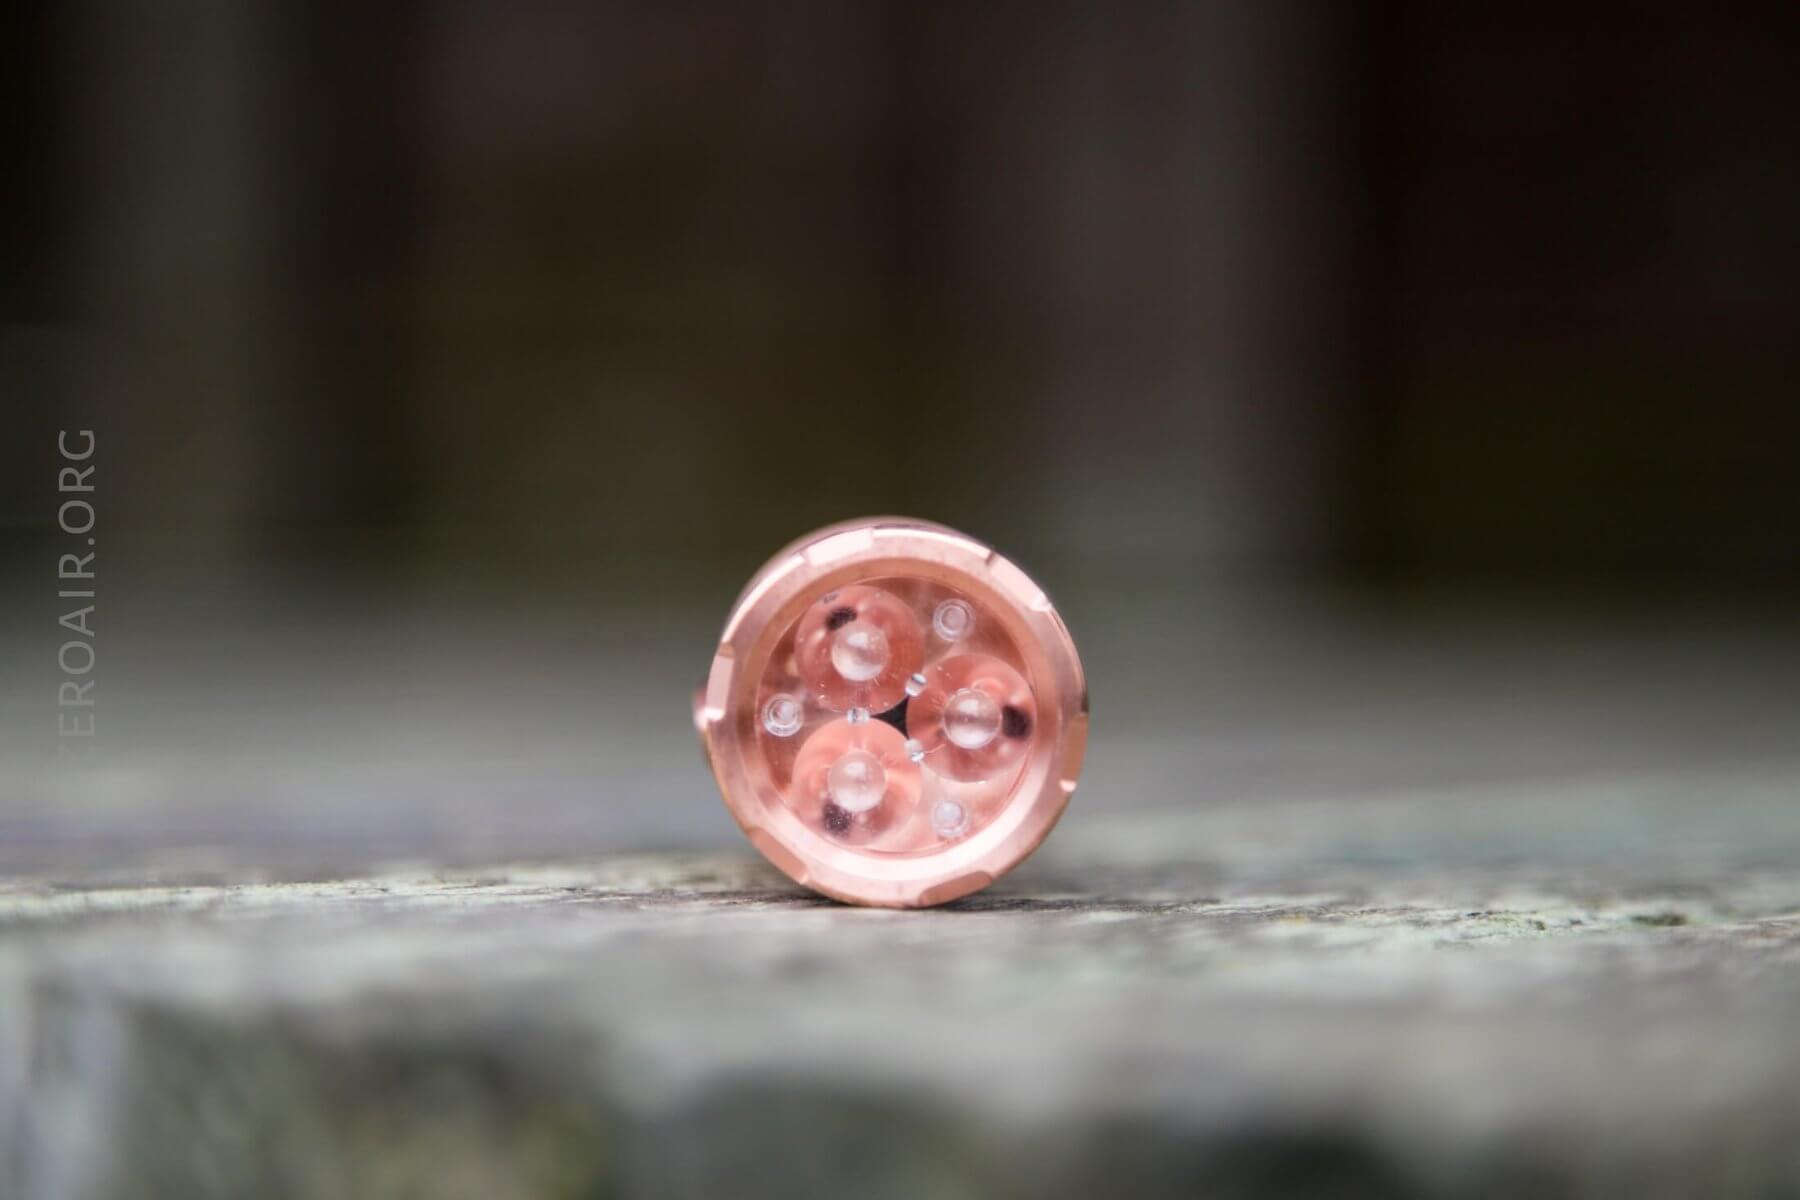
- Optic for triple (already installed)
- Reverse clicky tailswitch
Notably, that host includes two things that might not normally be included, and I’m including them in the list even though they’re already physically installed in the light.
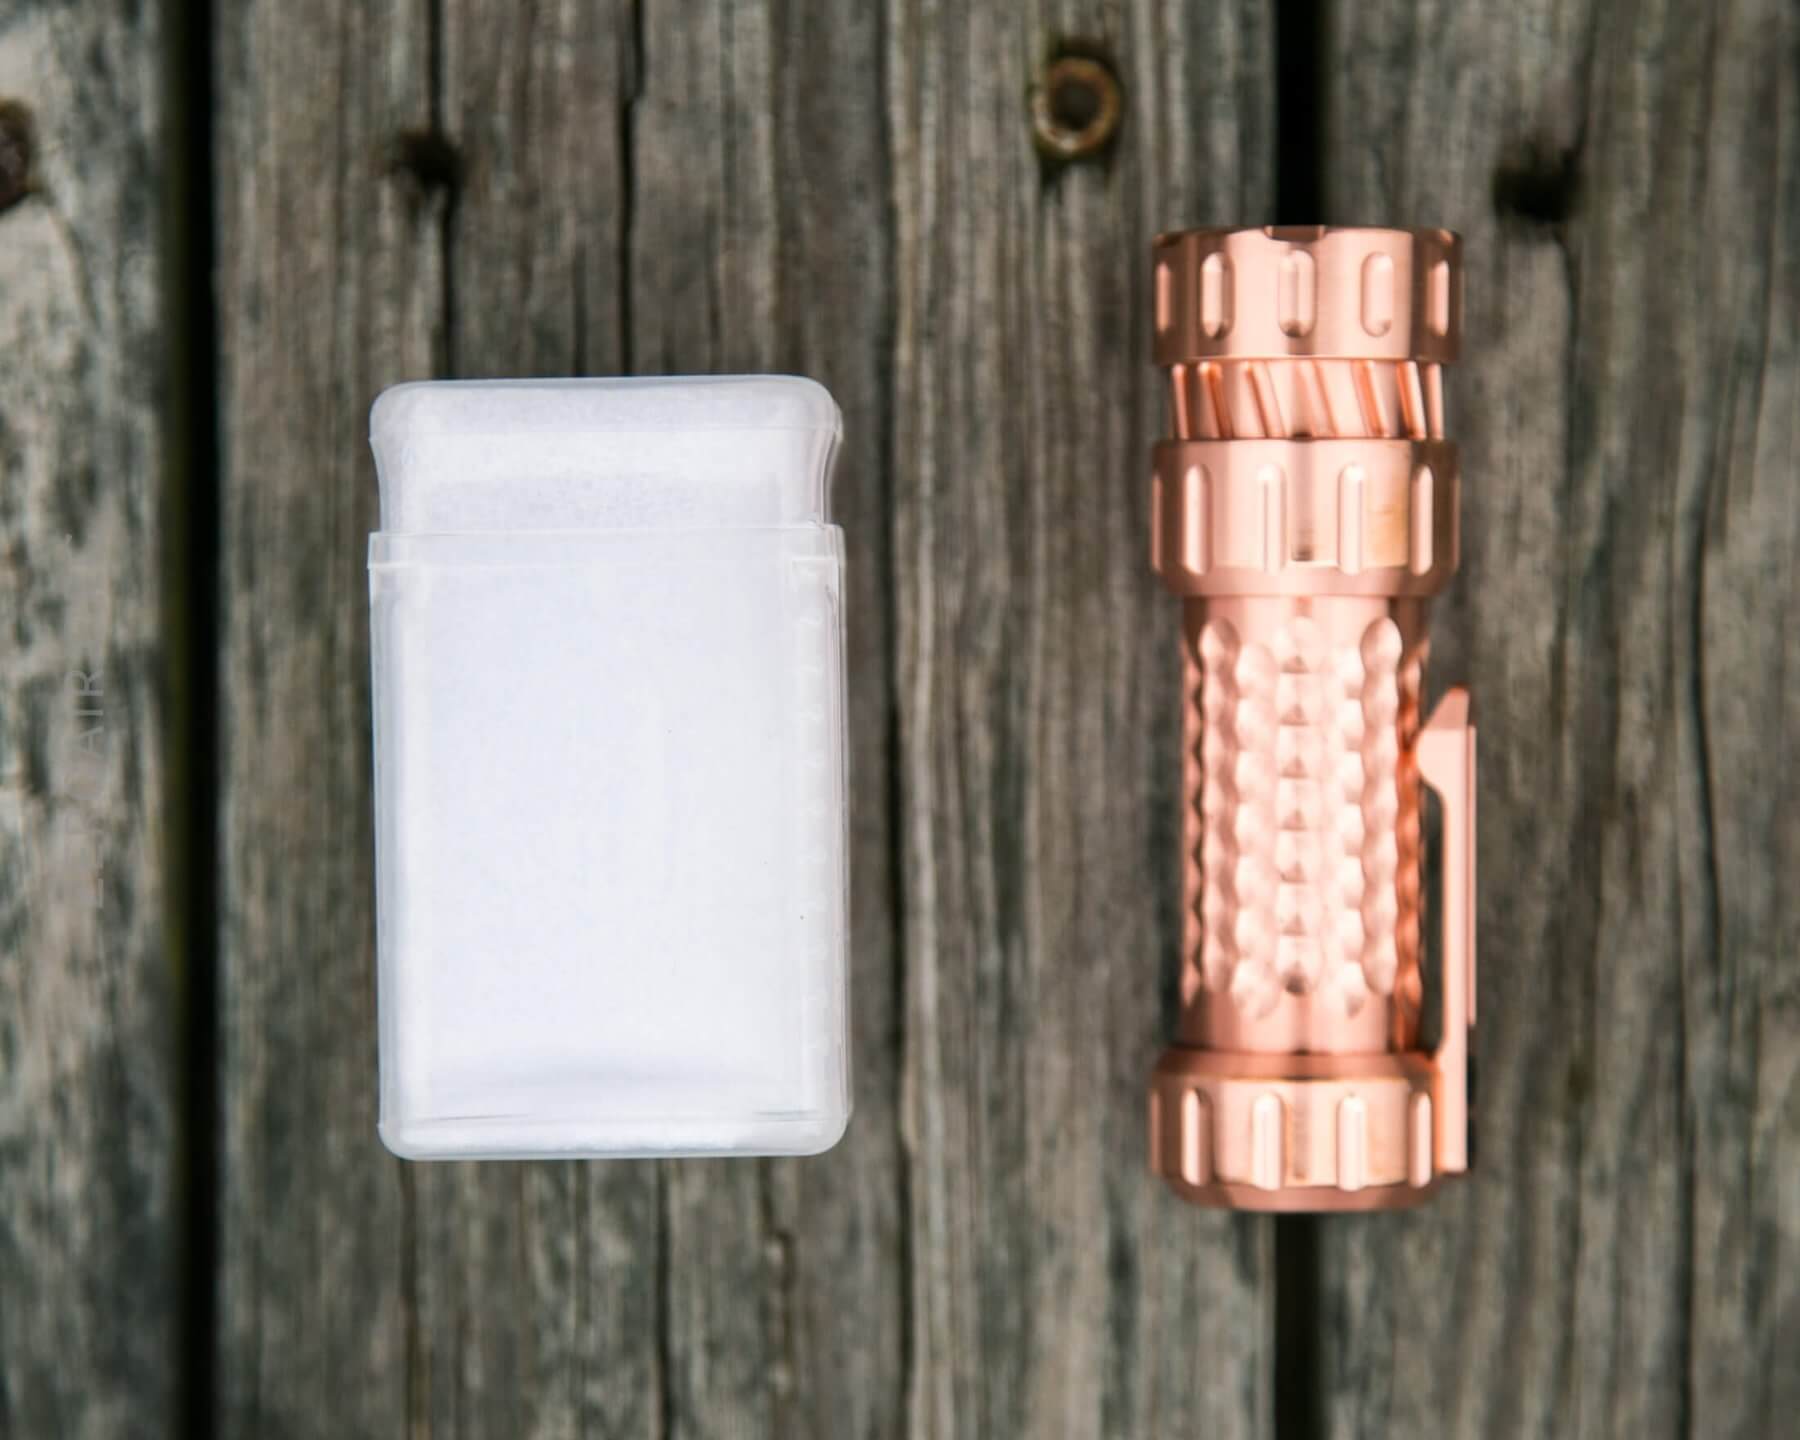
Package
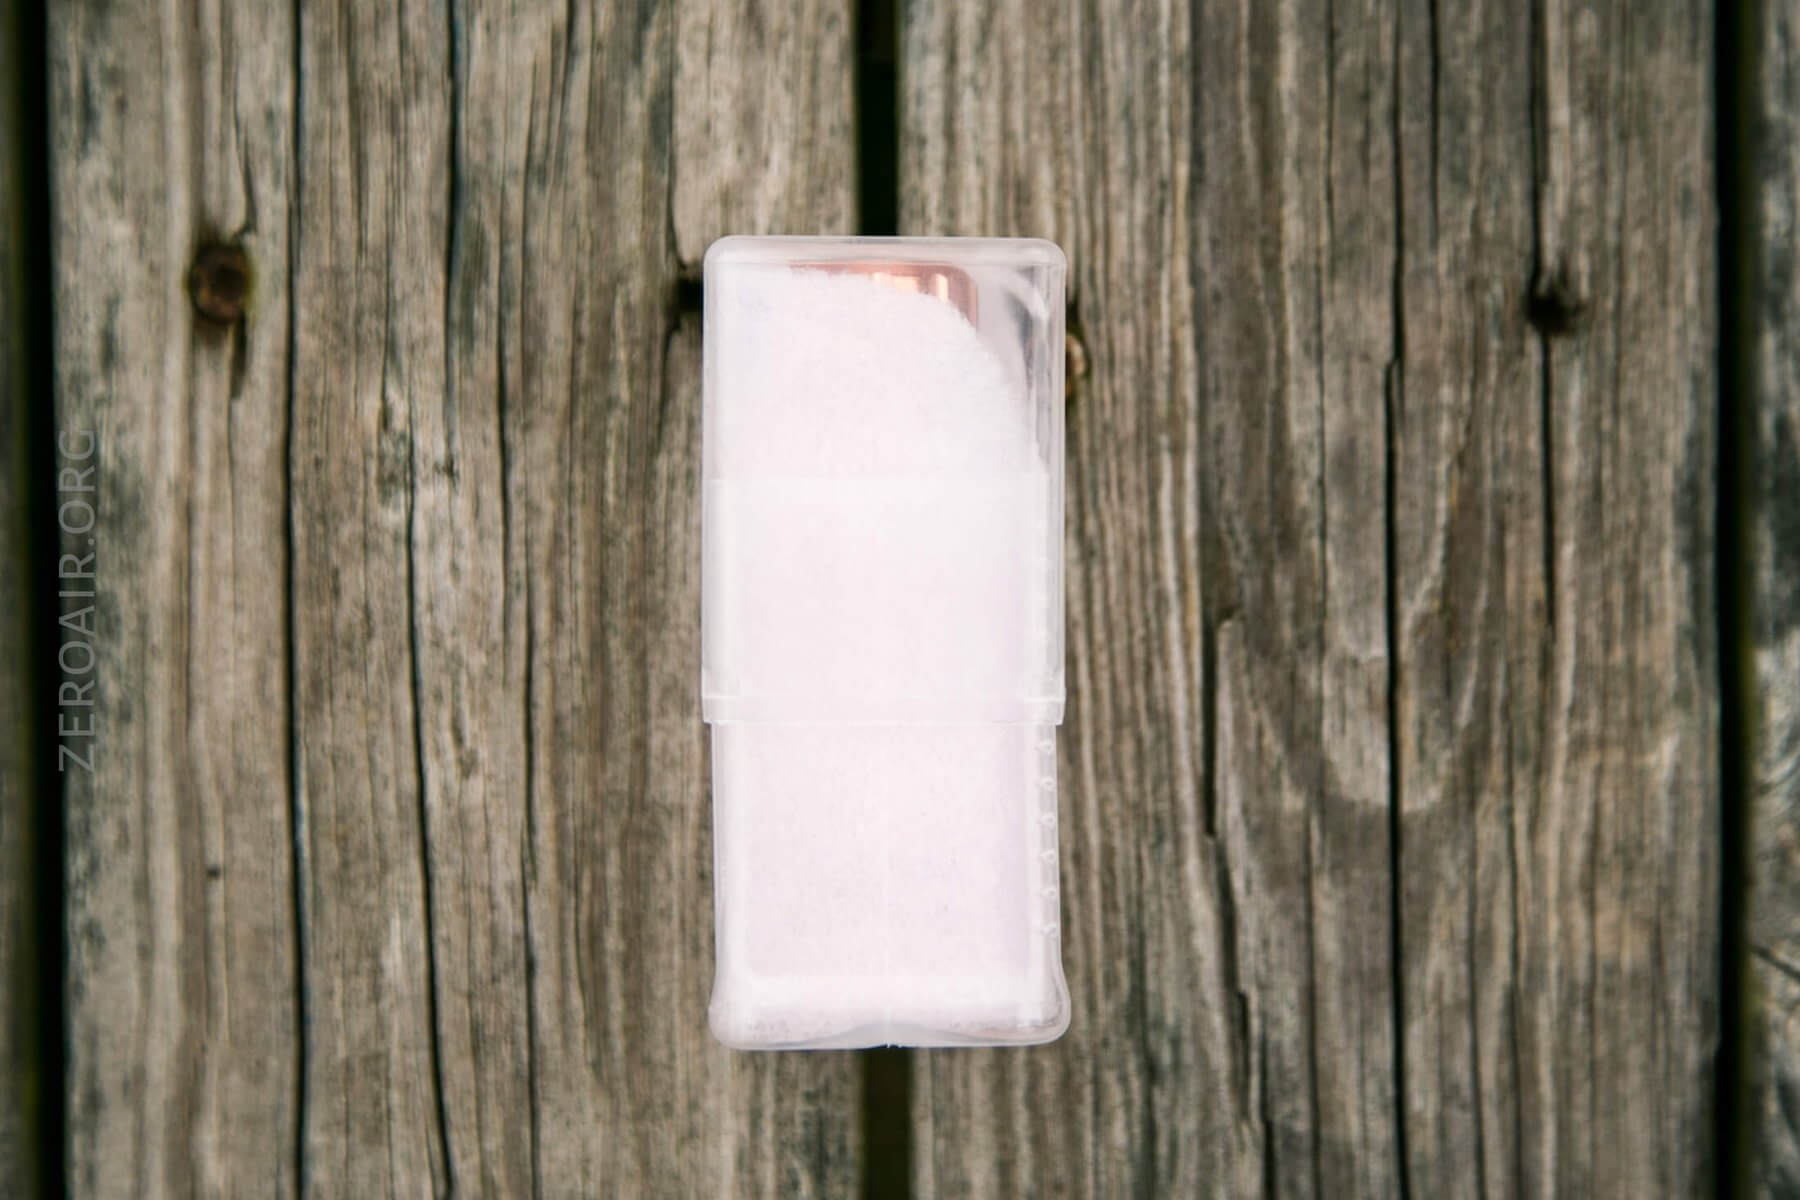
The light ships in a plastic container with foam. I might not have received the production version of the packaging though, so don’t worry too much about that.
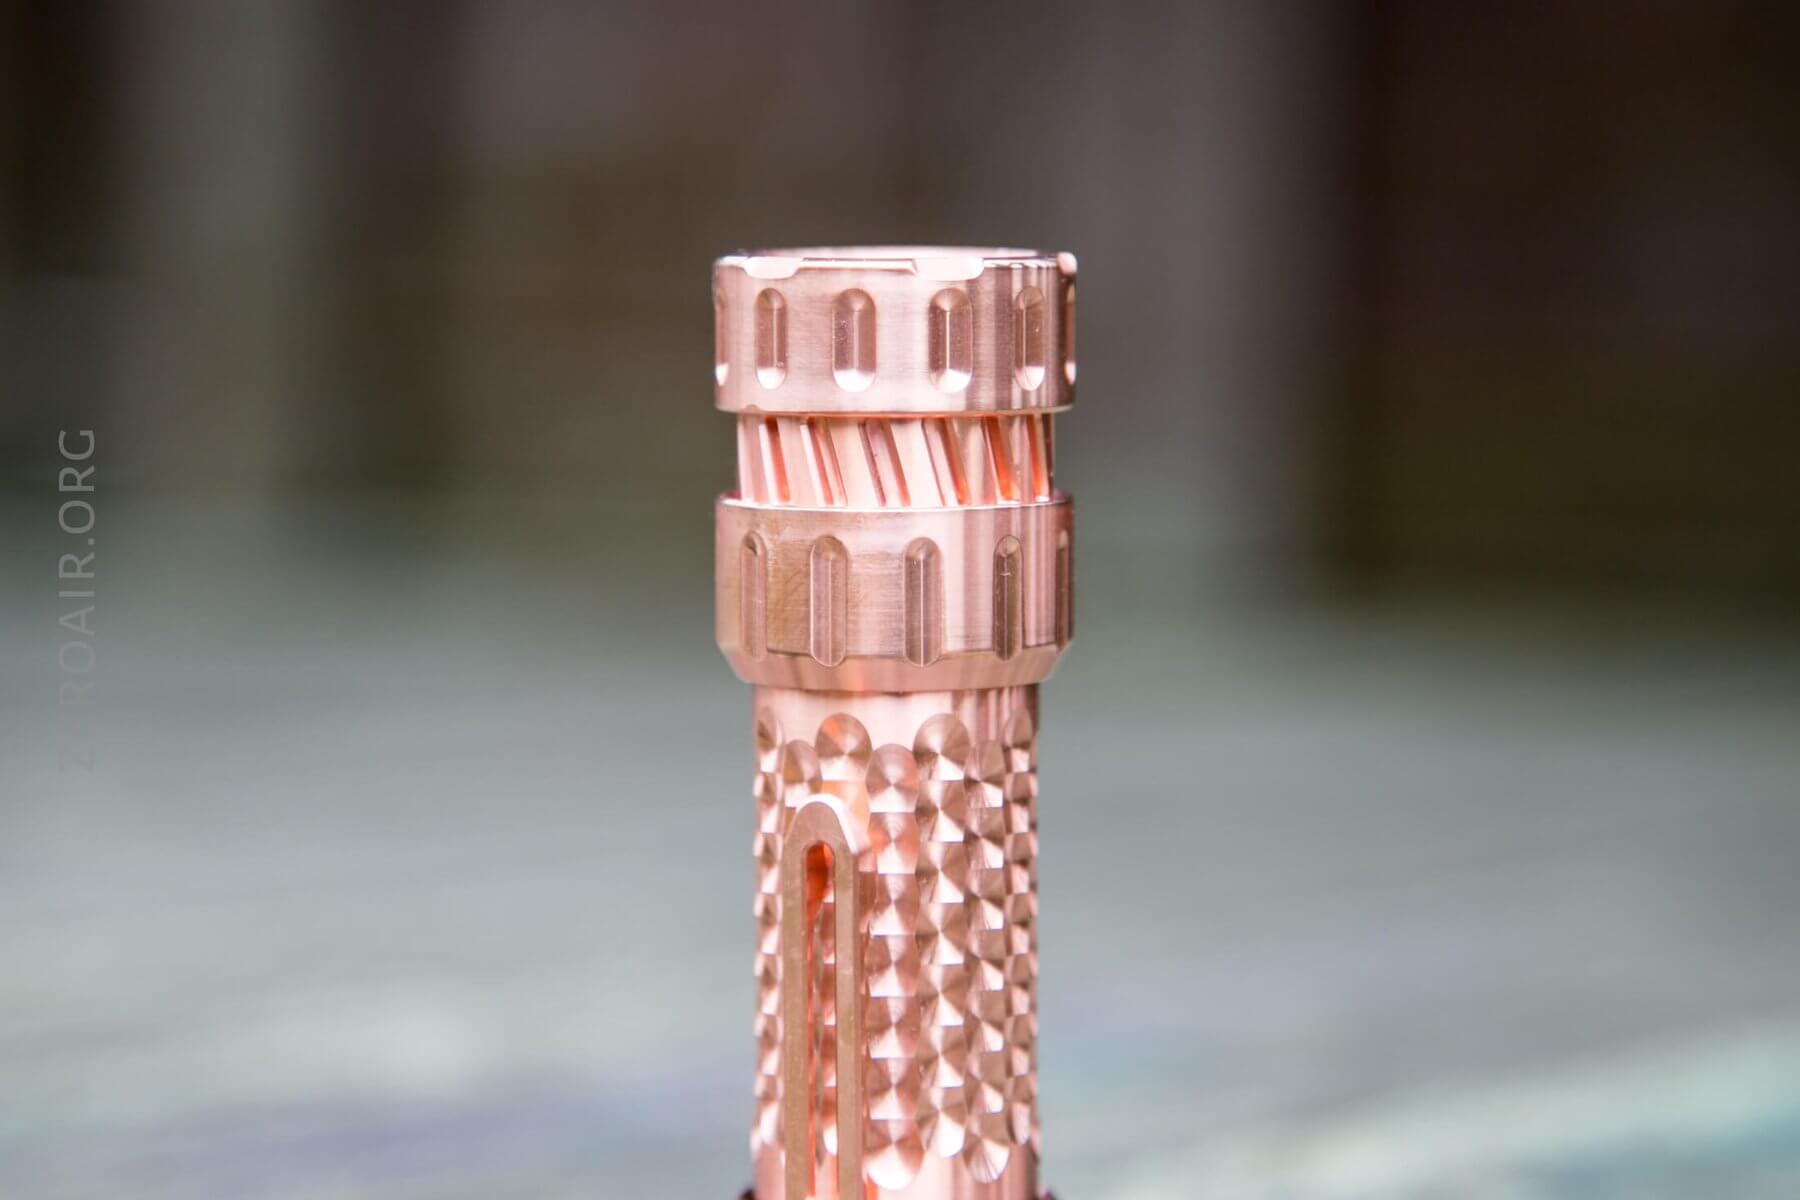
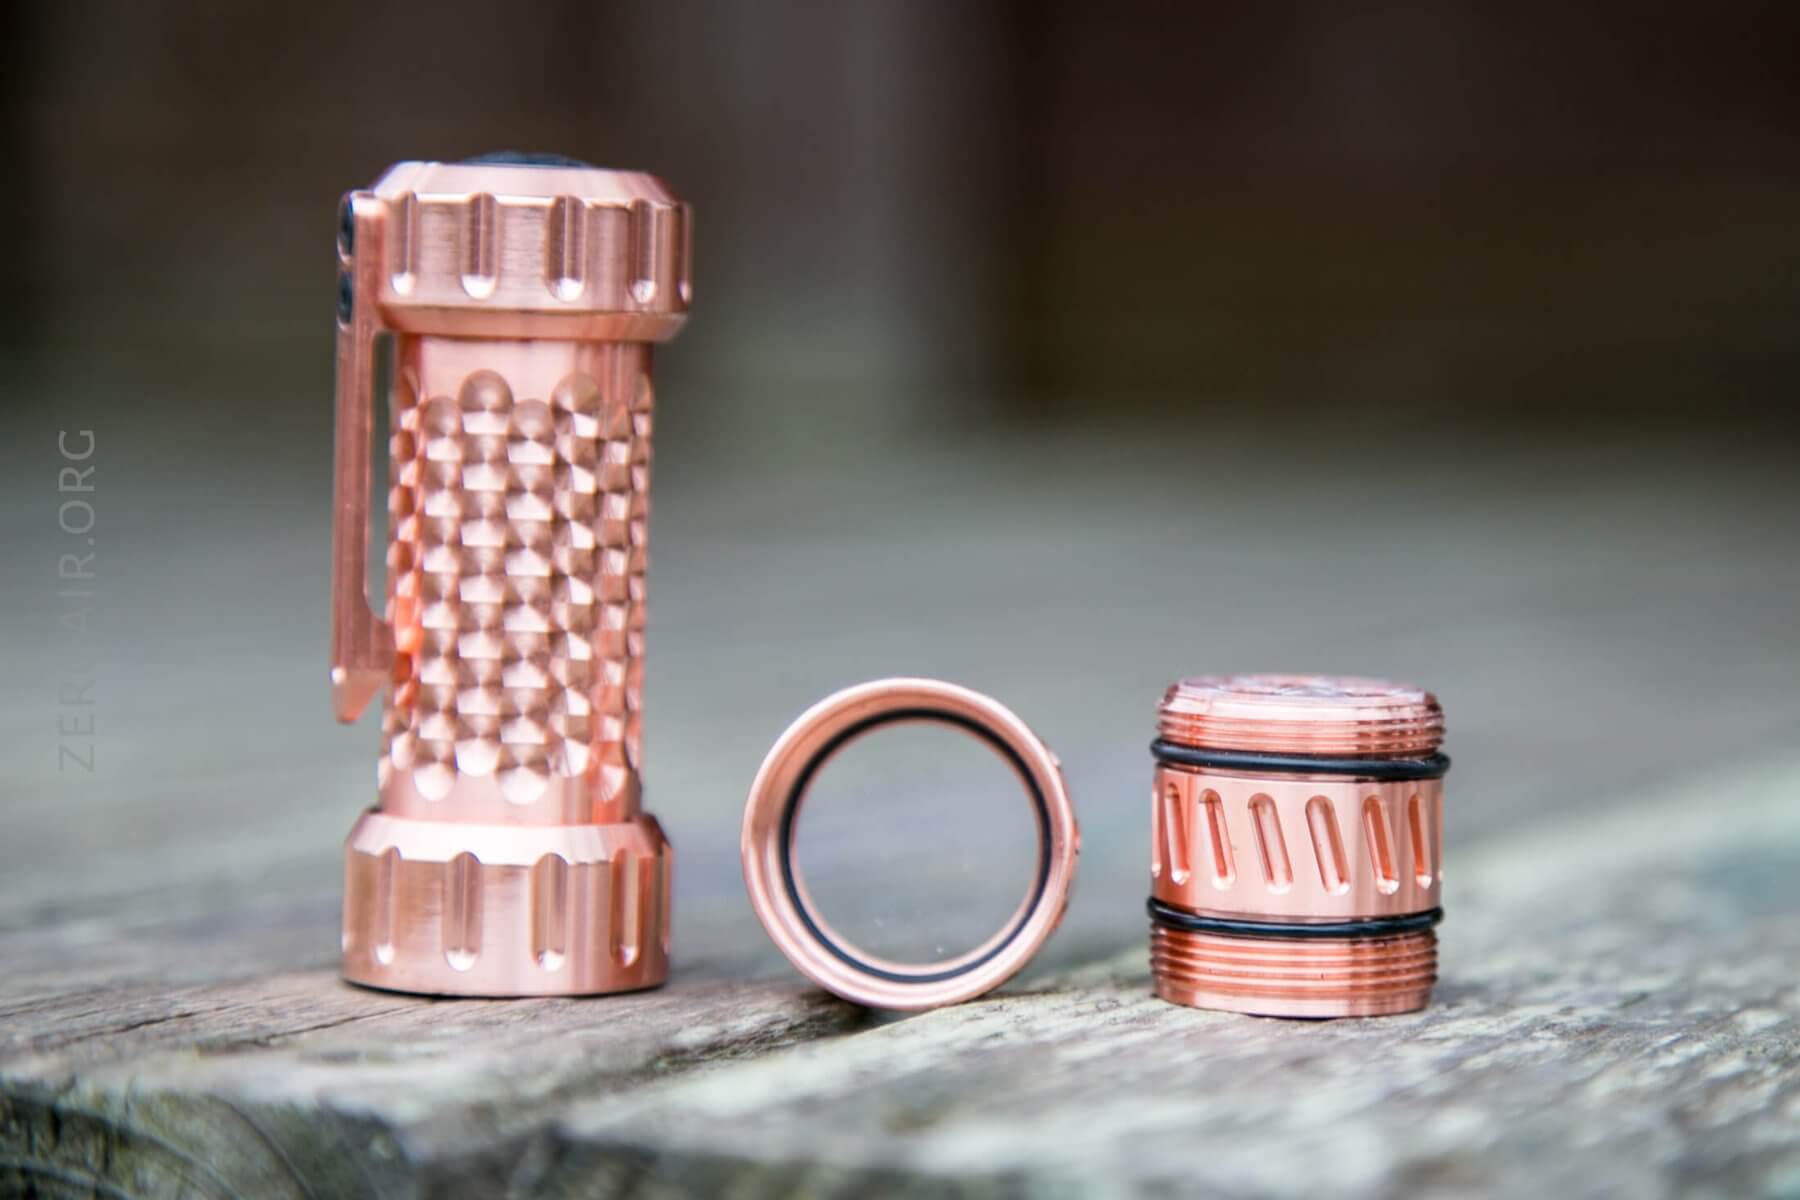
Build Quality and Disassembly
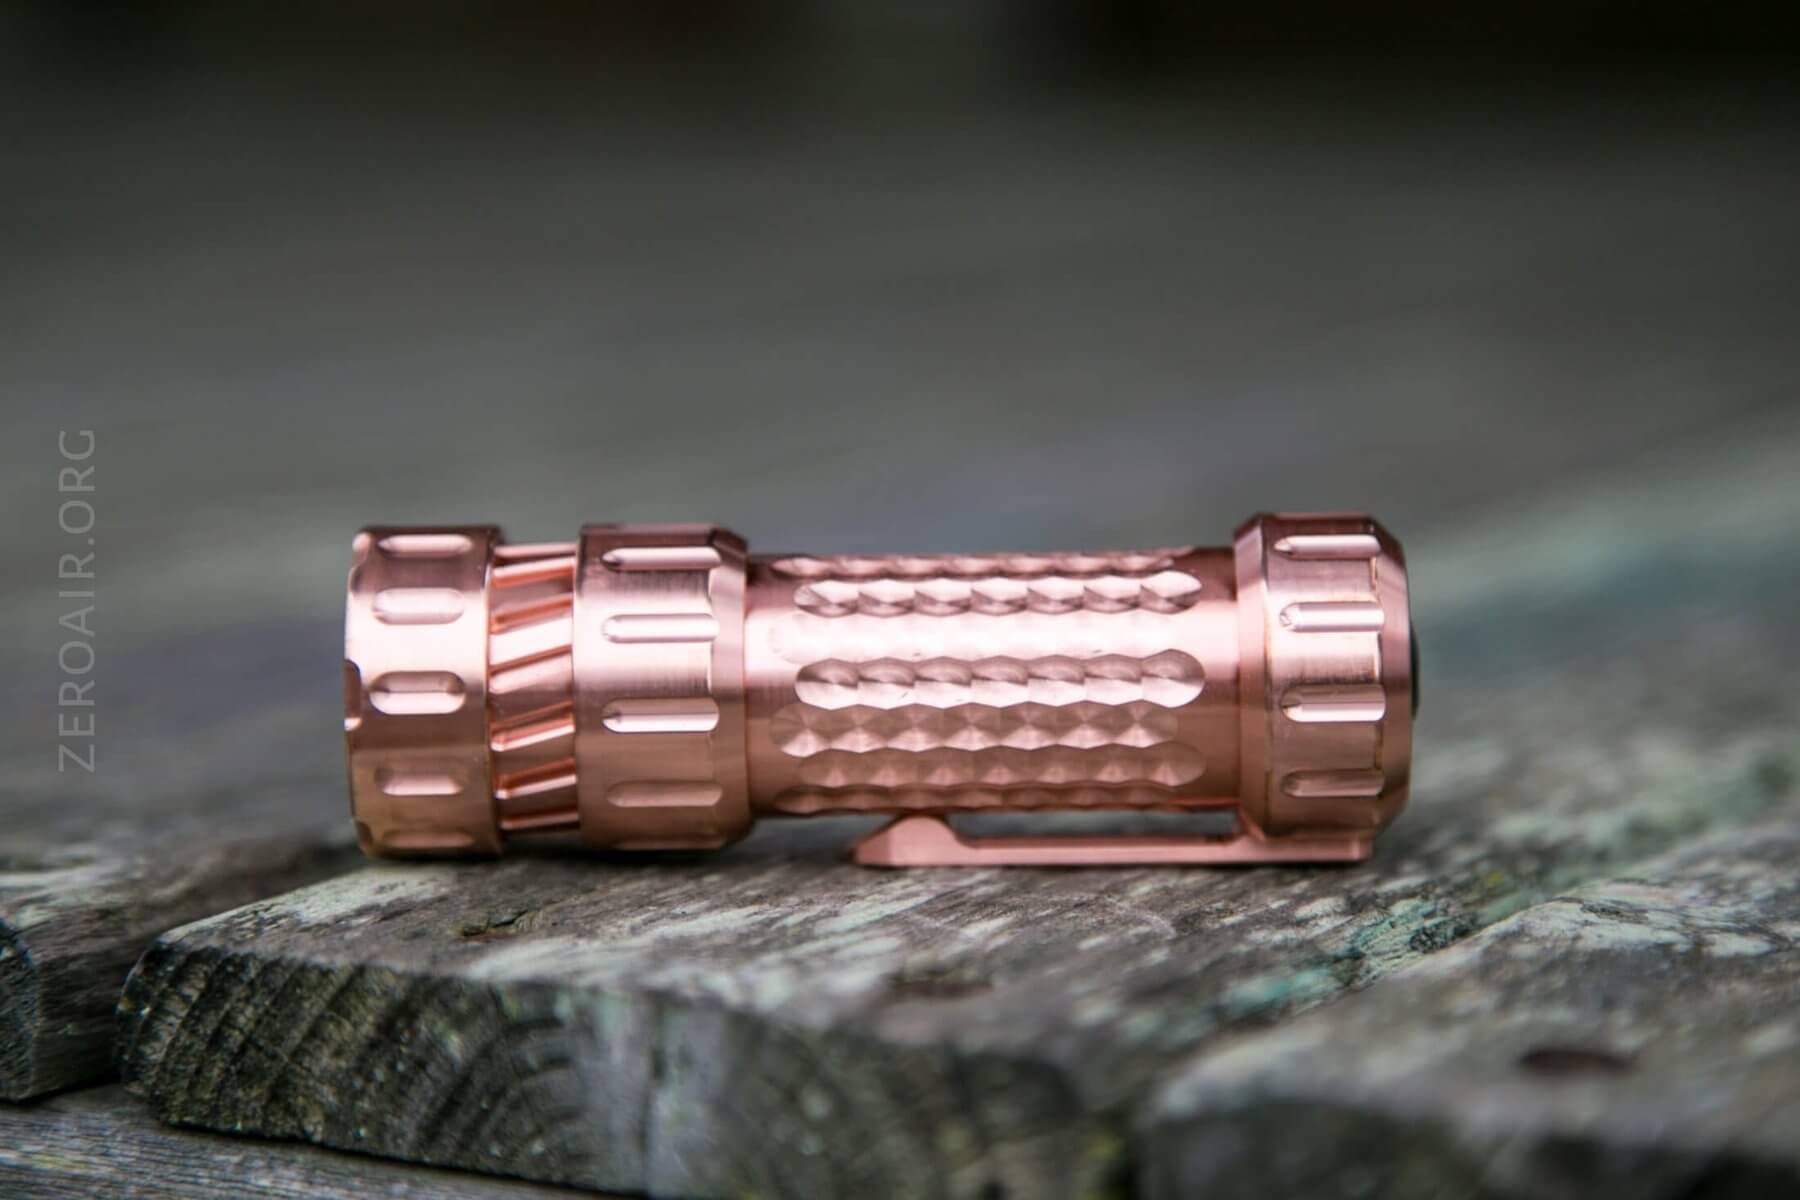
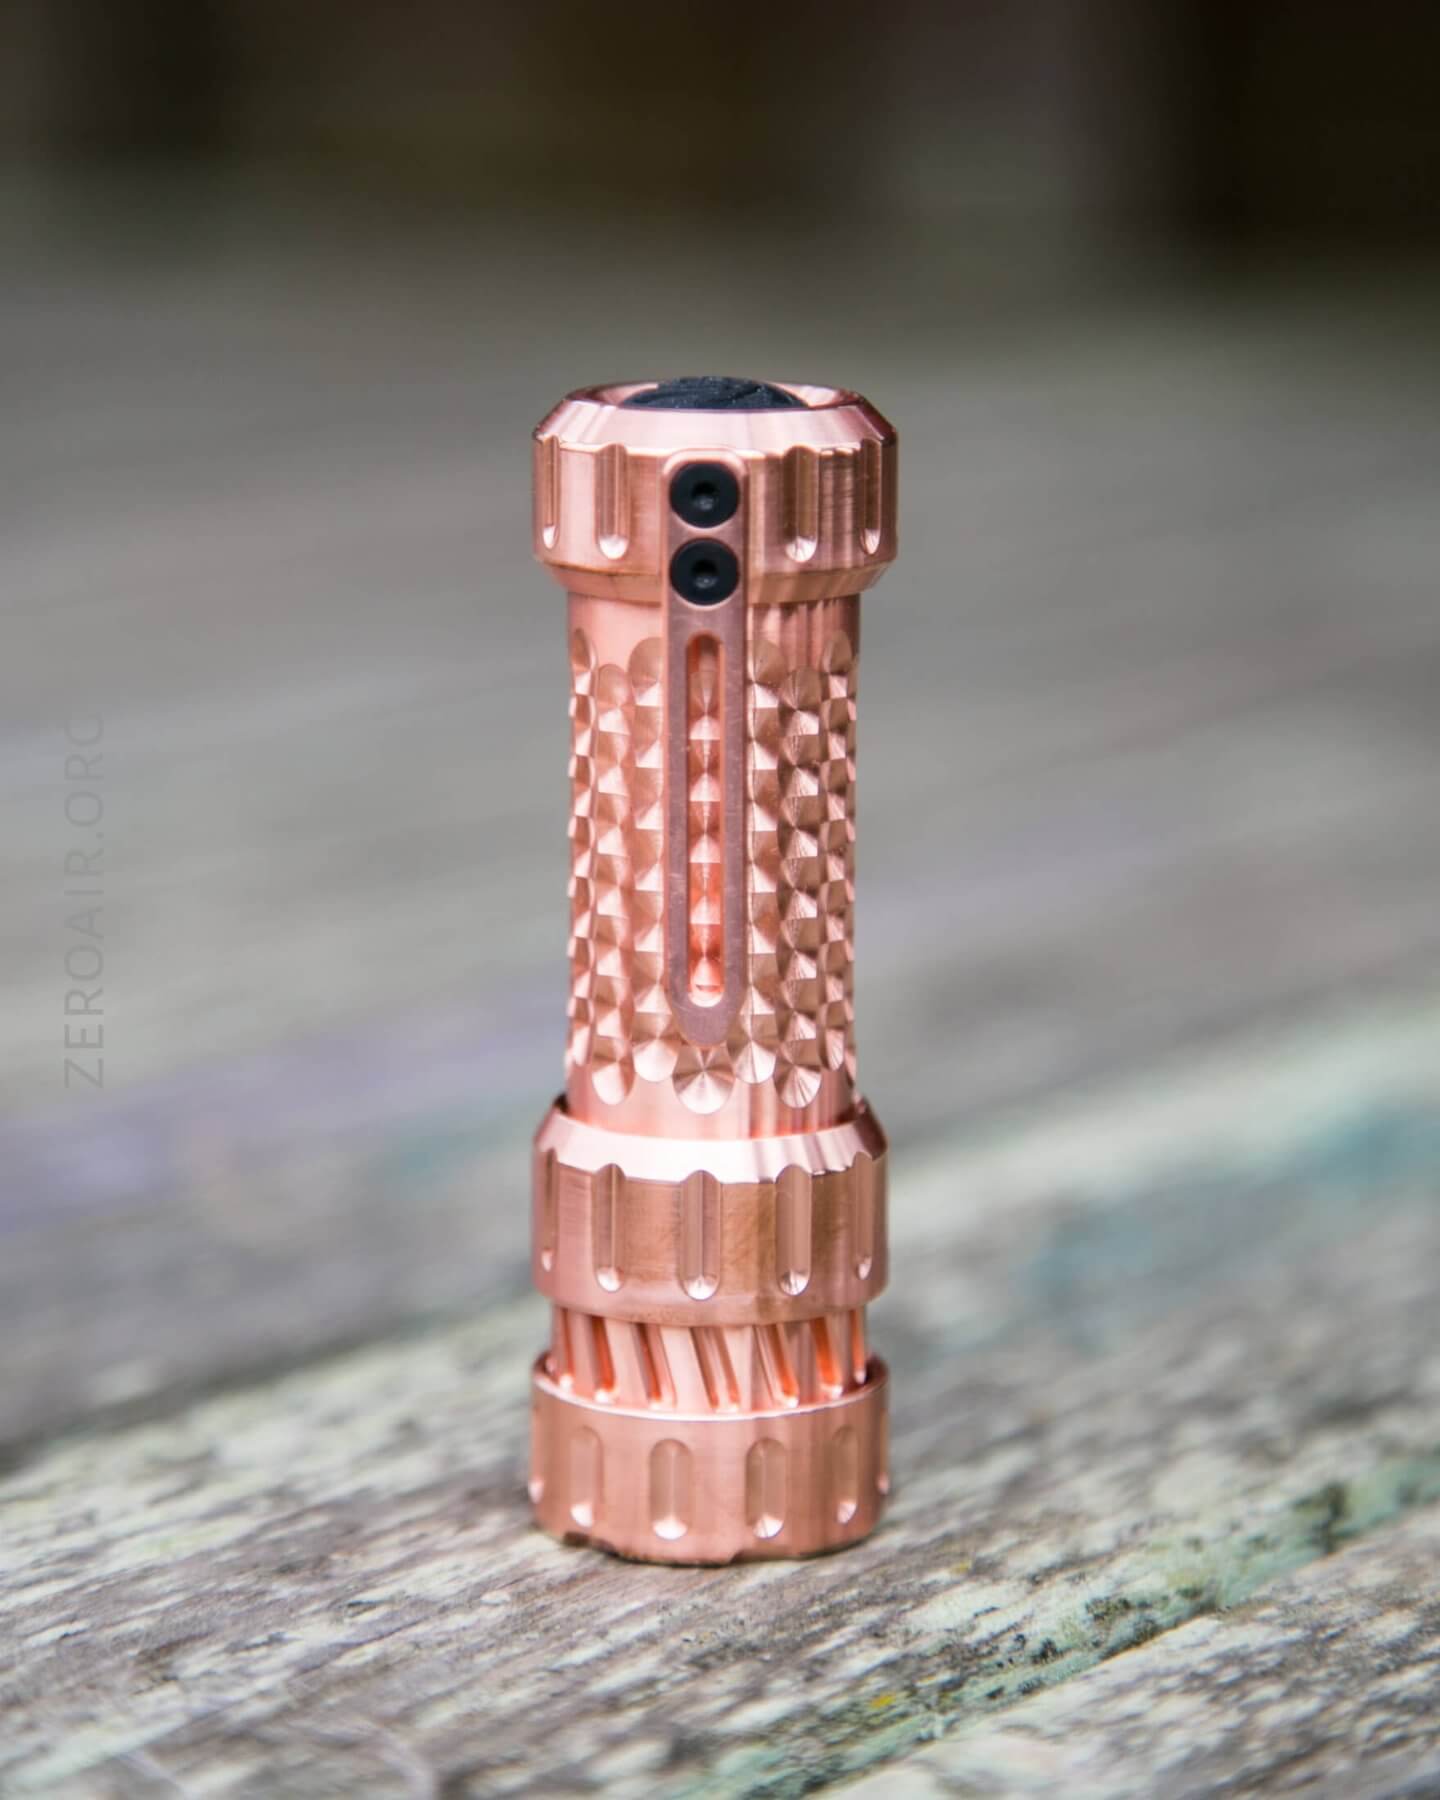
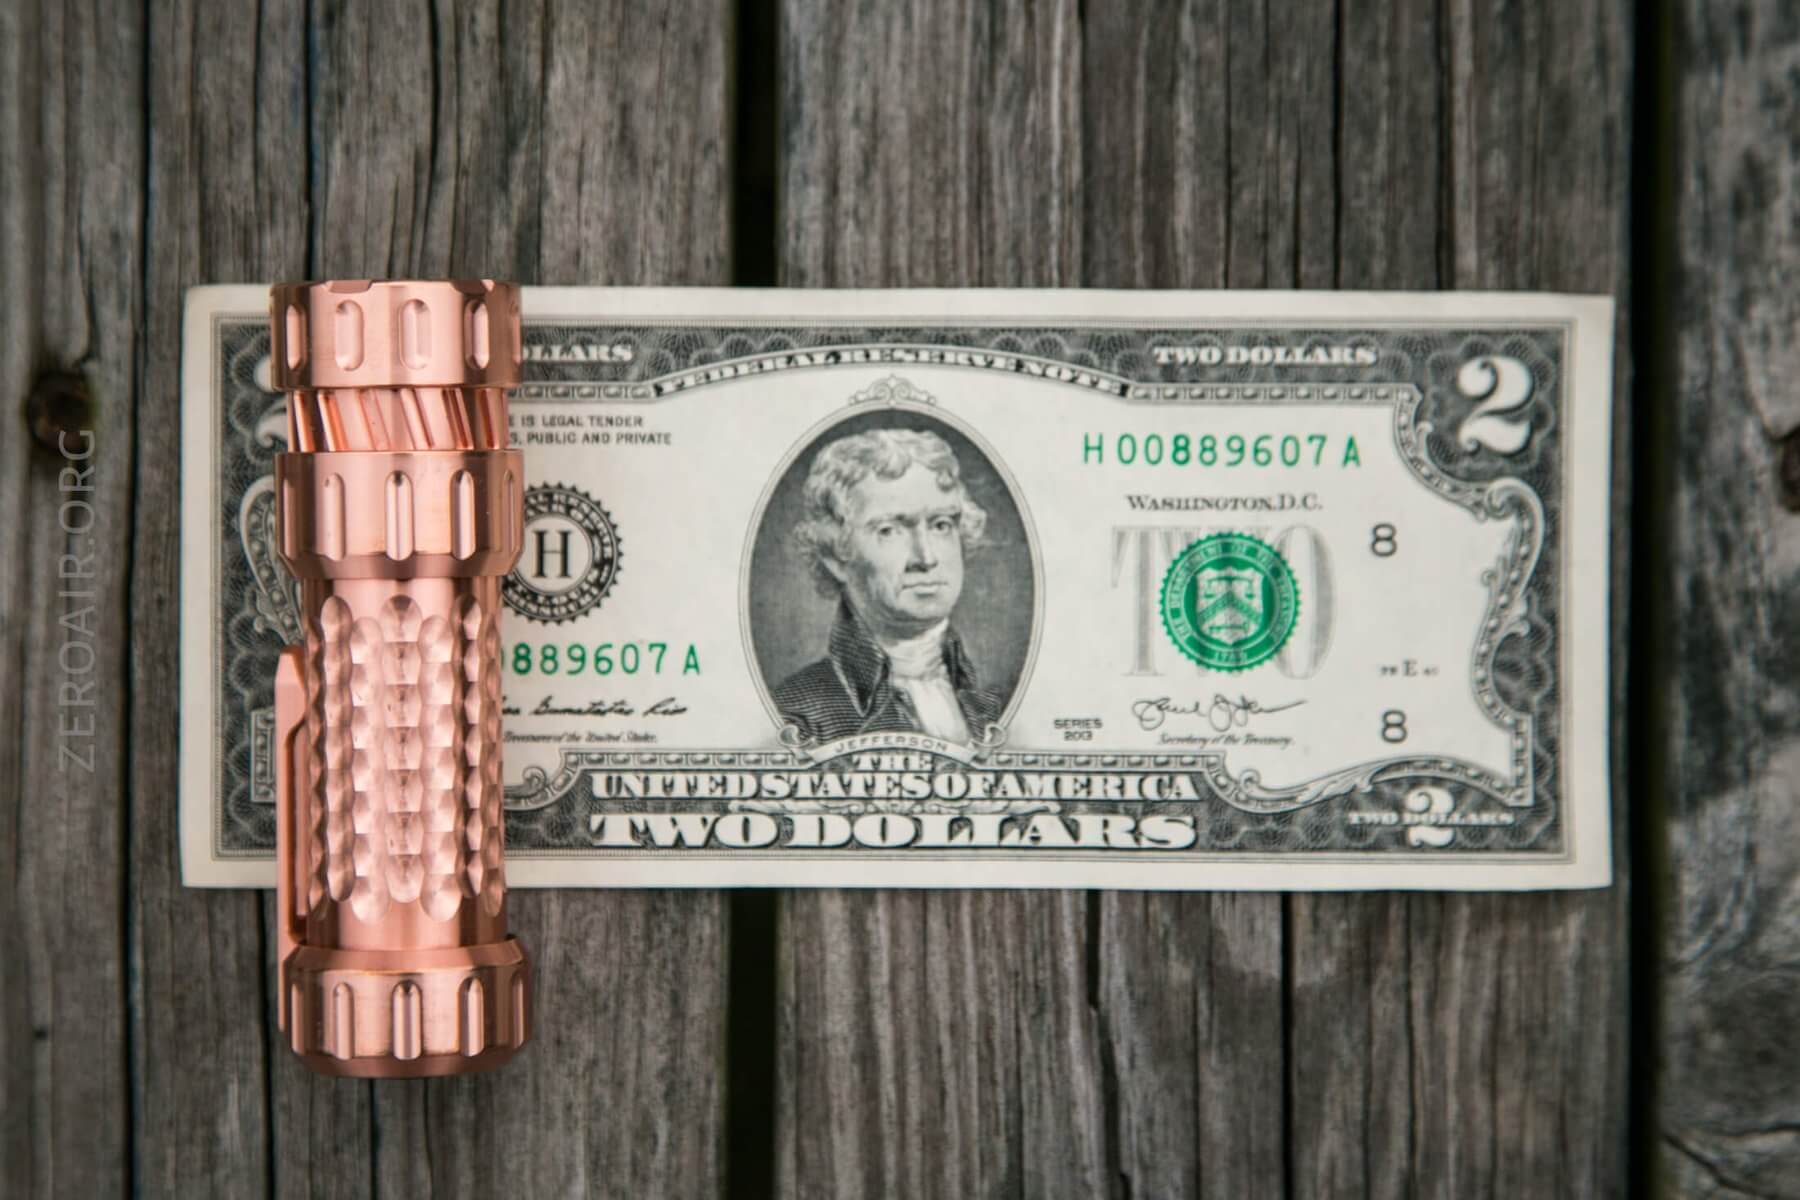
This host is impeccably built. It’s also quite stunning! It really looks like a brand new shiny penny. However, it really only looks this way. I’m fairly sure that the copper version is coated in something to prevent patina – this is supported by the fact that it doesn’t ship in a vacuum-sealed pouch. So it’s this shiny after however many days post-production. I’m sure that coating can be removed somehow, but it’s only marginally worn off during my use.

The host version is not different in any way from the built version.
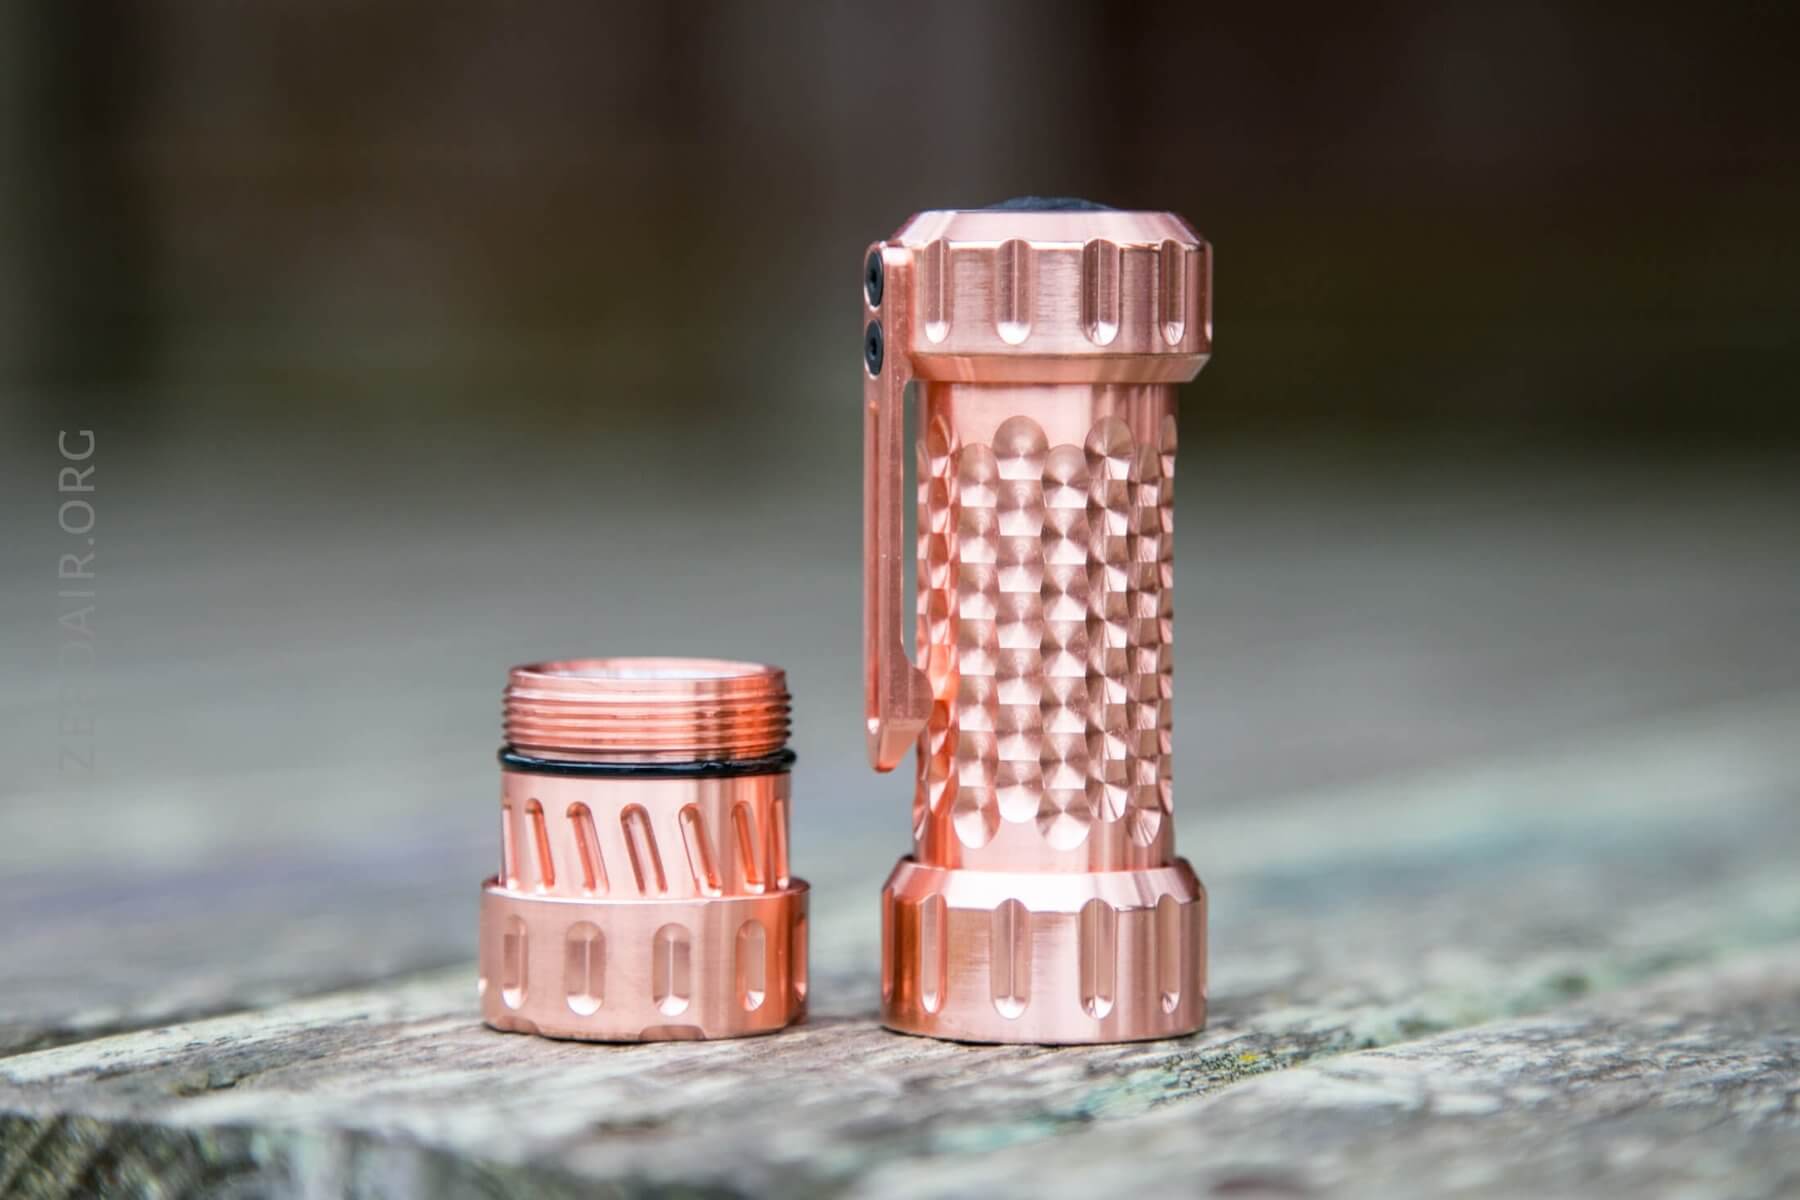
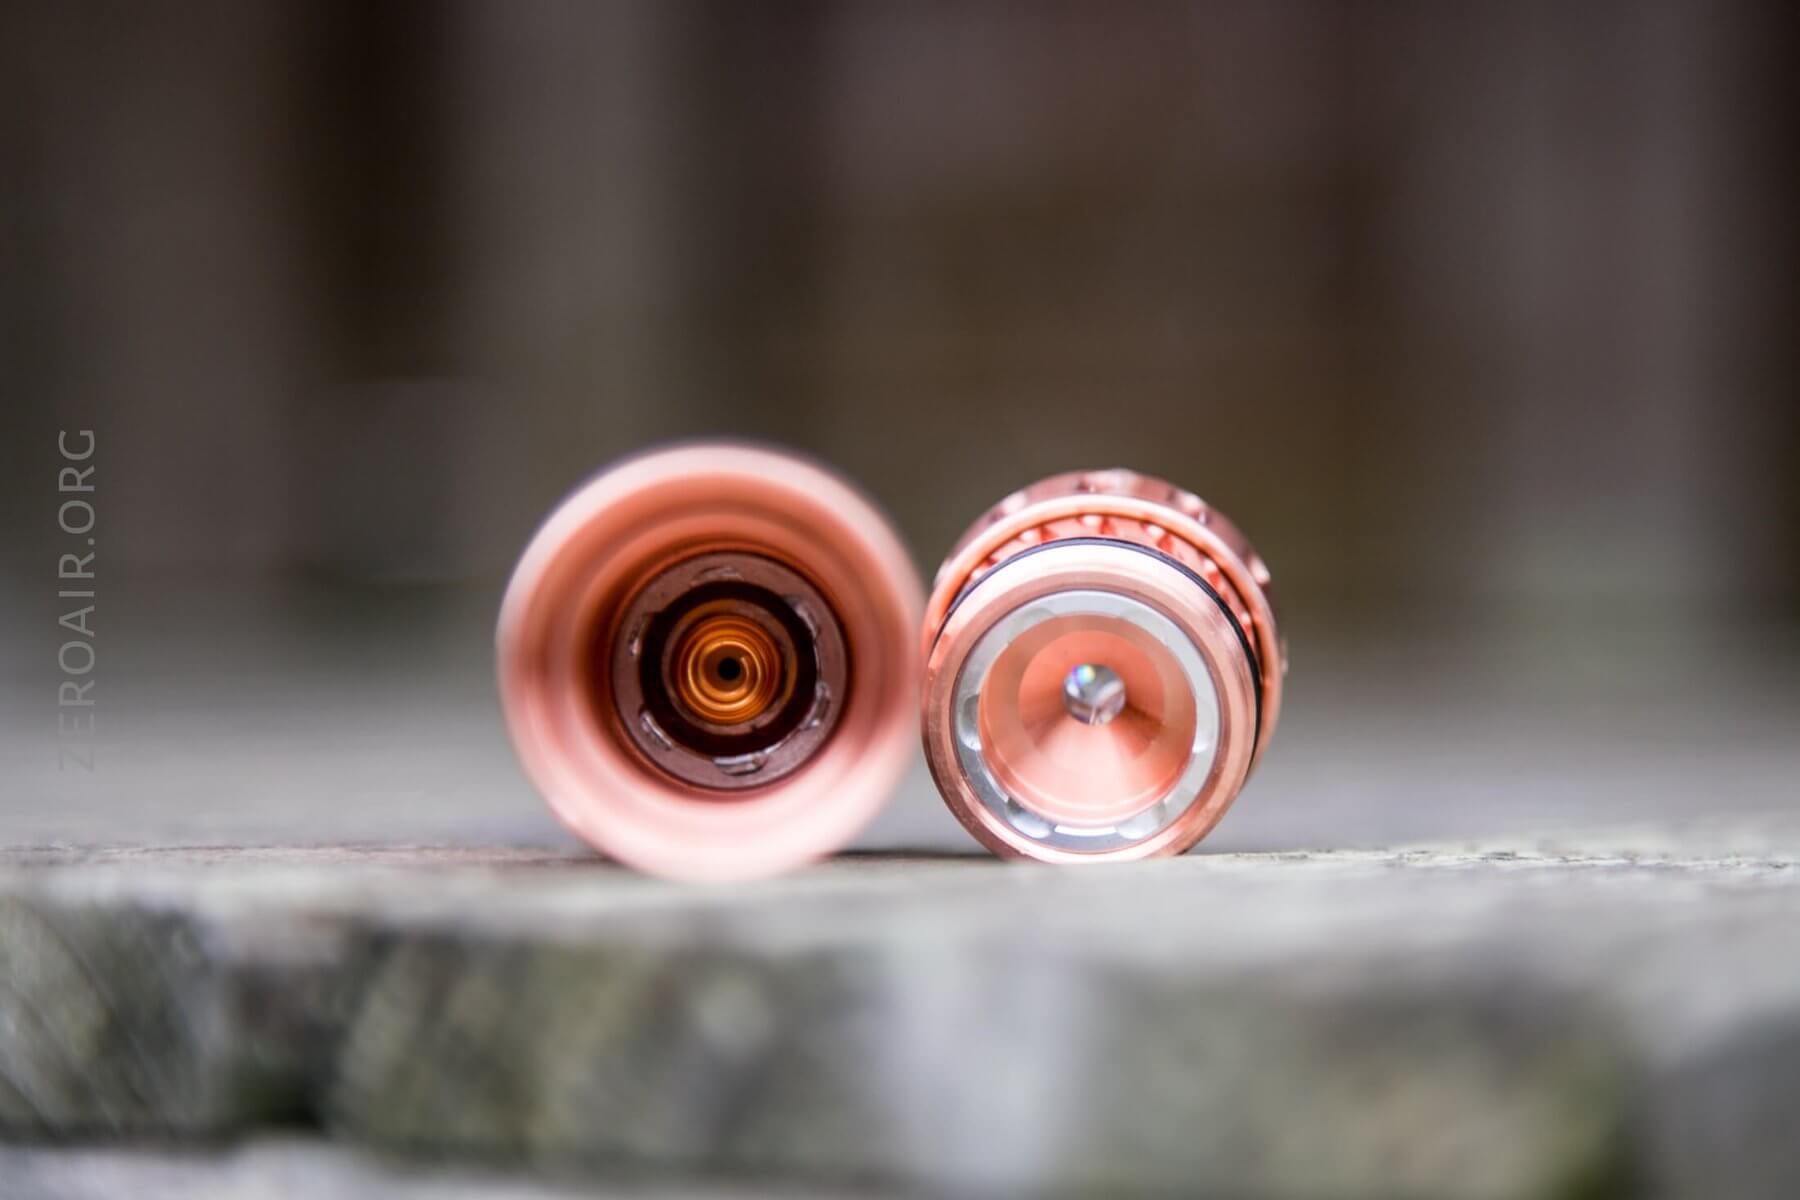
The tailcap does not unscrew from the body. Fortunately, the switch is already installed, so there’s nothing to really do on that end of the light anyway. If there was, then you’d need some long stiff tweezers to tighten the switch! (Note that a special tool is available specifically for this task!)
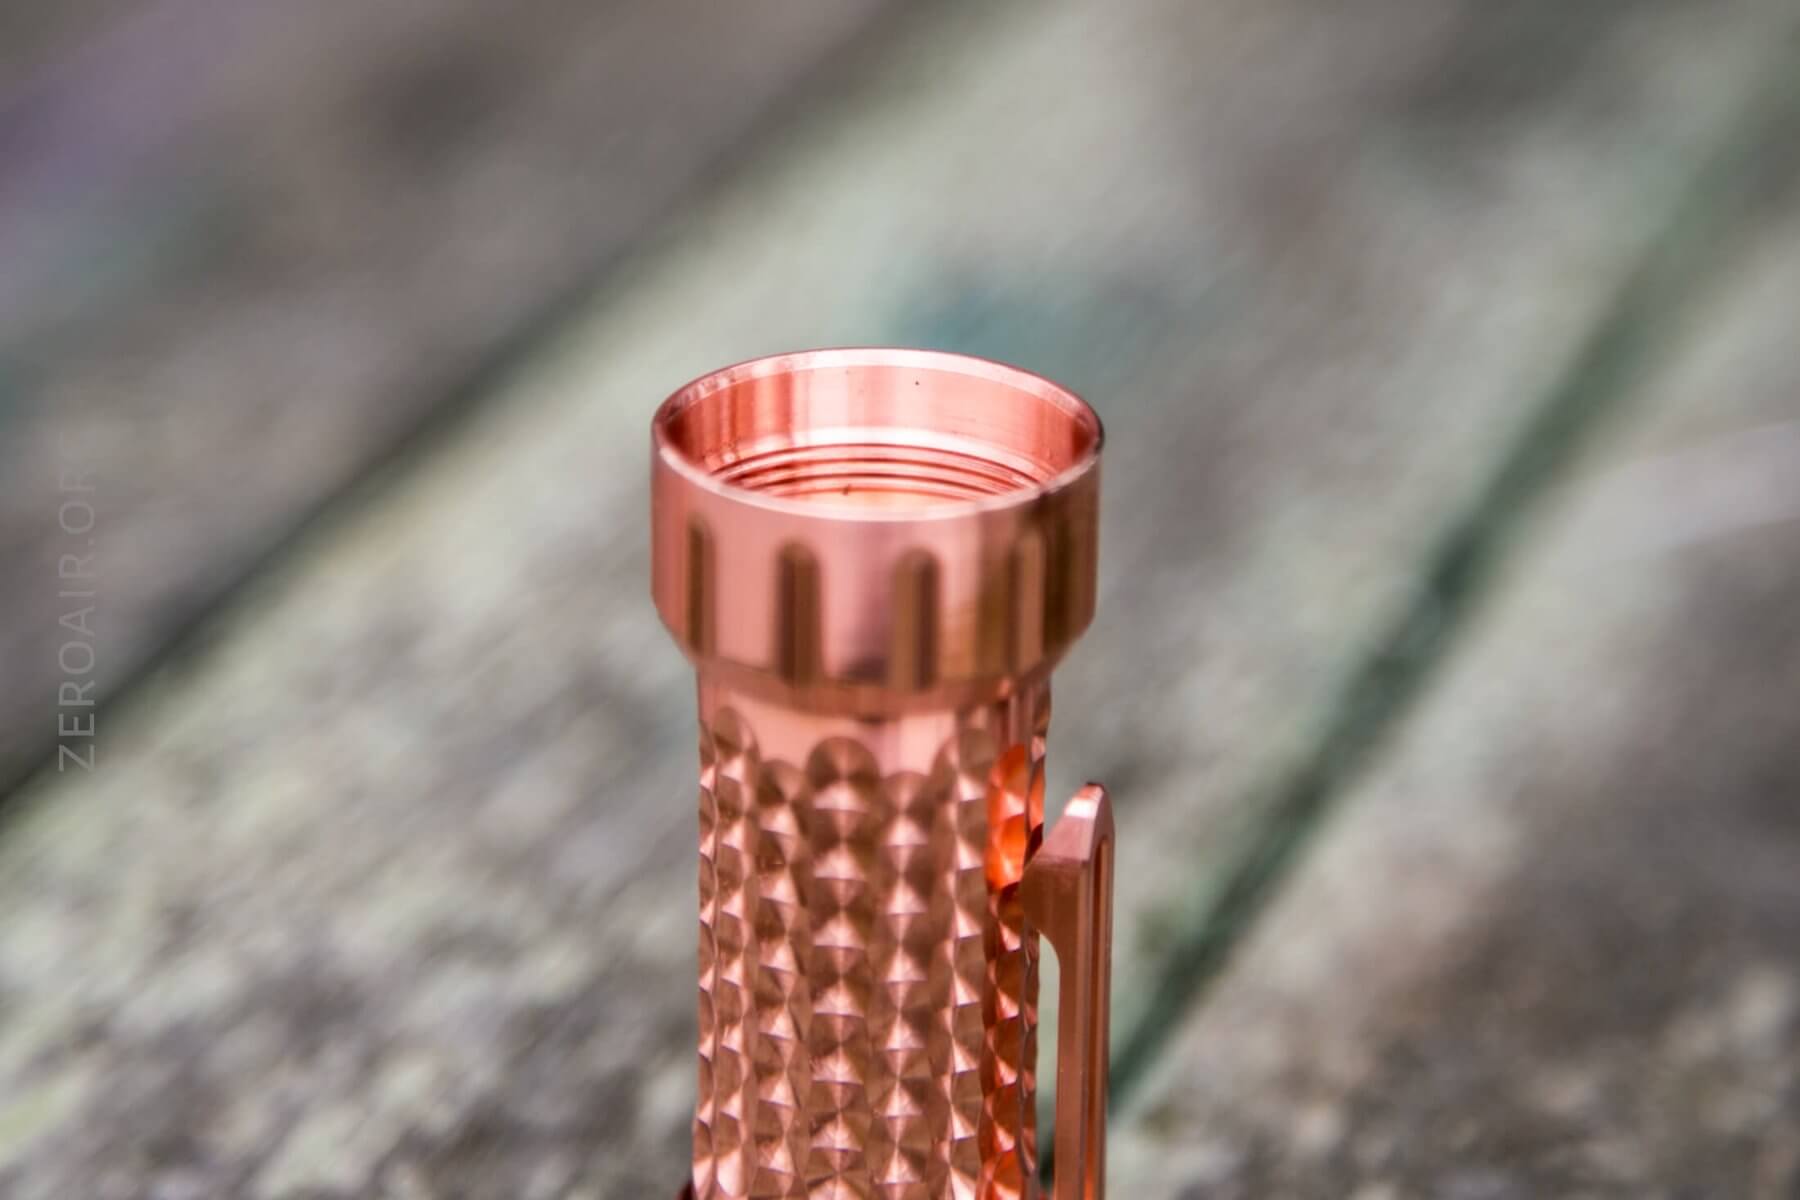
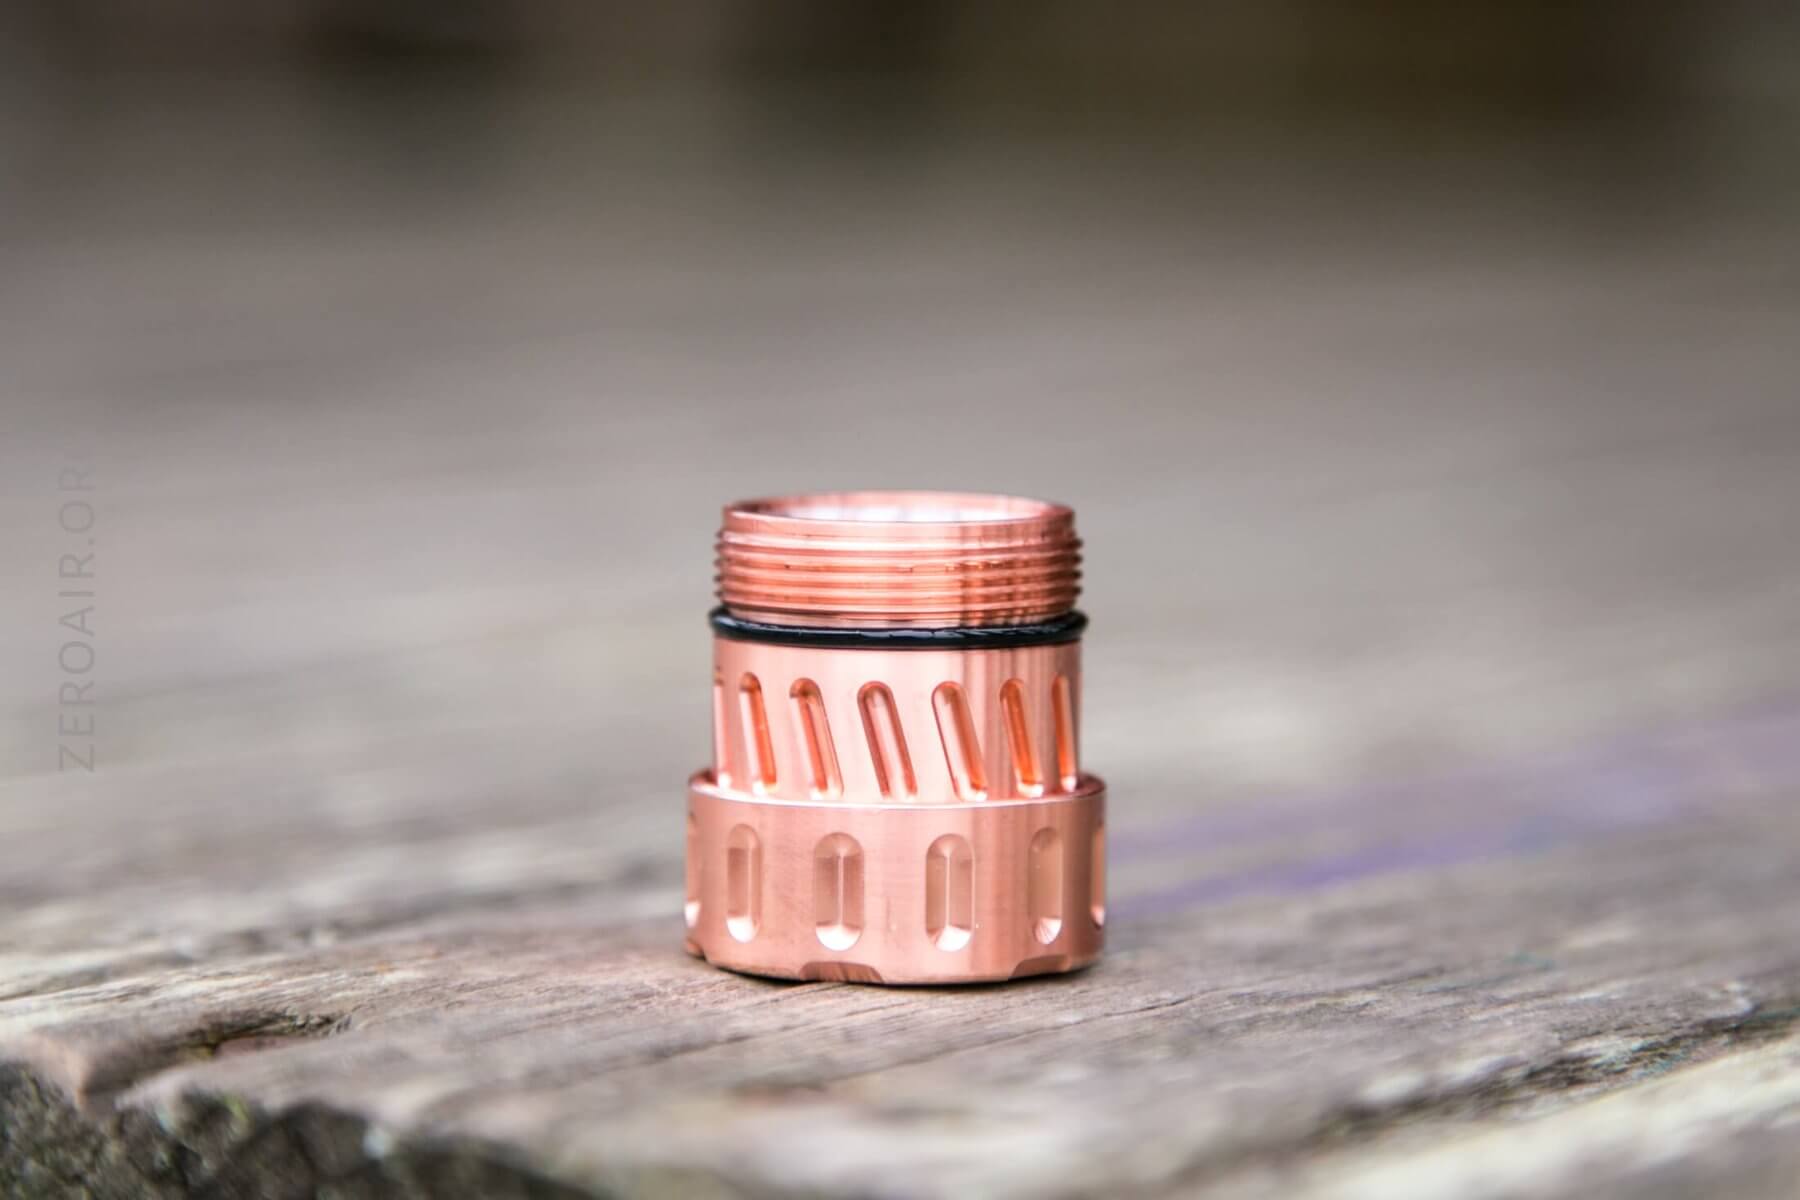
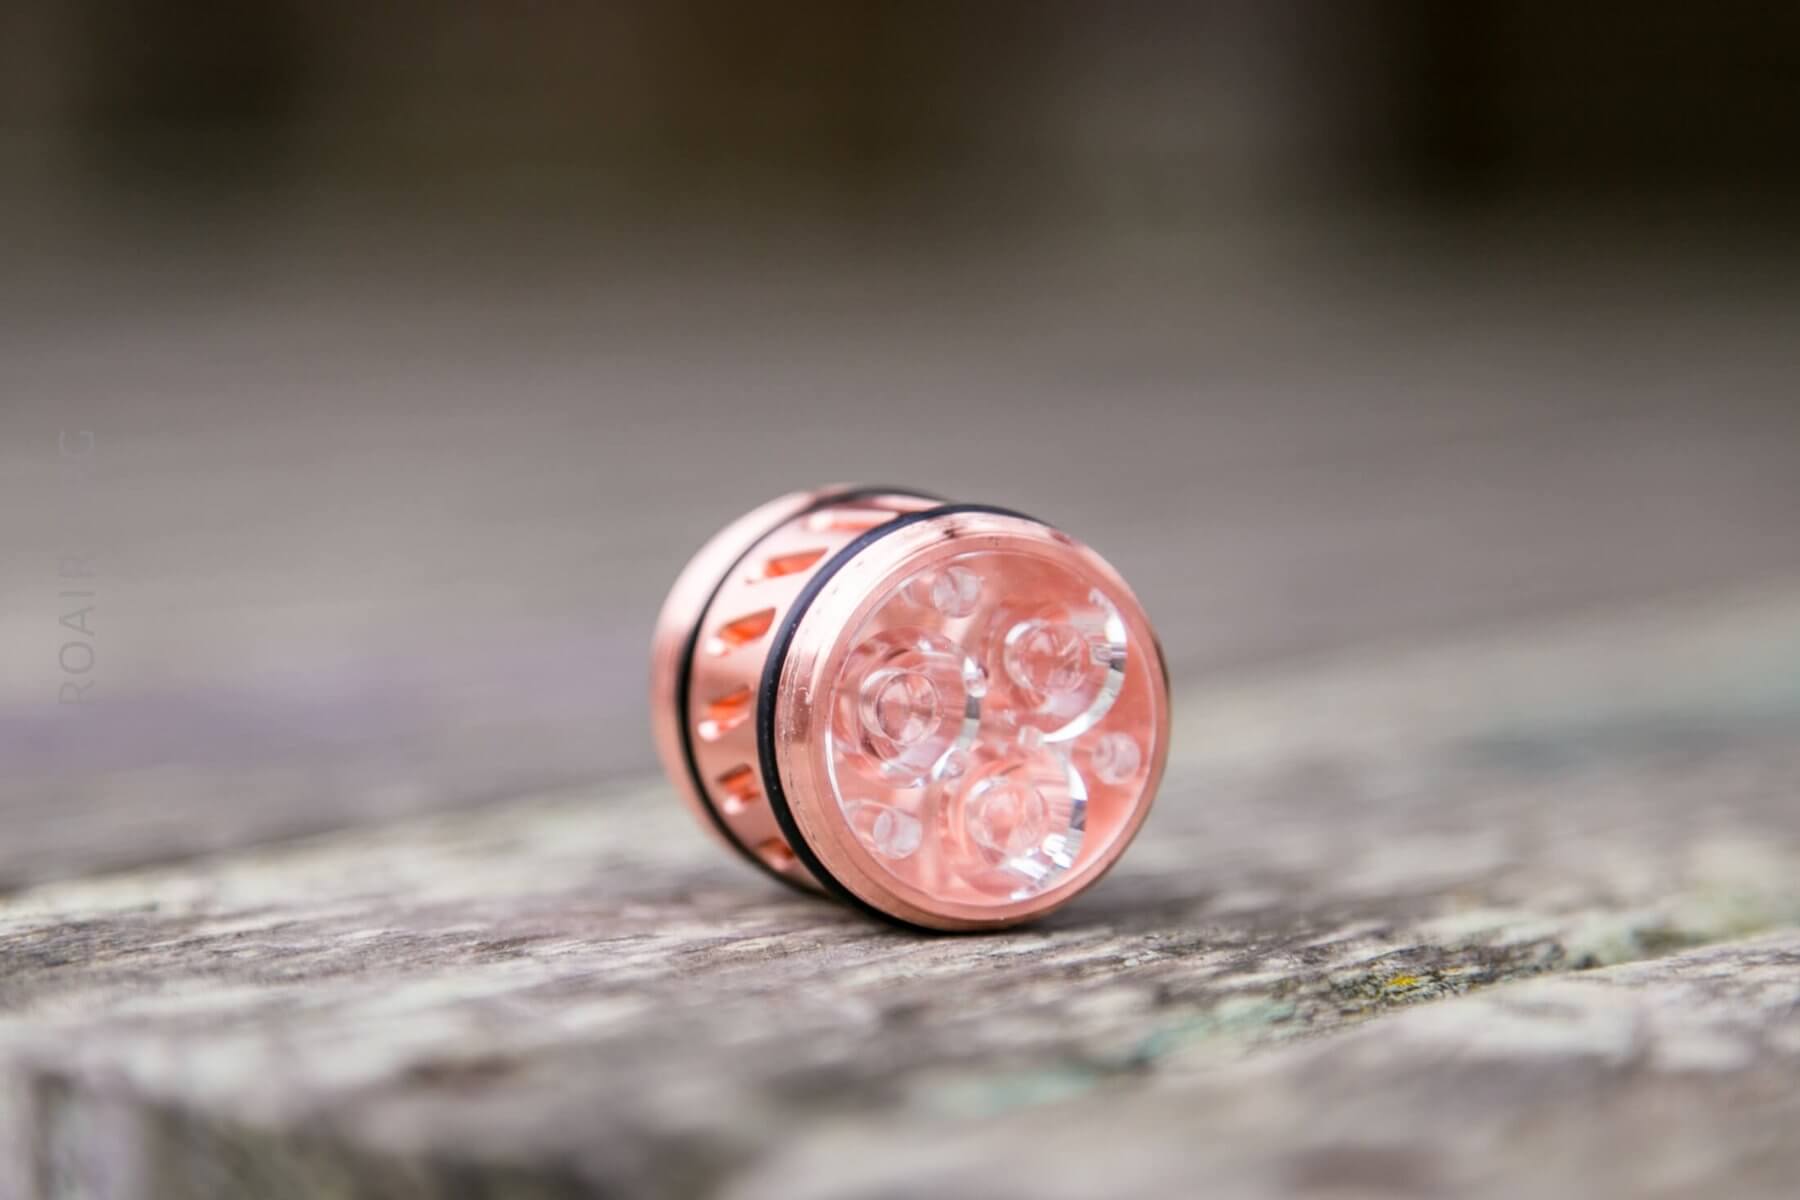
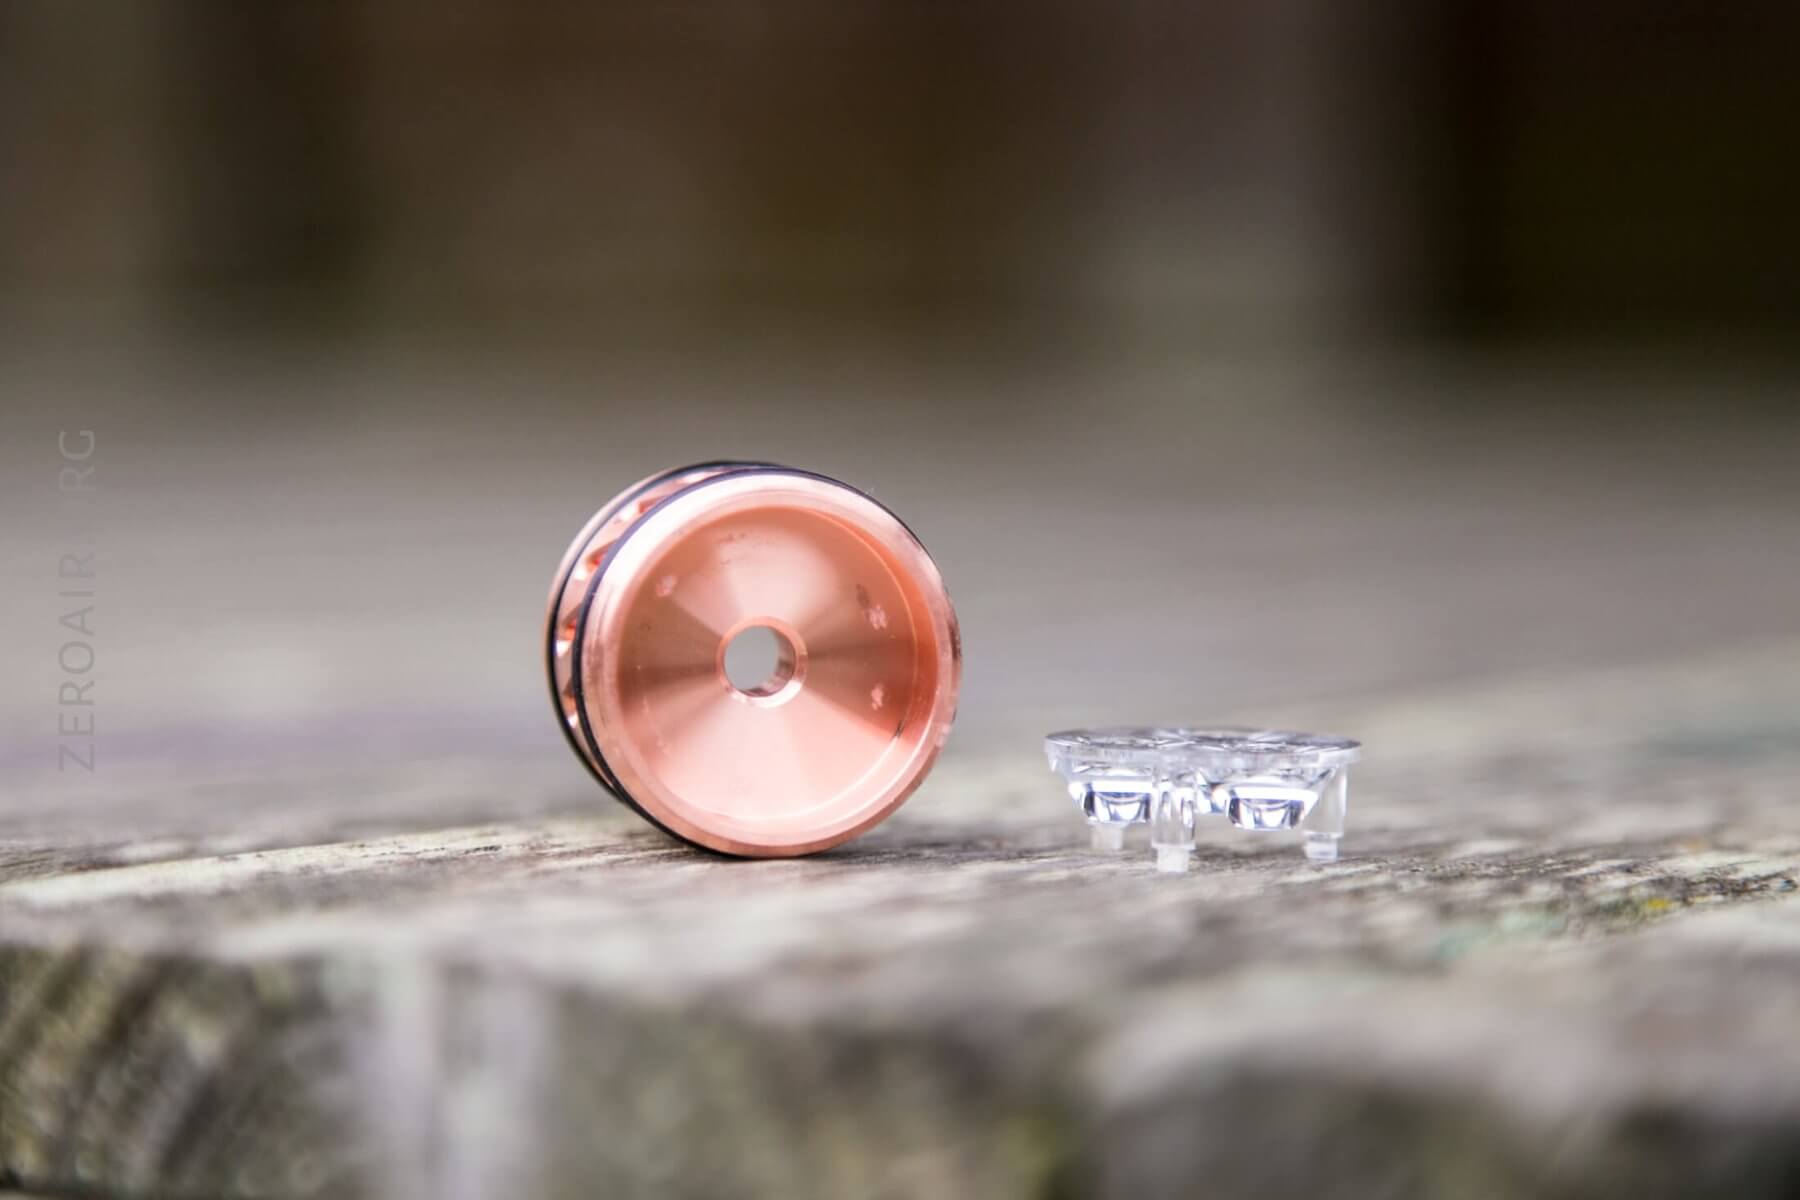
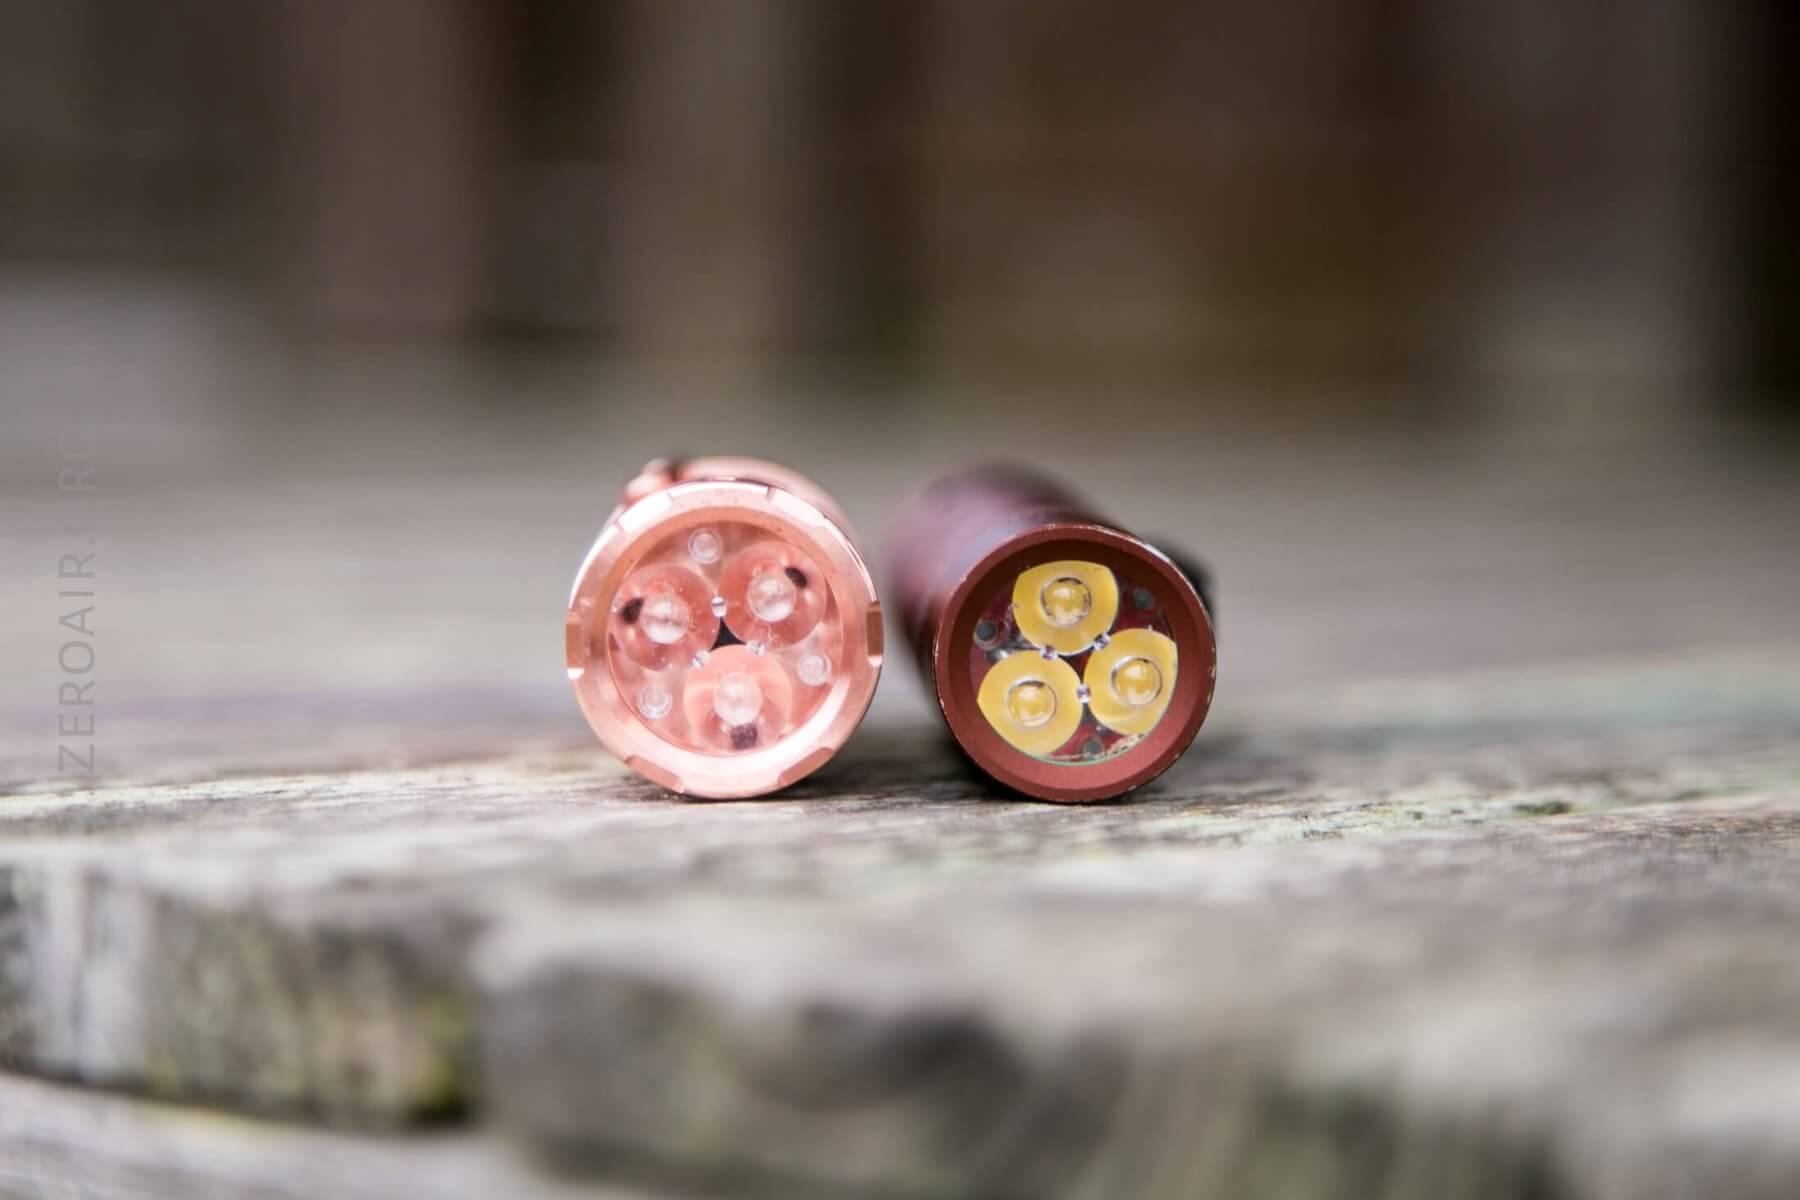
Here’s a view into the empty head of the light. The optic is installed, but no emitters or MCPCBs are.
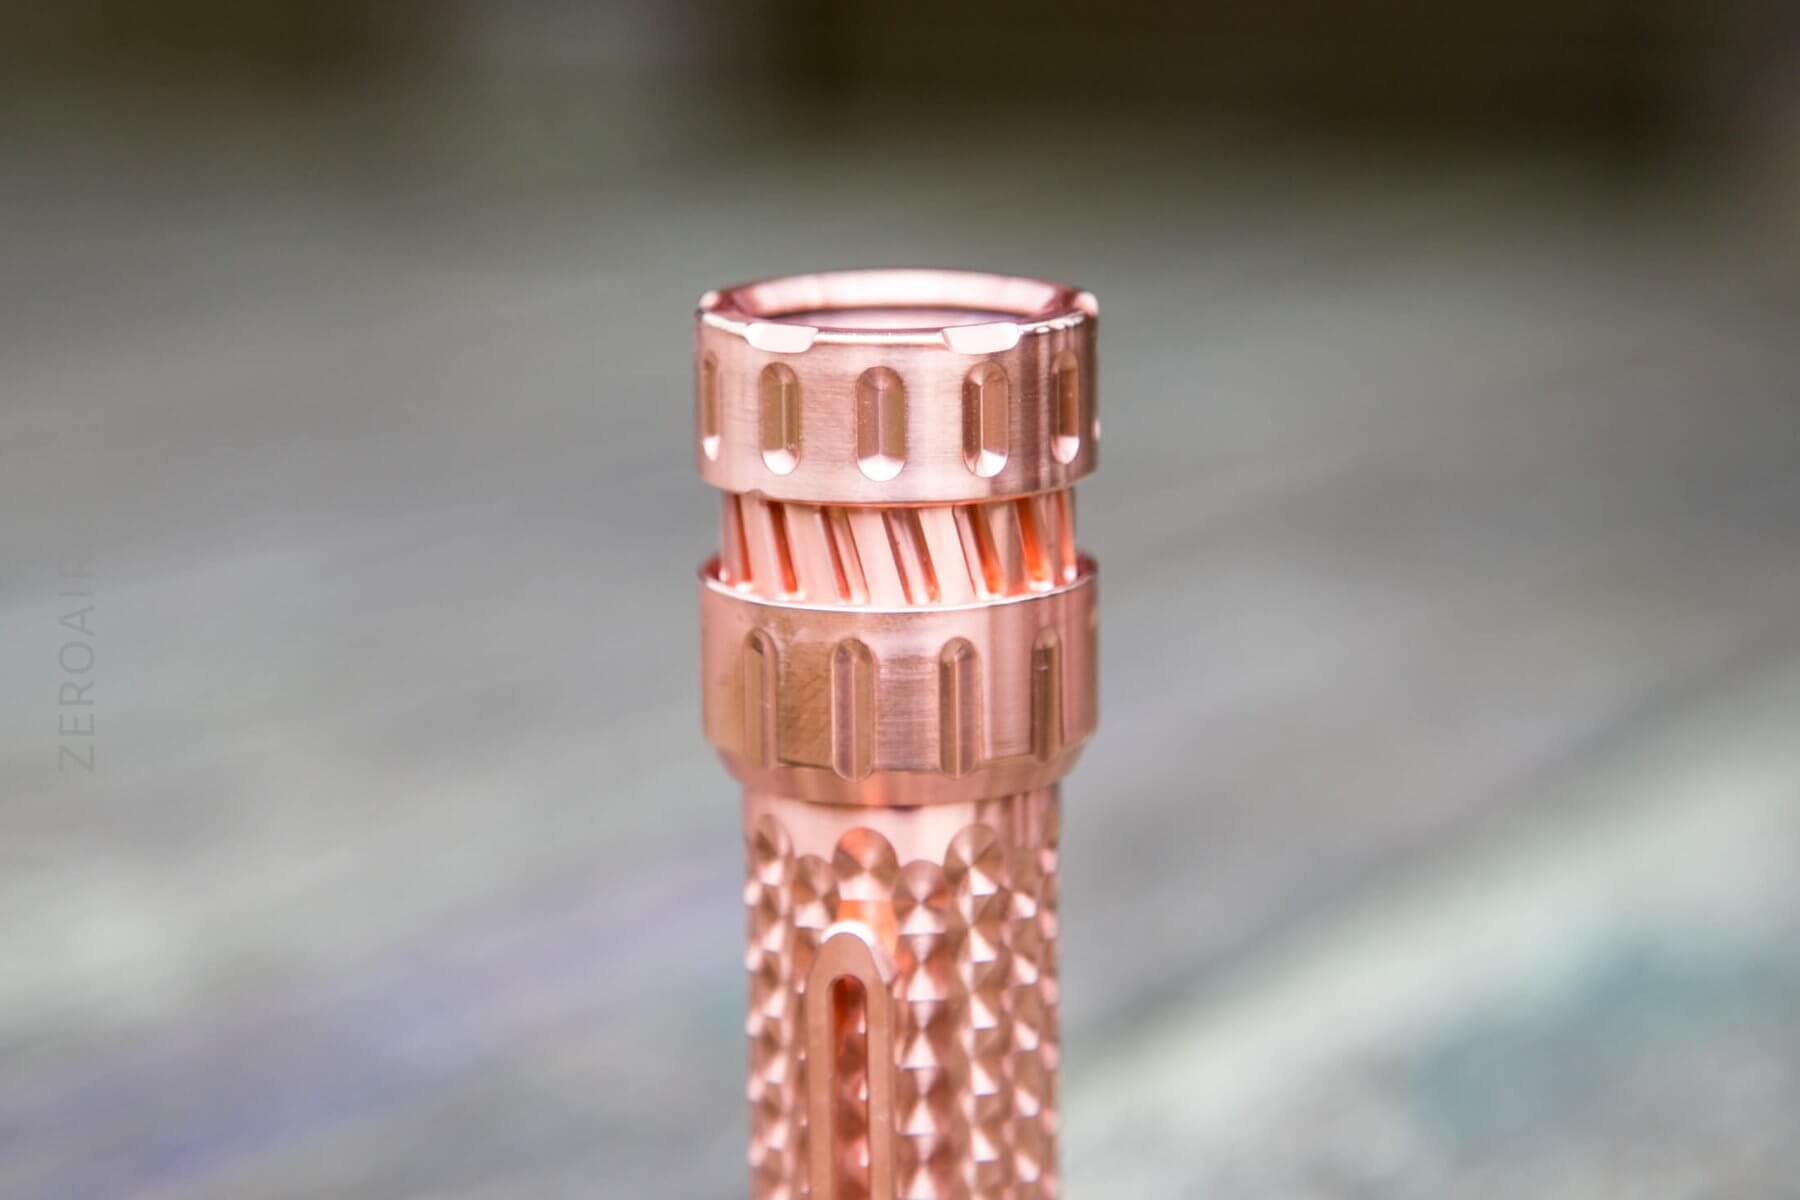
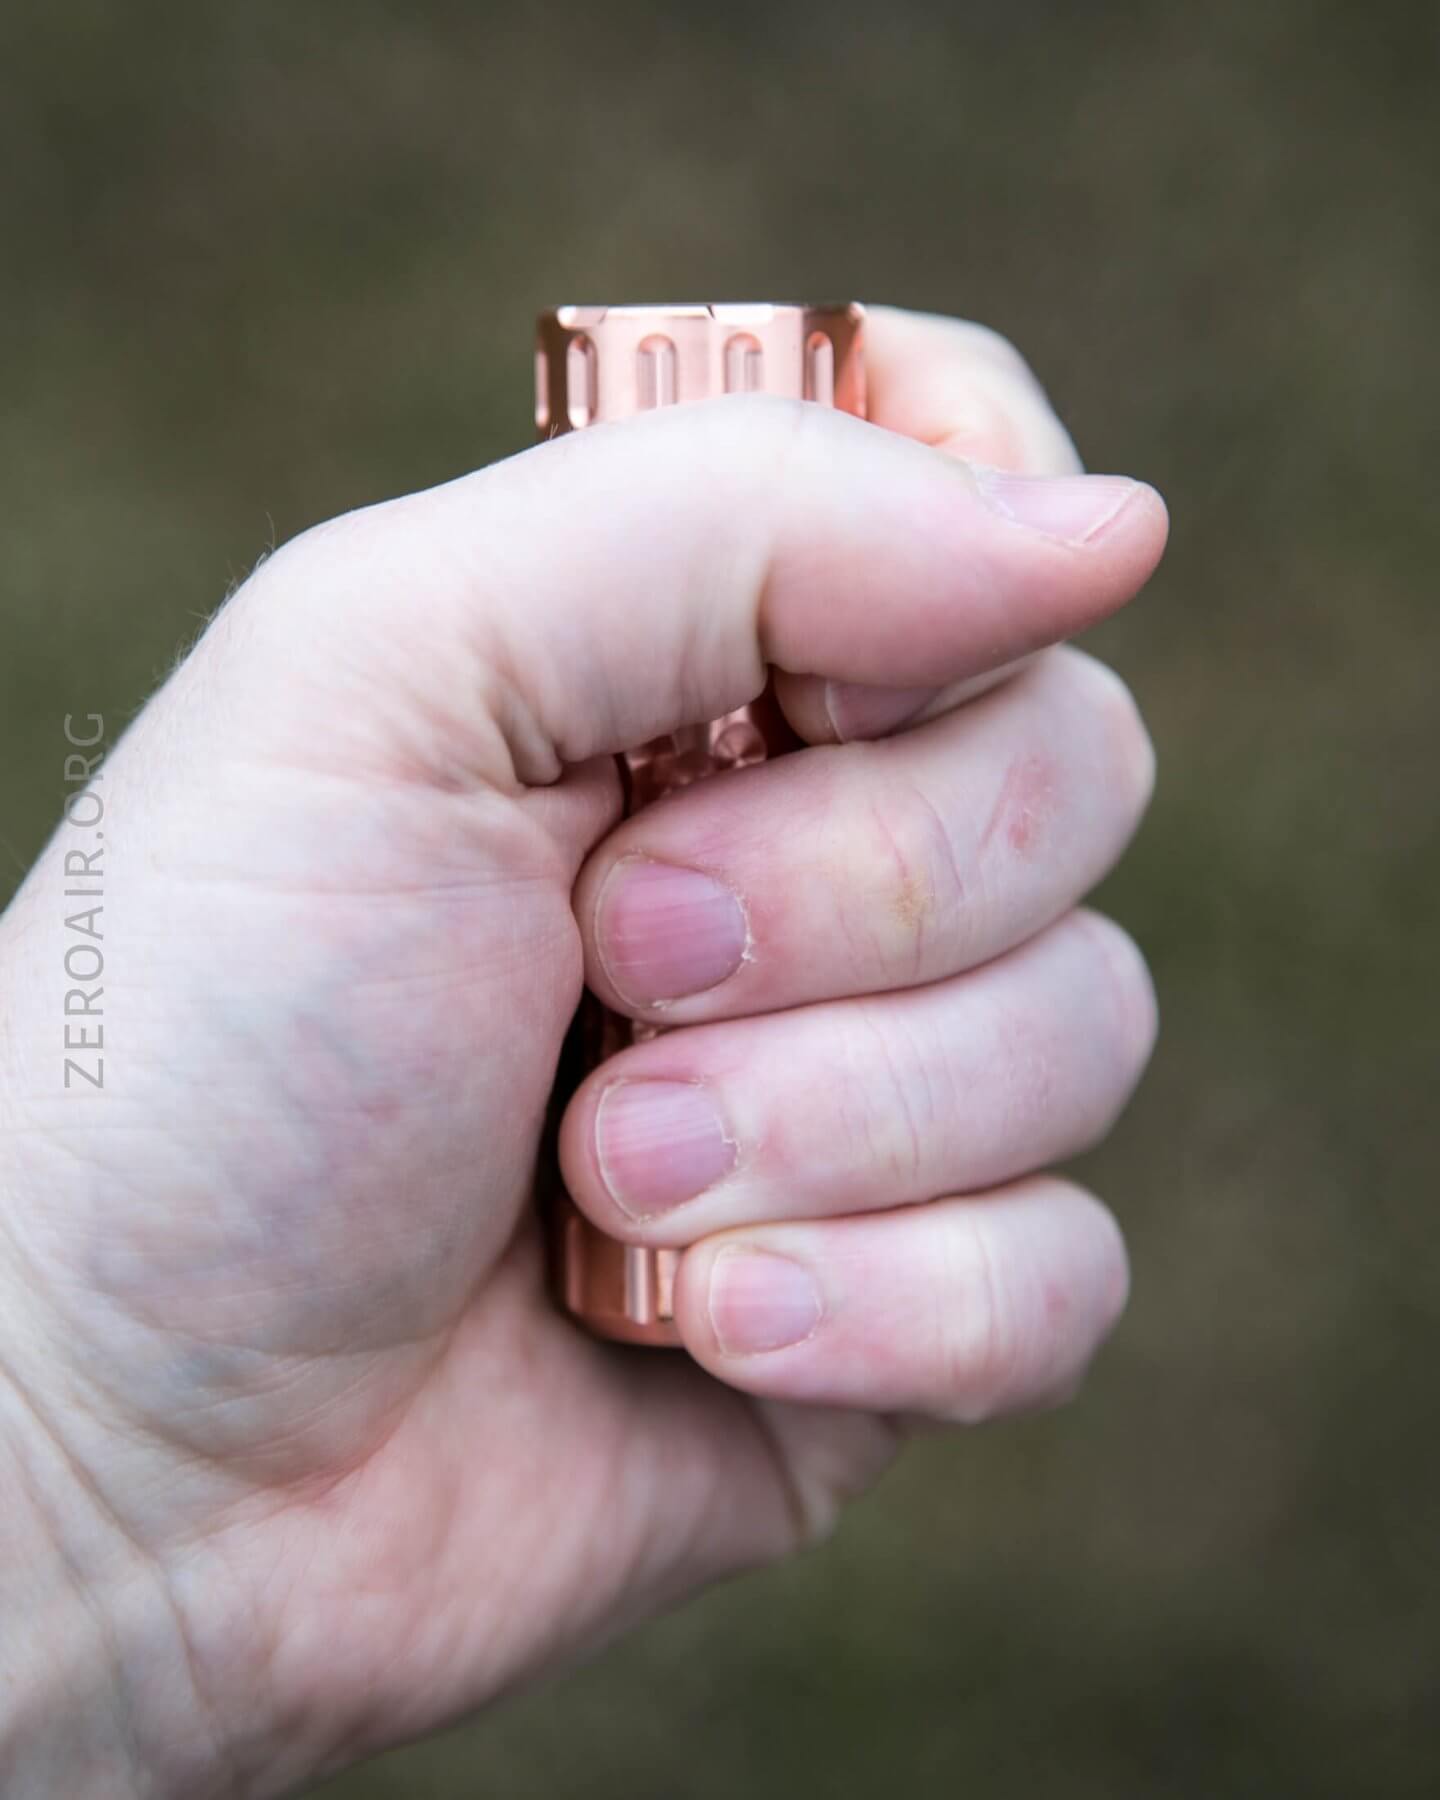
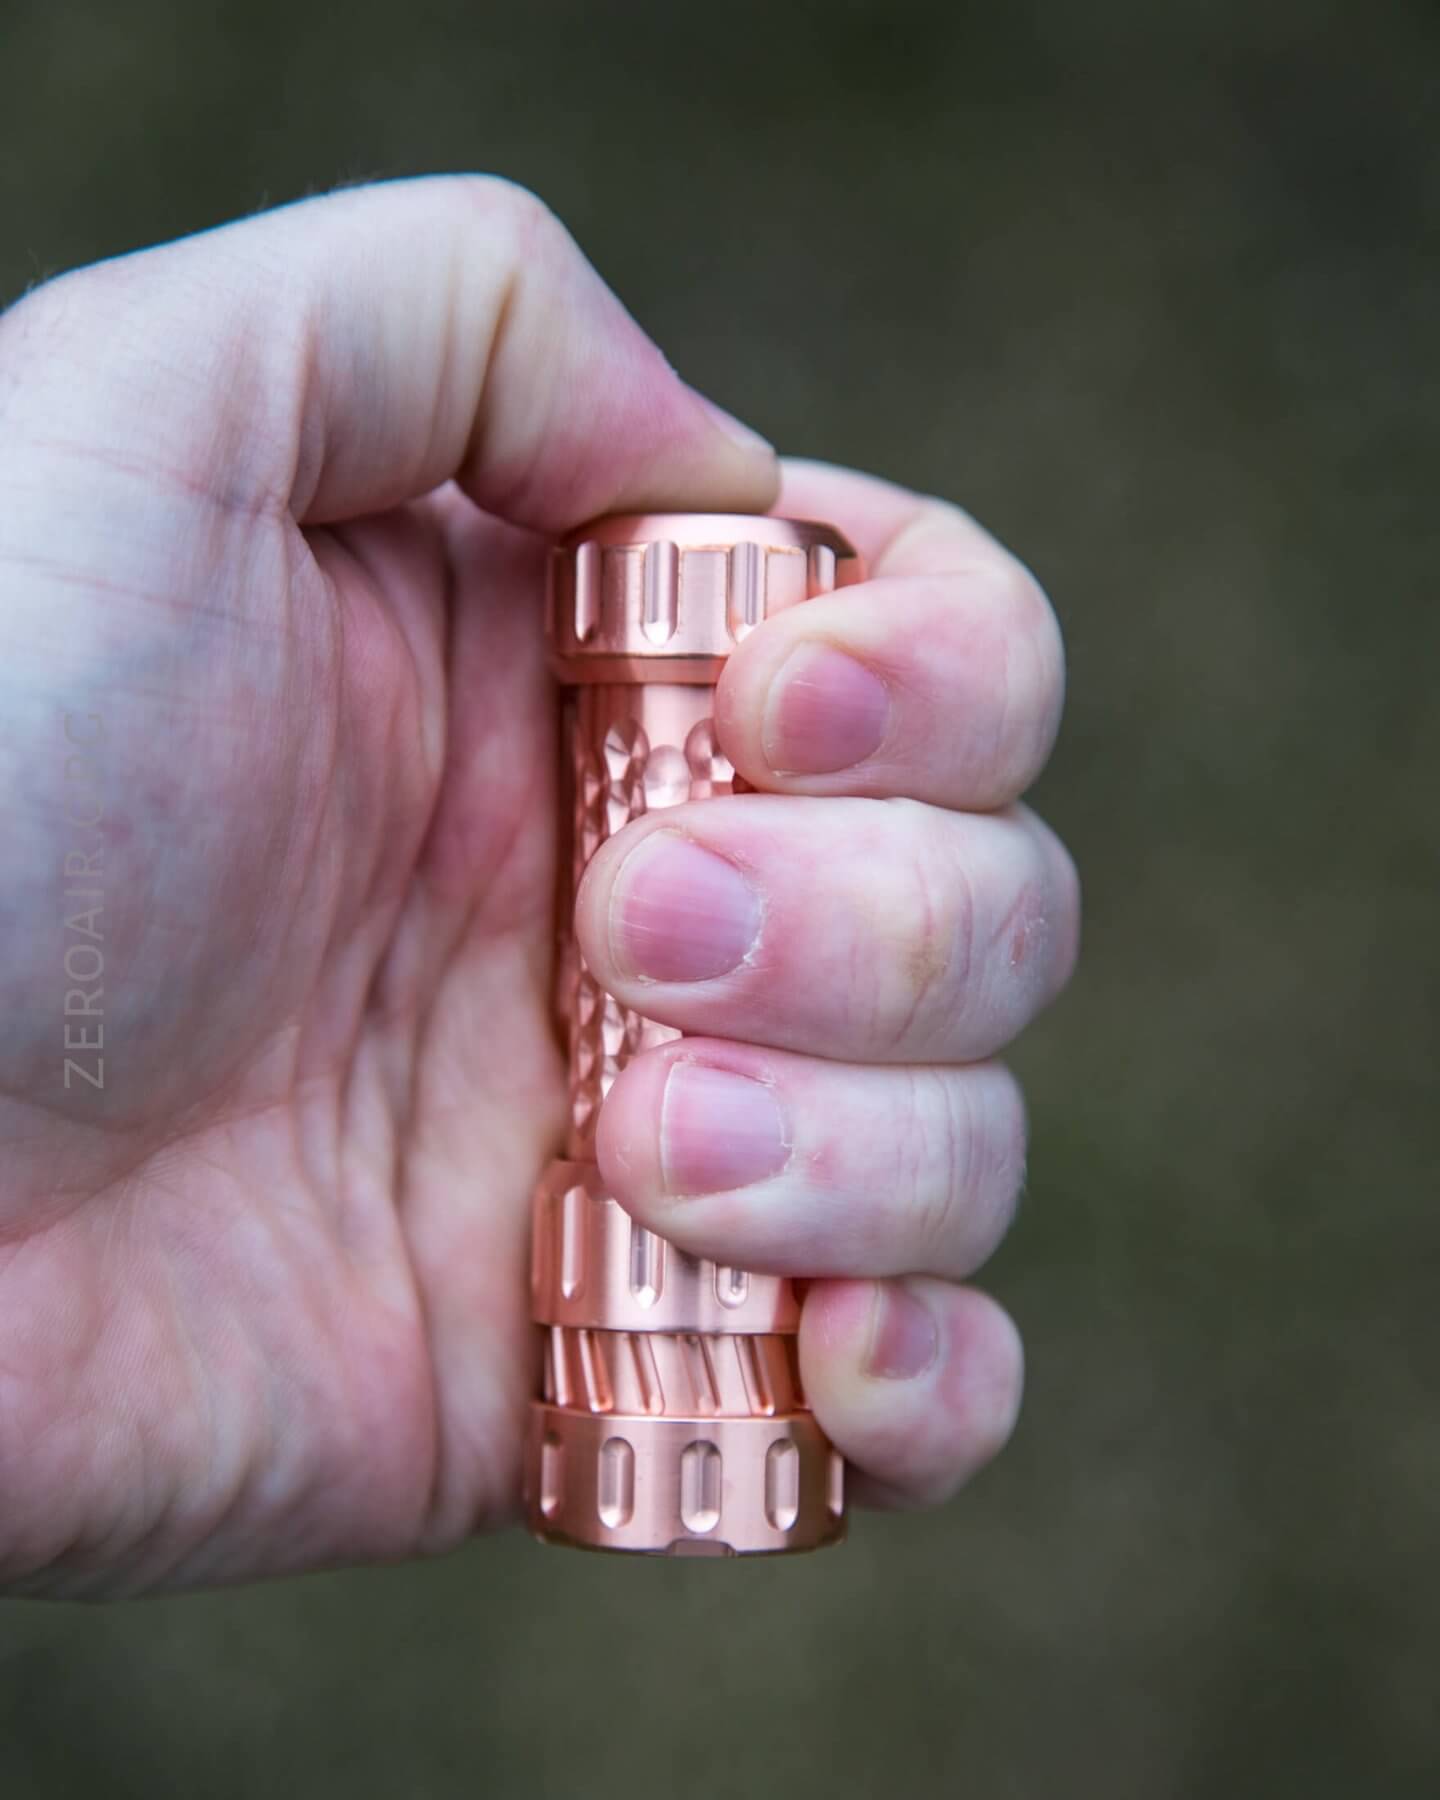
I feel a bit silly gushing over this host, but it really is so shiny. I love it! It also has the weight of copper, so bear that in mind when you pick between copper and titanium.
Look down the cell tube, and you can see that the switch parts are held in place by the same type of retaining ring as the pill is. I don’t know that they’re the same size, but probably are because the tool available from MechForce has only one size fitting.
This all brings us to the head of the light, which is where you have to add bits in order to have a working light.
An aluminum retaining ring is included. This ring will hold down the driver.

It’s a little hard to get the bezel off, but with just some kitchen grippers and hand strength, it did come off.
Once the bezel is off, the optic may be removed, too.
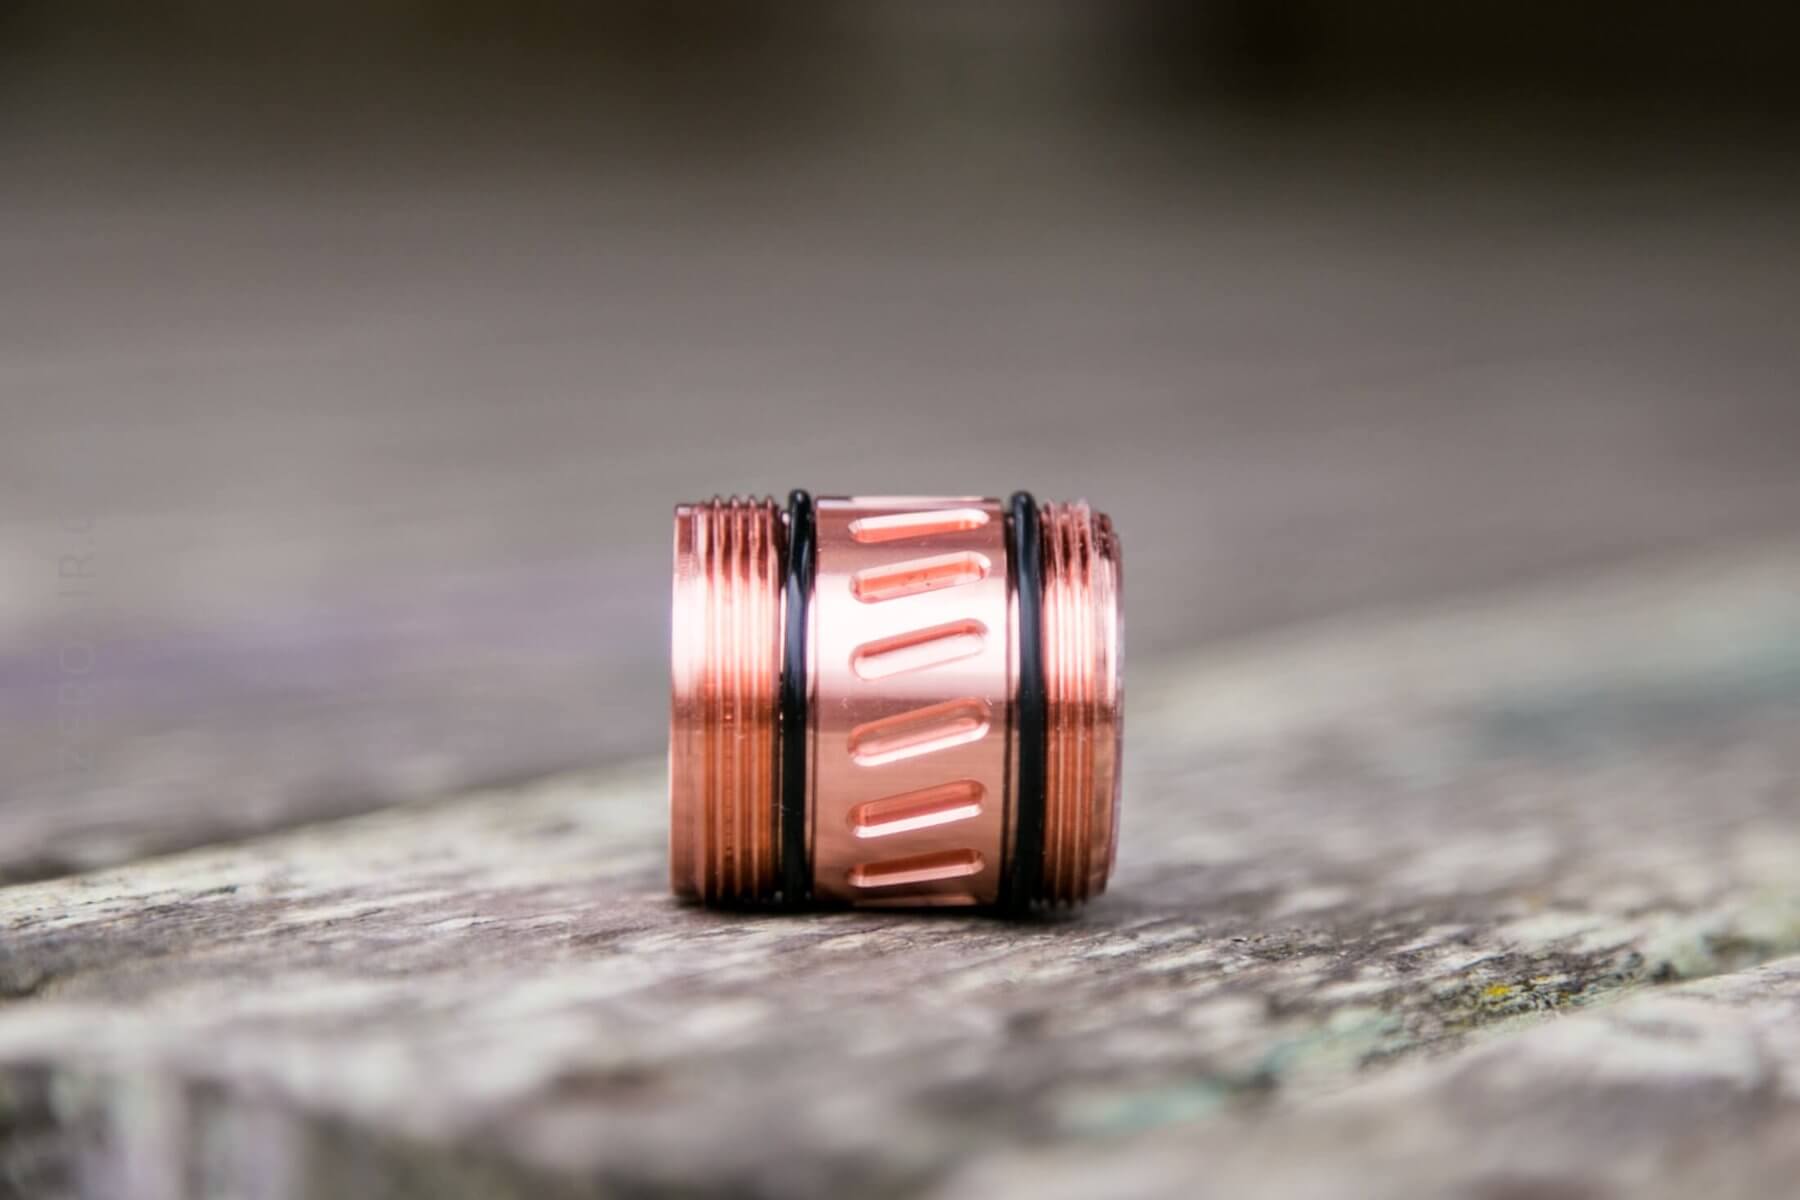
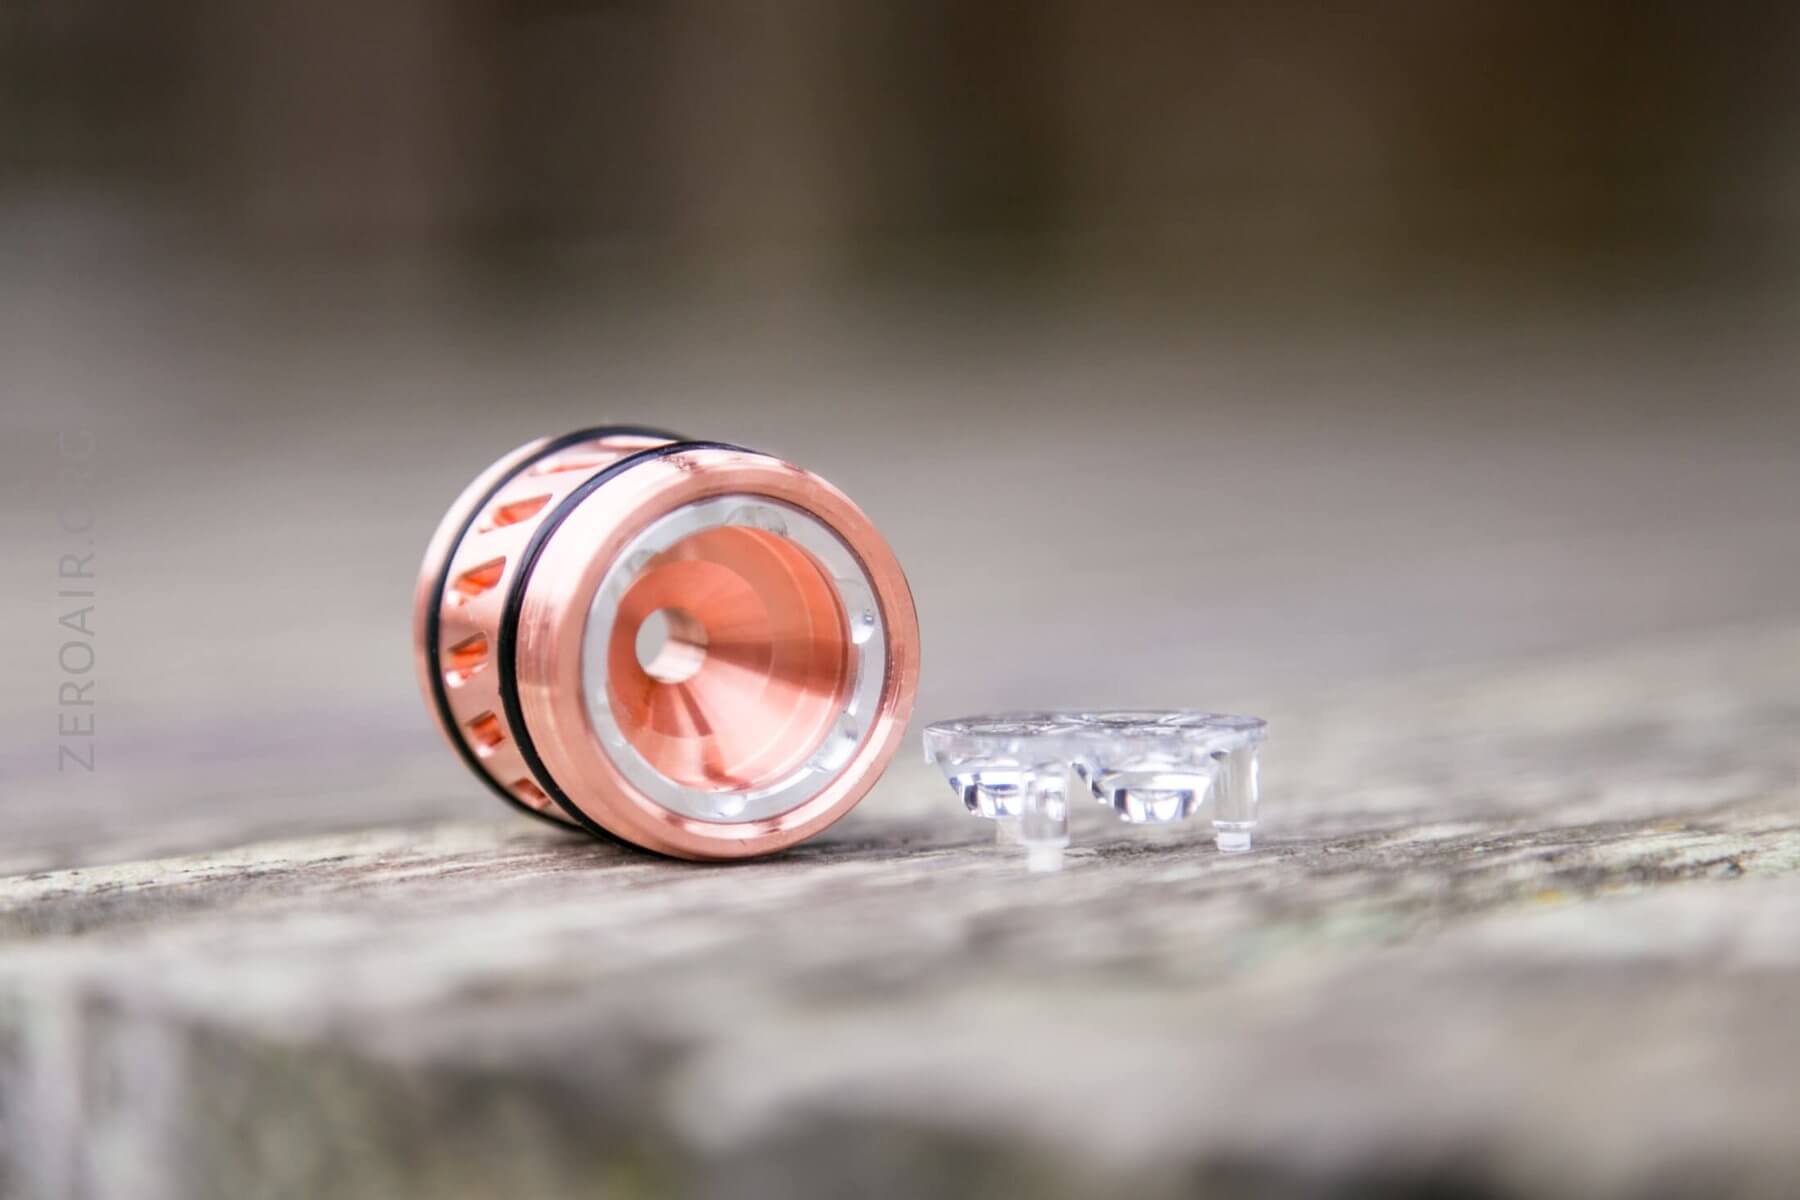
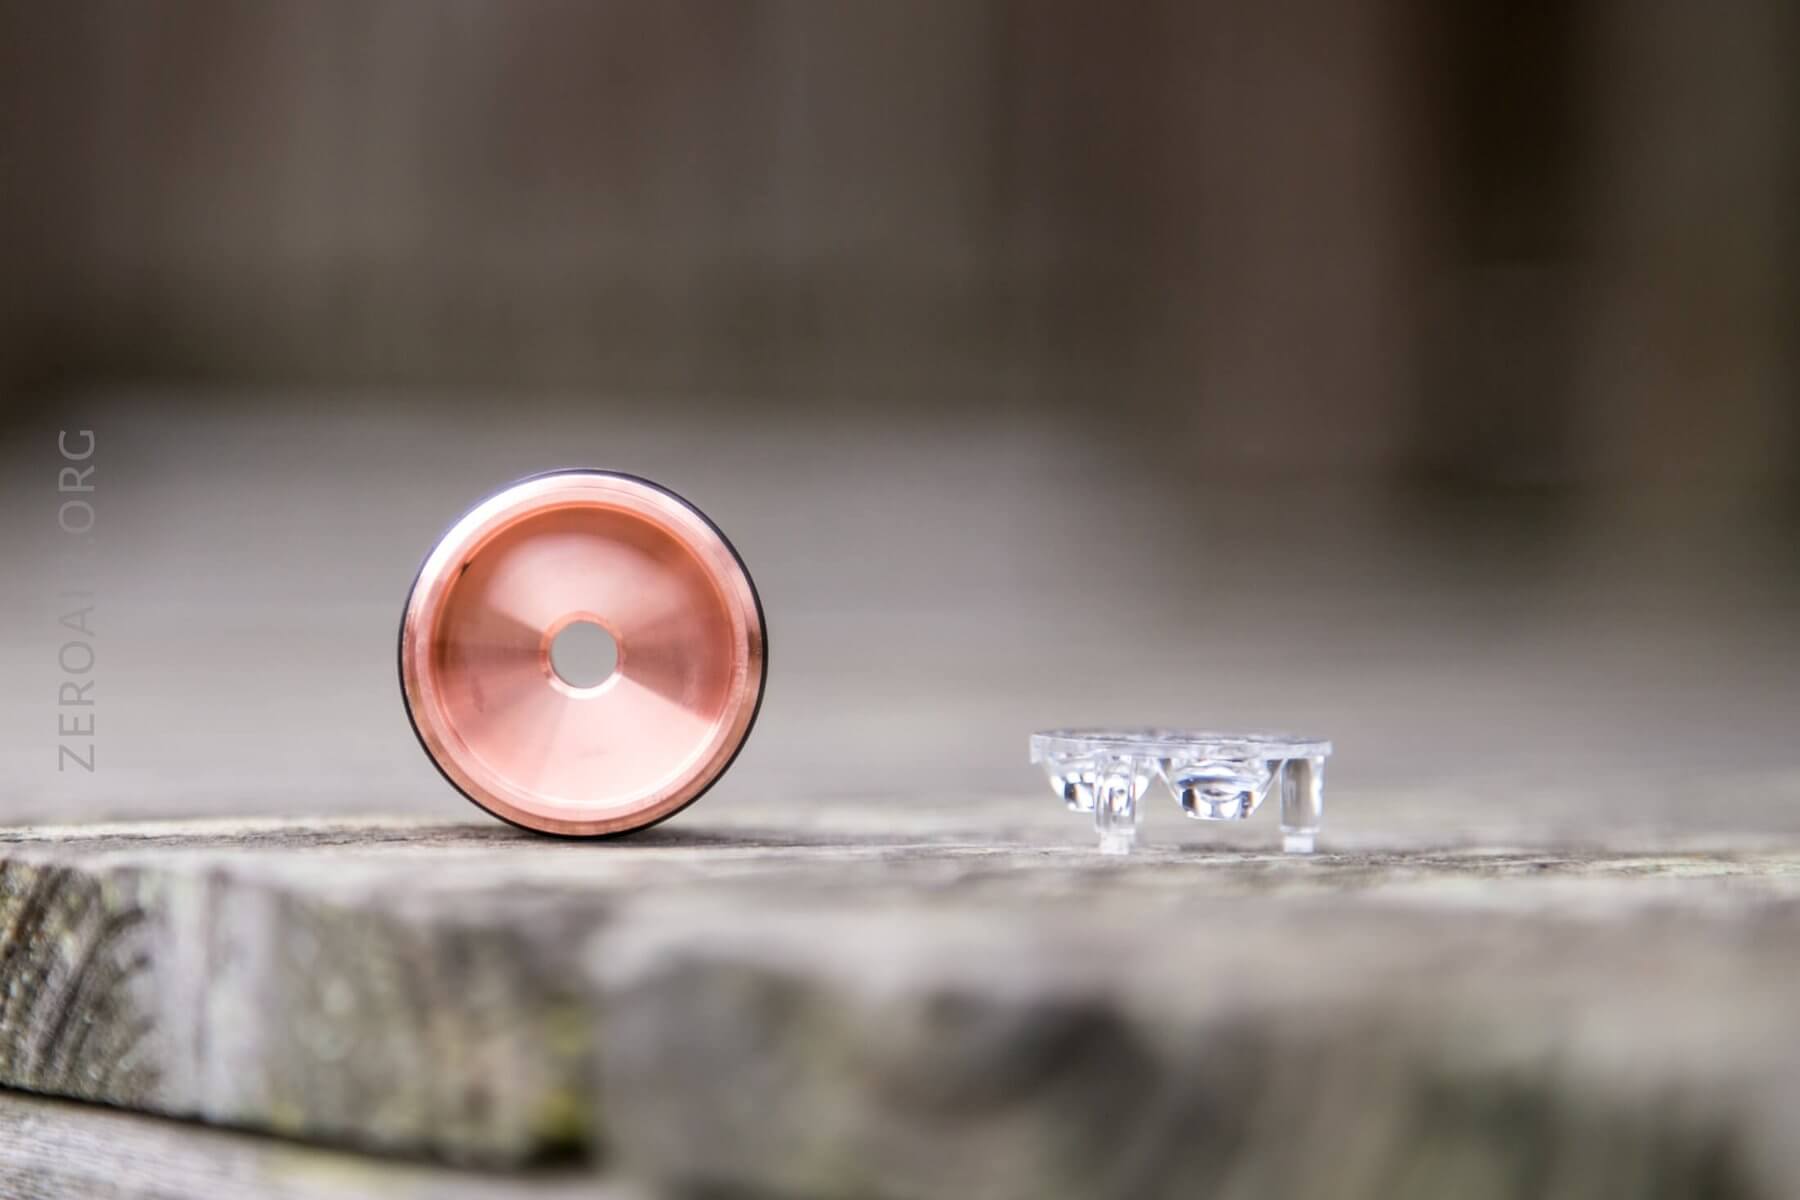
Here’s the pill. It’s sollllliiiiiddd copper. Lots of heft there. And also lots of tritium slots!!
The optic comes out easily and reveals the shelf where the board with emitters will go. Note that hole, and not the quality of this build. The hole has chamfered edges, so there’s no worry of fraying wires when they push through to the driver board!

Also, note the driver side here – there’s plenty of room for wires, which will be needed (at least for beginners like me).
Clean up the side that houses the emitters and optic. You want this to be as clean and smooth as possible since this is how the heat will transfer away from the emitters.
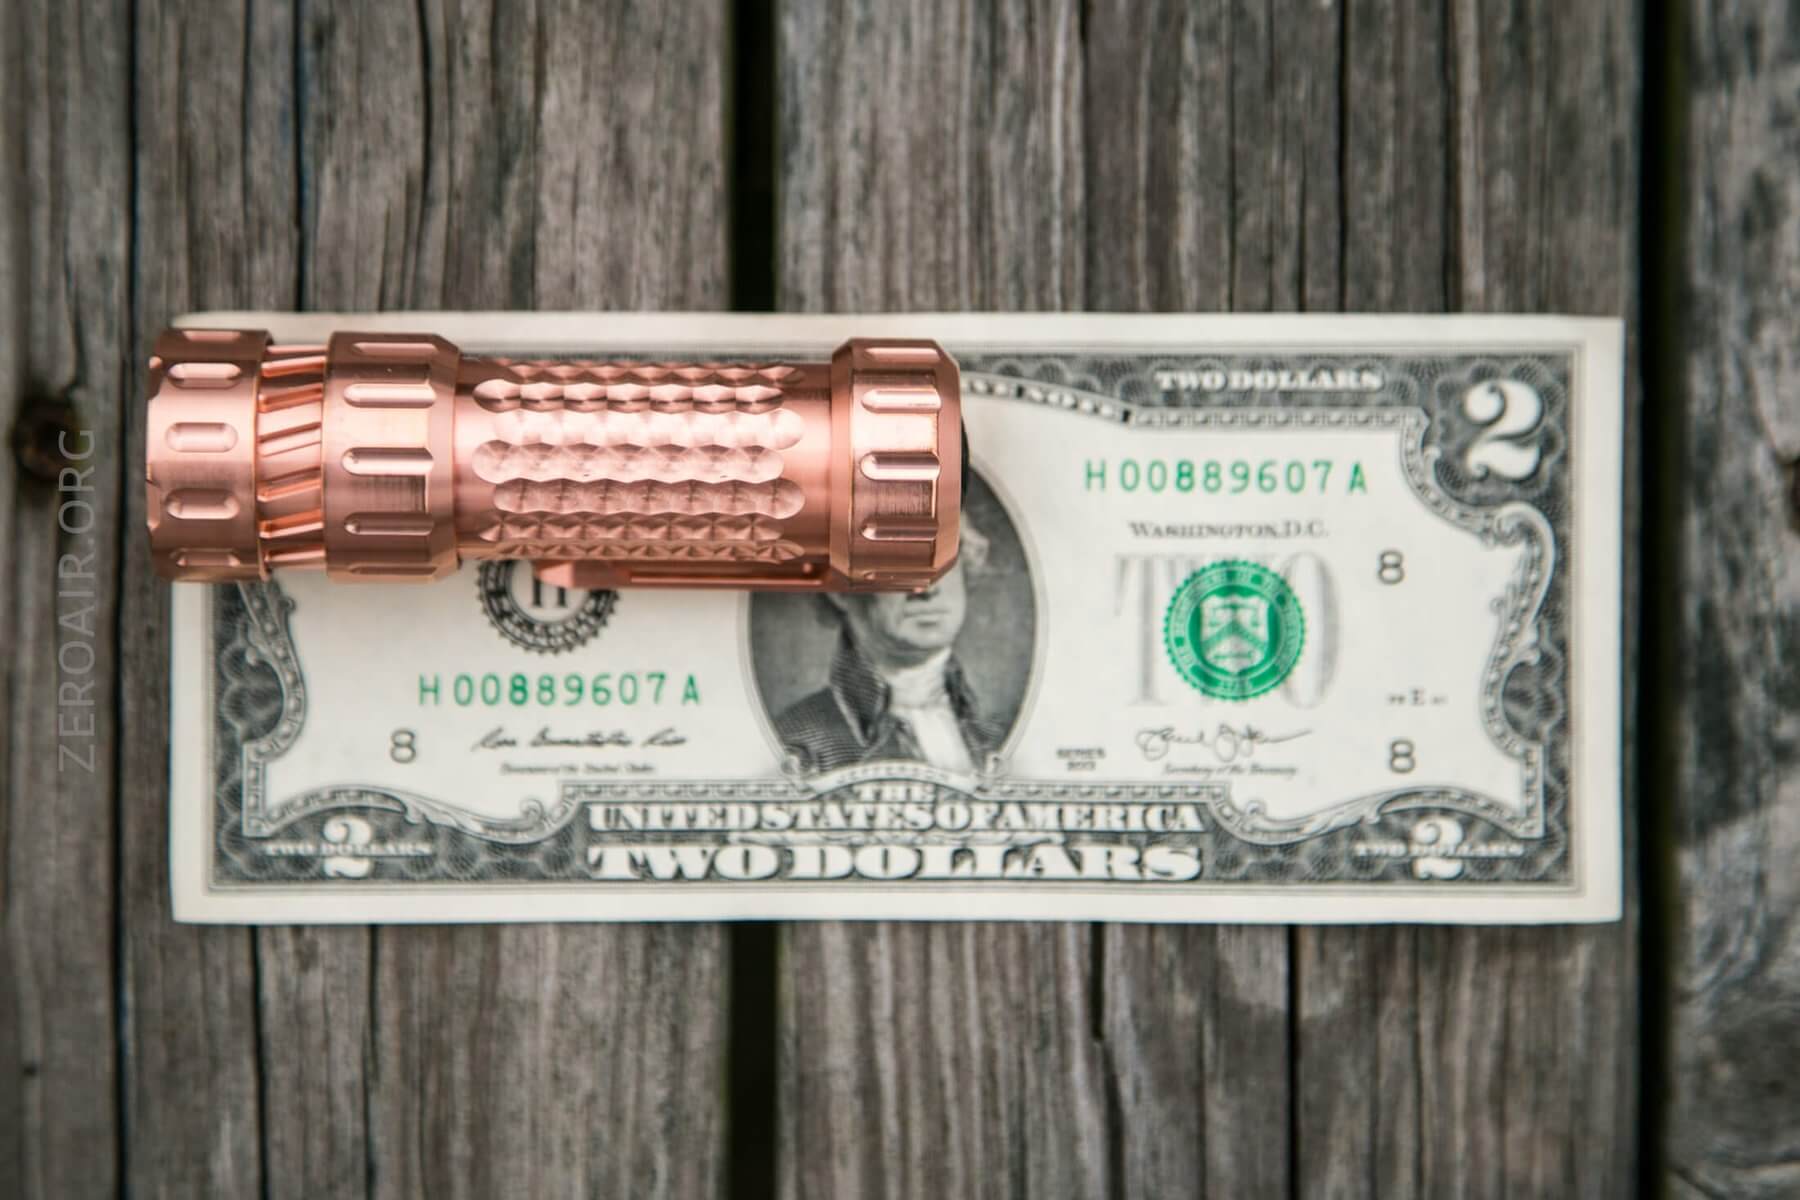
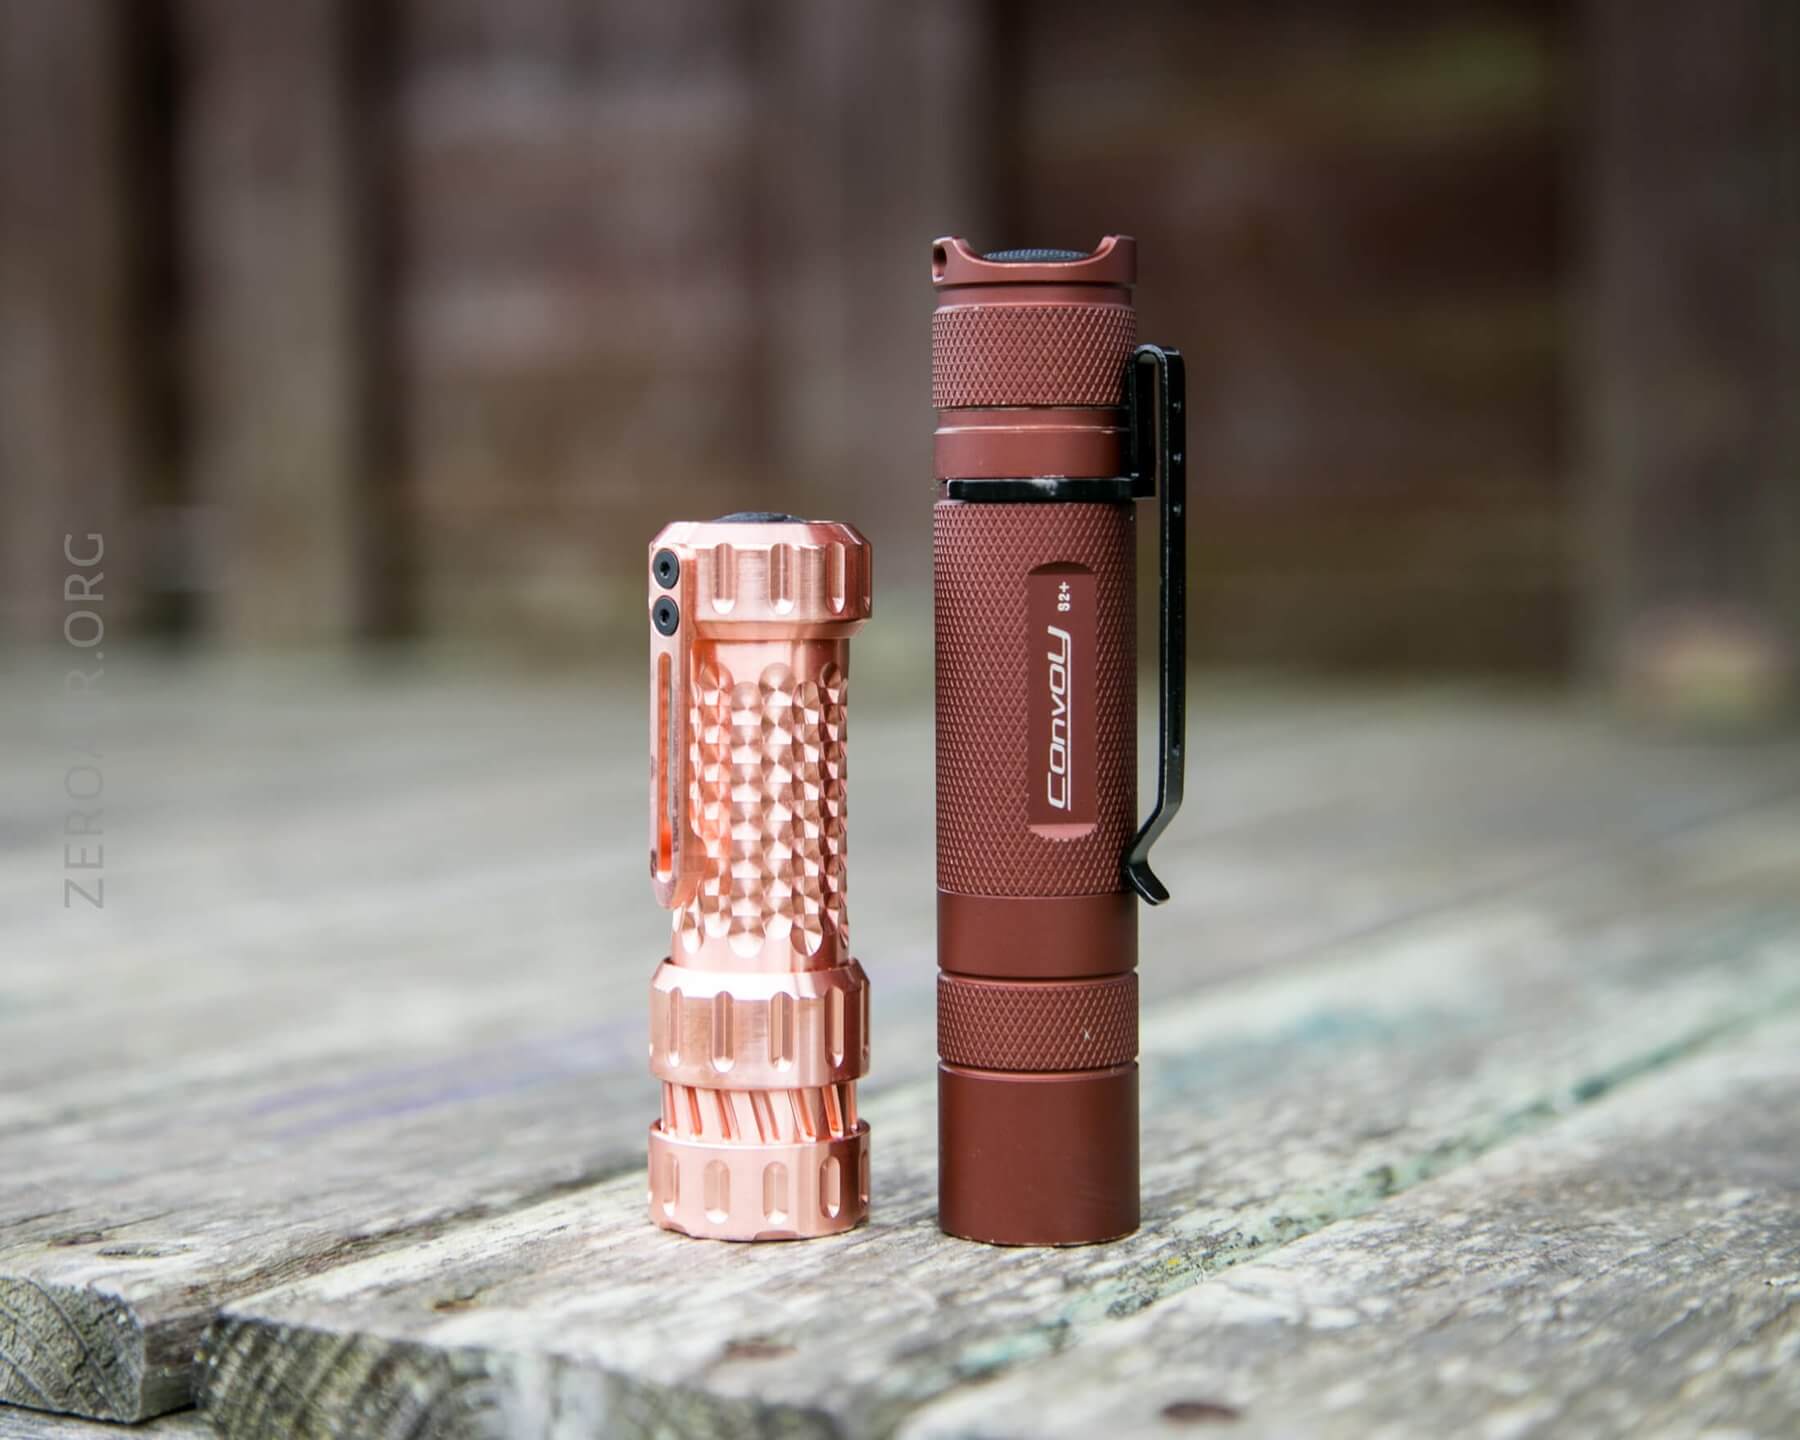
Size and Comps
Officially W 1.12″ x L 3.38″ x H 1.06″. Unfortunately I didn’t weigh the light before I built it, so I can’t give a “host weight.” Sorry about that!

Here’s the test light with the venerable Convoy S2+. Mine’s a custom “baked” edition Nichia 219b triple. A very nice 18650 light.
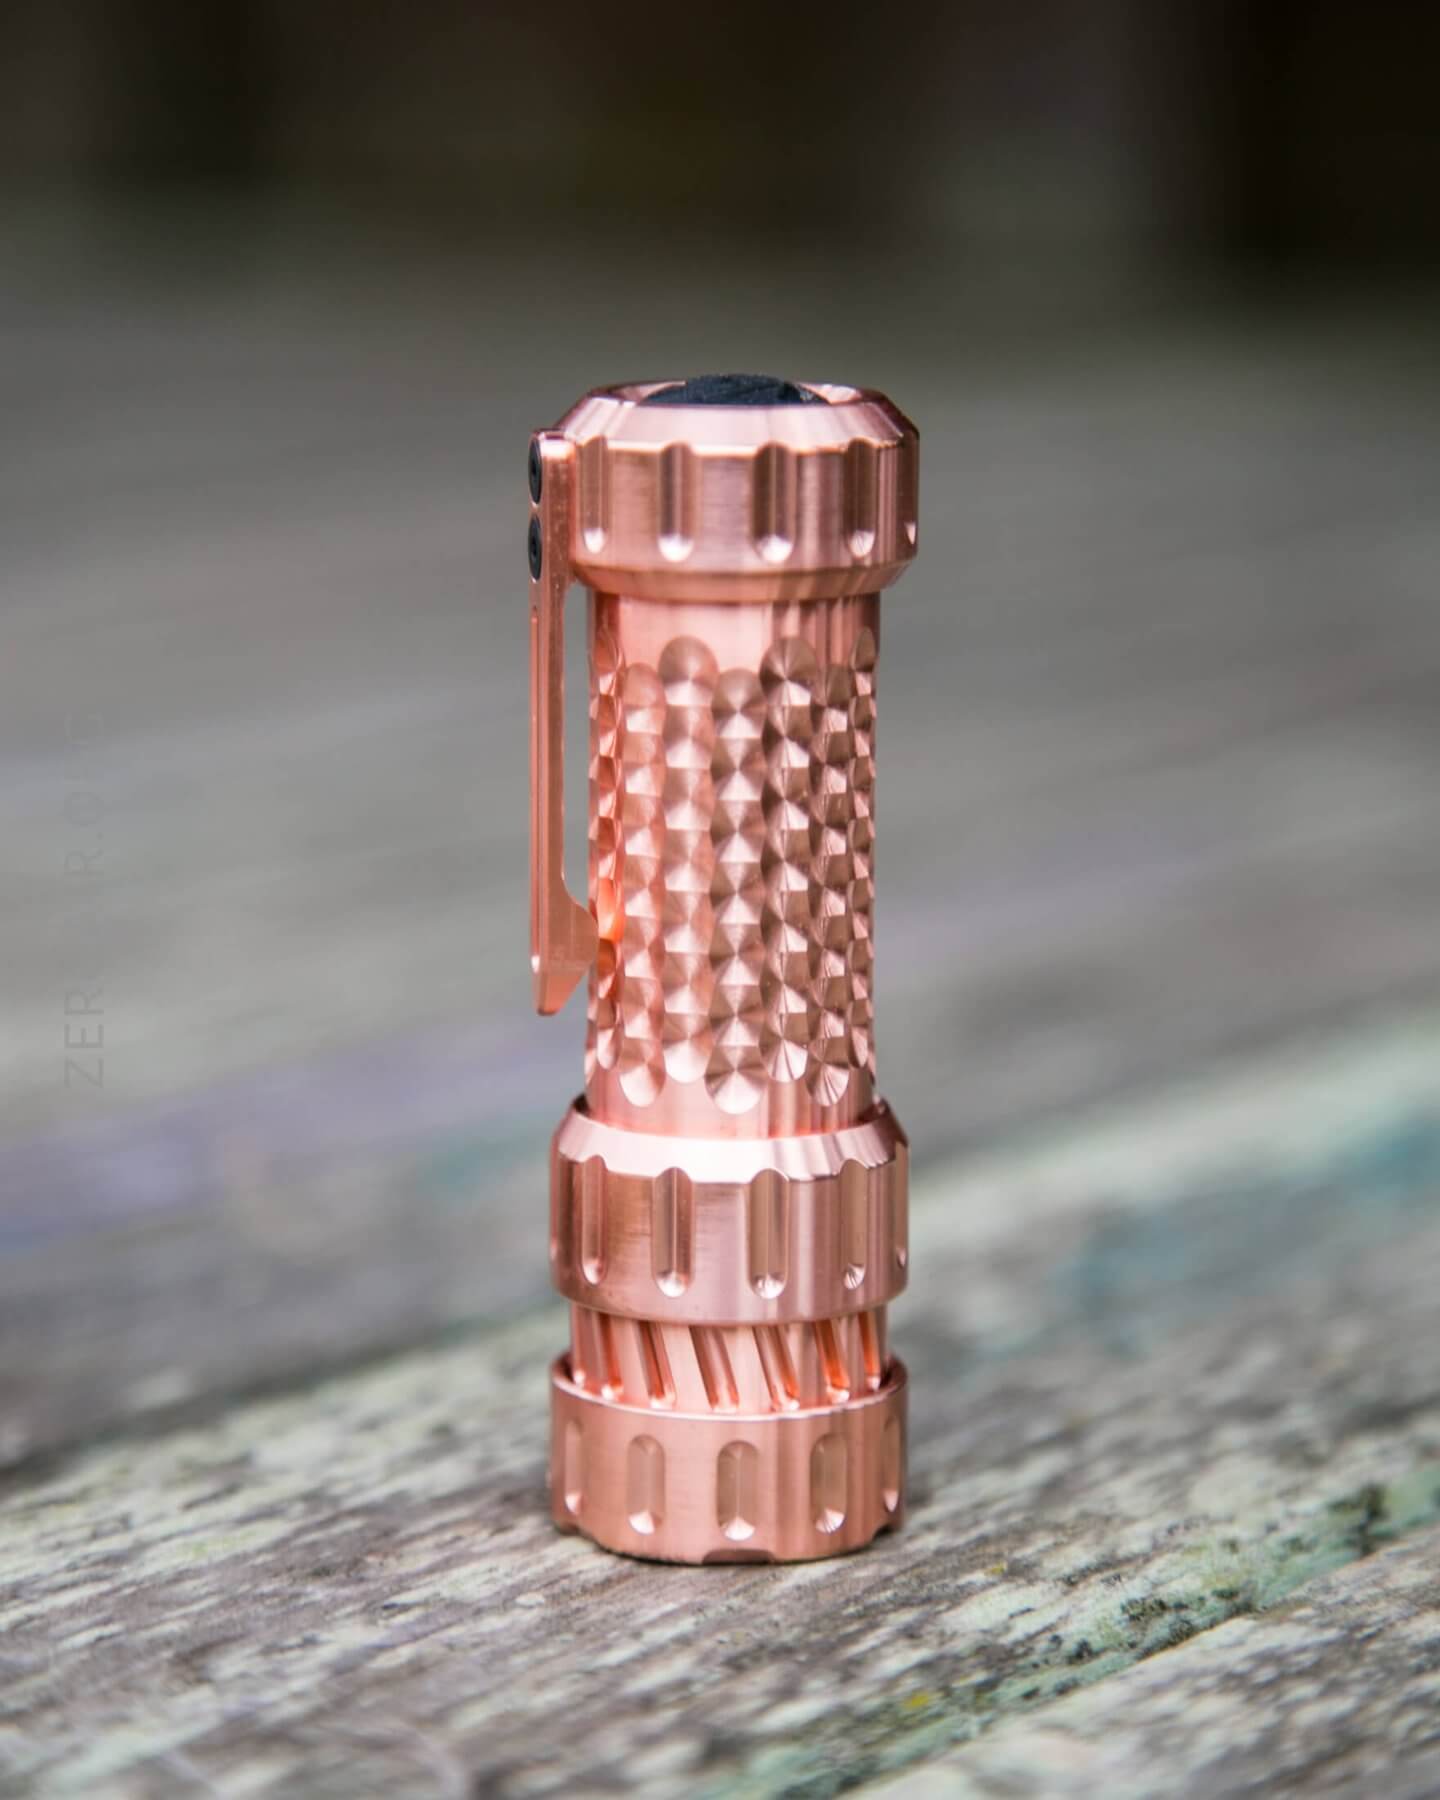
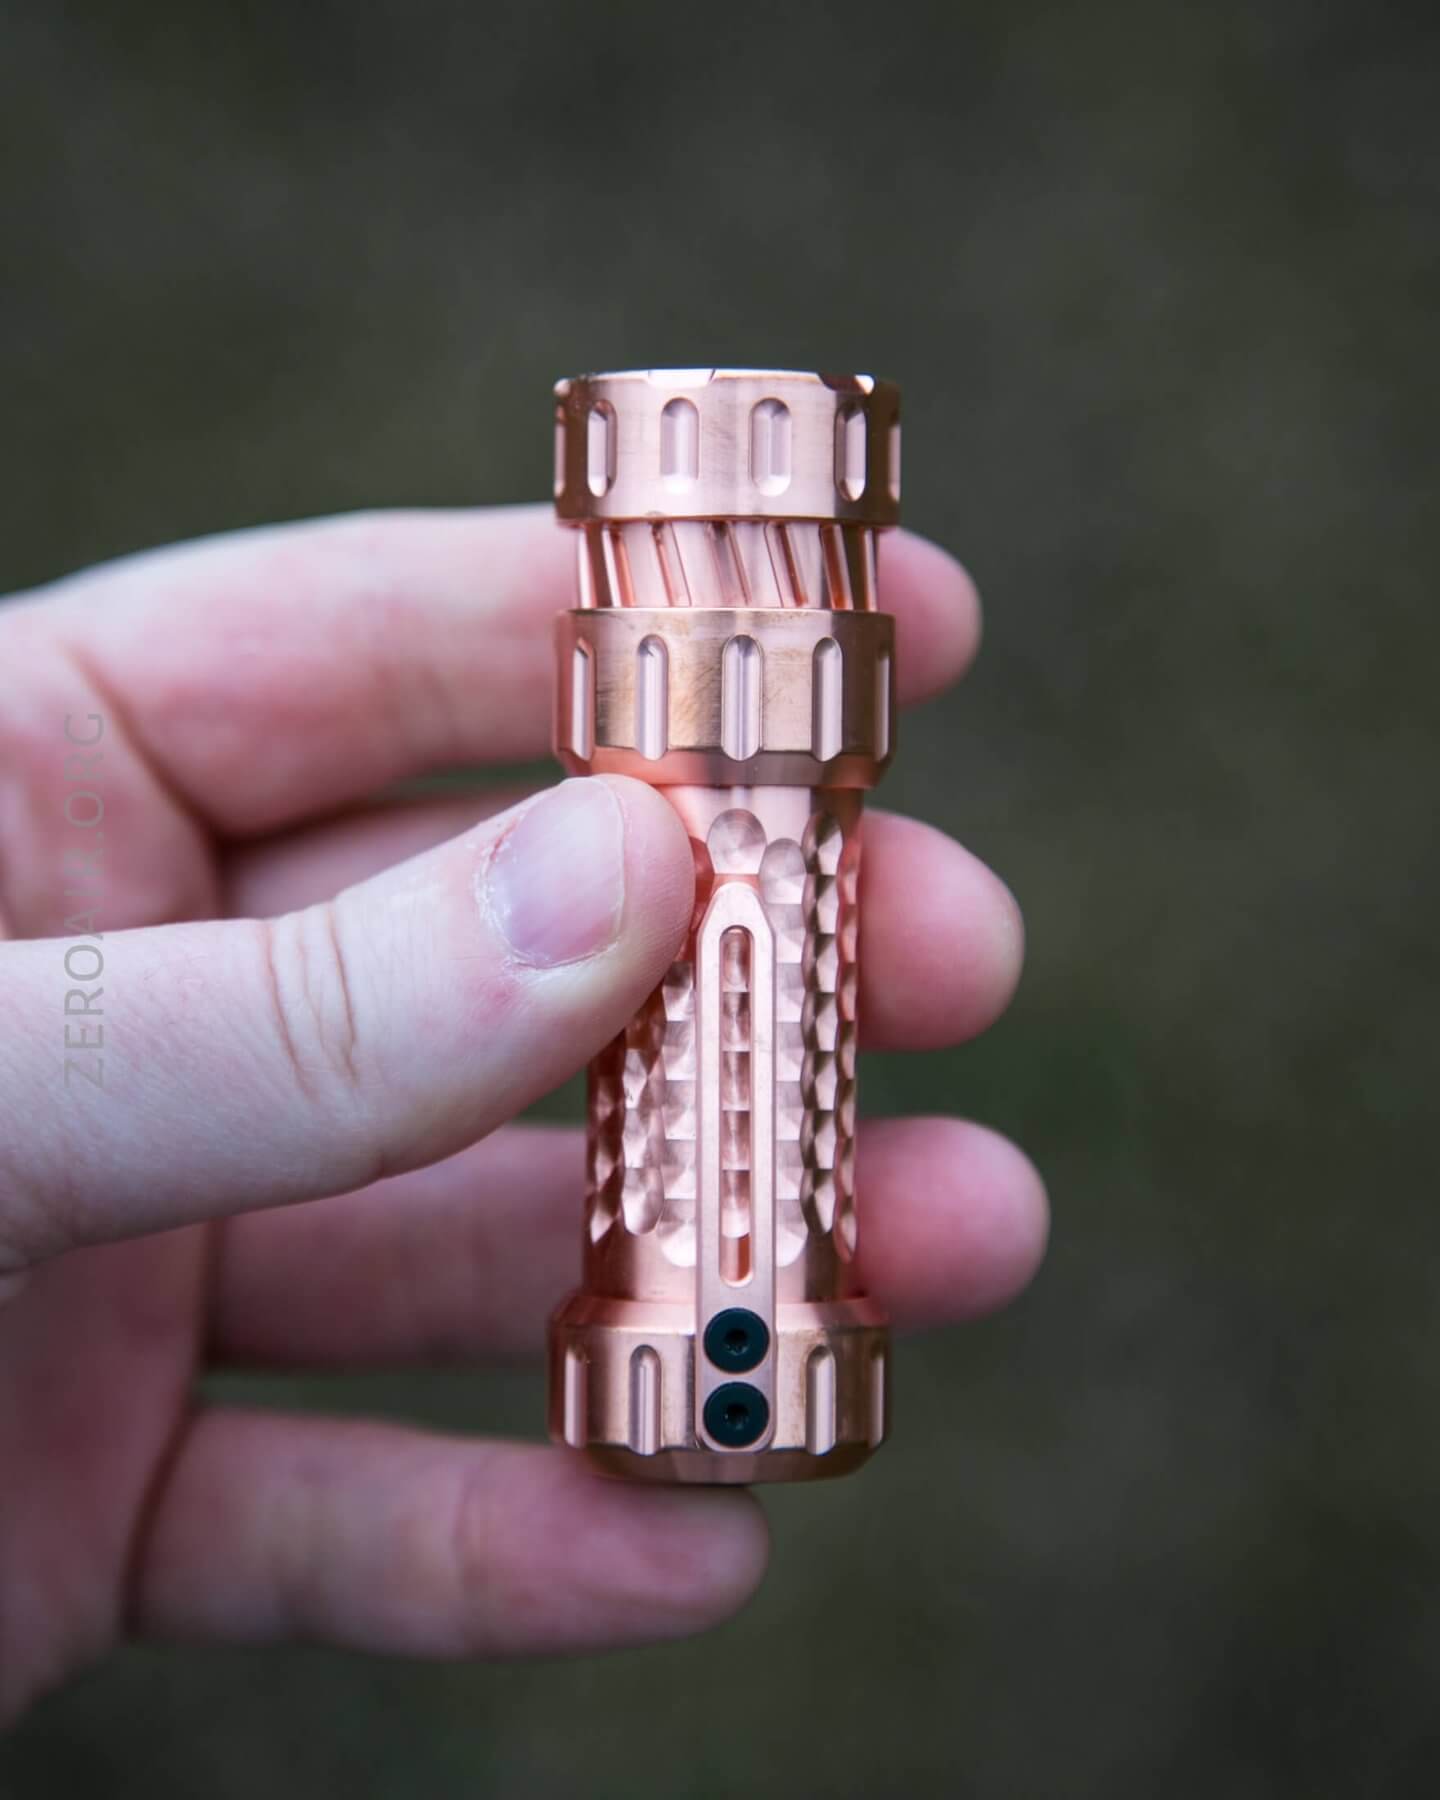
Retention and Carry
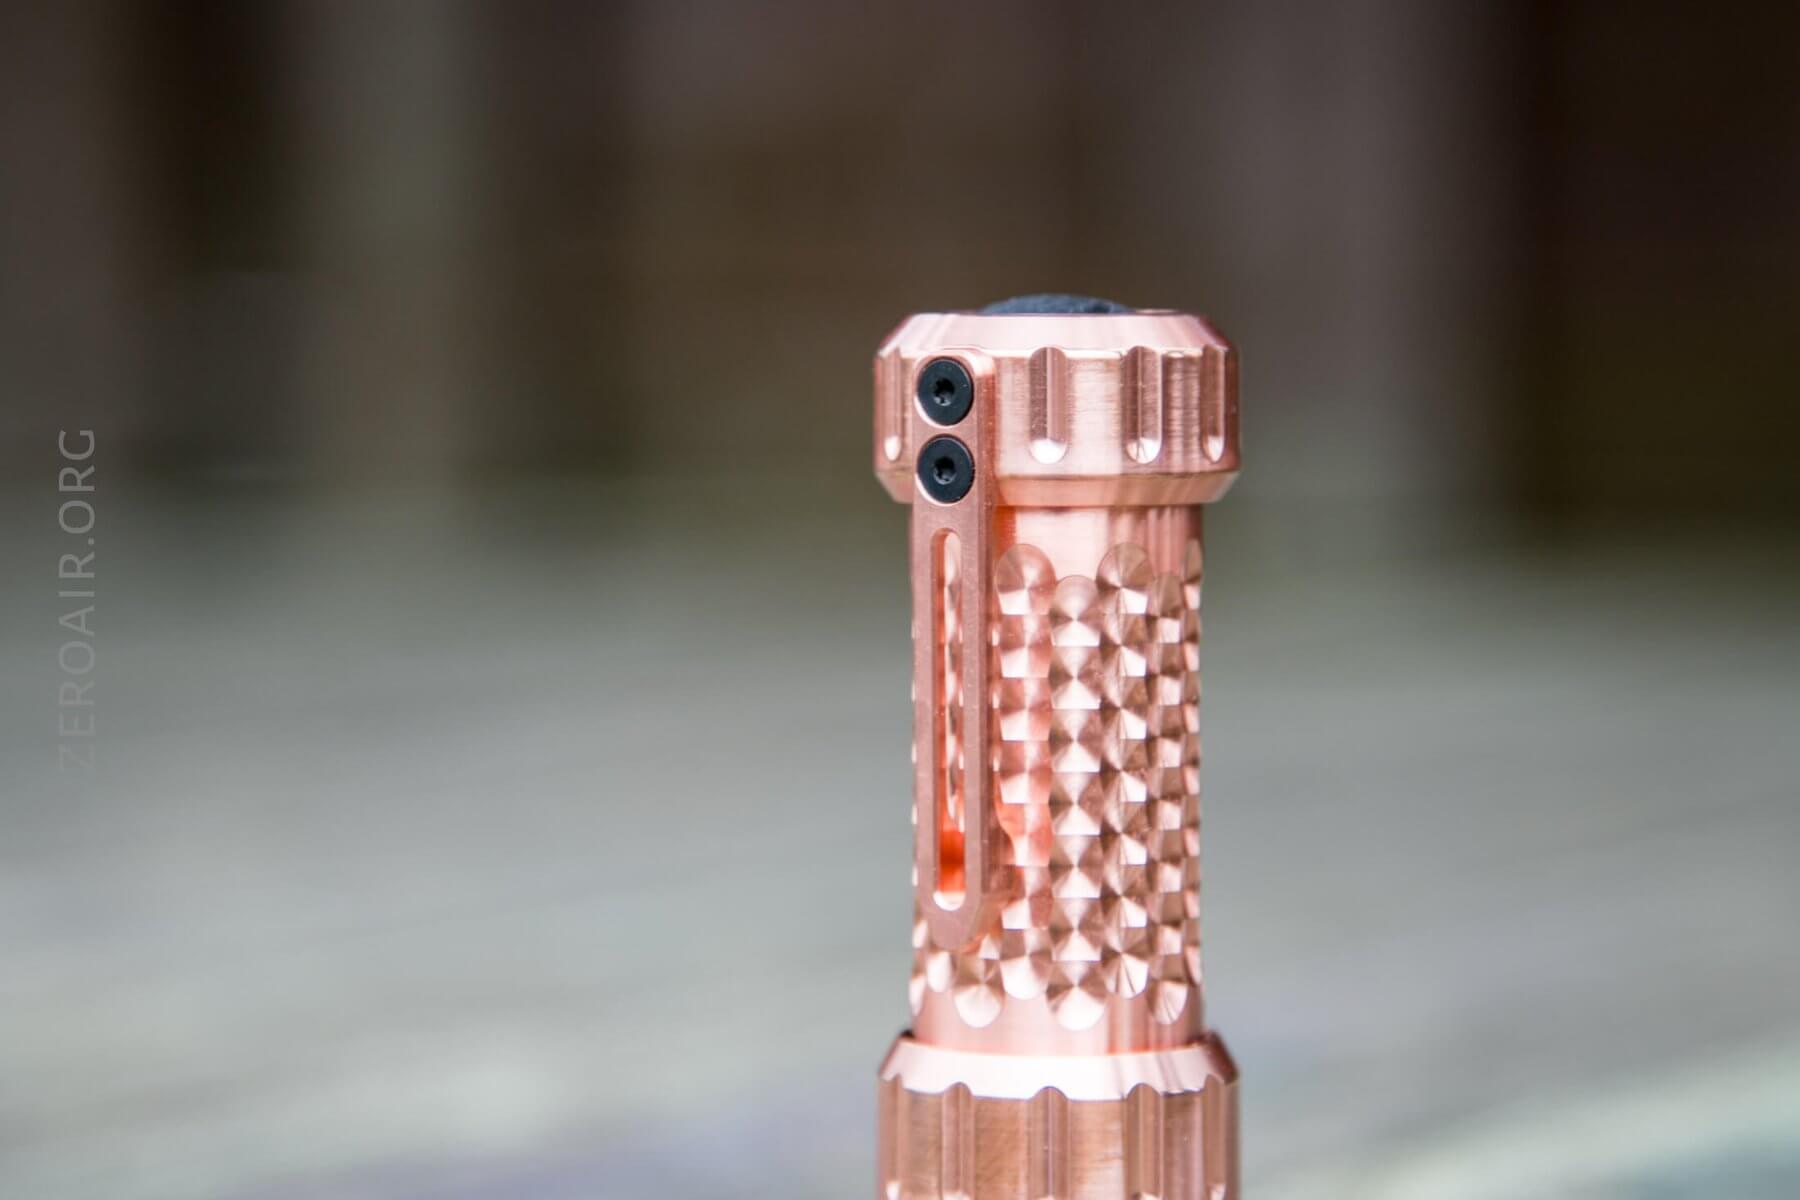
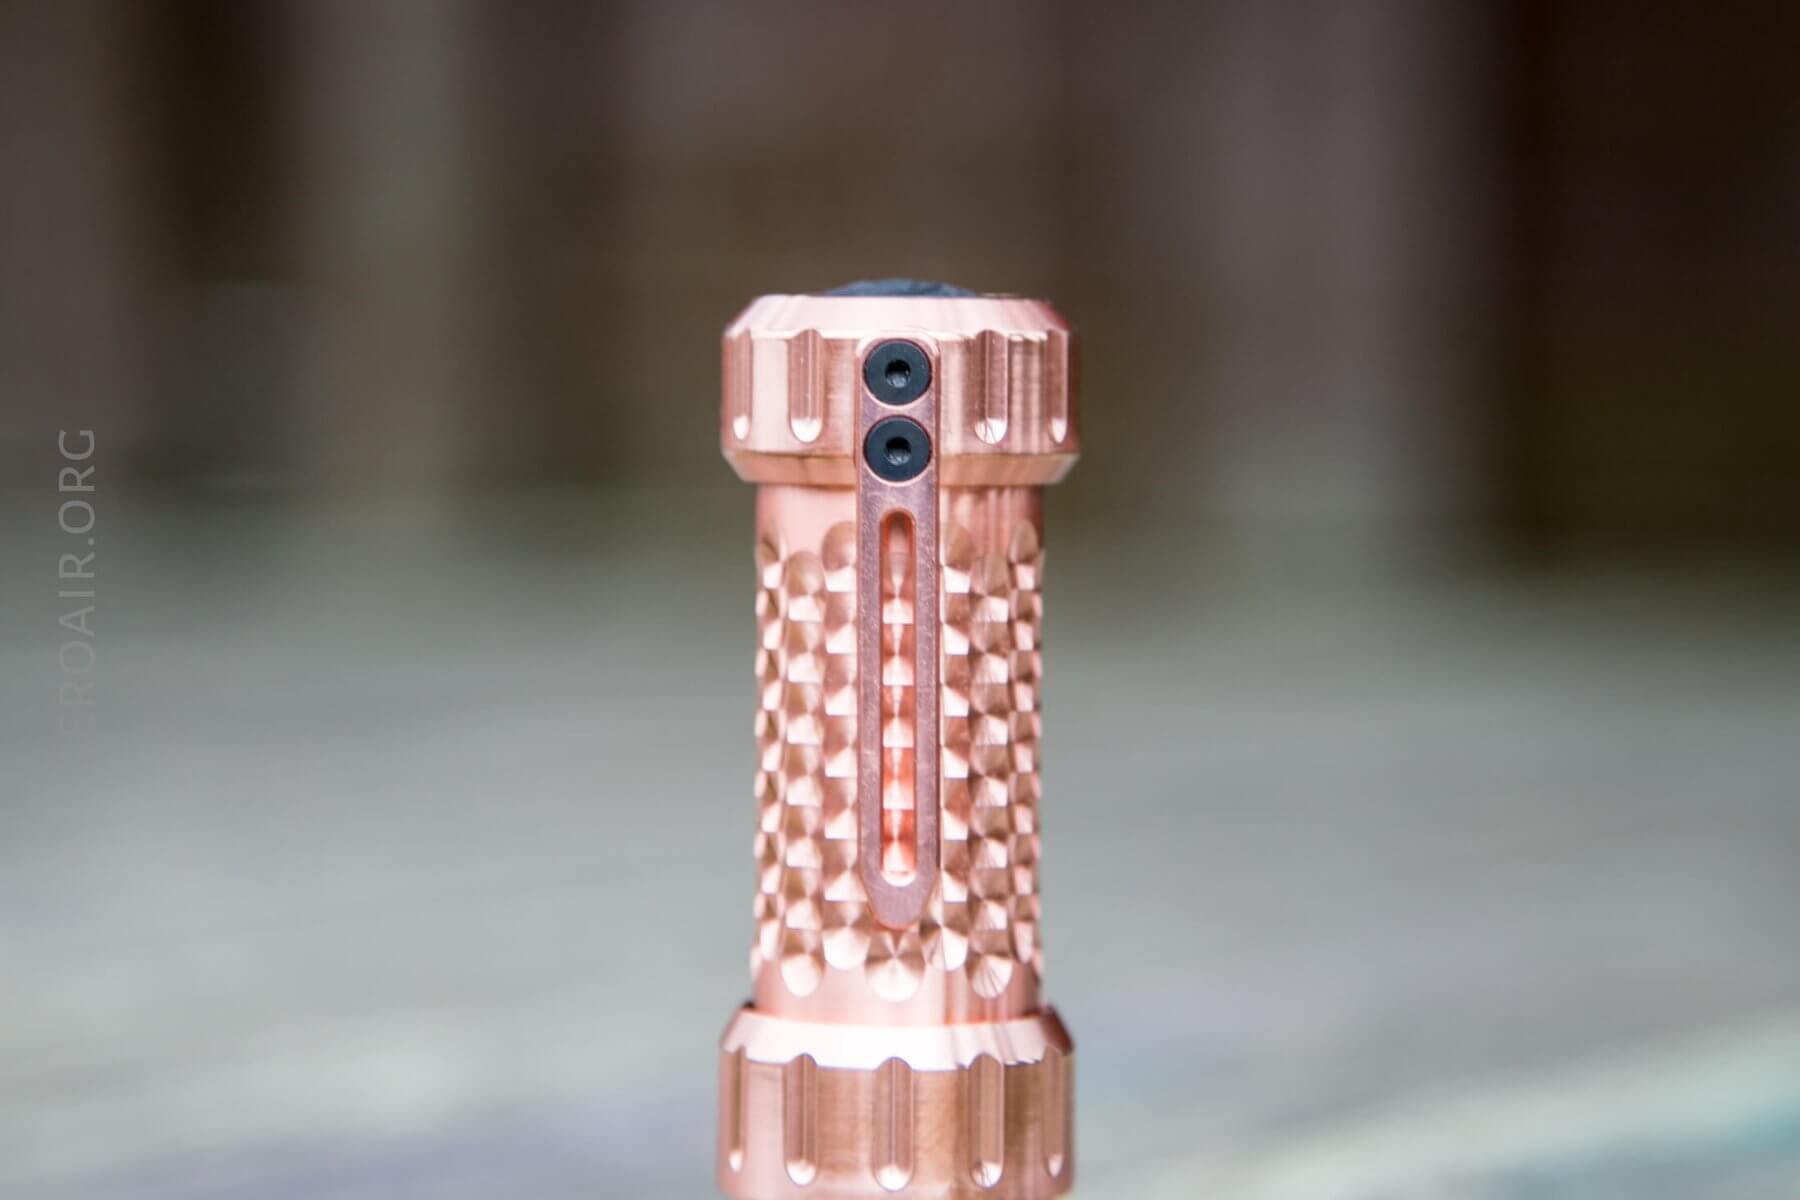
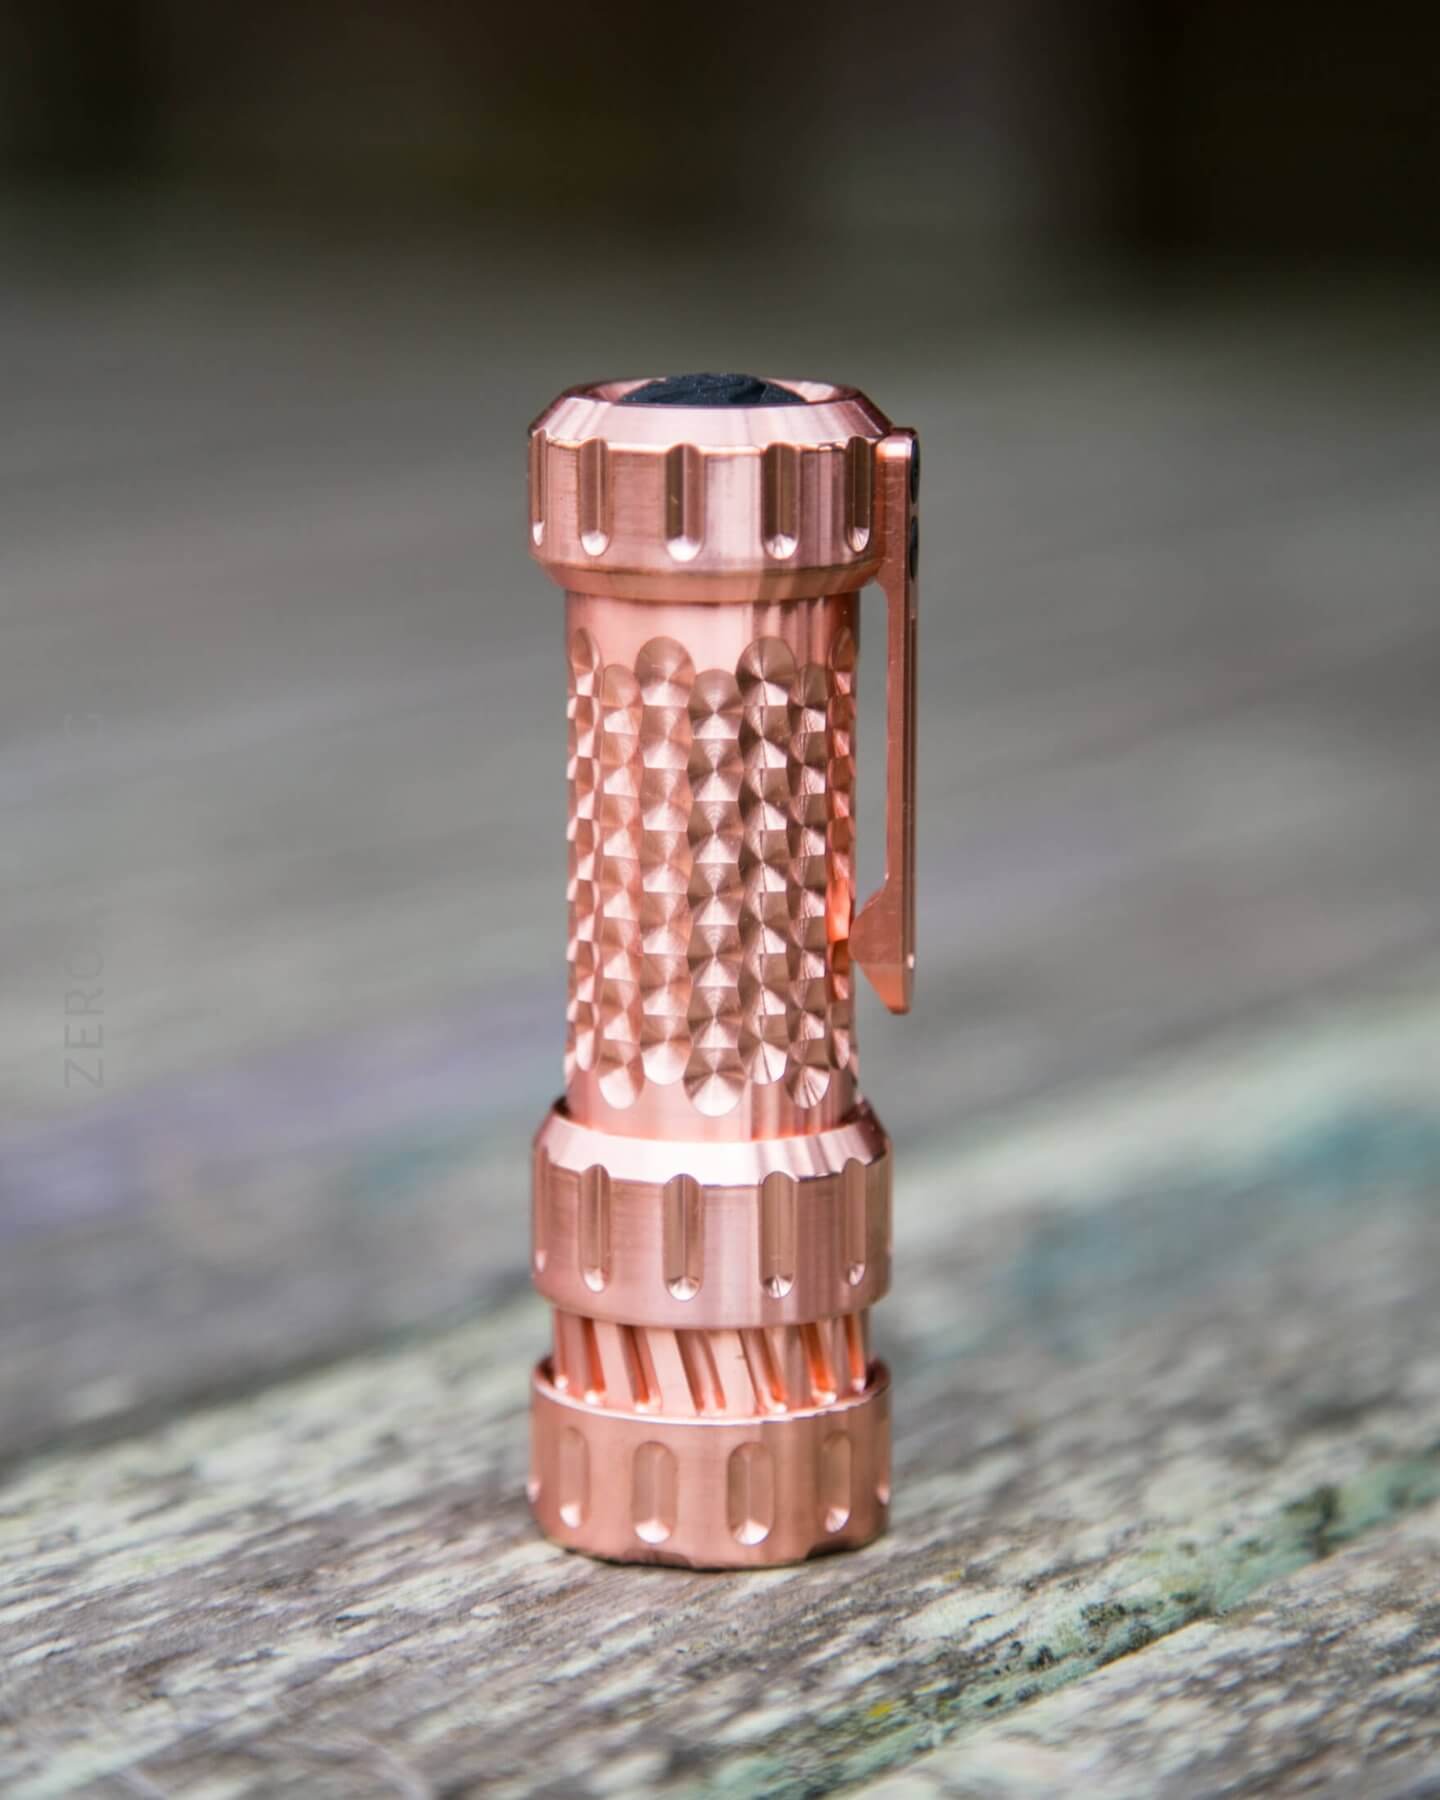
One massive thing to note about this light, and something that will be a bit polarizing, I think, is that the clip is copper too. Now, for “metal purists,” that’s probably a good thing (but the retaining ring is aluminum, and the screws are probably stainless, so your case is lost there). But for others, the concern will be that the copper clip won’t have a long life and will get irreparably bent. I can’t speak to that, but I can say I’ve carried this light for weeks without issue. I wouldn’t worry too much about the clip being copper.
Power and Runtime
No runtimes, but the host fits only 18350 cells.
Pulse Width Modulation
Completely dependent on the driver you choose!
User Interface and Operation
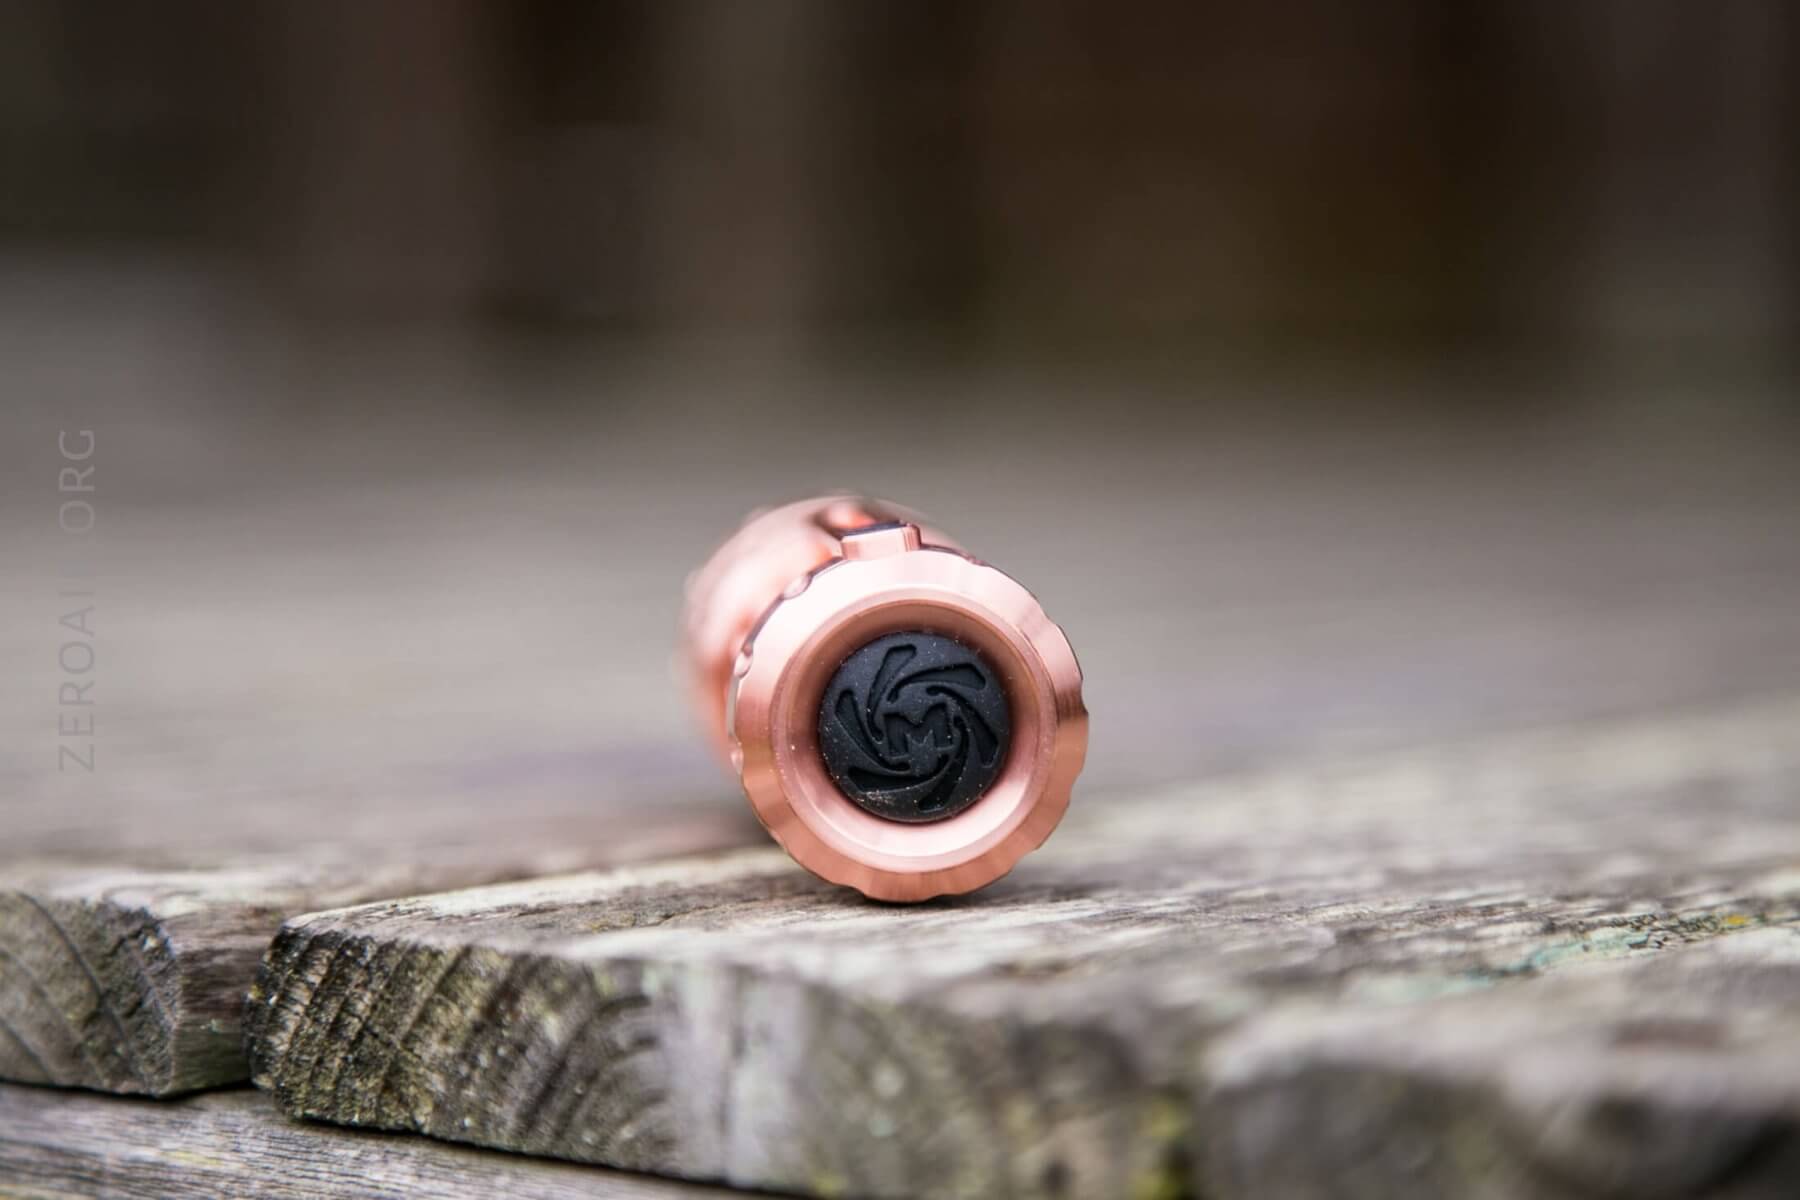
The switch for the Mechtorch is a mechanical reverse clicky, with a custom rubber boot. Again, that’s a surprising touch – not many manufacturers have a customized boot!! (And those who do still manage to generic-it-up too much, and don’t own it as Mechforce has here.)
I really like this switch cover (especially that it’s custom), but I wish it were about 2mm shorter so that it would allow a clean tailstand.
Conclusion
What I like
- Very high-quality host
- Switch/optic is included
- Copper seems to be coated (no copper smell)
- A very easy beginner build
What I don’t like
- Relatively expensive still
- Copper seems to be coated (no copper smell)
- Copper clip
Notes
- This light was provided by MechTorch for review. I was not paid to write this review.
- This content originally appeared at zeroair.org. Please visit there for the best experience!
- Use my amazon.com referral link if you’re willing to help support making more reviews like this one!
- Please support me on Patreon! I deeply appreciate your support!
Discover more from ZeroAir Reviews
Subscribe to get the latest posts sent to your email.
Pingback: CWF Dragon Driver (in MechForce MechTorch) Review – ZeroAir Reviews
Pingback: How Do I: Install a Dragon Flashlight Driver - ZeroAir Reviews