Lumintop FW3C Brass Flashlight Review
The Lumintop FW3C Brass flashlight! Yes, another FW series light! This is “peak FW” for me because brass is my jam. Read on!
Official Specs and Features
Here’s a link to the product page. Affiliate link to NealsGadgets!
Versions
It’s the FW light, there are … I think this makes a million? versions?
Price
Brass is going for $67.95. Mine came from NealsGadgets.
Short Review
I love brass, and I love the brass FW3C! I will probably swap out the emitters eventually to something that’s a more ideal temperature, but as for hosts, I love it!
Long Review
The Big Table
| Lumintop FW3C Brass Flashlight | |
|---|---|
| Emitter: | Cree XP-L HI (1A (6500K)) |
| Price in USD at publication time: | $67.95 |
| Cell: | 1×18650 |
| Turbo Runtime | High Runtime |
| LVP? | Yes |
| Switch Type: | E-Switch |
| Quiescent Current (A): | ? |
| On-Board Charging? | No |
| Claimed Lumens (lm) | 2800 |
| Measured Lumens (at 30s) | 729 (26% of claim)^ |
| Candela per Lumen | 4.5 |
| Claimed Throw (m) | 223 |
| Candela (Calculated) in cd (at 30s) | 207lux @ 4.224m = 3693cd |
| Throw (Calculated) (m) | 121.5 (54.5% of claim)^ |
| All my Lumintop reviews! | |
^ Measurement disclaimer: Testing flashlights is my hobby. I use hobbyist-level equipment for testing, including some I made myself. Try not to get buried in the details of manufacturer specifications versus measurements recorded here; A certain amount of difference (say, 10 or 15%) is perfectly reasonable.
These measurements are well into the stepdown. Reporting values at startup is not unusual, but I report values at 30s.
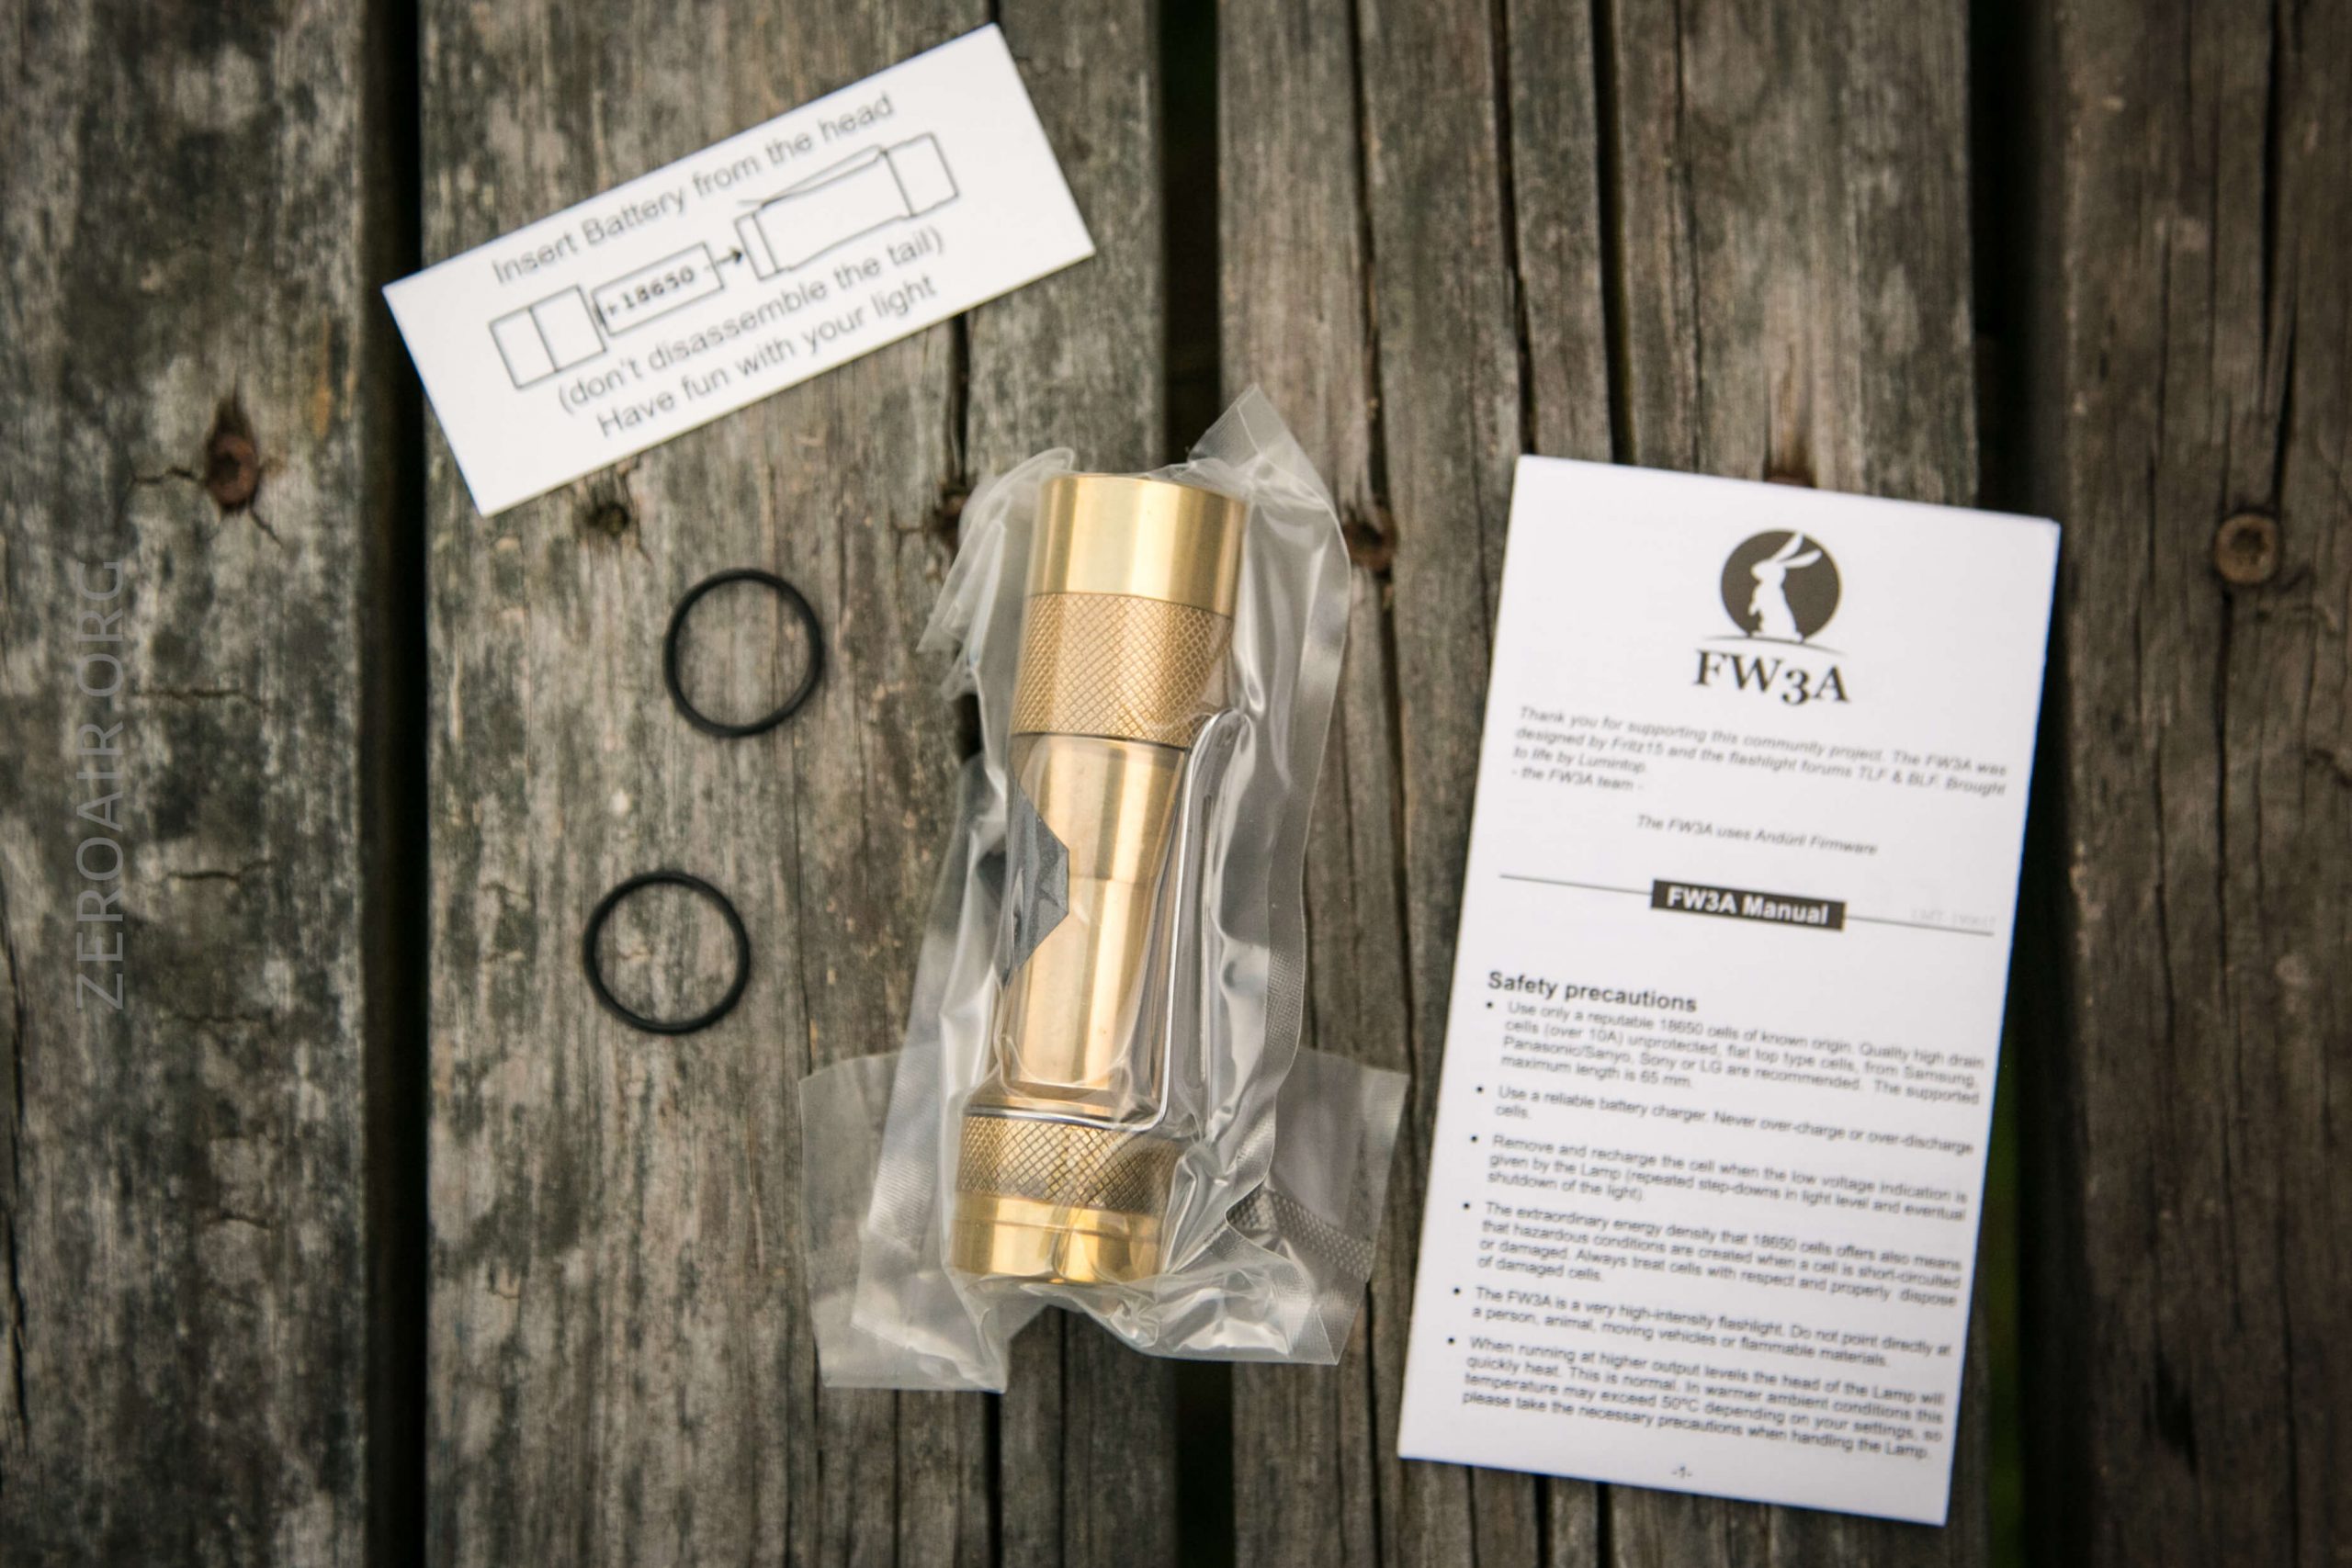
What’s Included

- Lumintop FW3C Brass flashlight
- Spare o-rings (2)
- Manual and papers
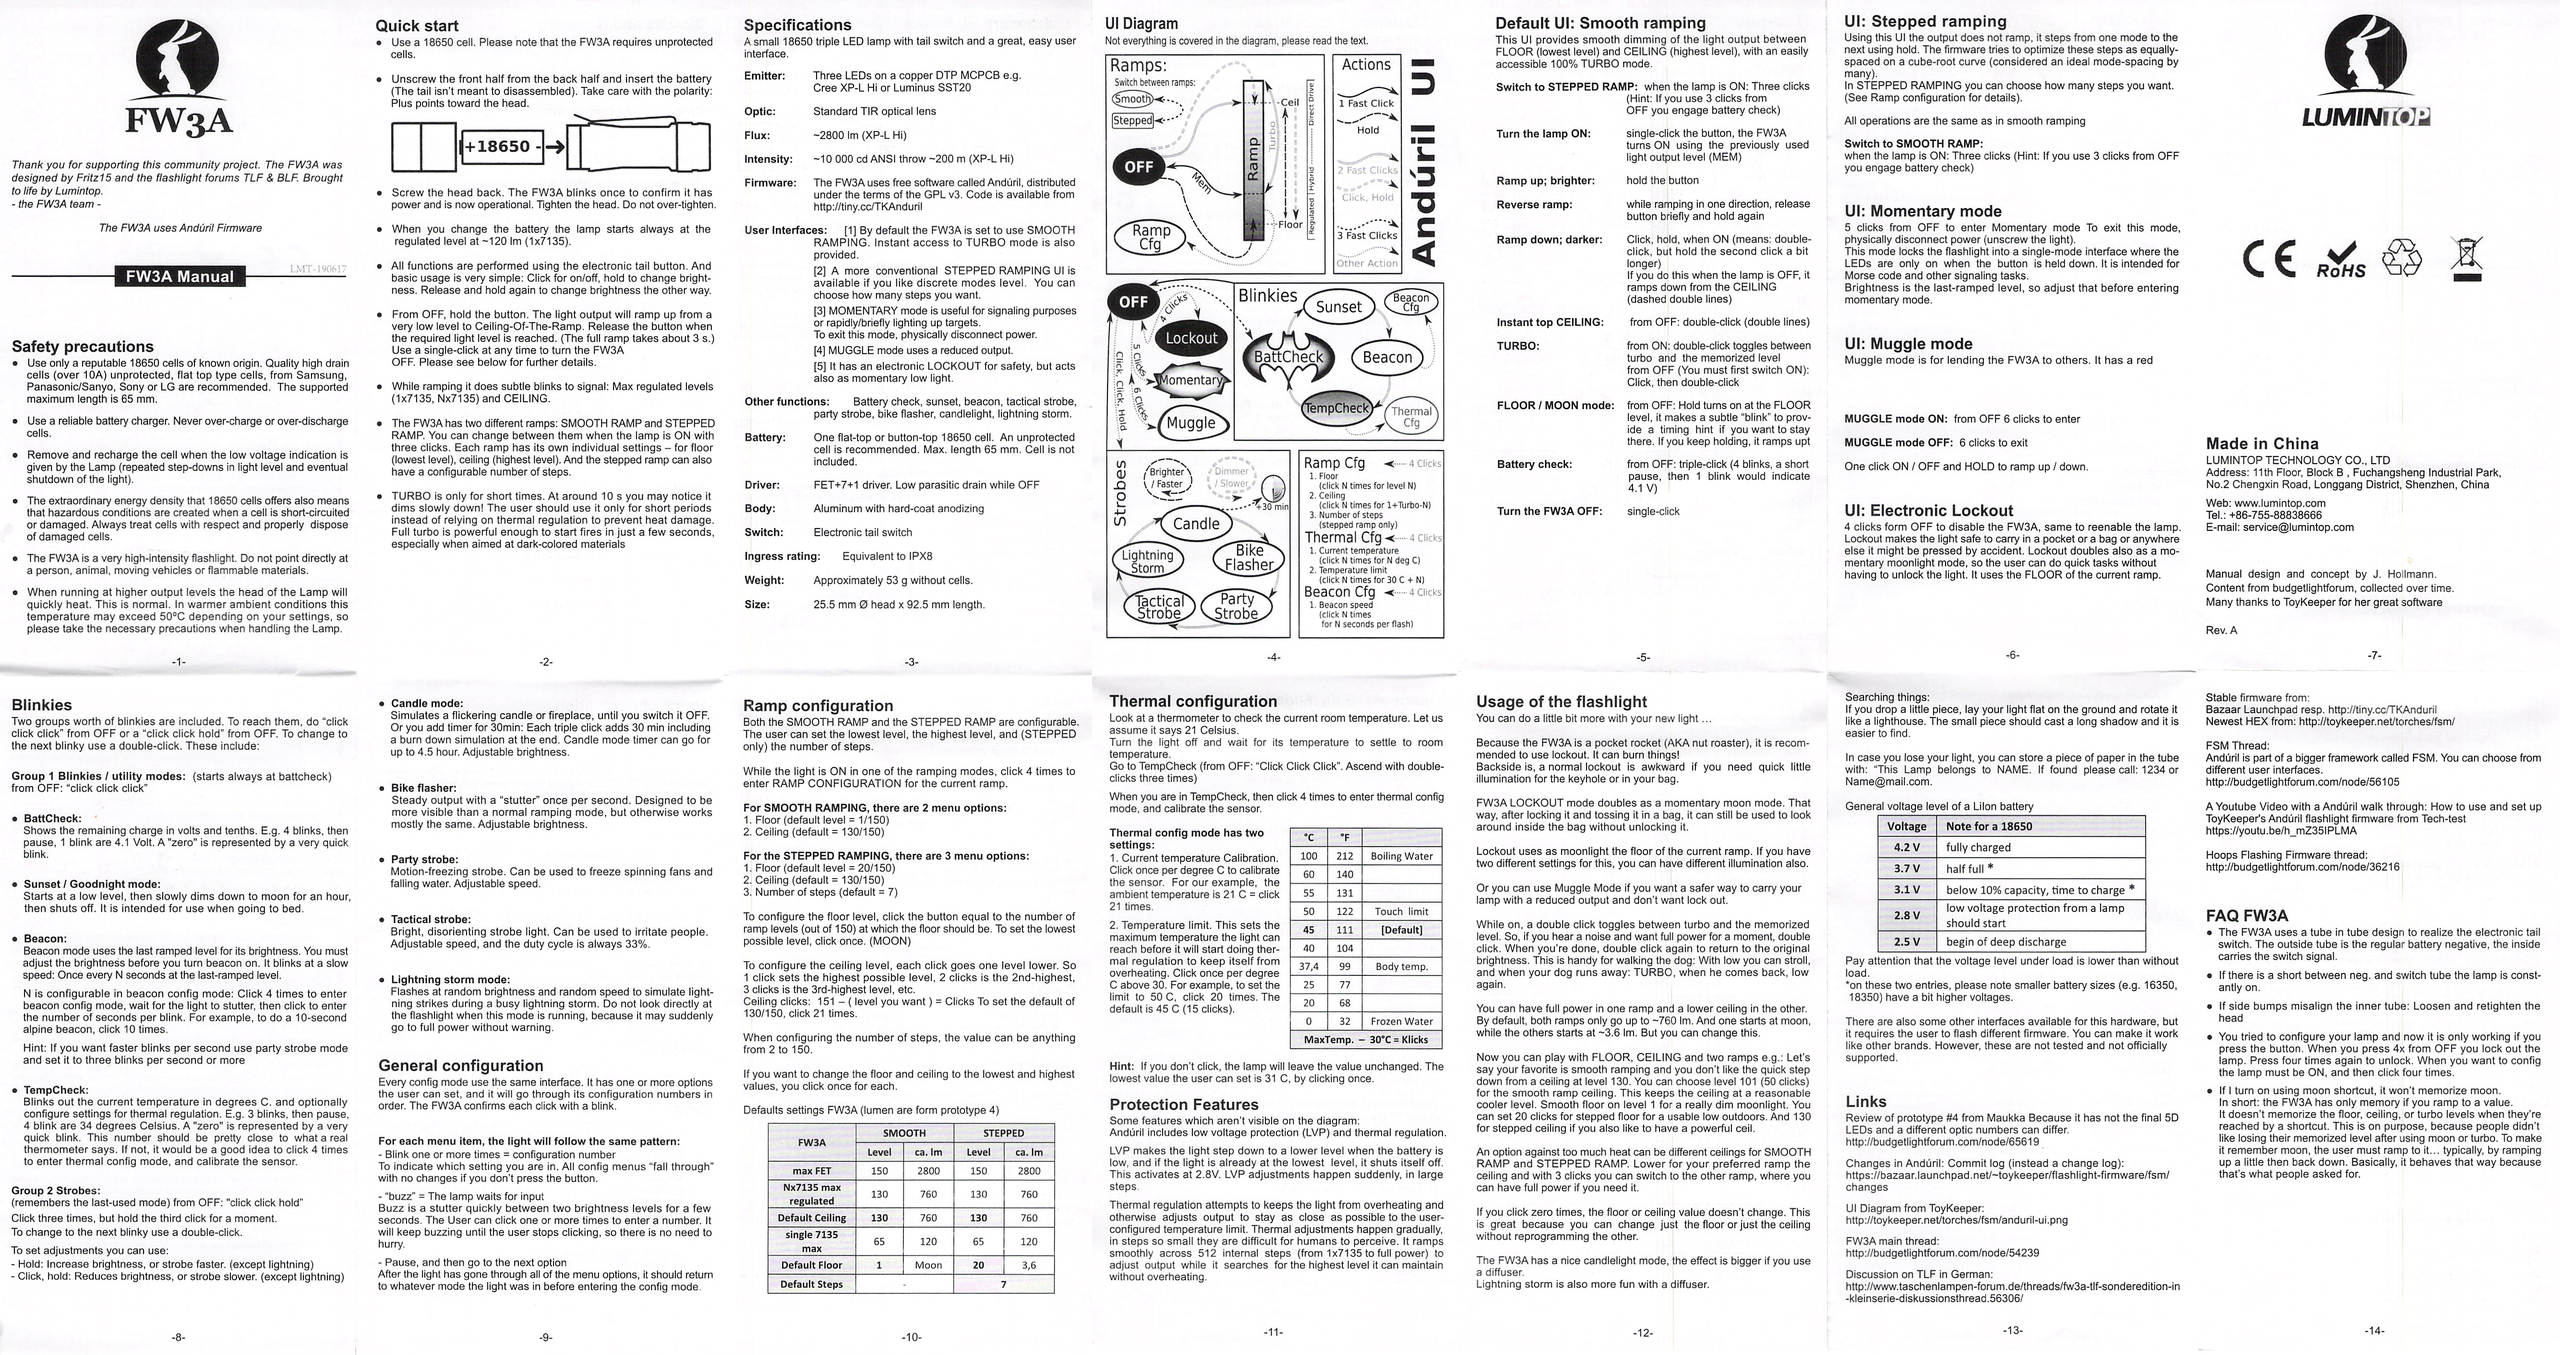
Package and Manual
I don’t think I’ve ever scanned the manual for these lights before, so here it is! It’s a gigantic file (>17mb) but now you have it!
Build Quality and Disassembly
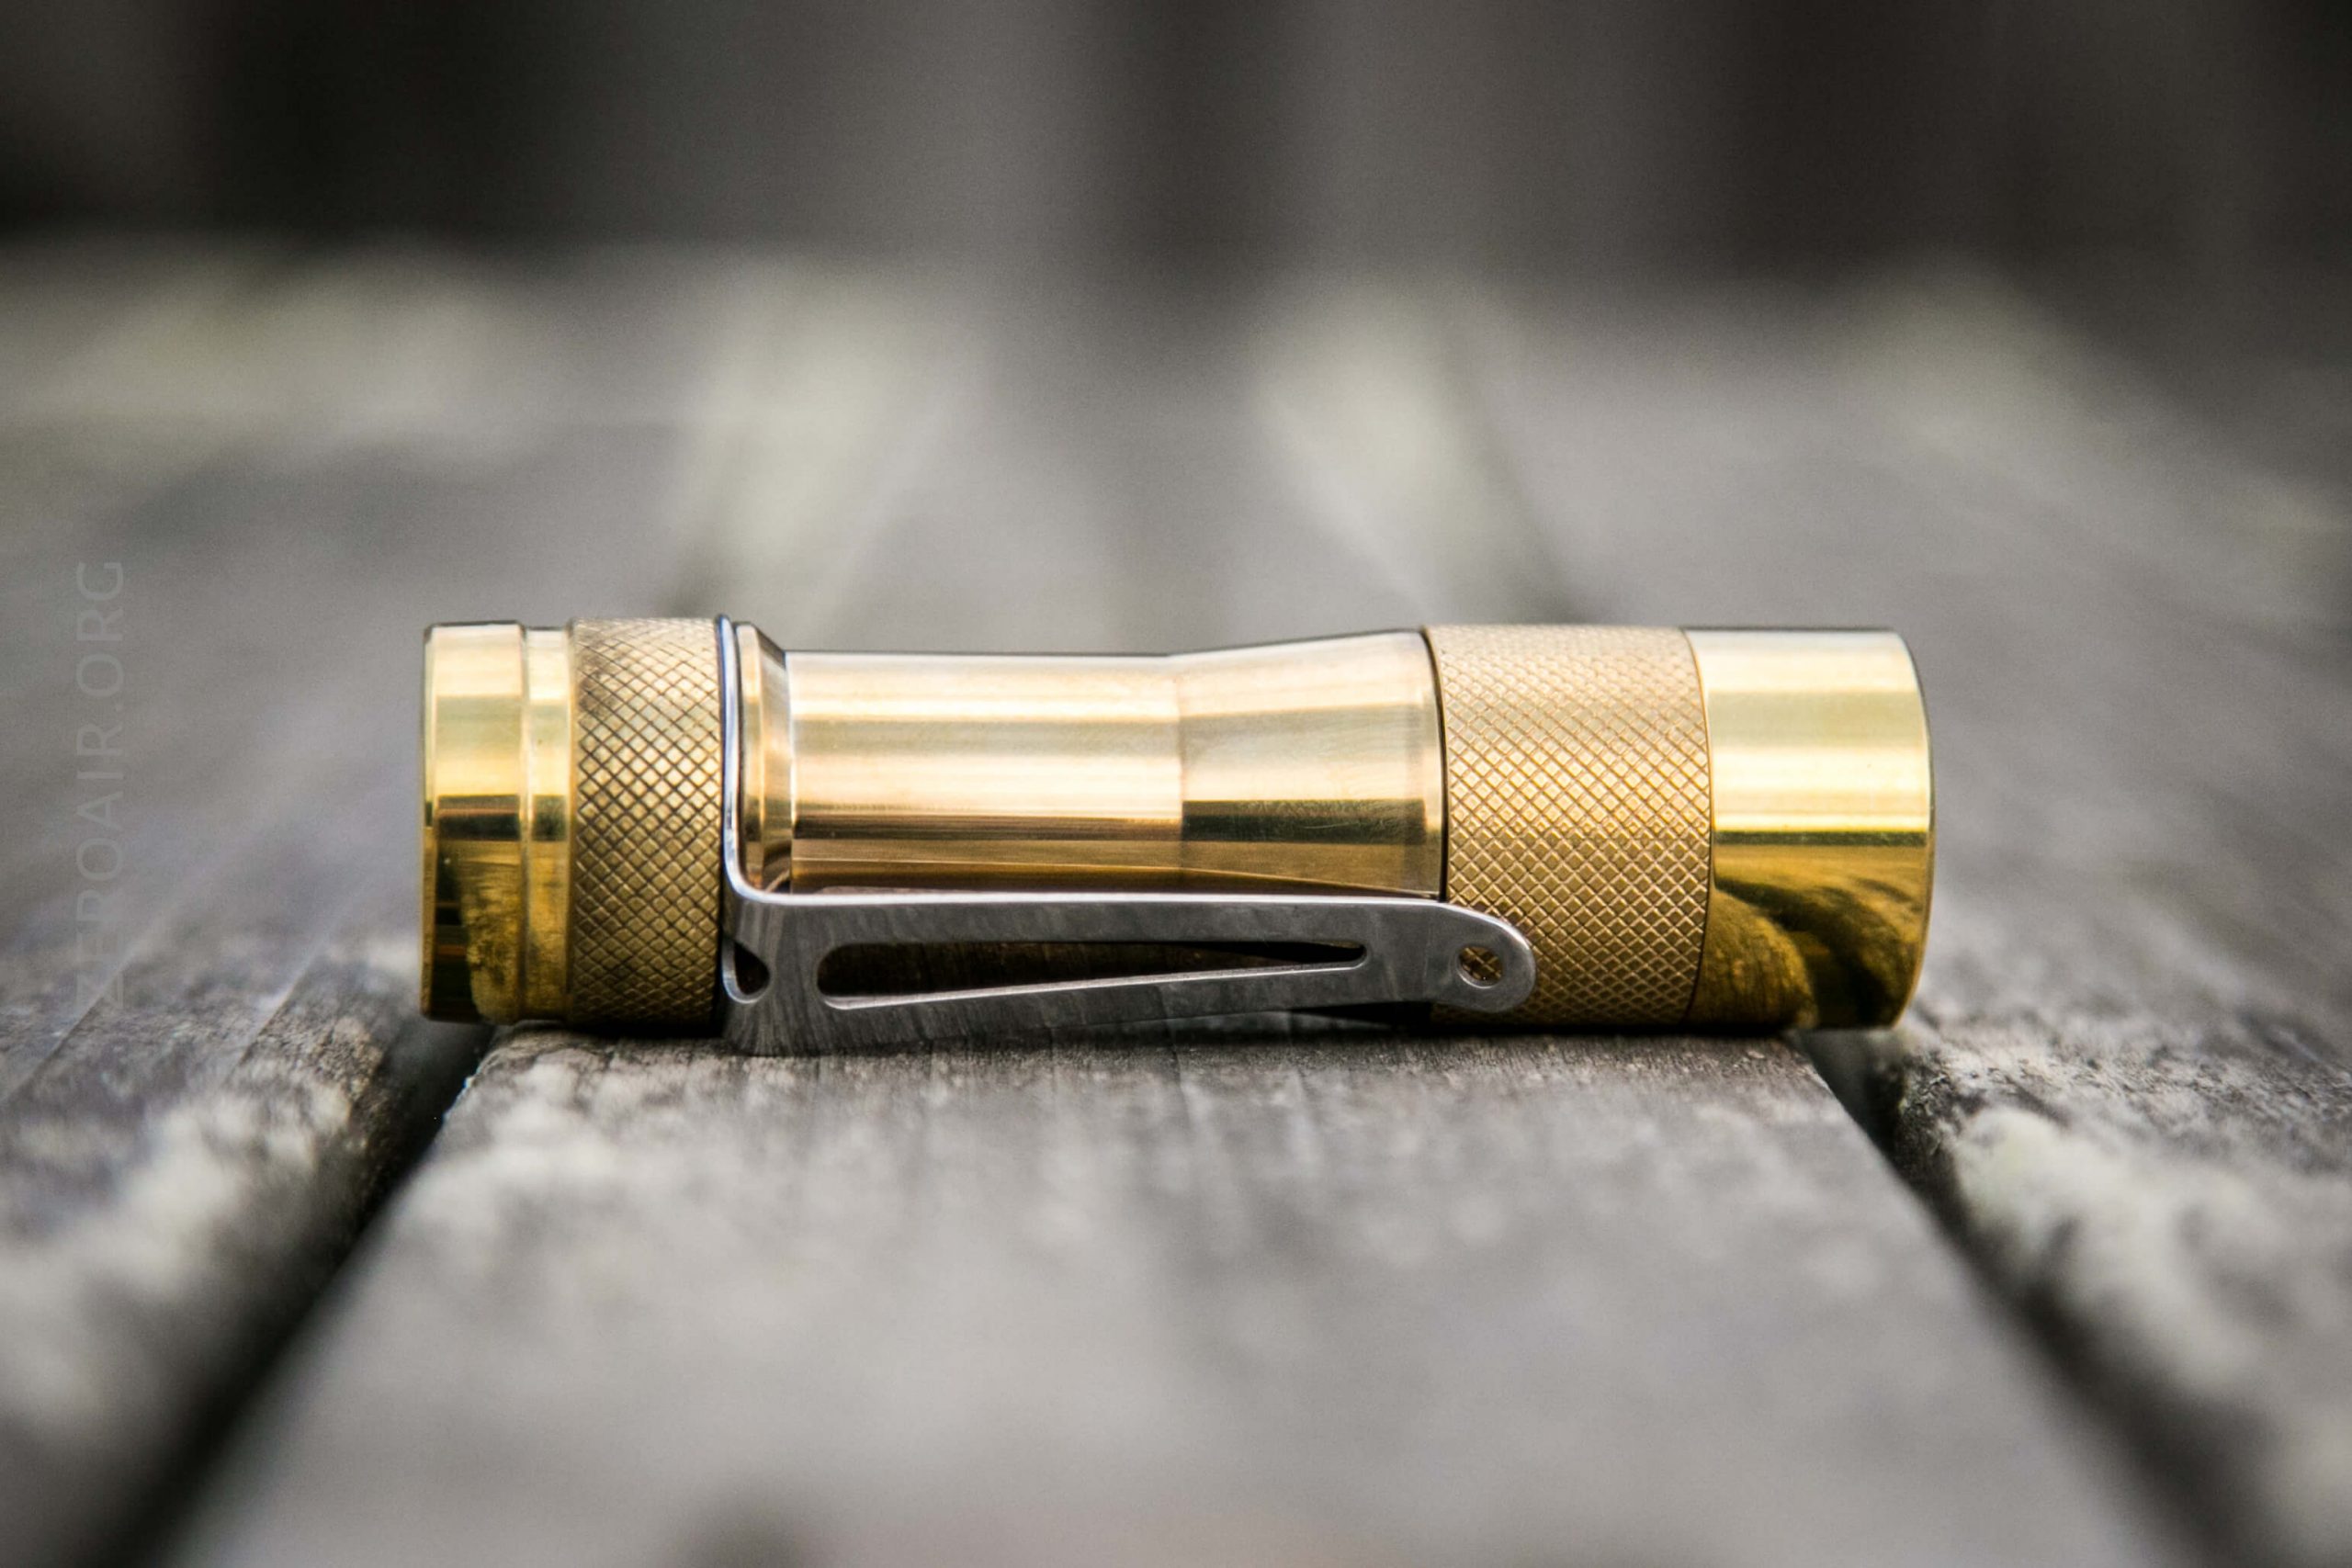
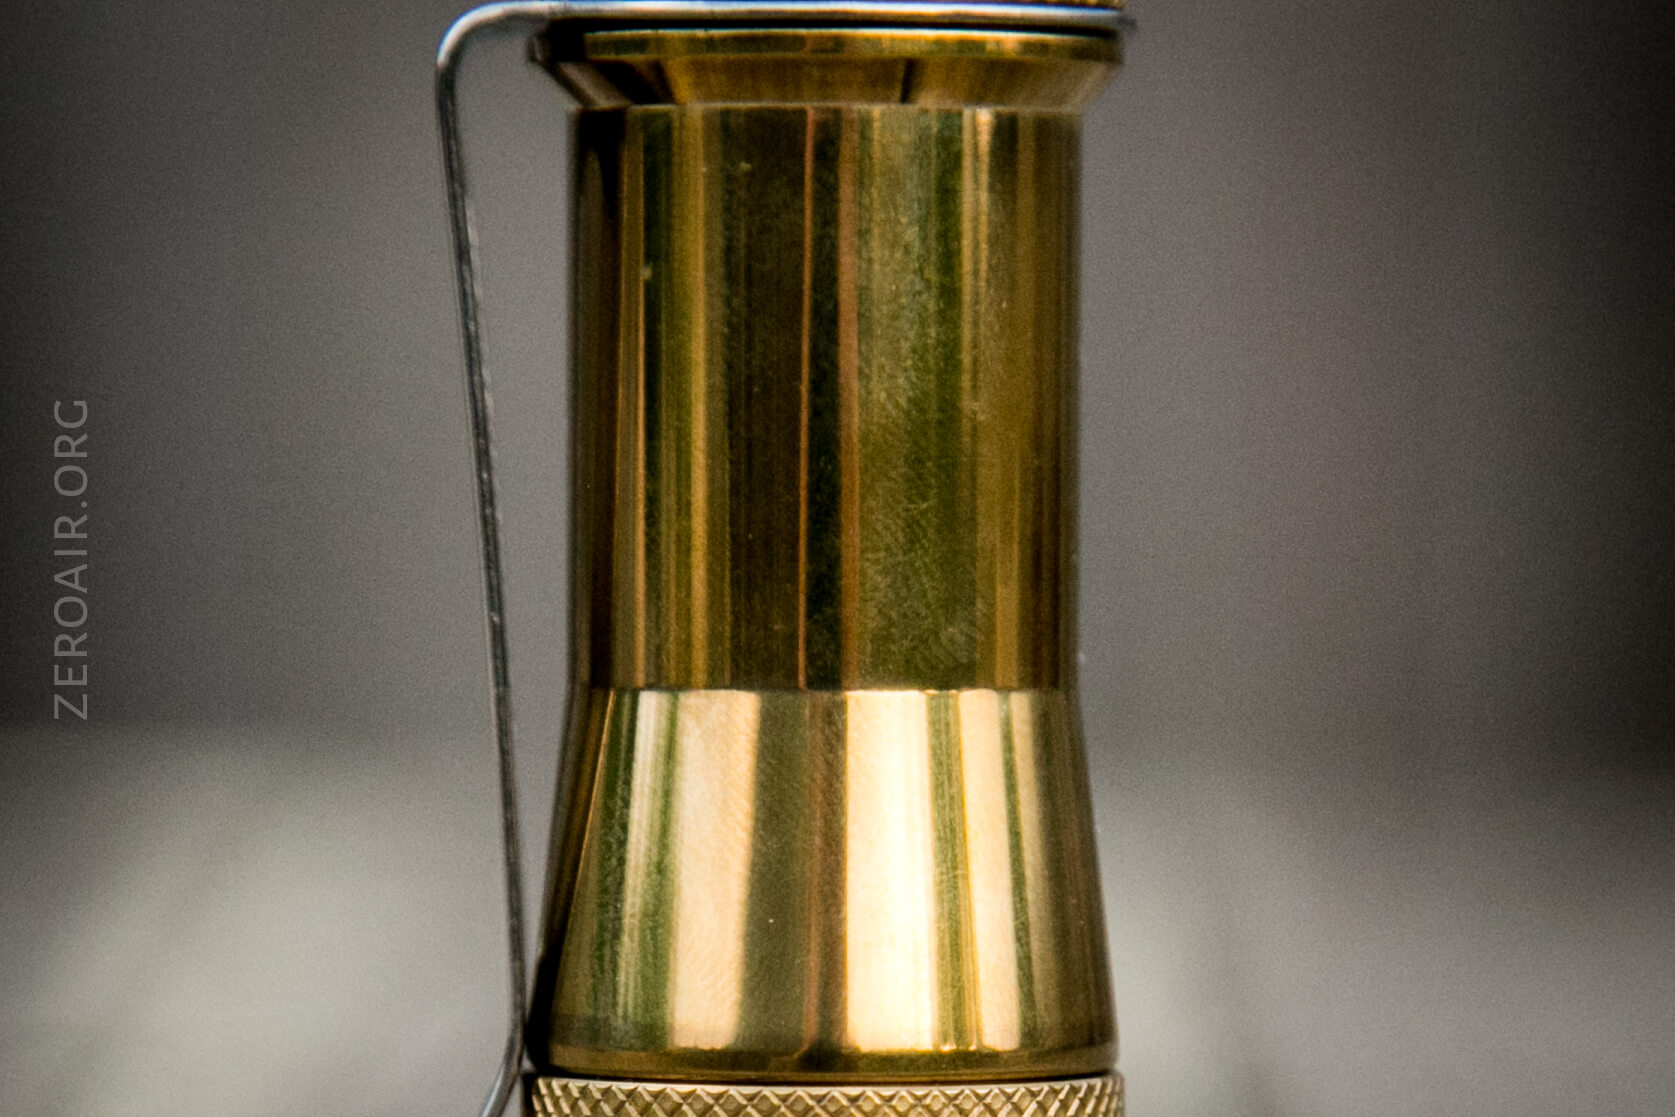
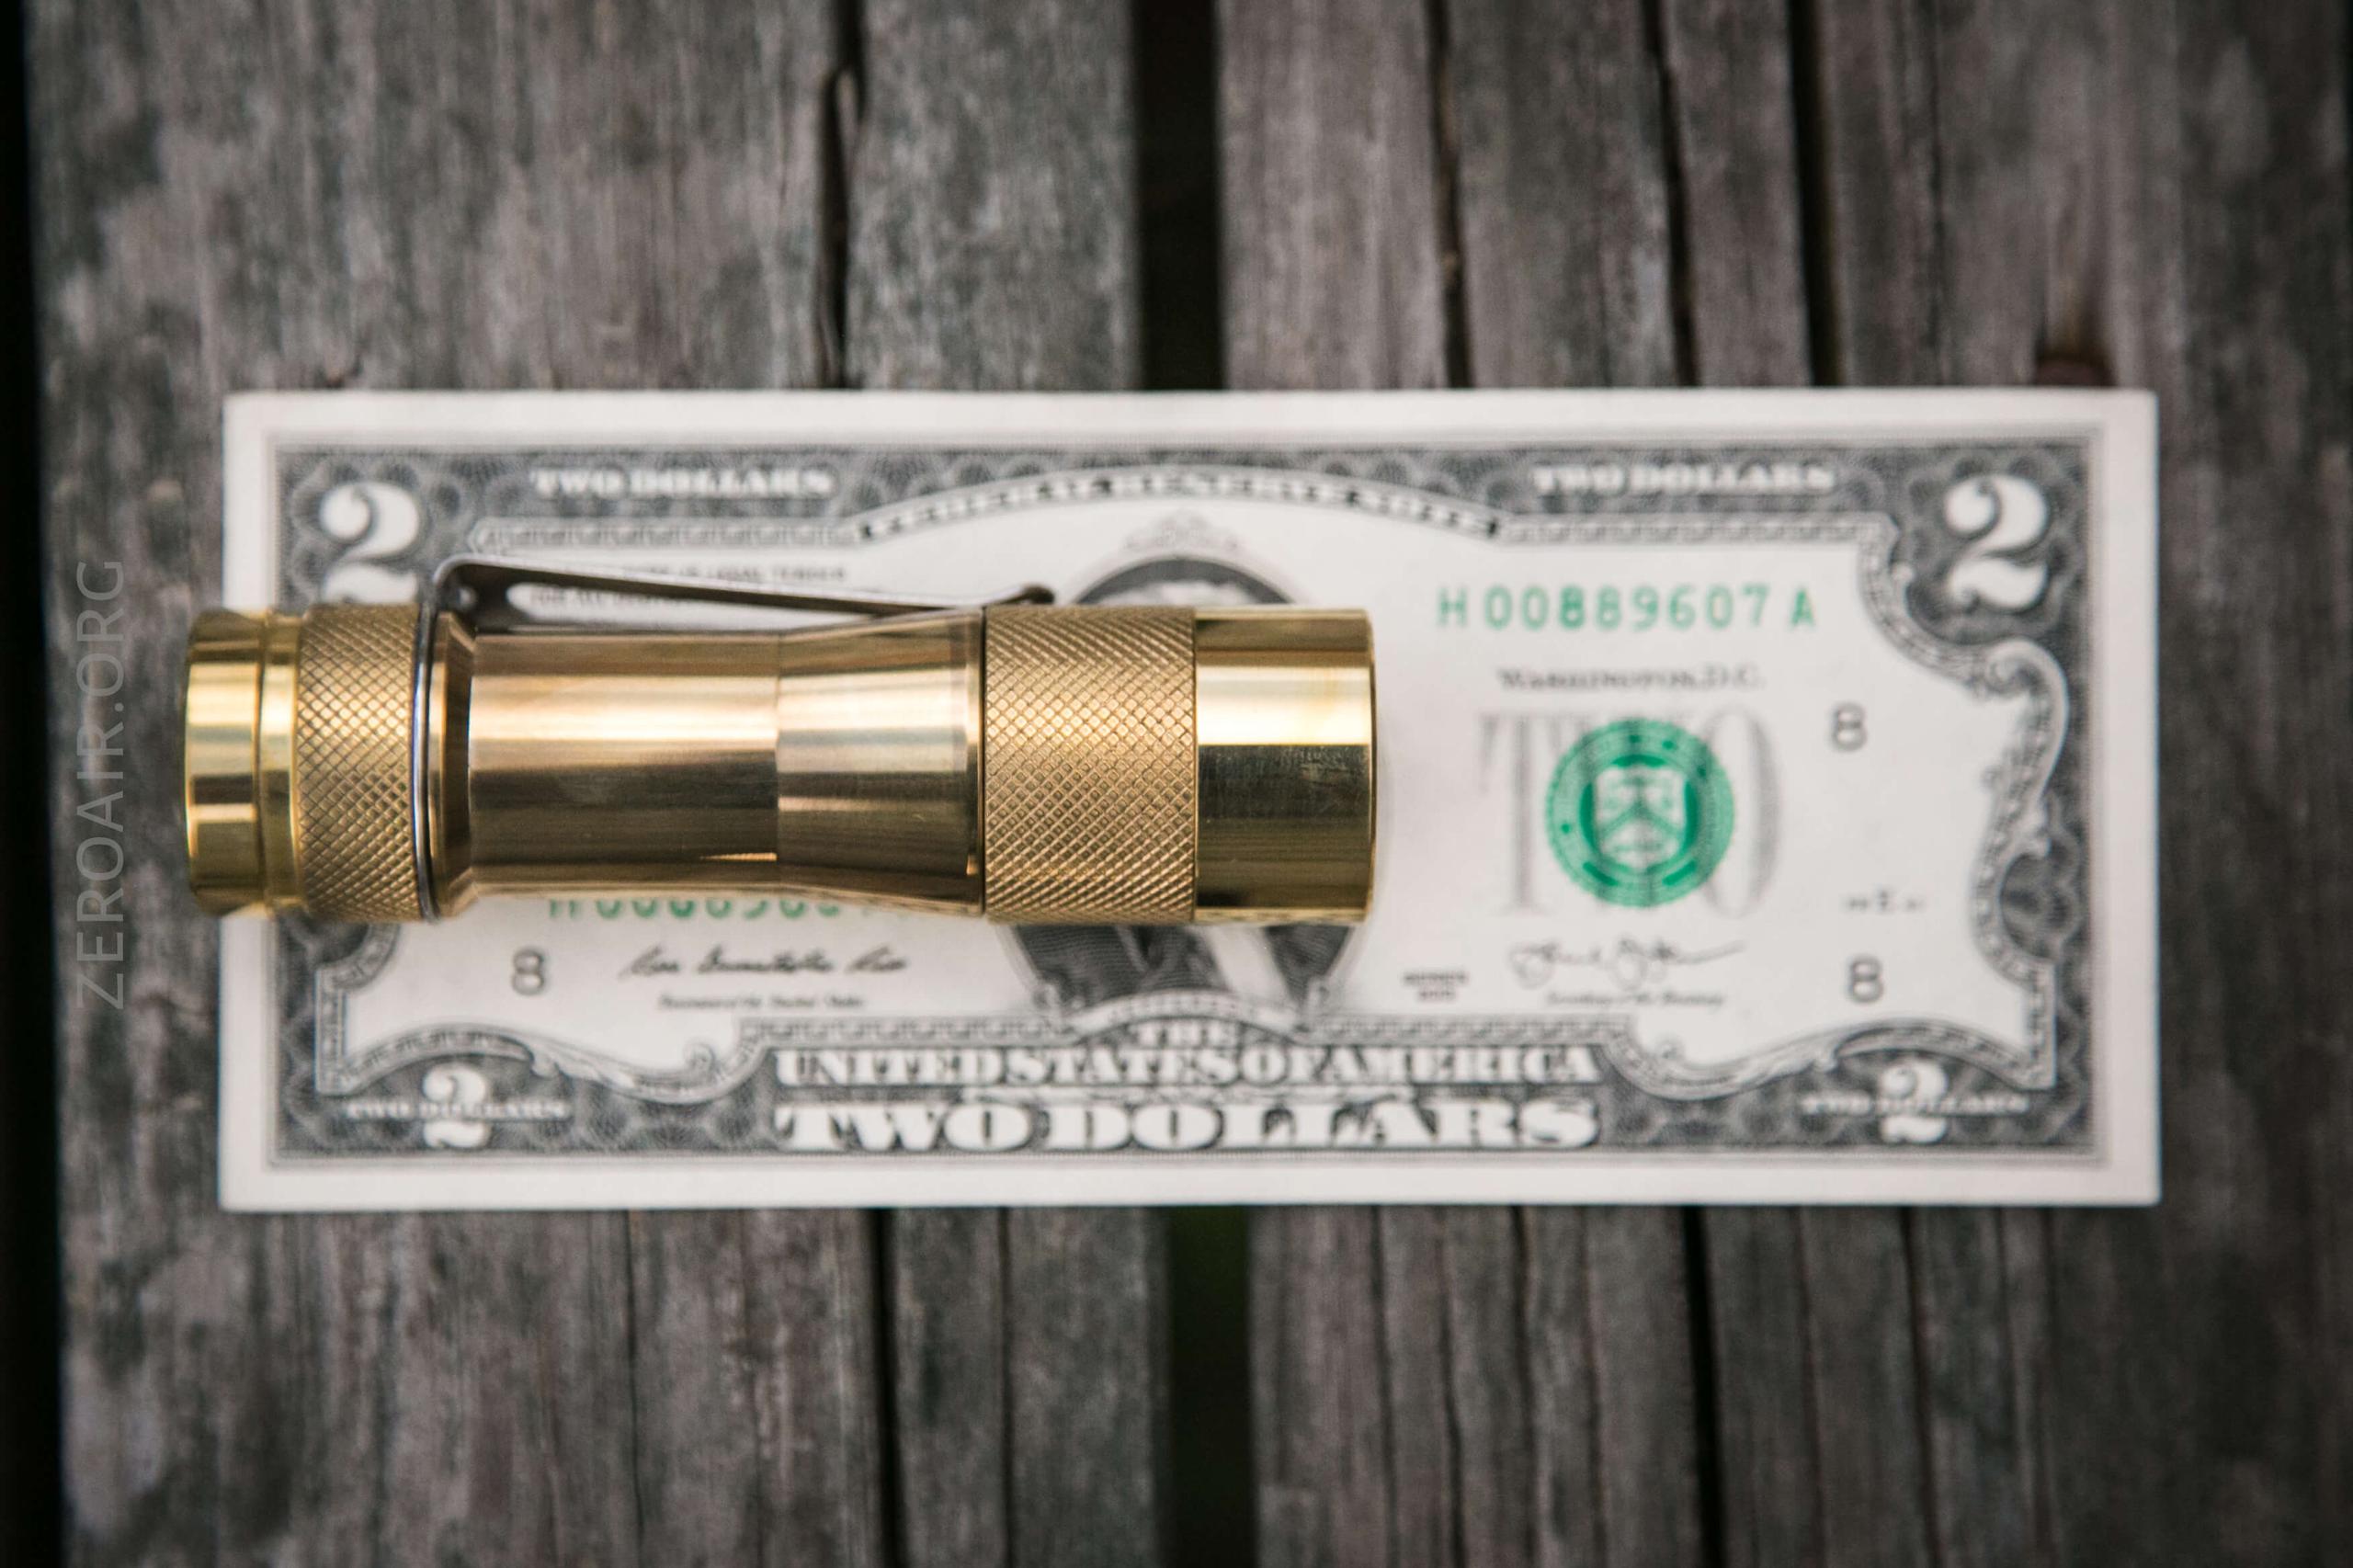
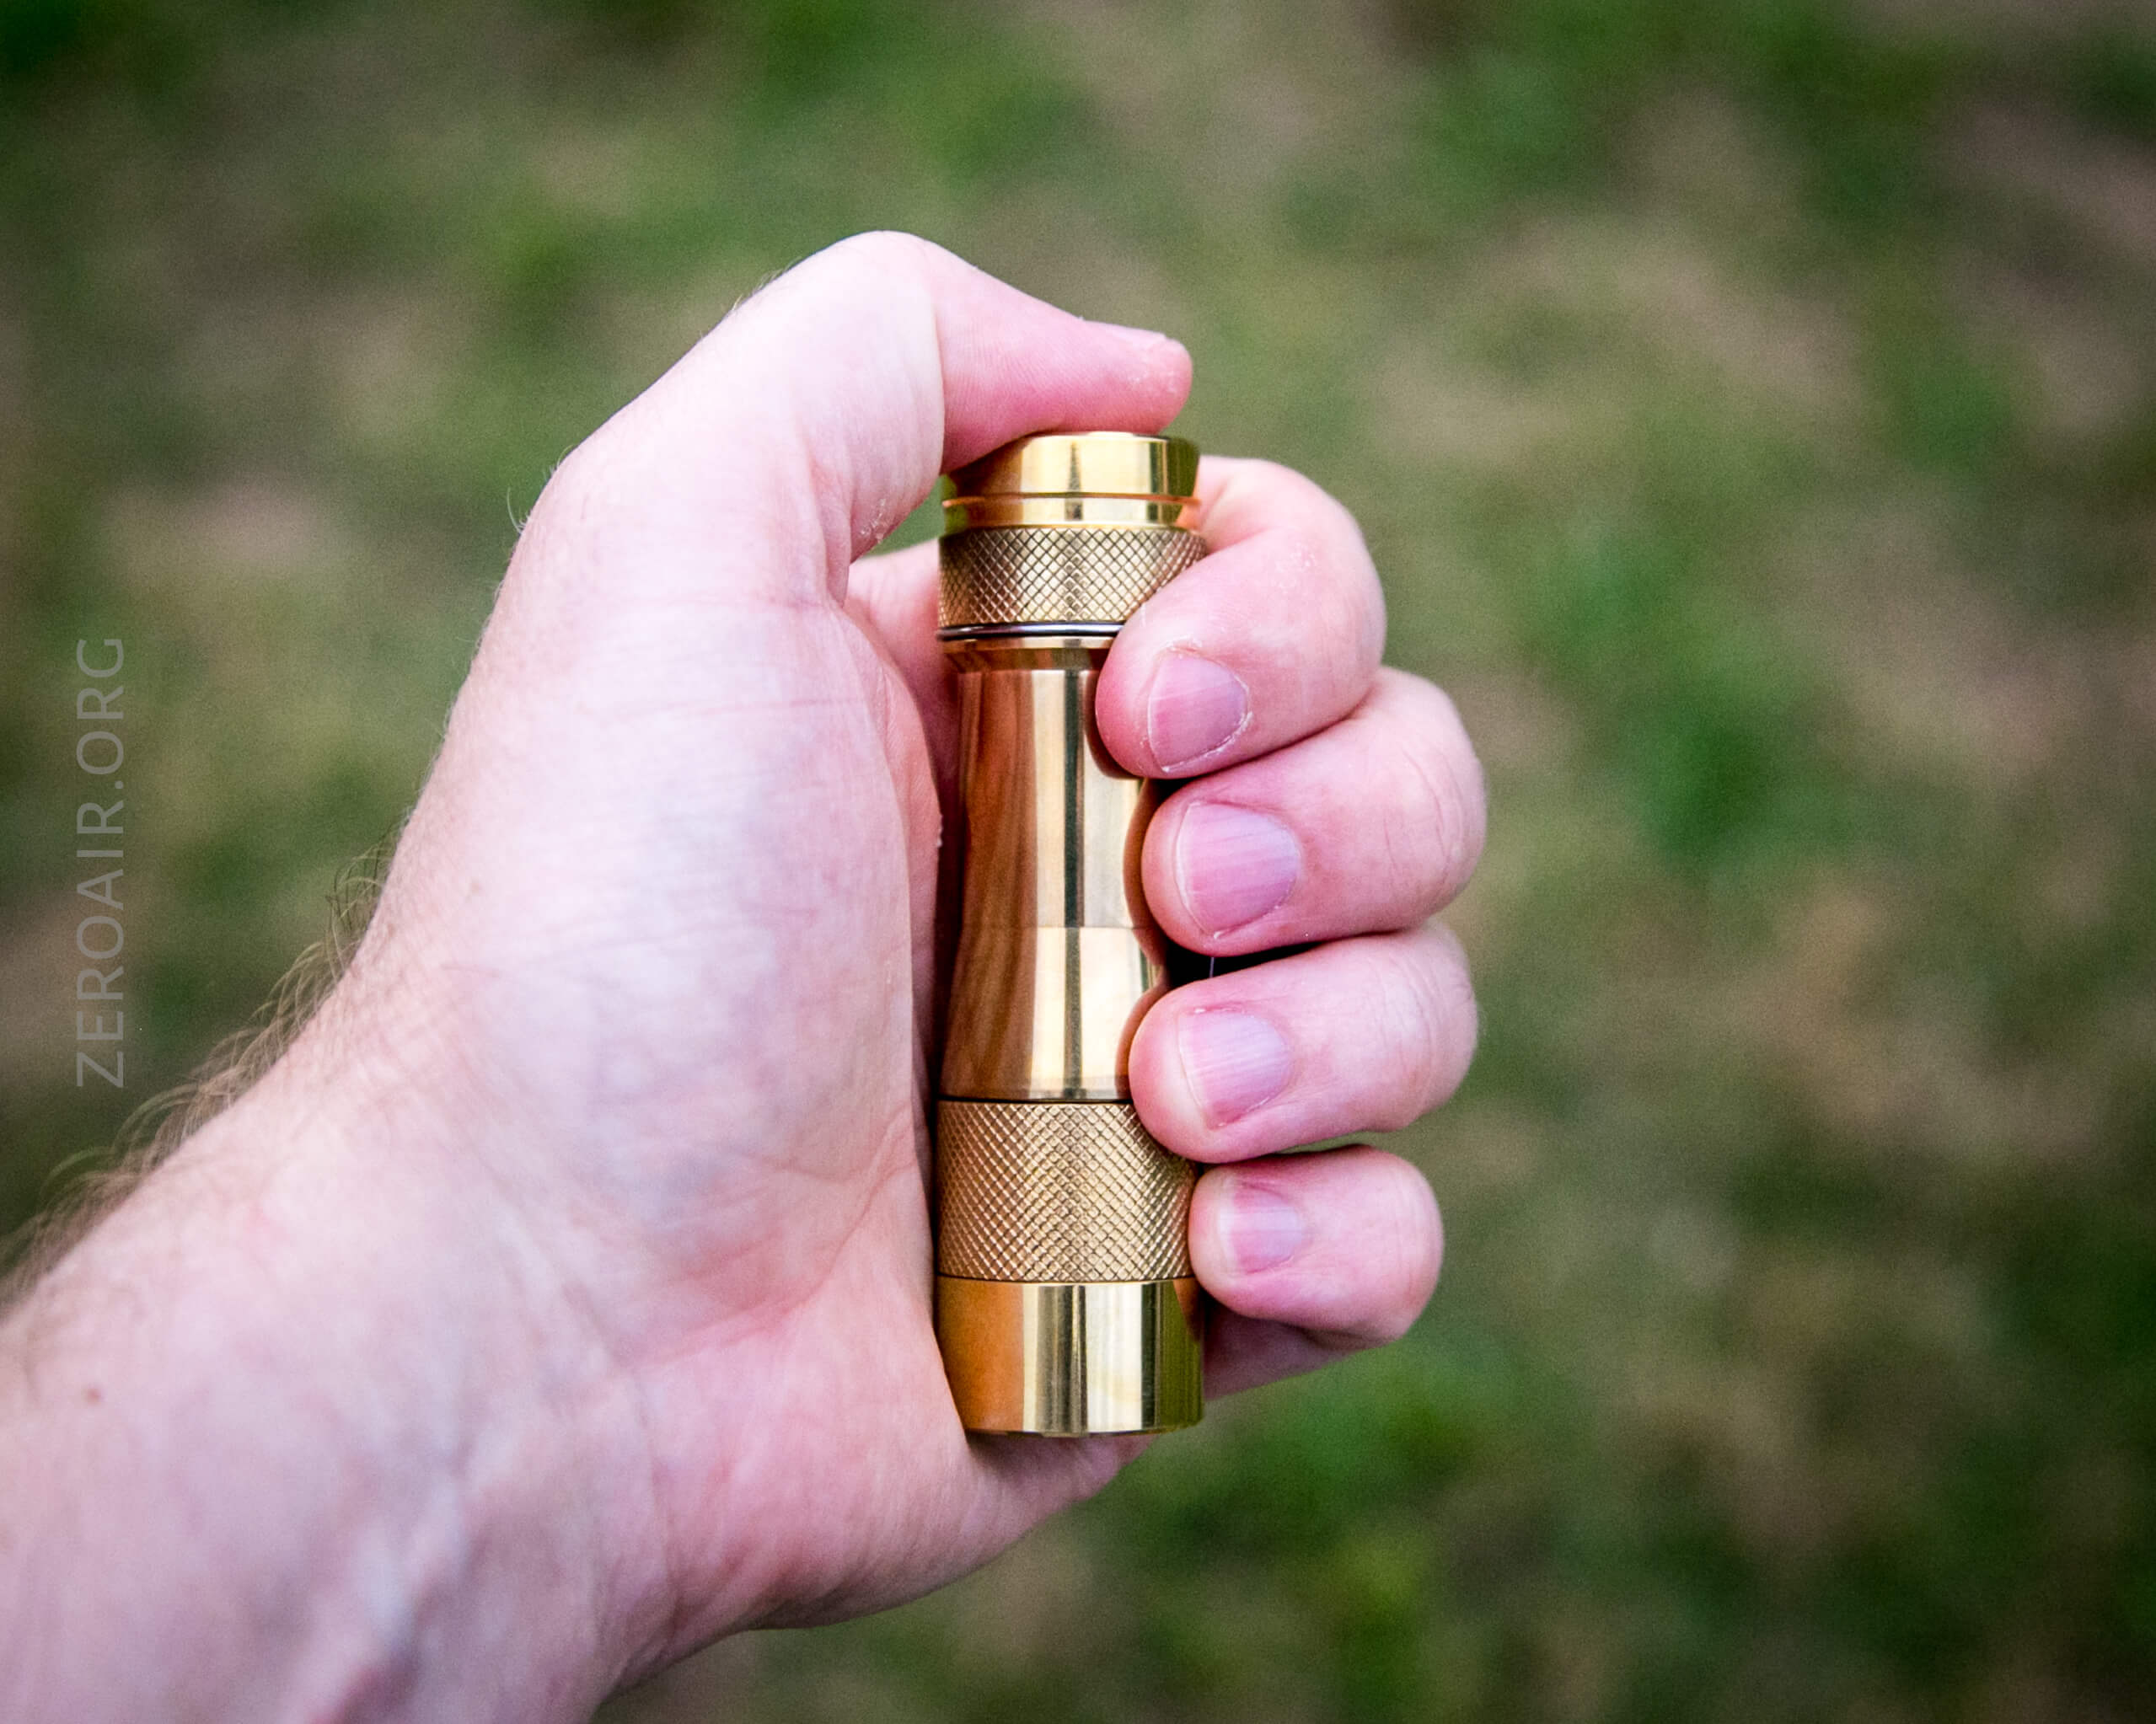
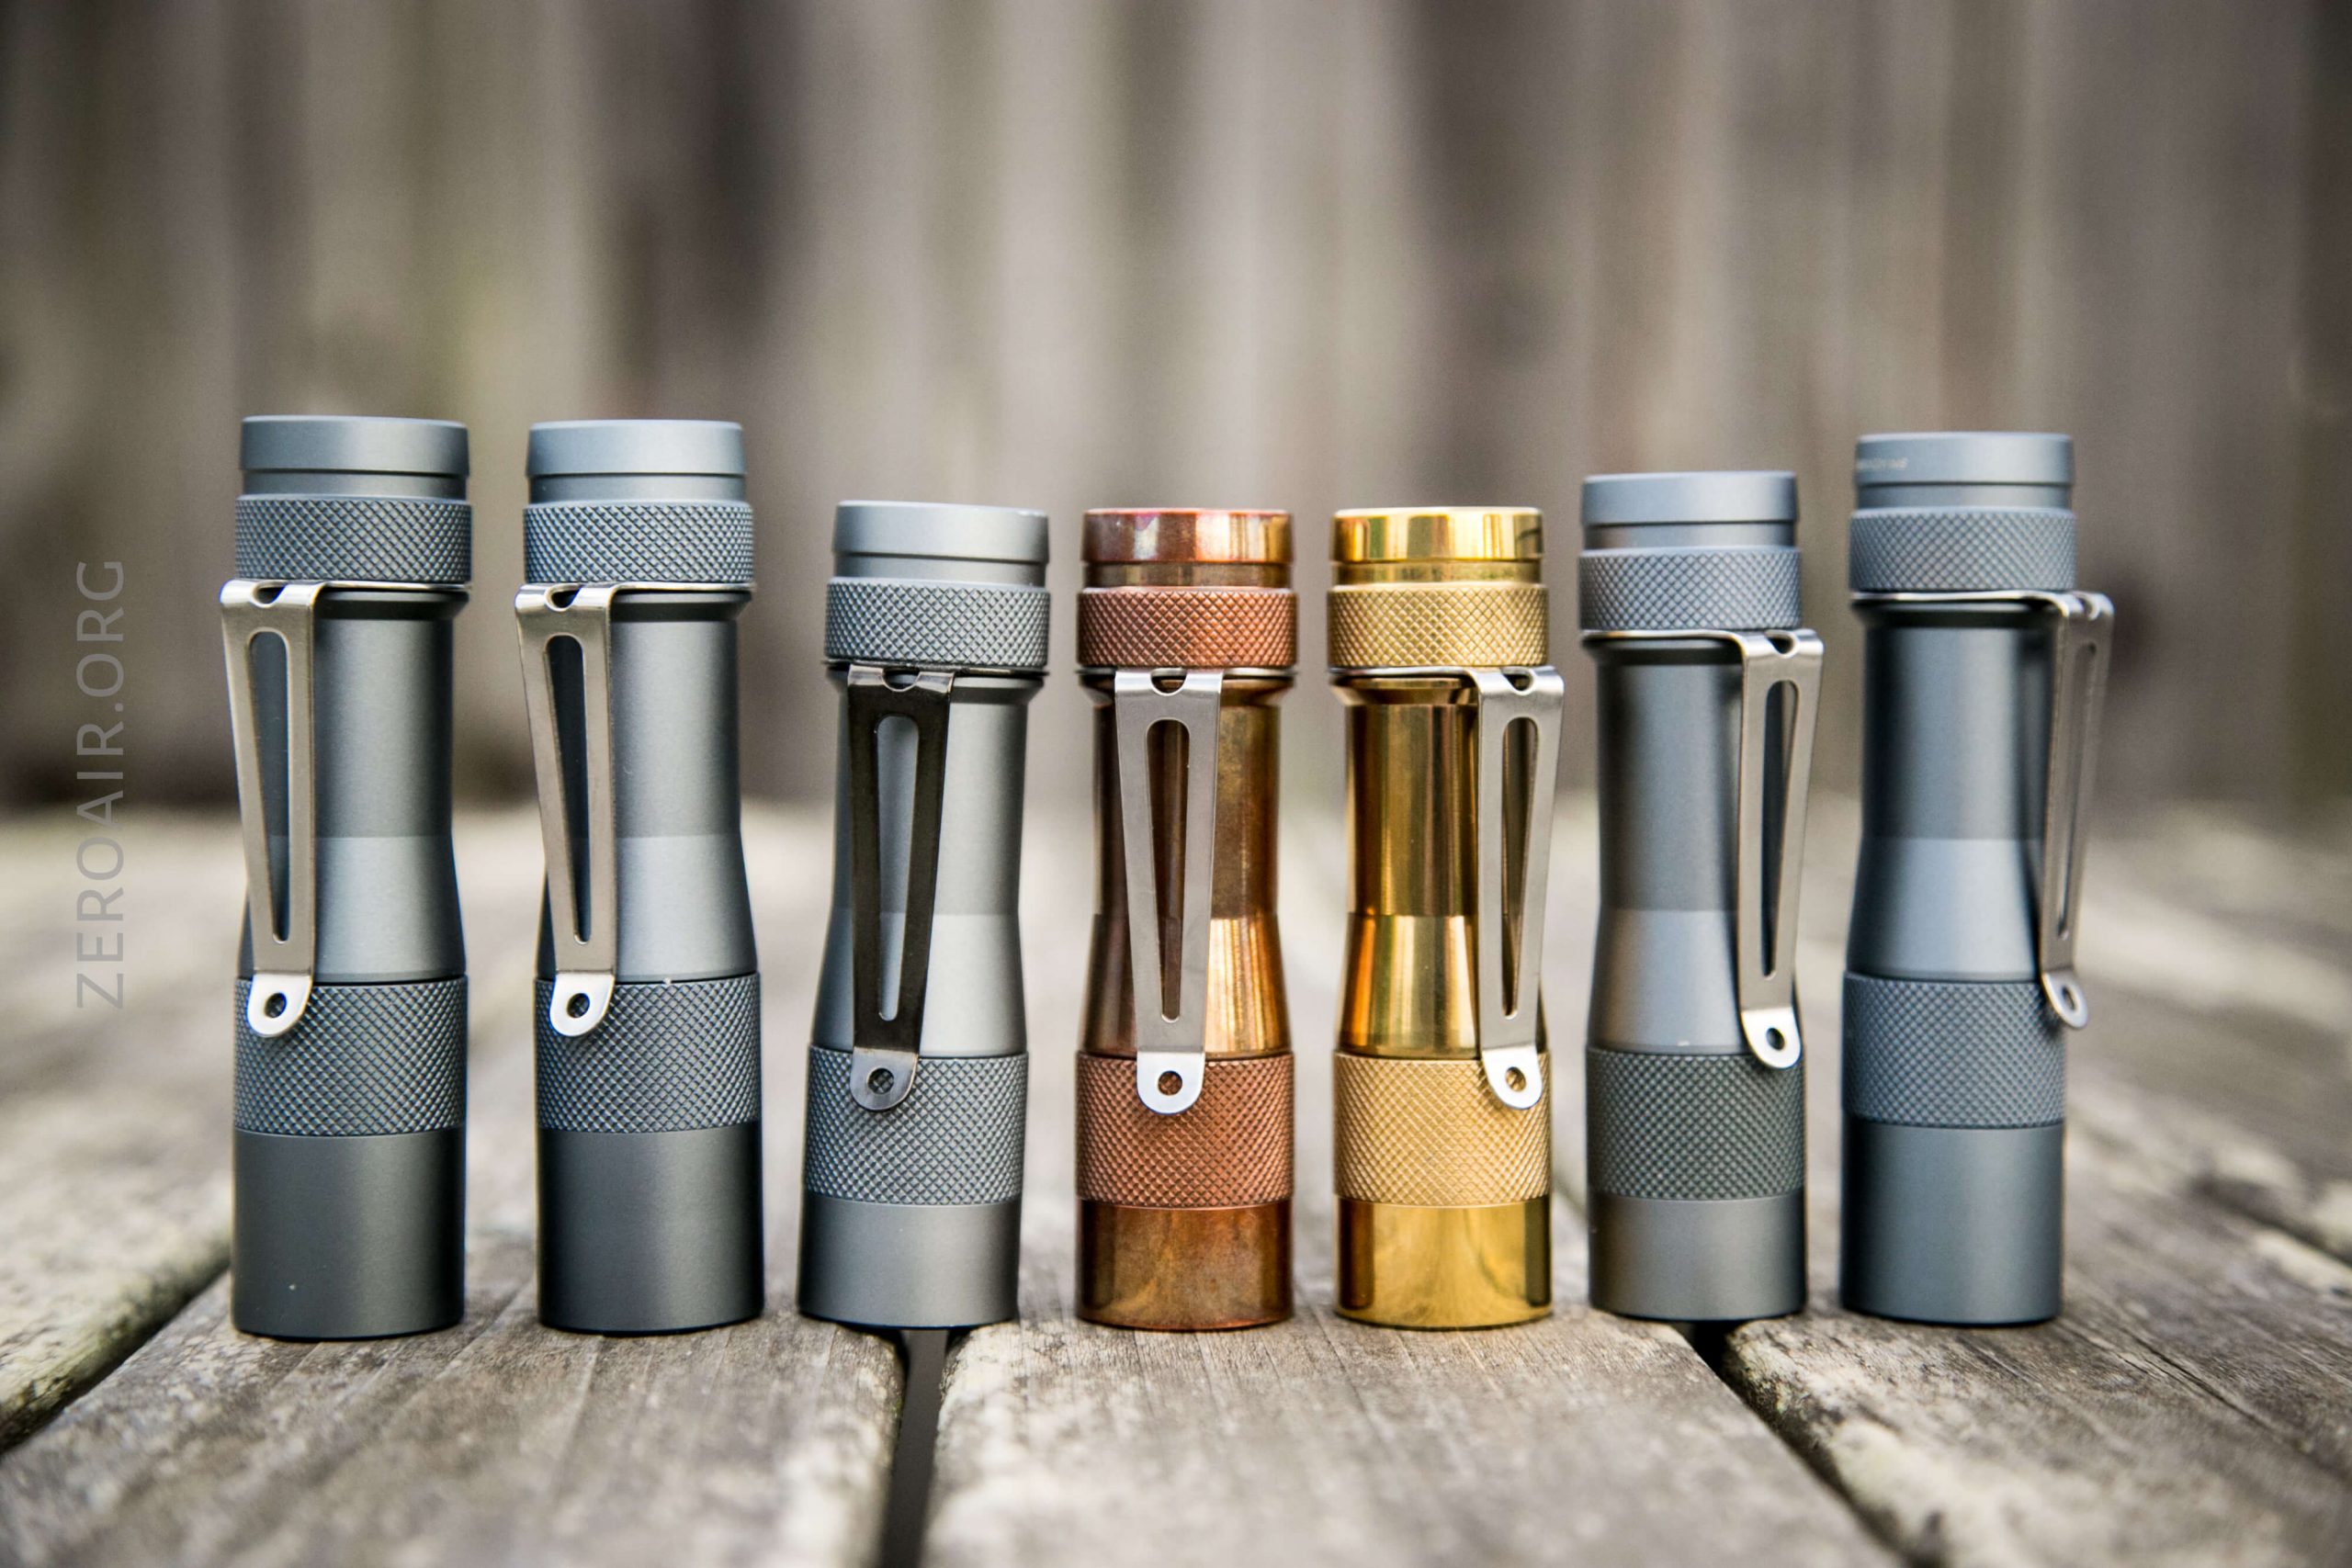
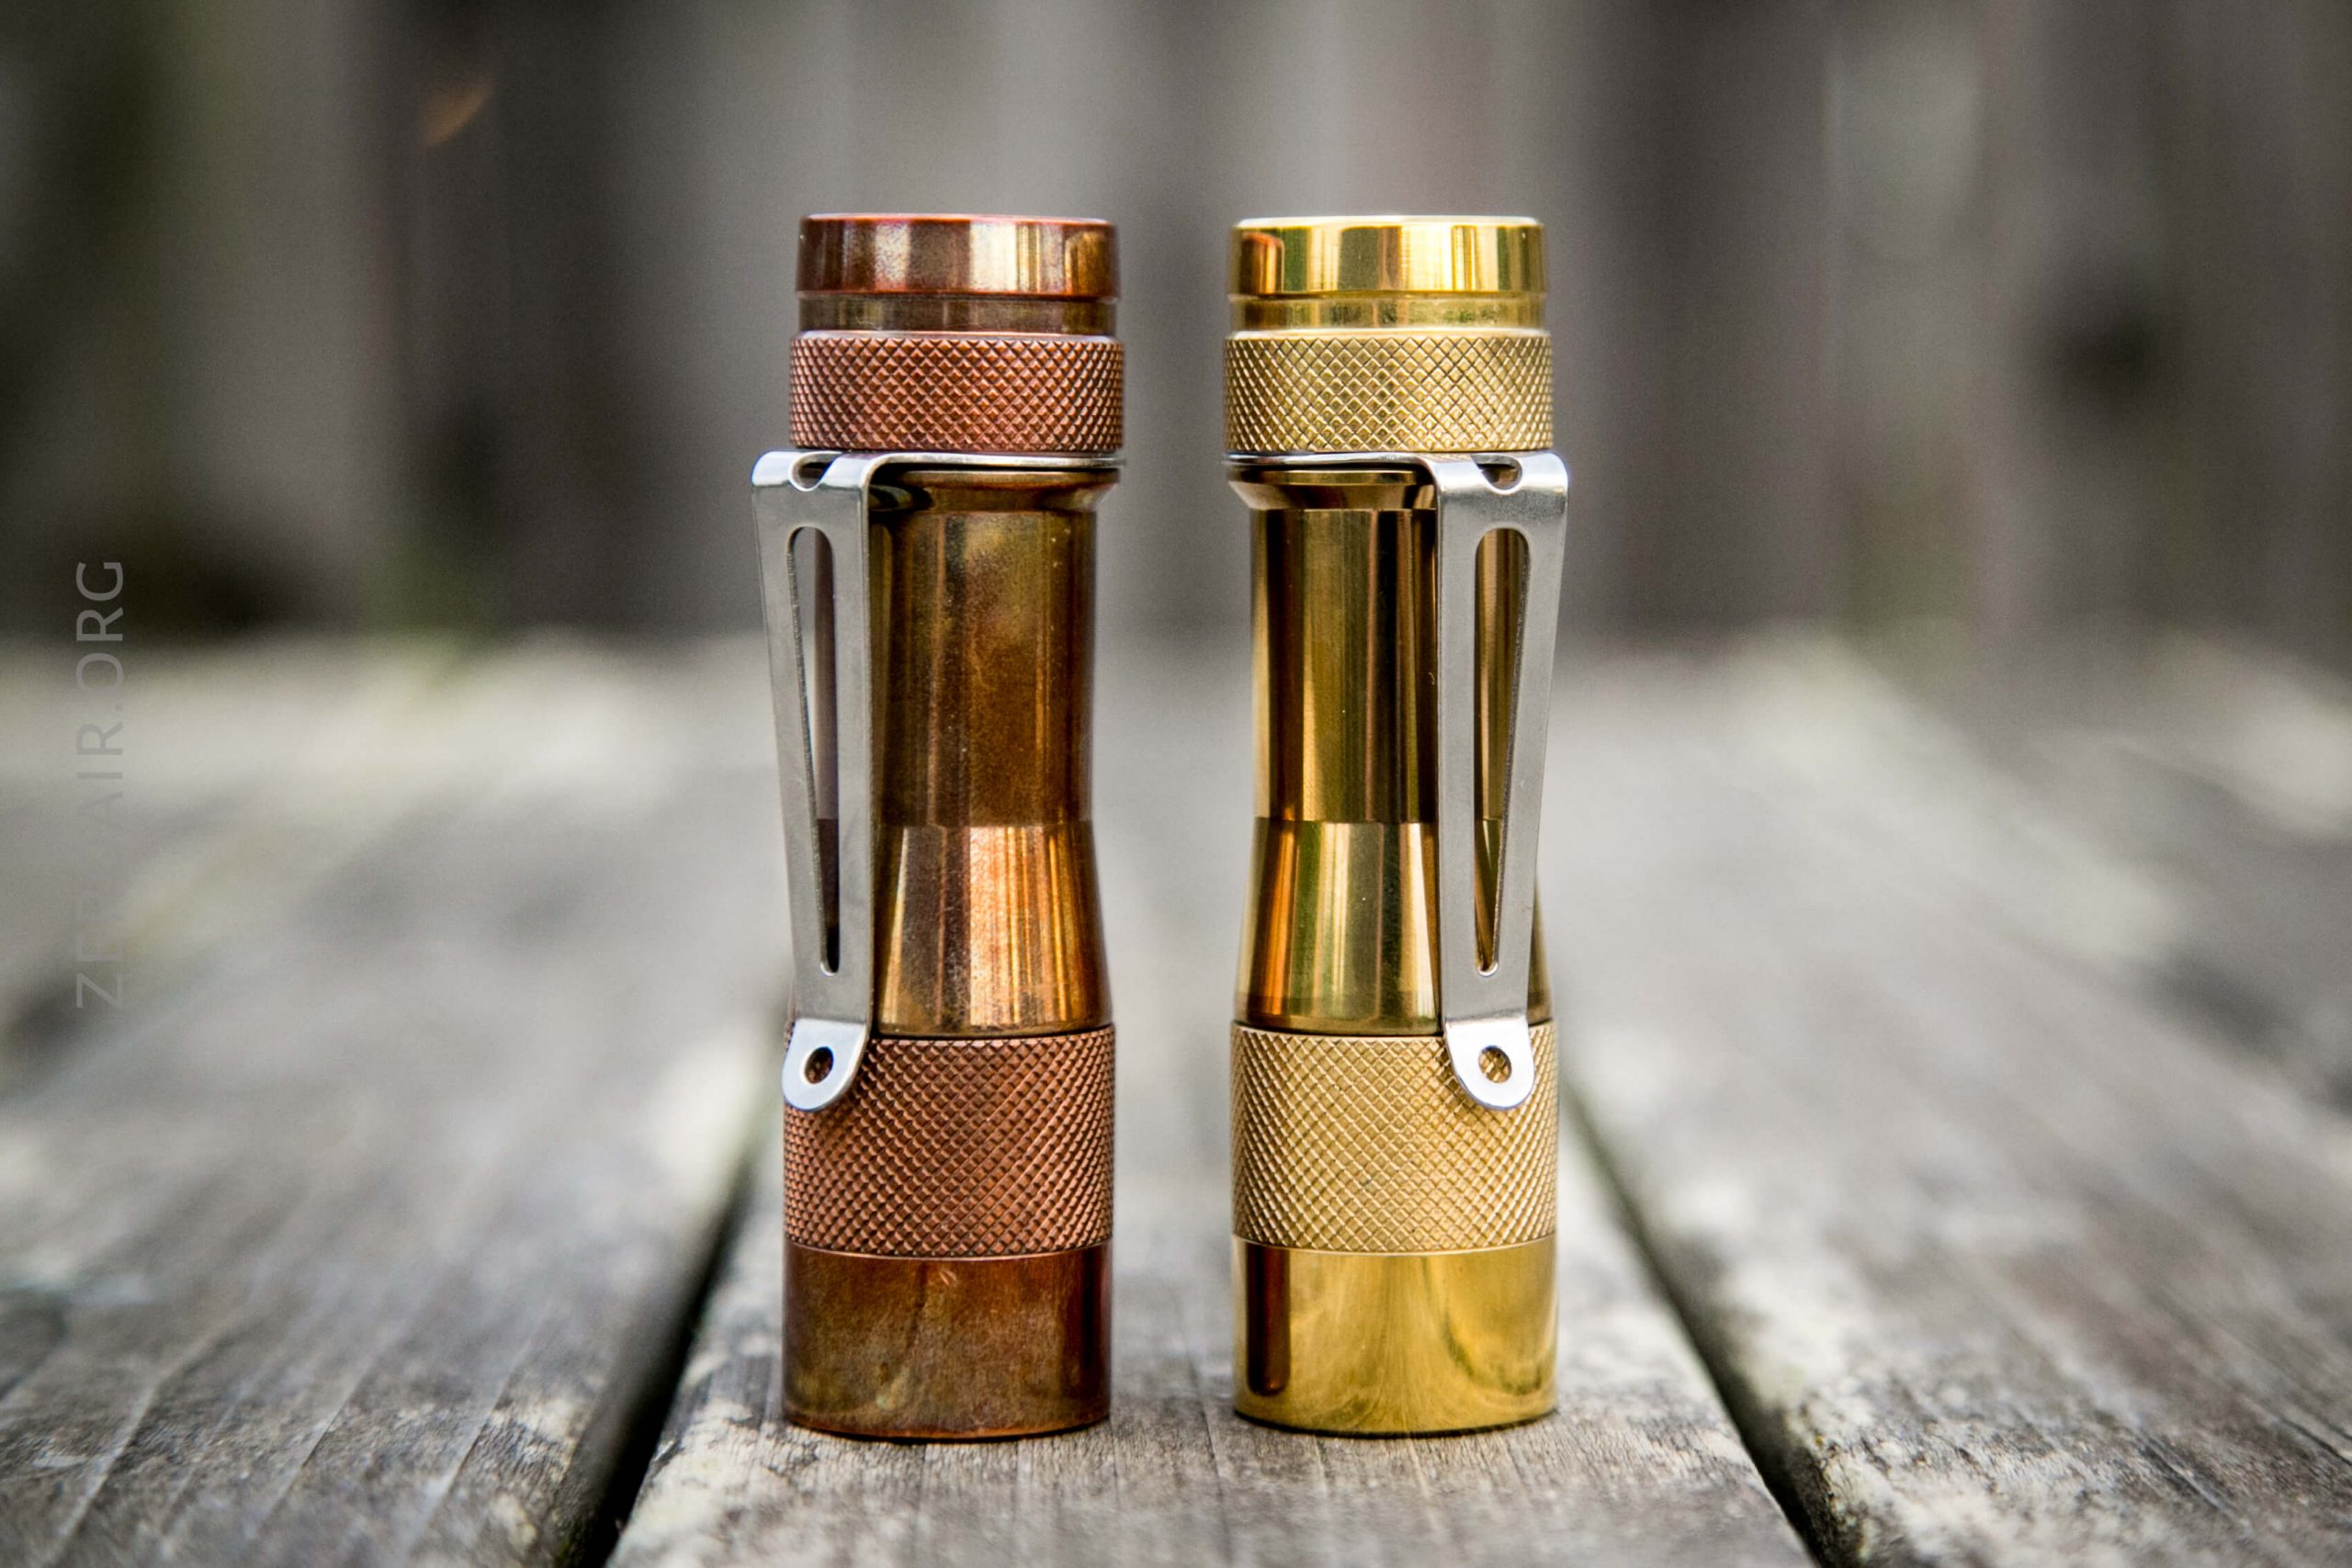
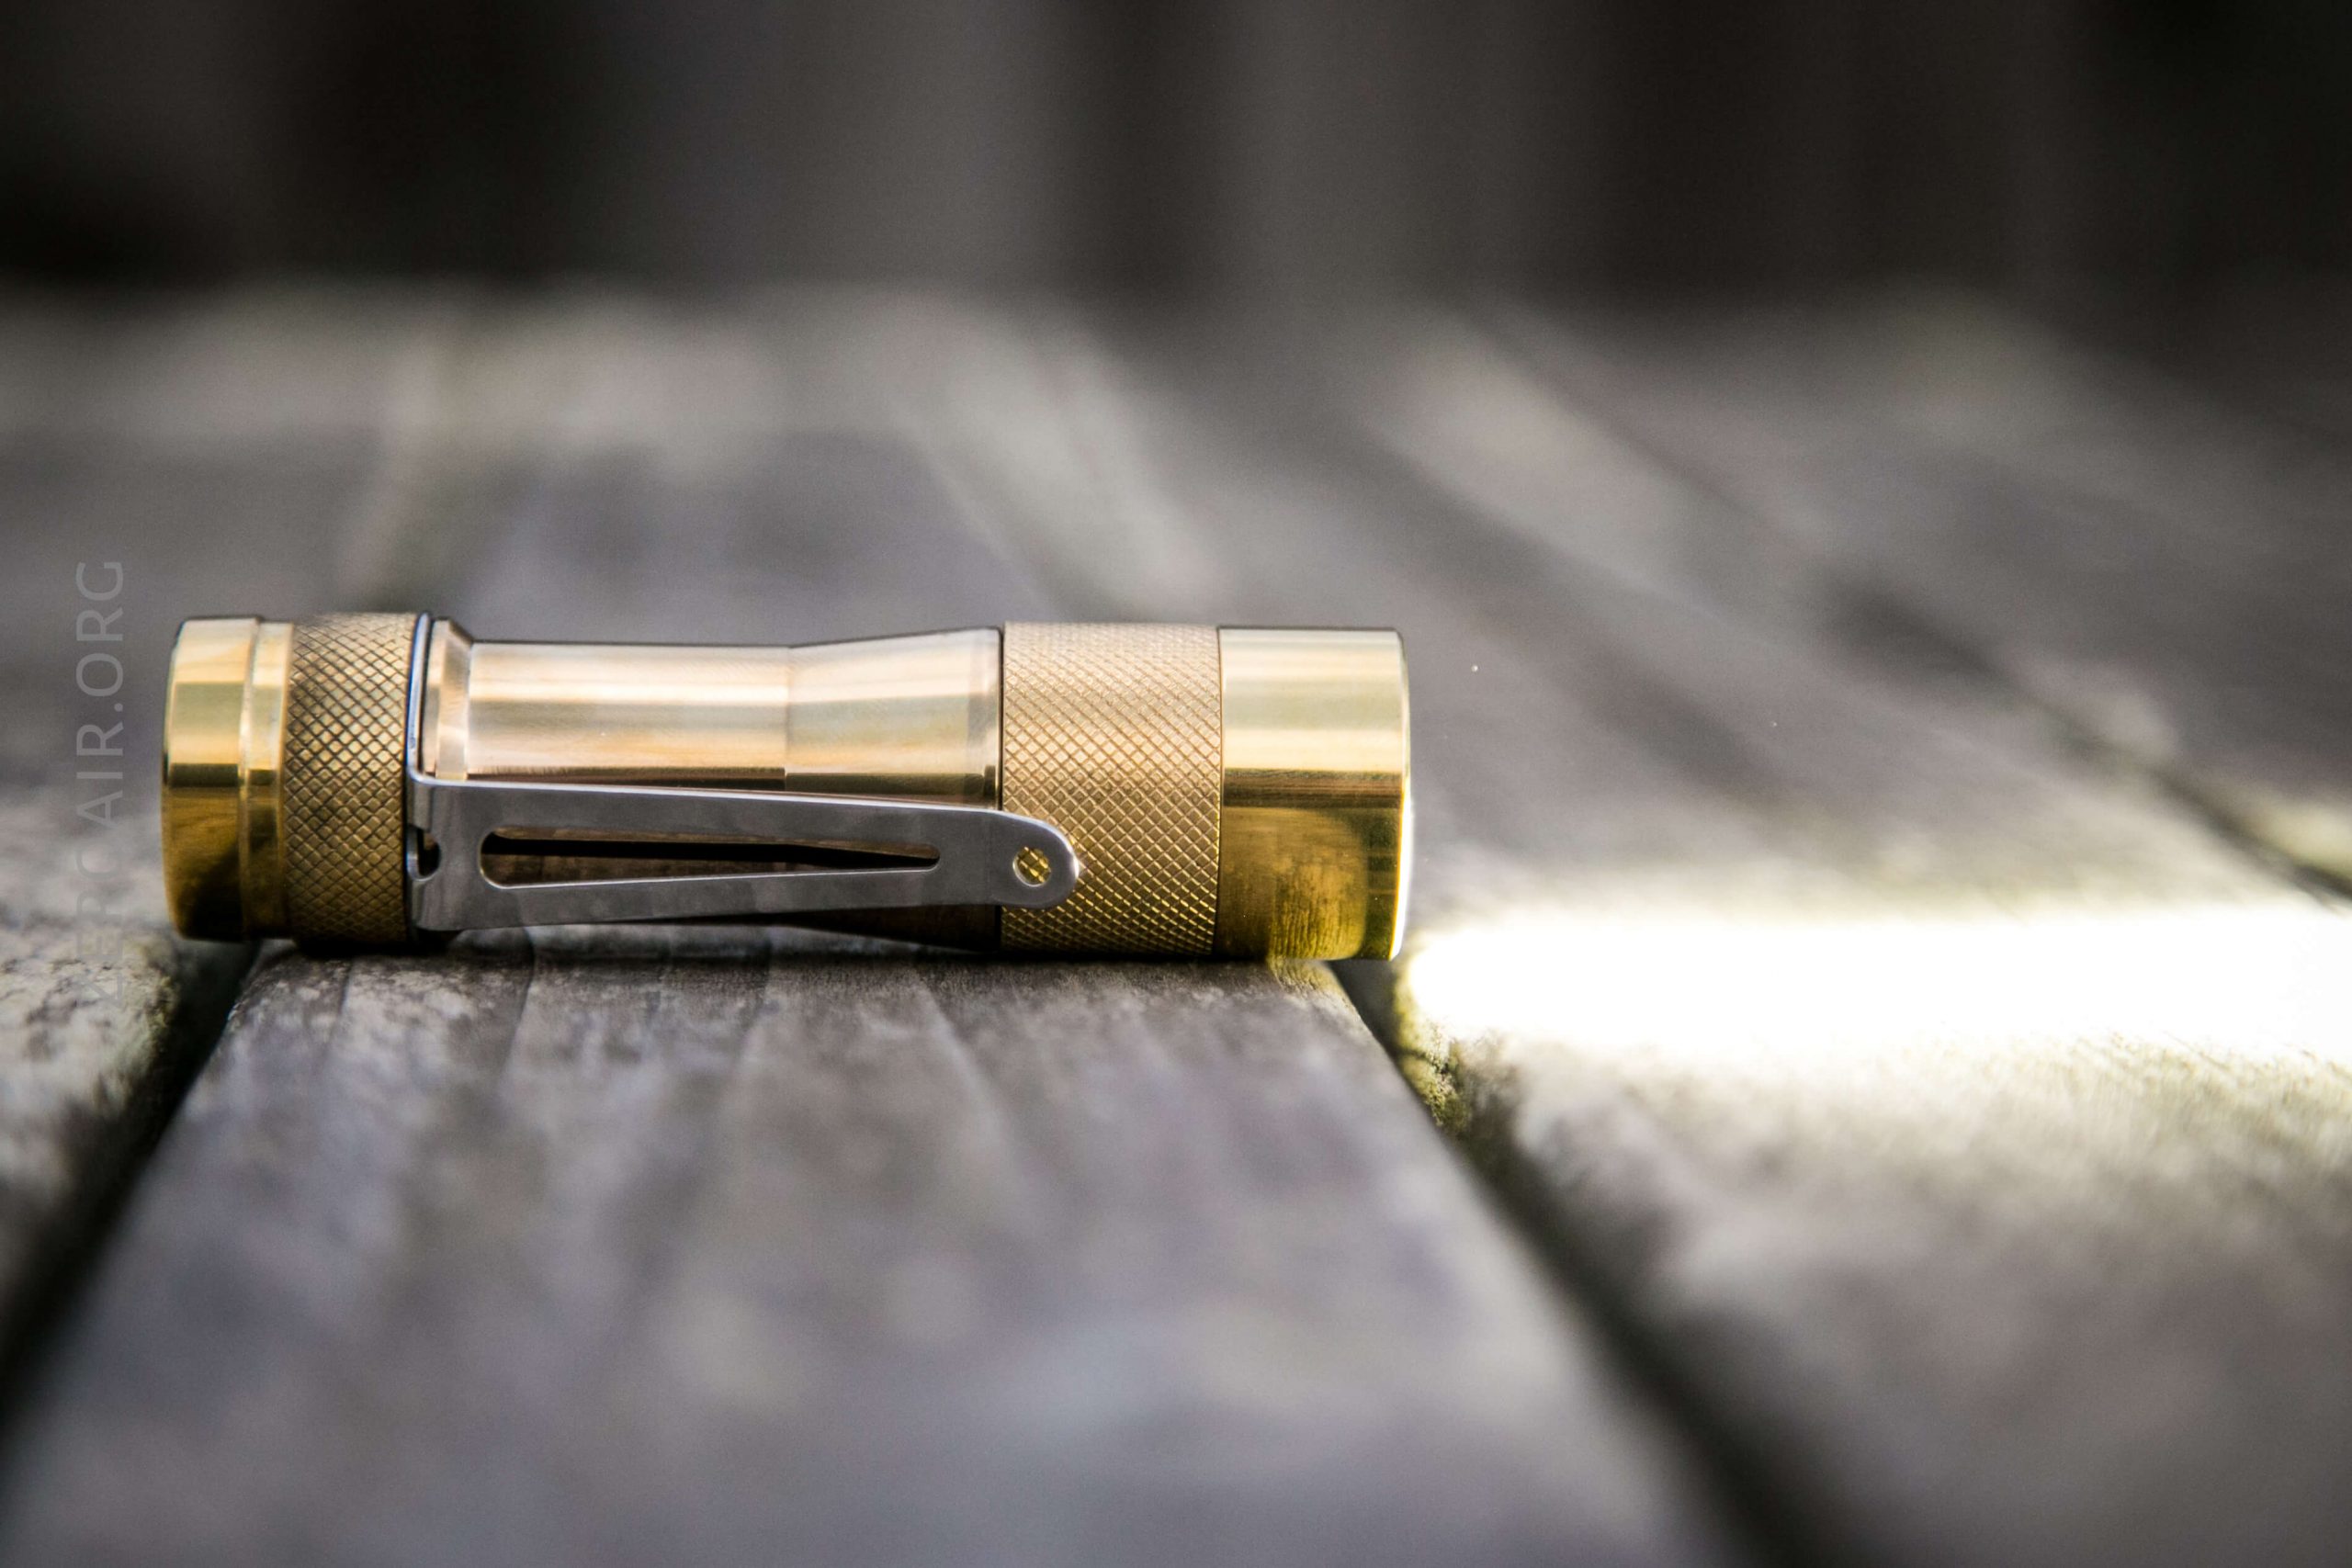
Almost none of the FW lights have had bad built quality (exception: FW3E). So the question is really: “Is the brass better than the other/aluminum?” I definitely like it better. It’s on par with the copper, so if you prefer copper, then go for copper. But the brass has a wonderful weight, a great slickness.
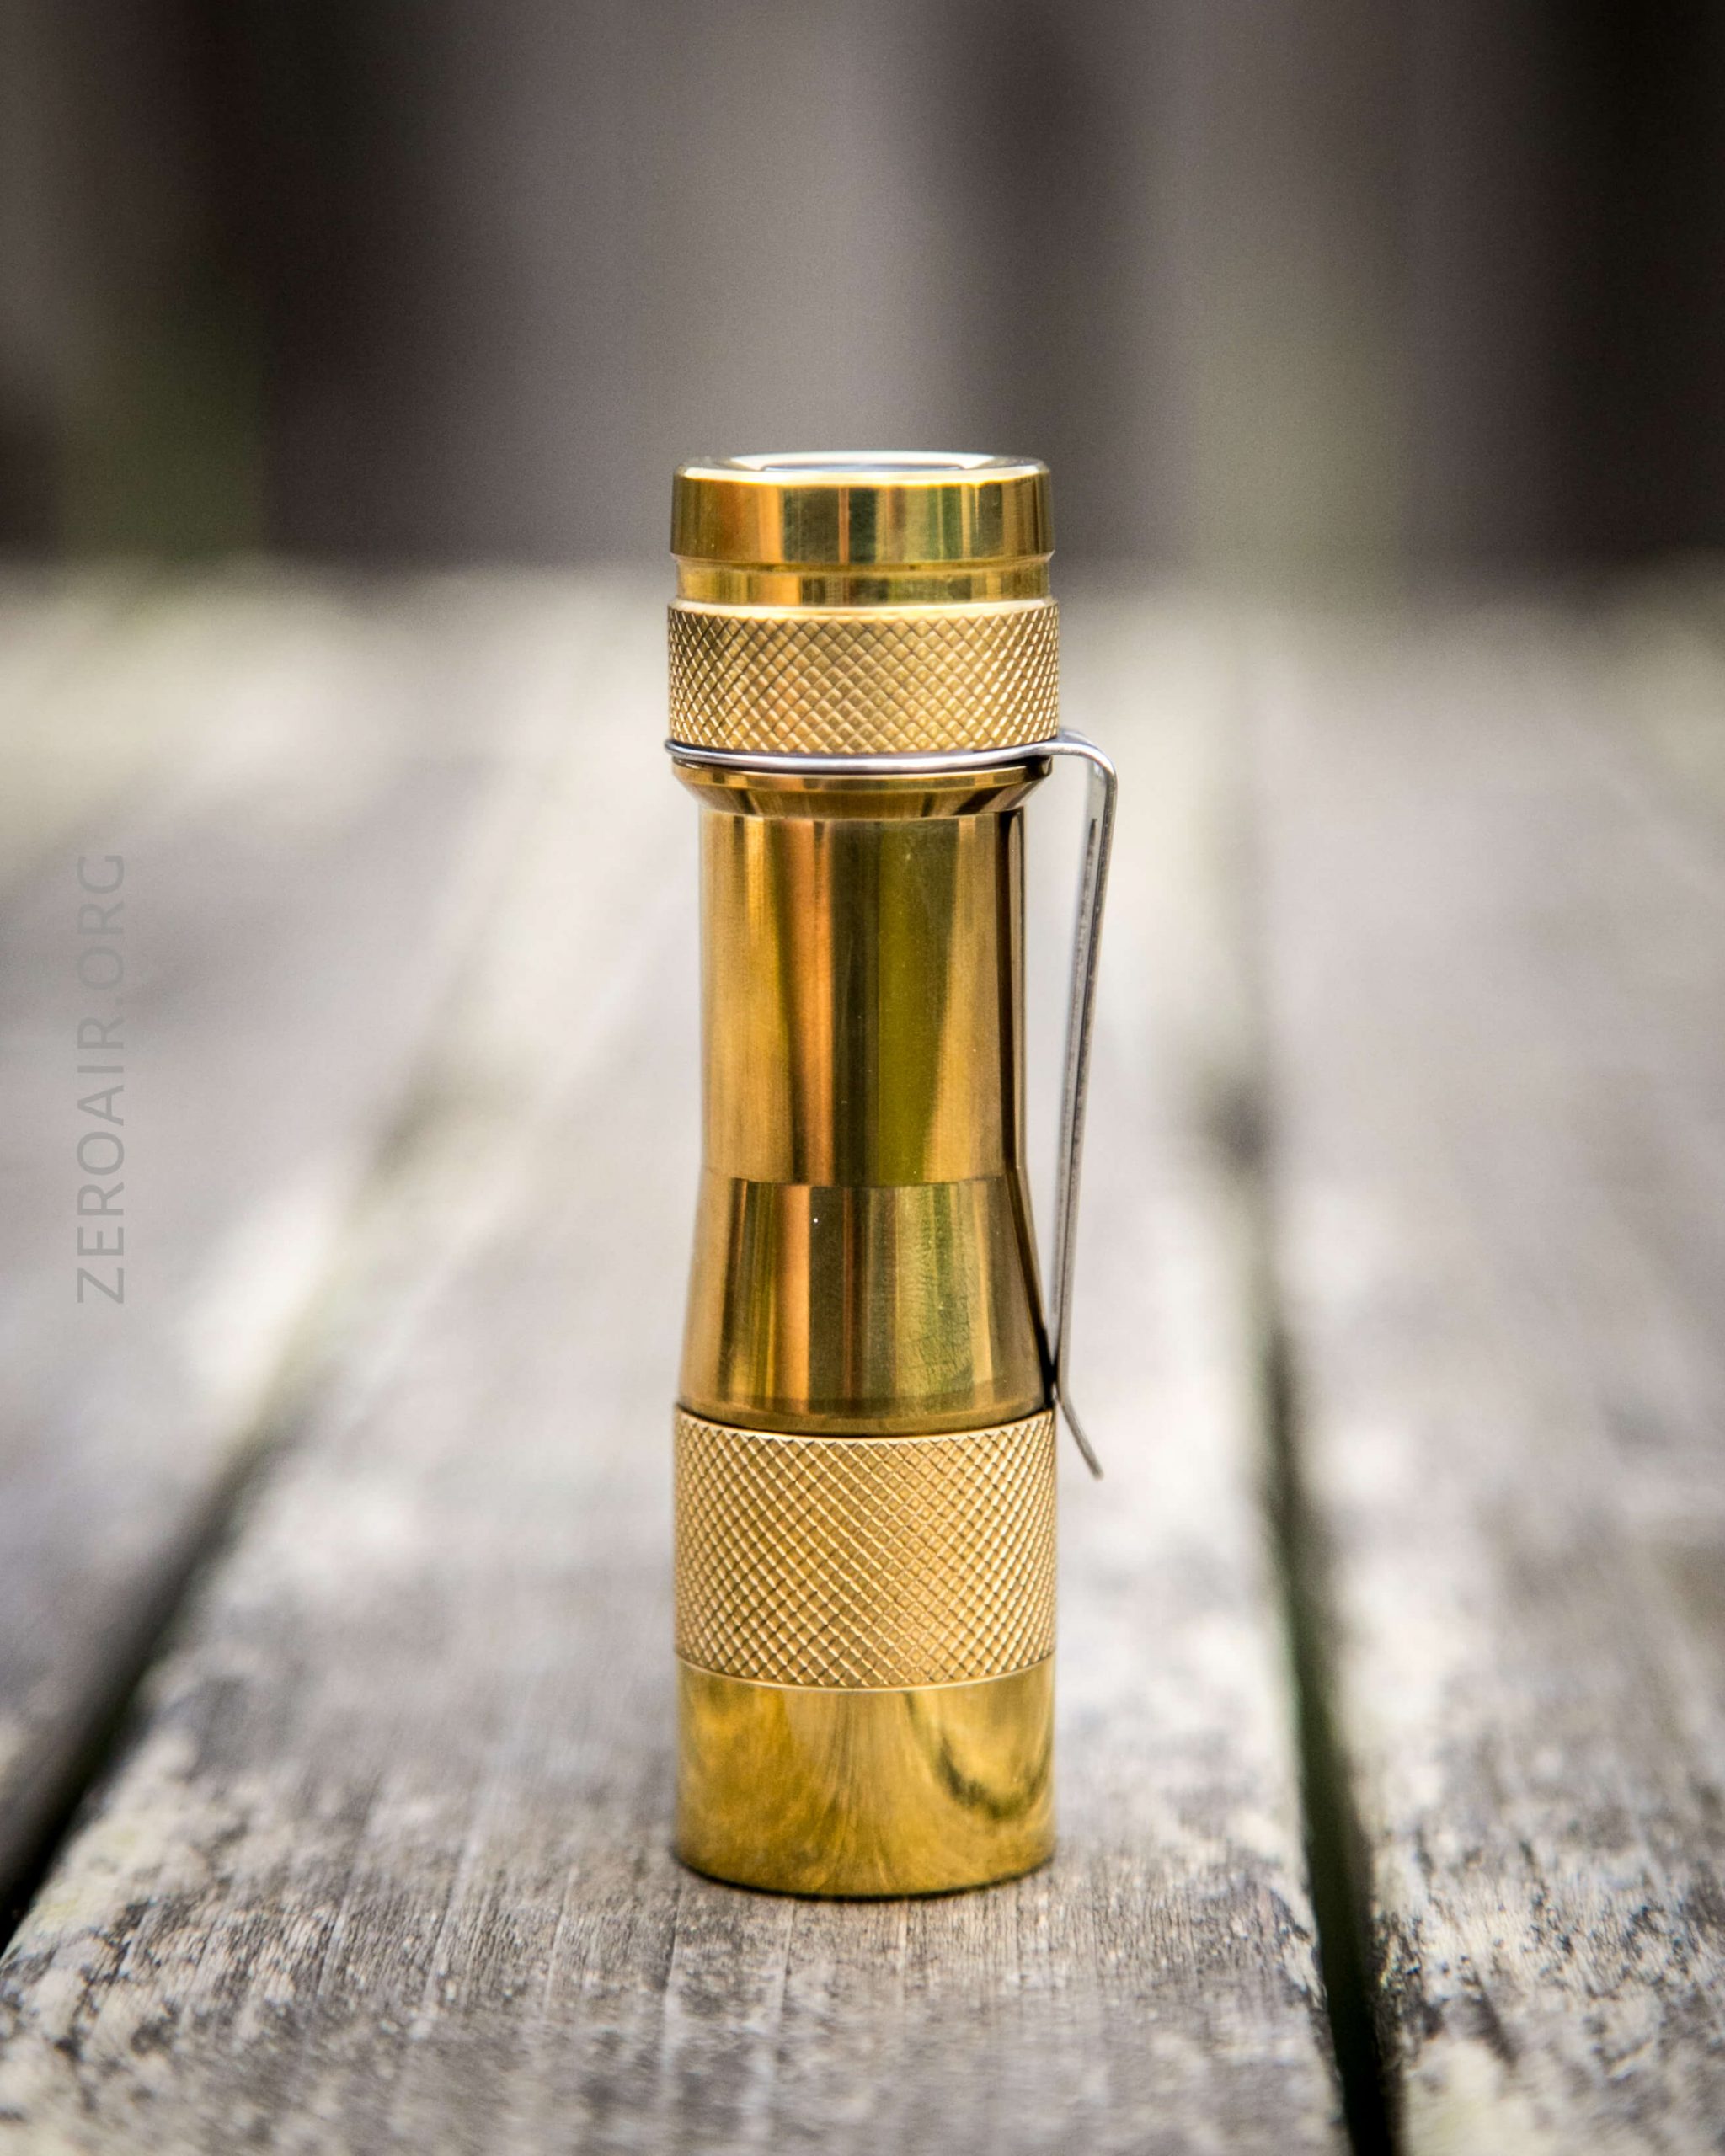
Also, if it’s like the copper, which I’ve had now for around 6 months (and handled not all that much) then the brass will take on a wonderful patina/aged look.
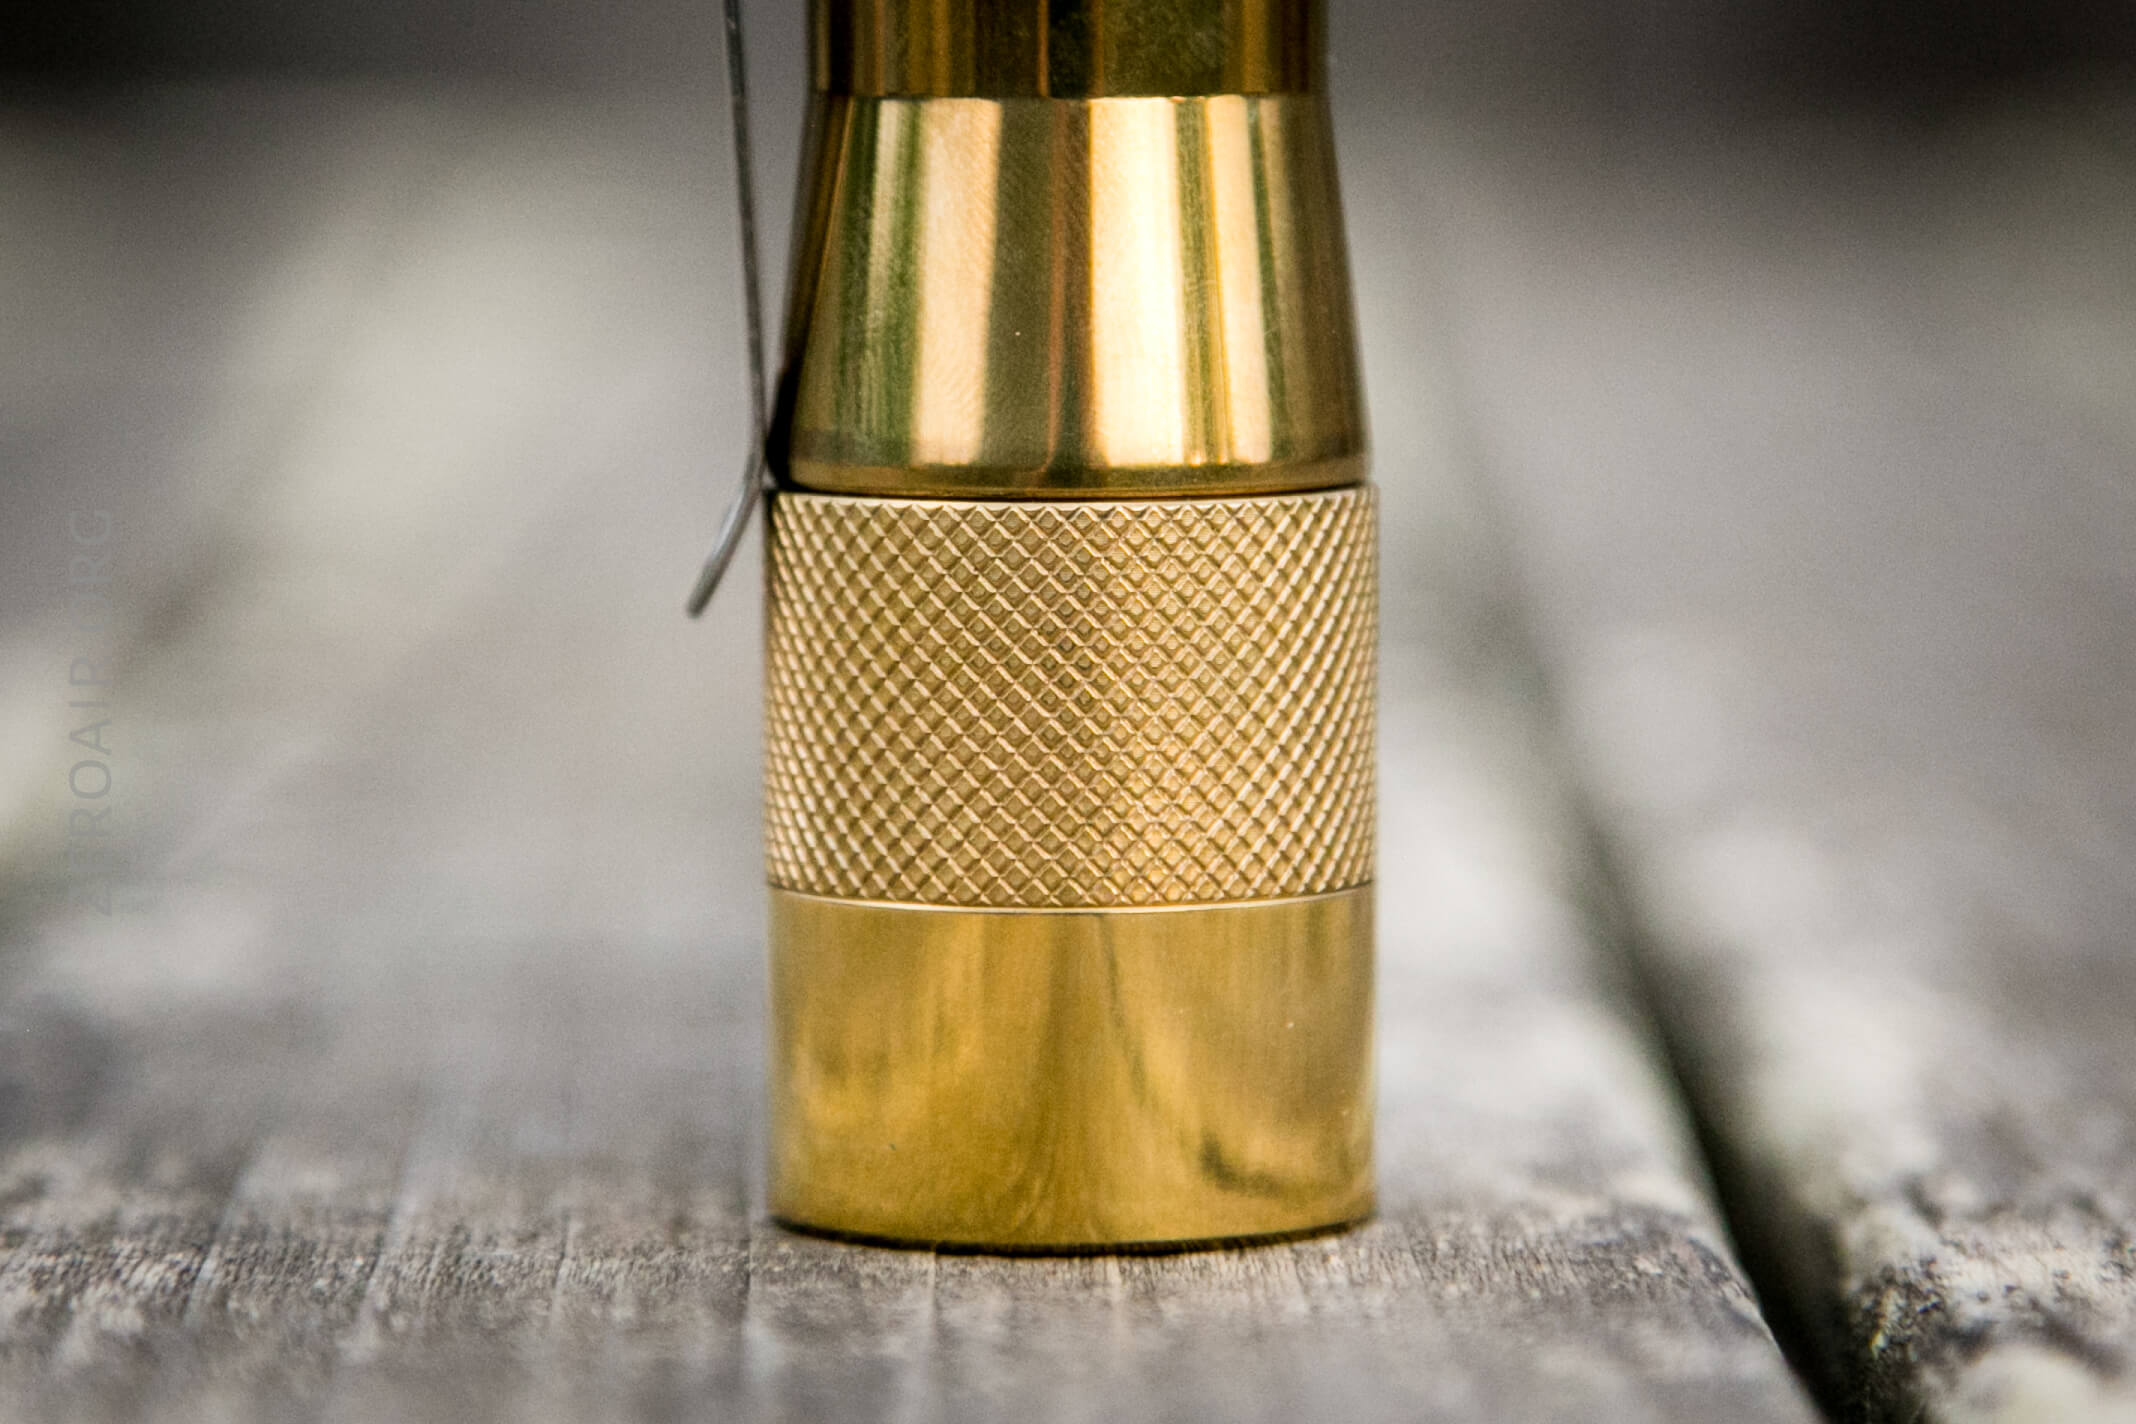
The patina is actually one thing worth mentioning here. The copper I had came absolutely “shiny-penny” clean. This brass already had some patina in the knurling as seen below (this is immediately after opening). I don’t really mind this, but just note the light wasn’t shipped “shiny-penny.”
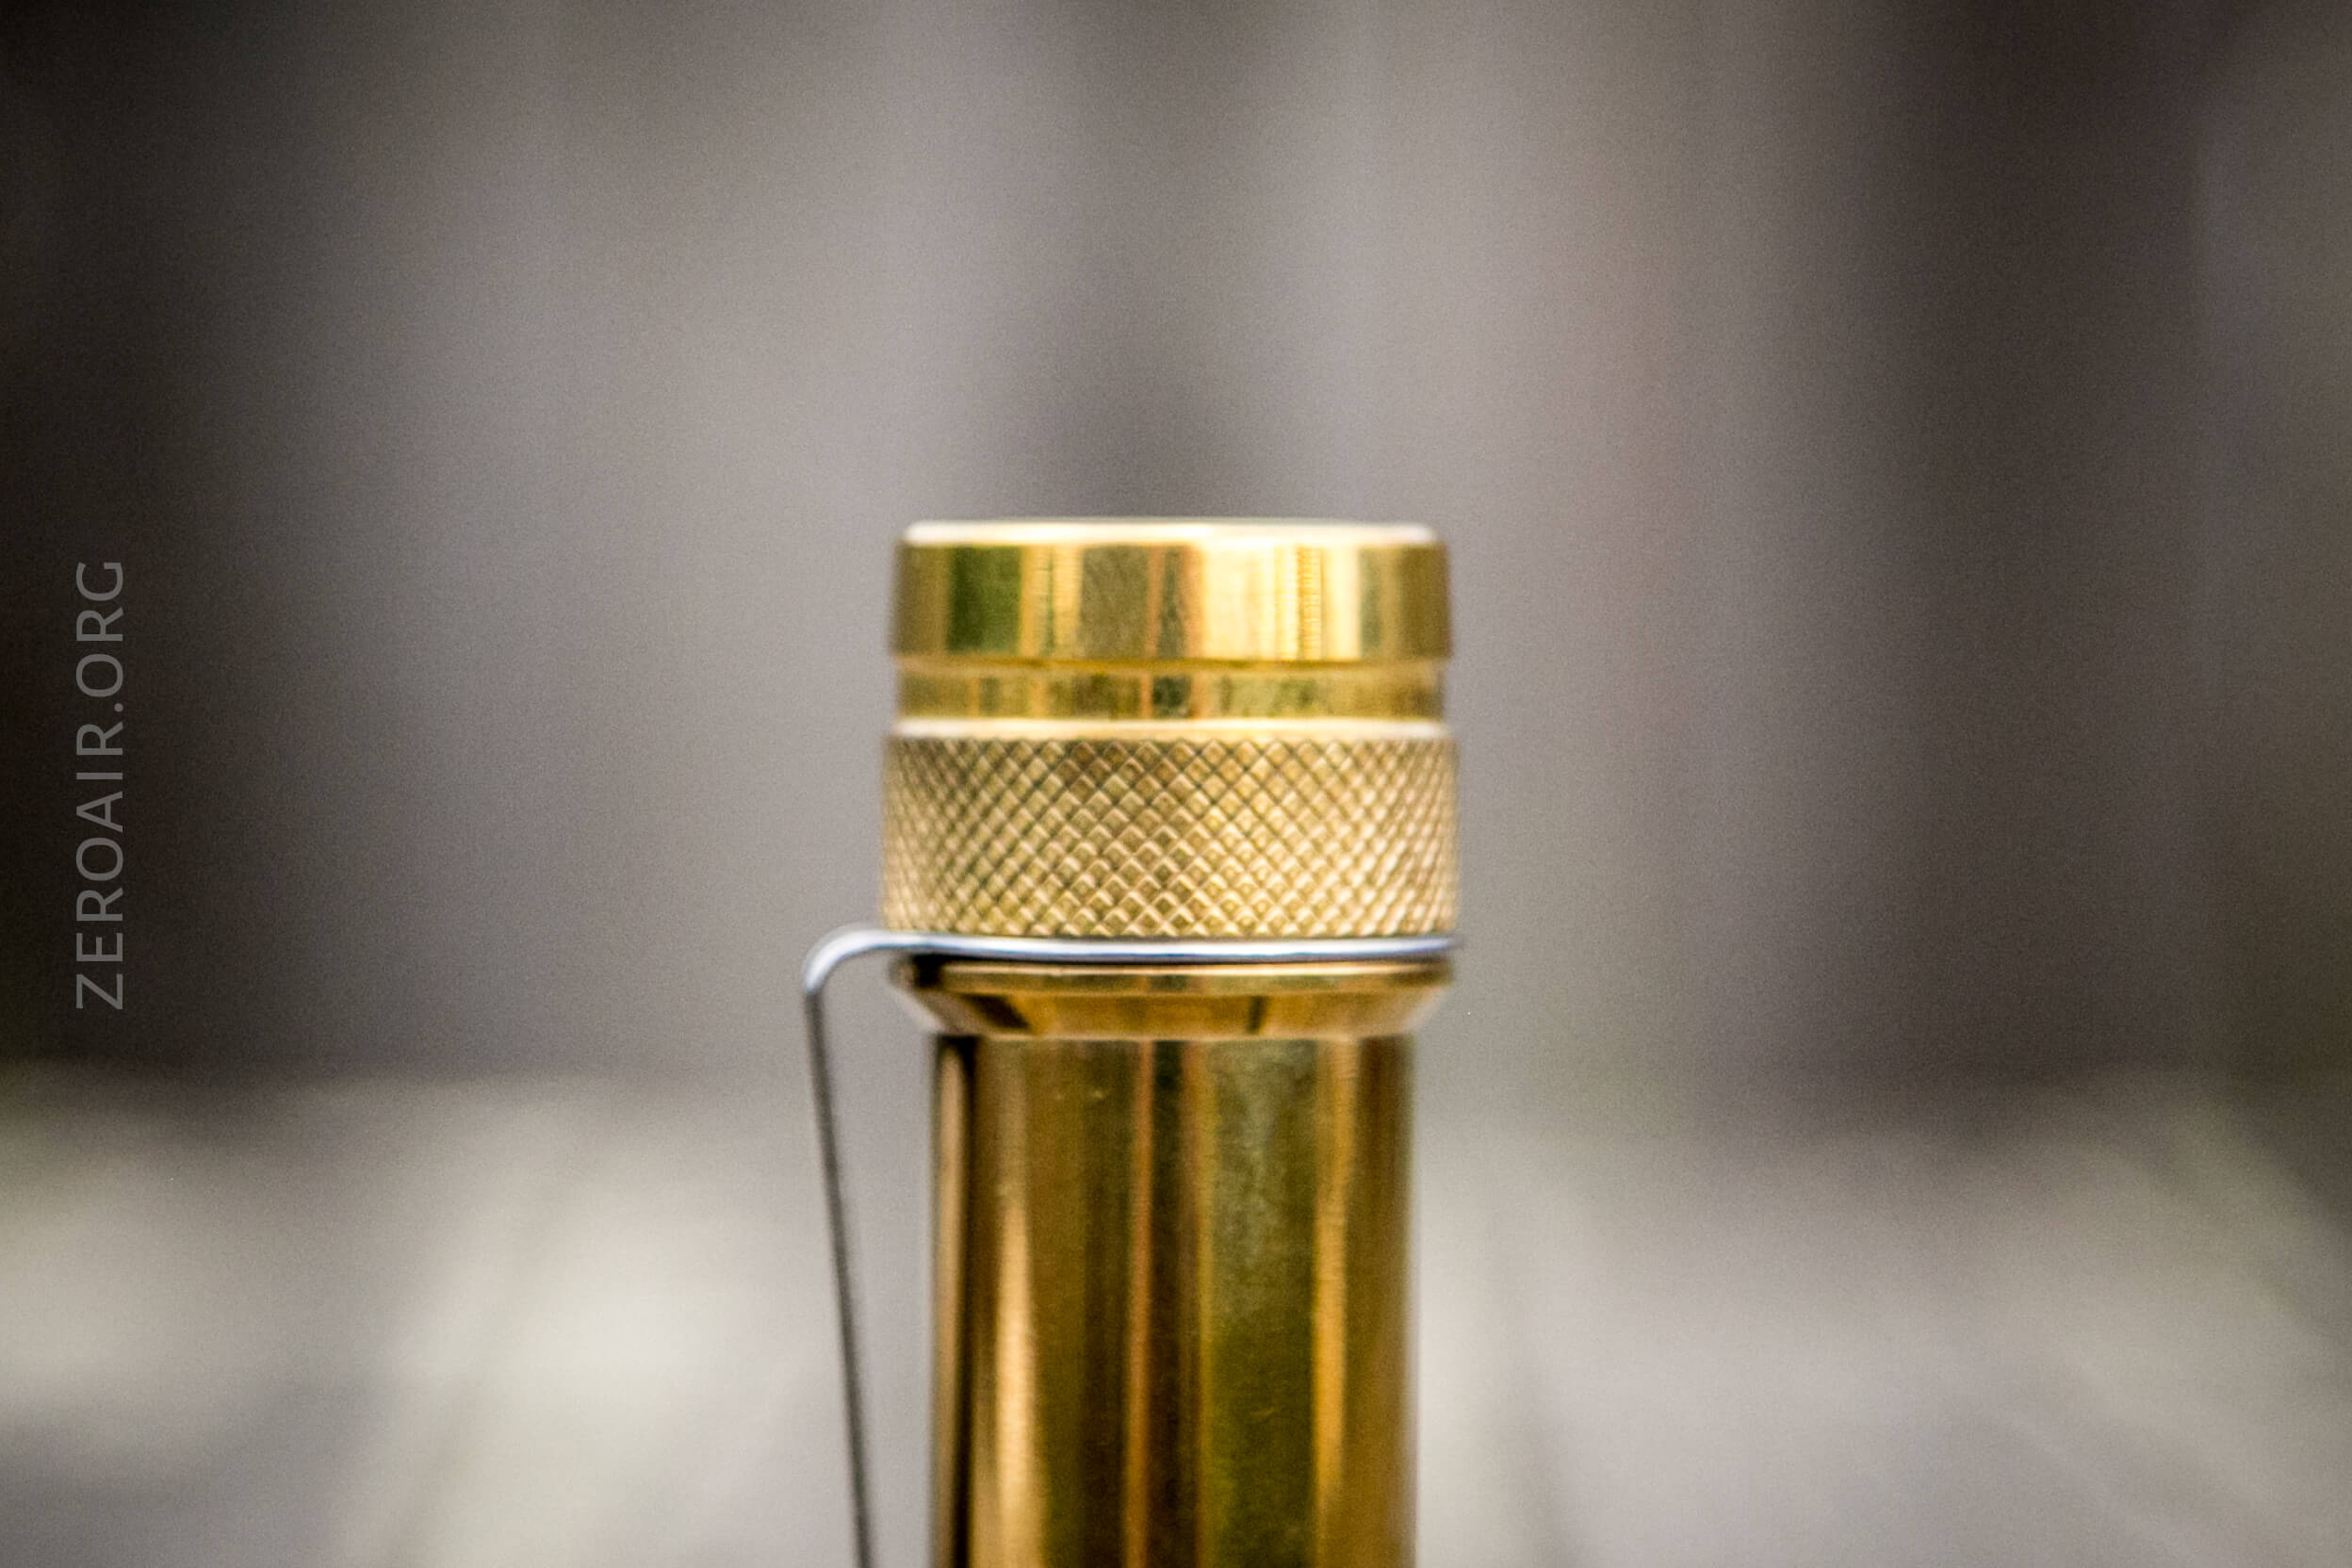
Head knurling was very clean, though!
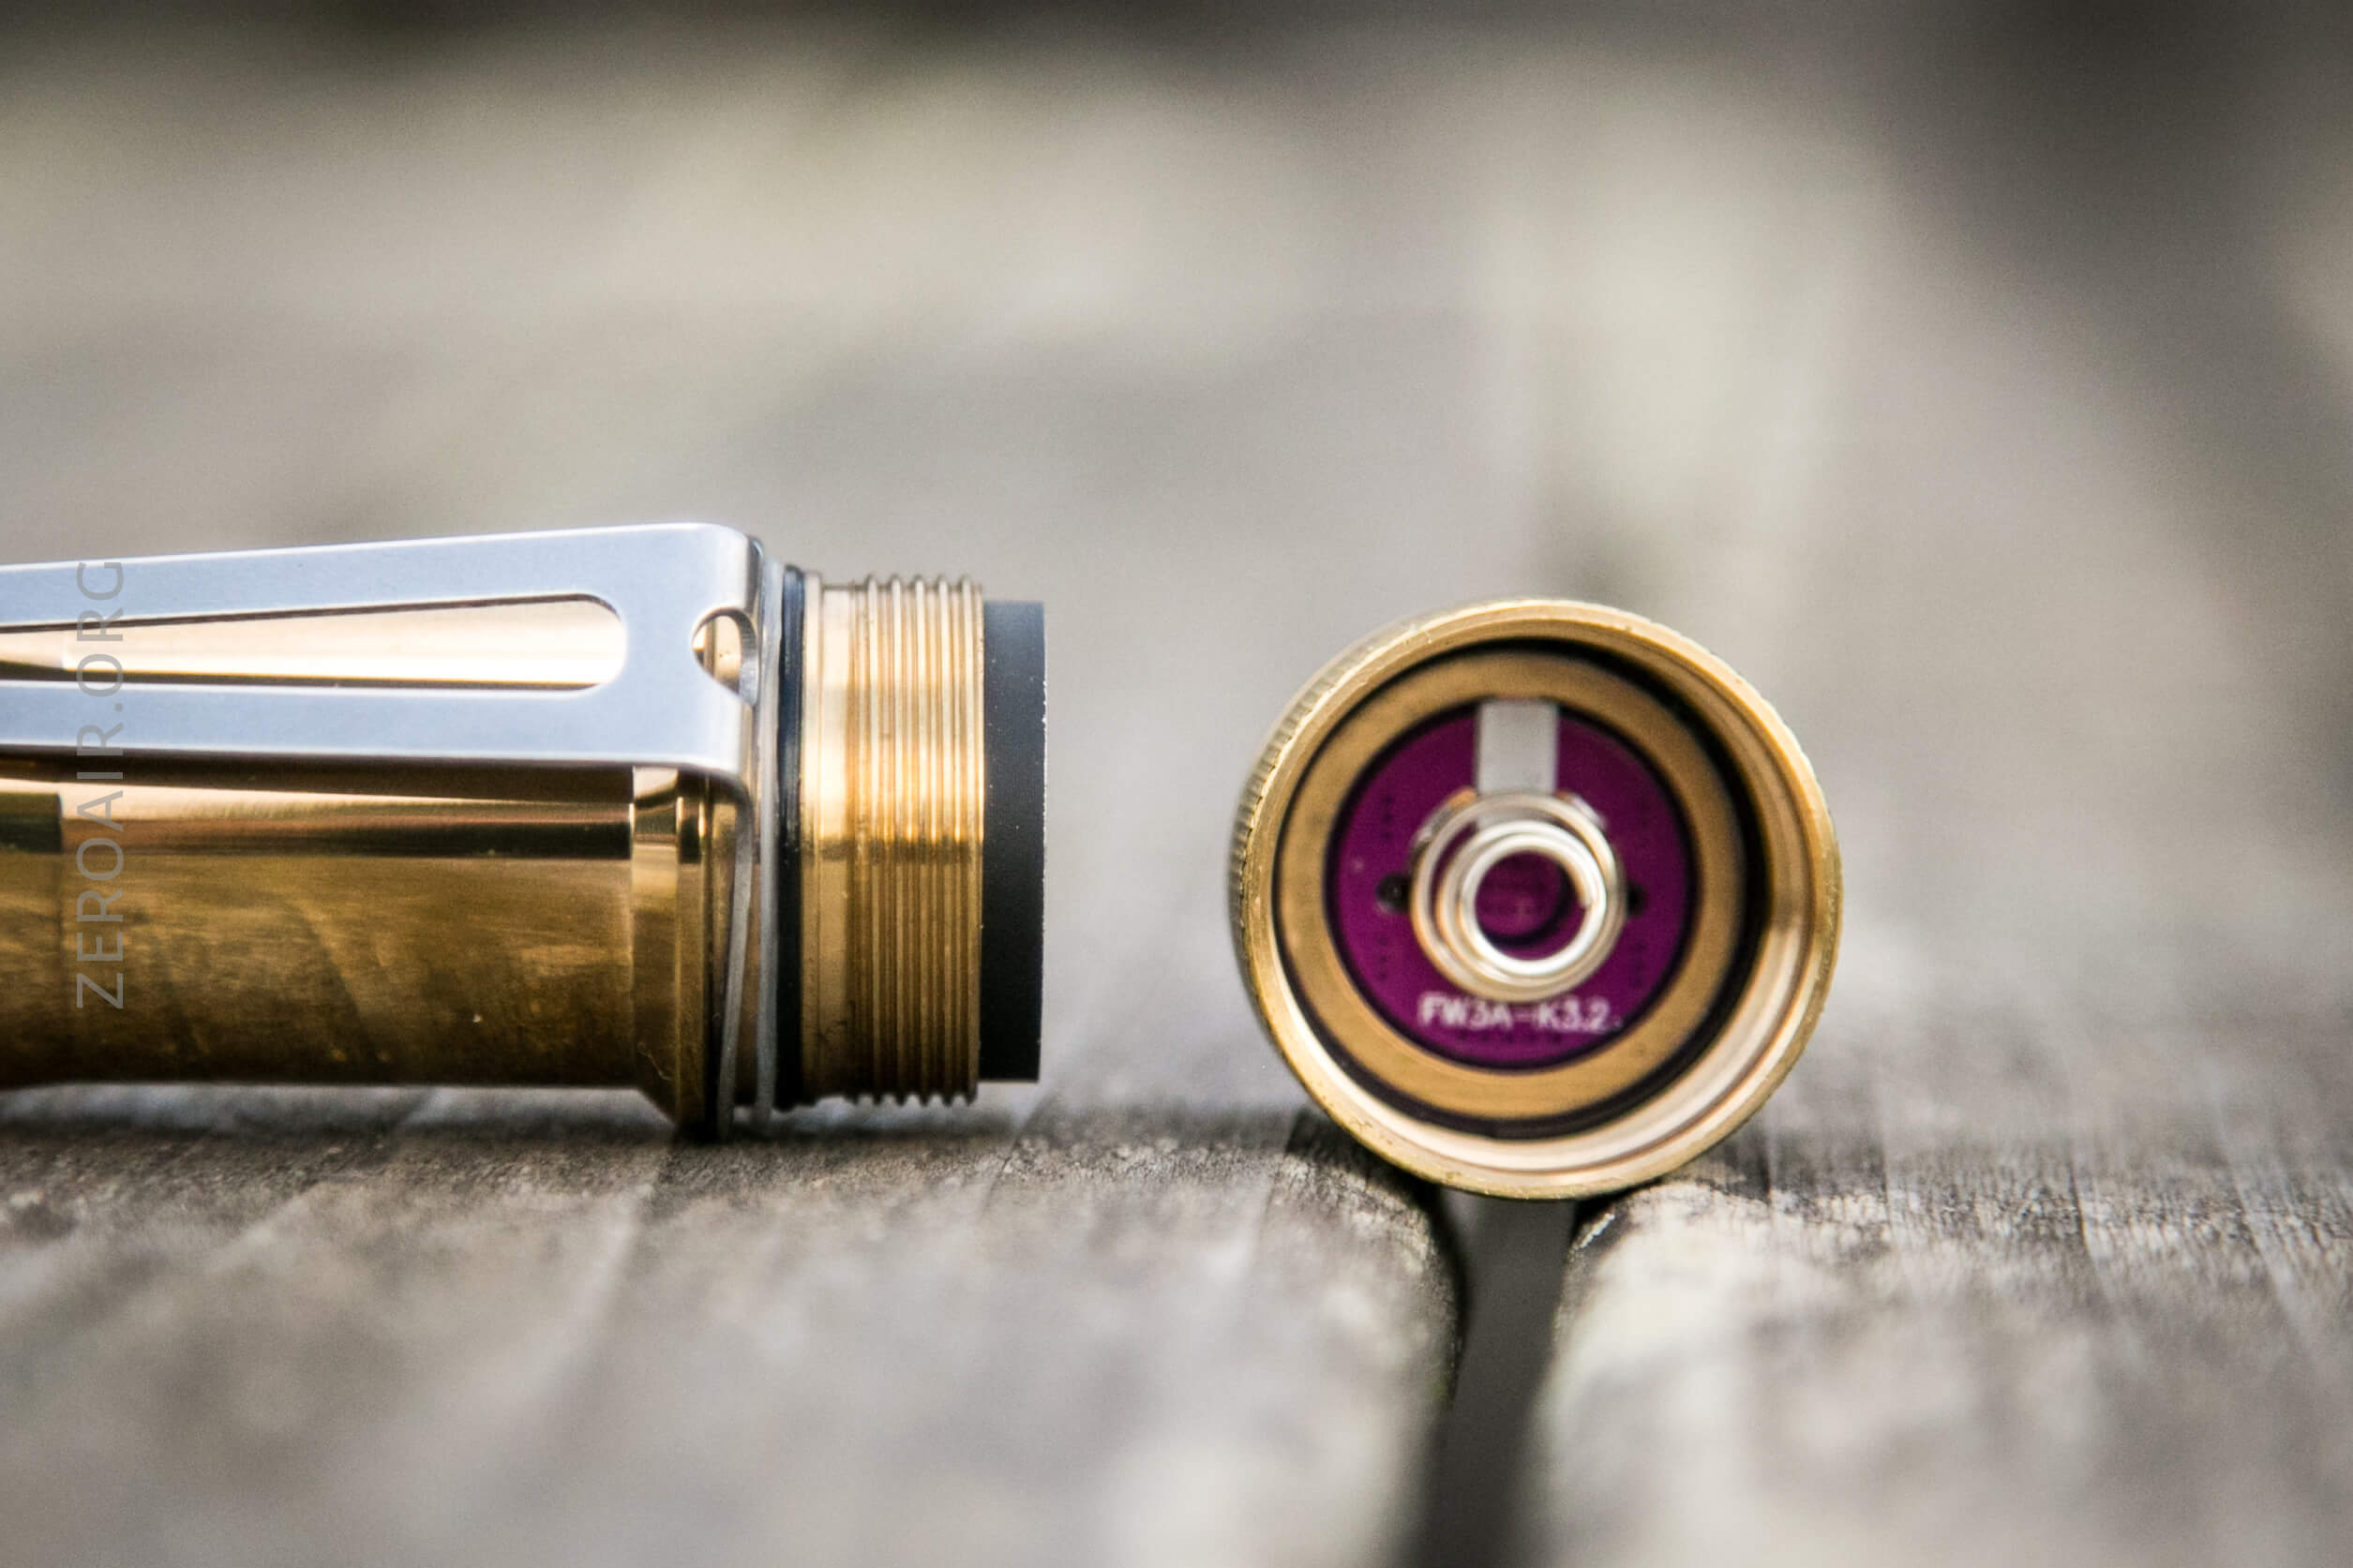
Those threads are very smooth!
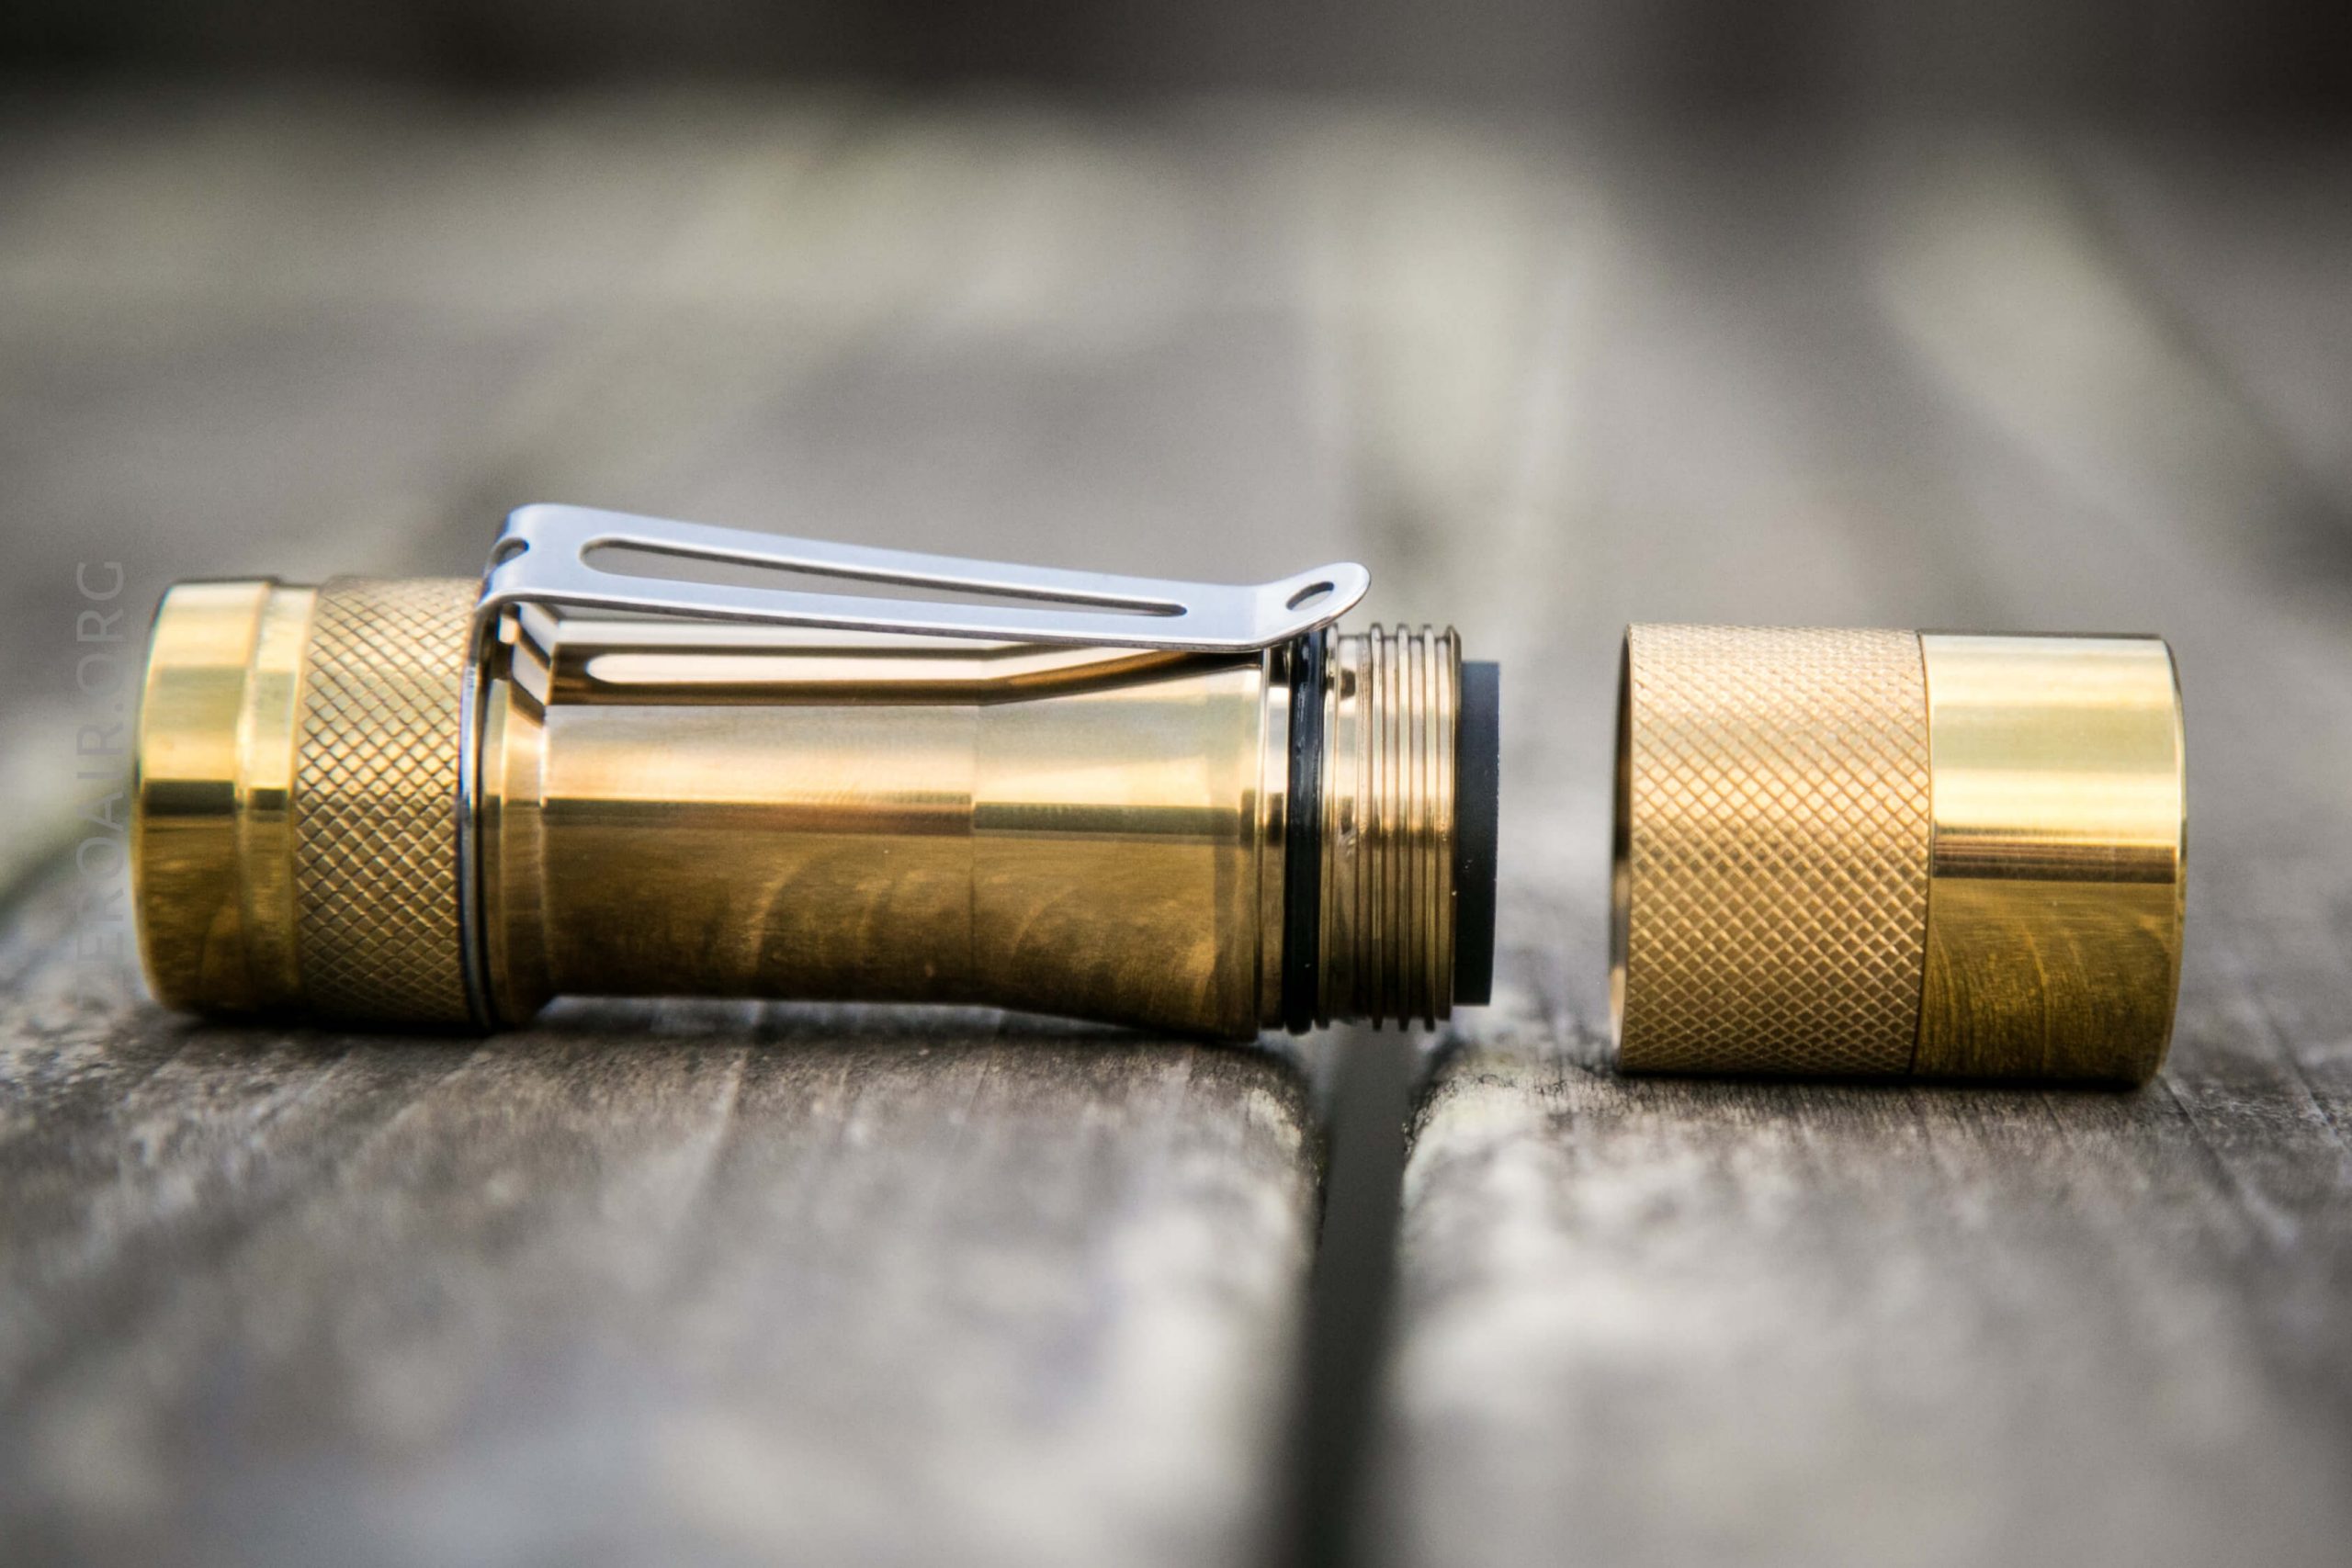
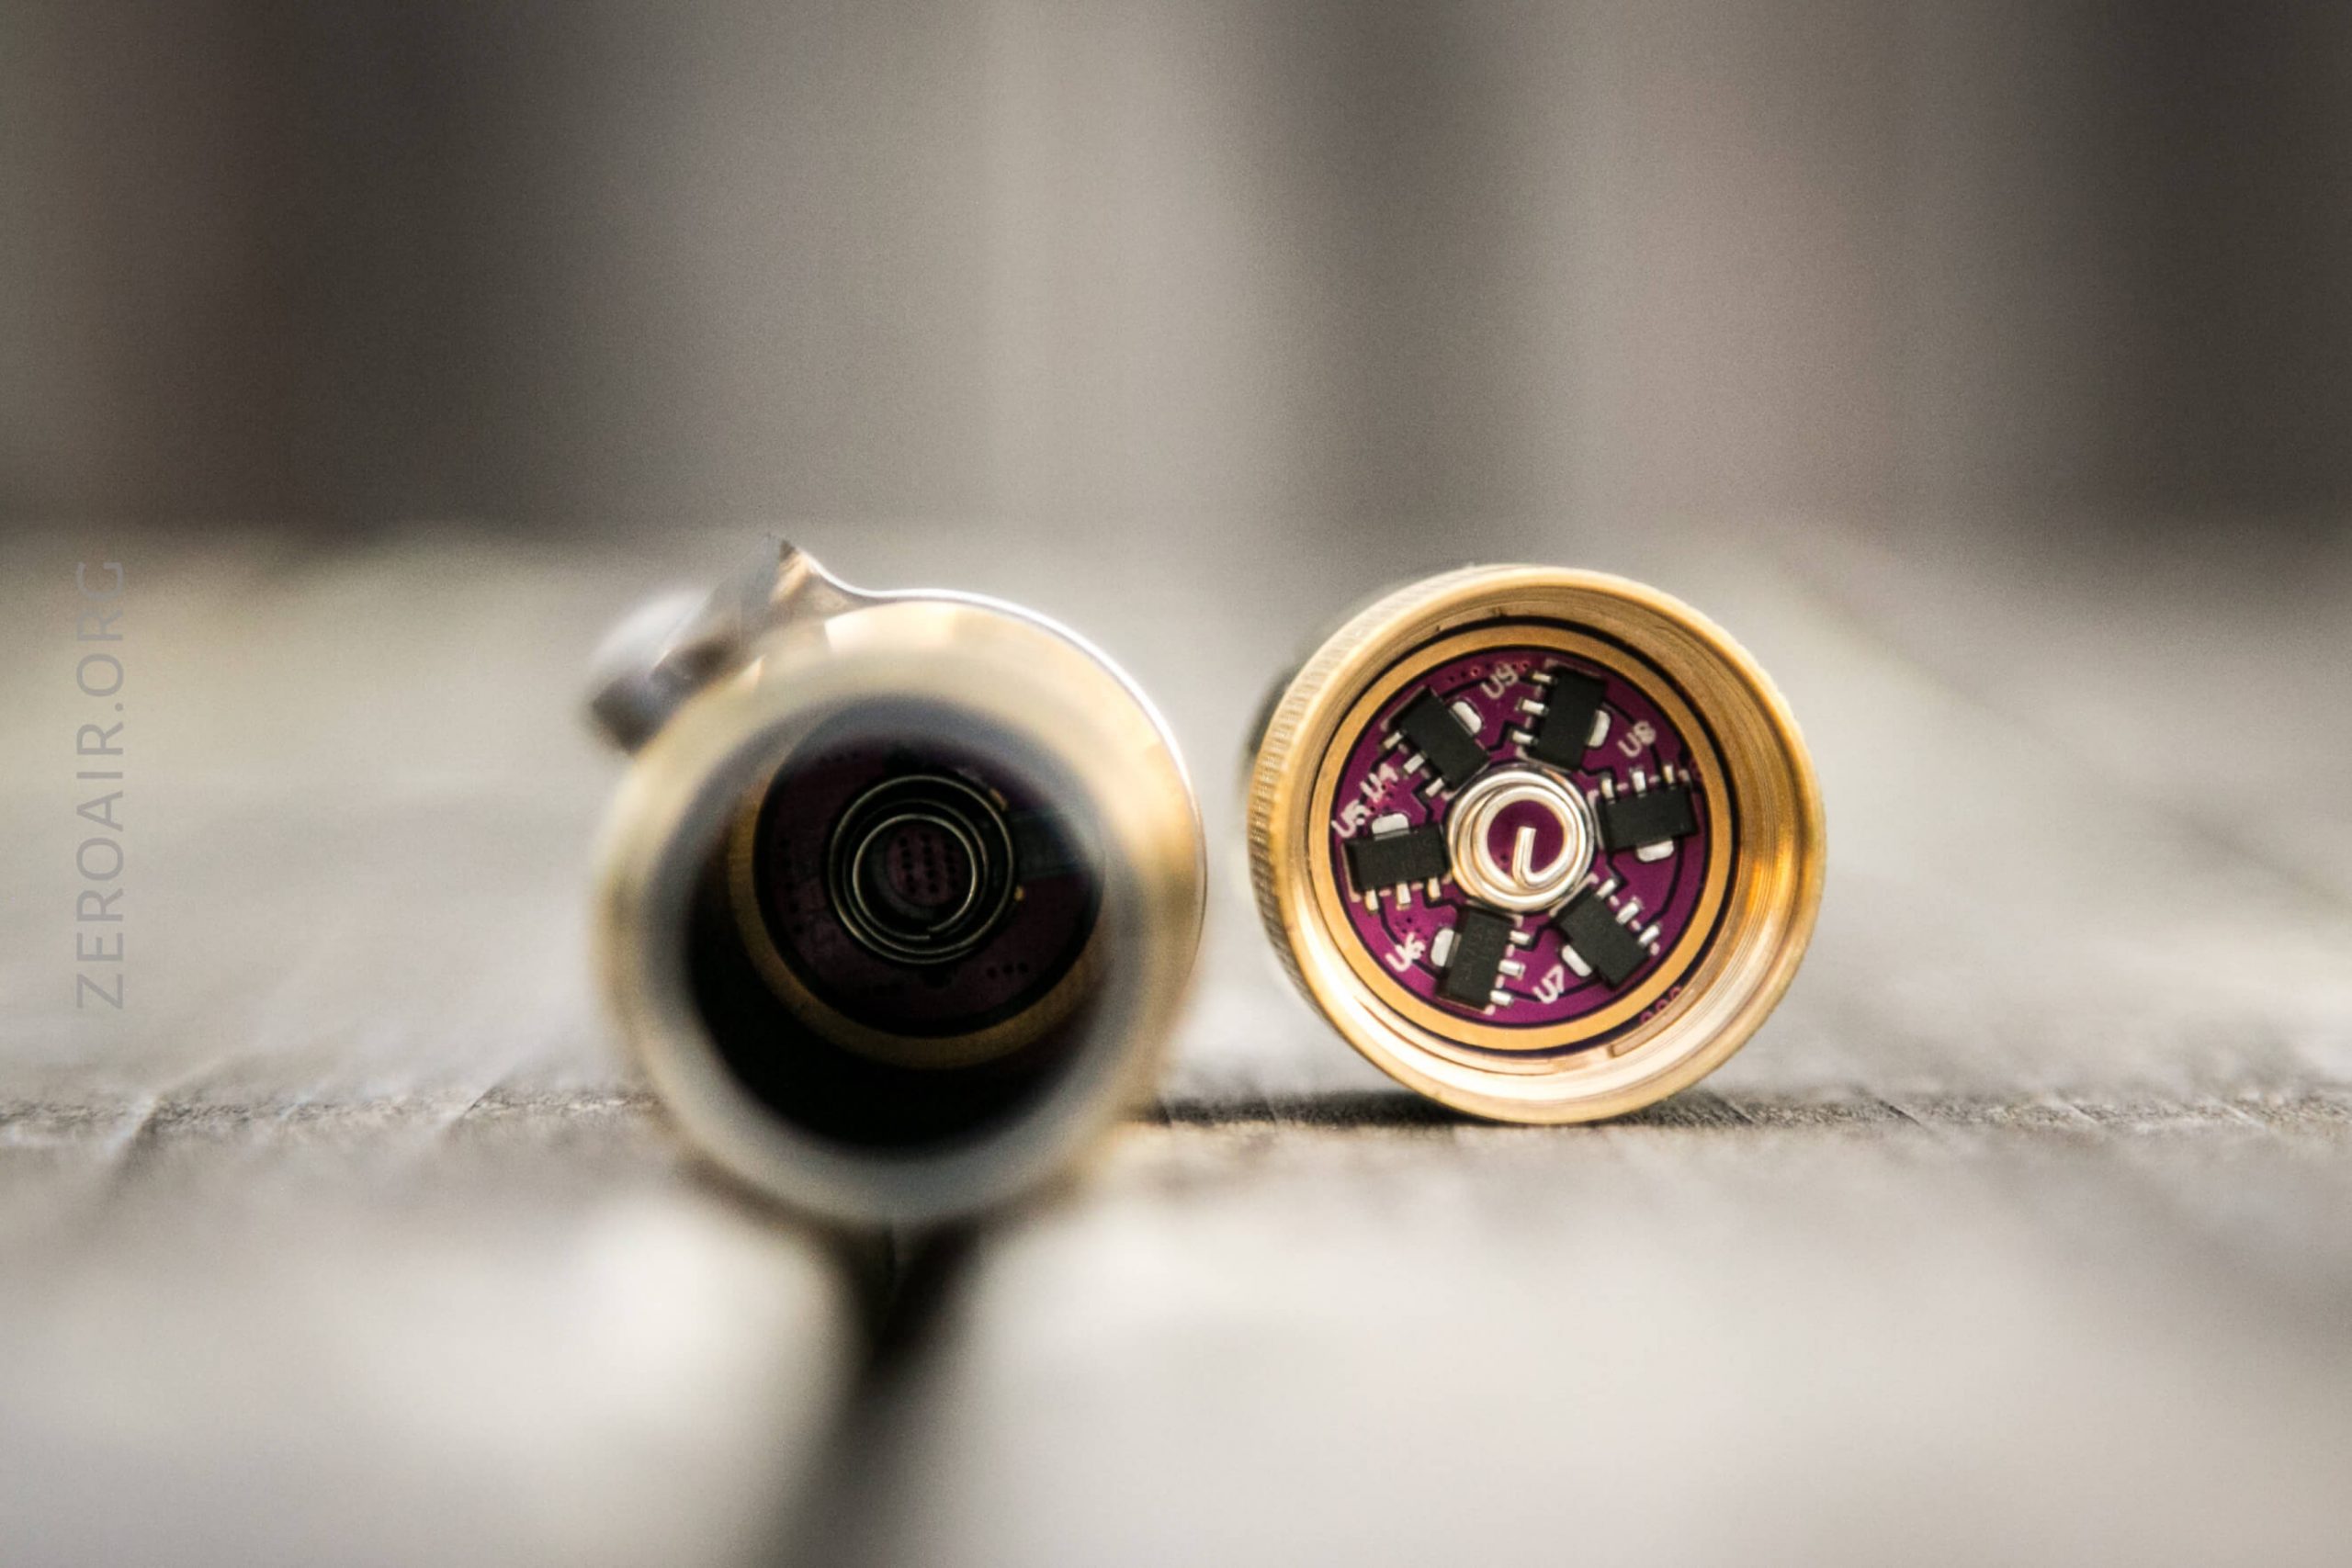
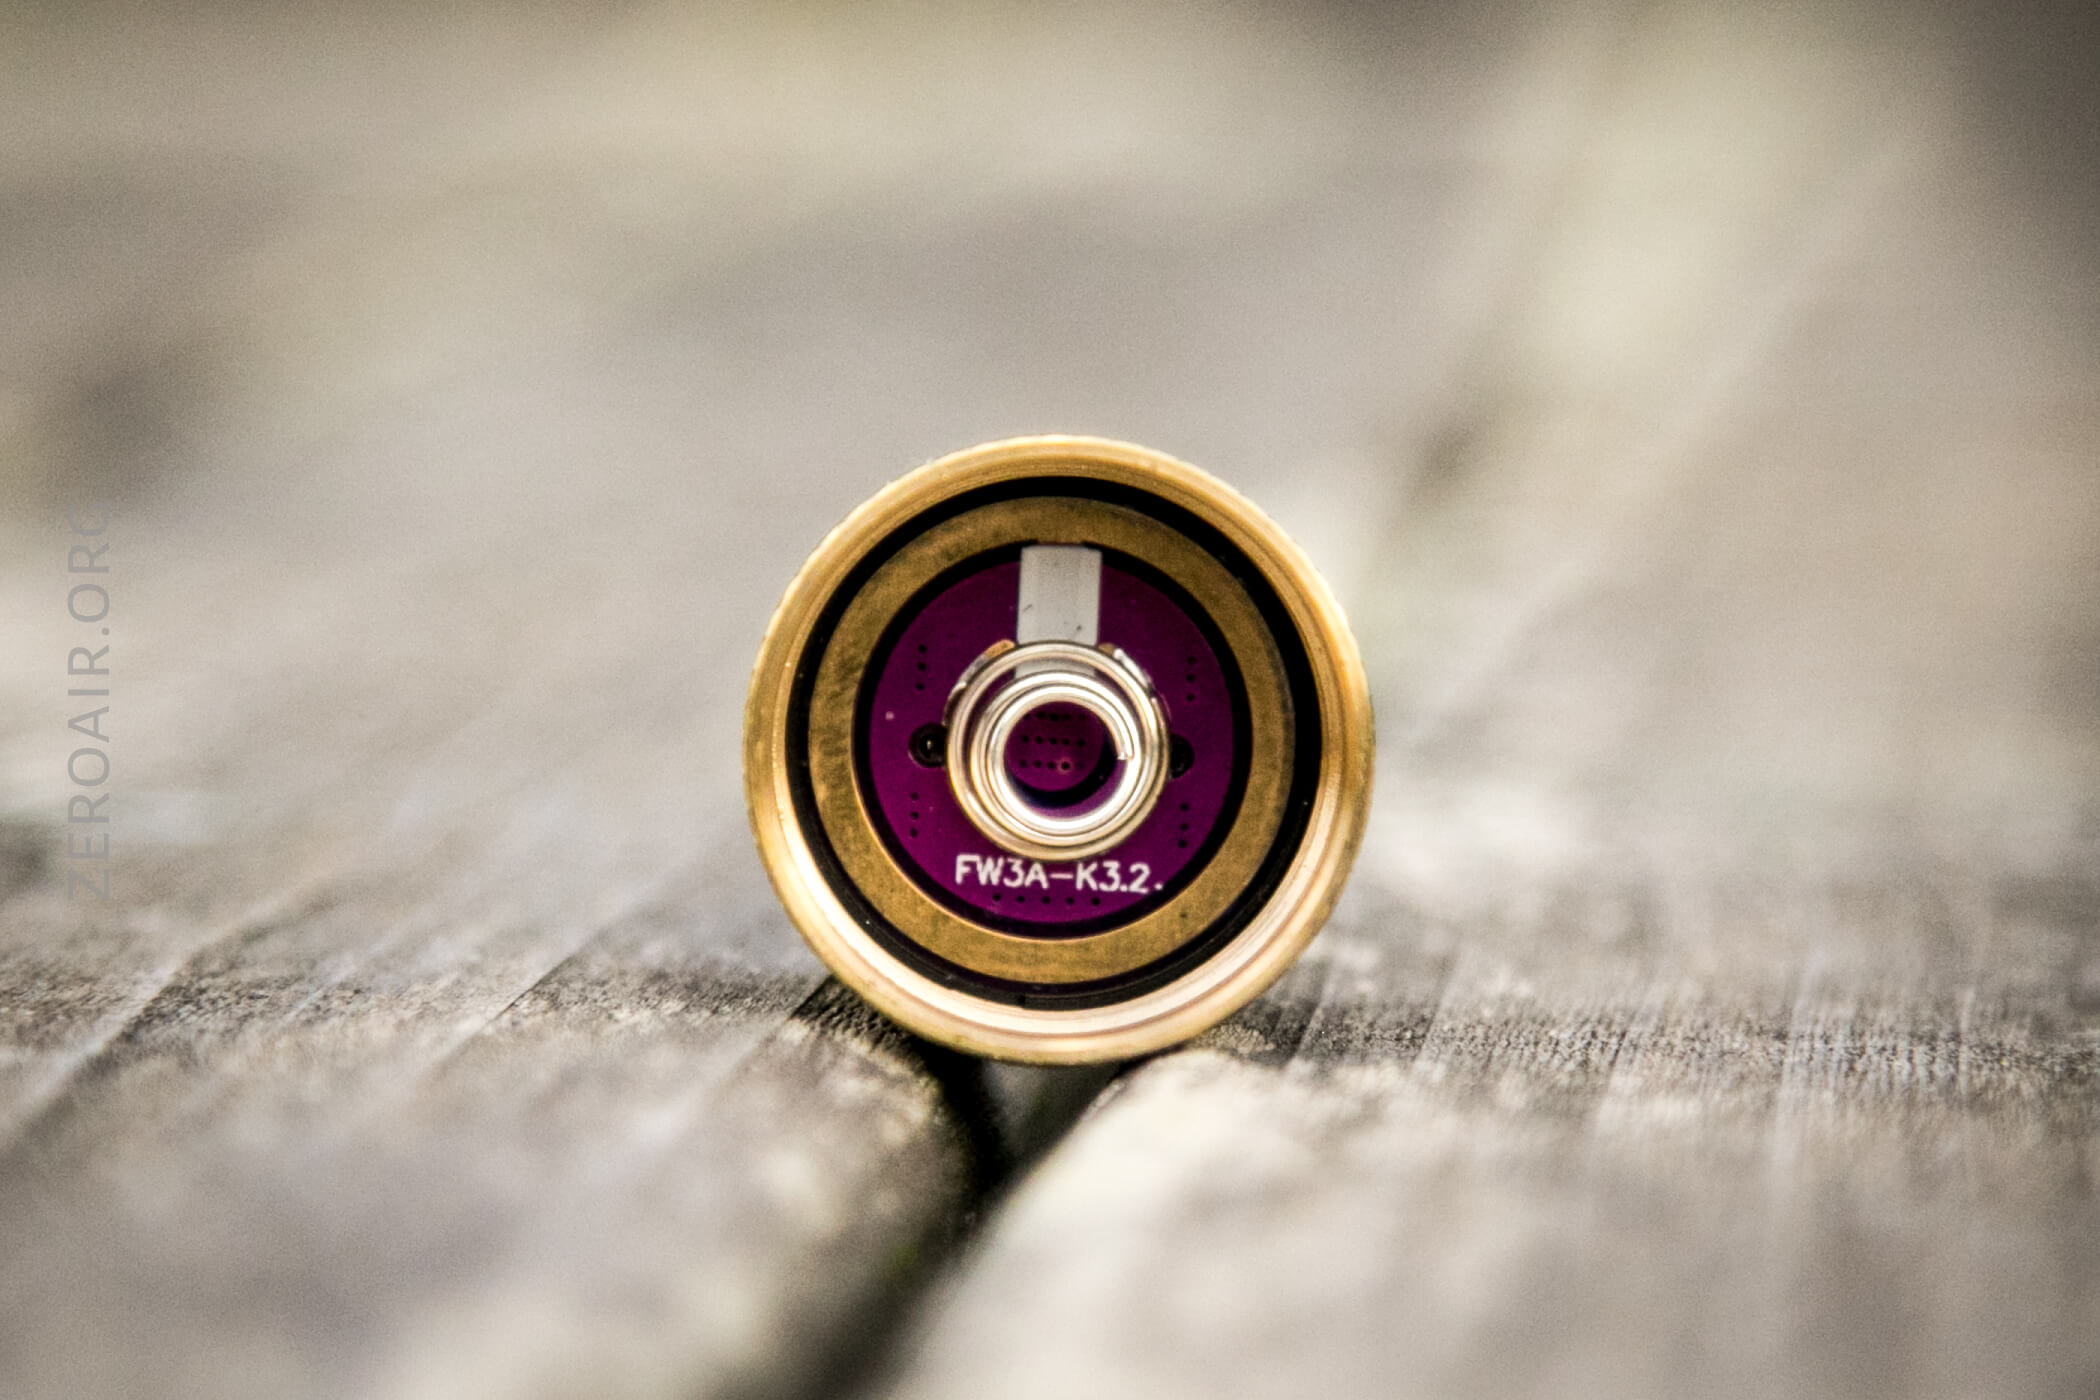
Typical inner-sleeve and driver.
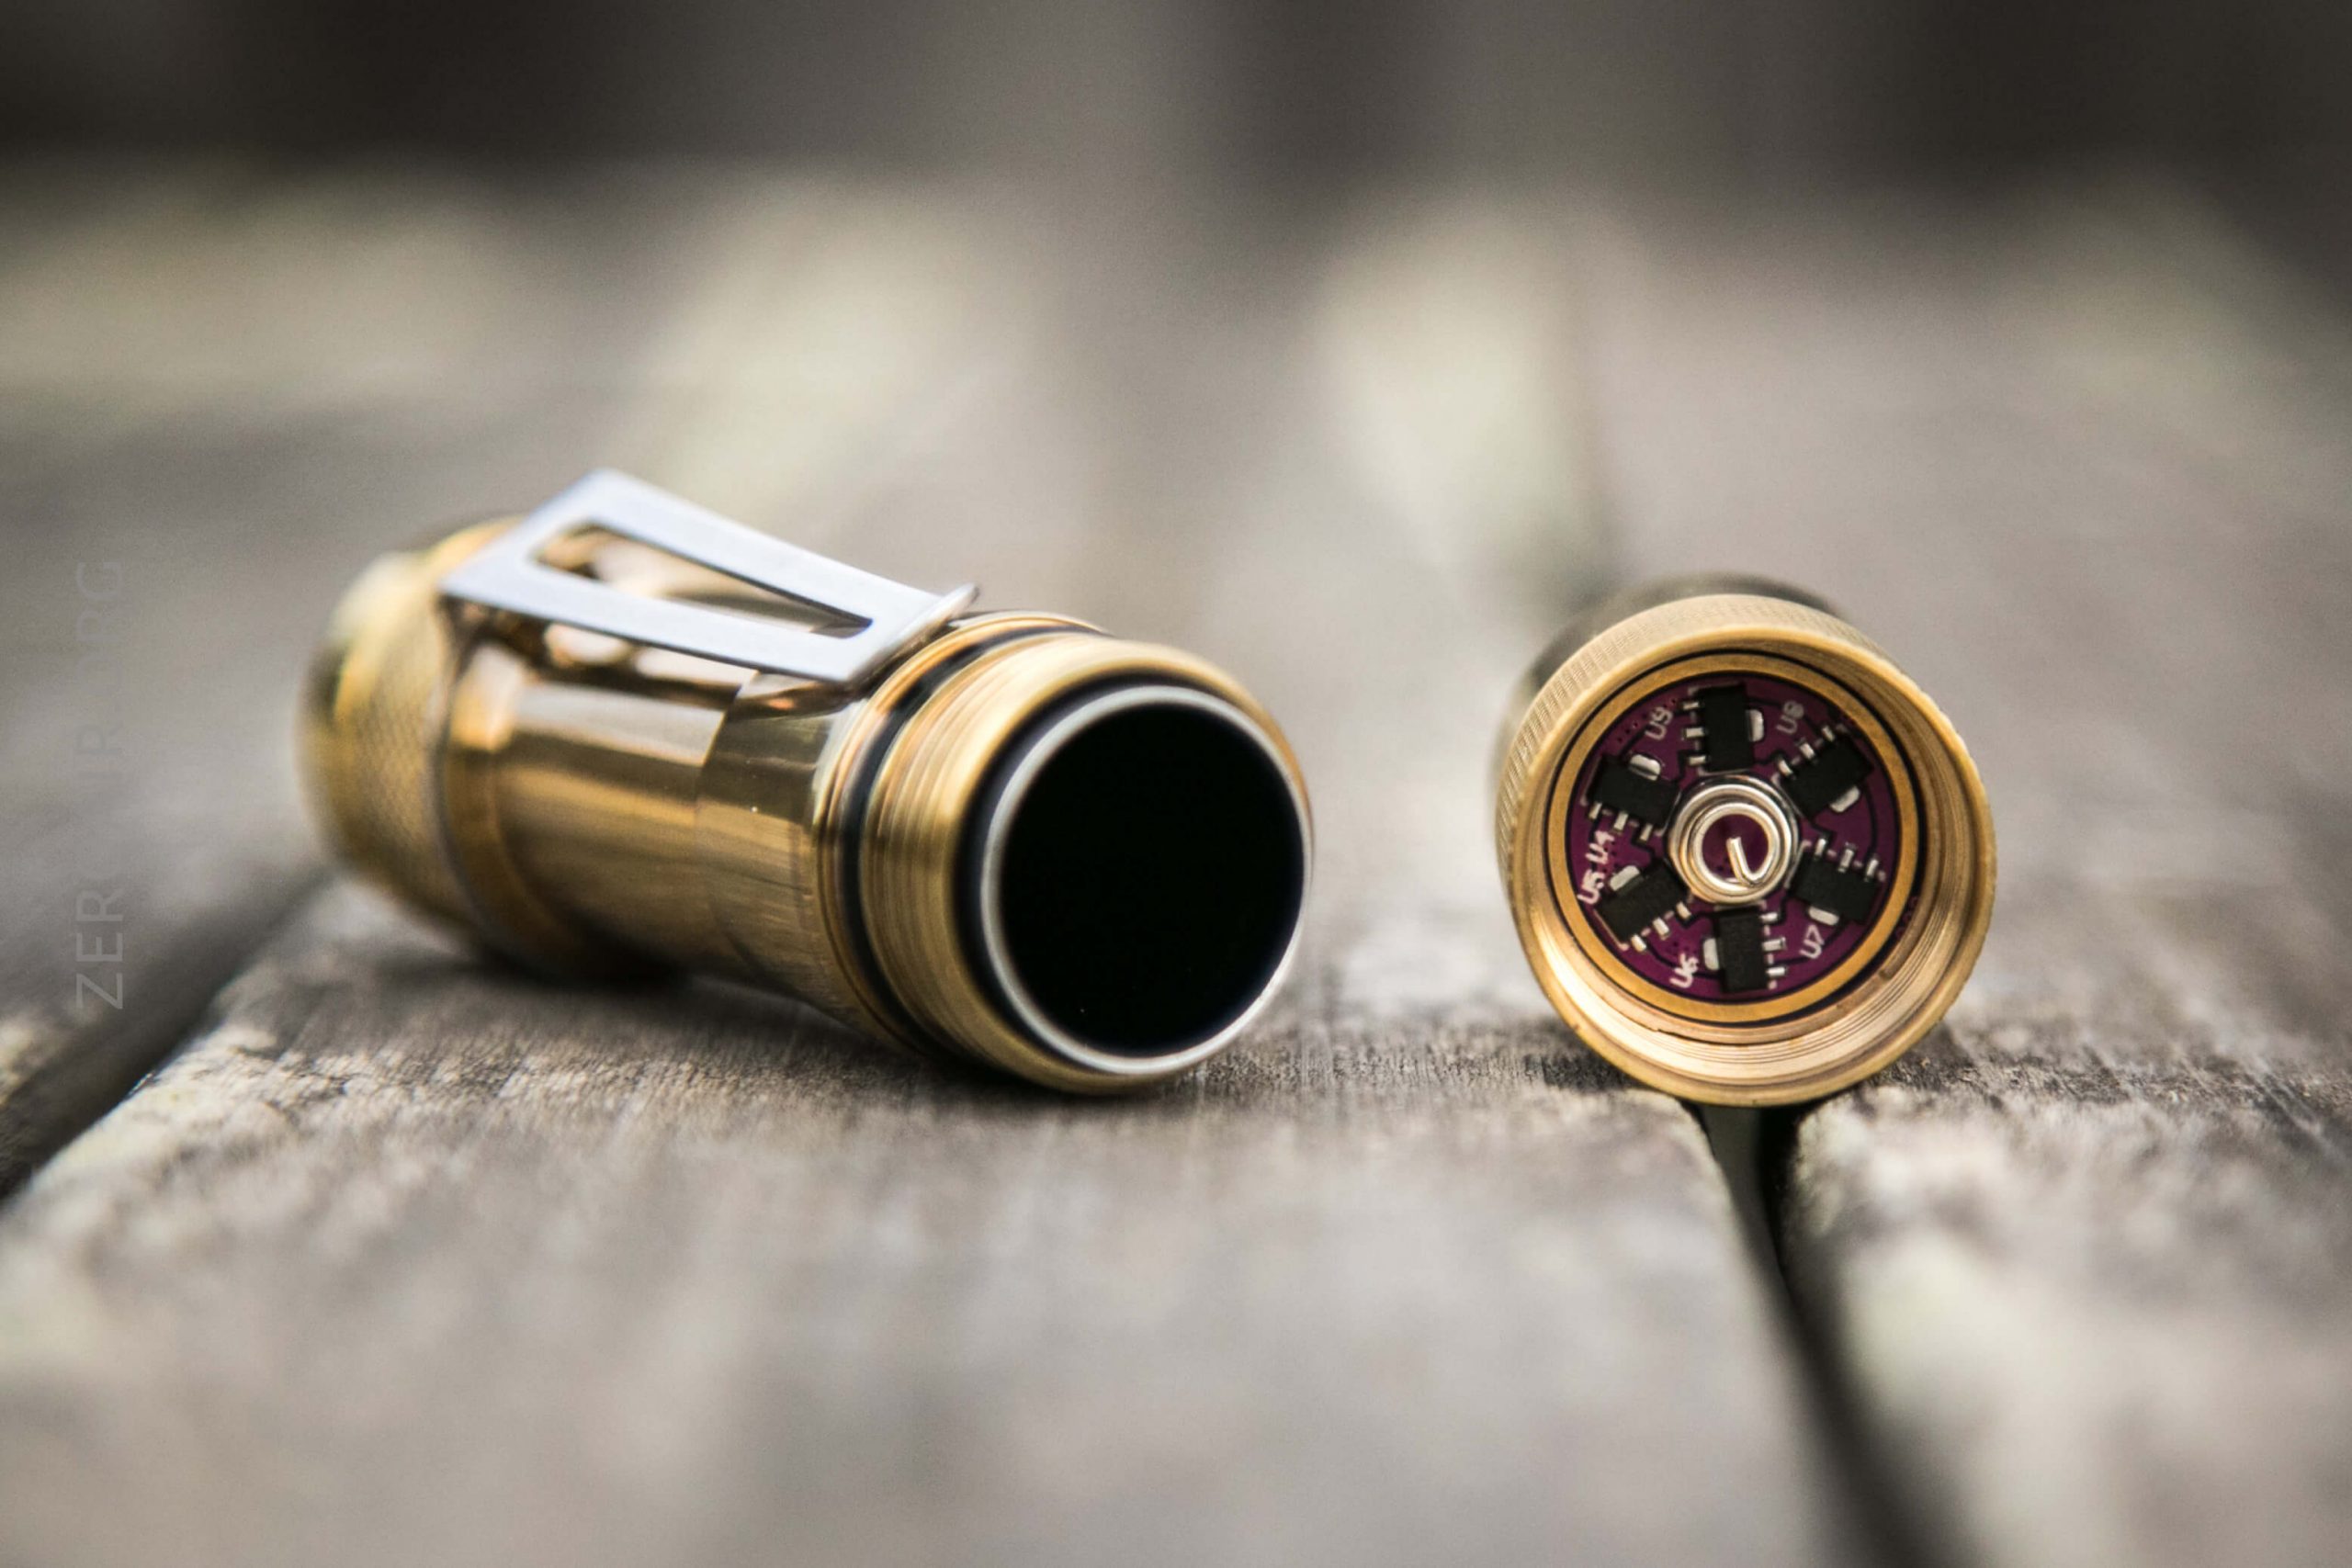
There’s a spring on both ends.
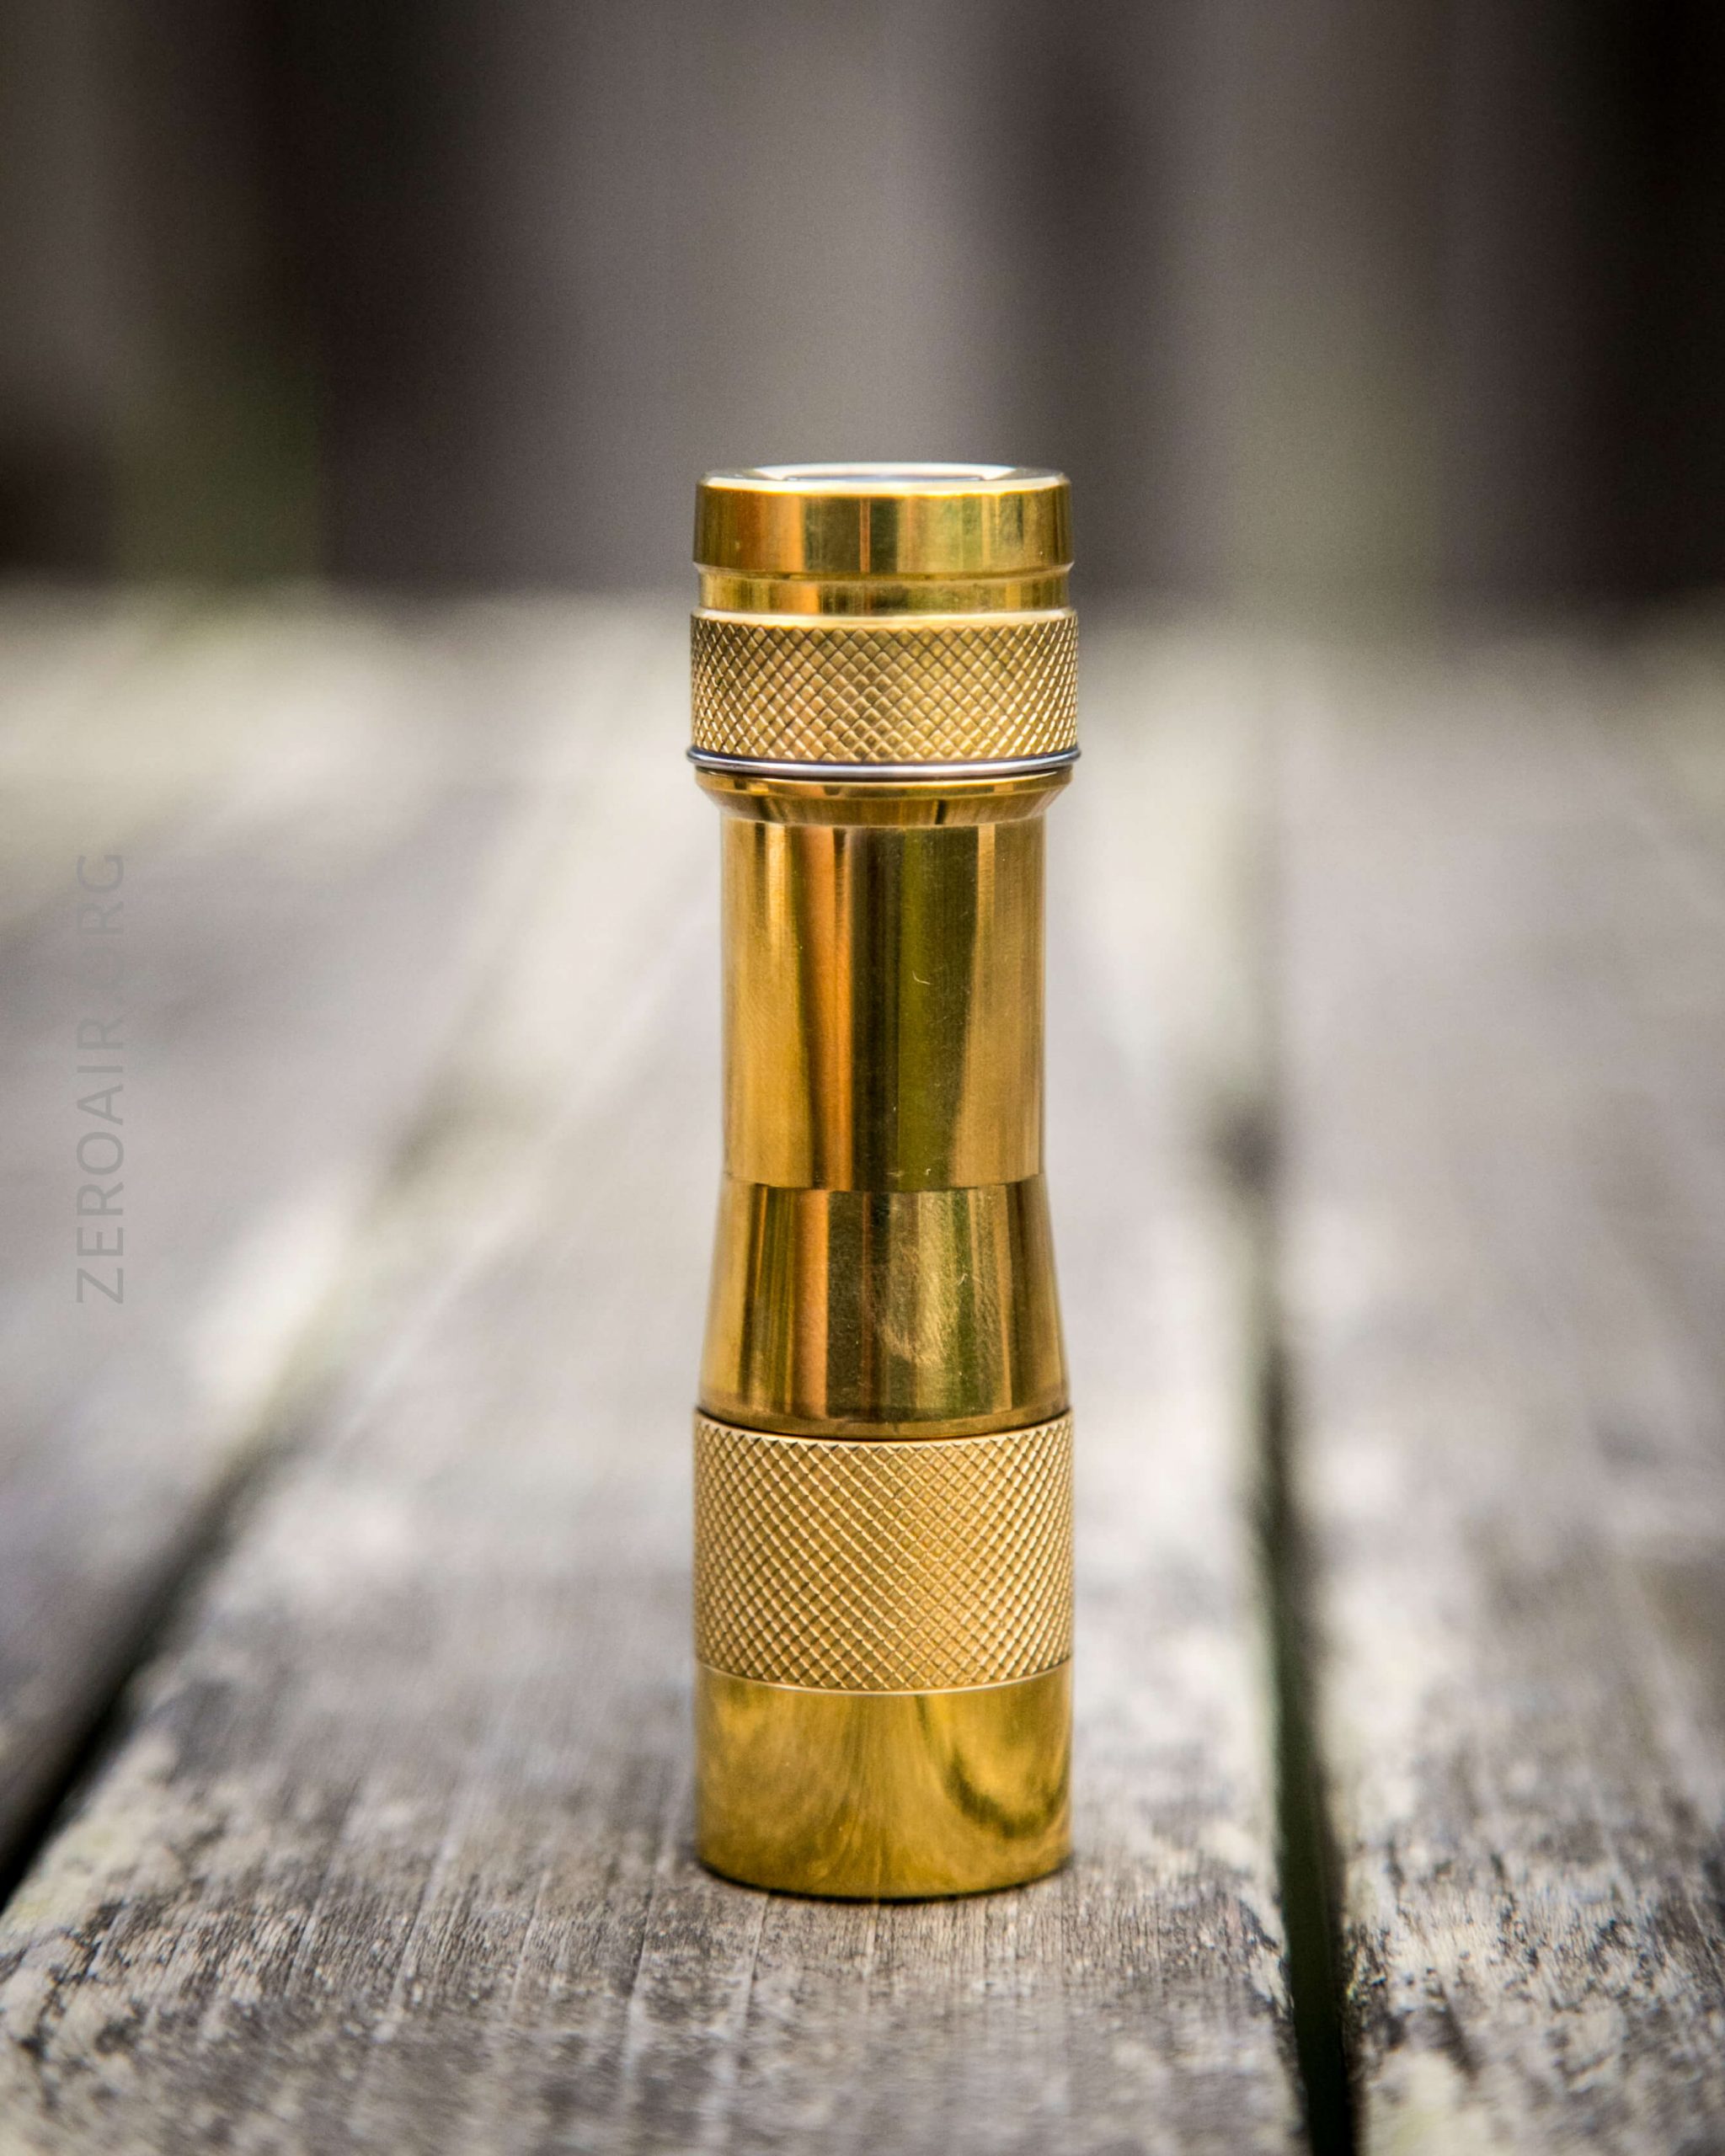
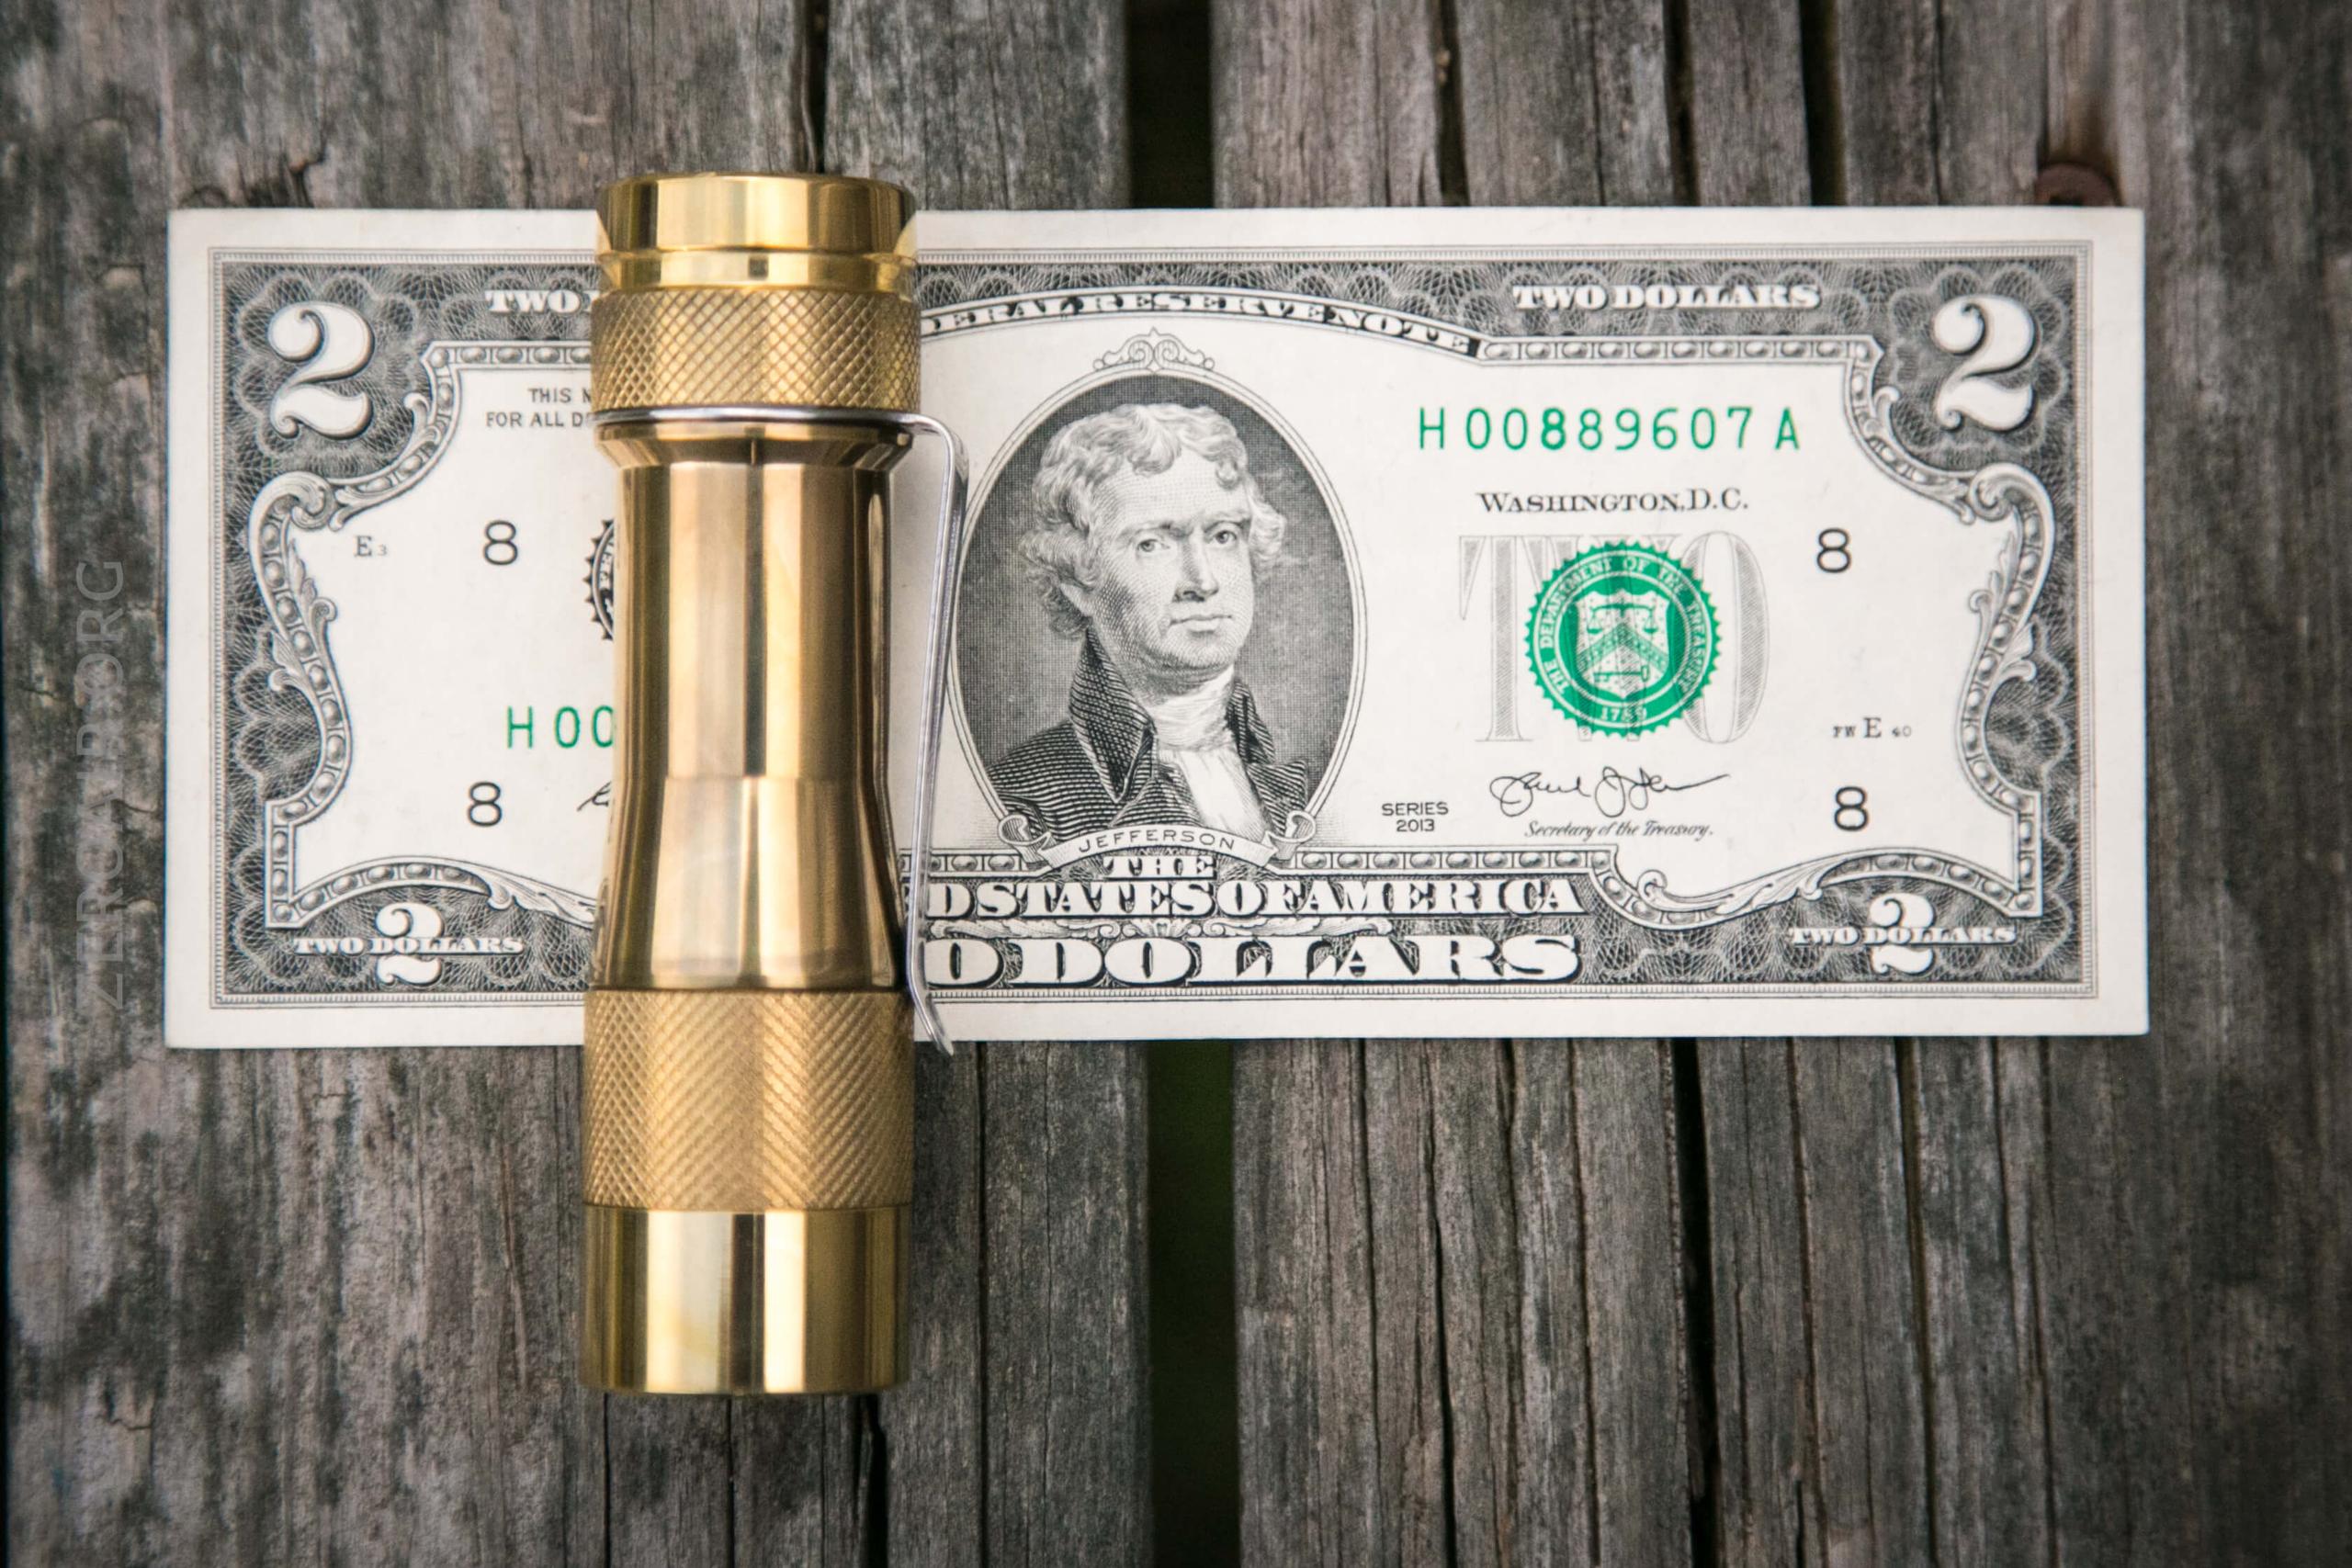
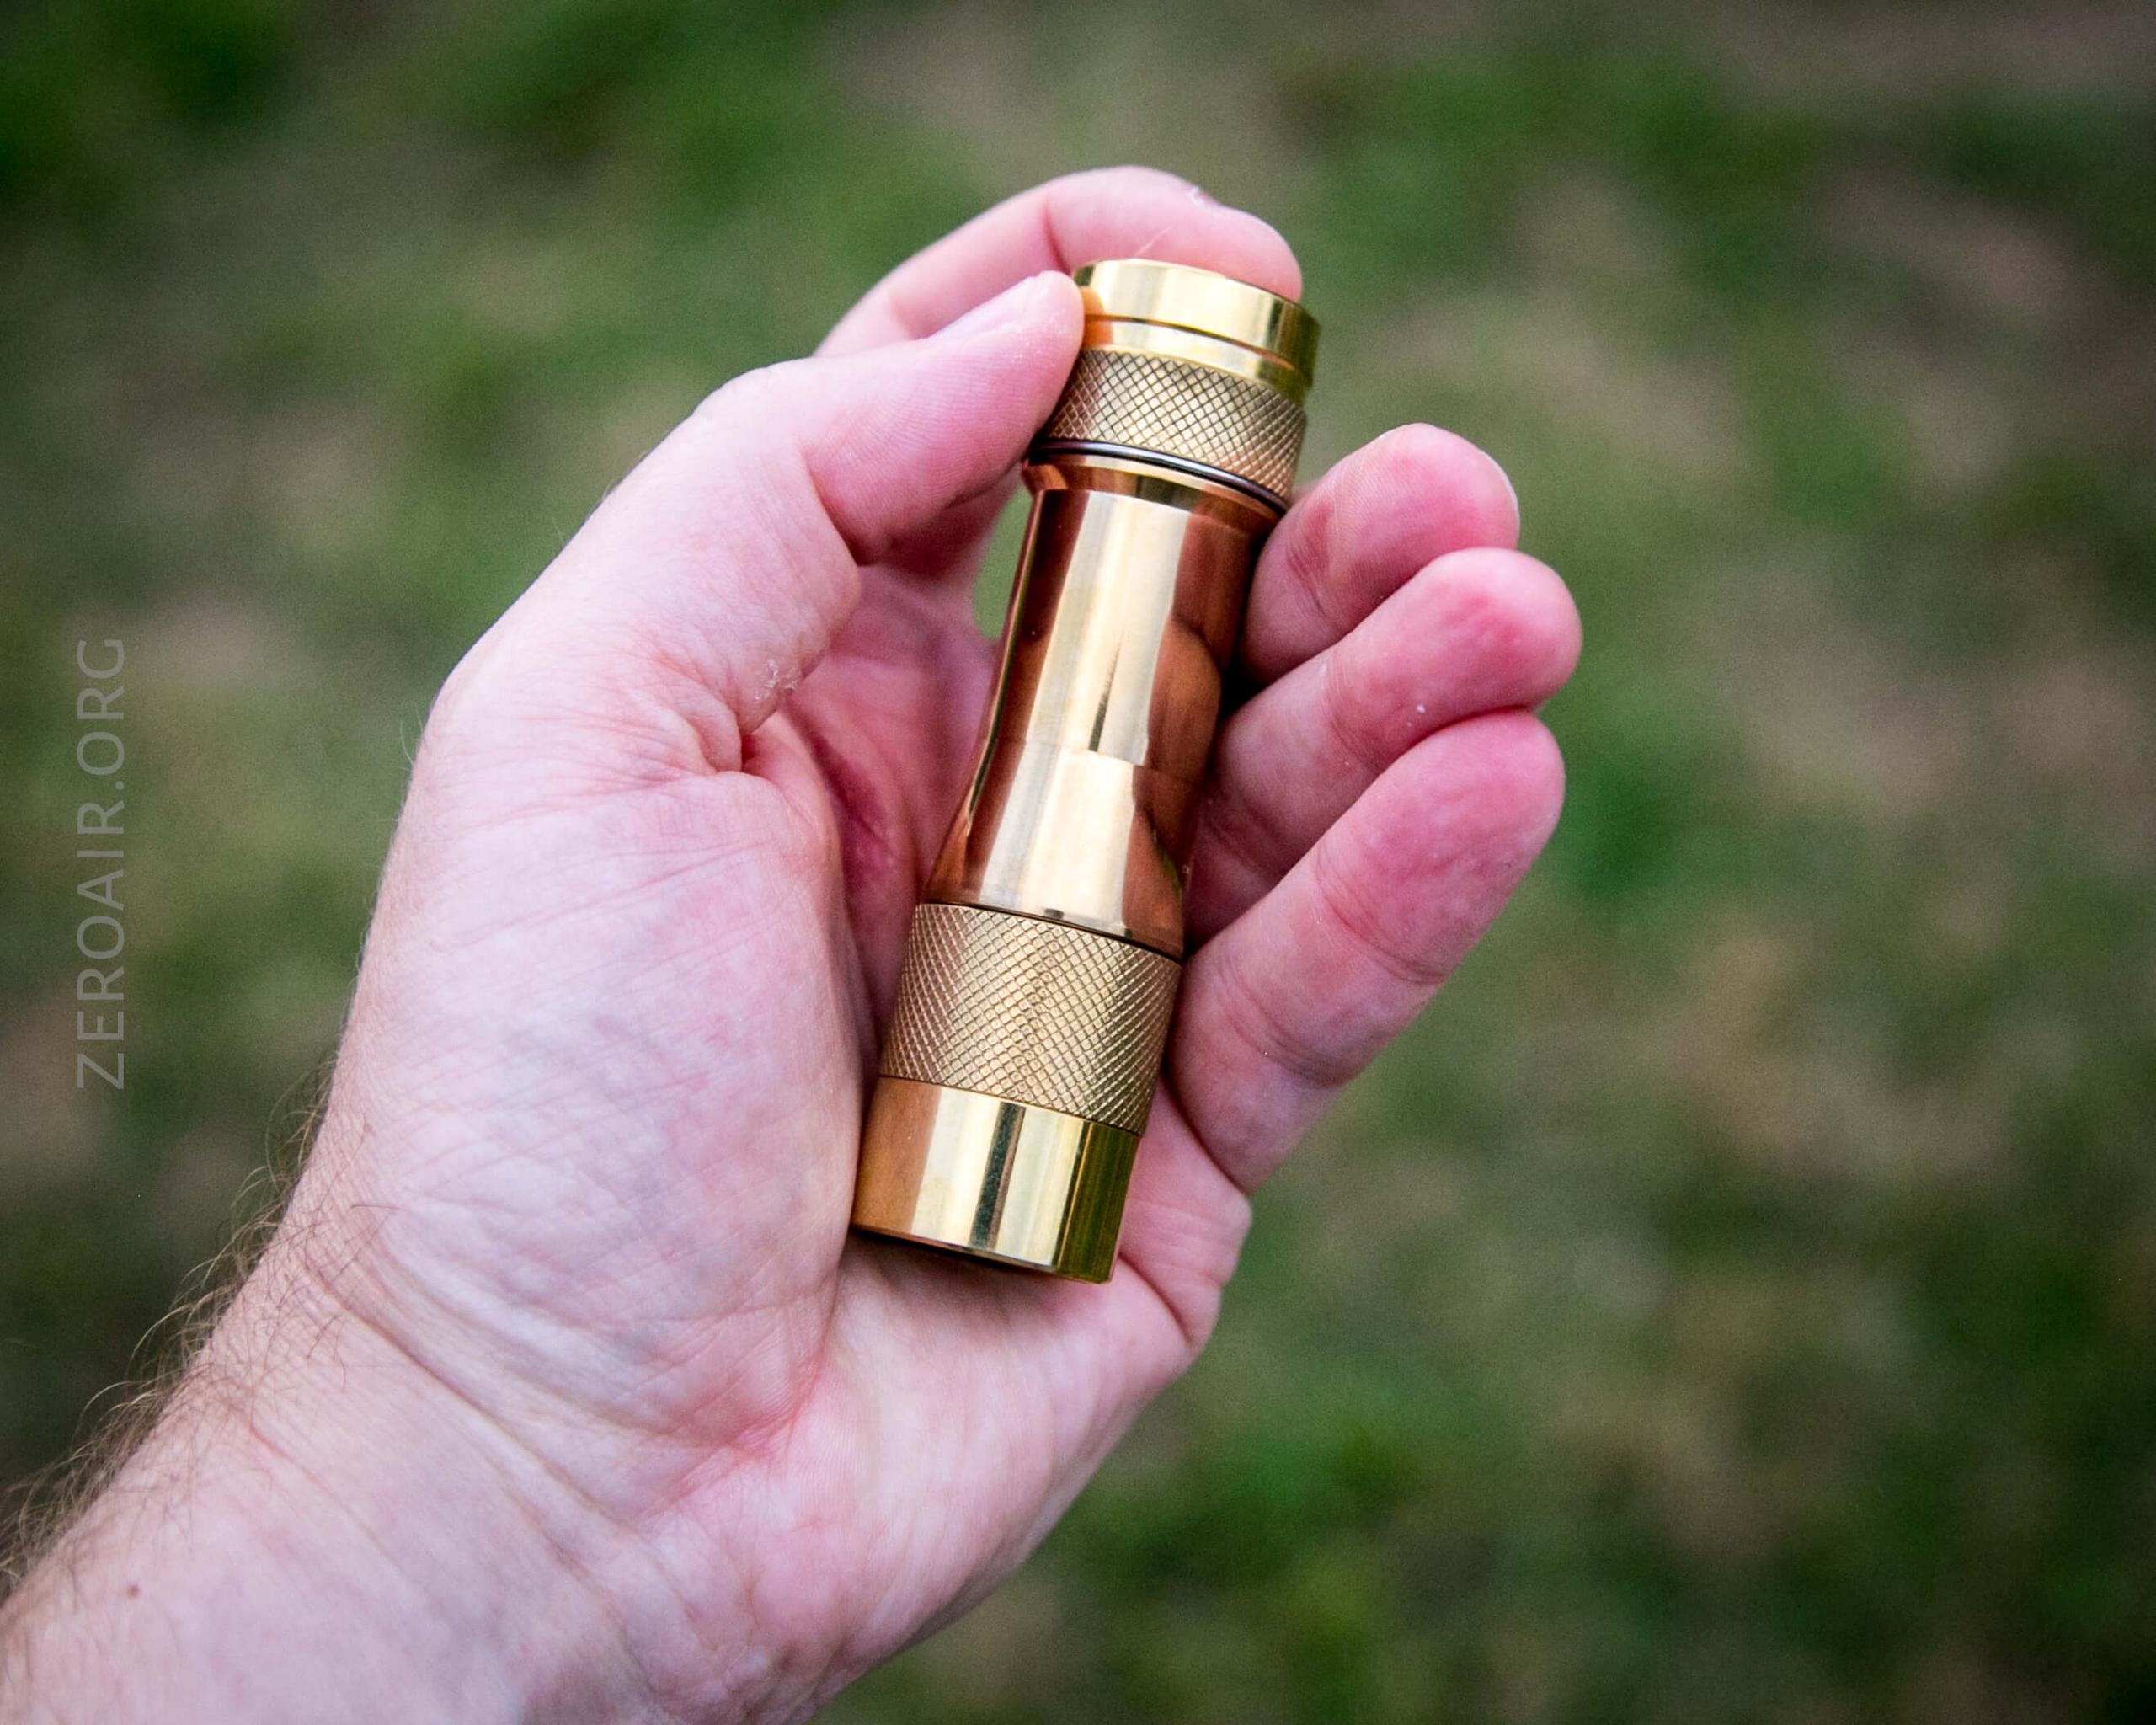
Size and Comps
Weight: Approximately 116 g without cells
Size: 25.5 mm Ø head x 92.5 mm length.
If a light will headstand, I’ll show it here (usually the third photo). If a light will tailstand, I’ll show that here, too (usually the fourth photo).
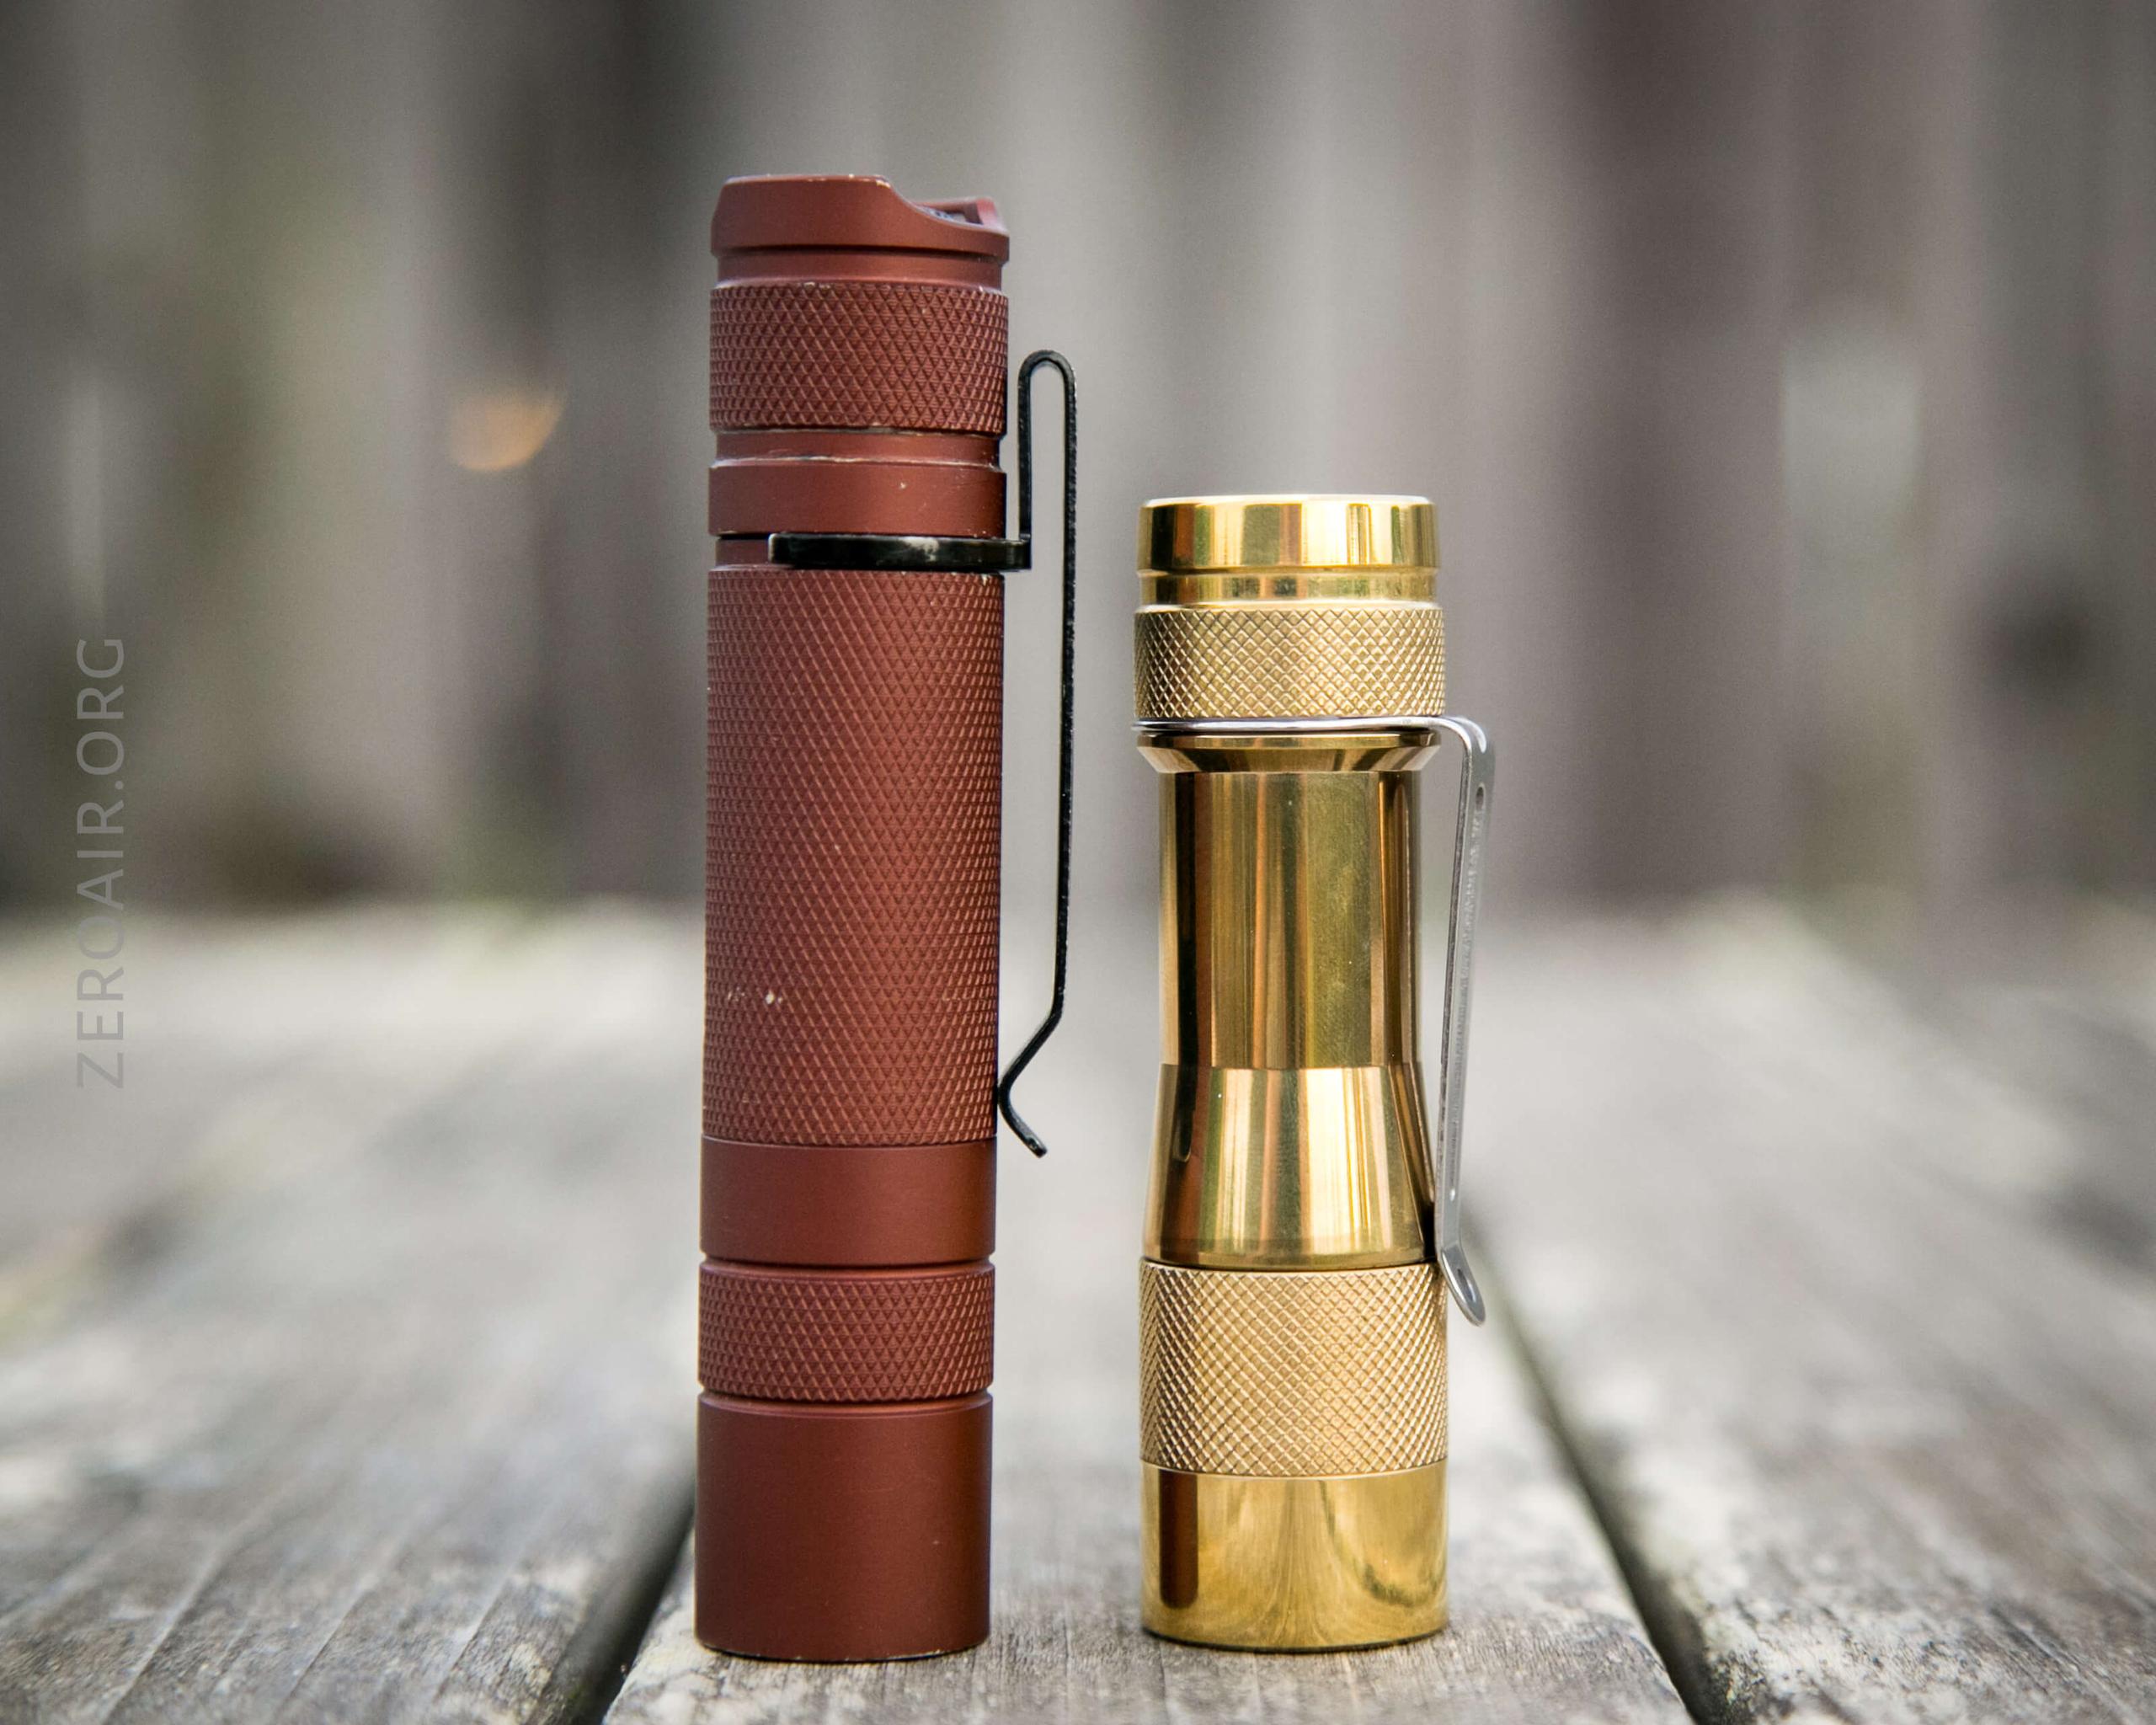
Here’s the test light with the venerable Convoy S2+. Mine’s a custom “baked” edition Nichia 219b triple. A very nice 18650 light.
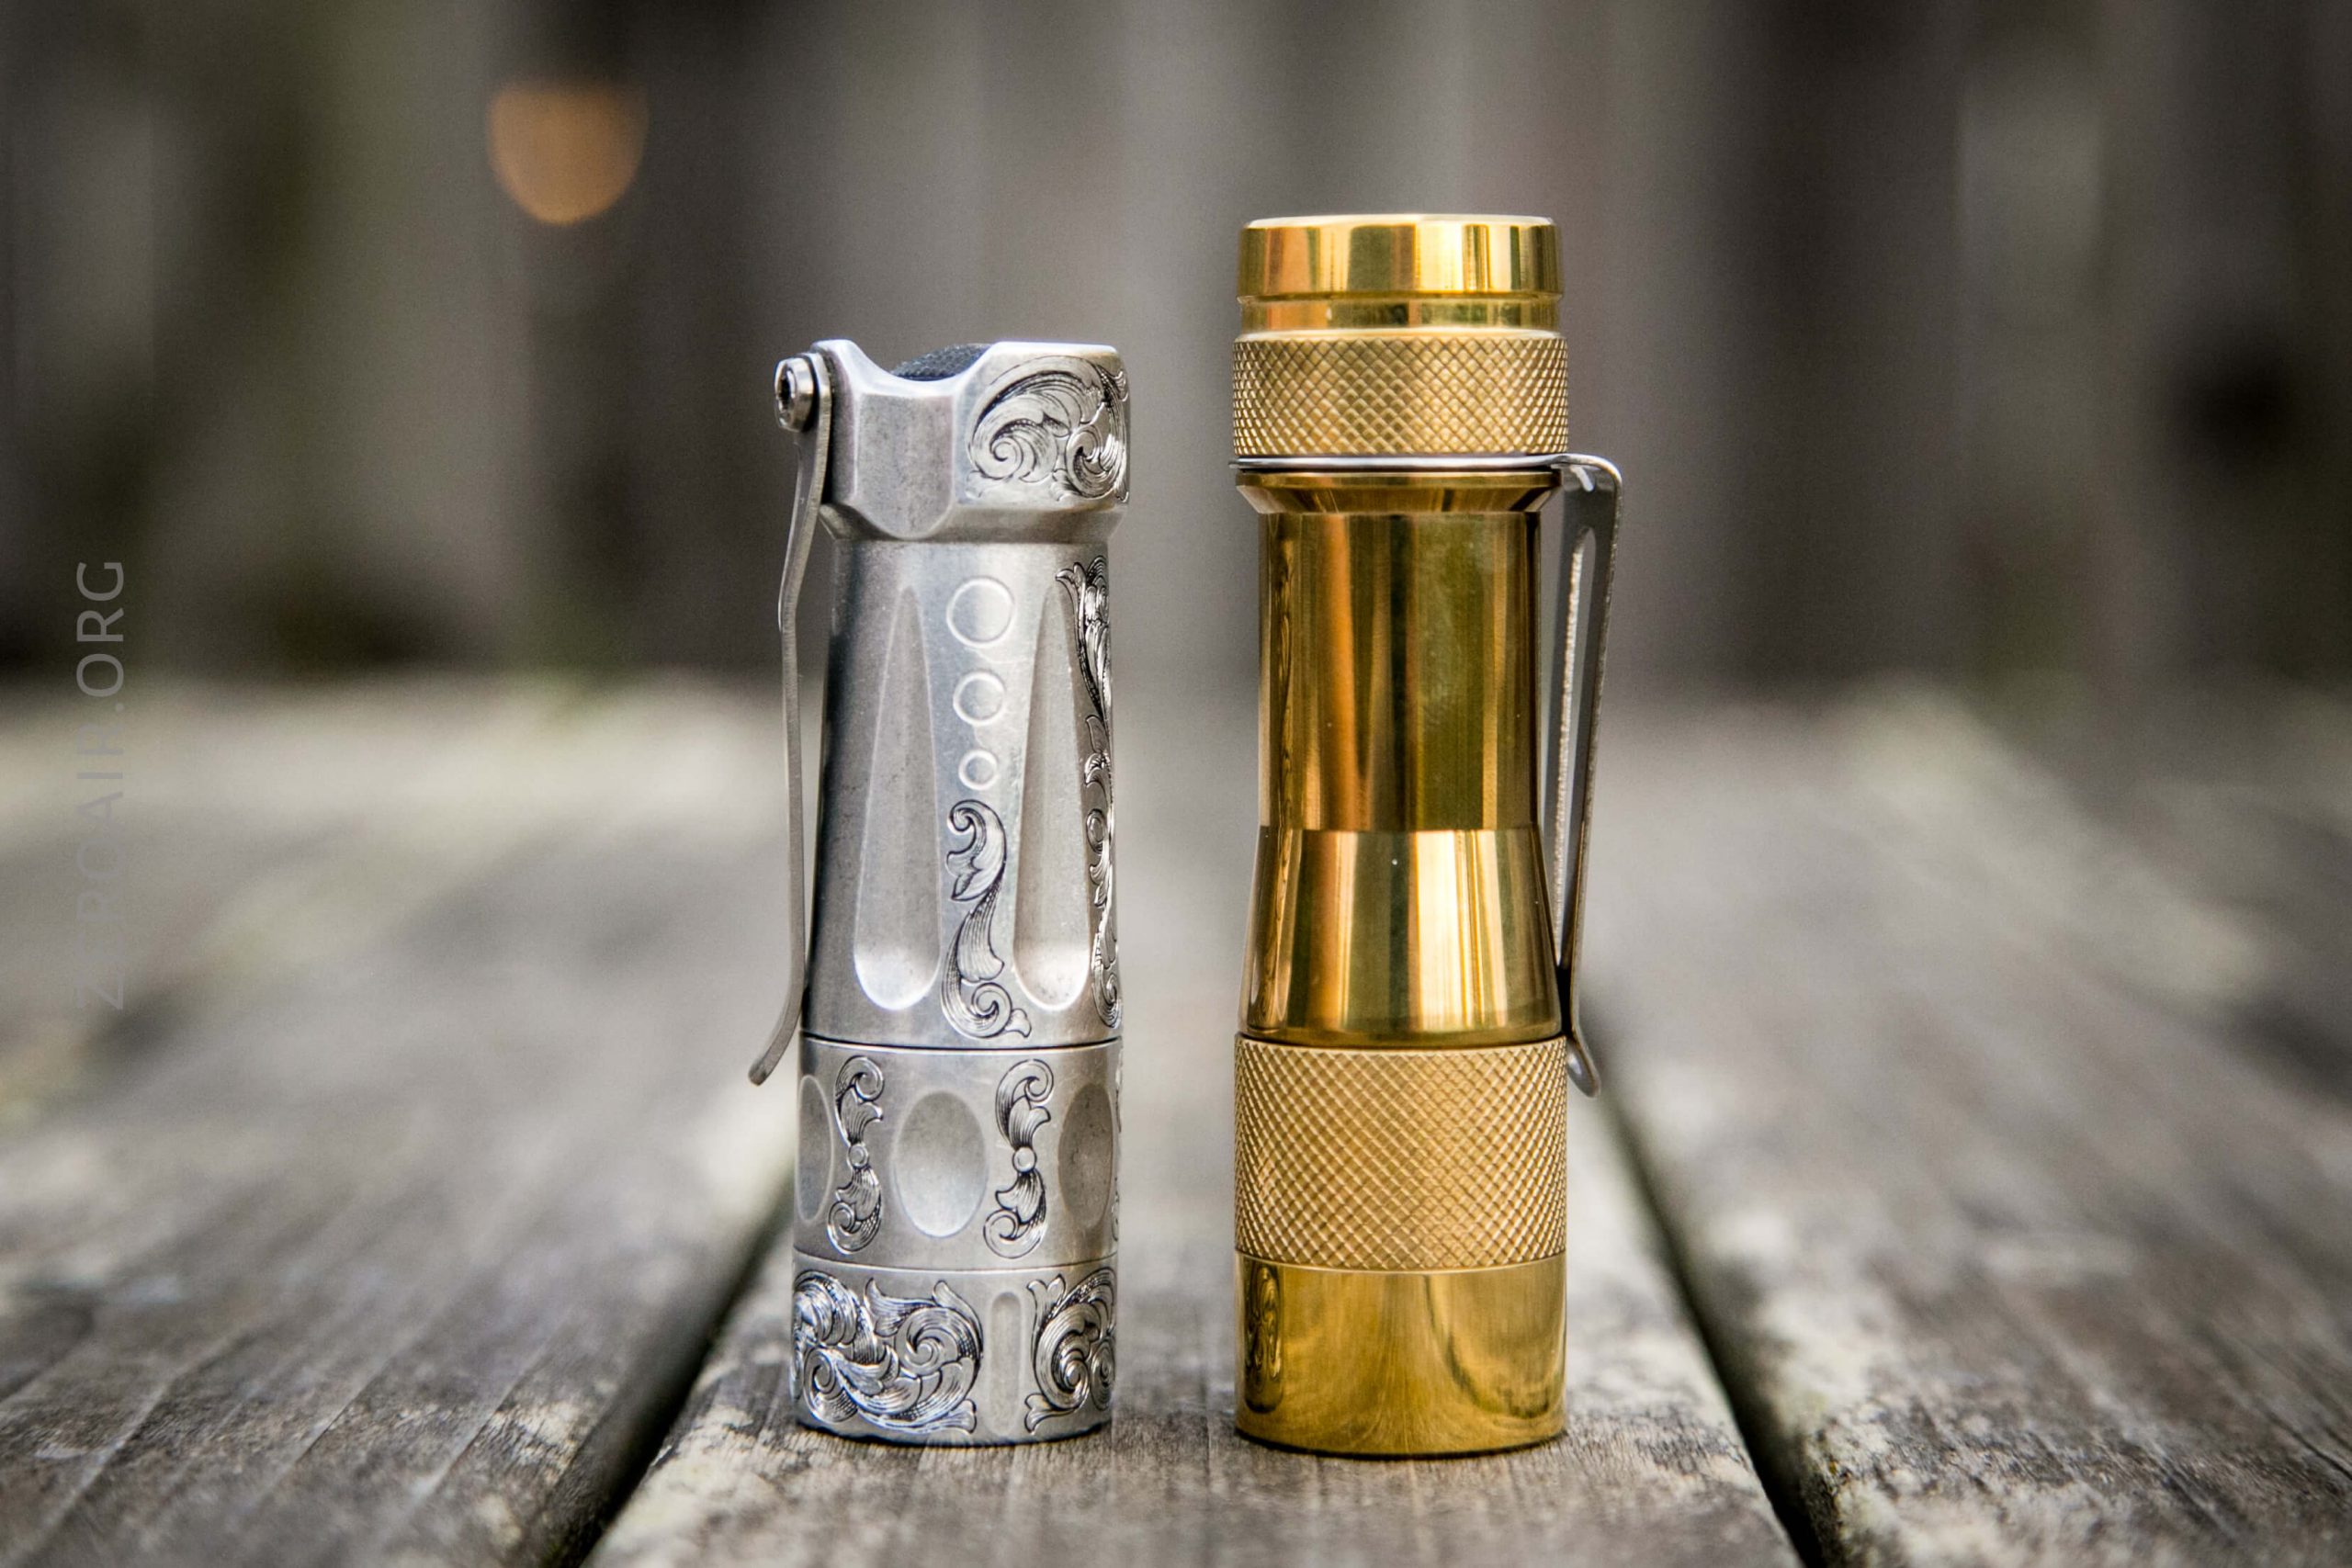
And here’s the light beside my custom-engraved TorchLAB BOSS 35, an 18350 light. I reviewed the aluminum version of that light in both 35 and 70 formats.
There’s the copper after 6 months of use and minimal handling. I hope the brass will look similar!
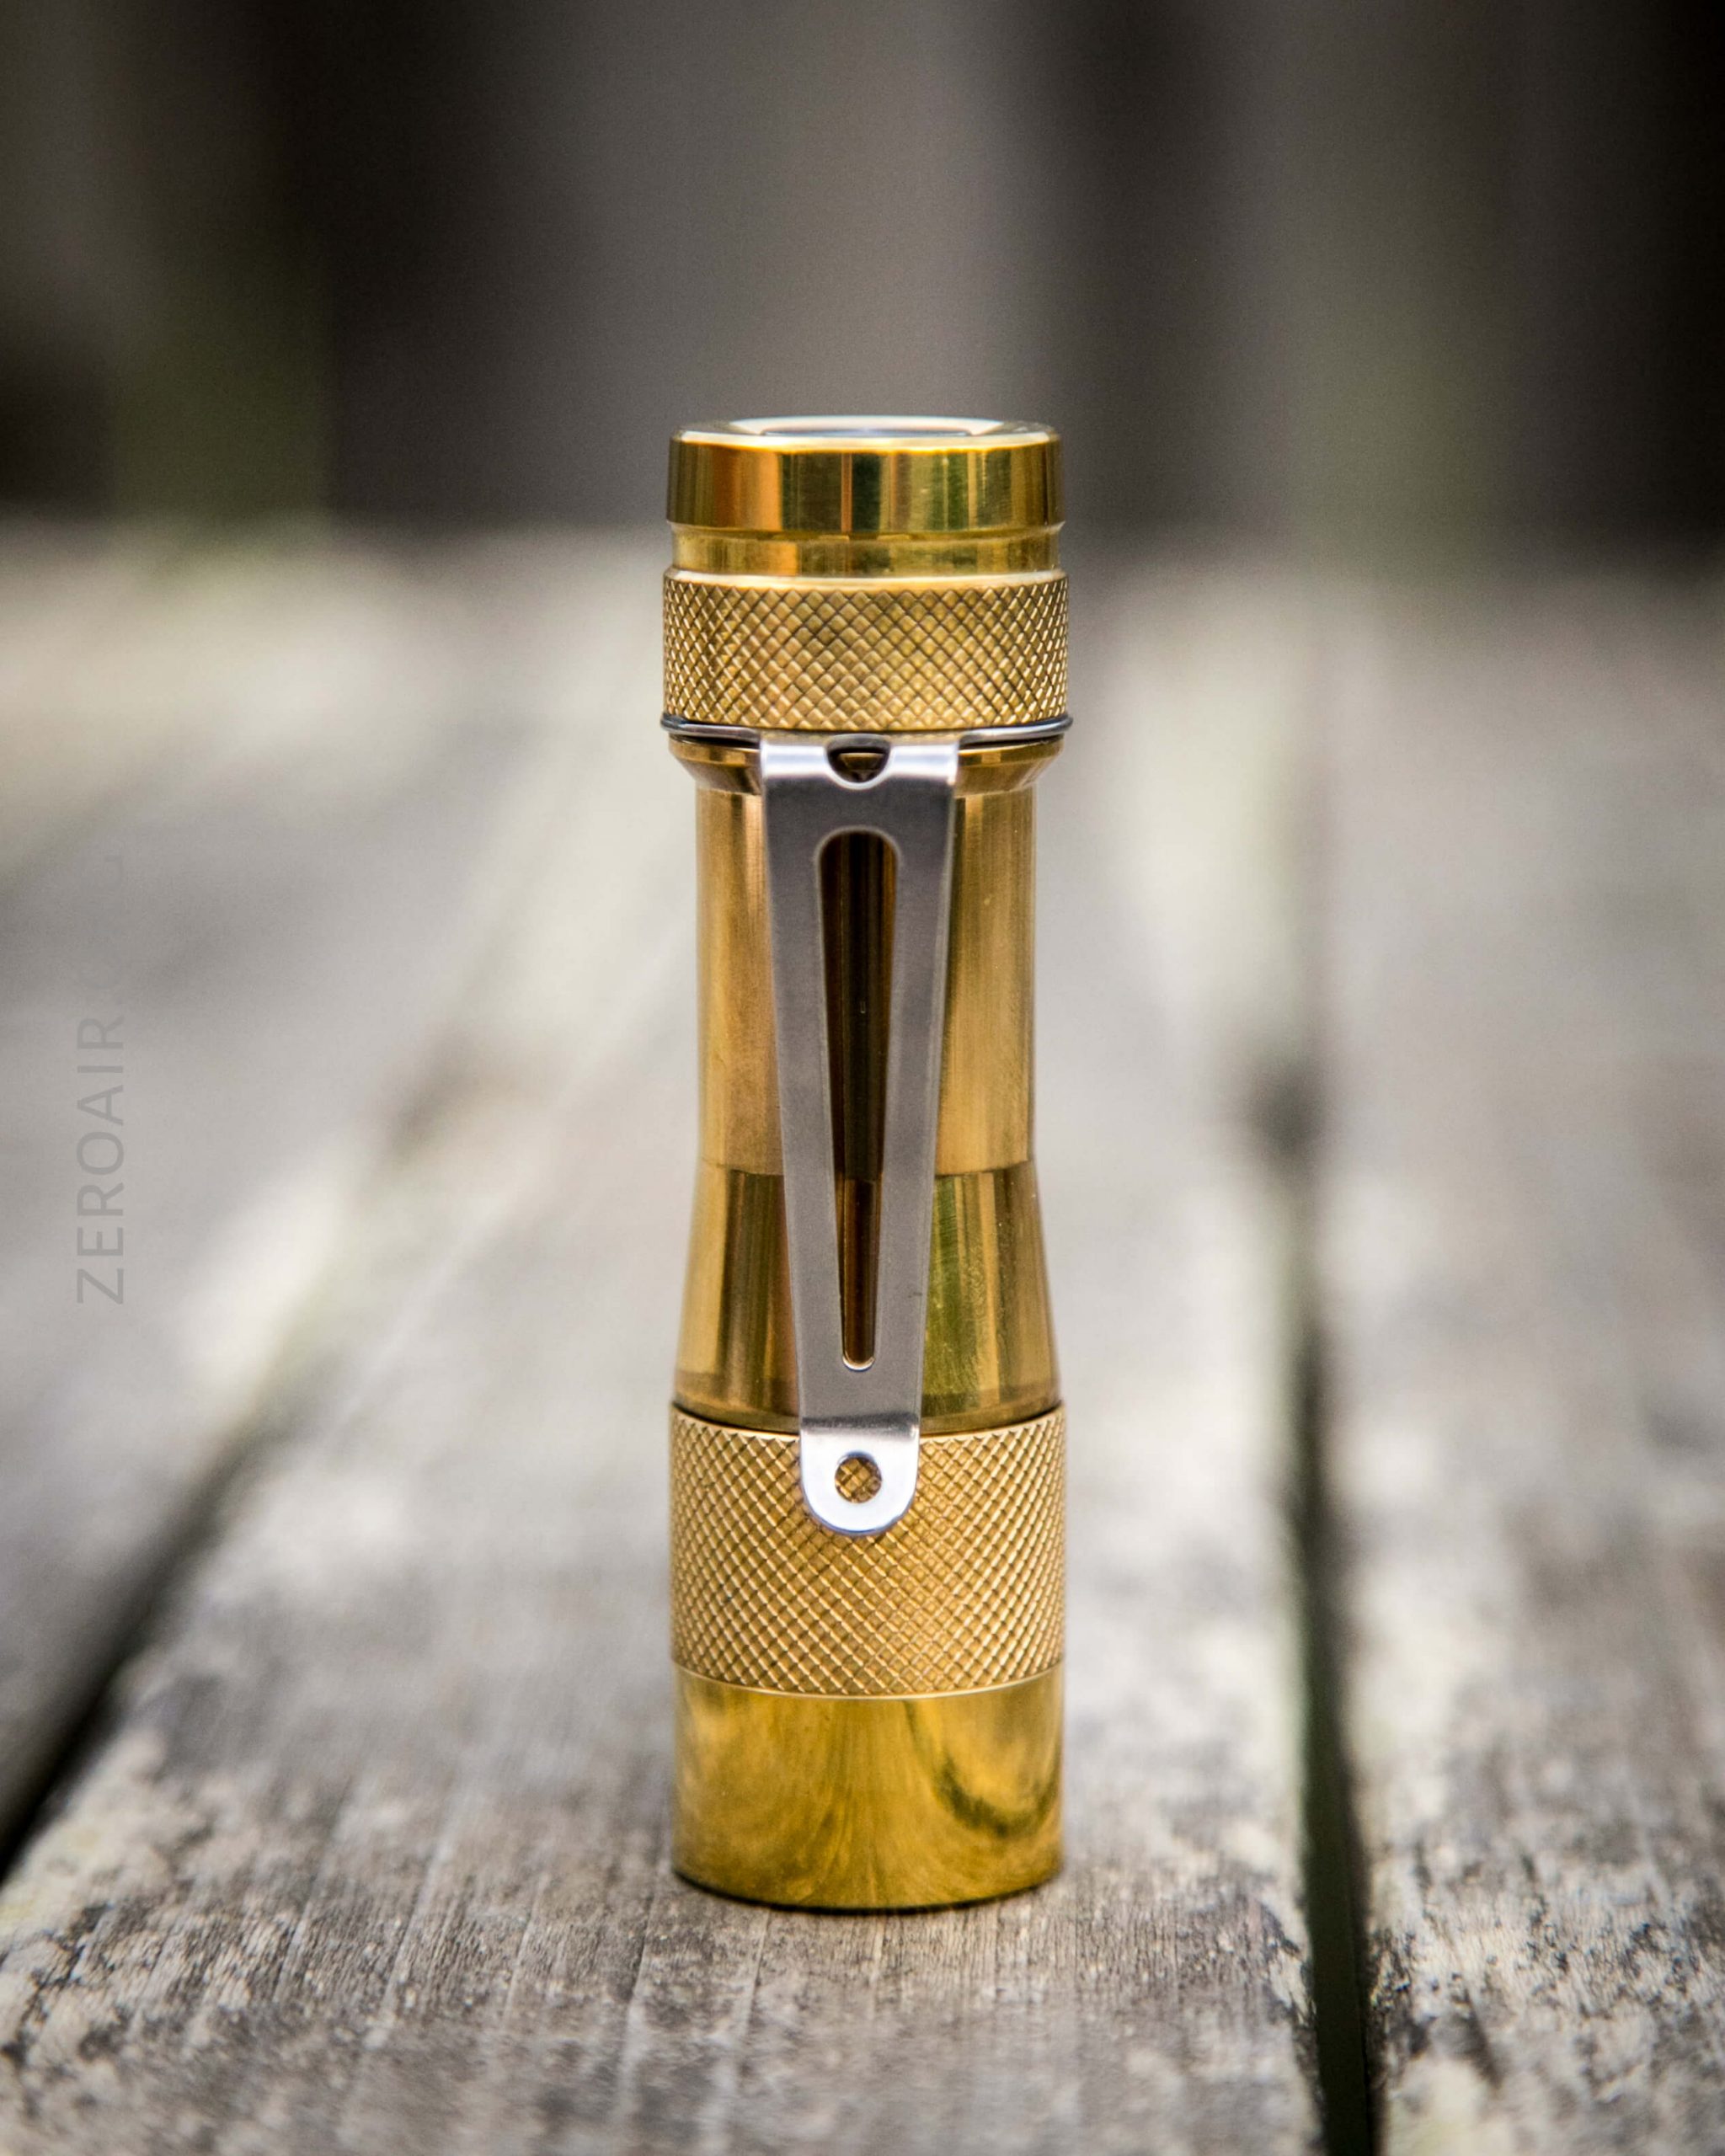
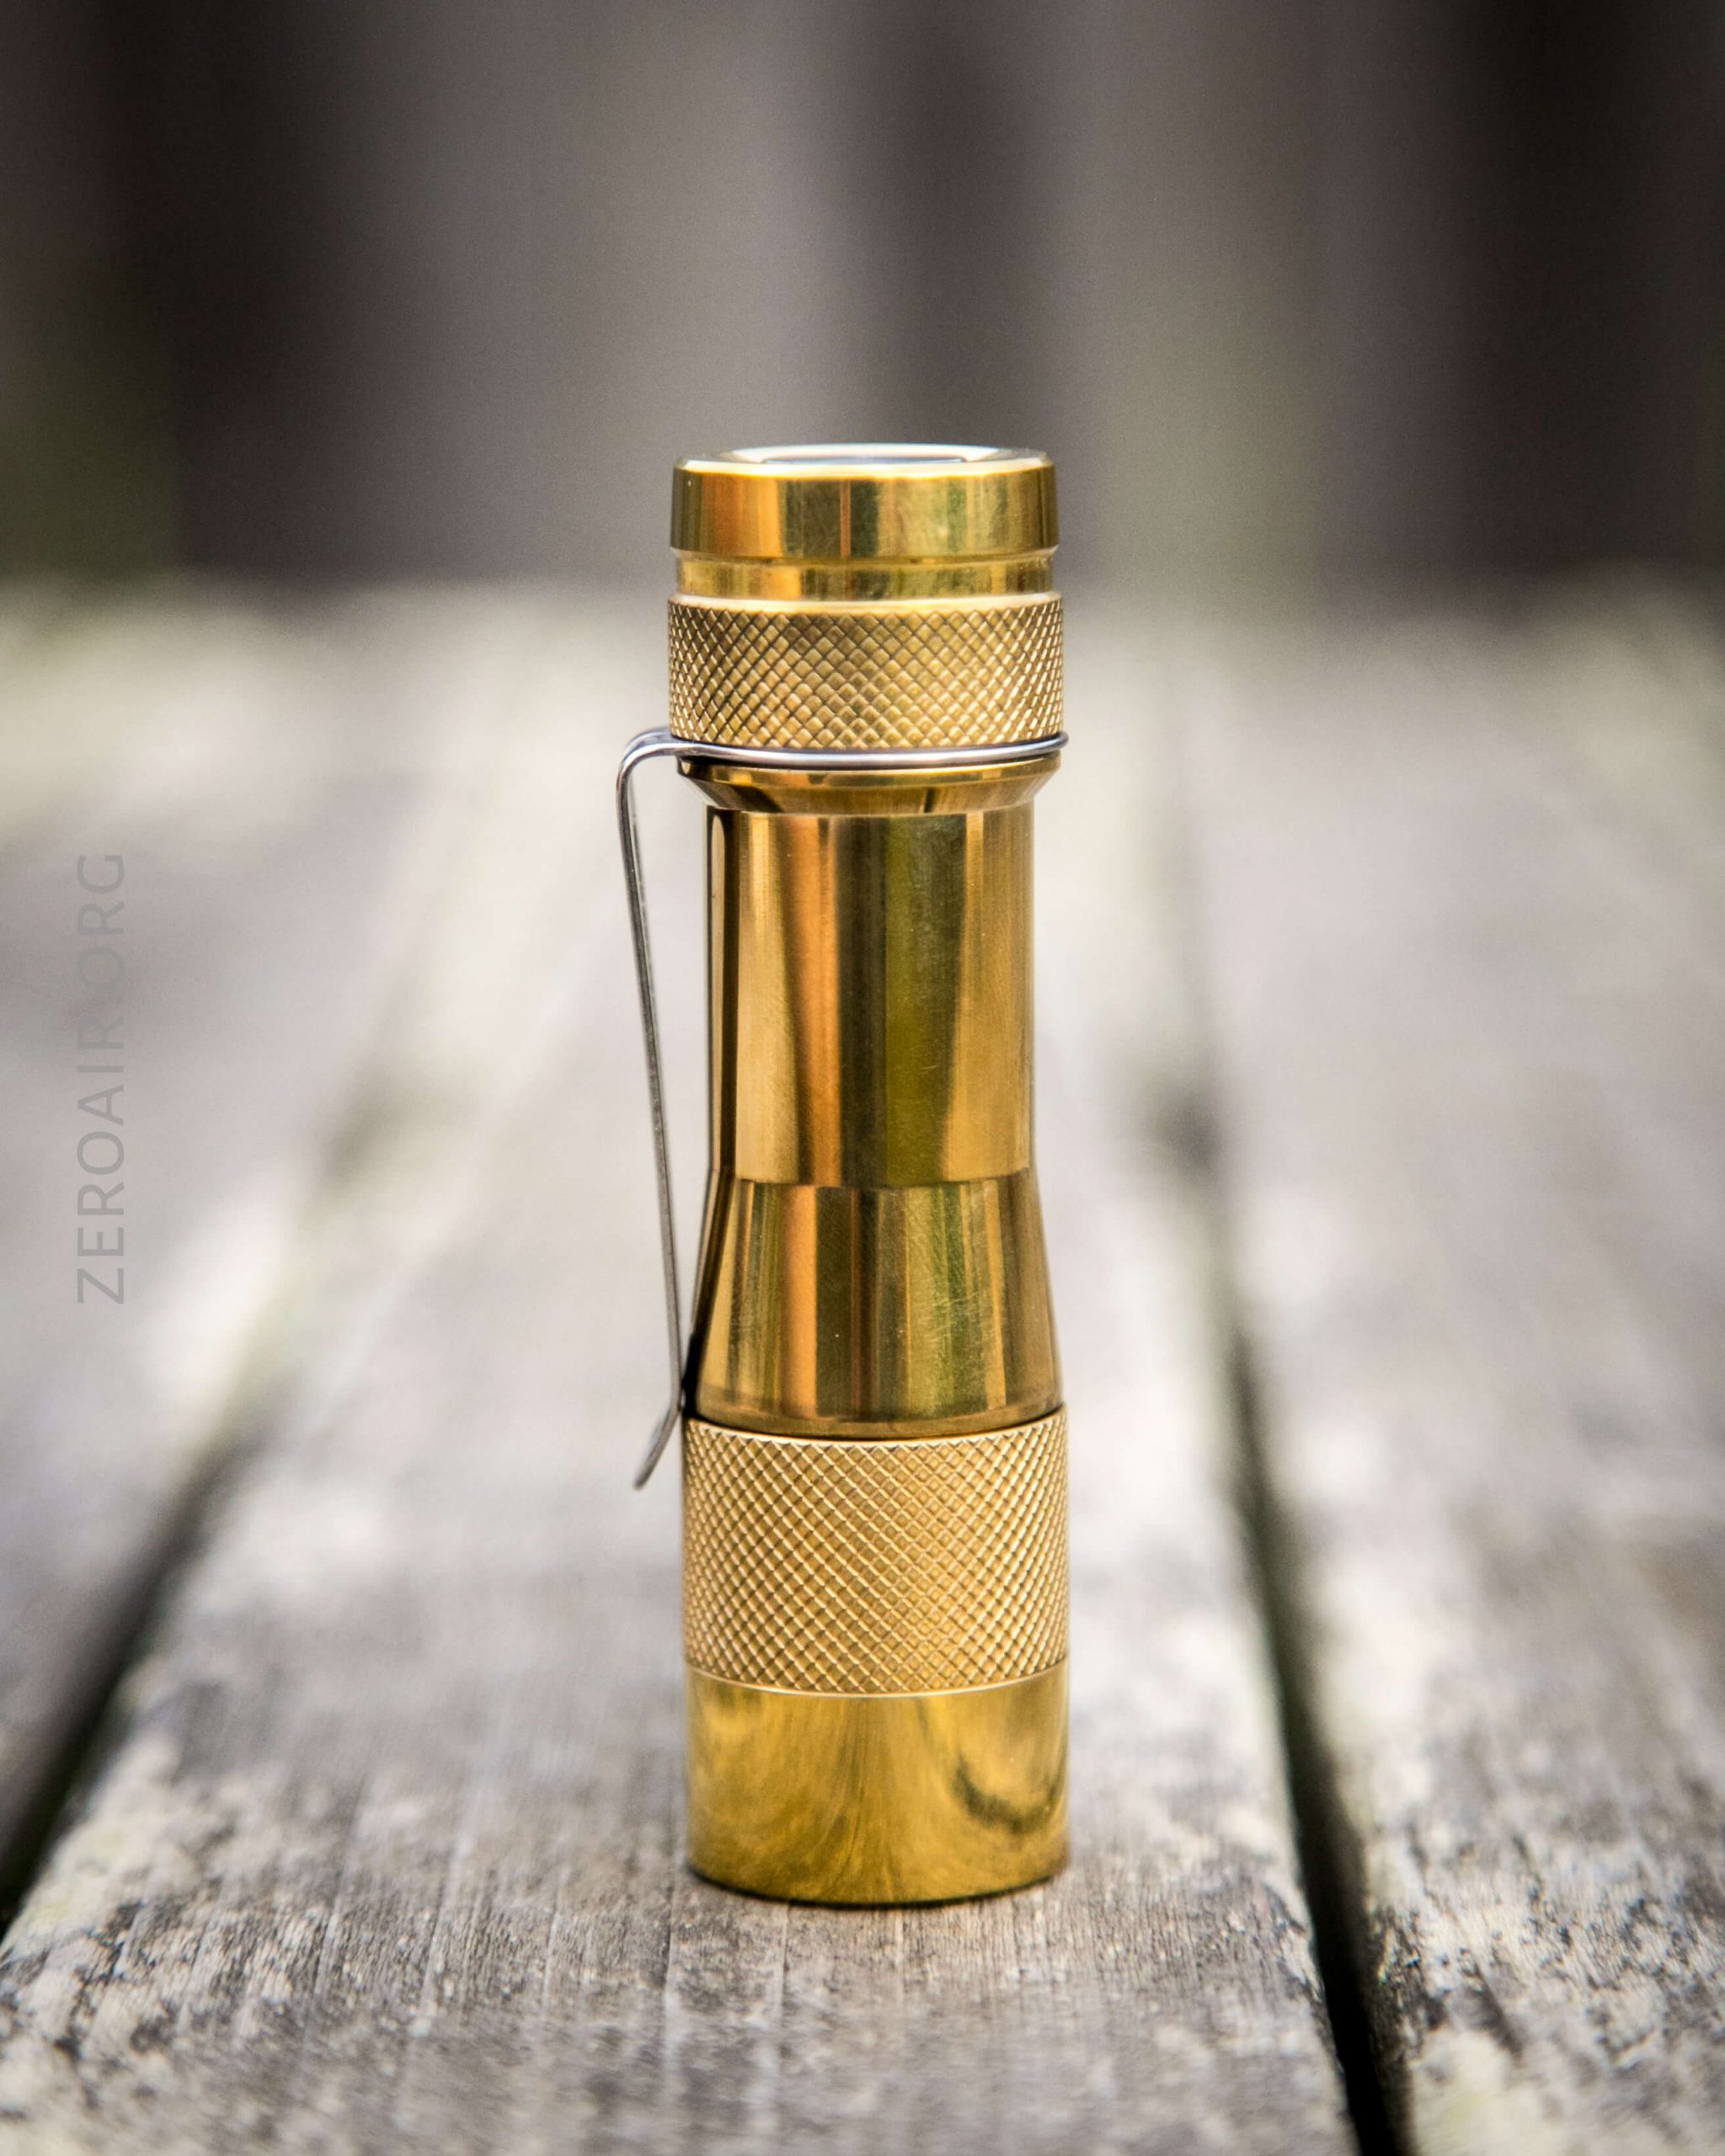
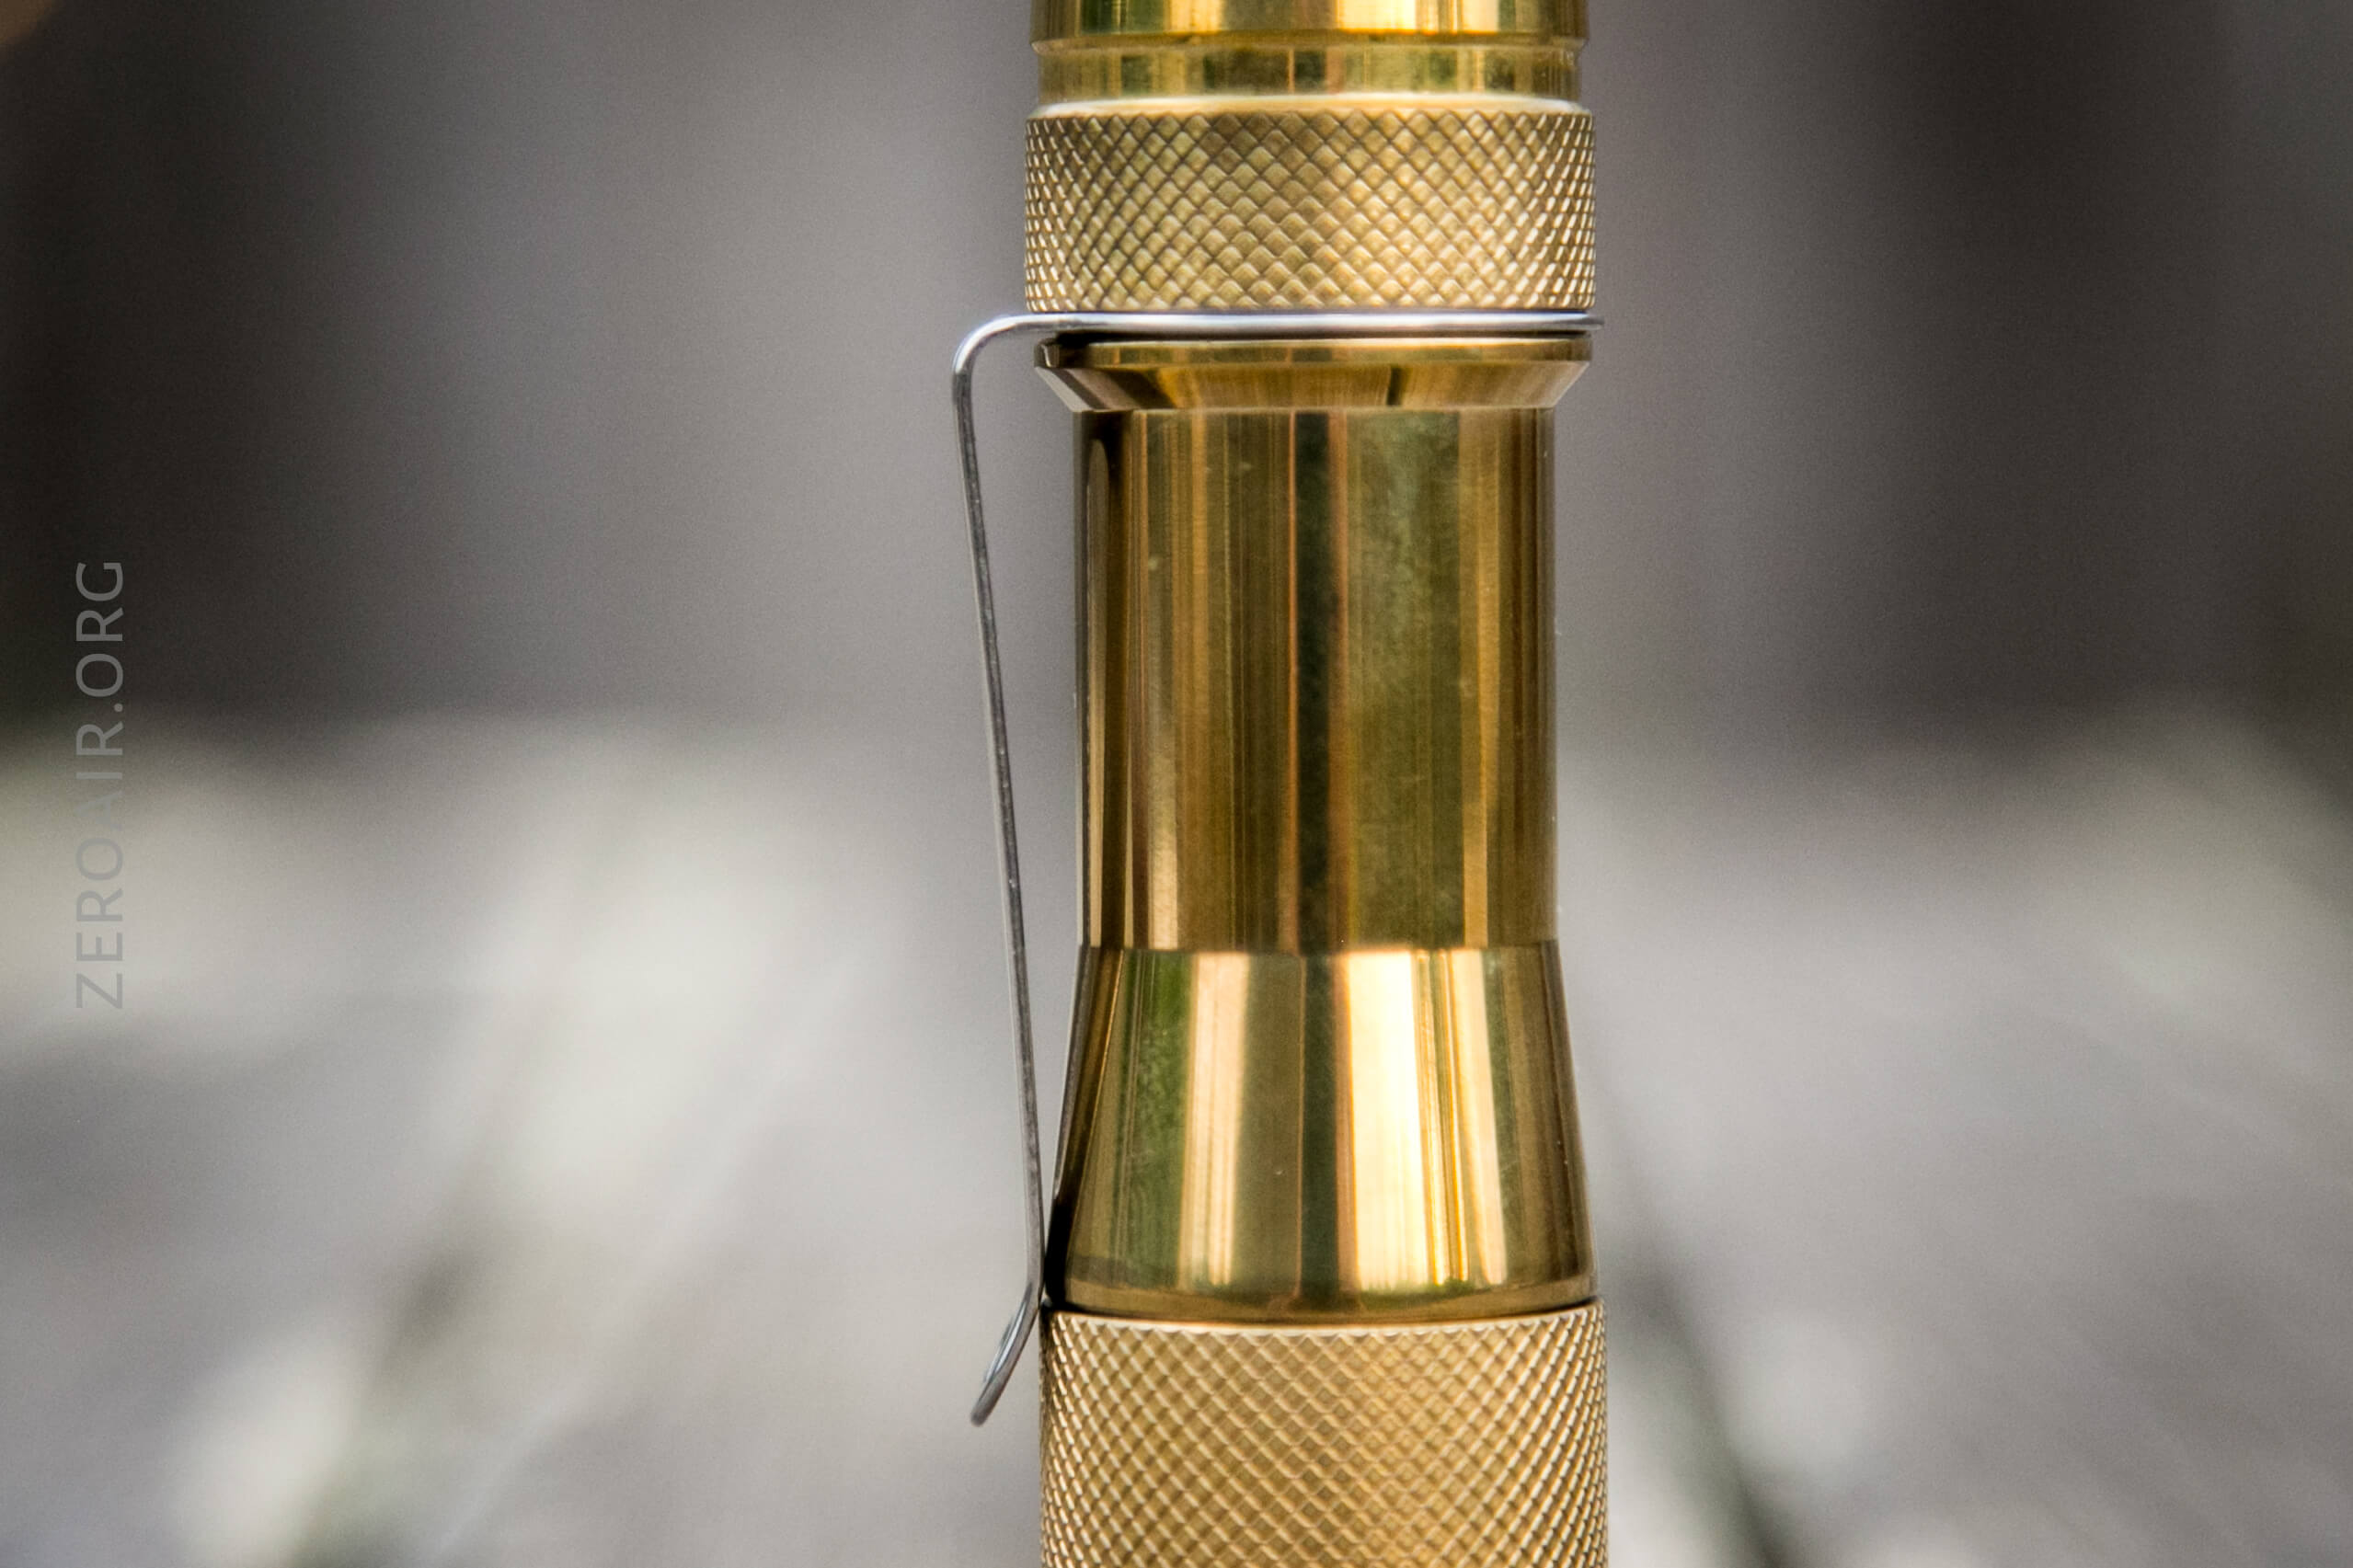
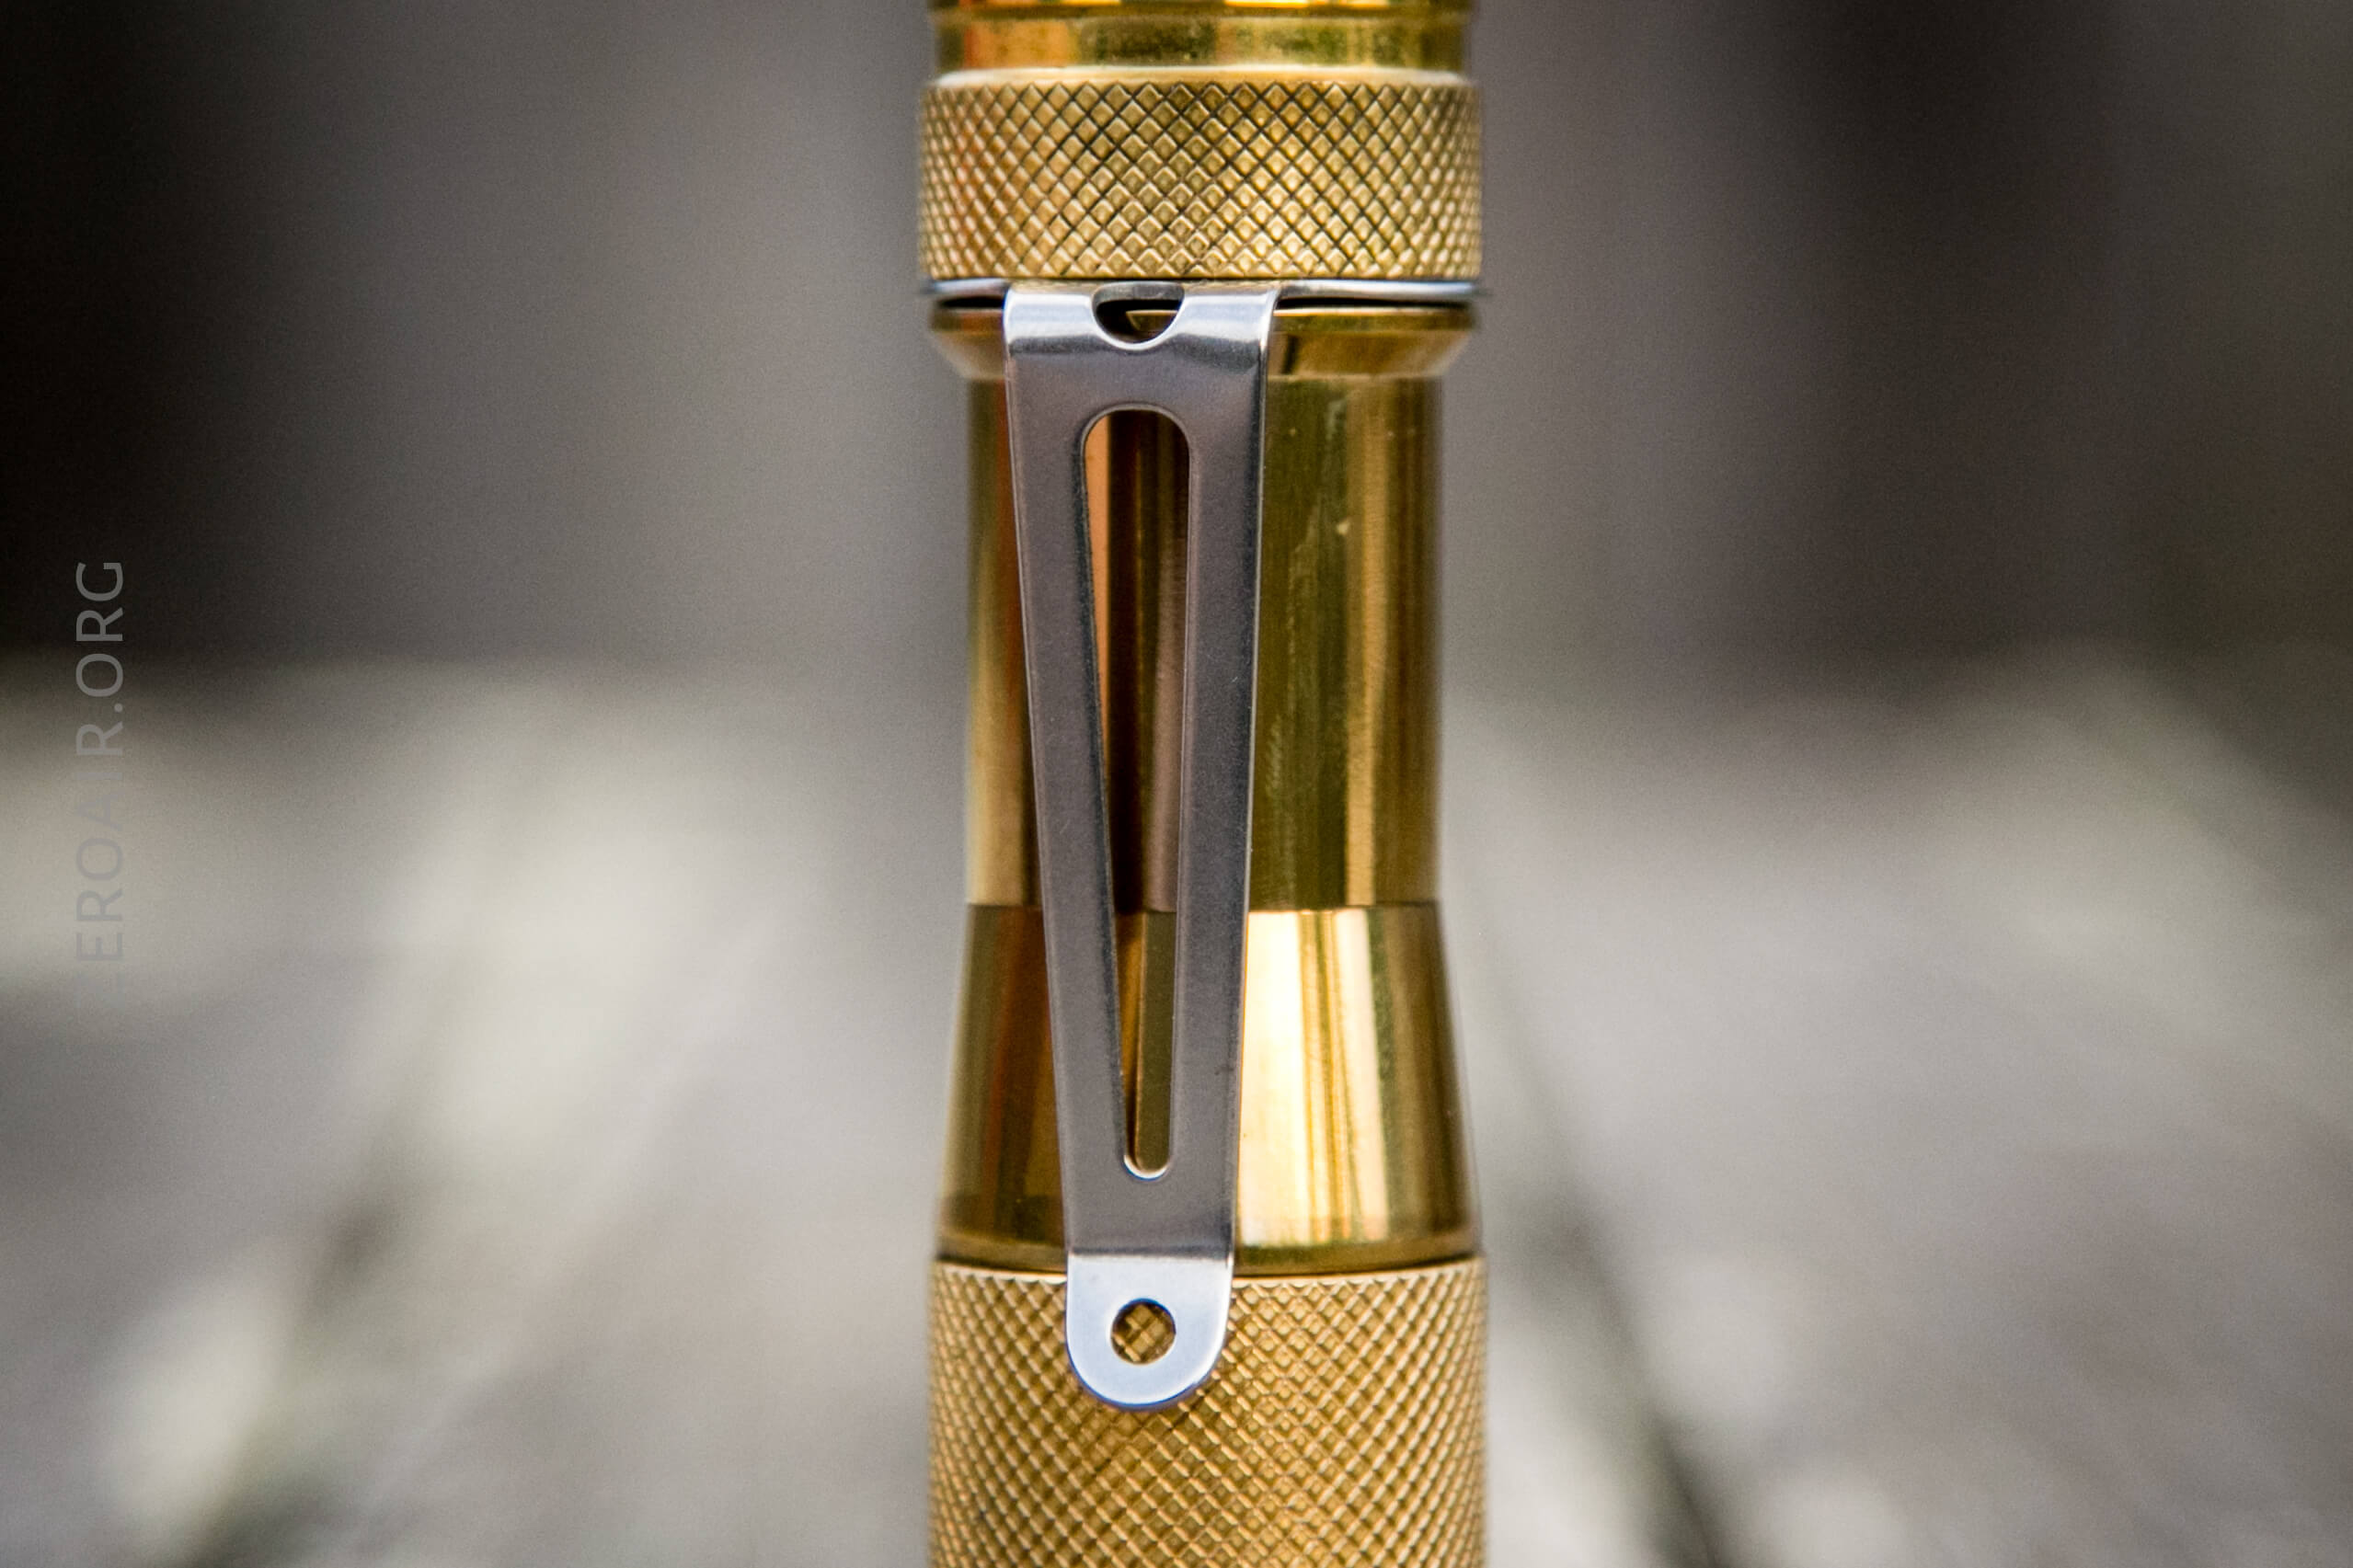
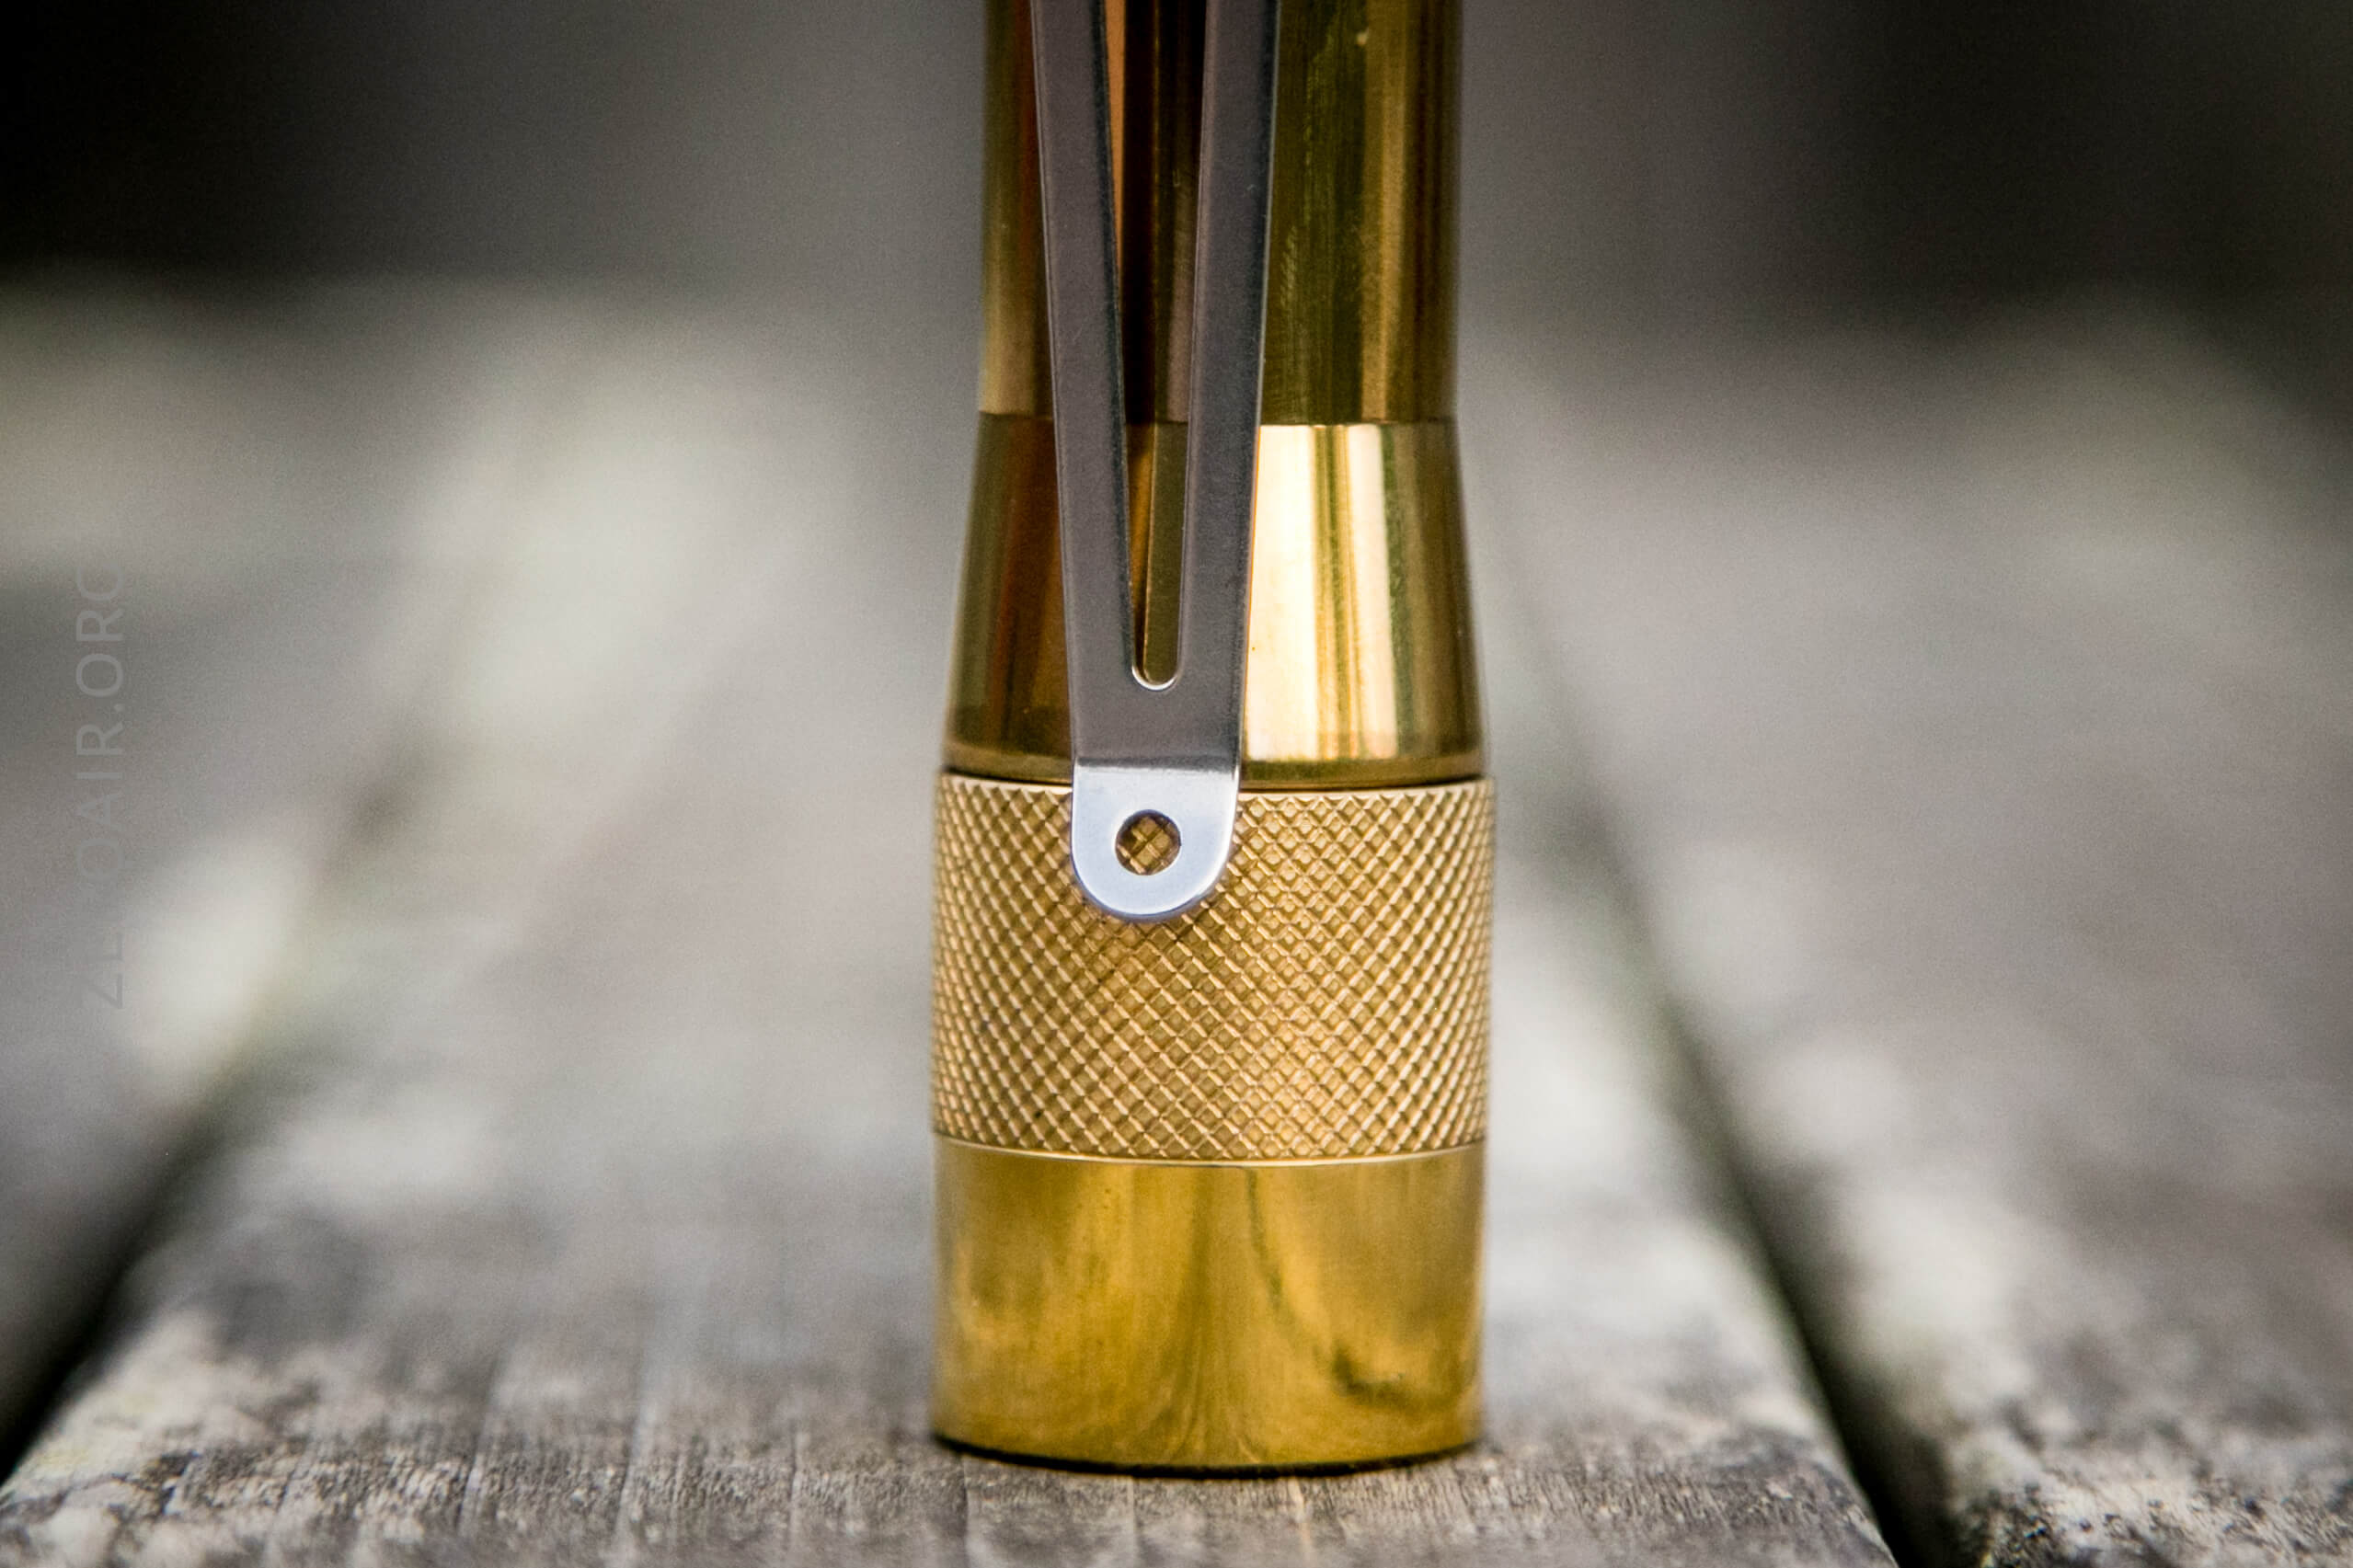
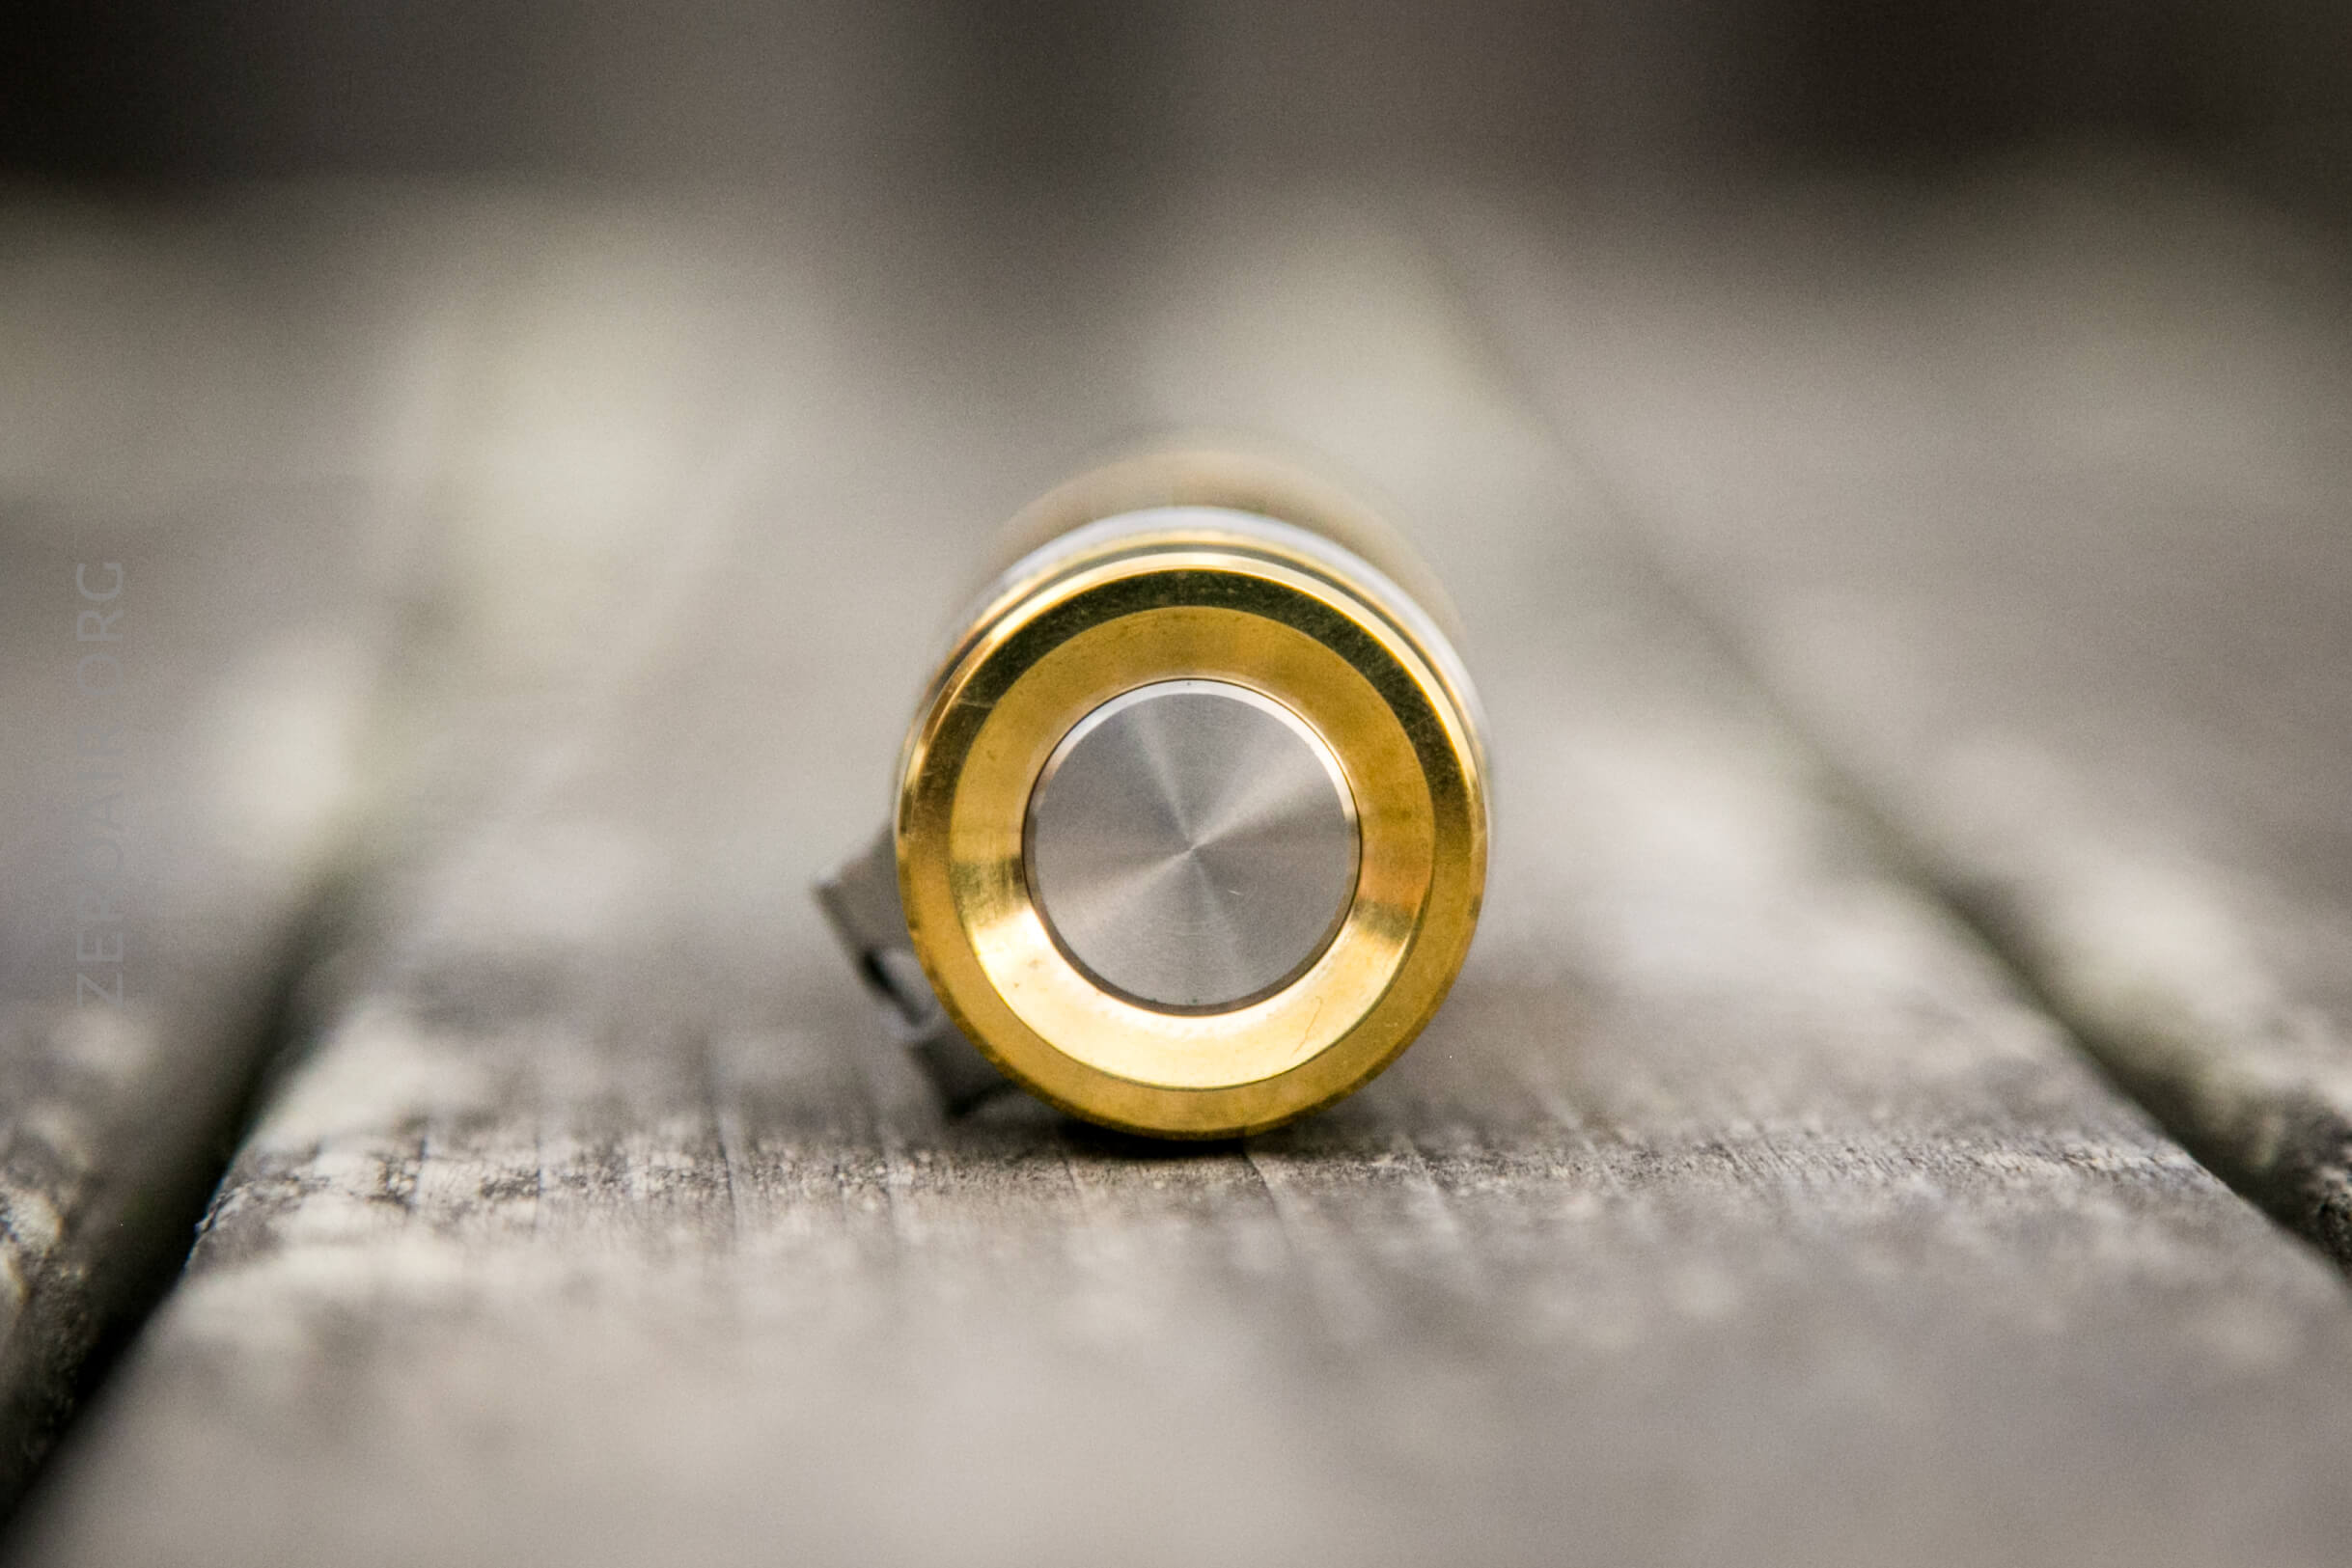
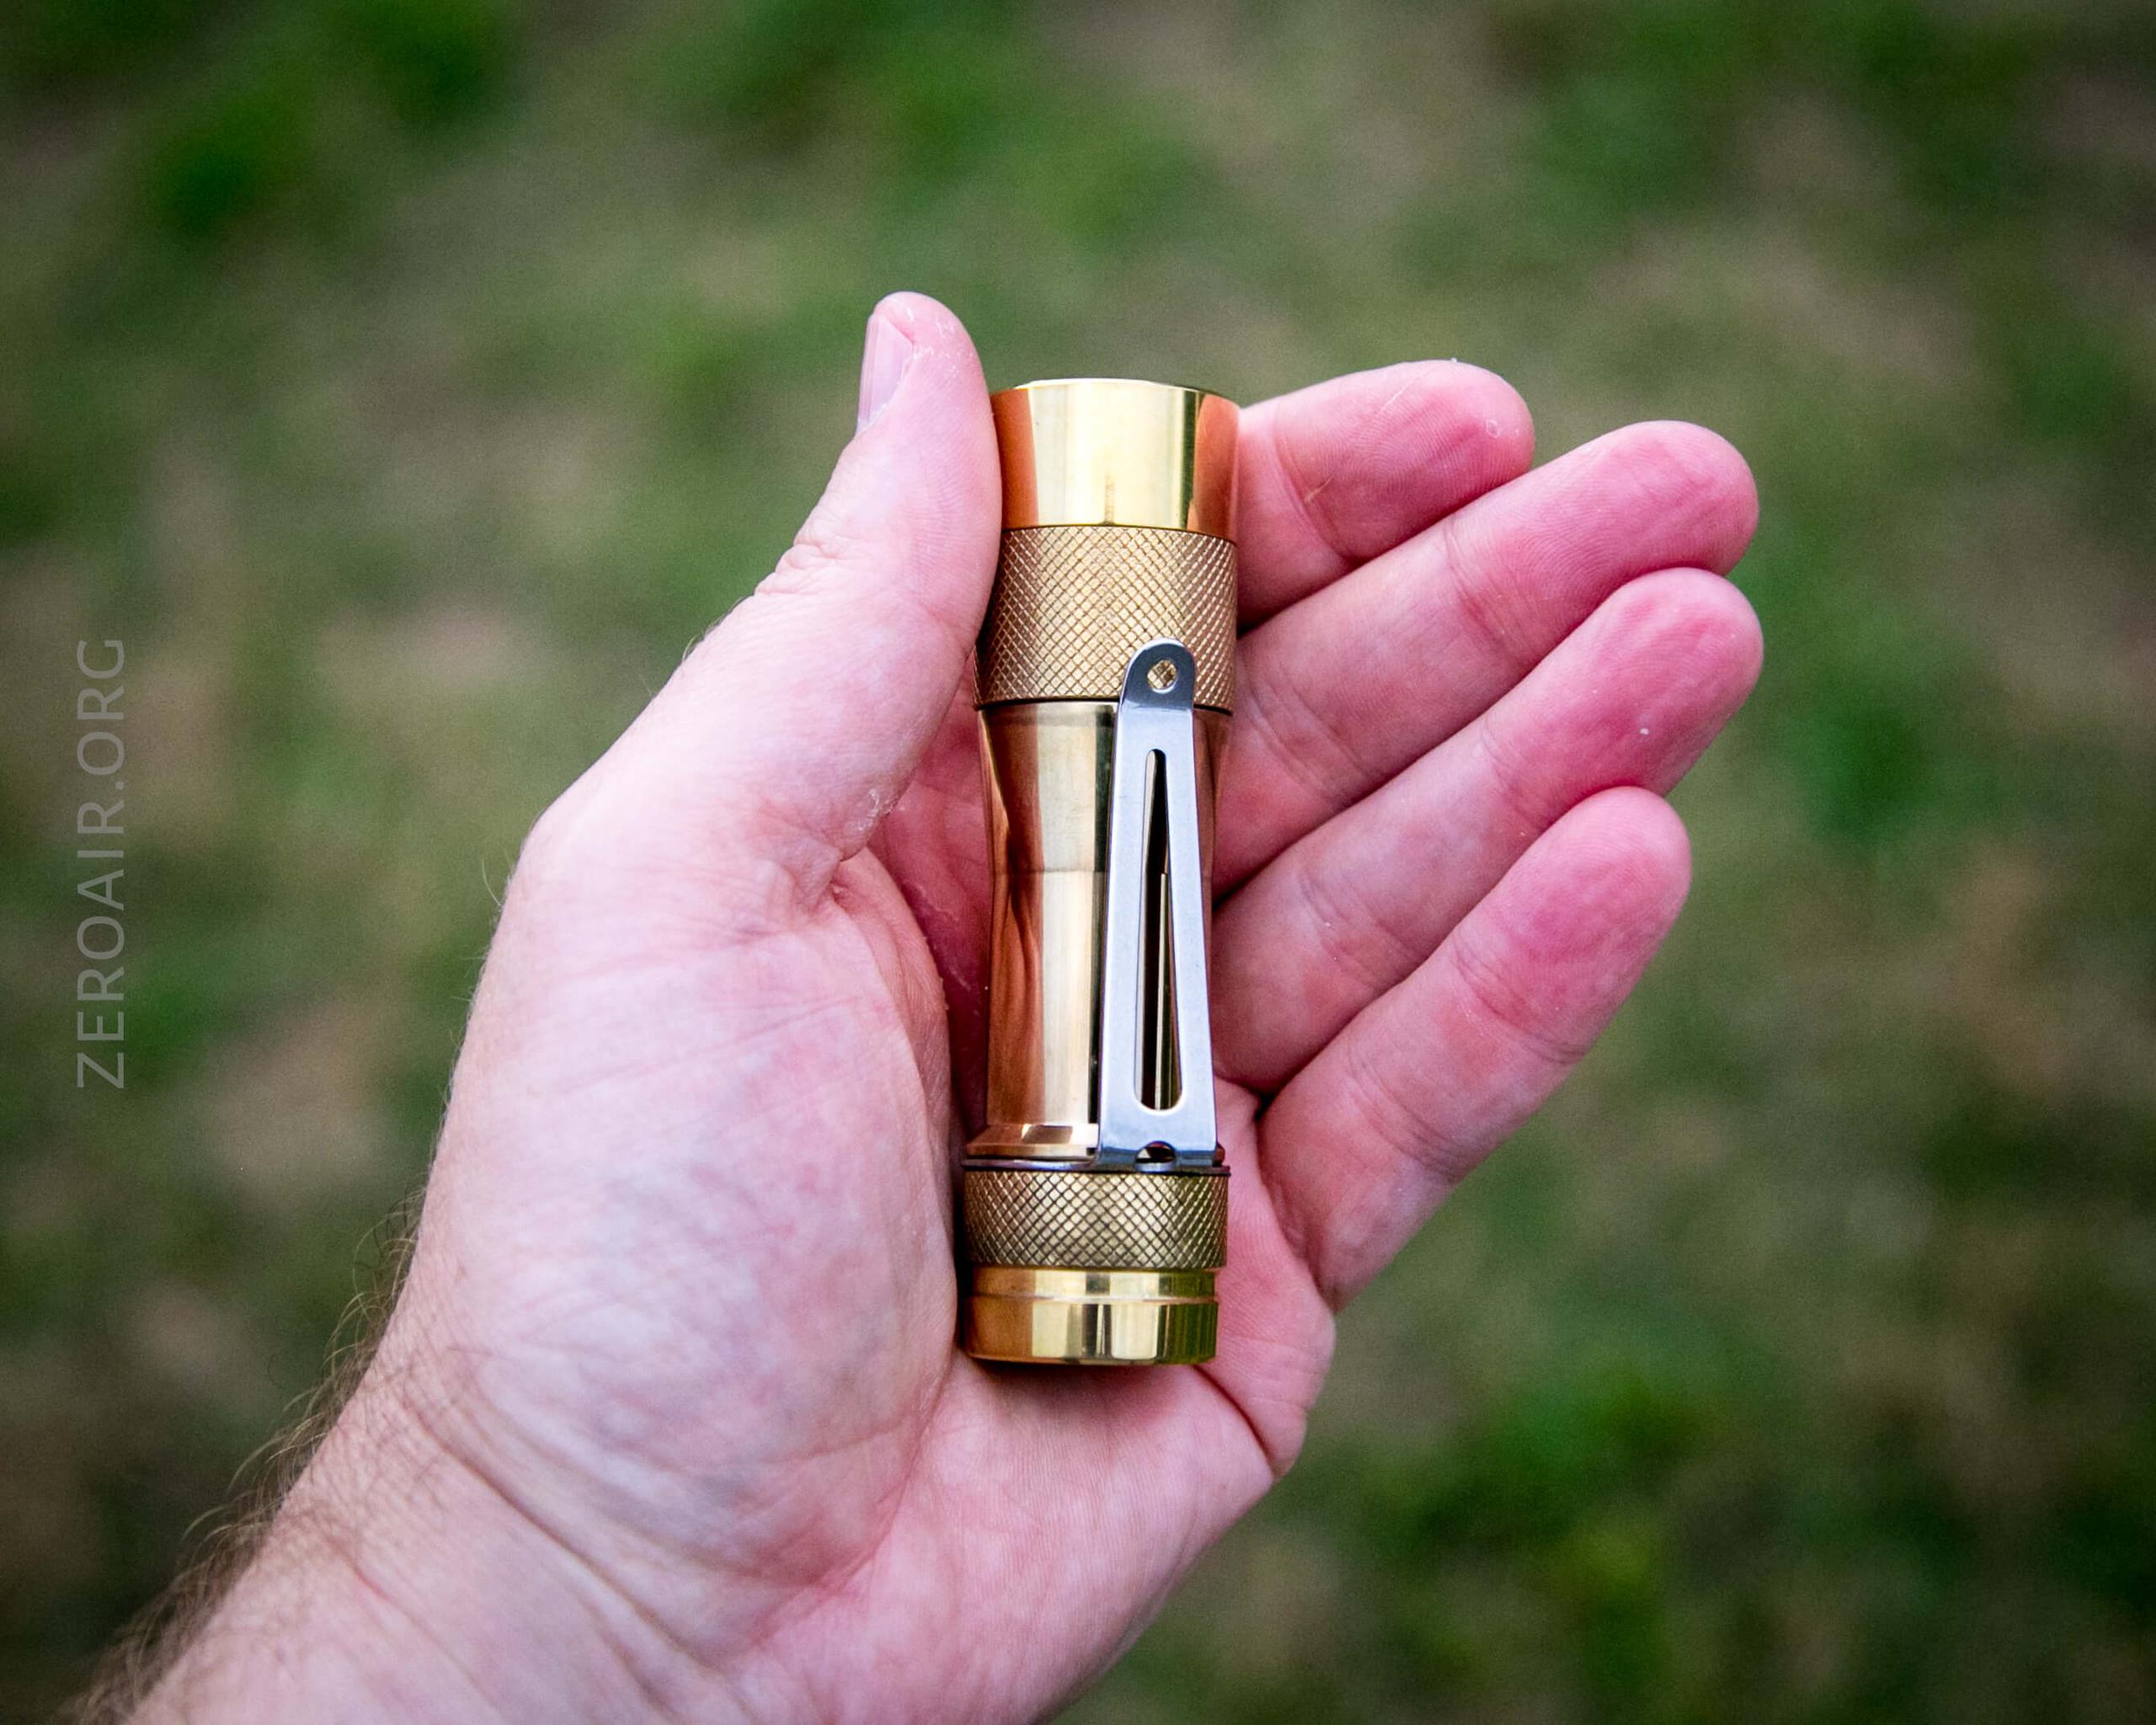
Retention and Carry
The only means for carrying this light is the attached pocket clip. It’s the most secure type since it’s a collar that connects under the tailcap.
The clip boasts a couple of features, too – the holes allow lanyard attachment. There are three holes for this. The clip is steel, of course, and not copper.
Power and Runtime
The FW lights work on a single 18650 cell. In the case of the tail e-switch variety (as this one is), you’ll need to use an unprotected flat top cell. I tested the light with a couple of cells (seen below).
The reason you need to use this type of cell is that little black sleeve that runs inside the cell tube. That makes the contact for the e-switch, which always needs access to power in order to work. So the rim of that sleeve must be in contact with the tailcap. This means the parts must be appropriately tightened, or the rim won’t make proper contact. And it’s just the tiniest fraction of an mm difference in working, not working, or working stupidly here.
So, flat-top unprotected cell, and tighten things down fully.
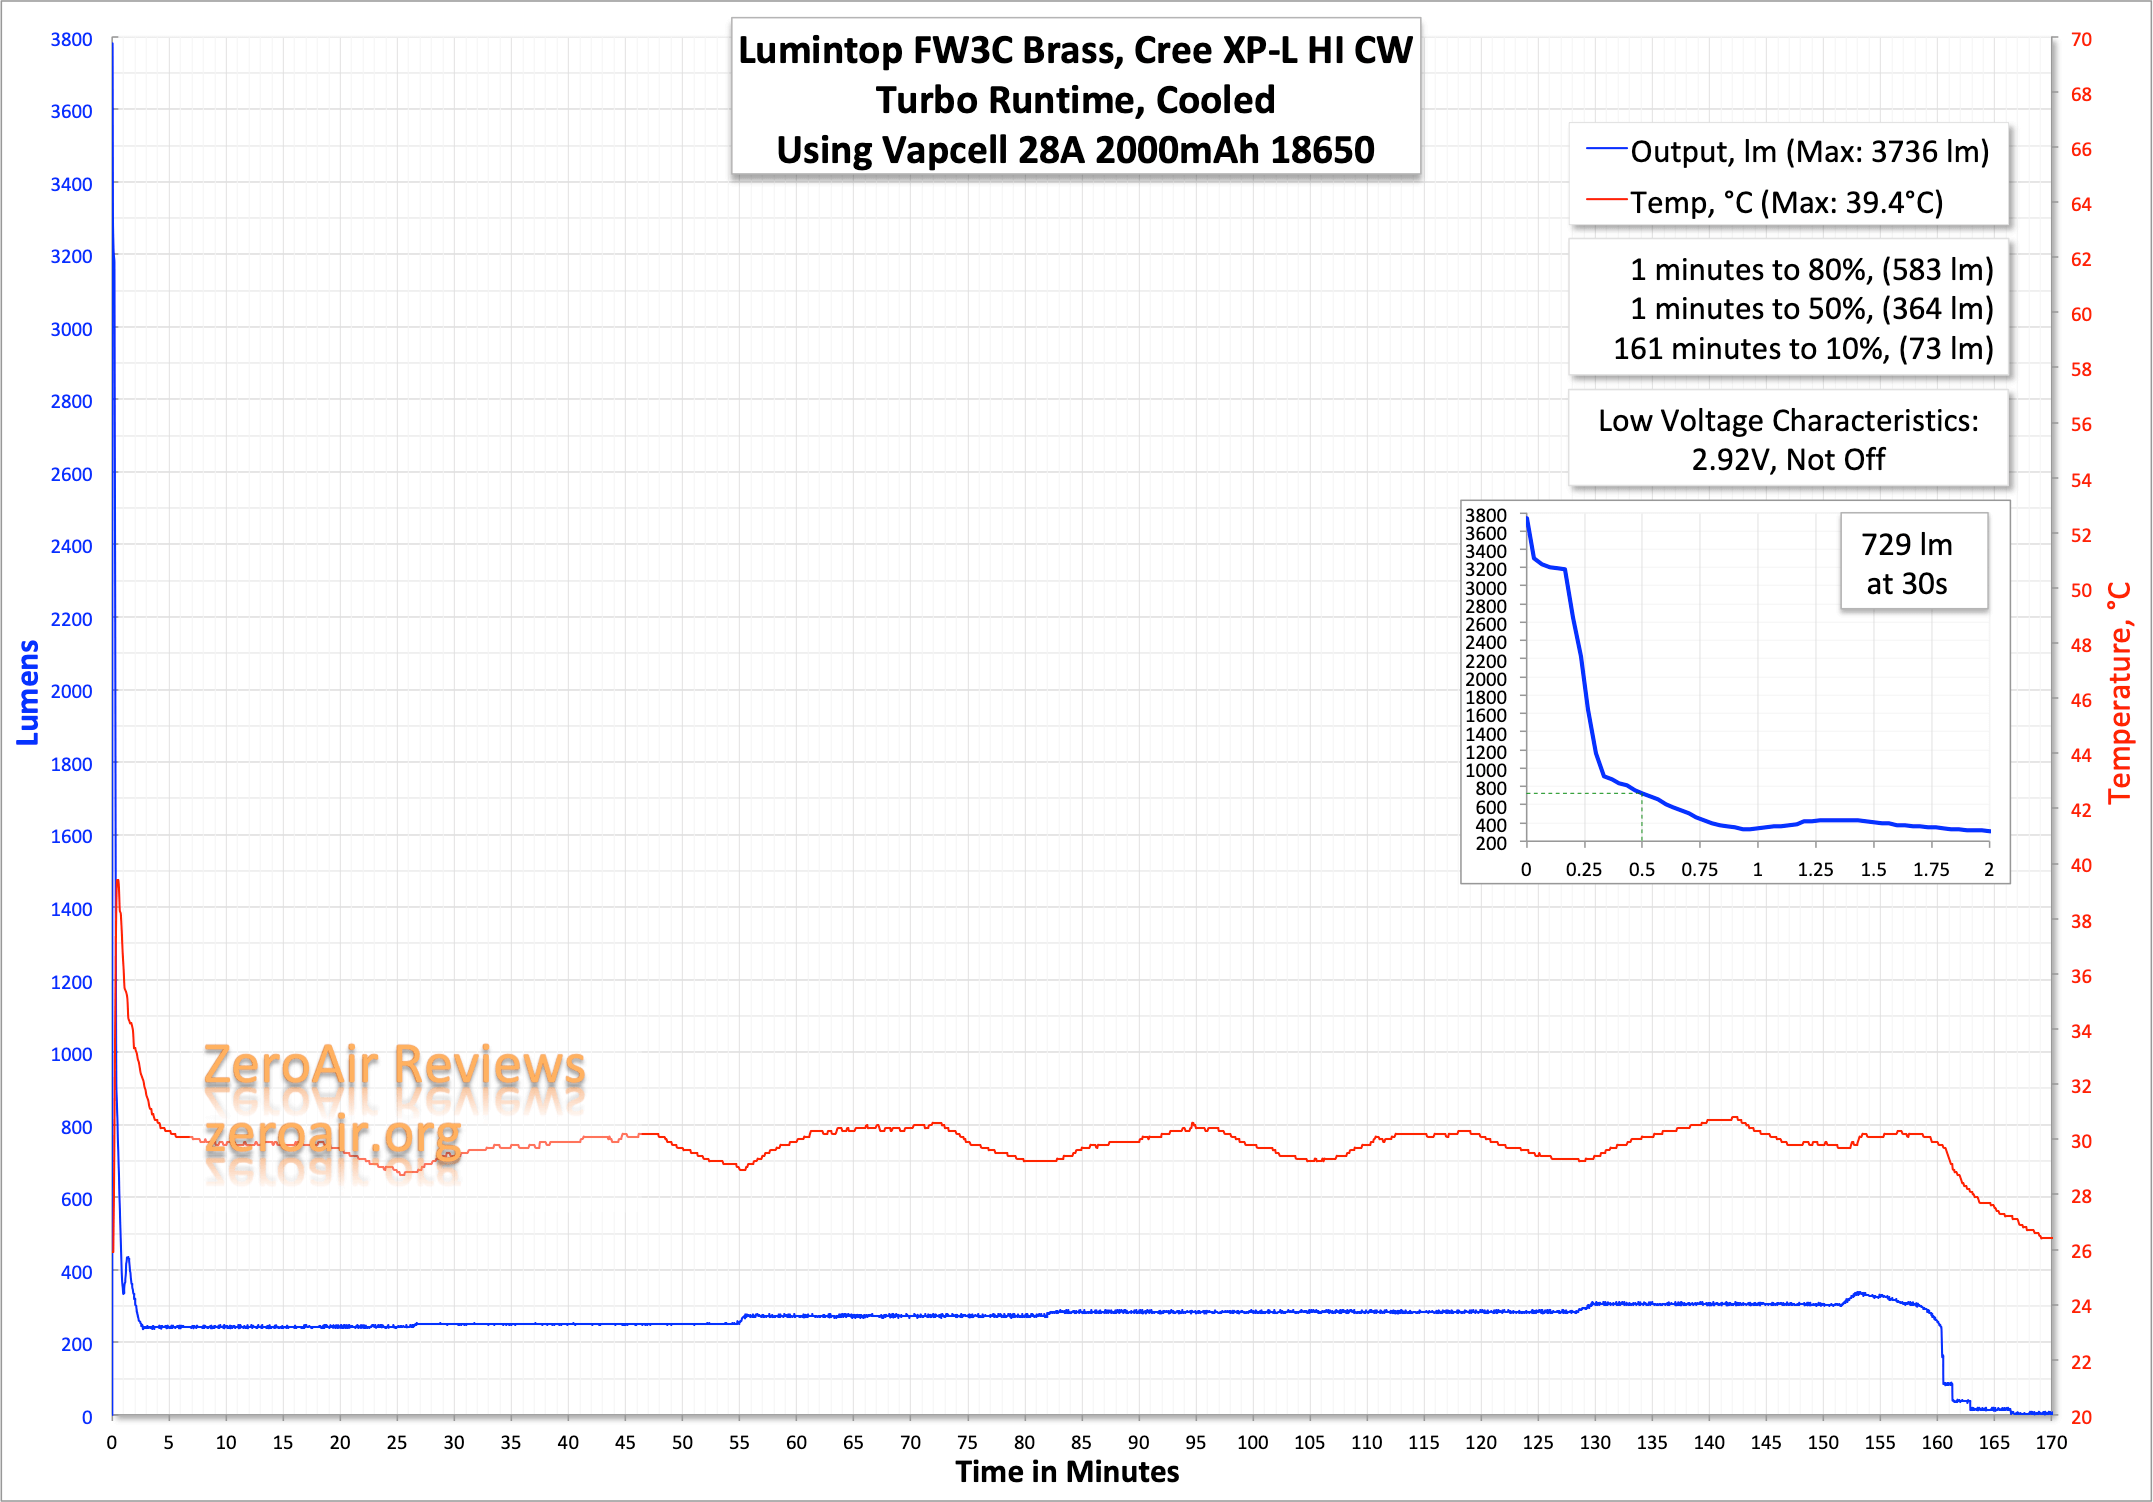
These runtimes are deceiving because the light steps down so hard almost immediately. Even the measured 30-second output. The light does get hot – very hot – but it could live like that for at least a bit longer! But it is what it is….
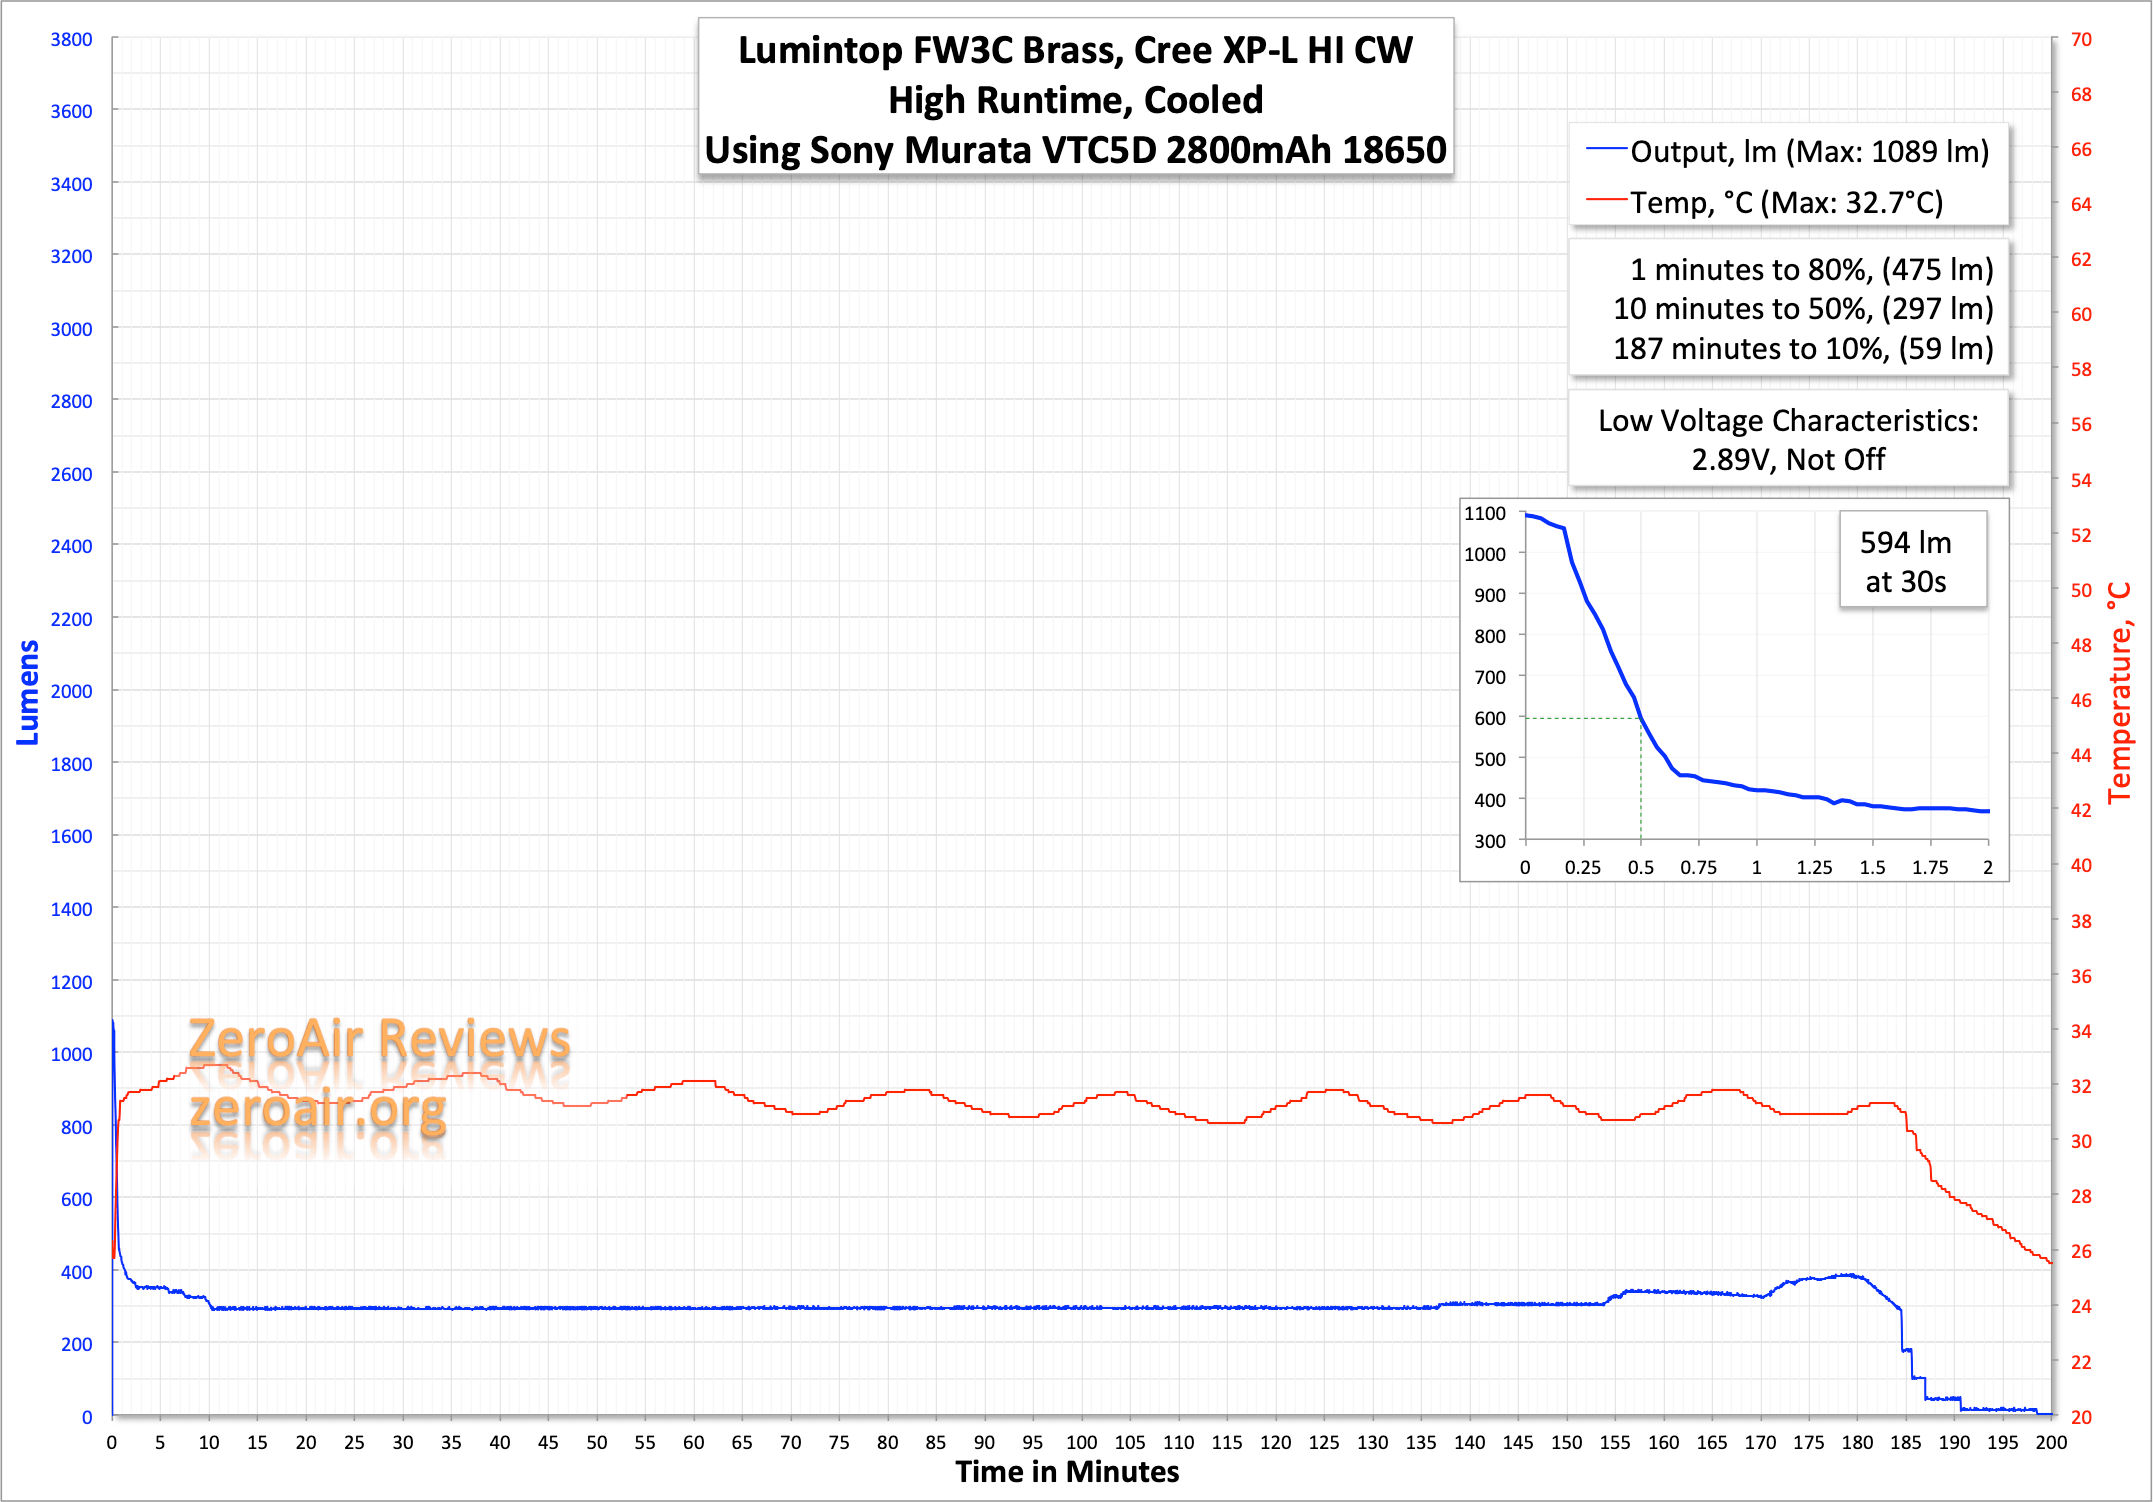
The light does step down to an extremely low output when the voltage is low. Seems to protect cells properly.
Pulse Width Modulation
Again, we know Anduril utilizes PWM. Note the timescale, though – the PWM is very fast, so not noticeable at all (for me anyway, and likely for you too). These PWM shots are reused from the FW3A review.

Here you can see a “baseline” – a chart with almost no light hitting the sensor.
Then there’s the Ultrafire WF-602C flashlight, which has some of the worst PWM I’ve seen. It’s so bad that I used a post about it to explain PWM! Here are multiple timescales (10ms, 5ms, 2ms, 1ms, 0.5ms, 0.2ms) to make comparing this “worst” PWM light to the test light easier. That post also explains why I didn’t test the WF-602C at the usual 50us scale.
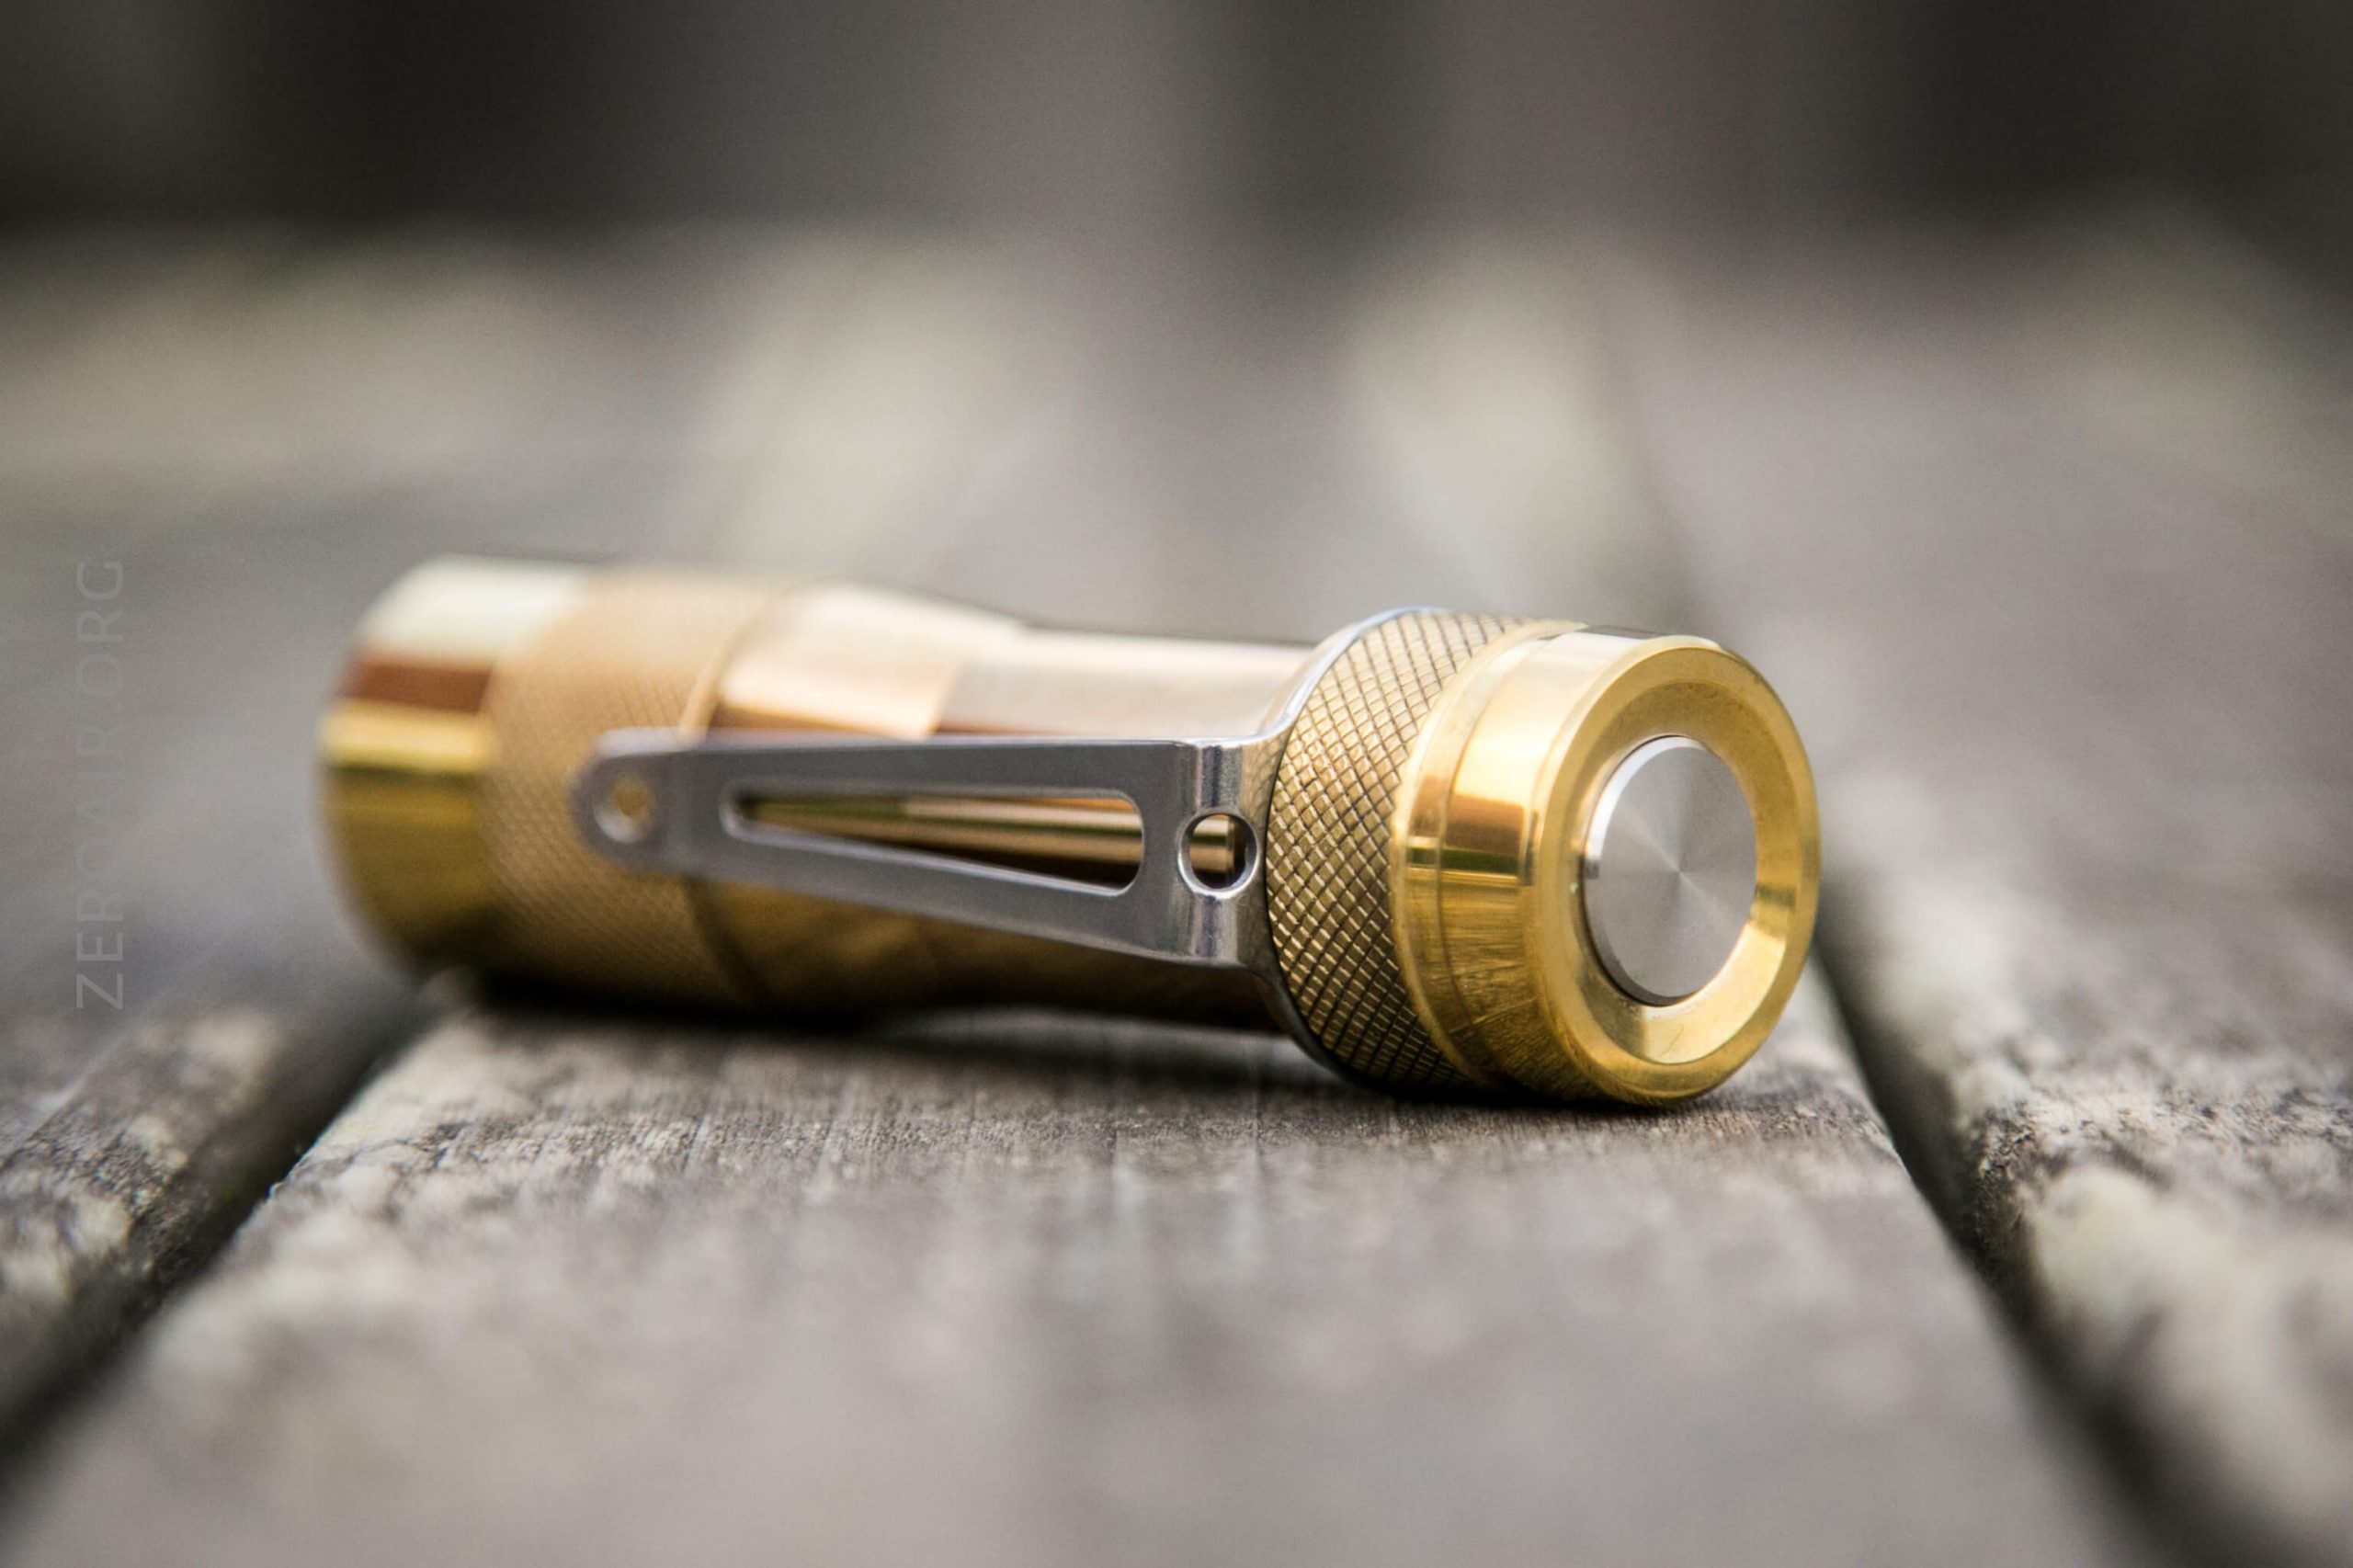
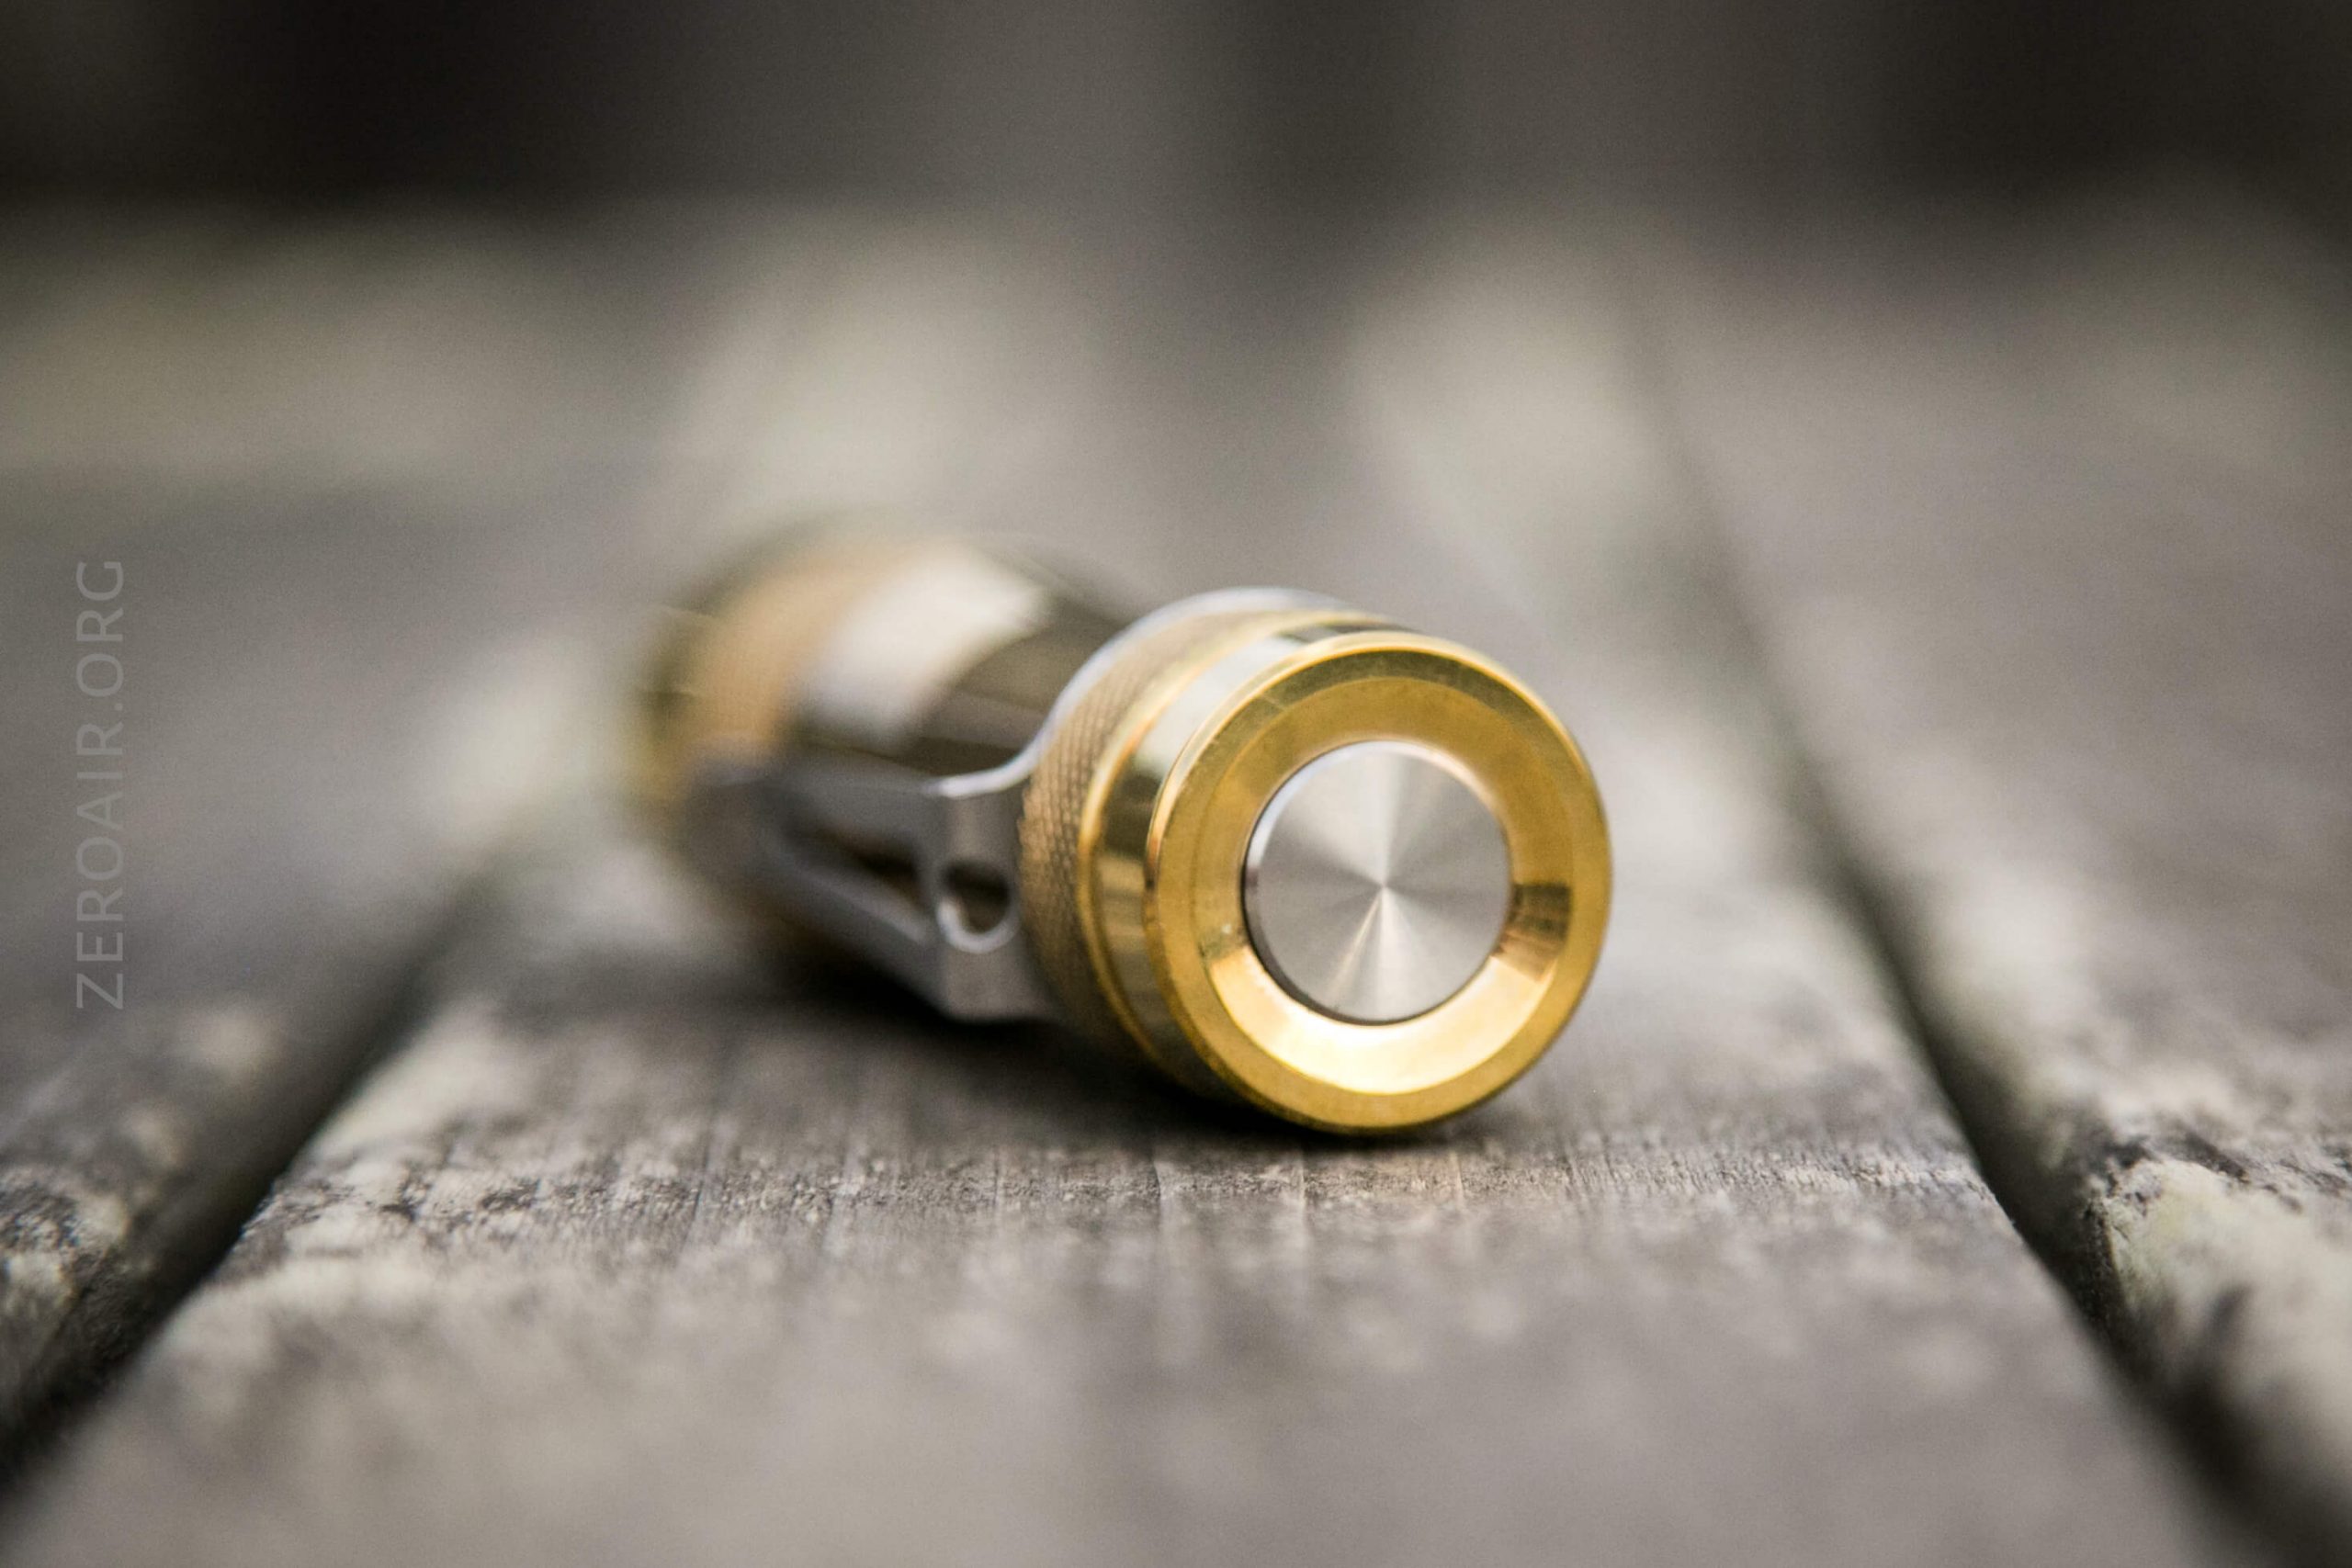
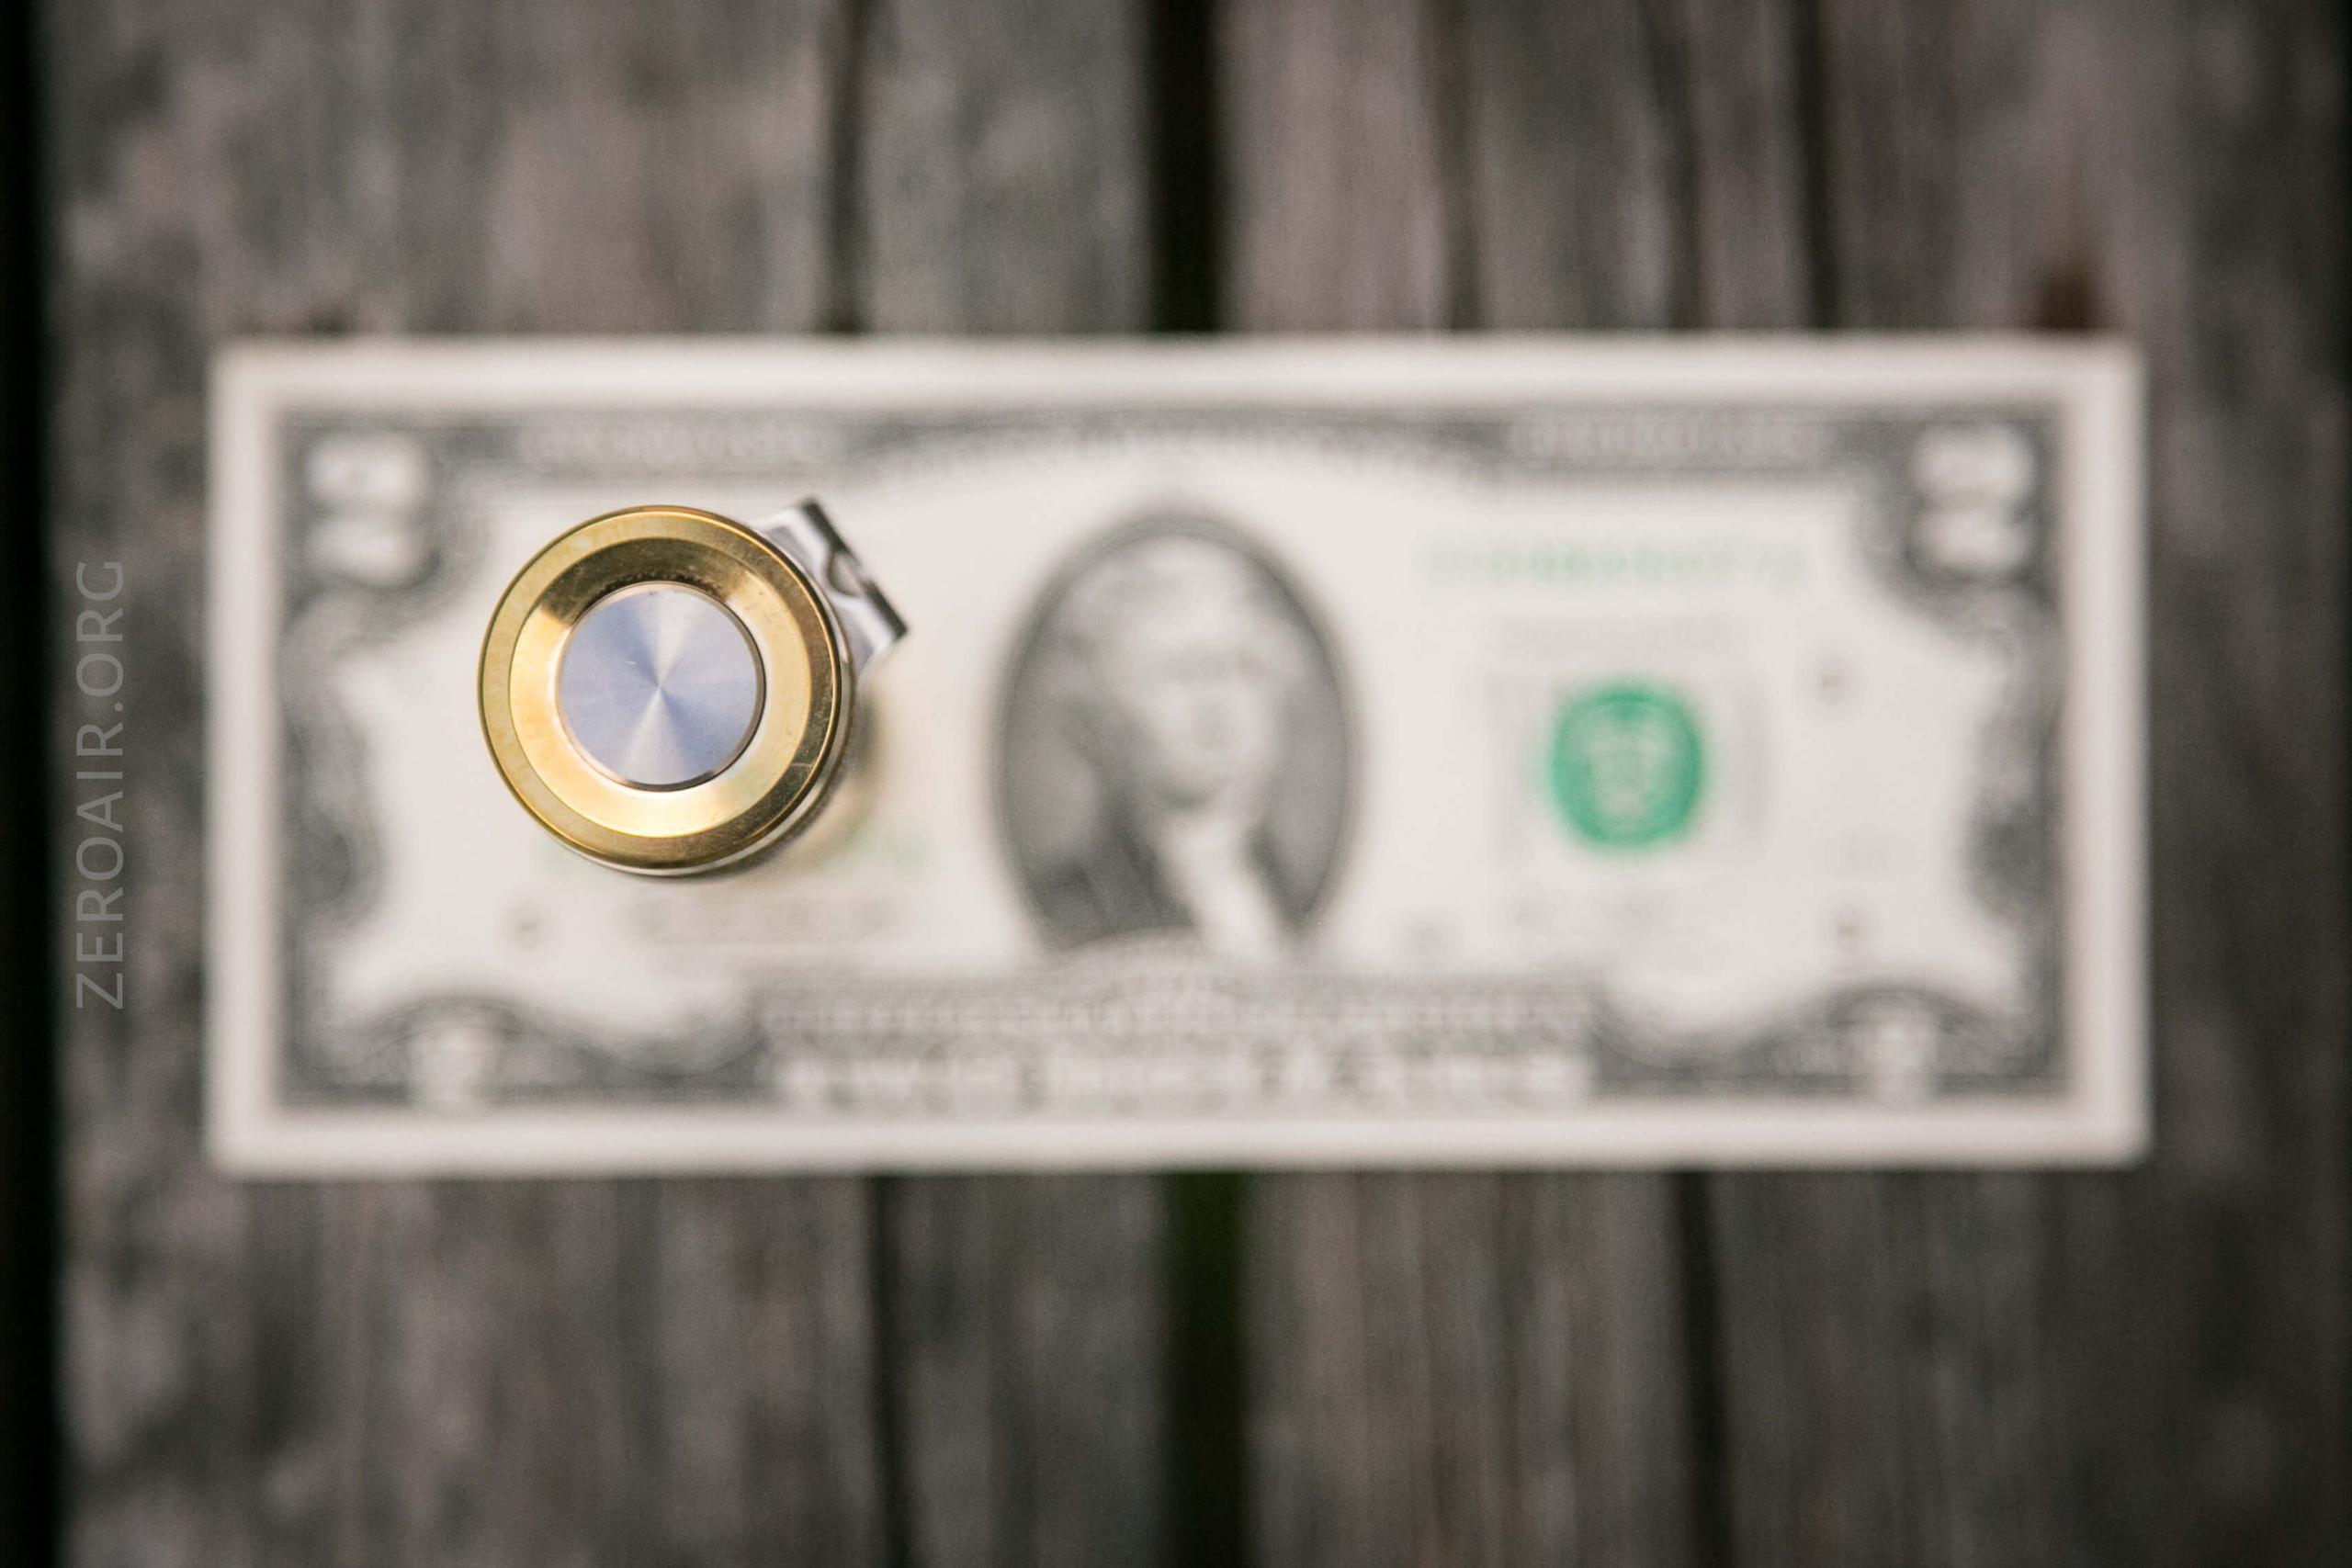
User Interface and Operation
The user interface on this light is just like the other FW I’ve reviewed, so there’s no point rewording it.
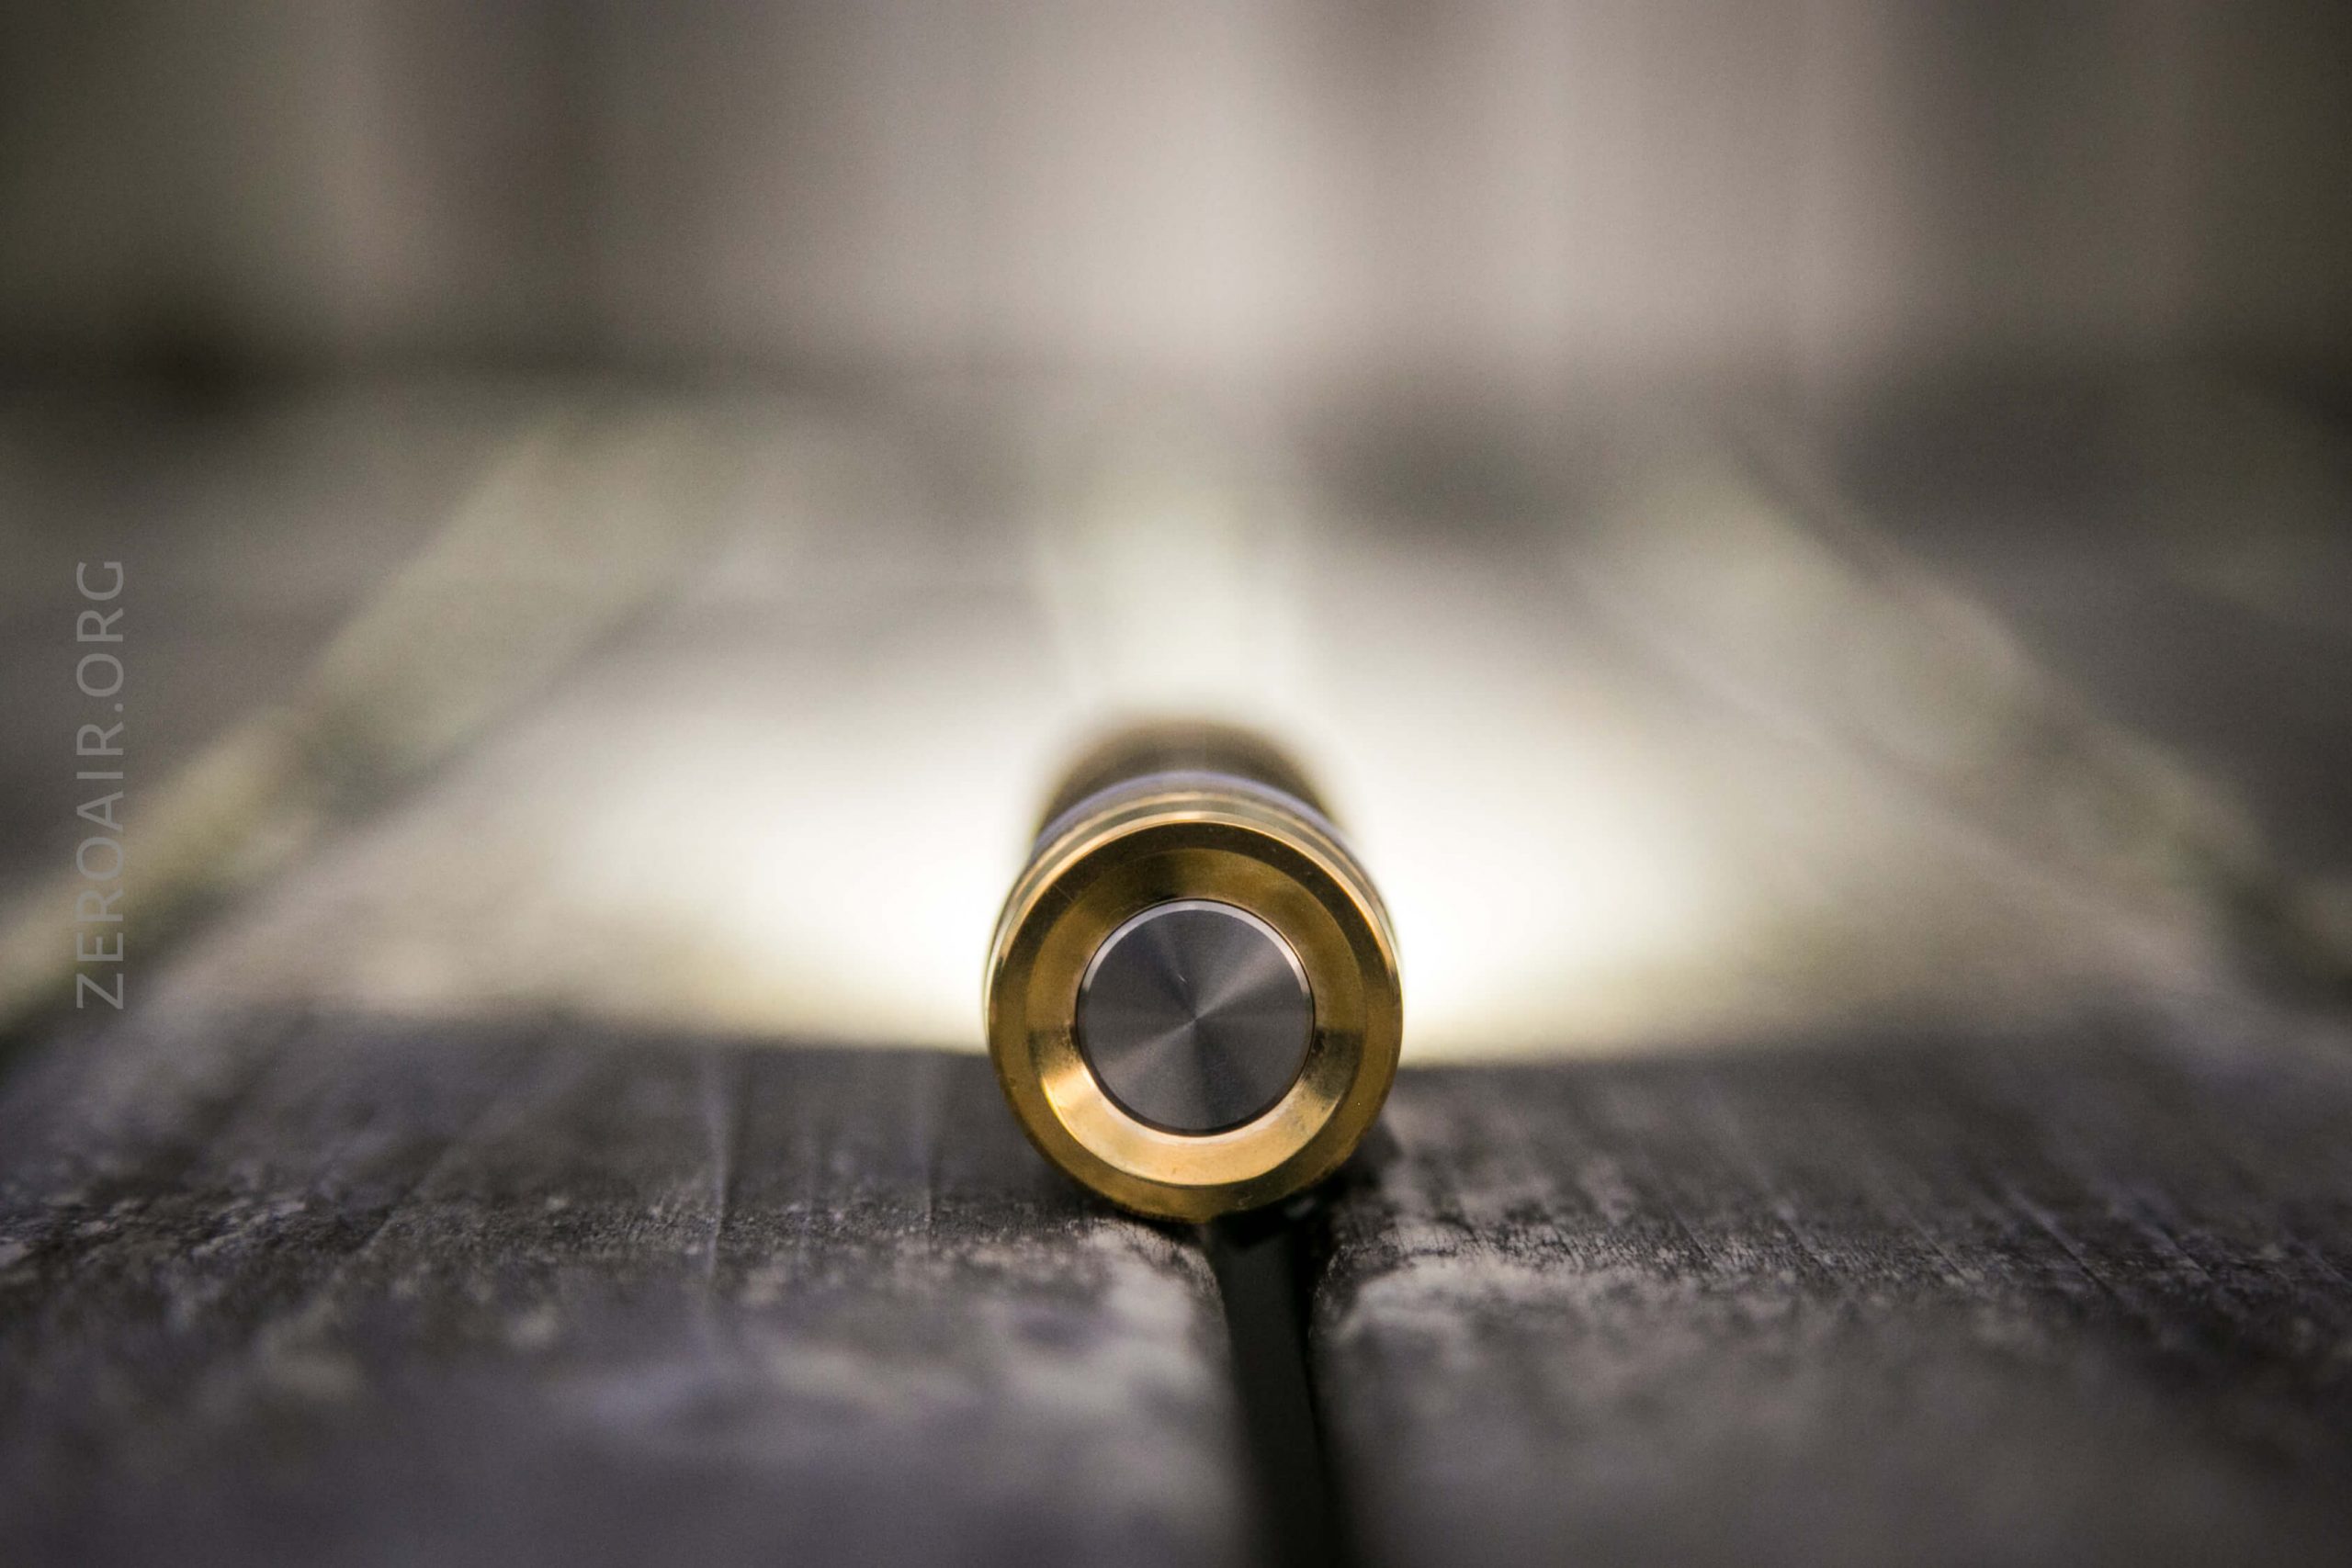
The interface for this light is a tail clicky, but unusually, it’s an e-switch. That’s a bit of a coup, and something not many manufacturers are doing (in tail-switch form). Lumintop actually has the Tool AAA, which has a tail e-switch option. And at least one more option I can’t think of right now.
The button itself is metal (with that rubber cover under it), and has a very minimal amount of travel (1mm or less). Despite being a very big switch, it’s possible to actuate from anywhere on the surface – even the tiniest fingernail on the very edge will still work.
I’m dropping in ToyKeeper’s newest user interface diagram, which includes some features my light does not have. The firmware reset, for example, and also the secondary emitter options – but the graphic itself as a whole is much better.
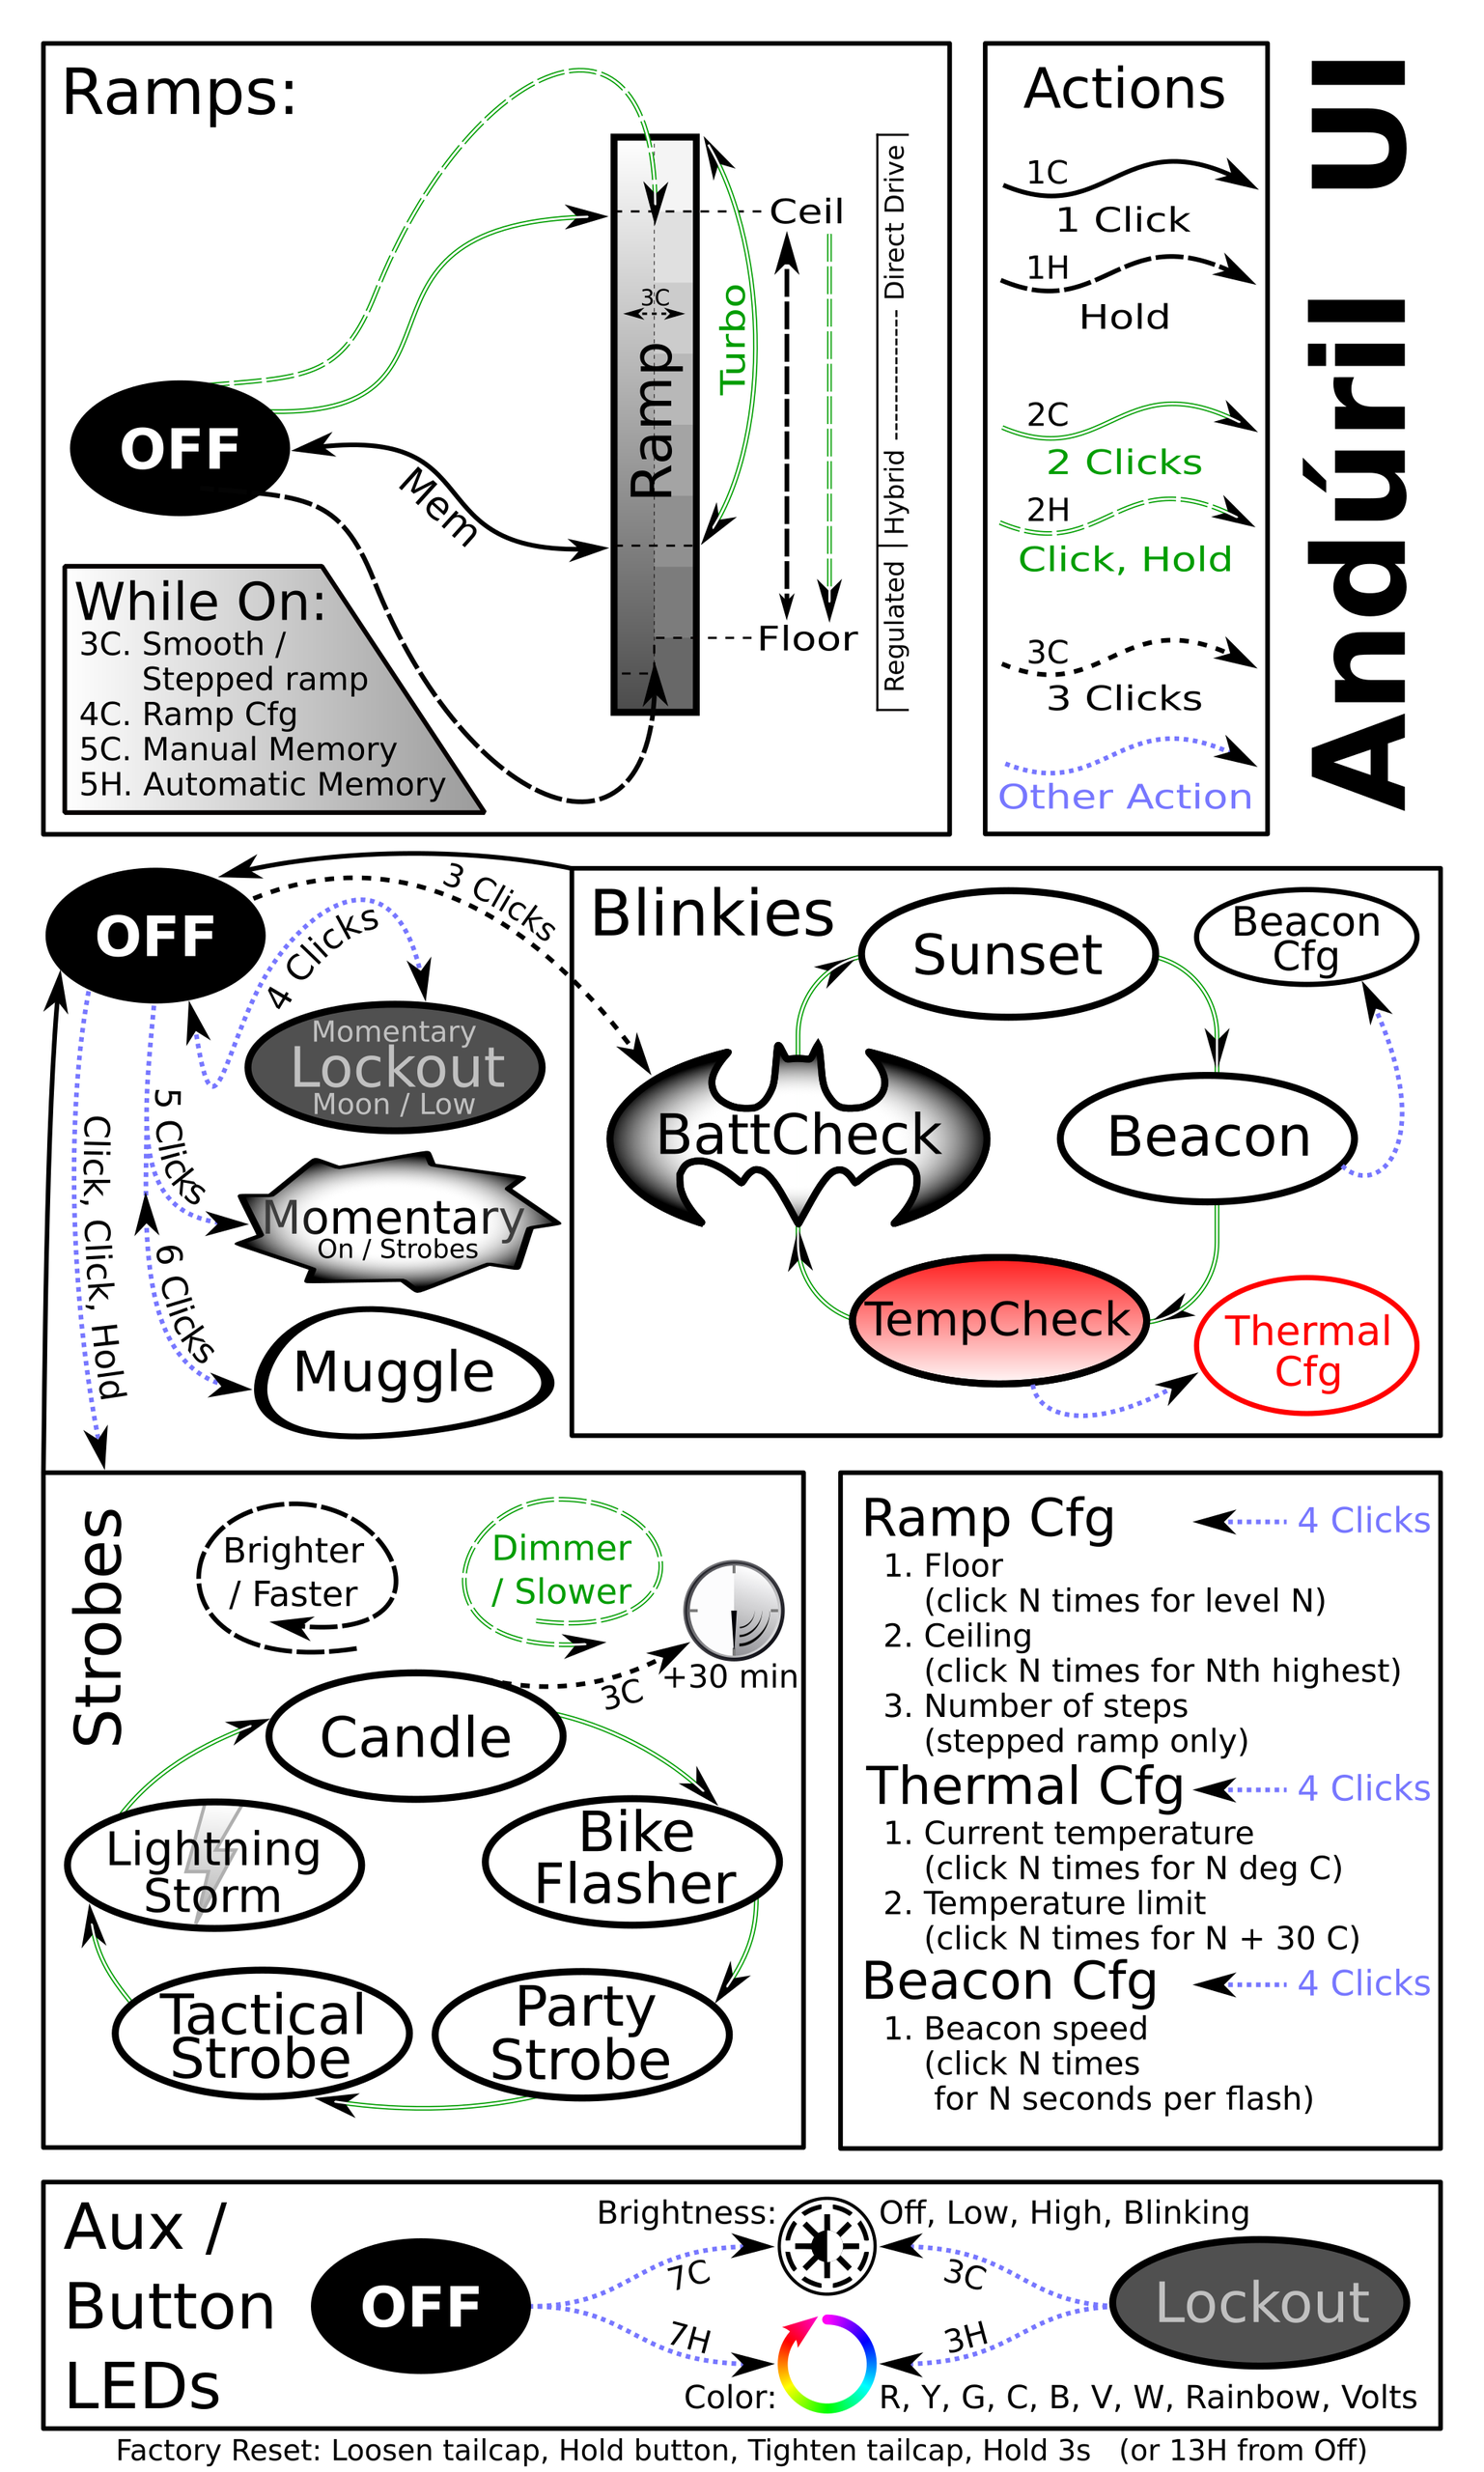
Here’s a user interface table anyway!
| State | Action | Result |
|---|---|---|
| Off | Hold | On (Low) |
| Off | Click | On (Mode Memory) |
| Off | Click 2x | Highest Hybrid Mode |
| Off | Click 3x | Blinkie Mode Group |
| Off | Click 4x | Lockout |
| Off | Click 5x | Momentary |
| Off | Click 6x | Muggle |
| Off | Click, Click, Hold | Strobe Group (Mode Memory Strobe) |
| Strobe Group | Click 2x | Strobe Cycle (Candle > Bike Flasher > Party Strobe > Tactical Strobe > Lightning Storm) |
| Blinkie Mode Group | Click 2x | Blinke Cycle (Sunset > Beacon > TempCheck > BattCheck) |
| On | Click 3x | Switch between Stepped and Smooth Ramp |
| On | Click 4x | Ramp Configuration |
| TempCheck | Click 4x | Thermal Configuration |
| Beacon | Click 4x | Beacon Configuration |
| Lockout | Click 4x | Off |
| Strobe Group | Click | Off |
| (Basically) On | Click | Off |
| Candle | Click 3x | 30 minute timer to off |
| Strobe Group | Hold | Heighten selected mode (Make faster or brighter) |
| Strobe Group | Click, Hold | Lessen selected mode (Make slower or dimmer) |
| On | Click 2x | FET Turbo |
| Ramp Configuration | [Wait for Single flash] Click N time for level N. | Selection of the “Low” you like best by clicking 1, 2, 3, etc. where 1, 2, 3, etc are different levels of low. |
| Ramp Configuration | [Wait for Second flash] Click N time for 1+Turbo-N. | Selection of the “Ceiling” you like best by clicking 1, 2, 3, etc. where 1, 2, 3, etc are different Ceiling levels. |
| Ramp Configuration | [Wait for Third flash] Click for how many steps you want in Stepped mode. | Sets Number of Steps. |
| Thermal Configuration | [Wait for First flash] Click for N times for N degrees C. | Displays Current Temperature. |
| Thermal Configuration | [Wait for Second flash] Click for N times for 30C + N. | Sets Temperature Limit. |
| Beacon Configuration | [Wait for First flash] Click for N times N seconds per flash | Sets Beacon Speed. |
I performed two runtimes on factory calibration, and it became clear that the light needs to be recalibrated for thermal considerations. This is where I hit a wall. I either clicked into a way that the light just no longer has any love for me, or the firmware got bricked in a way that only works about half the way it should. As such, I wasn’t able to recalibrate it, and so that’s why I didn’t perform any calibrated runs.
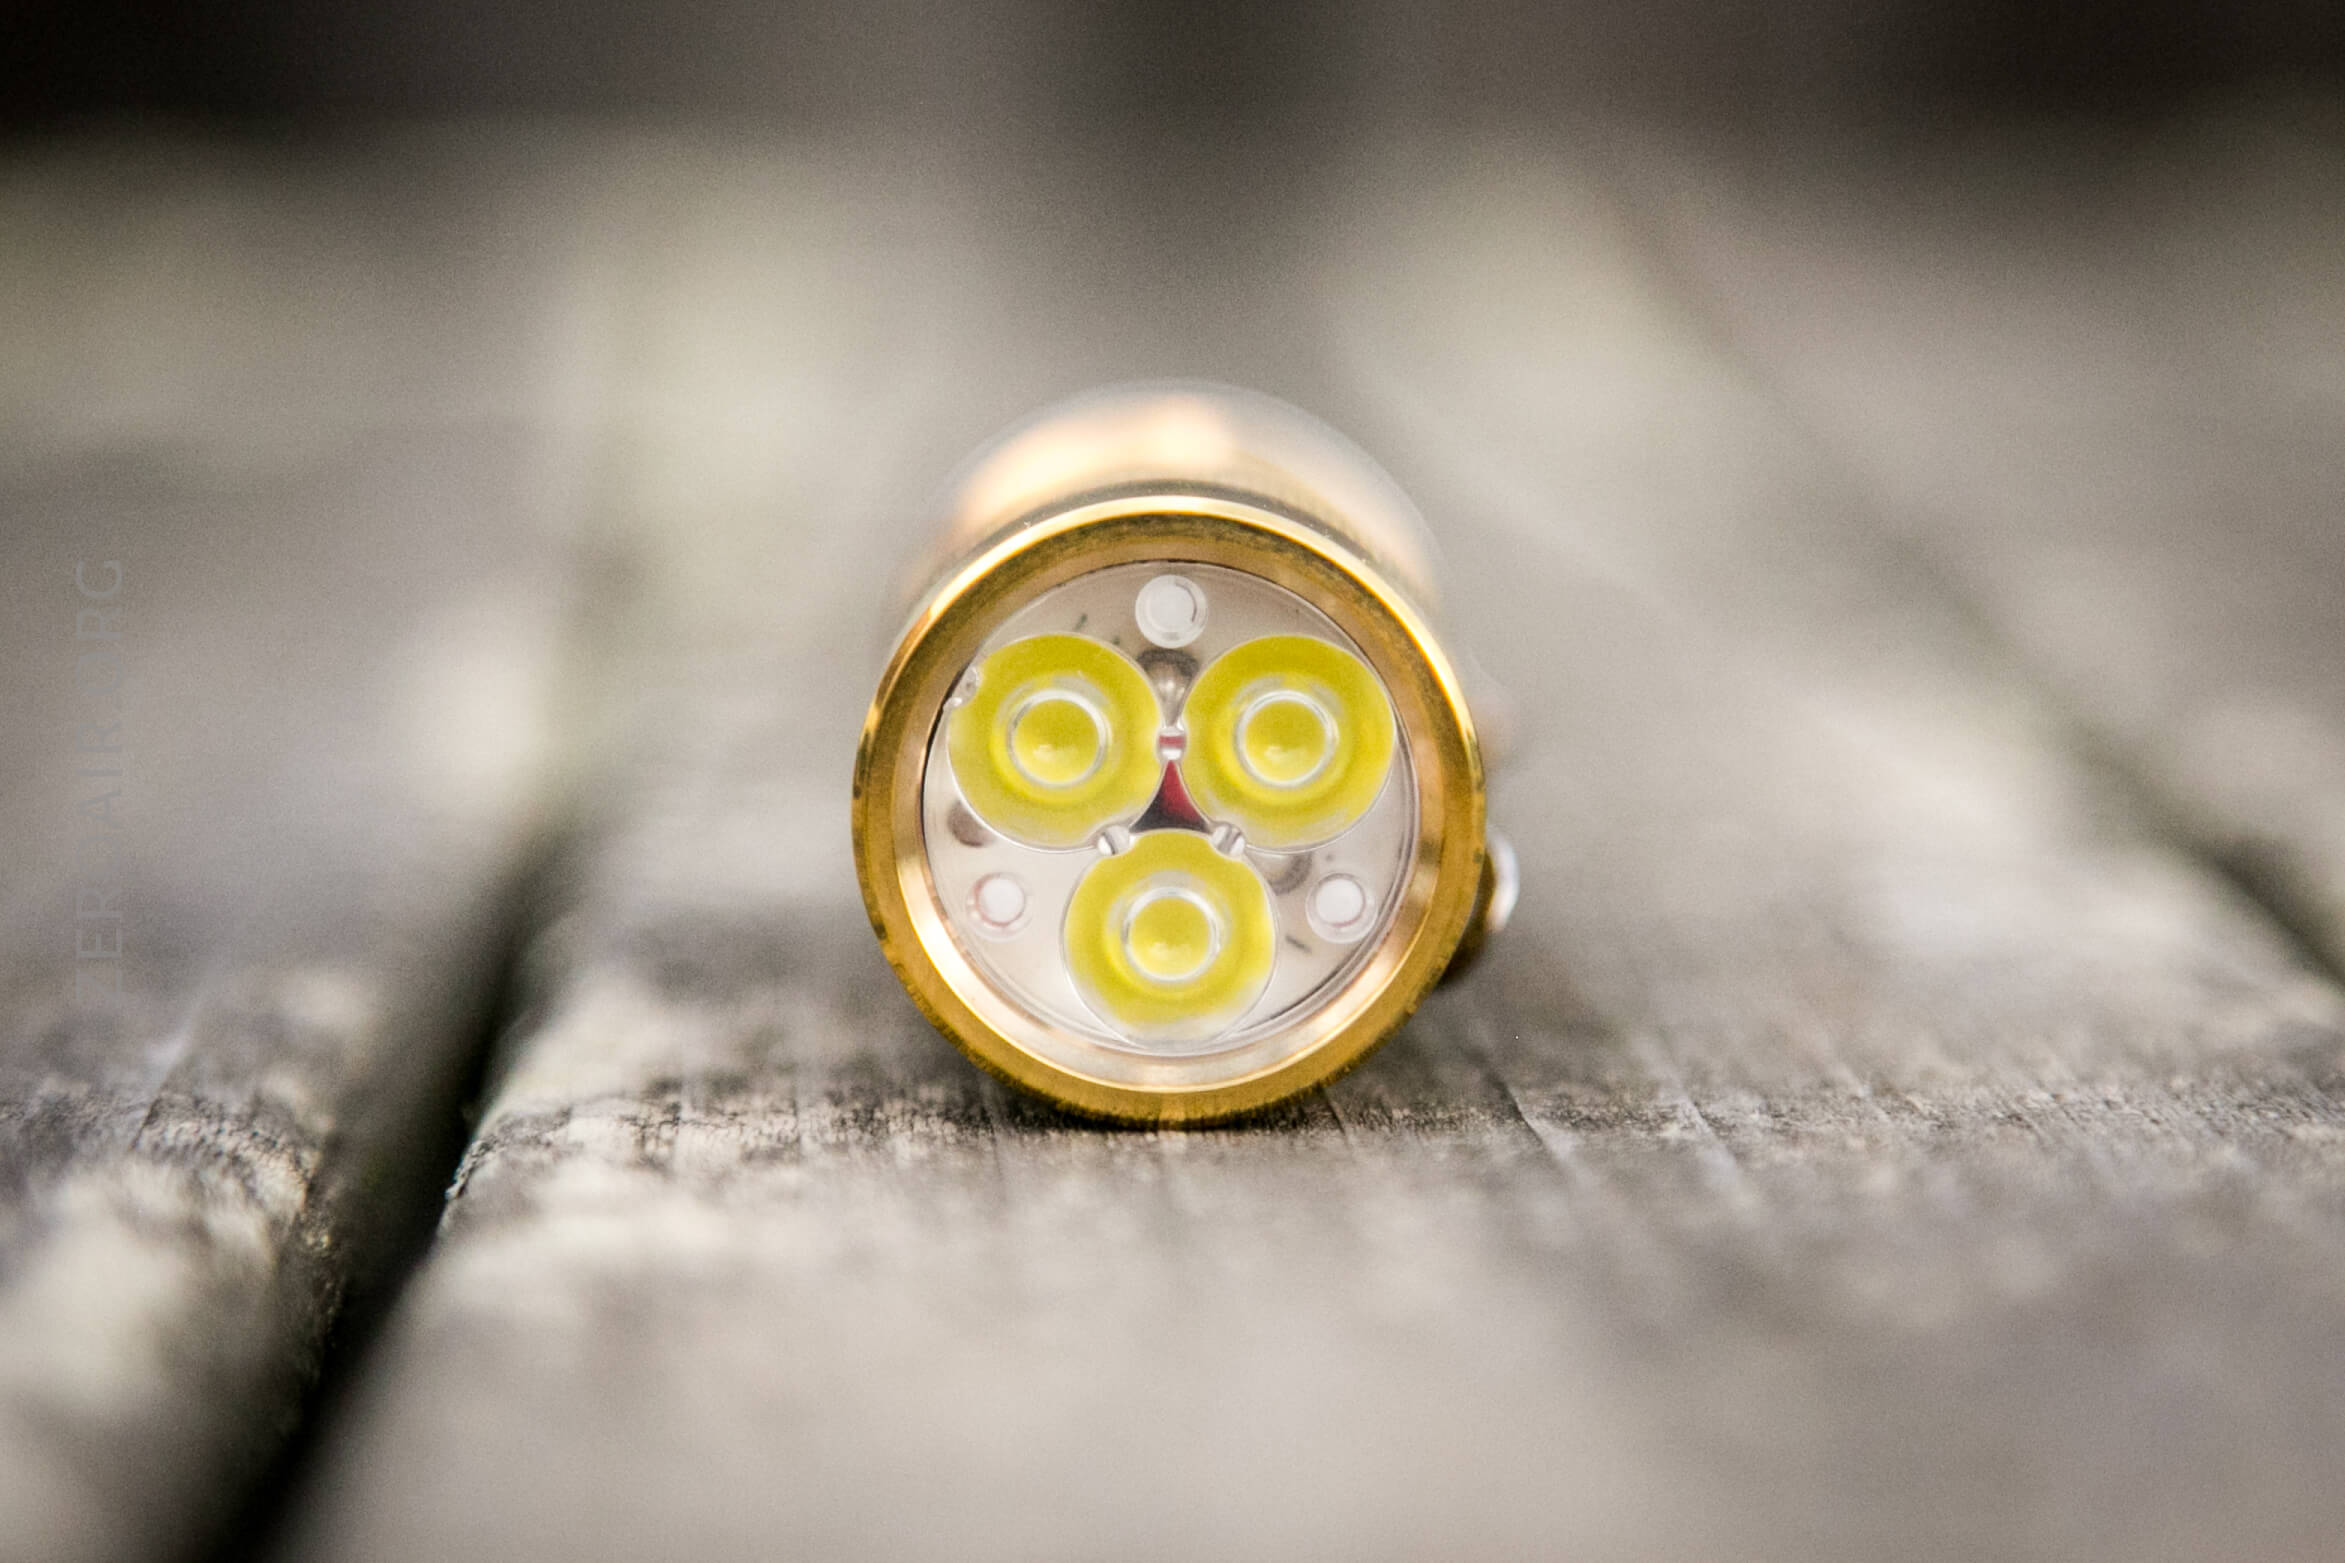
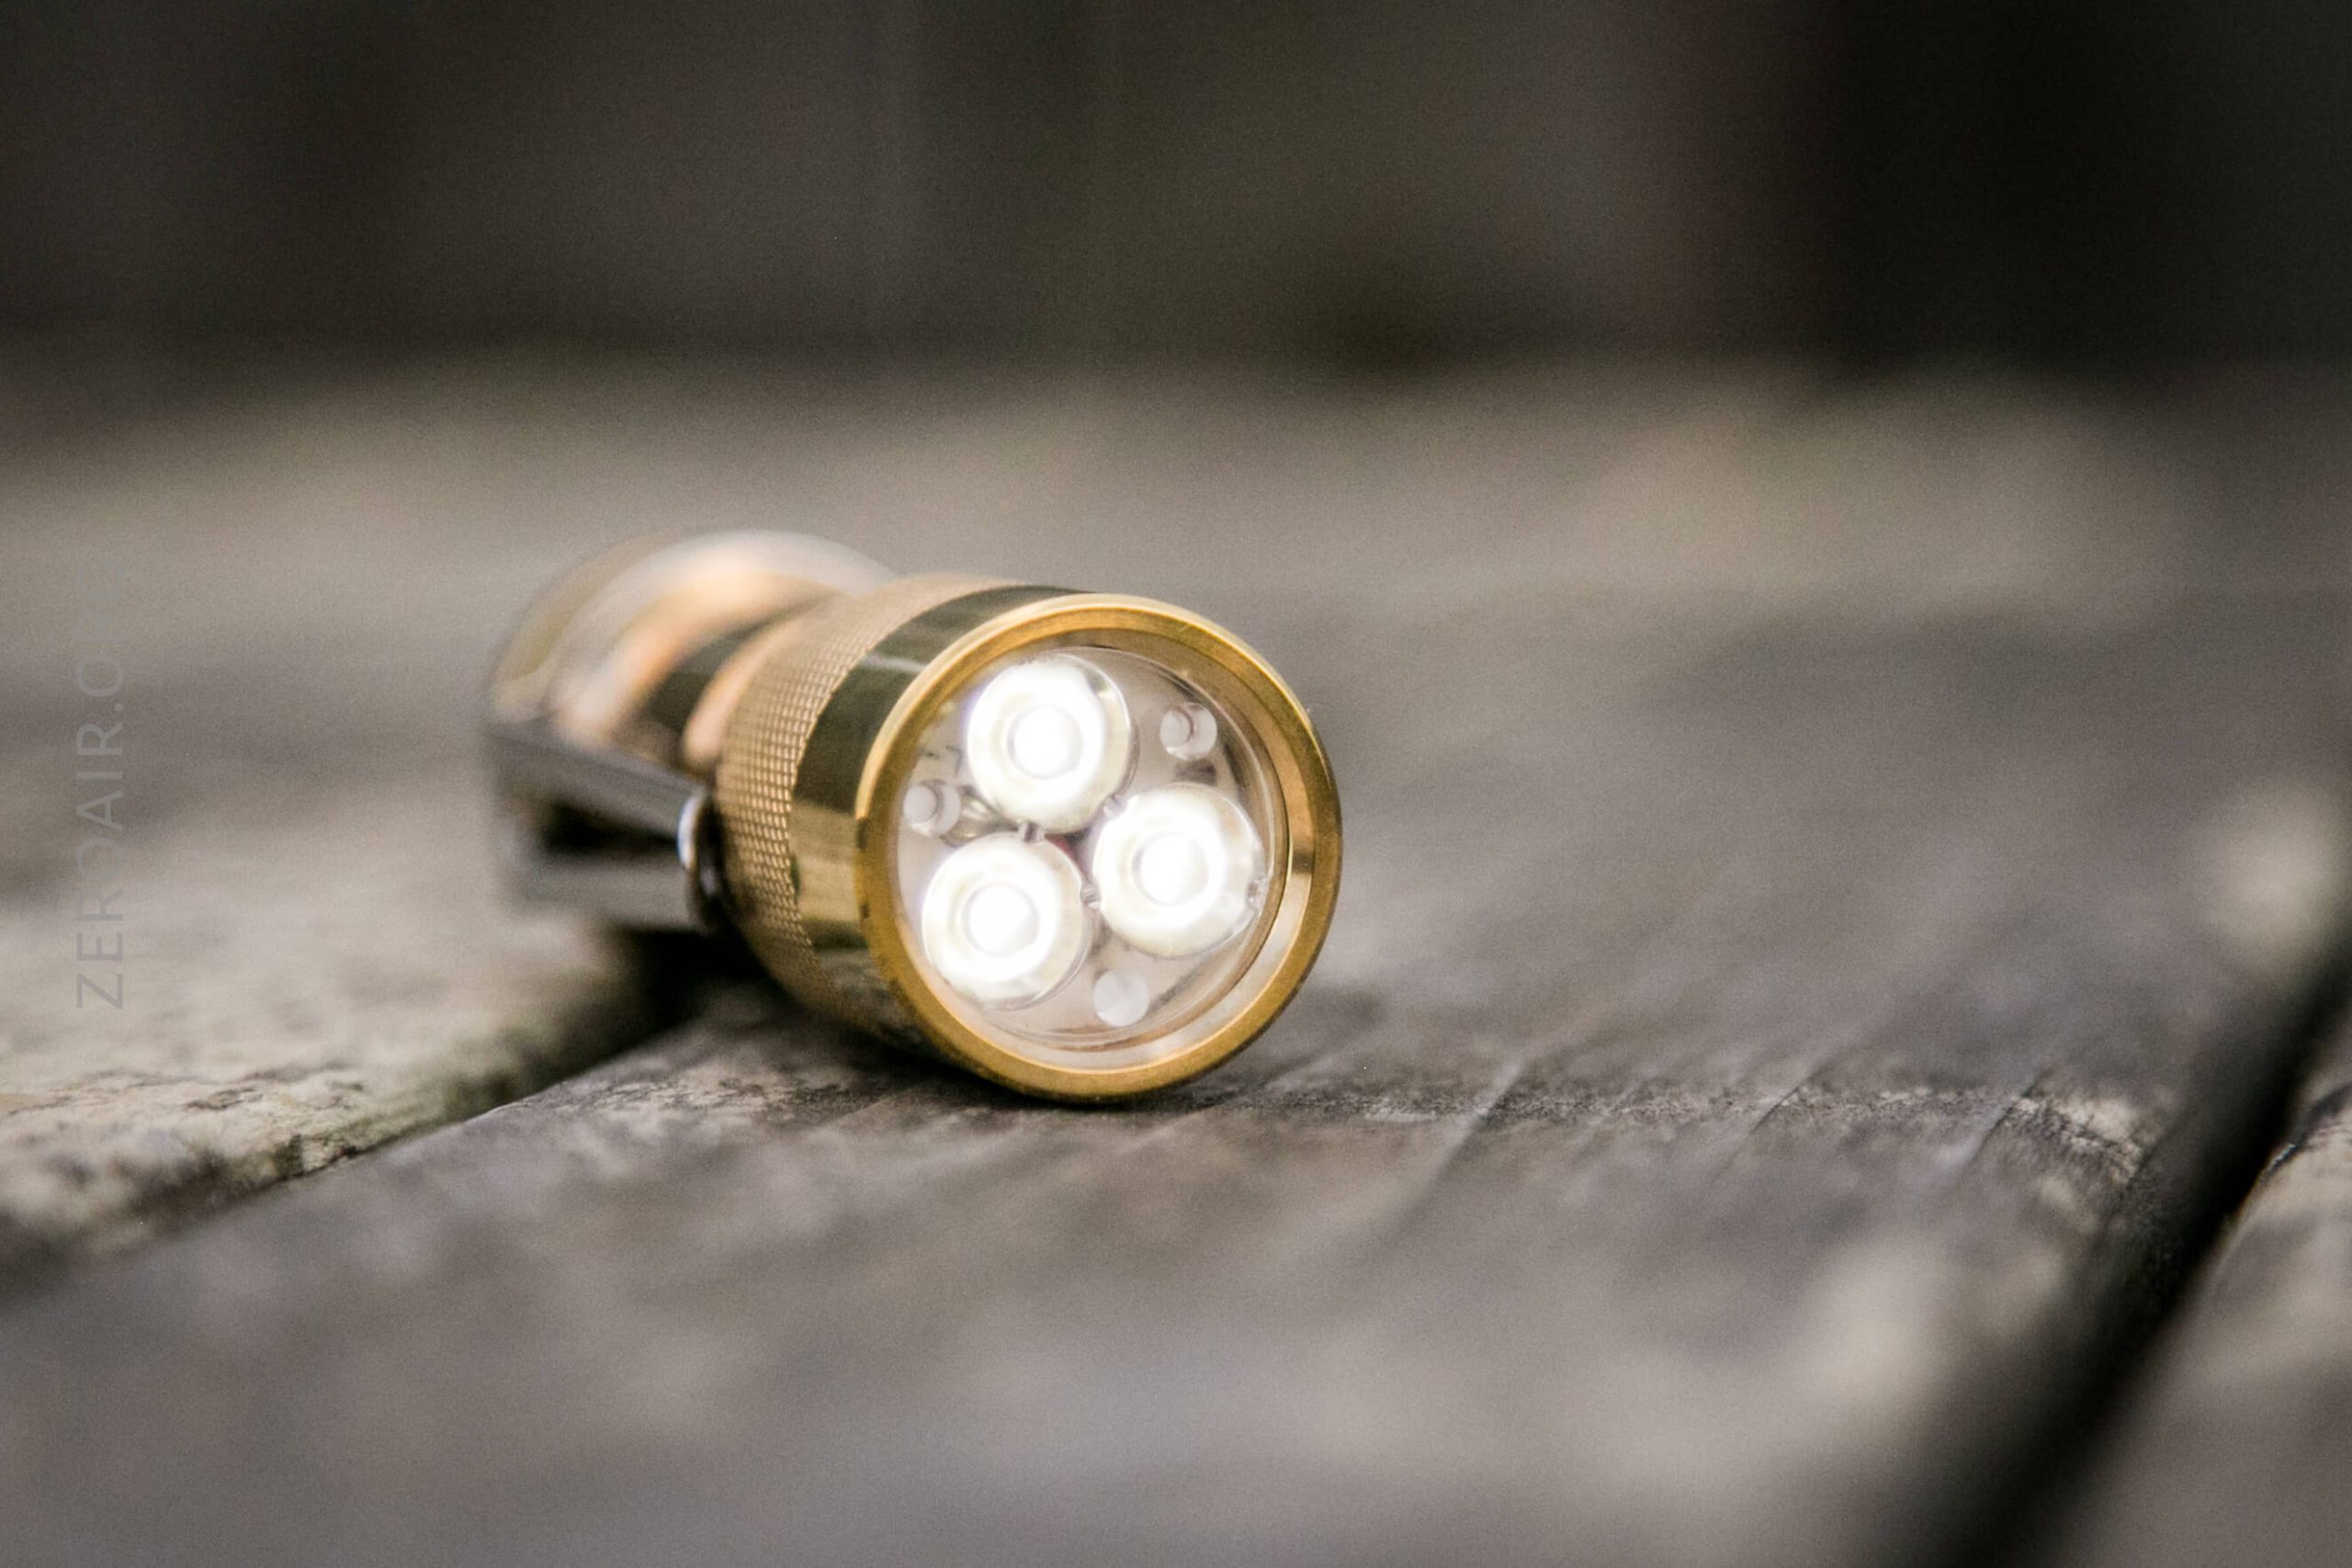
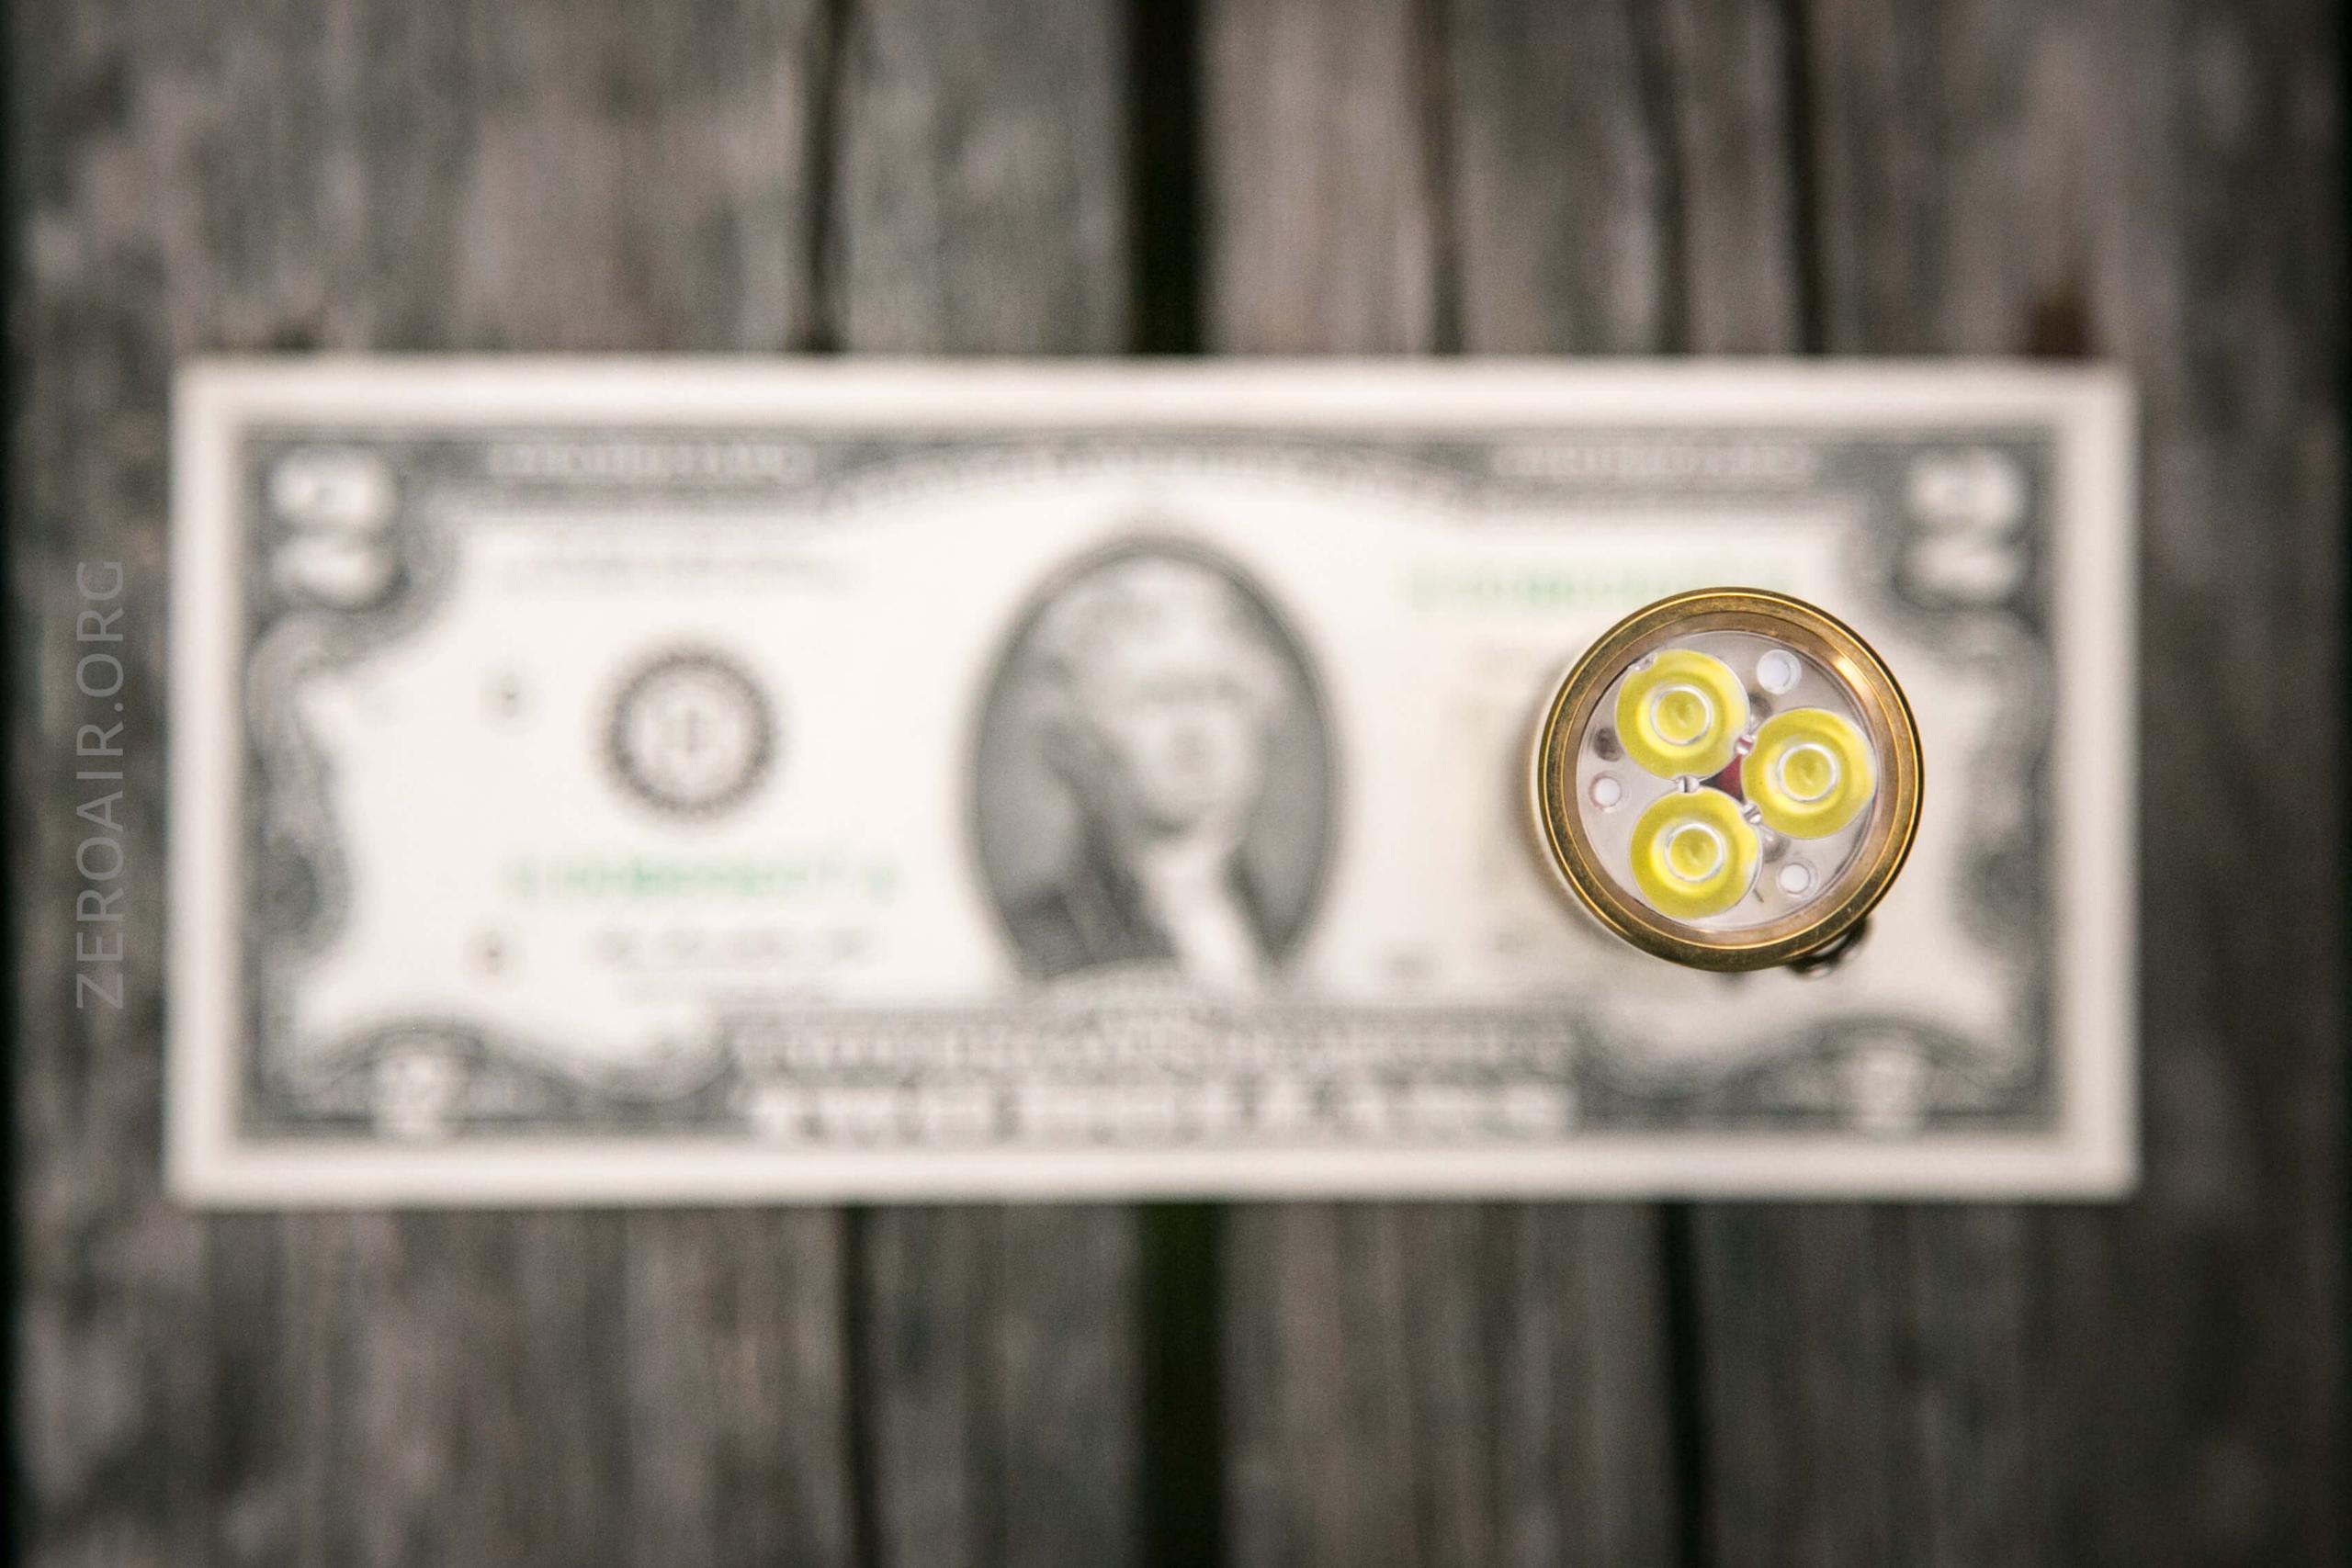
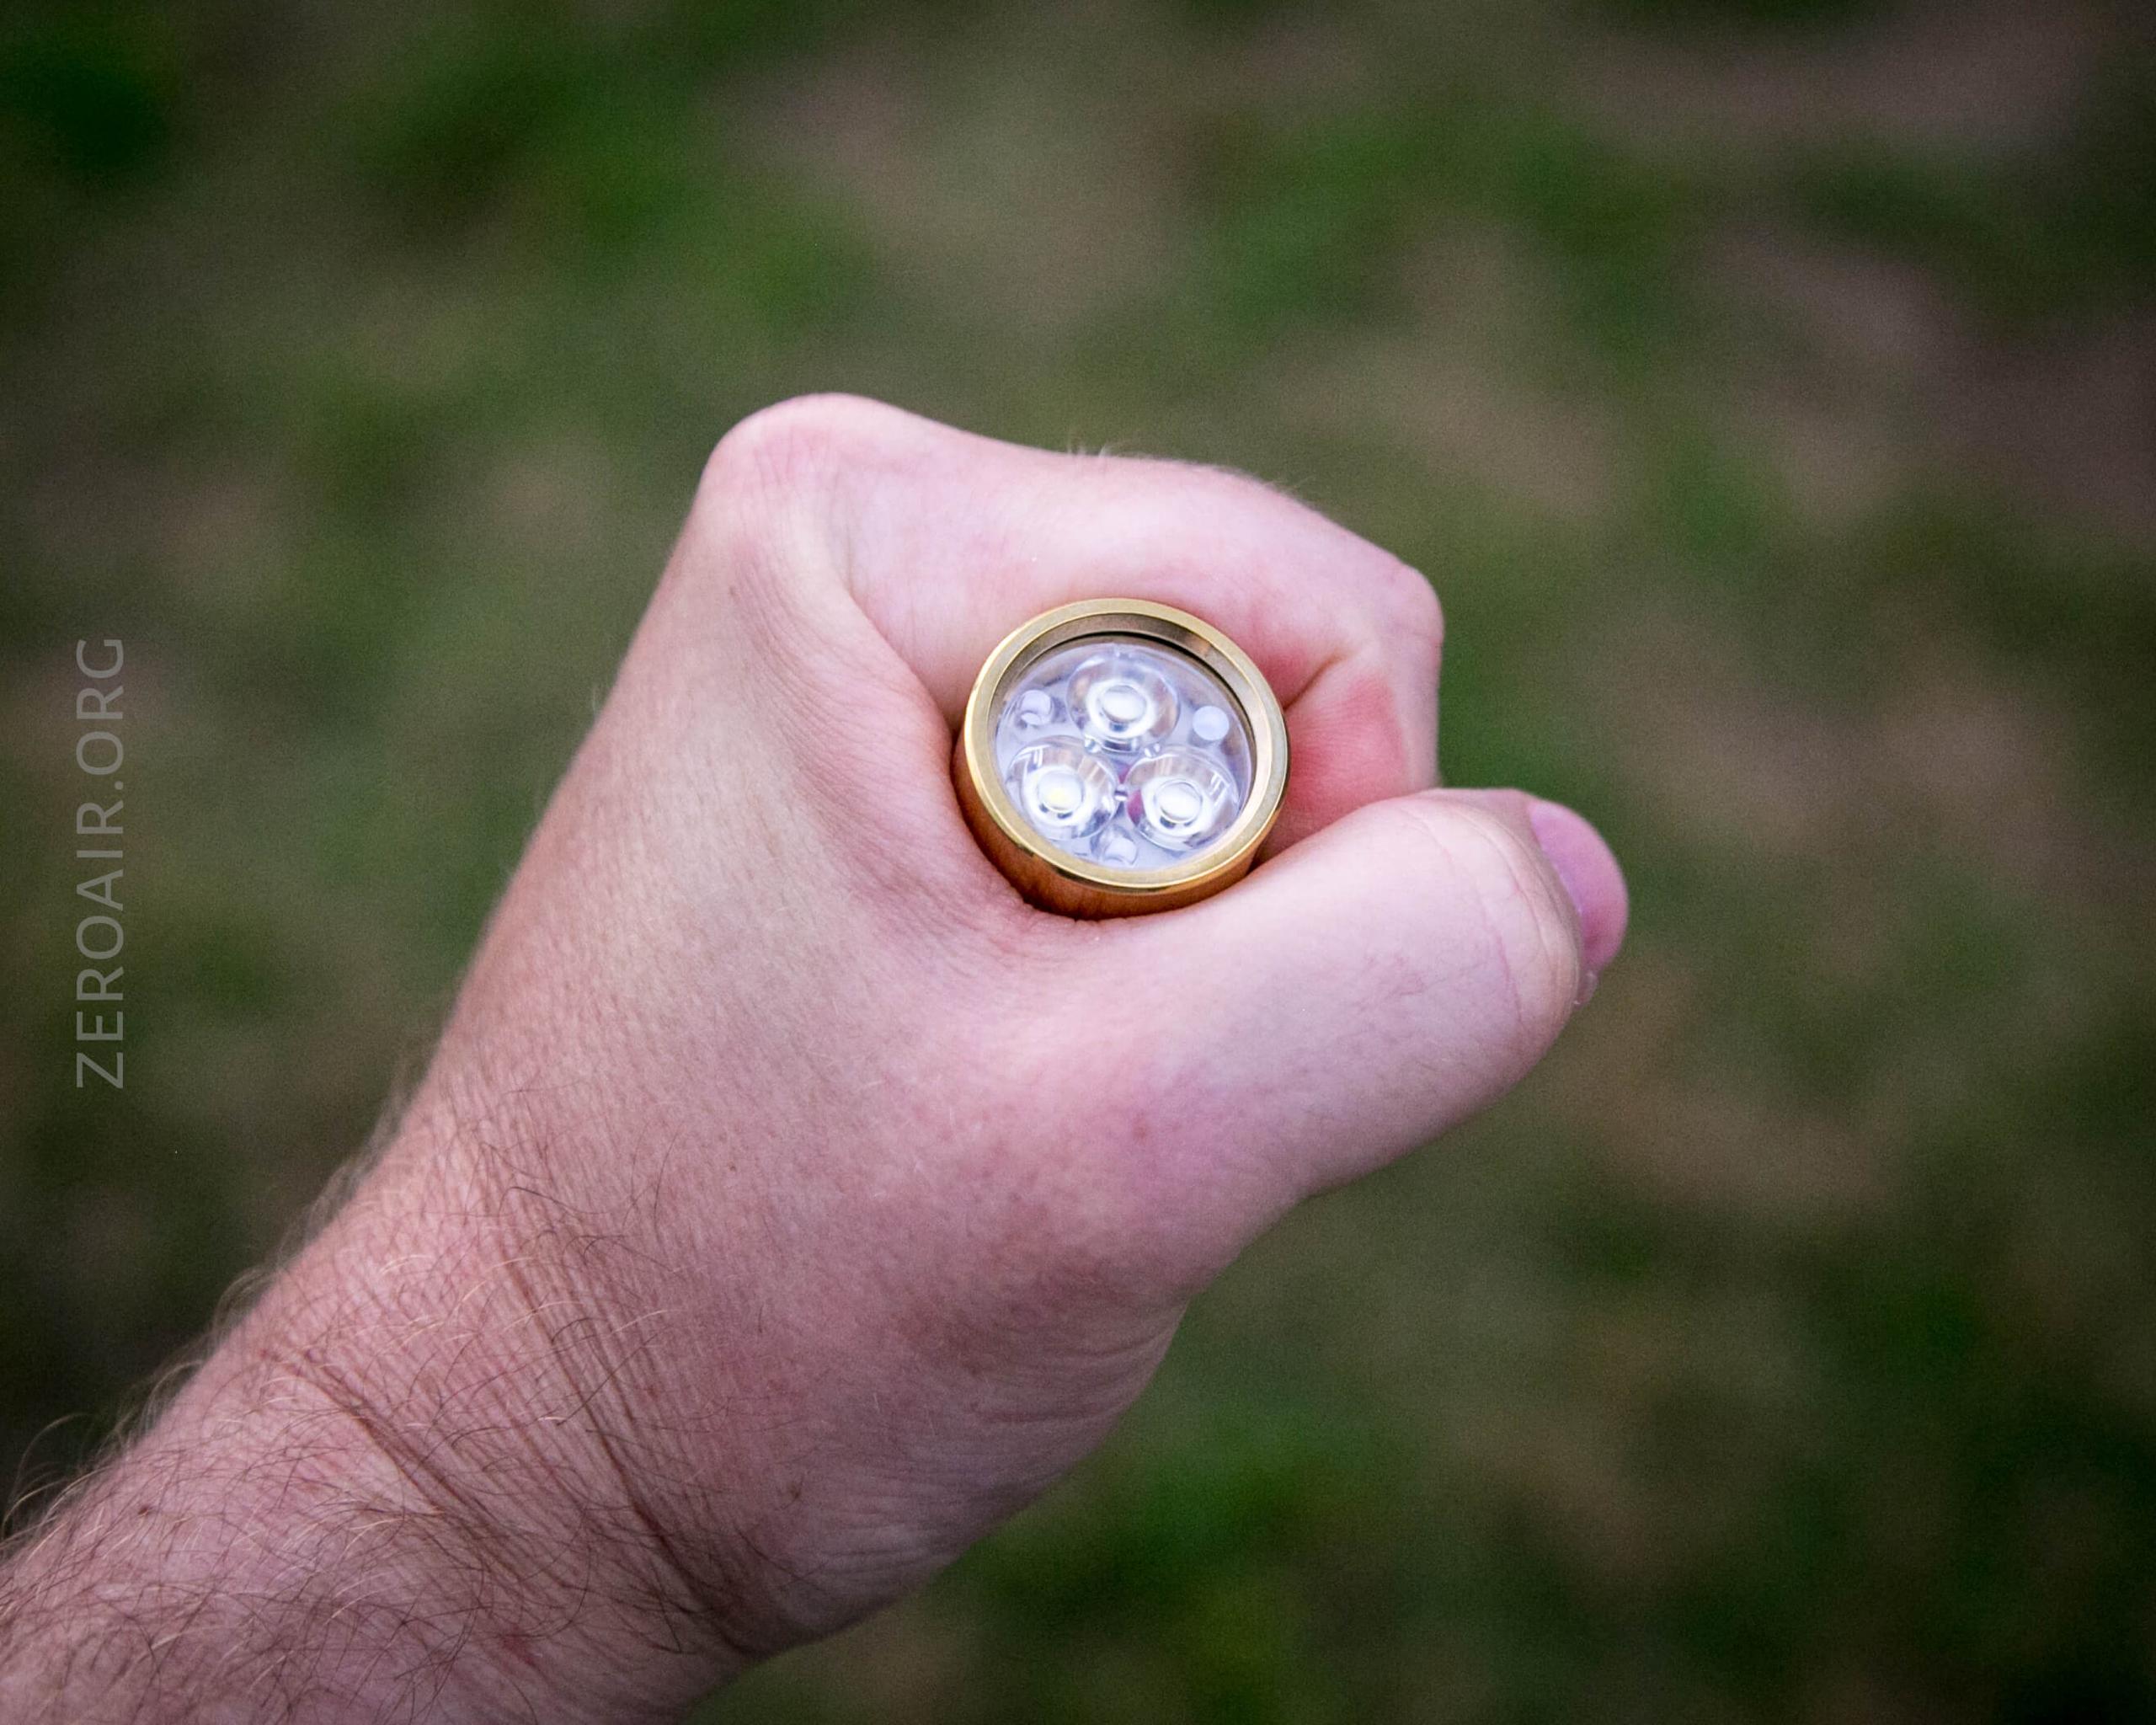
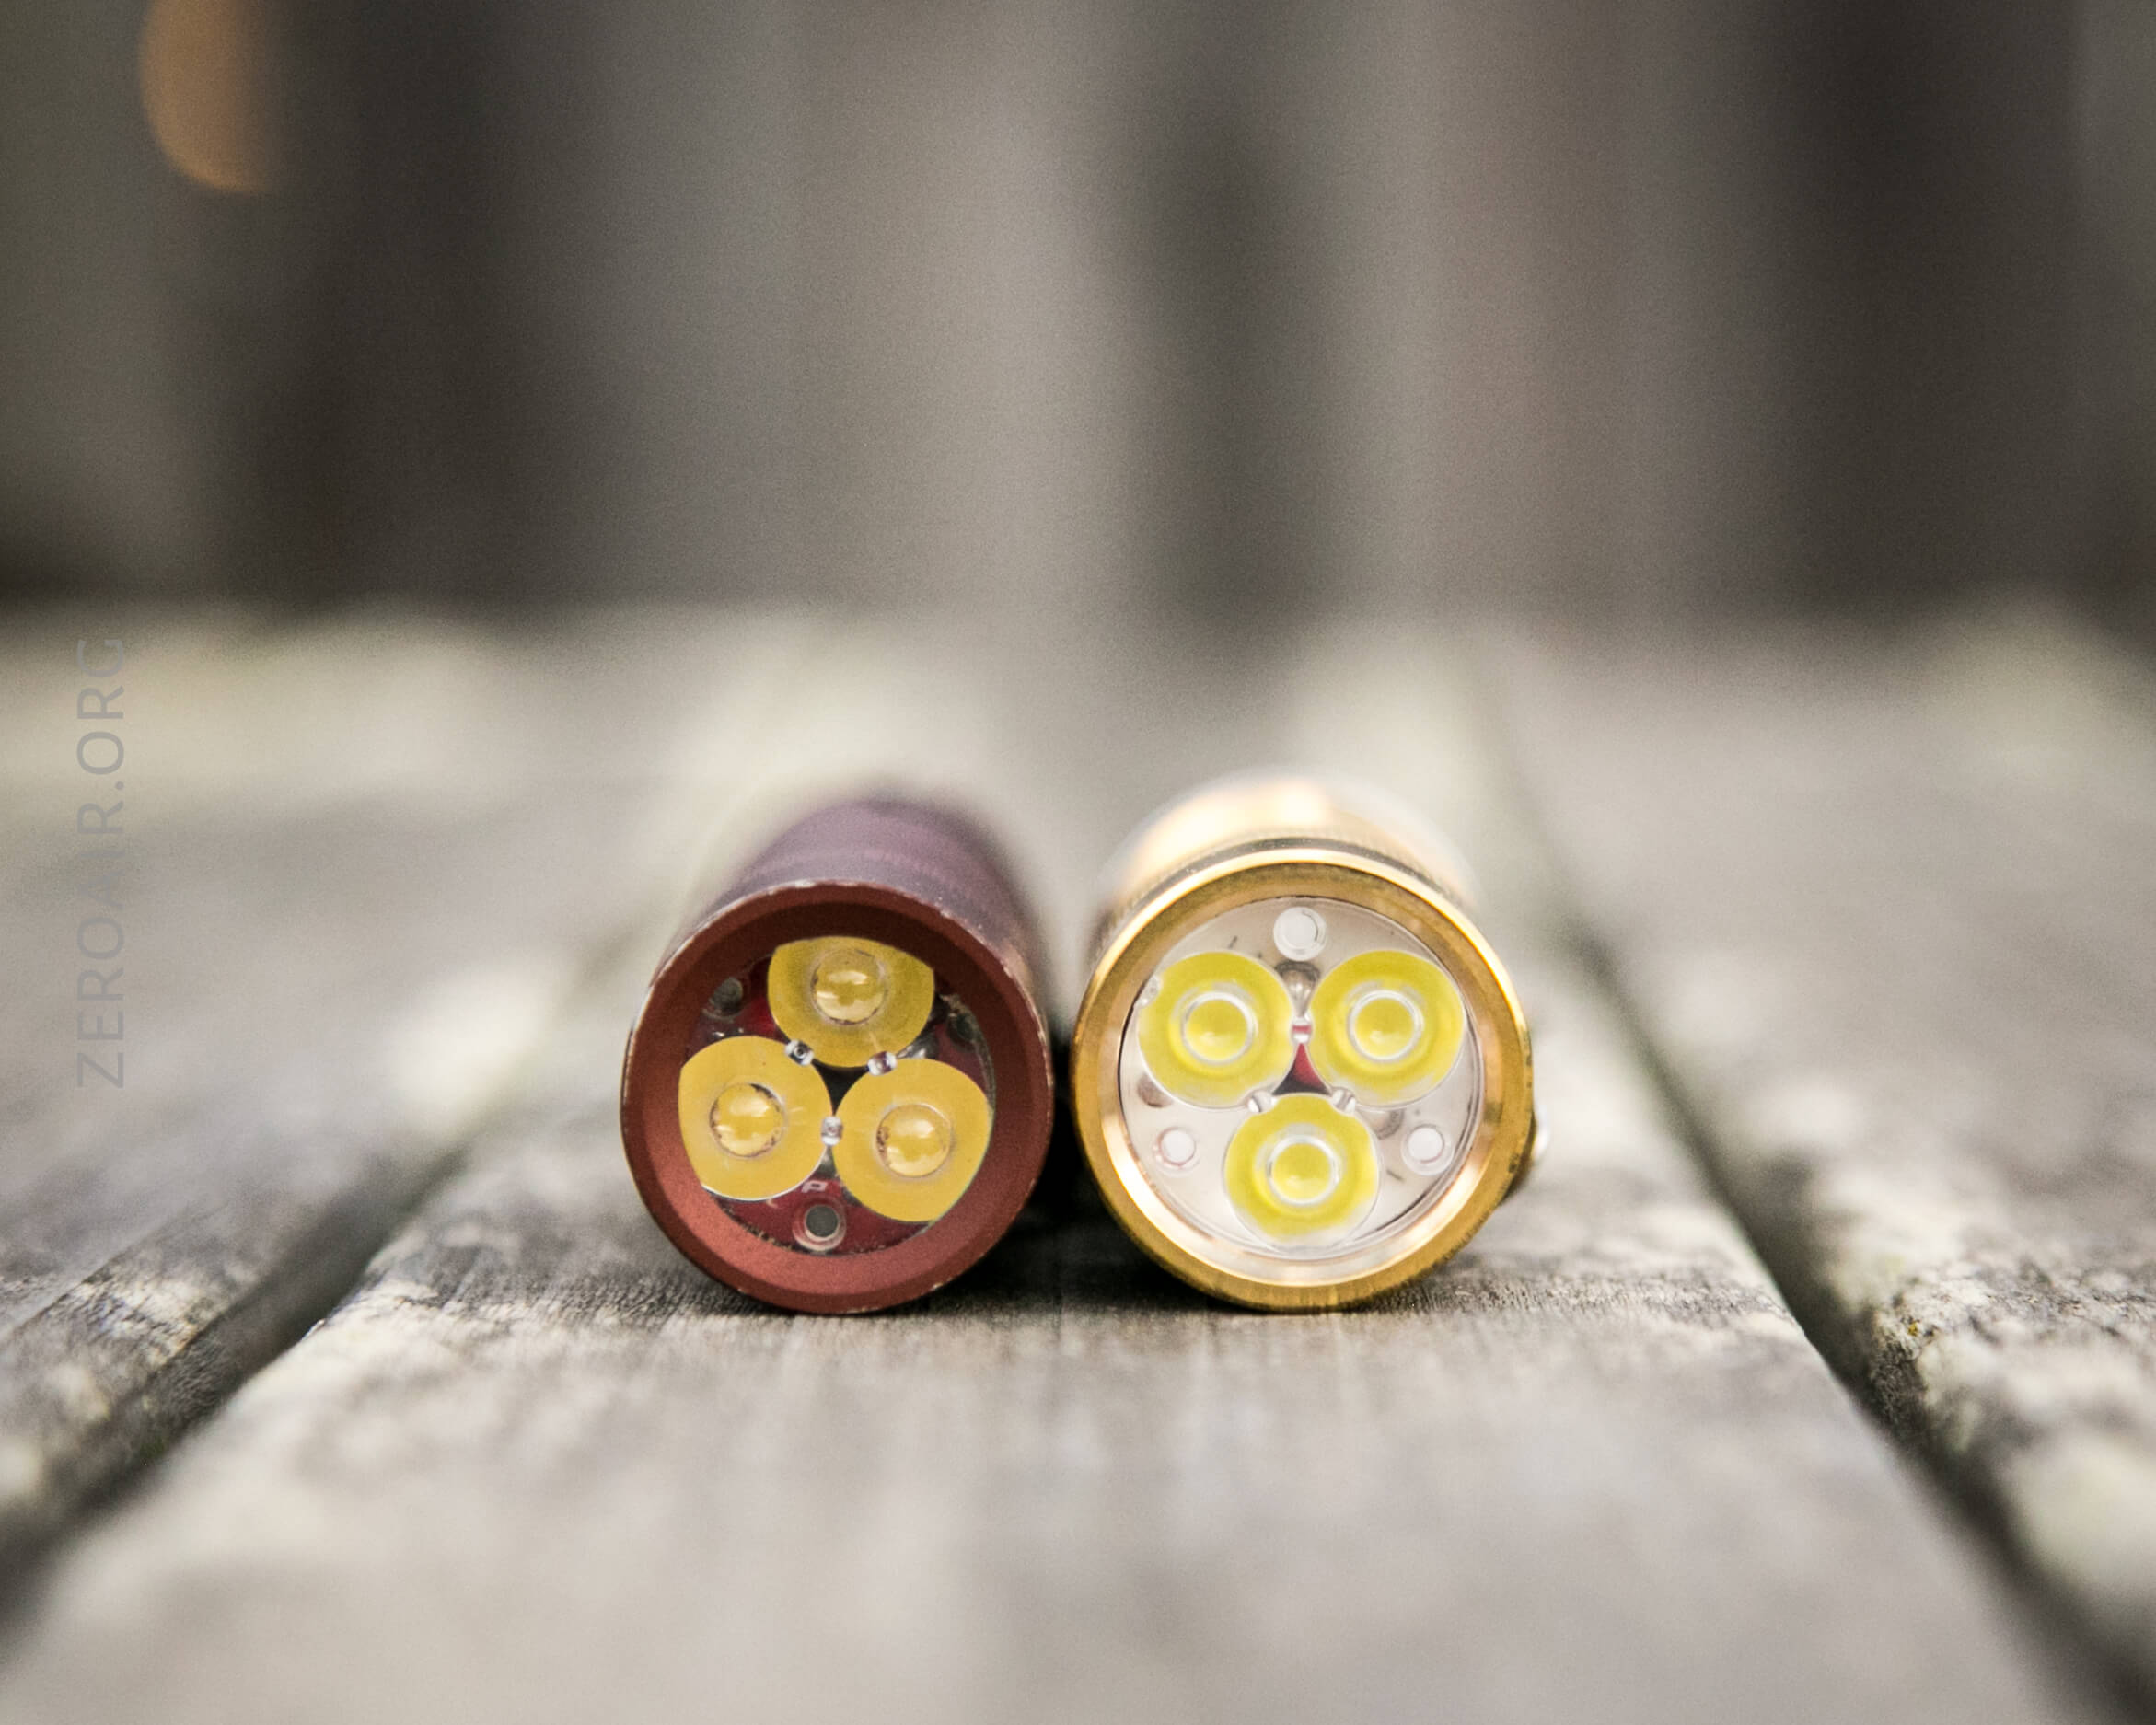
LED and Beam
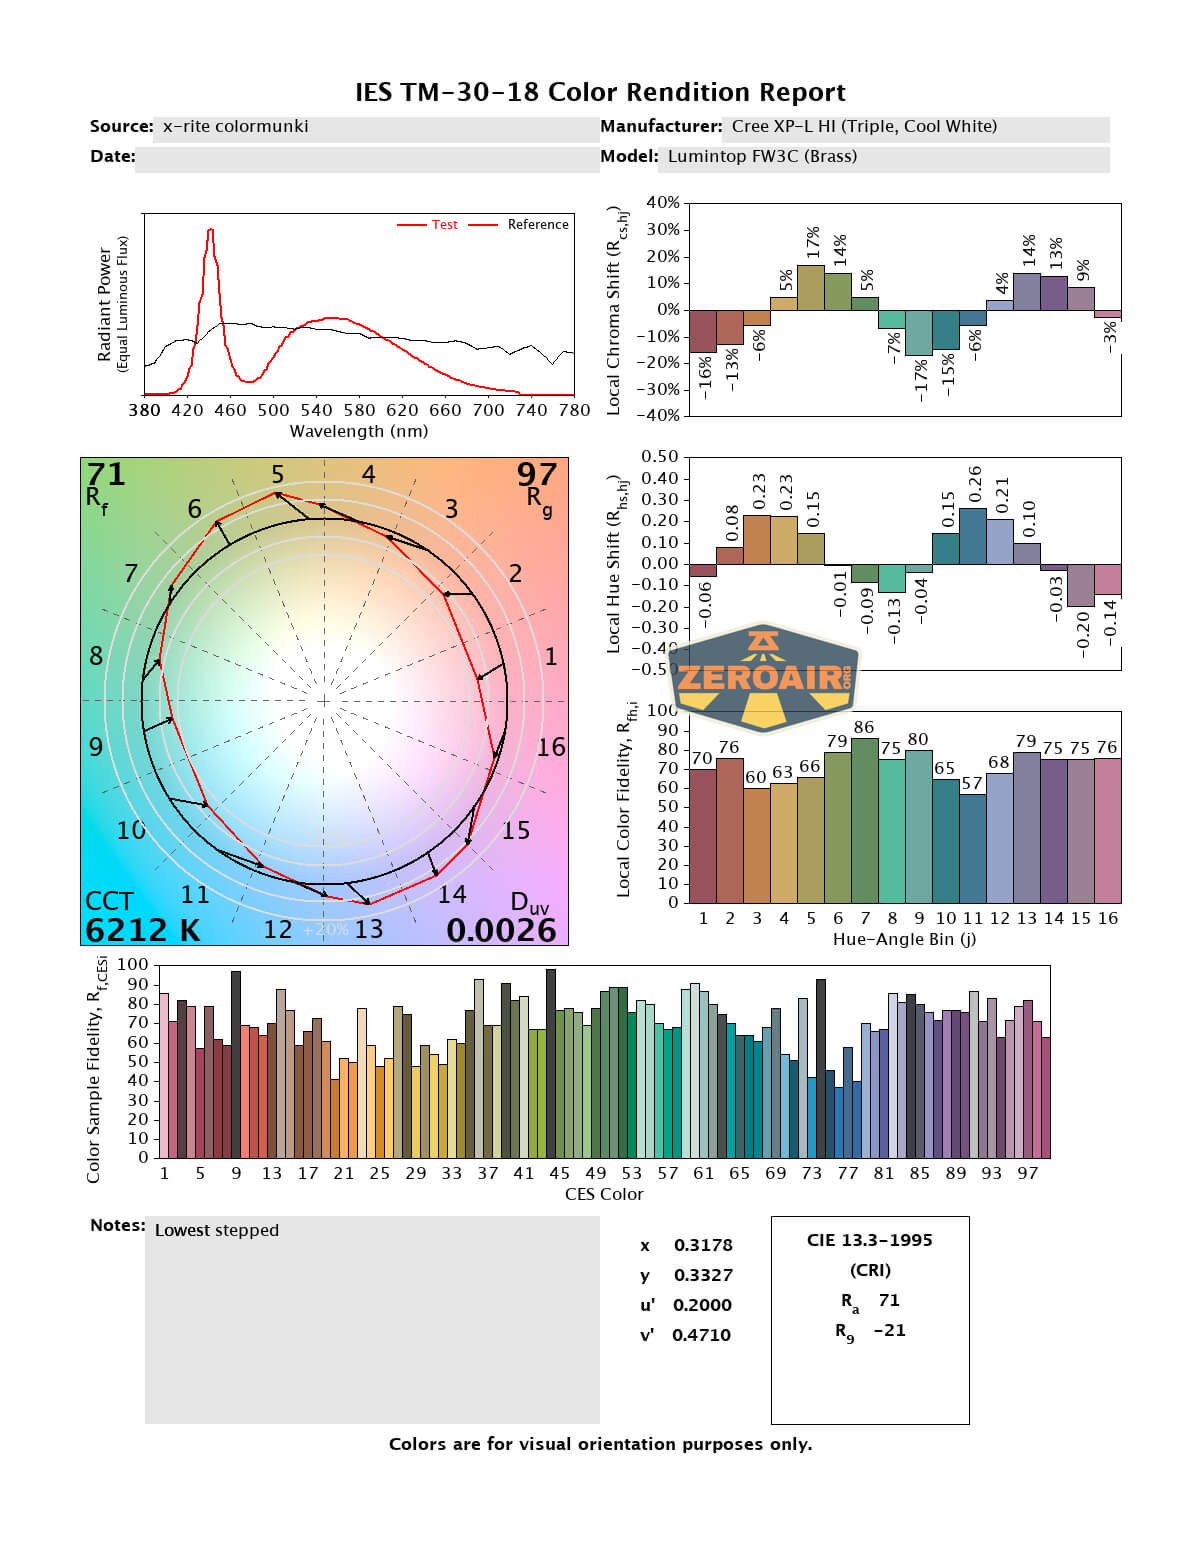
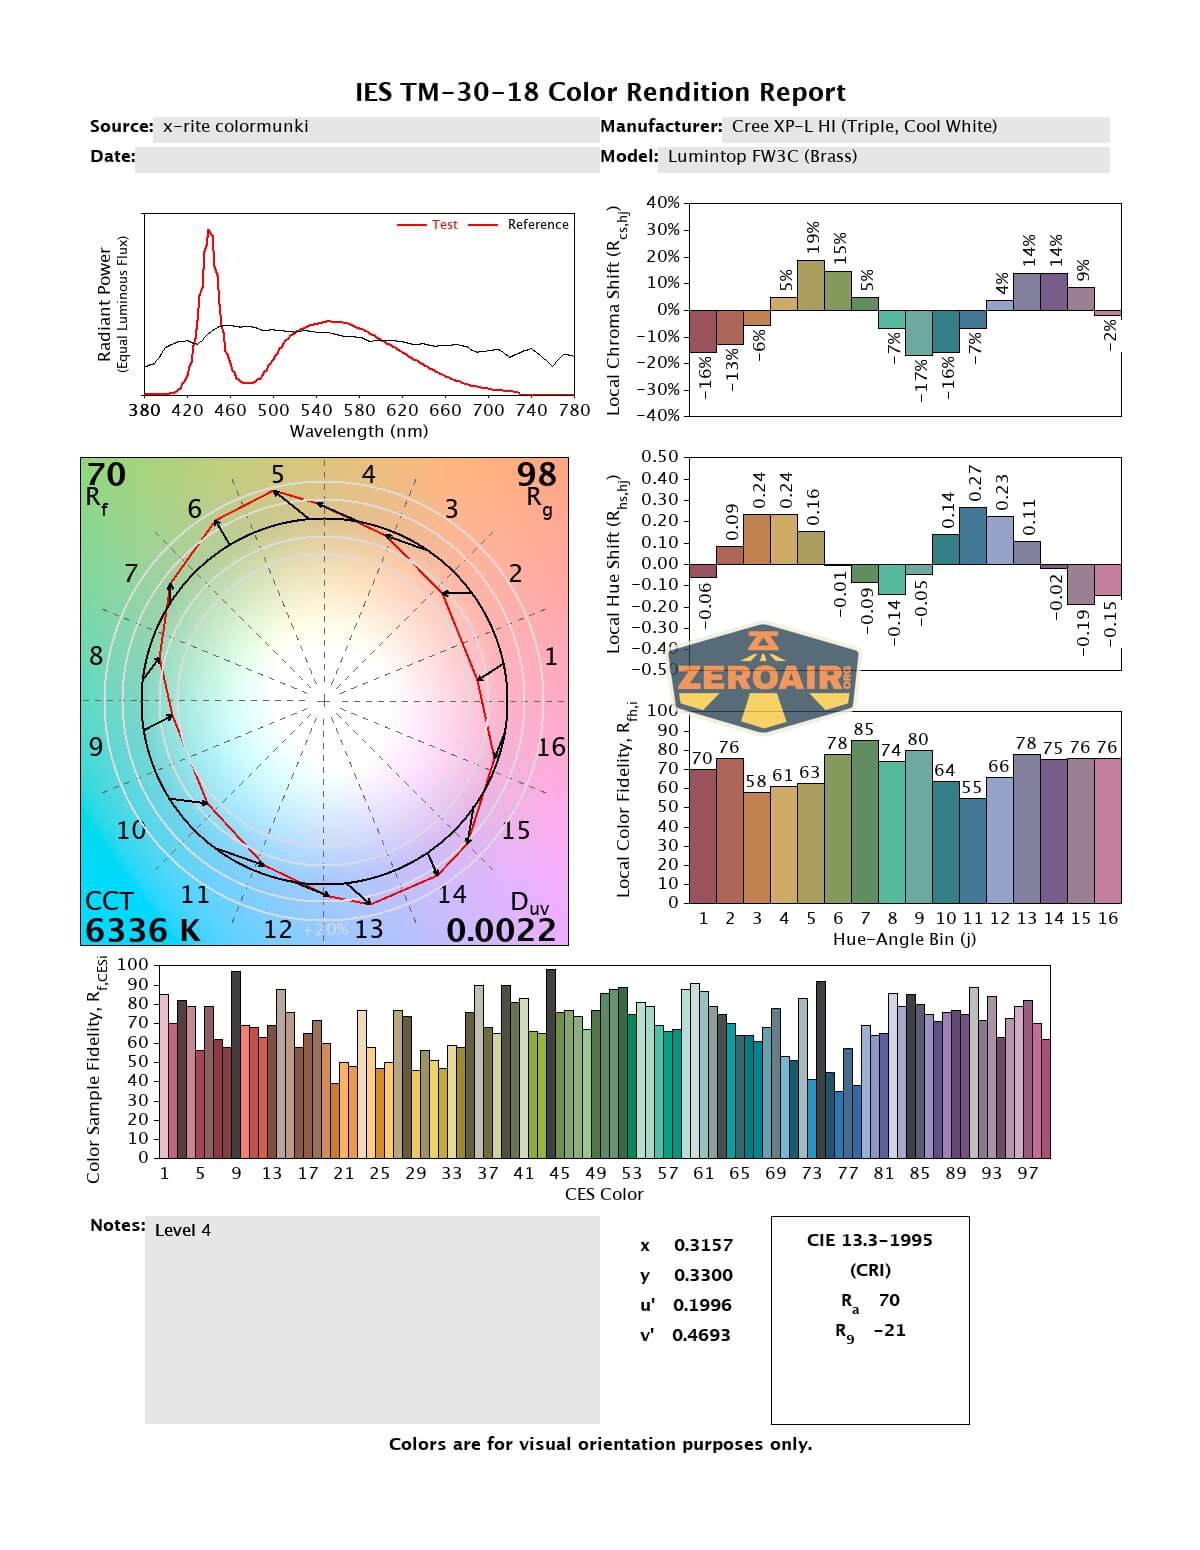
The emitters I received in this review copy are Cree XP-L HI in cool white temperature. This isn’t at all what I’d pick, so I can see this getting swapped down the road, but for now, we’ll just go with it! At least the output should be a little better with the CW option.
The optic is clear.
LED Color Report (CRI and CCT)


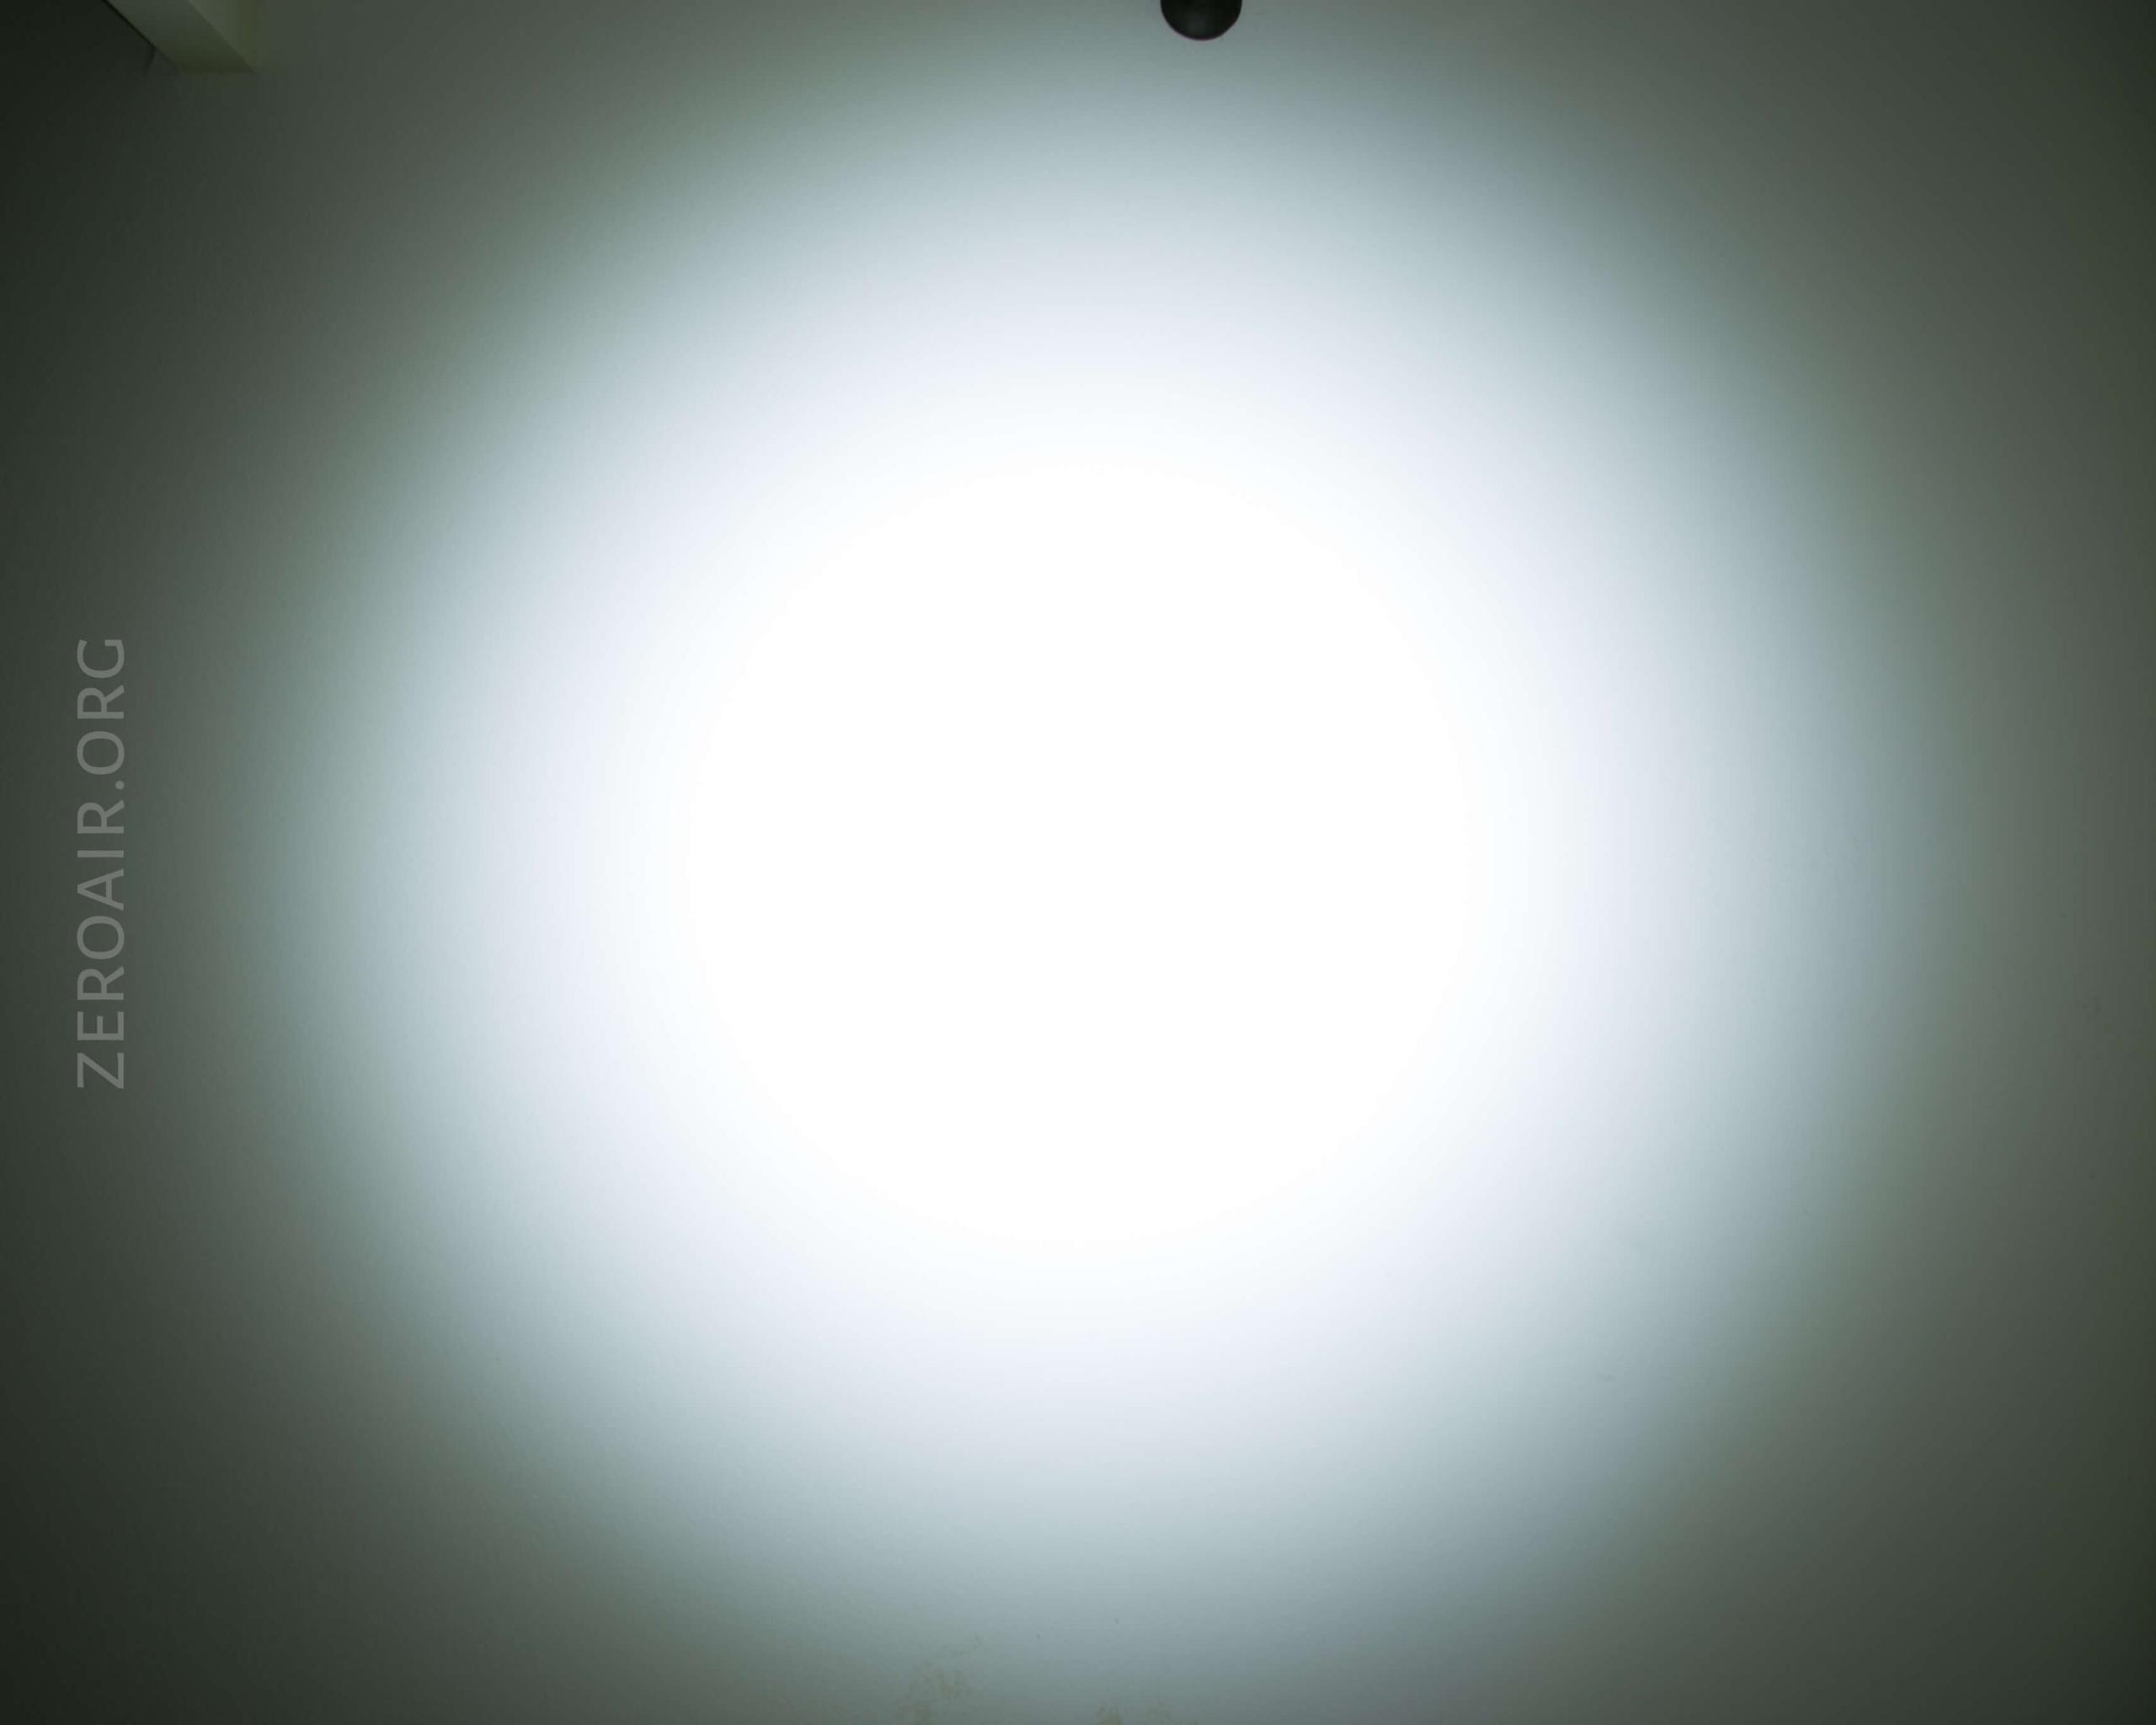
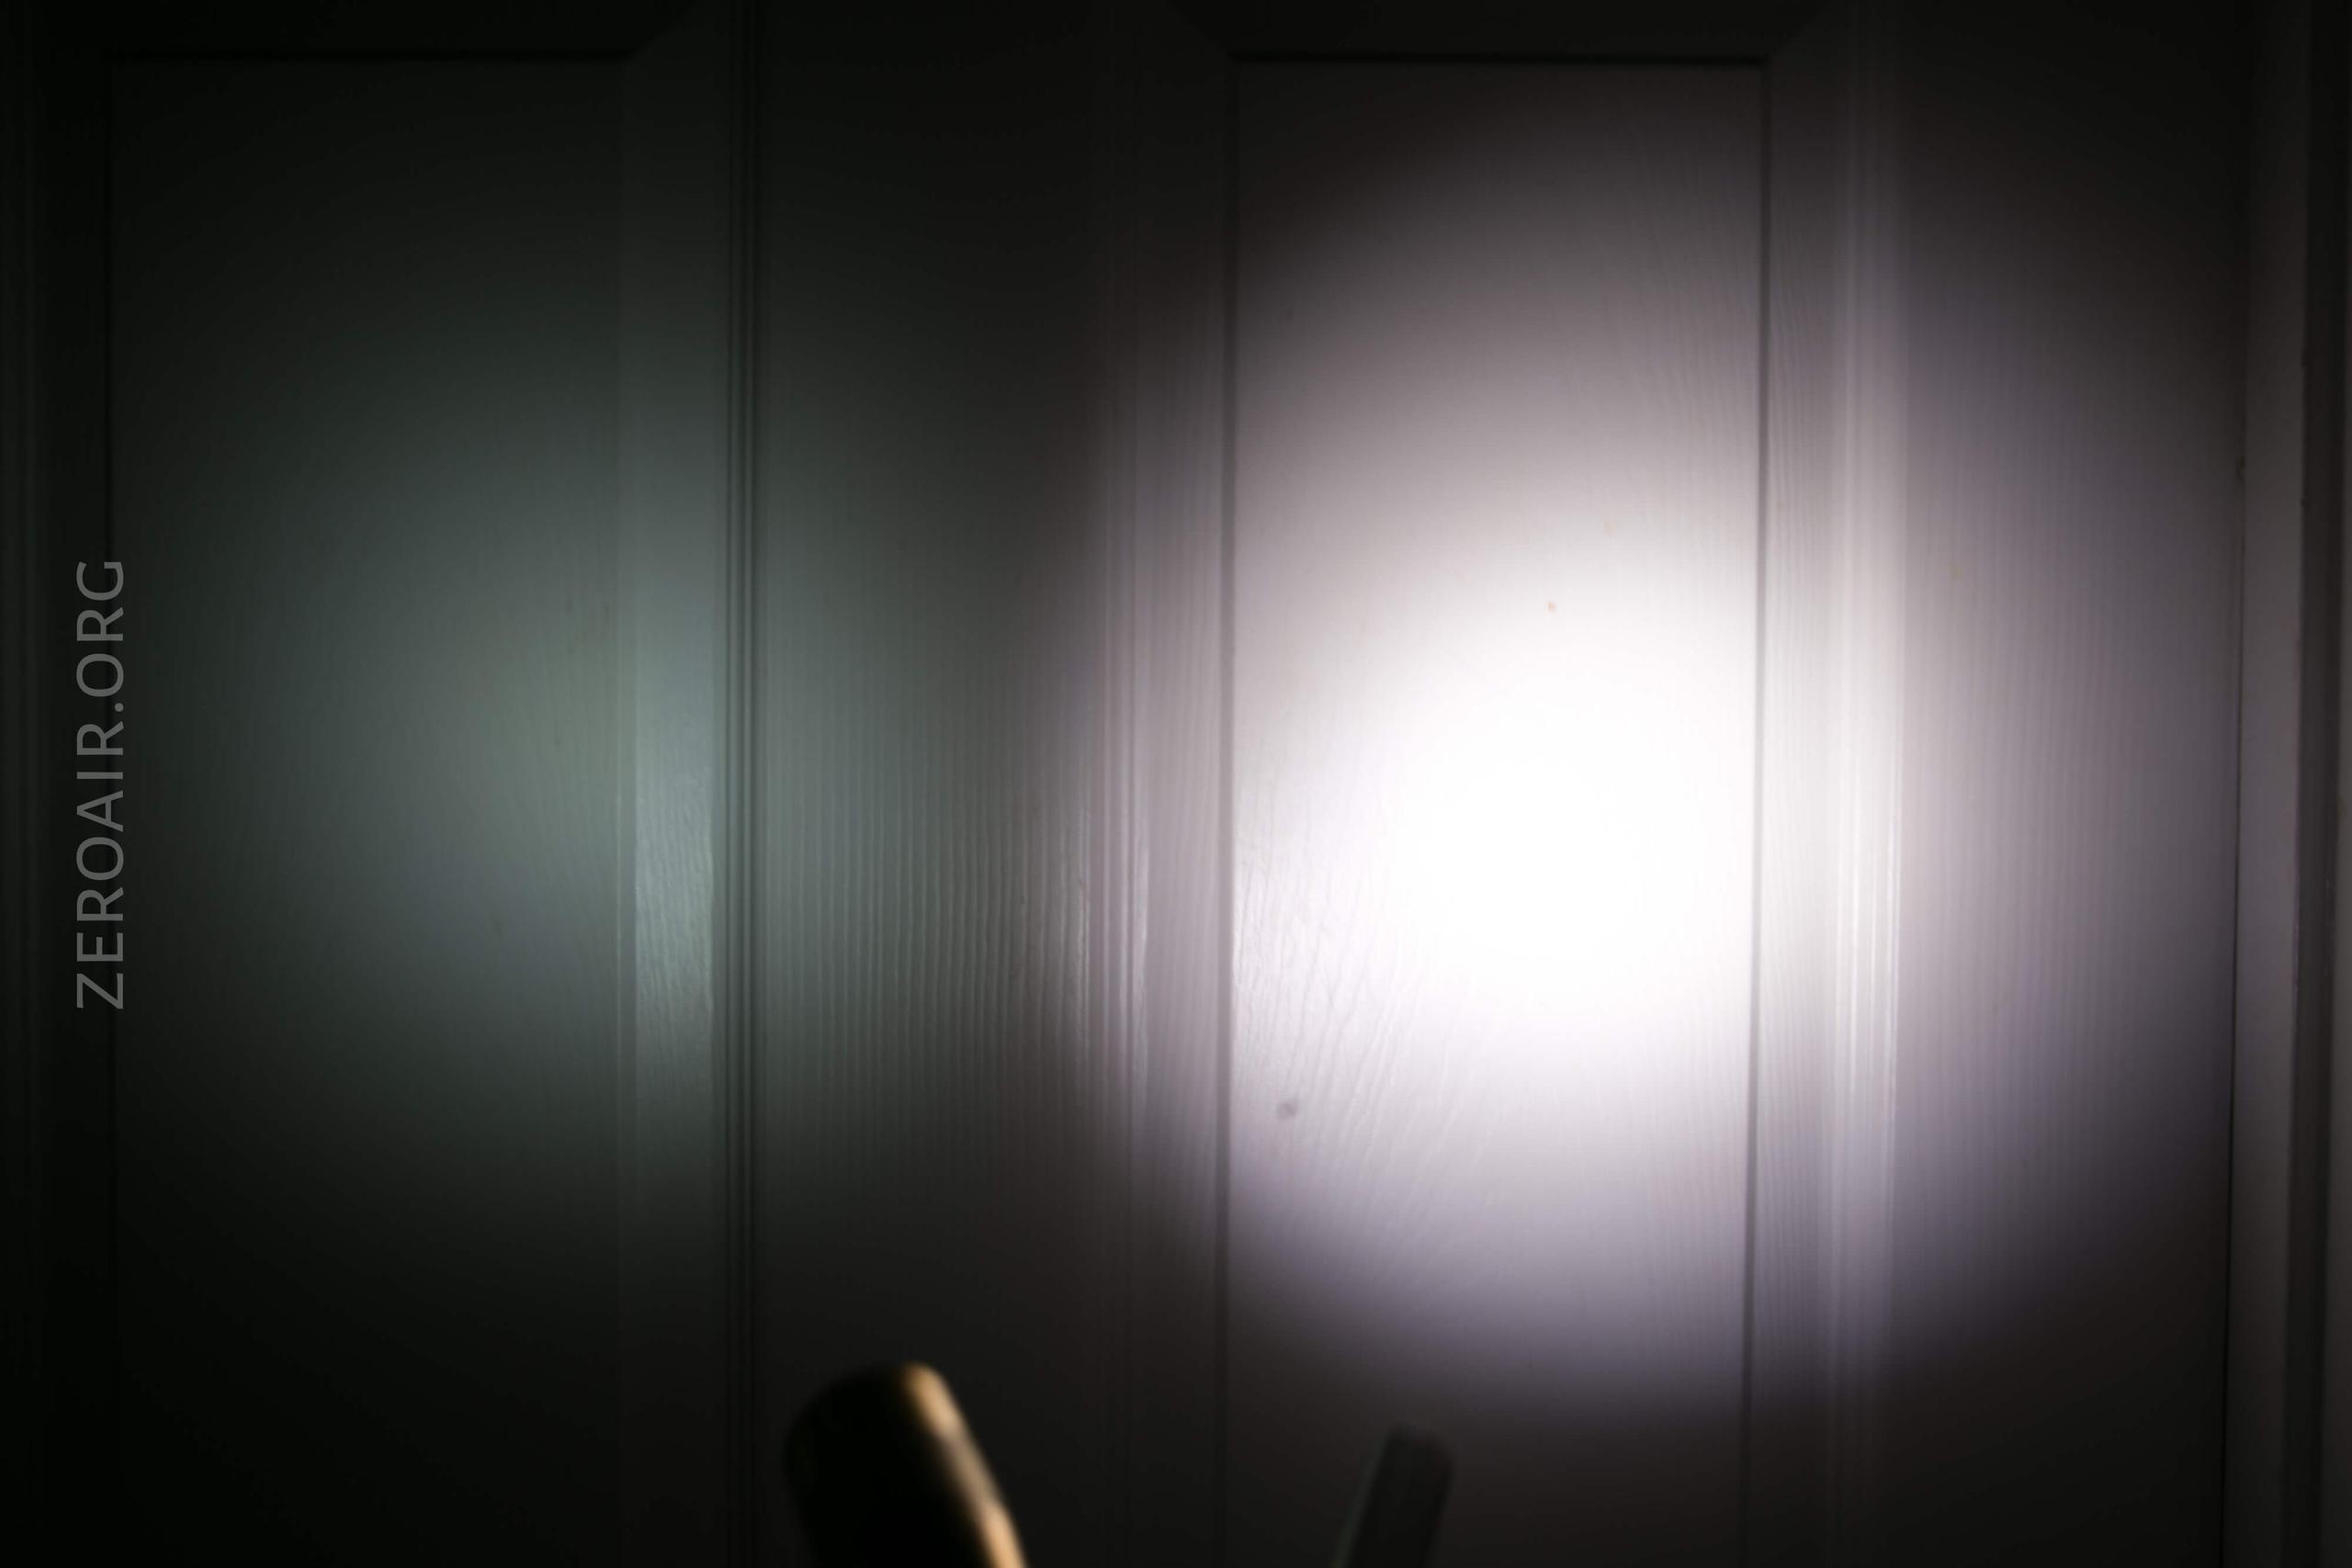
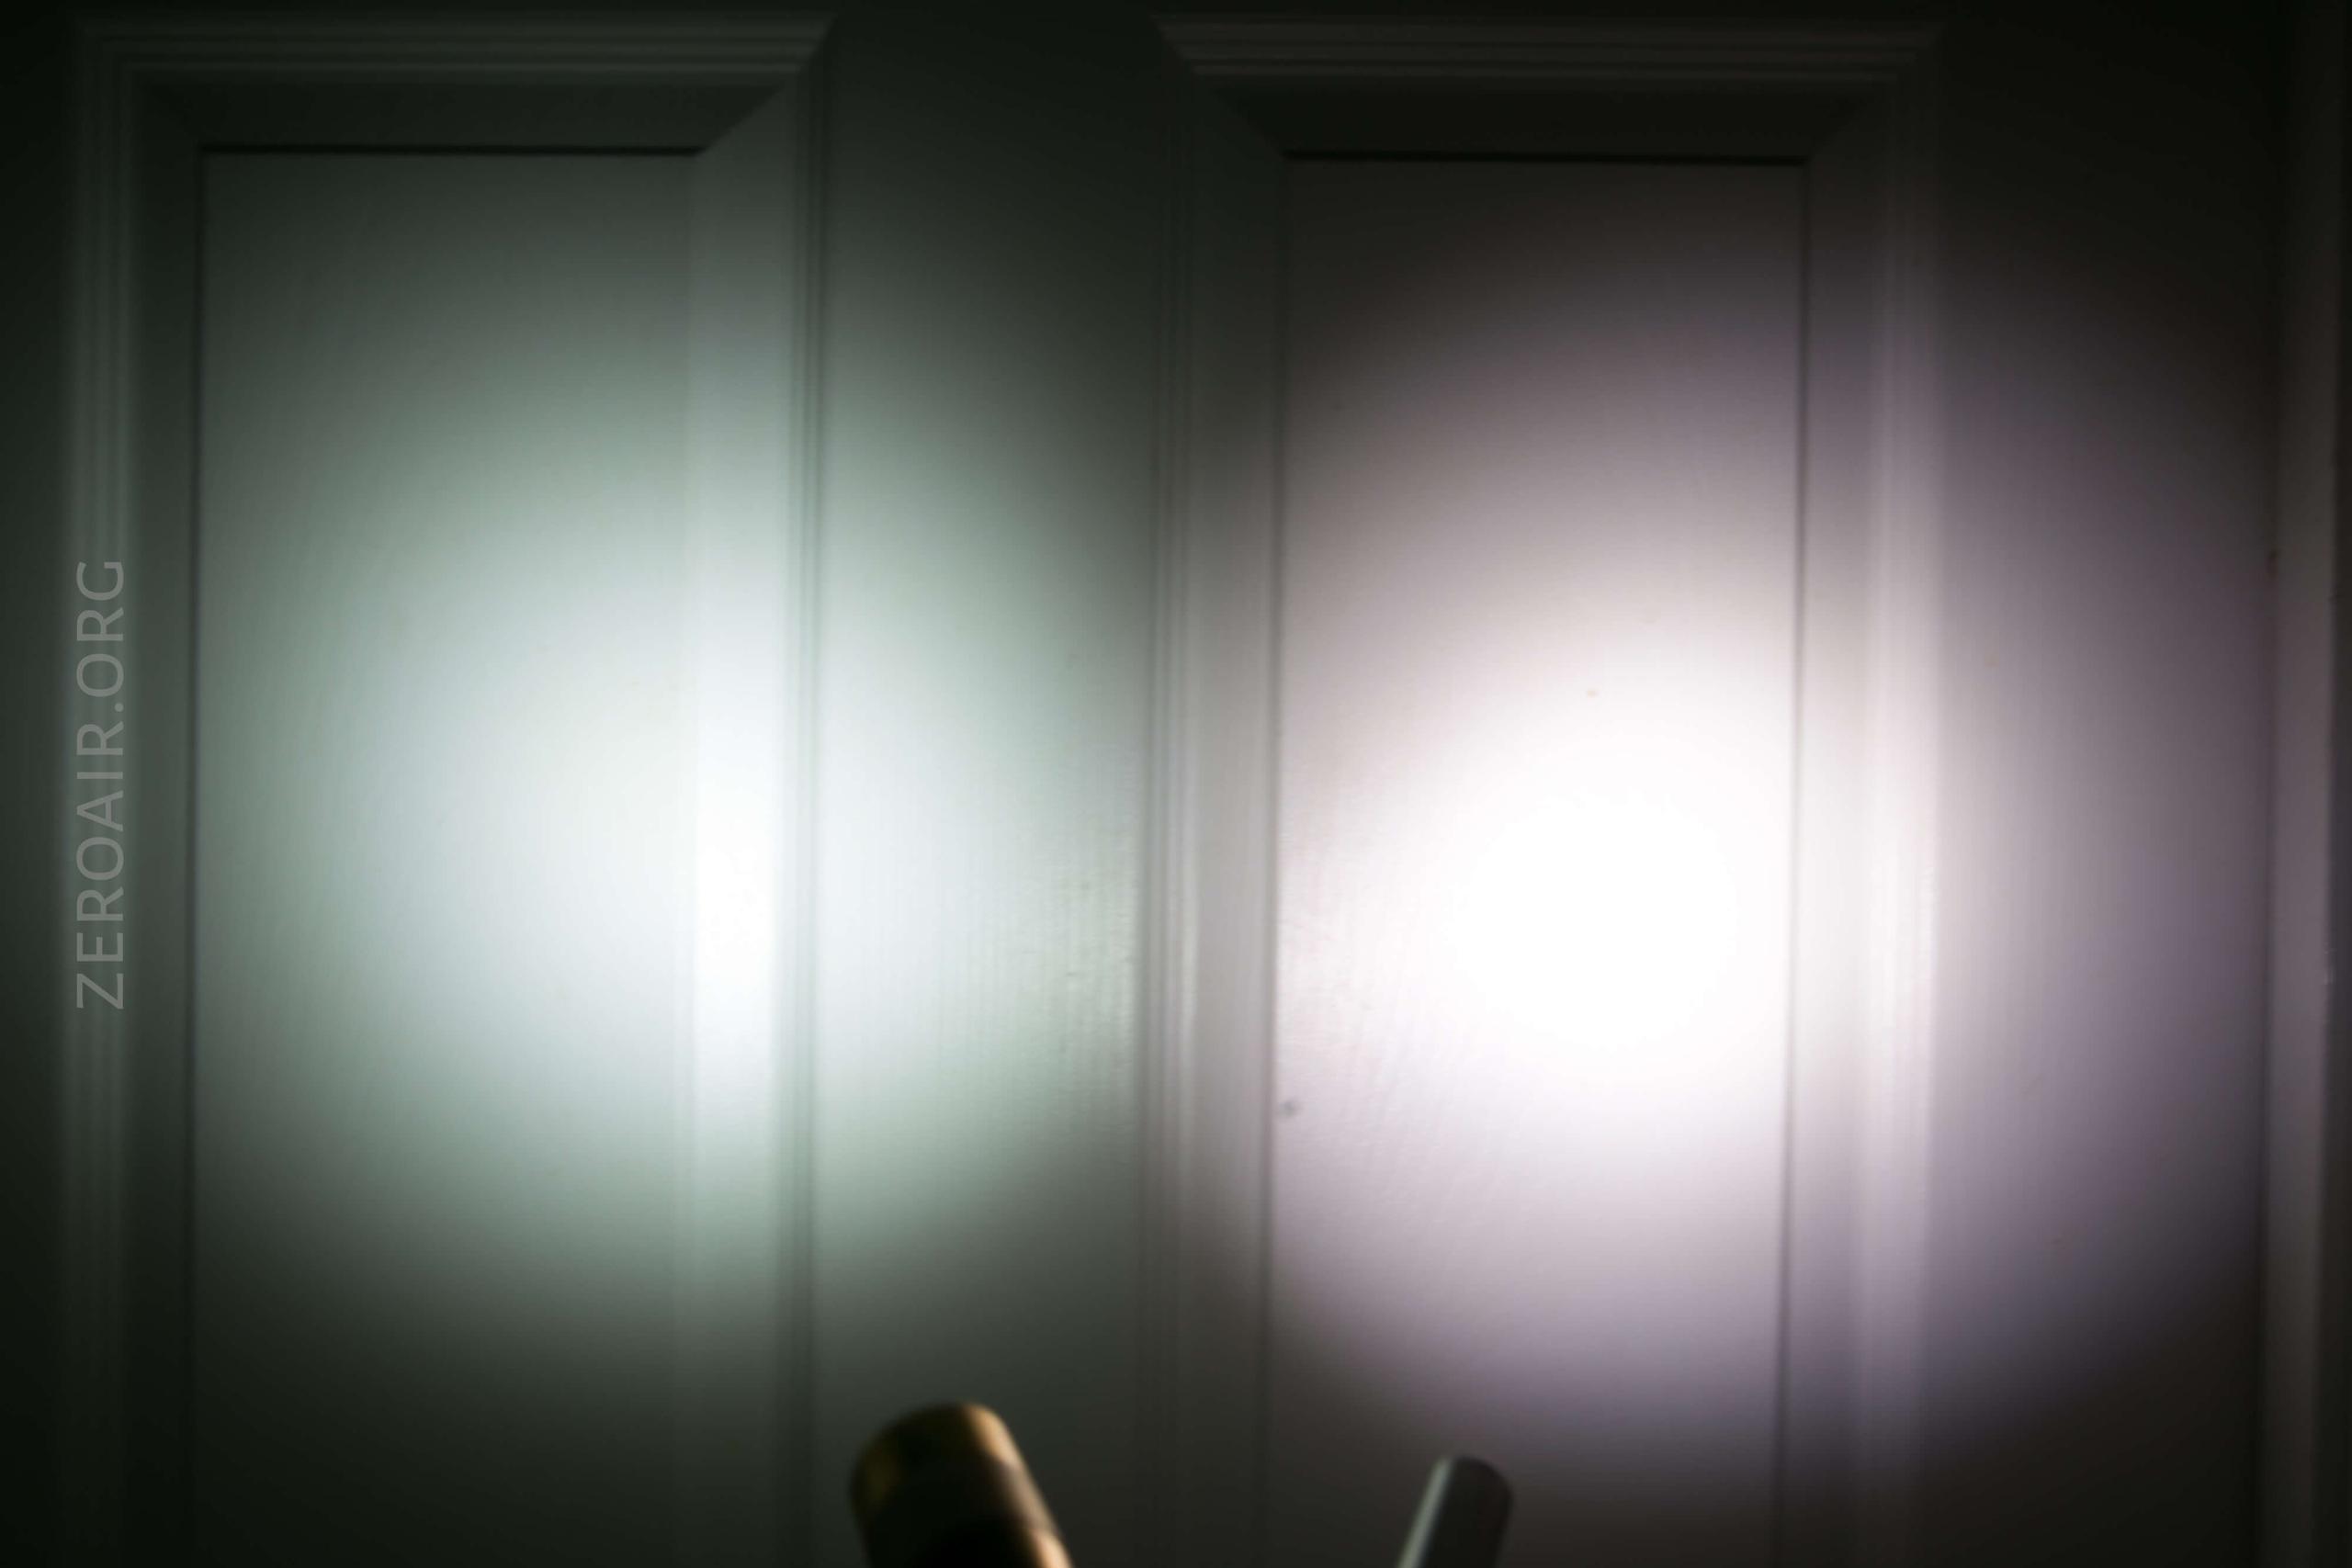
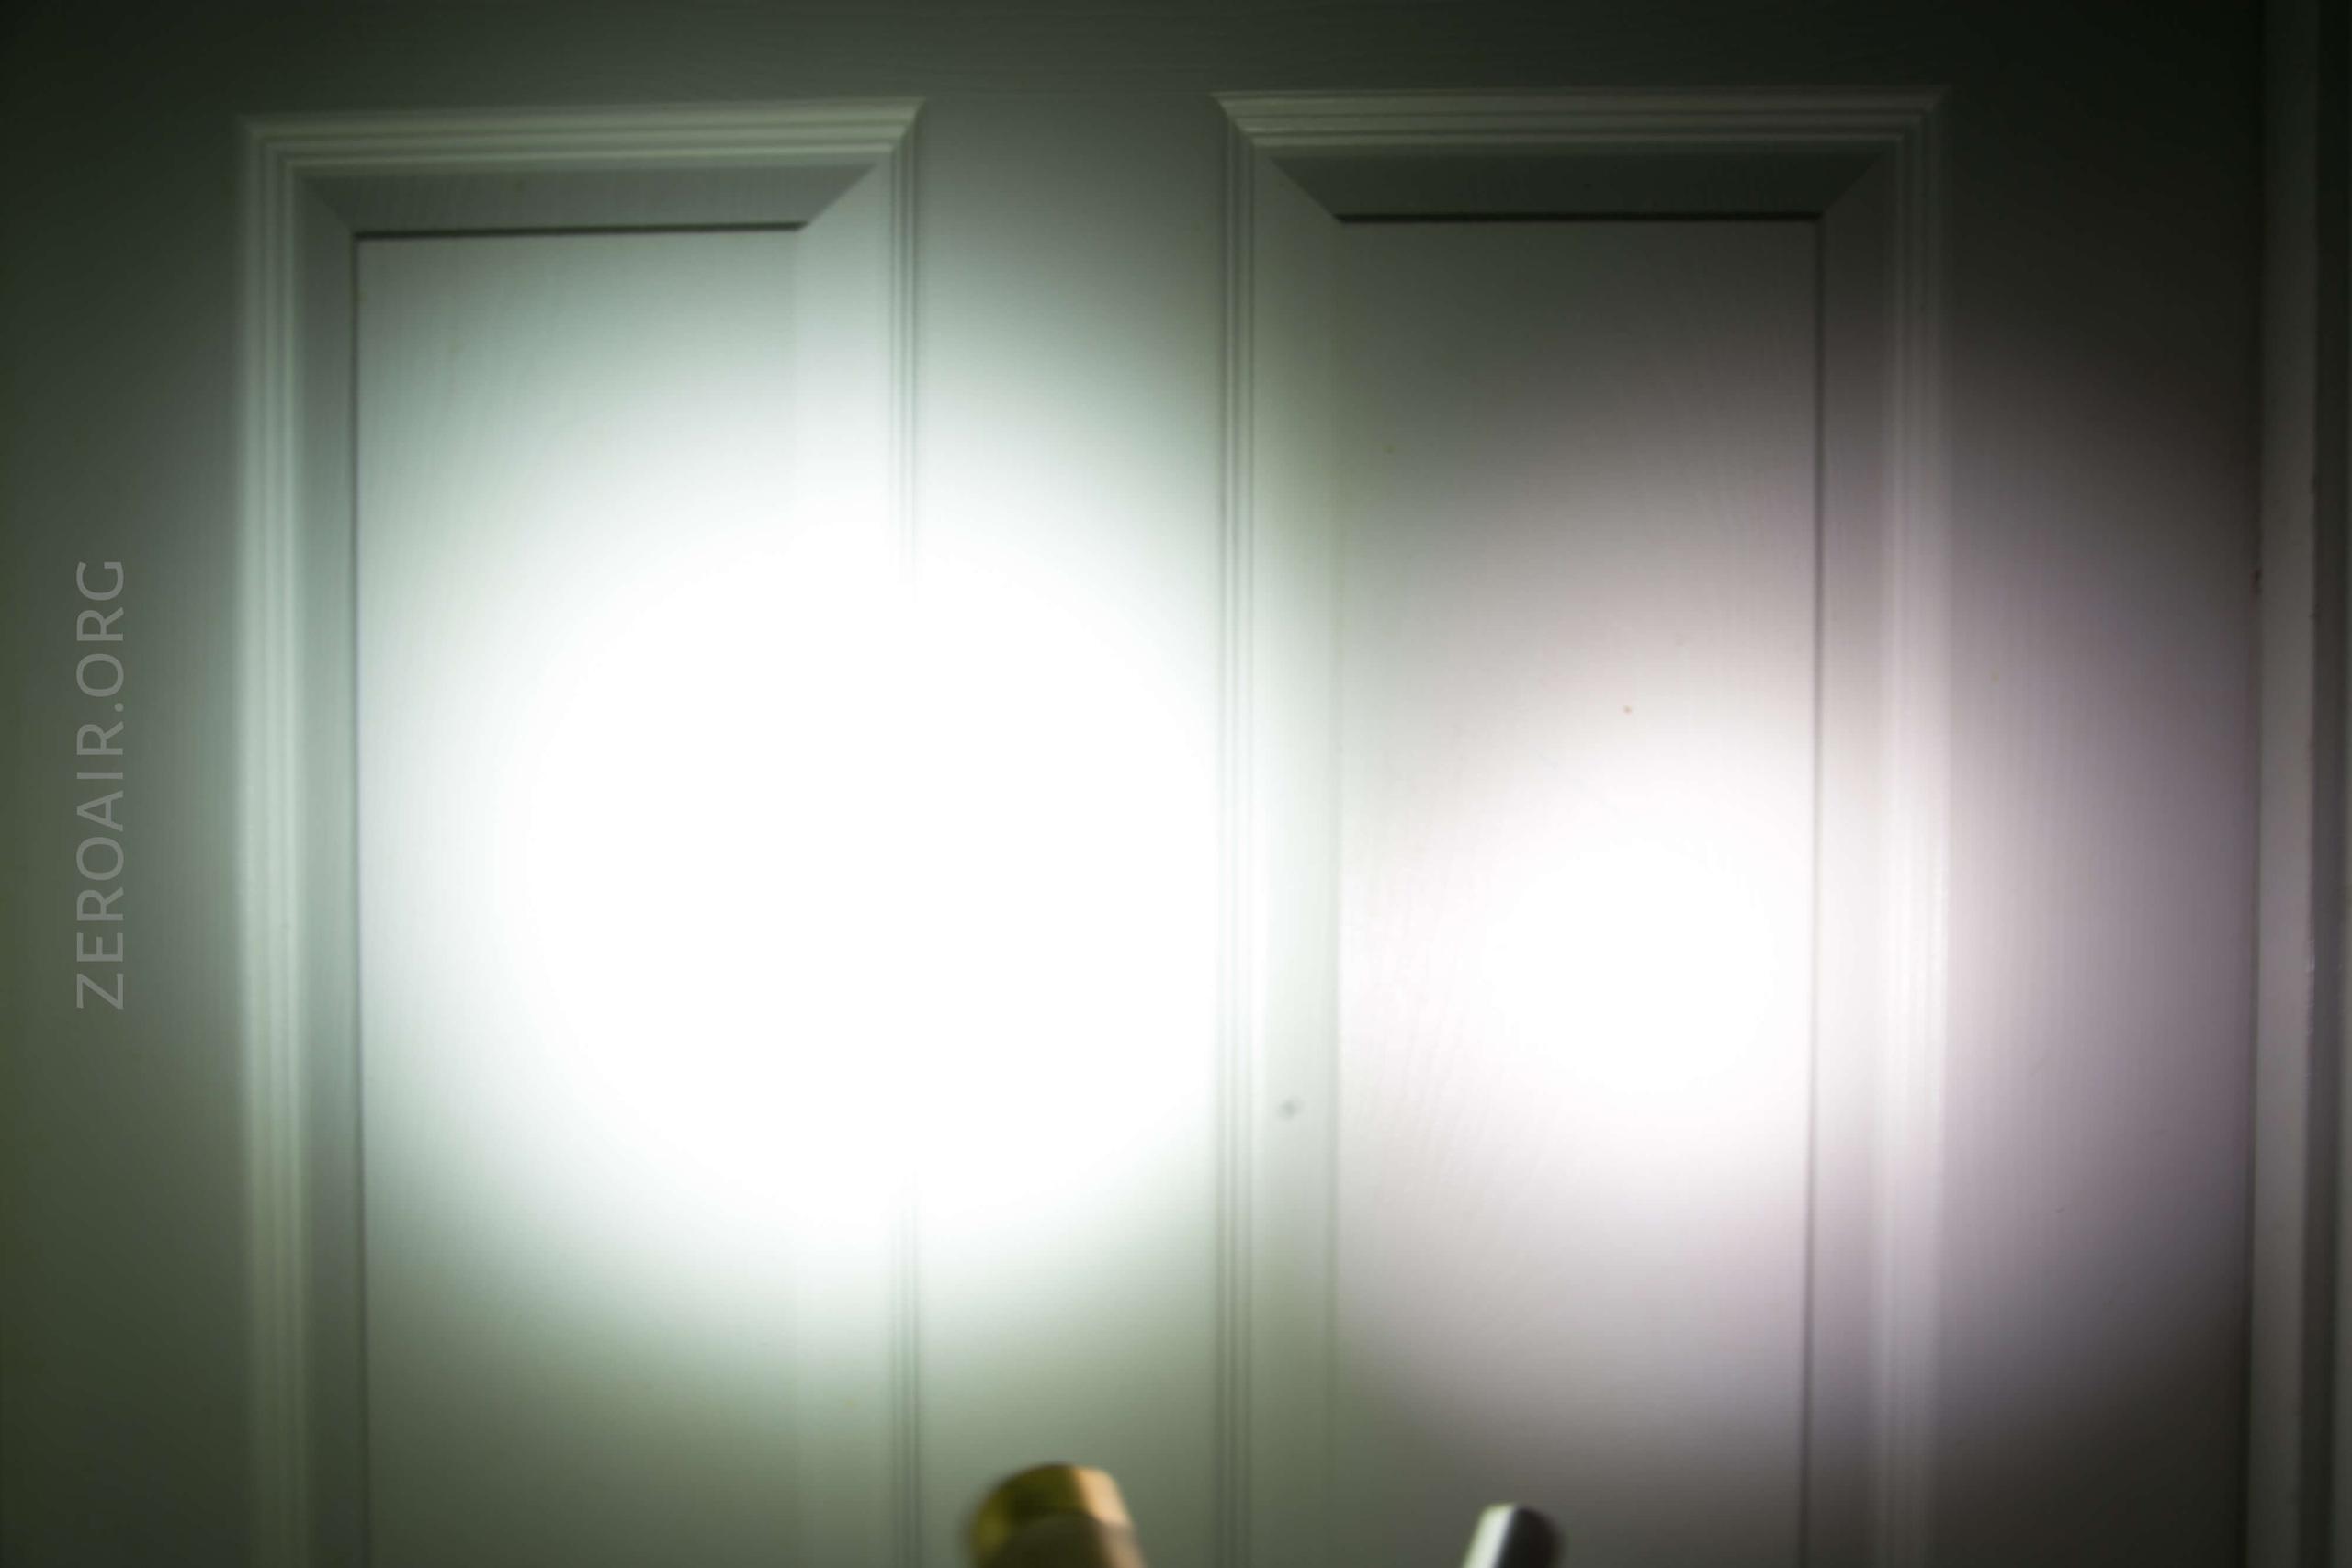
Beamshots
These beamshots always have the following settings: f8, ISO100, 0.3s shutter, and manual 5000K exposure. These photos are taken at floor level, and the beam hits the ceiling around 9 feet away.


Tint vs BLF-348 (KillzoneFlashlights.com 219b version) (affiliate link)
I keep the test flashlight on the left and the BLF-348 reference flashlight on the right.


I compare everything to the Killzone 219b BLF-348 because it’s inexpensive and has the best tint!
Conclusion on the Lumintop FW3C Brass Flashlight
What I like
- The brass.
- Super smooth threads
- Output is good
- It’s brass!!
What I don’t like
- How picky the light is about the cells being used
- Factory stepdowns are too dramatic (probably due to thermal calibration)
Notes
- This light was provided by Neal’s Gadgets for review. I was not paid to write this review.
- This content originally appeared at zeroair.org. Please visit there for the best experience!
- Use my amazon.com referral link if you’re willing to help support making more reviews like this one!
- Please support me on Patreon! I deeply appreciate your support!
Discover more from ZeroAir Reviews
Subscribe to get the latest posts sent to your email.
Pingback: Lumintop FWAA (Nichia) Flashlight Review - ZeroAir Reviews