Brinyte PT18 Pro Flashlight Review
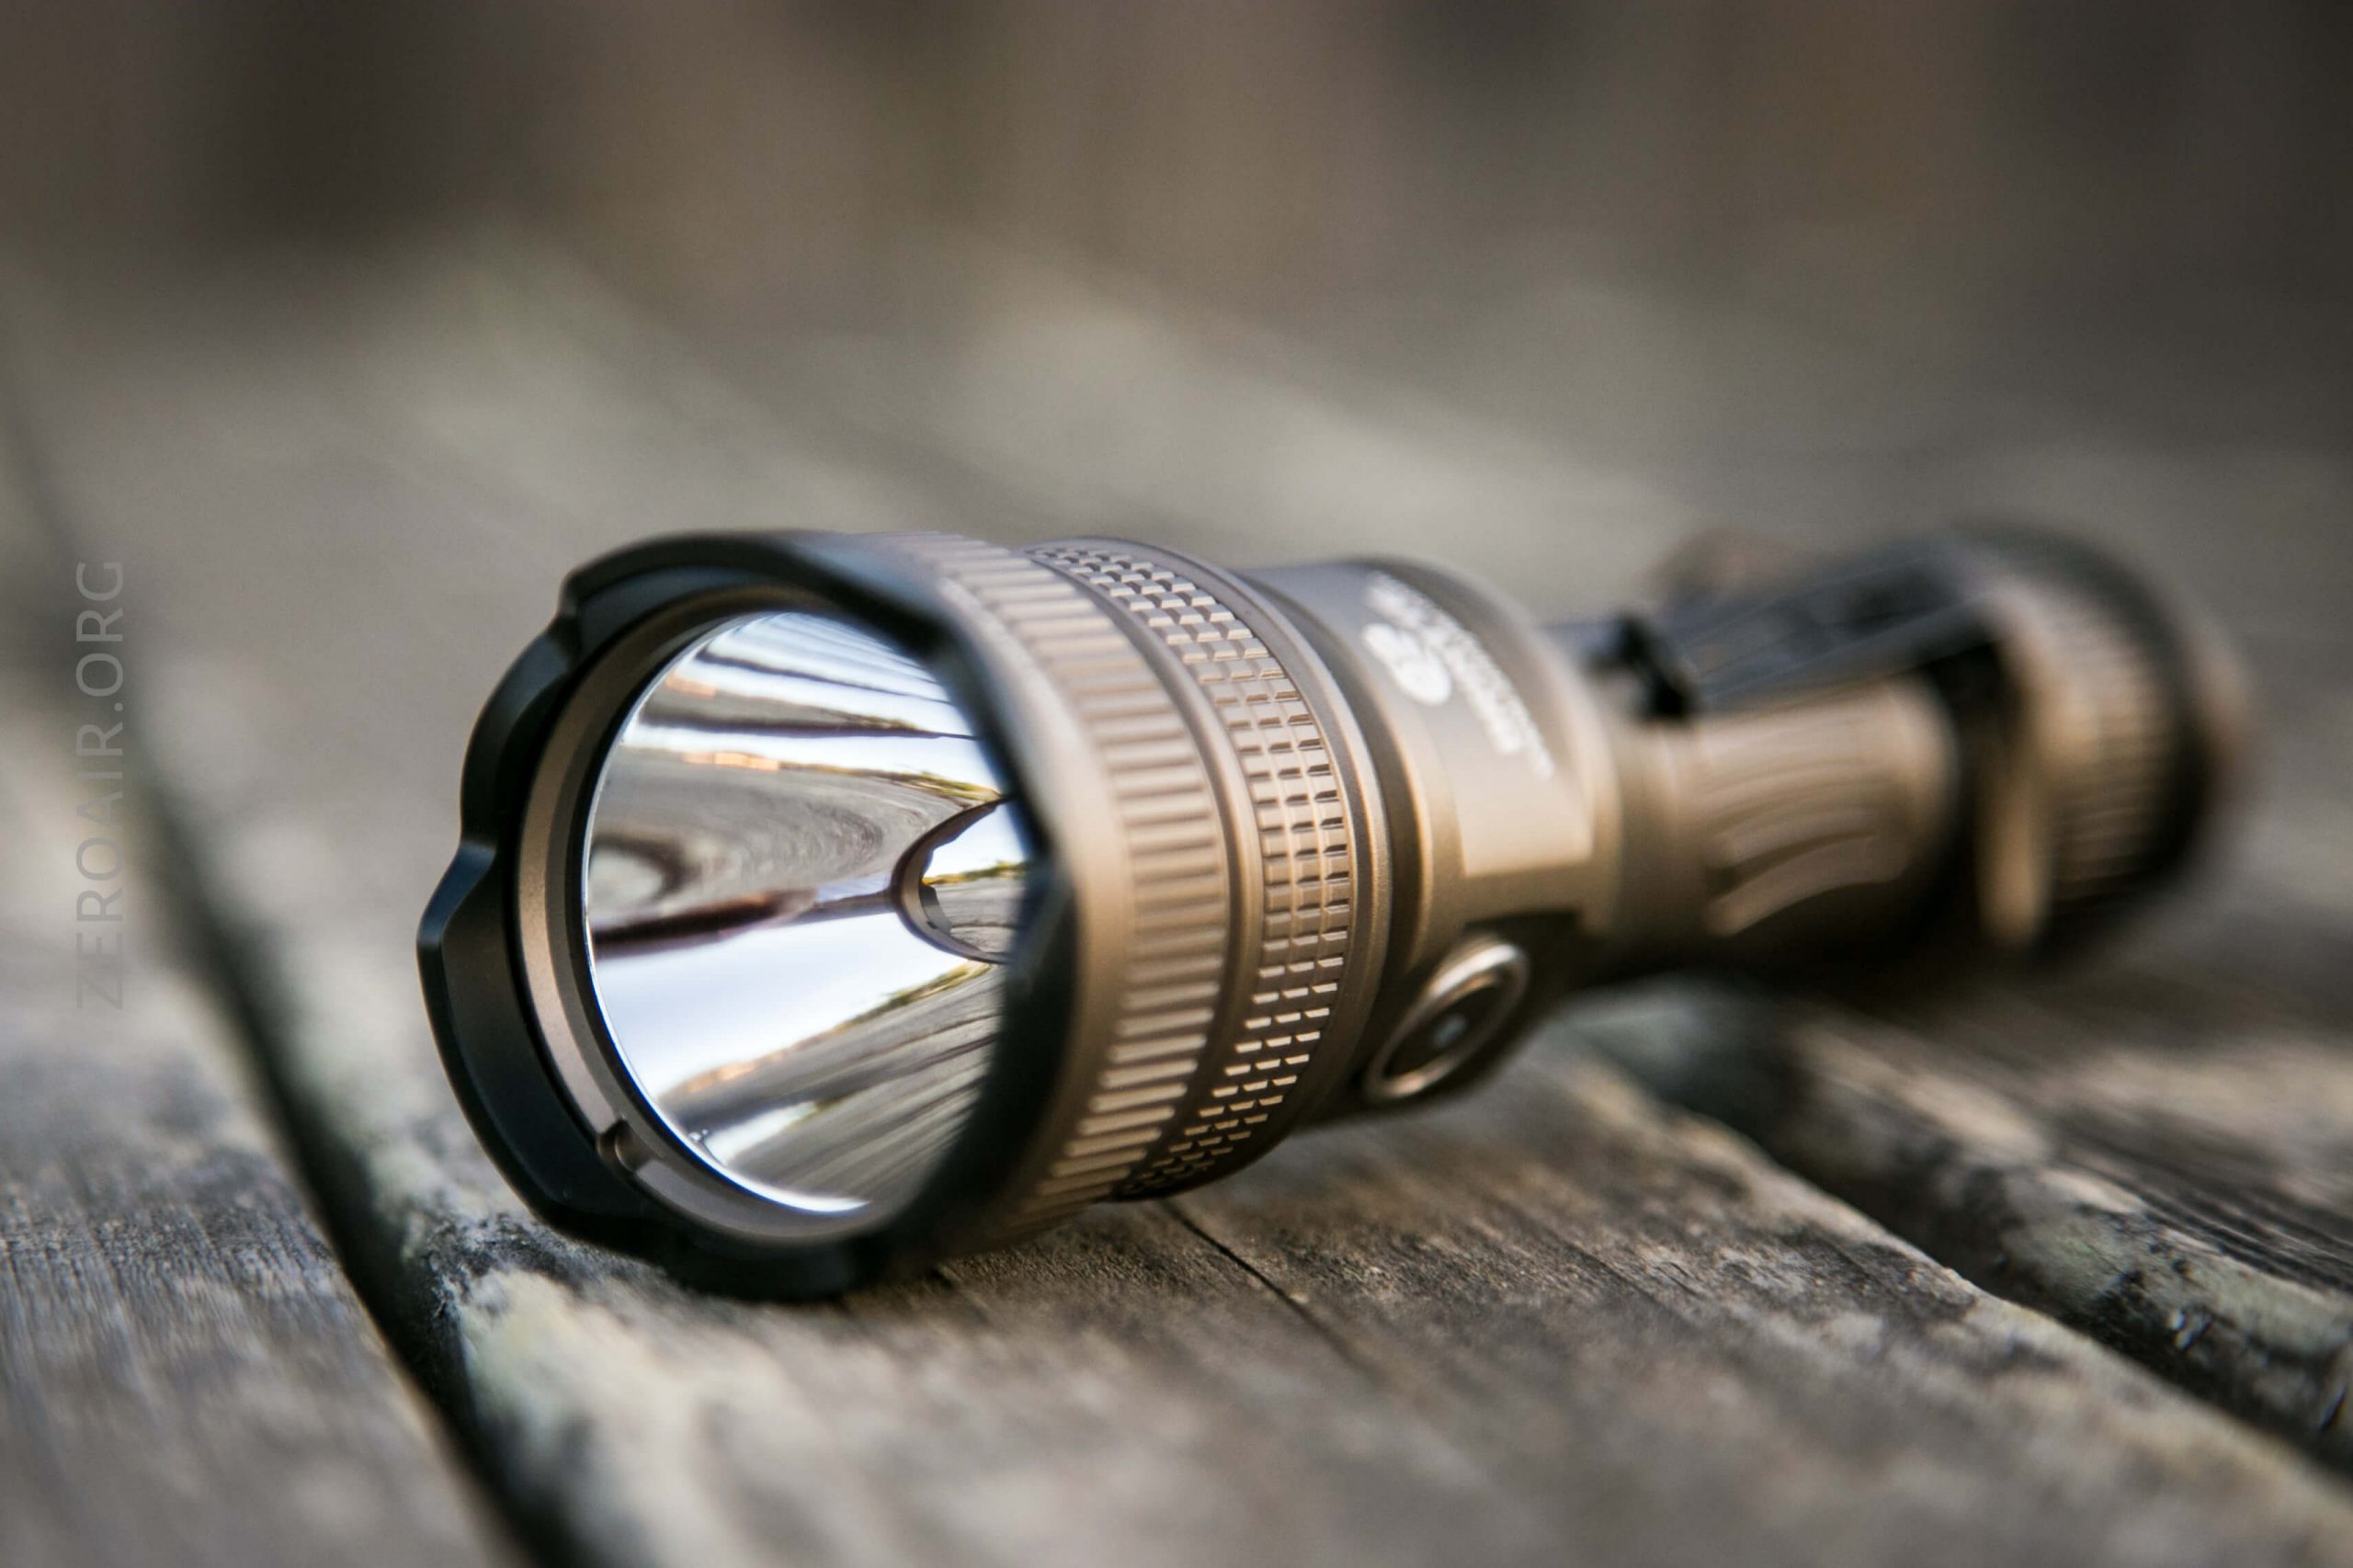
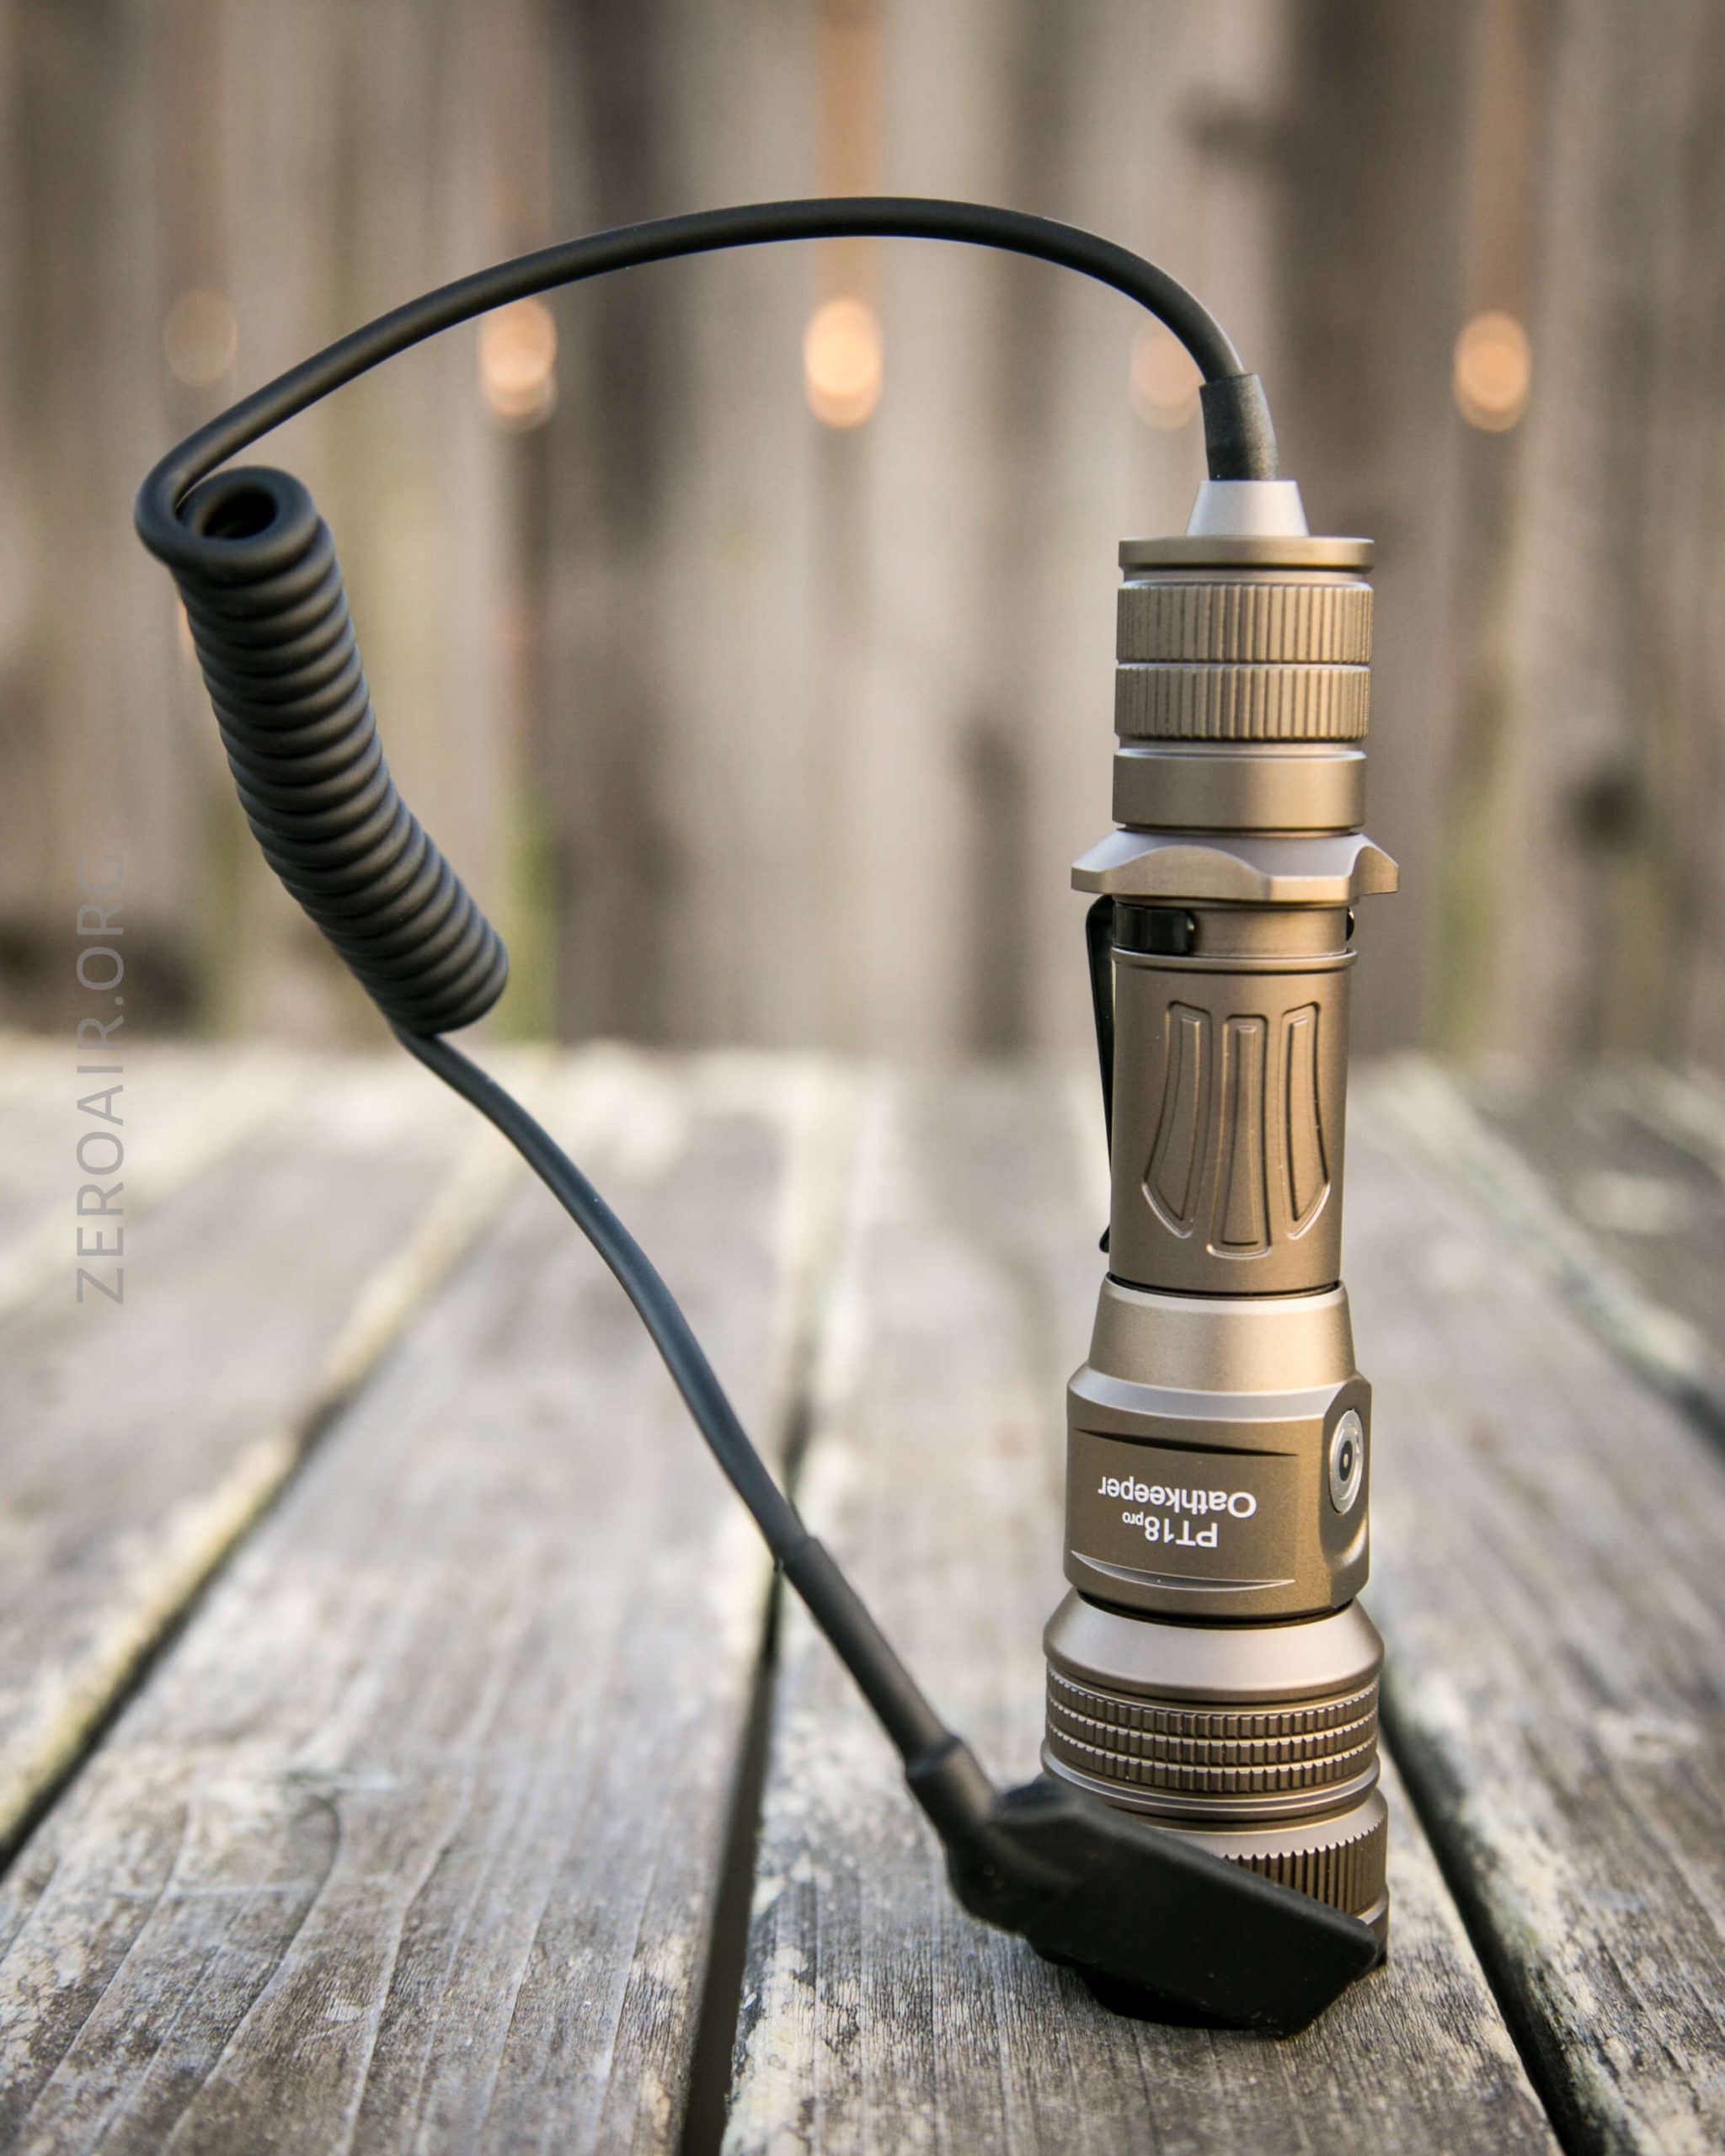
Today I have the Brinyte PT18 Pro flashlight, an 18650 light with a Cree XHP35 HD, designed for long weapon use. I have accessories, too!
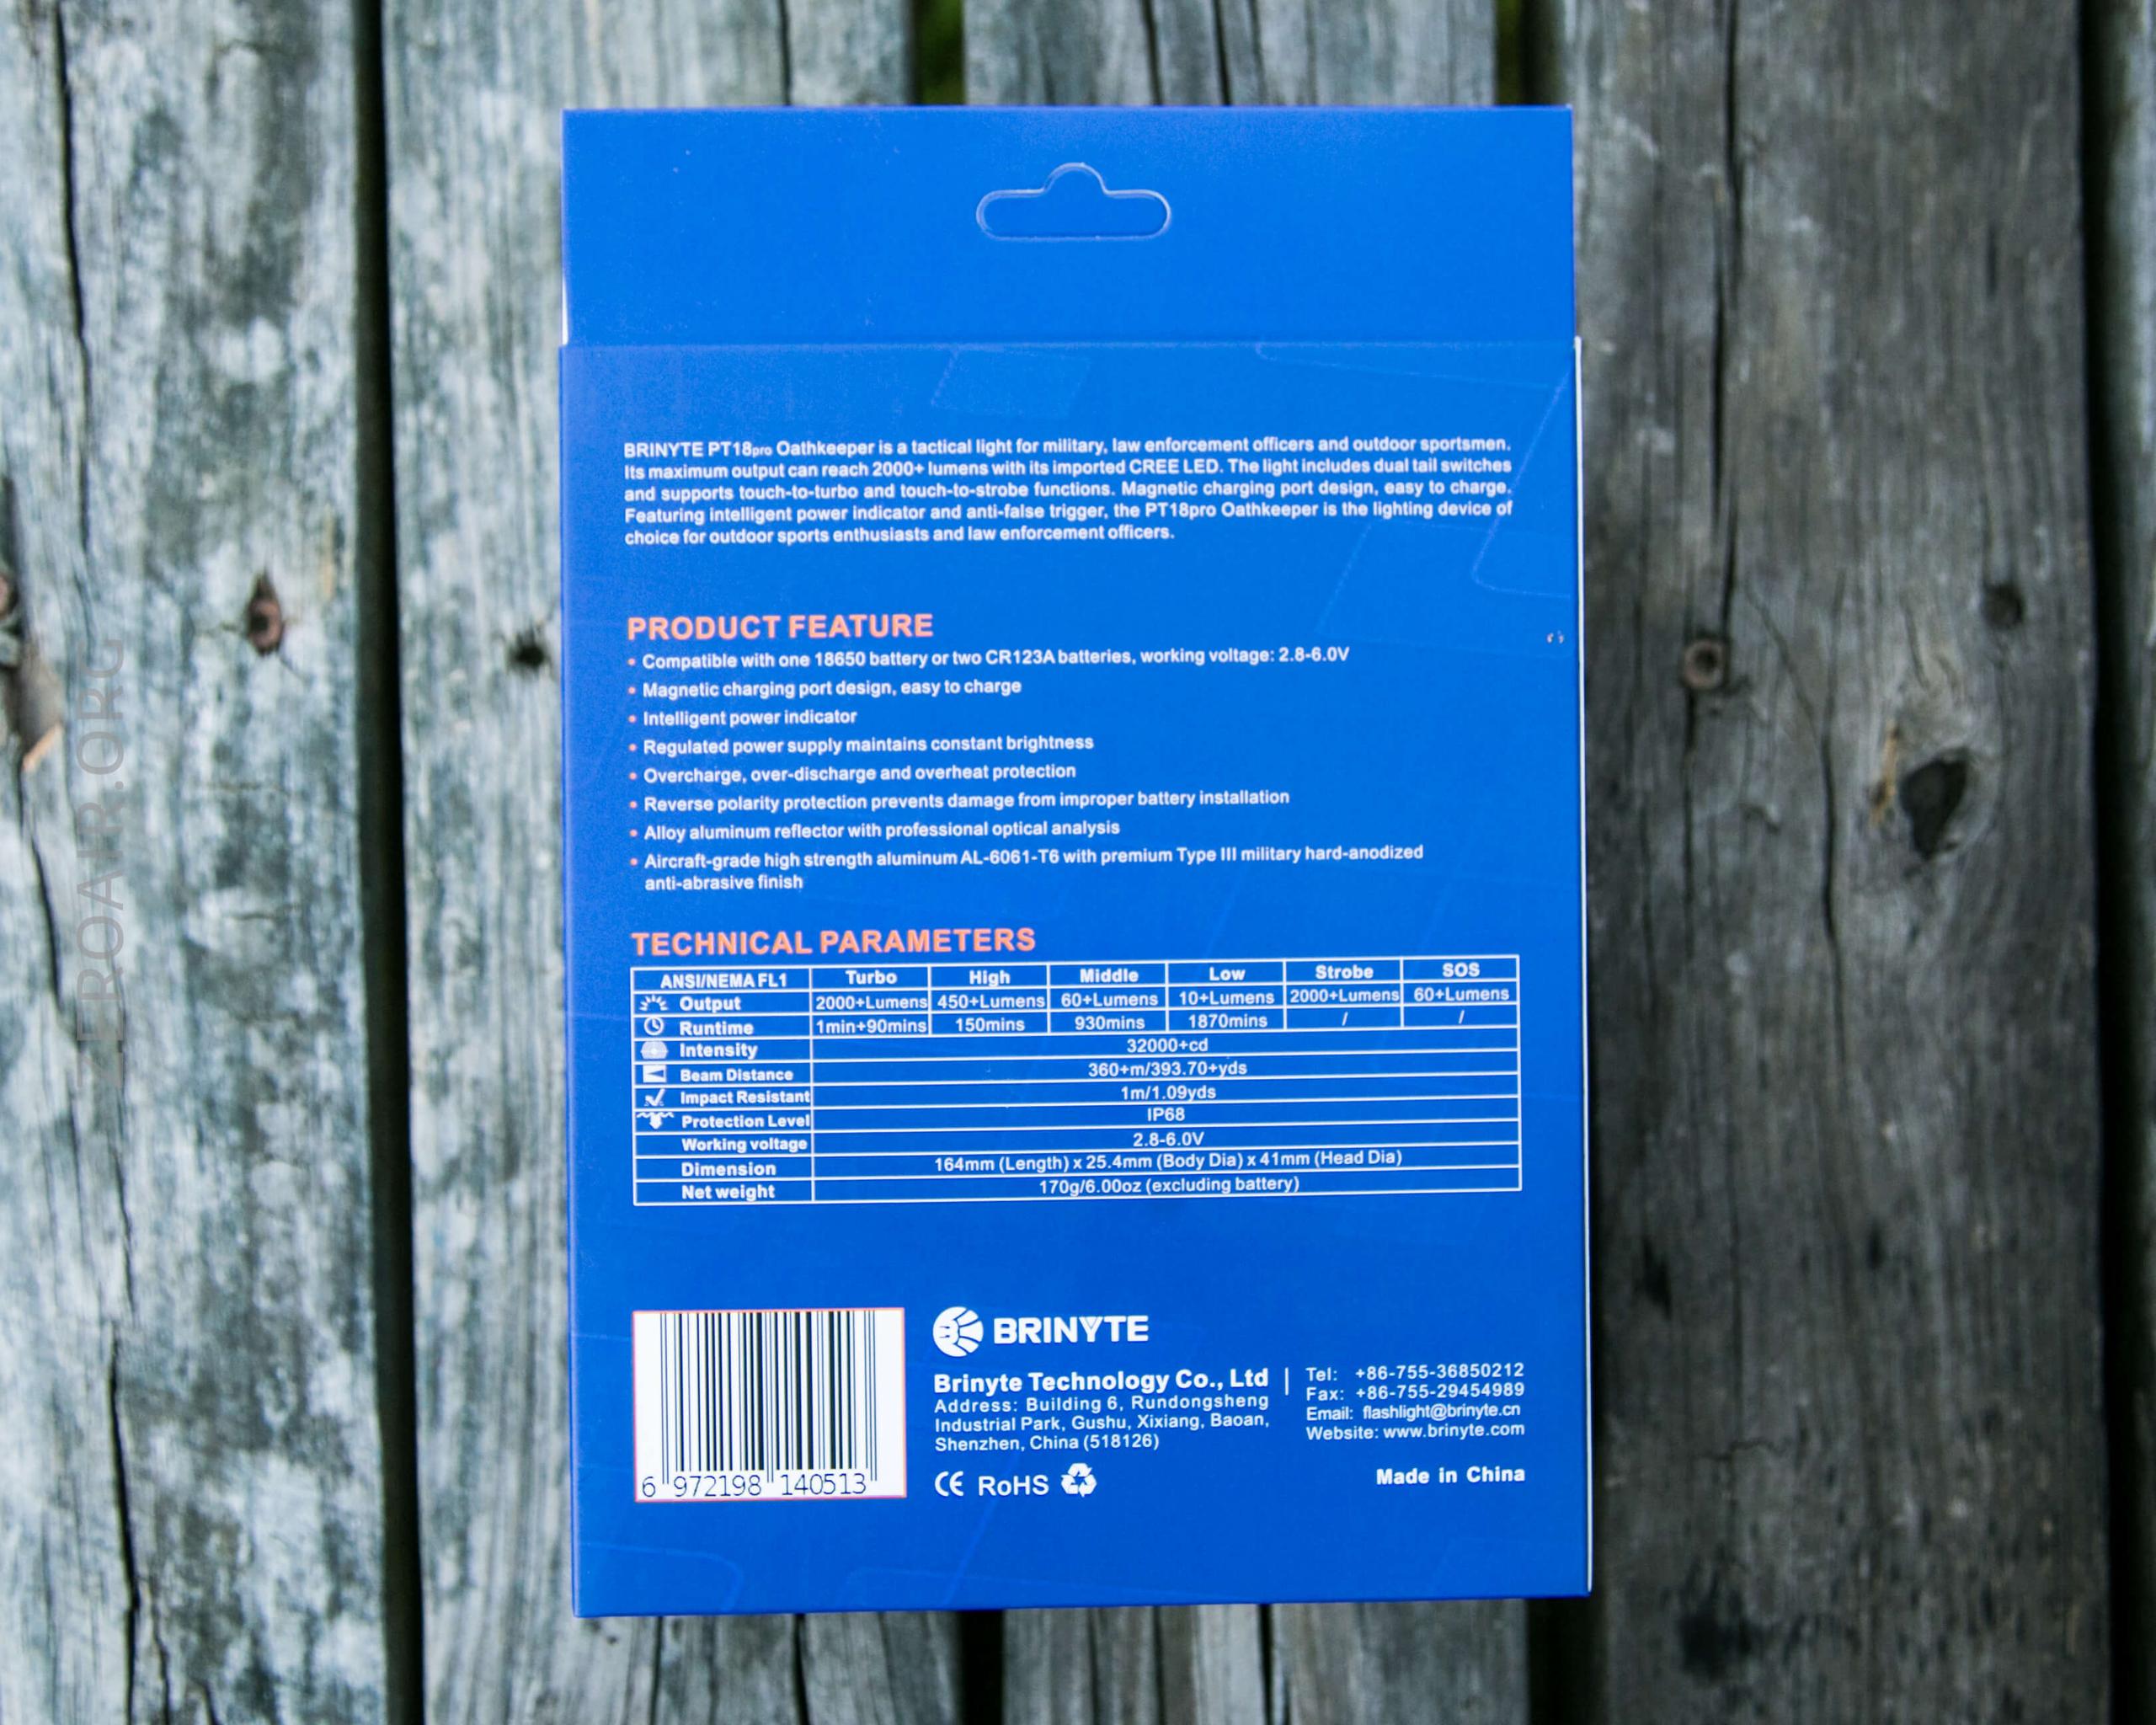
Official Specs and Features
Here’s a link to the Brinyte PT18 Pro Flashlight product page.
Versions
There are two body colors of the PT18 Pro – this Desert Tan version and a black version. There is the original PT18, of course, which looks to be largely the same as the Pro, with some changes in the charging setup.
Price
This light is selling for $135.
Short Review
This is a nicely built light, with some cool accessories and nice weapon mounts. It’s a little on the expensive side but it does seem to meet the claims made by Brinyte.
Long Review
The Big Table
| Brinyte PT18 Pro Flashlight | |
|---|---|
| Emitter: | Cree XHP35 HD (CW) |
| Price in USD at publication time: | $135.00 |
| Cell: | 1×18650 |
| Turbo Runtime | High Runtime |
| LVP? | Warning |
| Switch Type: | Both |
| Quiescent Current (A): | ? |
| On-Board Charging? | Yes |
| Charge Port Type: | Proprietary Magnetic |
| Chargetime | |
| Power off Charge Port with or without Cell? | Lowest two modes |
| Claimed Lumens (lm) | 2000 |
| Measured Lumens (at 30s) | 1906 (95.3% of claim)^ |
| Candela per Lumen | 25.6 |
| Claimed Throw (m) | 360 |
| Candela (Calculated) in cd (at 30s) | 1980lux @ 4.788m = 45391cd |
| Throw (Calculated) (m) | 426.1 (118.4% of claim)^ |
| All my Brinyte reviews! | |
^ Measurement disclaimer: Testing flashlights is my hobby. I use hobbyist-level equipment for testing, including some I made myself. Try not to get buried in the details of manufacturer specifications versus measurements recorded here; A certain amount of difference (say, 10 or 15%) is perfectly reasonable.
What’s Included
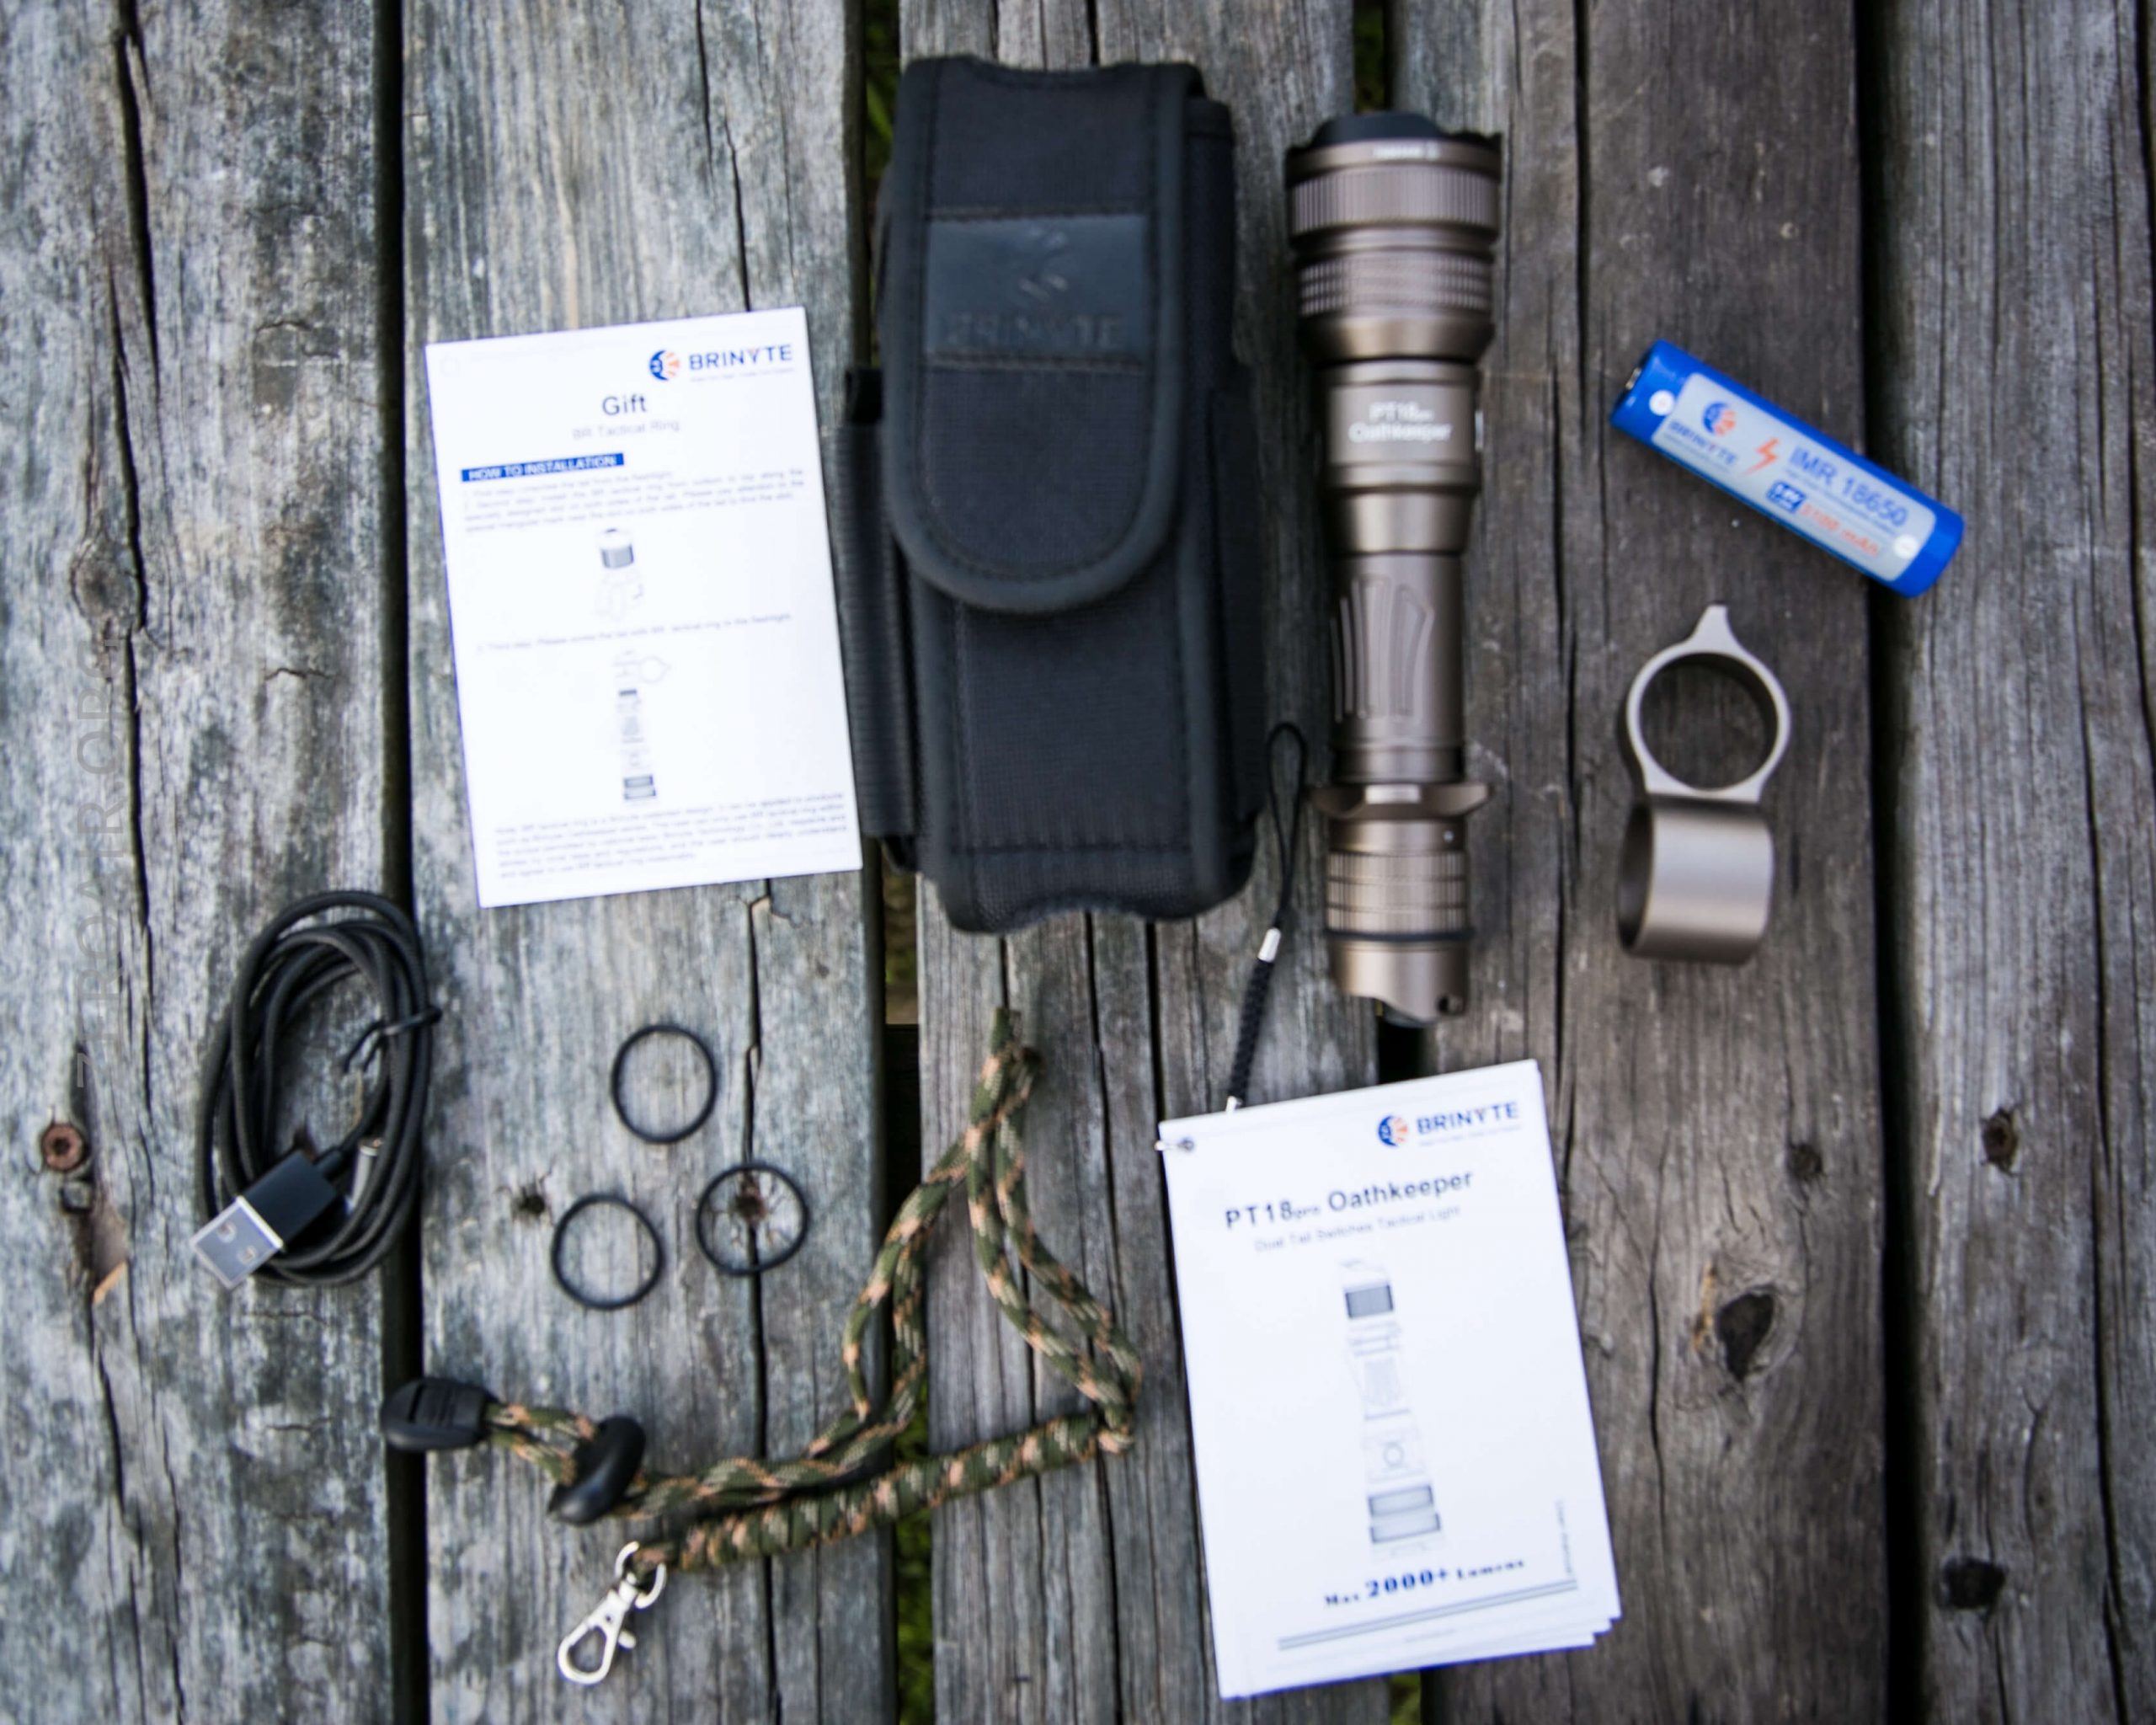
- Brinyte PT18 Pro Flashlight
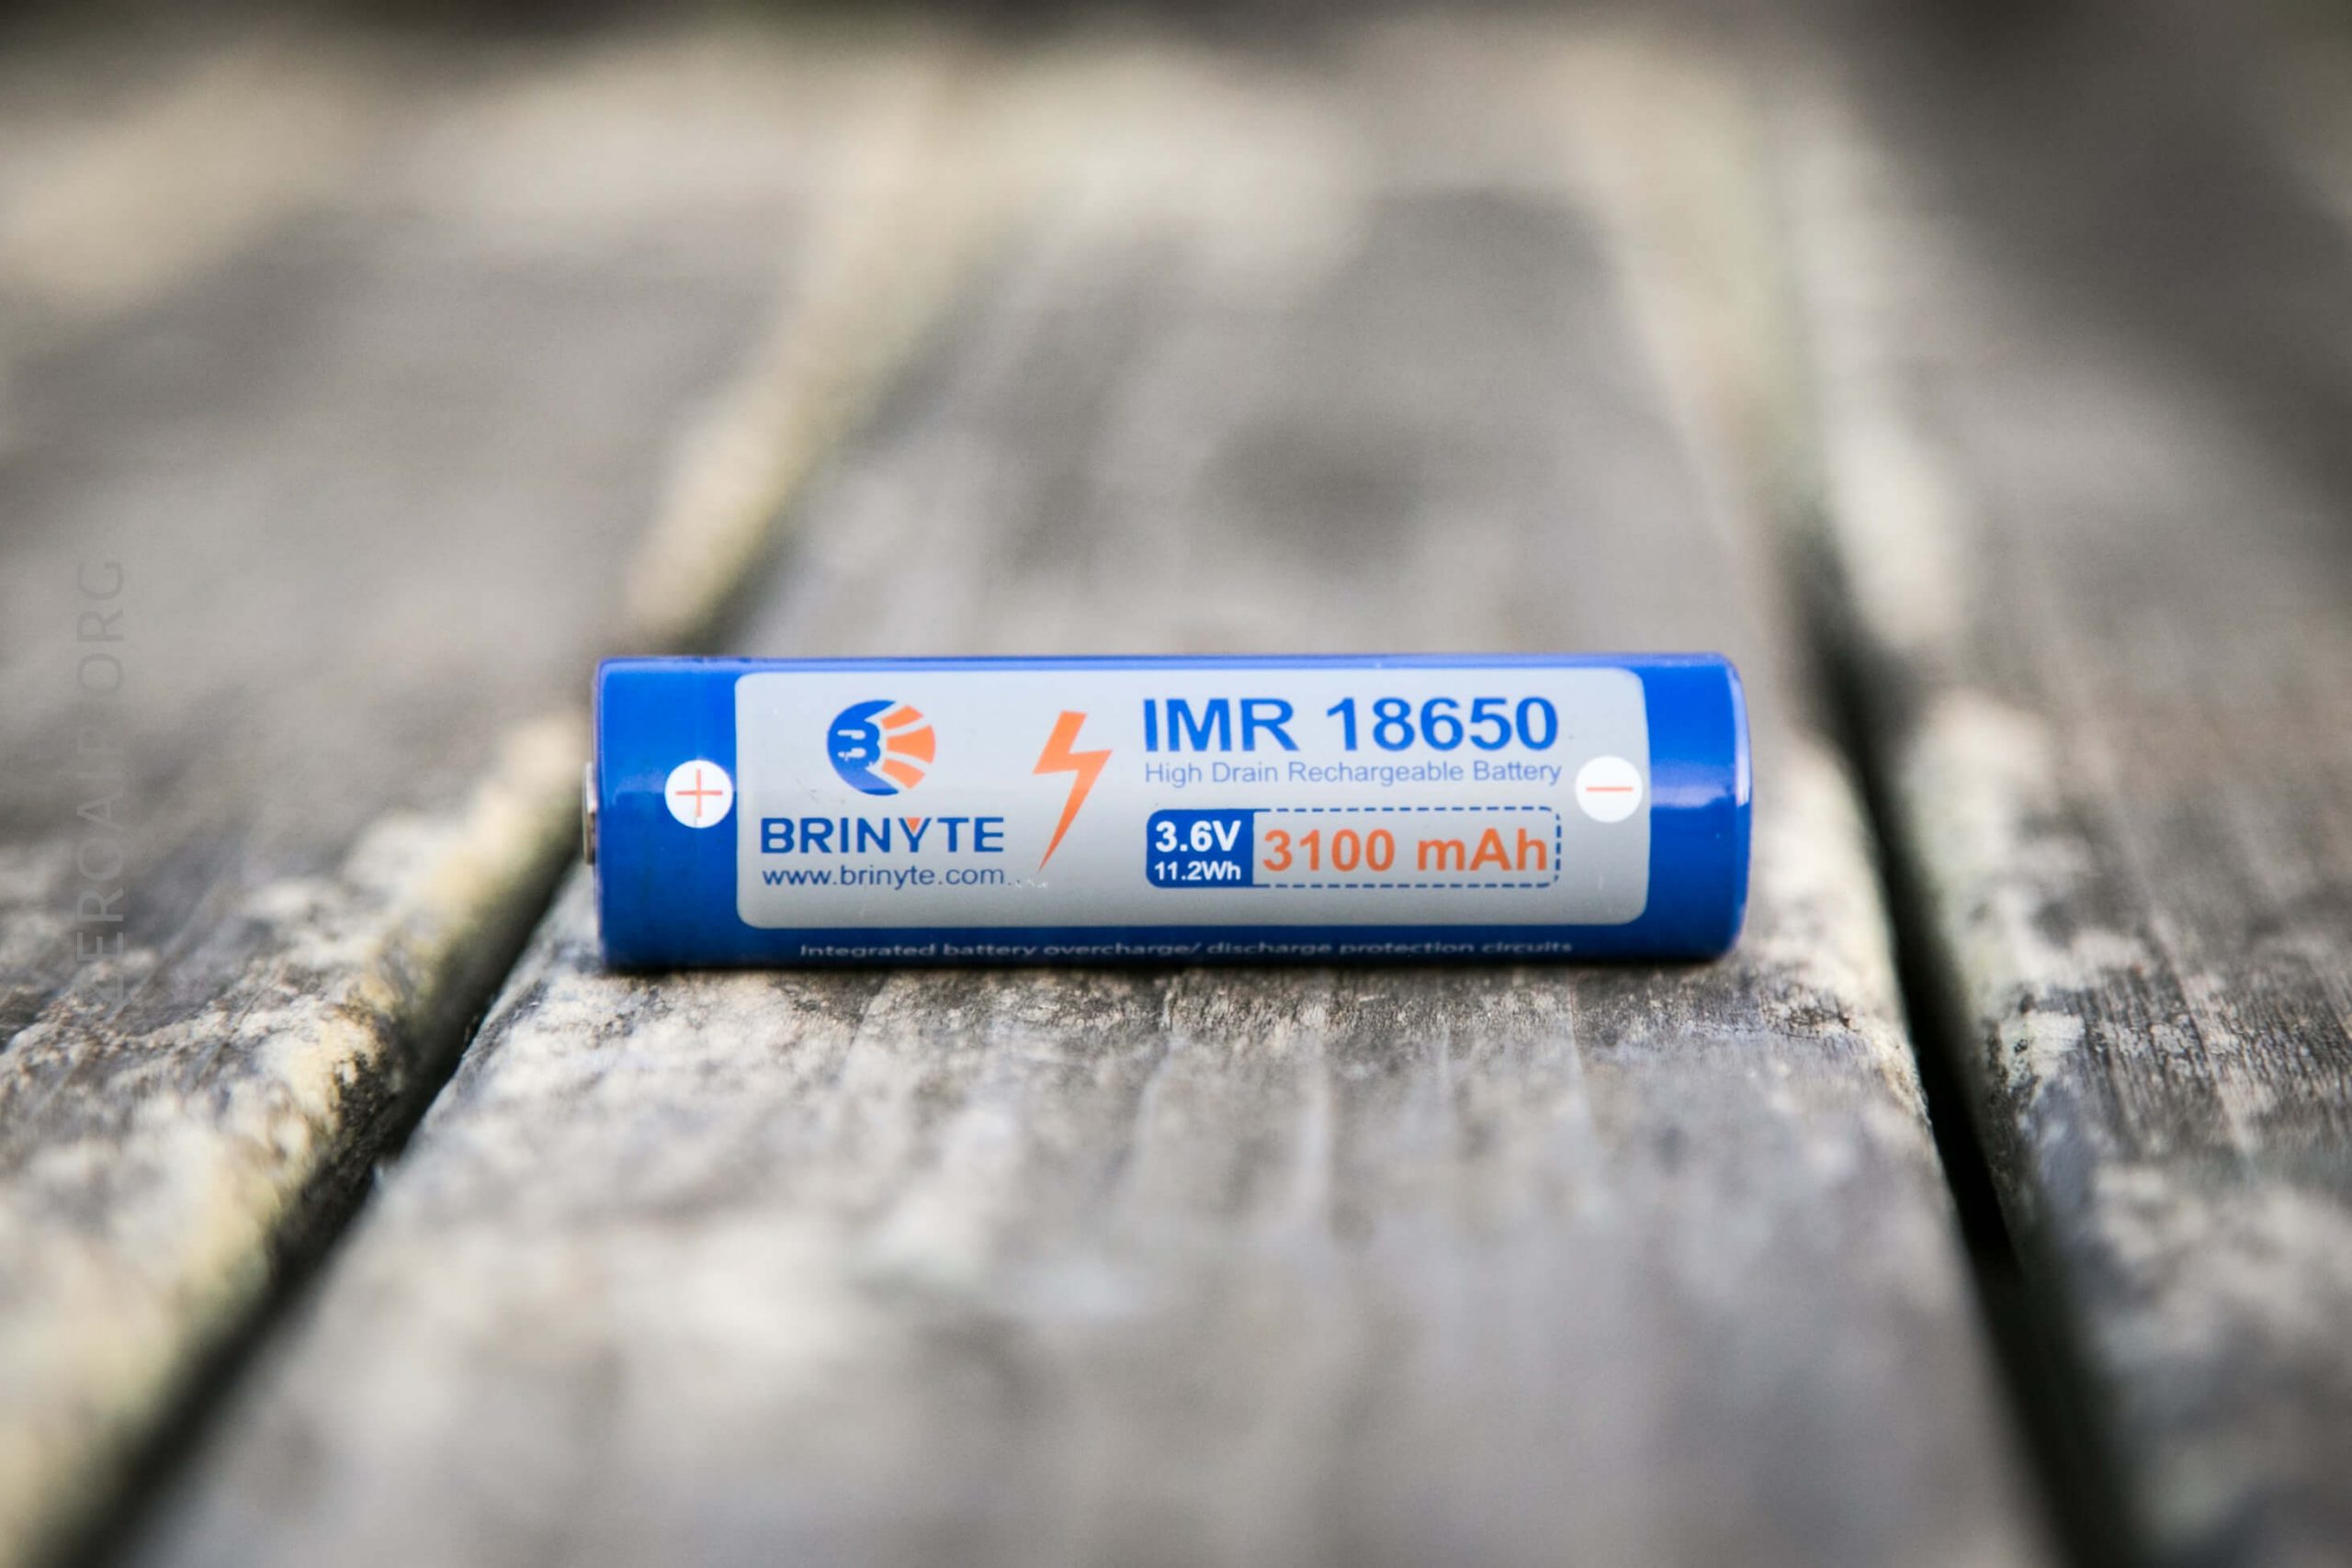
- Brinyte 3100mAh 18650
- Charge cable (USB to proprietary magnetic)
- Spare o-rings (3)
- Lanyard (long paracord type)
- Tactical ring
- Nylon pouch with cell holders
- Manual
Package and Manual

That inner black box is hard to get out of that outer blue sleeve.
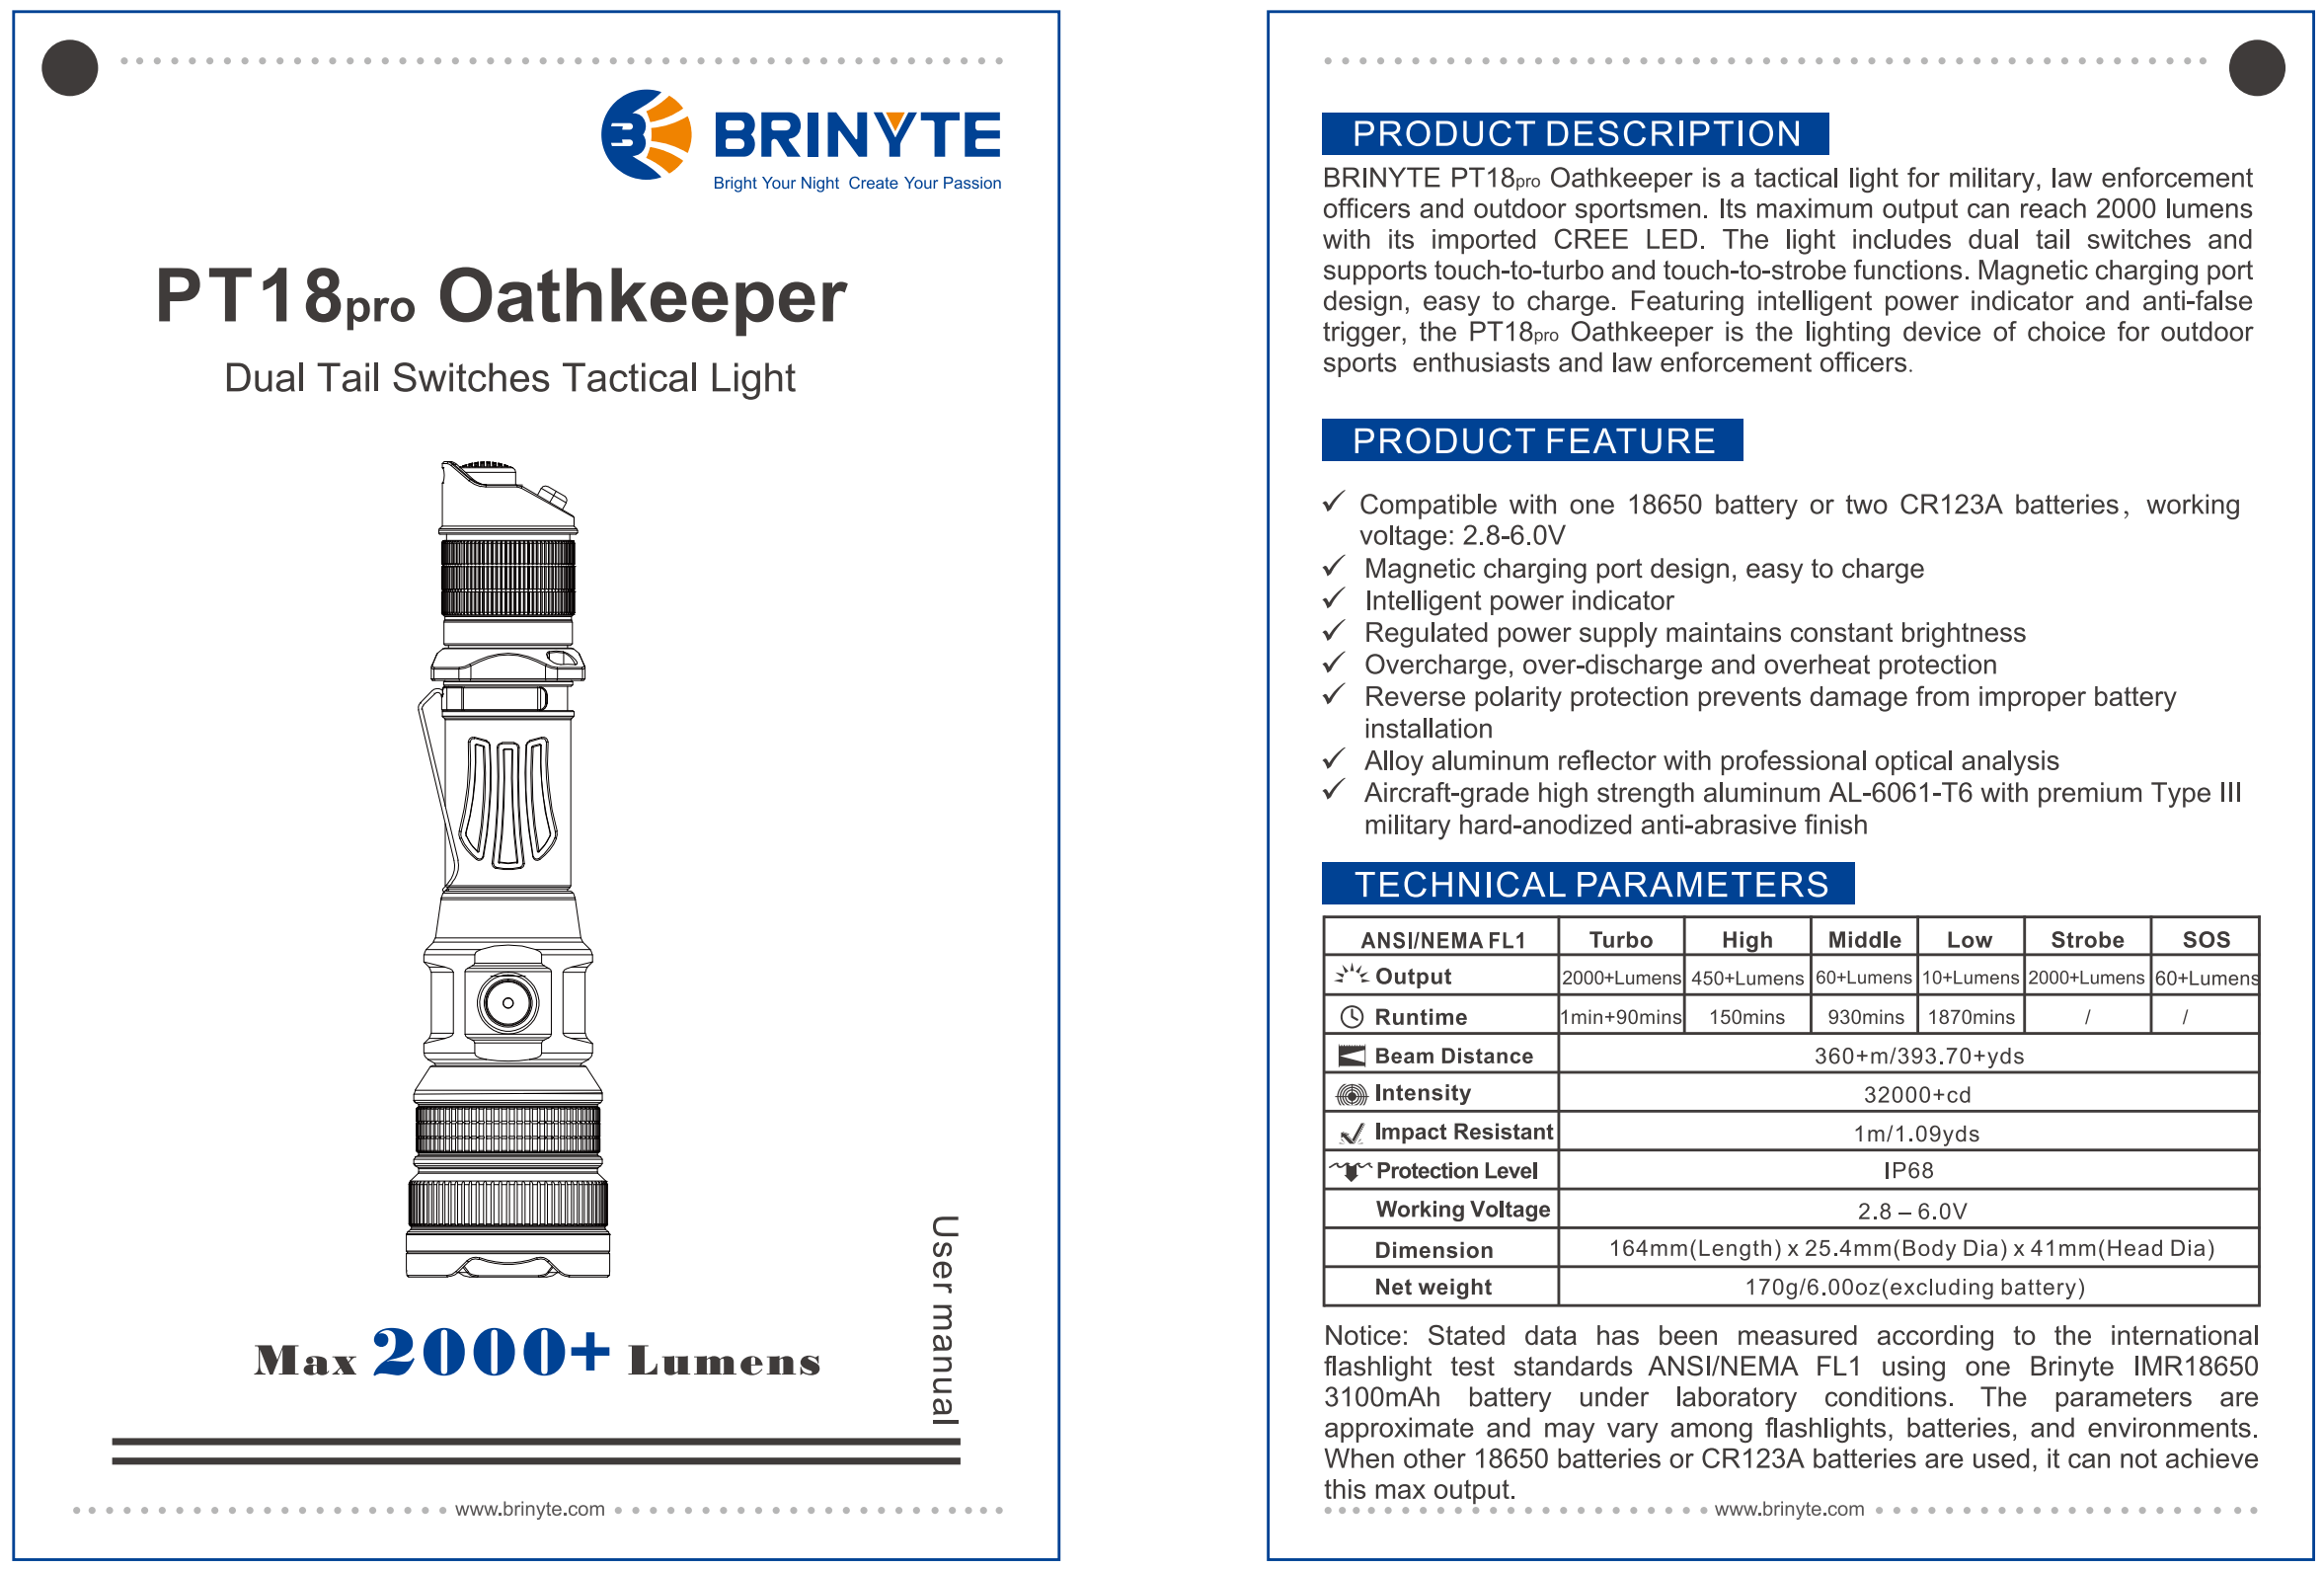
Here’s a PDF manual, too.
I also received a couple of accessories with my package, and they shipped in this box below.
Build Quality and Disassembly
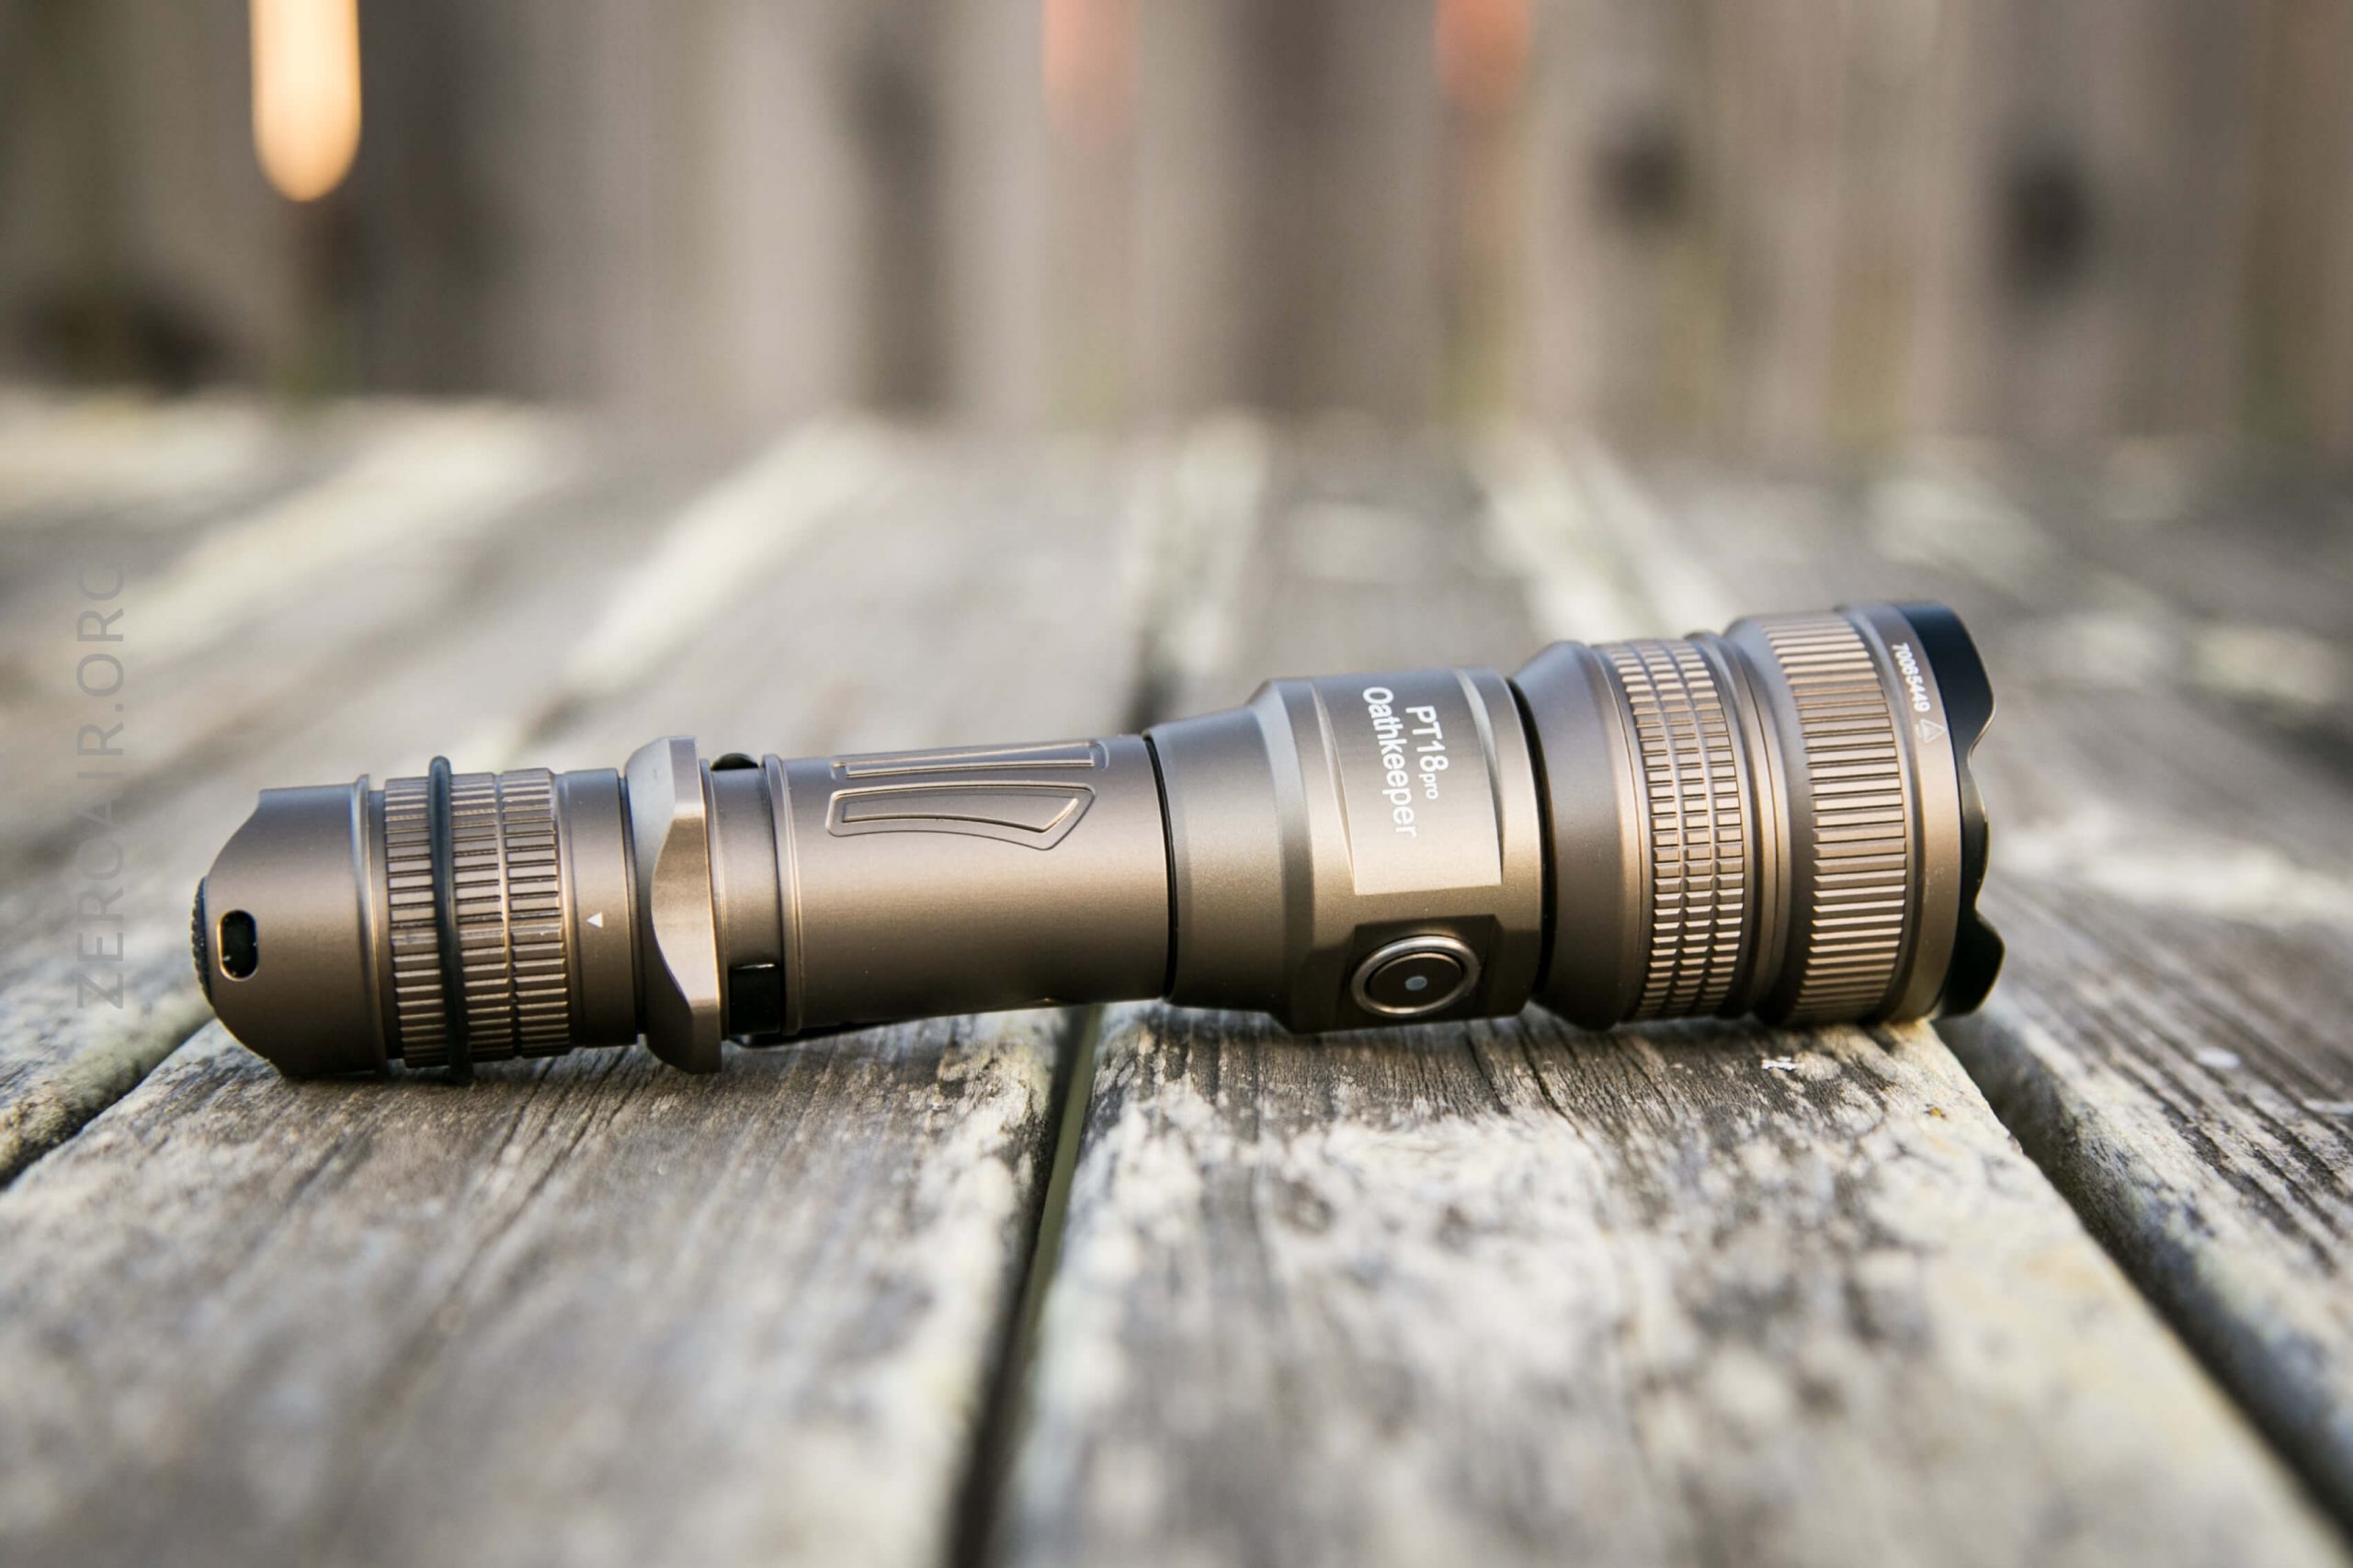
Build quality is good. Nothing surprising or bad, but it does feel like a solid light.
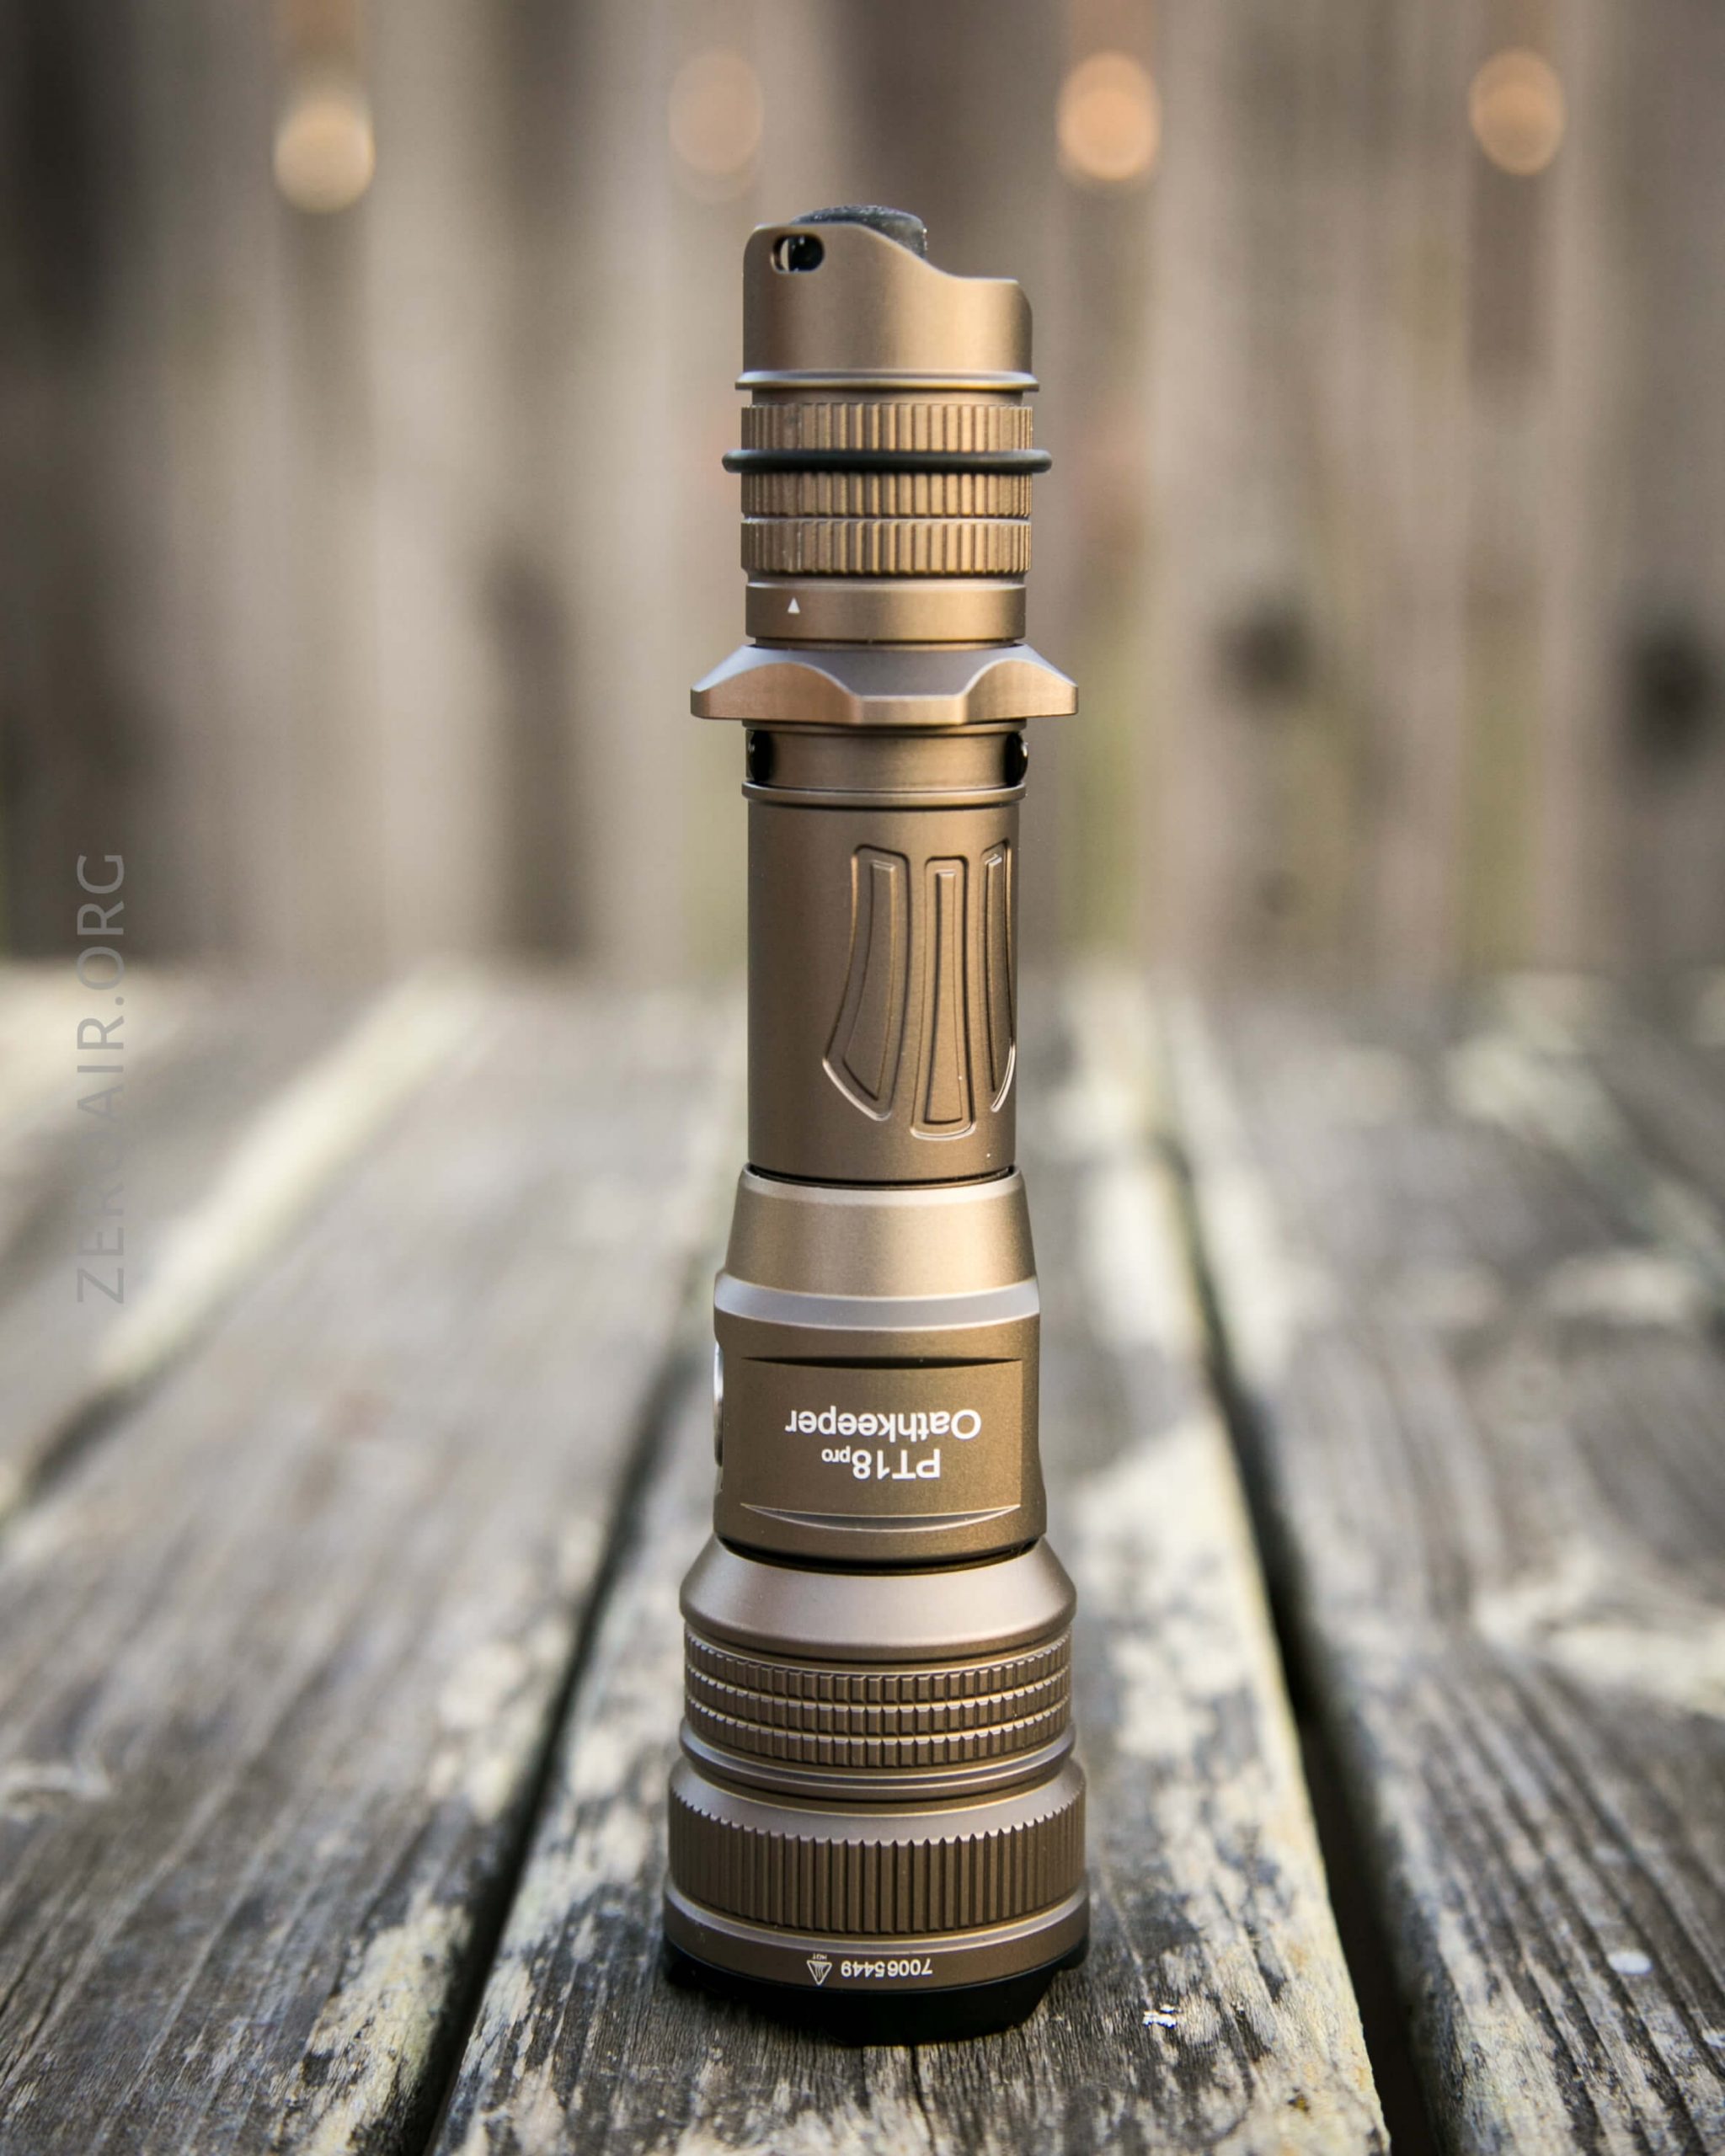
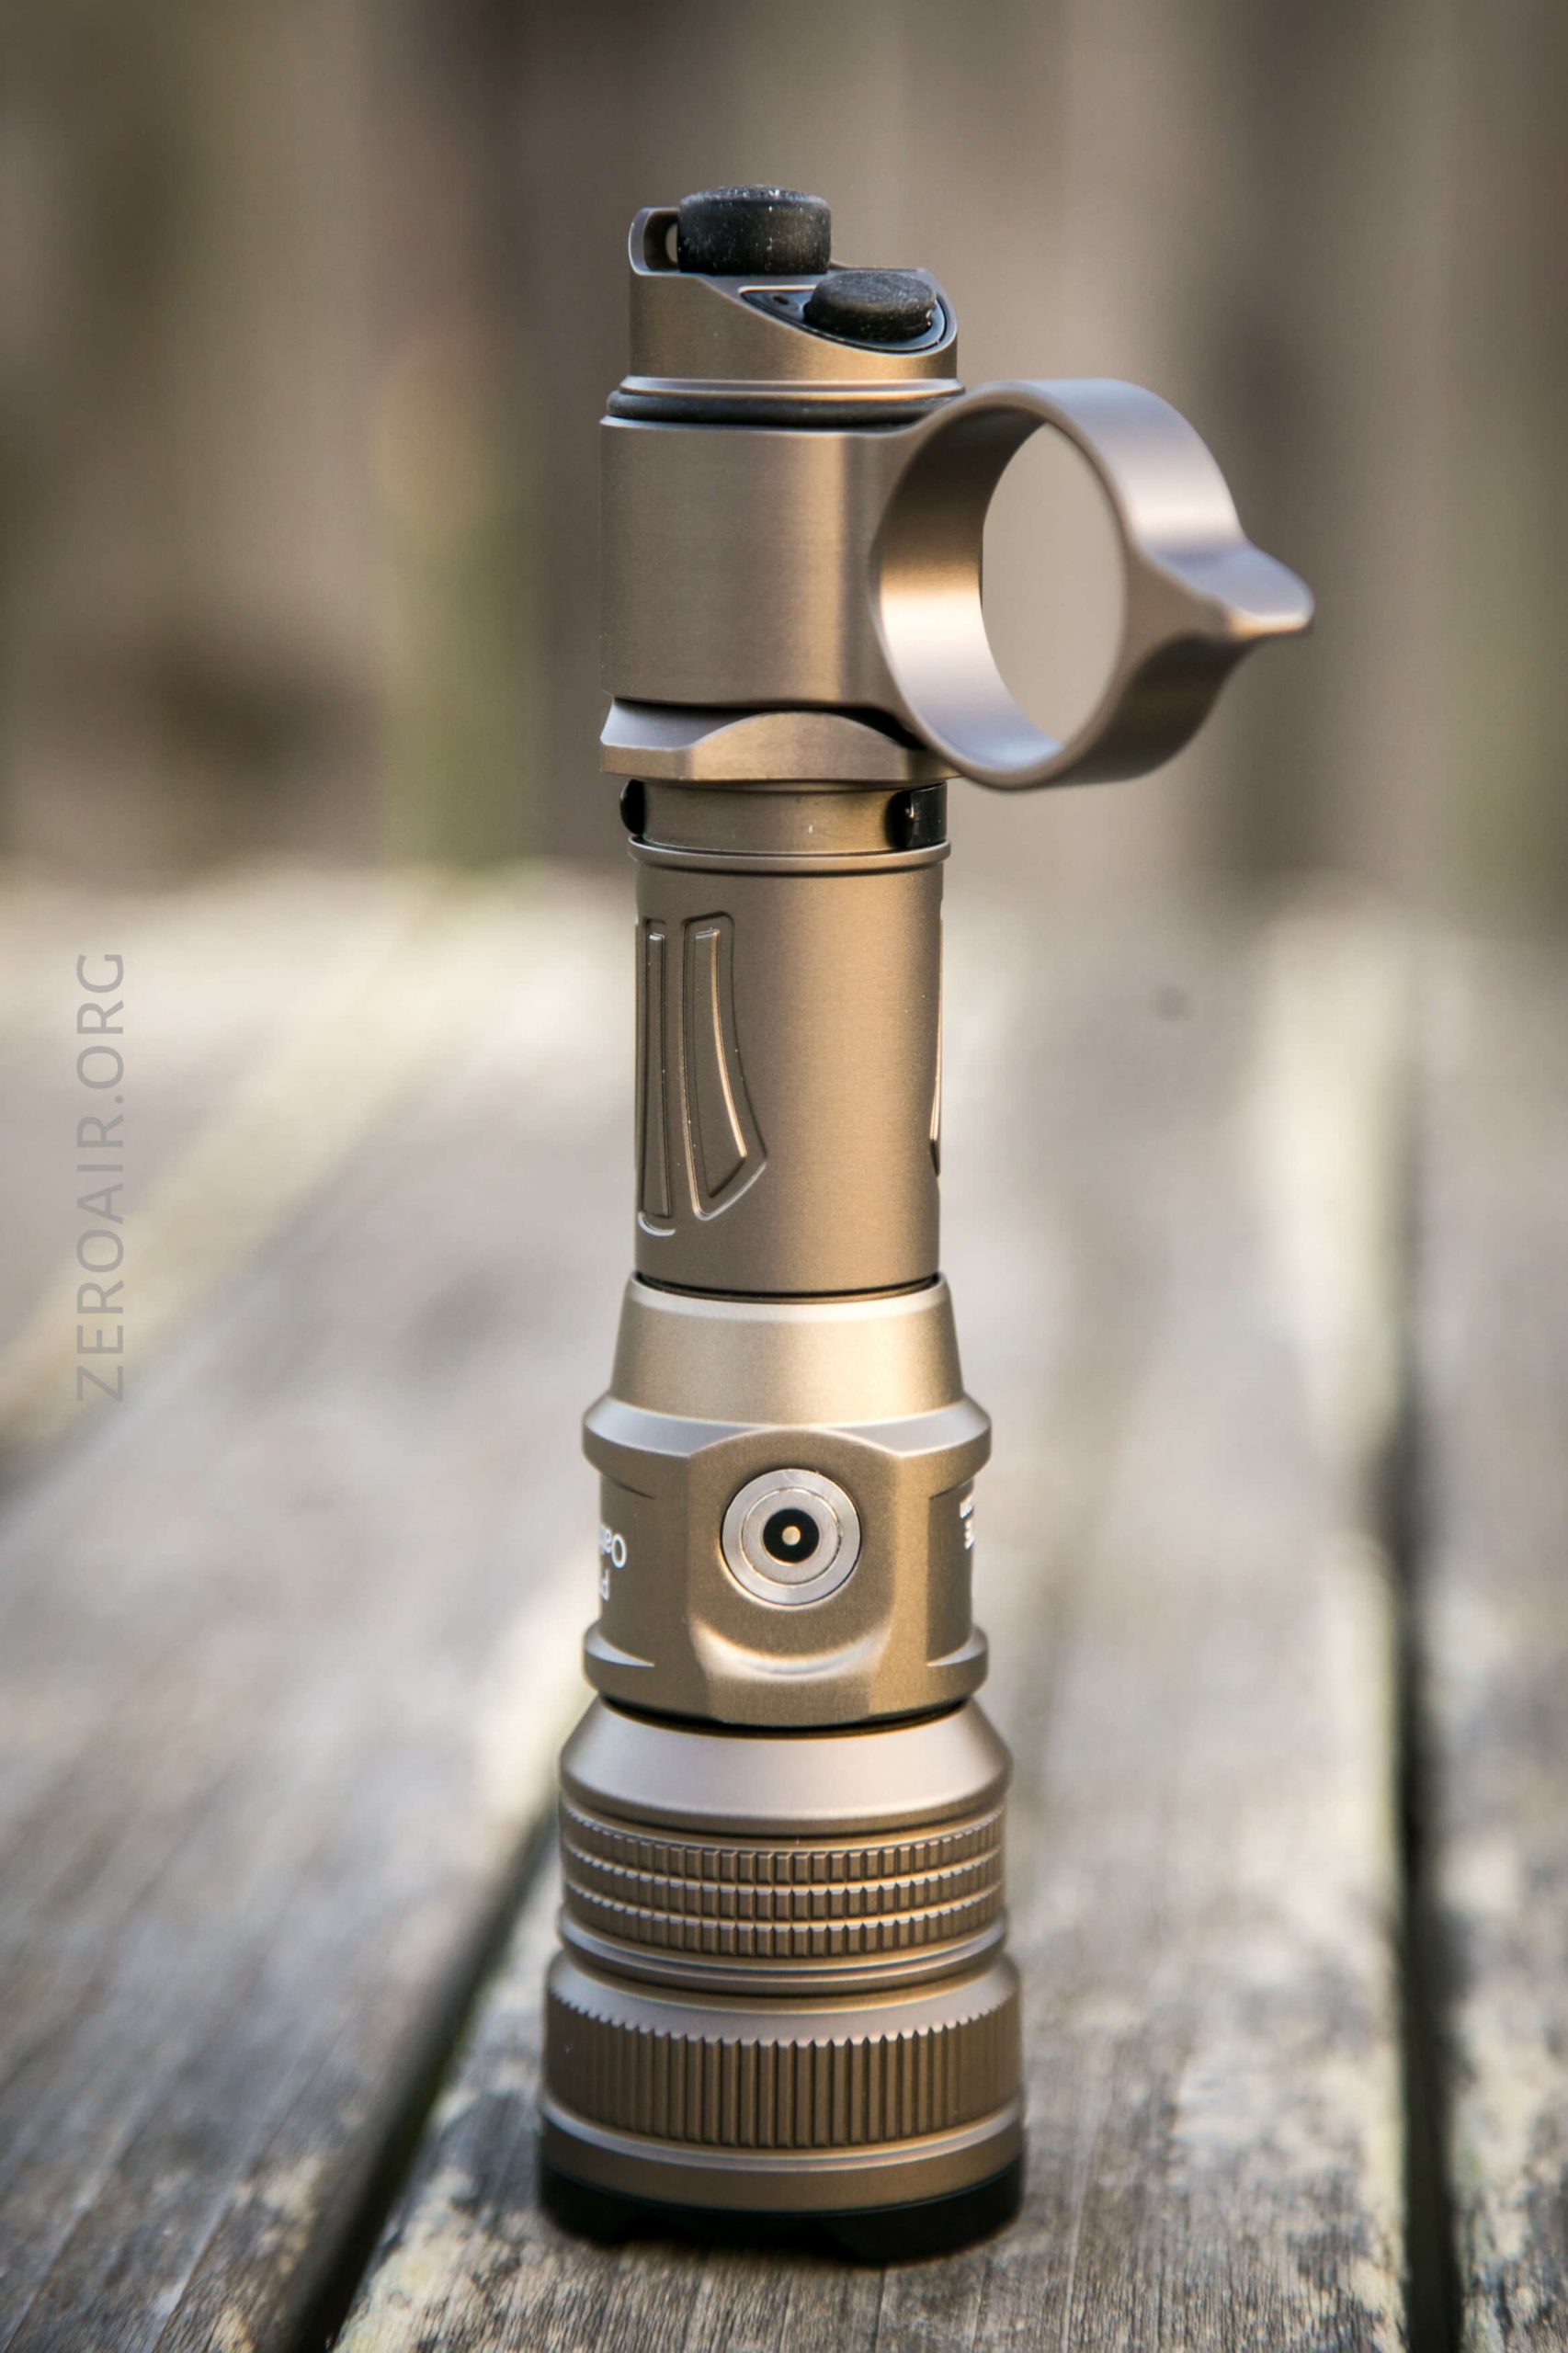
There’s a lot going on to consider this a weapon light. There are three switches and a magnetic charge port… I’m not saying the light isn’t suited for weapon mount; I didn’t shoot any with this light mounted.

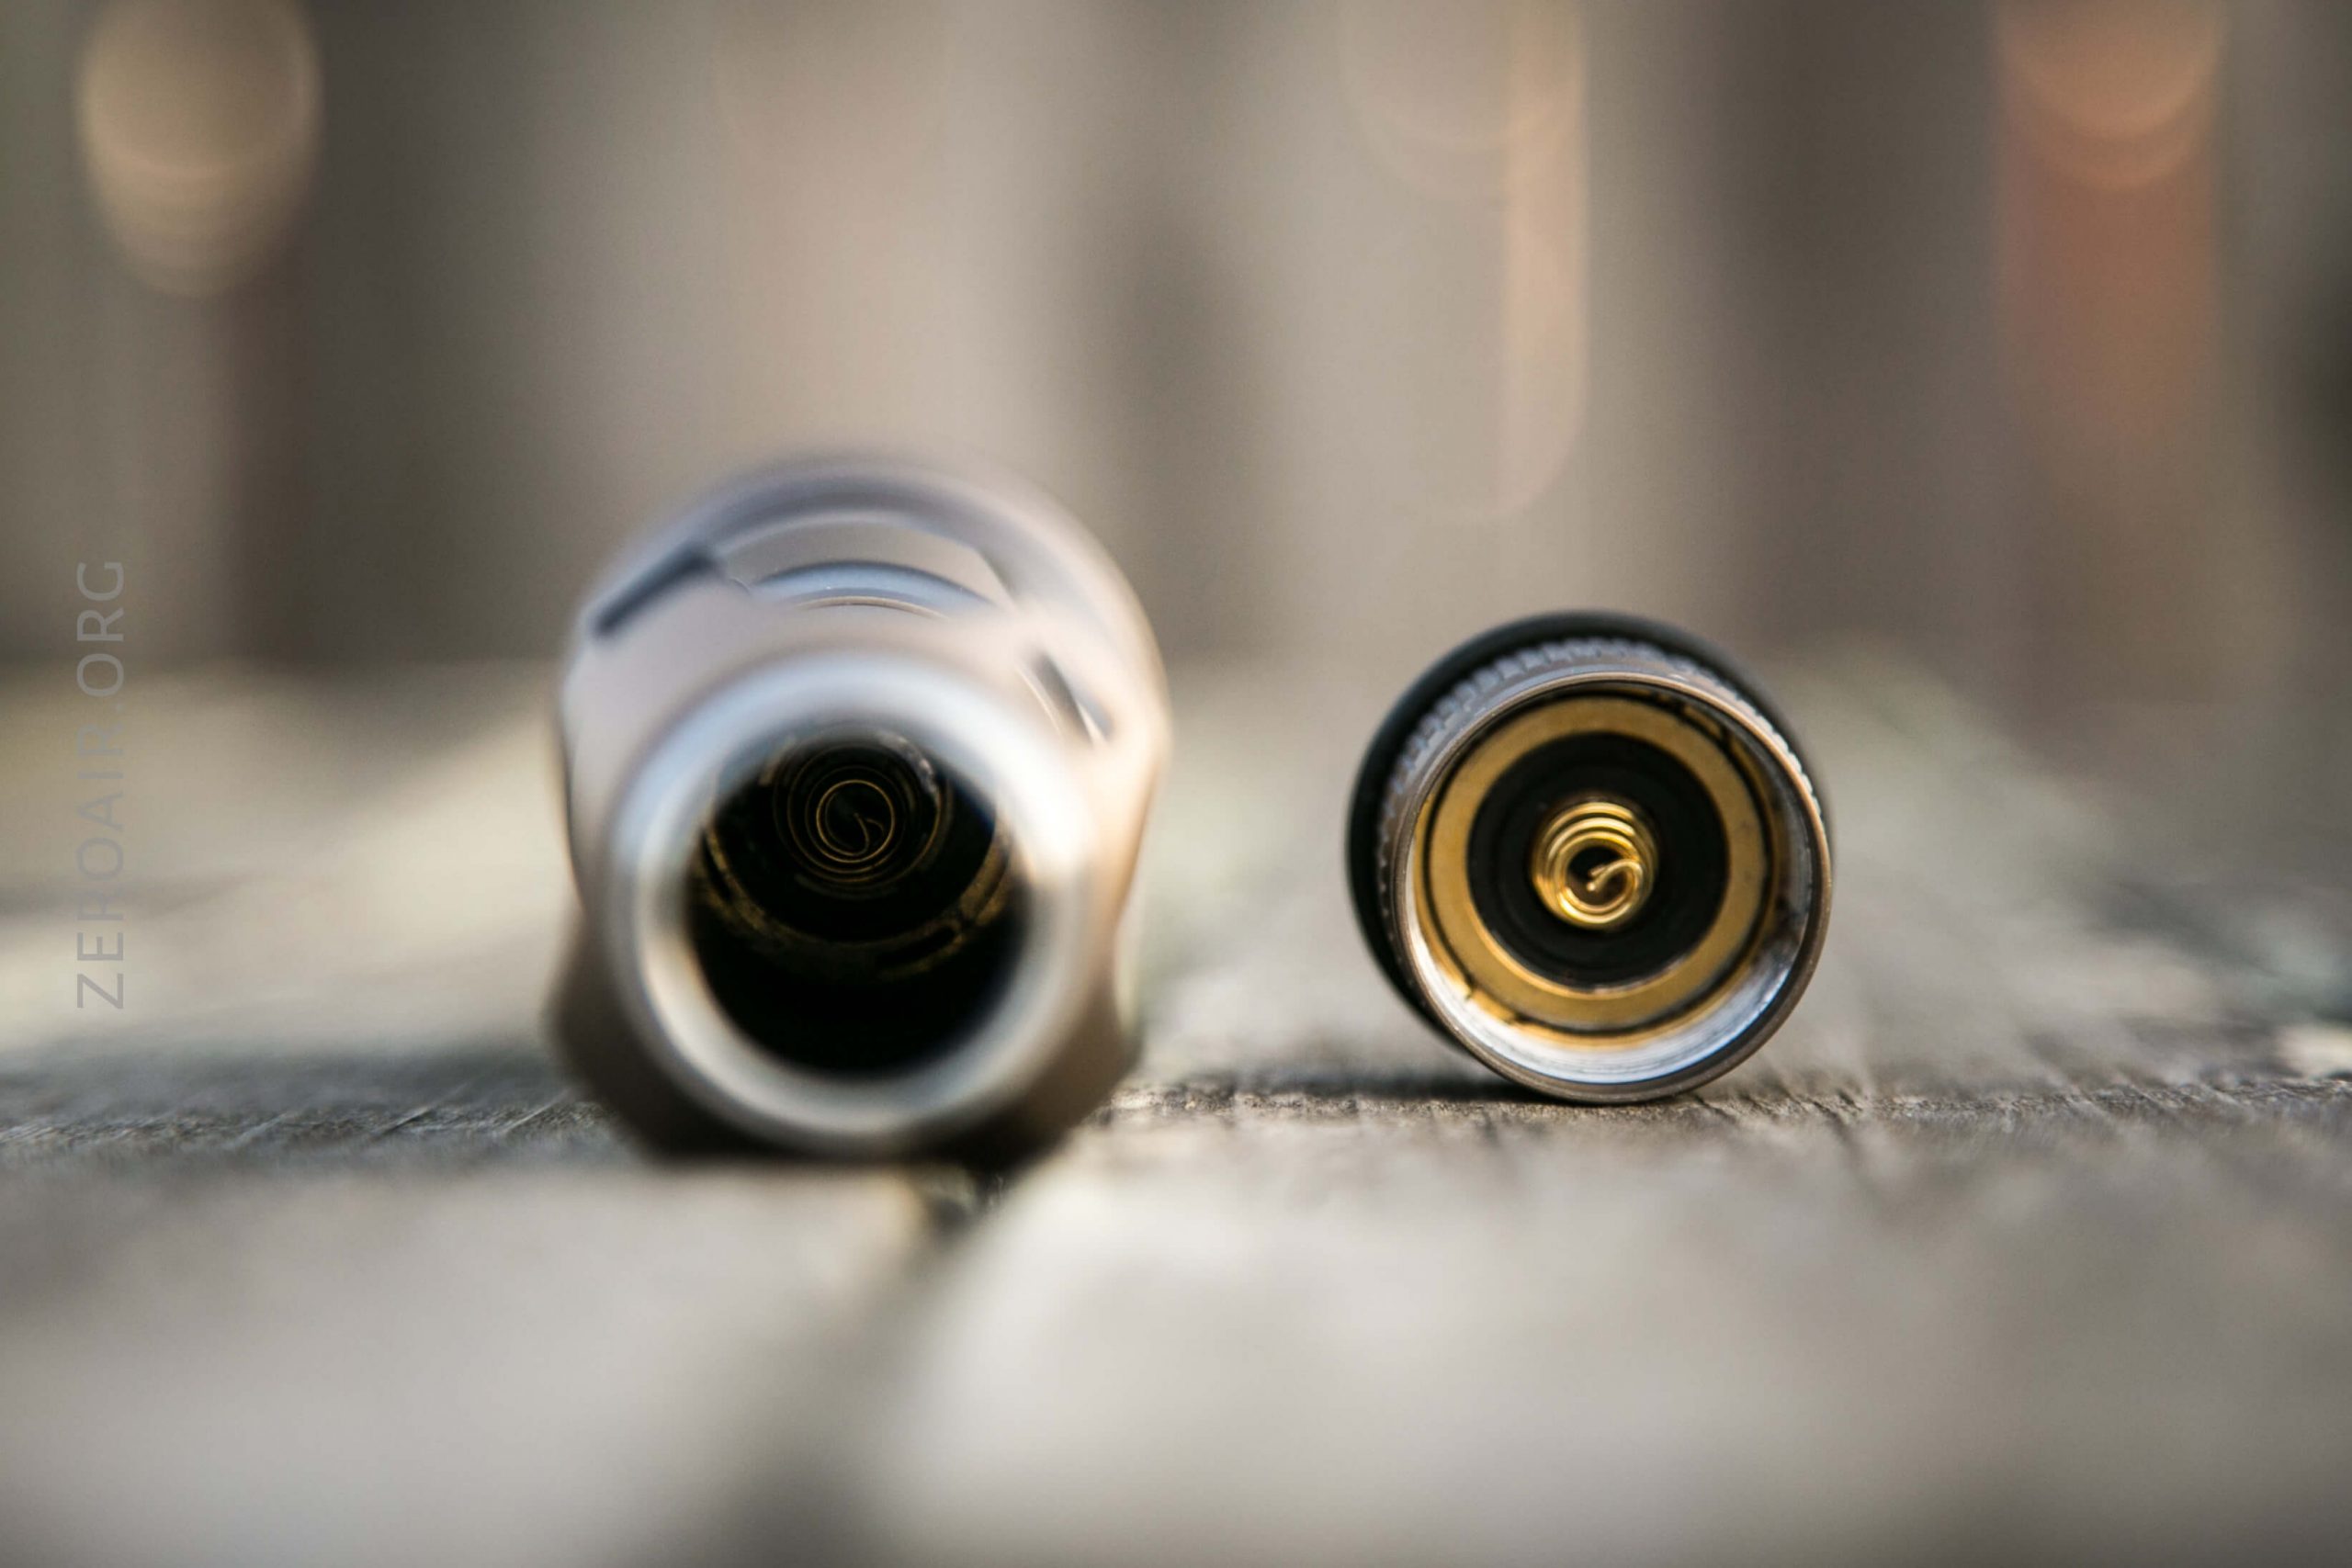
As there should be, there are springs on both the head and tail of the light.
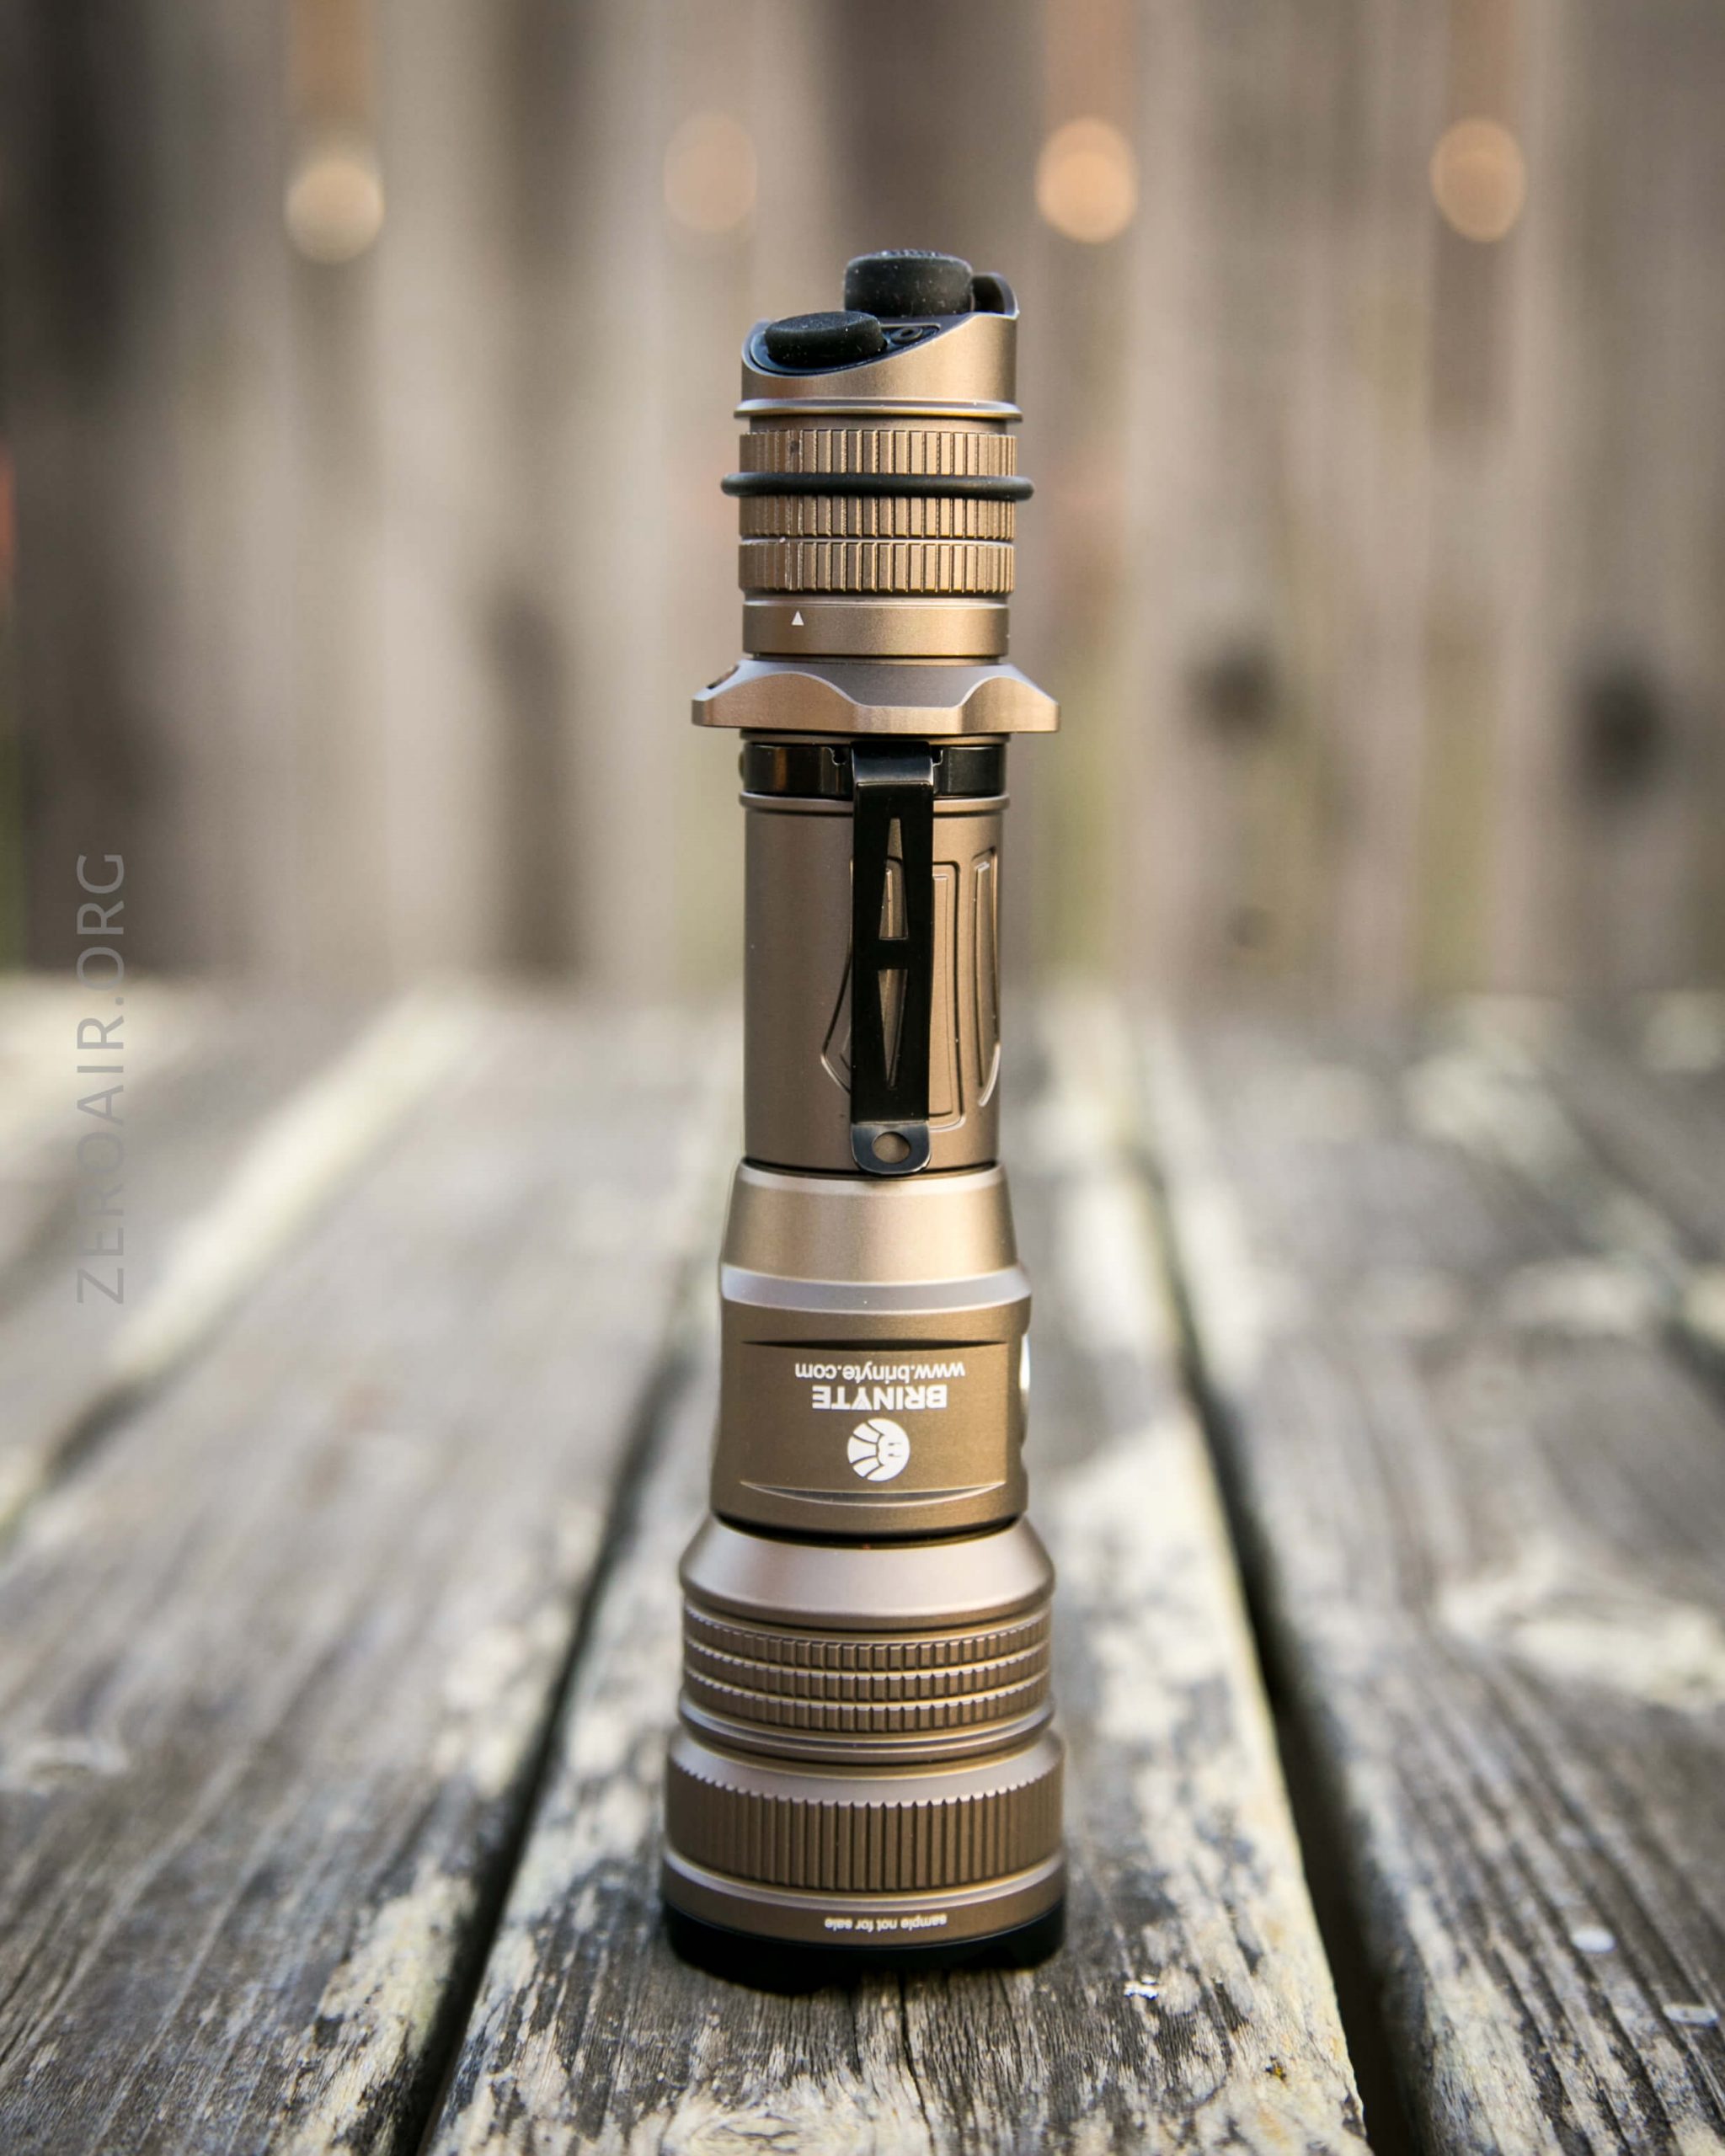
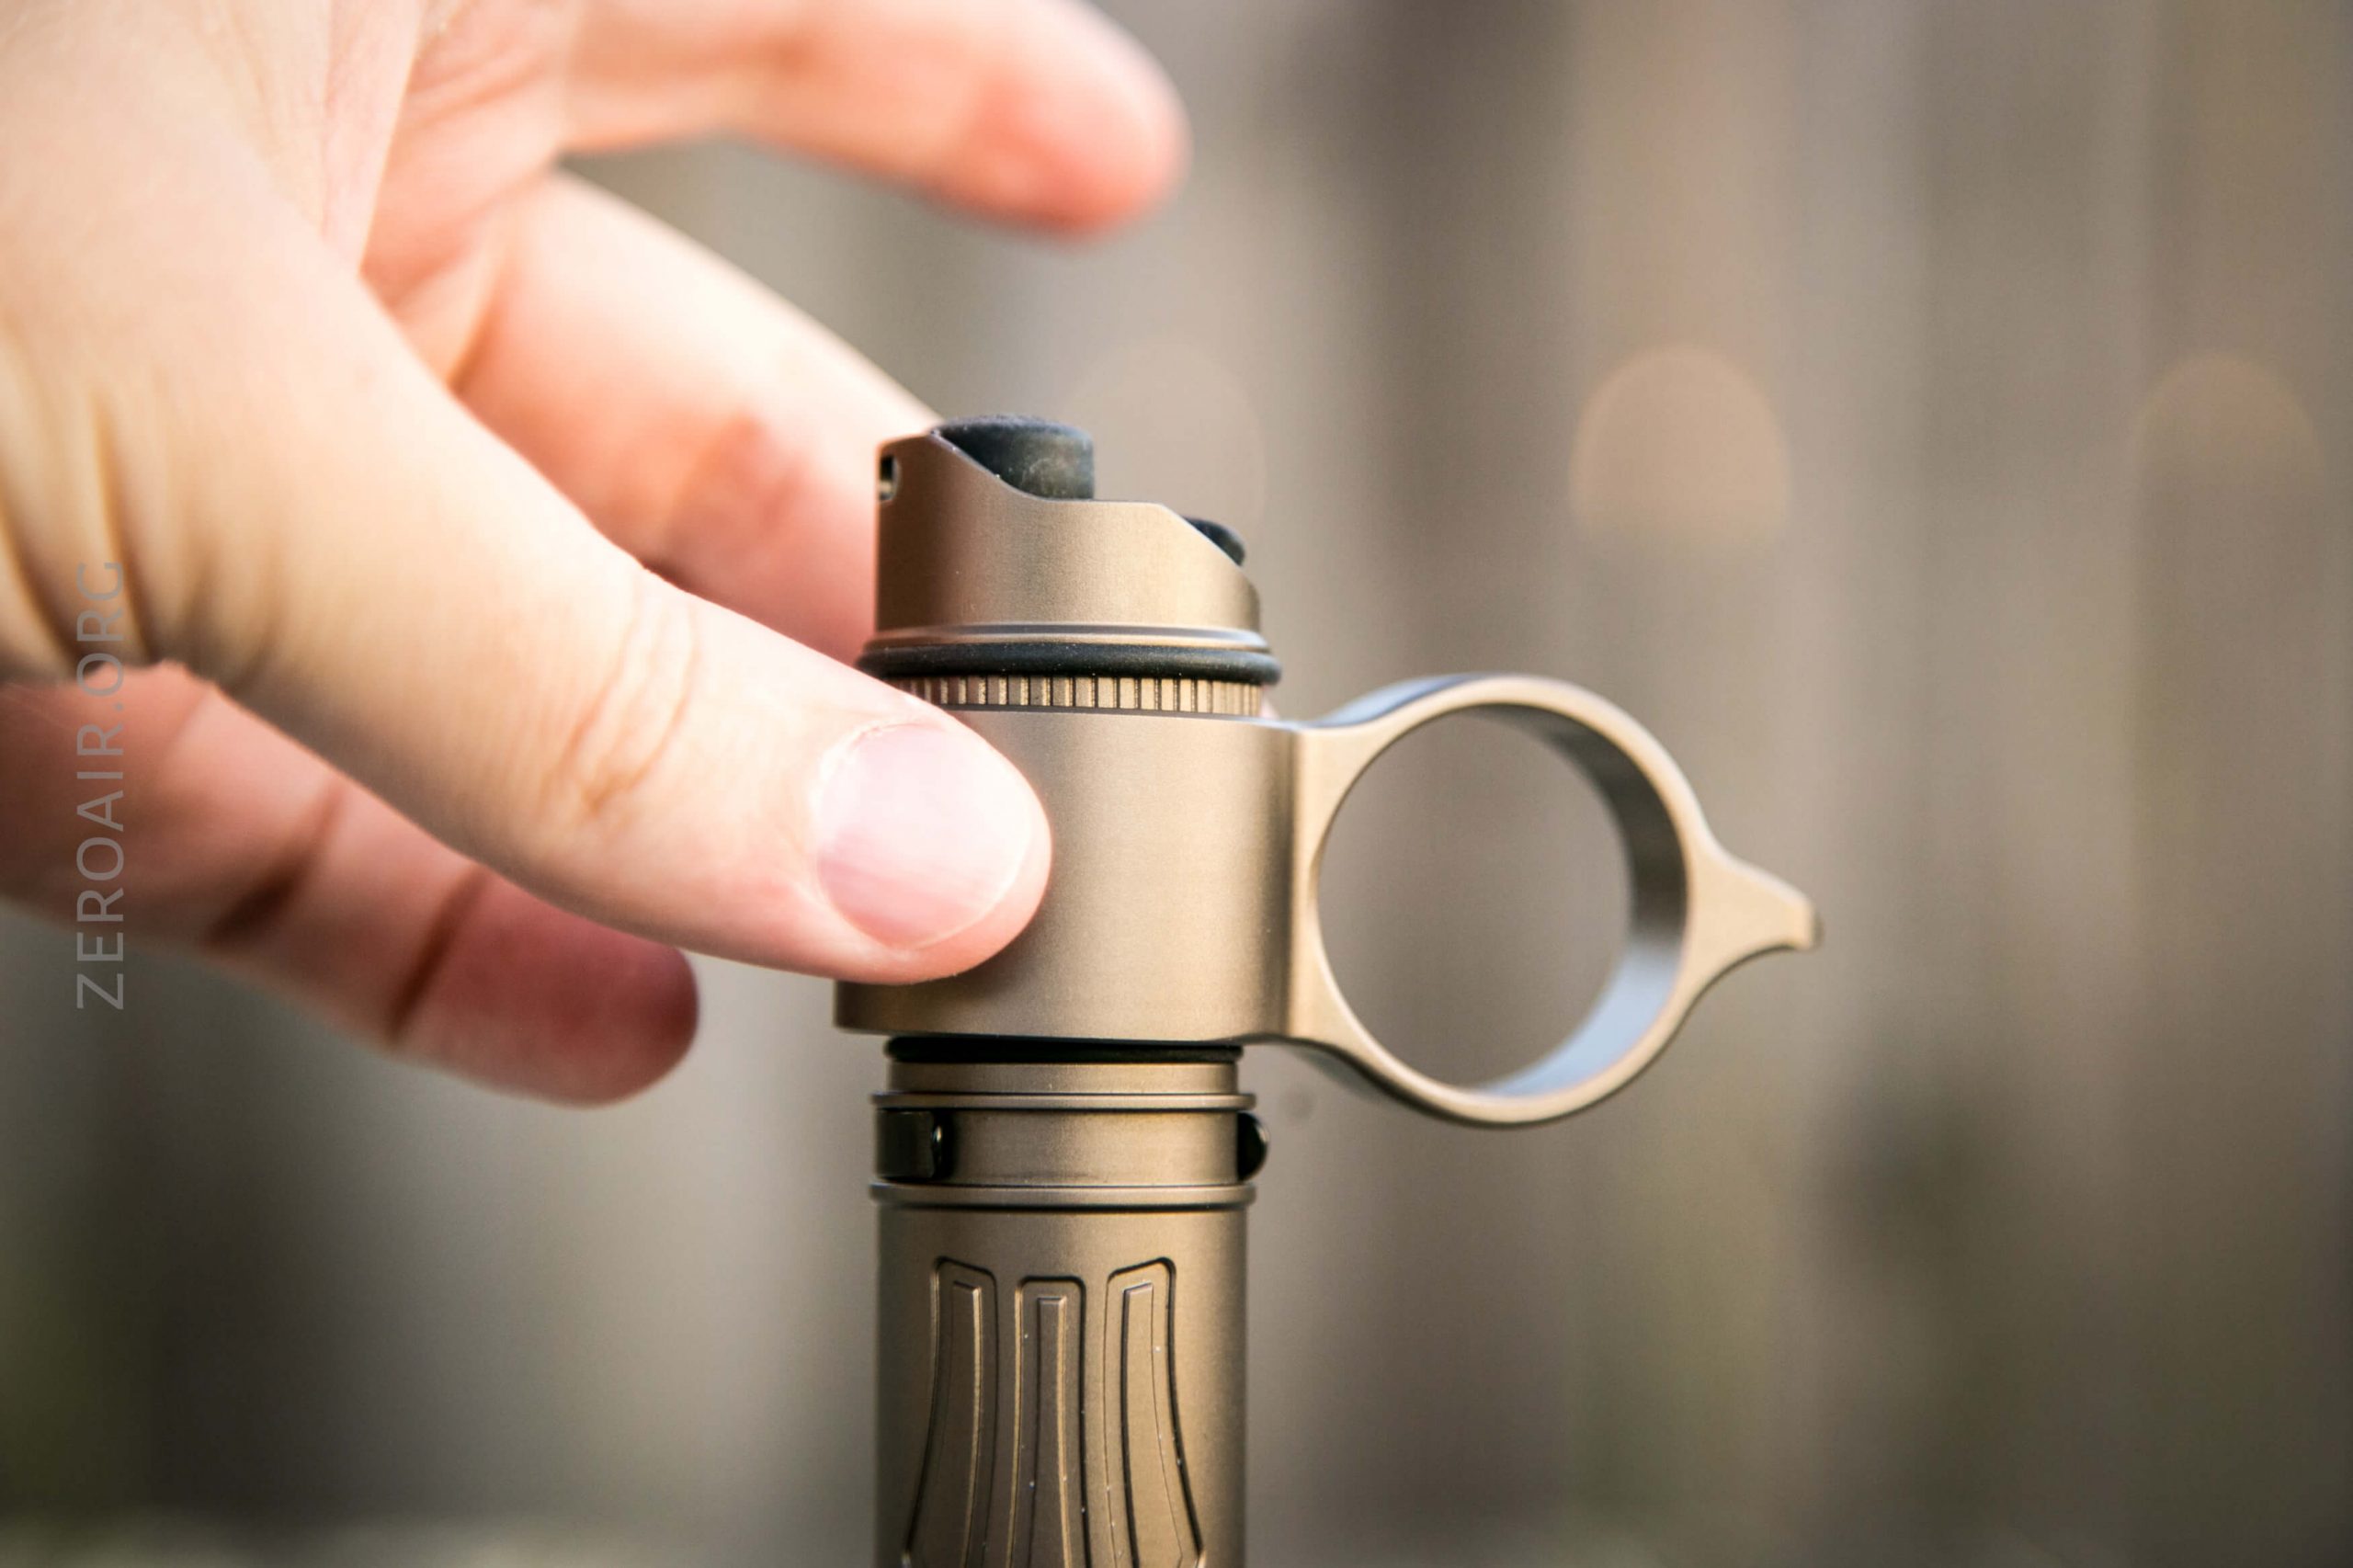
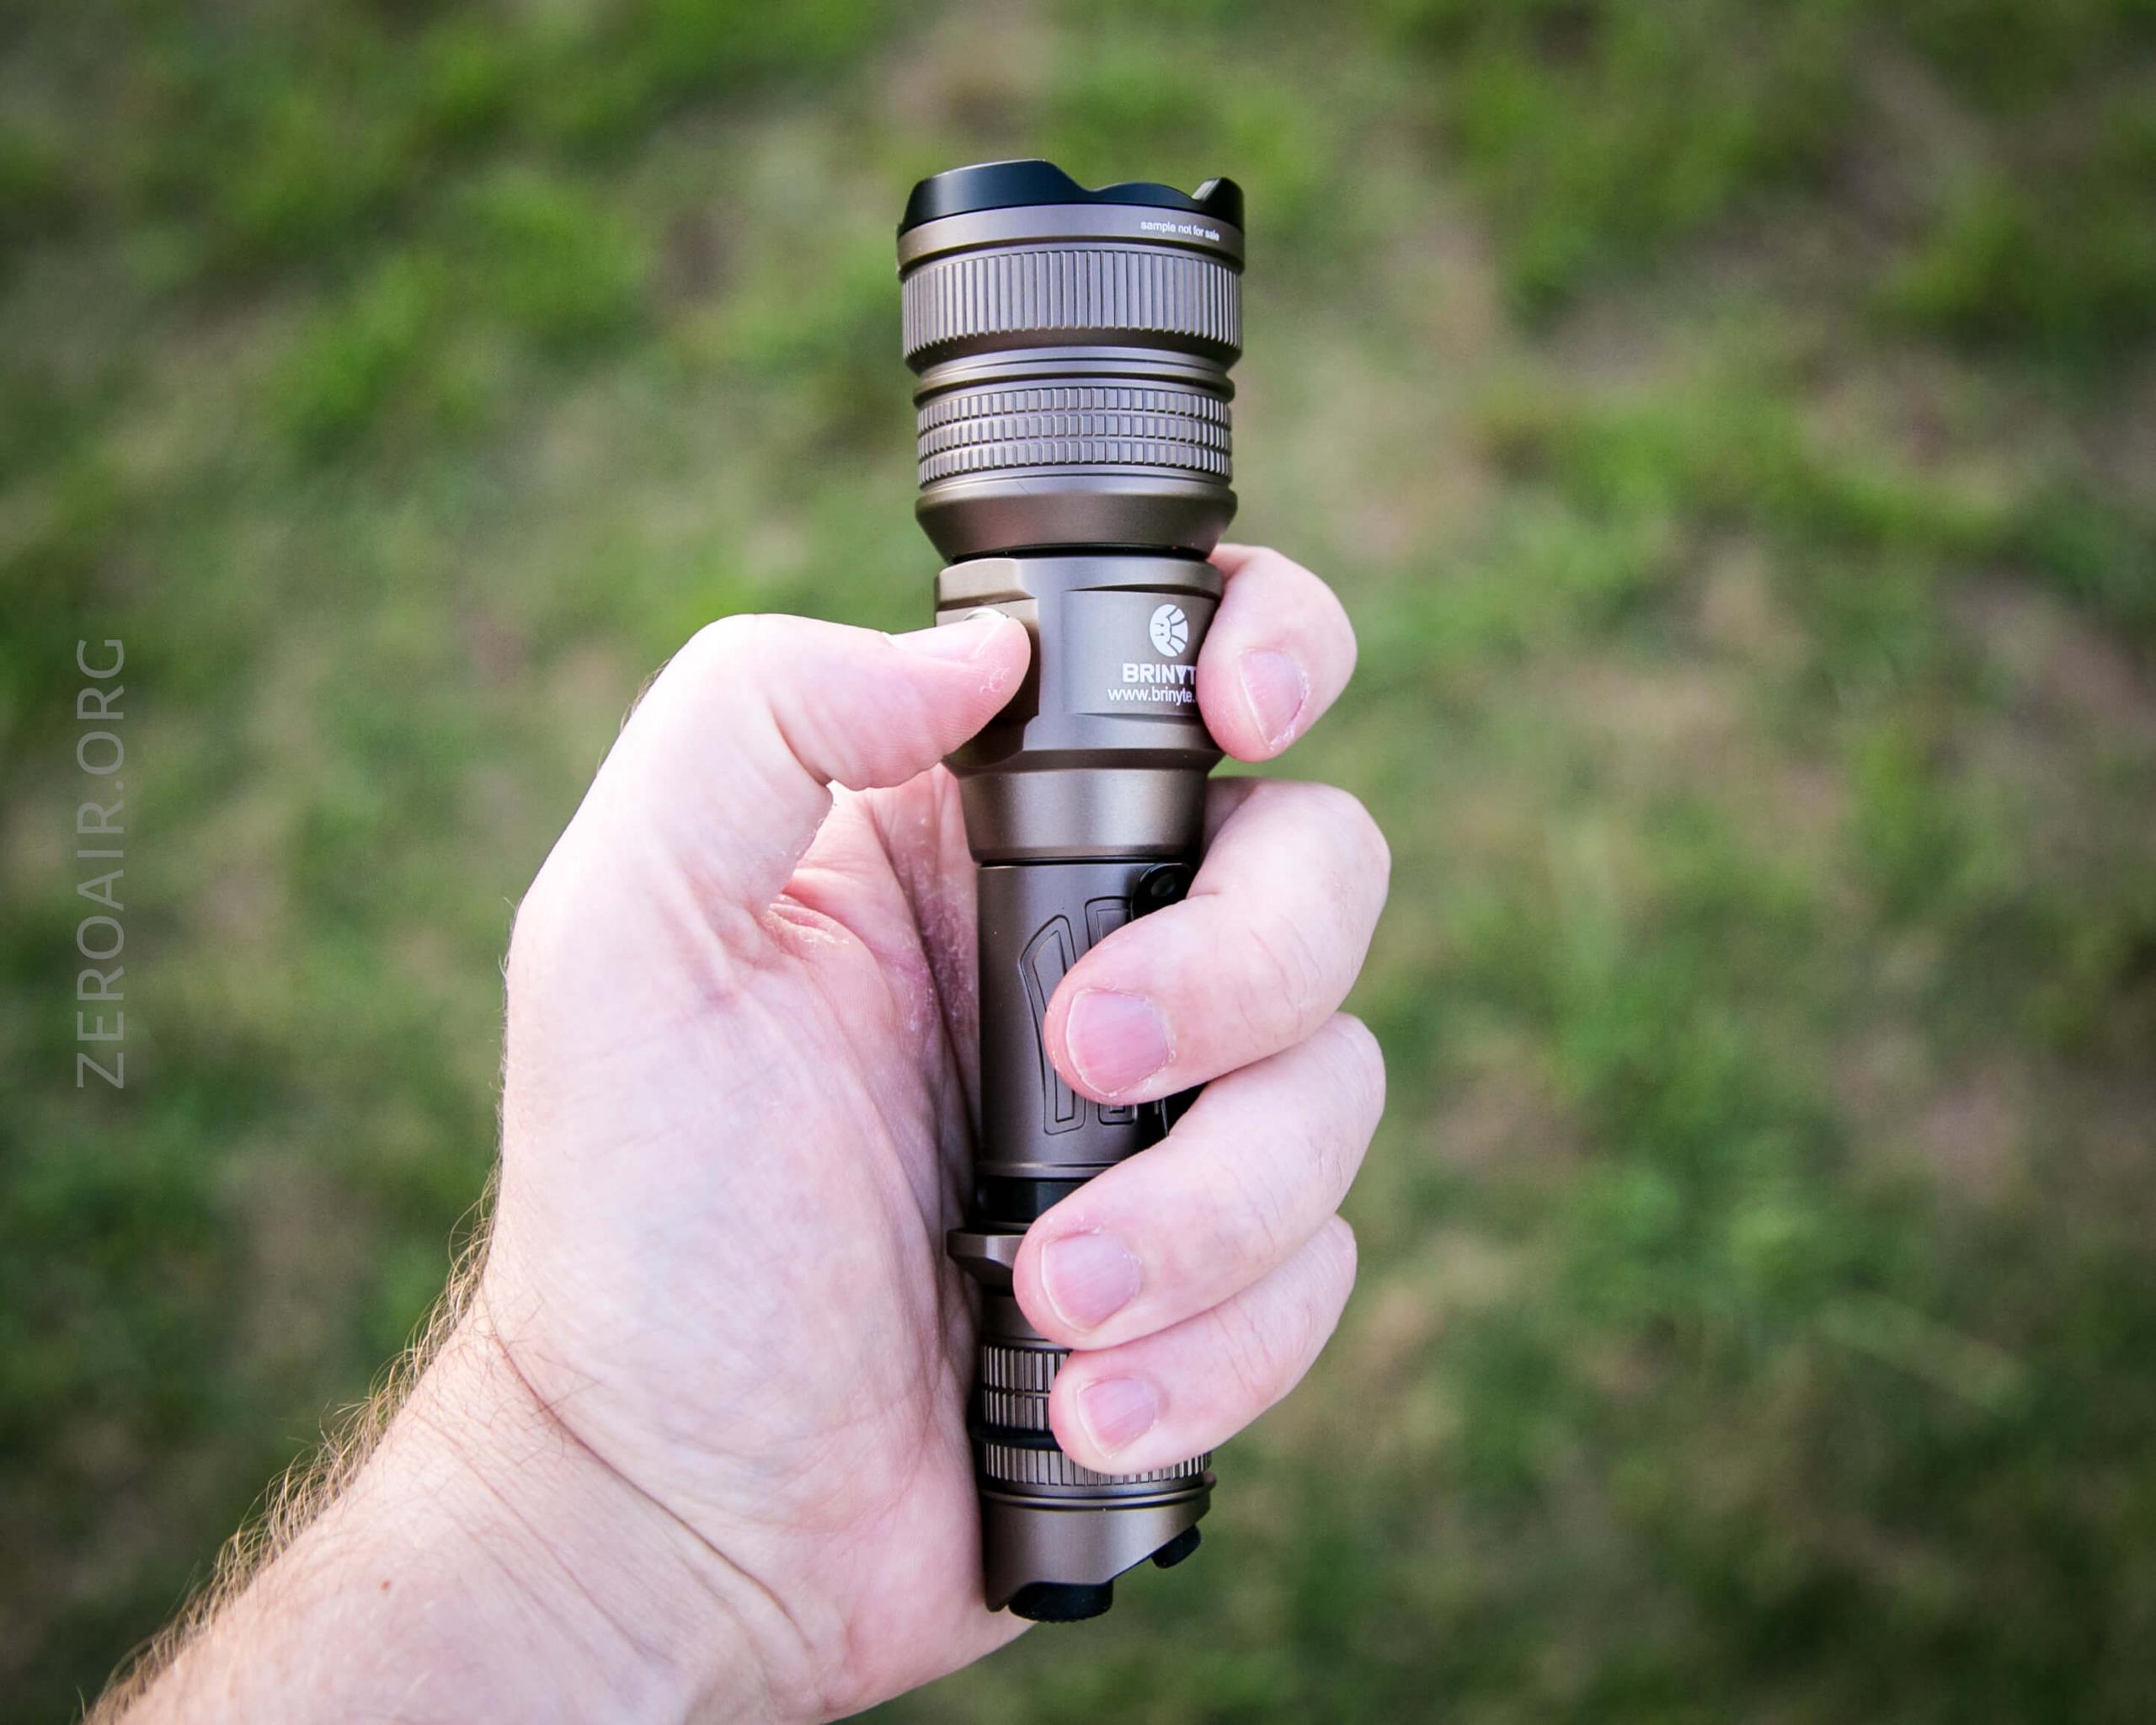
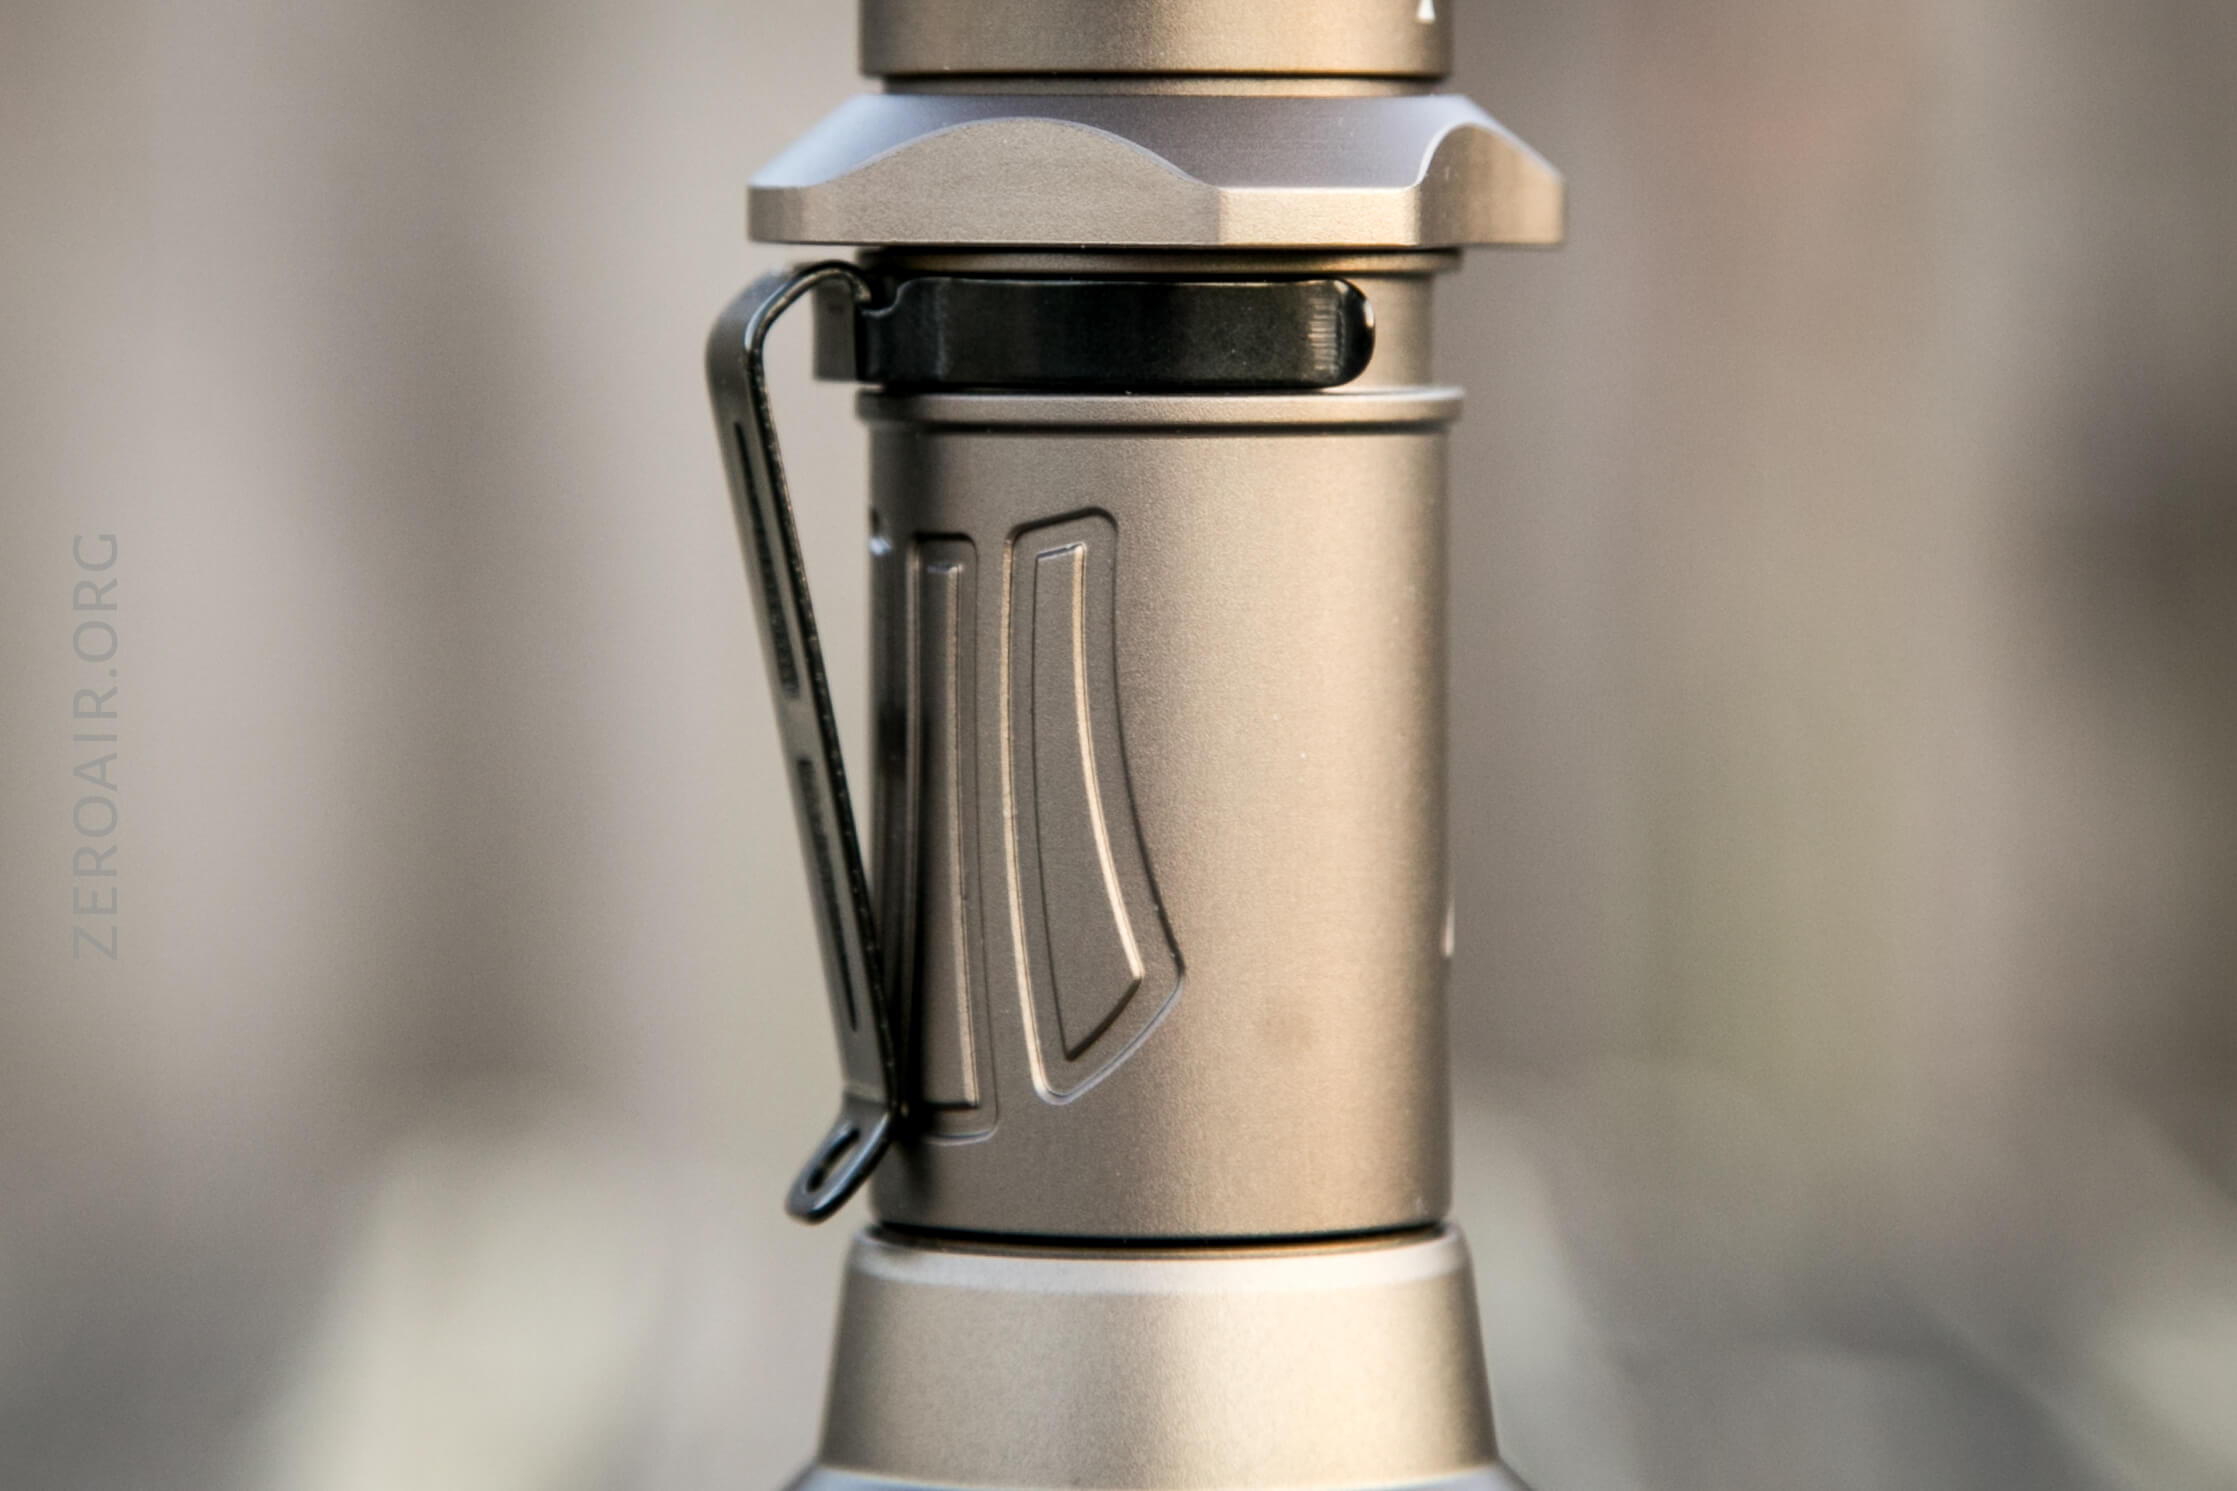
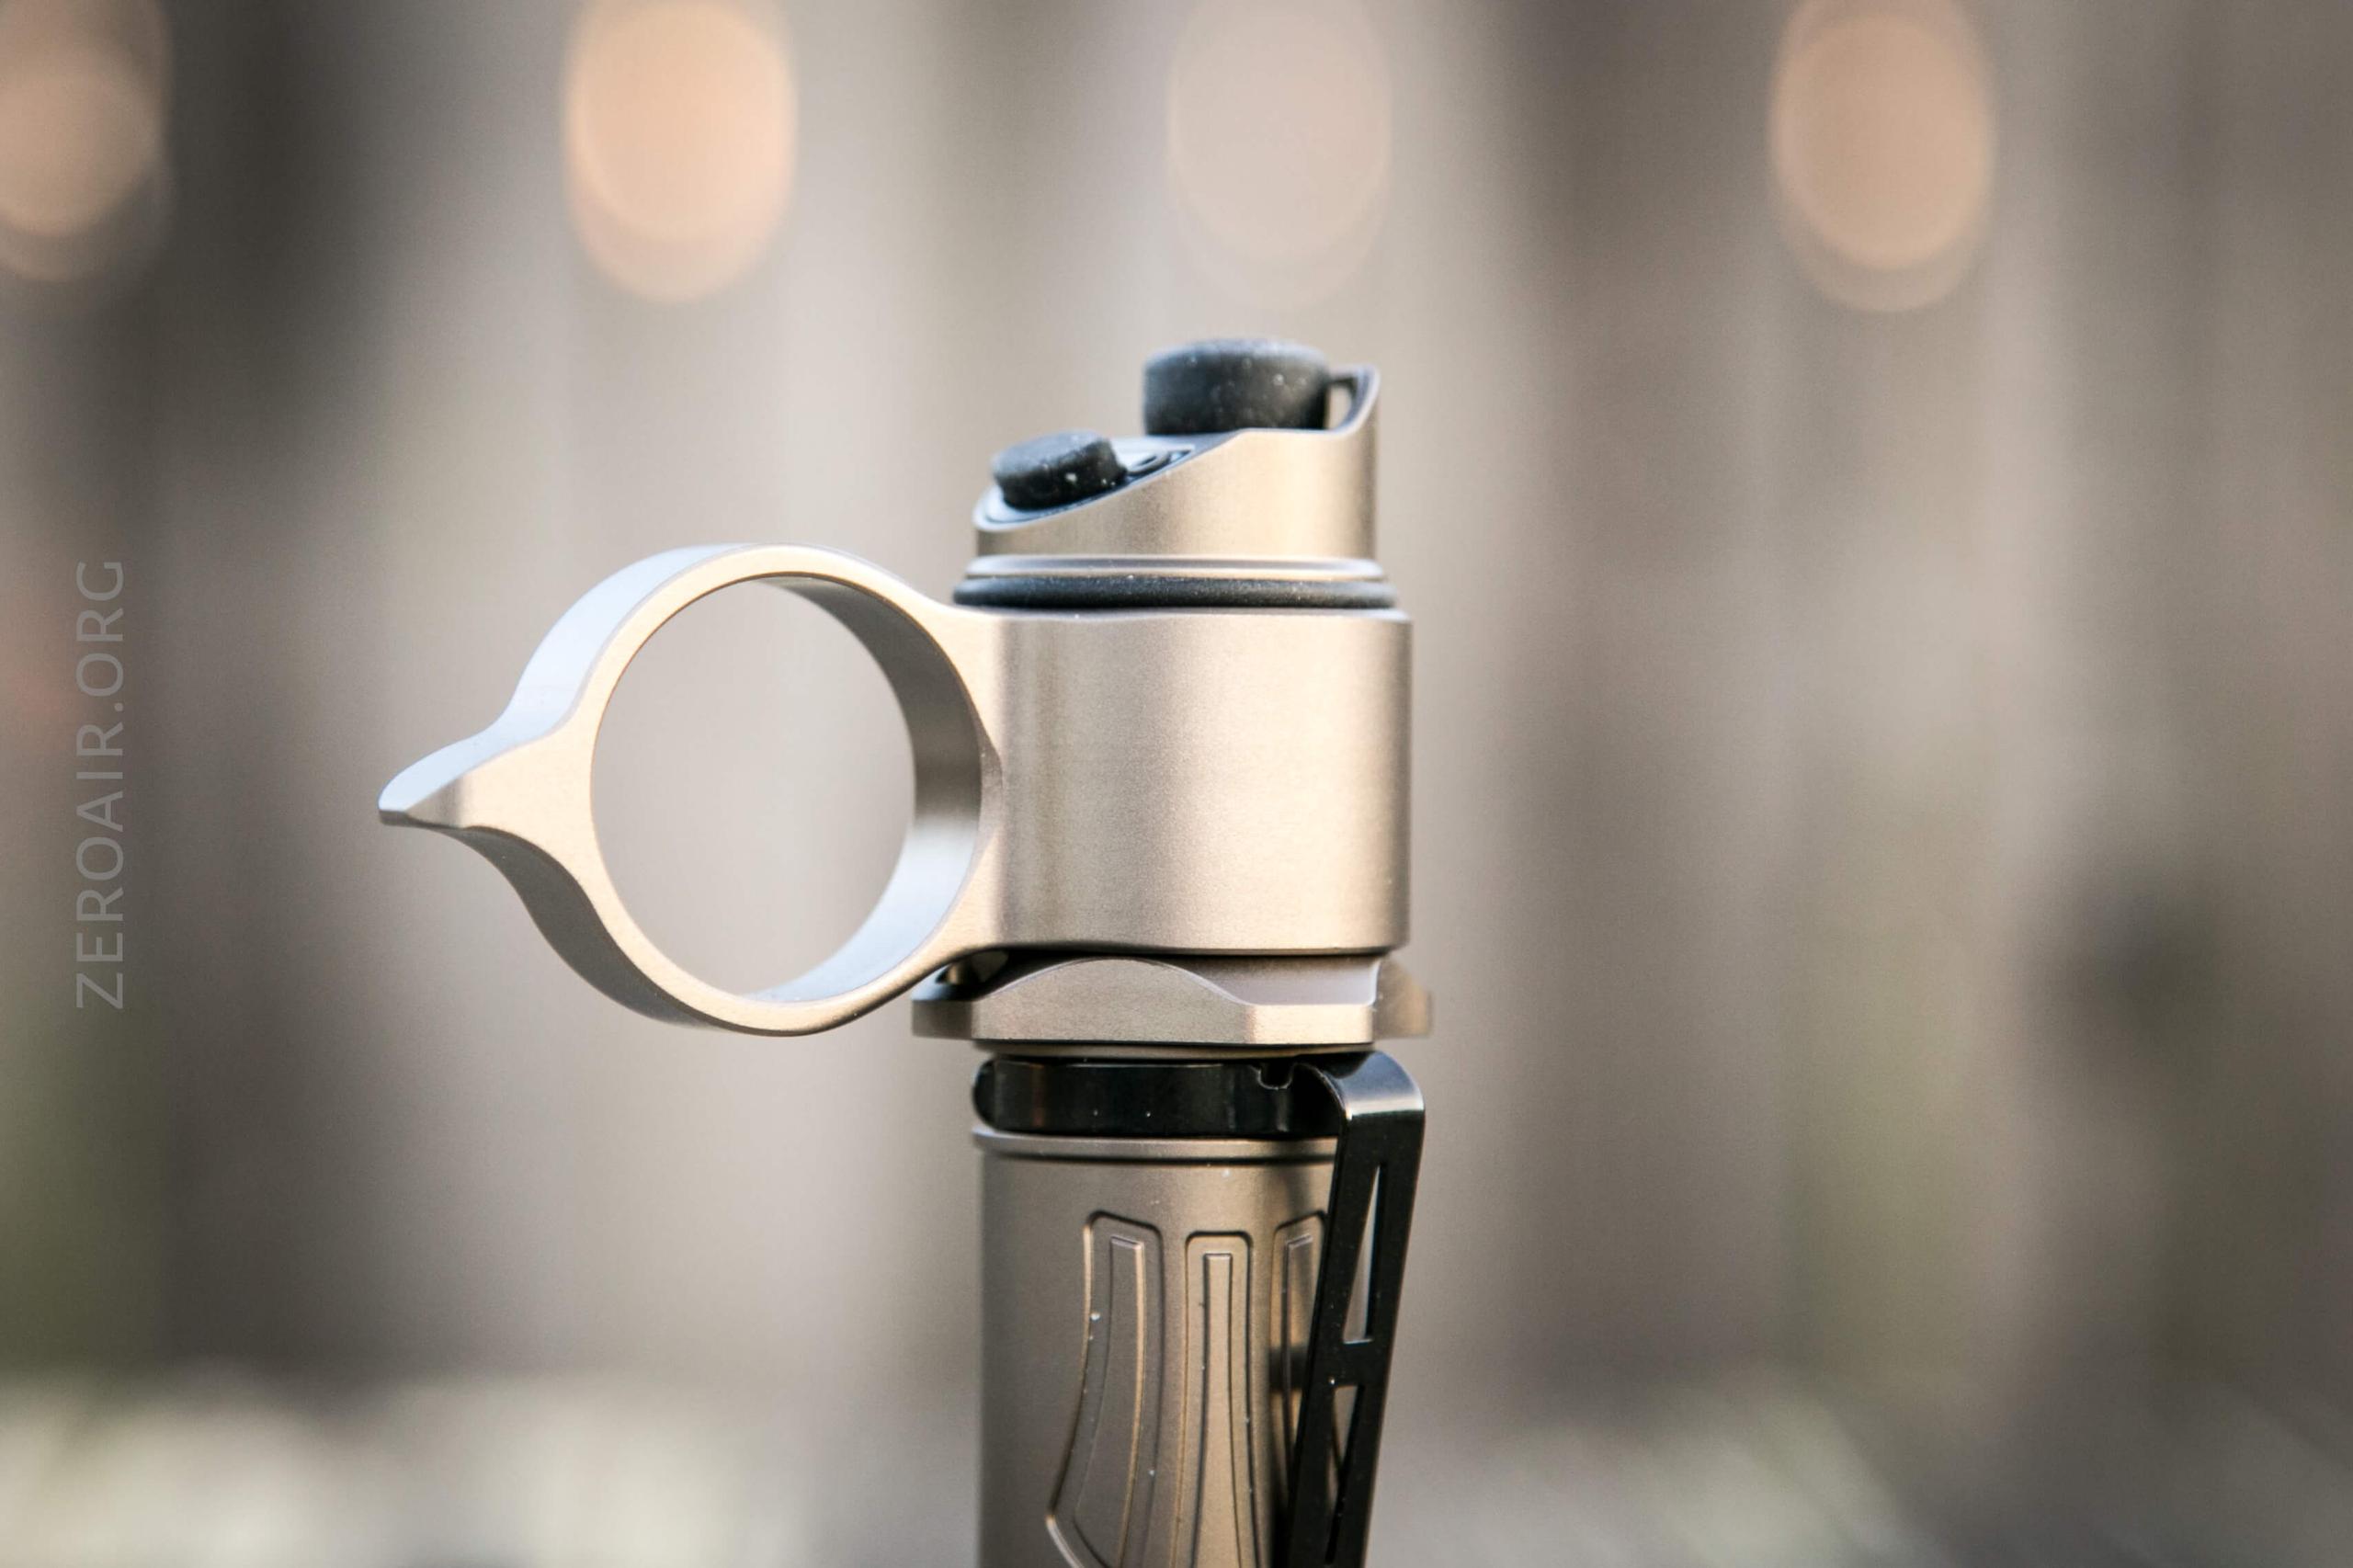
There’s also a tactical ring included on the light from the factory. It’s removable.
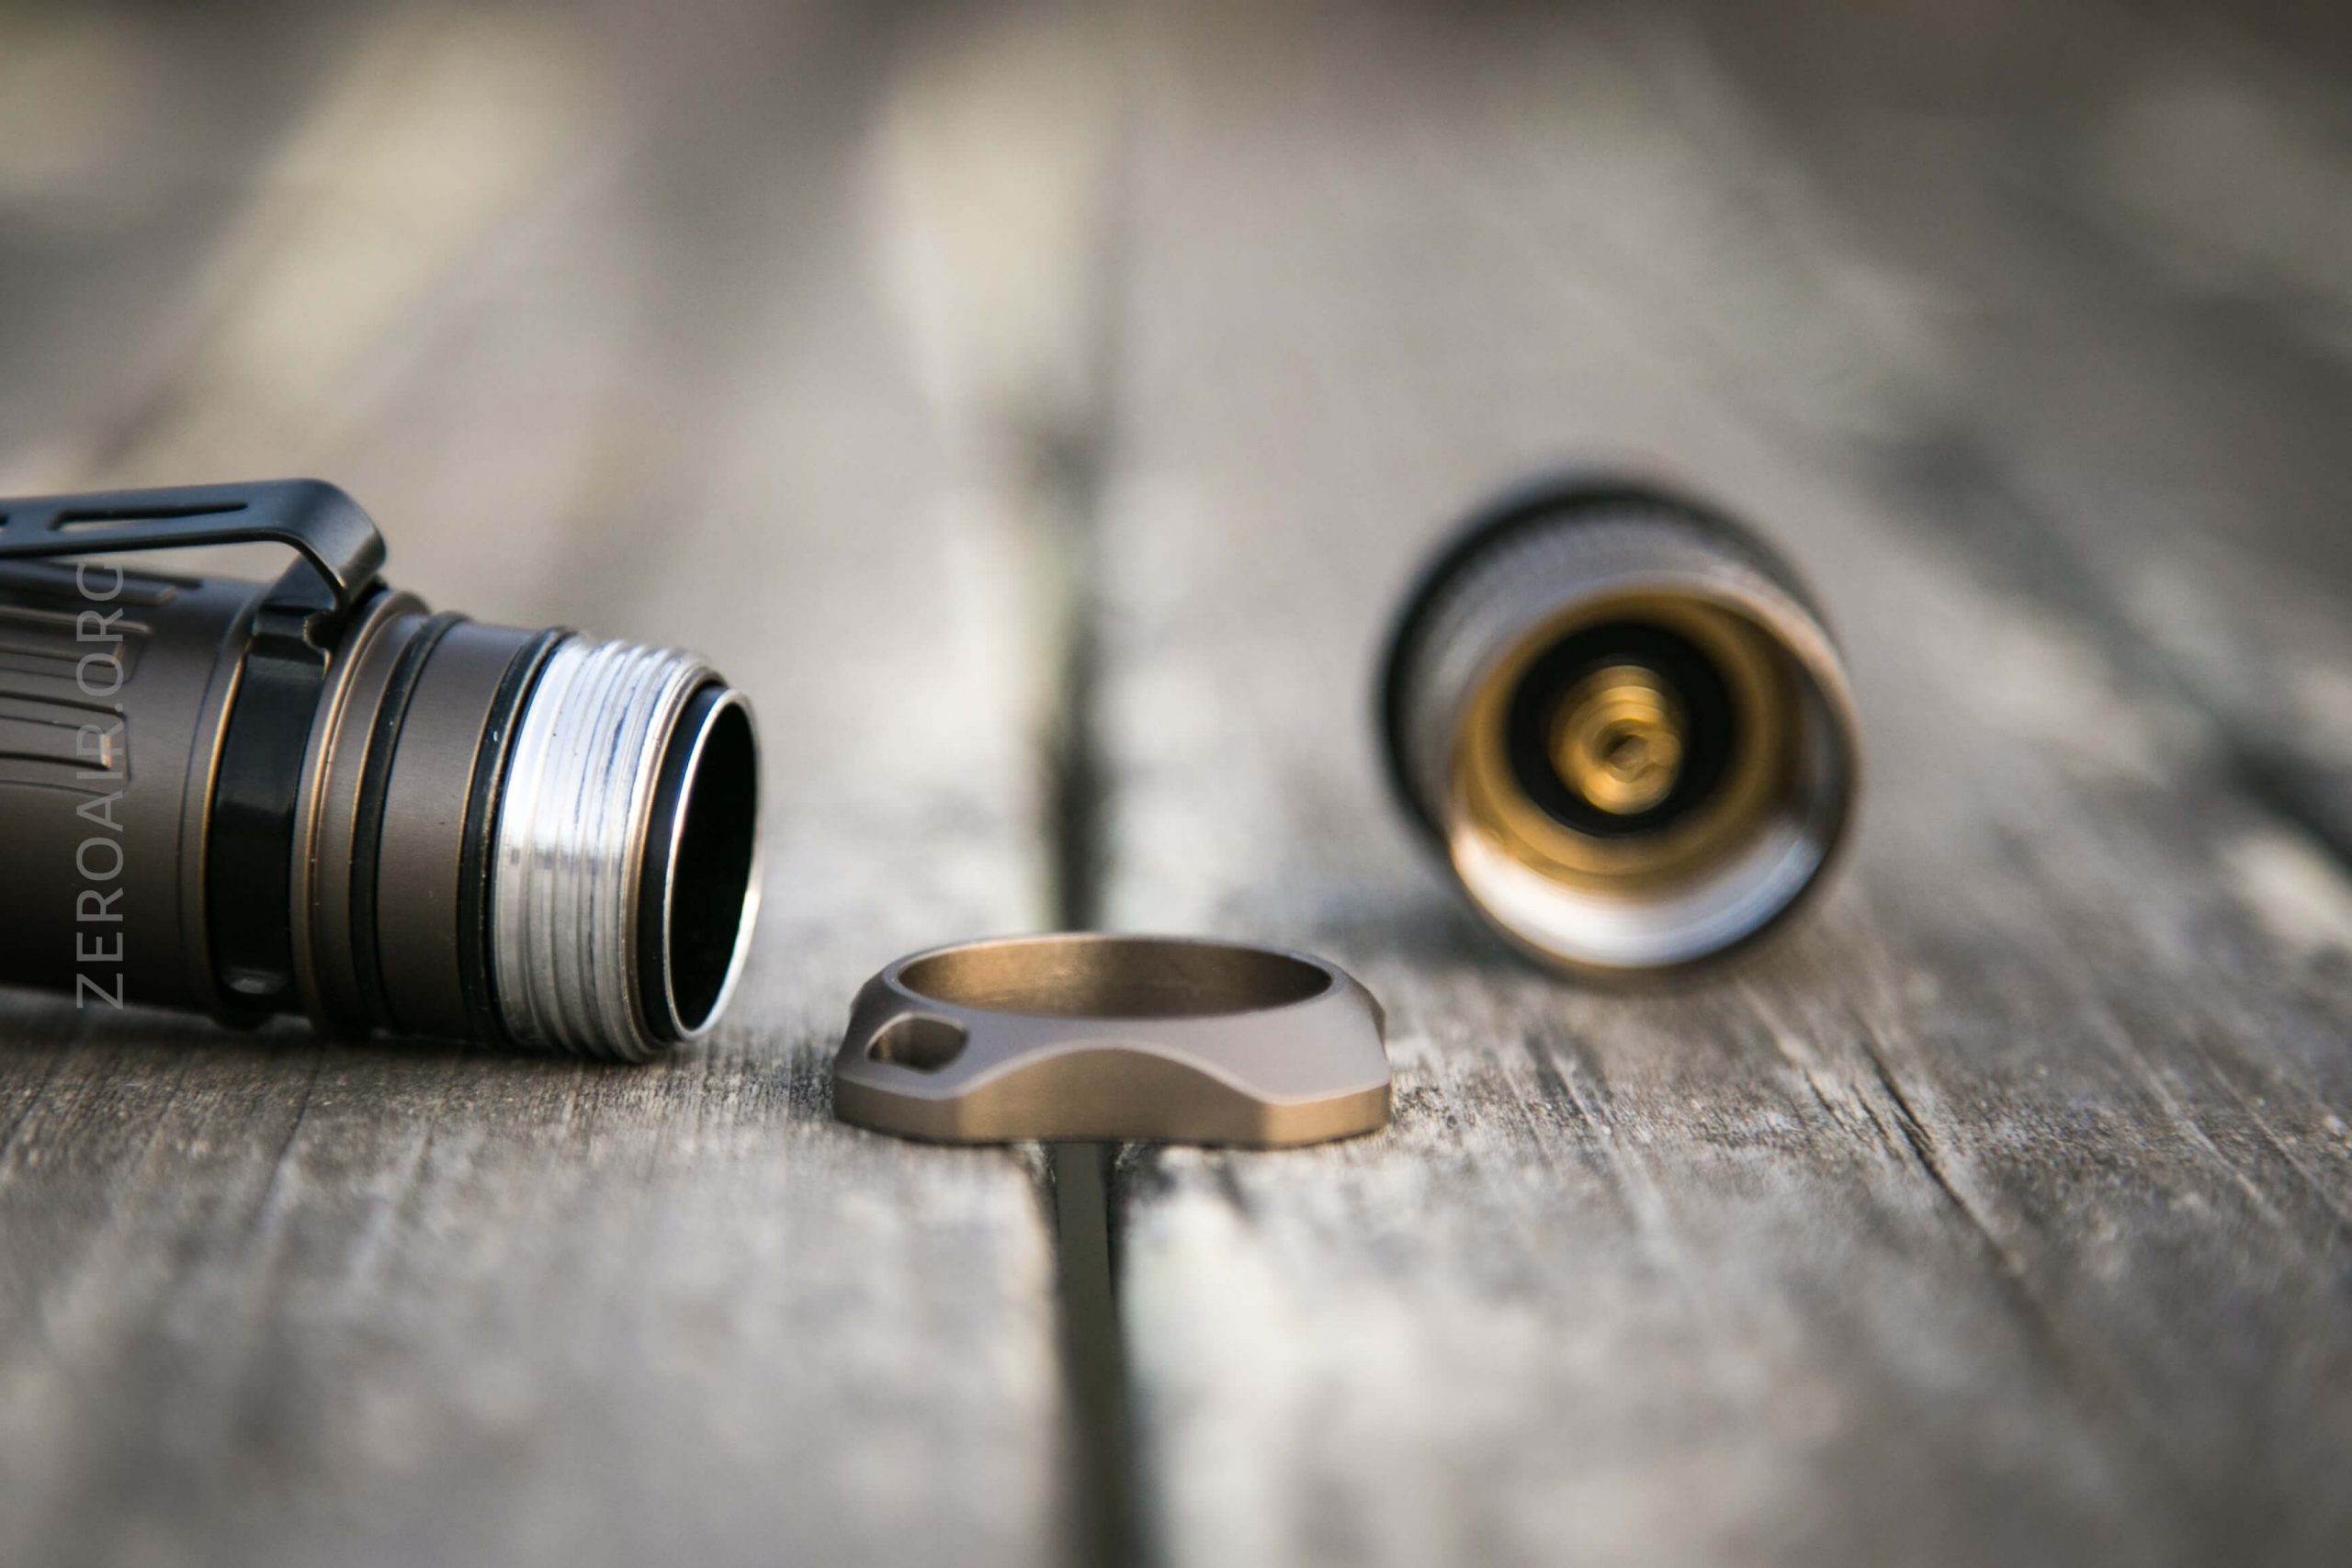
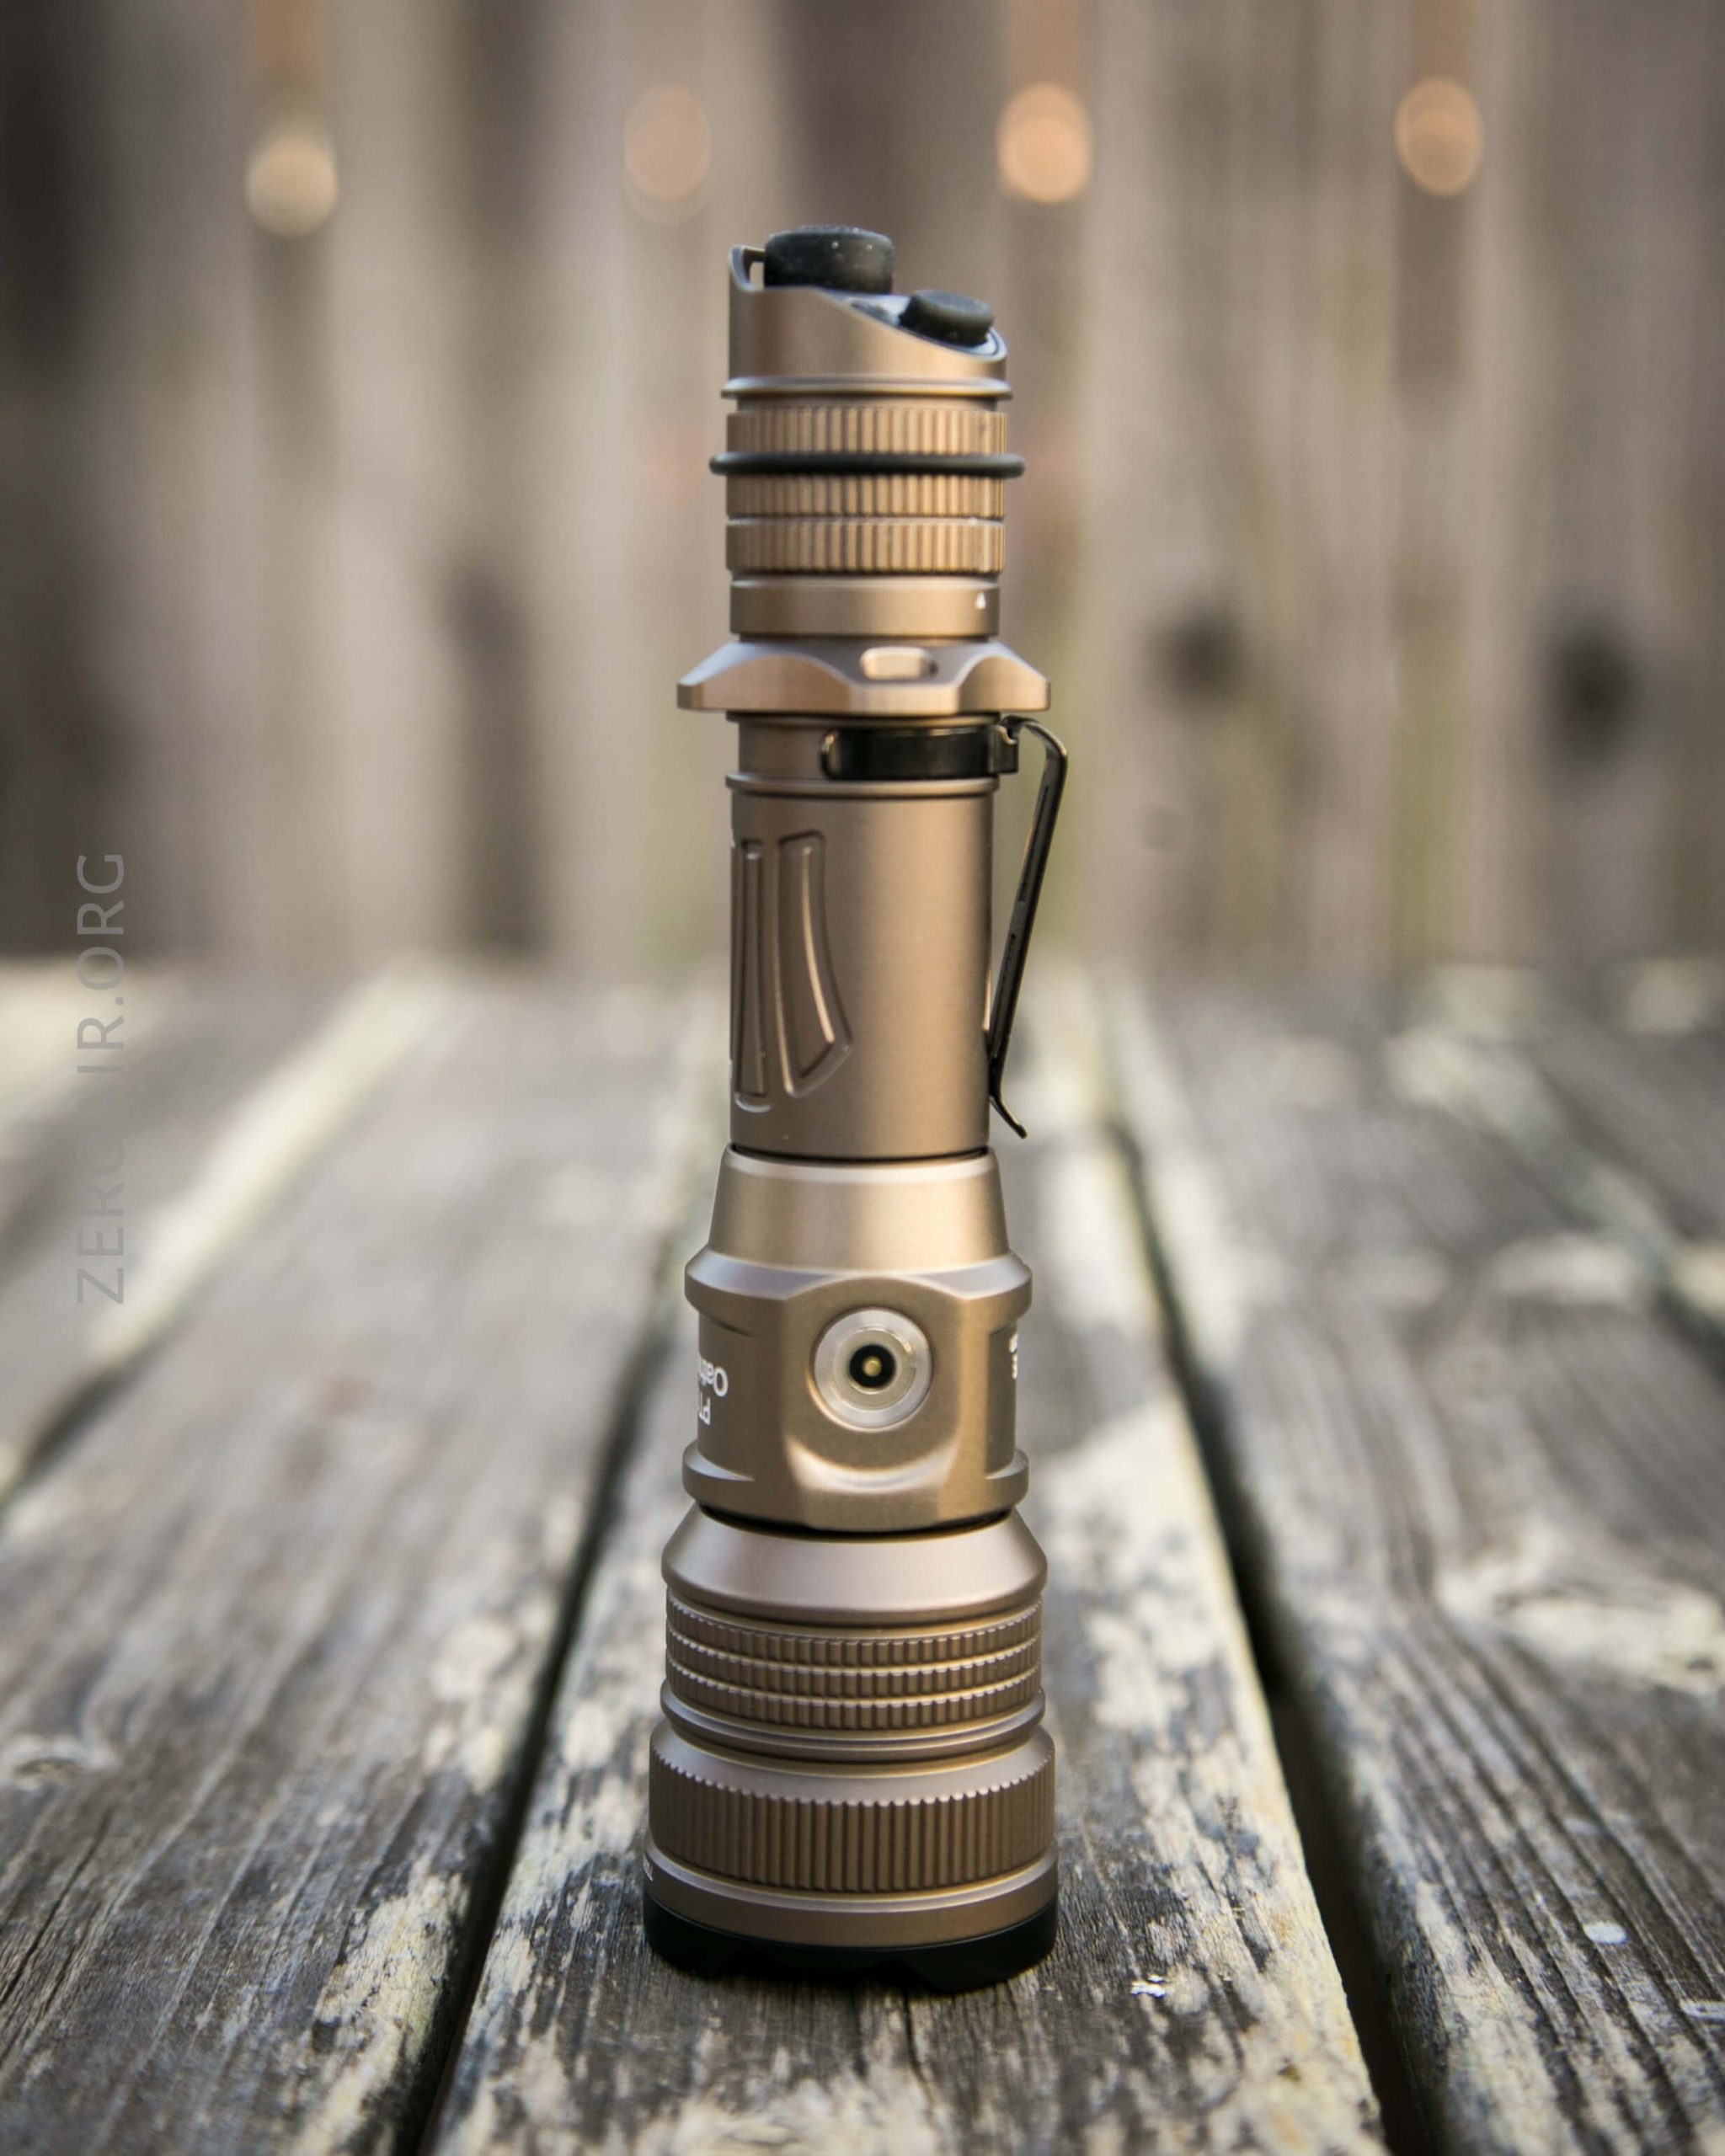
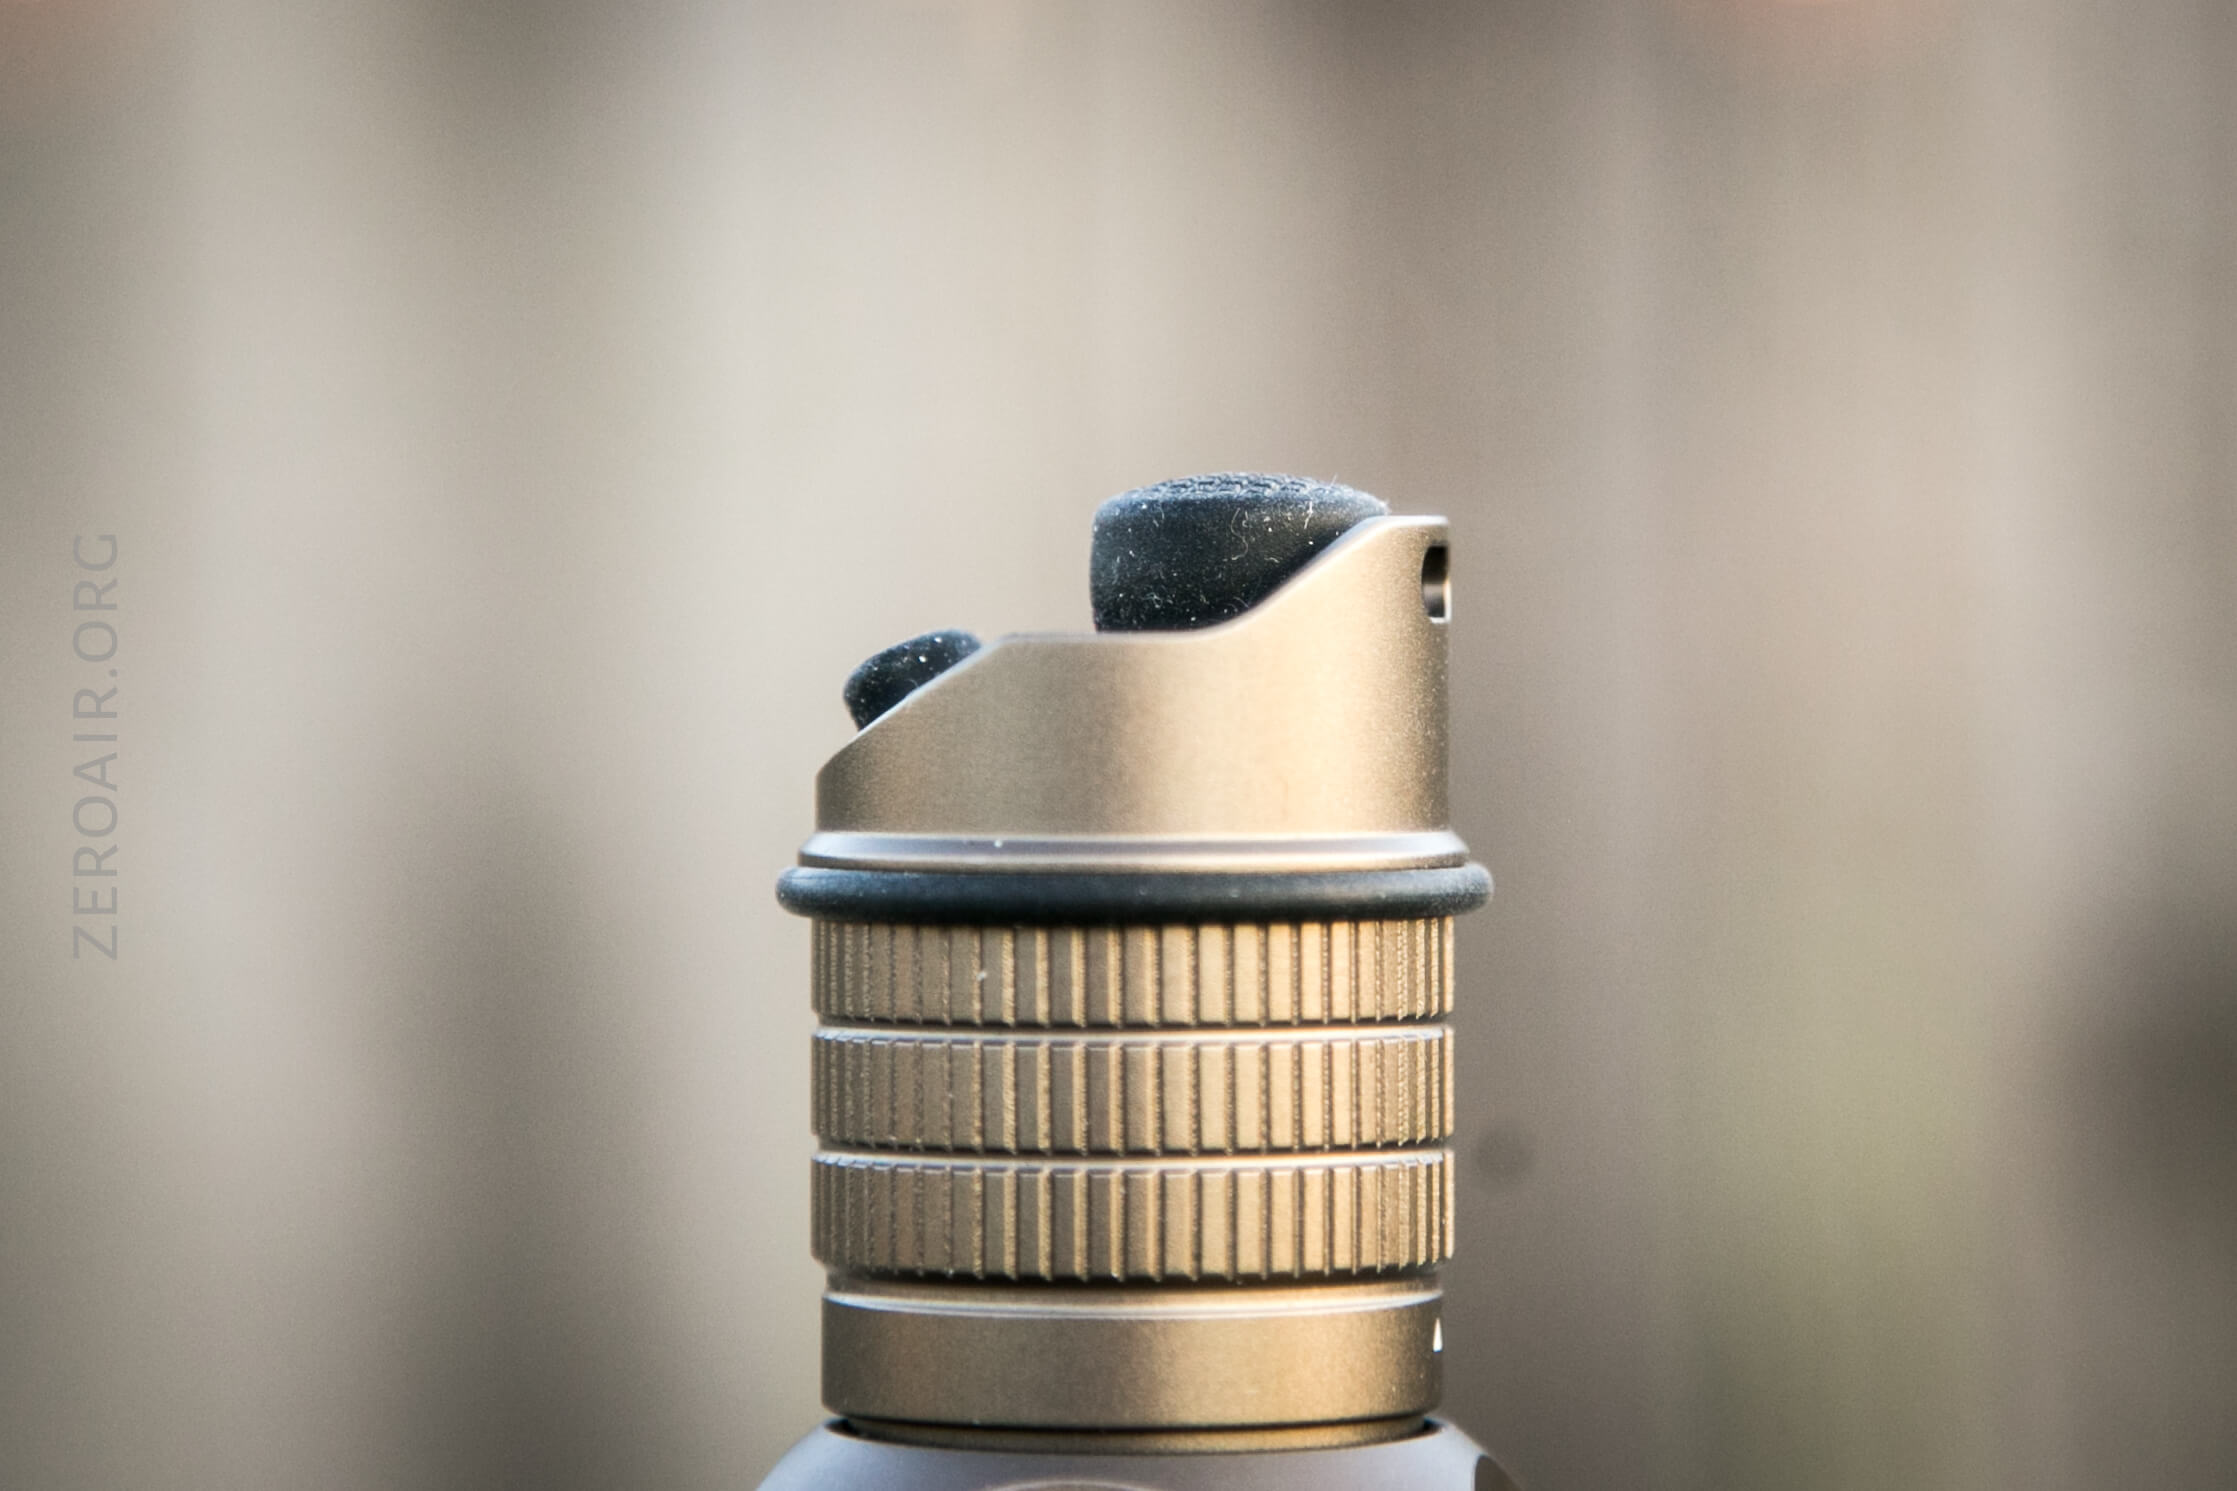
Without the tactical ring and the tactical finger loop, the tail end looks like this:
Without the tactical ring and with the tactical finger loop, the light looks like this. The finger loop really requires the tactical ring, or it’ll flop around.
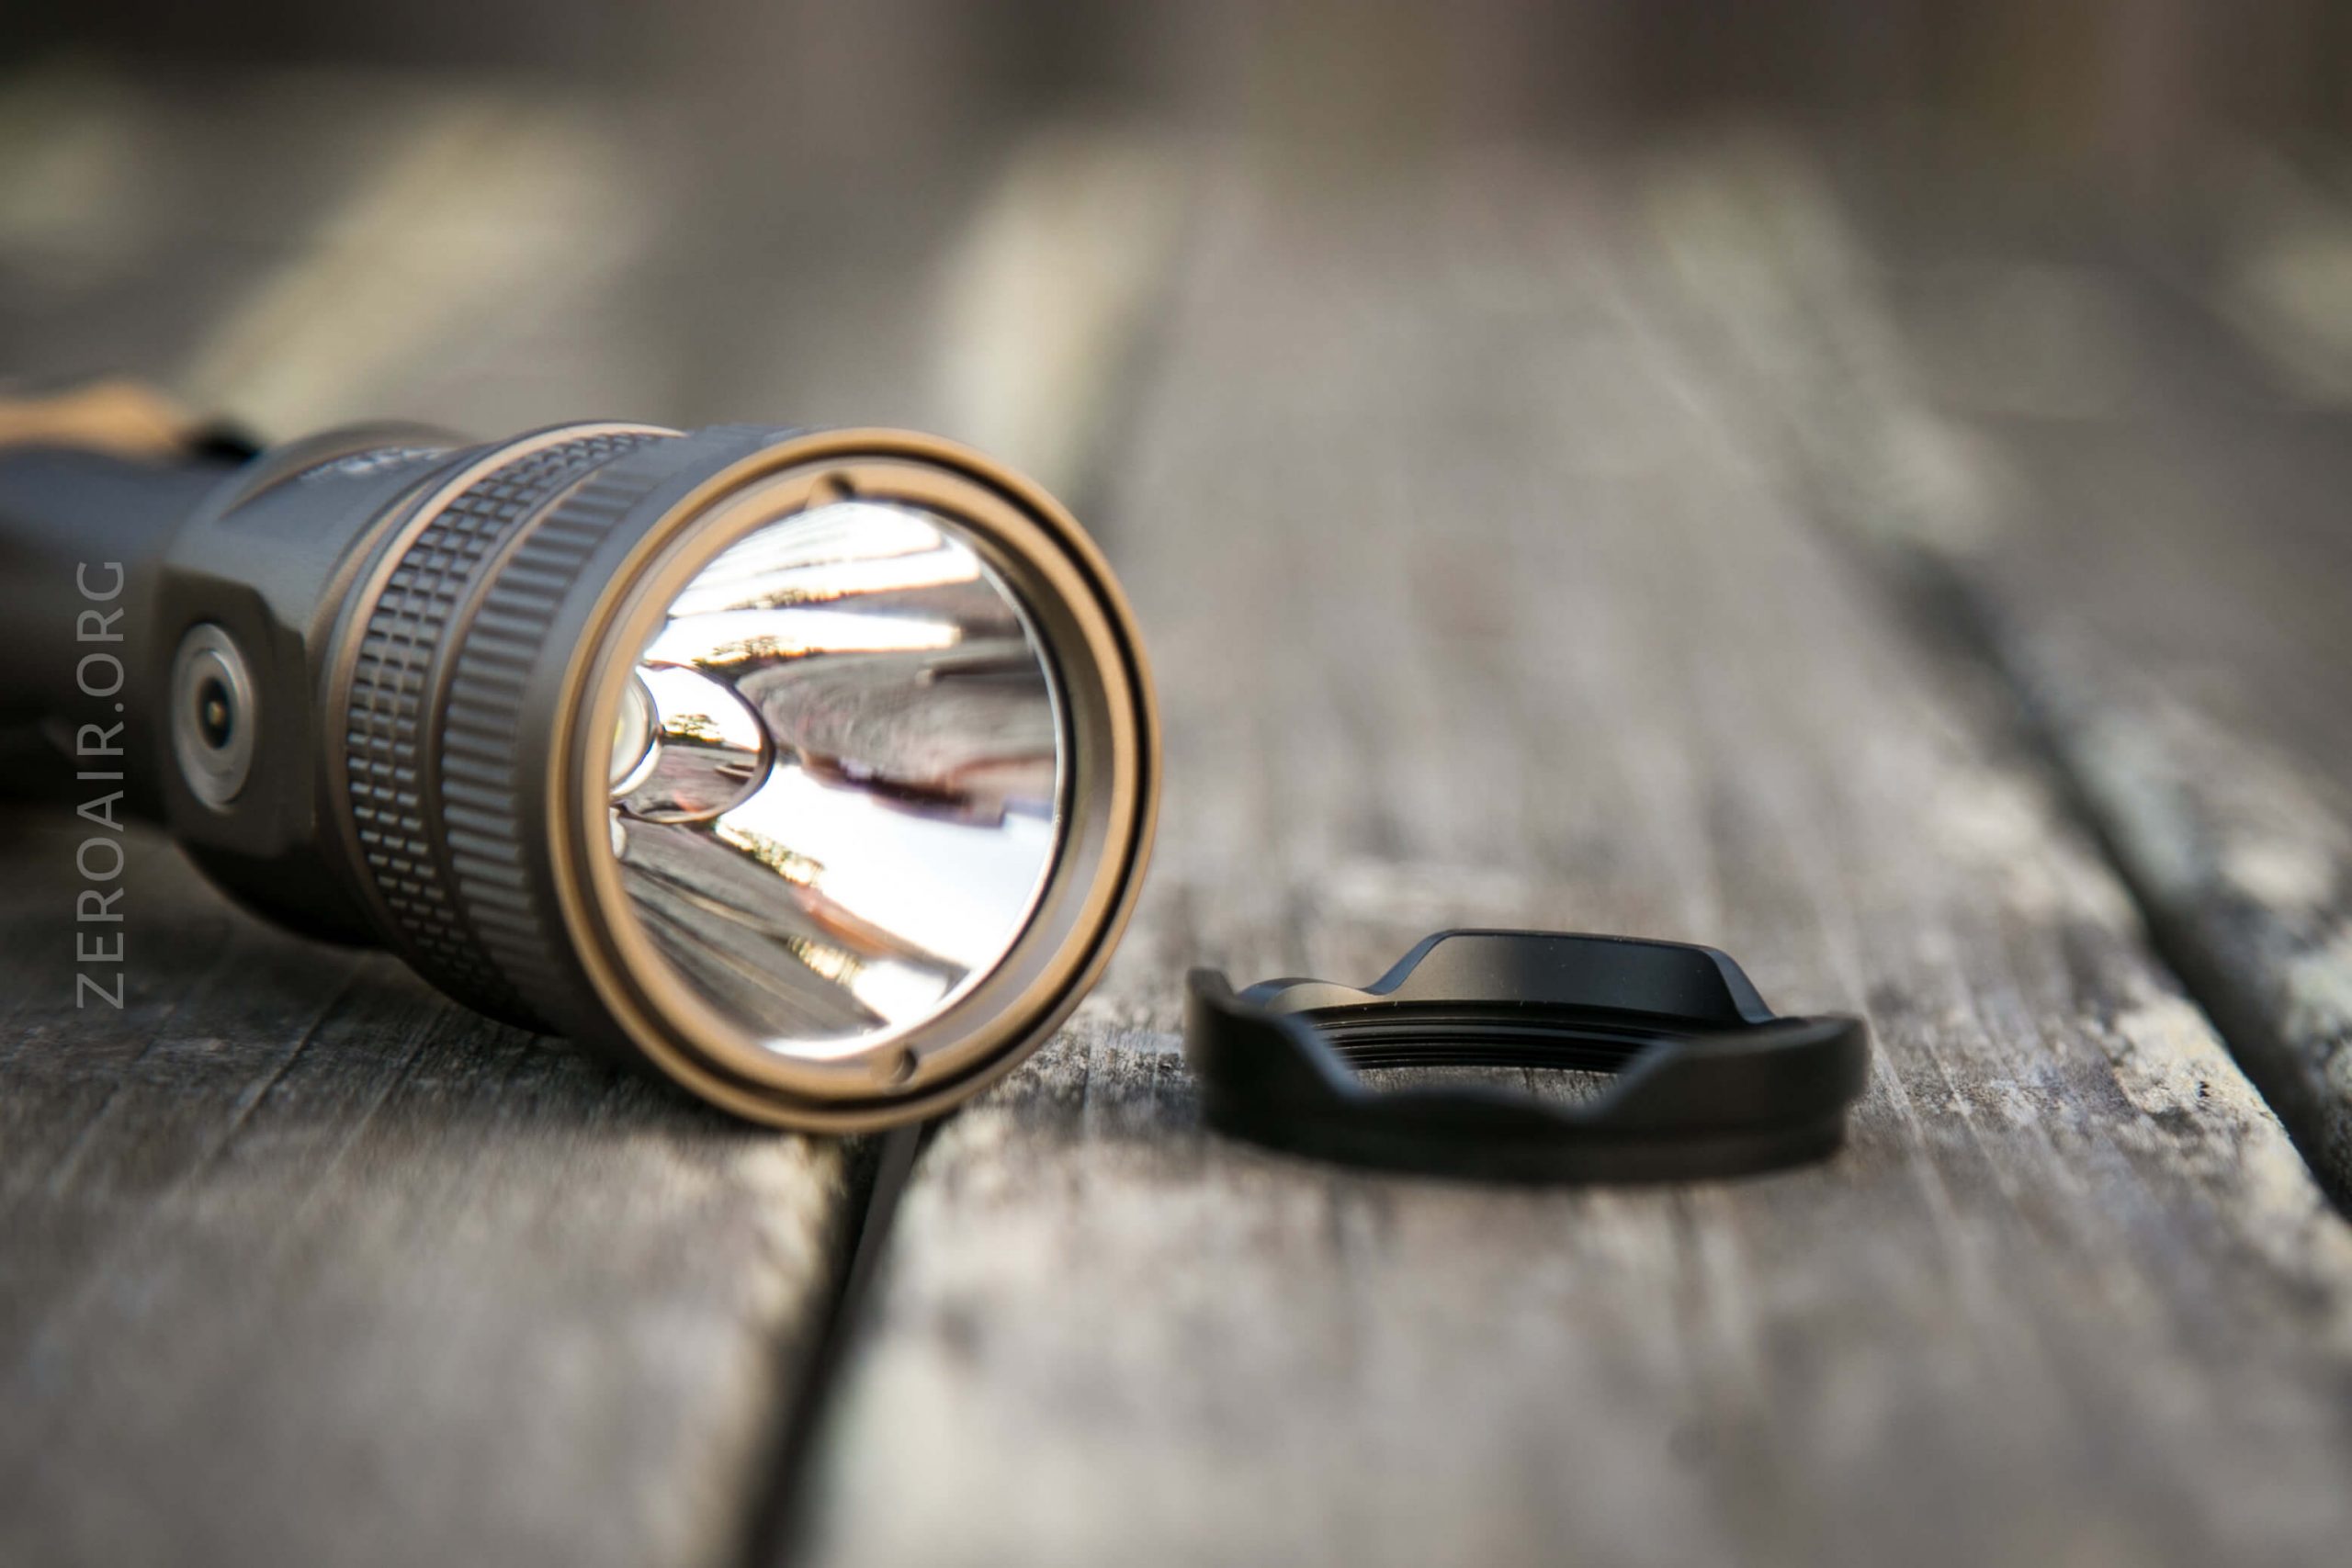
The black bezel unscrews easily and cleanly, leaving a light that can be used without the strike bezel completely. I didn’t remove this any further, but the bezel is held in by a retaining ring, too.
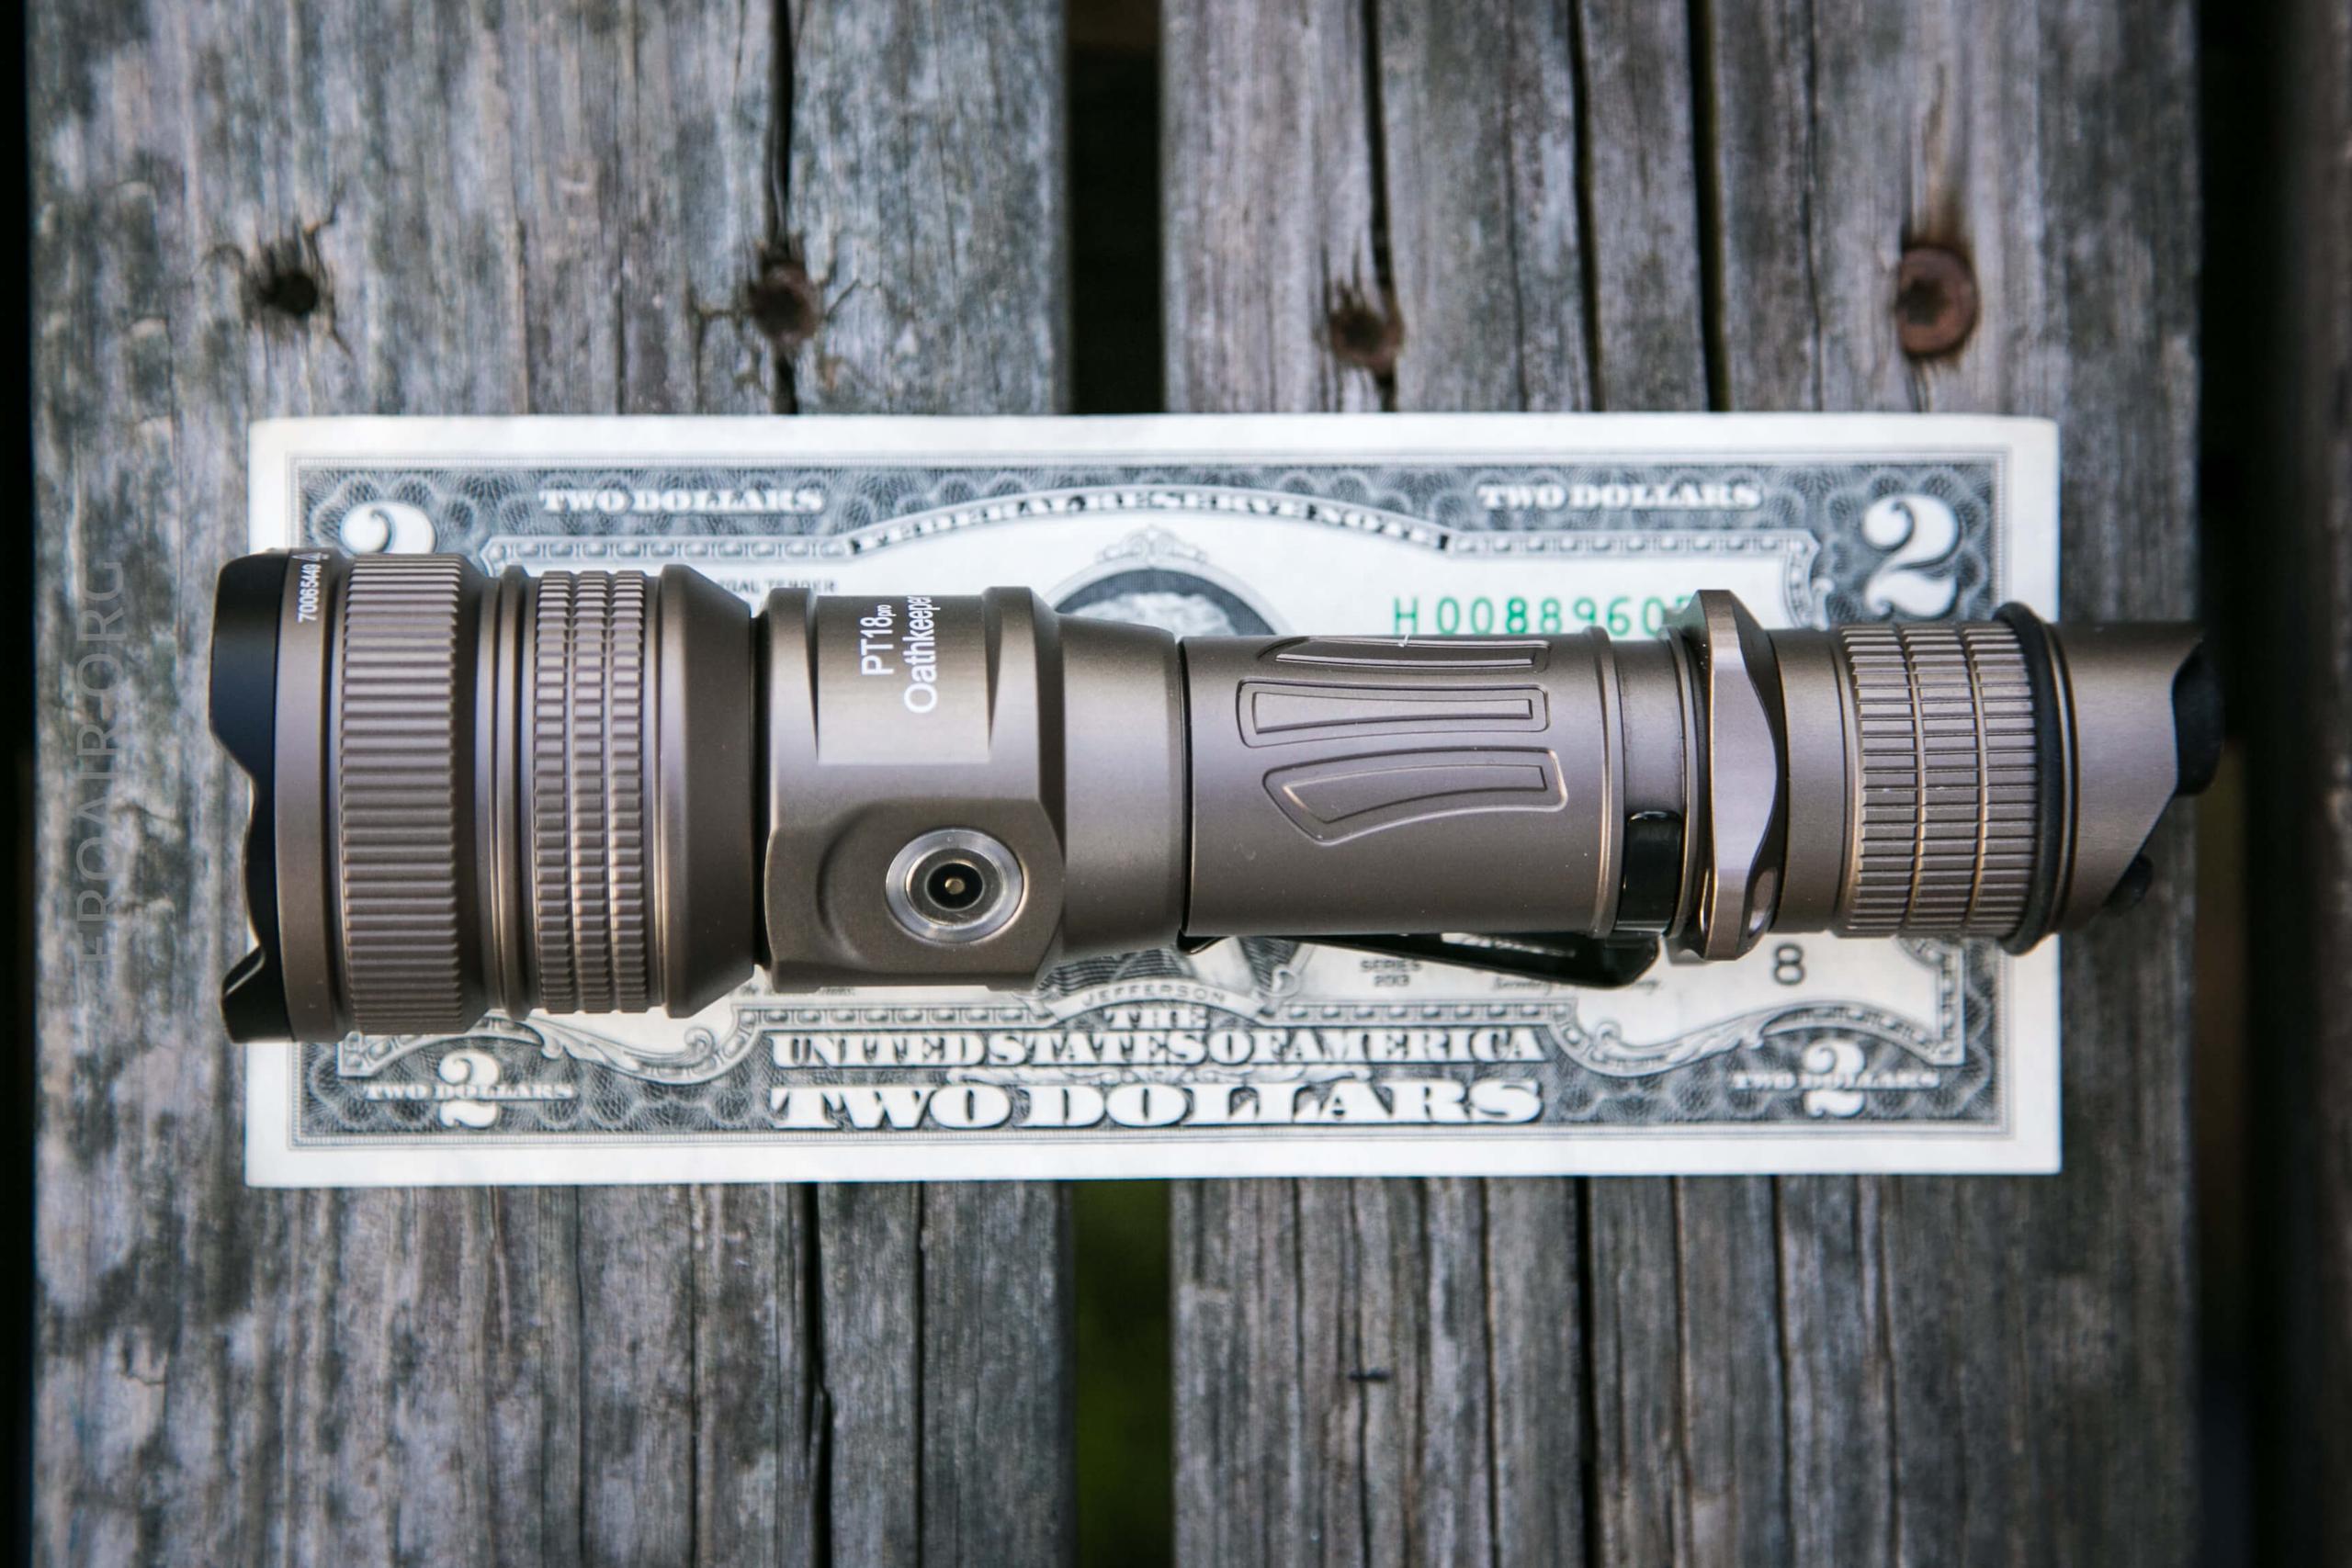
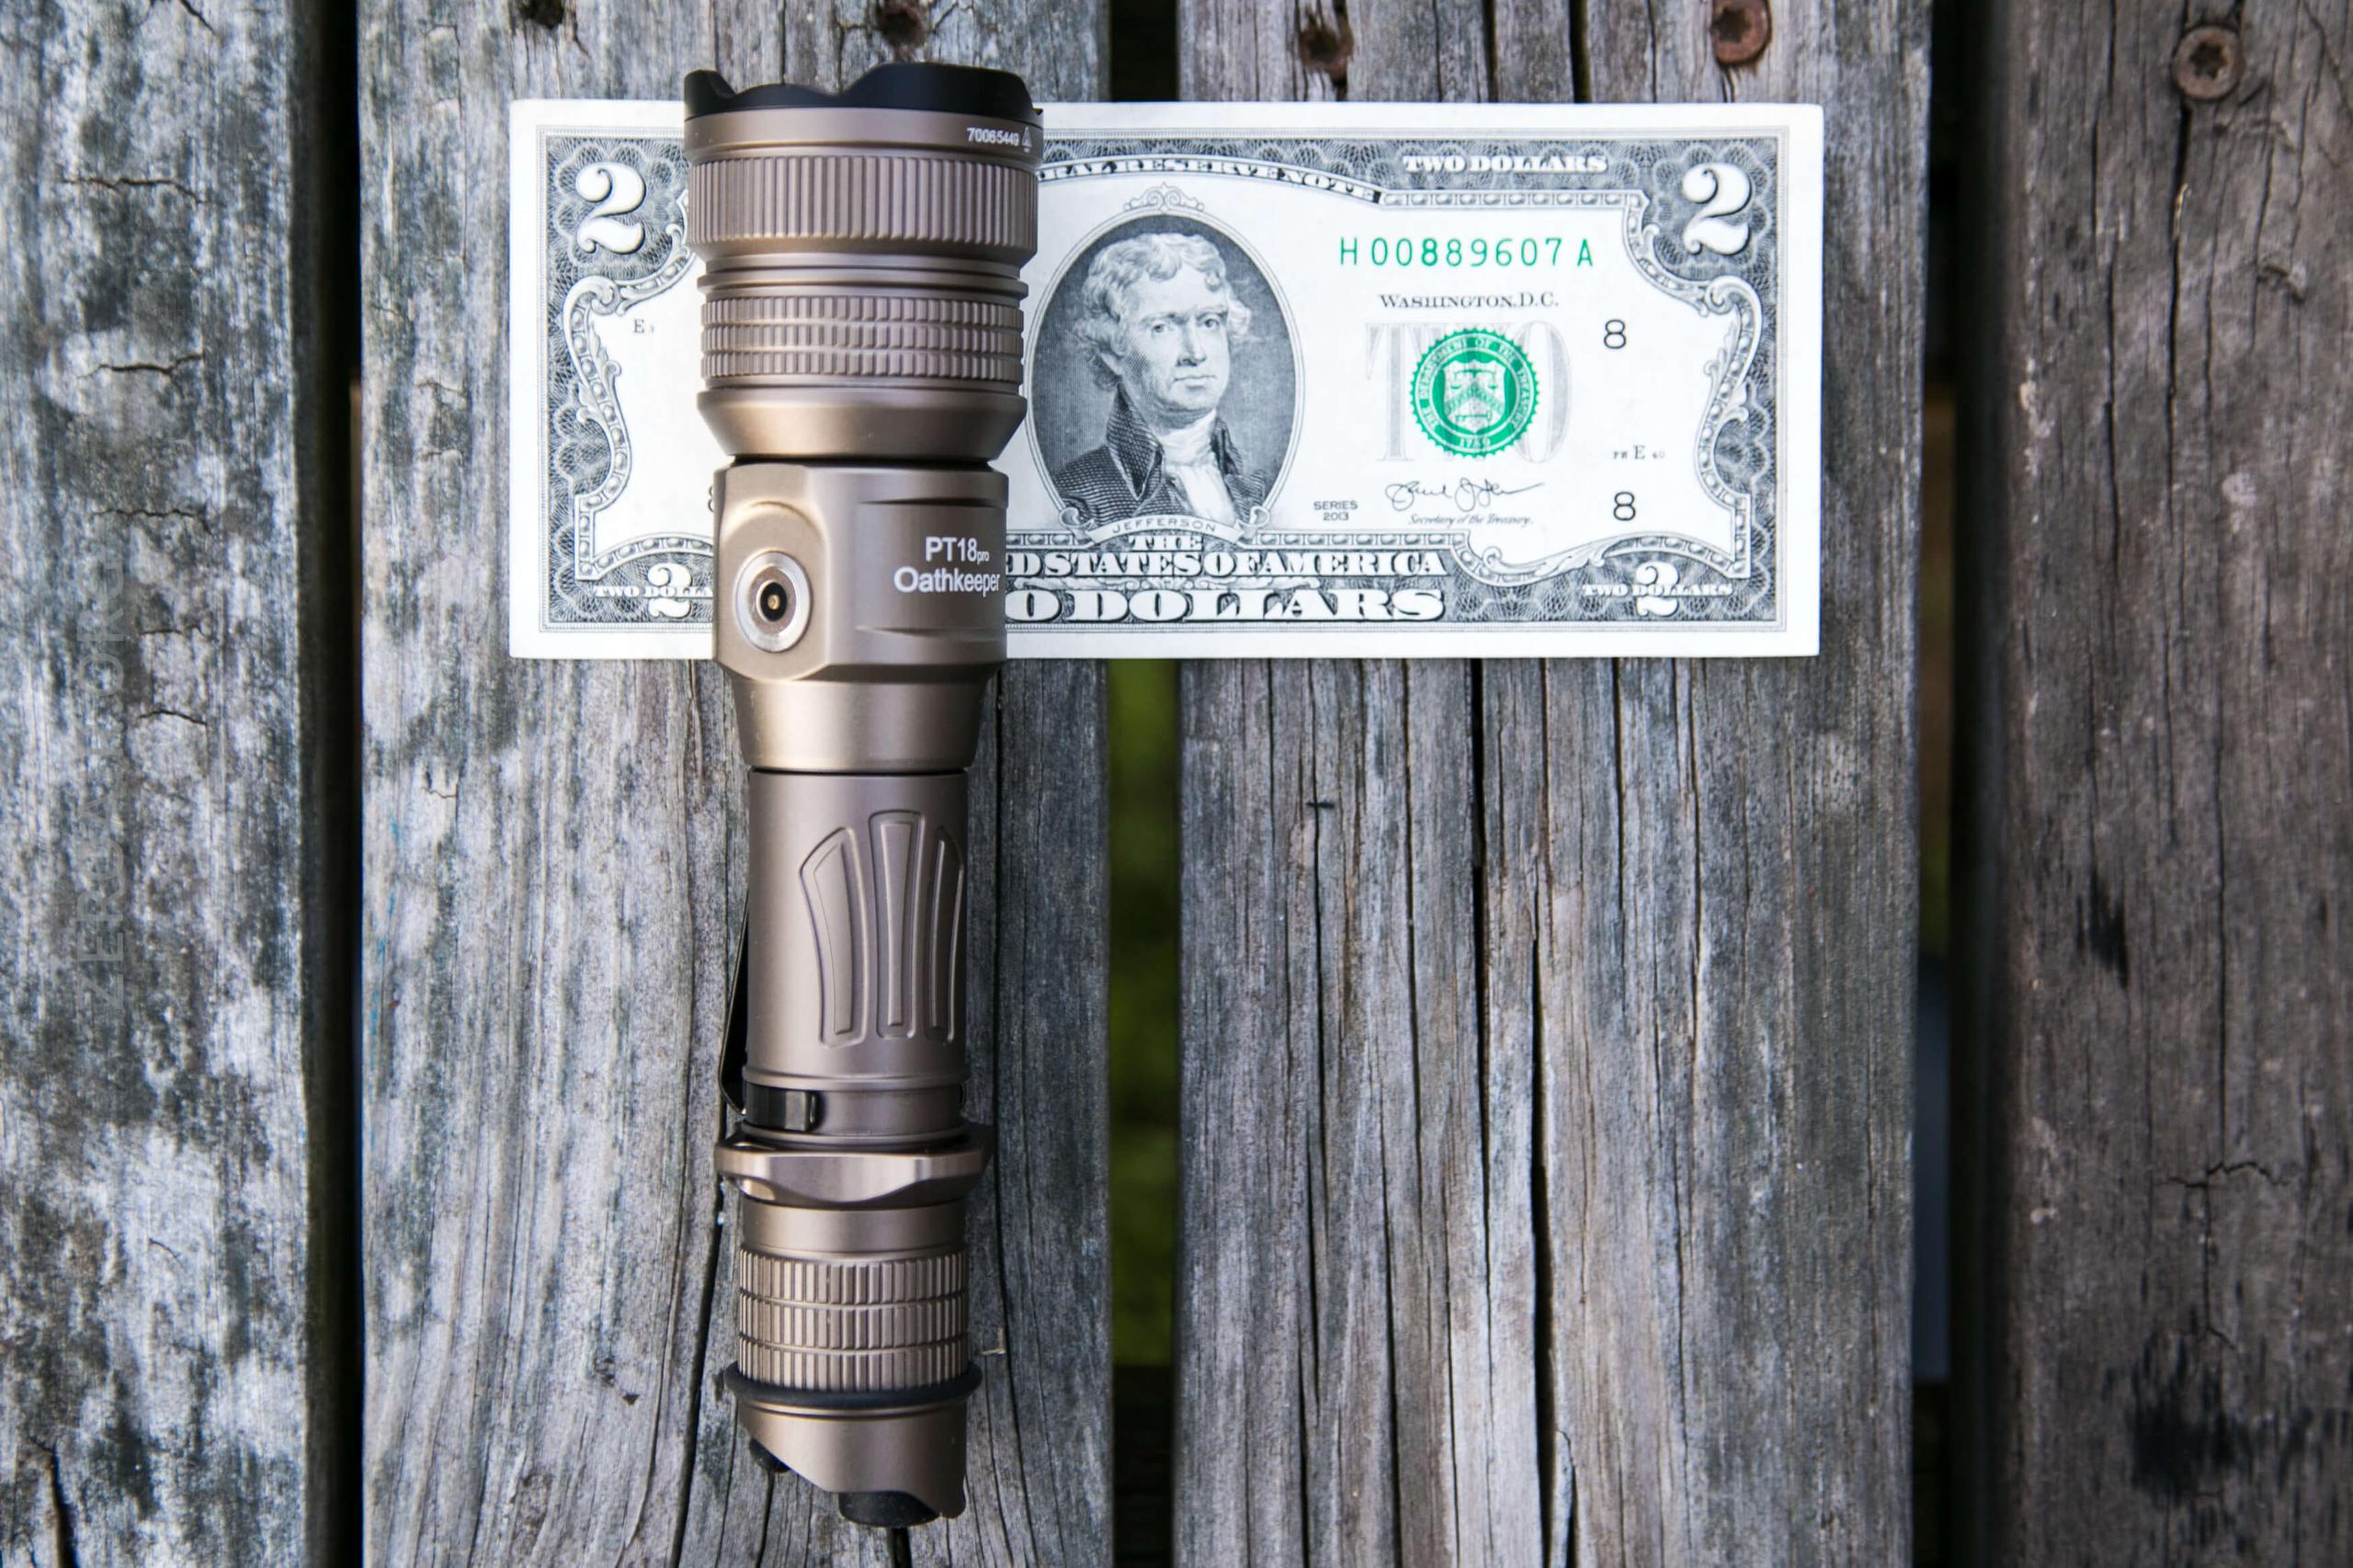
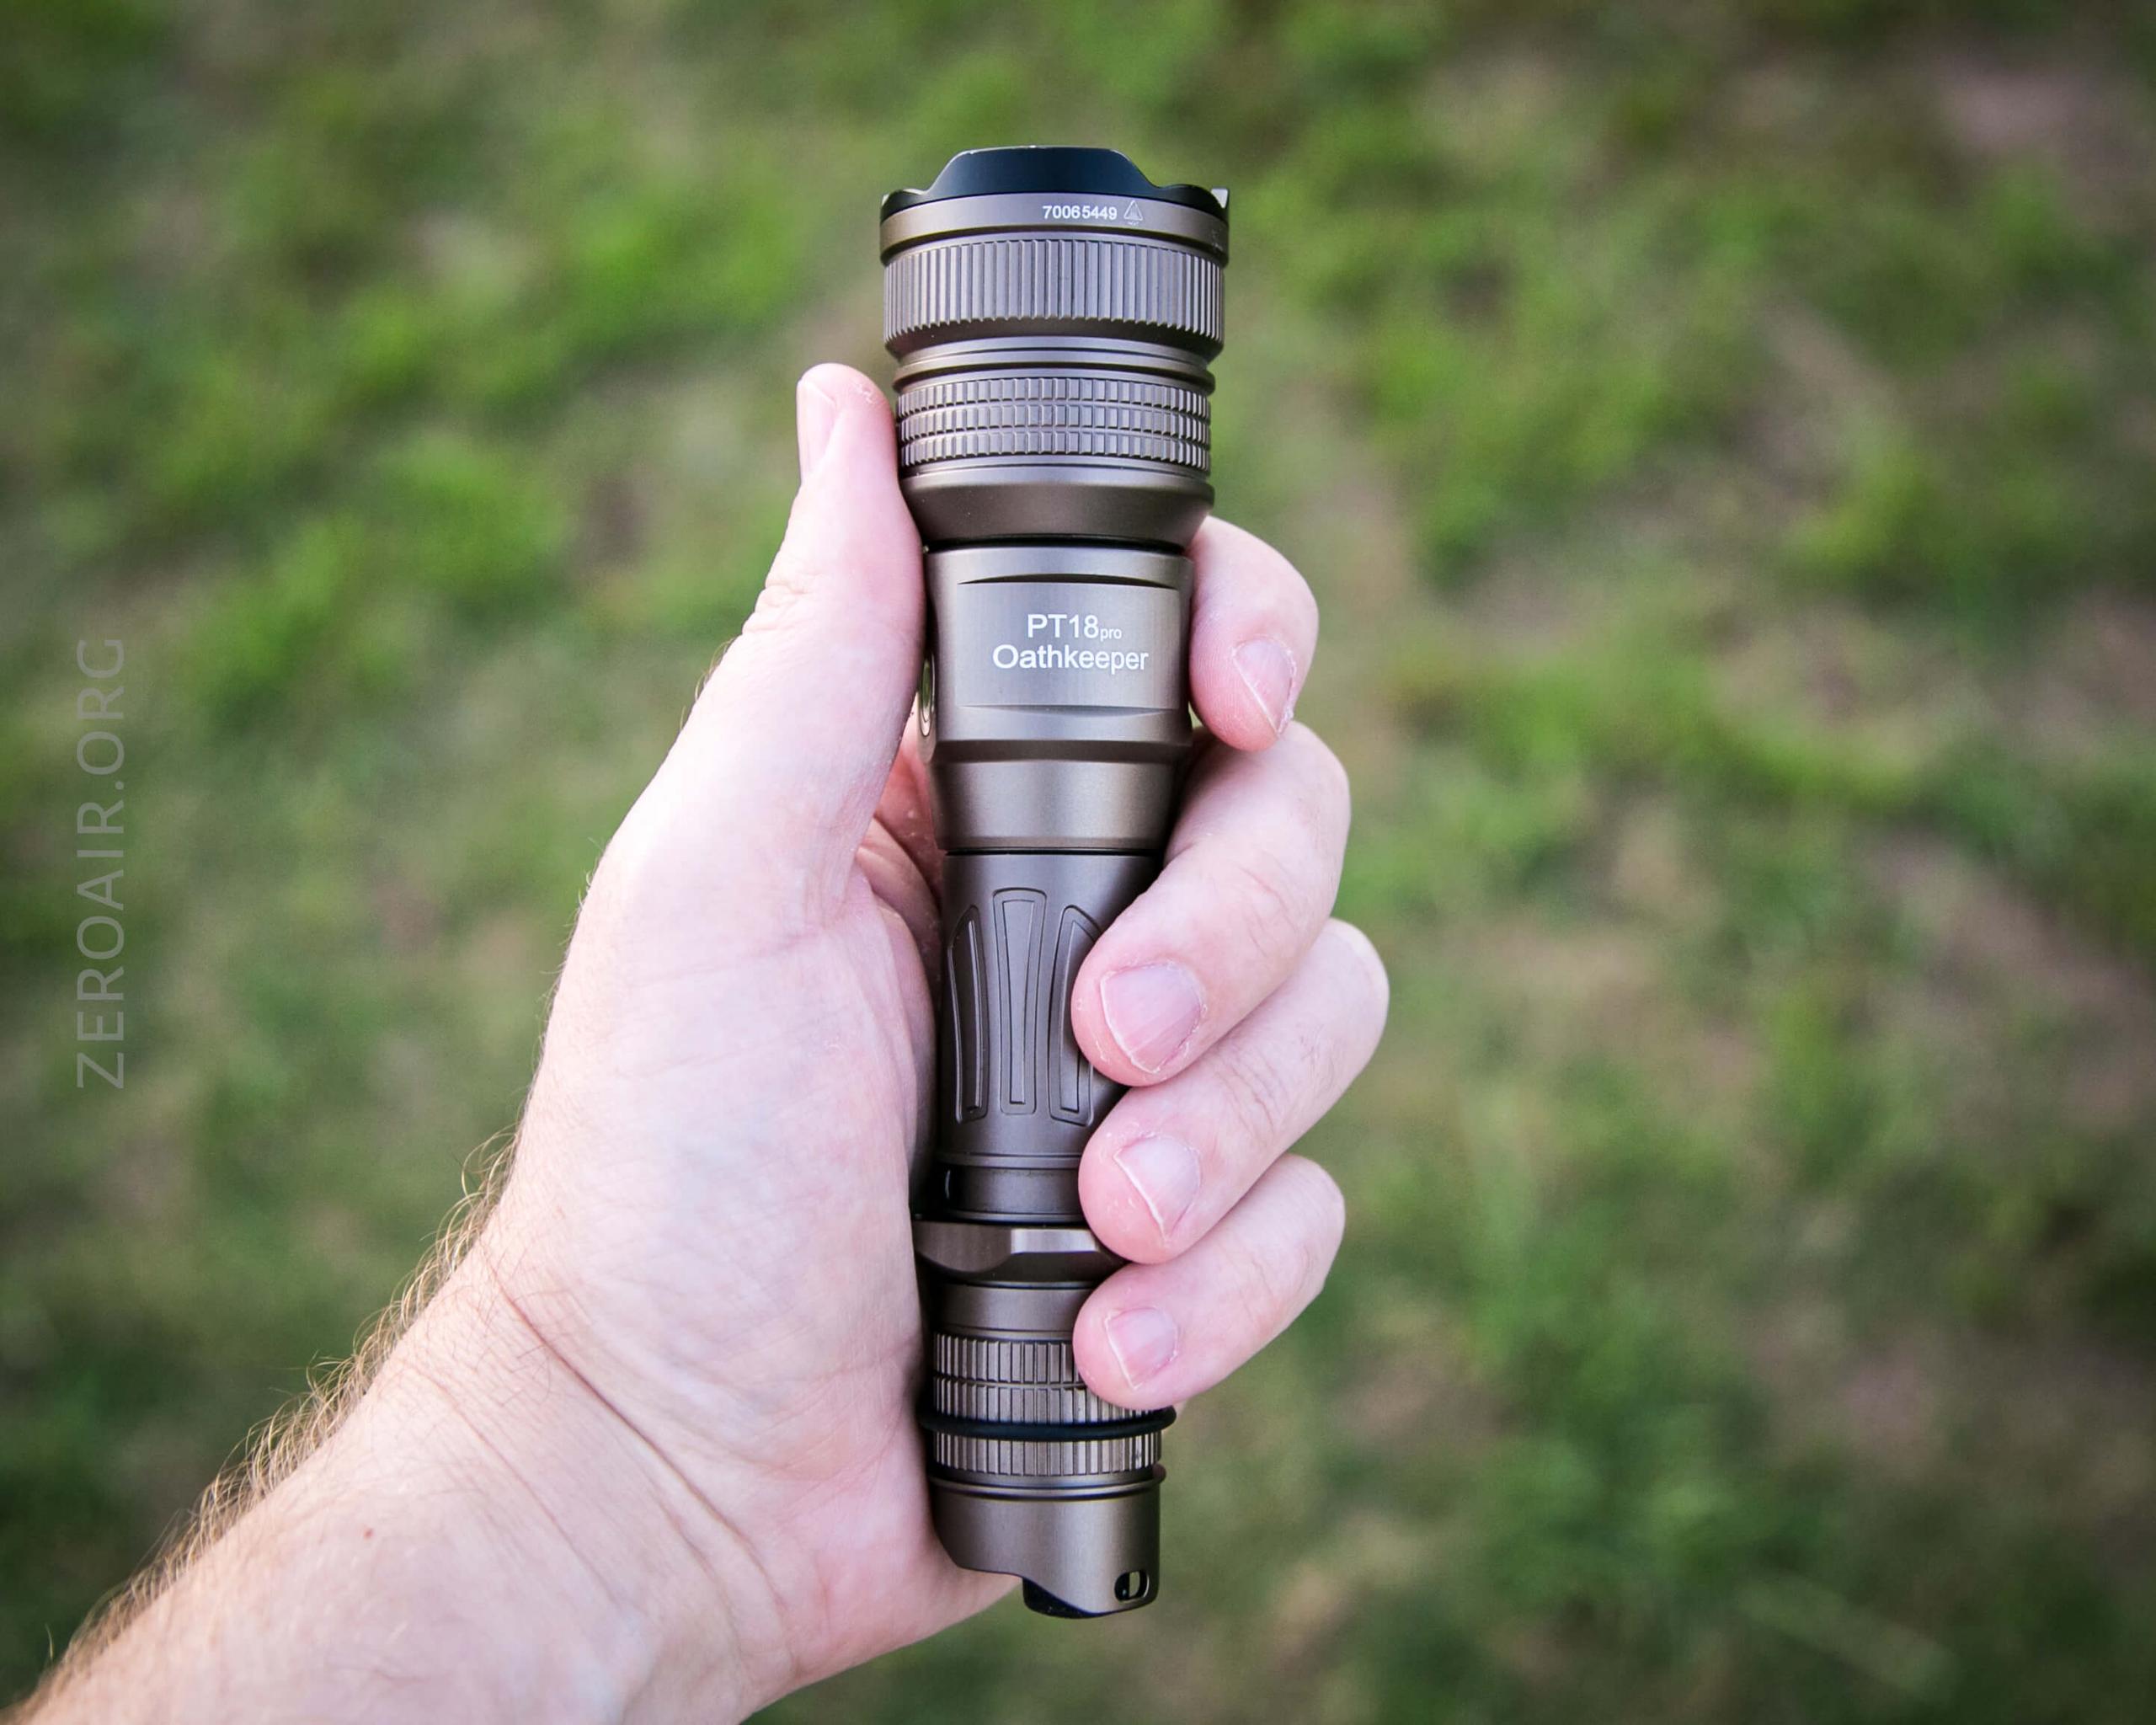
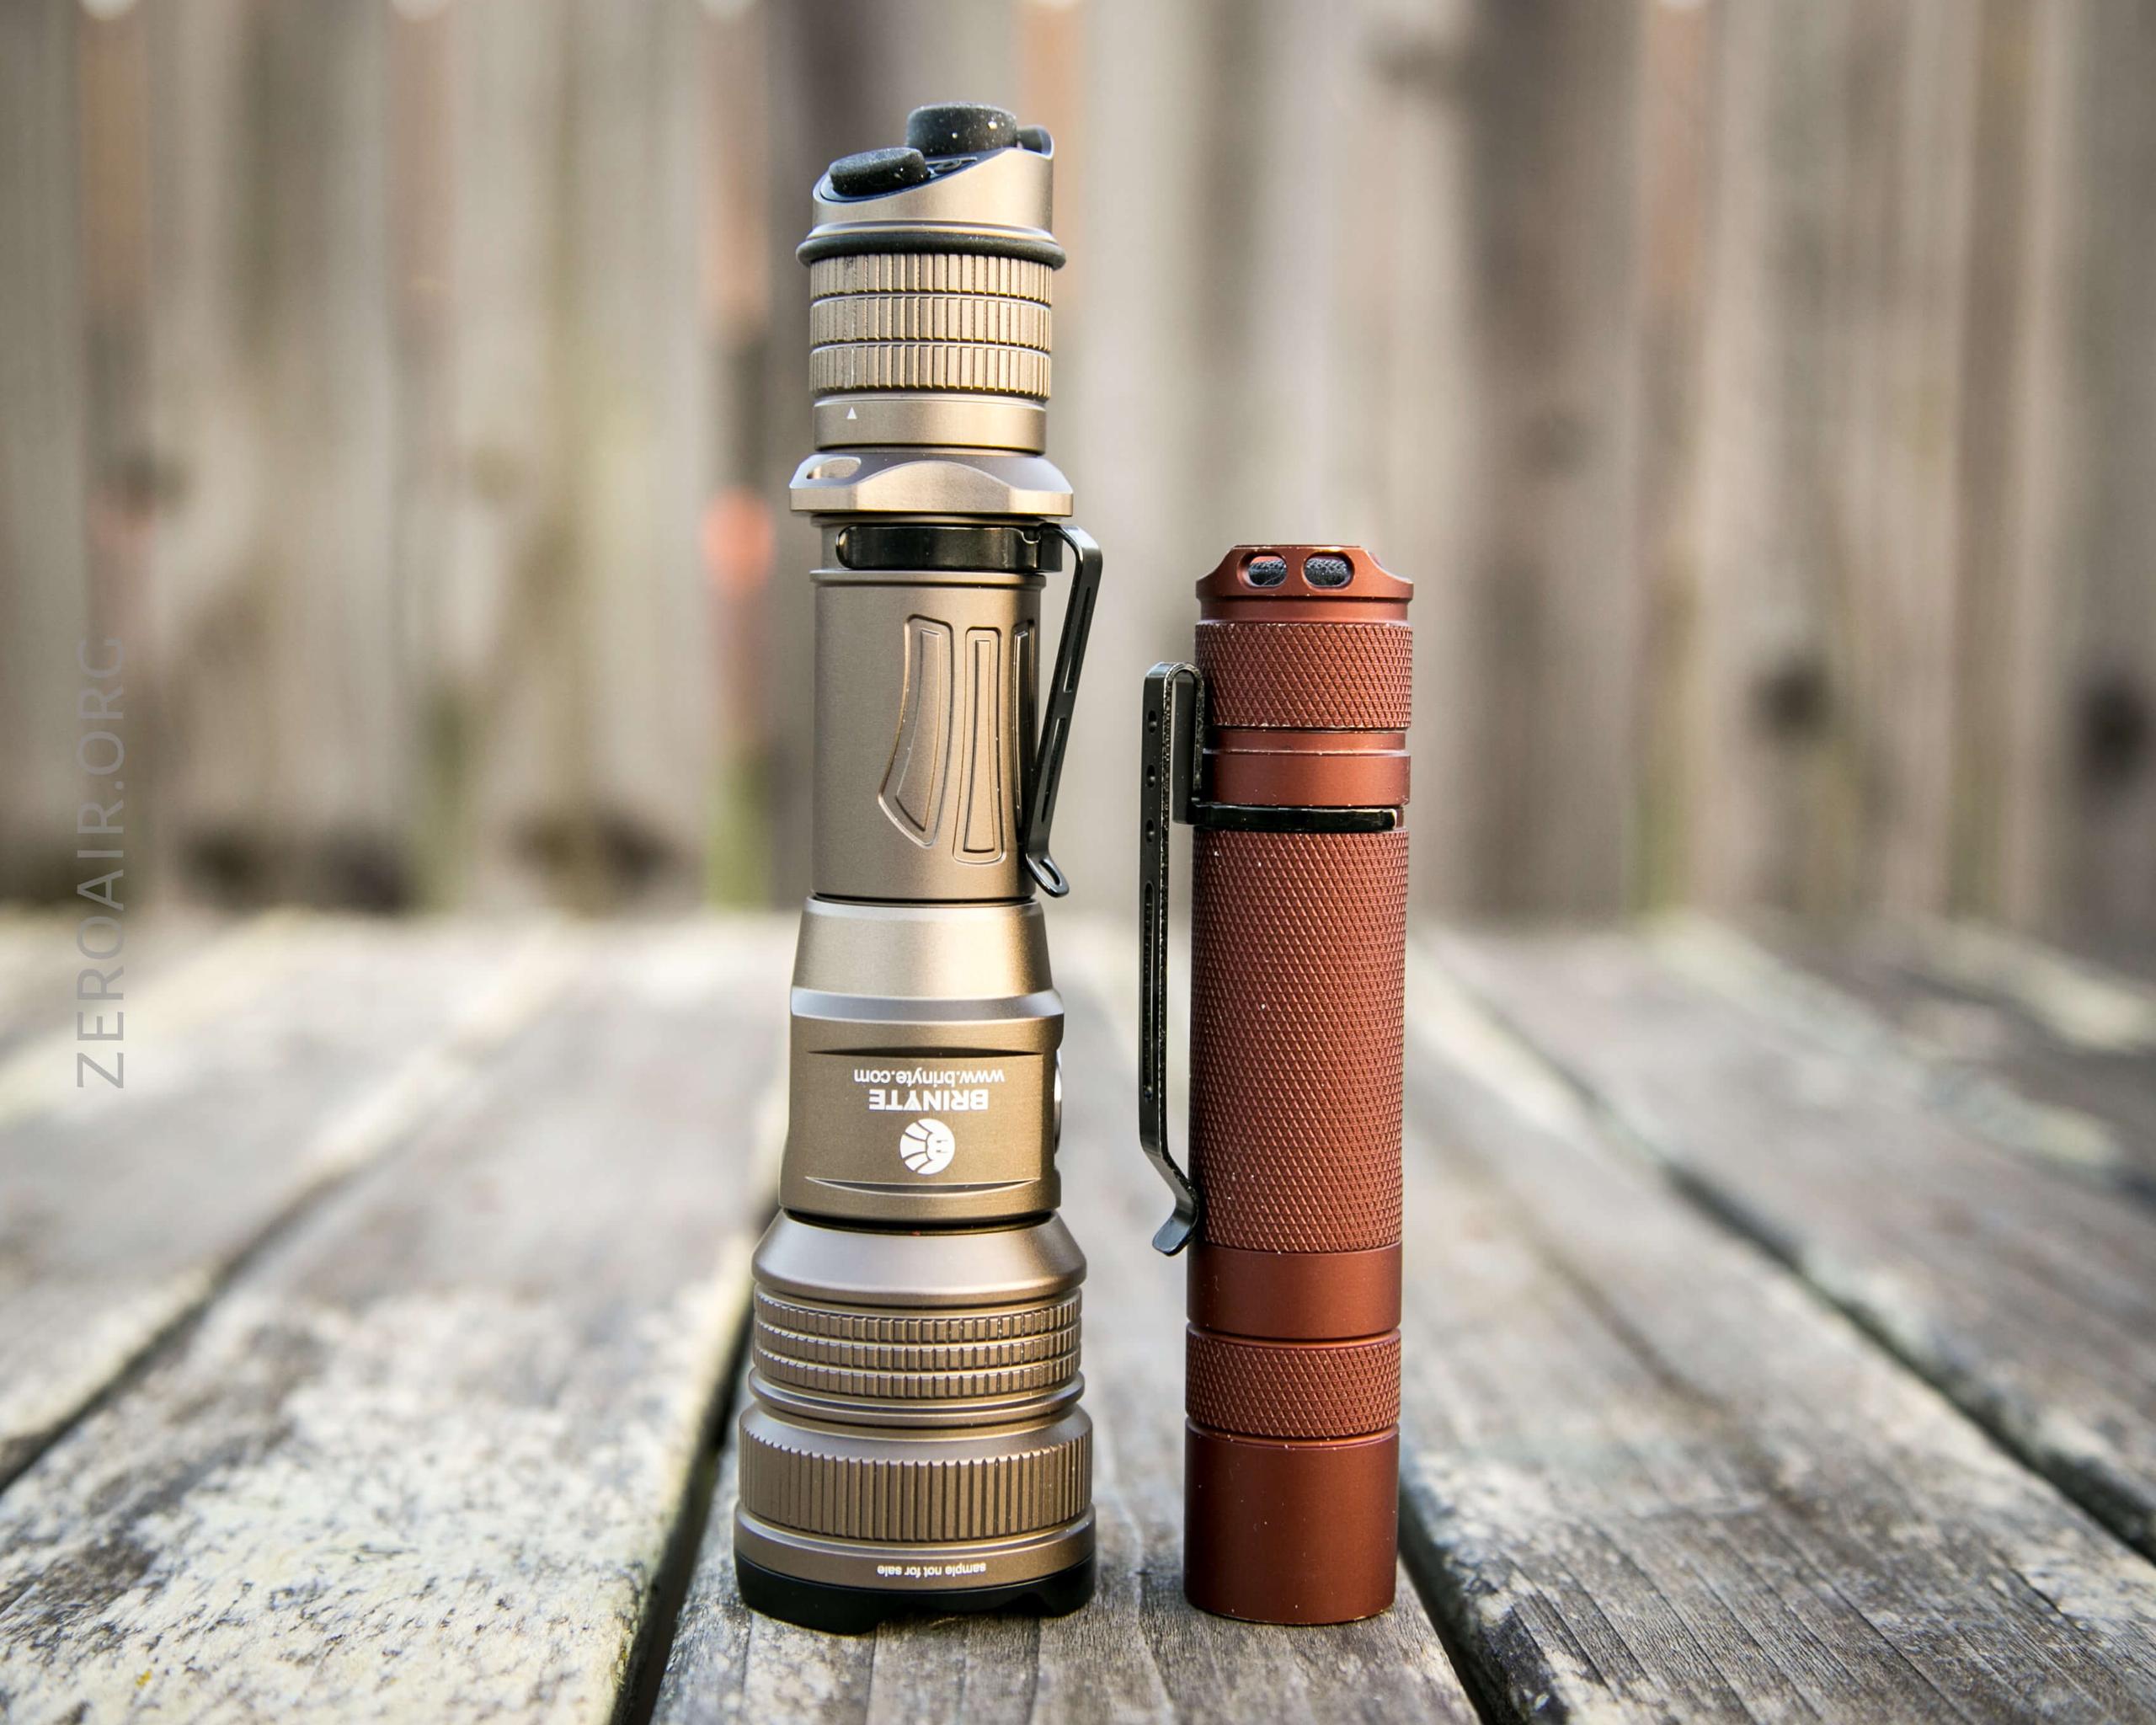
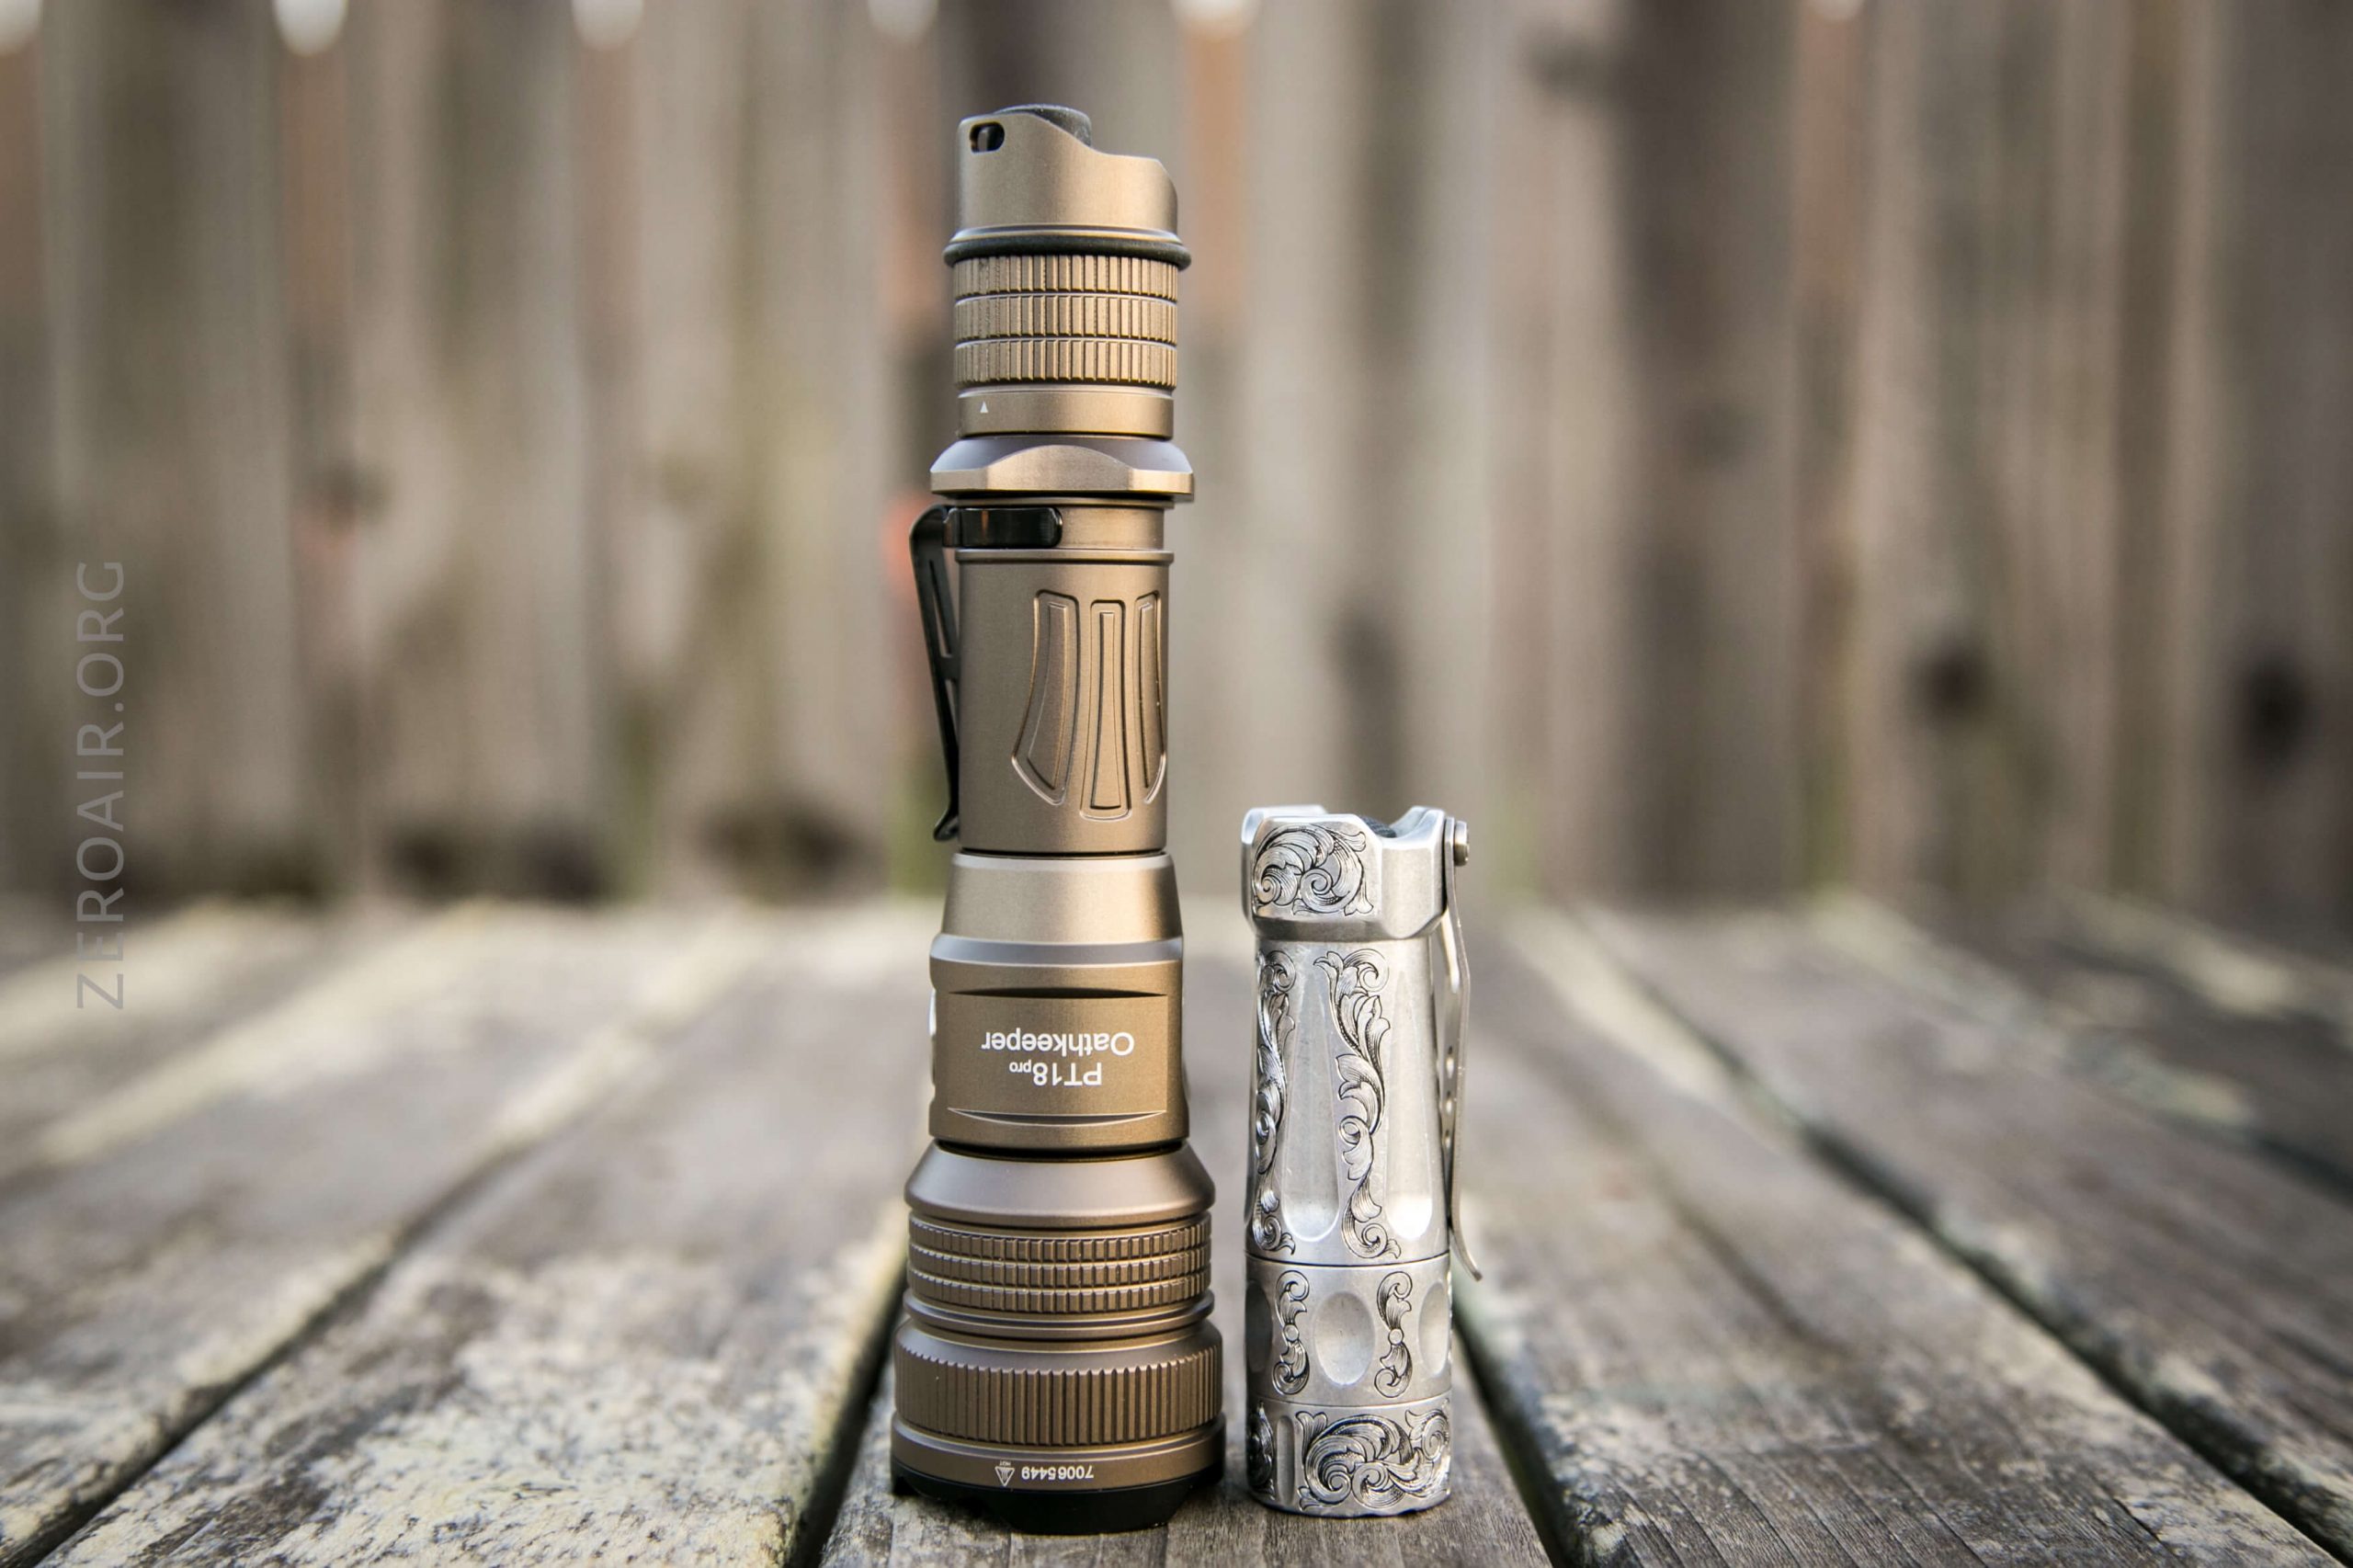
Size and Comps
The light is 164mm x 25.4mm (body) x 41mm (head) and weighs 170g without the cell.

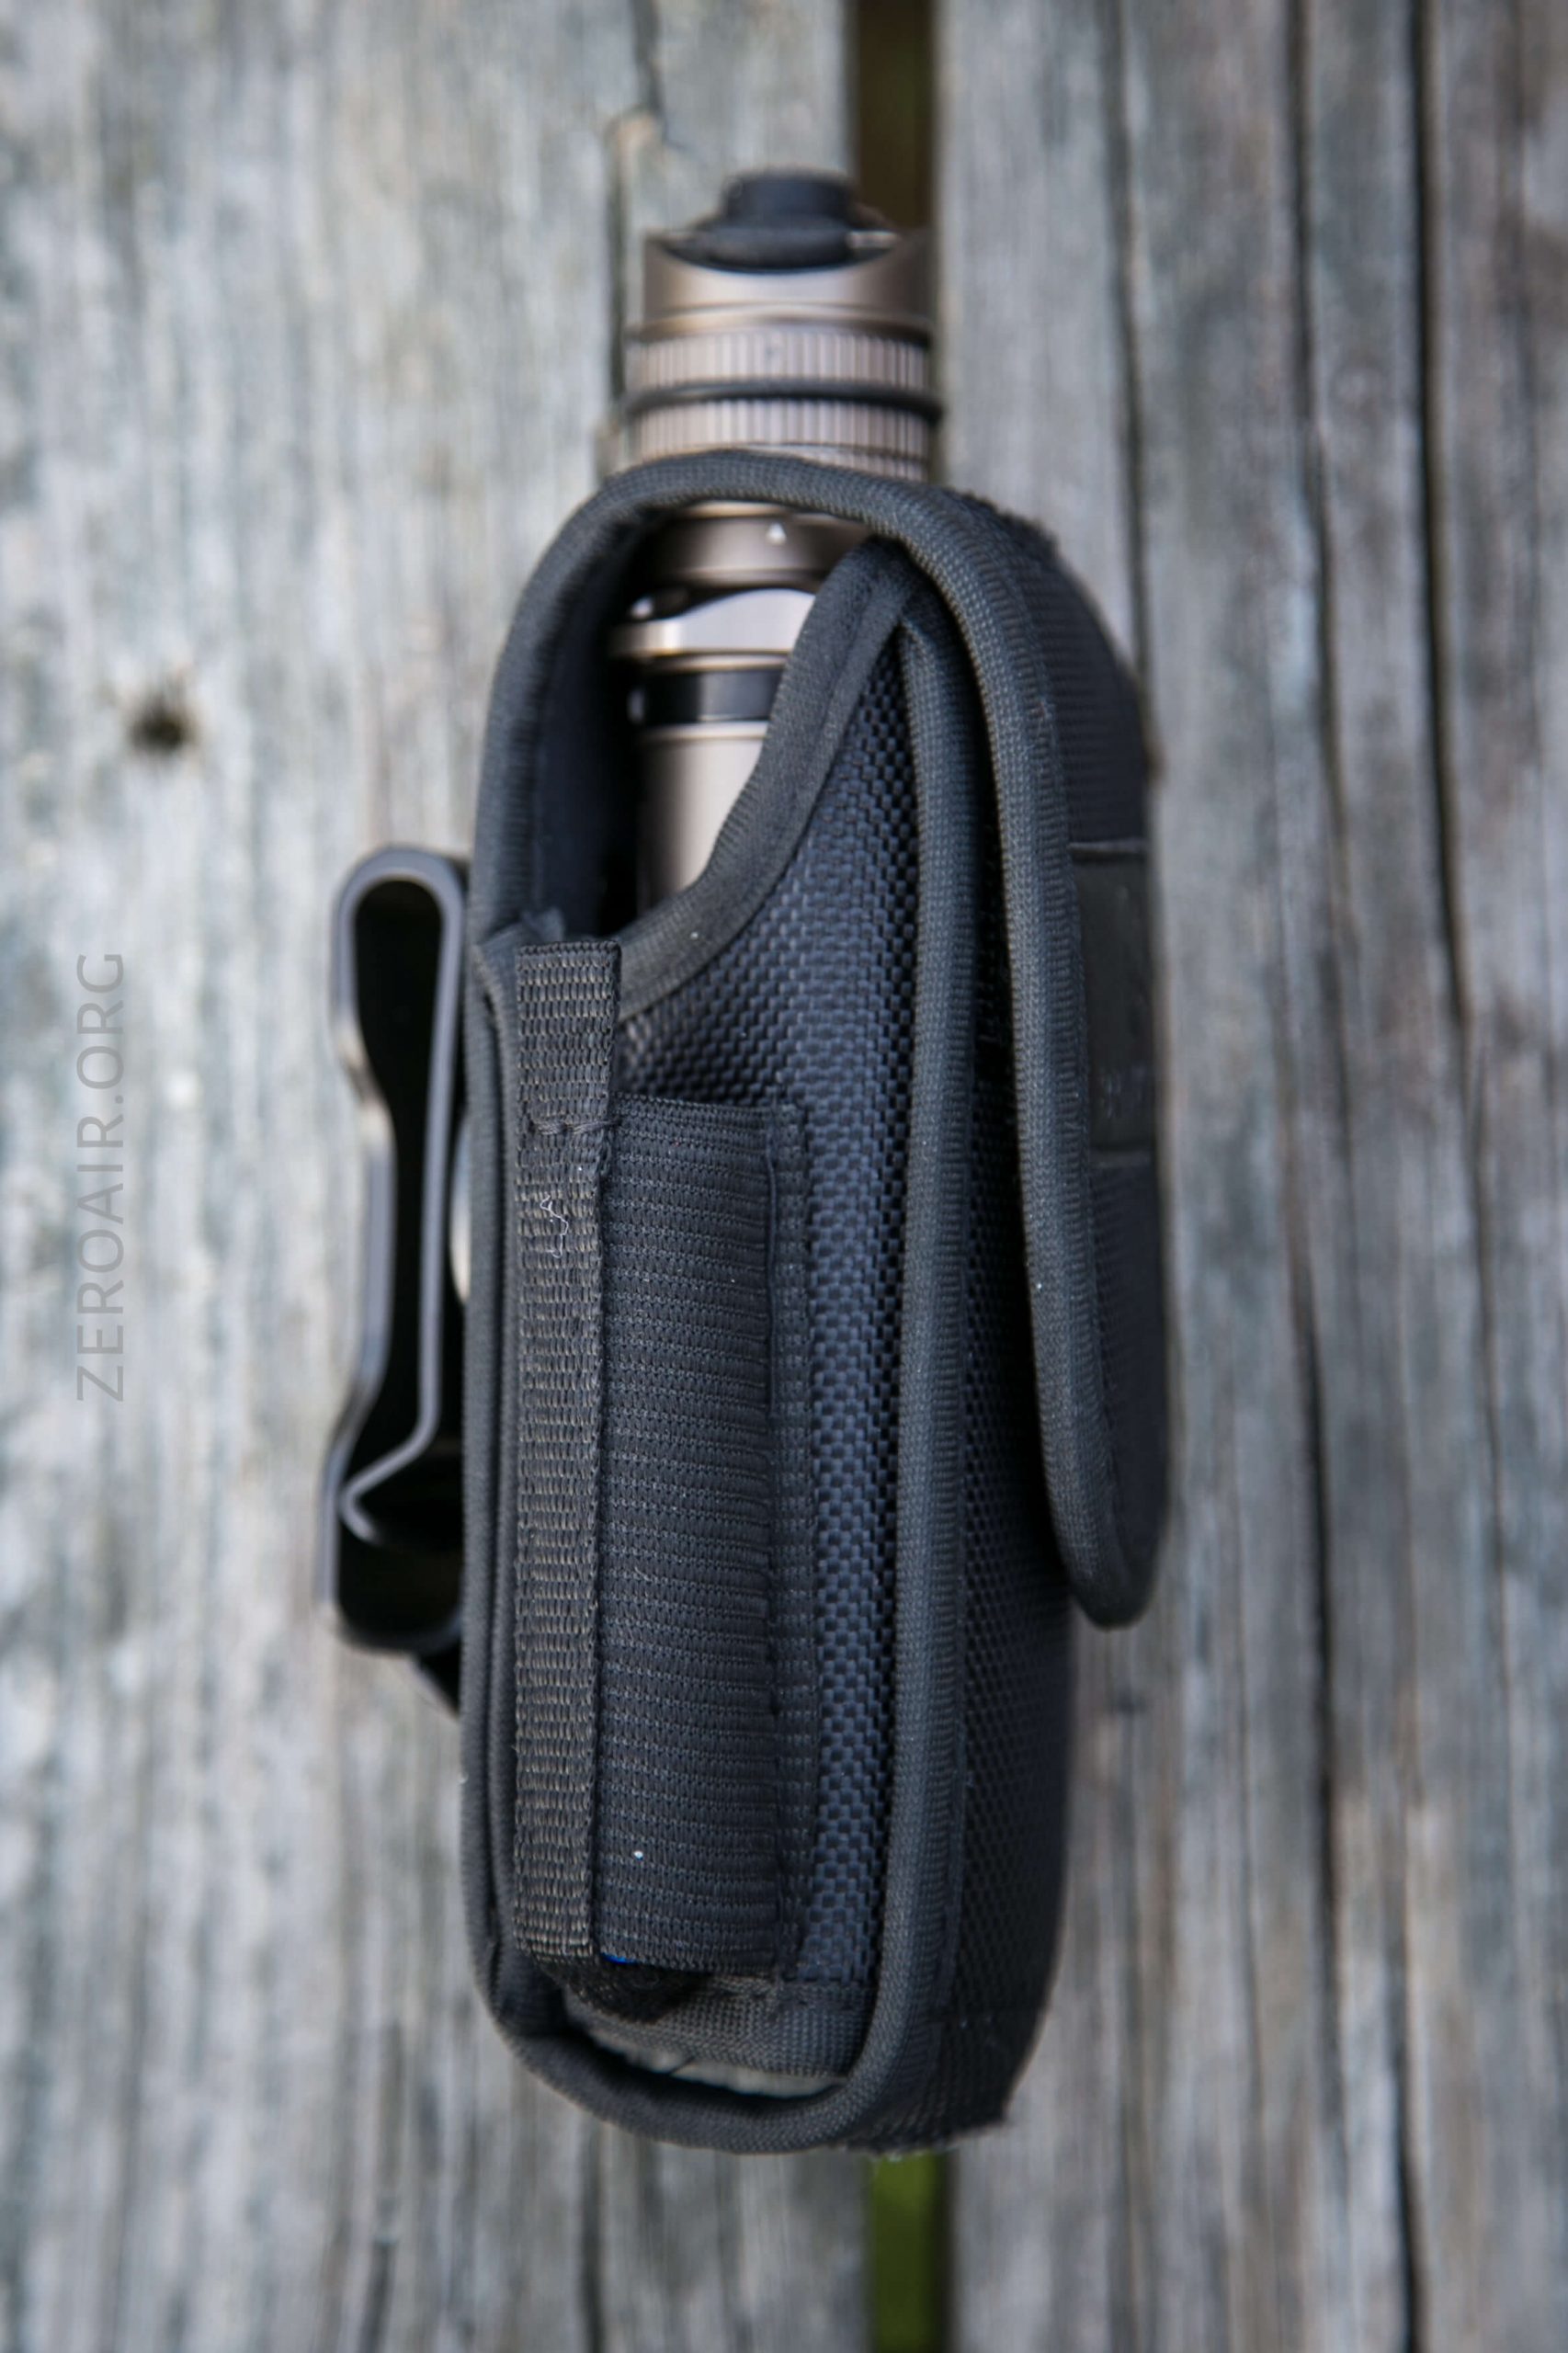
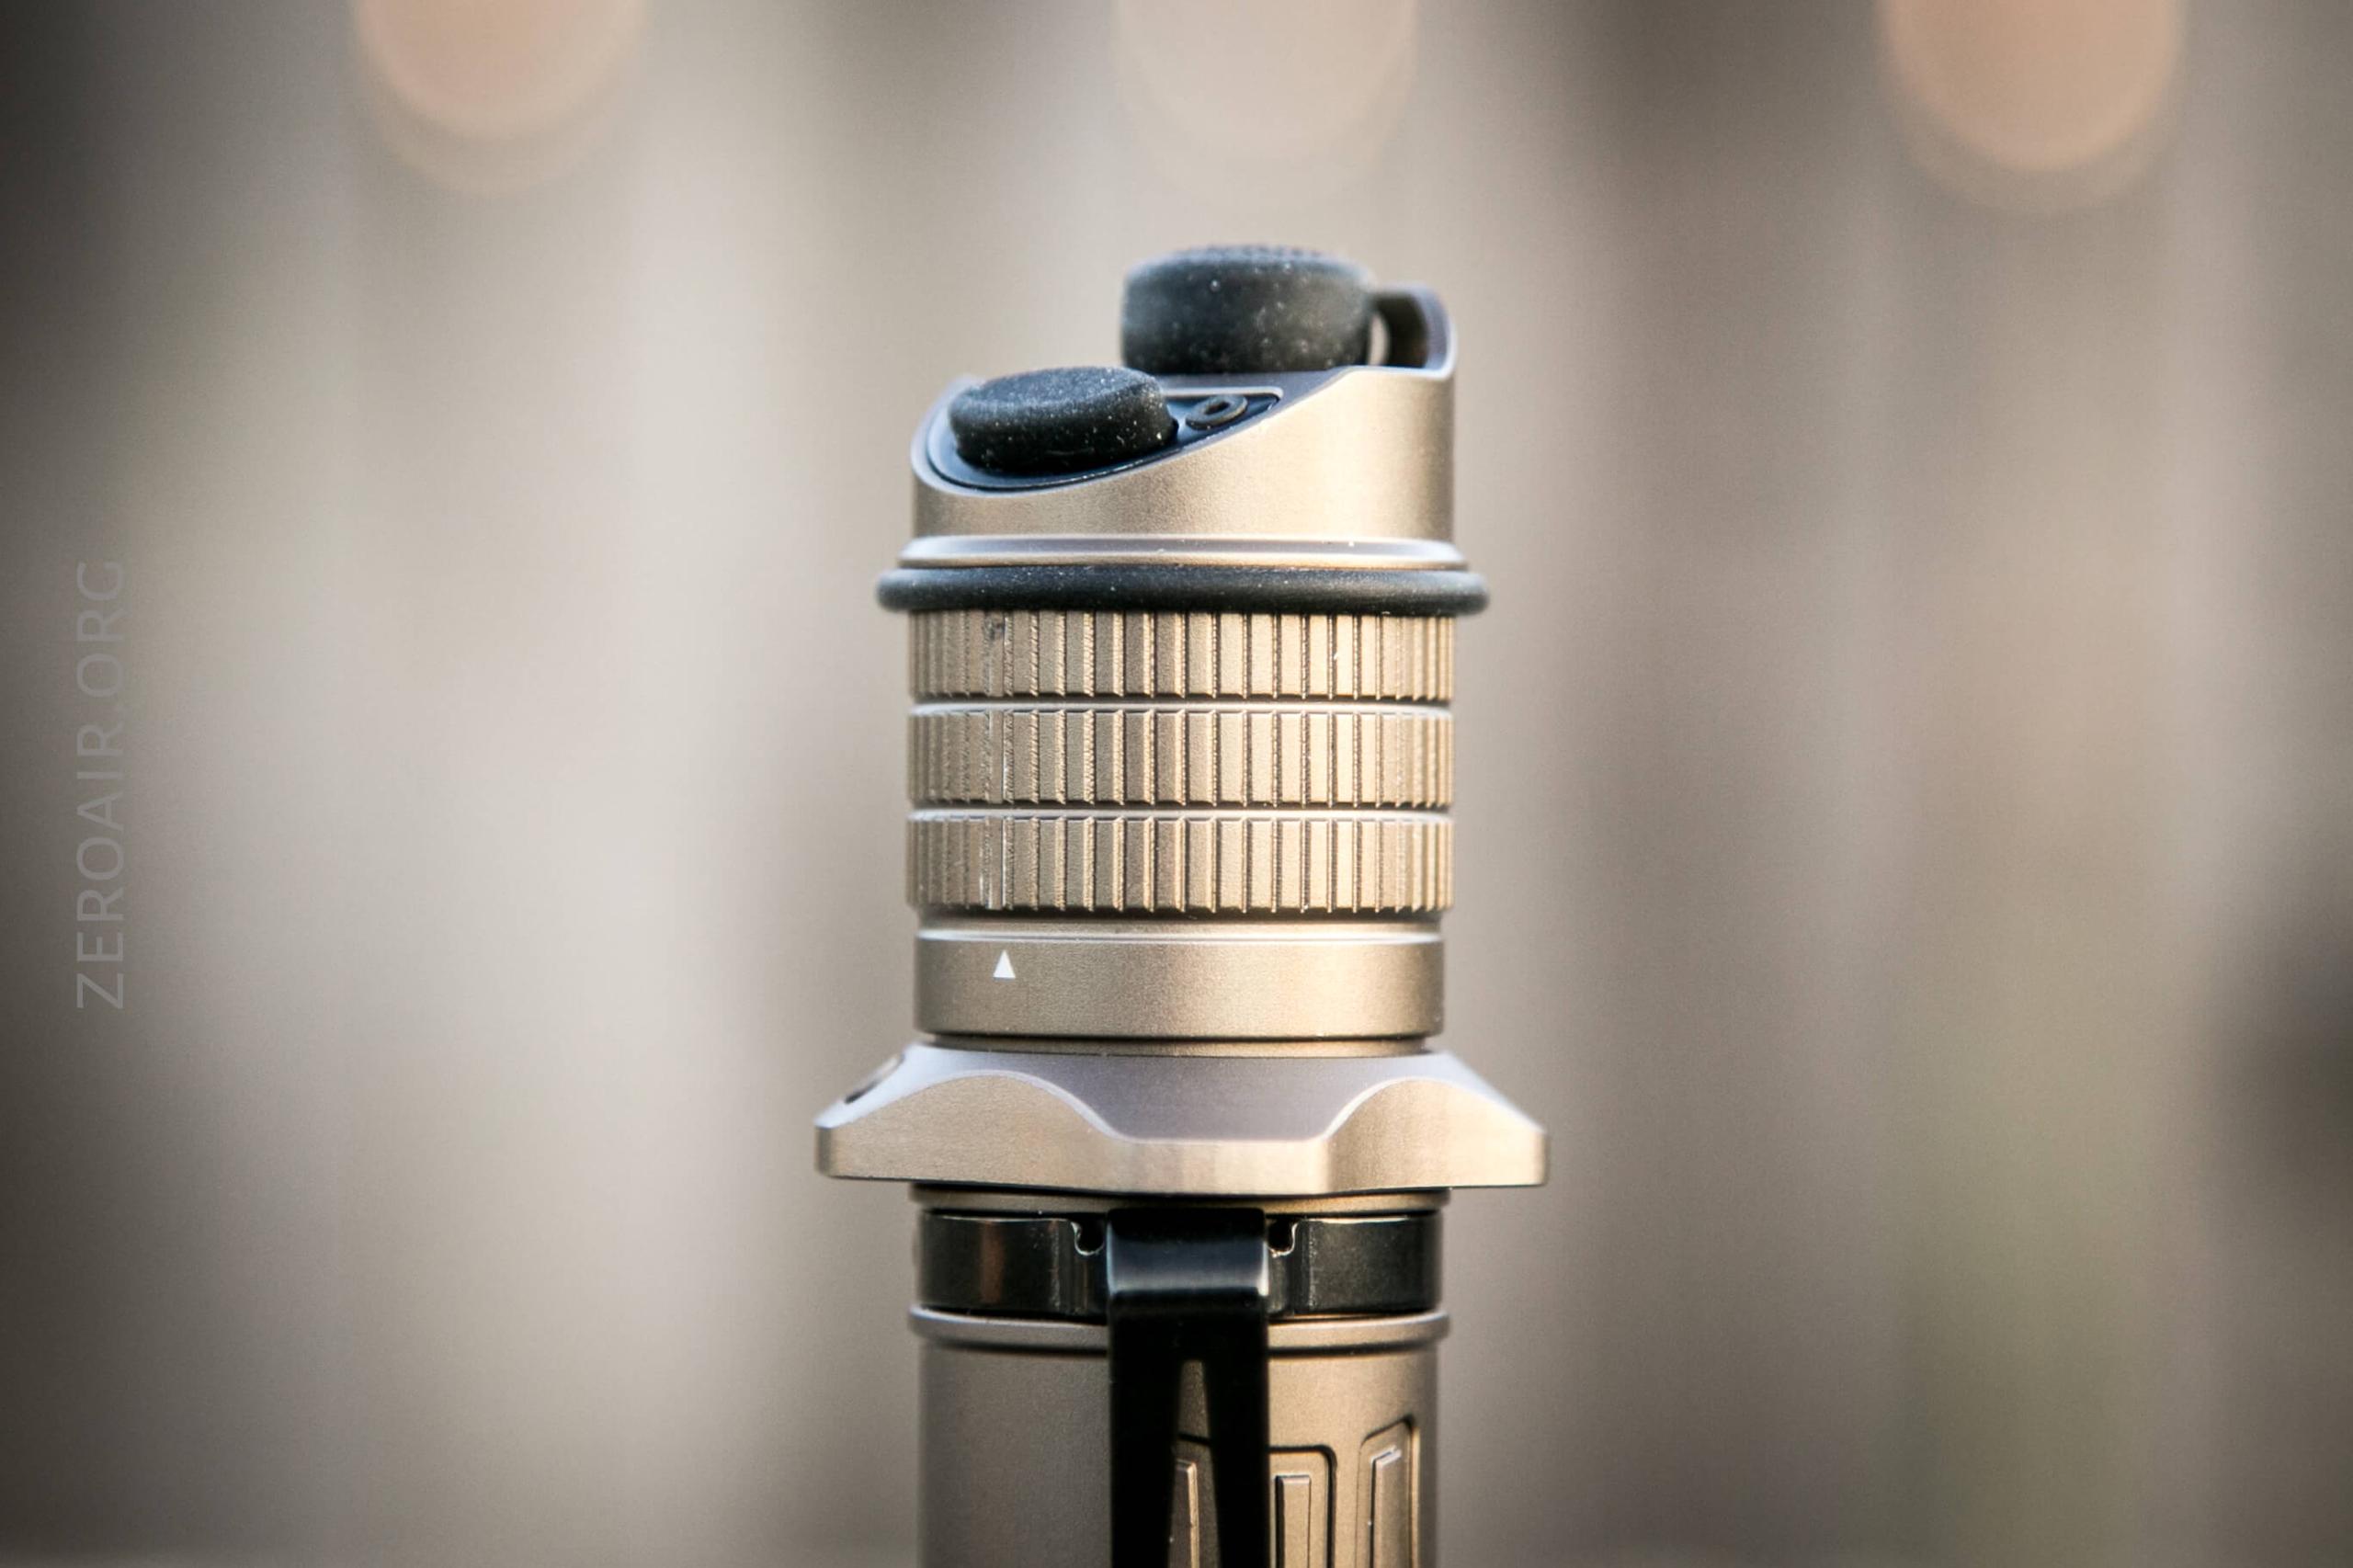
Retention and Carry
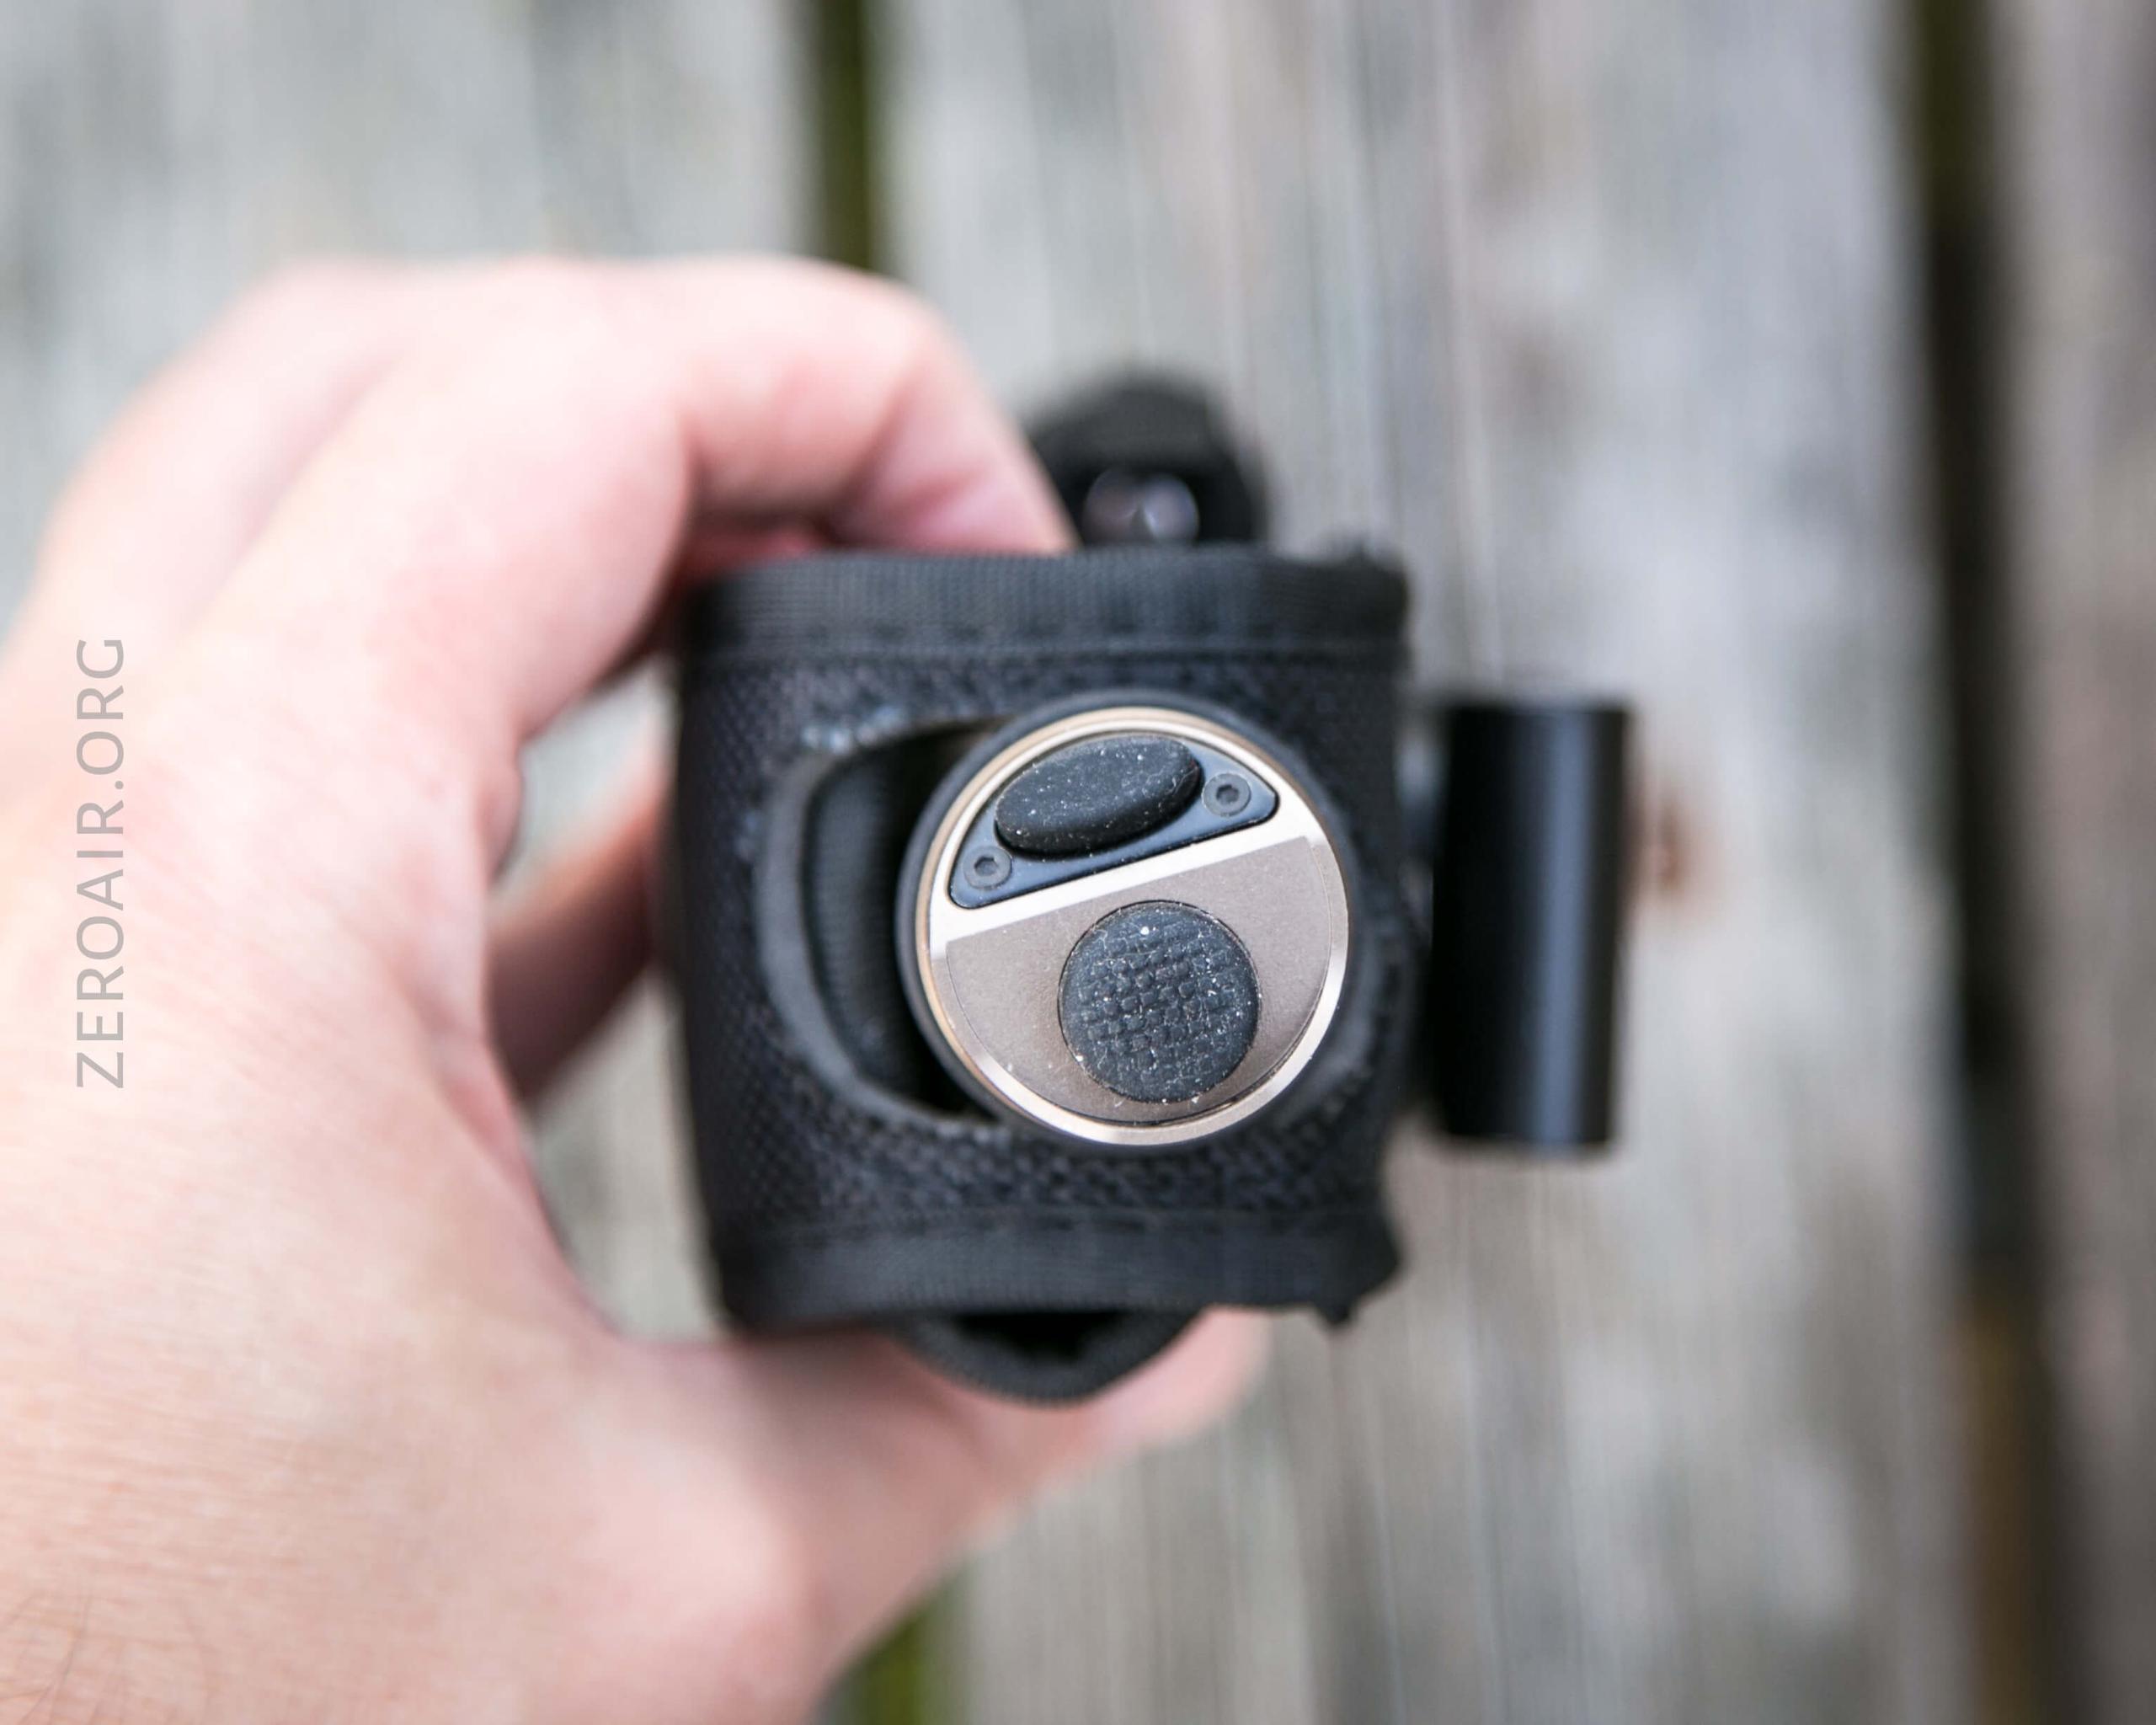
There are a number of ways to carry the PT18 Pro. First is the nylon pouch, which has a spot for the tailcap to protrude from the top. There are also elastic cell holders on both sides of the holder. Below, the left photo has a cell in place.
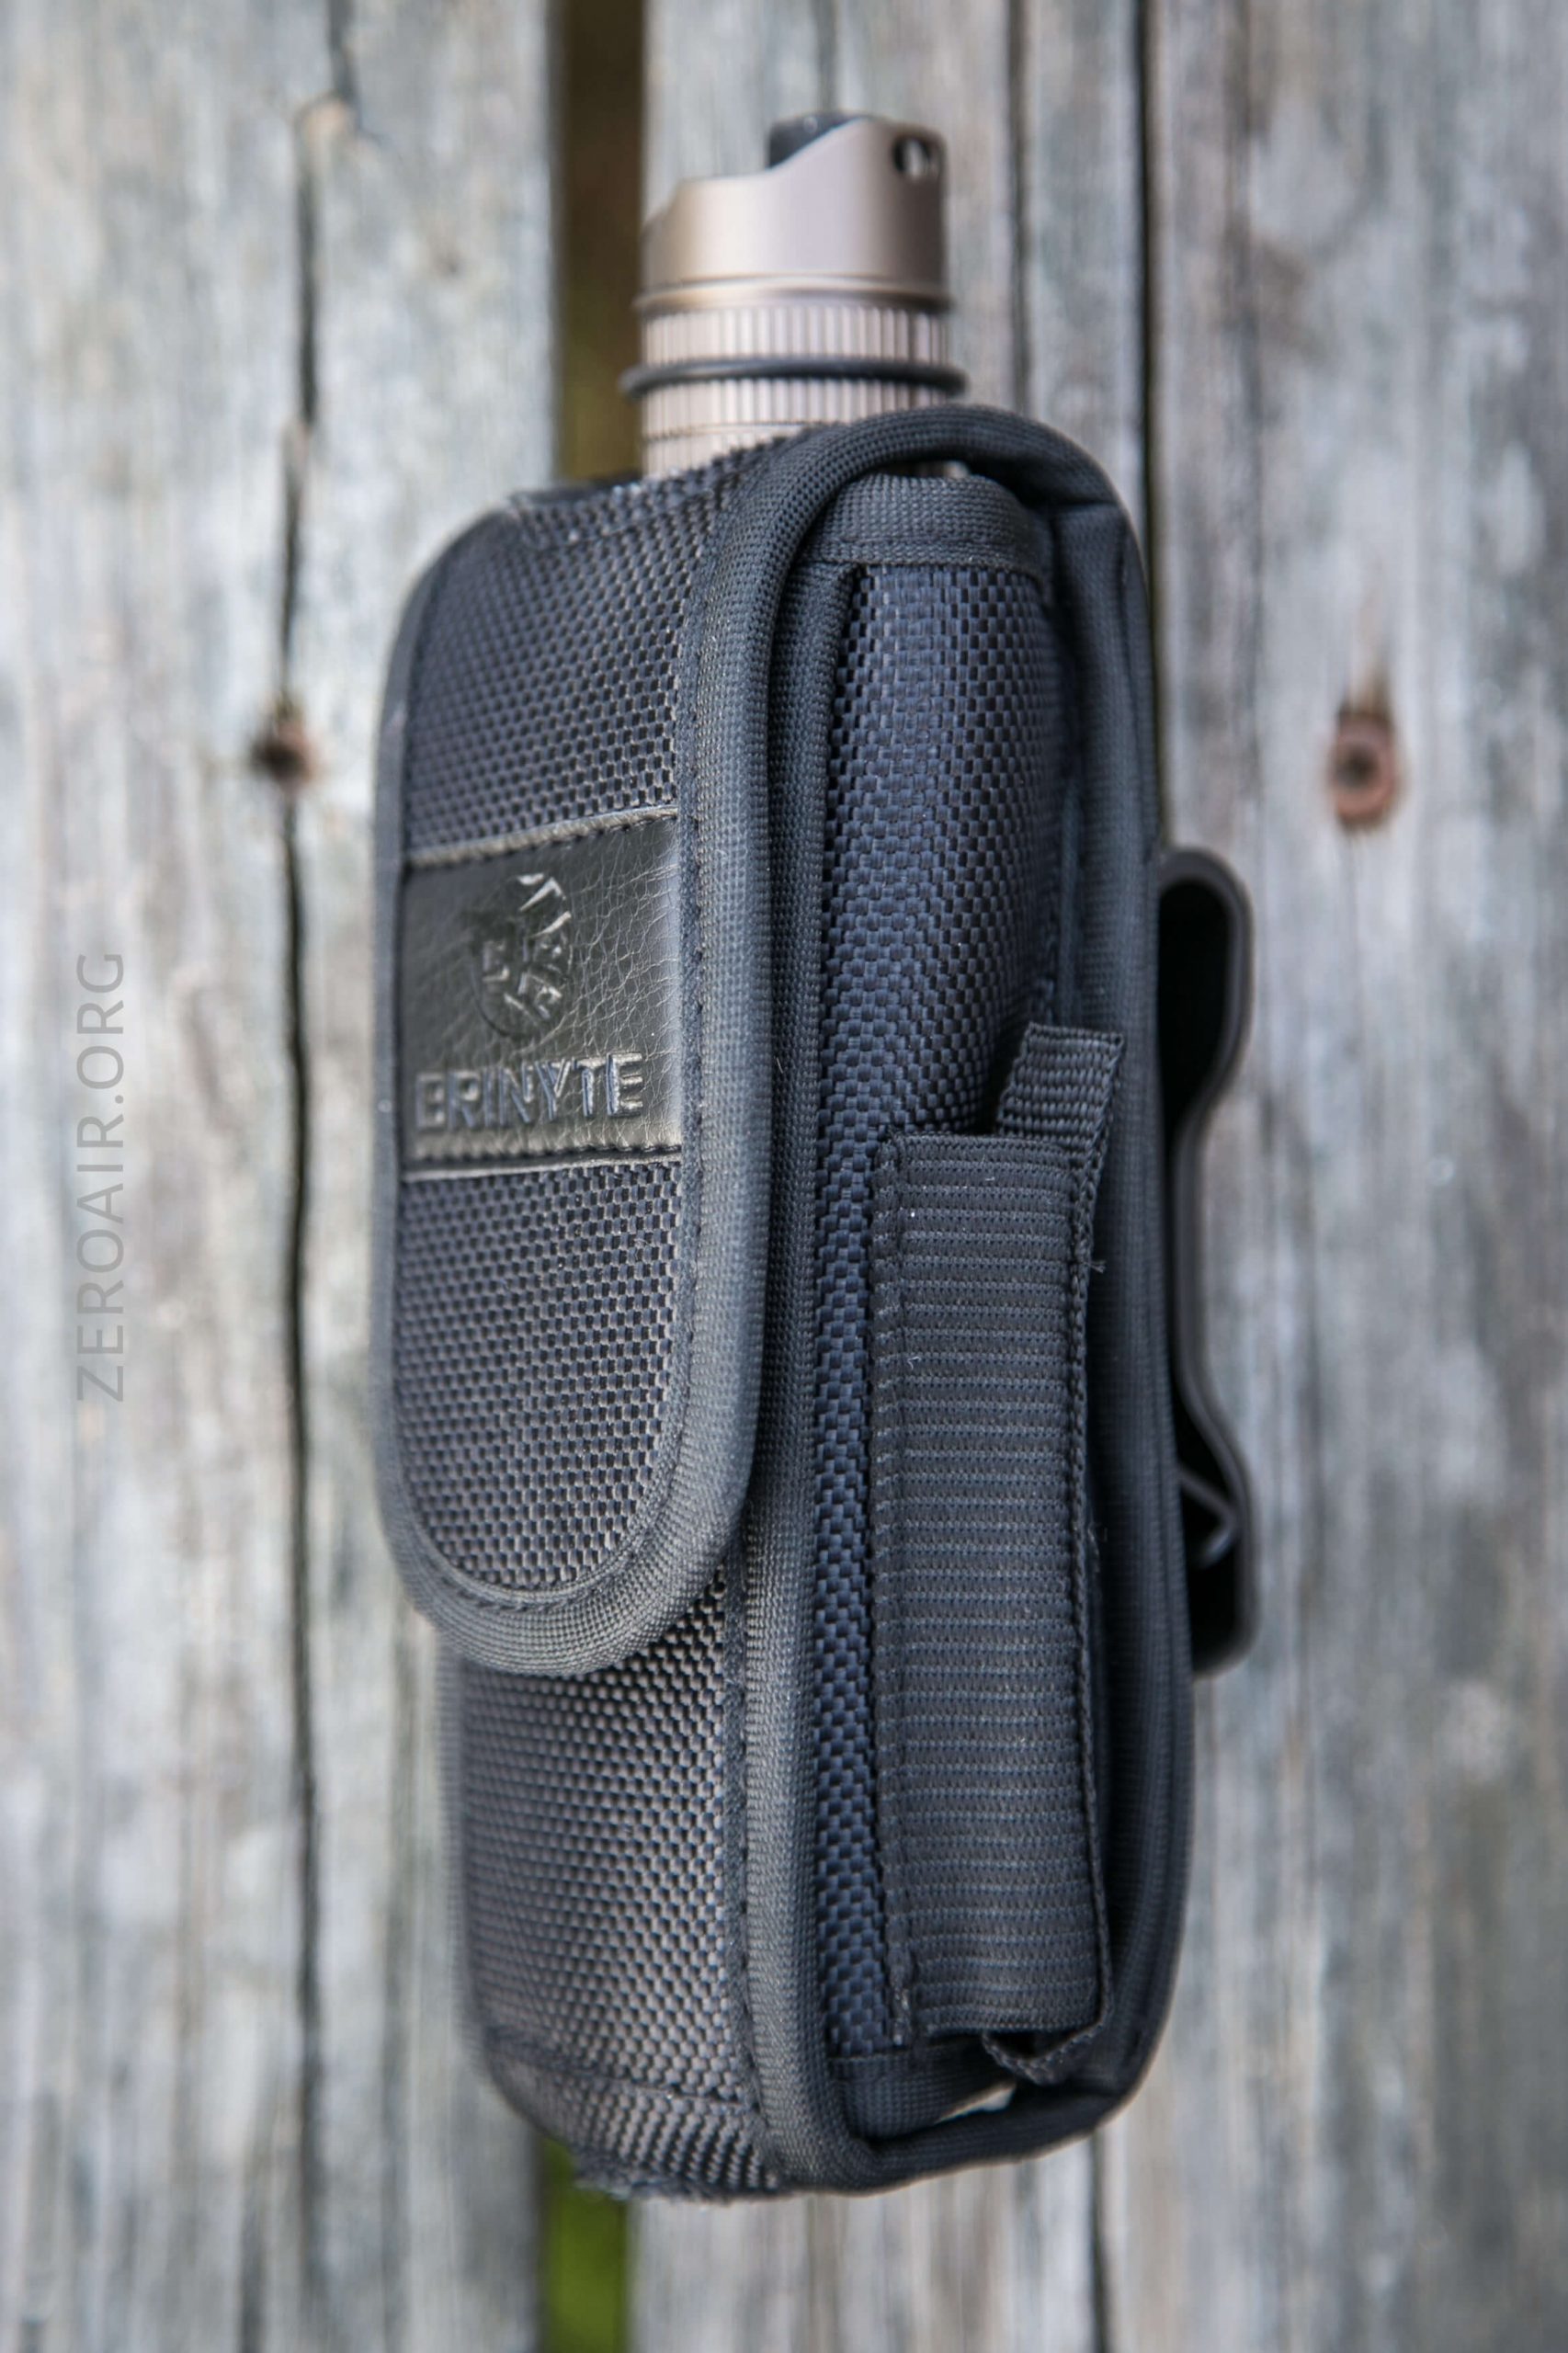
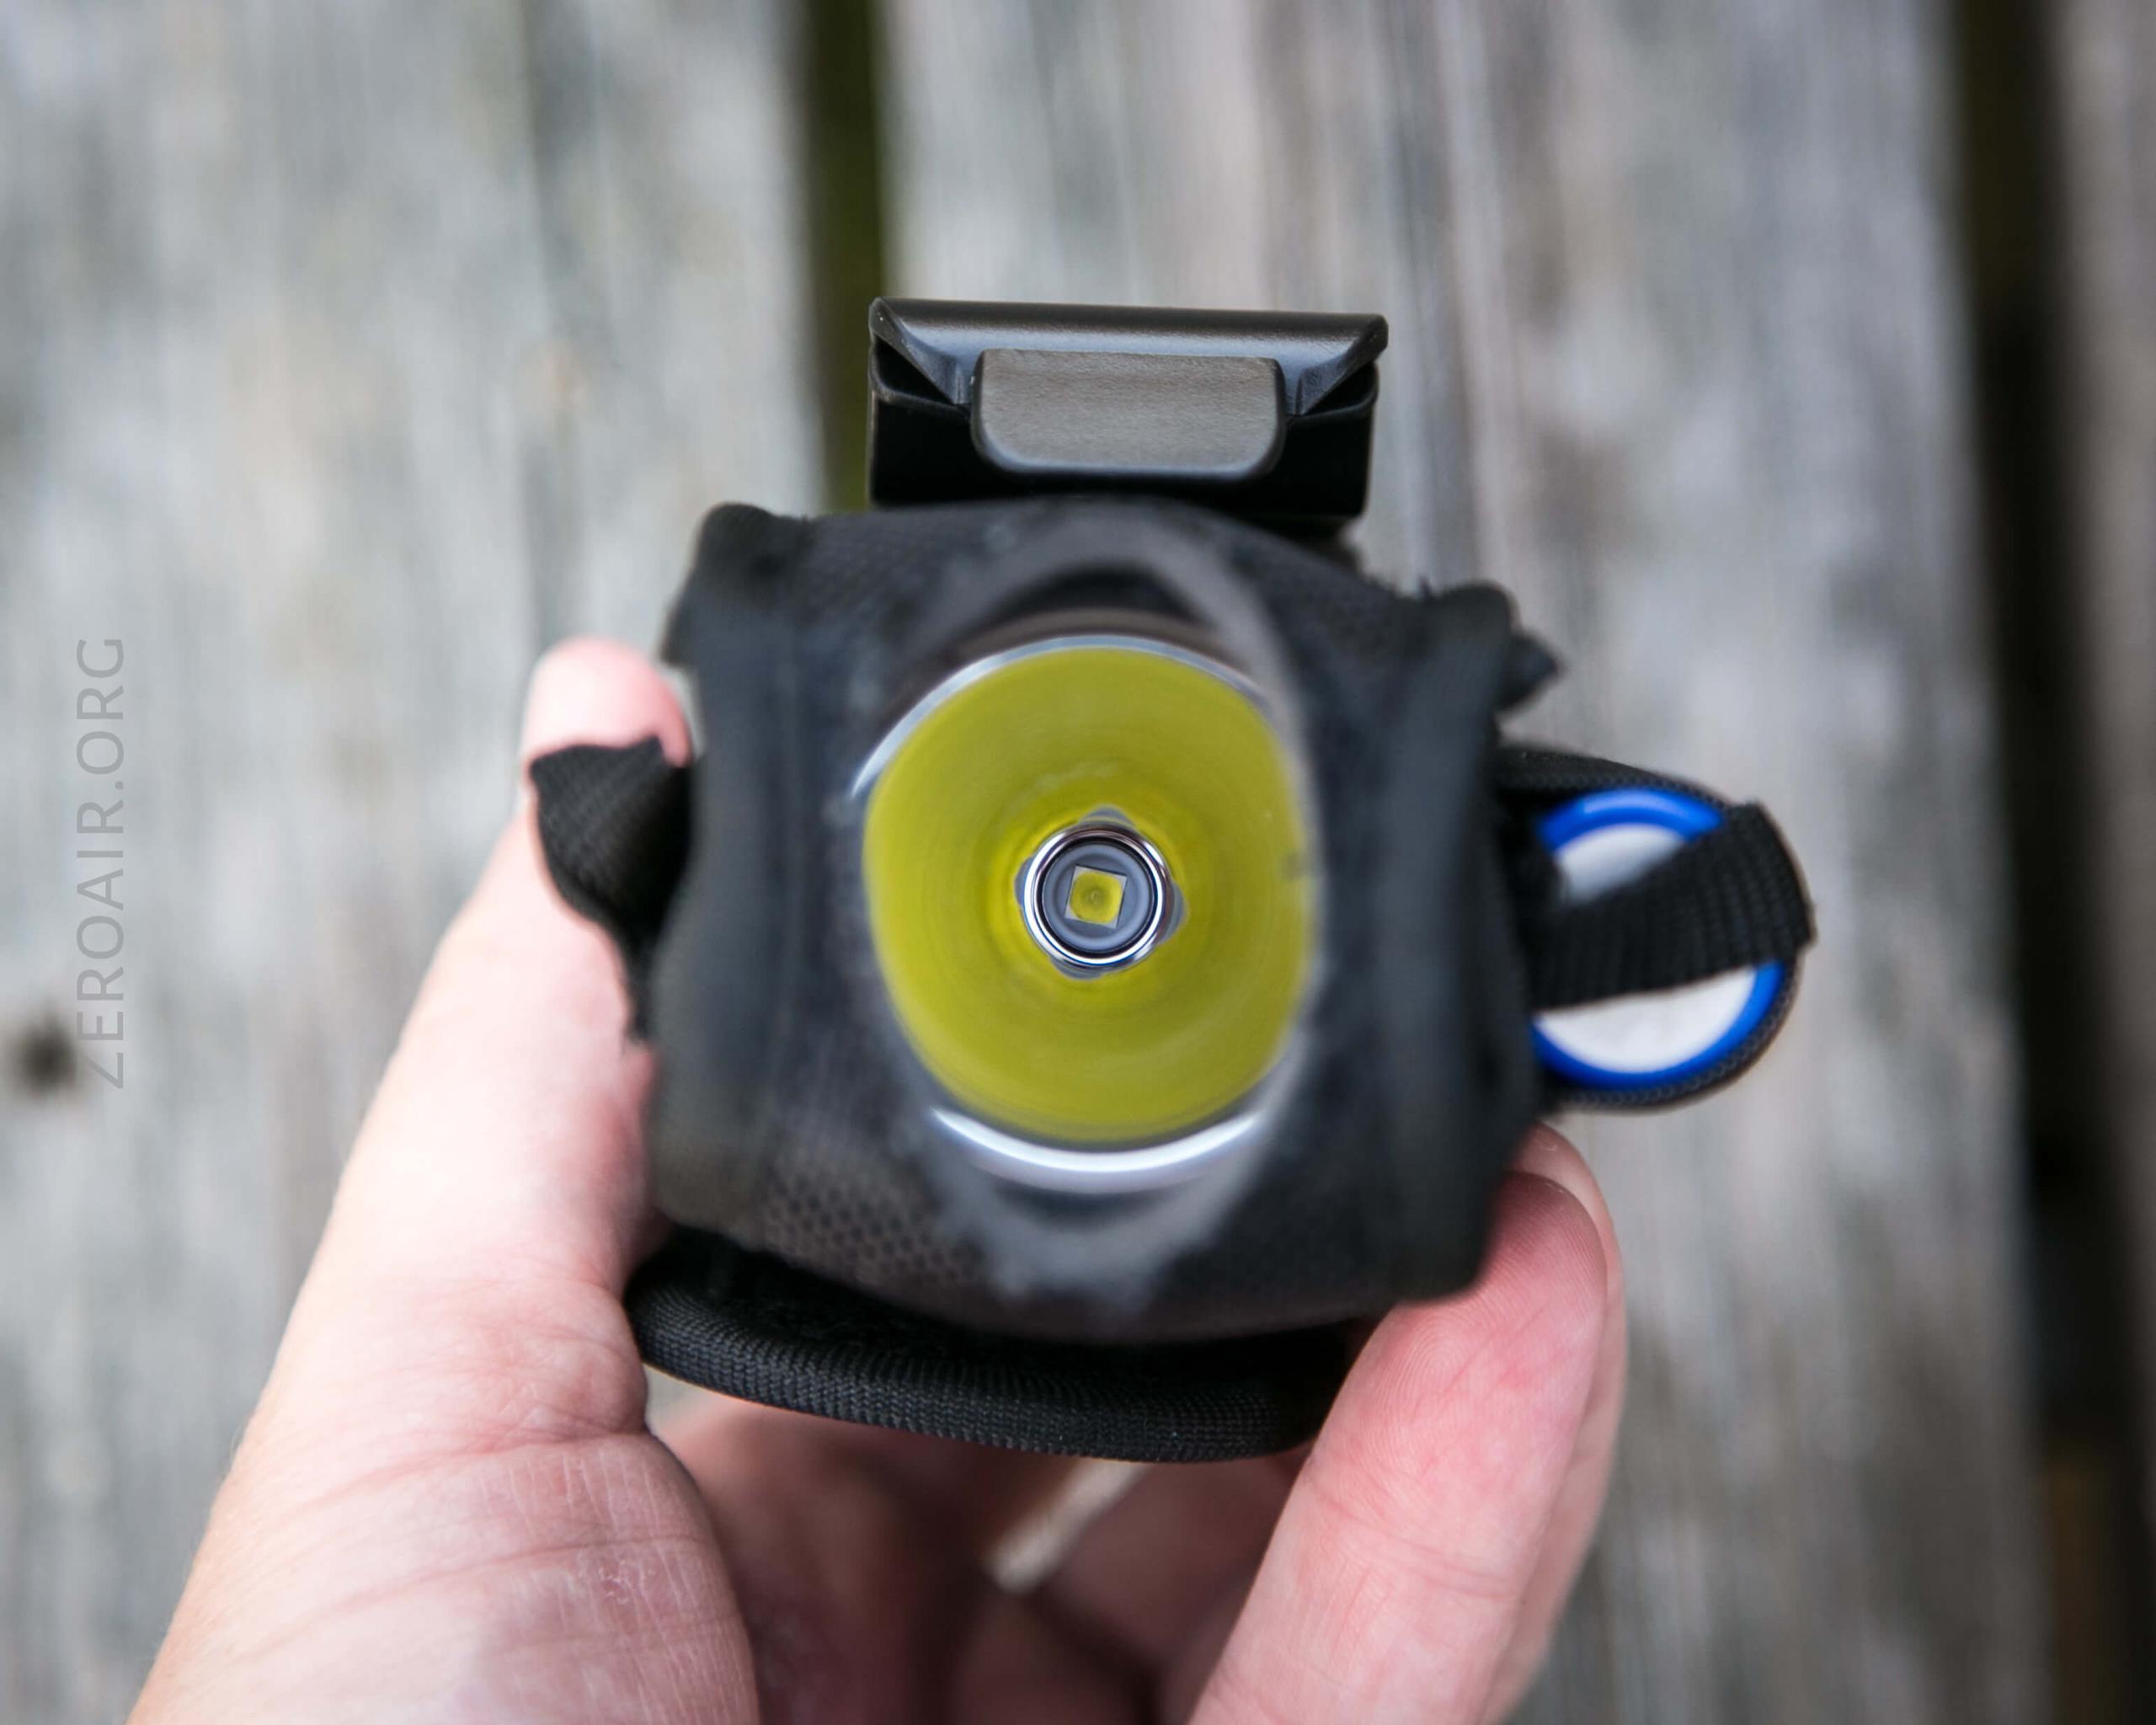
The light can shine out of the bottom of the holster, too.
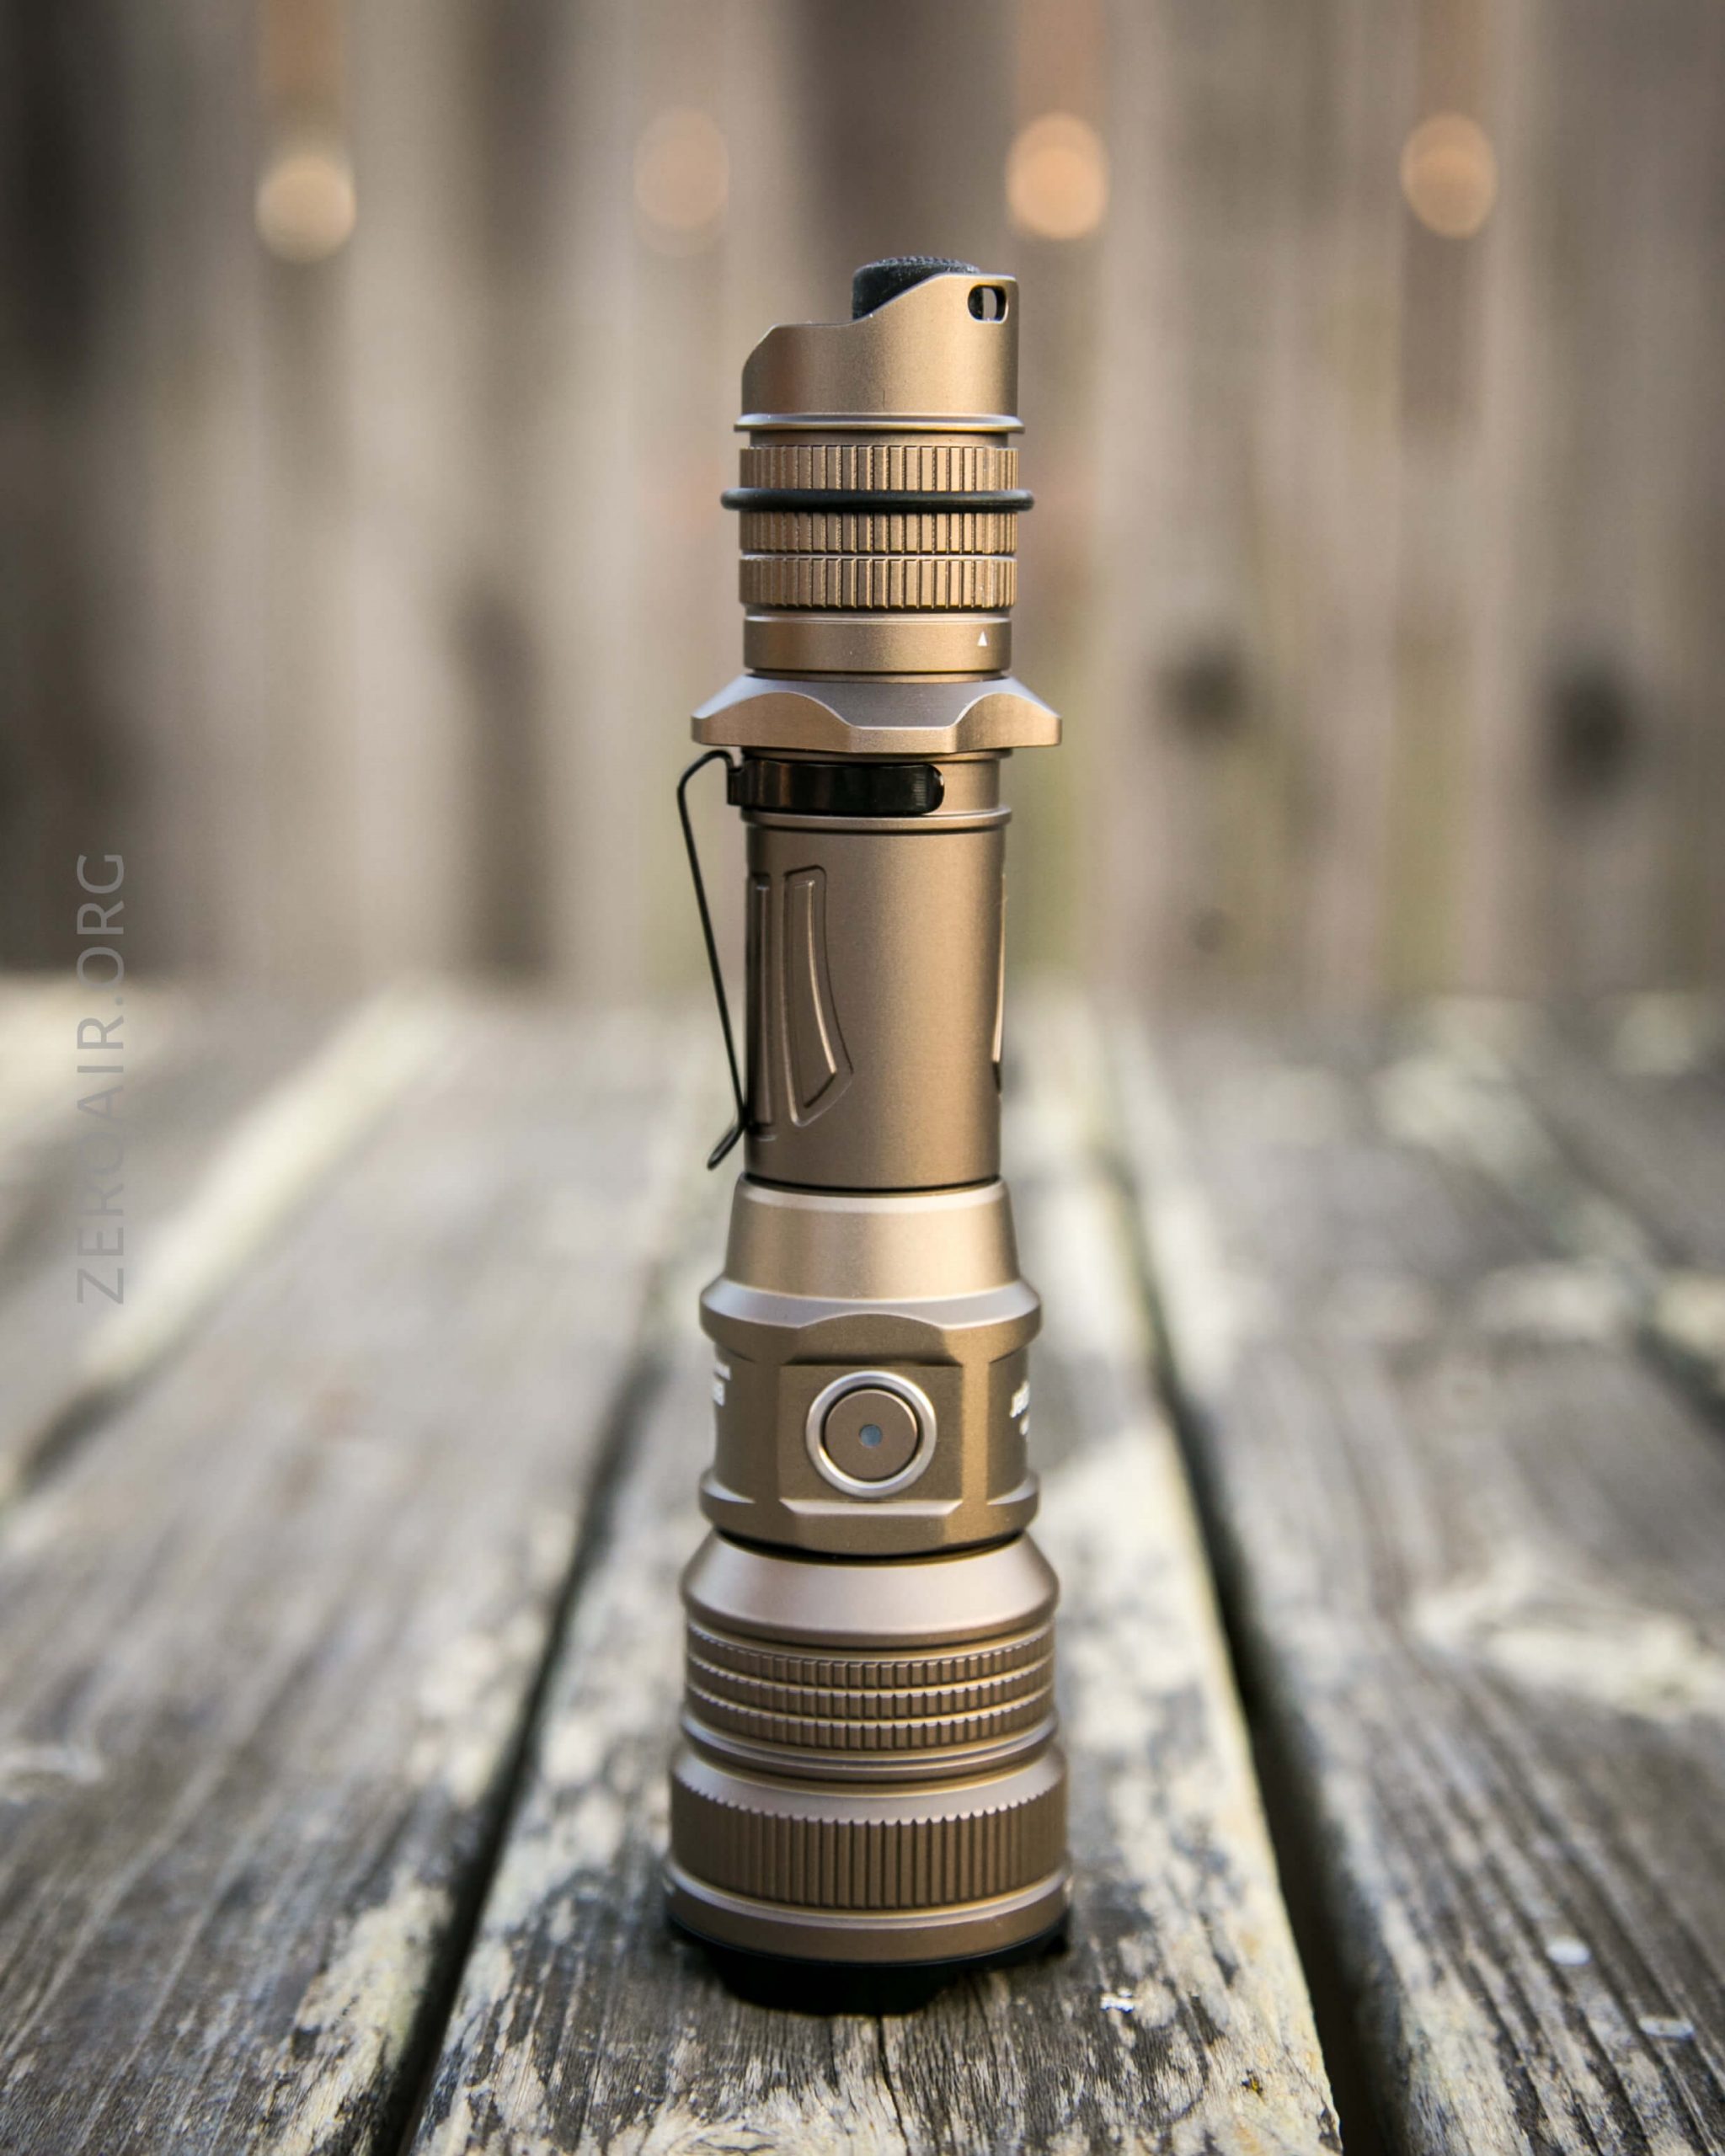
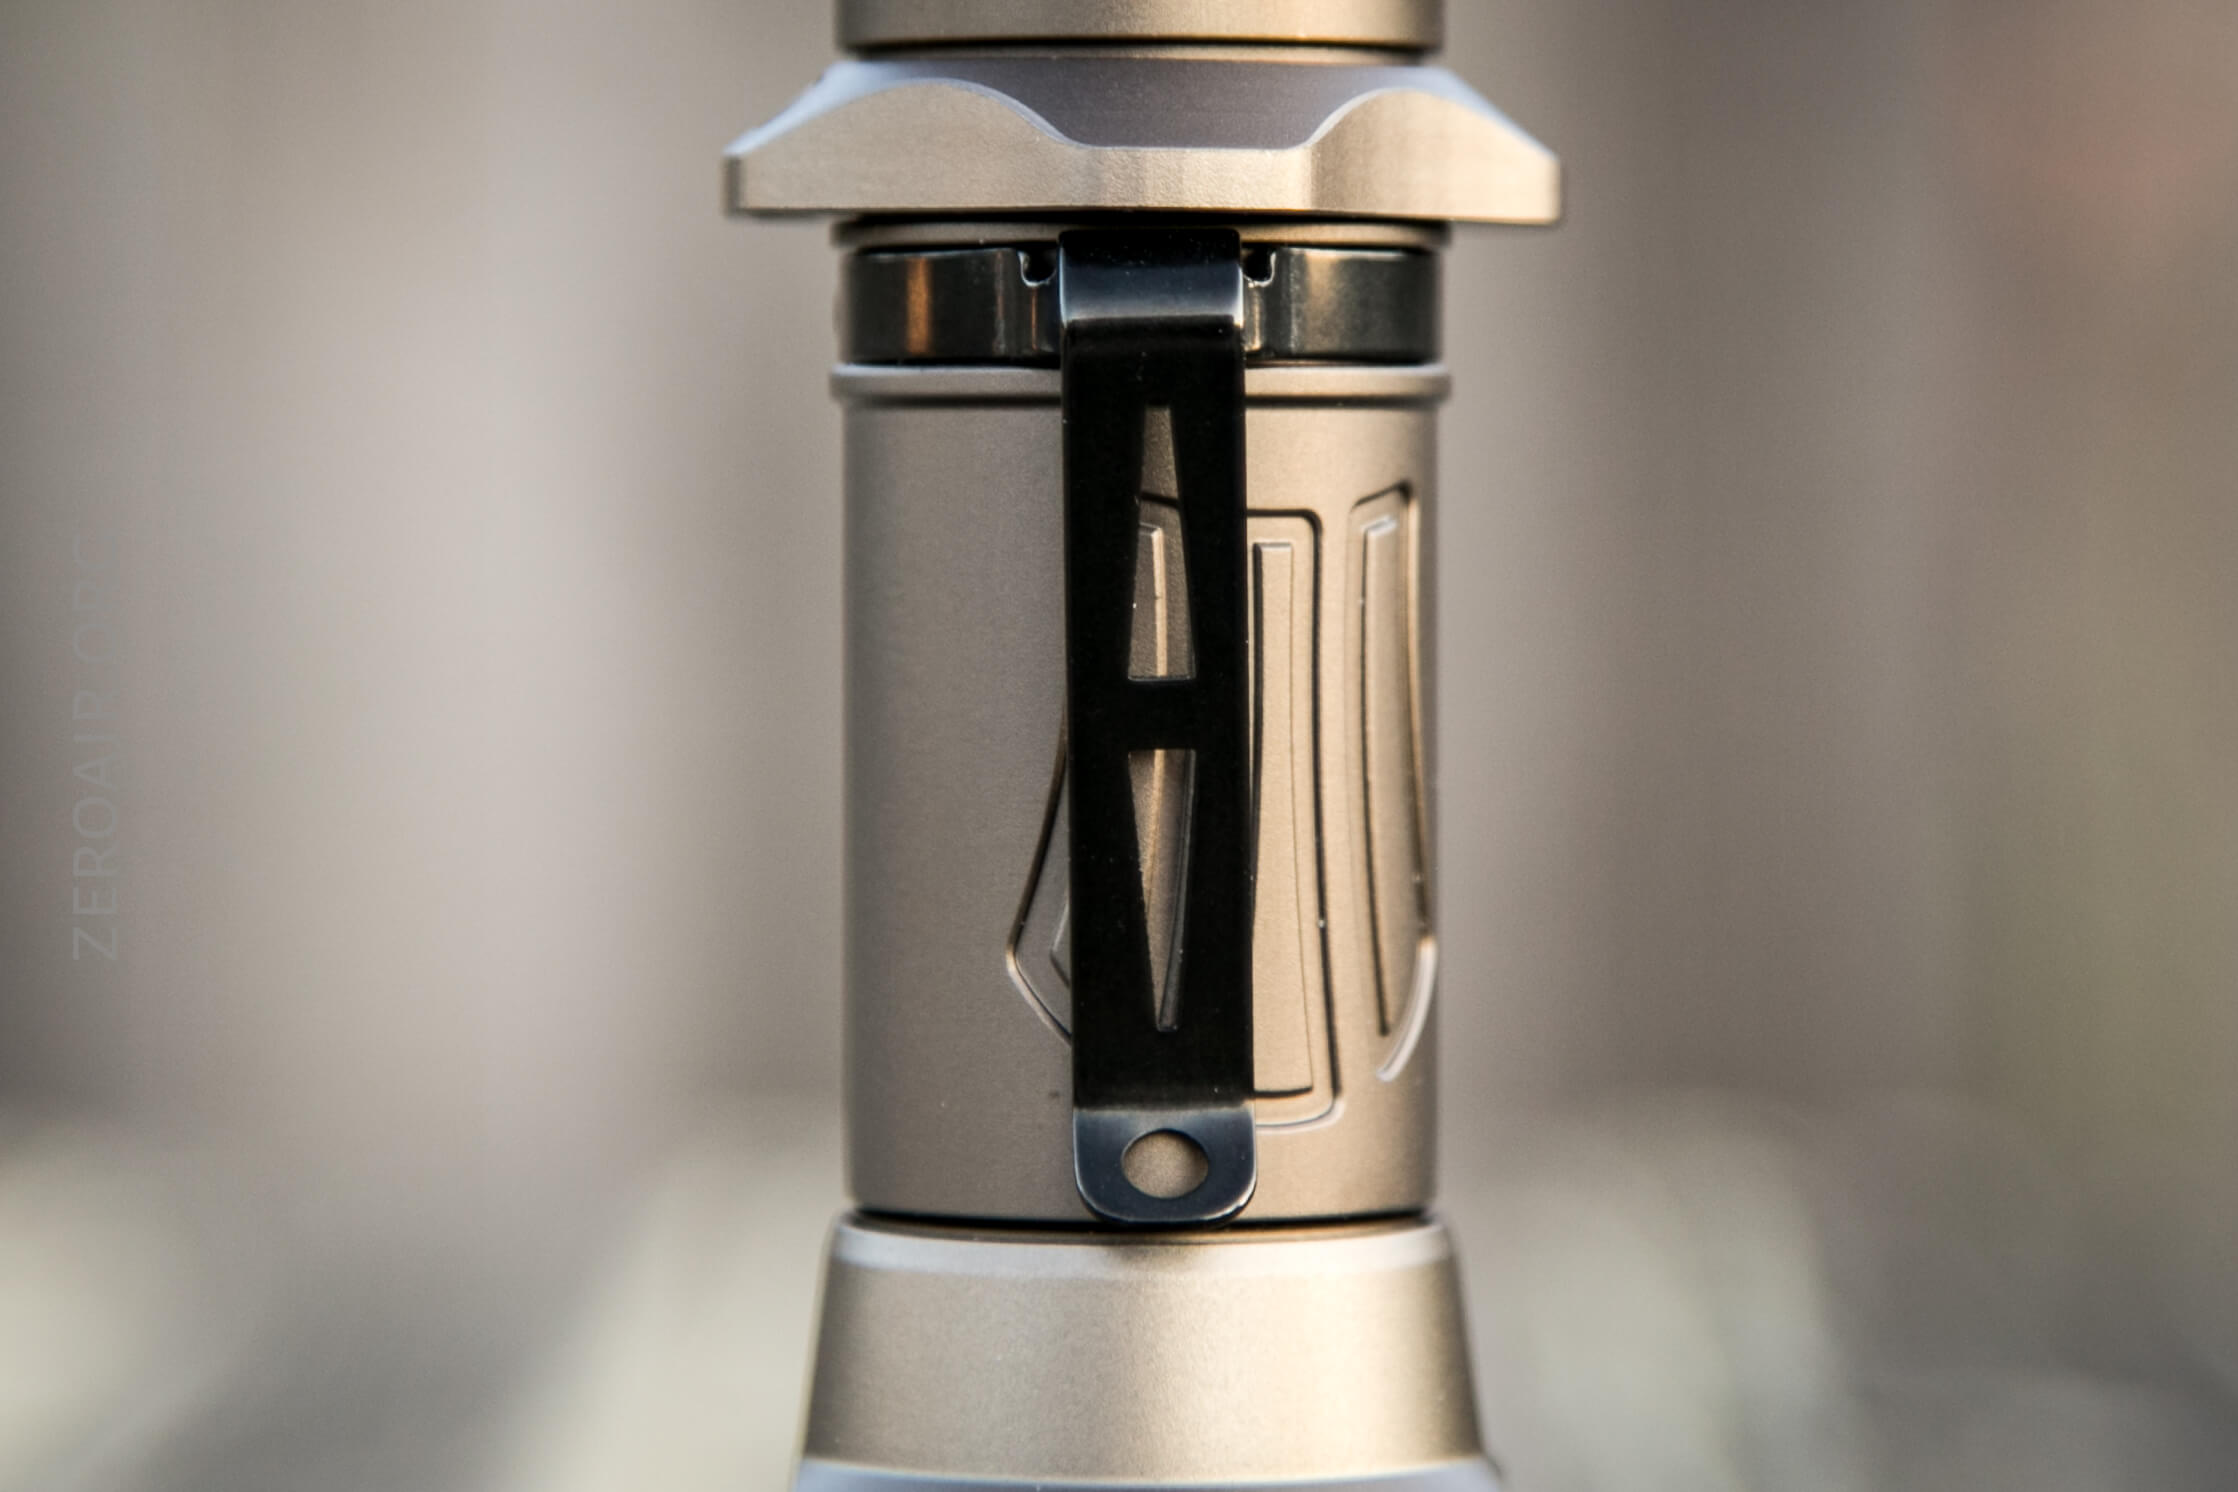
Also included is a friction-fit pocket clip. It’s not anything too special and would work ok on a belt.
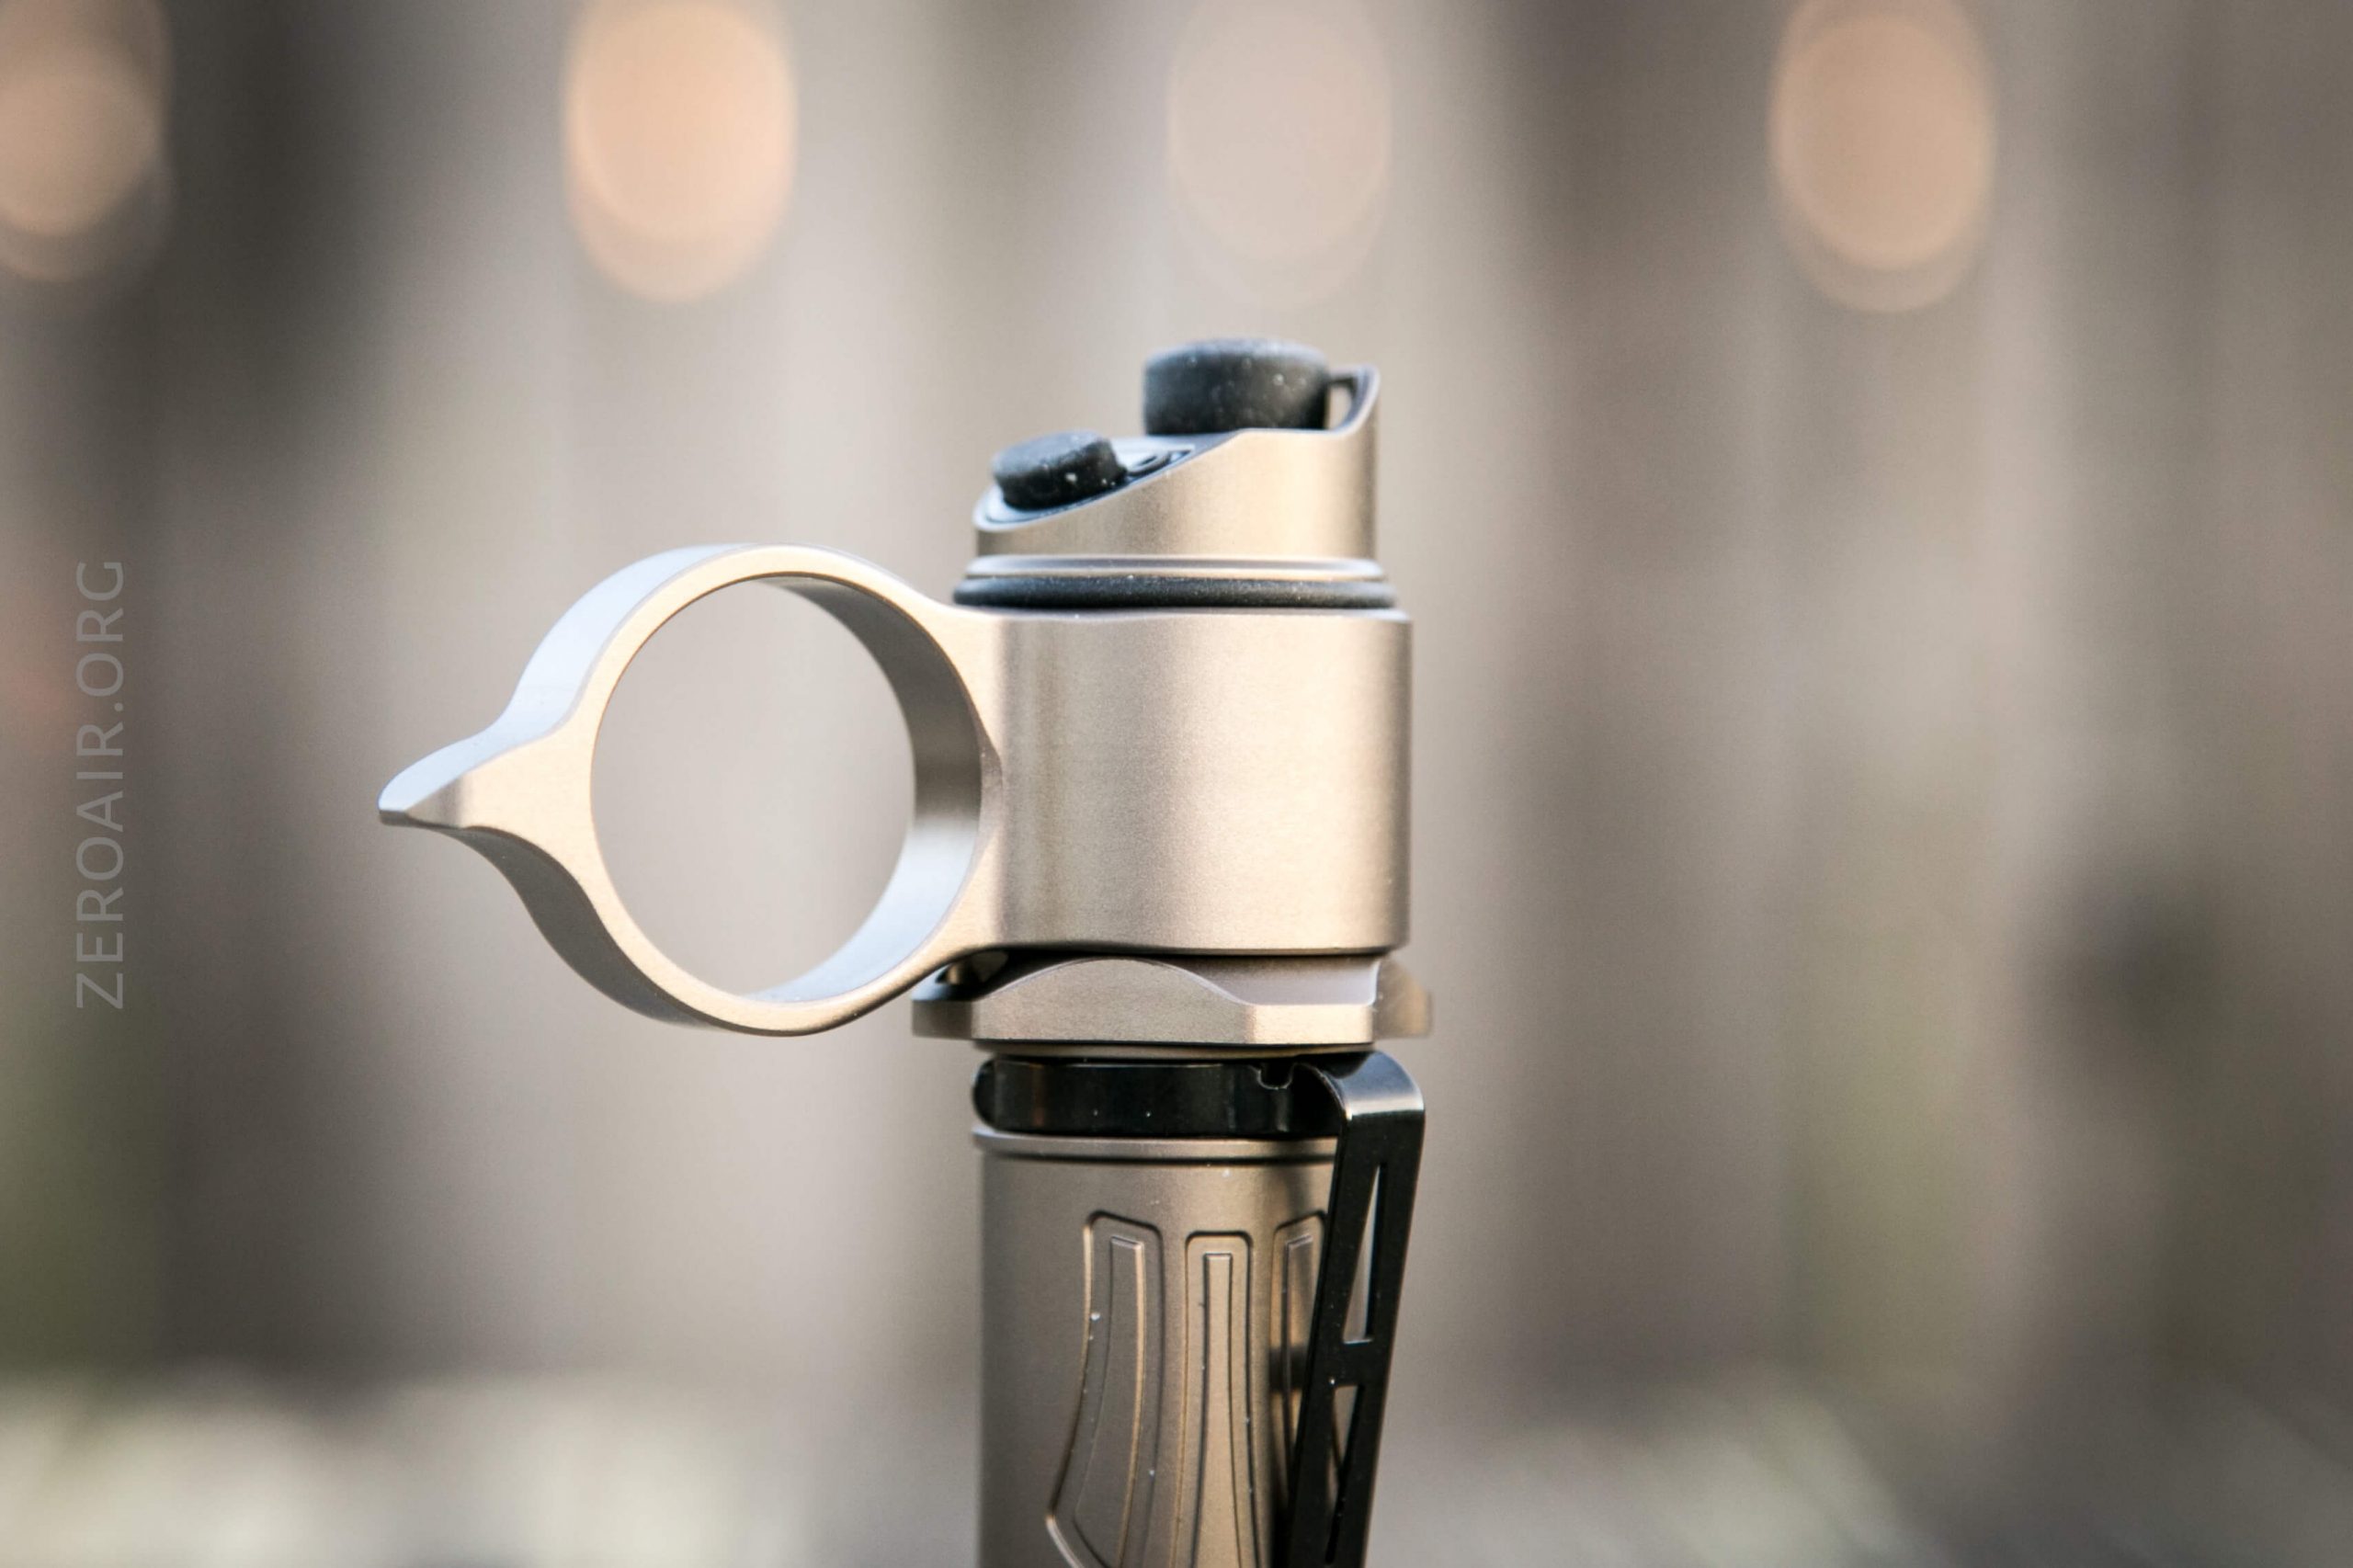
Another thing that’s included is the tactical finger-ring. It’s keyed so it fits in only one orientation, which is good because the tail switches will always reliably be in the same place.


There’s also a lanyard that attaches using a metal clip, and would be best on the hole in the tailcap (seen above).
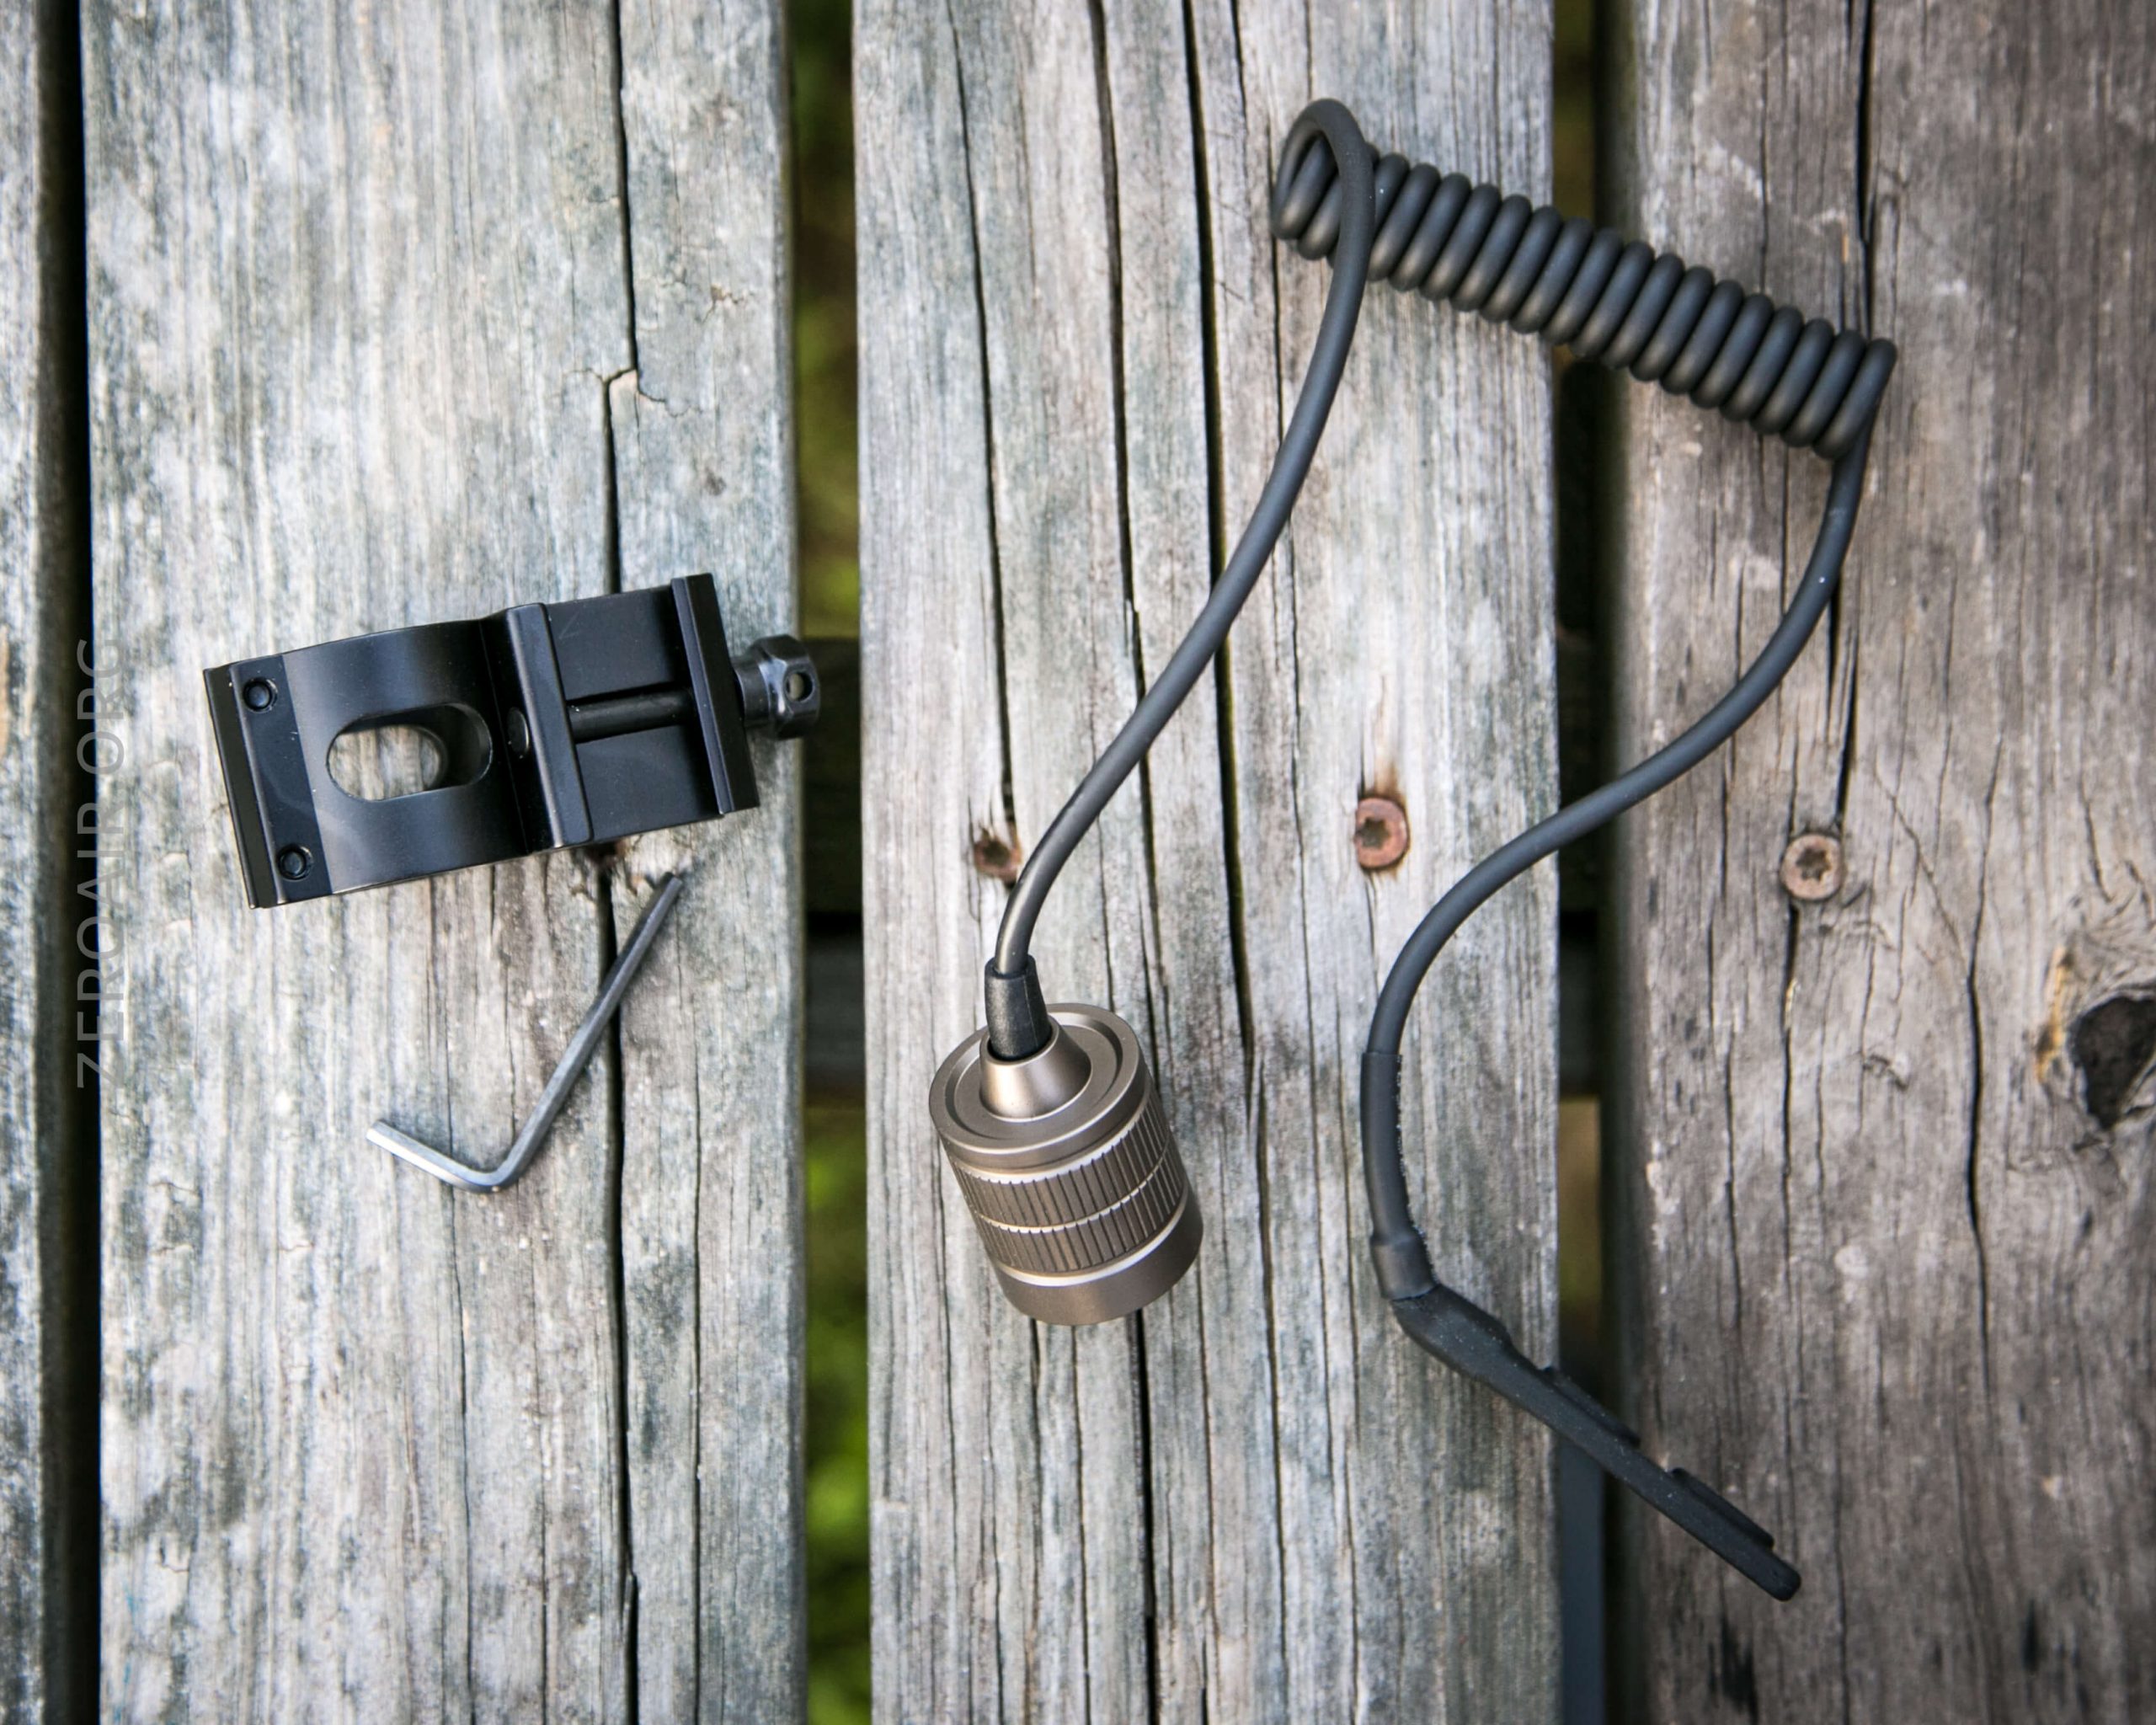
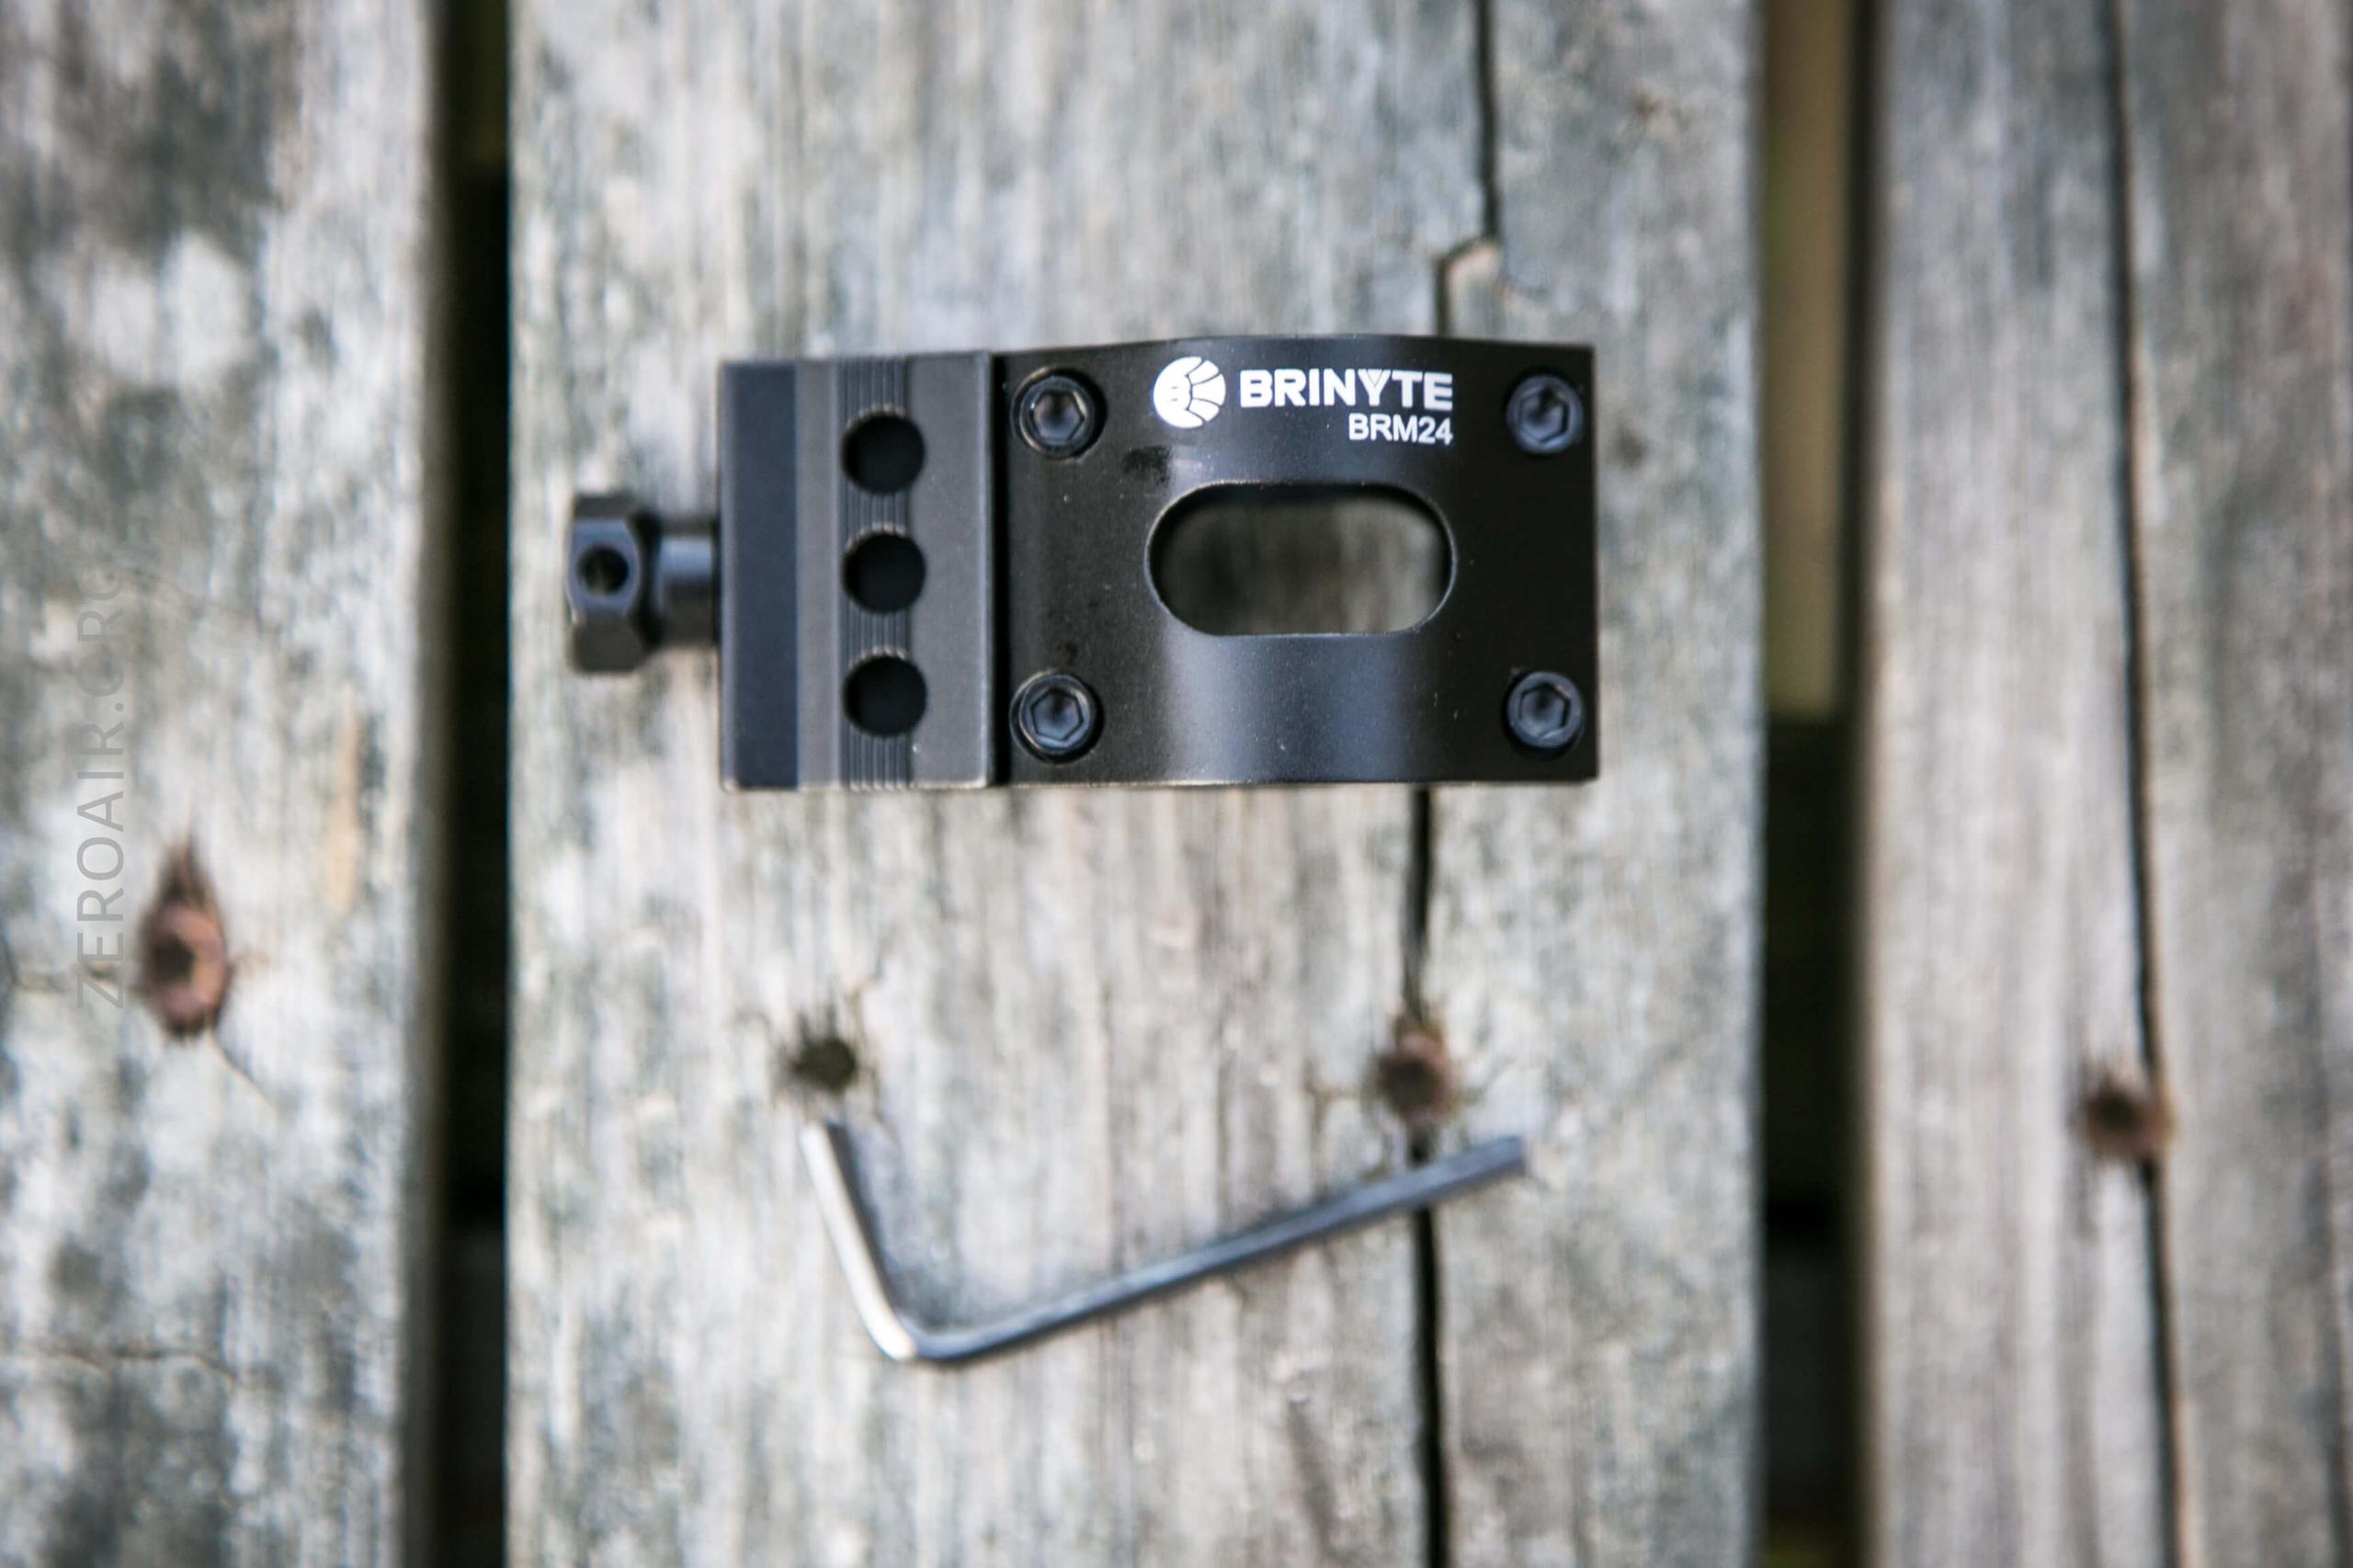
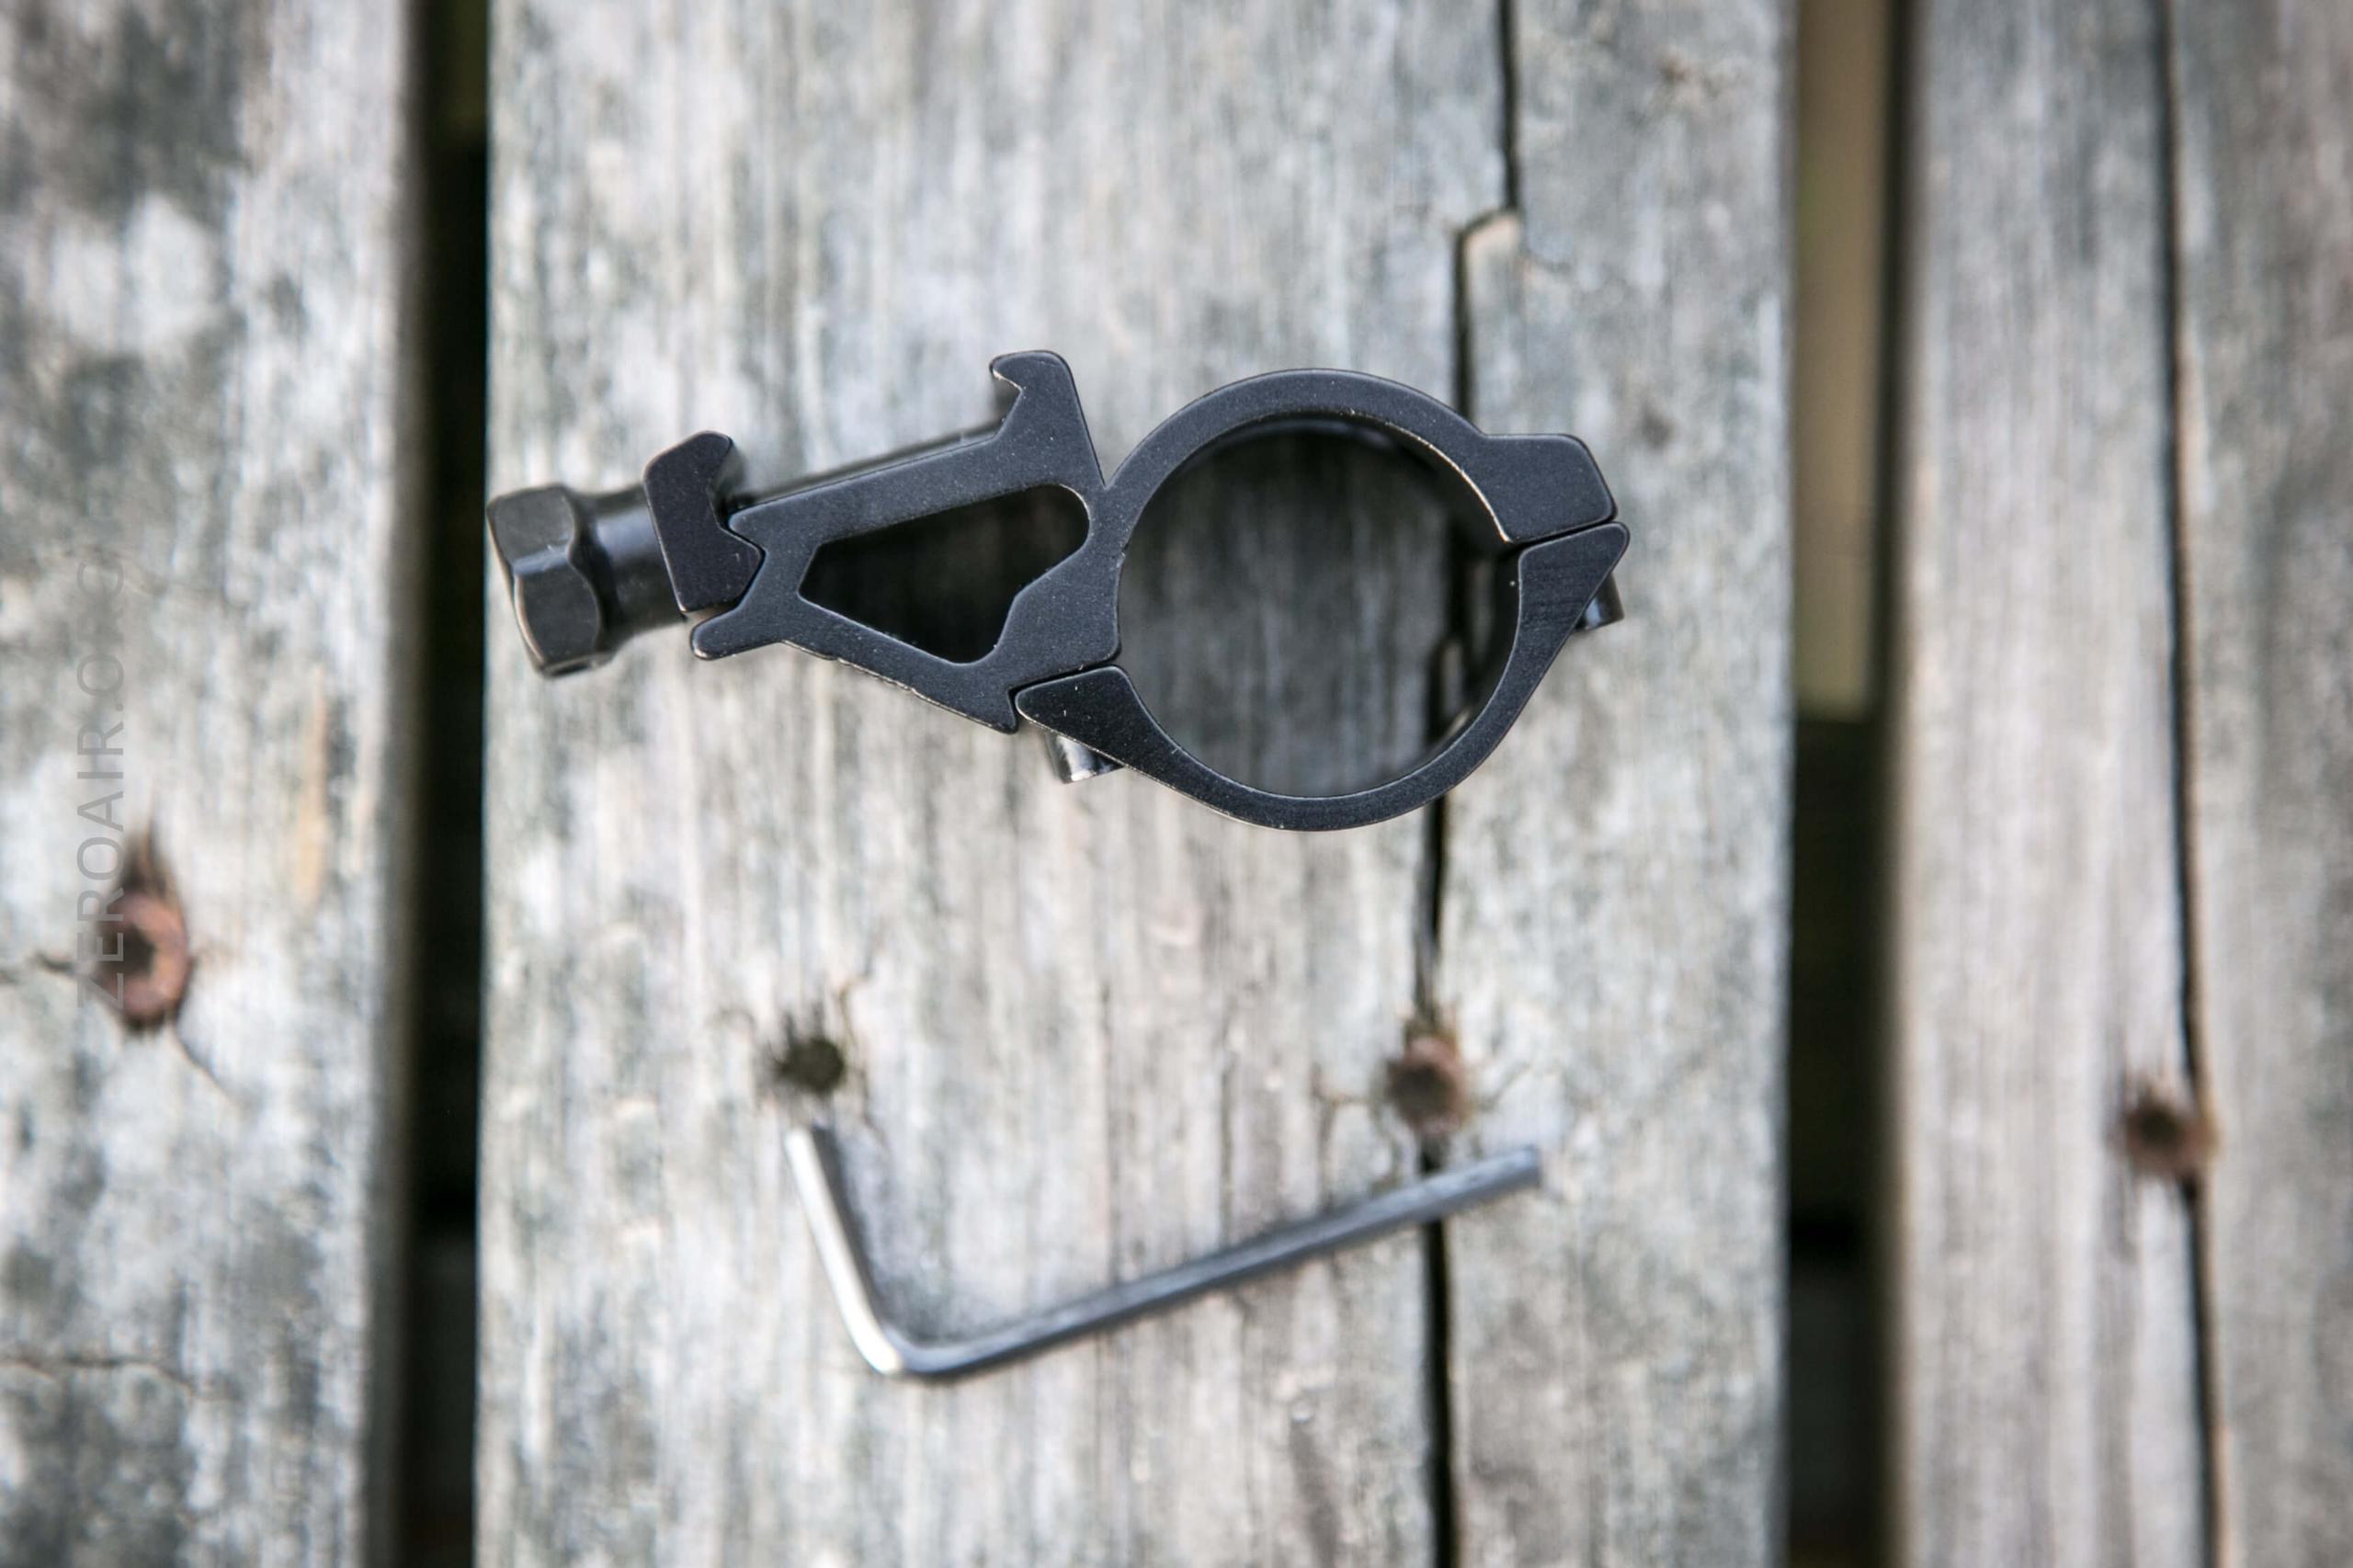
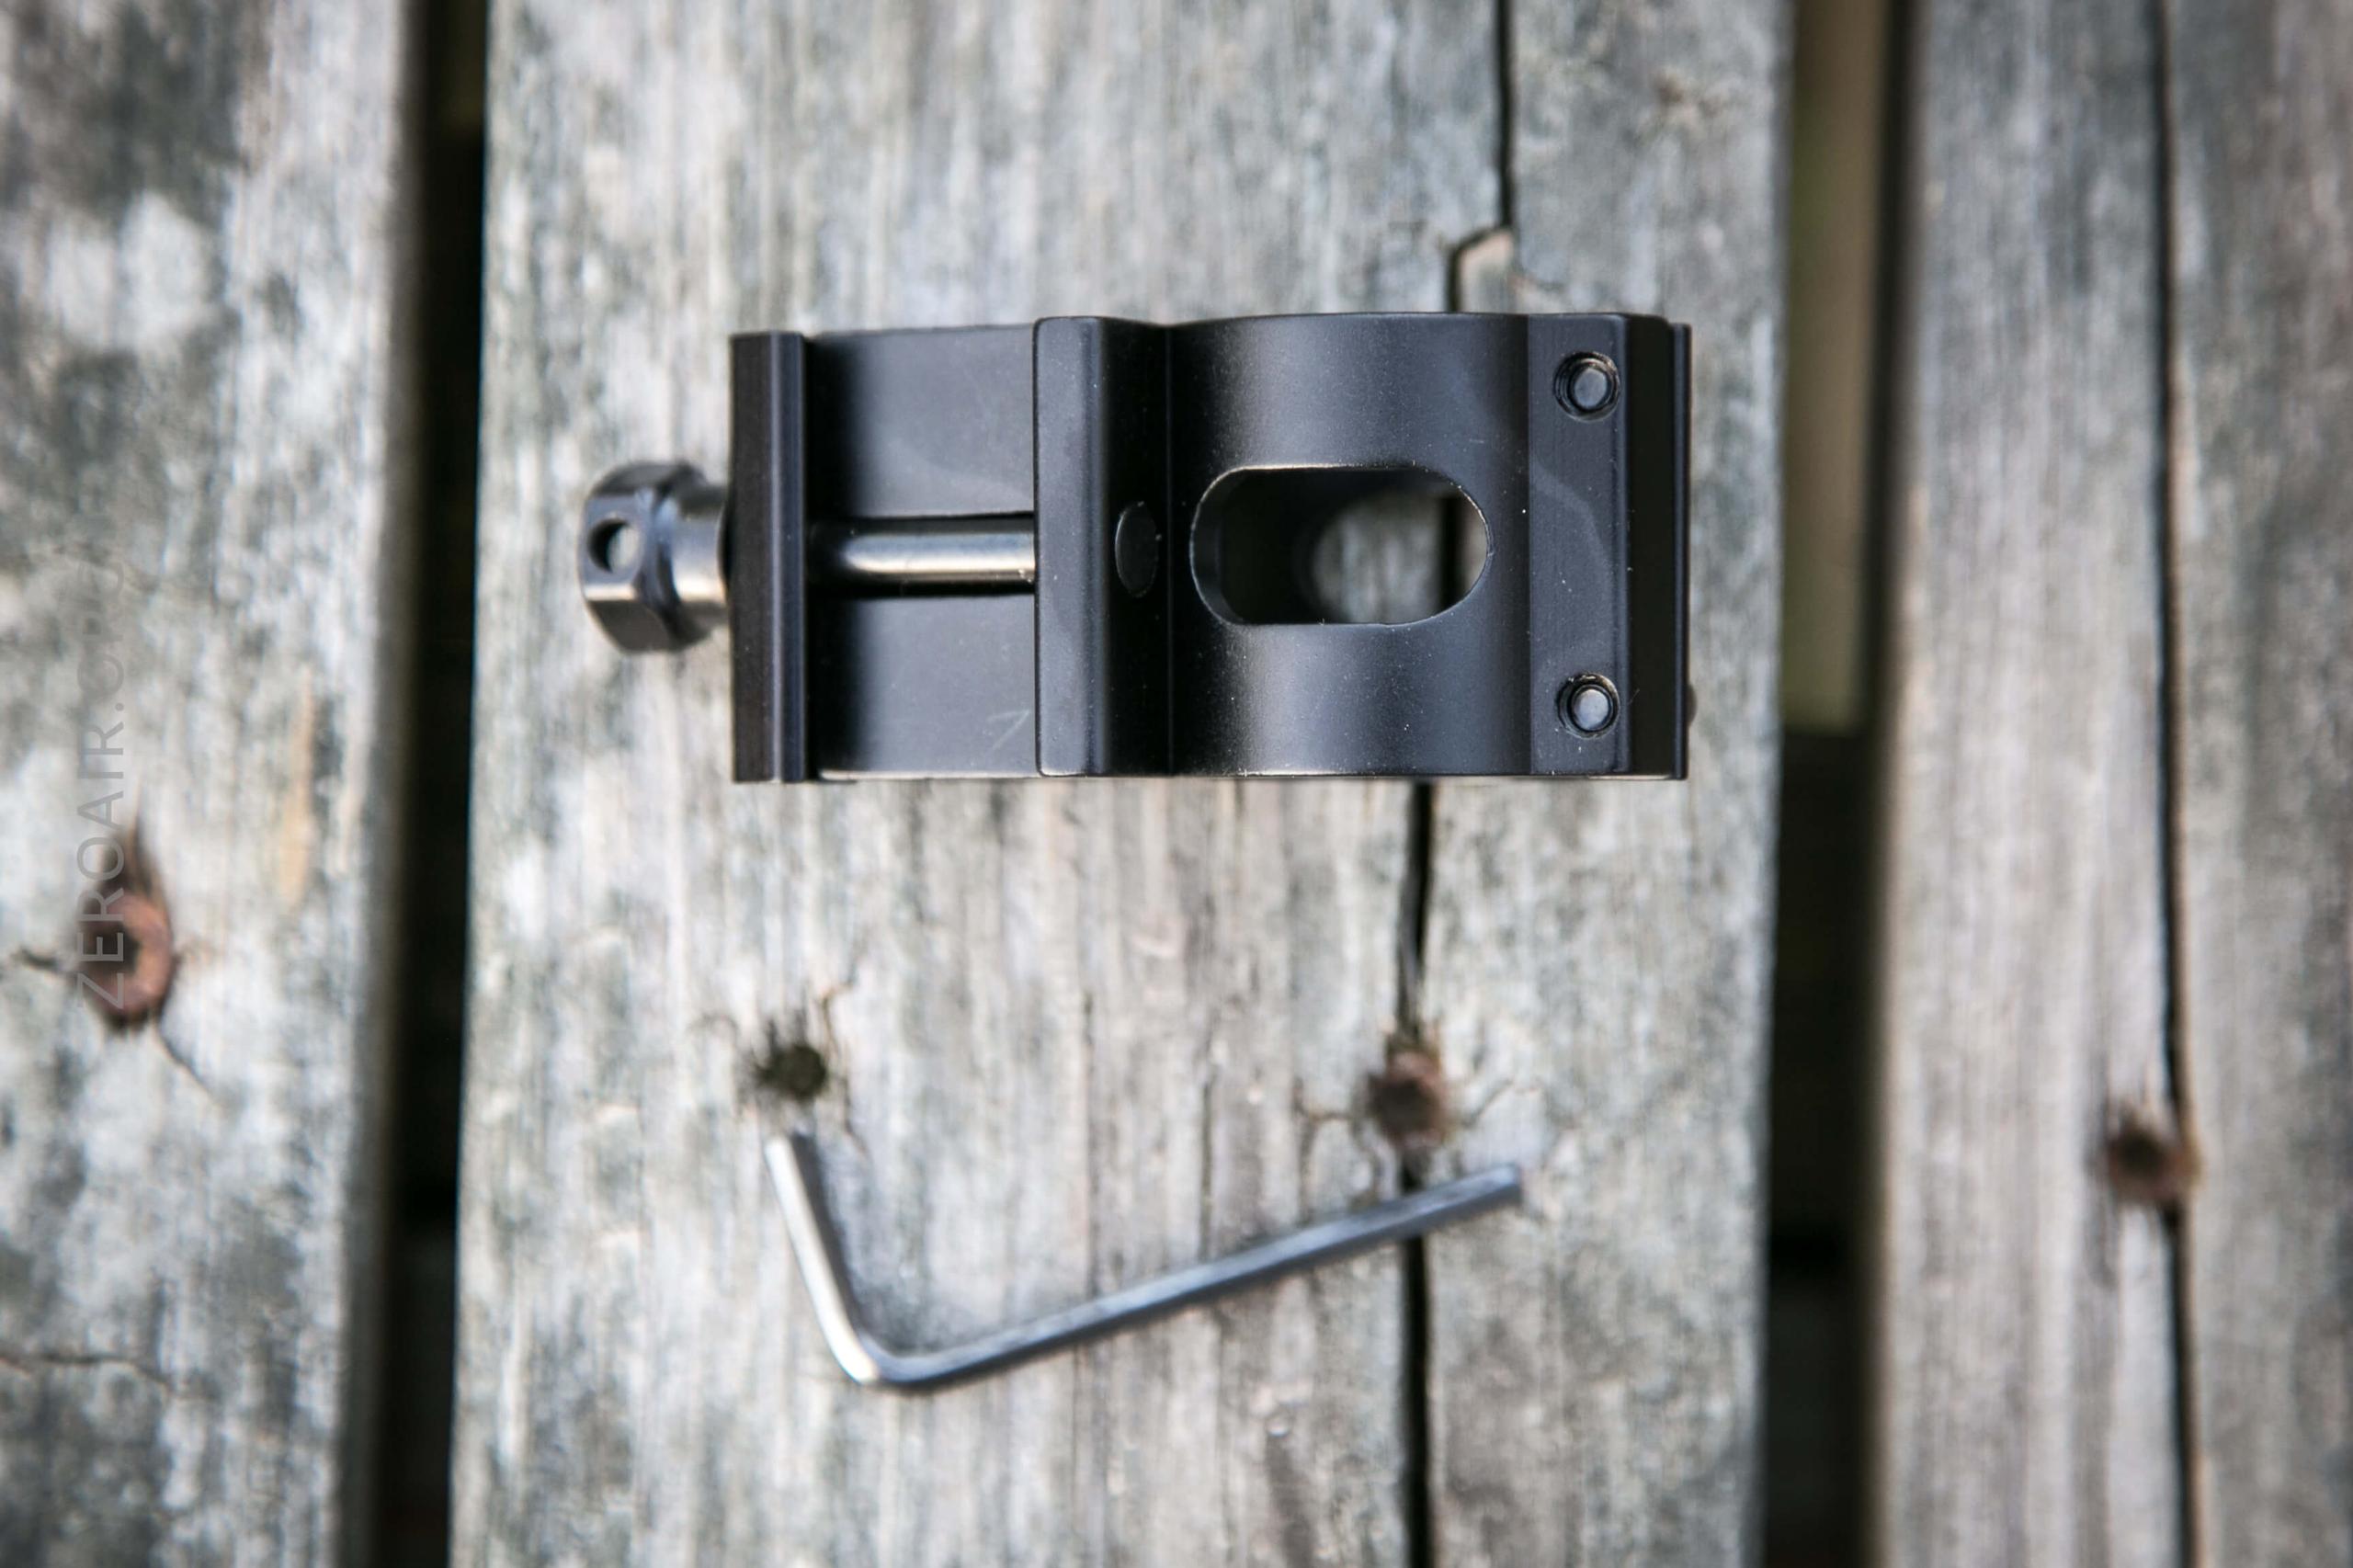
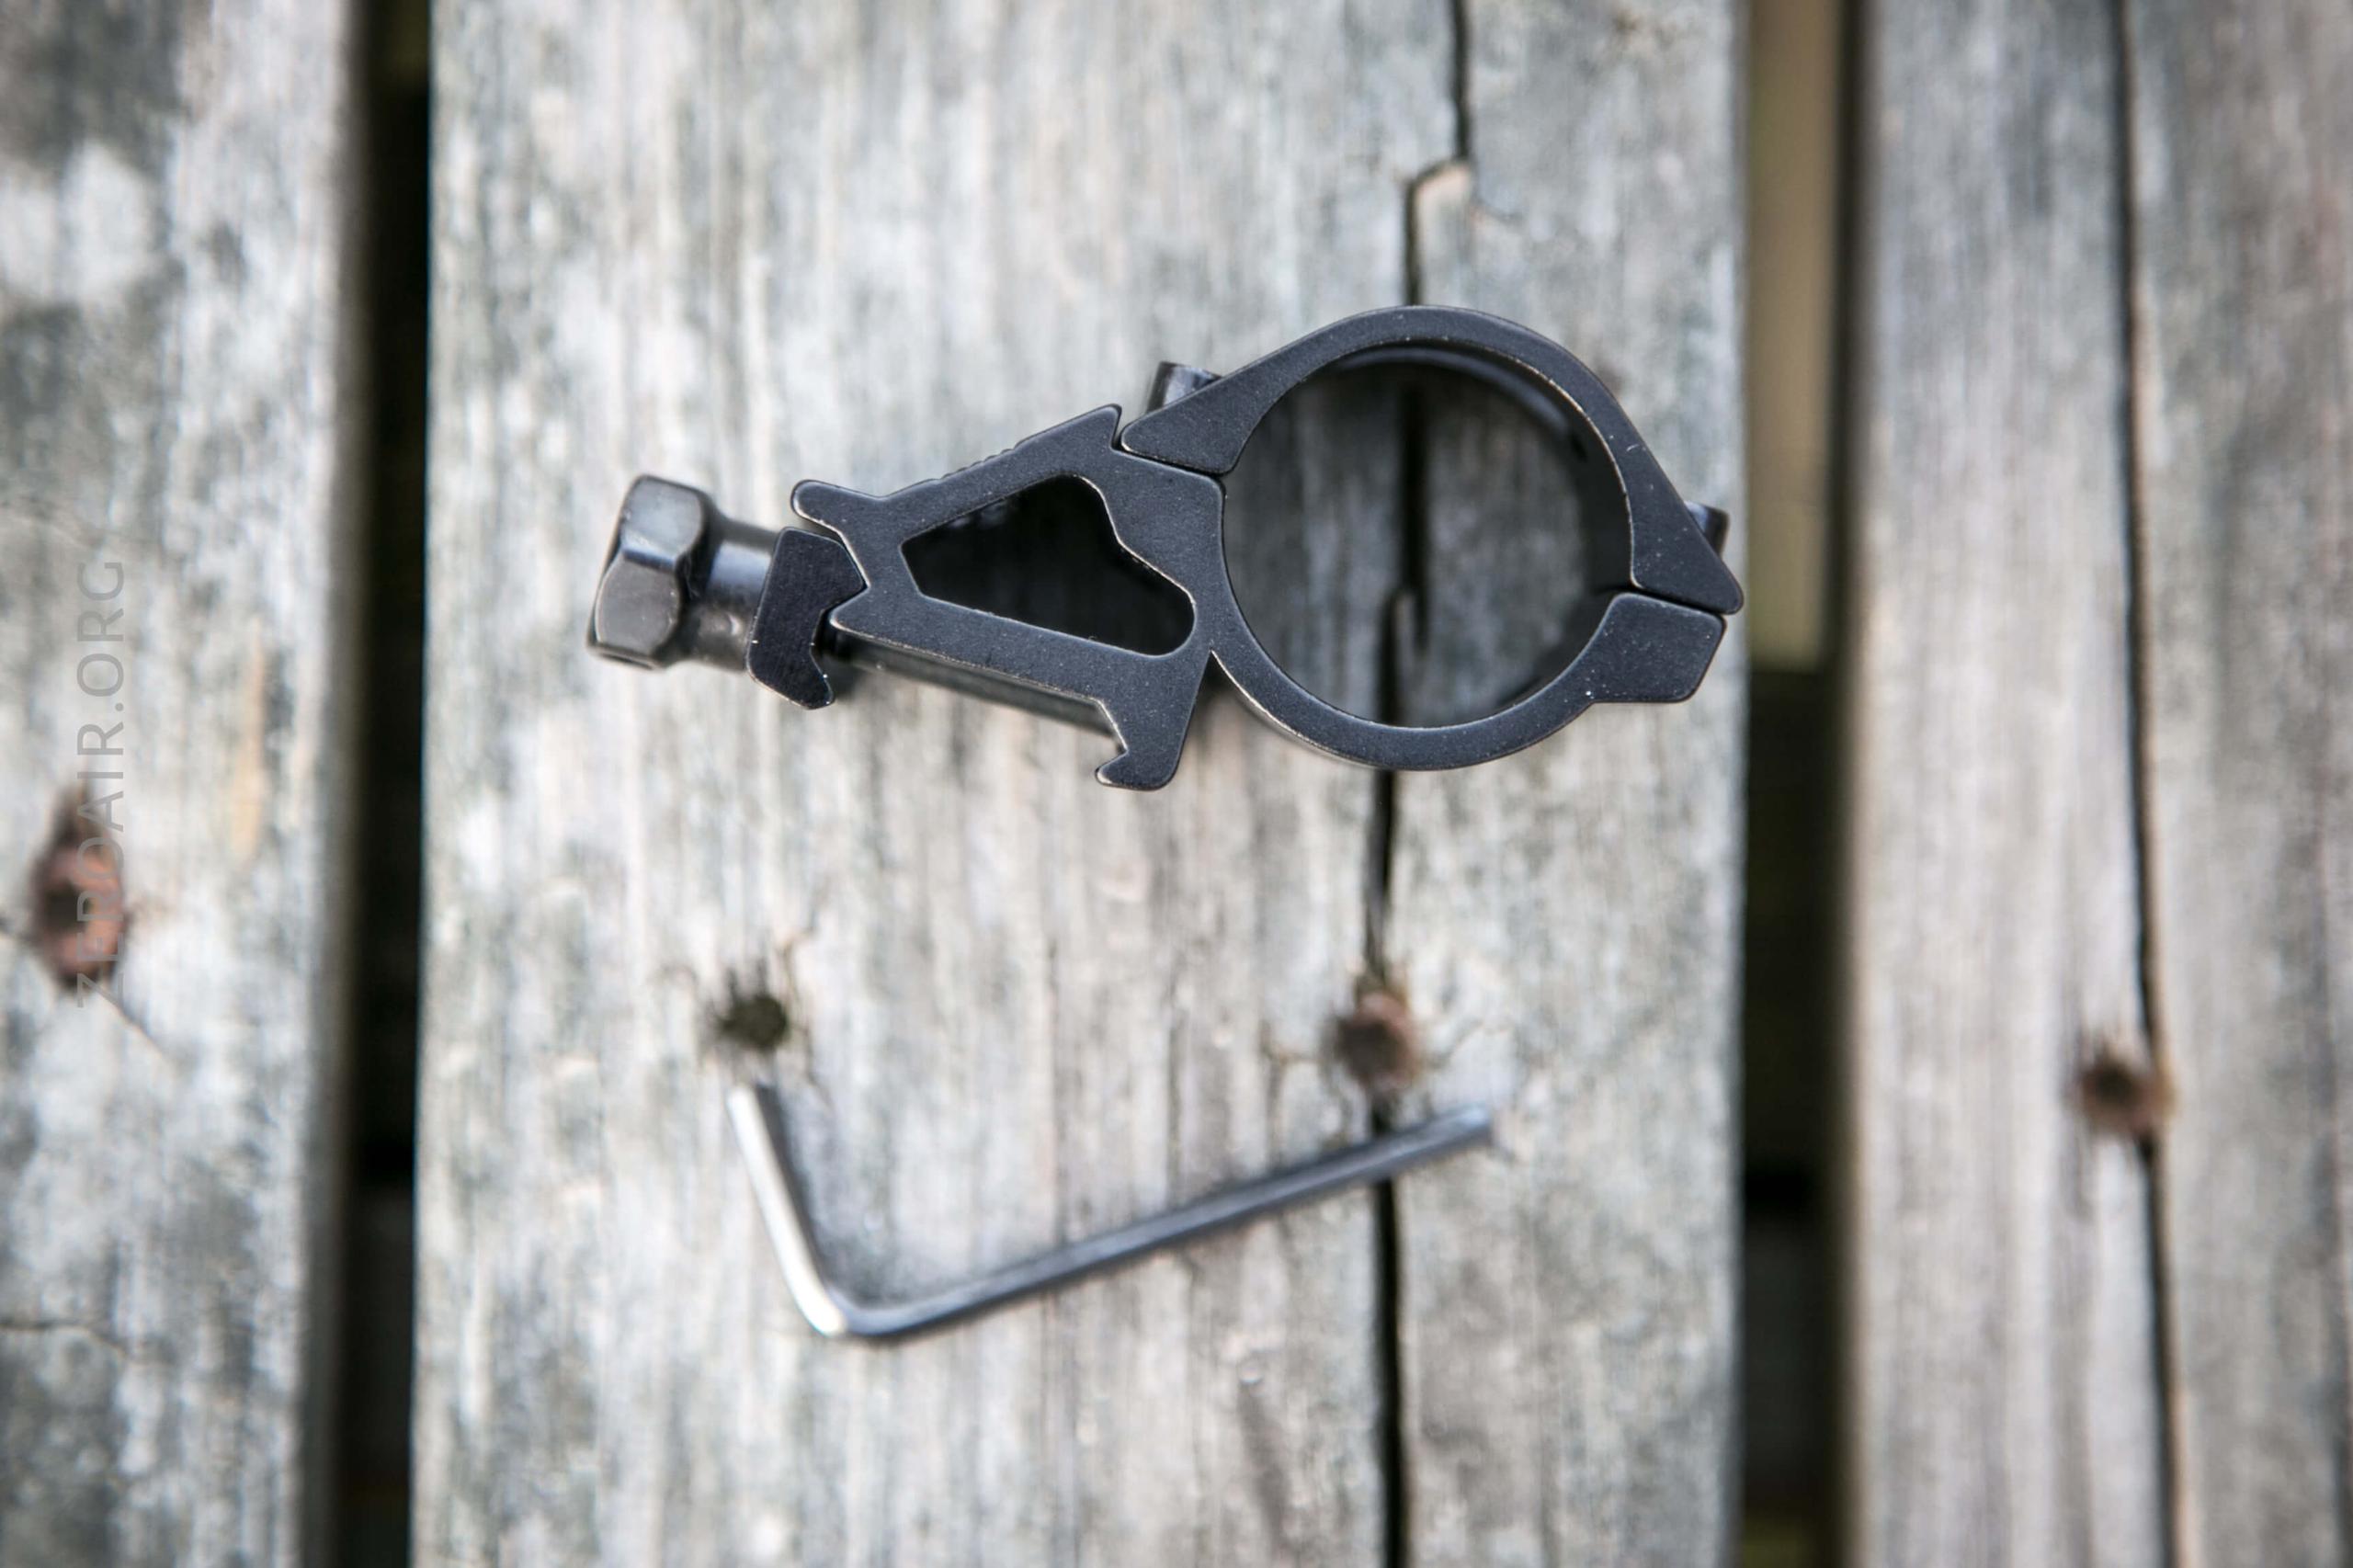
In my accessory pack, I received the two items below. On the left, you can see a weapon mount.
Here are all sides of that item.
Power and Runtime
I tested the light with the included 3100mAh 18650, which is a standard button top.
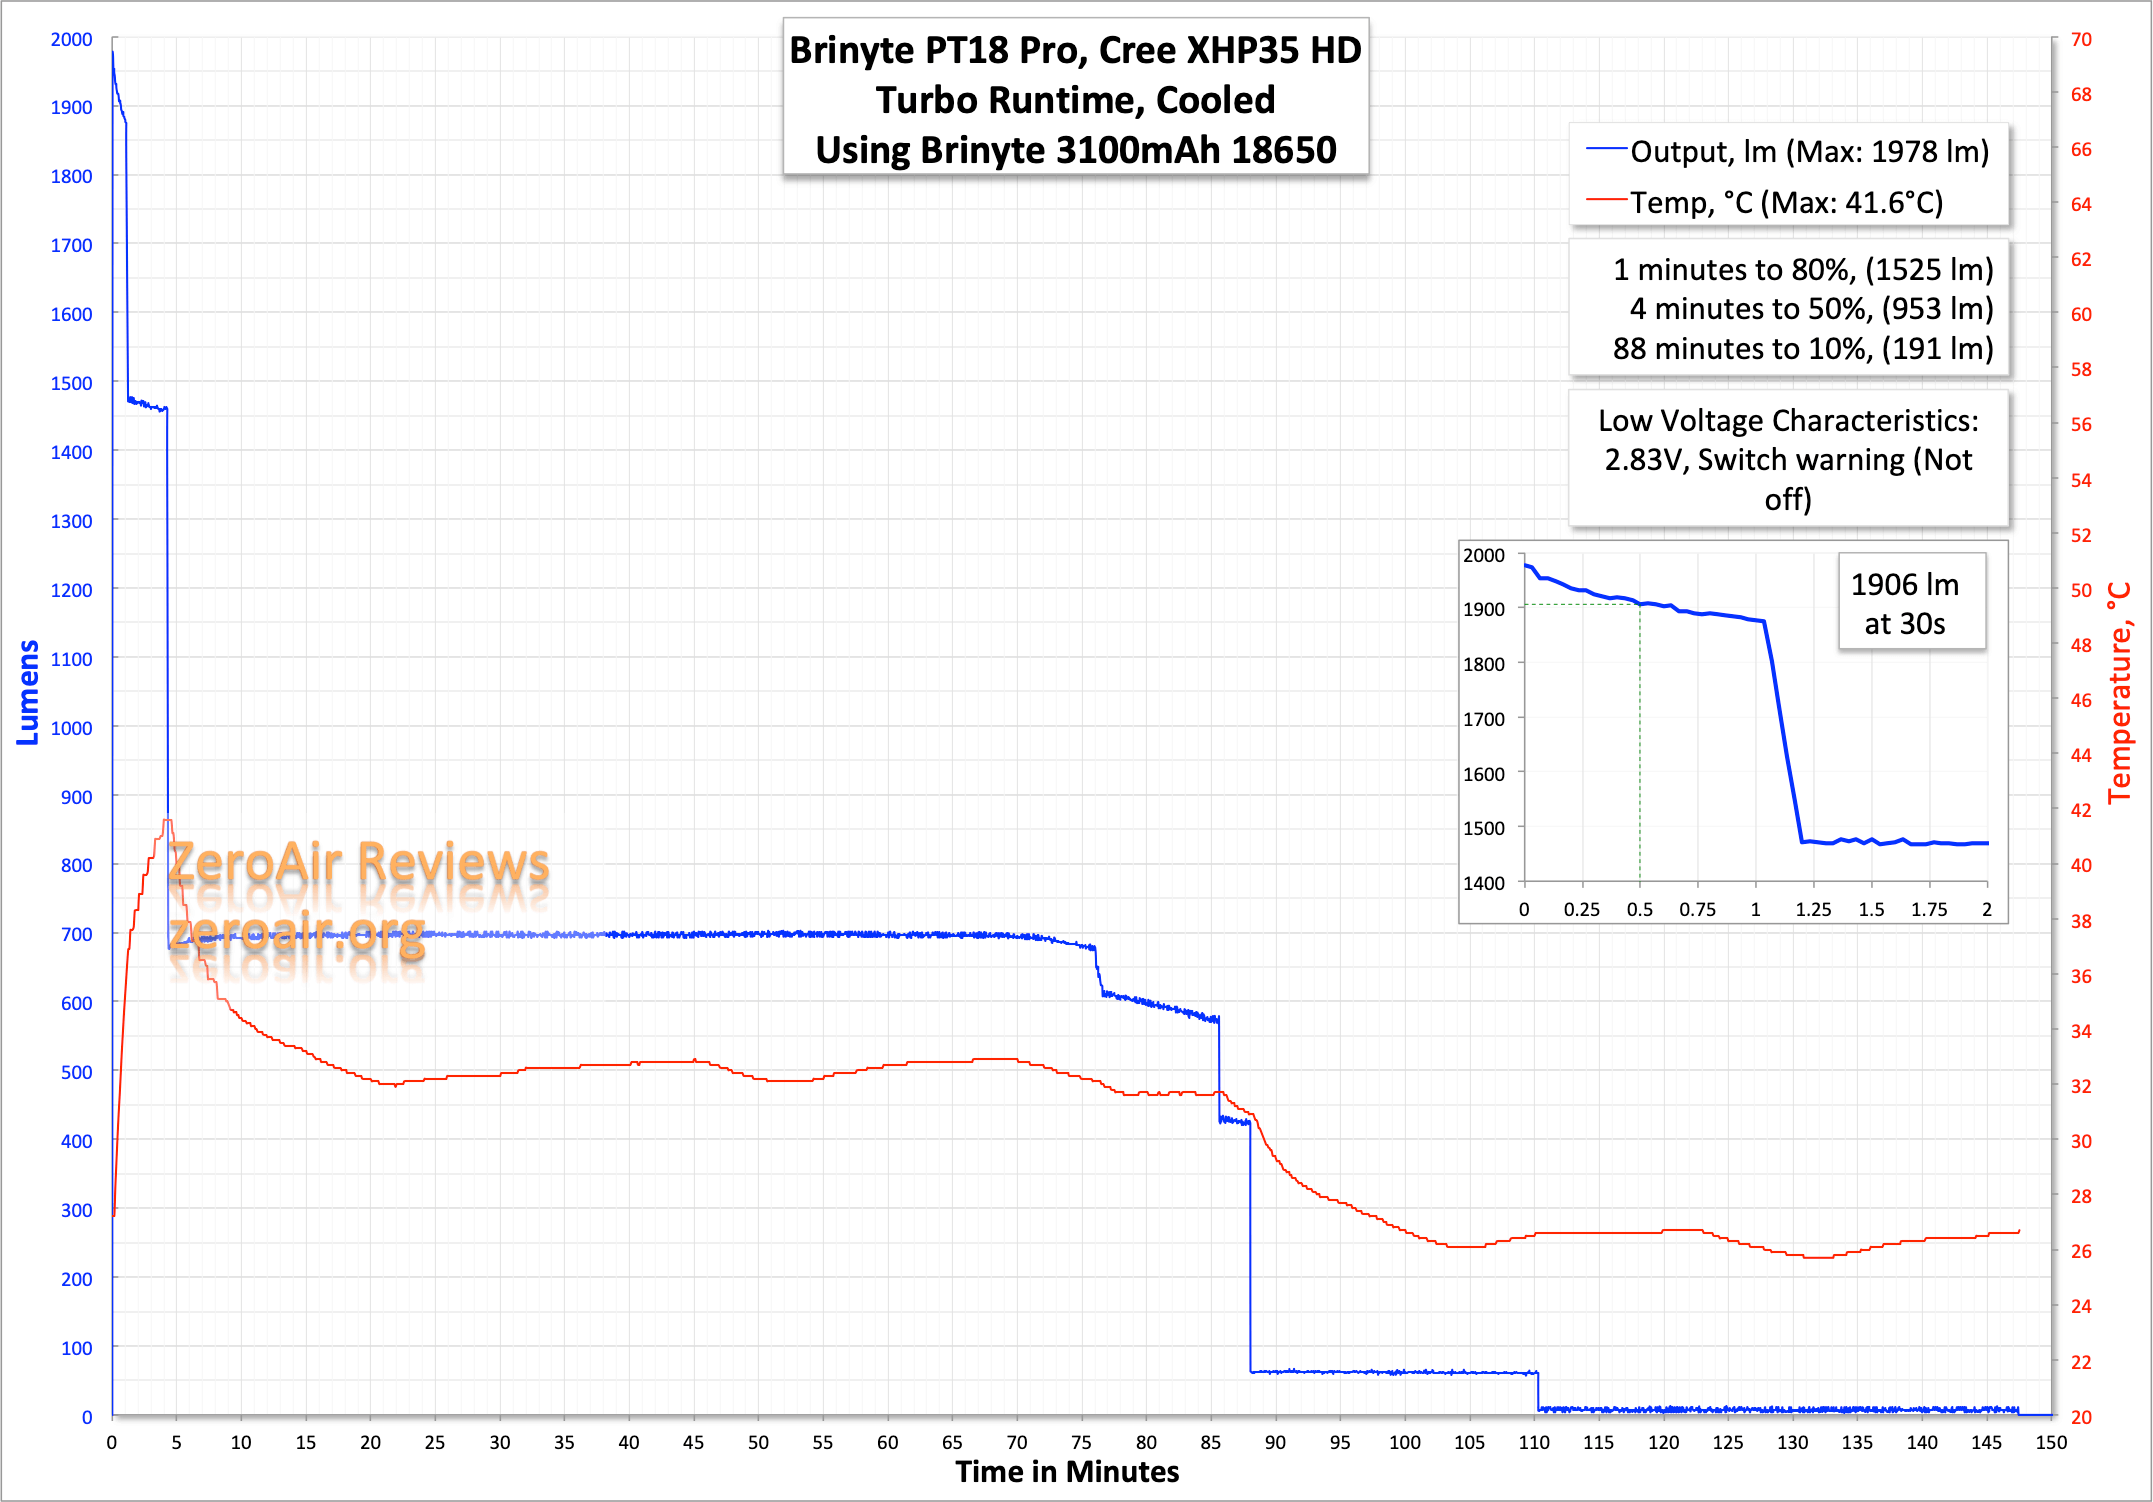
Turbo steps down after a solid minute, and essentially meets the claim made. The initial intermediate stepdown offers around 1450 lumens for almost 5 minutes, which is respectable. Eventually, the light does stepdown very far, and while it’ll click back up to high, steps down to low almost immediately. The side switch is offering a red flash warning at this point, too.
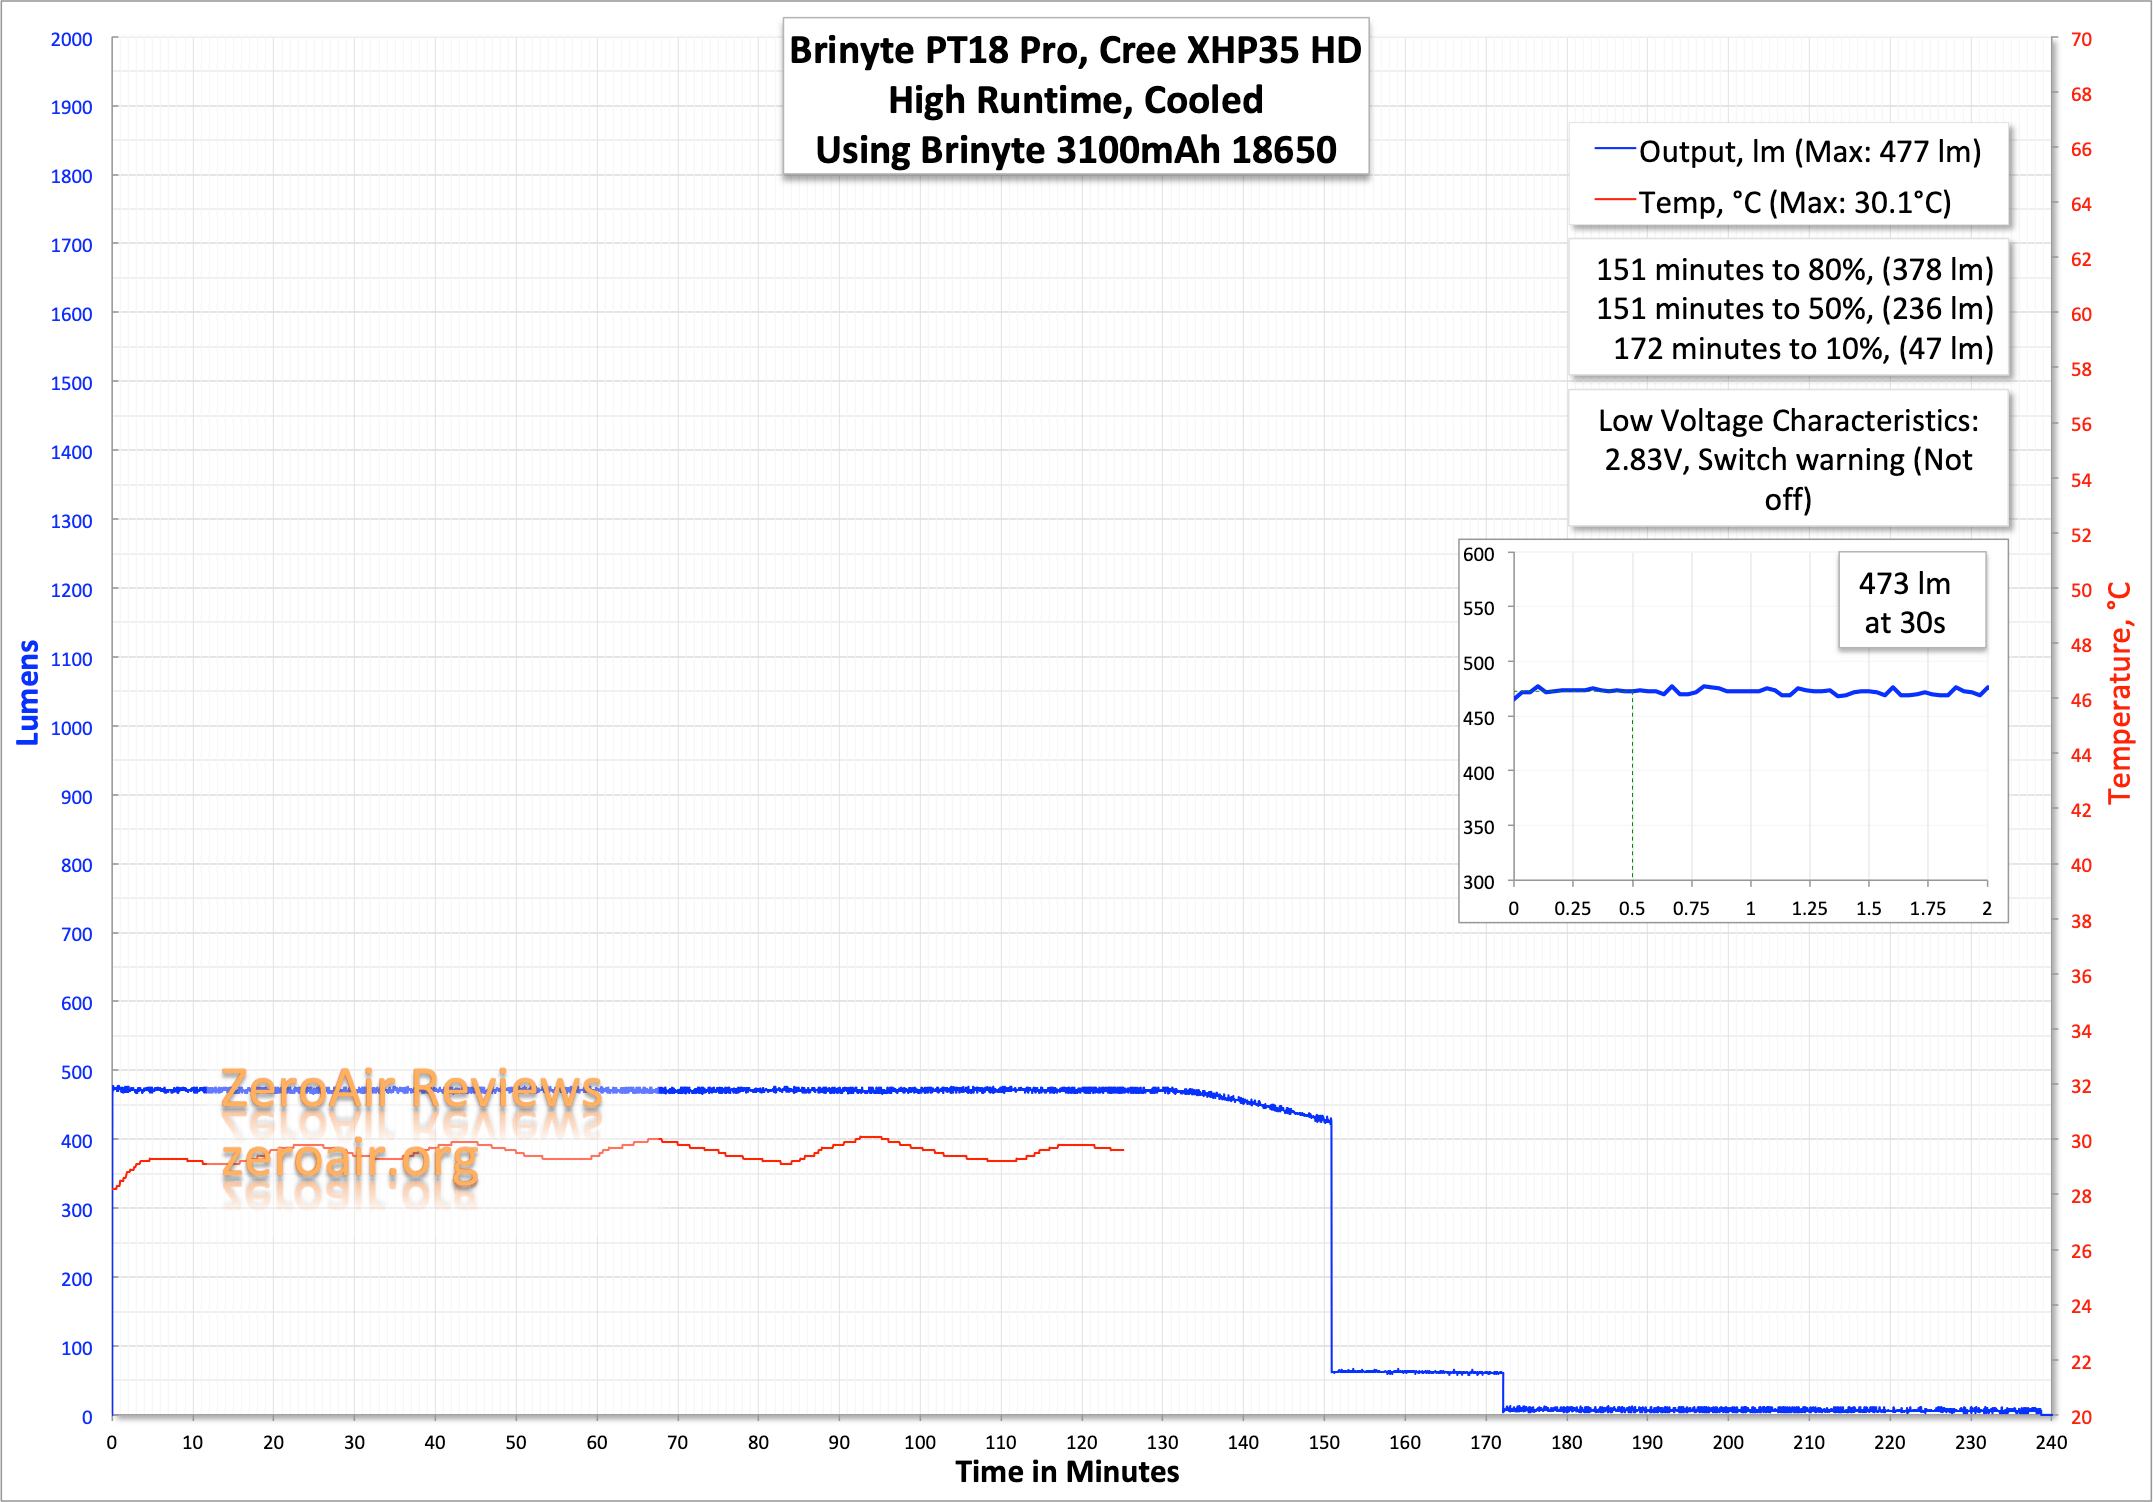
Here’s a runtime on High. Unfortunately, the temperature logger stopped during this run, but it was fairly uneventful anyway.
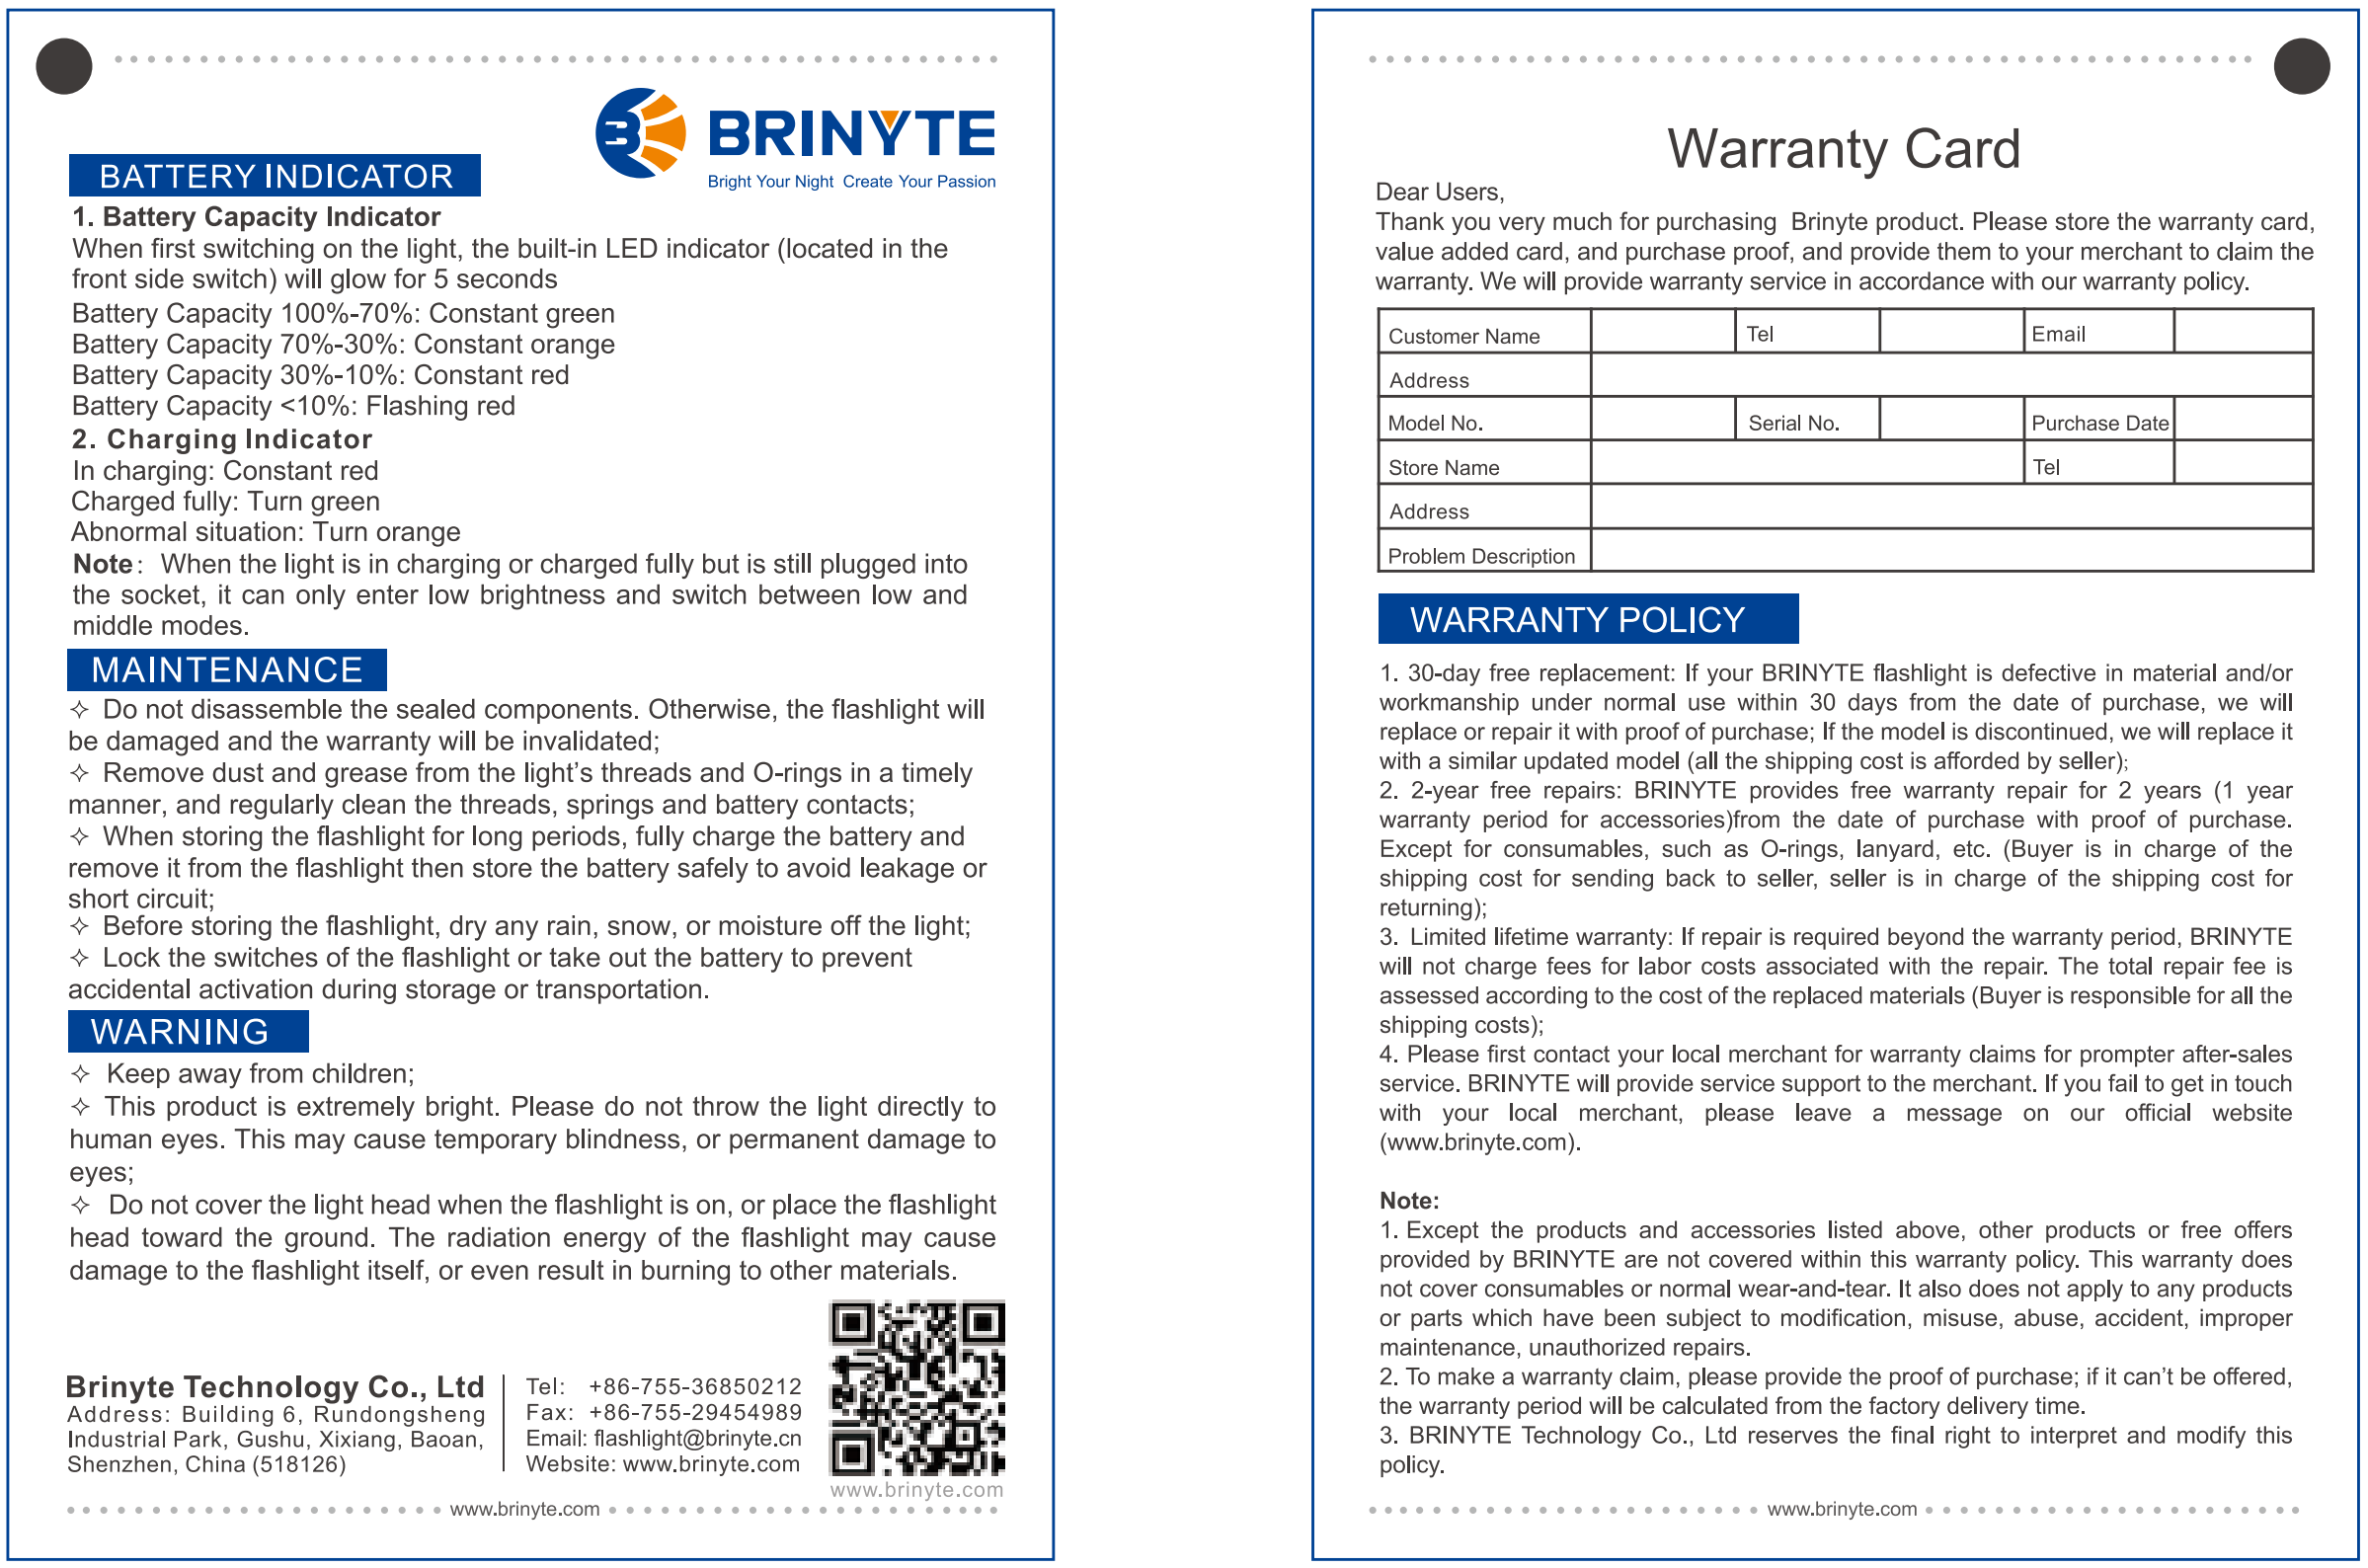
Another thing about the operation – when the light is switched on, the indicating side switch displays approximate cell capacity, as follows:
Constant green: 100%-70%
Constant orange: 70%-30%
Constant red: 30%-10%
Flashing red: <10%
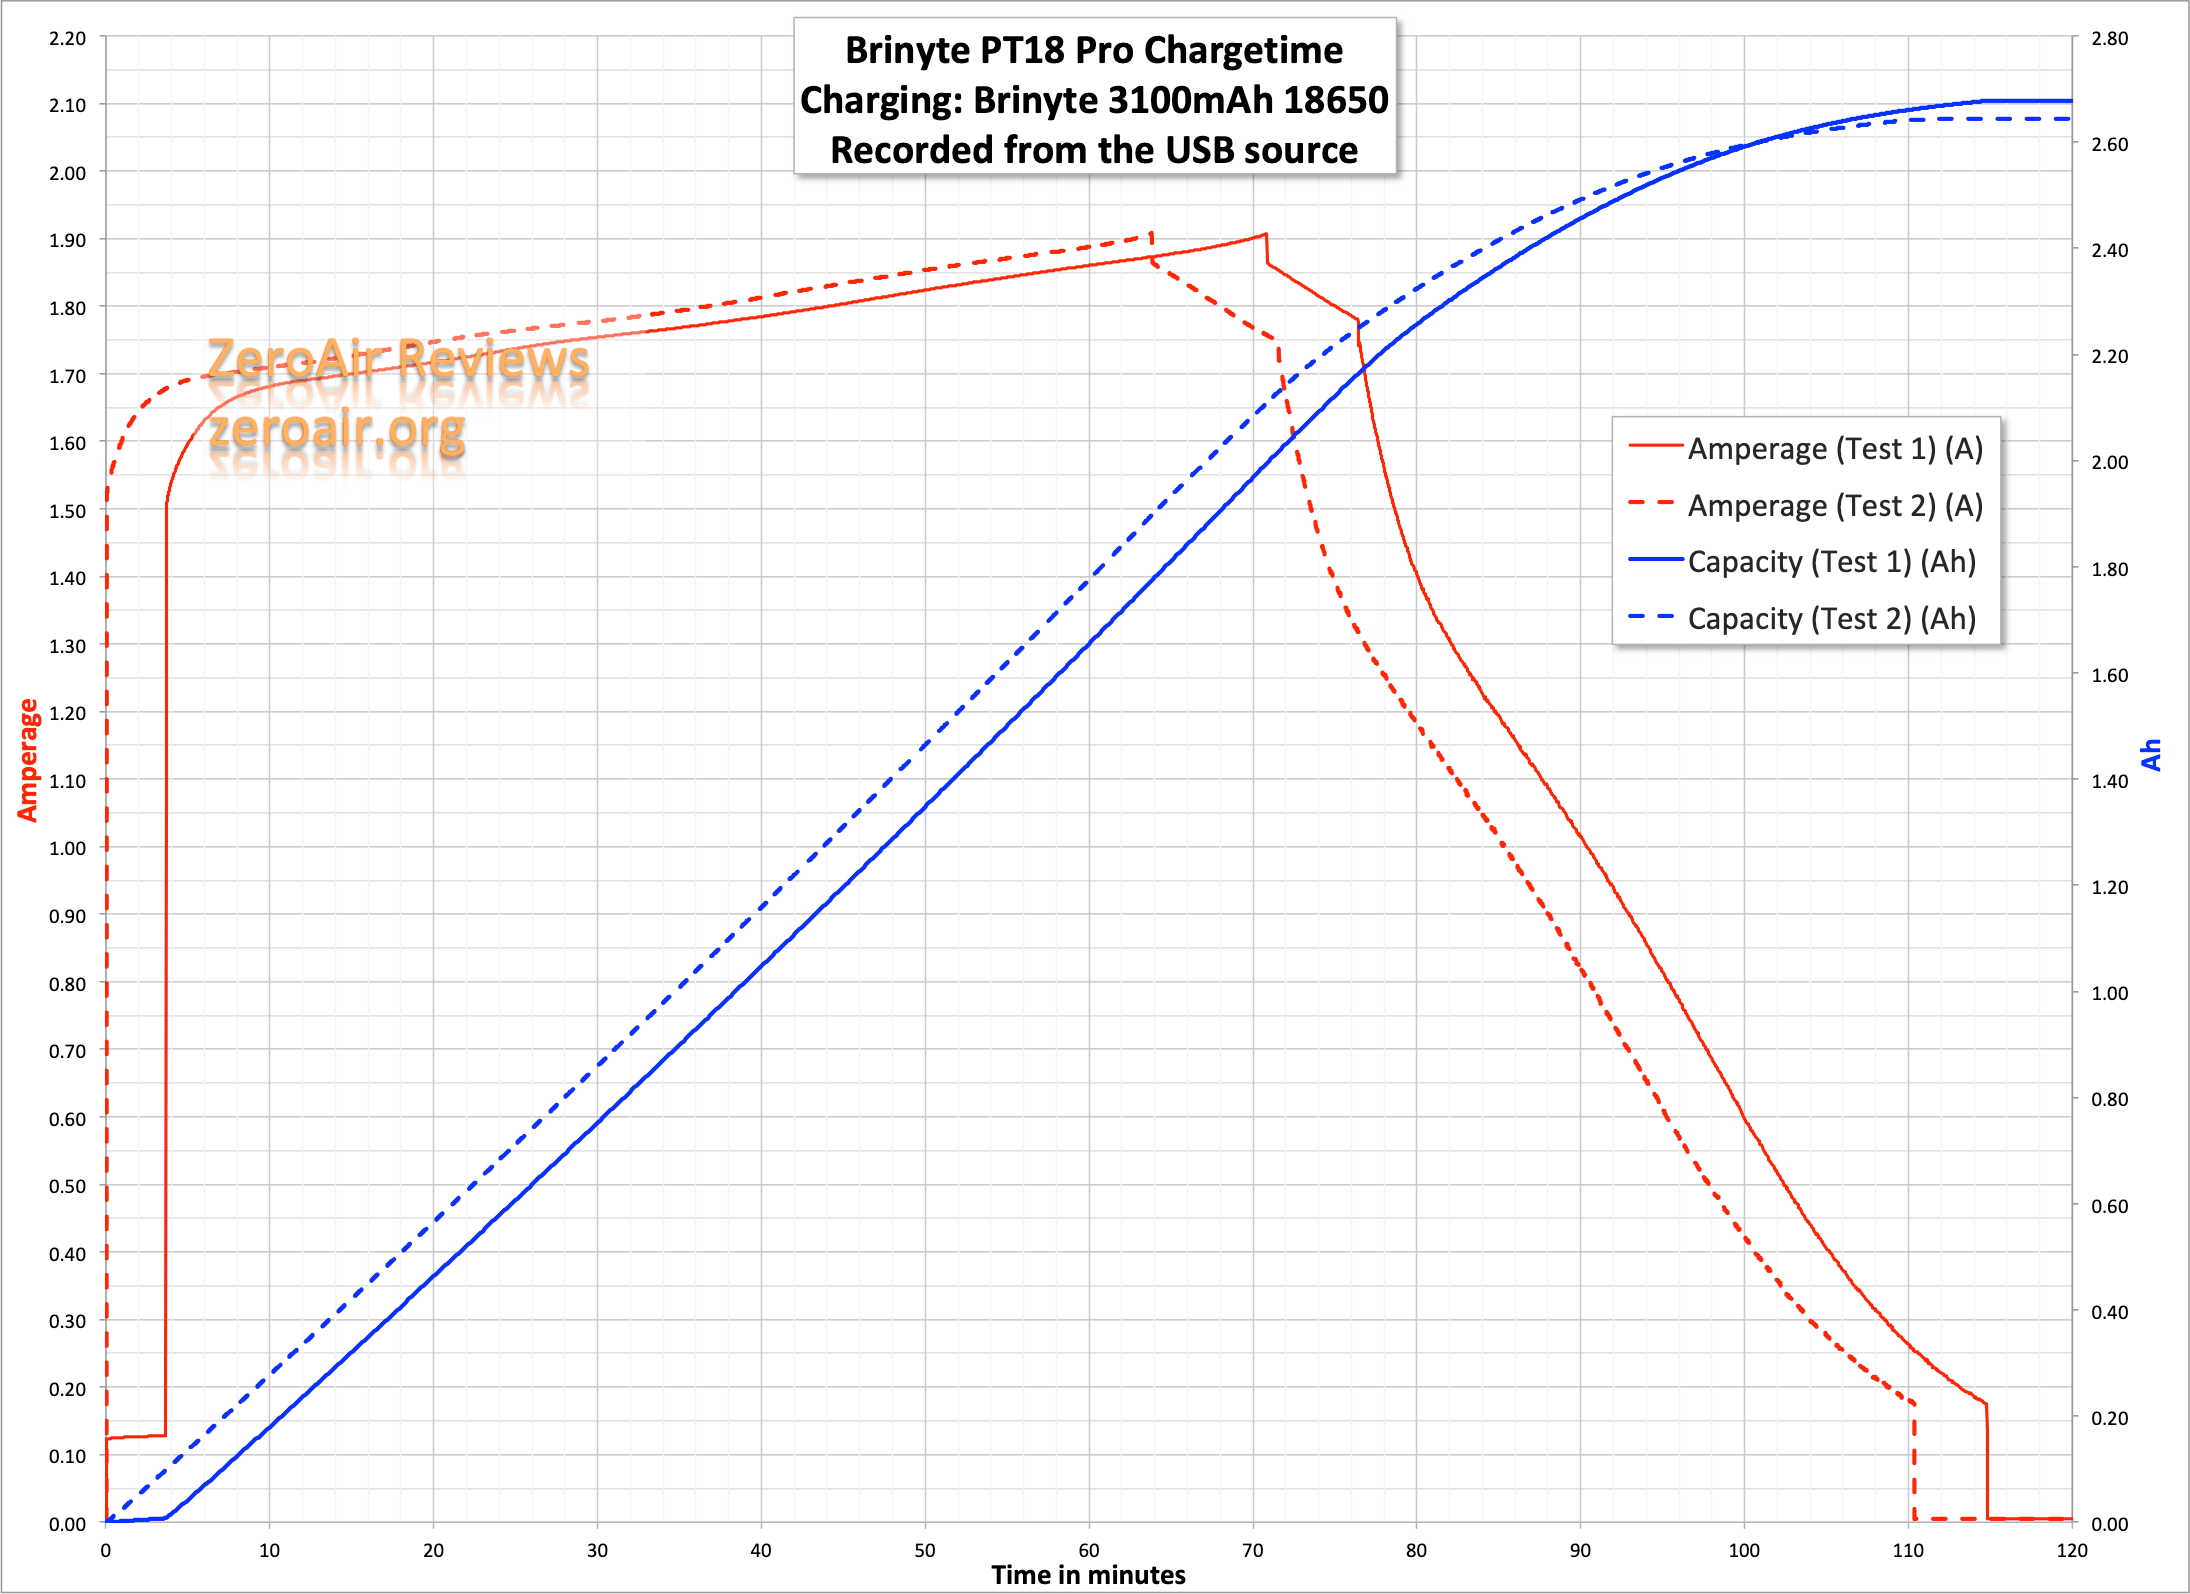
Charging
Here’s the magnetic charge cable. It’s a proprietary connection on the light, but the USB side is normal. The cable is braided and quite nice.
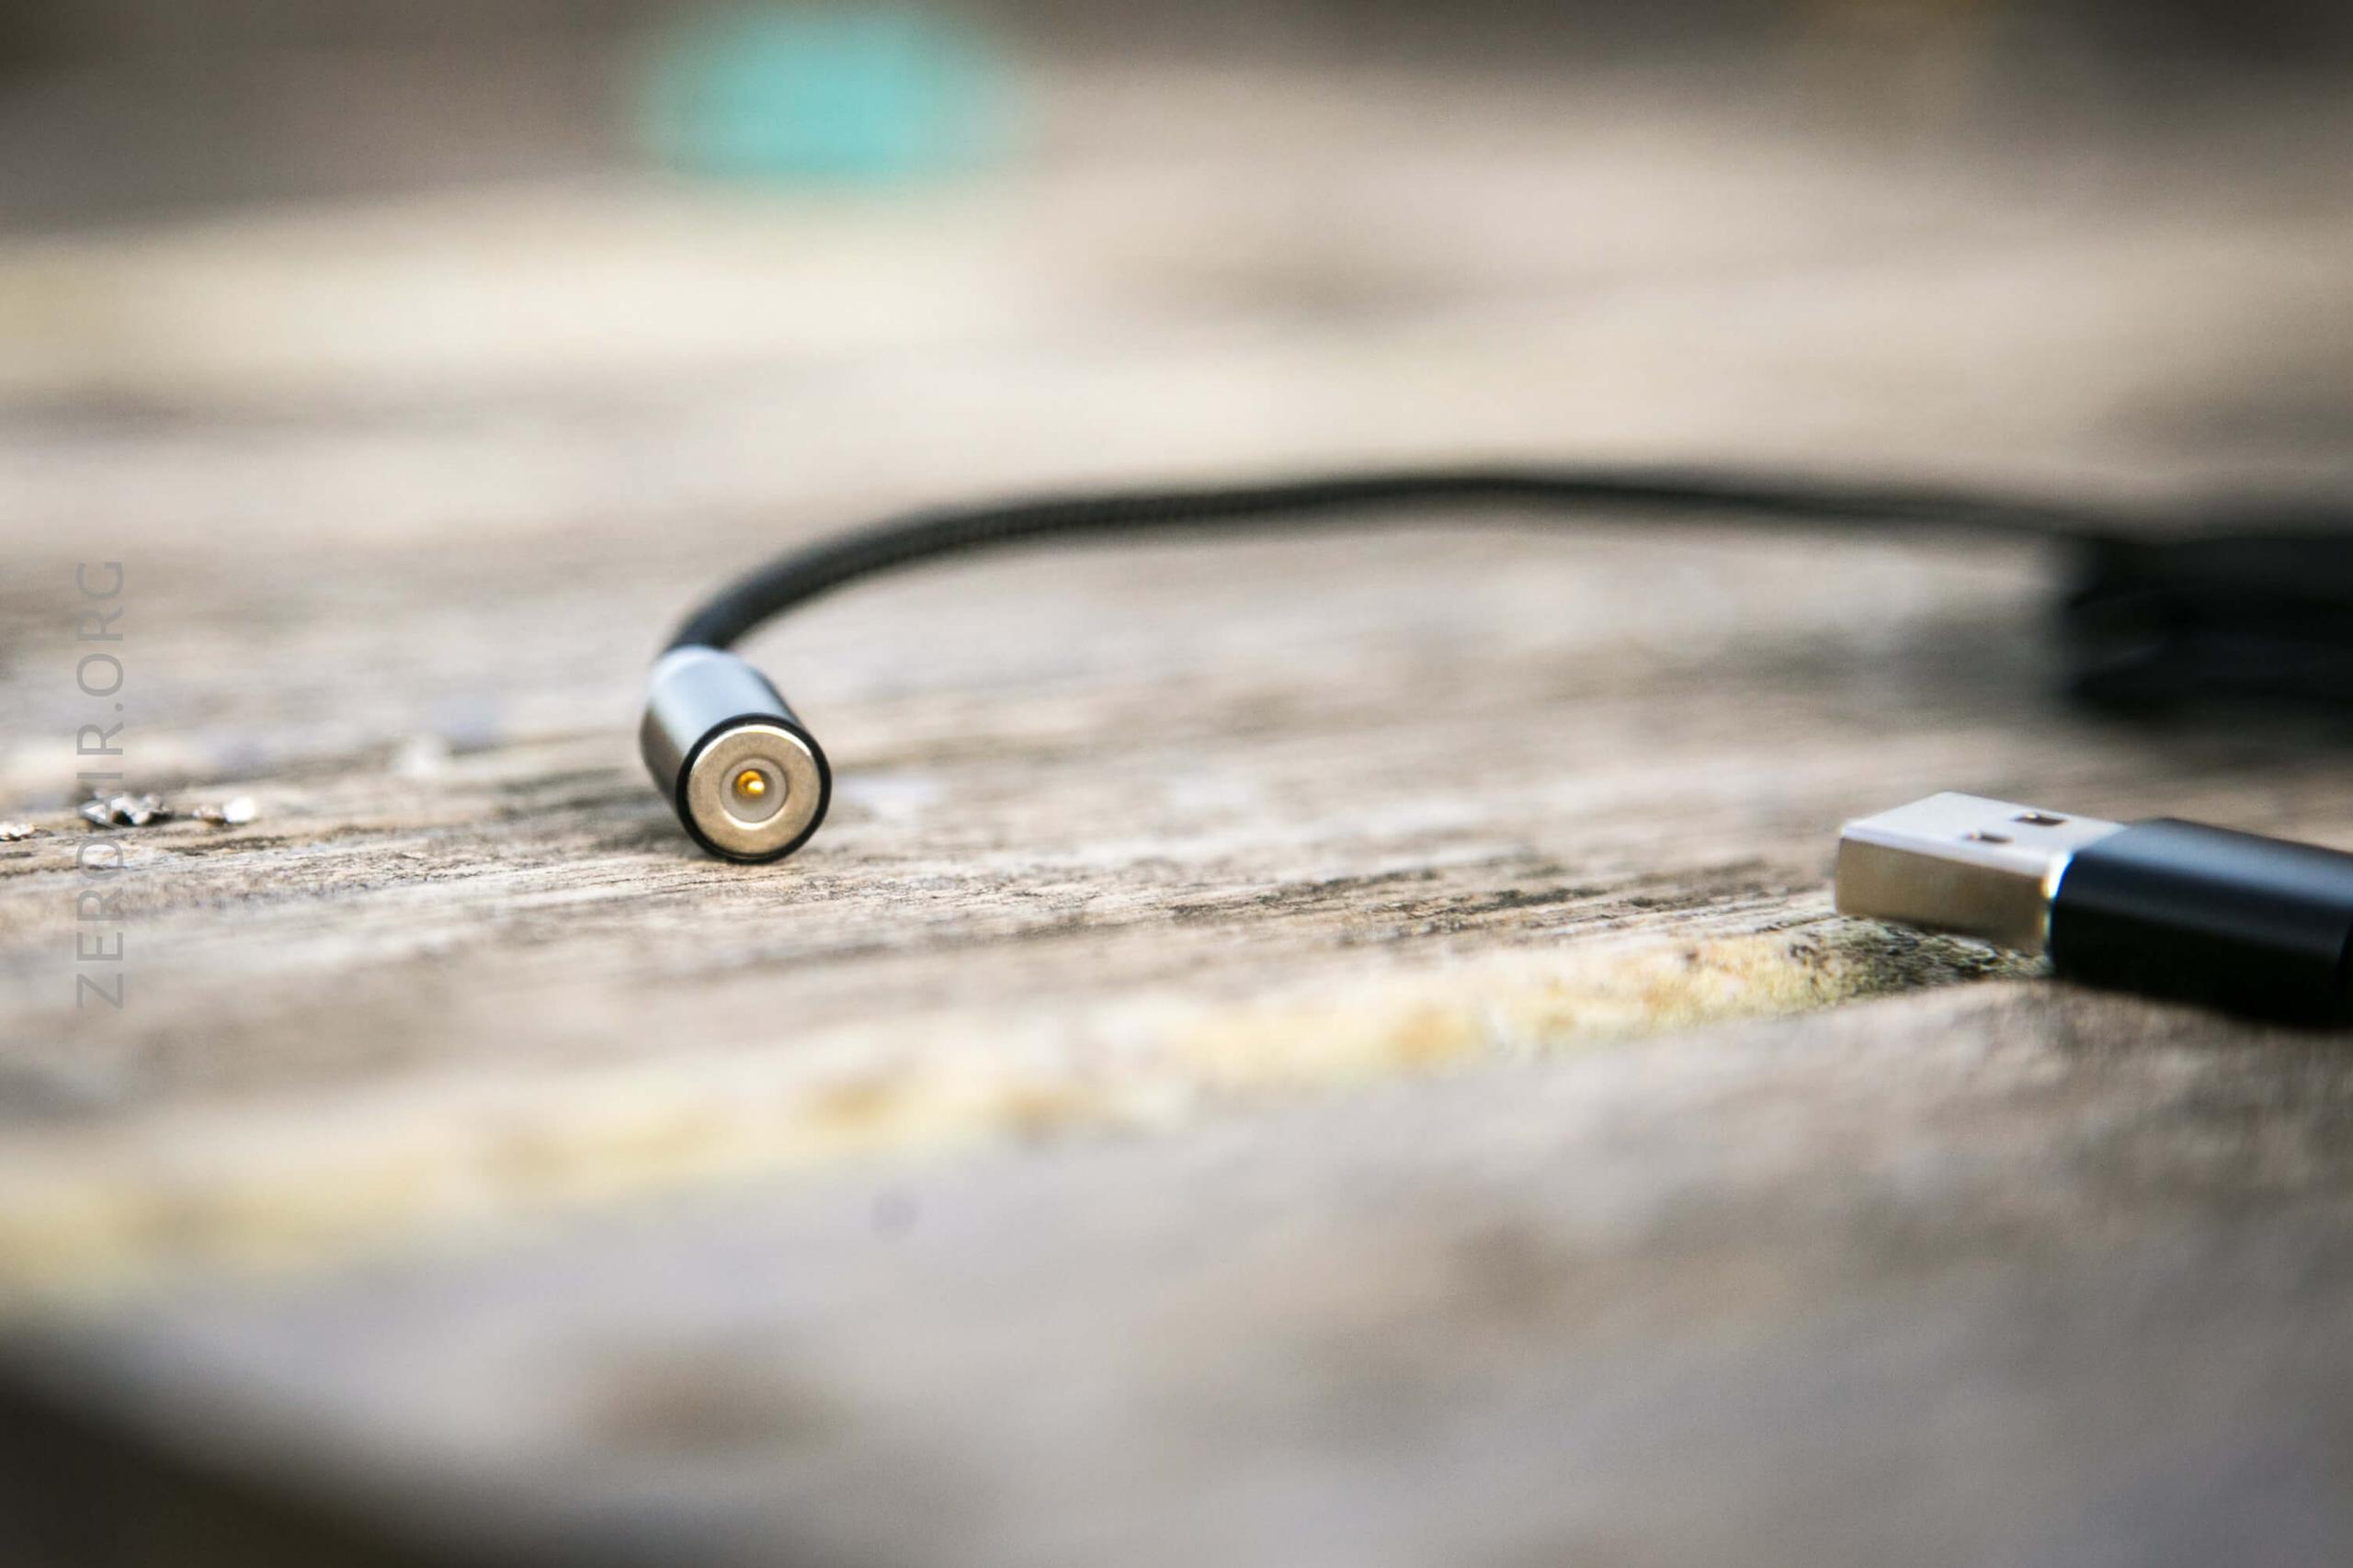
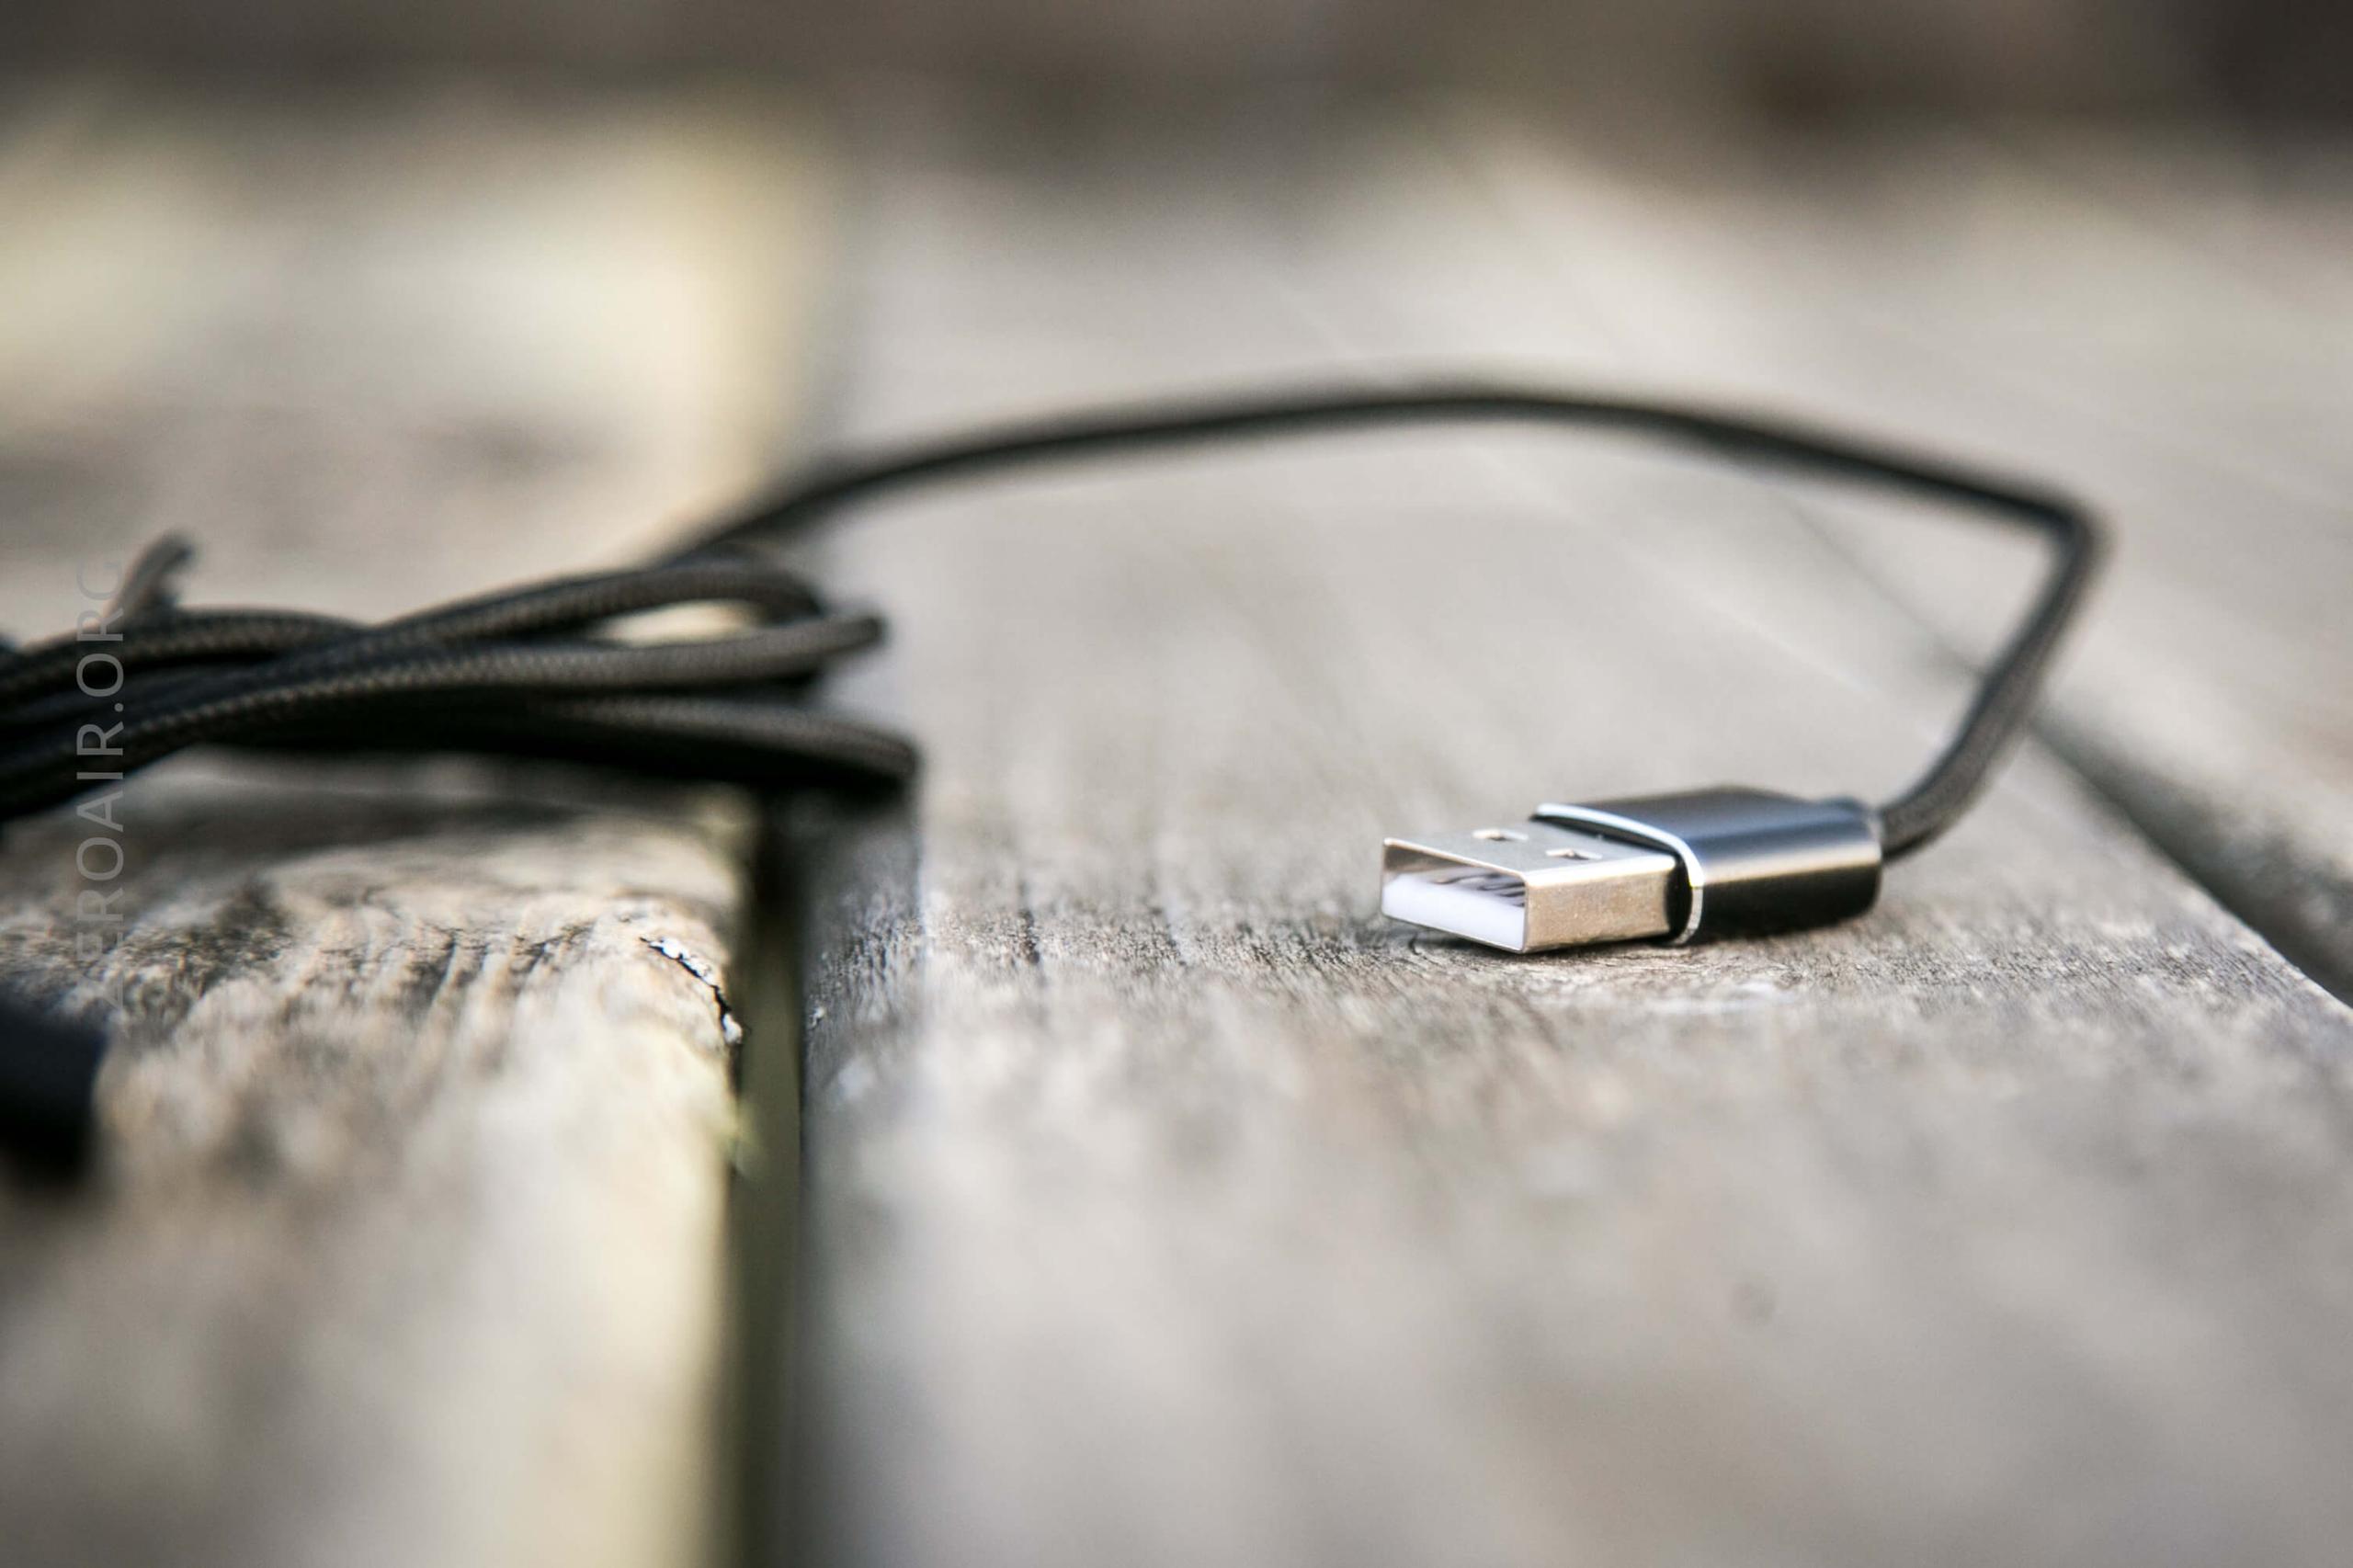
It connects to the side of the light, and the connection is nice and snappy. I don’t love that this is proprietary, but at least the cell isn’t proprietary. It can still charge normally in a slot charger.
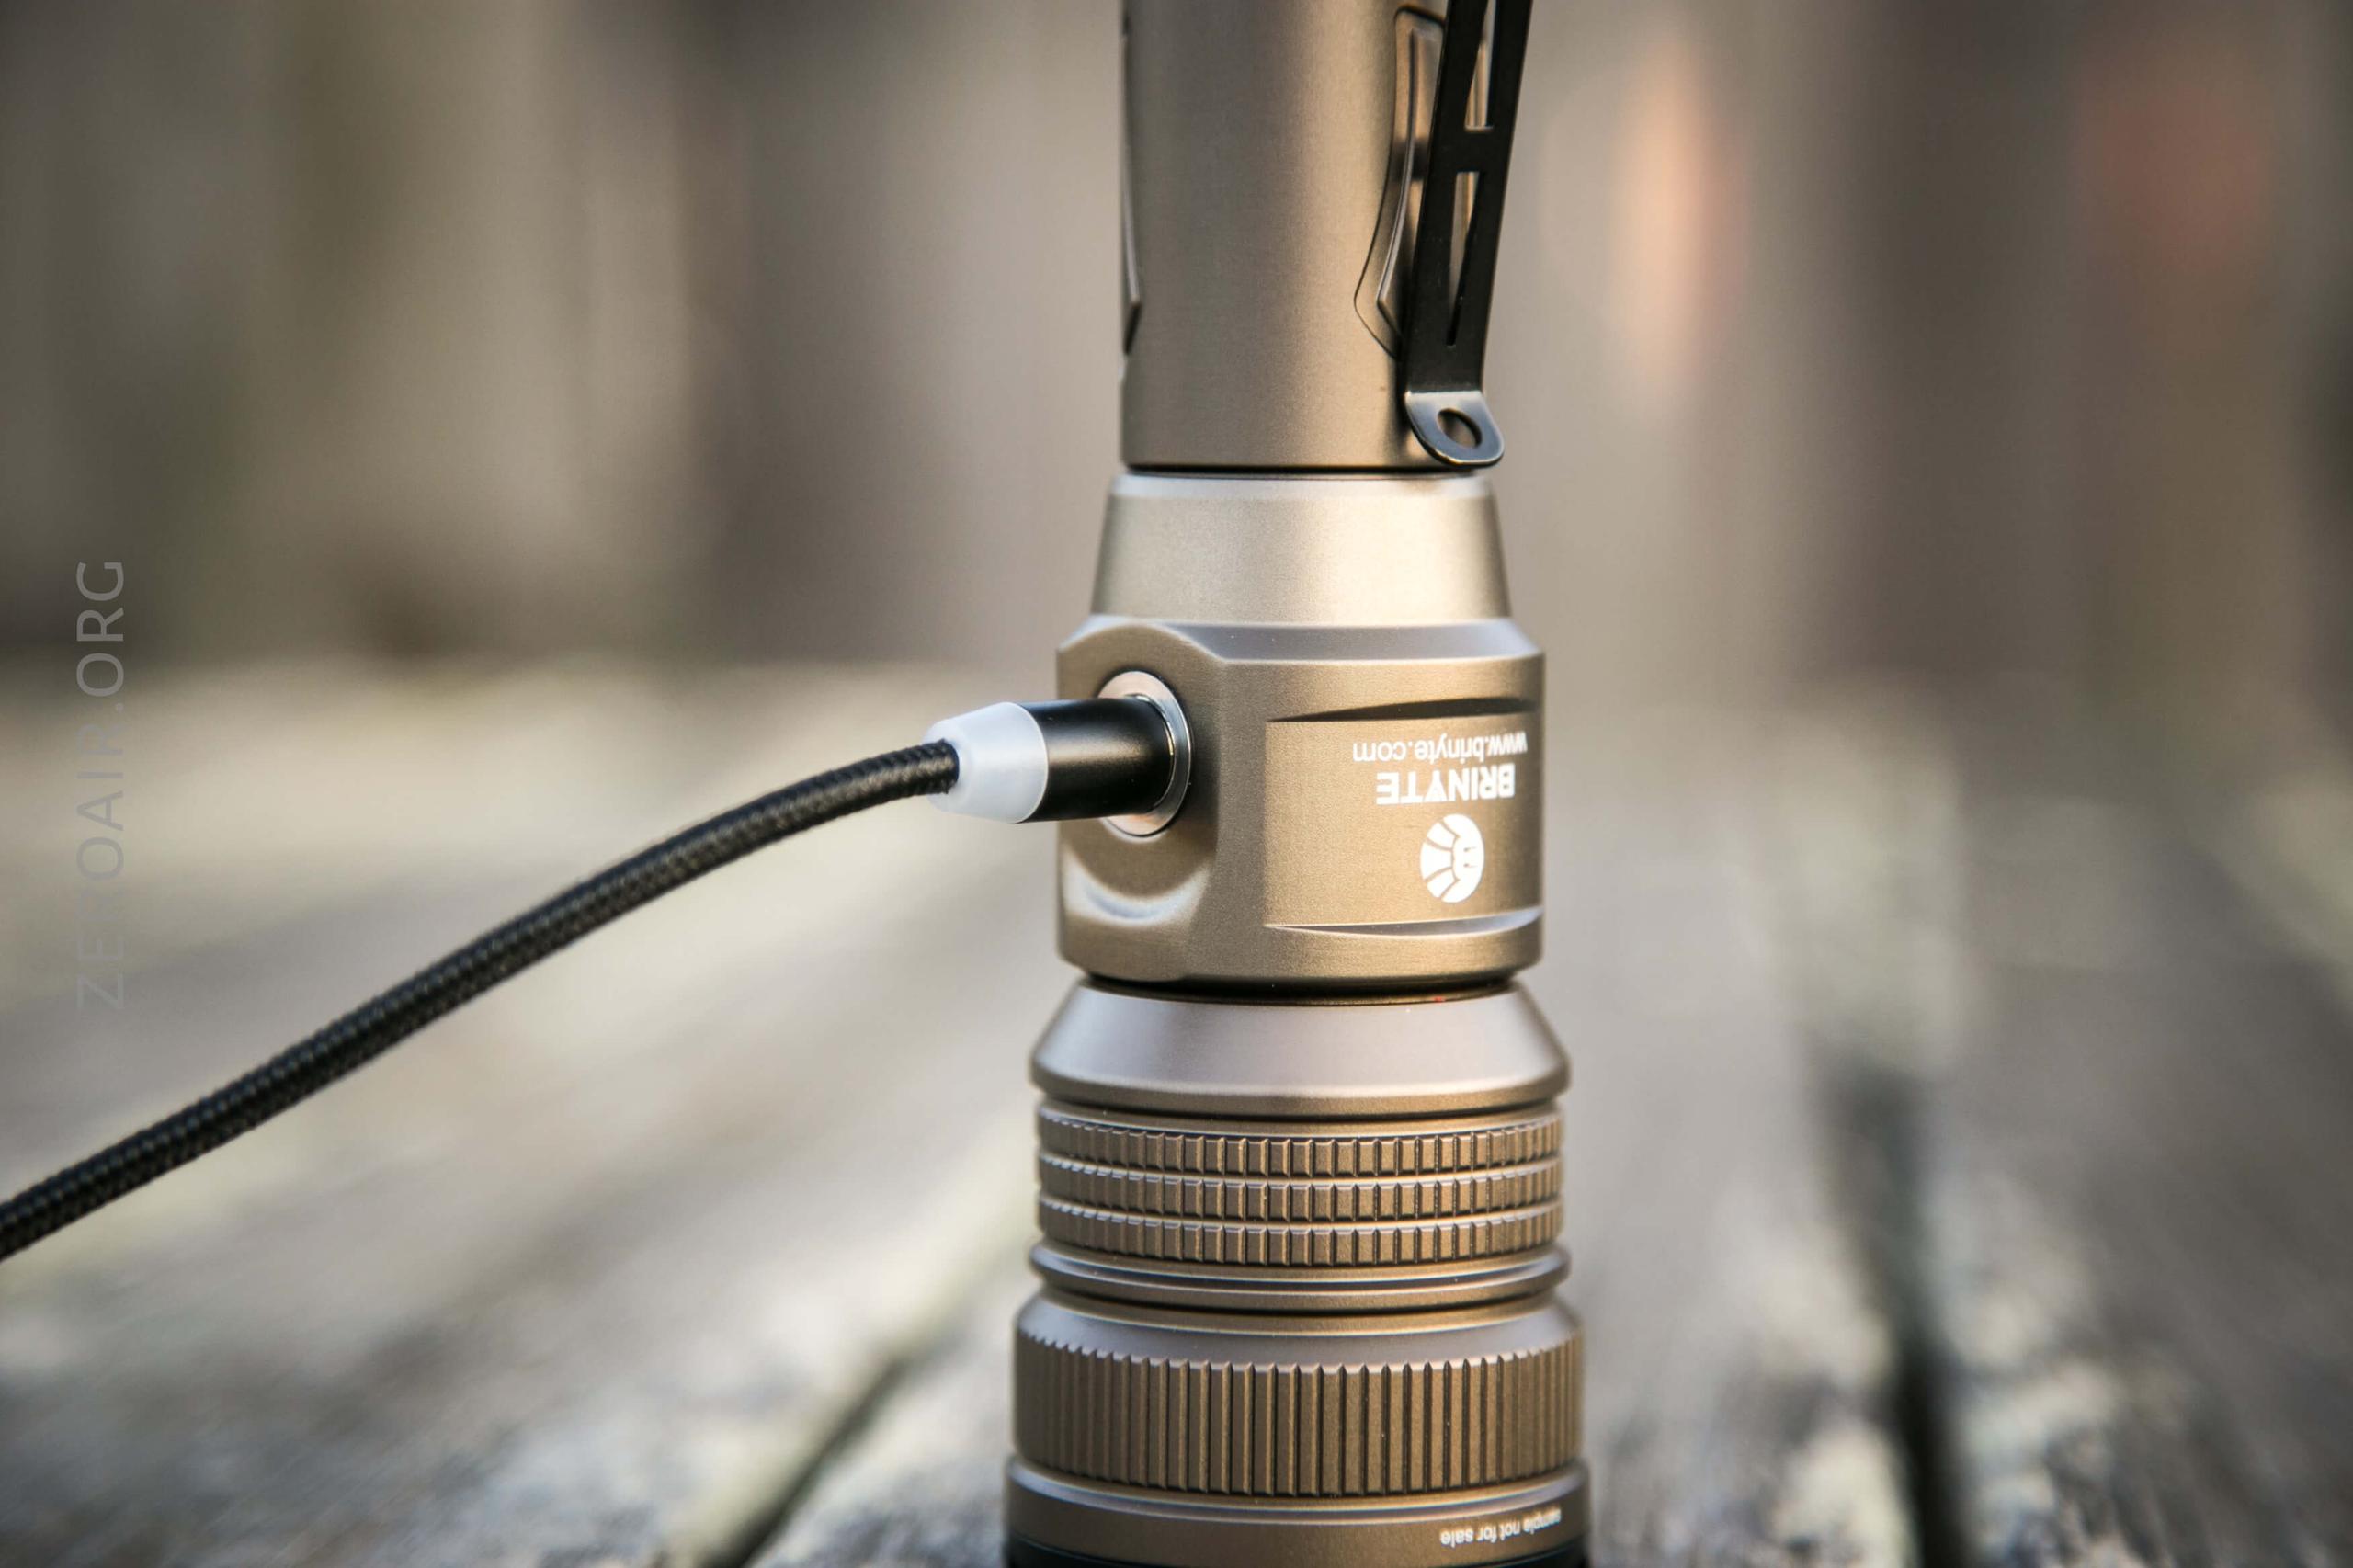
During charging, the indicating switch is constantly red. When the charge is complete, the switch is a constant green. The charge cable also has an indicator, but it’s mostly just a locator beacon – always blue. And it’s bright blue too.
Charging is as follows. Quite fast, at around 1.8A.
Modes and Currents
| Mode | Mode Claimed Output (lm) | Claimed Runtime | Measured Lumens | Tailcap Amps |
|---|---|---|---|---|
| Turbo | 2000 | 1m+90m | 1906 | 7.21 |
| High | 450 | 150m | 473 | 0.91 |
| Middle | 60 | 930m | 58 | 0.20 |
| Low | 10 | 1870m | 10 | 0.11 |
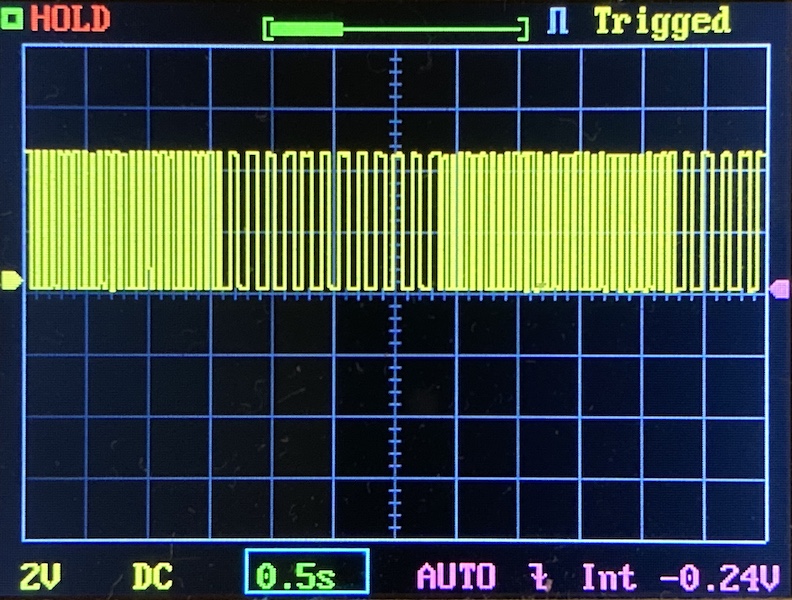
Pulse Width Modulation

Here you can see a “baseline” – a chart with almost no light hitting the sensor.
Then there’s the Ultrafire WF-602C flashlight, which has some of the worst PWM I’ve seen. It’s so bad that I used a post about it to explain PWM! Here are multiple timescales (10ms, 5ms, 2ms, 1ms, 0.5ms, 0.2ms) to make comparing this “worst” PWM light to the test light easier. That post also explains why I didn’t test the WF-602C at the usual 50us scale.
And just for fun, here’s strobe.
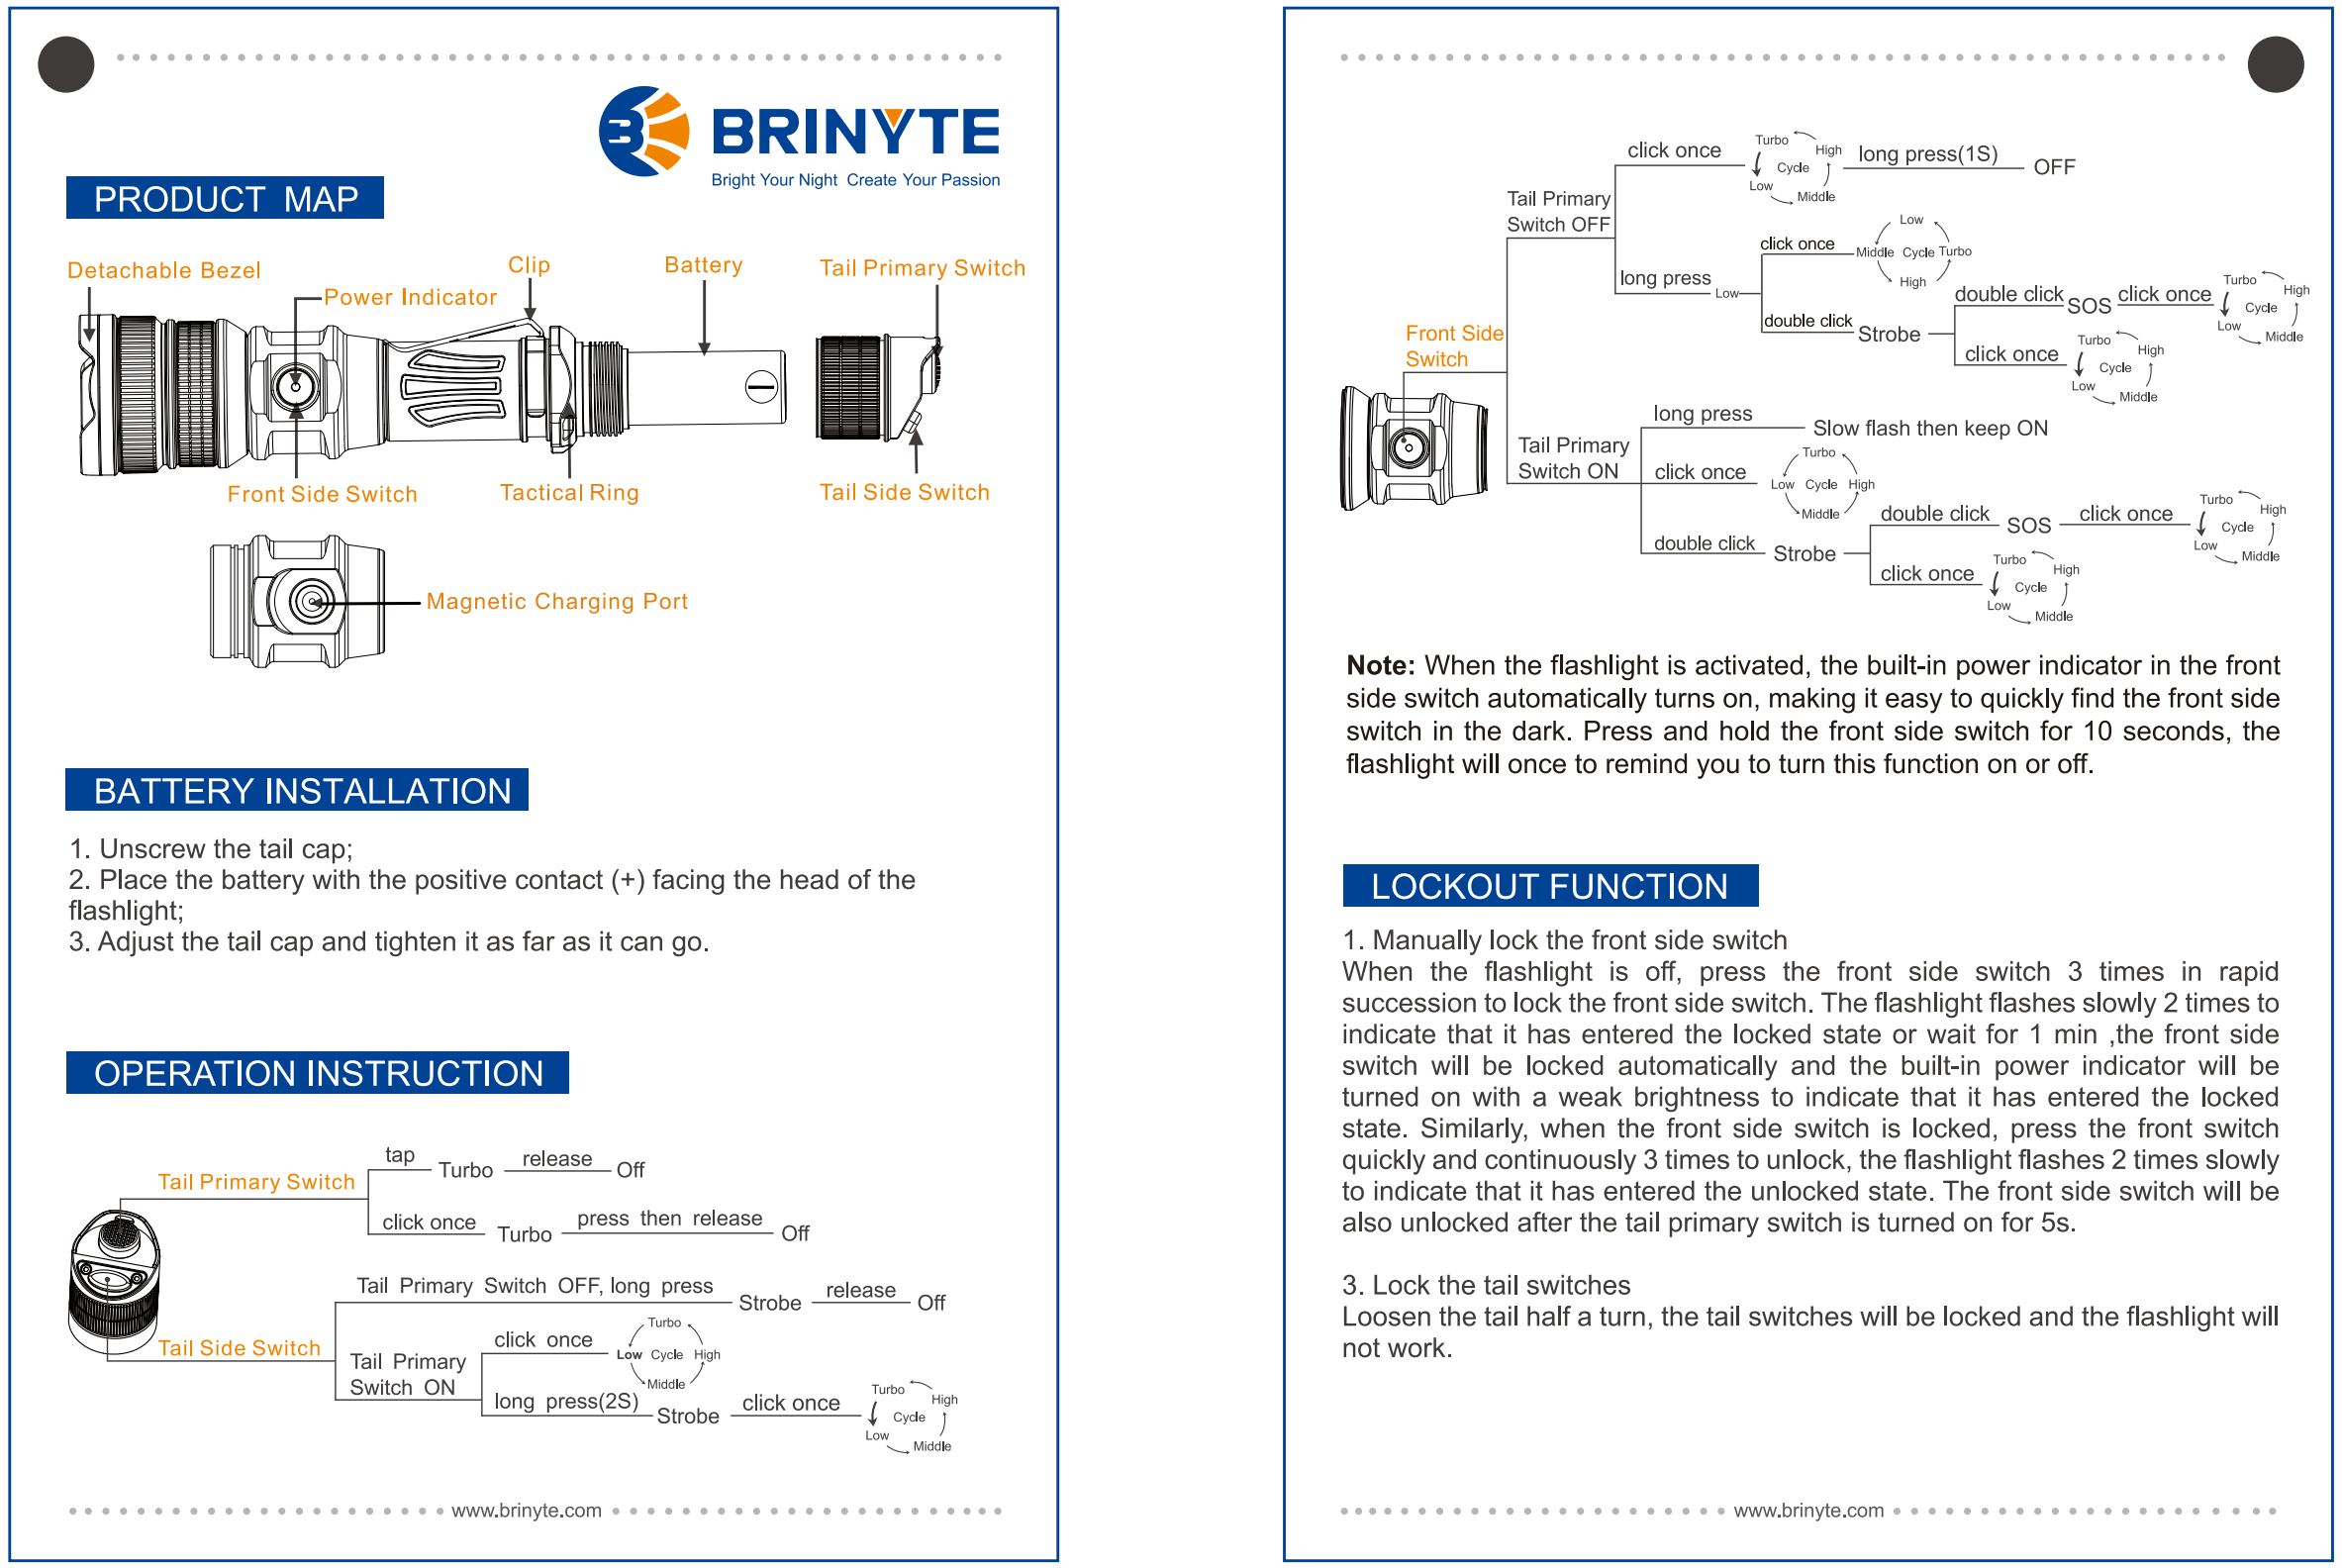
User Interface and Operation
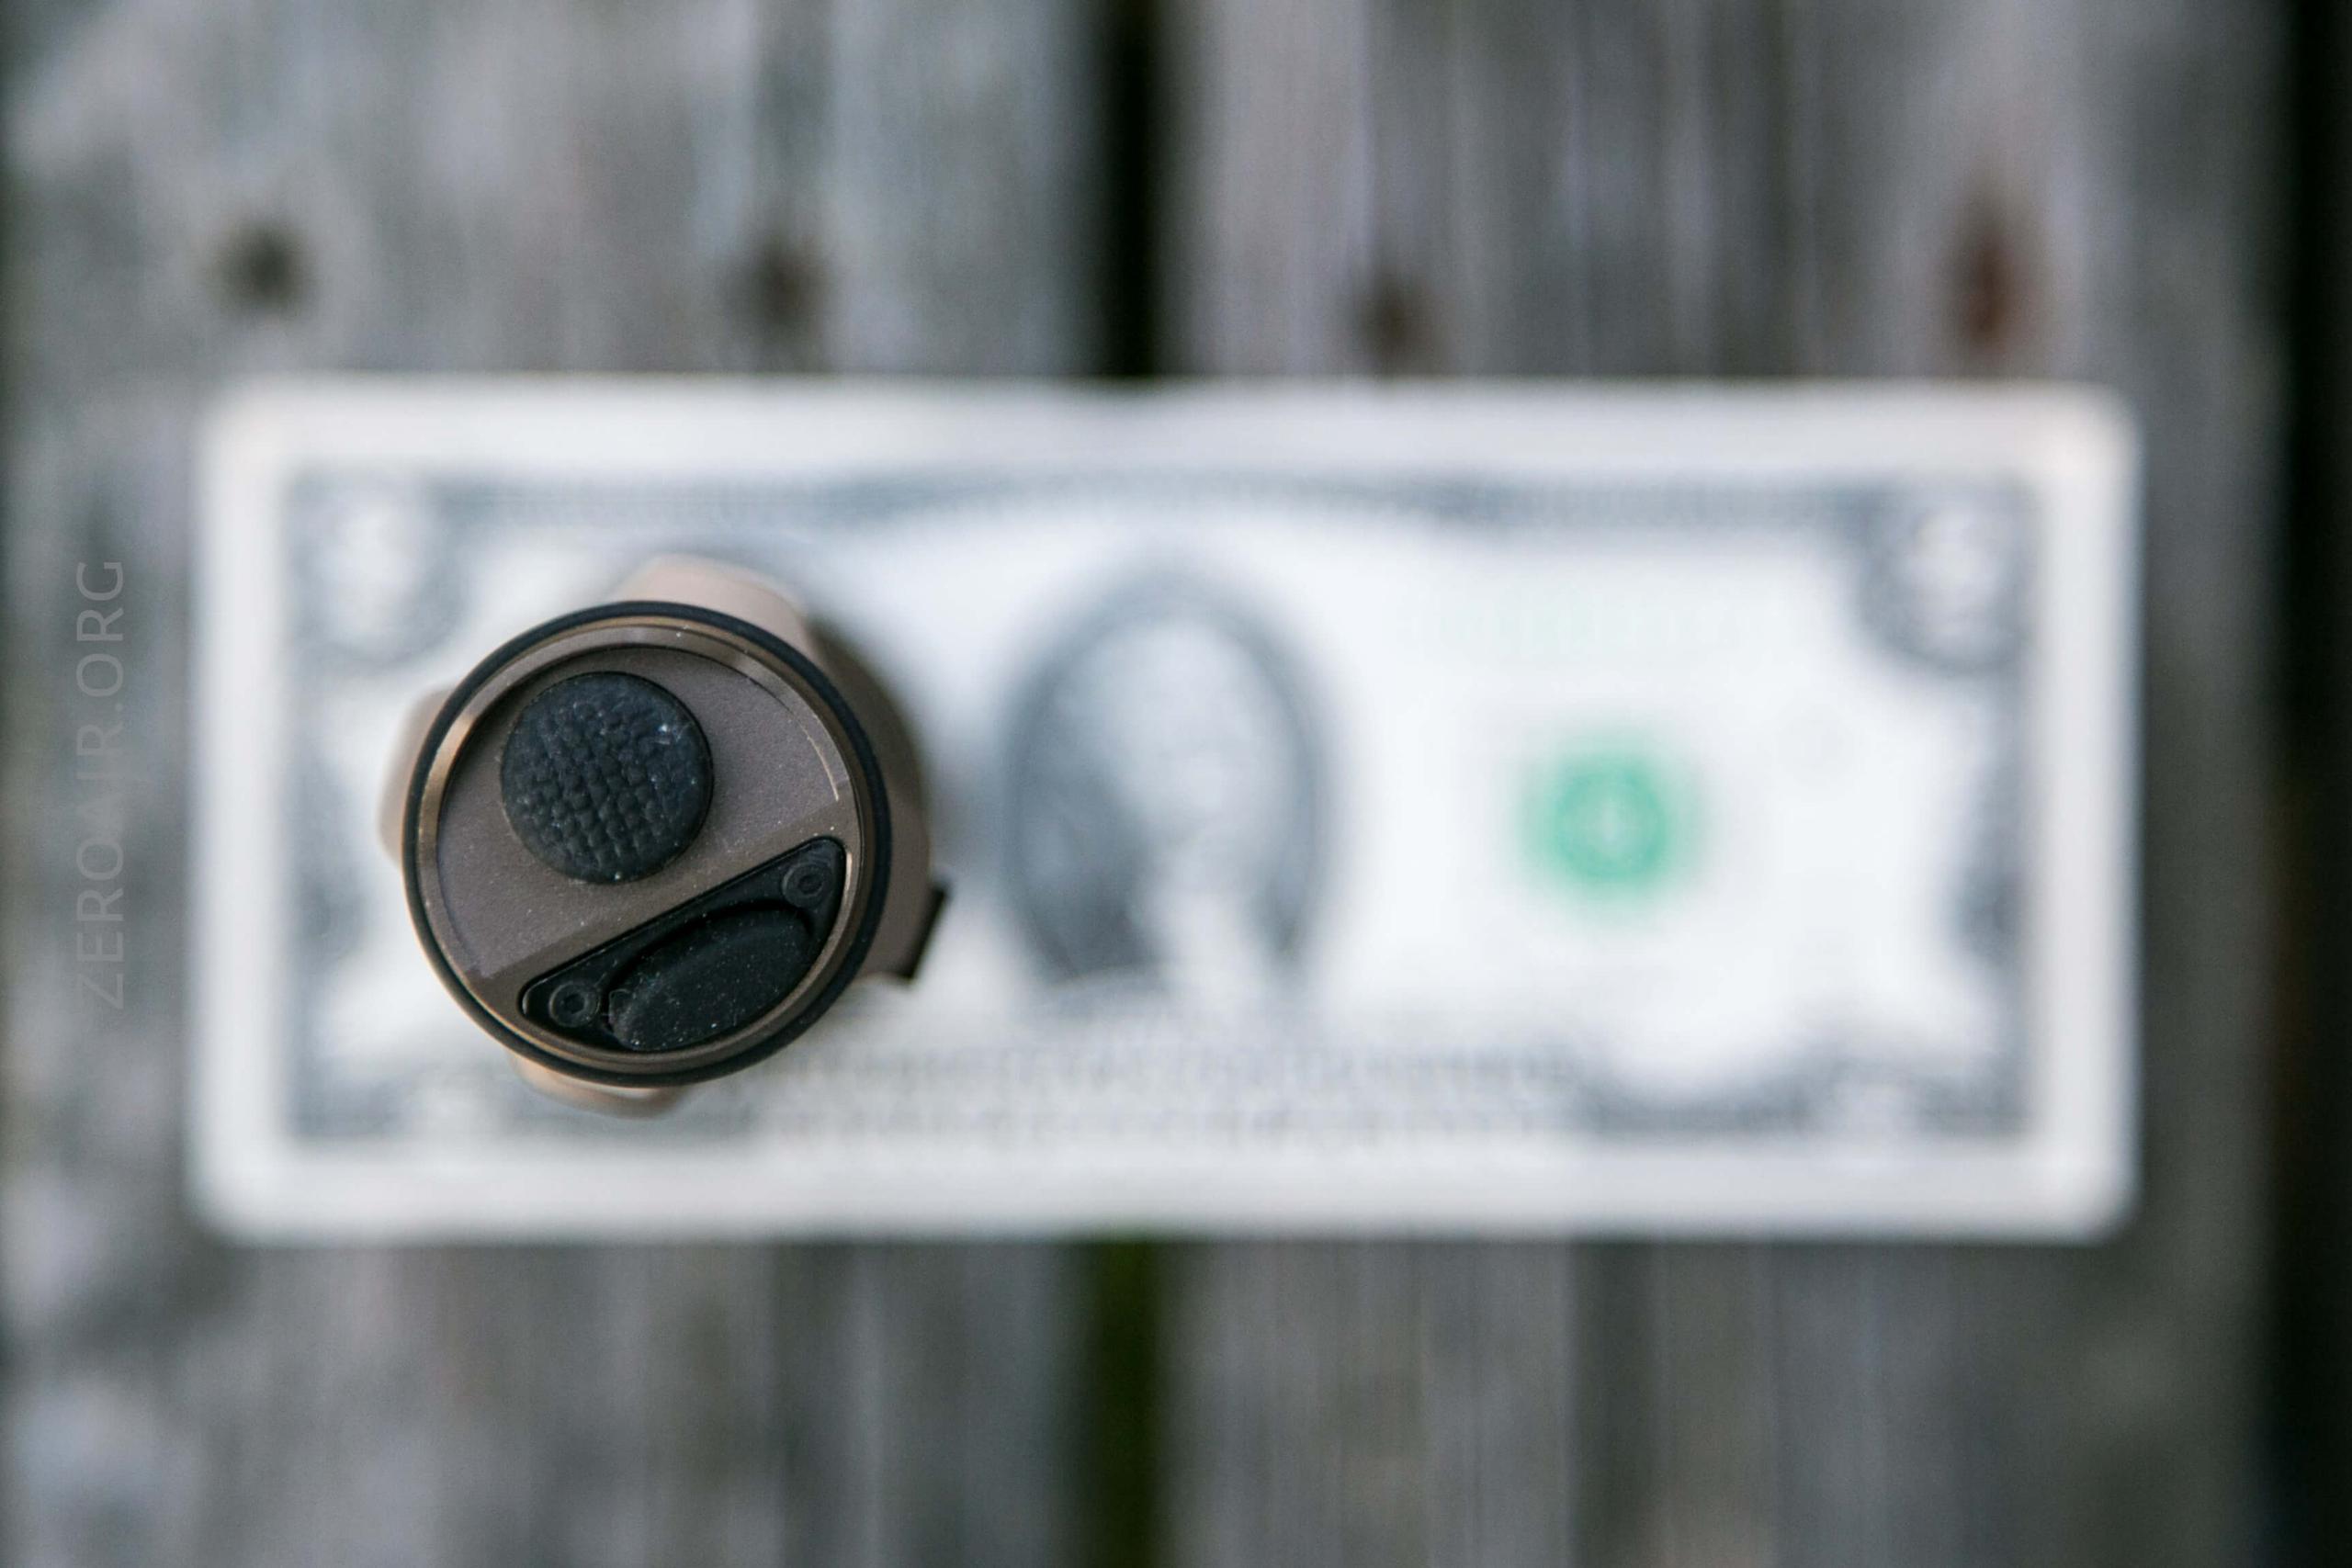
There are three switches on the PT18 Pro. First are the tail switches – one proud mechanical switch, and one “side” e-switch. Normally, a paddle switch would be there, but this is just a proud, angled e-switch.
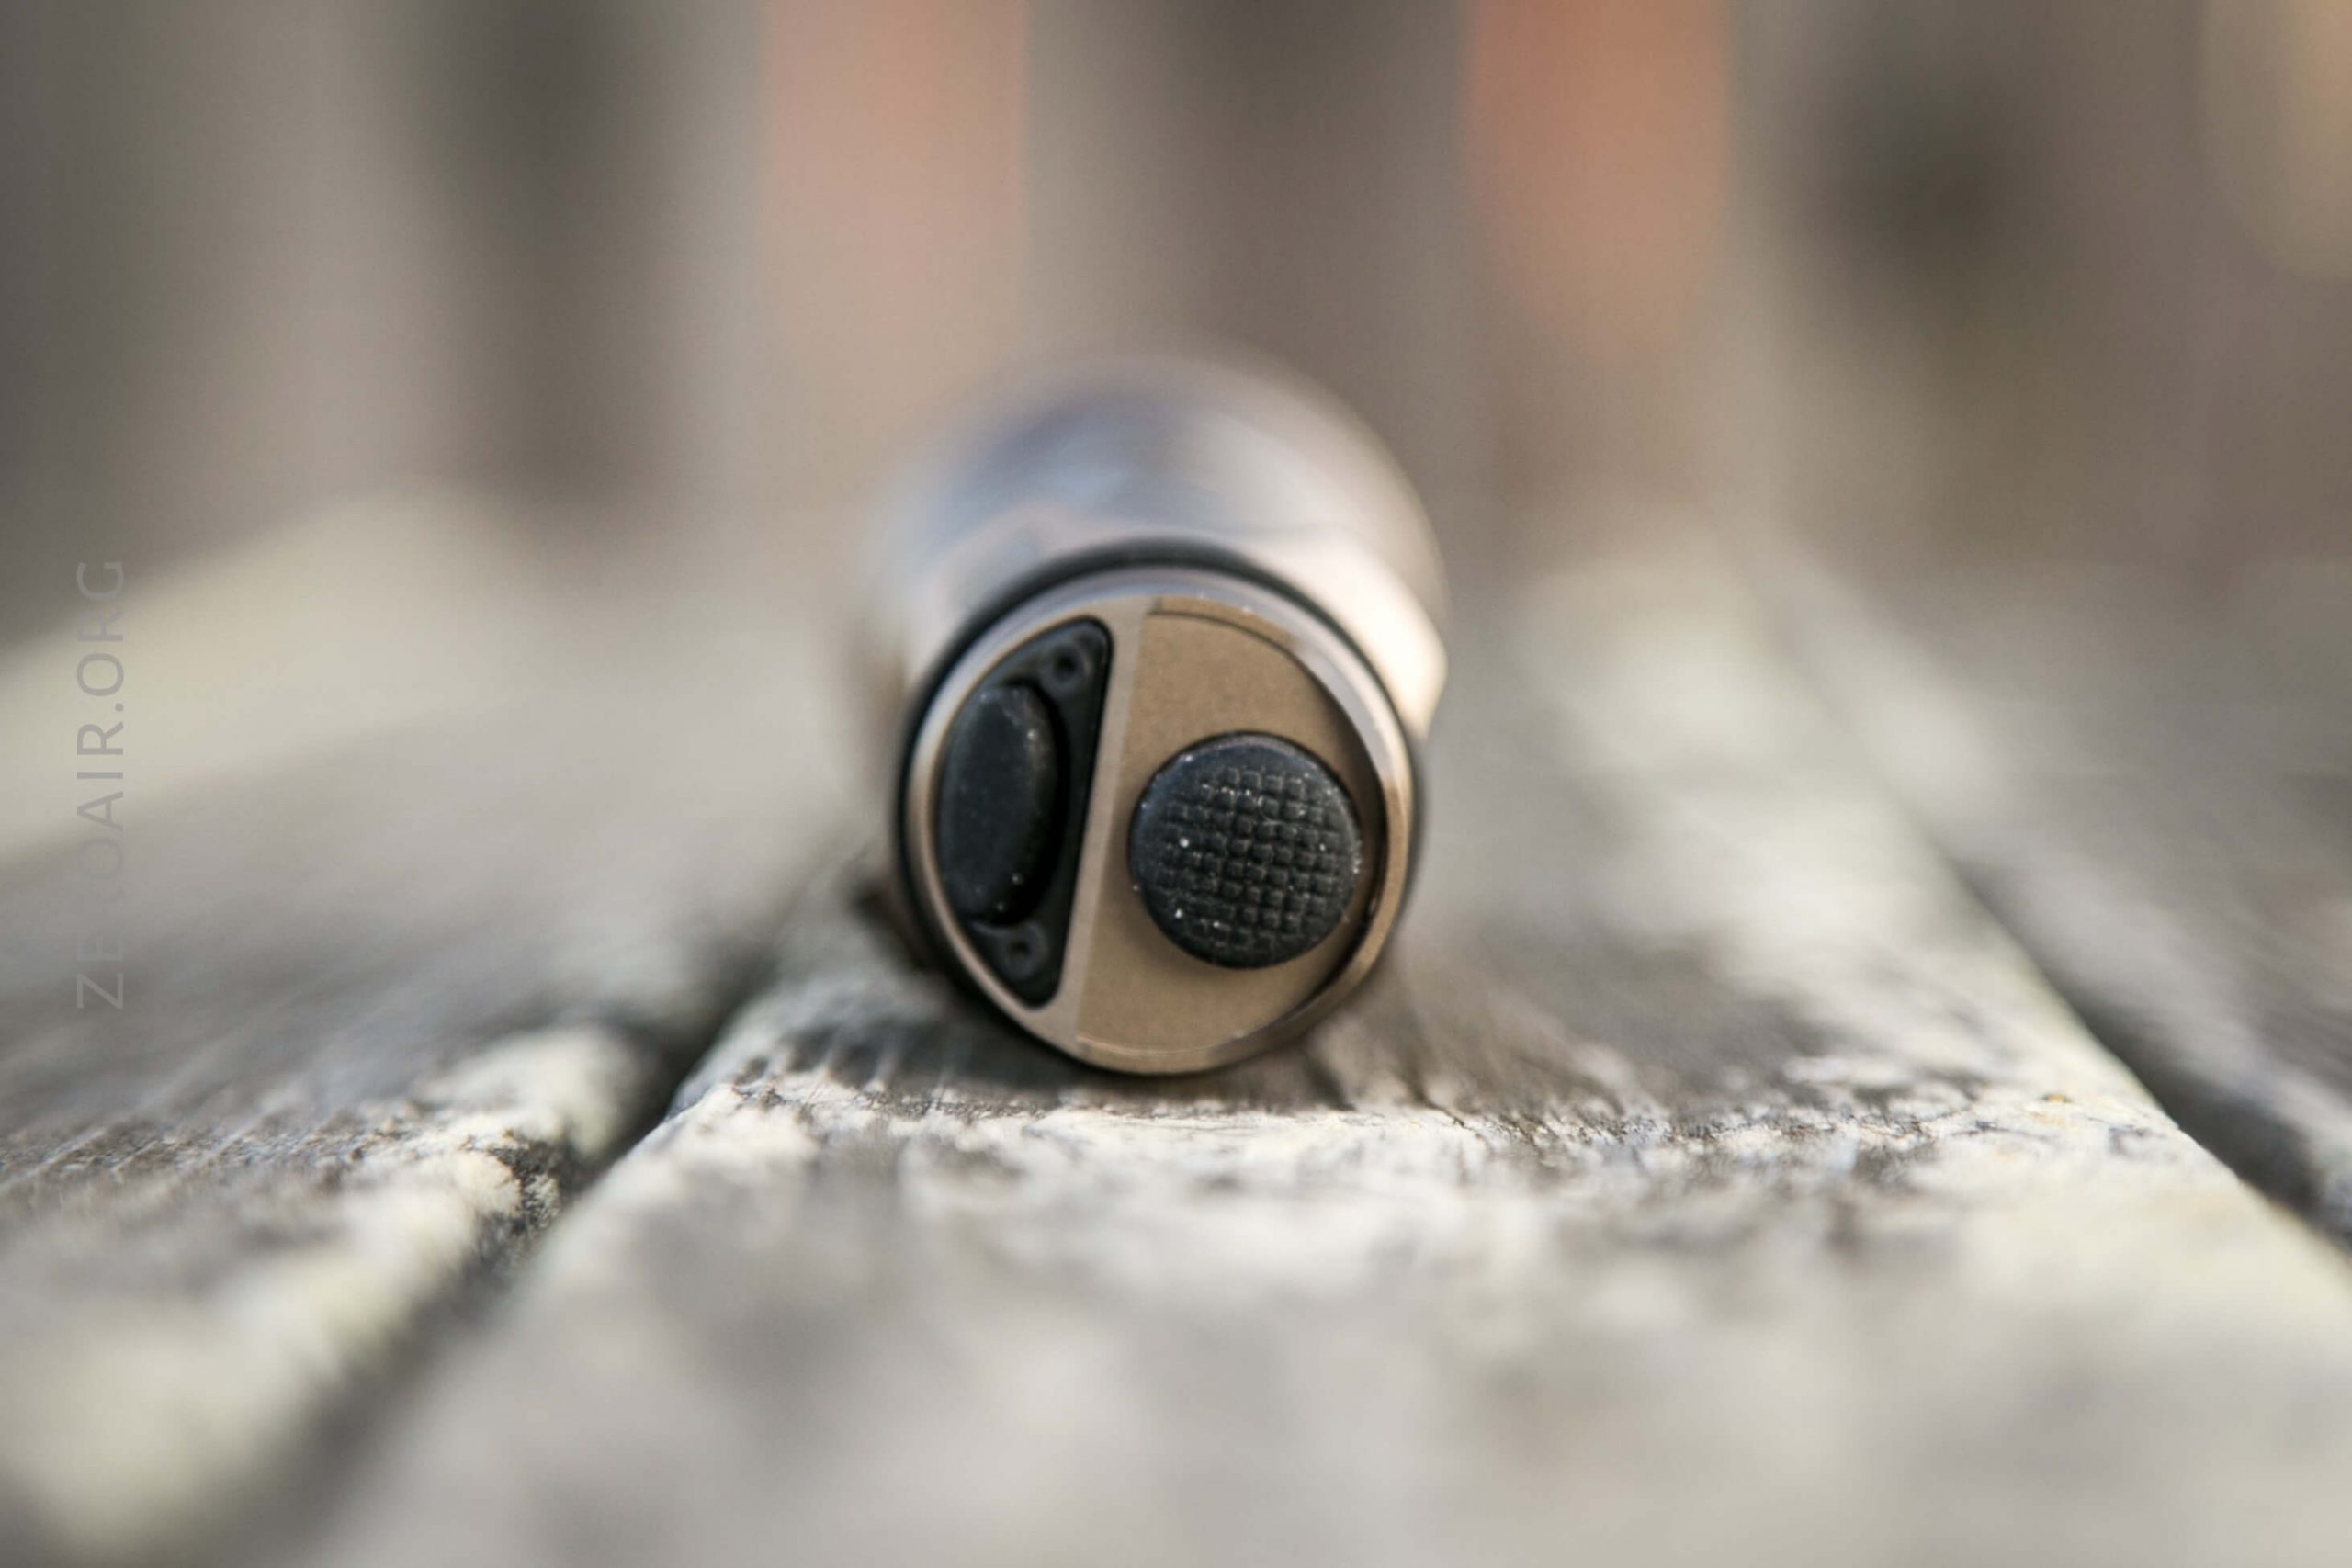
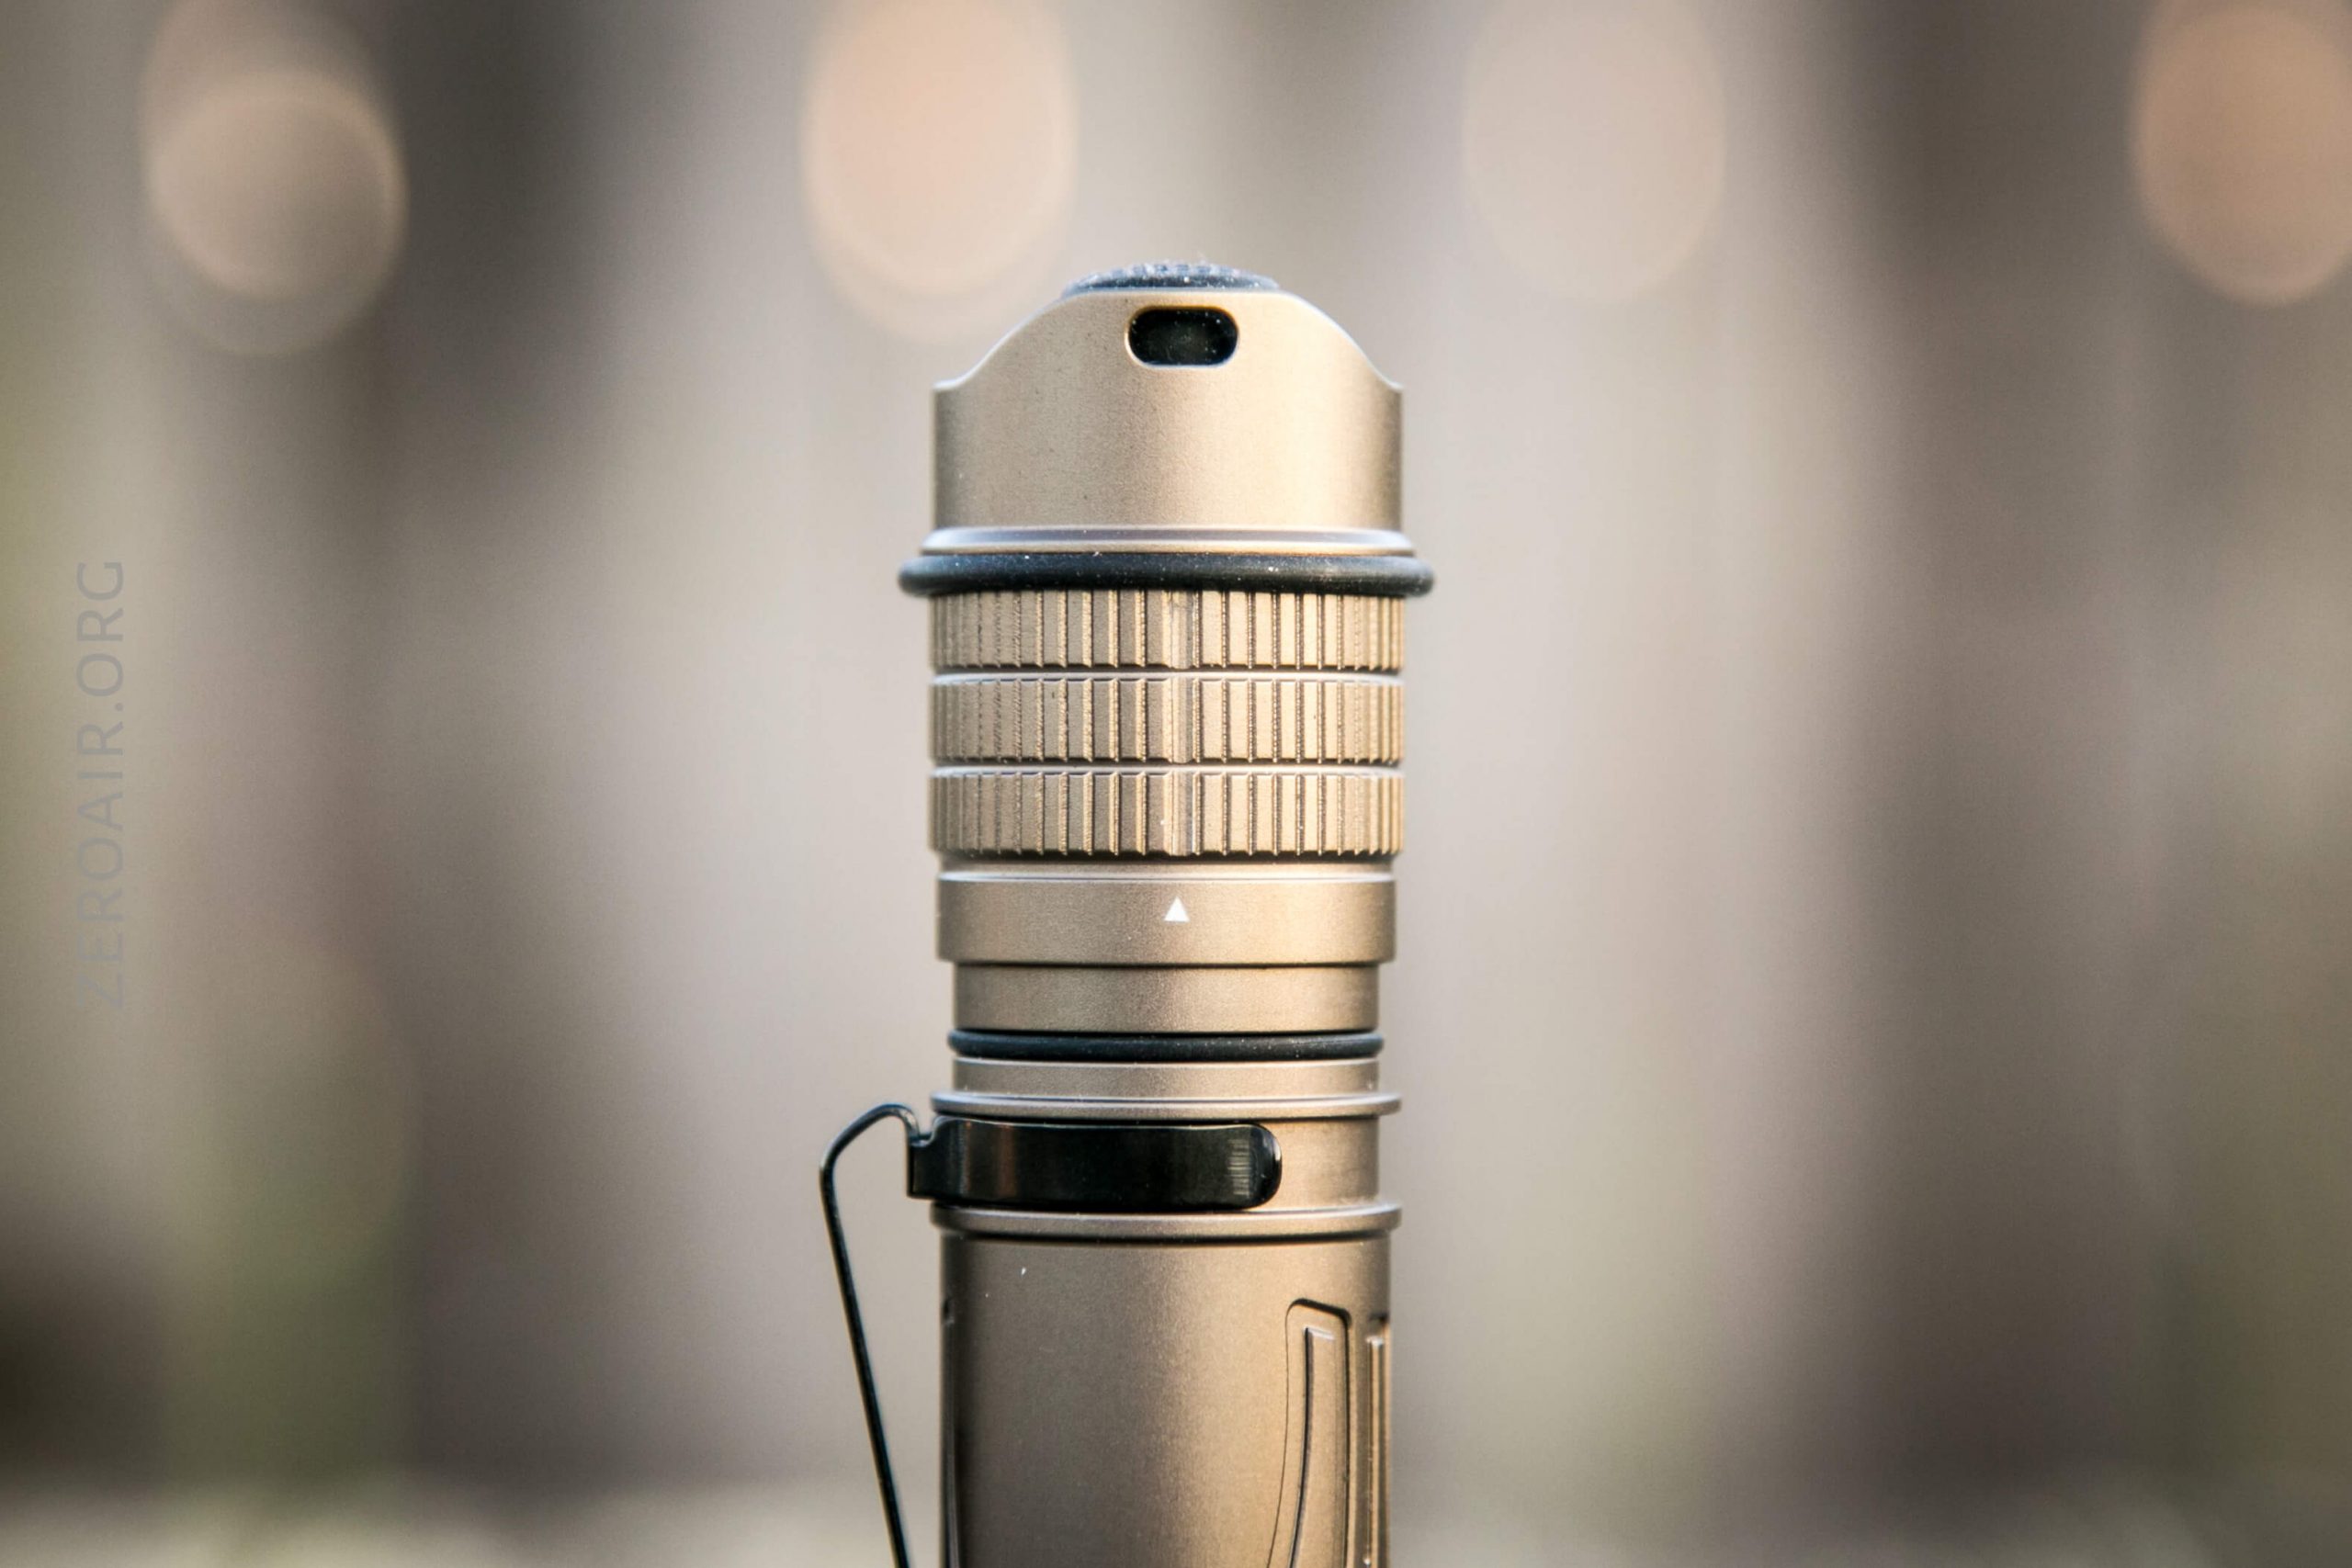
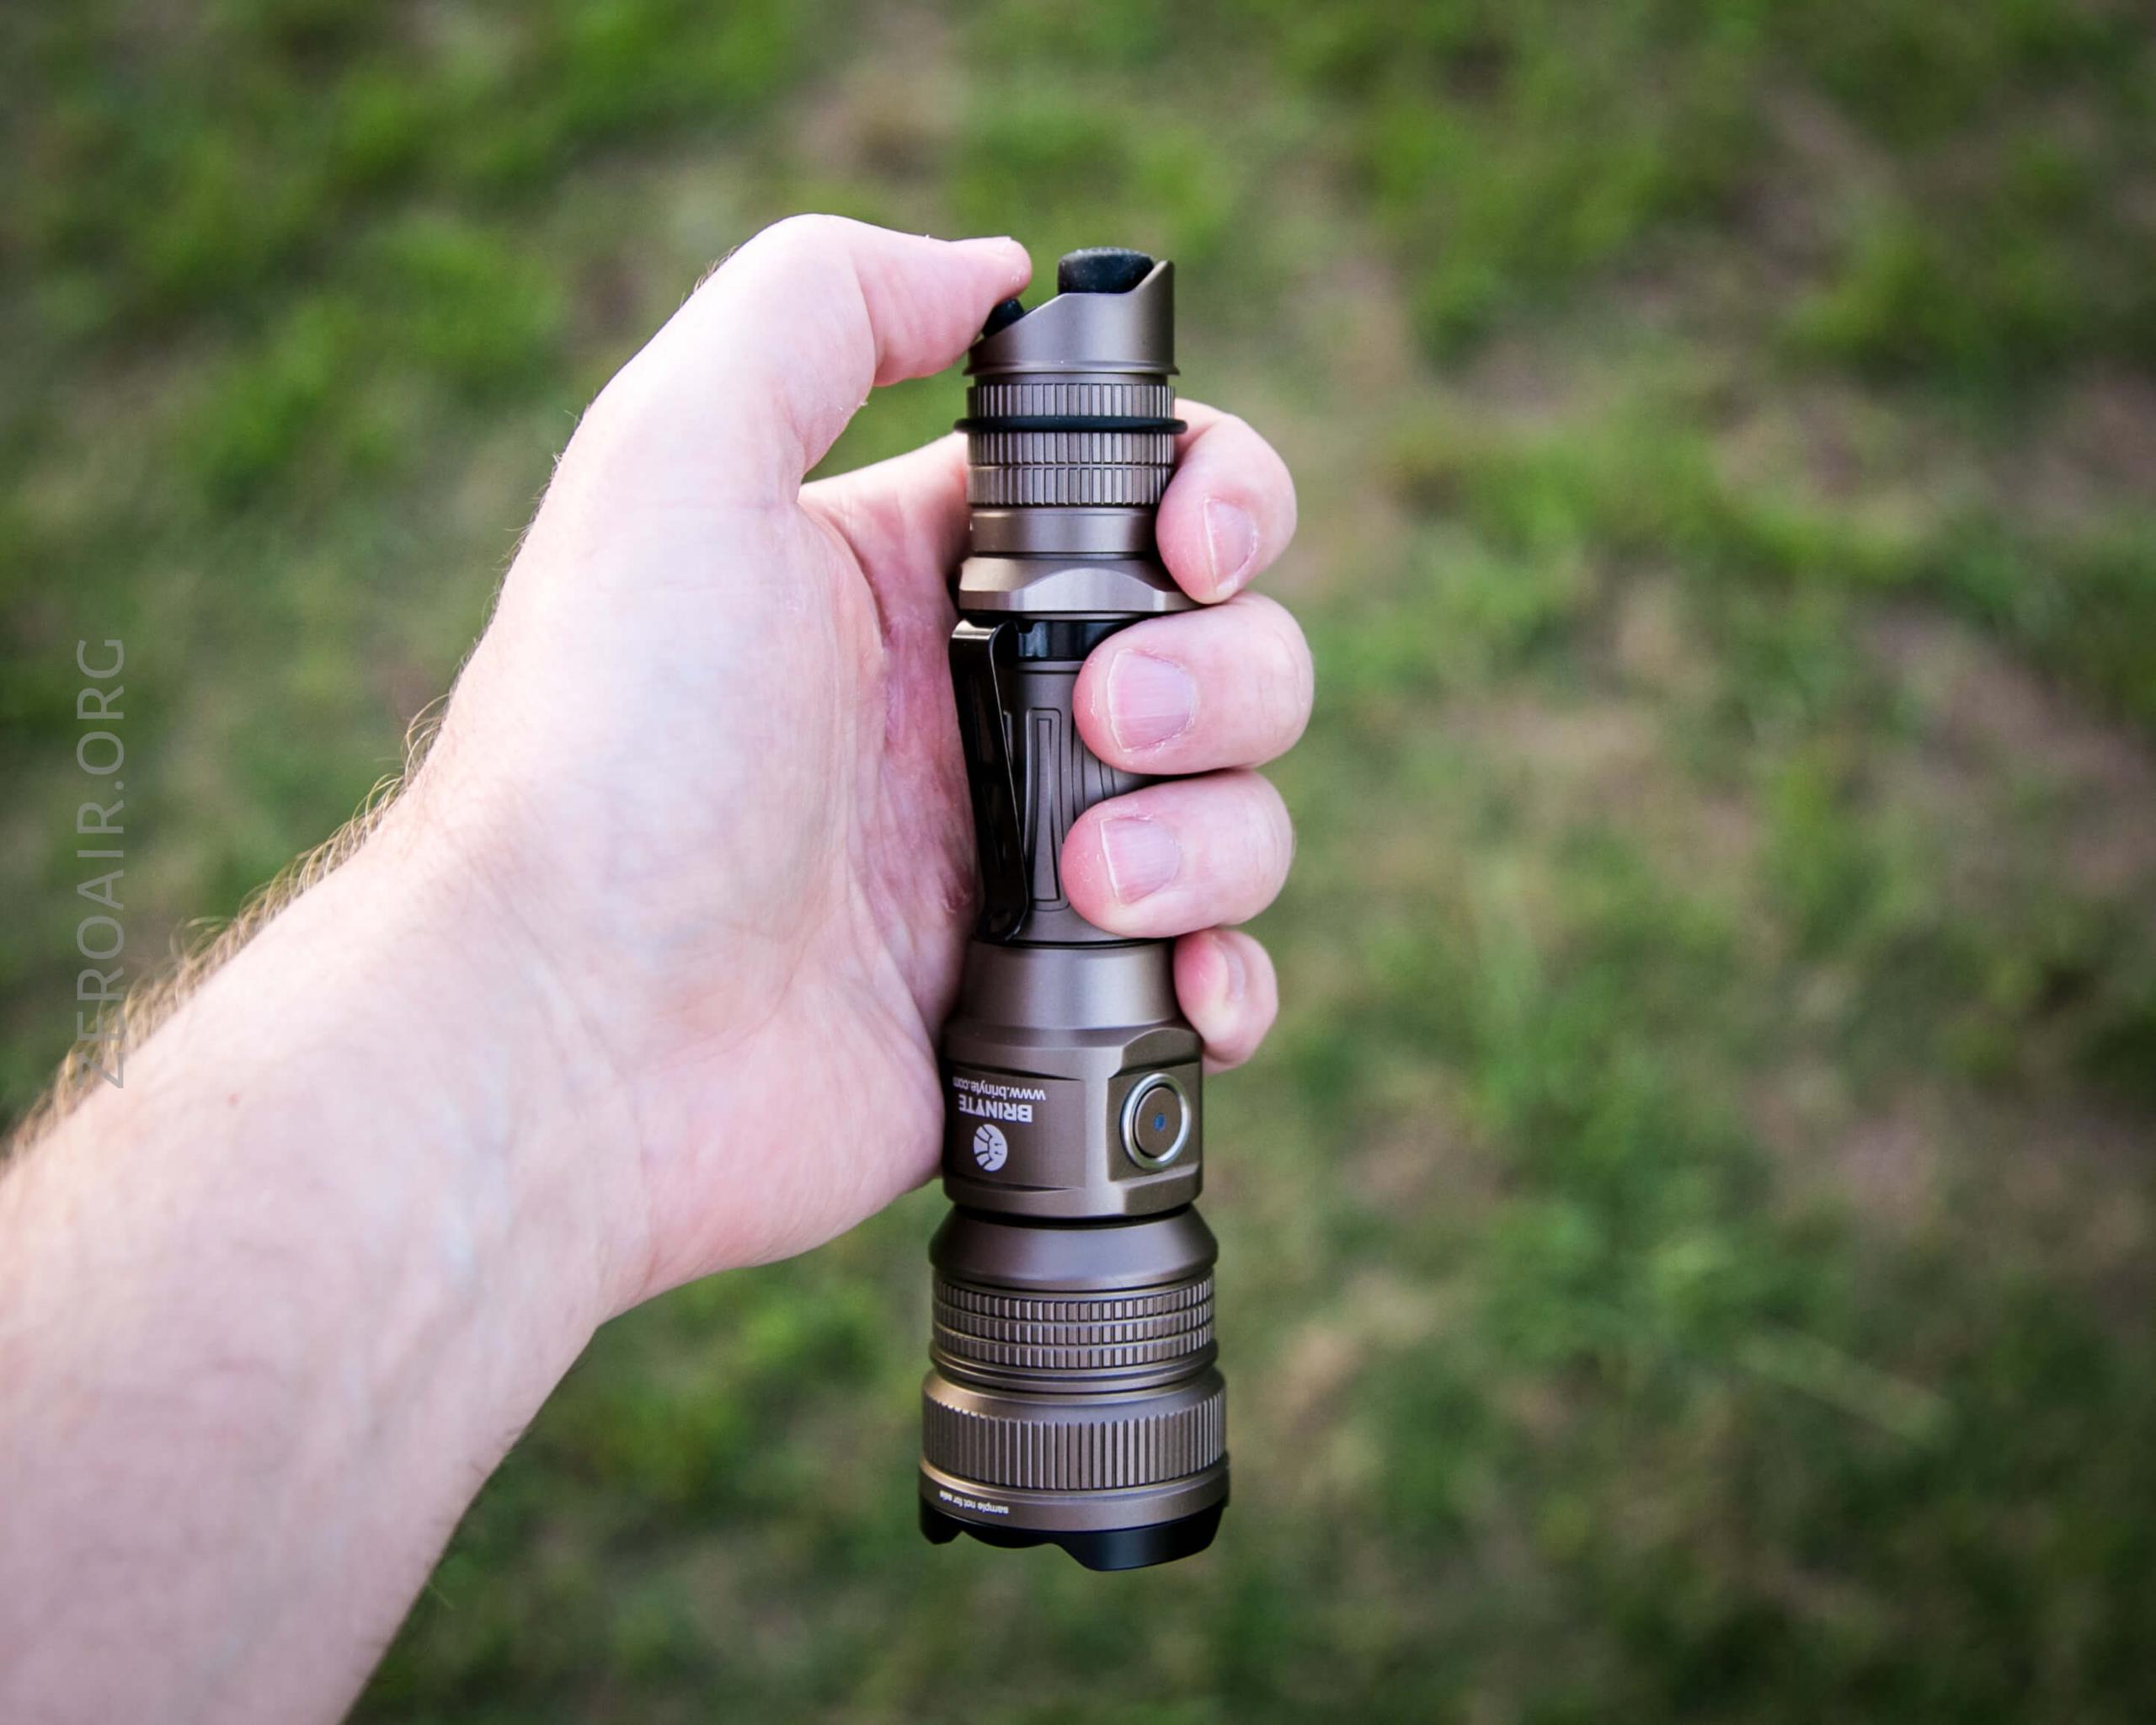
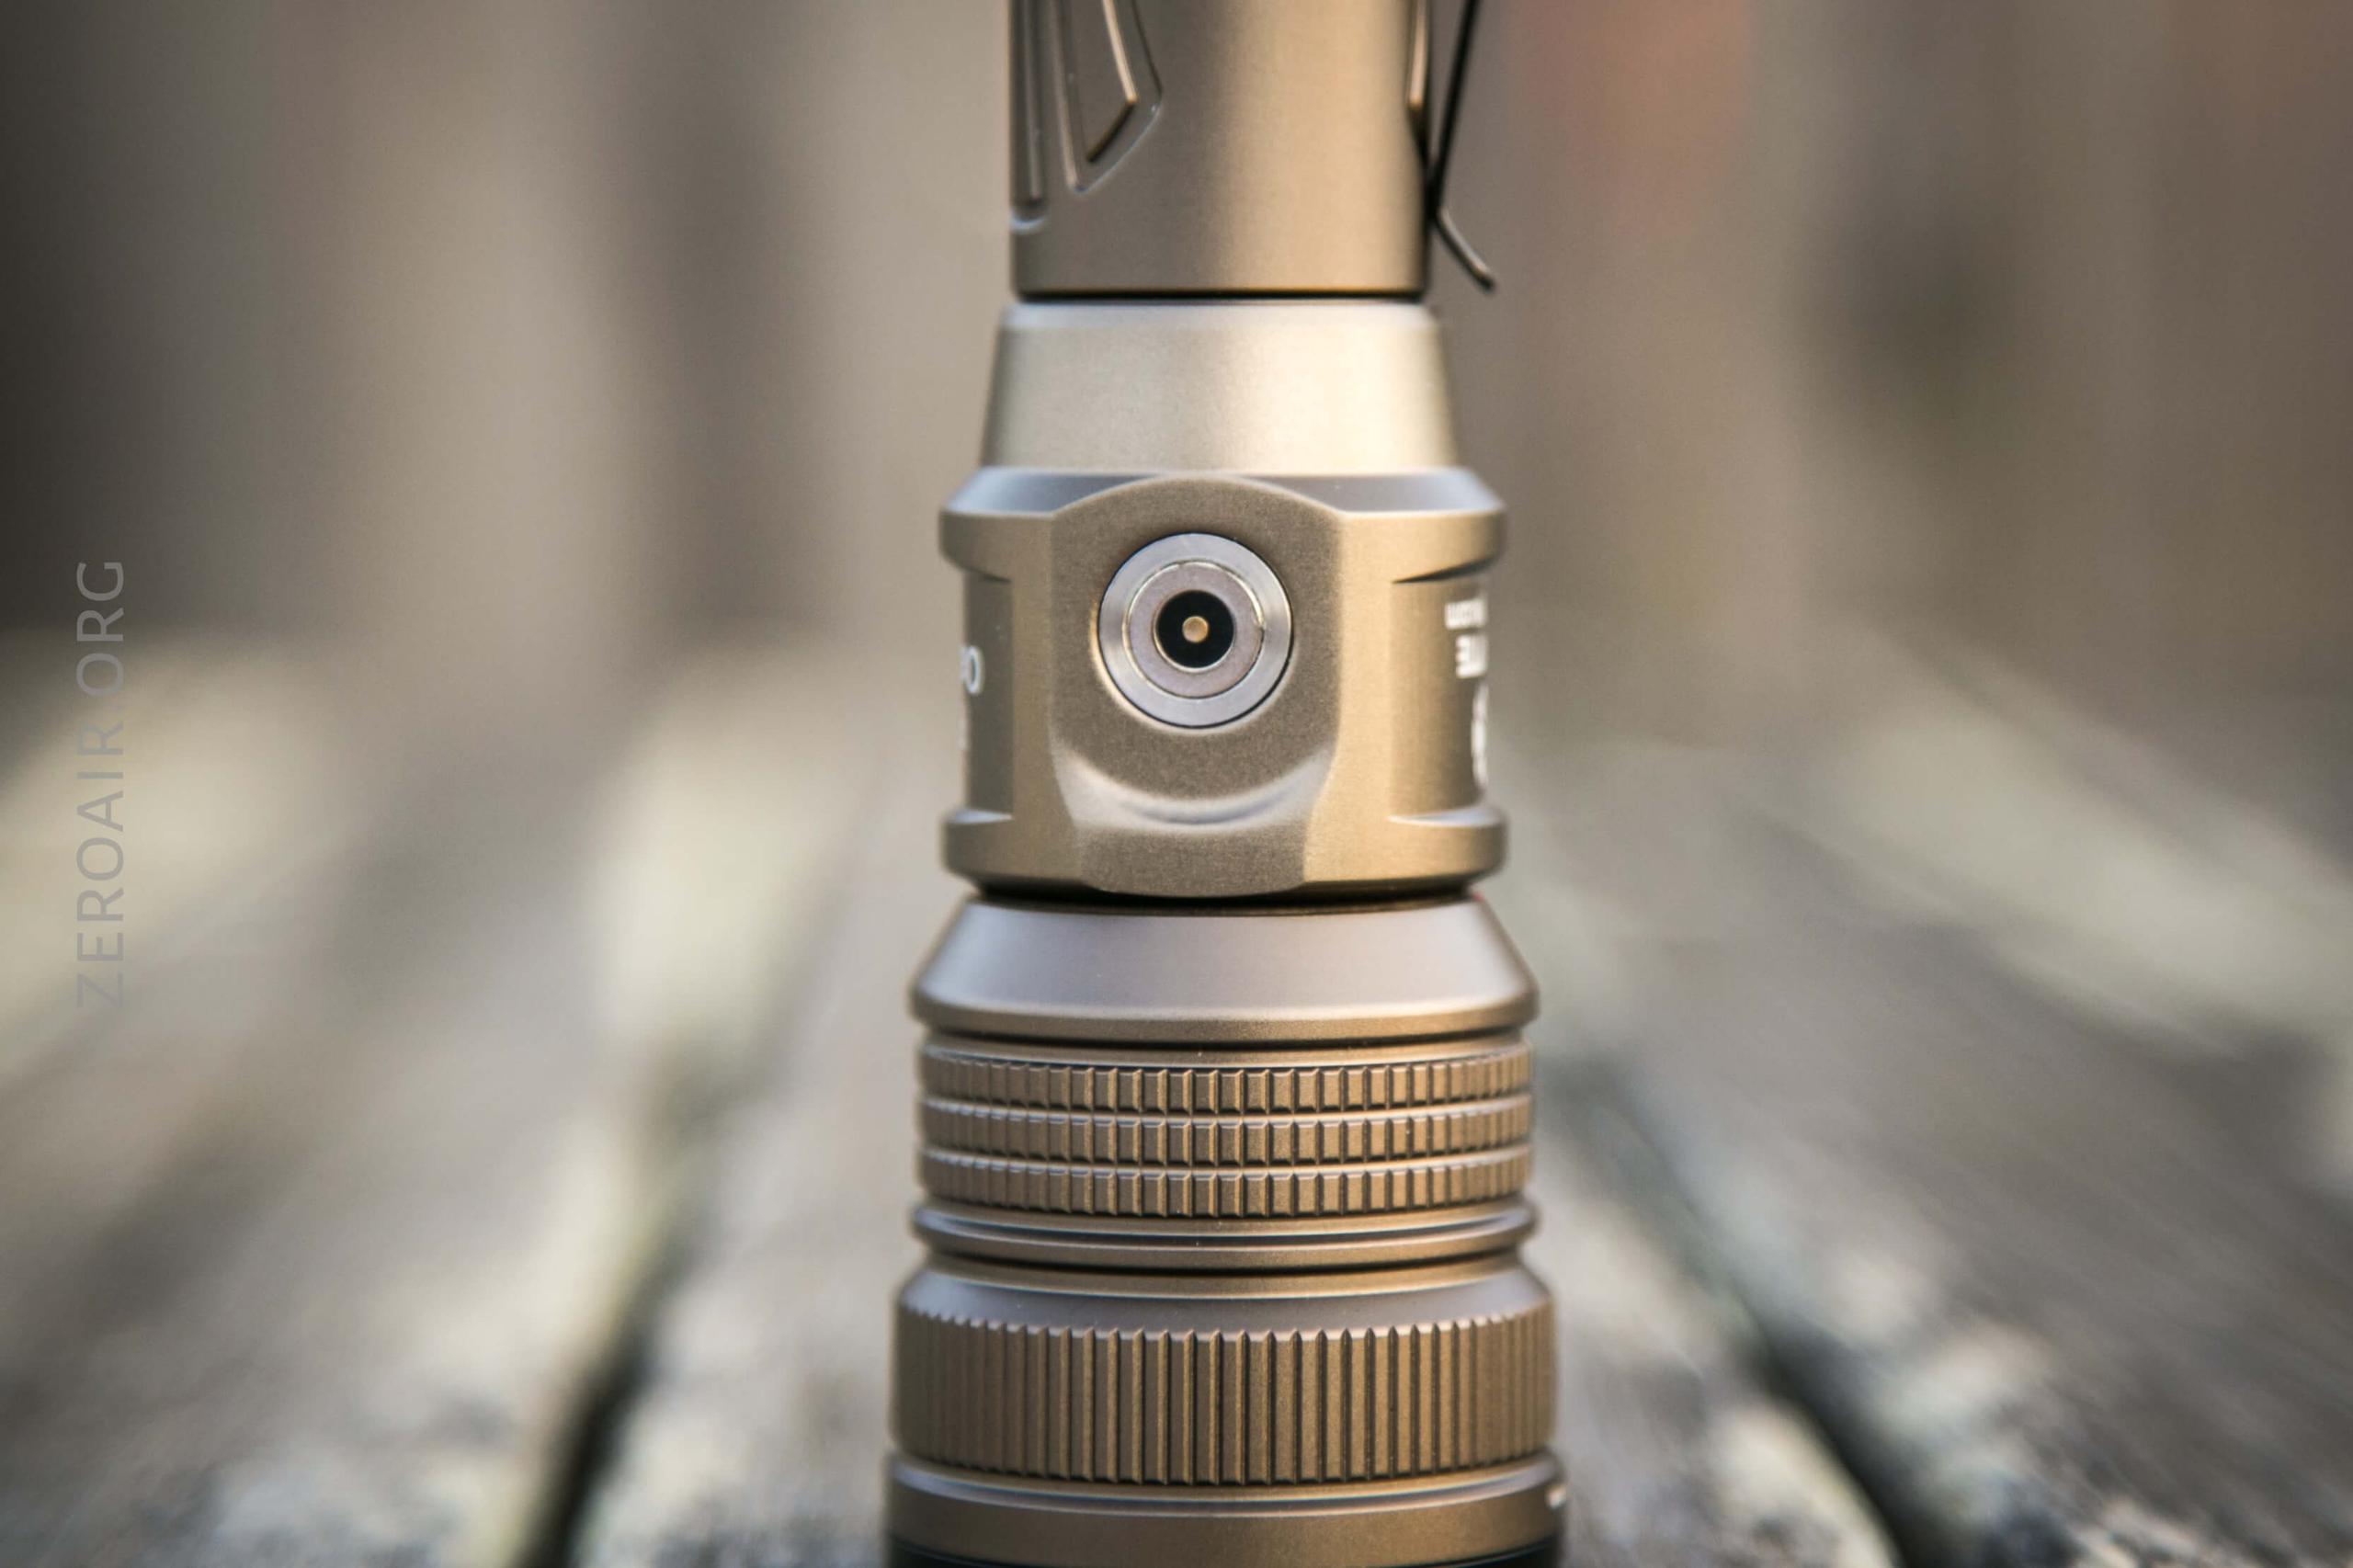
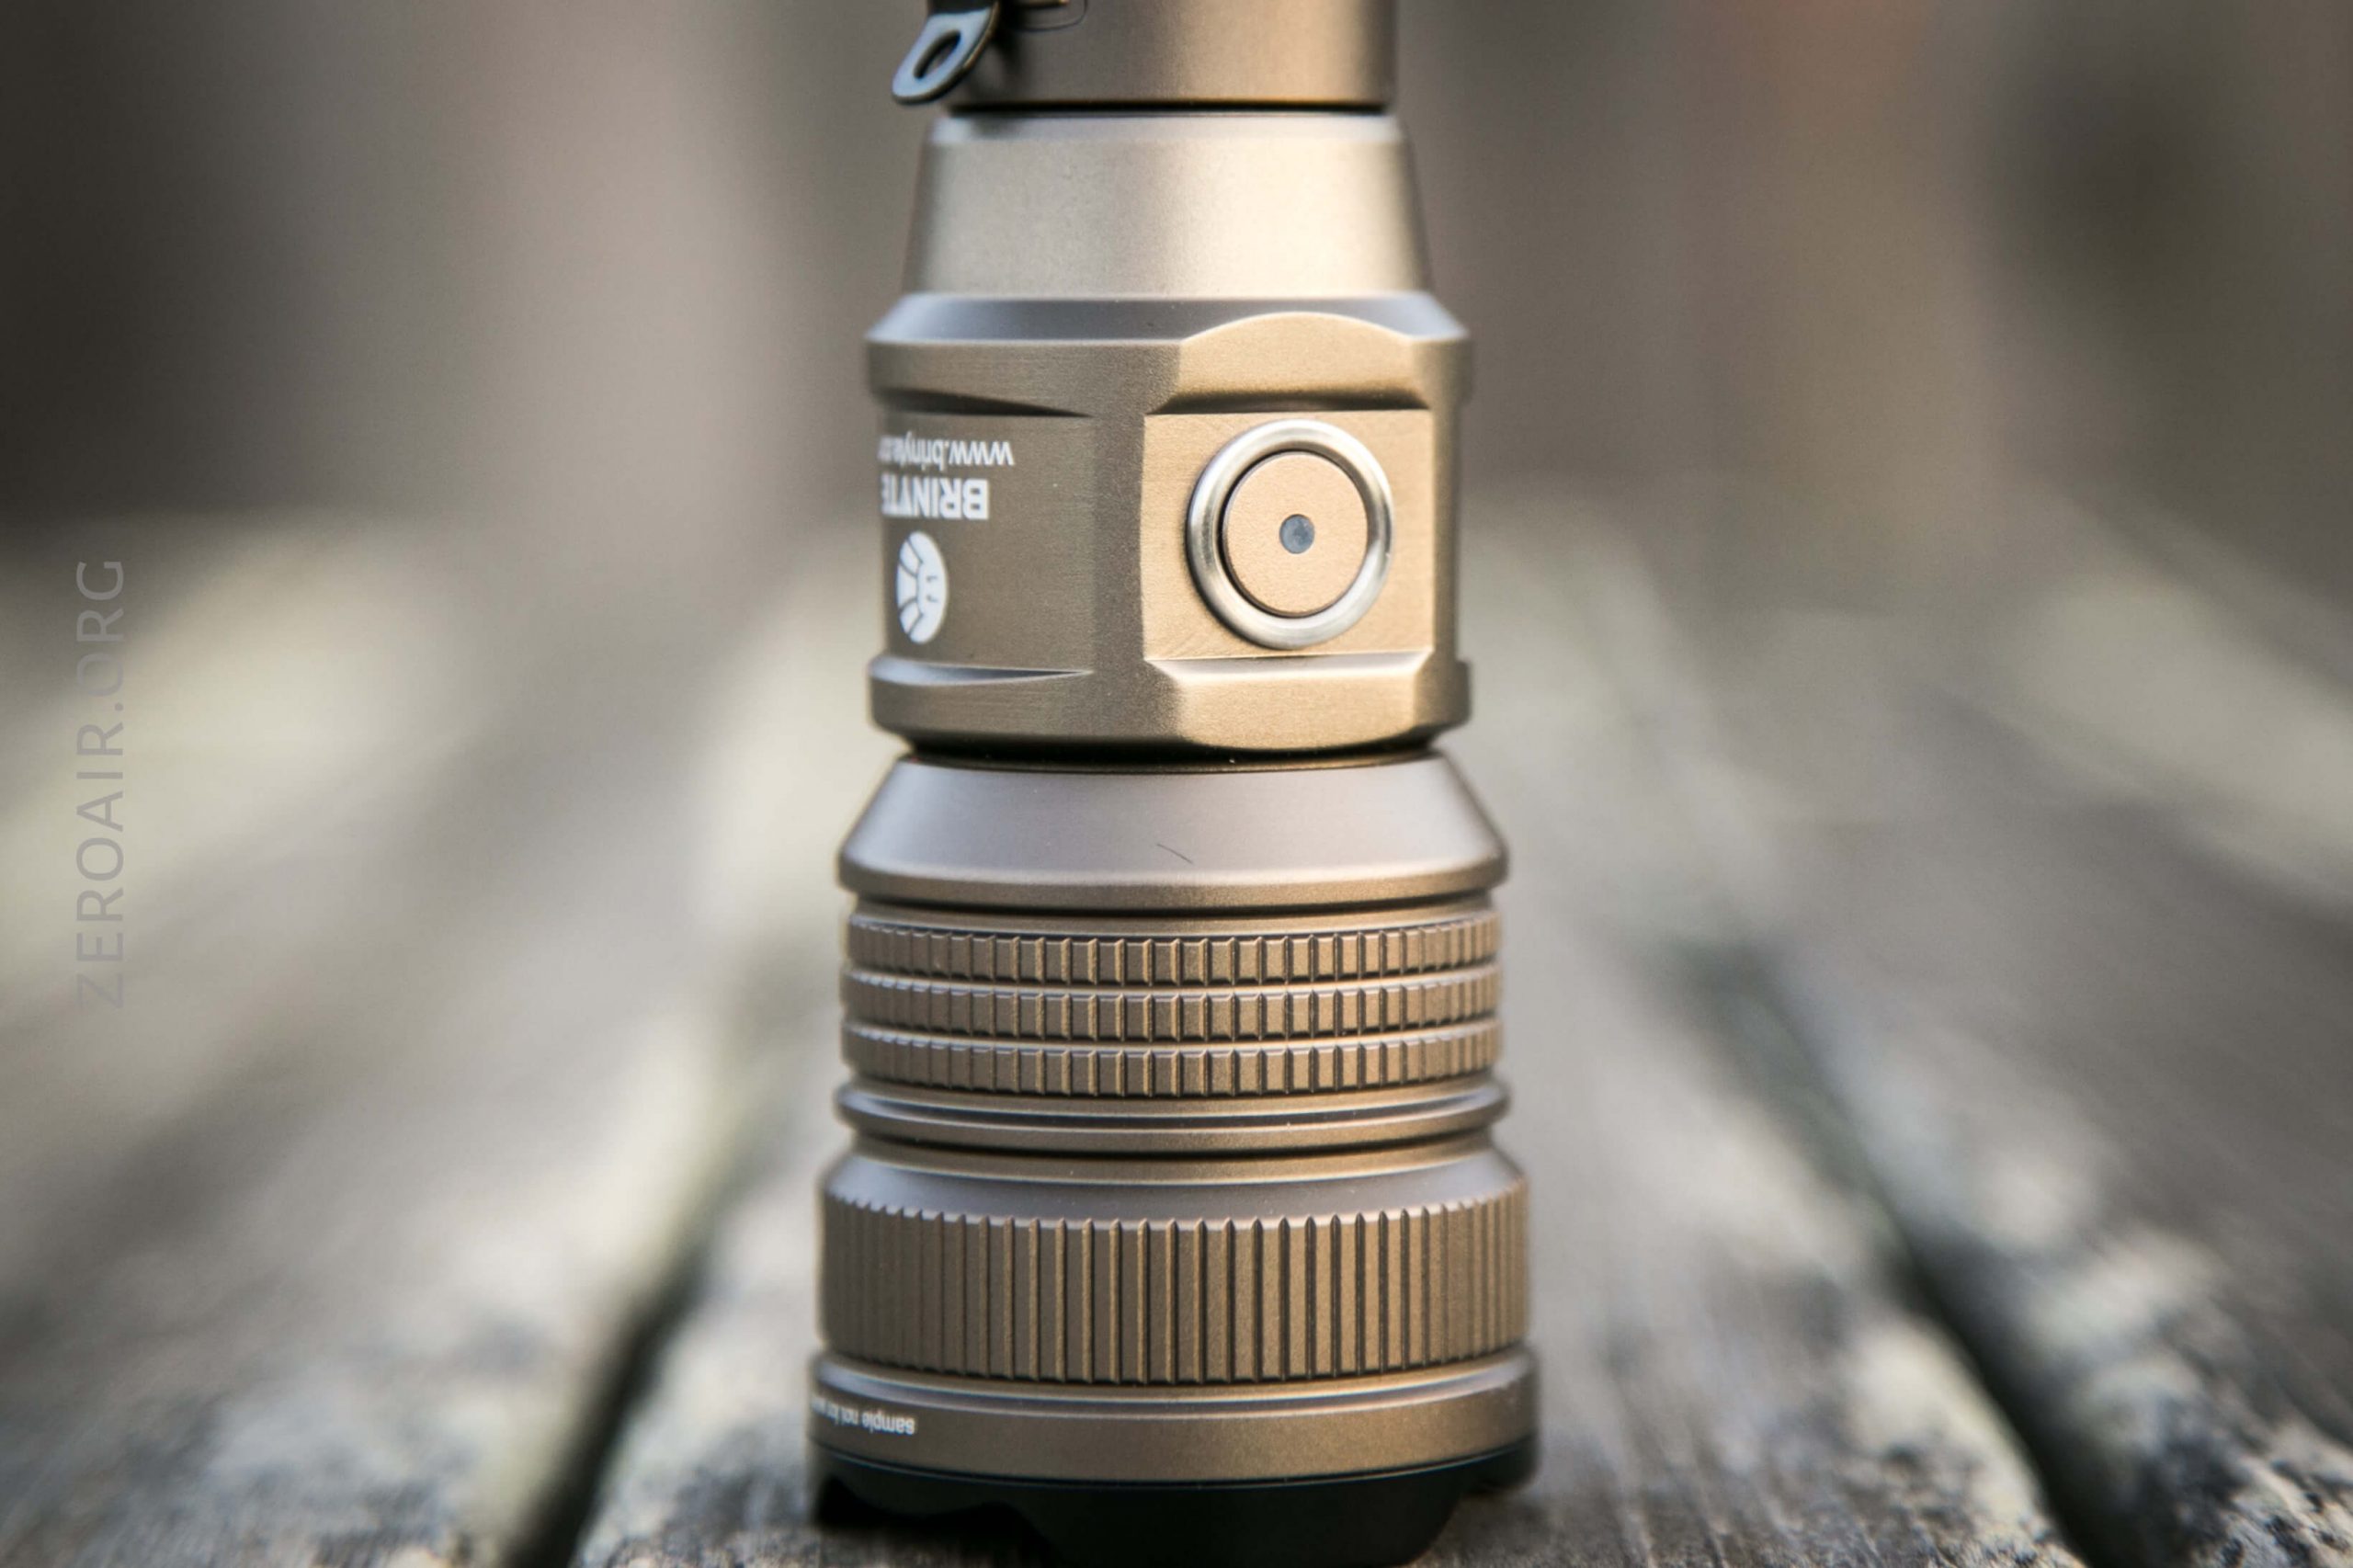
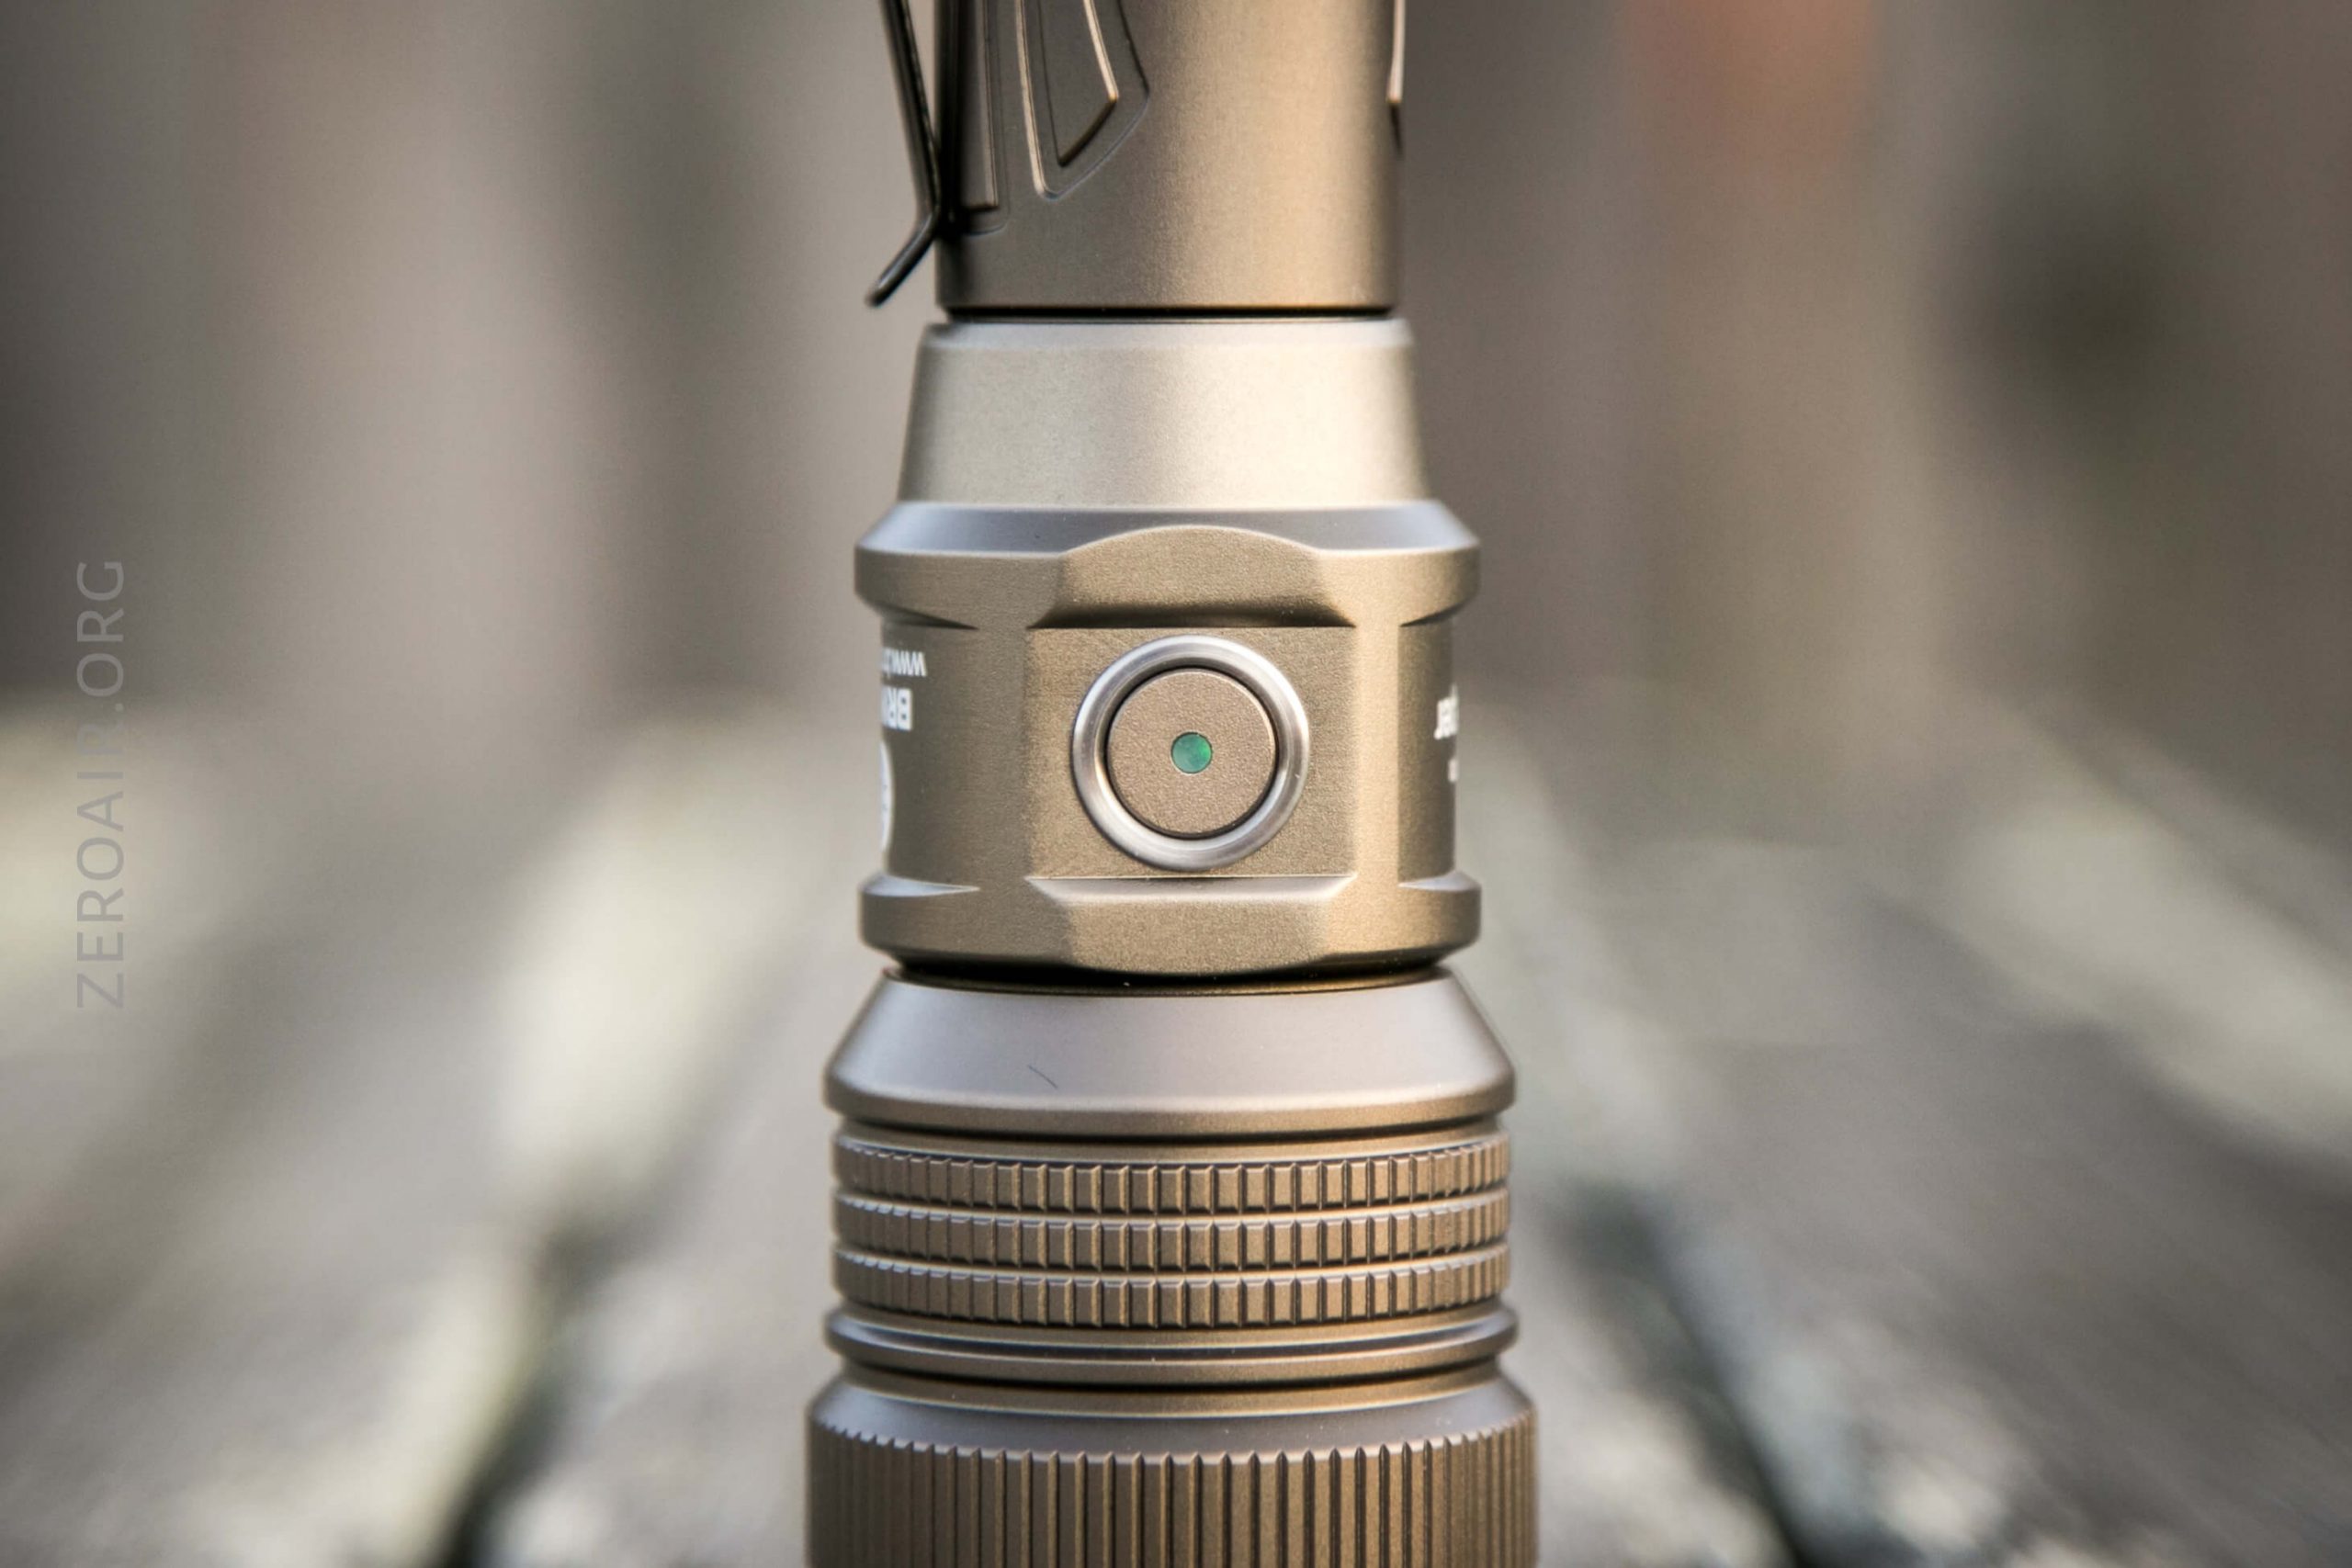
Also on the light is an indicating e-switch on the head end. That spot in the center can indicate red, orange, and green.
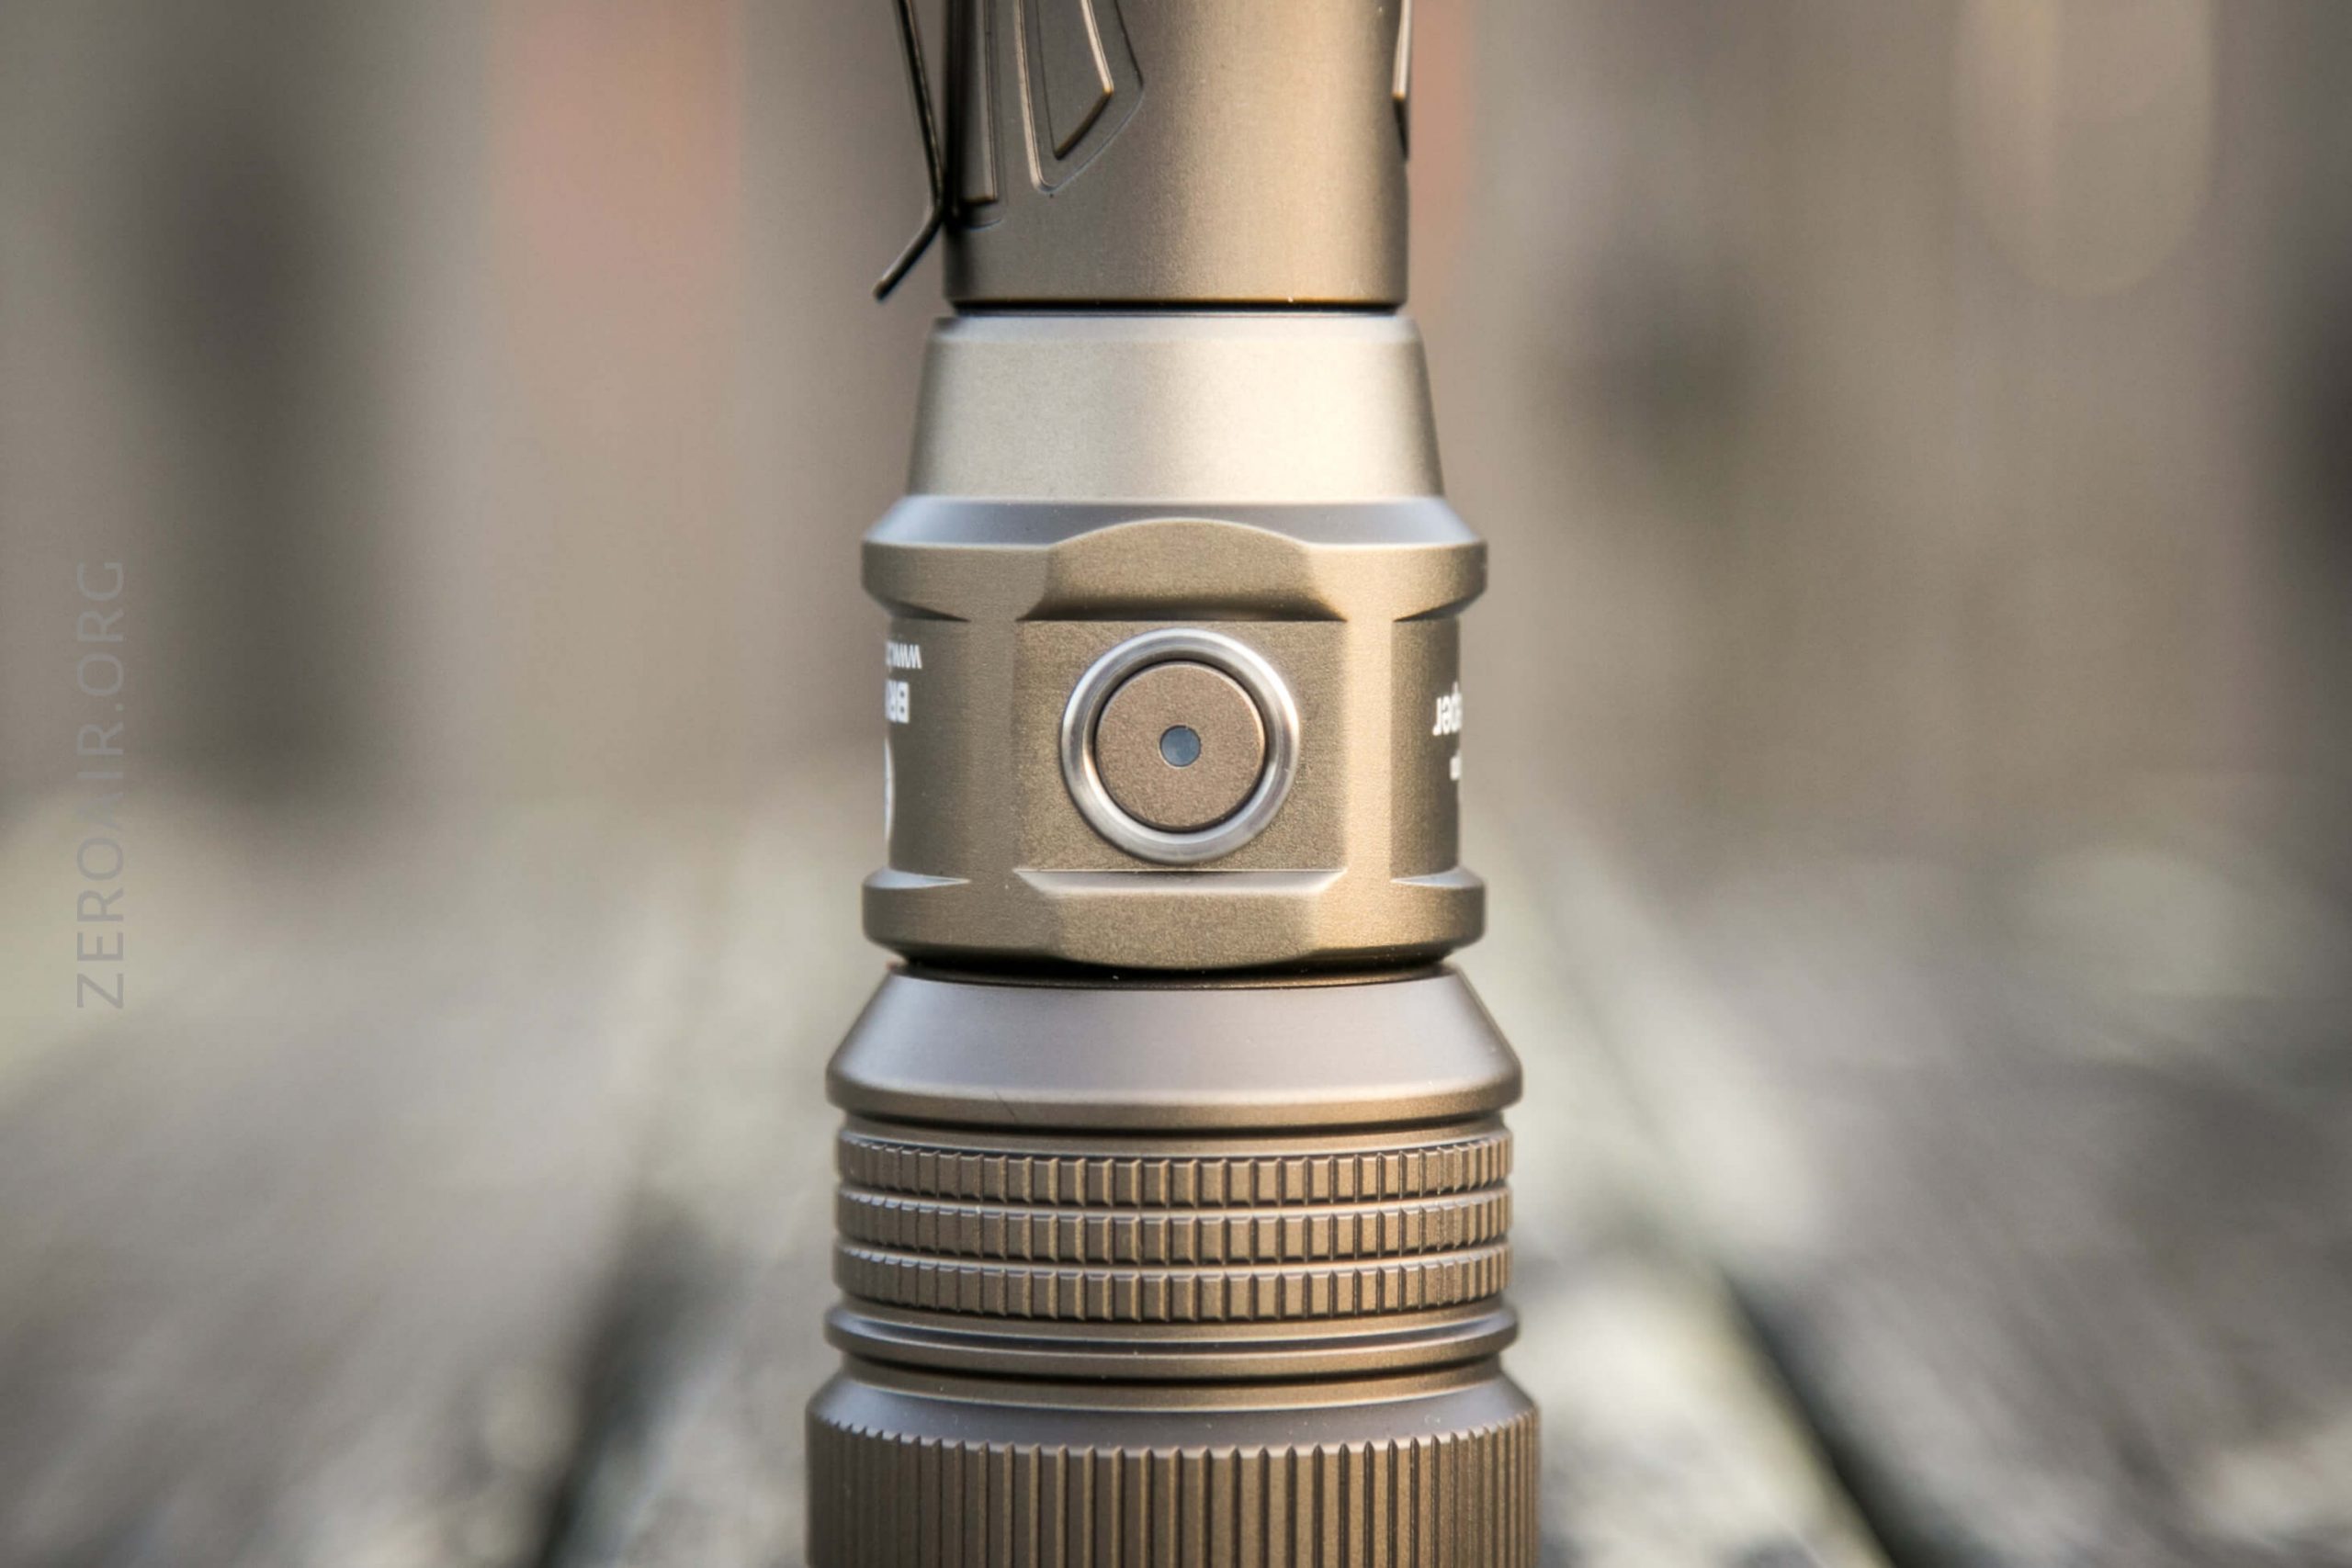
Here the switch can be seen in green.
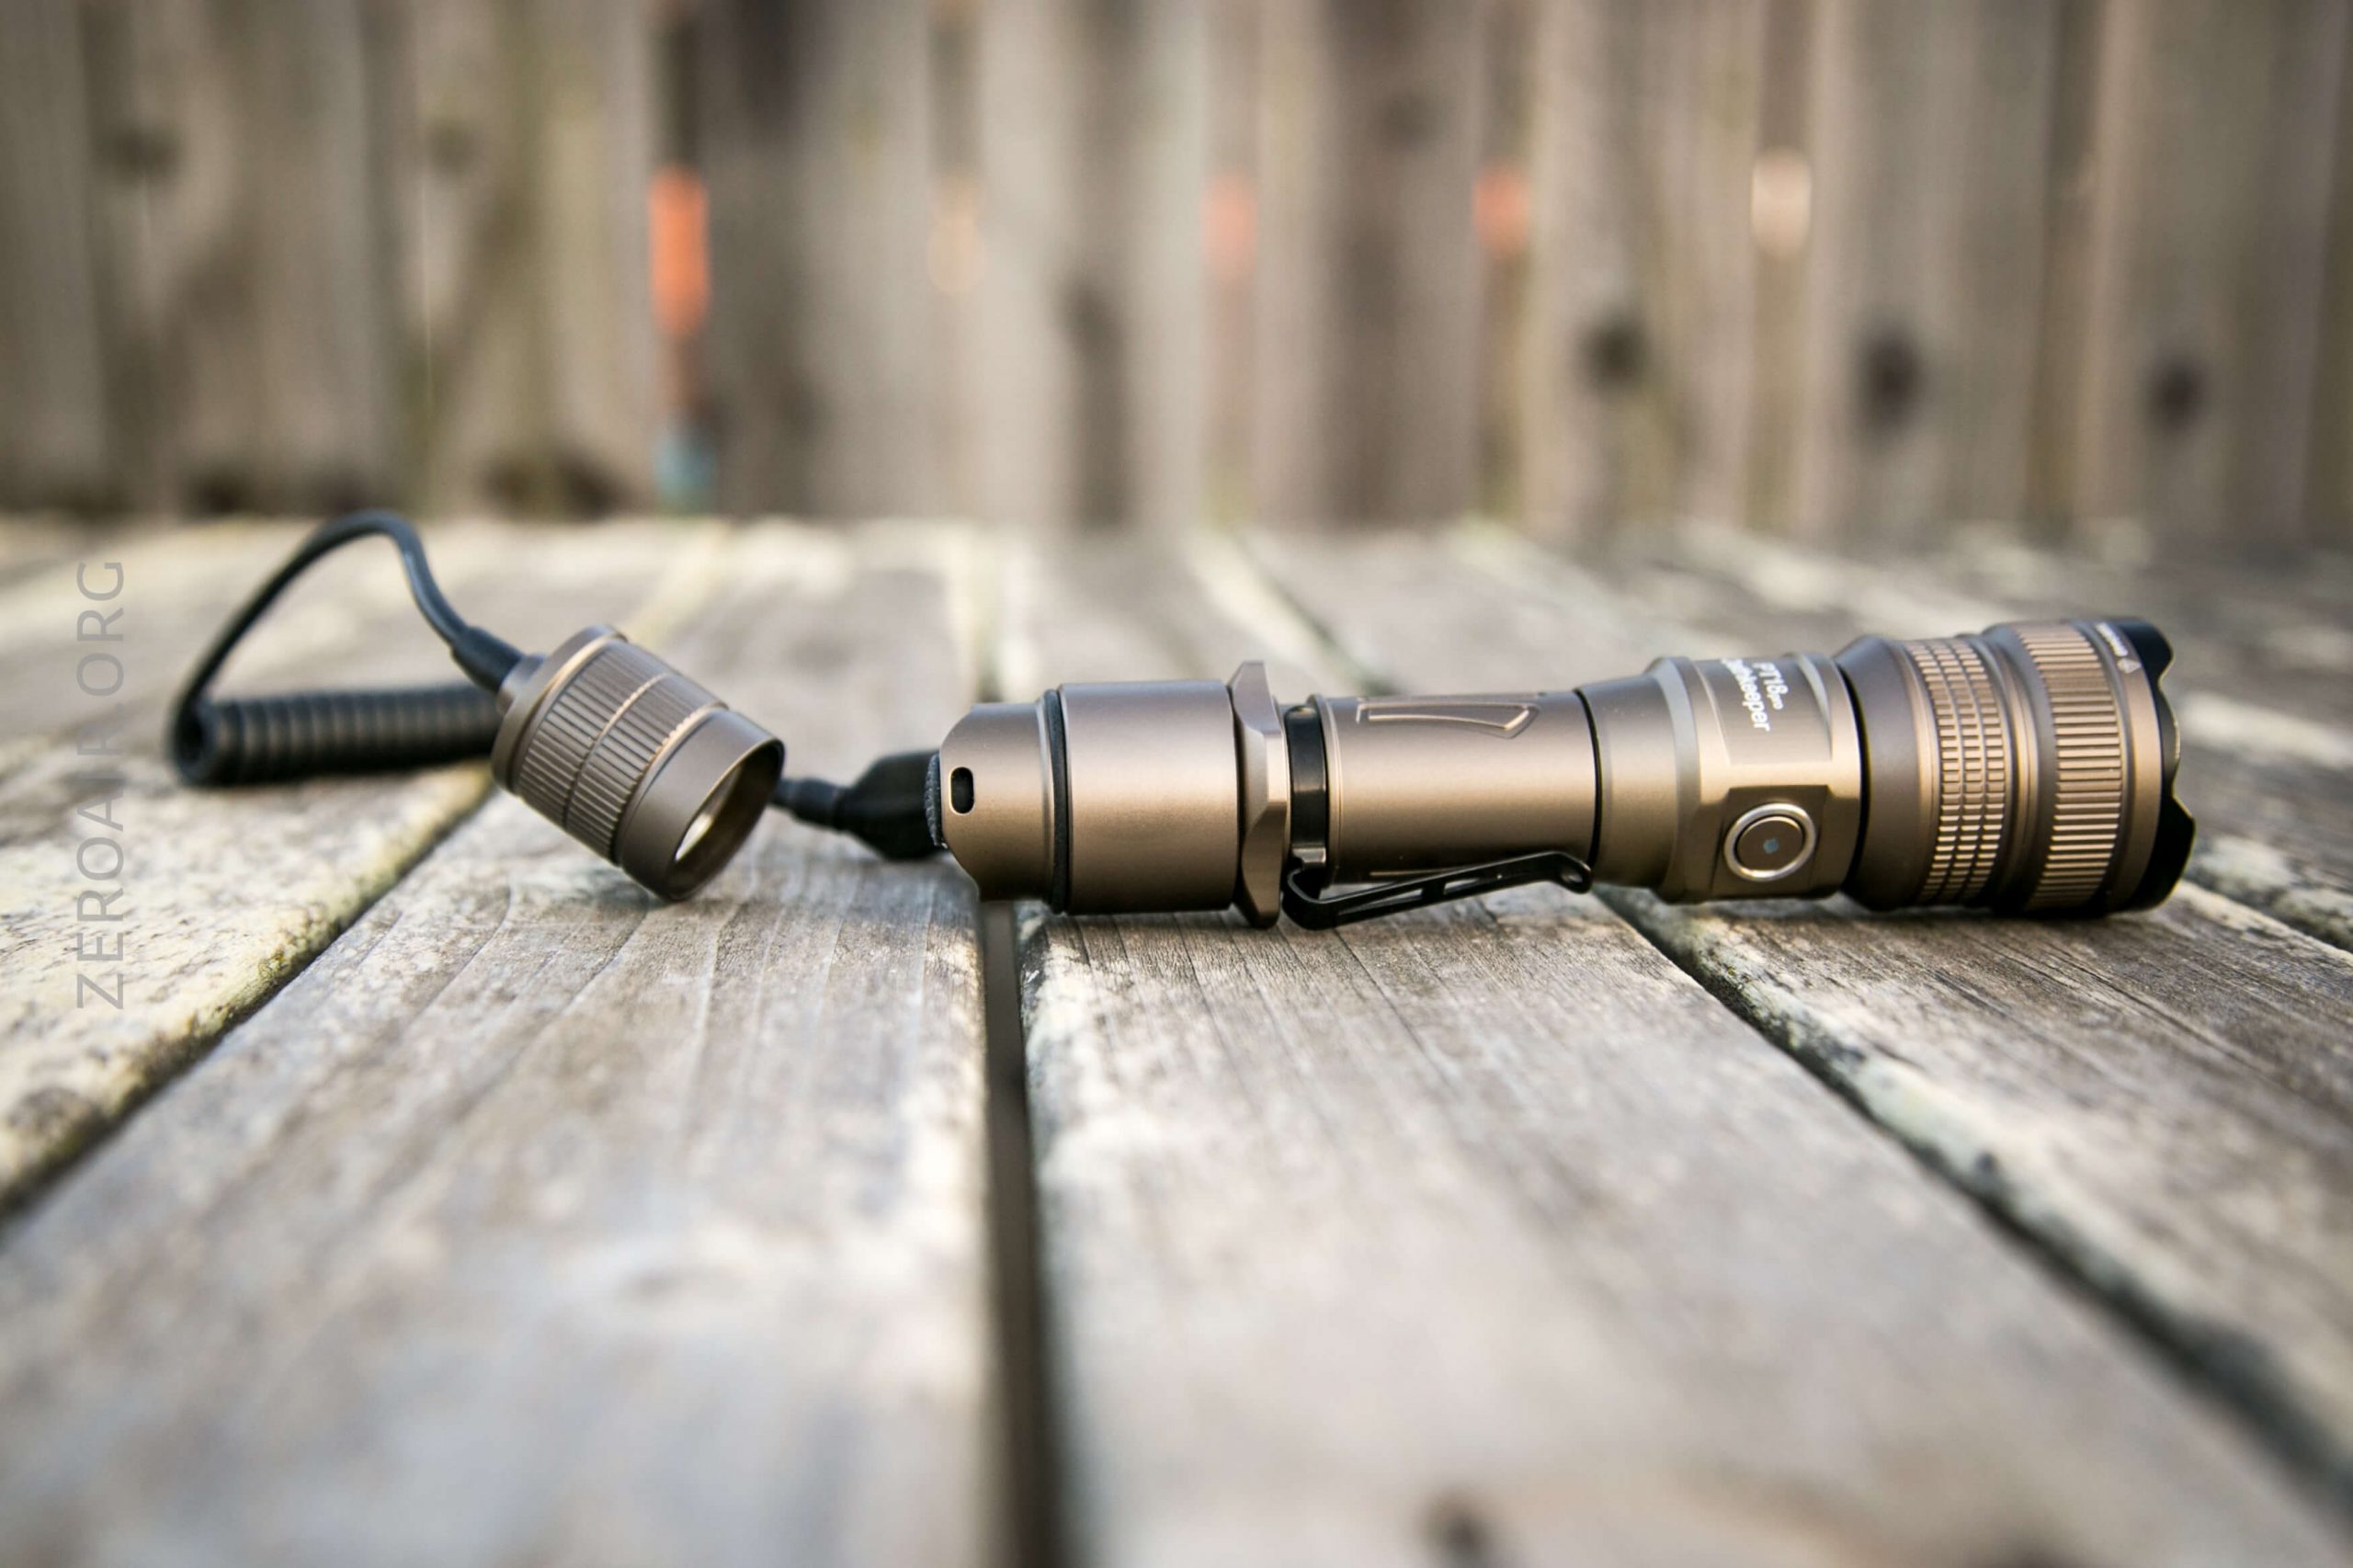
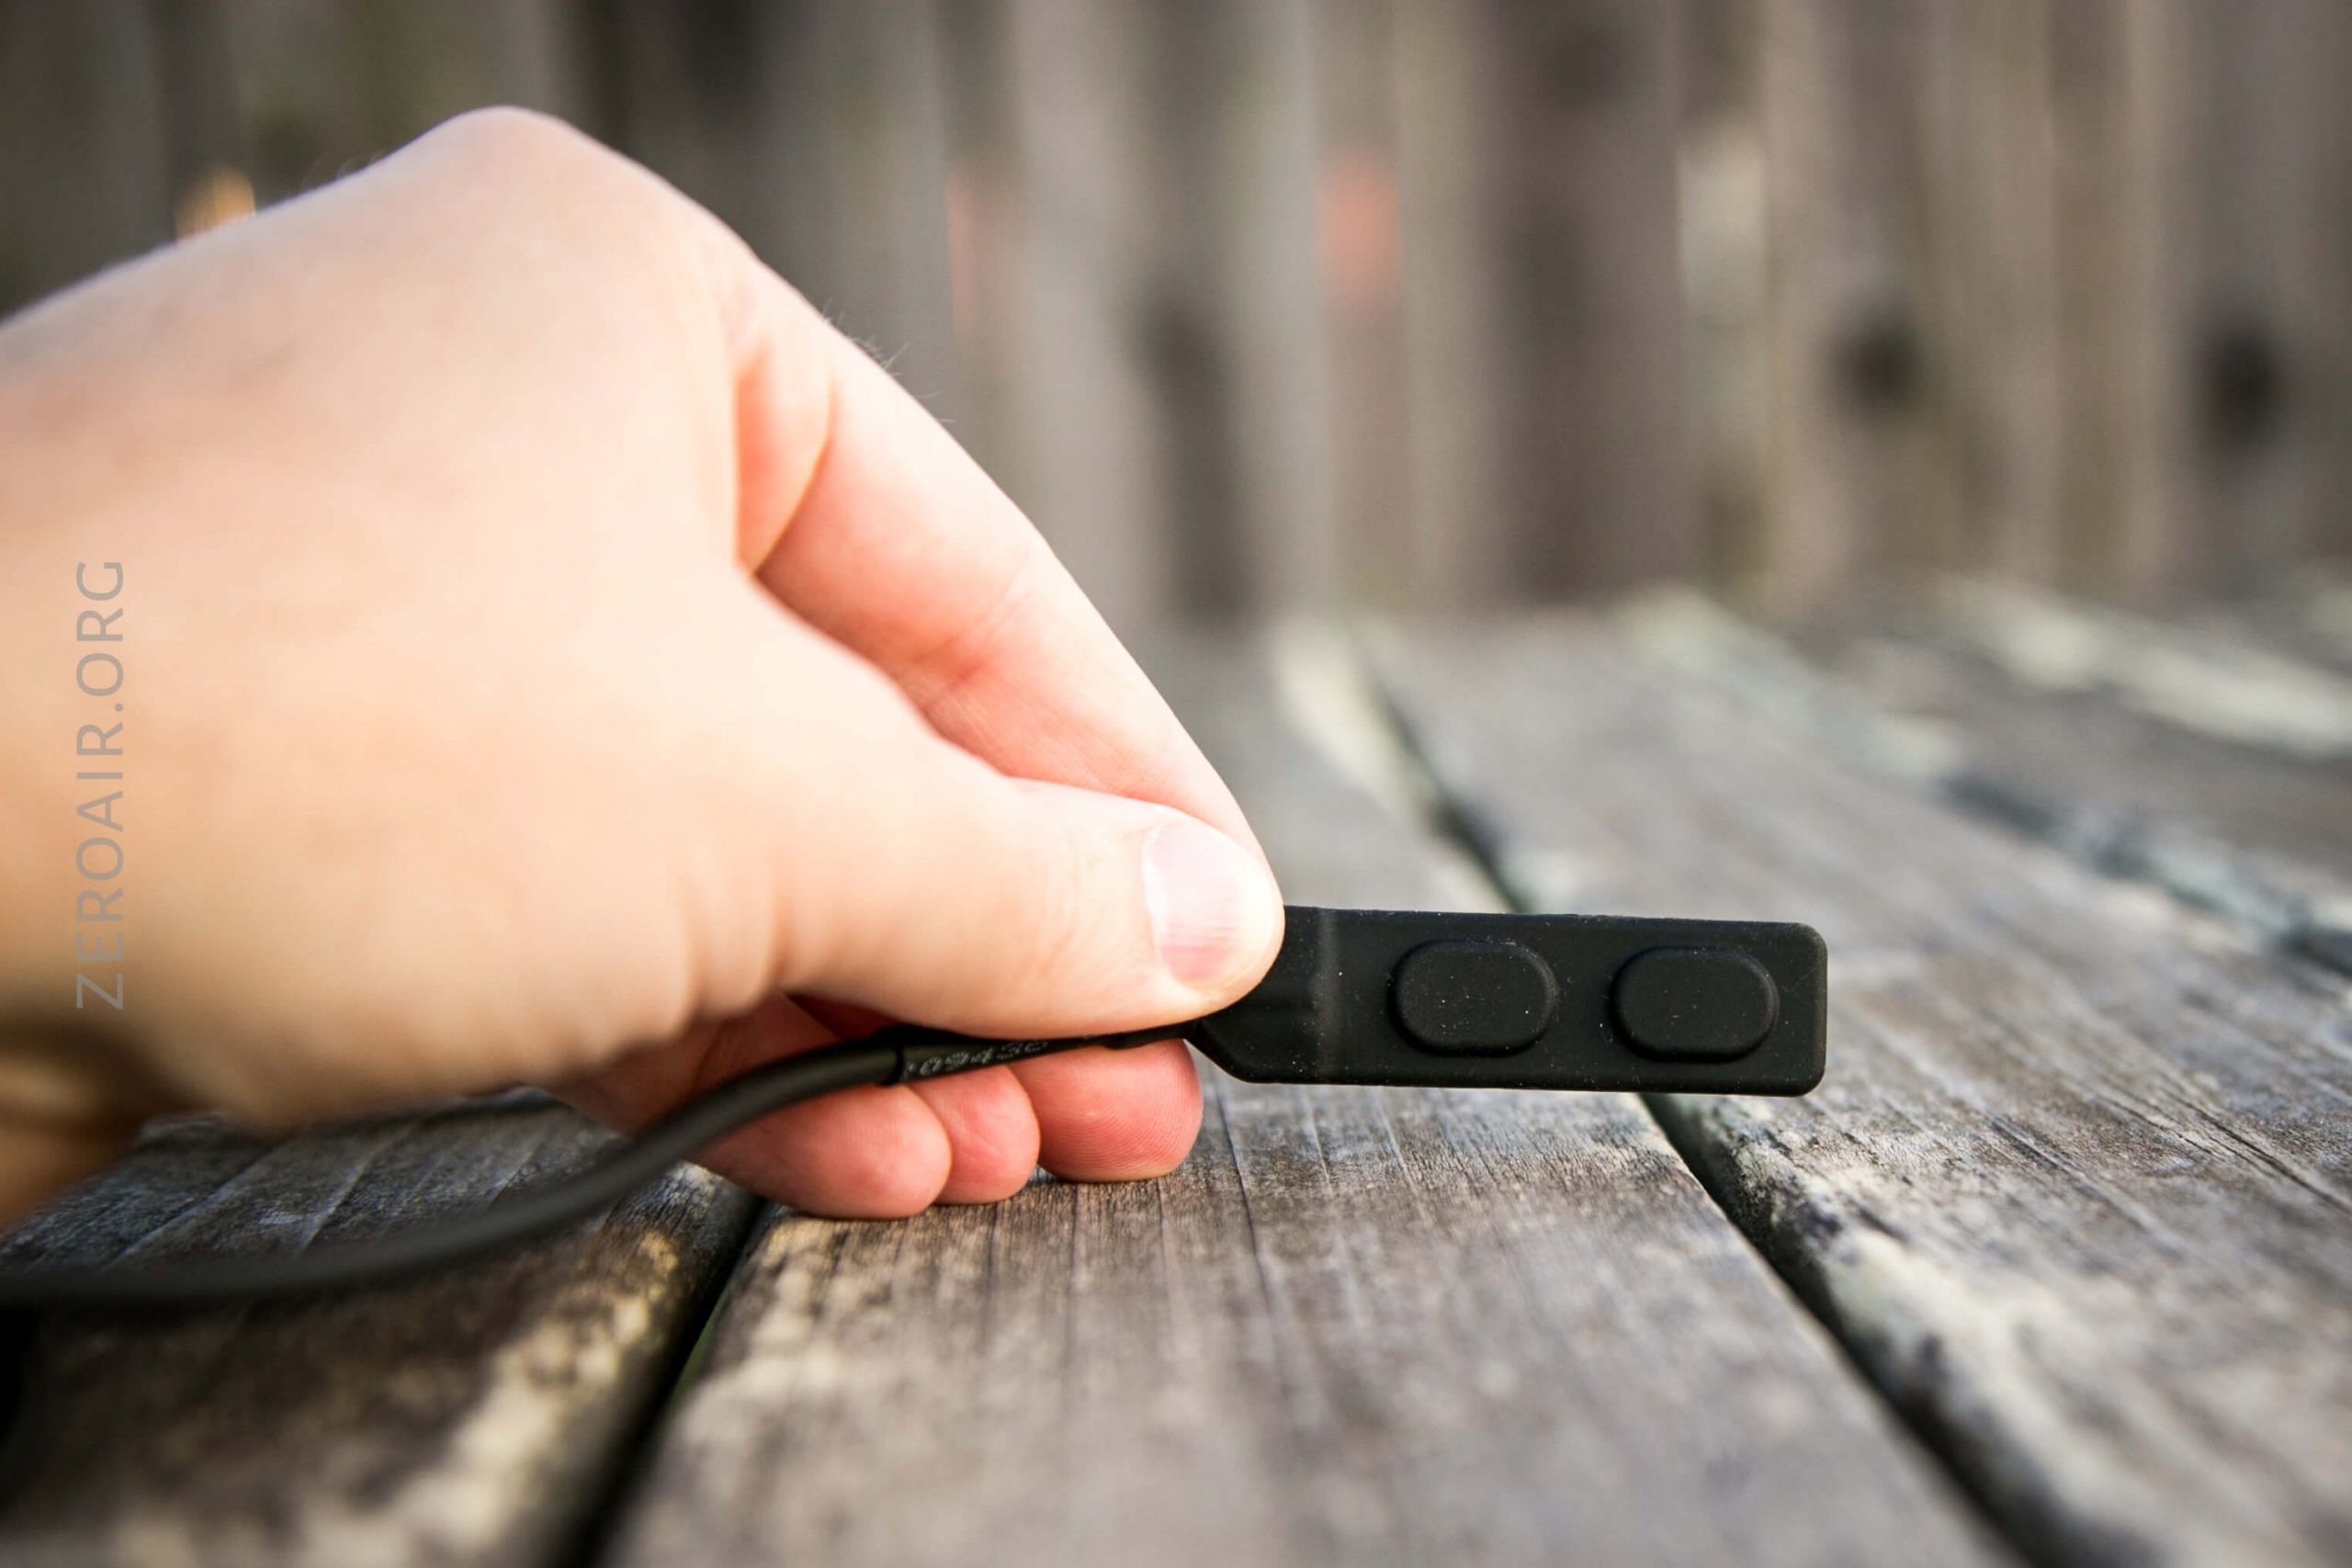
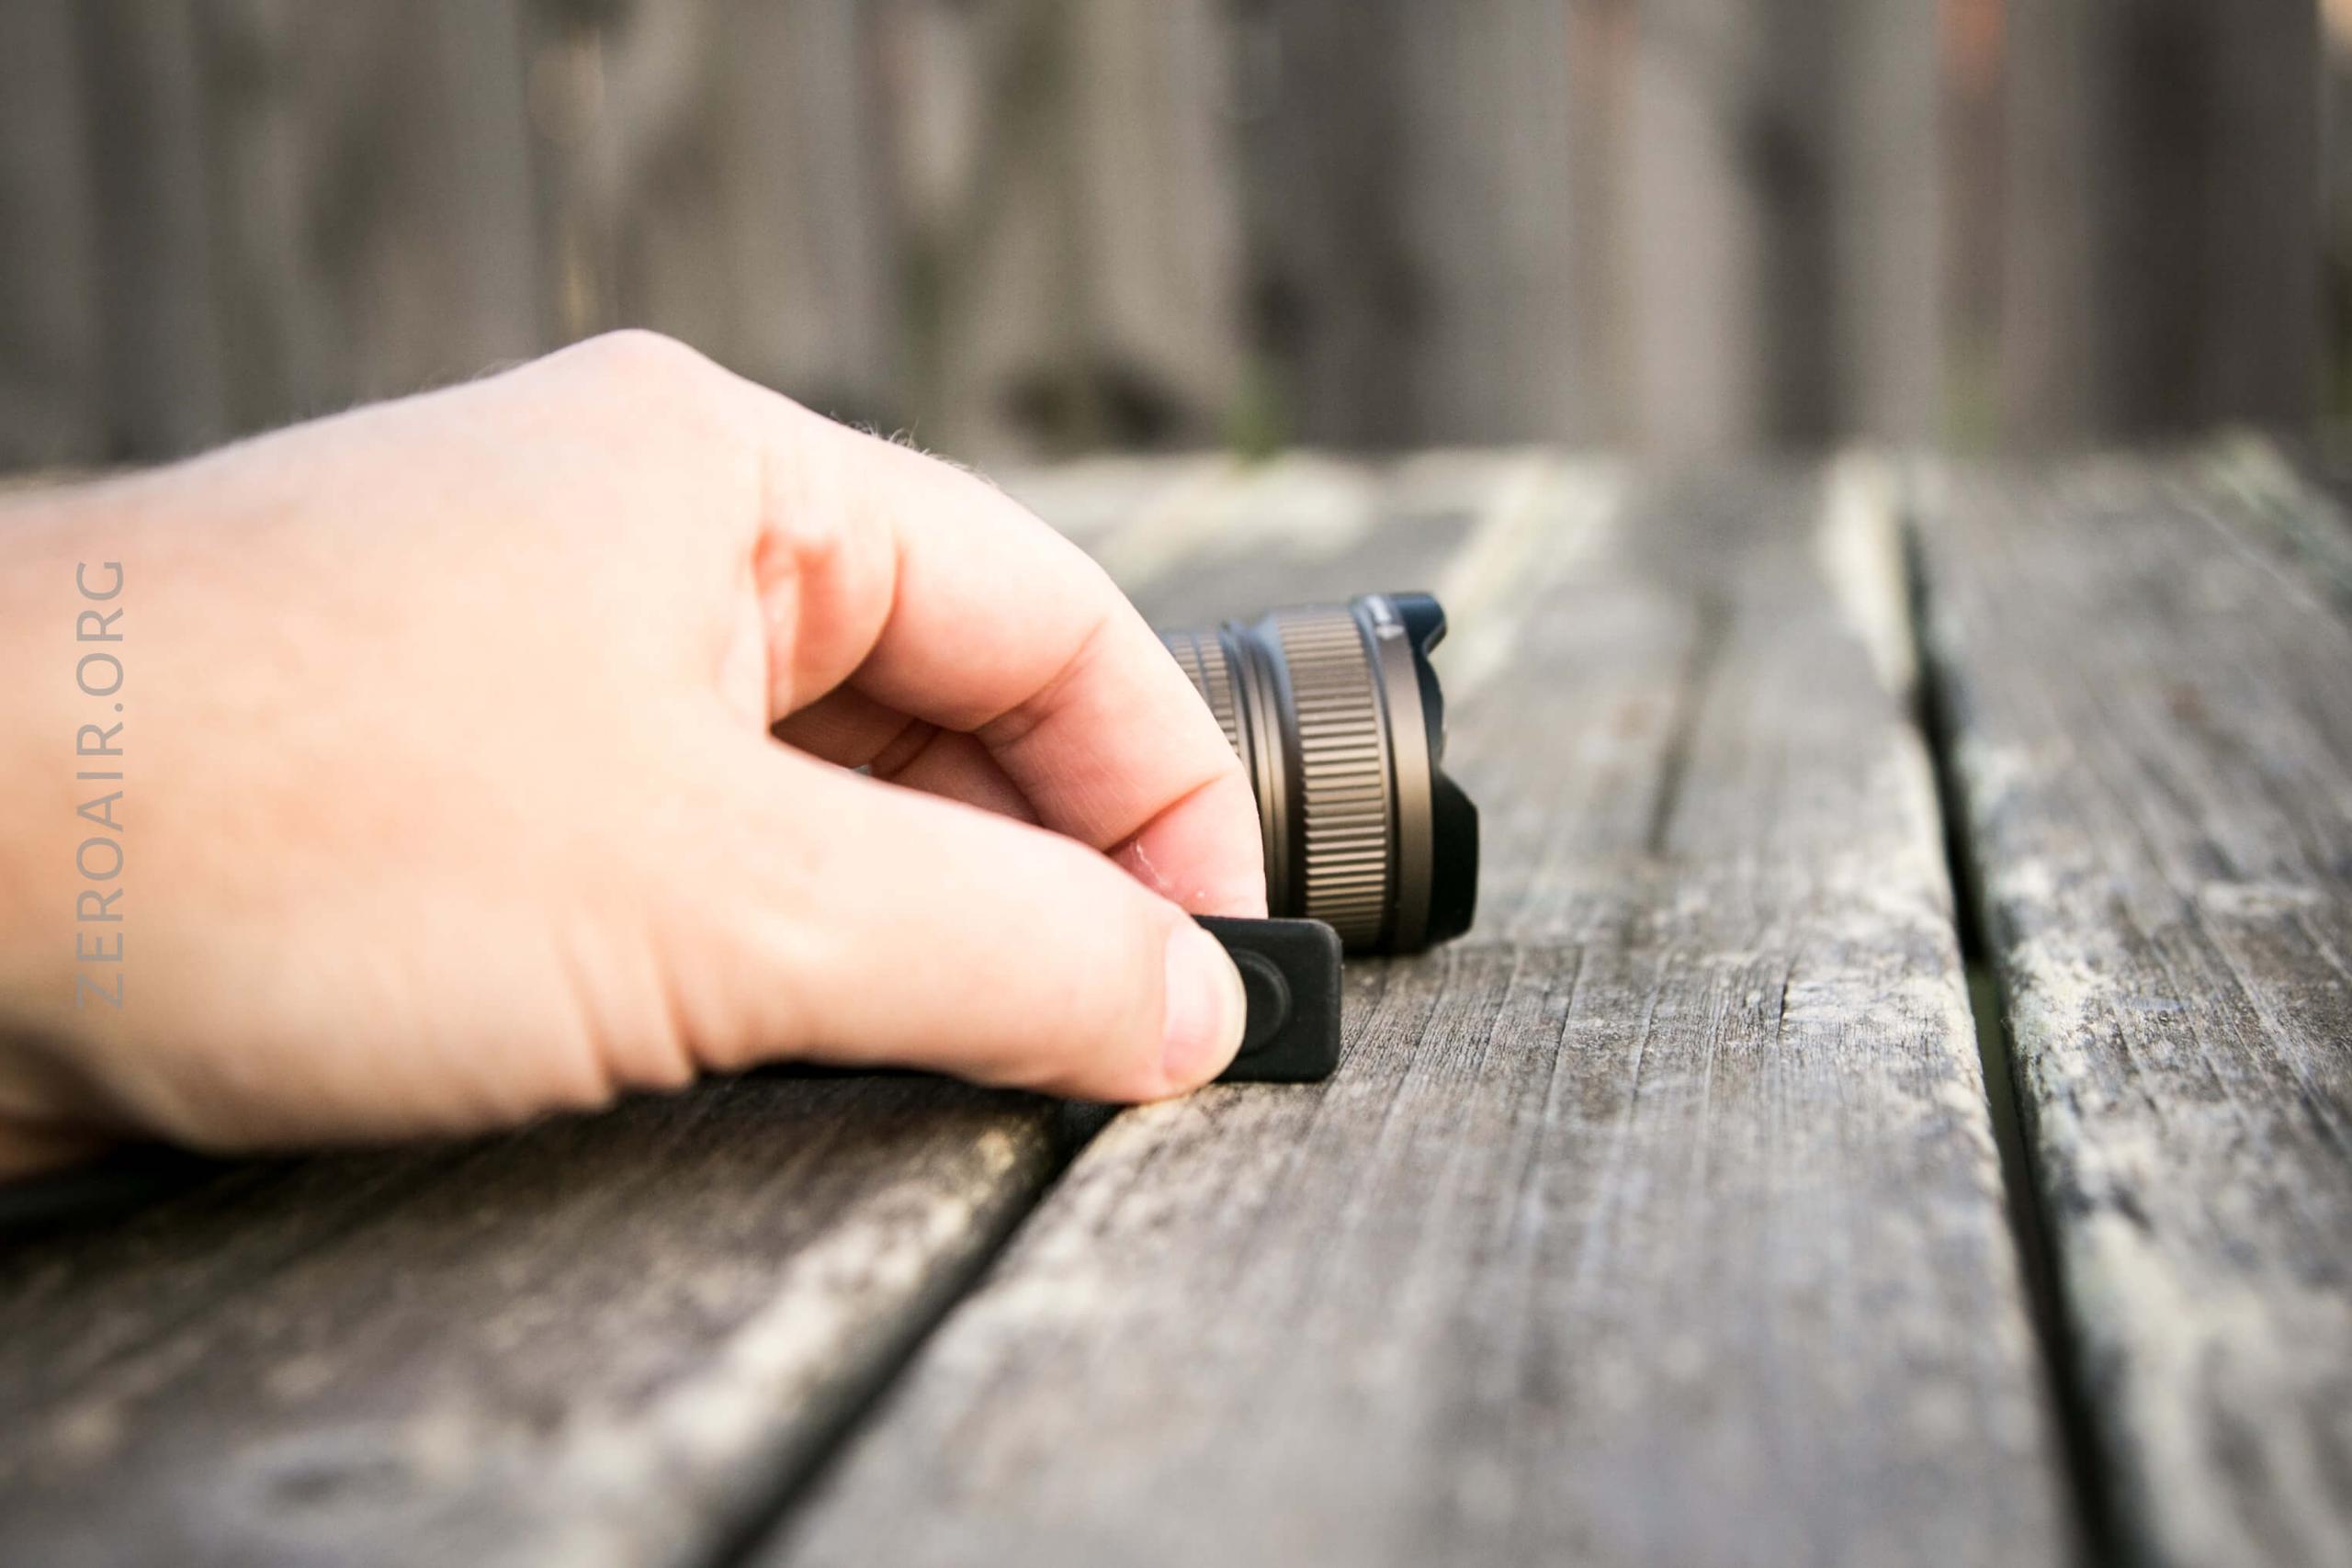
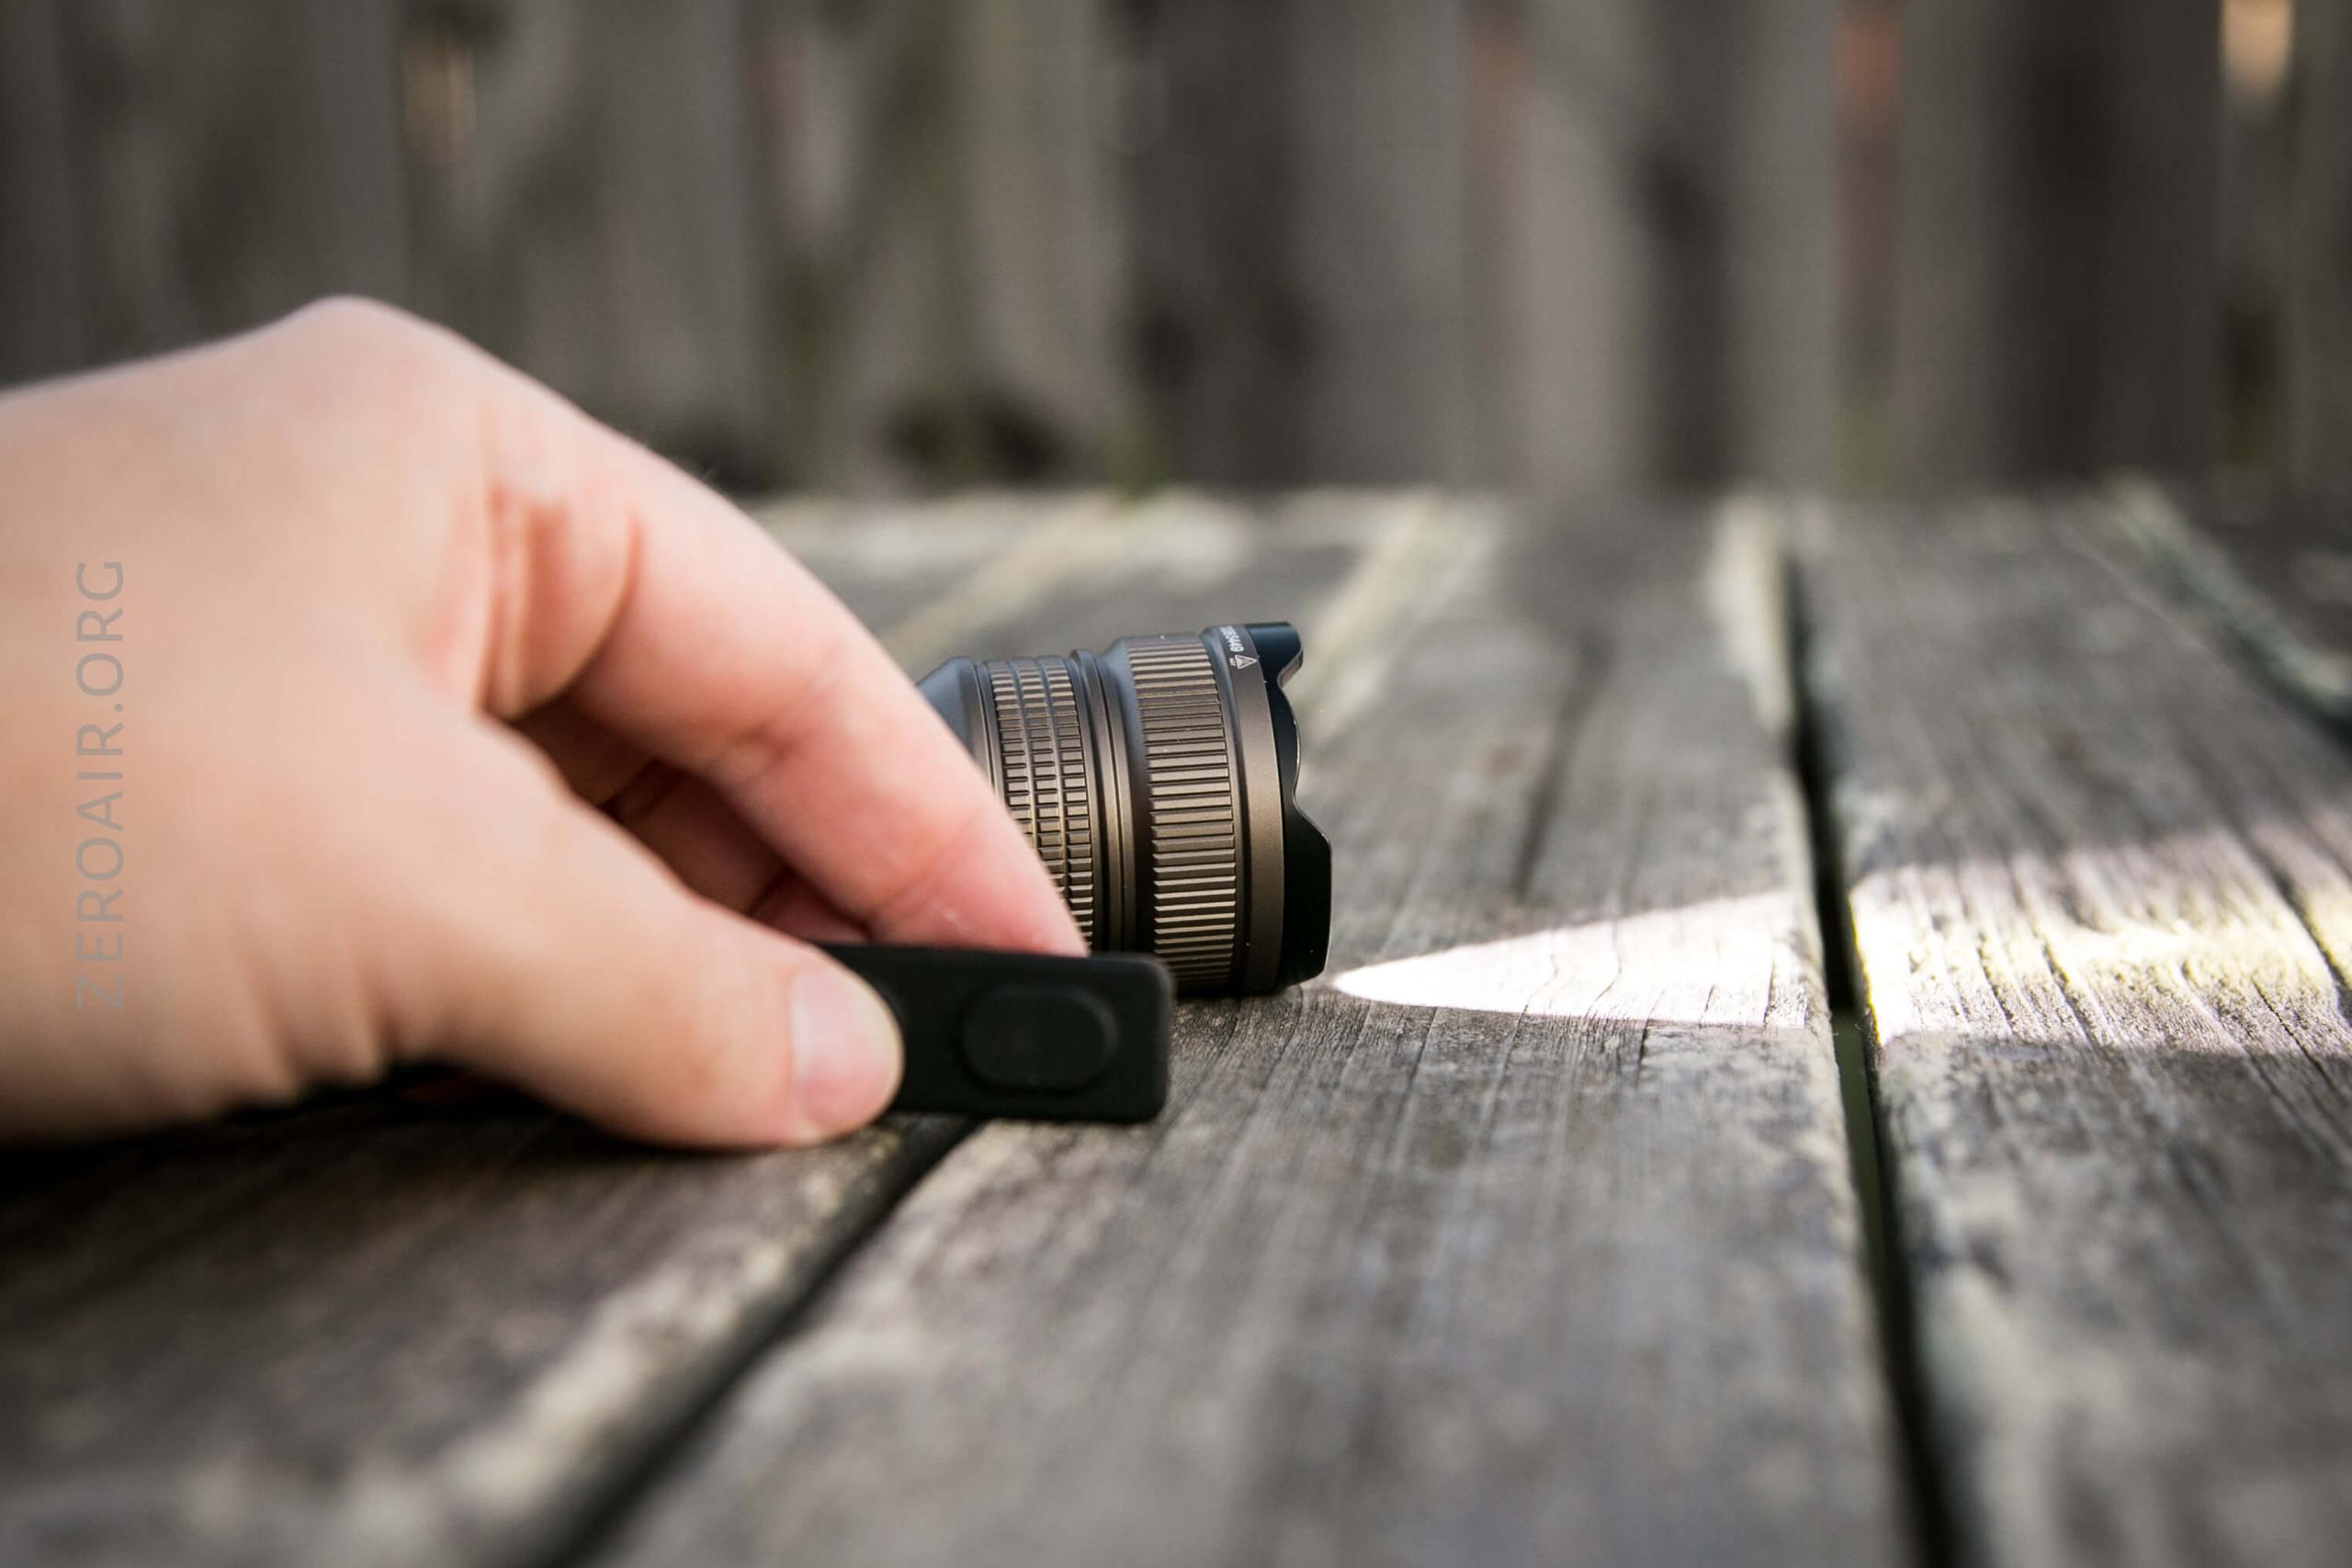
Also, an option for operation is a remote pressure switch, which replaces the two-switch tailcap.
When mounted, it looks like this:
This switch is neat and works well.

There are three switches. Brinyte names them as follows: Tail primary switch (TPS) (the bigger, proudest switch). Tail Side Switch (TSS) (the oblong switch on the tailcap angle.) And finally, the Front Side Switch (FSS).
This image shows full operation with just the two tail switches.
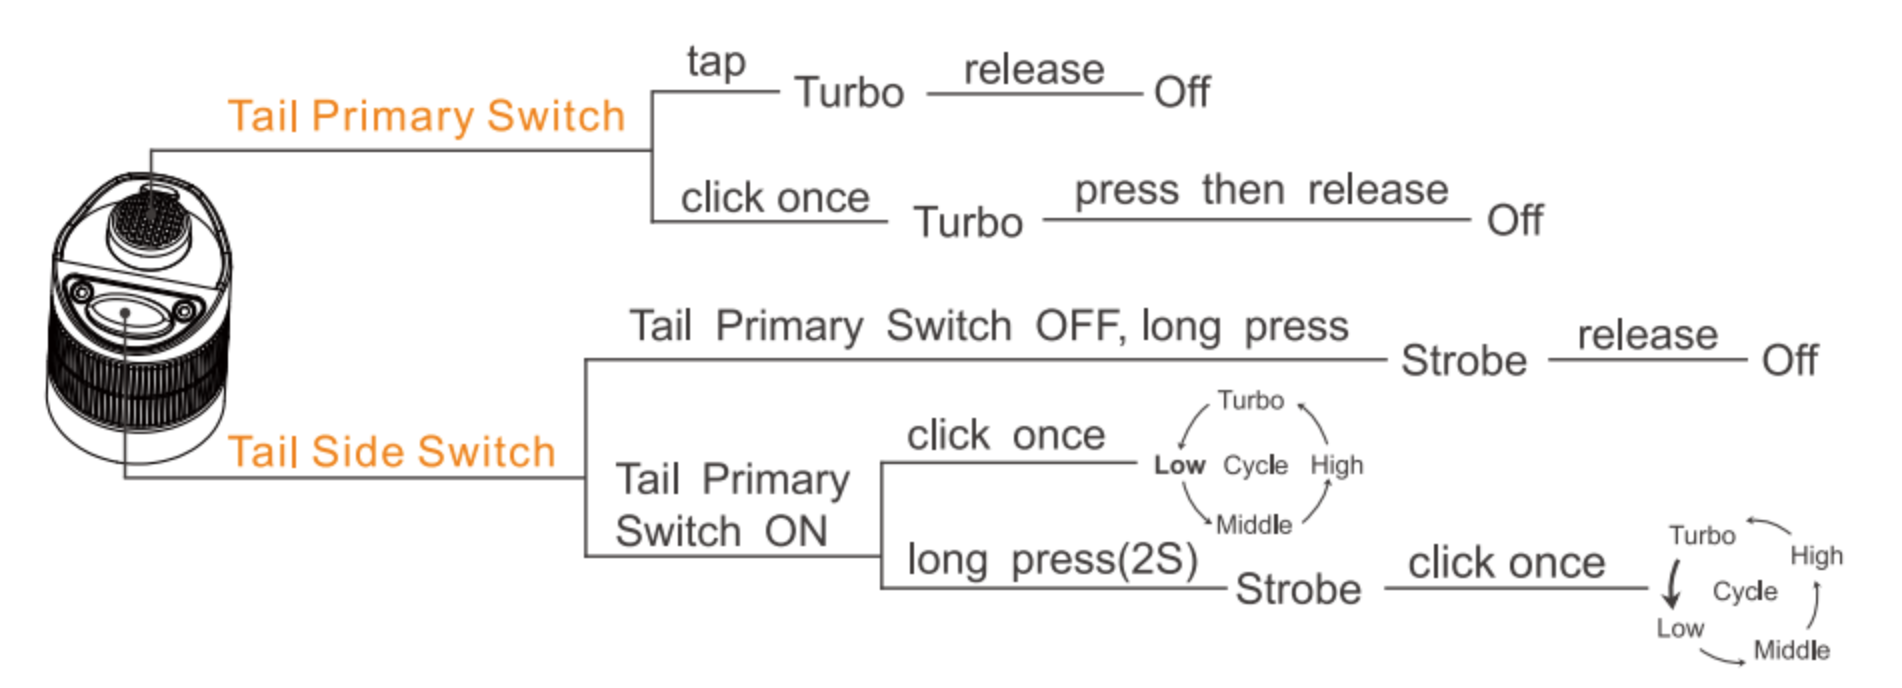
This image shows full operation with the tail power switch and the front side switch.
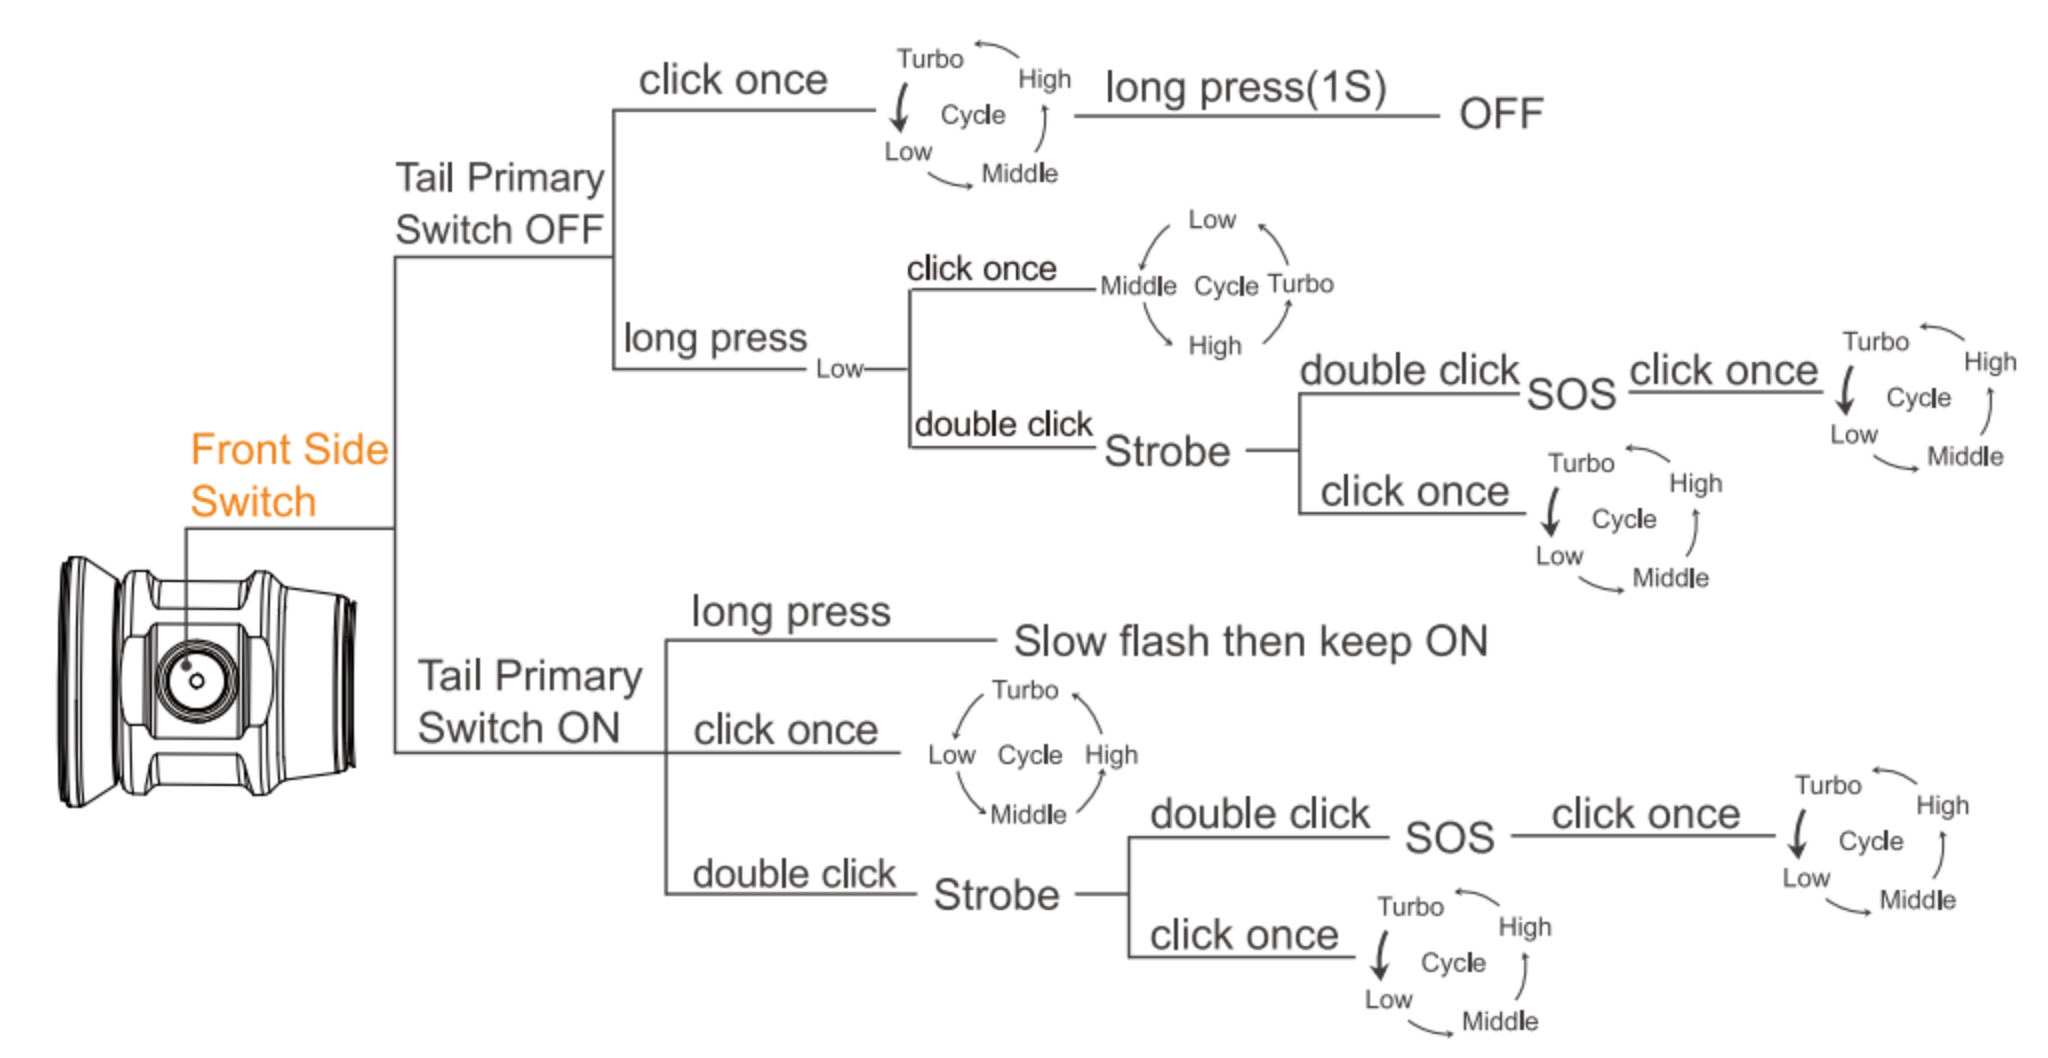
Here’s a user interface table! I’m not sure the table can be comprehensive… I find that image above to be a little confusing, actually.
| State | Action | Result |
|---|---|---|
| TPS Off | Click TPS | On (Turbo) |
| TPS Off | Click TSS | Momentary Strobe |
| TPS Off | Tap TPS | Momentary Turbo |
| TPS On | Click TSS | Mode advance (LMHT order) |
| TPS On | Hold TSS | Strobe |
| TPS Off | Click FSS 3x | Lock – indicated by two flashes of main emitter. Does not lock tail switches! |
| Lock | Click FSS 3x | Unlock |
| Lock | TPS on for >5s | Unlock |
| TPS Off | Click FSS | Turbo |
| On | Click FSS | Mode Advance |
| On | Hold FSS (>1s) | Off |
| TPS Off | Hold FSS | Low |
| On | Double Click FSS | Strobe |
| Strobe | Double Click FSS | SOS |
| SOS | Click | Regular modes |
| TPS On | Click FSS | Mode advance (LMHT order) |
| TPS On | Double Click FSS | Strobe |
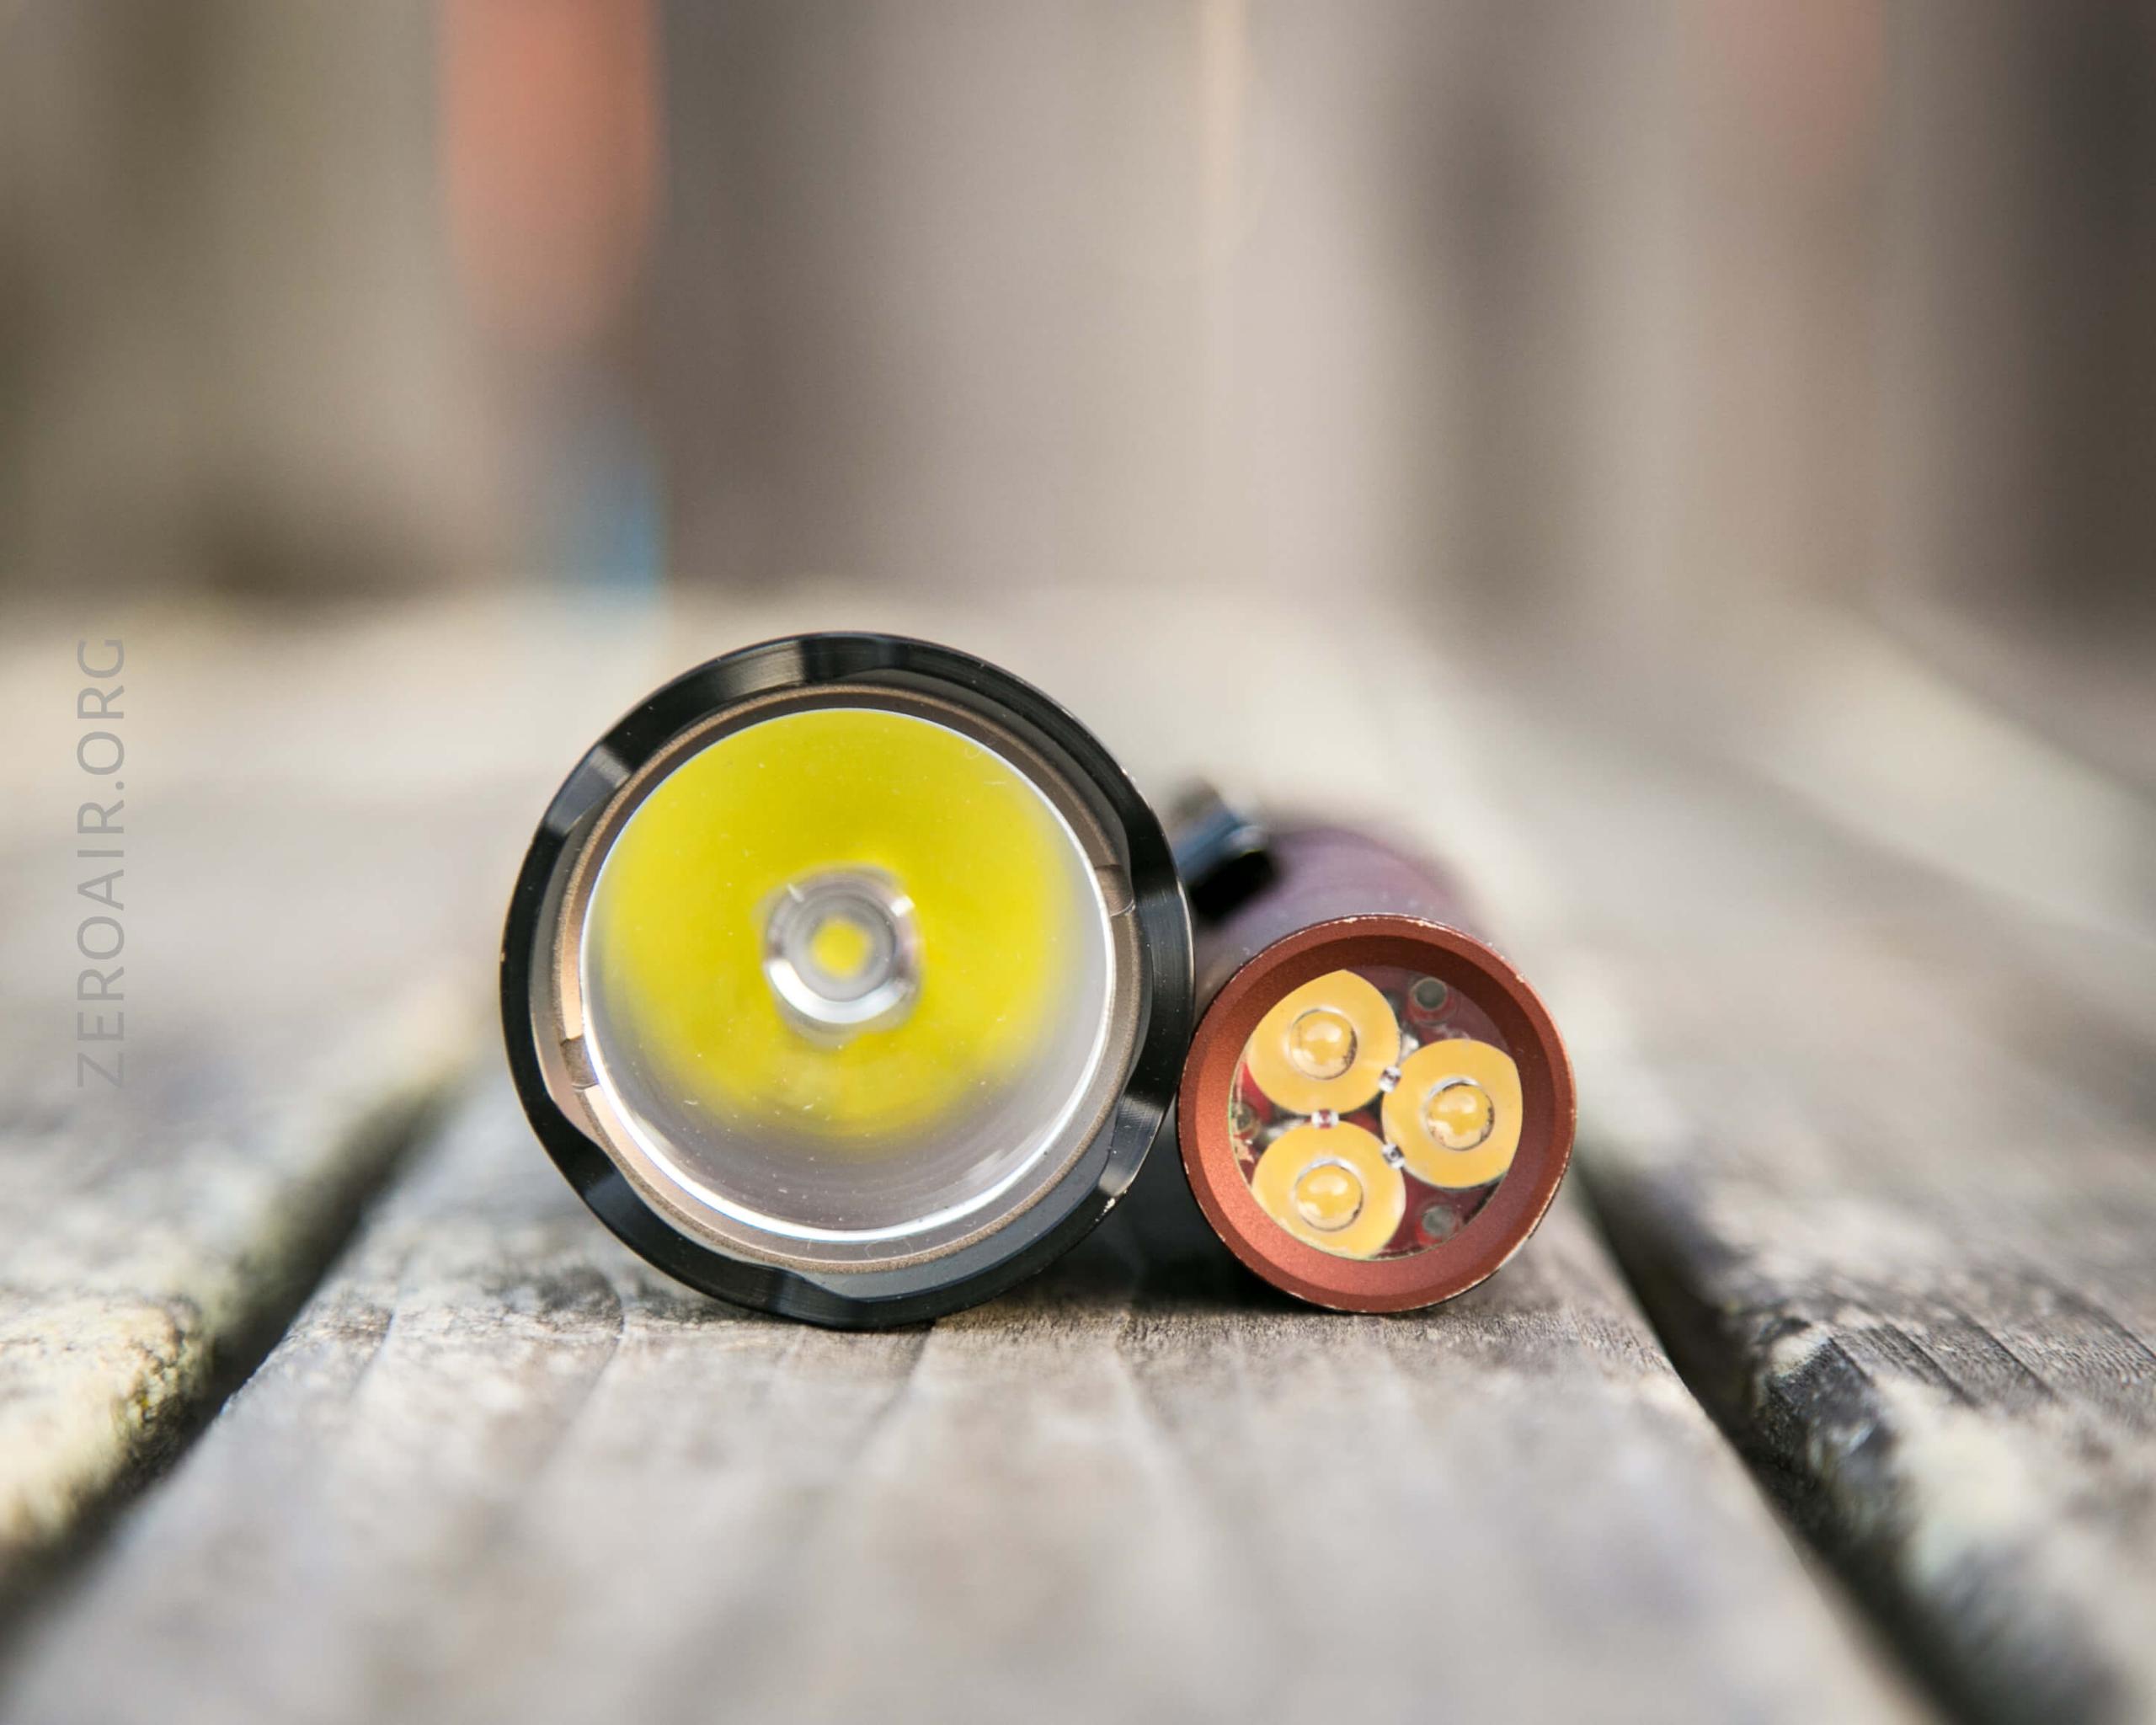
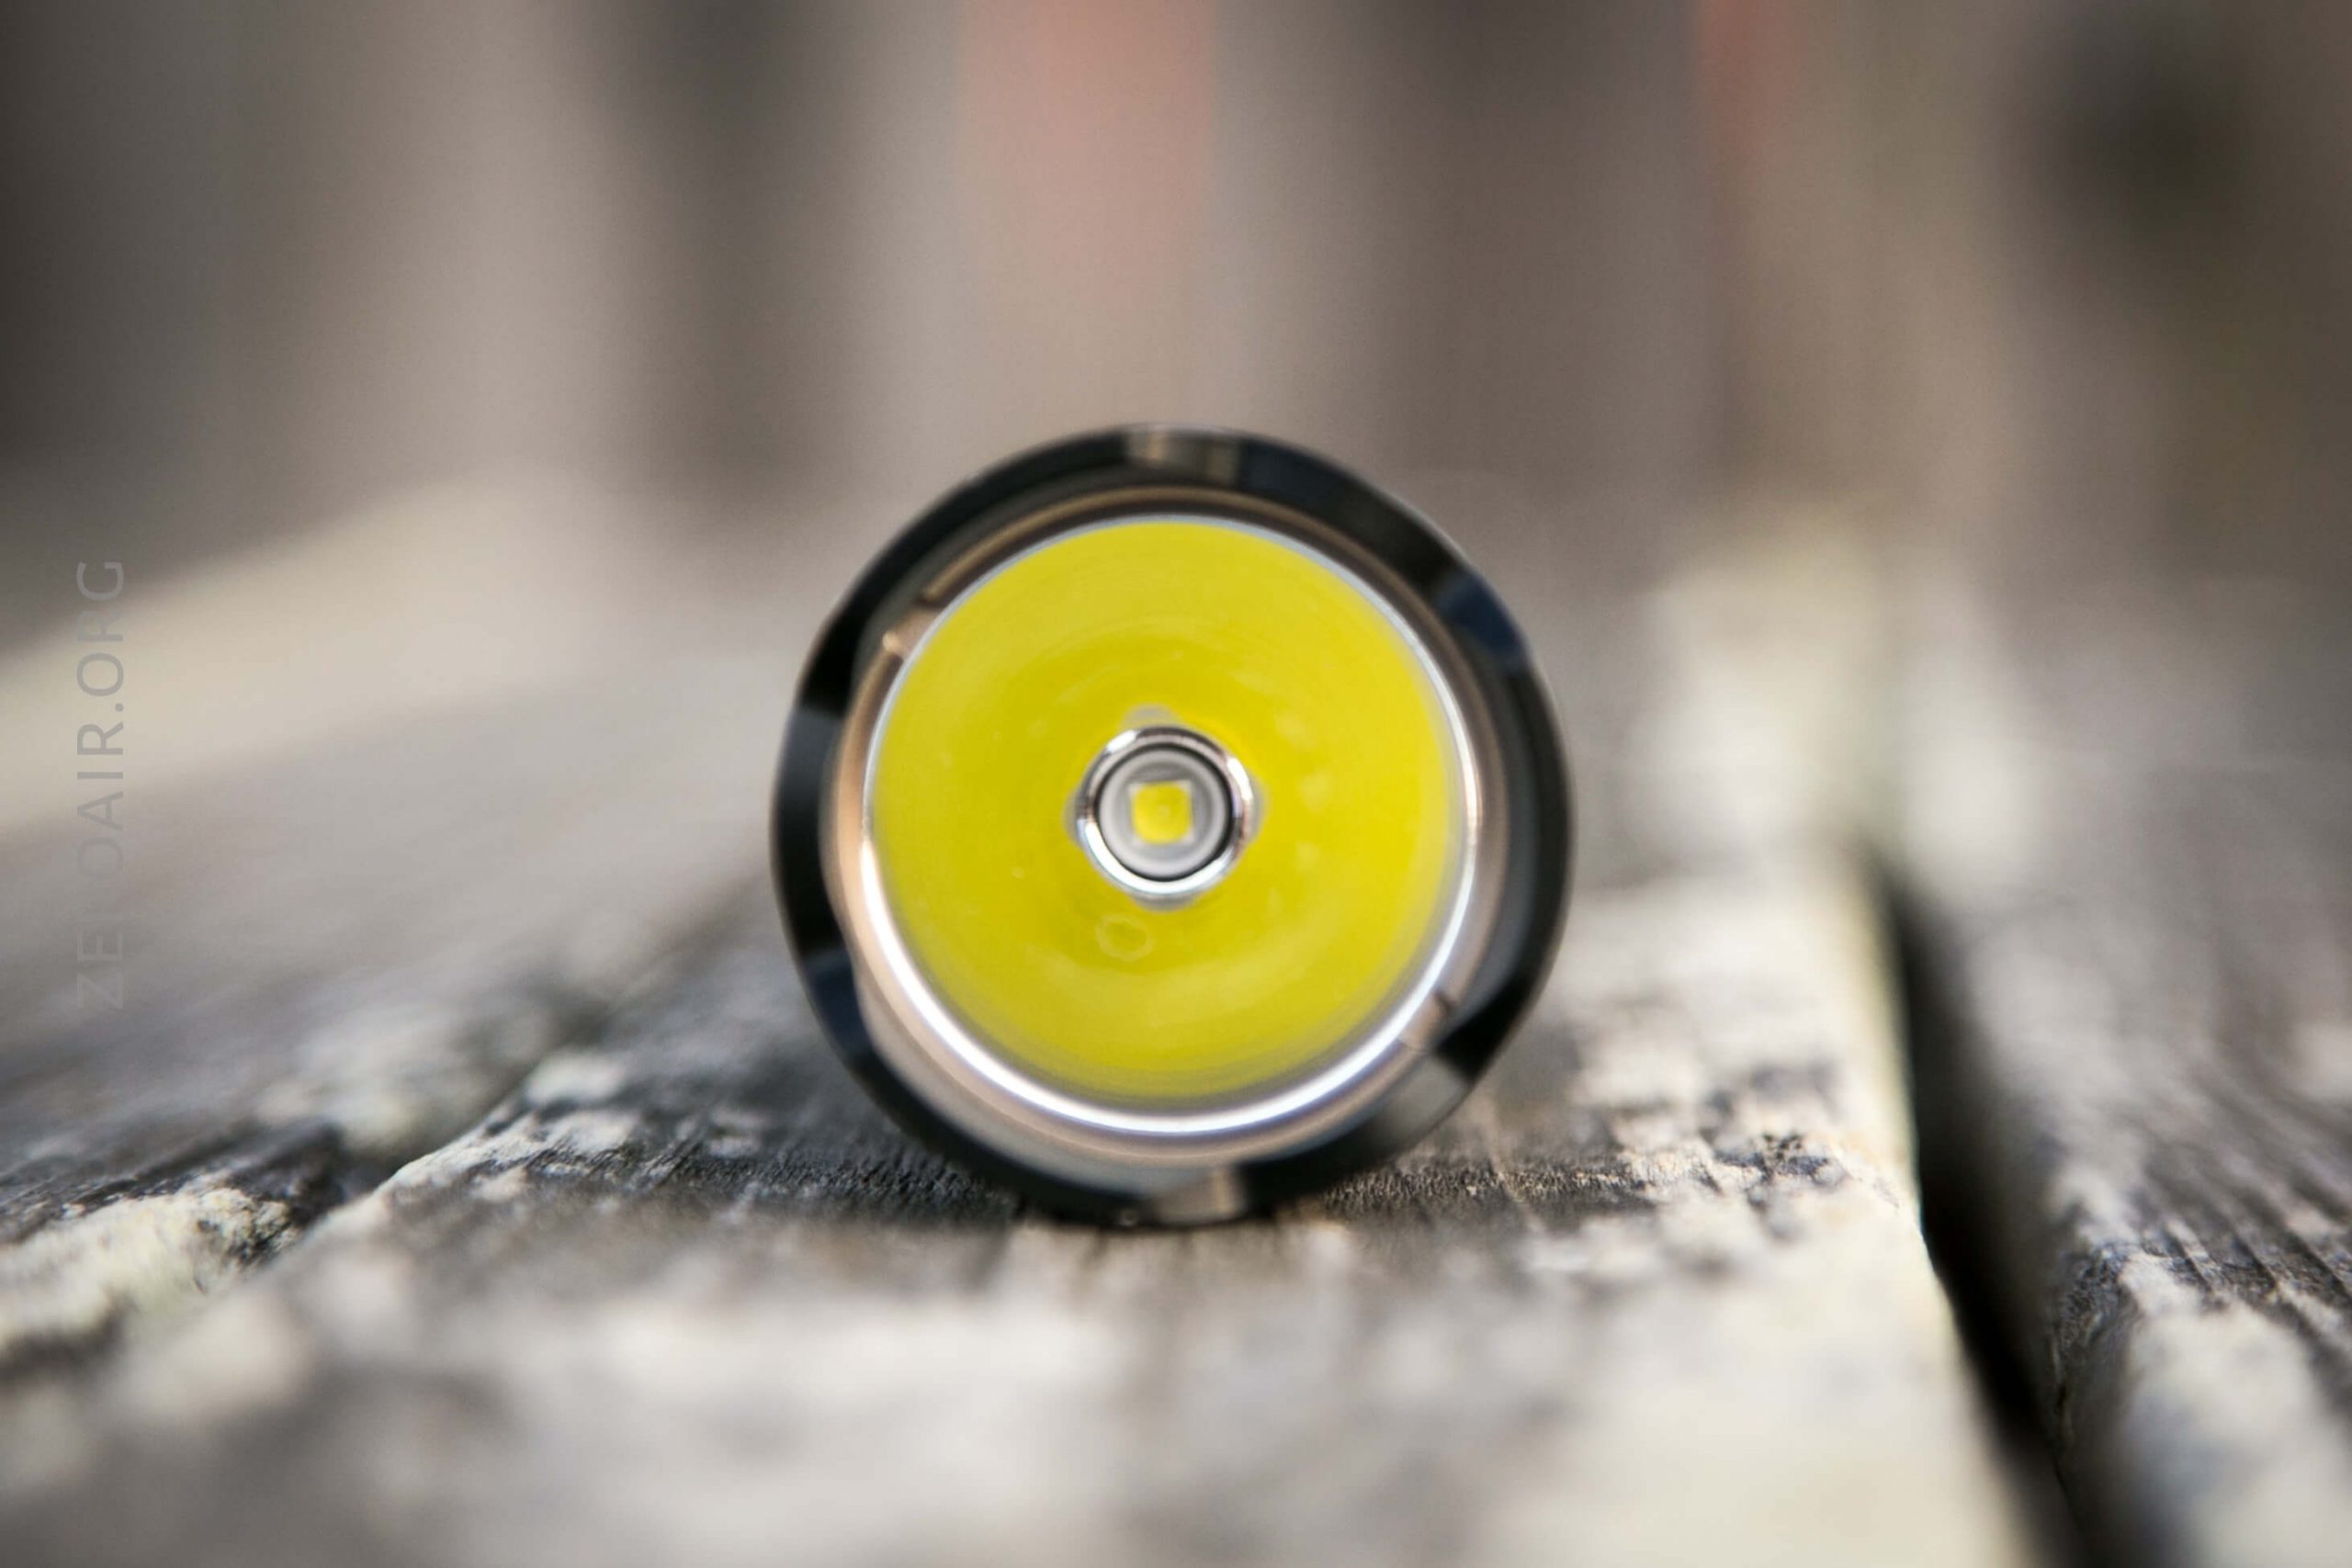
LED and Beam
The emitter here is a Cree XHP35 HD, which is the same as was used in the PT18 (not pro). The reflector is deep and smooth.
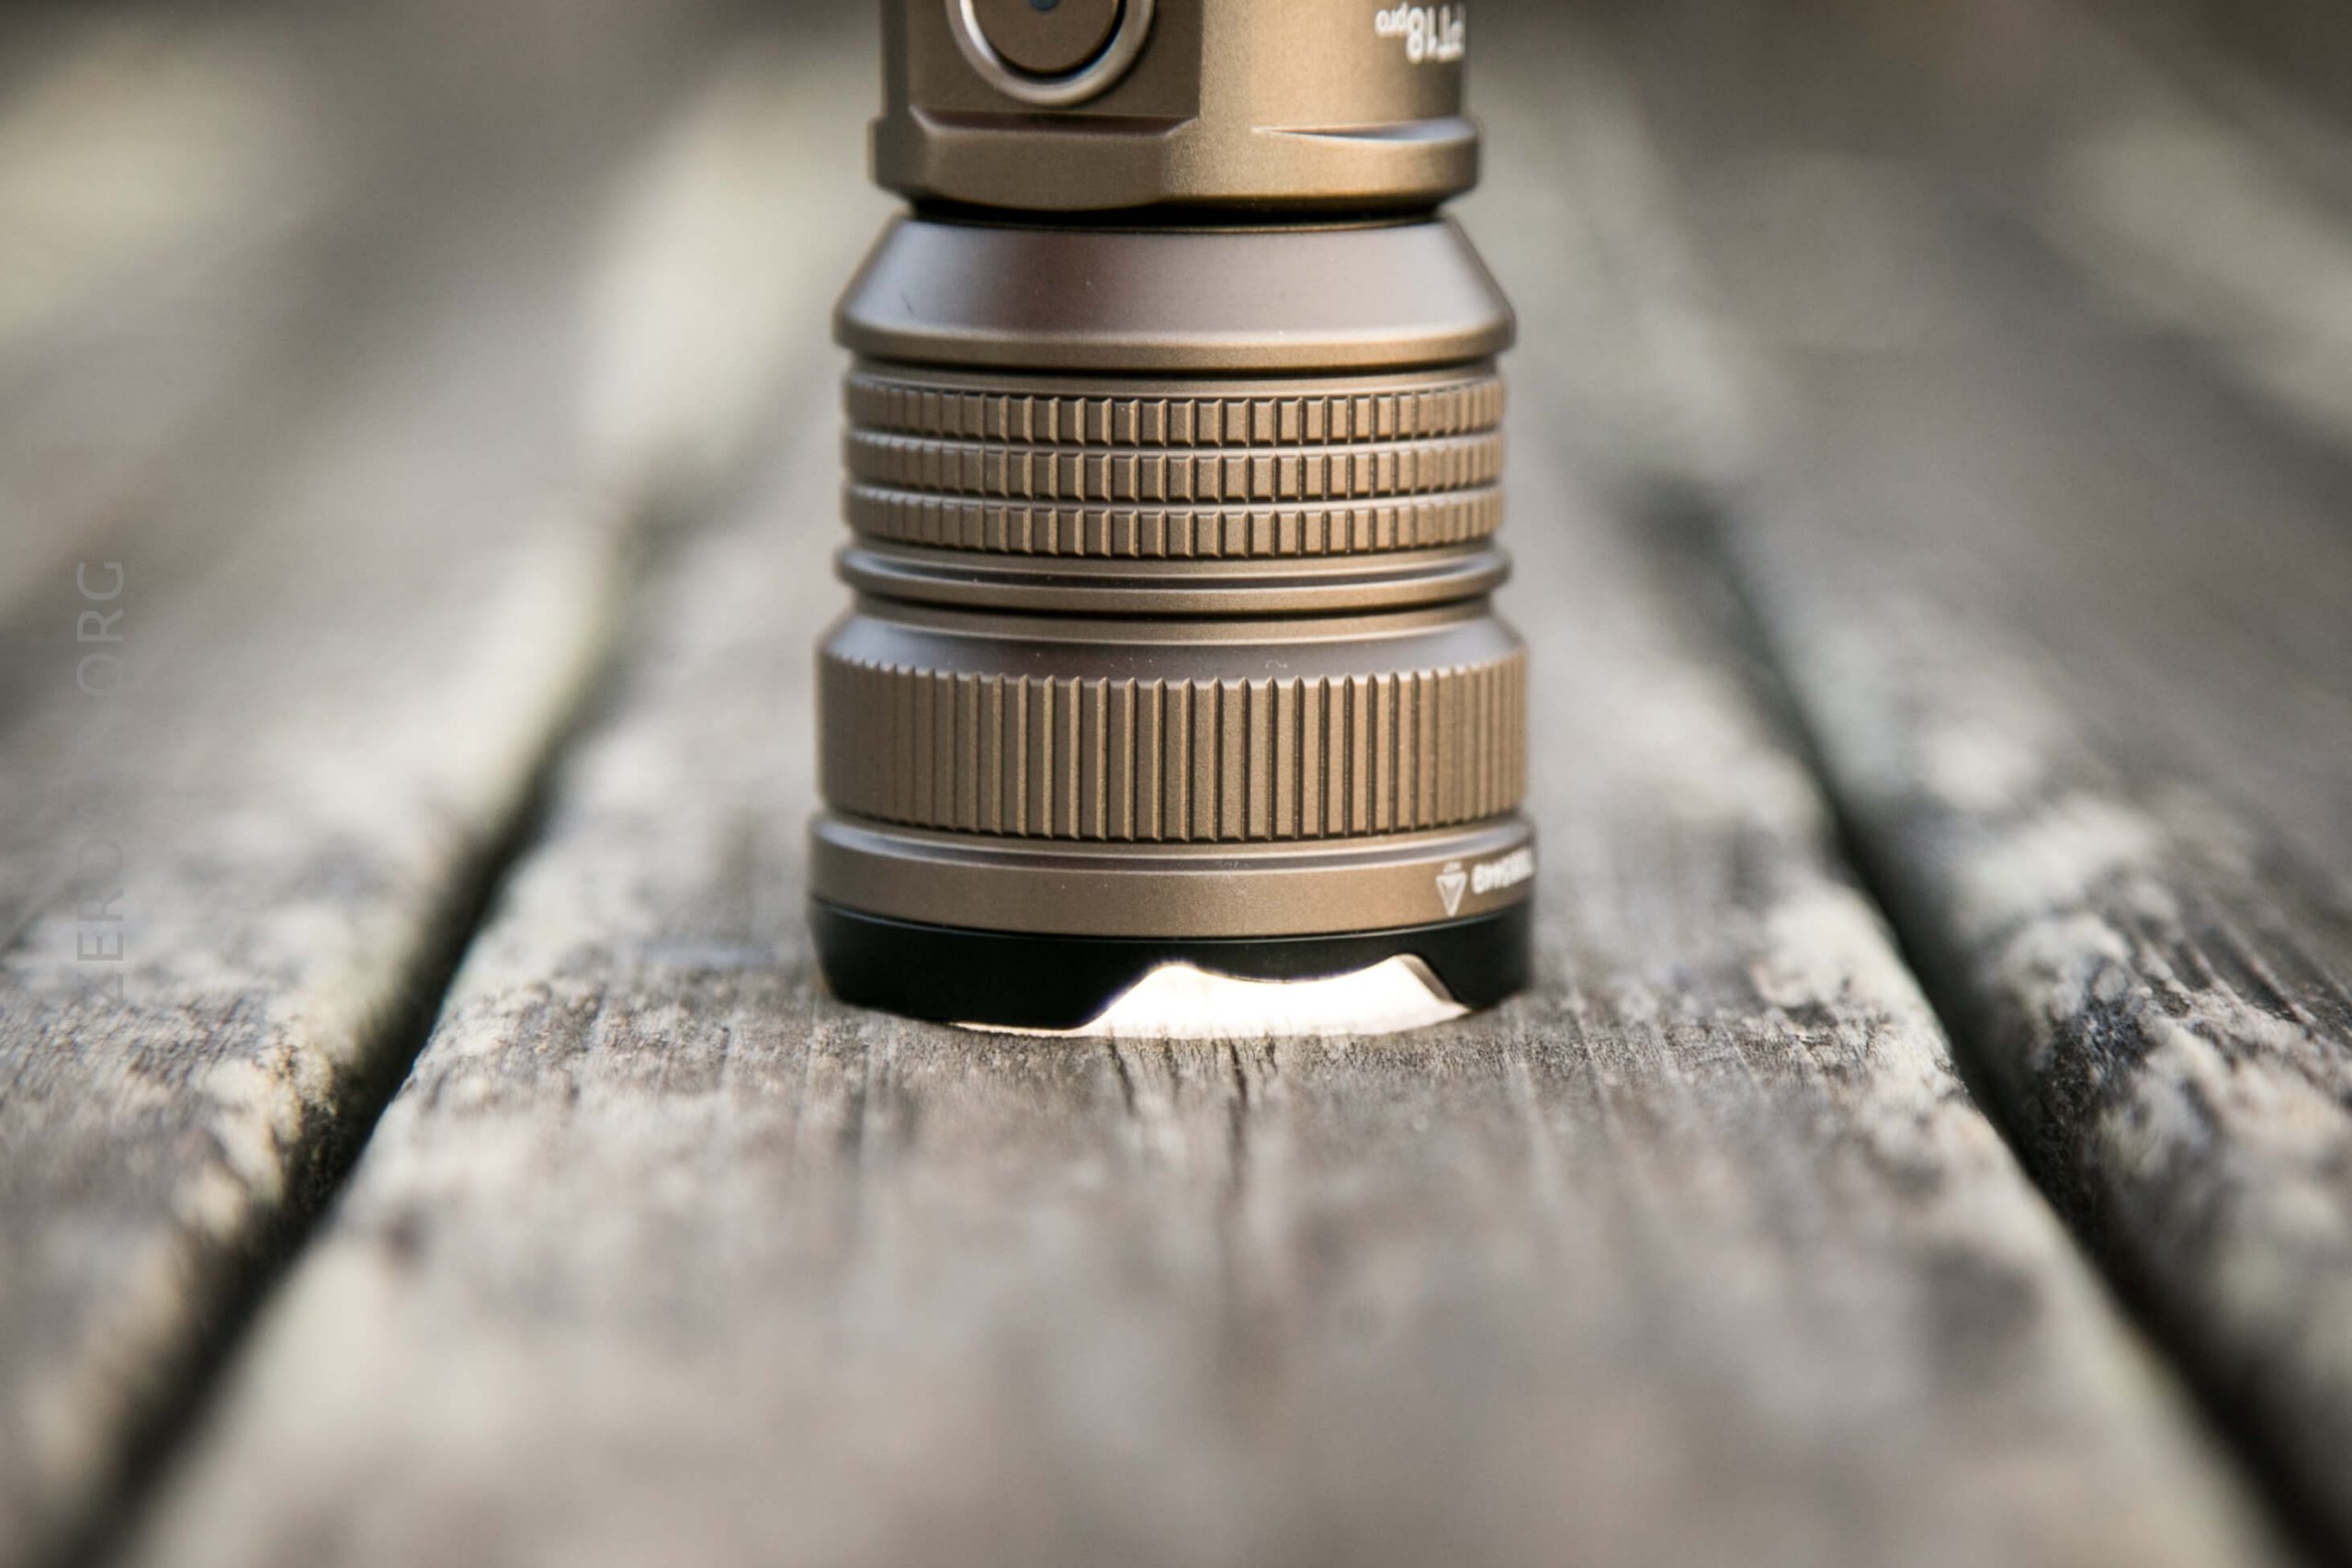
The removable strike bezel allows light to peek out.
These beamshots always have the following settings: f8, ISO100, 0.3s shutter, and manual 5000K exposure. These photos are taken at floor level, and the beam hits the ceiling around 9 feet away.


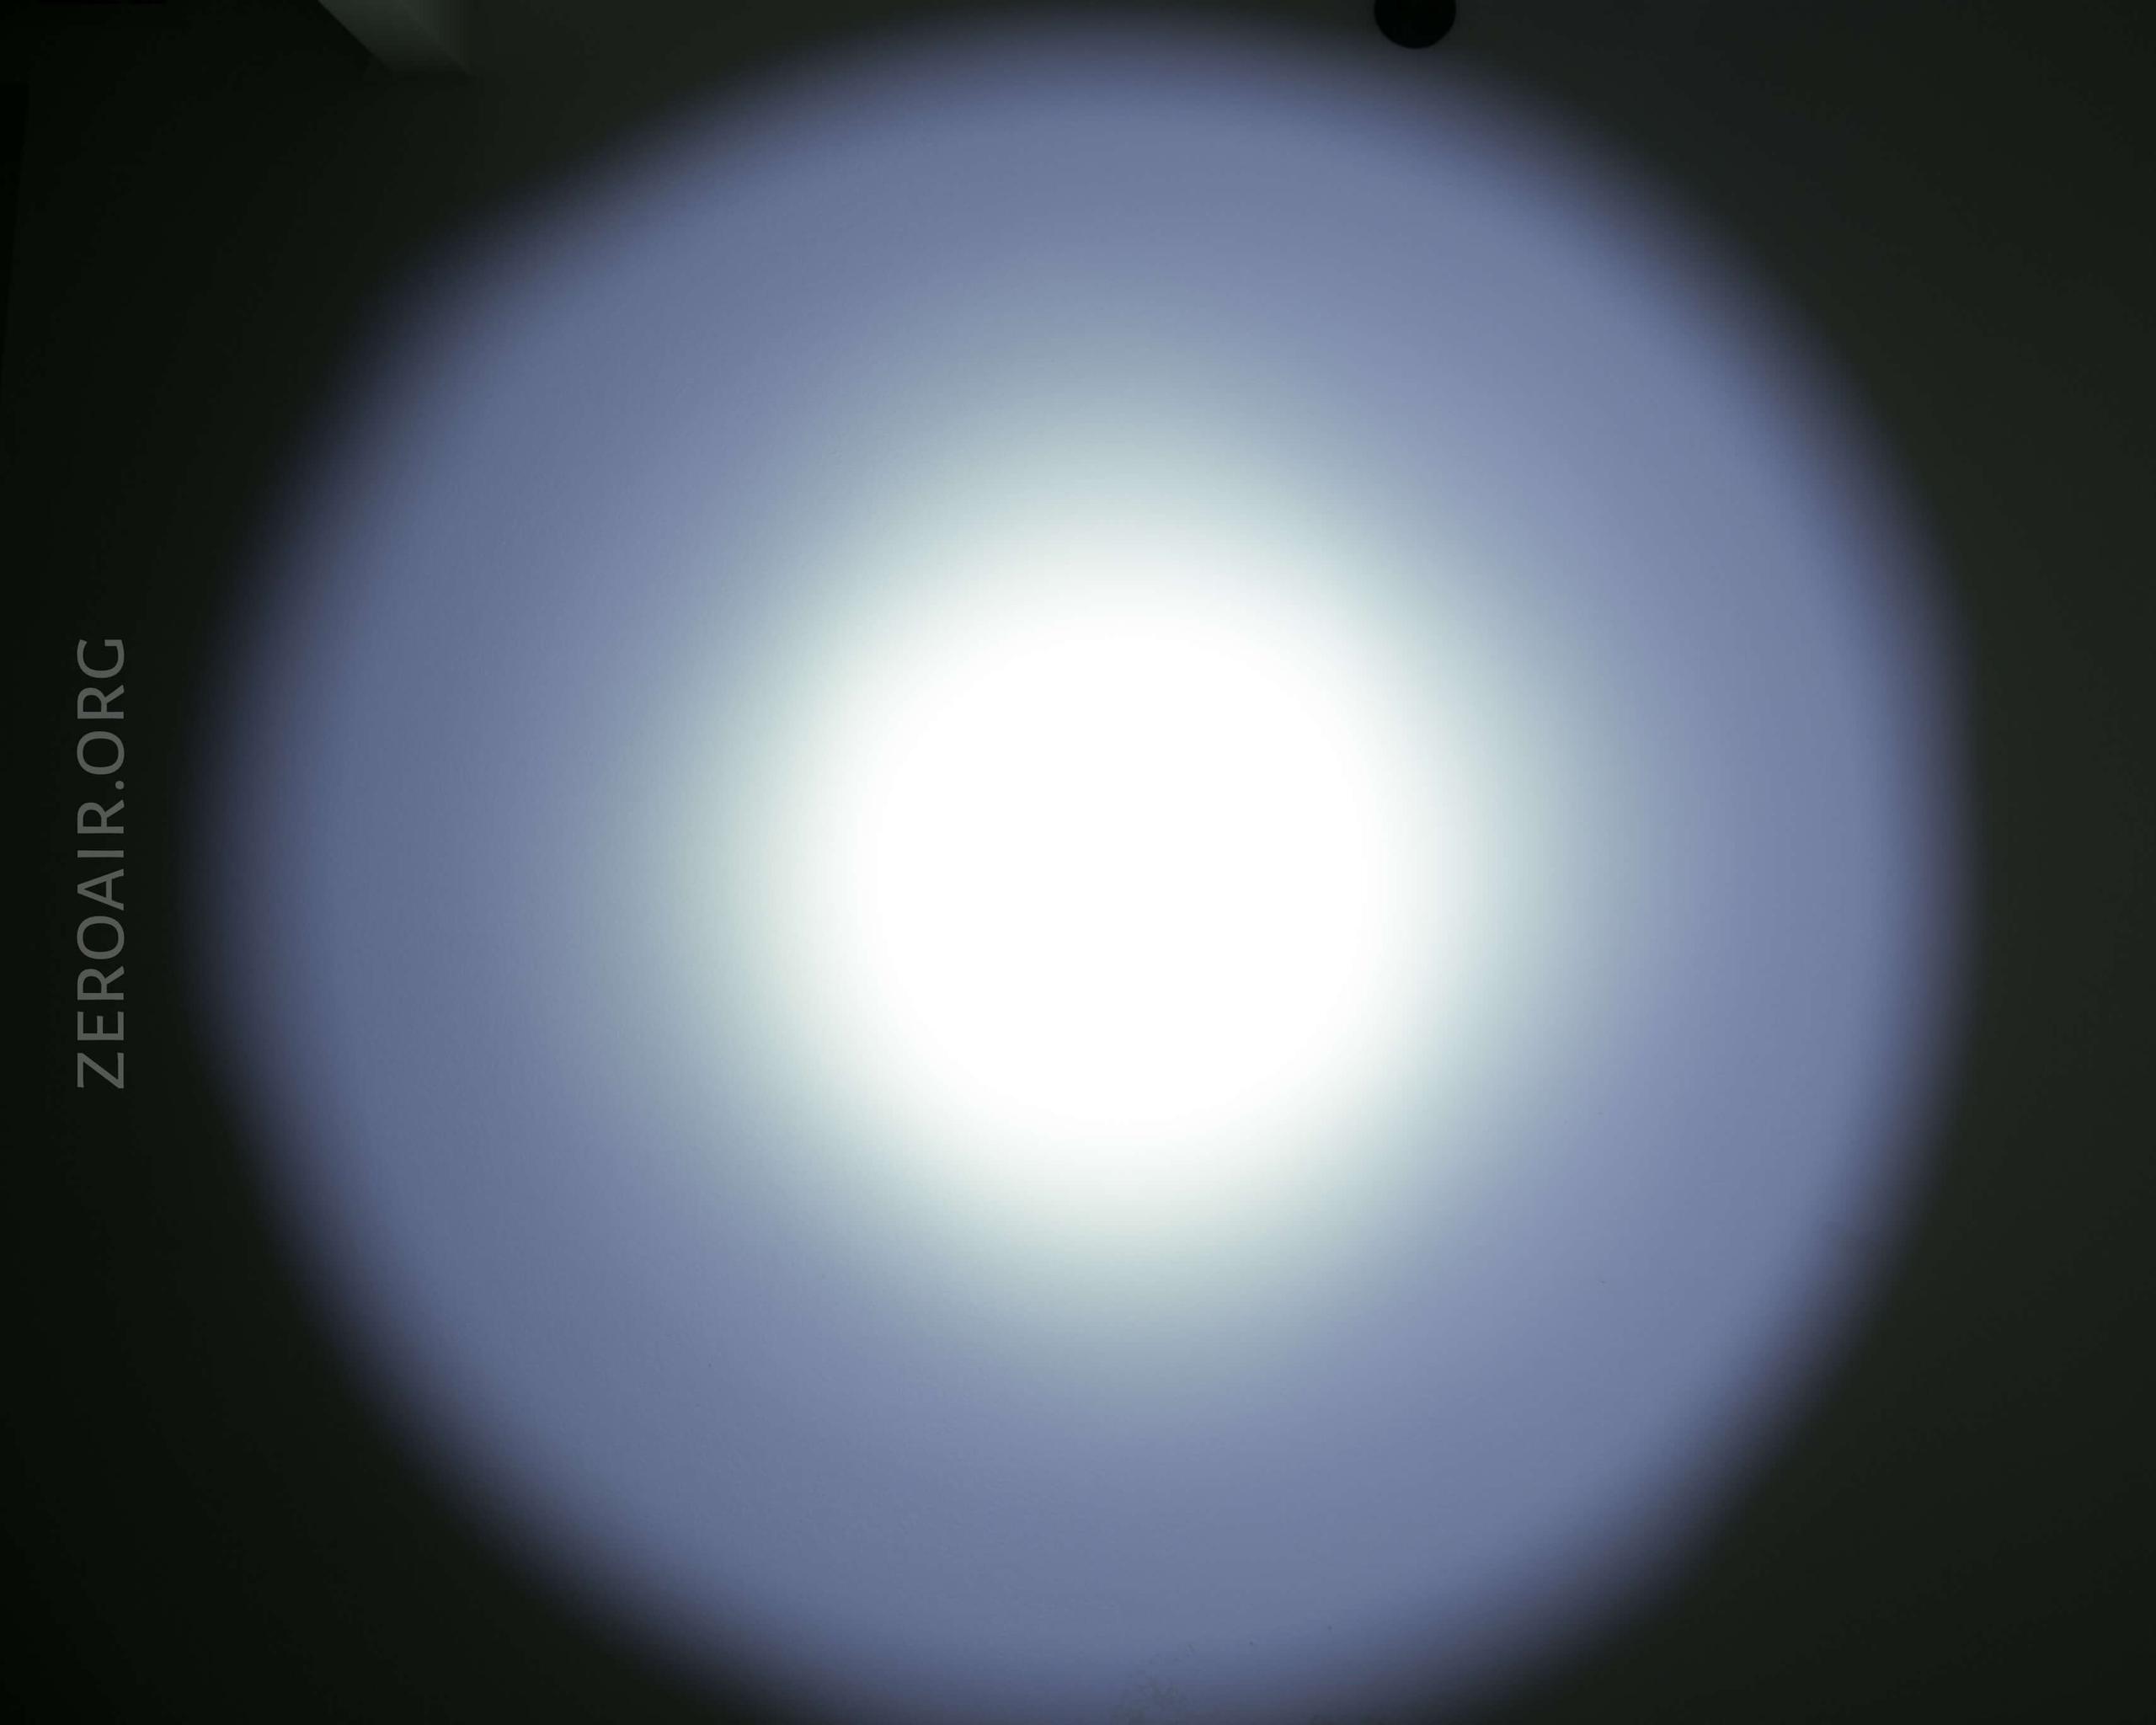
Tint vs BLF-348 (KillzoneFlashlights.com 219b version) (affiliate link)
I keep the test flashlight on the left and the BLF-348 reference flashlight on the right.
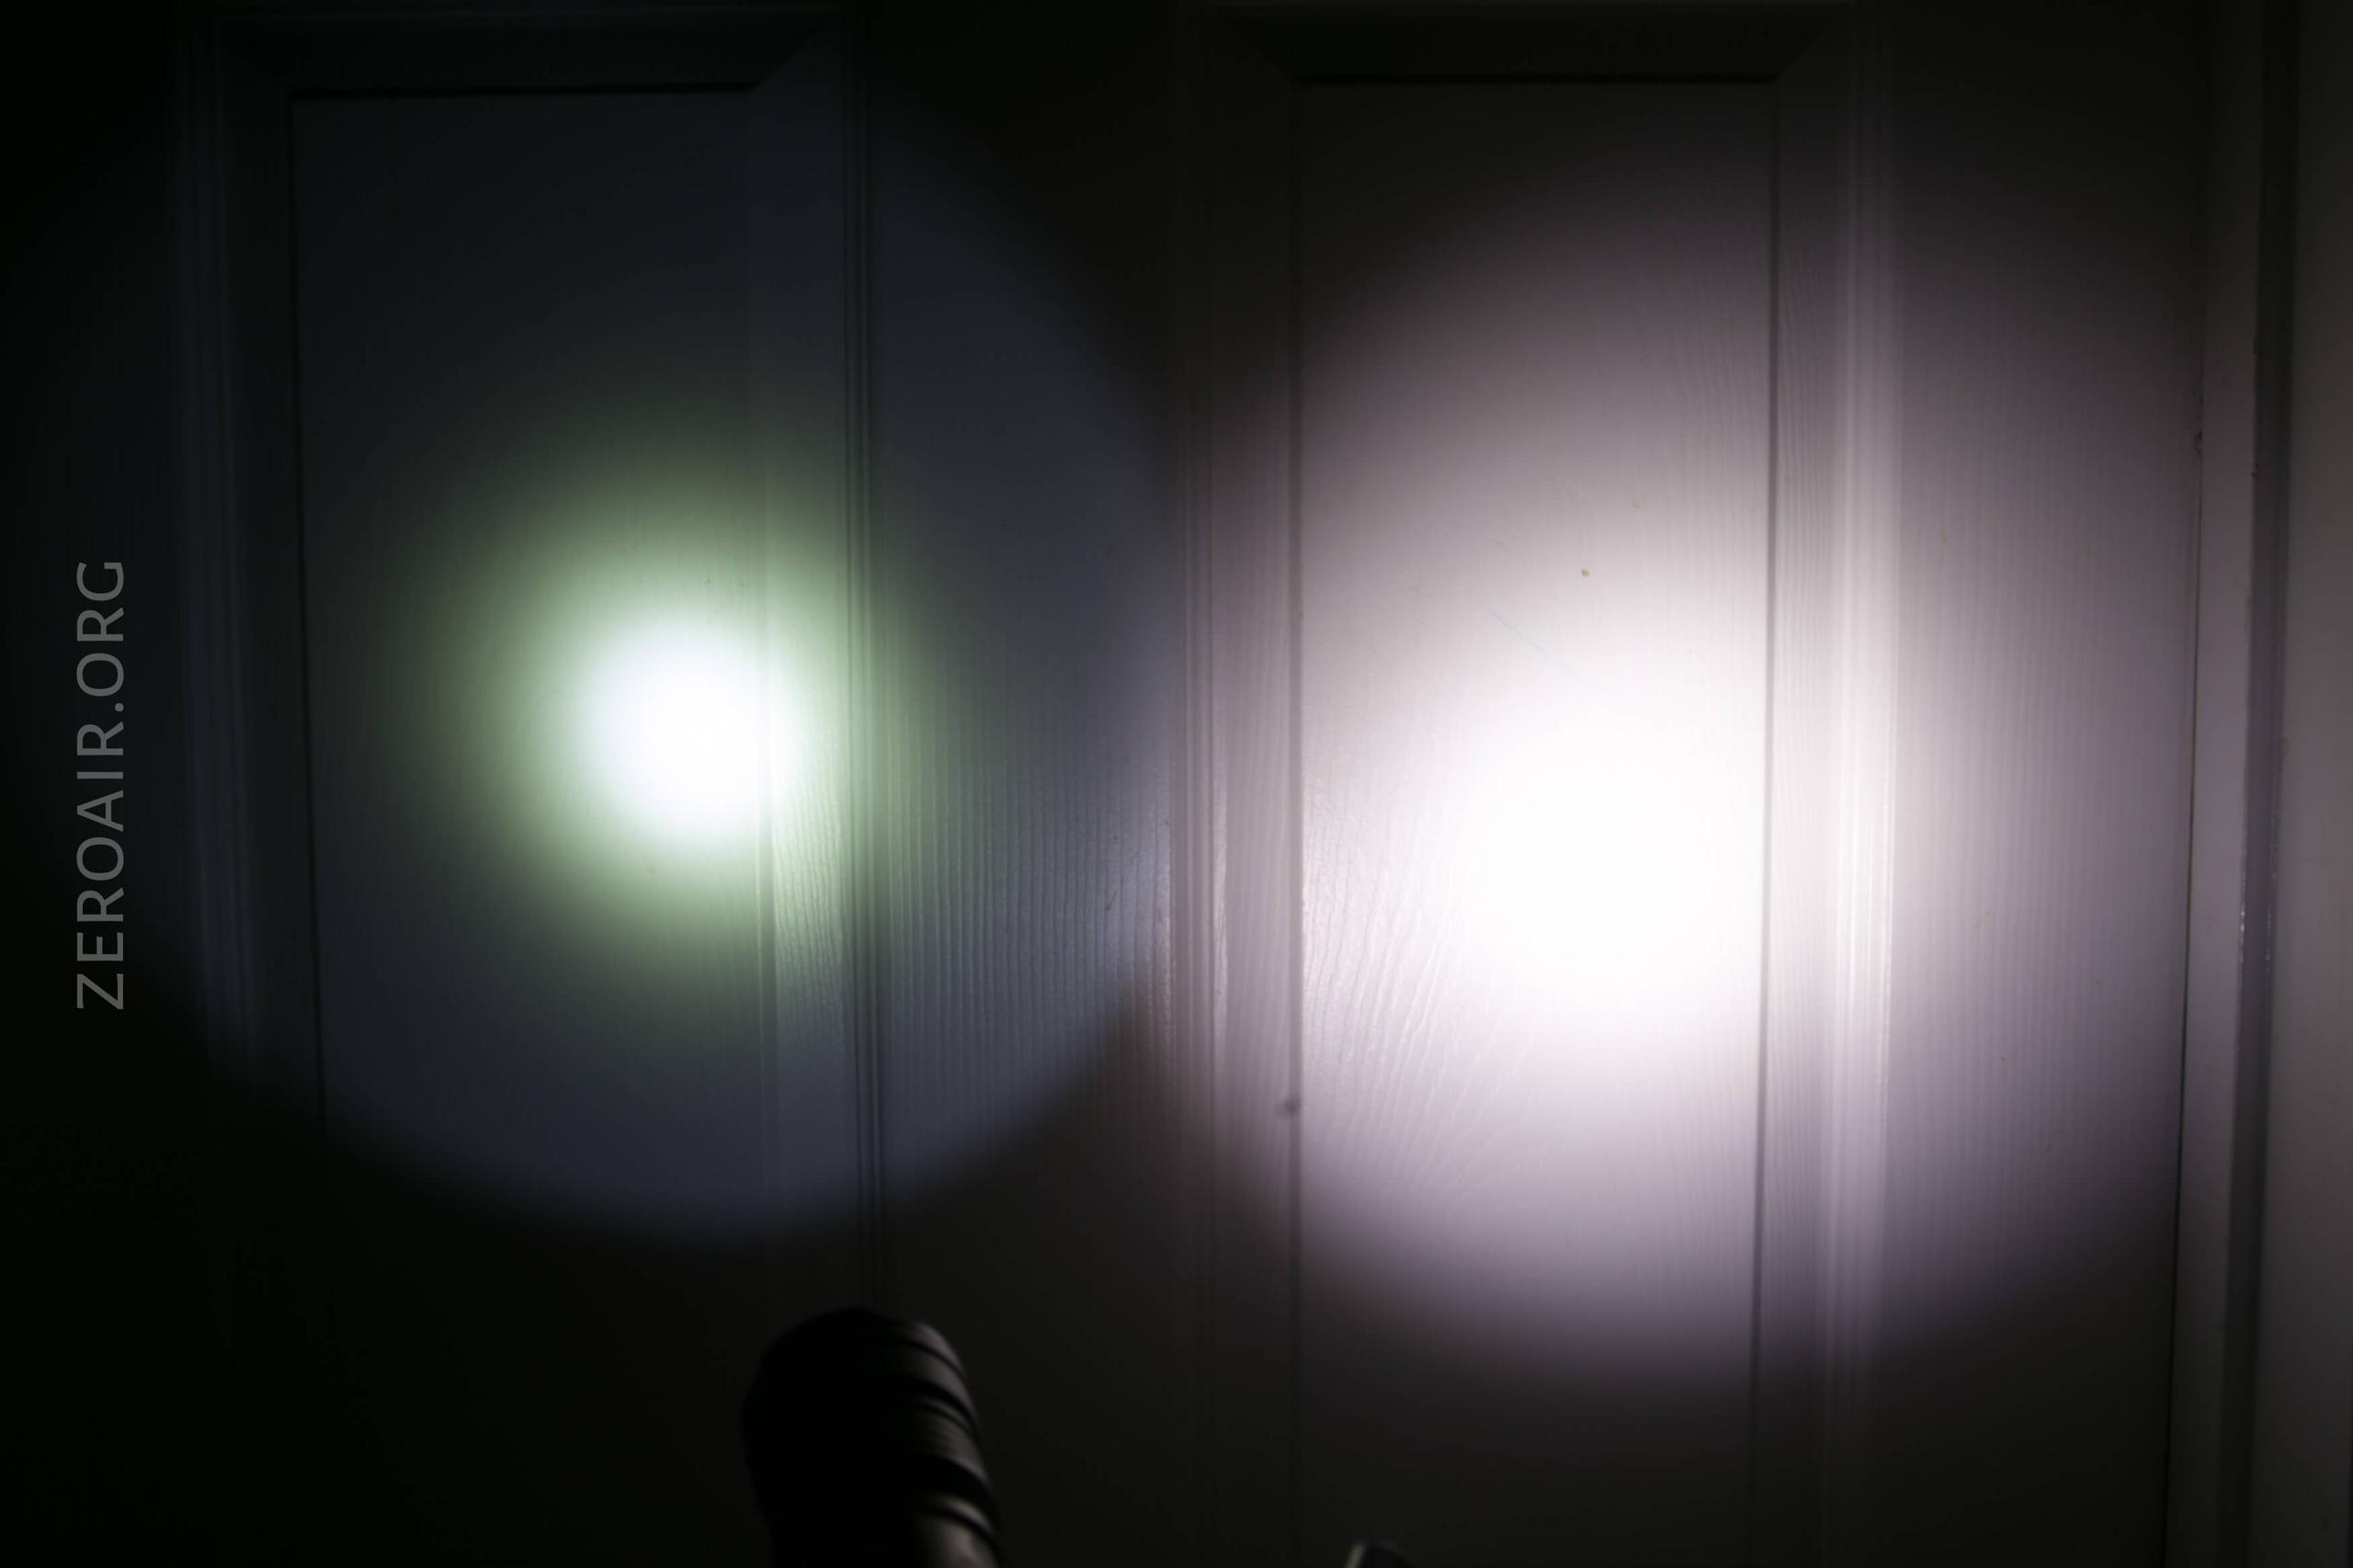
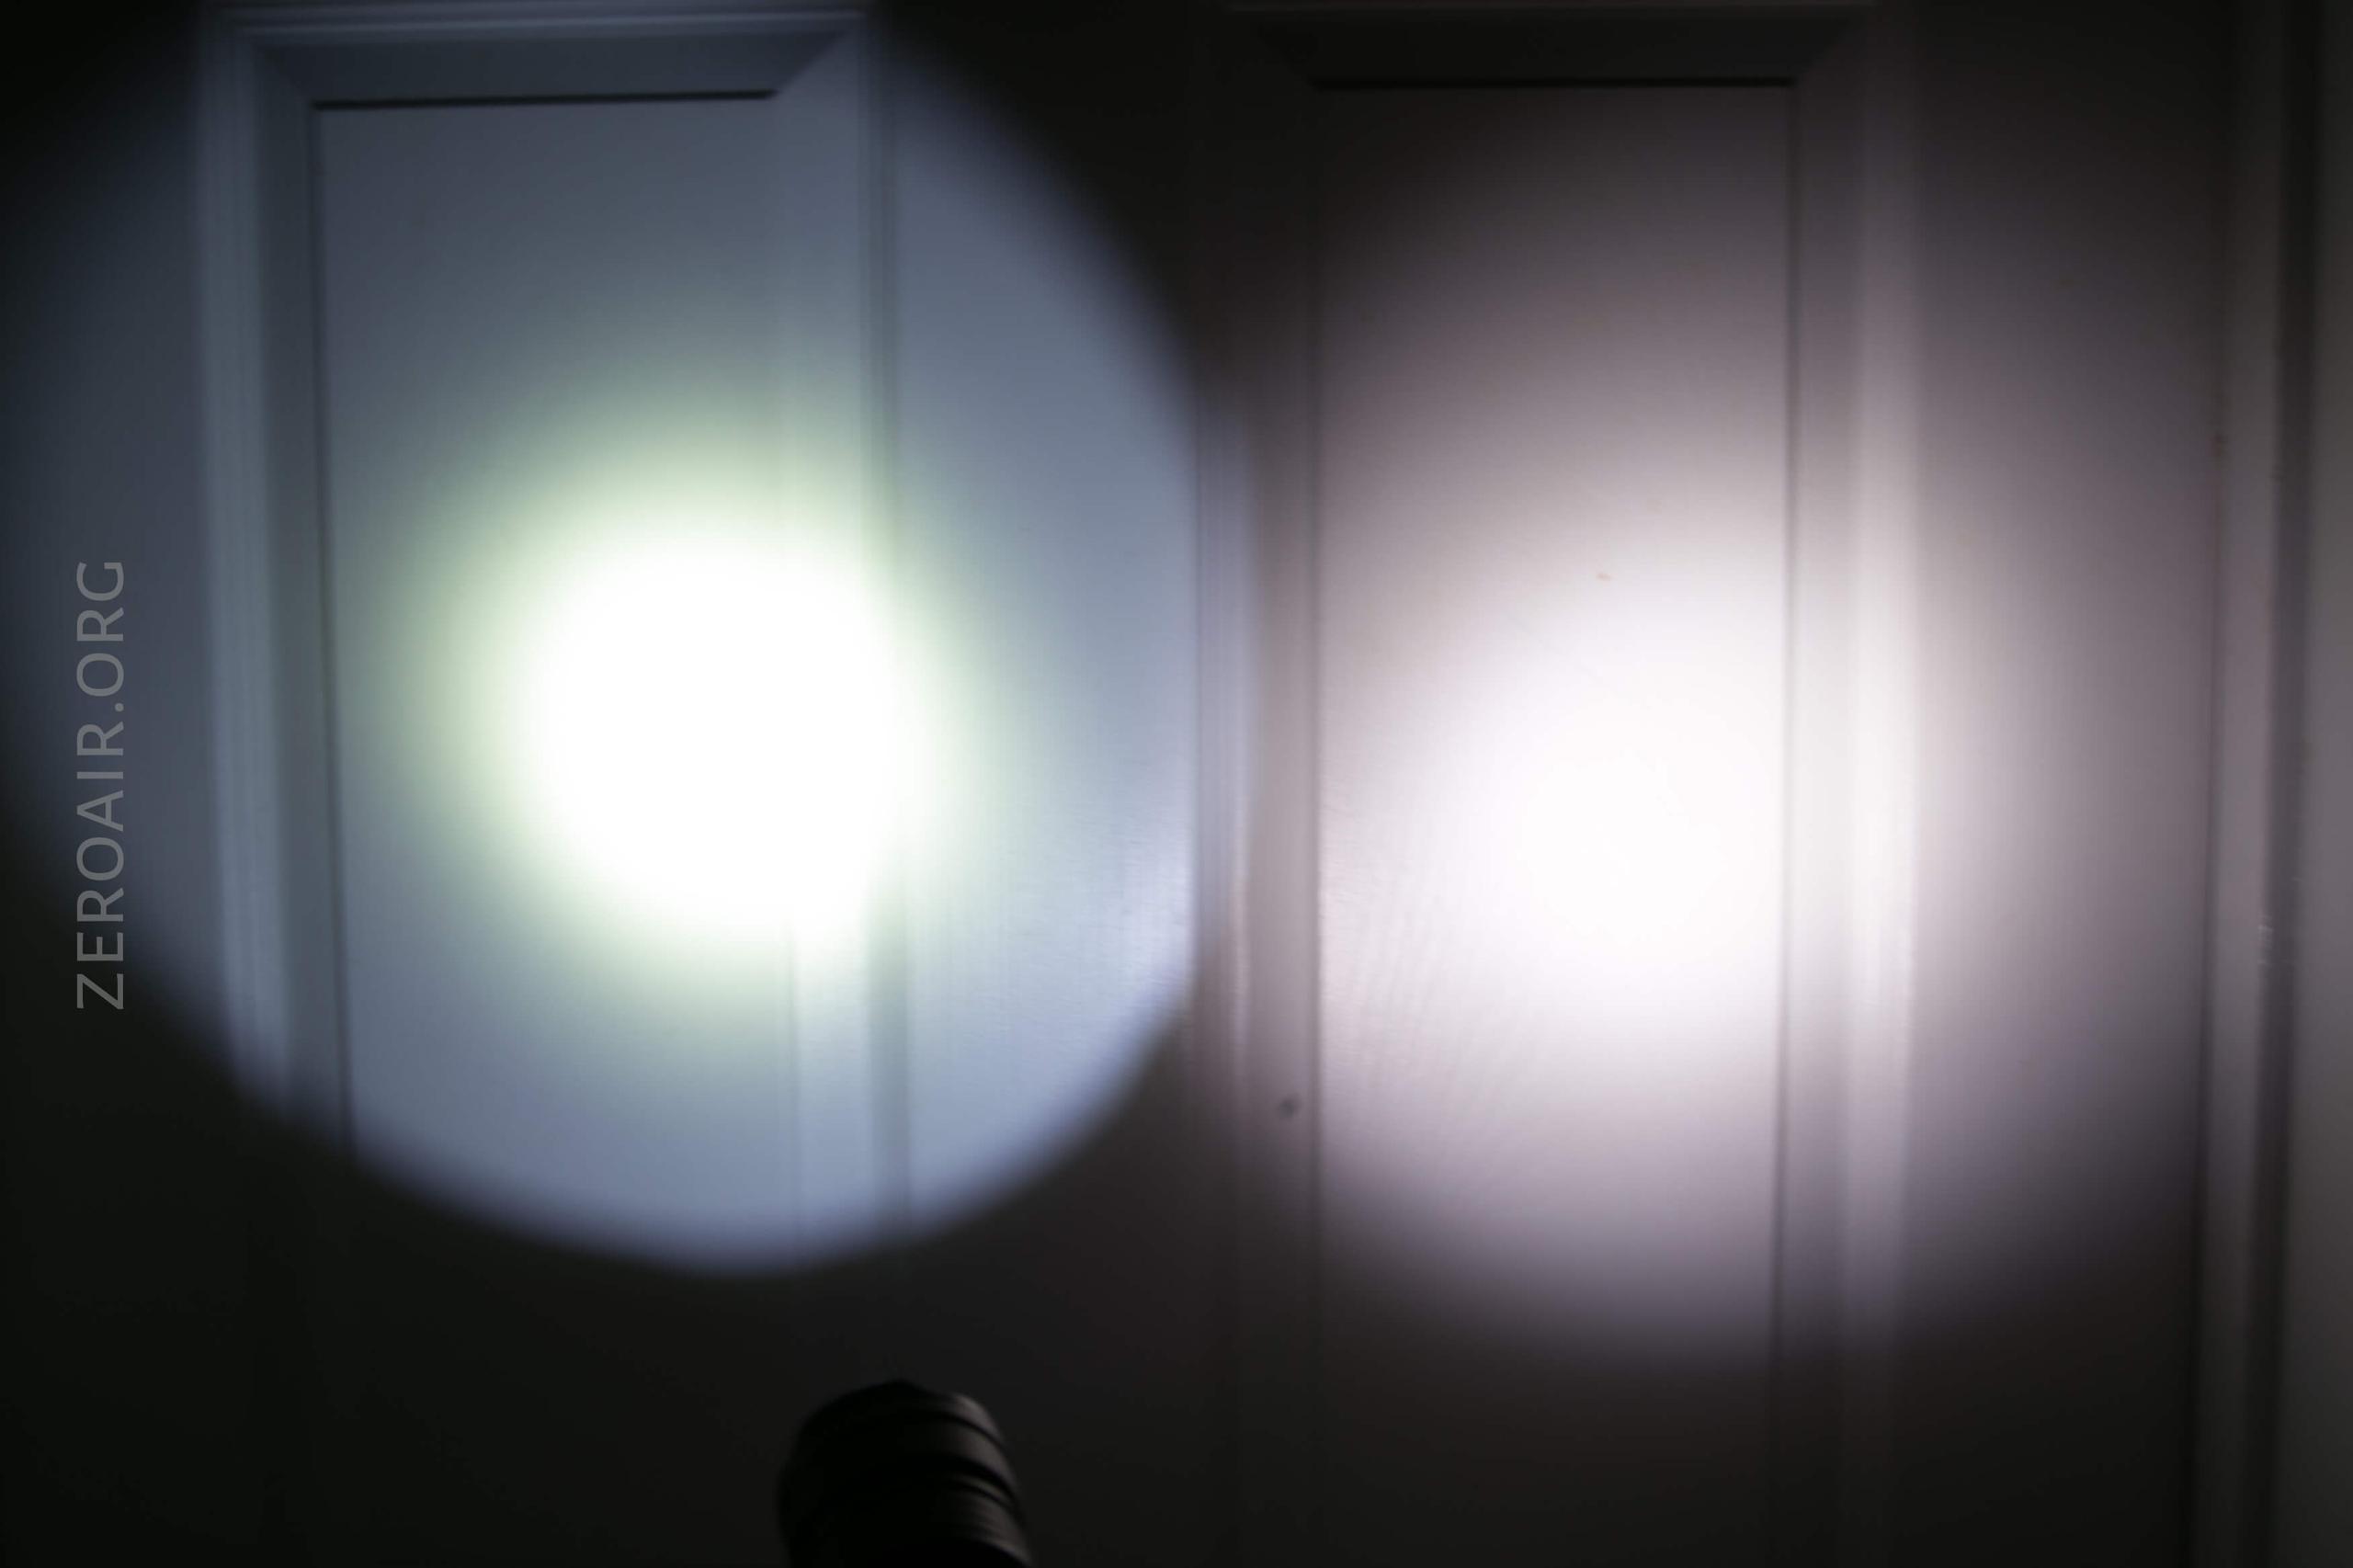
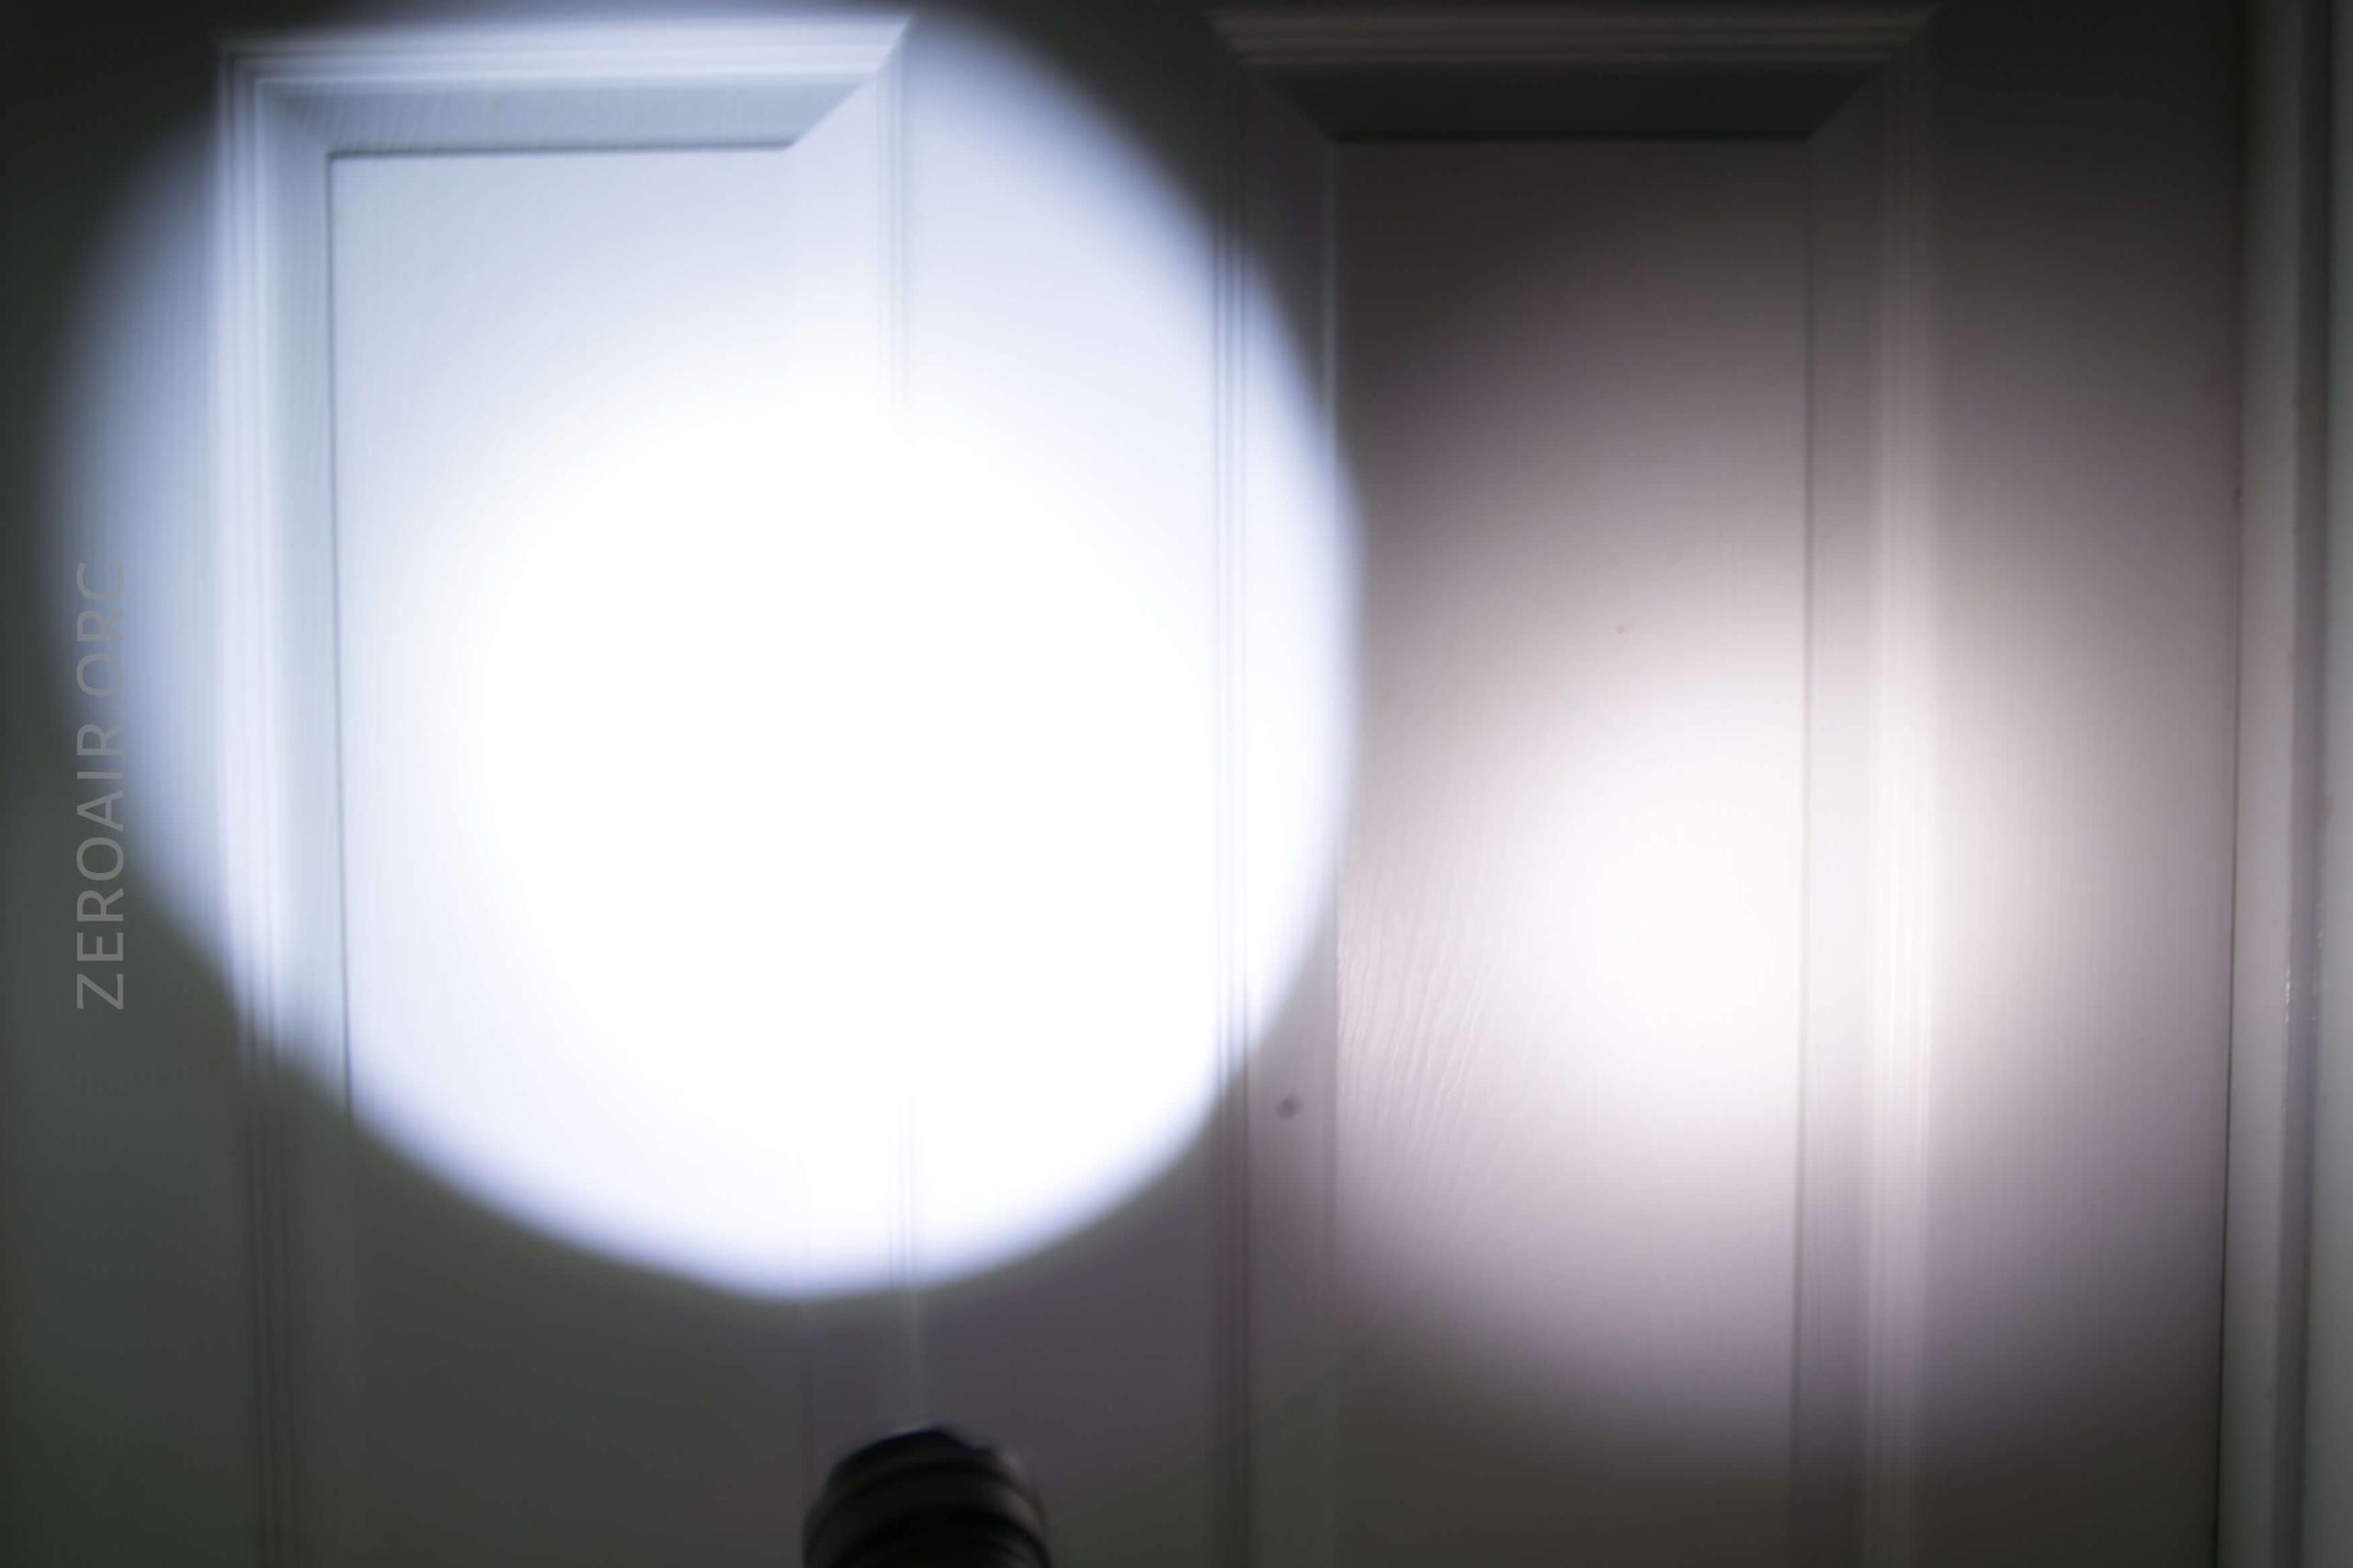
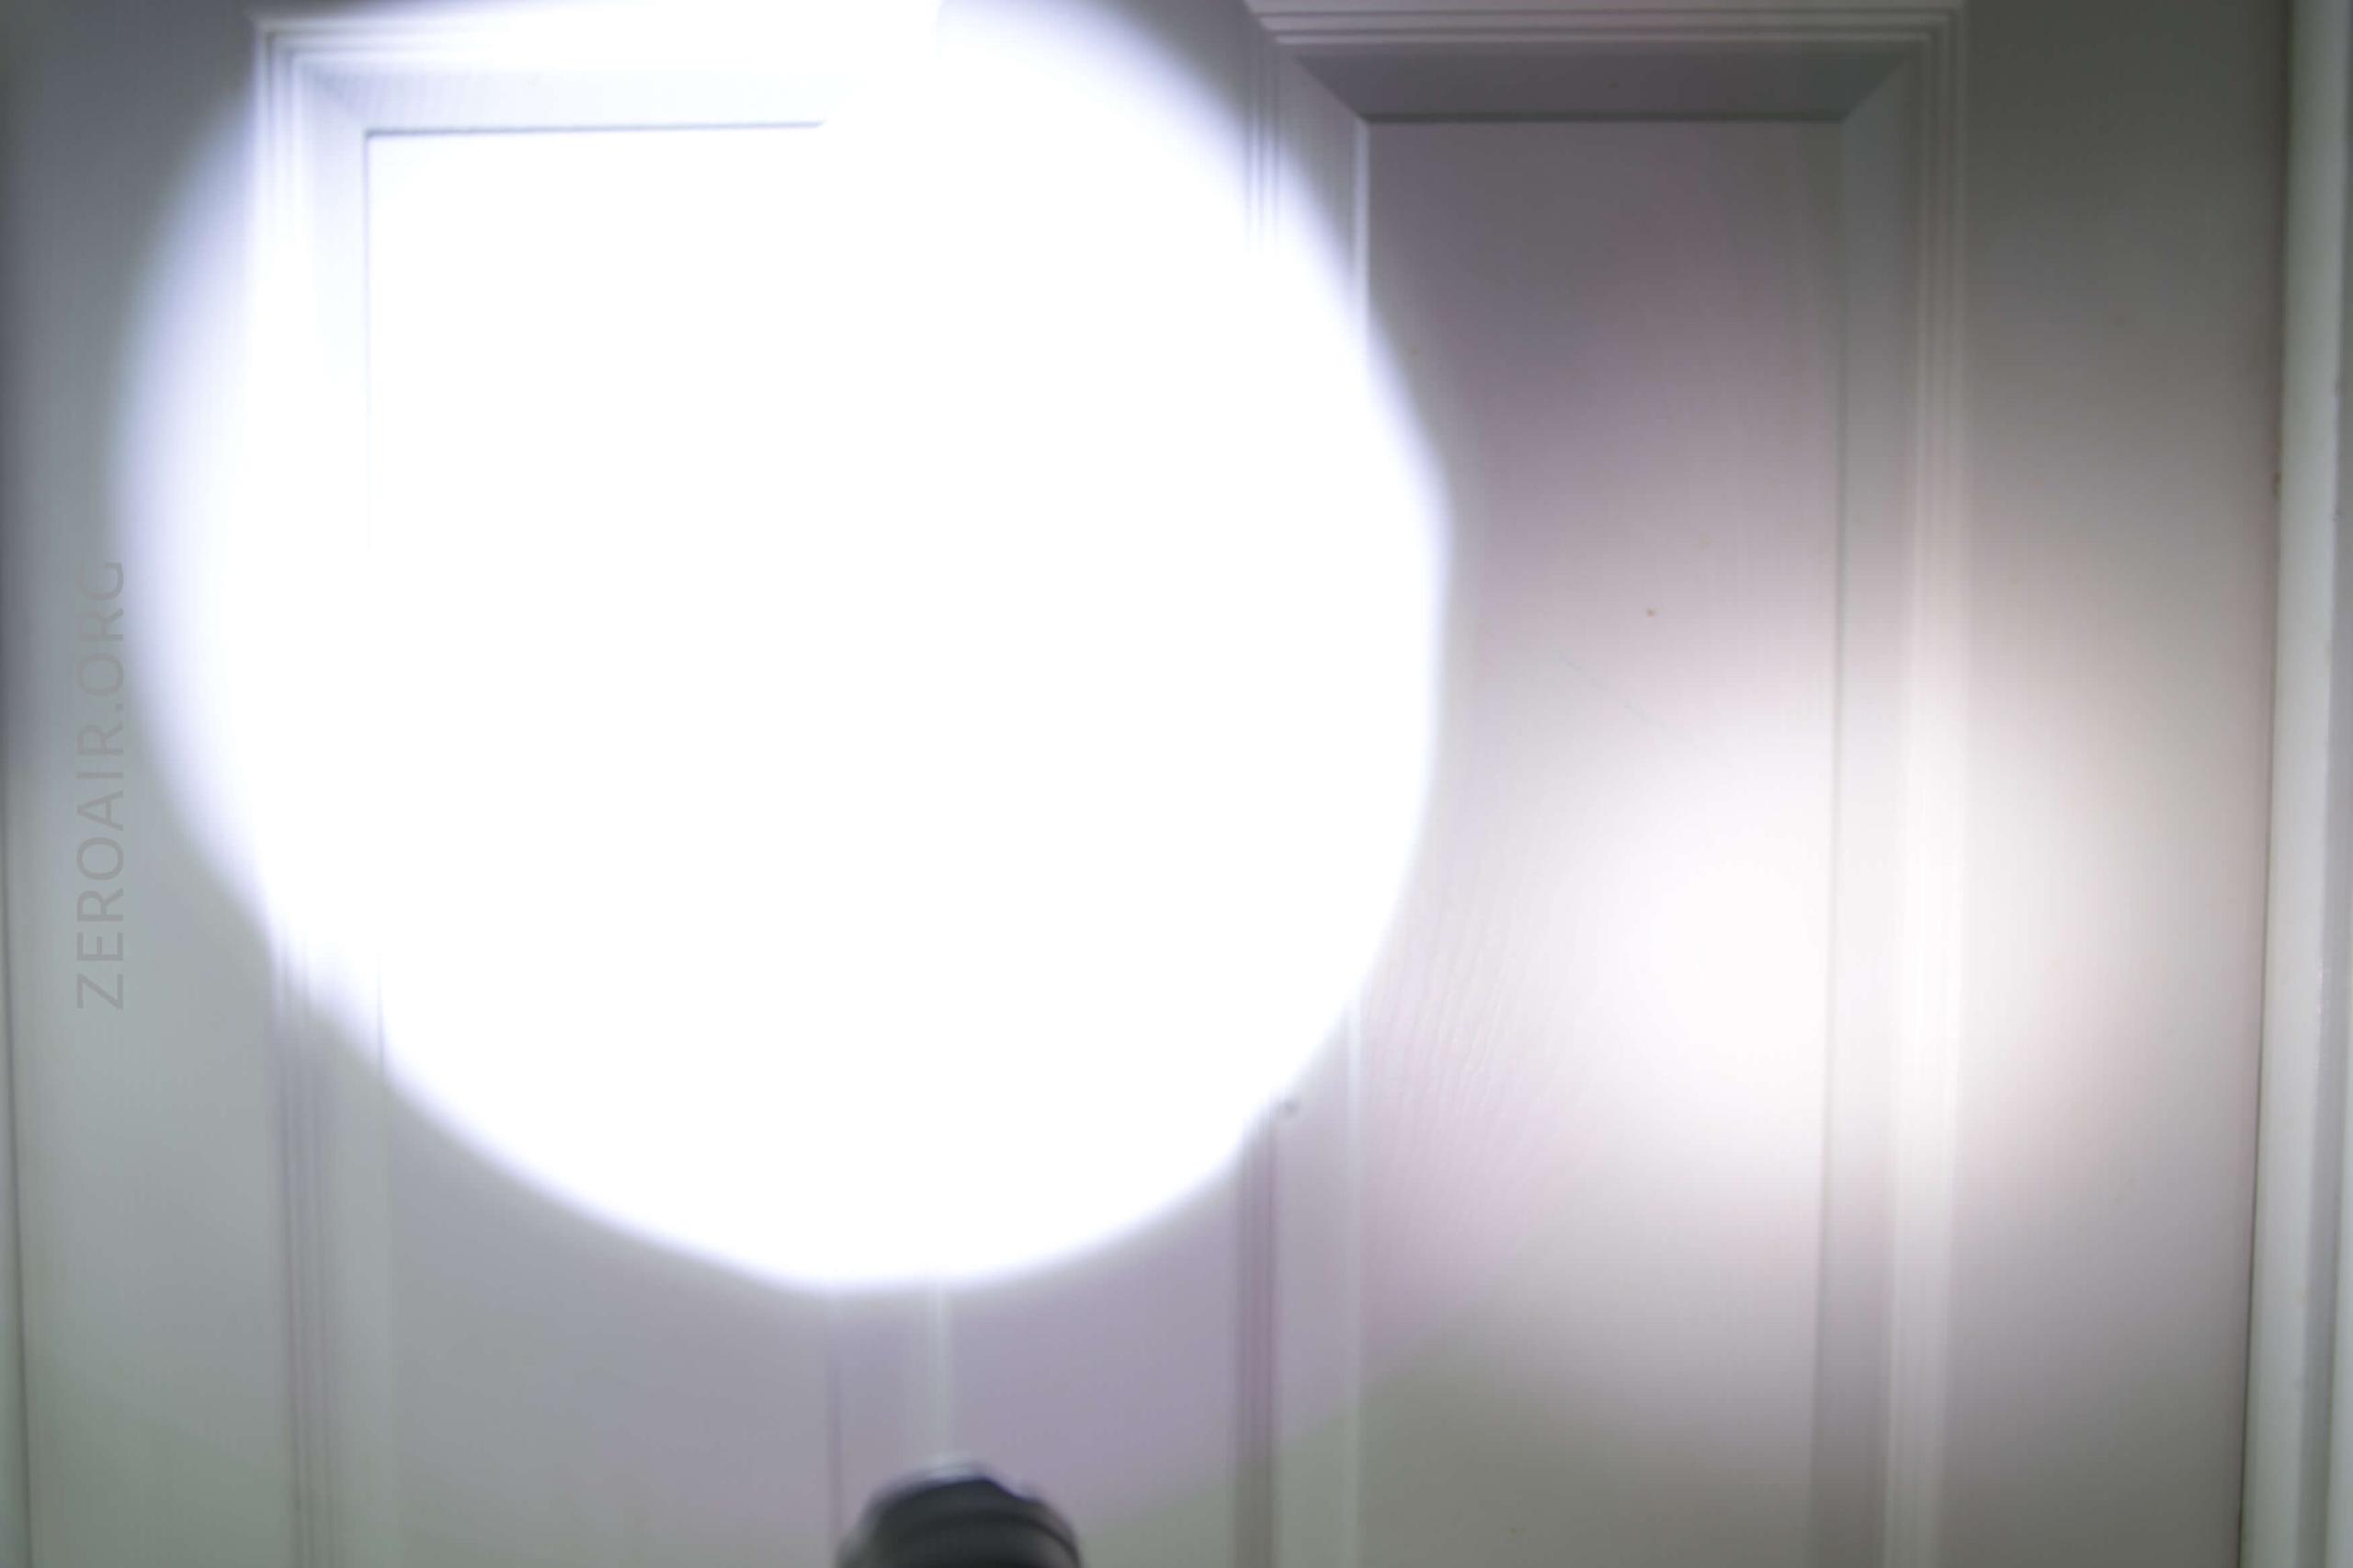
I compare everything to the KillzoneFlashlights.com 219b BLF-348 because it’s inexpensive and has the best tint!
Conclusion
What I like
- Comprehensive package
- Good output
- PLENTY of options in the UI
- Nice optional mount option
- Pressure switch option
What I don’t like
- The user interface can be overwhelming, but generally functions like you’d expect it to
- $135 is high, but maybe not too high
Notes
- This light was provided by Brinyte for review. I was not paid to write this review.
- This content originally appeared at zeroair.org. Please visit there for the best experience!
- Use my amazon.com referral link if you’re willing to help support making more reviews like this one!
- Please support me on Patreon! I deeply appreciate your support!
Discover more from ZeroAir Reviews
Subscribe to get the latest posts sent to your email.
Who are buying these lights? I’m not saying this is a bad light, but paying that price for a light that does under 1000 lm long term. You can get a TN42 from Thrunite for $24 dollars more on Amazon. I realize the TN42 is a spot light, but if your only argument is that this light is also able to be mounted to weapons.Then there is still cheaper lights that will mount to a weapon, that still get the job done for less then the price for this one.
The PT18 Pro and TN42 are really not even in the same category of flashlights, though.