
YLP Panda 3R Headlamp Review
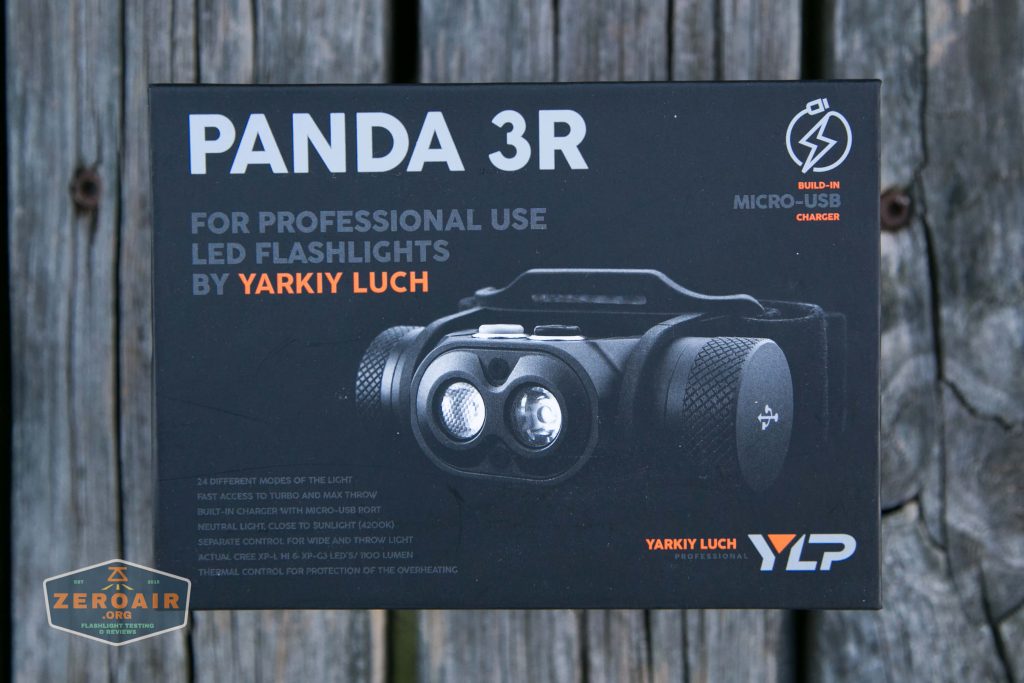
Here’s another light by Yarkiy Luch (YLP) the Panda 3R headlamp. Similar to the 2M CRI, but adds onboard charging! Read on for some testing!
Official Specs and Features
Here’s a link to the official product page.
Versions
I believe this to be the only version of this light. But the Panda headlamp is a whole series by YLP. Here’s what’s current:

Price
These go for $63 currently!
Short Review
This is a solid headlamp right here. The two emitters having different optics really does provide different beam profiles. The user interface can be just a bit of an obstacle, particularly when switching from one emitter to two. But overall this is a good value headlamp.
Long Review
The Big Table
Actually three big tables.
| YLP Panda 3R Headlamp | |
|---|---|
| Emitter: | Cree XP-L HI, Cree XP-G3 NW 4200К (Both) |
| Price in USD at publication time: | $63.00 |
| Cell: | 1×18650 |
| Turbo Runtime | High Runtime |
| LVP? | Yes |
| Switch Type: | E-Switch |
| Quiescent Current (A): | |
| On-Board Charging? | Yes |
| Charge Port Type: | micro-USB |
| Chargetime | |
| Power off Charge Port with no cell? | All modes. |
| Power off Charge Port with cell? | All modes. |
| Claimed Lumens (lm) | 1100 |
| Measured Lumens (at 30s) | 752 (68.4% of claim)^ |
| Candela per Lumen | 7.6 |
| Claimed Throw (m) | 115 |
| Candela (Calculated) in cd (at 30s) | 276lux @ 3.404m = 3198cd |
| Throw (Calculated) (m) | 113.1 (98.3% of claim)^ |
| All my YLP reviews! | |
| YLP Panda 3R Headlamp | |
|---|---|
| Emitter: | Cree XP-L HI, Cree XP-G3 NW 4200К (Spot) |
| Cell: | 1×18650 |
| Turbo Runtime | |
| Claimed Lumens (lm) | 550 |
| Measured Lumens (at 30s) | 403 (73.3% of claim)^ |
| Candela per Lumen | 5.1 |
| Claimed Throw (m) | 115 |
| Candela (Calculated) in cd (at 30s) | 146lux @ 3.777m = 2083cd |
| Throw (Calculated) (m) | 91.3 (79.4% of claim)^ |
| YLP Panda 3R Headlamp | |
|---|---|
| Emitter: | Cree XP-L HI, Cree XP-G3 NW 4200К (Flood) |
| Cell: | 1×18650 |
| Turbo Runtime | |
| Claimed Lumens (lm) | 550 |
| Measured Lumens (at 30s) | 510 (92.7% of claim)^ |
| Candela per Lumen | 2.3 |
| Claimed Throw (m) | 115 |
| Candela (Calculated) in cd (at 30s) | 154lux @ 2.847m = 1248cd |
| Throw (Calculated) (m) | 70.7 (61.5% of claim)^ |
^ Measurement disclaimer: Testing flashlights is my hobby. I use hobbyist-level equipment for testing, including some I made myself. Try not to get buried in the details of manufacturer specifications versus measurements recorded here; A certain amount of difference (say, 10 or 15%) is perfectly reasonable.
What’s Included

- YLP Panda 3R Headlamp
- Spare o-rings (2)
- Headband
- Manual
- Customized 18650 (added protection circuit, may not be included with all packages)
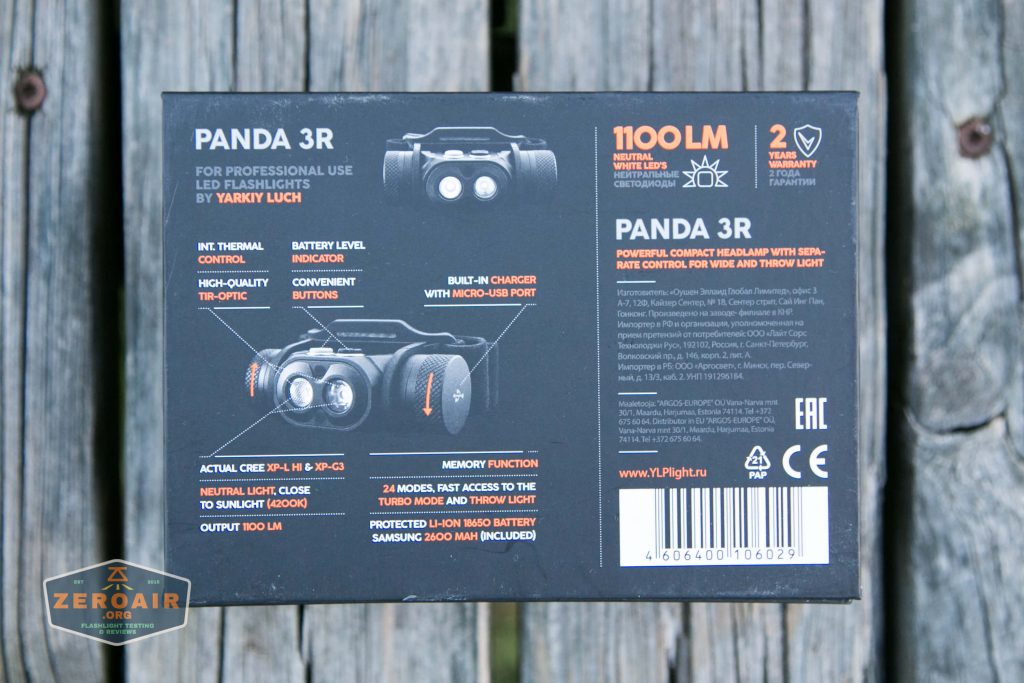
Package and Manual

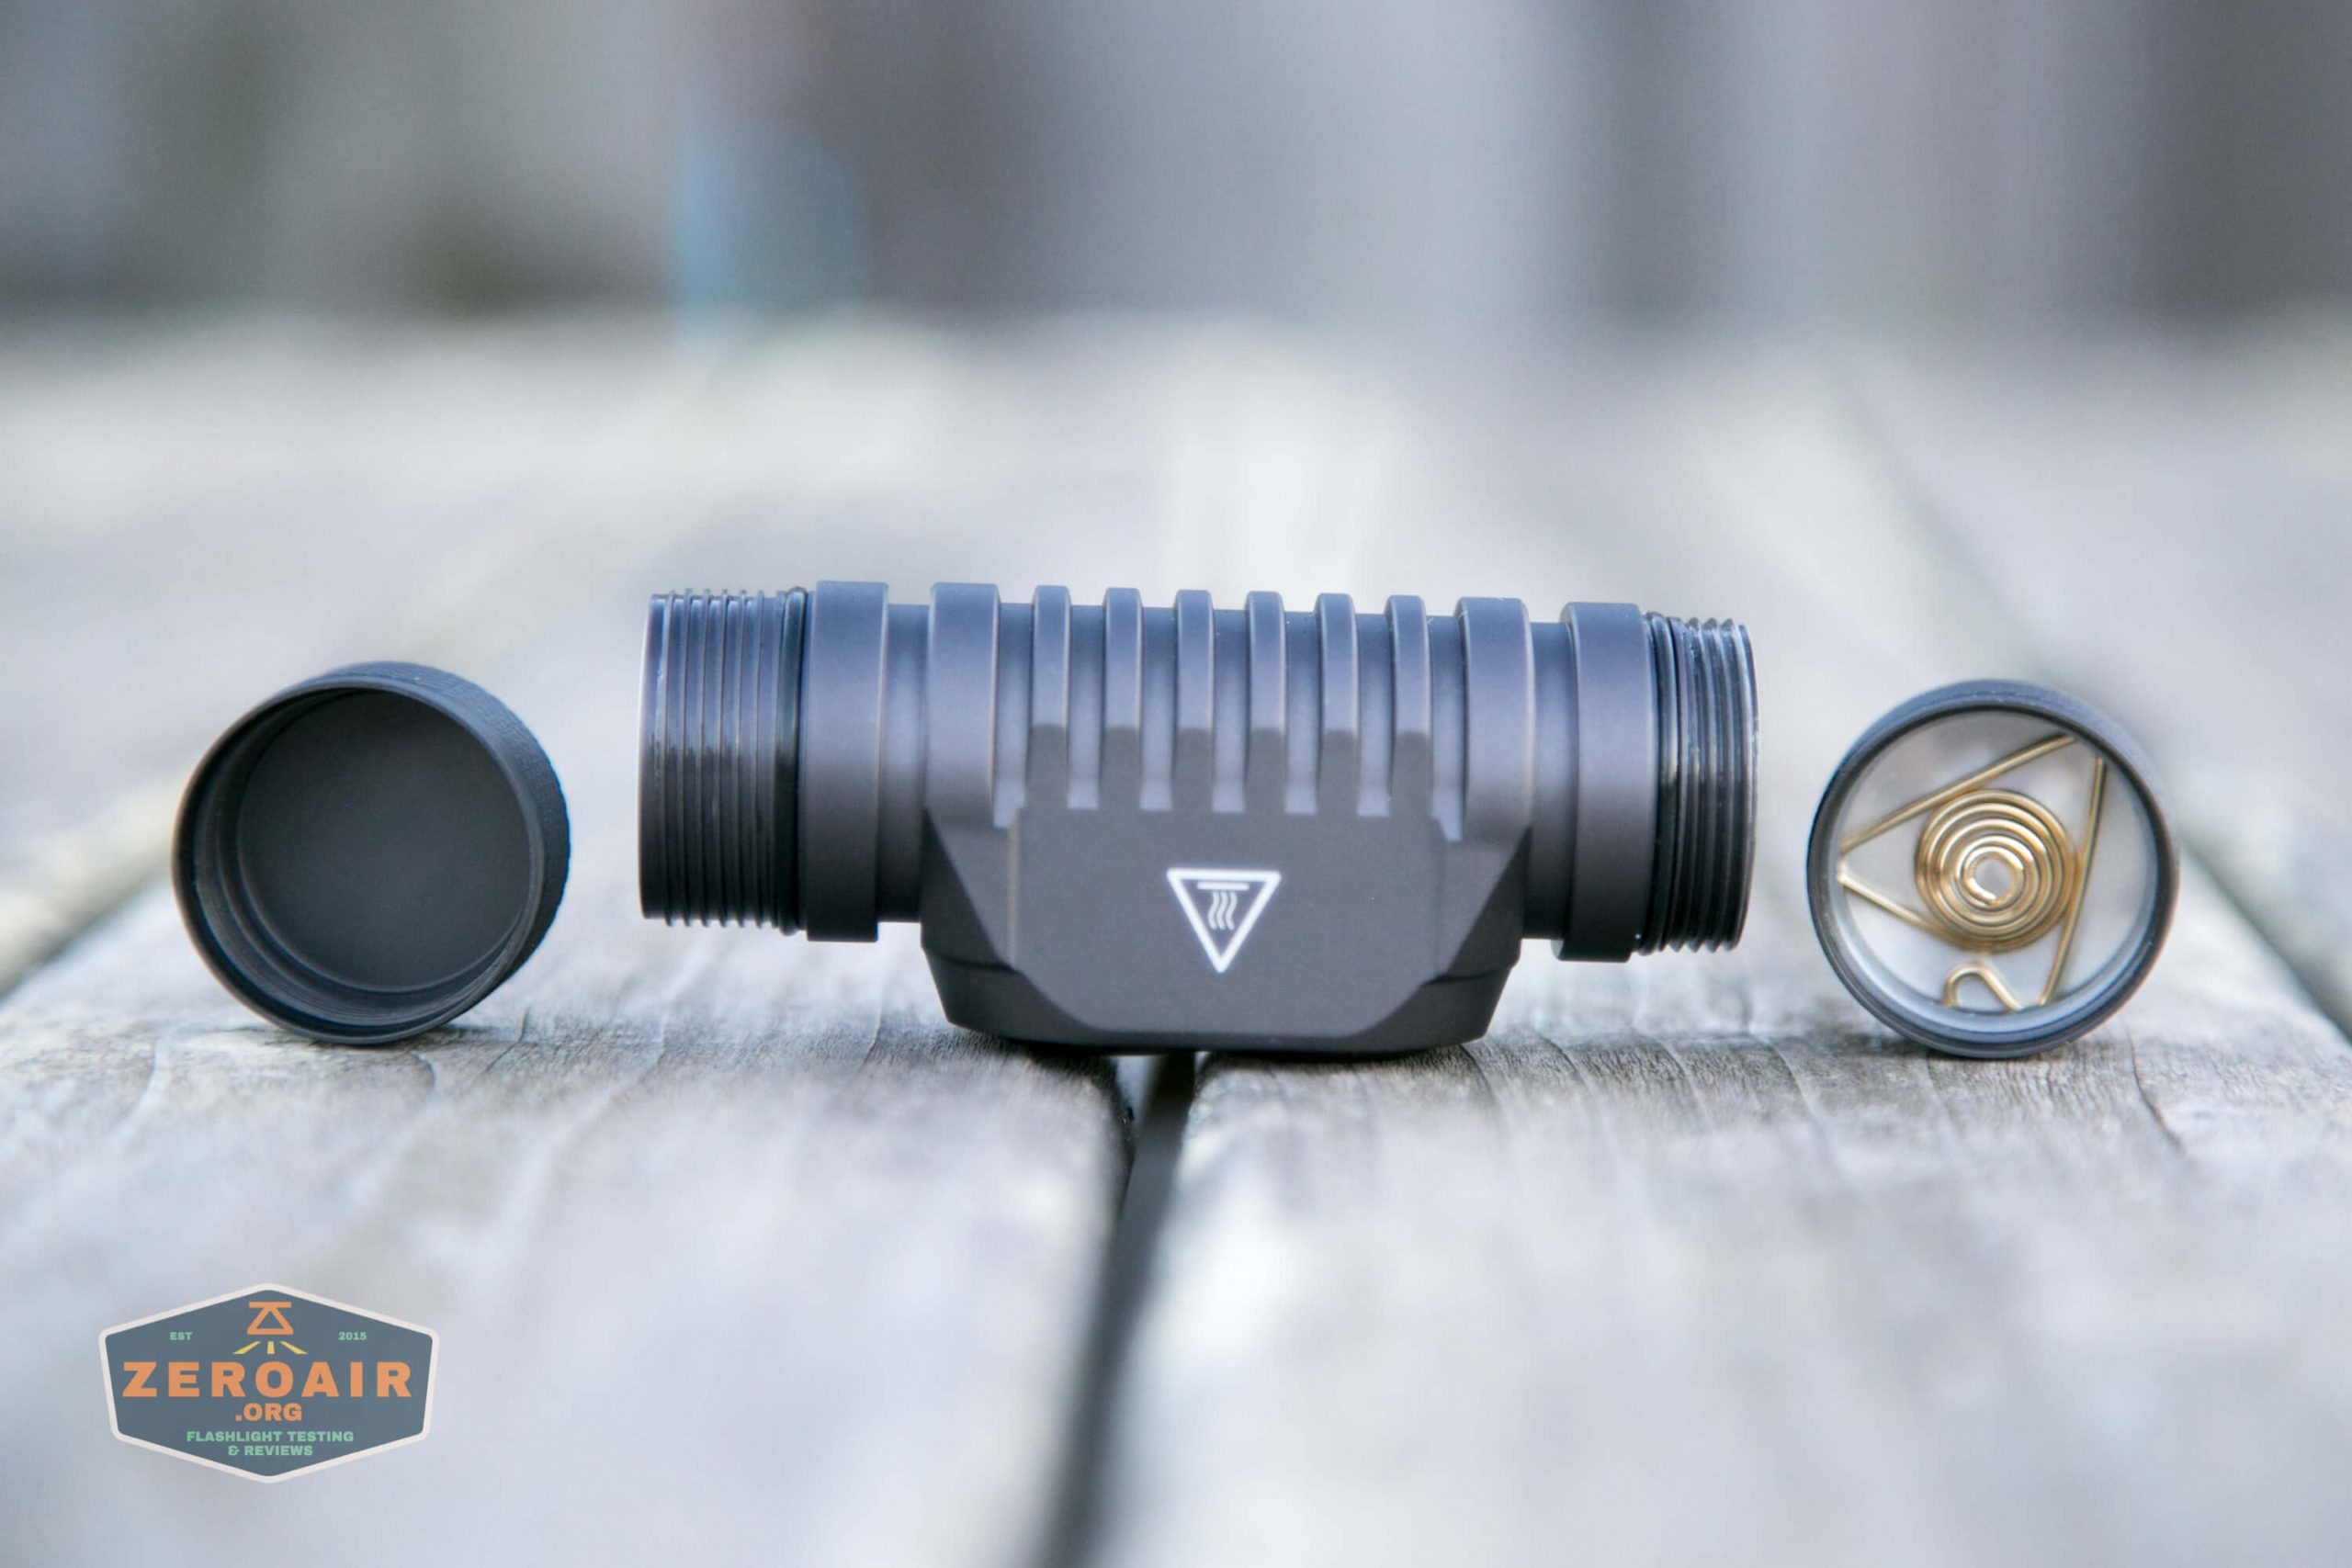
Build Quality and Disassembly


The build quality is good.

It’s interesting to see the difference in build quality from the Panda 2M CRI (at around $33), and this one, at around $63. This one is definitely better. For one thing, the threads are much smoother on this one. Also the optics here aren’t covered by a plastic lens (which is just a shade exposed) but a metal cover, which is more robust.

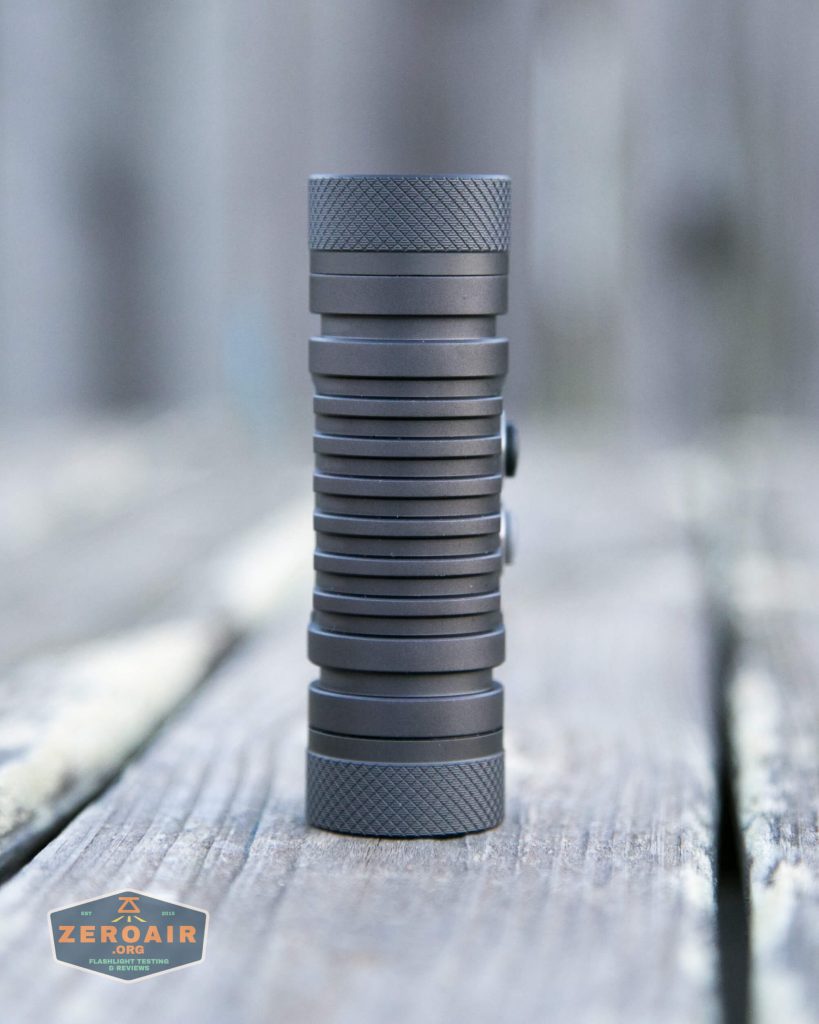
There are a bunch of cooling grooves, but the light doesn’t get excessively hot in any case.


There’s a big spring in the tailcap. The threads are pleasantly short, and smooth.

There is a spring in the head end, too.

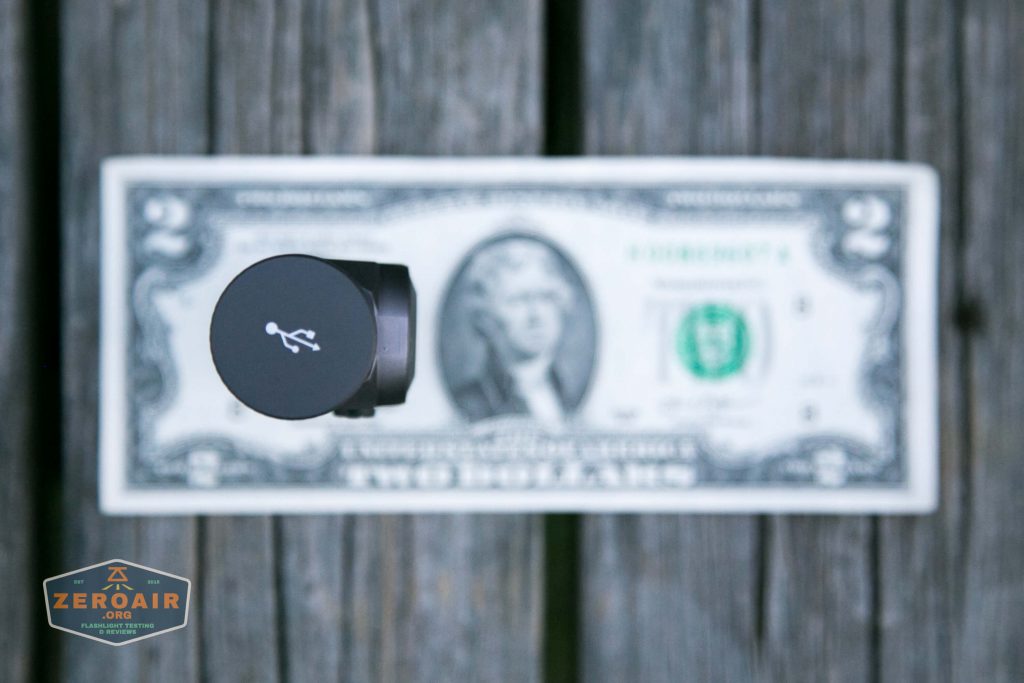
Both ends of the light have removable caps. They are not swappable, either. The “blank” cap on the left is the cover for the micro-USB port.


The lens cover is held in place by two T6 Torx screws, which are quite long! They each have their own individual o-ring for sealing, too.

The metal cover comes out with some difficulty, because of the tight fit. Surprisingly the only seal is lube, and not an o-ring here.

And here’s the inside! Both emitters and all the other goodies. The MCPCB is held down by two Phillips screws (which are different).

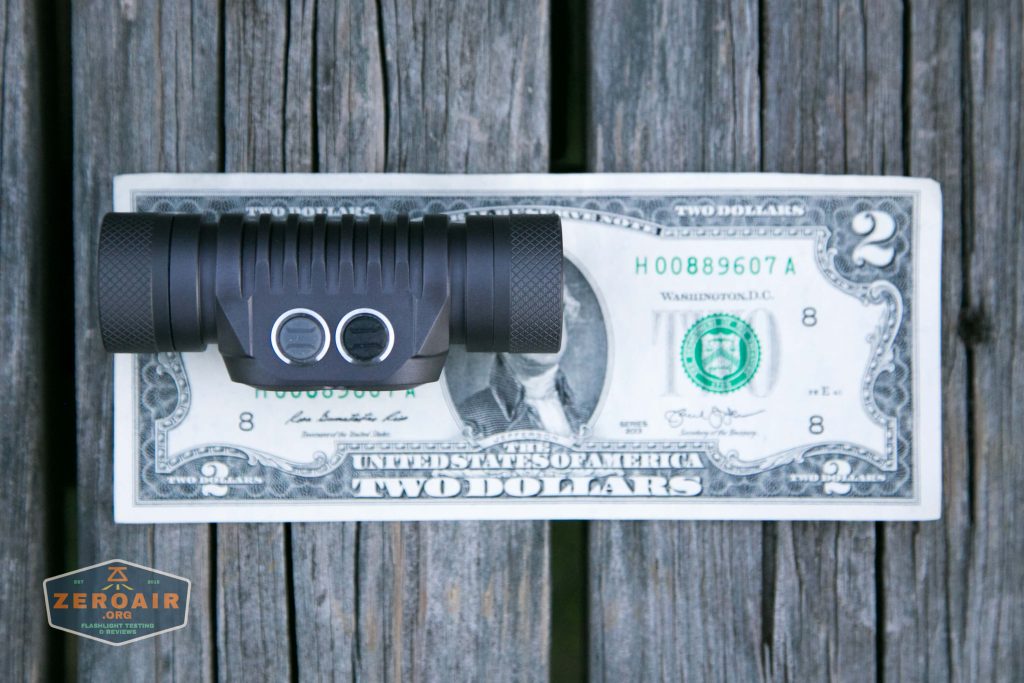
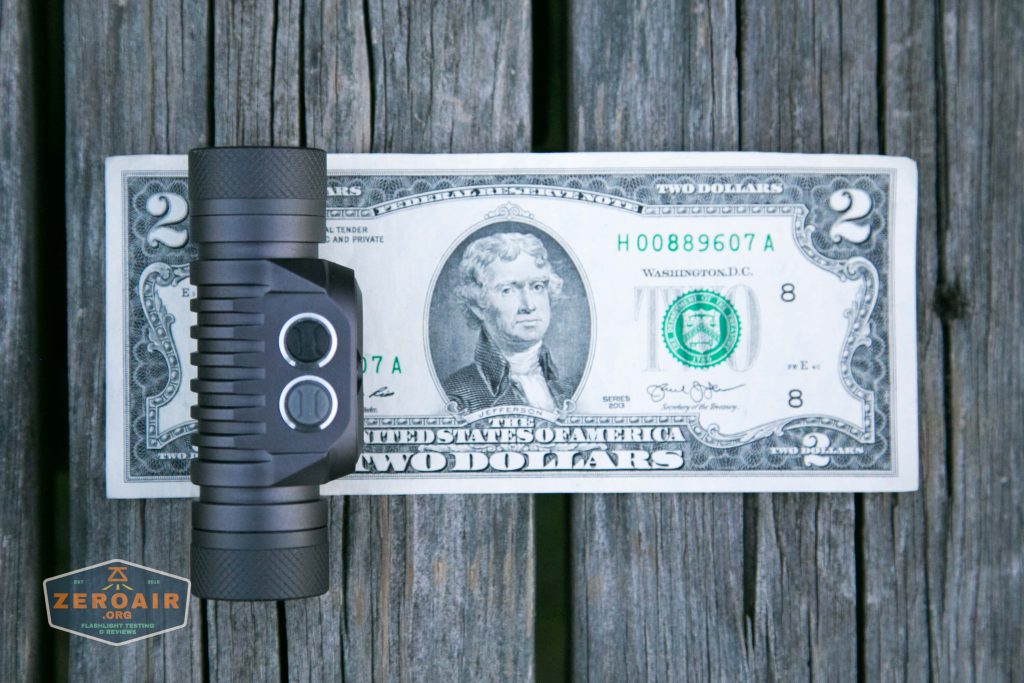
Size and Comps
Dimensions: 83mm x 32mm
Weight: 59g (without headband)
If the flashlight will headstand, I’ll show it here (usually the third photo). If the flashlight will tailstand, I’ll also show that (usually in the fourth photo).

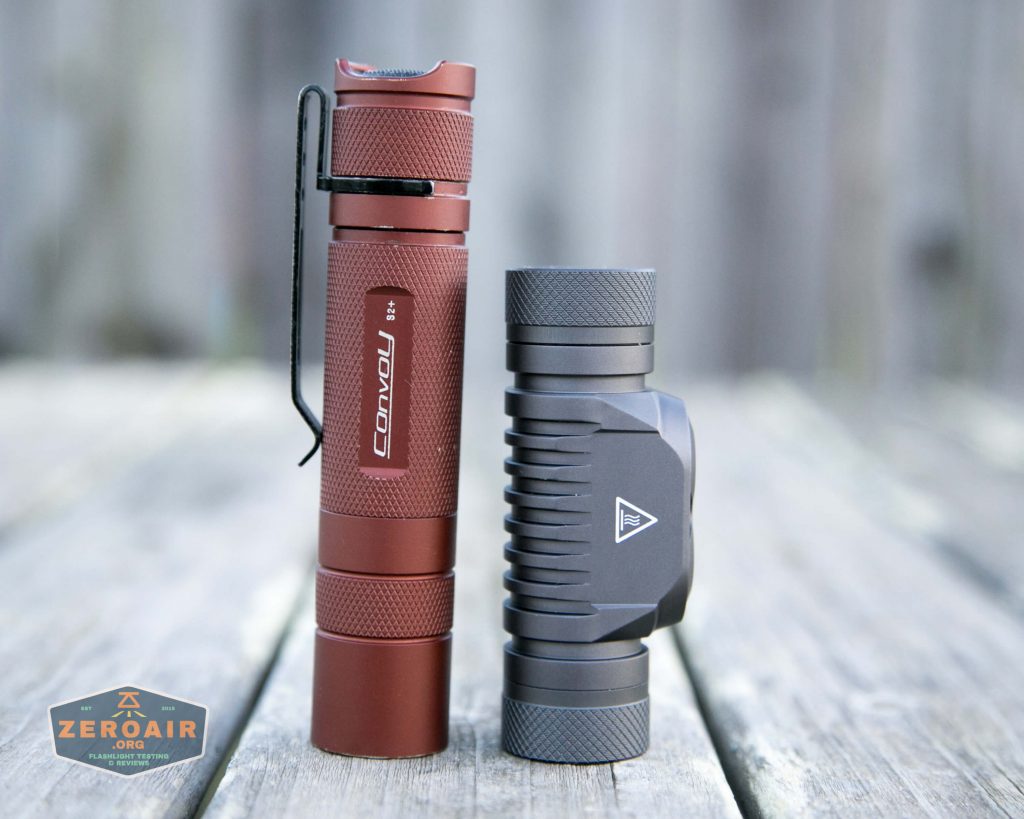

Here’s the test light with the venerable Convoy S2+. Mine’s a custom “baked” edition Nichia 219b triple. A very nice 18650 light.
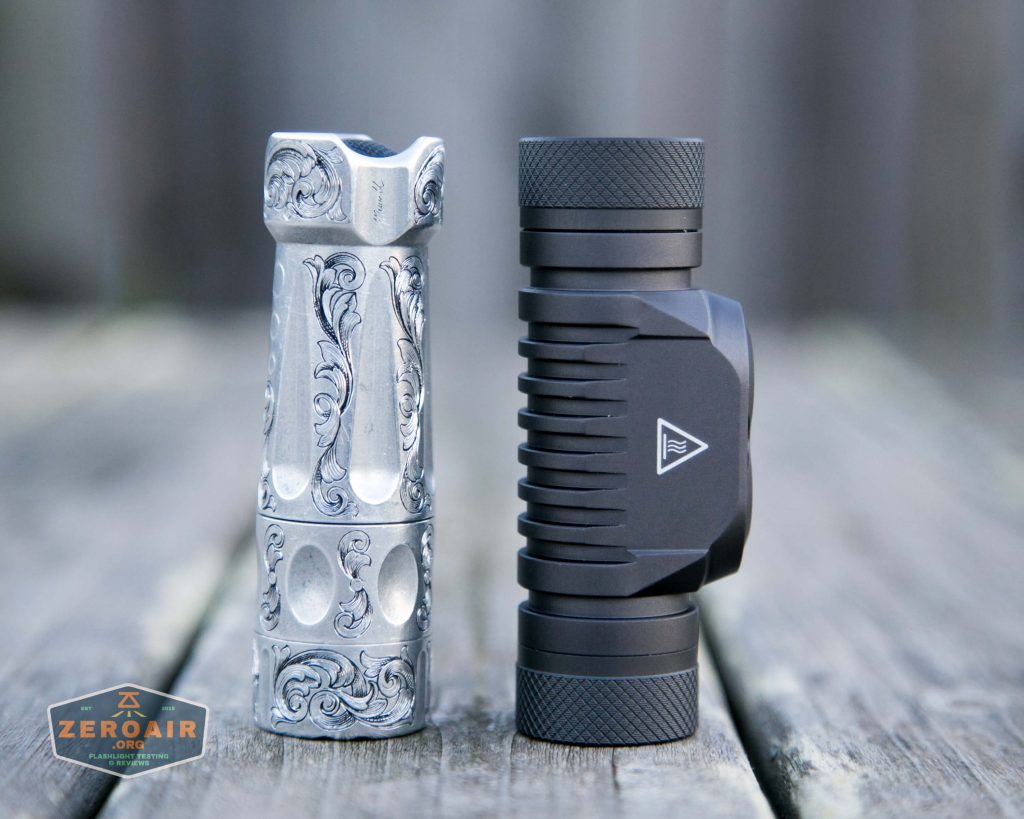
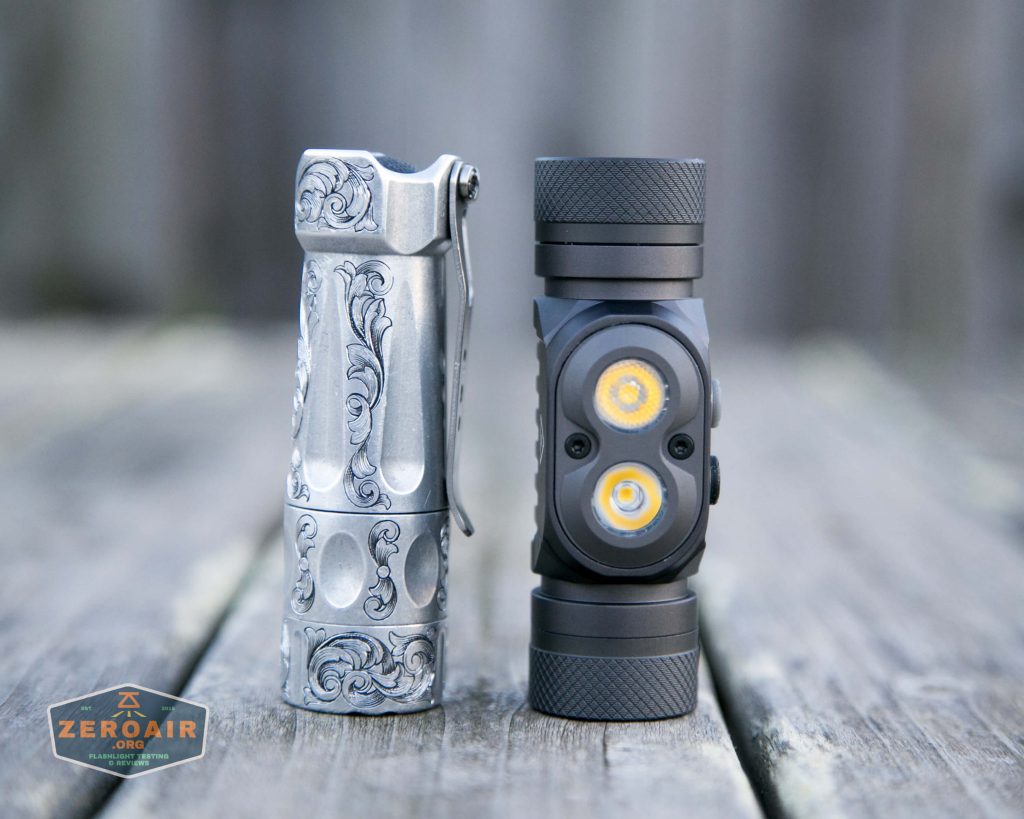
And here’s the light beside my custom-engraved TorchLAB BOSS 35, an 18350 light. I reviewed the aluminum version of that light in both 35 and 70 formats.
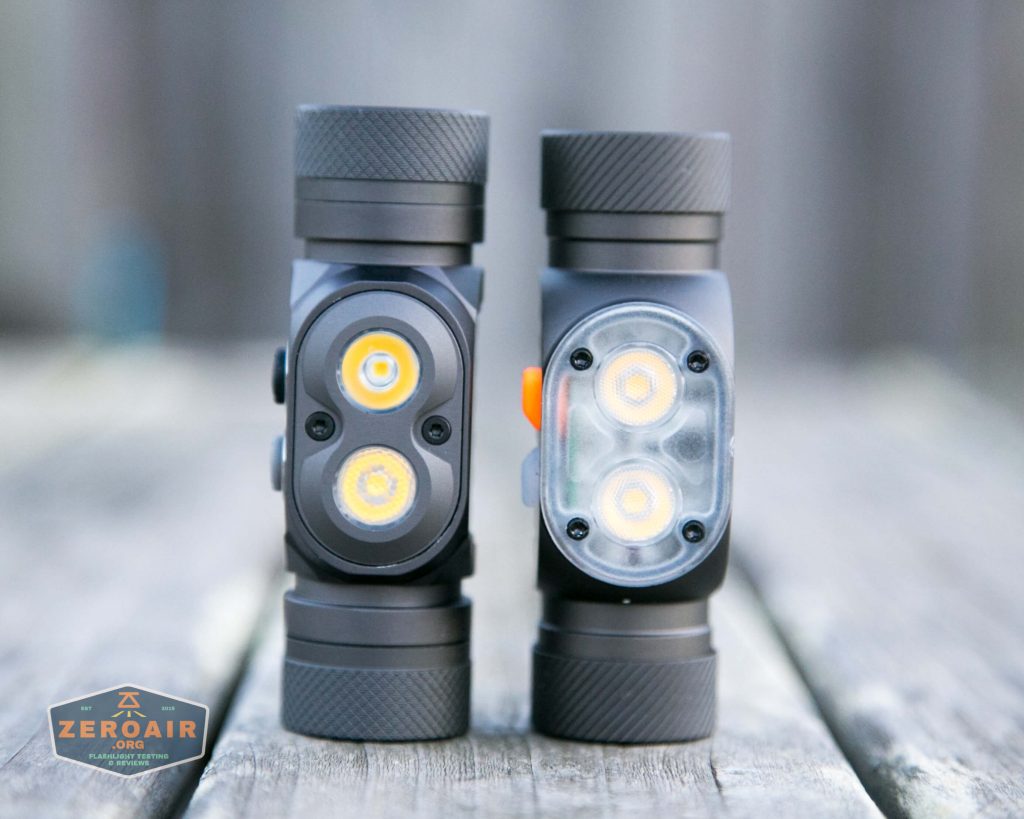
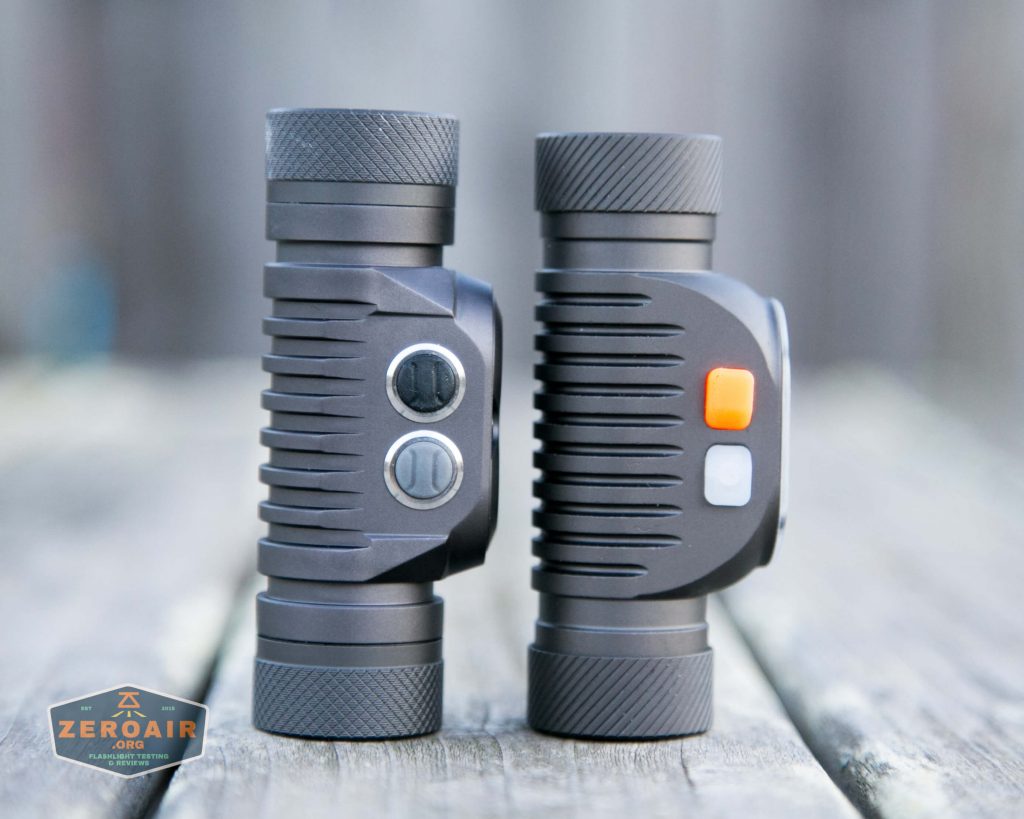
Here are my two YLP headlamps. Very similar in size.
Retention and Carry
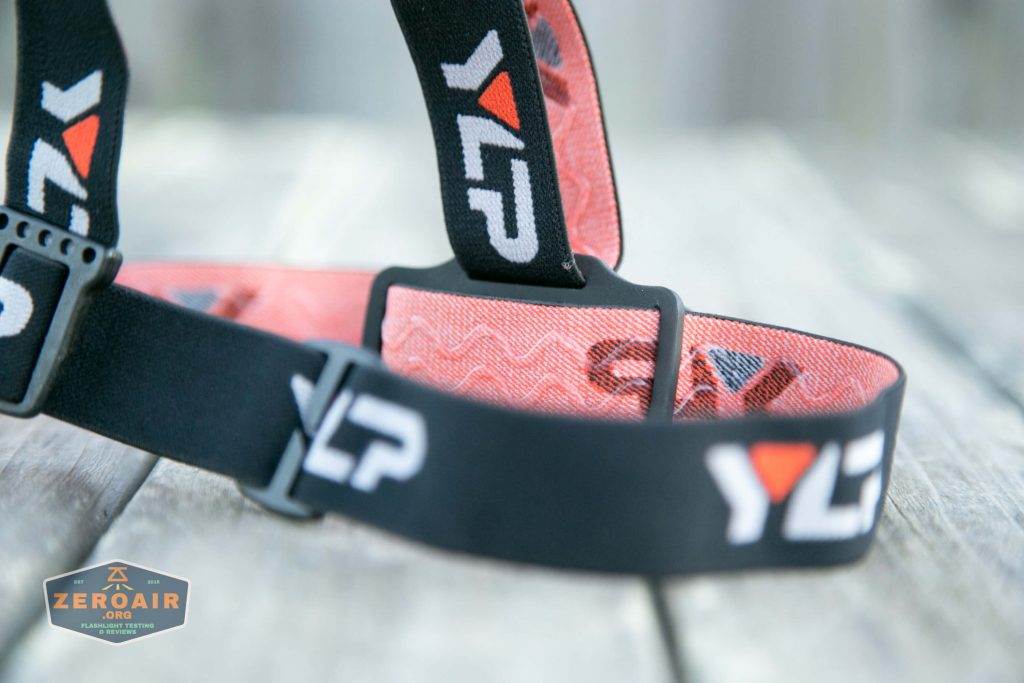
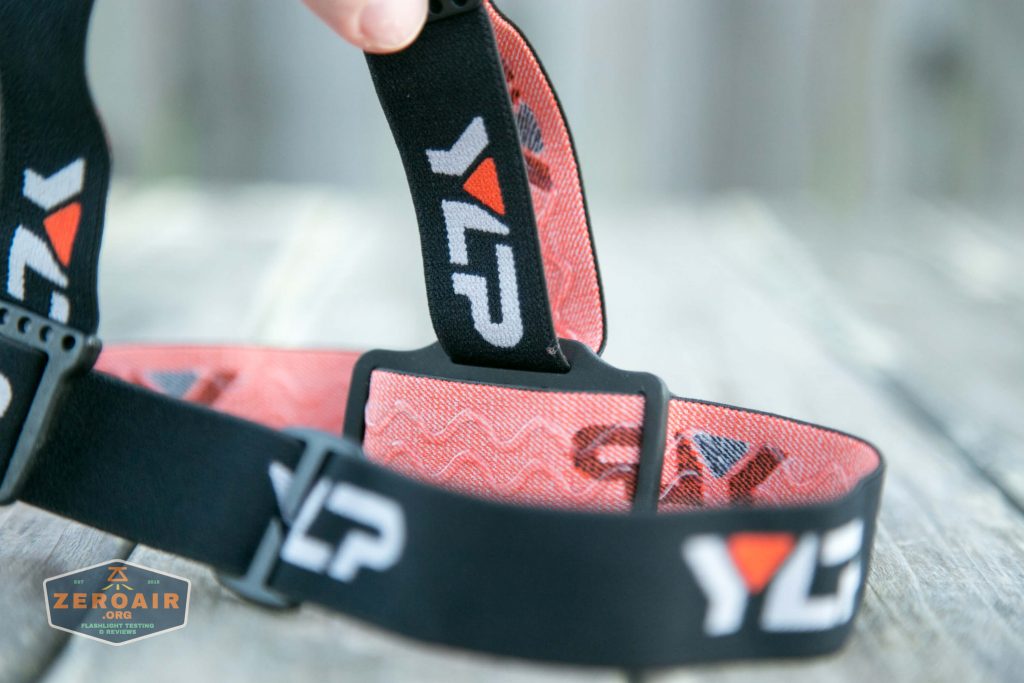
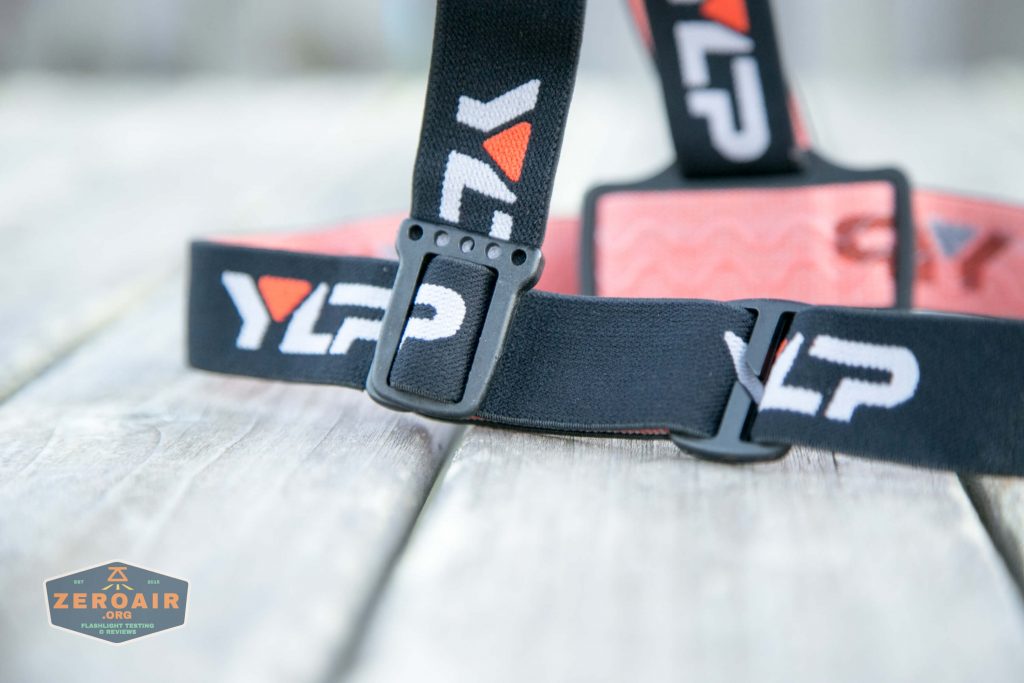
This is a headlamp, and a headband is included. It’s a nice soft stretchy band, with YLP branding. This headband is not exactly like the one from the 2M CRI, but practically the same in form.

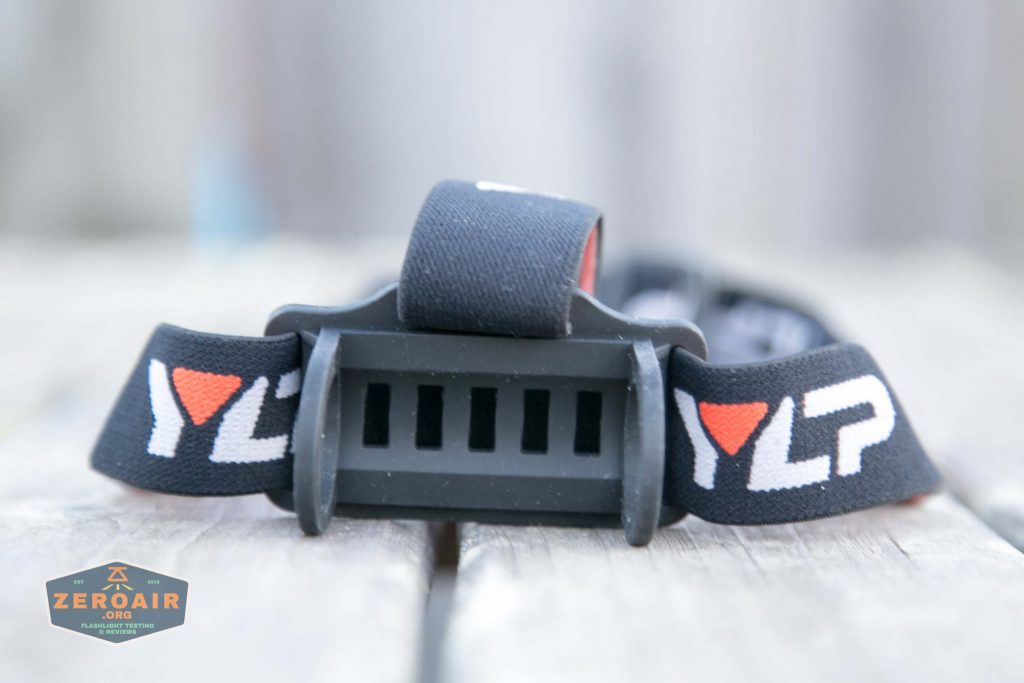
The holder is a silicone loop holder, that fits over both ends. The light installs with little difficulty.
The over-the-top strap doesn’t appear to be removable – see below that the silicone part has a molded spot for connection.

There is no pocket clip, magnet, or any other means for carry.
Power and Runtime
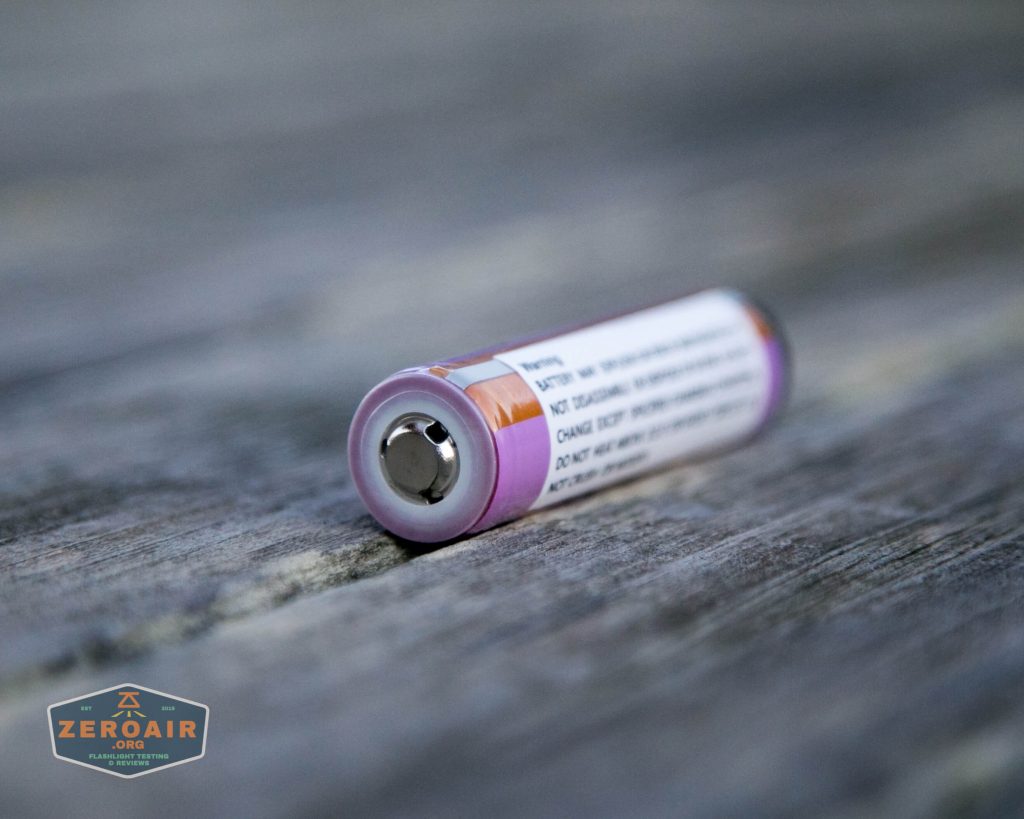
The Panda 3R is powered by a single lithium-ion cell. A 18650 fits, and in my case, a single 18650 was included. This cell looks to be a 30q rewrap, with some added bits – possibly protection circuits.

The tail end has an unusual shape (which is part of the “added bits”), so that’s why I call this a “customised” 18650. Standard 18650 cells do work just fine in the light. This cell is long enough that the tailcap gives resistance when tightening down.

The cell is installed by putting the positive (button) end in first (flat tops work too). (Below, the negative end is seen, despite also having a little “bump.”)
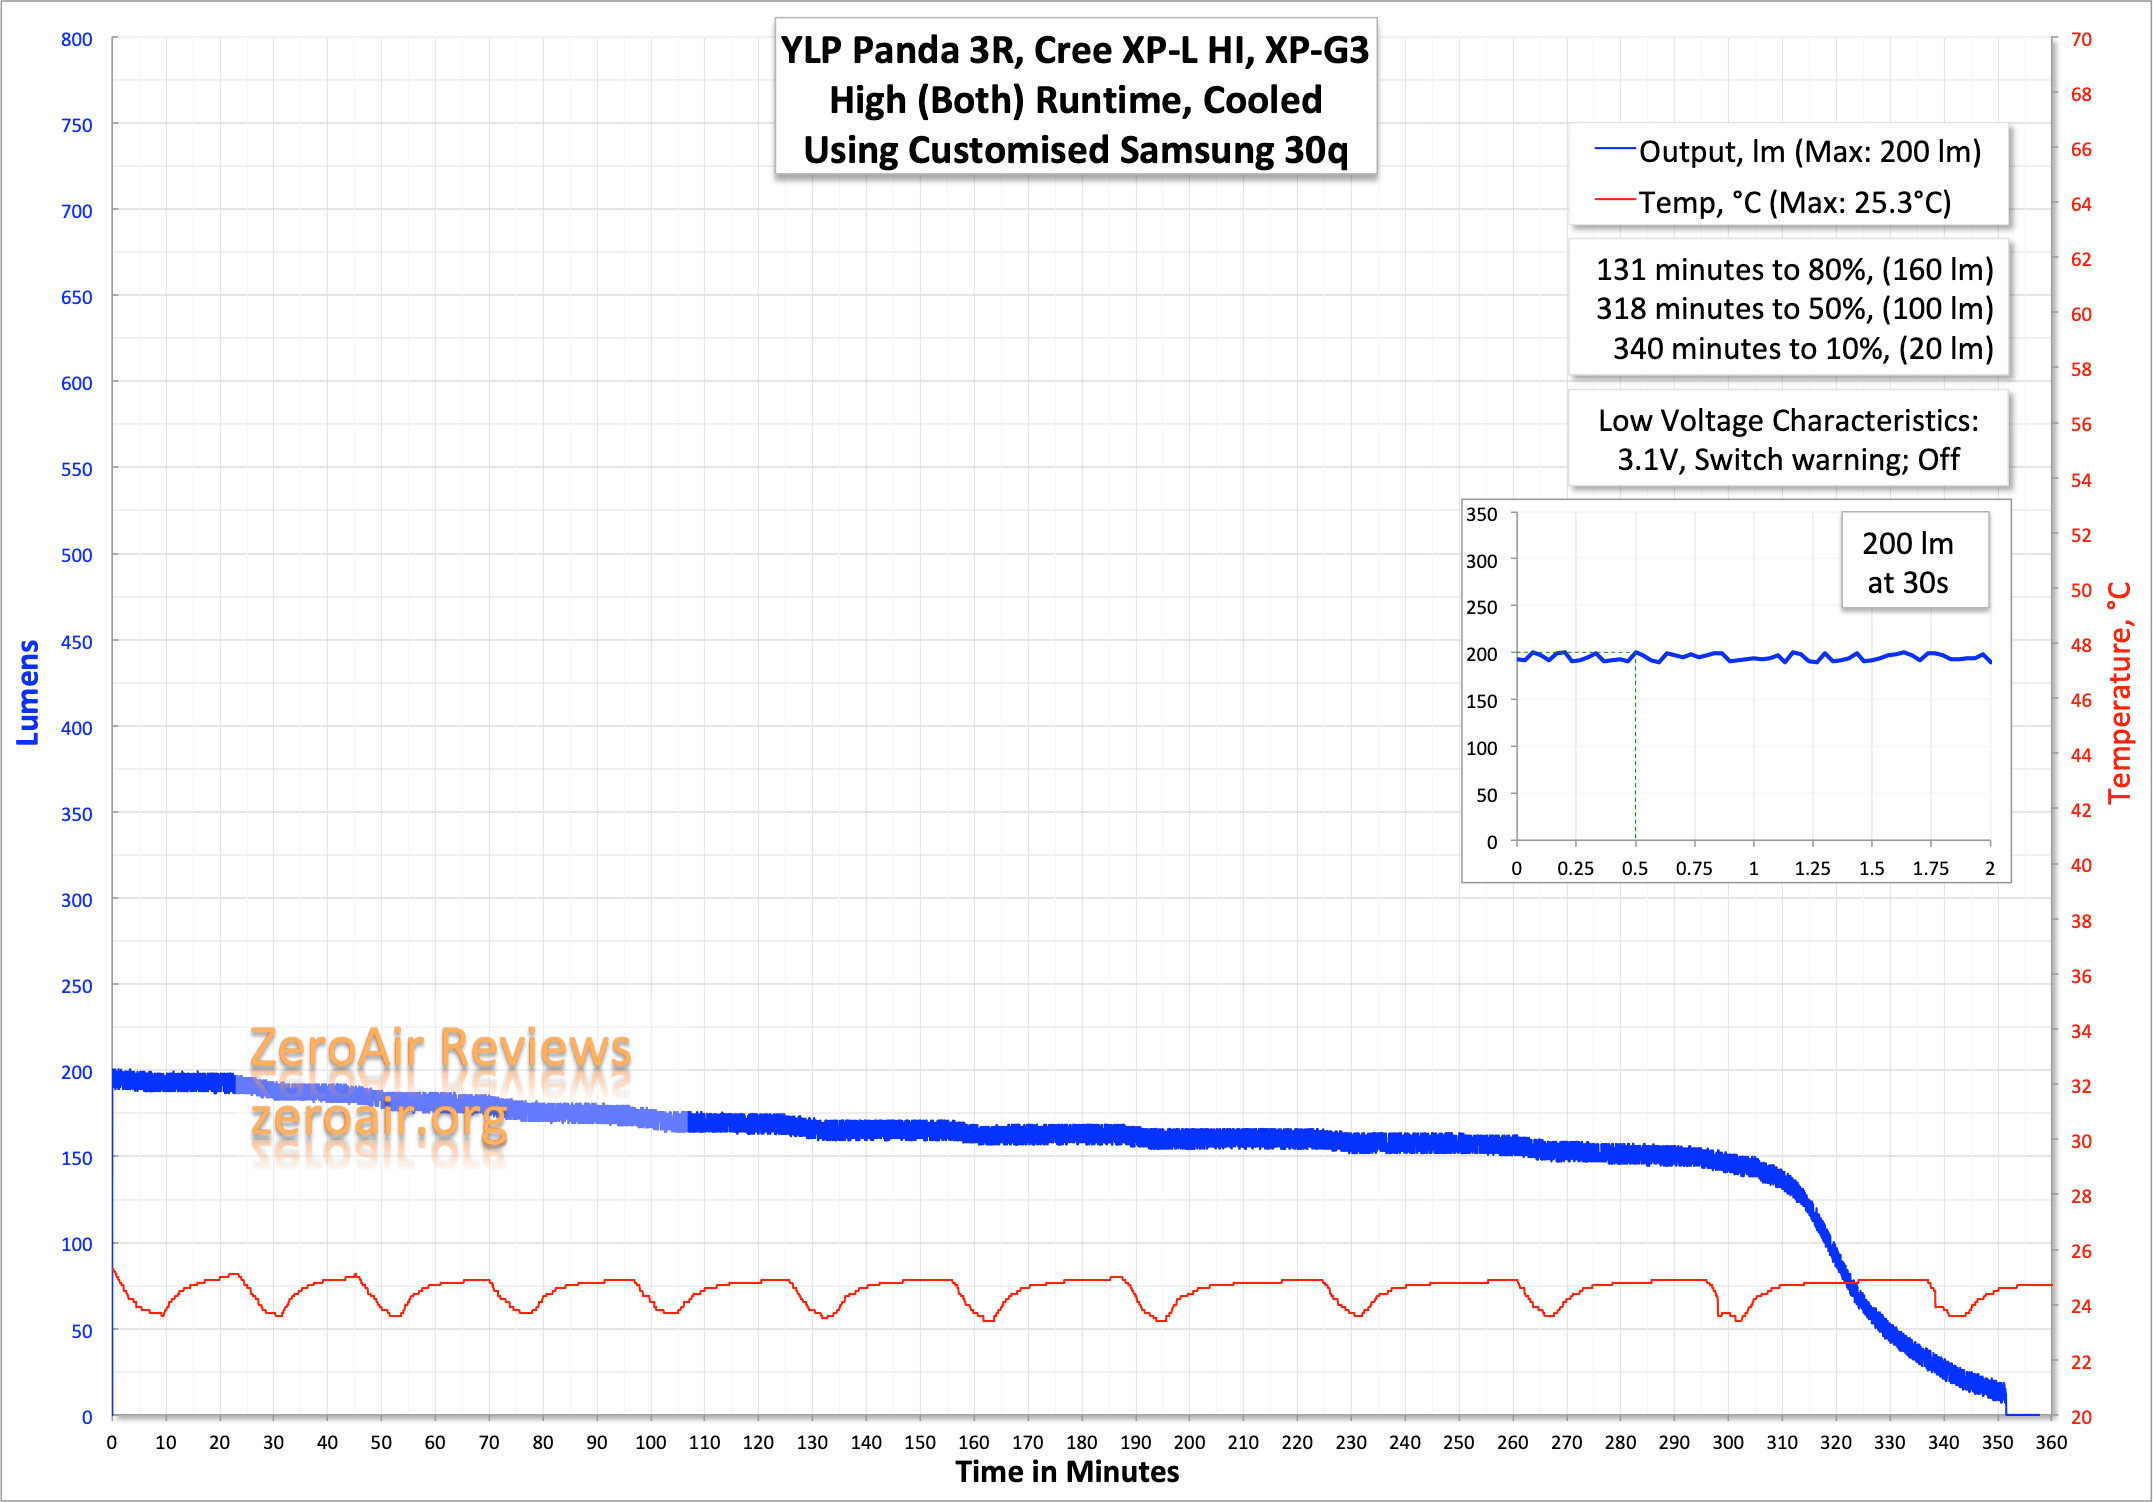
Here are a number of runtime tests. I am not measuring the output as high as claimed; I can’t really explain this. If I was going to guess, I’d say YLP is reporting the numbers for the cool white version of these emitters, but as far as I can tell there isn’t a CW version, so that can’t explain it. My setup has a little bit of a hard time measuring these lights because of the way the front is setup – that could account for a little bit of the difference. Still, it’s quite lower than expected.
I’ve tried to cover the higher modes below. There are runtimes for the two highest with both emitters running, and turbo for each emitter individually.


Fortunately this light does have LVP, which kicks in around 2.8V. When the voltage is low, the switches turn red. When the voltage is at acceptable levels, the switch stays lit green.
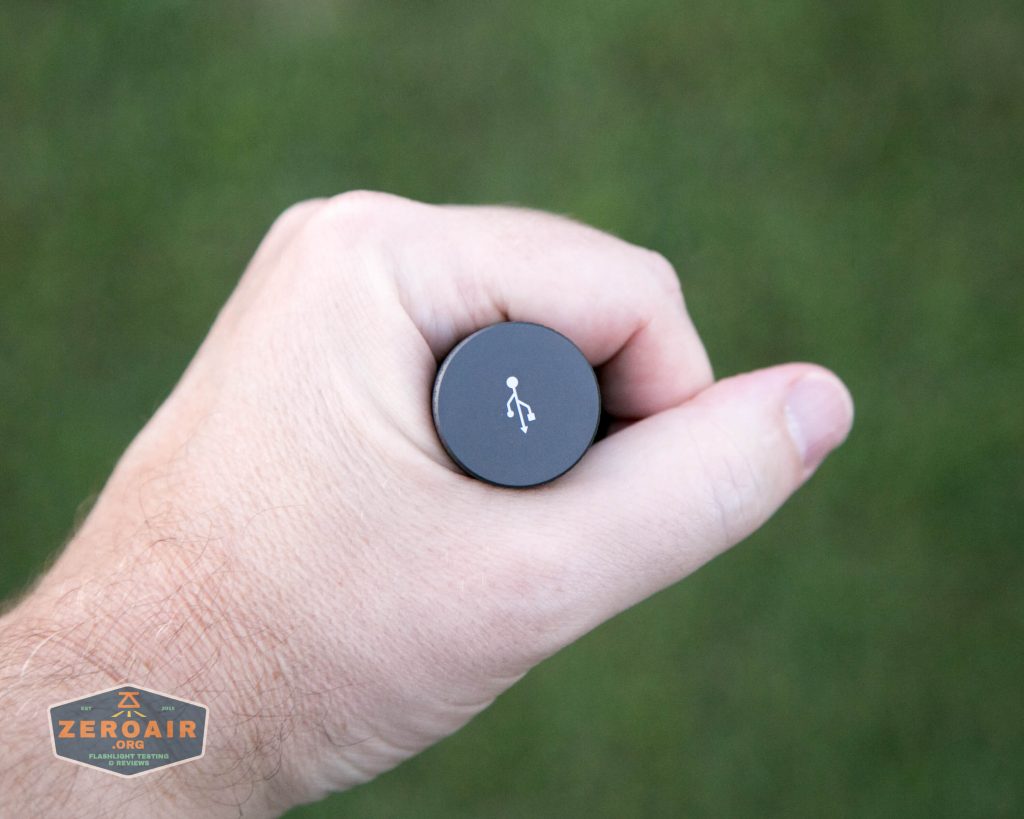
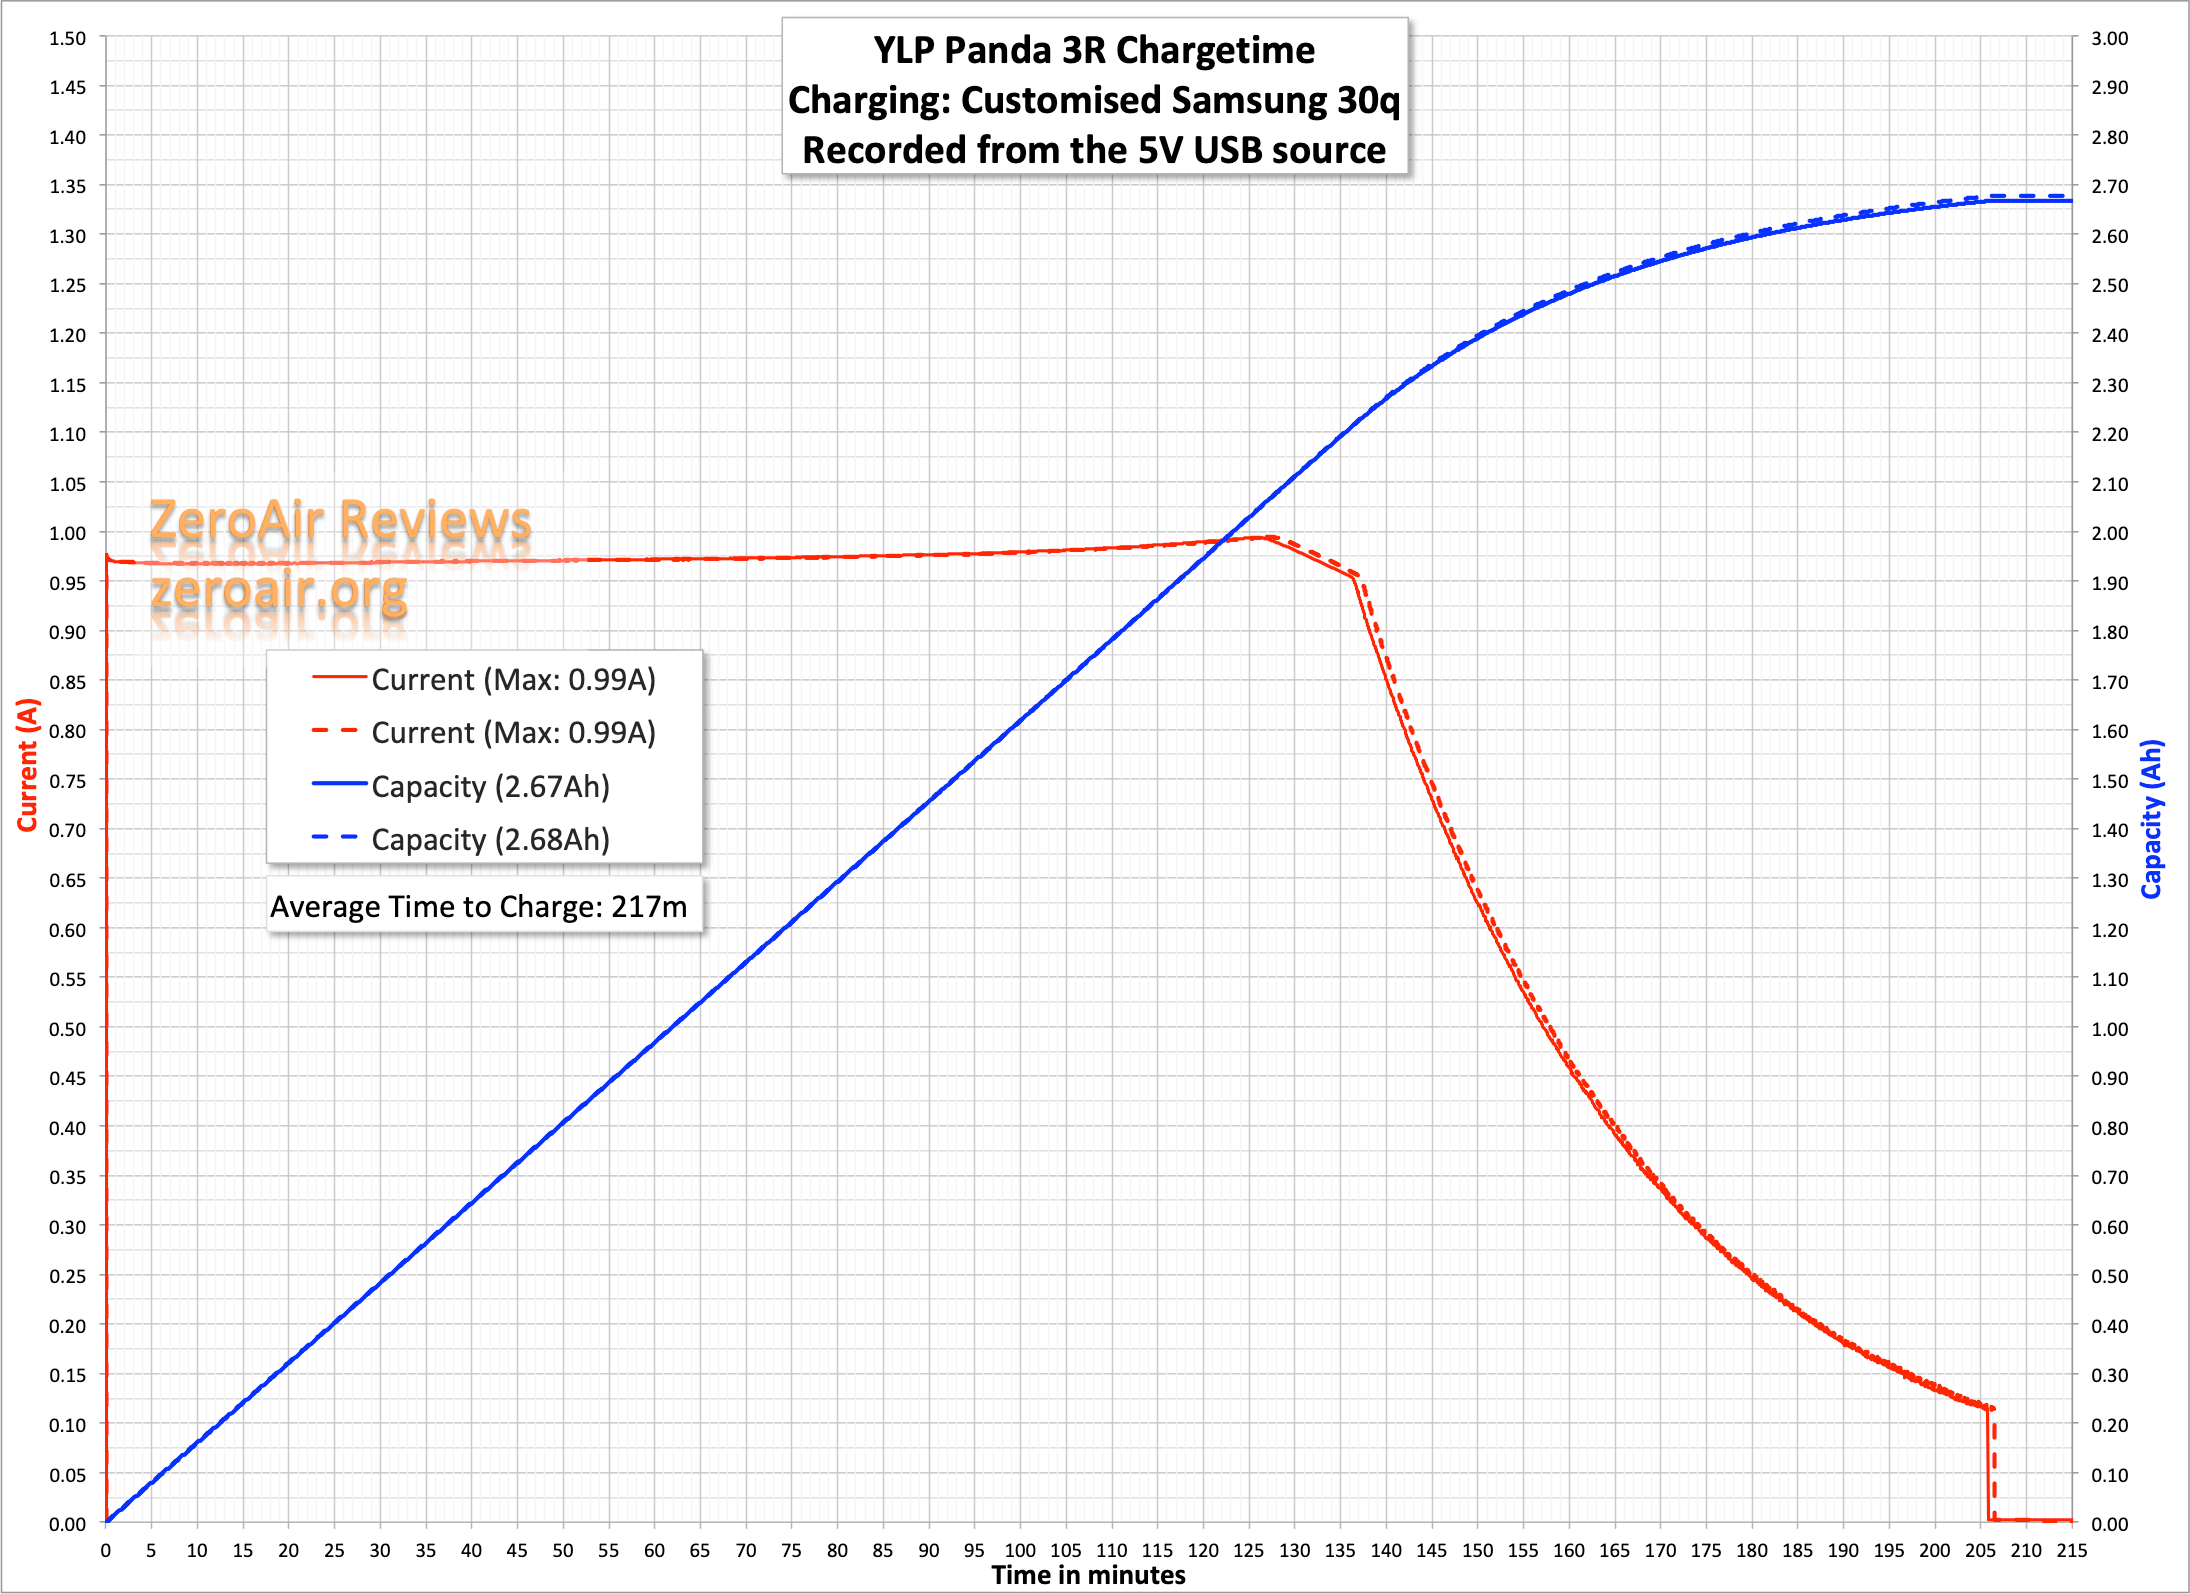
Charging
The Panda 3R has built-in charging, as well. This is done by a micro-USB port, which is revealed by removing one of the tailcaps. This tailcap has a USB logo, for identification.
Modes and Currents
| Mode | Mode Claimed Output (lm) | Claimed Runtime | Measured Lumens | Tailcap Amps |
|---|---|---|---|---|
| Turbo (Both) | 1100 | – | 752 | 2.32 |
| Turbo (Spot) | 550 | – | 403 | 1.05 |
| Turbo (Flood) | 550 | – | 510 | 1.40 |
| High (Both) | 480 | 2.5 | 200 | 0.57 |
| High (Spot) | 240 | 5 | 95 | 0.25 |
| High (Flood) | 240 | 5 | 122 | 0.31 |
| Medium (Both) | 240 | 5 | 99 | 0.25 |
| Medium (Spot) | 120 | 10 | 47 | 0.12 |
| Medium (Flood) | 120 | 10 | 49 | 0.14 |
| Low (Both) | 70 | 18 | 25 | 0.07 |
| Low (Spot) | 35 | 36 | 10 | 0.03 |
| Low (Flood) | 35 | 36 | 16 | 0.04 |
| Moonlight (Both) | 20 | 75 | 9 | 0.02 |
| Moonlight (Spot) | 10 | 150 | 6 | 0.01 |
| Moonlight (Flood) | 10 | 150 | 5 | 0.01 |
As you can see from the table, the claimed vs logged are sort of all over the place.
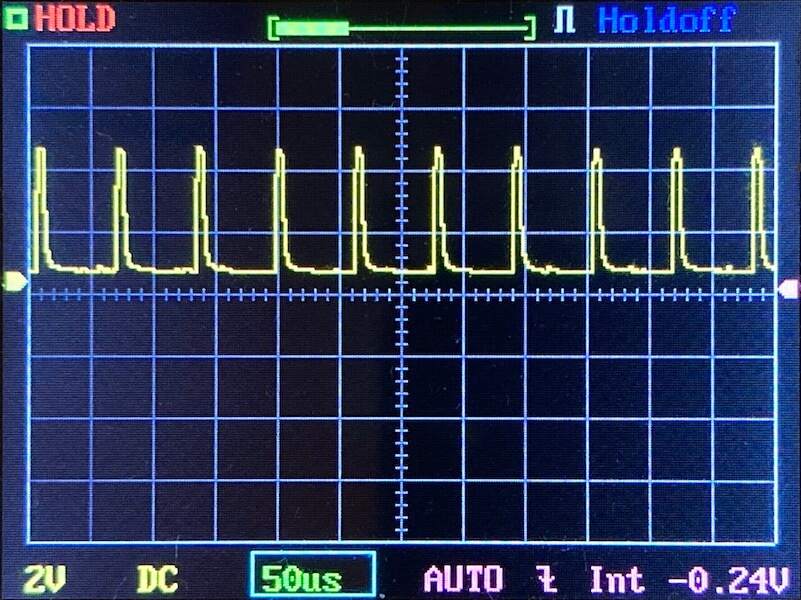
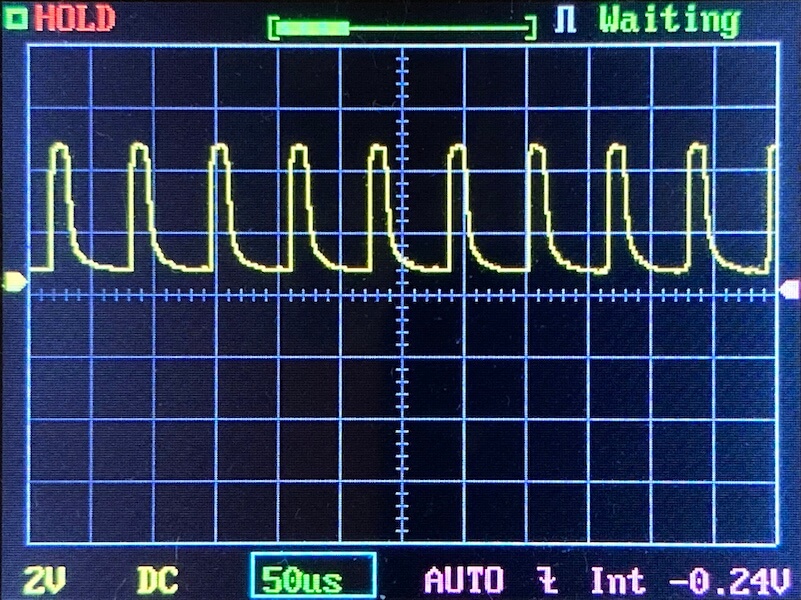
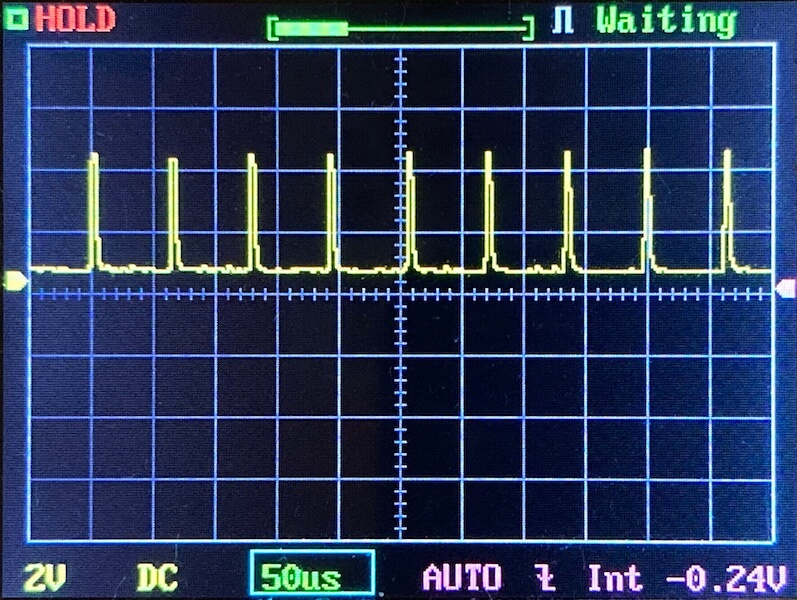
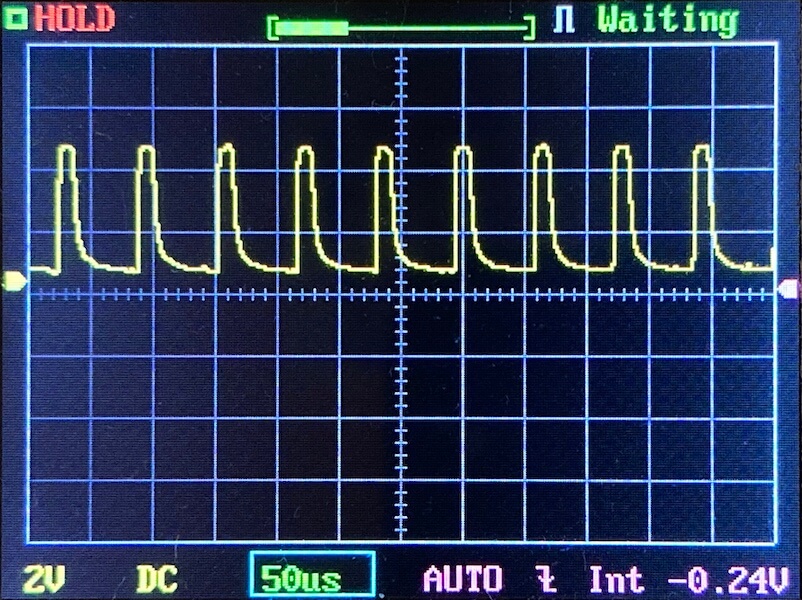
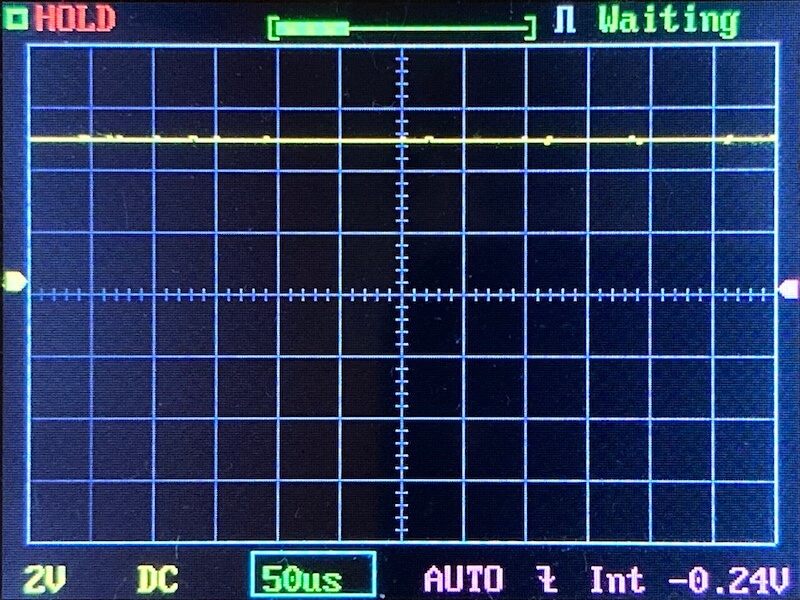
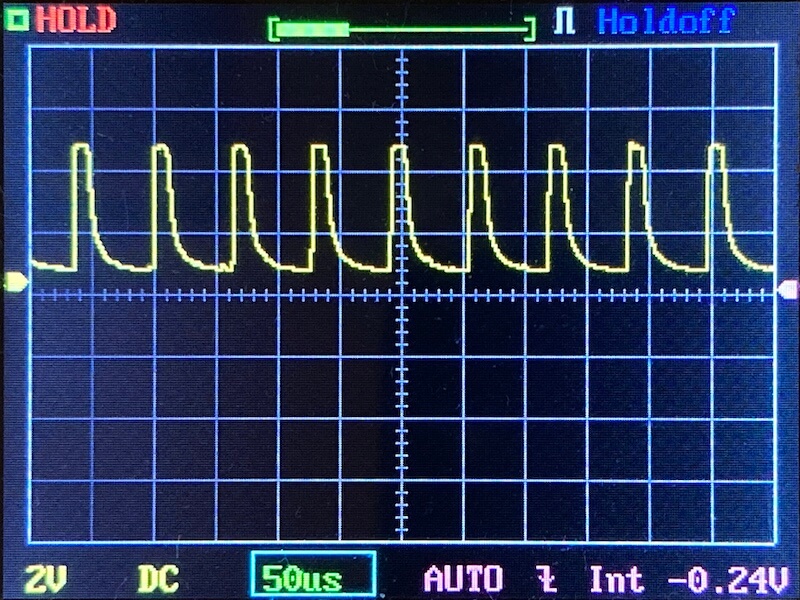
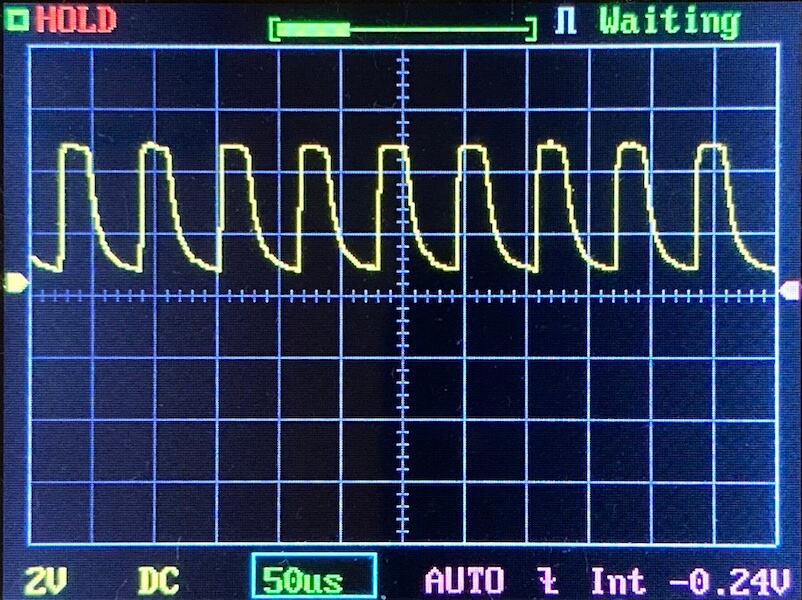
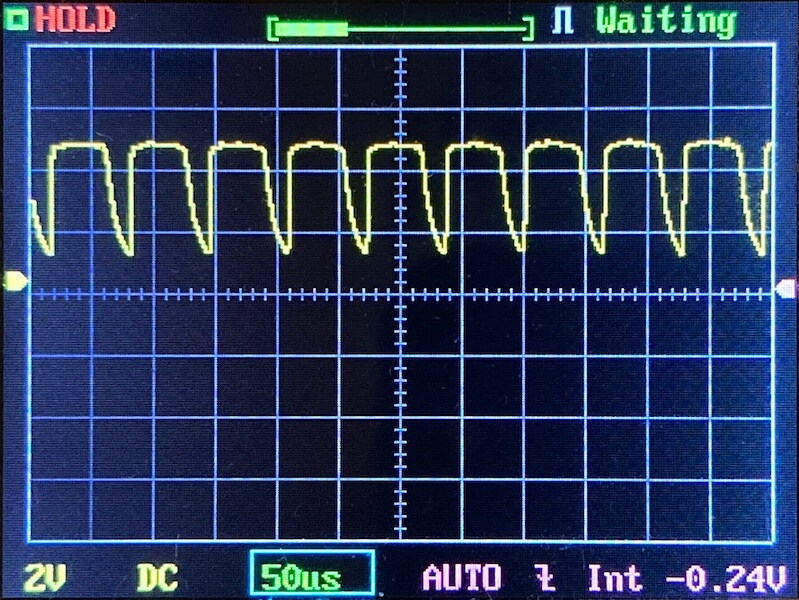
Pulse Width Modulation
The lower 4 modes have PWM.
Both emitters:
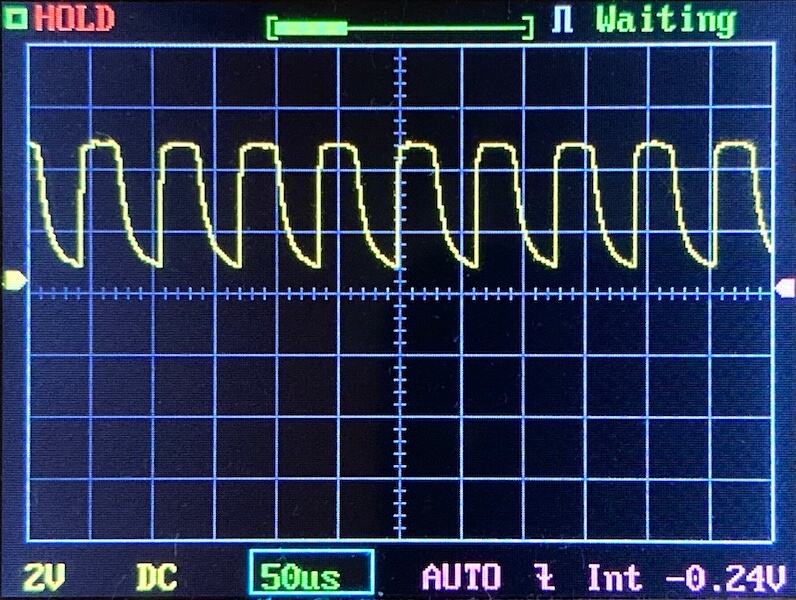
Spot emitter:
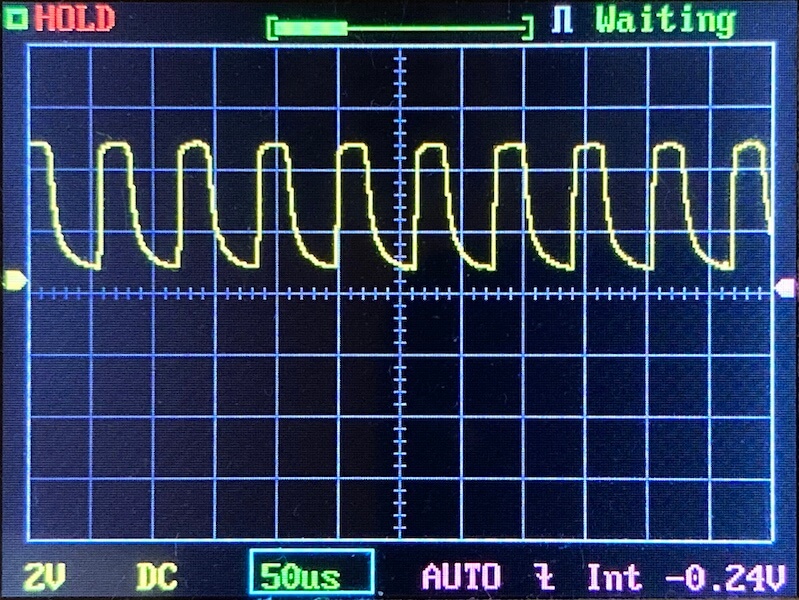
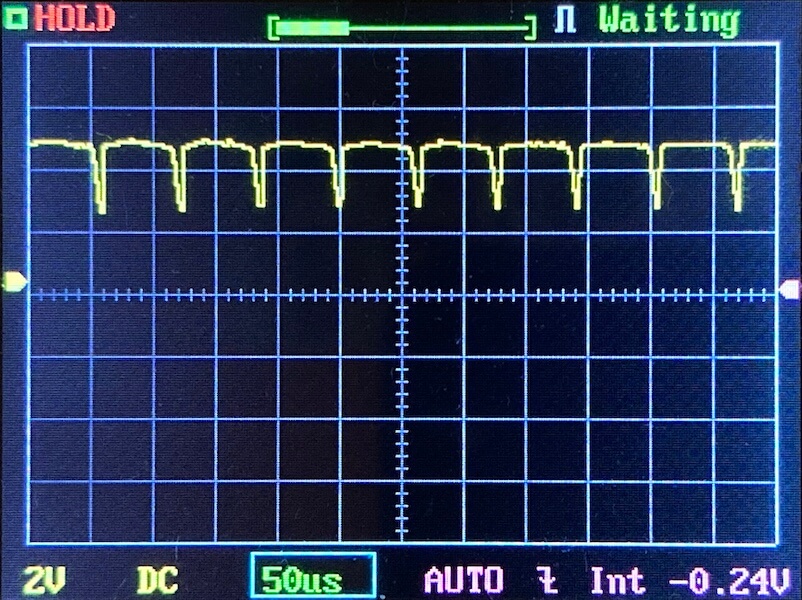
Flood emitter:

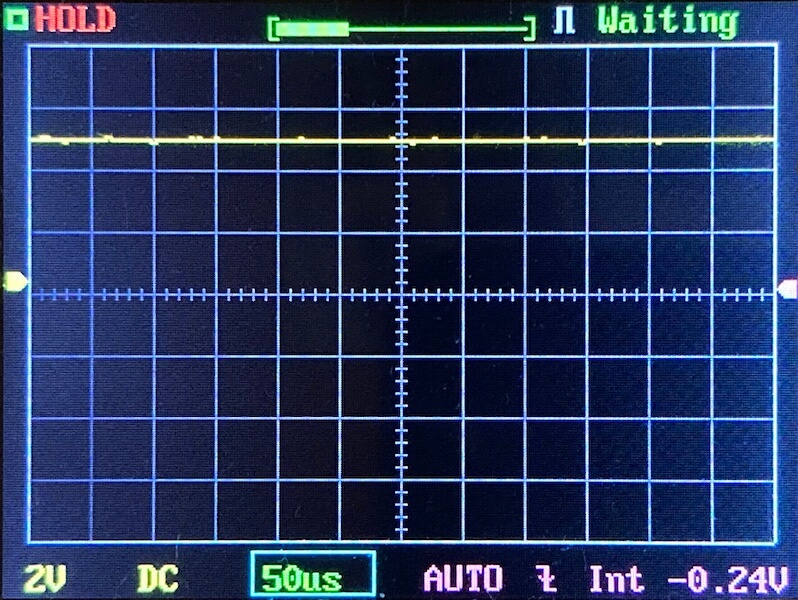
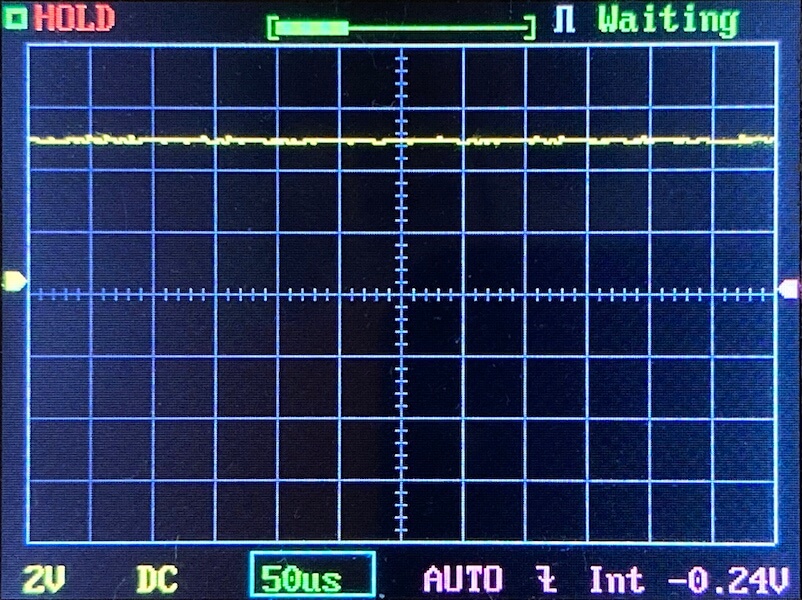
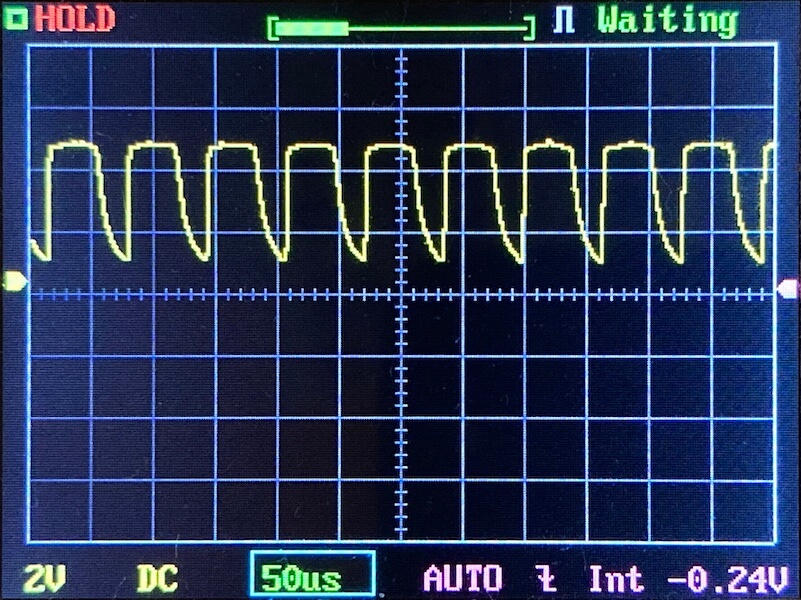
Here you can see a “baseline” – a chart with almost no light hitting the sensor.
Then there’s the Ultrafire WF-602C flashlight, which has some of the worst PWM I’ve seen. It’s so bad that I used a post about it to explain PWM! Here are multiple timescales (10ms, 5ms, 2ms, 1ms, 0.5ms, 0.2ms) to make comparing this “worst” PWM light to the test light easier. That post also explains why I didn’t test the WF-602C at the usual 50us scale.
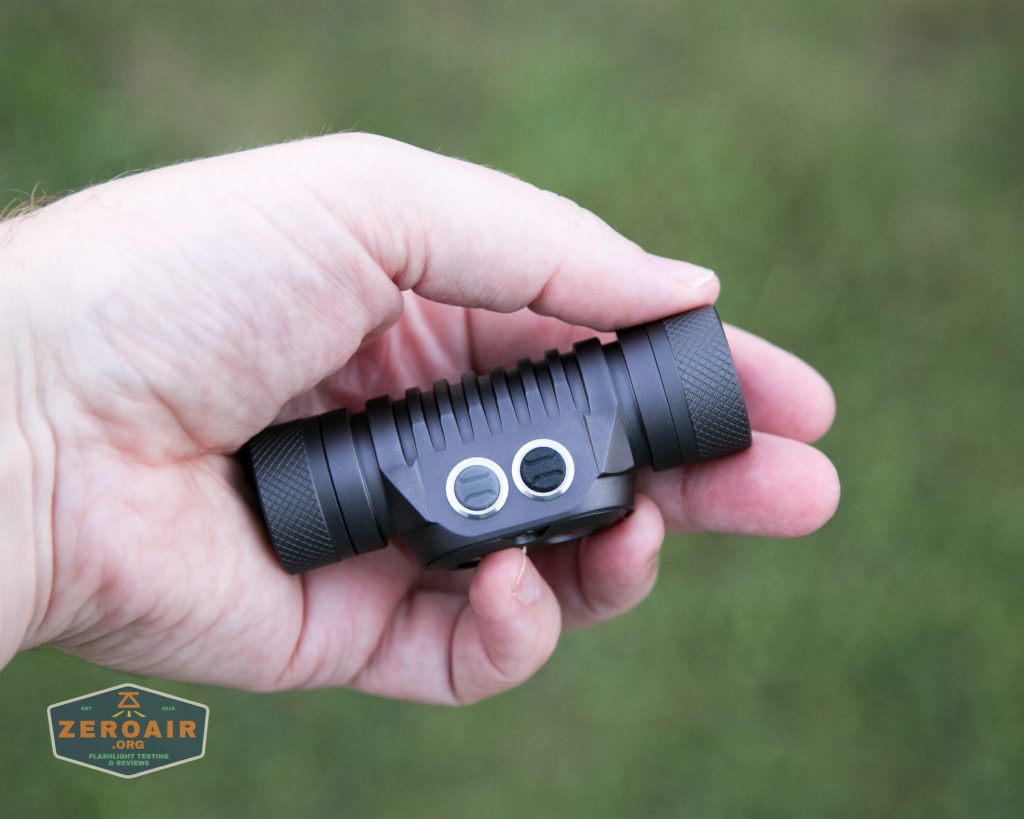
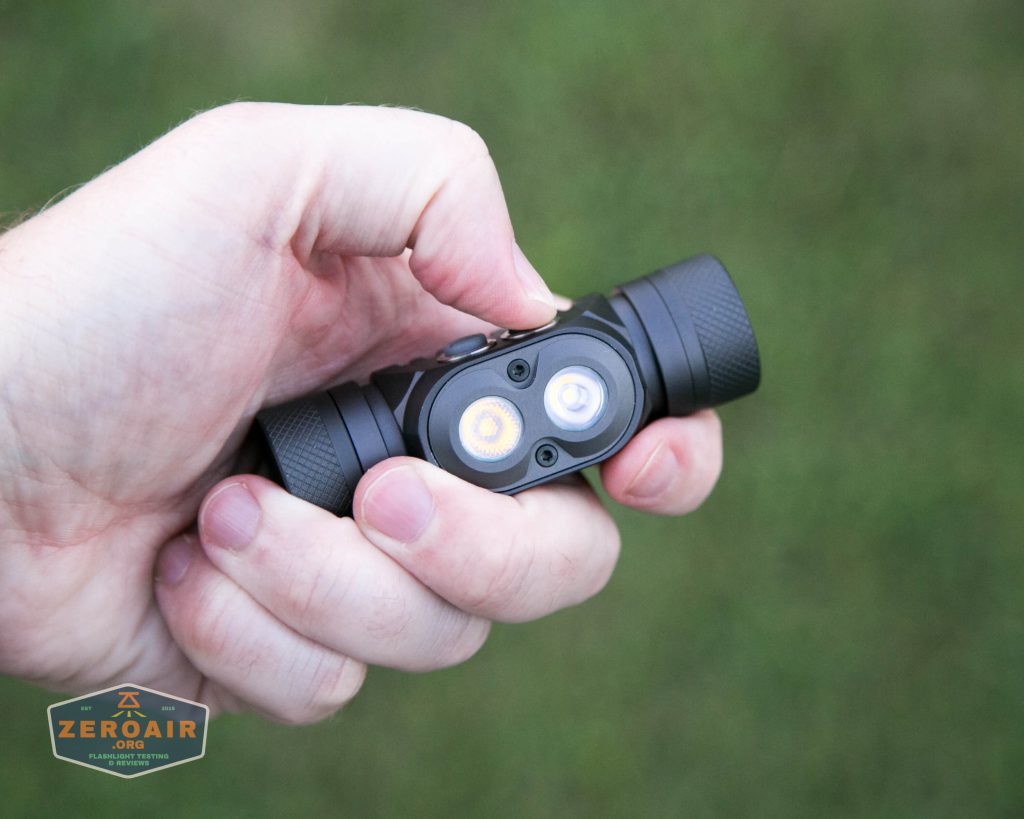
User Interface and Operation
There are two switches on the YLP light. They’re referred to in the manual as “the gray one” and “the black one”. When situated on the headband “properly”, the buttons are on top and thus the gray one is on the right, and the black one is on the left. These buttons are very clicky and require deliberate action to click. They make a positive click sound, and require some force.
The covers are a little off-center, which probably bothers me more than it should. That does not affect operation, of course.
Here’s a user interface table!
| State | Action | Result |
|---|---|---|
| Off | Click Black Button (BB) | No Action |
| Off | Click Gray Button (GB) | On (Memorized Mode) (Moonlight can not be memorized) |
| On | Hold GB | Mode advance (LMHT) |
| Off | Hold GB | Moonlight (memorized beam setup) |
| On | Click BB | Switch between Flood/Throw/Both^ |
| Off | Hold BB | Turbo Throw |
| Turbo Throw (from “Hold BB” access) | Click BB | Previous mode |
| Off | Double click BB | Maximum Output |
| Maximum Output (from “Double click BB” access) | Click BB | Previous mode |
| Both on, mismatched flood/throw beam | Hold GB | Sync flood/throw output level, then mode advance. |
| Off | Triple-click GB | Battery indicator (blinks 1-5x, with “5” being a fully charged cell) |
^ Many times, when switching to the “both” emitter option, the flood/throw beam will not be level-synced. What that means is one might be on Moon, and one be on High. It can be…. confusing? disorienting? When you switch to “both”, they’re both turned on to their memorized level. So if both are memorized to low, then they’ll both come on to low. Holding GB will match them to the higher of the two.
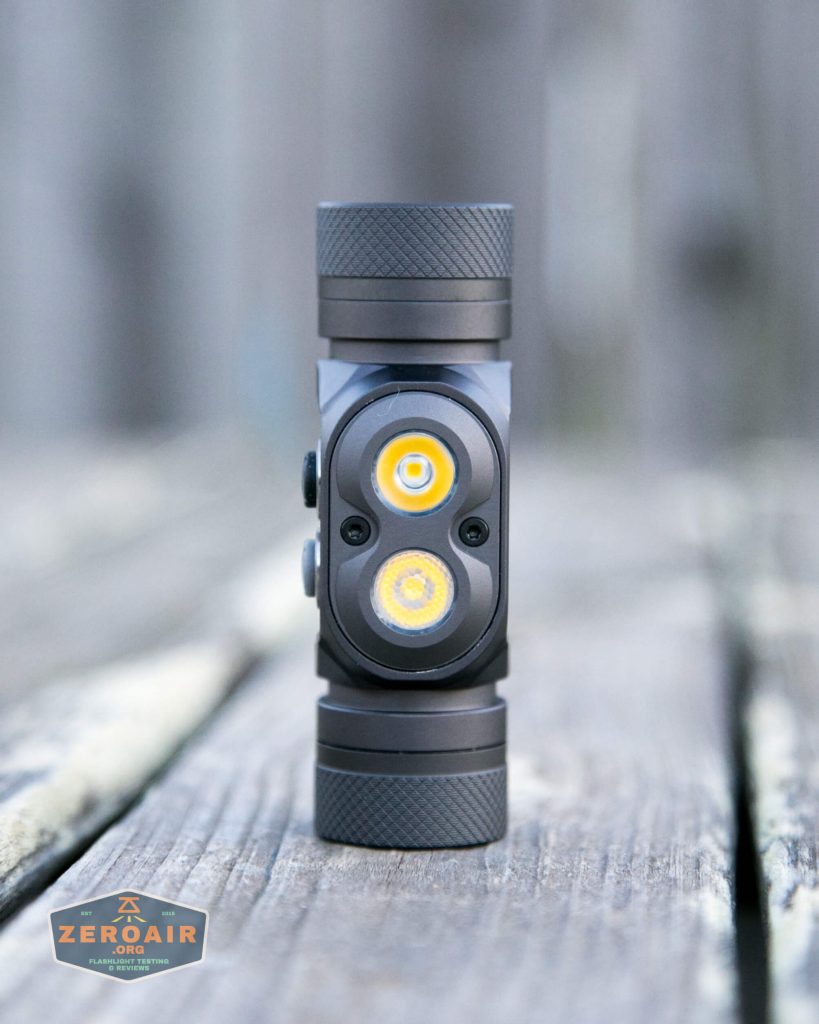
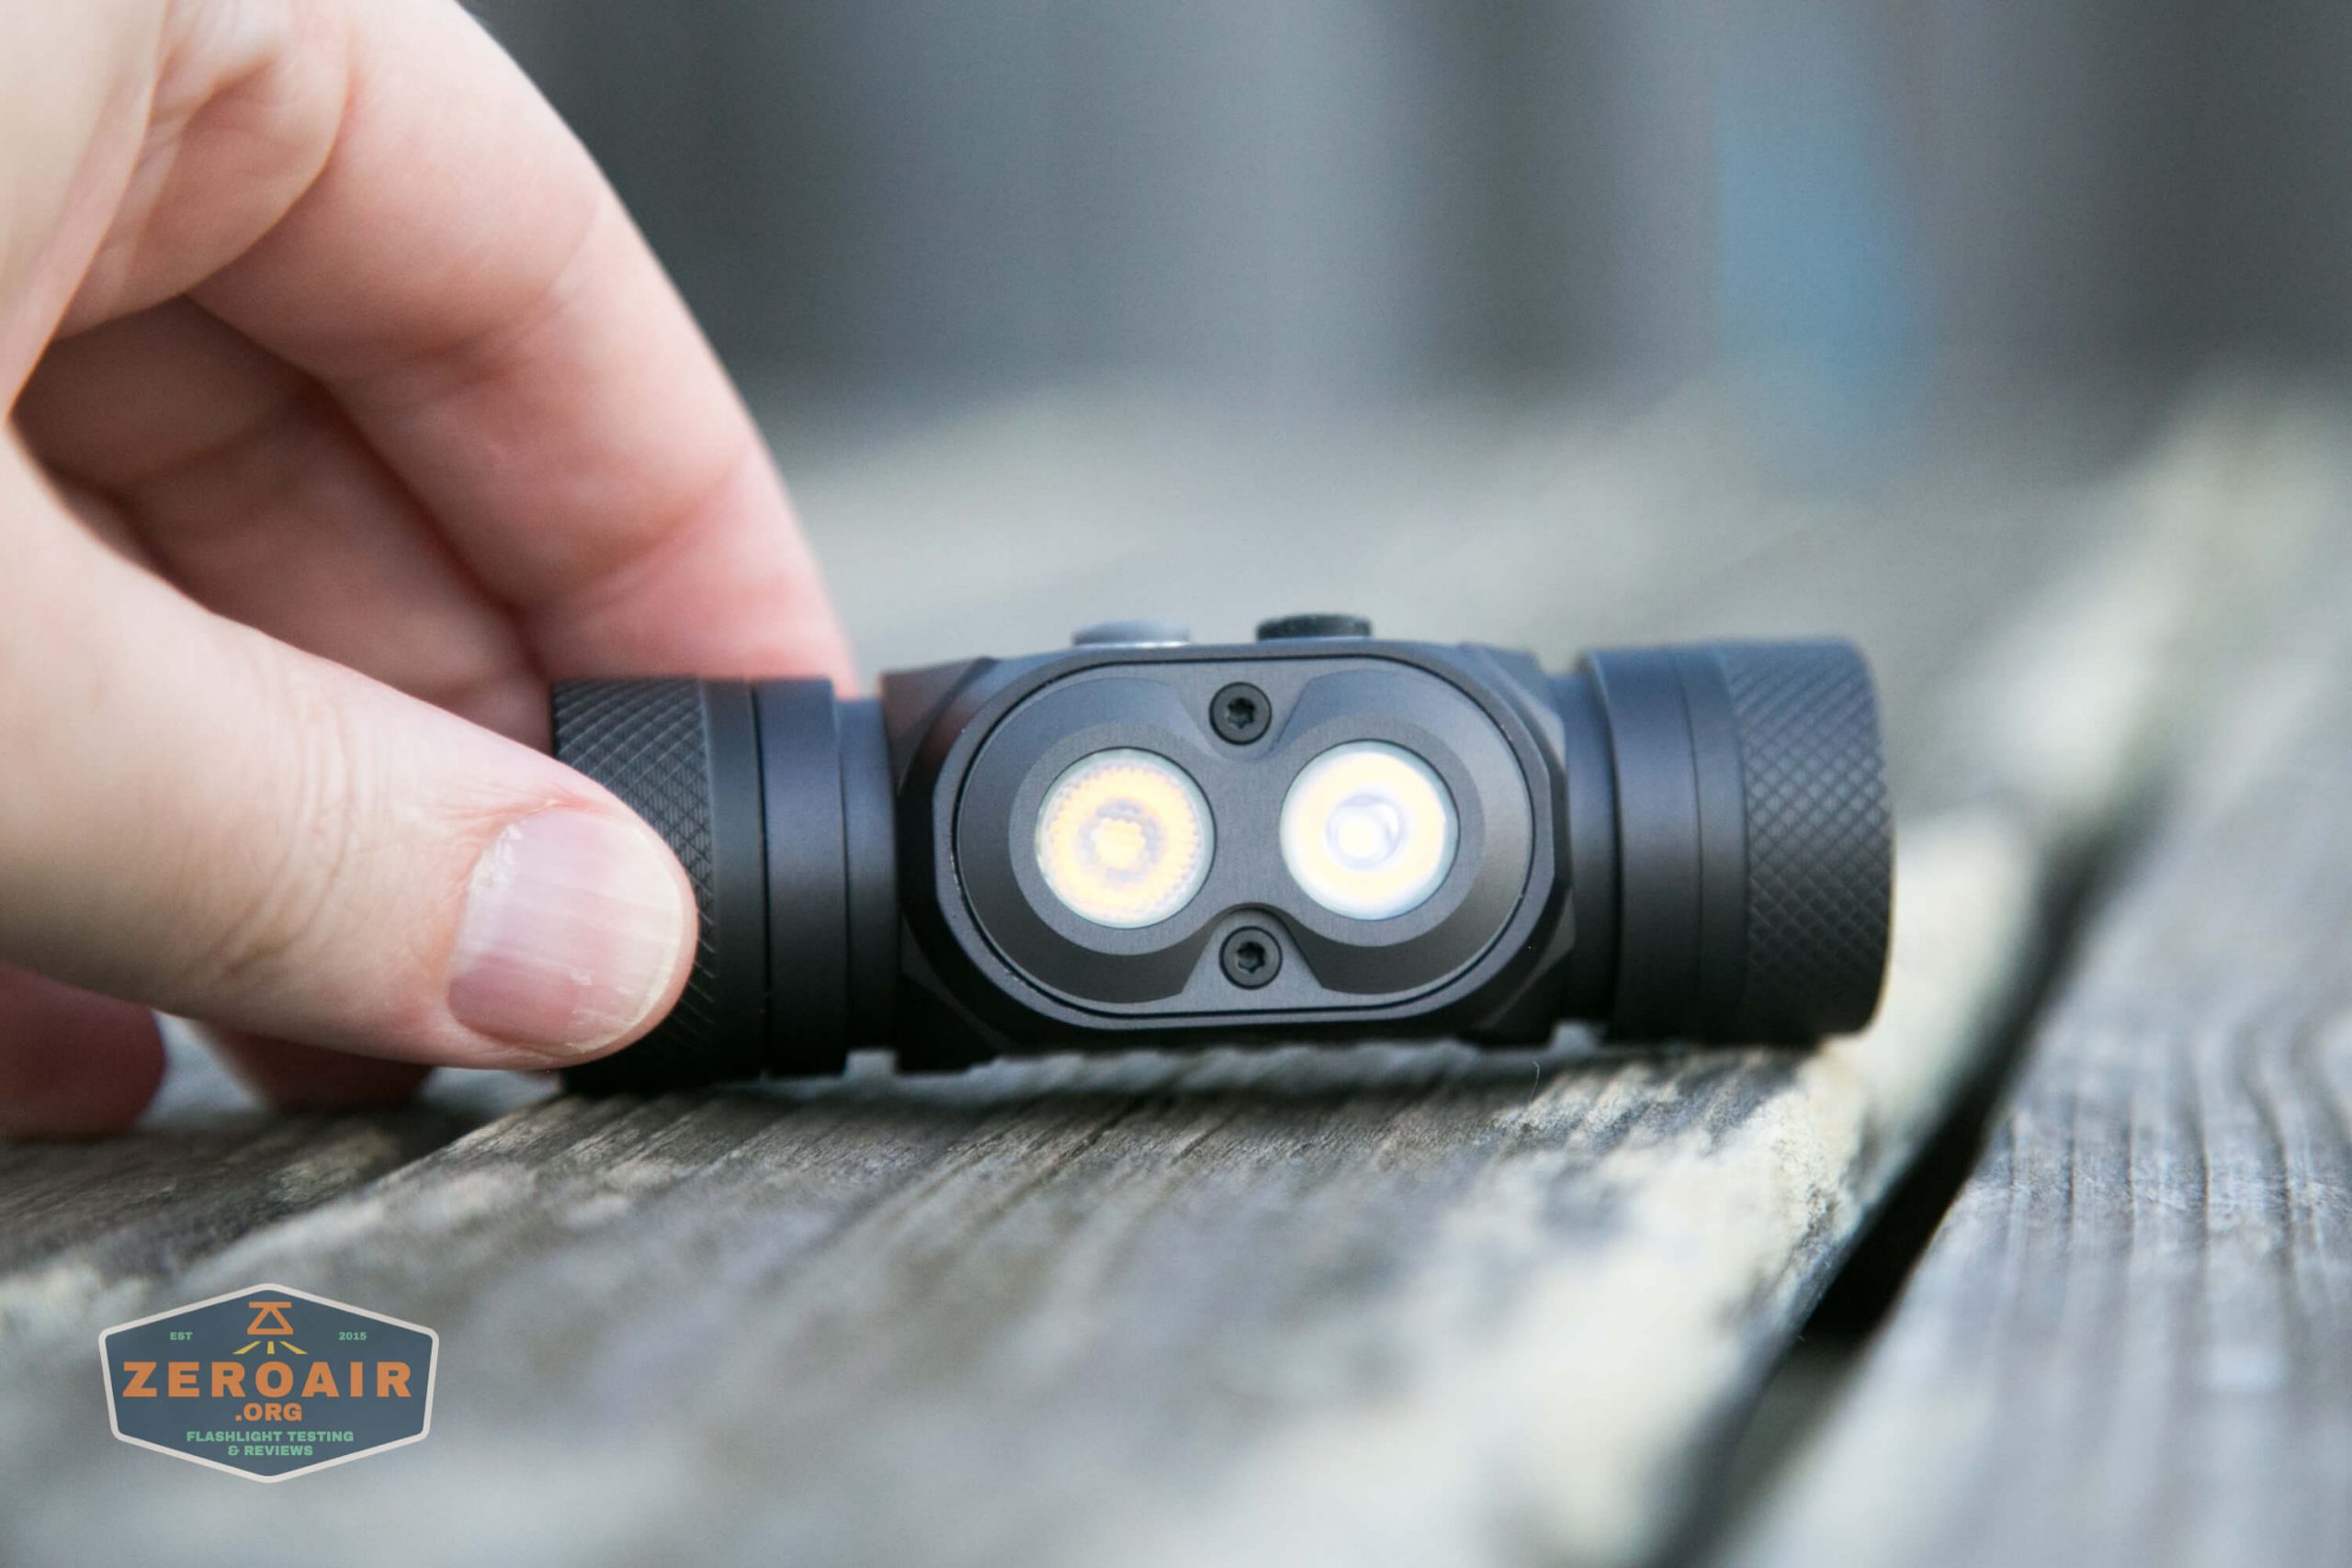
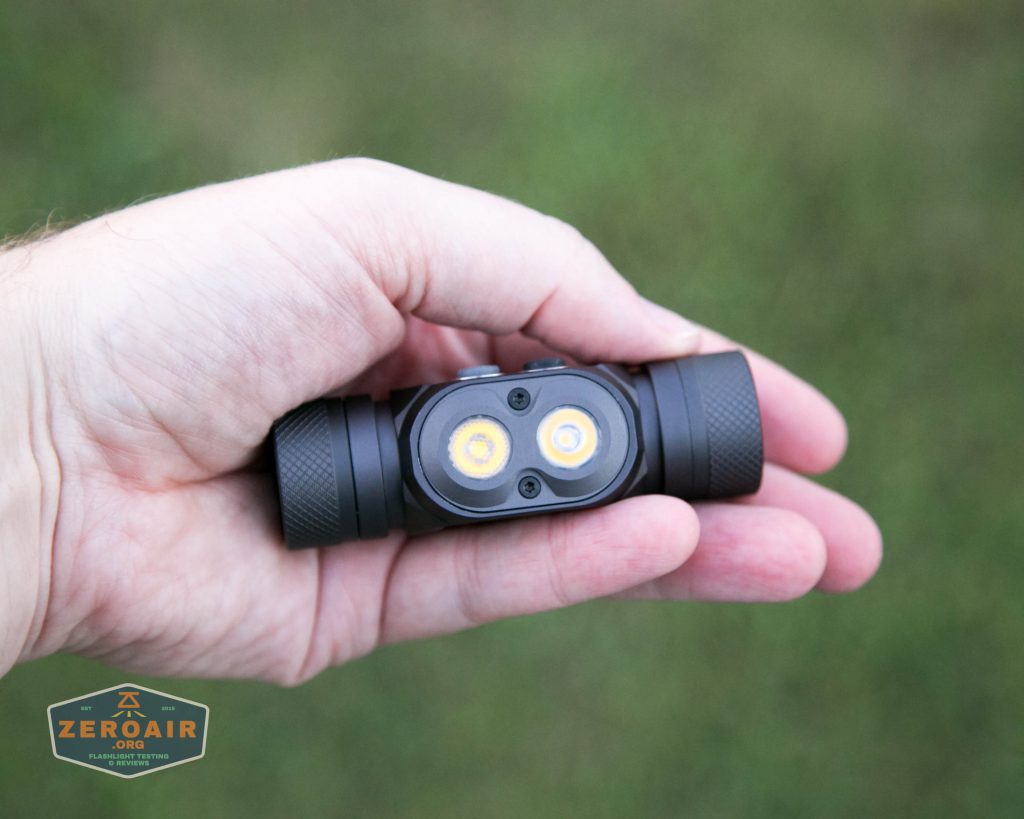
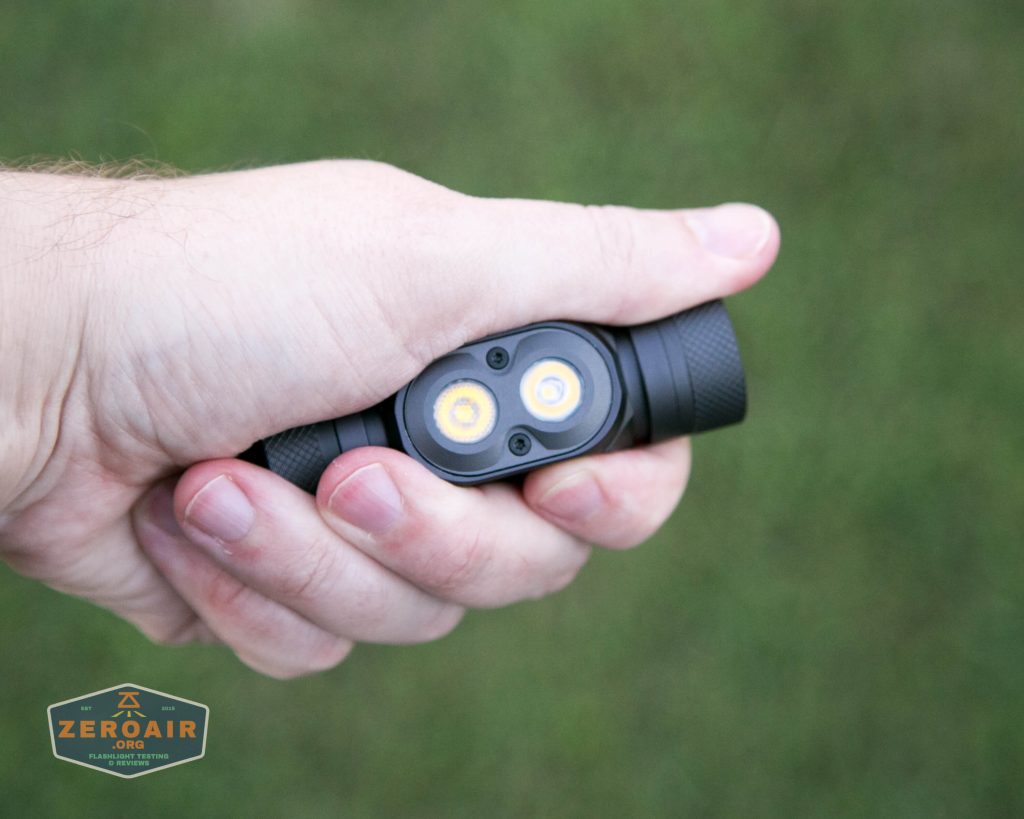
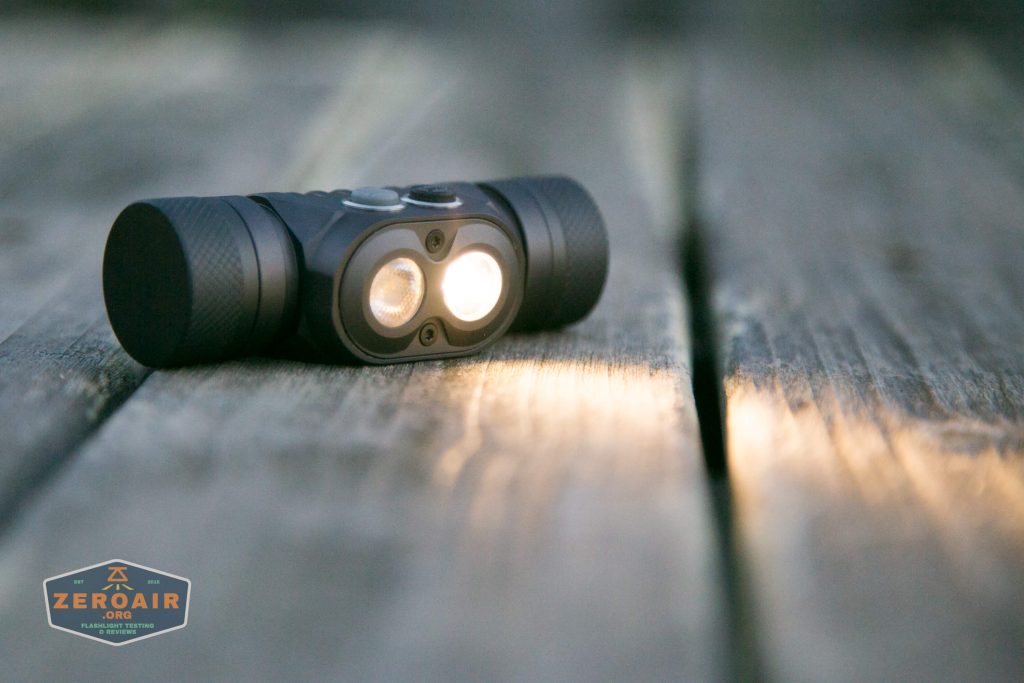
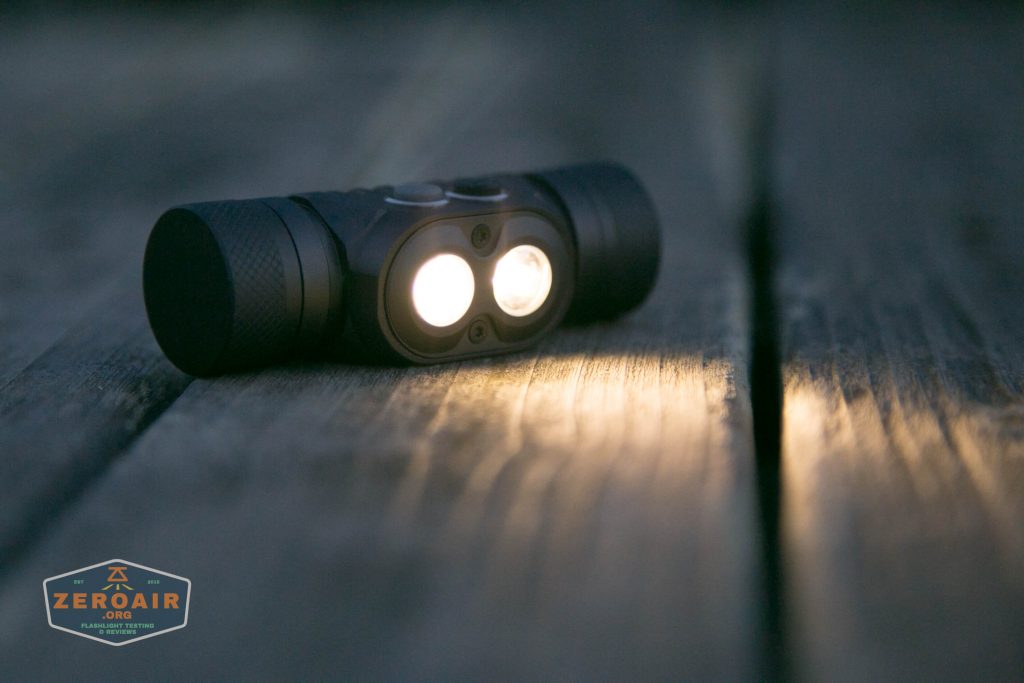
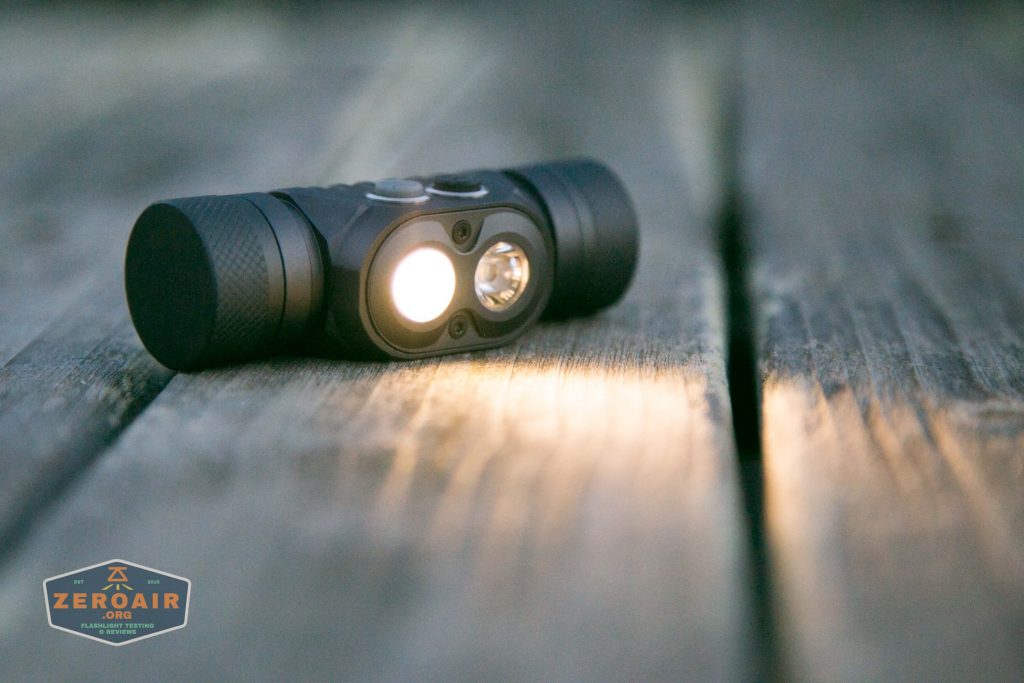
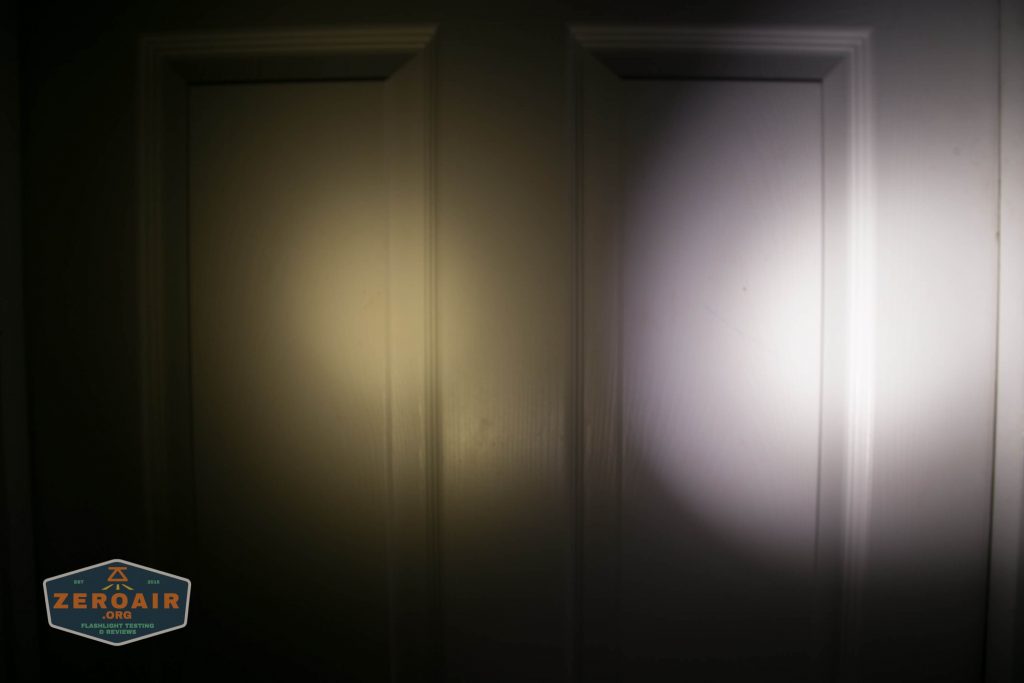
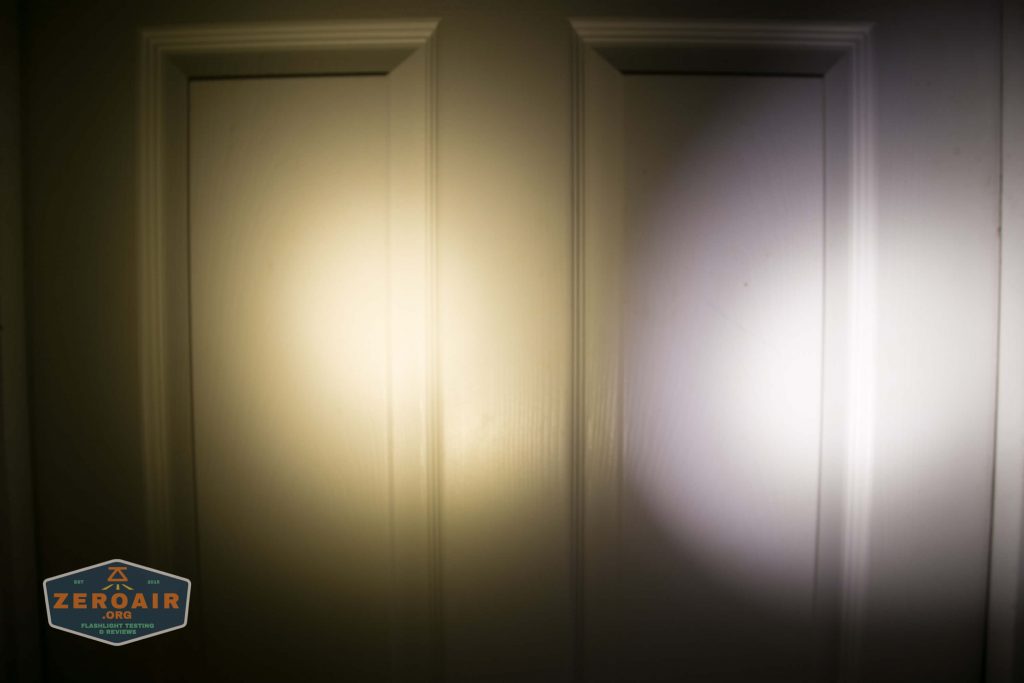
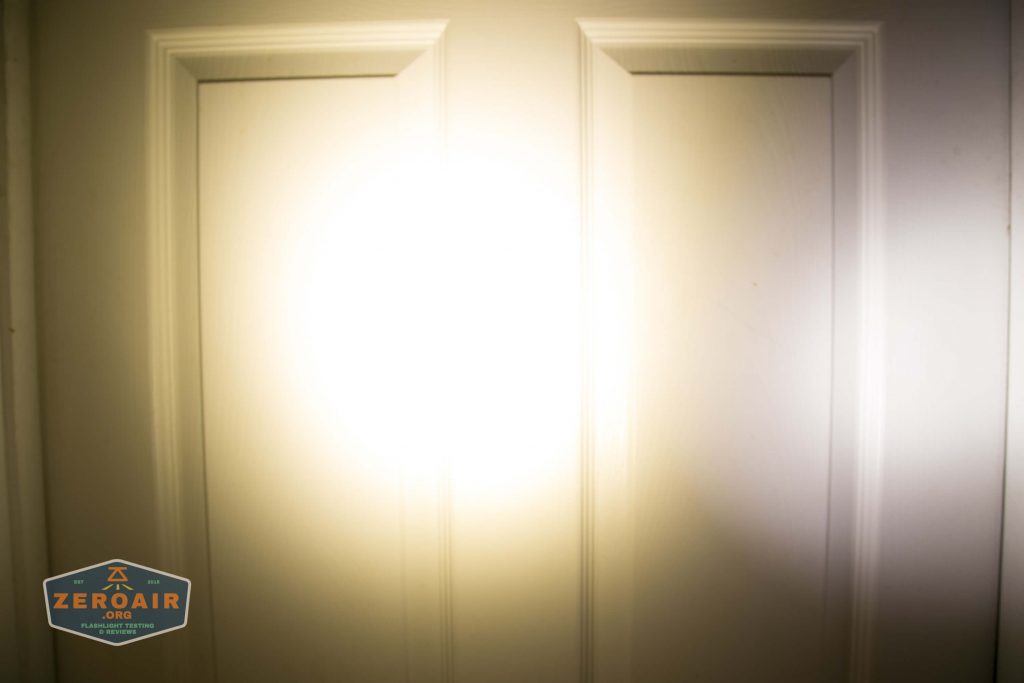
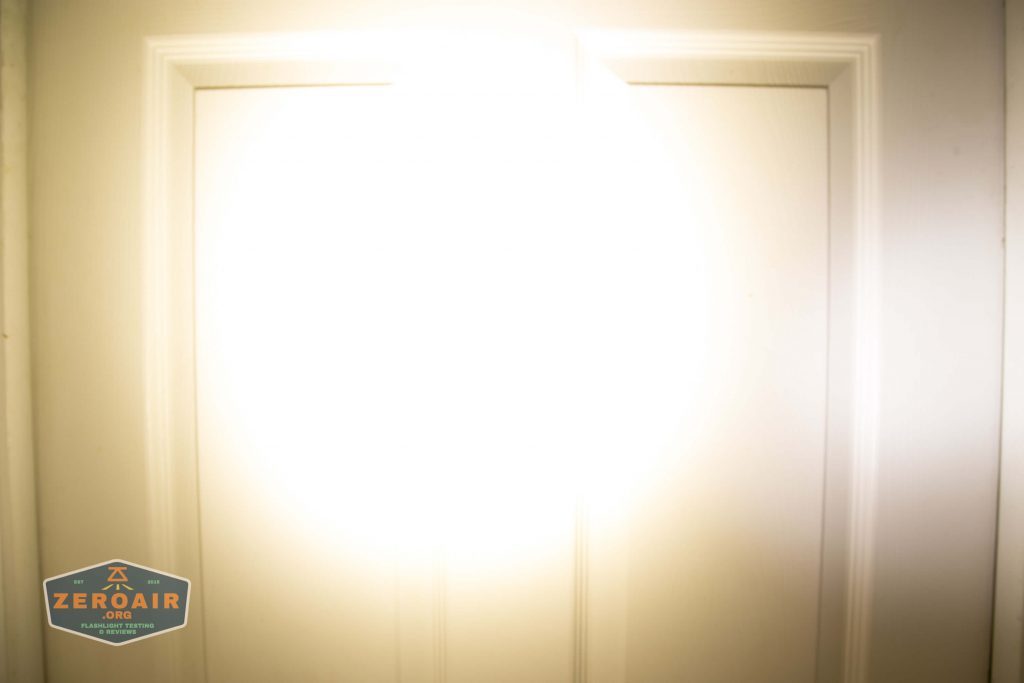
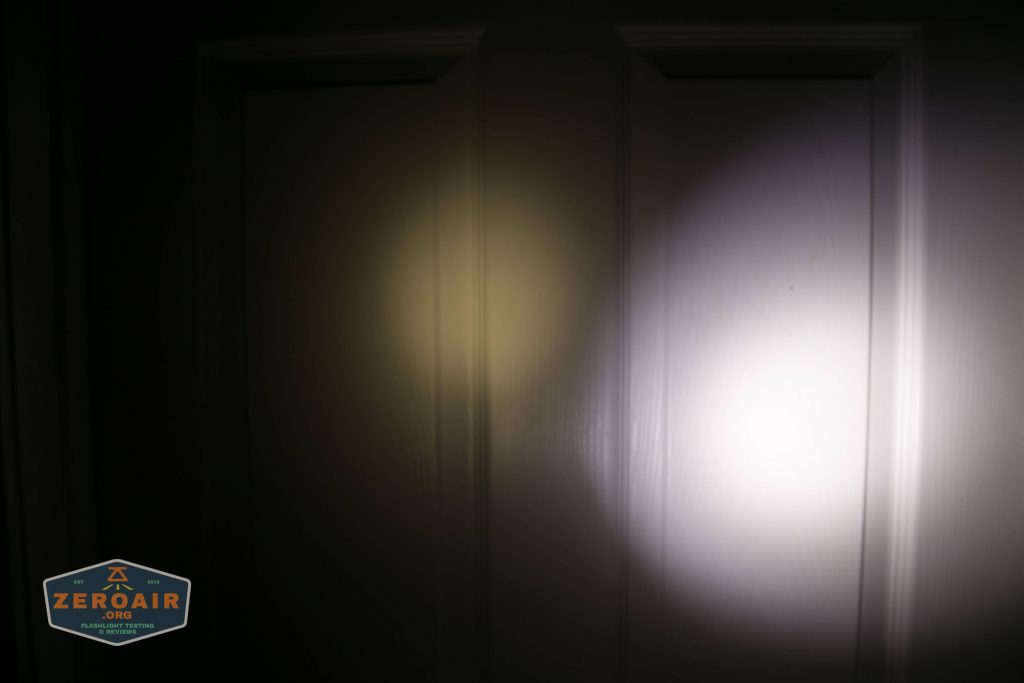
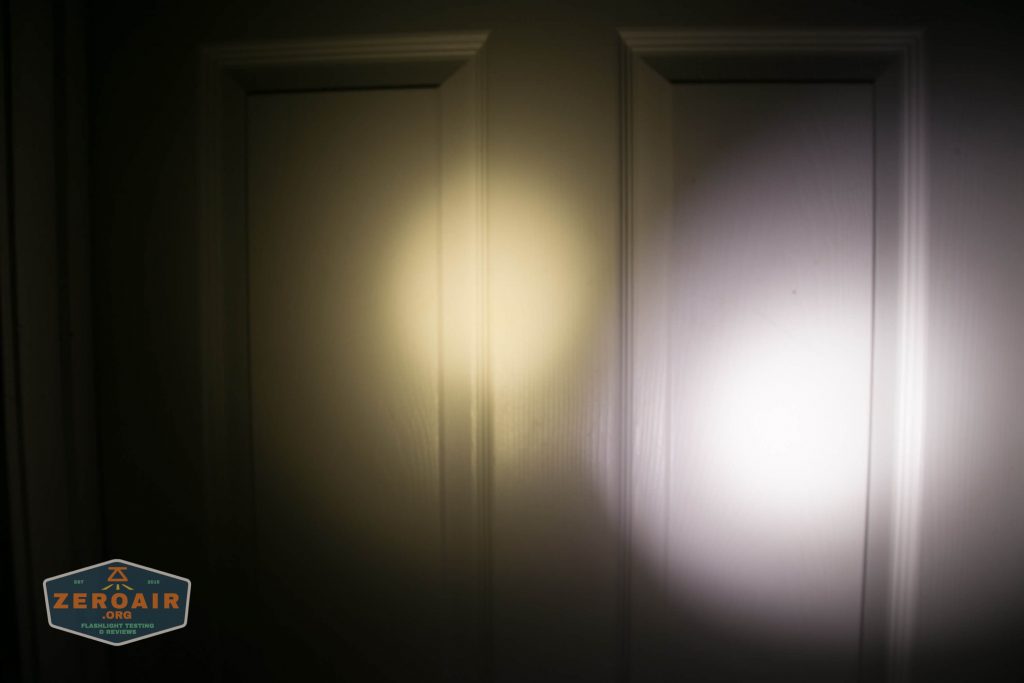
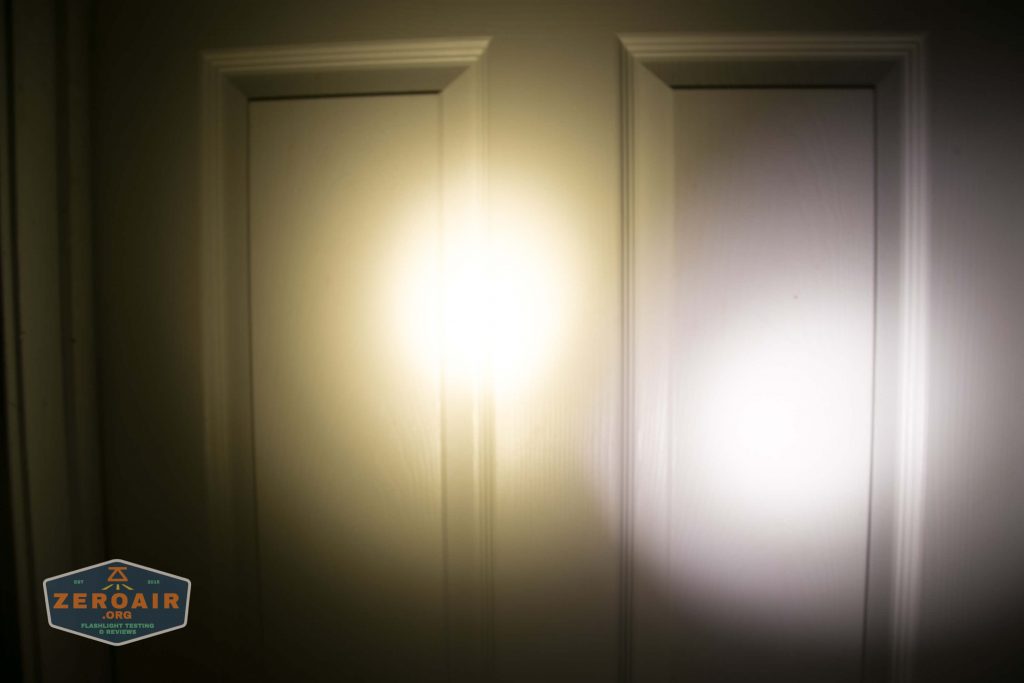
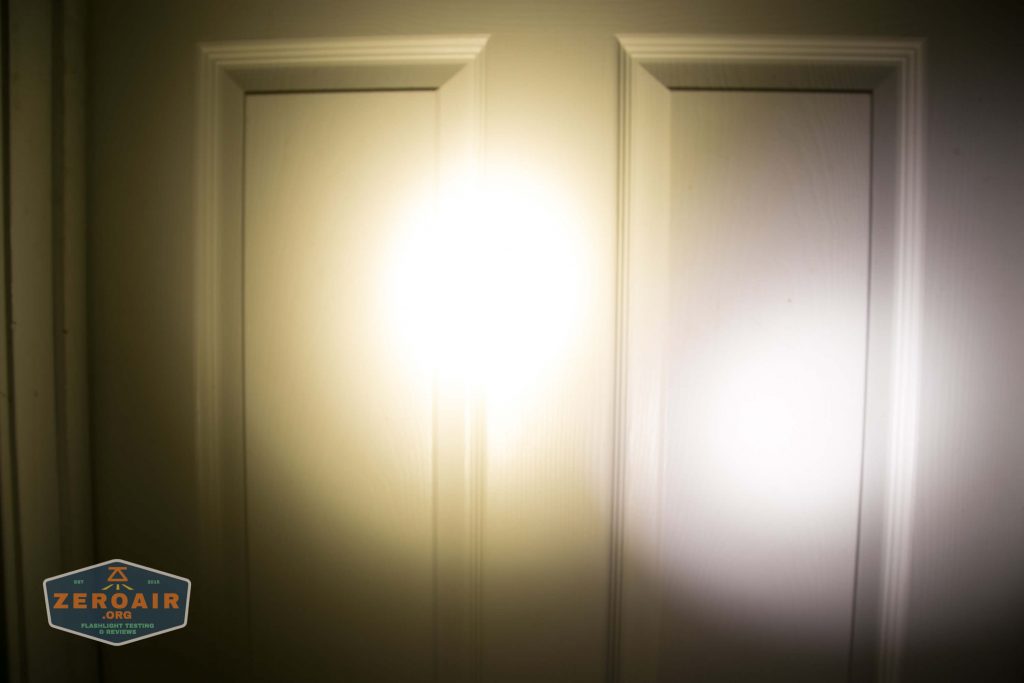
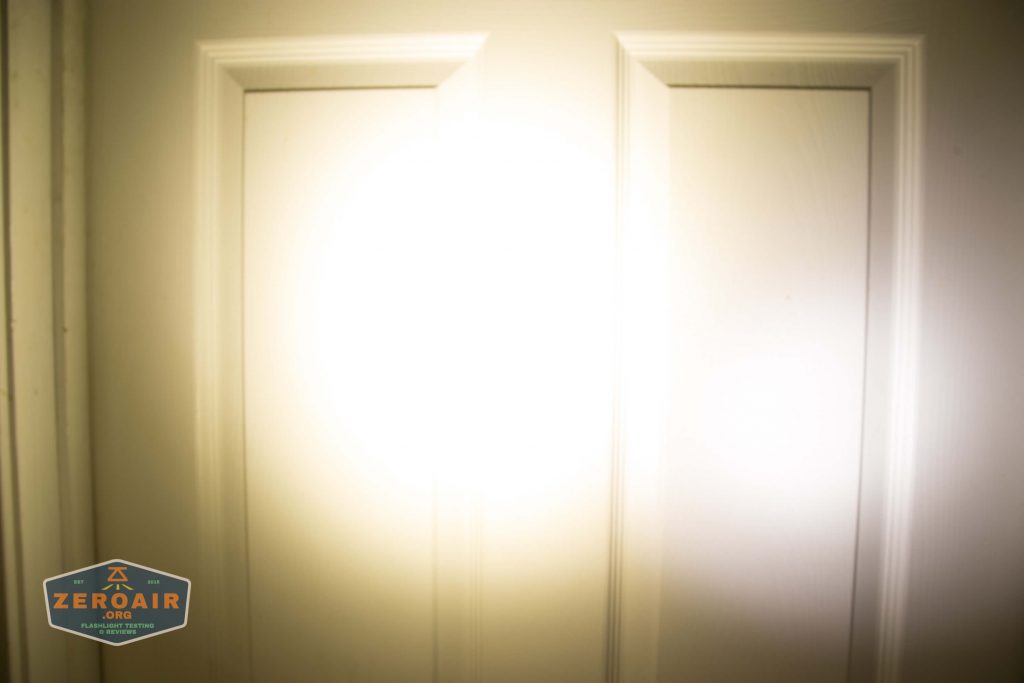
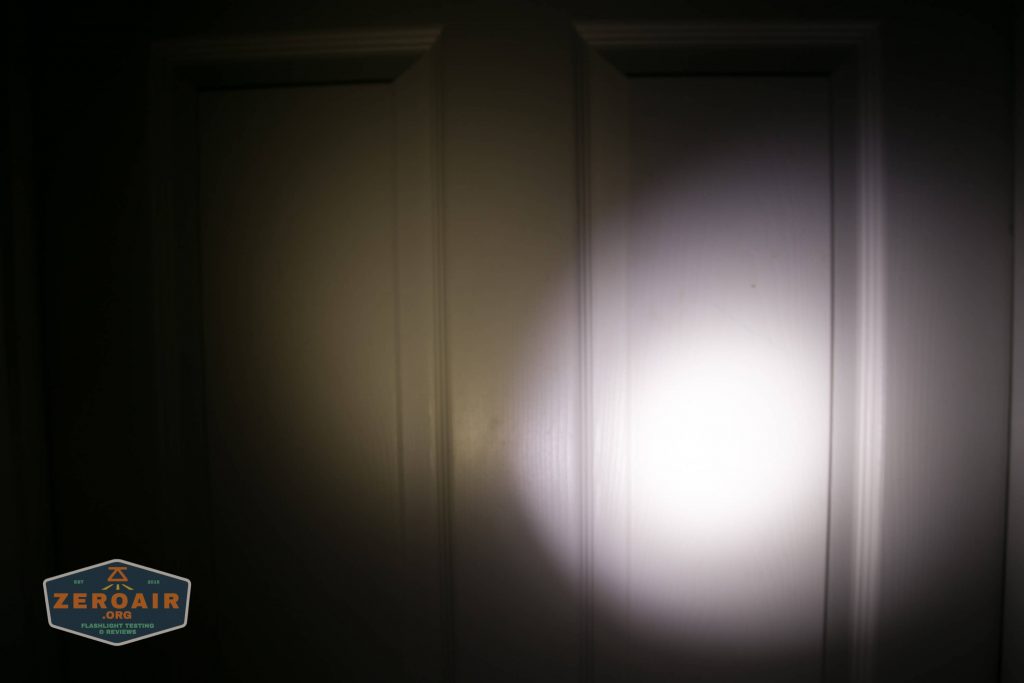
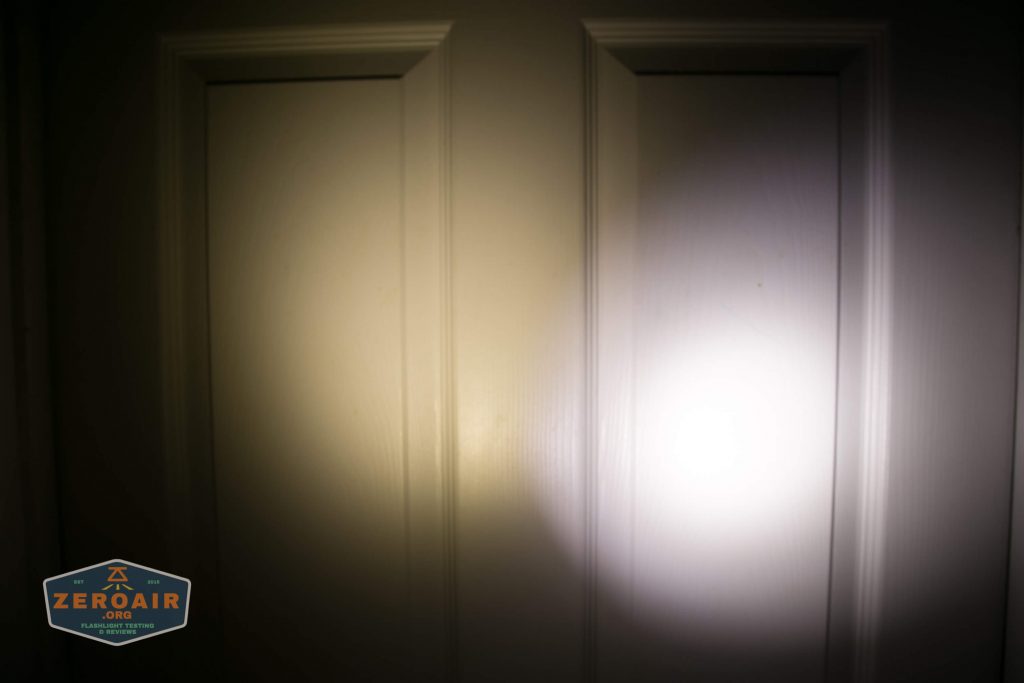
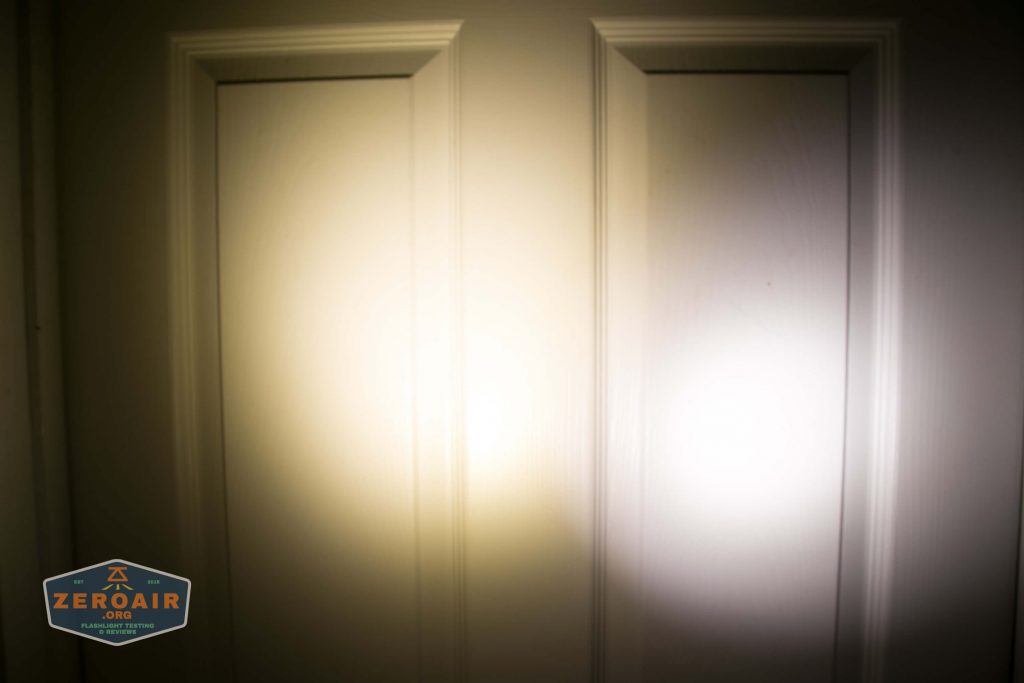
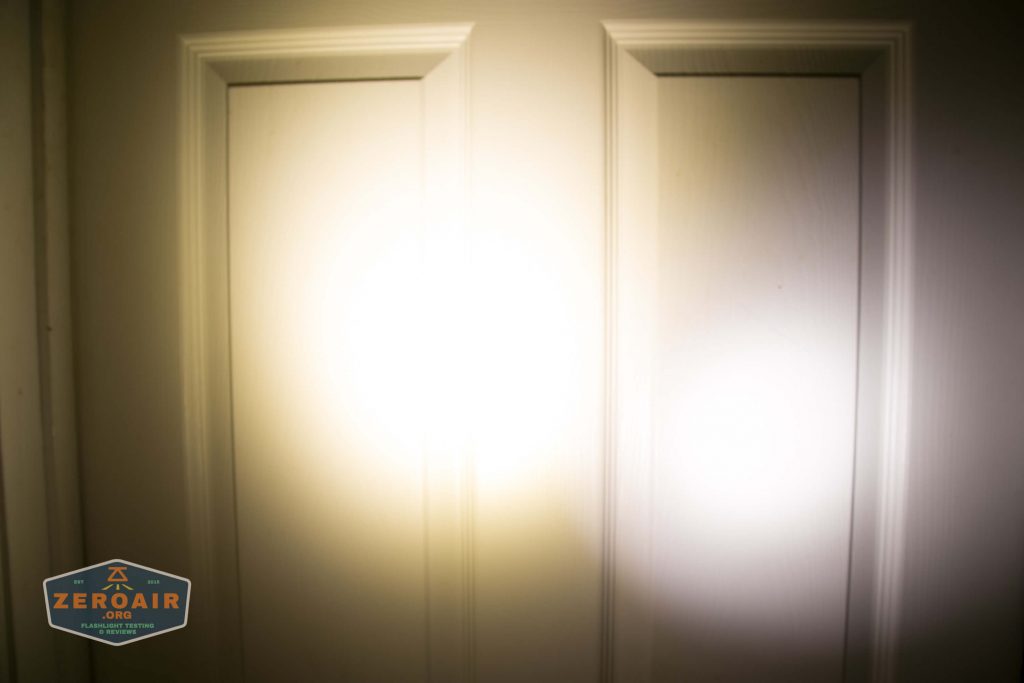
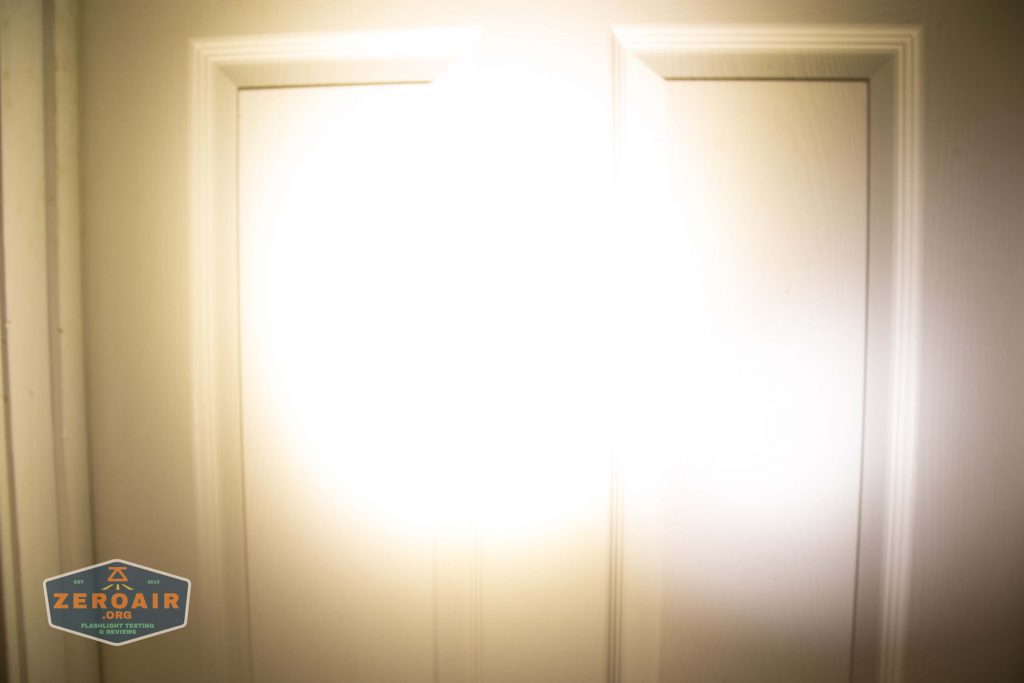
LED and Beam
There are two emitters in the 3R. They are Cree XP-L HI, and Cree XP-G3 NW, 4200К.
The Cree XP-L HI has the throwy optic (the clear one above at right) and the XP-G3 has the dimpled, floody optic.
These beamshots always have the following settings: f8, ISO100, 0.3s shutter, and manual 5000K exposure. These photos are taken at floor level, and the beam hits the ceiling around 9 feet away.
Both emitters:


Spot emitter:


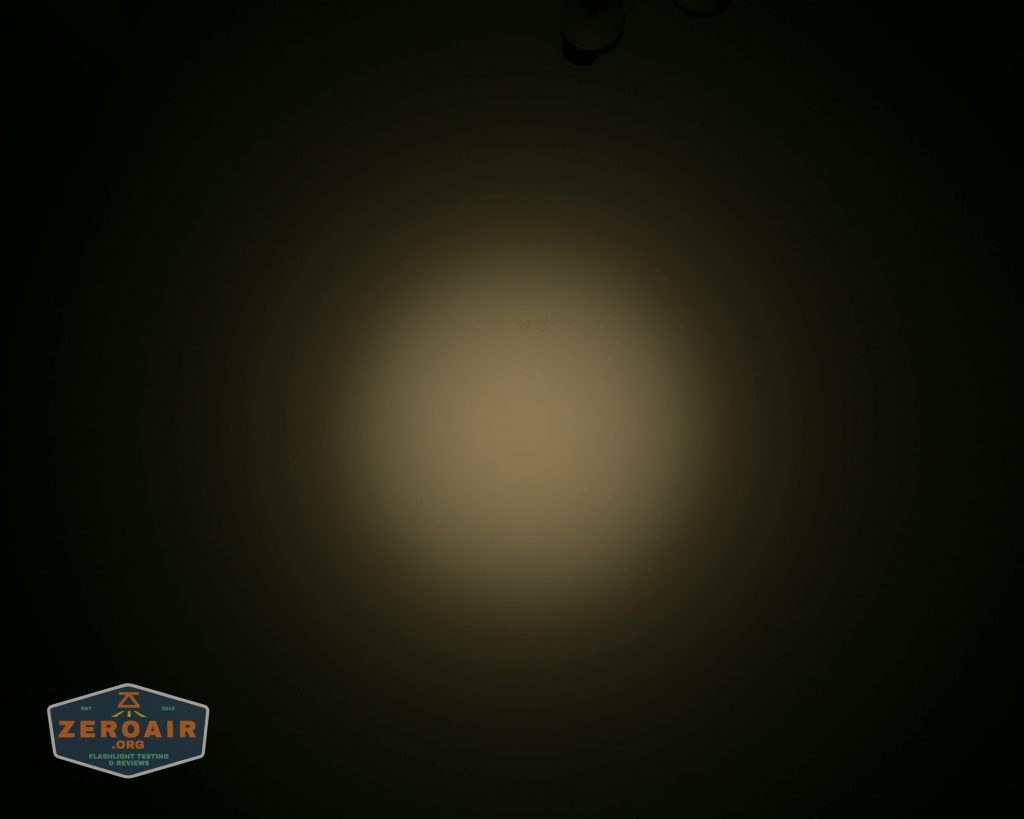

Flood emitter:


Tint vs BLF-348 (KillzoneFlashlights.com 219b version) (affiliate link)
I keep the test flashlight on the left and the BLF-348 reference flashlight on the right.
Both emitters:

Spot emitter:
Flood emitter:
I compare everything to the KillzoneFlashlights.com 219b BLF-348 because it’s inexpensive and has the best tint!
Conclusion
What I like
- Good build quality
- Flood and throw are perceptibly different
- Good match of tints between the two emitters
- Micro-USB charging works well
- Direct access to useful modes (Maximum throw, maximum output, minimum output)
What I don’t like
- The user interface is a little weird, particularly when switching from either emitter to both emitters – they don’t always match in output
- Output falls short of specification. And across the board, the output is lower than claimed.
Notes
- This light was provided by YLP for review. I was not paid to write this review.
- This content originally appeared at zeroair.org. Please visit there for the best experience!
- For flashlight-related patches, stickers, and gear, head over to PhotonPhreaks.com!
- Use my amazon.com referral link if you’re willing to help support making more reviews like this one!
- Please support me on Patreon! I deeply appreciate your support!