Sanwu Red Guardian Laser Review
Today I have the Sanwu Red Guardian Laser for review. This one is a fancy laser – solid copper body, 18350, high-powered (Class 4) blue laser. Read on for some thoughts!
Official Specs and Features
Here’s a link to the official product page.
Versions
Technically, there are a bunch of options for the Red Guardian. There is another version as well, however, but it is just the “Guardian” – it’s stainless steel.
There are diode options:
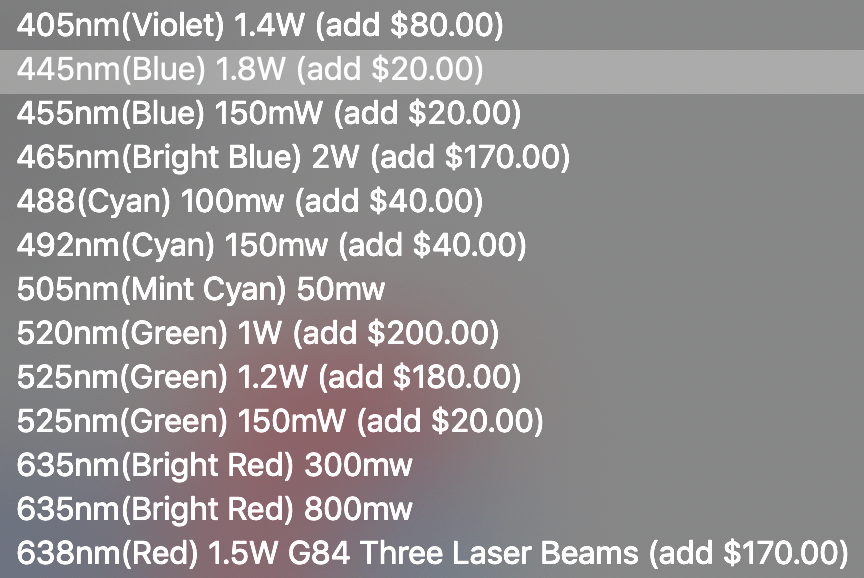
Mine is the 445nm (Blue) 1.8W option.
There are also user interface options – single mode, or multi (5) mode (multi-mode is seen here).
Also, a couple of add-ons exist – you can include an 18350 cell. You can also opt to pick up an “X3 Beam expander.” We’ll talk more about all of this below.
Price
As my sample is configured (445nm and multi-mode), this device costs $255. I’ll explain why I went with this setup below. All the options you see above will cause the price to vary from a little to a lot. The max configurable seems to be around $435.
Short Review
Well, let me just tell you something. One point eight watts (1.8W) in laser format is powerful. If you don’t already know how powerful (or “concentrated”) this level of power from a laser is, you should steel yourself and prepare to purchase some accessories (namely, laser protective goggles). That’s my laser warning.
This device specifically is pretty neat. The build quality is pretty good, but for $260, there are a few things I’d like to see improve. Namely, the switch reliability. My second contention is that the body metals on my review copy do not match. You’ll see this more later.
And finally, I dropped this Red Guardian literally the second I got it out of the shipping package. At this point, it was still inside the sealed bag. Straight onto my driveway. And the soft copper lost the battle against the rock. So before ever removing this guy from the hermetic pouch, I damaged it. But I damaged it. If you see more of this damage later in the post, just remember – I did that, it didn’t ship that way.
Sanwu actually has text on their site on literally the second sentence that seems almost prophetically written for me: “Copper has a hardness of approximately 3.5 and can be easily damaged when dropped.” Yes. This is true.
Long Review
What’s Included
- Sanwu Red Guardian Laser
Surprisingly, there is no manual, but even more surprisingly, there are no warnings about laser or laser power or laser dangers, or guides to wear goggles. It’s presumed at this level (aka price) that you should know these things. Hopefully, by the end of the review, you’ll no longer have a need for a manual. I hope to cover it all!
Package and Manual
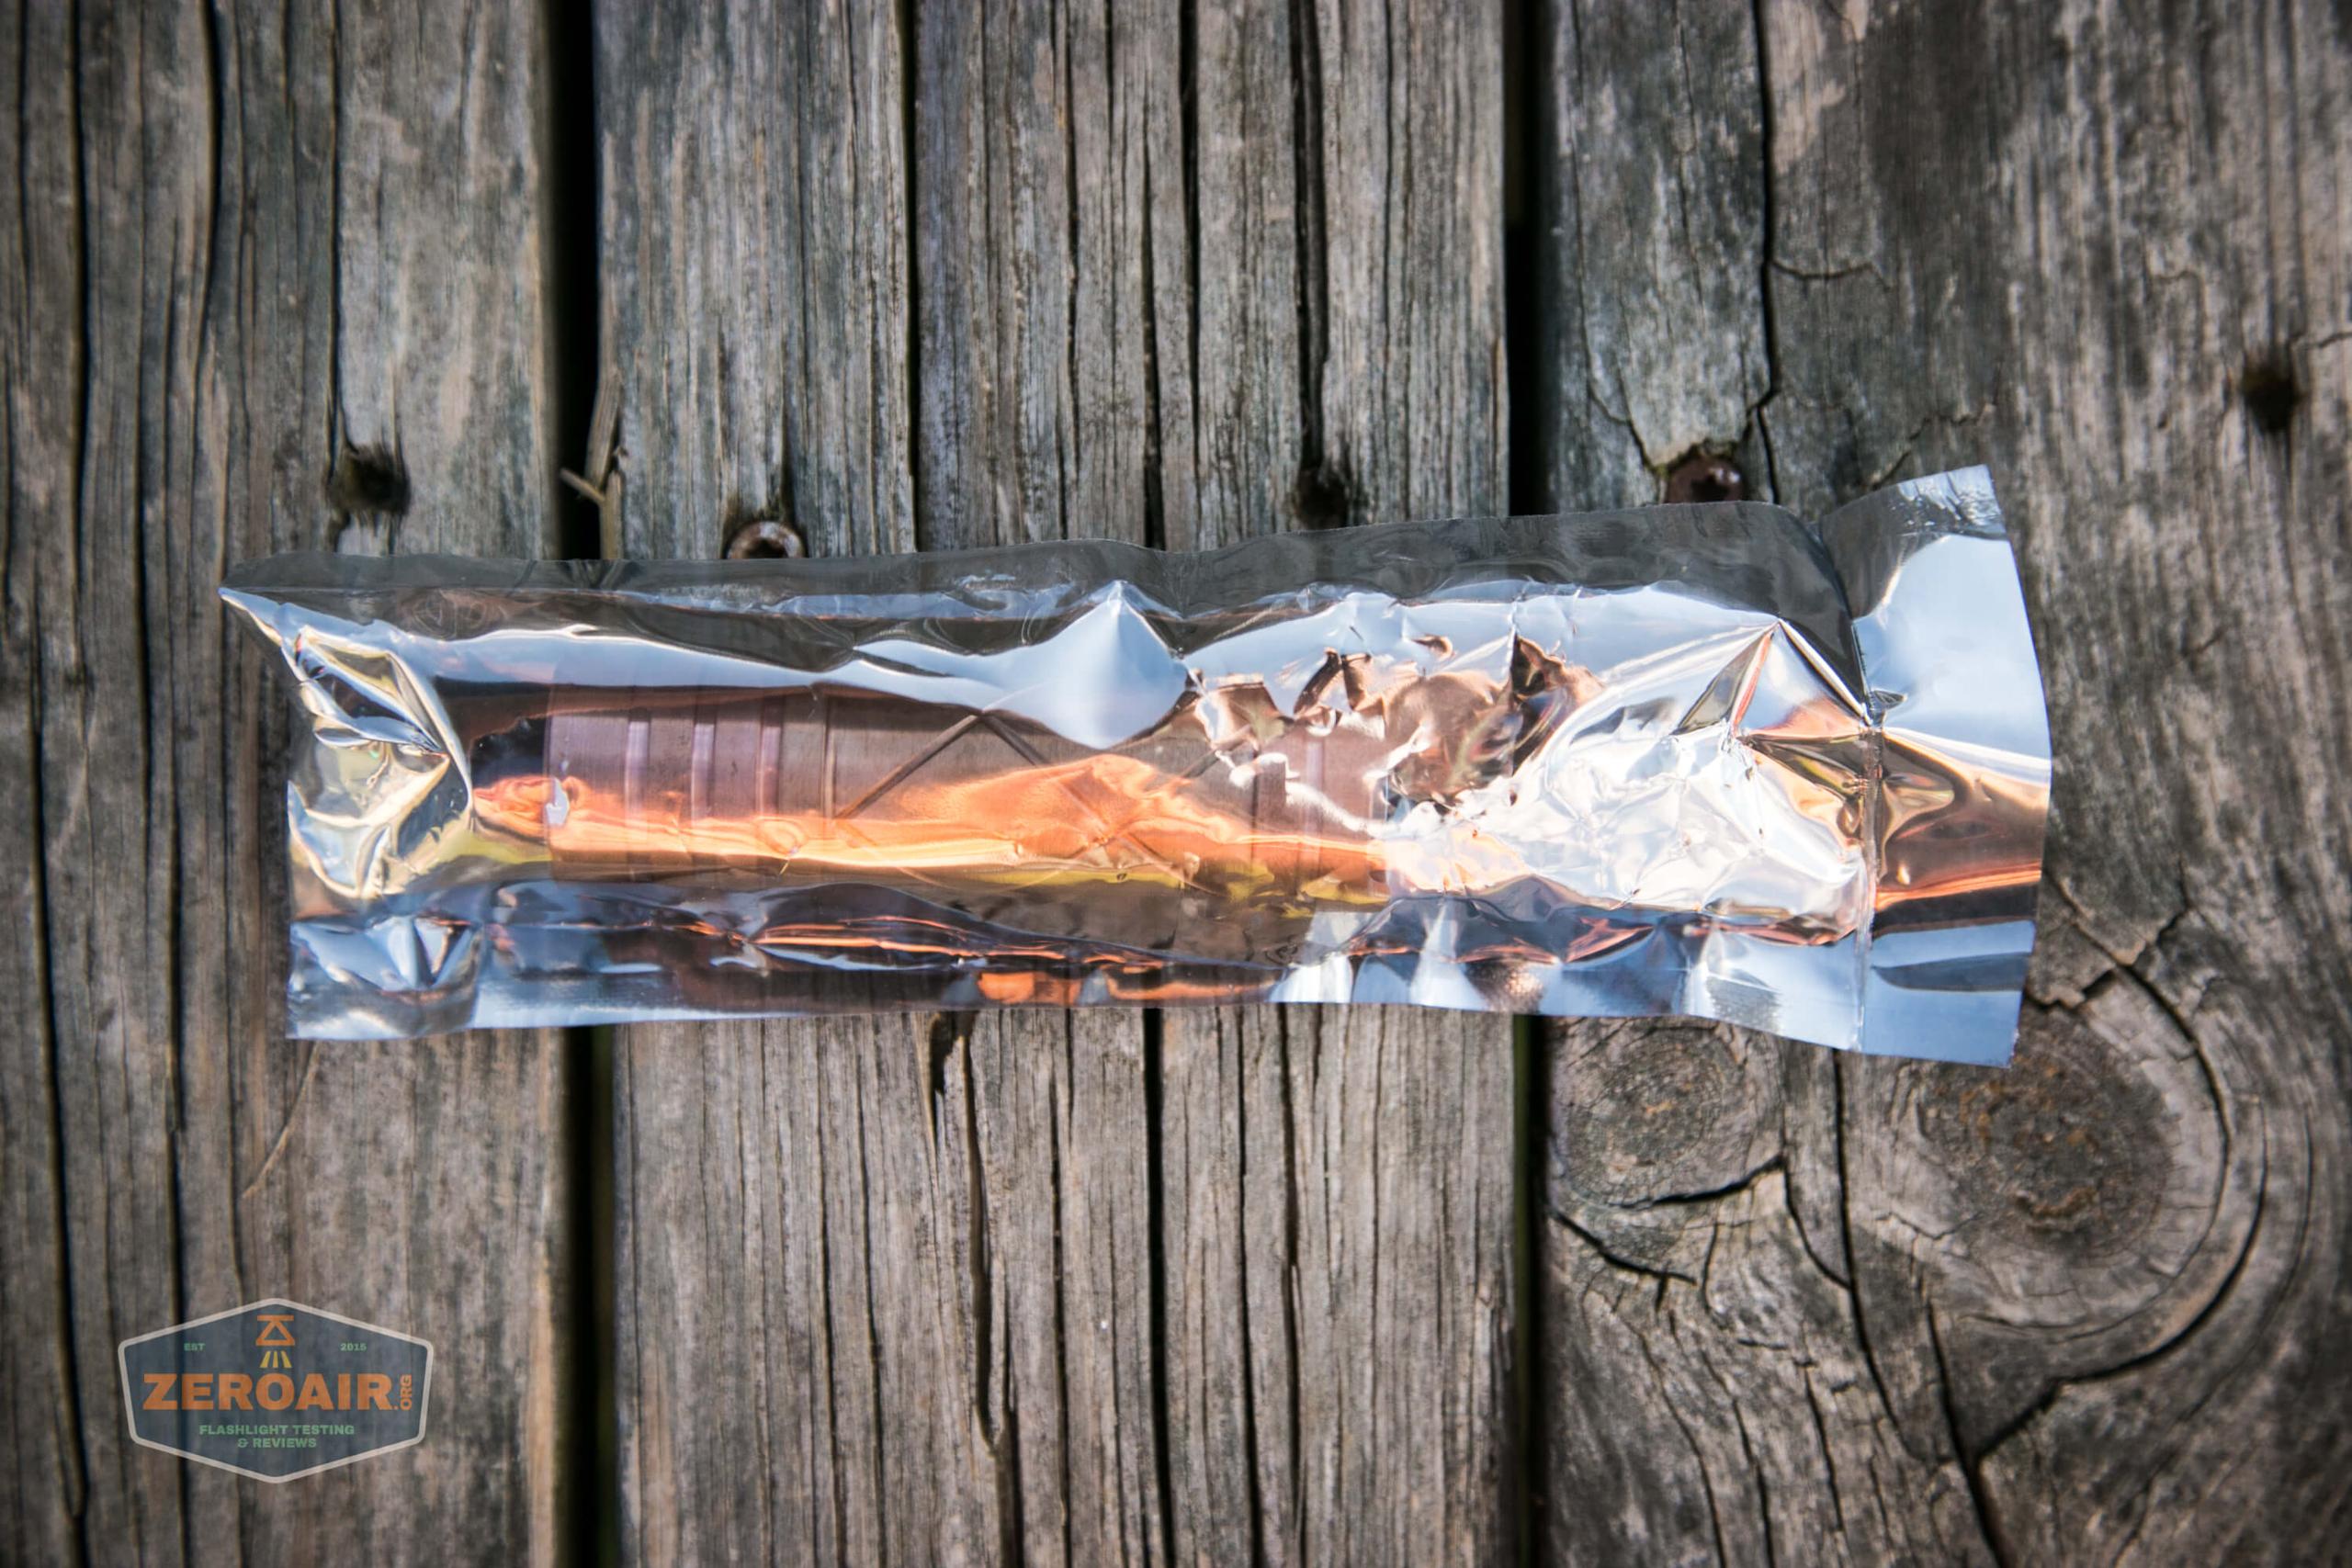
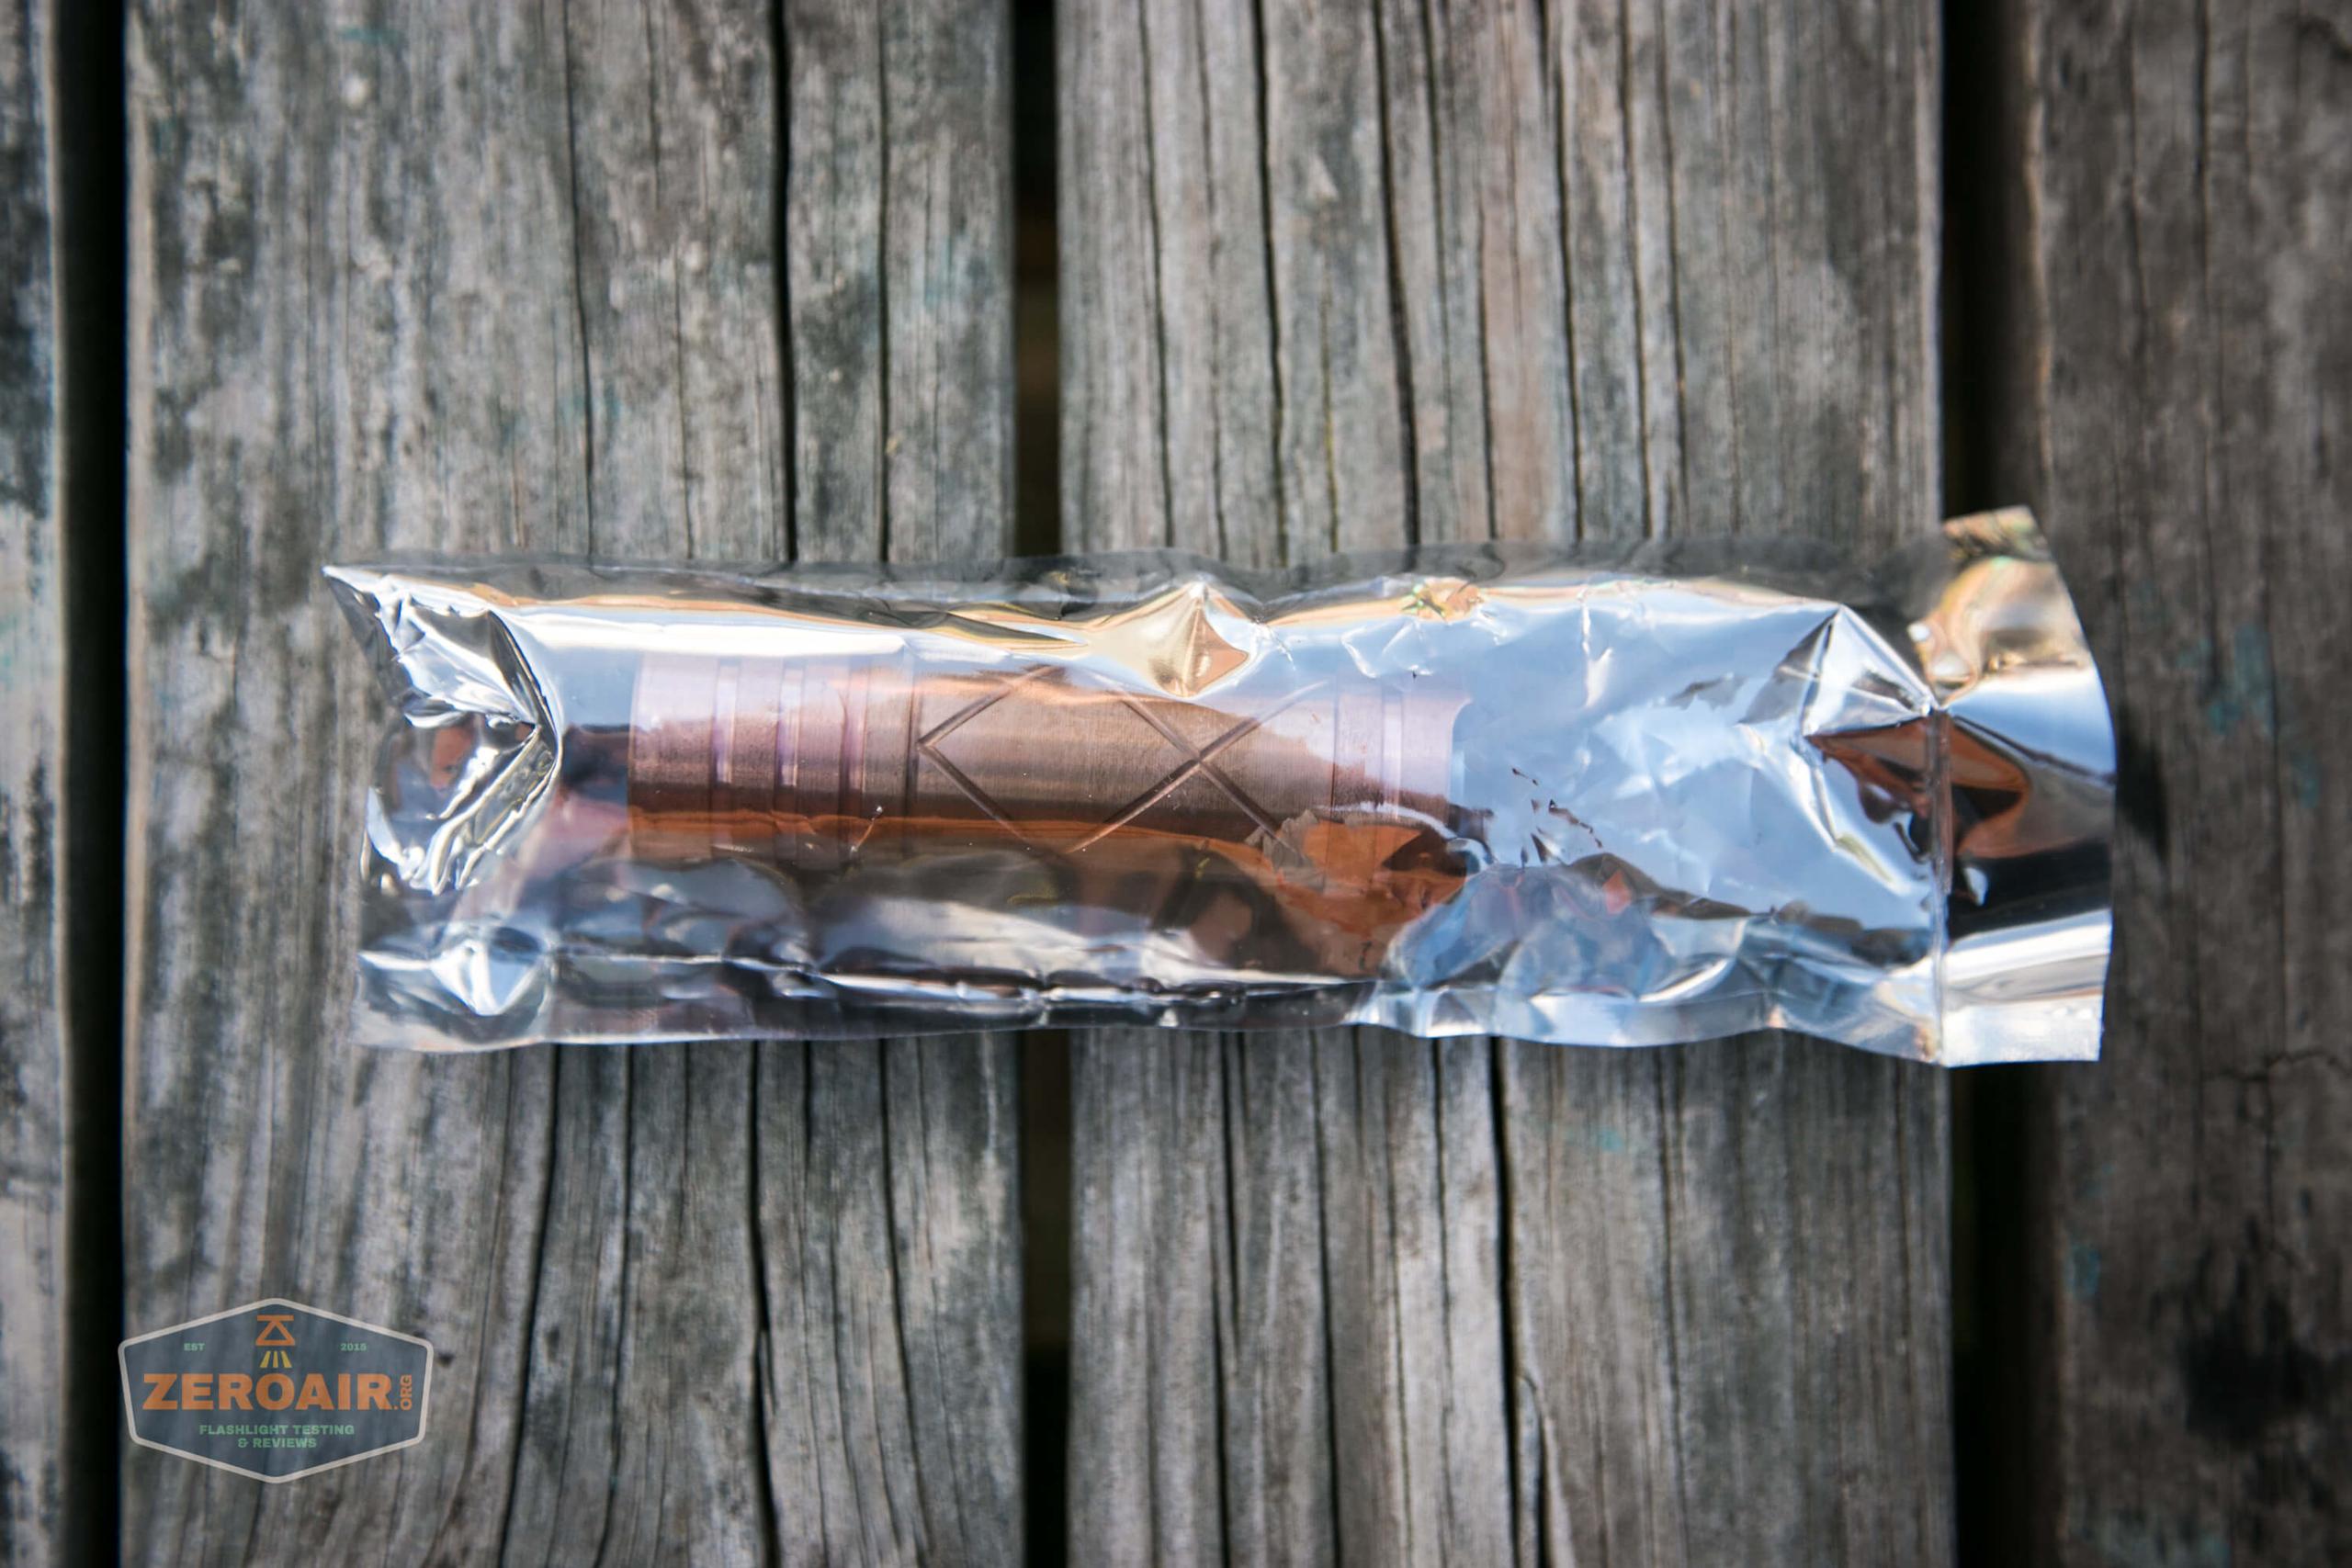
The Red Guardian ships in this sealed pouch.
Again, there is no manual, and nothing else is included with this laser. The Red Guardian does not ship in a box. I’ll be honest, a box would be nice.
Build Quality and Disassembly
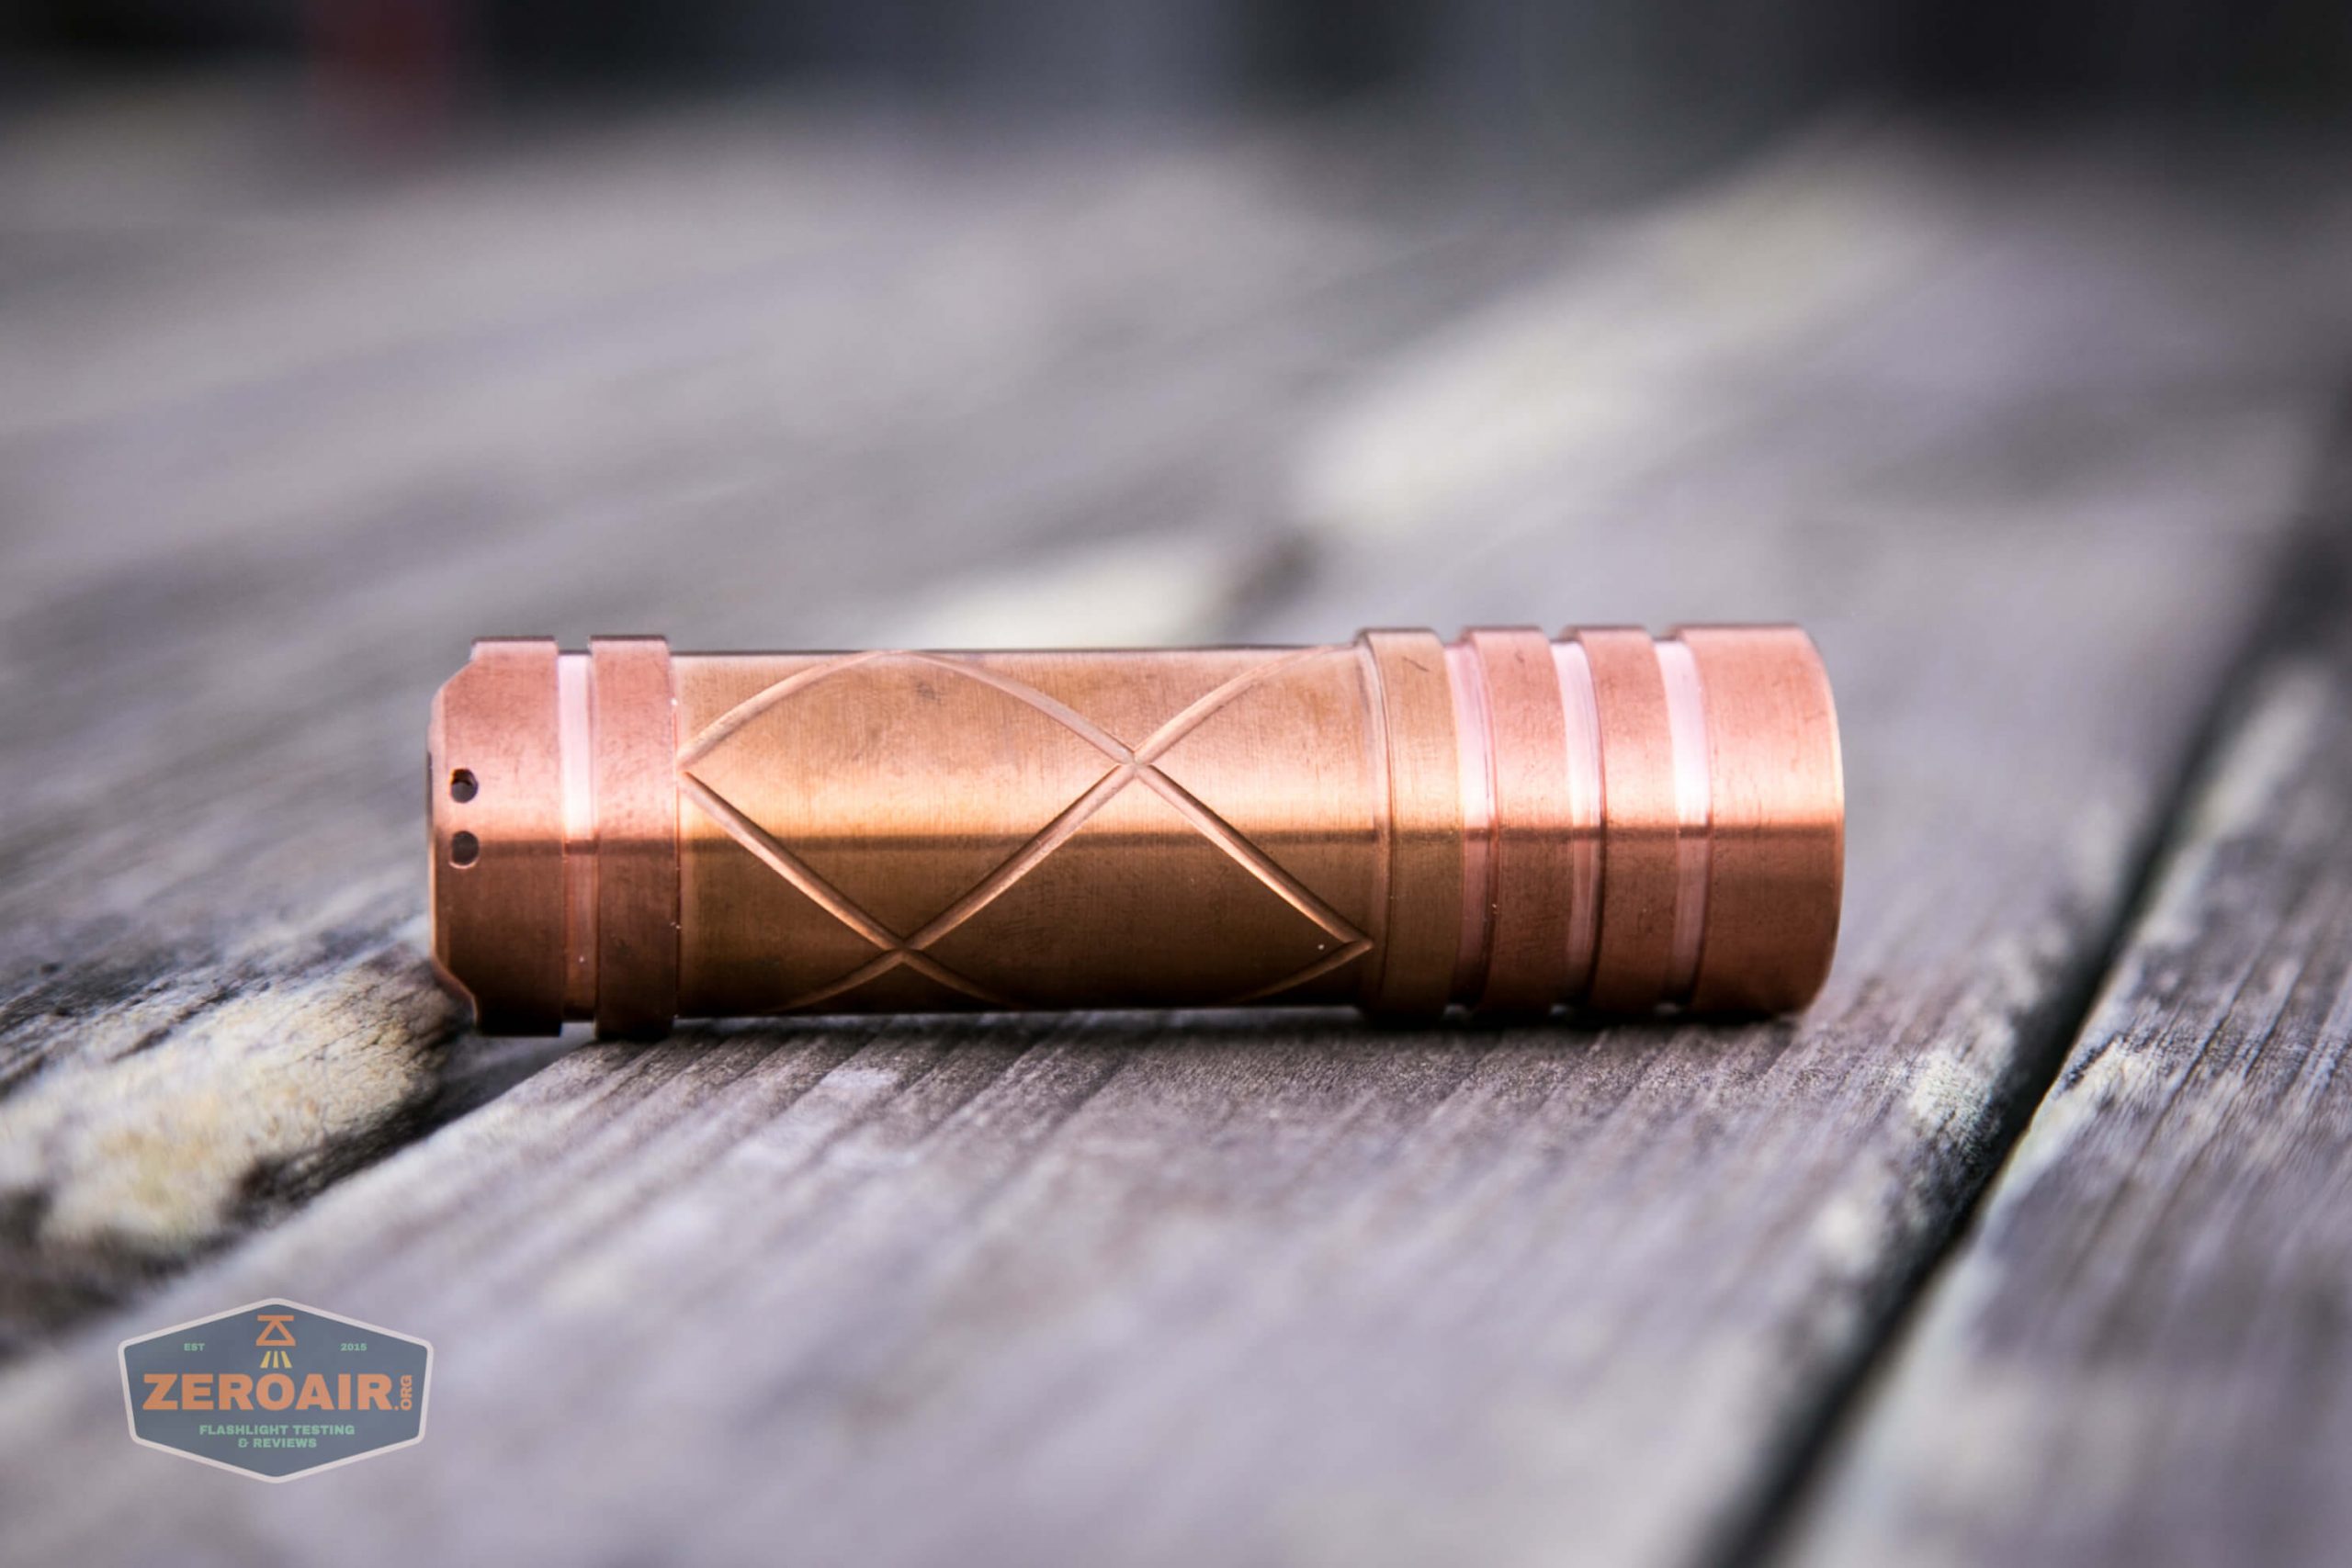
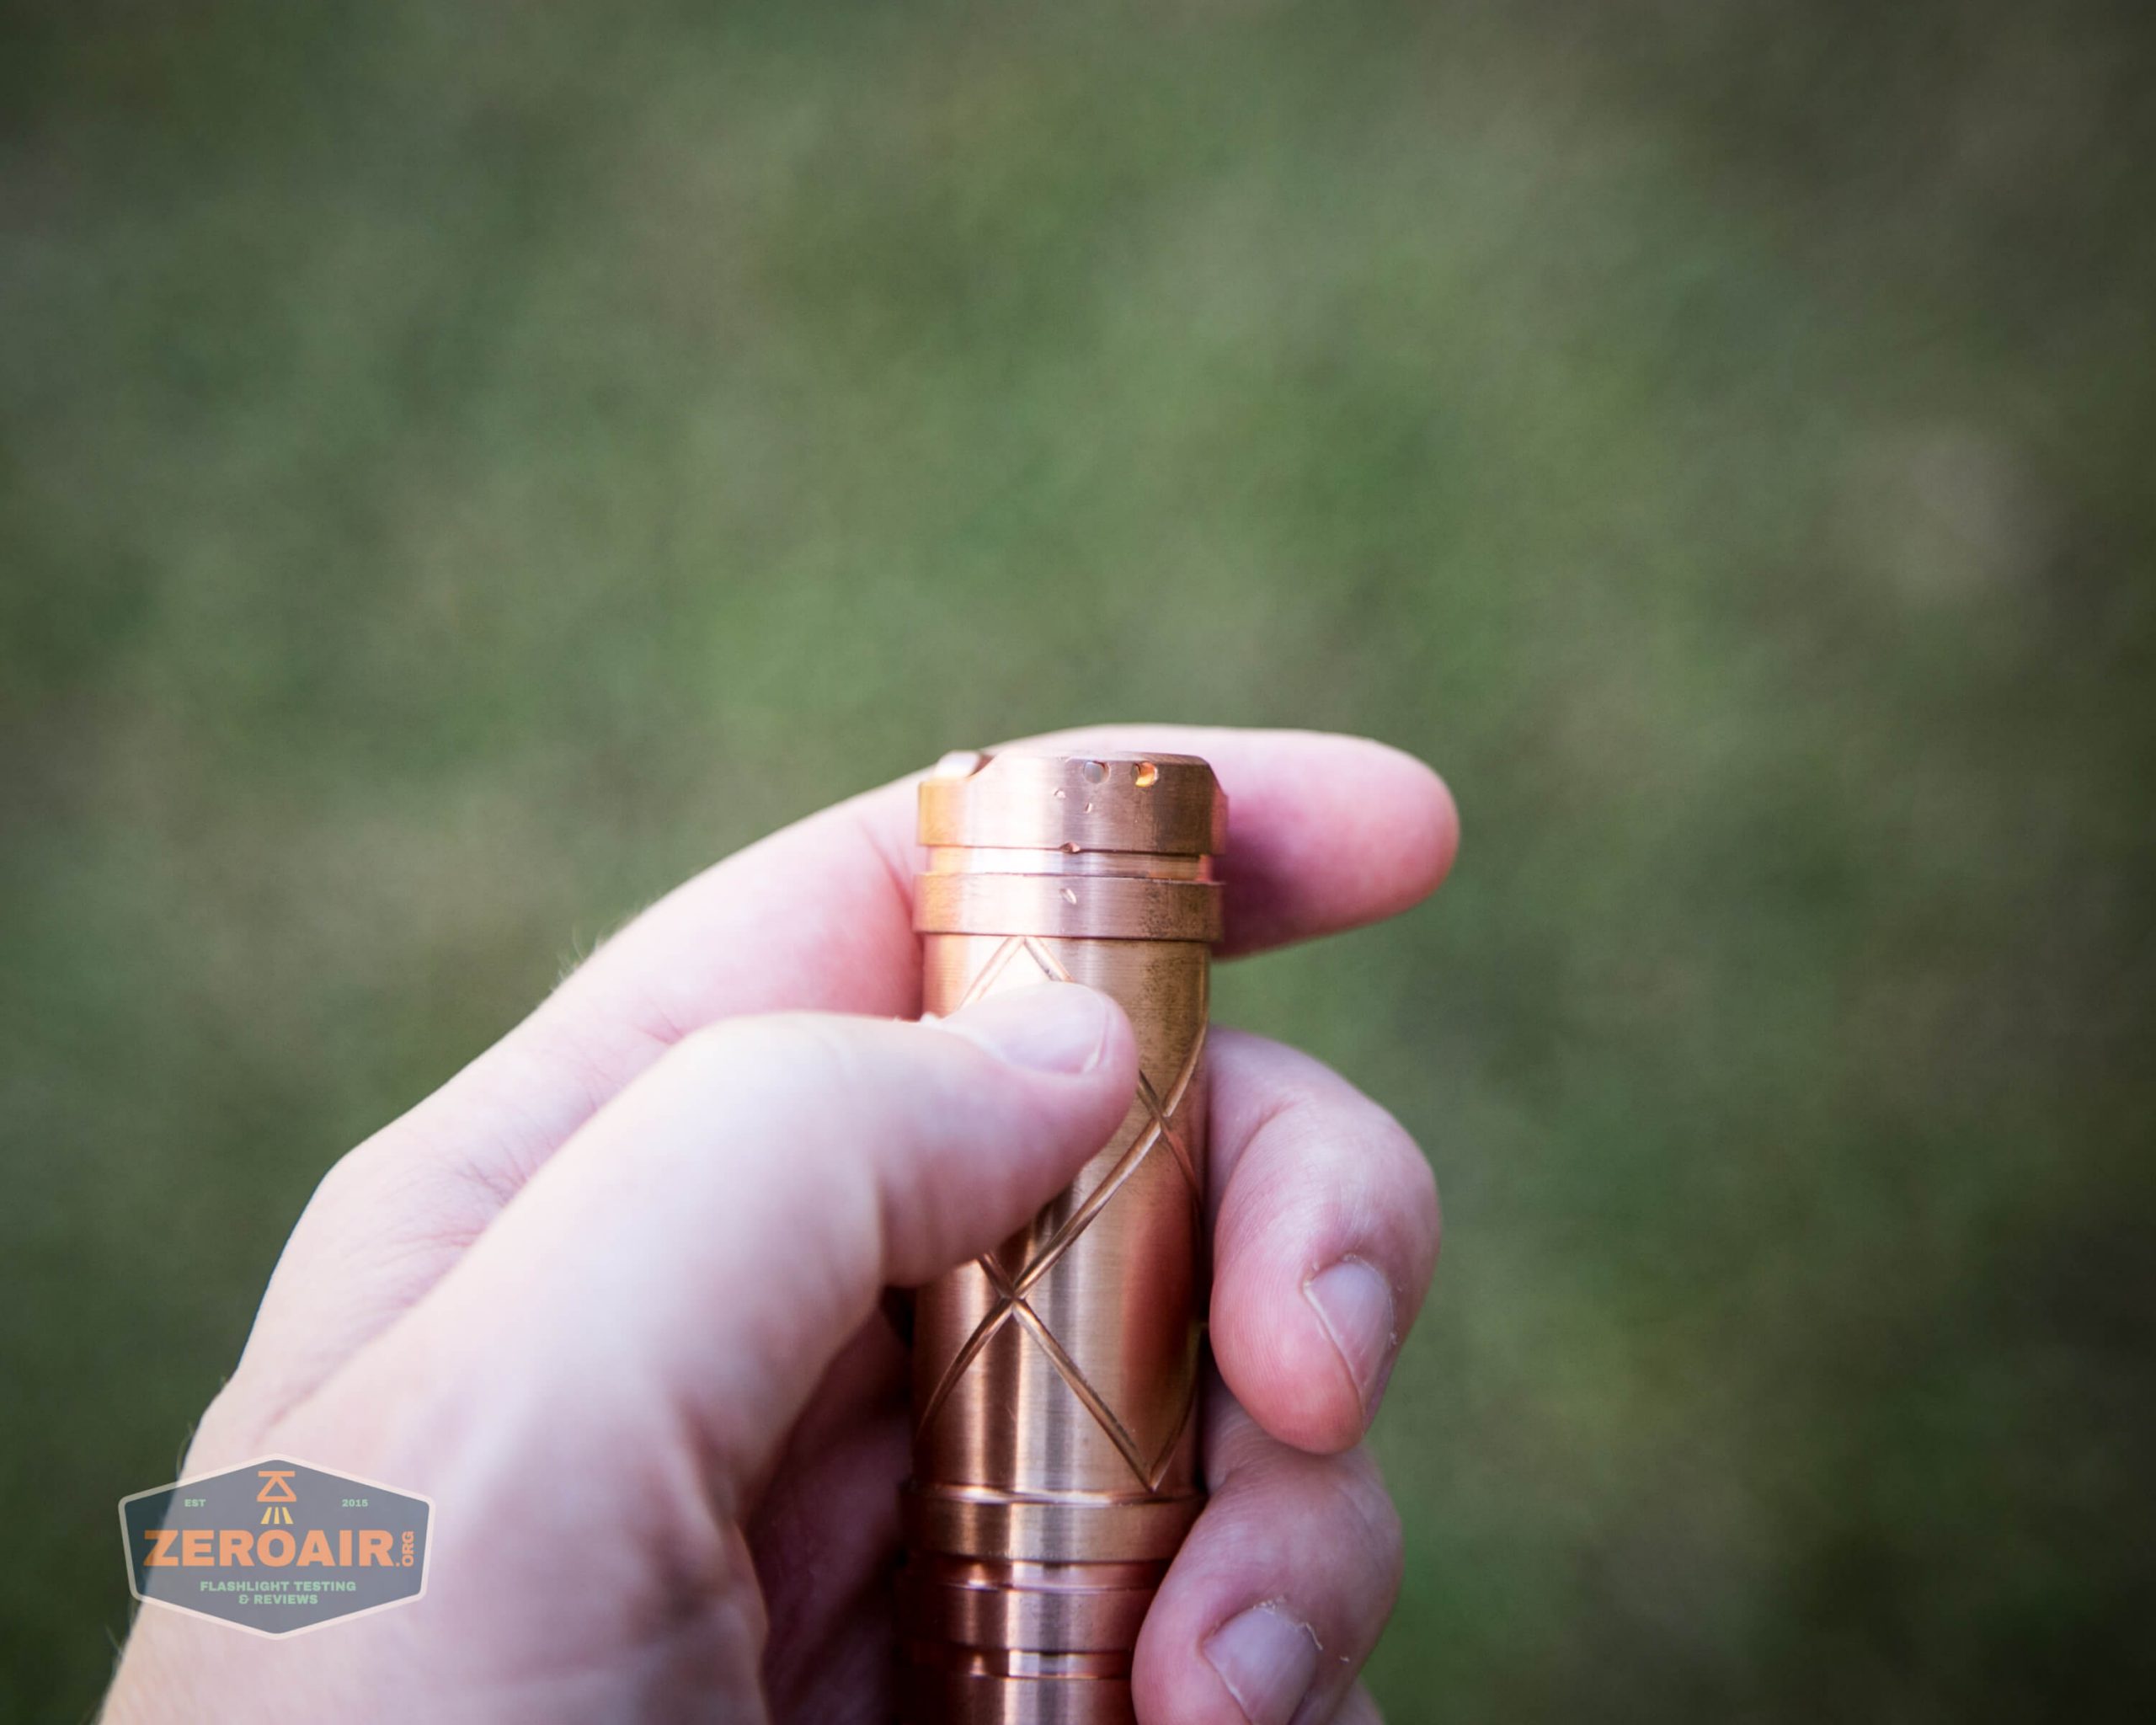
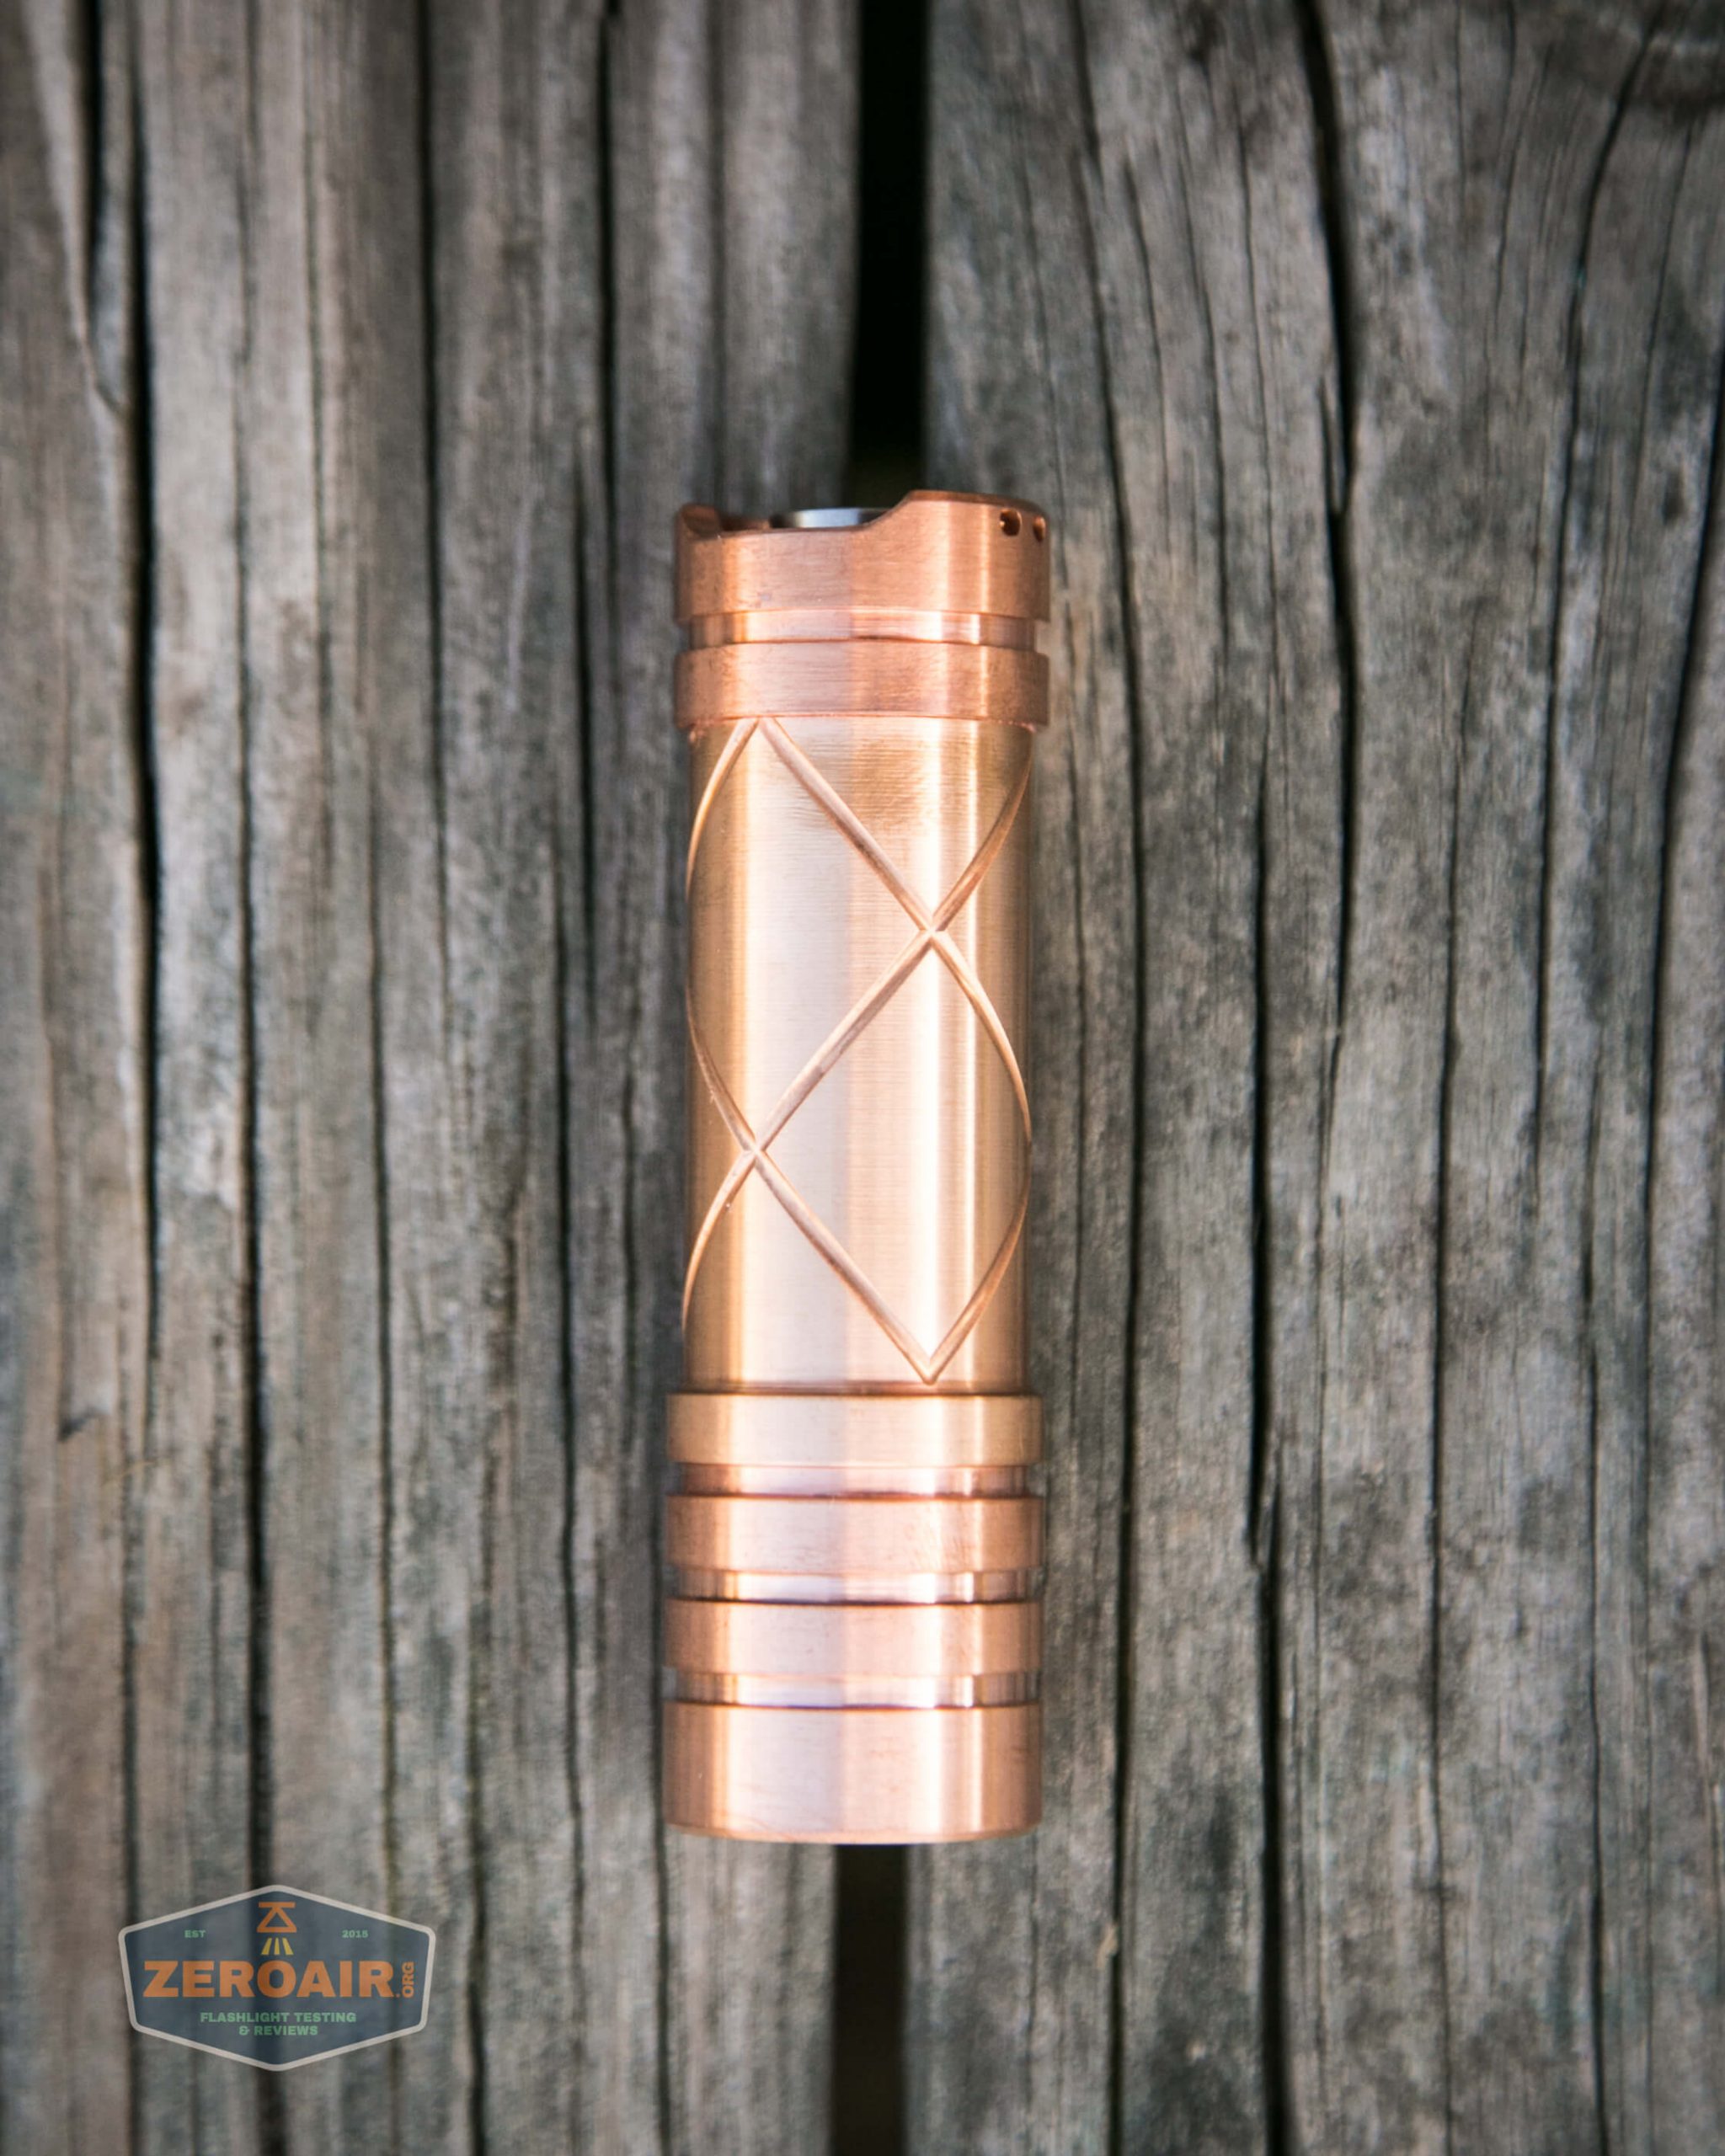
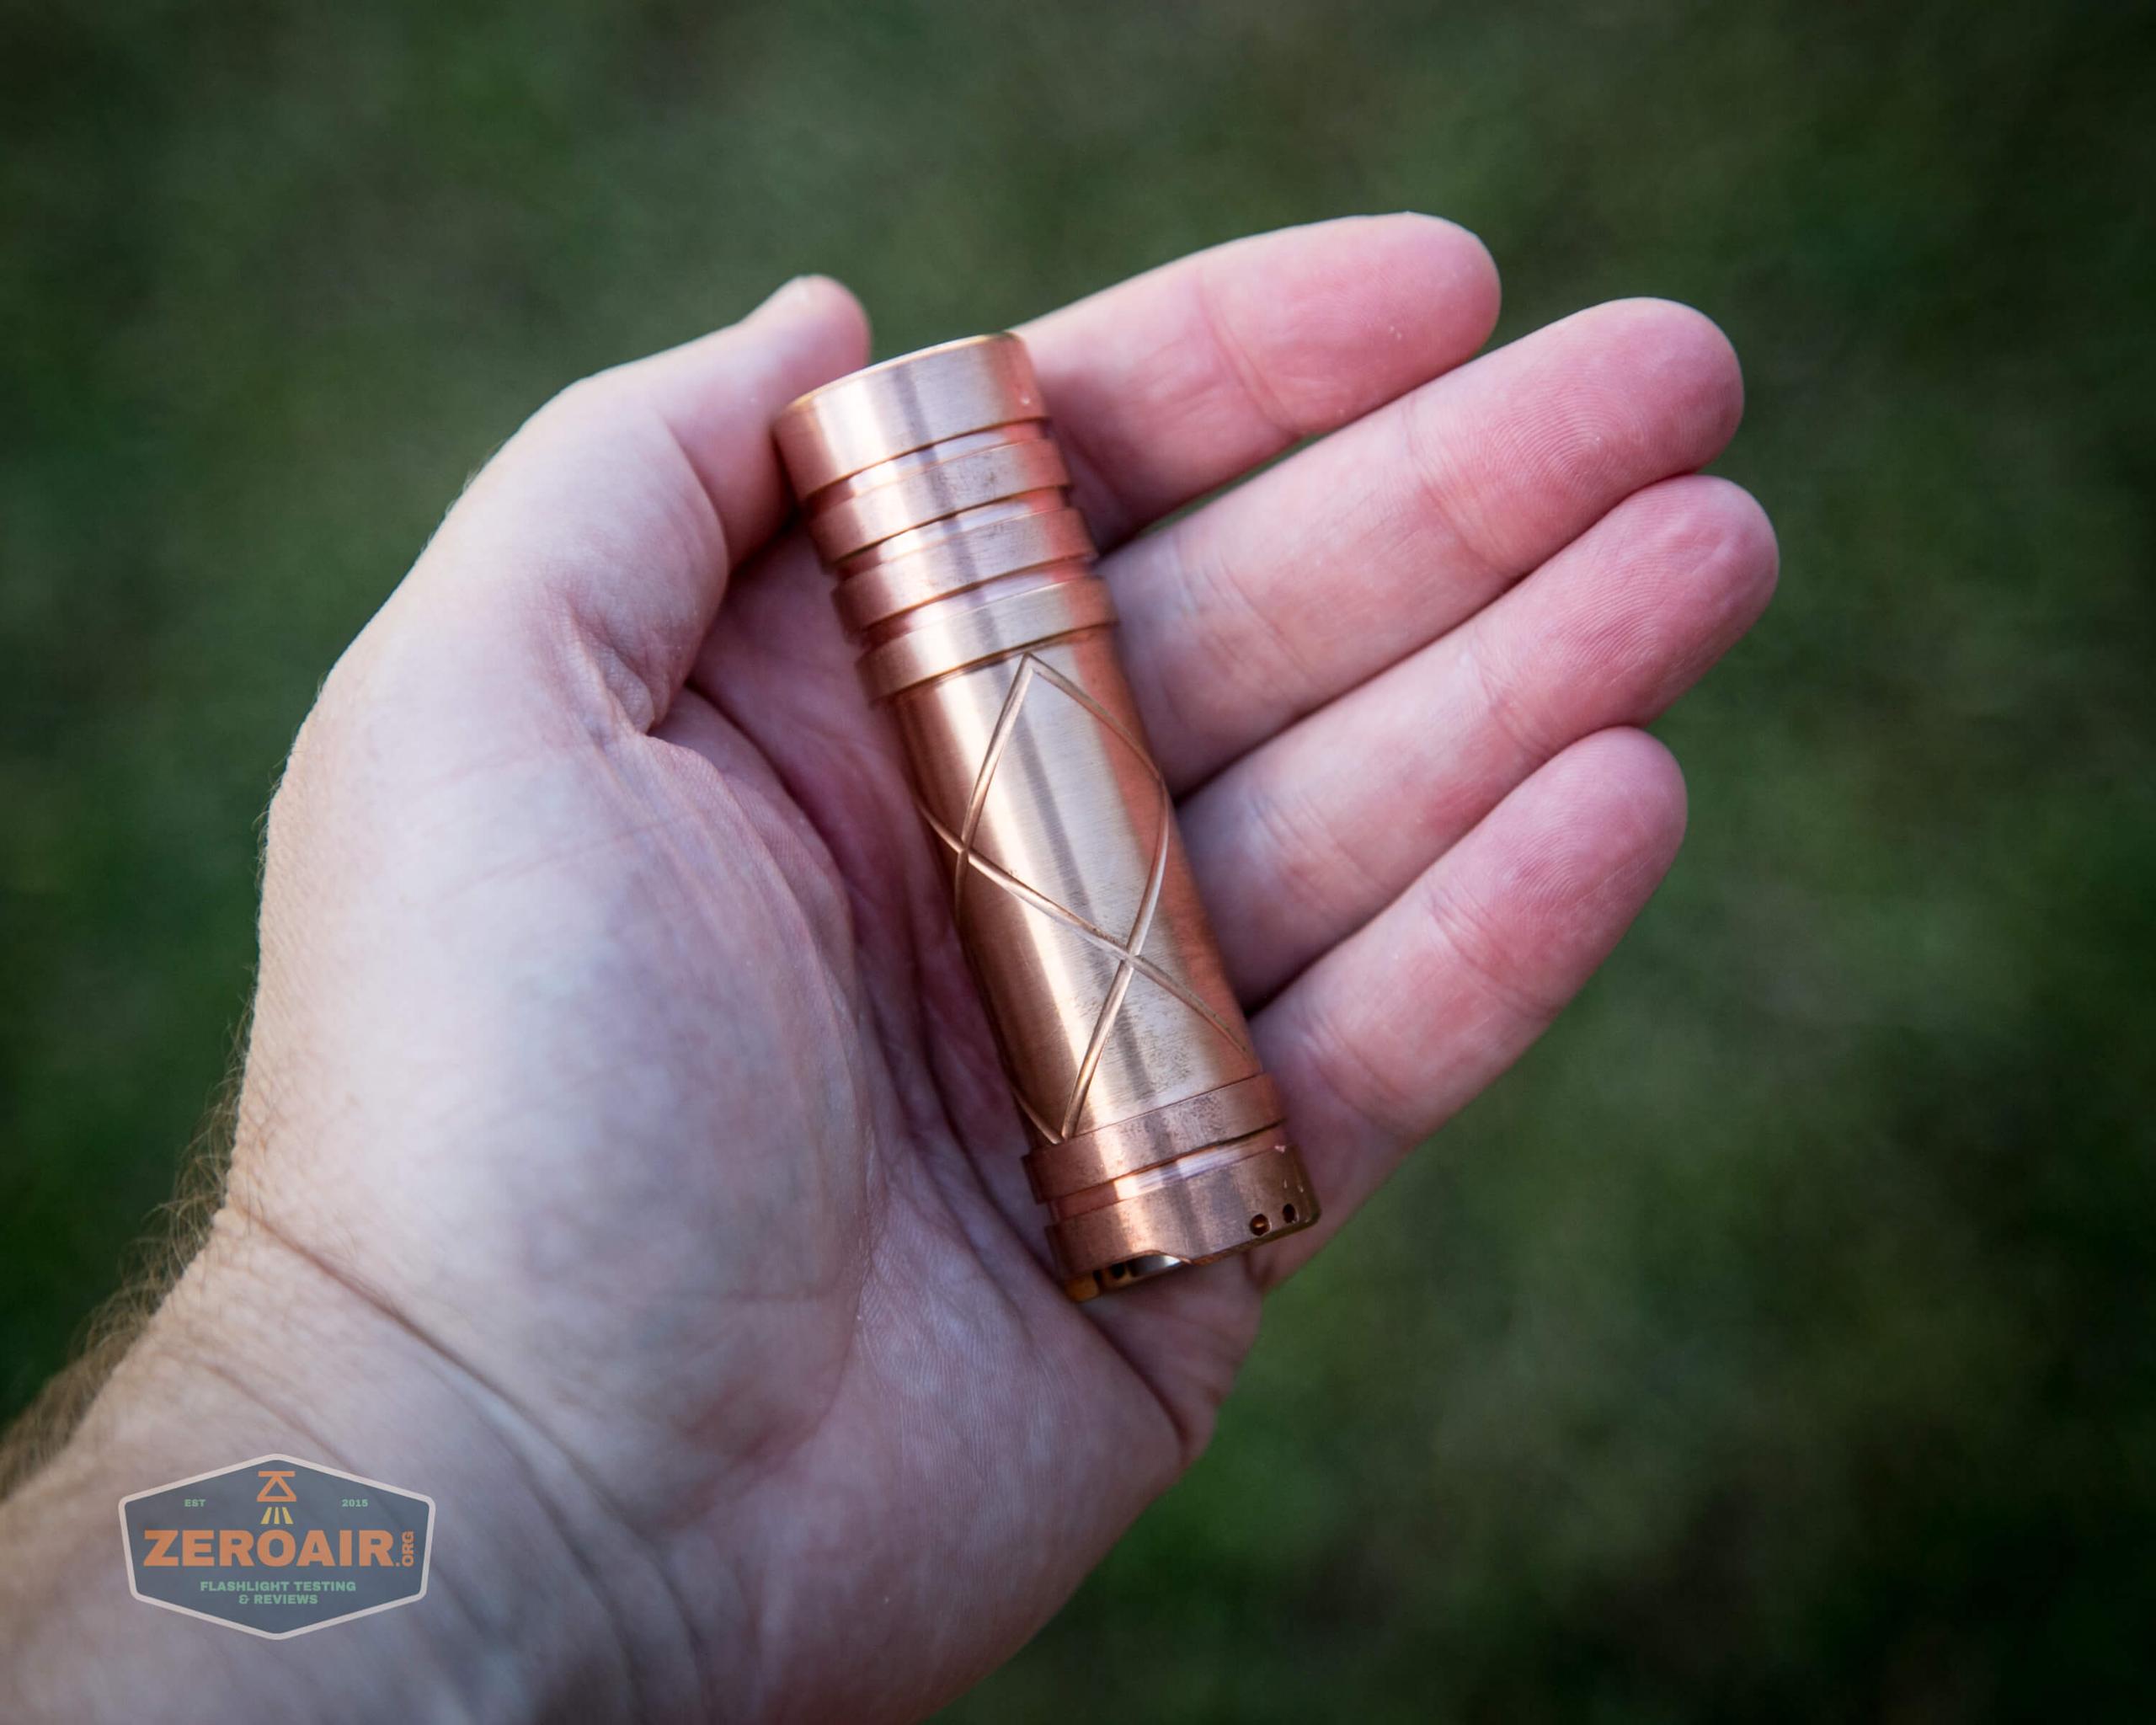
These photos were taken fairly soon after the laser was removed from the pouch. Within one day. As you can see, the copper body of the Red Guardian is very willing to take patina. My skin type doesn’t usually affect copper much or cause much patina, but it’s very visible on this laser.
The two photos below are essentially “fresh from the pouch.”
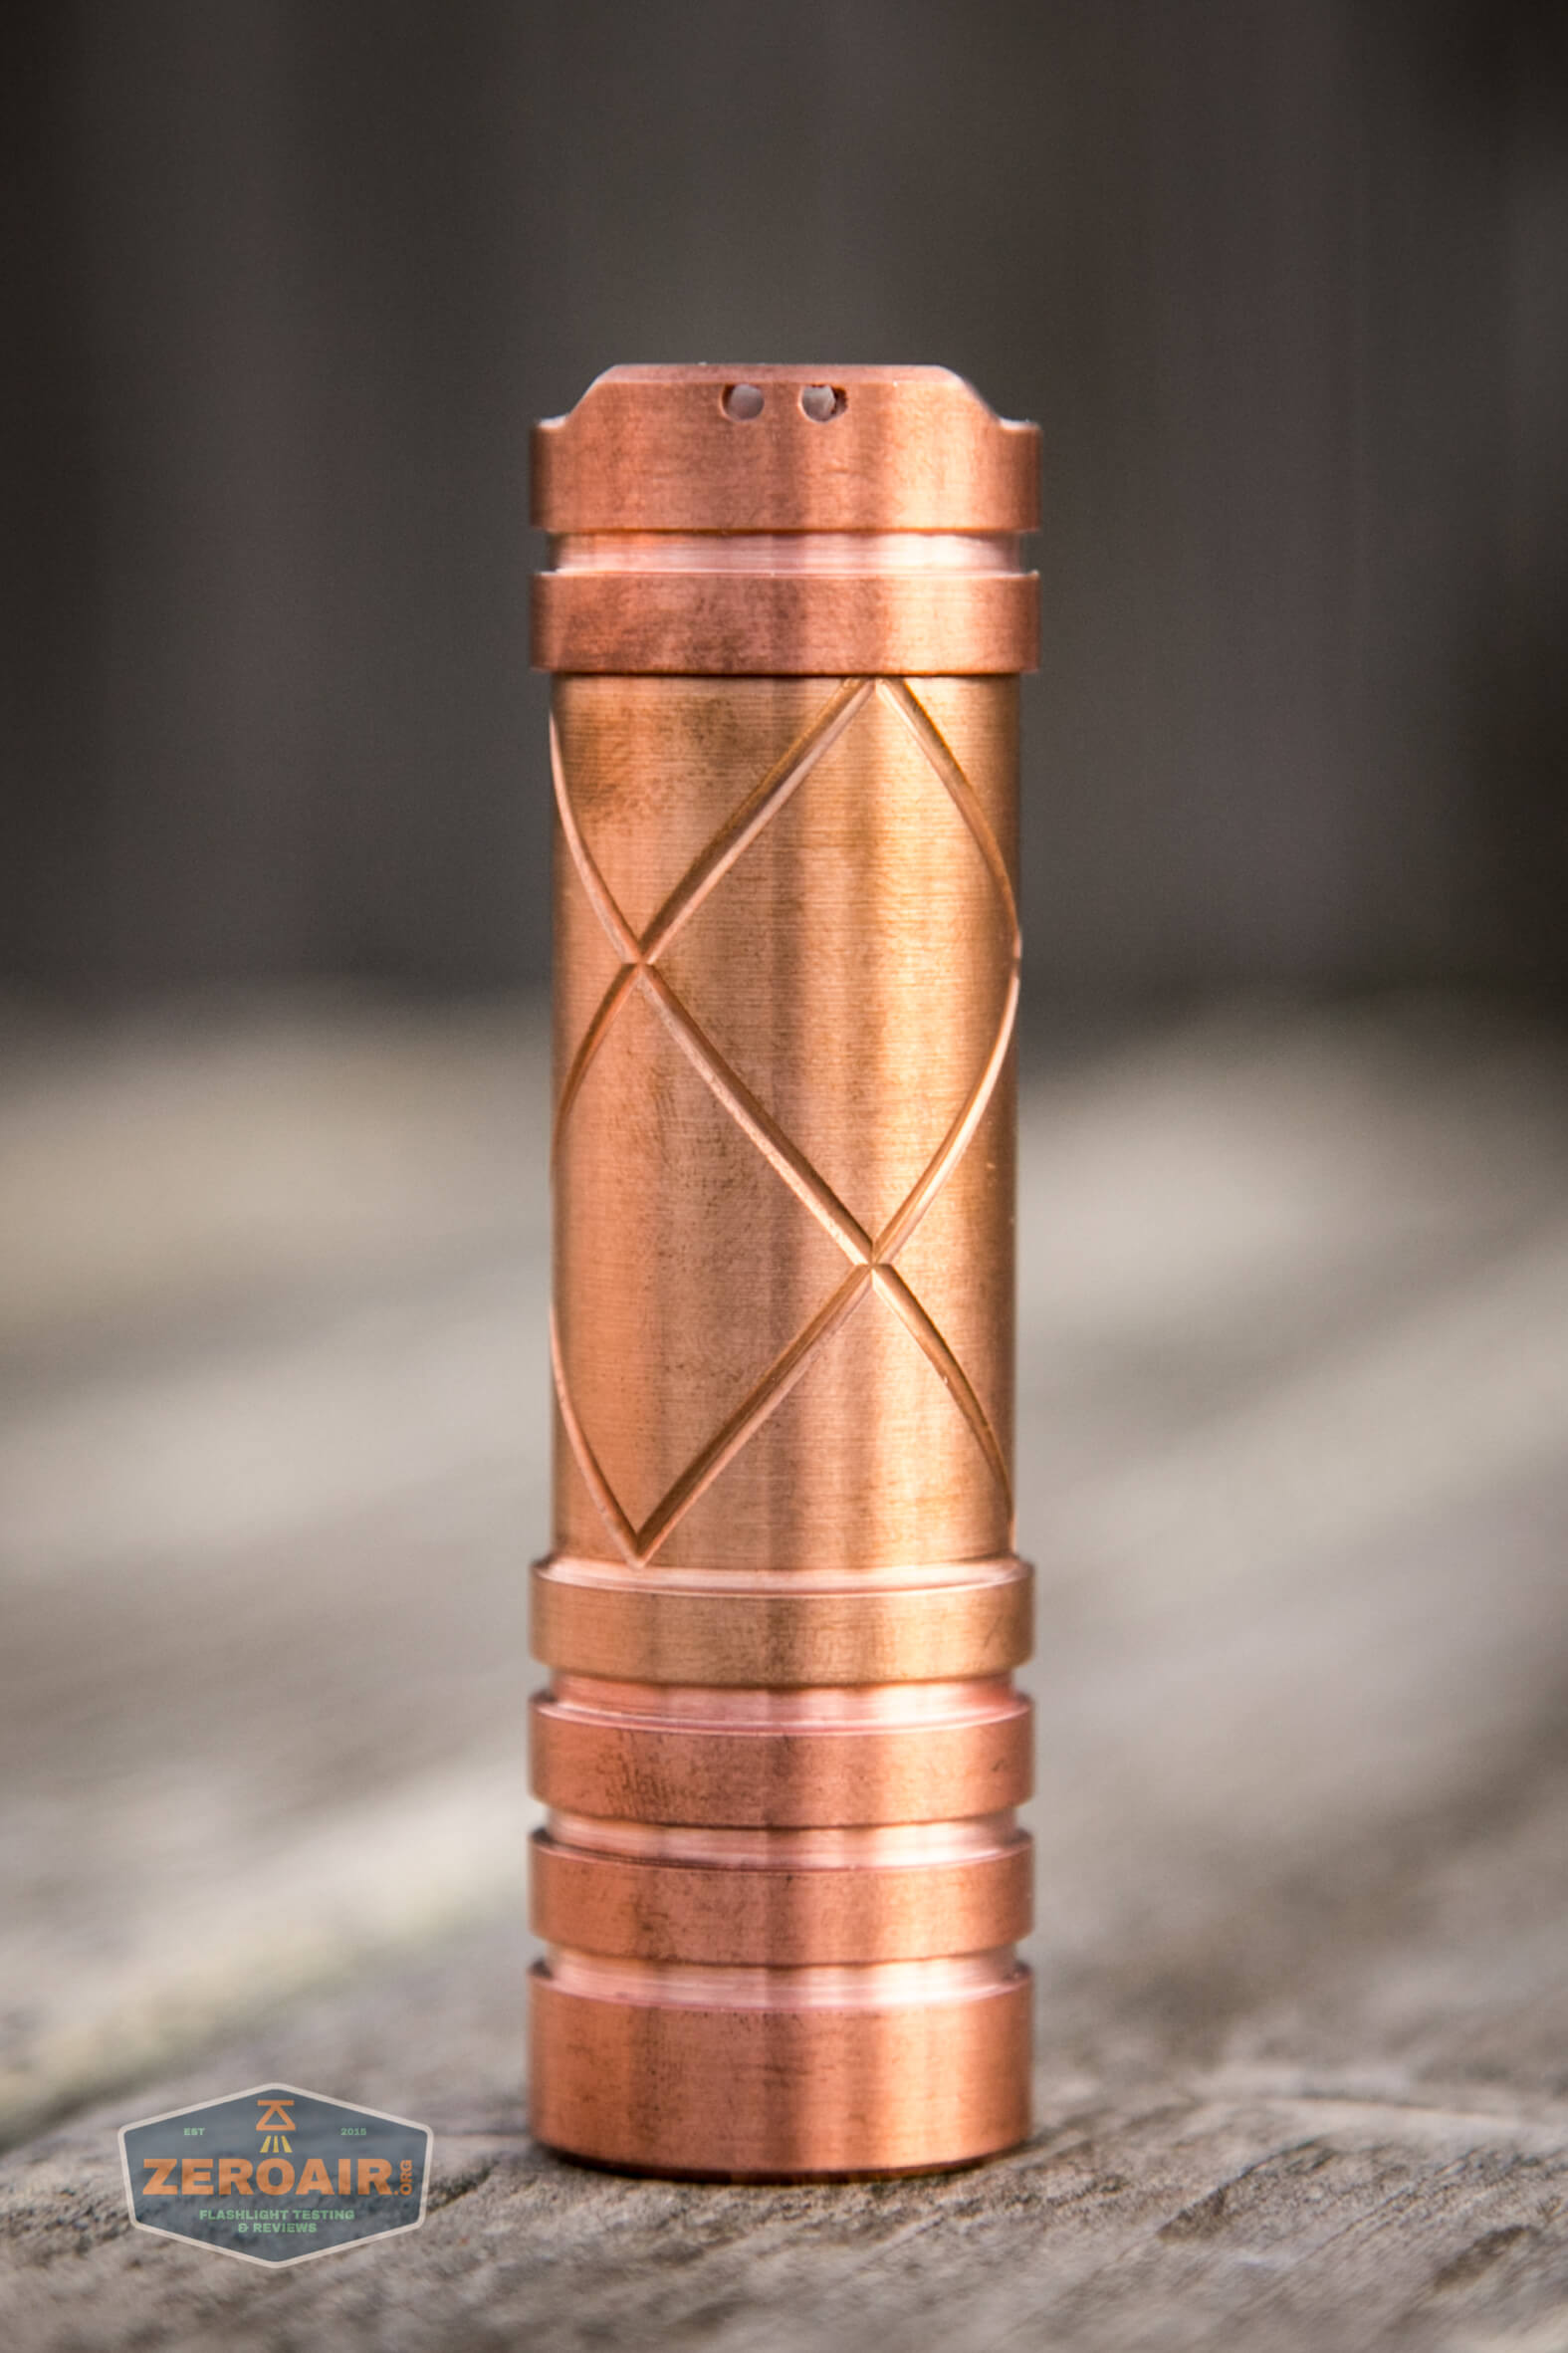
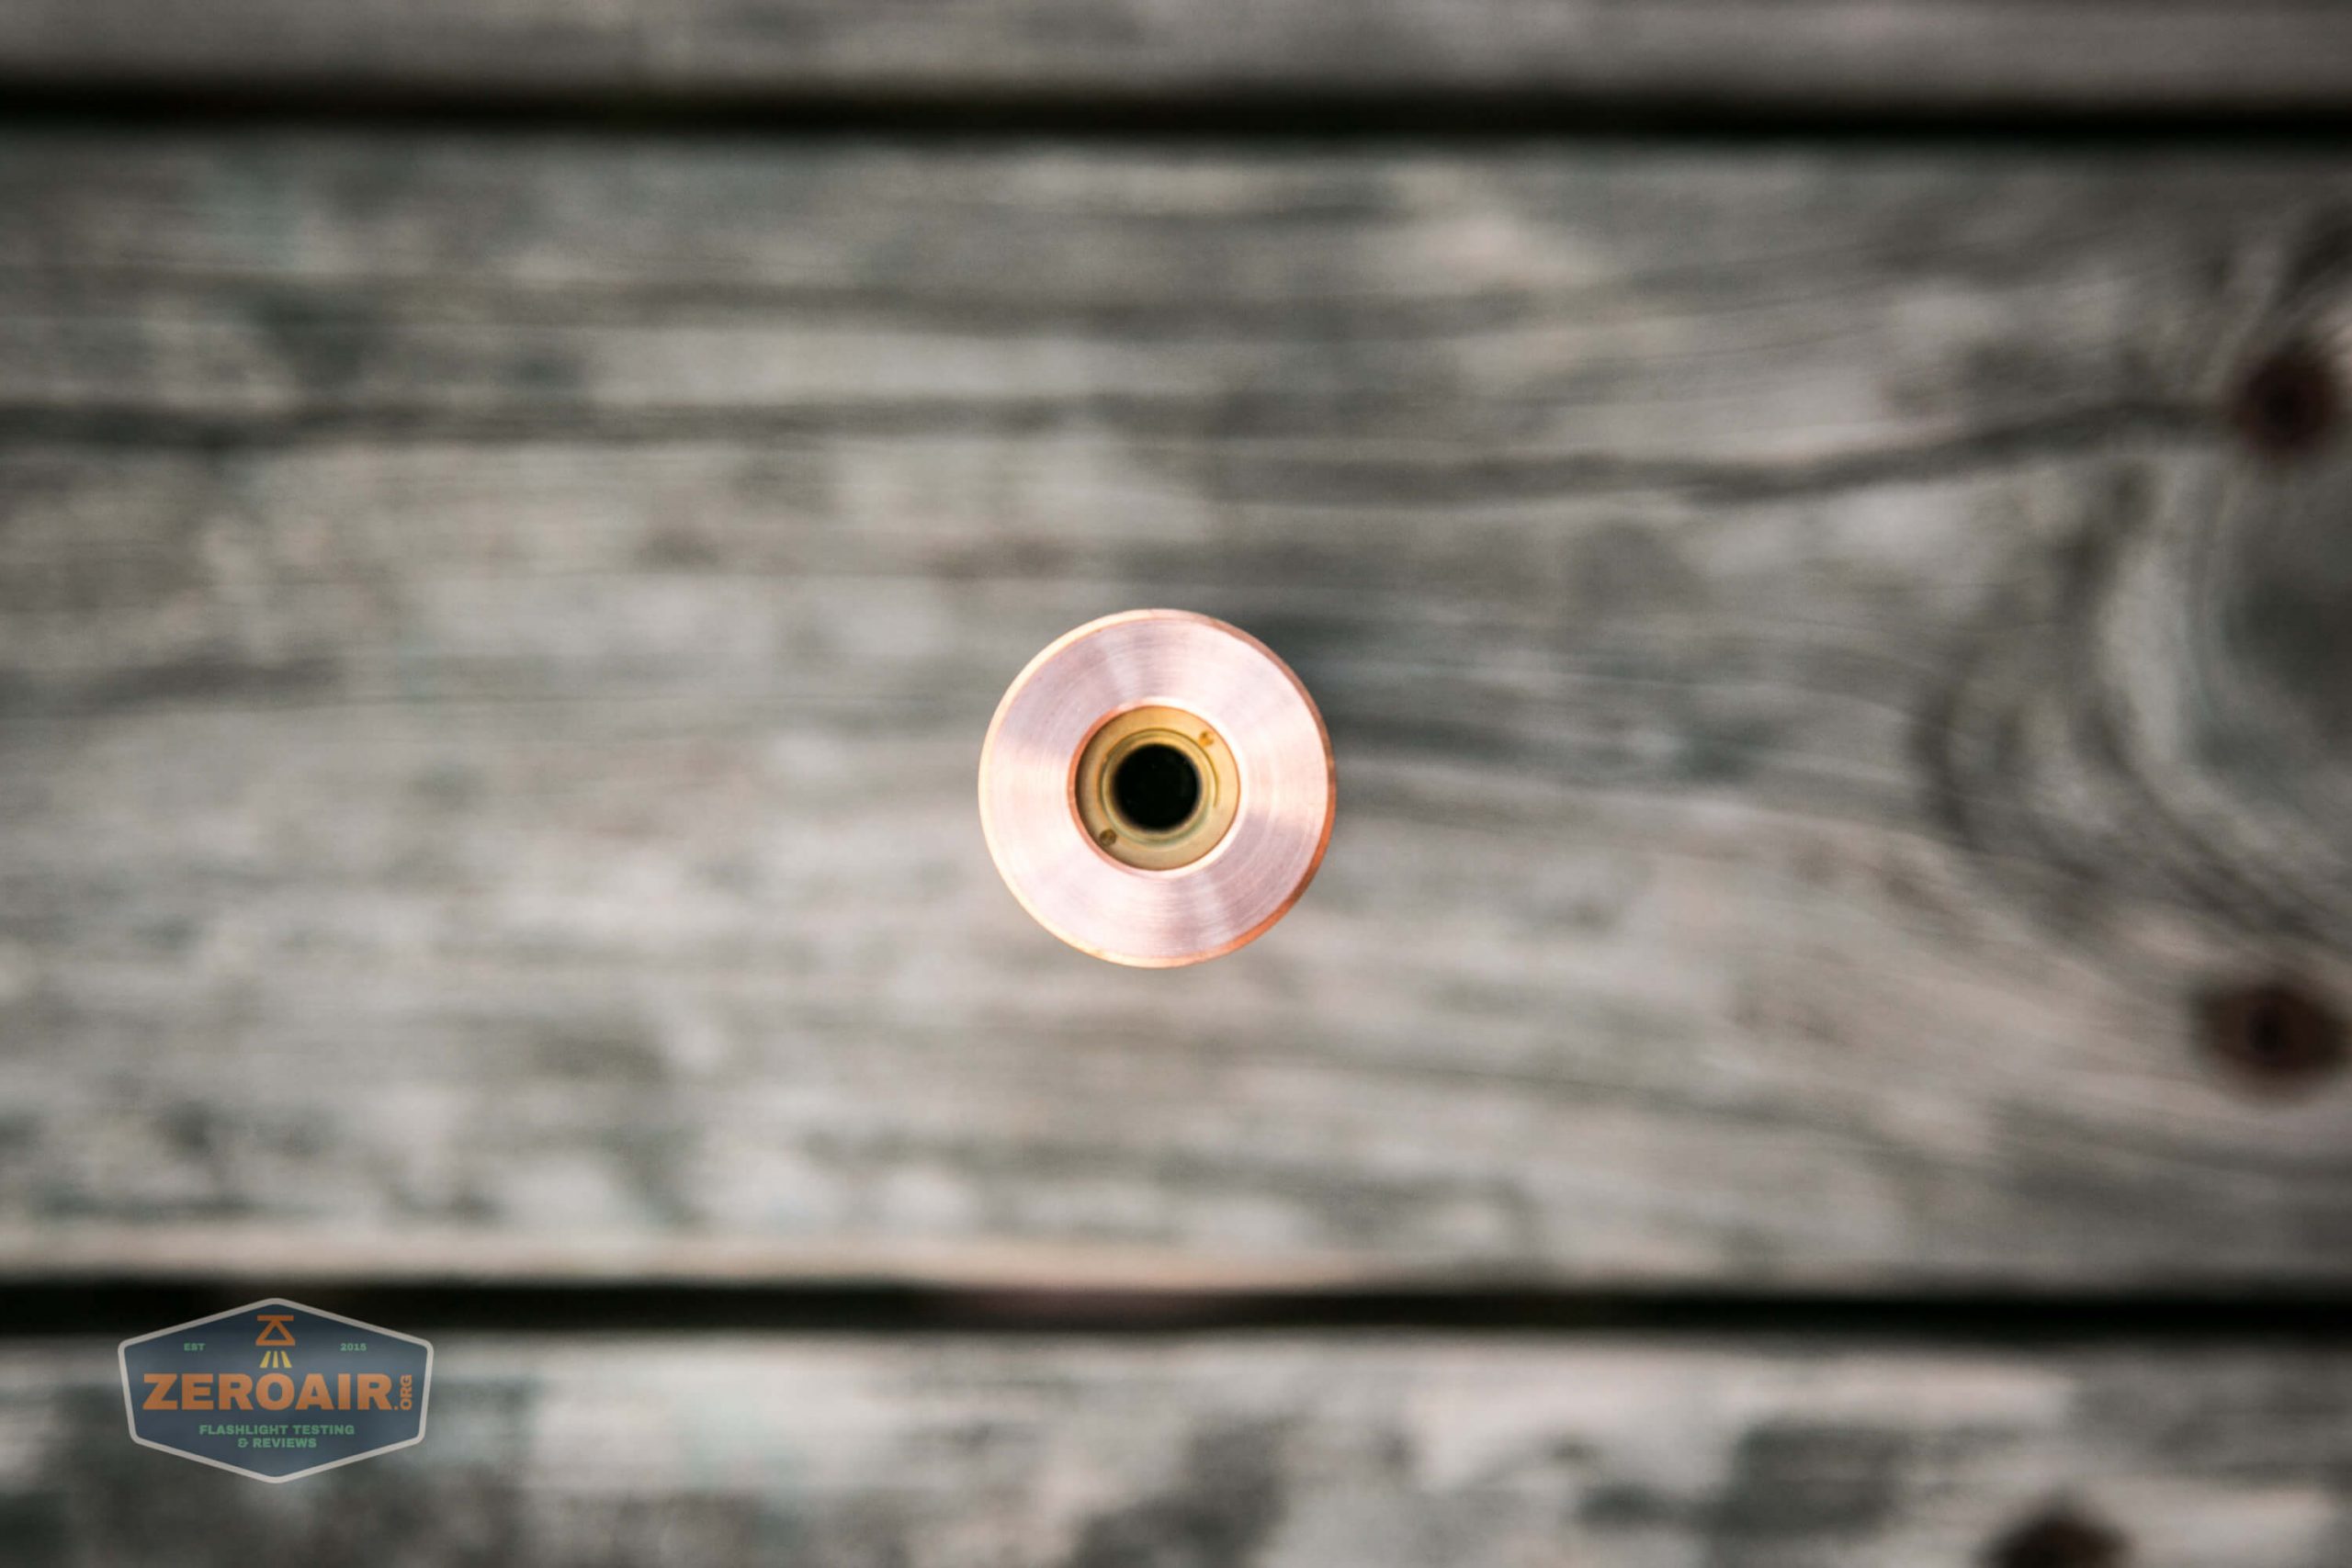
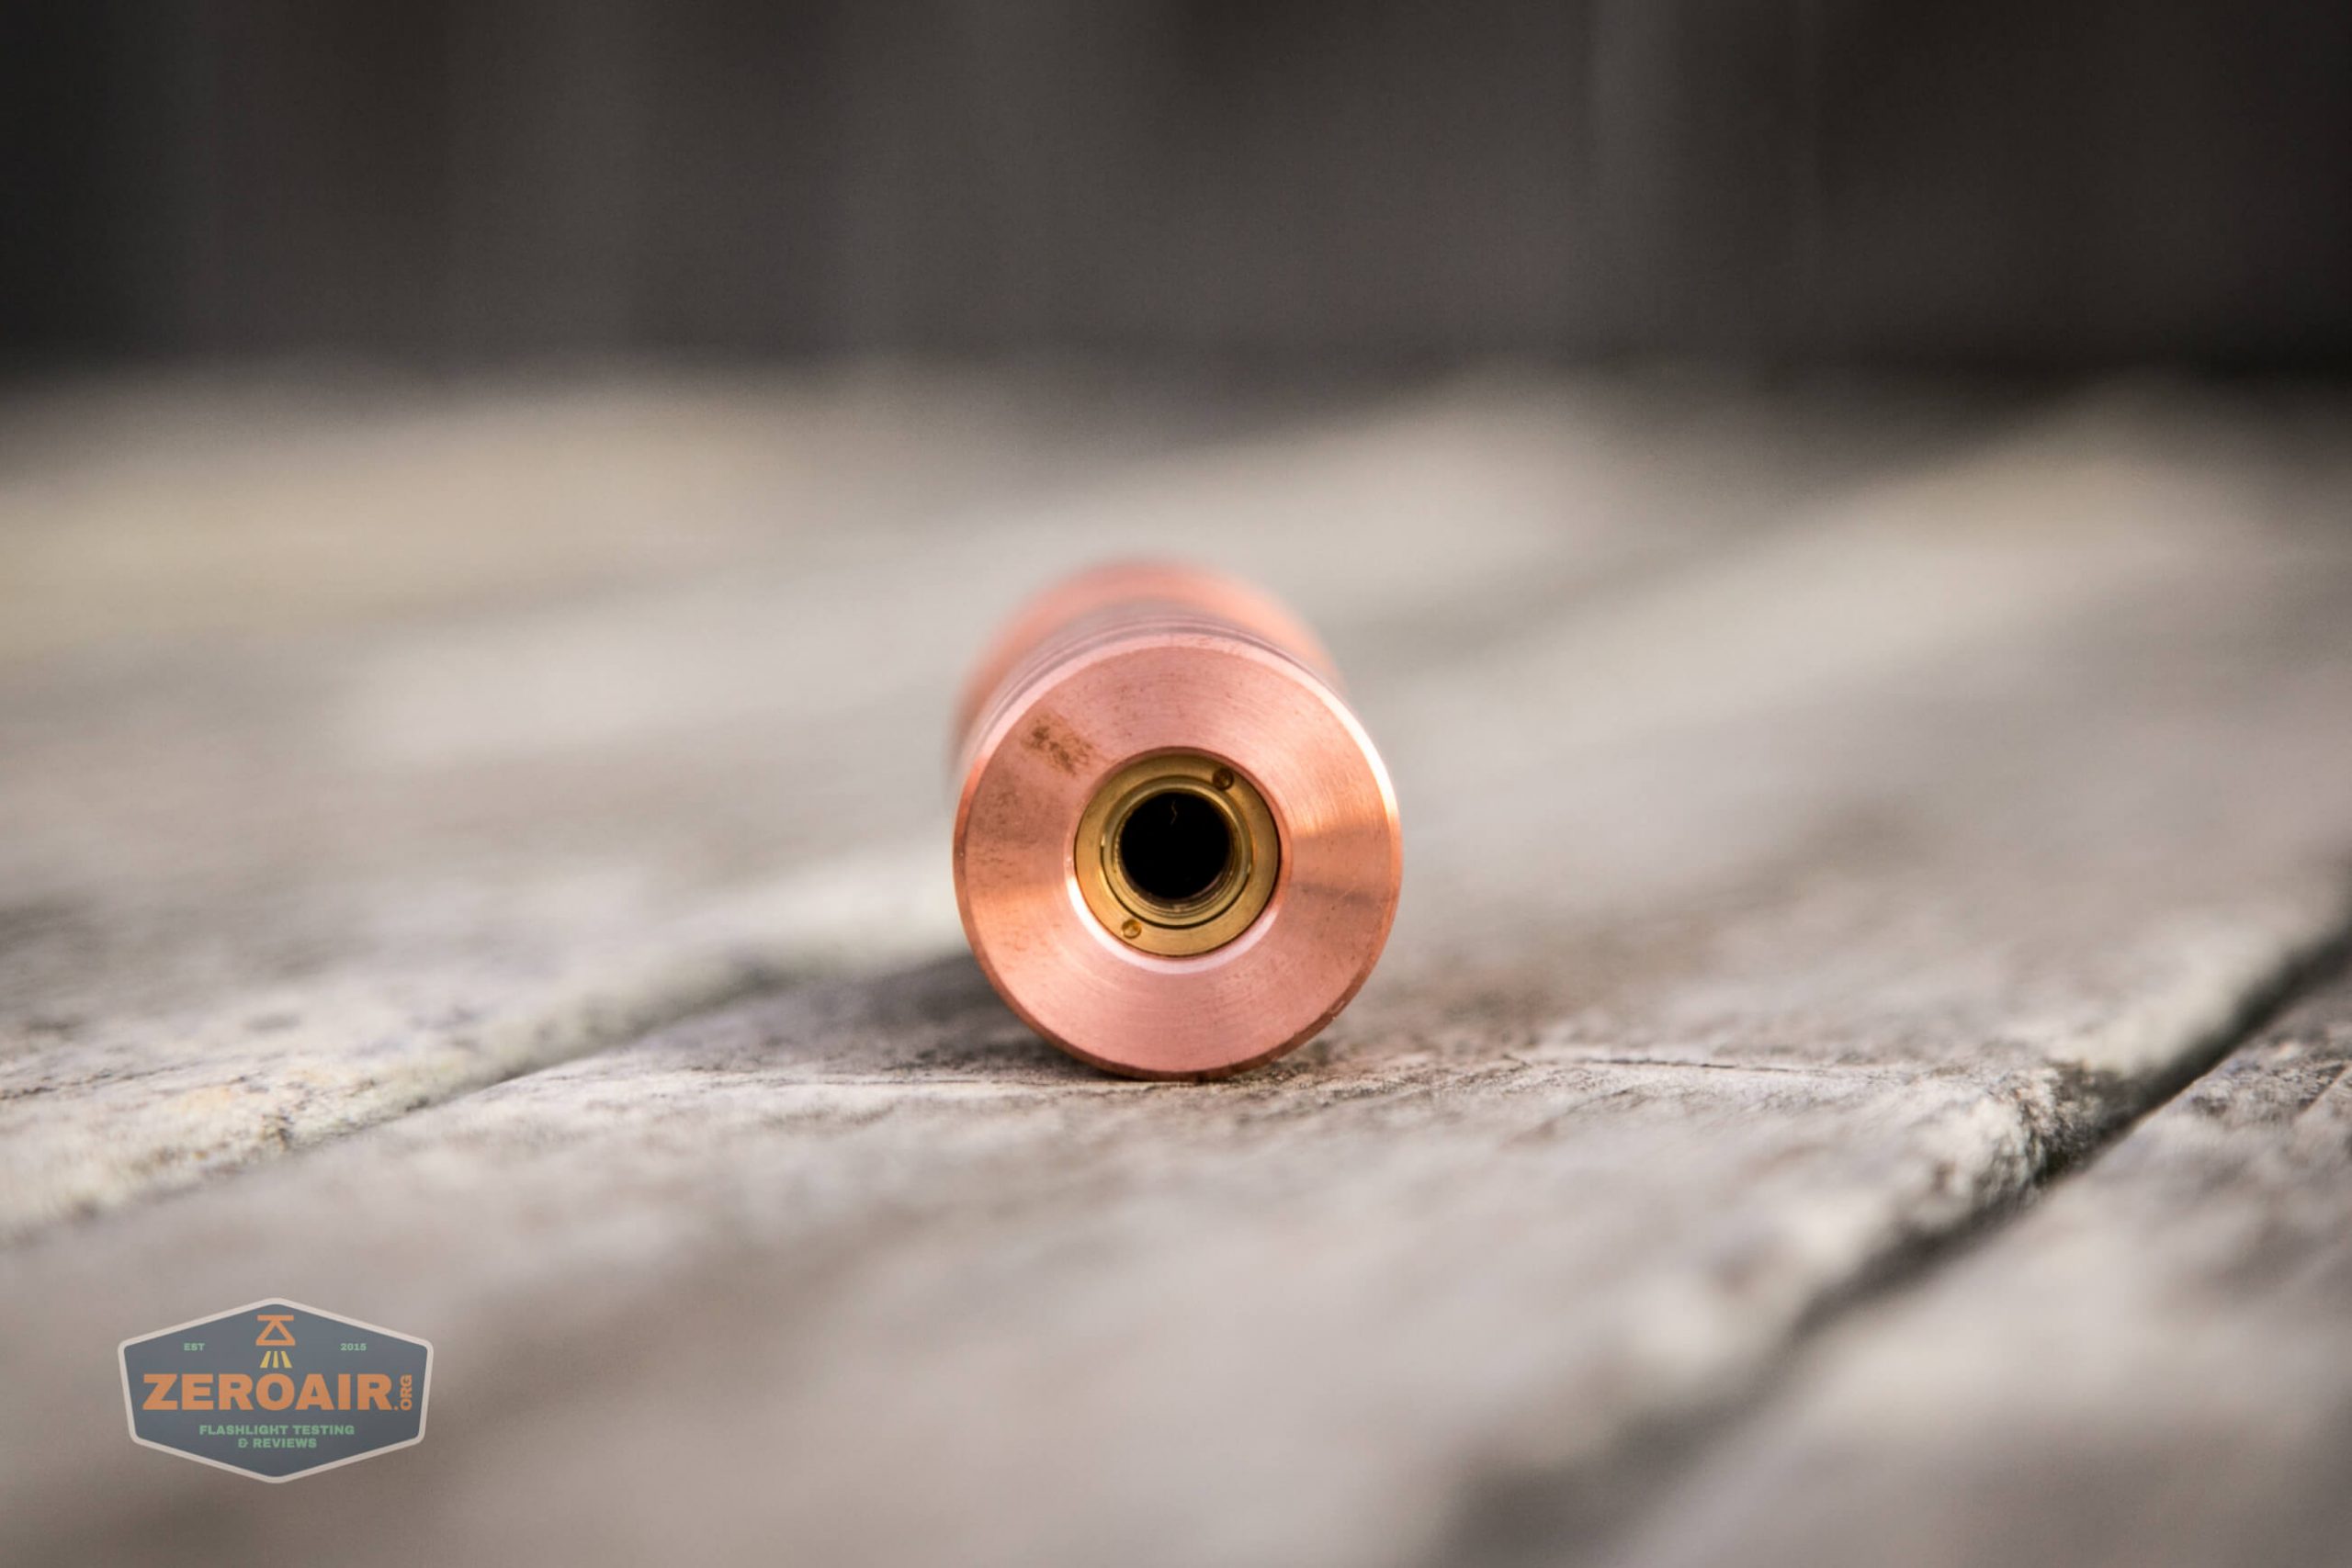
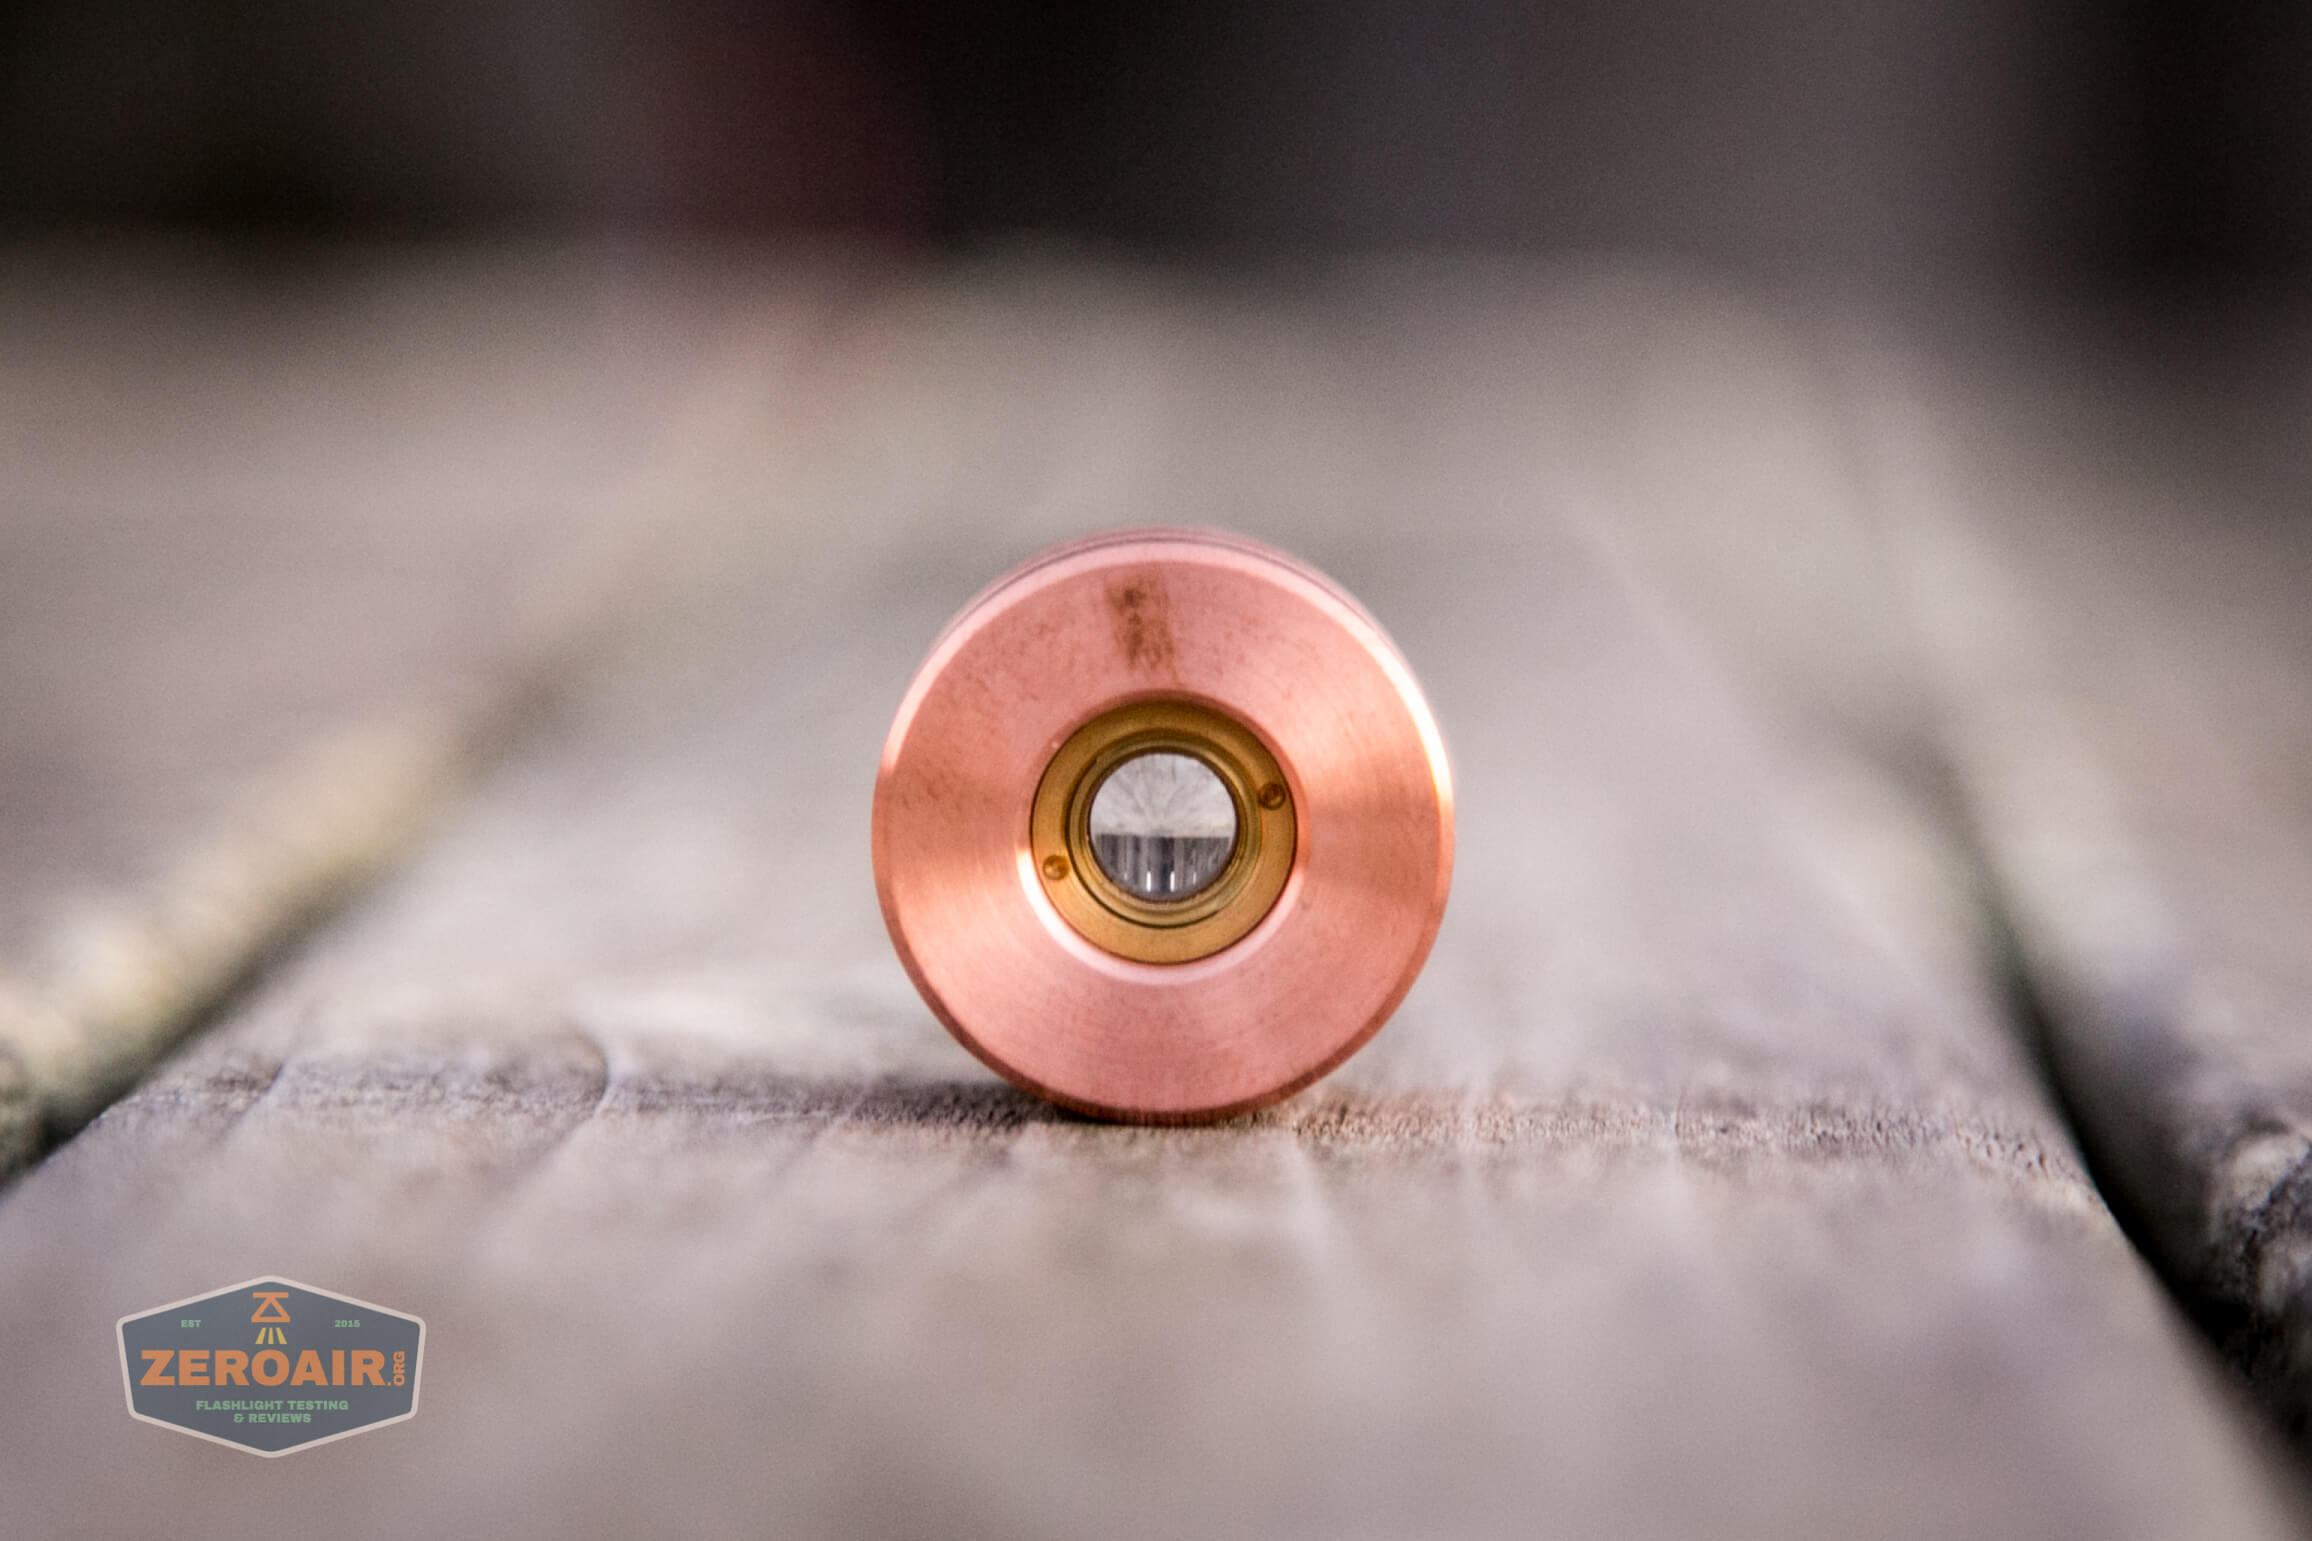
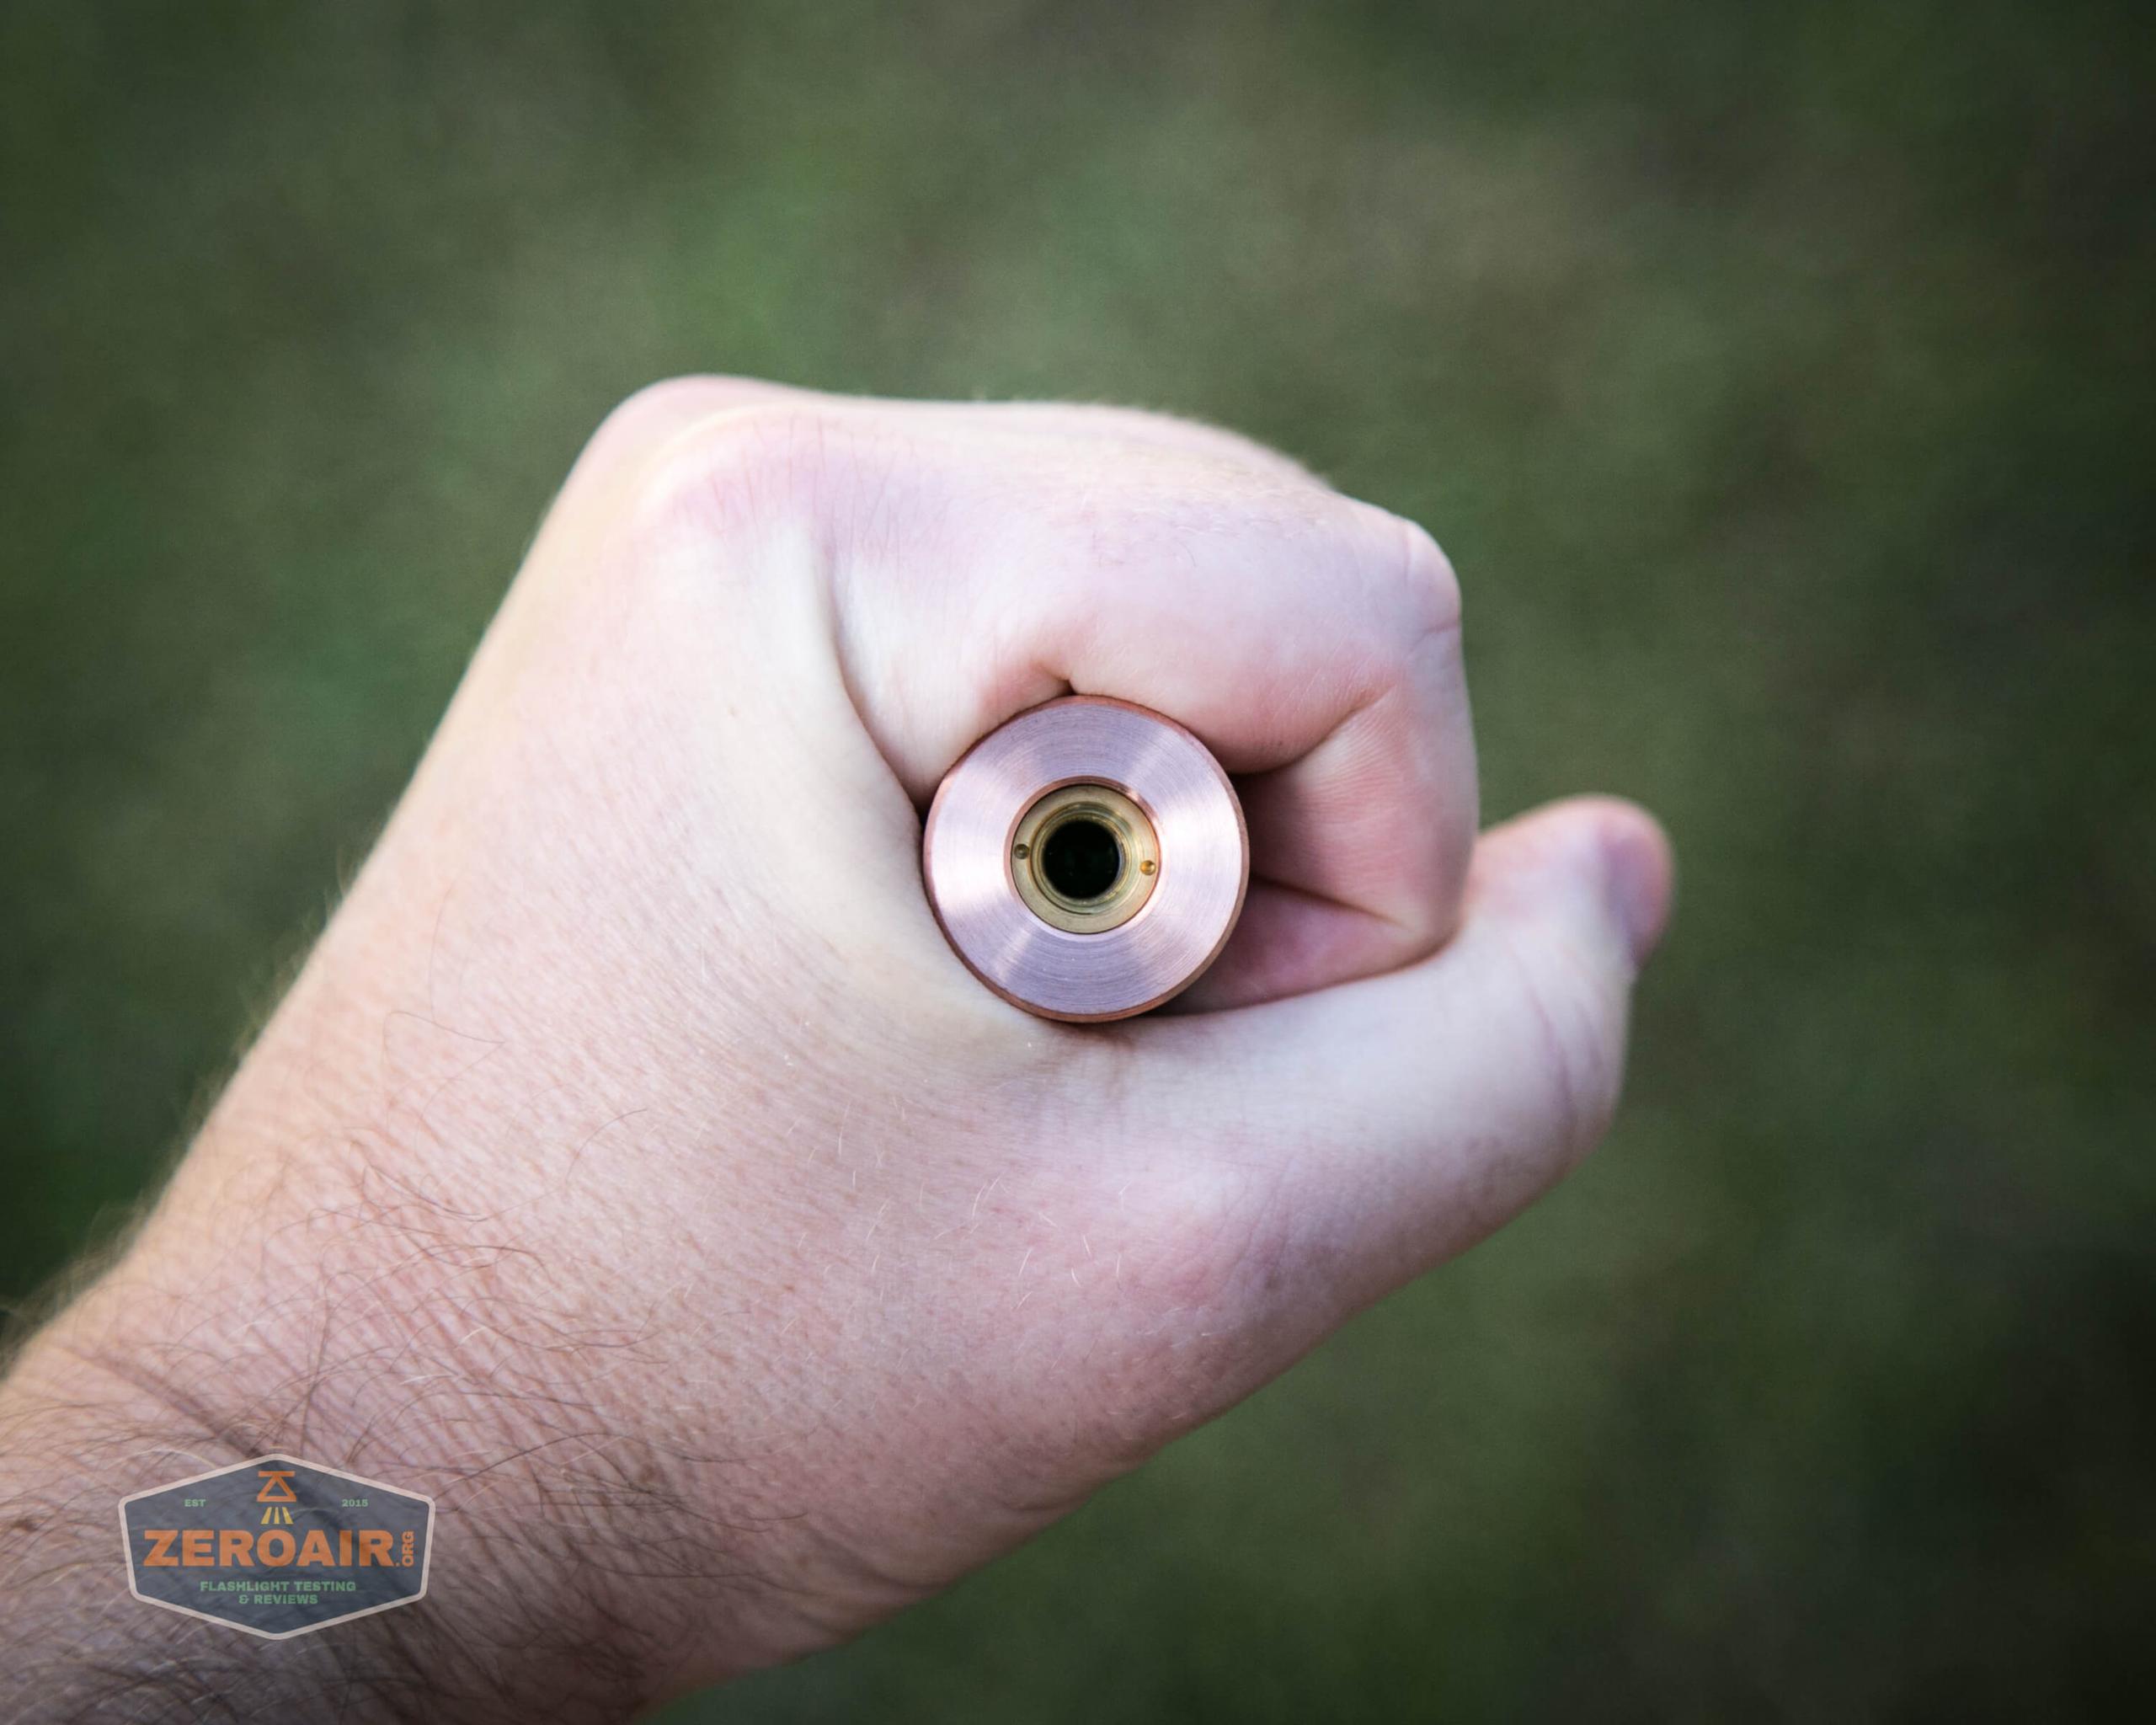
Here’s the business end of the Red Guardian. Remember, this is a high-power laser device and is completely able to permanently blind you. I don’t recommend looking into the laser in this direction unless you have completely removed the 18350 cell. One thing to note here is that you see the body is thick copper, and there’s a brass retaining ring in the center.
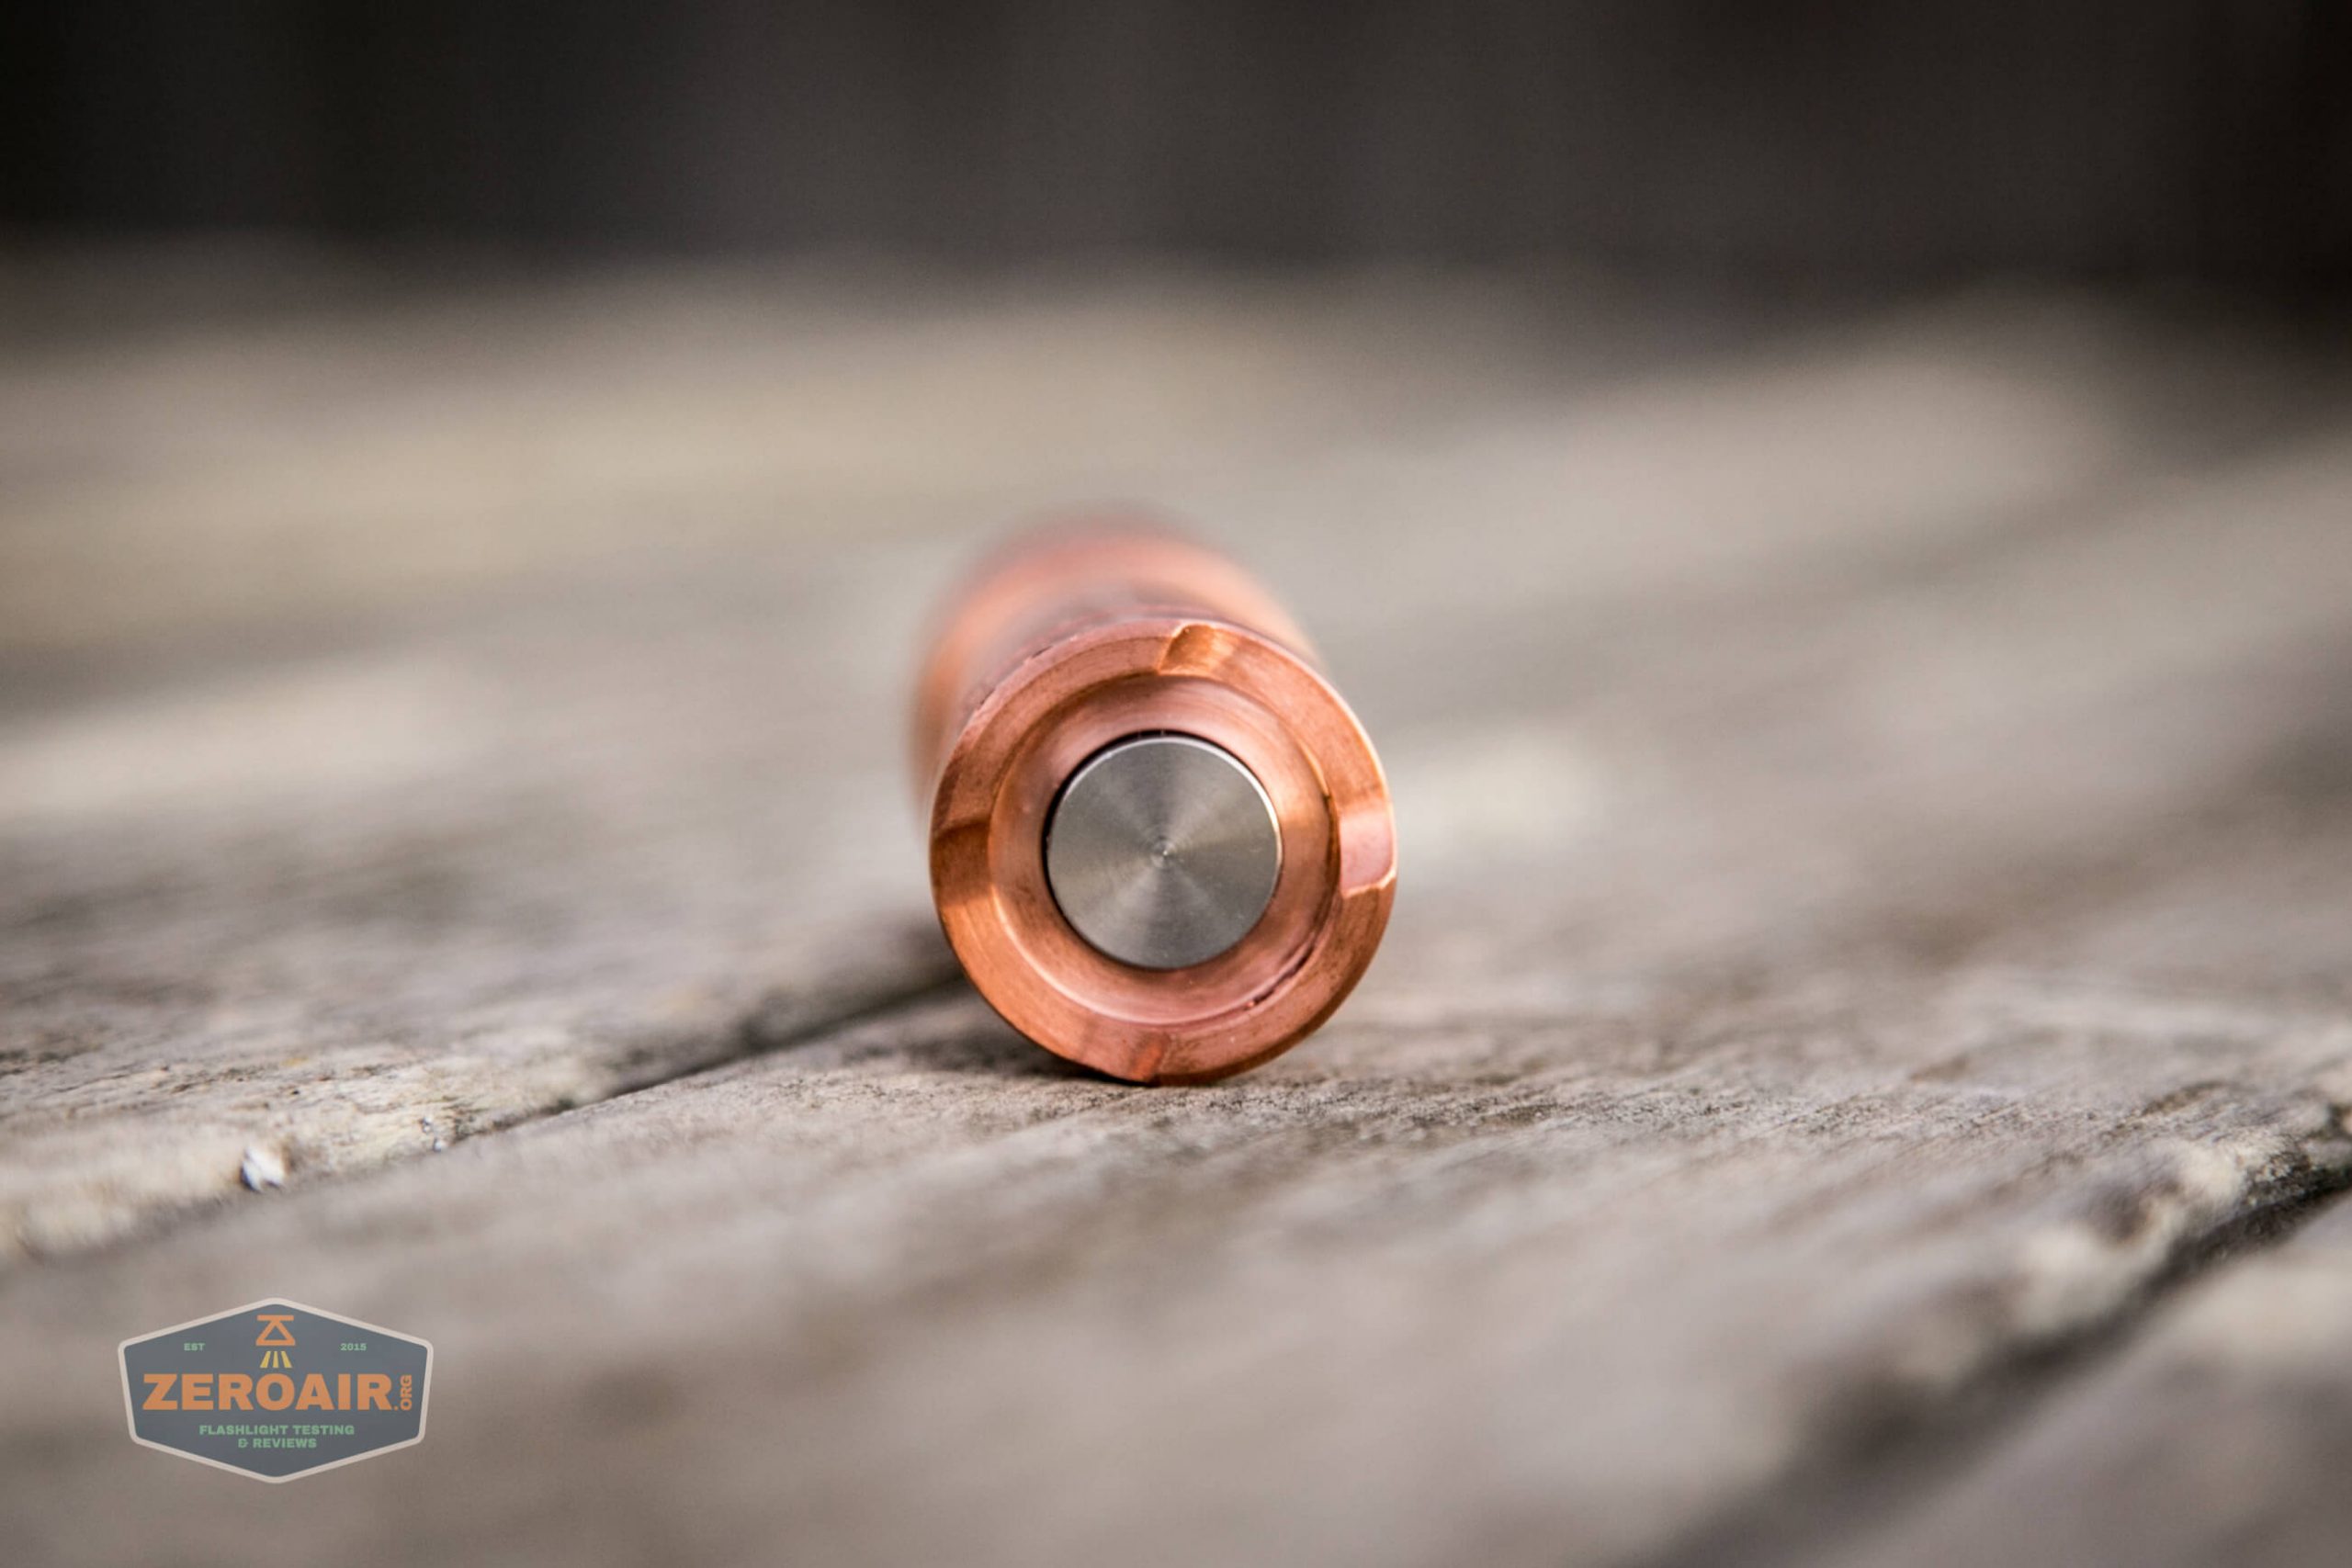
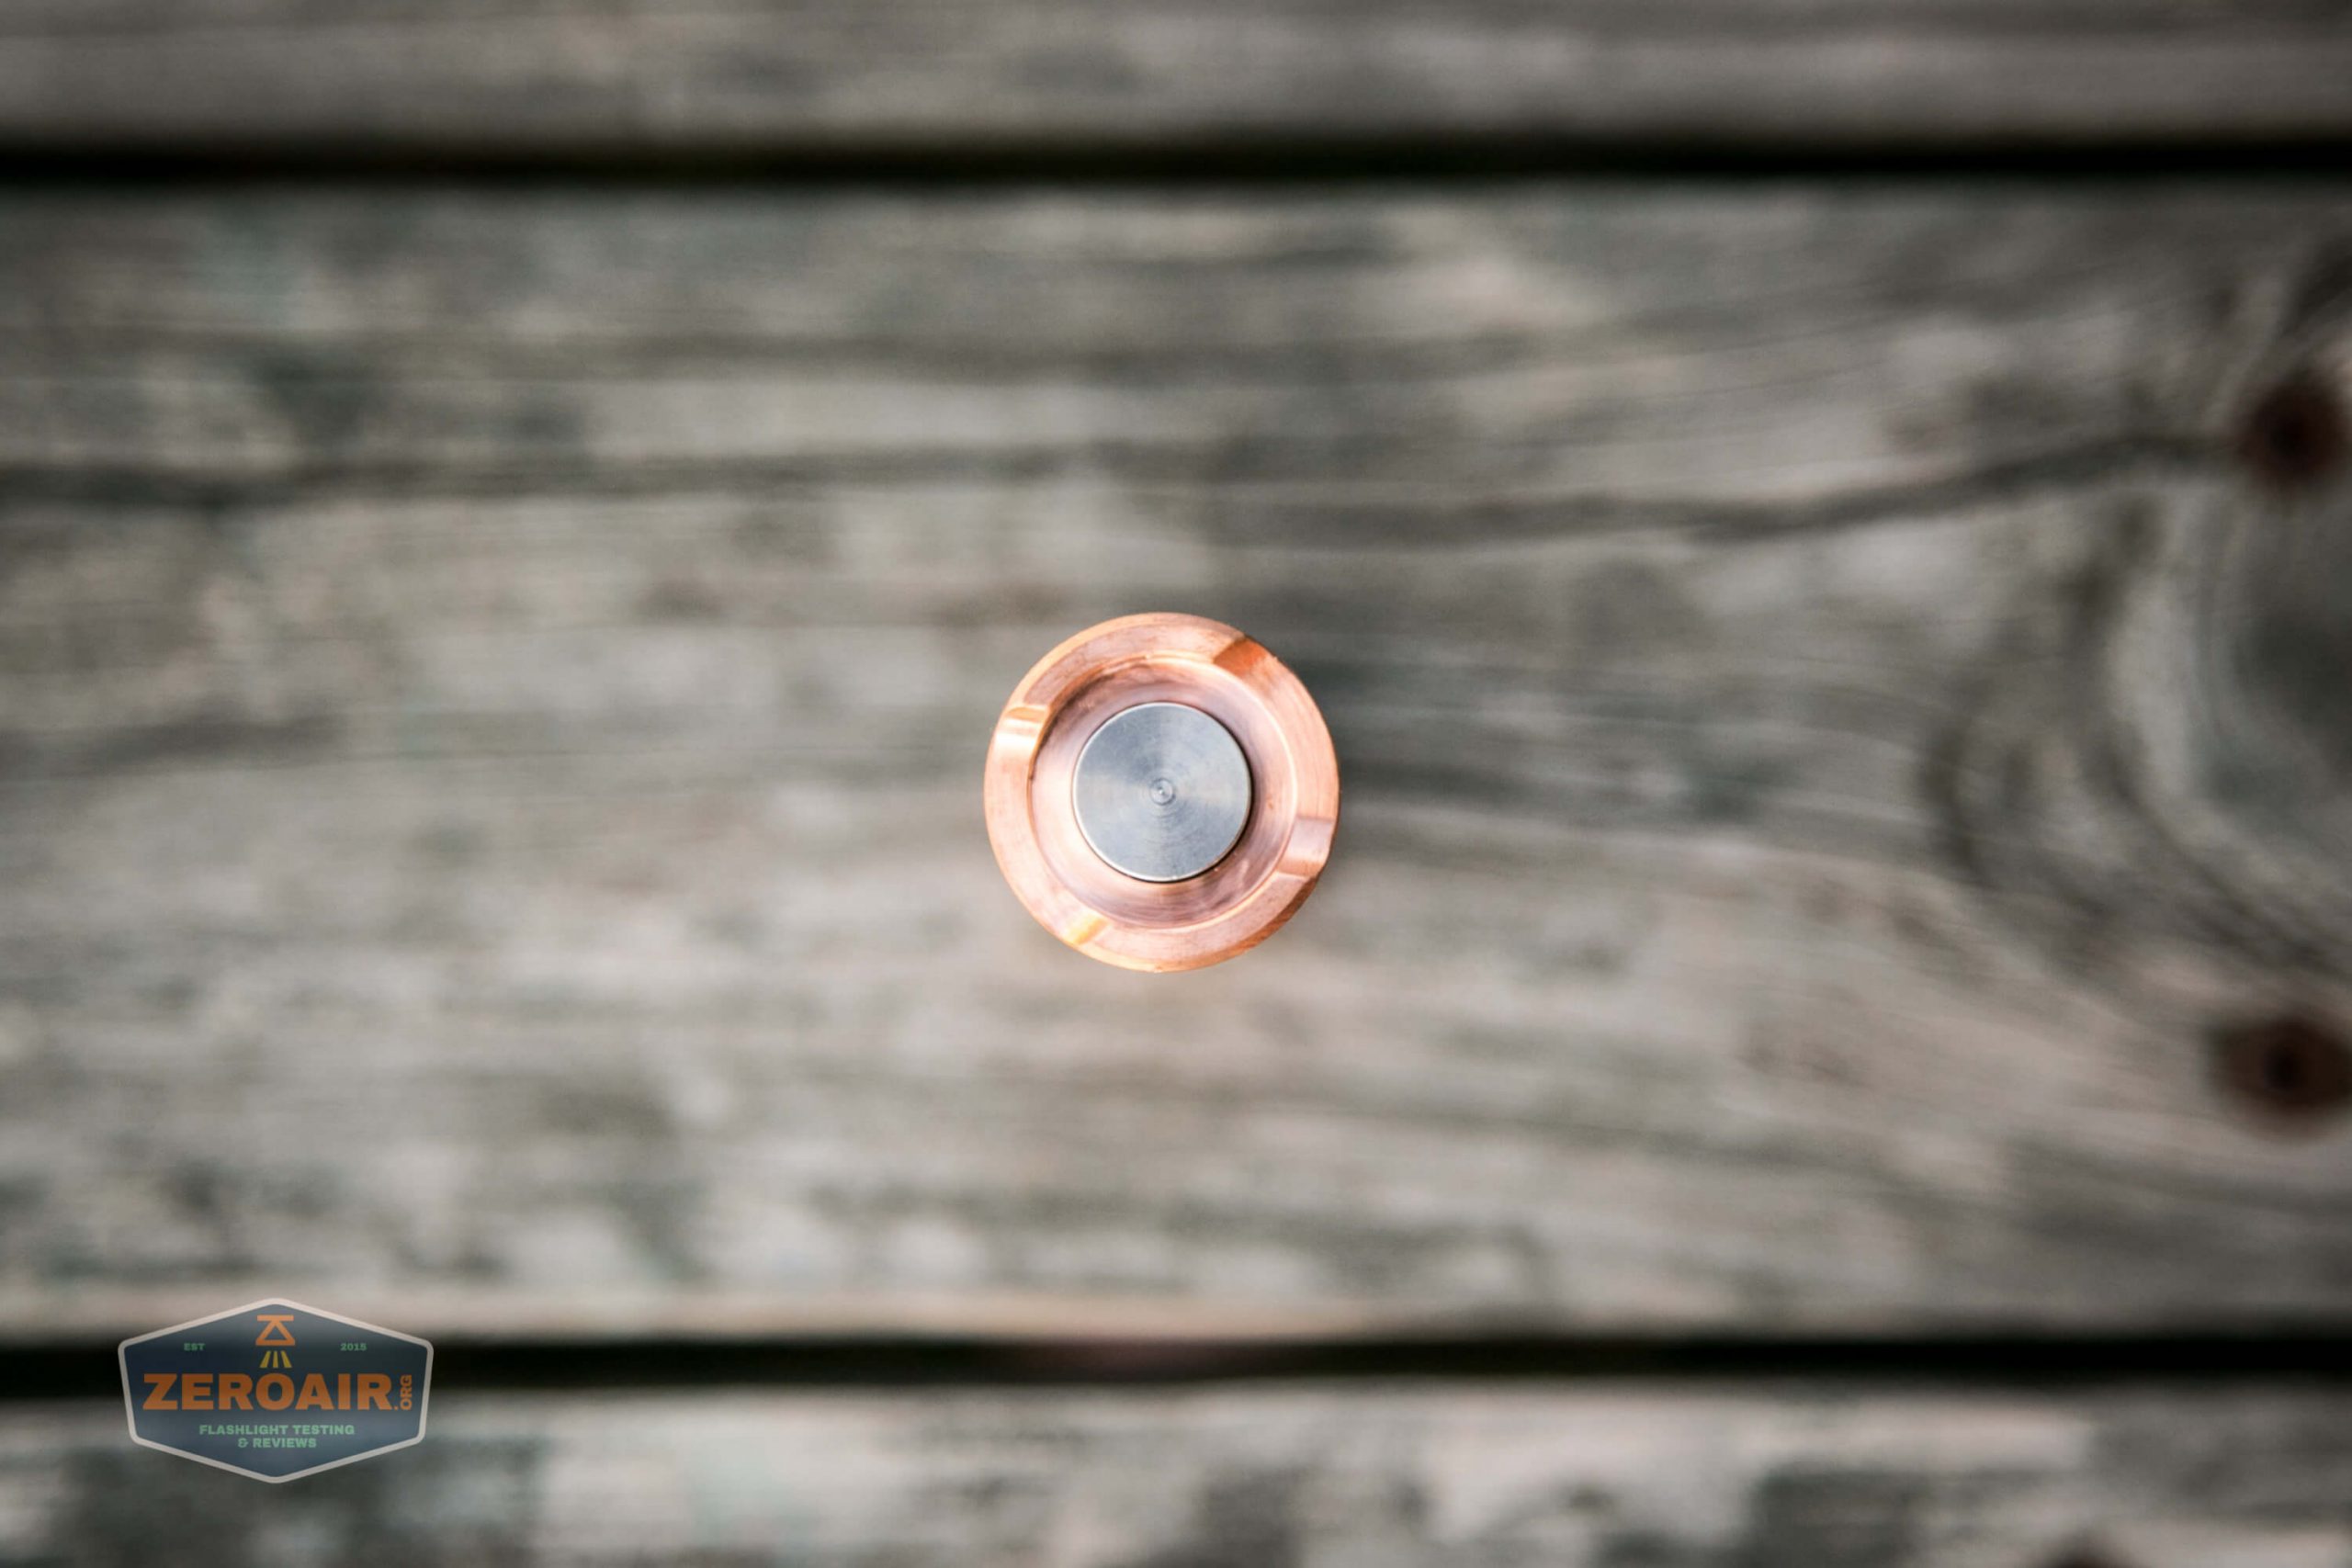
The switch cover appears to be stainless.
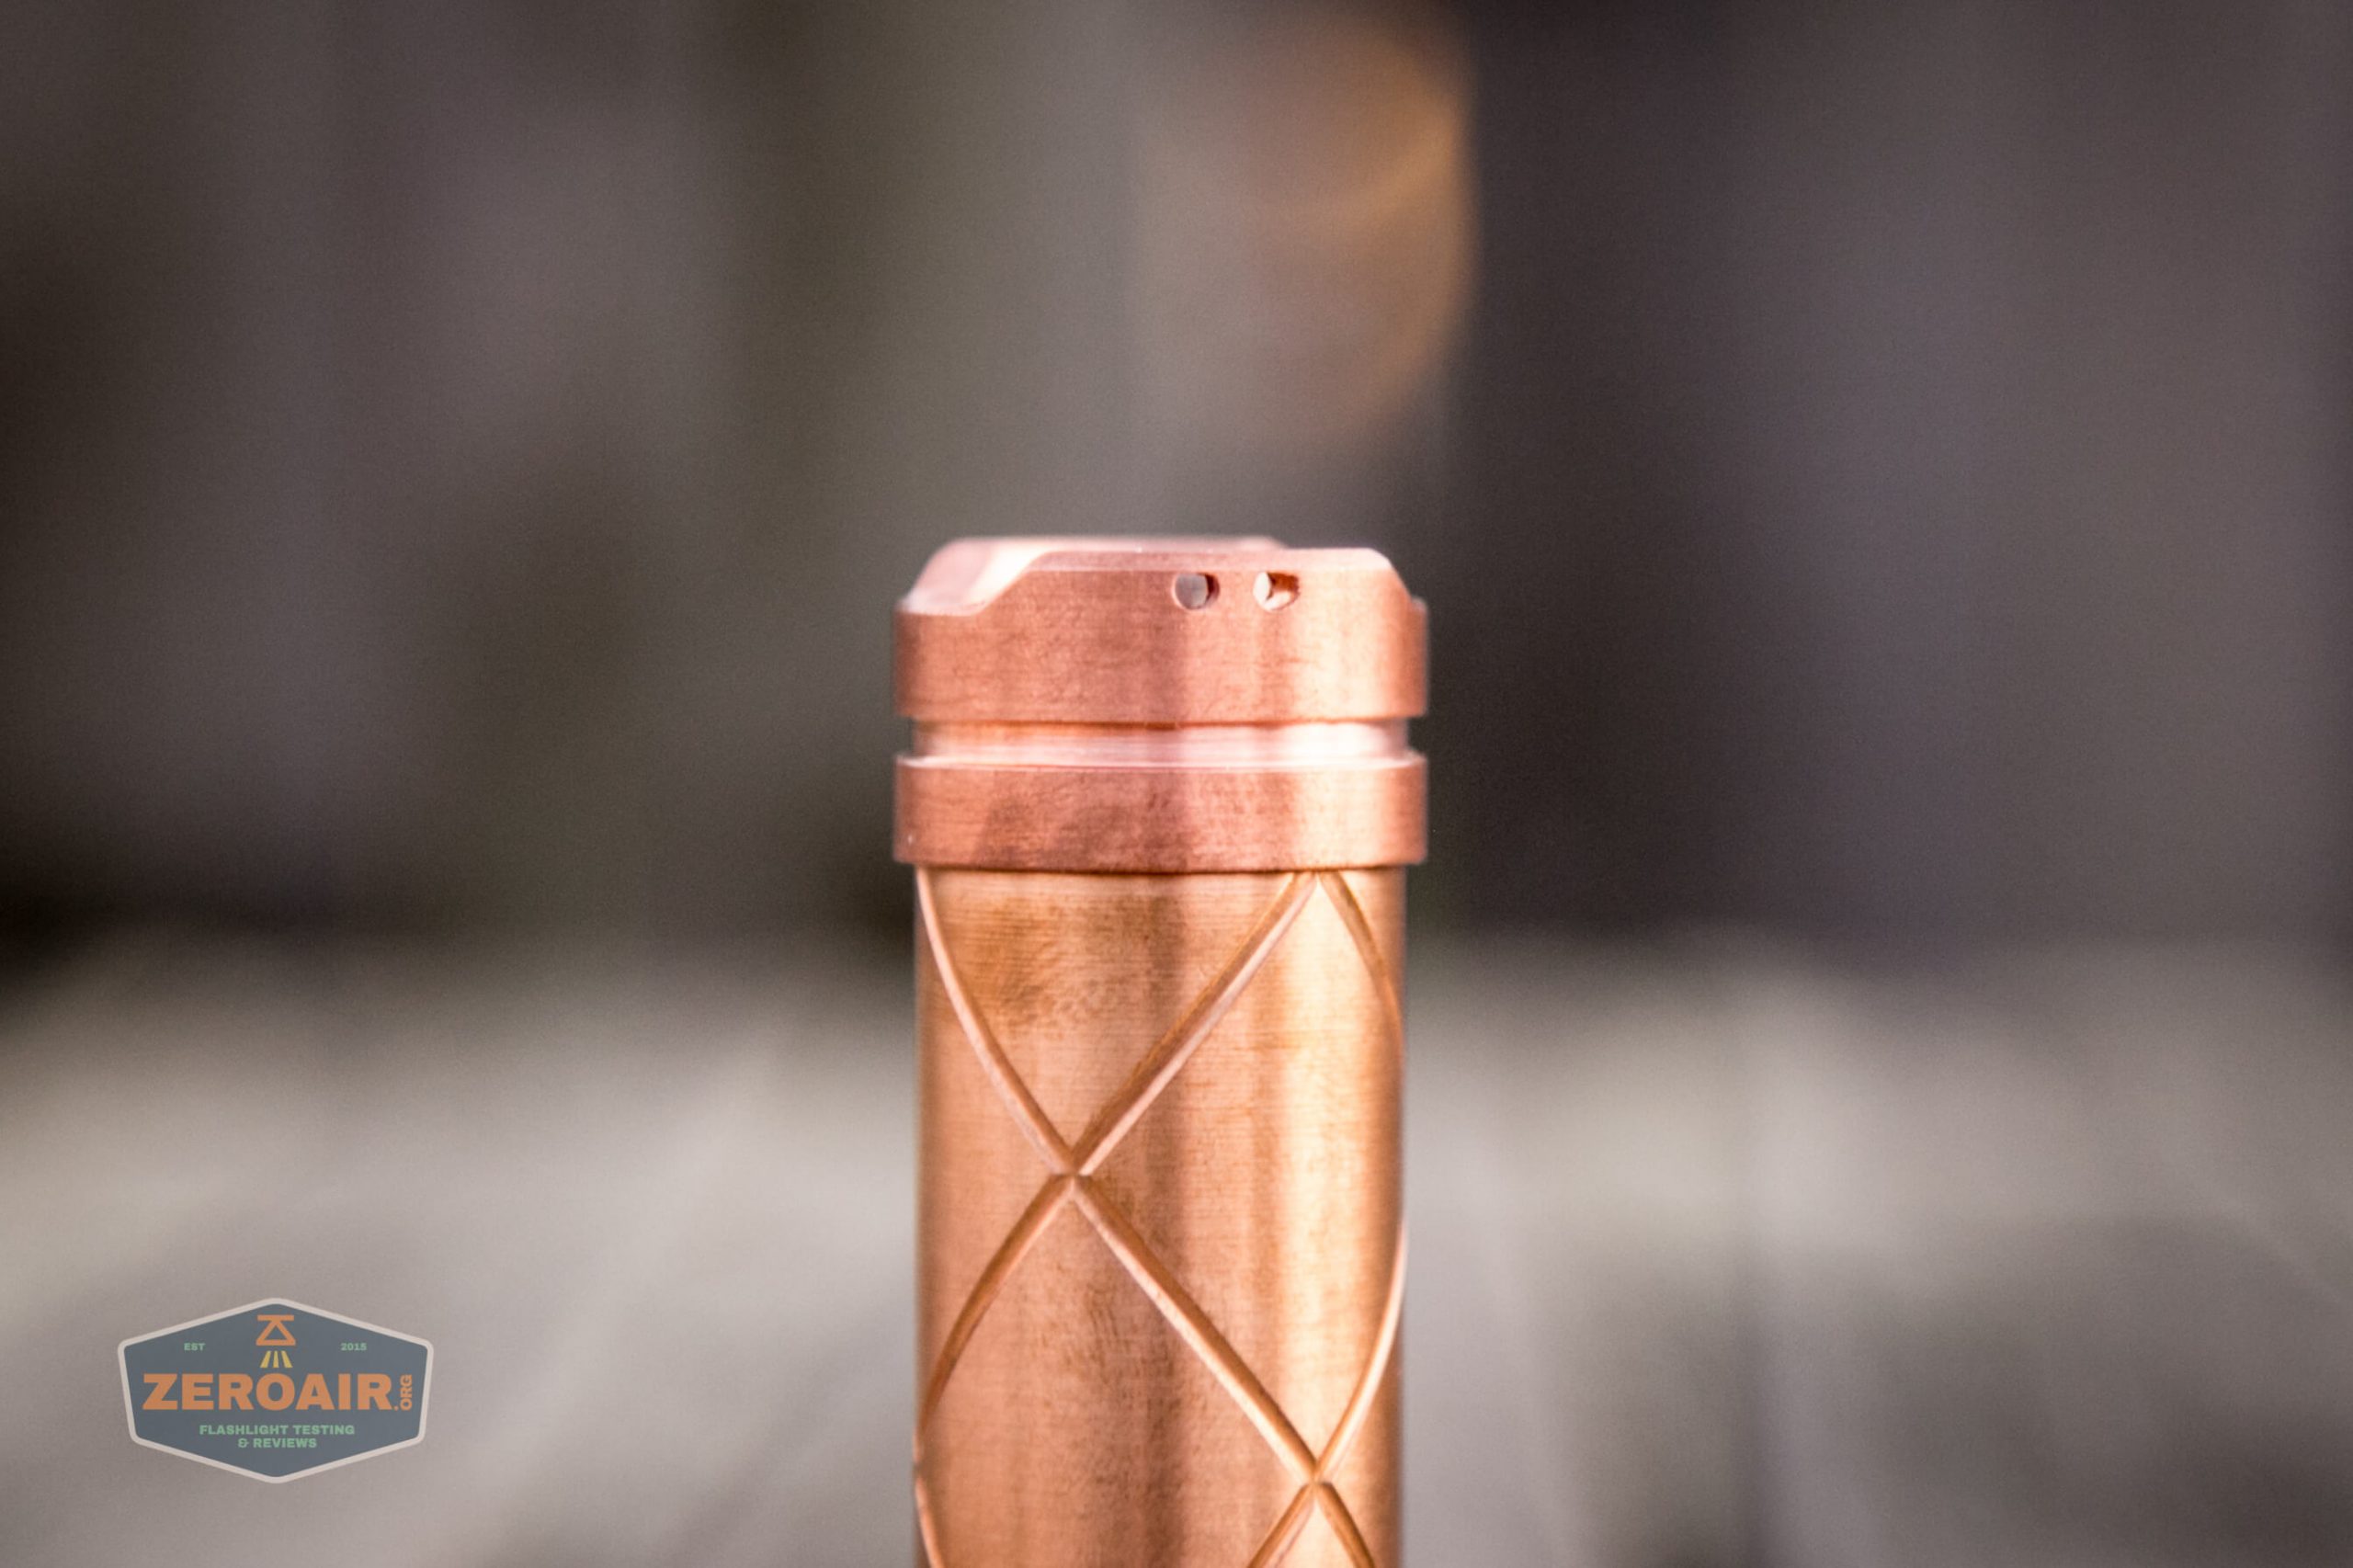
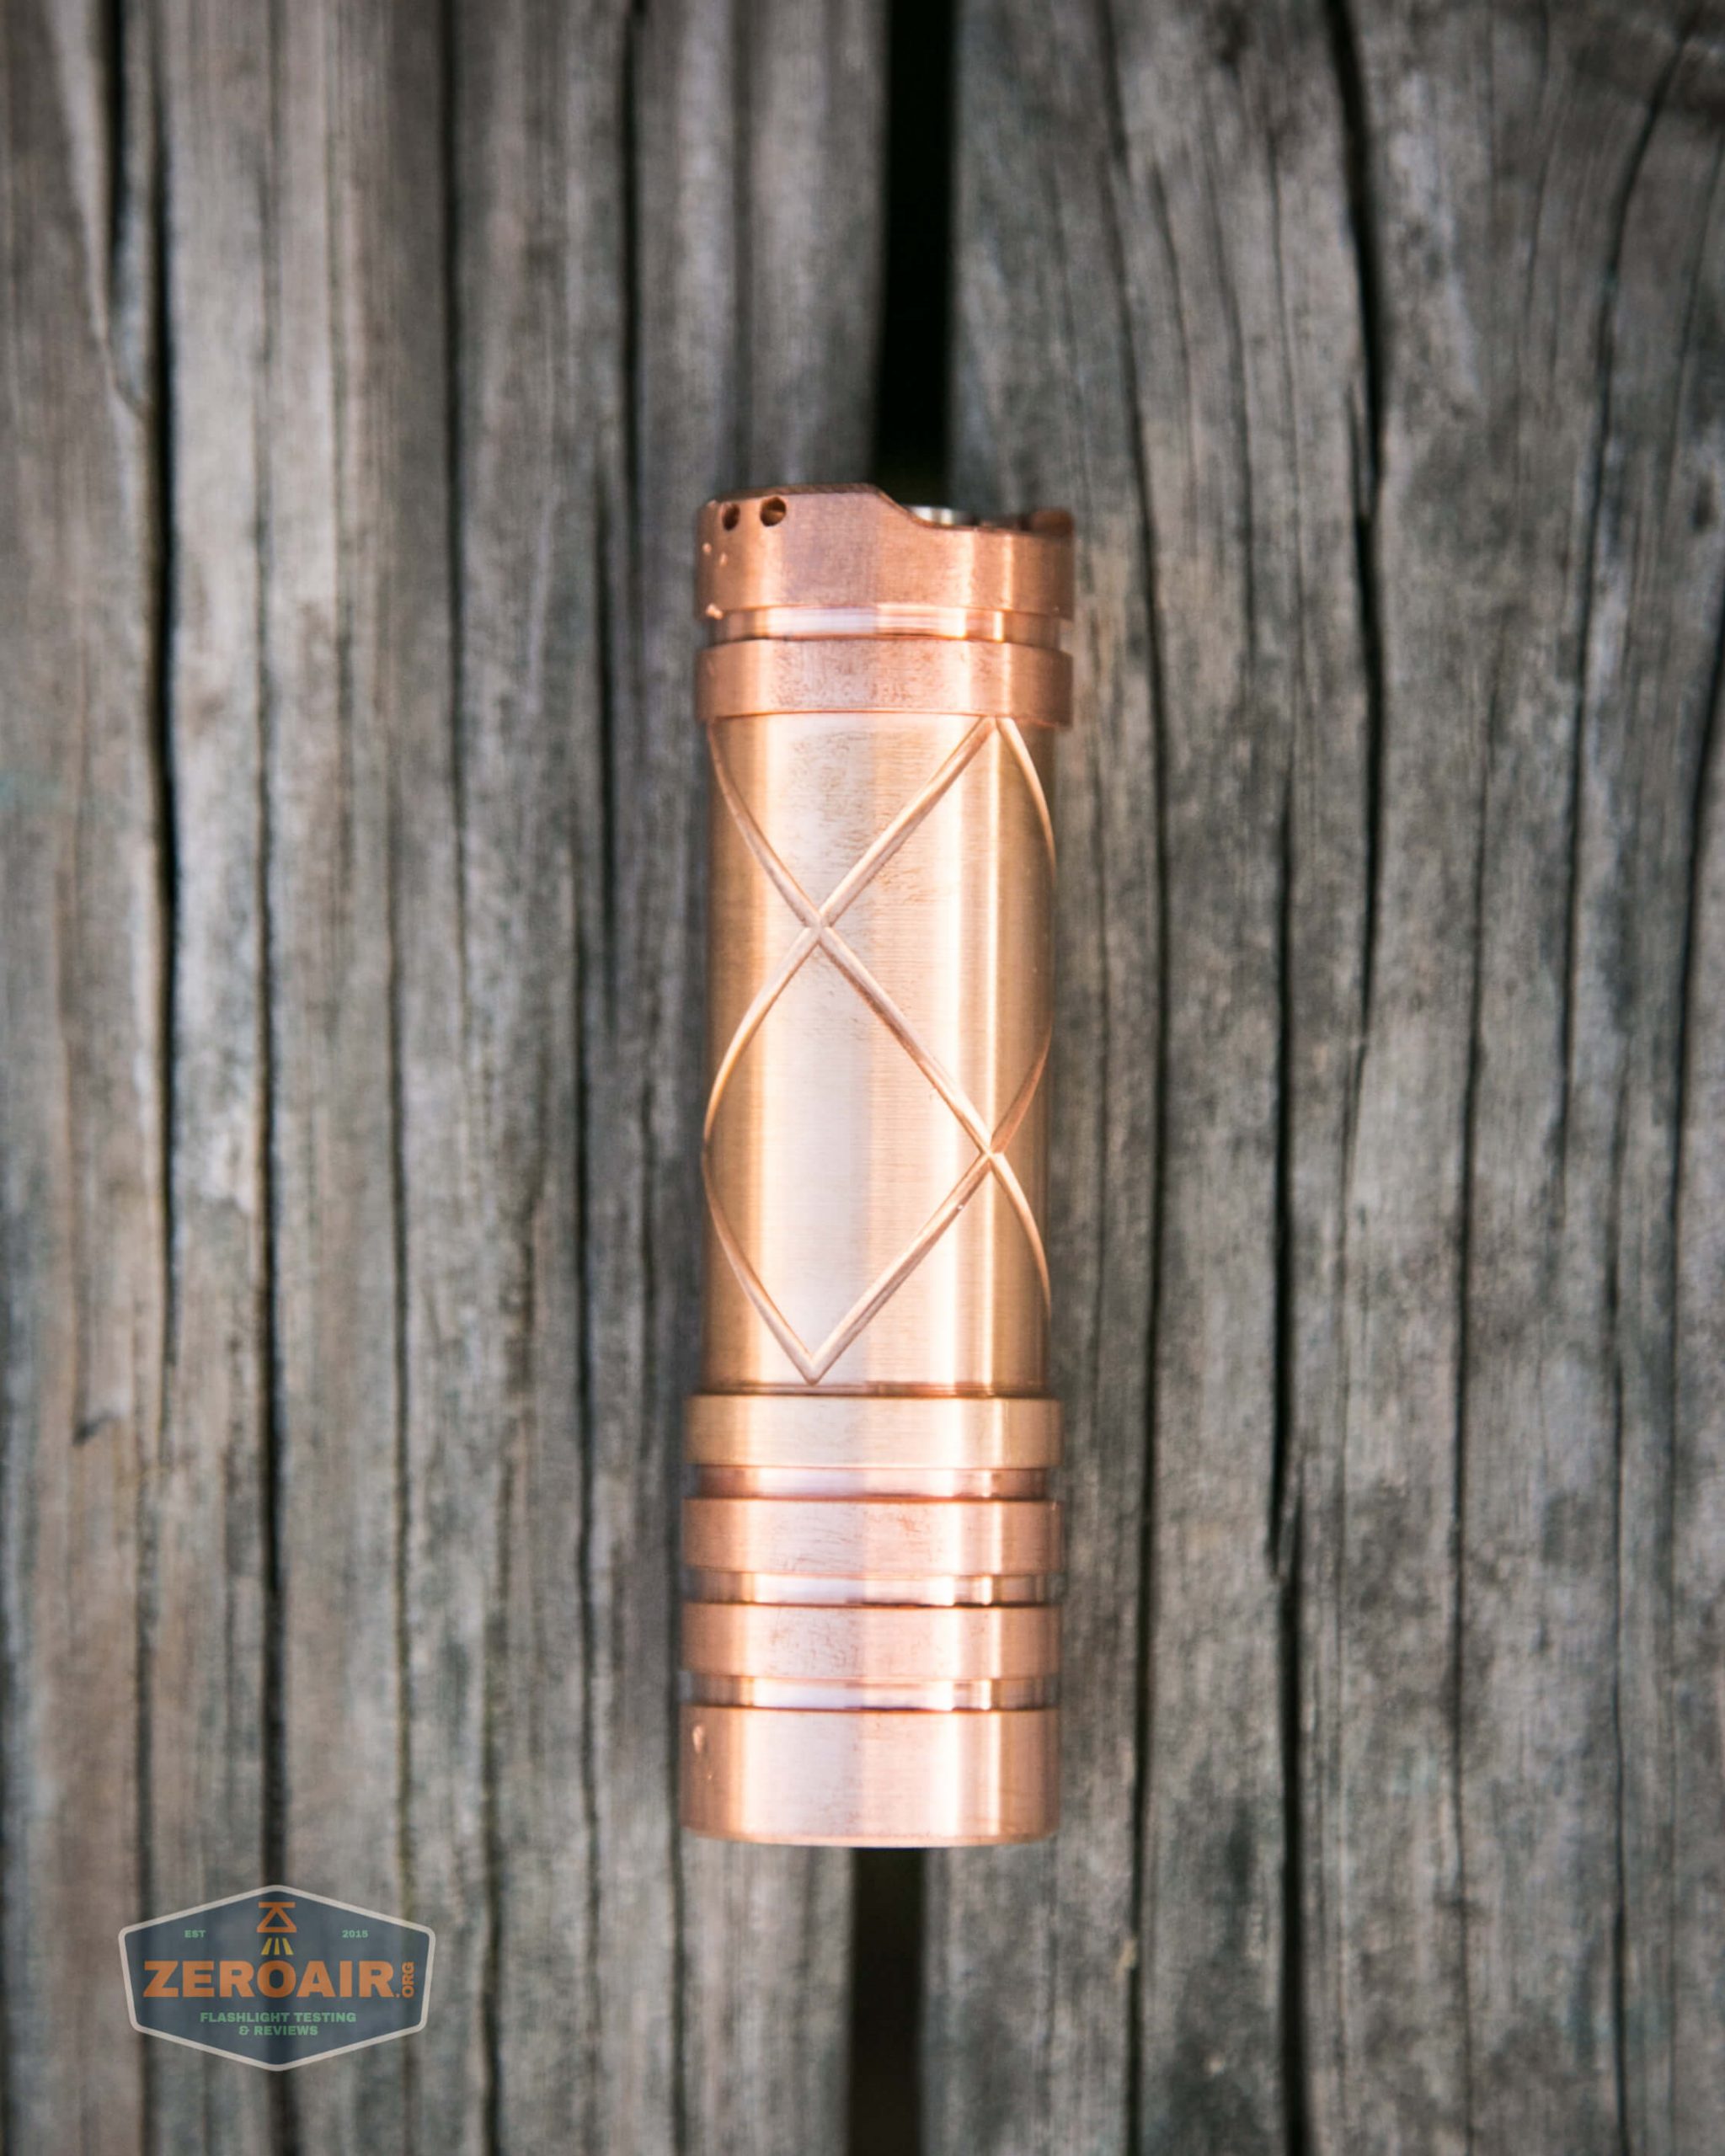
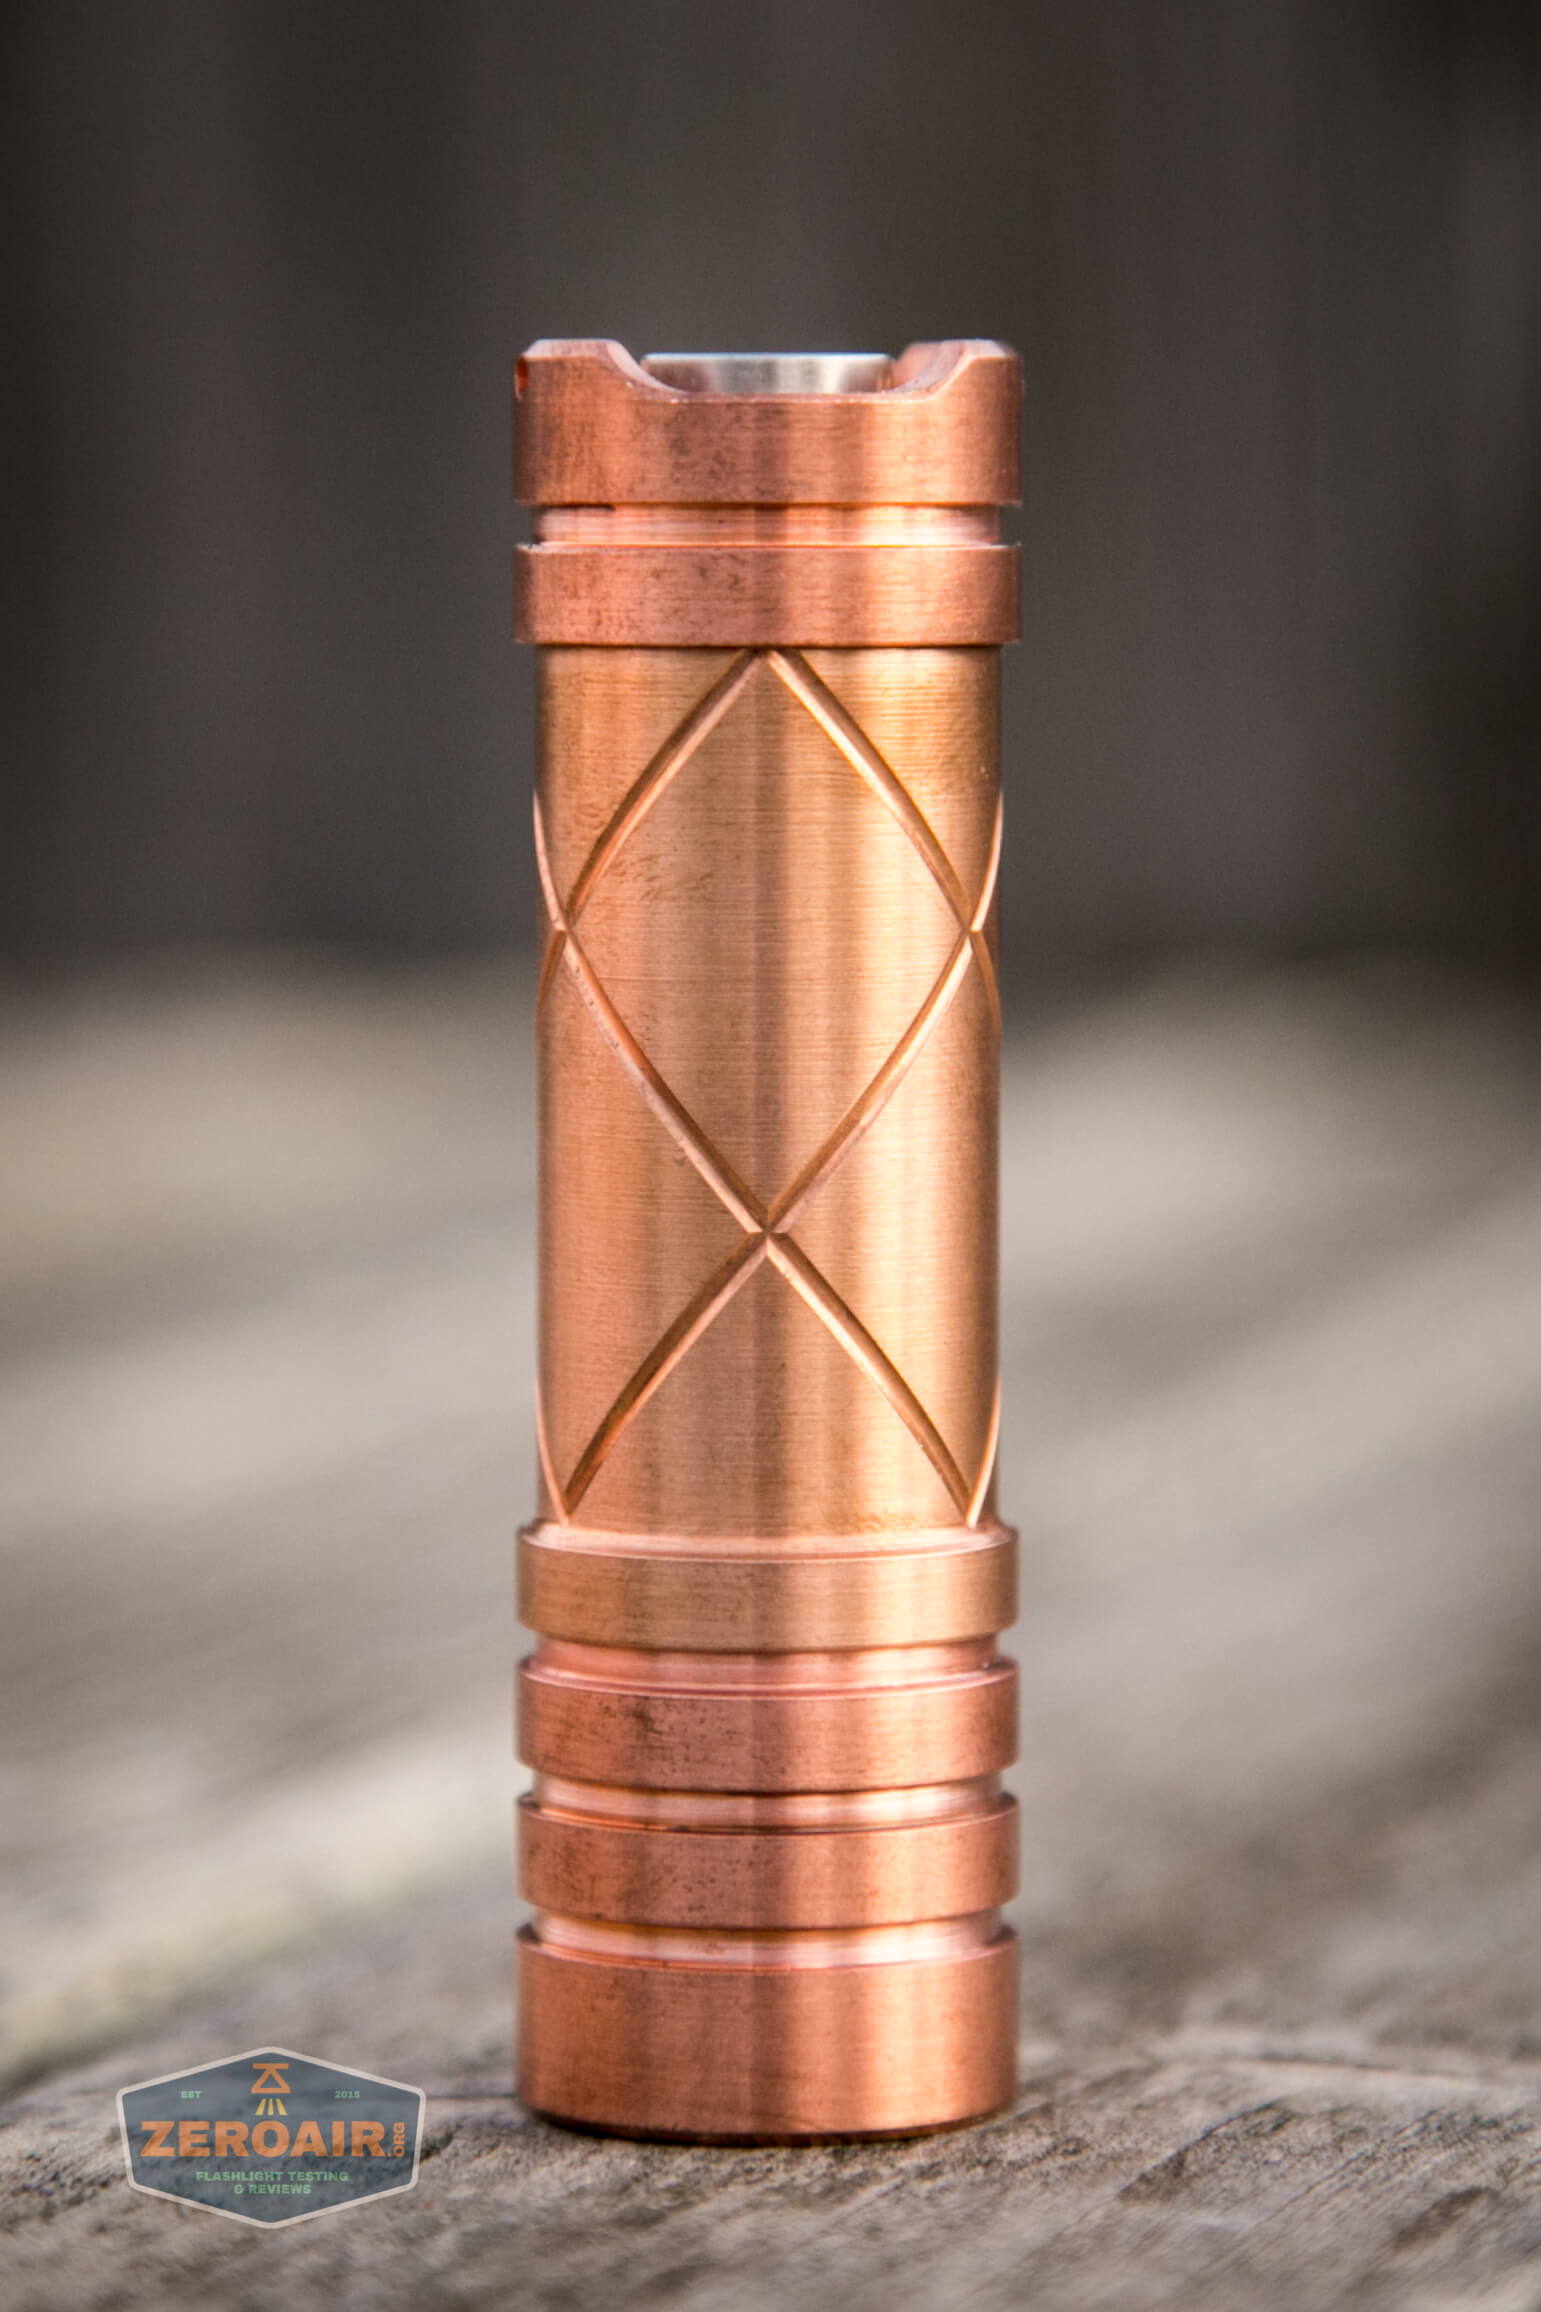
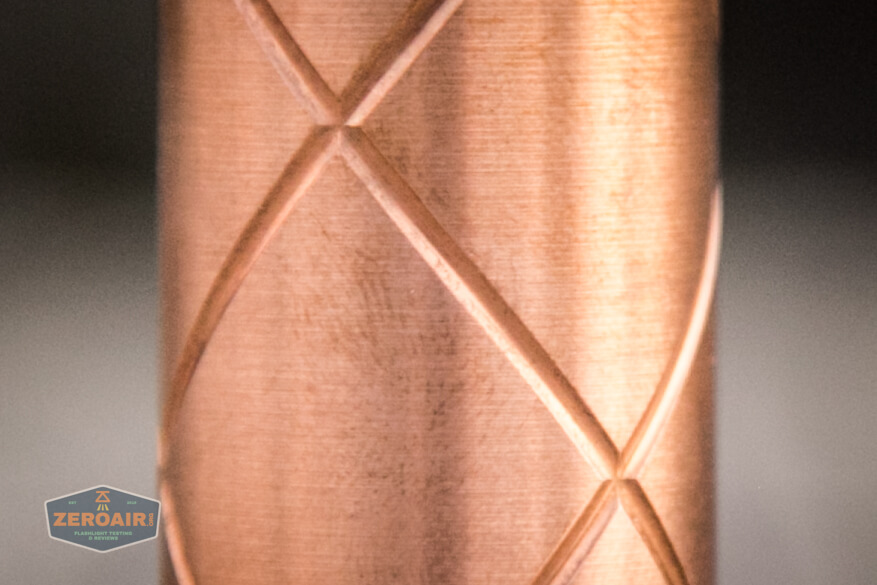
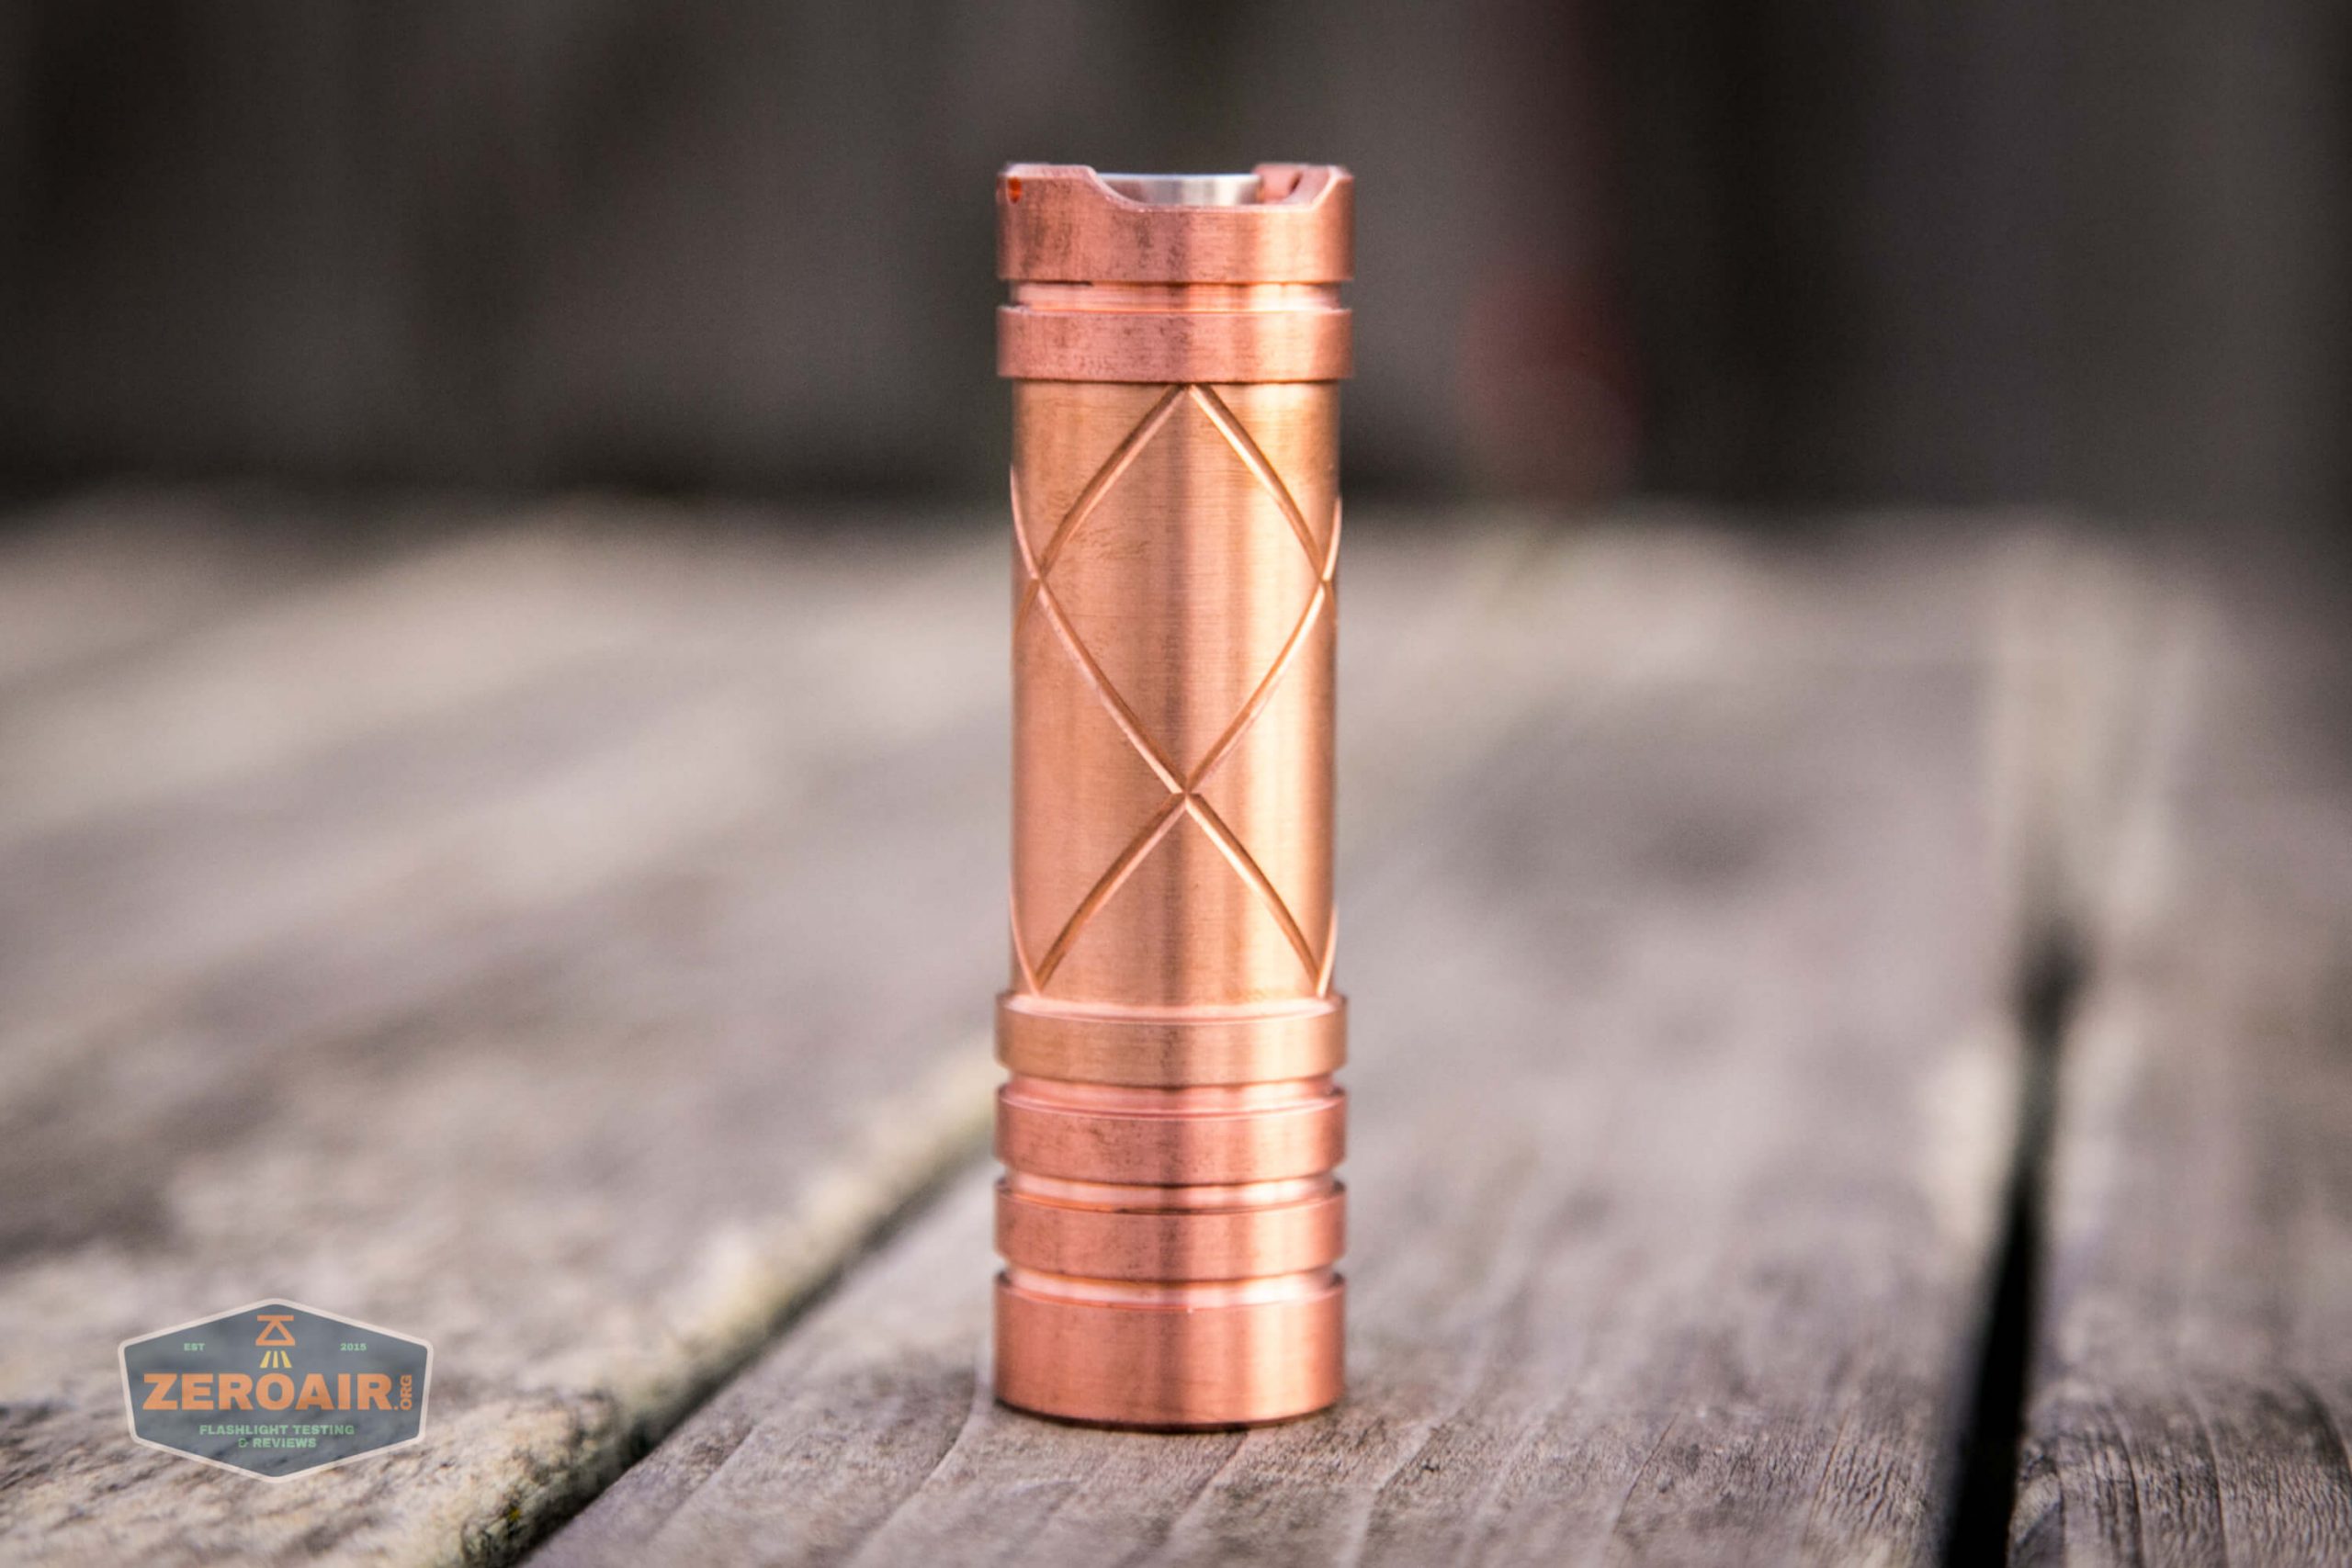
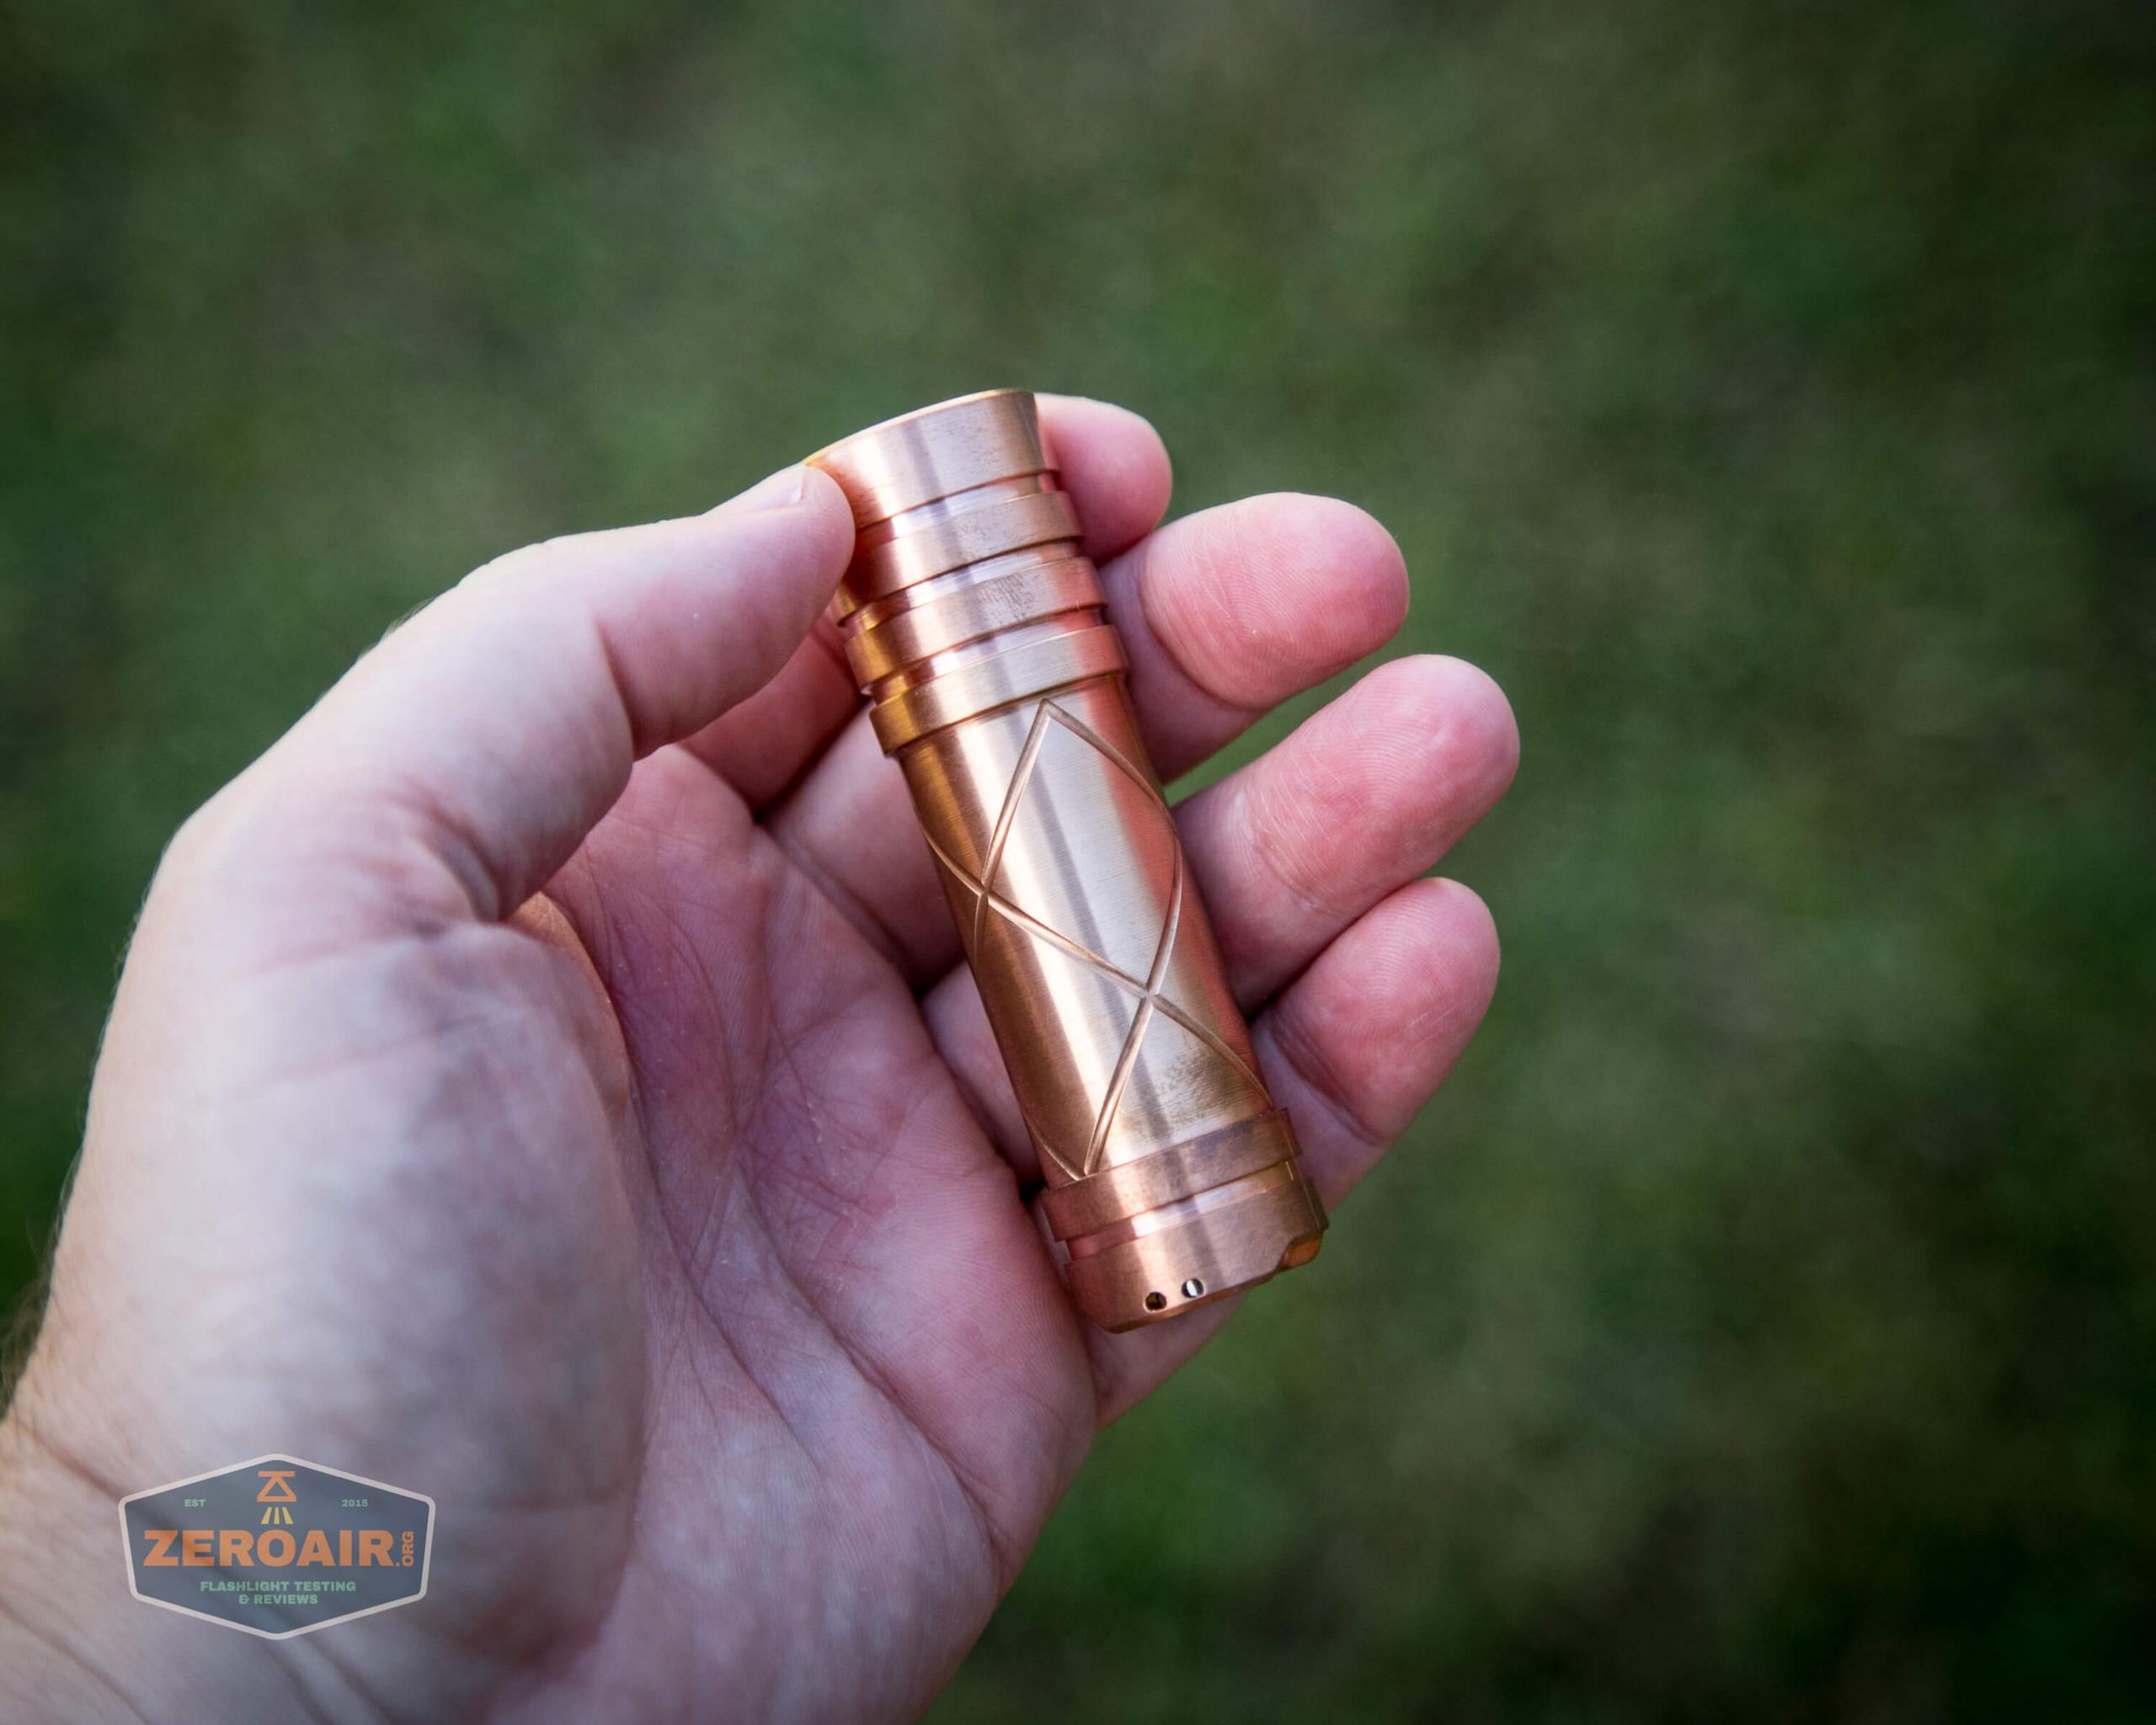
The body design is a fairly simple “big pineapple” pattern (there’s probably an official name for it somewhere, but I don’t know this name). It’s a good design, and I wouldn’t ask for more.
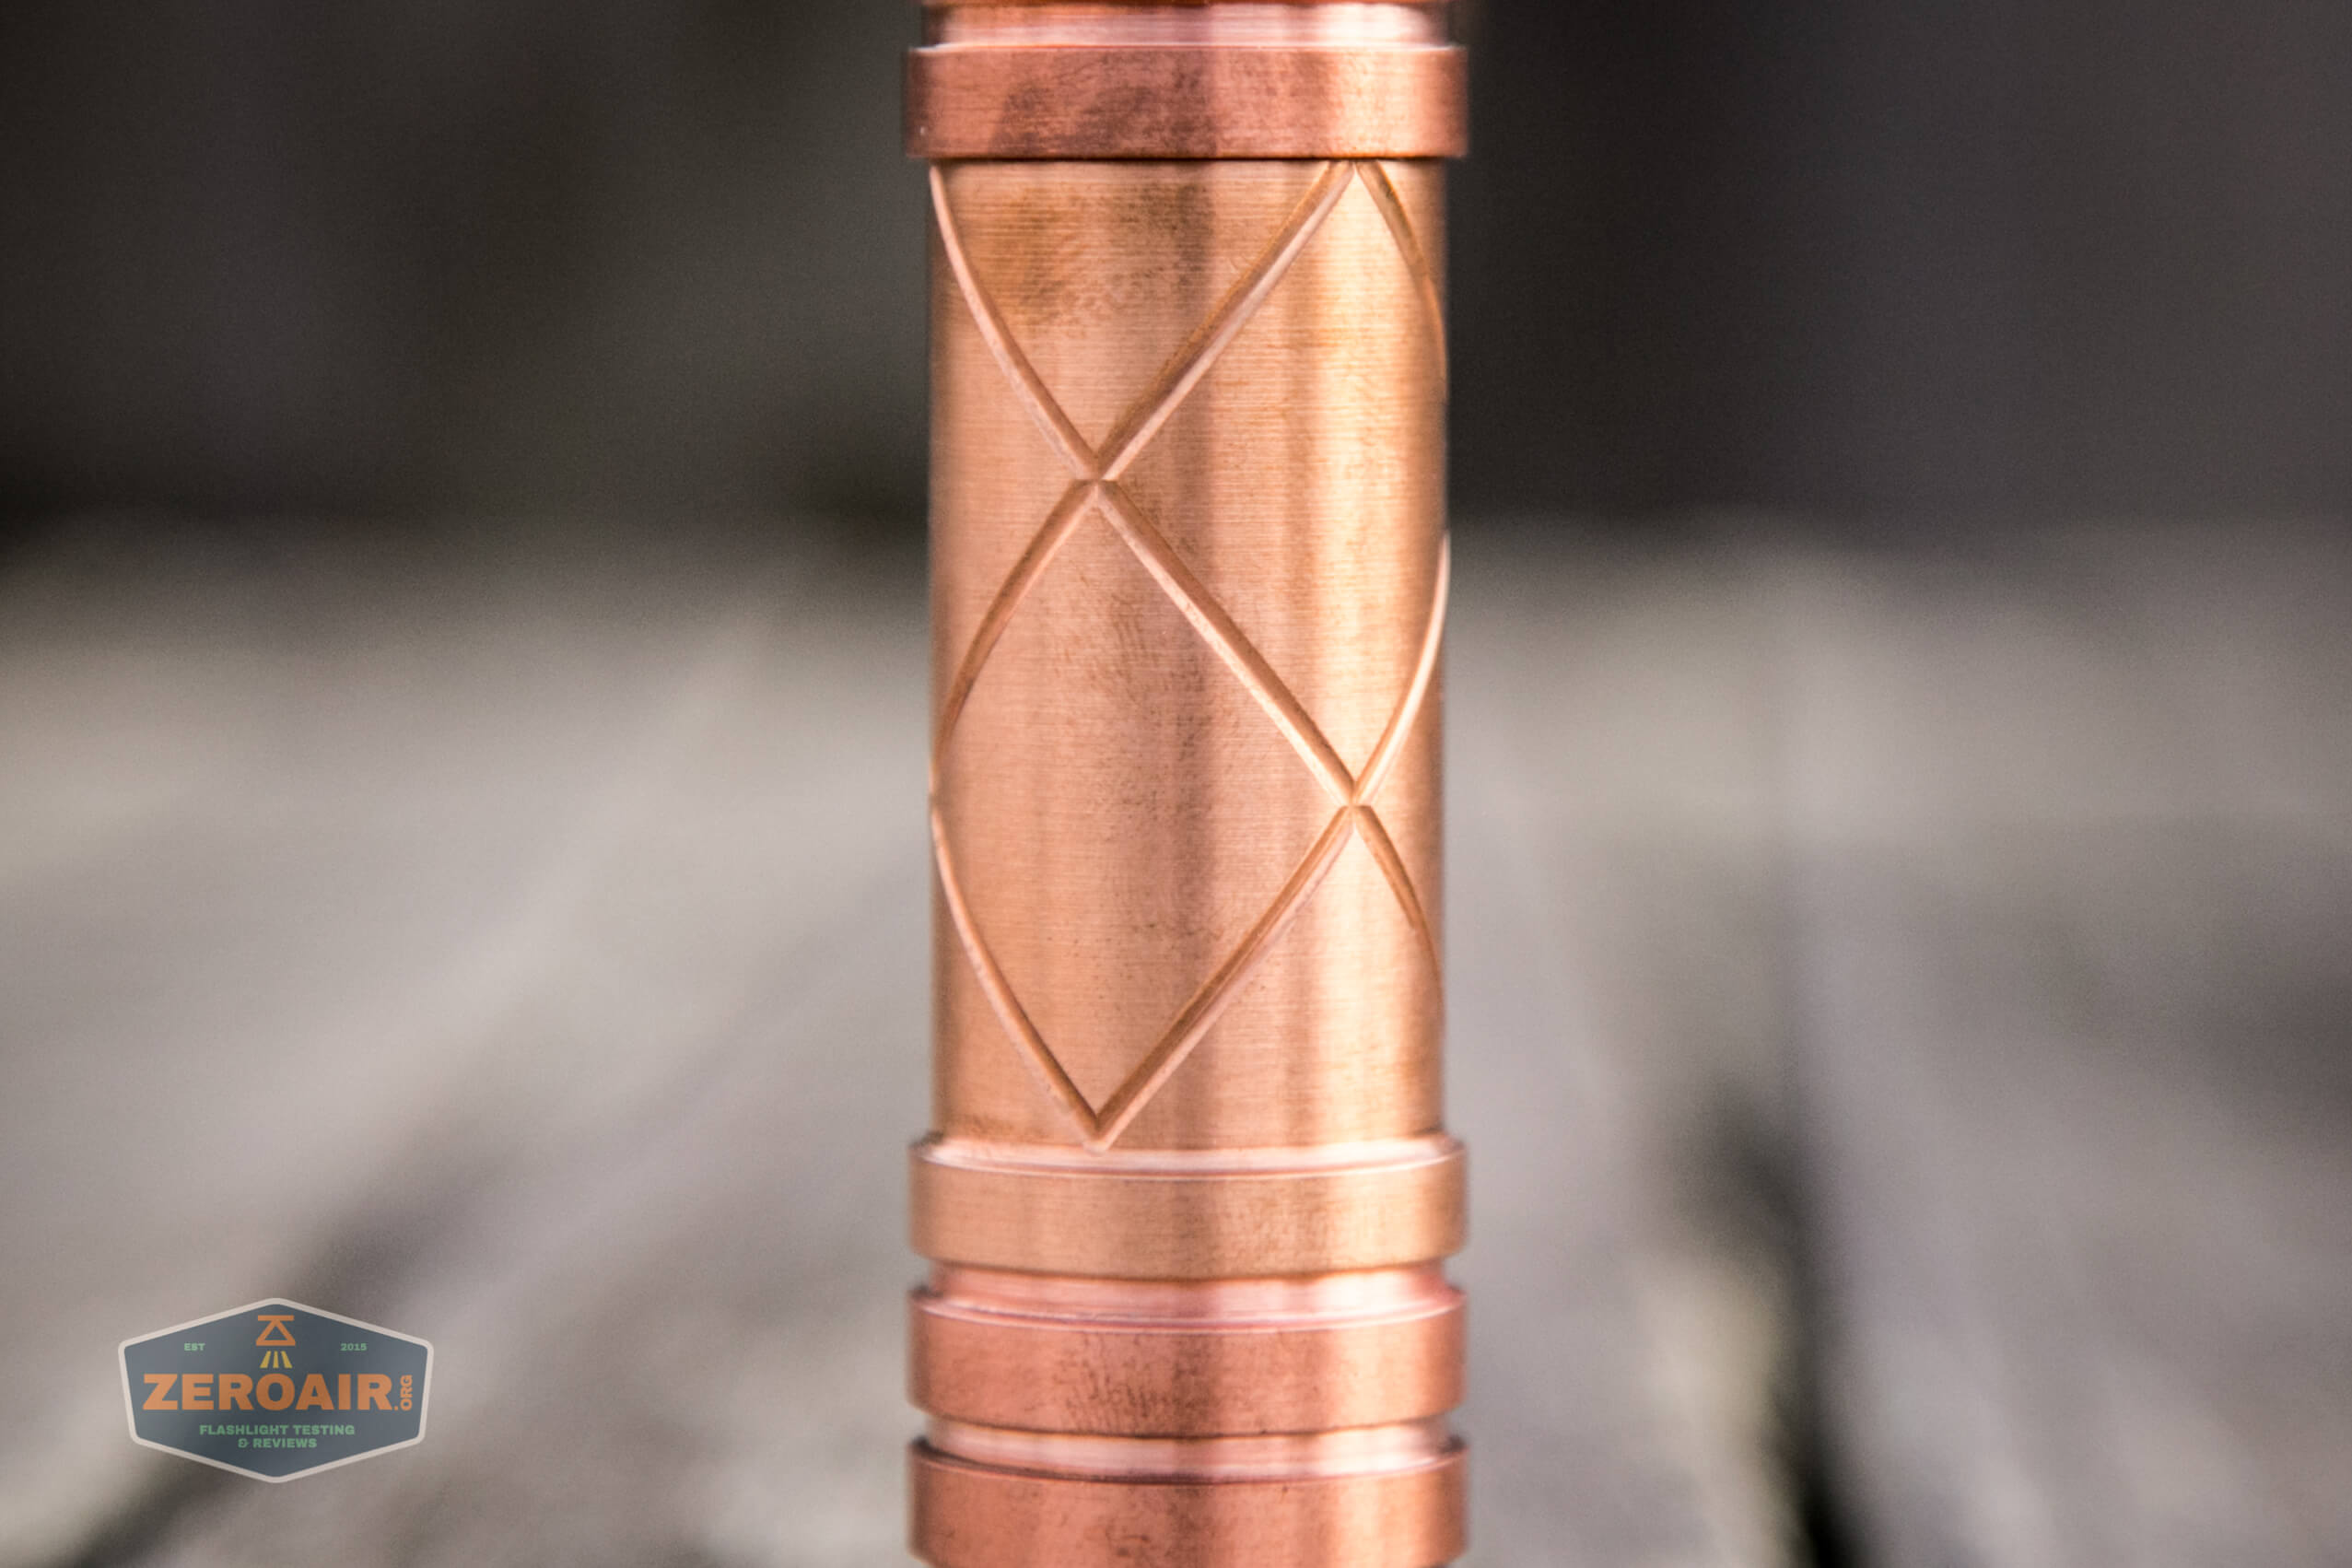
I’m a little surprised that it’s possible to see the machine marks around the whole of the laser. Body, head, tail – they all show the machine marks. That’s ok! But demonstrates that the lasers are essentially “machine-finished” and no further work is done on the body.
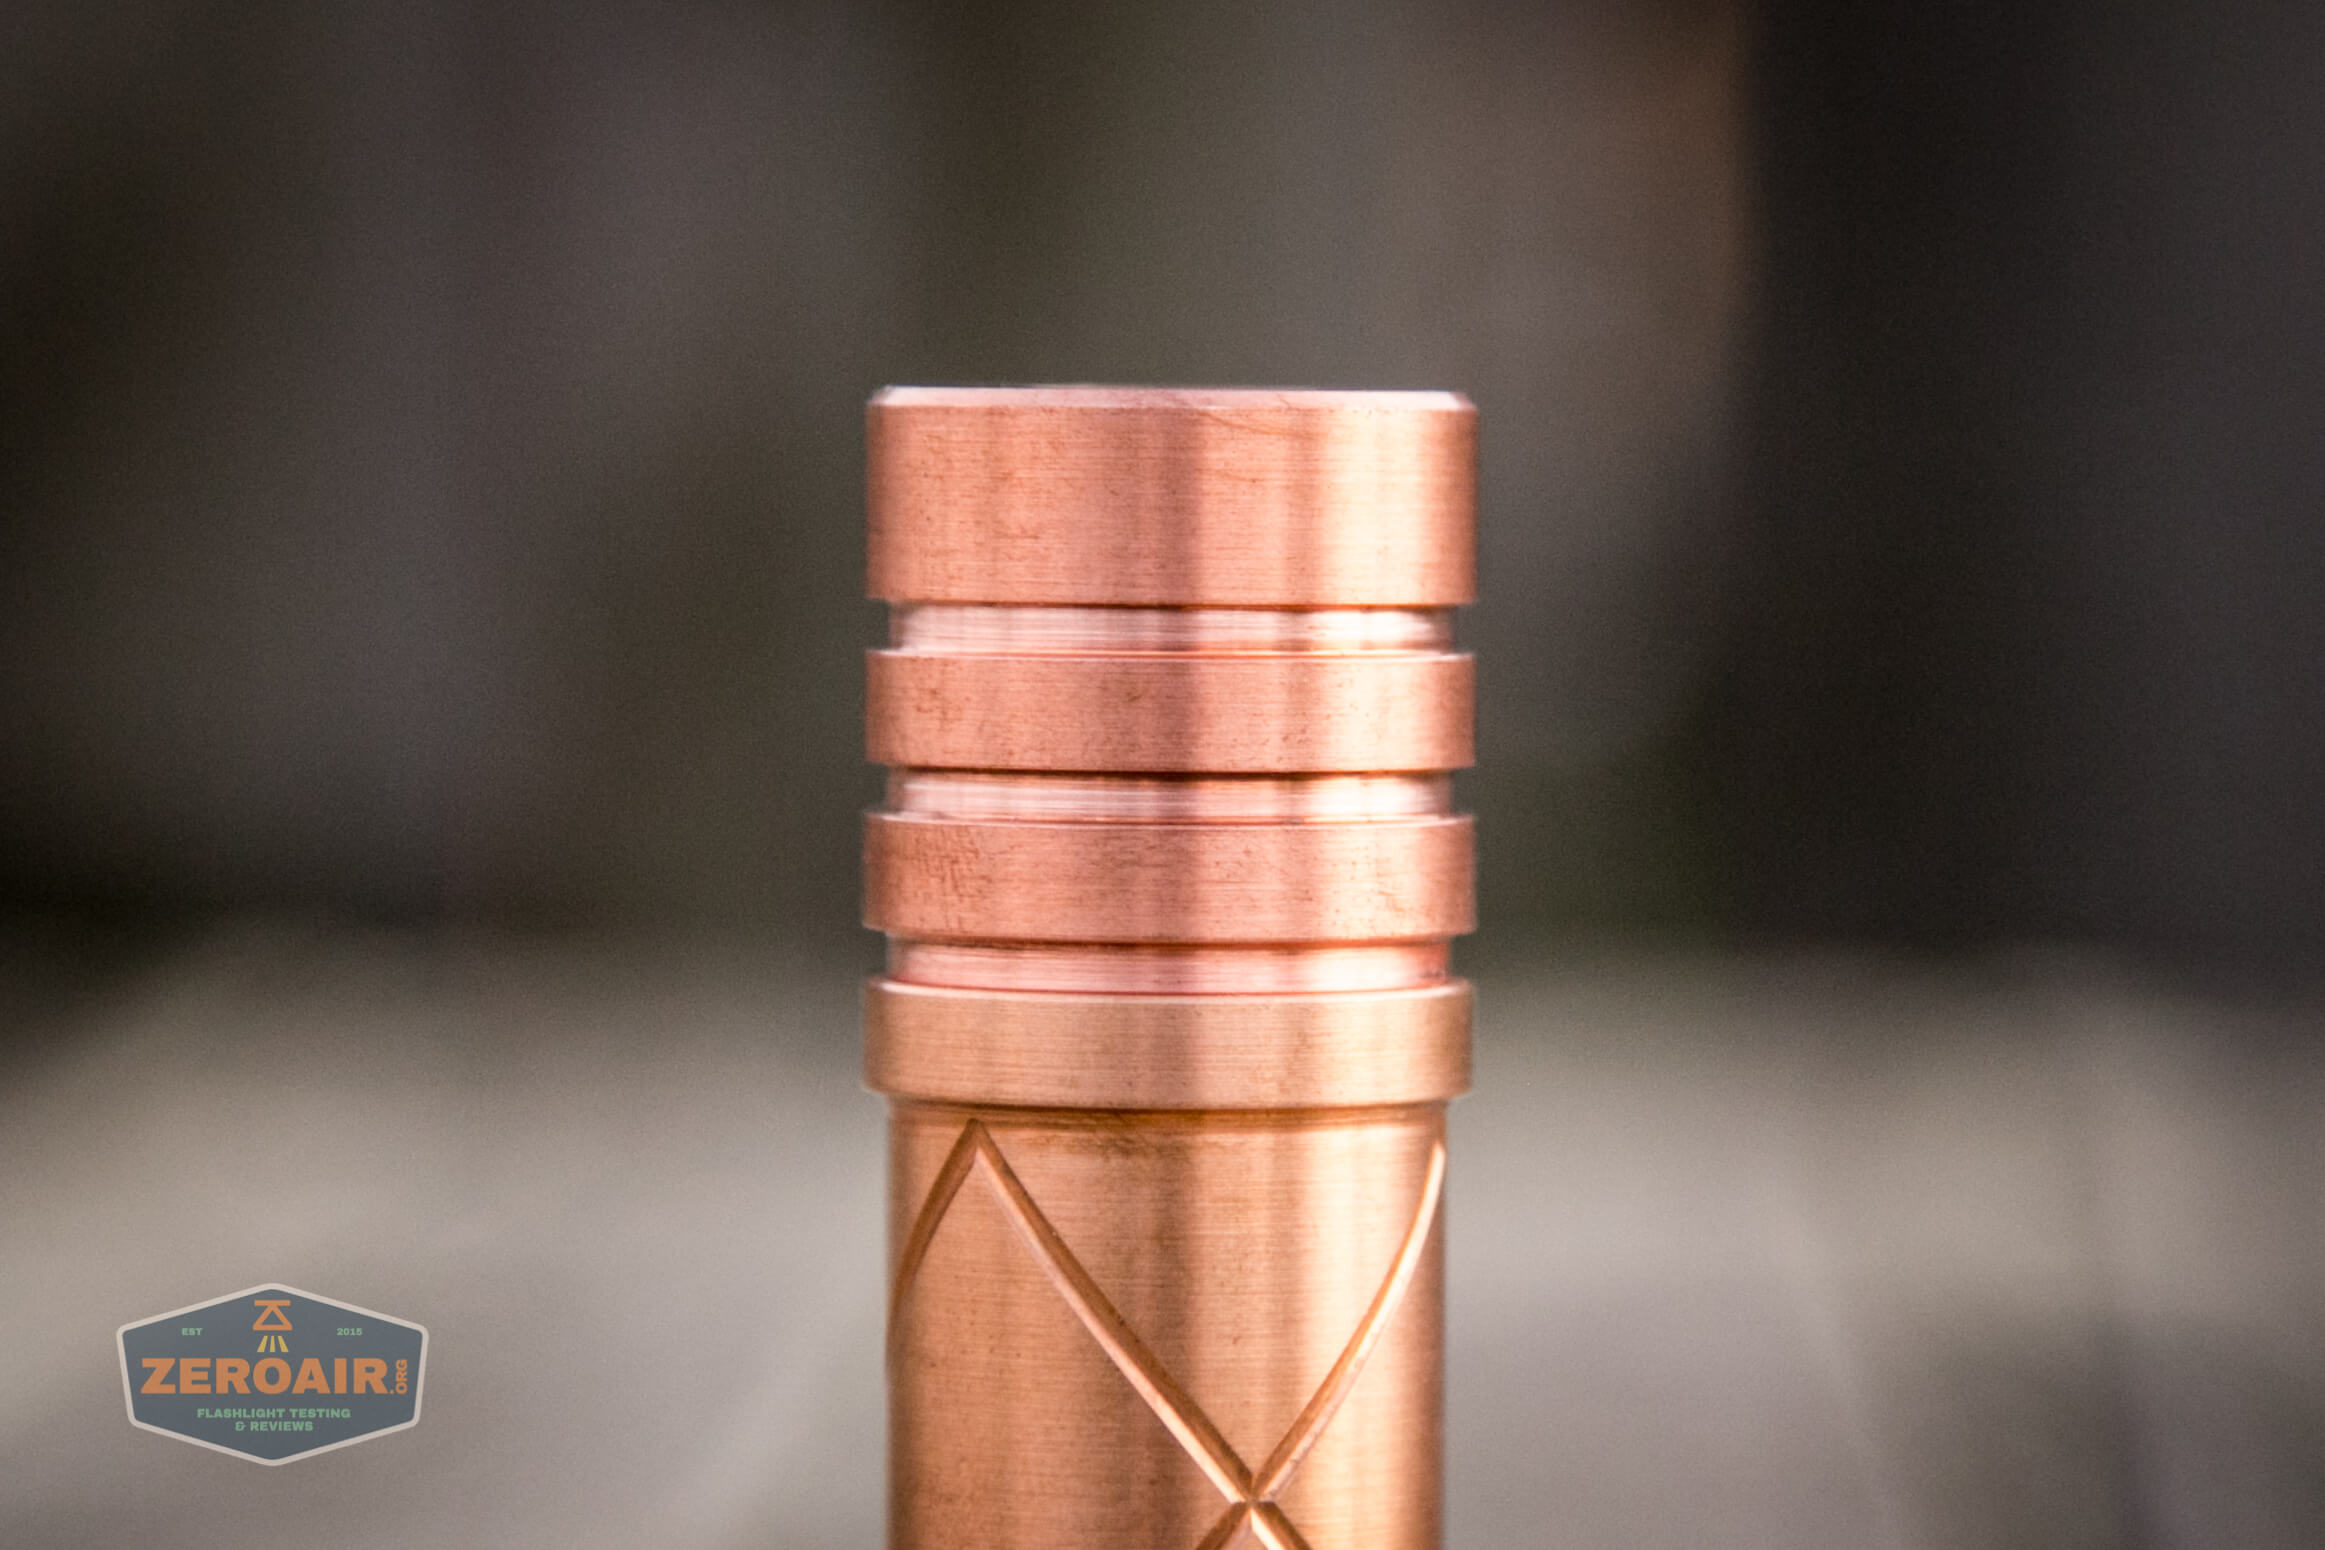
The head has cooling fins of sorts, which also serve as a grip area.
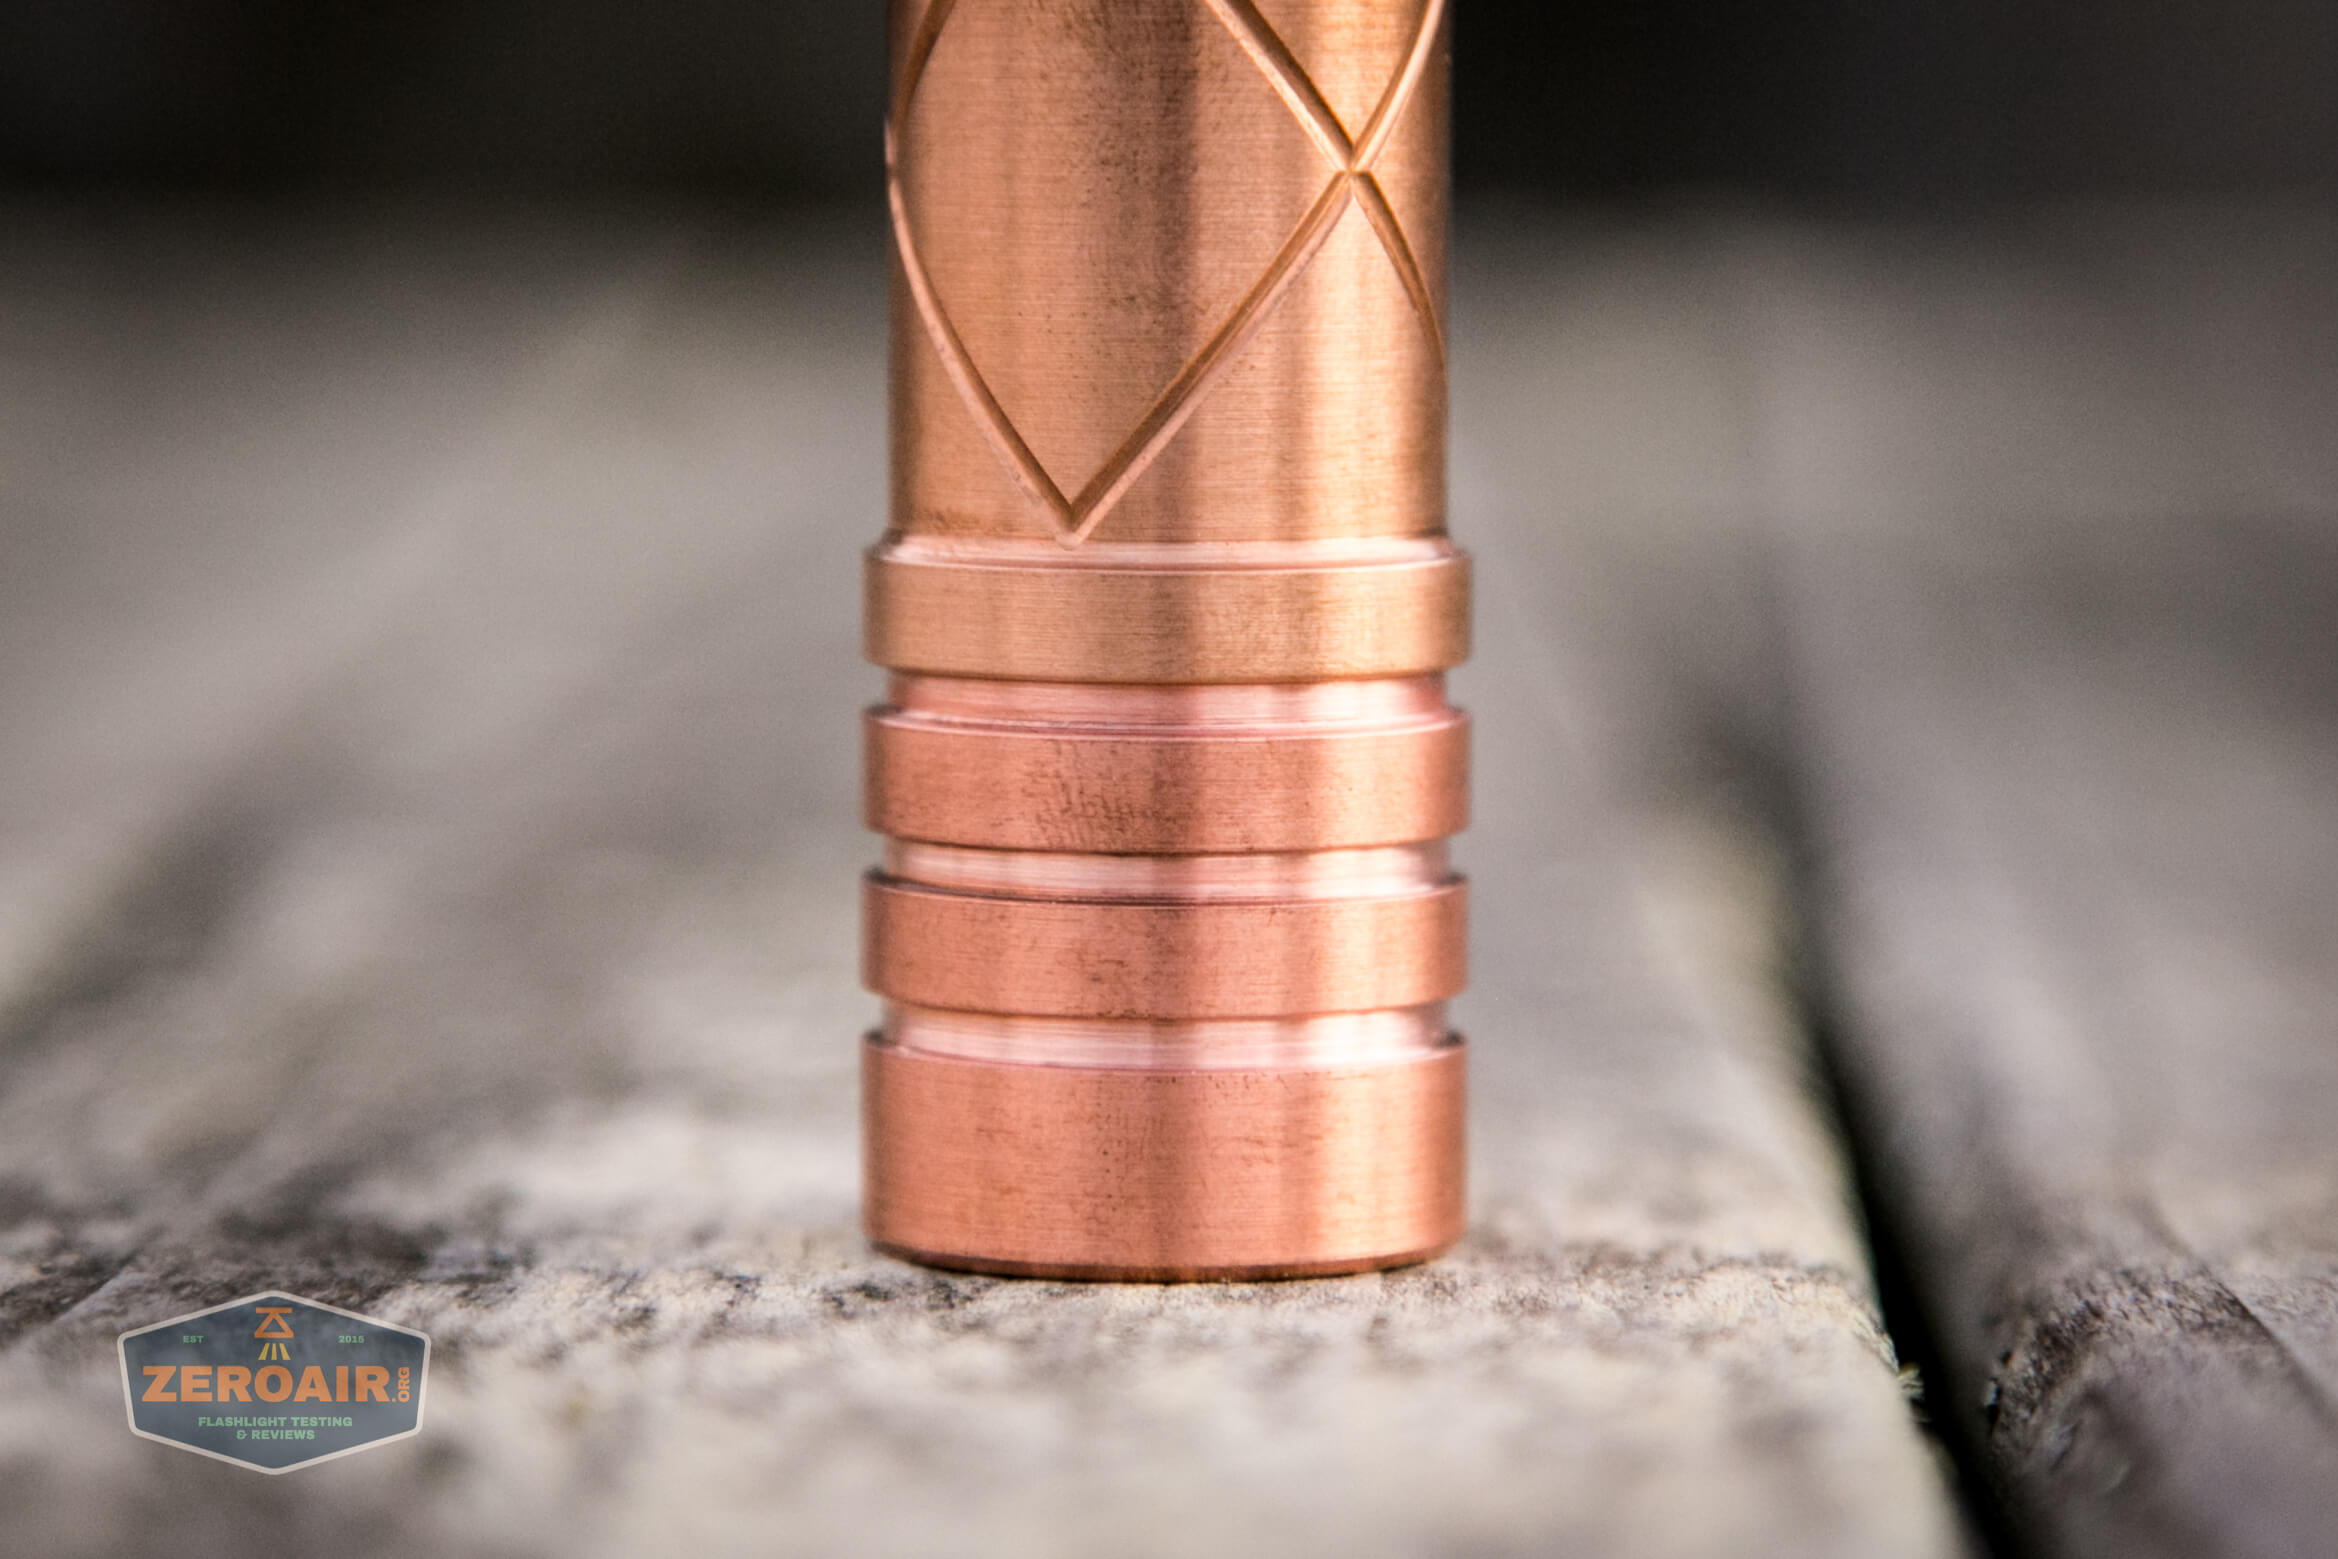
One more thing that surprised me about the Sanwu Red Guardian is that the three main parts (head, body, and tail) have copper that does not really match. The head matches the tail as a very red copper, but the body is a much more muted copper. It’s all definitely copper, but it’s milled in a different grade of copper. It’s also possible (probably? I’m no machinist) that the coppers are the same grade, but machined in different grain directions. The difference is really quite subtle. I’m interested to see how they age, though. If they age to look the same, then this is not really worth mentioning.
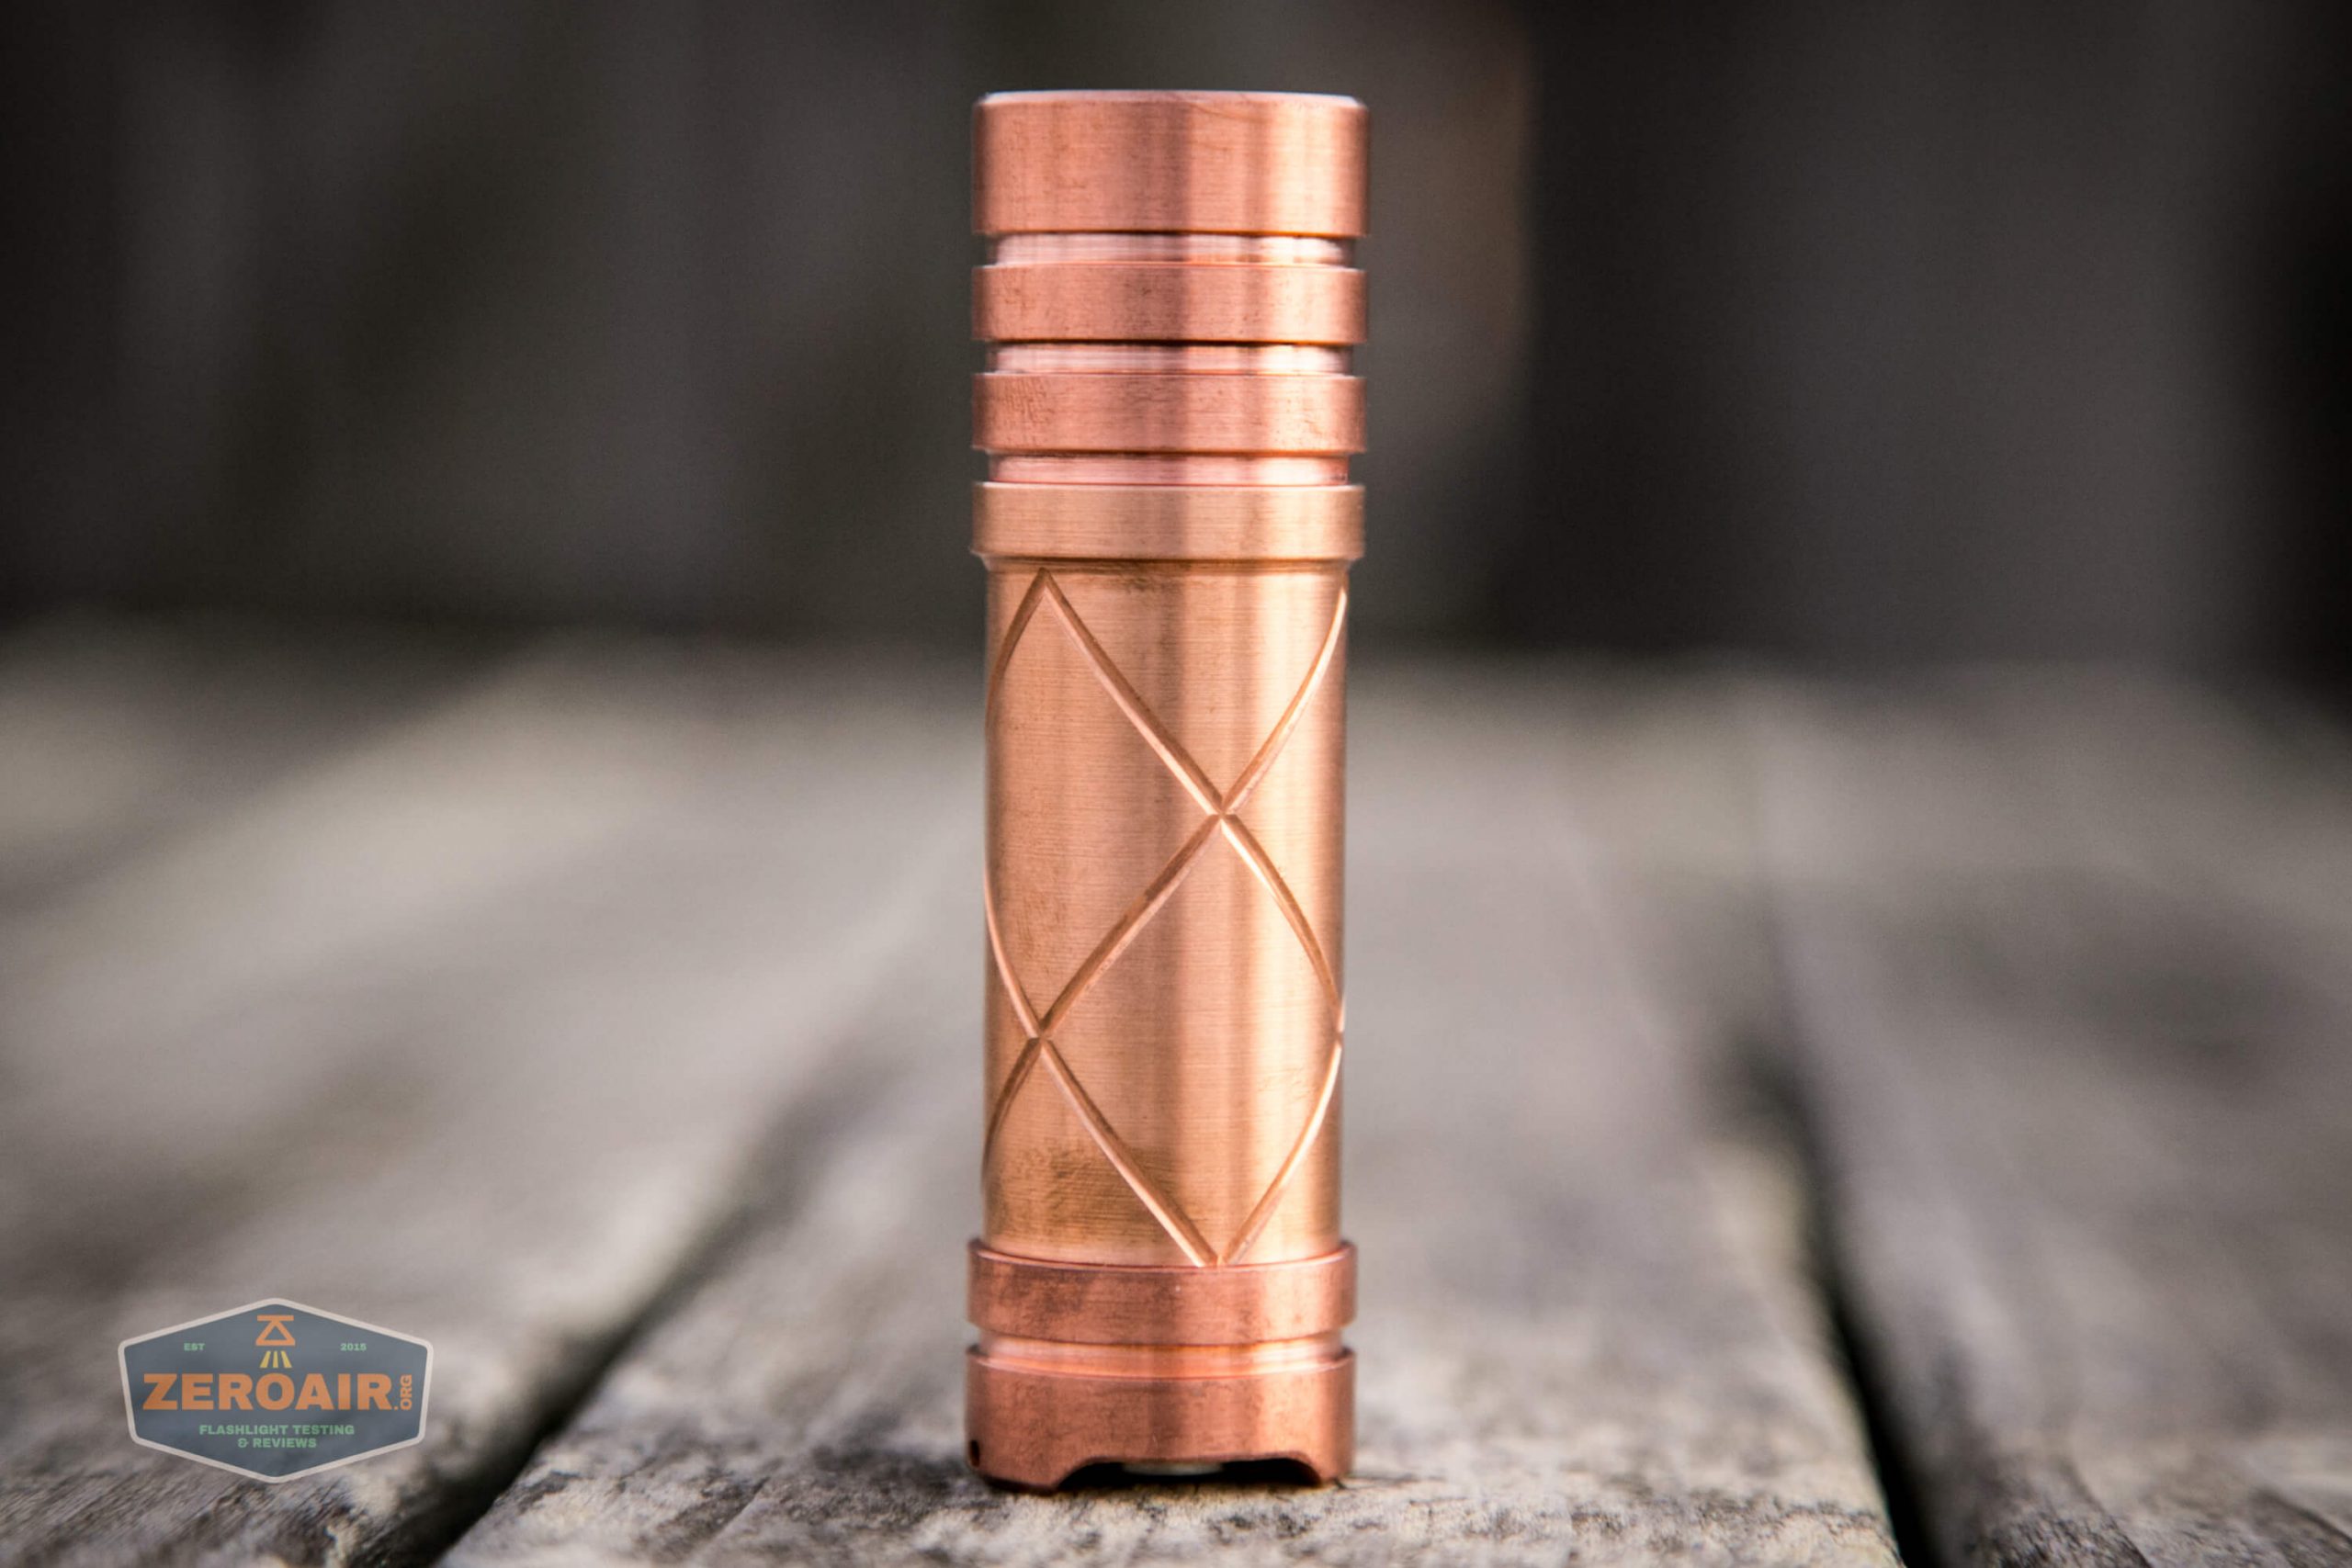
The machine-finished copper is also quite a fingerprint magnet! But again, as the laser ages, all this will be a fairly uniform patina, and will all blend.
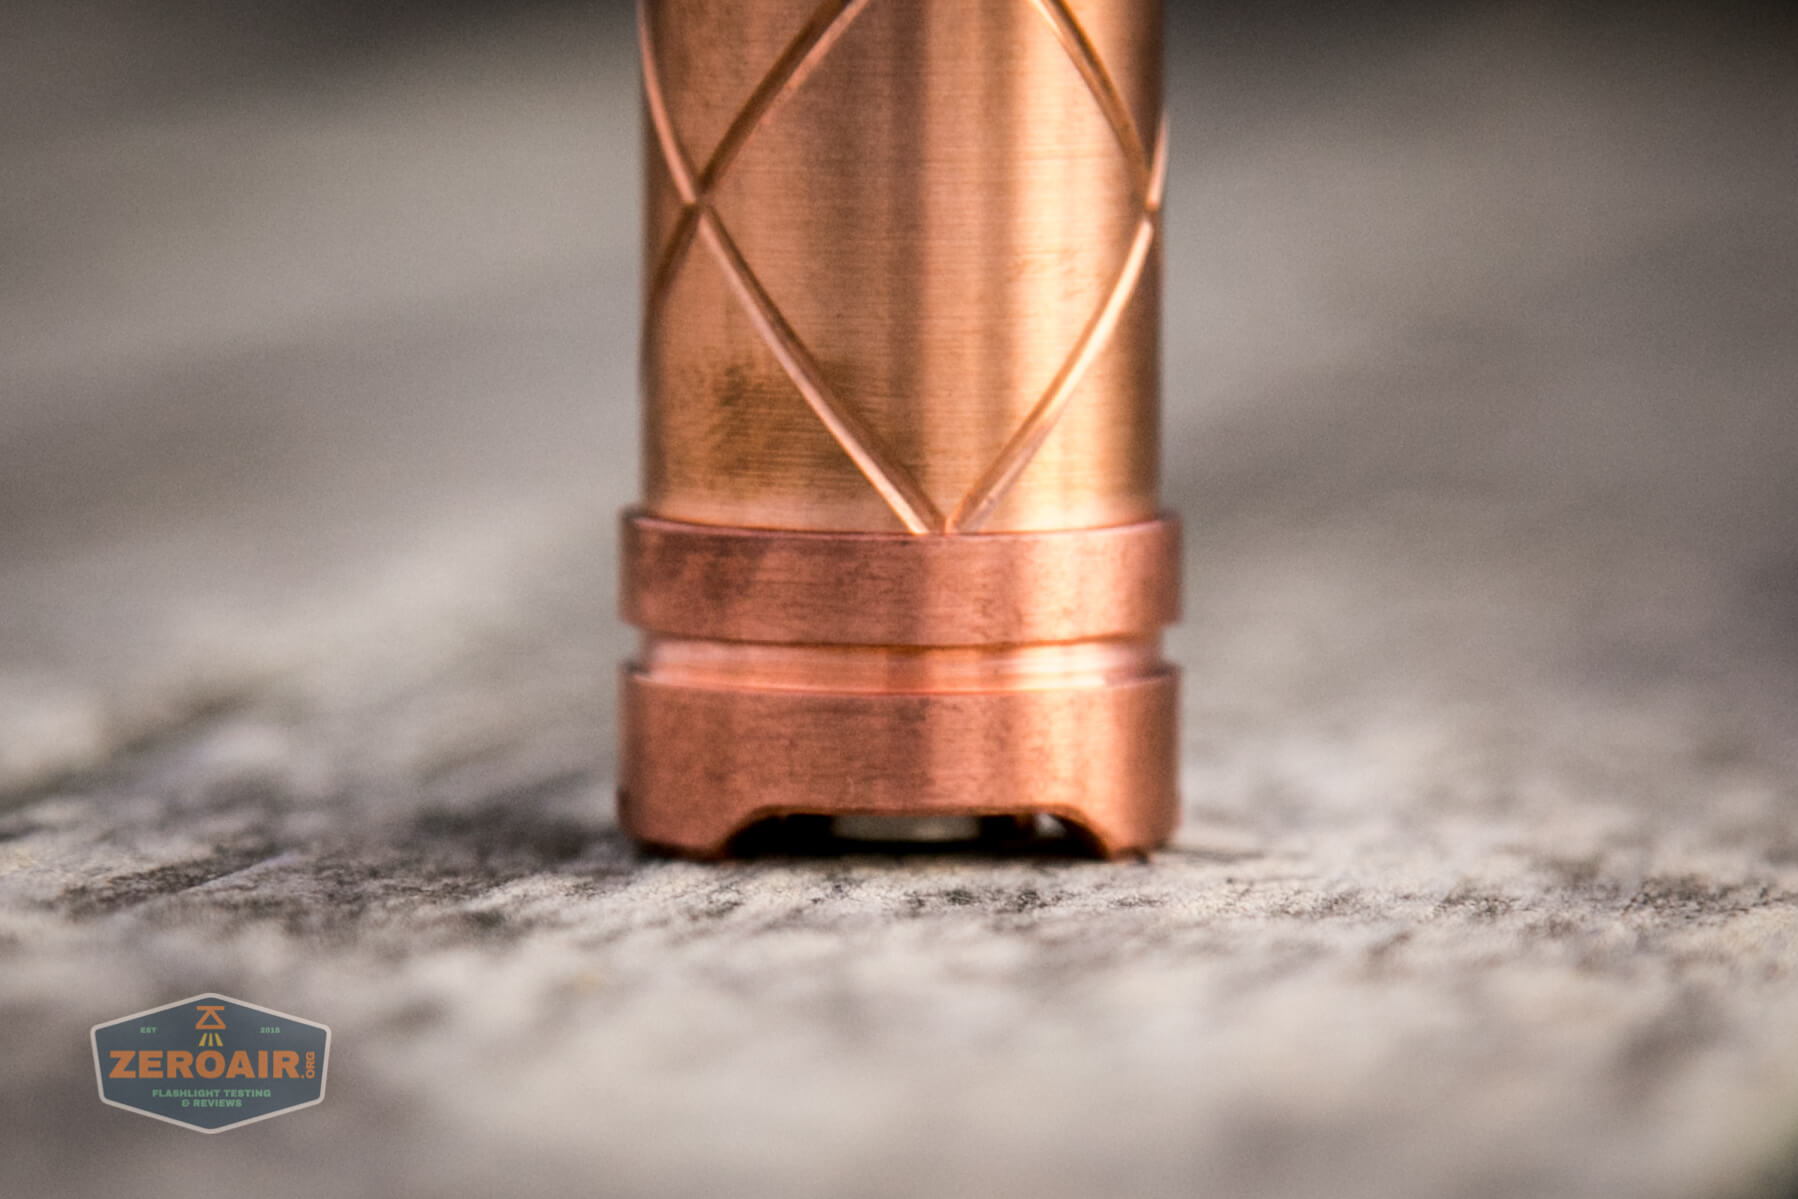
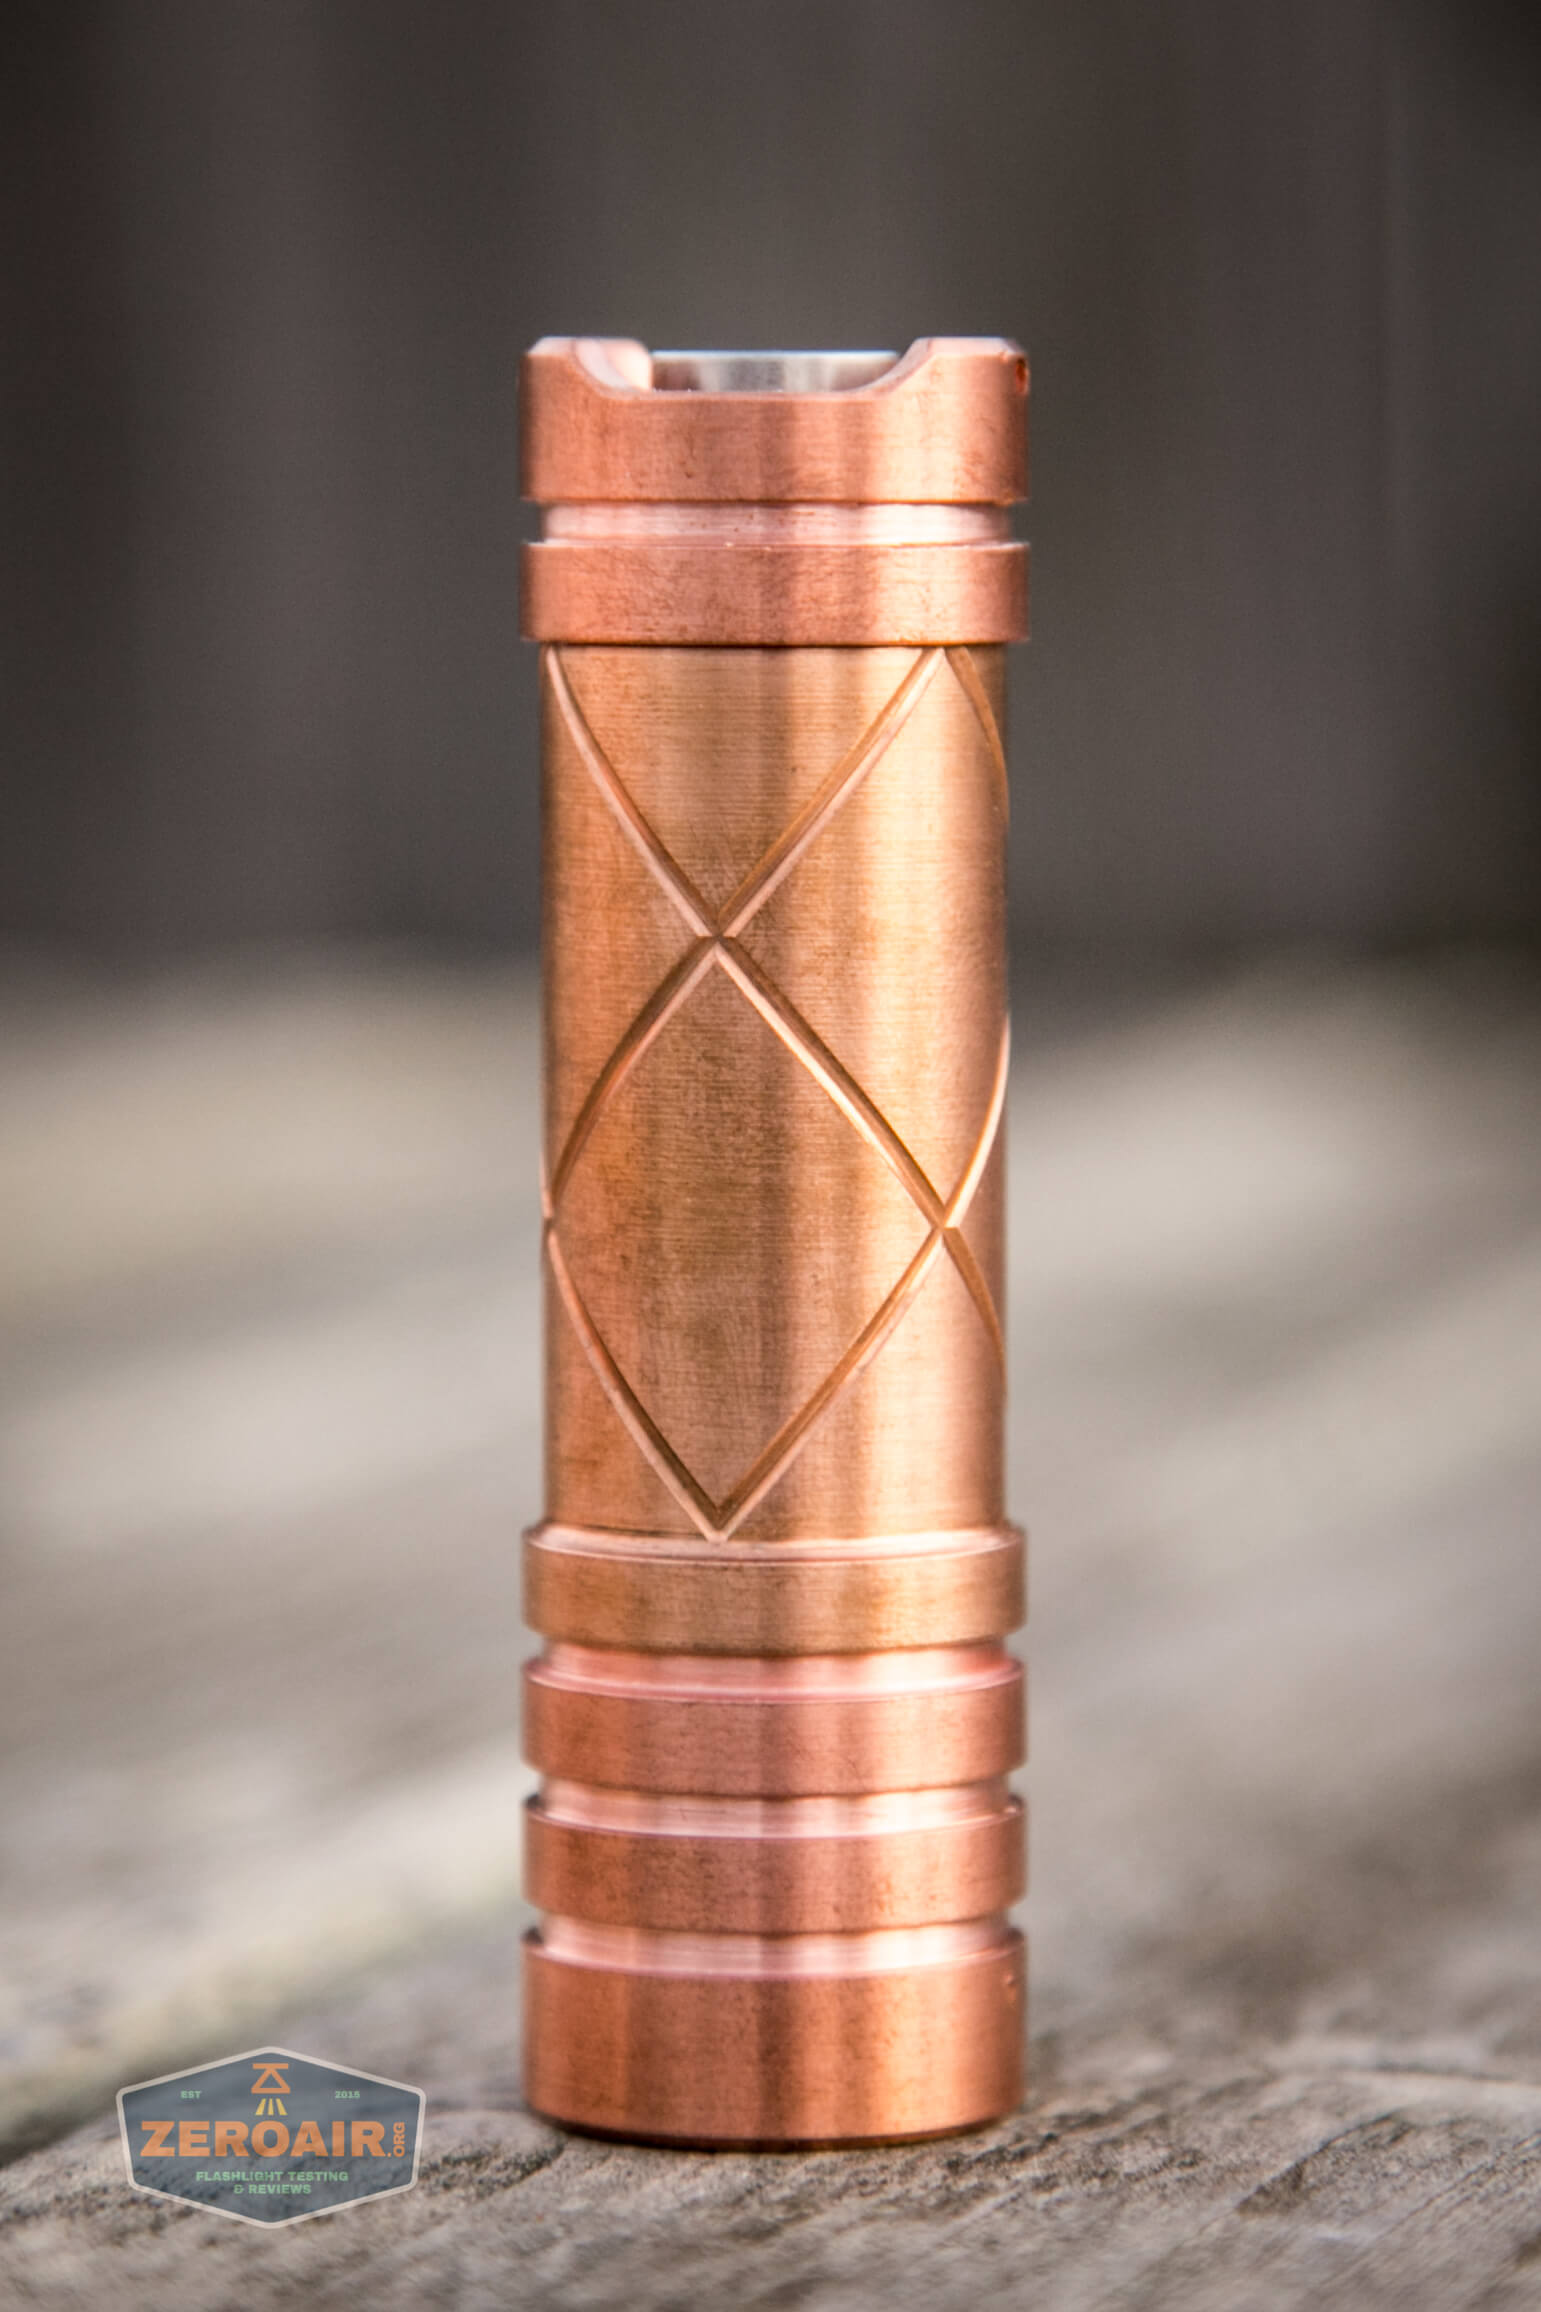
The bezel is flush, so if the Red Guardian is turned on and placed face down, it’s not possible to tell.

The head is removed, below. This reveals the lens in the head, which is held in by the small brass retaining ring mentioned above. I believe there are actually two lenses in there, and that would make sense – laser pointers usually have an expanding lens (innermost) and a collimating lens (outermost). Another thing you might note on the inside of the head here is that the copper could use just a bit of cleanup. When you receive your Red Guardian, it won’t be a bad idea to give it a complete once-over with a Q-tip and possibly some isopropyl alcohol (after removing the diode section).
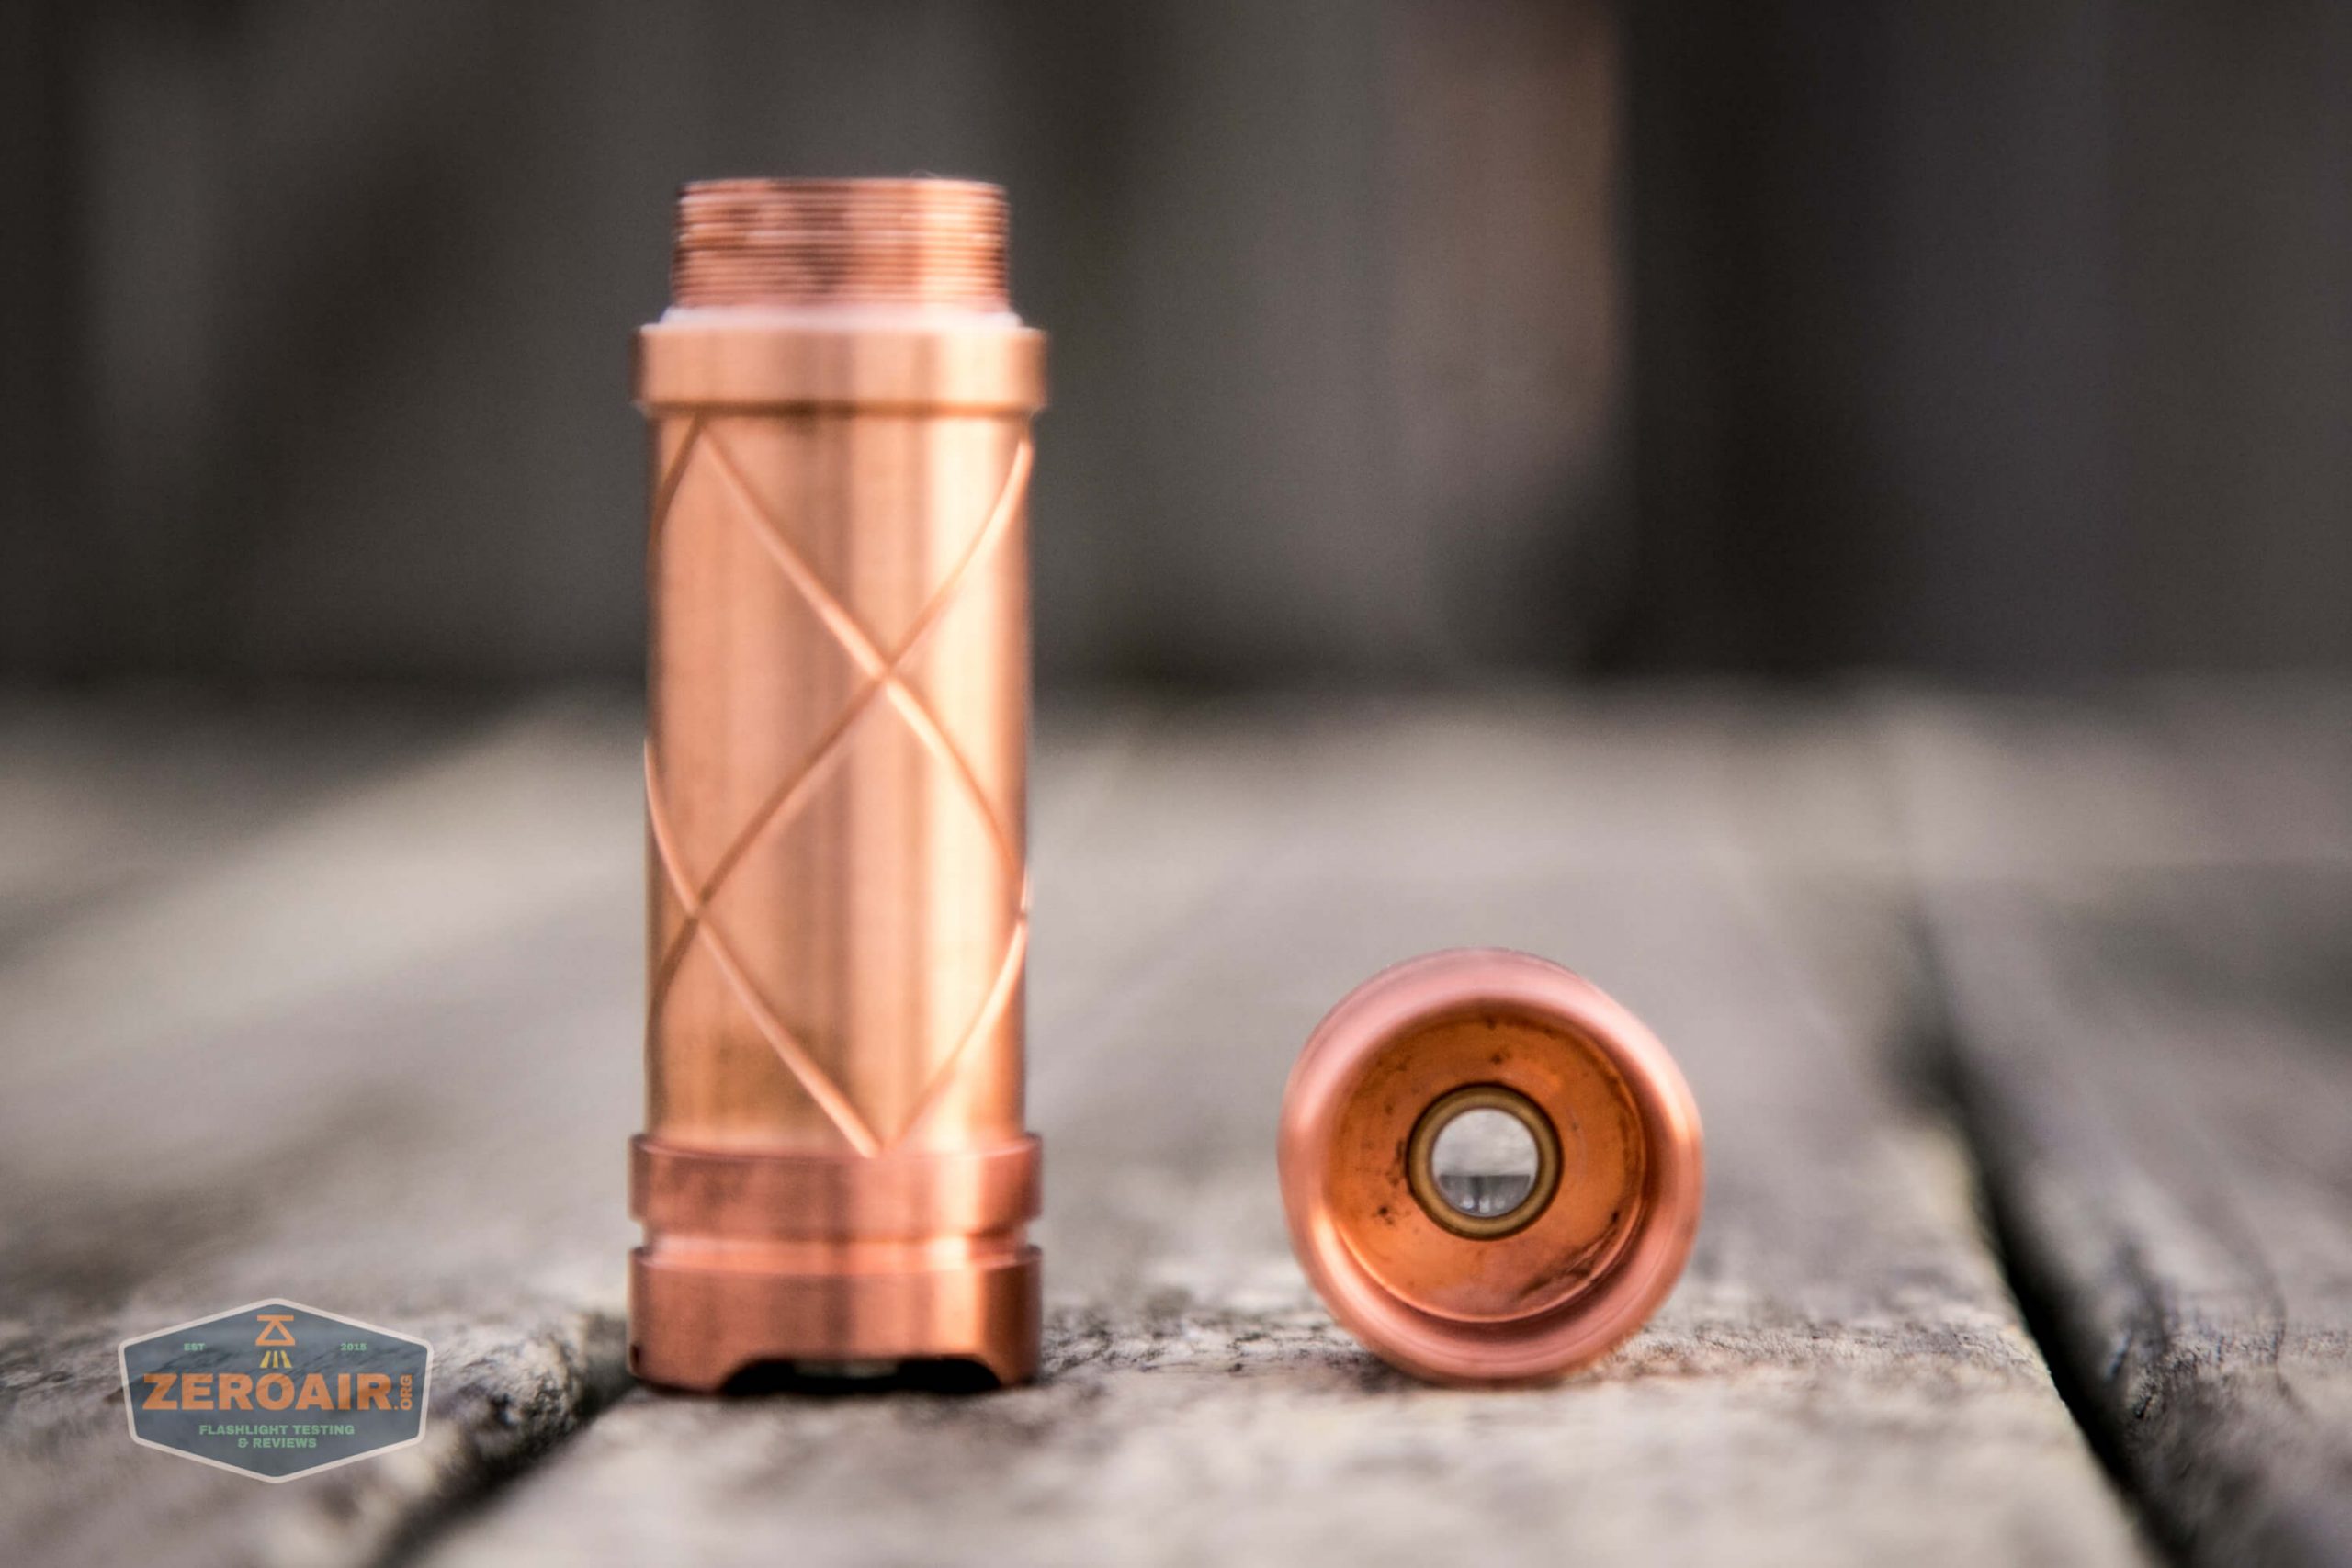
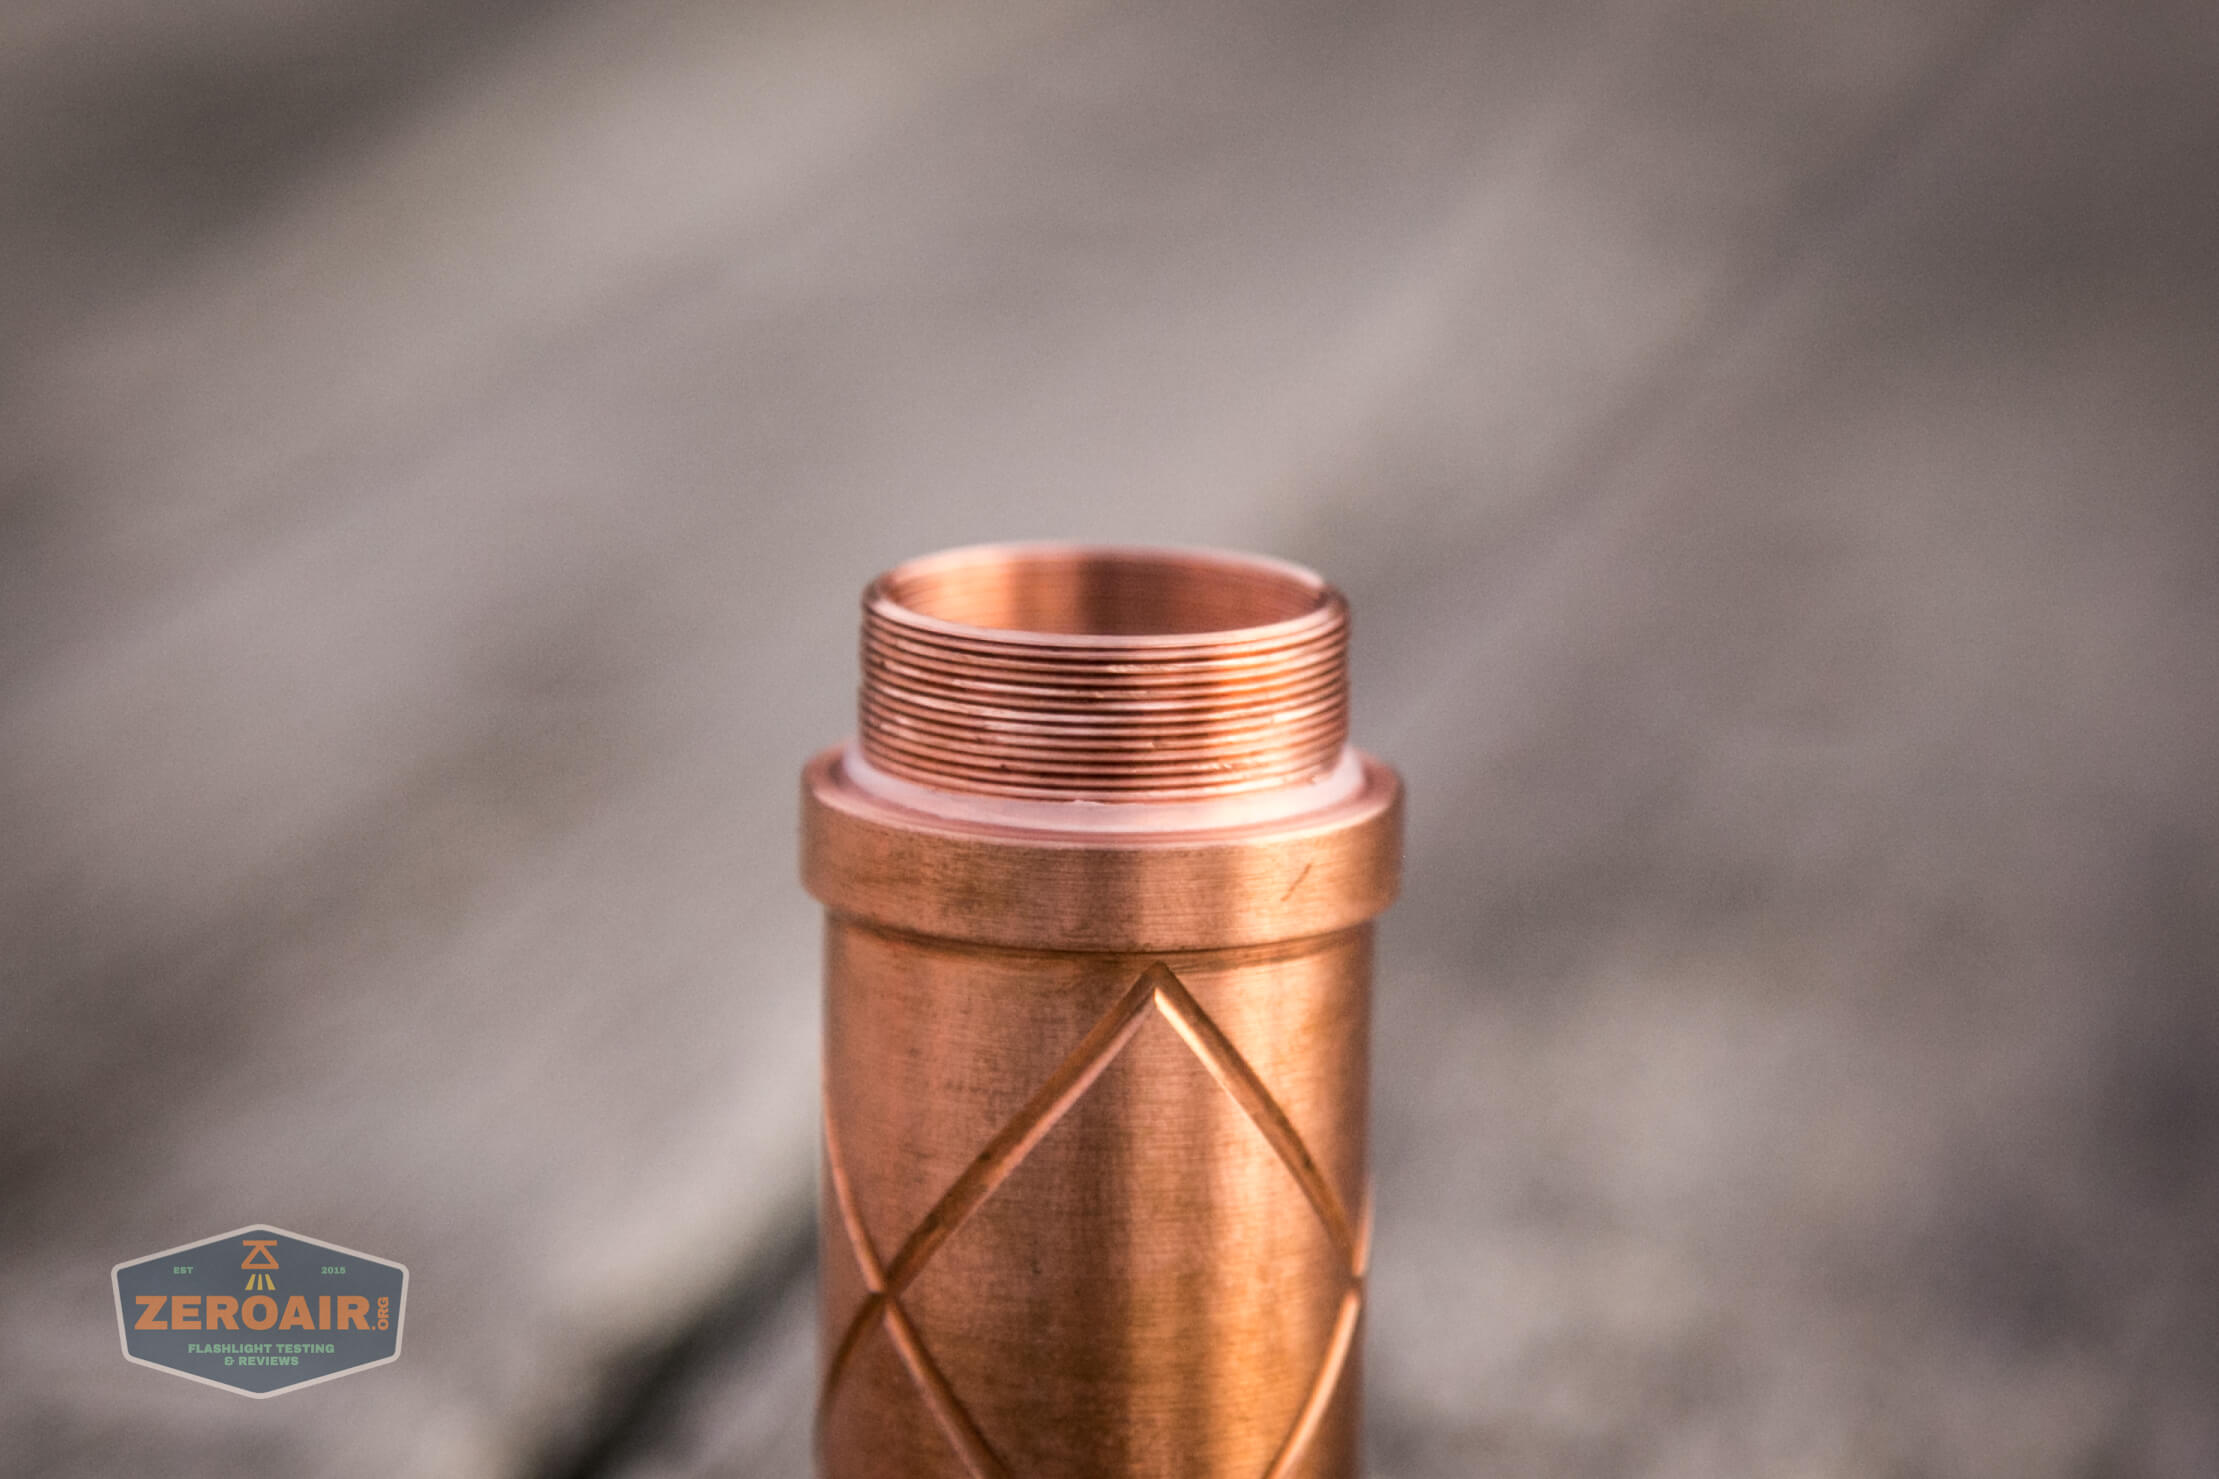
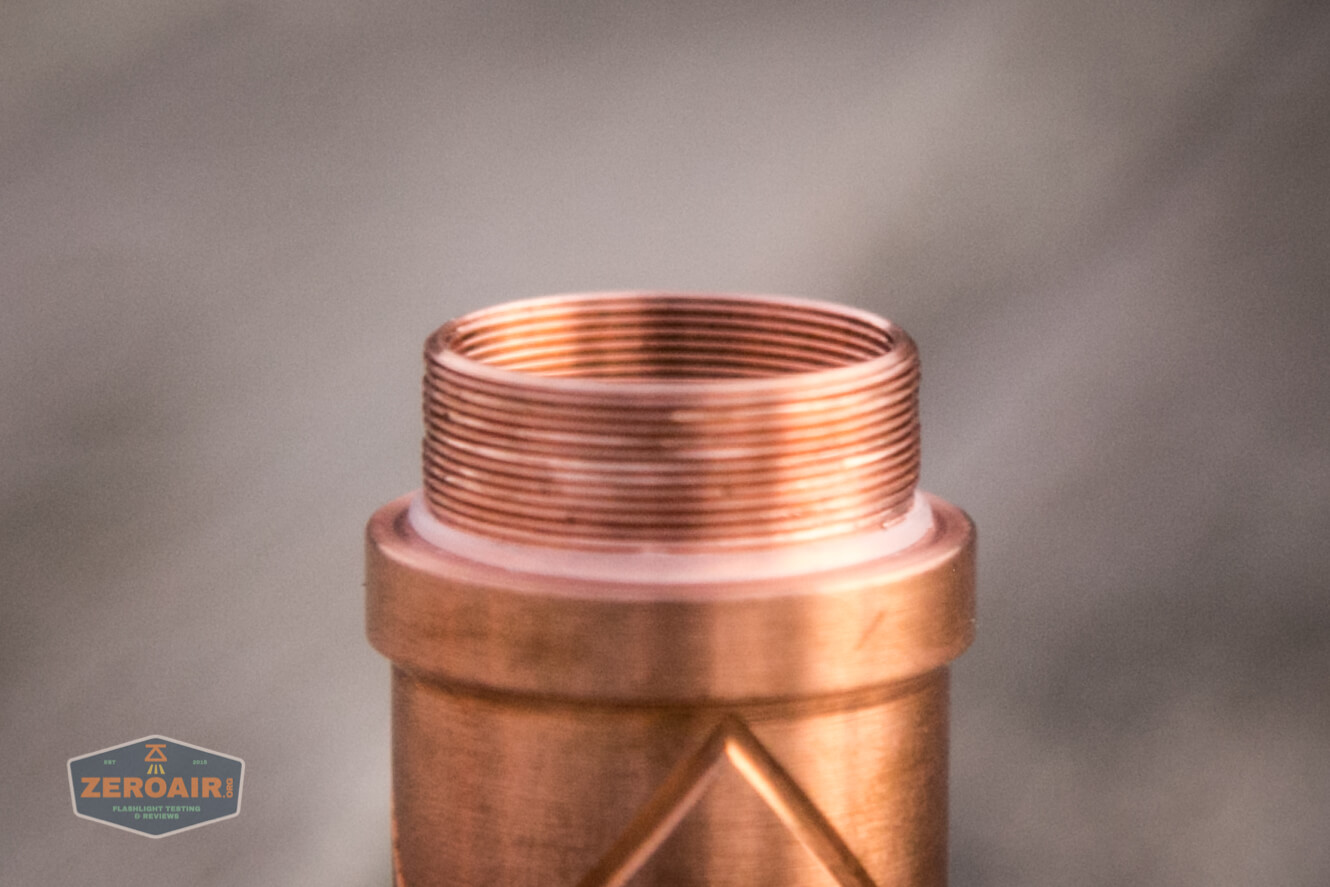
The threads over all parts of the Red Guardian are very fine. Like super very fine. I found that the best way to assemble and disassemble this laser was to just lay the parts all on a surface where they’re all on one plane, and screw them together. That eliminates one possible source of crossing the threads.
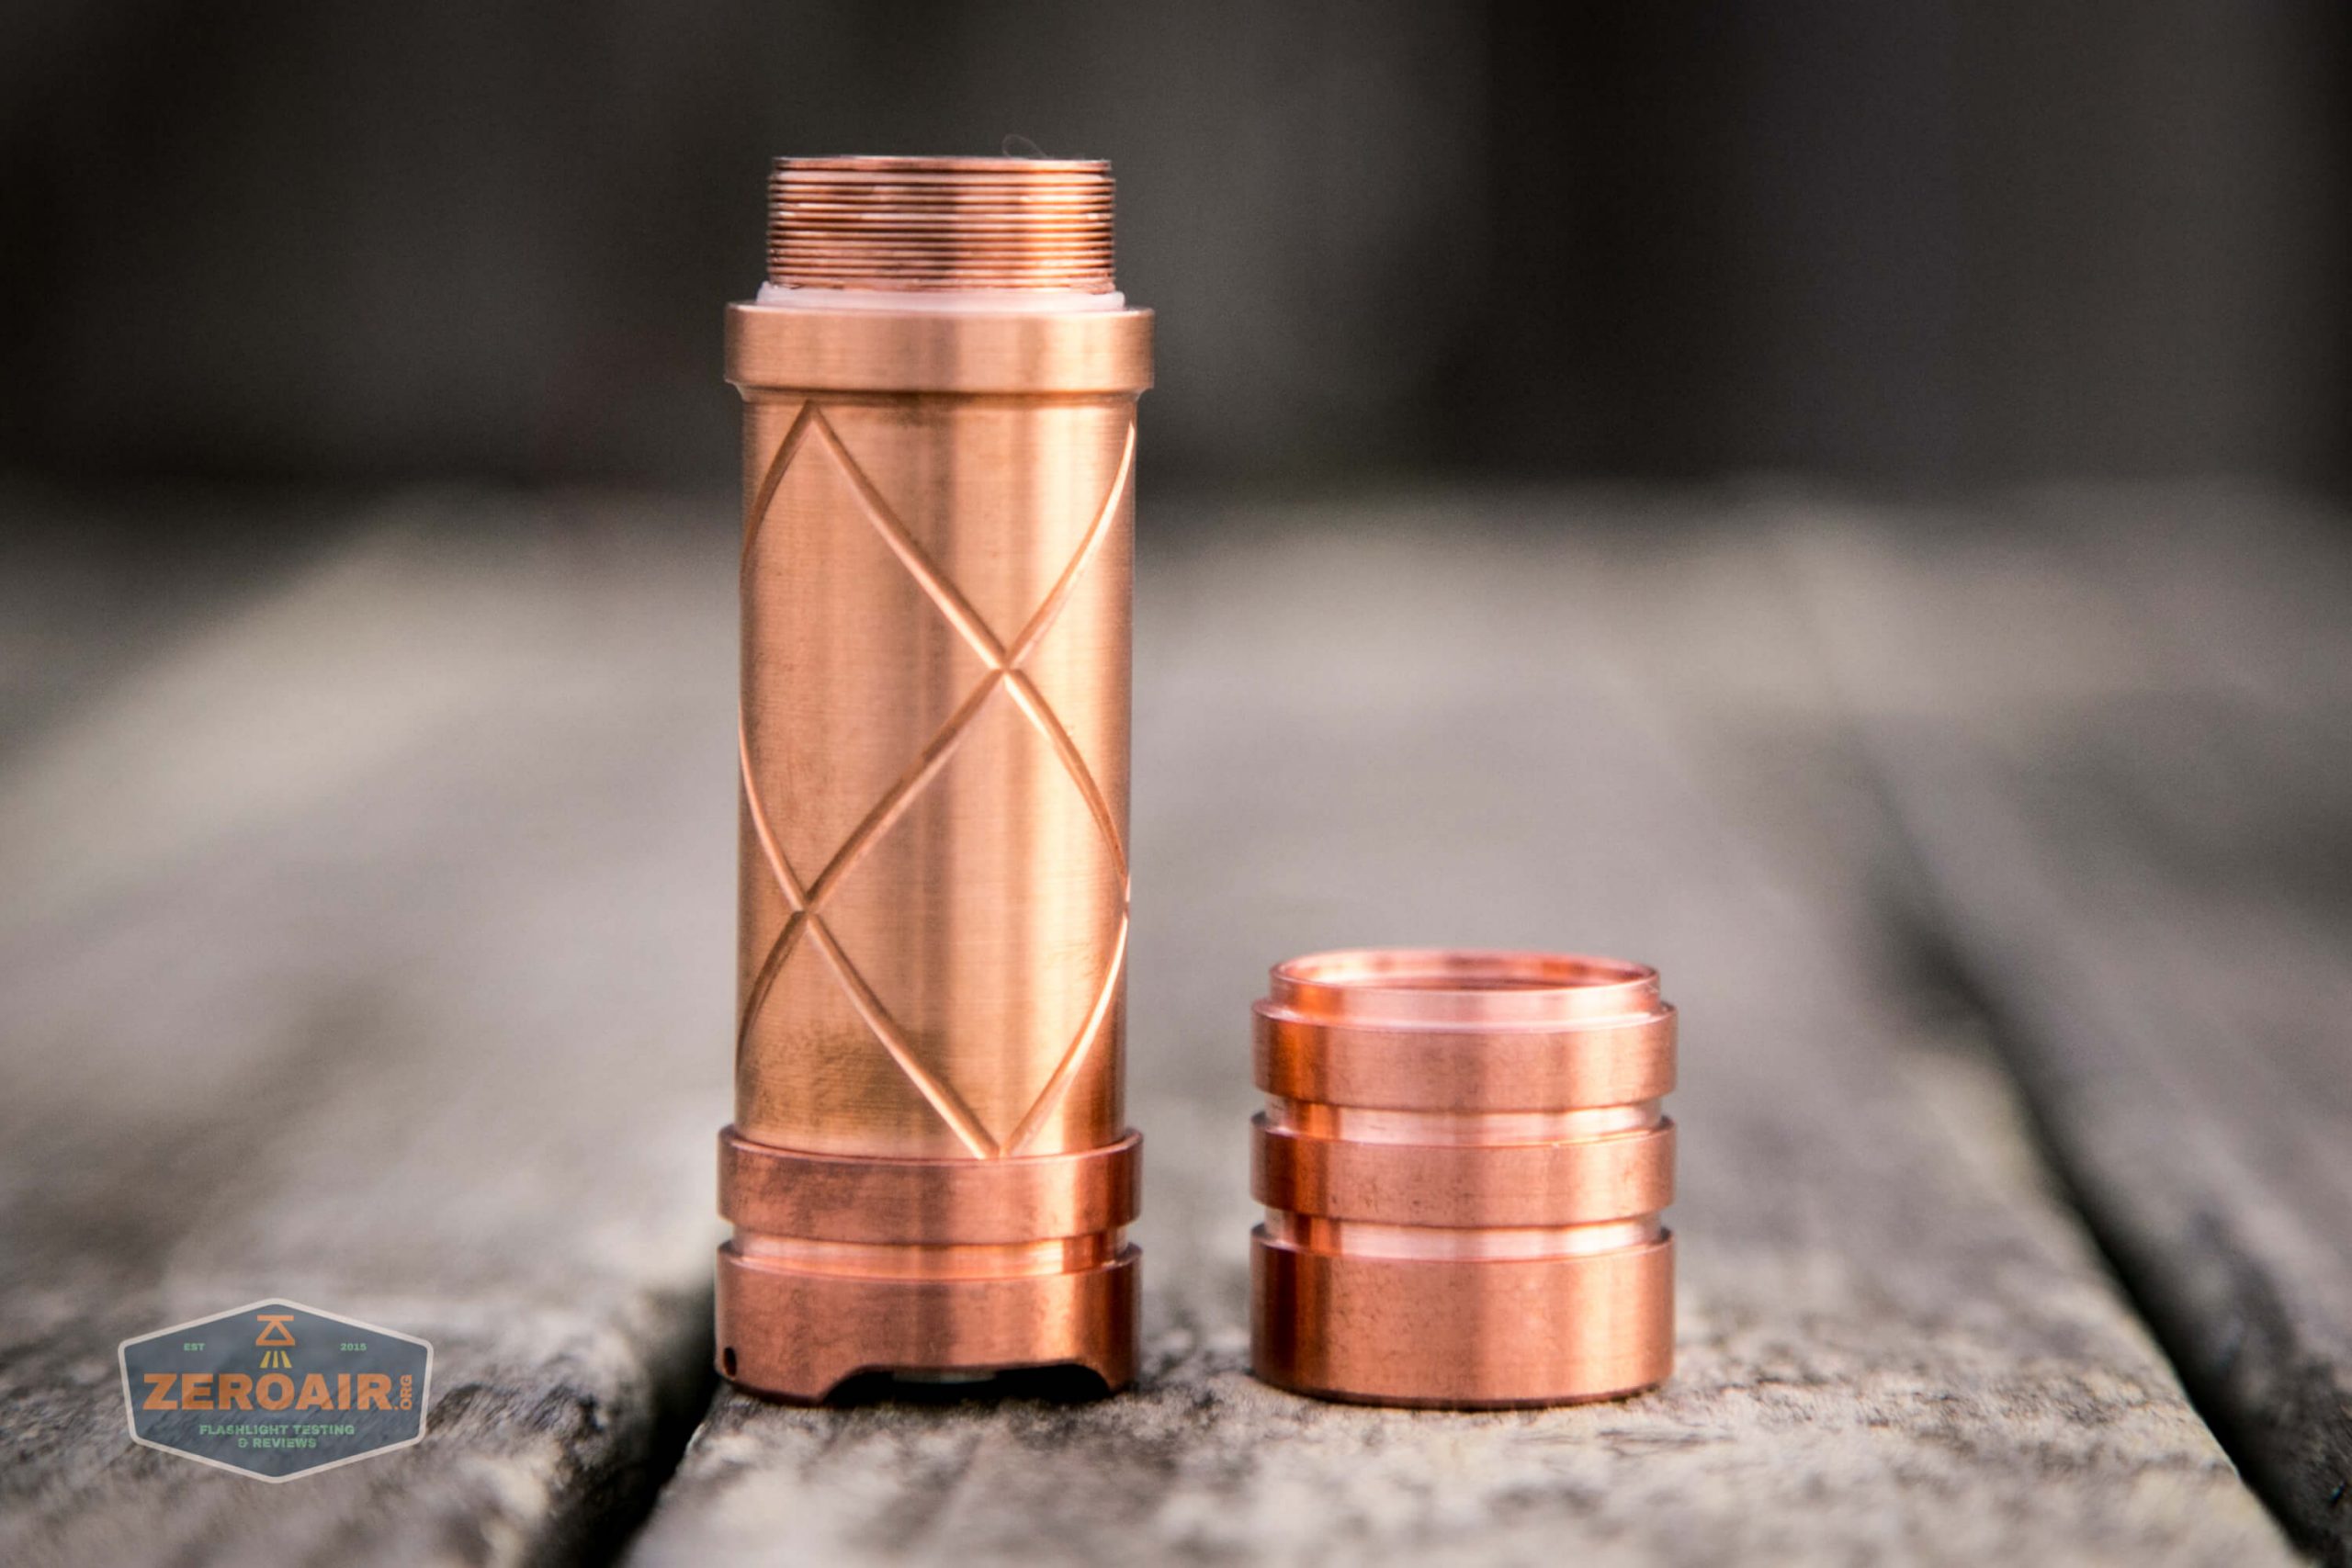
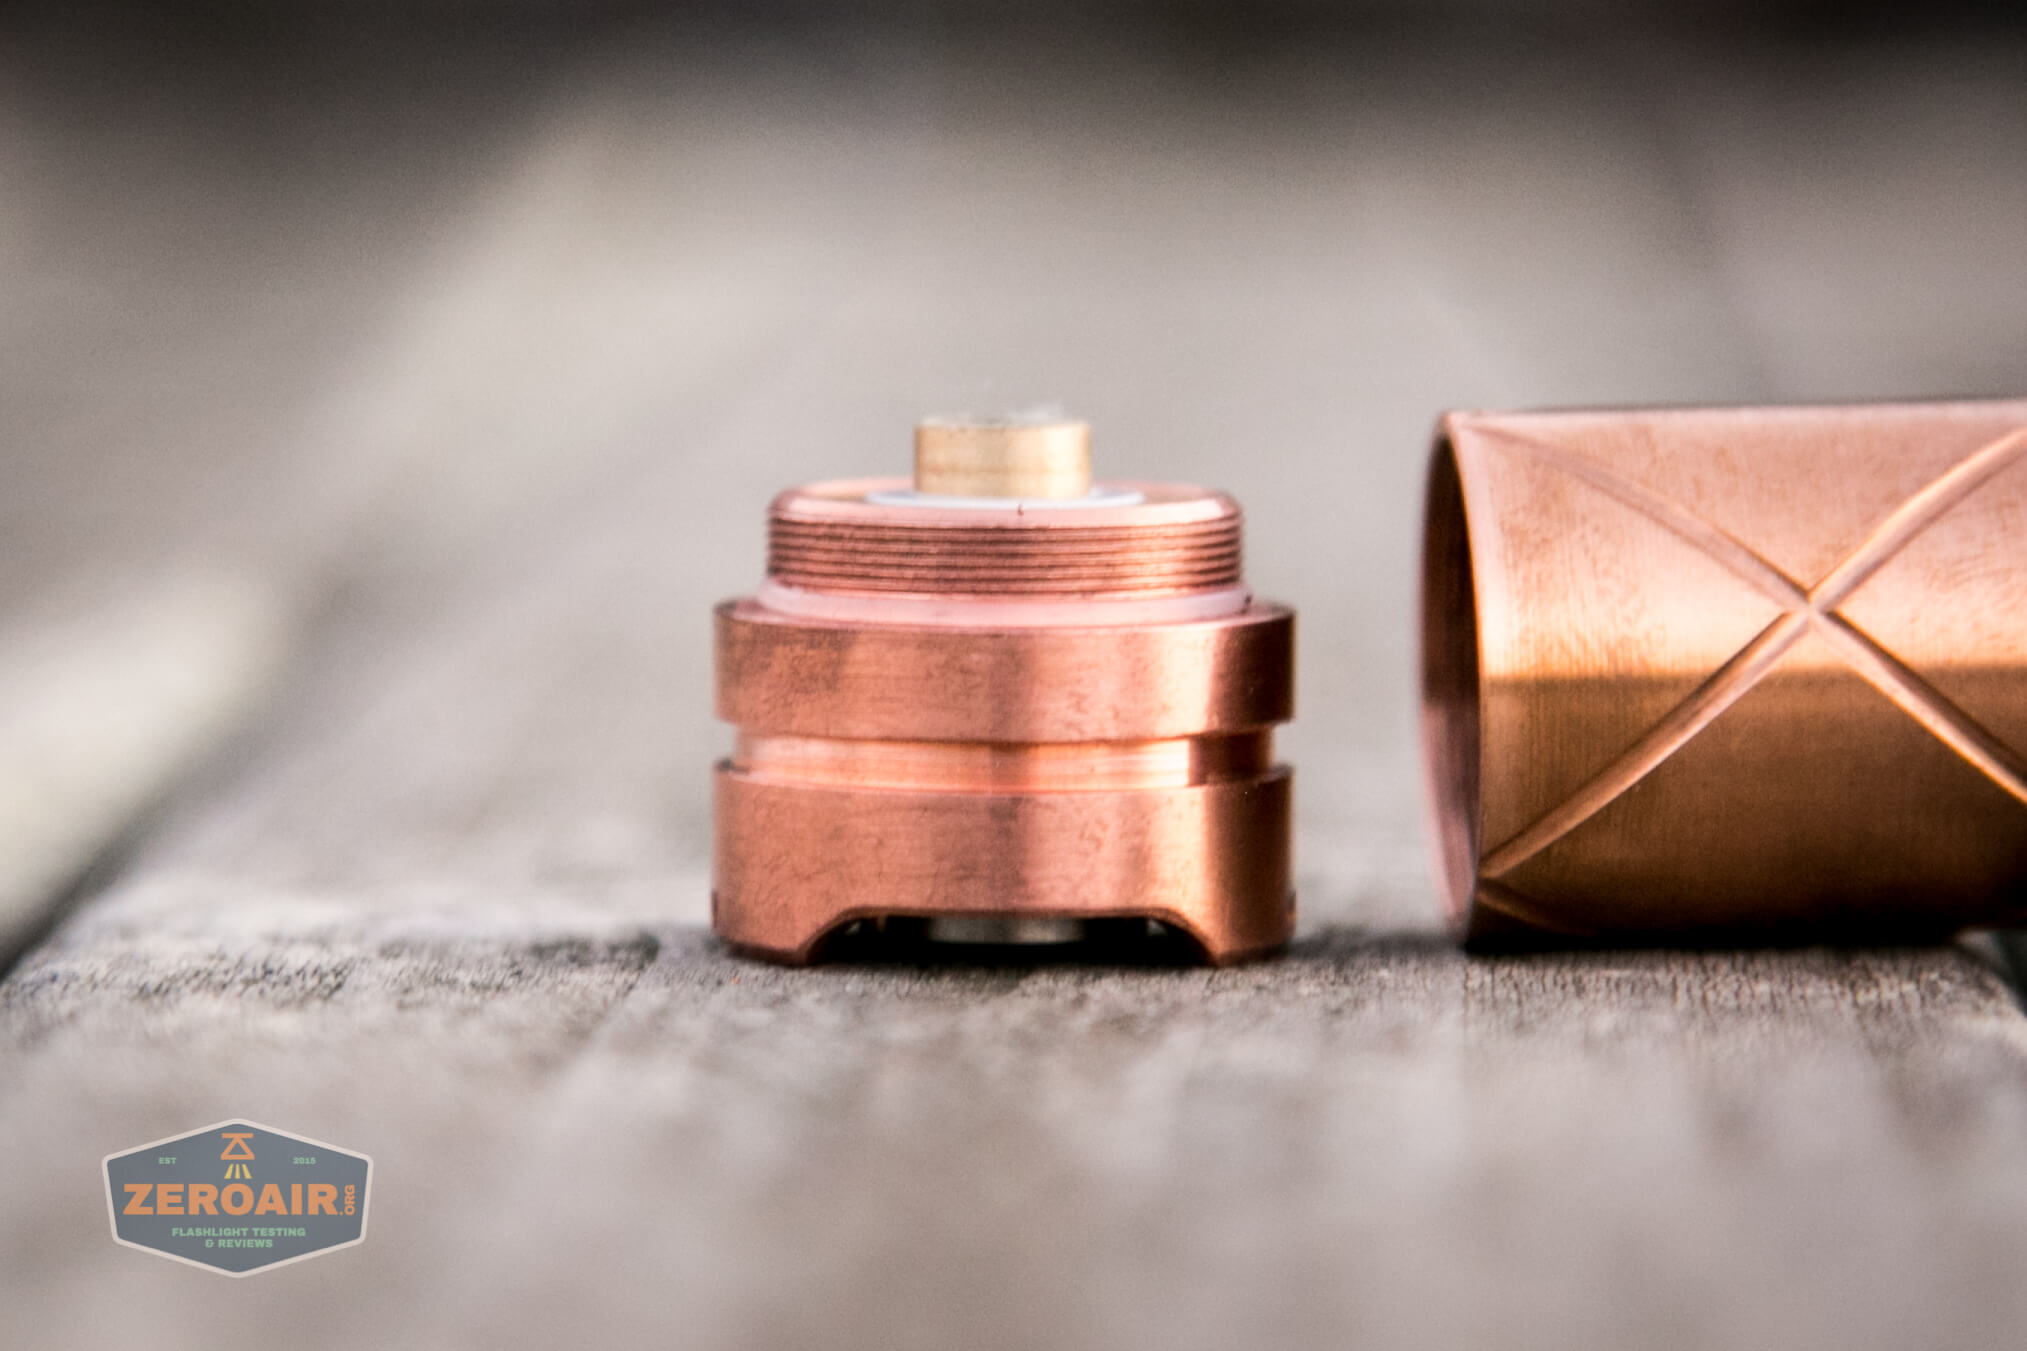
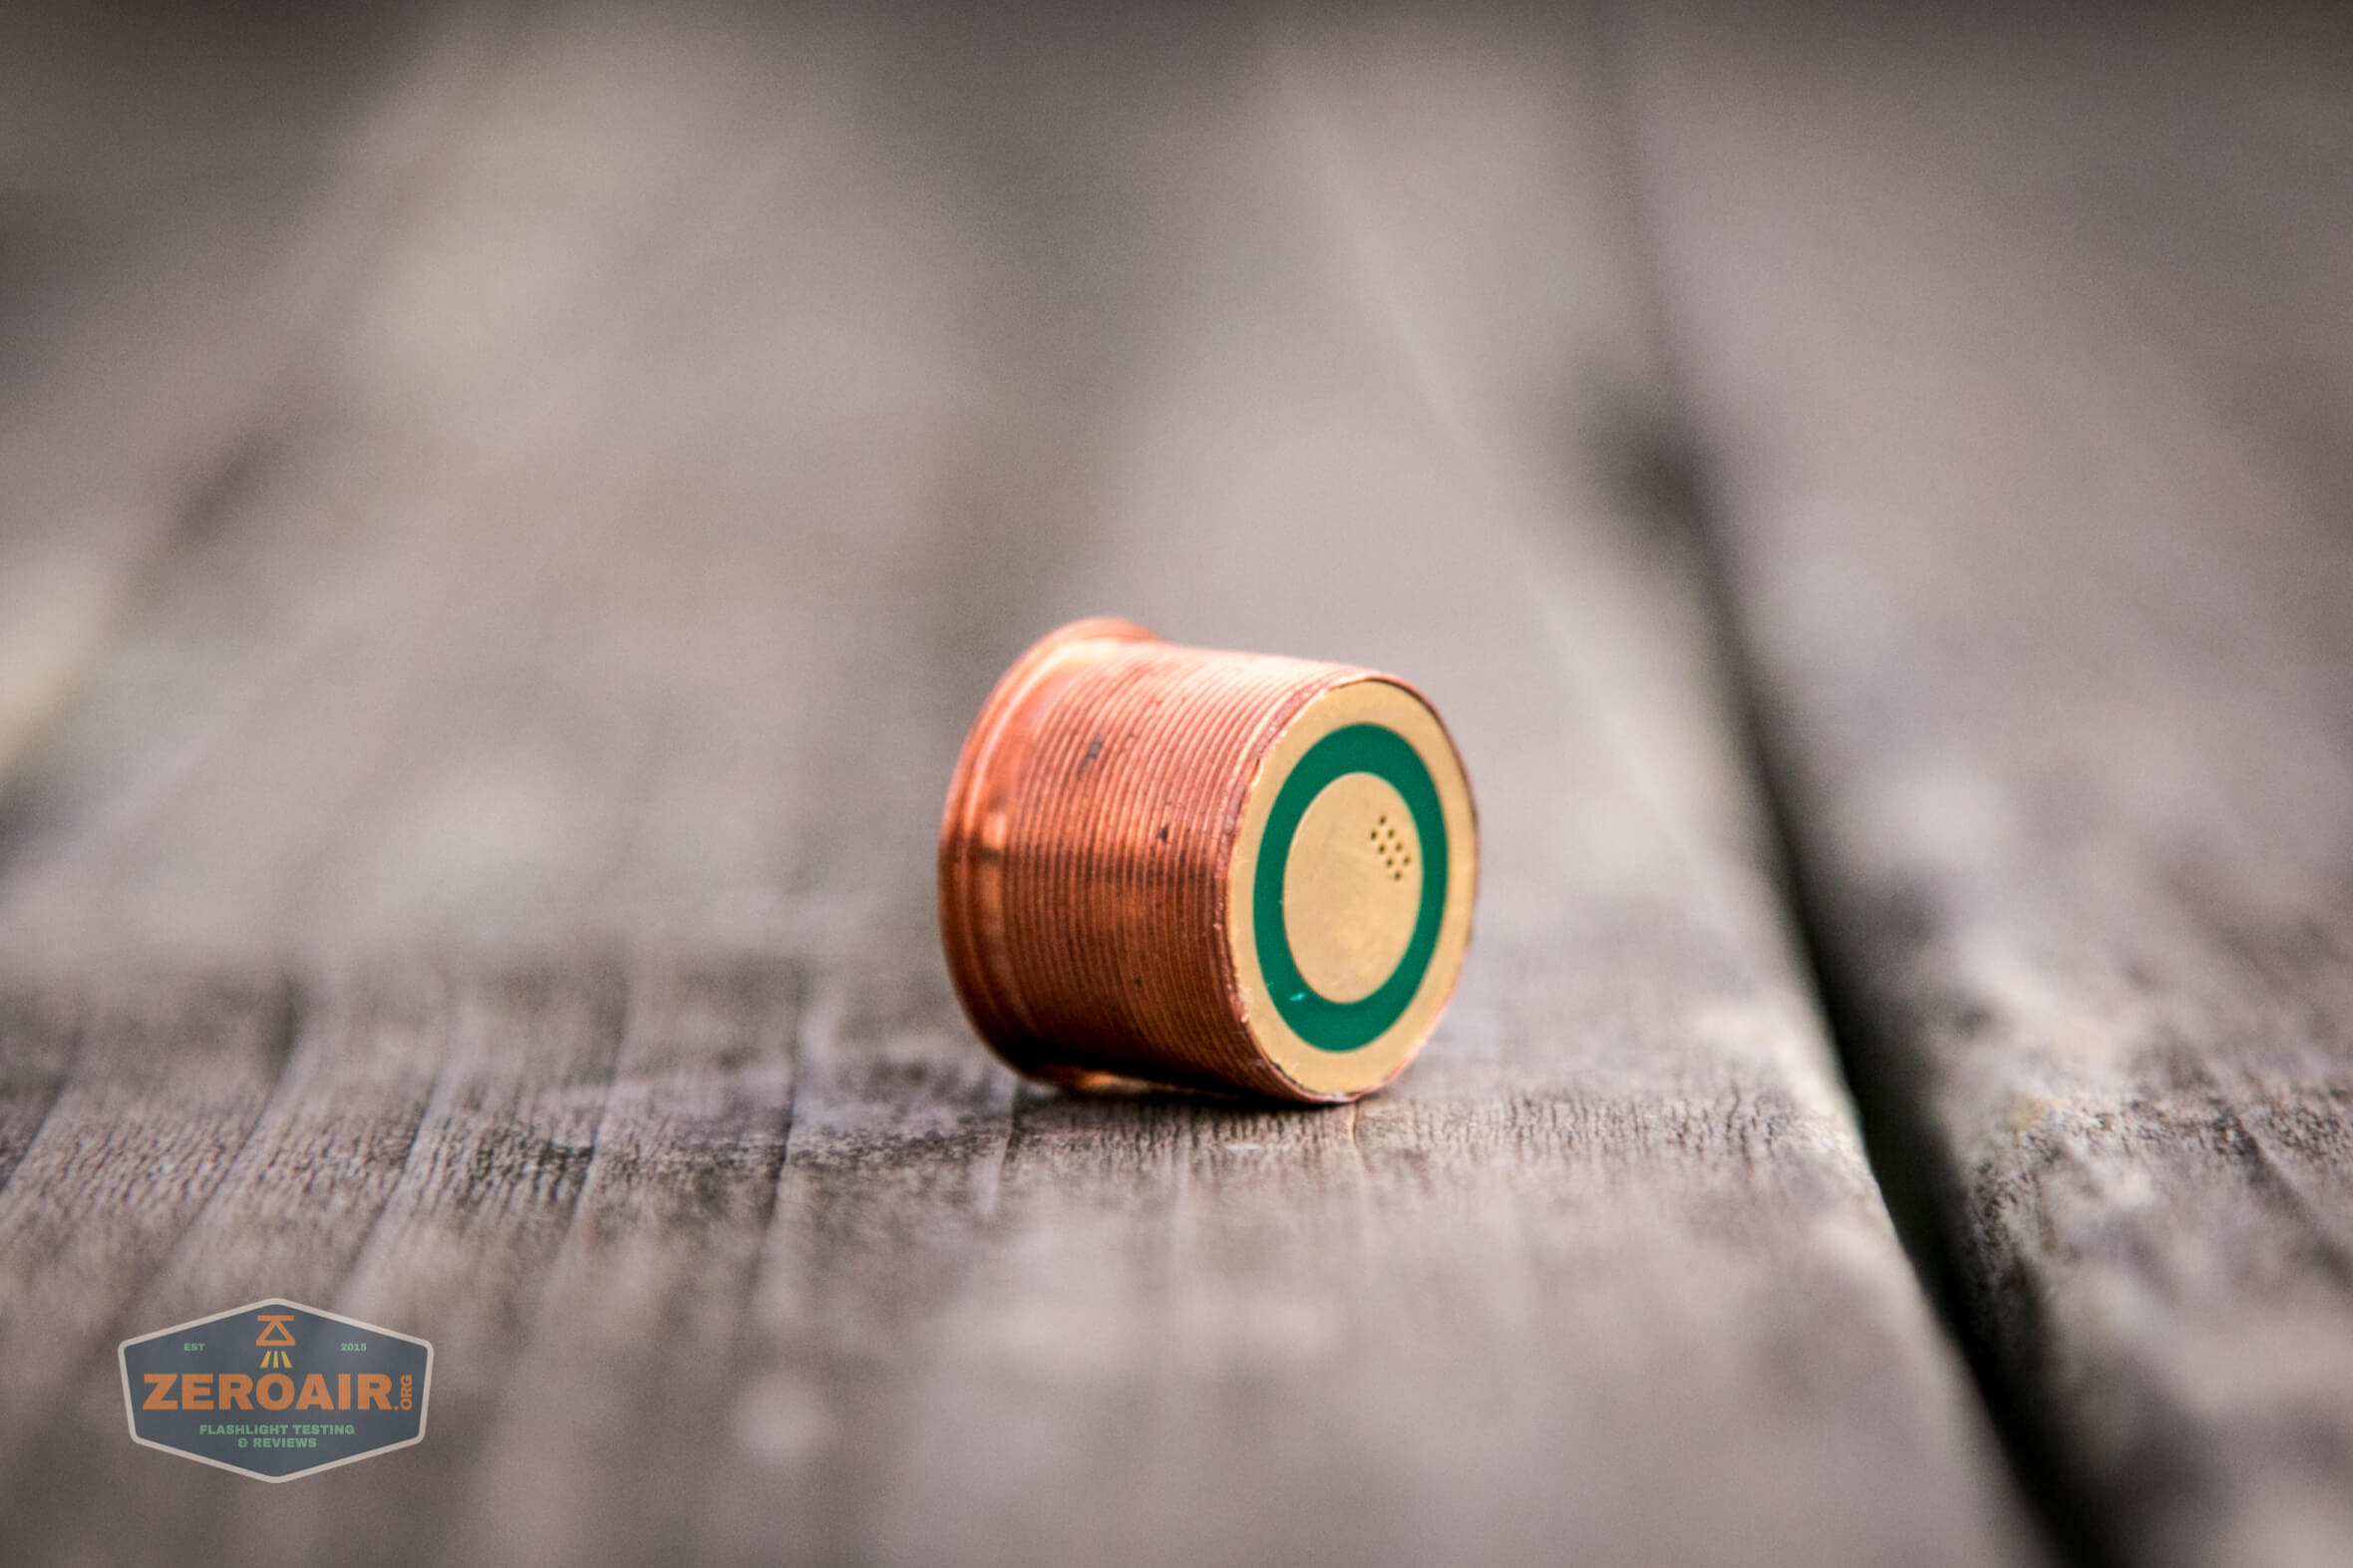
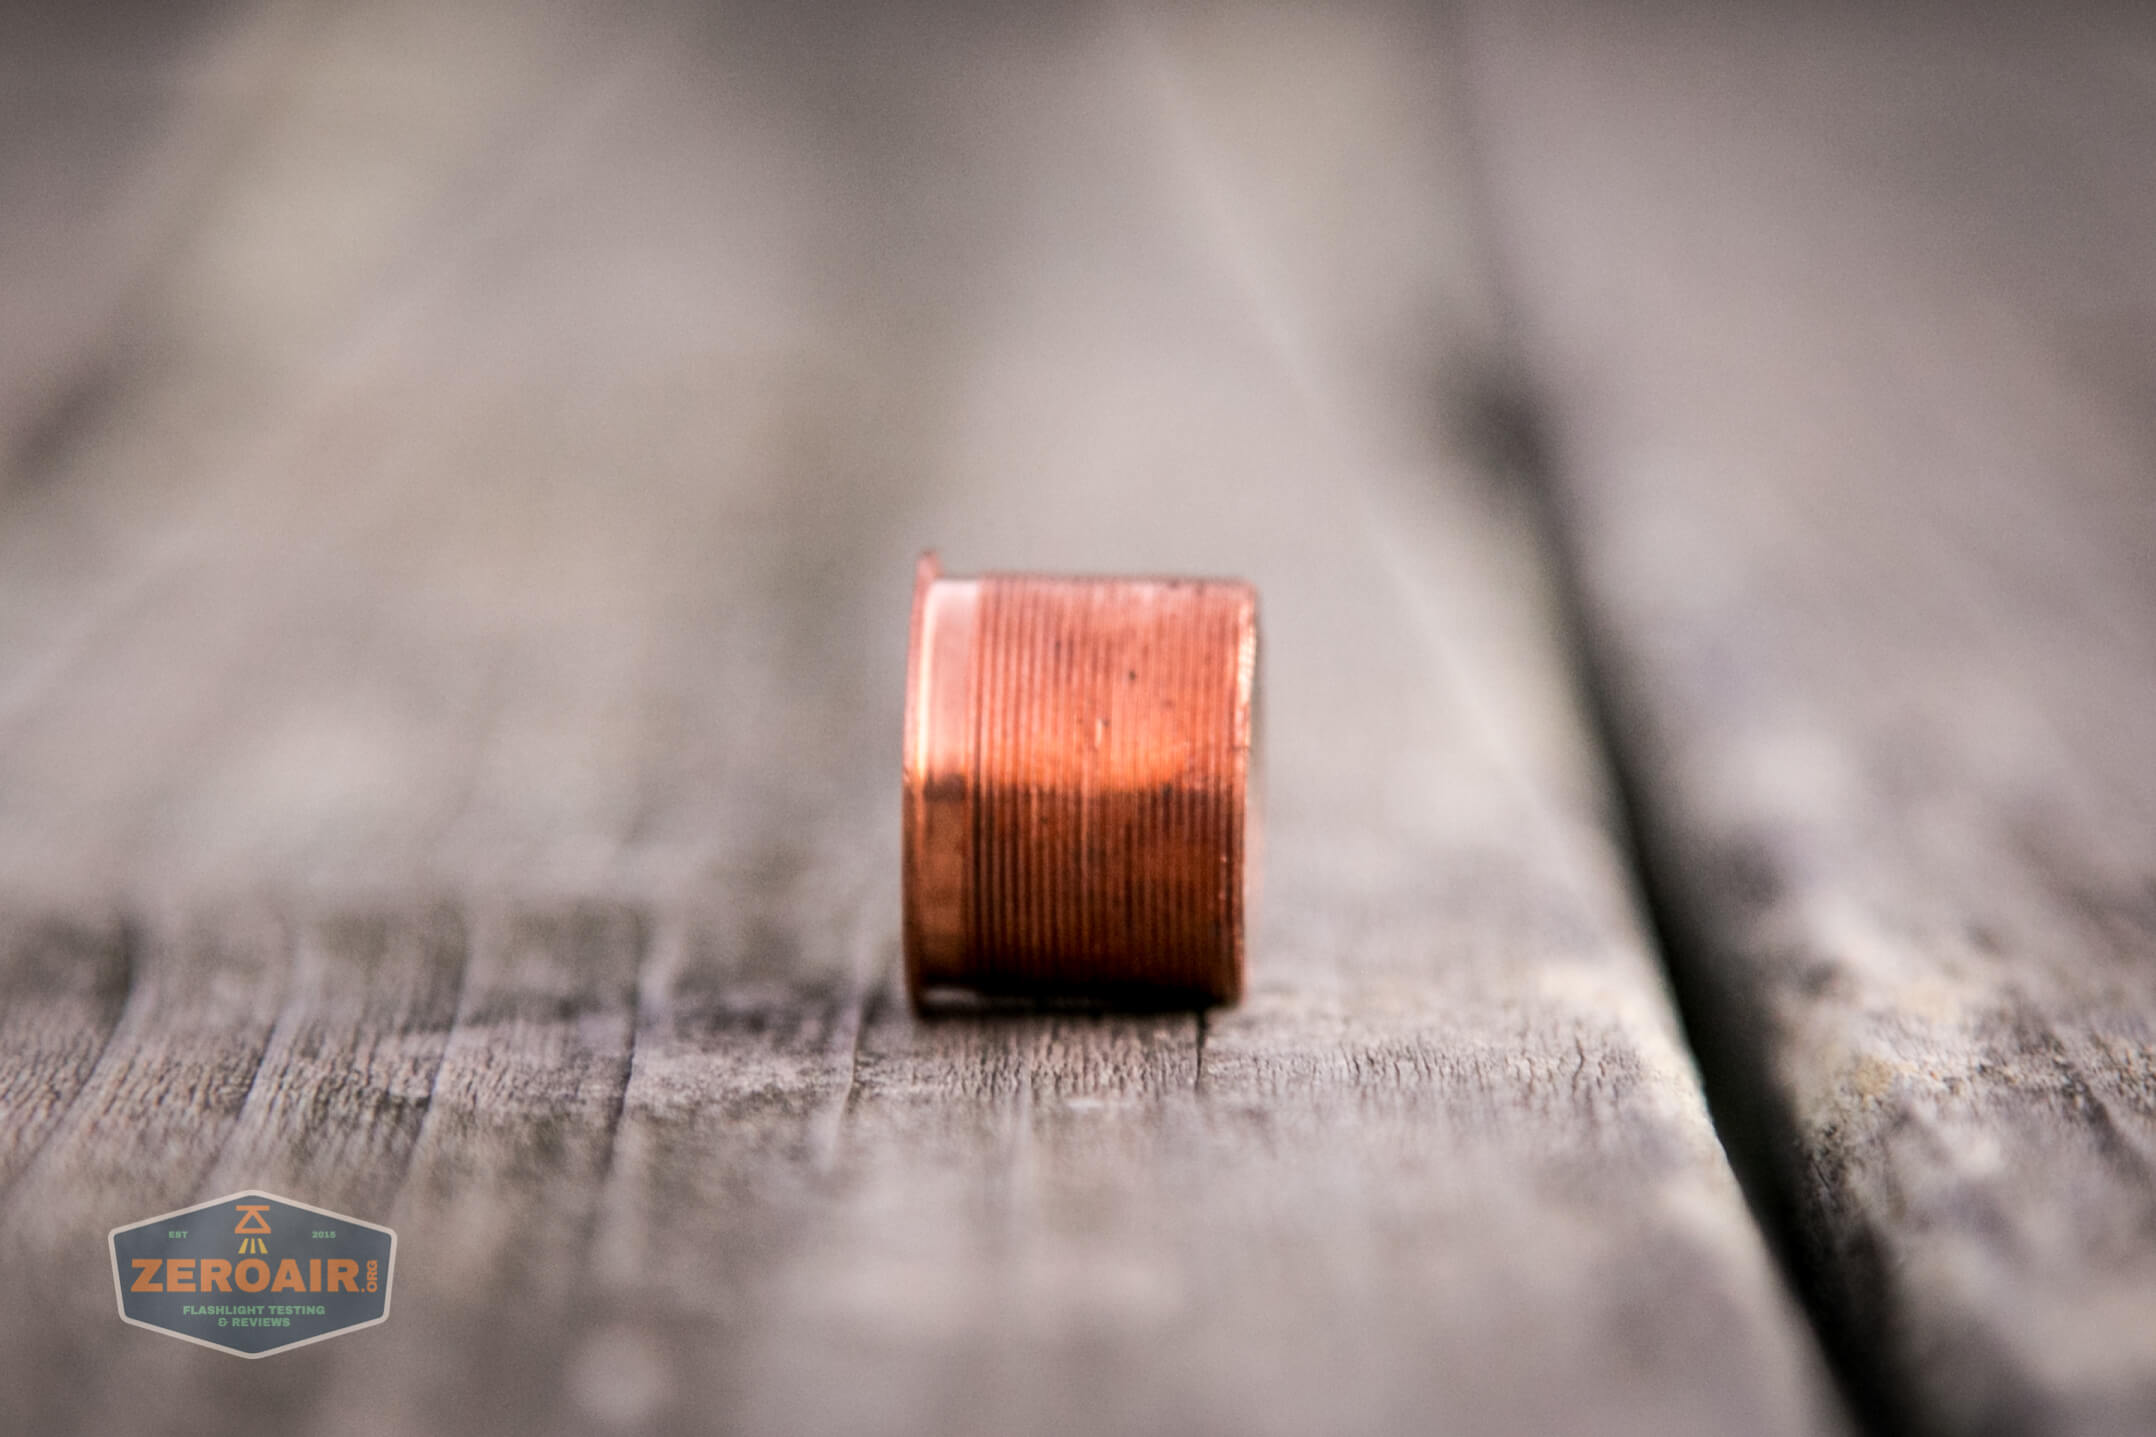
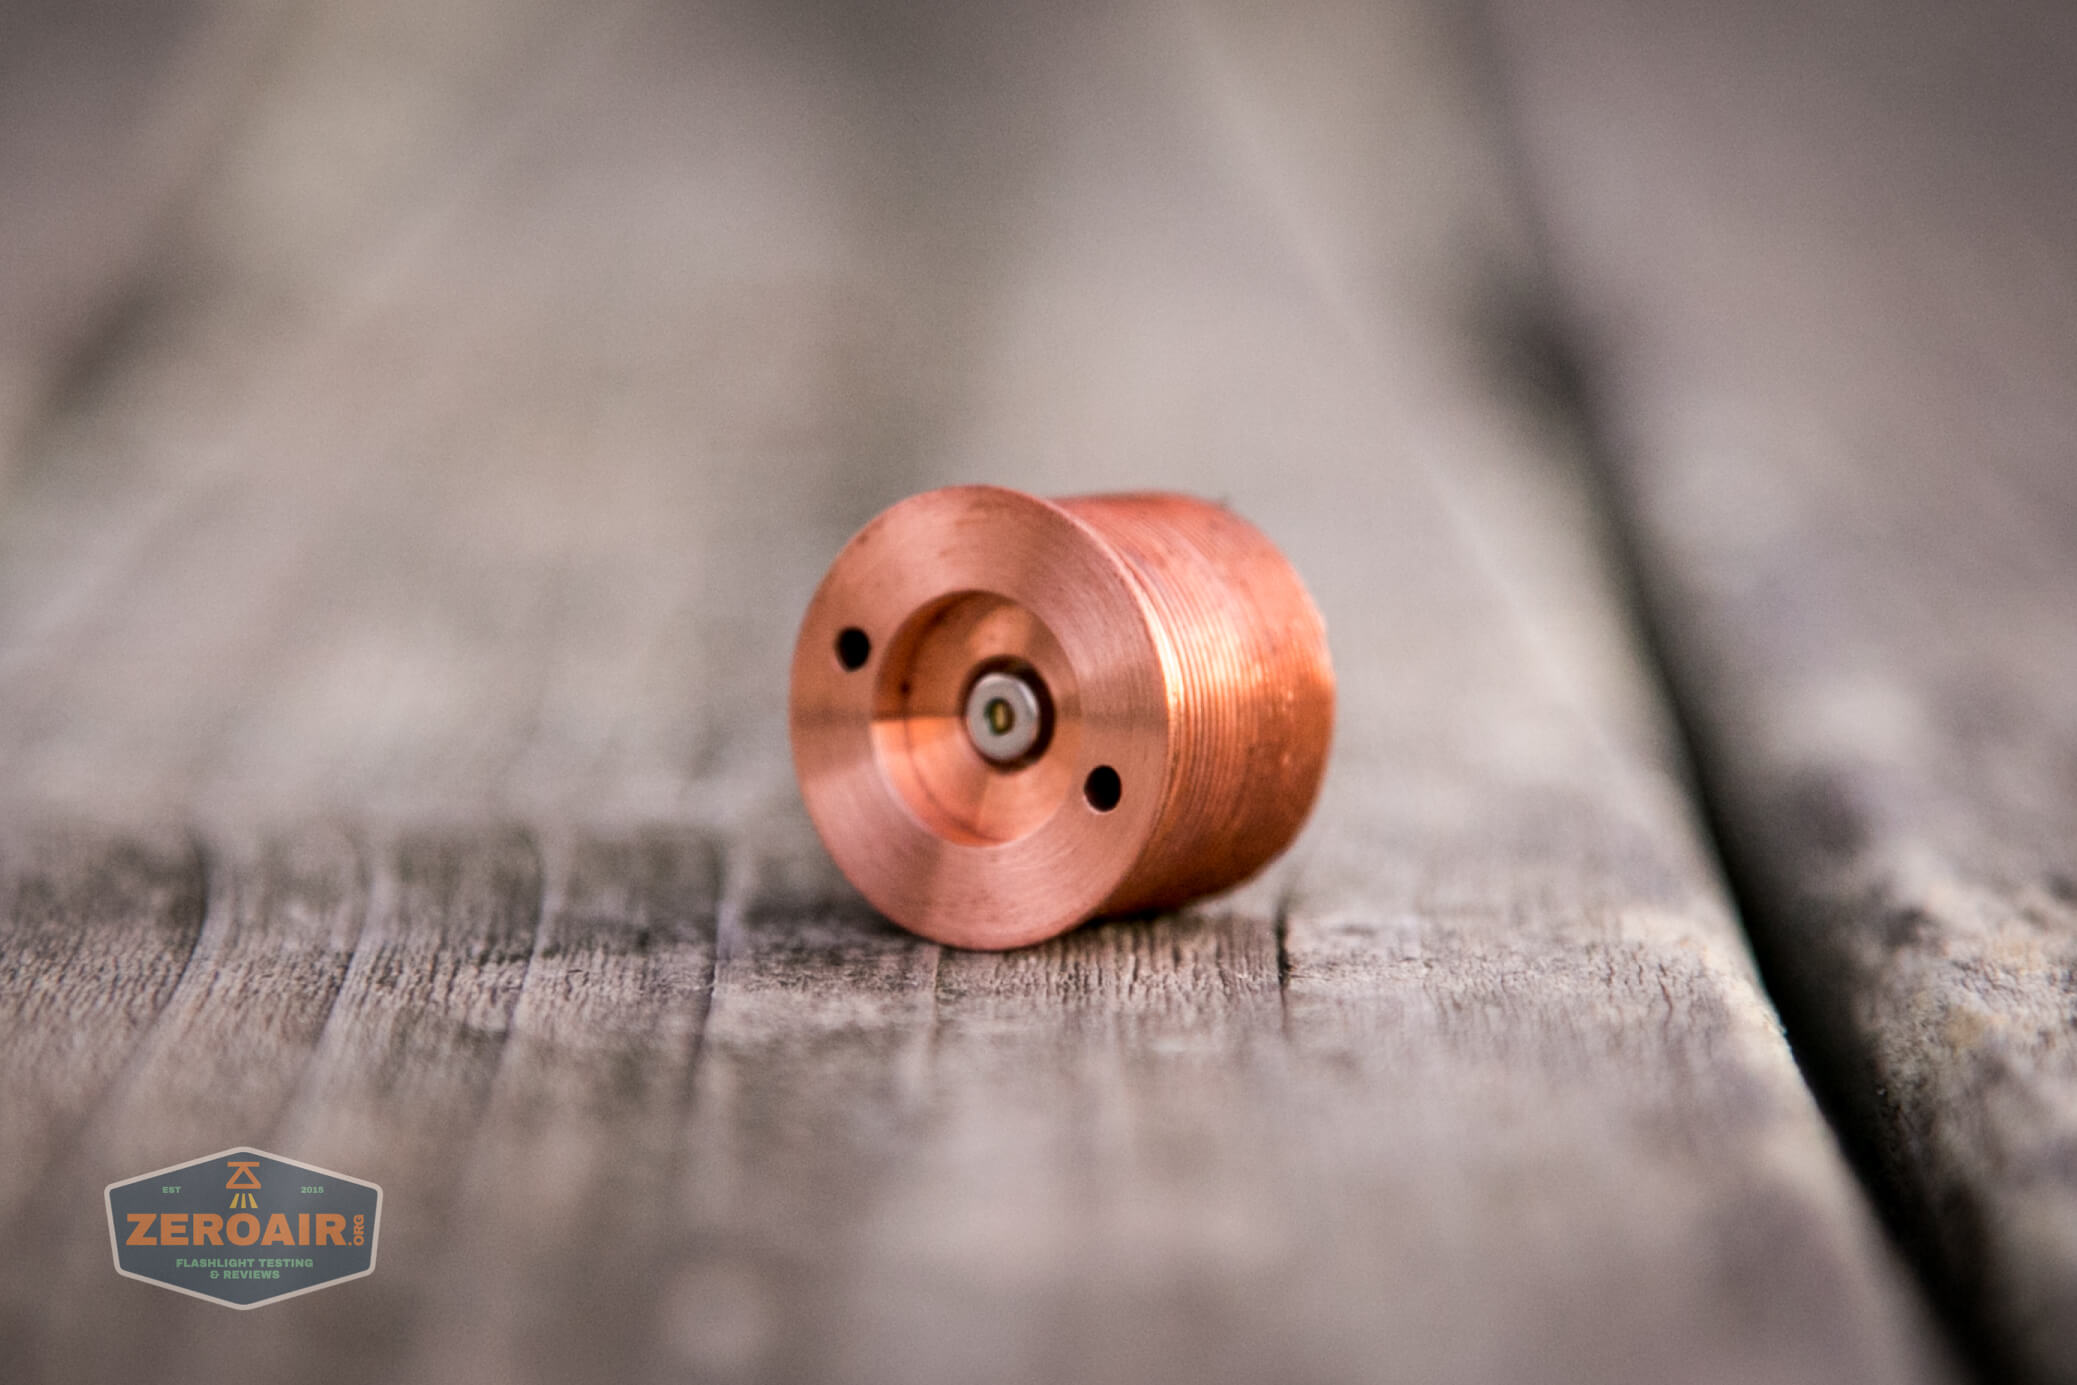
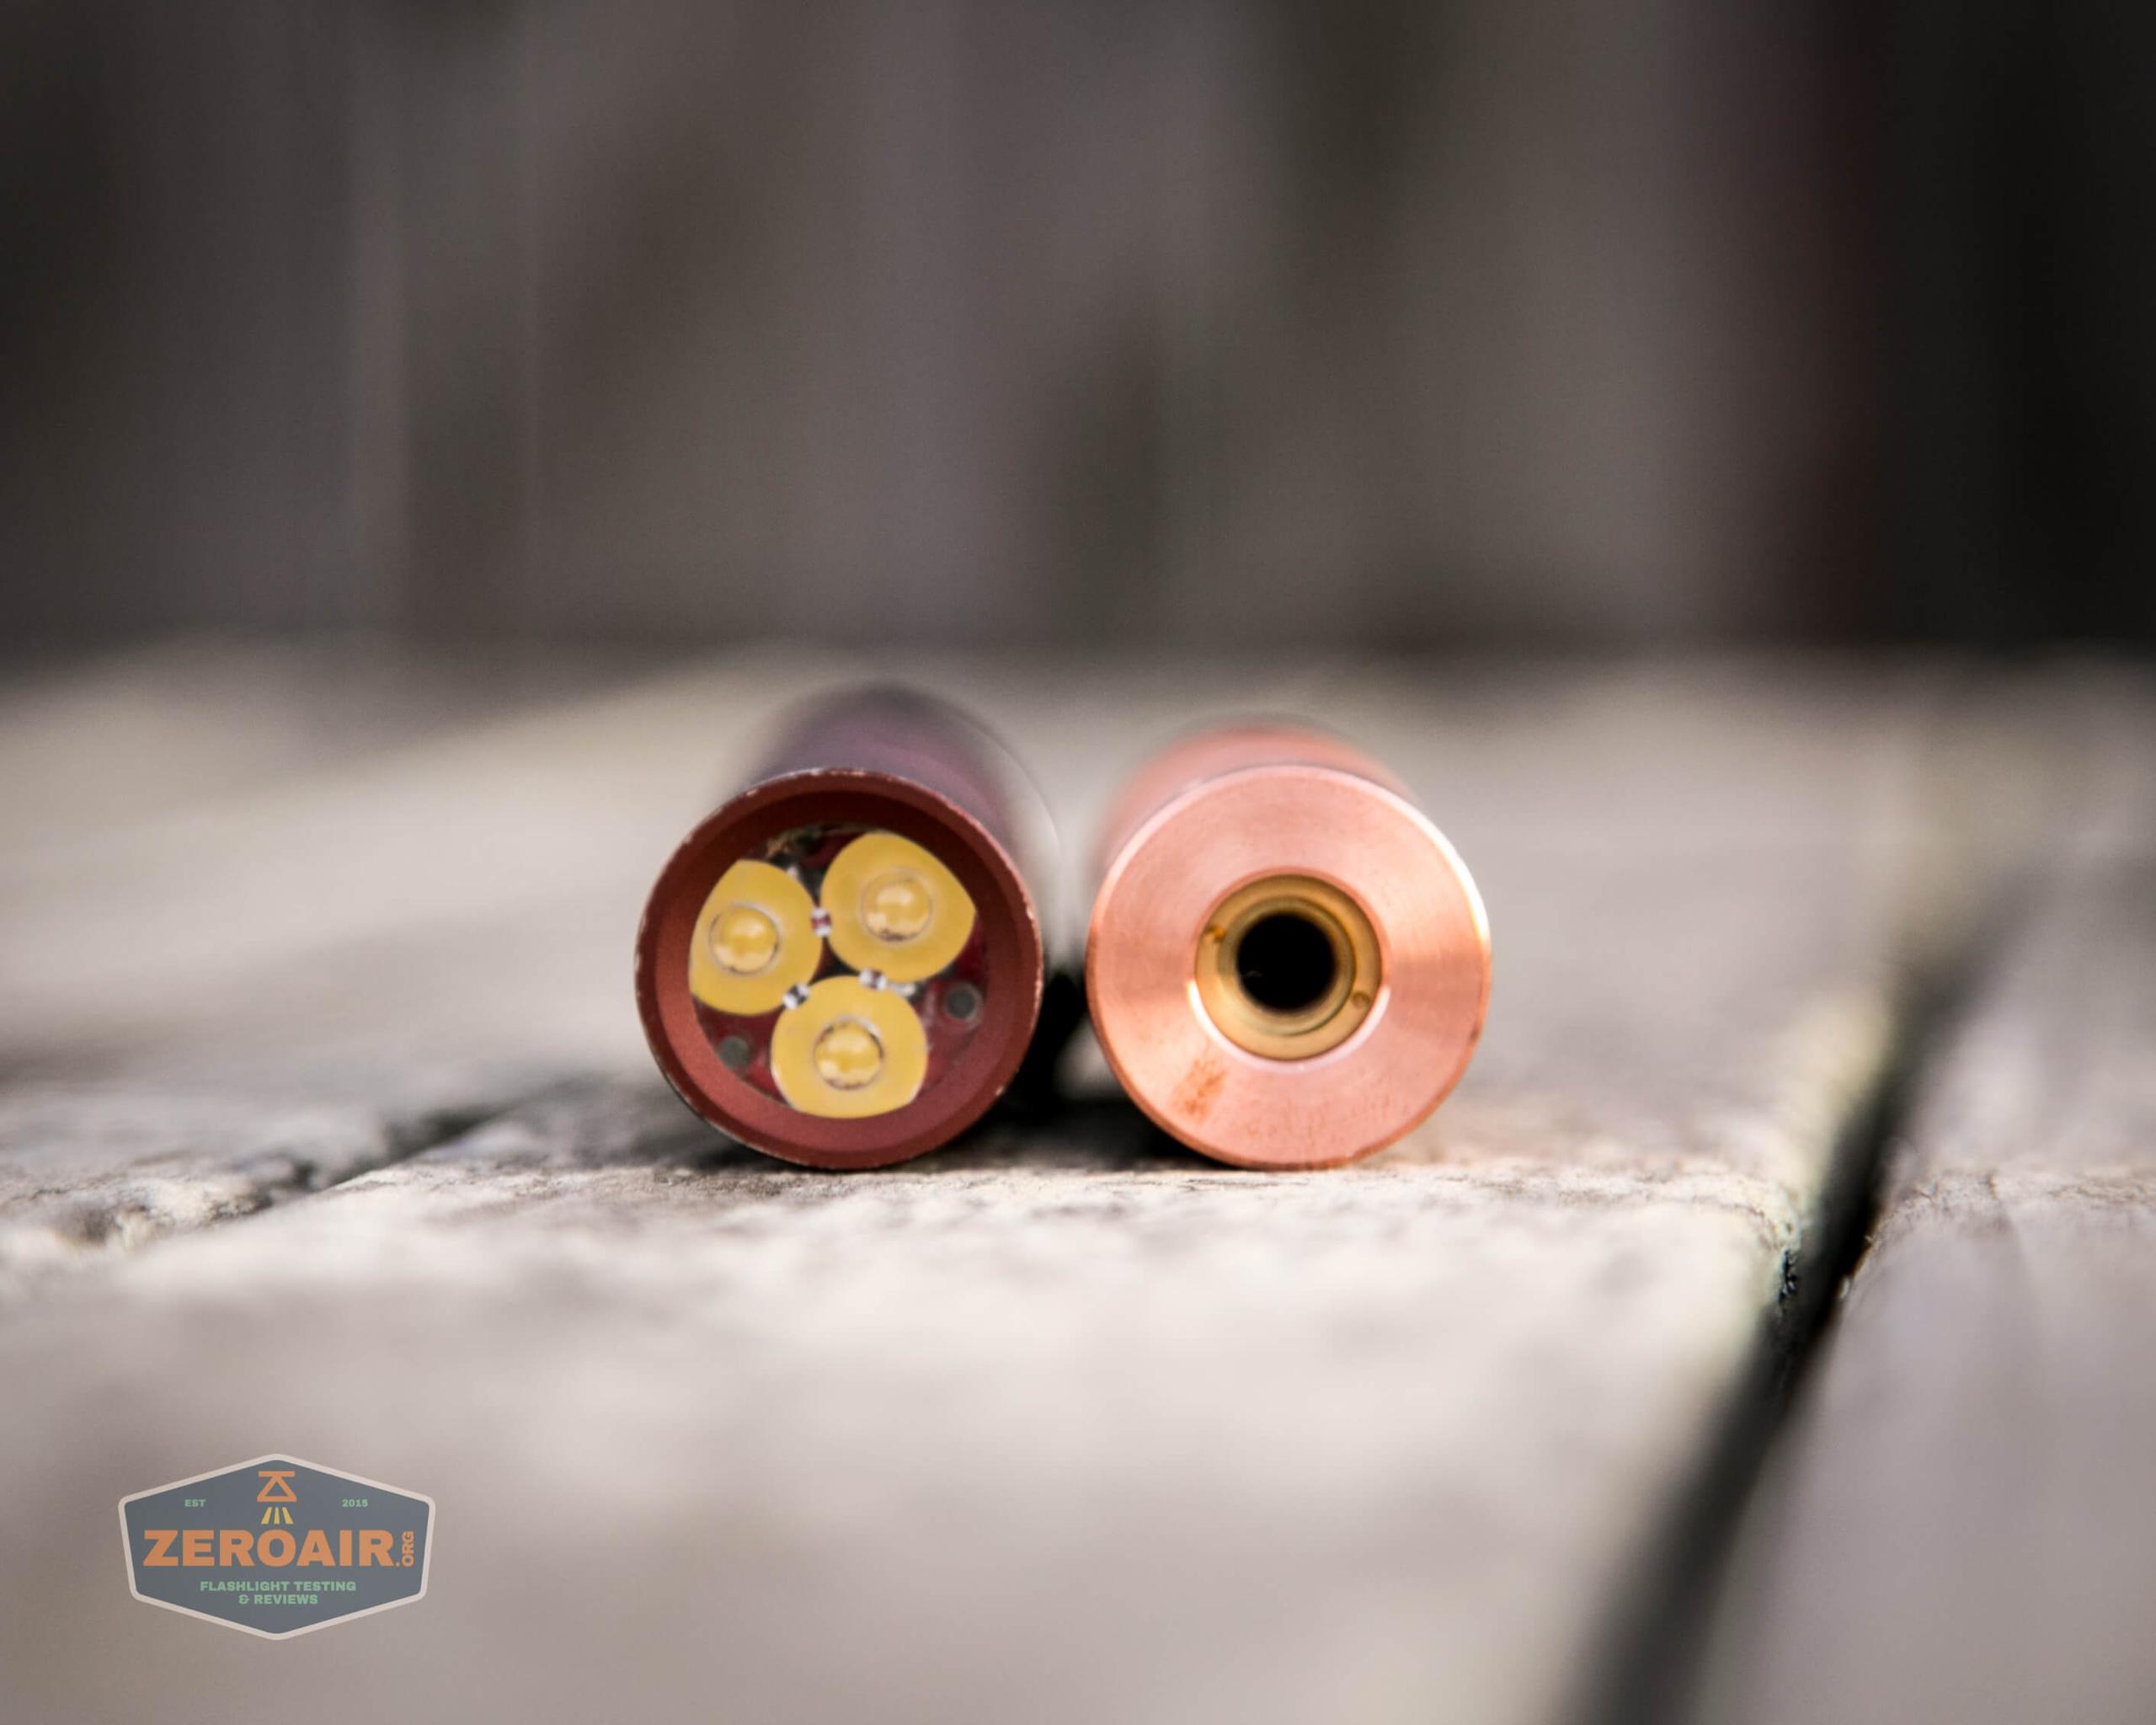
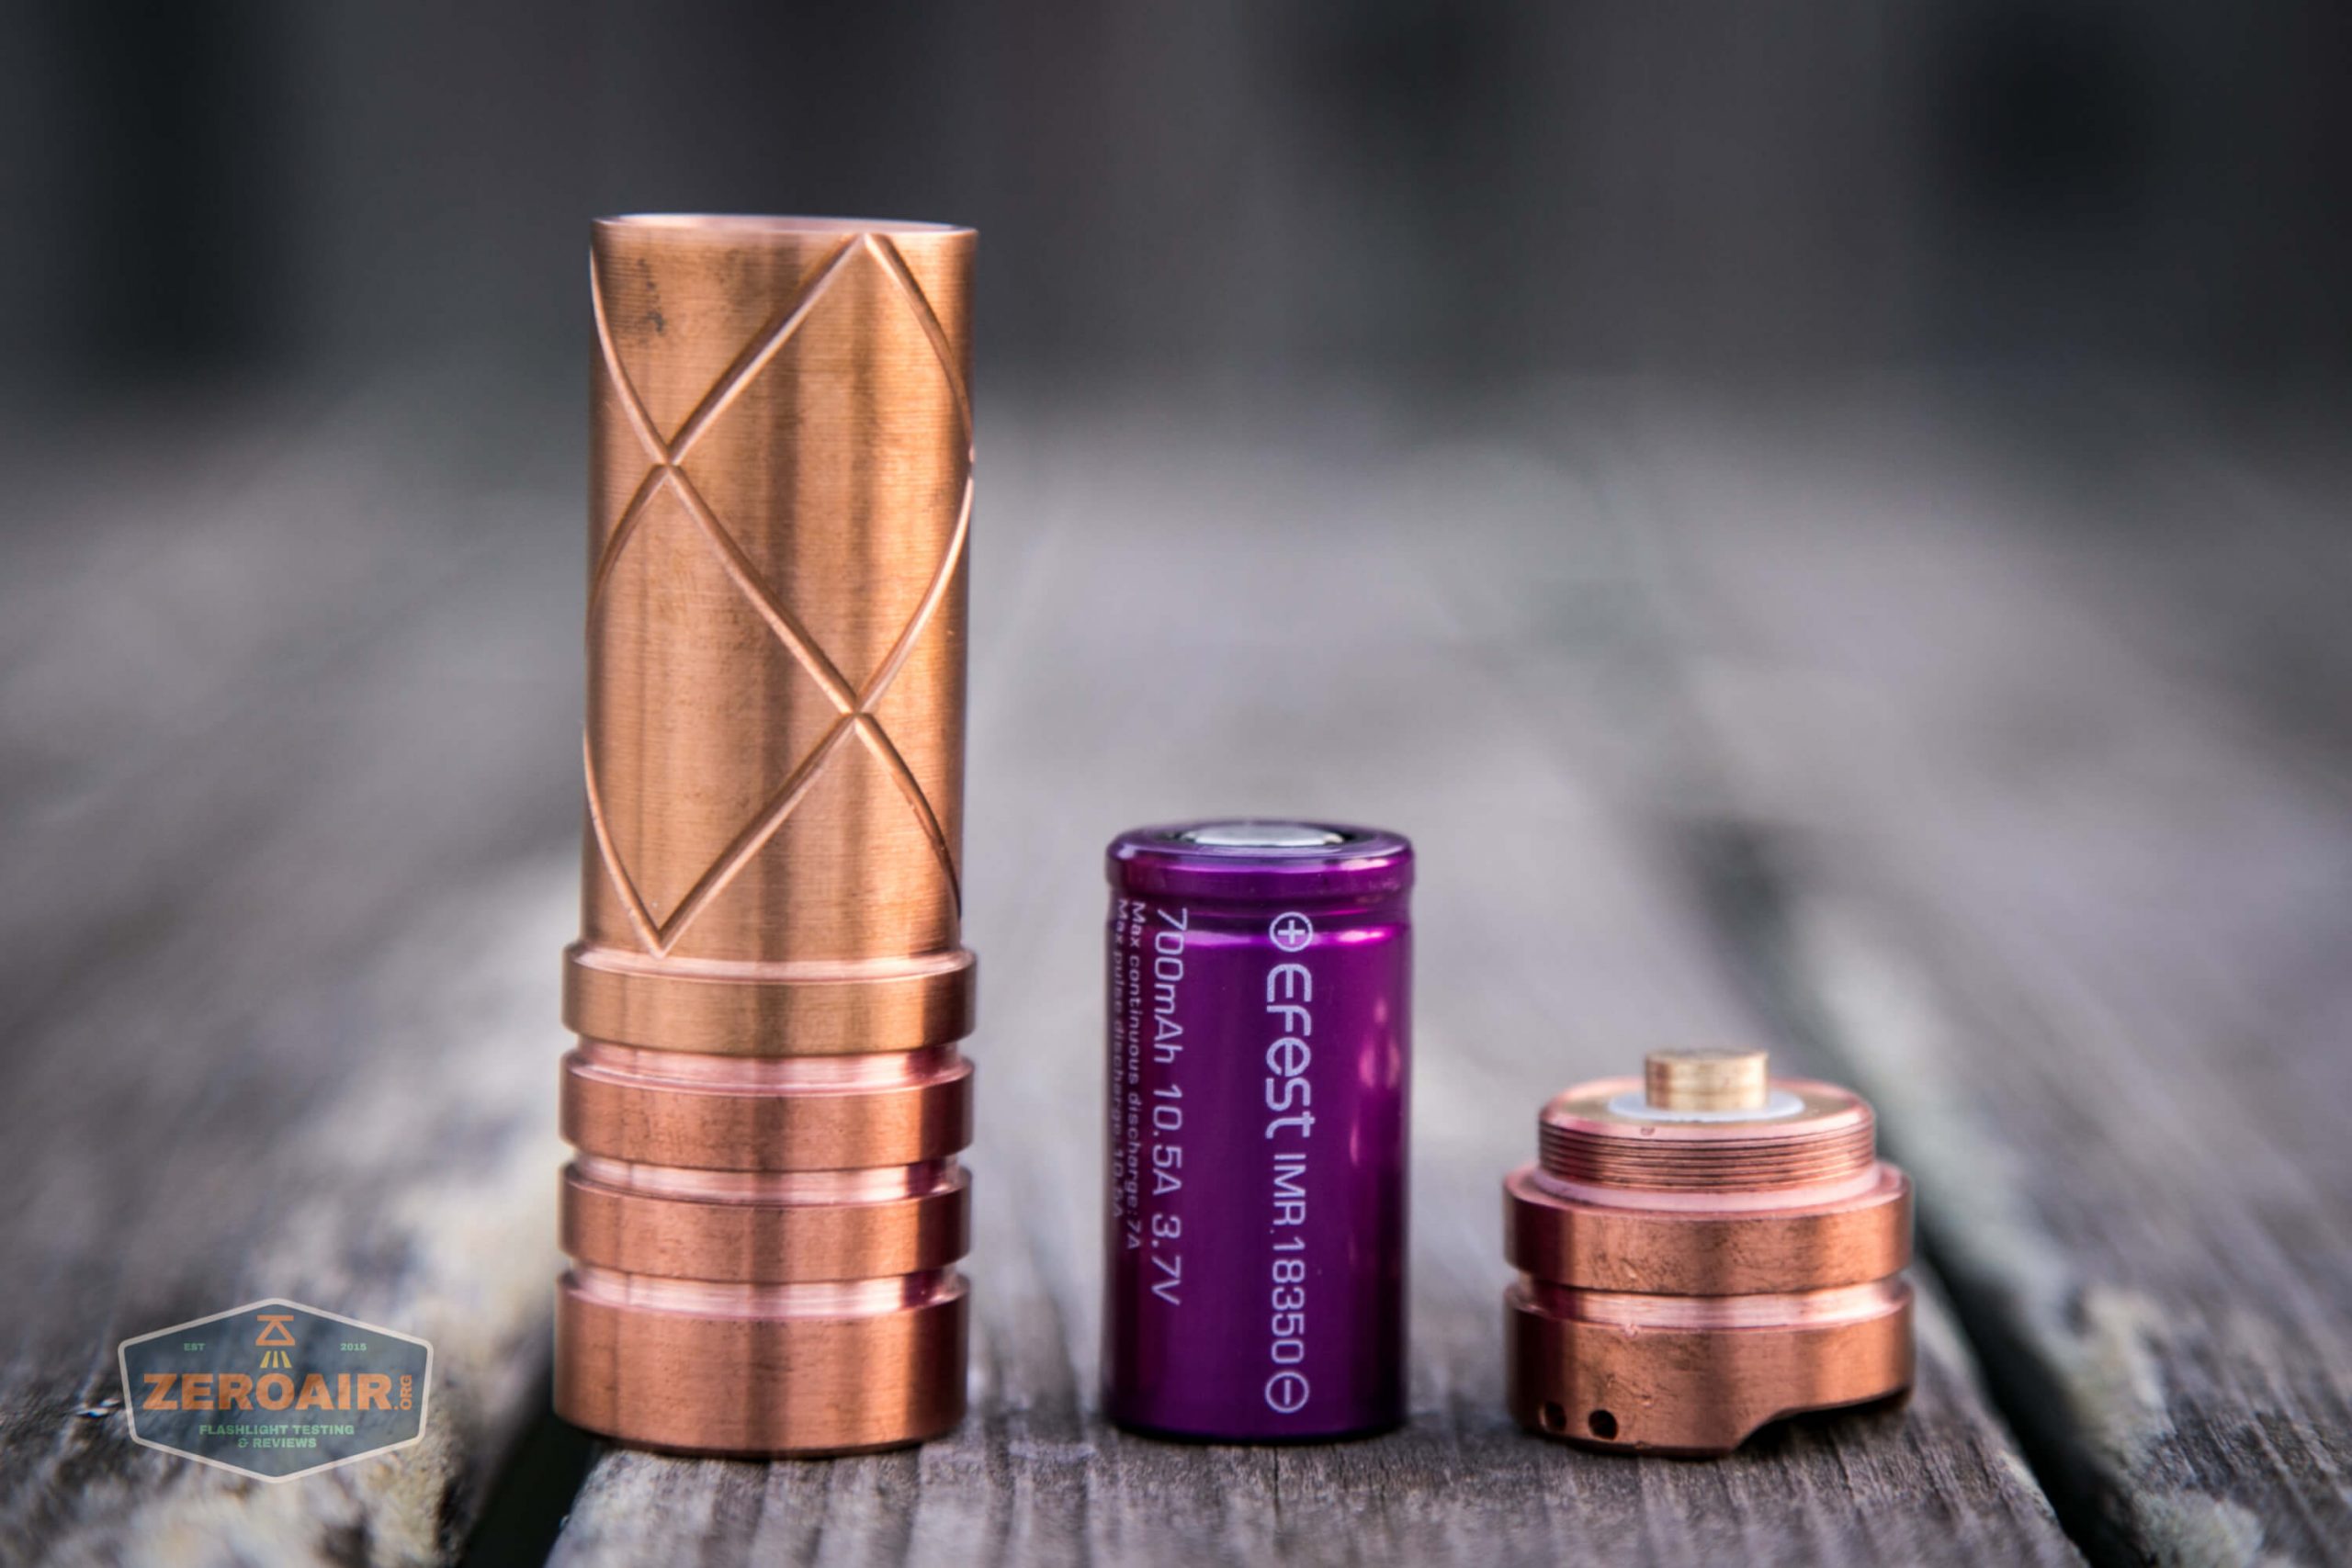
Speaking of the “laser diode section,” you can see it below. The actual diode is visible here – you should be careful not to damage your diode if you disassemble to this level. Note the two holes that are around the diode. More on that later – those help with further disassembly.
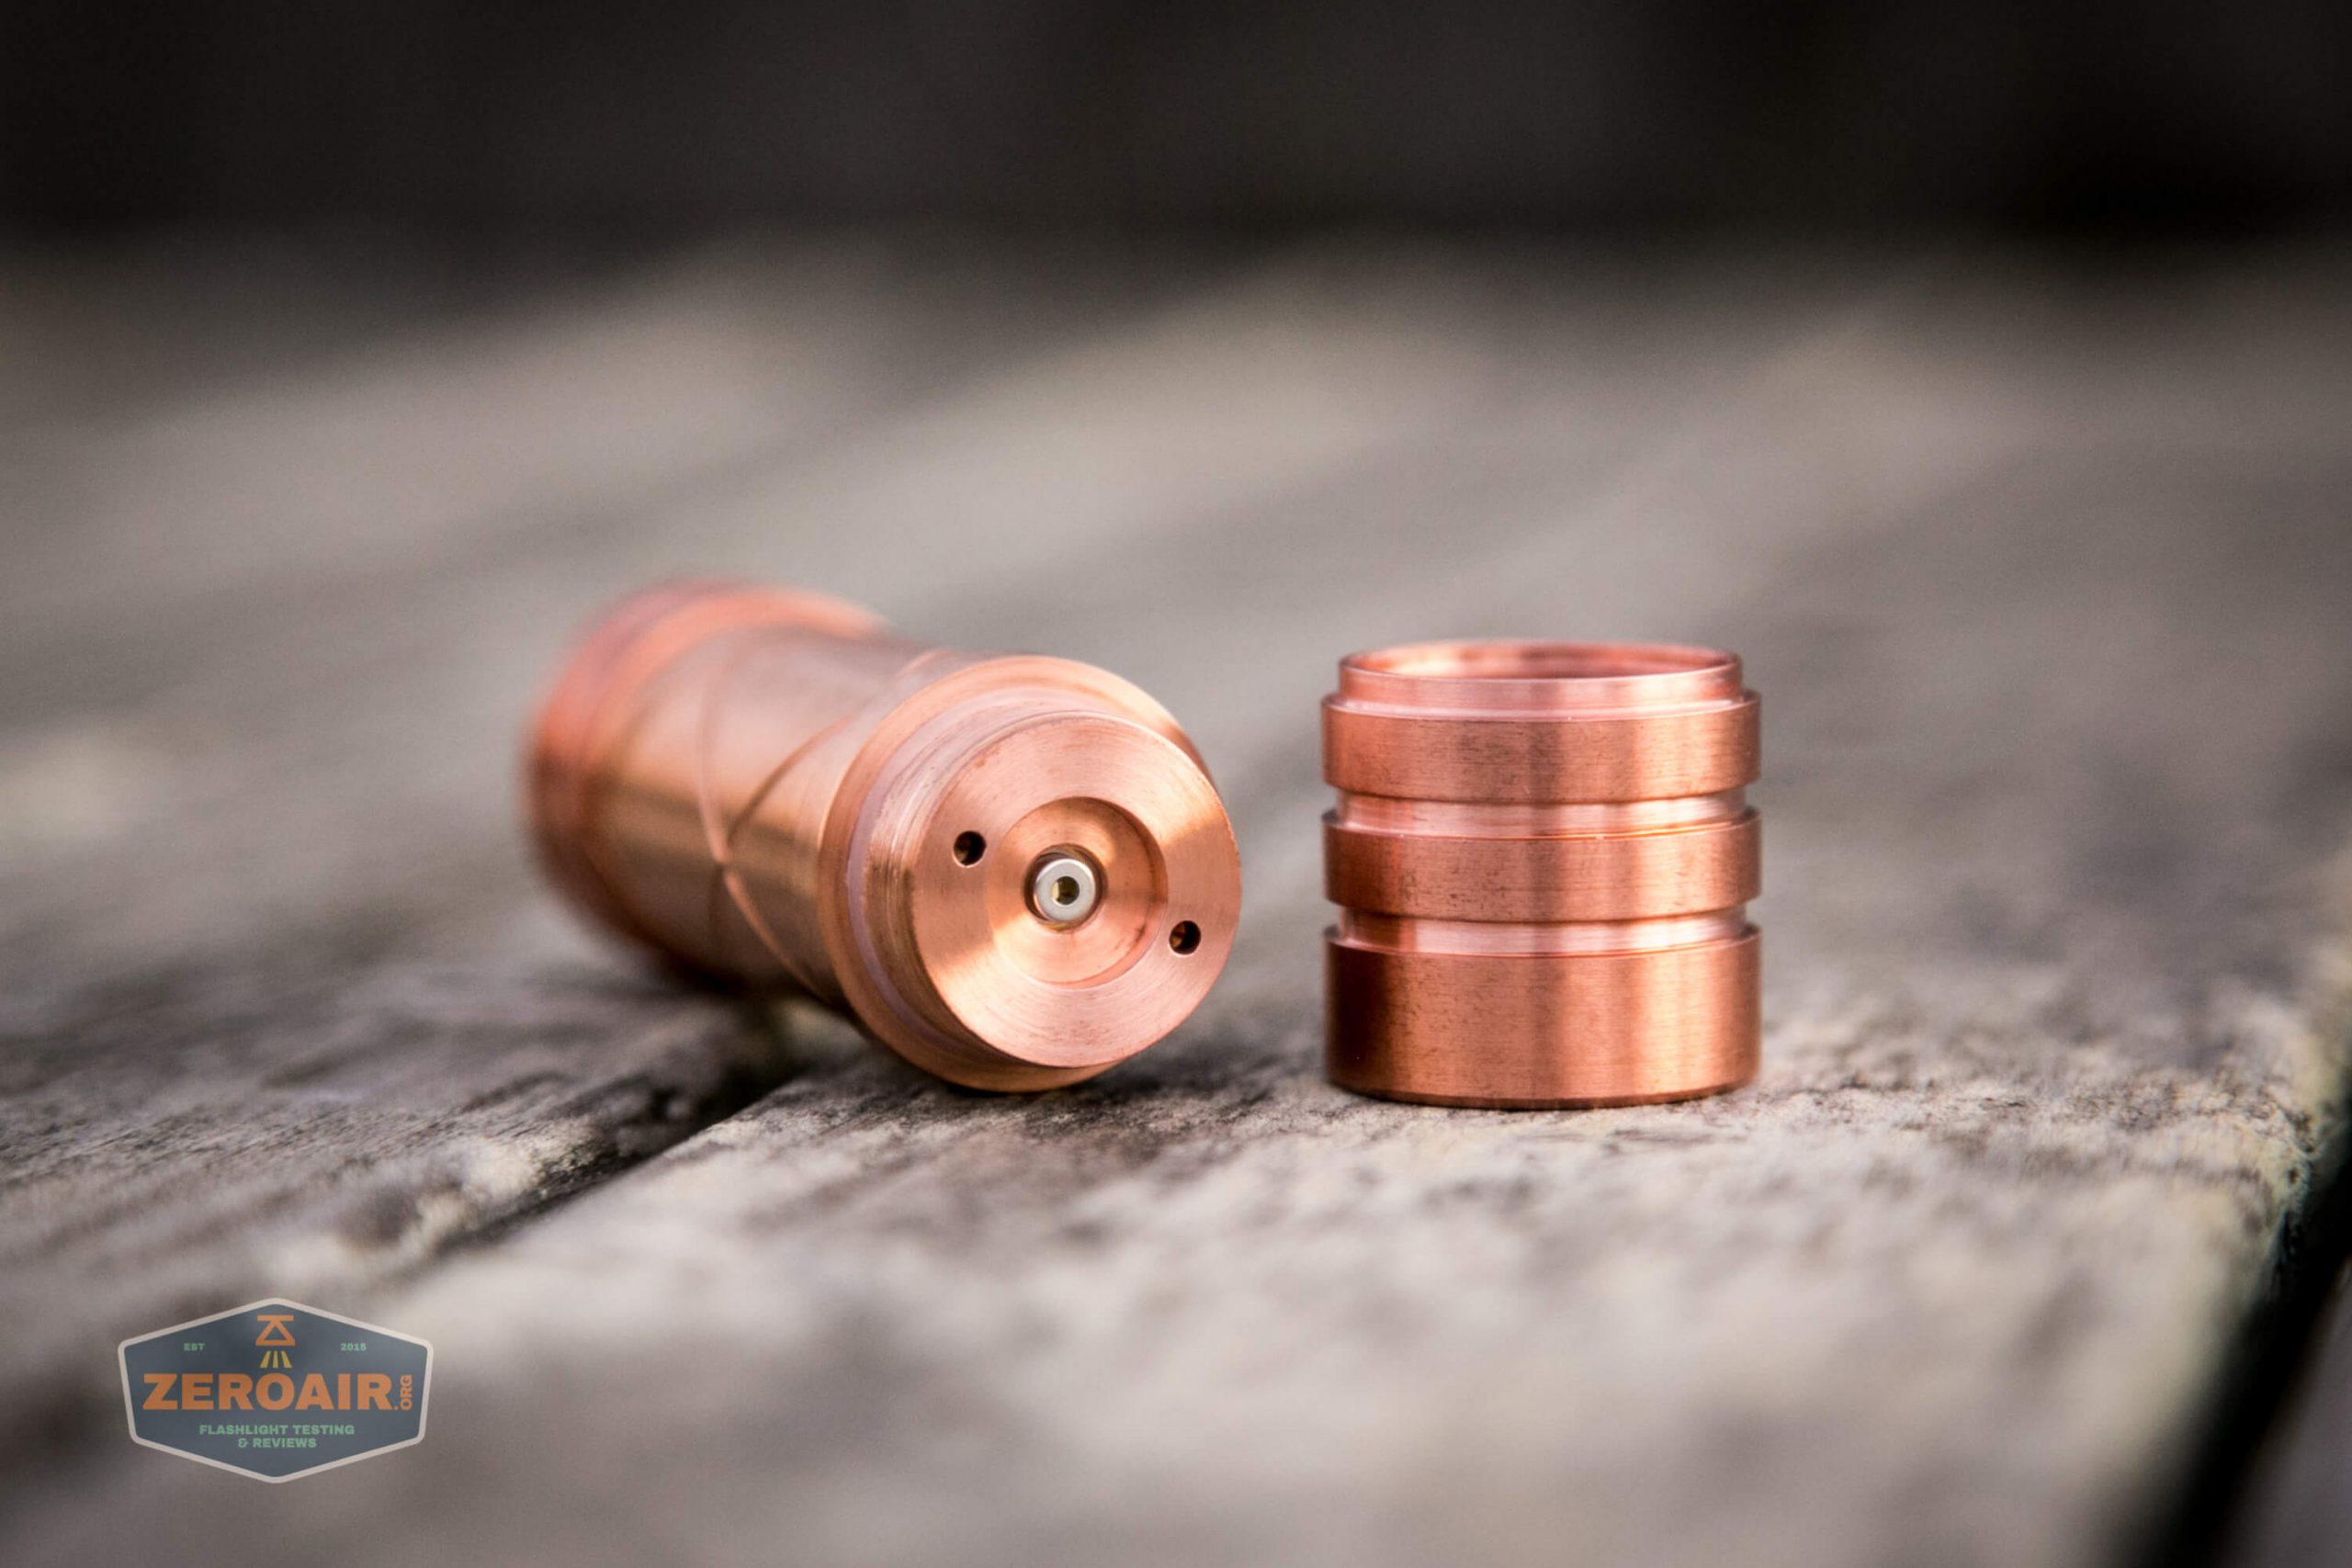
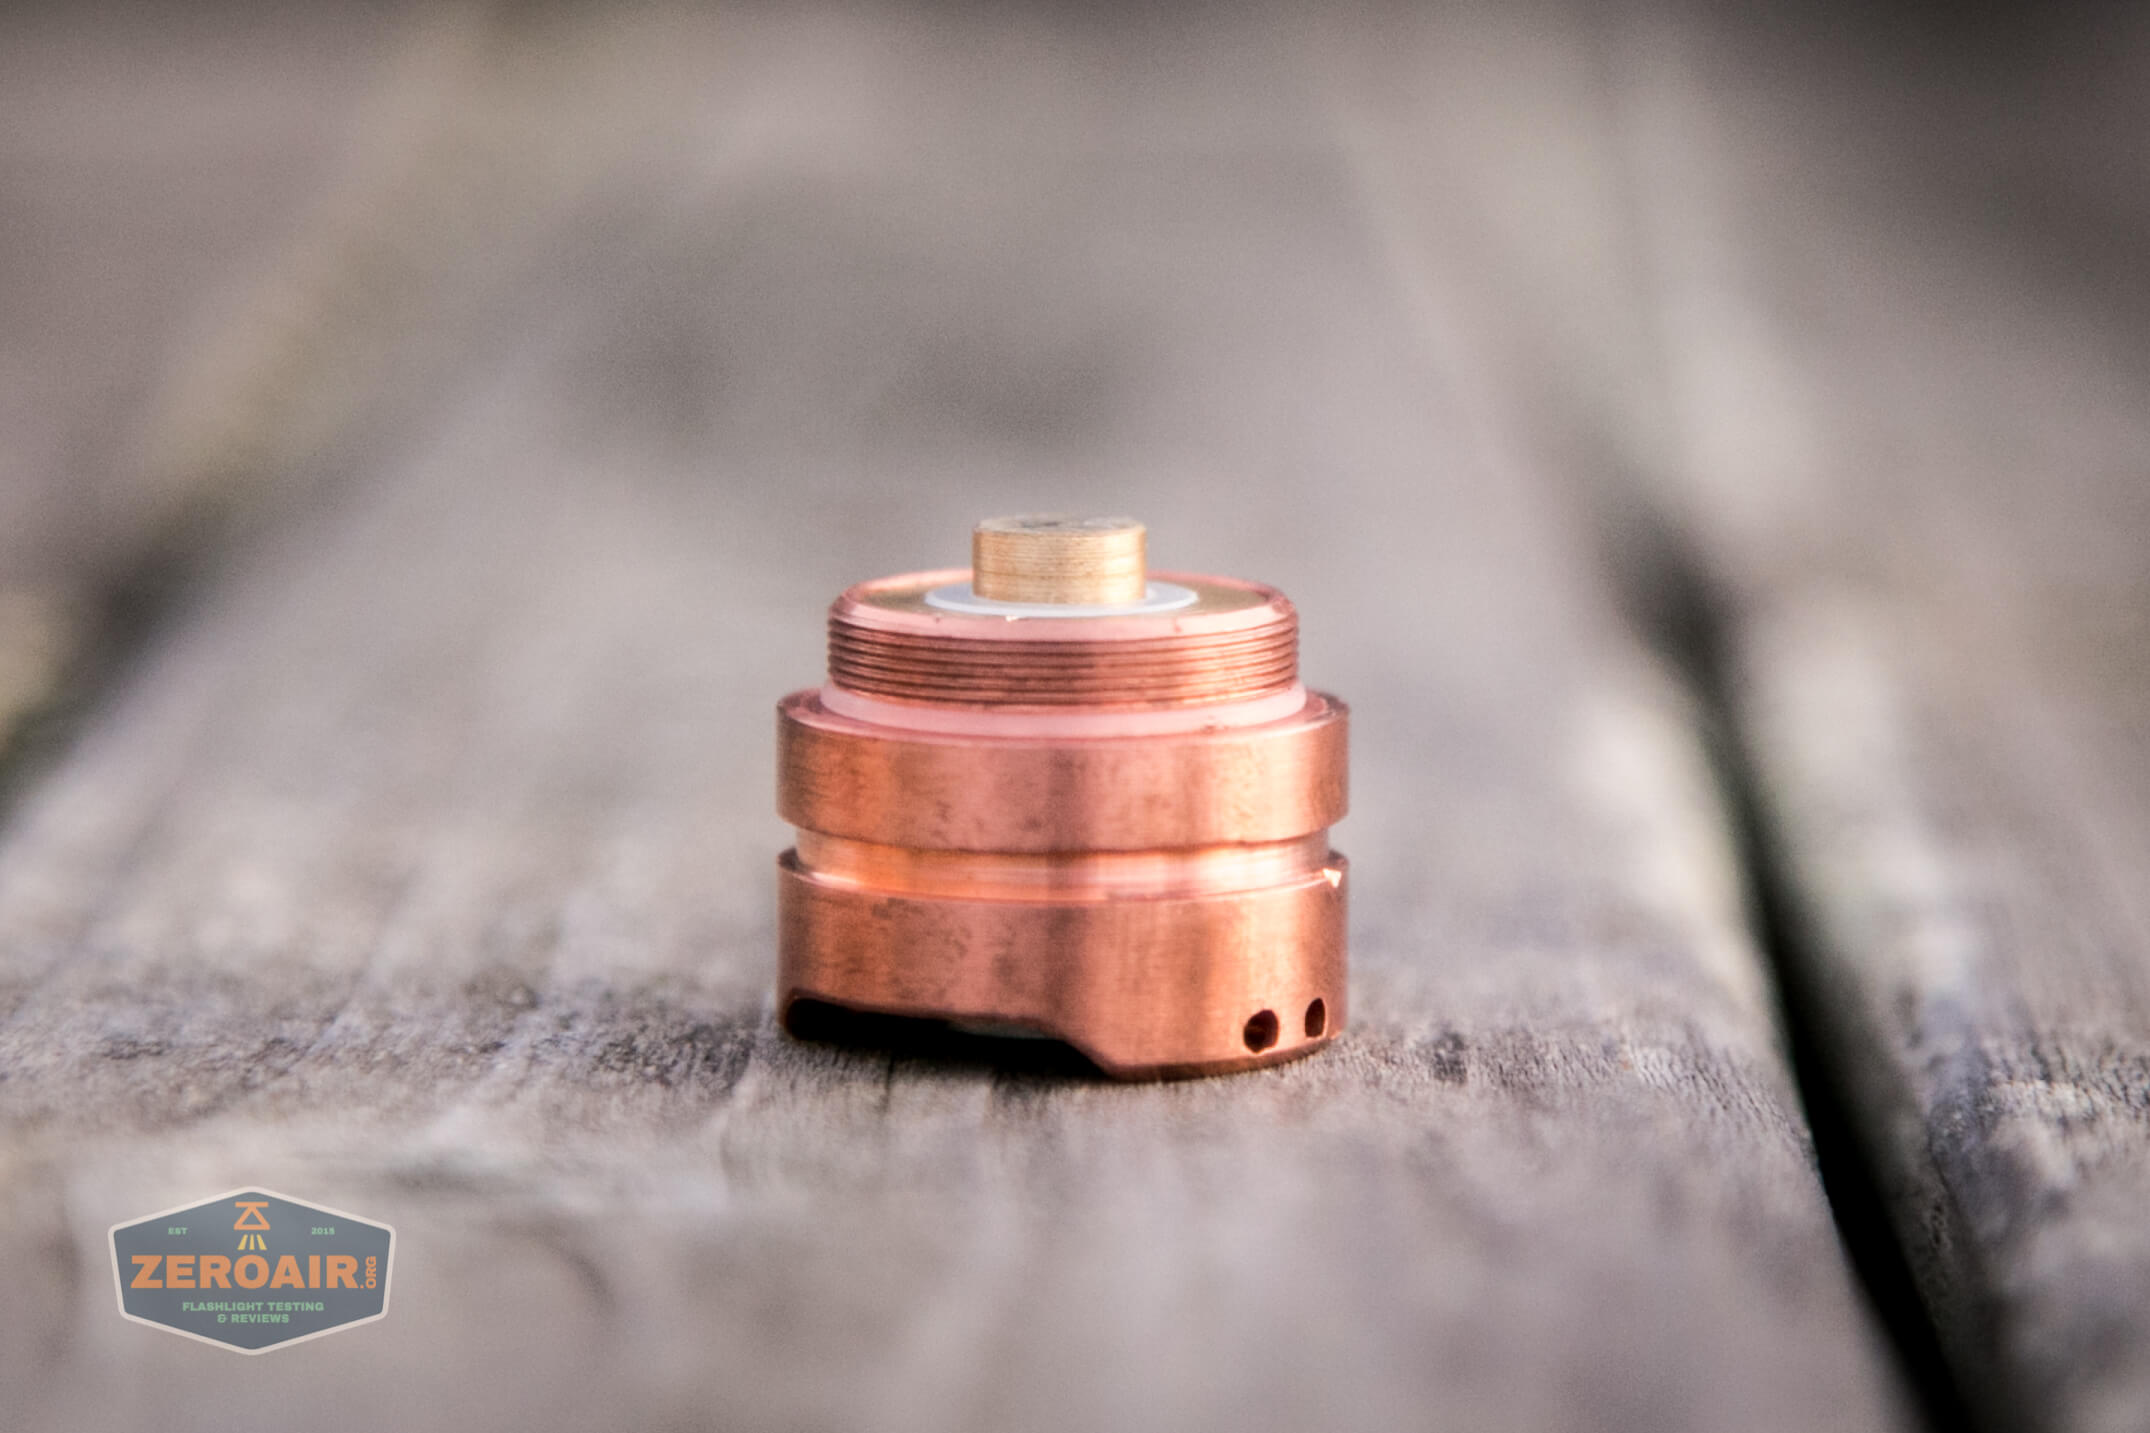
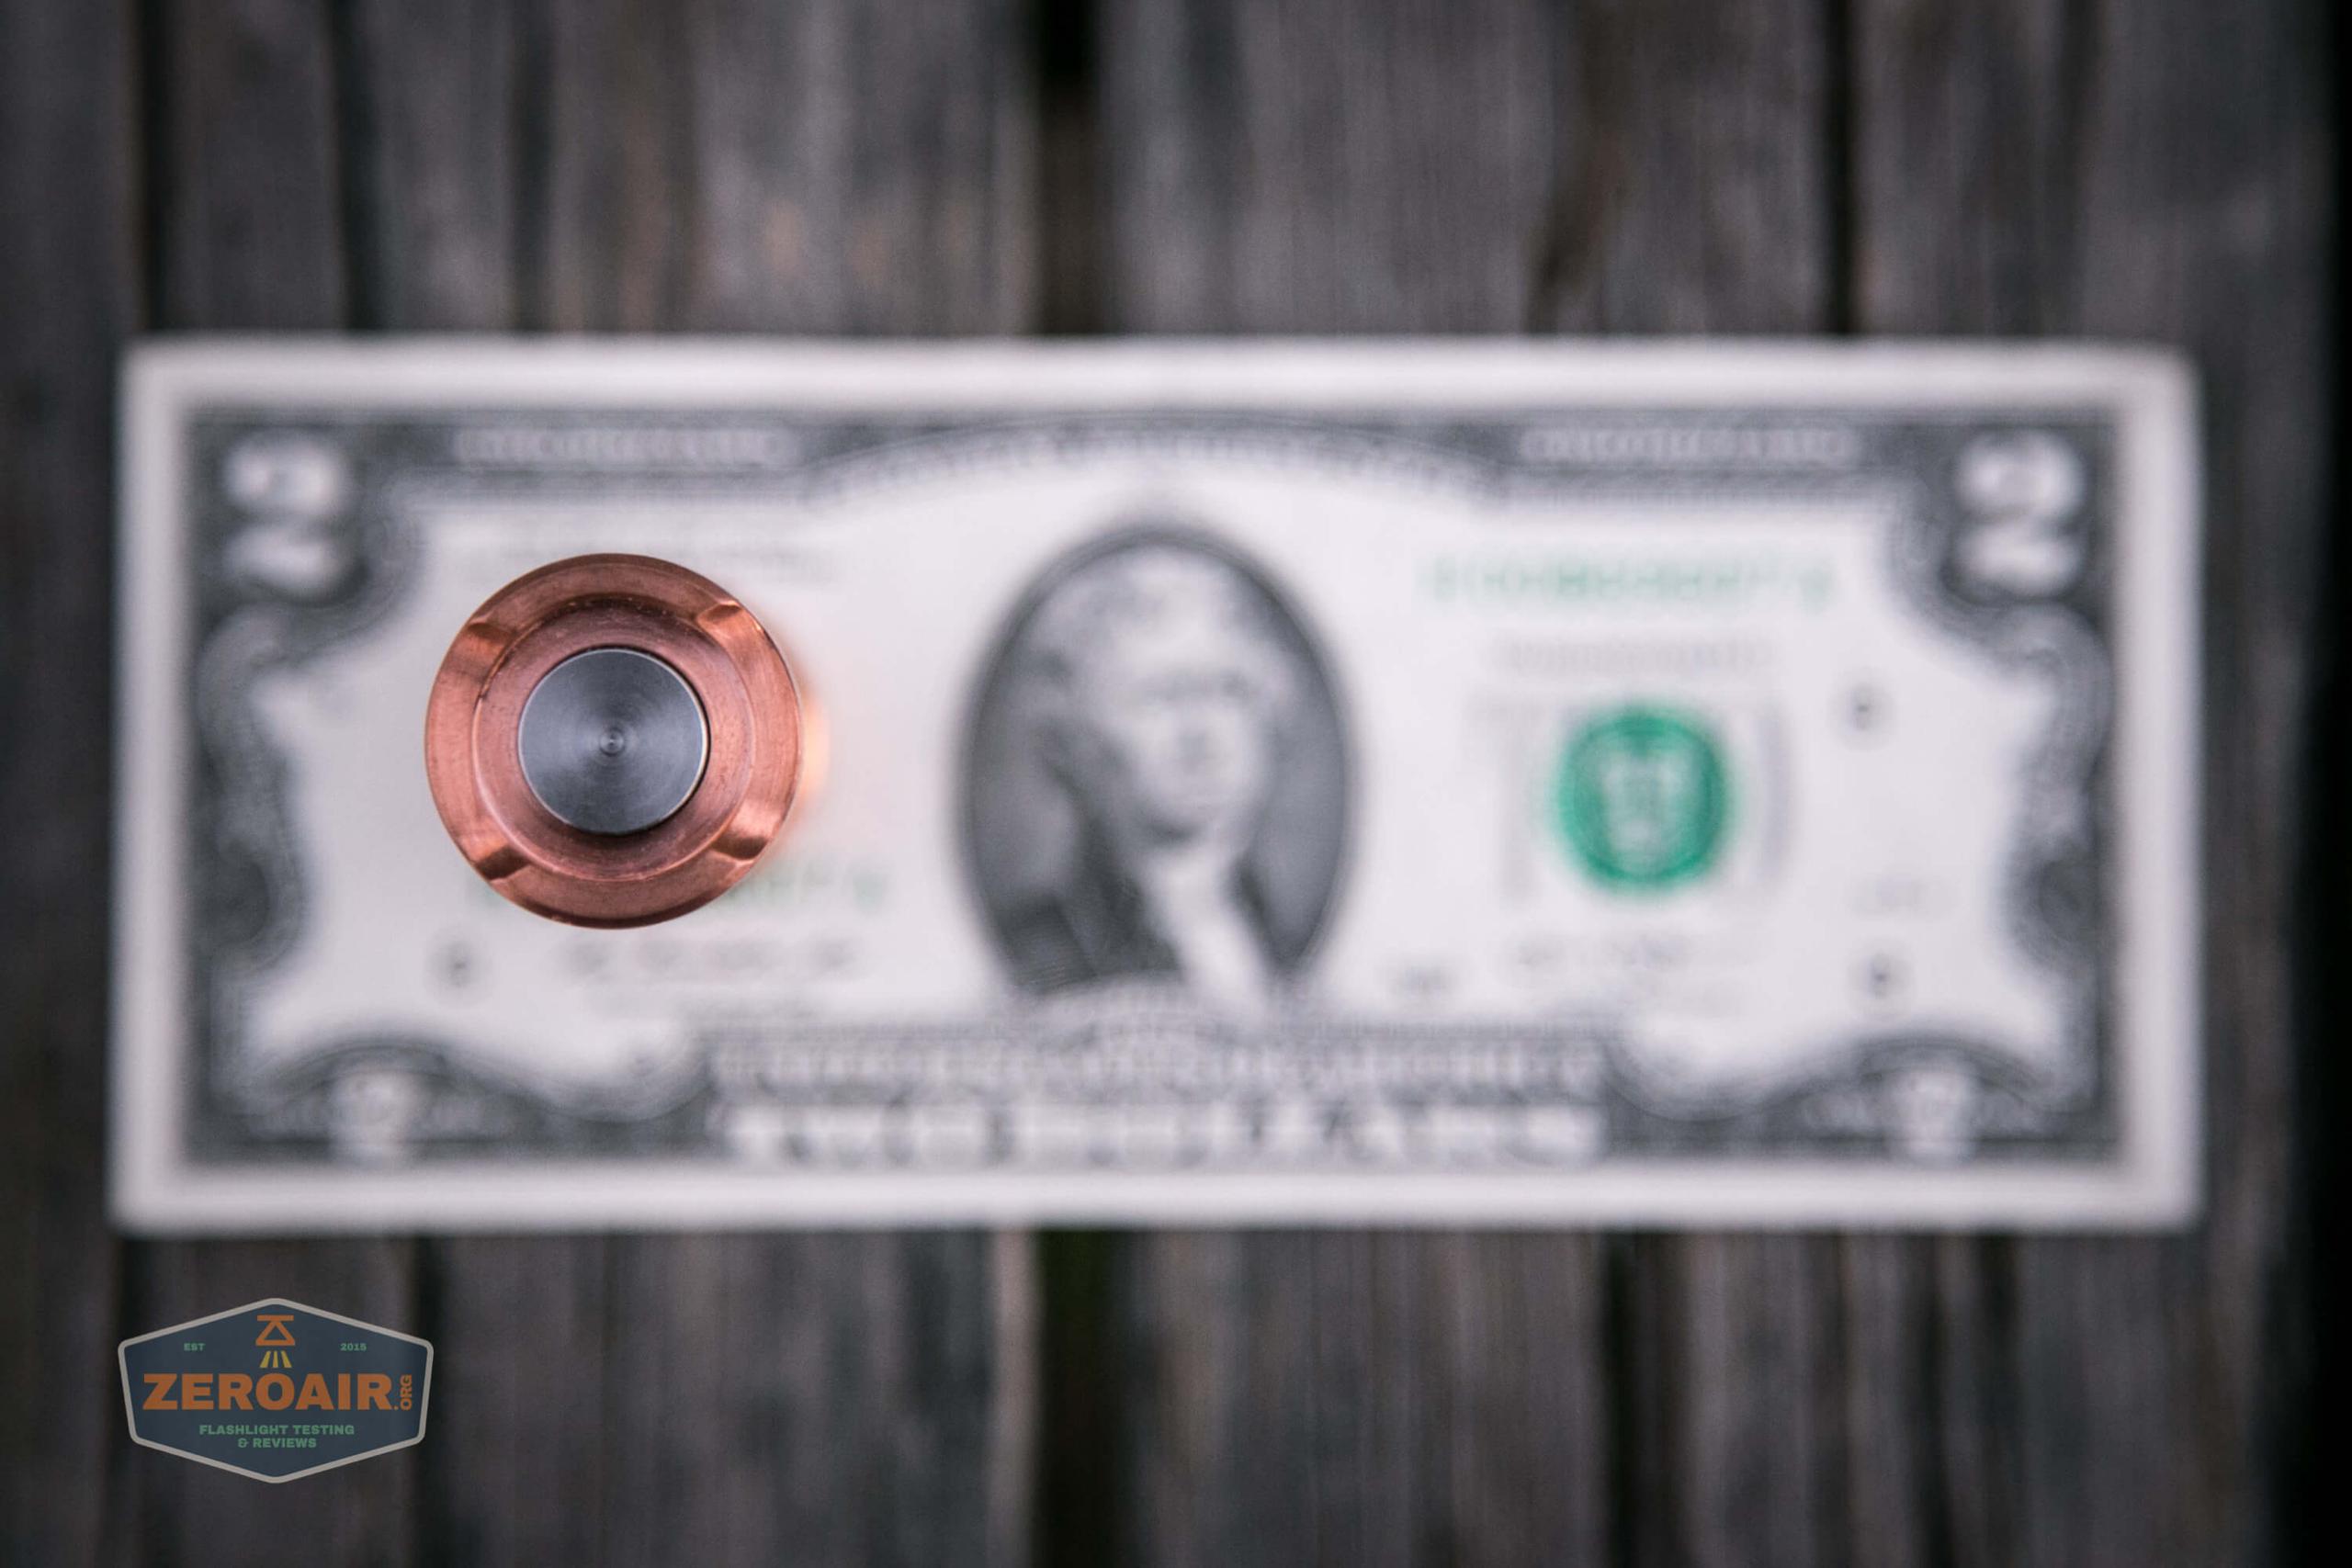
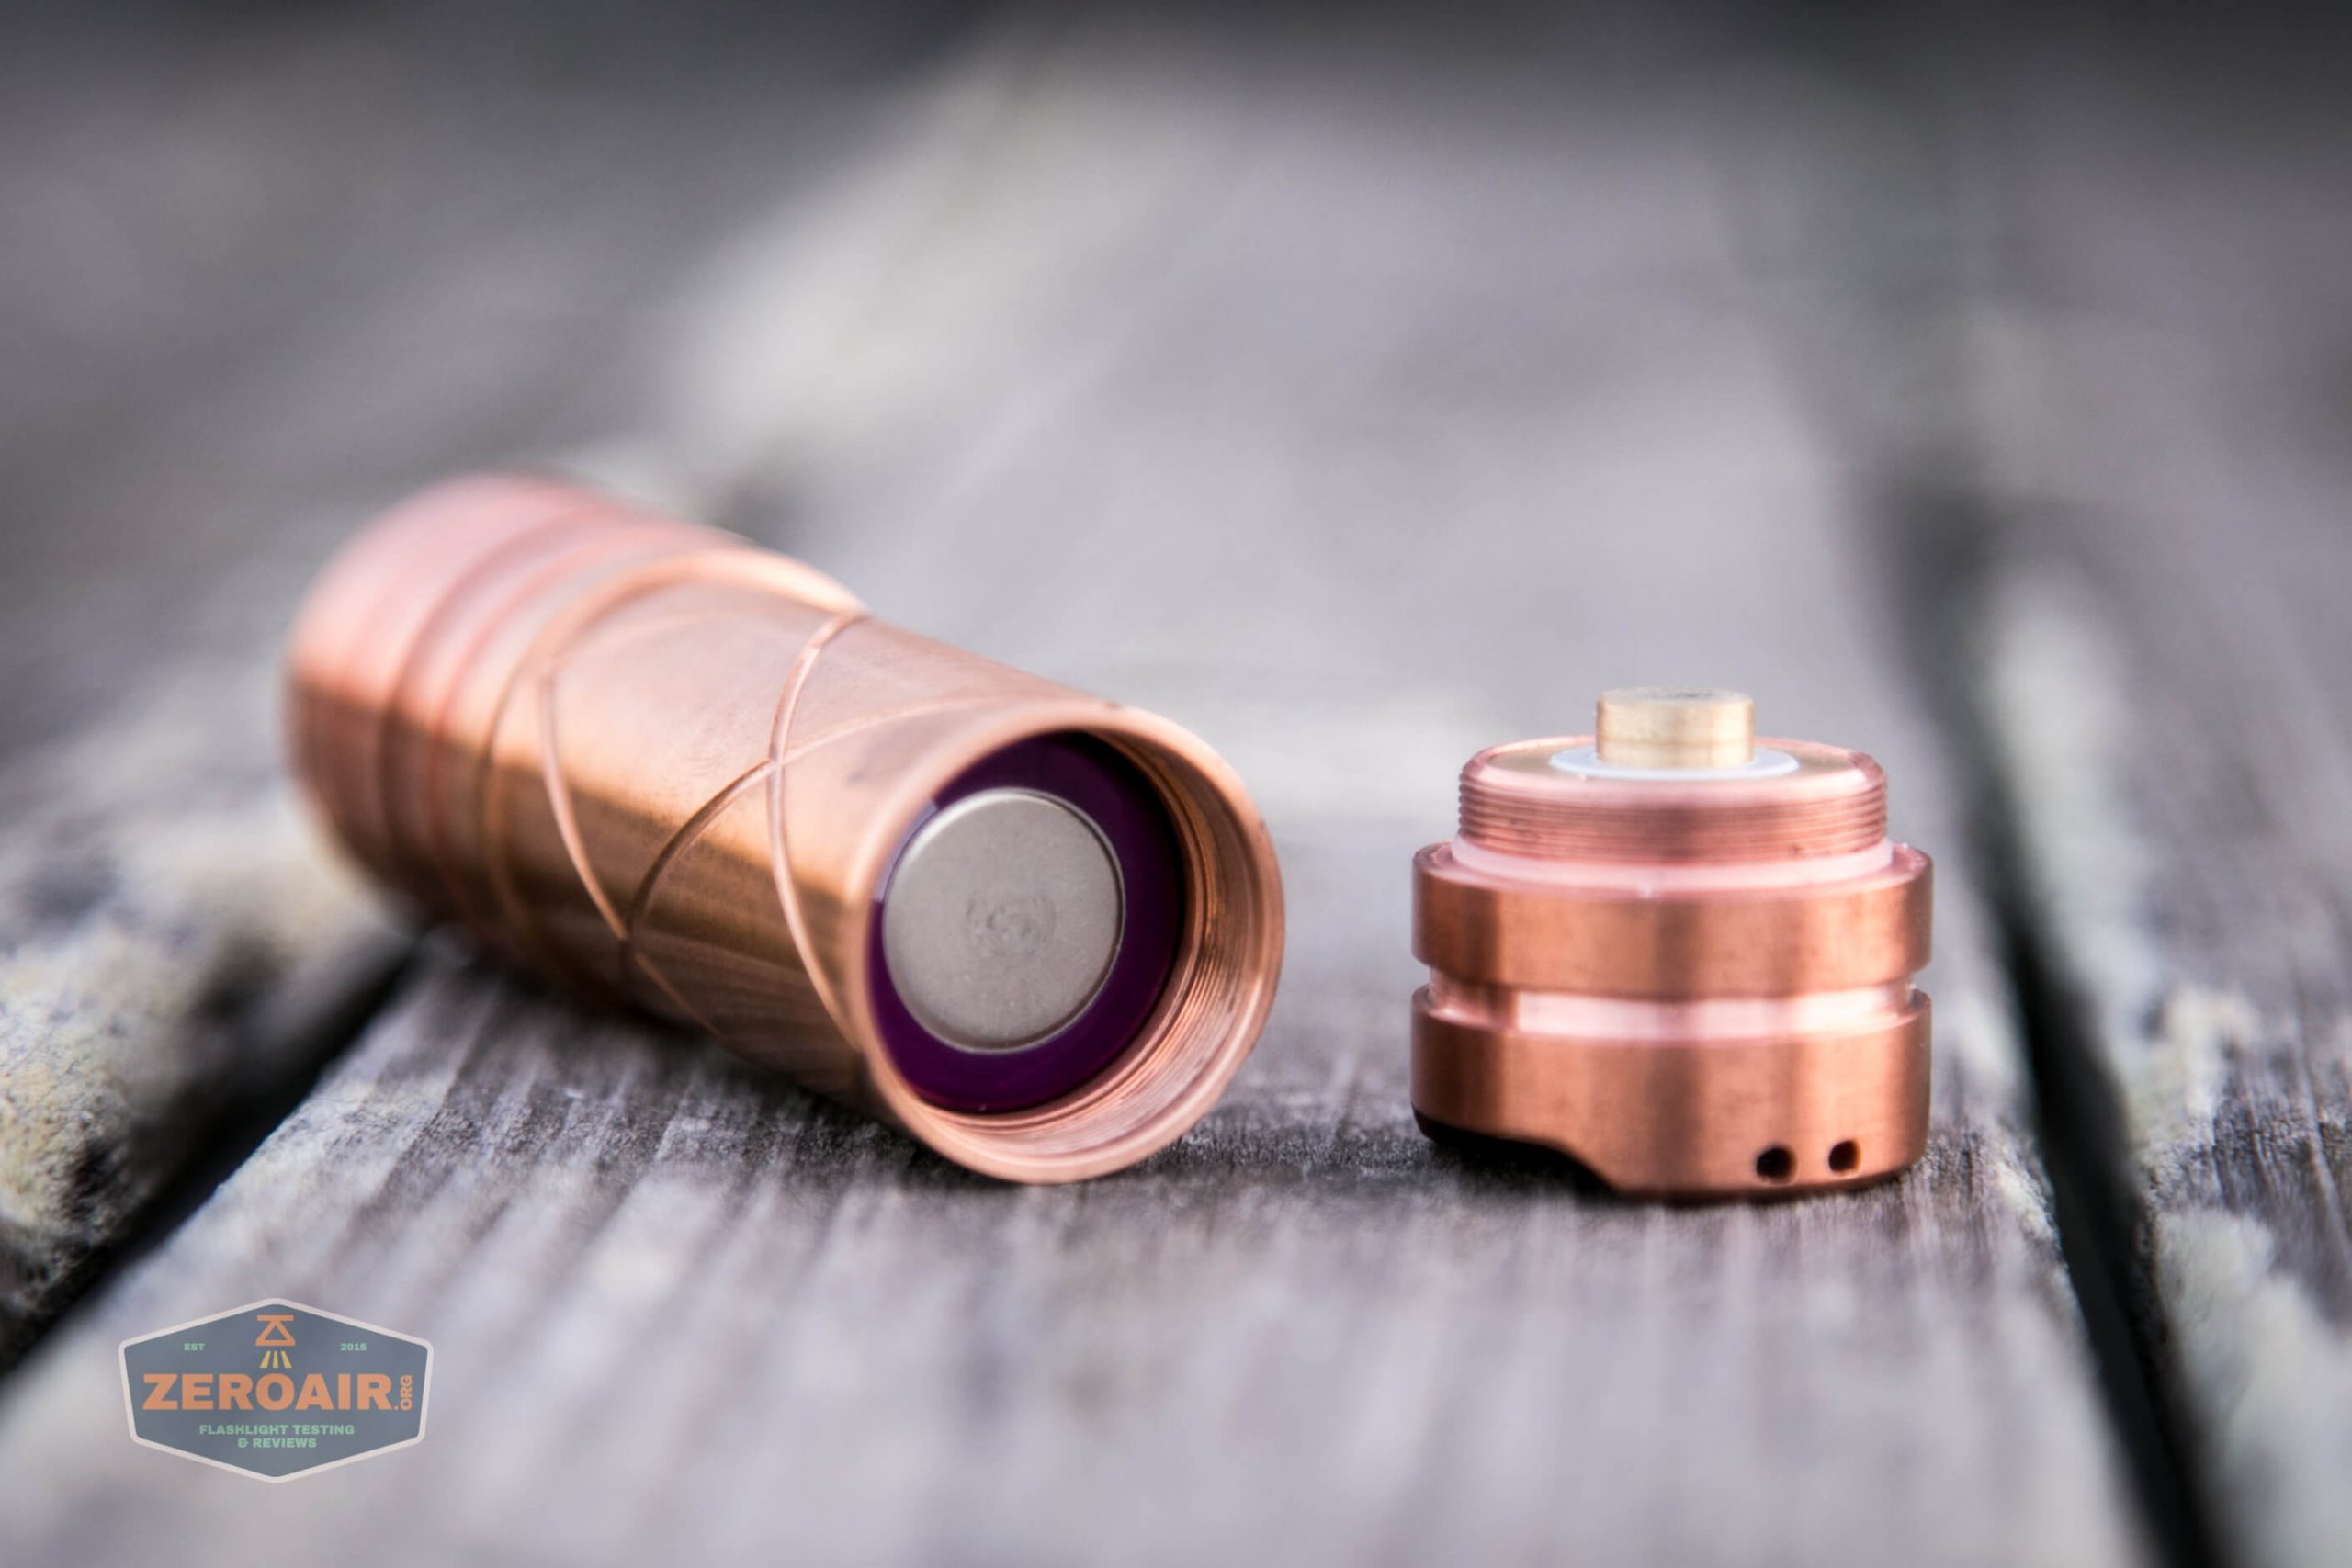
The tailcap also has very fine threads, which you can see on the left below.
The cell contact is the brass button. This button is springy and makes great contact with the 18350 cell.
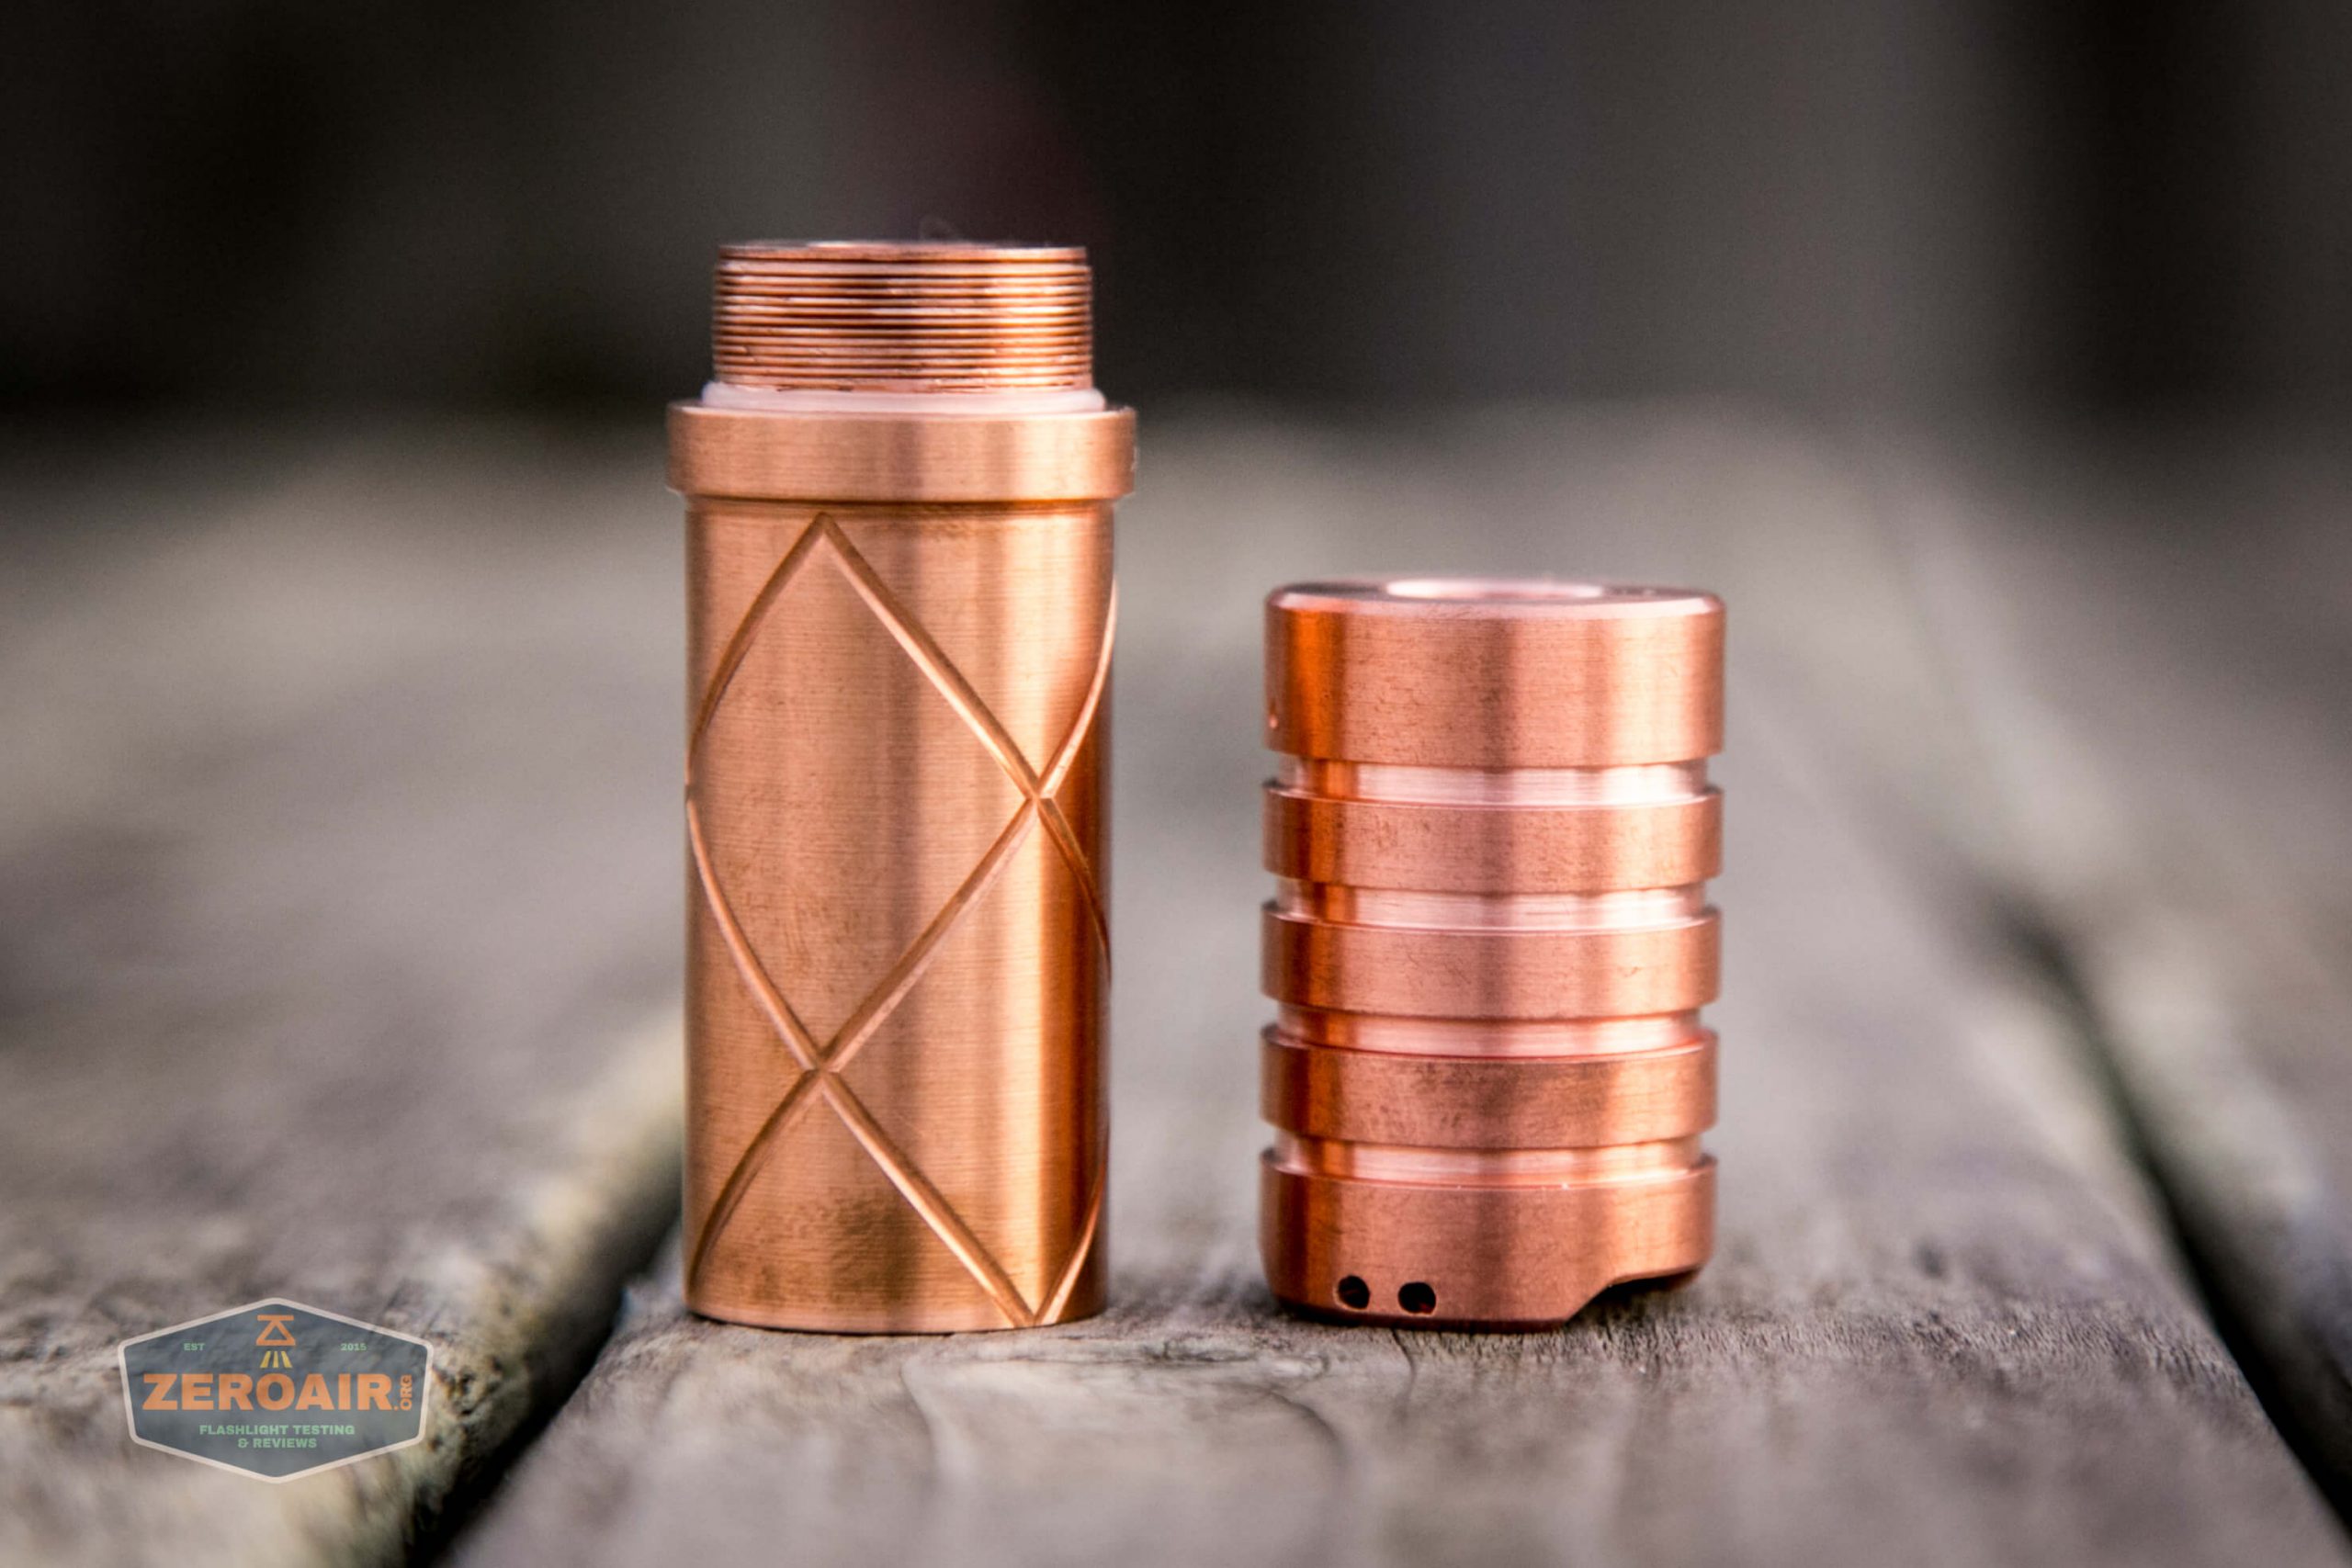
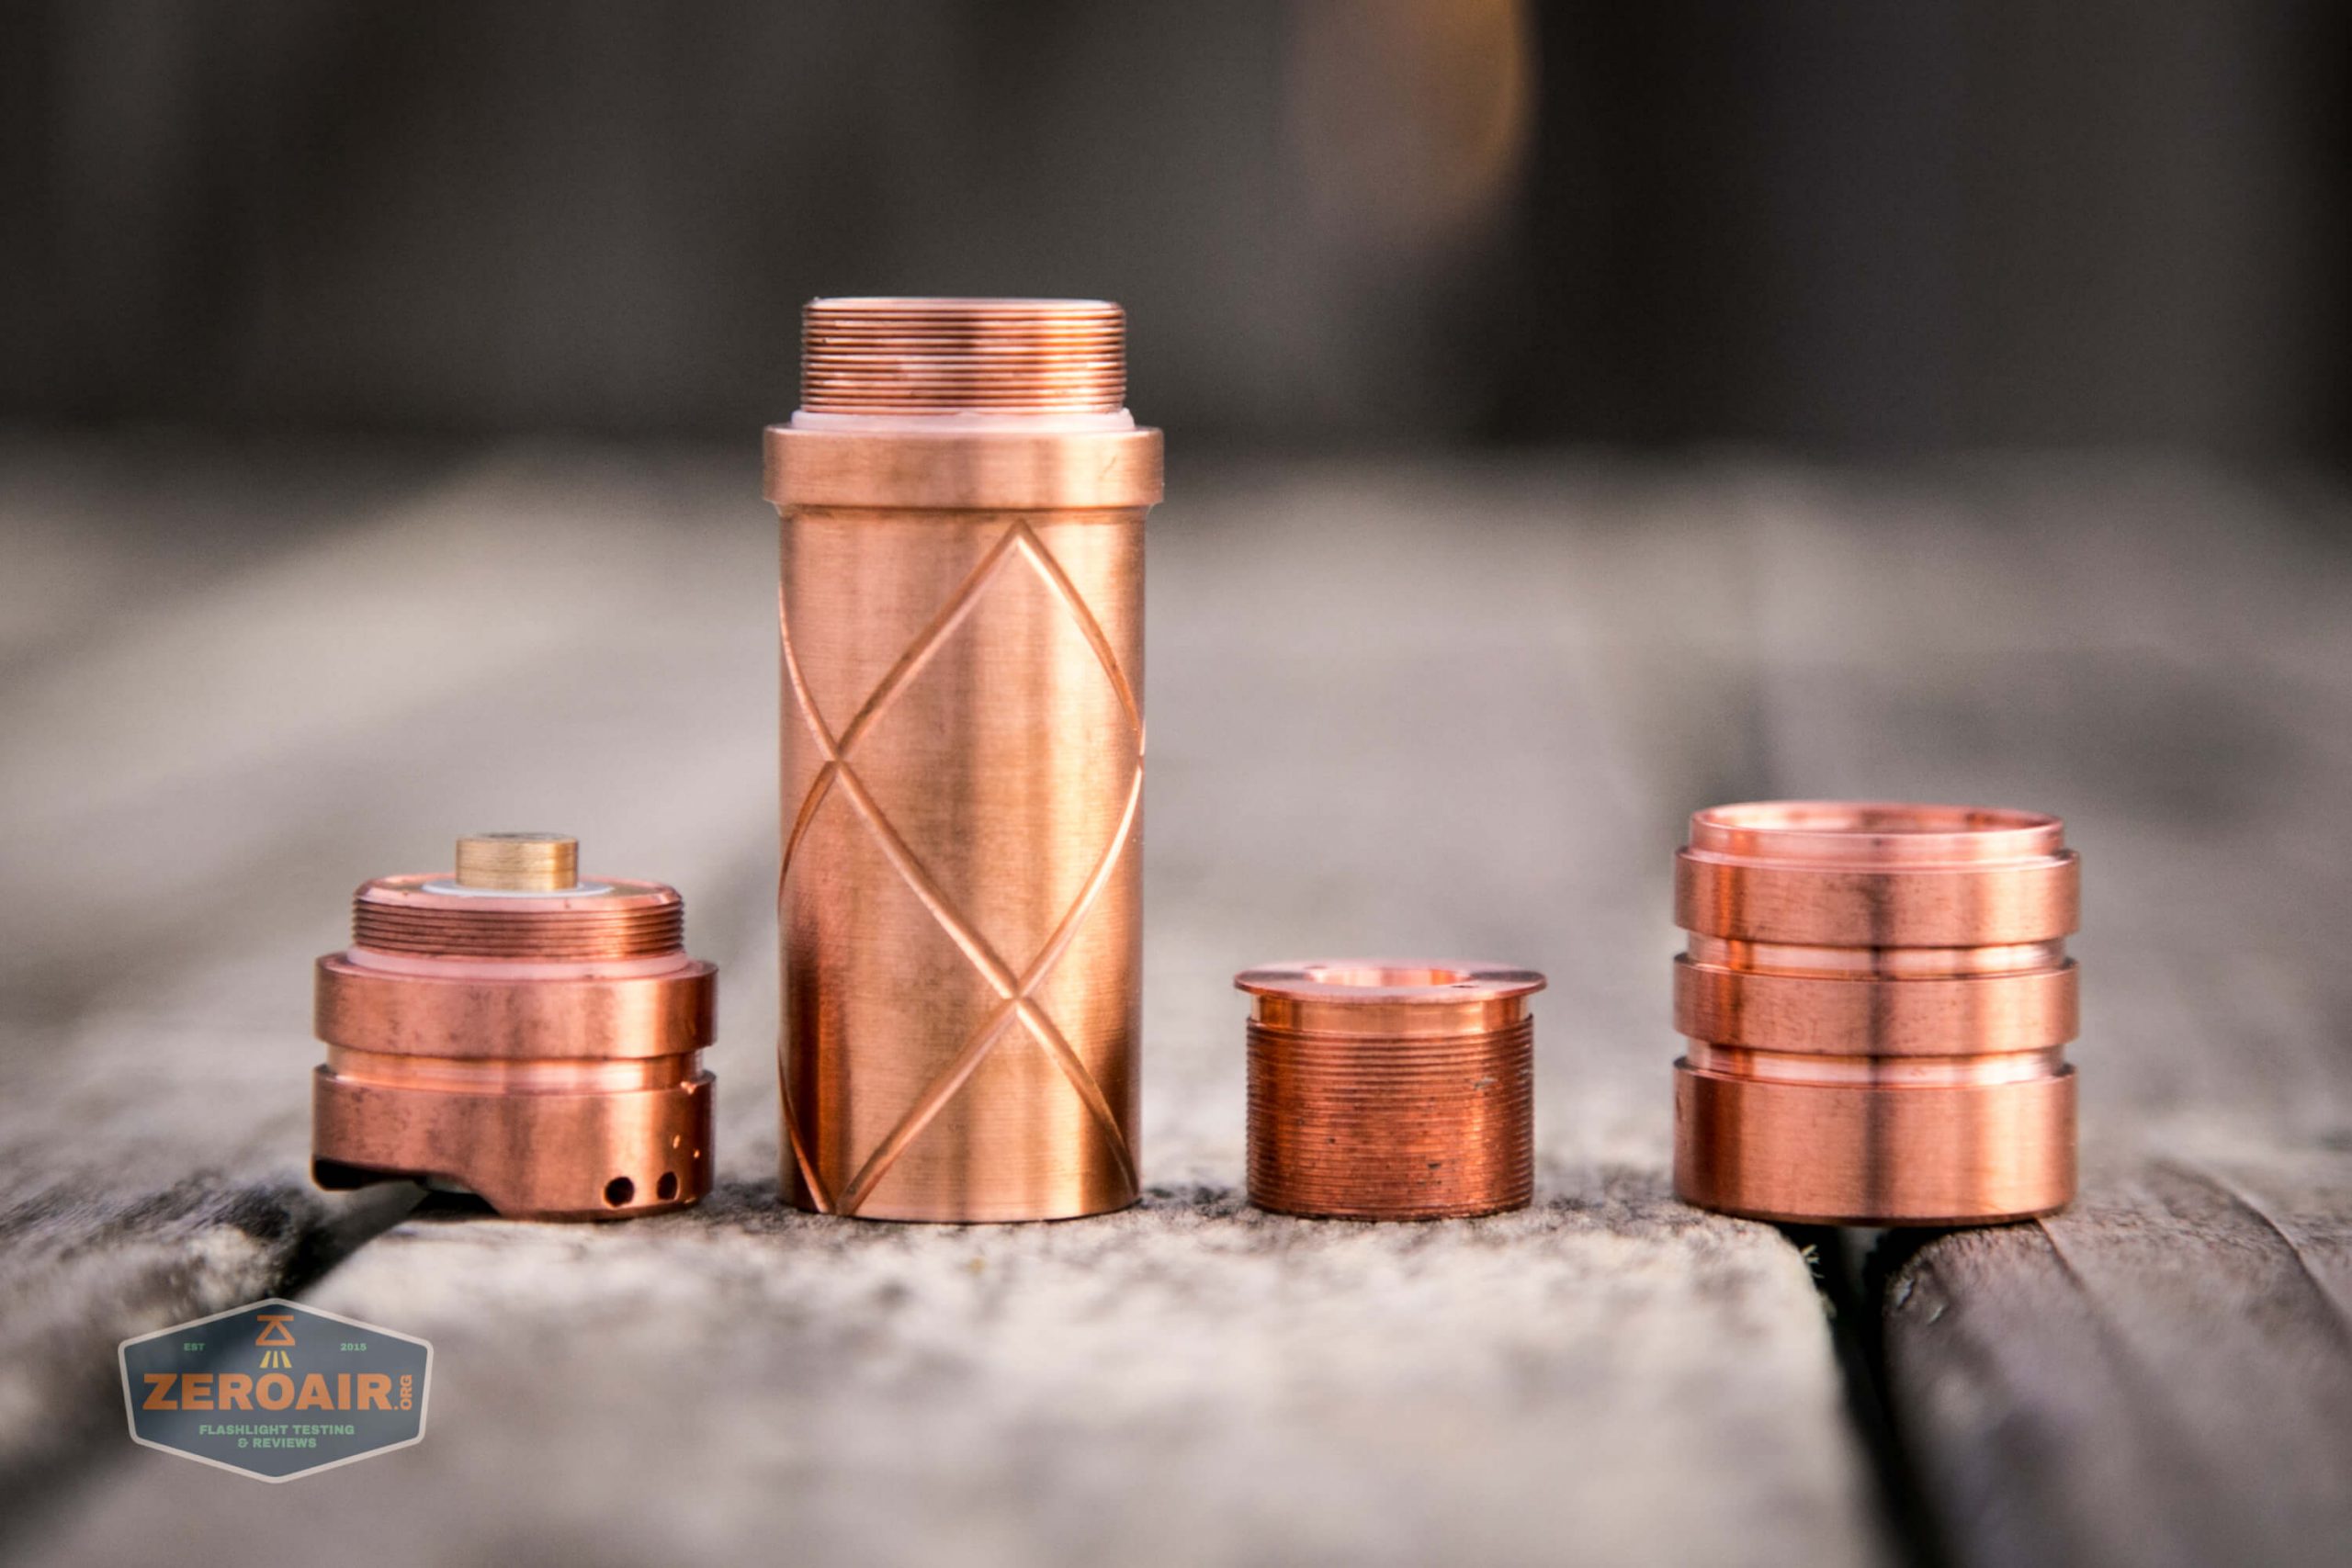
If you’re like me, then you love to see what parts can screw into what parts. Well, the head and the tail of the Red Guardian fit together perfectly! They screw together fully. In fact, the fit is so seamless, it’s hard to tell that it’s not made to be this way. (But of course, it’s not – the laser module is still in the body at left!)
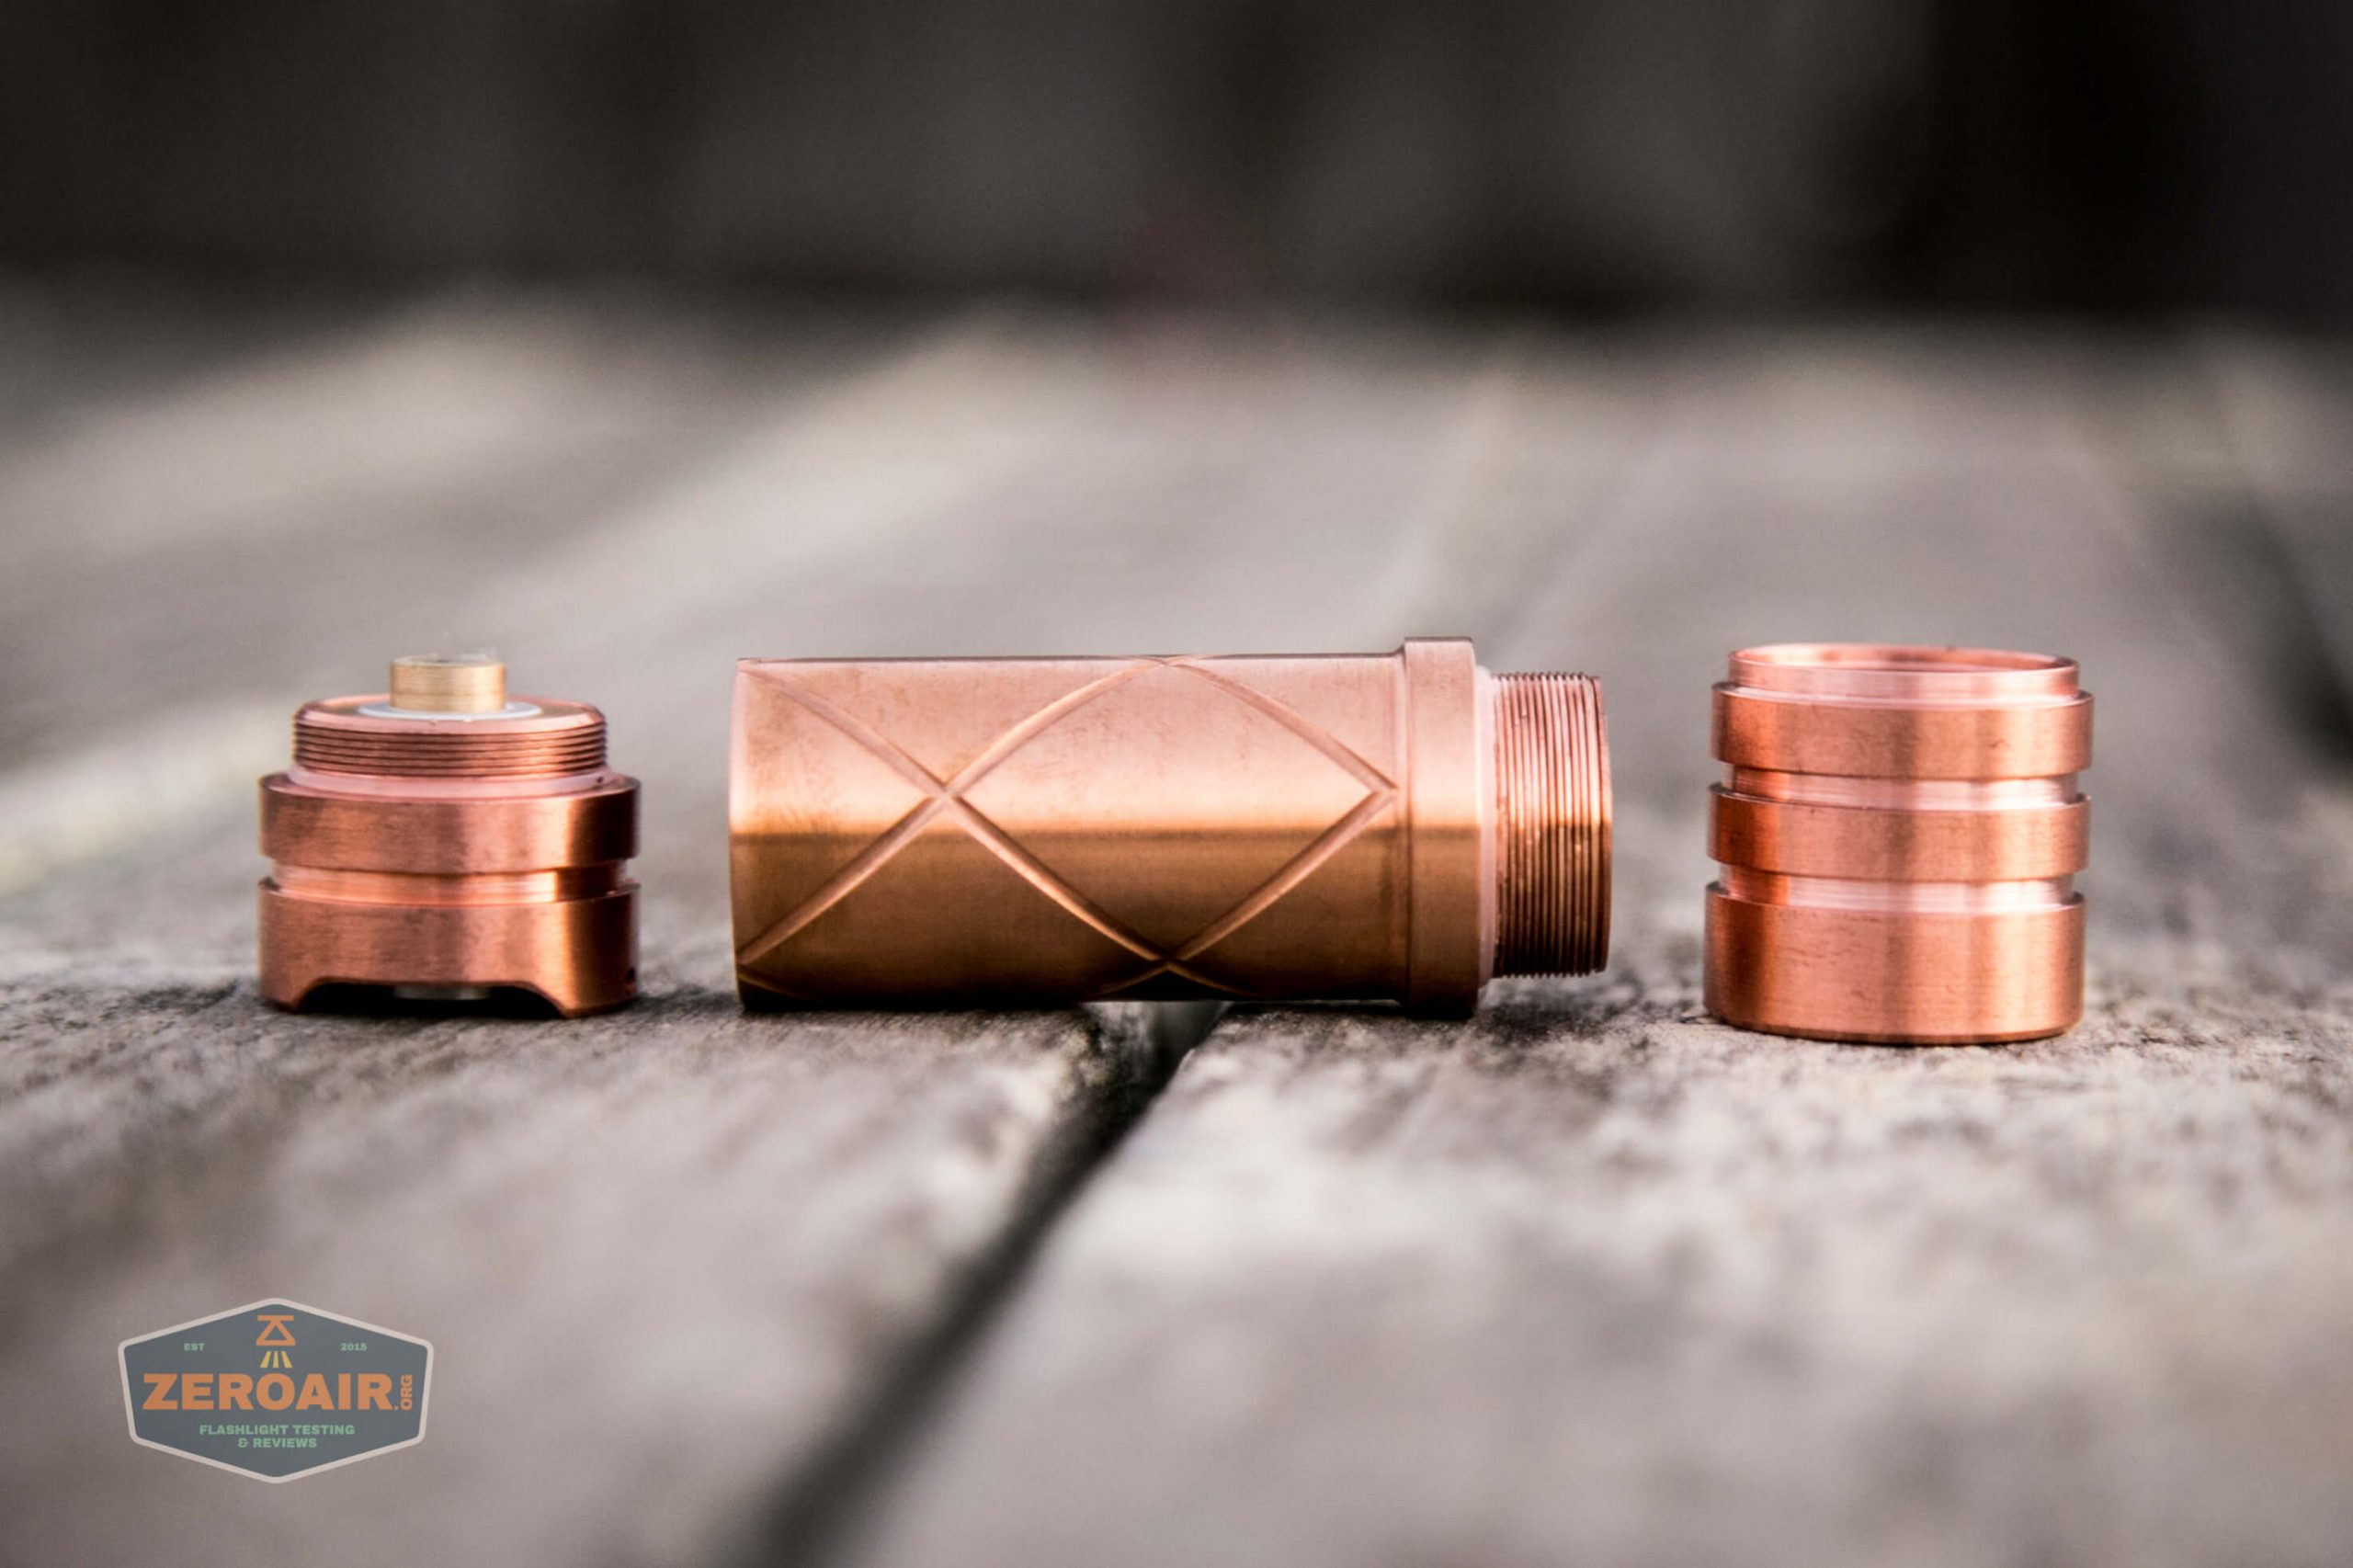
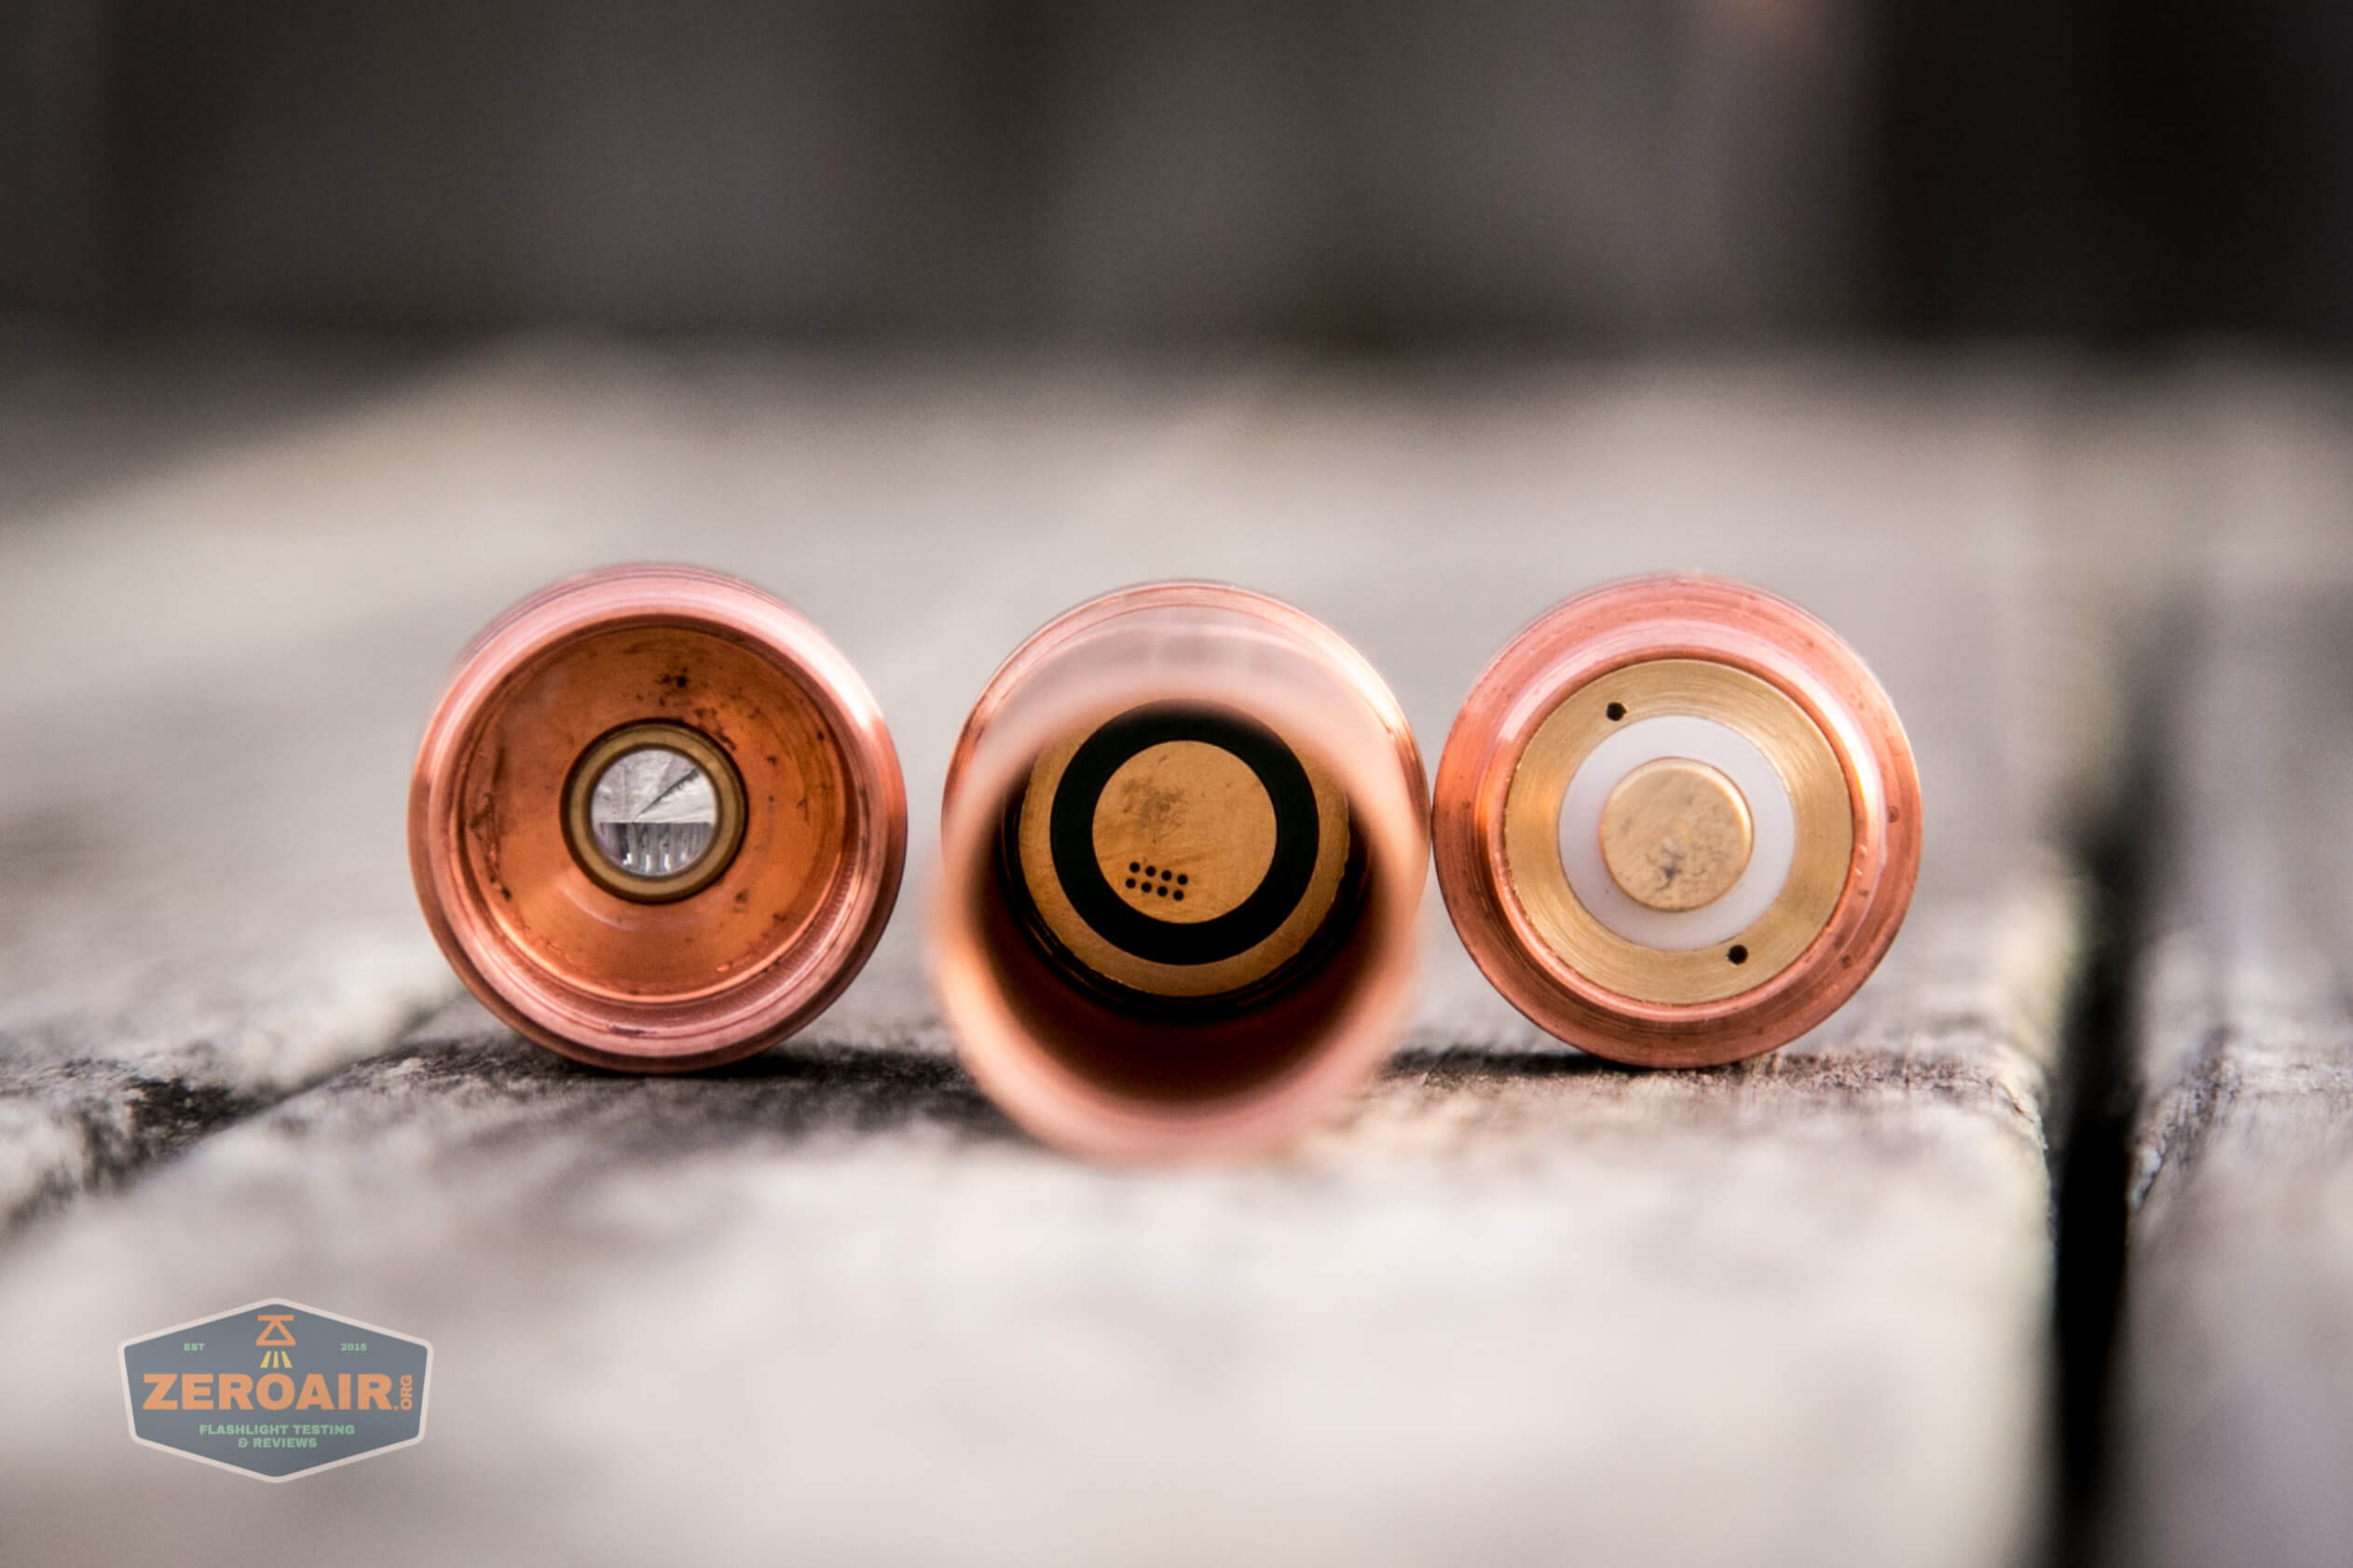
Here are more parts shots. At left is the head, with the lens section. The center is the body, with the positive cell terminal showing. And rightmost is the tailcap, with the brass springy part. Also, note that there is a brass retaining ring for the switch components, too. This will allow disassembly and maintenance on the switch if needed.
Remember those two holes on the laser module? They allow easy removal. In fact, I didn’t even need to use a tool here – I was able to unscrew the module by hand.
Worth mentioning is that the threads are very fine here too!
You may have thought about it already by this point, but the module threading in, and the head threading on, means there are a lot of threads going on here on the front of this laser.
Threads on the outer part, and also threads on the inner part!
At the price of around $200, ultimately, I’d say the build quality could be a little better. The coppers should definitely match. There should be some finish (for example, stonewashed or tumbled) done on the metal. The switch should work better (more on that later).
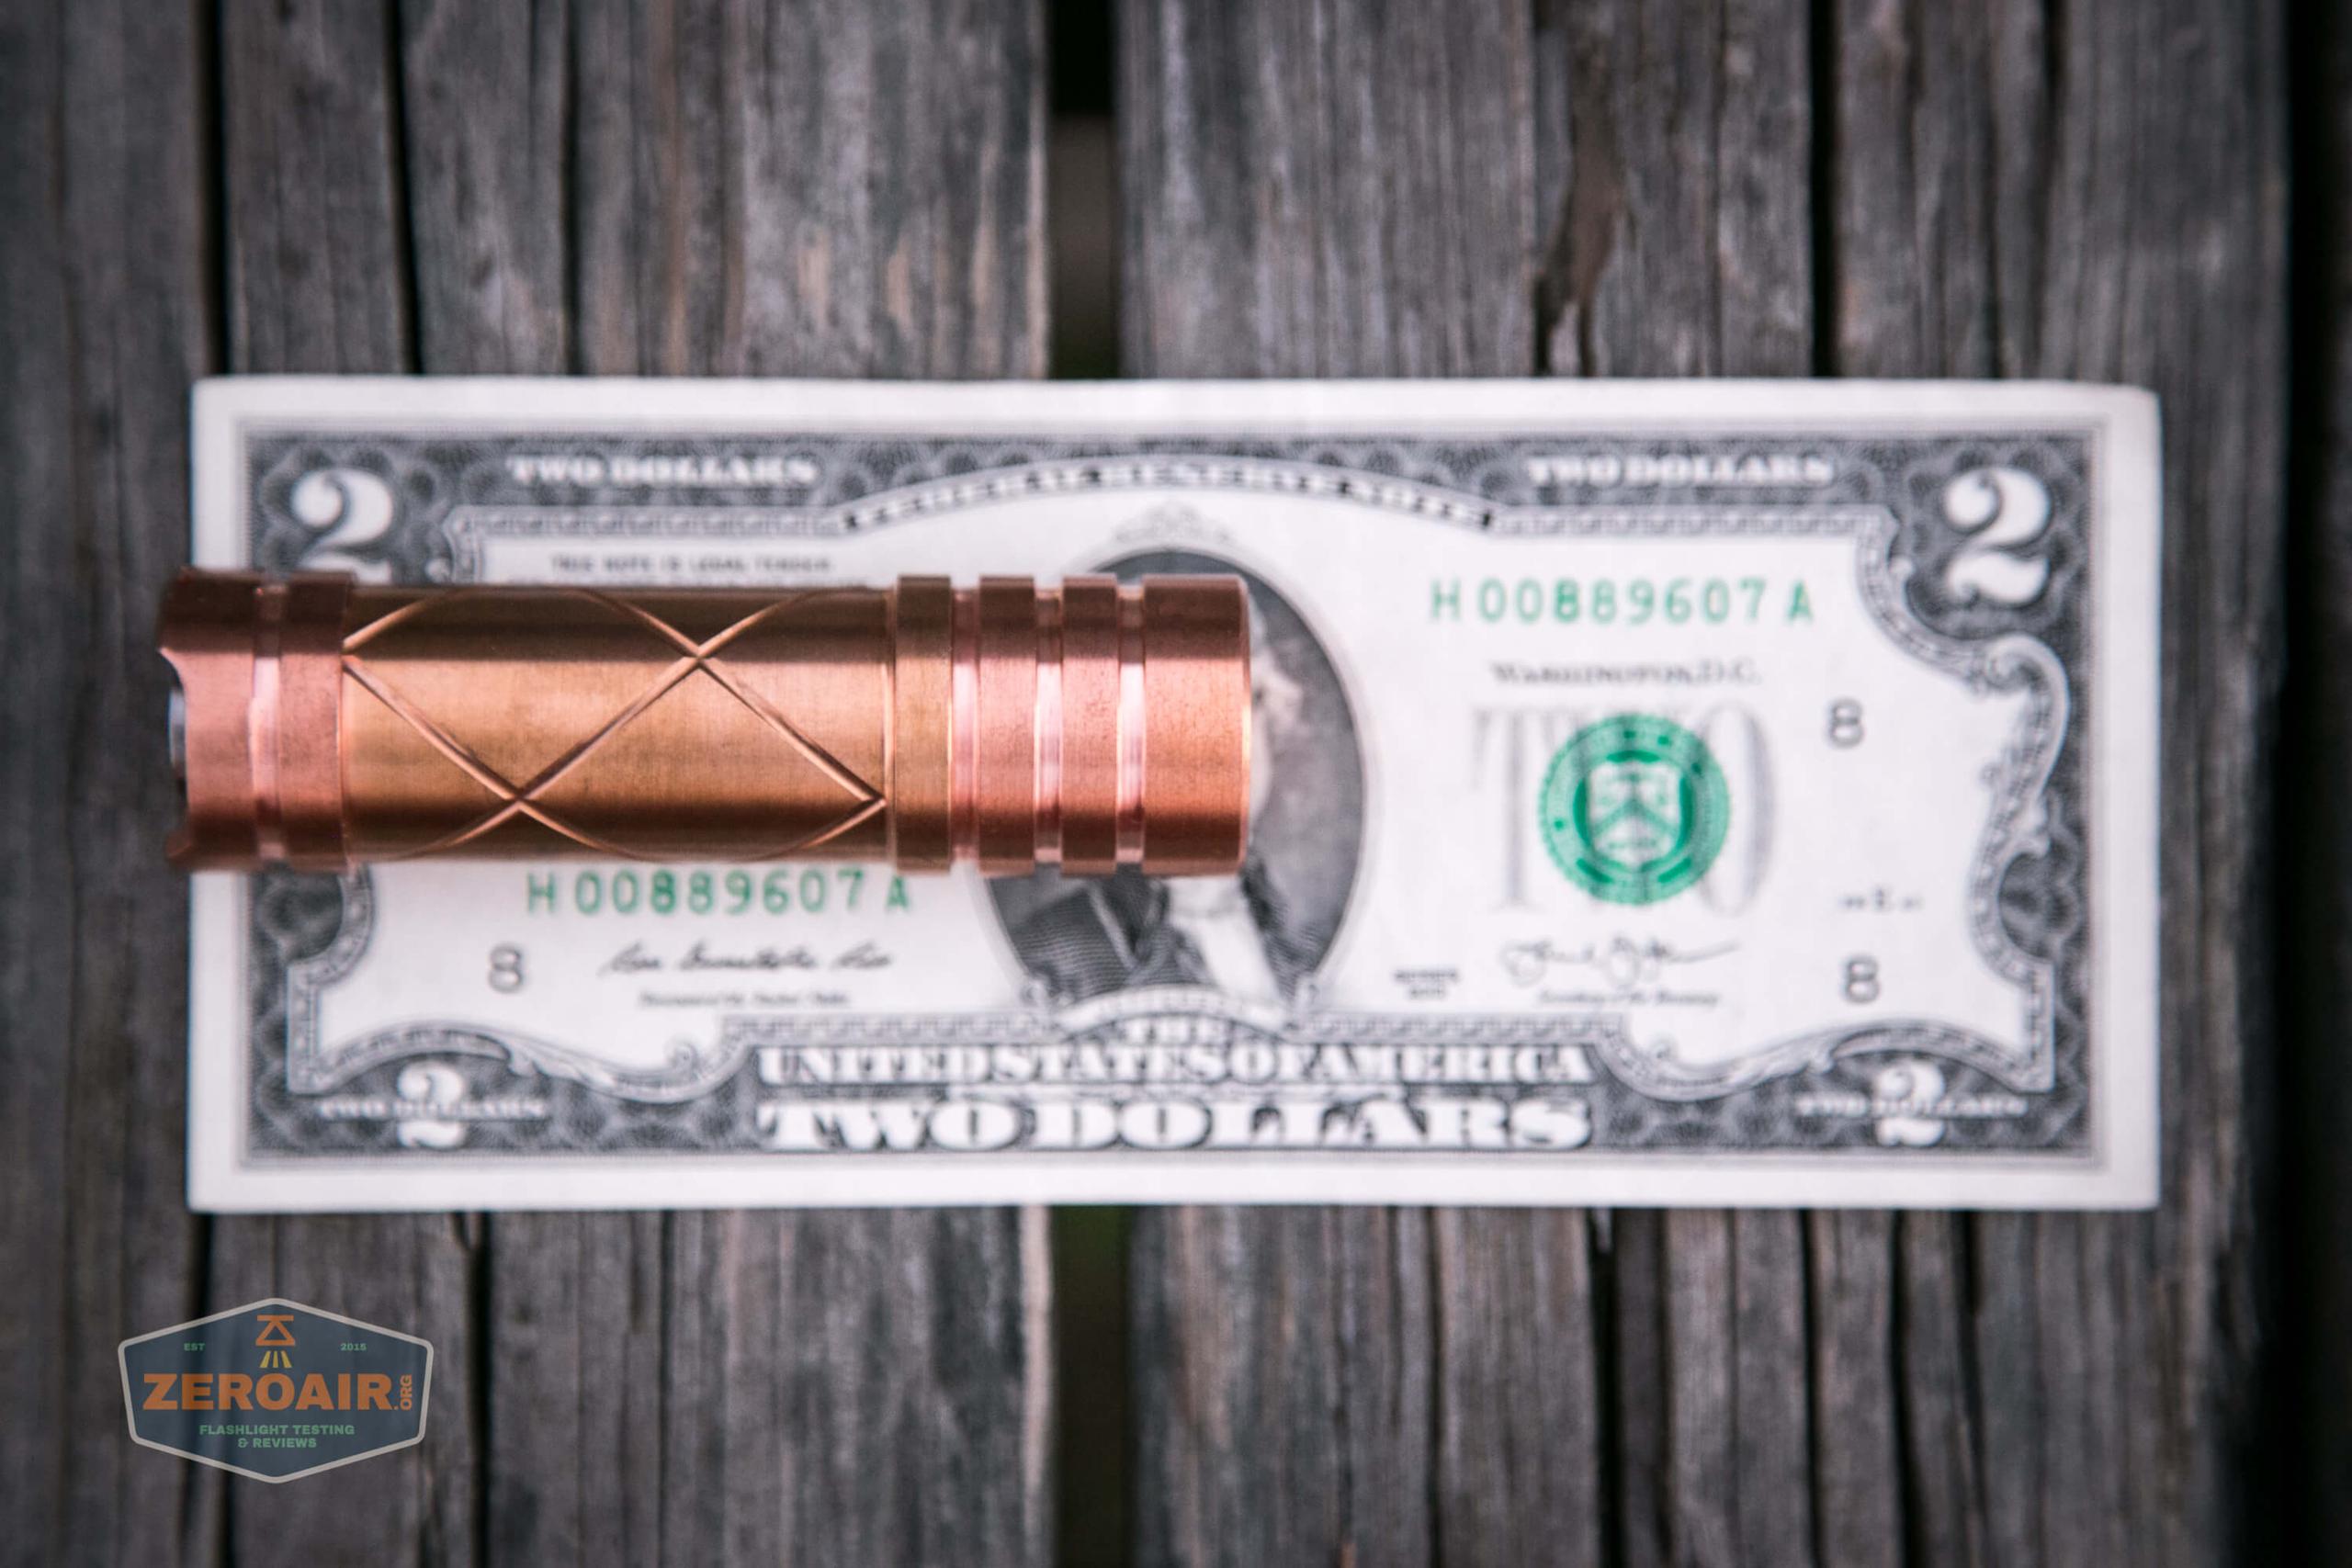
Size and Comps
Officially, the Sanwu Red Guardian is 84mm x 24mm, and weighs 160g without the cell.


If a light (or in this case, laser) will headstand, I’ll show it here (usually the third photo). If a light will tailstand, I’ll show that here, too (usually the fourth photo).

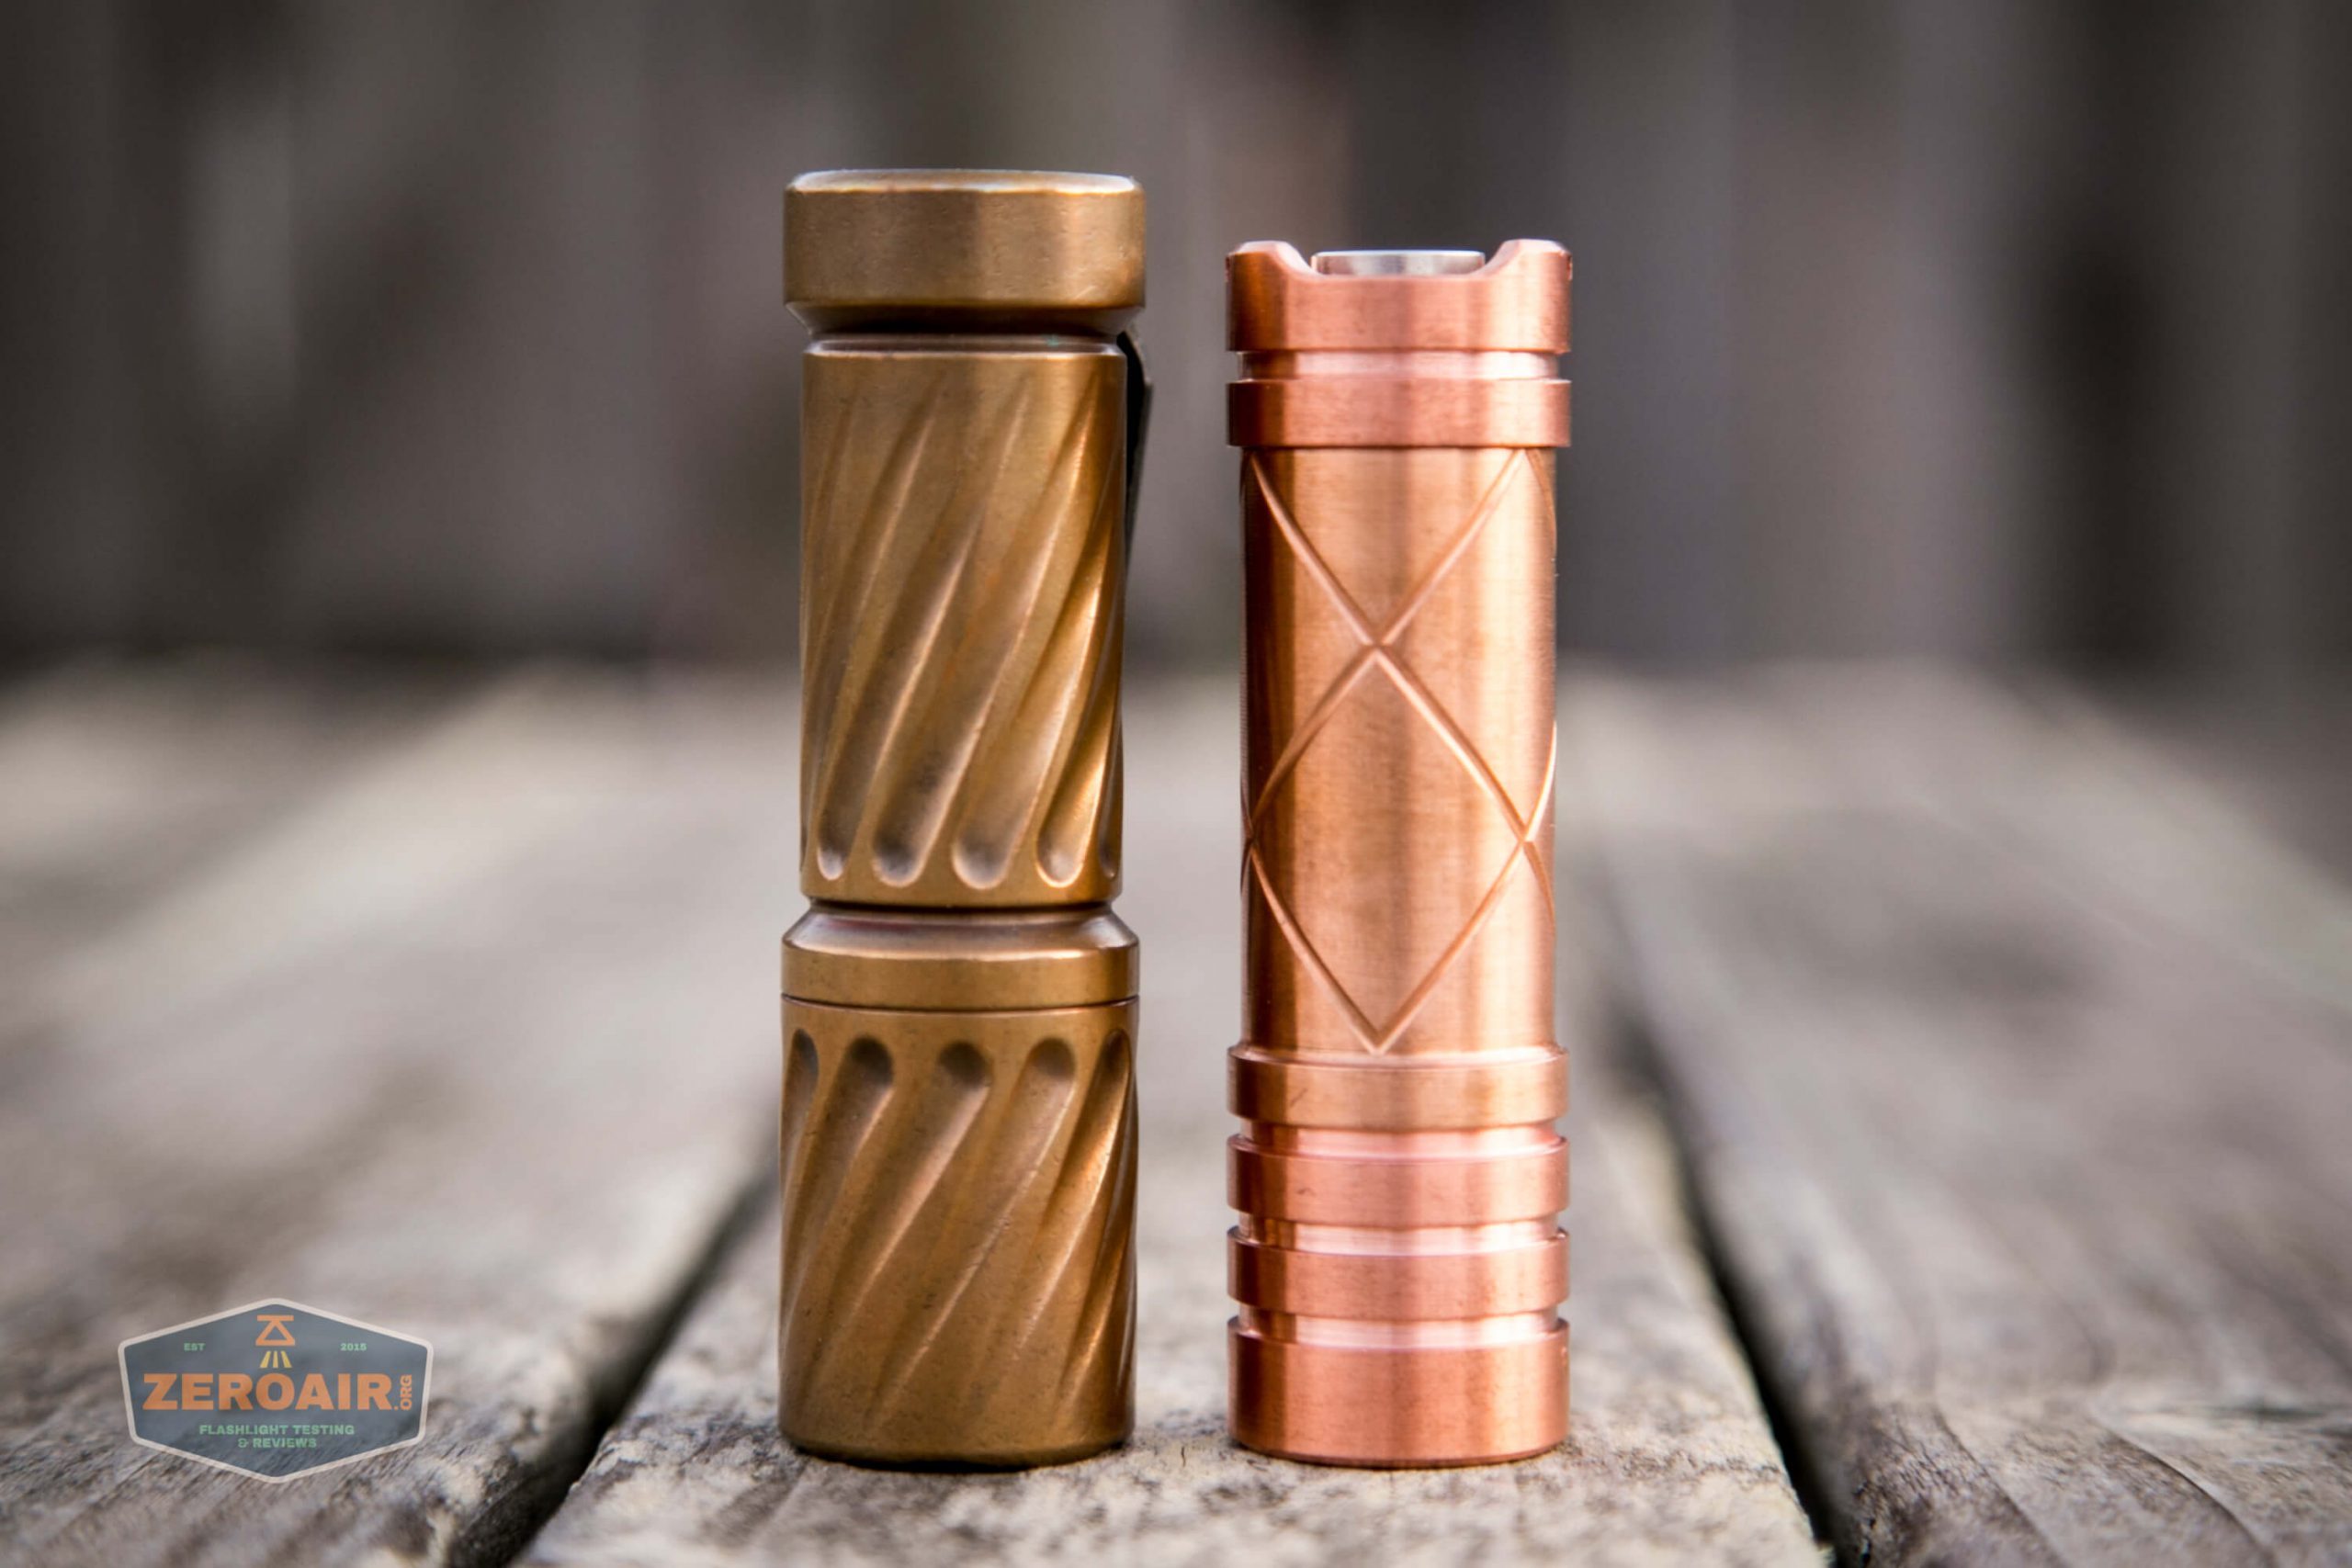
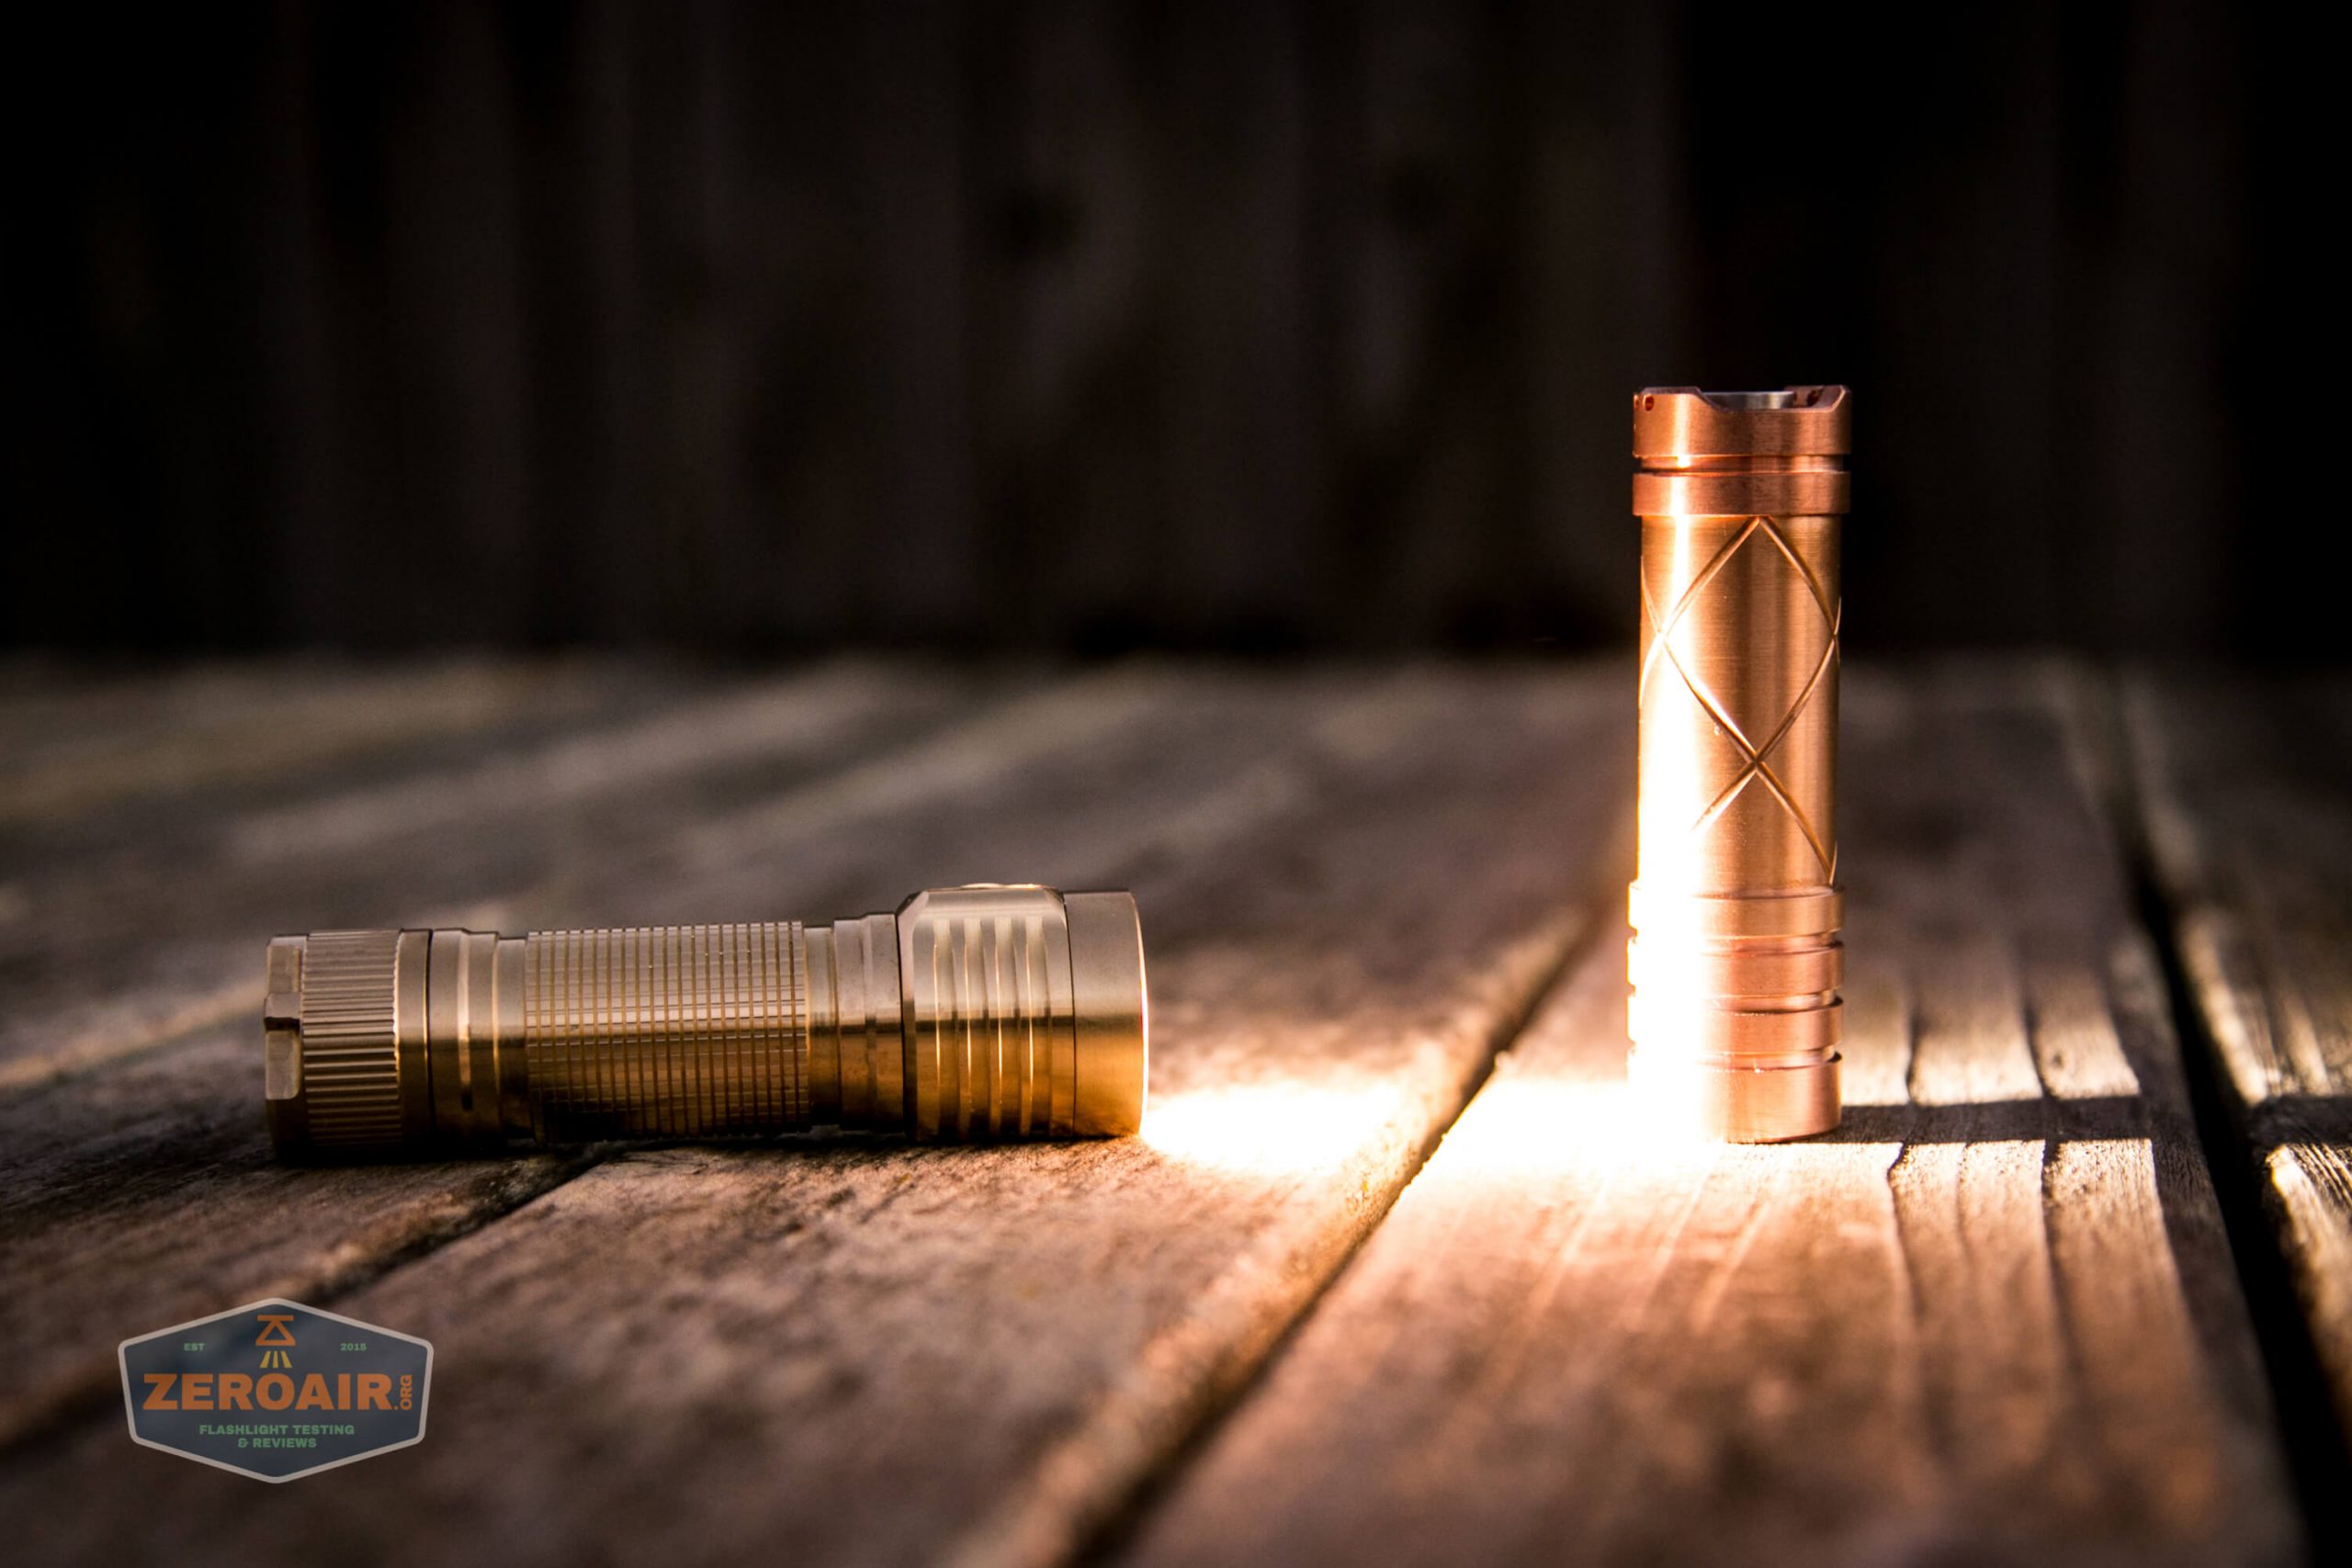
Here’s the Red Guardian with the venerable Convoy S2+. Mine’s a custom “baked” edition Nichia 219b triple. A very nice 18650 light.
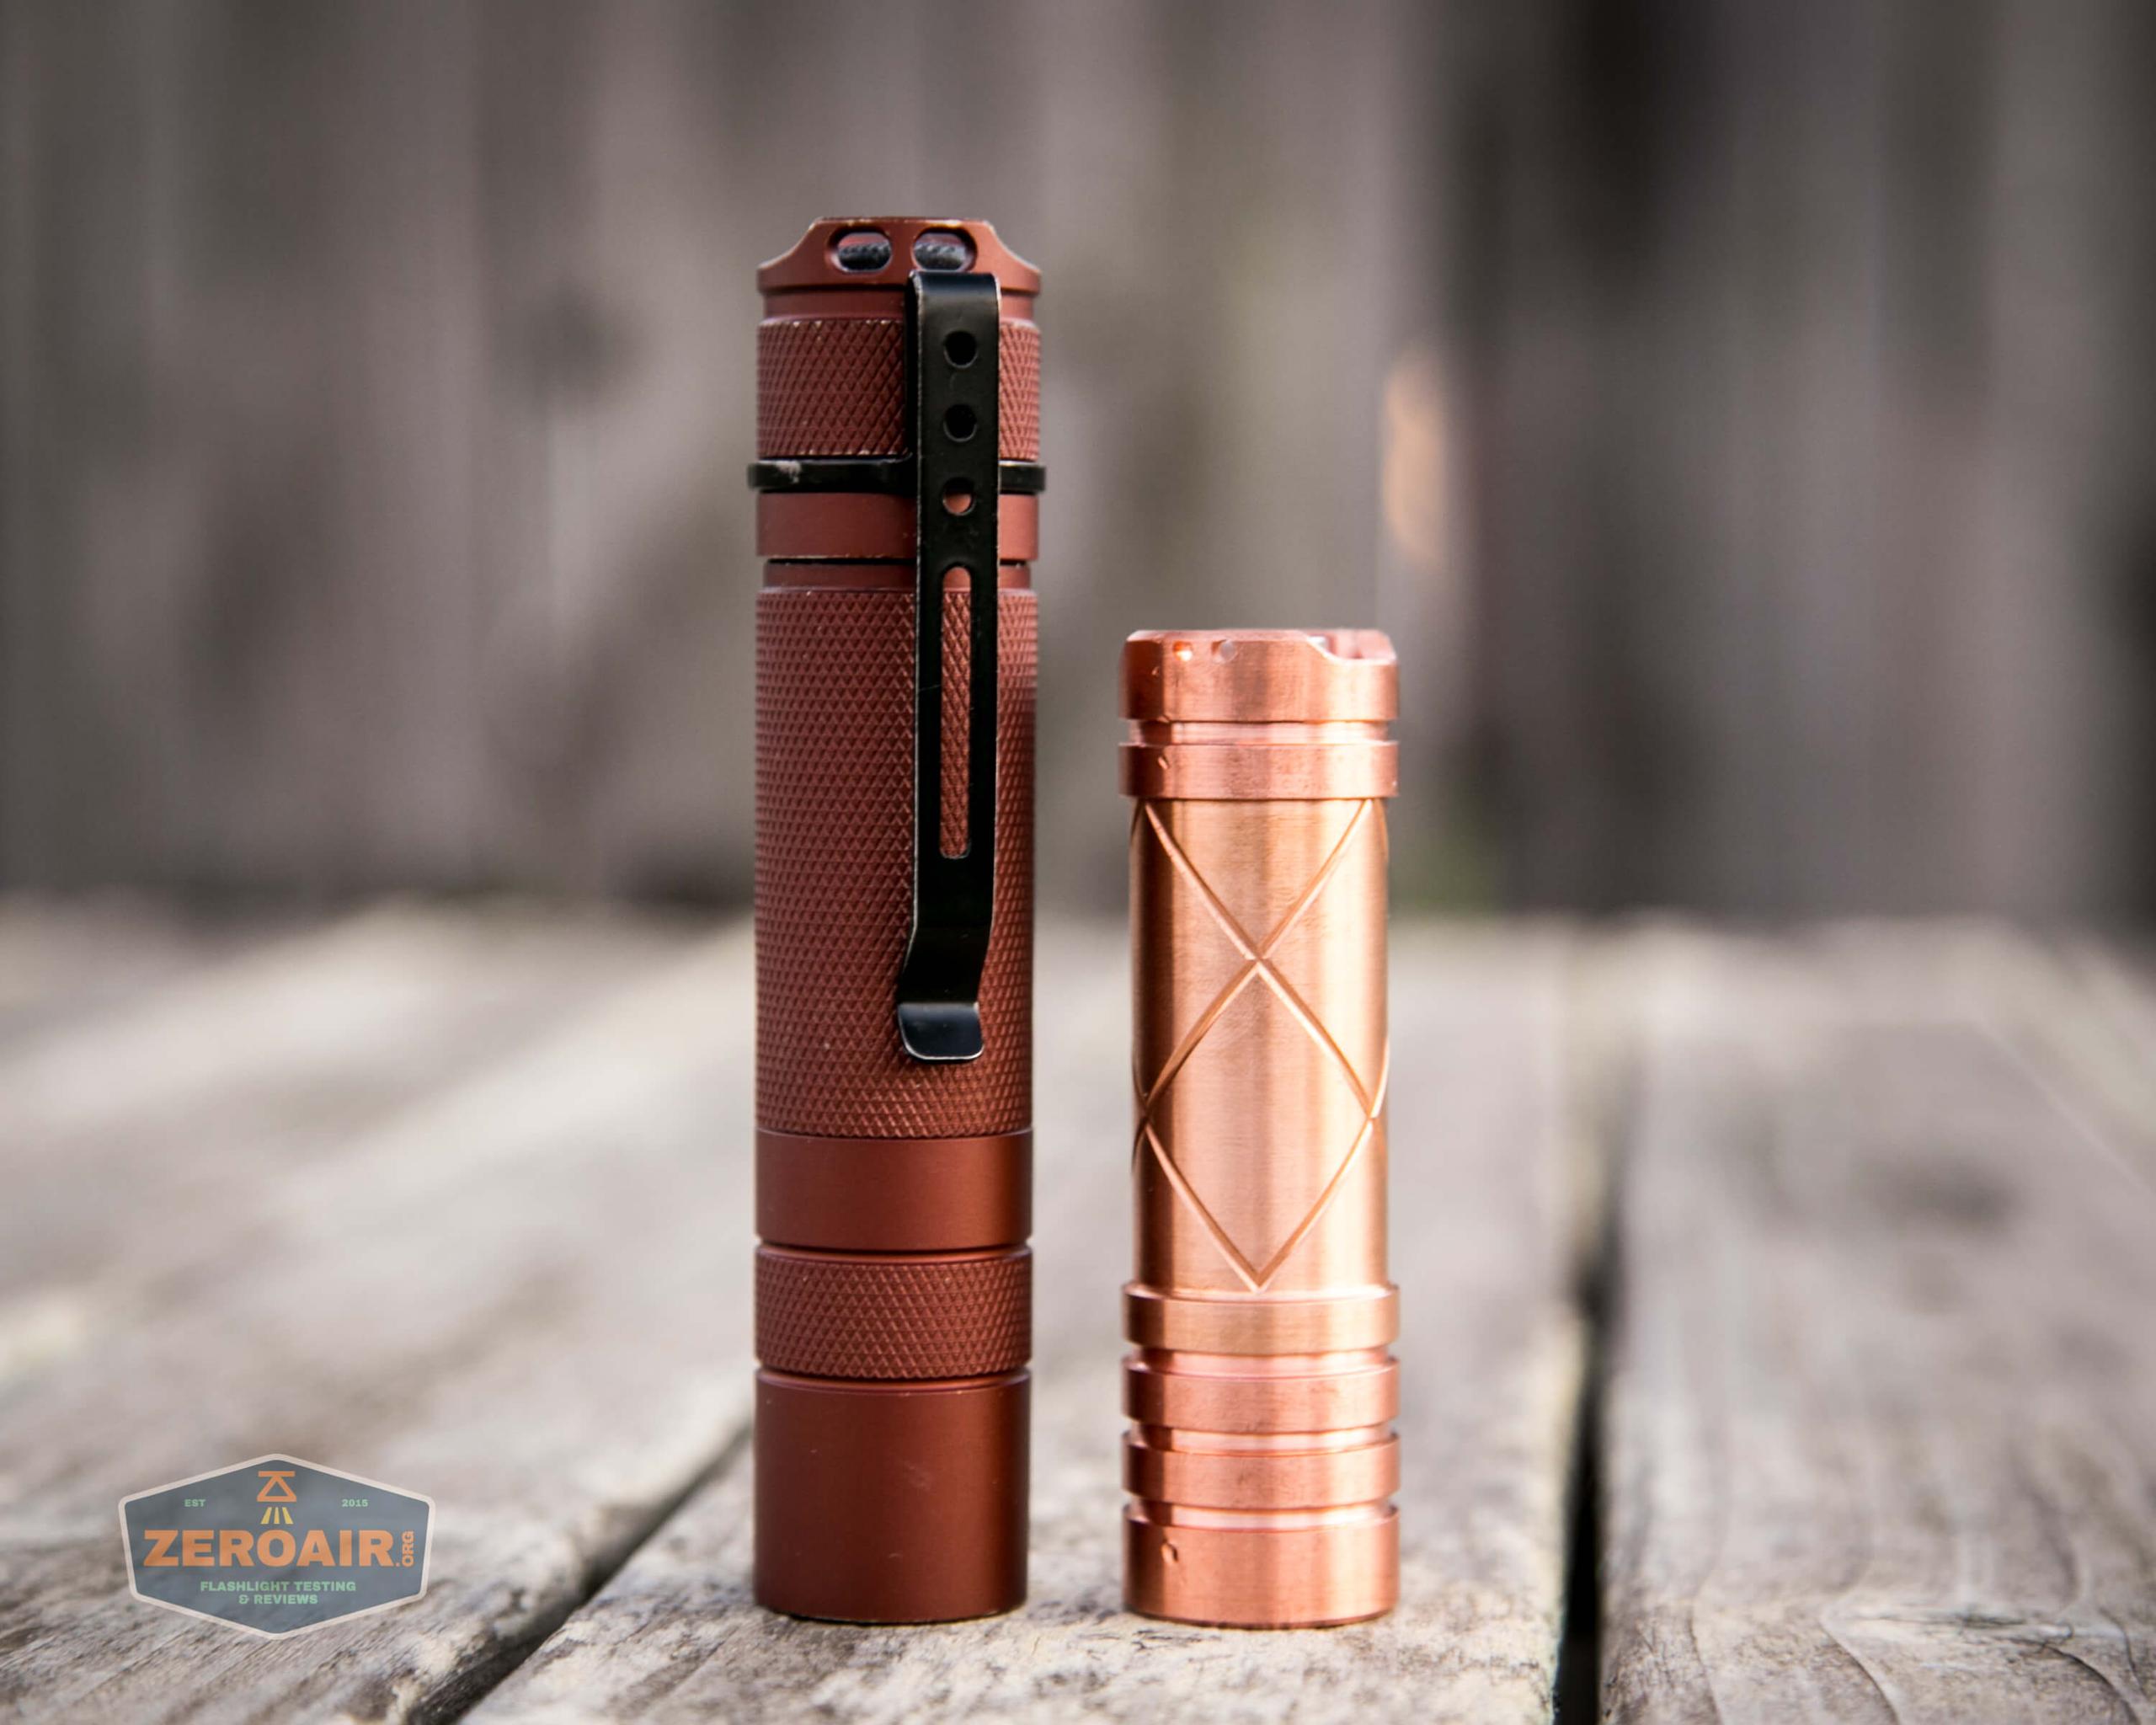
And here’s the light beside my custom-engraved TorchLAB BOSS 35, an 18350 light. I reviewed the aluminum version of that light in both 35 and 70 formats.
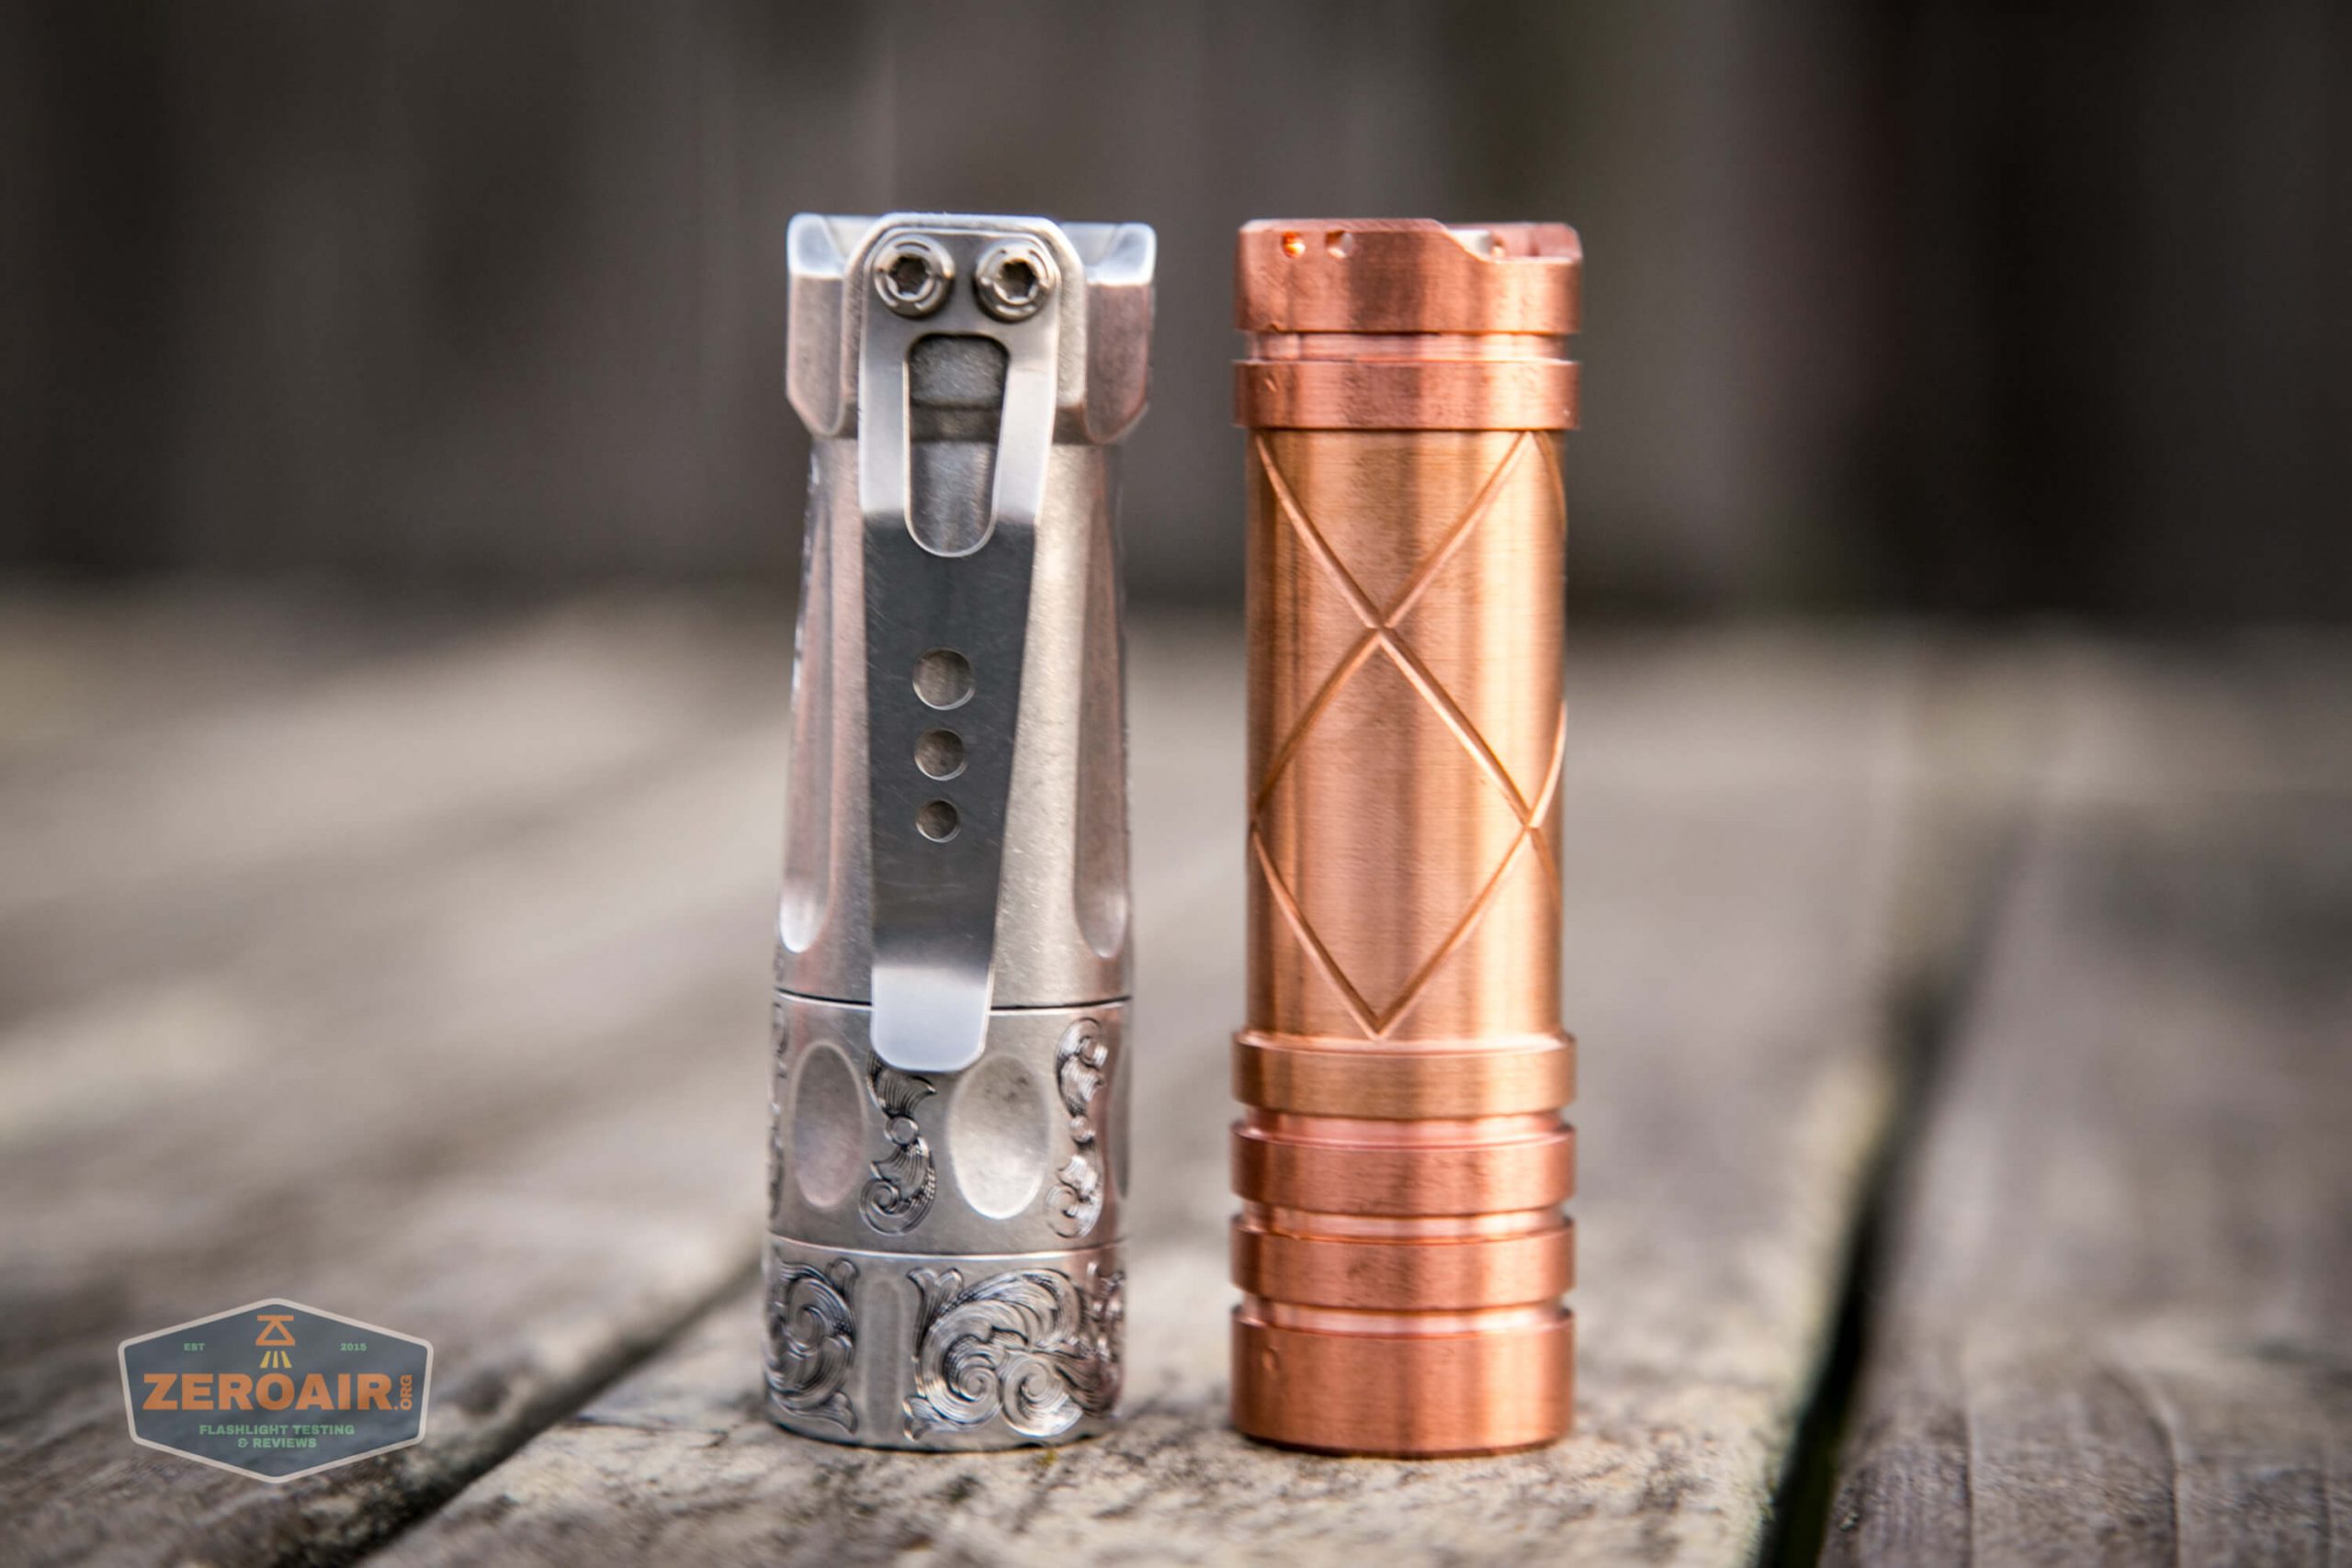
In fact, these two photos are the reason I wanted to review one of these lasers. I wanted to see how close in size they really are. Turns out they’re very similar! But in case you were wondering, like I was, the parts between the two are completely incompatible (without significant machining work).
Retention and Carry
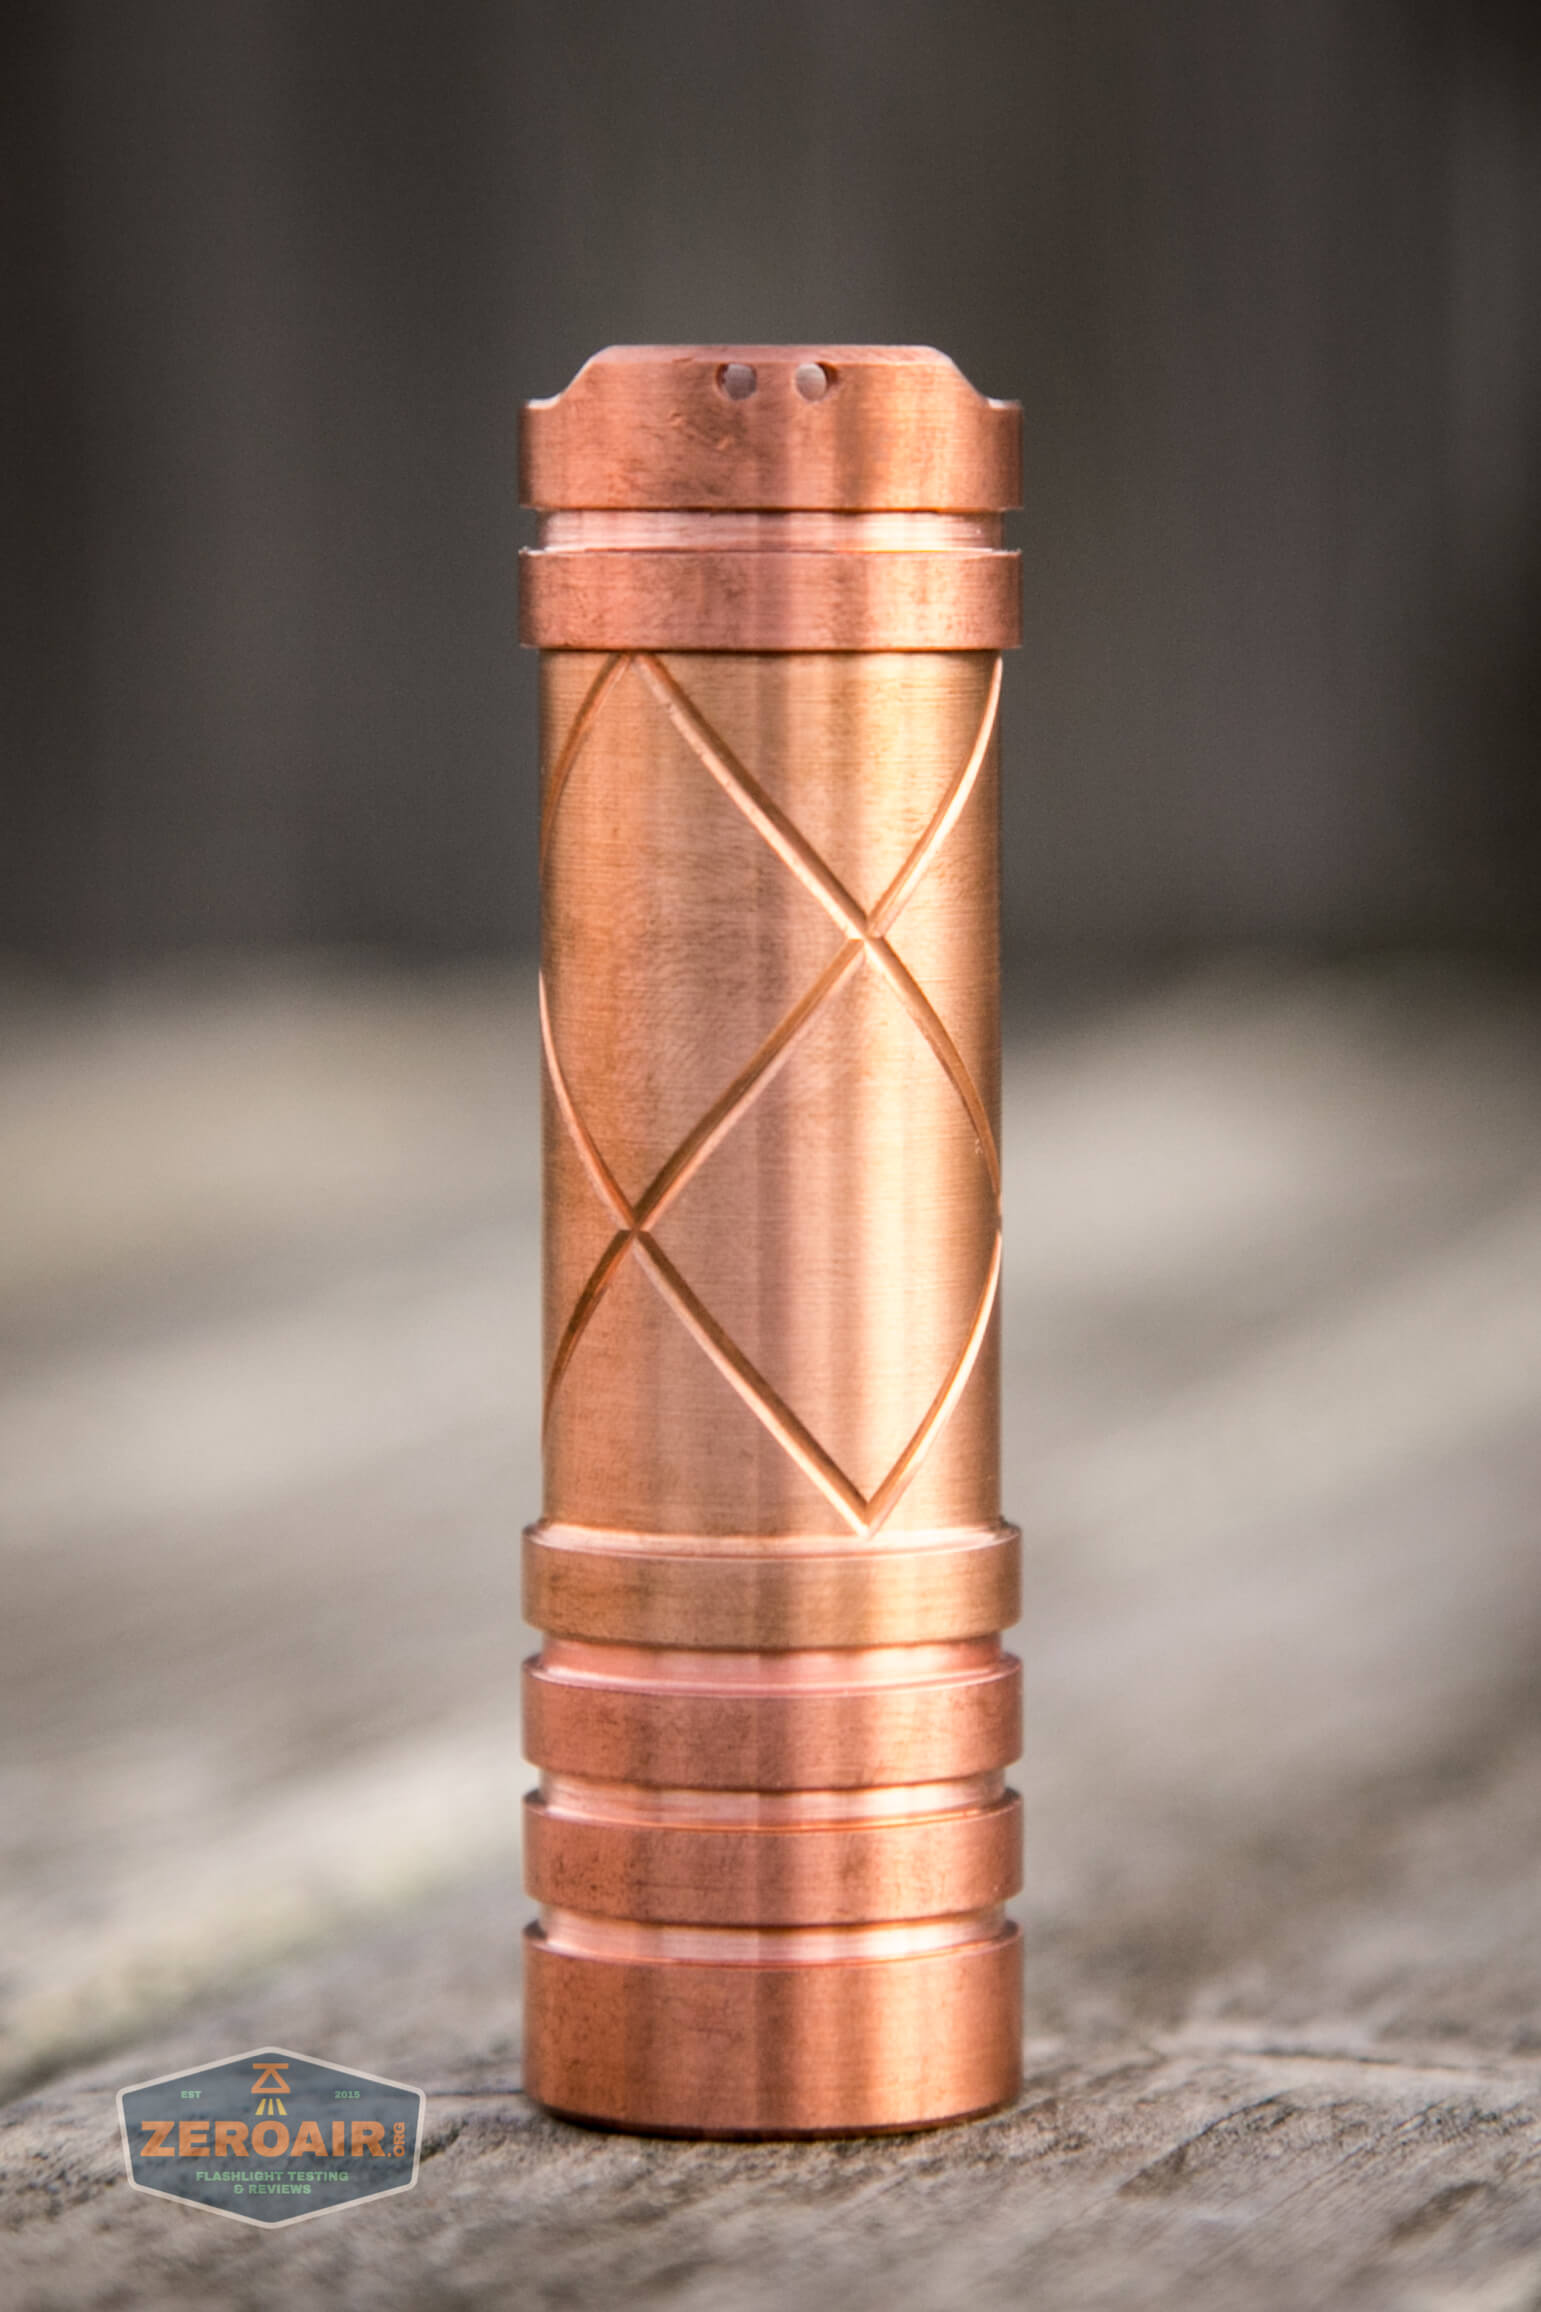
There is really only one way intended for retaining the Sanwu Red Guardian. The tailcap has two holes on both sides, which would allow the attachment of a lanyard. Note that a lanyard is not included.
I’m not here to tell you what to do, but I can tell you that this laser is not a toy. And the use of a lanyard on this laser would incline me to not fully comprehend the seriousness of such a device… I would more likely keep this in a locked Pelican case than carry it on a lanyard.
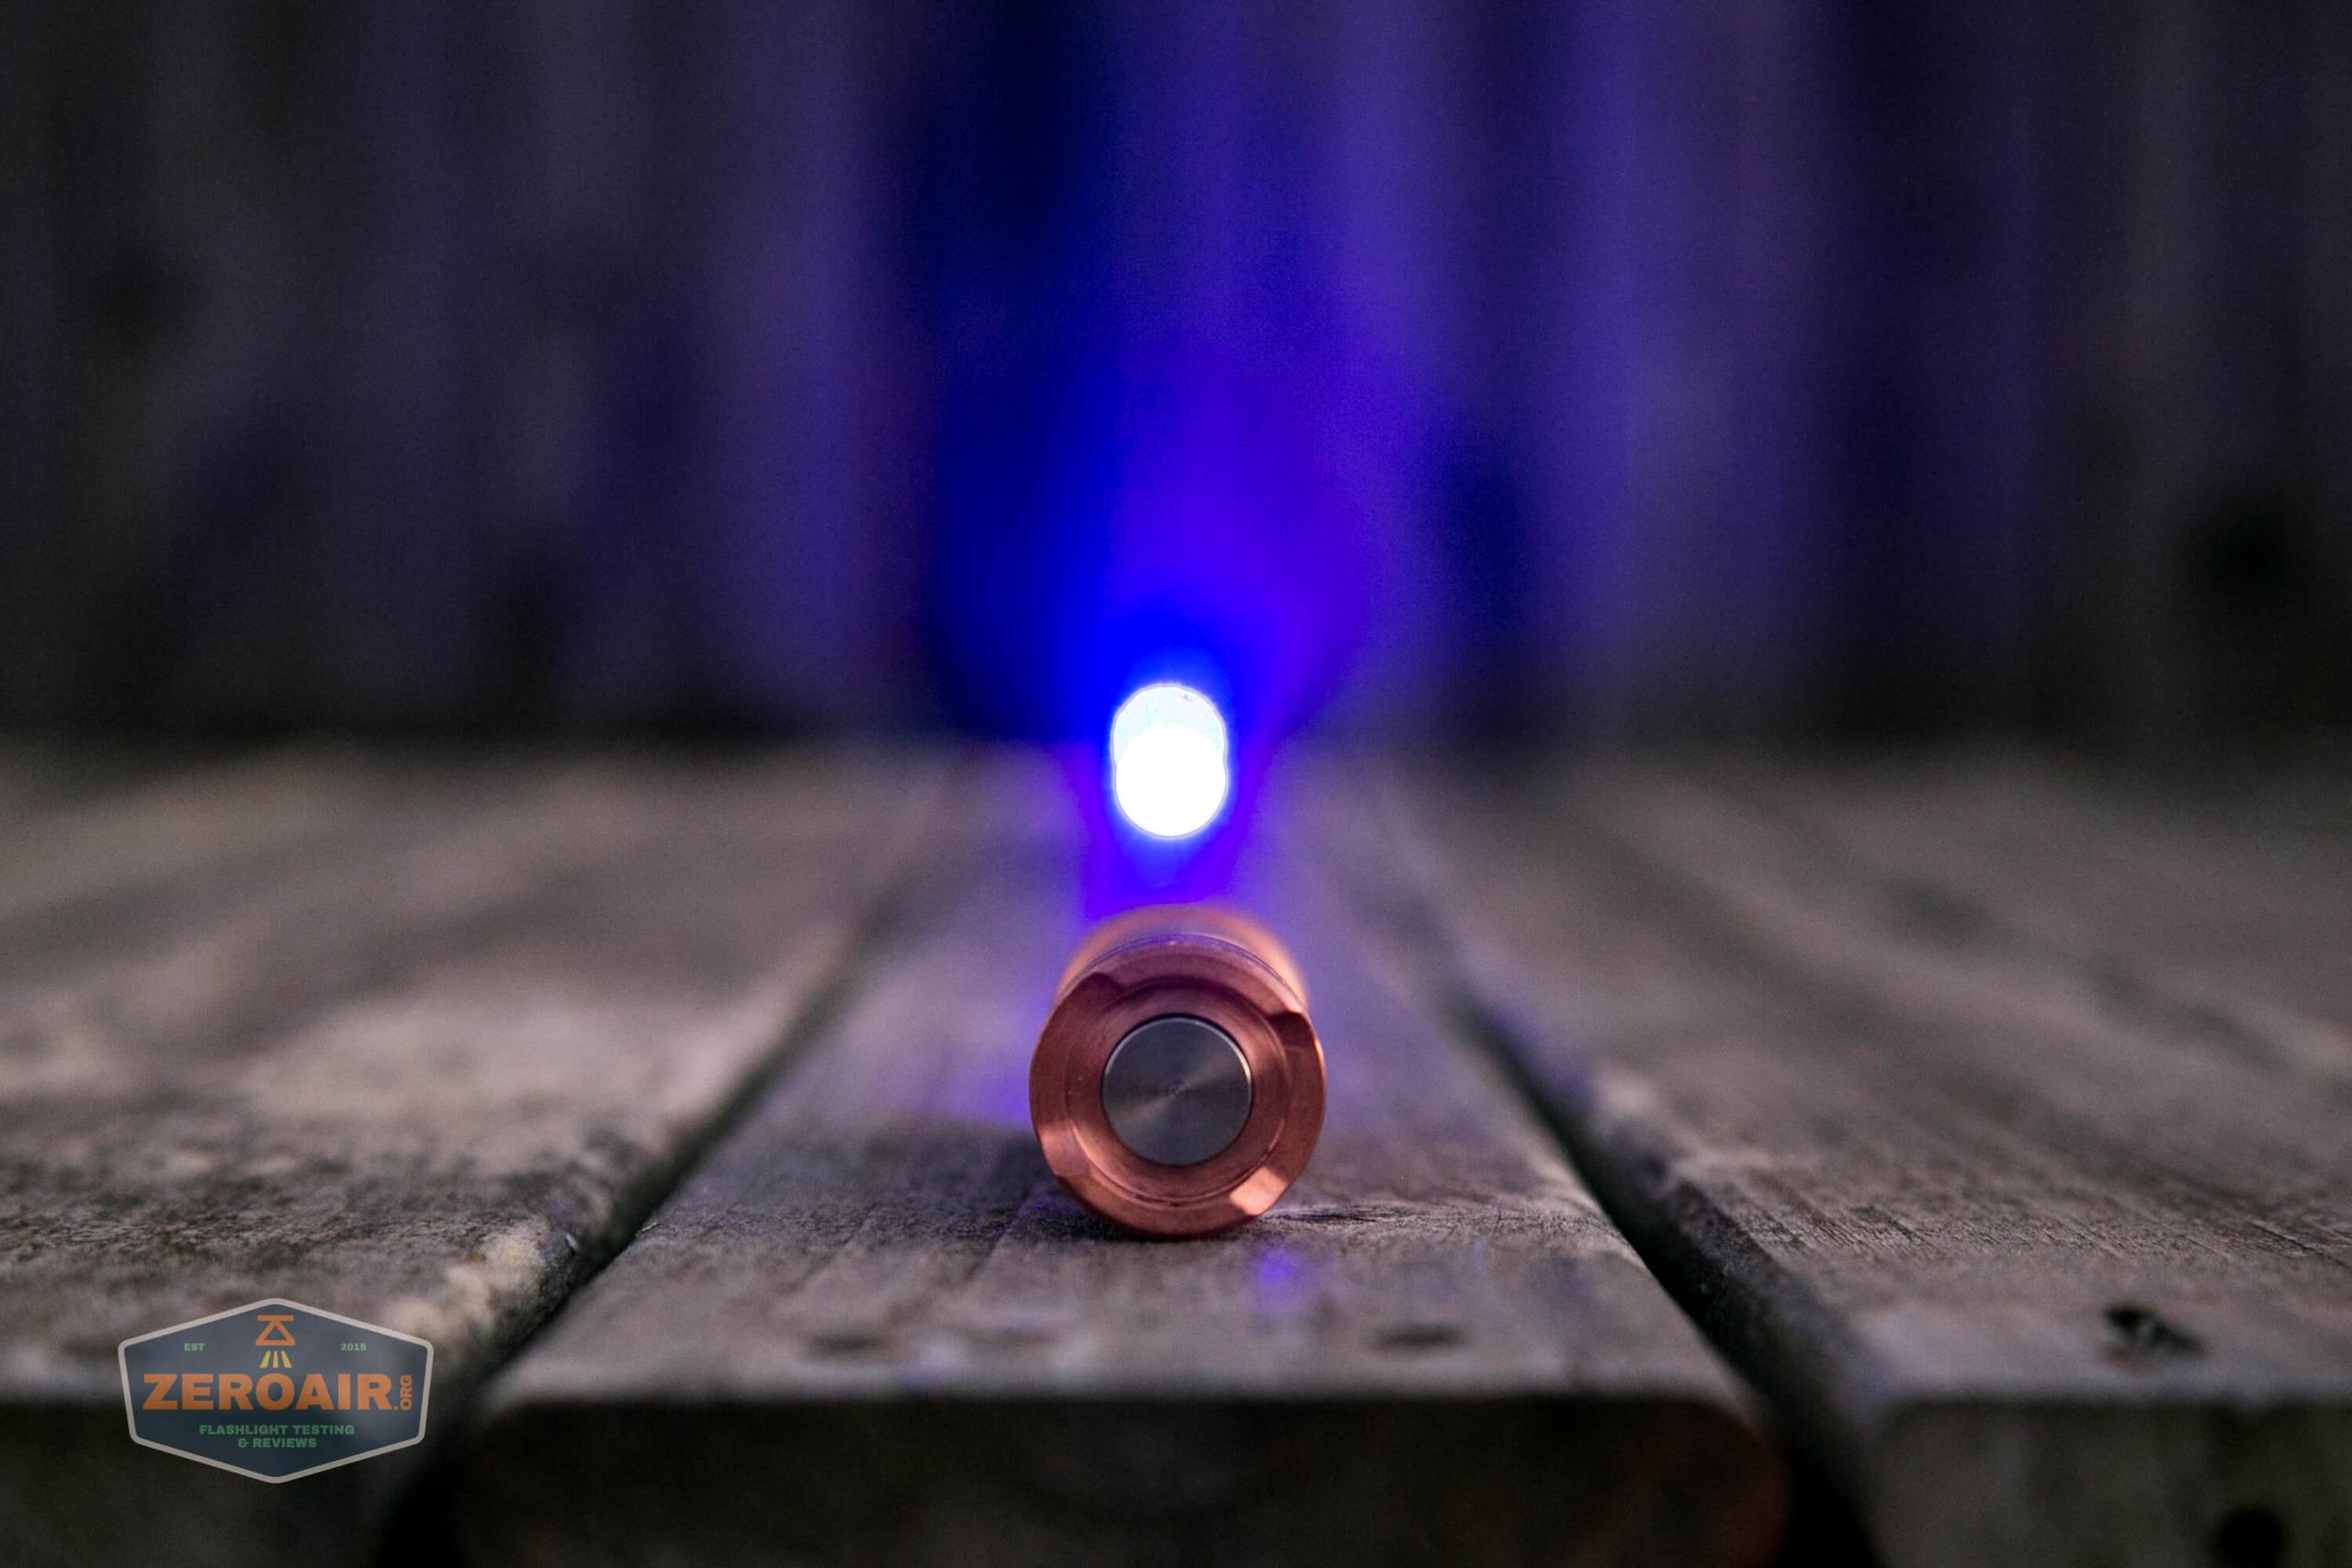
Also noteworthy (and sort of covered above) is that the Red Guardian tailstands perfectly. Though I wouldn’t recommend this either, since you can shoot airplanes if doing this and leaving the laser in an on state.
I will say this, however – the Red Guardian works perfectly with a Convoy S2+ pocket clip. Not so much in the grooves, but right up at the top end of the cell tube. If you wish to have a pocket clip on this laser, the Convoy S2+ pocket clip will suit you well.
Power
The Red Guardian laser is powered by a single lithium-ion cell. A 18350 is what works, and if you choose the option, one is included. Only an unprotected flat top will work, and you’ll want one that’s capable of moderate current, and certainly sustained current.
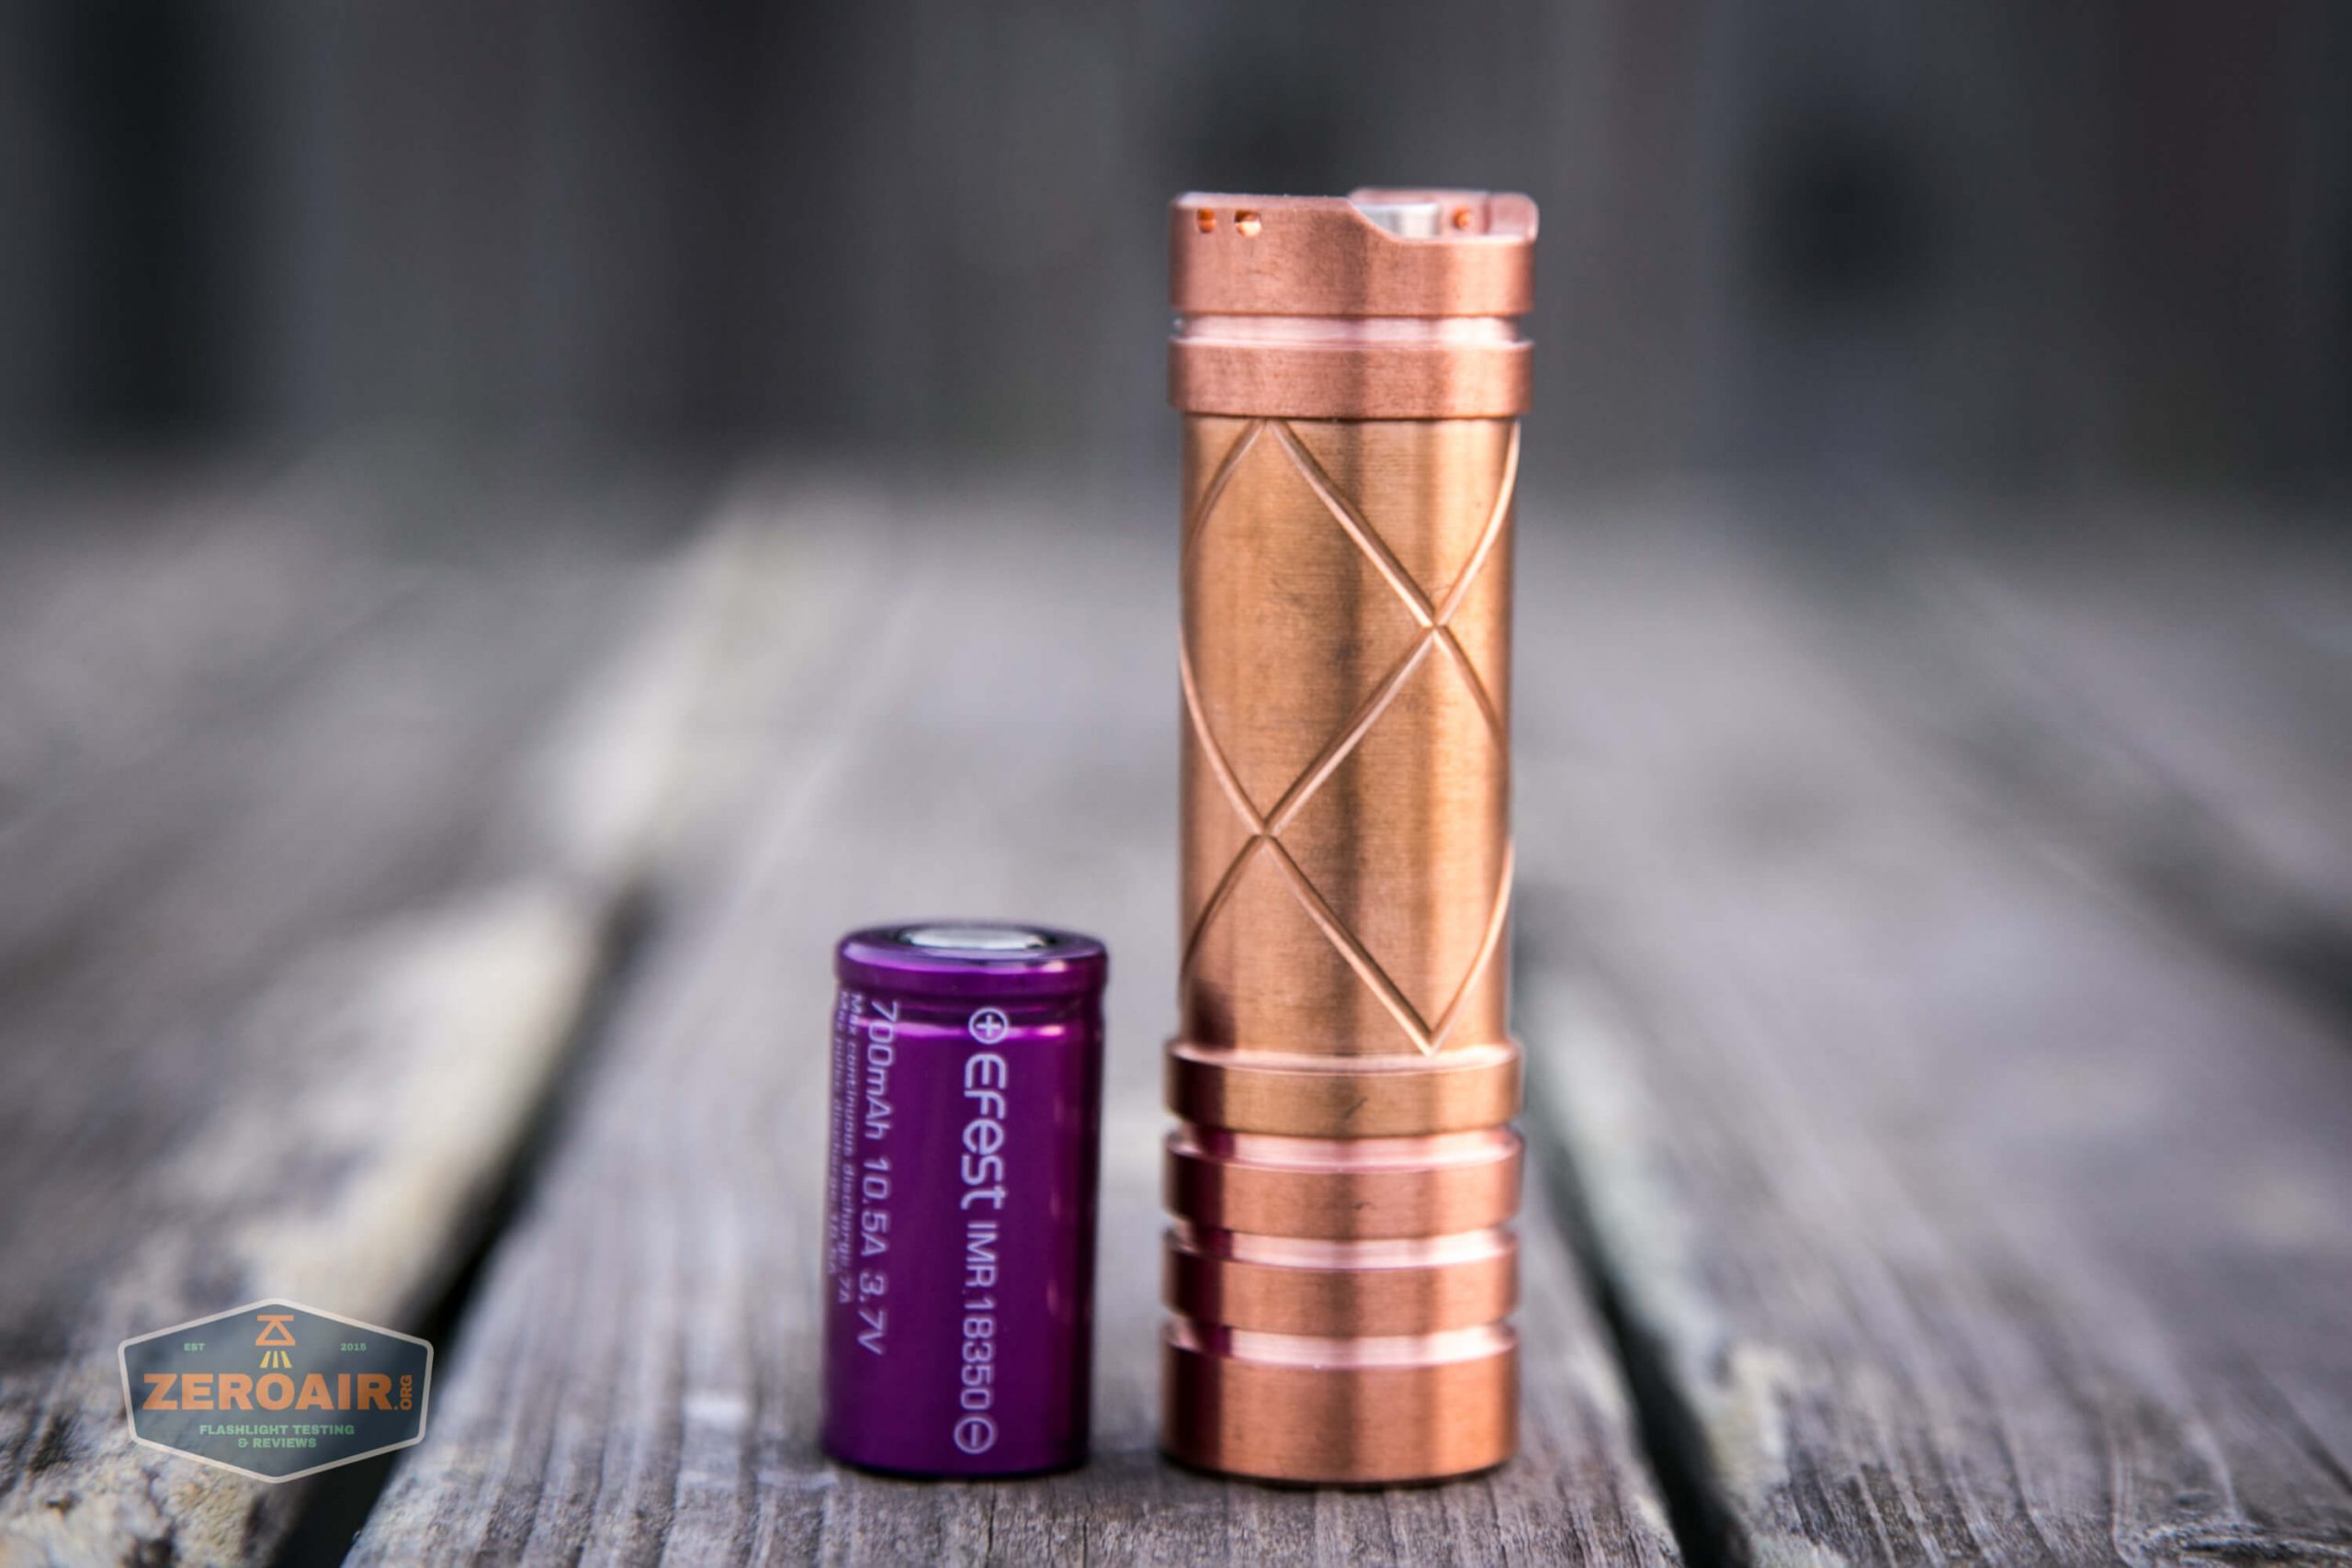
I went with the Efest 700mAh unprotected flat top you see above.
As you can see in the disassembly photos above, the head removal will not grant access to the inside of the cell tube; the laser module obstructs it. So cell access is through the tailcap only. Unscrew the tailcap and insert the cell. Nice too, that the fine threads on the tailcap are shorter, so not a lot of unscrewing action is required. Still, it’s around 5 and a quarter turns!
The cell goes into the laser in what I’ll call “the usual way” since this is the same orientation that flashlights use. The positive terminal of the cell goes toward the front. This is important and can’t be understated – if you reverse the cell and turn the laser on, you’ll ruin your new expensive laser. There is no reverse polarity protection.
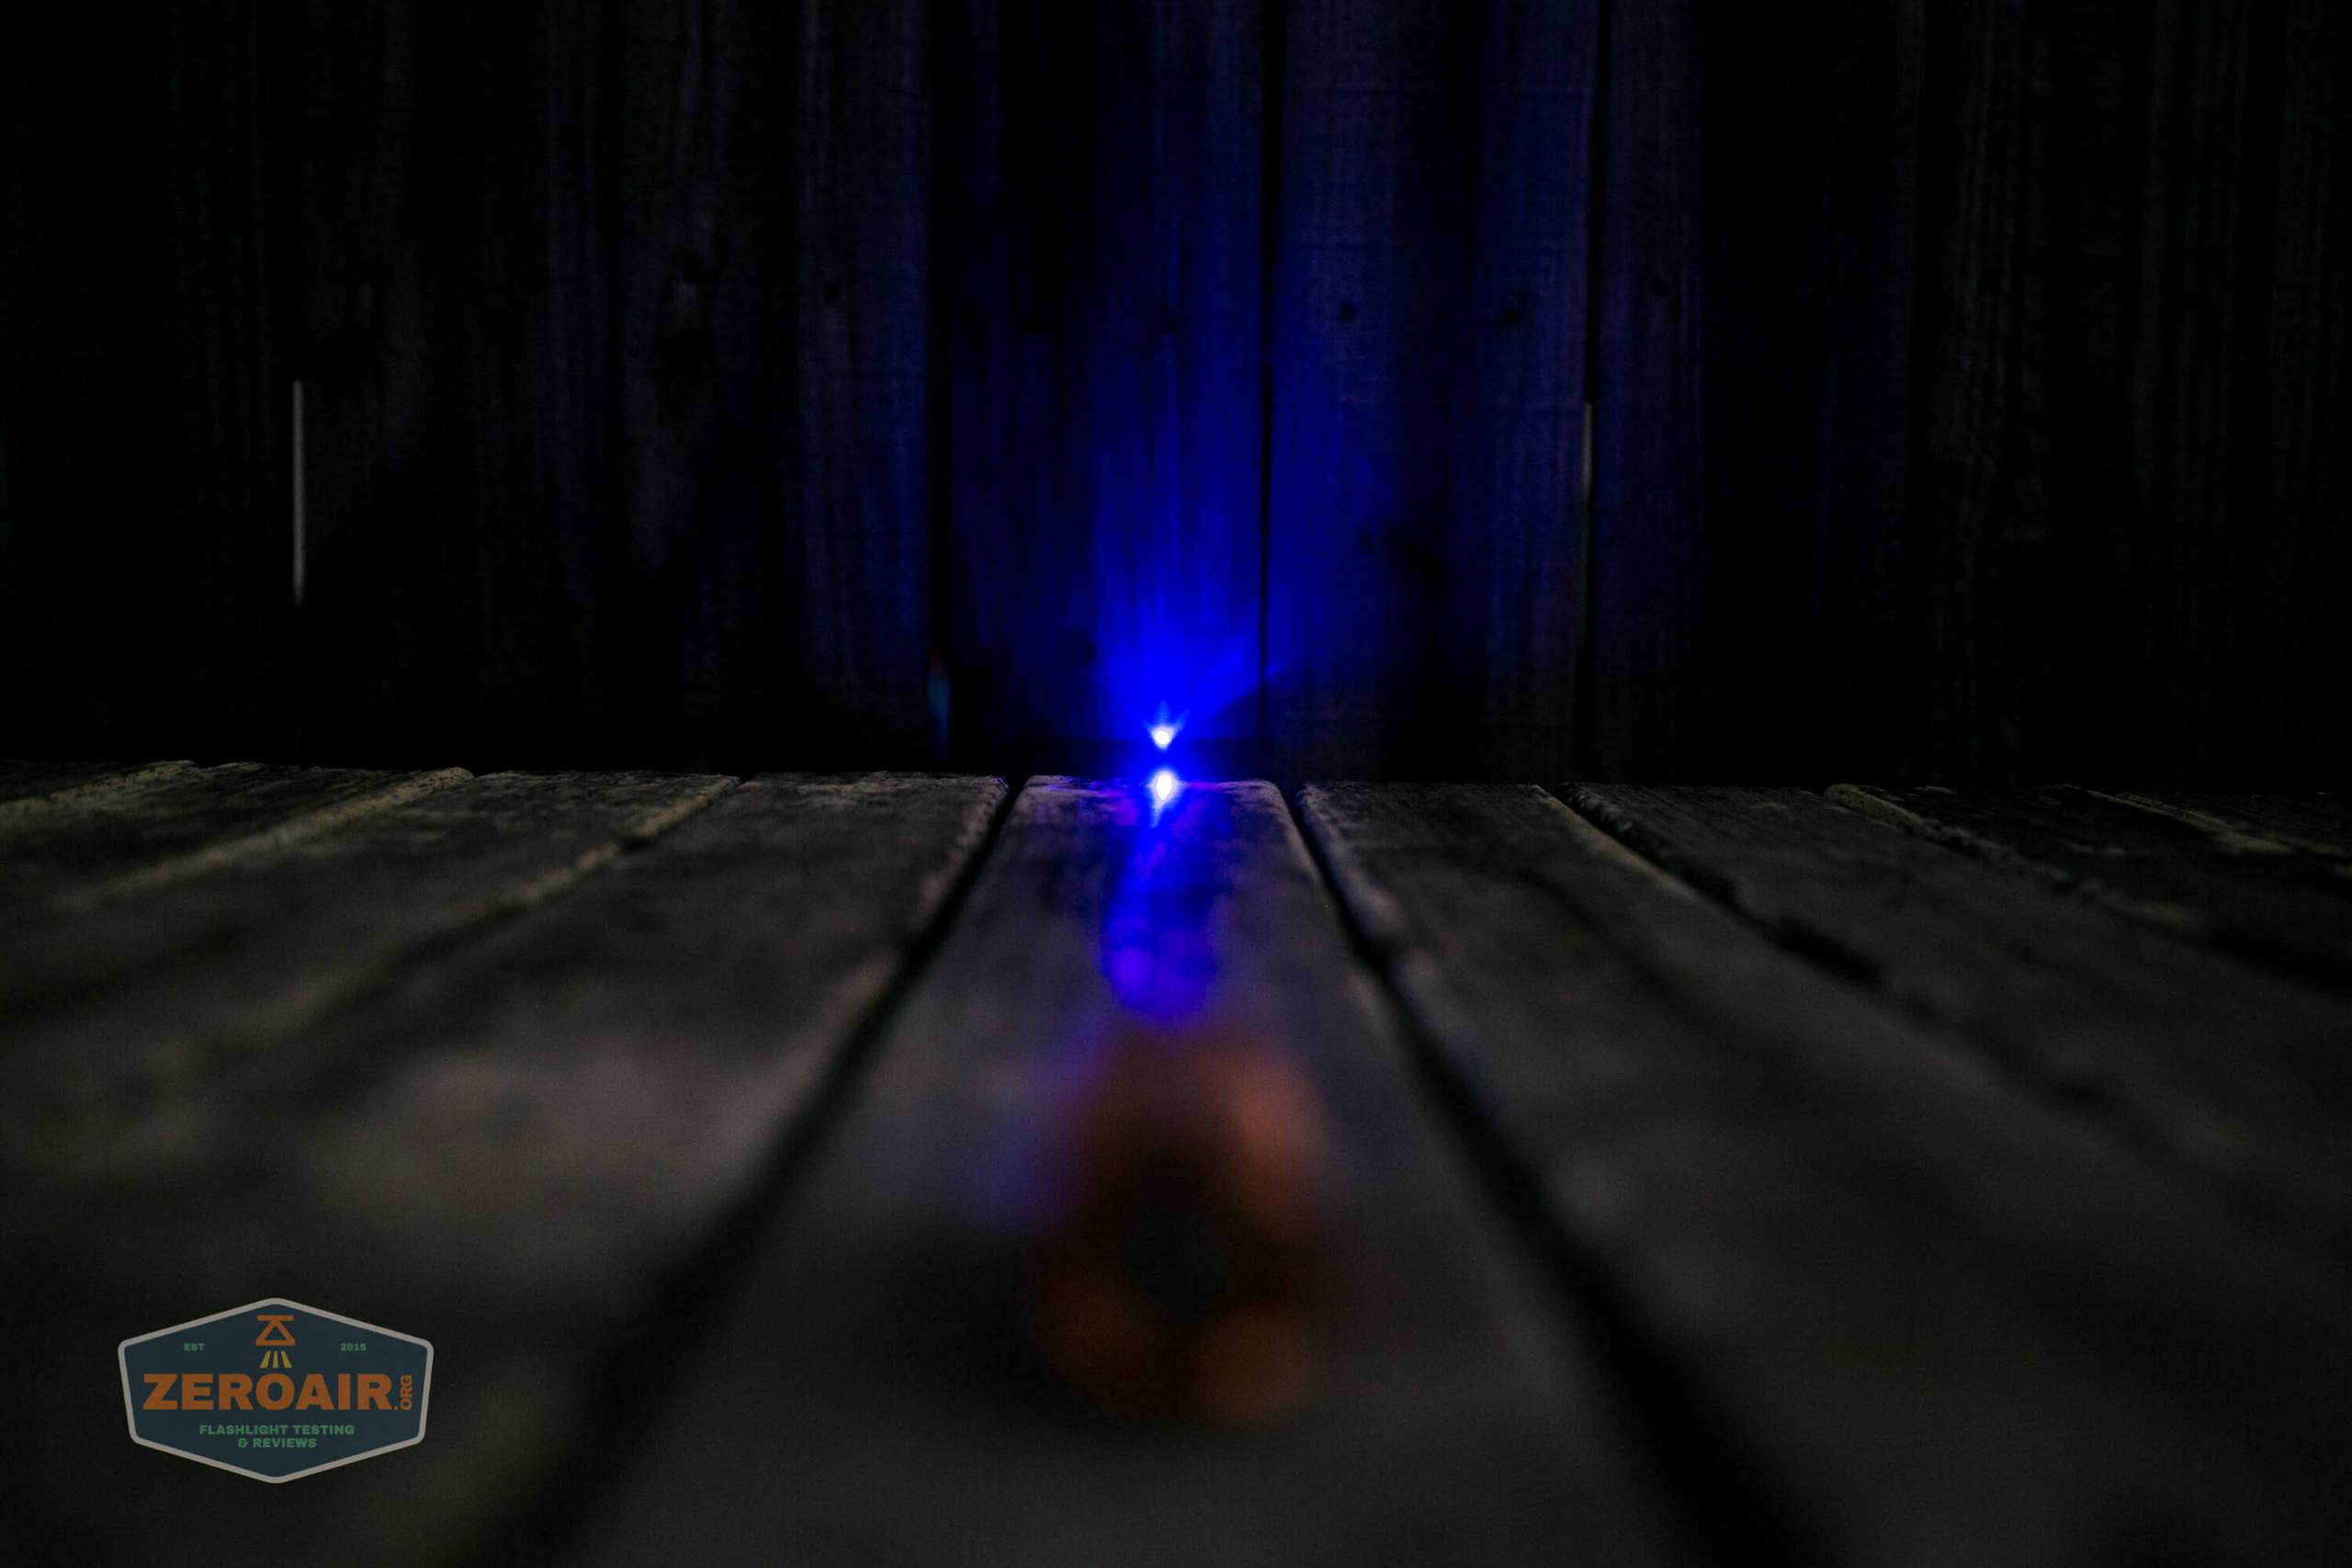
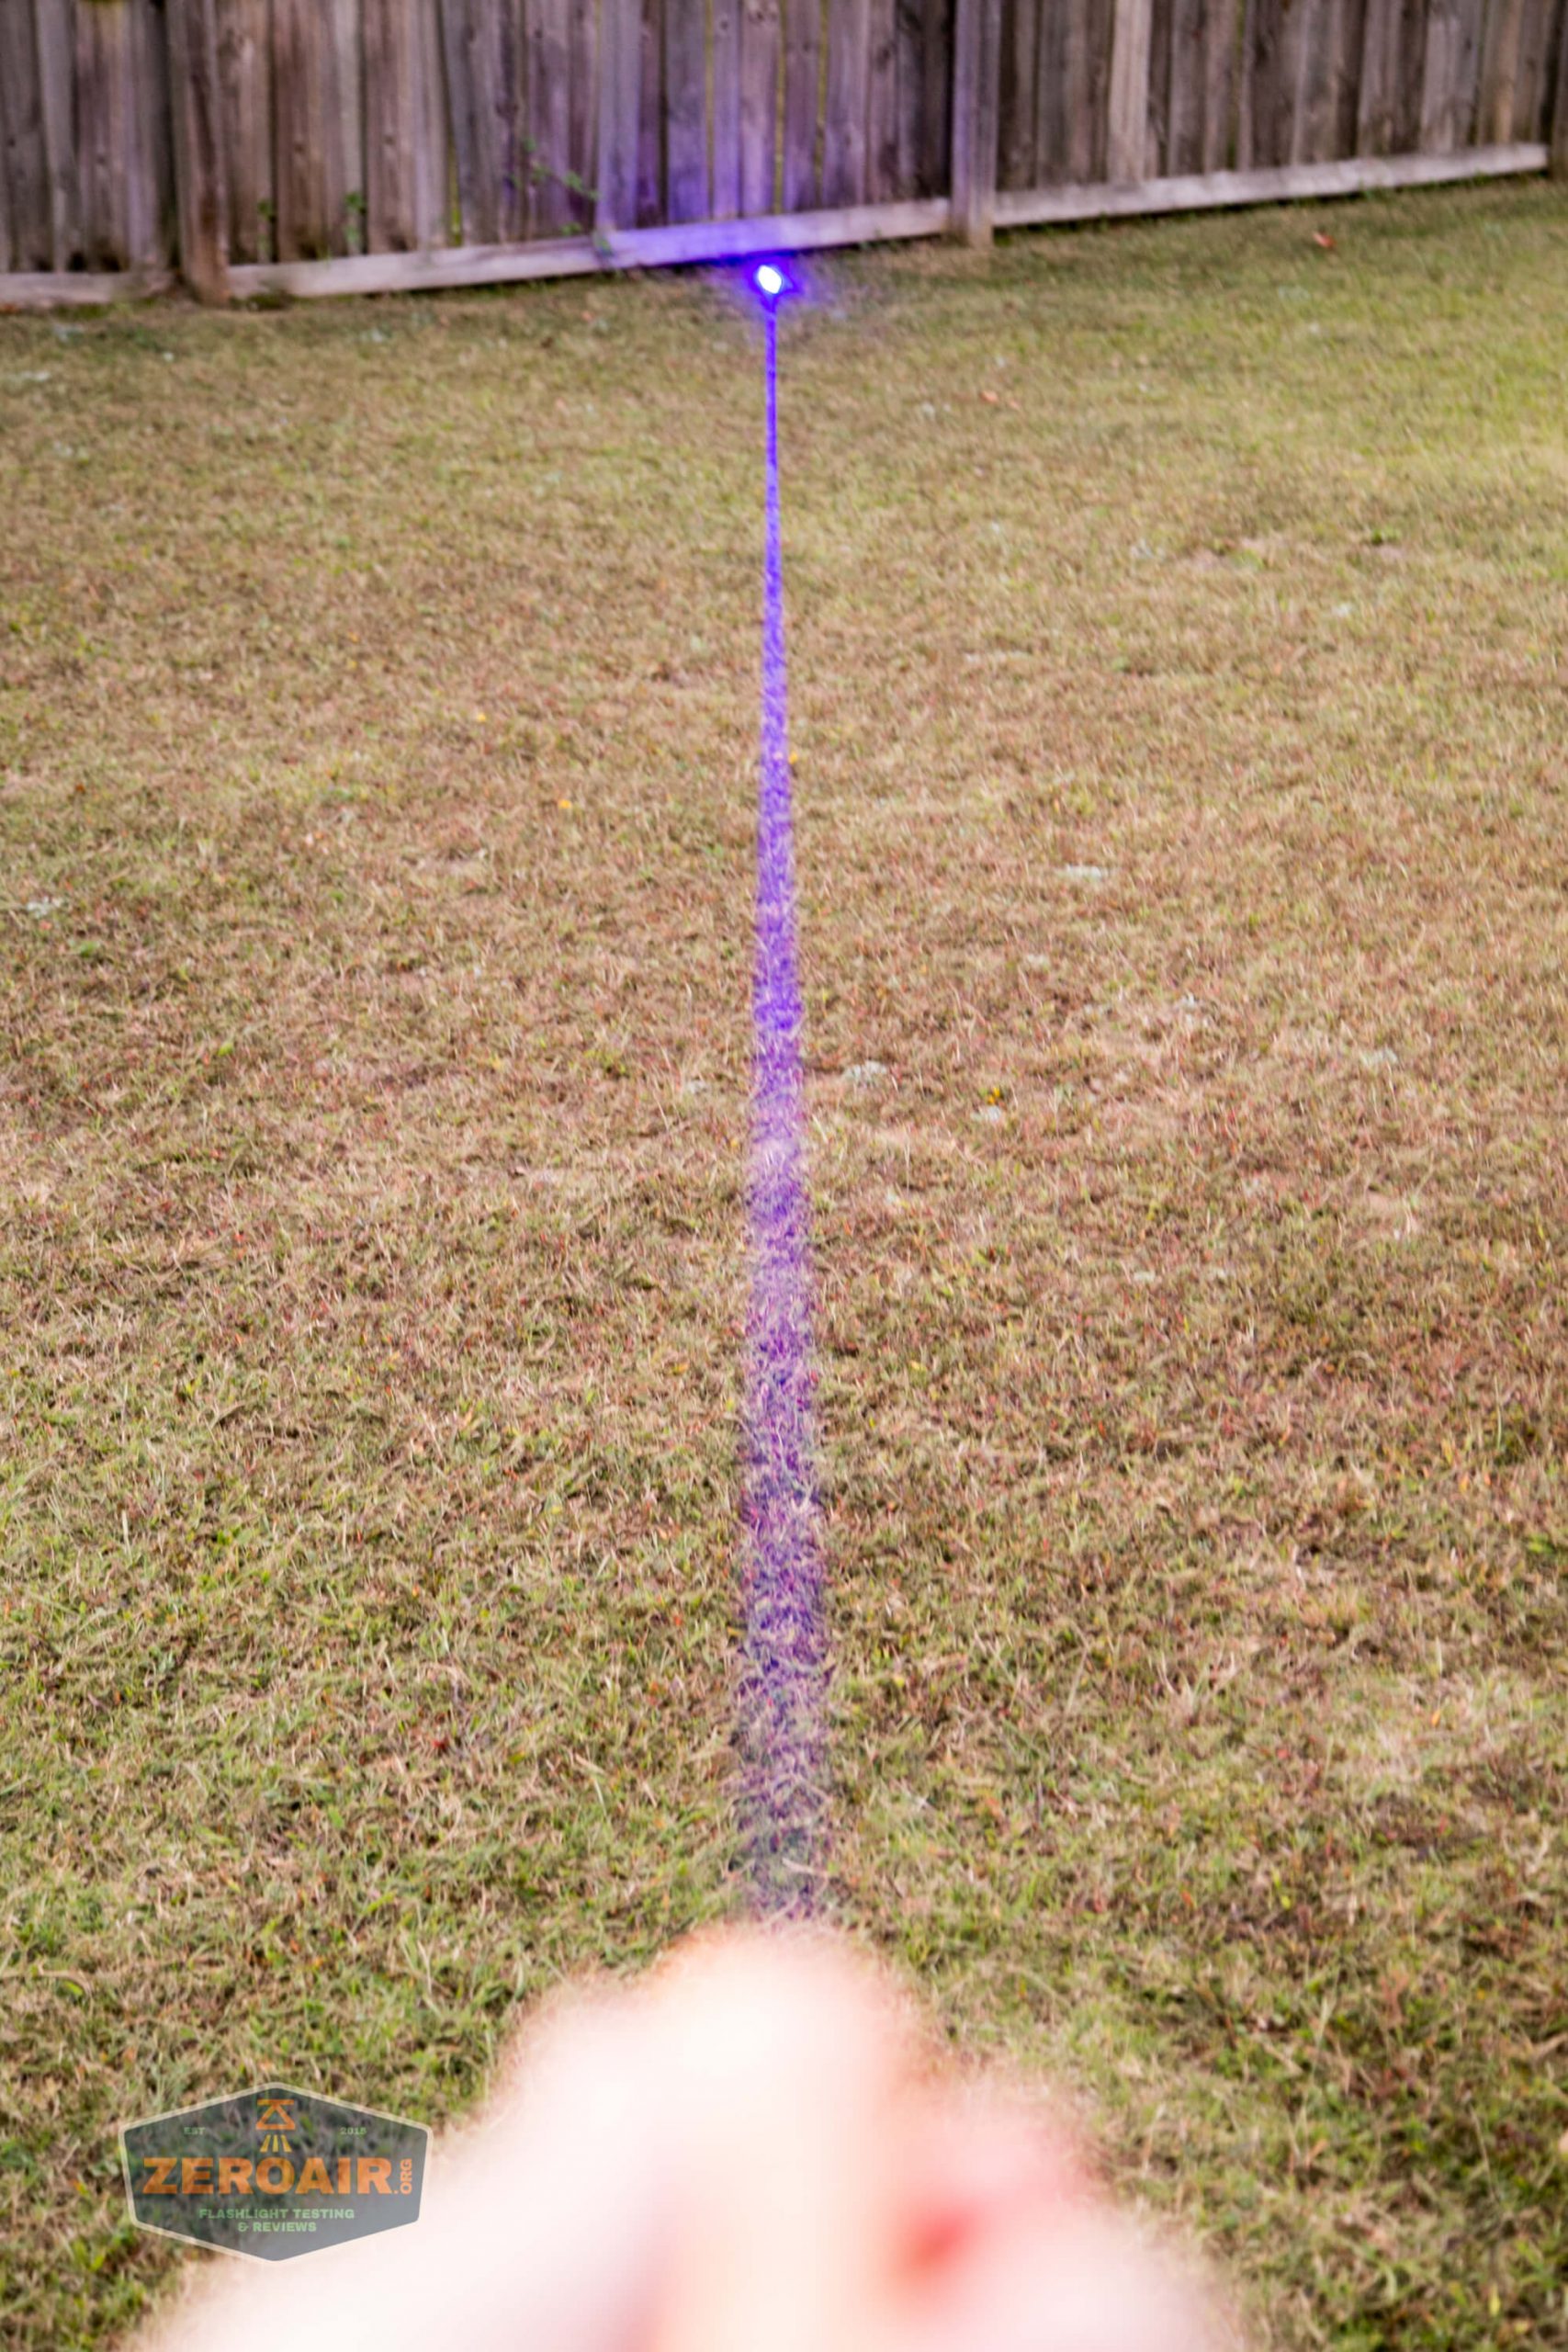
When I received this device, I fully expected to do the normal runtime tests (as I would do with flashlights) and beamshots and the like. But after testing the laser a little, and playing around with it a lot, I realized – 1.8W of laser will literally burn a hole in anything I’d normally test with. In fact, just taking some of the beamshots below, I literally burned a hole in the fence in my backyard!
So I’ll have to reluctantly forgo that.
Modes and Currents
| Mode | Mode Claimed Output (lm) | Tailcap Amps @4.2V |
|---|---|---|
| Low Power | – | 0.13 |
| Half Power | 0.9W | |
| Strobe | – | – |
| Full Power | 1.8W | 1.3 |
| Emergency SOS |
Note that lasers are power rated at the output level. So if you’re like me and are multiplying 4.2V x 1.3A and seeing 5.5W, you’re not wrong, but that’s from the cell. If we consider a laser module’s efficiency (which is typically low), we can ballpark it here – 1.8W/5.5W looks like around 33% efficiency. What this also means is that at full power, the laser is dissipating something like (nearly) 4W as heat. Noteworthy here is that the Guardian laser (which is stainless steel) by Sanwu has a copper module just like this one. So it too should deal with this heat fairly well.
User Interface and Operation
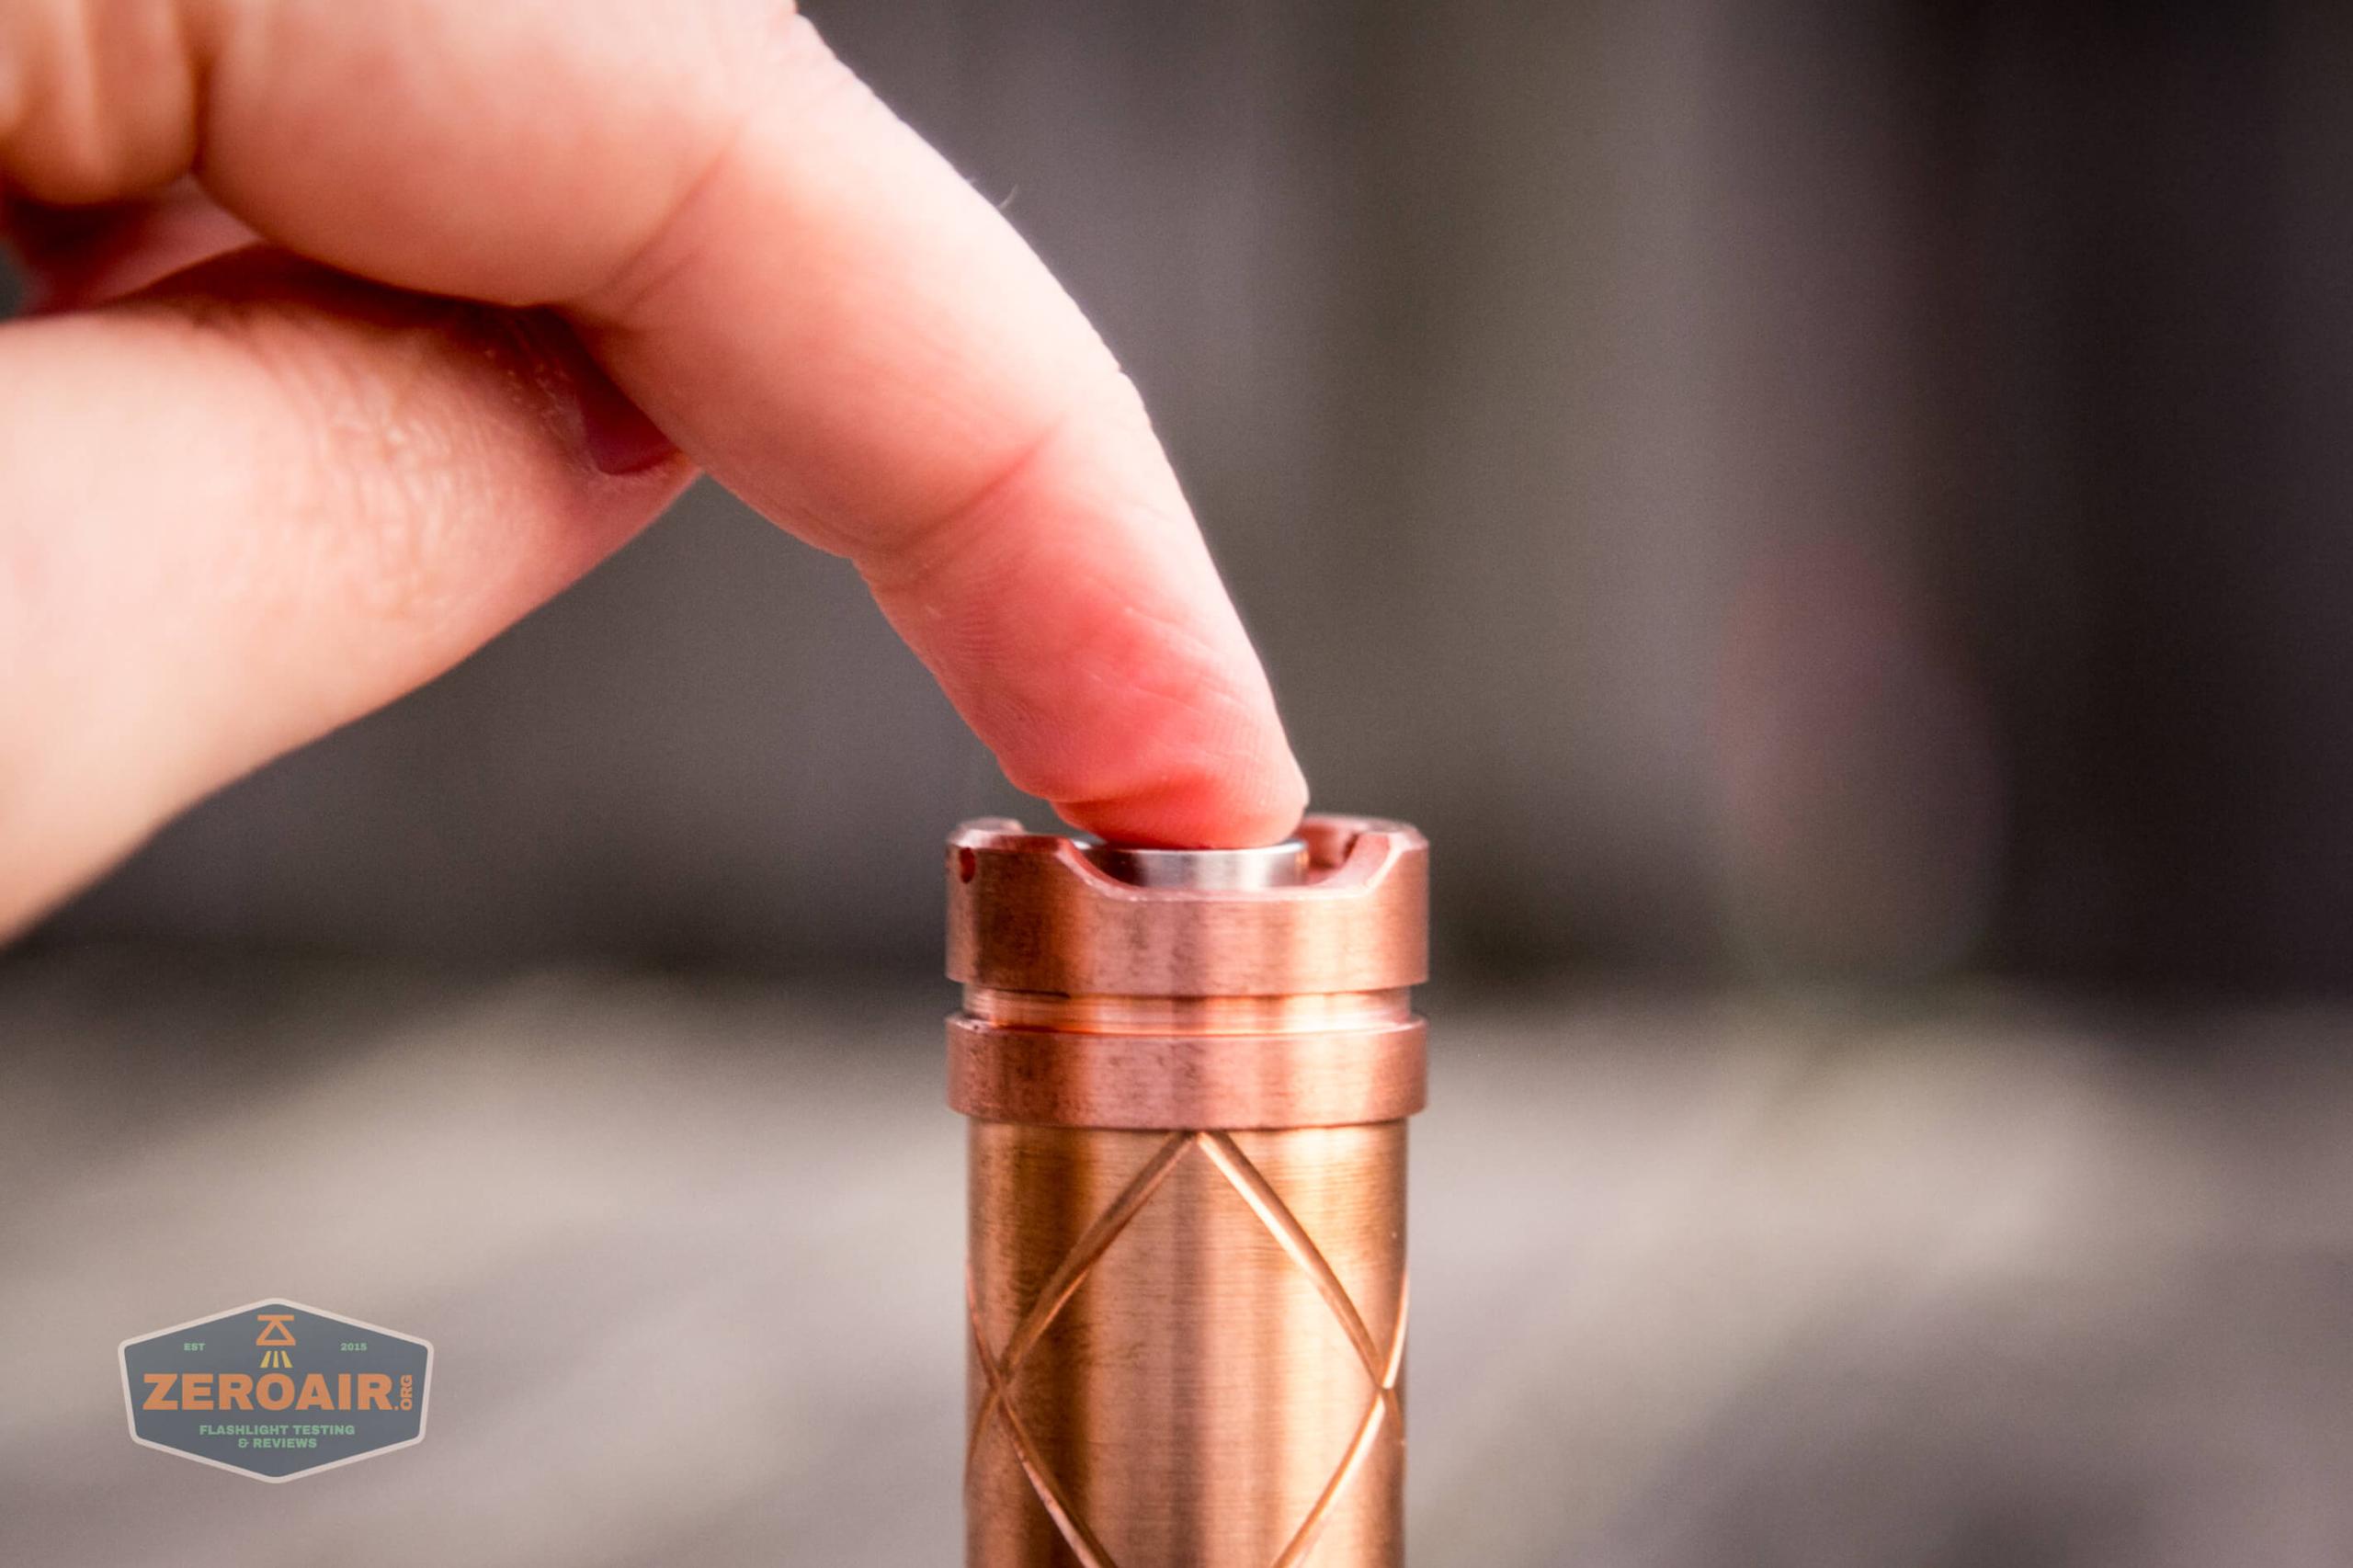
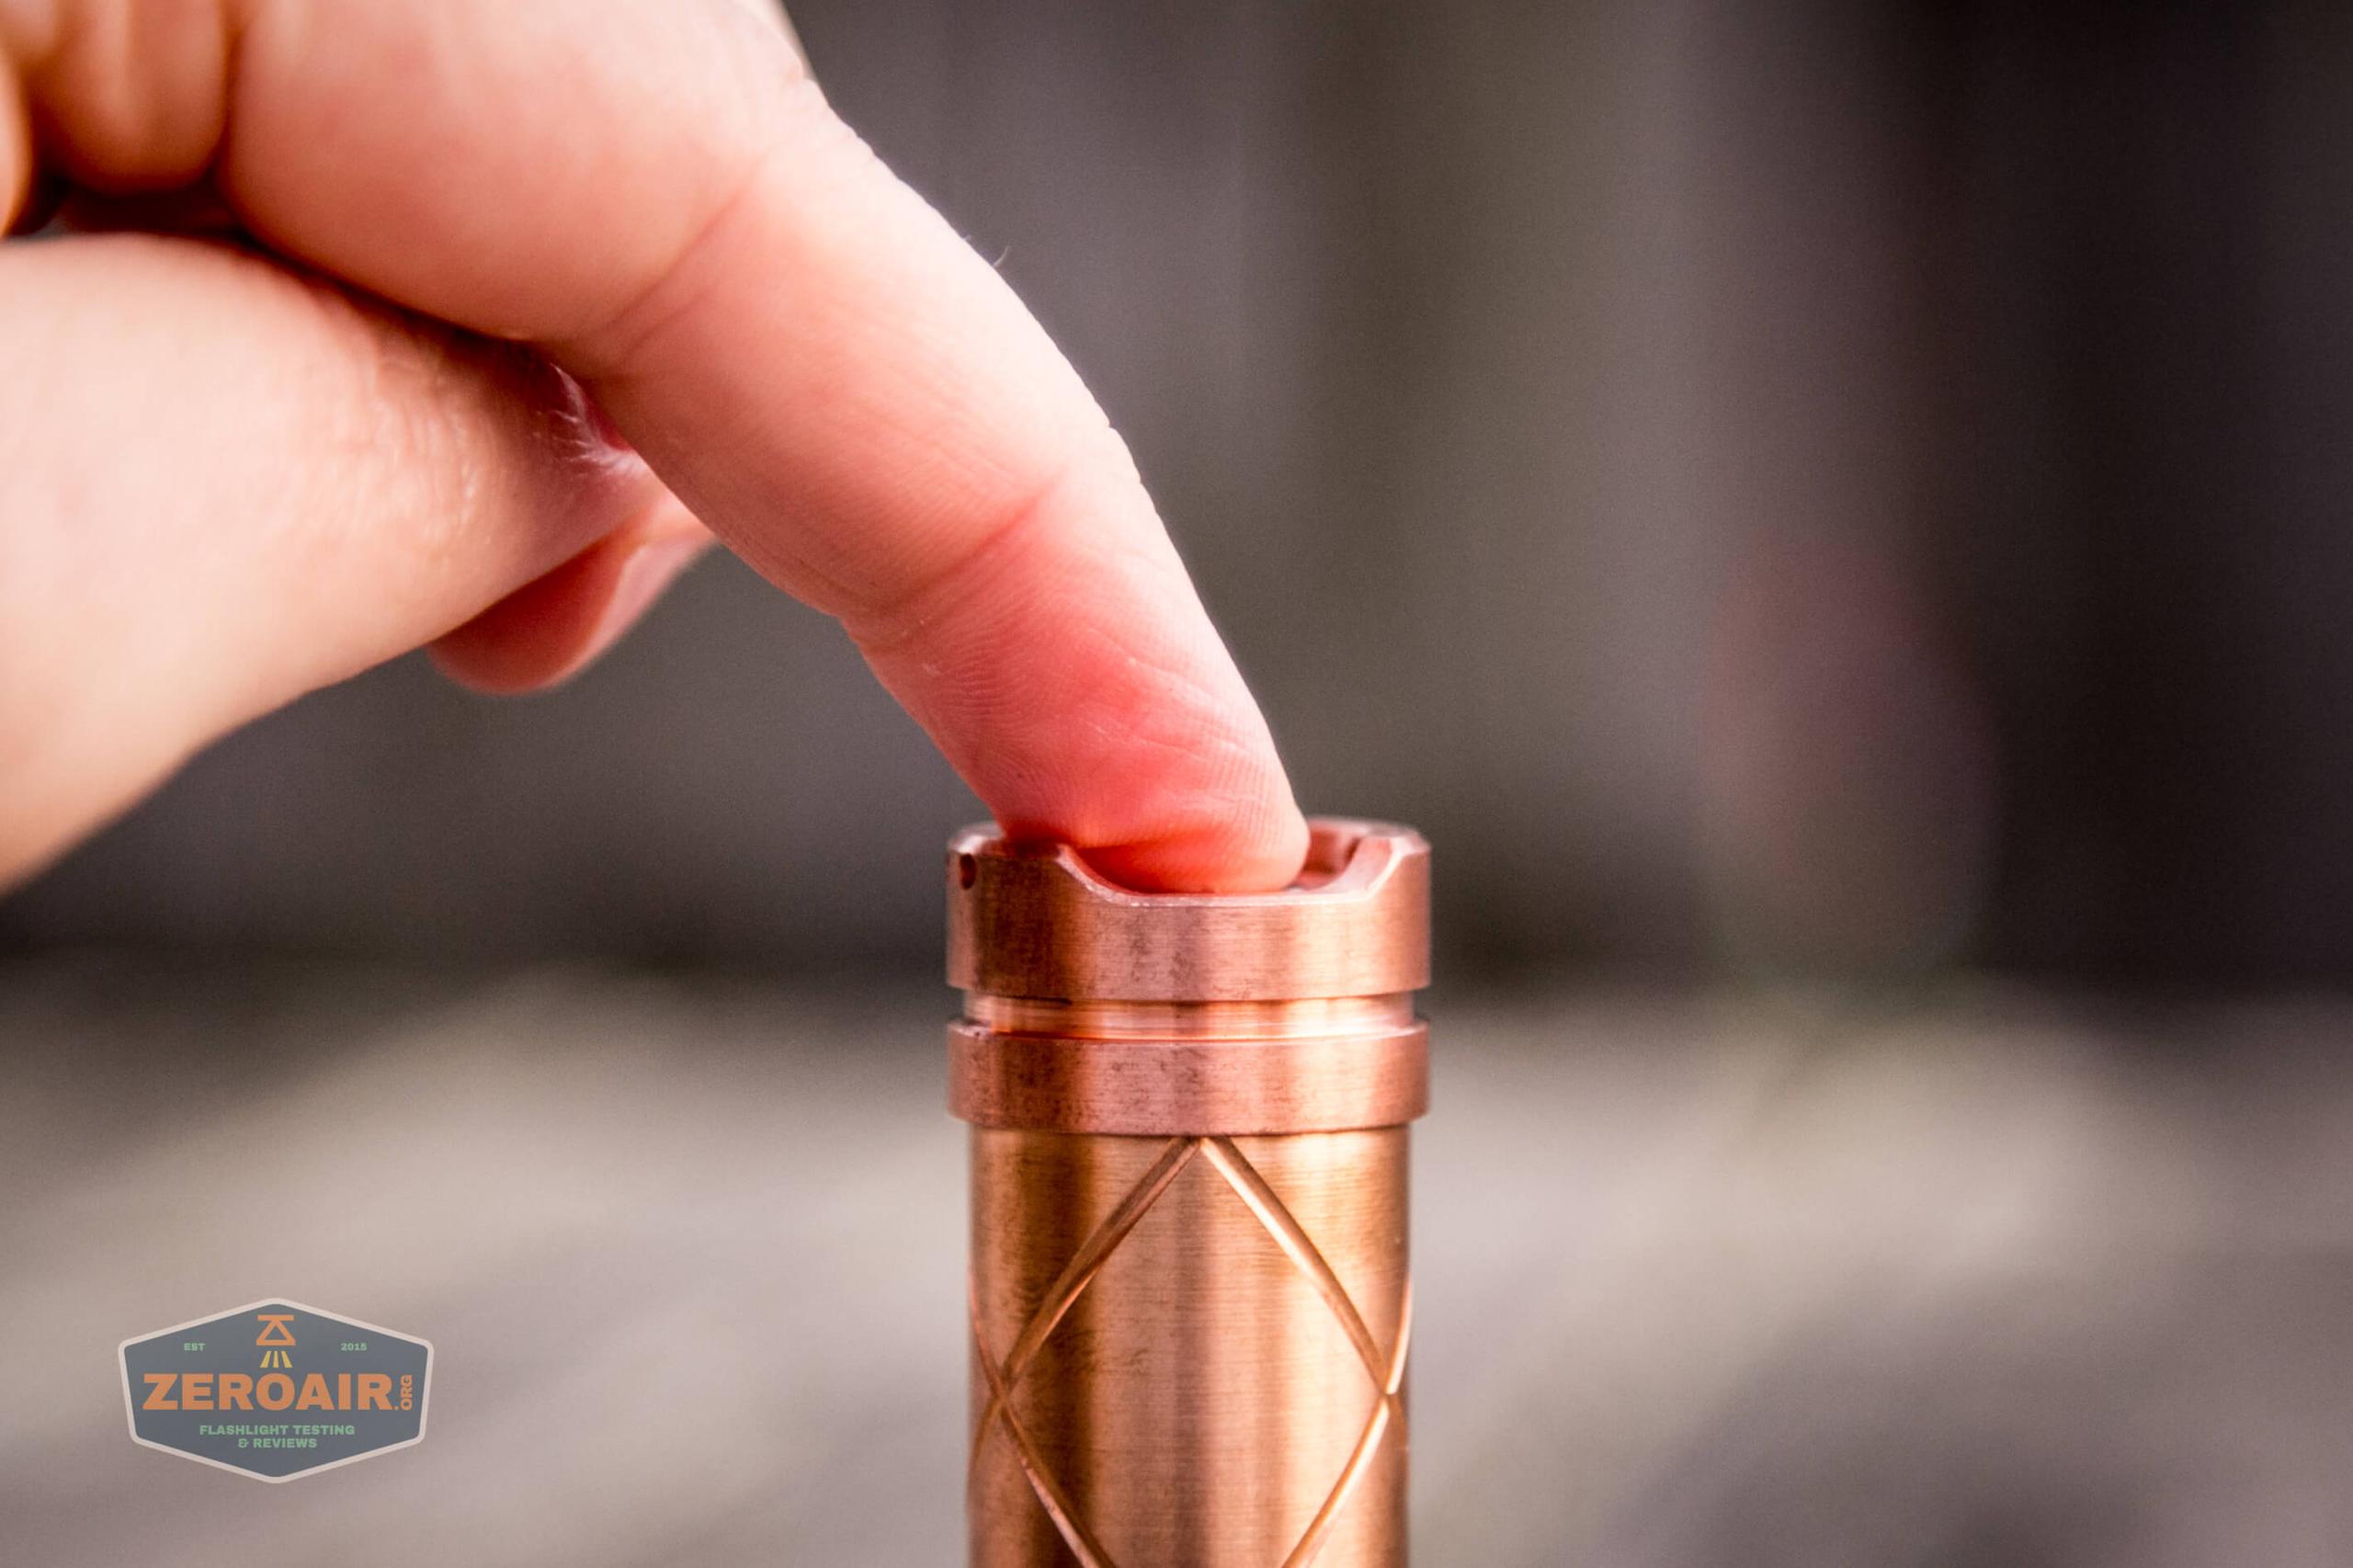
The Red Guardian has a single switch. It’s a tail switch and reverse clicky. What reverse clicky means is that the switch must be fully depressed (to the “click”) and released to turn on. The laser turns on on the upstroke. (On the flip side, just for the sake of stating it here – with Forward Clicky switches, the device turns on on the downstroke, which allows for momentary use.)
The reverse clicky is a very positive action clicky, and the metal switch cover is extremely pleasant to use.
The action is moderately long, as you can see below. A click is heard and felt on the bottom, and also on the way back up.
One big benefit of reverse clicky switches is that they allow mode changes while the device is on. So you would turn the laser on, then switch to your desired level. On my particular setup of Red Guardian, I have 5 modes. Low power, Half power, Full power, Strobe, and SOS. Here is the official statement on the product page for multi-mode operation:
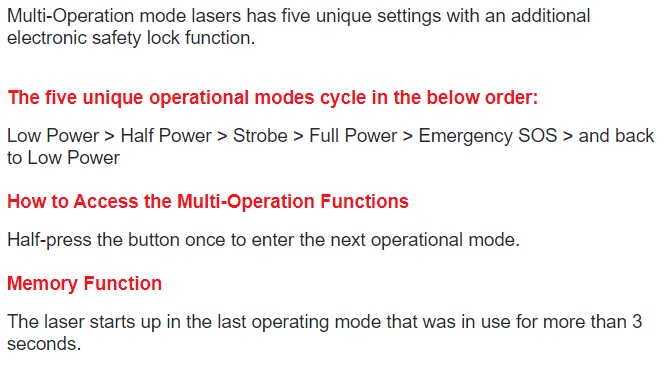
In an email from Sanwu, I received the following:
As far as I read those two sets of instructions, they are not really describing the same actions. However, following either, I was unable to reliably go to any mode that I wished to hit. The laser does have mode memory, though, so if you find a mode you like, you can always reliably get that mode since it’ll always come on to that mode.
I hate to leave a user interface section in this state. I can state reliably that once the laser is on for more than 3 seconds, no mode changes are possible – I can support the manual’s statement in that. But what you do in those initial 3 seconds, you’ll just have to play around with. I can’t say I ever hit the half-power mode. And how I can say that reliably (since I’m not testing the laser output) is the power input – I can get the laser to pull 0.12A reliably (low), and I can get to 1.3A reliably, but nothing in between (and the others I could hit were clearly blinky modes).
Let me state that another way, though. If you are 100% certain that you need multiple modes, by all means, go with the multi-mode. But if you really just want a high-power laser and will never use SOS or strobe, just get the single mode.
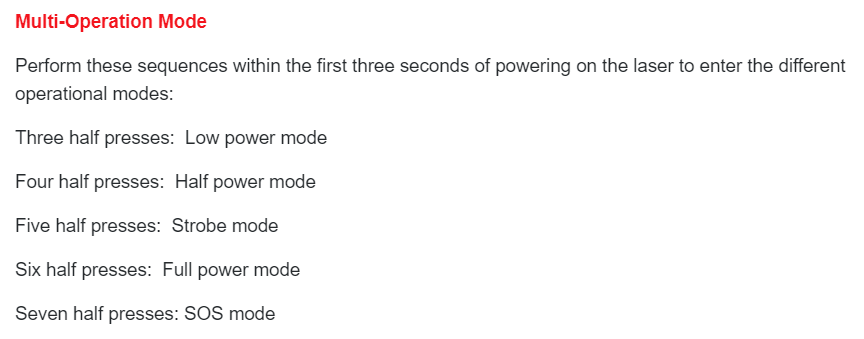
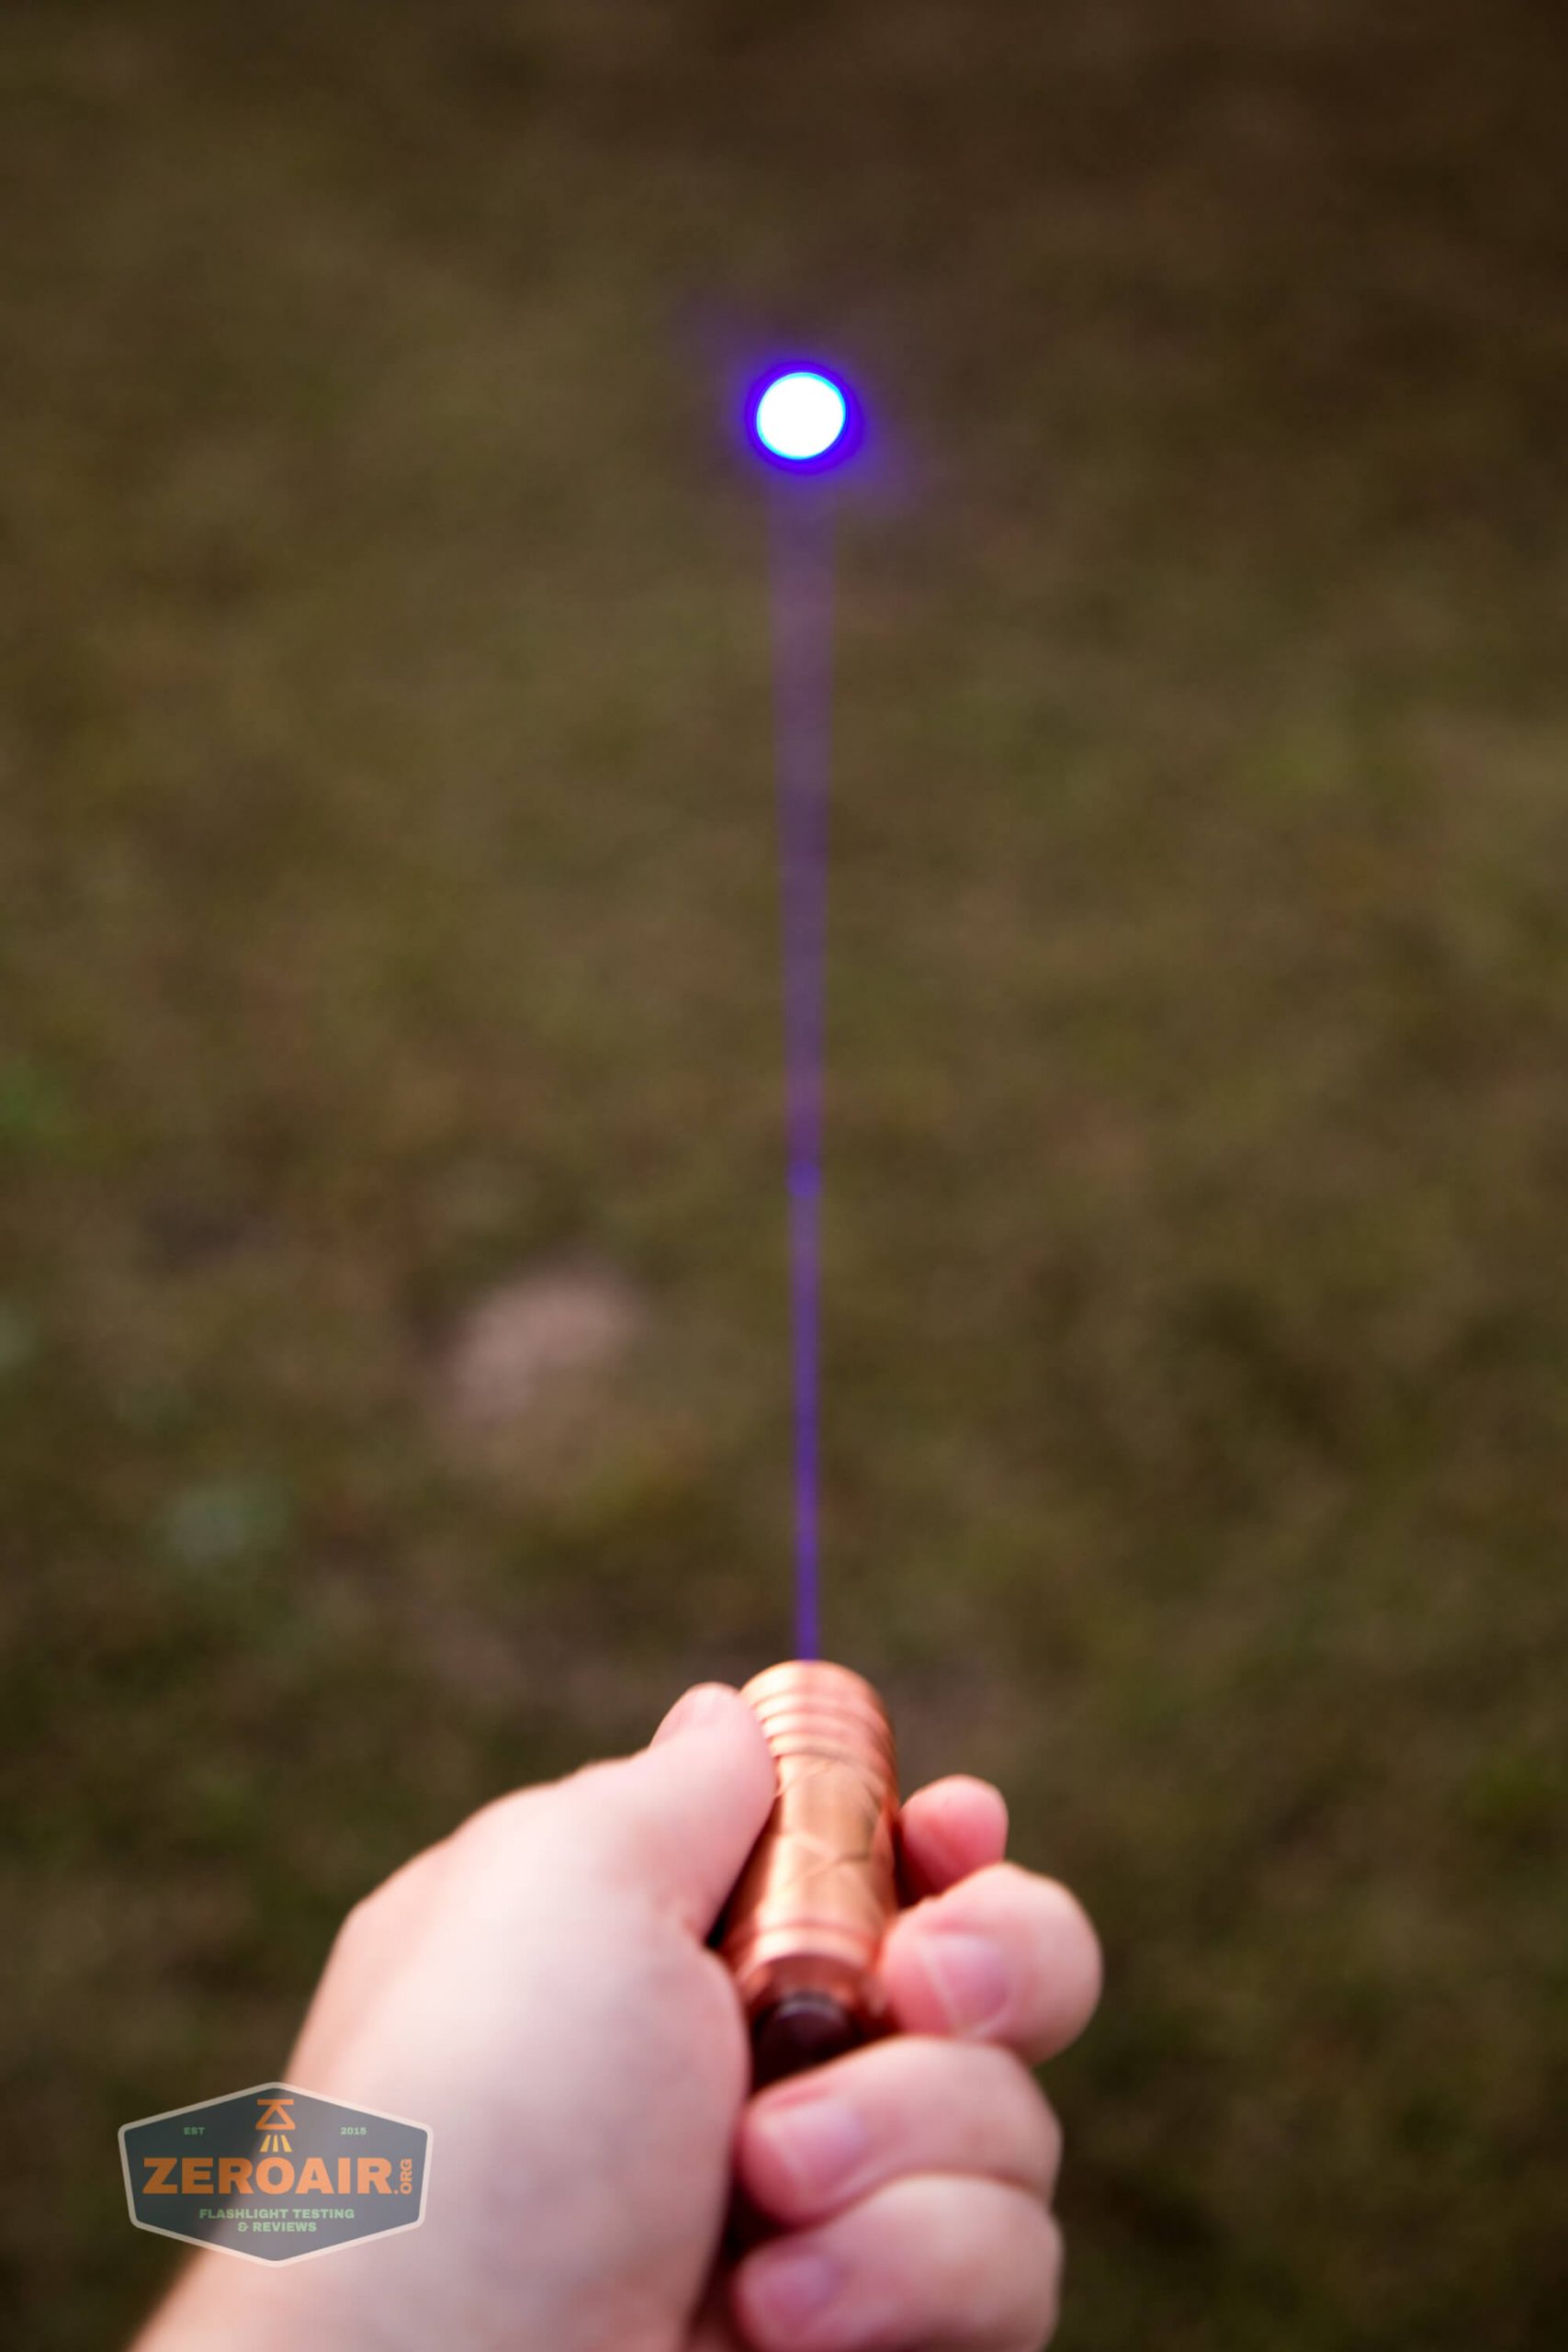
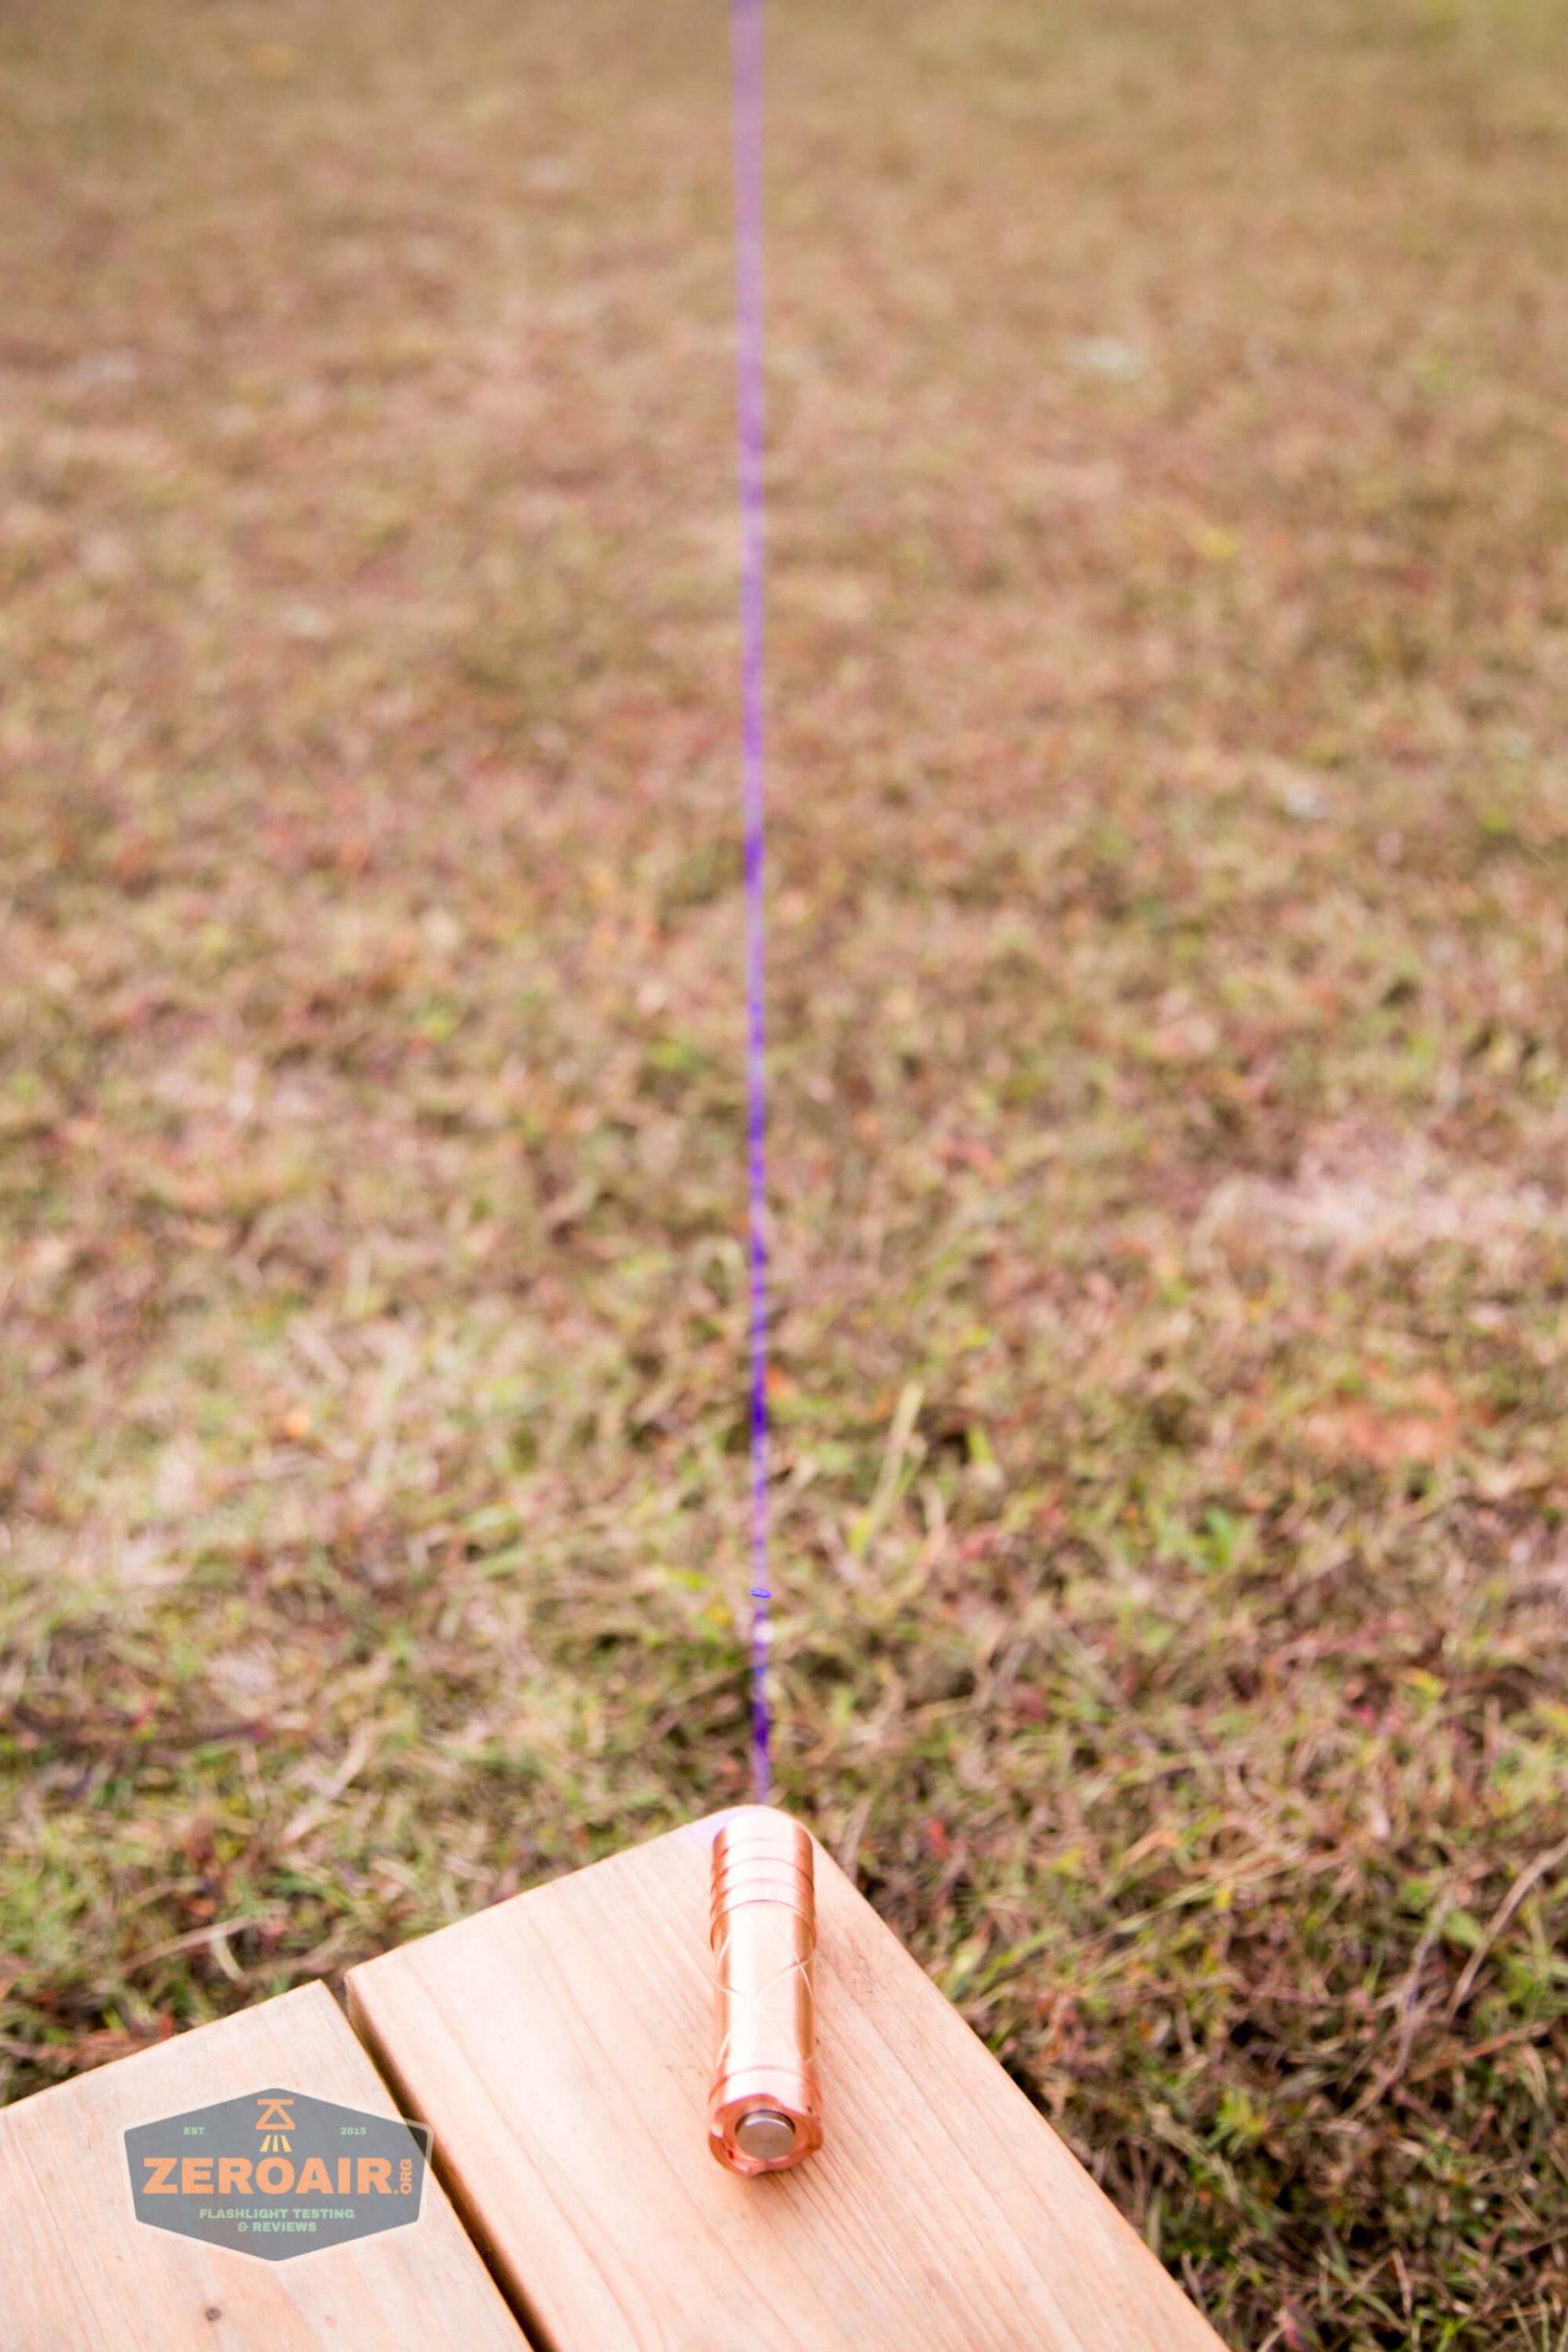
Diode and Beam
The laser diode in this option that I selected is a 445nm blue. As far as I can tell, Sanwu does not specify the diode for this specific laser. However, some of the other products in the 445nm wavelength are specified to use the NUBM44-V2, which is made by Nichia.
The photo above supports this as close as I can guess.
Also, regarding the beam, are the lenses I mentioned above.
Below is the extent of the beamshots I took BECAUSE just the minimal use you see below, from around 1m away, burned a hole in that fence in the background. So if you’re wondering if or how powerful this laser is: Yes, it’s powerful.
Conclusion on the Sanwu Red Guardian Laser
What I like
- Great to have modes on a laser-like this
- Extremely bright on high power!
- Seems to be reasonably close to 1.8W (despite my not being able to test this directly)
- Reverse clicky switch is a good choice
What I don’t like
- Build quality could be a bit better
- Very hard to get the modes reliably
Notes
- This light was provided by Sanwu Lasers for review. I was not paid to write this review.
- This content originally appeared at zeroair.org. Please visit there for the best experience!
- Use my amazon.com referral link if you’re willing to help support making more reviews like this one!
- Please support me on Patreon! I deeply appreciate your support!
Discover more from ZeroAir Reviews
Subscribe to get the latest posts sent to your email.
Can you please explain, for what functional use is a laser such as this designed? It seems like something too dangerous to have a practical need. Thanks.
This is a very good and reasonable question. I don’t know. Some people really enjoy high powered lasers, and this is a pretty good example.