
Meote FM1 Flashlight Review
The Meote FM1 is a 18650 quad emitter flashlight, which has the option of Narsil or Andúril, and secondary emitters, too!
Official Specs and Features
Here’s an affiliate link to the NealsGadgetes.com Meote FM1 page.
Versions
Of this all-aluminum option, there are two, which differ only in the color of the cooling fin area. The options are green and blue (seen here). There’s also an option that offers a copper engine and cooling area.
Price
These lights sell between $51.99 and $55.99. The Cree XP-L HI is the more expensive option, with all the others coming in at $51.99. The copper pill version is more expensive at $60 or $64, again with XP-L HI being the most expensive option.
For the added bonus of cooling that the copper offers, I’d recommend that. The version with copper also runs Anduril (compared to Narsil of the all-aluminum version). Anduril also means that there are secondary emitters in the with-copper version.
Short Review
Initially, I can say that I was positively not a fan of this light. The default thermal settings had this light stepping down to under 10% output after 30 or so seconds… Basically unacceptable. Once I changed the thermal settings, the experience was different – you should plan on doing that if you buy this light. The fact that the pocket clip is grossly crooked really bothers me, though I was able to correct it with no small amount of force. From a “what zero likes” perspective I also really don’t care for the dumbbell design, but you may, and that’s fine.
I believe the copper pill version will likely perform better and has the bonus of Anduril (if you think of that as a bonus over Narsil) and secondary emitters.
Long Review
The Big Table
| Meote FM1 Flashlight | |
|---|---|
| Emitter: | Luminus SST-20 (6500K) |
| Price in USD at publication time: | |
| Cell: | 1×18650 |
| Turbo Runtime Graph | High Runtime Graph |
| LVP? | Warning |
| Switch Type: | E-Switch |
| Quiescent Current (mA): | ? |
| On-Board Charging? | No |
| Claimed Lumens (lm) | 4980 |
| Measured Lumens (at 30s) | 2274 (45.7% of claim)^ |
| Candela per Lumen | 4.6 |
| Claimed Throw (m) | – |
| Candela (Calculated) in cd (at 30s) | 552lux @ 4.511m = 11233cd |
| Throw (Calculated) (m) | 212.0 |
| All my Meote reviews! | |
^ Measurement disclaimer: Testing flashlights is my hobby. I use hobbyist-level equipment for testing, including some I made myself. Try not to get buried in the details of manufacturer specifications versus measurements recorded here; A certain amount of difference (say, 10 or 15%) is perfectly reasonable.
What’s Included

- Meote FM1 Flashlight
- Spare o-rings (2)
- Nylon pouch
- Manual
Package and Manual


The version I have is checked as an “SST20 6500K.” I don’t see this option available on NealsGadgets.com, so possibly stock has changed since I received this one.


Build Quality and Disassembly

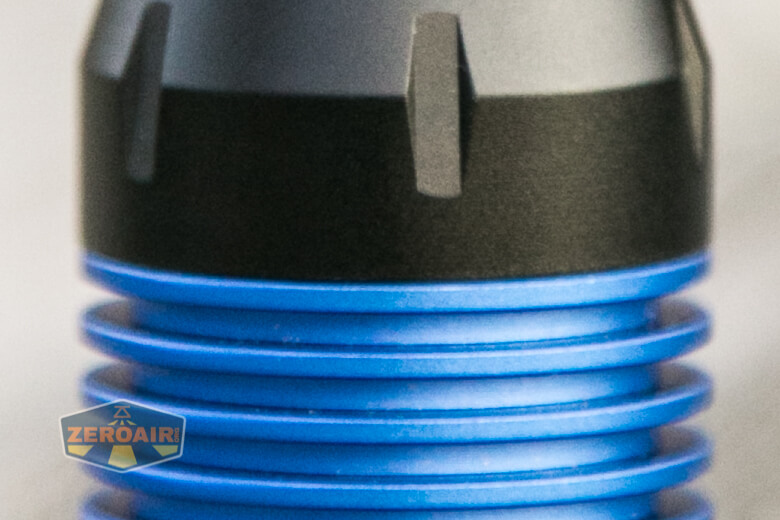
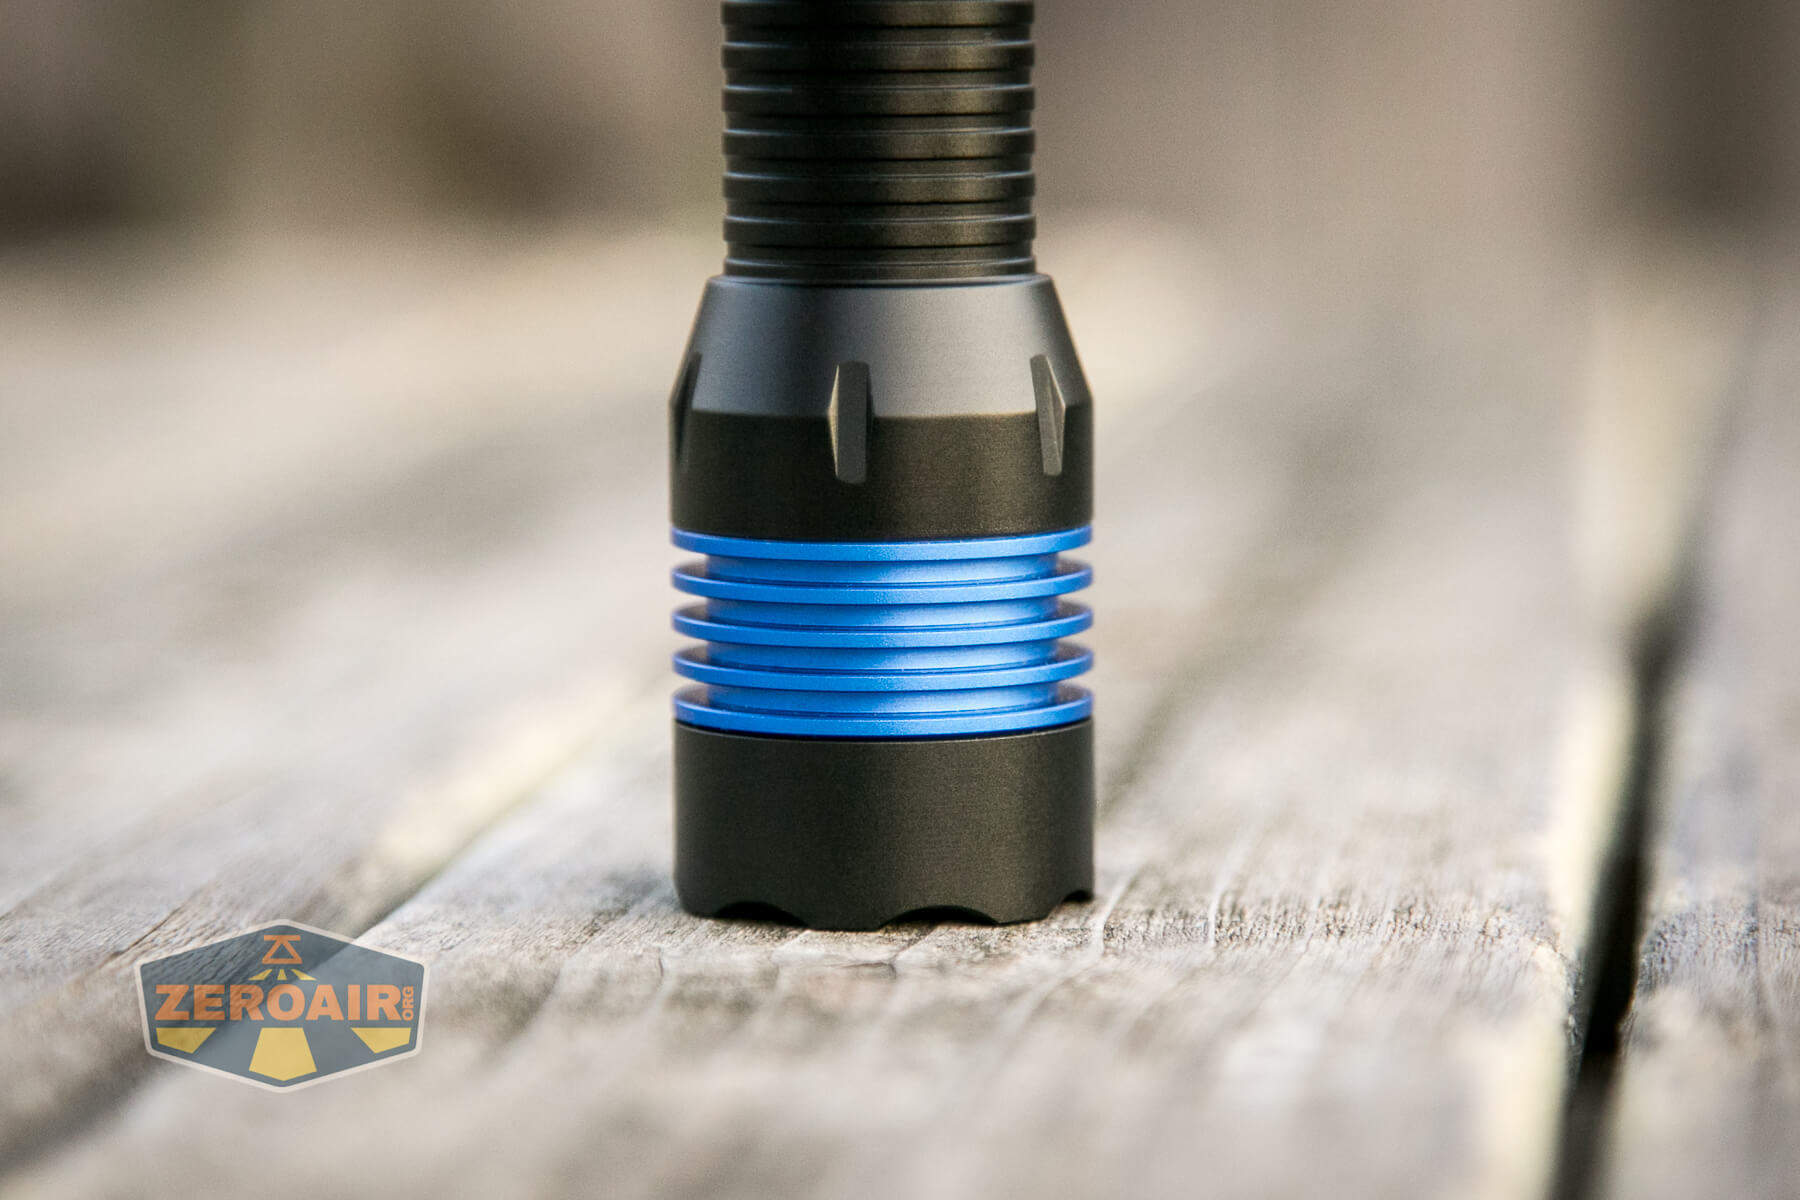
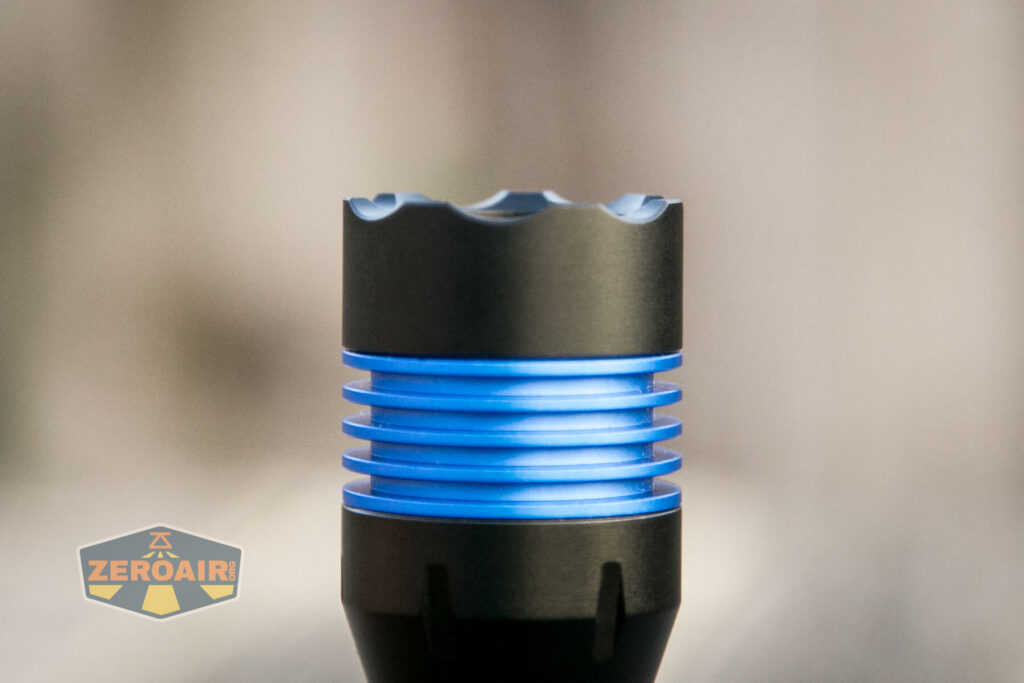
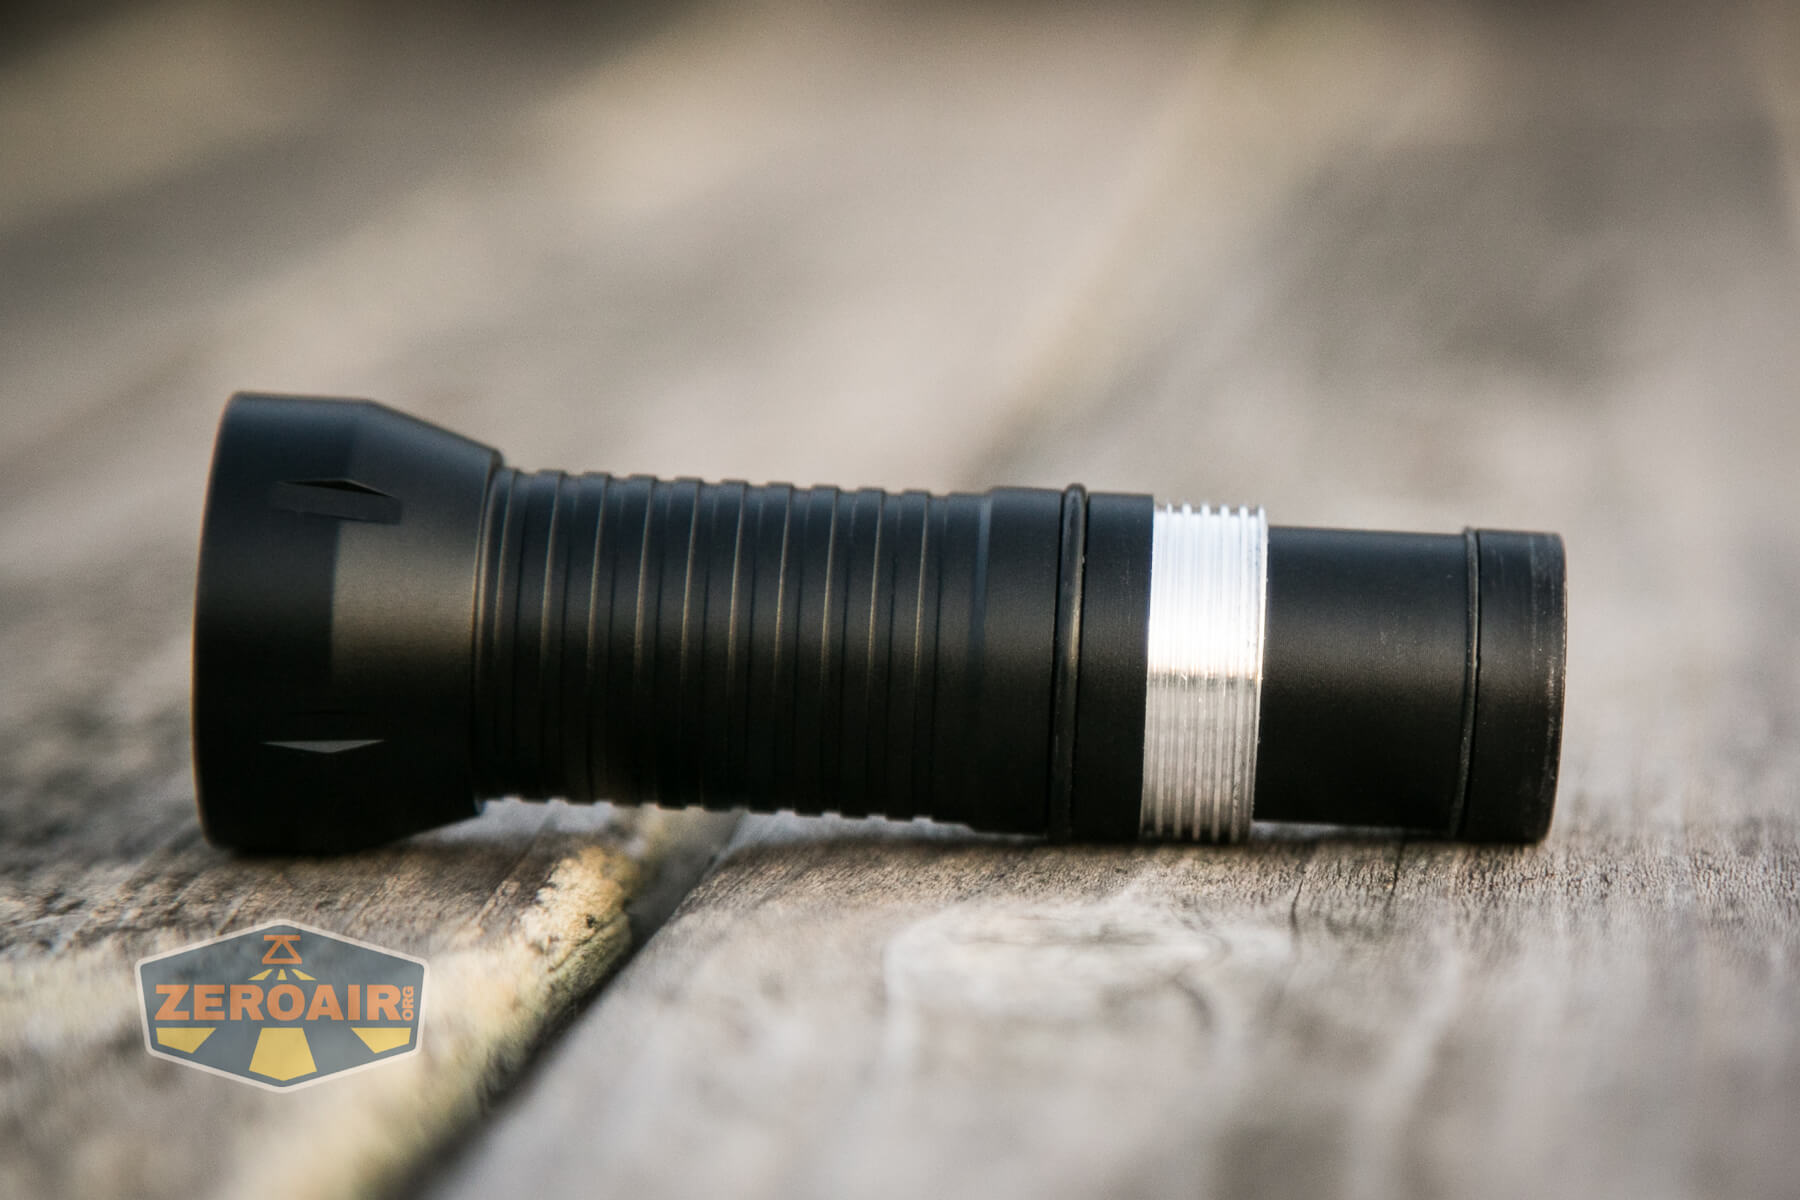
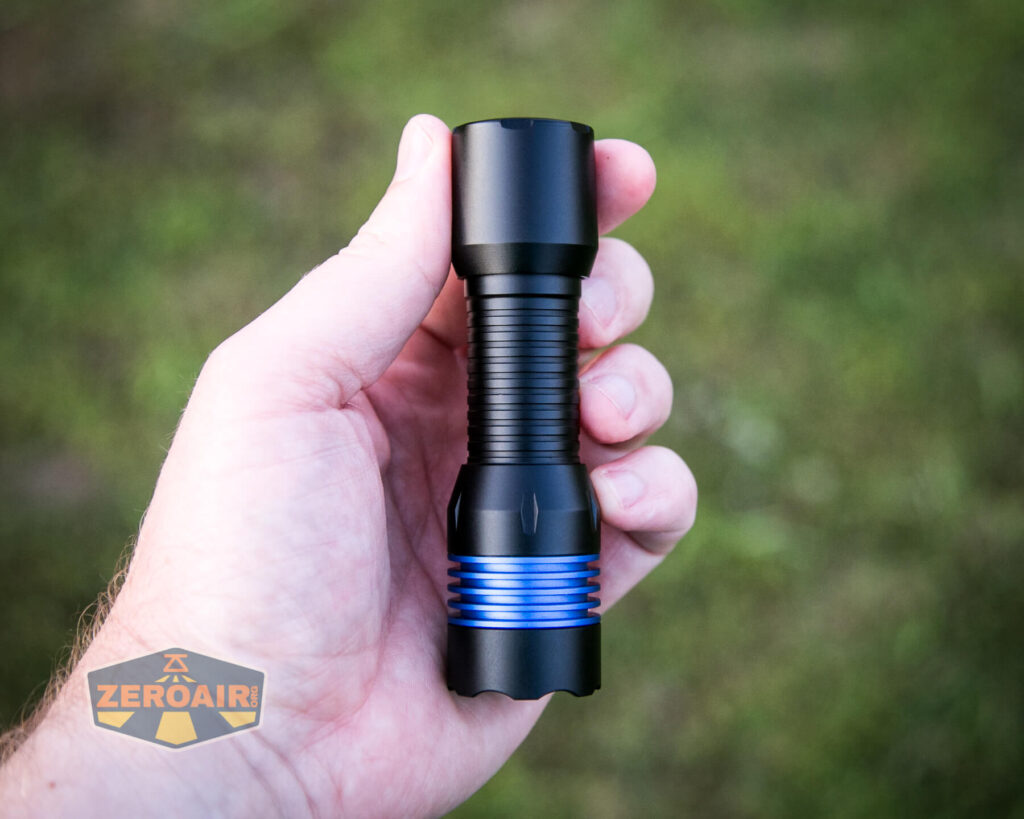
If you’re like me, you like the different colored cooling fins. Usually, we see this as copper cooling fins (and that option is available). But here in blue (or green) it still looks great. Also the anodizing on this light is really very smooth and nice.
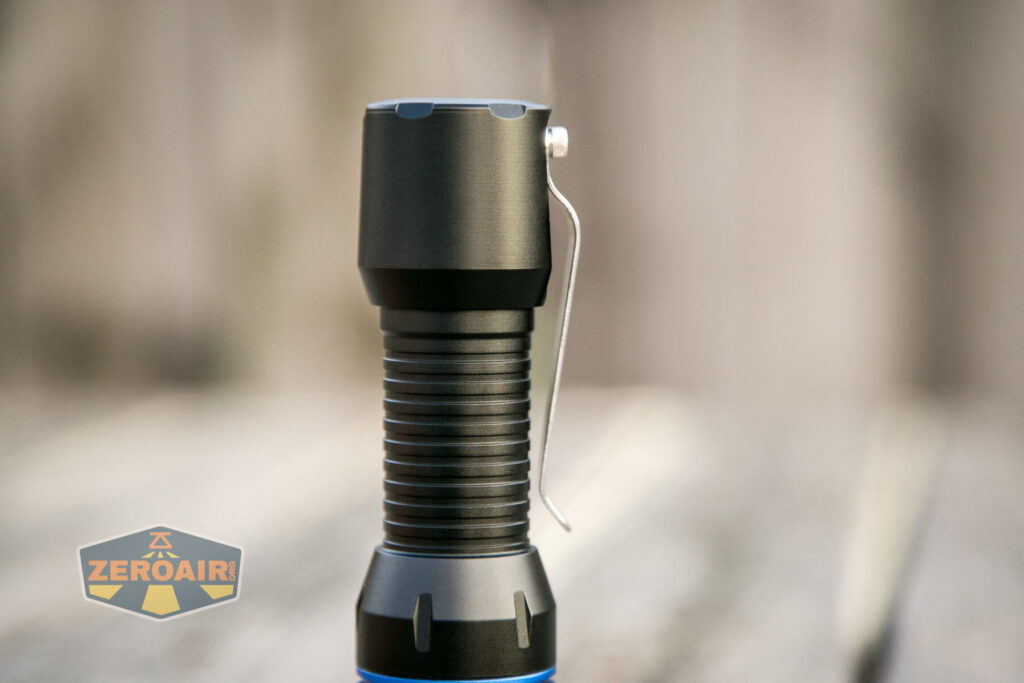
I don’t love the shape. For lack of a better description, I’ll call this the “dumbbell” shape.
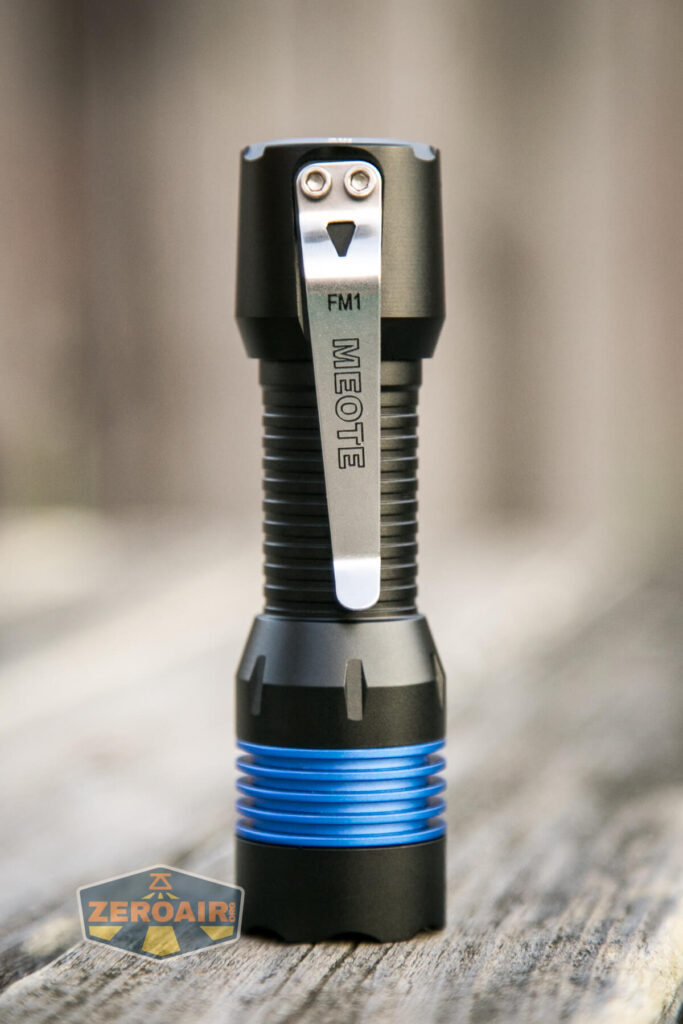


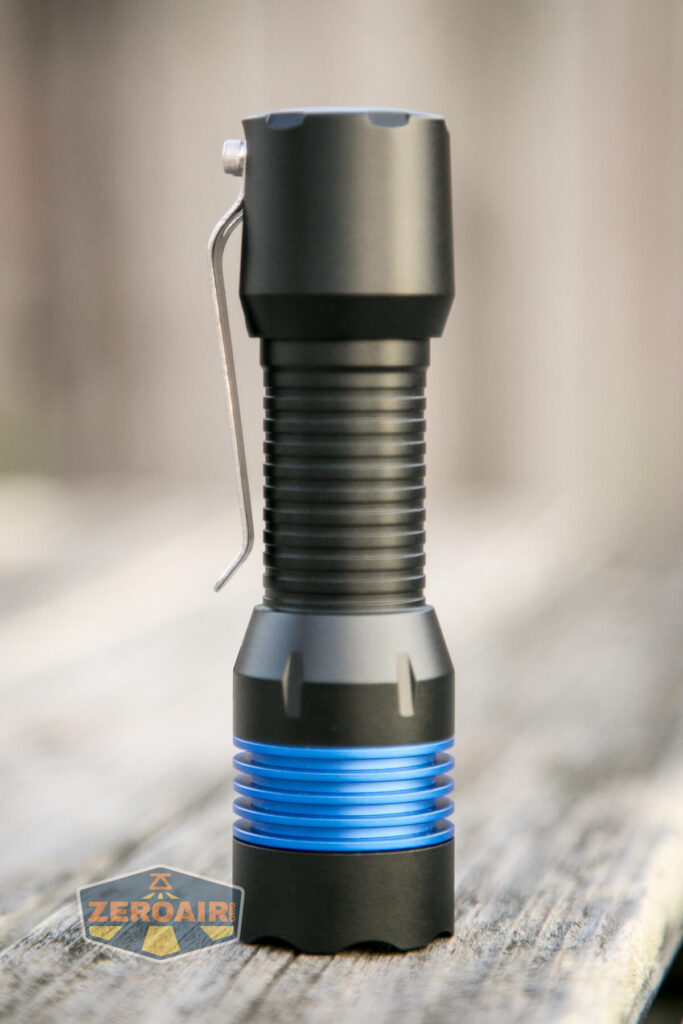
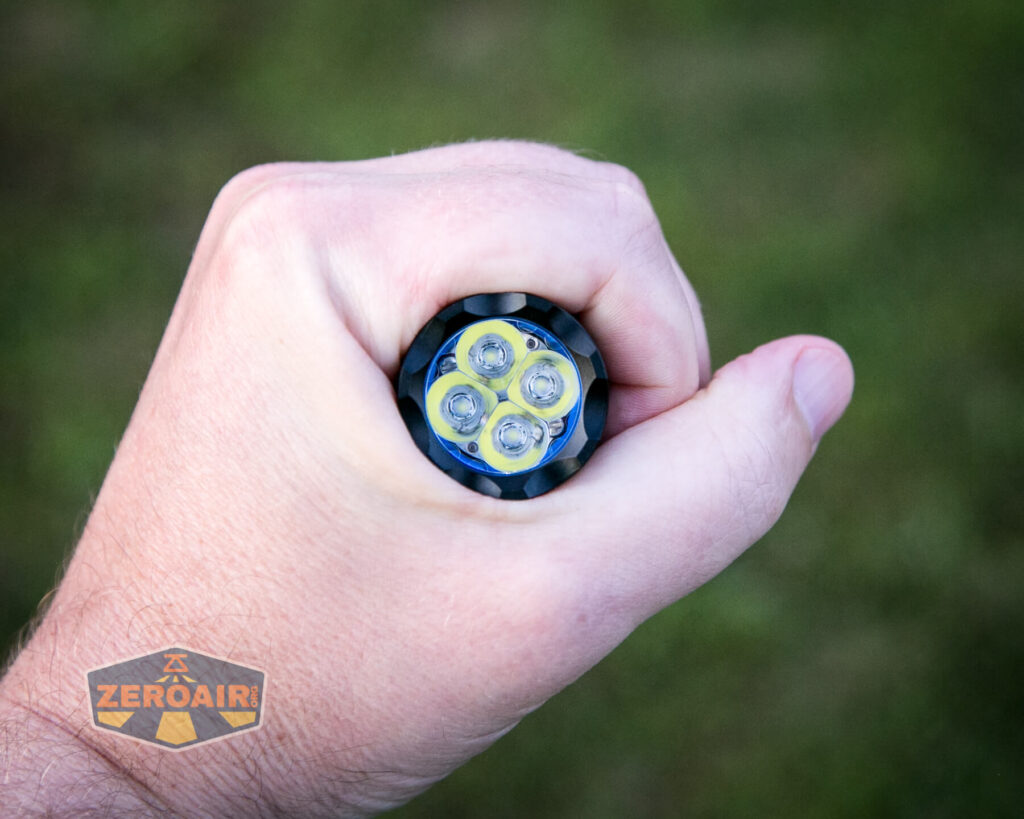
This shape does, however, allow a “tactical grip ring” style grip. That is not bad at all.
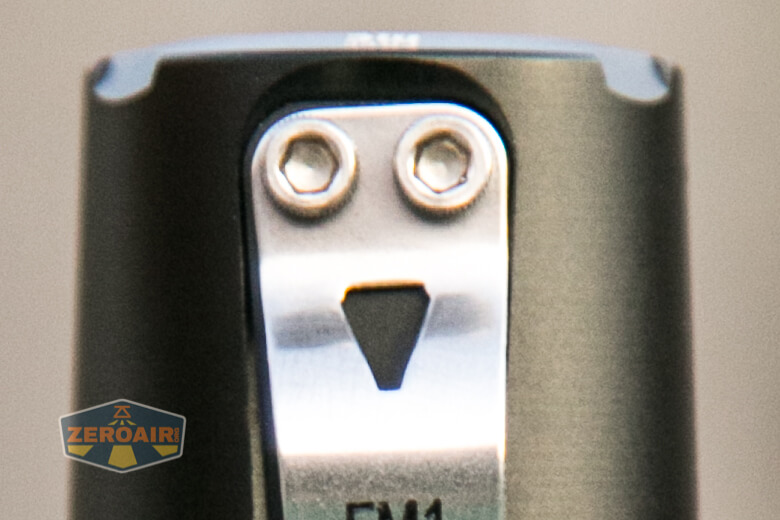
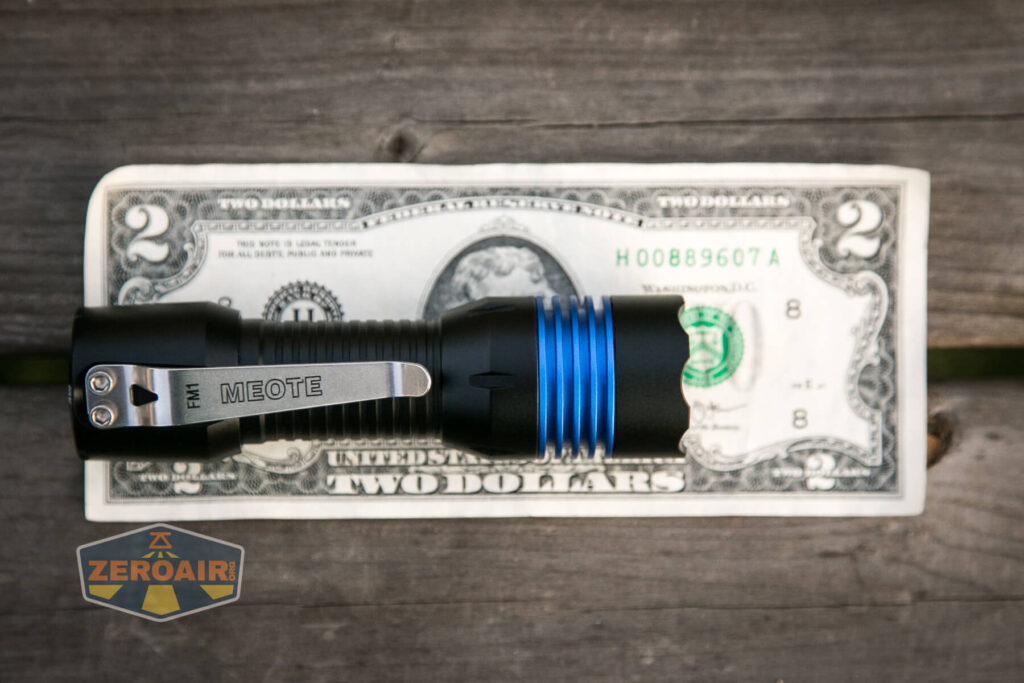
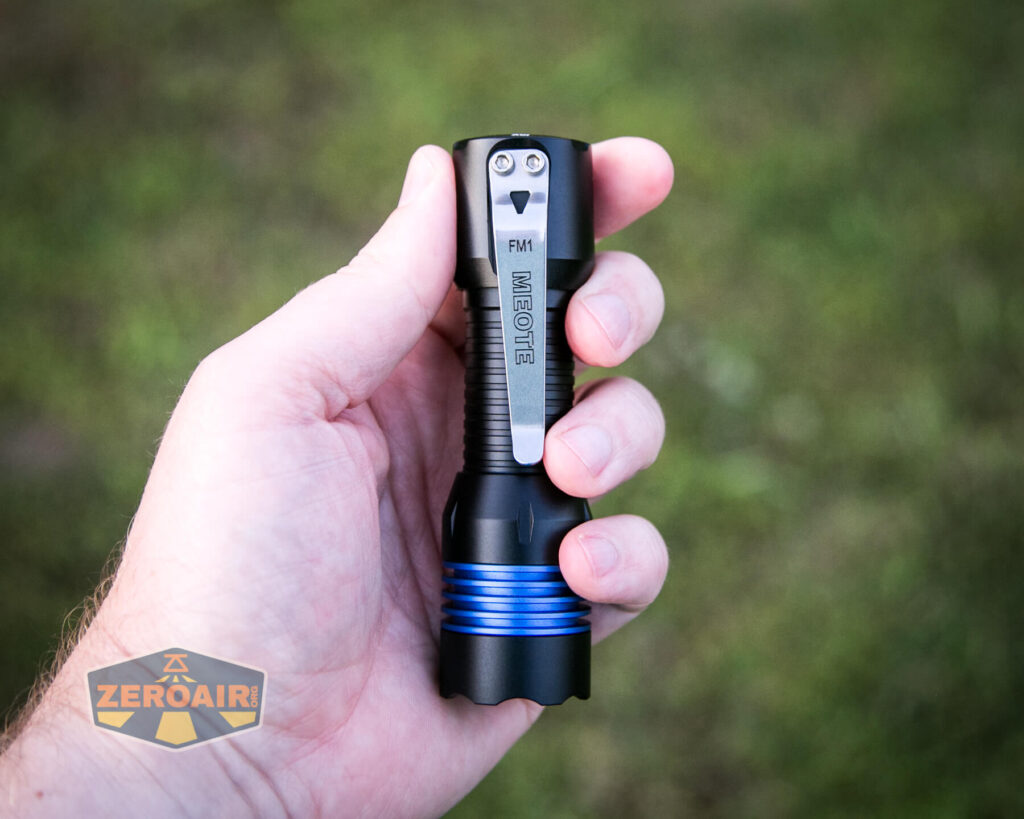
Below you can probably get an idea of how crooked the pocket clip was when I received the light.
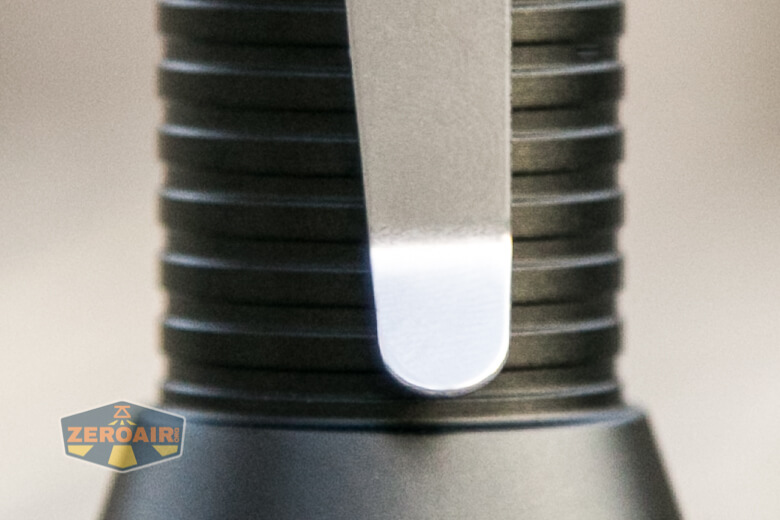
More on this clip later.
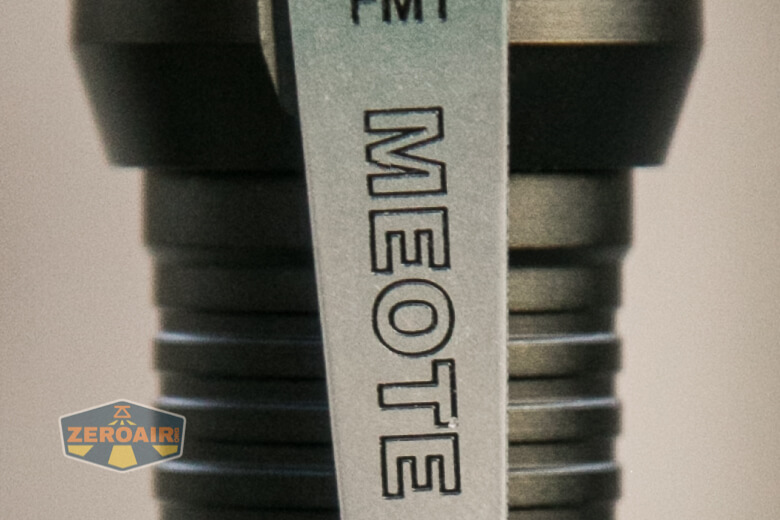
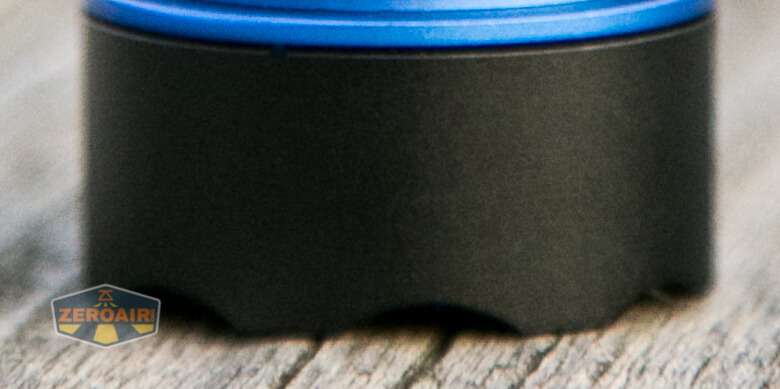
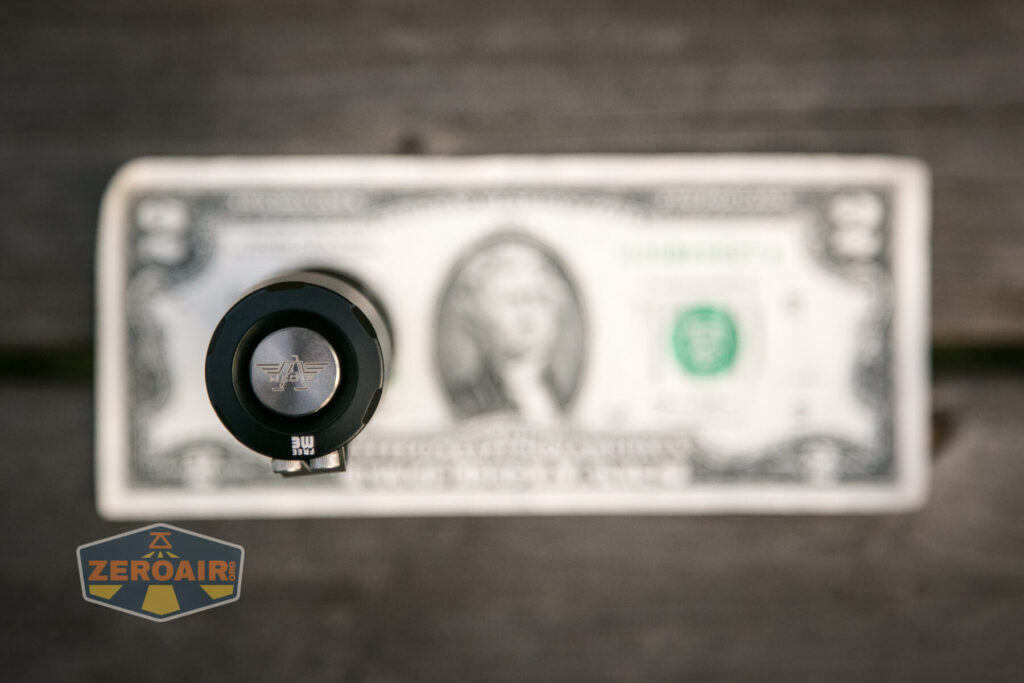
The tail cap has some branding which includes an engraved Meote logo, and “FreeMe” screen printed logo on the edge.

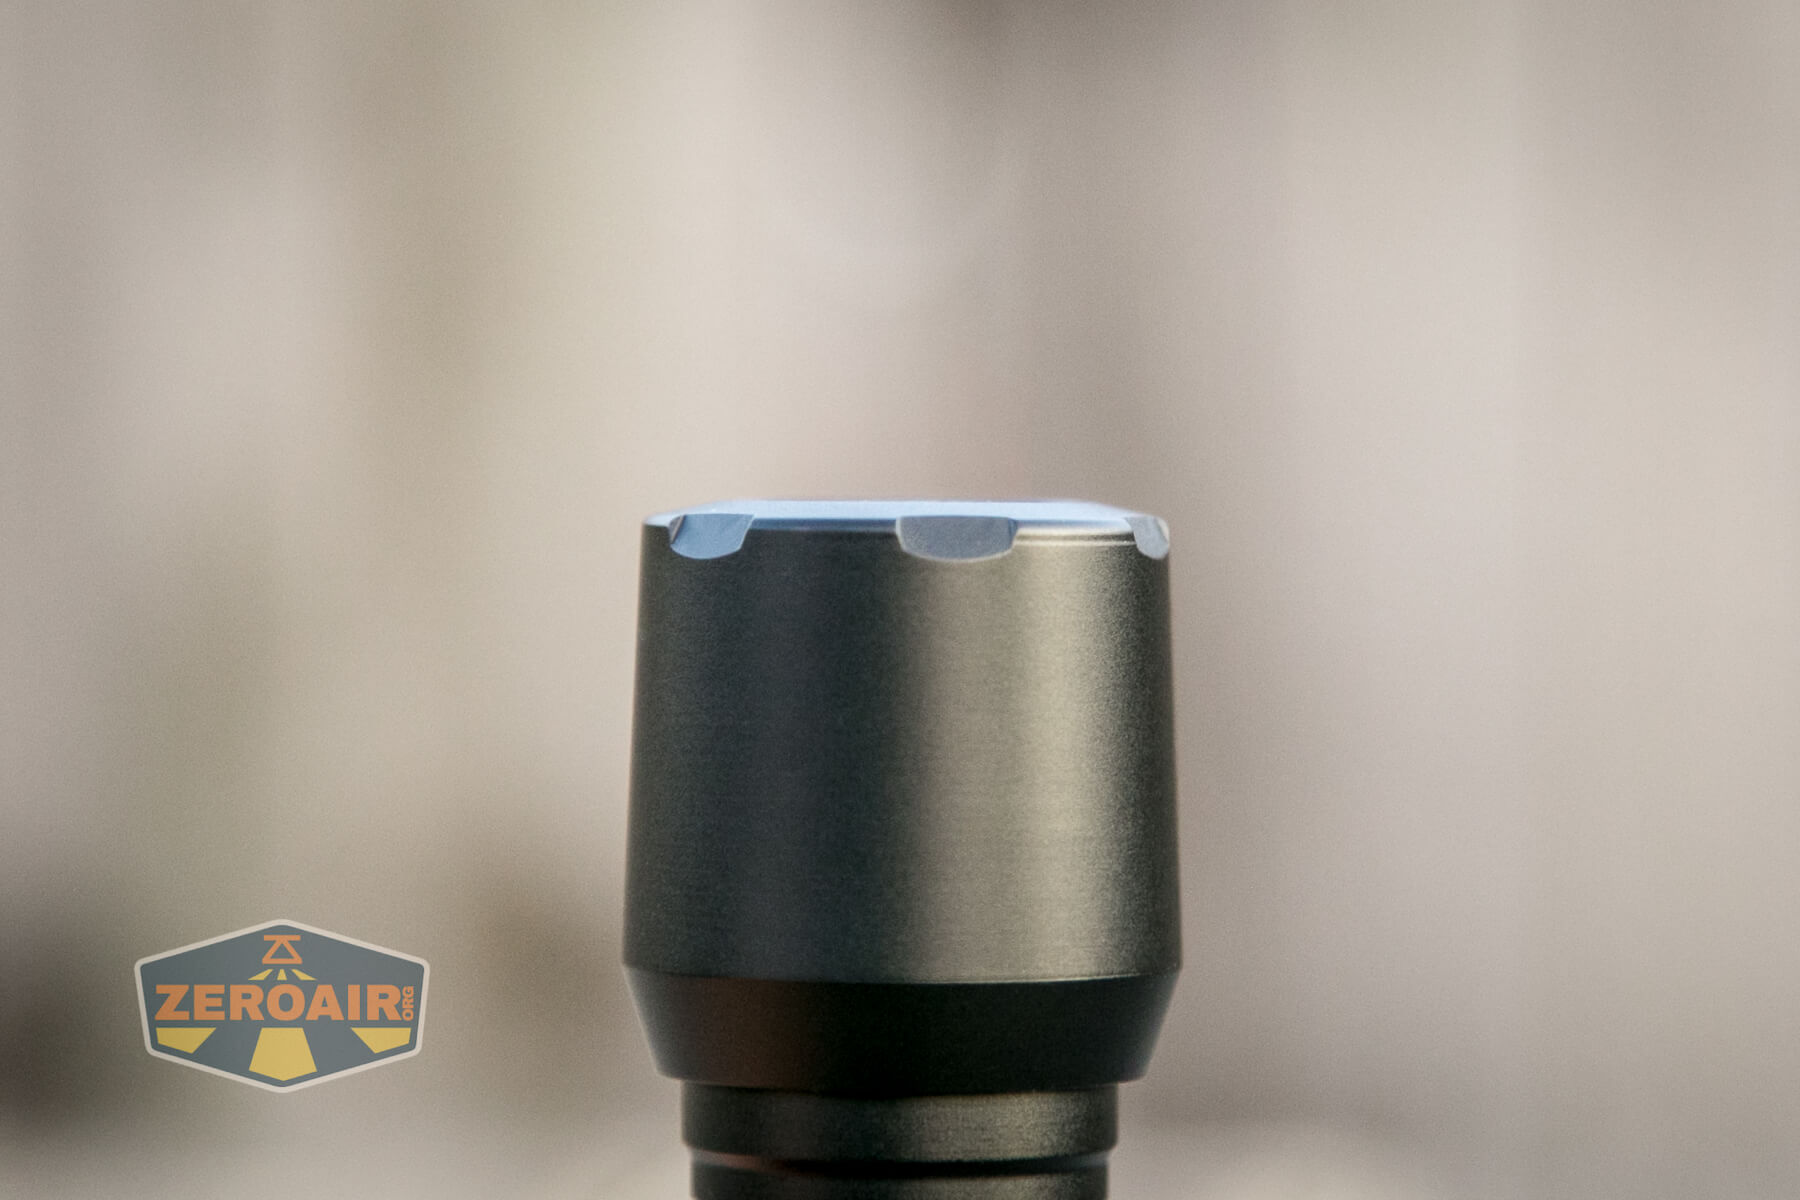
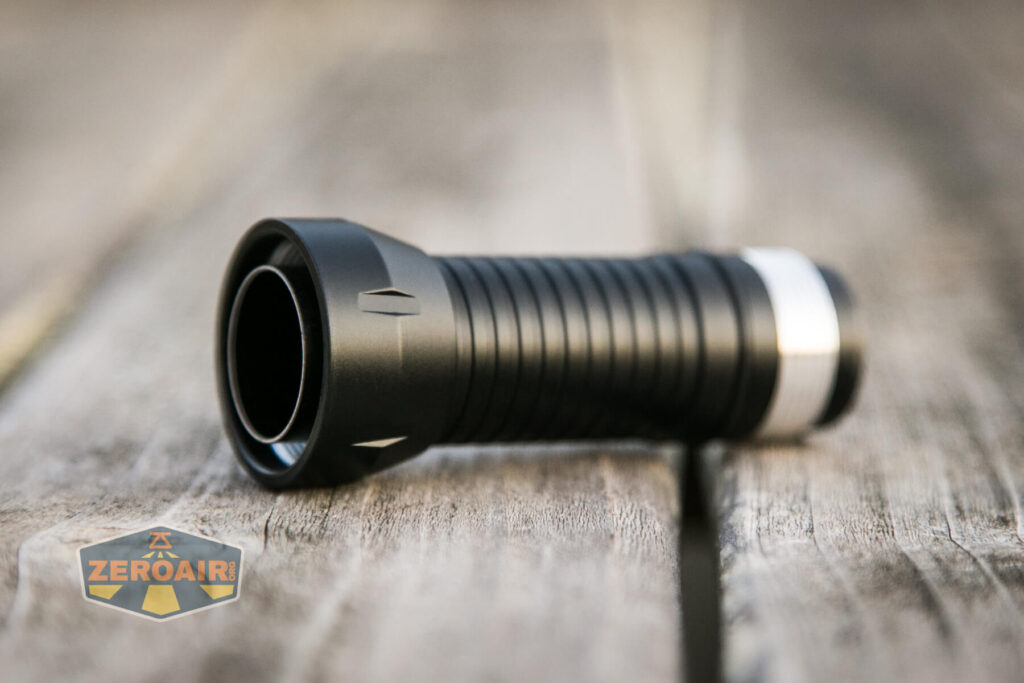
Here you can see the bezel has a bit of fluting, which I appreciate. I was unable to remove the bezel, but it really should be pretty easy (for you, that is) to remove.
There’s no knurling anywhere on the Meote FM1, but the body does have rings that aid in grip.

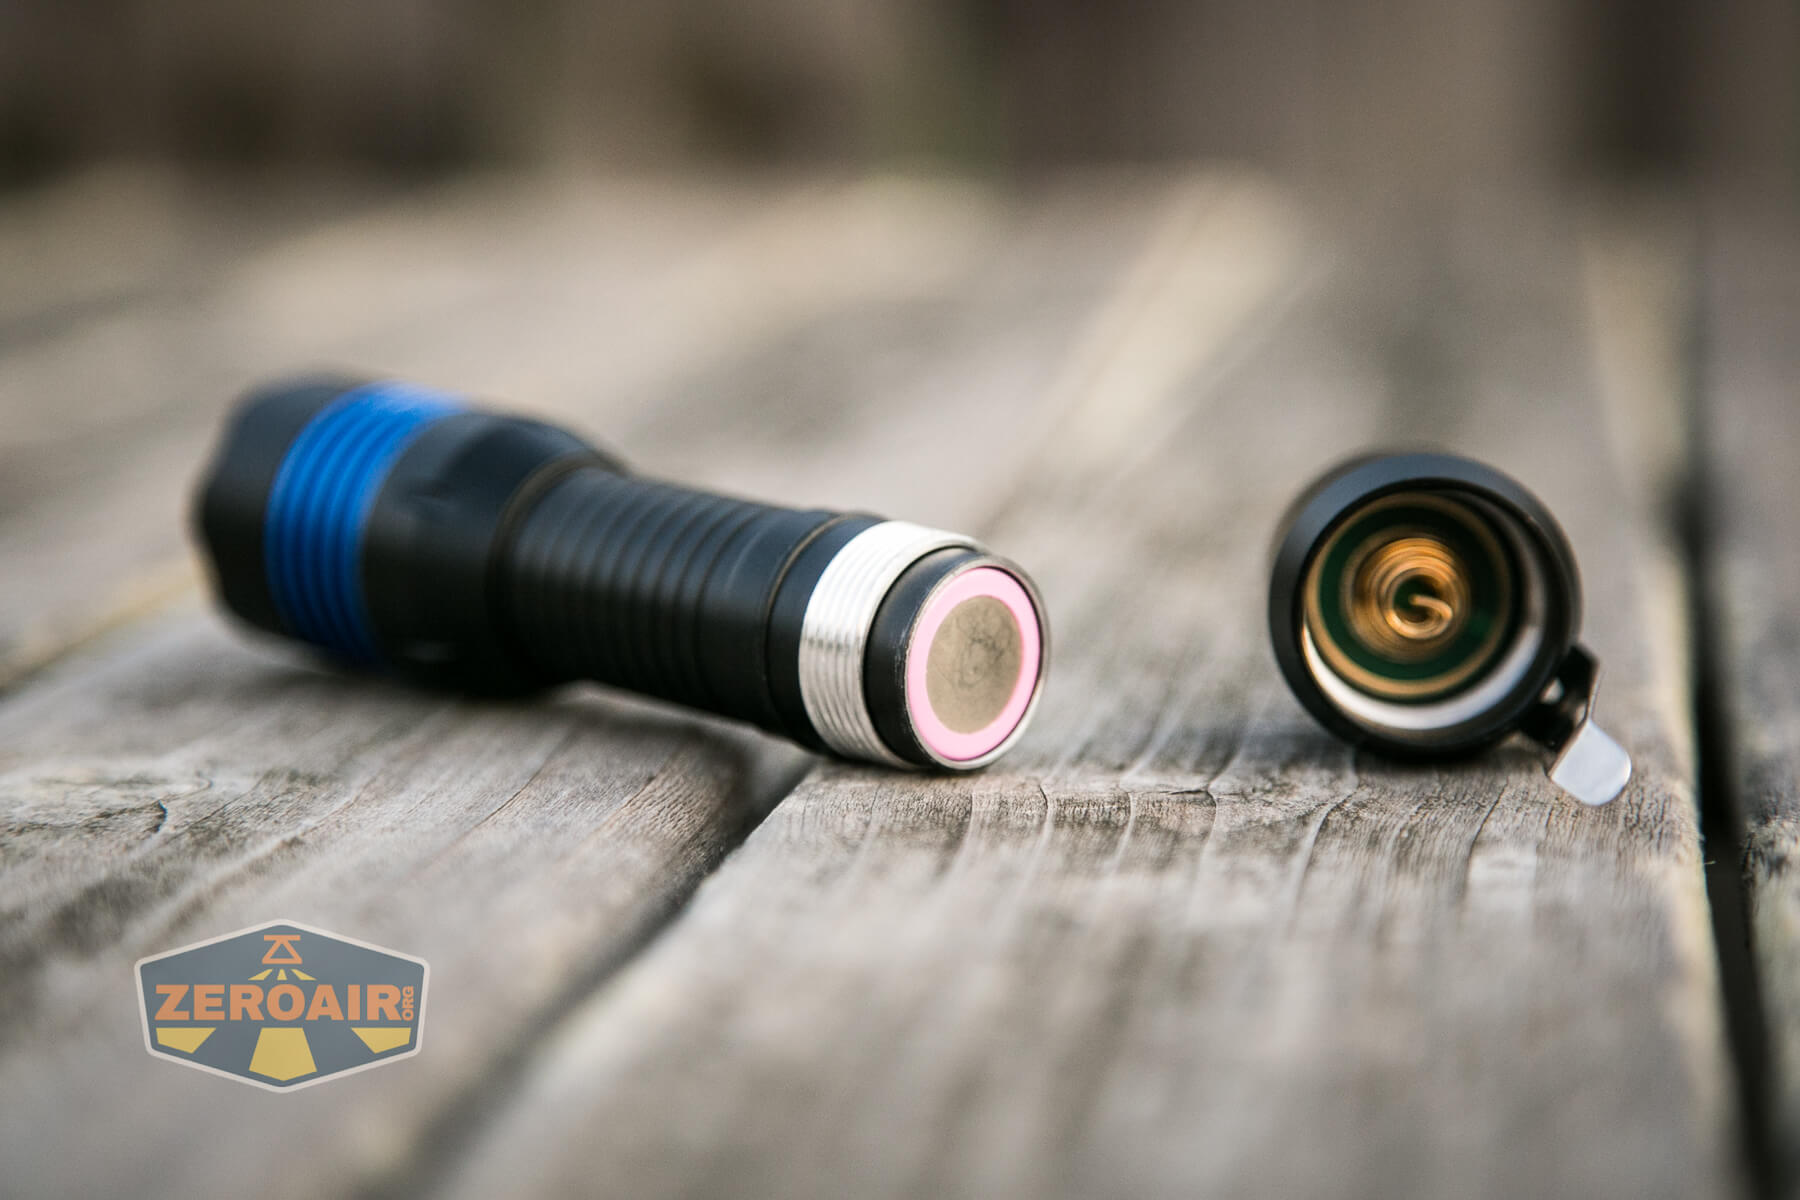
The tailcap unscrews easily, to reveal unanodized threads and the “lip end” of the inner sleeve. Because of this setup, I’d recommend removing the head for cell swaps.

And the head removes perfectly easily. The threads here are also unanodized.

This all leaves the cell tube completely separated from the head and tail. The cell tube is not reversible.
Both head and tail have springs, which is a good thing. In the photo below, you can see some little dots – those should be flashing pads. This is a very nice feature that allows you to flash a new user interface onto your Meote FM1.
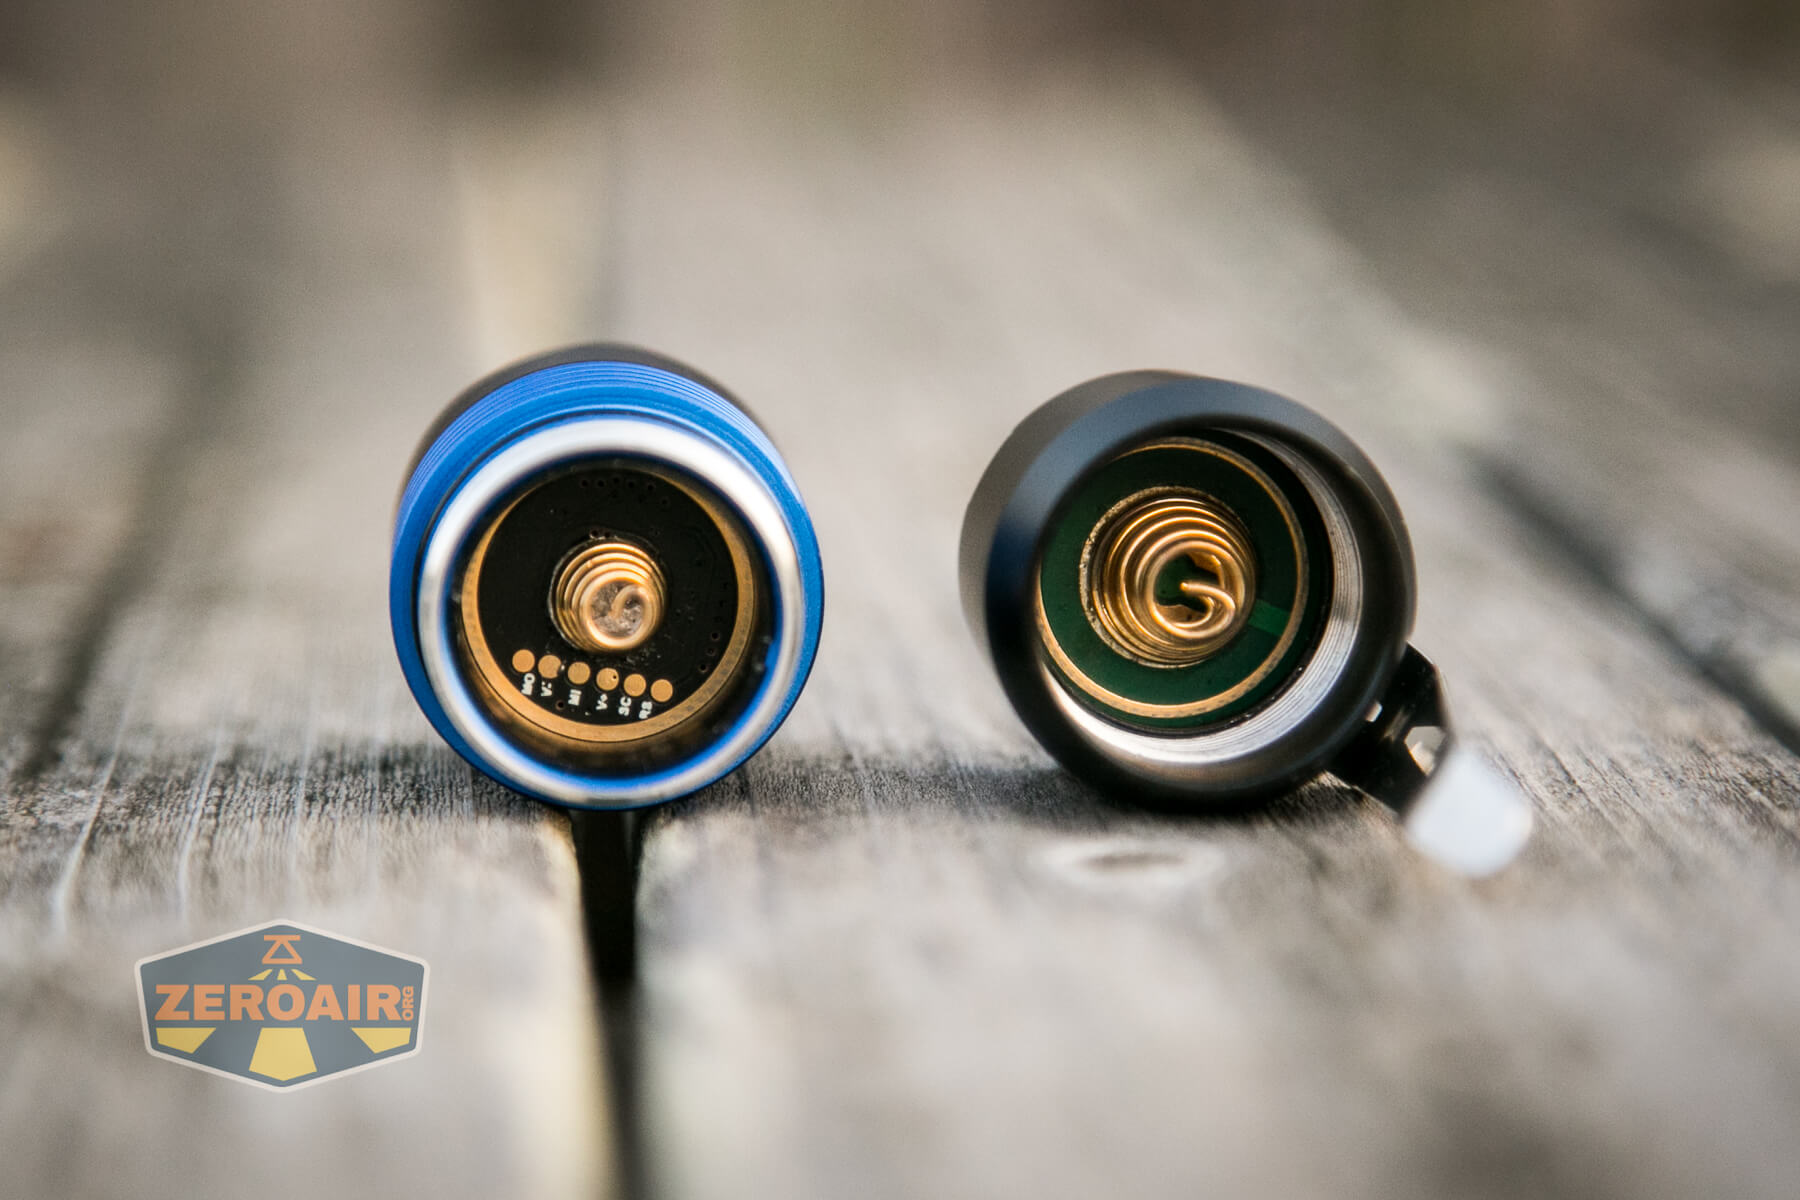
The inner sleeve isn’t held in place by anything, which is why I recommended swapping cells on the head side.

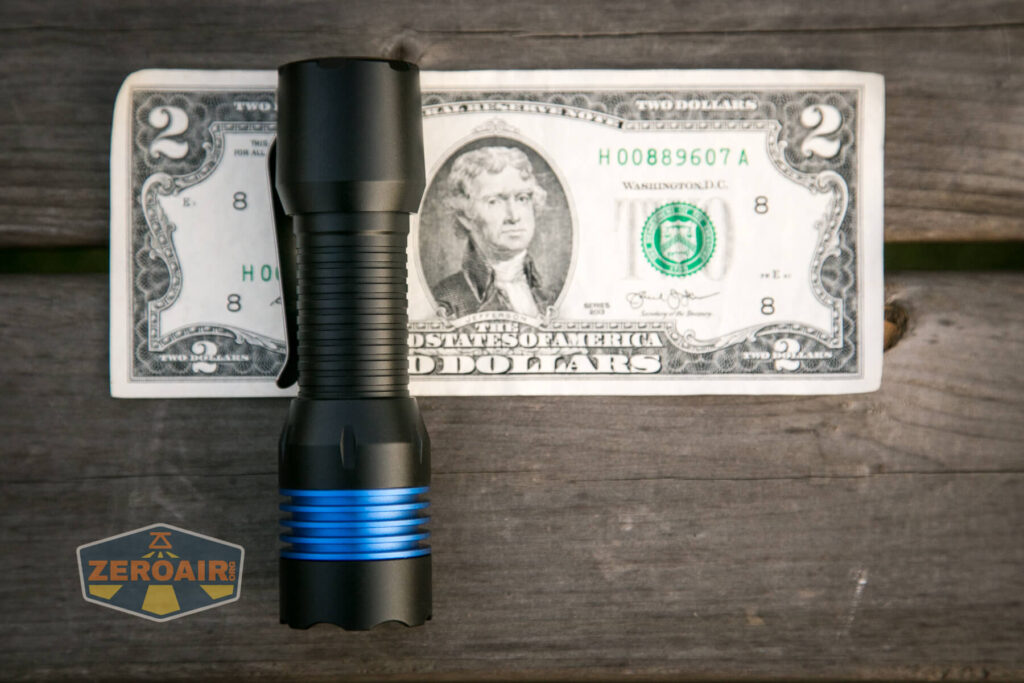
Size and Comps
Size: 110mm x 30mm x27mm
(Length x Head dia. x Body dia.)
Weight: 90g exclude cells
If the flashlight will headstand, I’ll show try to it here. If the flashlight will tailstand, I usually show that here, too.

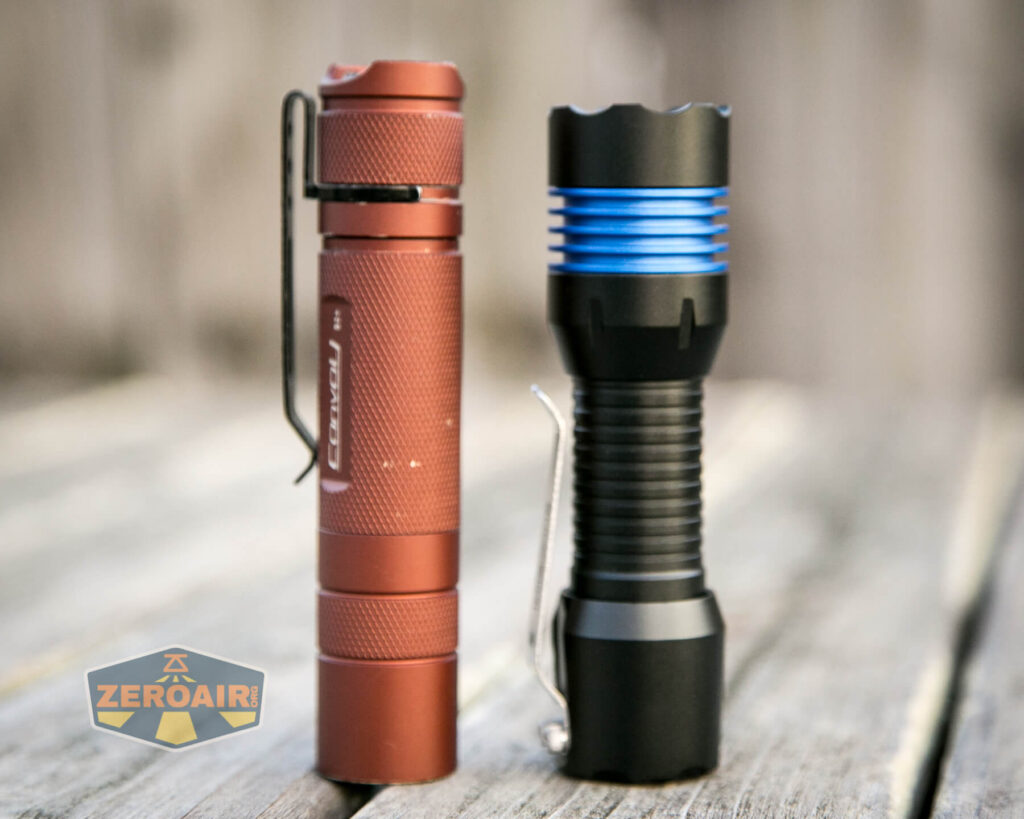
Here’s the test light with the venerable Convoy S2+. Mine is a custom “baked” edition Nichia 219b triple. A very nice 18650 light!
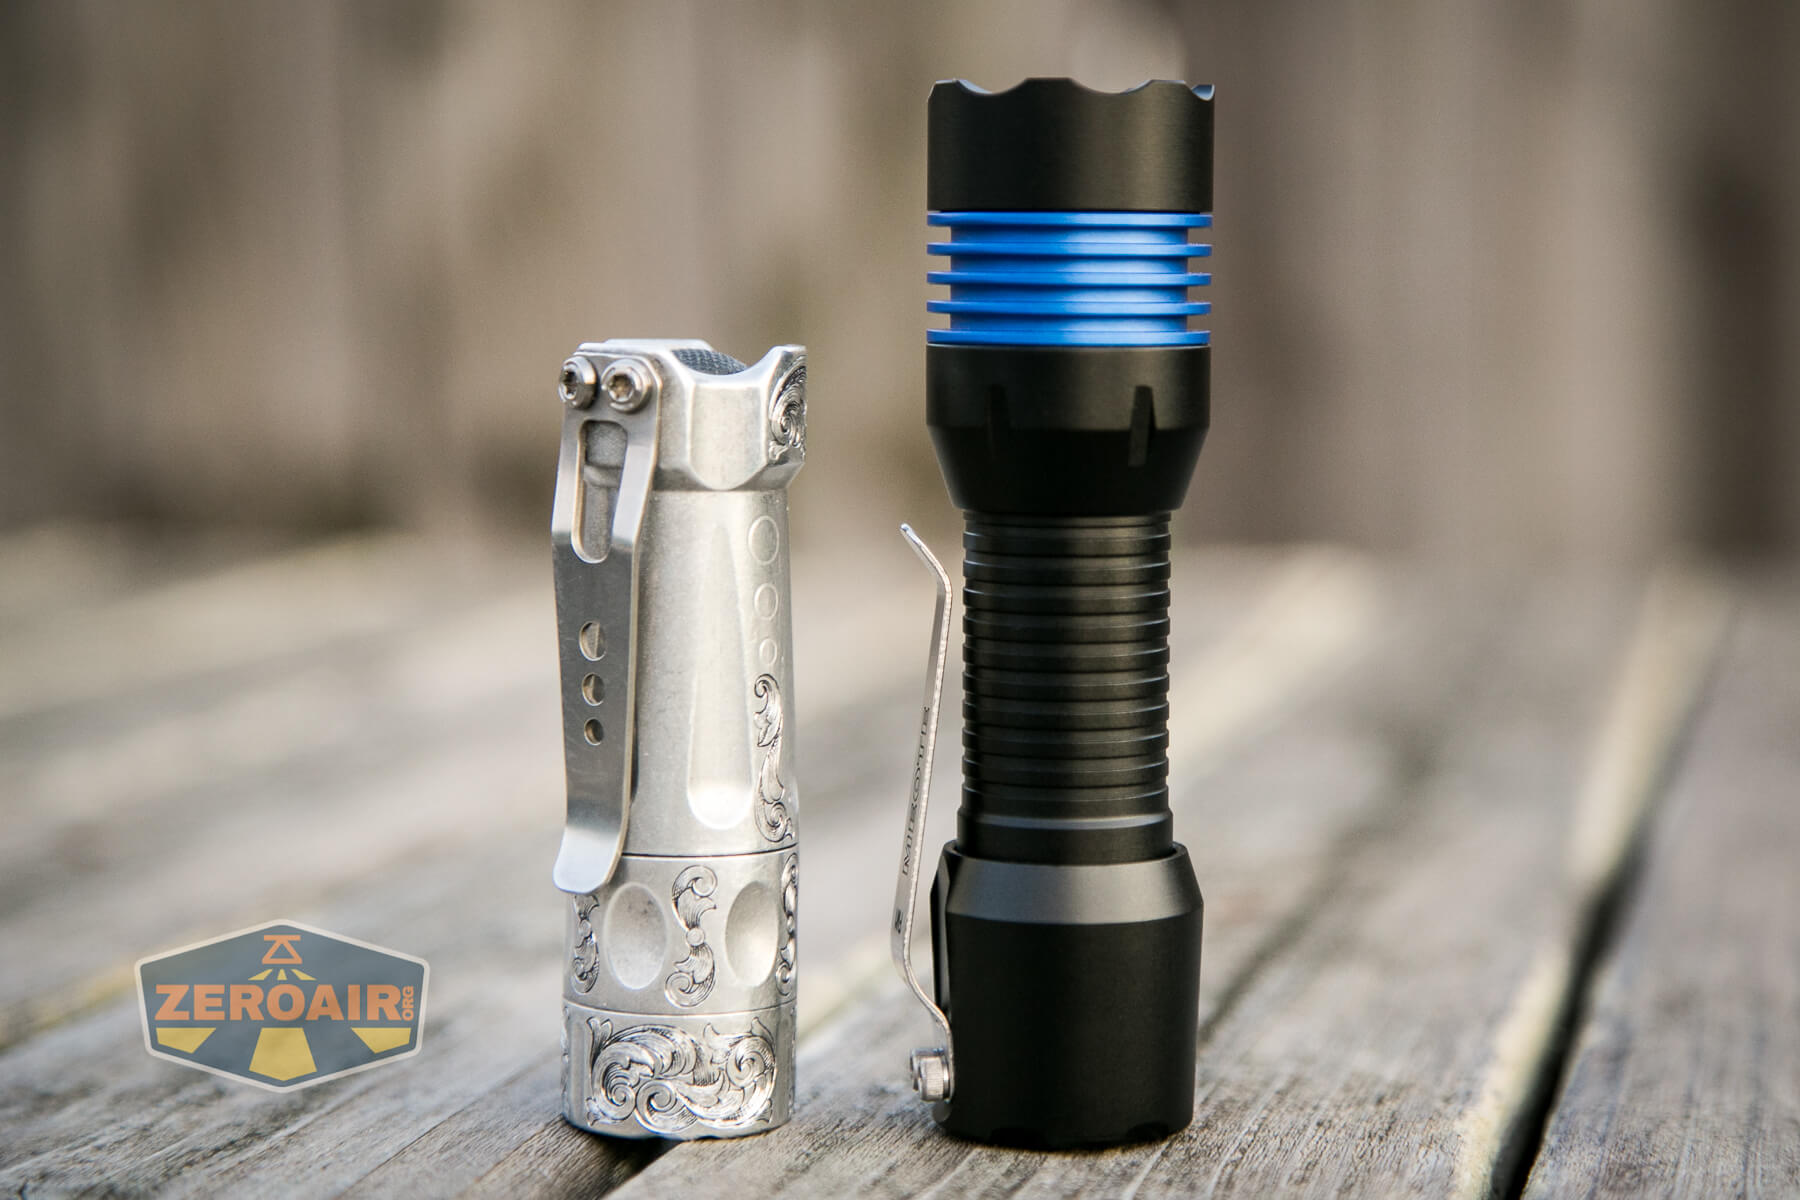
And here’s the light beside my custom-engraved TorchLAB BOSS 35, an 18350 light. I reviewed the aluminum version of that light in both 35 and 70 formats.
Retention and Carry
You already know this light has a pocket clip because I’ve complained about how crooked it is. That’s not the end of the world, since it’s possible to just force the clip to where it should be.
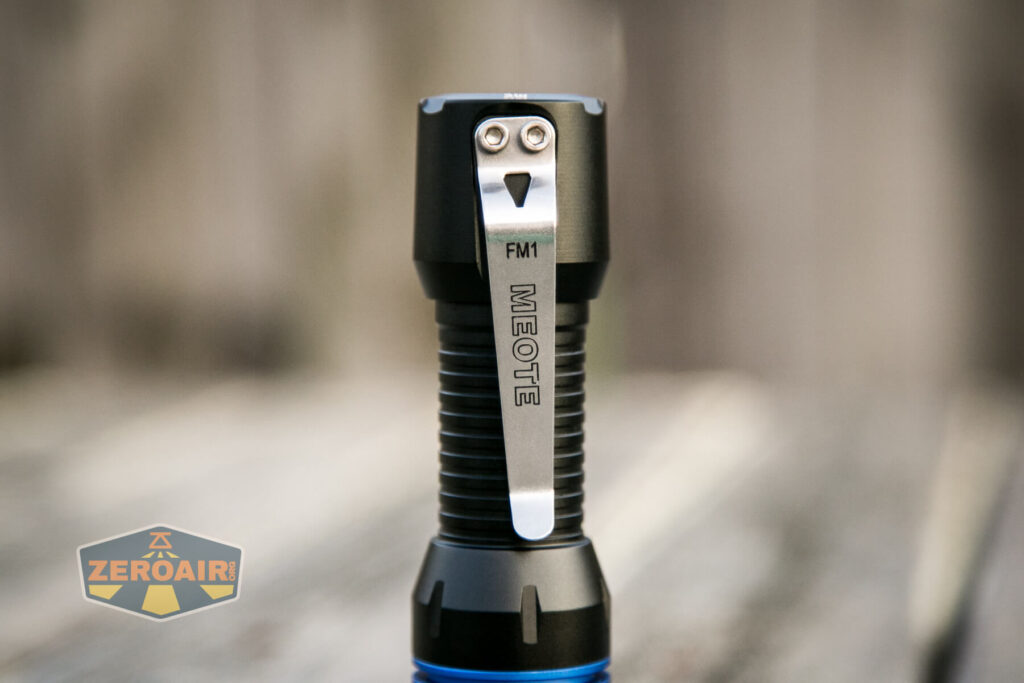
Now, it’s no small feat to correct that – I had to apply a force heavy enough that I thought I might be bending the clip instead of straightening it. Of course, since the clip is held in place by two hex screws, it’s possible to loosen those and handle this the easier way….
My initial complaint about the clip stemmed from a mistake – I thought (and it looks like) the clip was not just held in place with two screws, but also oriented by a groove in the body. But it’s not actually – the clip sits on a flat place on the body (and not a groove like is seen on the Manker E05Ti, and short body for MC13/E14 II.)
Also included is a nylon pouch. This pouch is a formed pouch, and directional – bezel up carry only.
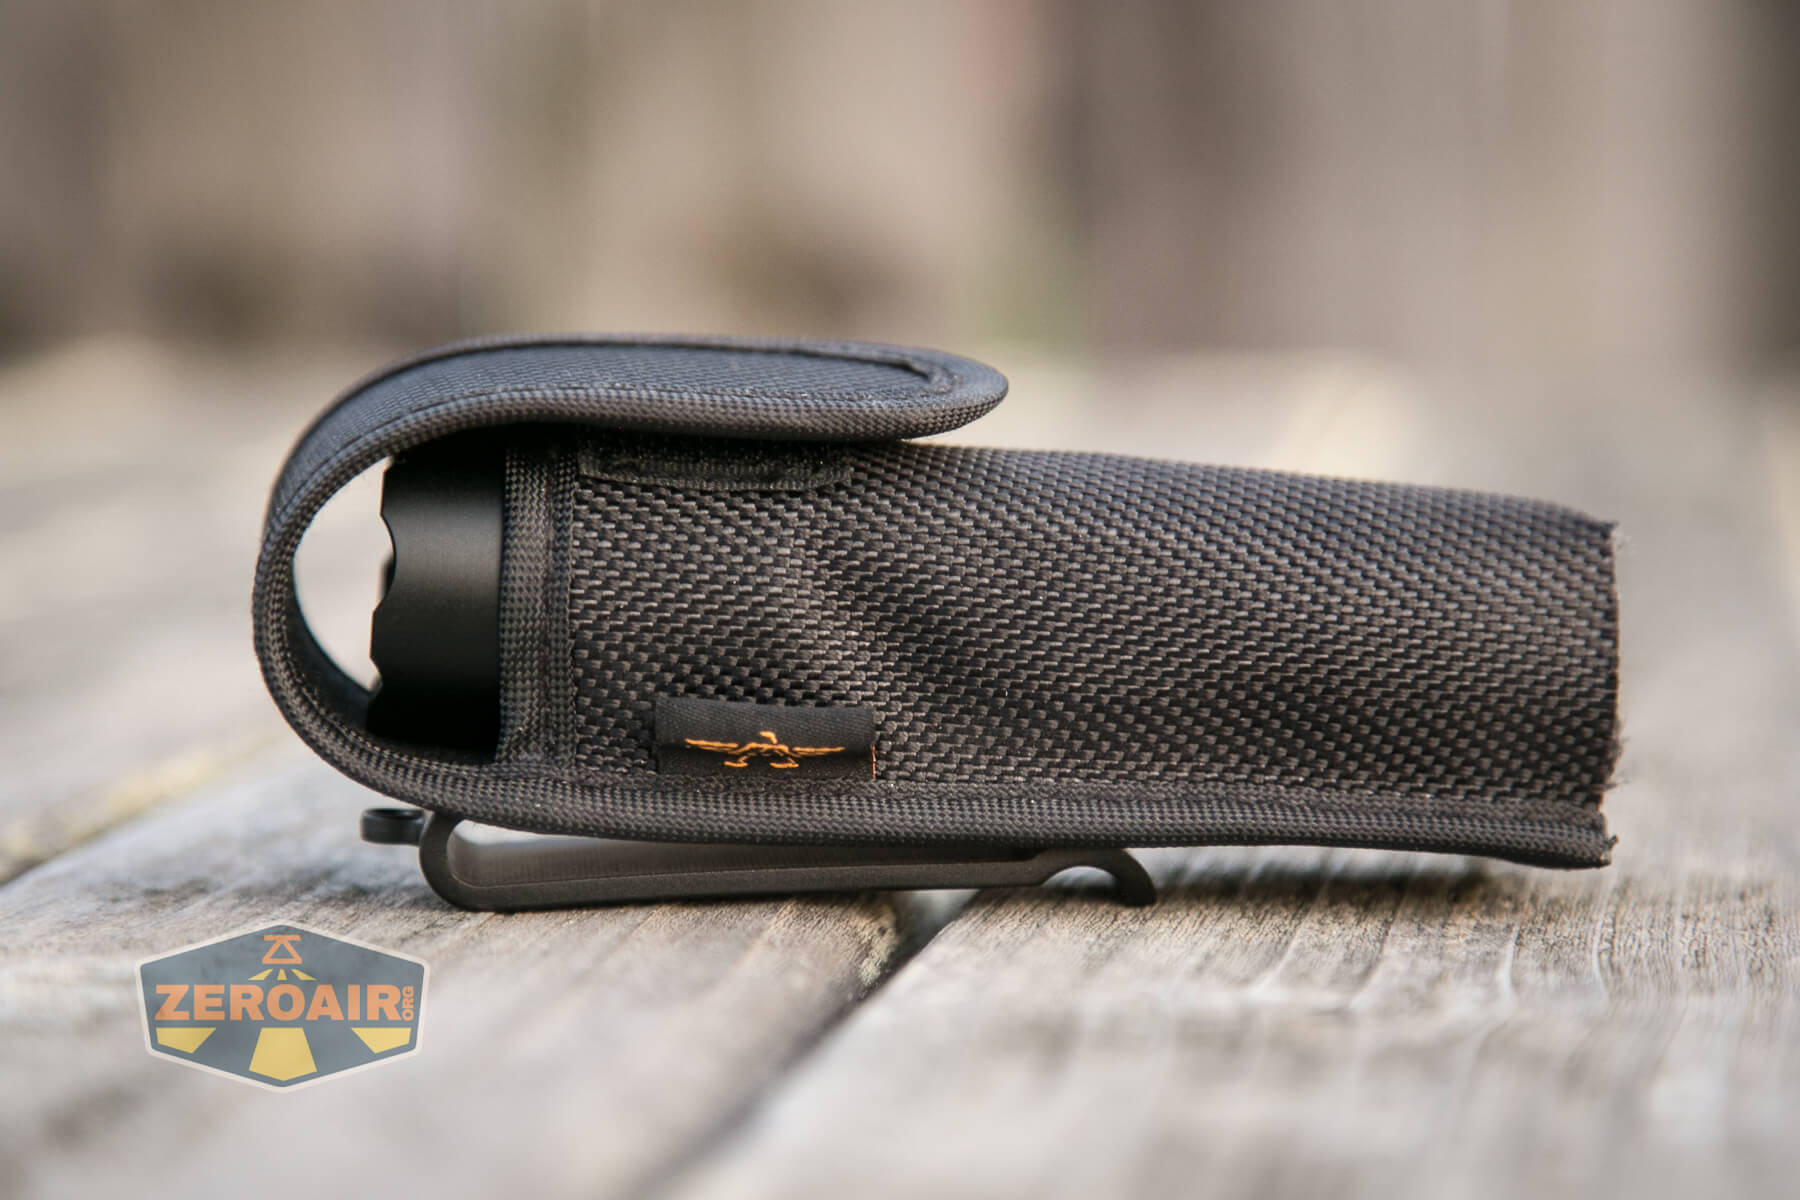
The light is not meant to be used while inside the pouch.
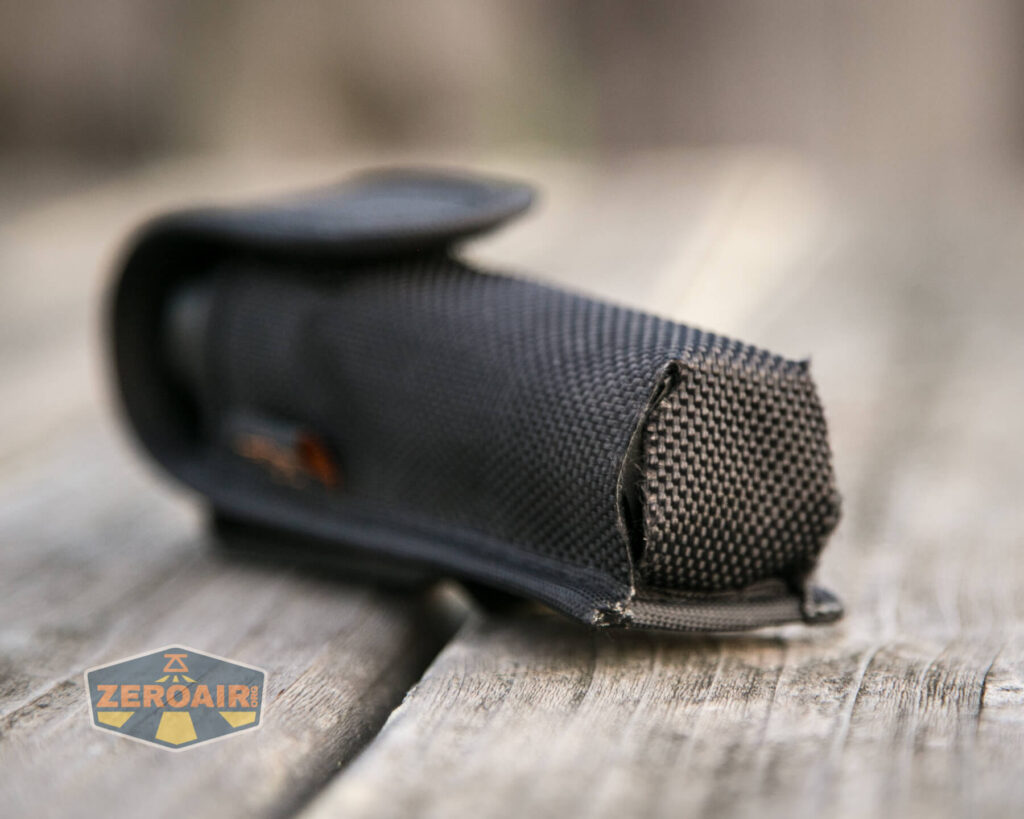

Unusually, the back of the nylon pouch has a hard plastic belt clip (not a loop), so removal of the pouch will be easy.

This hard plastic loop also has a loop onto which could be attached a lanyard, or strap to prevent the pouch from falling off a belt.
Power and Runtime
The Meote FM1 is powered by a single lithium-ion cell. I tested with only a flat top 18650, but with dual springs, you might get by with something a bit longer.
However, since this is an “internal sleeve” tail e-switch flashlight, you should probably just stick with unprotected flat-top cells.
Here are a few runtimes. I initially tested the light as it came from the factory, and was grossly disappointed. The thermal settings make the light switch to output below 10% very early, even on the second-highest mode. Here are a couple of runtimes the default way. When I stopped these tests, the cell voltage was still very high, and the runtime would have likely gone on and on.
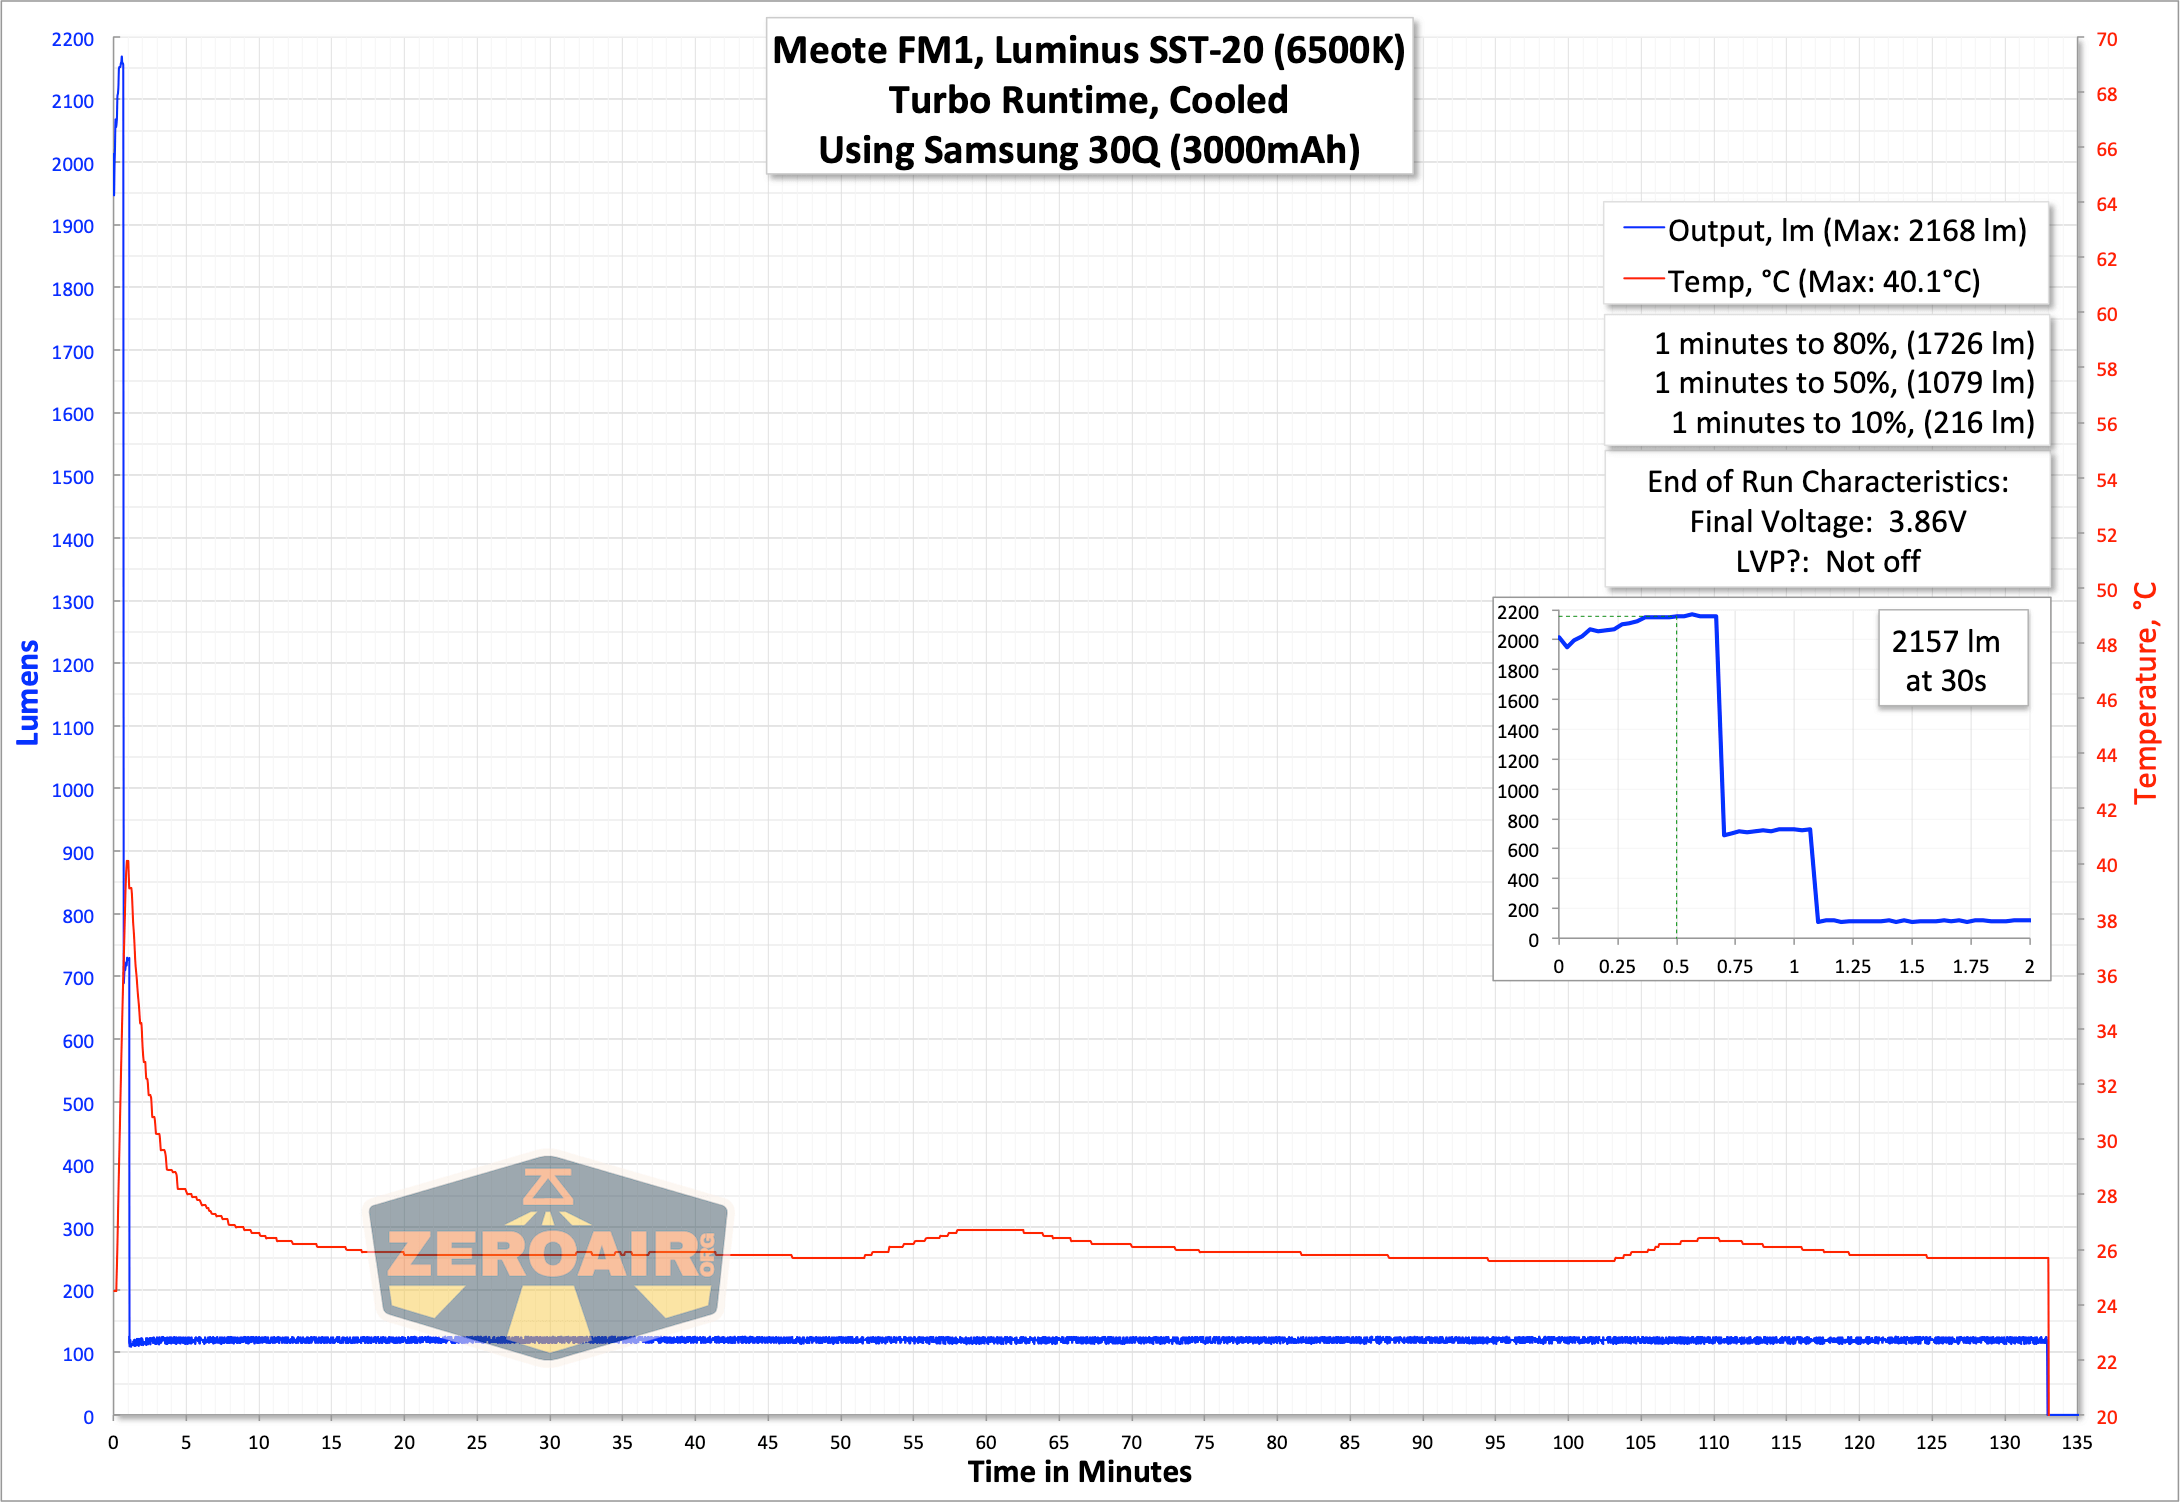

So I did something I’ve never done before: I turned off the thermal setting for Narsil. It’s not hard, it’s just something I’ve never had to do before. Or chosen to do, whatever. There are various settings, of course, from whatever is shipped default (and almost certainly the “most conservative” option) to turning the thermal setting completely off. Obviously, I went with the most aggressive option, and just turned thermals off completely. I am not saying you should do this – there is likely some very good middle ground, but the next couple of runtimes can probably help you narrow that down. Likely the light is fine on turbo with a timer of 5 minutes, or even 7 minutes (the longest option). Of course, you should do whatever you’re comfortable with. More on changing this setting later.
I let the light get “as hot as I was comfortable with” (which is right at 70°C), and then turned it off to cool down. Then turned it back on to Turbo, and repeated until the temperature no longer got past my comfort zone.
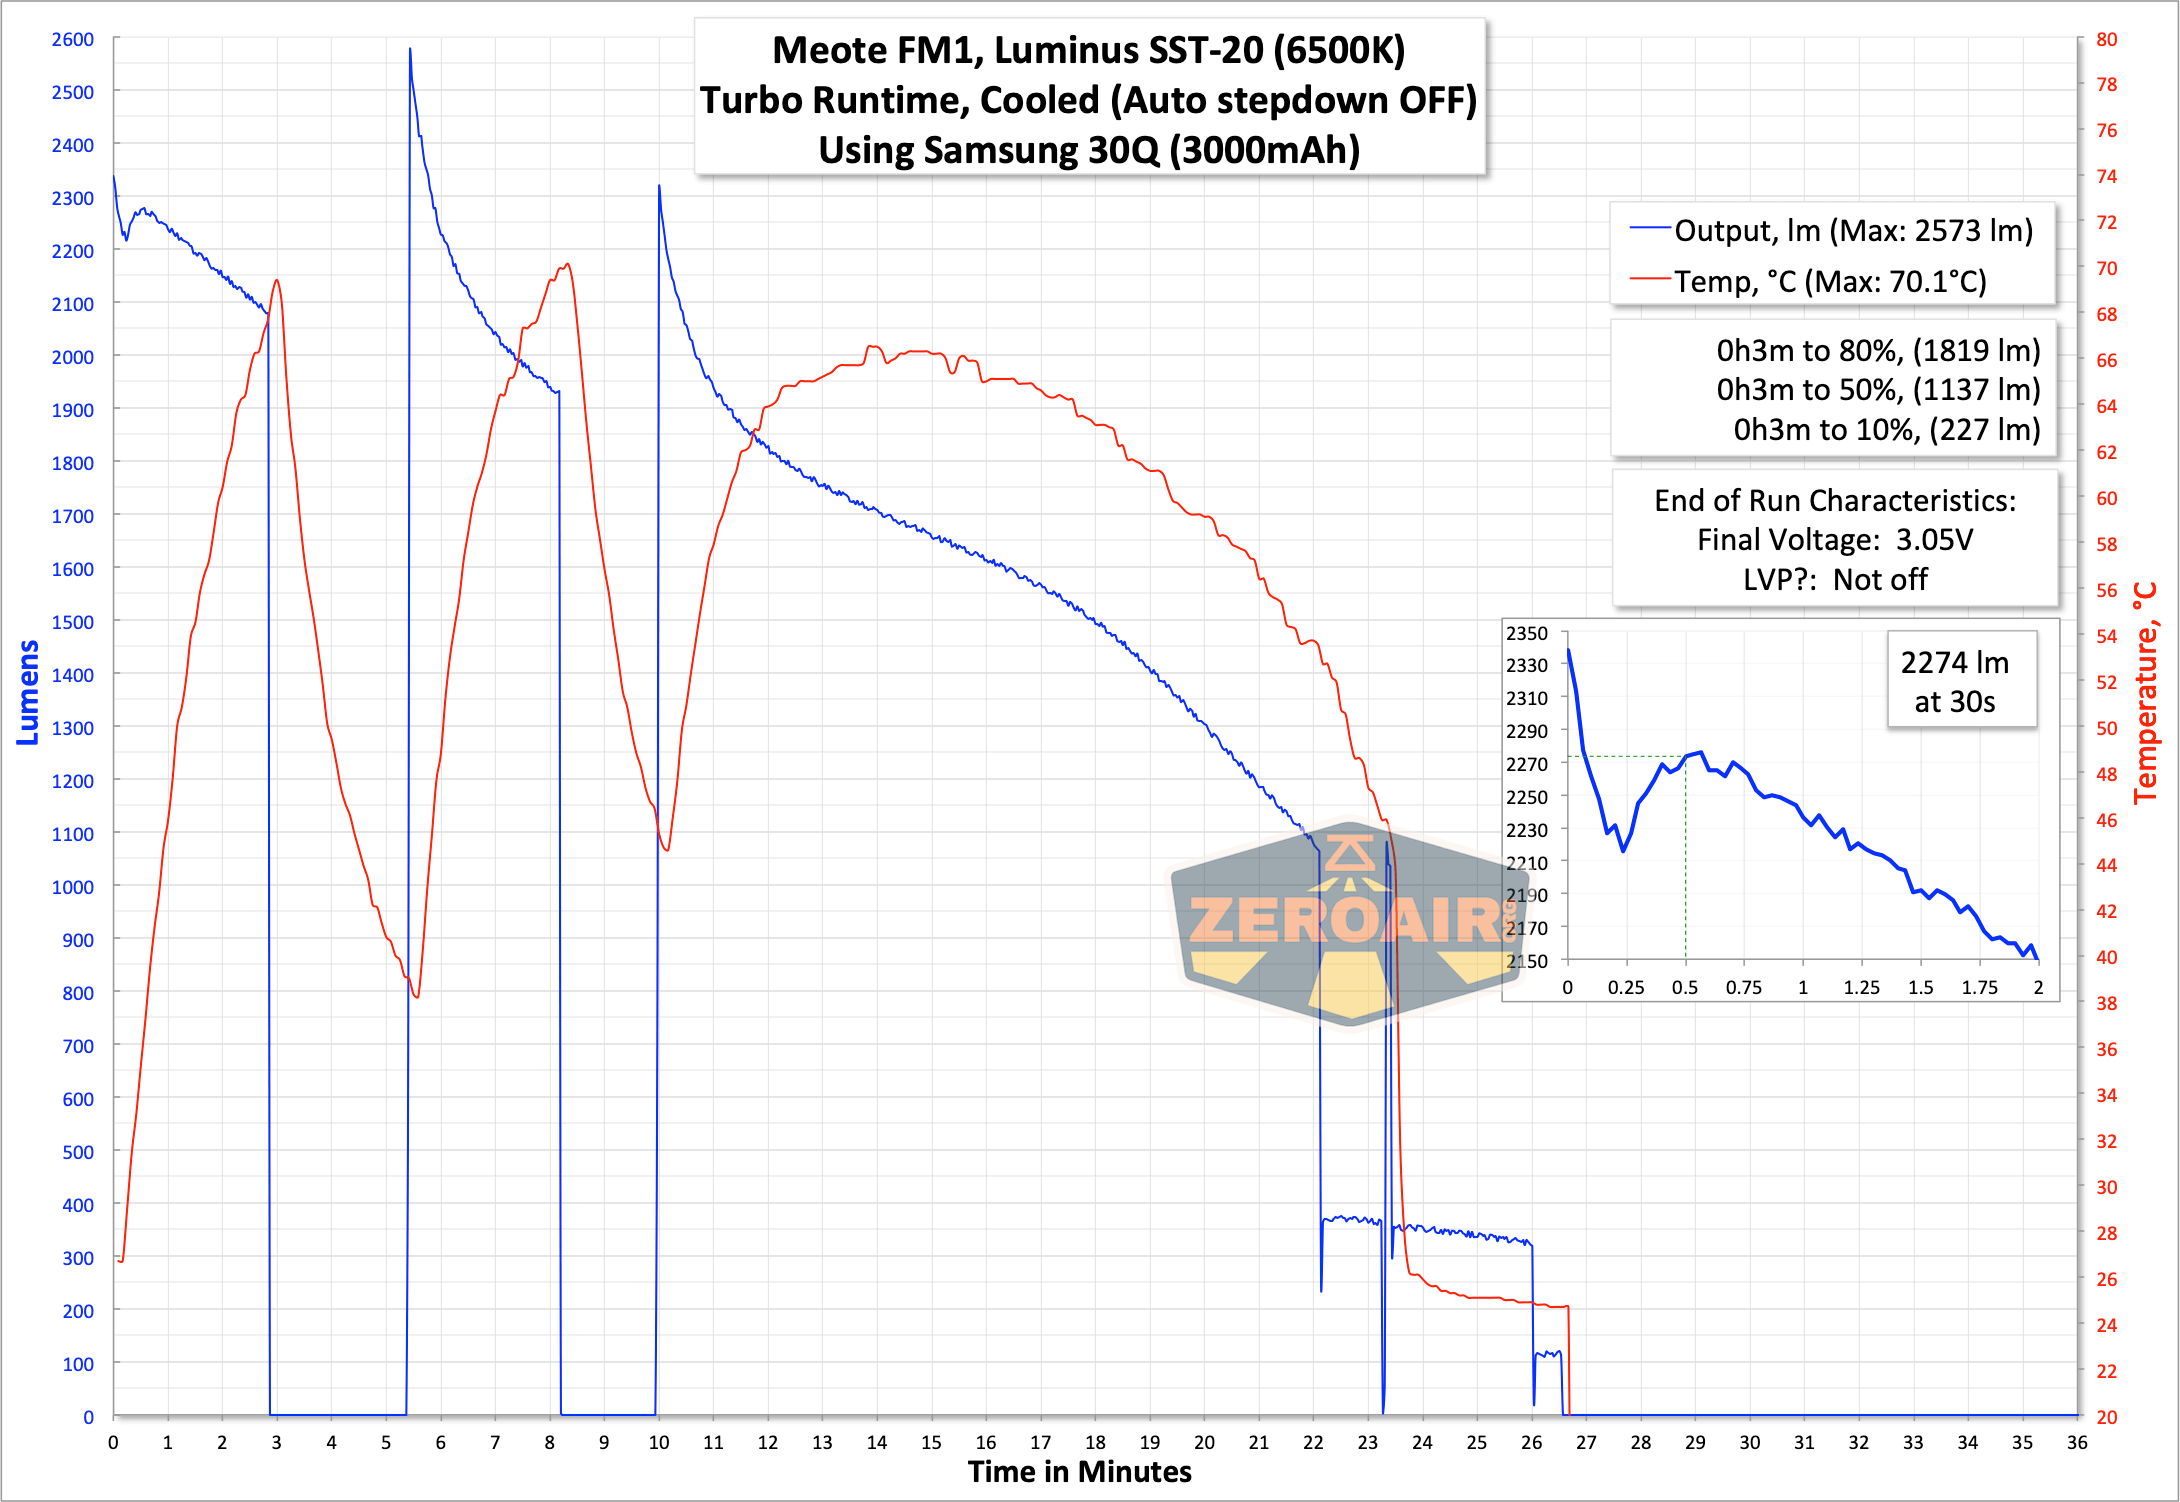
I don’t really think you should turn off the auto step down completely, BUT it looks like the 3-minute setting would be about [safe]. A two-minute timer would probably be safe for all emitter options.
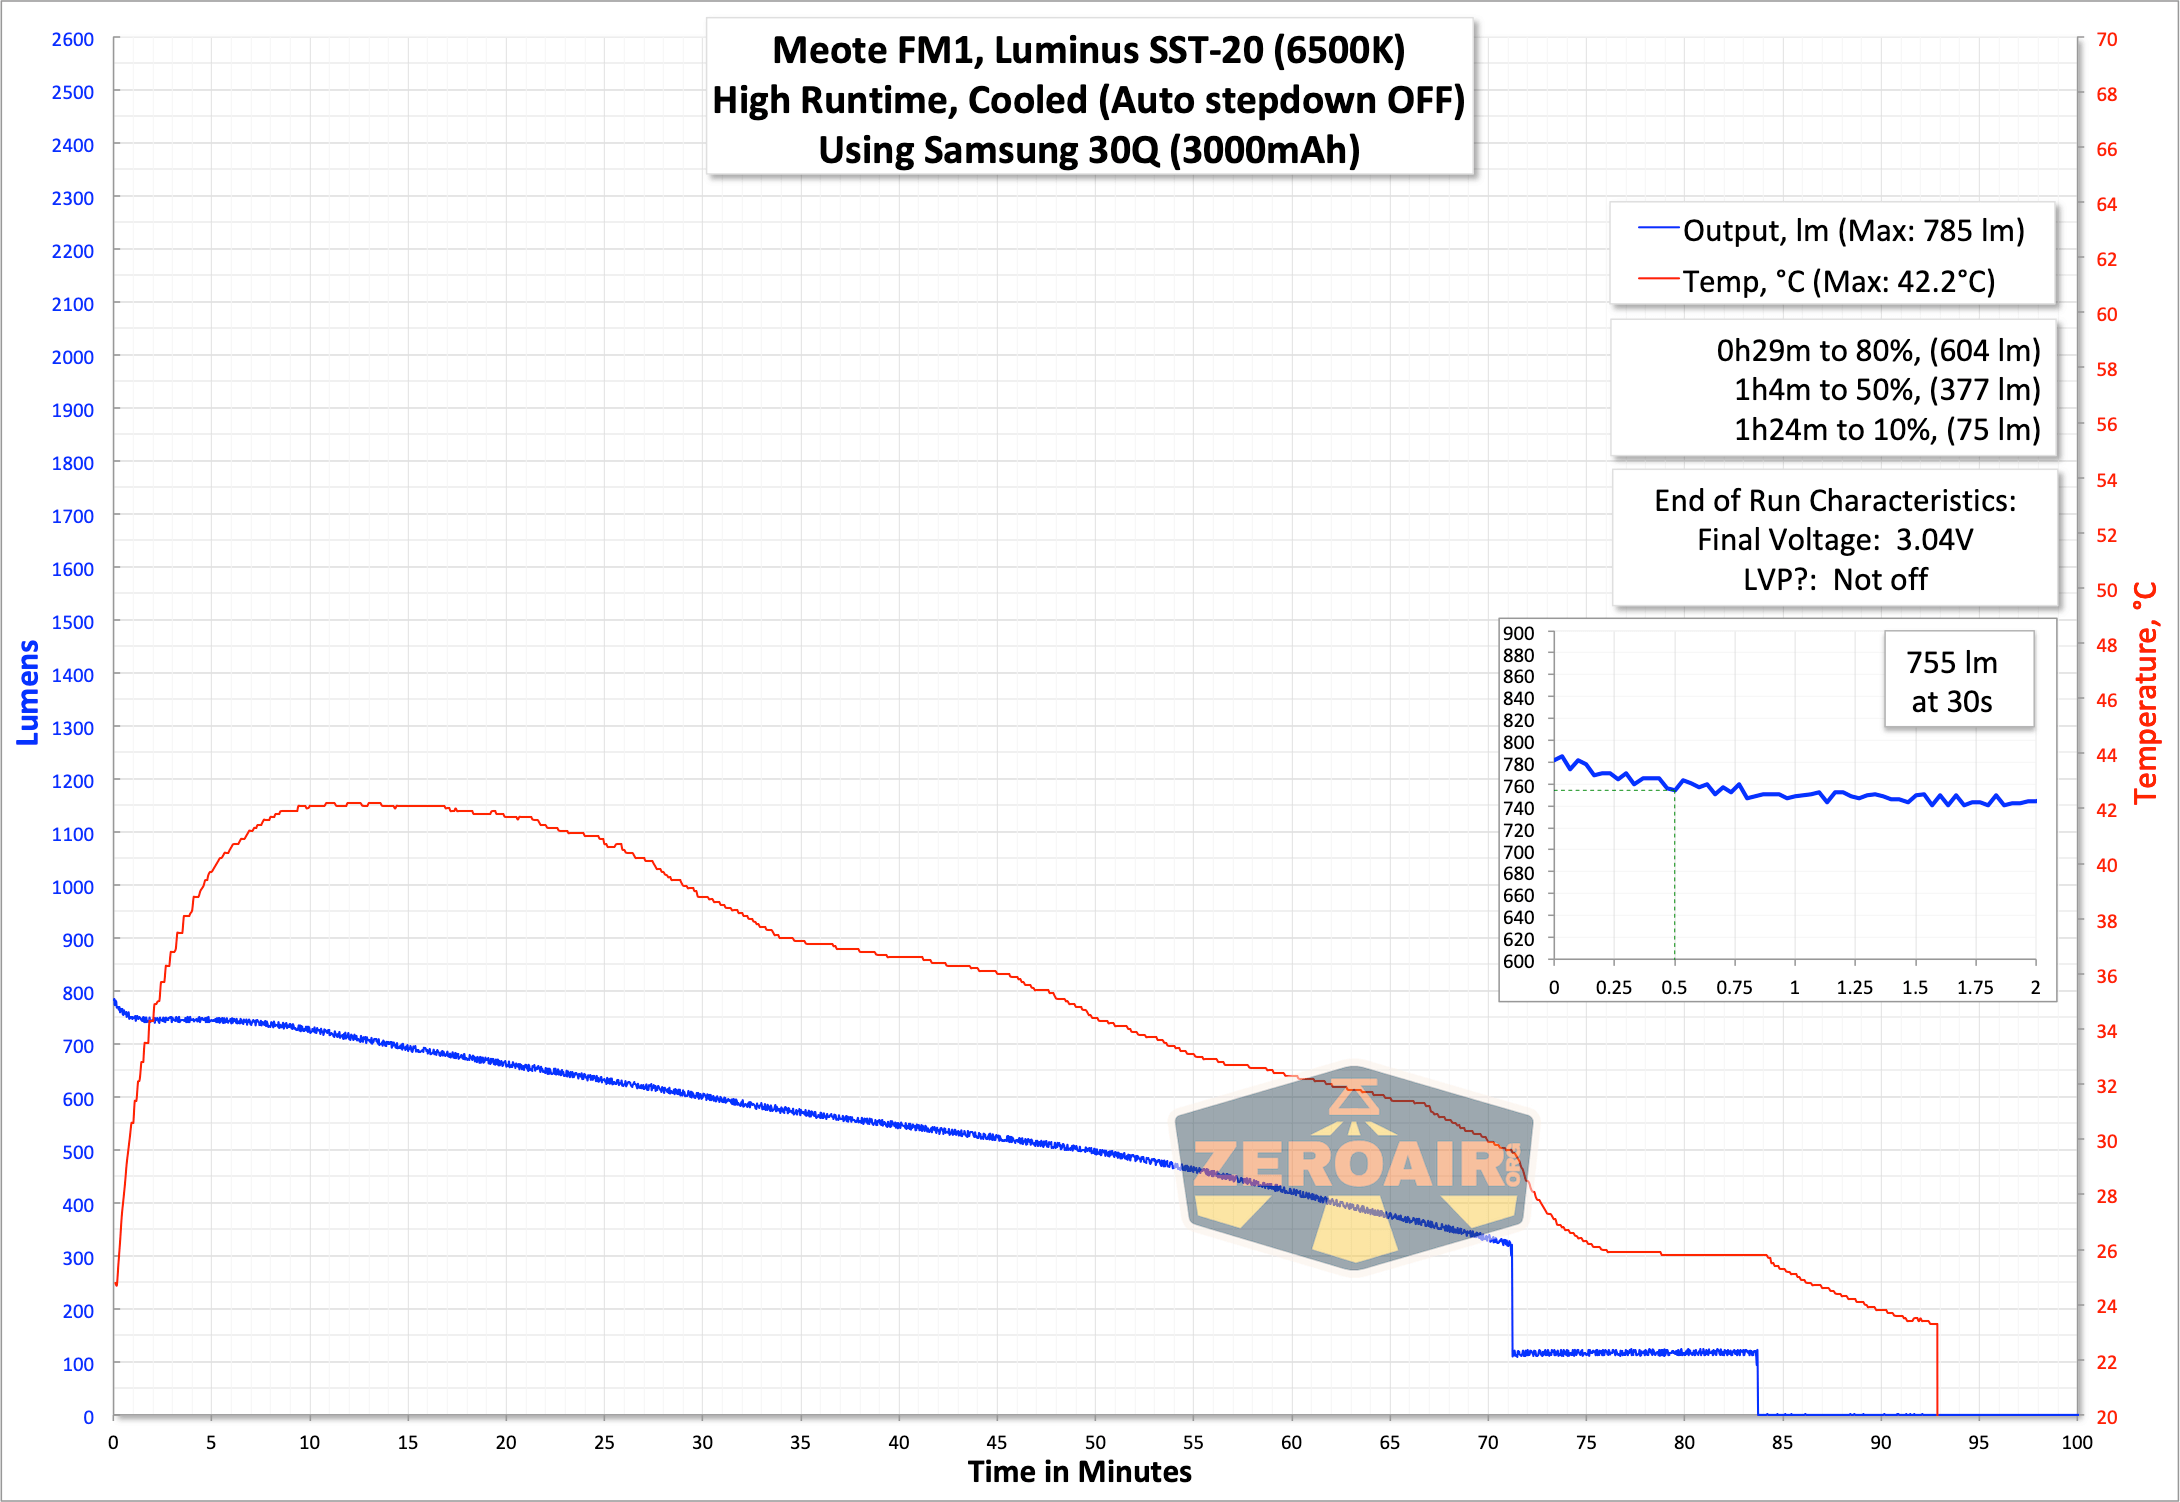
With proper thermal settings, at least the output is reasonable! And once corrected (set through the UI), this light gets a bit of life.
Modes and Currents
Default of the stepped group is four modes with an added moonlight. I tested only the stepped modes (which they call “MODE-SET UI”). Moonlight is configurable among 7 choices, too actually.
| Mode | Mode Claimed Output (lm) | Claimed Runtime | Measured Lumens | Tailcap Amps |
|---|---|---|---|---|
| 100% | 4980^ | – | 2274 | 2.5A claimed |
| 38% | 1892 | – | 755 | ? |
| 7% | 349 | – | ? | |
| 0.7% | 35 | – | ? | |
| Moonlight | ? | – | ? |
^ The manual does not state which model is claiming >4980 lumens. It would be nearly unreasonable for any of them to have output that high for very long.
Pulse Width Modulation
Narsil uses PWM, so this should come as no surprise. It seems plenty fast though, so you shouldn’t have any issues from this PWM.


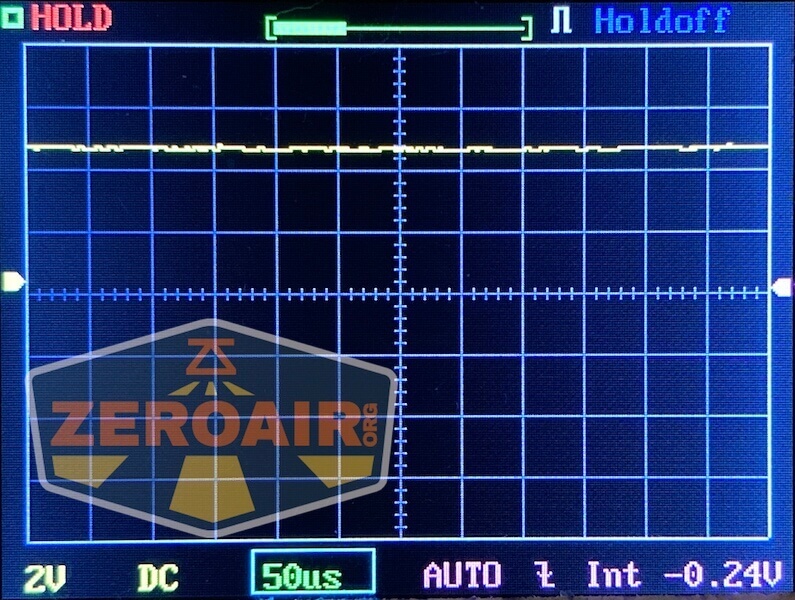


Here you can see a “baseline” – a chart with almost no light hitting the sensor.
Then there’s the Ultrafire WF-602C flashlight, which has some of the worst PWM I’ve seen. It’s so bad that I used a post about it to explain PWM! Here are multiple timescales (10ms, 5ms, 2ms, 1ms, 0.5ms, 0.2ms) to make comparing this “worst” PWM light to the test light easier. That post also explains why I didn’t test the WF-602C at the usual 50us scale.
User Interface and Operation
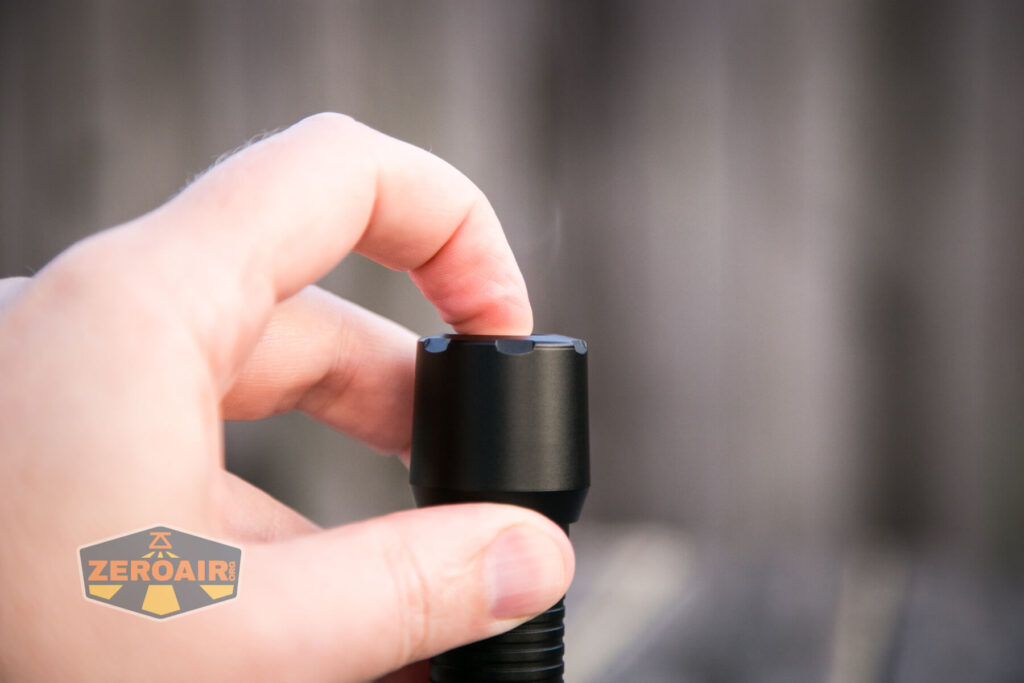
There’s just one switch on the Meote FM1. It’s a tail e-switch, with a metal cover.

The switch is fairly good, with just a bit of rattle and a positive click.

The action is probably a bit deeper than these photos make it look – there’s probably over 1mm of travel to the switch.

The manual states that the user interface itself is a version of Narsil, “adapted by Texas_Ace.”
The user interface is much too complex for my usual table, and I’m not going to undertake that here. This Cheat Sheet is not my work! but is very useful, and thorough.

There are two groups. One group has ramping, and the “MODE-SET” group has discrete modes. It’s possible to switch between ramping and discrete easily. The default is ramping, and to switch to modes, first turn on the light, then hold the switch for 3.2s. It’ll blink twice, pause, and blink once. At that point, click once. This disables ramping. Once this is done, put the light down so you don’t change other settings (which is very easy to do.) There are other things you could do to expedite termination of programming, but just skip it and wait.
Now about that temperature calibration. Getting to the temperature setting will depend on which user interface you’re in (ramping or MODE-SET). Also noteworthy is that the temperature setting is called “Auto stepdown” in the manual.
Ramping: From off, hold the switch for a number of seconds. The light will
- flash twice, then flash once. This is the interface picking option – just wait
- flash twice, then flash twice. This is the moon level picking option – just wait
- flash twice, then flash three times. This is the Auto step-down picking option. You can:
- click once to disable or
- click twice to set the temperature^^ or
- click three times for a timed stepdown (with a further 1-6 clicks for 60s, 90s, 2m, 3m, 5m, or 7m)
- flash twice, then flash four times. This is the strobe setting (see the manual for more, that’s not the topic here.)
From MODE-SET, entering programming is the same: from off hold the switch until the light flashes twice, then flashes once. When the light is off, hold the switch for a number of seconds – that time is shorter for the MODE-SET UI. After that, you still need to watch the blinks, but this time it’s two blinks then seven blinks which is the “auto step-down” selection. The selection for this option (as written above) is exactly the same.
Narsil is wonderful firmware. It’s extremely versatile, and possible to change many (most? all?) of the settings about the light.
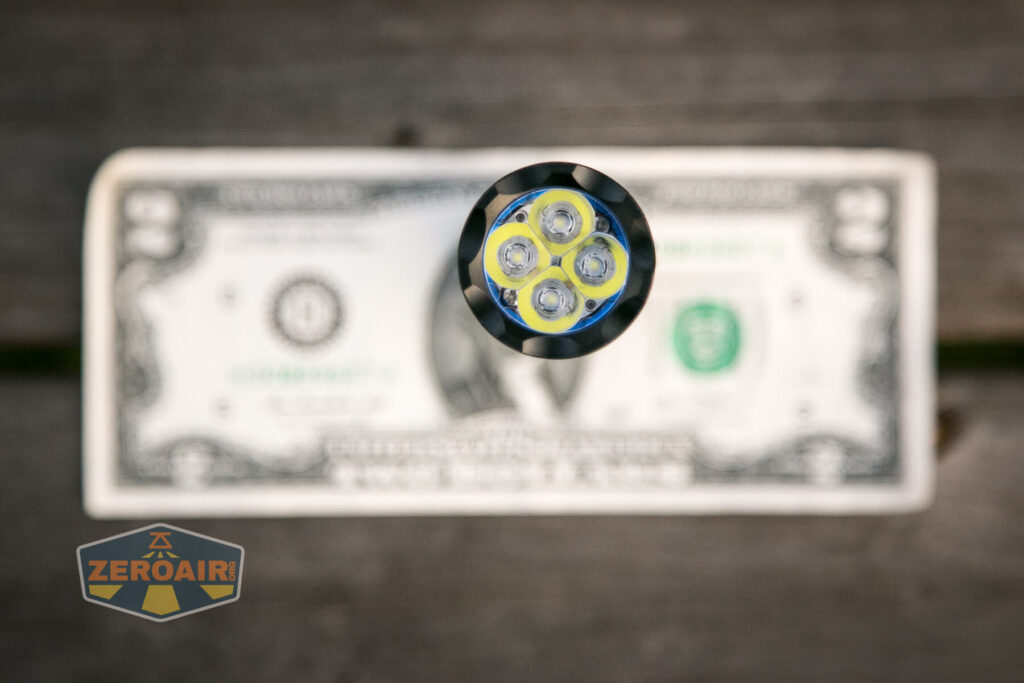
LED and Beam
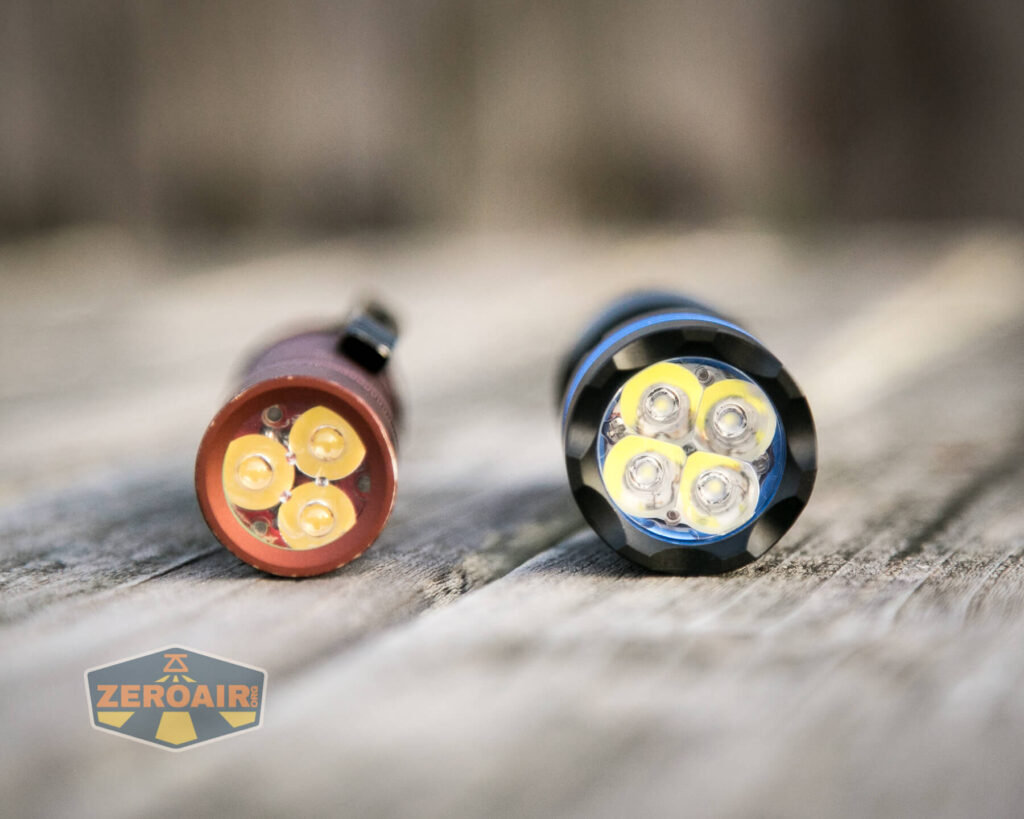
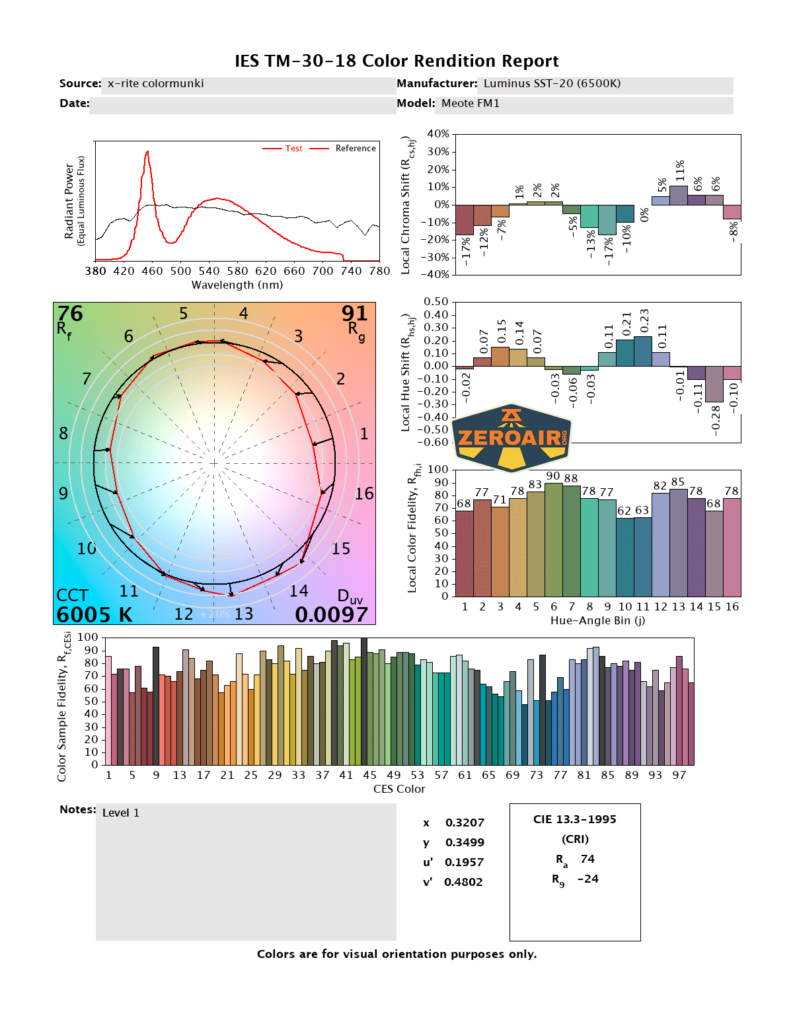
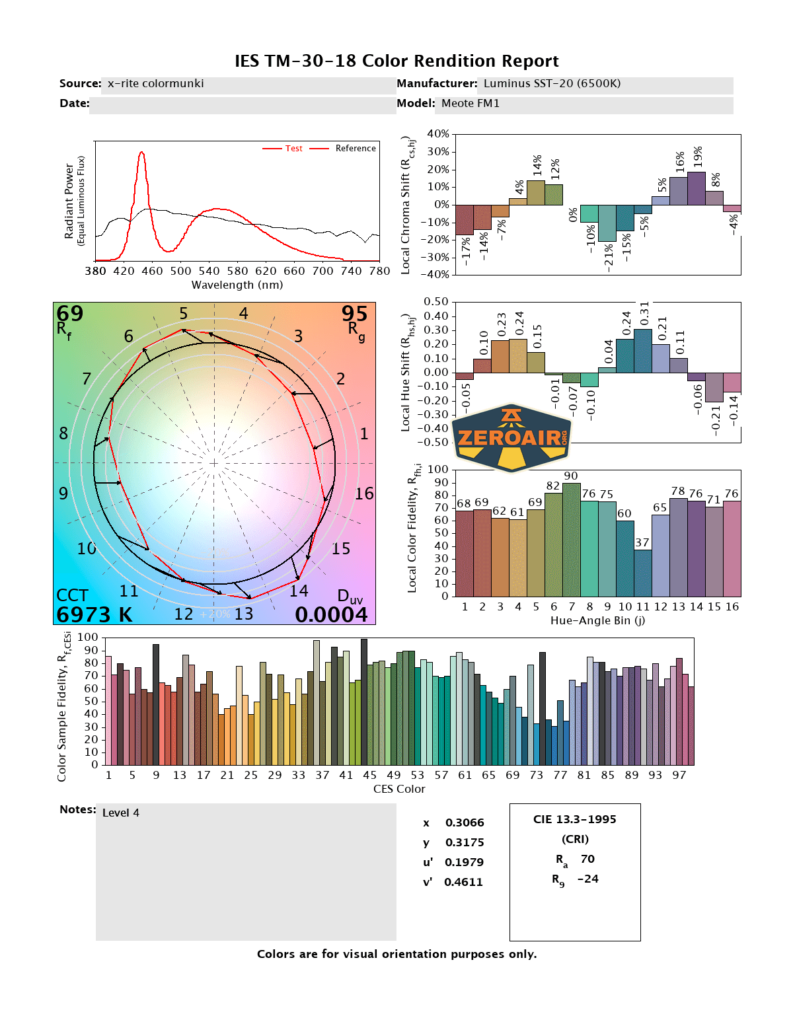
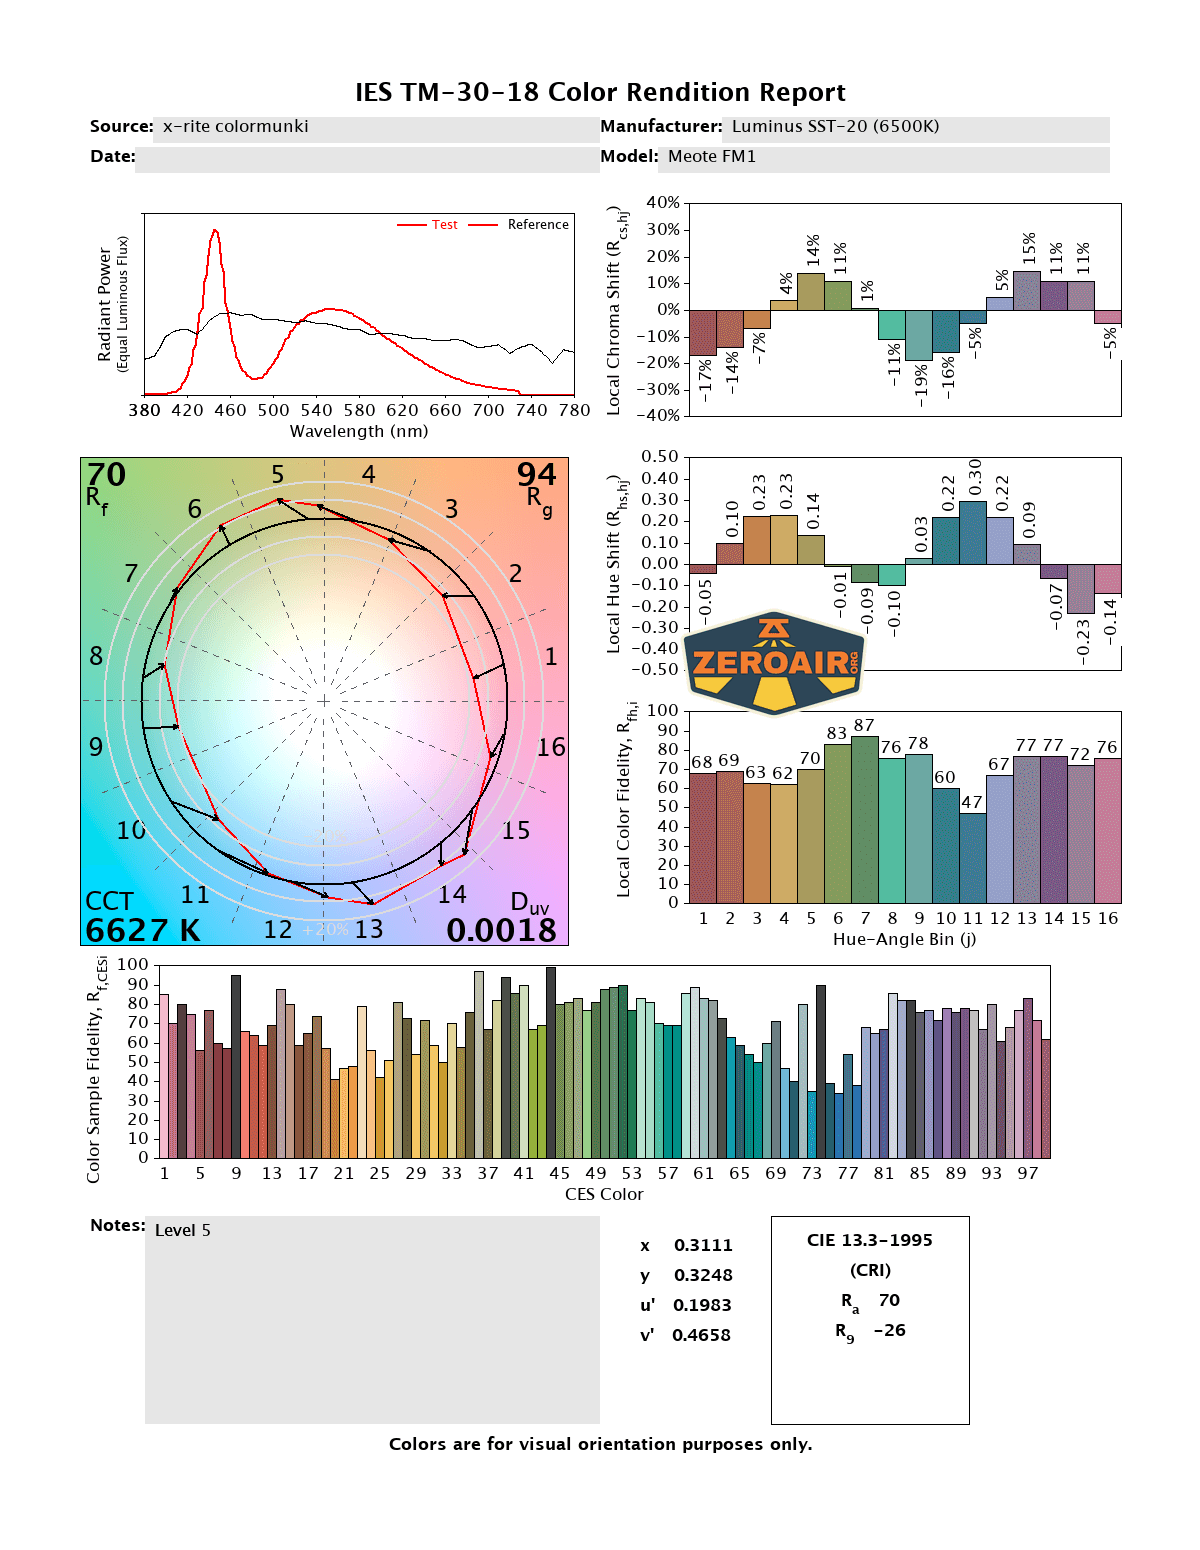
My review copy has four Luminus SST-20 emitters. The box says these are 6500K, and I’d say that’s probably right. NealsGadgets.com does not list this emitter option.
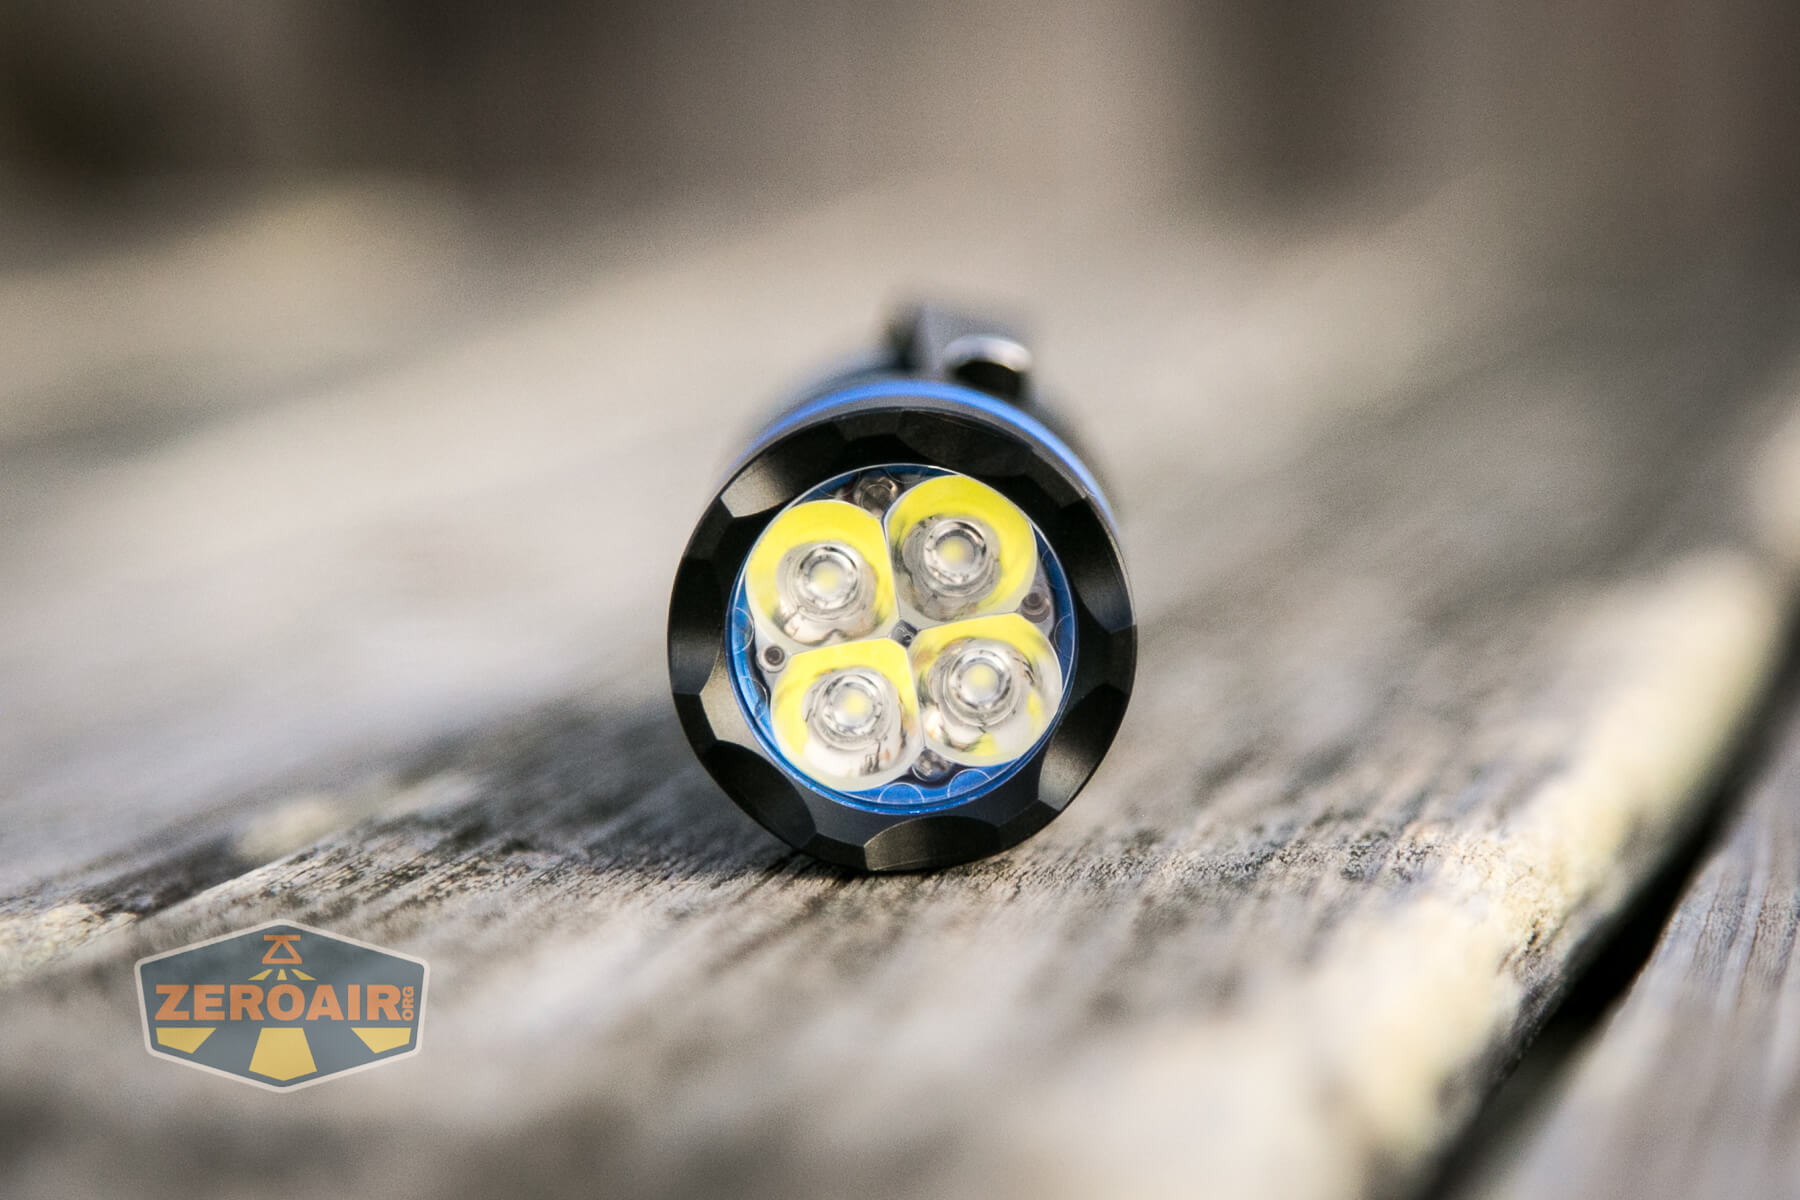
Again, this is a “quad” – four emitters. With this aluminum-on-aluminum version, there are no secondary emitters.

LED Color Report (CRI and CCT)


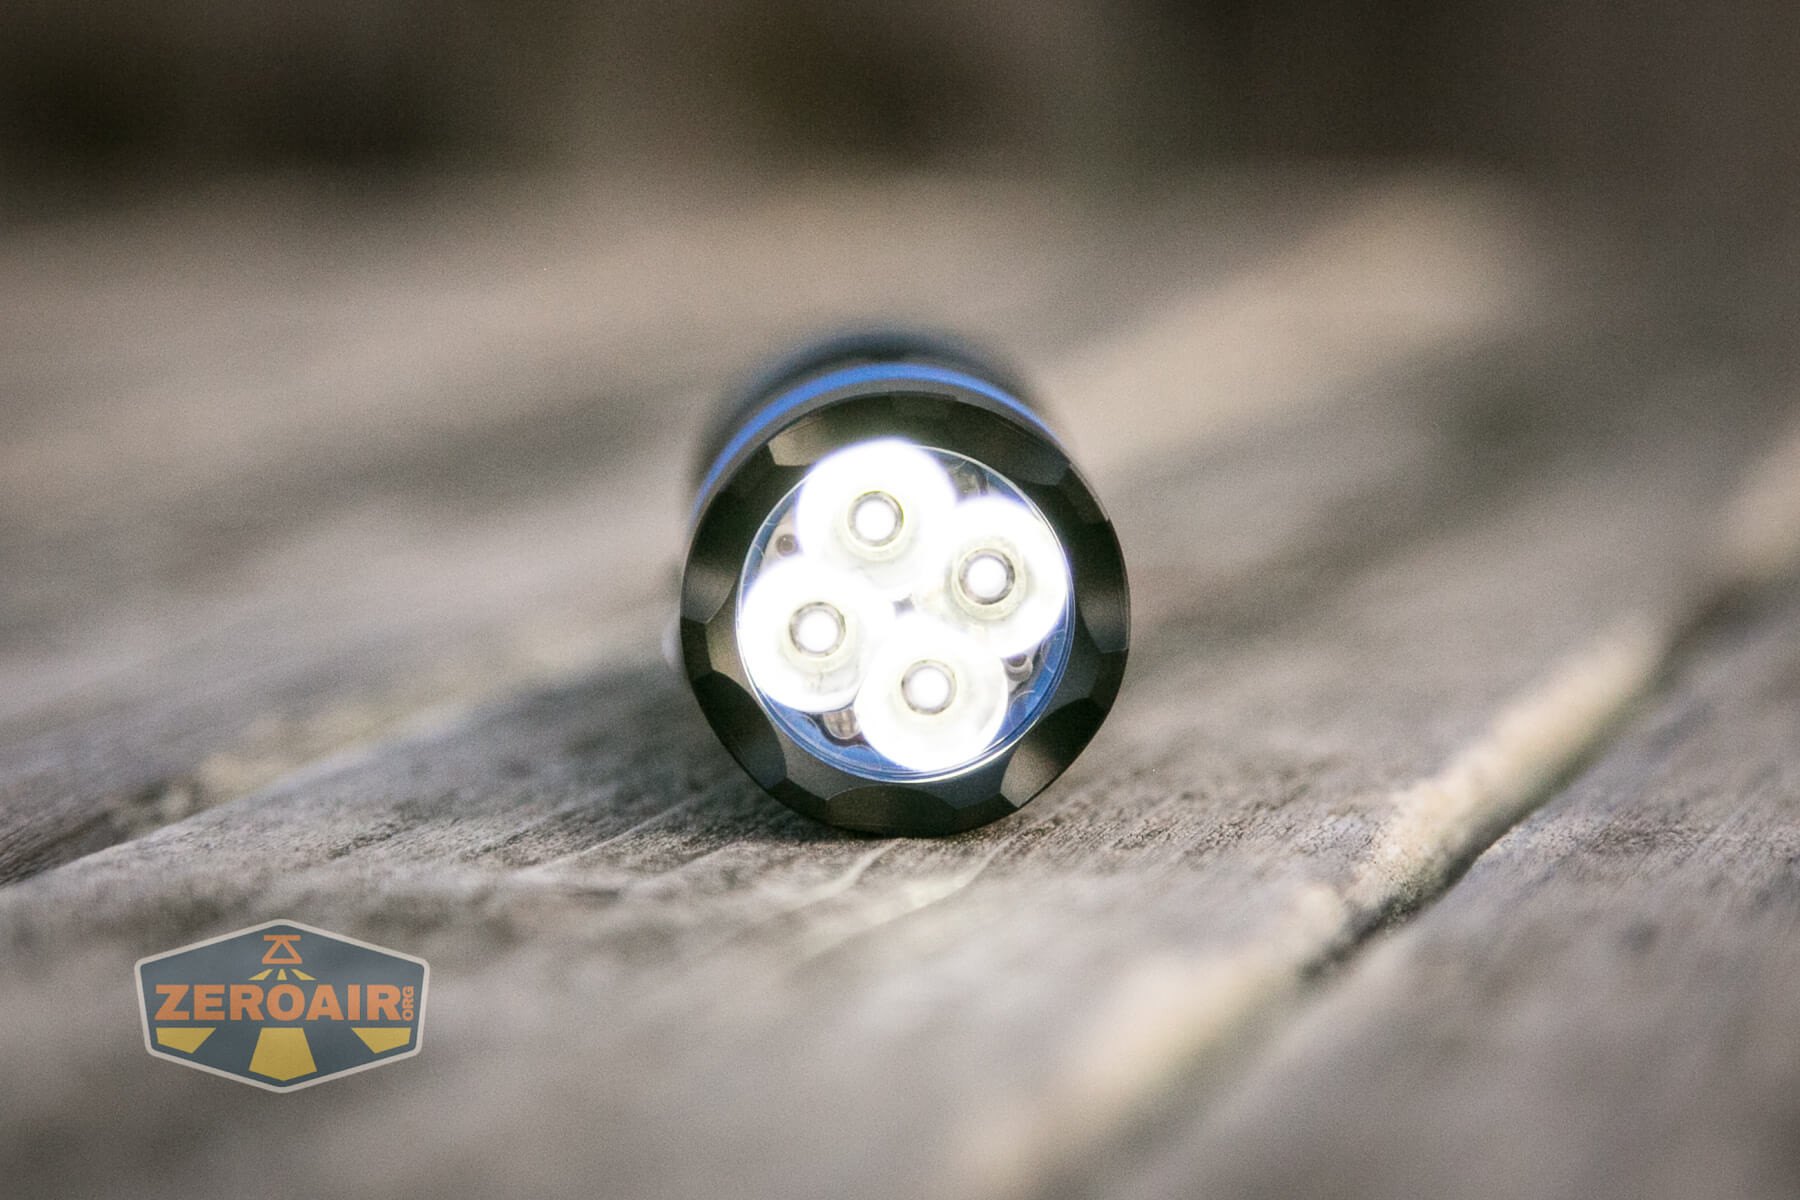
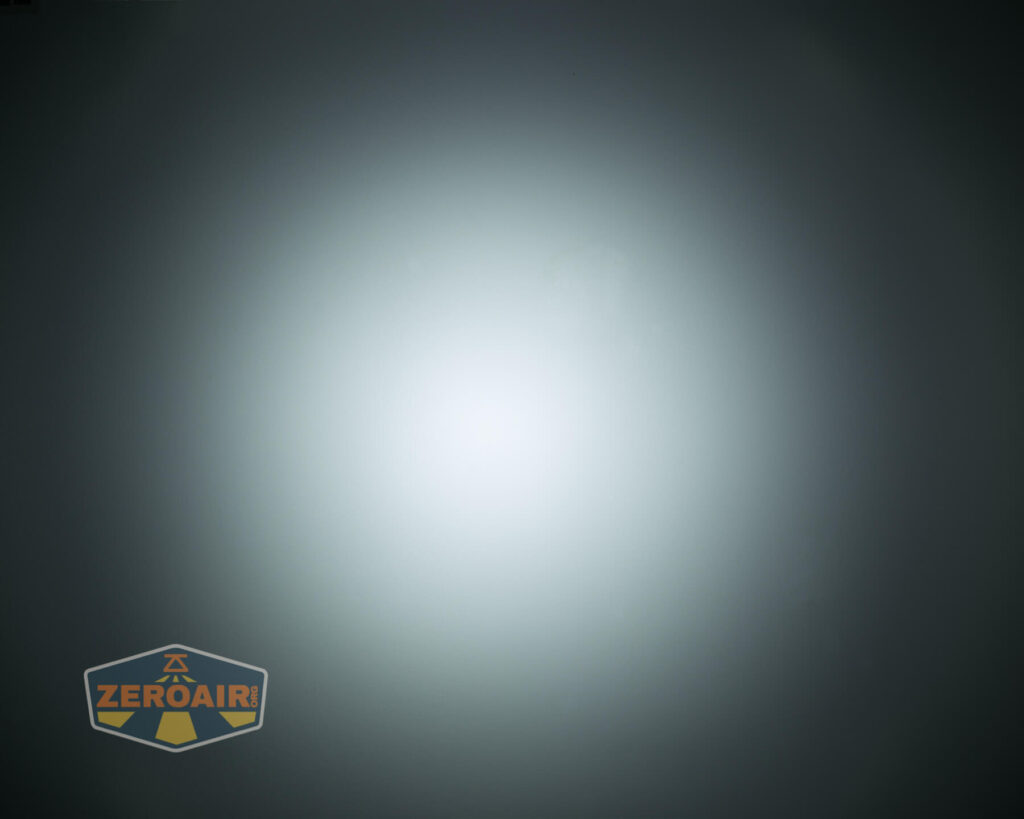
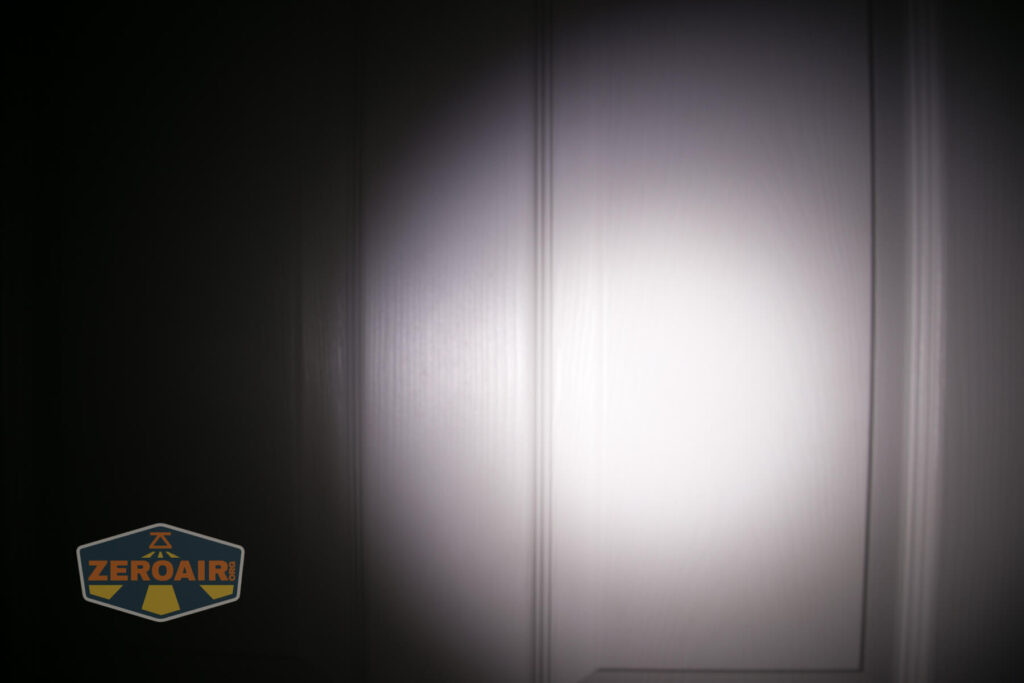
Beamshots
These beamshots always have the following settings: f8, ISO100, 0.3s shutter, and manual 5000K exposure. These photos are taken at floor level, and the beam hits the ceiling around 9 feet away. I’ve just selected the default 4 mode (plus moonlight) levels here, though there are other stepped output options with more levels. For example, stepped group 7 has 7 modes (again, plus moonlight).


Tint vs BLF-348 (KillzoneFlashlights.com 219b version) (affiliate link)
I keep the test flashlight on the left and the BLF-348 reference flashlight on the right.
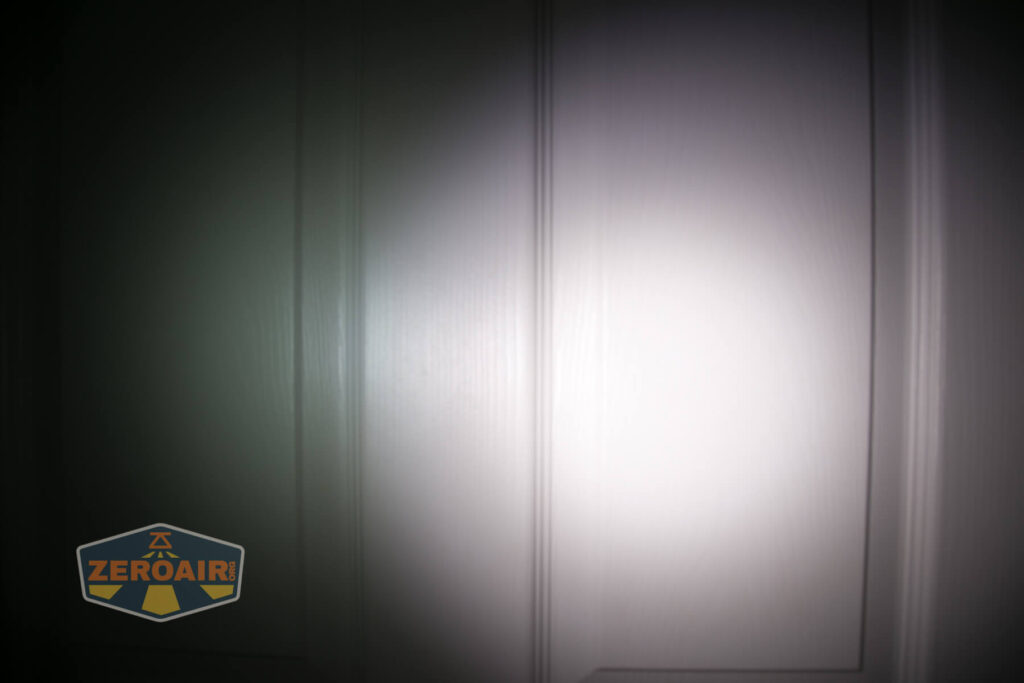

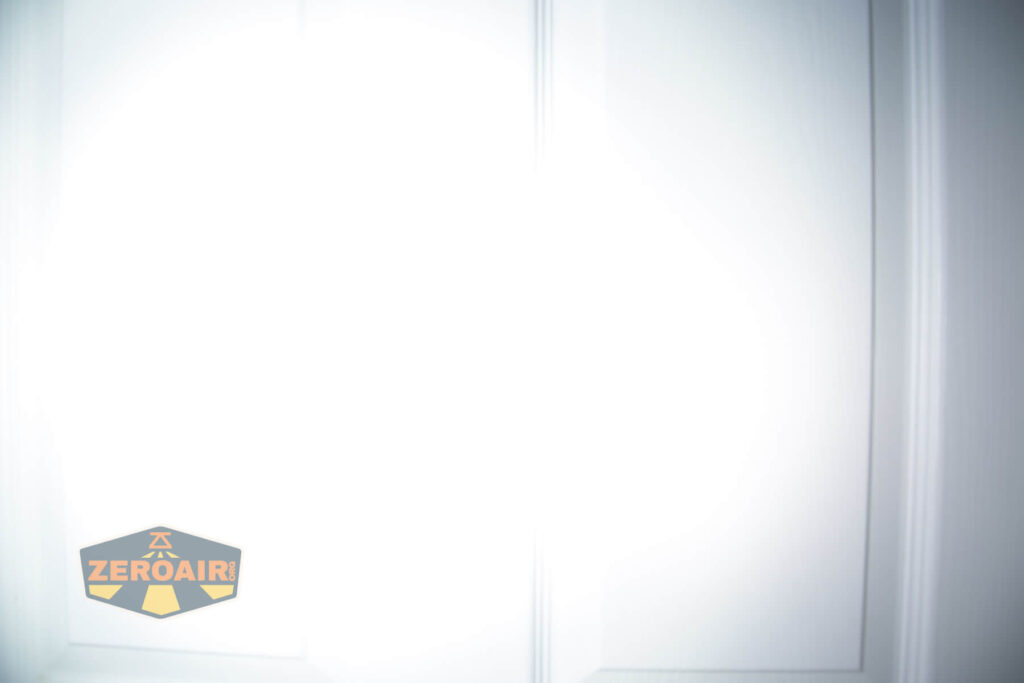

I compare everything to the KillzoneFlashlights.com 219b BLF-348 because it’s inexpensive and has the best tint!
Conclusion
What I like
- Runs Narsil, which is feature-packed
- Really gets some high output
- Plenty of emitter options
- A copper pill option is available
What I don’t like
- Requires changing the thermal settings
- Dumbbell shape
- Crooked pocket clip
Notes
- This light was provided by NealsGadgets.com for review. I was not paid to write this review.
- This content originally appeared at zeroair.org. Please visit there for the best experience!
- Please use my Amazon.com referral link to help support zeroair.org!
- Please support me on Patreon! I deeply appreciate your support!
Pingback: Emisar DT8 Flashlight Review - ZeroAir Reviews