Olight Array 2S Headlamp Review
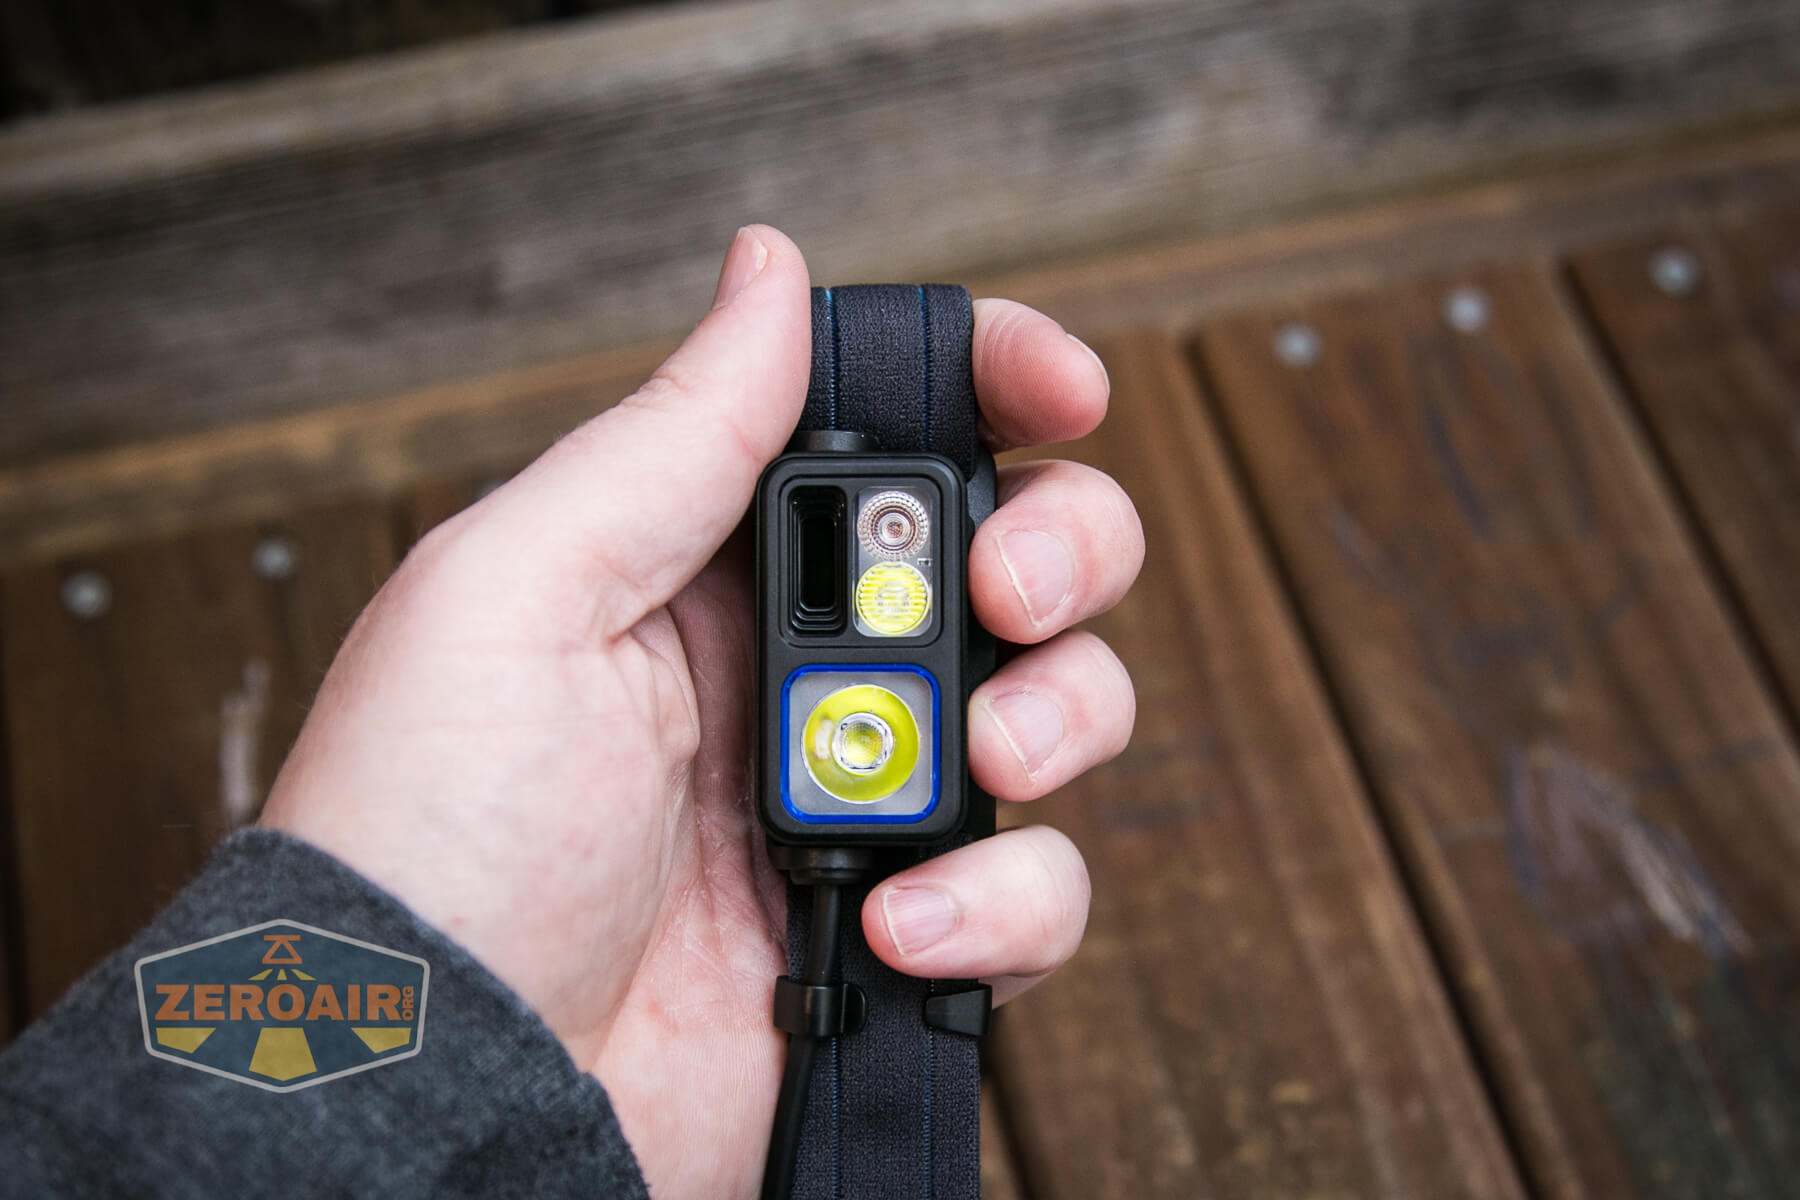
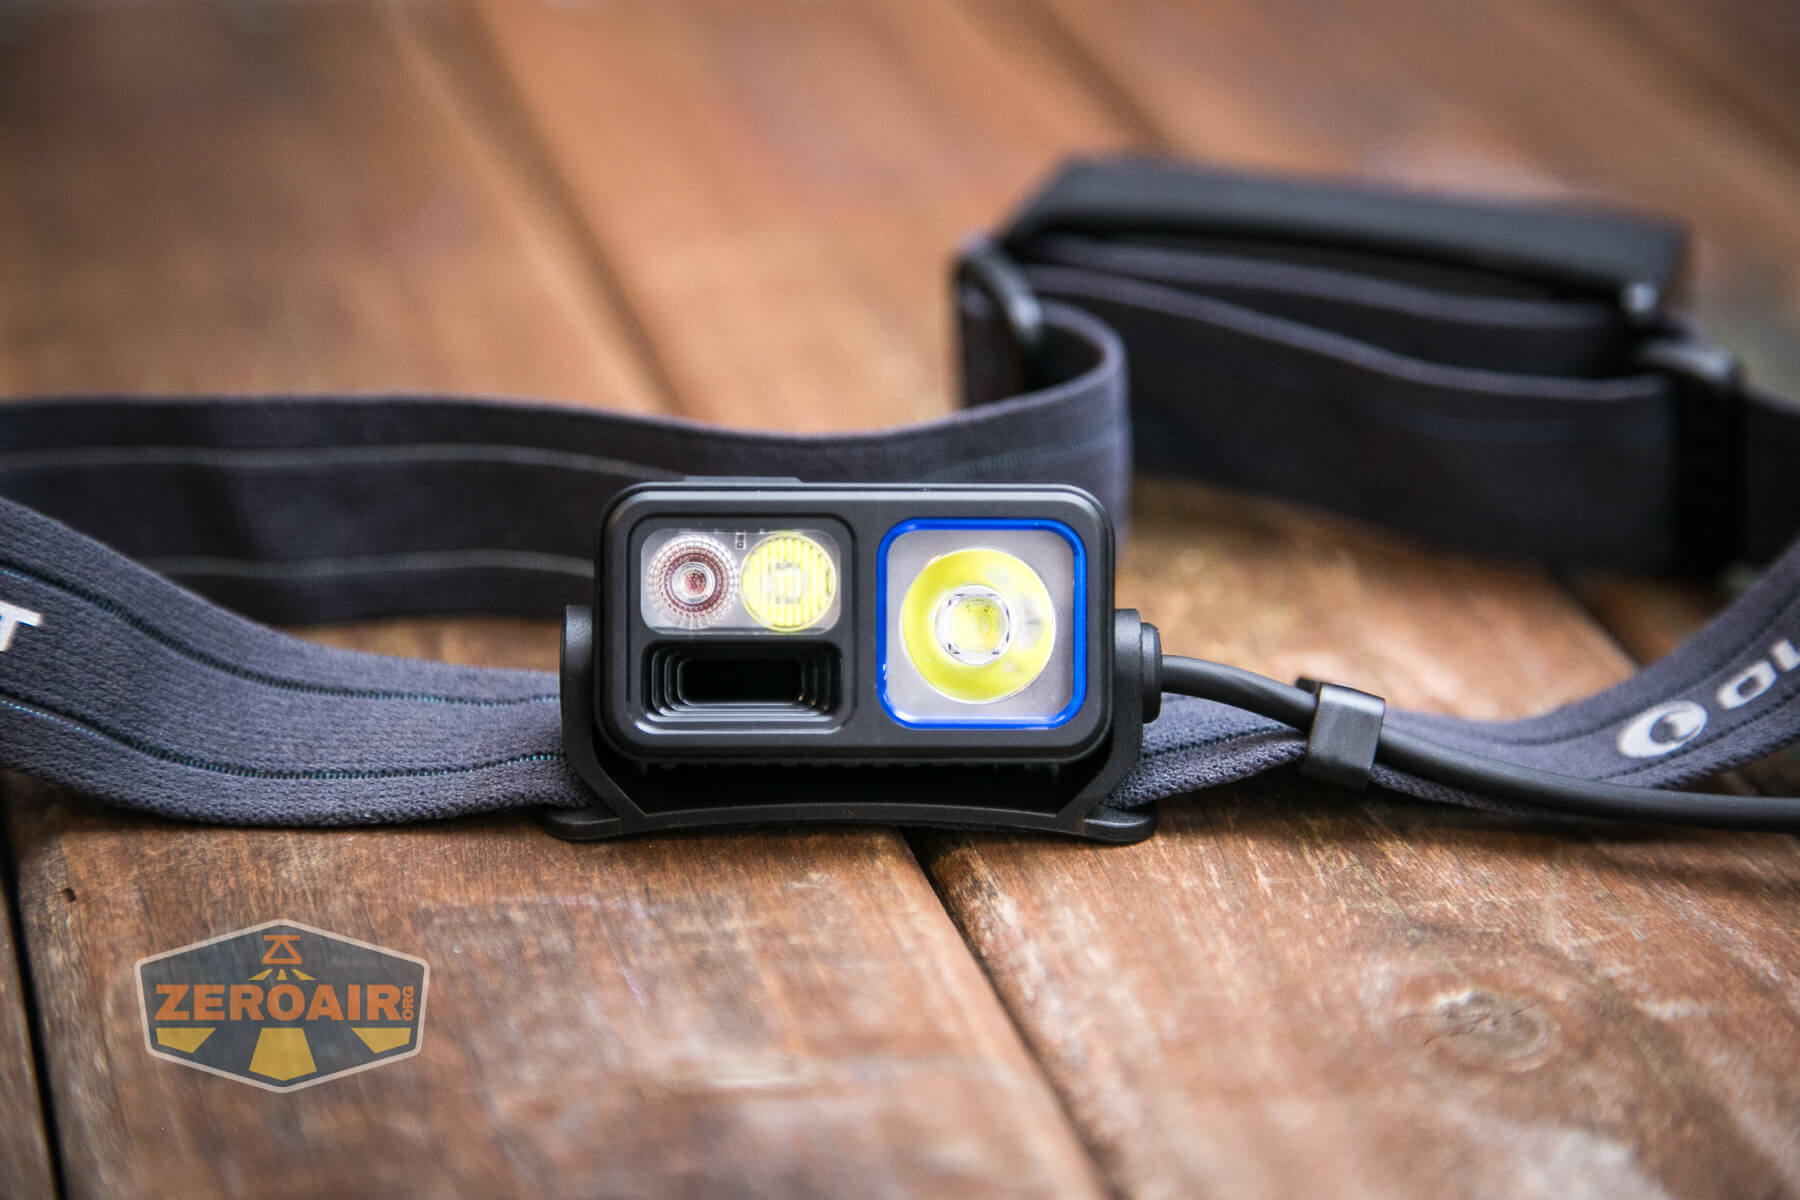
The Olight Array 2S is a neat little headlamp offering multiple emitters (spot/flood and red). It’s powered by one (built-in) 18650 cell.
Official Specs and Features
Here’s a link to the official product page.
Versions
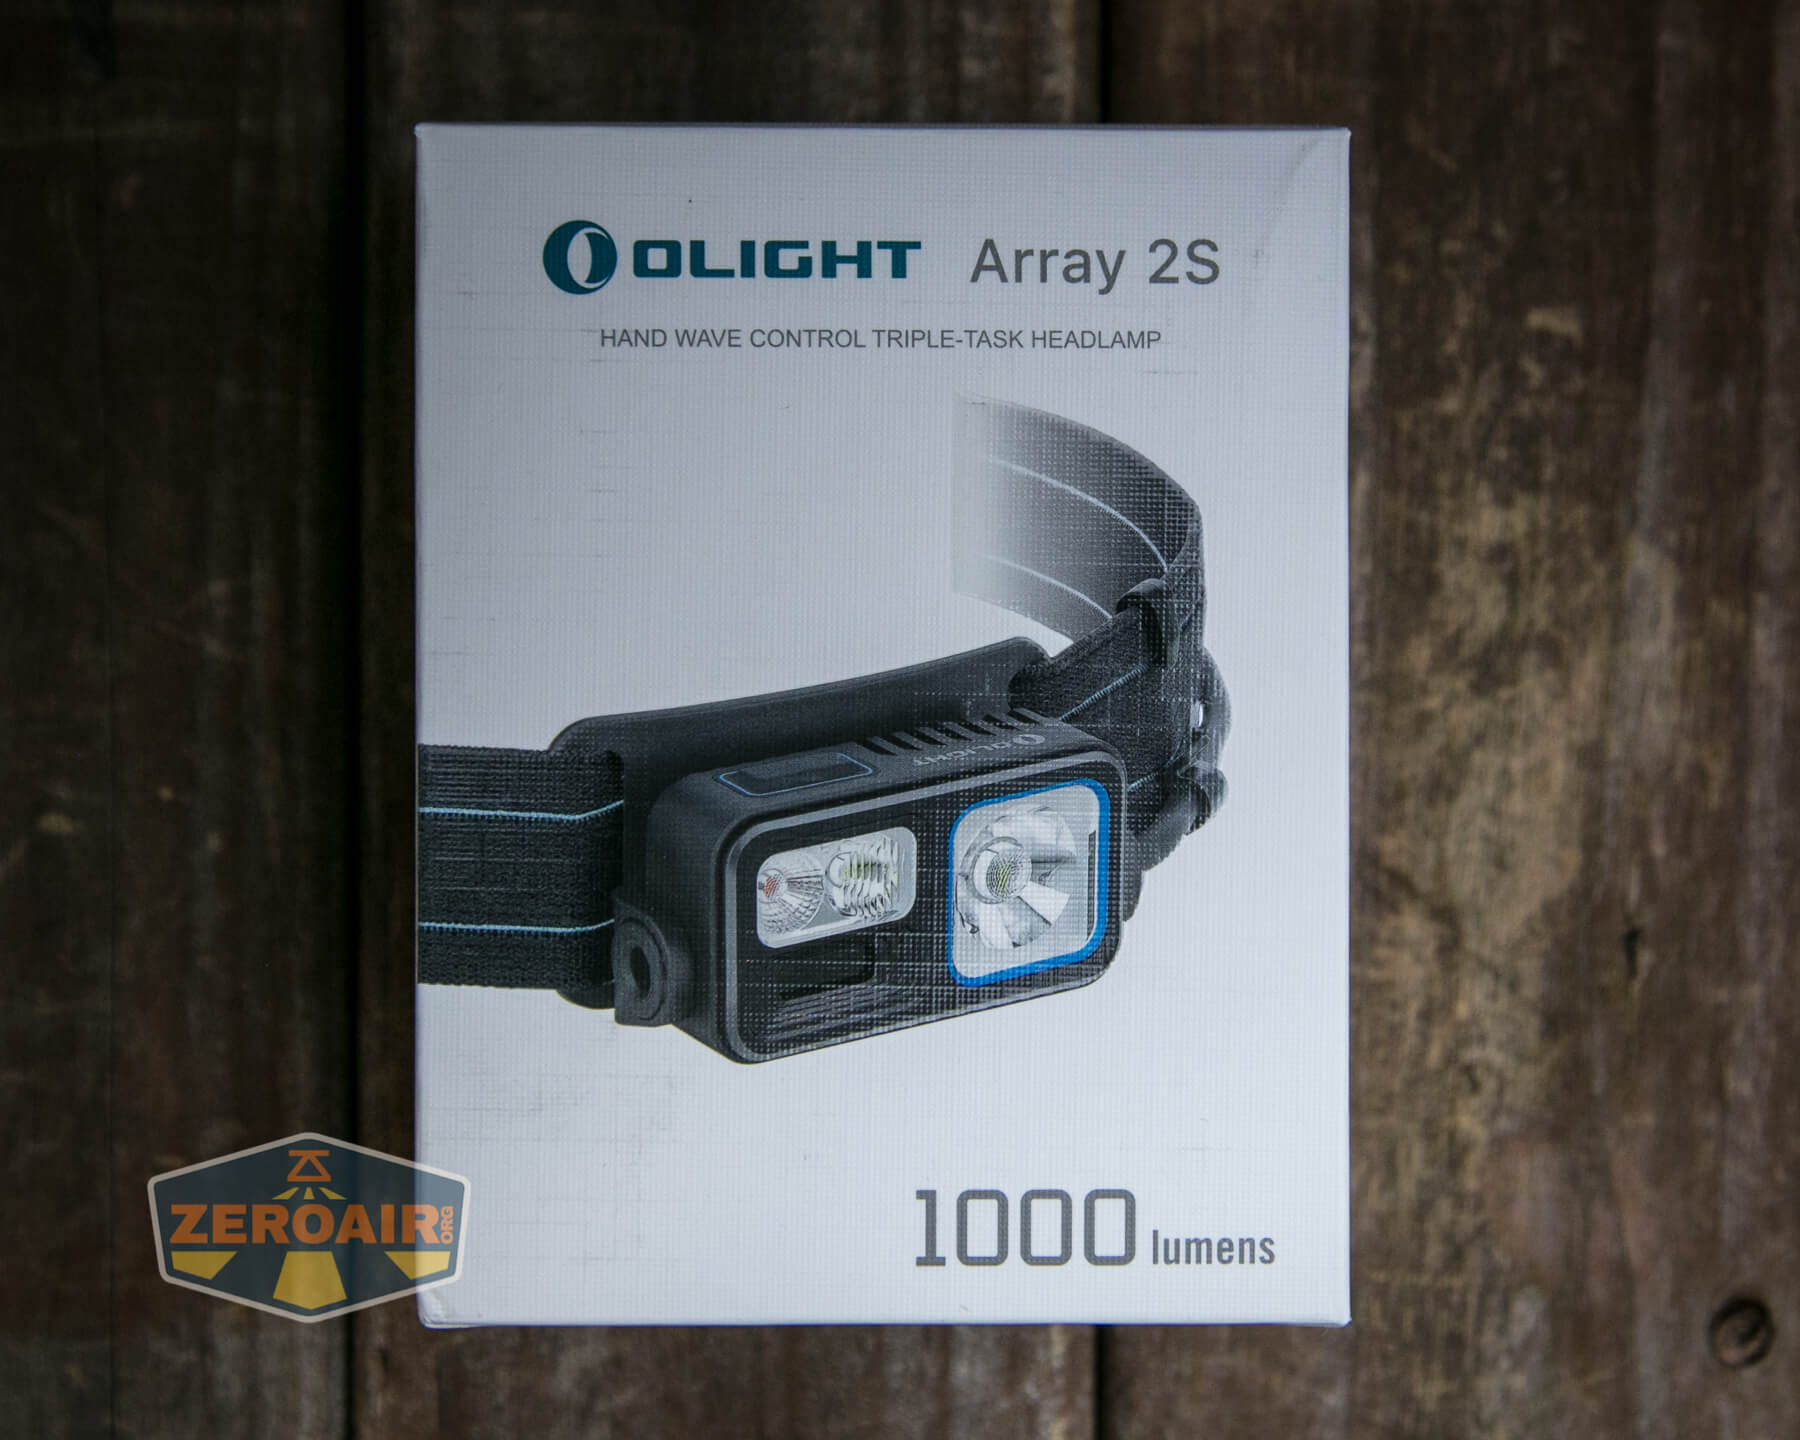
The Olight Array 2S is available in two colors. Black with blue trim (seen here) and black with orange trim. Functionally, they are the same as far as I know.
Price
The blue version seen in this review costs $79.95. The orange is inexplicably higher, at $89.85.
Both of these are on sale during the Olight Winder Event. The Olight Array 2S (Blue) costs $63.96, and the Olight Array 2S (Orange) is still more but comes in at $71.96. Bundle prices are available too. Either of those with an Olight I3T adds around $6 to the total price. Here’s a link for the Olight Array 2S/I3T bundle. (I’ve reviewed a couple of Olight I3T’s – they’re worth the added $6! These are all referral links.
Short Review
This is a pretty neat headlamp, with a bunch of features. The wave activation feature is good if you need that sort of thing, but also does not get in the way if you don’t need that sort of thing. I would love to see a warmer emitter for both outputs and a lower level for the Red. The build quality is great, but I’d also prefer for the 18650 to be user-replaceable. Still, the output is good, and the metal housing is a good choice, too.
Long Review
The Big Table
| Olight Array 2S Headlamp | |
|---|---|
| Emitter: | Spot+Flood |
| Price in USD at publication time: | $63.96 at Olight.com/store |
| Cell: | Internal |
| High Runtime Graph | Medium Runtime Graph |
| LVP? | ? |
| Switch Type: | E-Switch |
| Quiescent Current (mA): | ? |
| On-Board Charging? | Yes |
| Charge Port Type: | USB-C |
| Charge Graph | |
| Power off Charge Port | All modes |
| Claimed Lumens (lm) | 1000 |
| Measured Lumens (at 30s) | 1069 (106.9% of claim)^ |
| Candela per Lumen | 7.1 |
| Claimed Throw (m) | – |
| Candela (Calculated) in cd (at 30s) | 723lux @ 3.096m = 6930cd |
| Throw (Calculated) (m) | 166.5 |
| Claimed CCT | – |
| Measured CCT Range (K) | 5700-6300 Kelvin |
| Item provided for review by: | Olight |
| All my Olight reviews! | |
| Olight Array 2S Headlamp | |
|---|---|
| Emitter: | Flood |
| Charge Graph | |
| Power off Charge Port | All modes |
| Claimed Lumens (lm) | 500 |
| Measured Lumens (at 30s) | 489 (97.8% of claim)^ |
| Candela per Lumen | 4 |
| Claimed Throw (m) | – |
| Candela (Calculated) in cd (at 30s) | 228lux @ 2.469m = 1390cd |
| Throw (Calculated) (m) | 74.6 |
| Claimed CCT | – |
| Measured CCT Range (K) | 5800-6400 Kelvin |
| Item provided for review by: | Olight |
| All my Olight reviews! | |
^ Measurement disclaimer: Testing flashlights is my hobby. I use hobbyist-level equipment for testing, including some I made myself. Try not to get buried in the details of manufacturer specifications versus measurements recorded here; A certain amount of difference (say, 10 or 15%) is perfectly reasonable.
What’s Included
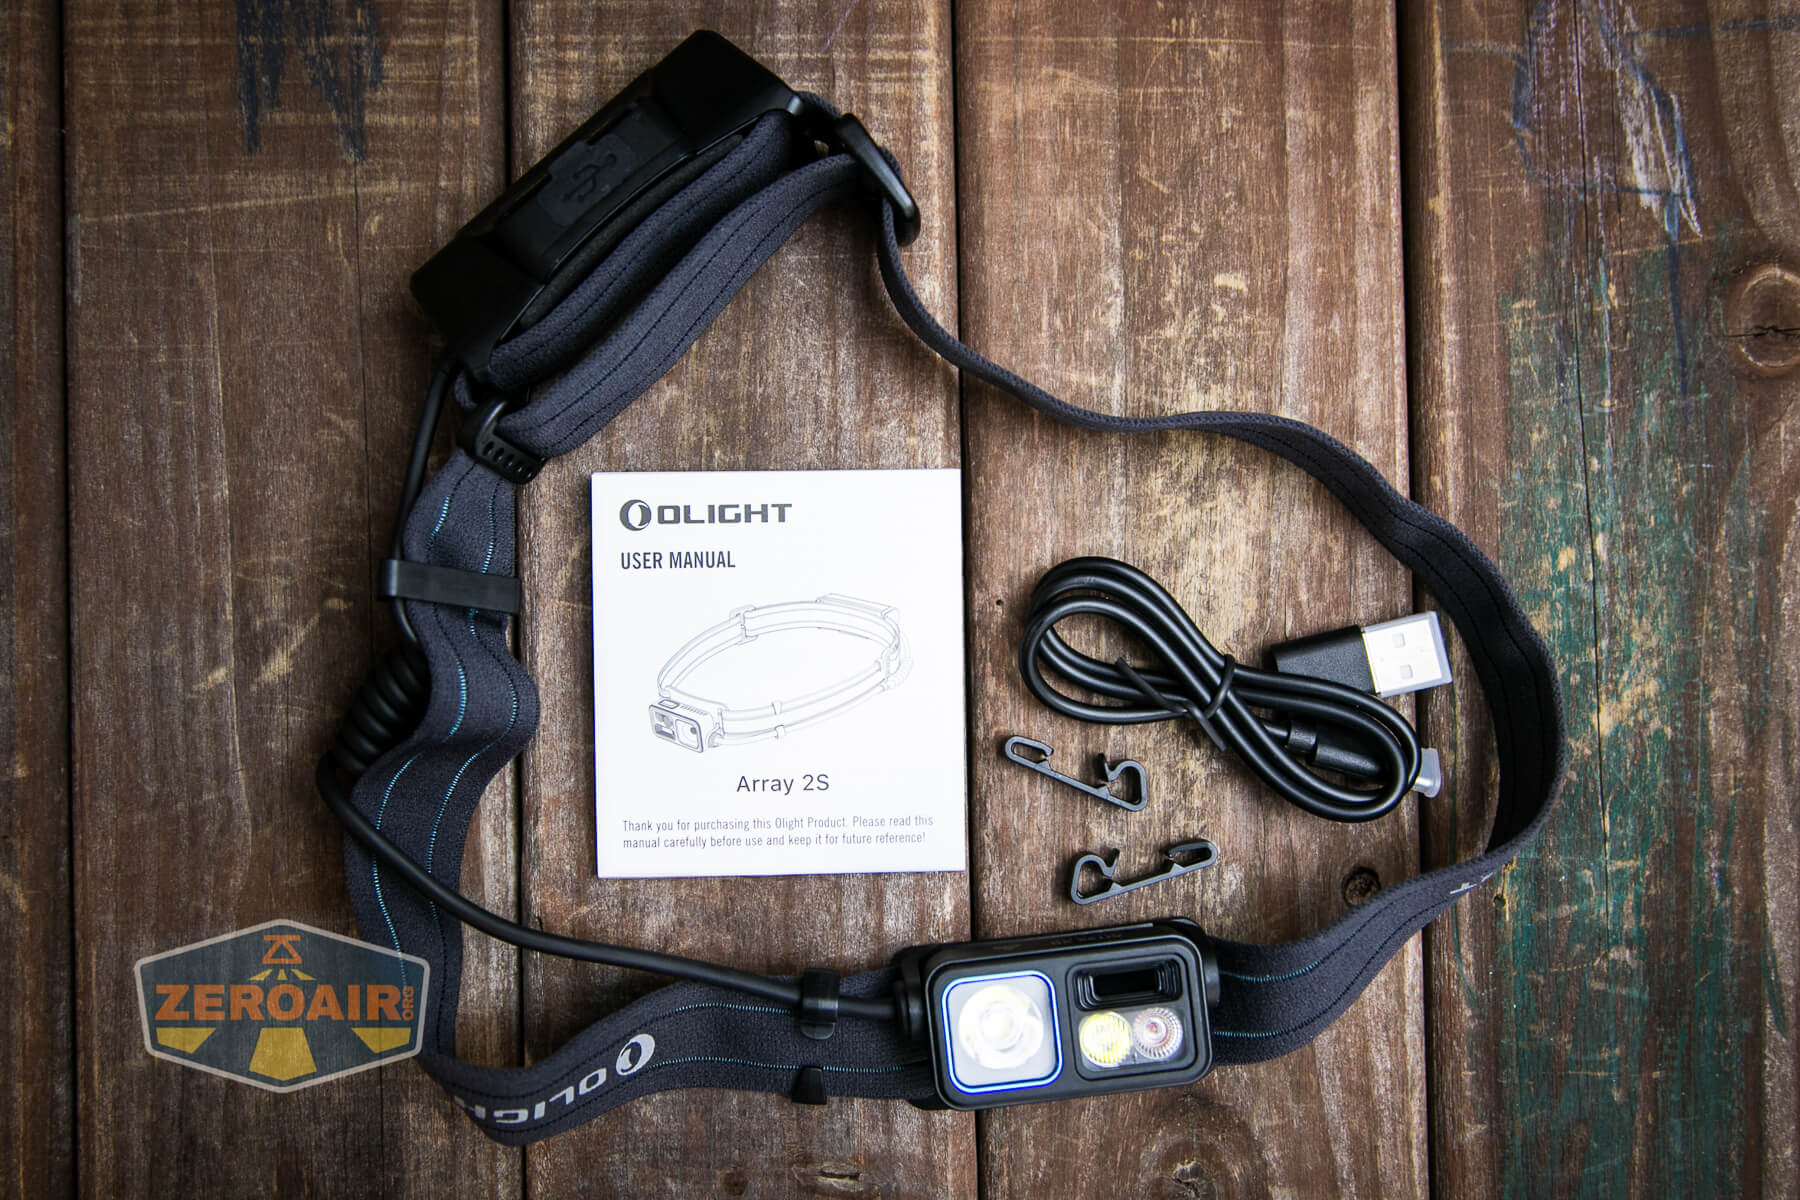
- Olight Array 2S headlamp
- Charging cable (USB to USB-C)
- Spare cord retention clips
- Manual
Package and Manual
Build Quality and Disassembly

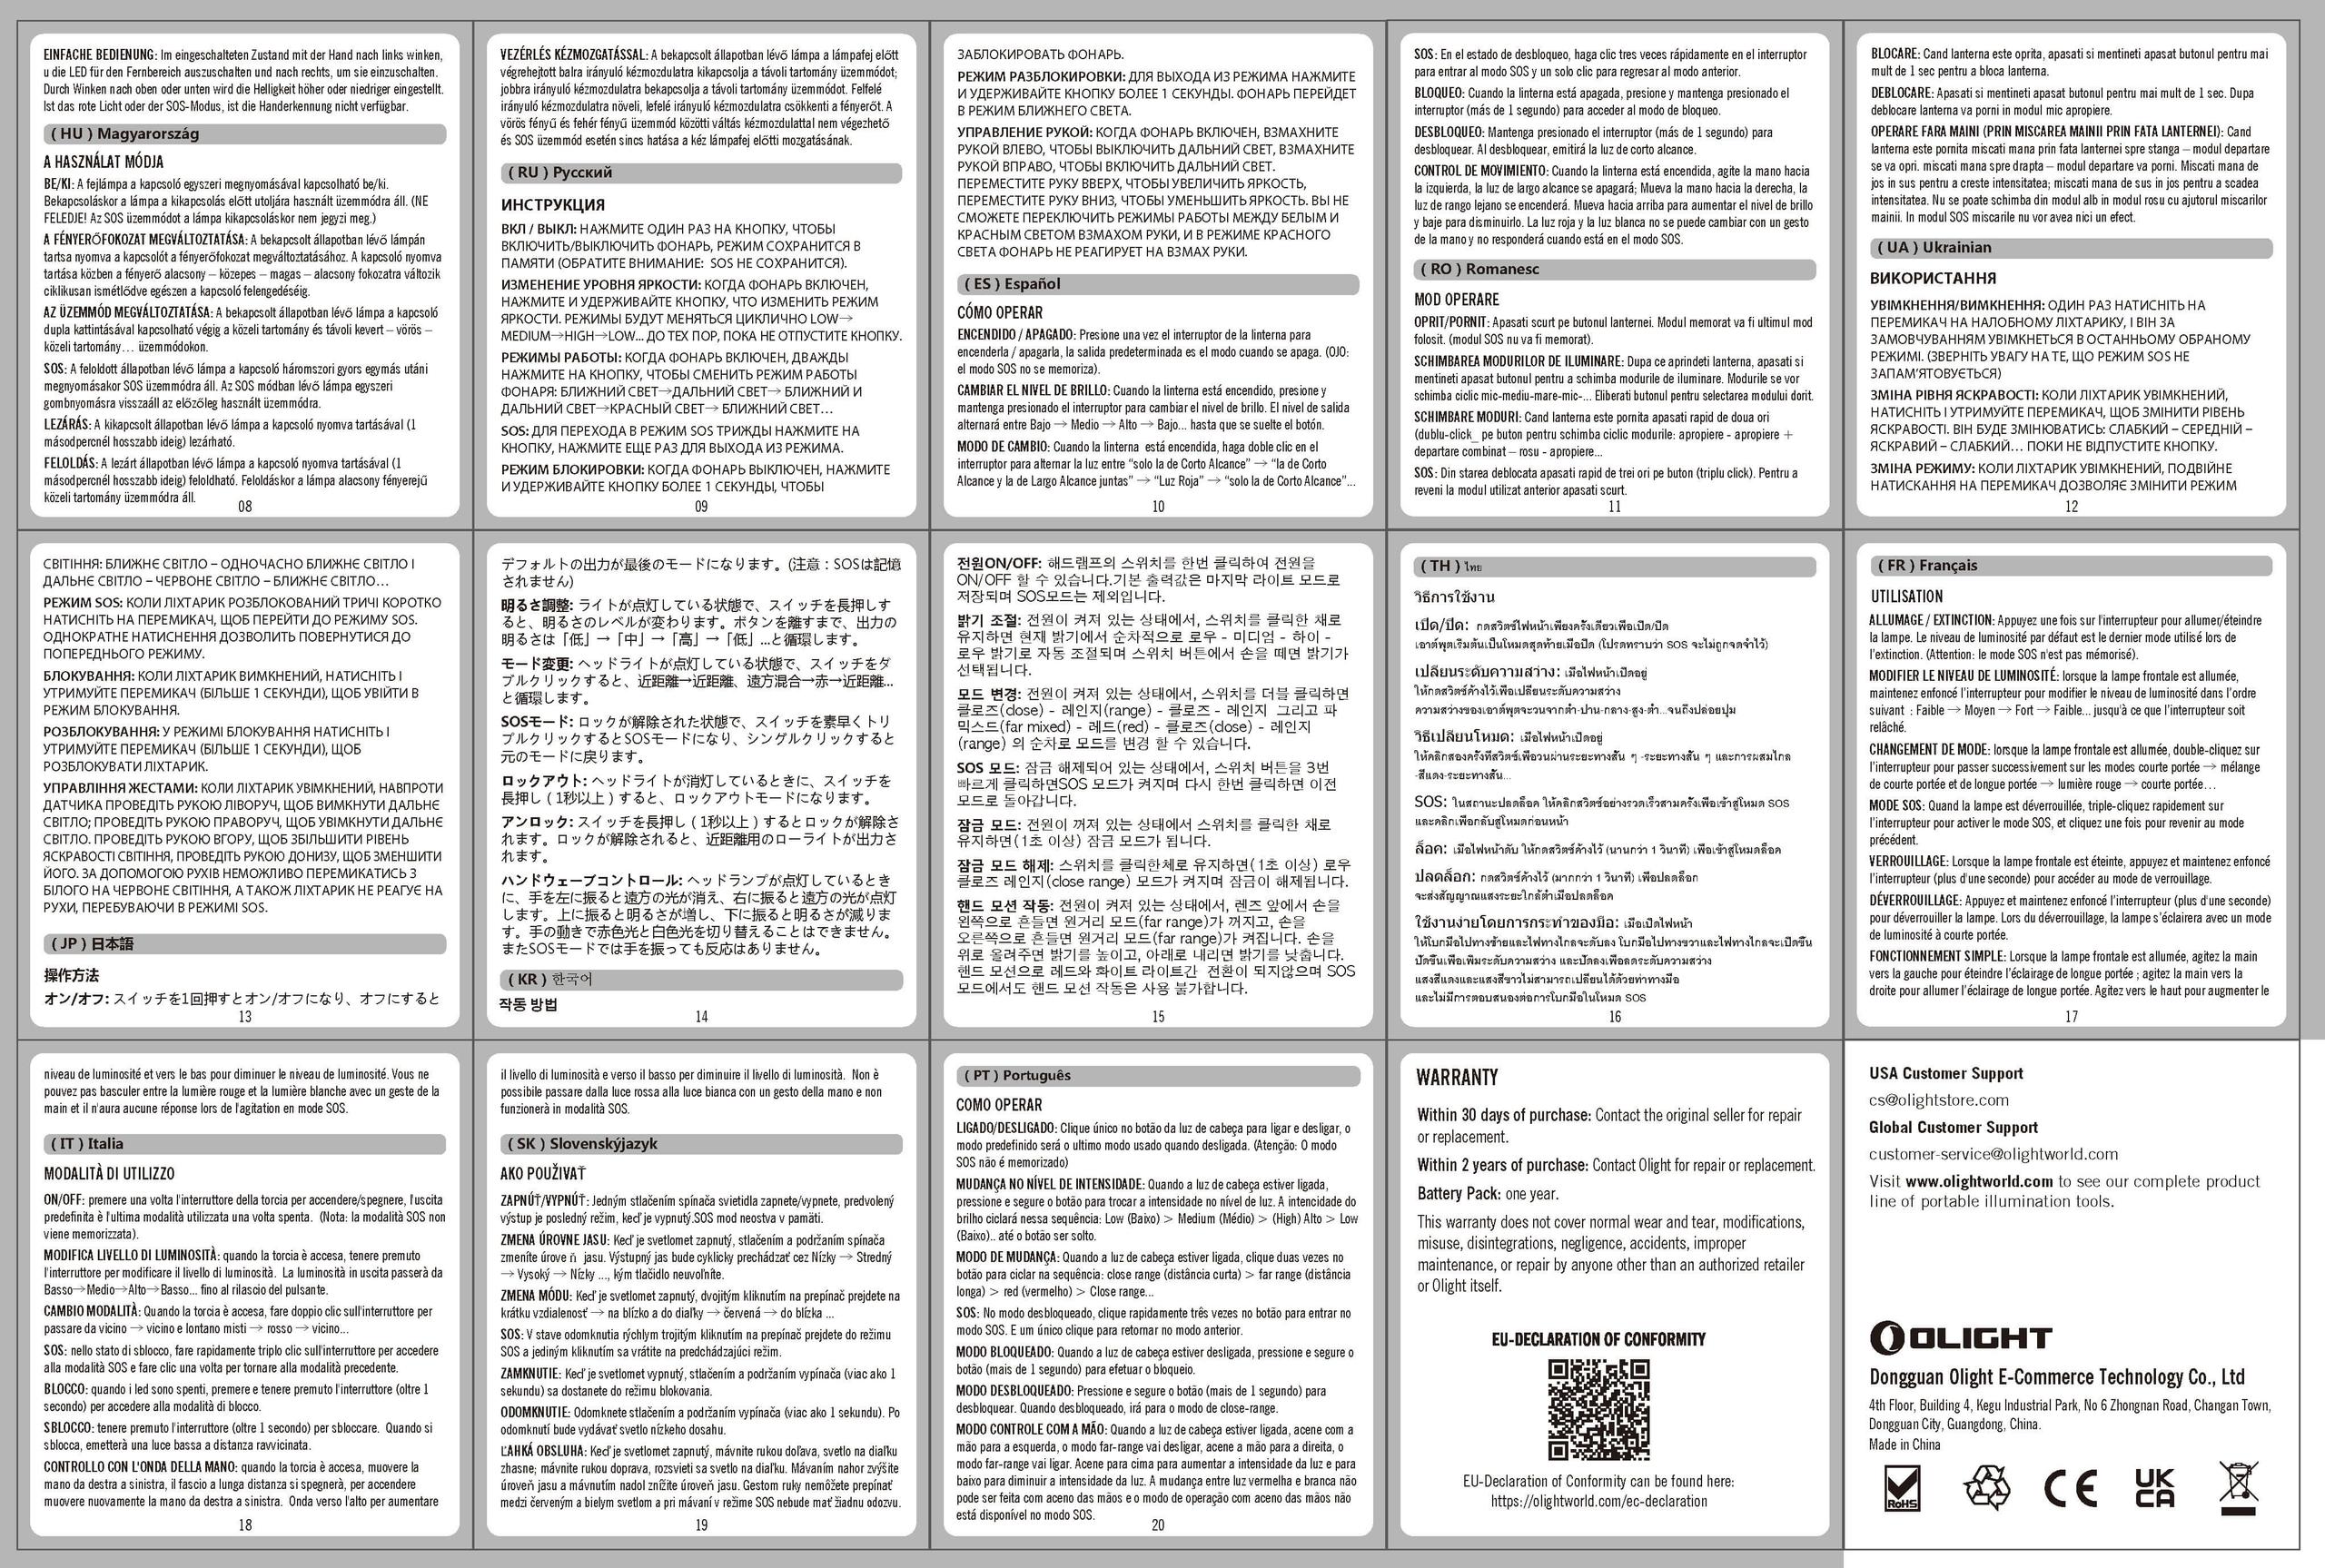
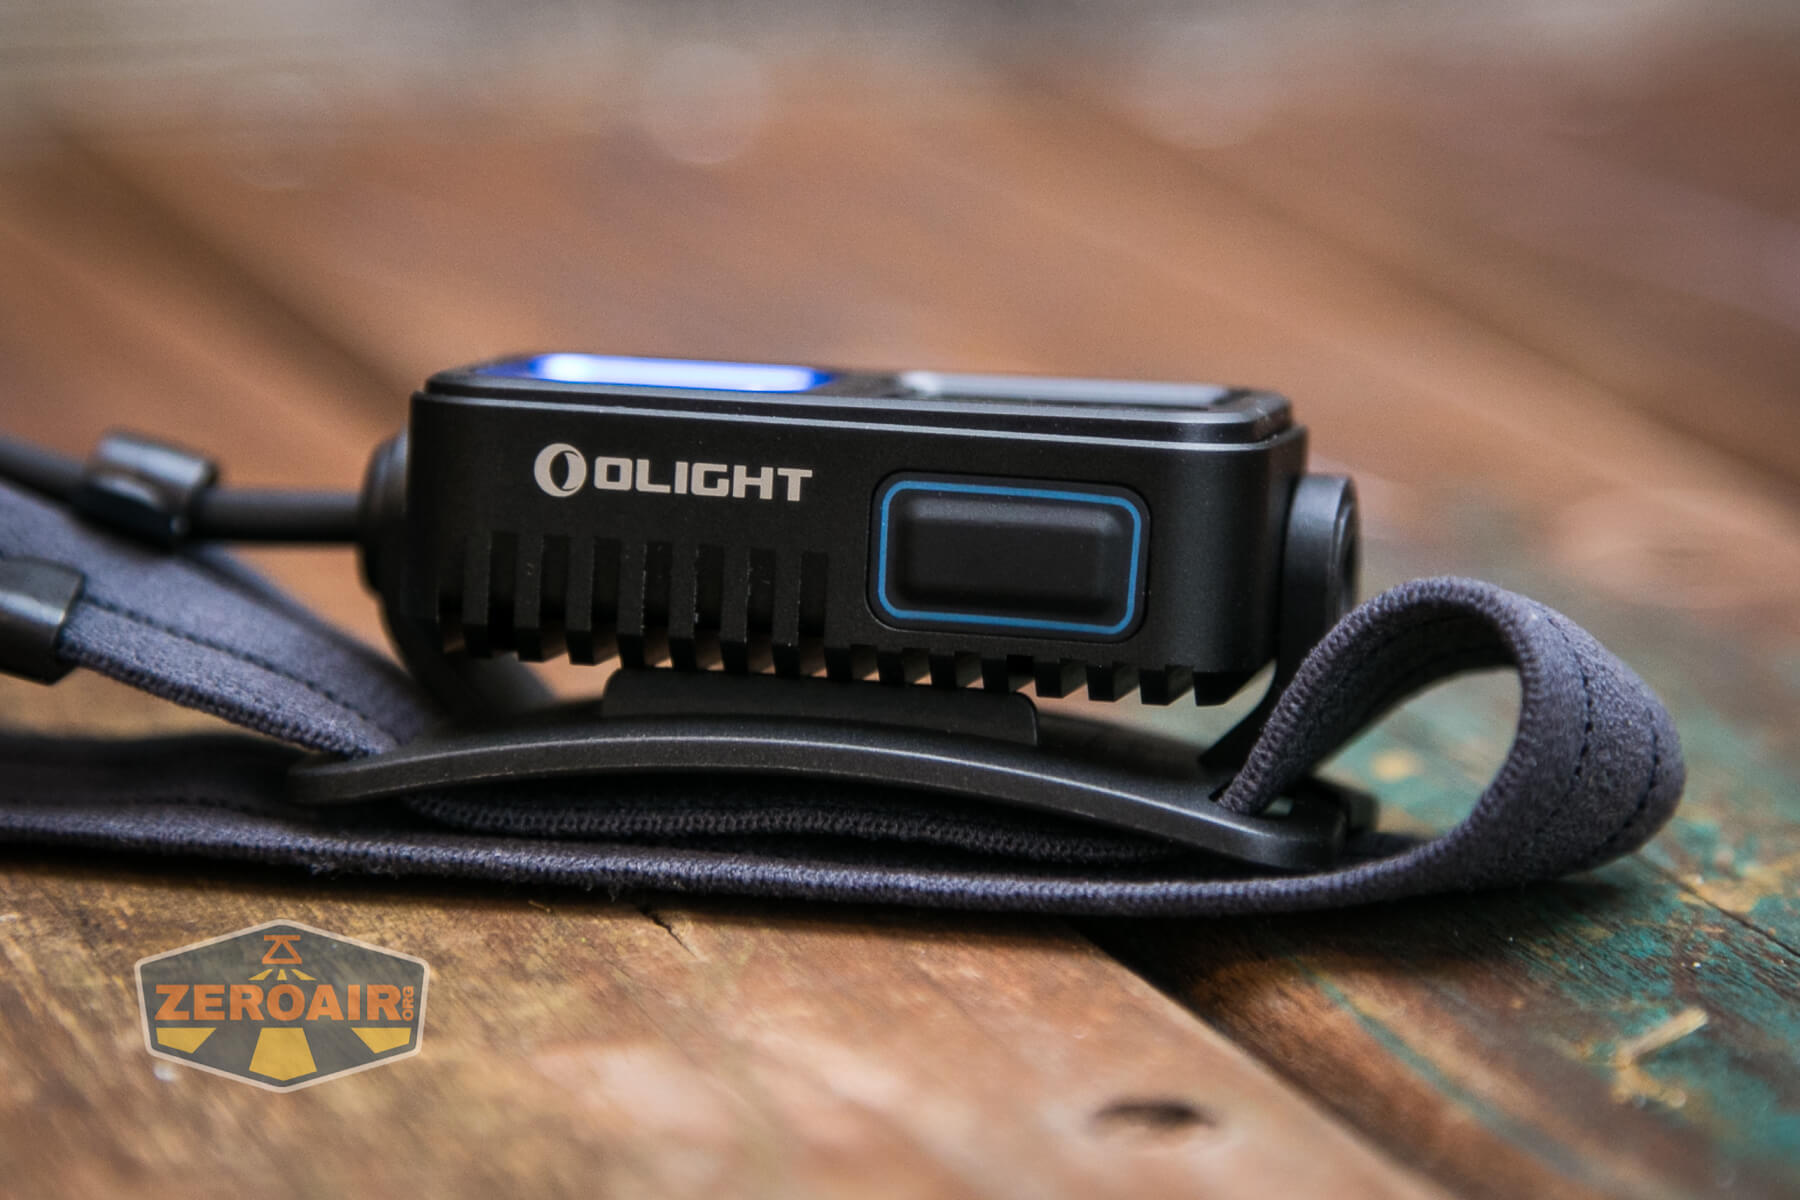
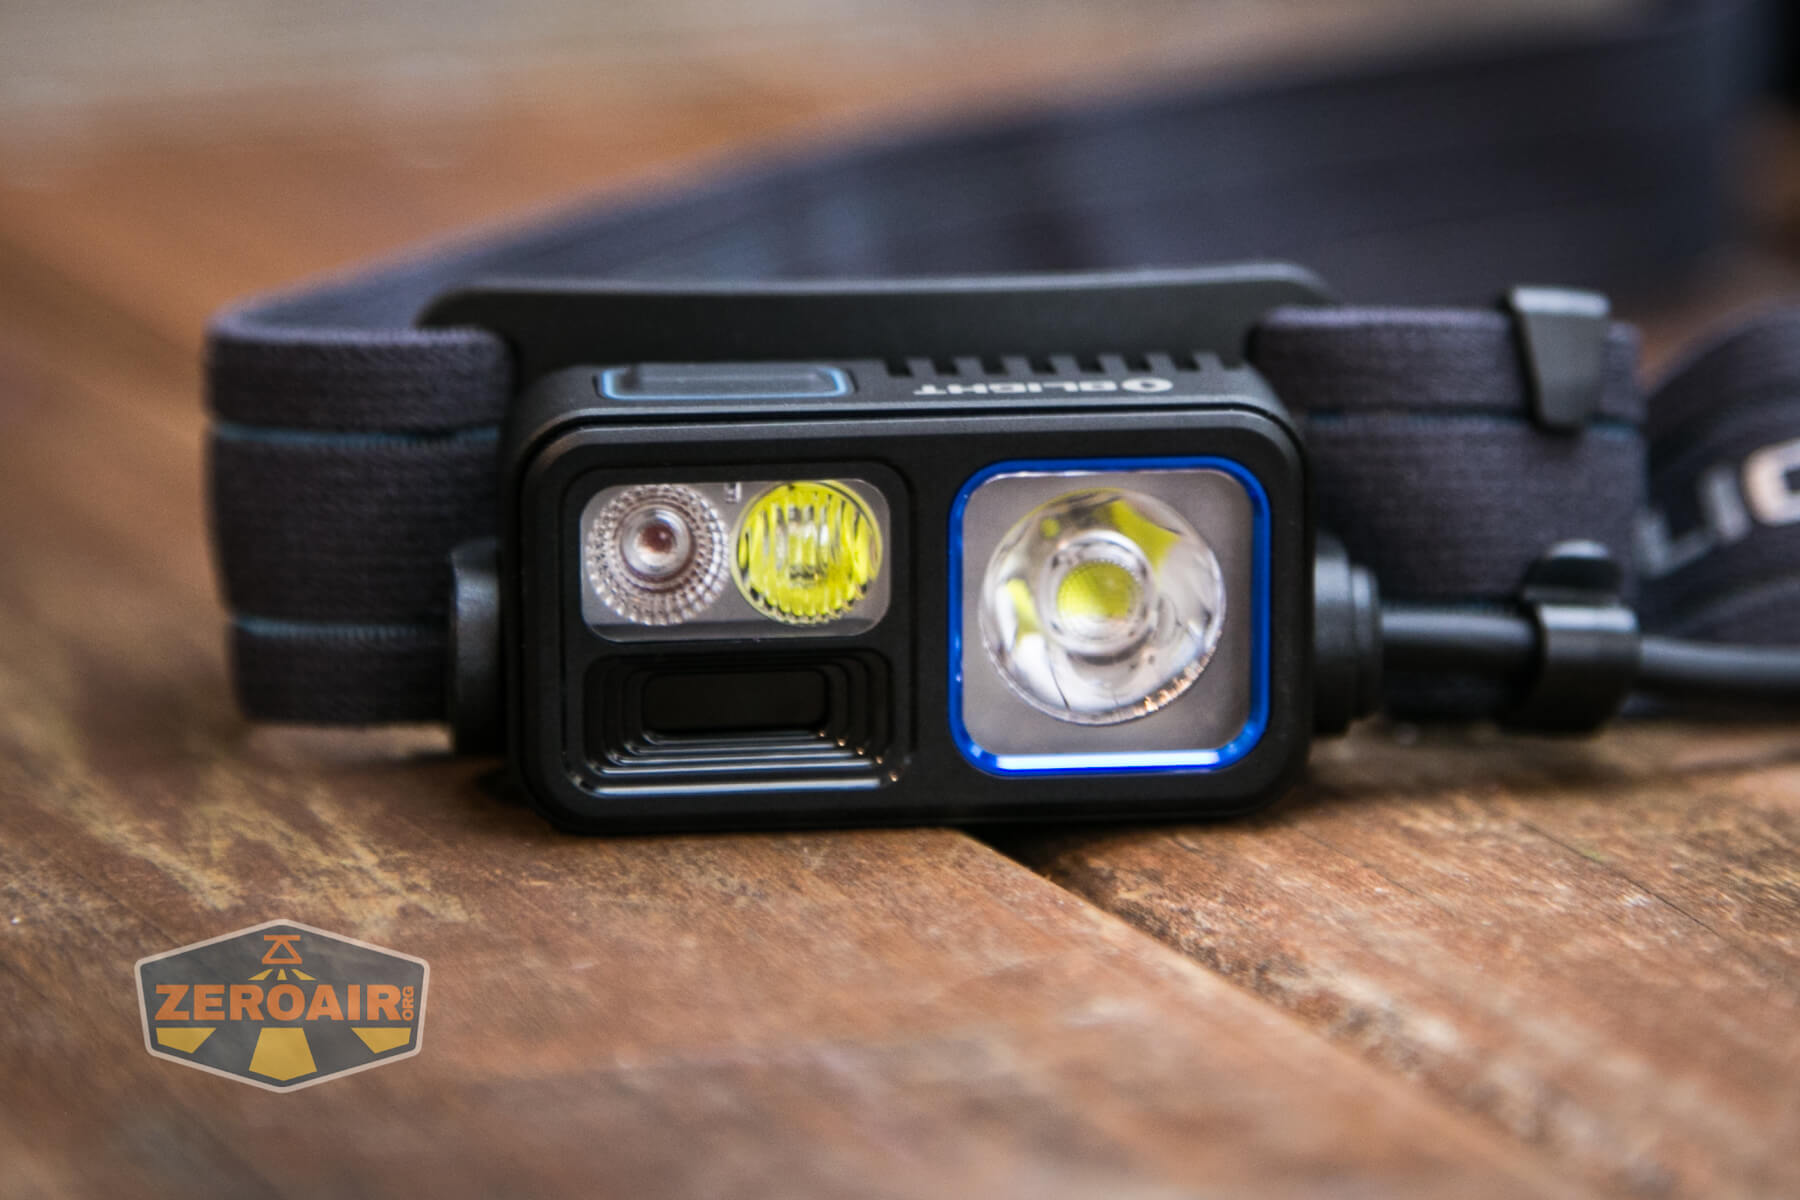
I think the most important thing about this headlamp is the metal construction. That’s just the body, though – the part that this headlamp pivots on is in fact plastic.
But the metal case, with ample and deep cooling fins on the back, does help with heat management.

Here you can see the pivot part. The whole headlamp is metal, but everything attaching to the headband here is plastic.
In case you were wondering about doing an emitter swap on the Olight Array 2S headlamp, I’m not sure how feasible that’ll be. I think the front of the light is press-fit into the metal housing. I can not locate any screws or anything else. Also, you can see that on the right side below, the front of the light does not look to sit quite as deep. I can push this in just a bit (which supports the press-fit theory).
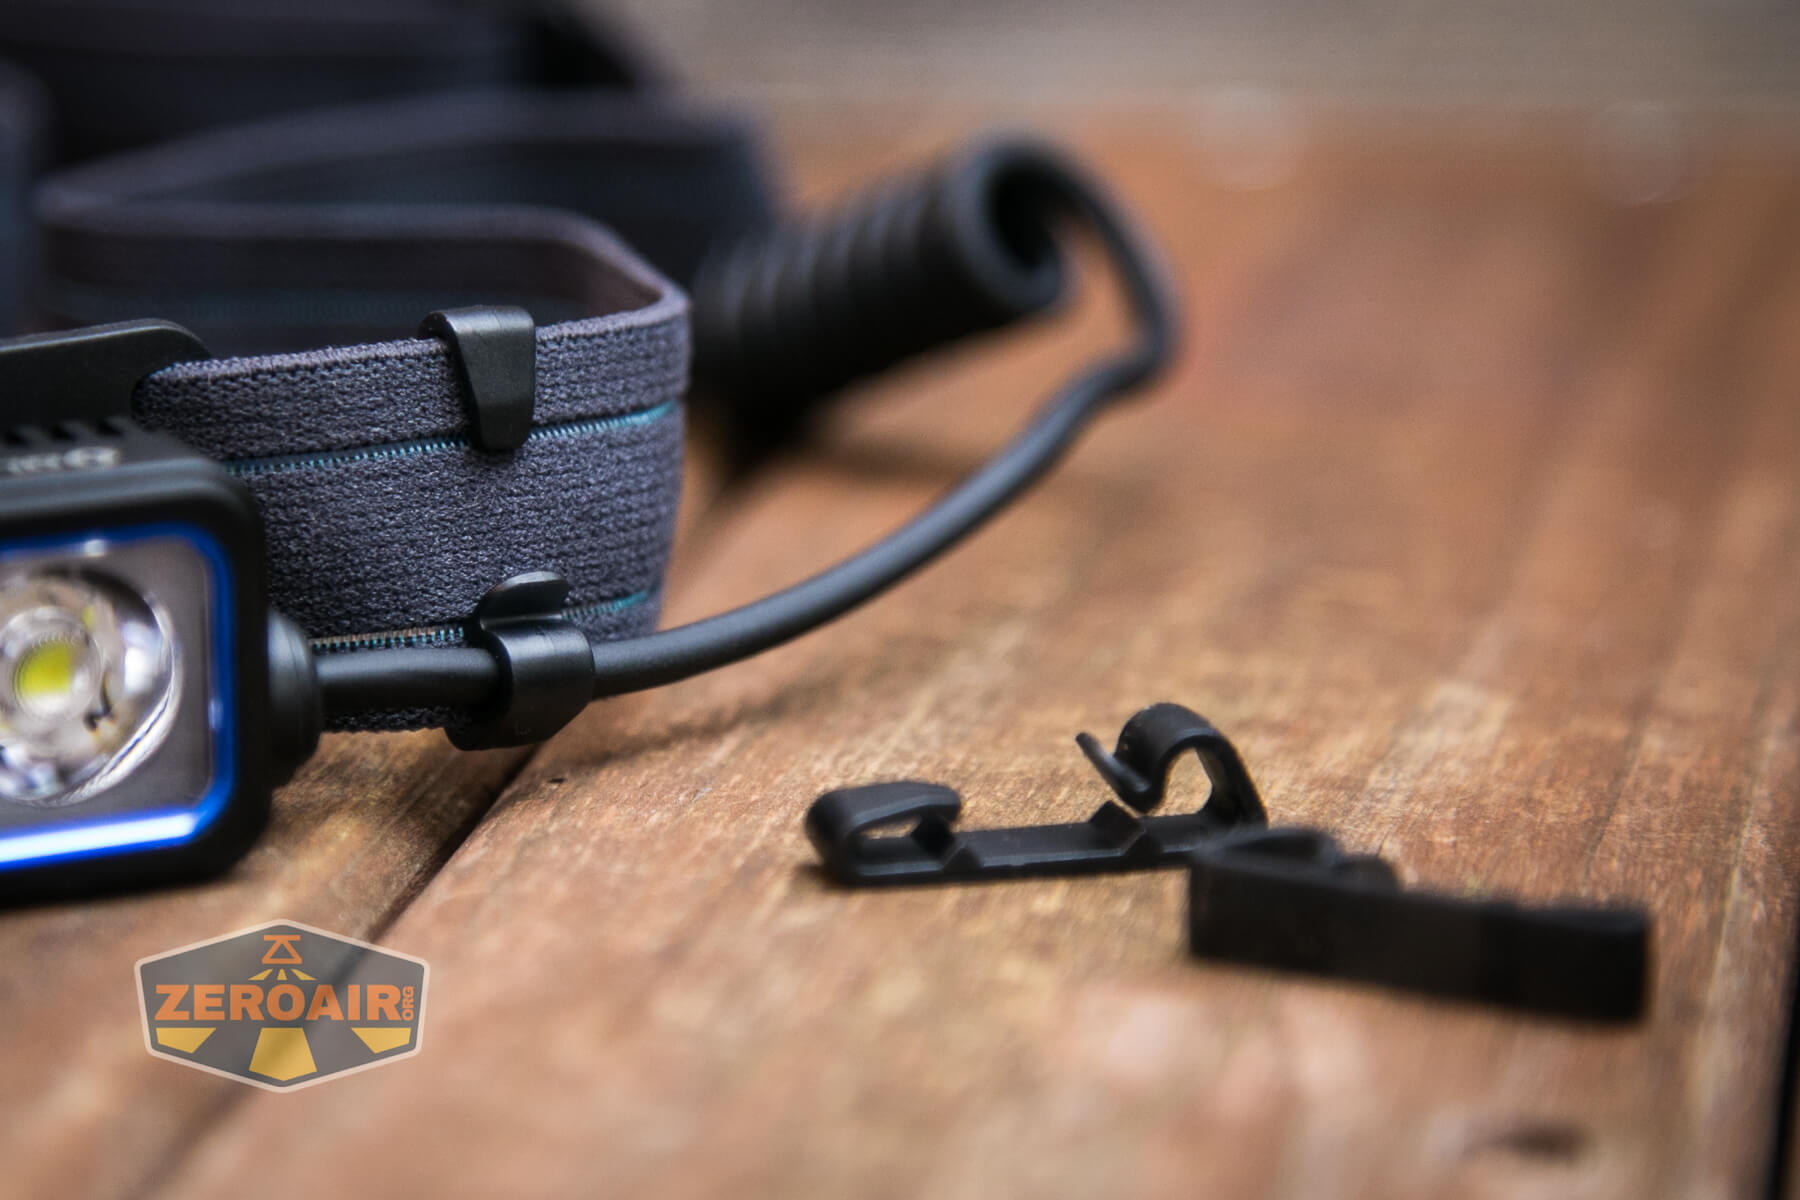
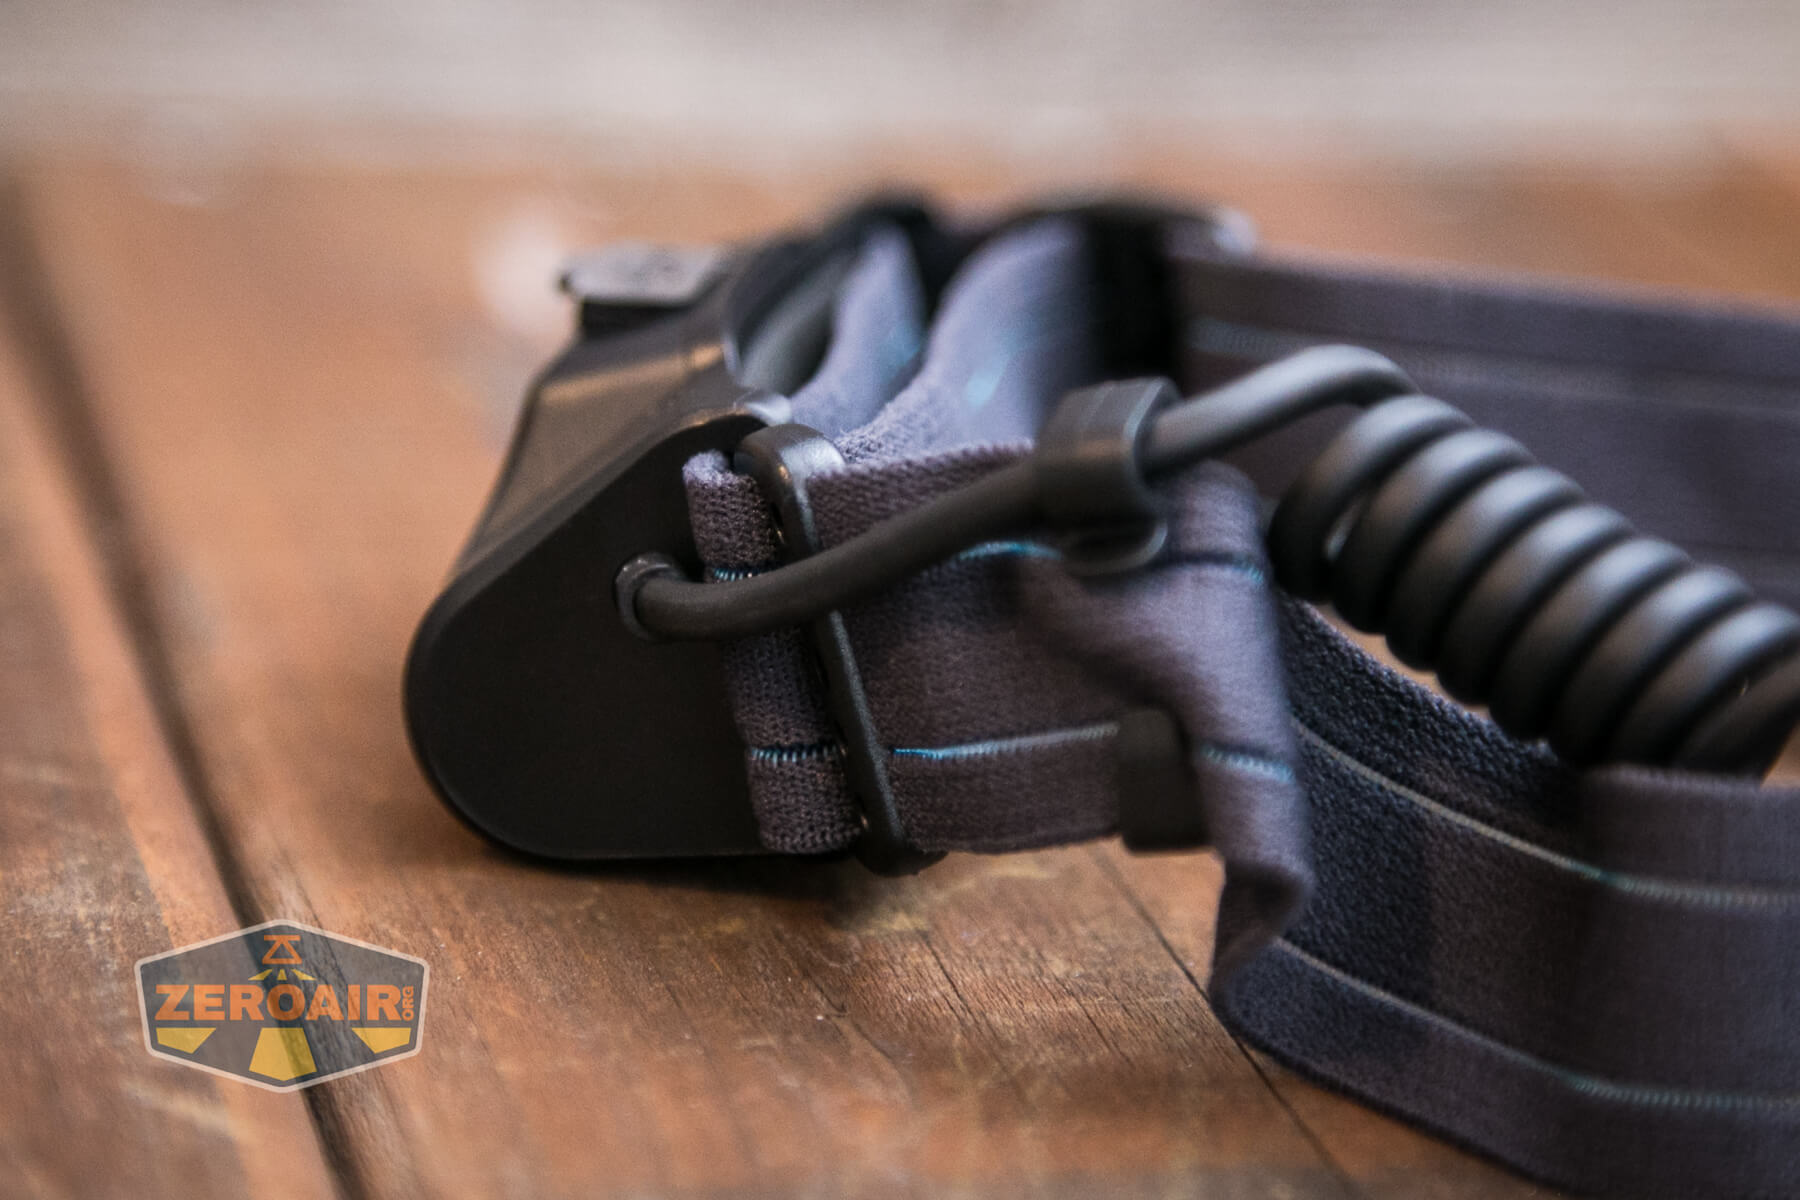
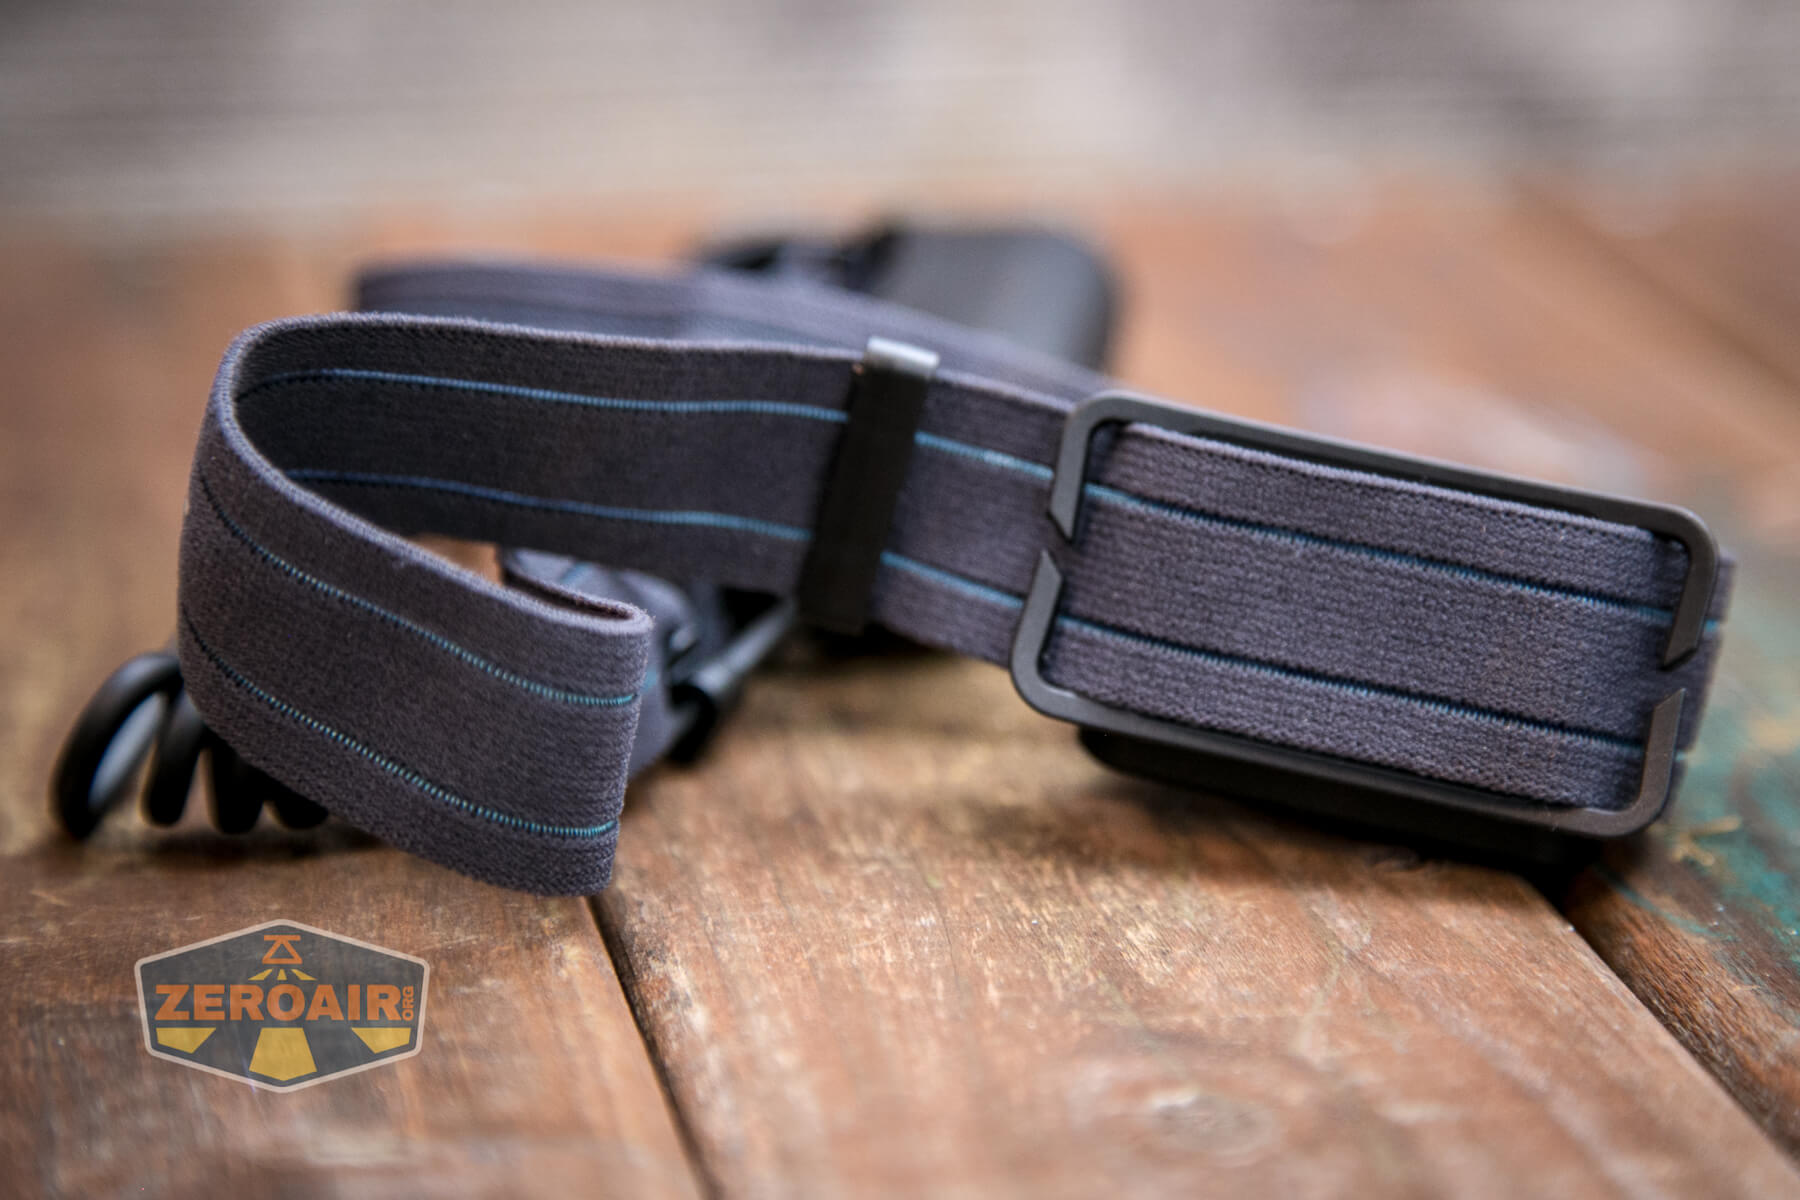
There are a couple of spare clips, which aren’t immediately obviously useful for anything.

But they slip over the headband and can be either replacement cord management or ancillary cord management. I suppose if you have a very large head, you might want these extra clips.
One final point about the build: The parts are hard-wired together. The light can’t be separated, and (for example) run from a separate powerbank like some other Olights have in the past.
The battery compartment is also hard-wired and can’t be replaced with any other power source.
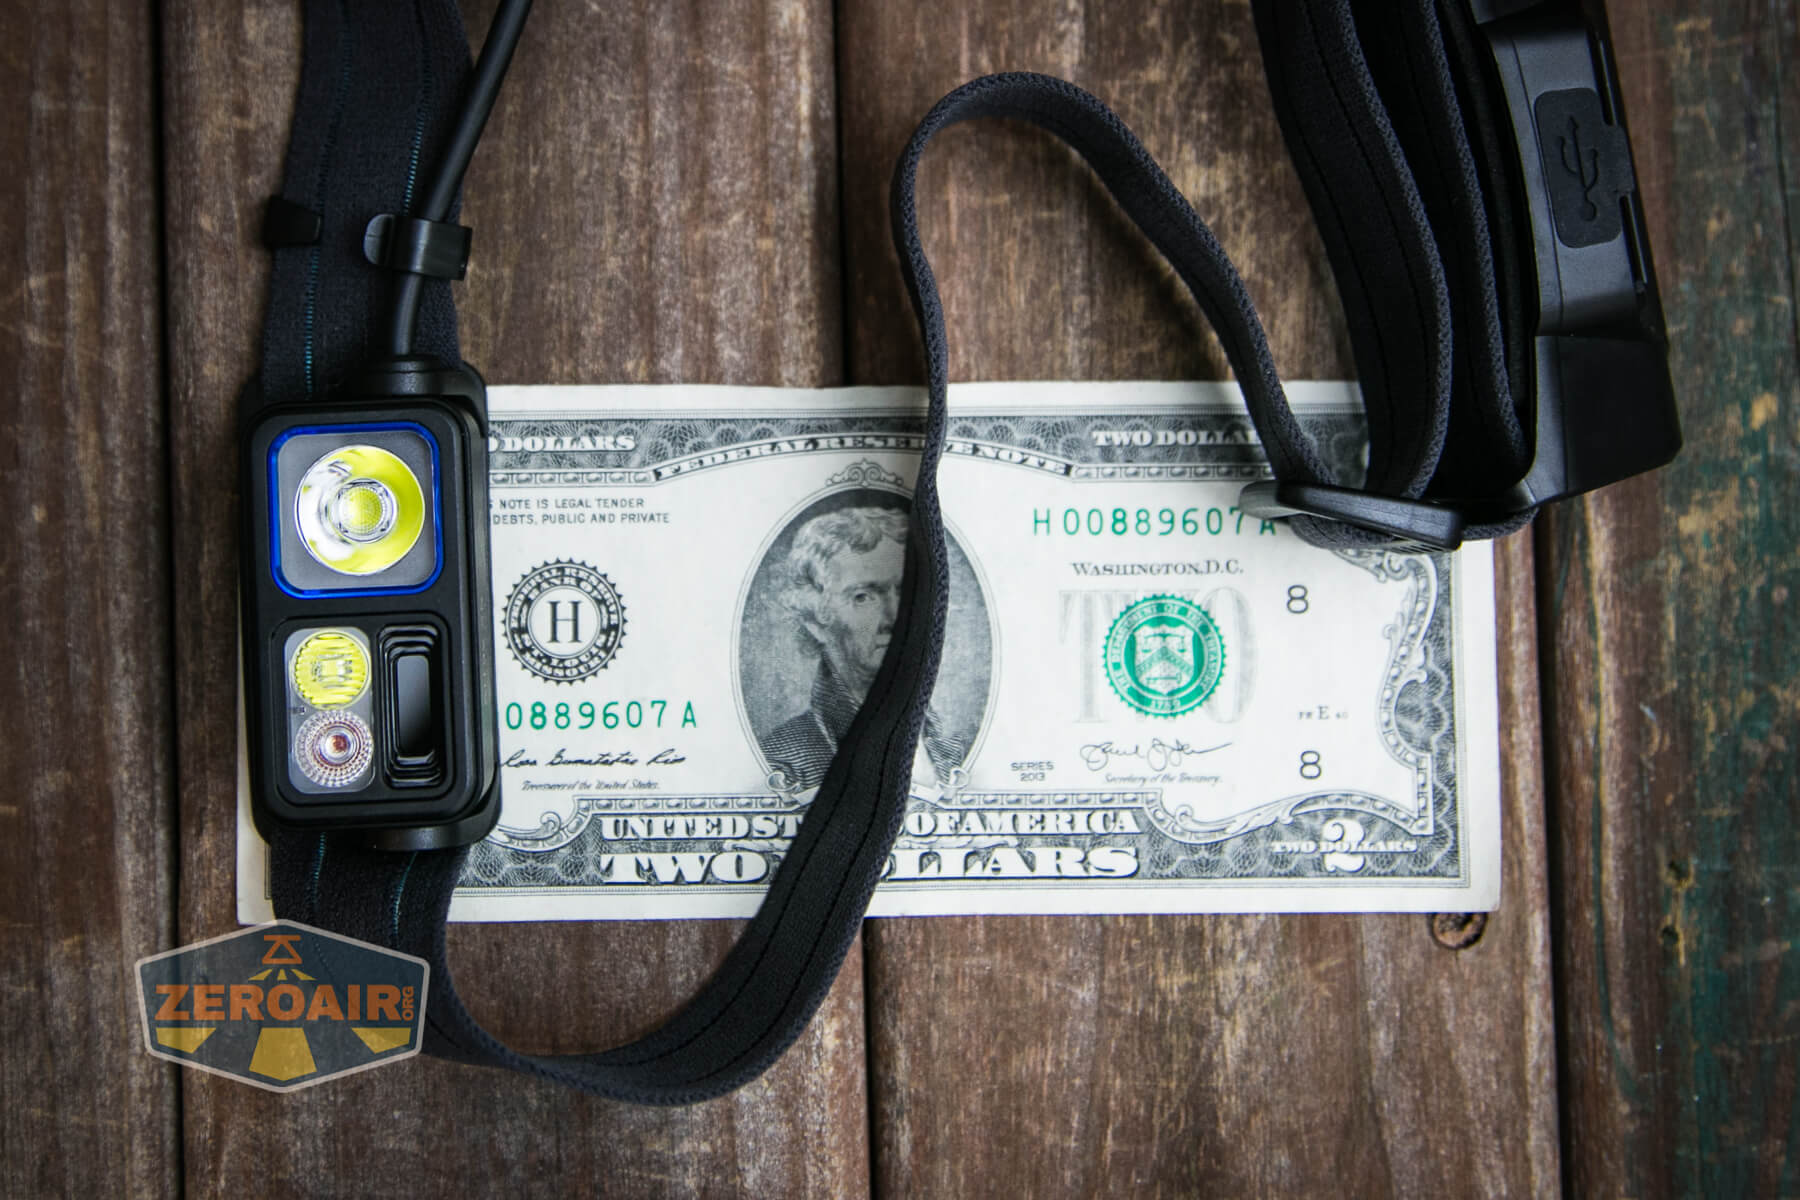
Size and Comps
Weight (g / oz) 131/4.62
Body Diameter (mm / in) Length: 2.4in/61mm Width: 1.22in/31mm Height: 0.96in/24.5mm
If the flashlight will headstand, I’ll show it here (usually the third photo). If the flashlight will tailstand, I’ll show that here, too (usually the fourth photo).

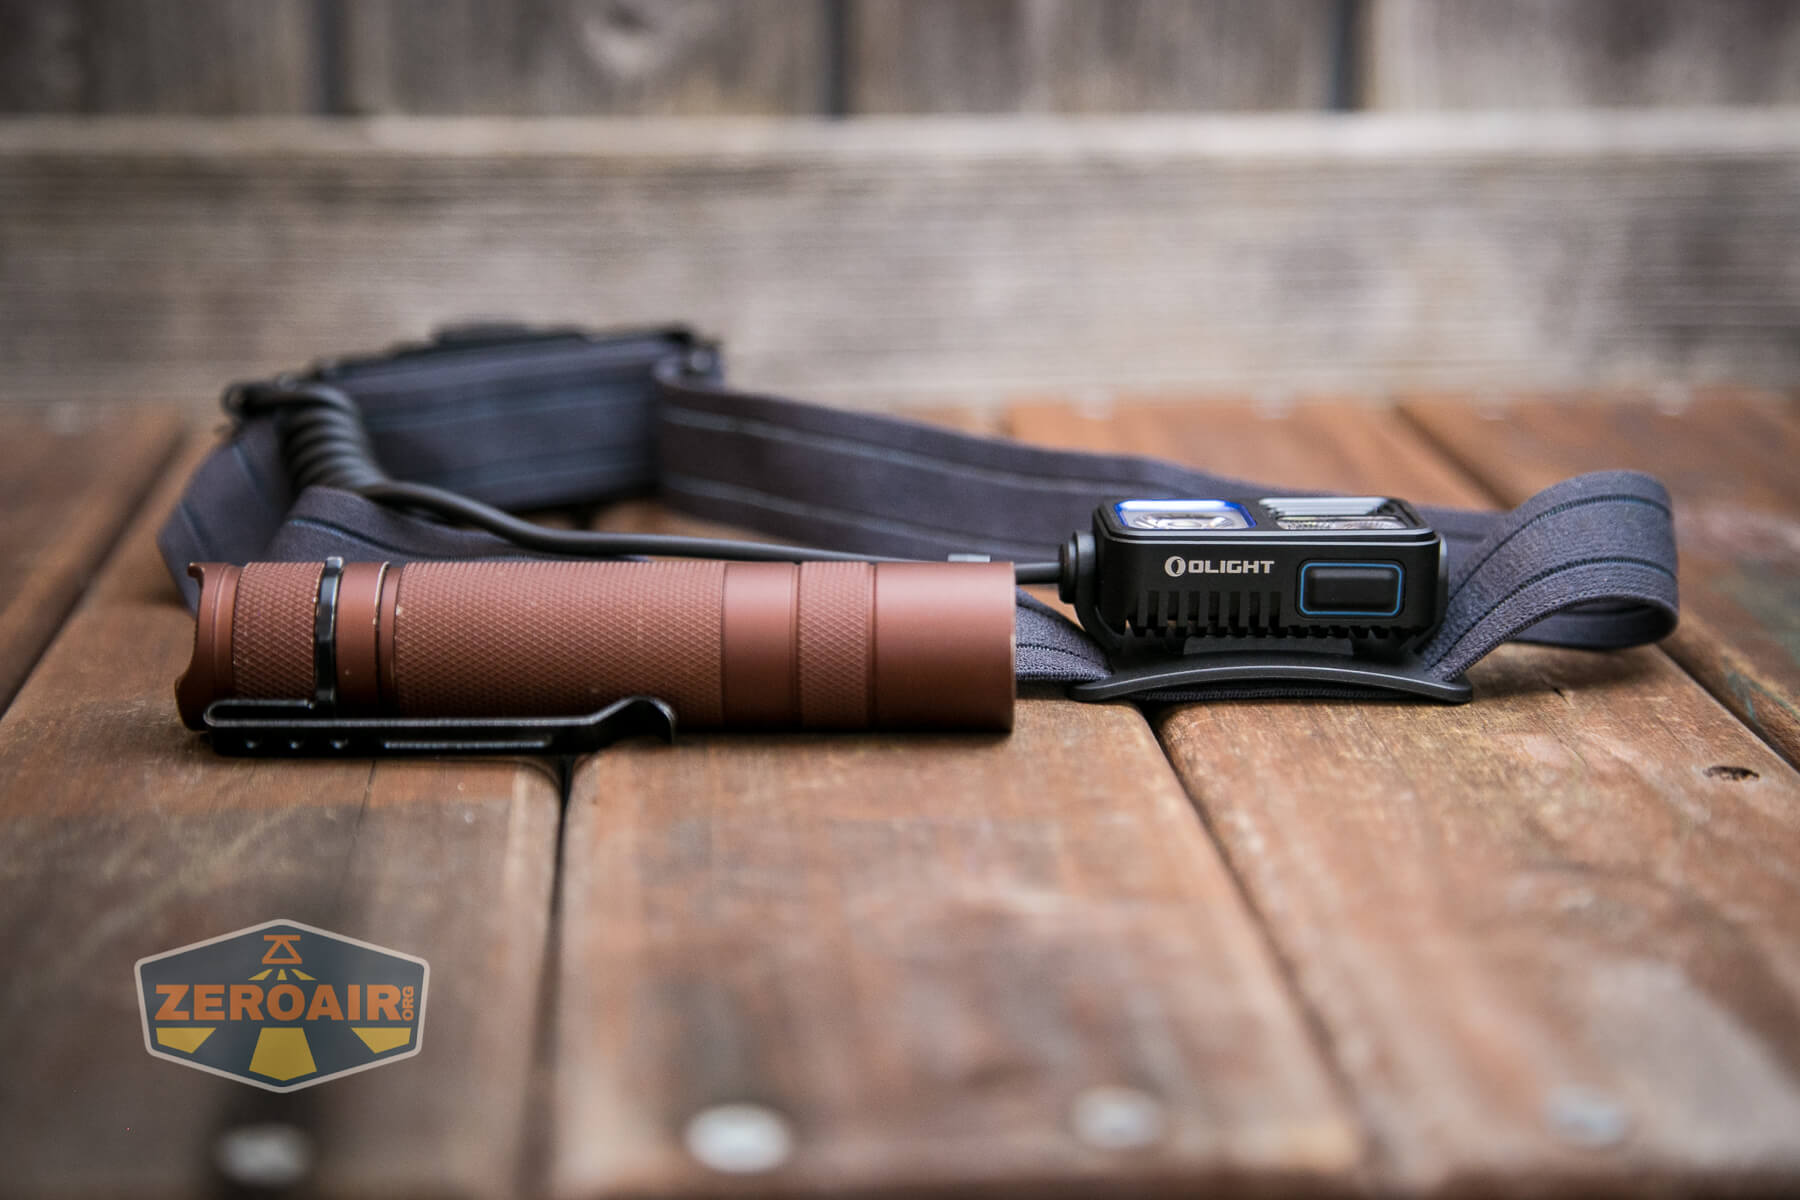
Here’s the test light with the venerable Convoy S2+. Mine is a custom “baked” edition Nichia 219b triple. A very nice 18650 light!
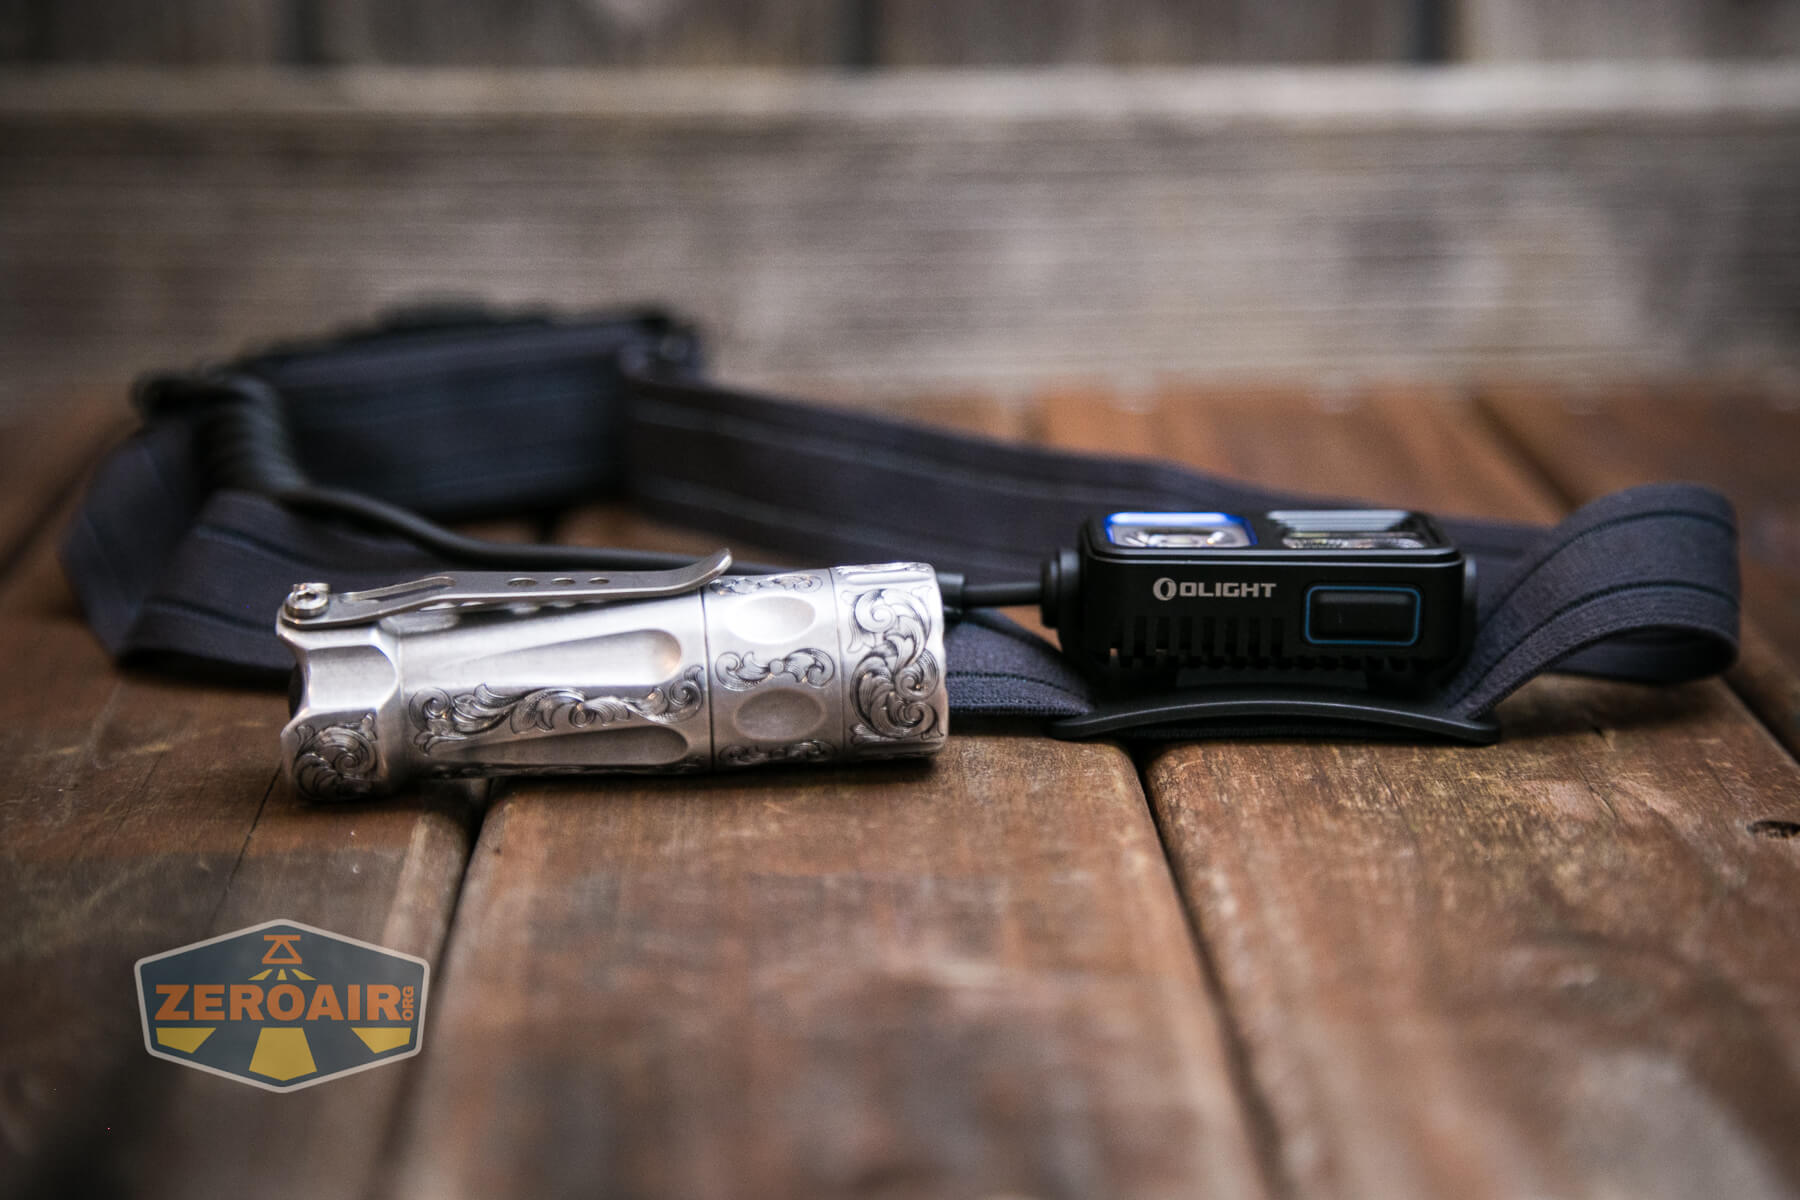
And here’s the light beside my custom-engraved TorchLAB BOSS 35, an 18350 light. I reviewed the aluminum version of that light in both 35 and 70 formats.
Retention and Carry
This is only a headlamp. Nothing about this light separates, and so the only way to use it is as a headlamp with the included headband (and battery).
That’s fine, of course. My preferred headlamps are generally ones like this, which are only headlamps.
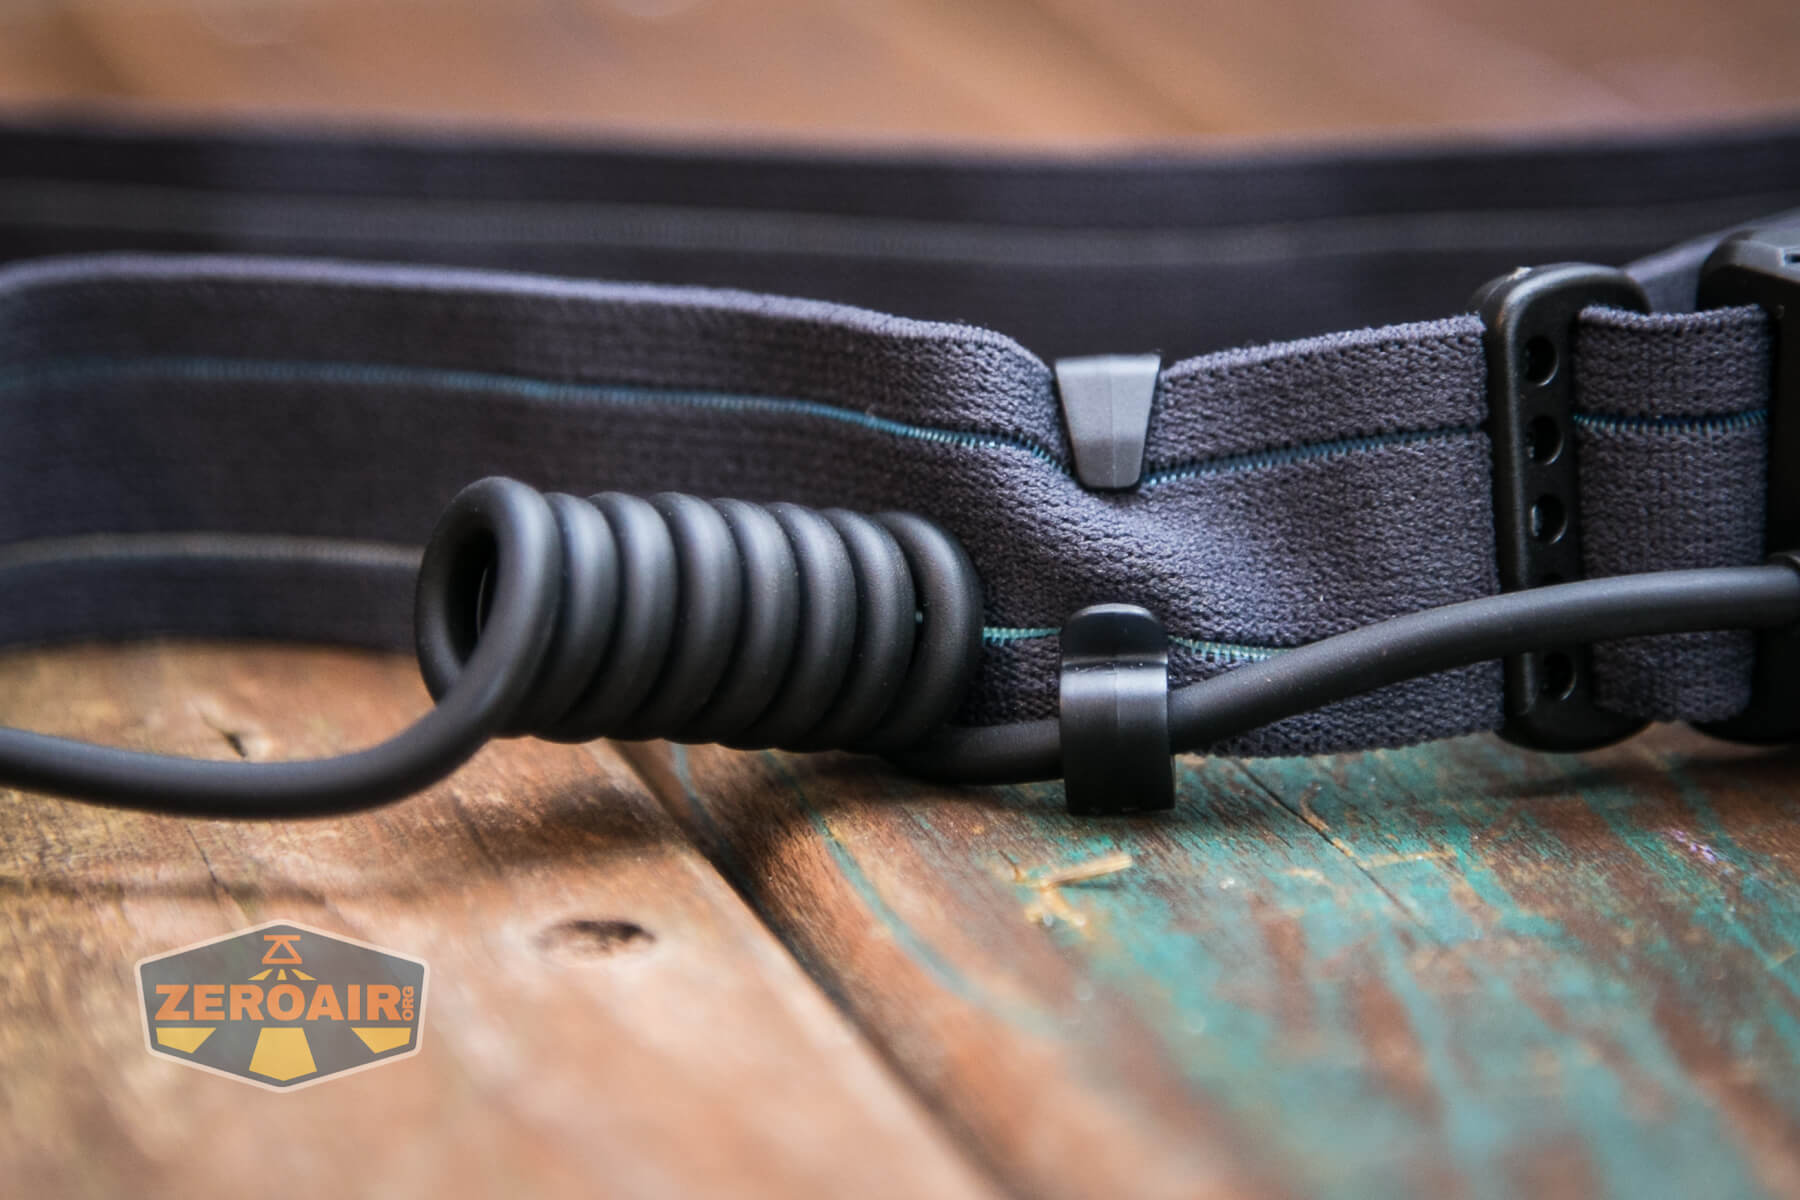
The headband is quite big and ships fully expanded. It is unlikely that you’ll need it to be this big, as this fit is extremely generous. The adjustment is by and large right around the cell area, but adjusting this band doesn’t put the battery in a weird place.
Below you can see that it’s possible to remove the light from the headband. It’s also possible to remove the battery pack. But remember: these two parts are hard-wired together.
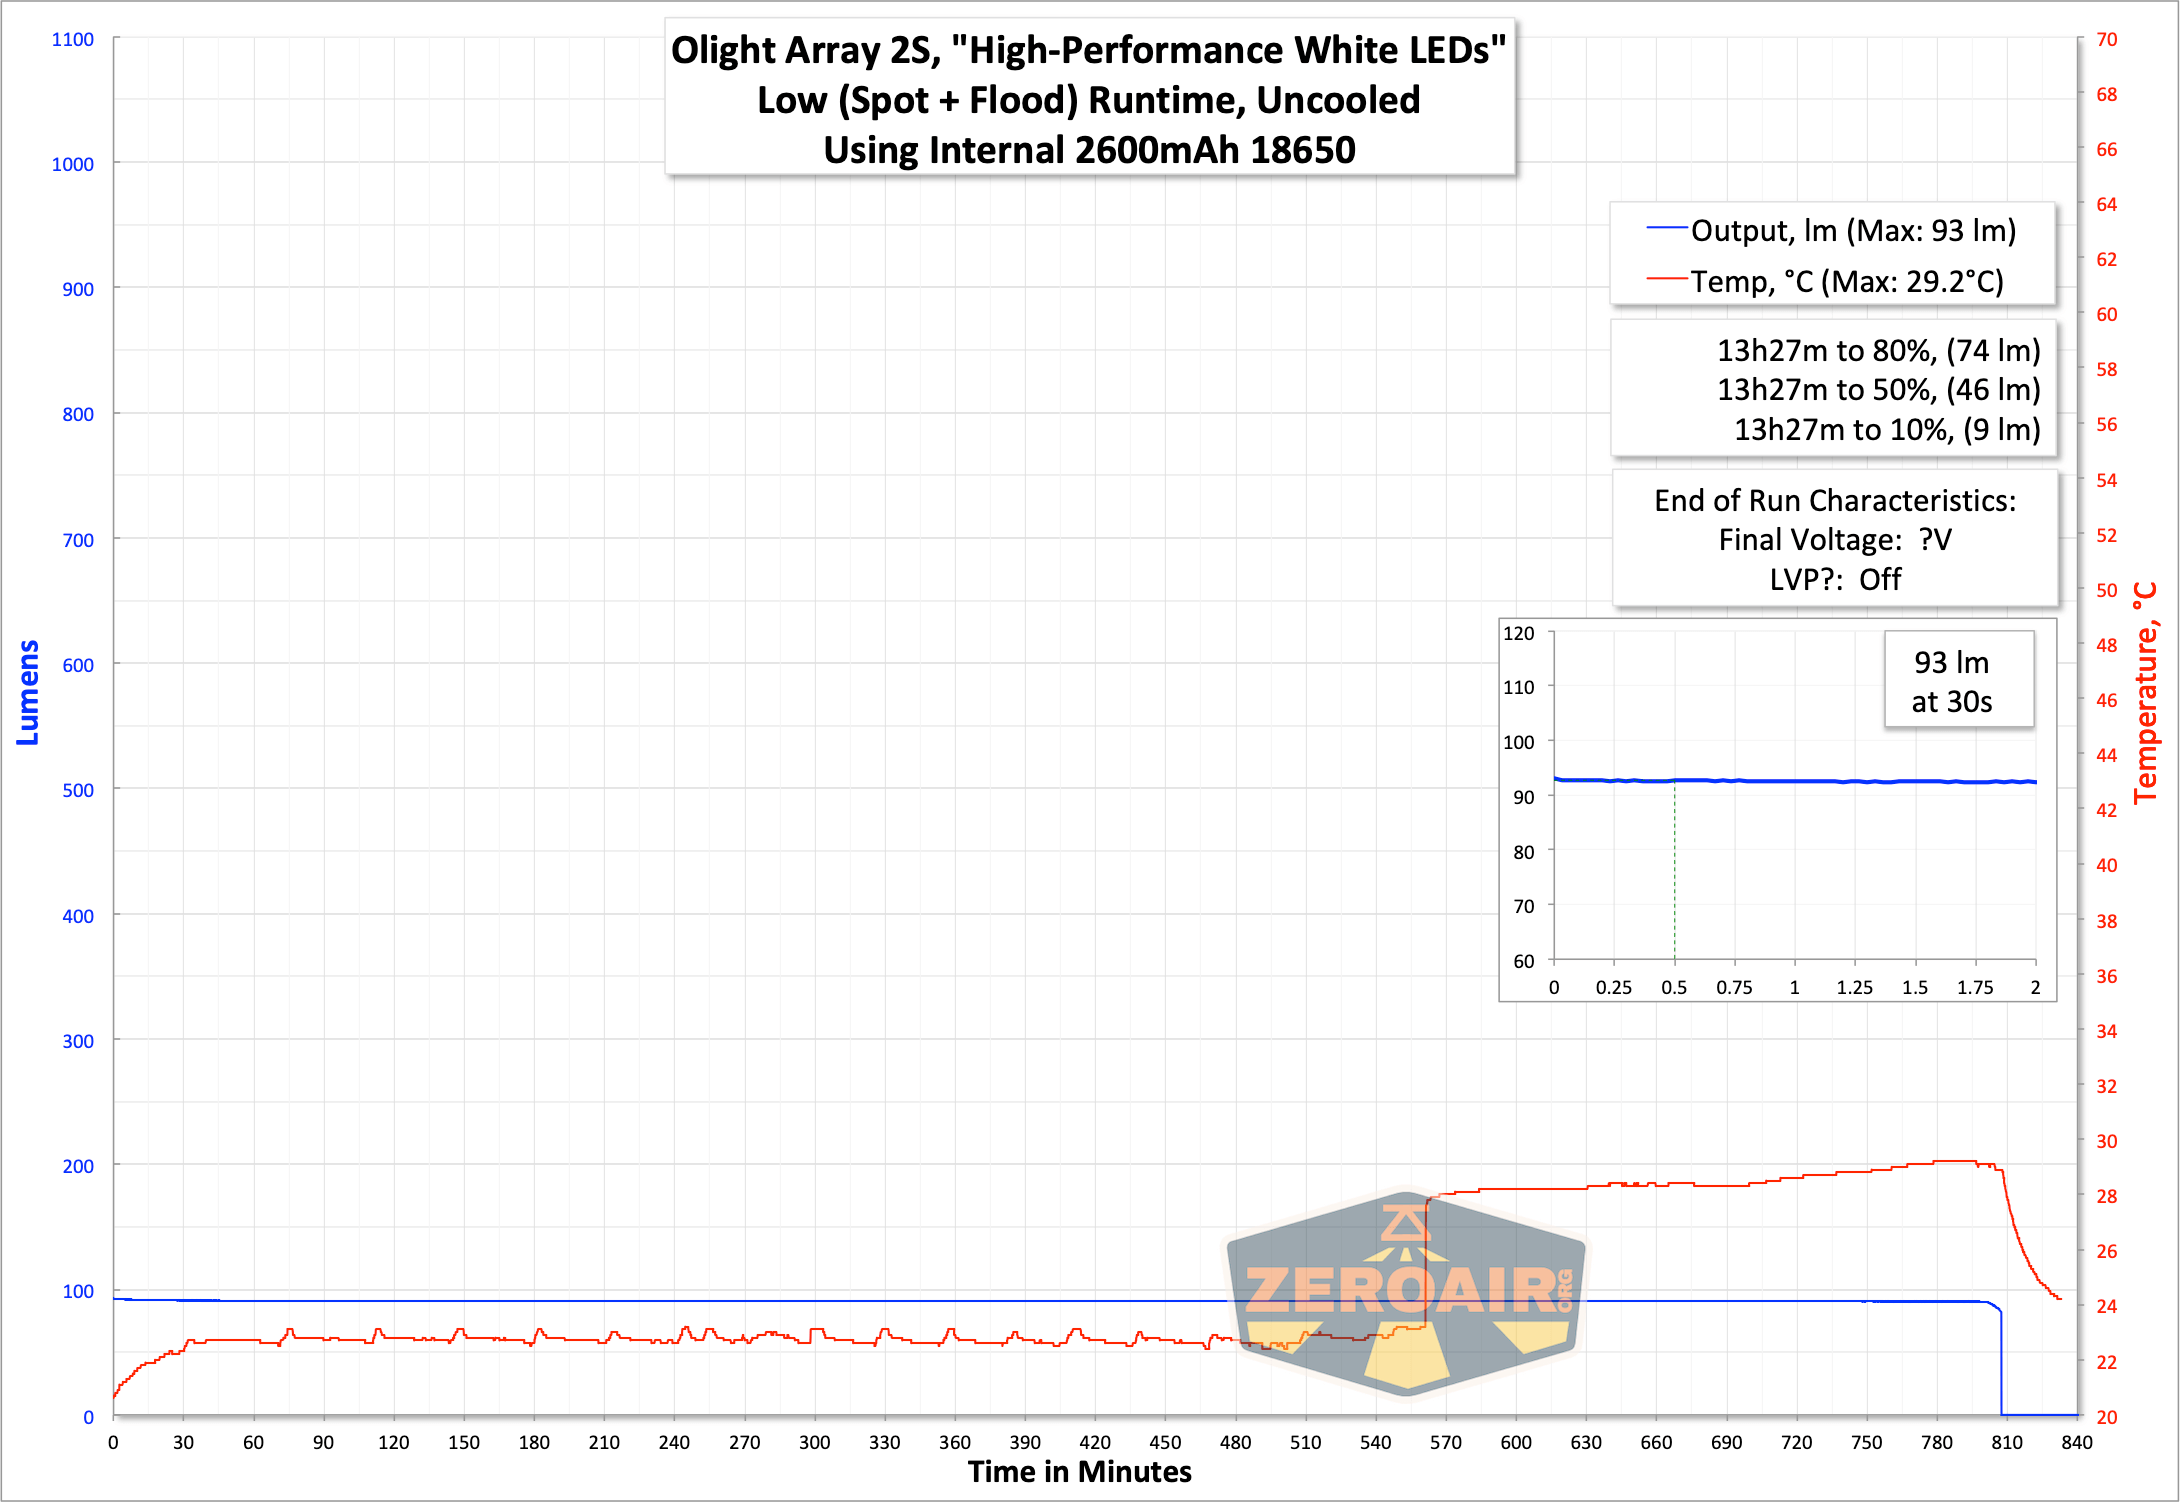
Power and Runtime
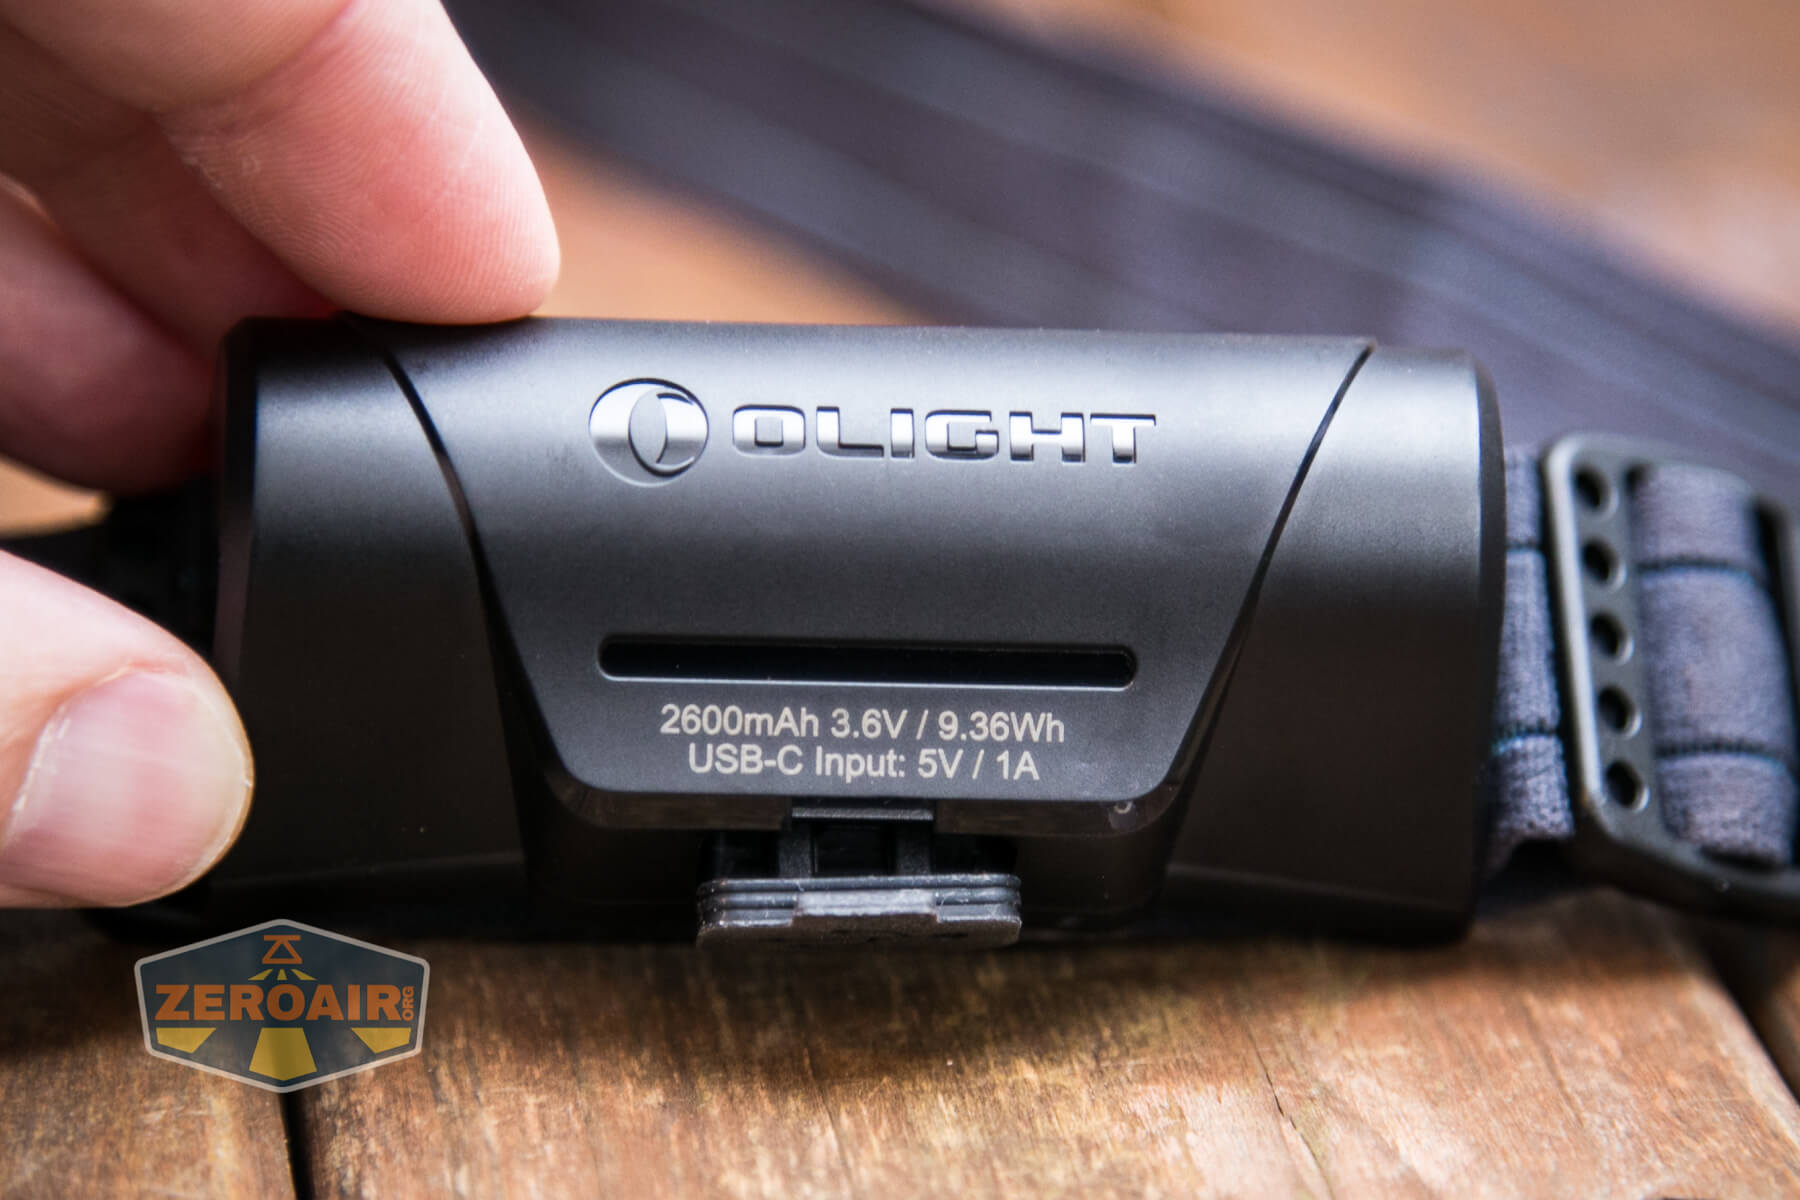
The Olight Array 2S headlamp is powered by a built-in 2600mAh 18650.
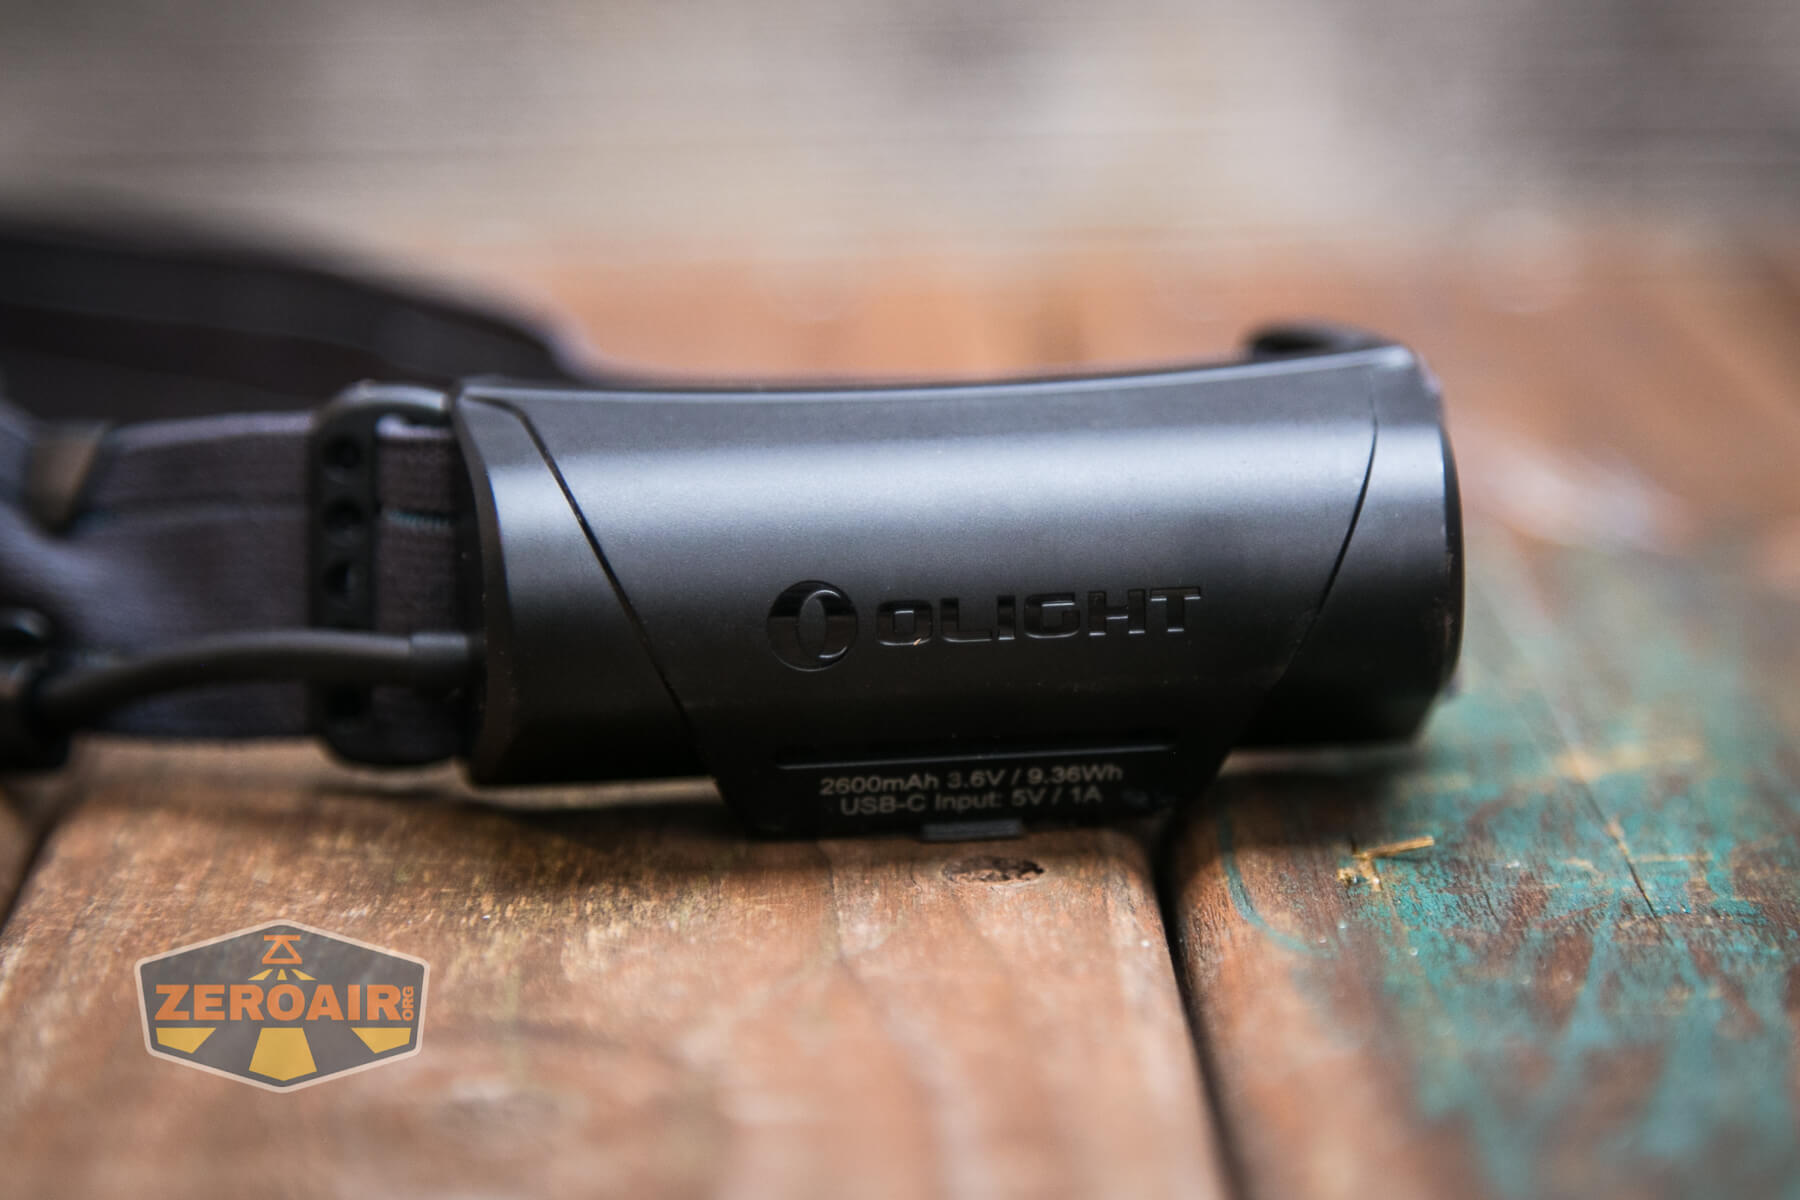
Olight would have really made waves if this had been a cell holder, and you could use your own 18650 cell. I would love this light if they’d done that. But no – this cell is built-in and not user-replaceable.
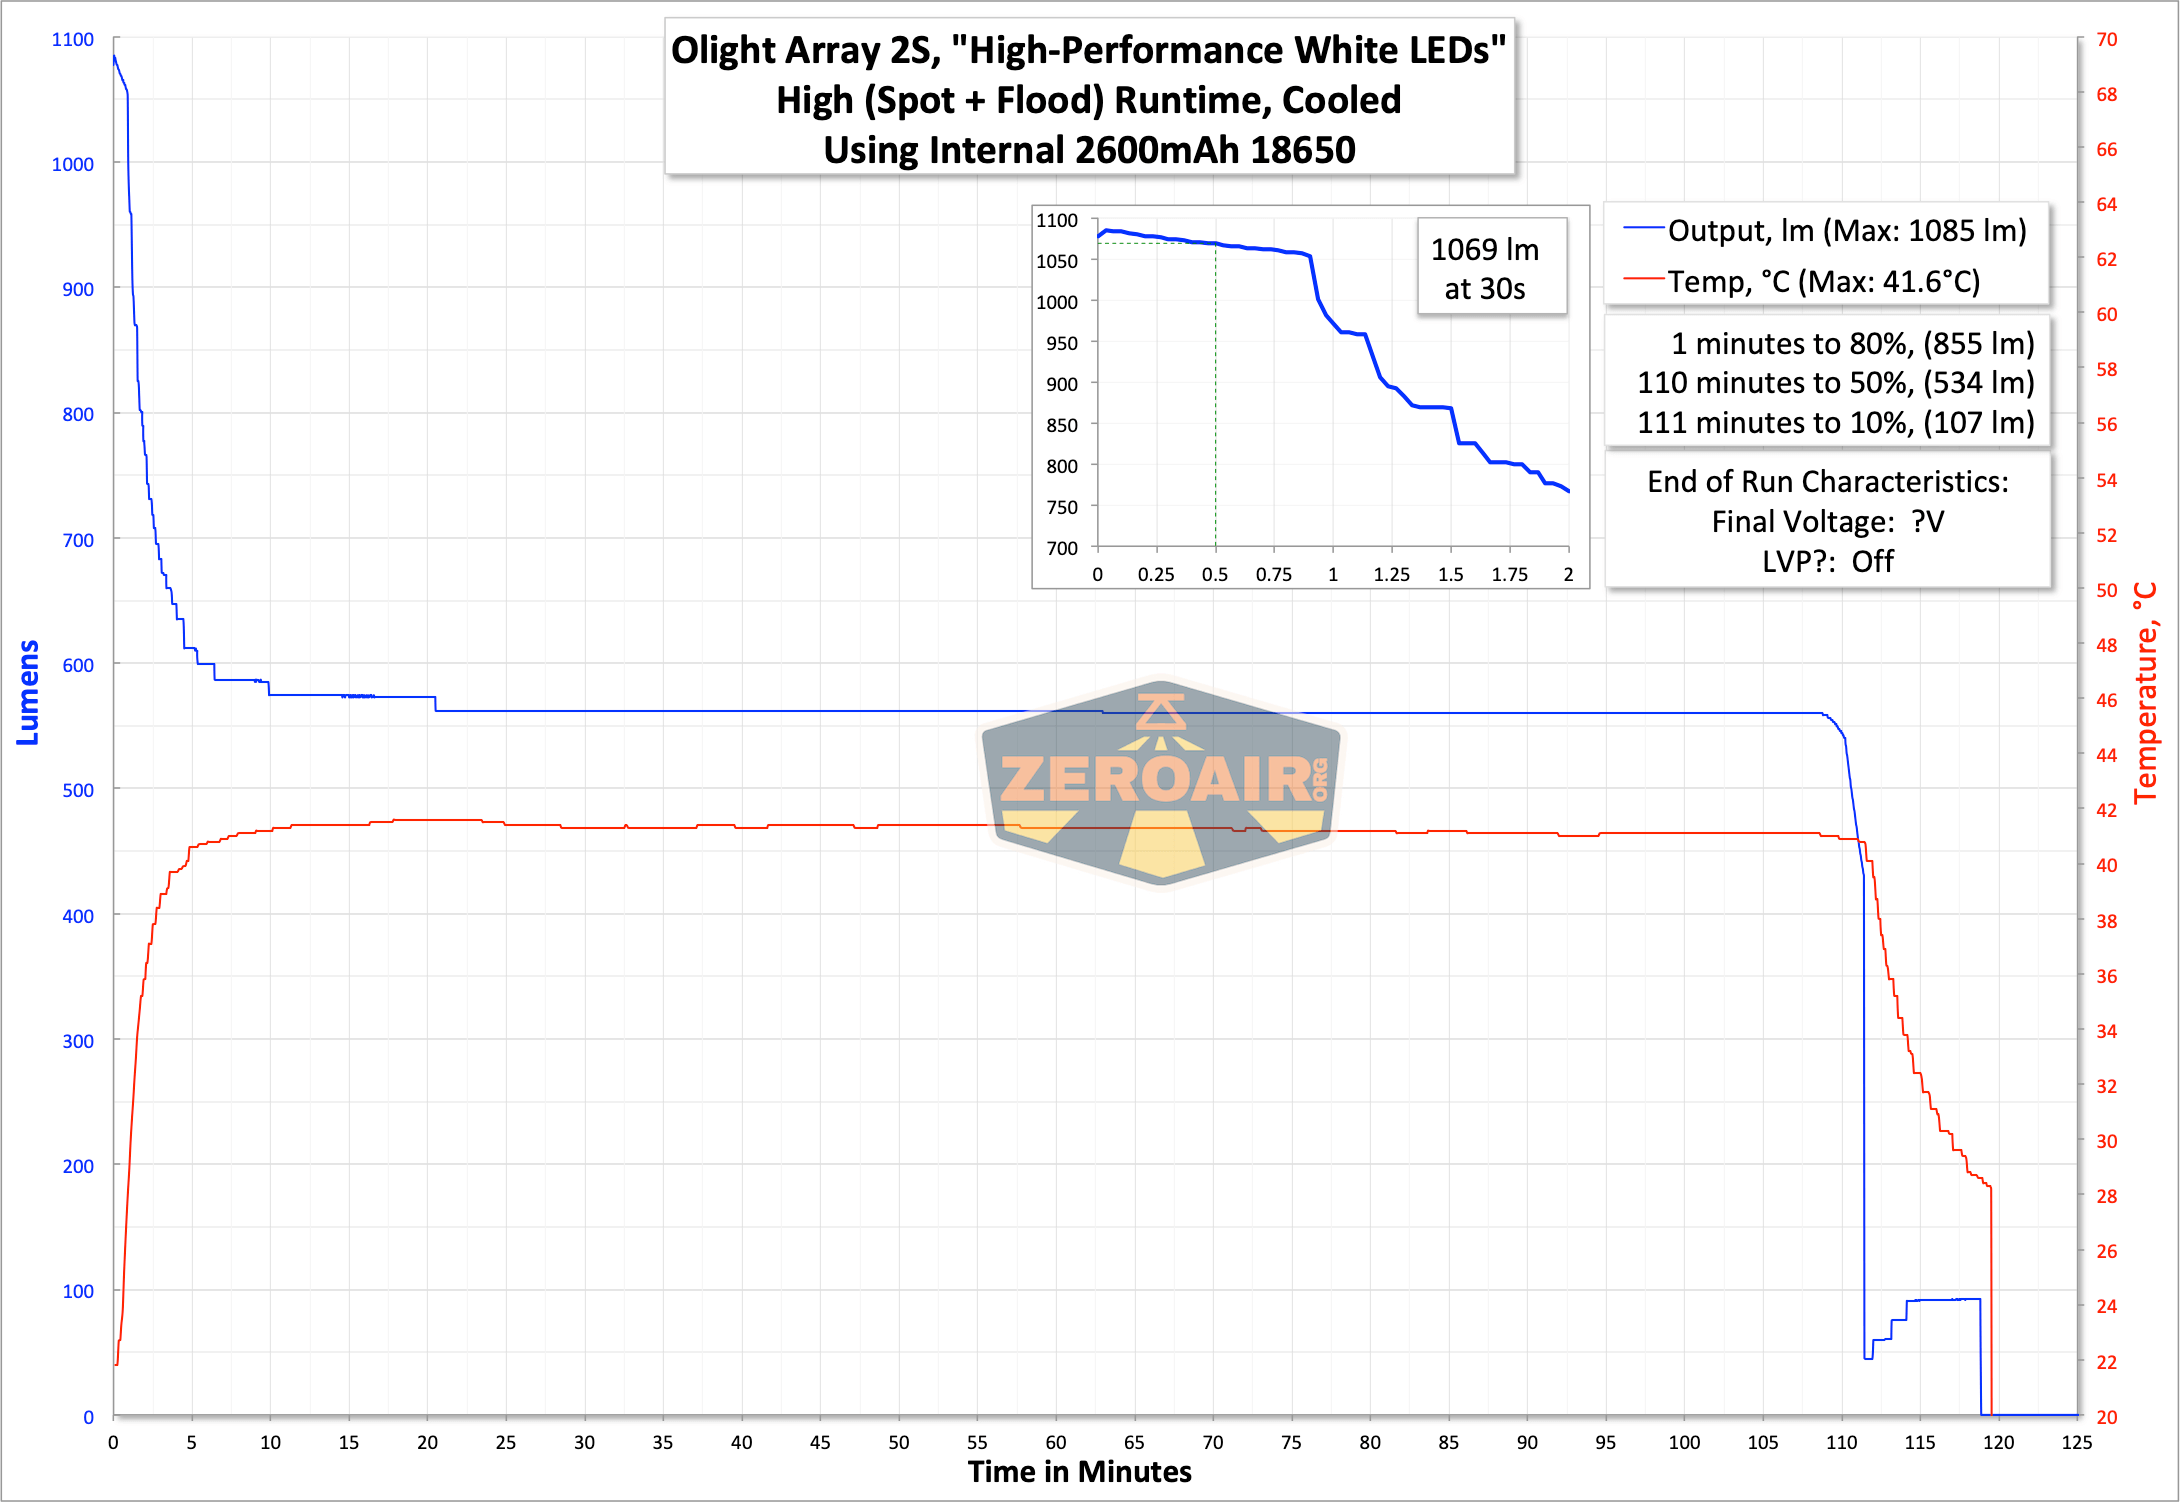
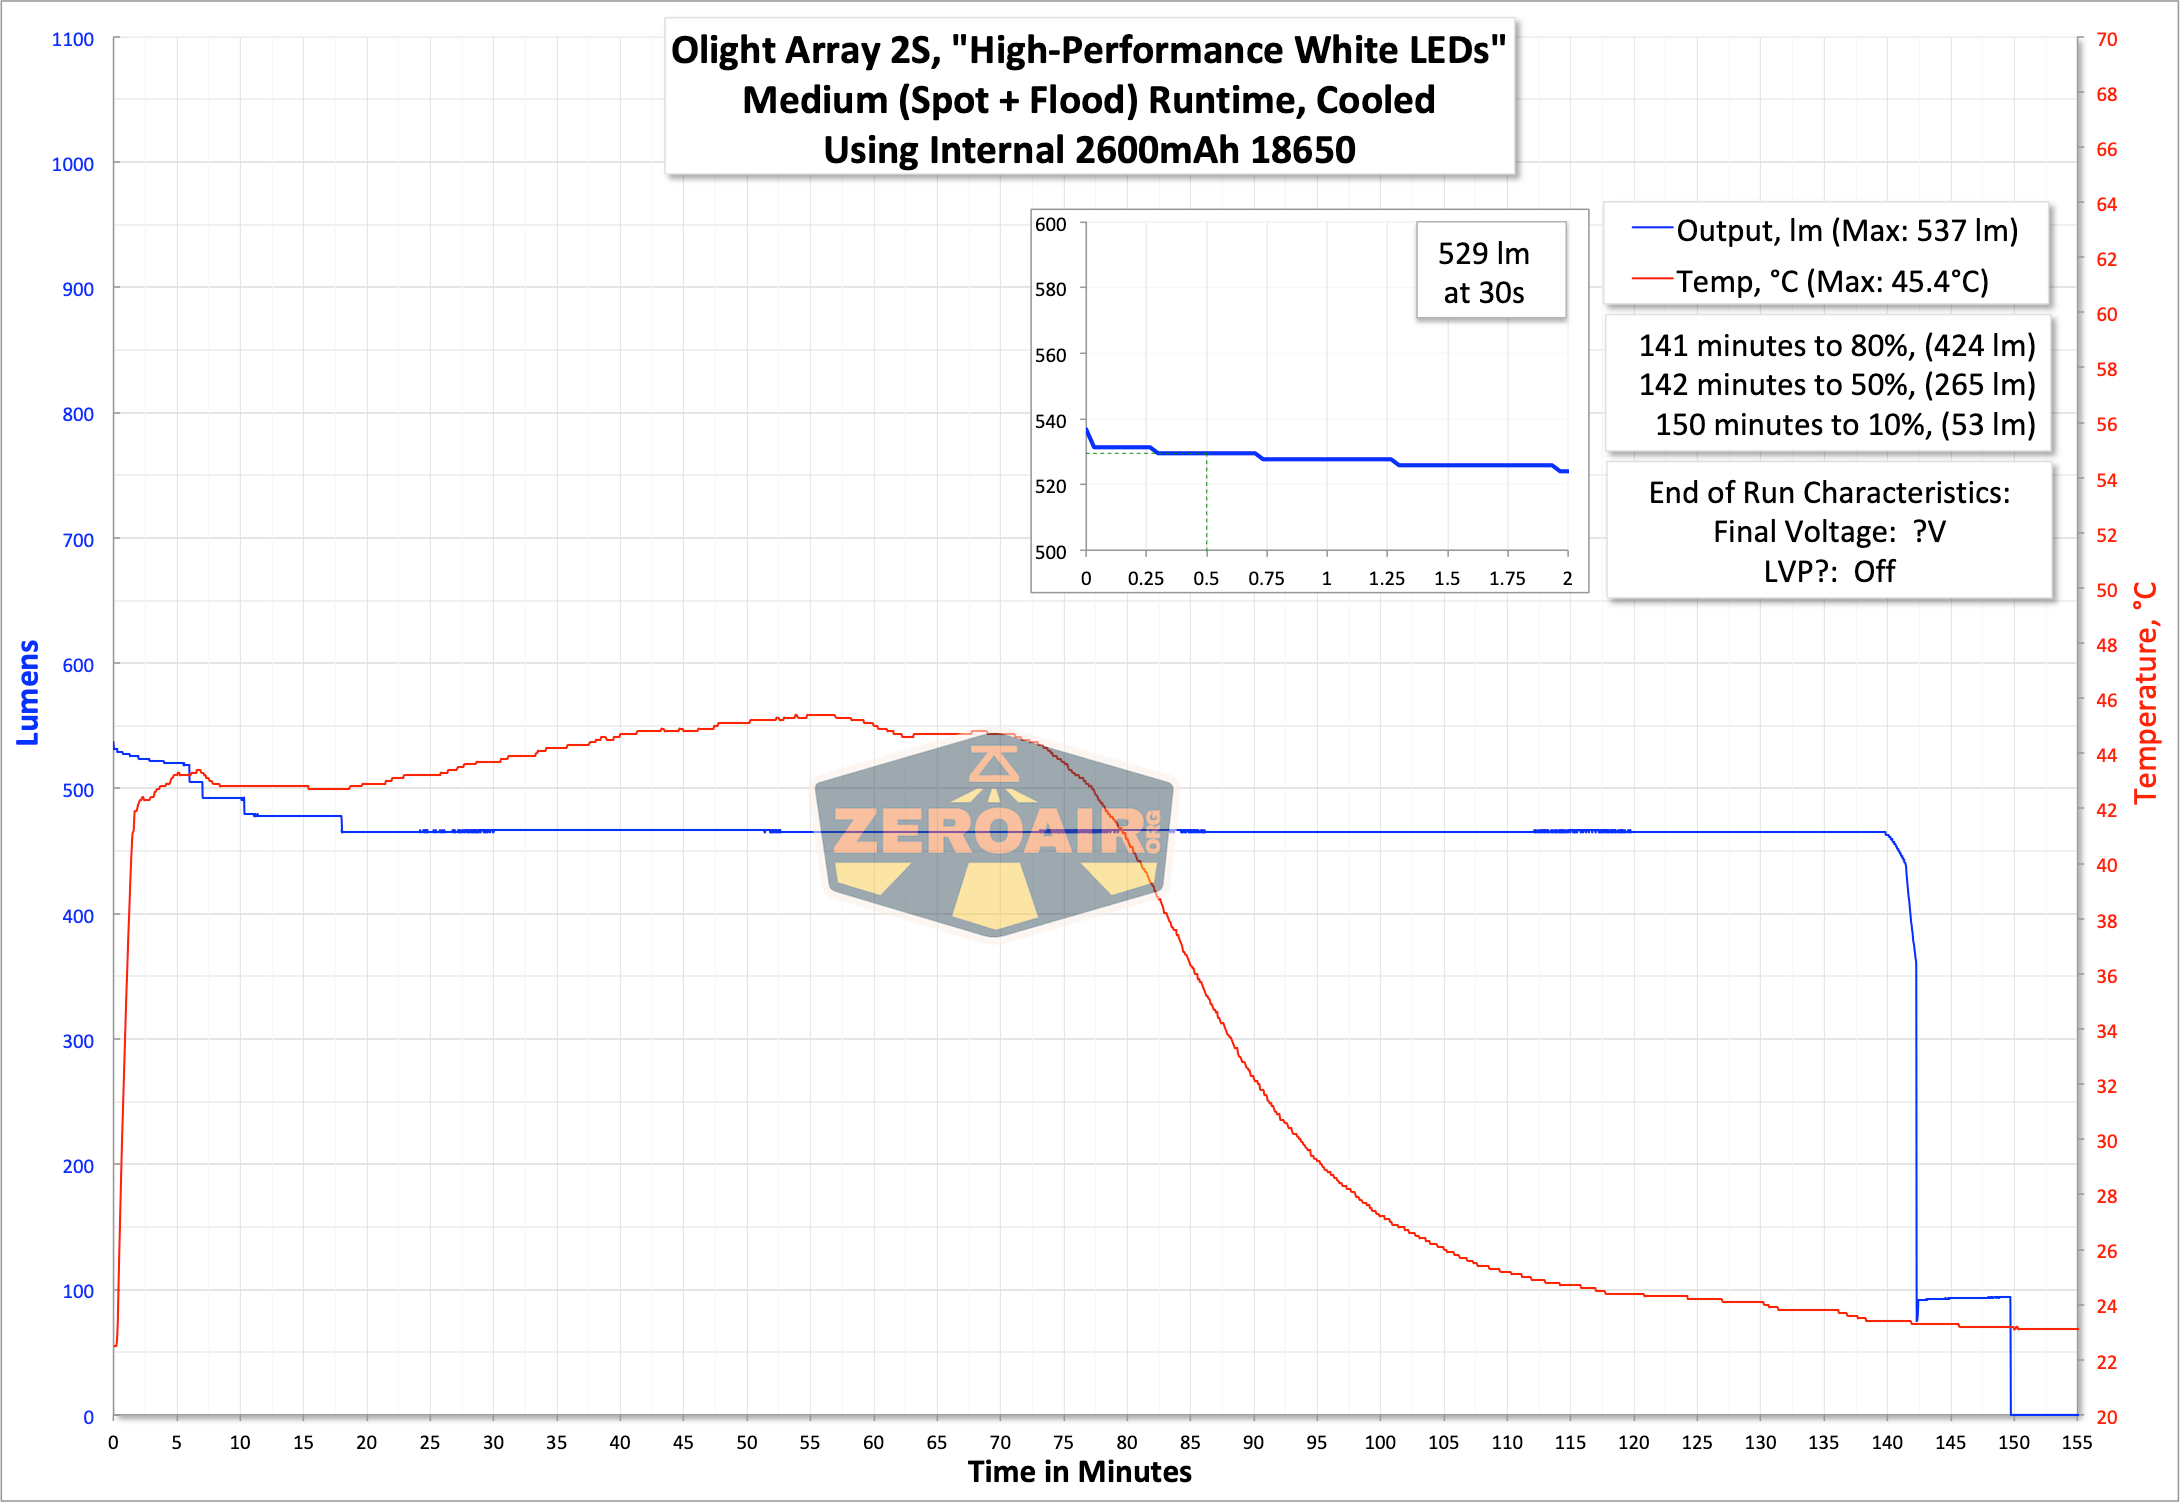
Below are a few runtime tests. These are all for the spot emitter. Interestingly, the spot emitter actually uses the bigger emitter and the flood emitter – there is no setting that uses only the spot emitter. The flood emitter is just the flood emitter, though.
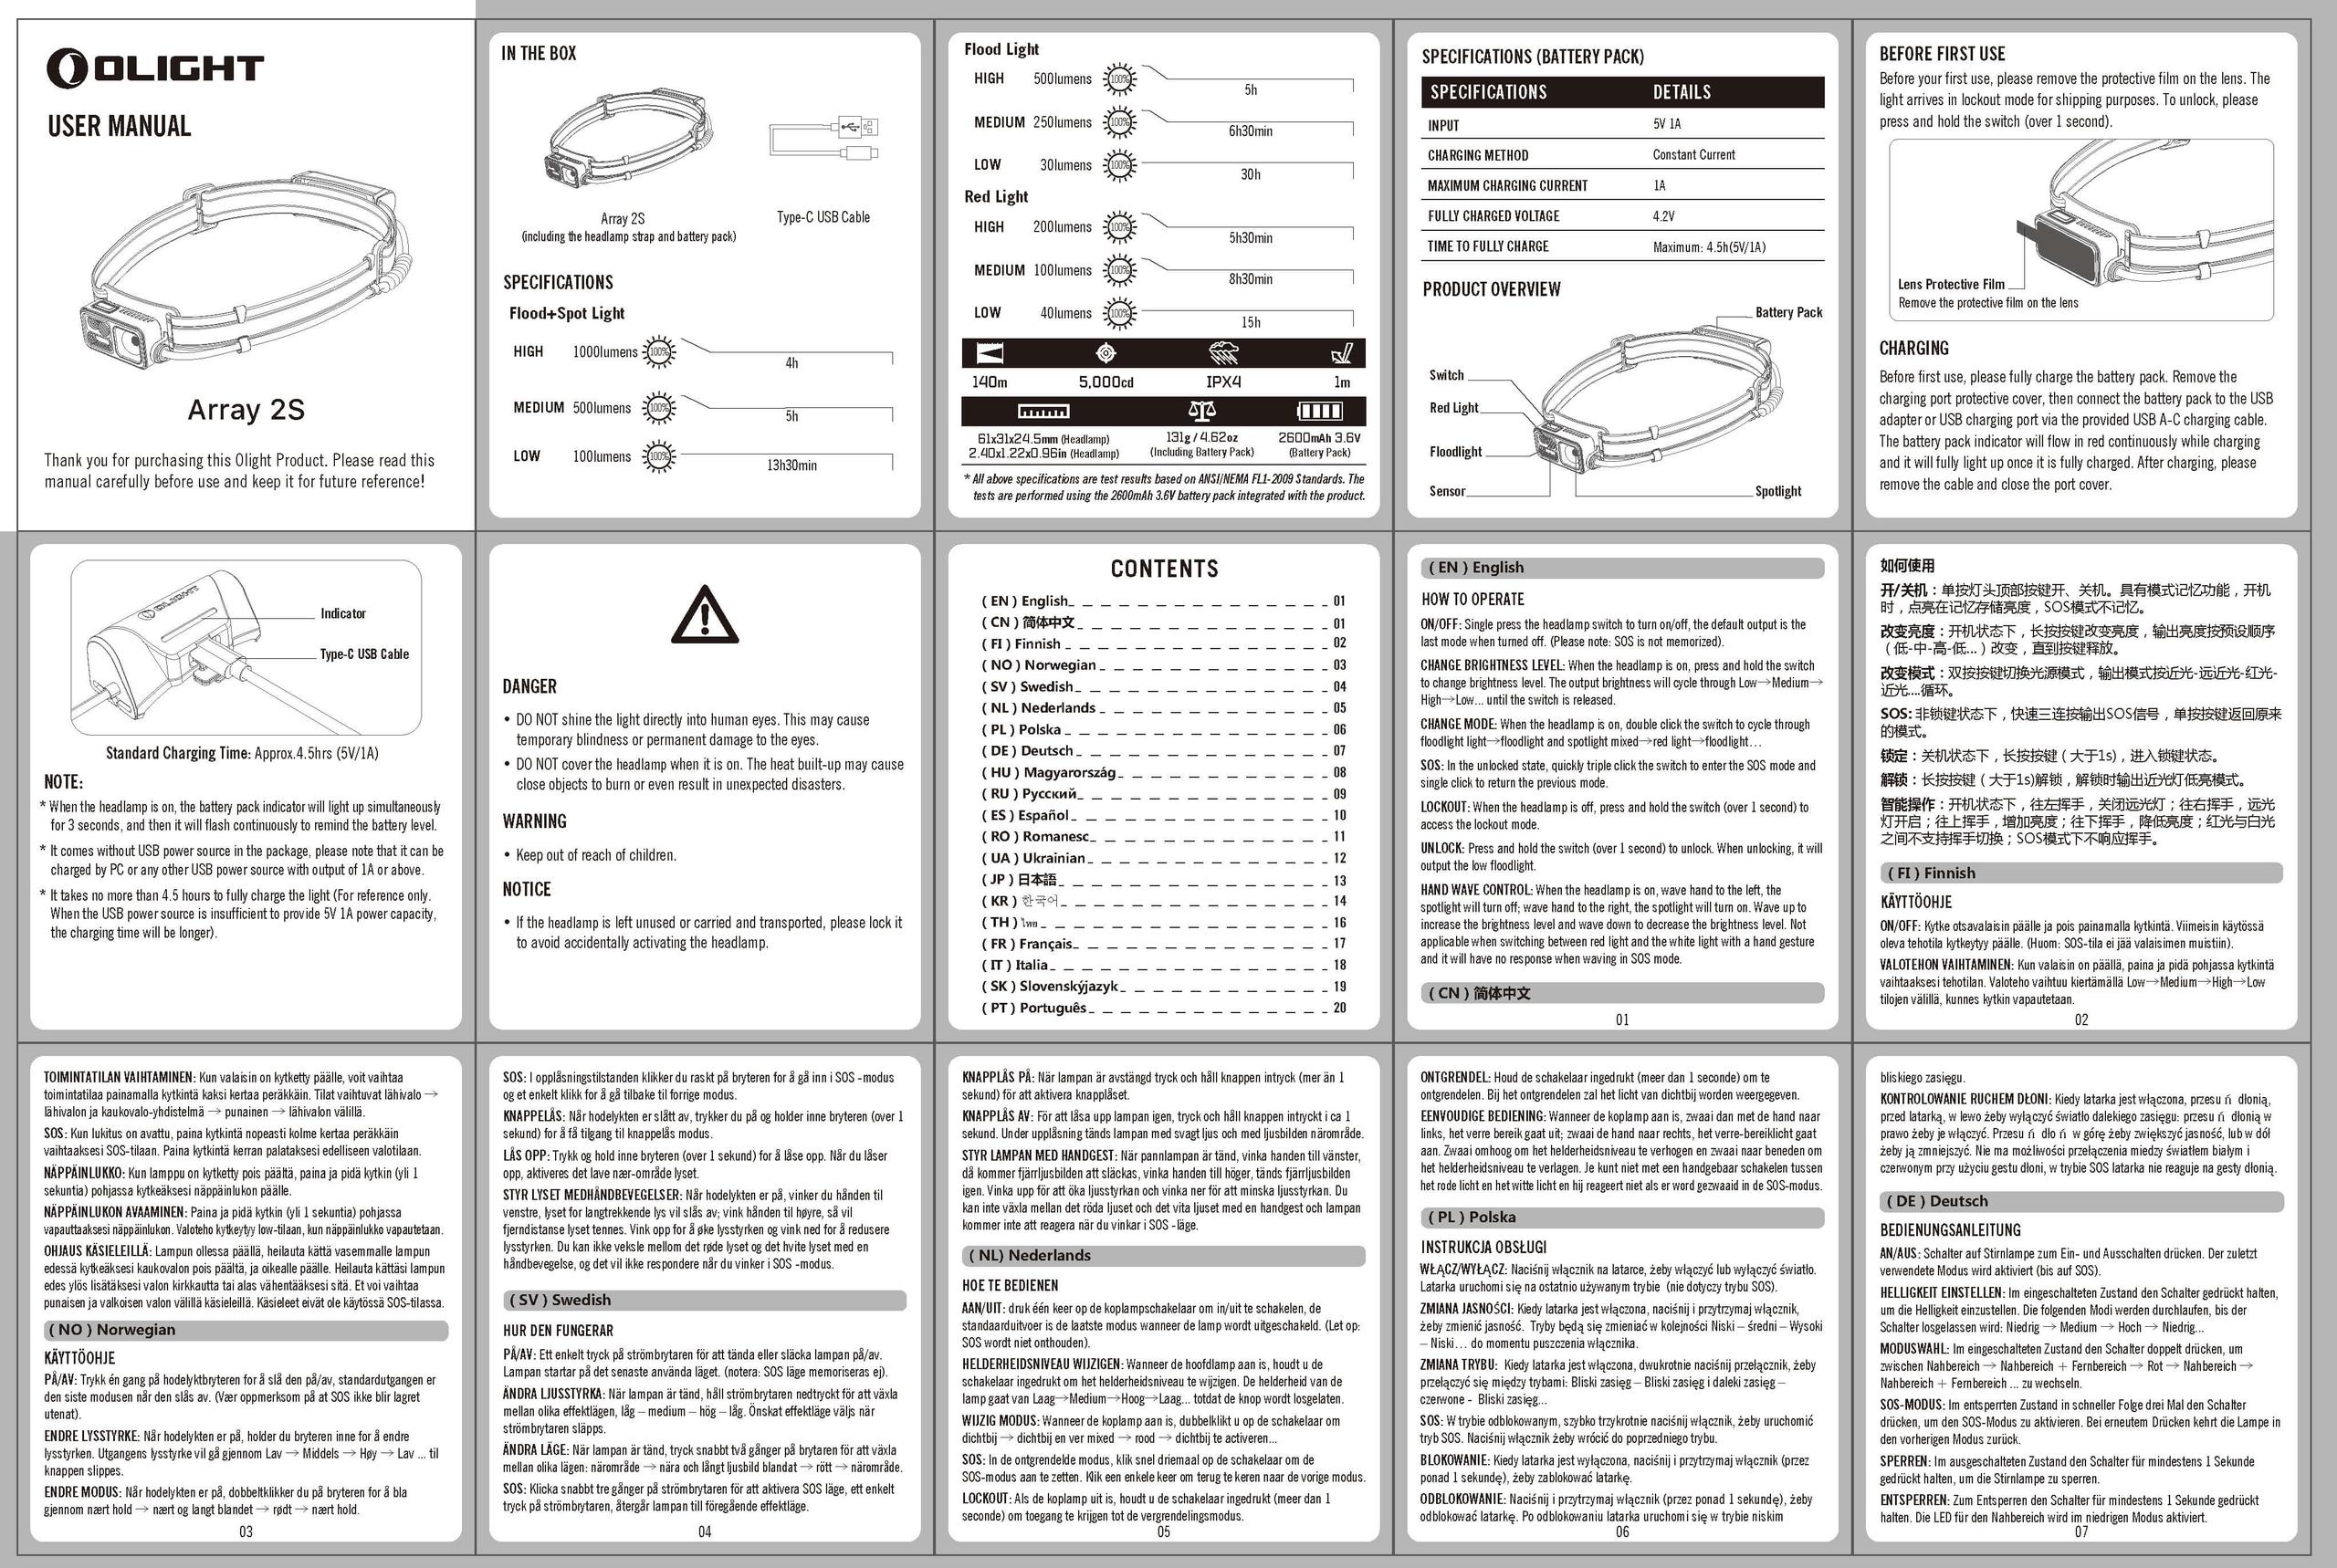
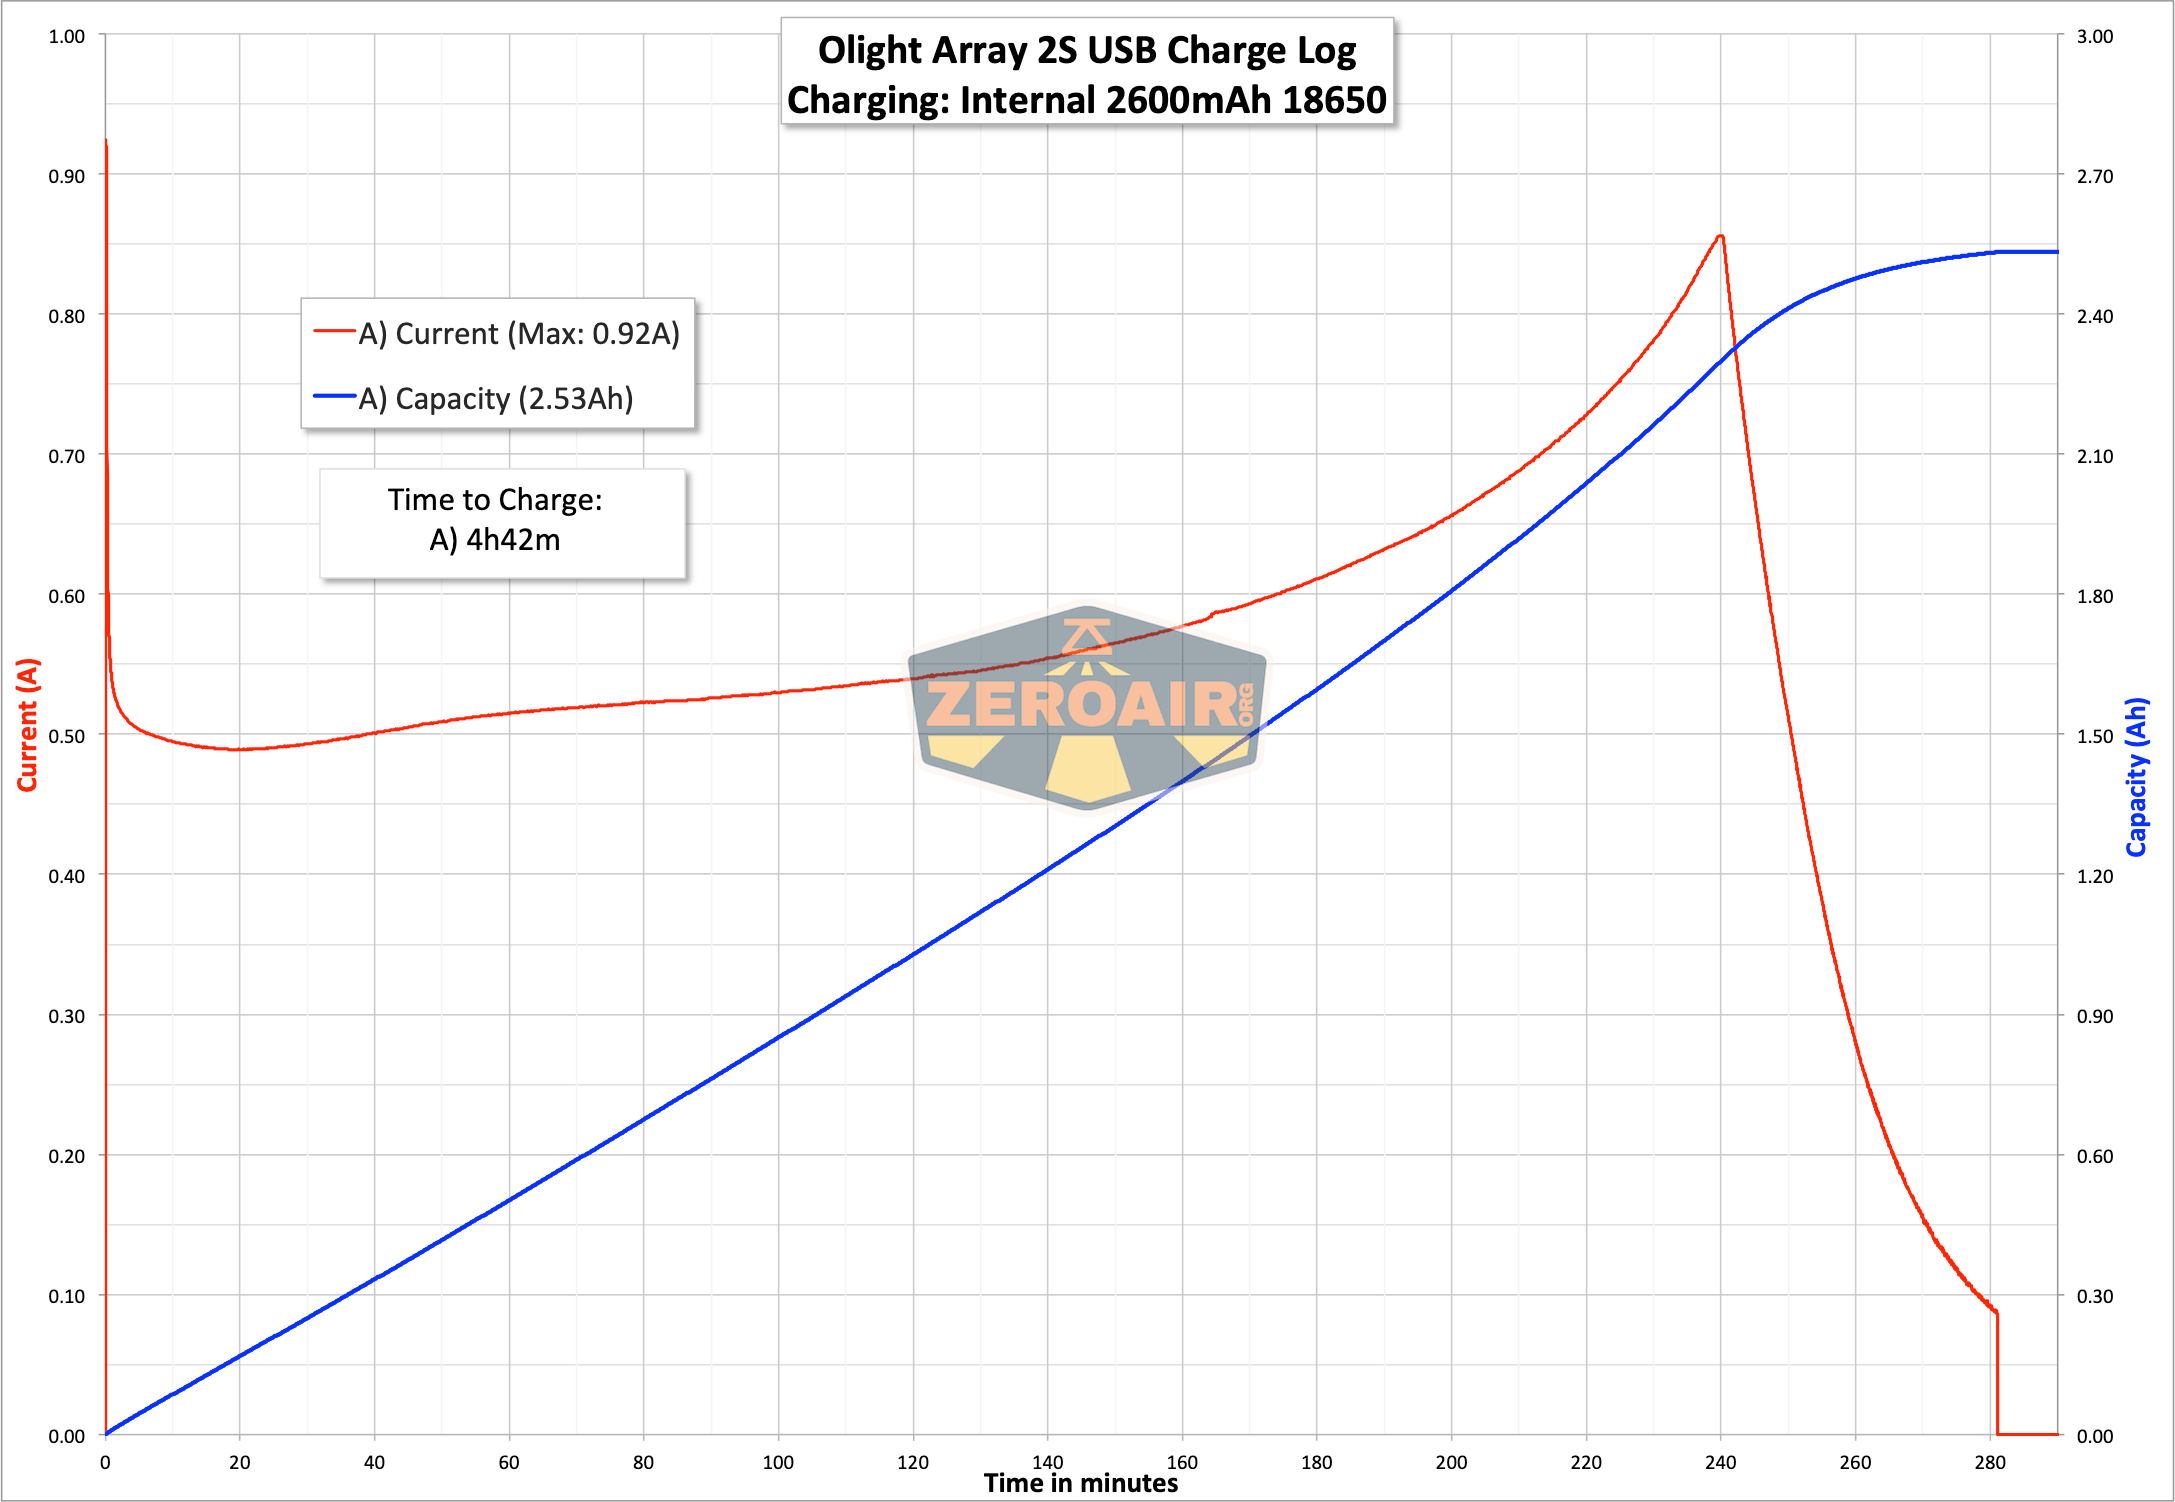
Charging
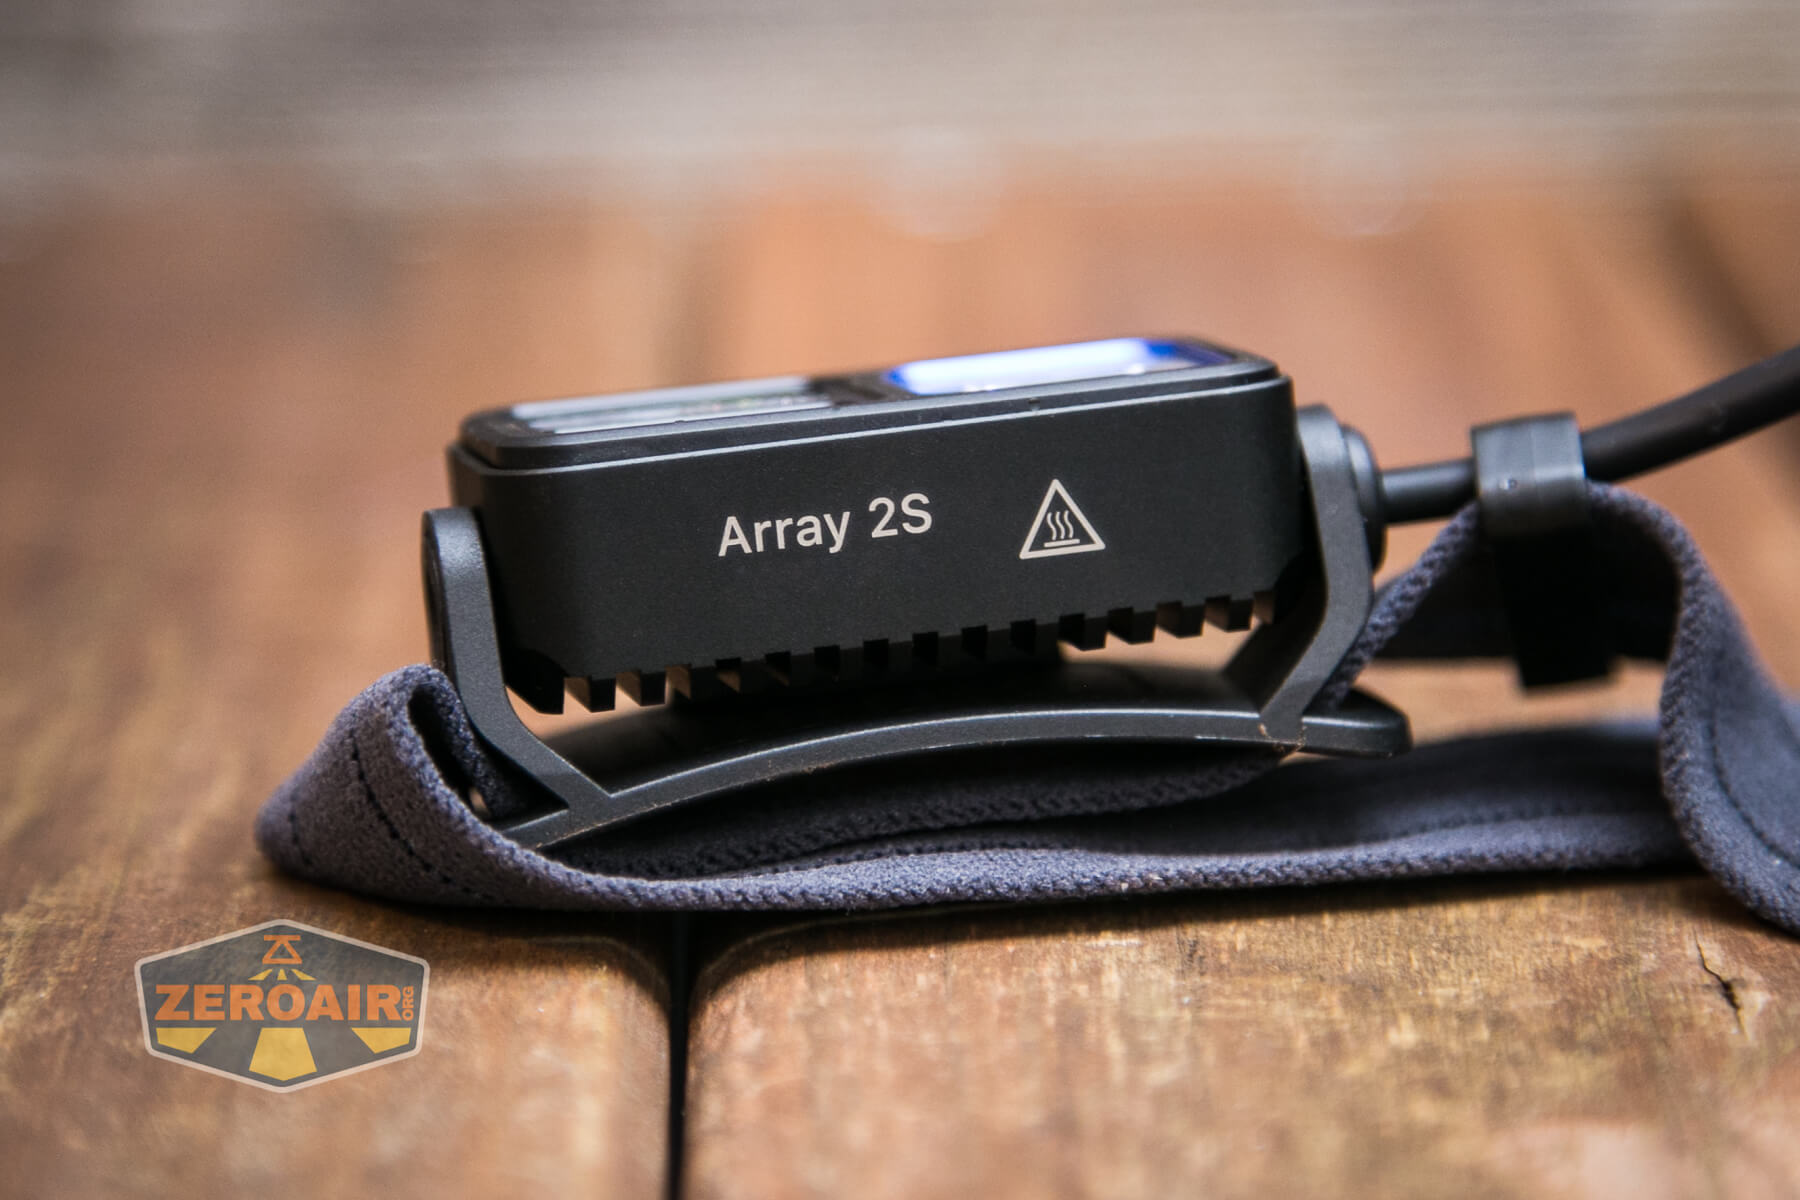
Of course, with the built-in cell comes onboard charging. In the case of the Olight Array 2S headlamp, it’s a USB-C charge port.
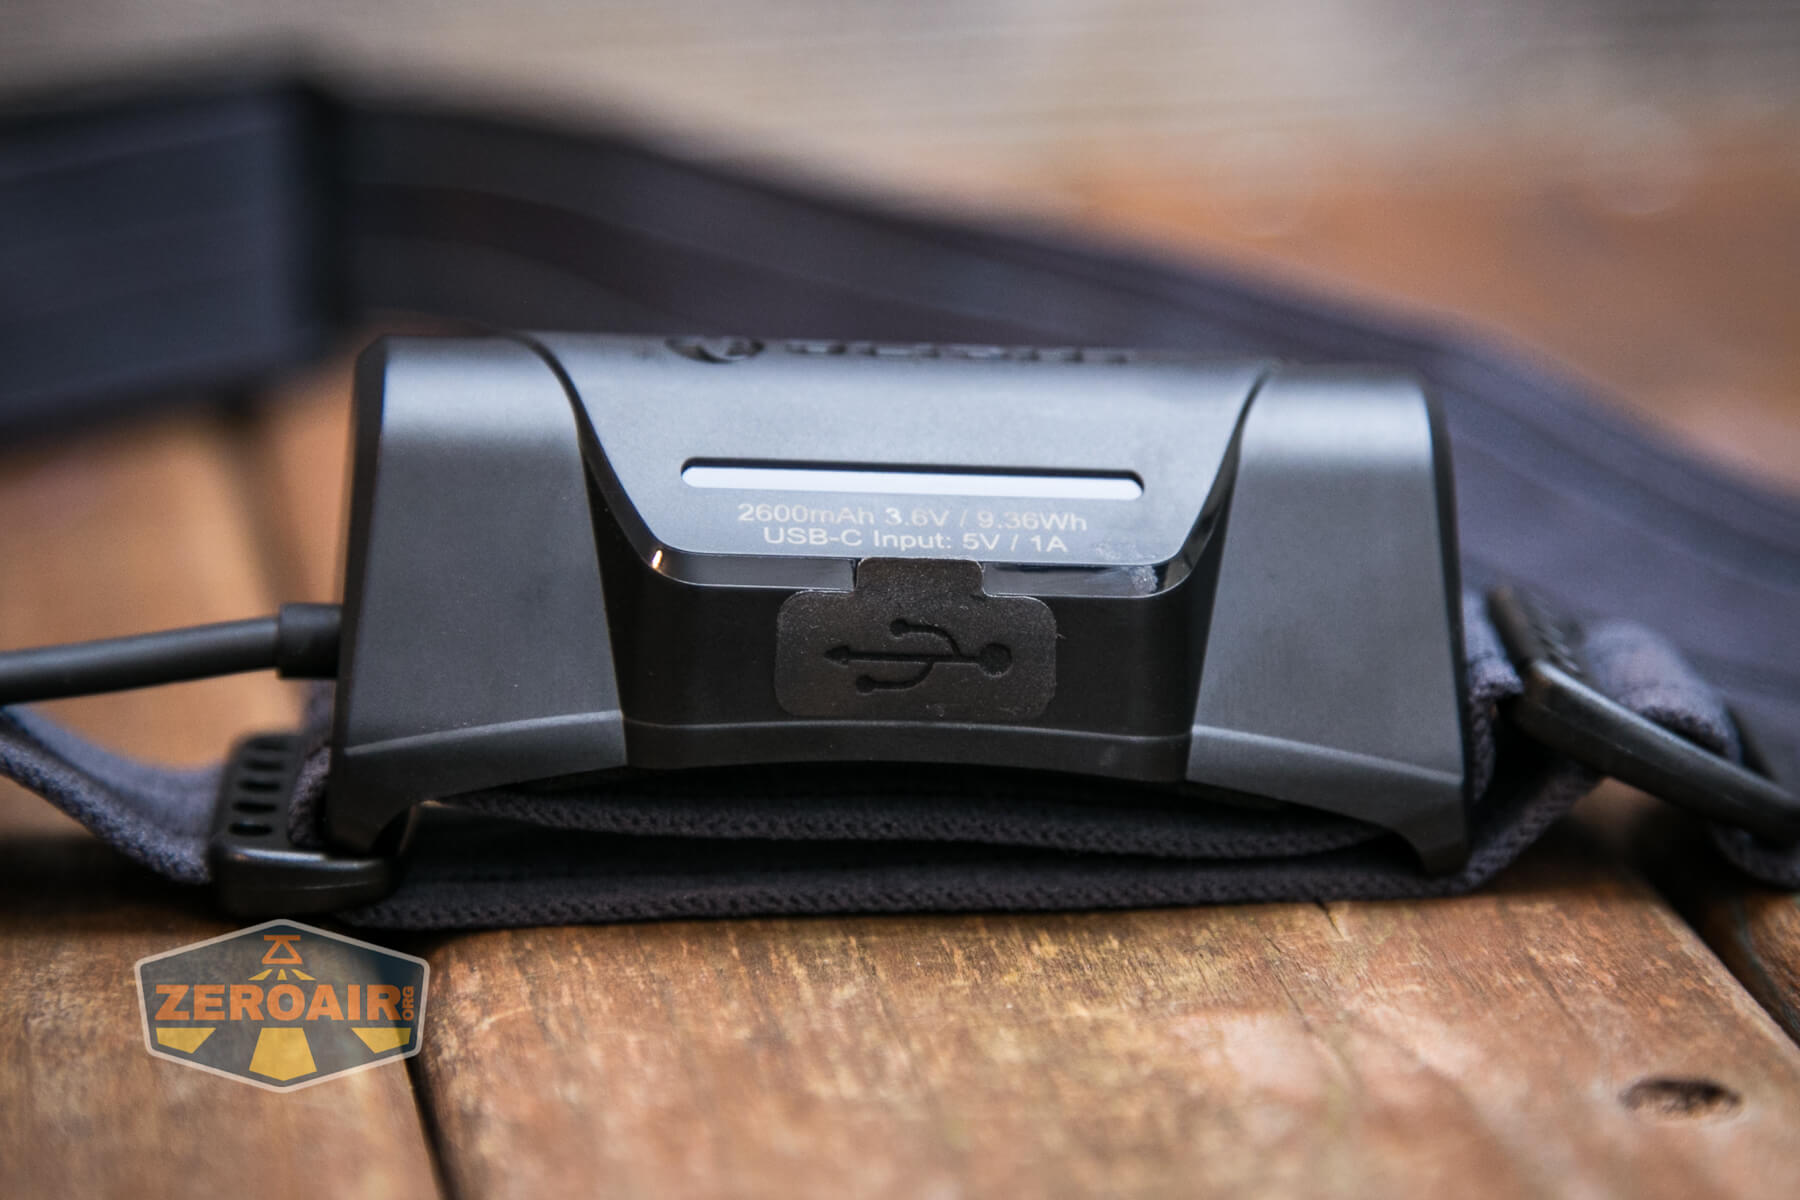
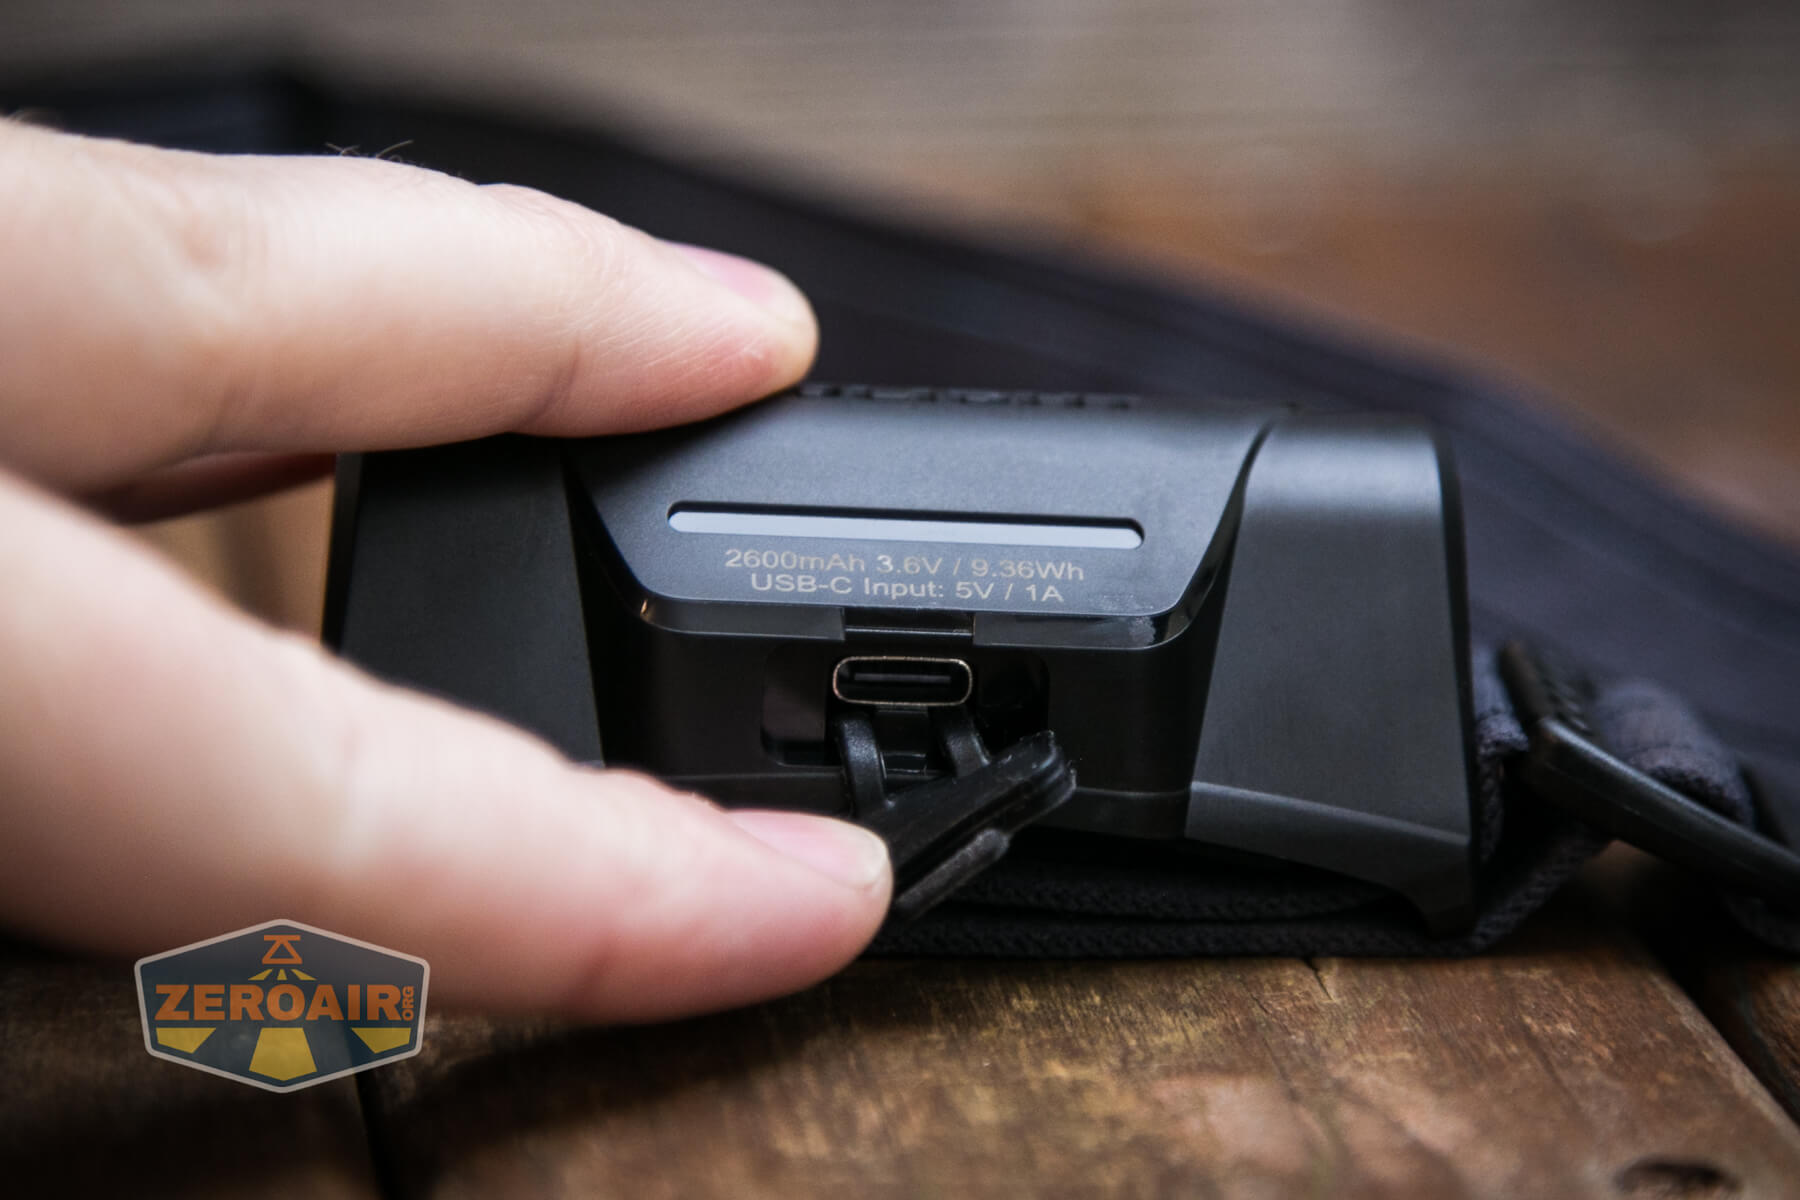
That’s quite great, actually, and I certainly appreciate that it’s not some proprietary means of charging.
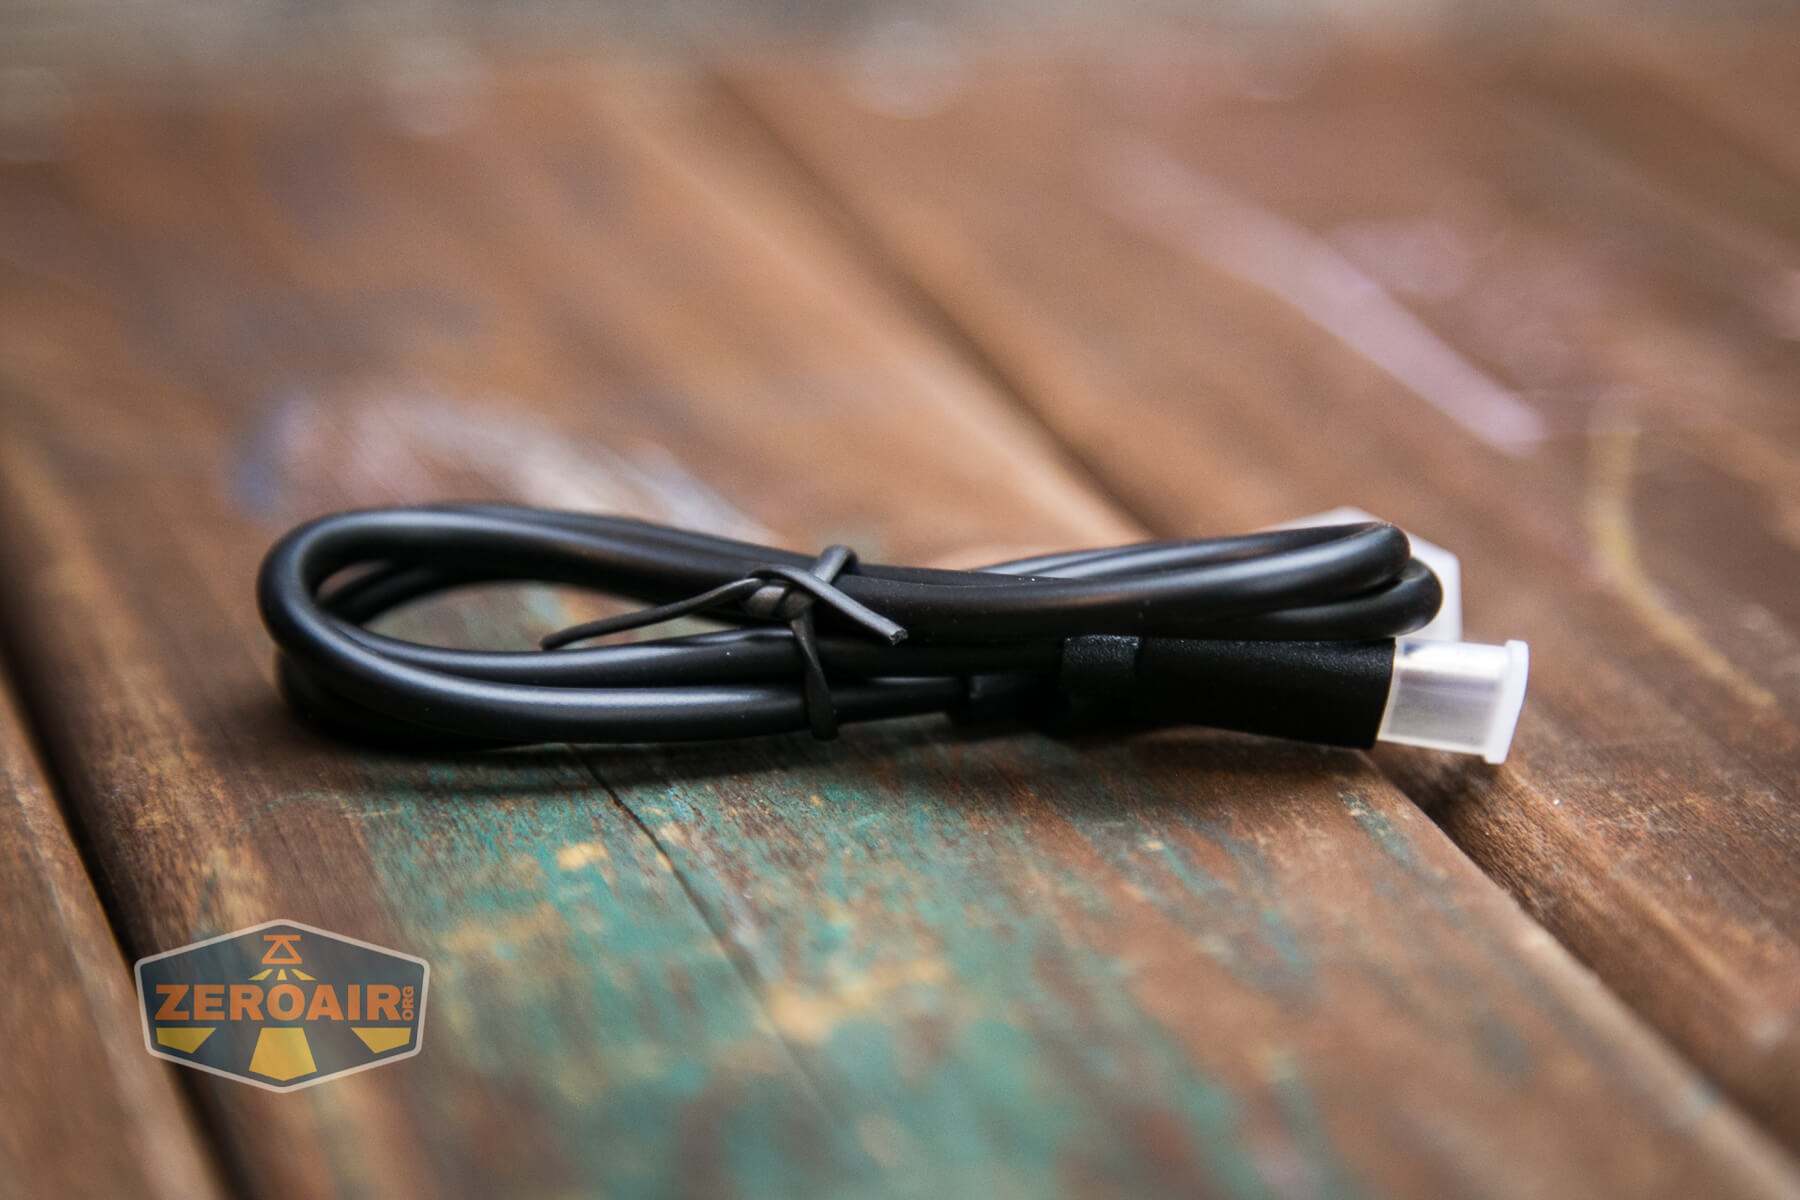
The charge rate is surprisingly not quick, but it does work with the USB cable that’s included, and USB-C to USB-C.

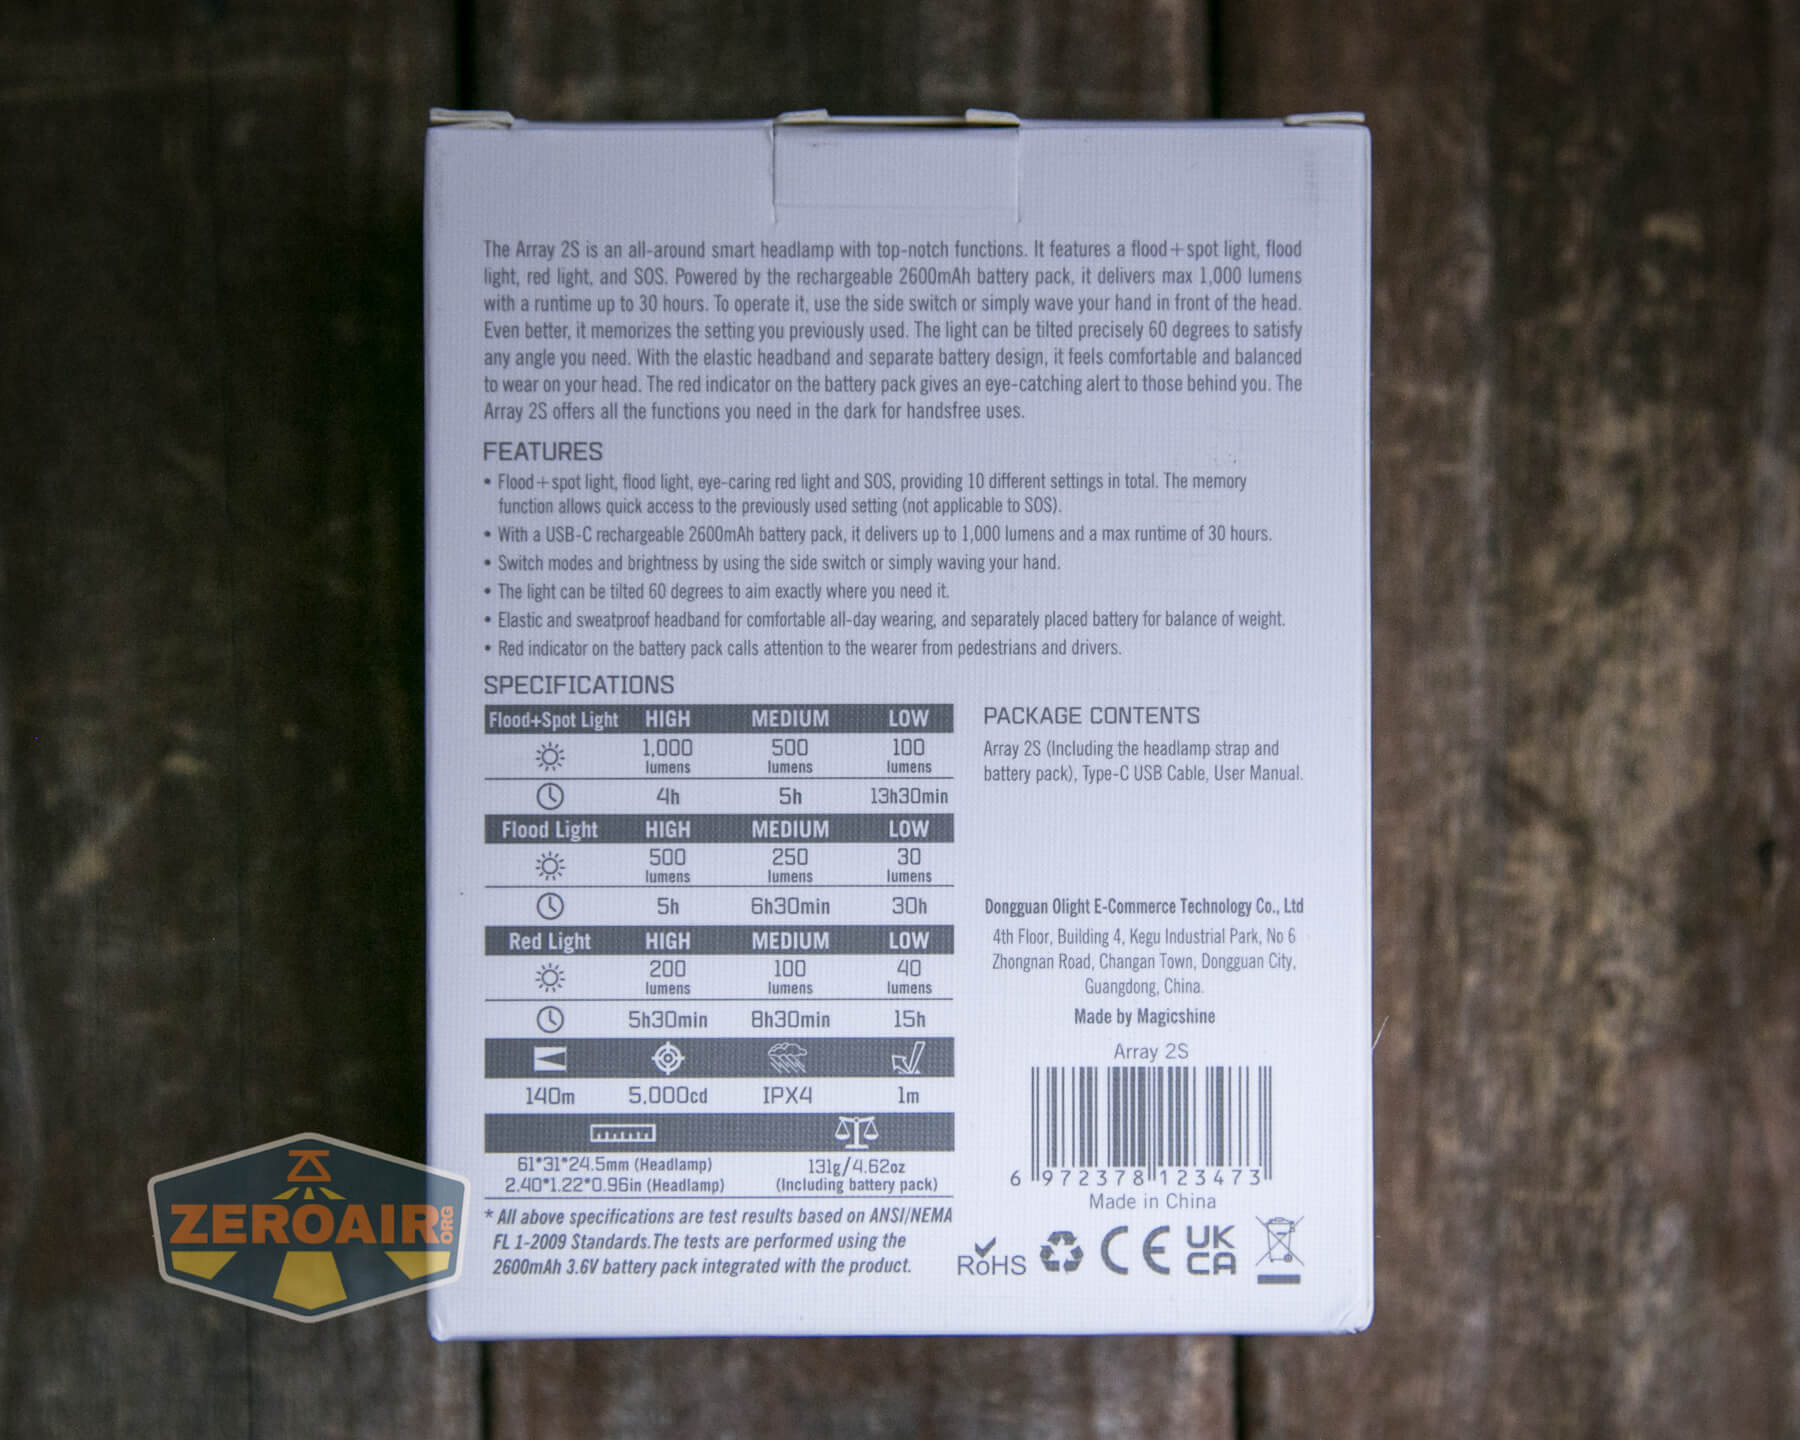
Modes and Currents
| Mode | Mode Claimed Output (lm) | Claimed Runtime | Measured Lumens |
|---|---|---|---|
| Spot + Flood | 1000 | 4h | 1069 |
| Spot + Flood | 500 | 5h | 529 |
| Spot + Flood | 100 | 13.5h | 93 |
| Flood | 500 | 5h | 489 |
| Flood | 250 | 6h30m | 240 |
| Flood | 30 | 30h | 26 |
| Red | 200 | 5h30m | Brightest |
| Red | 100 | 8h30m | Bright |
| Red | 40 | 5h | Less bright |
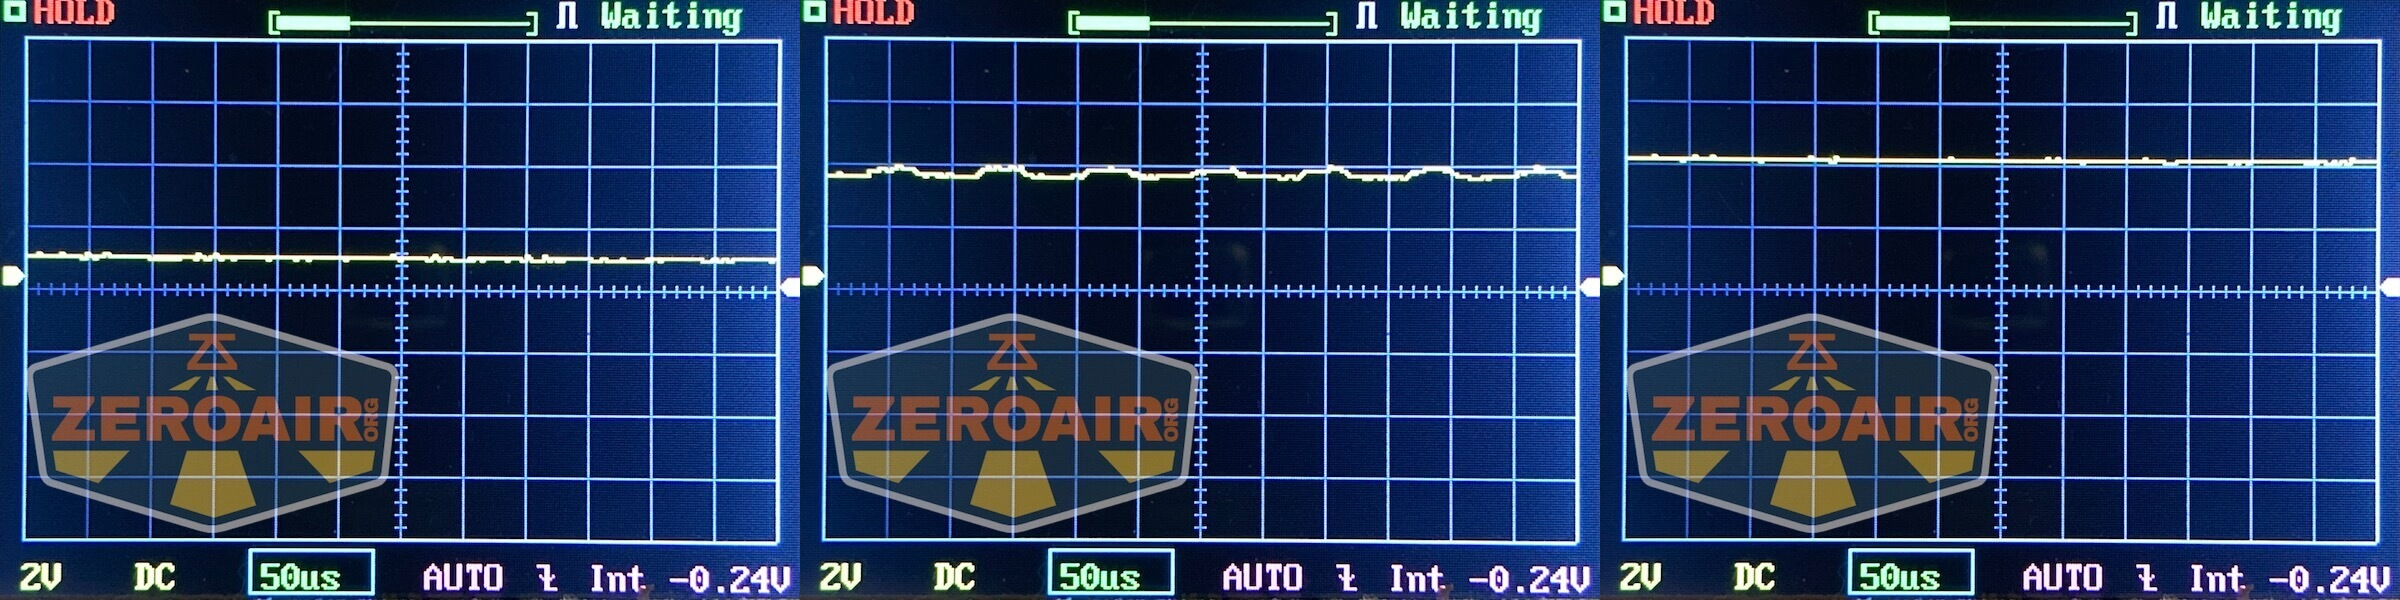
Pulse Width Modulation
What these modes have may not be really PWM. But there’s a bit of weirdness on the scope, which I can’t even see in person anyway. So nothing here is anything you should worry about.
From here to the end, all groups of three photos are in the same order. The first three are the flood emitter.
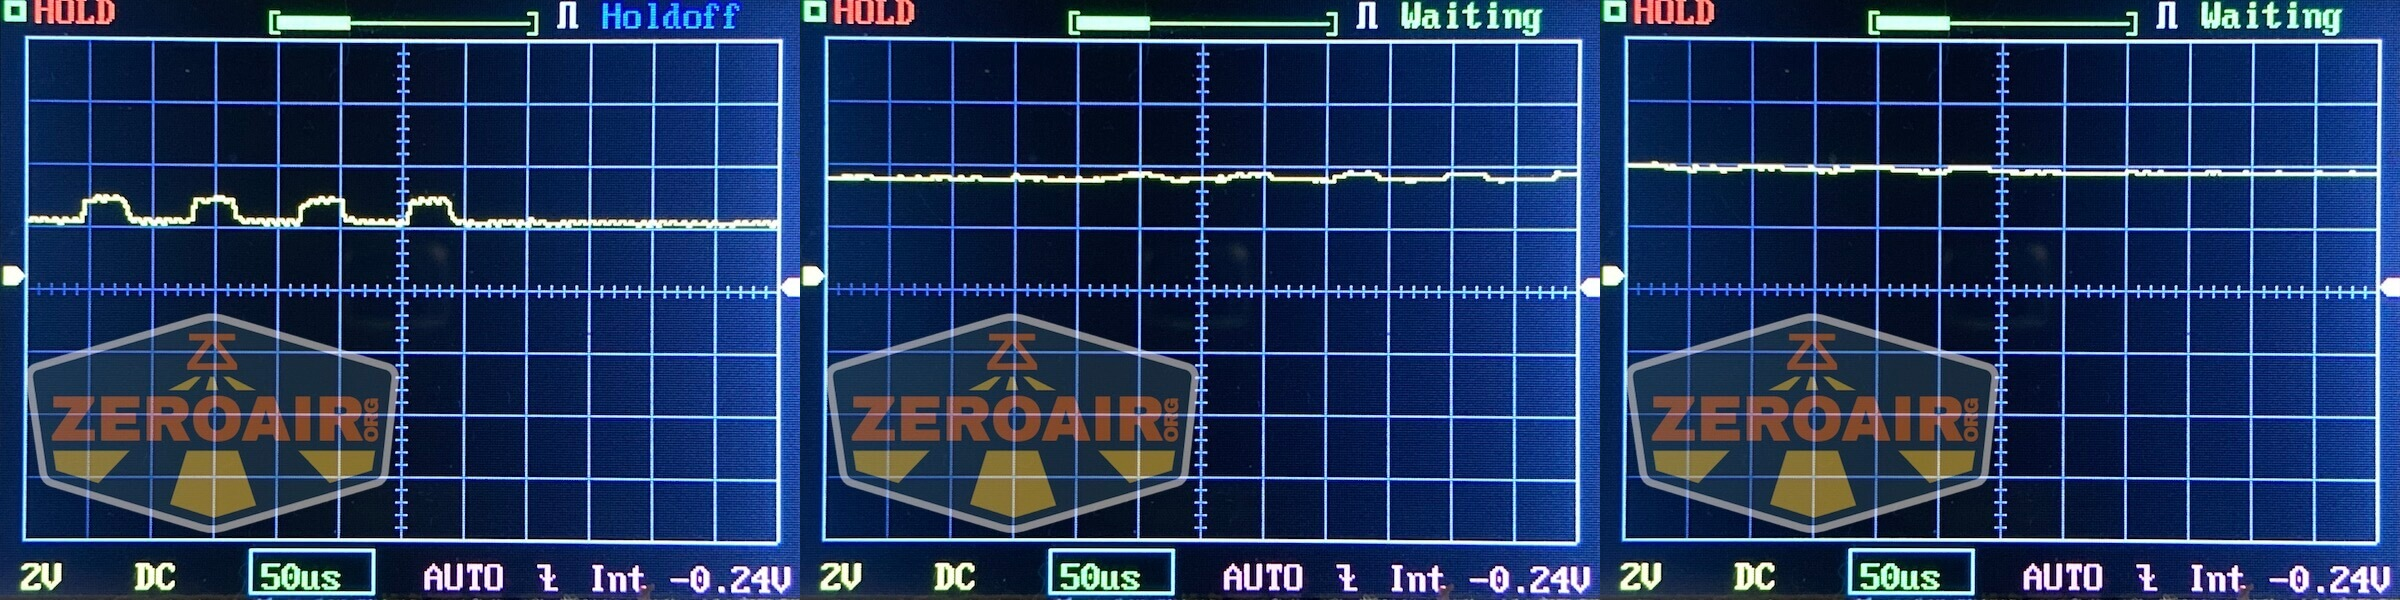 Next is the spot emitter (which also includes flood, remember).
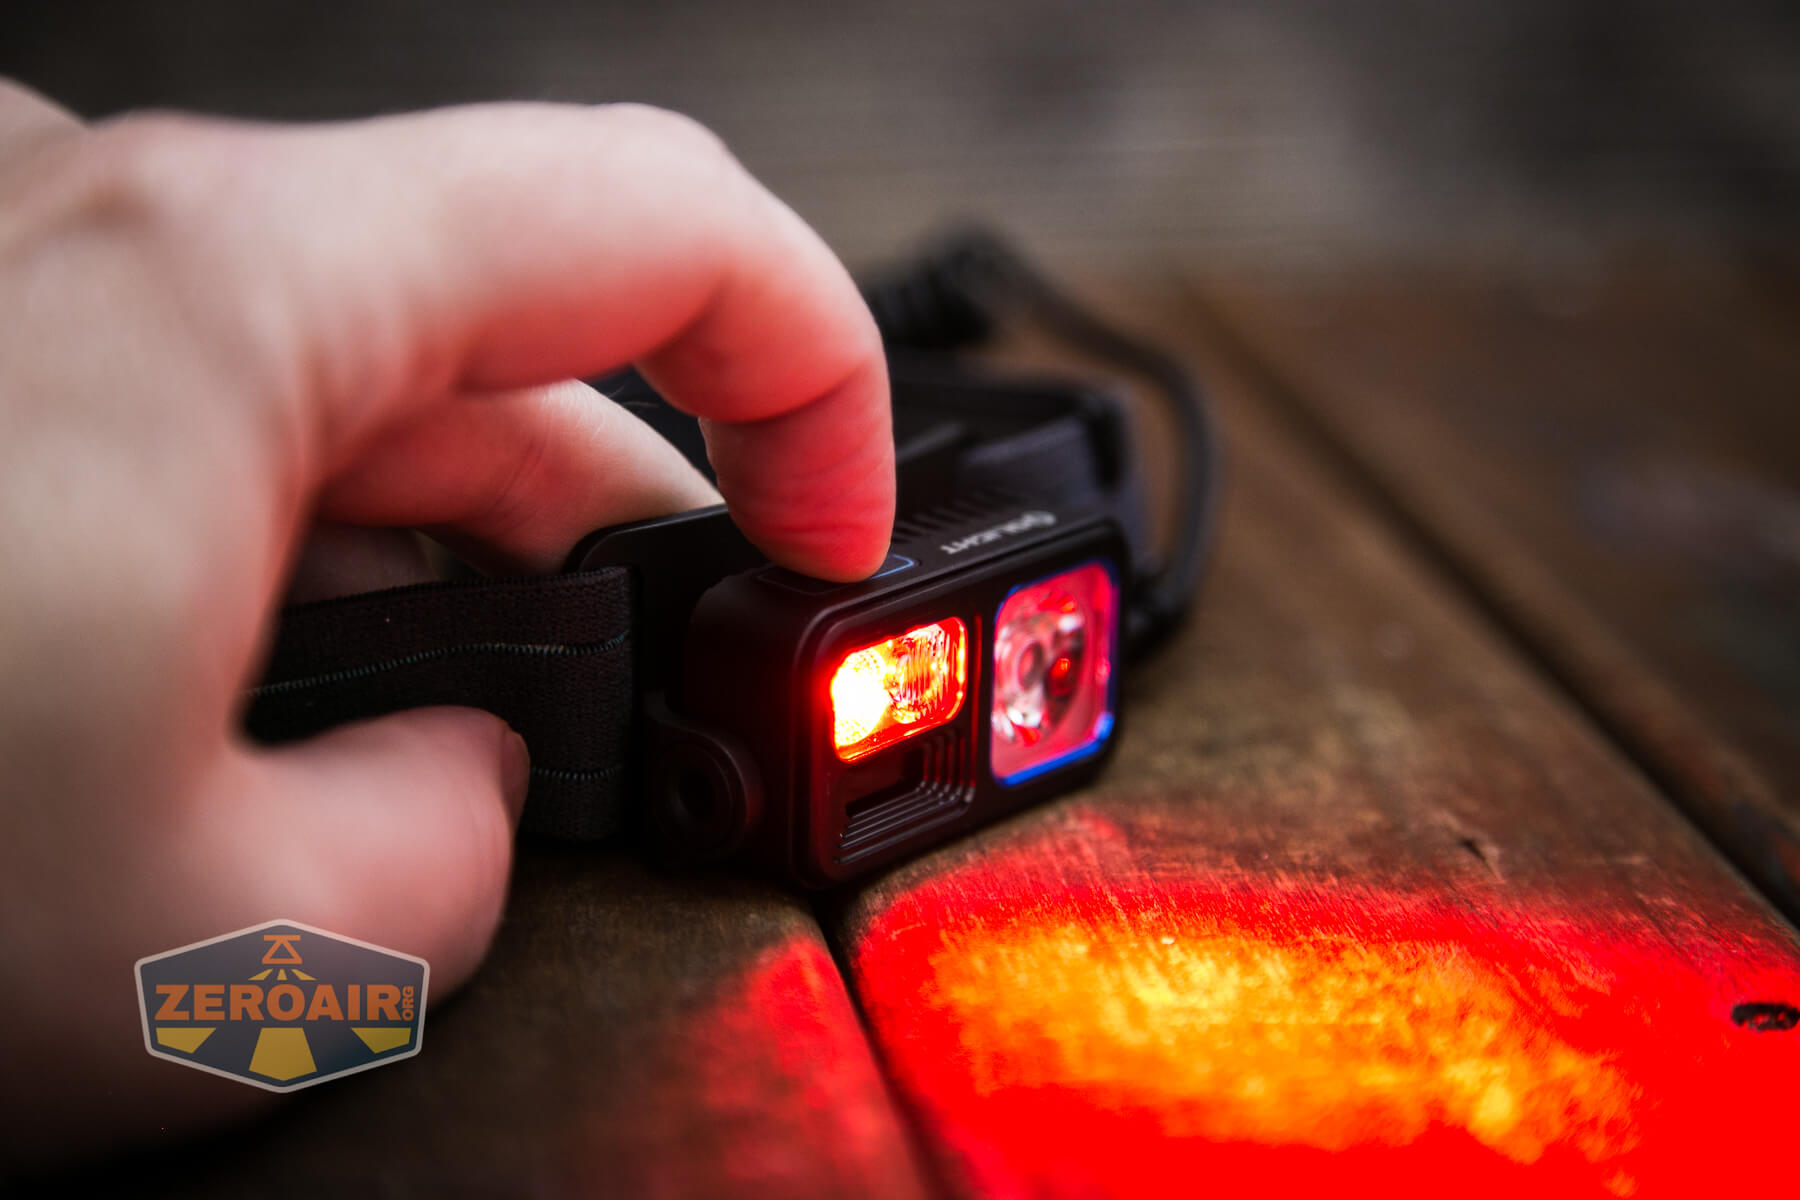
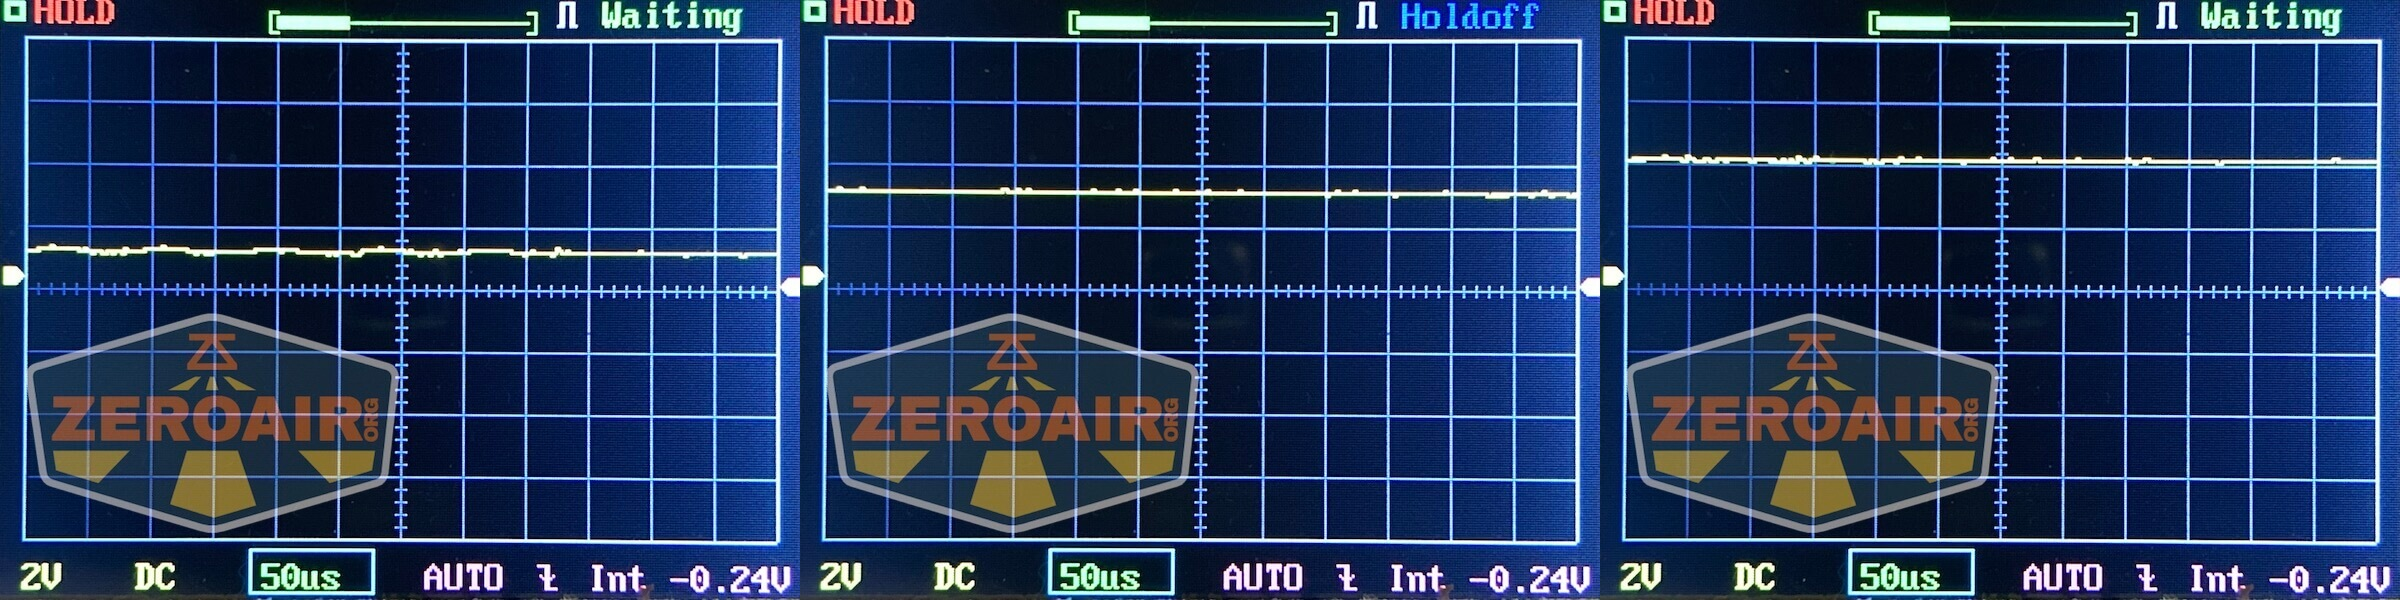 Finally, there’s the red emitter.
 Here you can see a “baseline” – a chart with almost no light hitting the sensor.
Then there’s the Ultrafire WF-602C flashlight, which has some of the worst PWM I’ve seen. It’s so bad that I used a post about it to explain PWM! Here are multiple timescales (10ms, 5ms, 2ms, 1ms, 0.5ms, 0.2ms) to make comparing this “worst” PWM light to the test light easier. That post also explains why I didn’t test the WF-602C at the usual 50us scale.
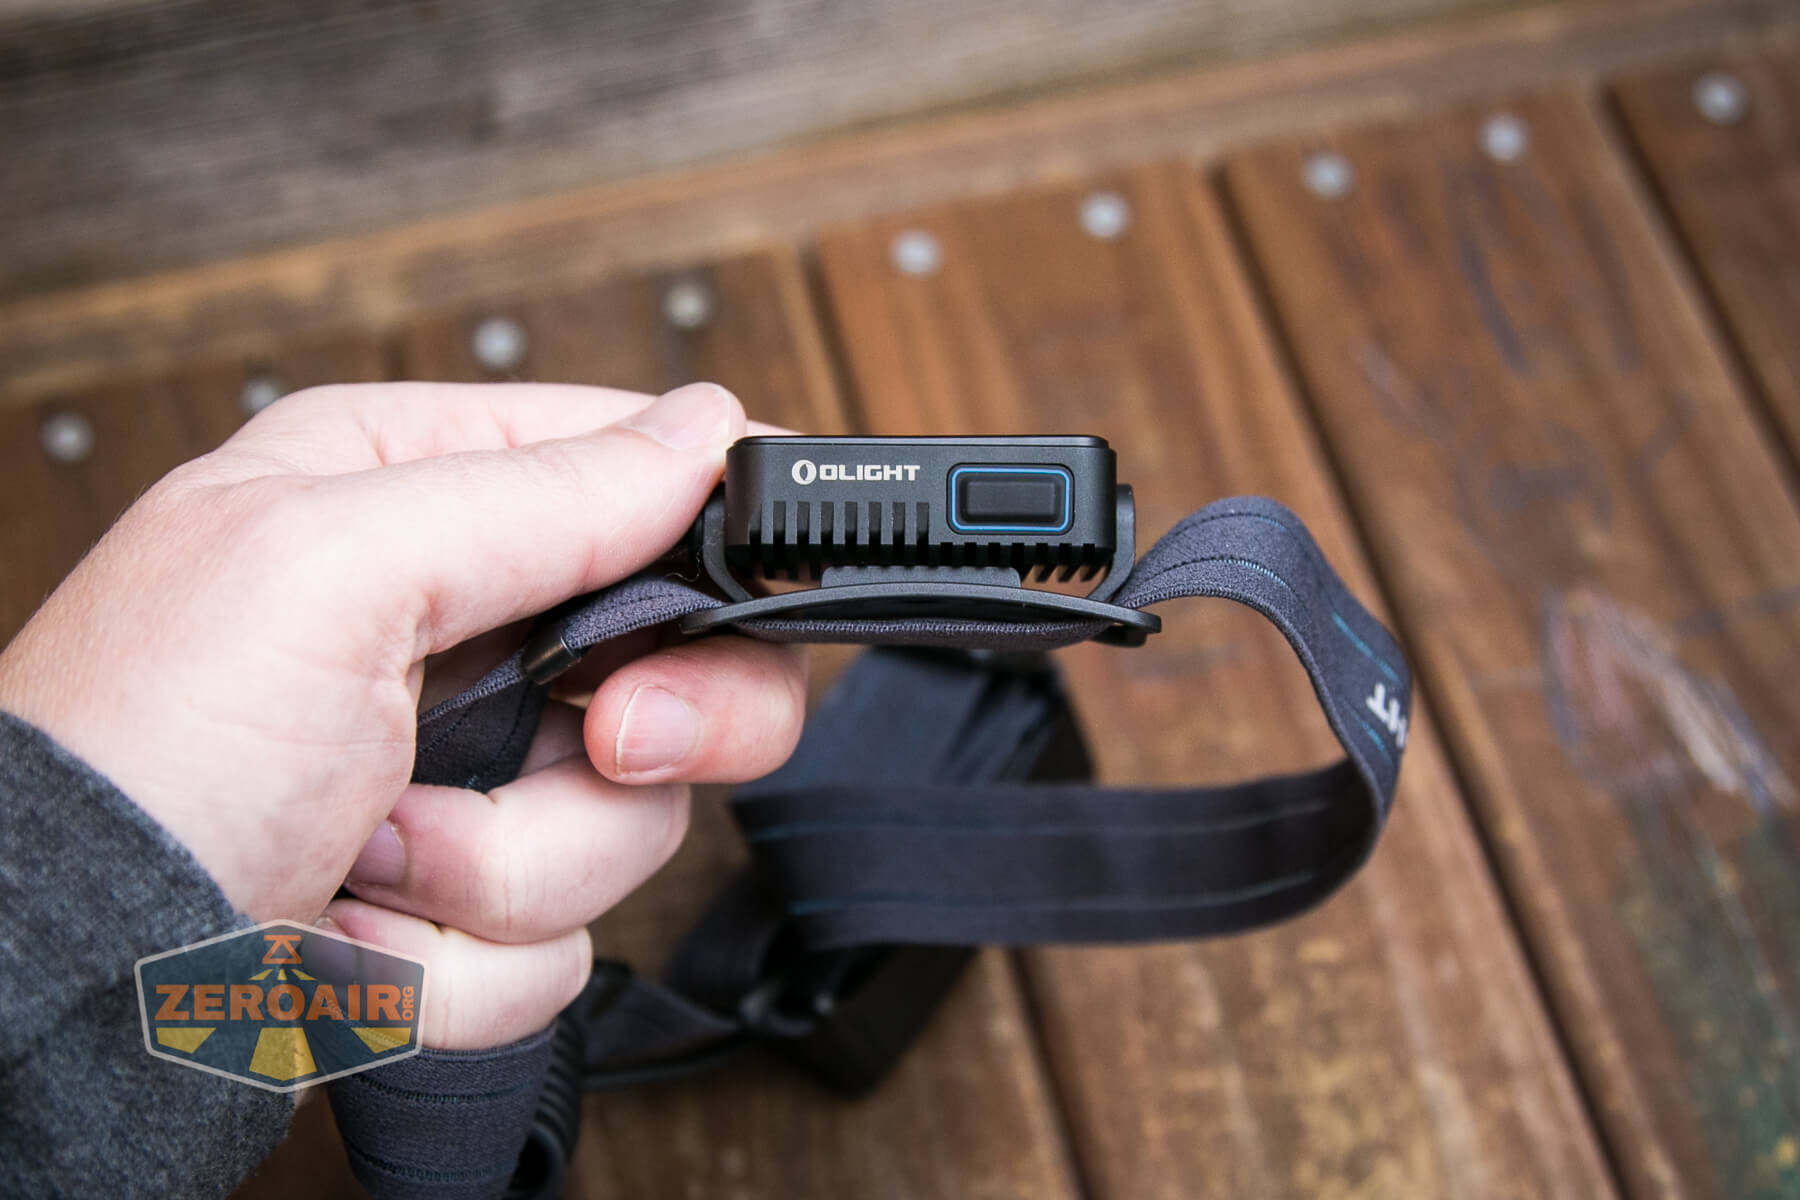
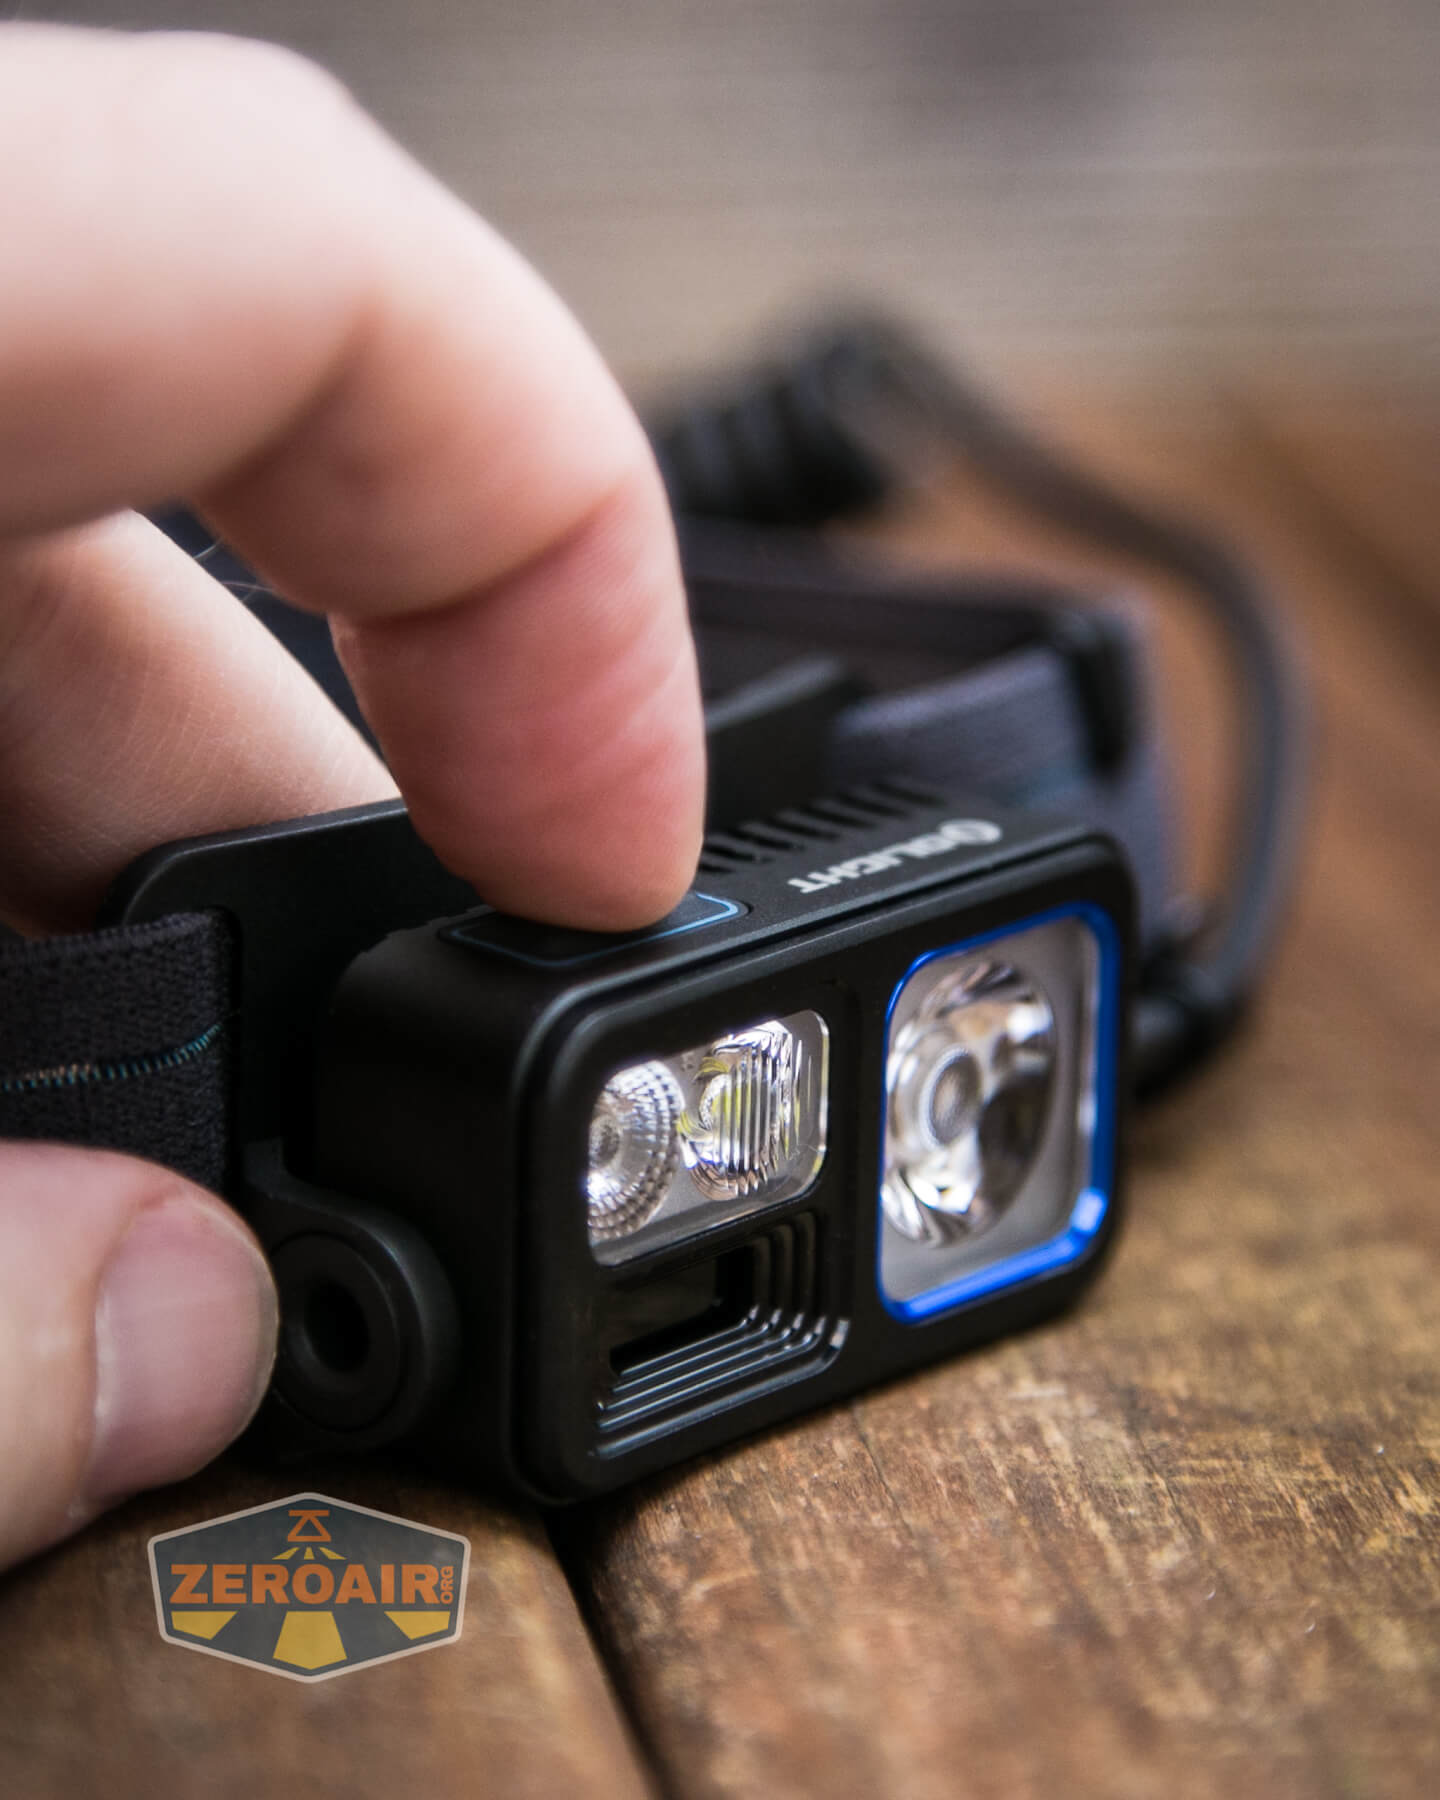
User Interface and Operation
There’s just one switch on the Olight Array 2S headlamp. It’s this broad e-switch on the top of the metal body.
I suppose you could wear the whole apparatus upside down and have the switch on the bottom, too.
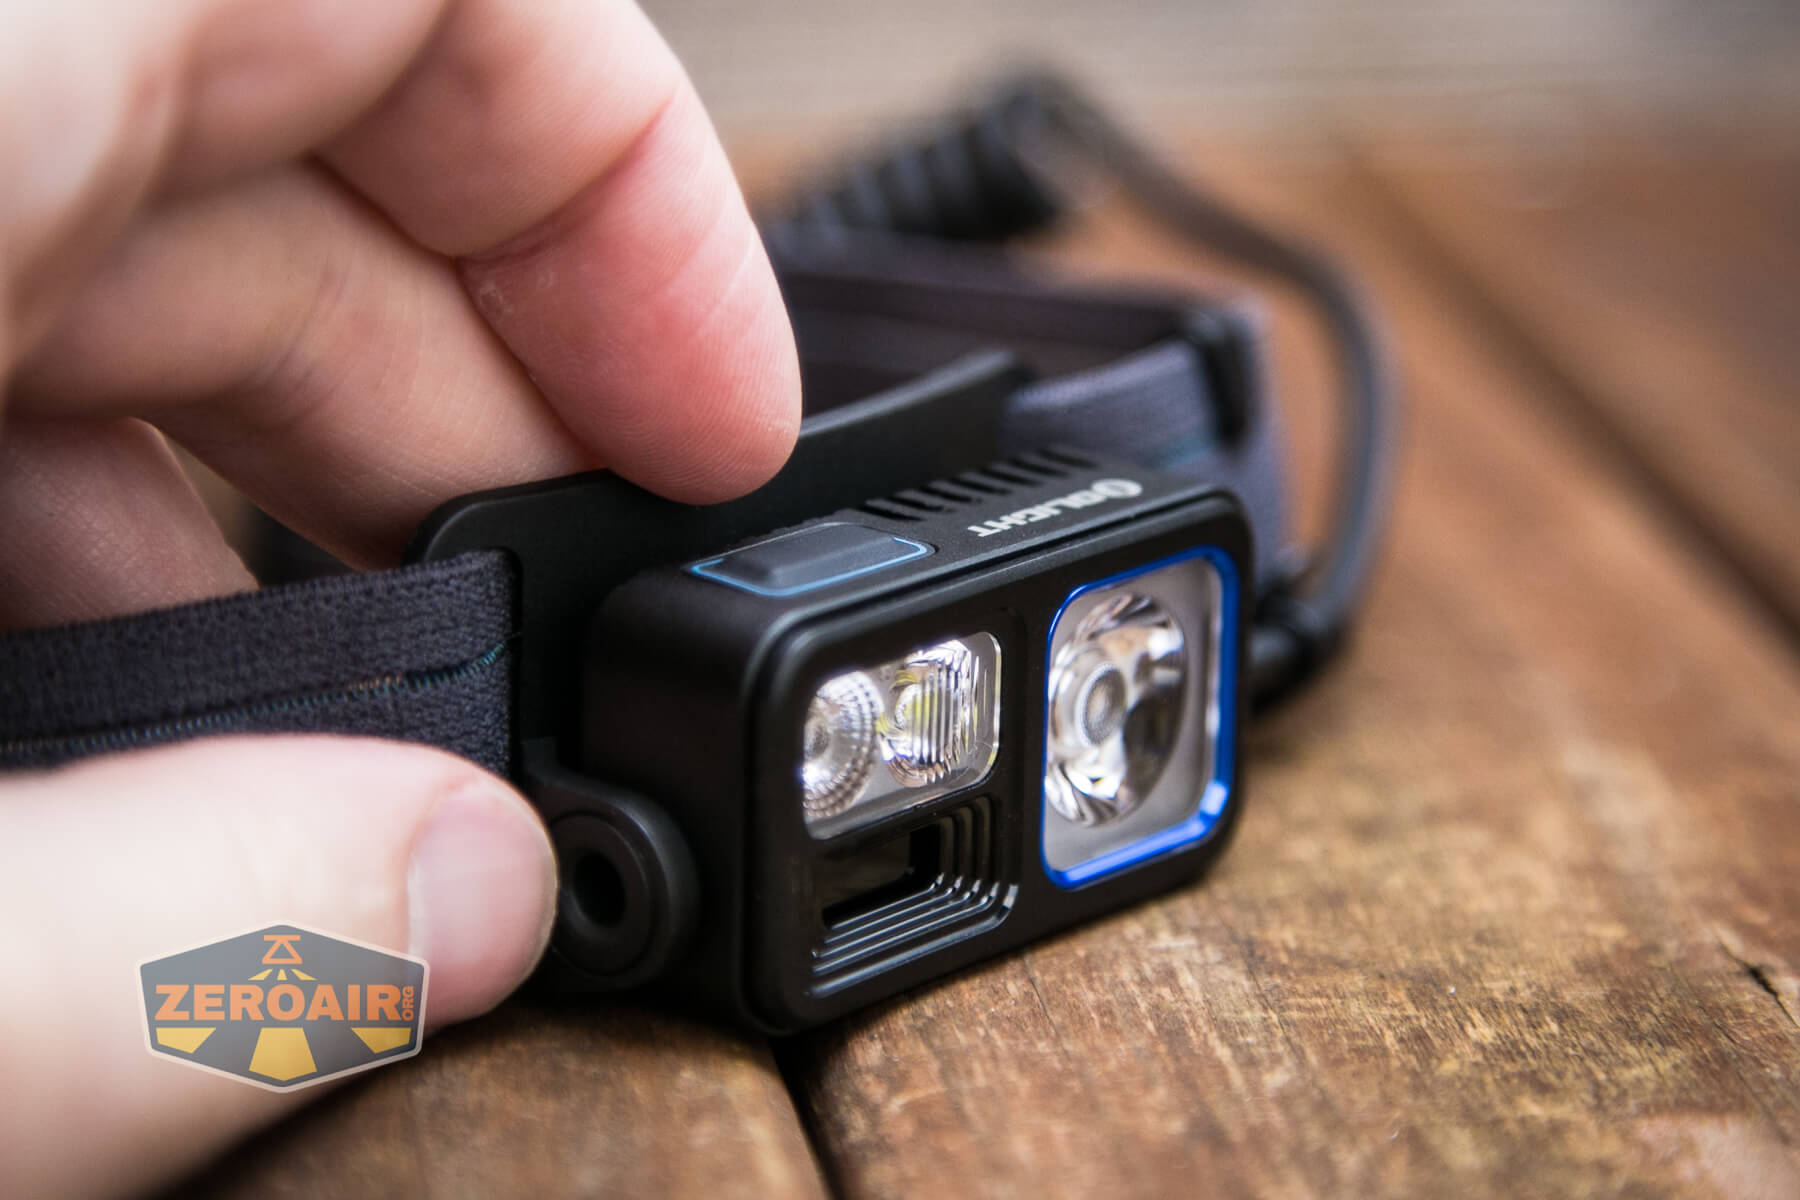
The switch has a very low action and is positively quiet (silent, maybe). Despite being fairly big and rectangular, you’ll need to hit the switch right in the middle for actuation.
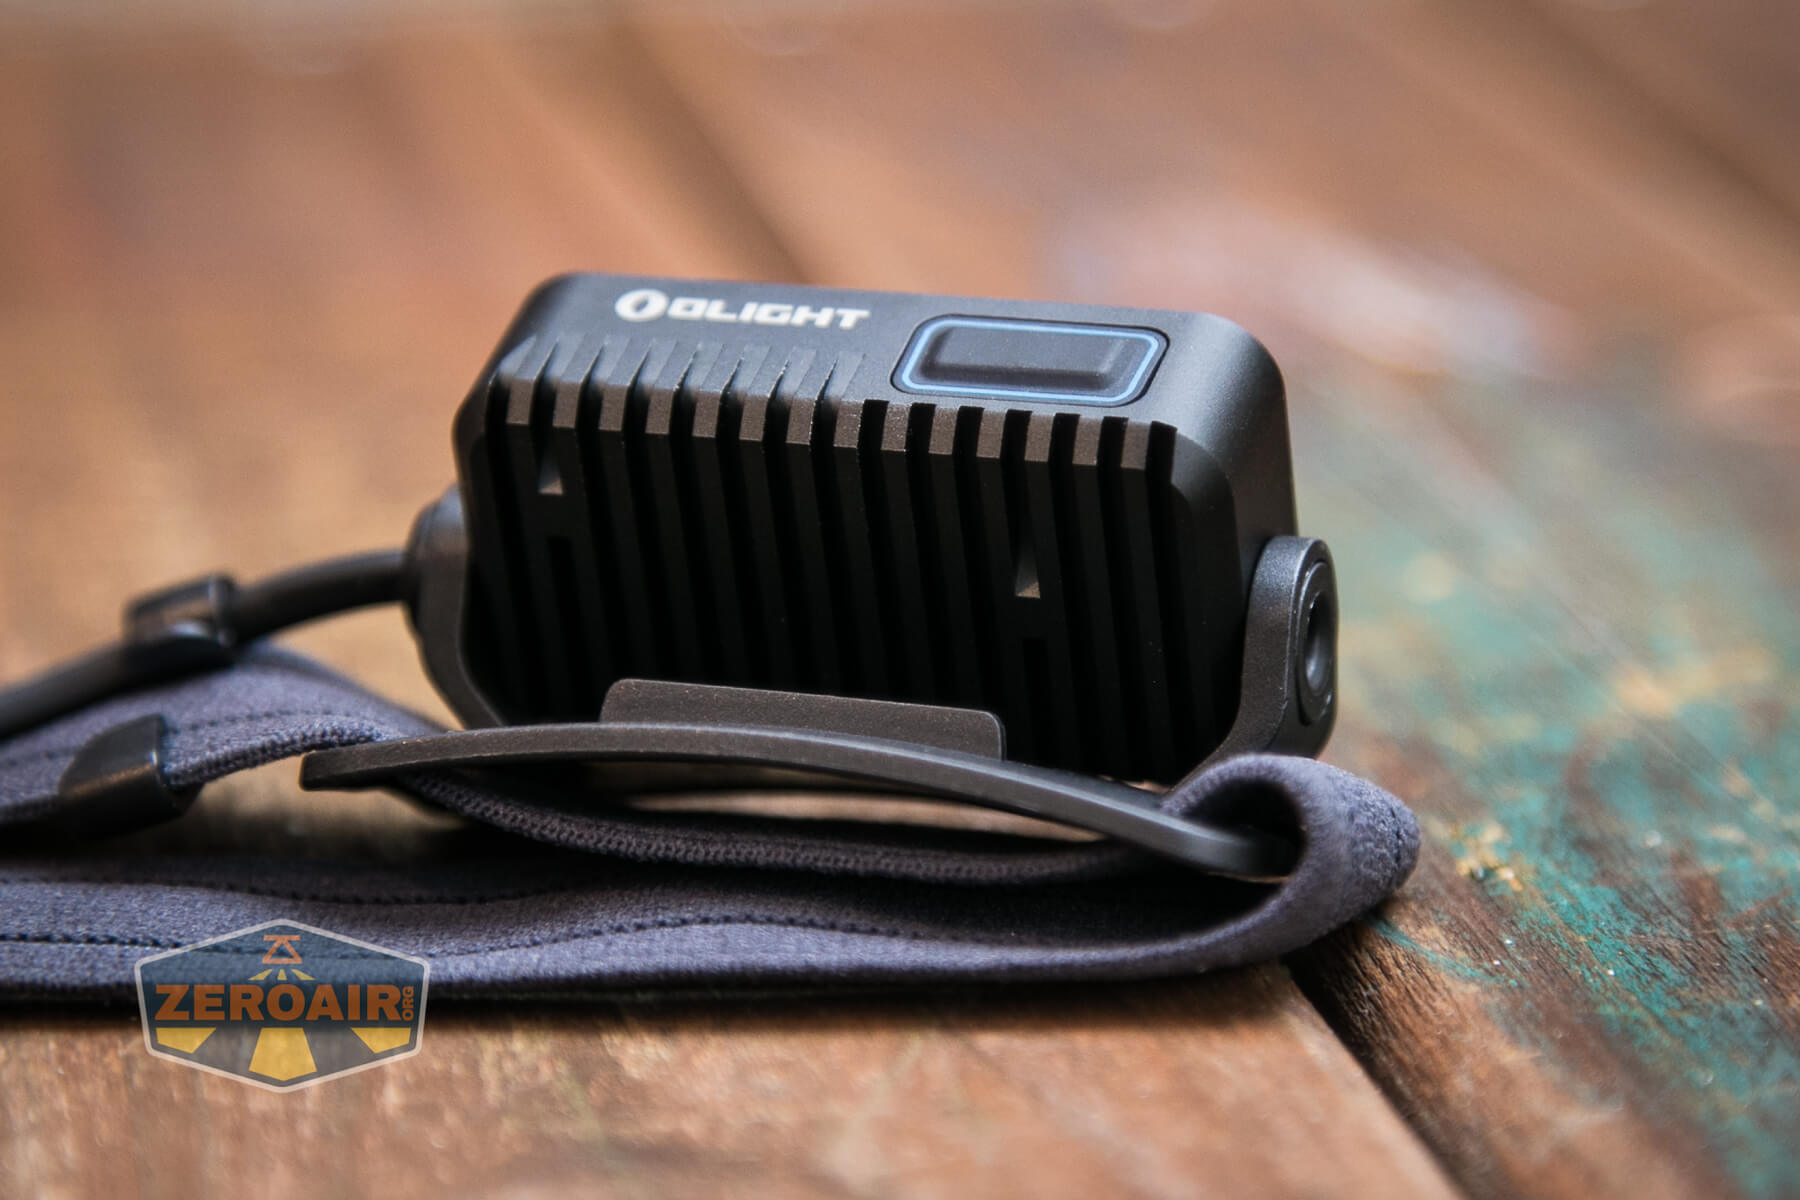
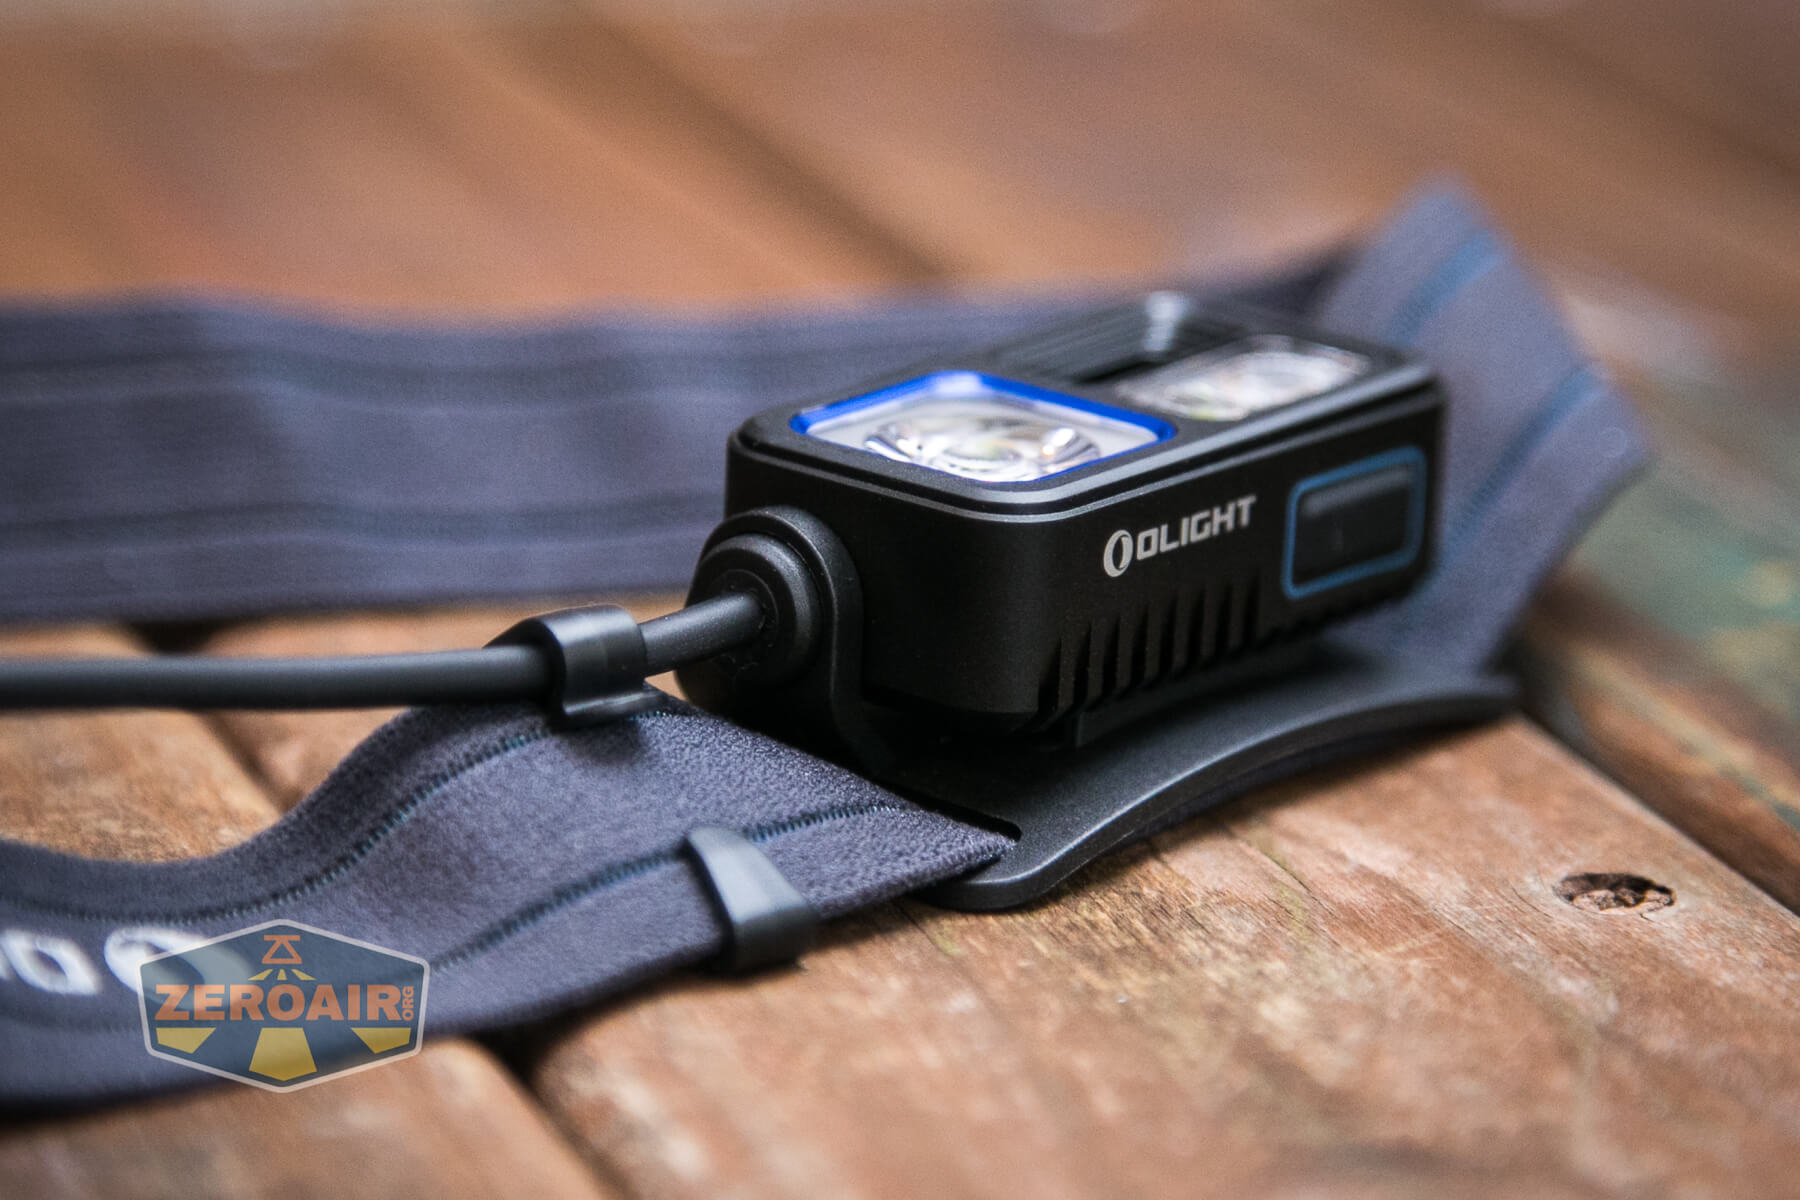
Another option is the wave feature. Below you can see the sensor, at the bottom left side of the headlamp. Initially, I was “whatever’d” by the wave function (as I very much have been in the past). However, this wave function is quite incredible because it’s directional. It can sense if you wave from left to right (or vice versa) and from up to down (or vice versa). And every one of those has a different result! Finally, the wave feature can be avoided entirely if you wish (a fact that I don’t see covered in the manual…)
Here’s a user interface table!
| State | Action | Result |
|---|---|---|
| Off | Click | On (Mode memory) |
| Off | Hold | Low Flood (also disables Wave feature!) |
| Off | Double Click | Spot + Flood Medium |
| On | Hold | Mode advance (of whatever output is active) in the LMH order |
| On | Click | Off |
| On | Double Click | Switch between output settings. The order is Flood, Spot + Flood, Red. |
| Unlocked | Triple Click | SOS |
| SOS | Click | Previous State |
| Off | Hold >1s | Lockout |
| Lockout | Click | Flood blinks 1x to indicate lockout |
| Lockout | Hold >1s | Unlock (Low floodlight will turn on) |
| On (from a click, not from a hold) | Wave up | Brightness increase |
| On (from a click, not from a hold) | Wave down | Brightness decrease |
| On White output (from a click, not from a hold) | Wave left to right | From Flood: Activate Spot + Flood
From Spot + Flood: no action From red: no action |
| On White output (from a click, not from a hold) | Wave right to left | From Spot + Flood: Activate Flood
From Flood: no action From red: no action |
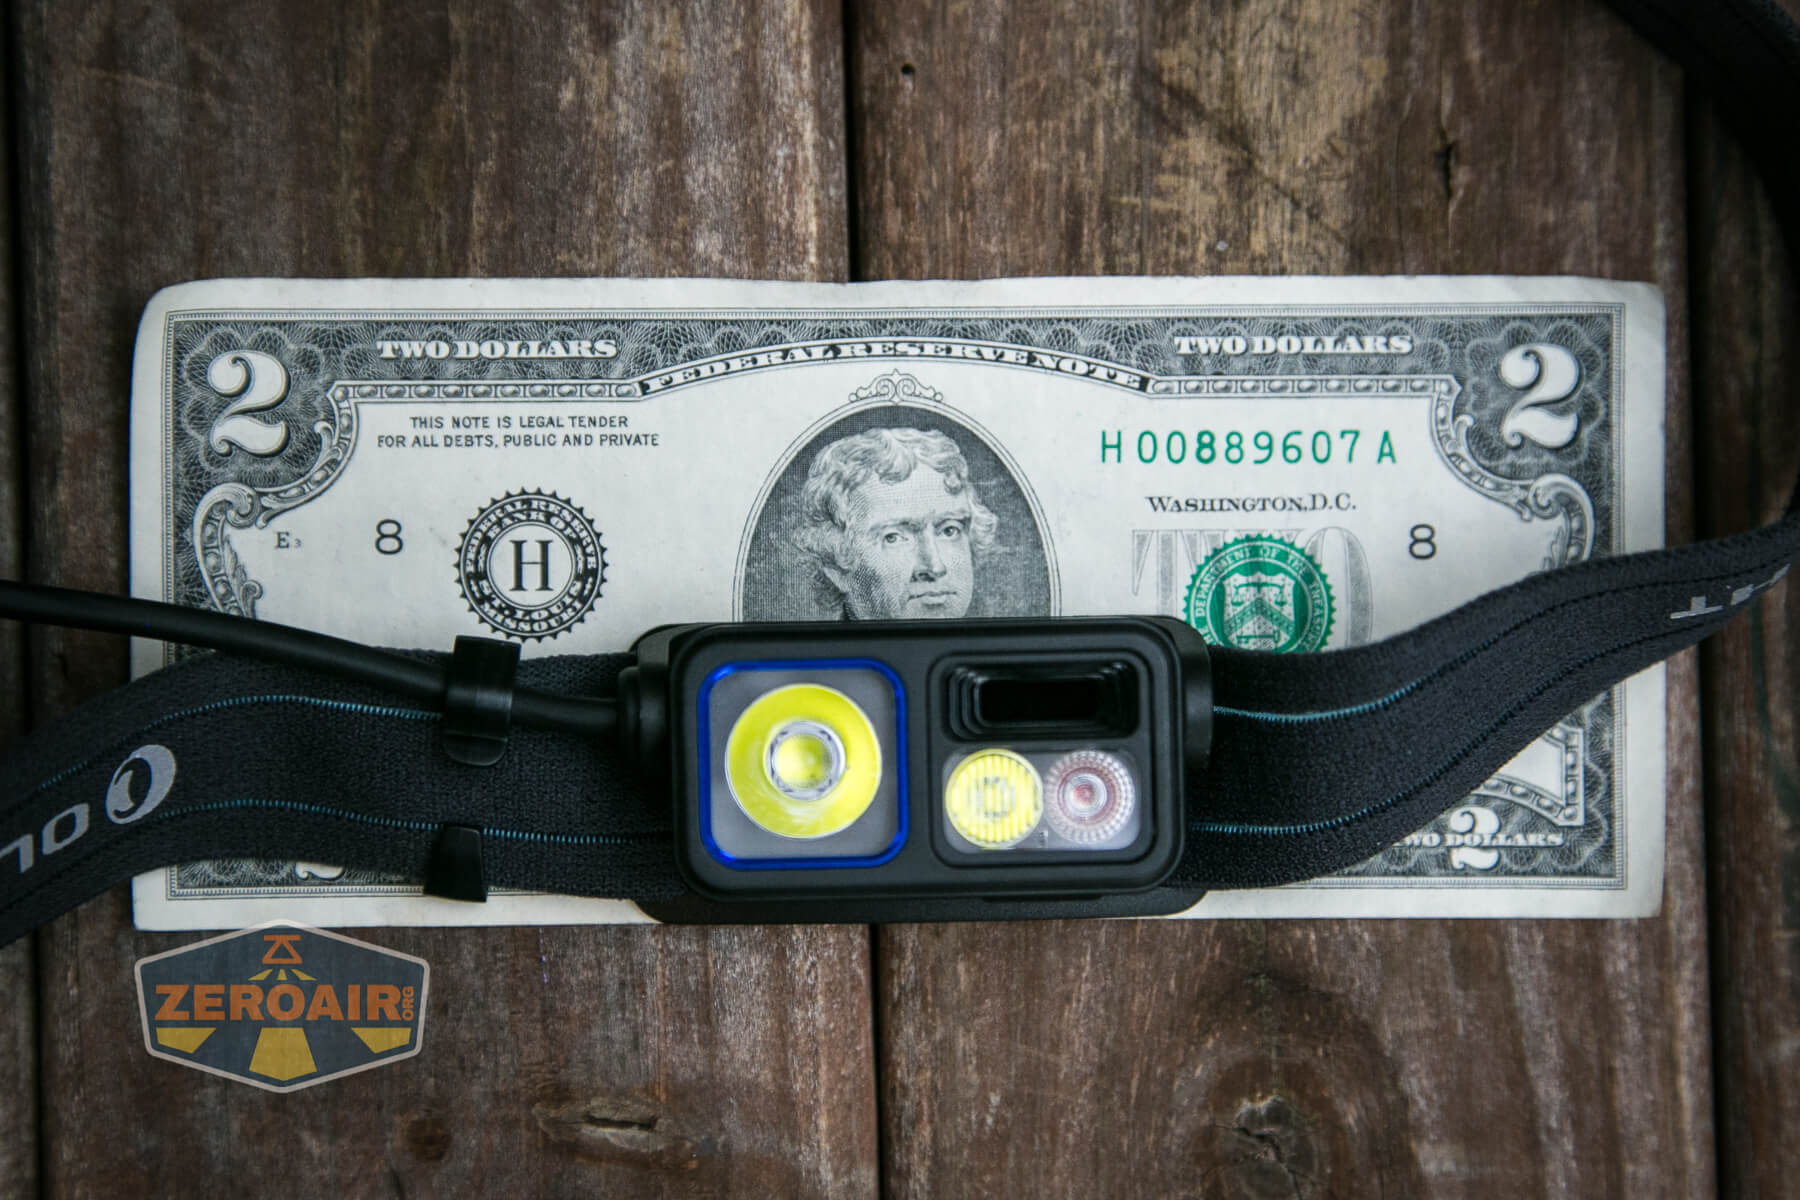
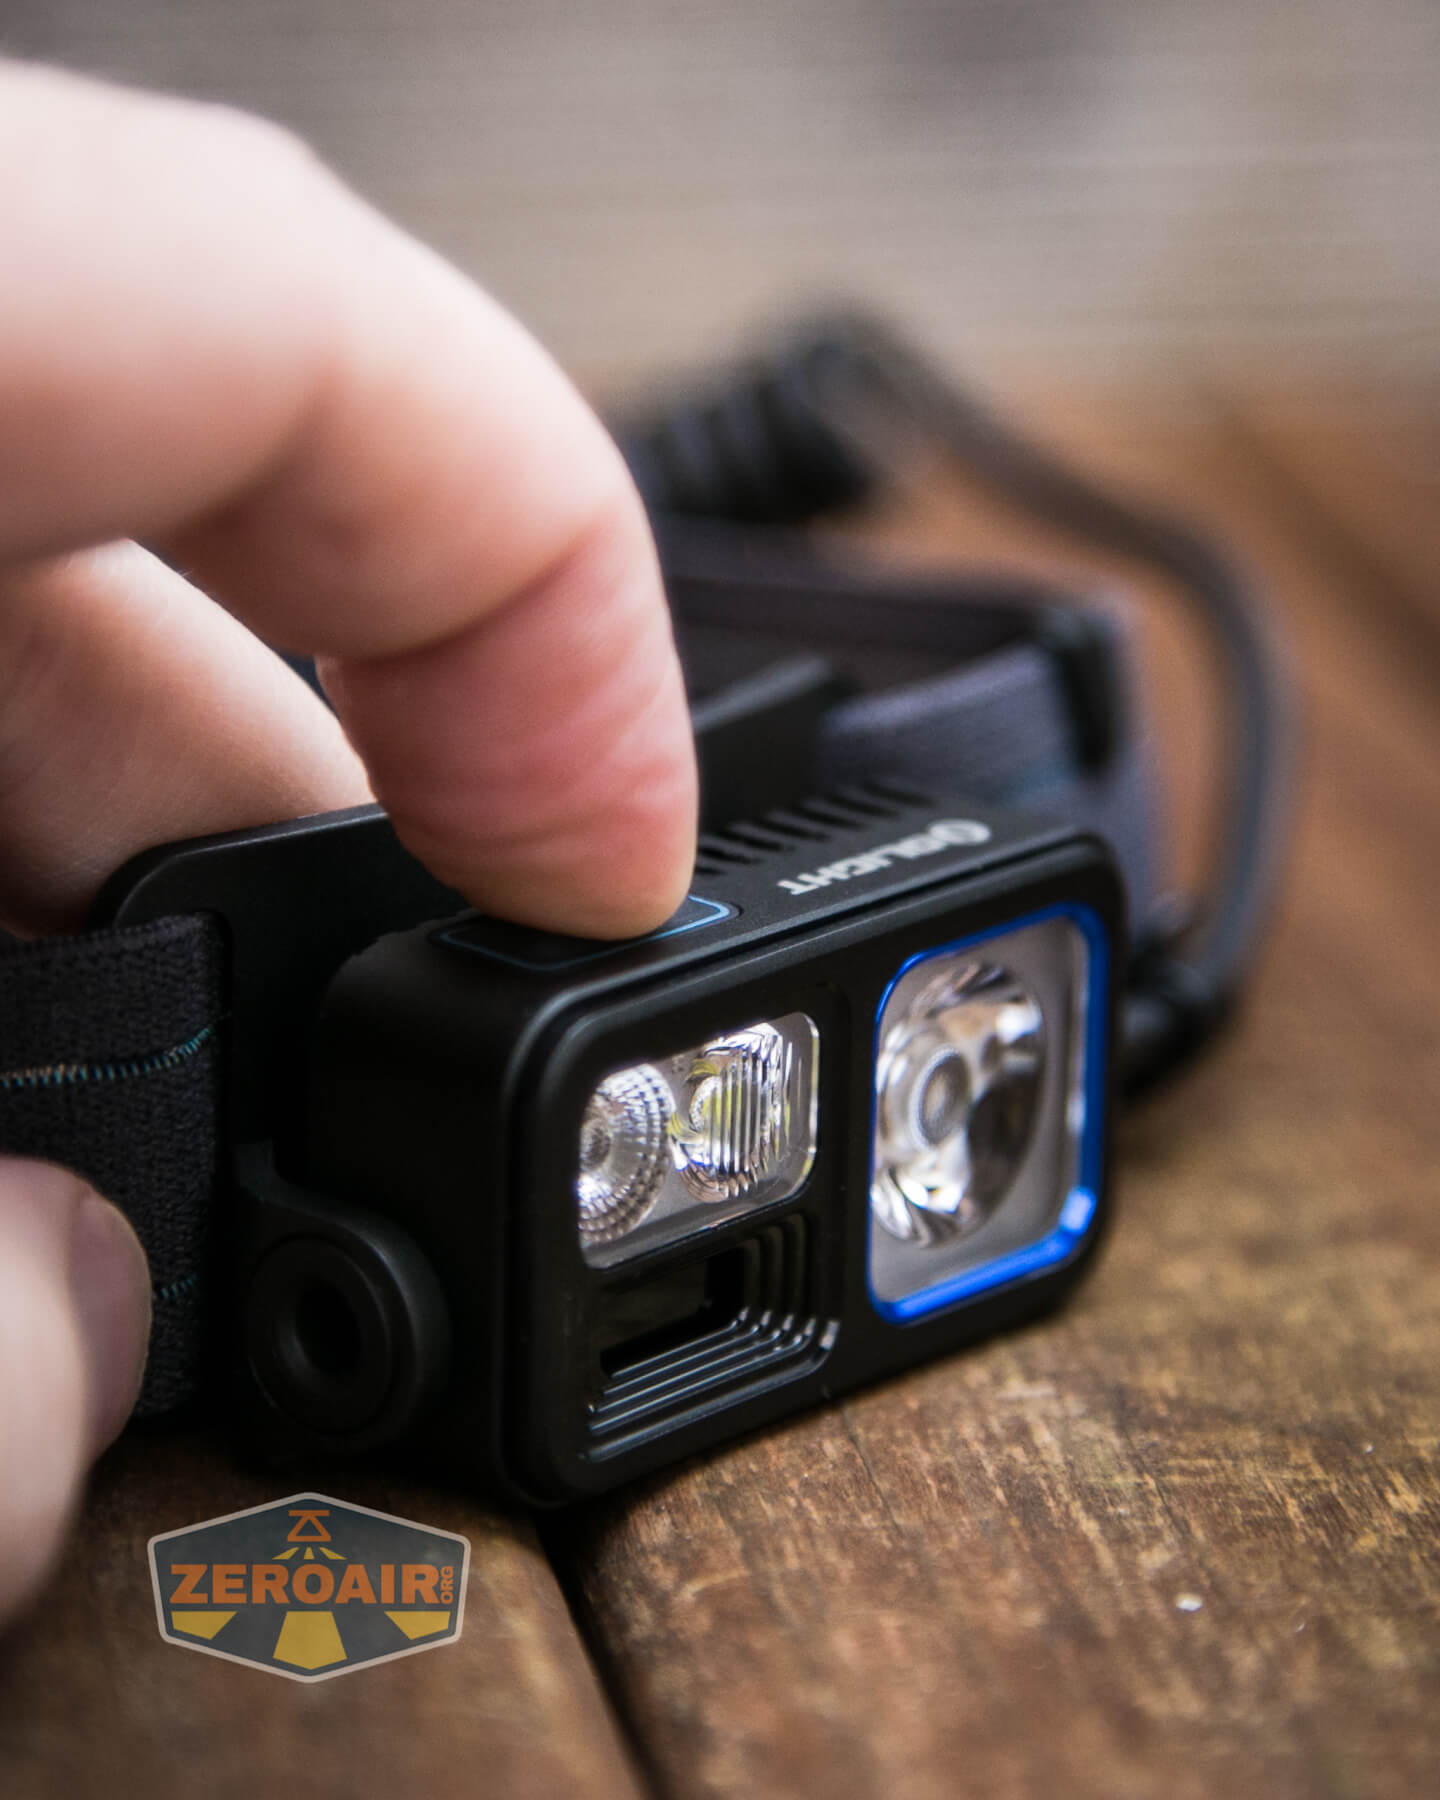
LED and Beam
Unfortunately, Olight doesn’t indicate which emitters are used in this headlamp. Even when asked directly, Olight declined.
Because of the emitter reports seen below, we can let it go that they’re not described. You’d really only need to know that info if you planned to do an emitter swap on the light (which I’ve already described as probably quite hard).
All of that said, these are almost certainly Olight’s favorite emitter, the Osram P9.
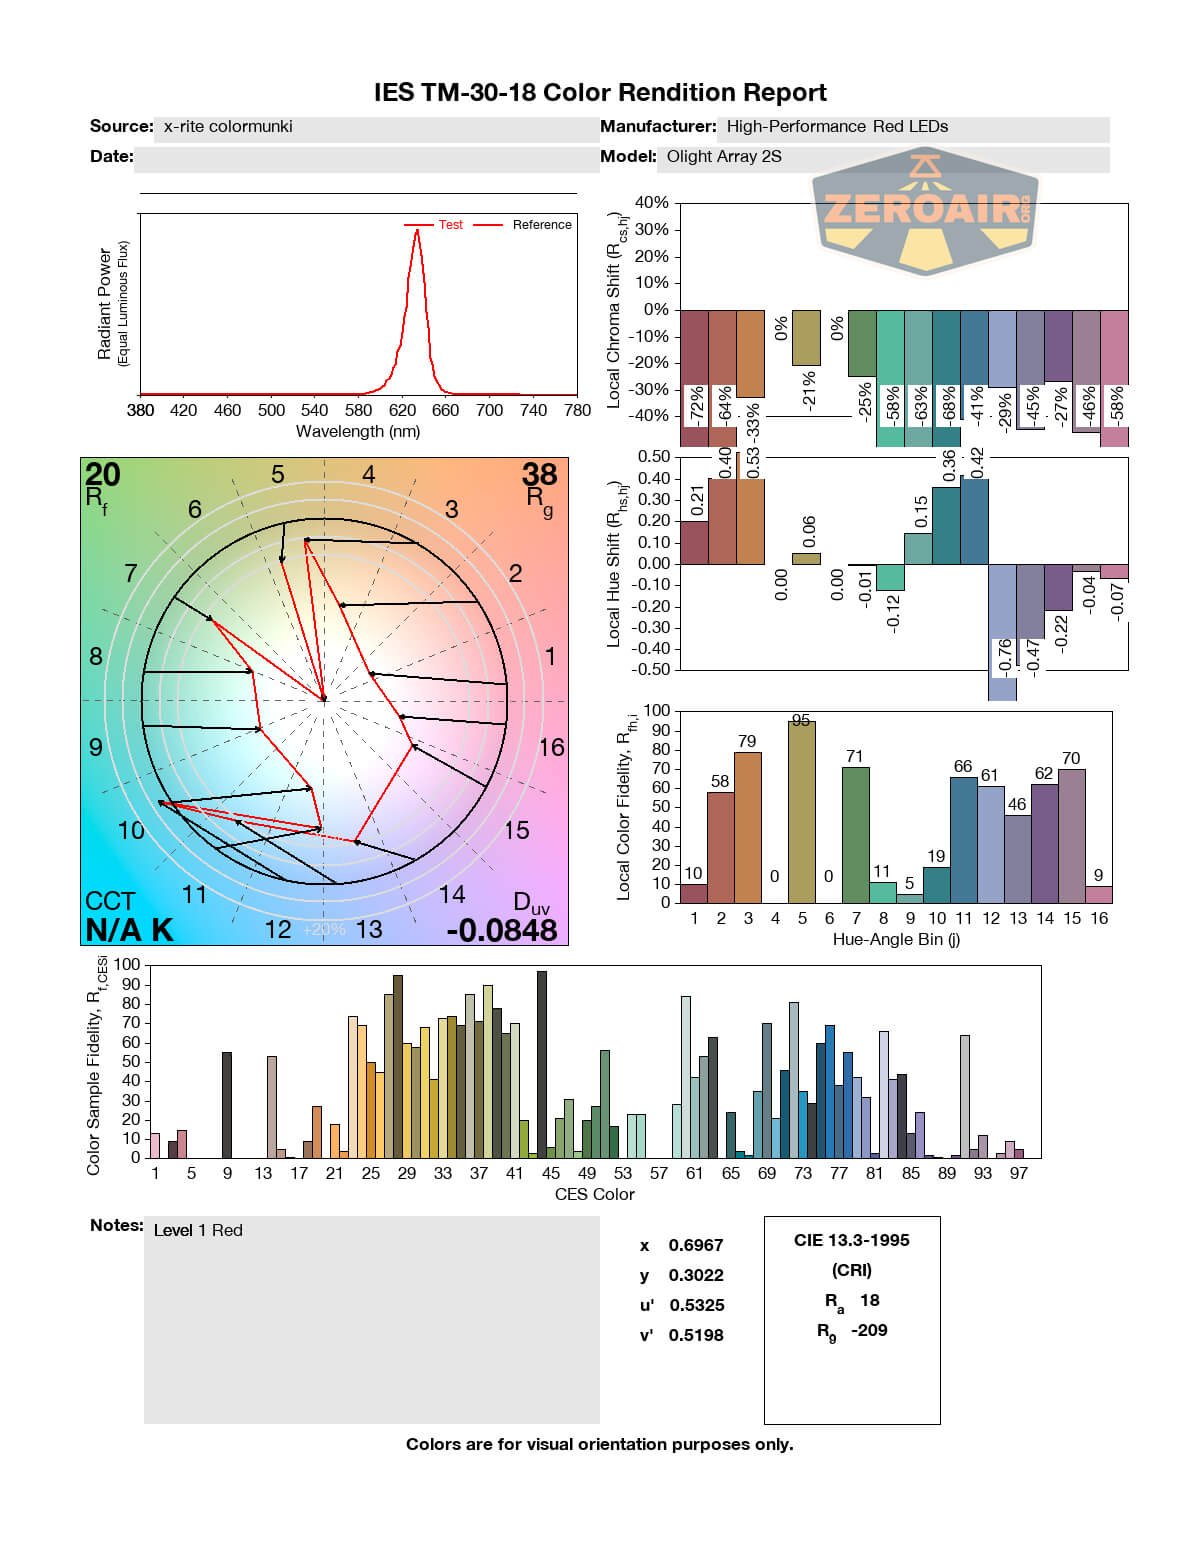
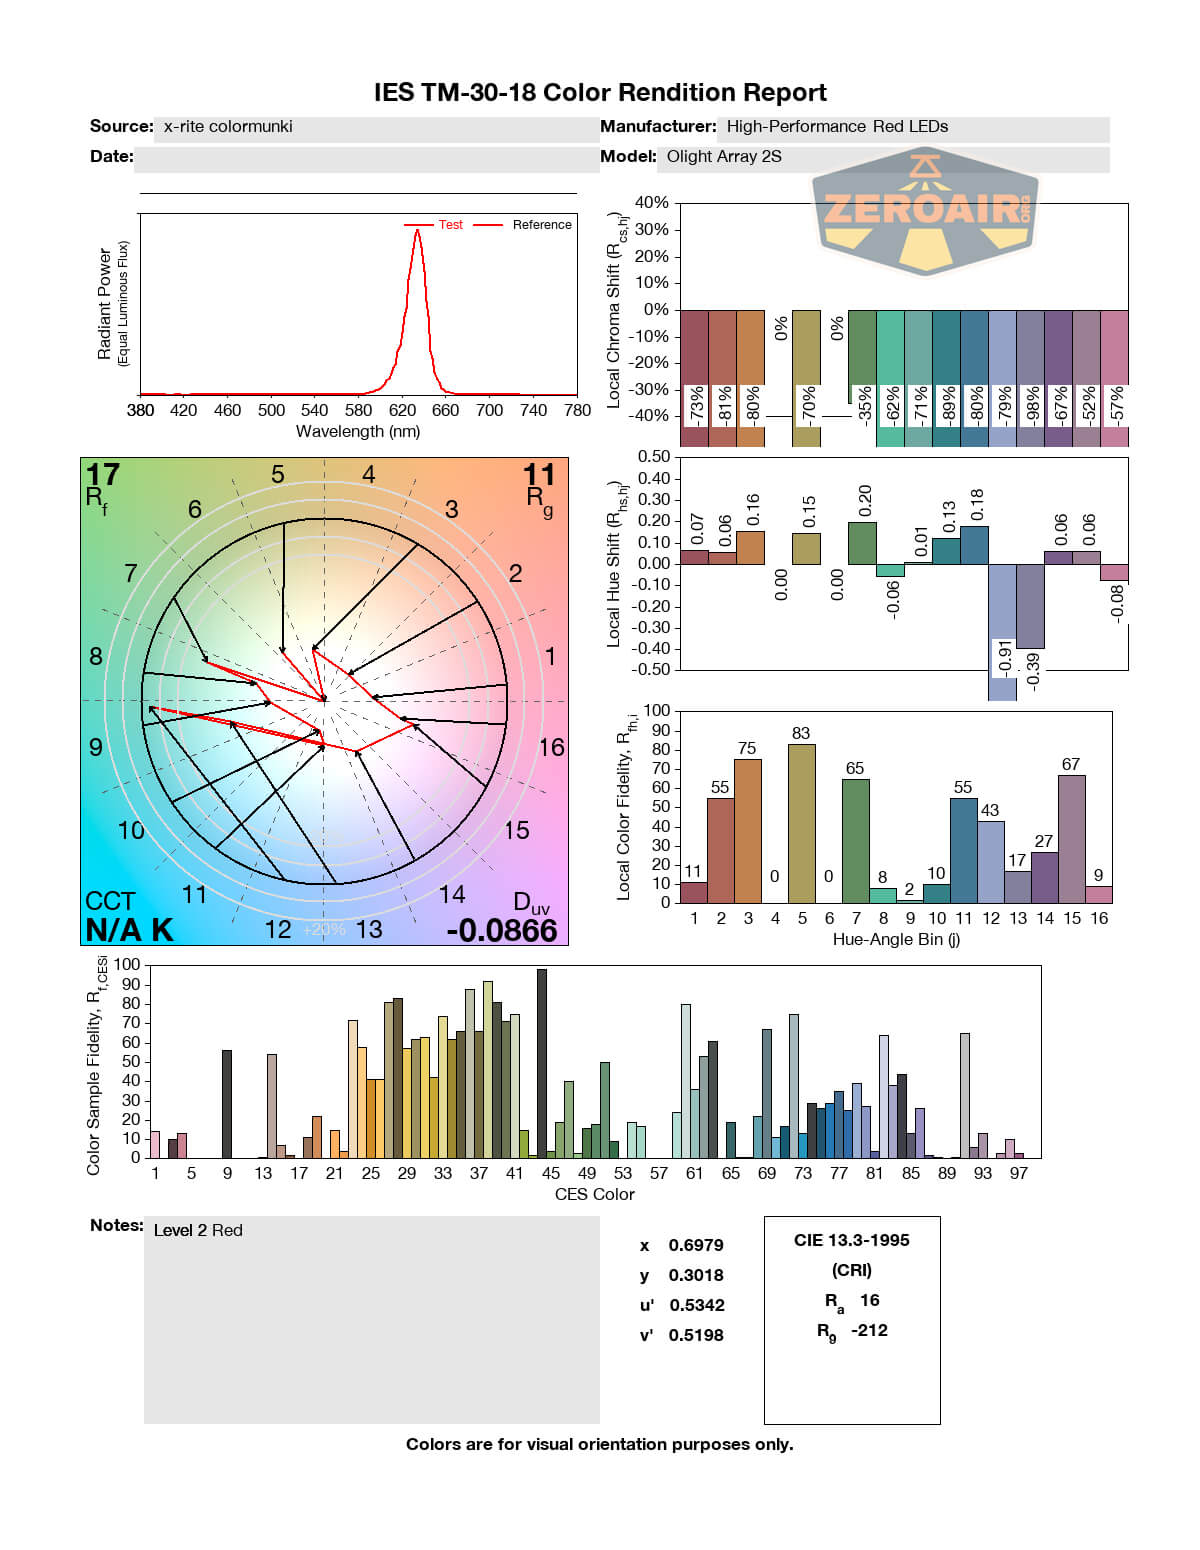
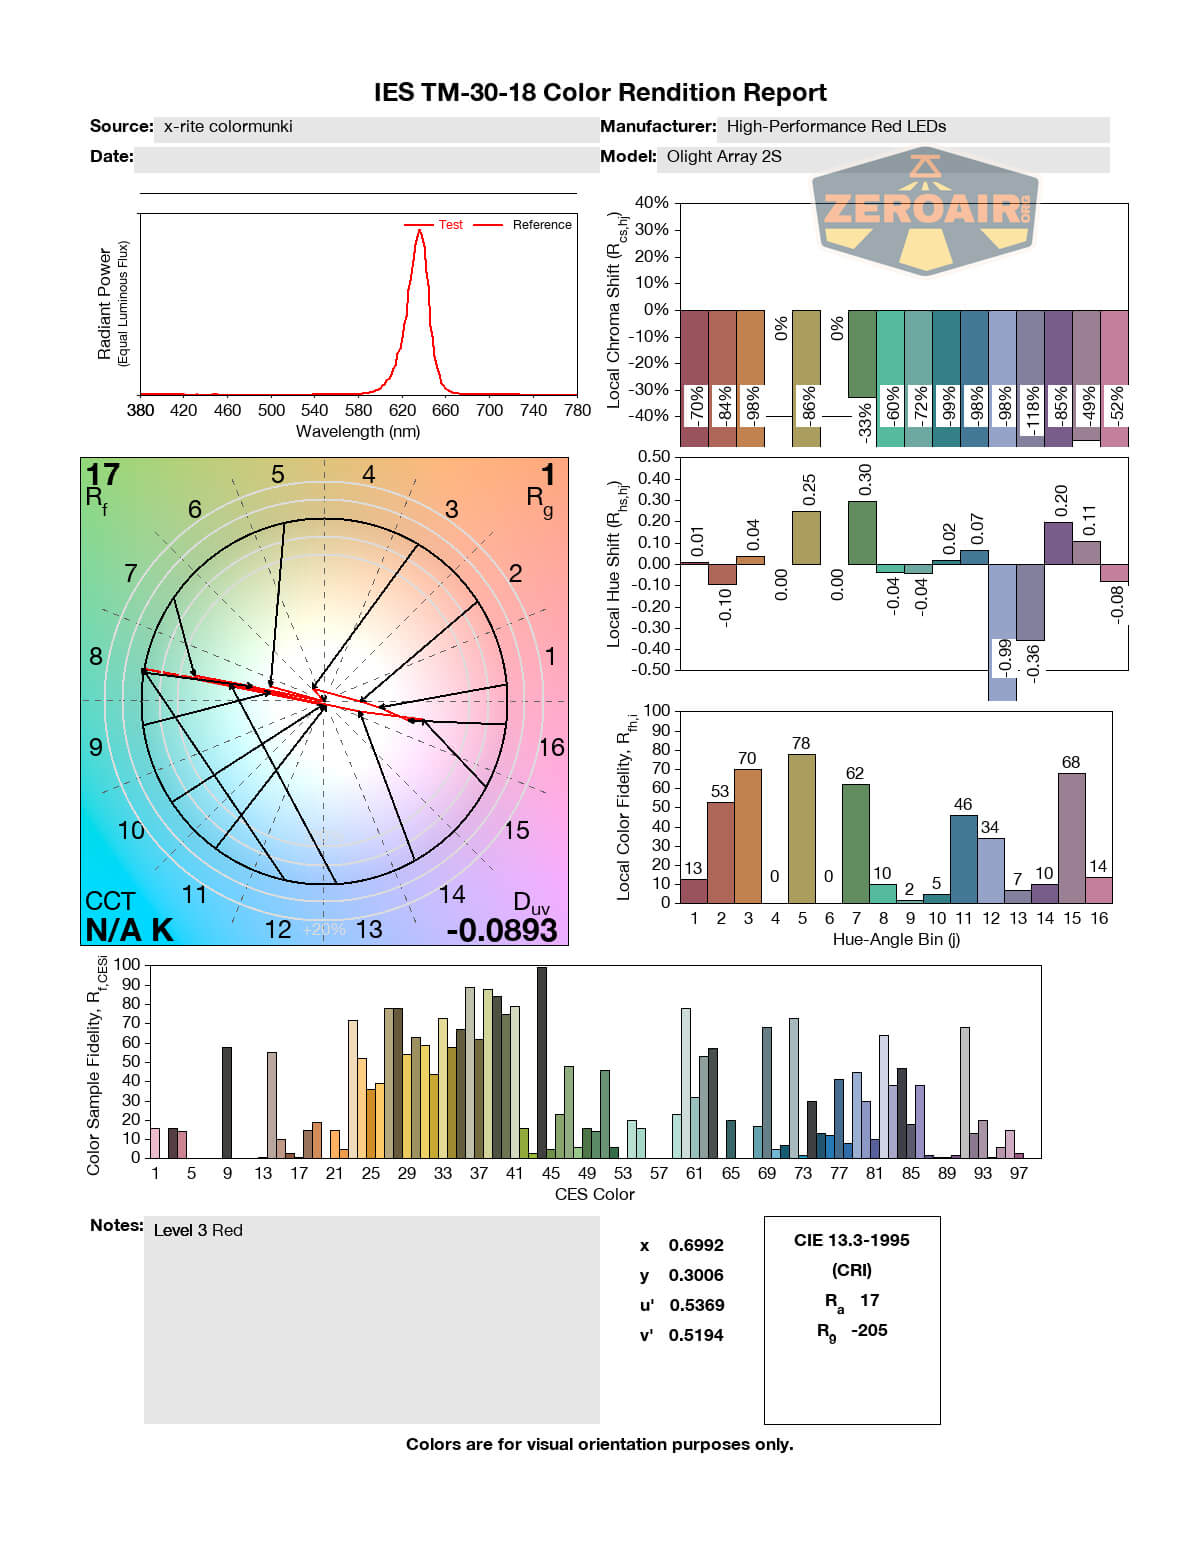
LED Color Report (CRI and CCT)
The first three are the flood emitter.


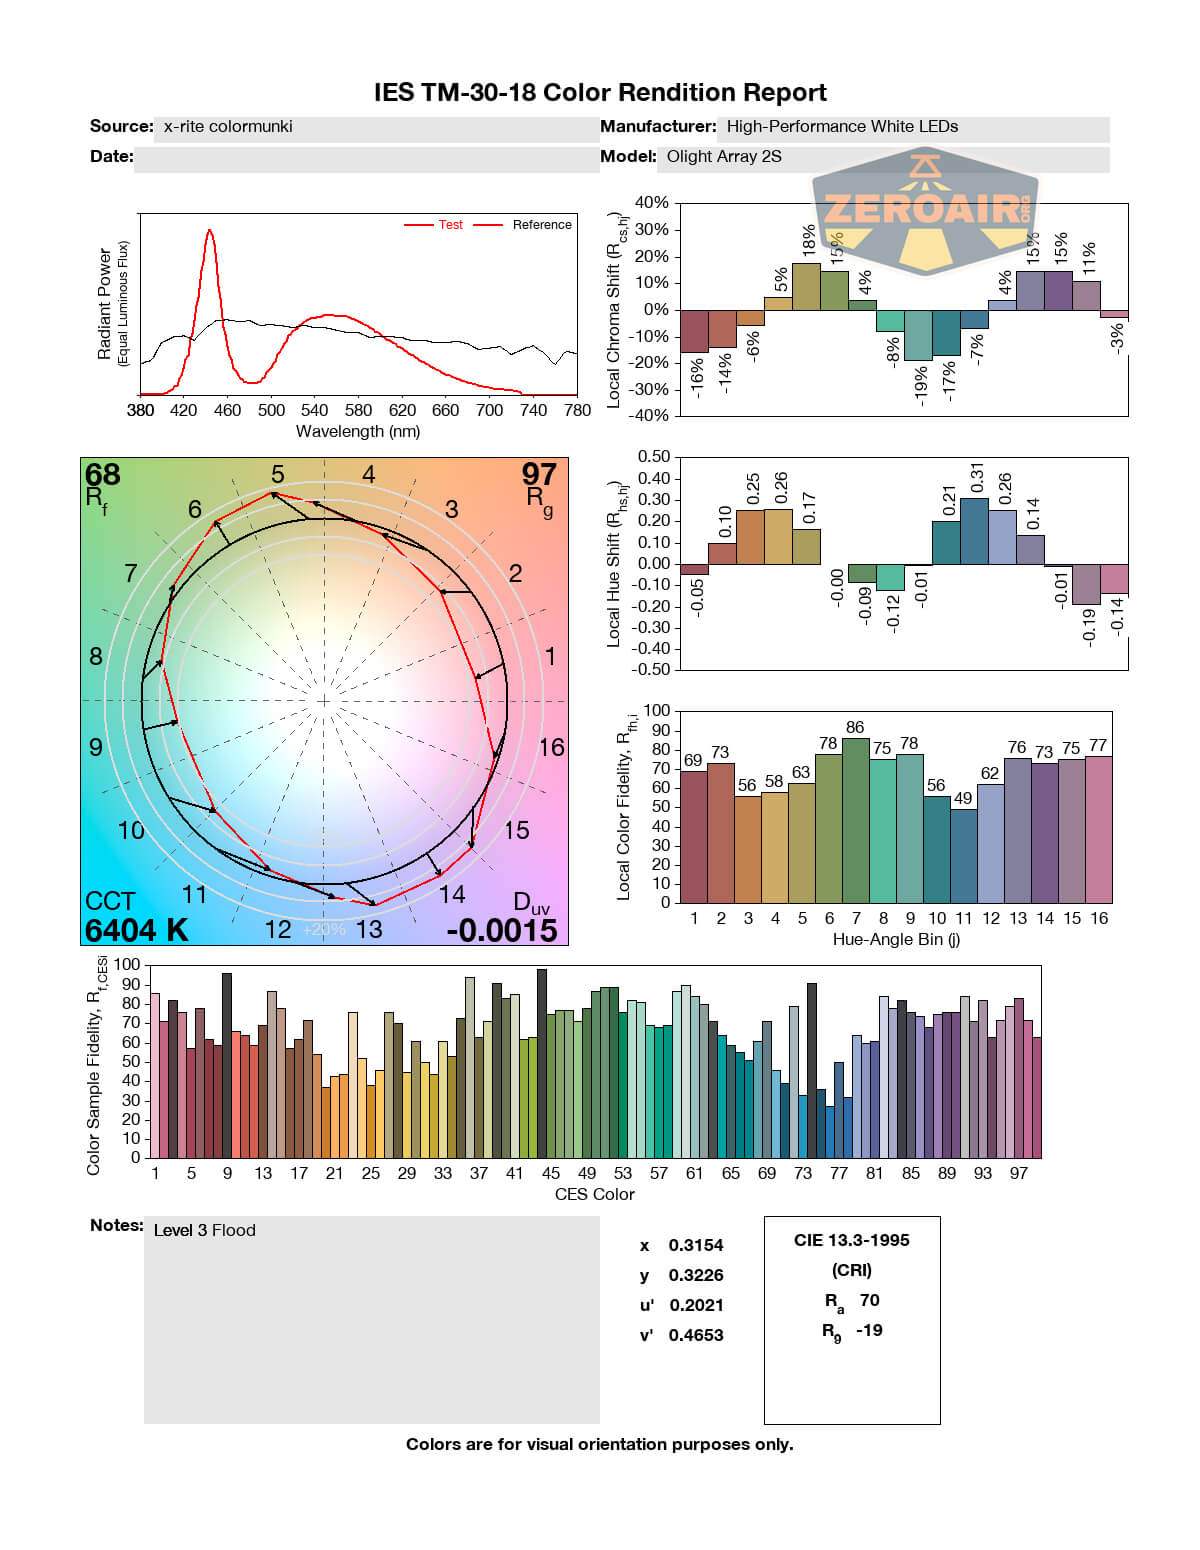
Next is the spot emitter (which also includes flood, remember).
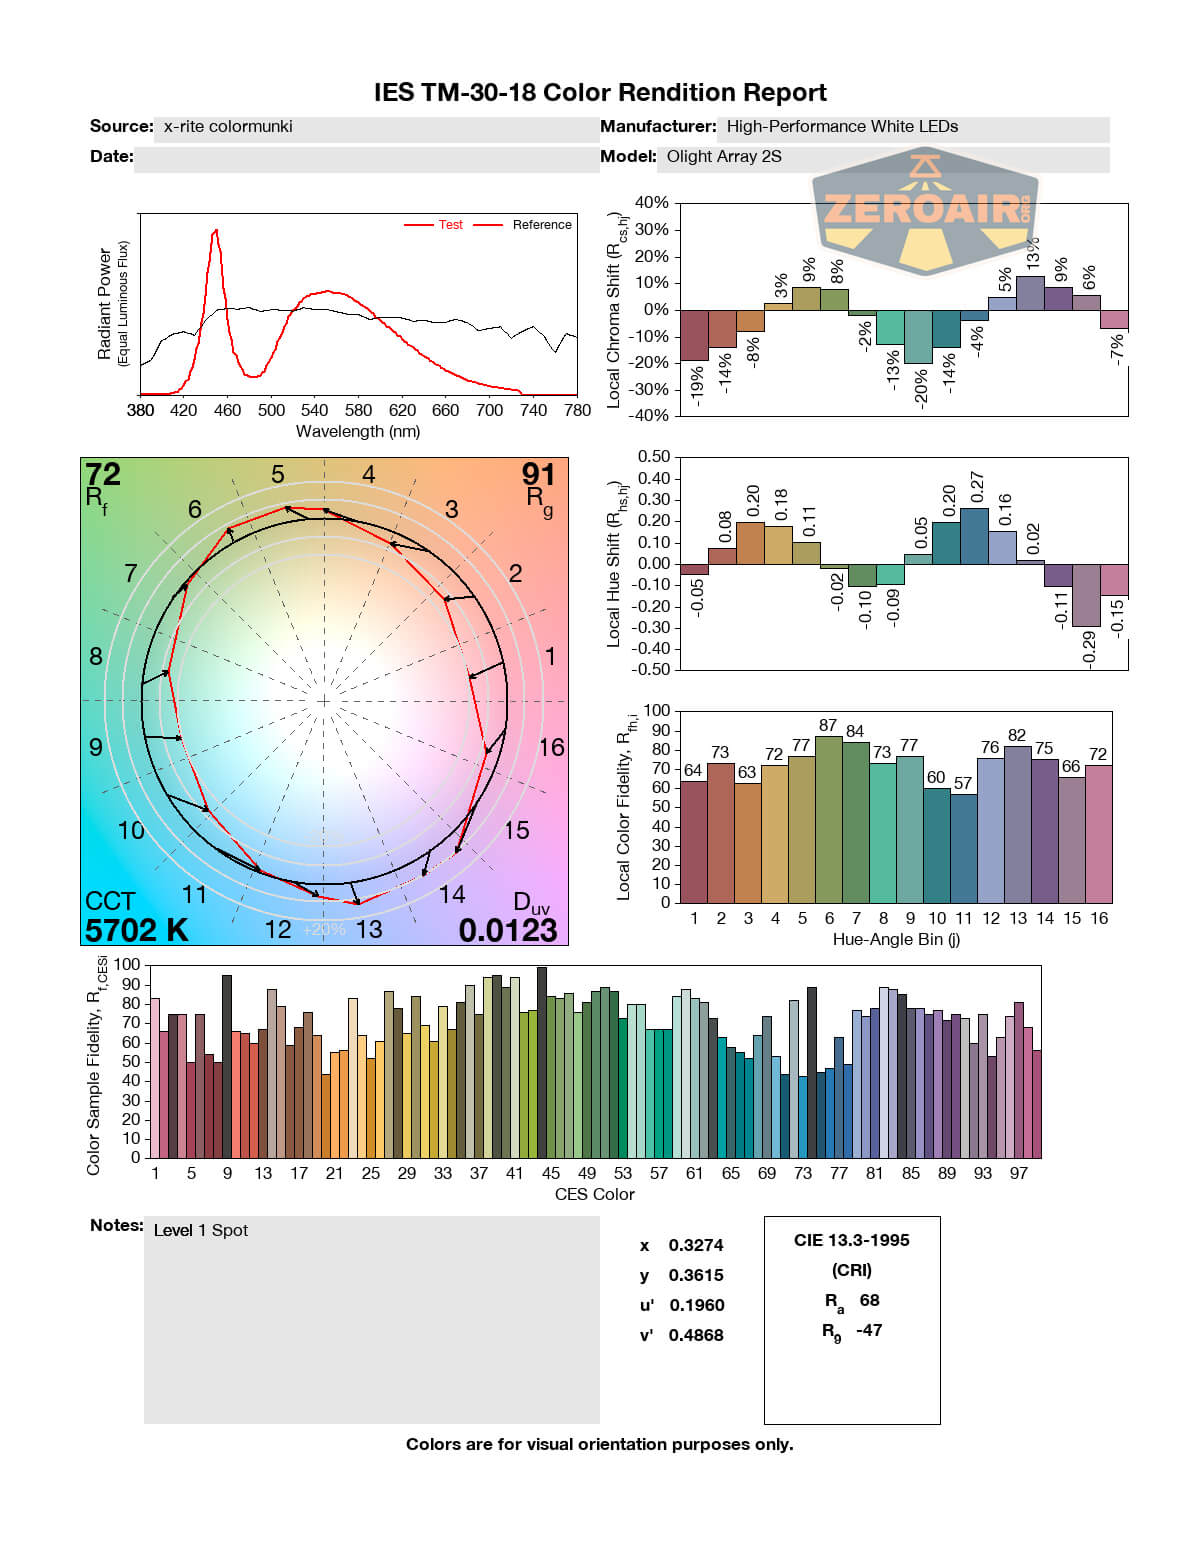


Finally, there’s the red emitter.
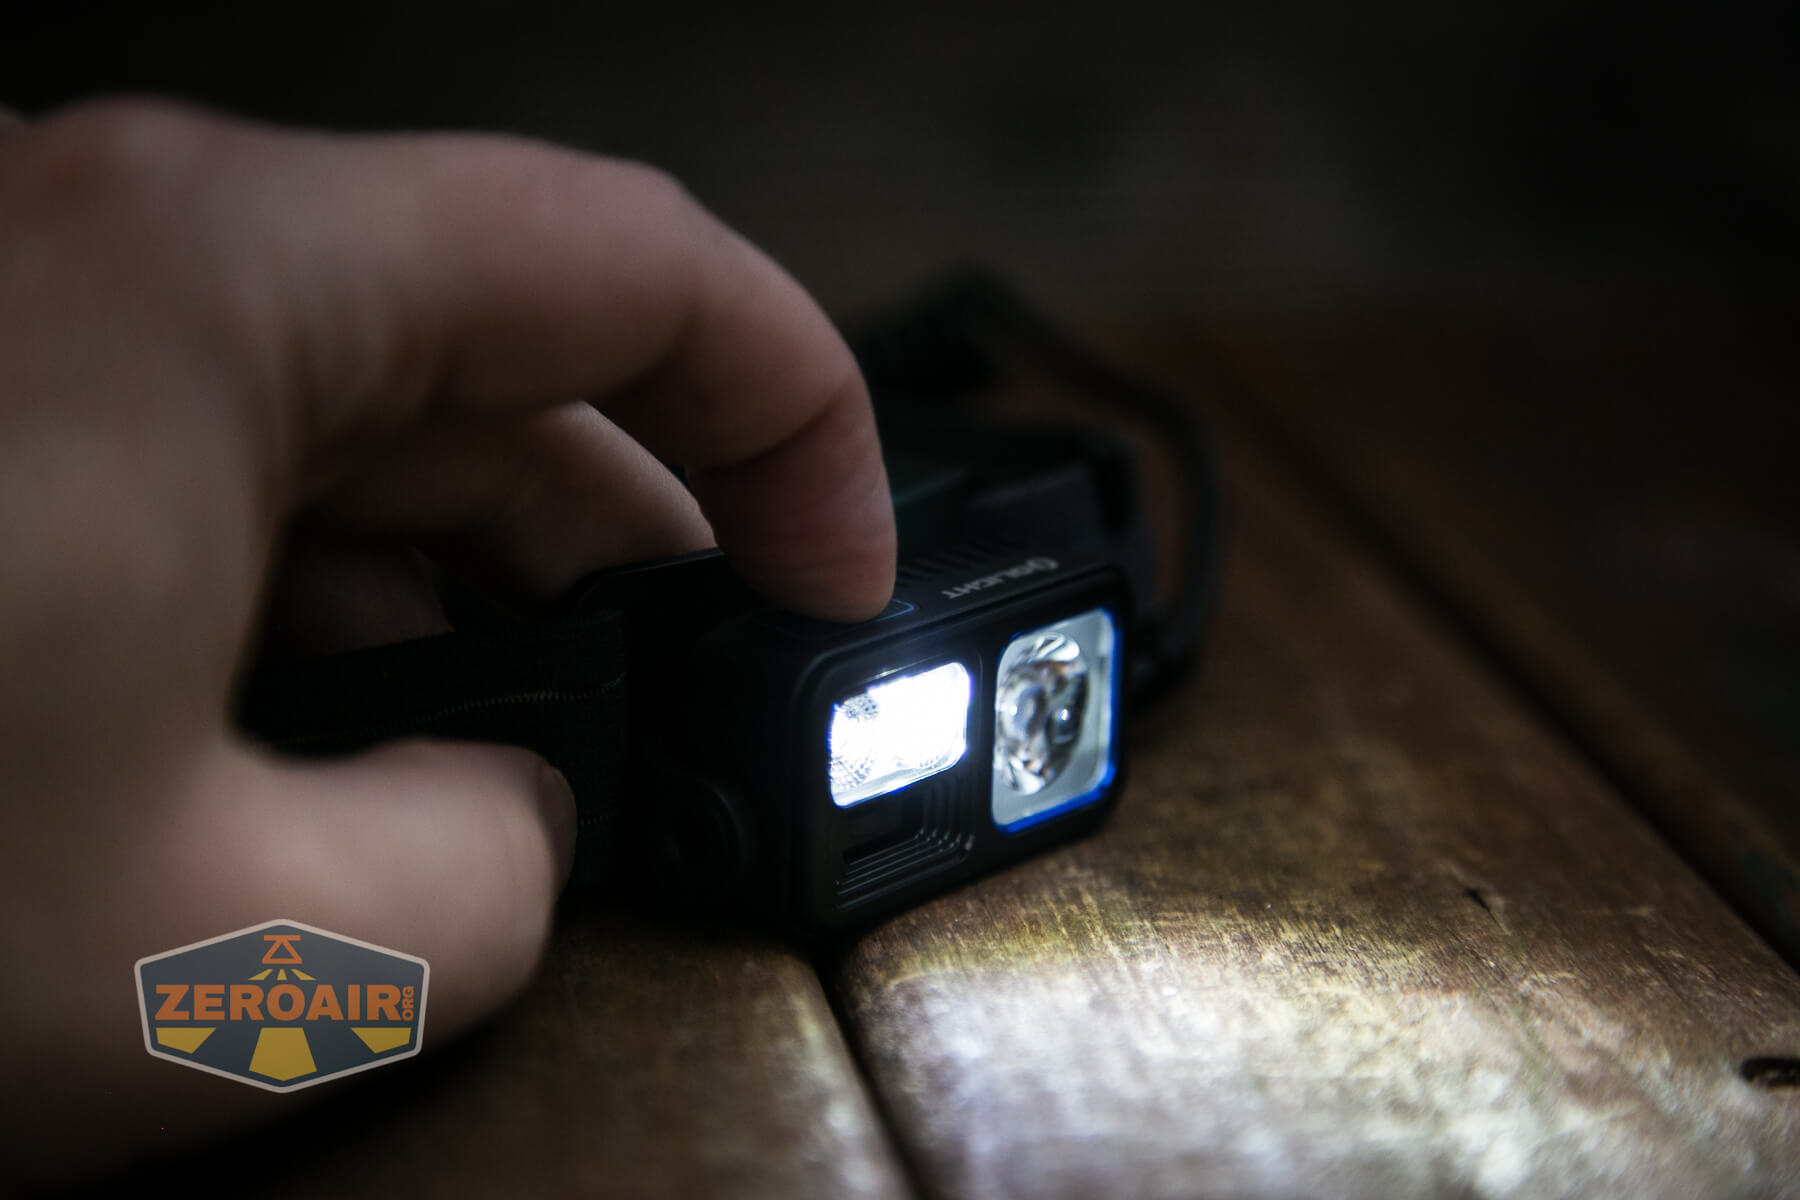
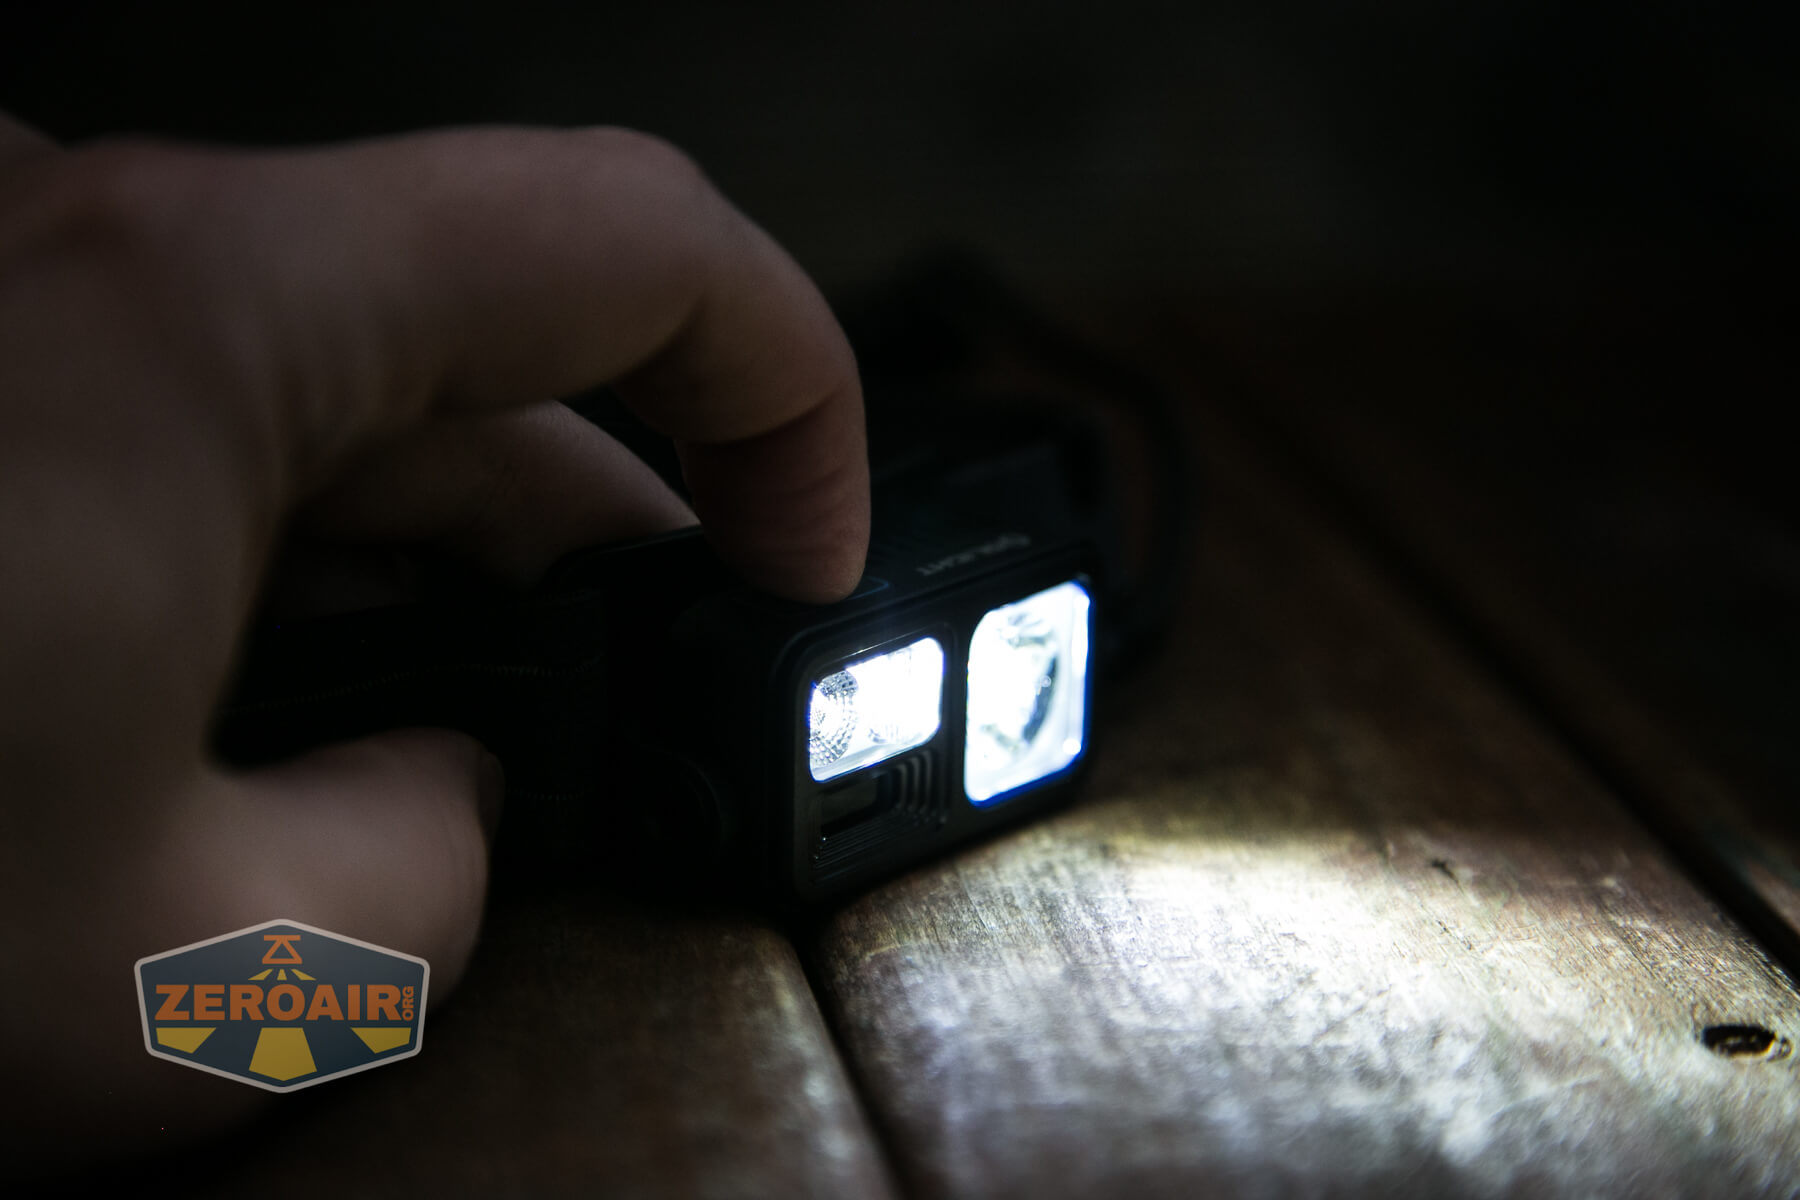
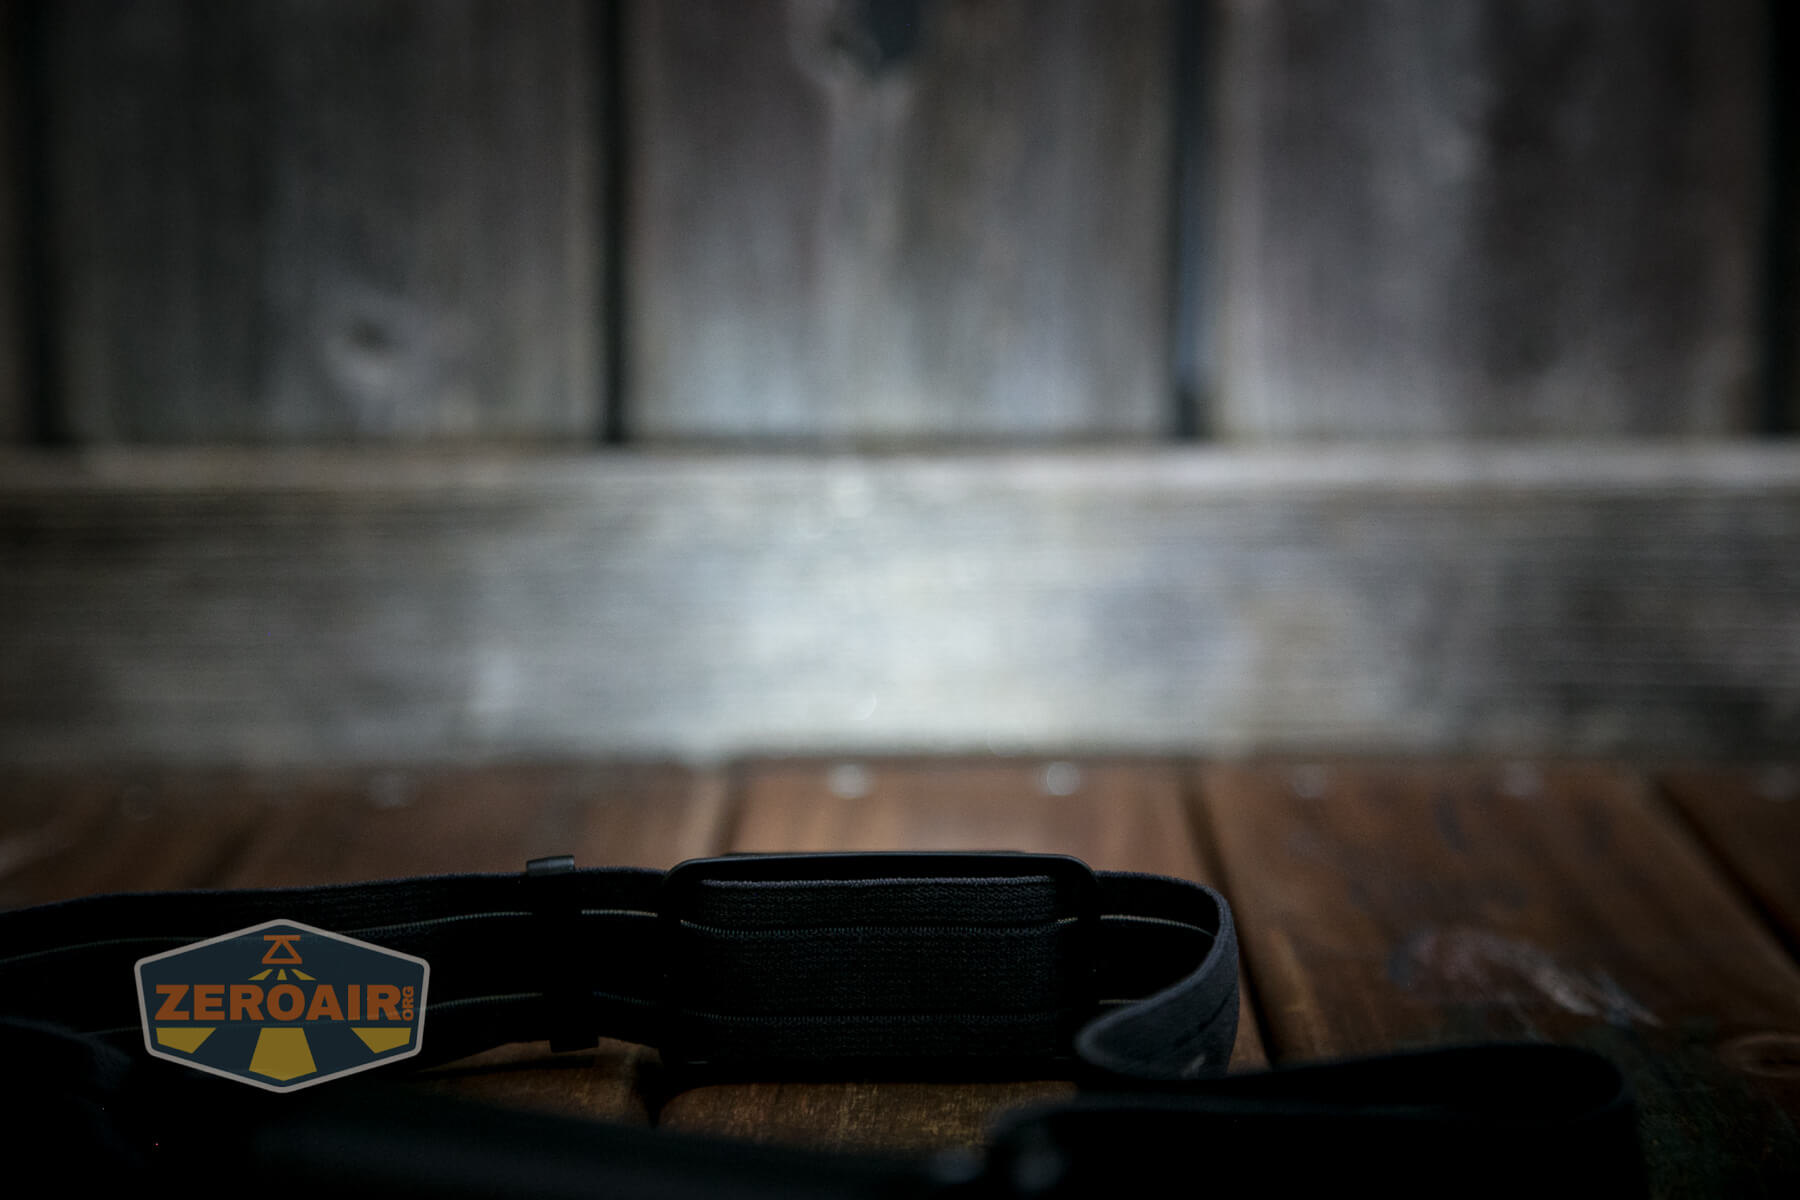
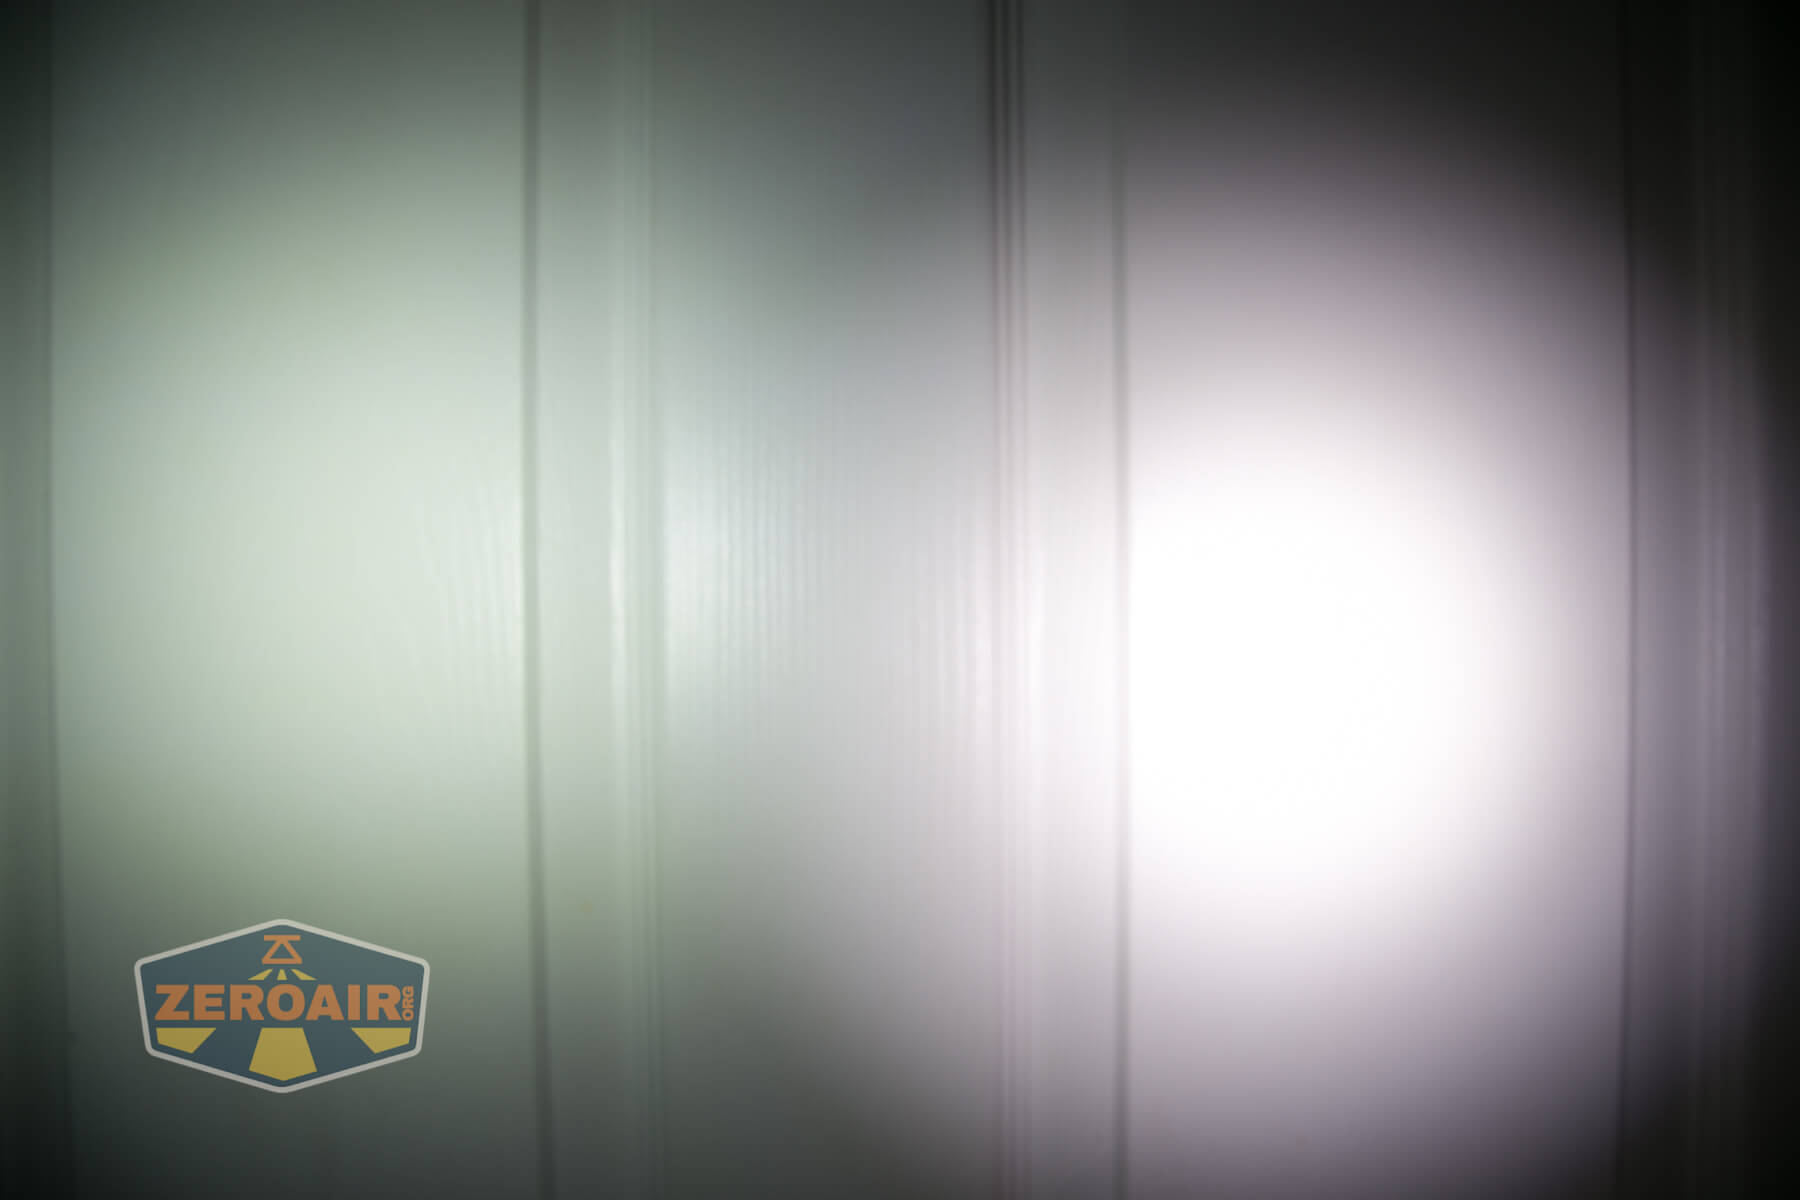
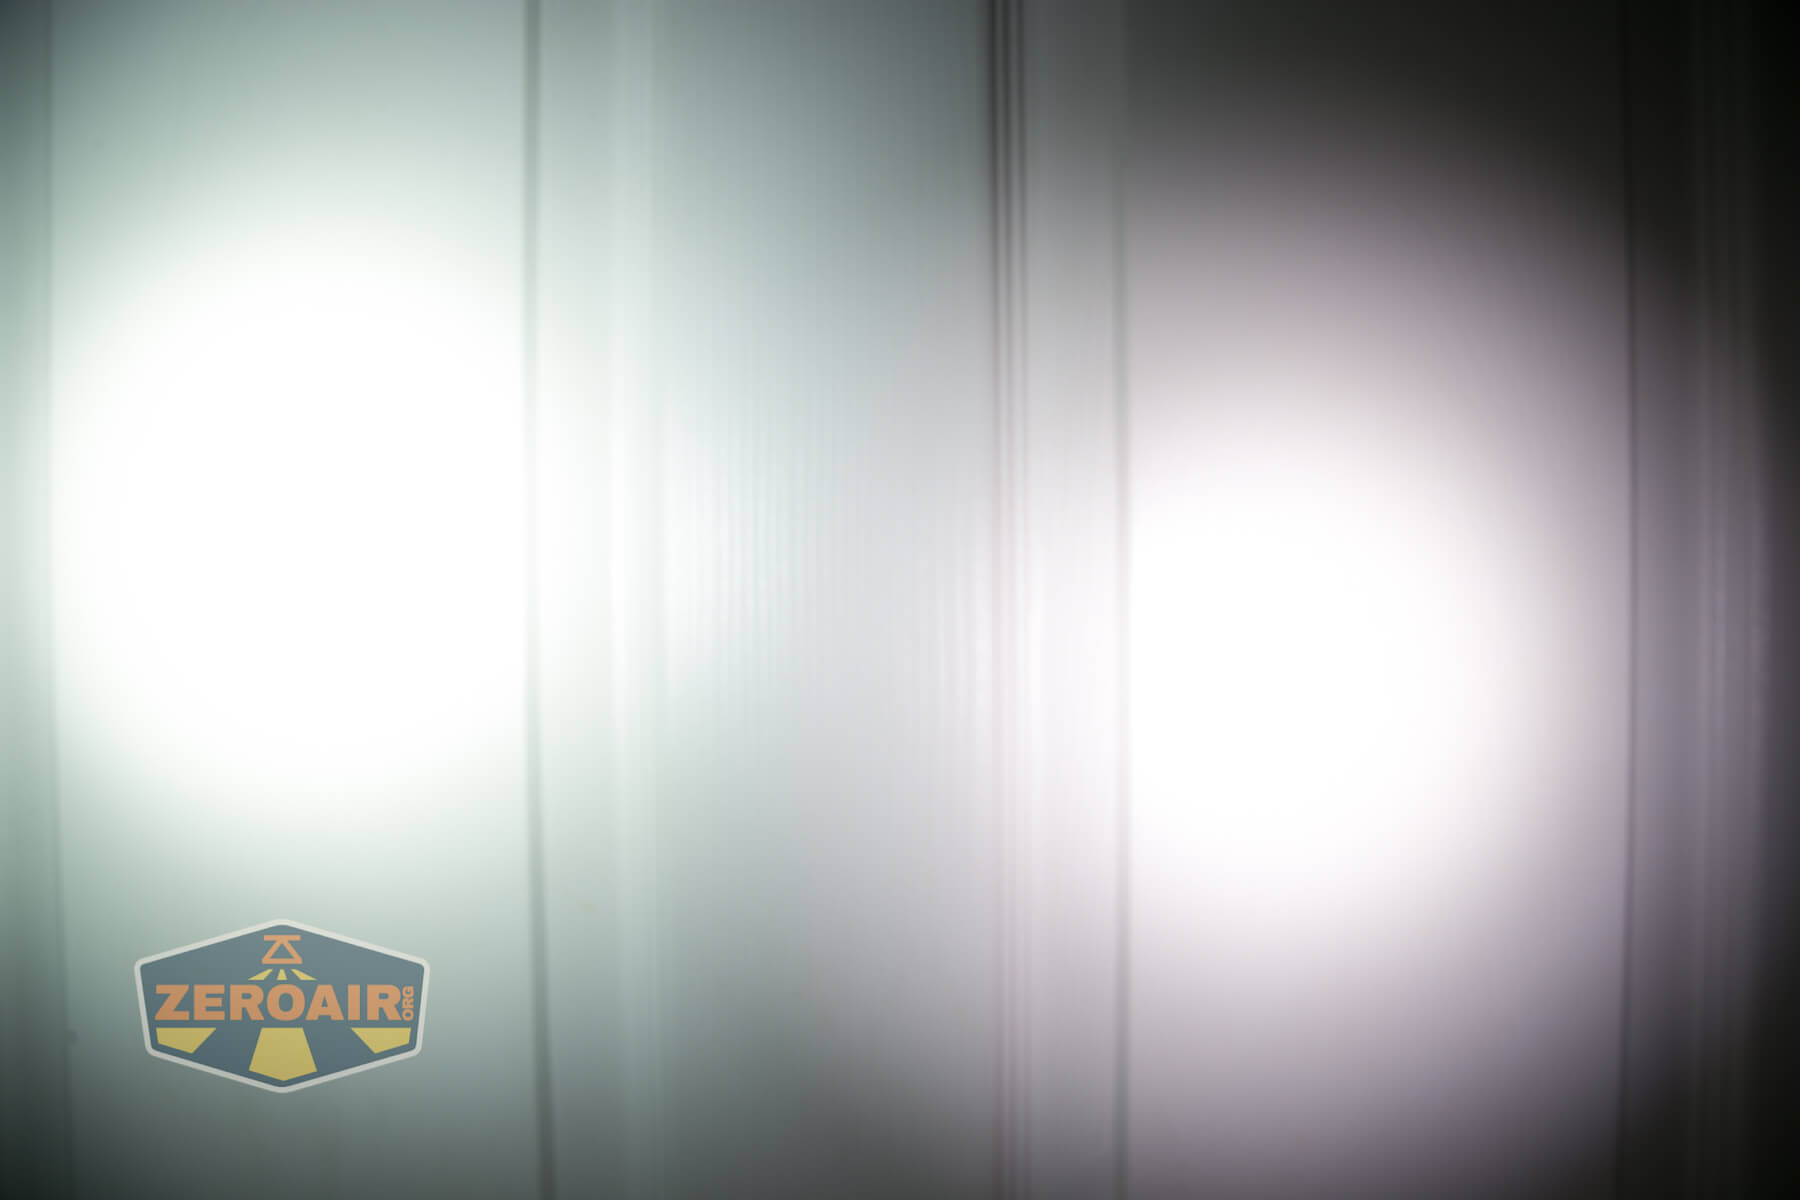
Beamshots
These beamshots always have the following settings: f8, ISO100, 0.3s shutter, and manual 5000K exposure. These photos are taken at floor level, and the beam hits the ceiling around 9 feet away.
The first three are the flood emitter.


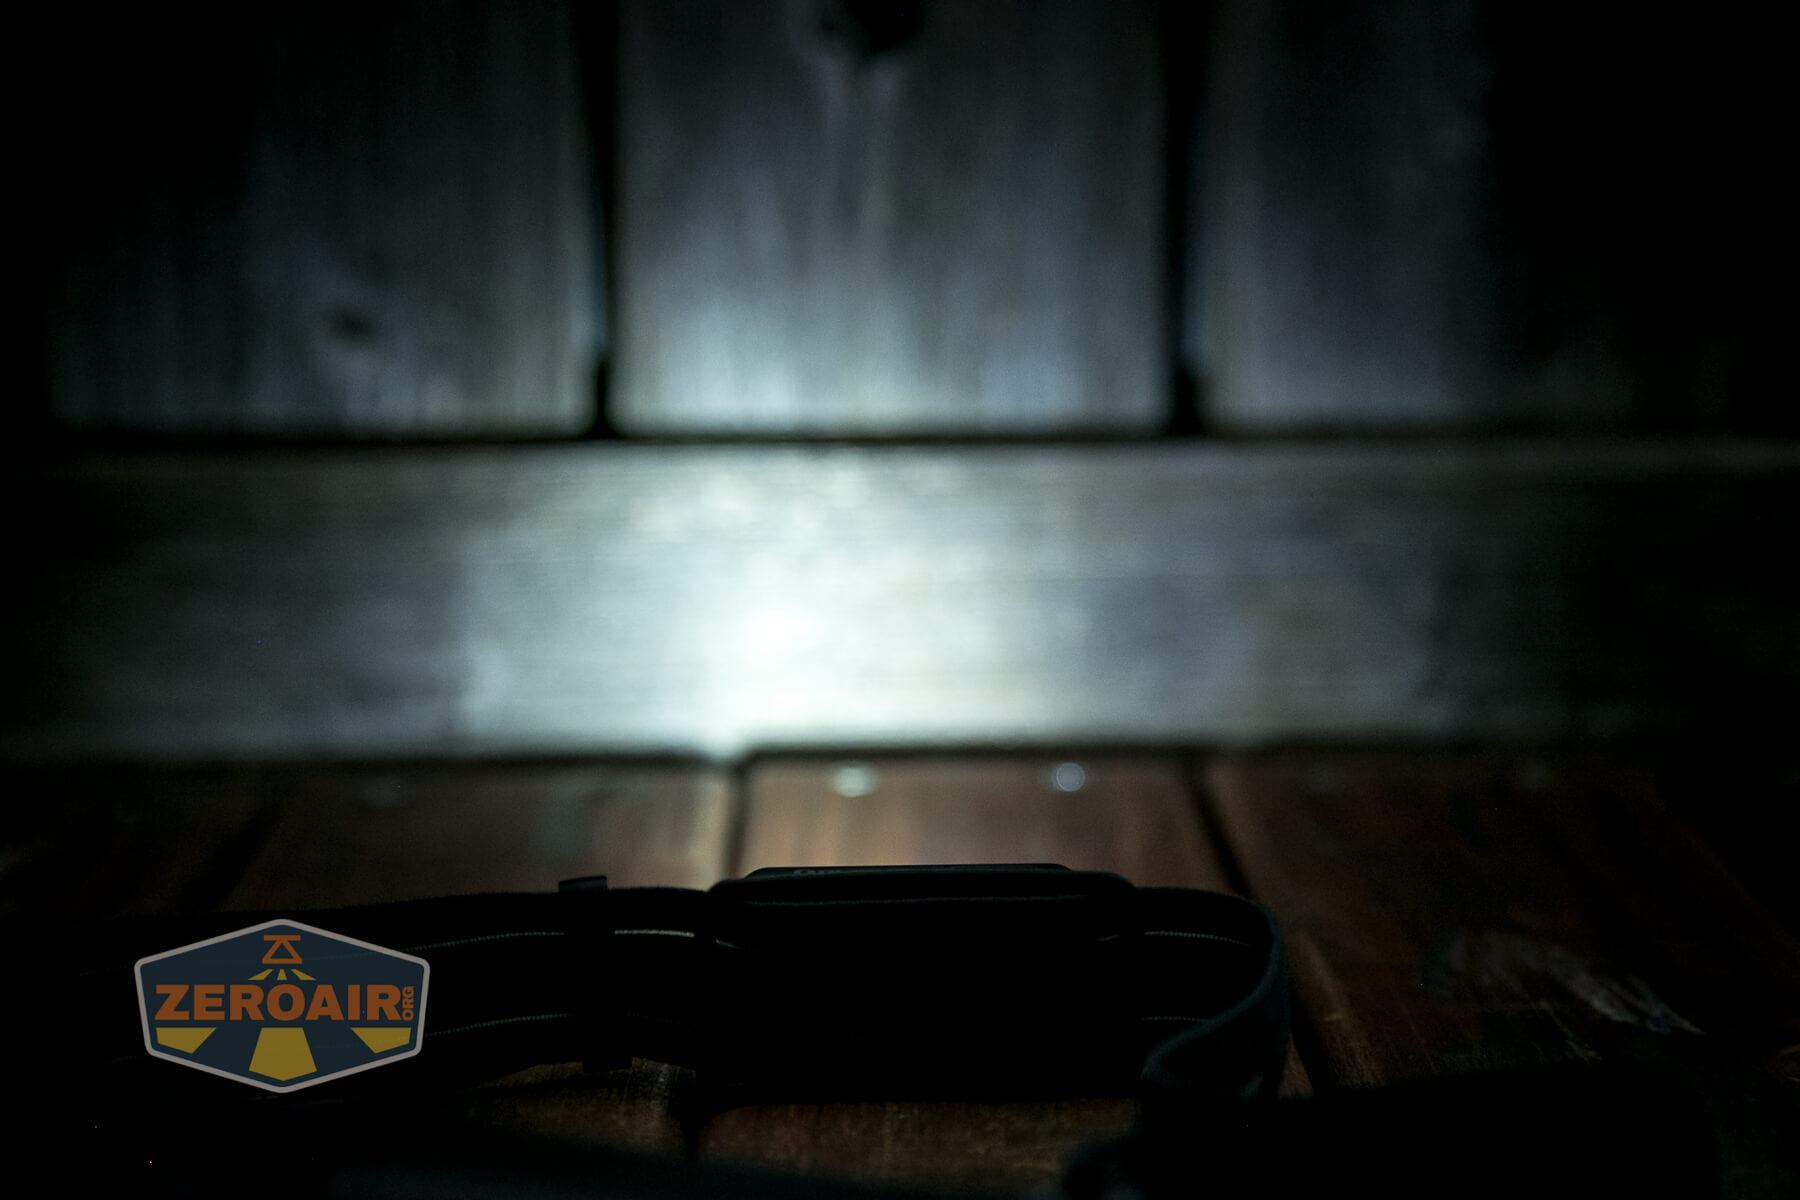
Next is the spot emitter (which also includes flood, remember).
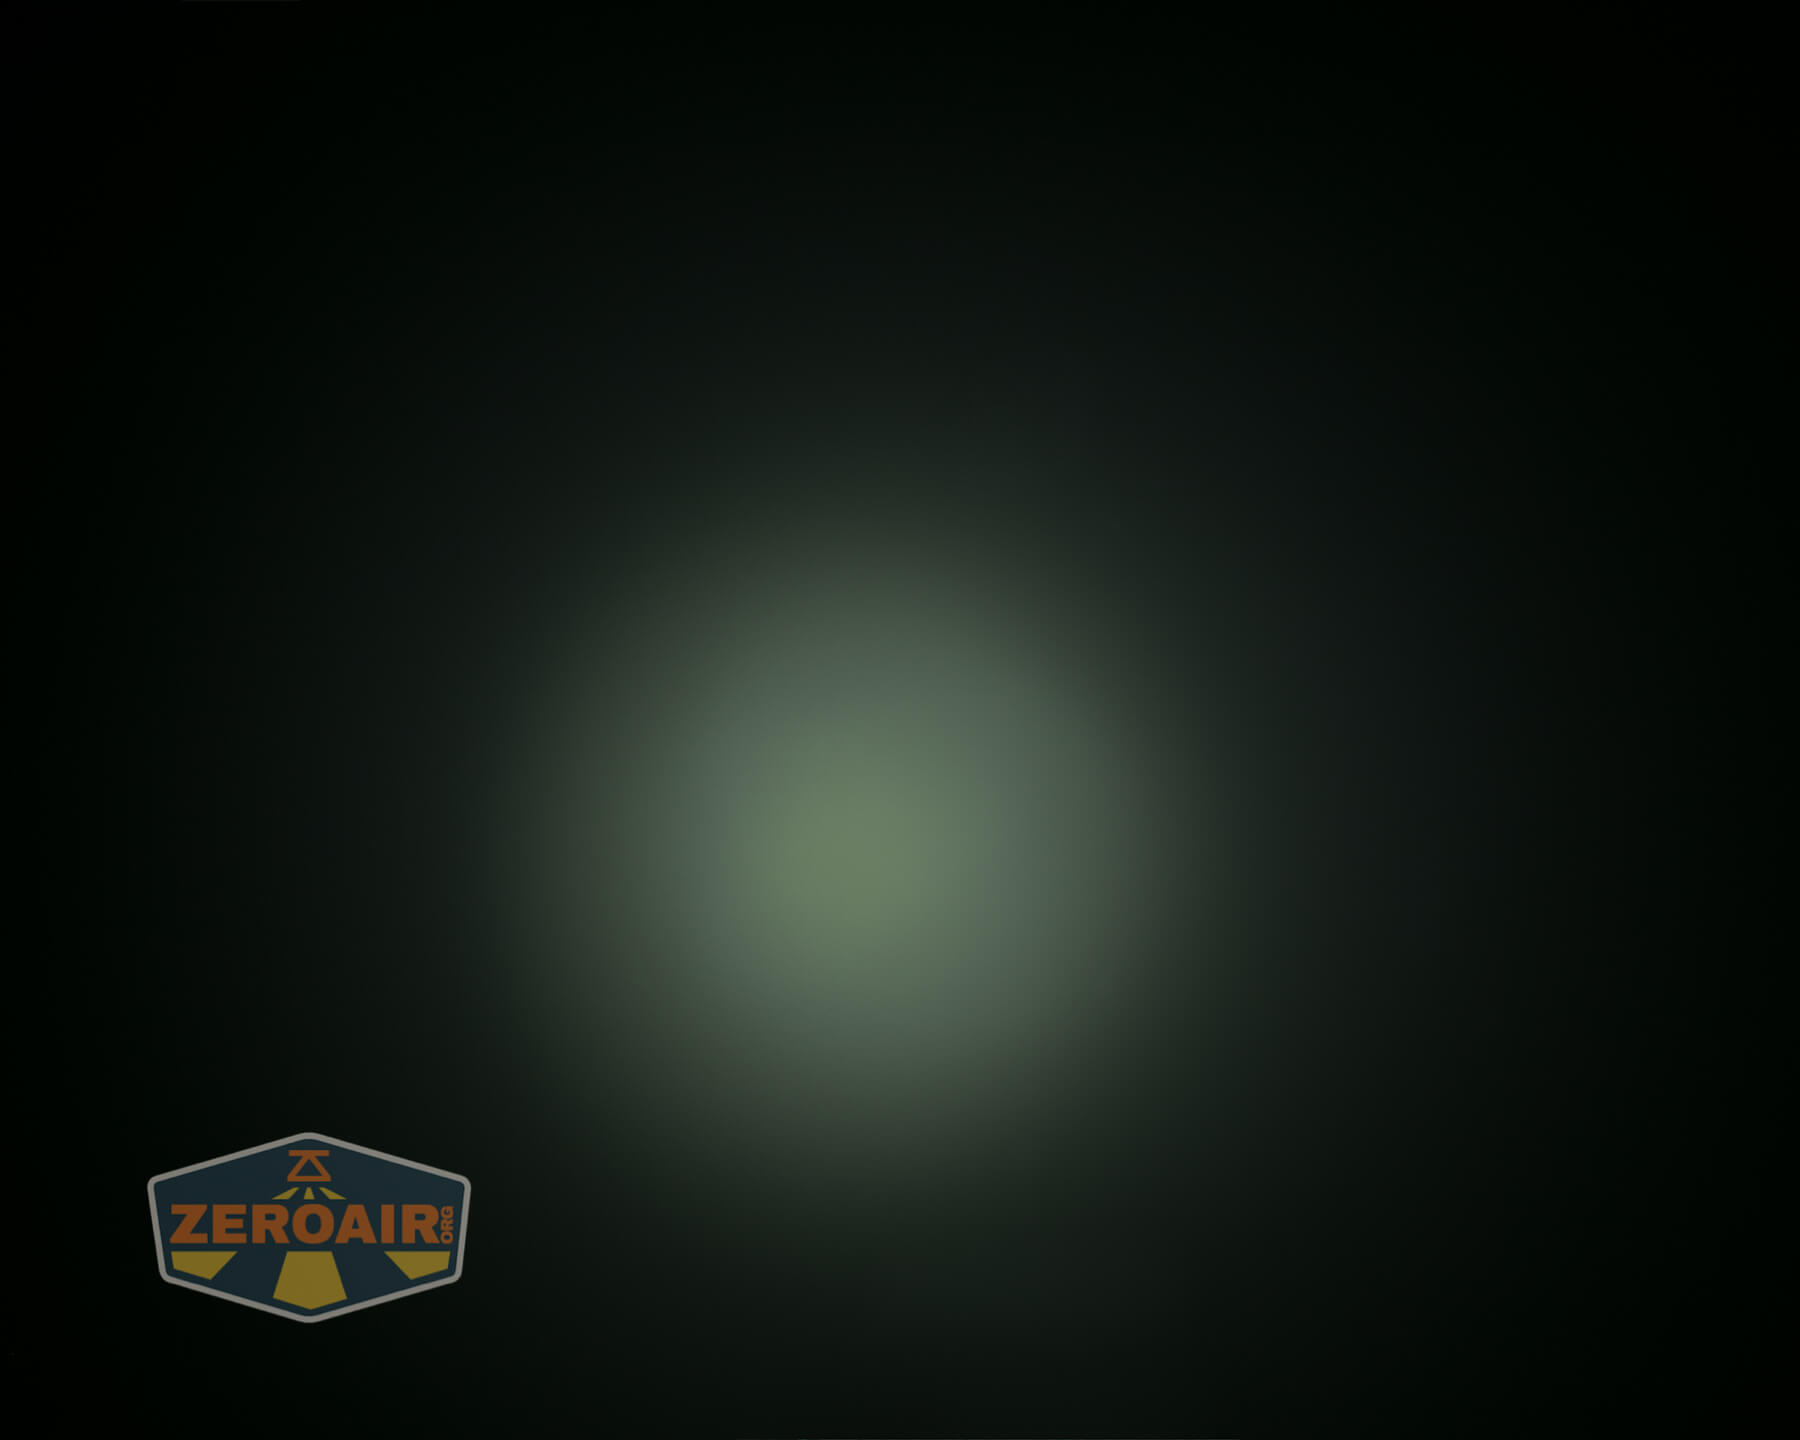


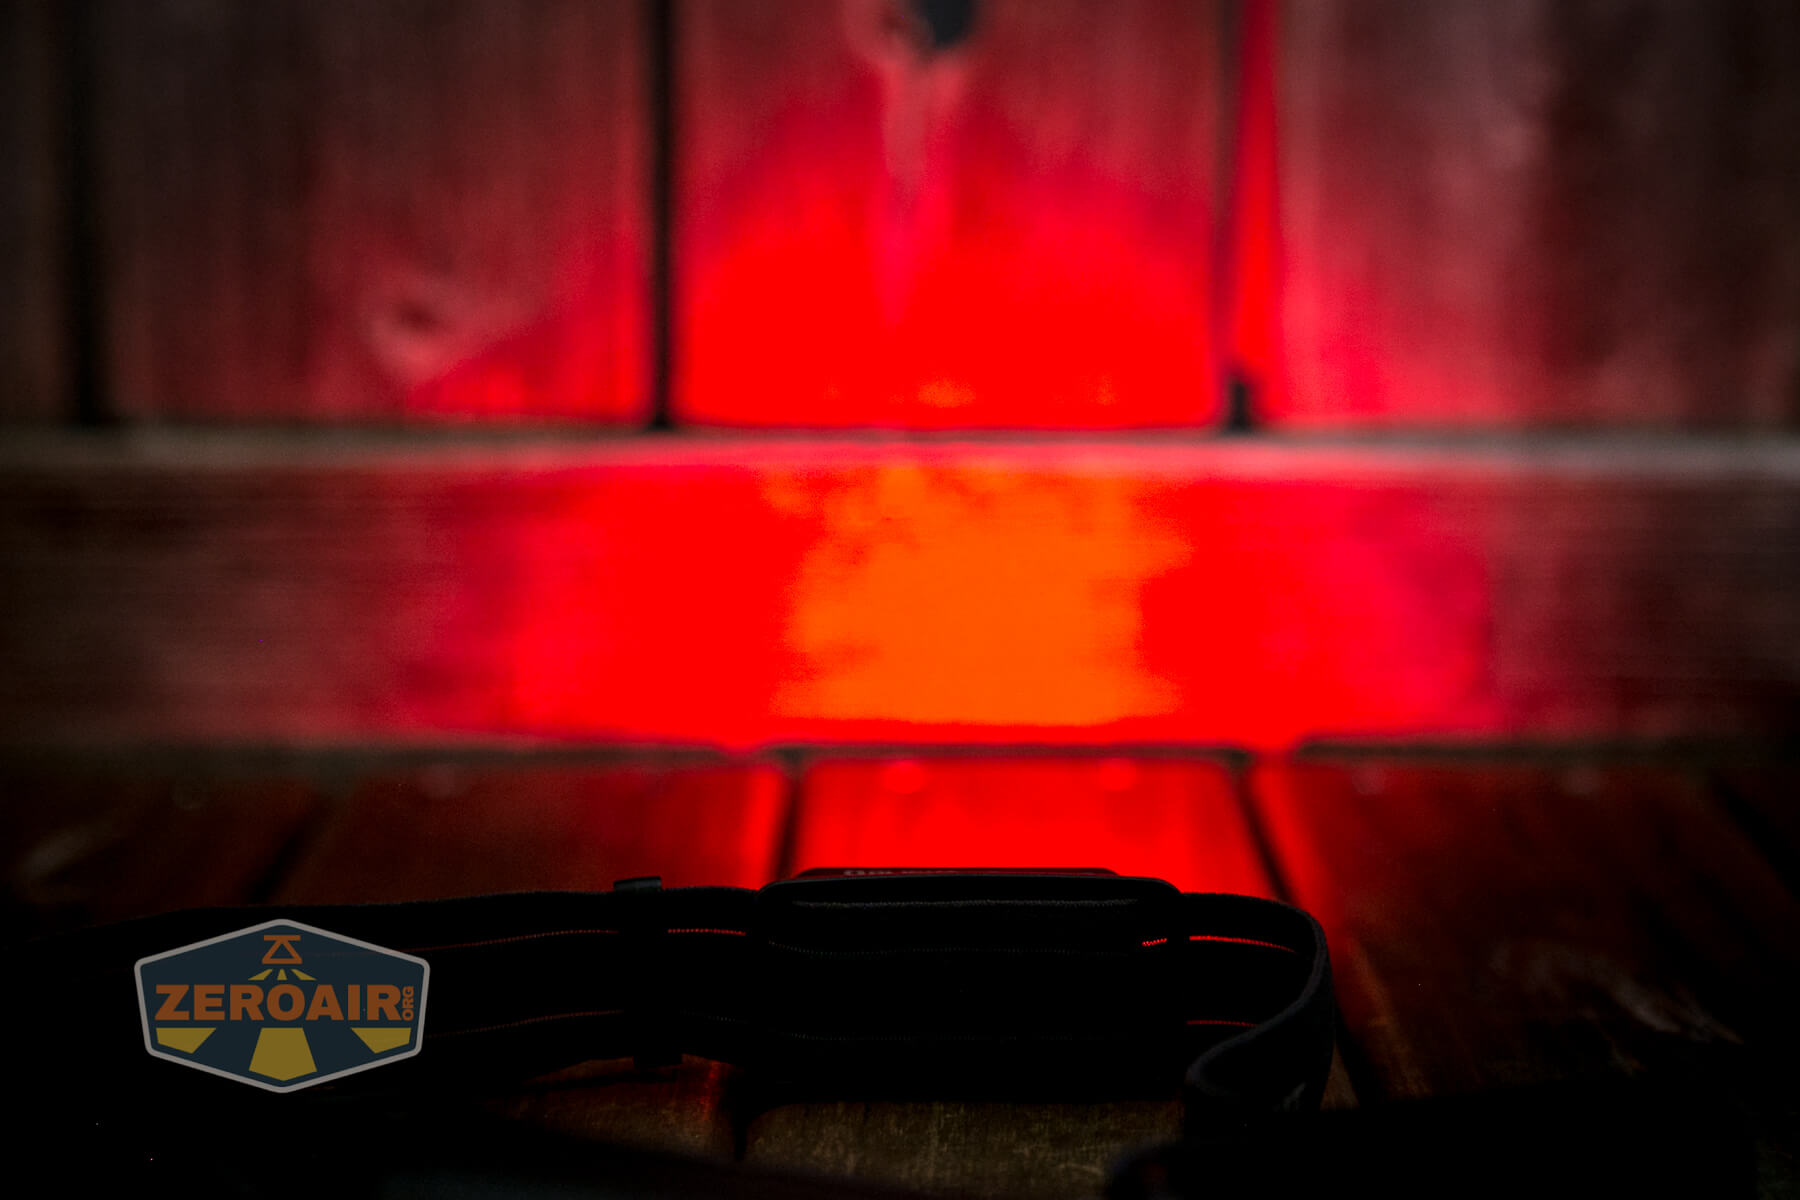
Finally, there’s the red emitter.


Tint vs BLF-348 (KillzoneFlashlights.com 219b version) (affiliate link)
I keep the test flashlight on the left and the BLF-348 reference flashlight on the right.
The first three are the flood emitter.


Next is the spot emitter (which also includes flood, remember).


Finally, there’s the red emitter.


I compare everything to the KillzoneFlashlights.com 219b BLF-348 because it’s inexpensive and has the best tint!
Conclusion
What I like
- Good build quality
- Metal casing on the actual light parts
- Deep cooling fins on the back of the body
- Wave feature is actually quite neat and does work well once you figure out the details (which I’ve covered above, so you should be golden)
- Should fit even extremely large heads.
- In fact, the band is so generous in size that small-to-medium-waisted people can wear it as a waist light!
What I don’t like
- The 18650 can’t be removed
- Both parts (light and battery pack) are hard-wired
- Cool white (and greenish) emitters for the white.
- I really need the lower red mode to be much much lower. (Like much lower)
Notes
- This content originally appeared at zeroair.org. Please visit there for the best experience!
- Please use my Amazon.com referral link to help support zeroair.org!
- Please support me on Patreon! I deeply appreciate your support!
Discover more from ZeroAir Reviews
Subscribe to get the latest posts sent to your email.