
Nitecore MH25 Pro Flashlight Review
The Nitecore MH25 Pro flashlight uses the NiteLab UHi 40 (like the MH12 Pro). It has a tight beam, offers USB-C charging, and has a dual-switch interface!
Official Specs and Features
Here’s a link to the Nitecore MH25 Pro flashlight product page.
Versions
There’s only one version of the Nitecore MH25 Pro flashlight.
Price
NitecoreStore.com has the MH25 Pro flashlight for $99.95 right now.
Short Review
There’s a lot to like about the Nitecore MH25 Pro flashlight and really only two things to dislike. The MH25 Pro offers a great user interface as well as capable USB-C charging. The cost is reasonable, too. Probably my favorite aspect though is the beam shape – it’s very throwy! (Compared to the MH12 Pro, it’s much more throwy!)
Long Review
The Big Table
| Nitecore MH25 Pro Flashlight | |
|---|---|
| Emitter: | NiteLab UHi 40 |
| Price in USD at publication time: | 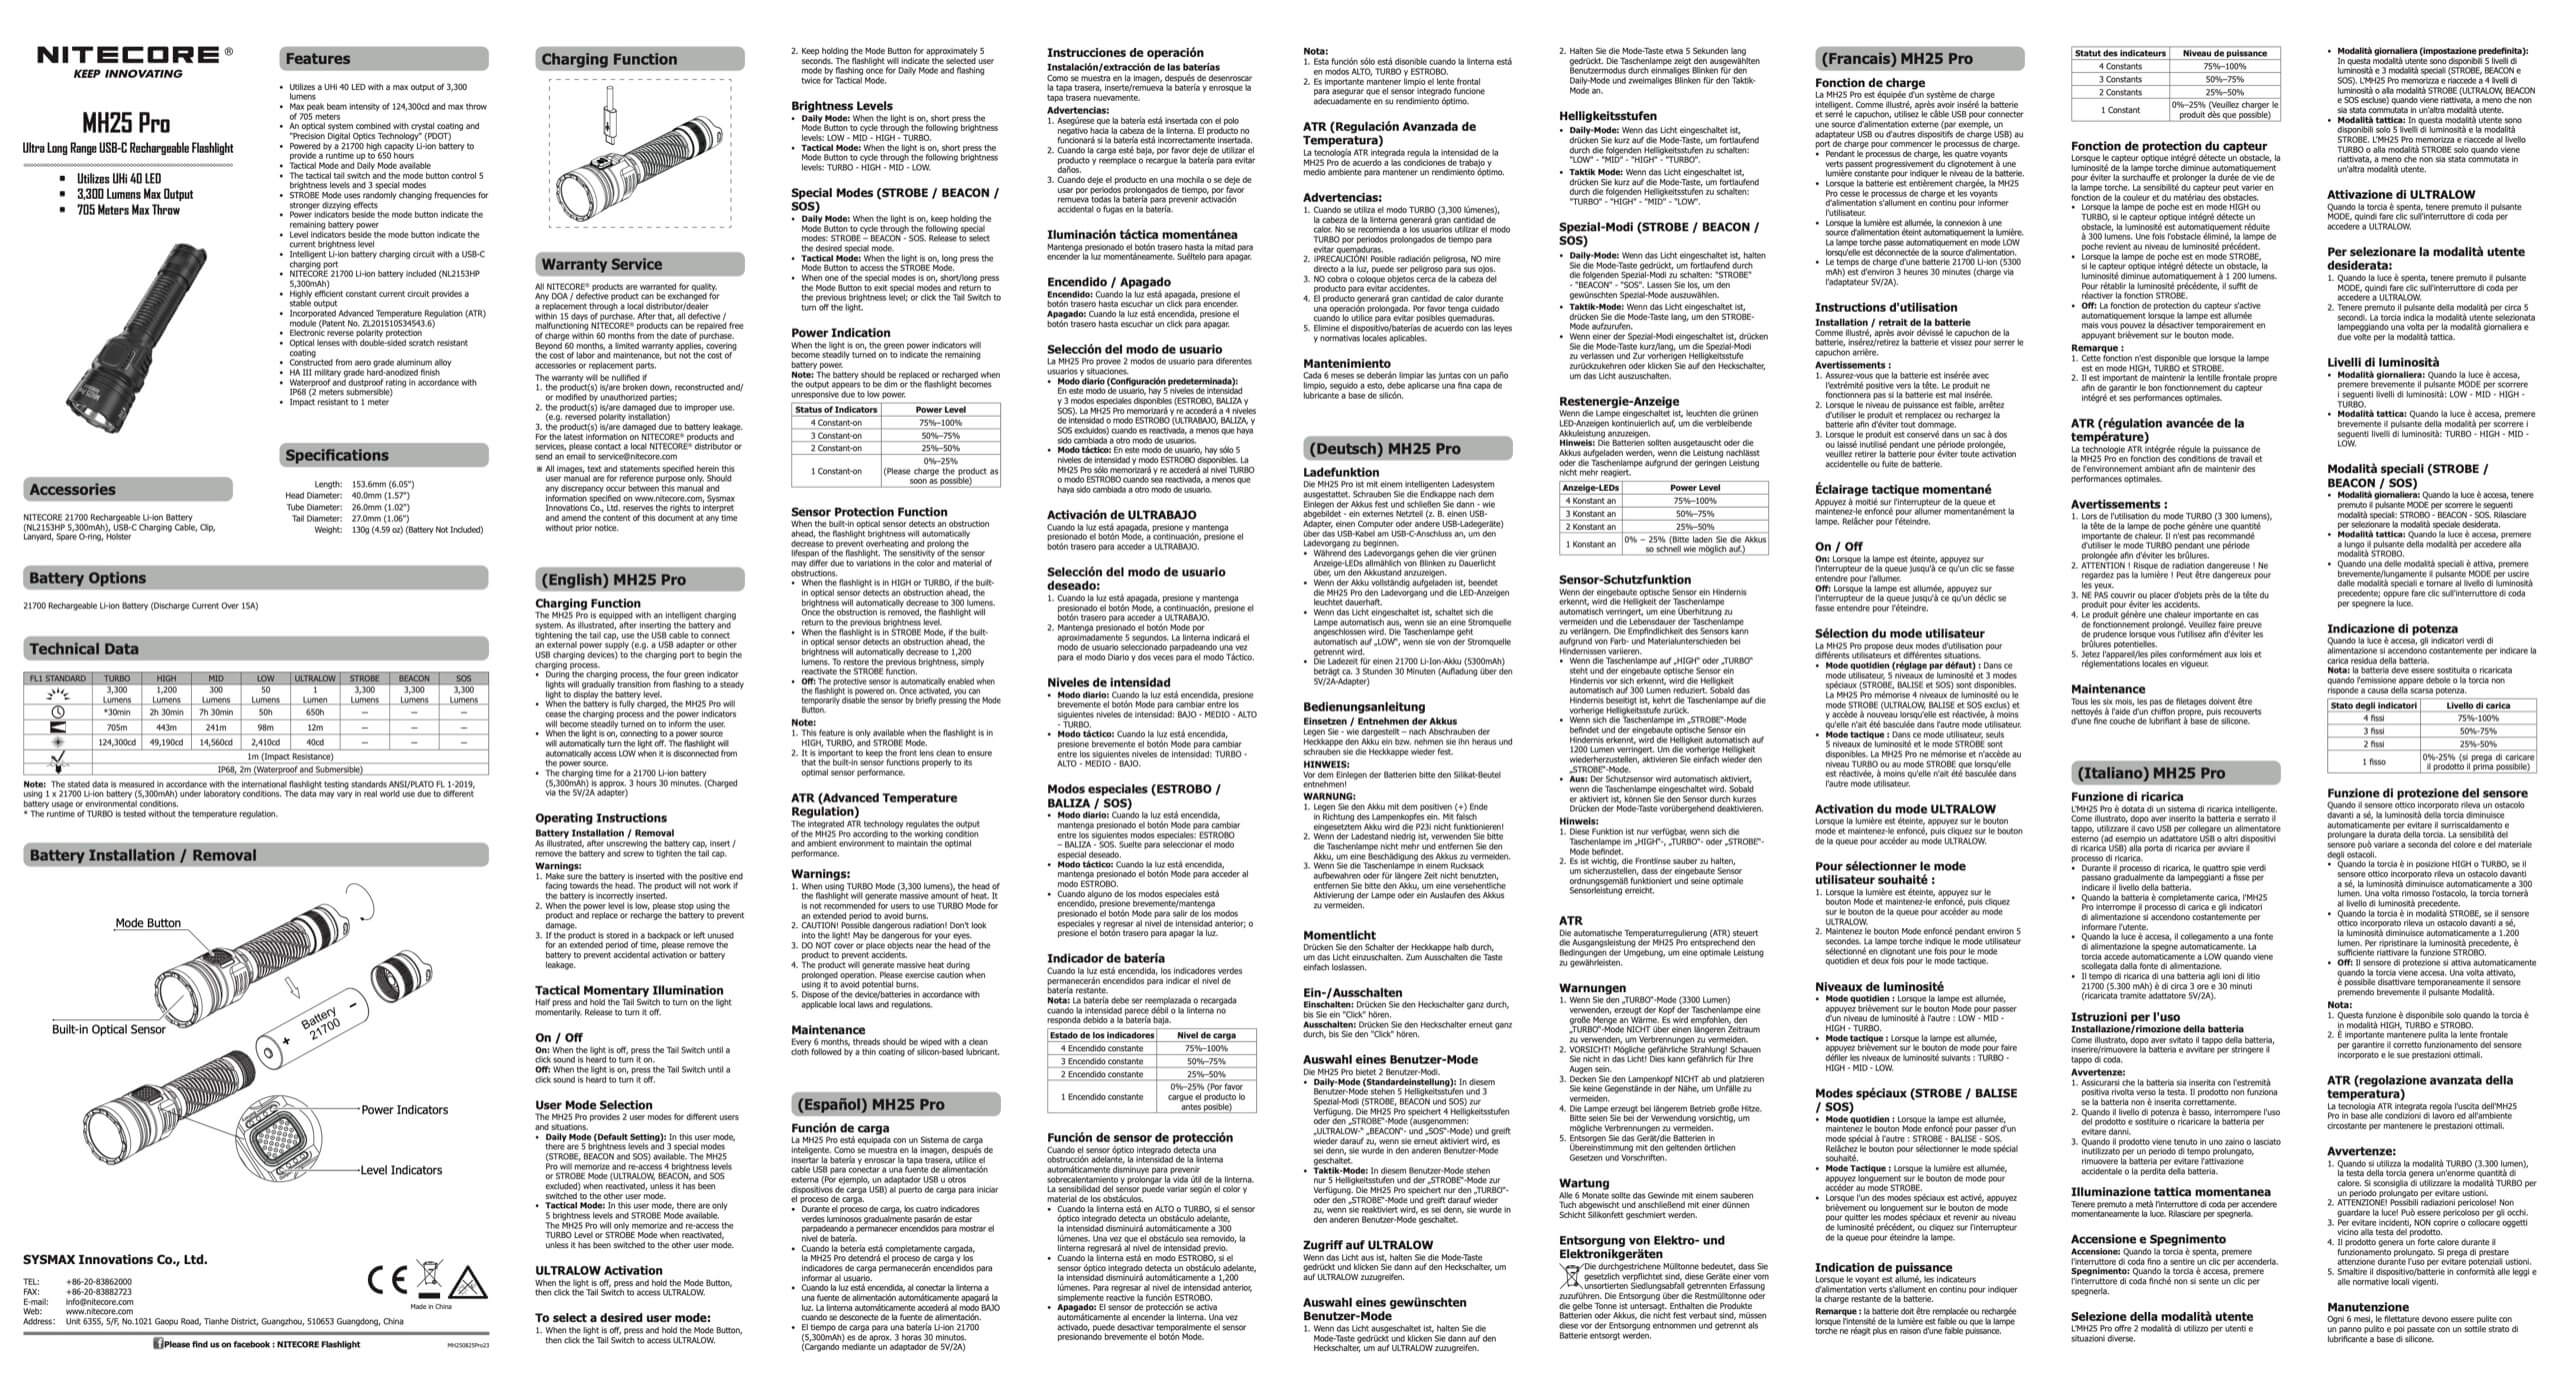 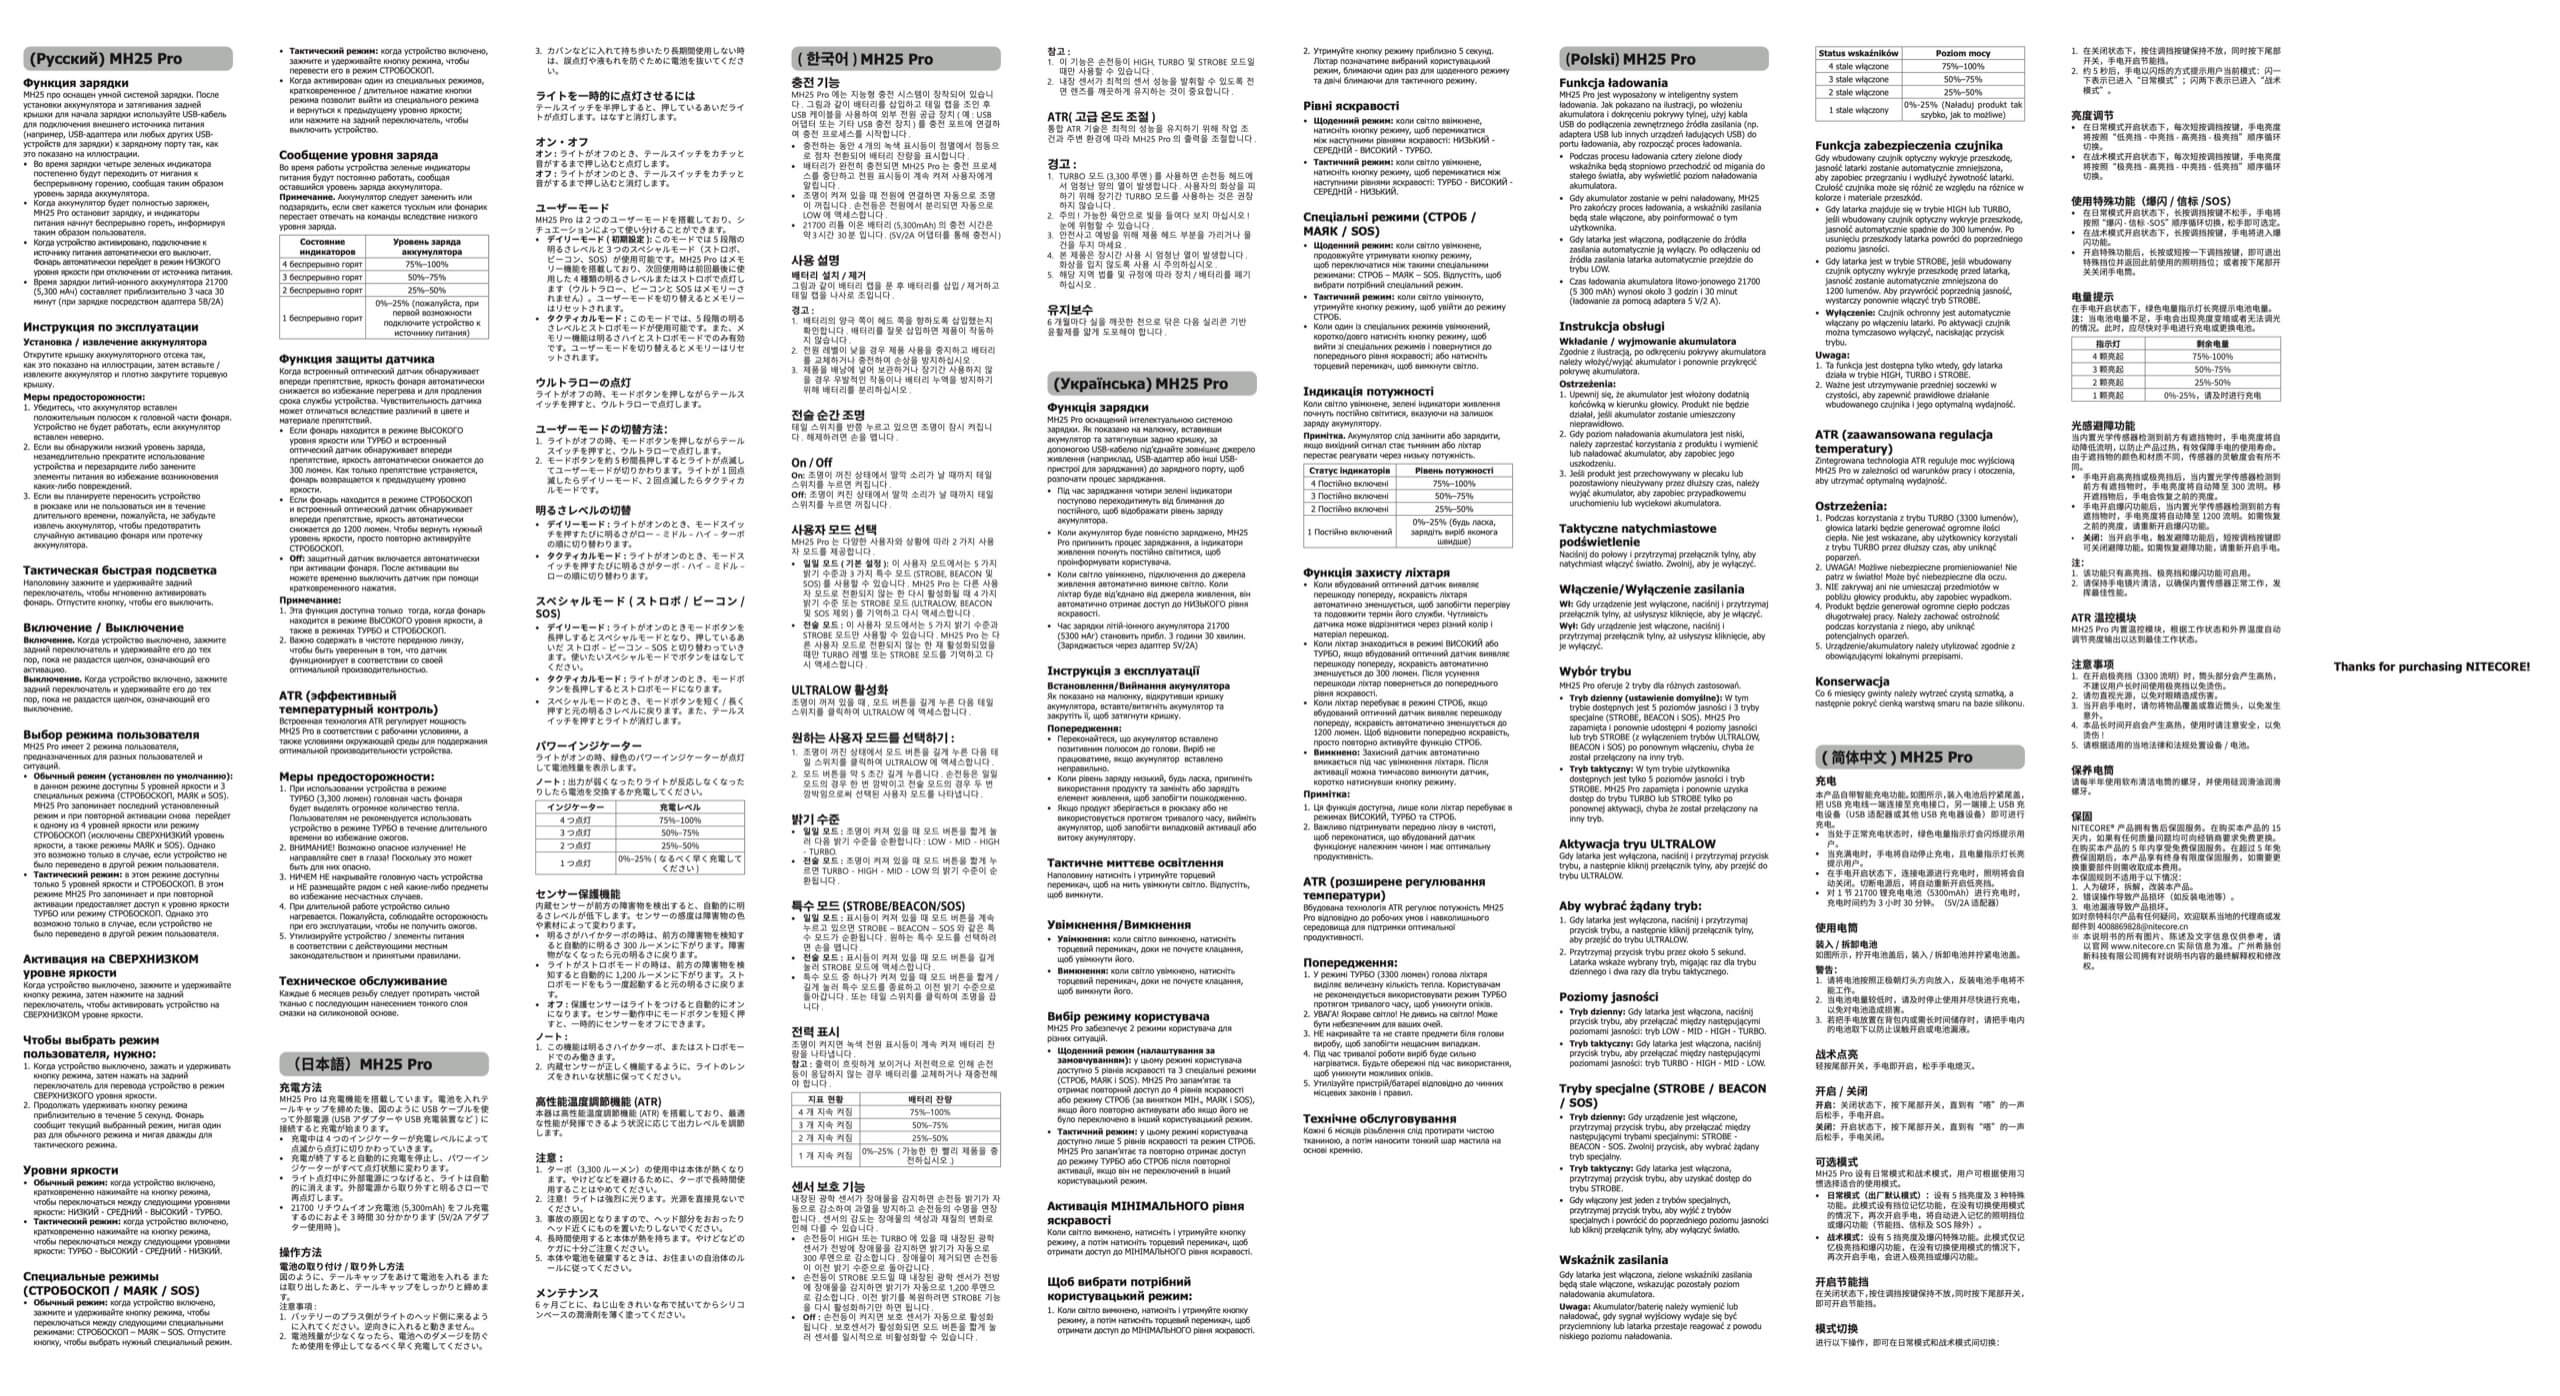 |
| Cell: | 1×21700 |
| Runtime Graphs | |
| LVP? | Yes |
| Switch Type: | Both |
| Quiescent Current (mA): | – |
| On-Board Charging? | Yes |
| Charge Port Type: | USB-C |
| Charge Graph | |
| Power off Charge Port | |
| Claimed Lumens (lm) | 3300 |
| Measured Lumens (at 30s) | 1047 (31.7% of claim)^ |
| Candela per Lumen | 46.22 |
| Claimed Throw (m) | 705 |
| Candela (Calculated) in cd (at 30s) | 2550lux @ 7.029m = 125987cd |
| Throw (Calculated) (m) | 709.9 (100.7% of claim)^ |
| Claimed CCT | – |
| Measured CCT Range (K) | 5600-6200 Kelvin |
| Item provided for review by: | NitecoreStore.com |
| All my Nitecore reviews! | |
^ Measurement disclaimer: Testing flashlights is my hobby. I use hobbyist-level equipment for testing, including some I made myself. Try not to get buried in the details of manufacturer specifications versus measurements recorded here; A certain amount of difference (say, 10 or 15%) is perfectly reasonable.
What’s Included
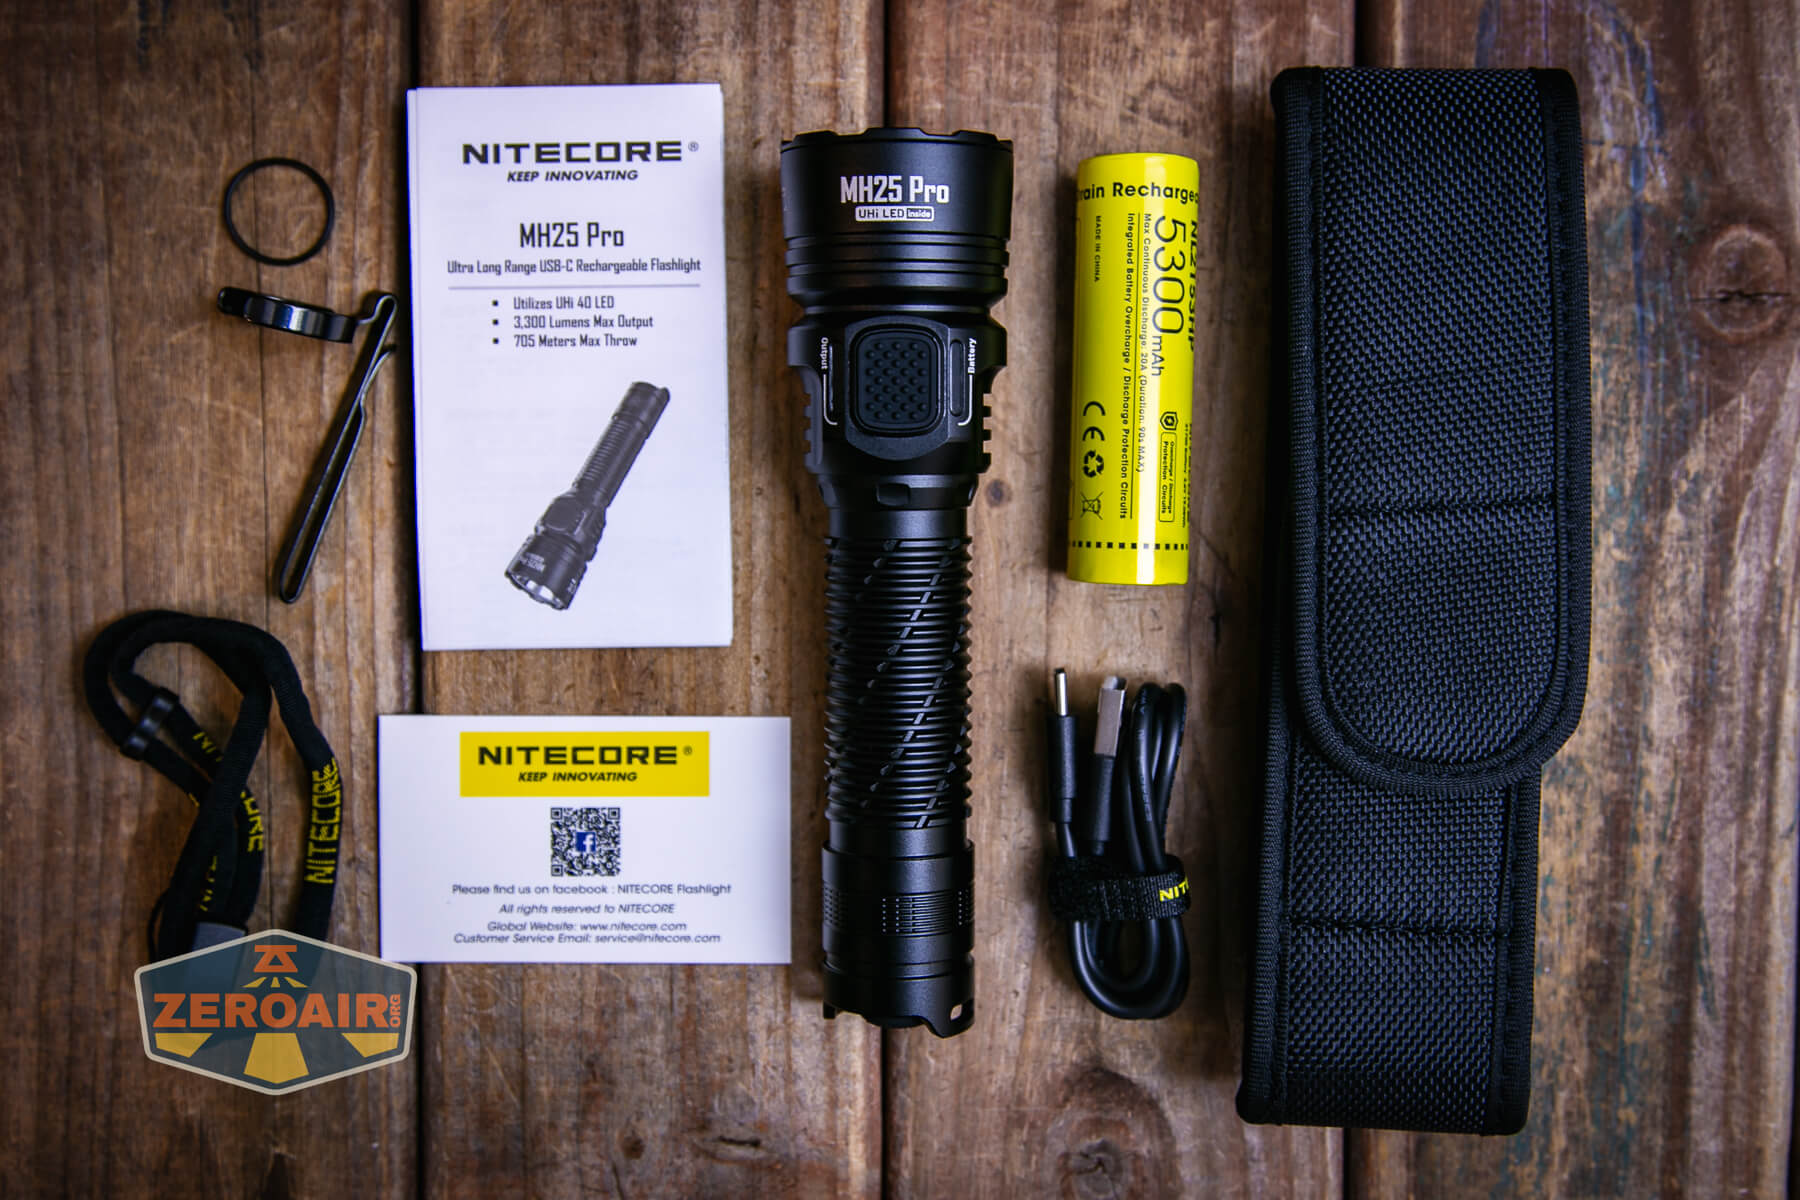
- Nitecore MH25 Pro flashlight
- Charging cable (USB to USB-C)
- 5300mAh 21700
- Nylon holster
- Pocket clip
- Lanyard
- Spare o-ring
- Manual etc
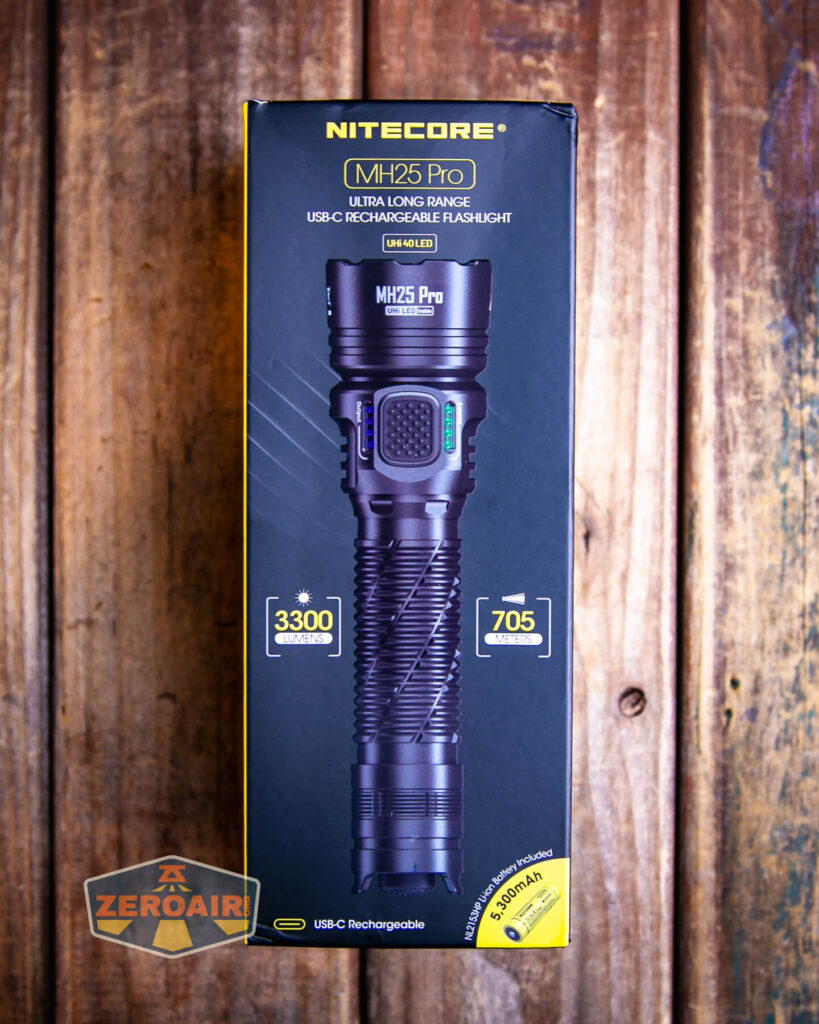
Package and Manual

Build Quality and Disassembly

It’s worth mentioning right up front that the MH12 Pro and MH25 Pro are very similar flashlights. The MH12 Pro is a tube light and the MH25 Pro has a big head and smooth reflector. That’s about it for differences, though. But that makes up a huge difference in usage – the MH25 Pro is very throwy while the MH12 Pro is just a bit less throwy. Both have great beam shapes!
The Nitecore MH25 Pro flashlight is very well-built.

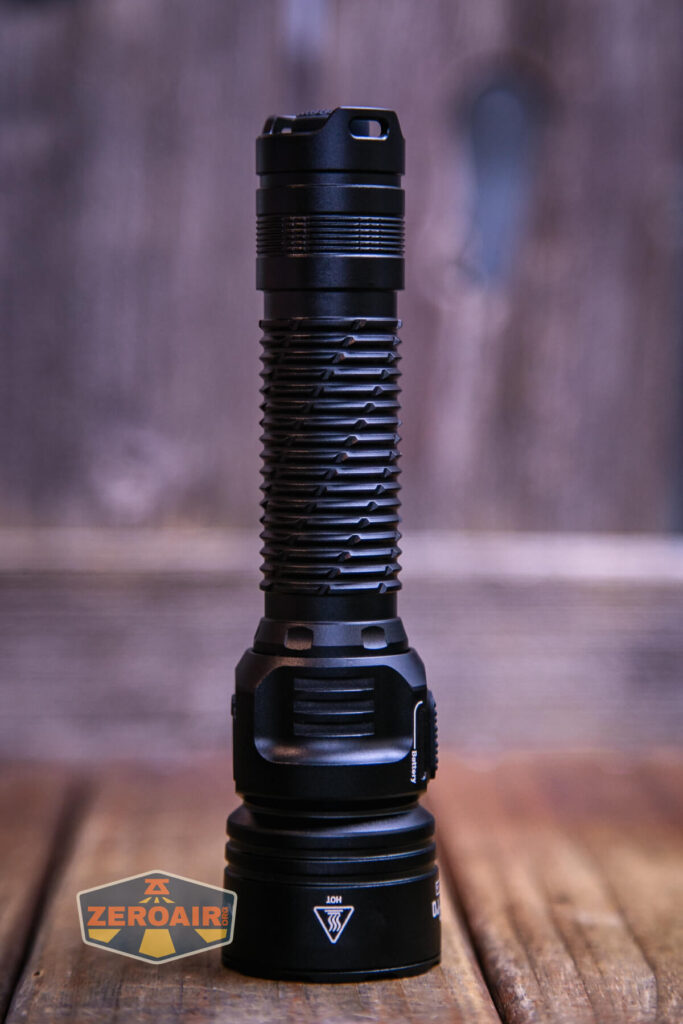


There’s some grip along the body tube and it’s probably adequate in tactical situations, but it’s definitely not knurling.
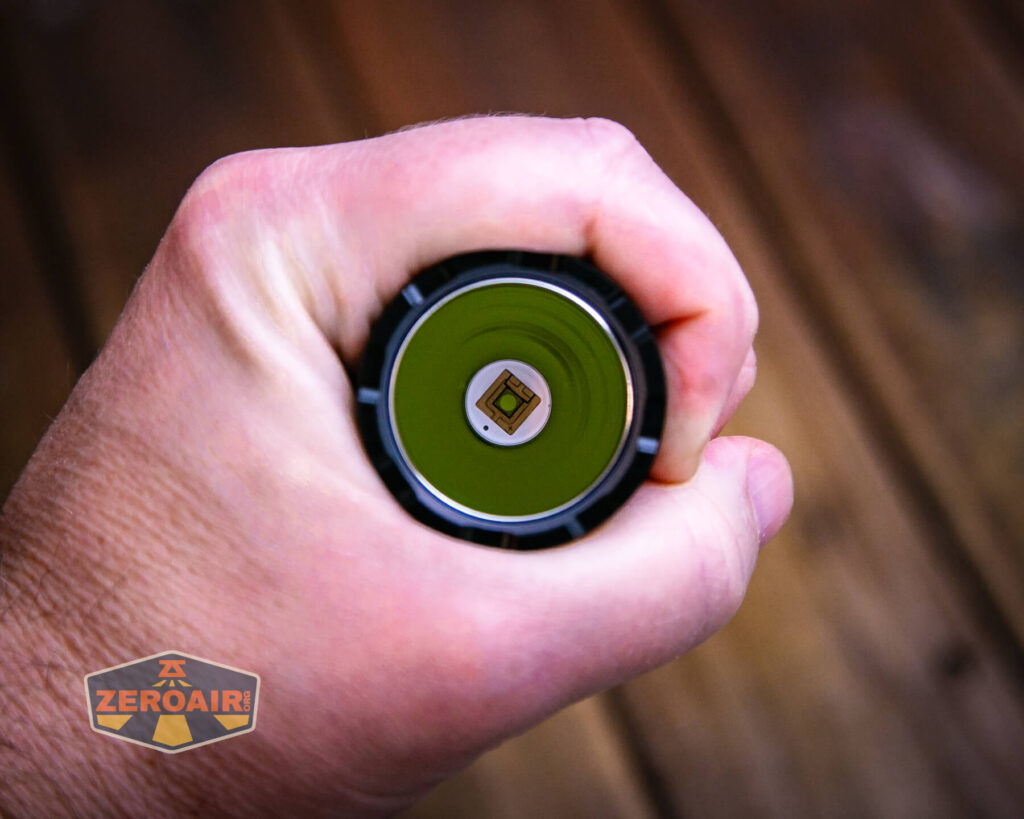
The tail end of the Nitecore MH25 Pro flashlight has a button for contact with the negative terminal of the included 21700 cell. This button is springy.

The other end has the same type of button. Both are ever so slightly springy, but they are quite stiff.

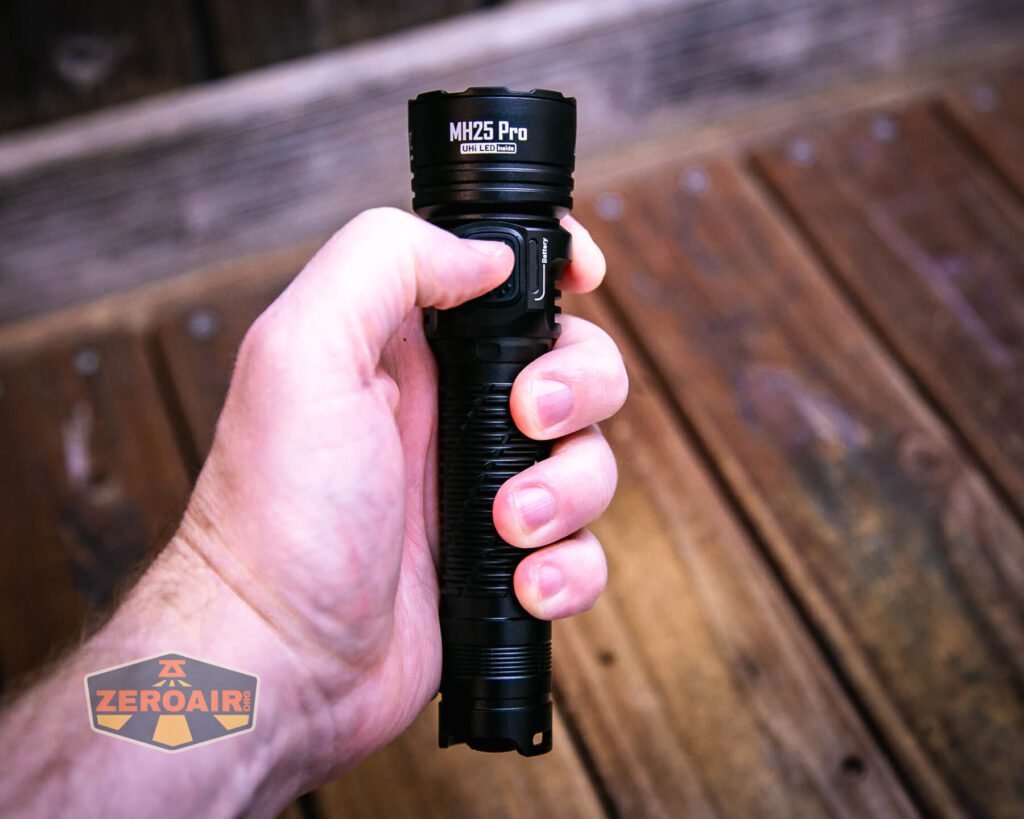
Size and Comps
Dimensions Length: 6.05″
Head Diameter: 1.57″
Tube Diameter:1.02″
Tail Diameter: 1.06″
Weight 4.59 oz


If the flashlight will headstand, I’ll show it here (usually the third photo). If the flashlight will tailstand, I’ll also show that (usually in the fourth photo).

Here’s the test light with the venerable Convoy S2+. The version below is a custom laser-engraved Convoy S2+ host by GadgetConnections.com. I did a full post on an engraved orange host right here! Or go straight to GadgetConnections.com to buy your Convoy S2+ now!


Also above is the light beside a new standard 18350 light! It’s not one I’ve reviewed yet but this is the CWF Arcadian Peanut in aluminum. This one is stonewashed and has the new Quantum Dragon driver – a whole new product! Stay tuned for a full review of this tiny powerhouse!
Retention and Carry
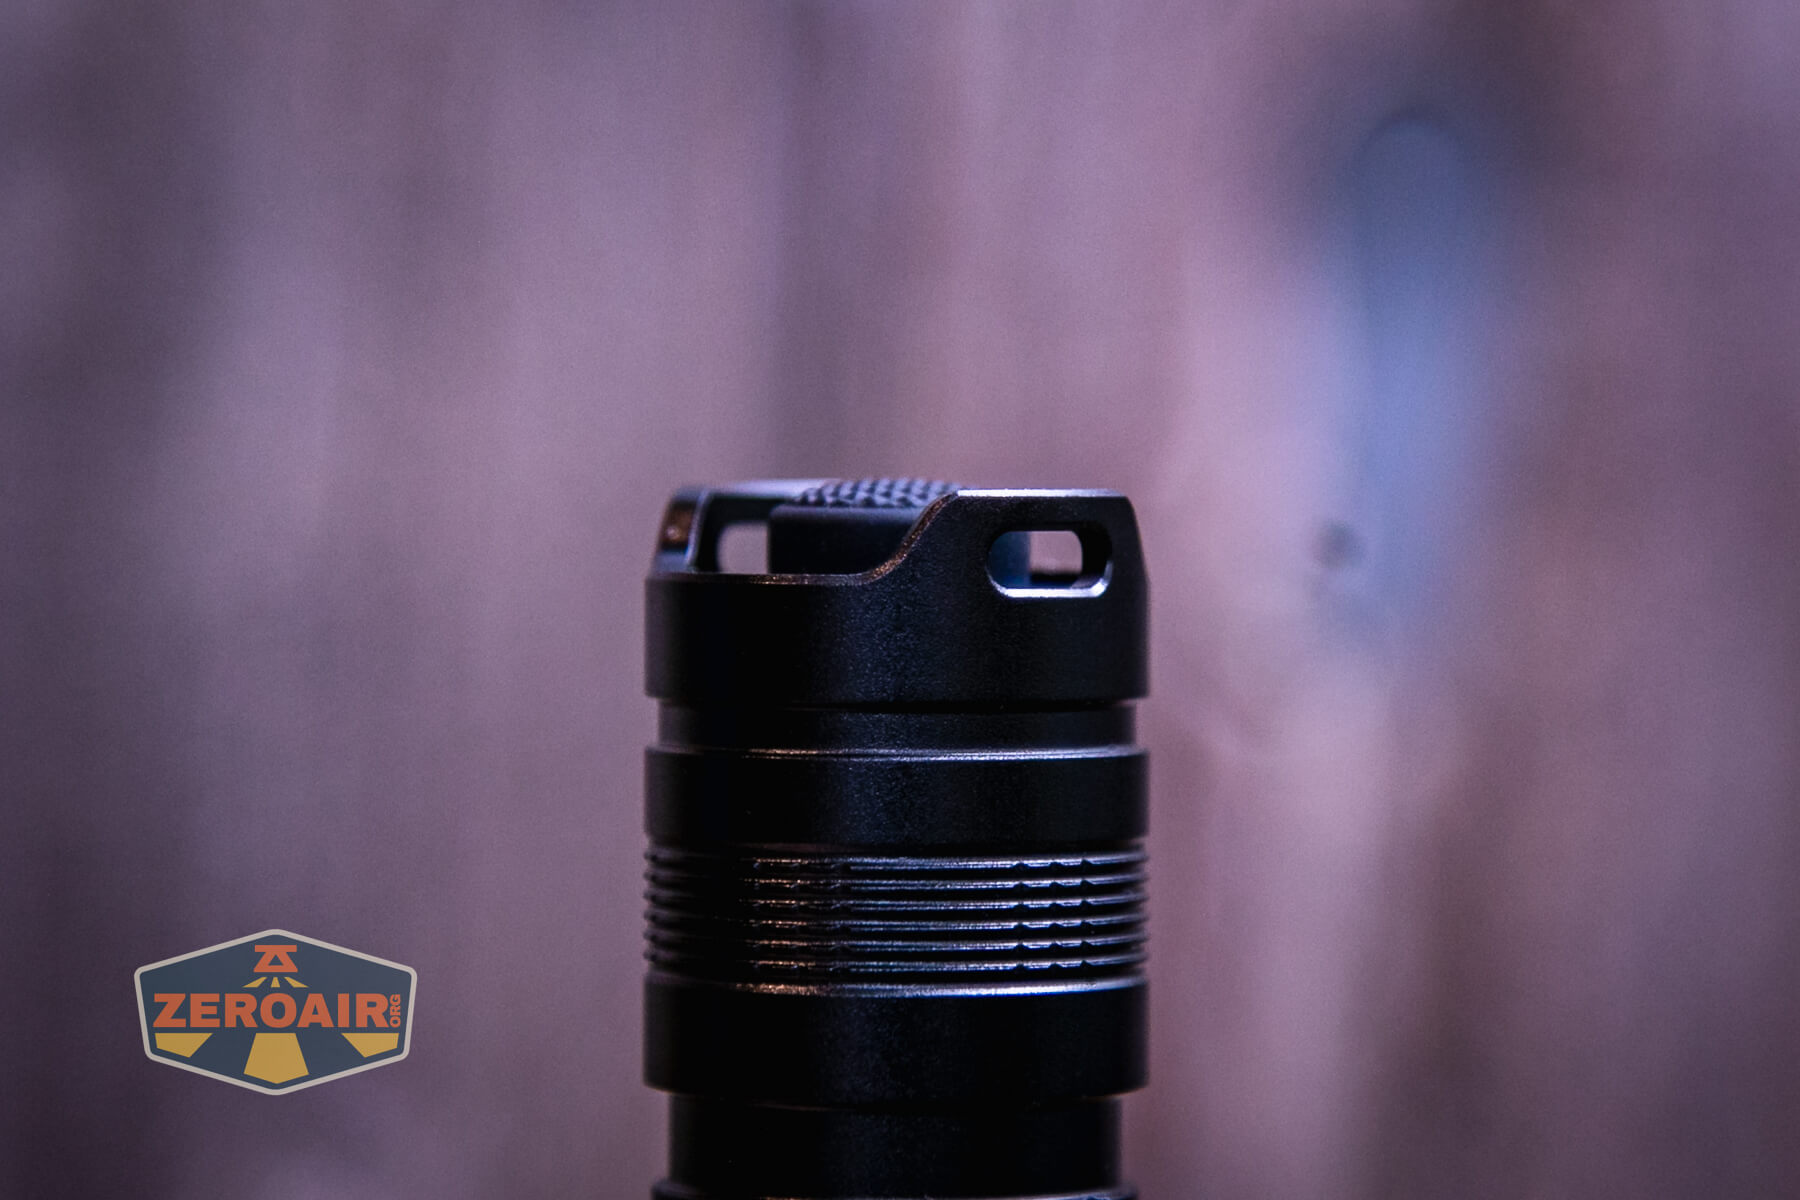
A pocket clip is included with the Nitecore MH25 Pro flashlight but it’s not attached.

The friction-fit clip attaches easily to either end of the light.

This is a two-way clip and it also features a lanyard hole on the top shoulder. I don’t usually love two-way clips, but I like the way this one is made.


There’s a lanyard included. It’s most happy being installed through the tailcap holes, but could also be attached to the pocket clip. That’s less ideal because of the friction-fit nature of the clip.

A nylon pouch is also included.

Power and Runtime
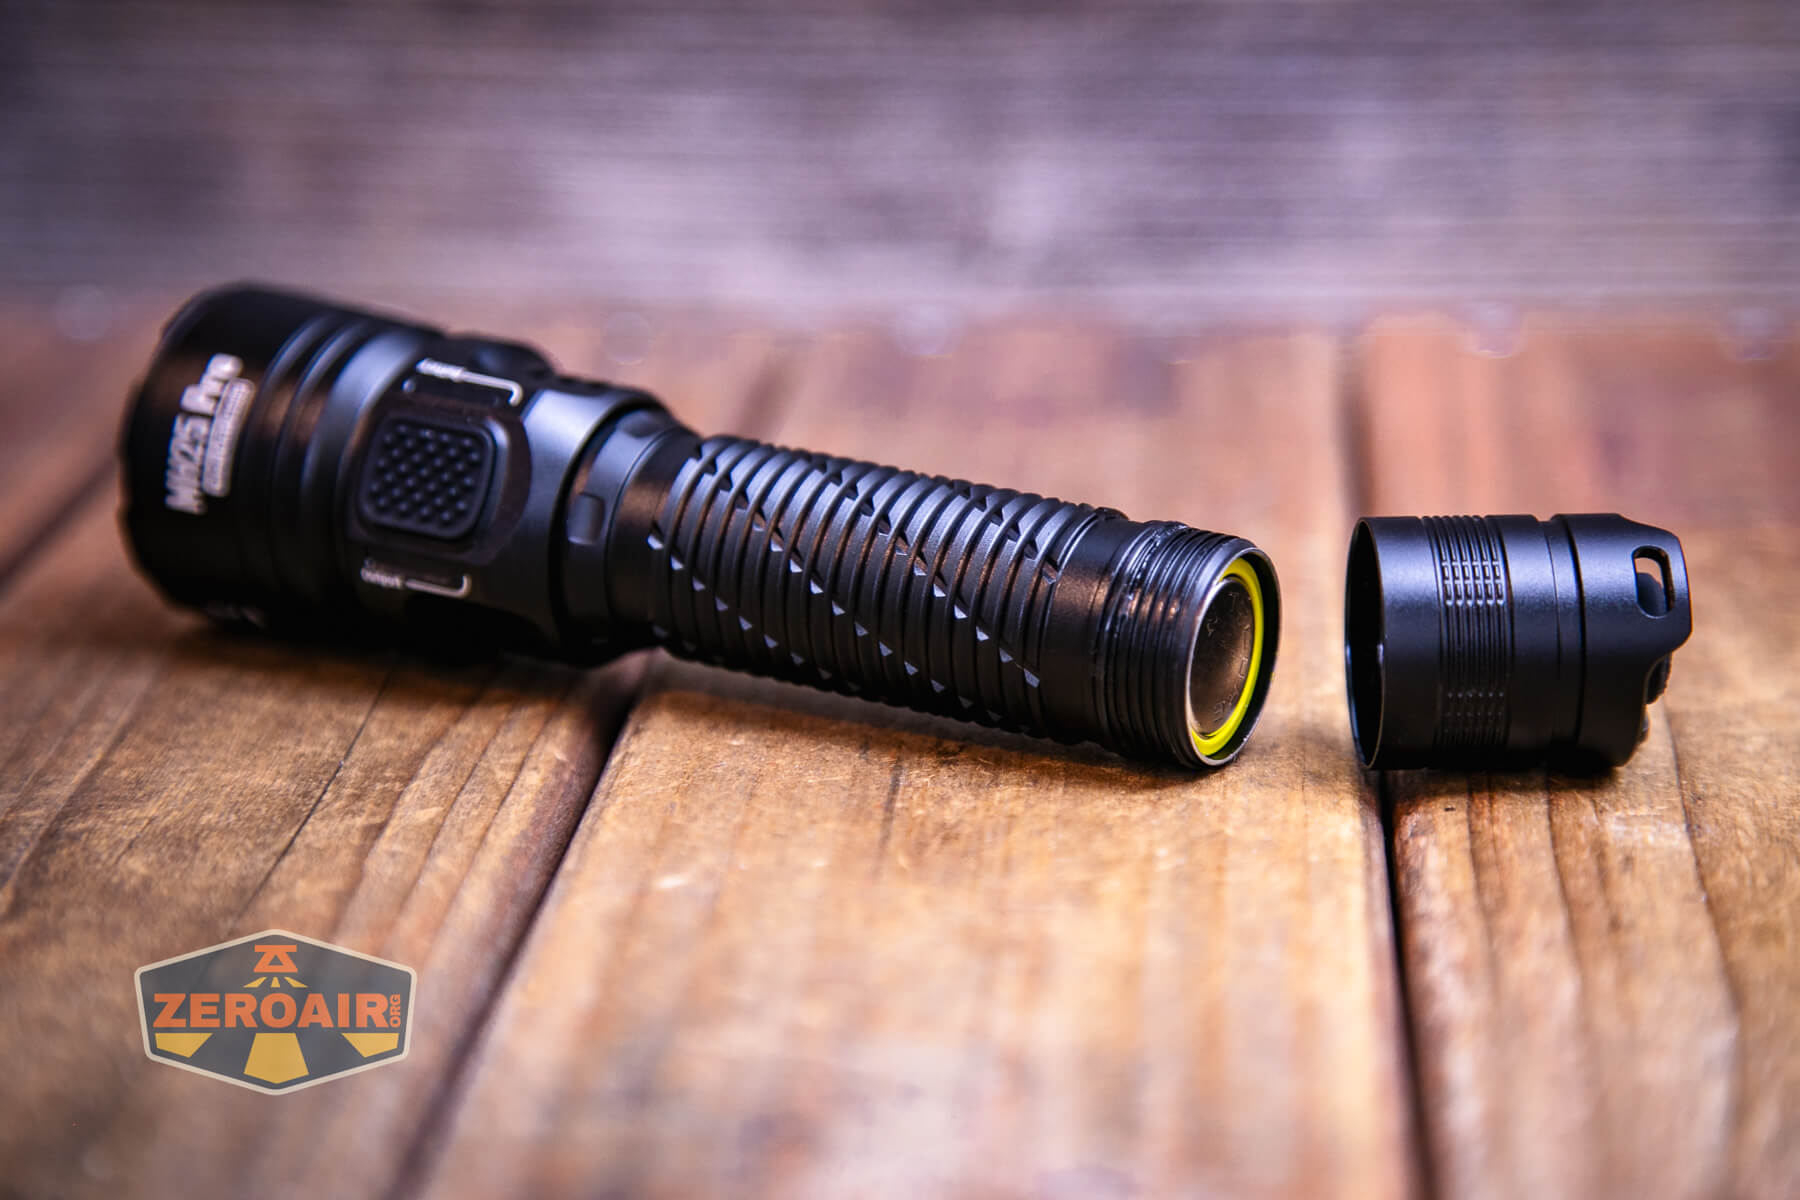
Nitecore includes a 5300mAh 21700 cell with the MH25 Pro flashlight.

It’s a standard cell, even if the button is fairly short. It’ll charge in bay-style chargers. Note that it’s quite long, though, so maybe all bay chargers will not accommodate it.
The cell goes into the light in the usual way – positive end toward the head.
Below are a few runtime tests. The MH12 Pro and MH25 Pro seem very electronically similar. In fact, the output is very similar too, with a slight edge going to the MH25 Pro. There’s a huge difference in cd/lm, though.
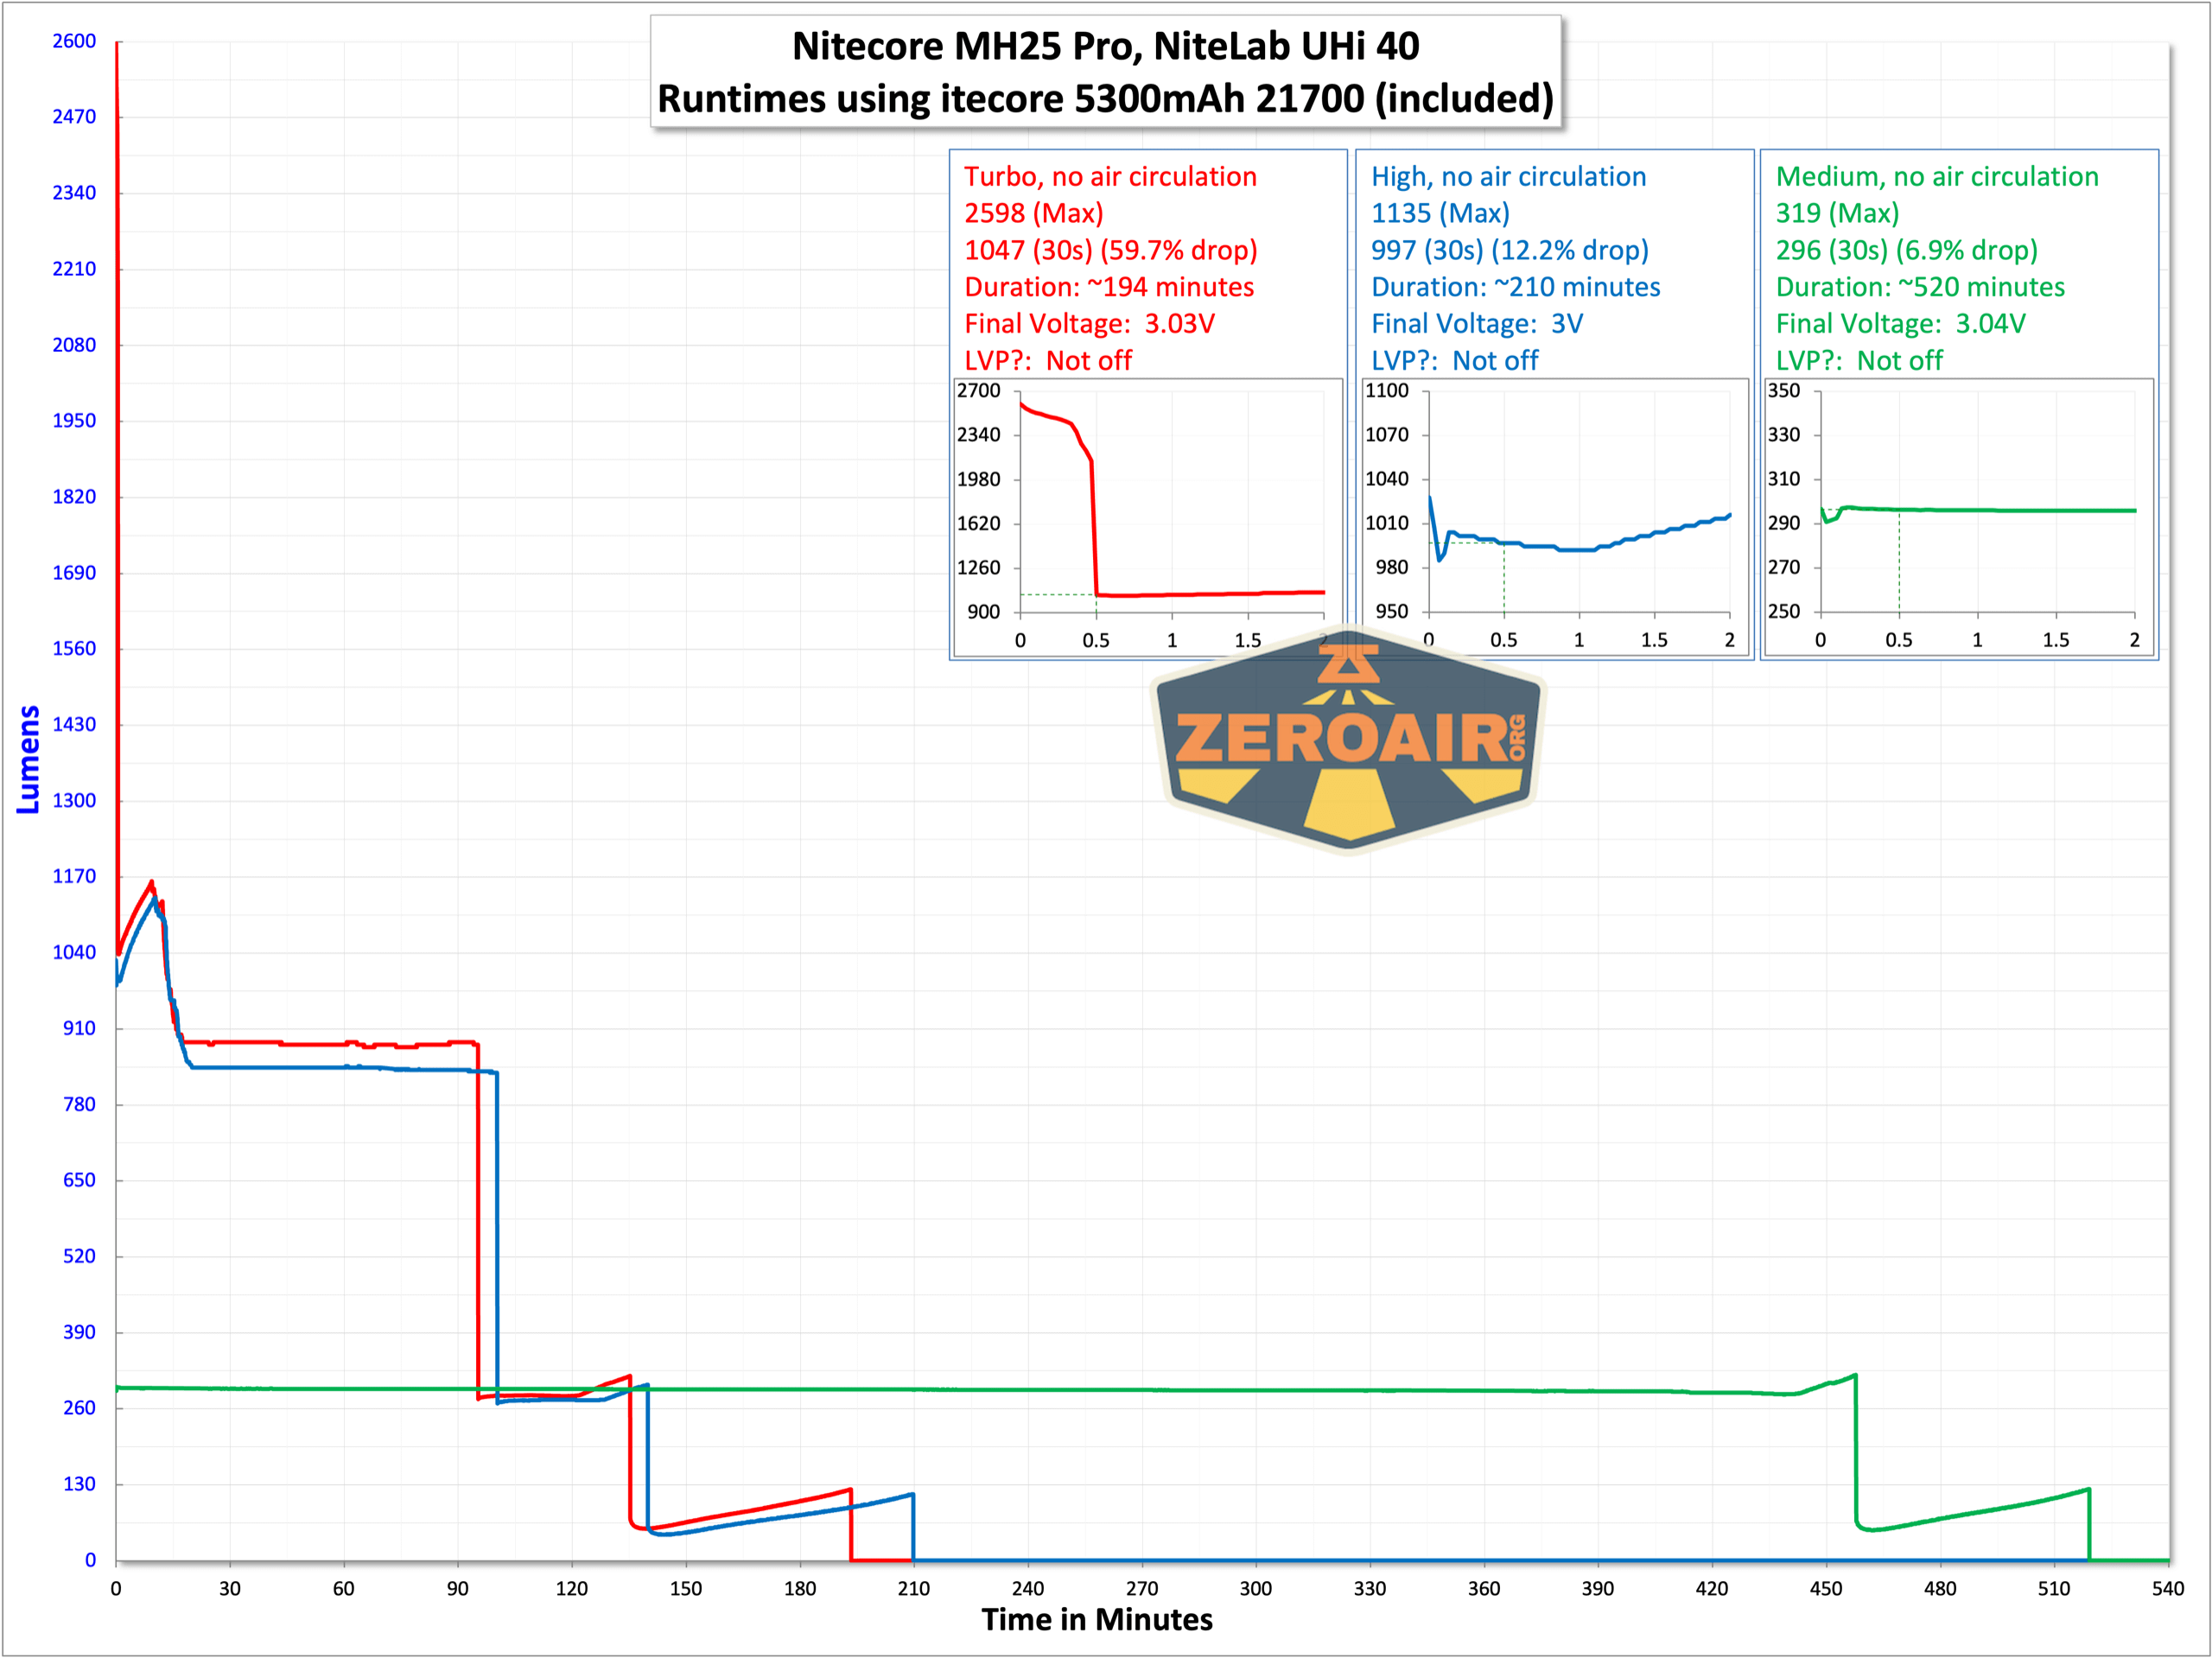

Performance is good in general, but I did not observe the output of 3300 lumens. Even at the initial output (“0s”), I’m only seeing 2598 lumens – that’s fairly close to within 10% so we can give the initial output a pass (I suppose?) but at 30 seconds the light has drifted all the way down to 1047lumens.


While it’s not an “indicating switch,” just beside the switch are some indicating emitters. The green ones indicate the battery level, as follows:
<
p style=”padding-left: 40px;”>Four green: 75-100% power
Three green: 50-75% power
Two green: 25-50% power
One green: 0-25% power
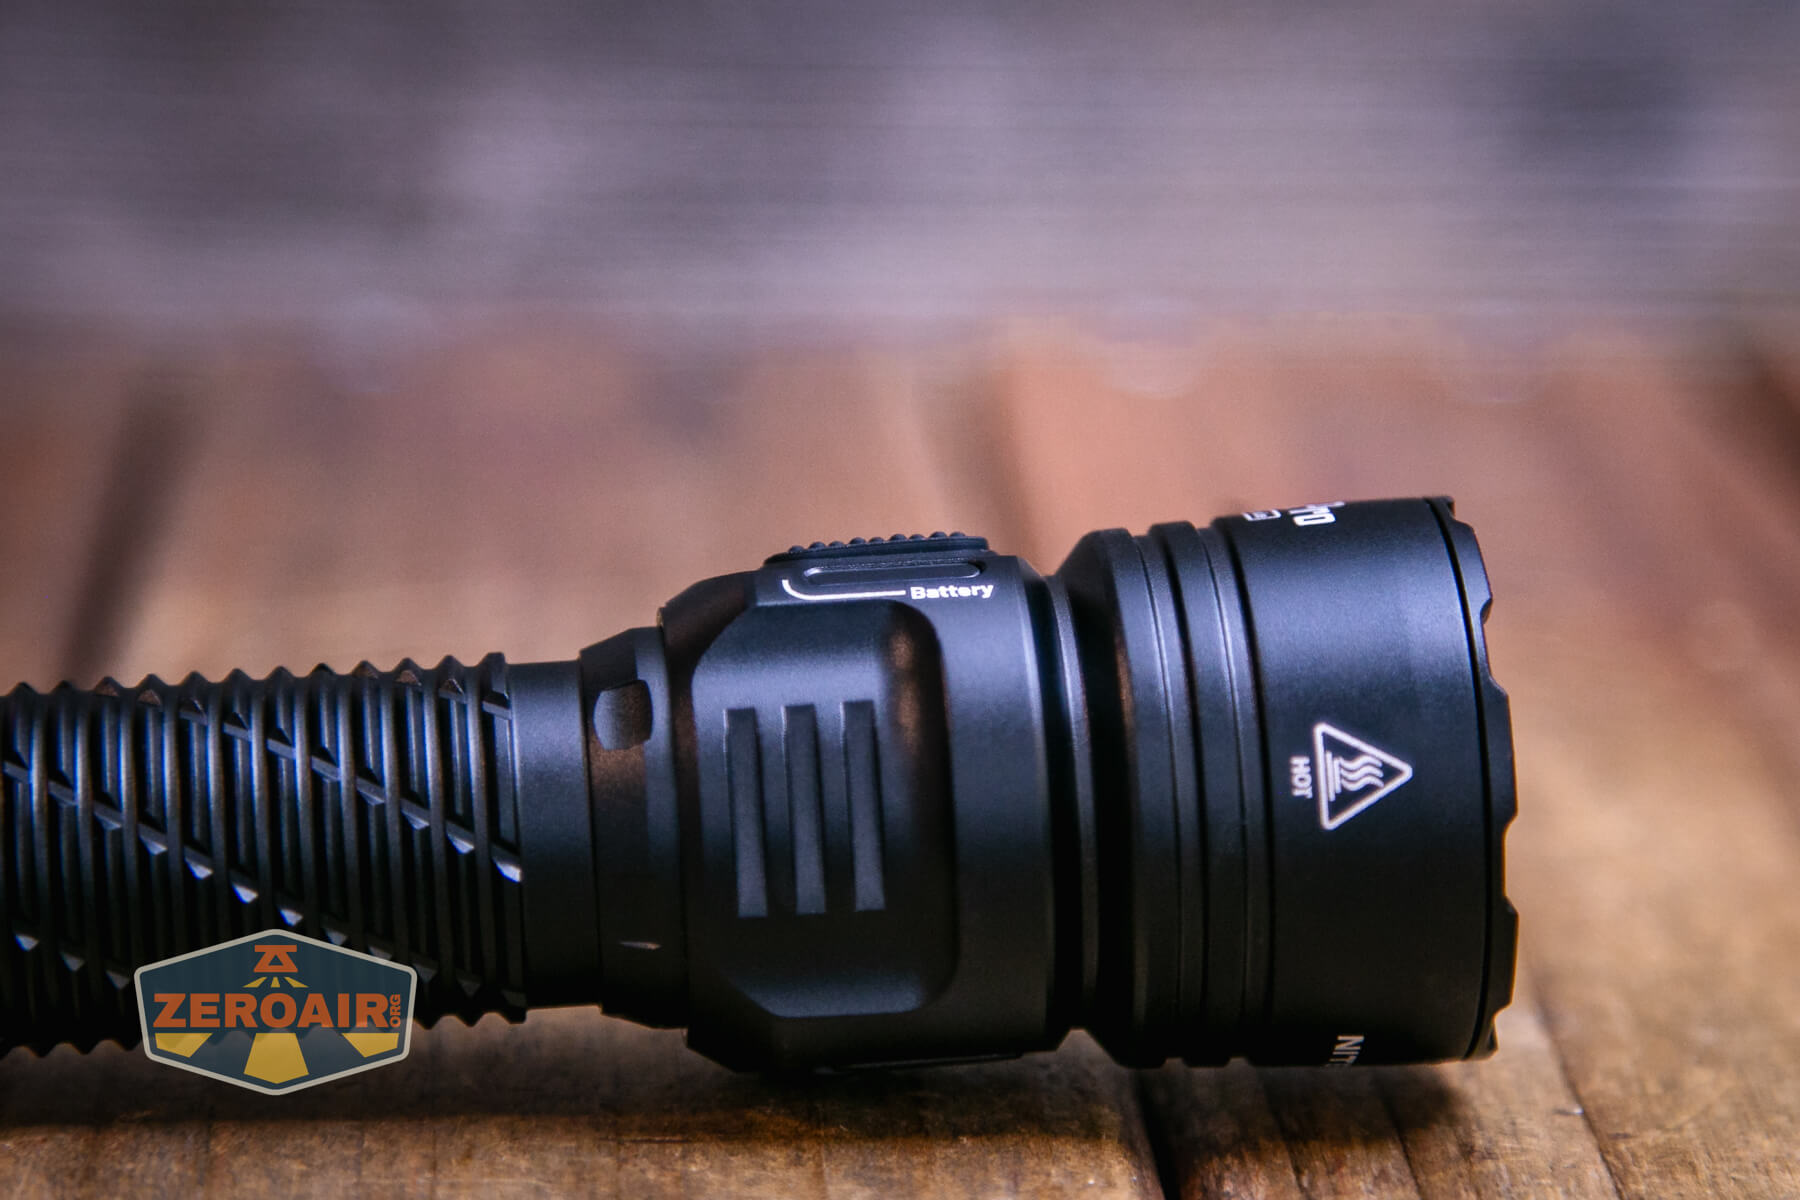
Charging
Charging of the (standard) 21700 cell that’s included happens by way of a USB-C charging port. The port is on the opposite side of the head to the e-switch.
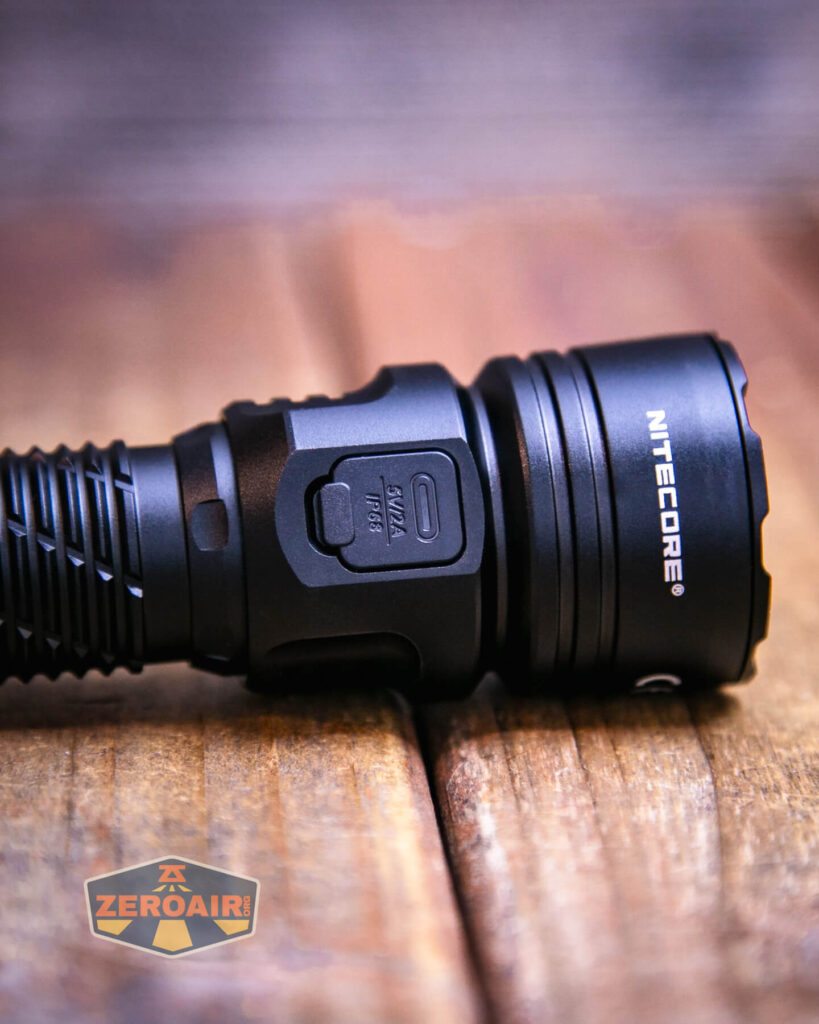
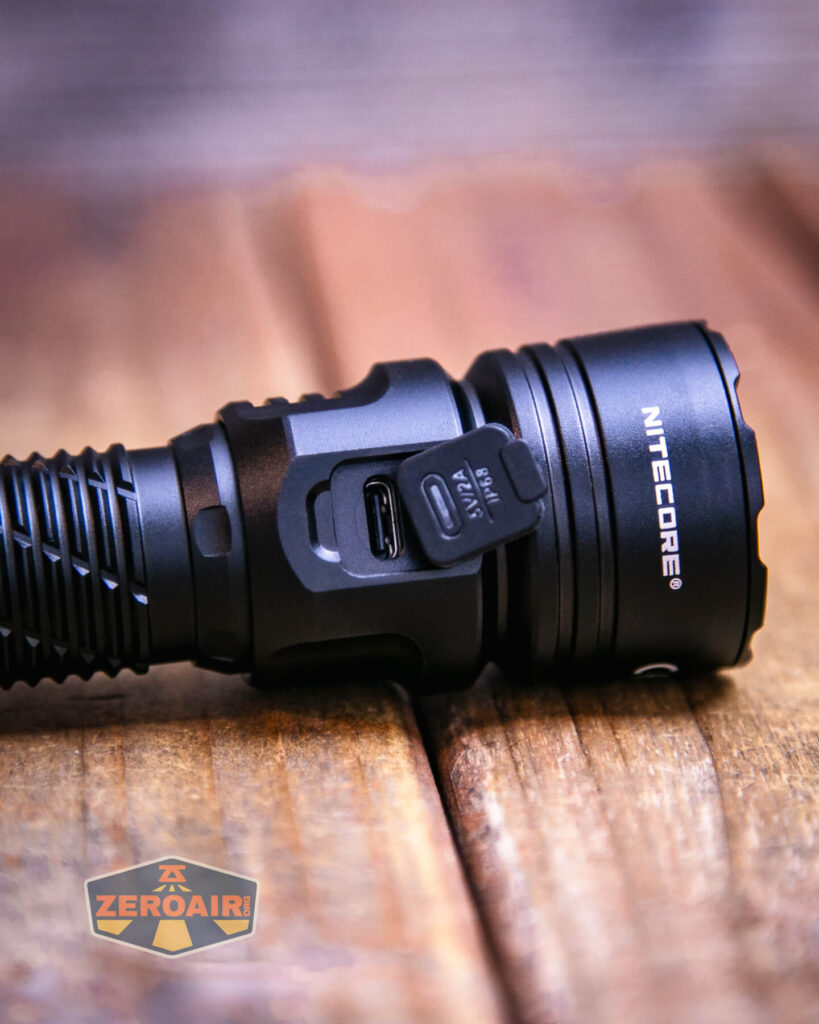
A USB to USB-C cable is included.

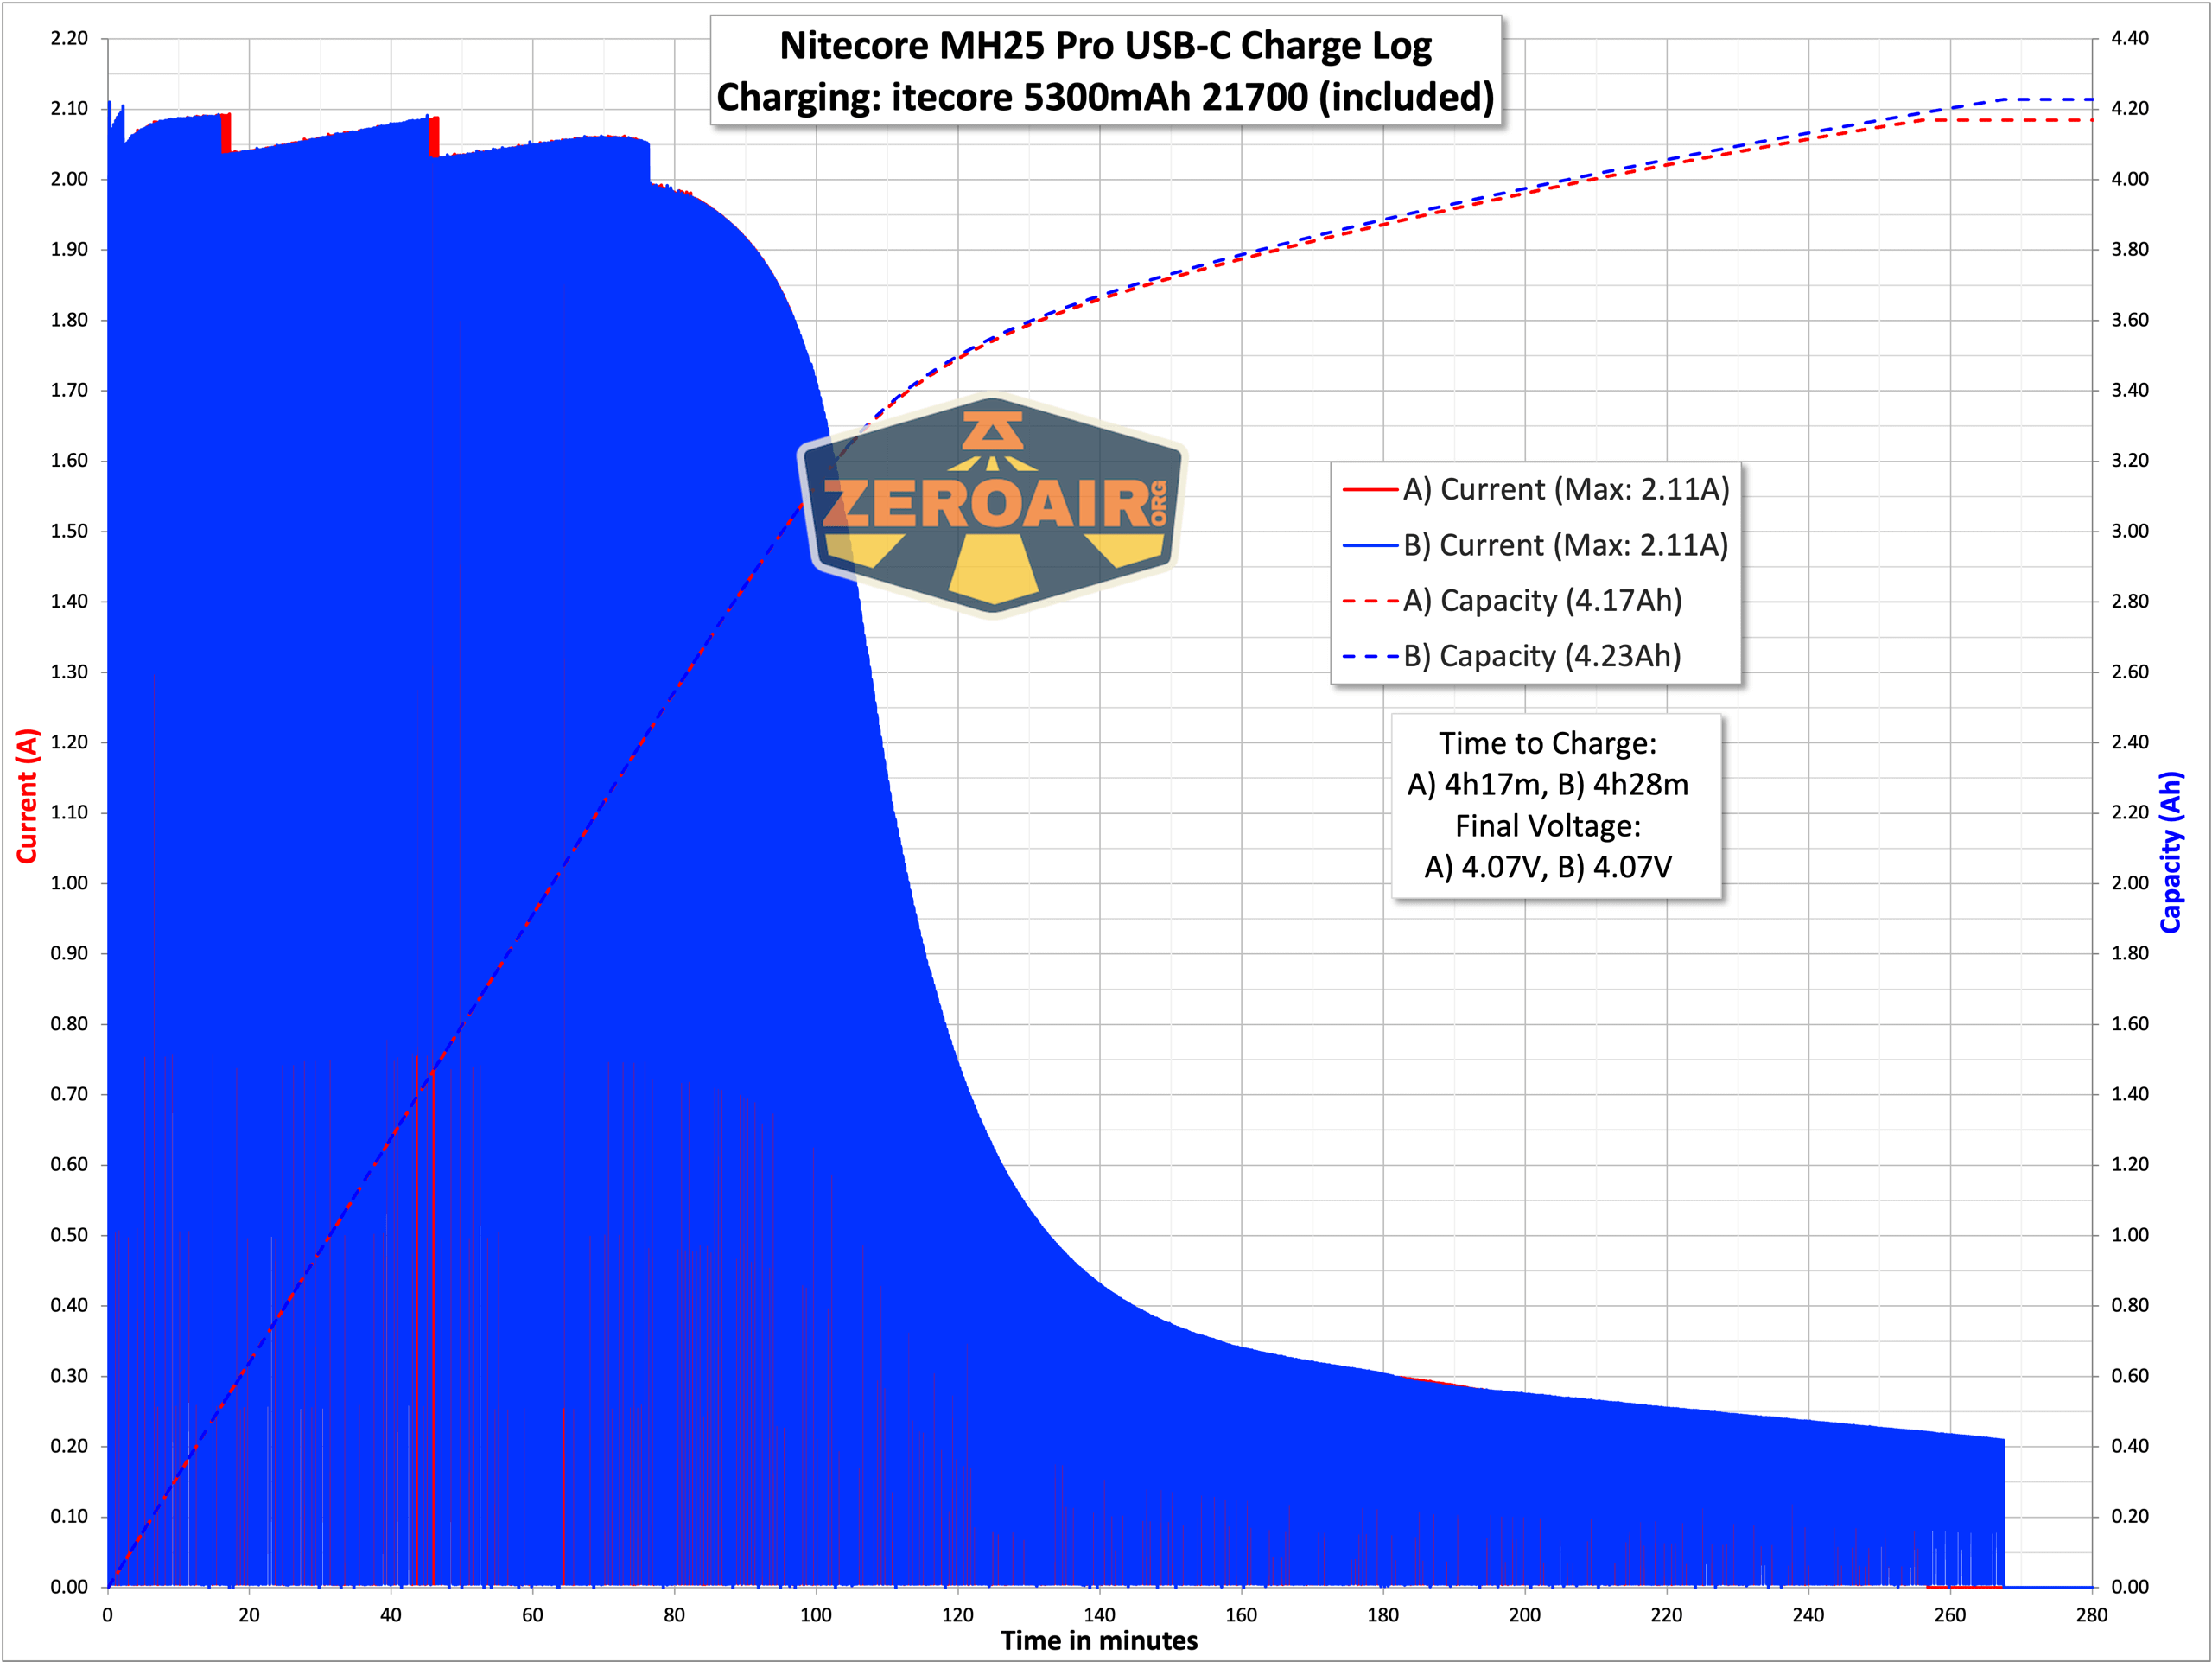
Both C to C and A to C exhibit some weird dropping out-of-charge state. Regardless of that, charging still finishes in around 4.5 hours, which is fine. A 5300mAh cell is a large-capacity cell, after all.

While the light is charging, the green LEDs mentioned above display the approximate charge, in a similar fashion to what’s mentioned above. For example, three steady green LEDs indicate that the power level has been reached, and the fourth will be blinking – the light is nearly charged.
Modes and Currents
| Mode | Mode Claimed Output (lm) | Claimed Runtime | Measured Lumens | Tailcap Amps |
|---|---|---|---|---|
| Turbo | 3300 | 30m | 2598 (0s) 1047 (30s) |
11.18 |
| High | 1200 | 2h30m | 997 | 2.51 |
| Mid | 300 | 7h30m | 296 | 0.55 |
| Low | 50 | 50h | 38 | 0.06 |
| Ultralow | 1 | 650h | 0.82 | [low] |
Pulse Width Modulation
None of the levels use PWM.
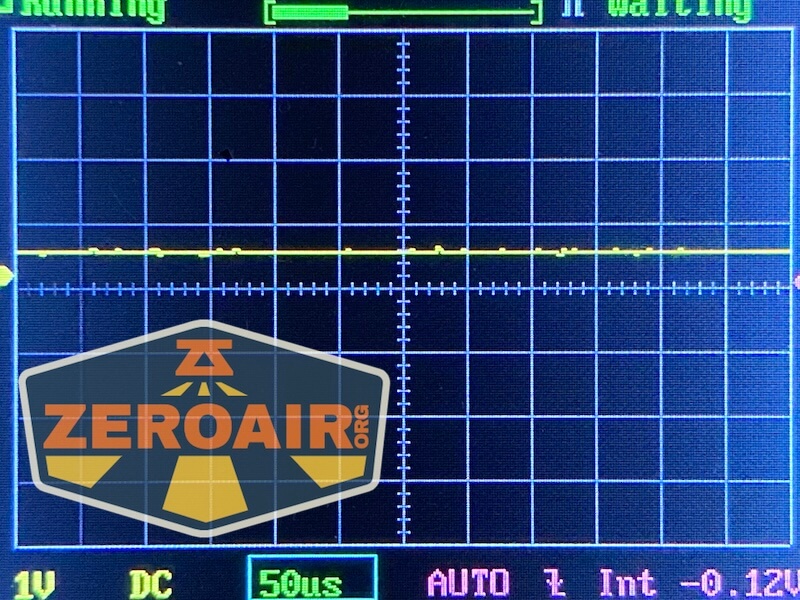
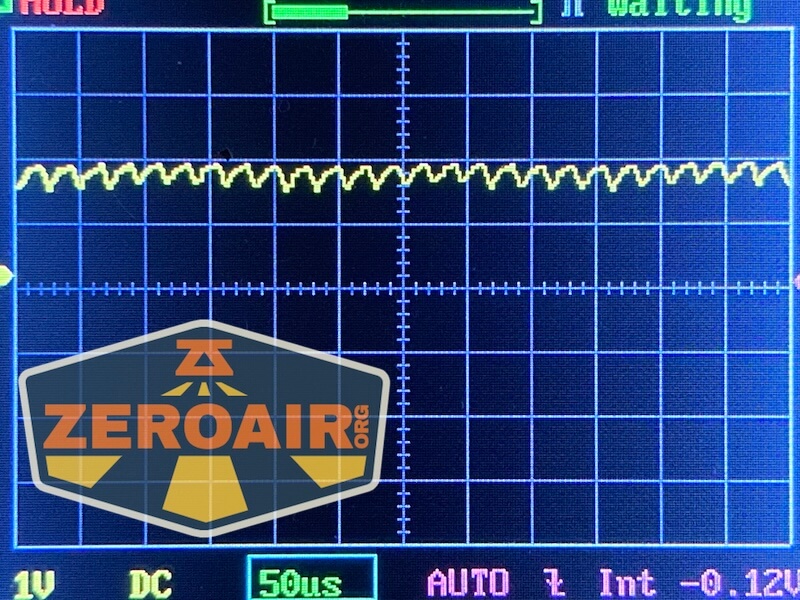
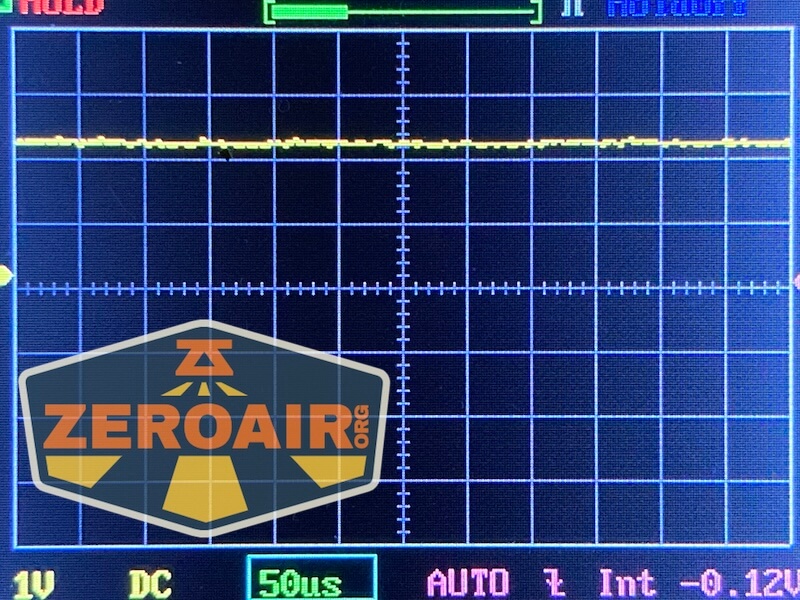

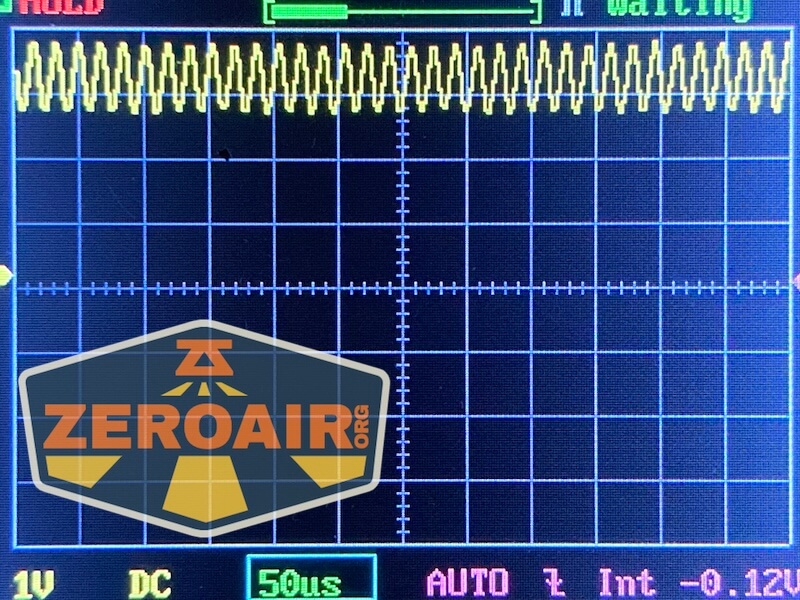
Here you can see a “baseline” – a chart with almost no light hitting the sensor. Then there’s the Ultrafire WF-602C flashlight, which has some of the worst PWM I’ve seen. It’s so bad that I used a post about it to explain PWM! Here are multiple timescales (10ms, 5ms, 2ms, 1ms, 0.5ms, 0.2ms) to make comparing this “worst” PWM light to the test light easier. That post also explains why I didn’t test the WF-602C at the usual 50us scale.
User Interface and Operation
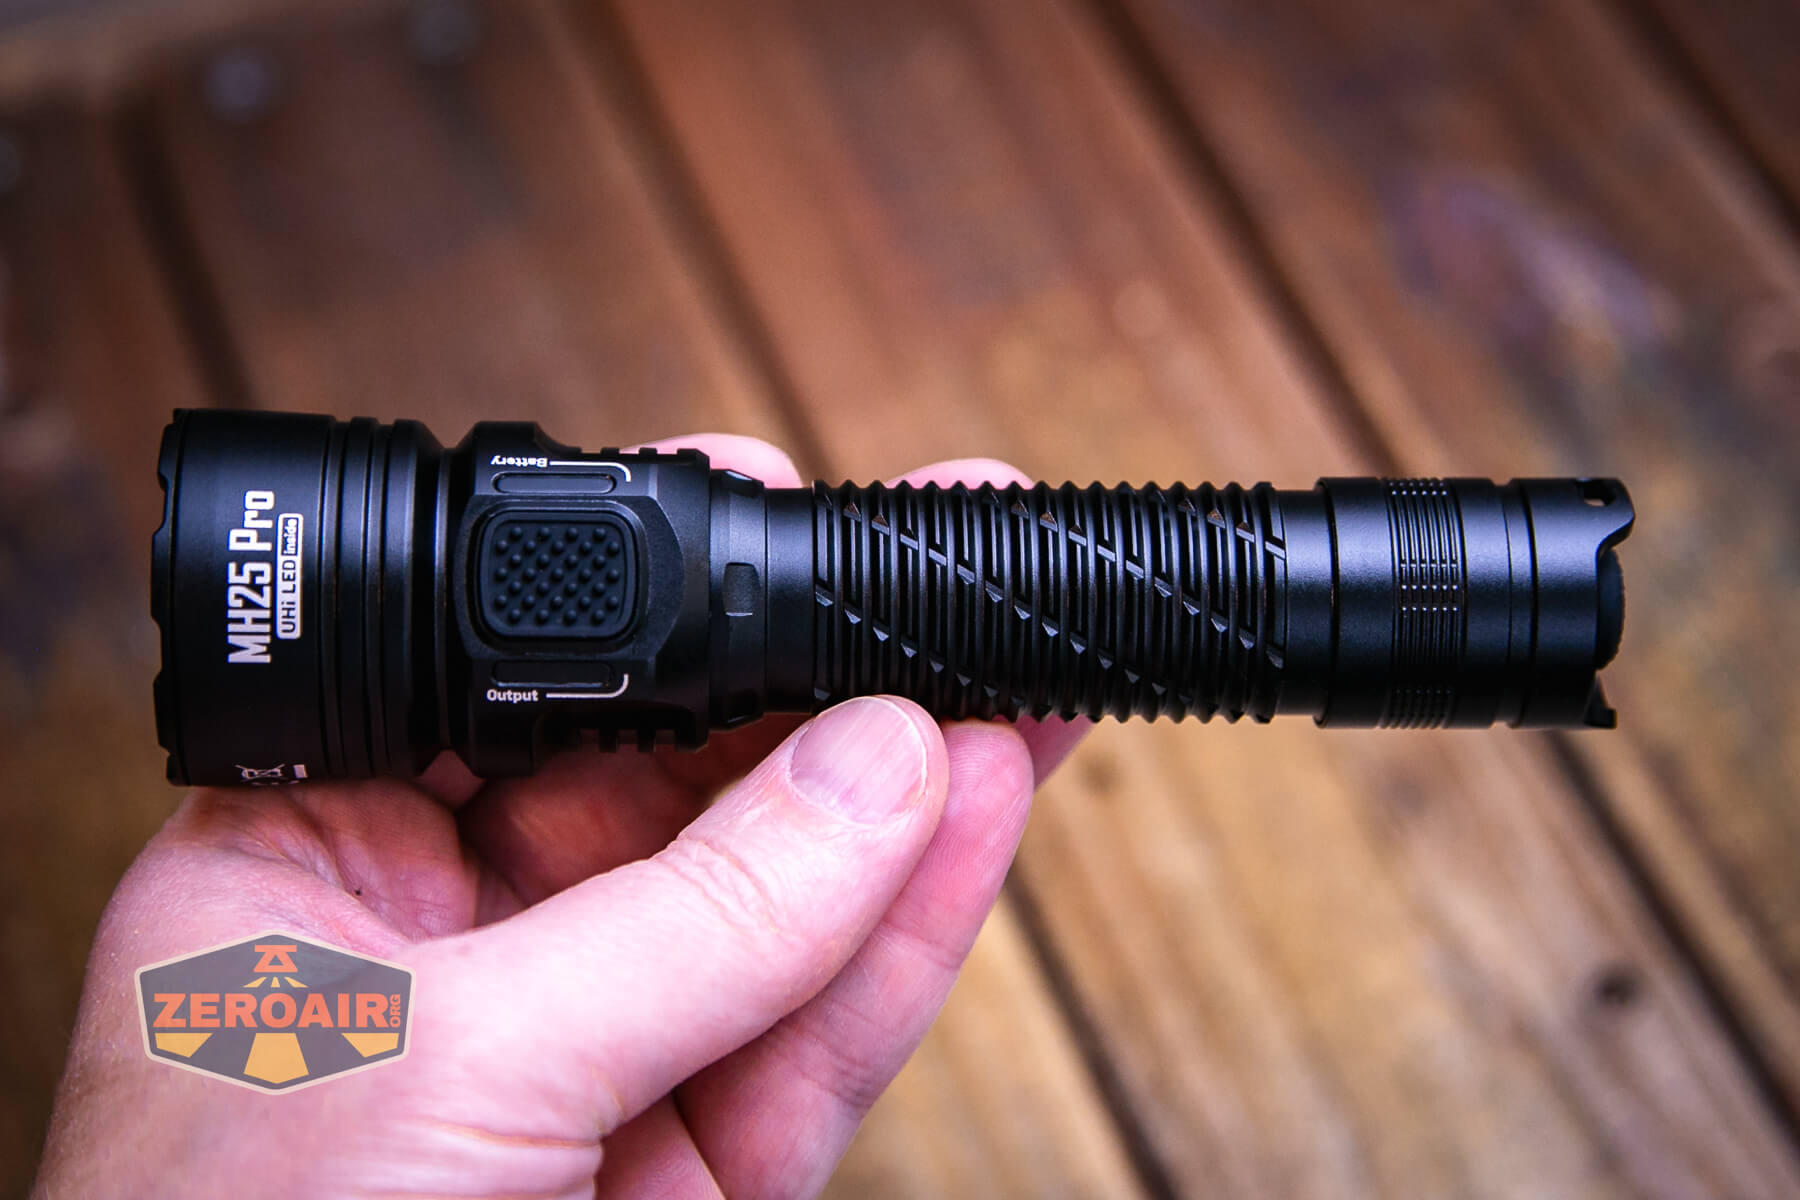
The Nitecore MH25 Pro flashlight uses two switches. First, and maybe “mainly” there’s this mechanical tail switch. If this isn’t in an on position, the light will not be on either.


Next is this e-switch on the head. This switch has a big pad and is very textured. It’s quite easy to differentiate from the charging port cover.

The action on this switch is very low.
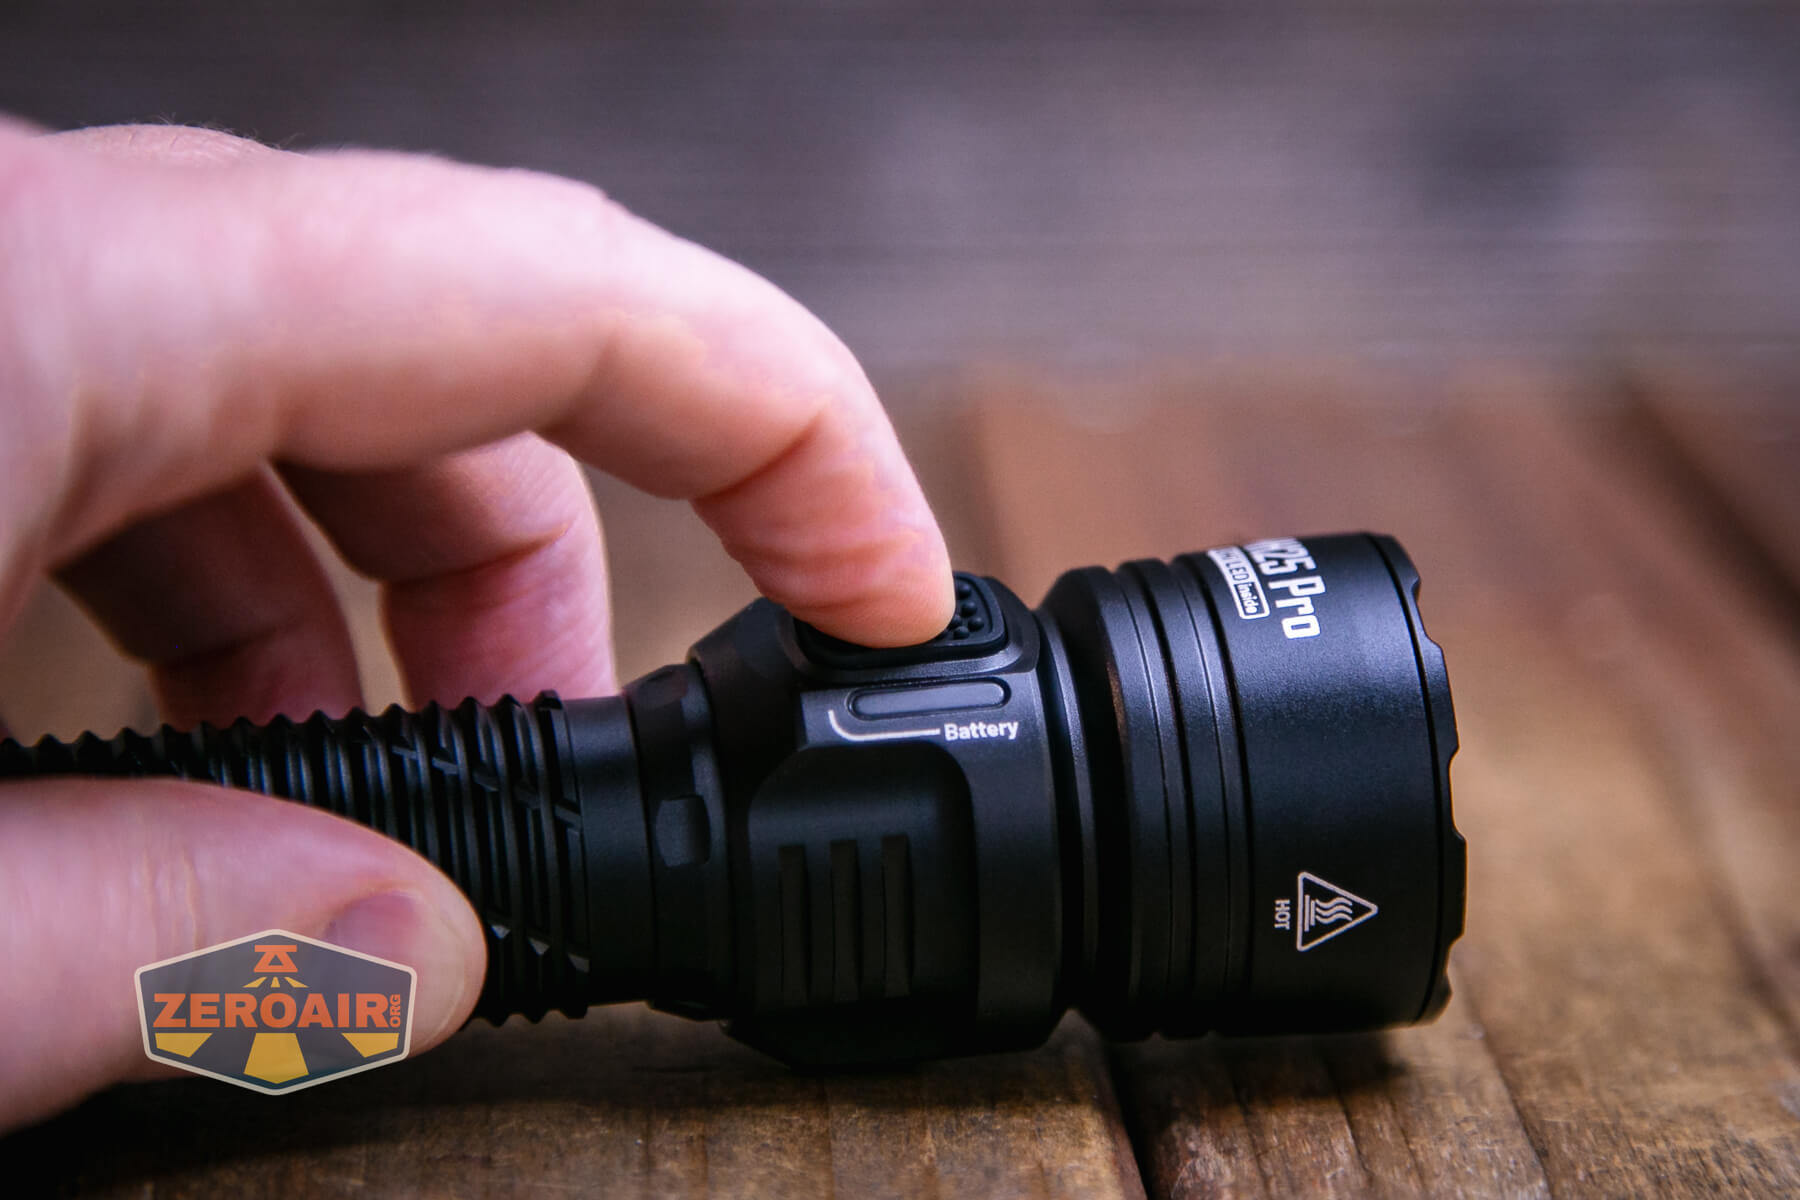
Below you can see the LED options. On the right (green) are the battery indicators. On the left is the output indication. This isn’t really an e-switch feature. These indicators are simply beside the e-switch.

Here’s a user interface table! Note that there are two user mode groups: tactical and daily. Glancing back through some older Nitecore reviews, I do think this is a unique user interface, but has many characteristics of other Nitecore user interfaces.
| State | Action | Result |
|---|---|---|
| Off | Click Tail switch | On (Mode memory, excludes Ultralow) |
| Off | Tap tail switch | Momentary (Mode memory, excludes Ultralow) |
| Off | Hold e-switch and click tail switch | On in Ultralow |
| On | Click tail switch | Off |
| Off | Hold e-switch >5s | Iterate between daily and tactical interface |
| On | Click e-switch | Daily: mode advance (Ascending, excluding Ultralow) Tactical: mode advance (Descending, excluding Ultralow) |
| On | Hold e-switch | Daily: Strobe> Beacon> SOS Tactical: Strobe (only) |
| Any strobe | Click e-switch | Exit strobe group to previous state |
| On, with proximity sensor tripped | Short press e-switch | Proximity sensor is deactivated |
| Proximity sensor deactivated | After the light is turned off, turn it on again | Proximity sensor is reactivated |
LED and Beam
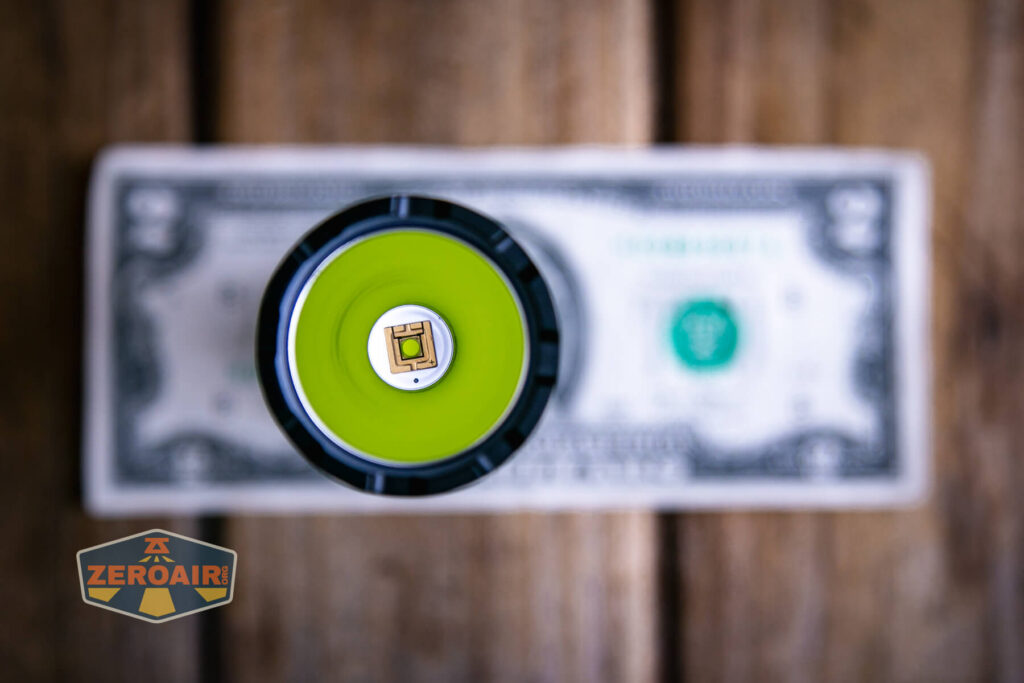
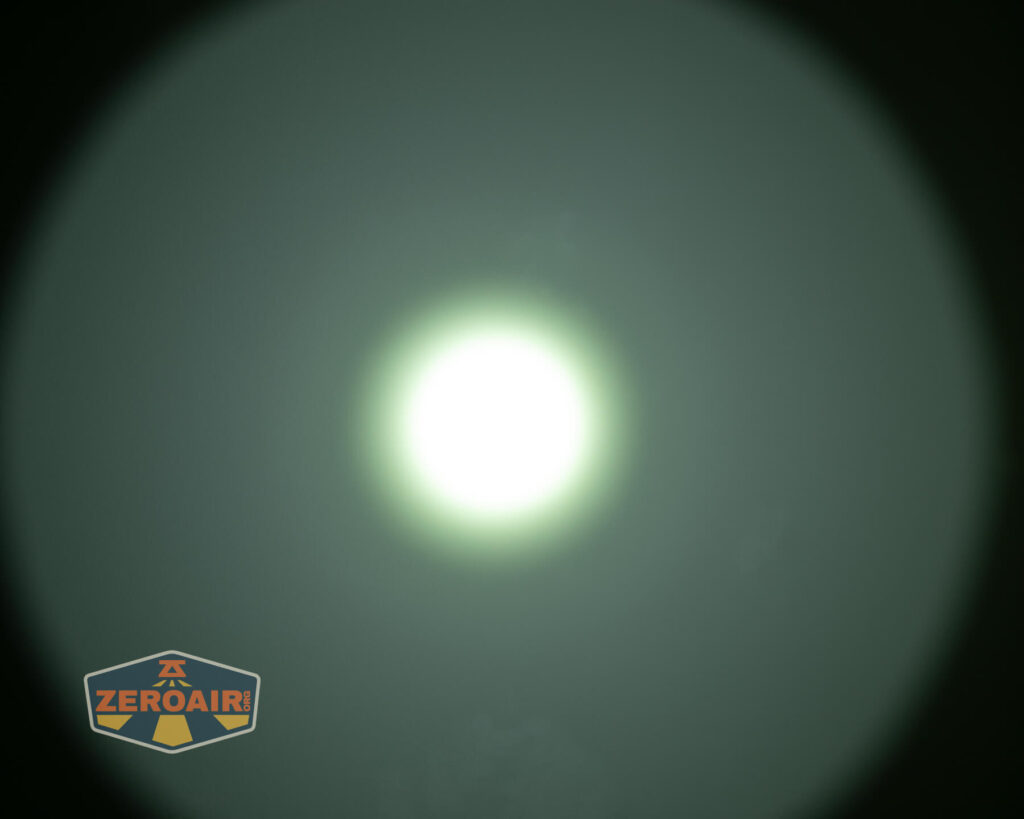
Nitecore uses a LED in the MH25 Pro flashlight that I think we’ve seen before, but I think this is the first time we have a name for it. It’s called the NiteLab UHi 40. It’s a cool little circular emitting die with a fairly big platform. The emitter is surrounded by a smooth reflector. This all provides a very nice tight beam.

The bezel has “teeth” but they aren’t bitey.
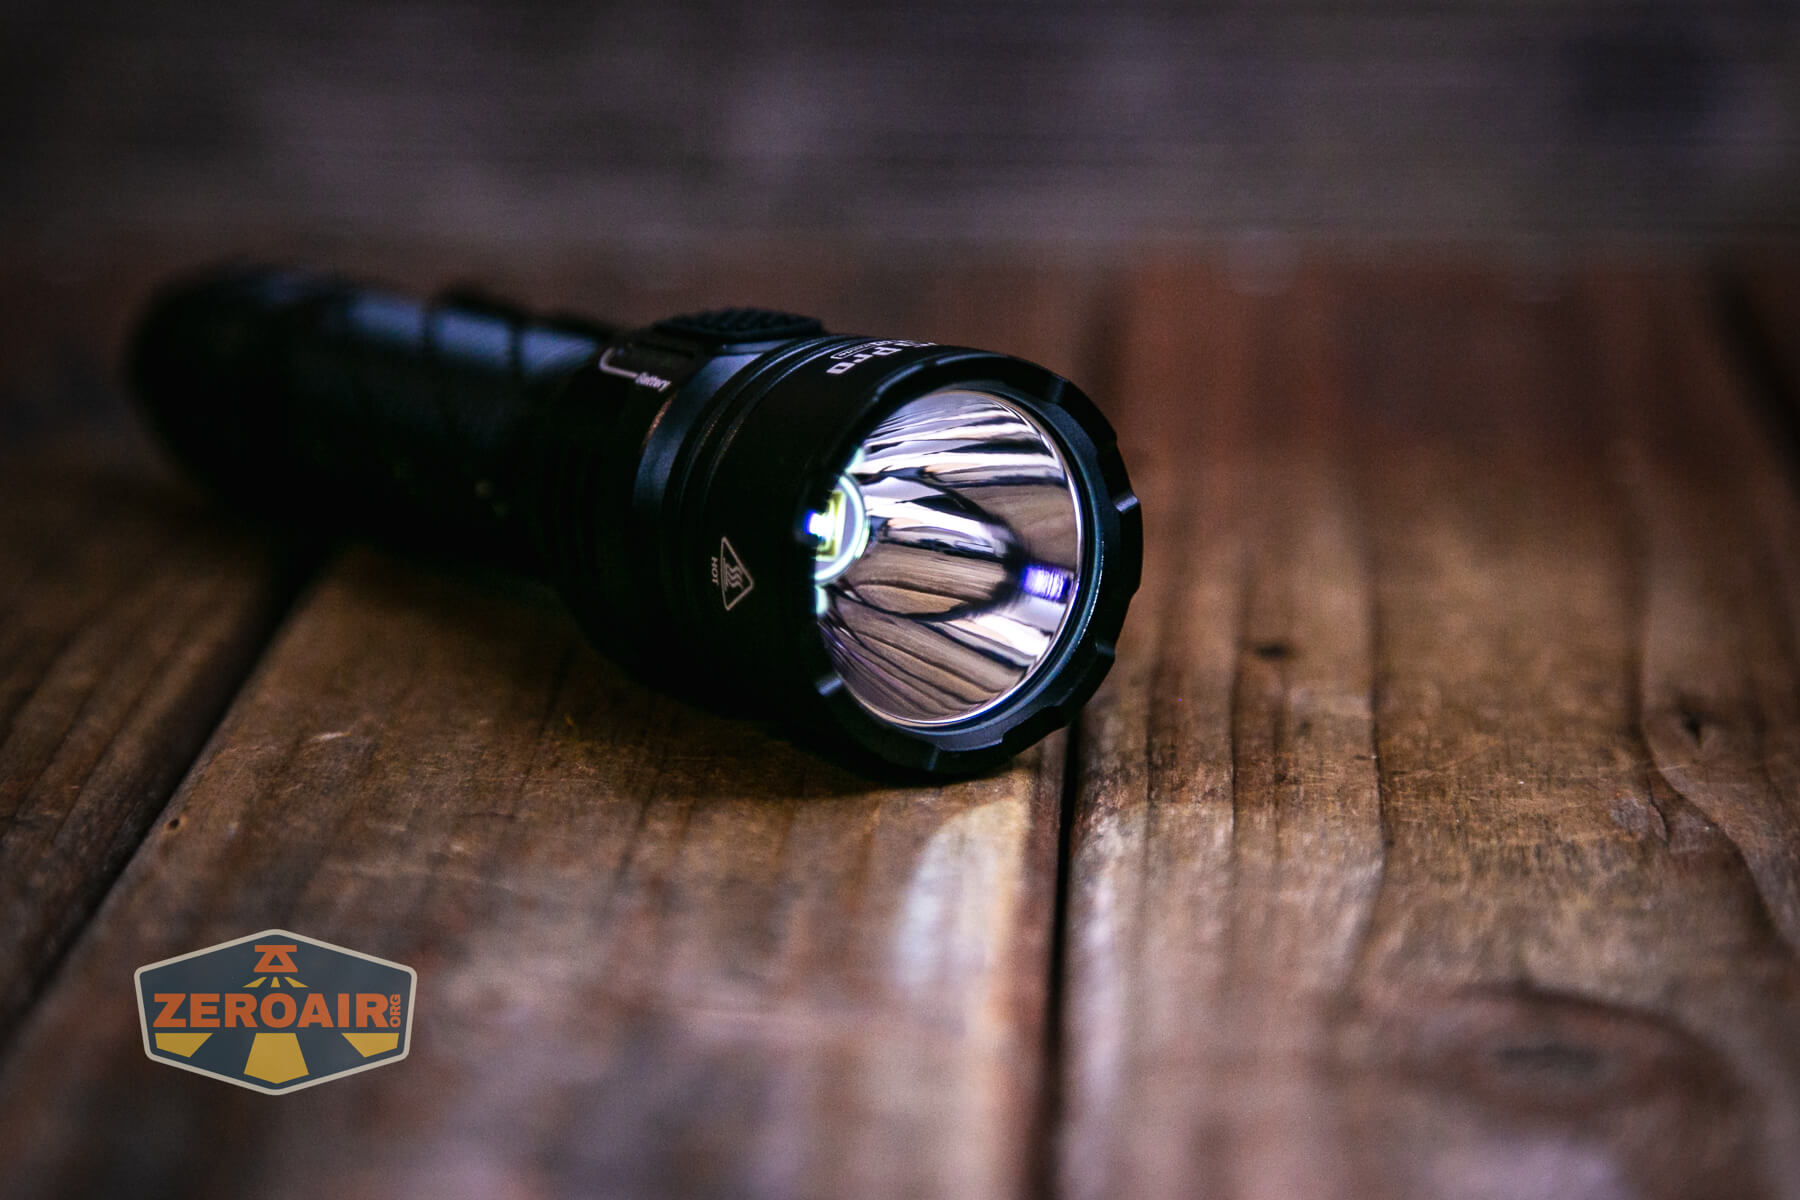
As stated above, this emitter/reflector combo provides a very tight beam. While it’s a very minor note, that the emitting area is circular really seems to be noticeable in the beam (without any specific thing that you’d say – “yep, see that?”). I think this is what so many people like about this light – the beam is very tight and the output is very throwy. People love triples and all that, sure, but there’s just nothing like picking up a light like this and being able to throw.
Now, here’s the other downside. (The first one was the massive step down, in case I didn’t spell that out). The output from this emitter is quite green. You can love the throw all you want, but close up, you’ll notice this green.
And again, just to restate it… the Nitecore MH25 Pro flashlight is offers much more throw than the little brother MH12 Pro. They’d make a good combination set, really!
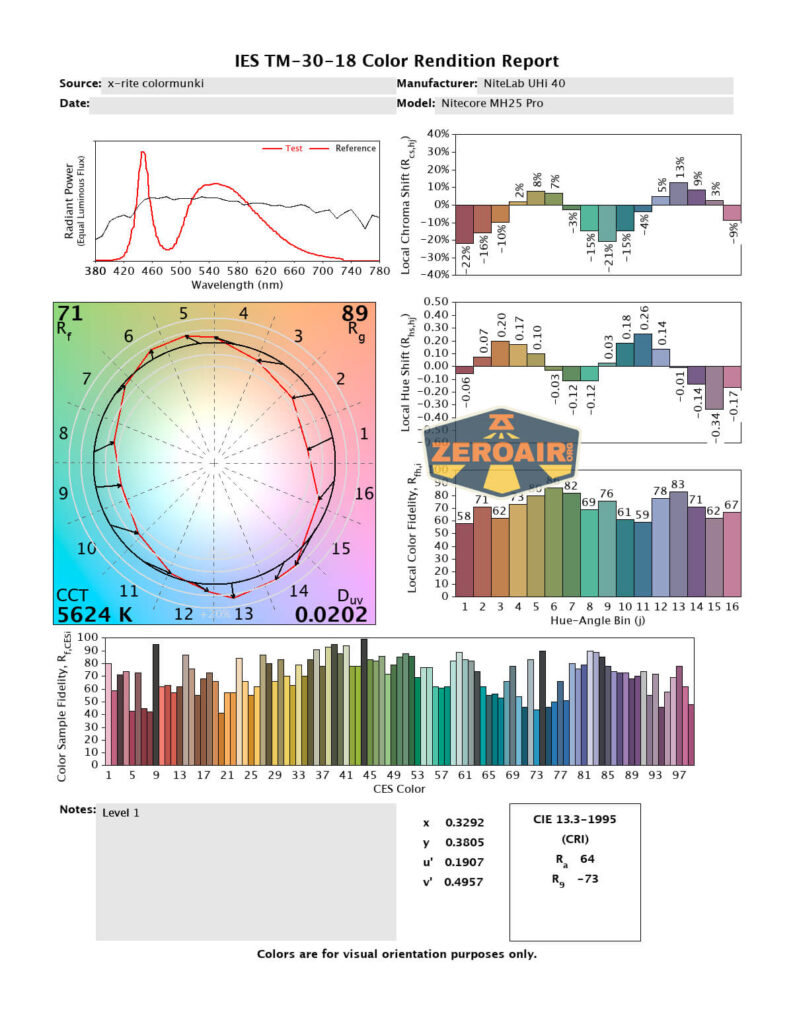
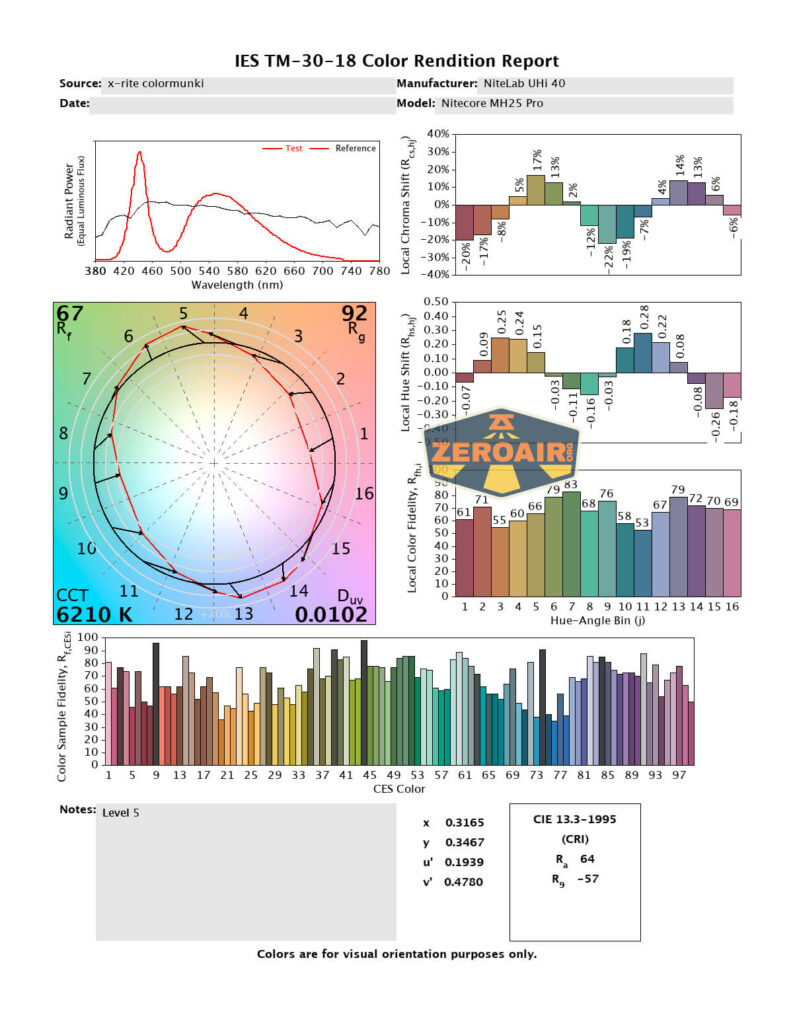
LED Color Report (CRI and CCT)
You can also distinctly notice the green in these charts: that Duv number being so far above zero (aka “positive Duv”) indicates that this output will appear green. I am pleasantly surprised otherwise, though, as the CCT is only “cool” and definitely not “cold” white. CRI is very low, though.


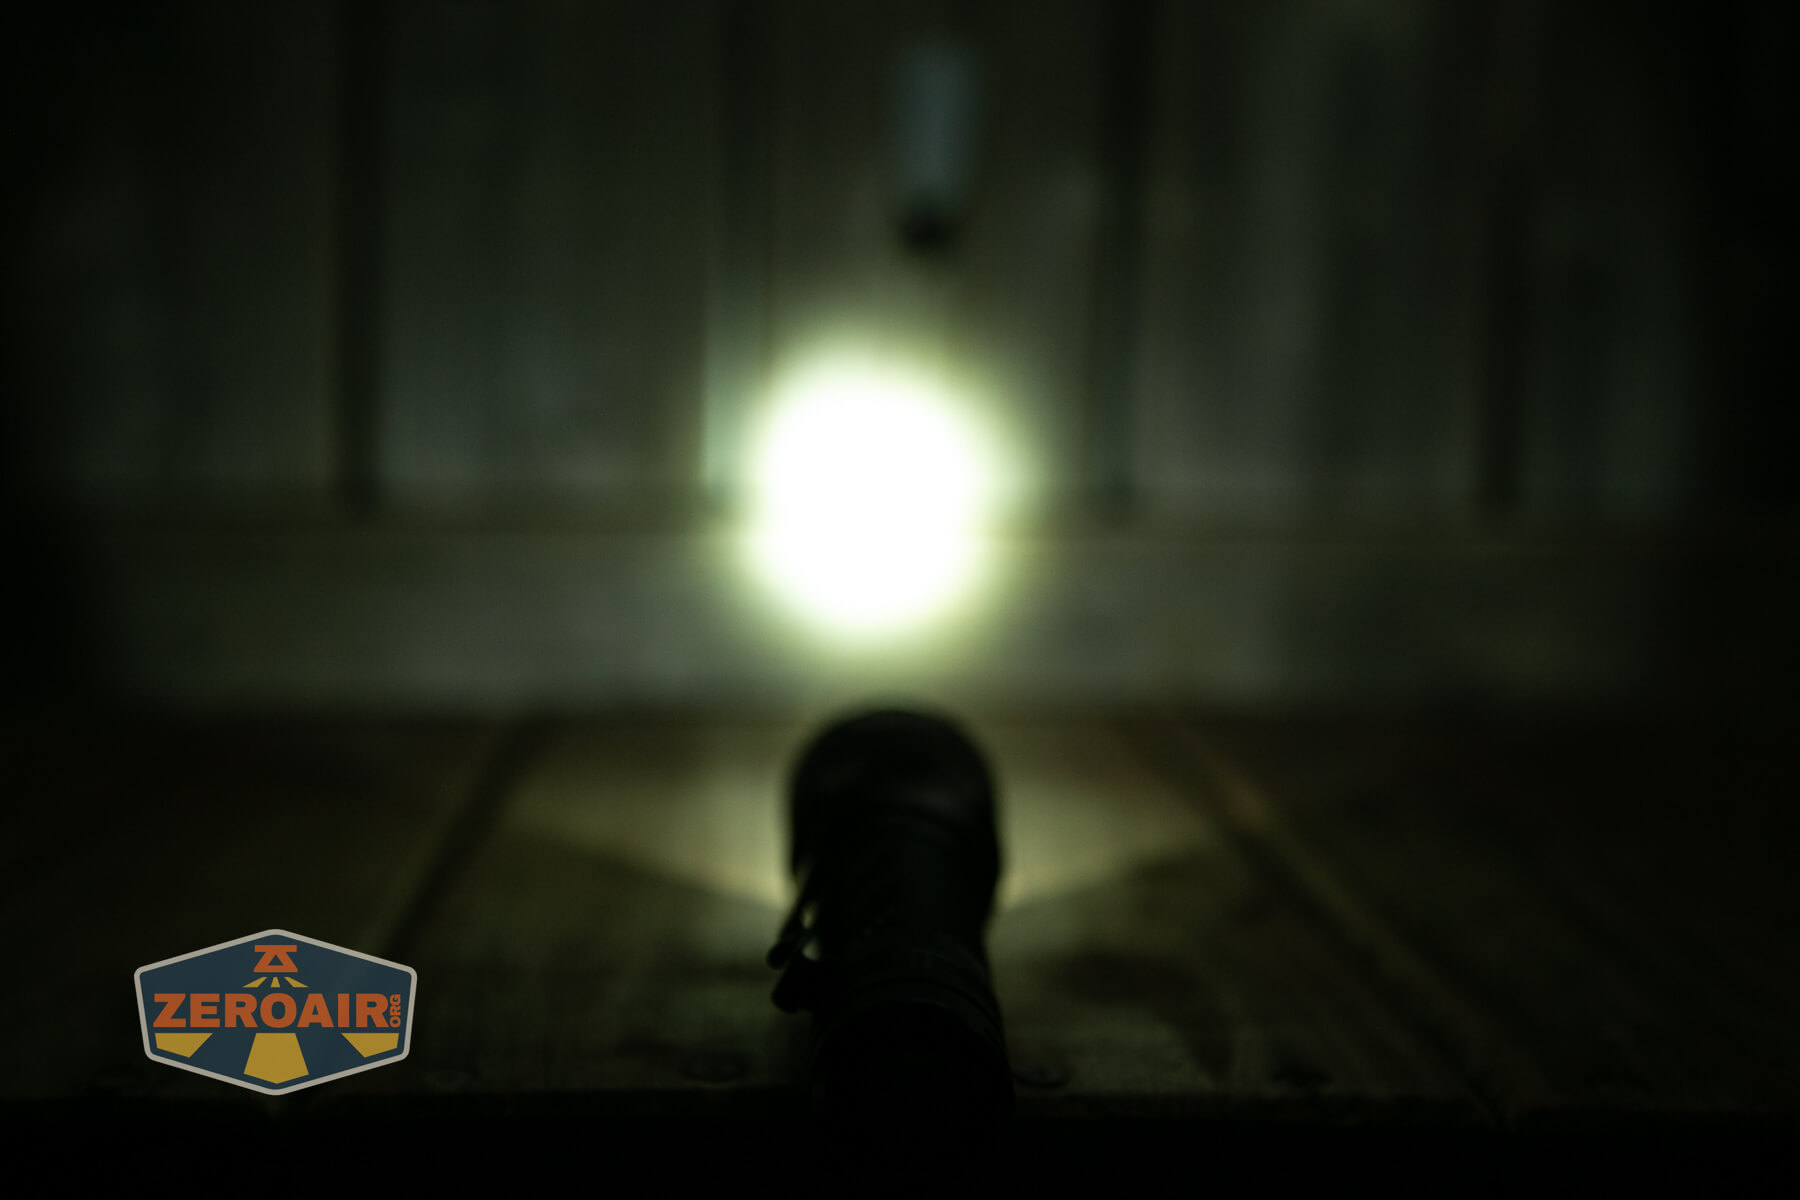
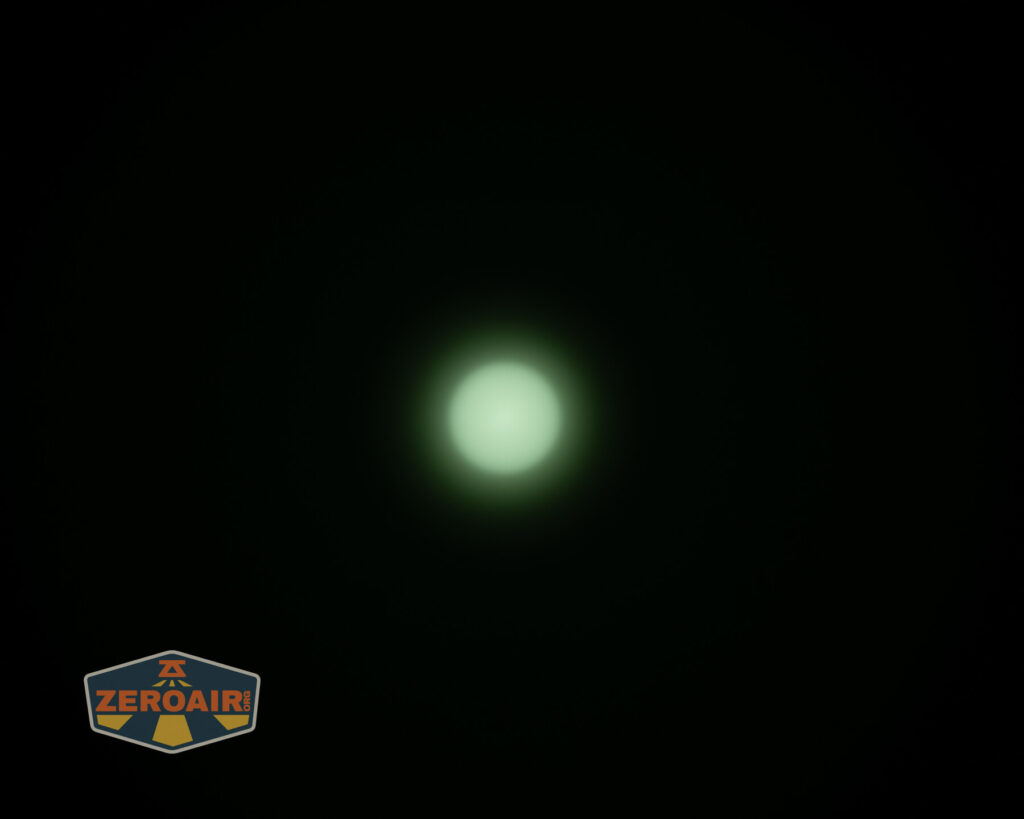
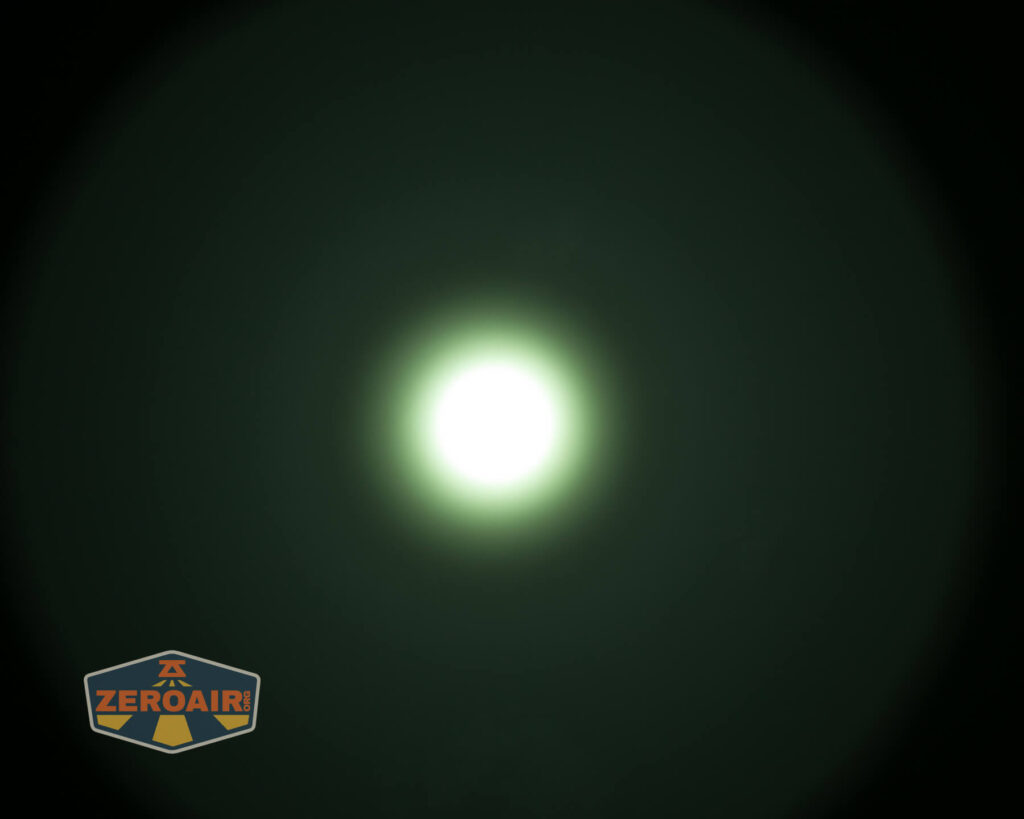
Beamshots
These beamshots always have the following settings: f8, ISO100, 0.3s shutter, and manual 5000K exposure. These photos are taken at floor level, and the beam hits the ceiling around 9 feet away.

Tint vs BLF-348 (KillzoneFlashlights.com 219b version) (affiliate link)
I keep the test flashlight on the left and the BLF-348 reference flashlight on the right.


I compare everything to the KillzoneFlashlights.com 219b BLF-348 because it’s inexpensive and has the best tint!
Conclusion
What I like
- Very throwy
- Nice circular hotspot
- Complete package
- 5300mAh 21700 included
- Good dual-group user interface
- Easy access to Ultralow from off!
- Useful indicator LEDs
What I don’t like
- Green output
- Low CRI
- Huge stepdown from the initial output
Notes
- This content originally appeared at zeroair.org. Please visit there for the best experience!
- Please use my Amazon.com referral link to help support zeroair.org!
- Please support me on Patreon! I deeply appreciate your support!