
Acebeam Terminator M1 Flashlight Review
Read on to see if the Acebeam Terminator M1 flashlight is the best LED/LEP combo flashlight today! It offers a 21700, high CRI (LED), and amazing throw (LEP).
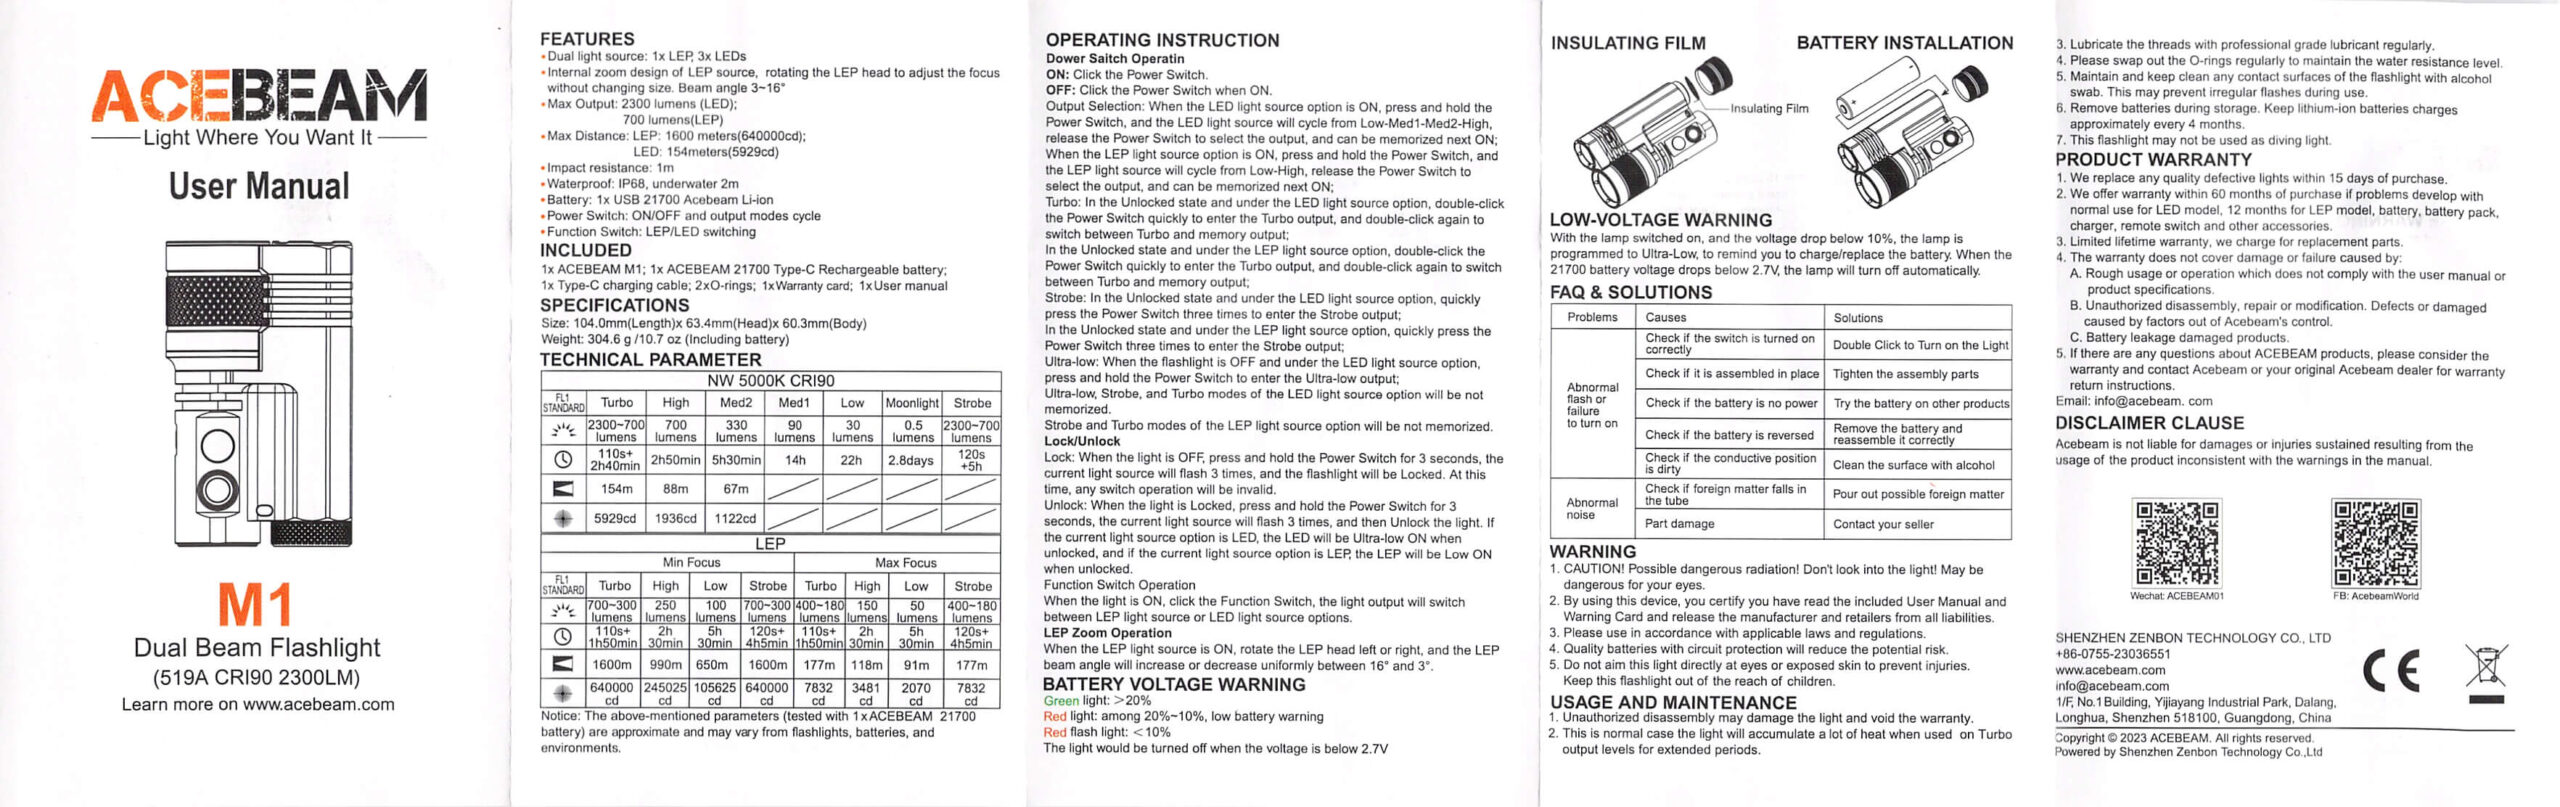
Official Specs and Features
Here’s a referral link to the Acebeam Terminator M1 flashlight product page at killzoneflashlights.com.
Versions
Two versions of the Acebeam Terminator M1 flashlight are available. The LEP is identical, but the LEDs can be either High CRI (@K5000K) (seen here) or high output (@6500K).
Price
The Acebeam Terminator M1 flashlight is available for $279.90. I hope you’ll still navigate to the page through my referral link before you buy, though (that encourages Acebeam to continue sending these great lights!)
Short Review
I started out on the fence about the Acebeam Terminator M1 flashlight, for a few reasons. But I’ve warmed to it considerably, for the price, I think it’s a great value! Yes, at $280, I think it’s a great value. As individual lights (LED and LEP) it’s great. Having those two lights combined in a minimal-size package ends up being very good. I am very pleased to have the high CRI version, even though I could understand why you’d want higher output with the 6500K version. But the high CRI is right for me!
Long Review
The Big Table
| Acebeam Terminator M1 flashlight | |
|---|---|
| Emitter: | LEP |
| Price in USD at publication time: | $279.90 at killzoneflashlights.com |
| Cell: | 1×21700 |
| Runtime Graphs | |
| LVP? | Yes |
| Switch Type: | E-Switch |
| Quiescent Current (mA): | ? |
| On-Board Charging? | Yes |
| Charge Port Type: | USB-C (On cell) |
| Charge Graph | |
| Power off Charge Port | – |
| Claimed Lumens (lm) | 700 |
| Measured Lumens (at 30s) | 370 (52.9% of claim)^ |
| Candela per Lumen | 226.89 |
| Claimed Throw (m) | 1600 |
| Candela (Calculated) in cd (at 30s) | 13280lux @ 6.883m = 629149cd |
| Throw (Calculated) (m) | 1586.4 (99.2% of claim)^ |
| Claimed CCT | – |
| Measured CCT Range (K) | 7500-7800 Kelvin |
| Item provided for review by: | Acebeam |
| All my Acebeam reviews! | |
| Acebeam Terminator M1 flashlight | |
|---|---|
| Emitter: | Nichia 519a (LED (5000K, CRI90)) |
| Price in USD at publication time: | $279.90 at killzoneflashlights.com |
| Cell: | 1×21700 |
| Runtime Graphs | |
| LVP? | Yes |
| Switch Type: | E-Switch |
| Quiescent Current (mA): | ? |
| On-Board Charging? | Yes |
| Charge Port Type: | USB-C (On cell) |
| Charge Graph | |
| Power off Charge Port | – |
| Claimed Lumens (lm) | 2300 |
| Measured Lumens (at 30s) | 1817 (79% of claim)^ |
| Candela per Lumen | 3.76 |
| Claimed Throw (m) | 231 |
| Candela (Calculated) in cd (at 30s) | 289lux @ 5.327m = 8201cd |
| Throw (Calculated) (m) | 181.1 (78.4% of claim)^ |
| Claimed CCT | 5000 |
| Measured CCT Range (K) | 4600-4900 Kelvin |
| Item provided for review by: | Acebeam |
| All my Acebeam reviews! | |
^ Measurement disclaimer: Testing flashlights is my hobby. I use hobbyist-level equipment for testing, including some I made myself. Try not to get buried in the details of manufacturer specifications versus measurements recorded here; A certain amount of difference (say, 10 or 15%) is perfectly reasonable.
What’s Included
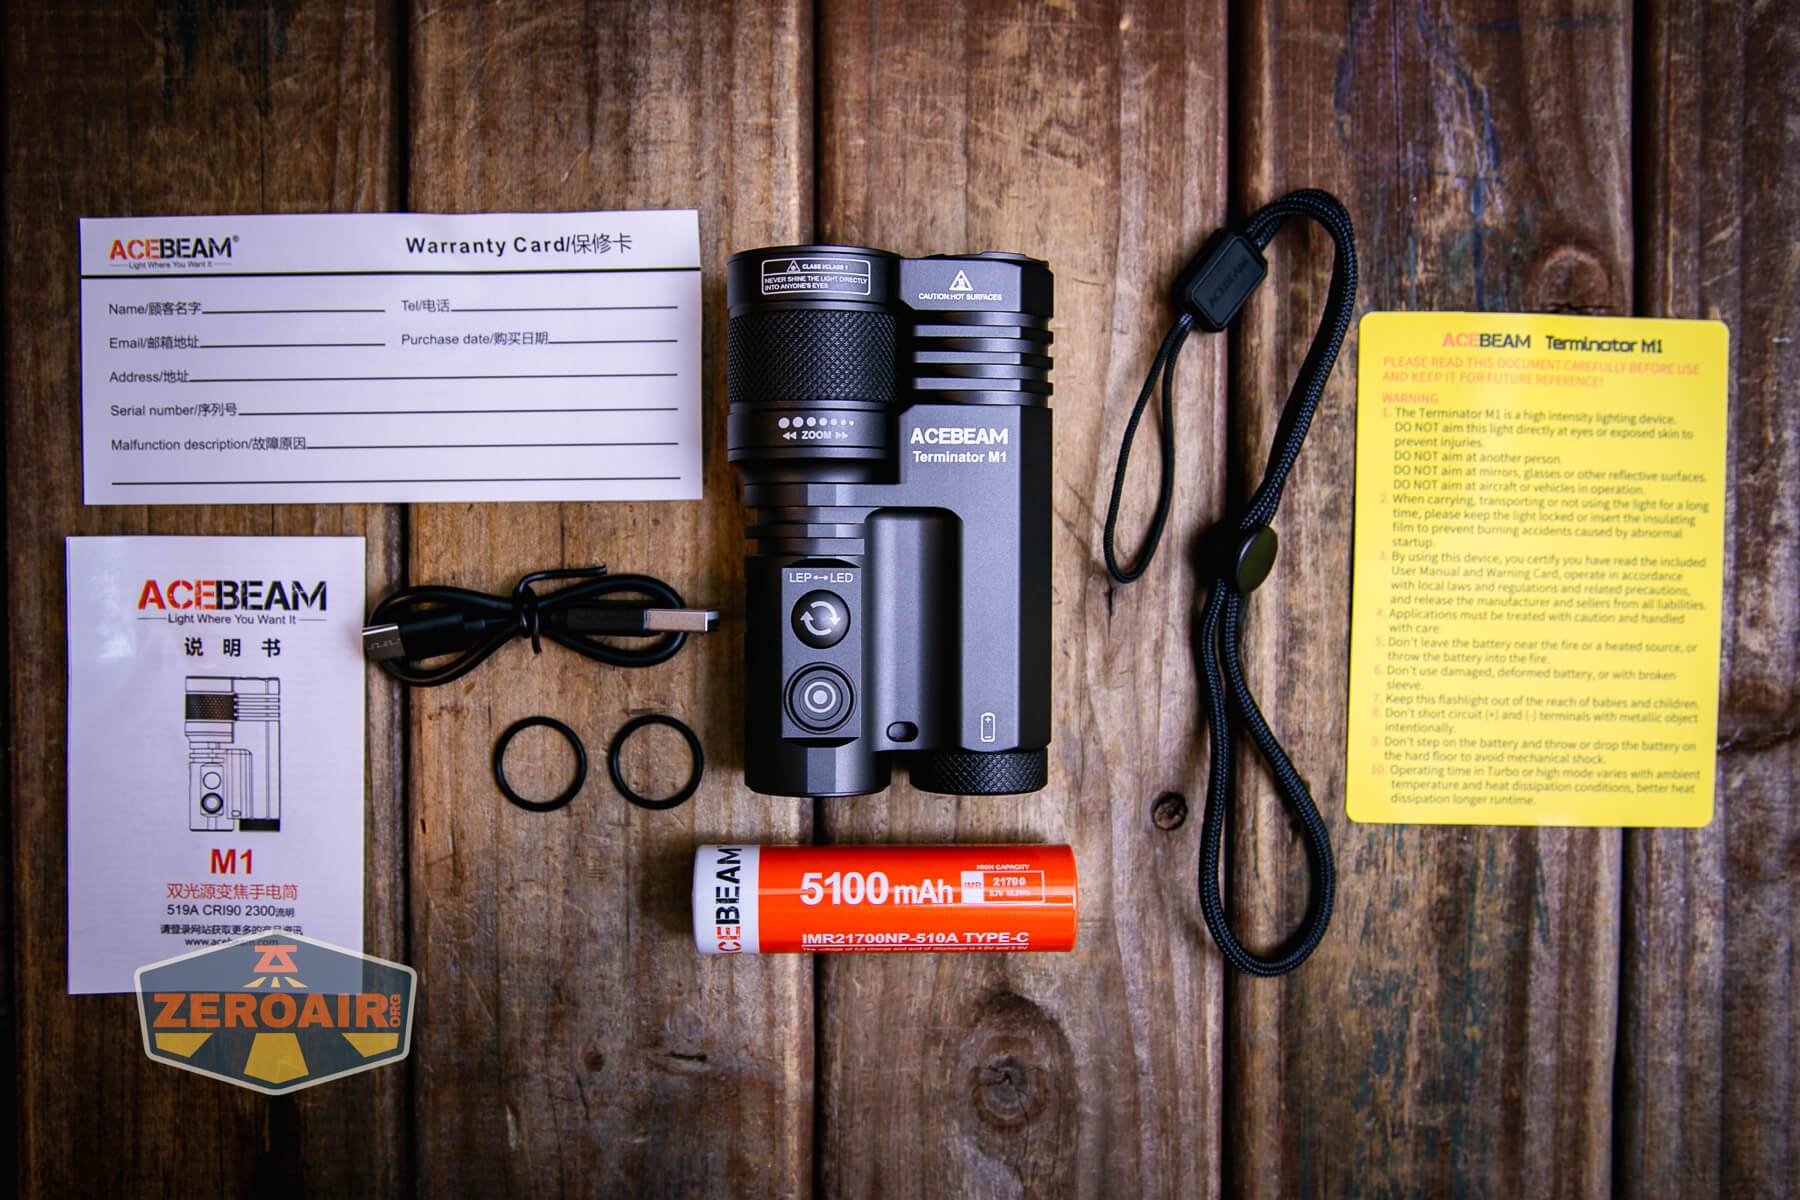
- Acebeam Terminator M1 flashlight
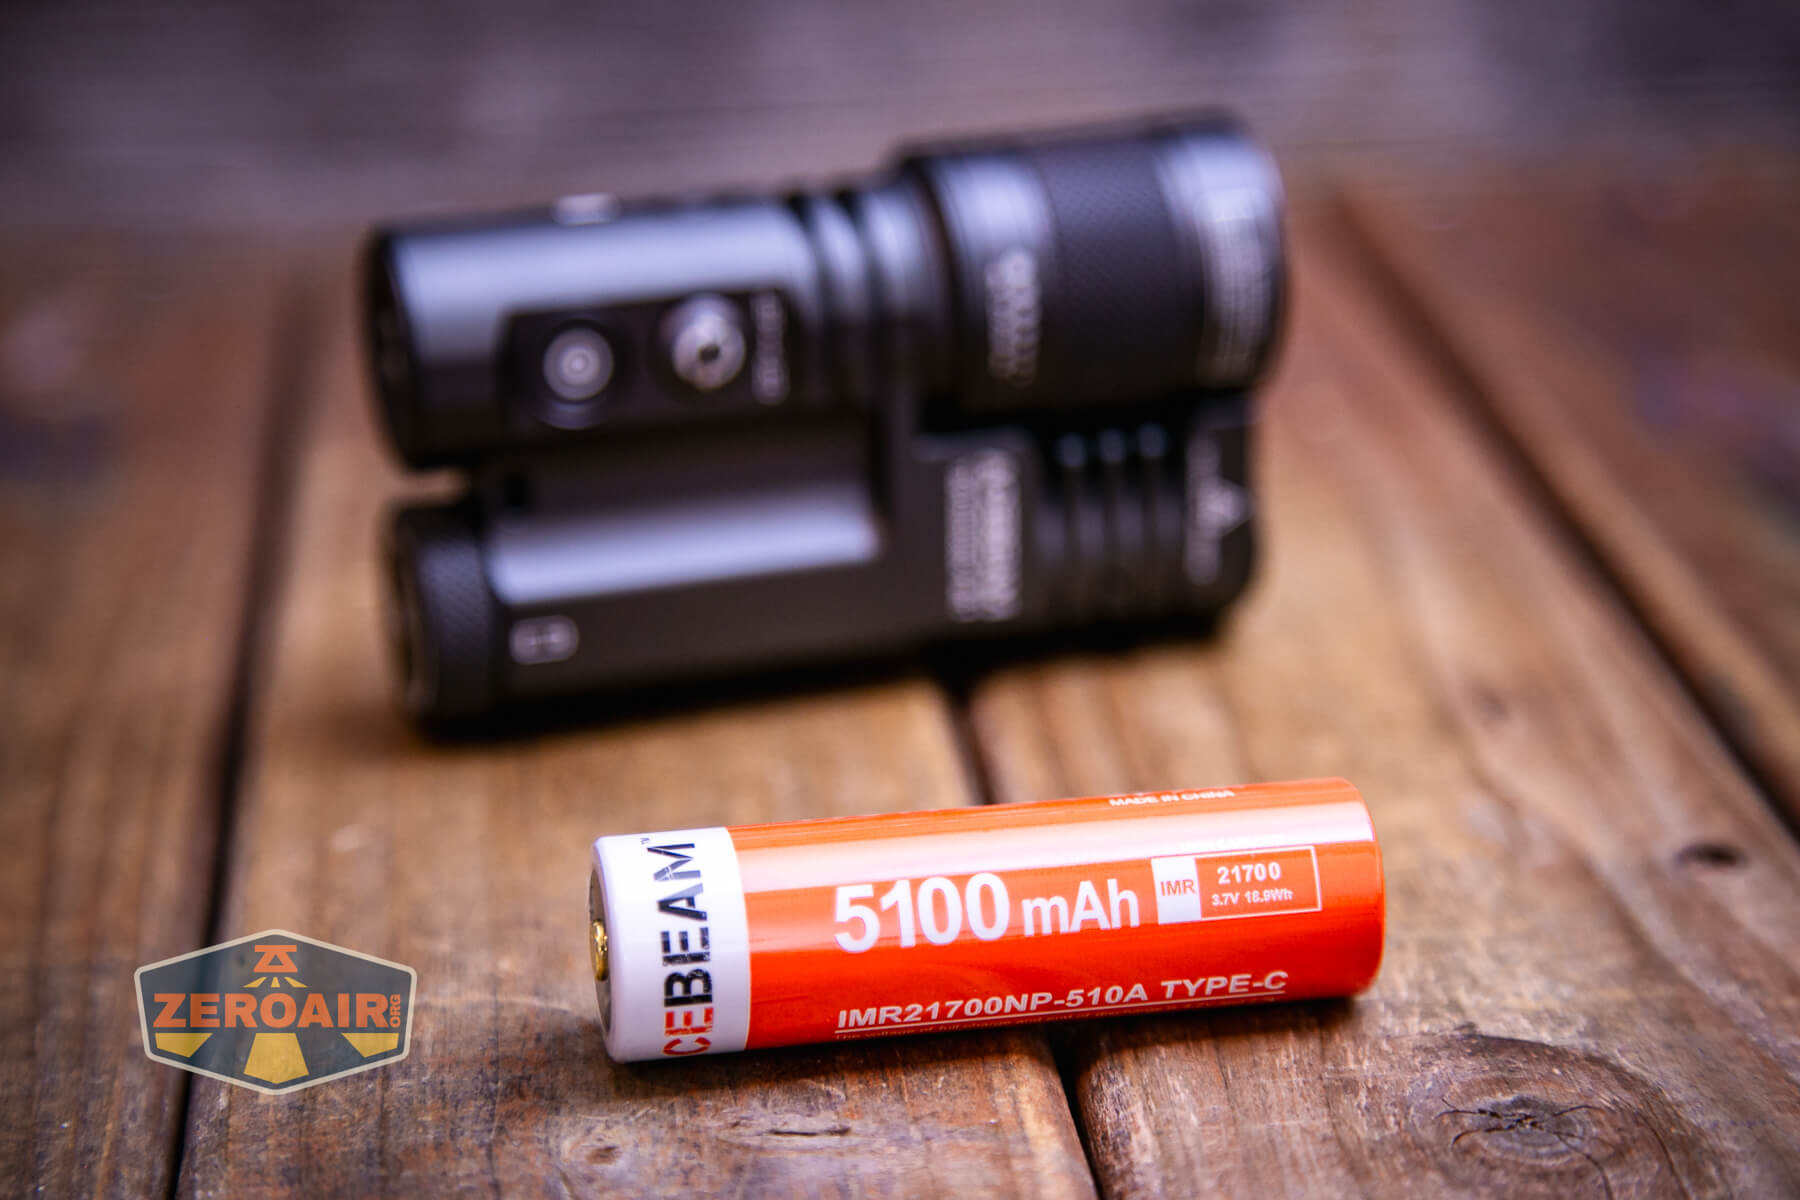
- Acebeam 5100mAh 21700
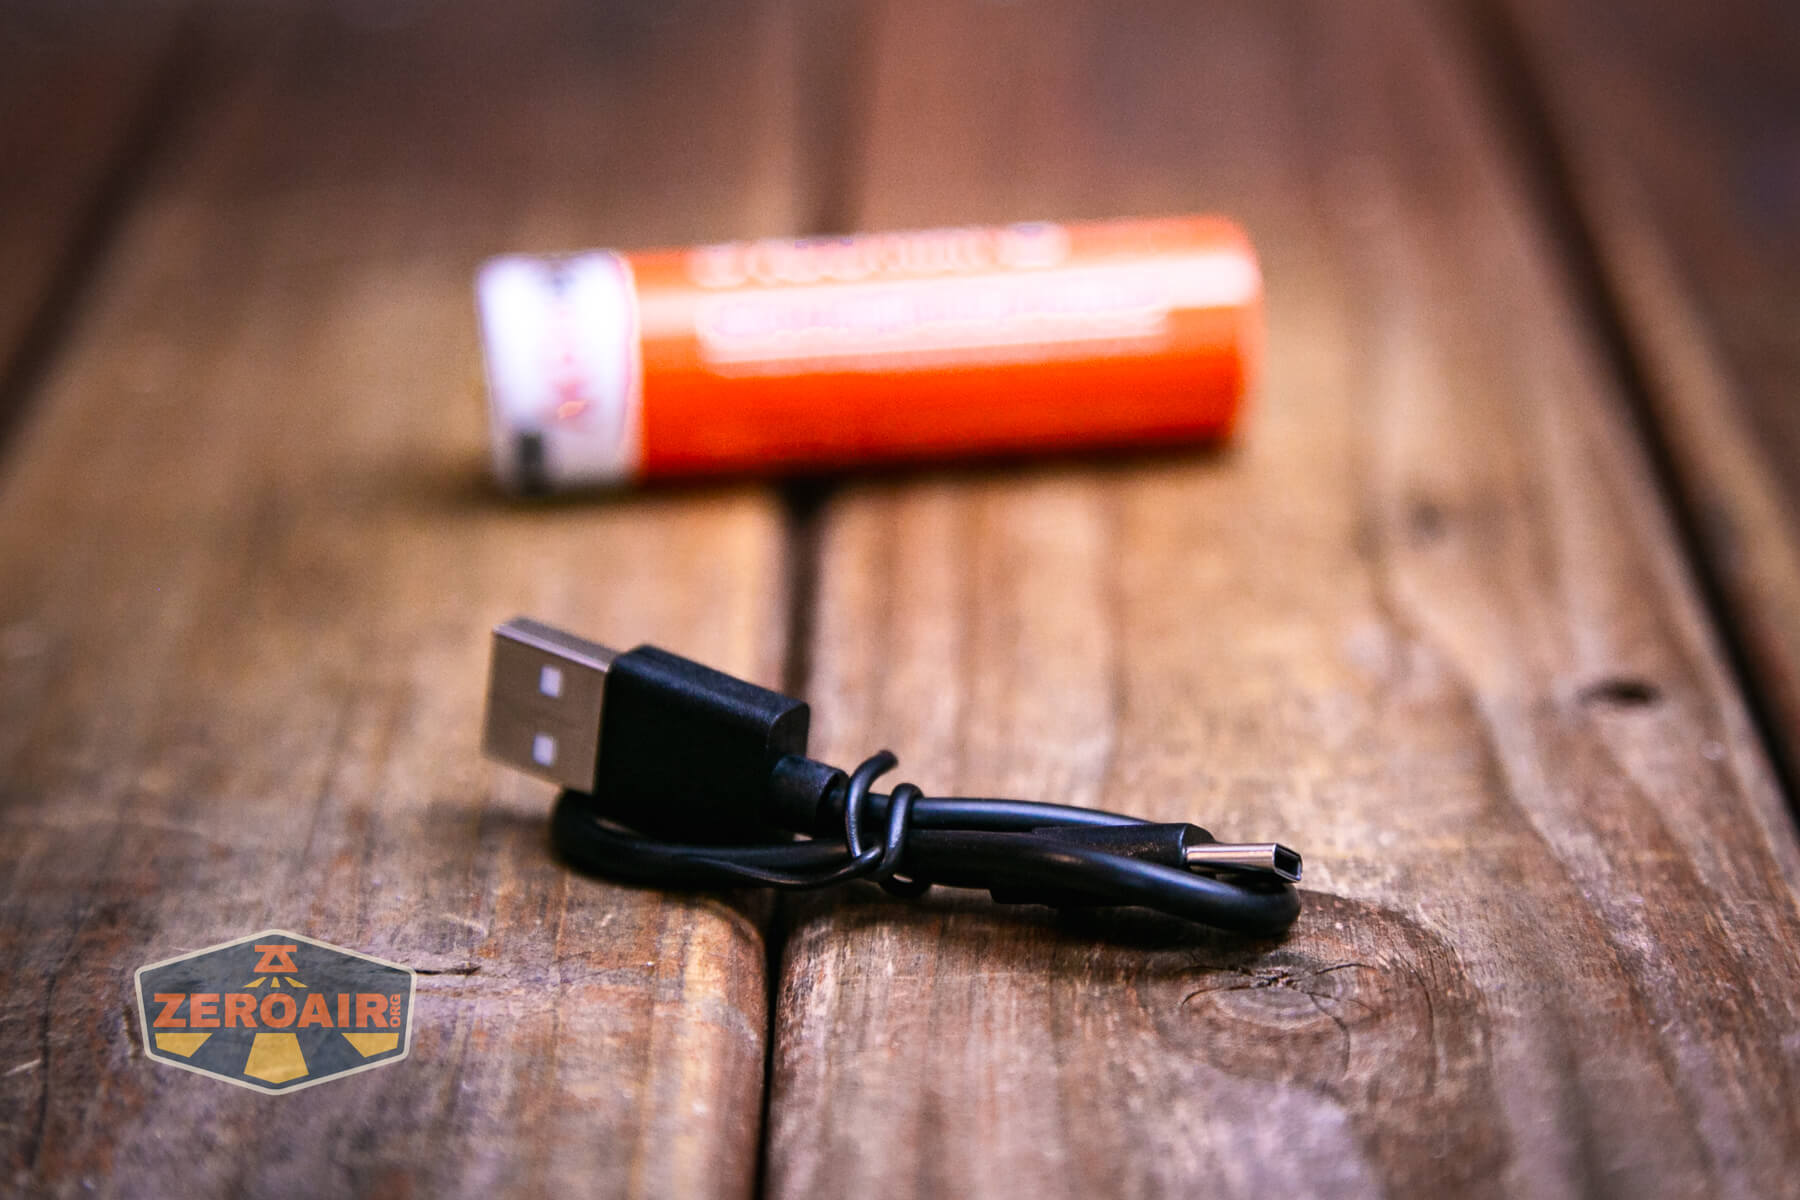
- Charging cable (USB to USB-C)
- Spare o-rings (2)
- Manual etc
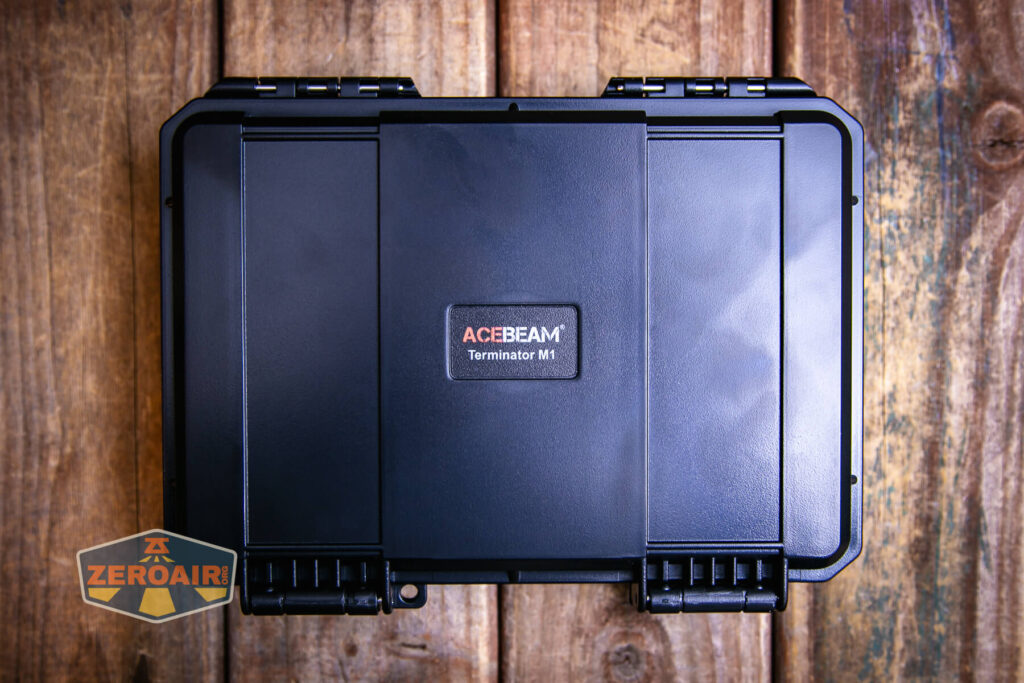
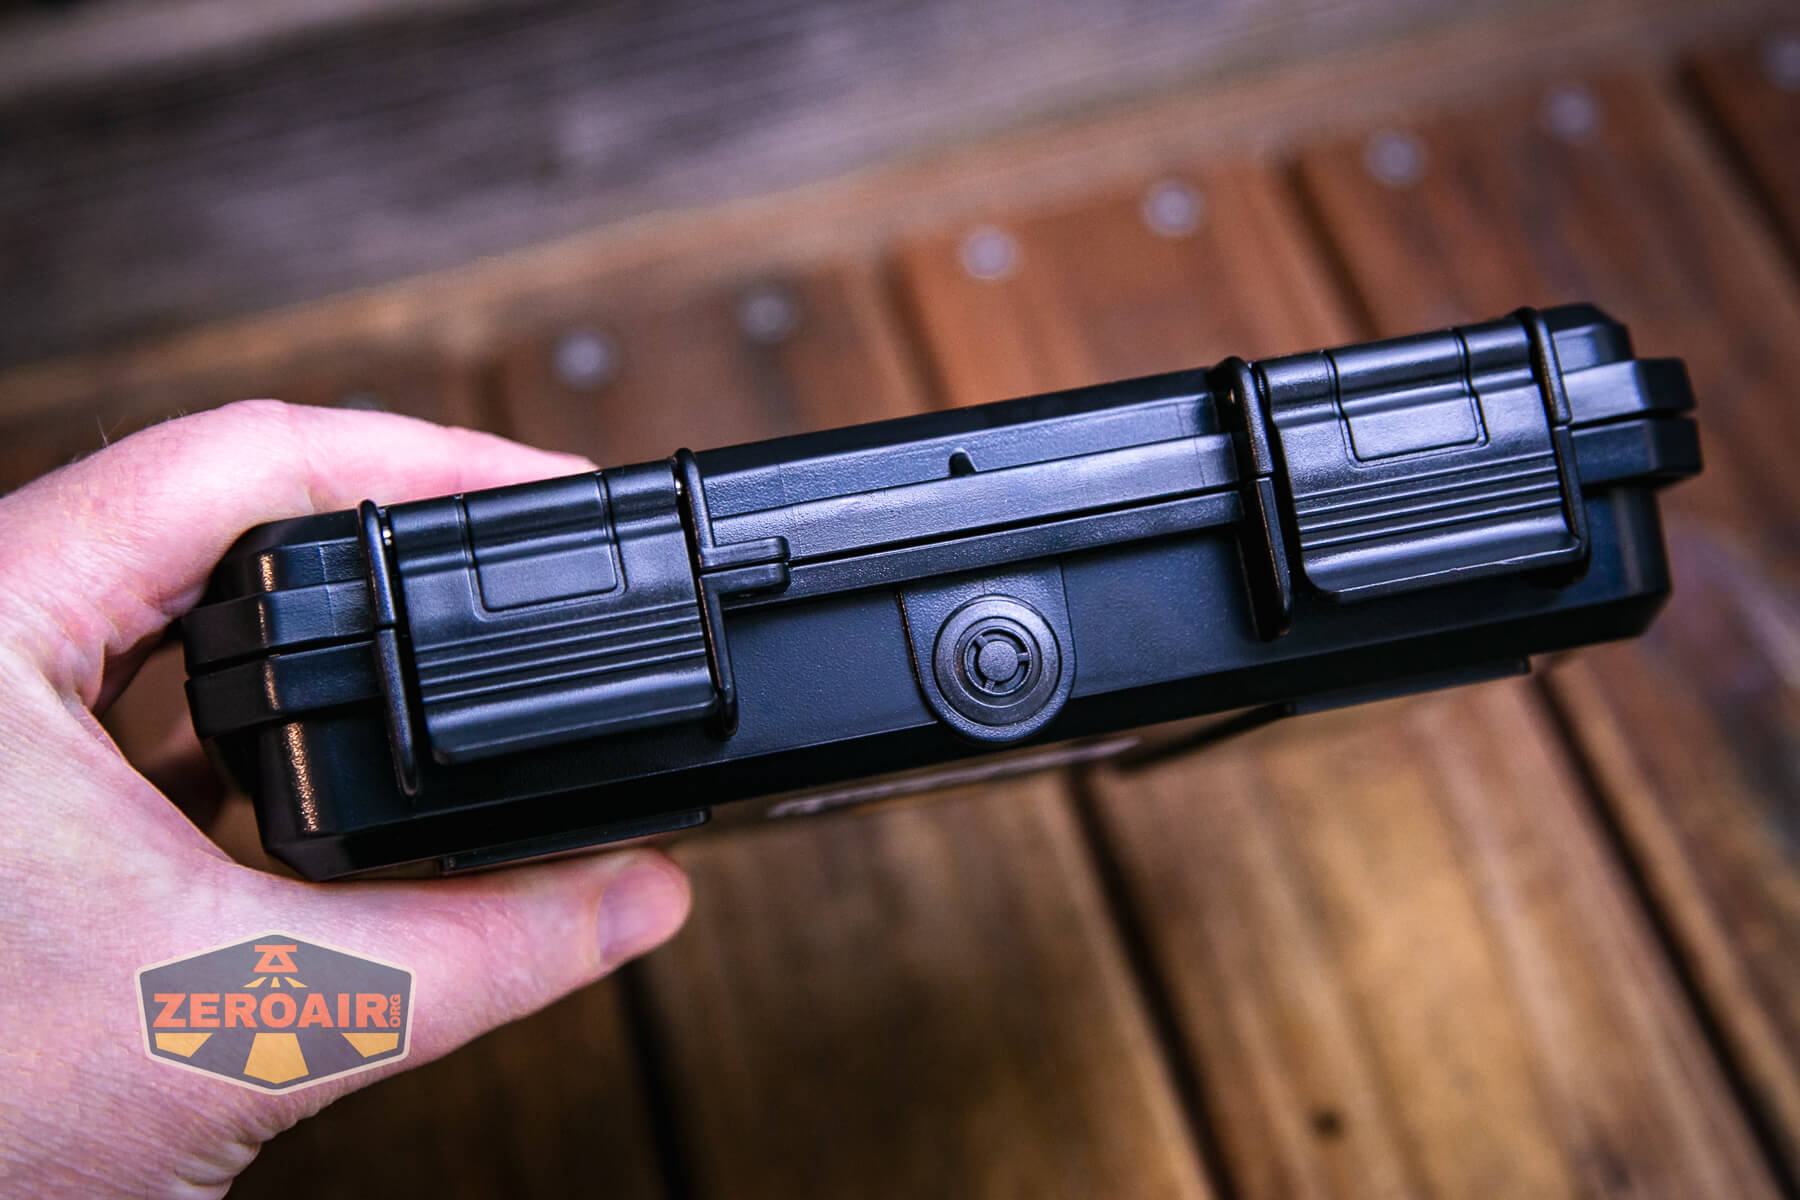
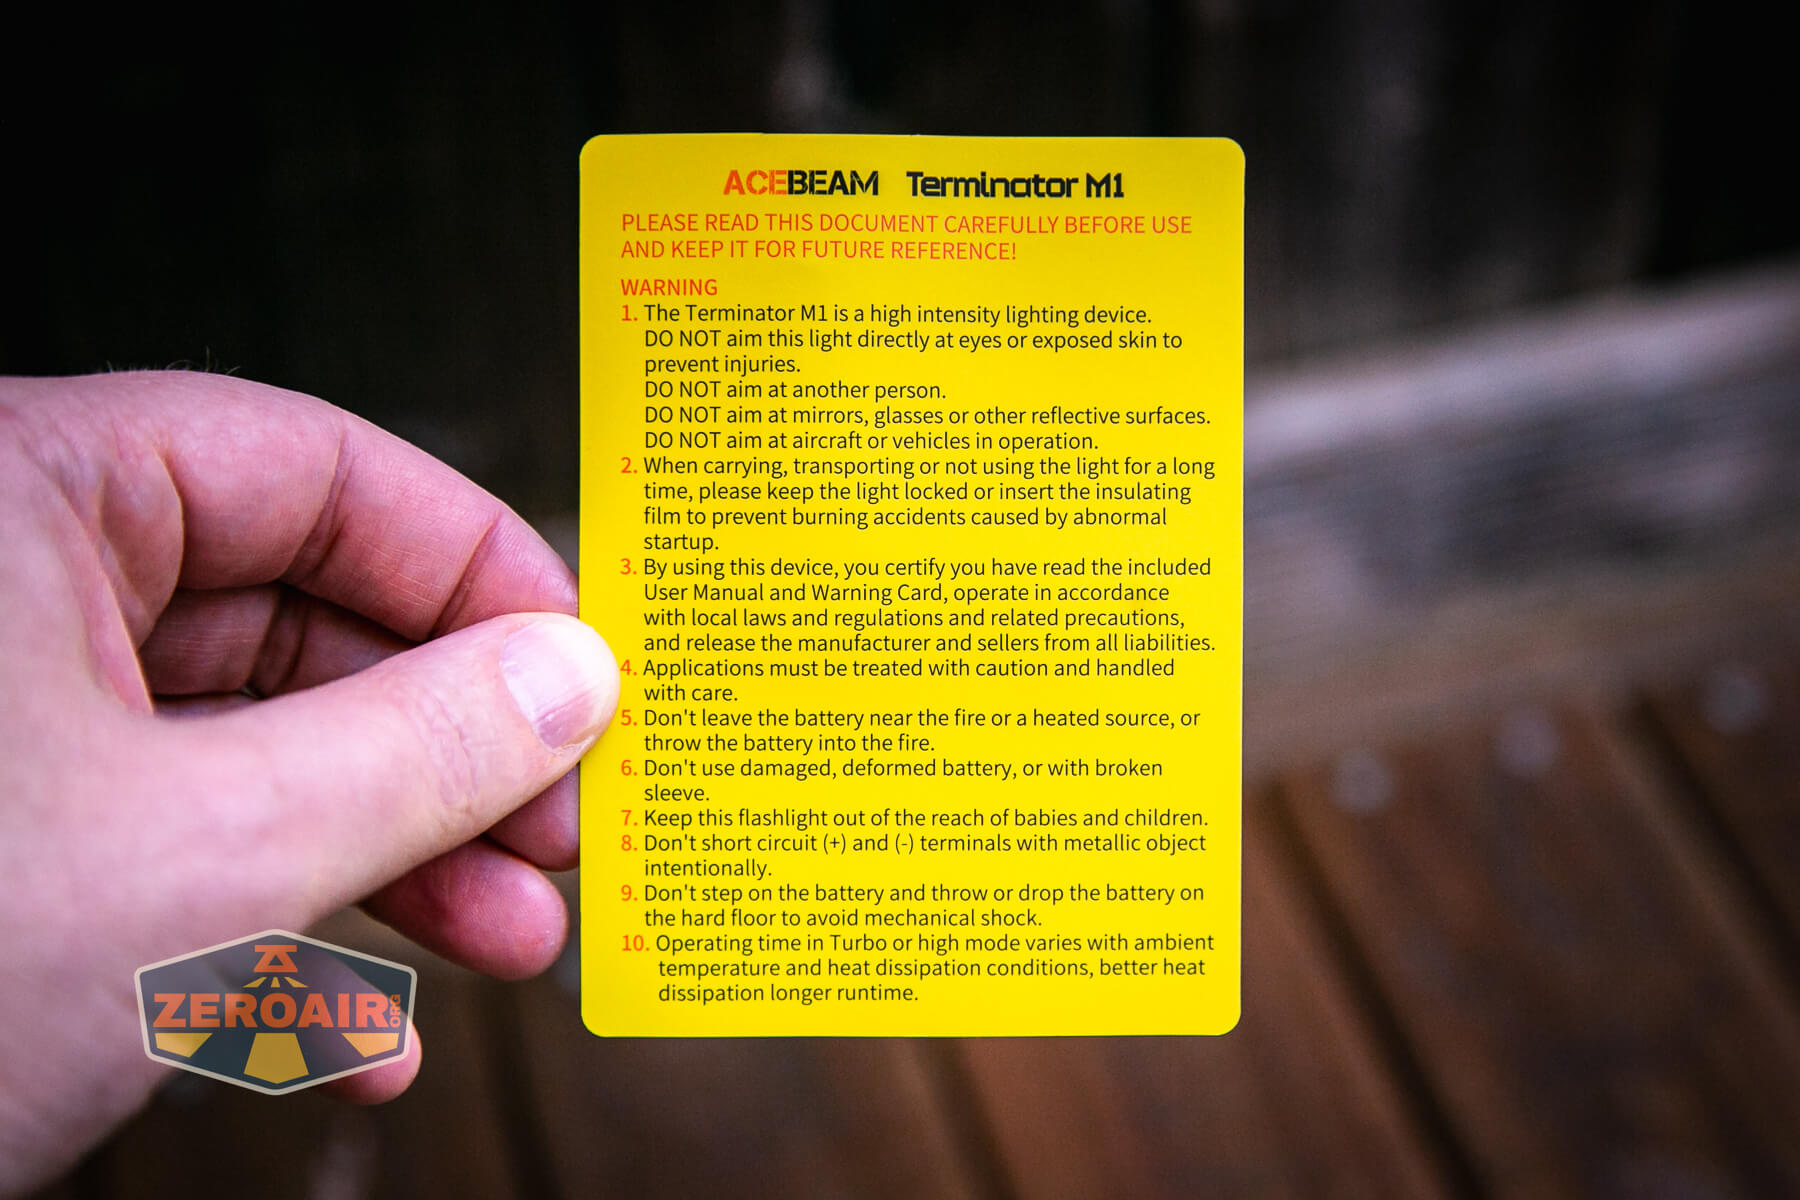
Package and Manual


Build Quality and Disassembly

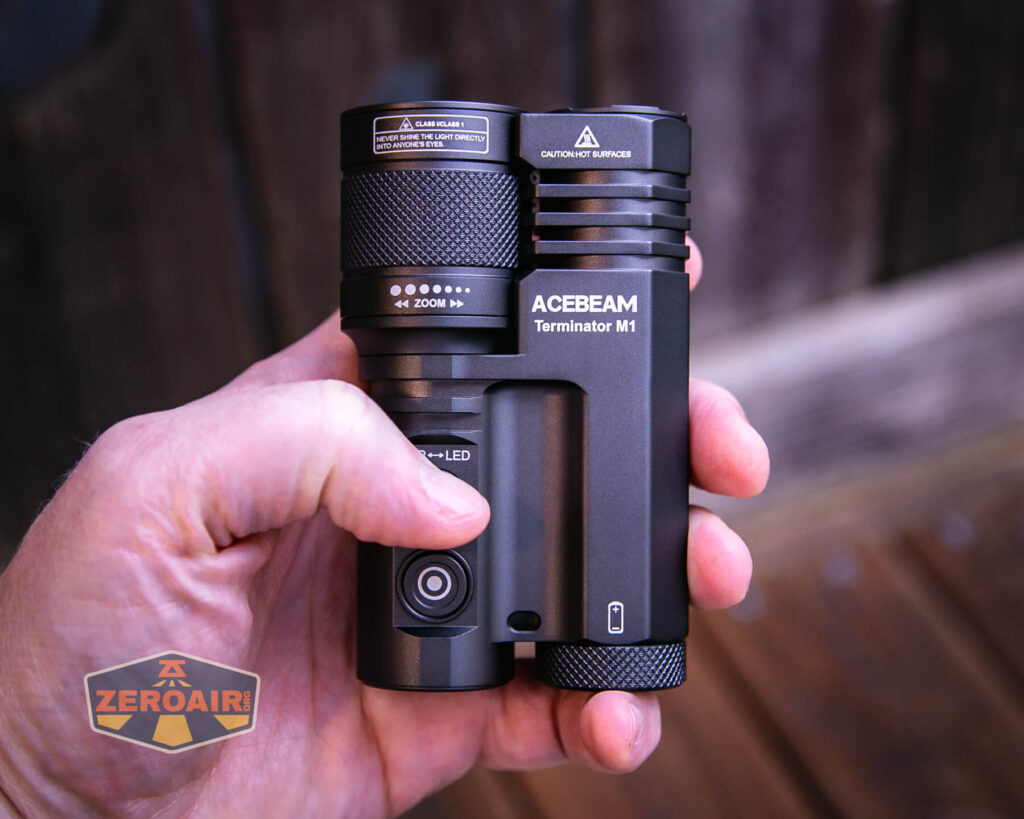
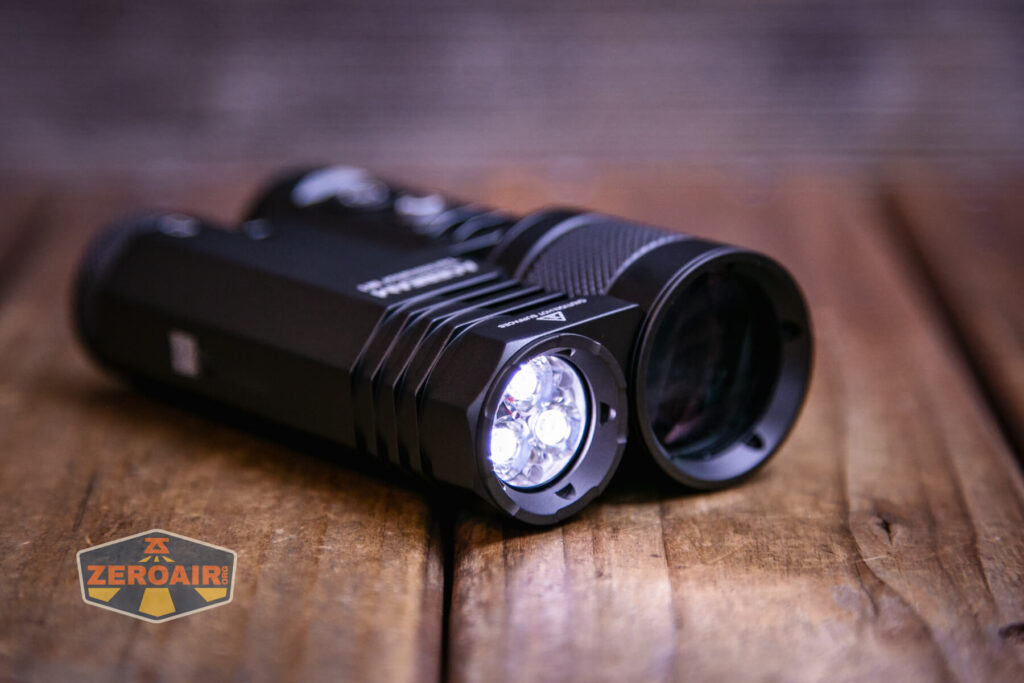
The Acebeam Terminator M1 is a flashlight like nearly nothing before. There are maybe a few lights that have the same general shape. Frelux makes a couple. Cool Fall makes a couple. But none of those have an LEP. Taken as a whole, this is really a first-of-its-kind flashlight.
Unsurprisingly, the build quality is great. Acebeam always makes fine products.
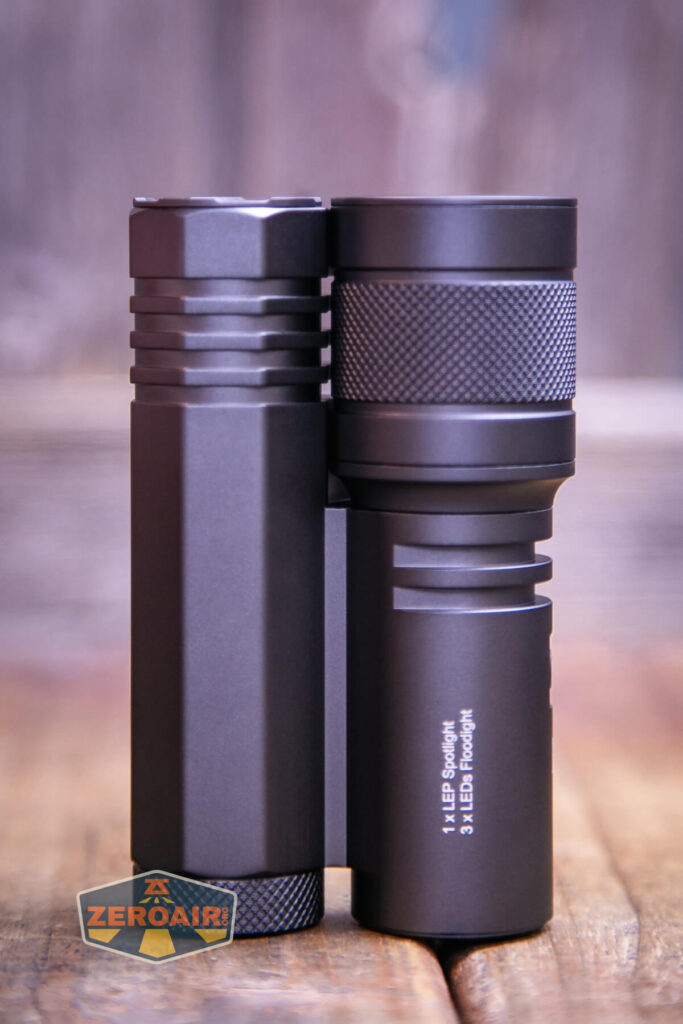
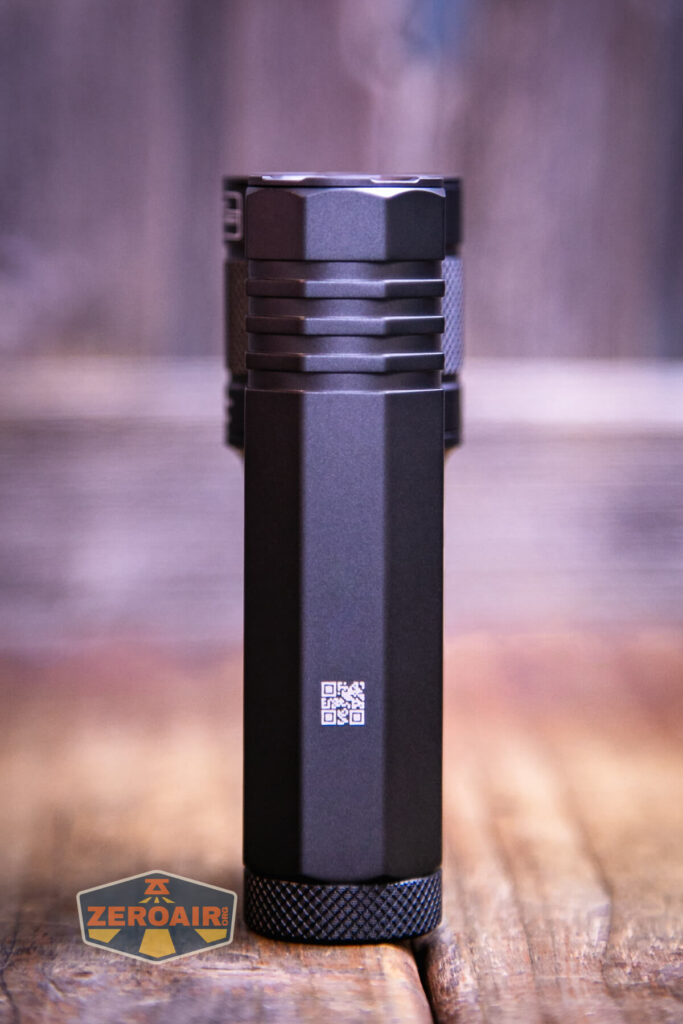
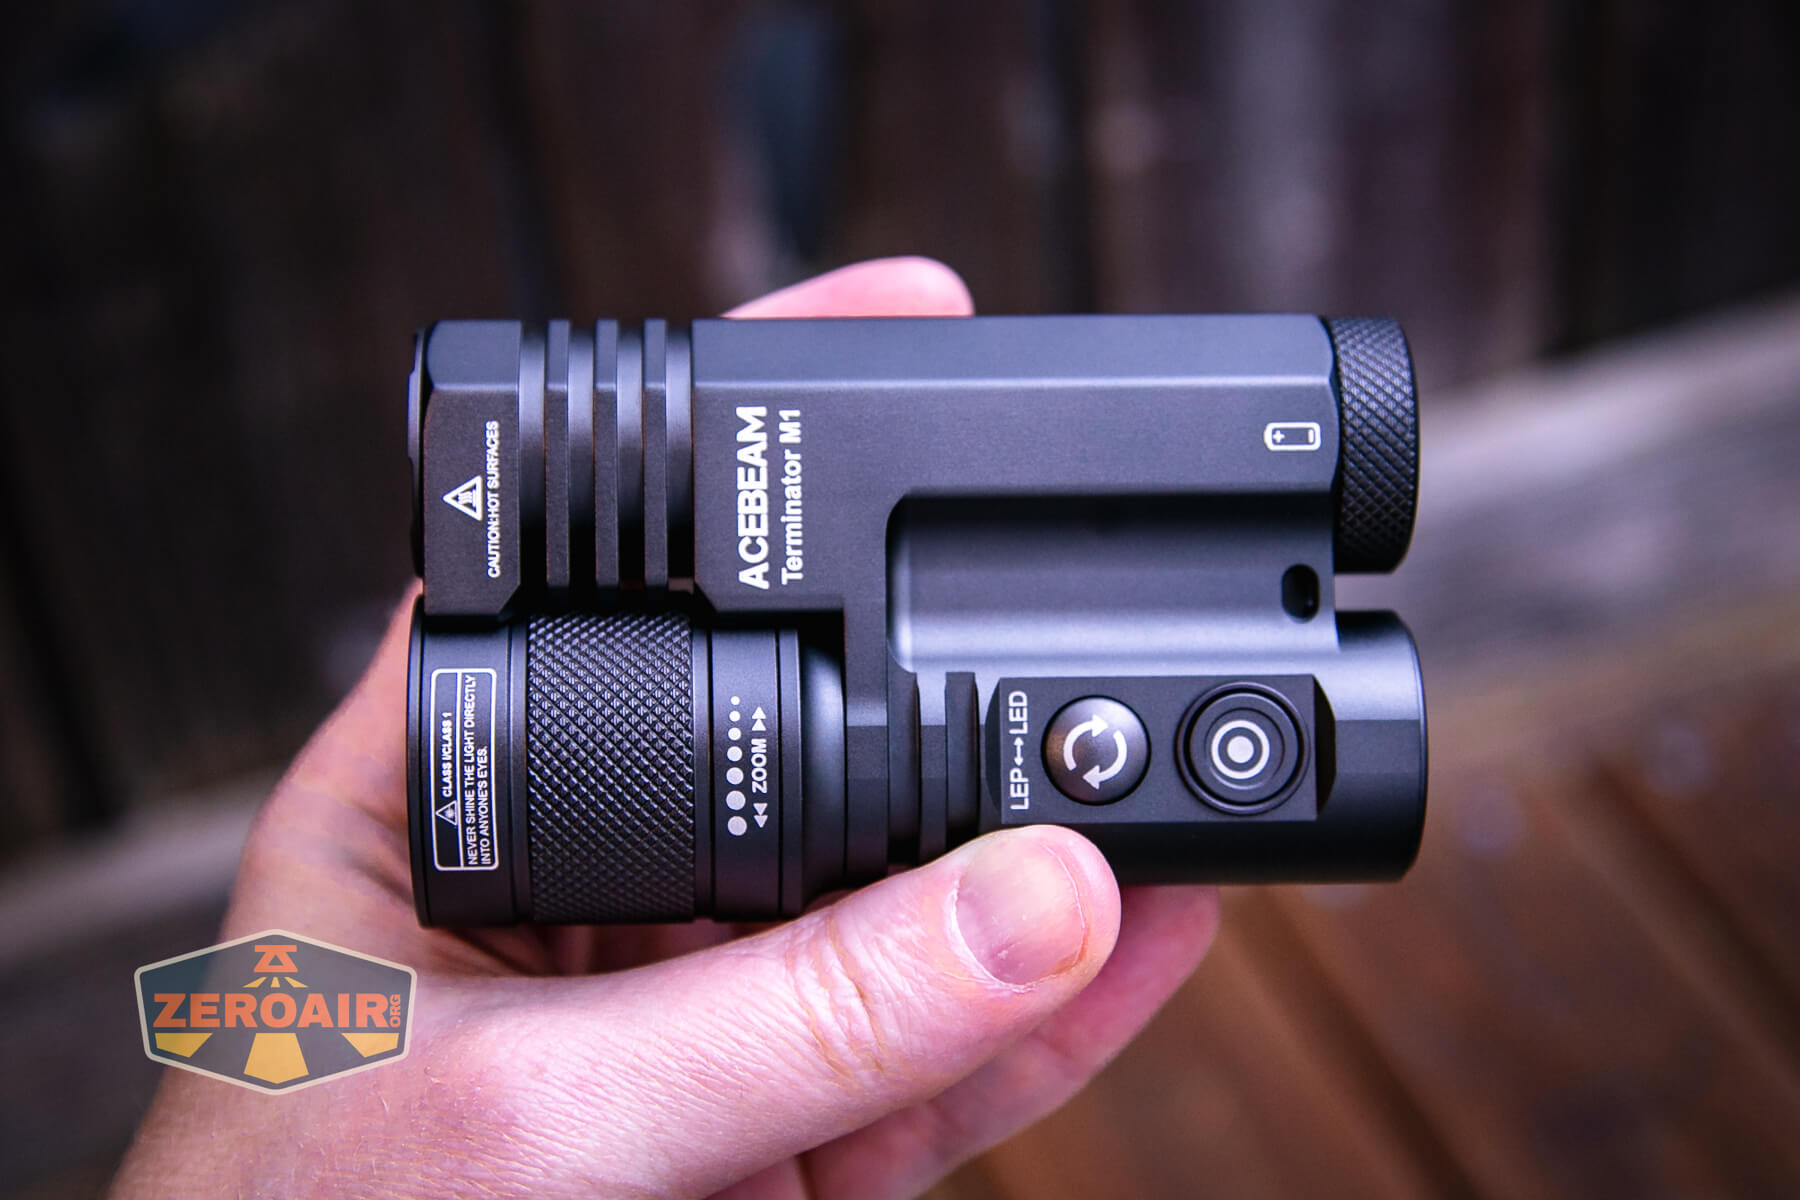
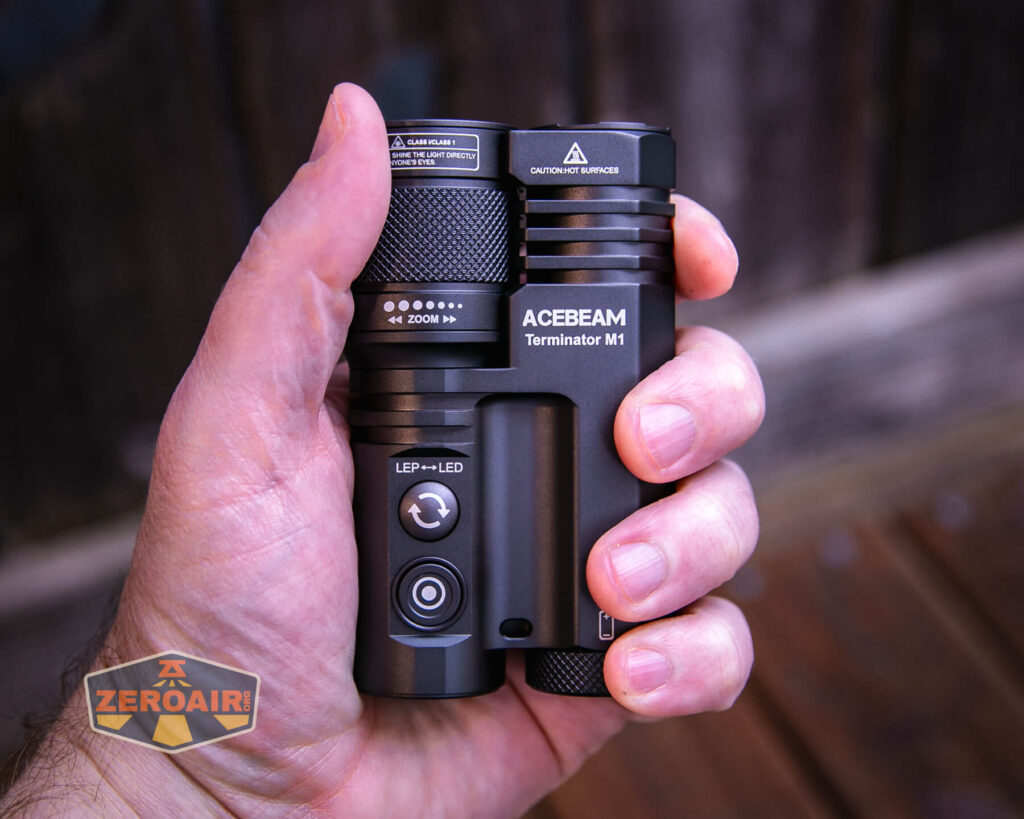
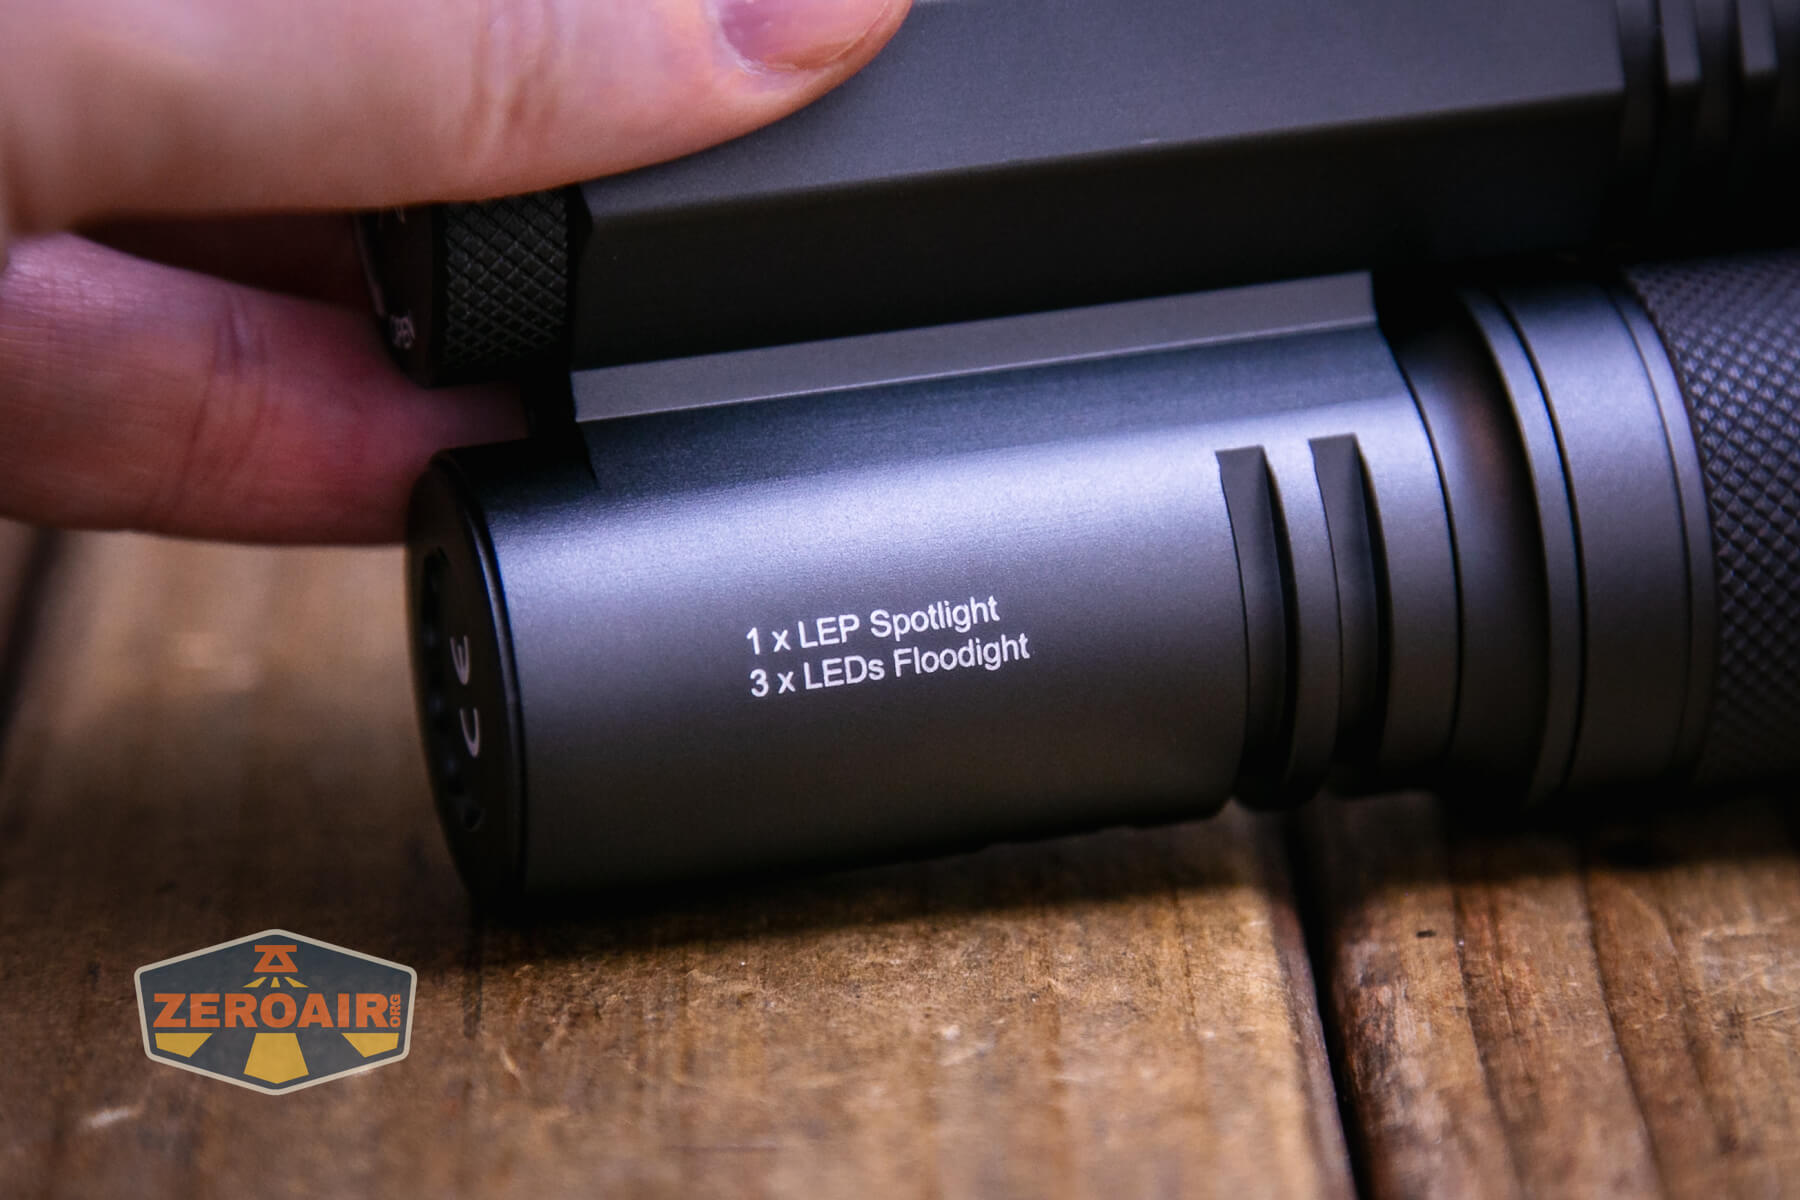
Something worth noting about the body design – the LED side of the light is hexagonal (ish). That means the light can be placed on its side and won’t roll. That’s a nice design. Another thing you can see most clearly in the right-most photo above is that while the tail end of the light has the same width all the way across, the LEP head is slightly wider than the LED head. That means when laid on the side (in the “most restful position” so to speak), the light rocks. I found this to be uniquely annoying, but functionally irrelevant.
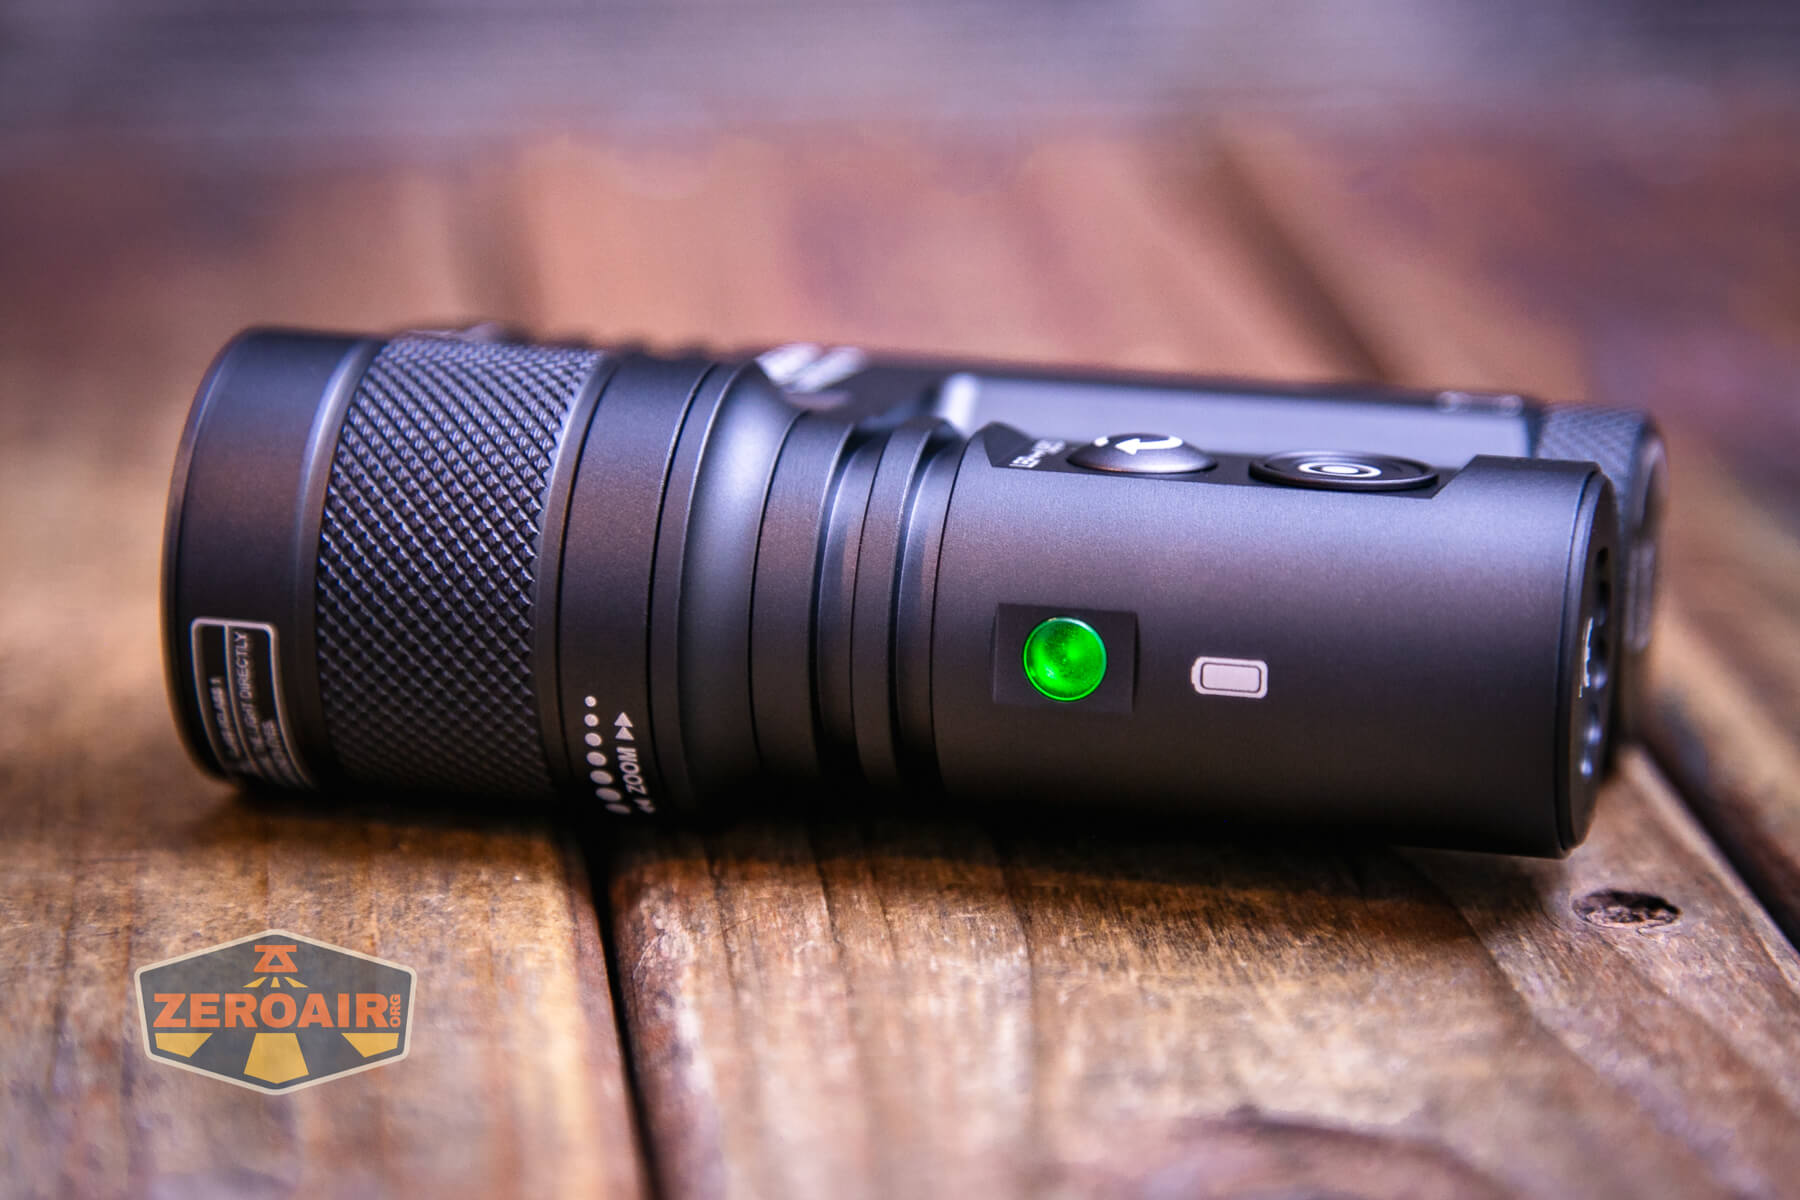
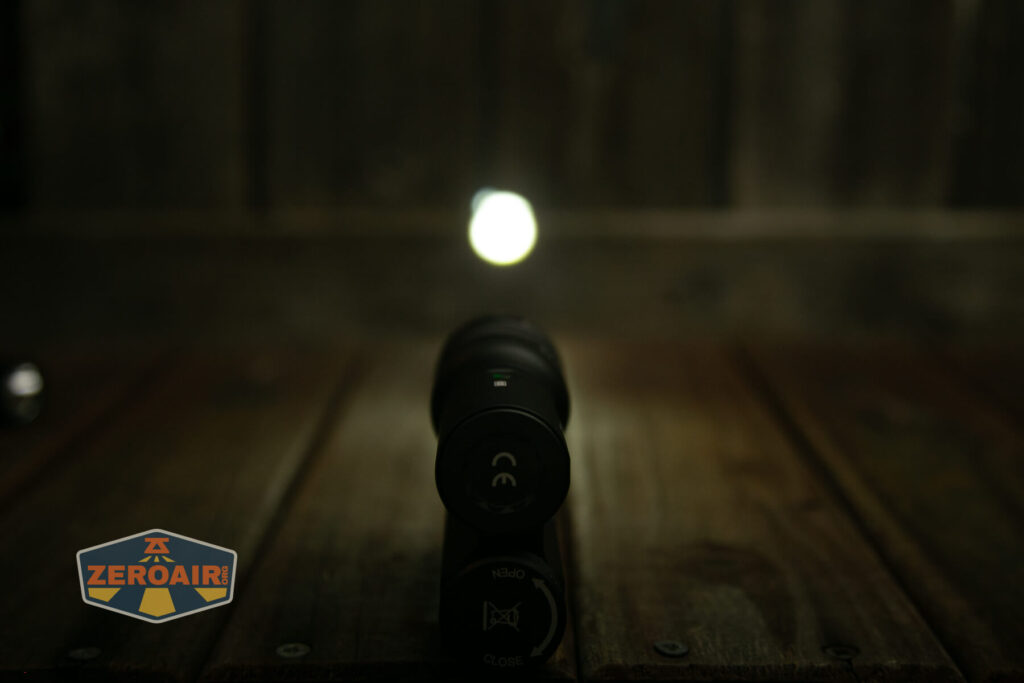
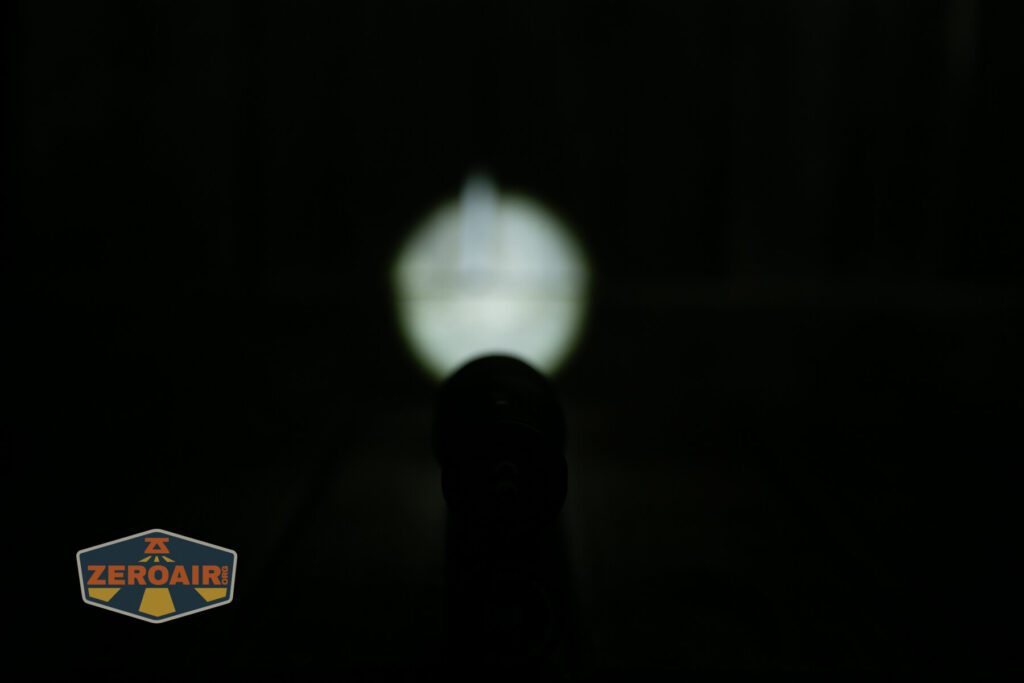
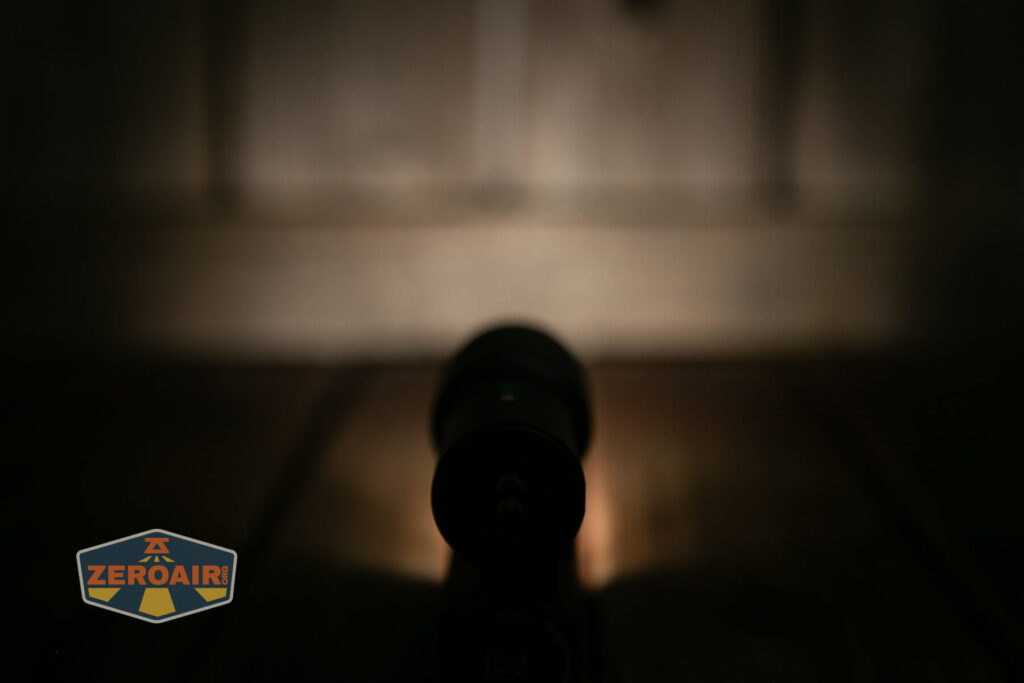
One of the aspects of this light that doesn’t immediately jump out from just looking is that the LEP part of the M1 has zoom capabilities! I might be more inclined to call it “focus” but either way – the LEP can go from a very tight pencil-thin beam to a nearly flat disk of light with even illumination.
The head of the LED side has a bit of cooling surface area (aka “fins”). The LEP side has knurling that’s useful when actuating the zoom feature.

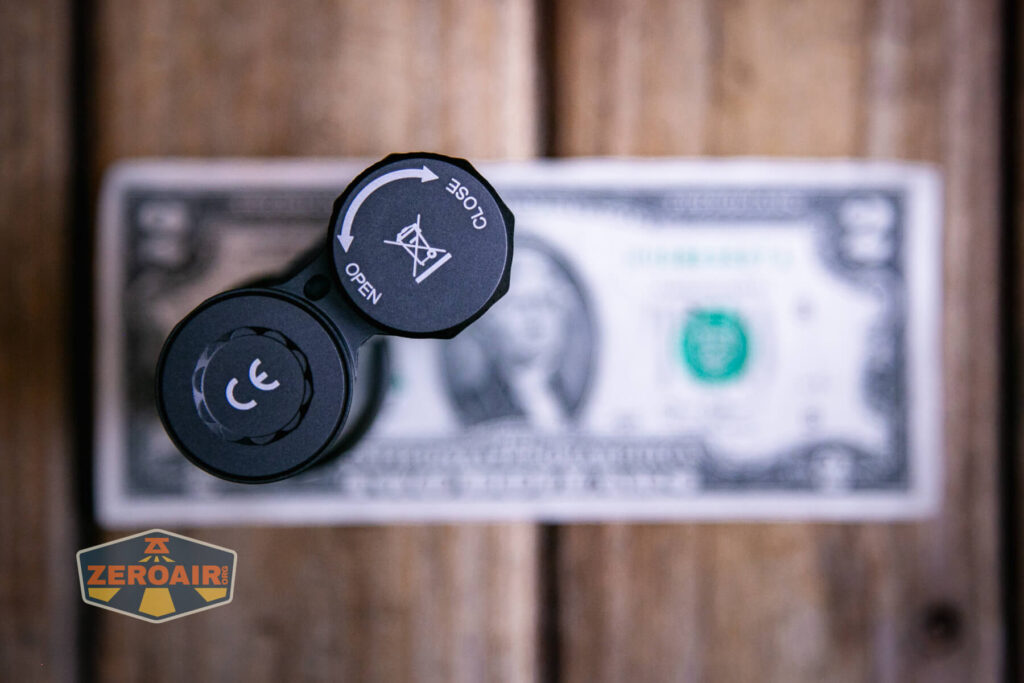
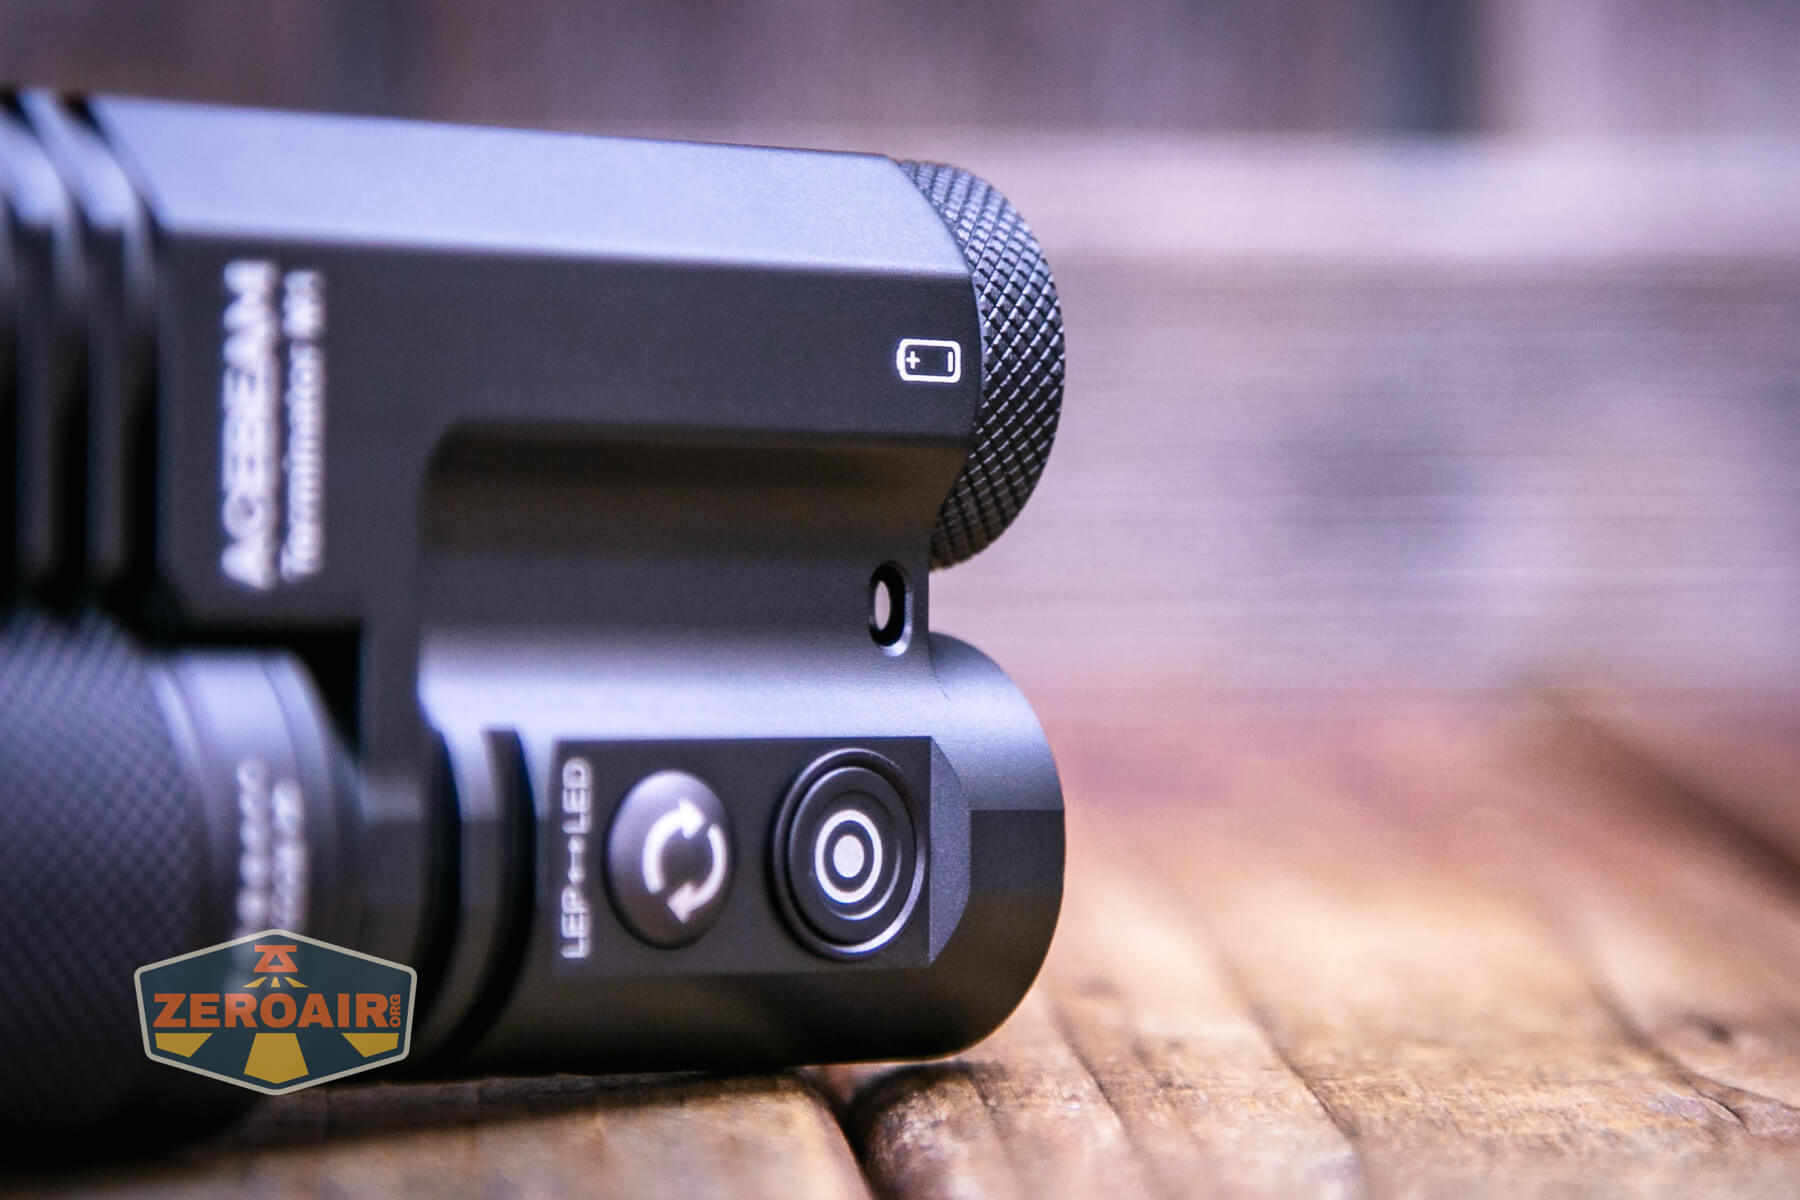
Here you can see the tailcap or tailcaps. The right side is the LED side, and also where the included 21700 fits. The left side has both switches as well as the LEP module, which is apparently fairly (or at least comparatively) large.
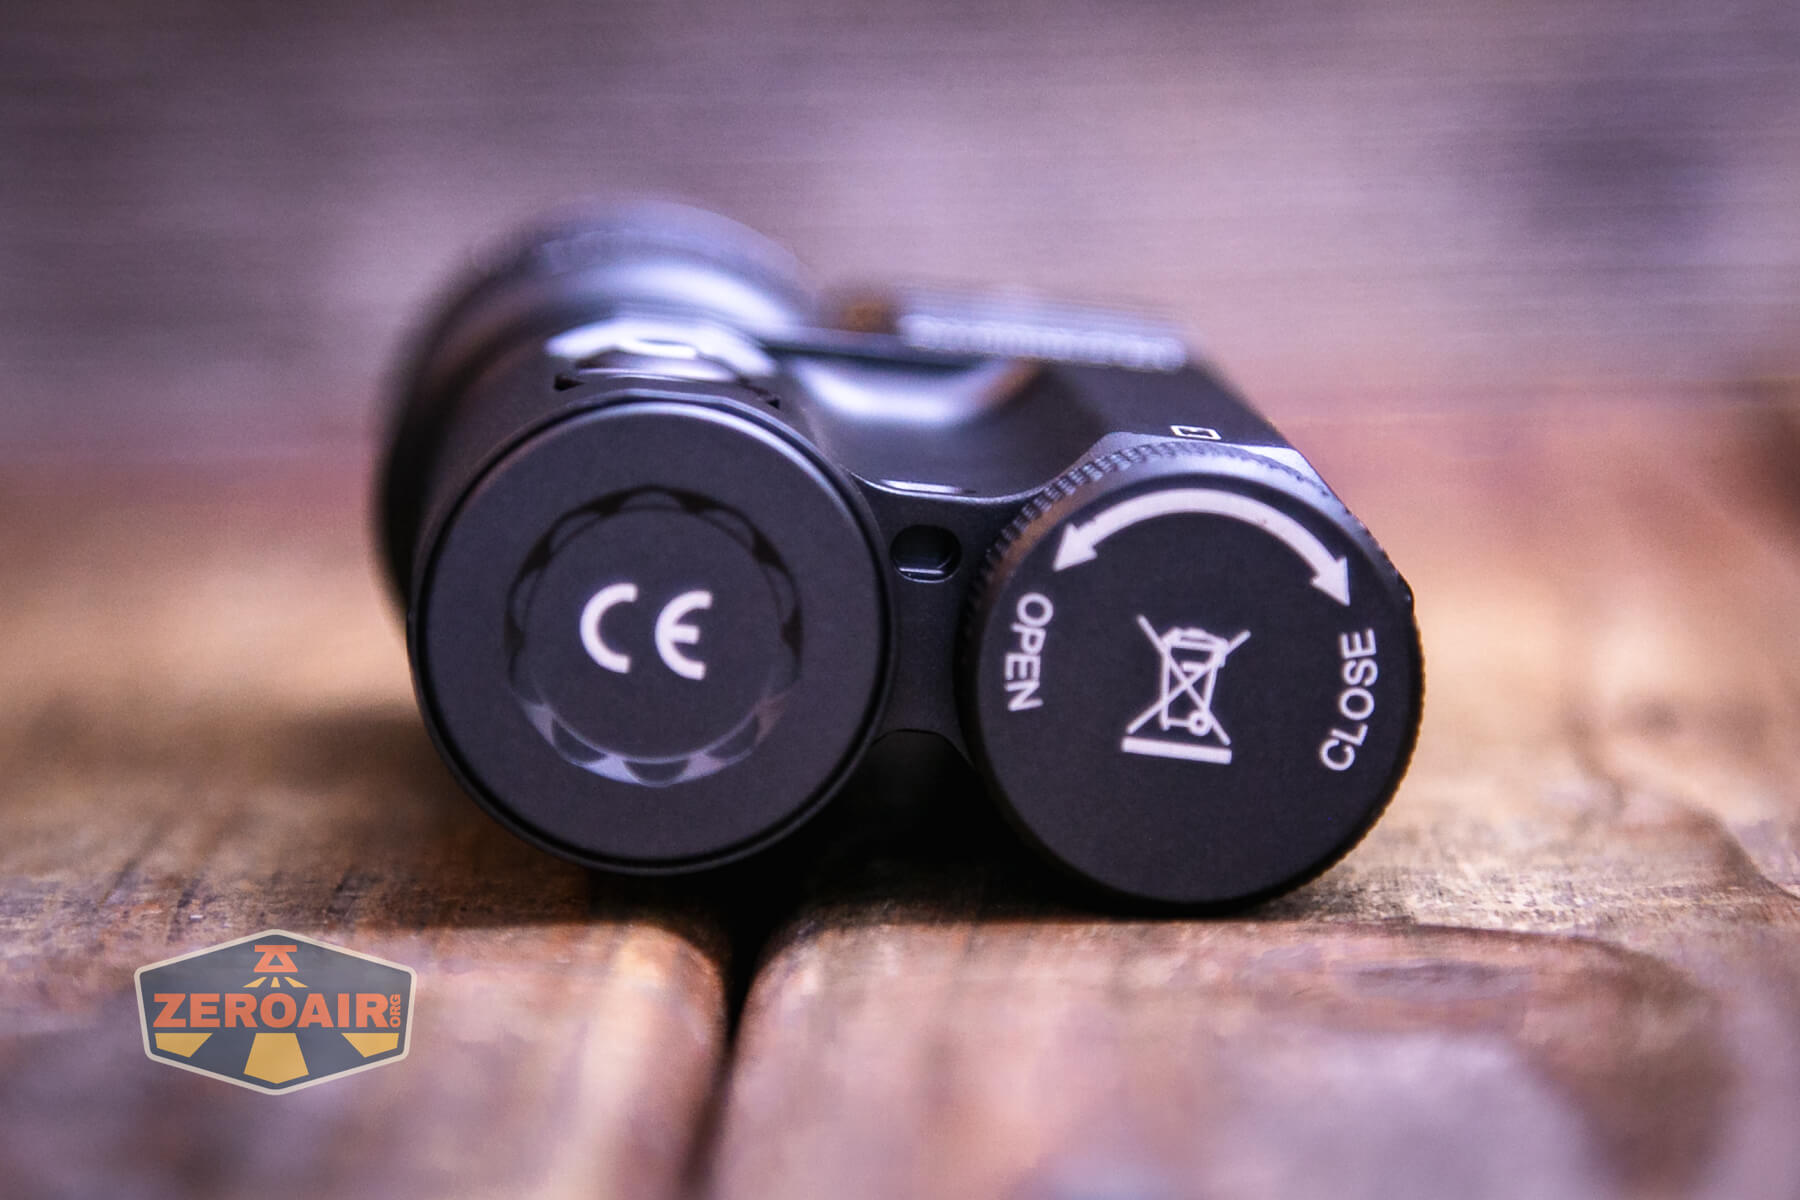
Here’s one of my biggest complaints about the Acebeam Terminator M1 flashlight. The tailcap must be removed to charge the cell. And the tailcap is the kind that you can’t avoid touching threads on when removing. You may have the skill and it’ll all be ok, but for me, this is annoying. Annoying, especially since Acebeam has shown such great usage of onboard charging on other lights – just throw a USB-C port in here but still give us access to the cell!
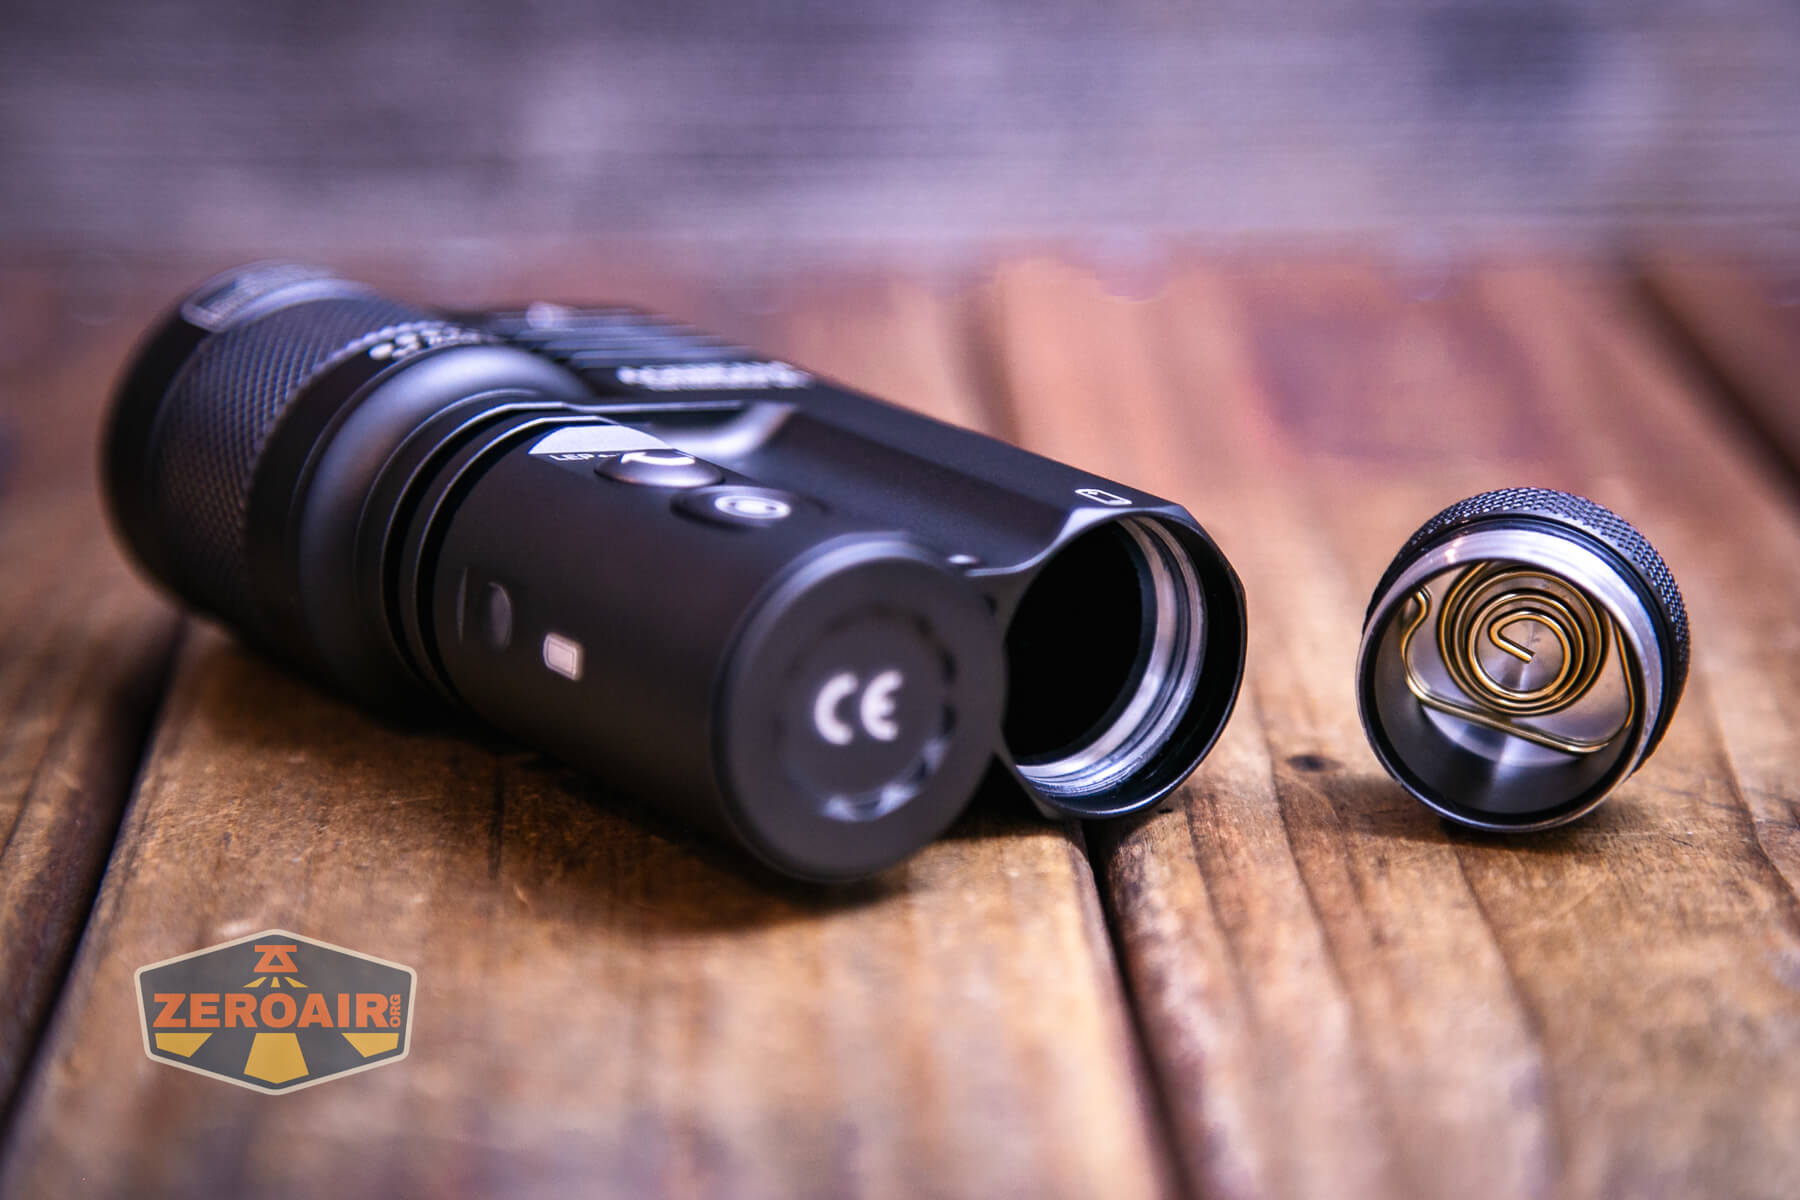
Inside the cell tube, you can see a spring – in fact, there are springs on both ends of the cell tube.

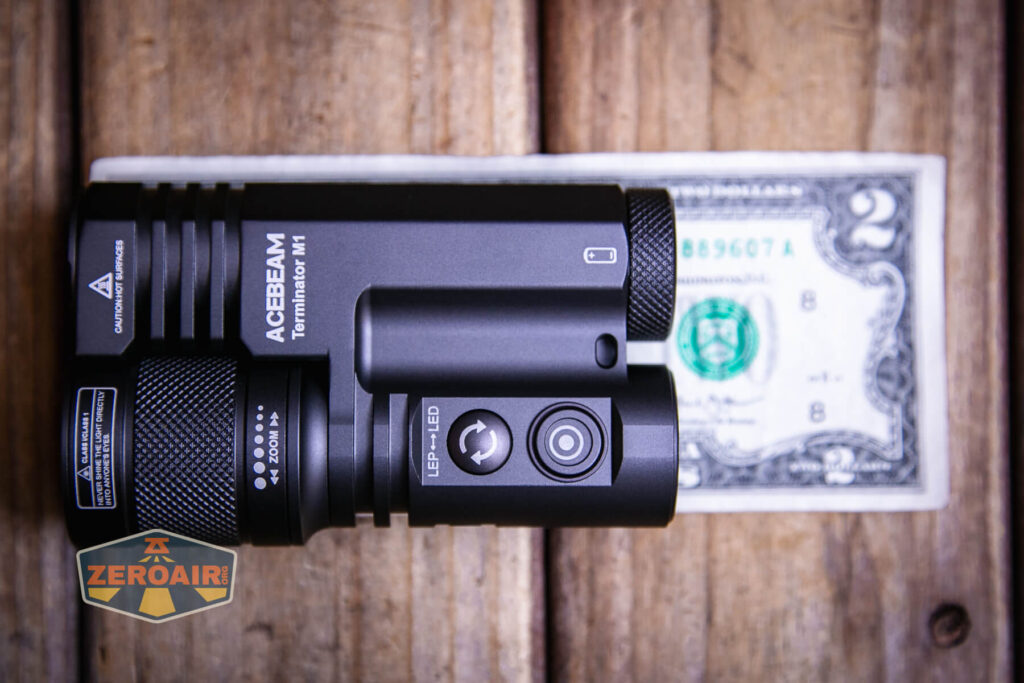
Size and Comps
L: 104mm/4.09”
W: 35.2mm/1.39”
H: 63.4mm/2.5”
Weight: 232.2g/8.2oz (Excluding Battery); 304.6g/10.7oz (Including Battery)


If the flashlight will headstand, I’ll show it here (usually the third photo). If the flashlight will tailstand, I’ll also show that (usually in the fourth photo).
From the top view (above), the Acebeam Terminator M1 flashlight looks like a bar of Dr. Squatch soap. And honestly sort of feels like a bar of soap in hand, too. That’s not necessarily bad, but you can evaluate how you’d like to hold this light by grabbing a boxed bar of soap. Could be good, you could hate it. Again, I accept the tradeoffs and like the light a lot.
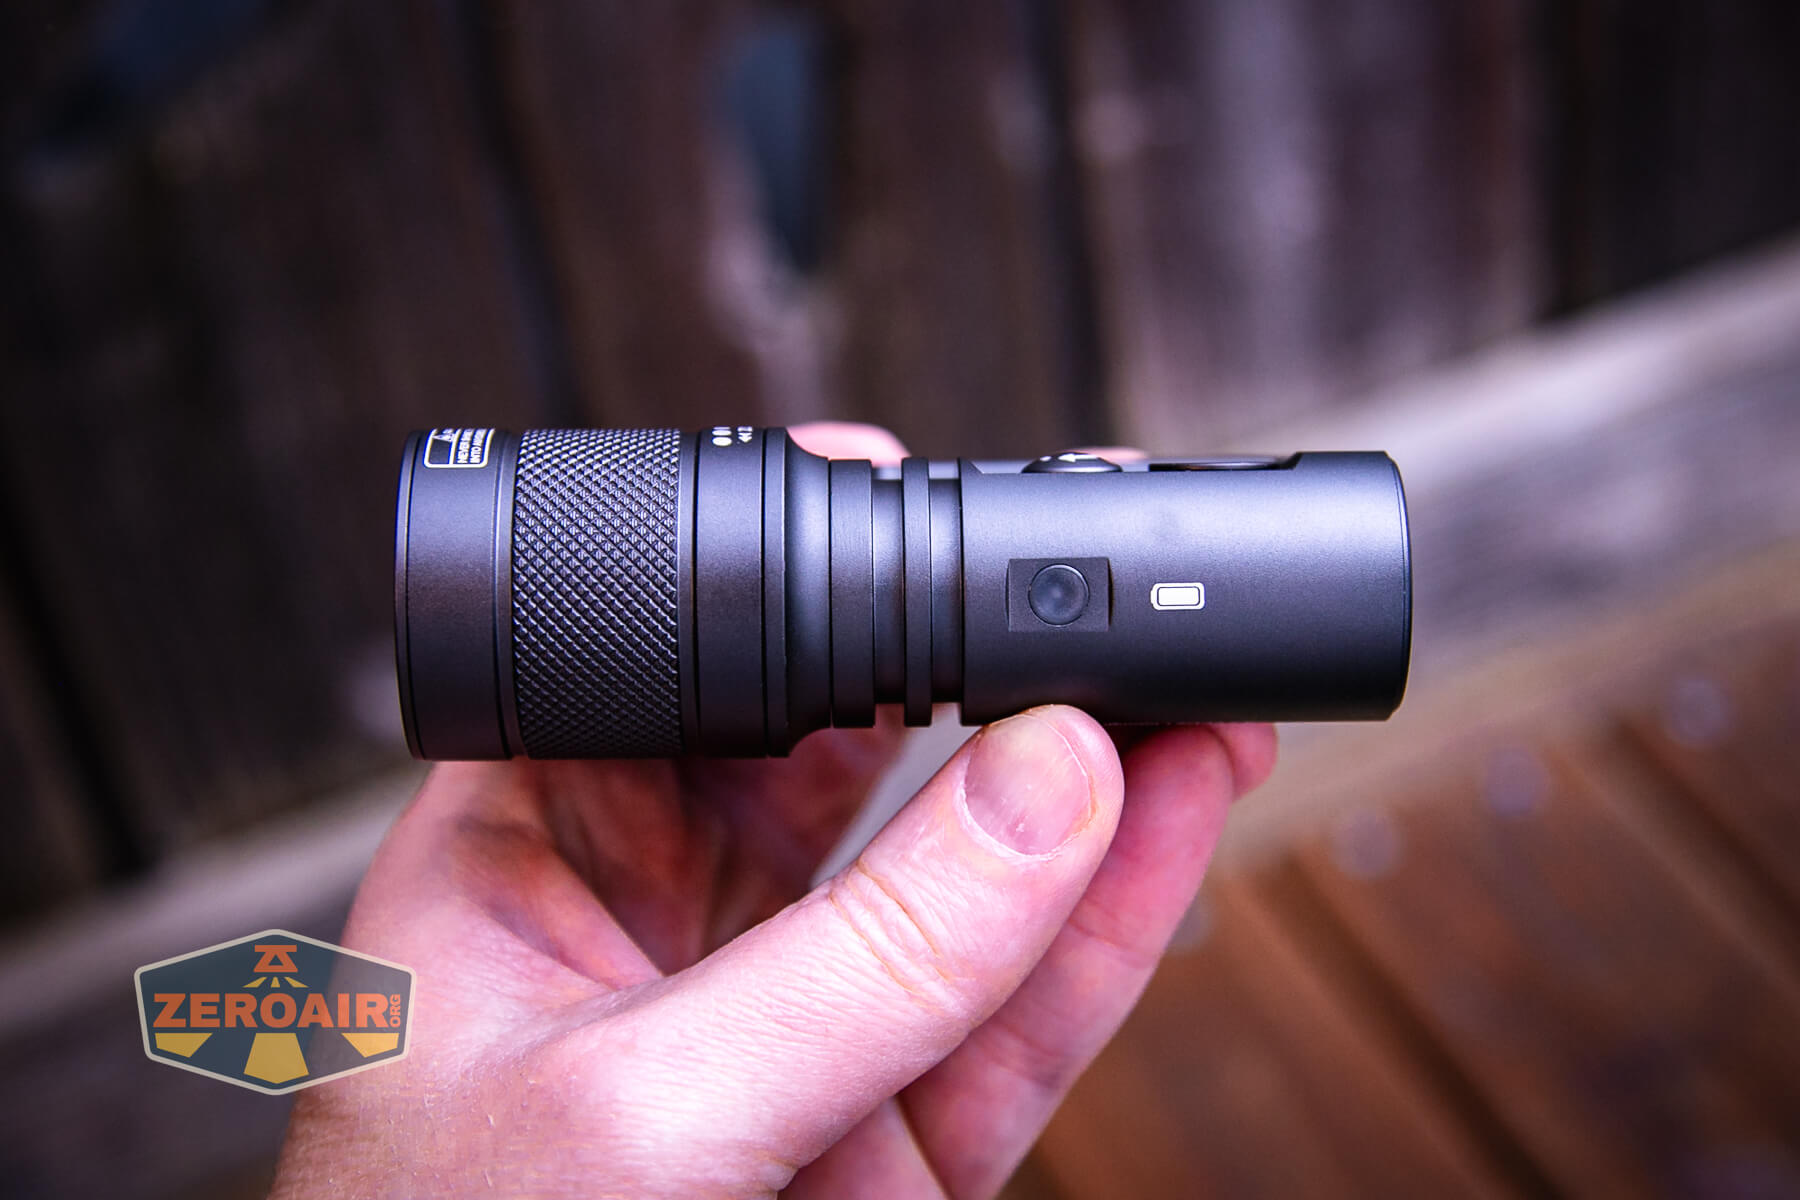
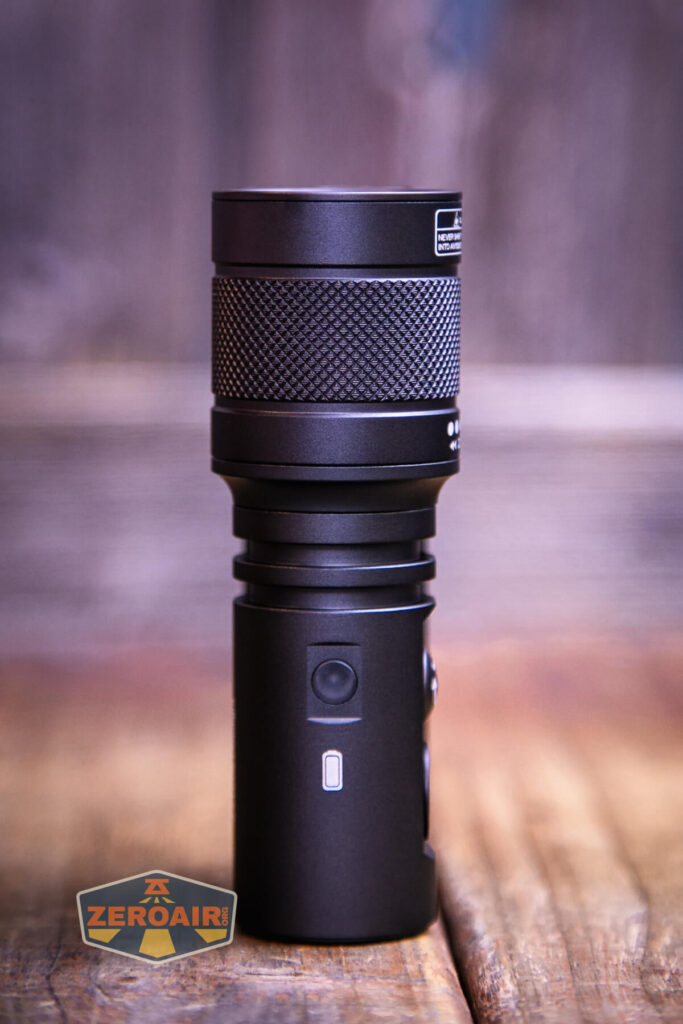
From the side view (above), the light looks very flashlighty! I’ll talk more about this view later.
Here’s the test light with the venerable Convoy S2+. The version you see below is an orange Convoy S2+ host that’s been laser engraved by GadgetConnections.com. I did a full post on this light right here! Or go straight to GadgetConnections.com to buy your Convoy S2+ now!

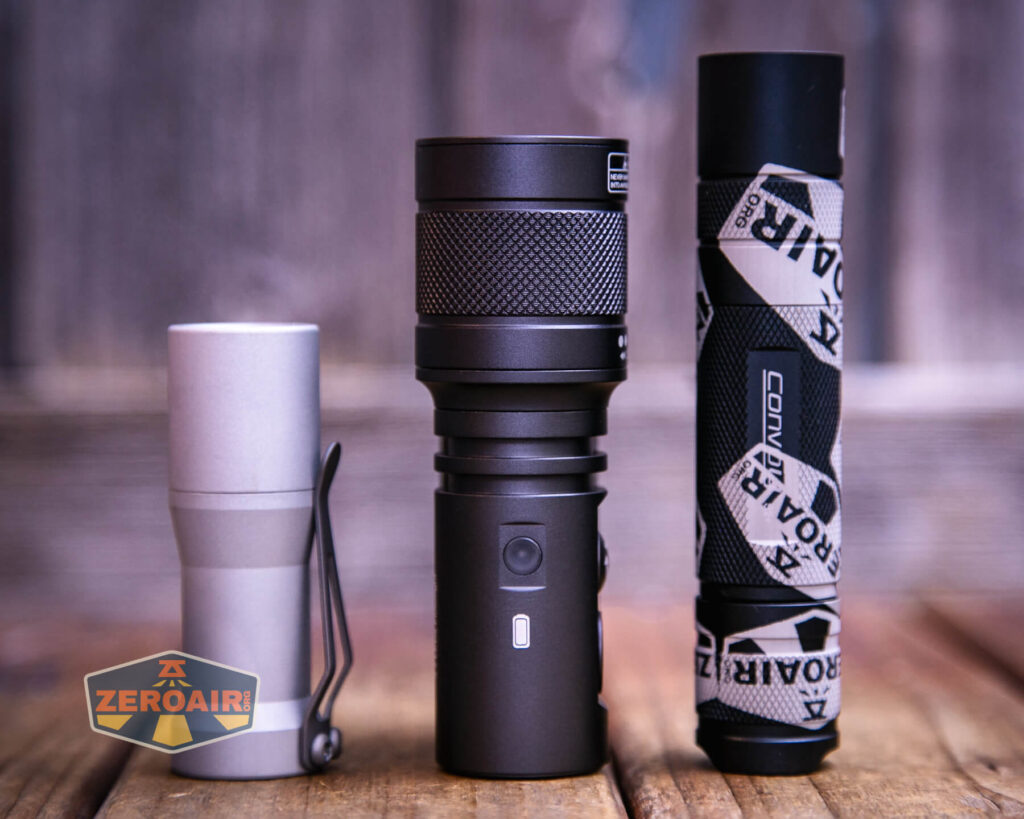
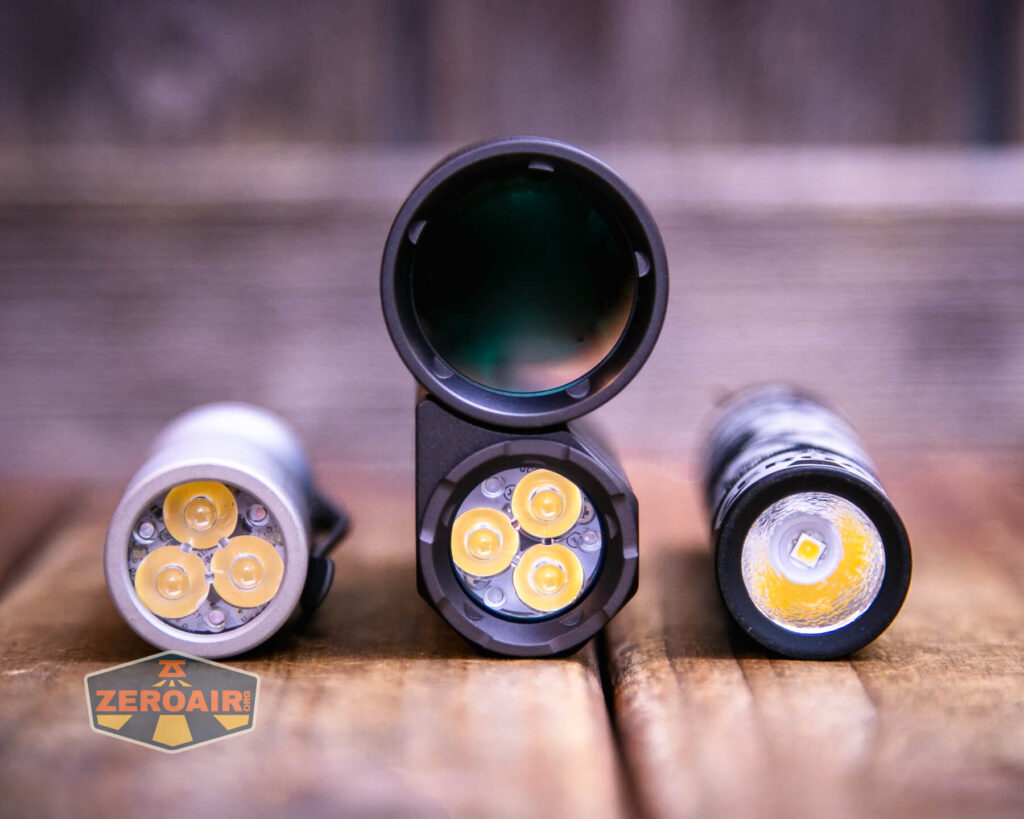
Also above is the light beside a new standard 18350 light! It’s not one I’ve reviewed yet but this is the CWF Arcadian Peanut in aluminum. This one is stonewashed and has the new Quantum Dragon driver – a whole new product! Stay tuned for a full review of this tiny powerhouse!
Retention and Carry
Only a lanyard is included for carrying the Acebeam Terminator M1 flashlight. That lanyard attaches through this very sturdy hole in the tail end of the light.


It’s a very secure attachment, and the lanyard is very beefy, too.
It’s reasonable to consider the plastic case as a carrying mechanism for the Terminator M1, too. But note that the foam inside that case isn’t closed-cell, and what’s there is fairly squishy. So it holds the light, but it will not stand up to a ton of abuse.
Power and Runtime
Power to the Acebeam Terminator M1 flashlight is from a single lithium-ion cell. My package included a cell, and this cell is includeinat the purchase price. The cell is a 5100mAh 21700.
The cell is installed into the Terminator M1 in the usual way – the positive terminal toward the head.

In case you forget that, there’s a little silk-screened icon near the tailcap.
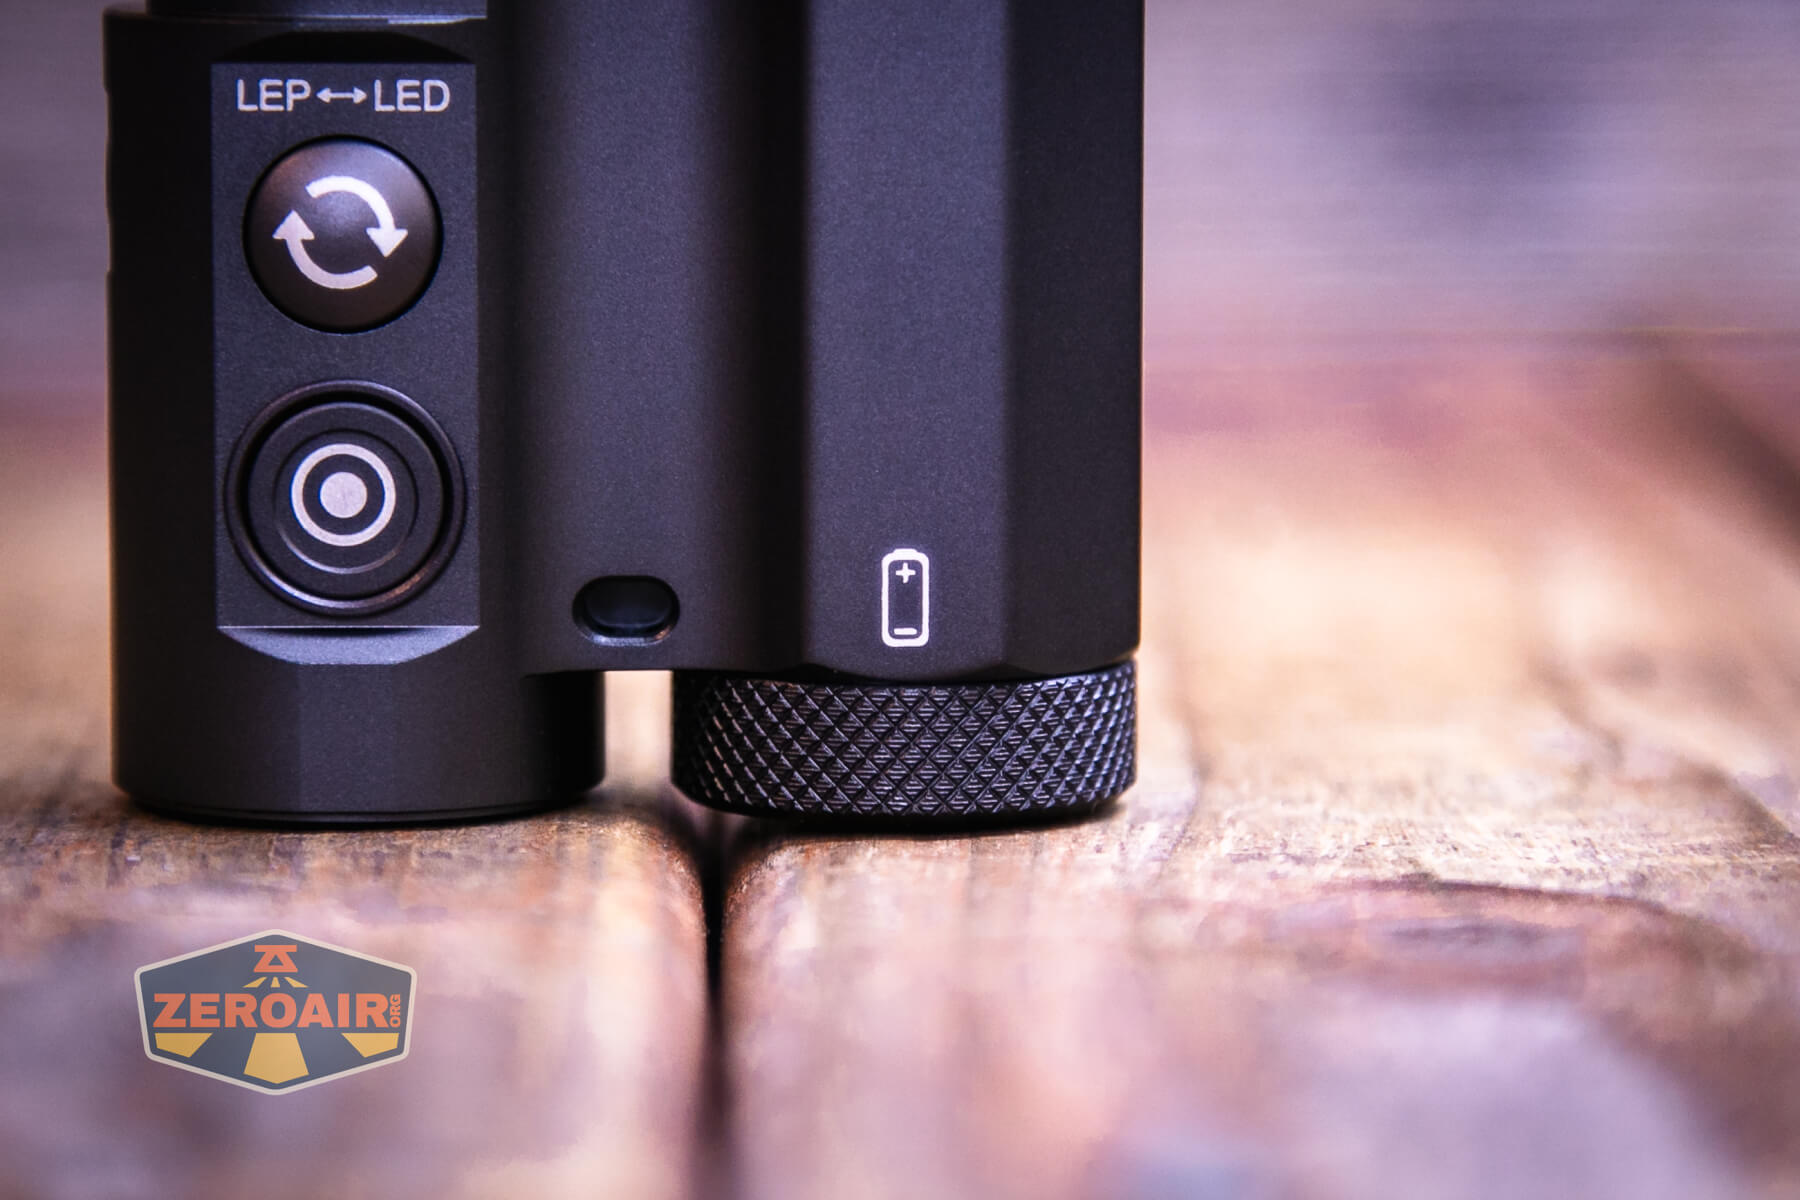
There’s also a battery indicator on the side of the light.

This indicator LED is nice and big and illuminates very evenly (in green and red).
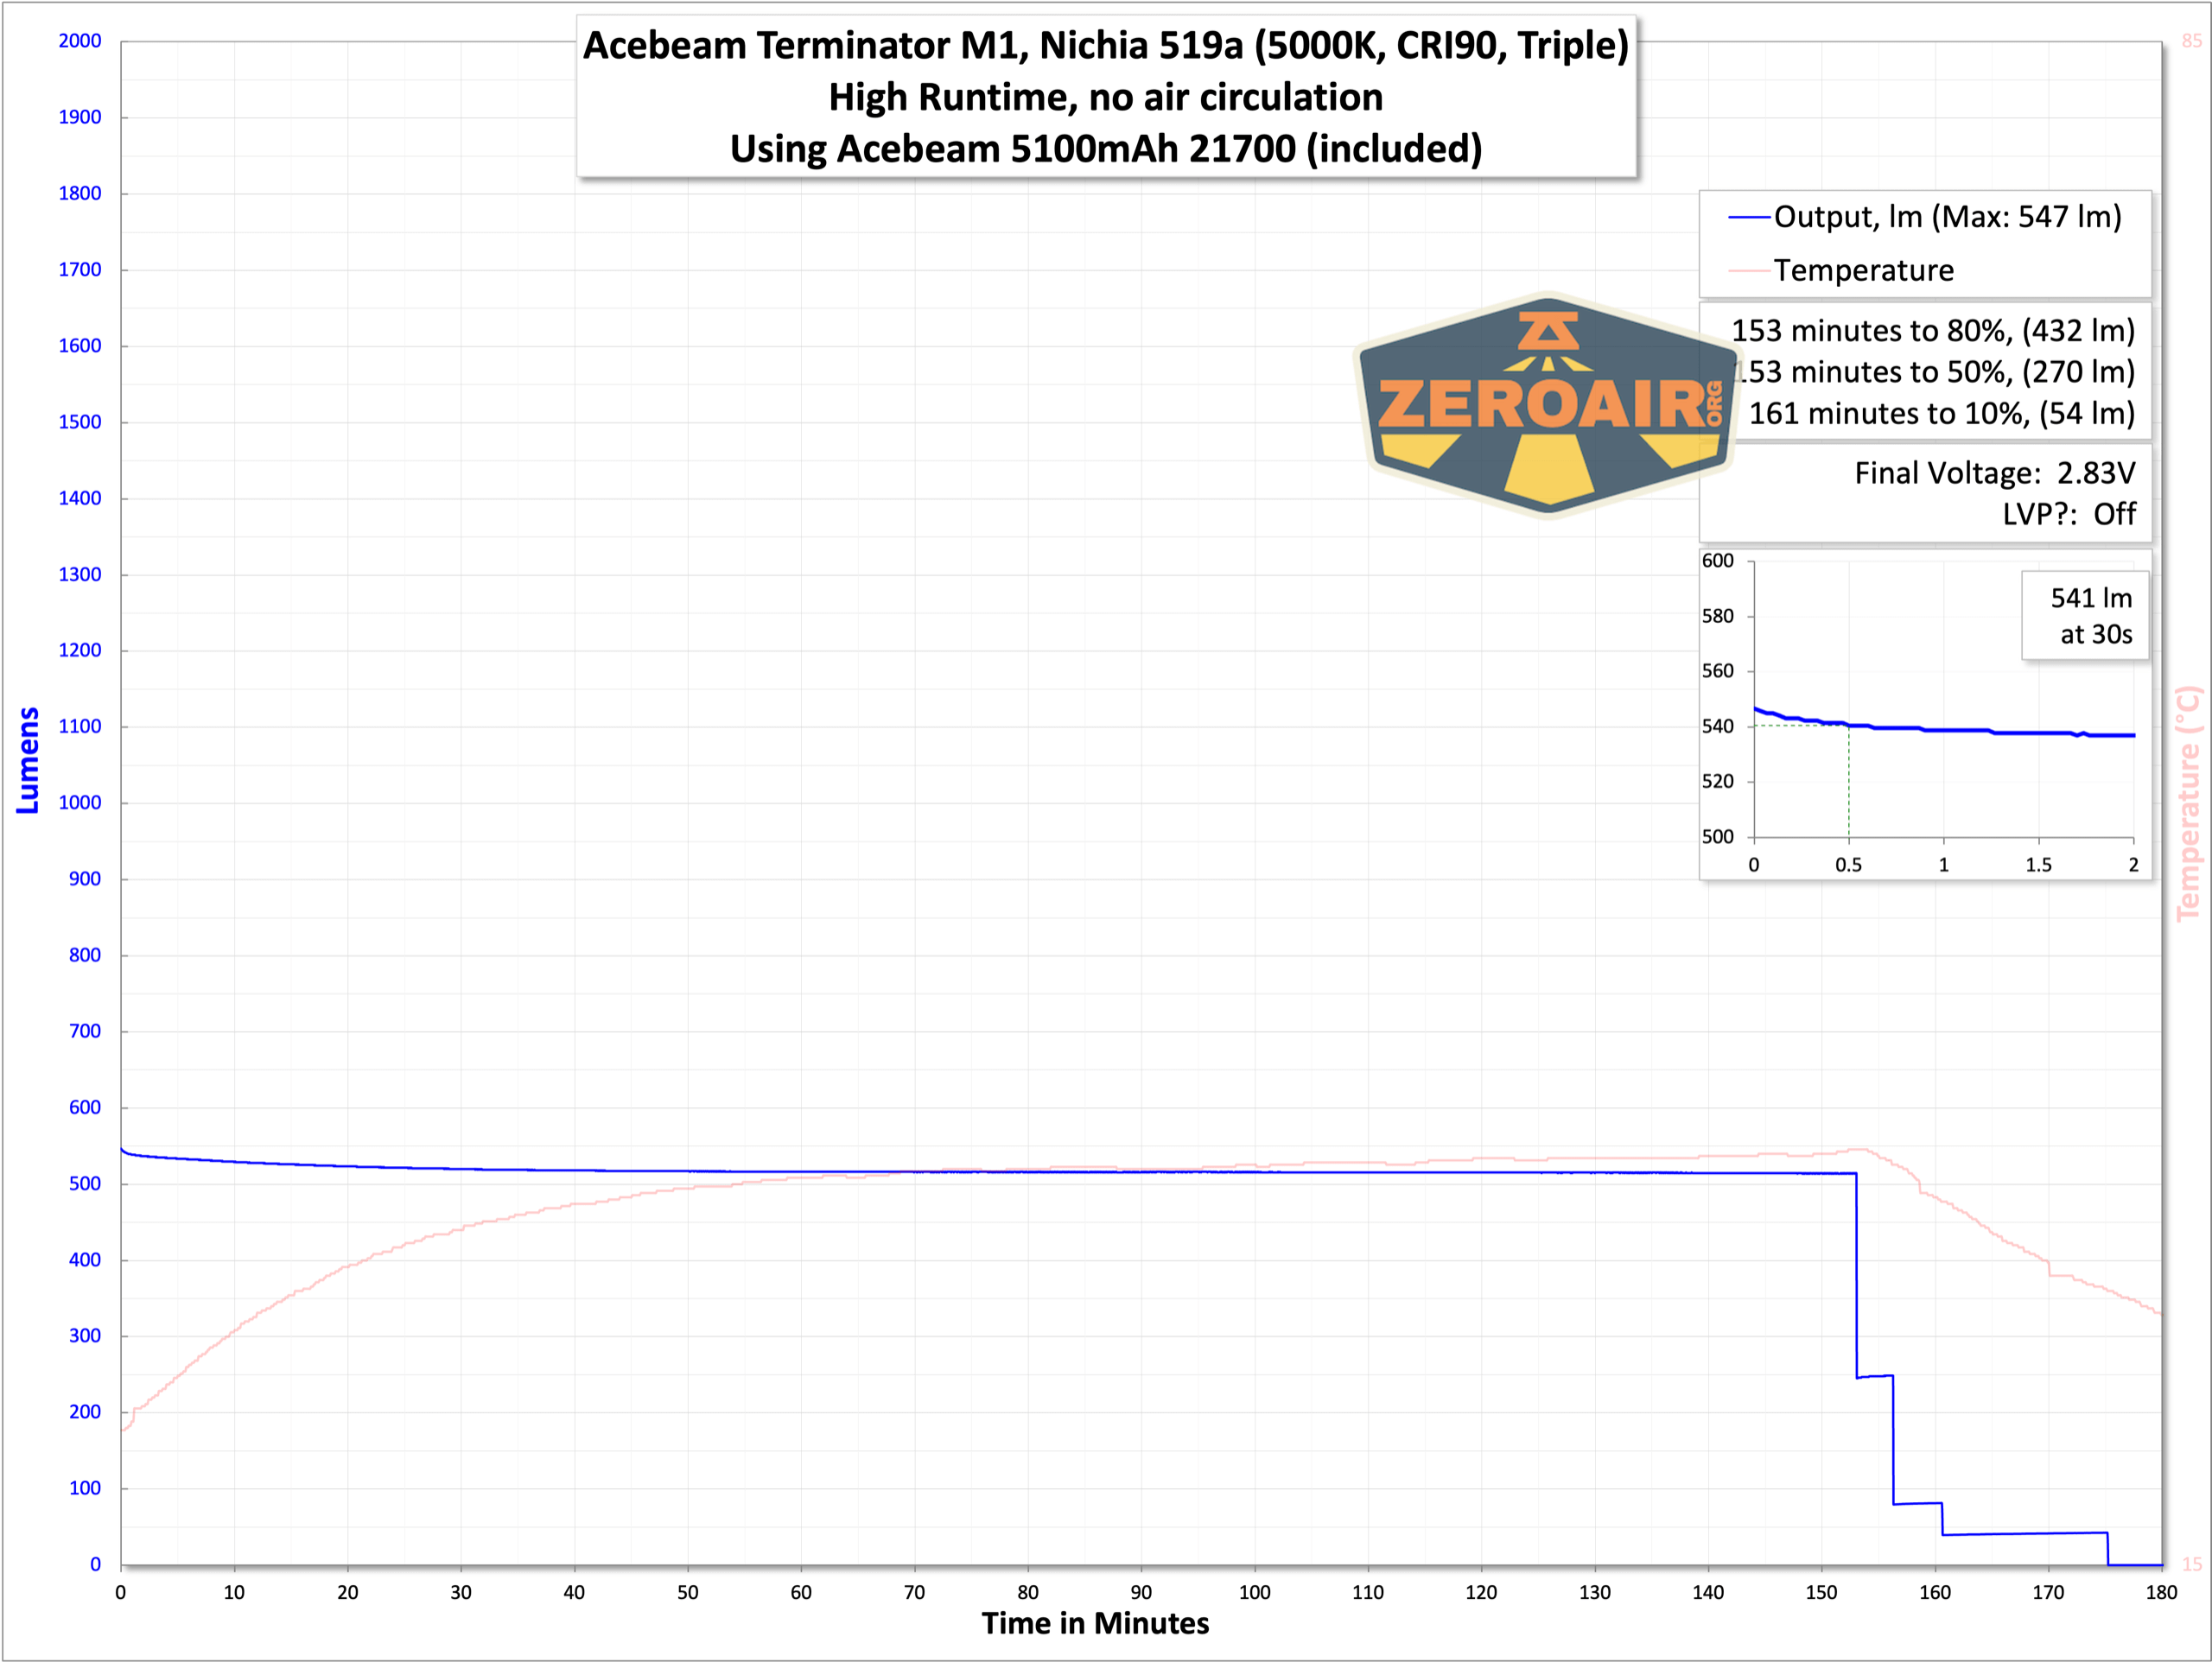
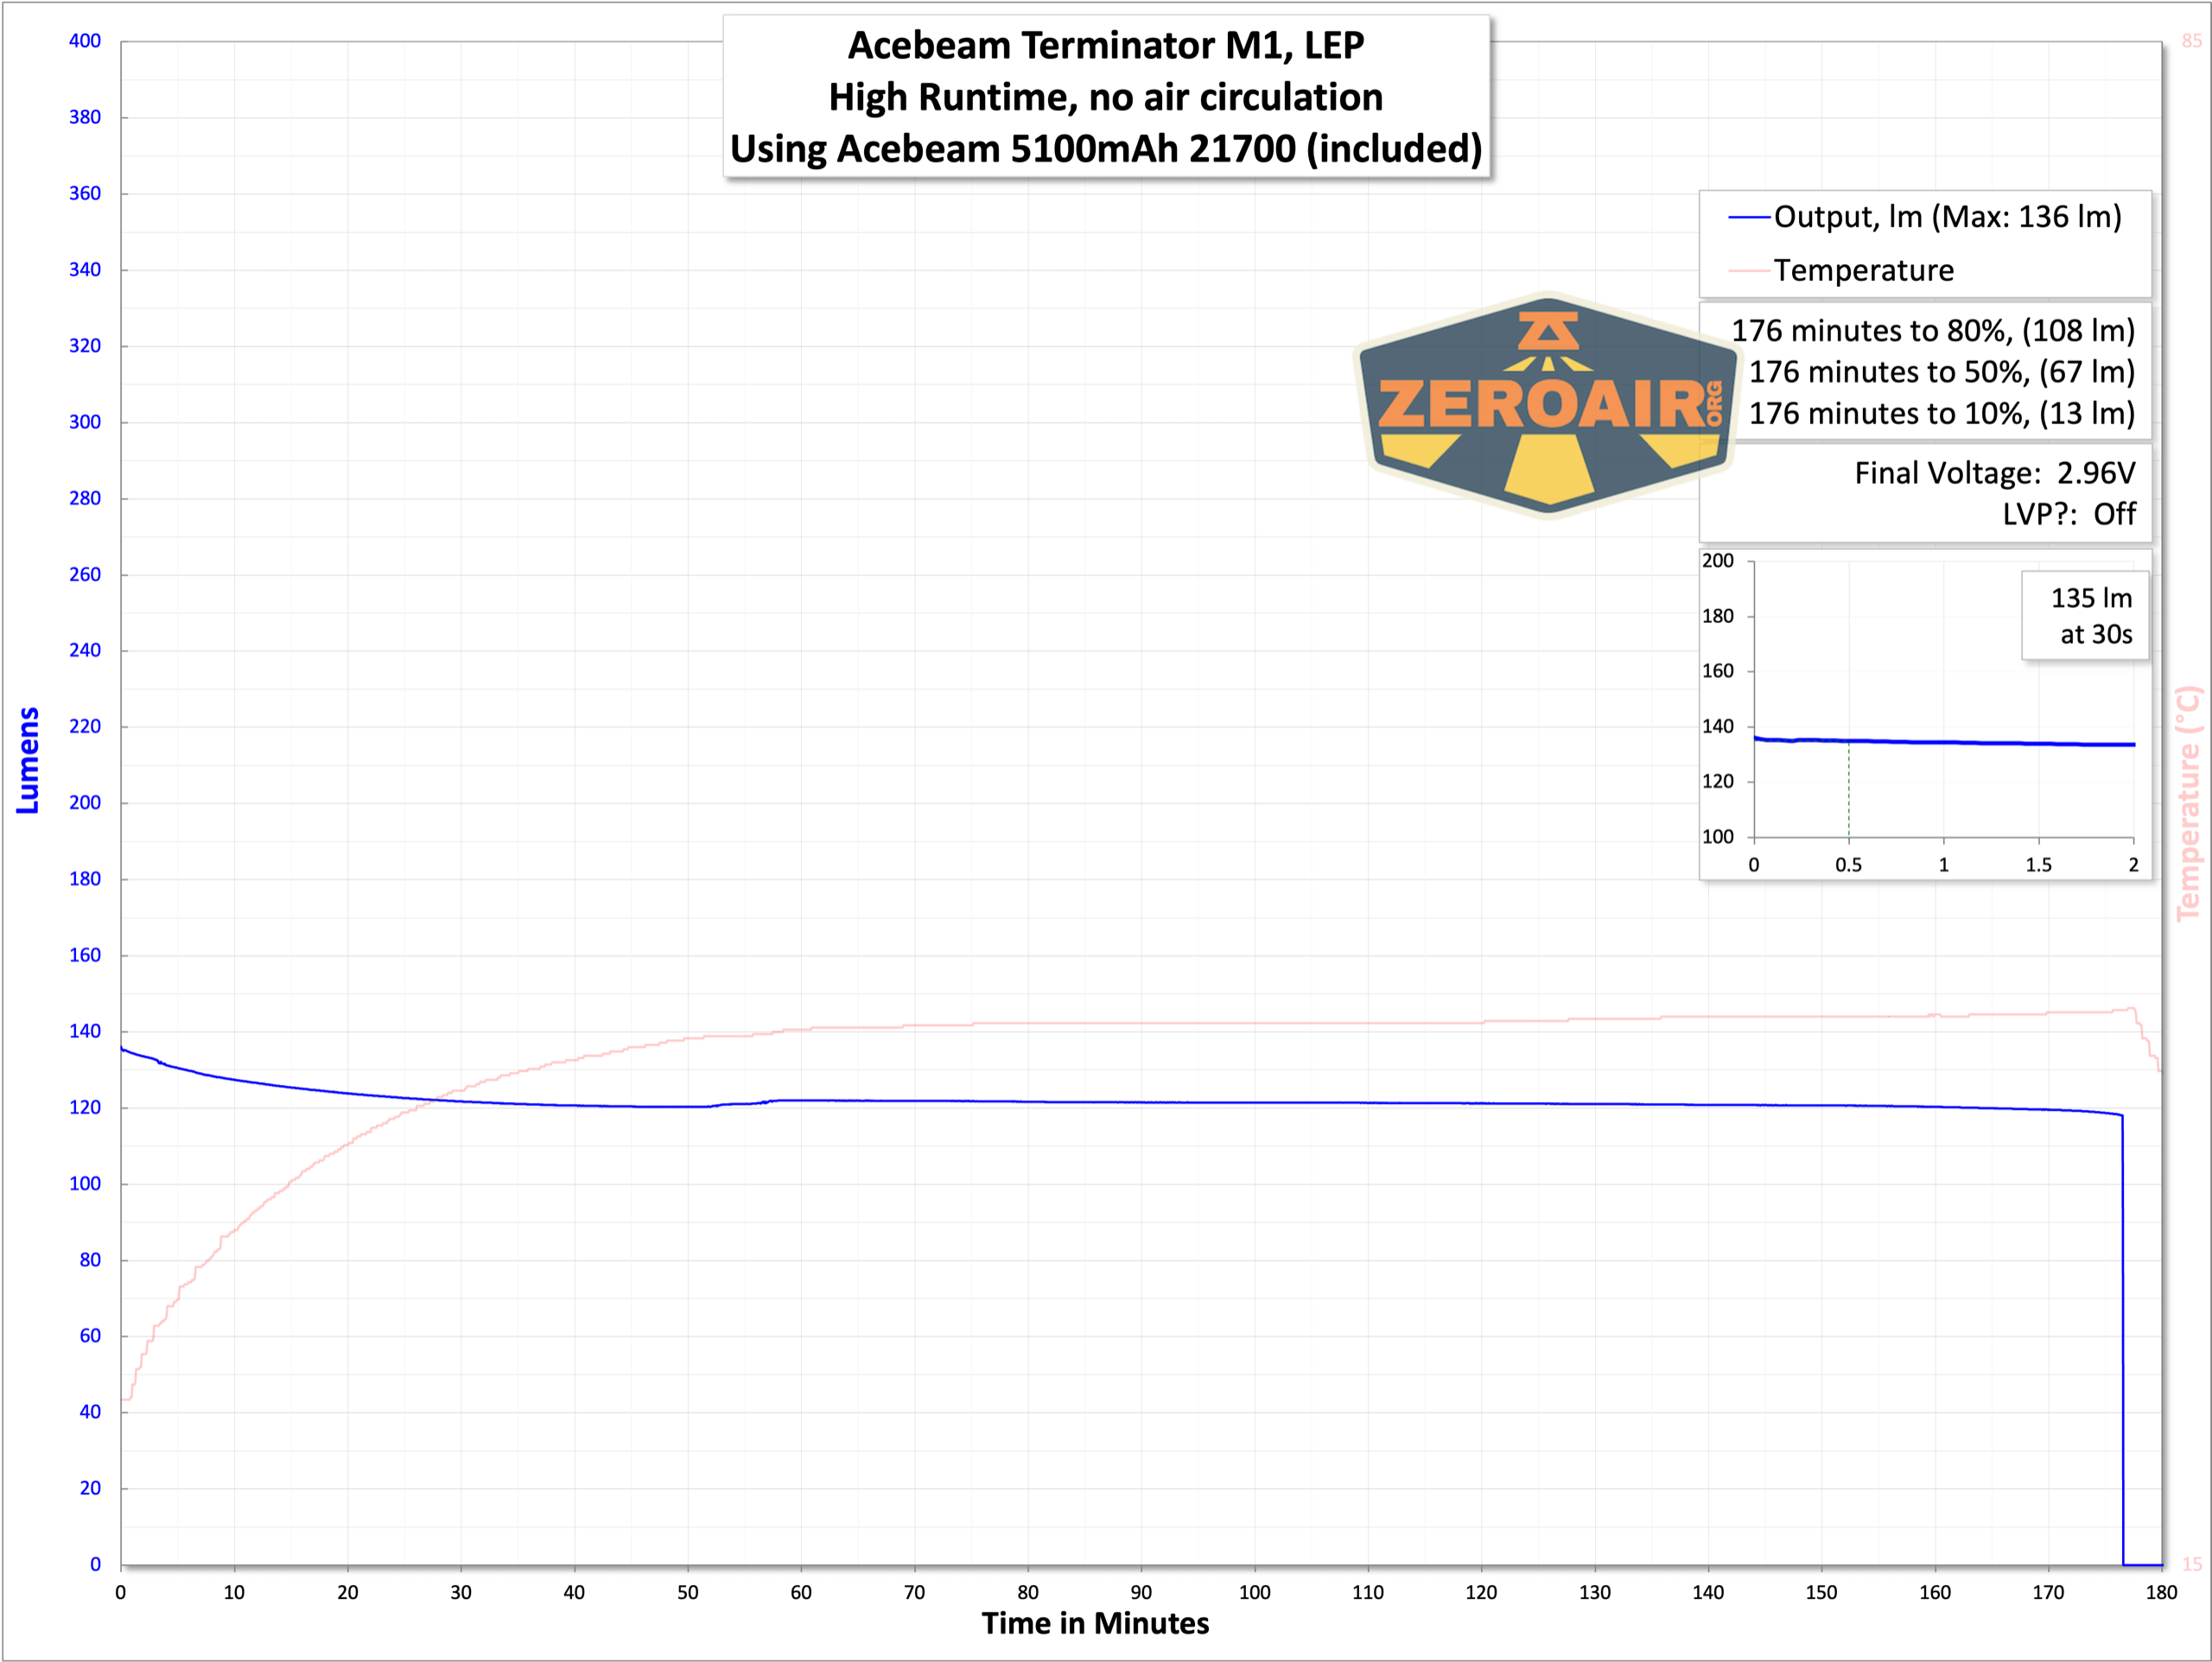
Below are a number of runtime tests. The light shuts off when the cell voltage is low (around 3V). First is the LED option.
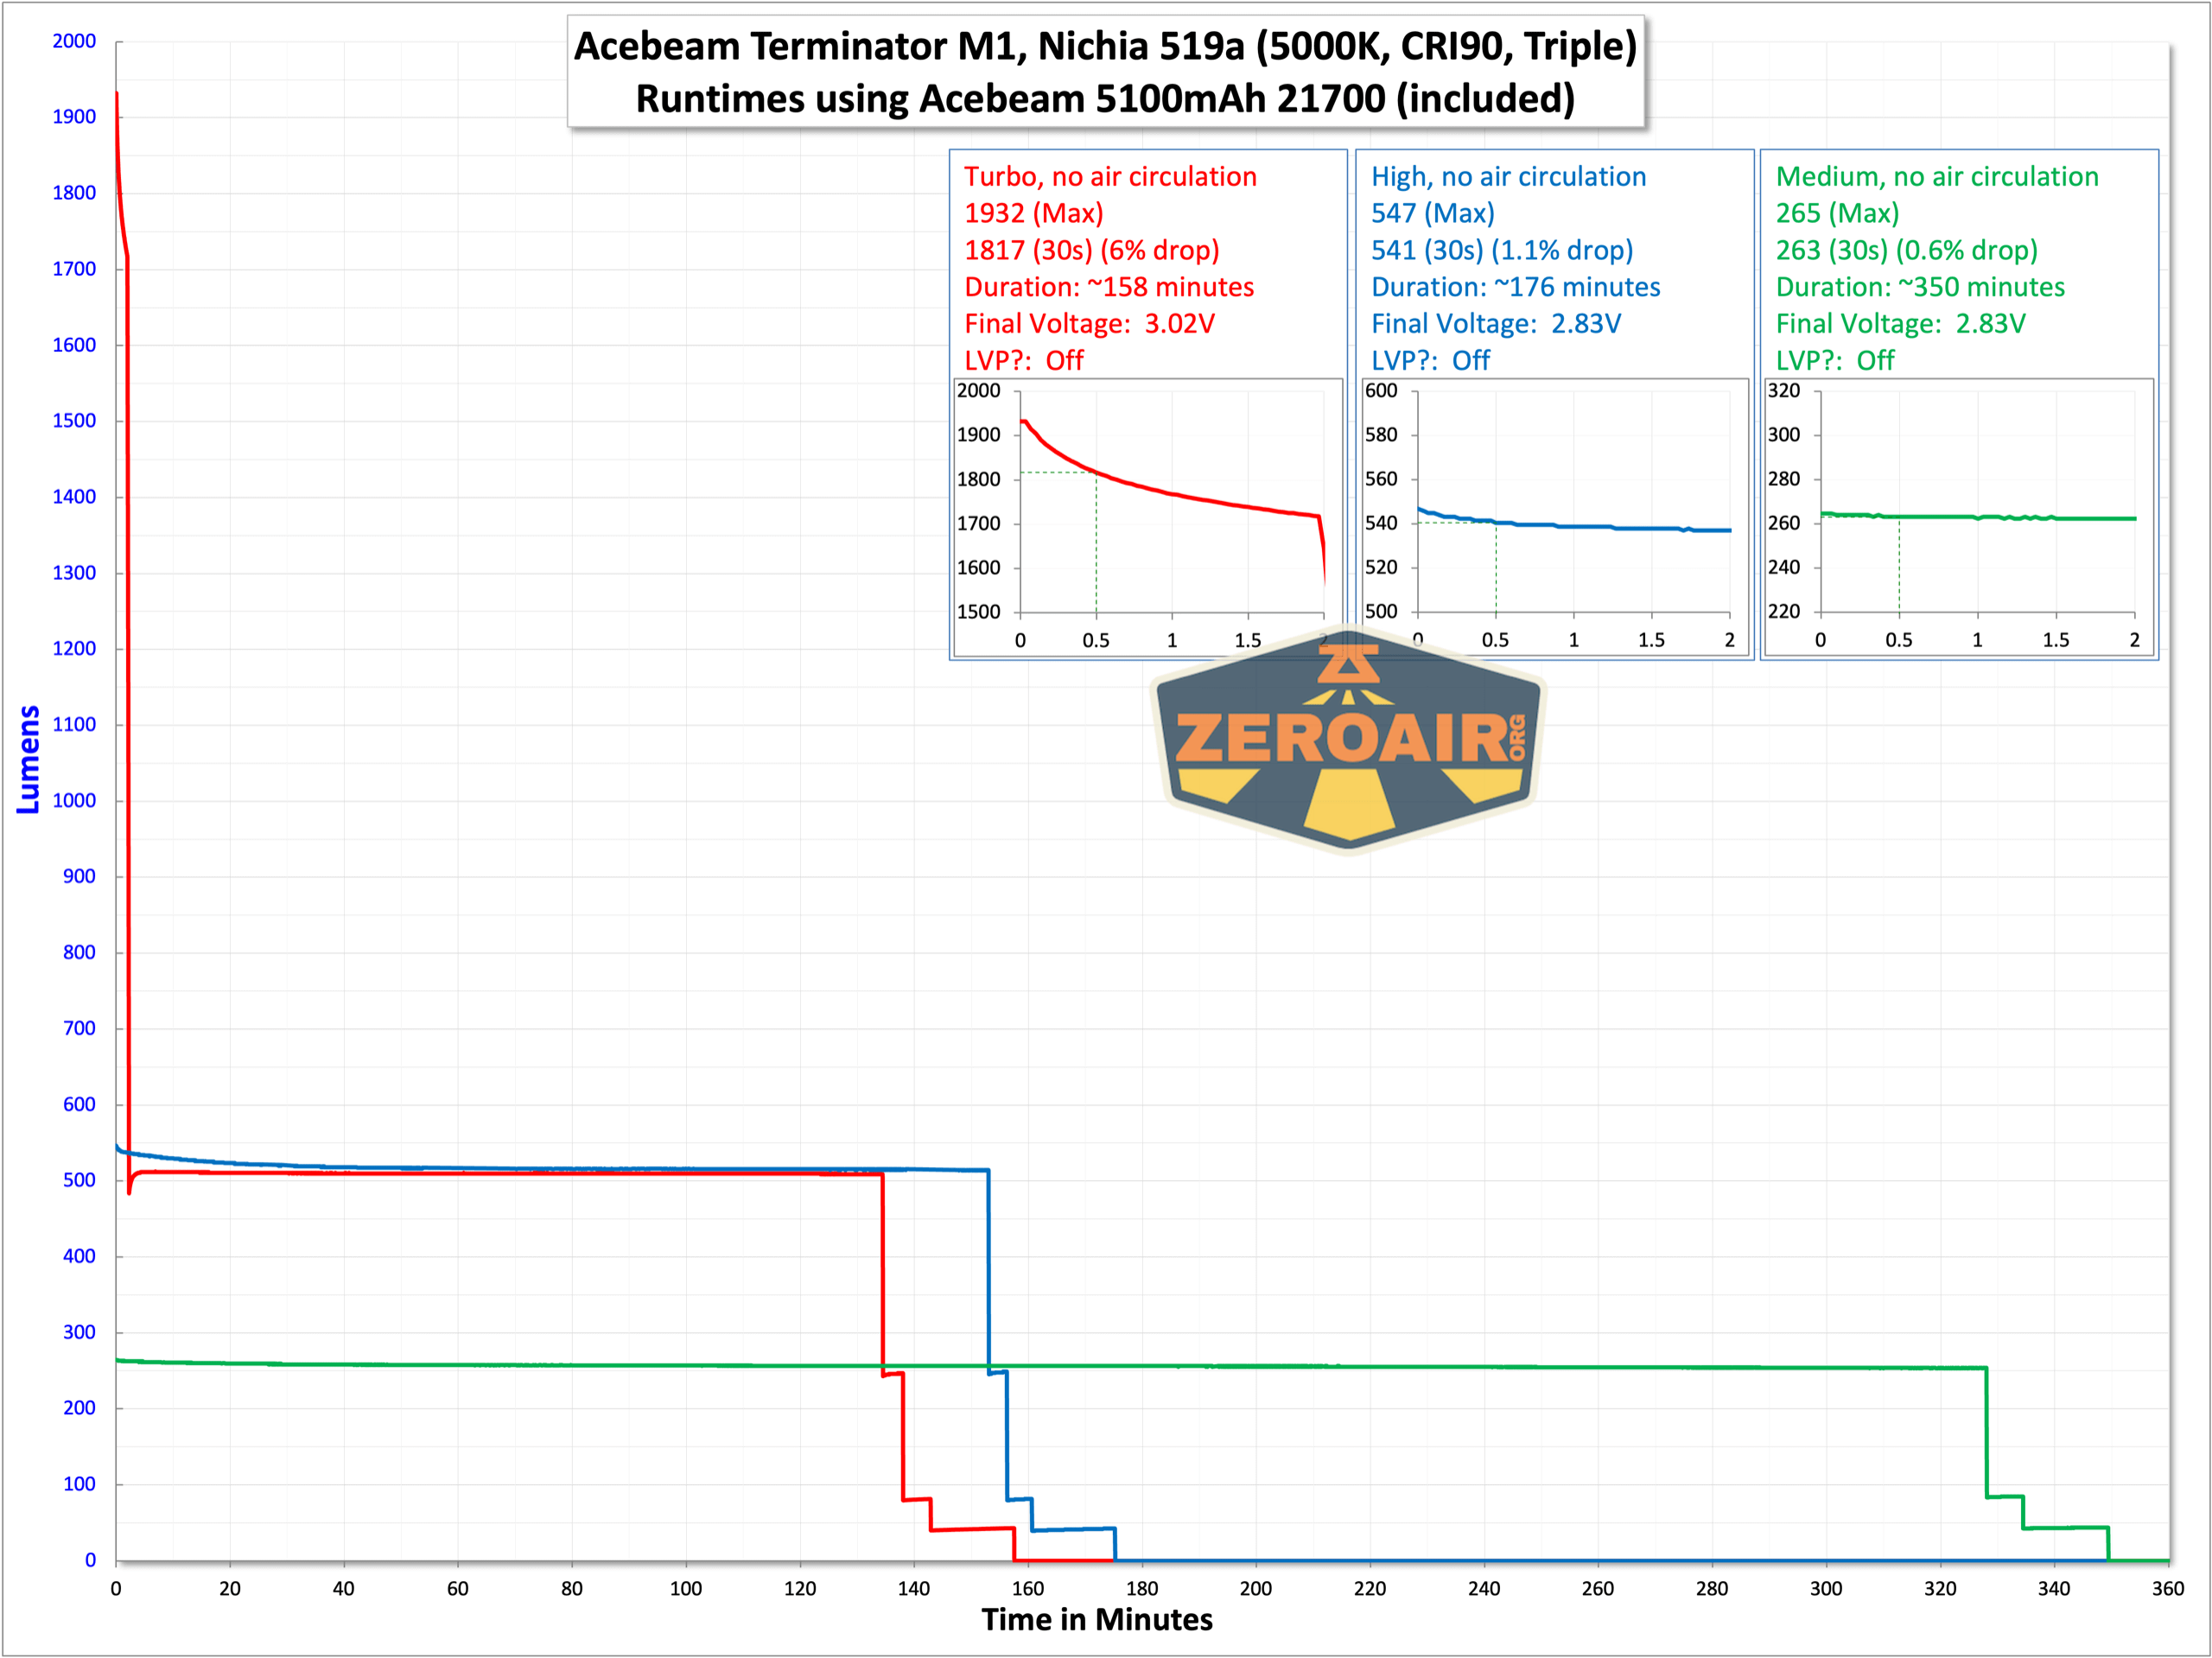

Output is very nice and flat at around 550 lumens, for well over 2 hours.

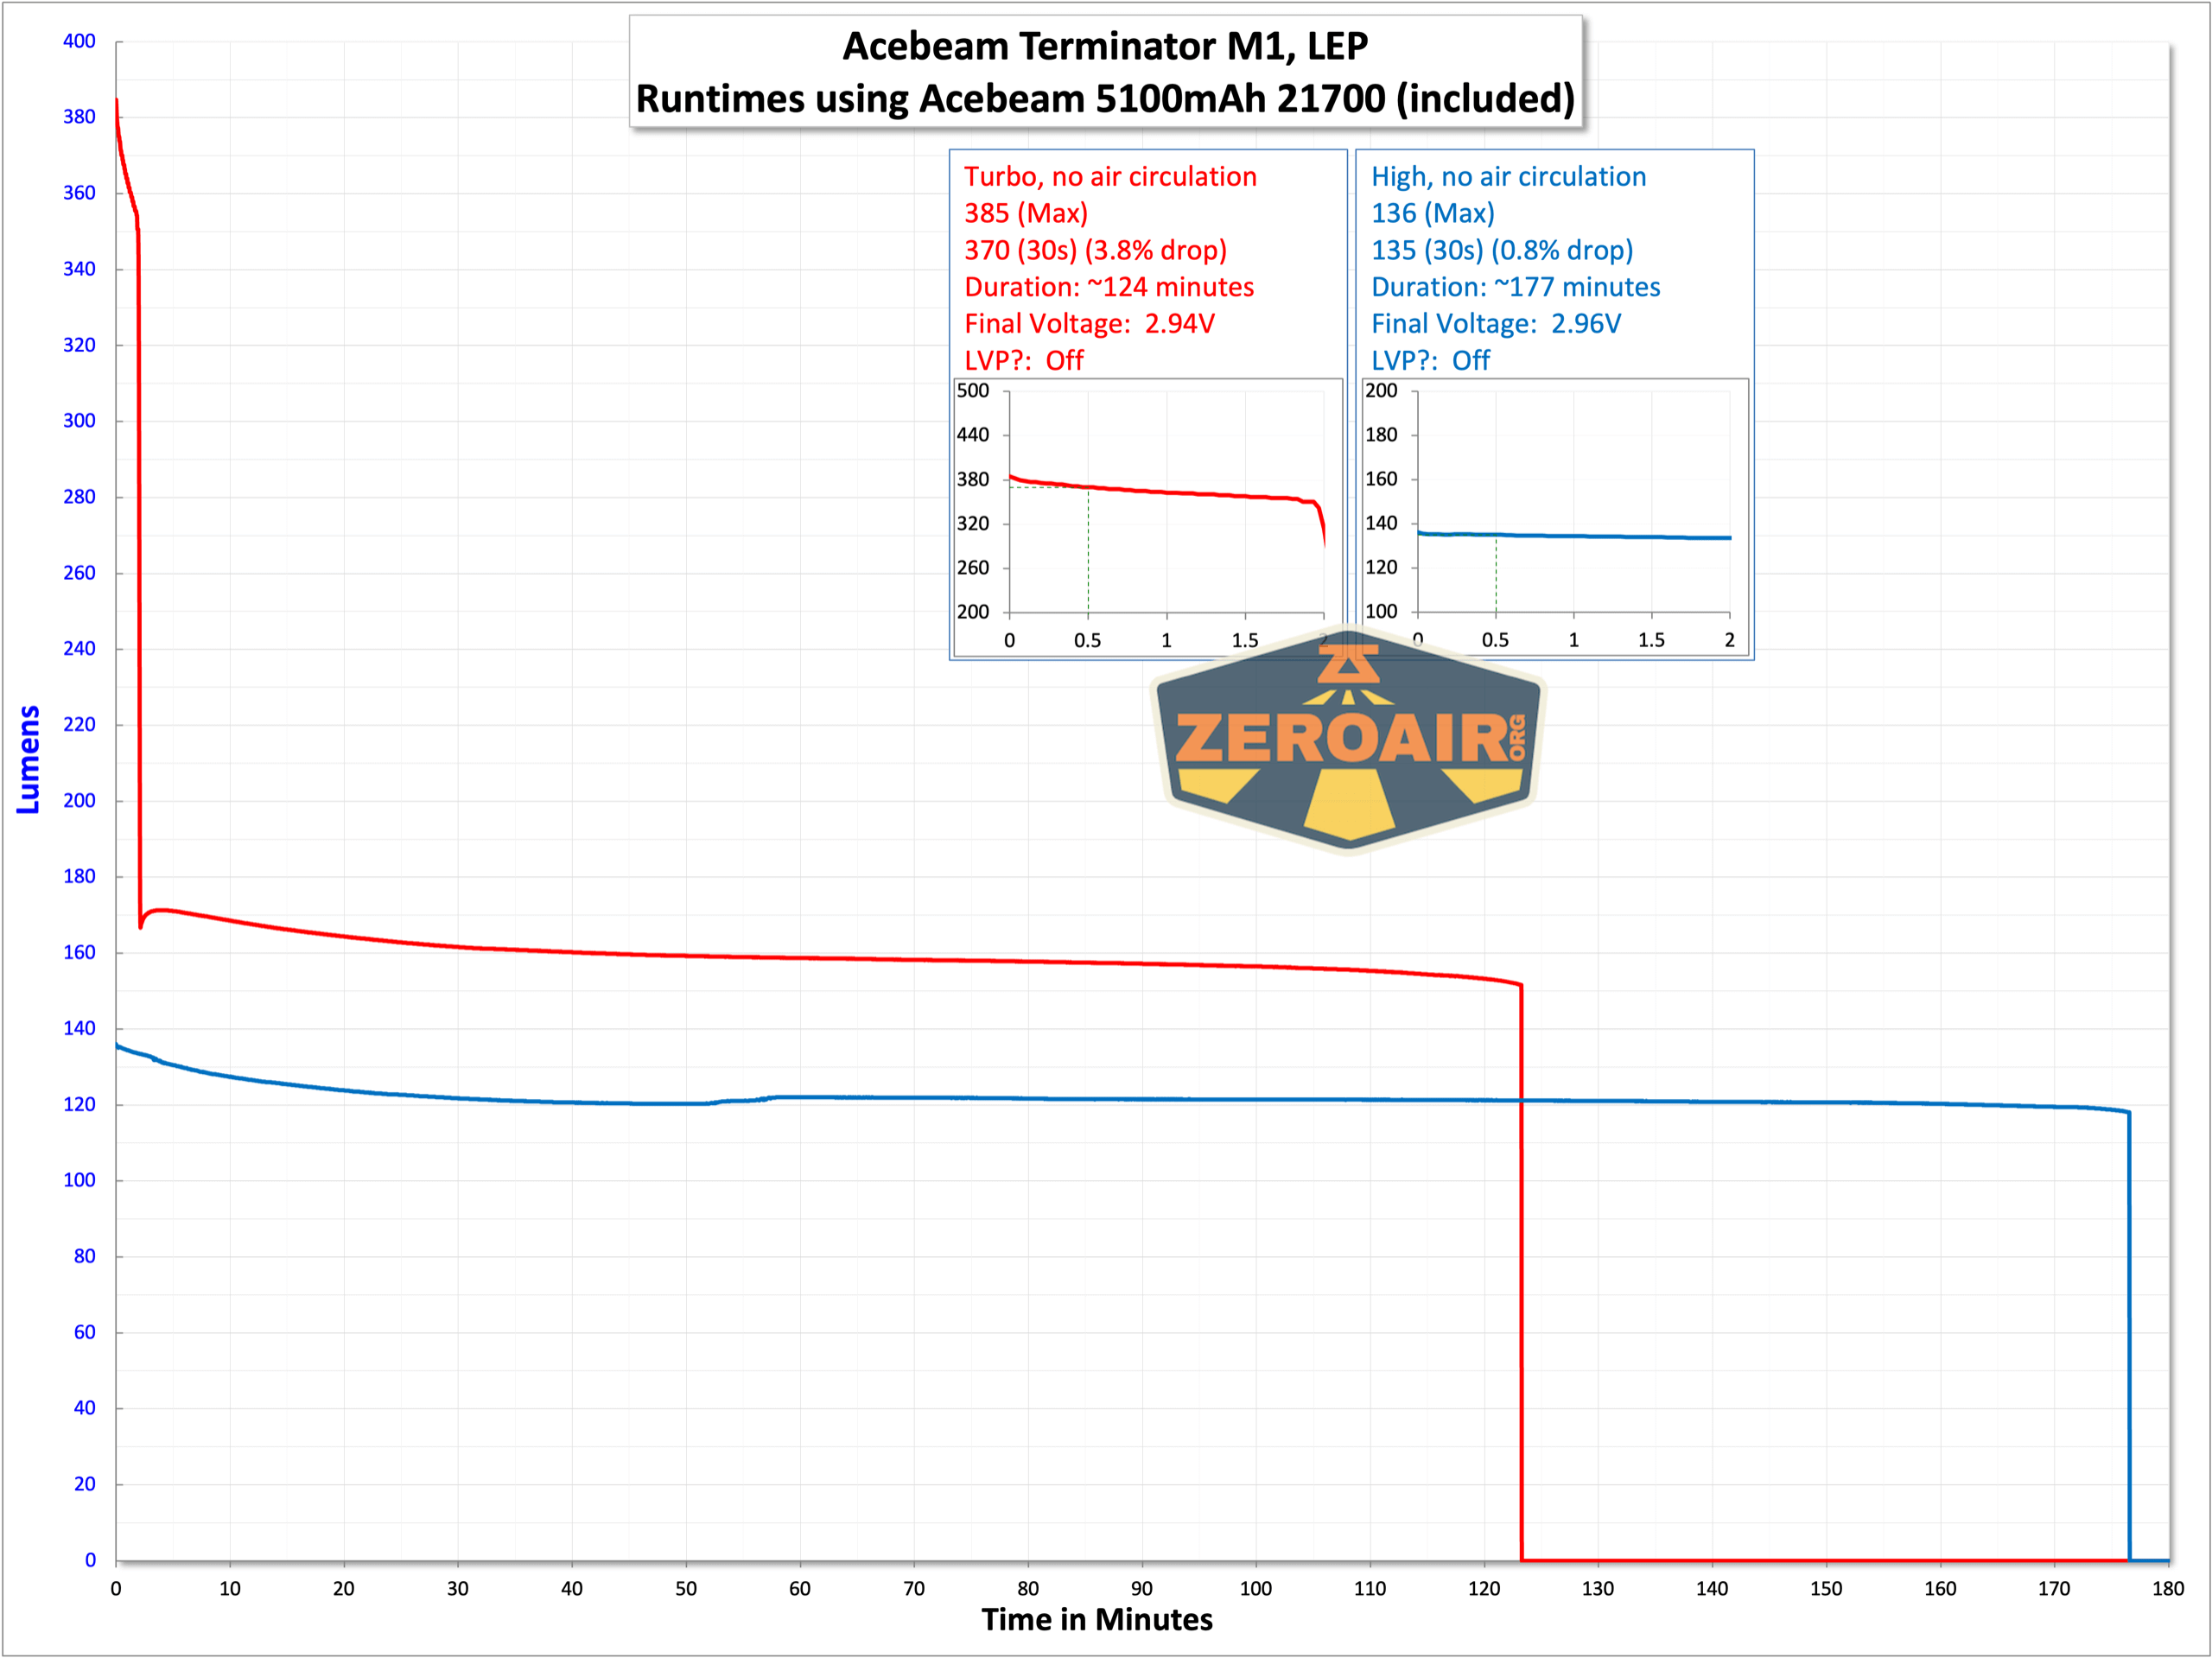
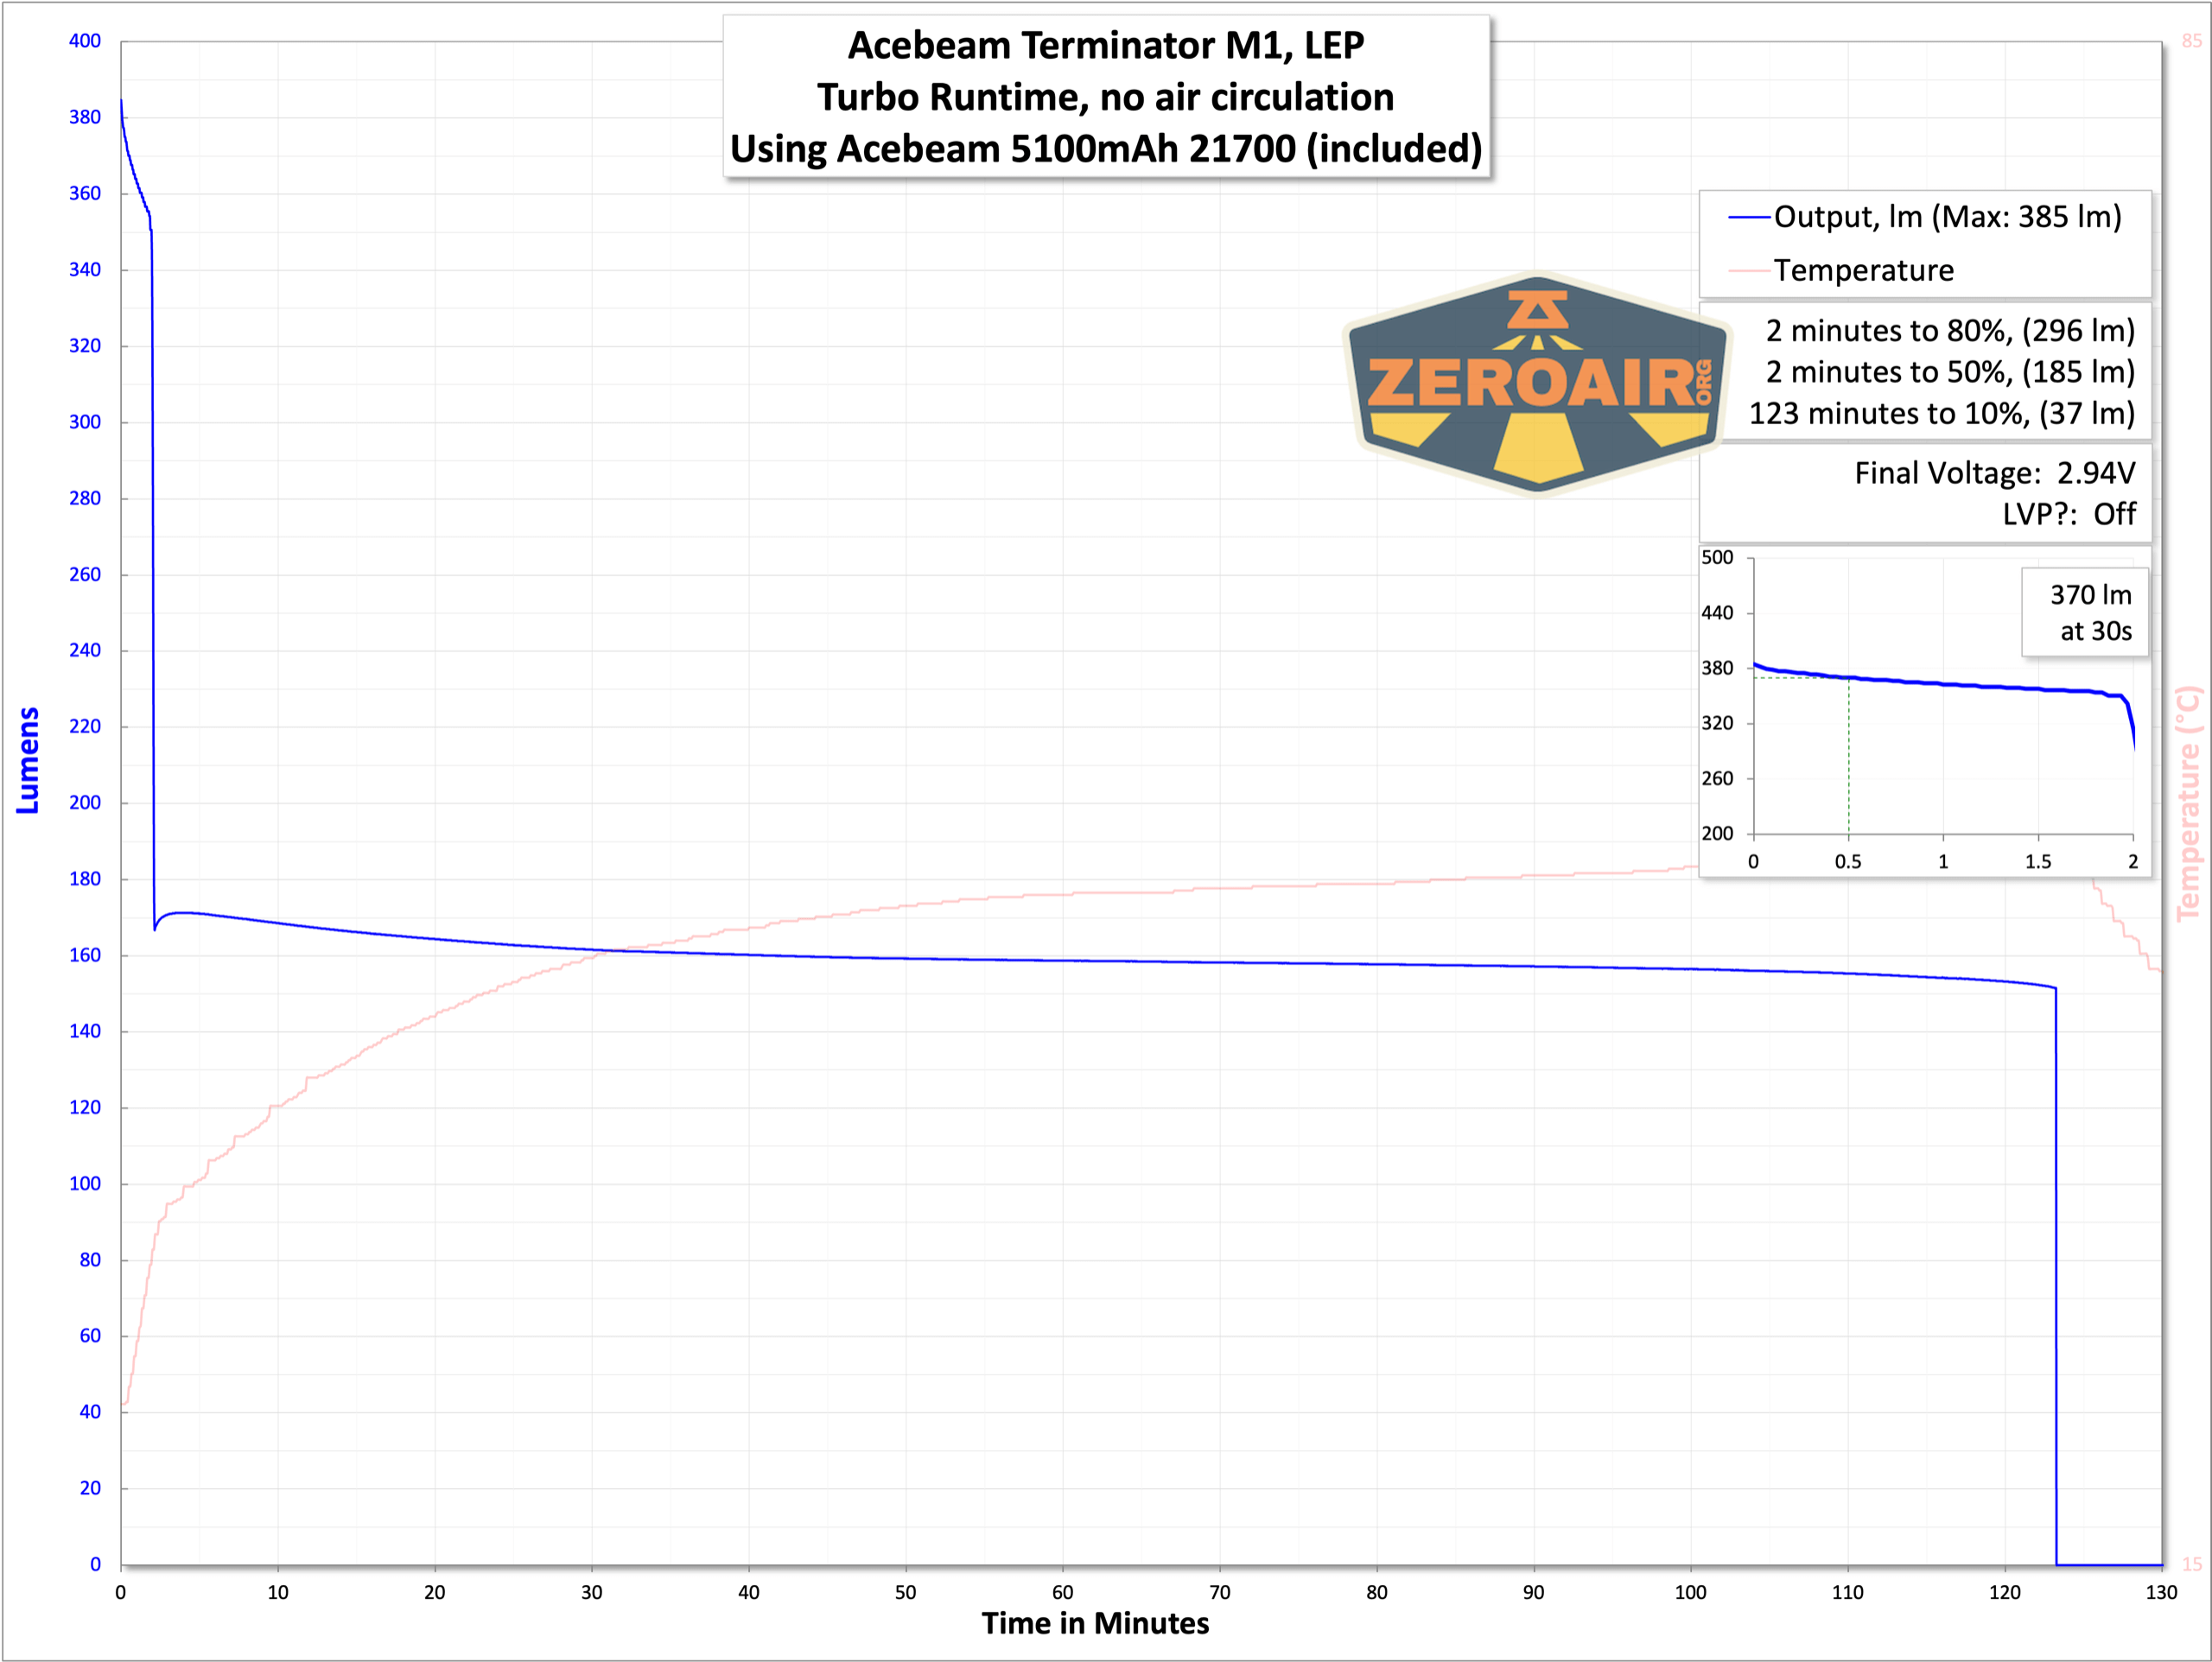
LEP performance is also good – total output here looks lower than Acebeam claims. But you don’t use an LEP for total output, you use it for throw. And the throw specification is met, so that’s good enough.
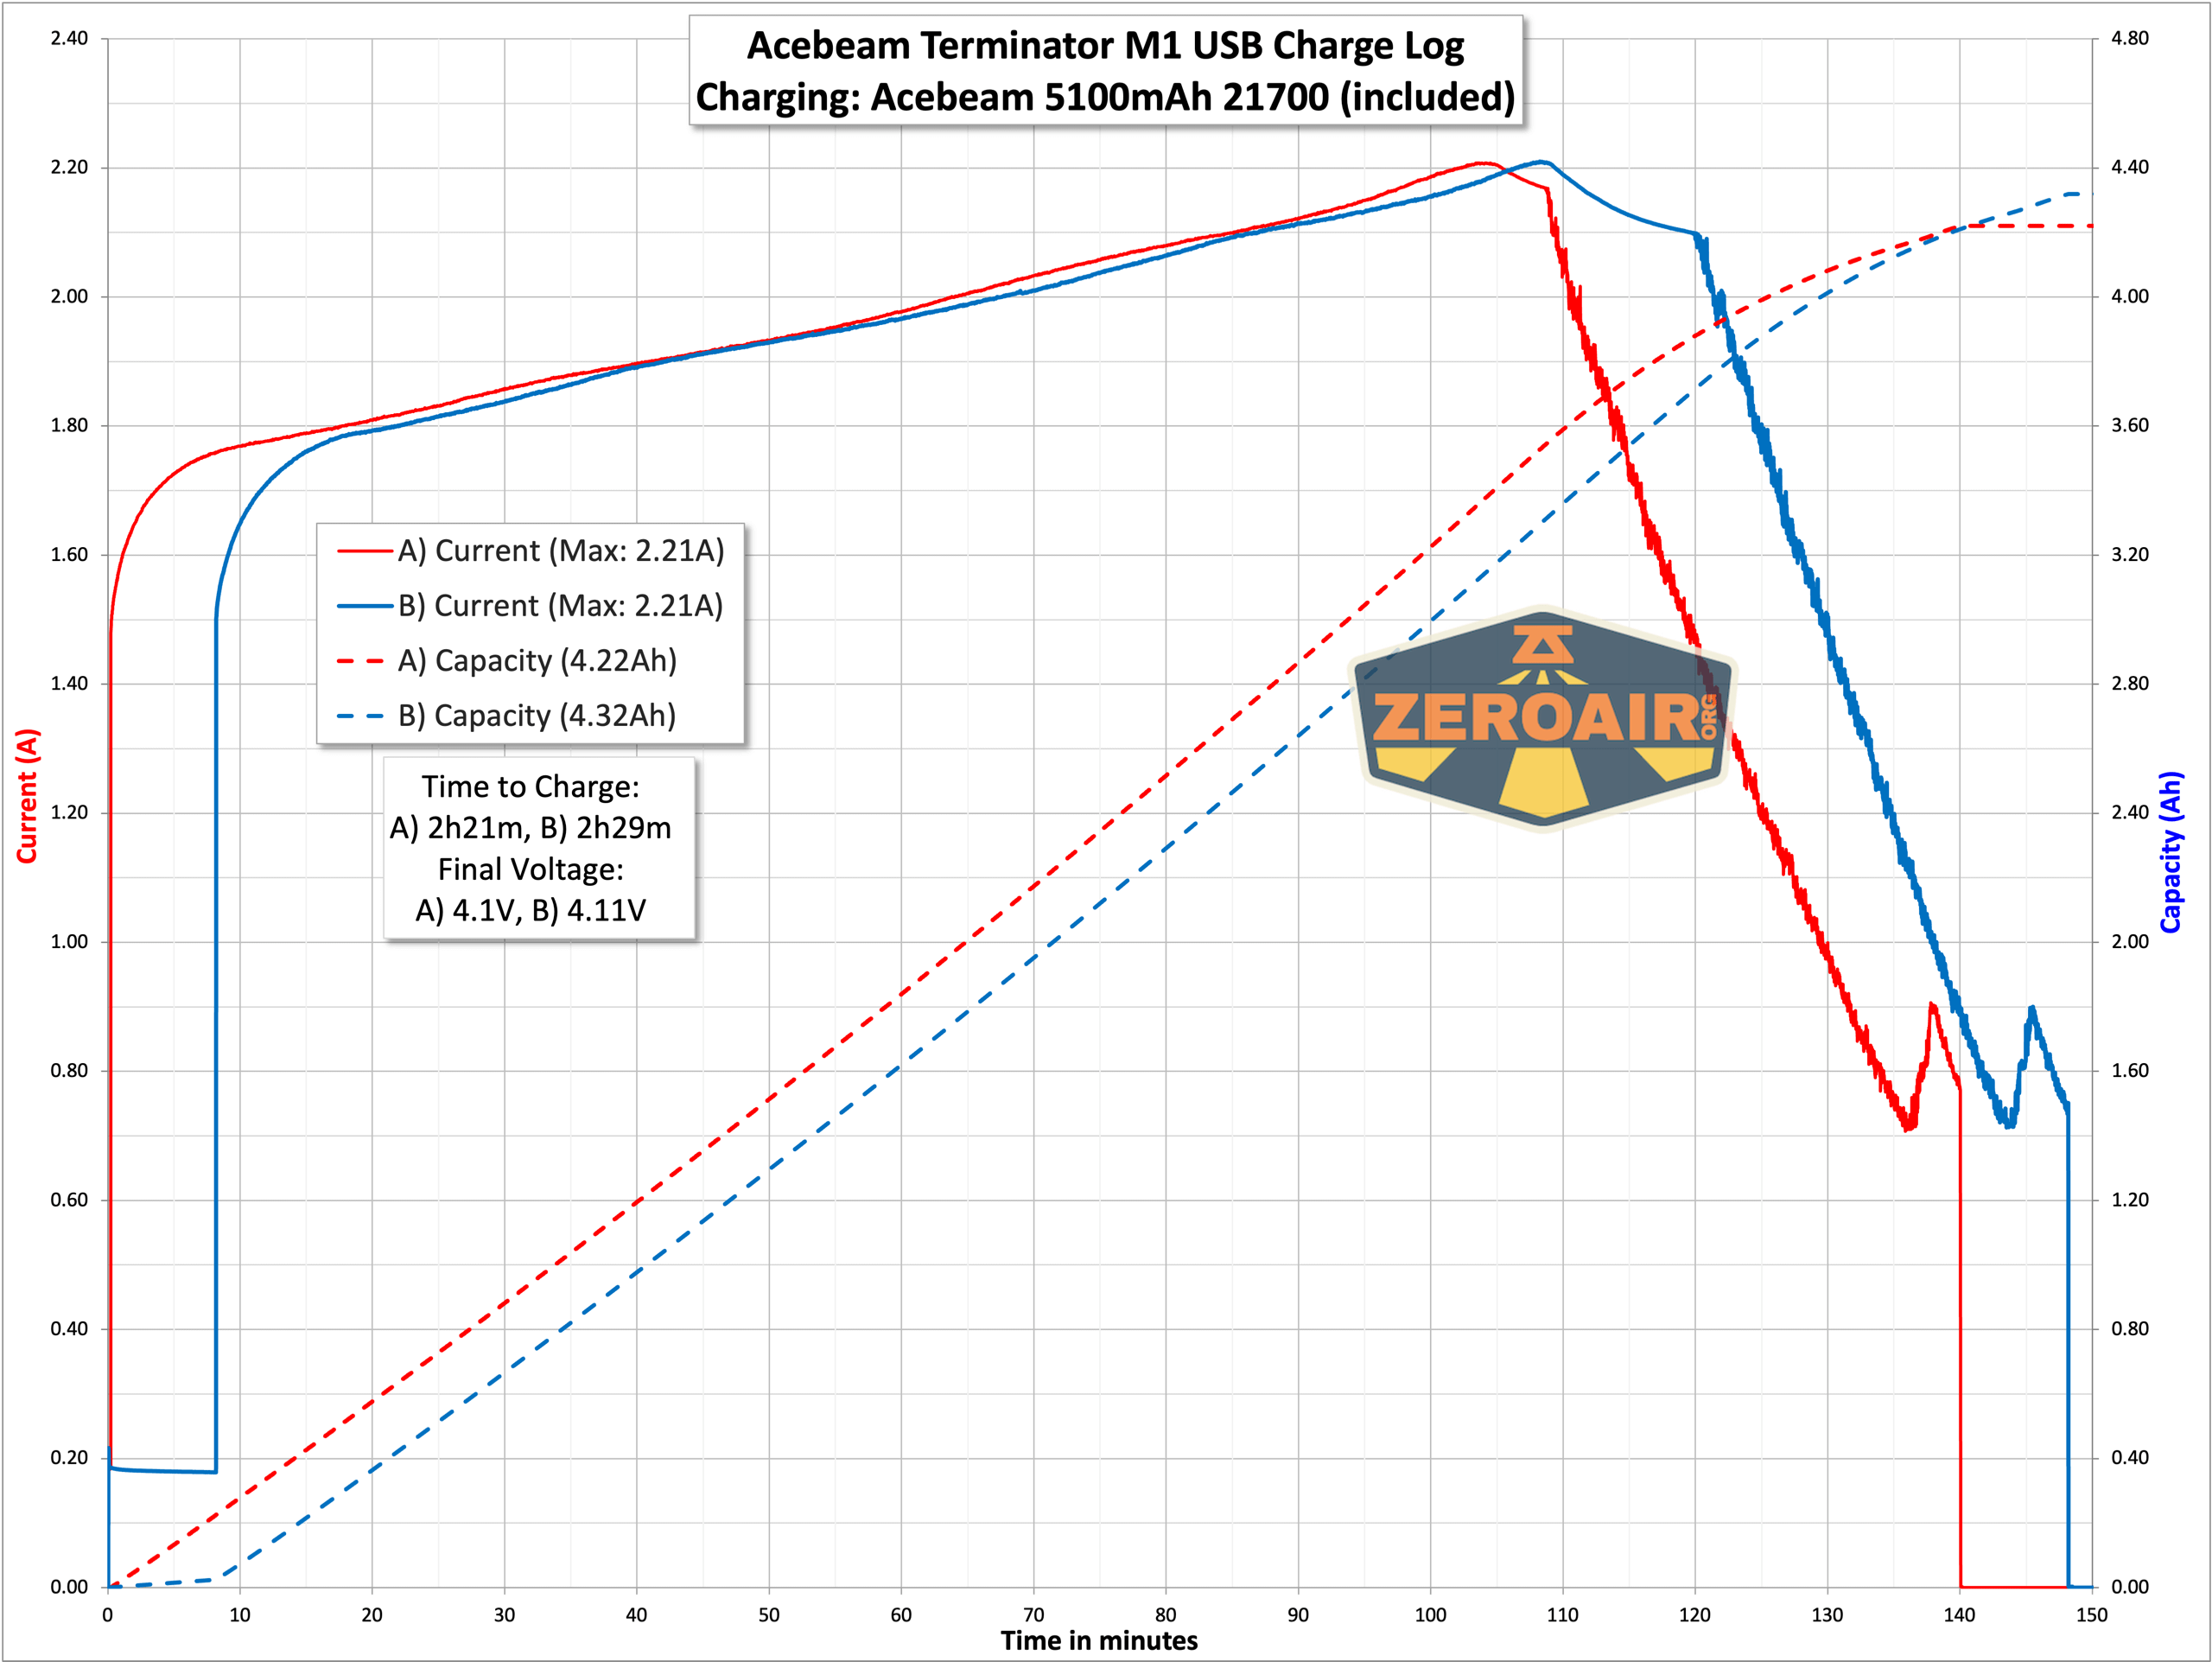
Charging
The Acebeam Terminator M1 flashlight itself does not offer built-in charging, but the included cell does. You won’t often hear me fuss that a light doesn’t have built-in charging, but I think it would really work well on the Terminator M1. I really dislike having to remove this type of tailcap, so charging would be very welcome.
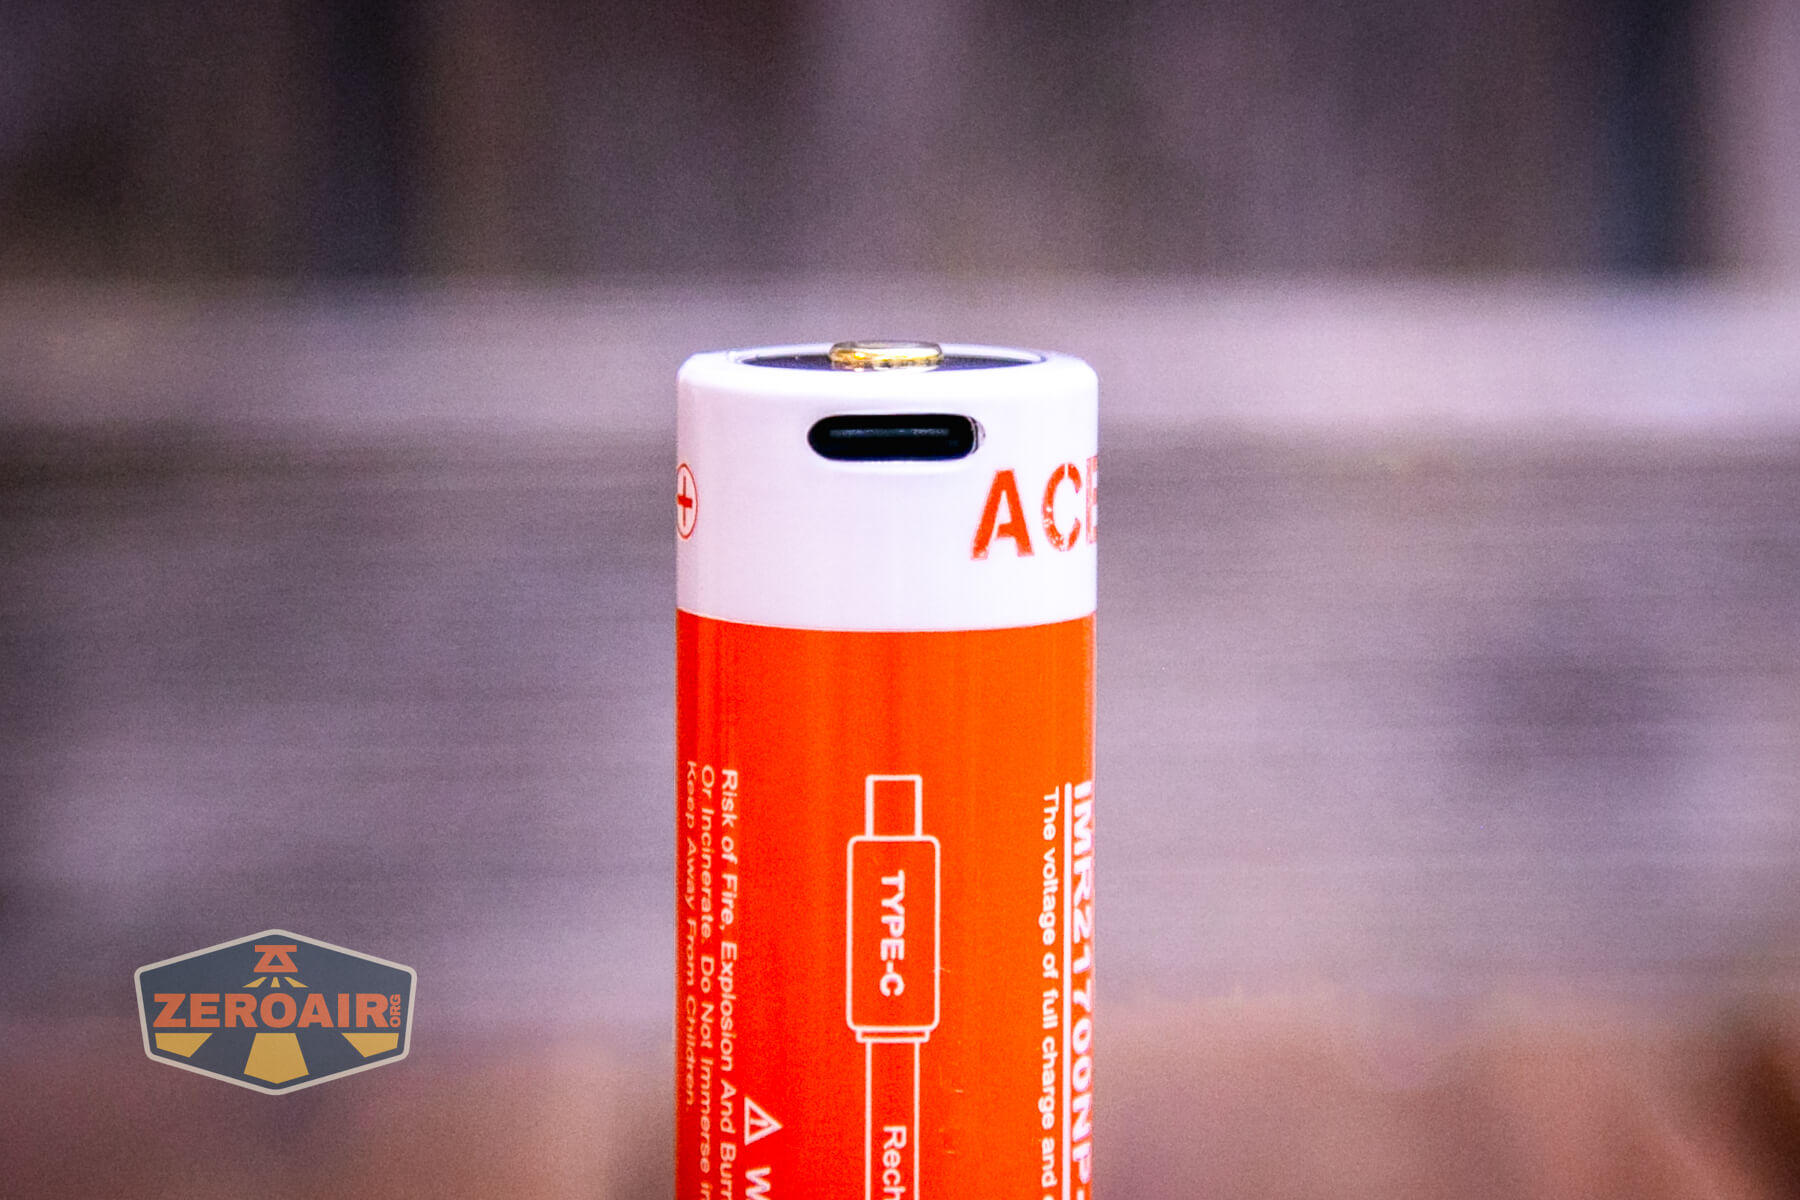
Anyway, the included cell has a USB-C port on the positive end.
A USB to USB-C cable is included.
When charging, the LED indicator lights red. When charging is completed, this turns green.
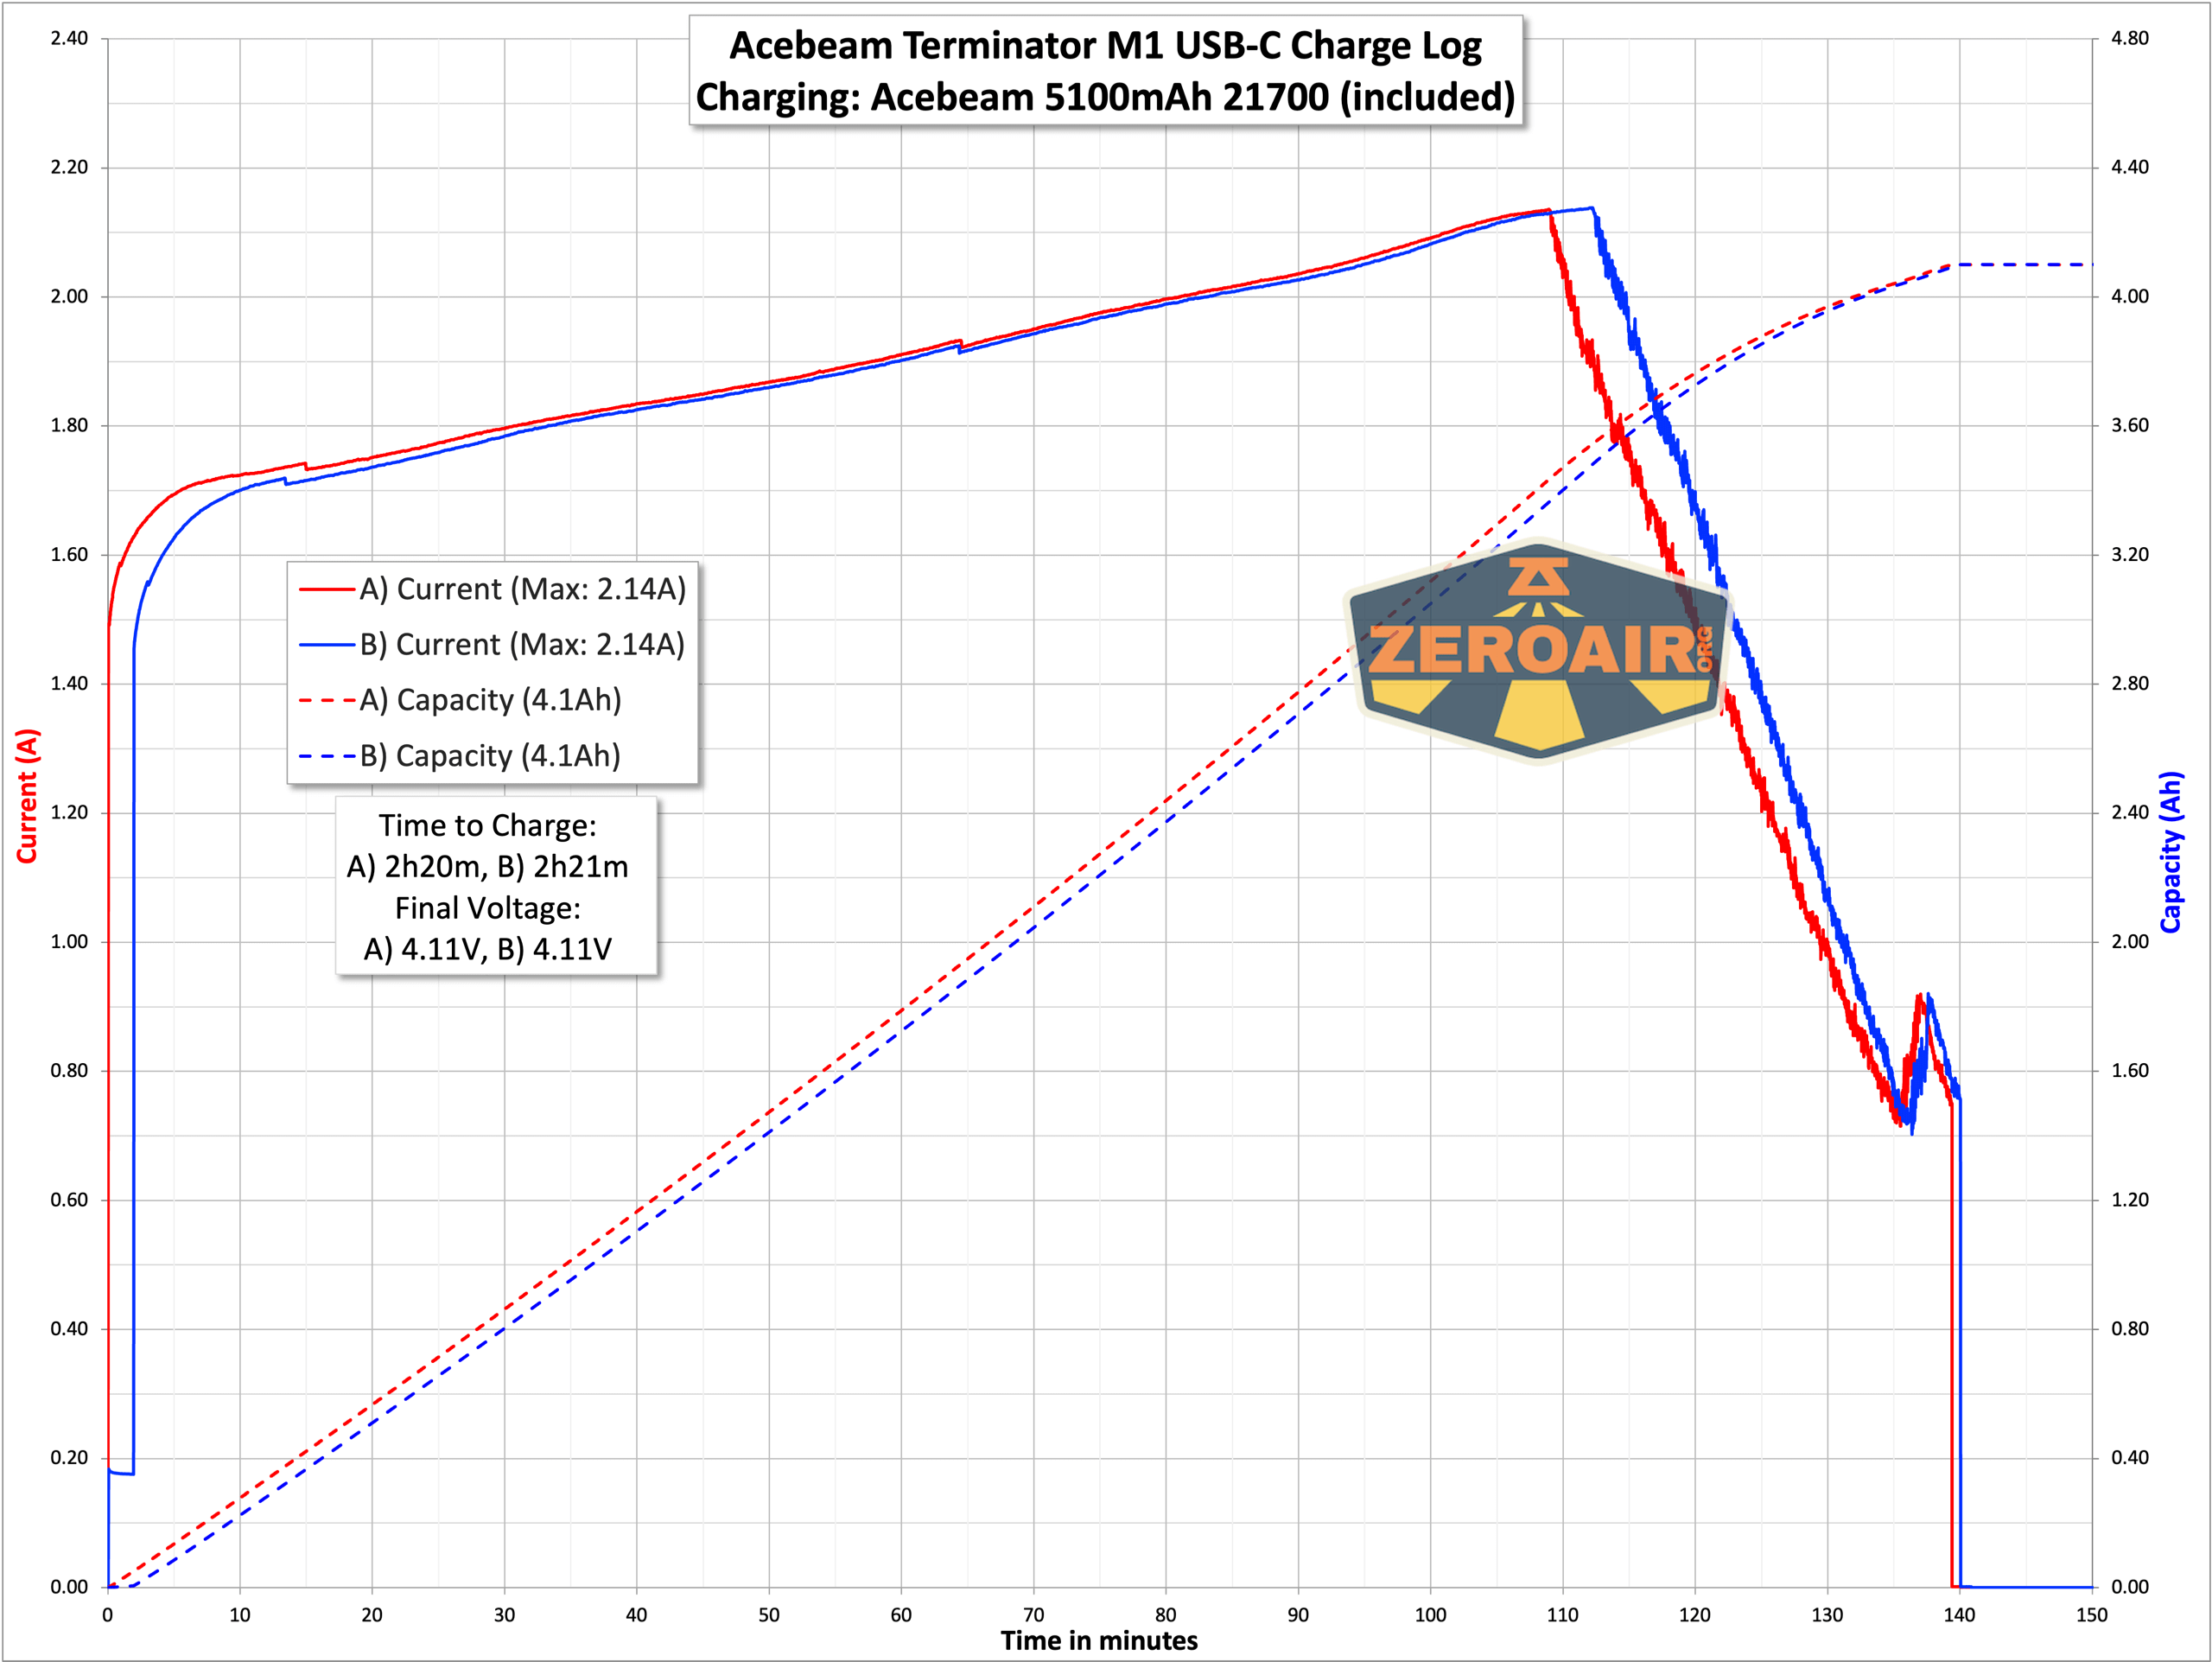
Charging is quick at around 2A and finishes in under 2.5 hours.
Modes and Currents
| Mode | Mode Claimed Output (lm) | Claimed Runtime | Measured Lumens | Tailcap Amps |
|---|---|---|---|---|
| LEP Turbo | 700-300 | 110s+1h50m | 385 (0s) 370 (30s) |
6.02 |
| LEP High | 250 | 2.5h | 135 | 1.53 |
| LEP Low | 100 | 5.5h | 35 | 0.68 |
| LED Turbo | 2300-700 | 110s+2h40m | 1932 (0s) 1817 (30s) |
>11.5 |
| LED High | 700 | 2h50m | 541 | 1.73 |
| LED Med2 | 330 | 5h30m | 263 | 0.77 |
| LED Med1 | 90 | 14h | 33 | 0.27 |
| LED Low | 30 | 22h | 16 | 0.16 |
| LED Moonlight | 0.5 | 2.8d | 0.3 | 0.04 |
Pulse Width Modulation
The Acebeam Terminator M1 flashlight does not have PWM in any mode! That’s great. And one of the things I love about Acebeam flashlights.


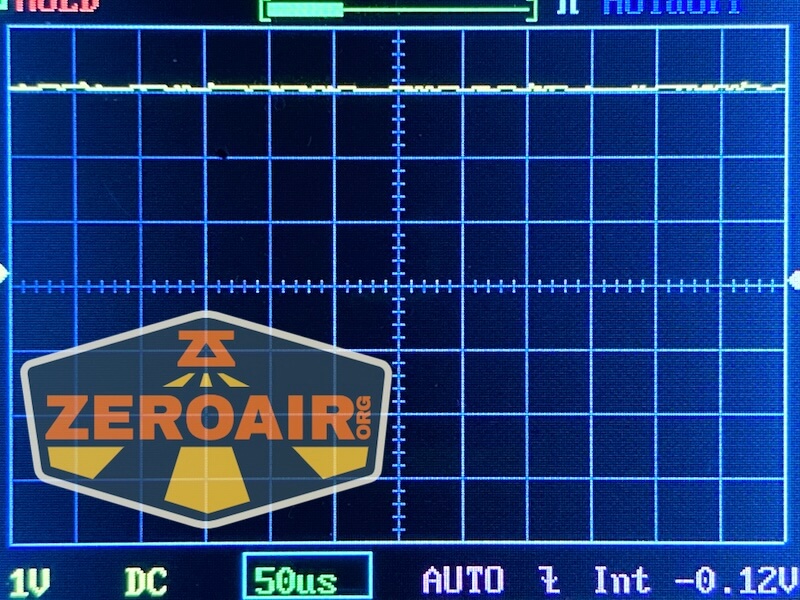
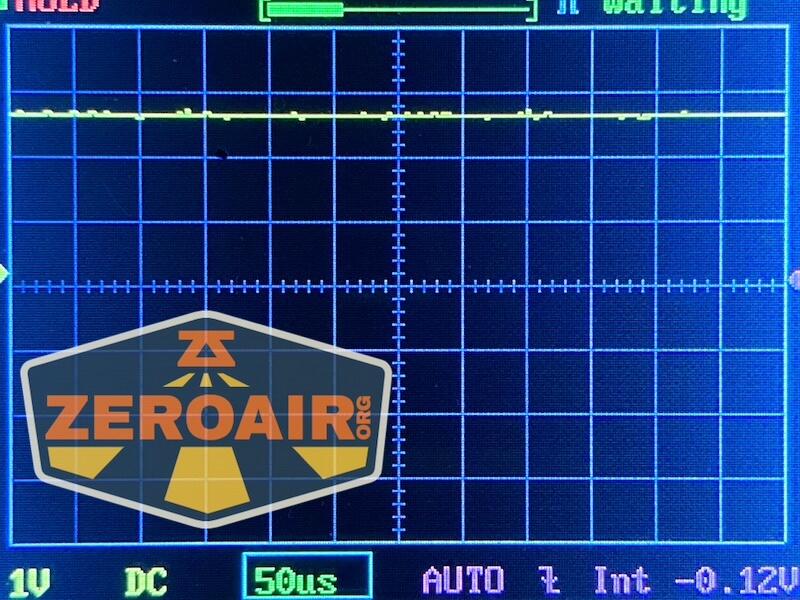

Here you can see a “baseline” – a chart with almost no light hitting the sensor. Then there’s the Ultrafire WF-602C flashlight, which has some of the worst PWM I’ve seen. It’s so bad that I used a post about it to explain PWM! Here are multiple timescales (10ms, 5ms, 2ms, 1ms, 0.5ms, 0.2ms) to make comparing this “worst” PWM light to the test light easier. That post also explains why I didn’t test the WF-602C at the usual 50us scale.
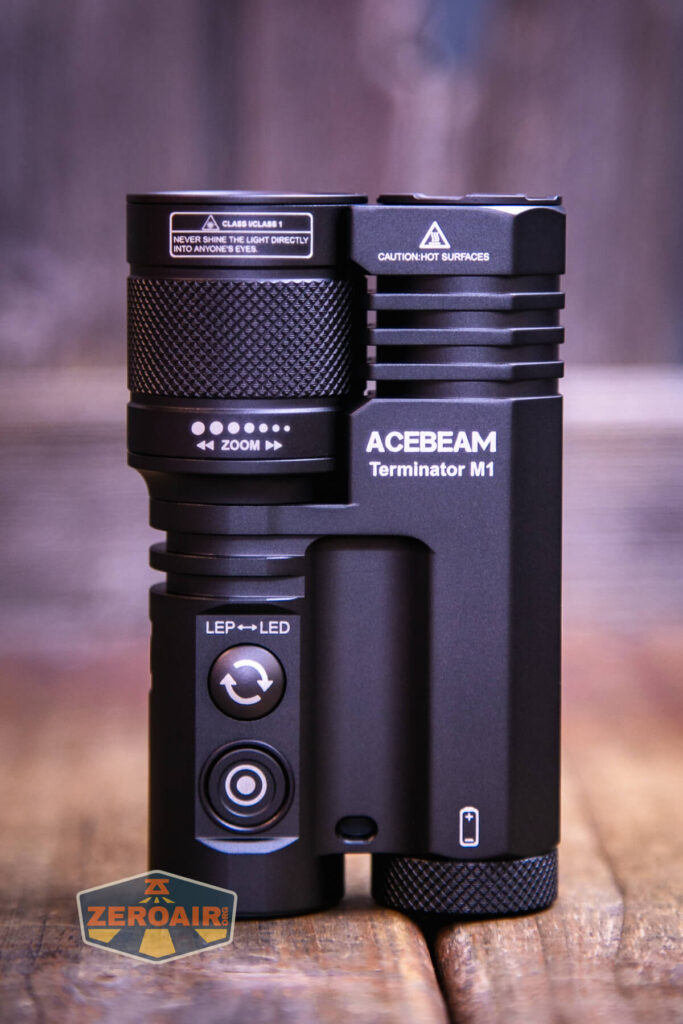
User Interface and Operation
There are a couple of switches on the Acebeam Terminator M1 flashlight. The bottom one (with the Target symbol) is the on/off and mode switch. The upper (domed) switch is only for switching between LEP and LED output.

Have a look below – that output switching switch is very prominent. Second to that, both (both!) of these switches are very easy to press. It’s happened to me many times that I accidentally switch between LED and LEP. That’s not the biggest problem, but mode (at least for LED) isn’t memorized between switches. LED always seems to come on somewhere in the mid-range. If accidentally switching from moonlight in LED to LEP wasn’t a problem, quickly switching from the accidental LEP back to some mid-level (mode memory, that is!) is. Just like you would almost never hear me asking for onboard charging… I won’t often ask for mode memory, but in this case, it’d be very useful.

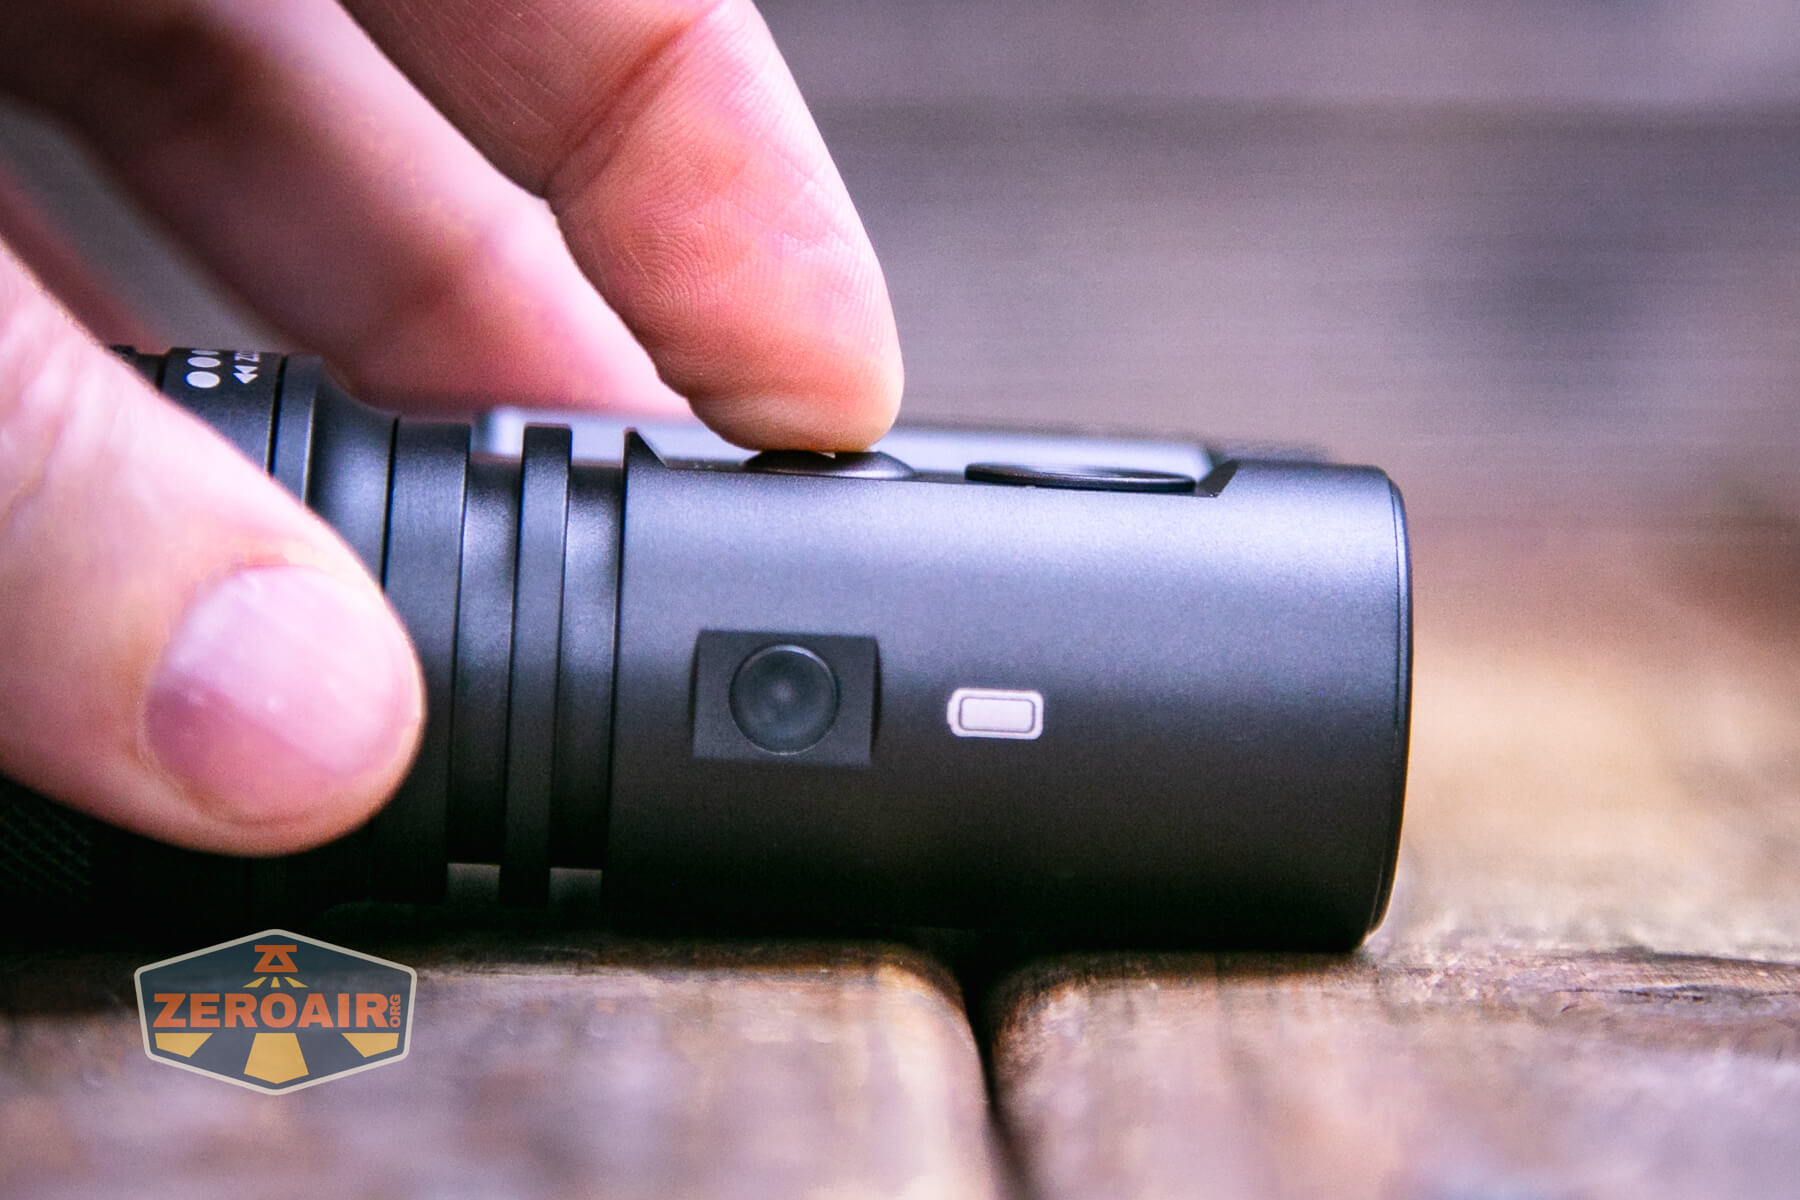

Action on both of these switches is very low and honestly, they’re very pleasant to press. They’re just too easy to press. They also strike me as being in a cumbersome position on the body of the Terminator M1. When rotating the light to … use it, basically … there wasn’t a position where I could access the switches that I didn’t get to without accidentally accessing the switches, too. It’s surprisingly very much a two-hand flashlight (which is perfectly fine! Just prepare for it.)
Here’s a user interface table!
| State | Action | Result |
|---|---|---|
| Off | Click Power Switch | On (Mode Memory) |
| Off | Hold Power Switch | LED: Moonlight LEP: Low |
| Off | Hold Power Switch (longer) | Moonlight then lockout (Blinks a few times to confirm) (LED indicator on side also blinks red and green to confirm) |
| Lockout | Click Power Switch | LED indicator on side also blinks red and green to confirm lockout |
| Lockout | Any action on Function Switch | Nothing |
| Lockout | Hold Power Switch | Unlock to Moonlight |
| On | Click Power Switch | Off |
| On | Click Function Switch | Iterate between LEP and LED |
| On | Hold Power Switch | Mode advance: LED: Low-Med1-Med2-High LEP: Low-High |
| Unlocked | Double click Power Switch | LED: Turbo LEP: Turbo |
| Turbo | Double click Power Switch | LED: Previous mode LEP: Previous mode |
| Unlocked | Click Power Switch 3x | LED: Strobe LEP: Strobe |
| Off | Click Function Switch | Nothing |
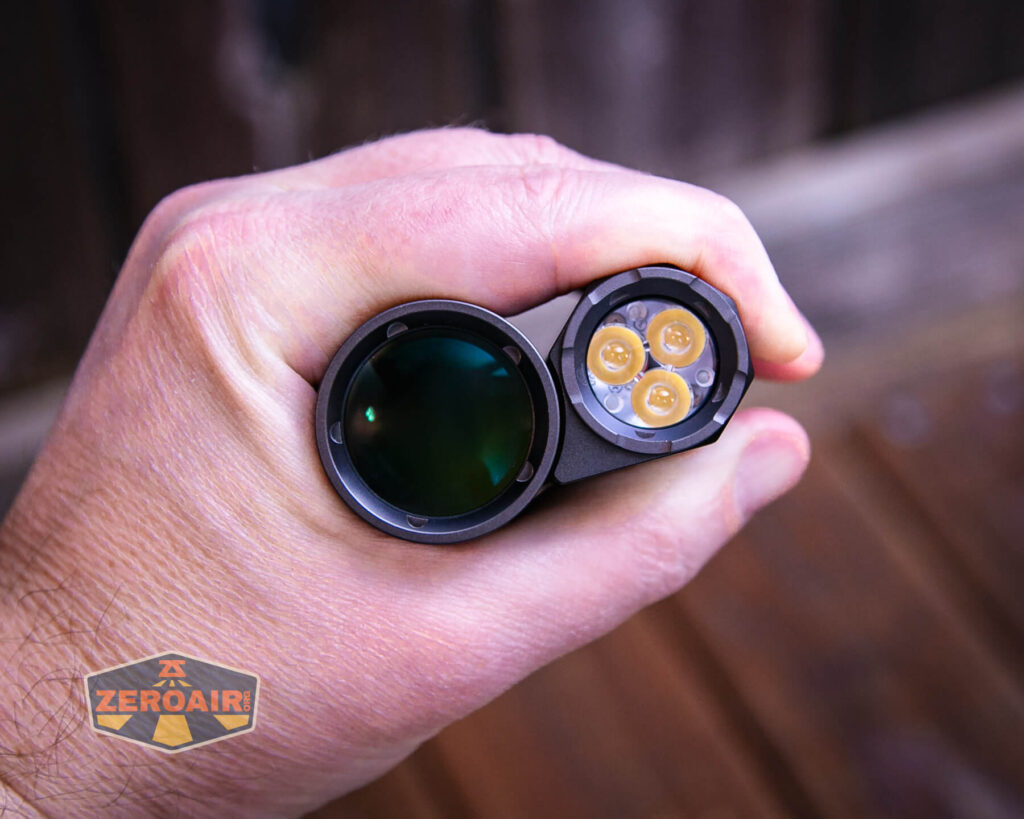
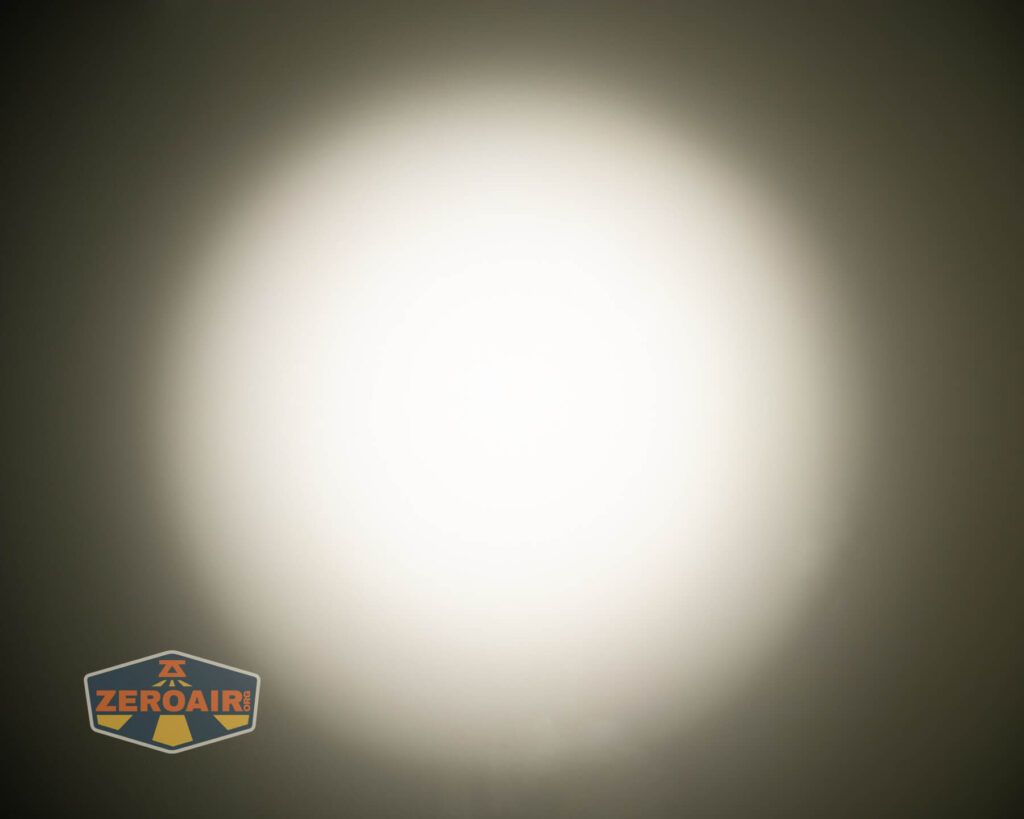
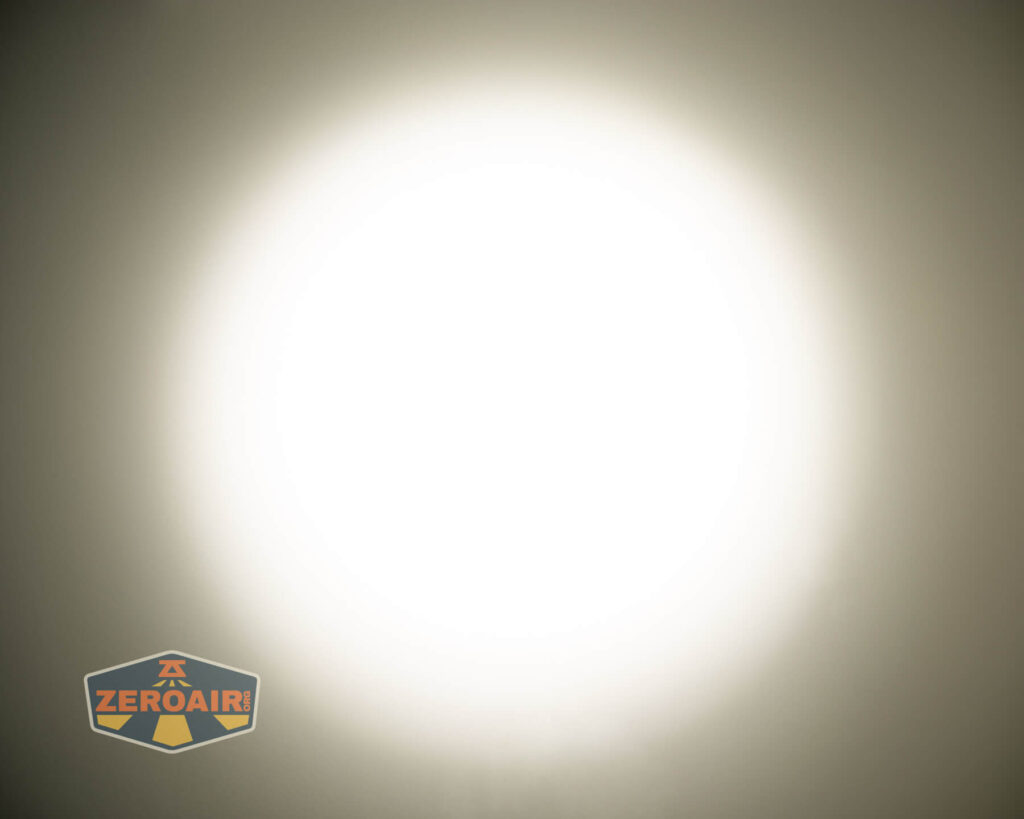
LED and Beam
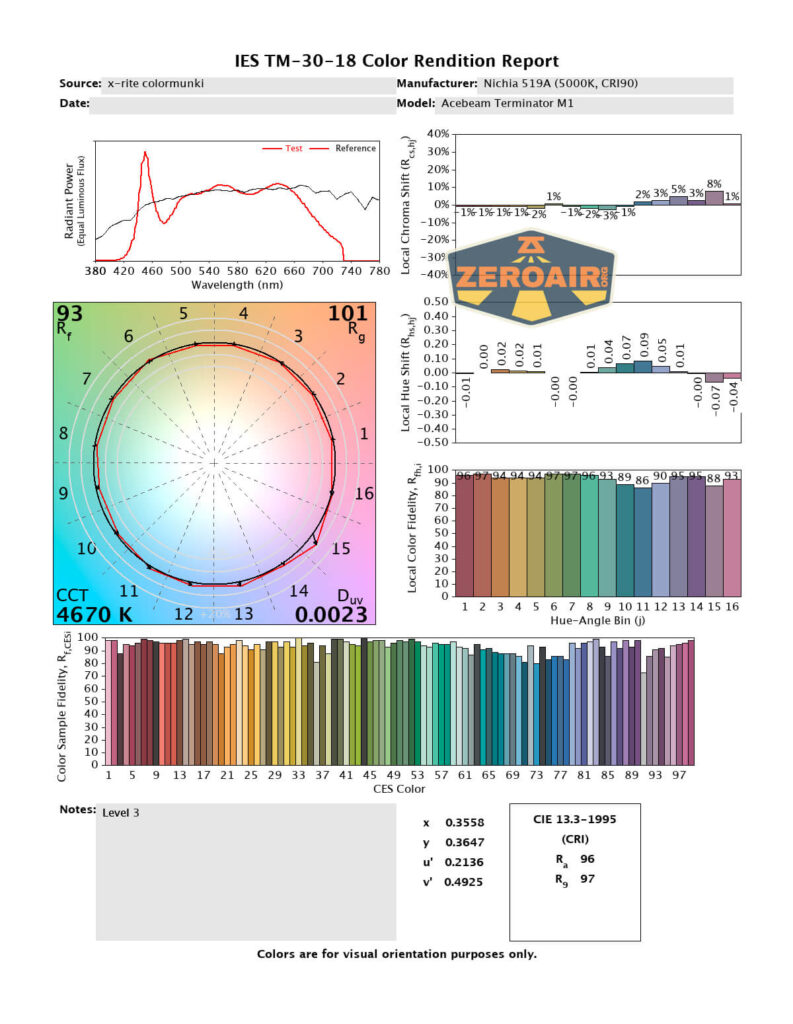
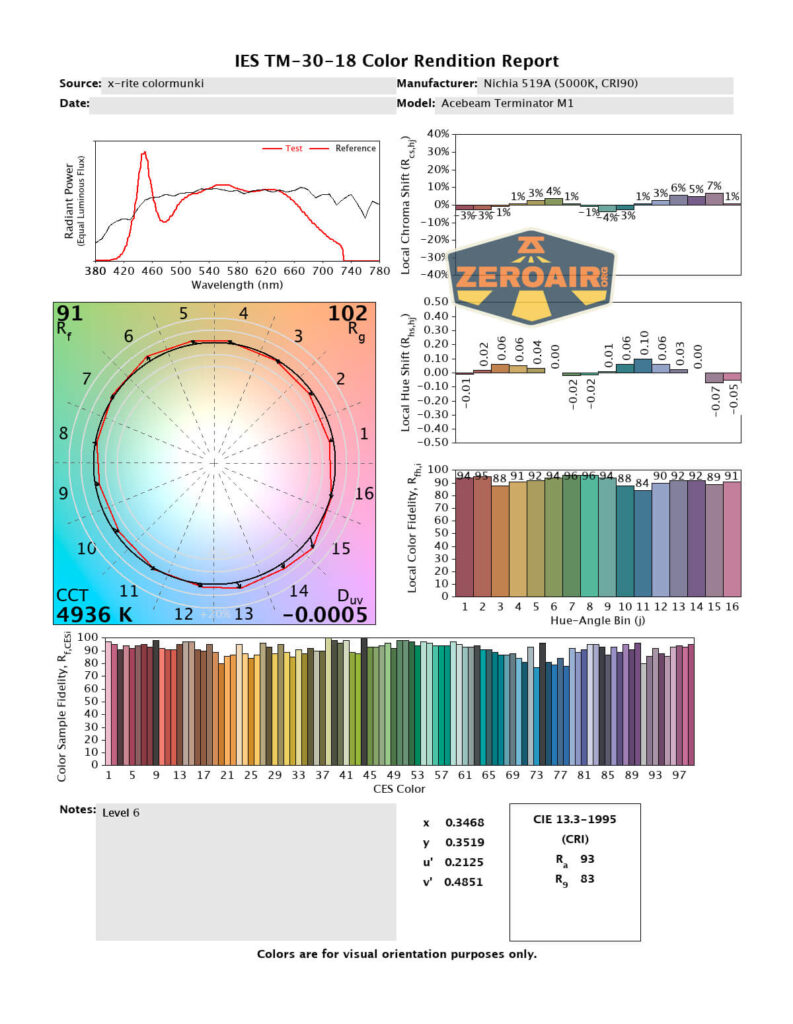
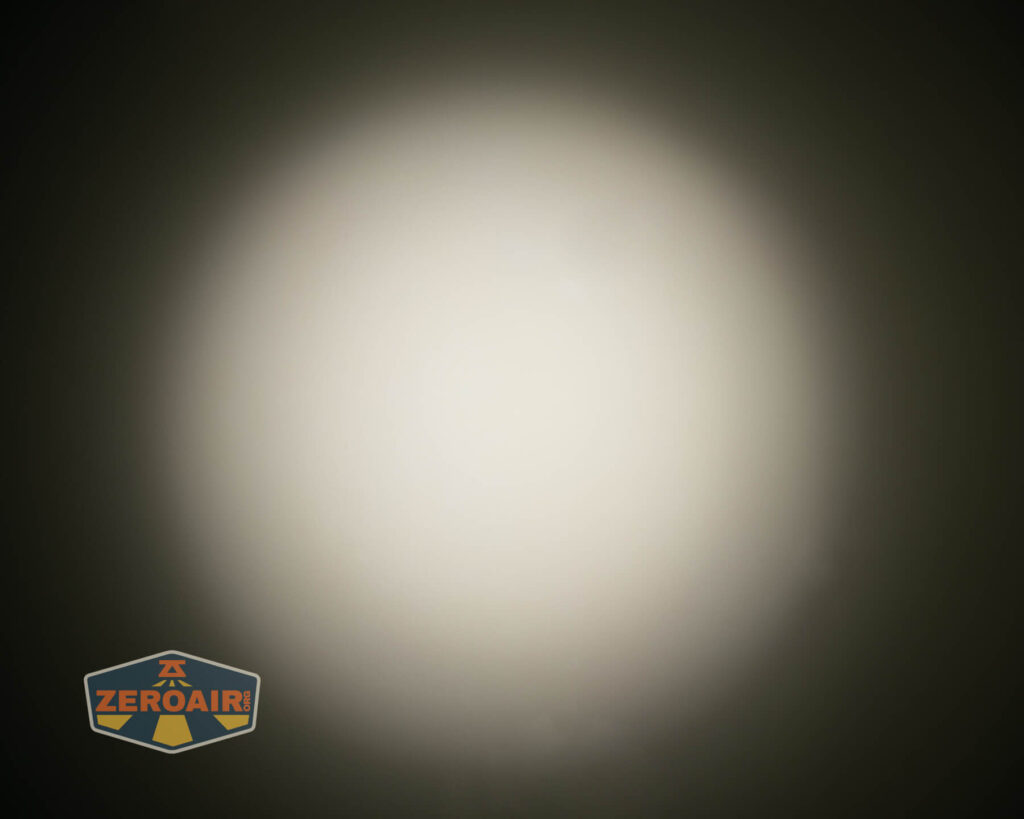
My Acebeam Terminator M1 flashlight has Nichia 519a emitters at 5000K. These emitters offer High CRI, too, at a claimed 90.

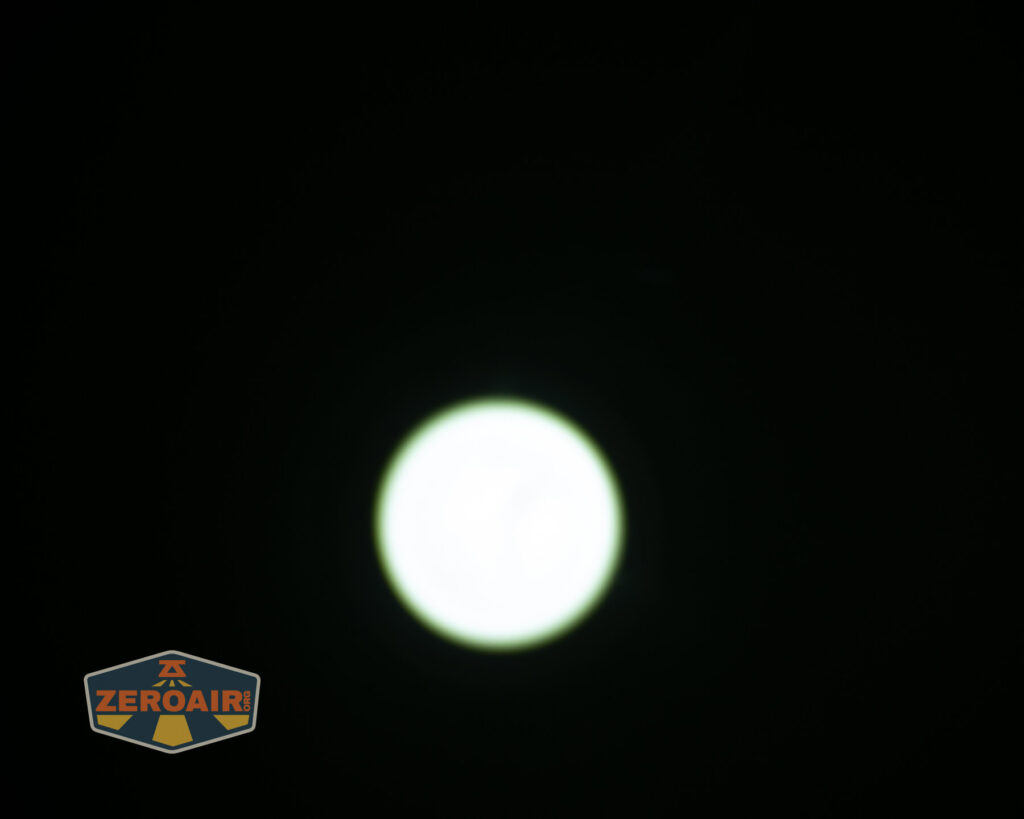
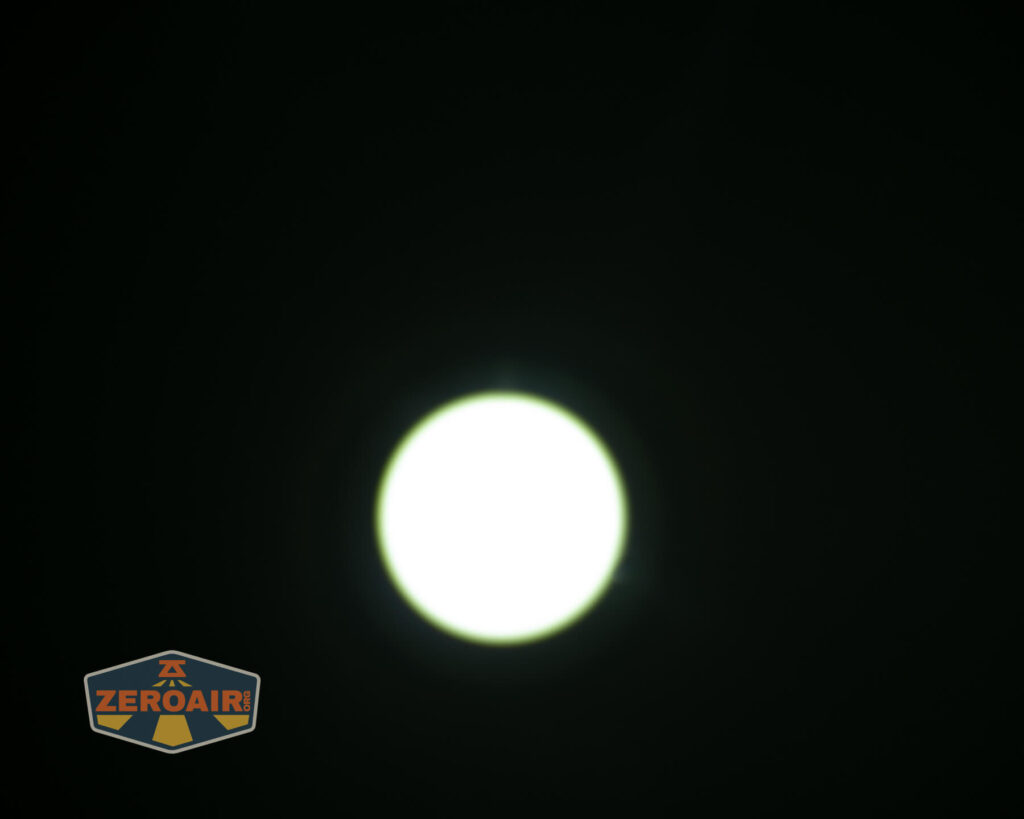
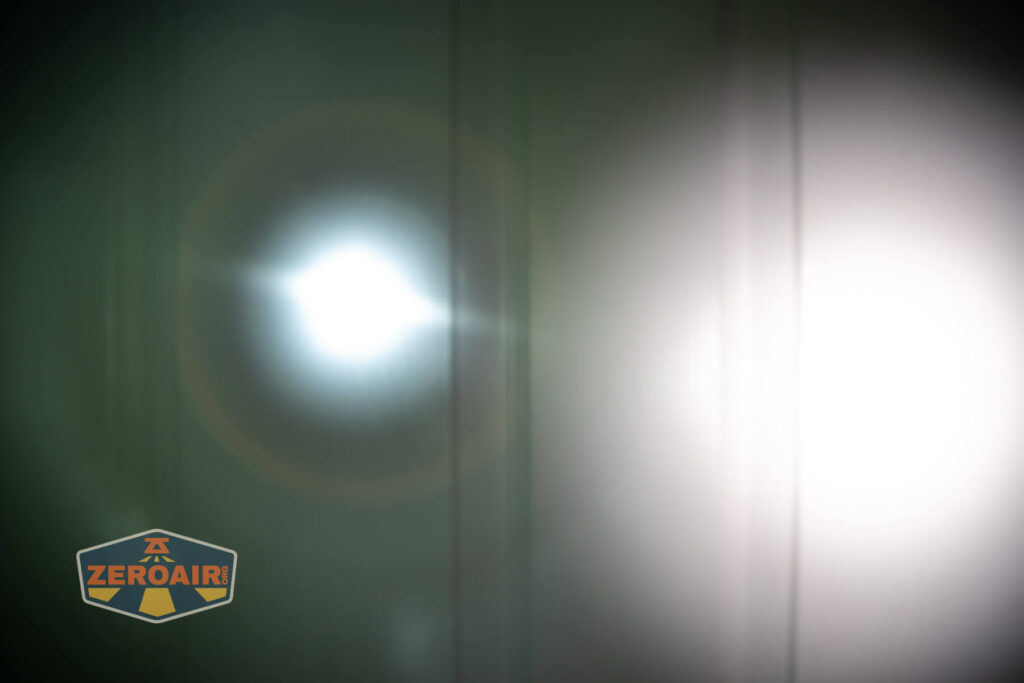
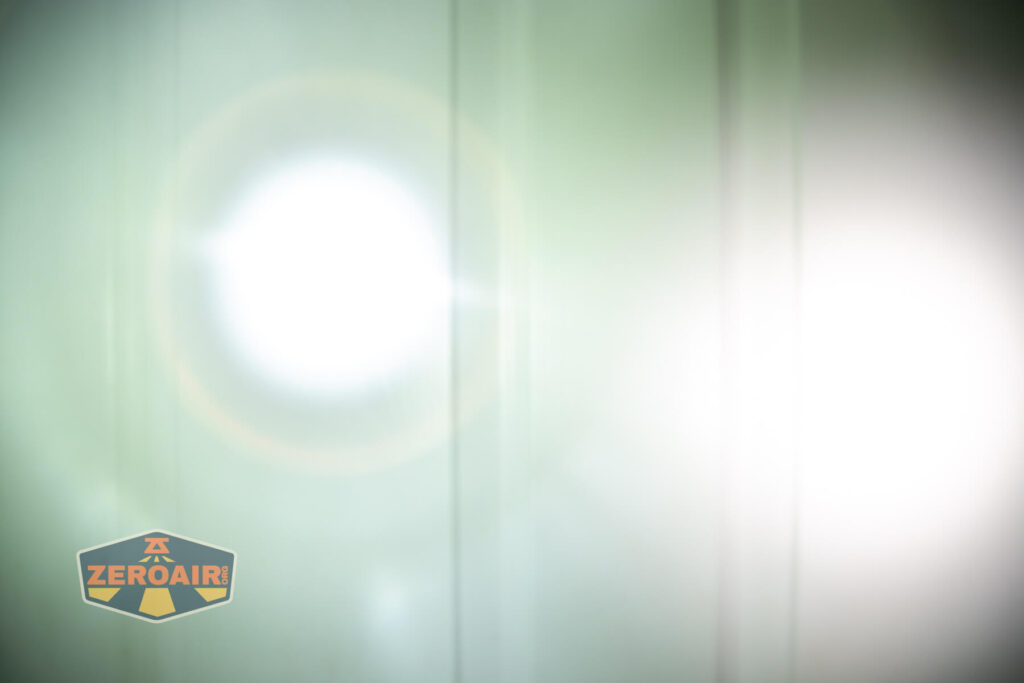
Obviously, another big draw to the Acebeam Terminator M1 flashlight is the LEP, which is just beside the LED head.

The LEP and LED can’t operate at the same time. I’ve had similar lights that can run both throw (not necessarily LEP) and floody LED at the same time and I’ve never once found a good reason to do that. So this setup makes the most sense for me.

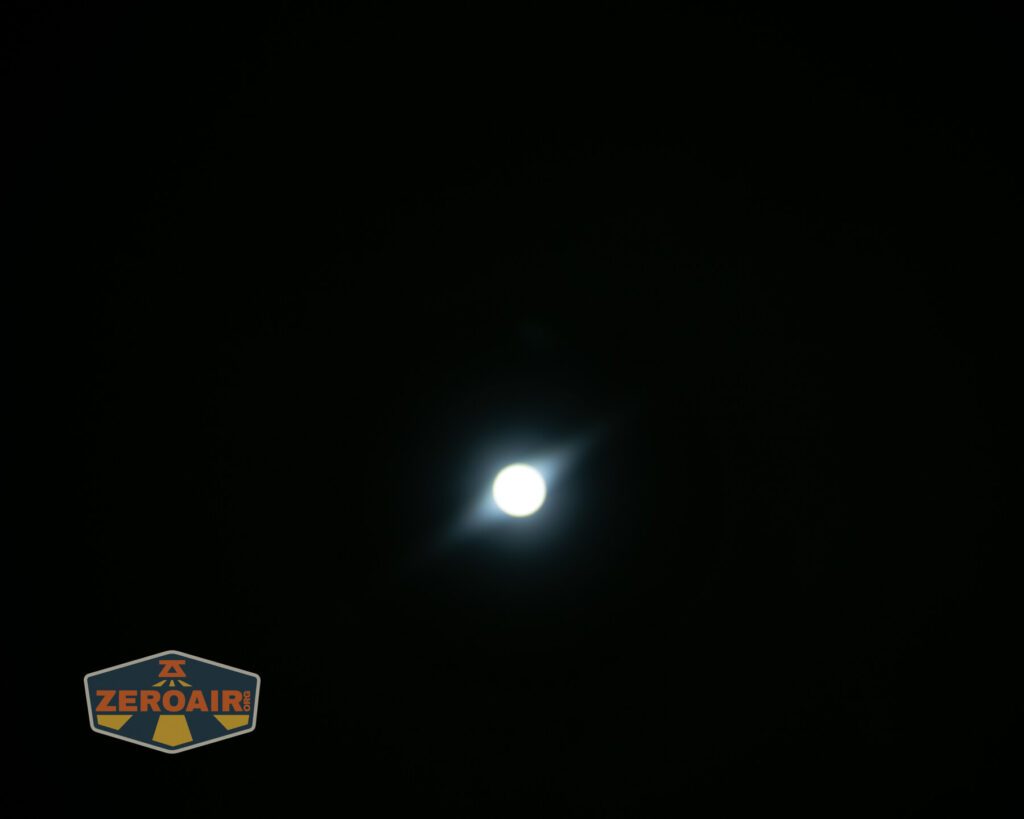
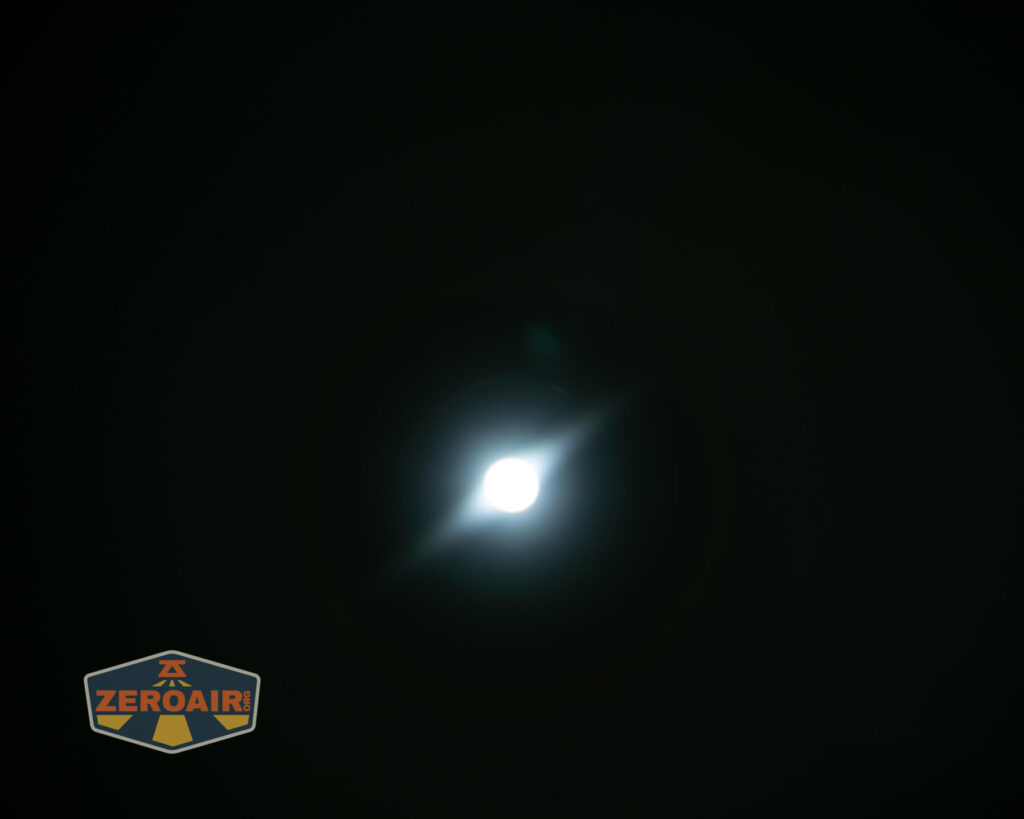
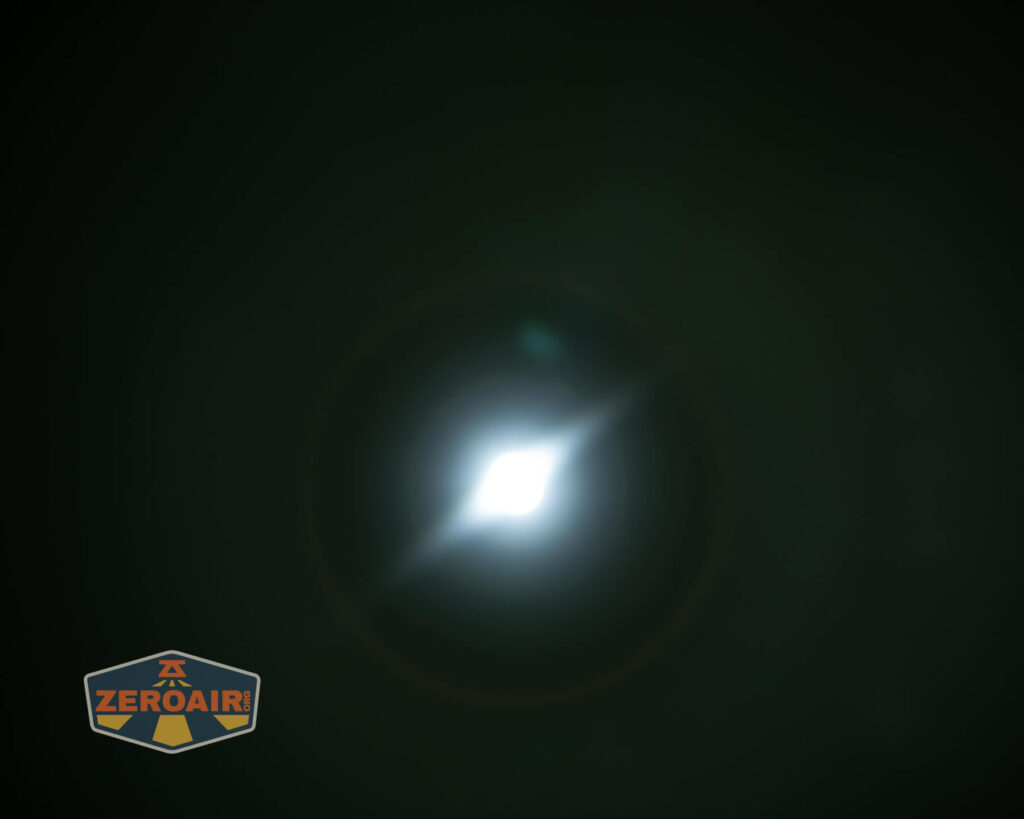
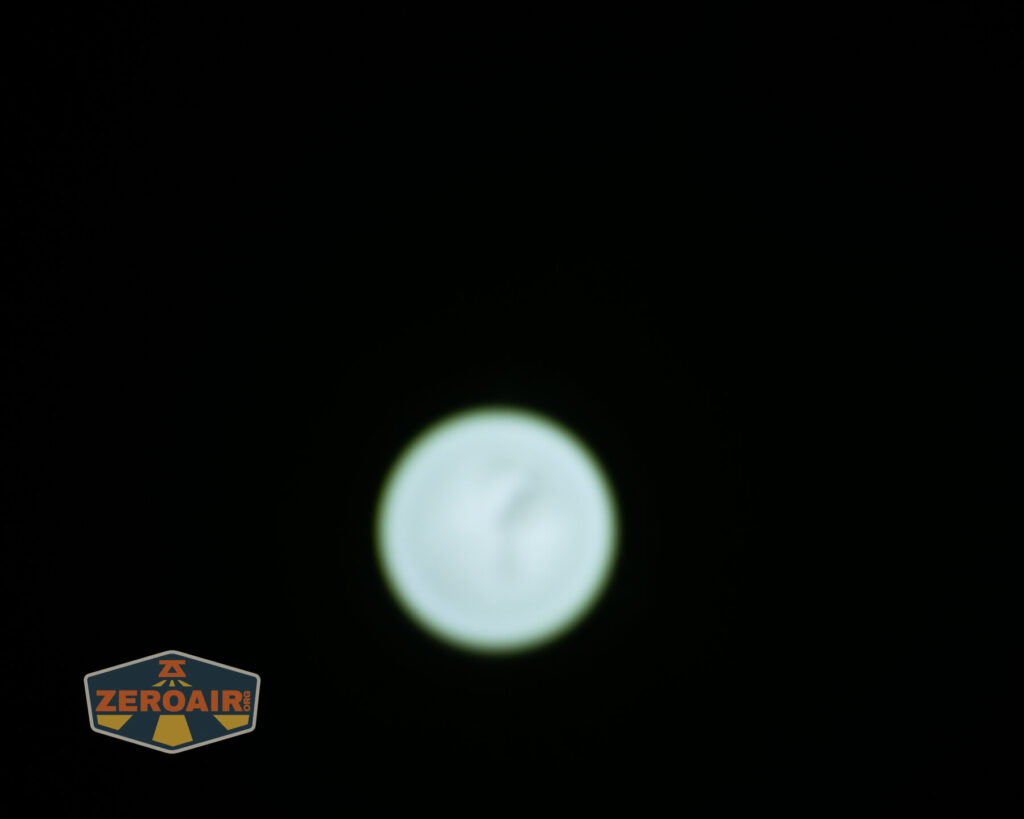
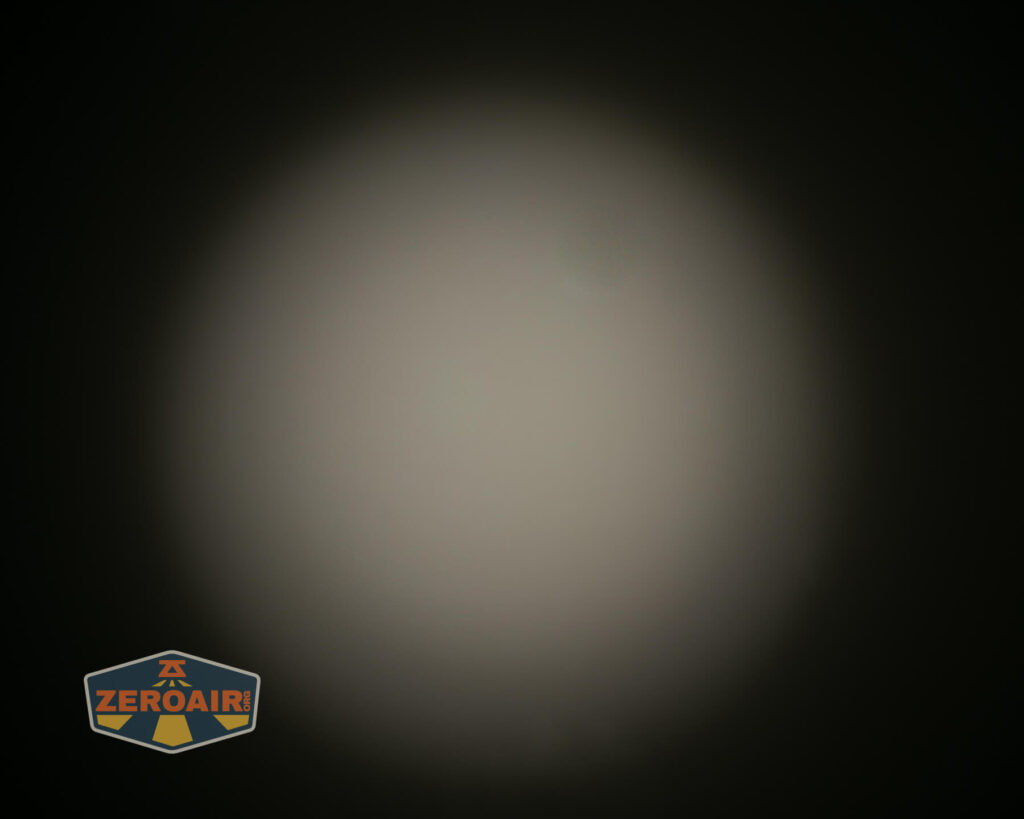
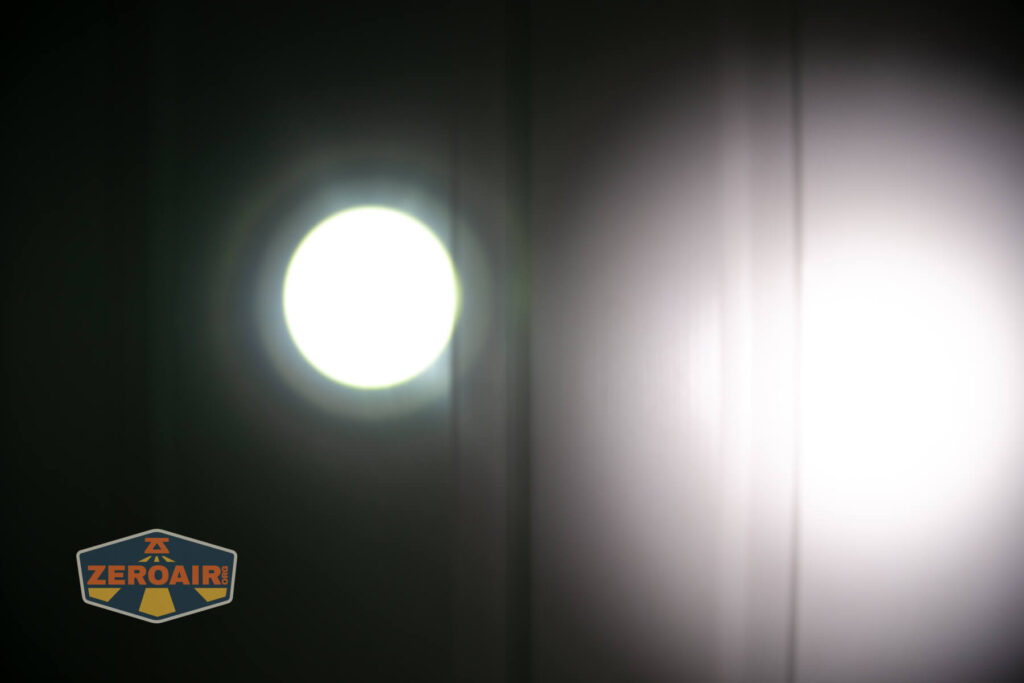
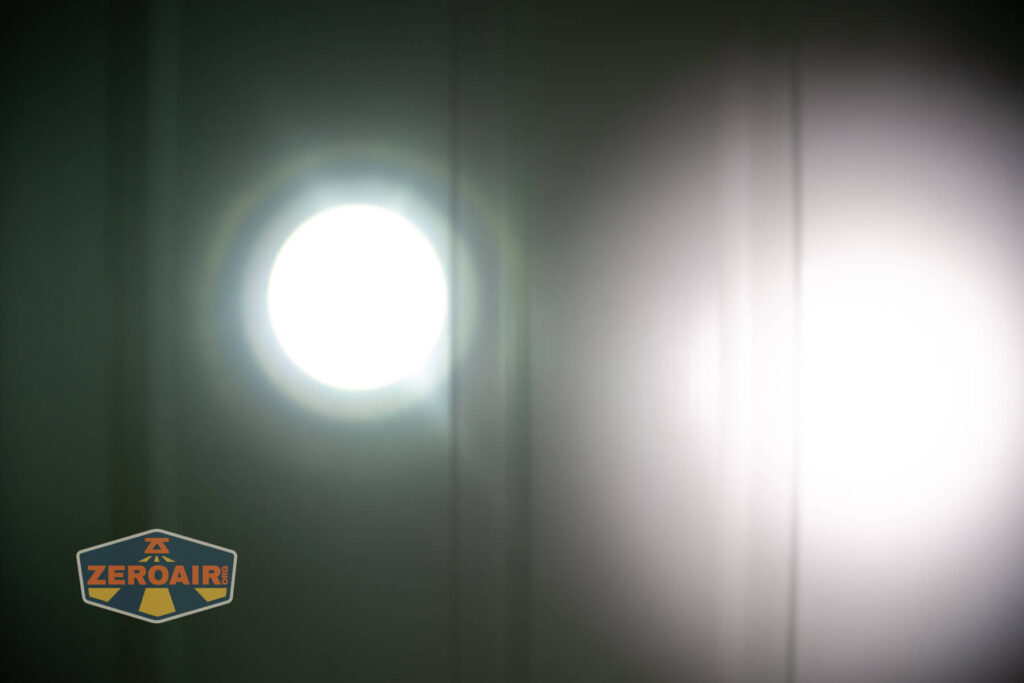
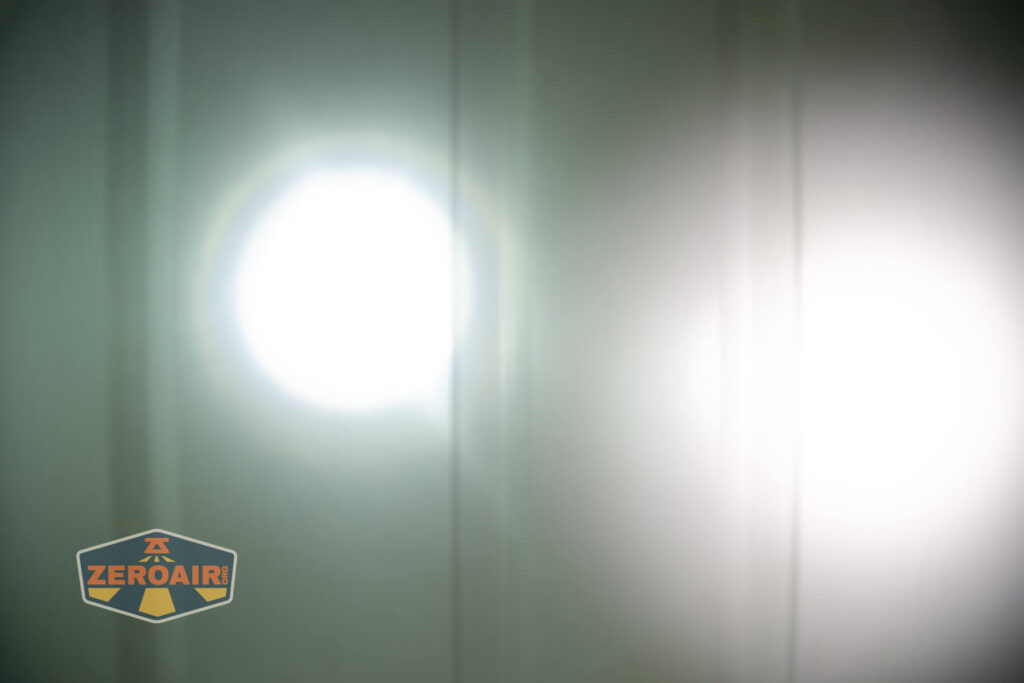
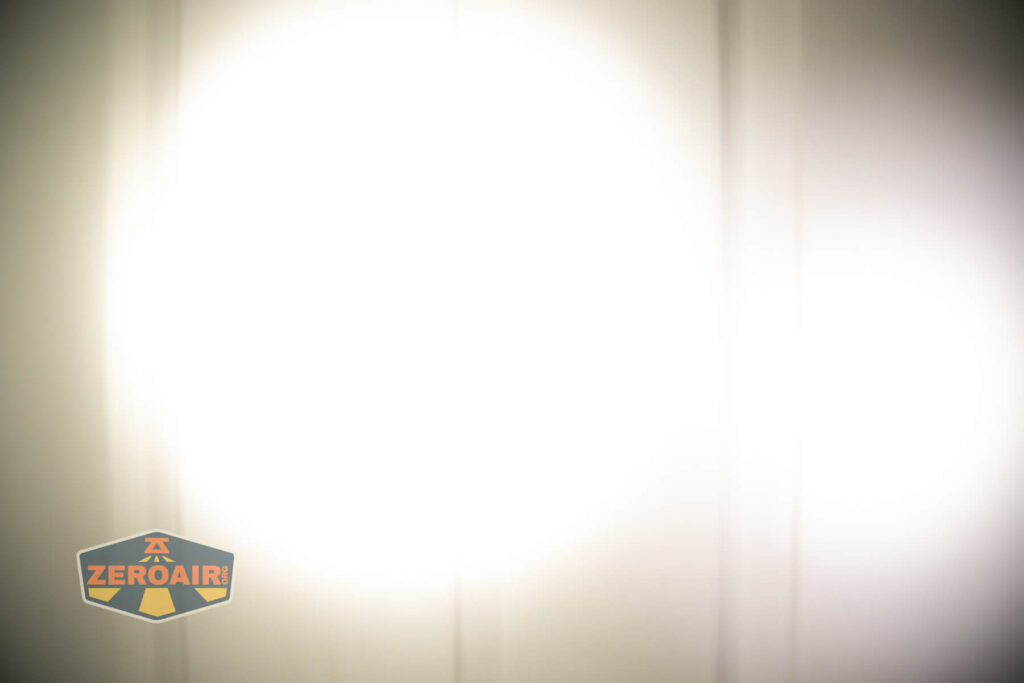
It’s not covered in huge detail elsewhere that the LEP can zoom in, but below you can see a couple of photos that fairly accurately demonstrate it. It’s a fun sort of zoom, and maybe useful. I might have been willing to take a “just smaller” light with no zoom features, but everything else is like this one. The broad LEP (middle, below) is great for shadow puppets, though!
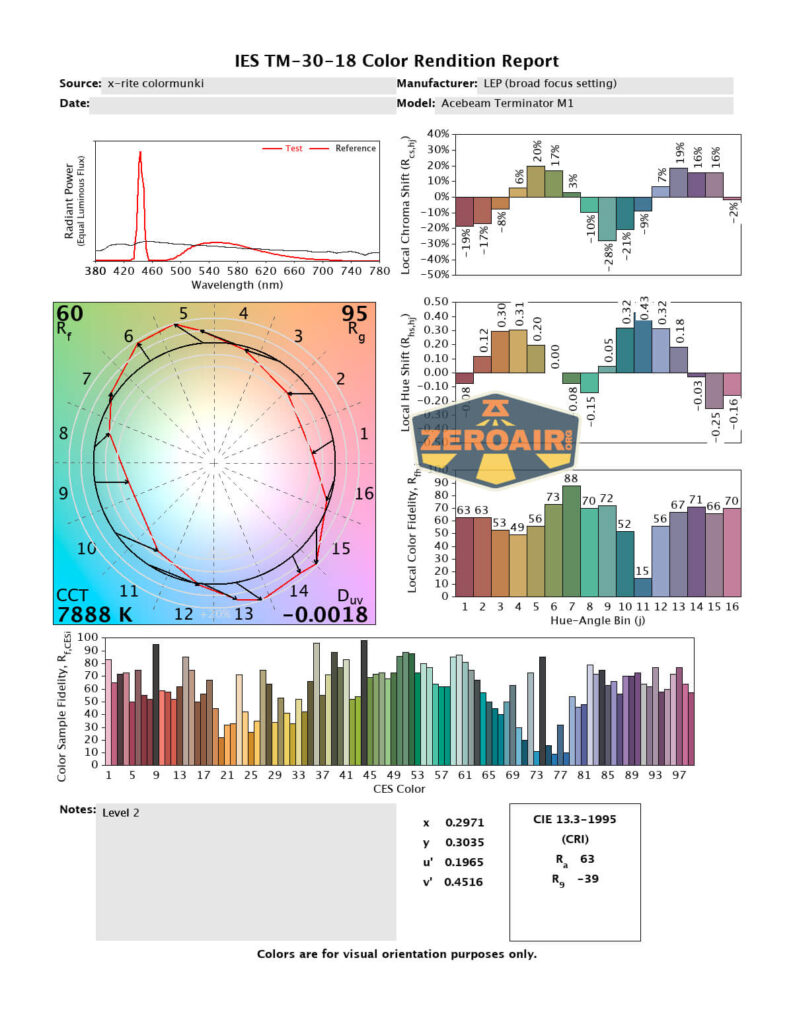
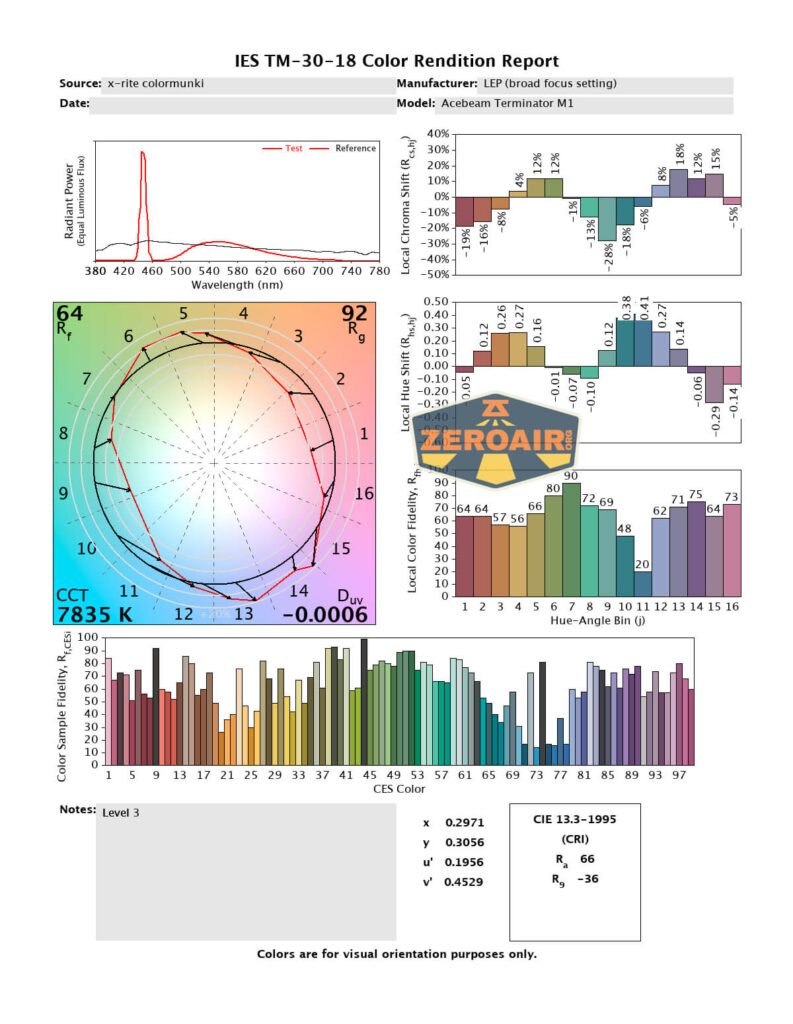
LED Color Report (CRI and CCT)
LEP CRI/CCT isn’t relevant (yet, maybe one day we’ll have high CRI, good CCT LEPs?) but the LED is right on the mark. High CRI, great CCT (as claimed), and just all the way around great as Nichia 519a most often are.


Beamshots
These beamshots always have the following settings: f8, ISO100, 0.3s shutter, and manual 5000K exposure. These photos are taken at floor level, and the beam hits the ceiling around 9 feet away.


Tint vs BLF-348 (KillzoneFlashlights.com 219b version) (affiliate link)
I keep the test flashlight on the left and the BLF-348 reference flashlight on the right.


I compare everything to the KillzoneFlashlights.com 219b BLF-348 because it’s inexpensive and has the best tint!
Conclusion
What I like
- Interesting package
- Zoom on the LEP works well (very smooth, good zoom)
- Quick charging on the included 21700
- Complete package
- High CRI LED
- Easy user interface (very familiar for Acebeam, I think)
What I don’t like
- Switches too easy to press (and maybe could be in a better place)
- No onboard charging (mentioned because I don’t like removing this type of tailcap)
Notes
- This content originally appeared at zeroair.org. Please visit there for the best experience!
- For flashlight-related patches, stickers, and gear, head over to PhotonPhreaks.com!
- Please use my Amazon.com referral link to help support zeroair.org!
- Please support me on Patreon! I deeply appreciate your support!