
Sofirn LT1S Pro Camping Lantern Review
The Sofirn LT1S Pro camping lantern runs a single (included) 21700 and has smooth ramping mix between red, warm, and cool white! Also: USB-C charging! Read on!
Official Specs and Features
Here’s a link to the Sofirn LT1S Pro camping lantern product page.
Versions
The Sofirn LT1S Pro camping lantern has just one version but it’s available as a package with or without the 21700 cell.
Price
MSRP on the Sofirn LT1S Pro camping lantern is $79.99 (or $10 more with battery) but the street price appears to be around $55.99 (or 60.99 with battery).
Short Review
I like a lot of the features this Sofirn LT1S Pro camping lantern offers. For example, being able to mix the red channel in with either warm or cool white emitters is great (but questionably practical). USB-C charging still works great, and the addition of Anduril user interface is good, too. One minor-sounding update that I think is major is that the white channel uses Nichia 519a, so that’s great for CRI!
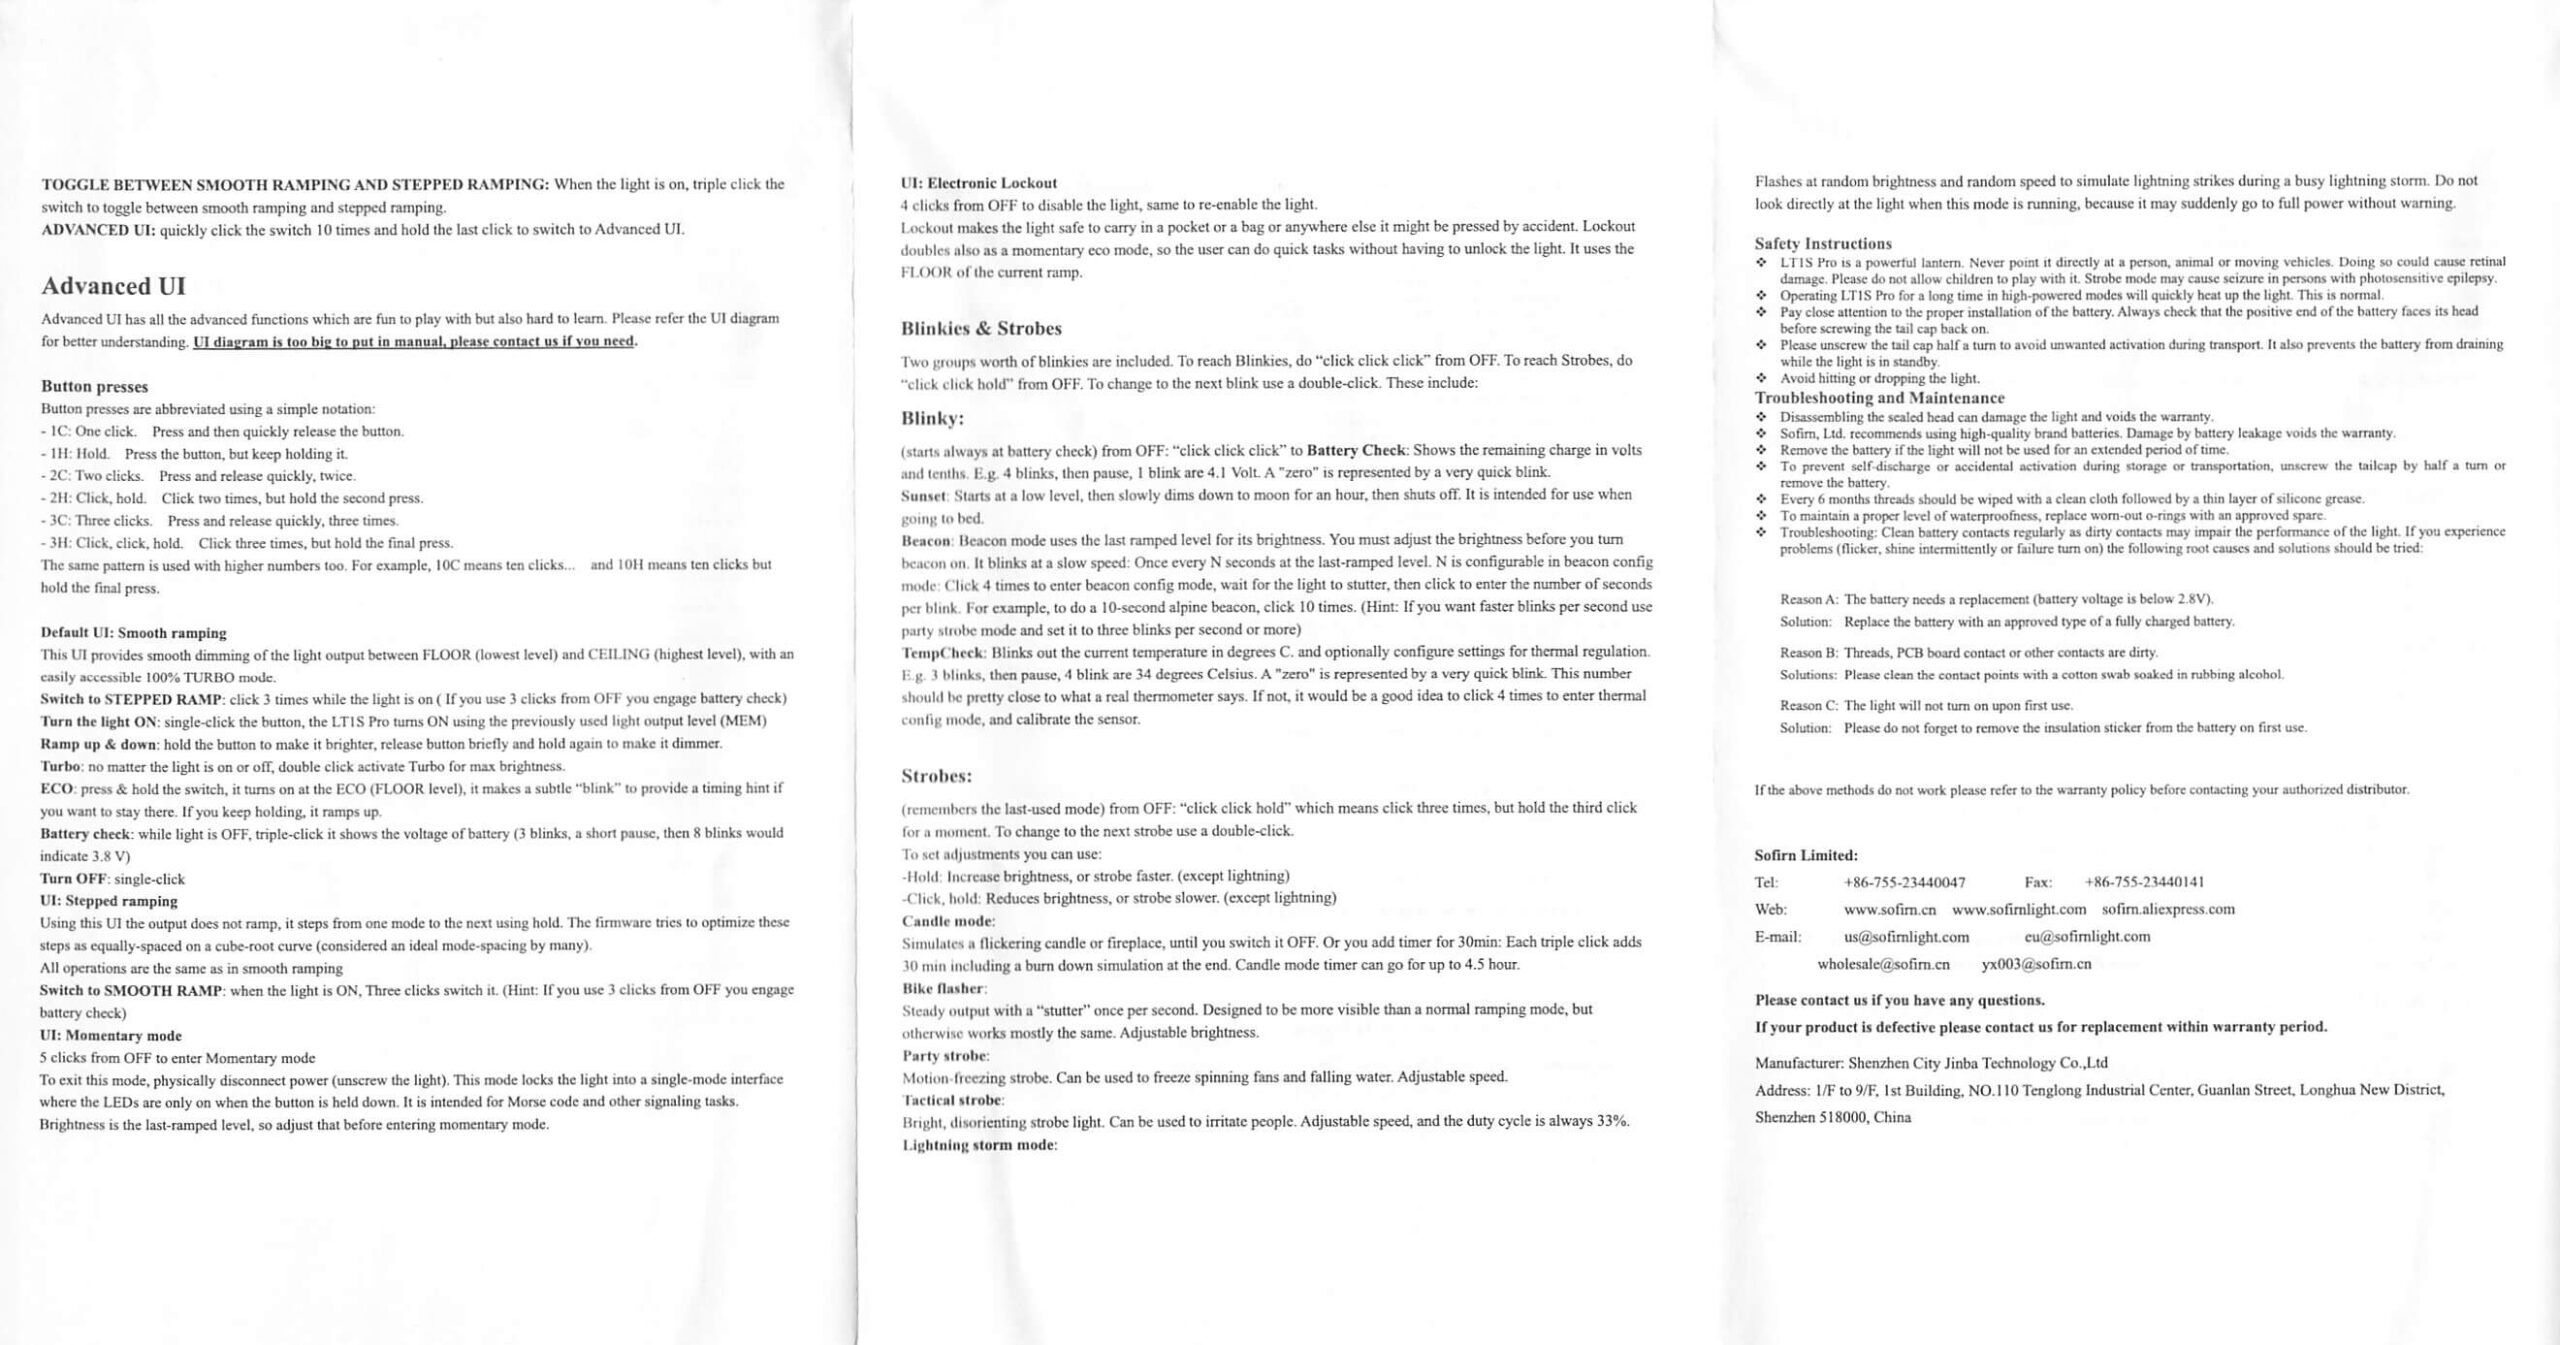
In this review, I haven’t tested every single feature – in fact, the manual included with the light doesn’t make testing the light that way very possible. The included manual isn’t really written for this light. So I’ve had to rely on user reports from around the internet. As such, this testing is possibly more brief, but trust me it was more work than usual!
Long Review
What’s Included

- Sofirn LT1S Pro camping lantern
- Sofirn 5000mAh 21700
- Charging cable (USB to USB-C)
- Spare o-rings (2)
- Manual
Package and Manual


Here’s the manual that has a good bit of incorrect info.

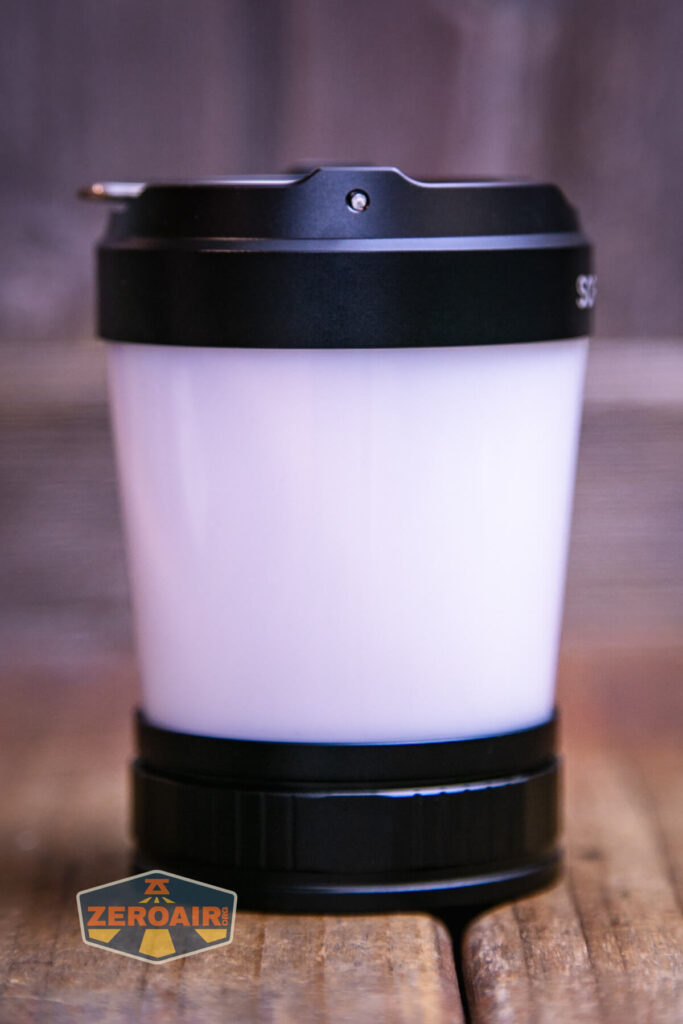
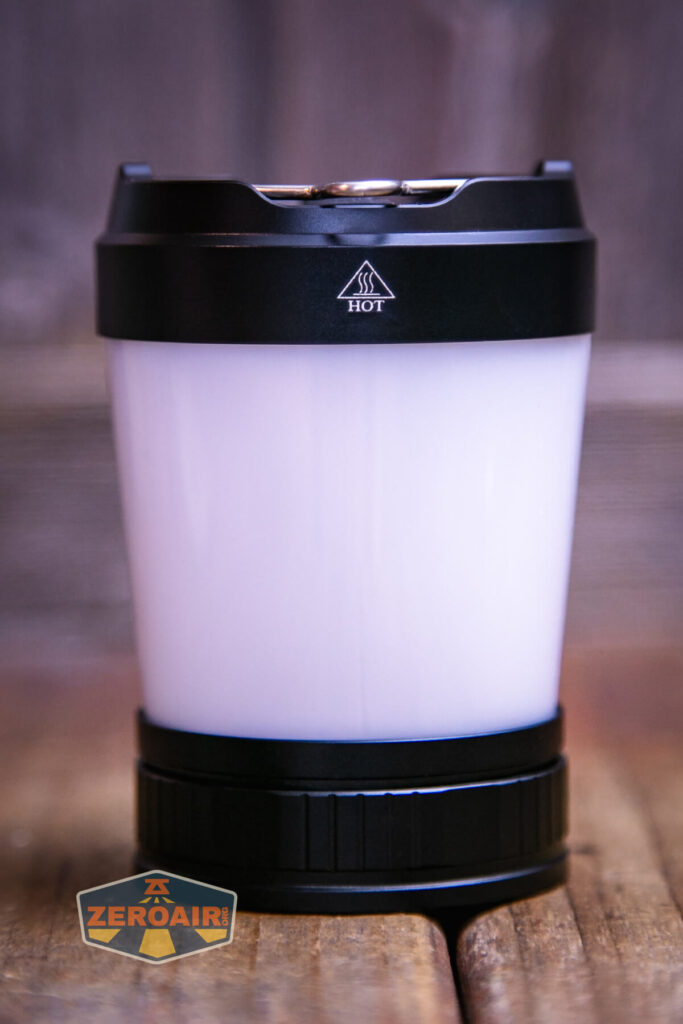
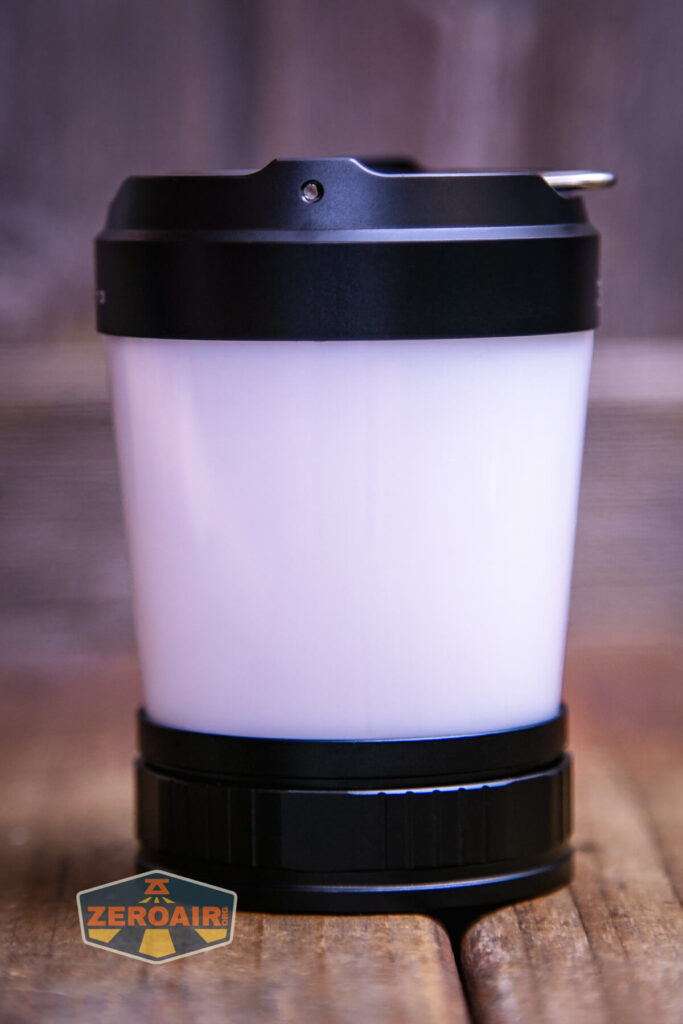
Build Quality and Disassembly
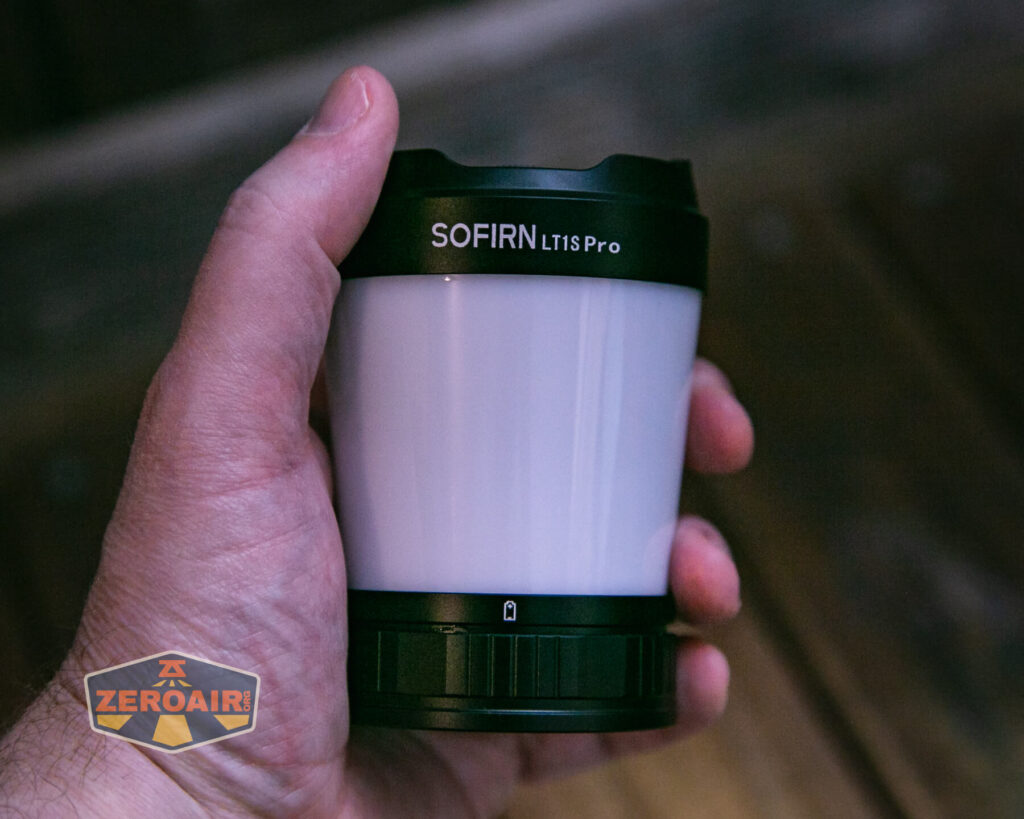
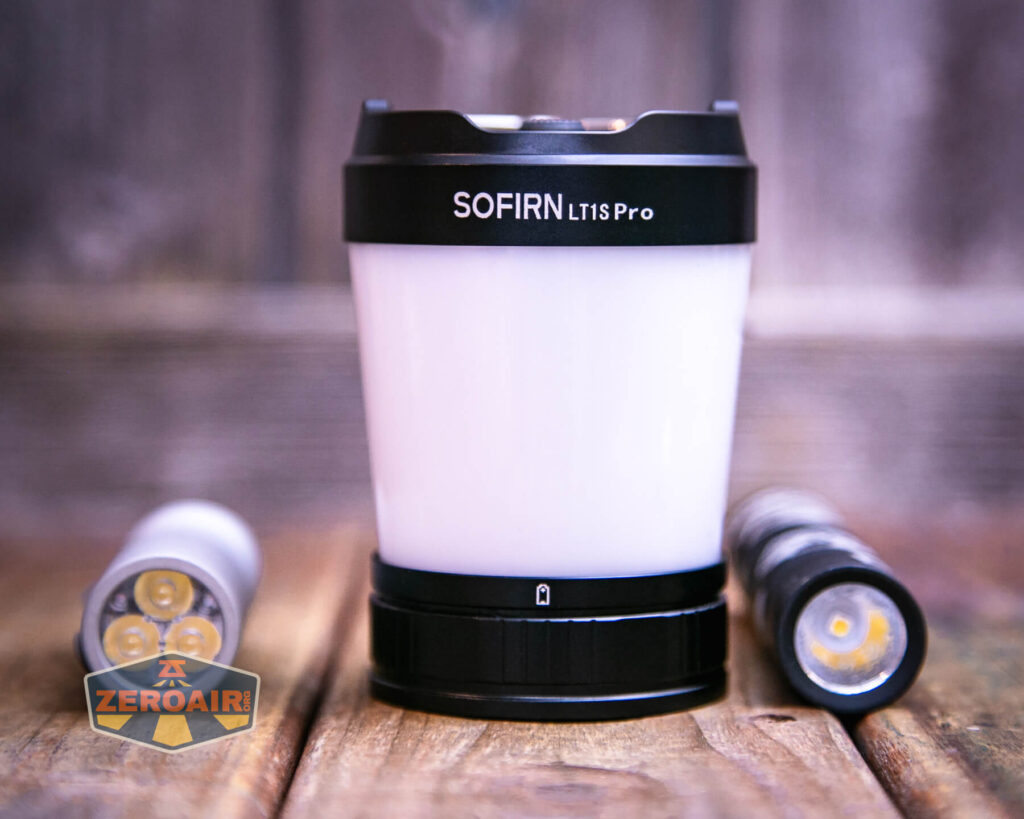
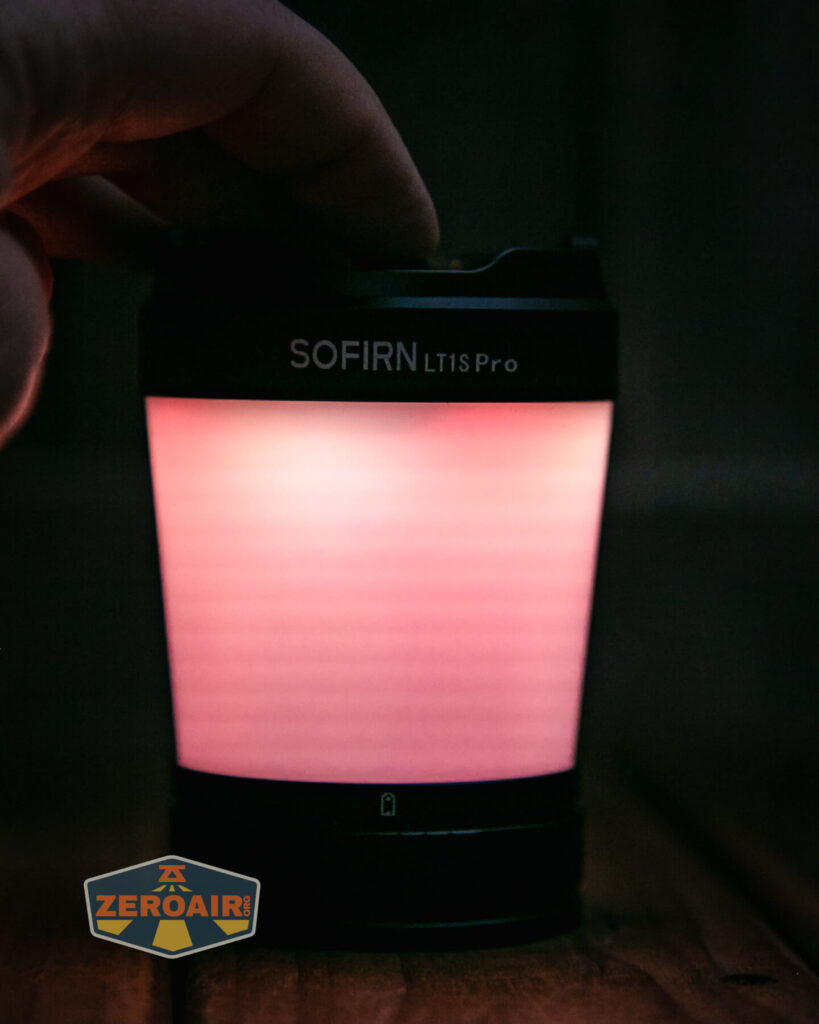
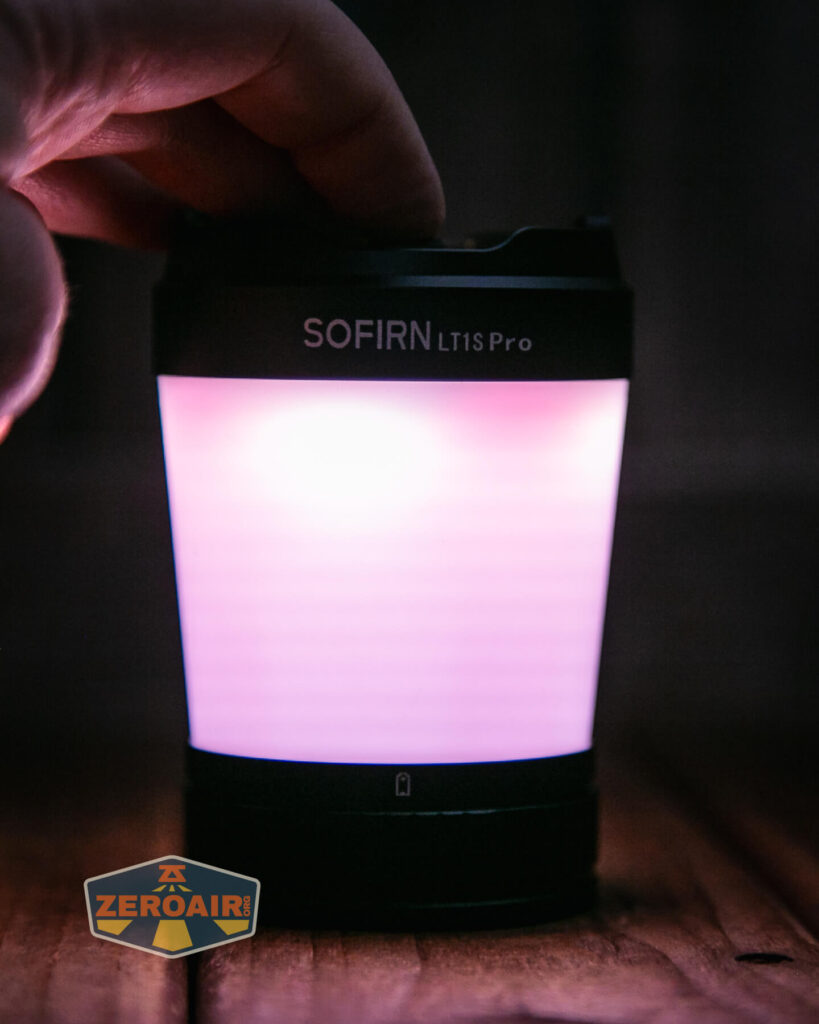
 The Sofirn LT1S Pro camping lantern is, in shape and appearance, exactly like the Sofirn LT1s (which I have tested before.) Build quality is still good. In fact, I would say there aren’t really any visible changes between the two. The other one was good. This one is good.
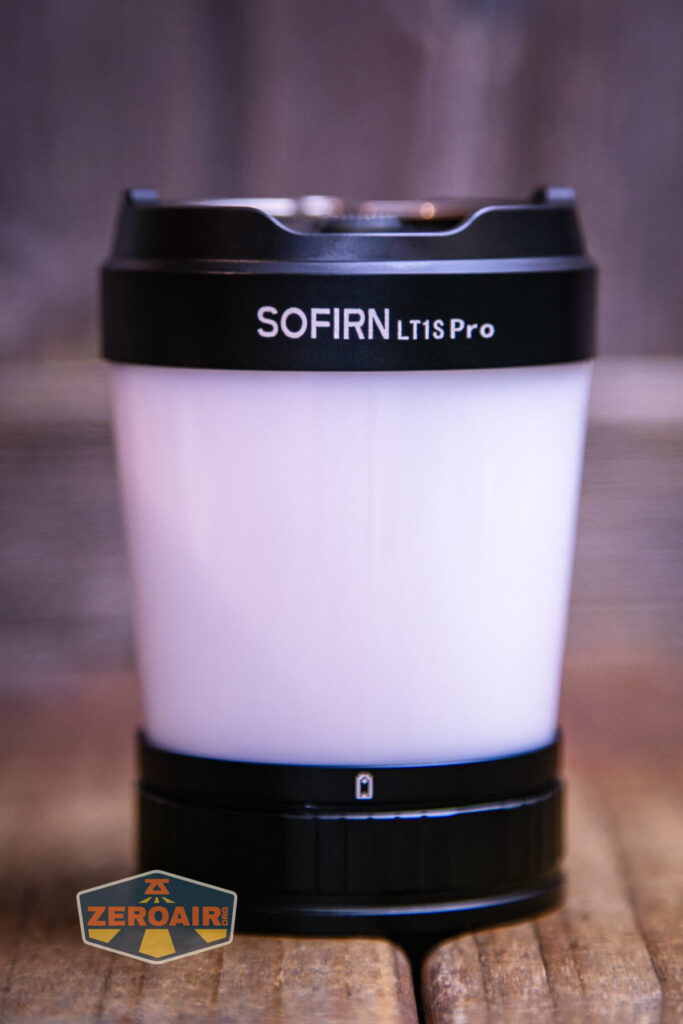
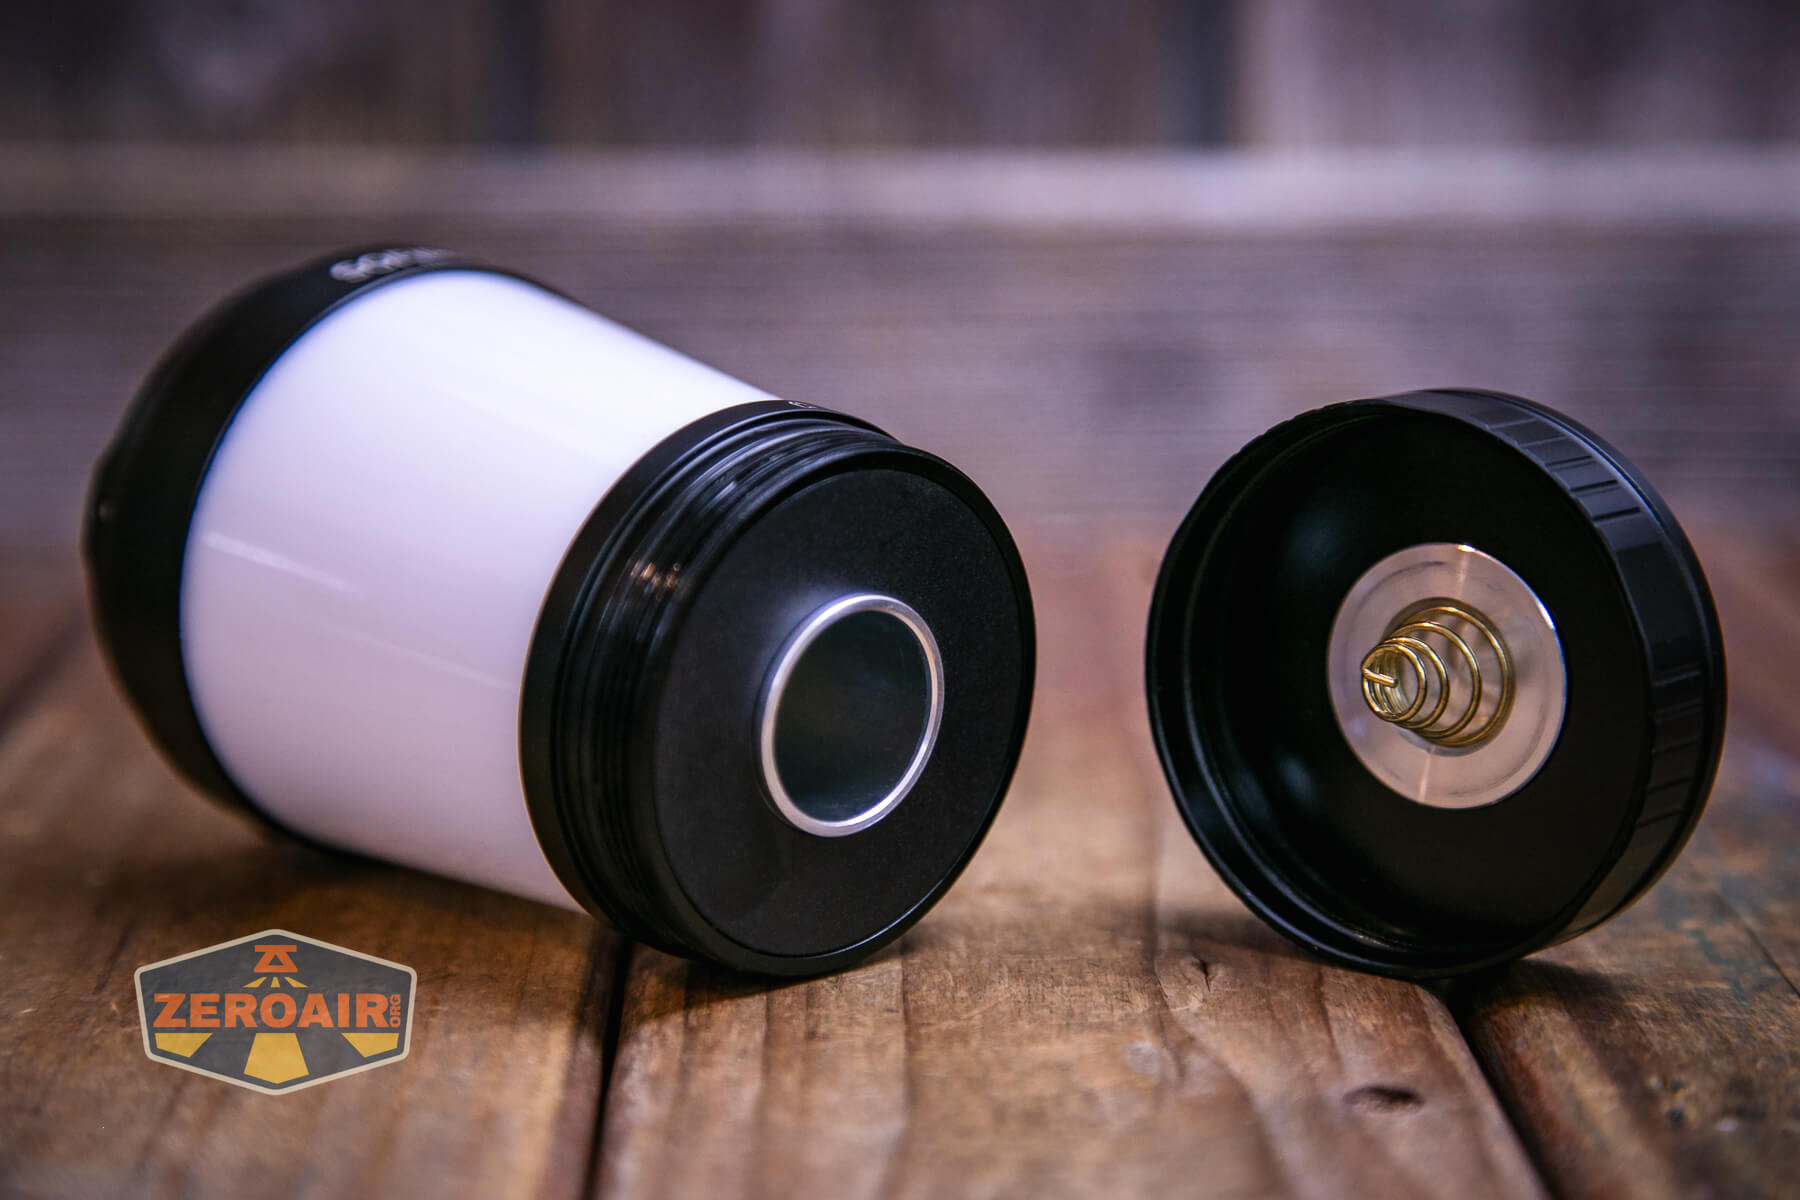
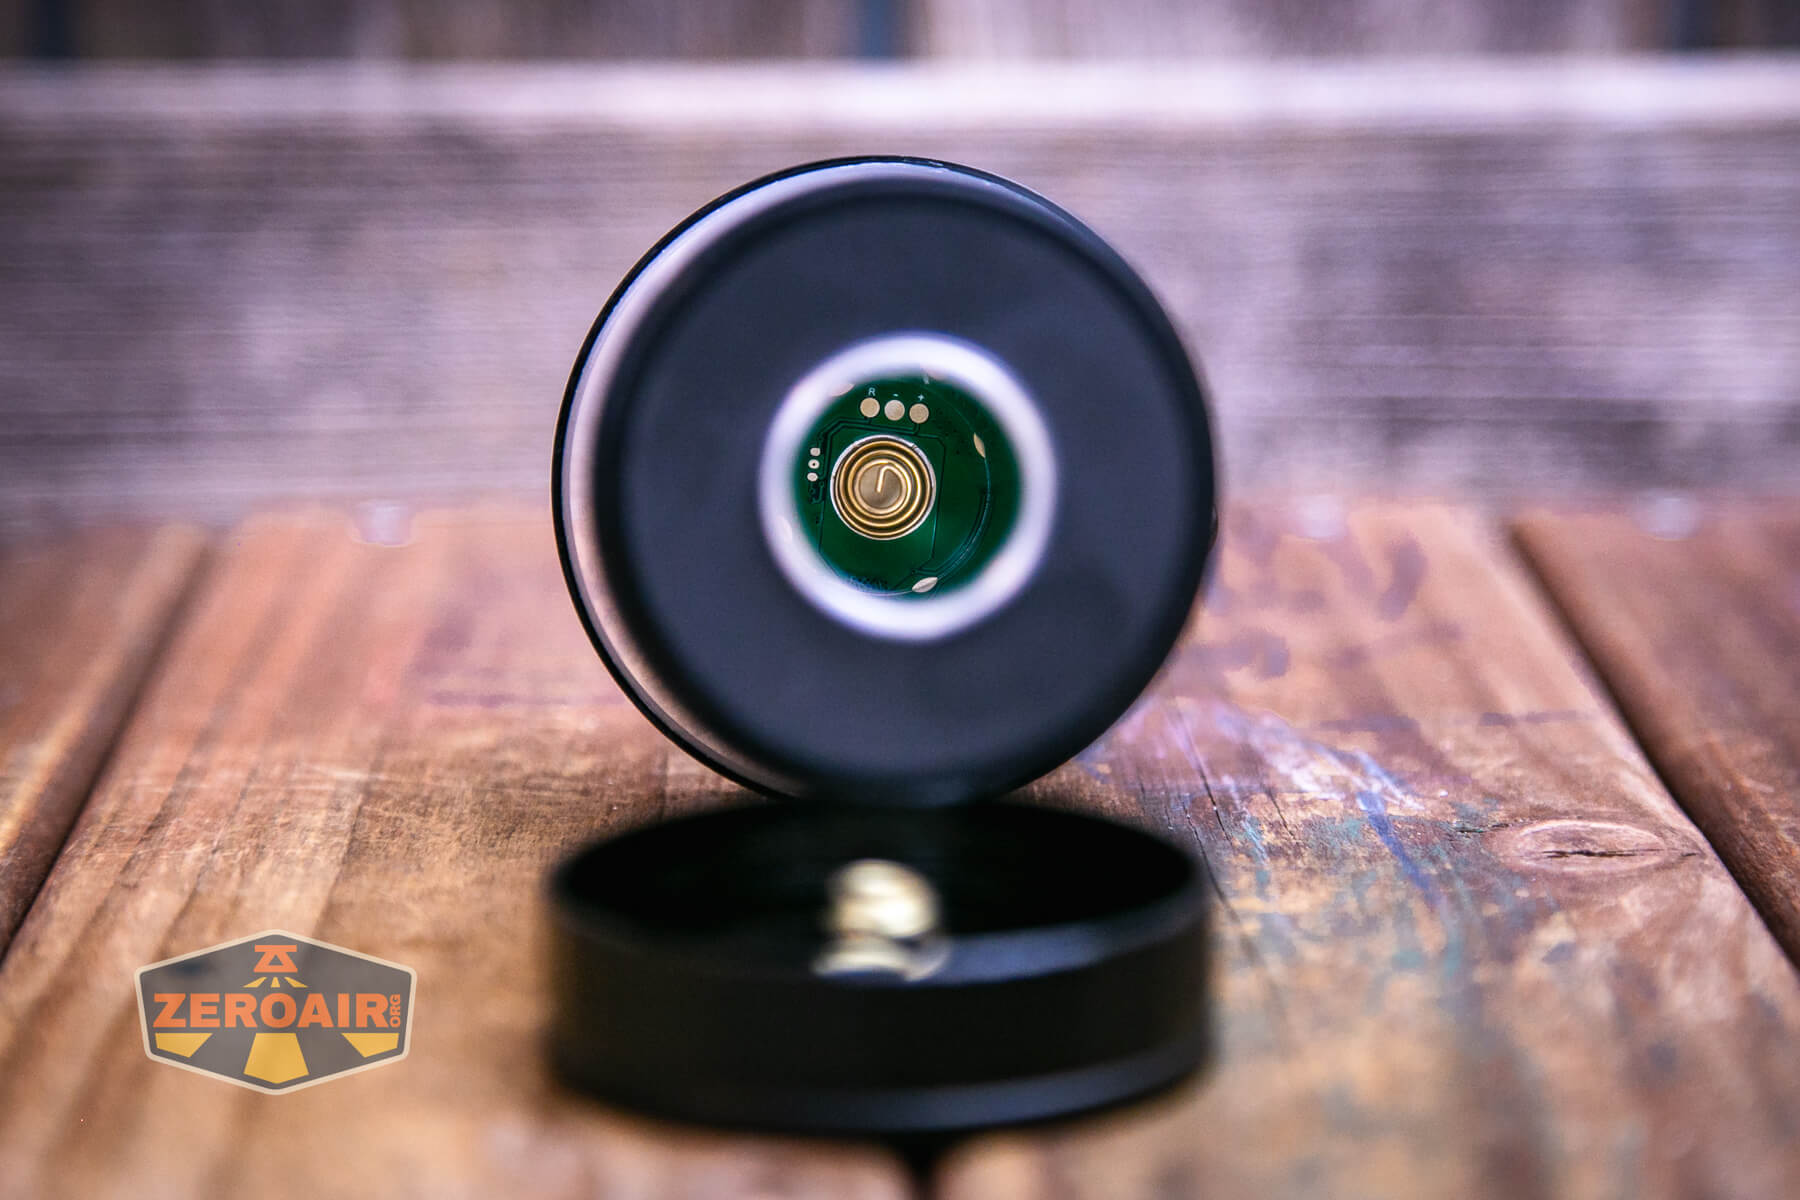
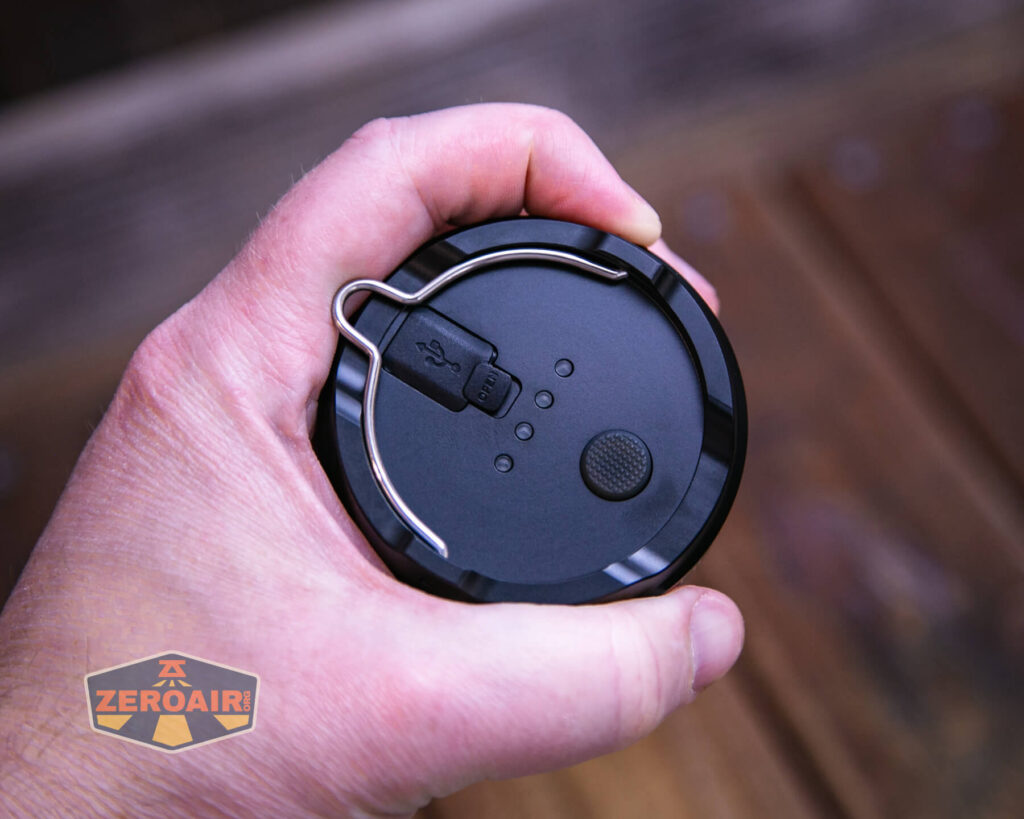
Both head and tail have a nice big spring.
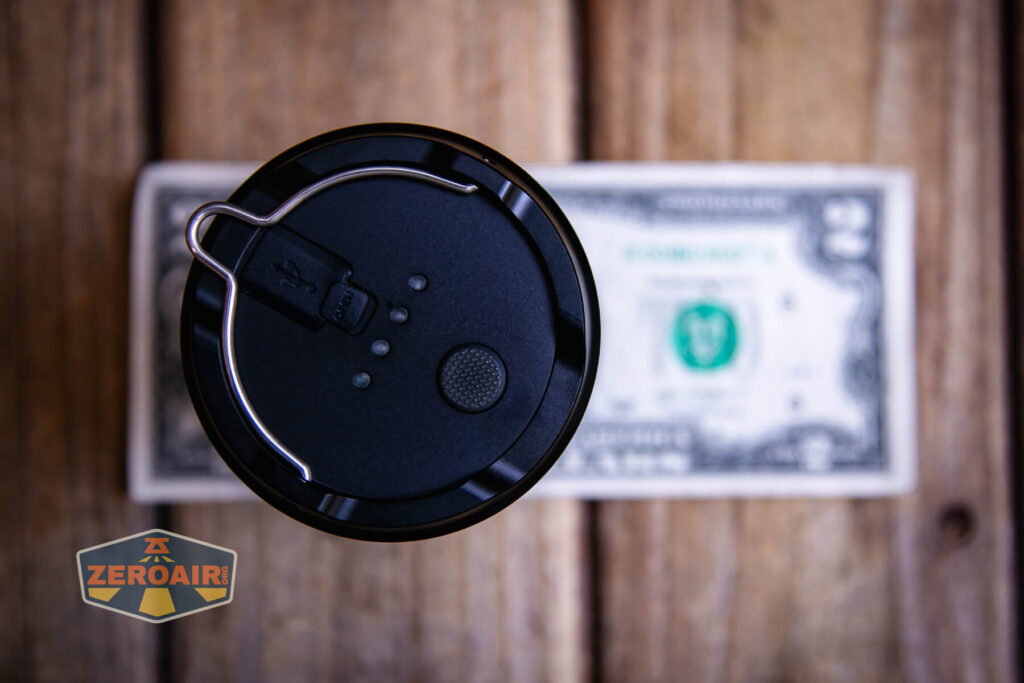
The top has a switch, four charge indicators, and a USB-C charging port.

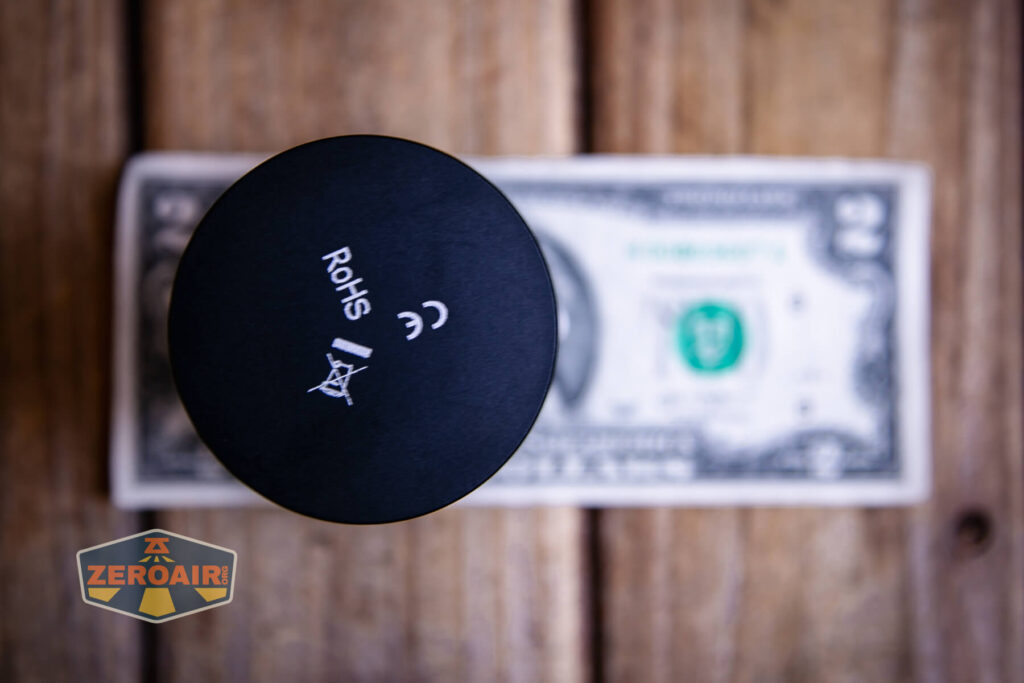
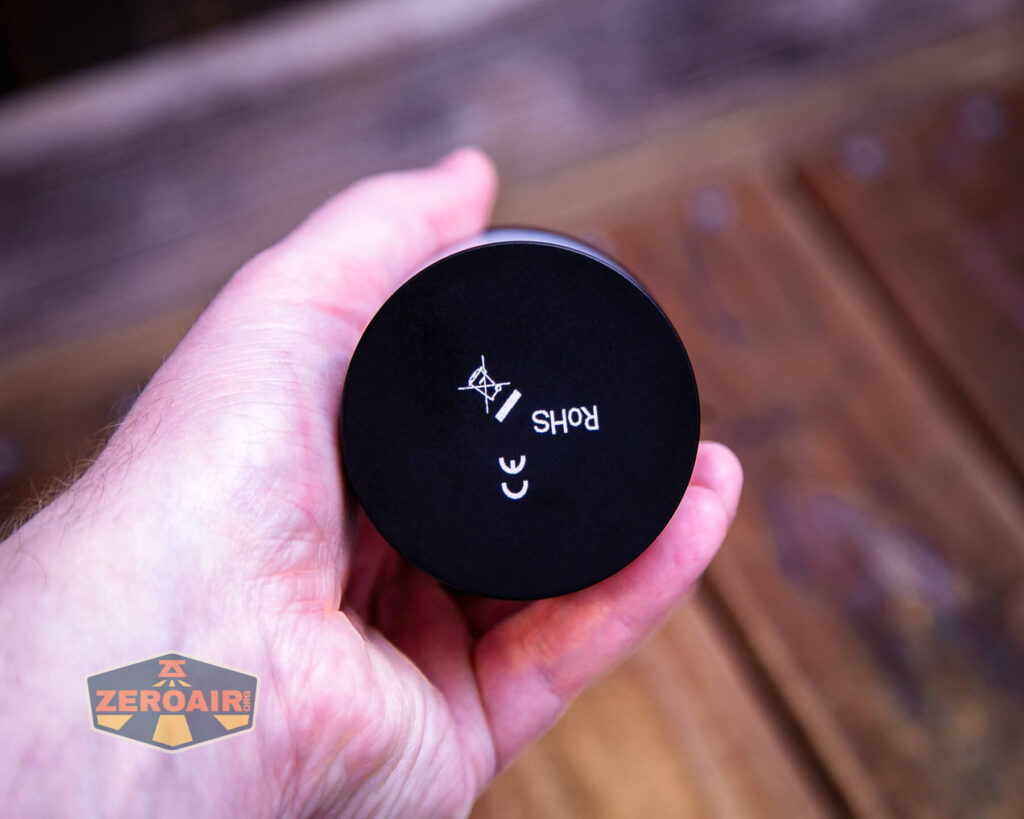
The bottom doesn’t have anything! Just some updated text. (Actually, the text is the same, it’s just placed a bit differently.)
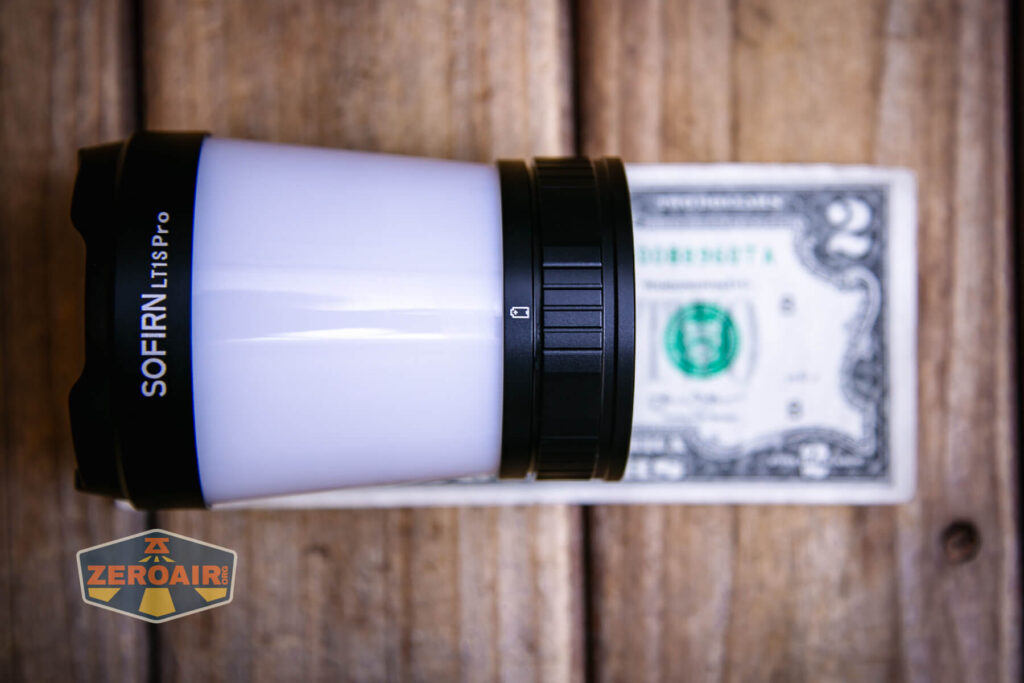
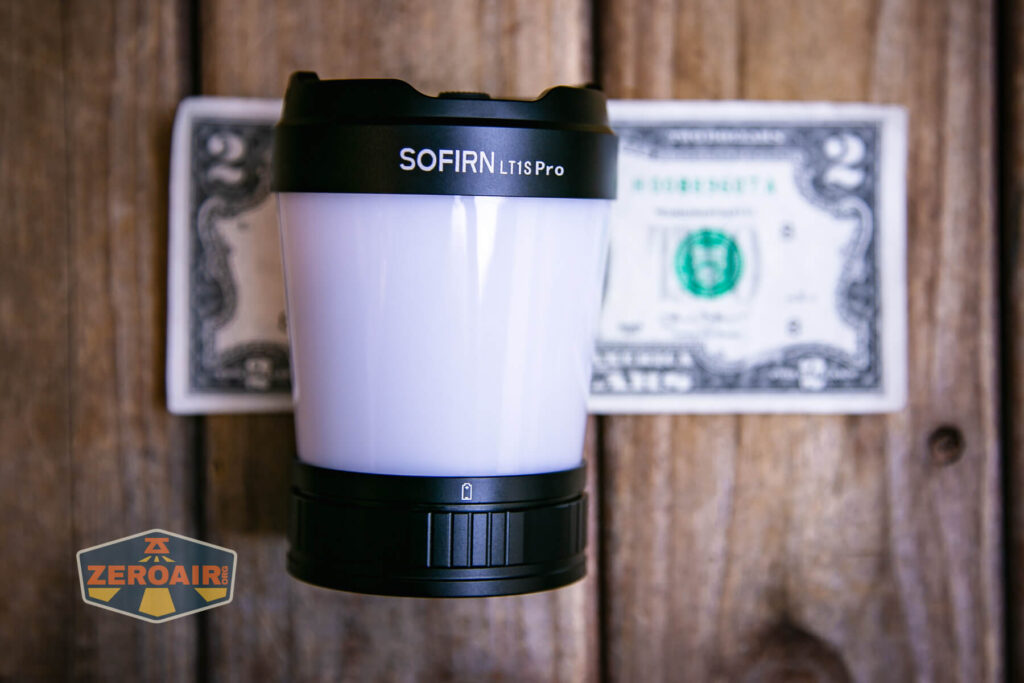
Size and Comps
97mm x 68mm
257g (without cell)
If the flashlight will headstand, I’ll show it here (usually the third photo). If the flashlight will tailstand, I’ll also show that (usually in the fourth photo).

Here’s the test light with the venerable Convoy S2+. The version below is a custom laser-engraved Convoy S2+ host by GadgetConnections.com. I did a full post on an engraved orange host right here! Or go straight to GadgetConnections.com to buy your Convoy S2+ now!
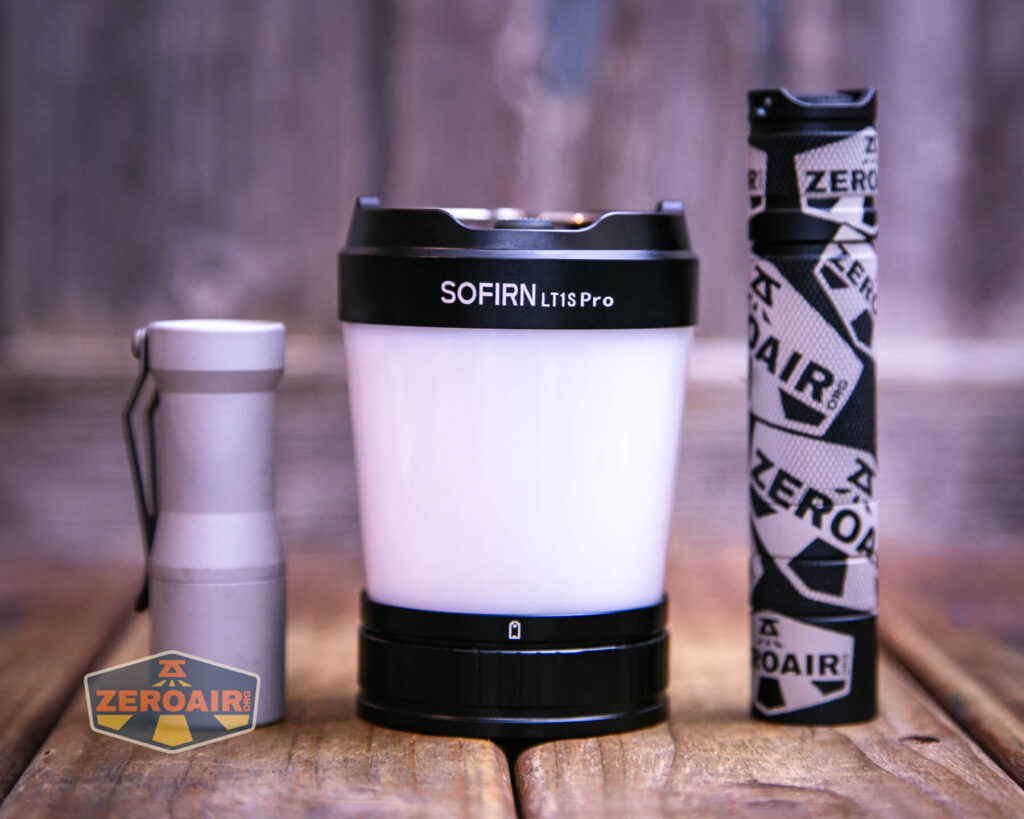
Also above is the light beside a new standard 18350 light! It’s not one I’ve reviewed yet but this is the CWF Arcadian Peanut in aluminum. This one is stonewashed and has the new Quantum Dragon driver – a whole new product! Stay tuned for a full review of this tiny powerhouse!
Retention and Carry
As a lantern, the LT1S Pro smartly has a beefy hanging loop on the top. This loop folds down or up easily and can fold to either side.

That’s it!
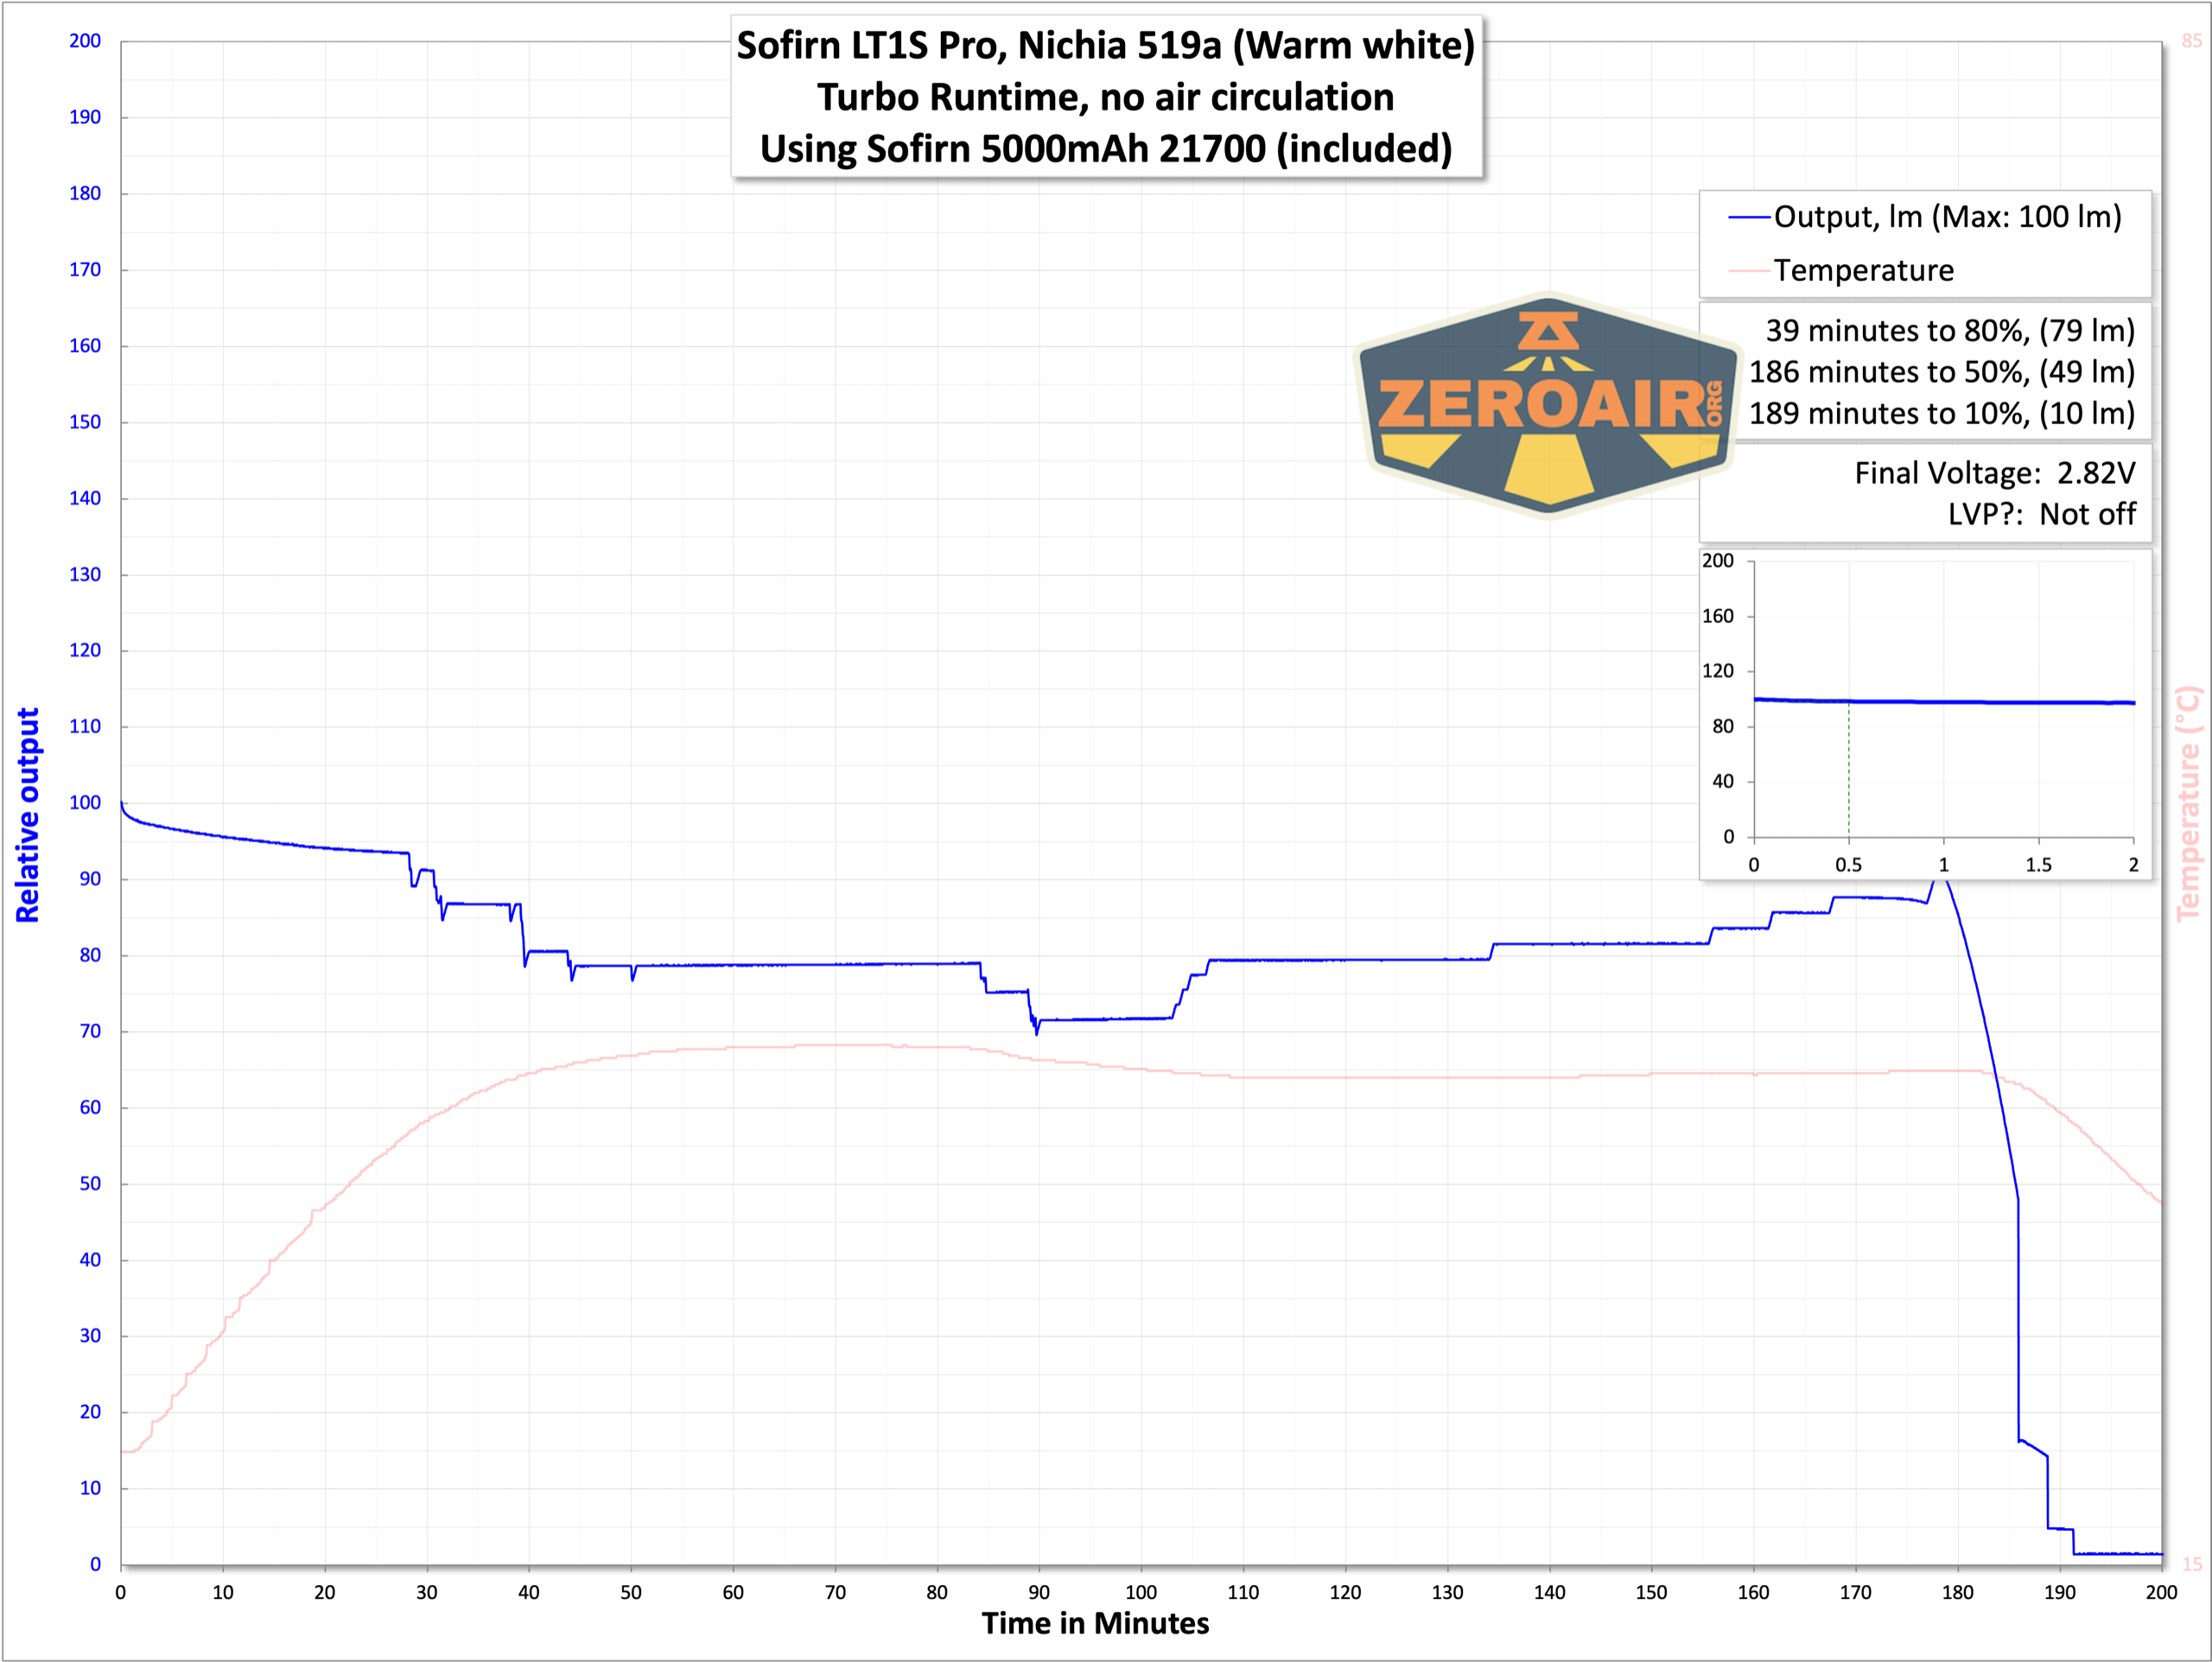
Power and Runtime
The Sofirn LT1S Pro camping lantern is powered by a single lithium-ion battery. If you go for the package deal, you’ll get the 5000mAh 21700 seen below.
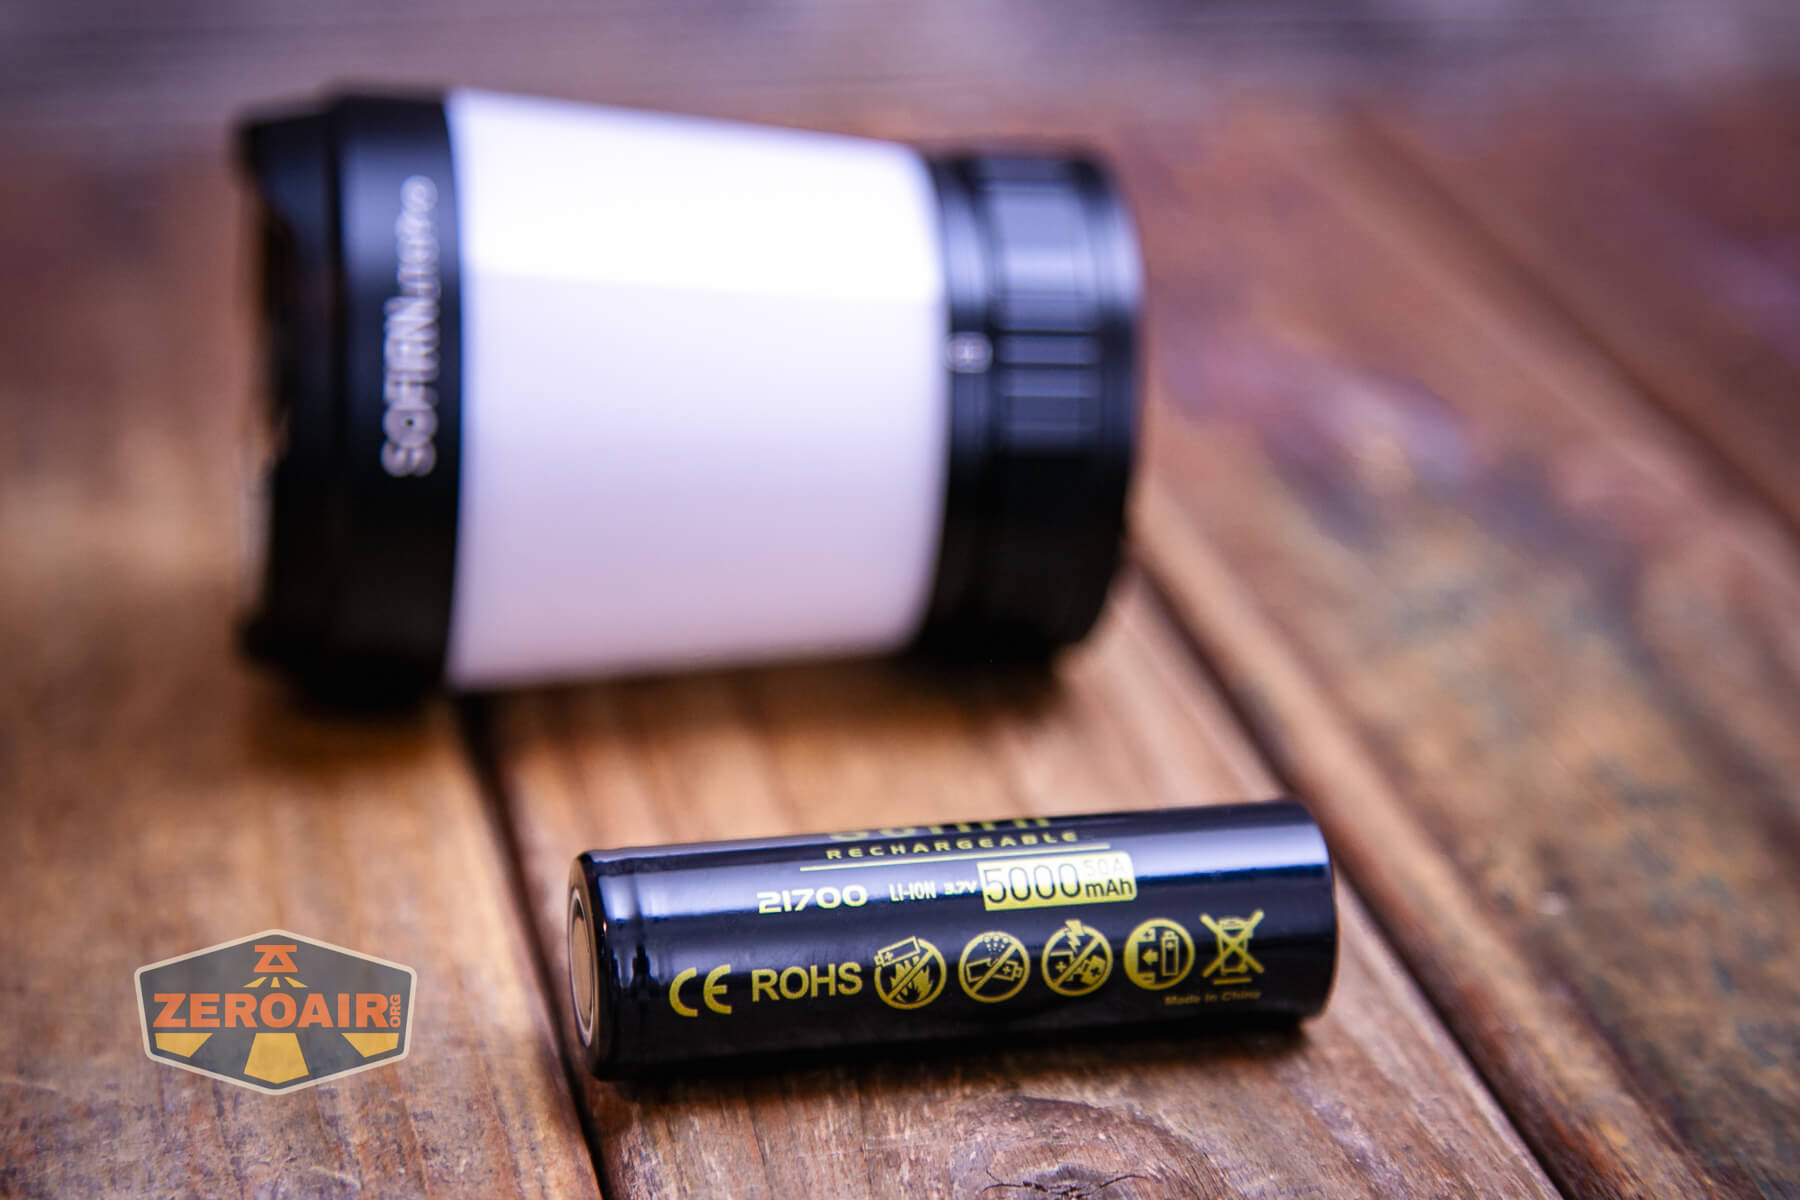
The cell goes into the LT1S with the positive end toward the top of the light.

In case you forget which way to put the cell in, you can reference this icon on the base of the LT1S Pro. Because the cell is a flat top, this icon doesn’t really represent what you’ll see. But the cell is labeled with a plus and minus, so you can observe that, anyway.

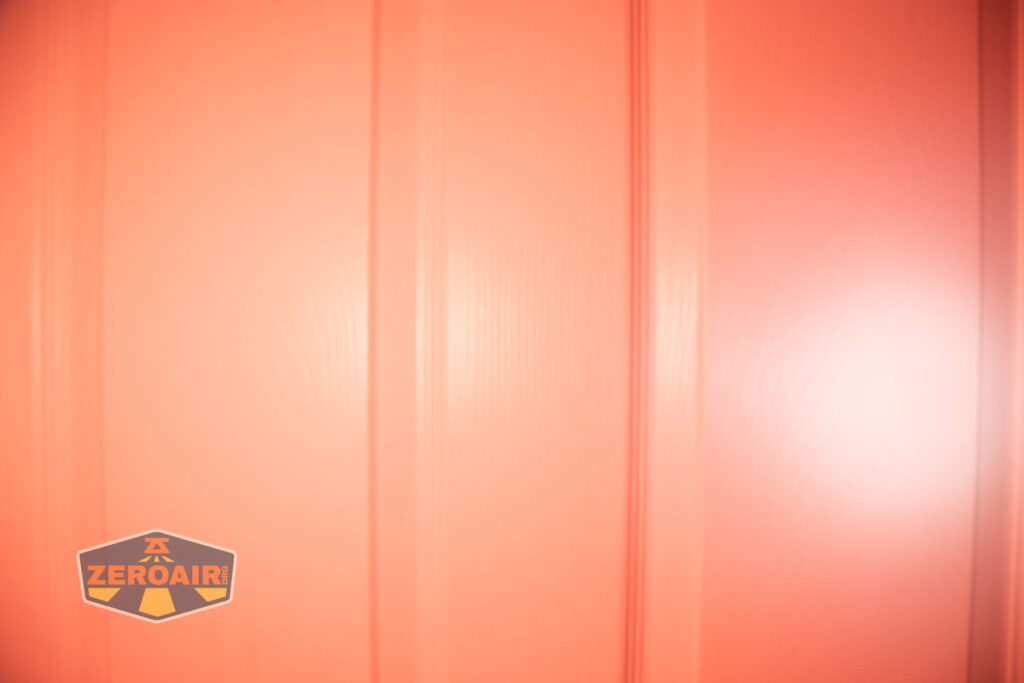
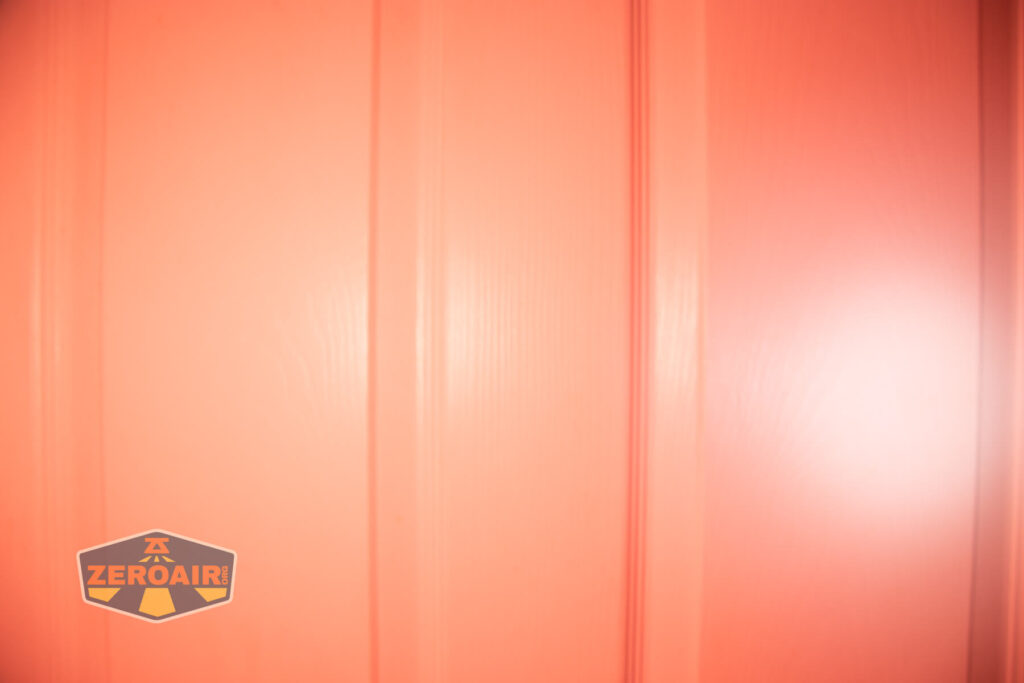
Because the output is 360°, I’ve just recorded these levels as percentages, and really only tested a couple of example output levels.

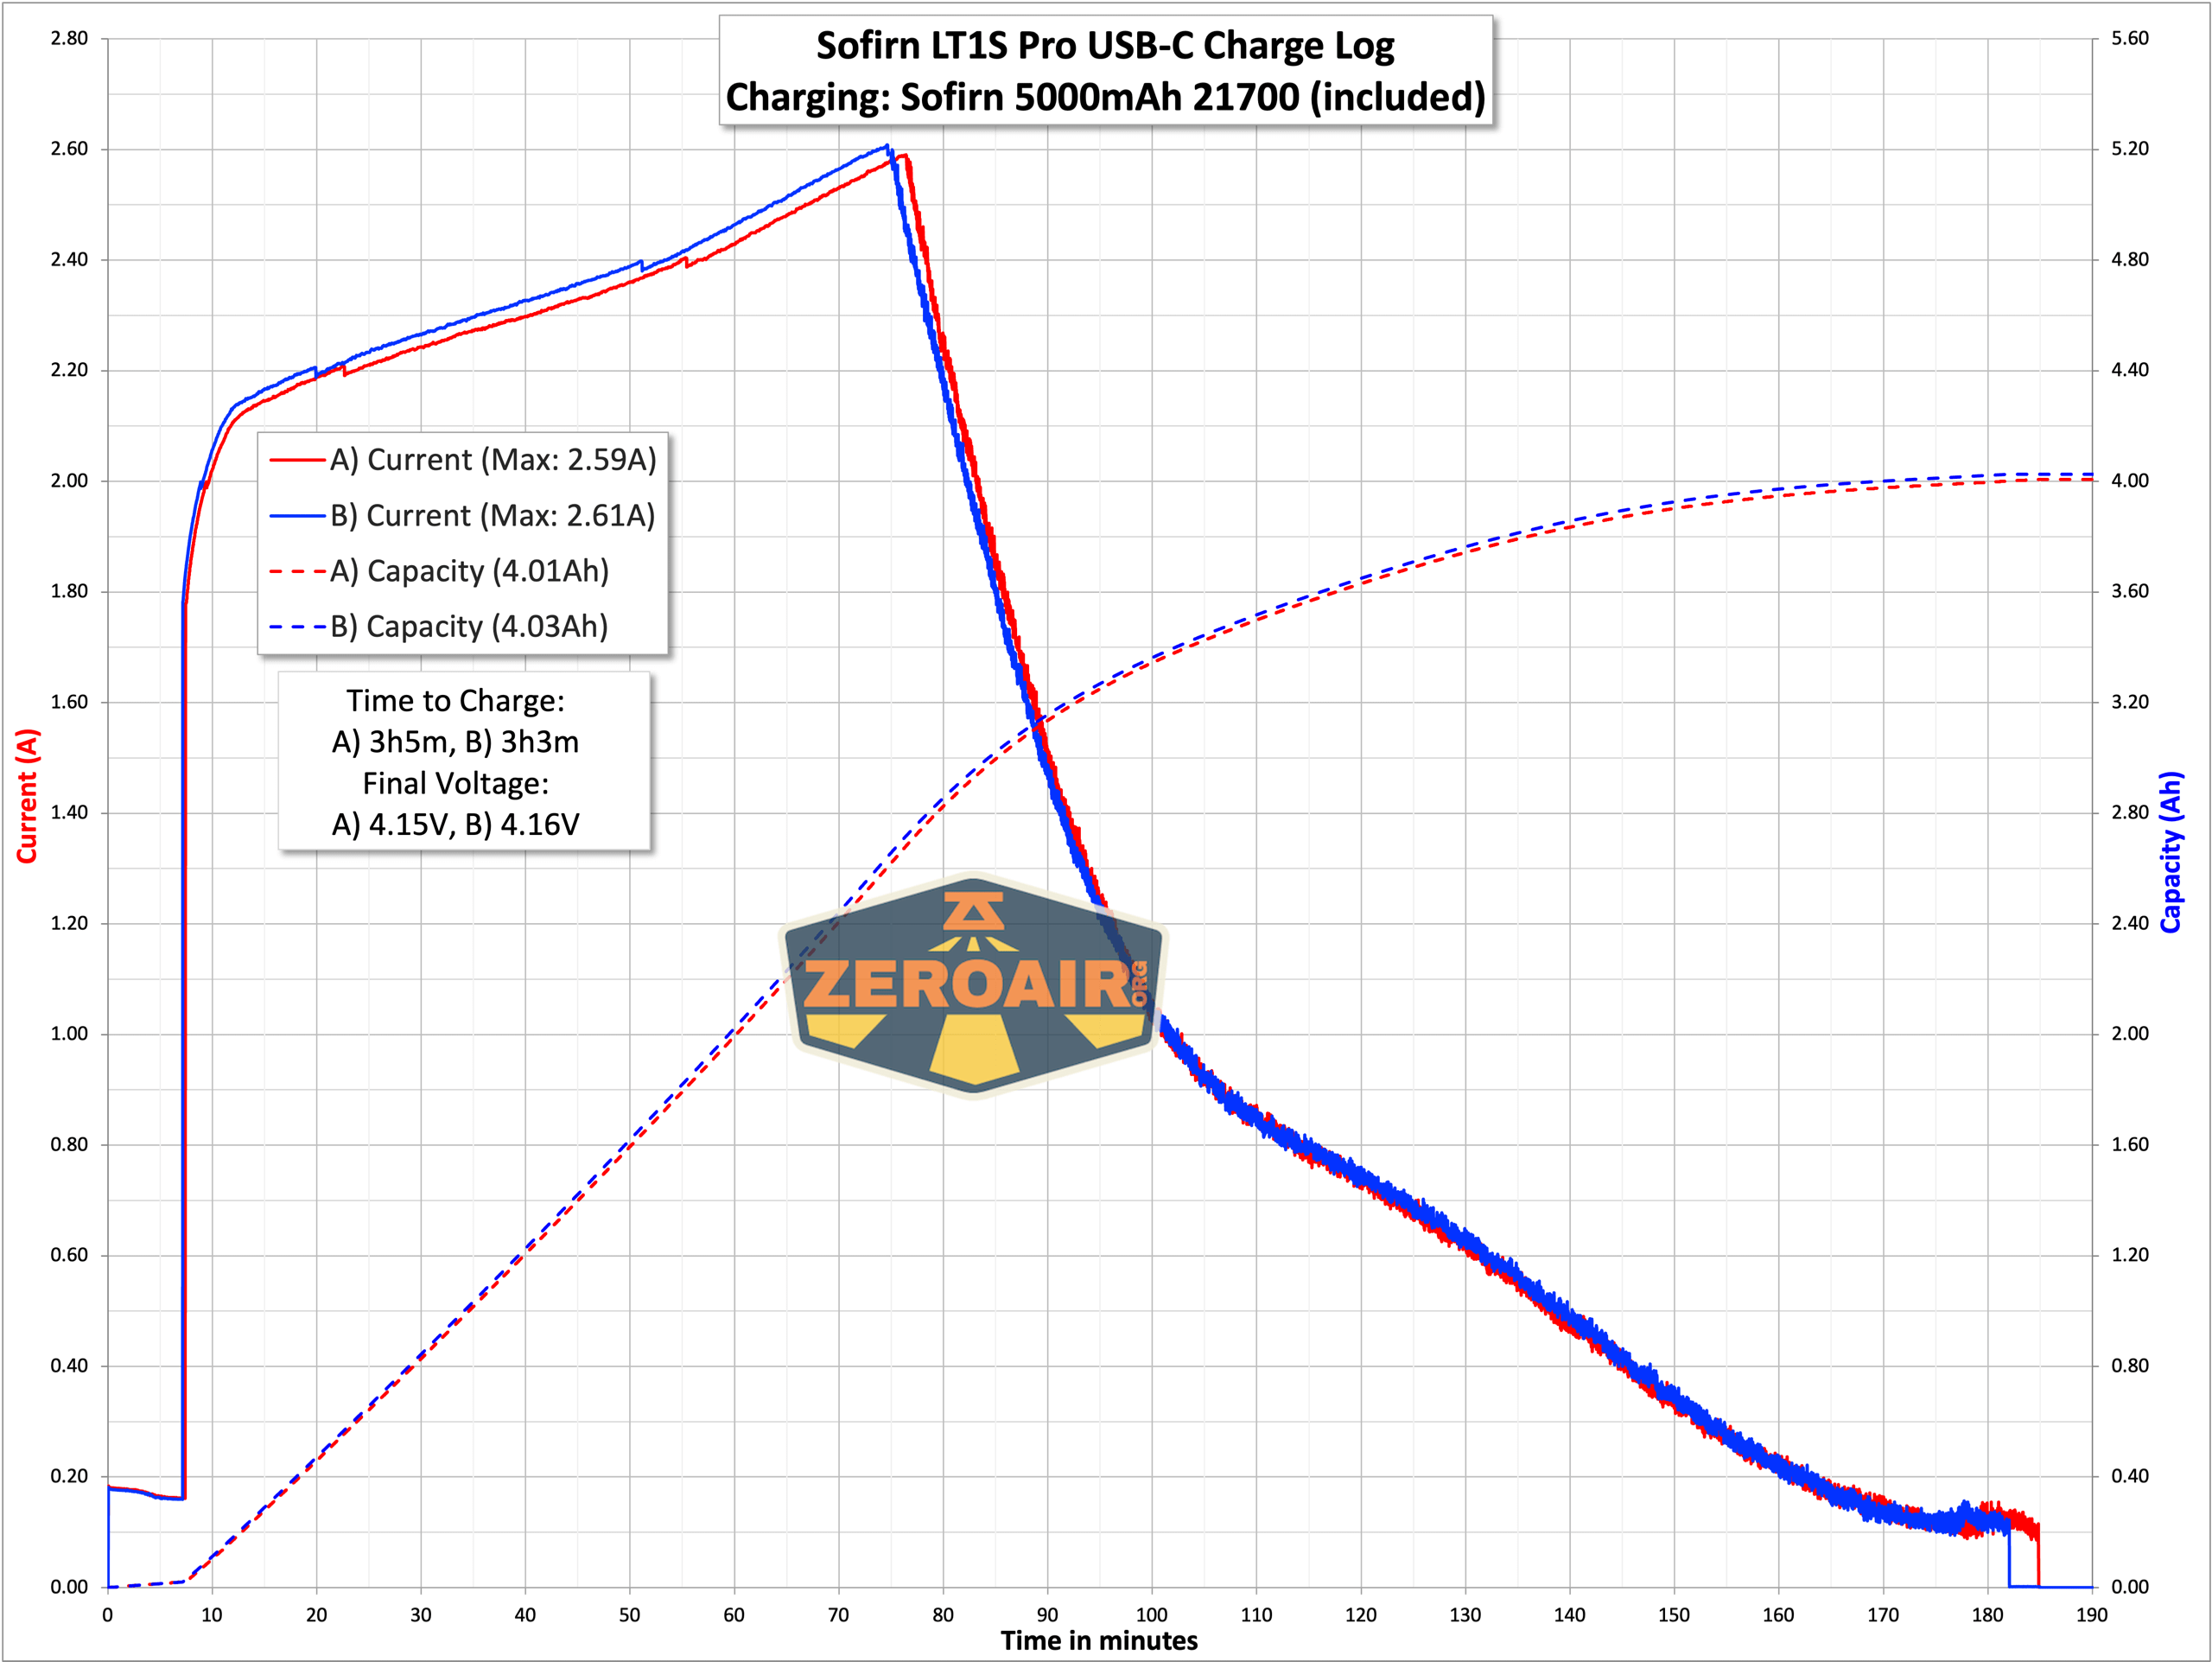
Charging
The LT1S Pro sports USB-C charging and the charging port is on the top. It’s covered with a press-in rubber cover.

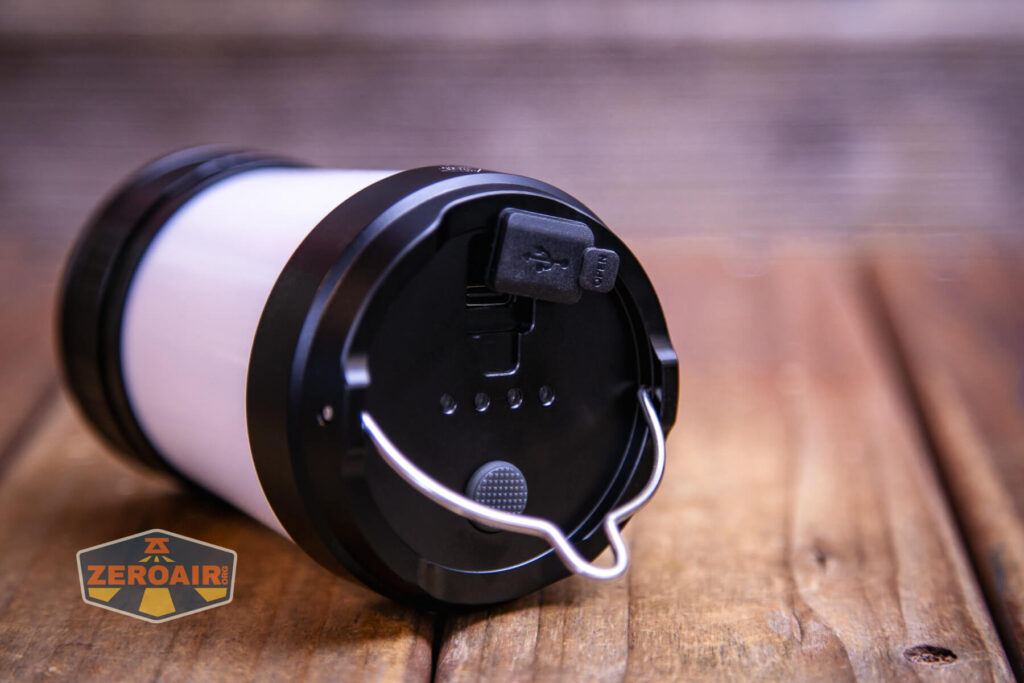
An appropriate cable is included. It’s USB to USB-C.

Charging looks very good at nearly 3A! For a 5000mAh cell like the one that’s included, 3A is perfectly fine.
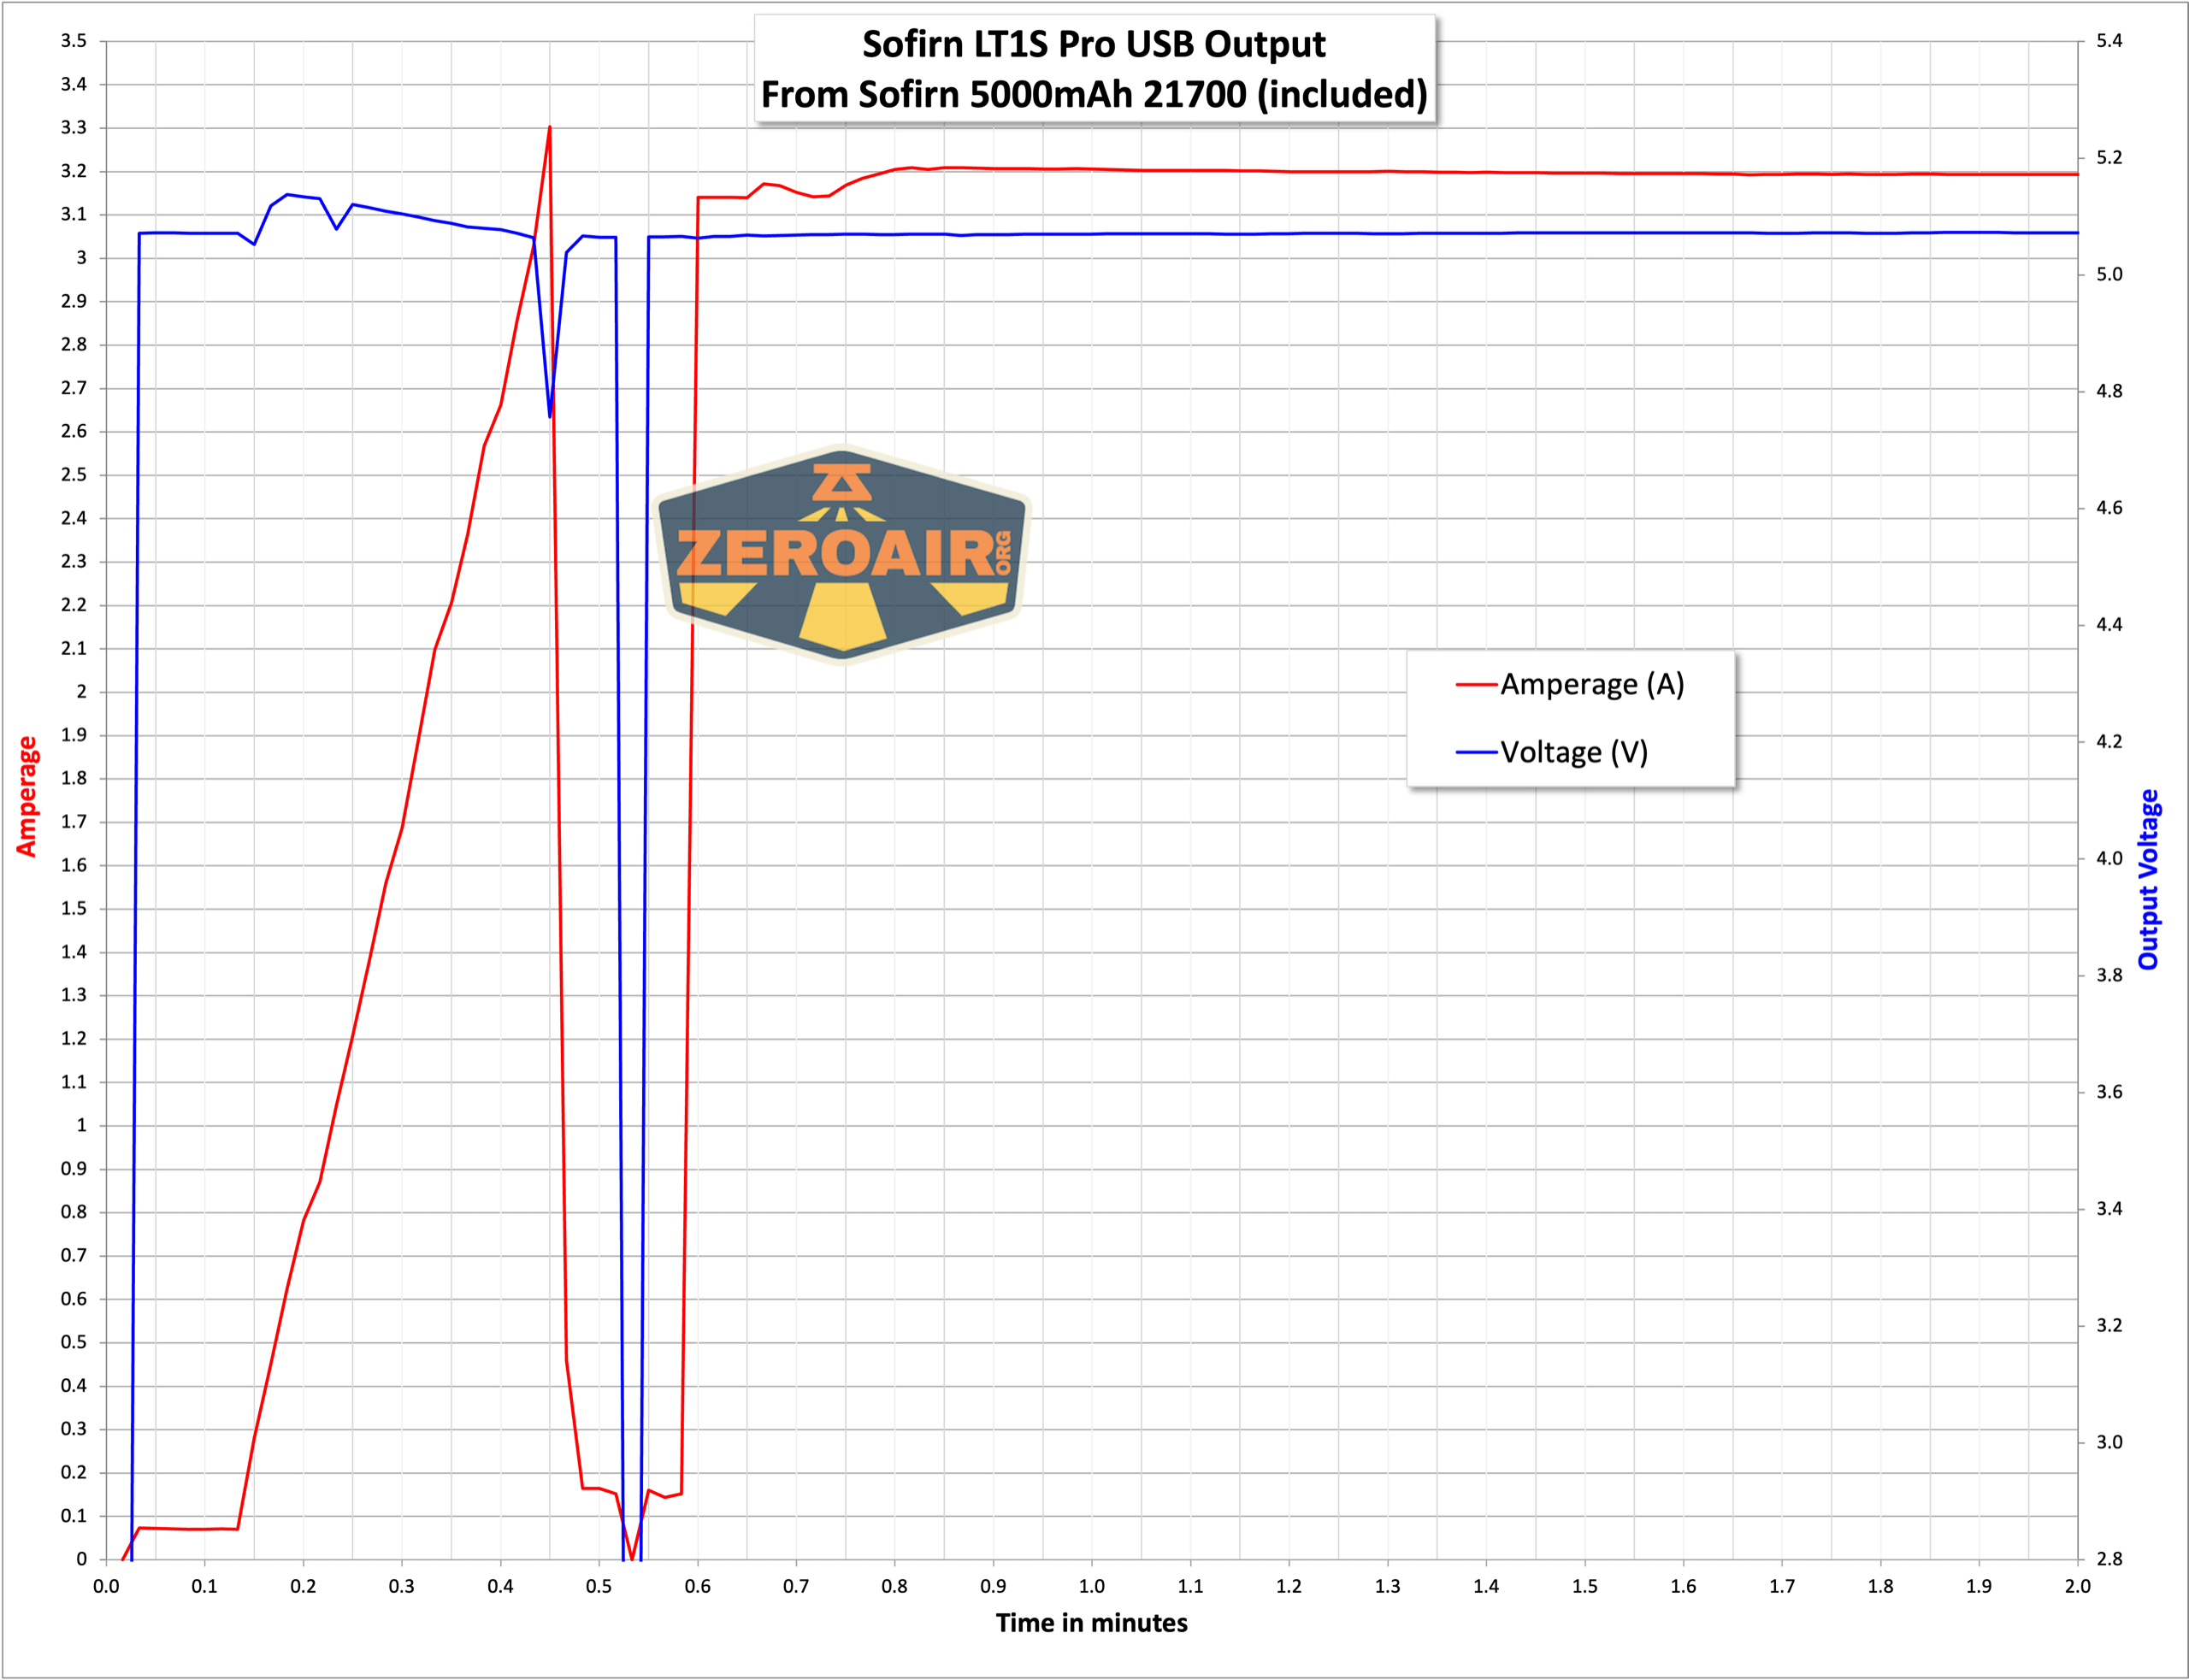
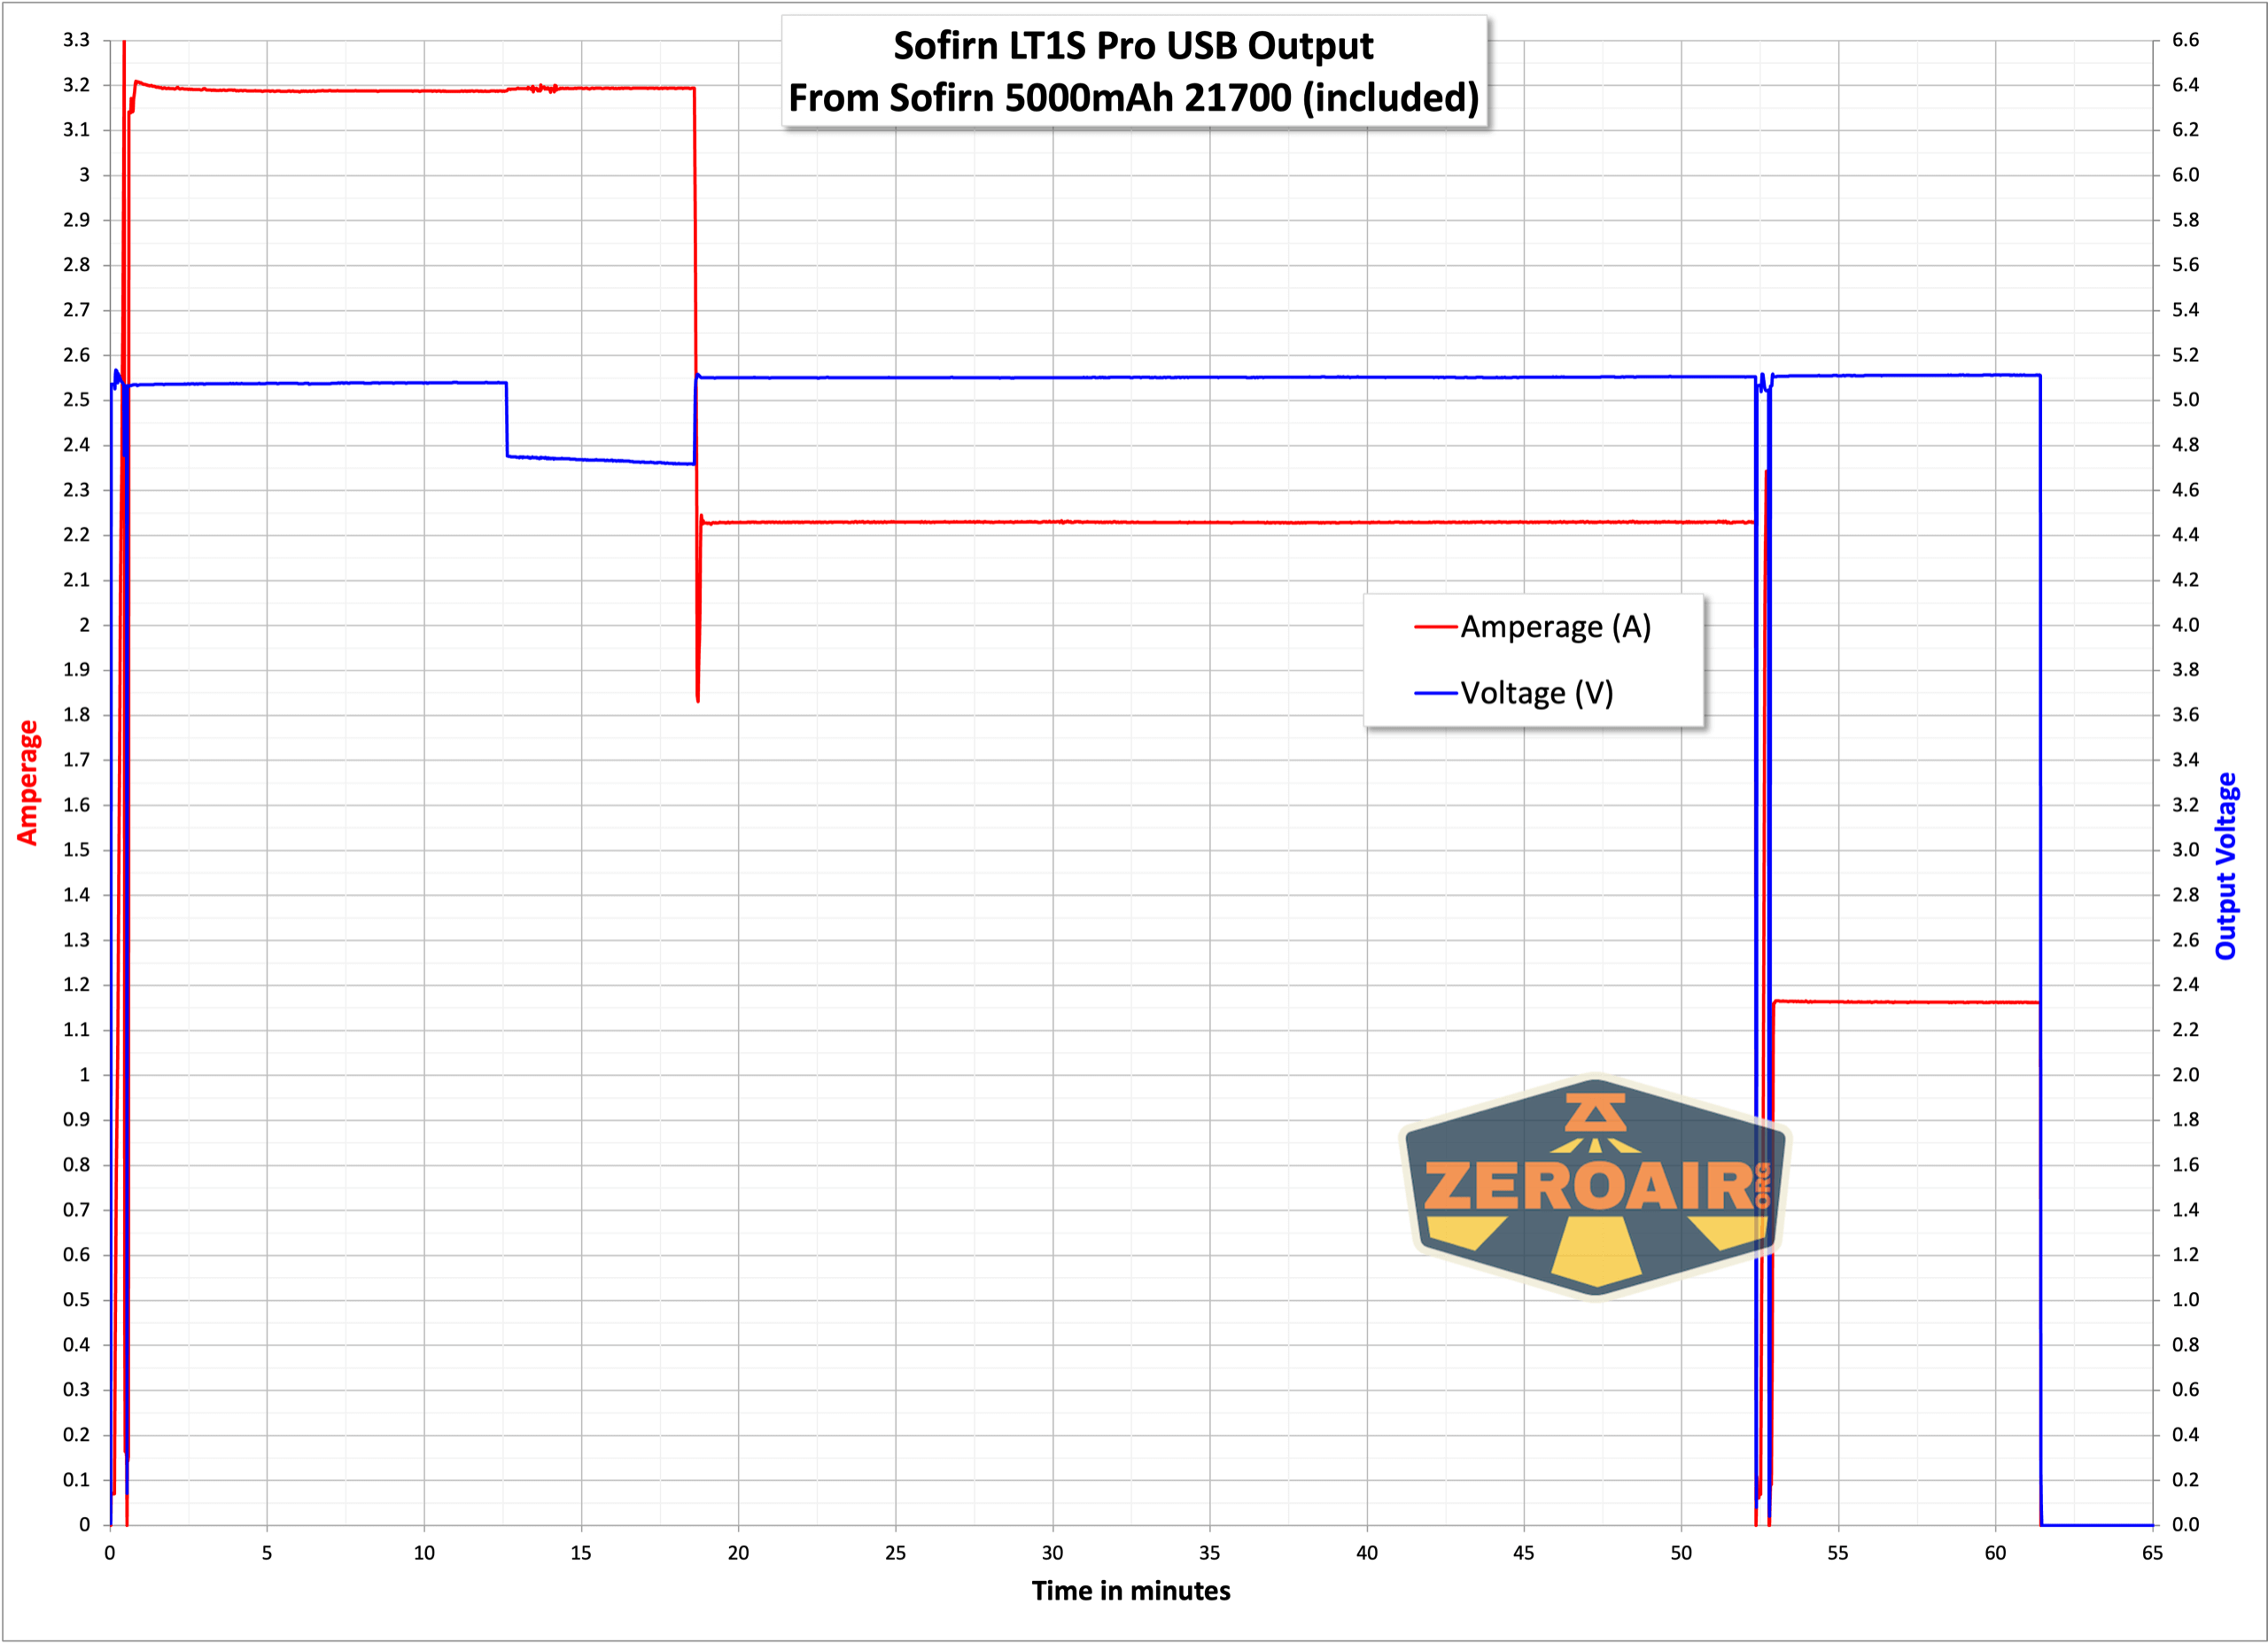
Powerbank
The powerbank feature on the LT1S works great, too! I did a sort of “stress test” on the output – run at the highest level where it stays at around 5V until it shuts off, then repeat at the next lower level. The USB-C port can output over 3A at 5V, which is very good. After that shuts off, you can cycle the port and get 2A for a while, then 1A for a while. Just unplug/plug your device. Here are a couple of graphs!
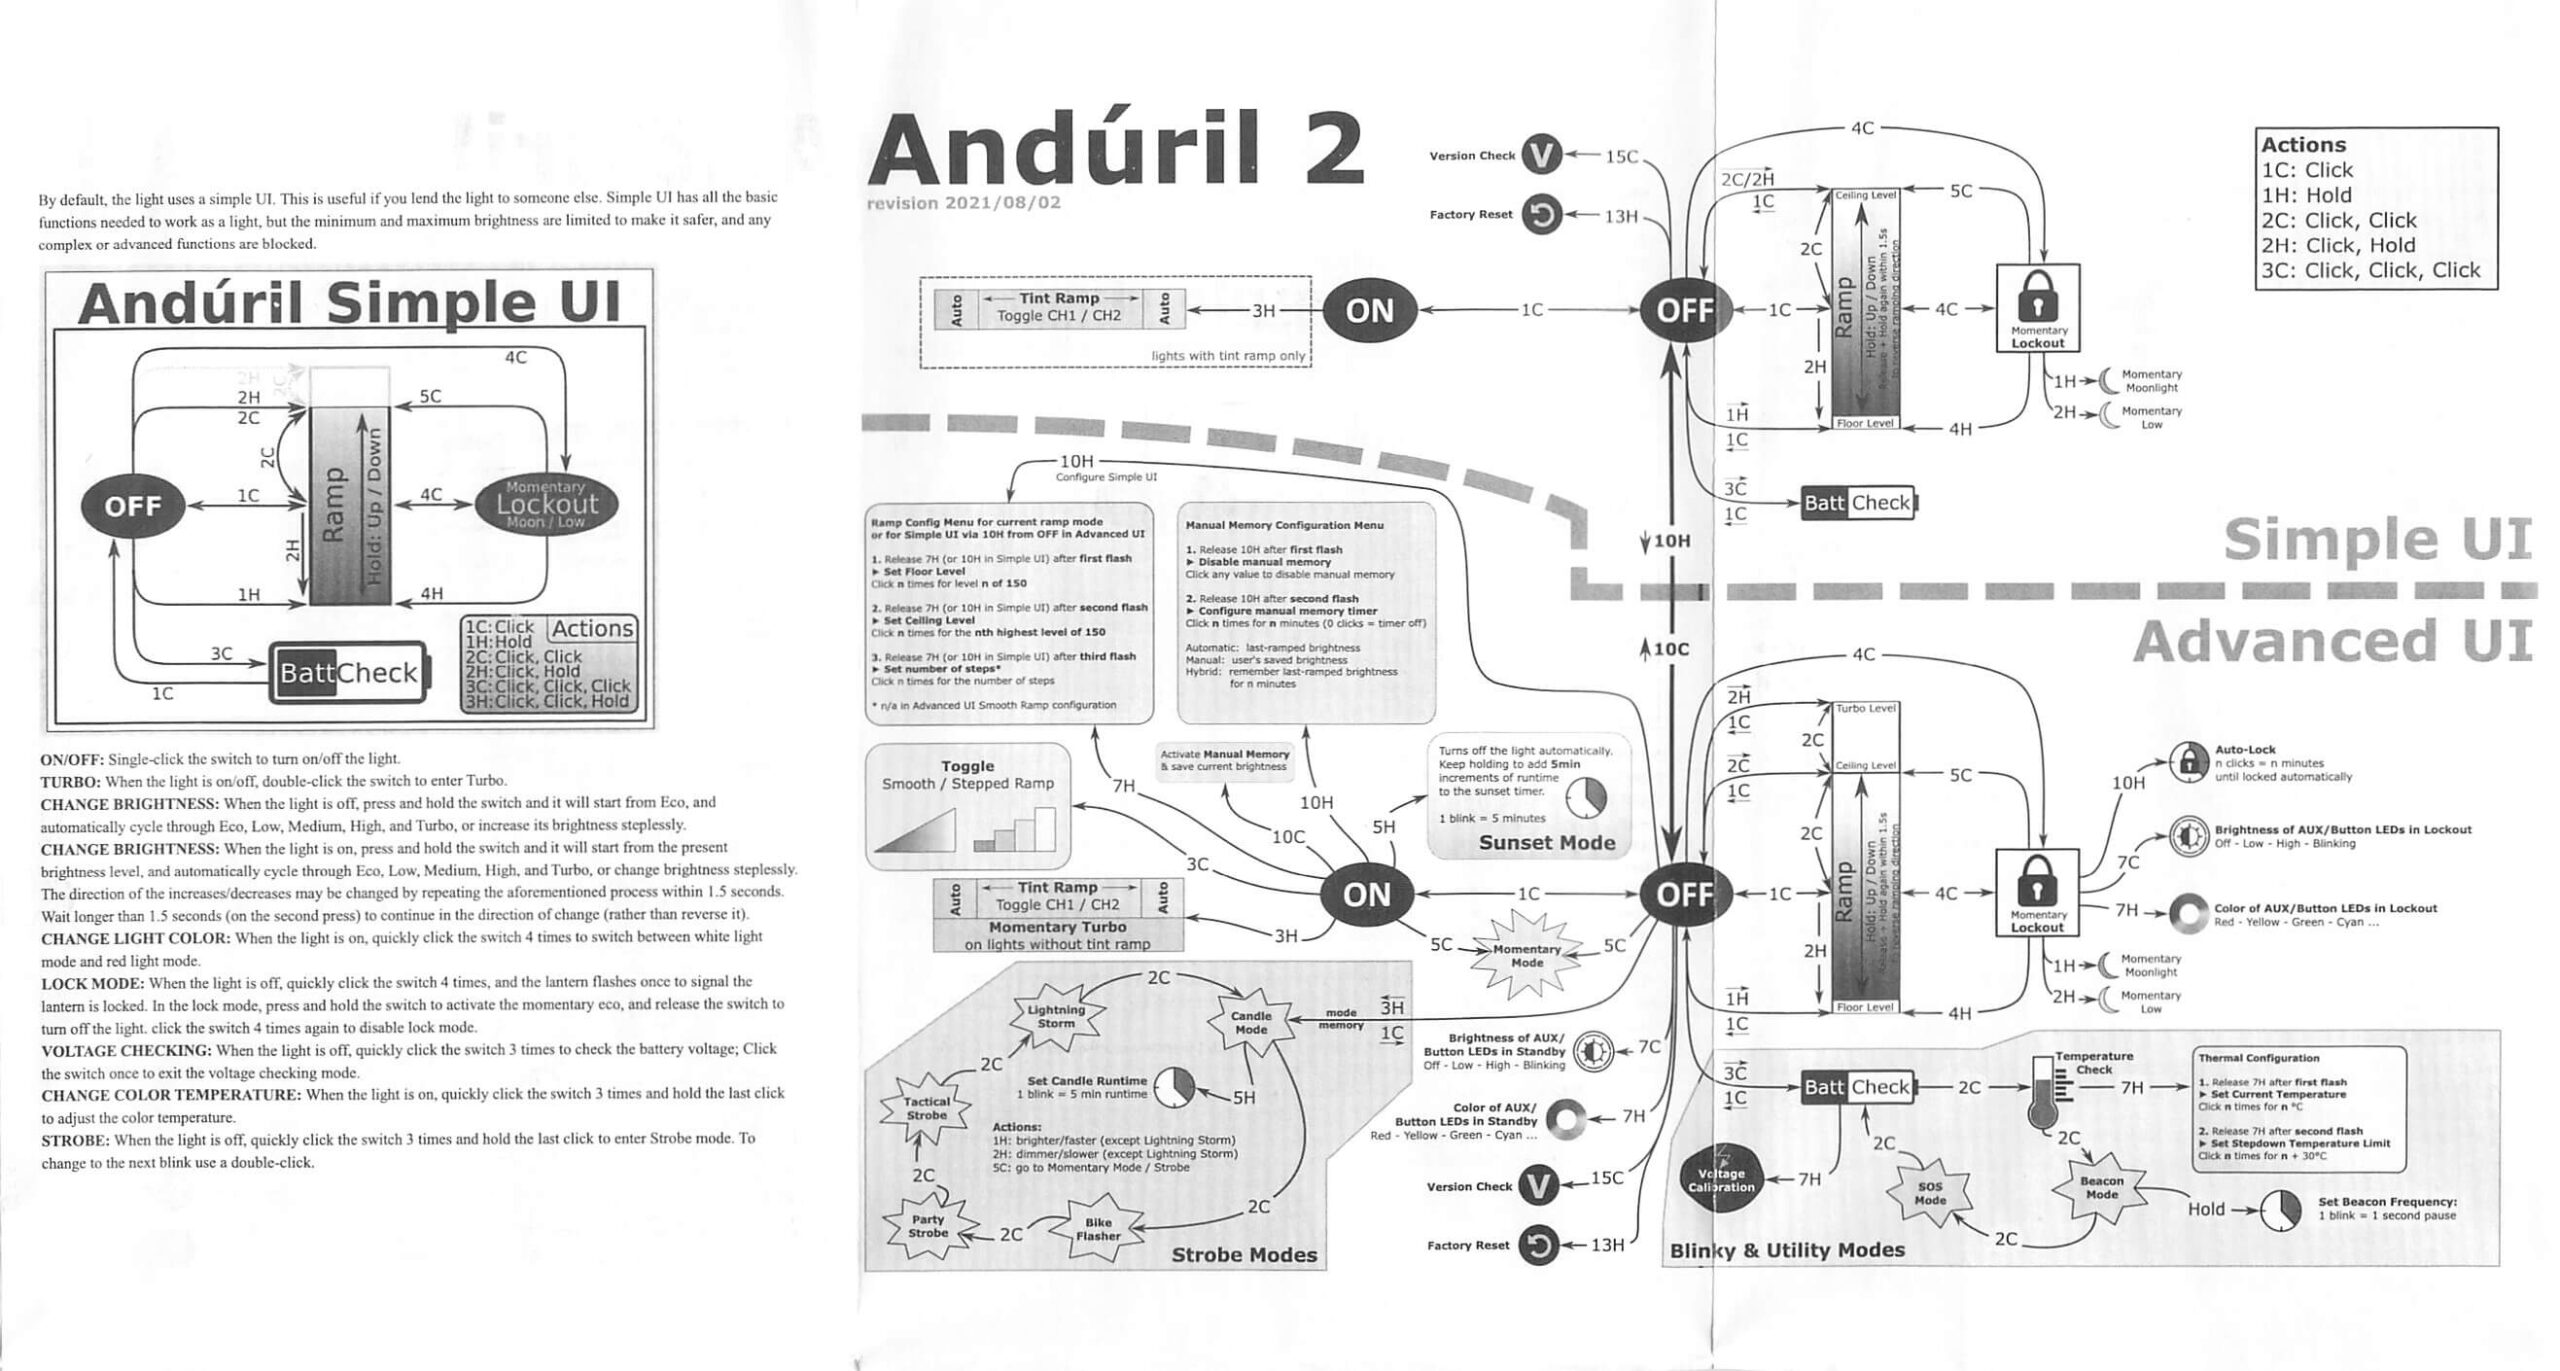
User Interface and Operation
A single switch controls the Sofirn LT1S Pro camping lantern. That e-switch is on the top of the lantern and is covered by a knurled rubber boot.


The action is fine and the sound is moderately clicky.


The user interface is daunting, and the manual doesn’t cover it… I’ve found a post or two here and there that breaks down the intricacies of this Anduril-based camping lantern, and I’ll try to summarize it here, just a bit. Either way, here’s the full-text manual for Anduril at toykeeper.net. And here’s a comment by eckyeckypikang on a Reddit post that really goes into the best detail about using the Sofirn LT1S Pro camping lantern. I’m quoting eckyeckypikang here:
Otherwise, I think the Sofirn LT1S Pro camping lantern has fairly standard Anduril 2. I have tables written in other reviews, so I’ll just paste that here. Note that (again) the Sofirn LT1S Pro camping lantern is nuanced, and using it specifically might take some practice (using it generally will be easy, just might involve more clicking than you anticipate to get where you want to go.) First, the table for Either User Interface. These actions work whether you’re in Simple or Advanced UI.
- “Normal” Manual Tint Ramping – the 2 white channels are manually adjusted with 3H and 1H adjusts brightness as we are familiar with on Hank’s dual-channel lights.
- “Auto” Tint Ramping – 1H adjusts brightness and automatically goes warm at low & cool at max.
- “Auto Red, Warm, Cool Tint Ramping” – all 3 channels, Red at lowest brightness then progressing through Warmer to Cooler to Coolest at max.
- “Red Only” – exactly what it sounds like, 1H adjusts brightness.
- “White with adjustable Red” – set your CCT in the normal mode, then 3H here will ramp the amount of Red – it’s quite interesting.
There’s also a “9H while on” menu for deactivating (or reactivating) these different modes if you’d like.
As near as I can tell, the only other changes are the new “multi-channel” strobe and the new “tactical mode”… The TK manual above is definitely worth looking over and referring to whenever there are changes!
| State | Action | Result |
|---|---|---|
| Off | 1C | On (ramp mode, memorized level) |
| Off | 1H | On (ramp mode, floor level) |
| Off | 2C | On (ramp mode, ceiling level) |
| Off | 3C | Battcheck mode |
| Off | 4C | Lockout mode |
| Off | 13H | Factory reset (on some lights) |
| Off | 15+C | Version check |
| Ramp | 1C | Off |
| Ramp | 1H | Ramp (up, with reversing) |
| Ramp | 2H | Ramp (down) |
| Ramp | 3H | Tint ramping (on some lights) |
| Ramp | 3H | Momentary turbo (on lights without tint ramping) |
| Ramp | 4C | Lockout mode |
| Lockout | 1C/1H | Momentary moon (lowest floor) |
| Lockout | 2C/2H | Momentary moon (highest floor, or manual mem level) |
| Lockout | 4C | On (ramp mode, memorized level) |
| Lockout | 4H | On (ramp mode, floor level) |
| Lockout | 5C | On (ramp mode, ceiling level) |
| Batt check | 1C | Off |
A table for only Simple User Interface:
| State | Action | Result |
|---|---|---|
| Off | 2H | On (momentary ceiling level) |
| Off | 10H | Disable Simple UI |
| Ramp | 2C | Go to/from ceiling |
A table for only Advanced (aka “Full”) User Interface:
| State | Action | Result |
|---|---|---|
| Off | 2H | On (momentary turbo) |
| Off | 3H | Strobe mode (whichever was used last) |
| Off | 5C | Momentary mode |
| Off | 7C | Aux LEDs: Next pattern Switch LEDs: Next option |
| Off | 7H | Aux LEDs: Next color |
| Off | 10C | Enable Simple UI |
| Off | 10H | Simple user interface ramp config menu (1: floor, 2: ceiling, [3: steps]) |
| Ramp | 2C | Go to/from ceiling (or turbo if at ceil already) |
| Ramp | 3C | Change ramp style (smooth / stepped) |
| Ramp | 5C | Momentary mode |
| Ramp | 5H | Sunset timer on, and add 5 minutes |
| Ramp | 7H | Ramp config menu (1: floor, 2: ceiling, [3: steps]) |
| Ramp | 10C | Turn on manual memory and save current brightness |
| Ramp | 10H | Manual memory config menu (1: off, 2: set timeout) |
| Lockout | 7C | Aux LEDs: Next pattern |
| Lockout | 7H | Aux LEDs: Next color |
| Lockout | 10H | Auto-lock config menu (1: set timeout) |
| Strobe (any) | 1C | Off |
| Strobe (any) | 2C | Next strobe mode |
| Strobe (any) | 3H | Tint ramping (on some lights) |
| Strobe (any) | 5C | Momentary mode (using current strobe) |
| Candle | 1H/2H | Brighter / dimmer |
| Candle | 5H | Sunset timer on, add 5 minutes |
| Party strobe | 1H/2H | Faster / slower |
| Tactical strobe | 1H/2H | Faster / slower |
| Biking | 1H/2H | Brighter / dimmer |
| Lightning | 1H | Interrupt current flash or start new one |
| Batt check | 2C | Next blinky mode (Temp check, Beacon, SOS) |
| Batt check | 7H | Voltage config menu |
| Temp check | 1C | Off |
| Temp check | 2C | Next blinky mode (Beacon, SOS, Batt check) |
| Temp check | 7H | Thermal config menu |
| Beacon | 1C | Off |
| Beacon | 1H | Configure beacon timing |
| Beacon | 2C | Next blinky mode (SOS, Batt check, Temp check) |
| SOS | 1C | Off |
| SOS | 2C | Next blinky mode (Batt check, Temp check, Beacon) |
| Momentary | Any | On (until button is released) |
| Momentary | Disconnect power | Exit Momentary mode |
| Config menus | Hold | Skip current item with no changes |
| Config menus | Release | Configure current item |
| Number entry | Click | Add 1 to value for current item |
To be completely honest, I’m not entirely sure yet what’s the best way to tell if you’re in Simple user interface or Advanced UI. Based on what I see here and with the light in hand, I think the fewest-clicks way will be 3 clicks from on (technically “Ramp” in the table, but I think “On” is accurate.) This action – 3C from Ramp – in Advanced user interface will iterate smooth or stepped. In Simple UI, this action will do nothing. There are other ways, though. For example, double-clicking from the top of the ramp will either do nothing or go to Turbo. If it does nothing, then you’re in Simple. If it goes to 11, then you’re in Advanced. One more reliable way to check between Simple and Advanced is to enter Batt Check (3C from off) and then see what 2C does. In Simple, the light will just turn off. In Advanced, the light will go to the temperature check.
Another great way to tell, thanks to a reader is to see what the lowest level of ramping is. Advanced user interface has a quite low low. Simple user interface has a much higher “lowest level.”
LED and Beam
Sofirn uses Nichia 519a emitters at 2700K and 5000K for the white outputs and SST20 emitters at 660nm for the red output.


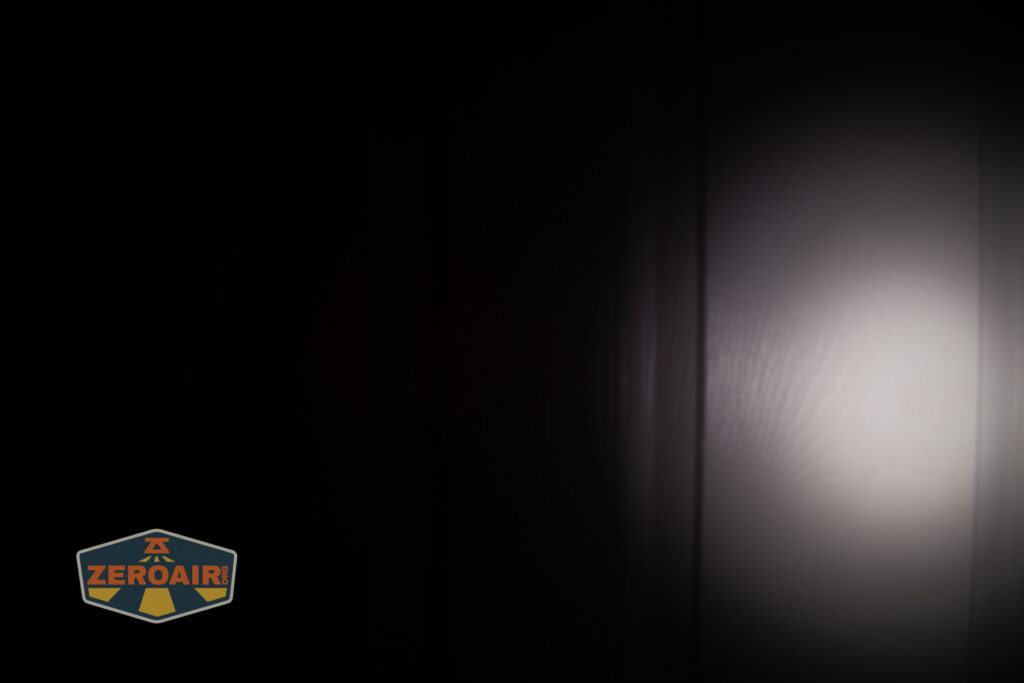
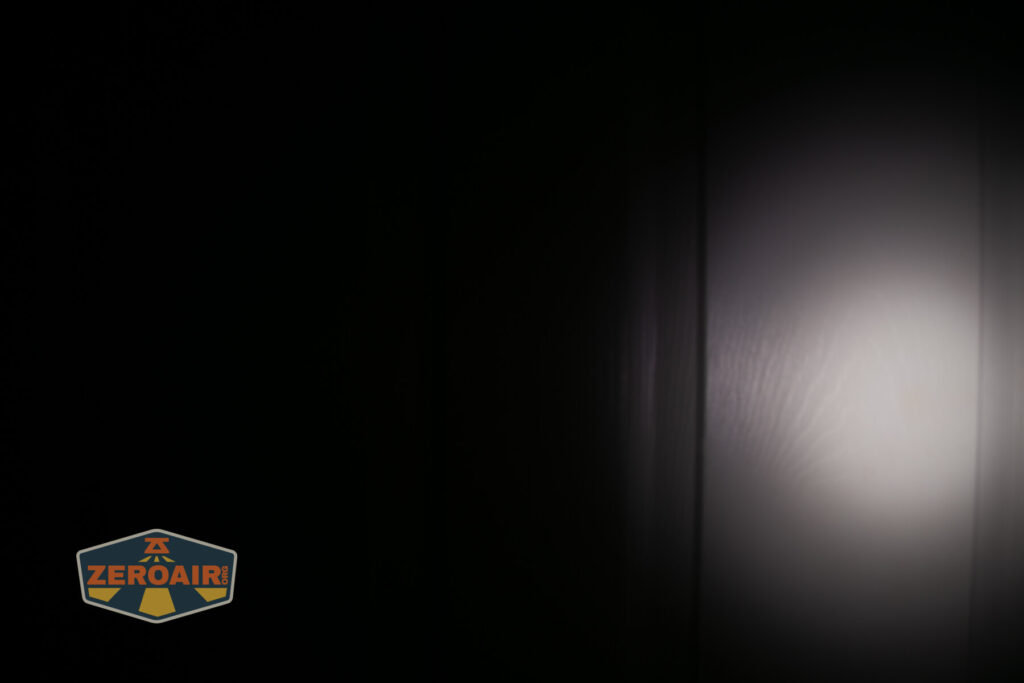
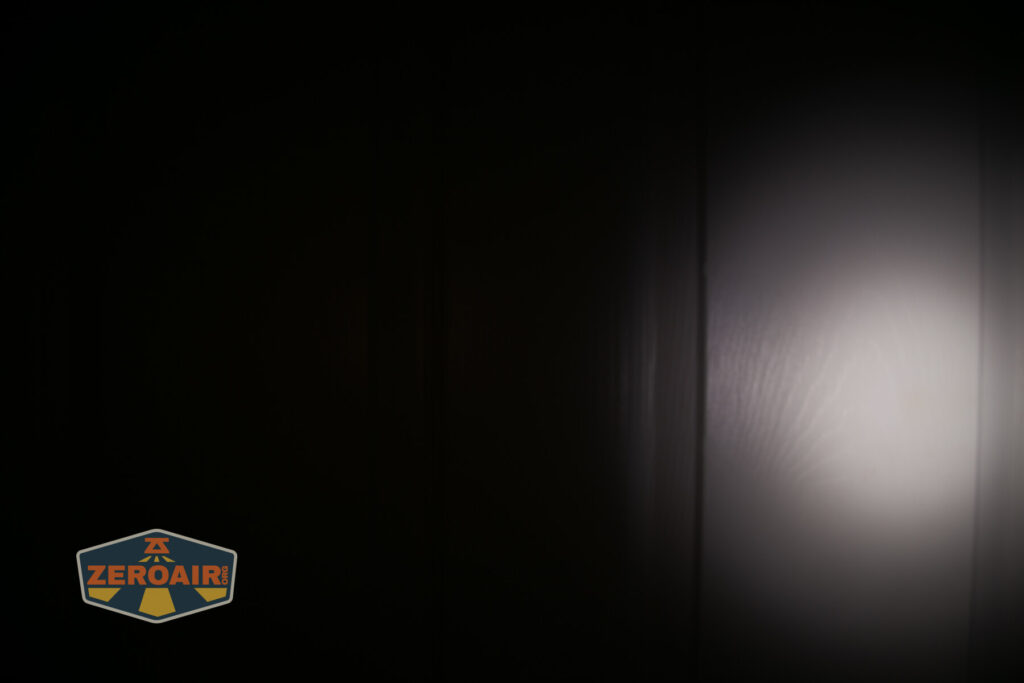
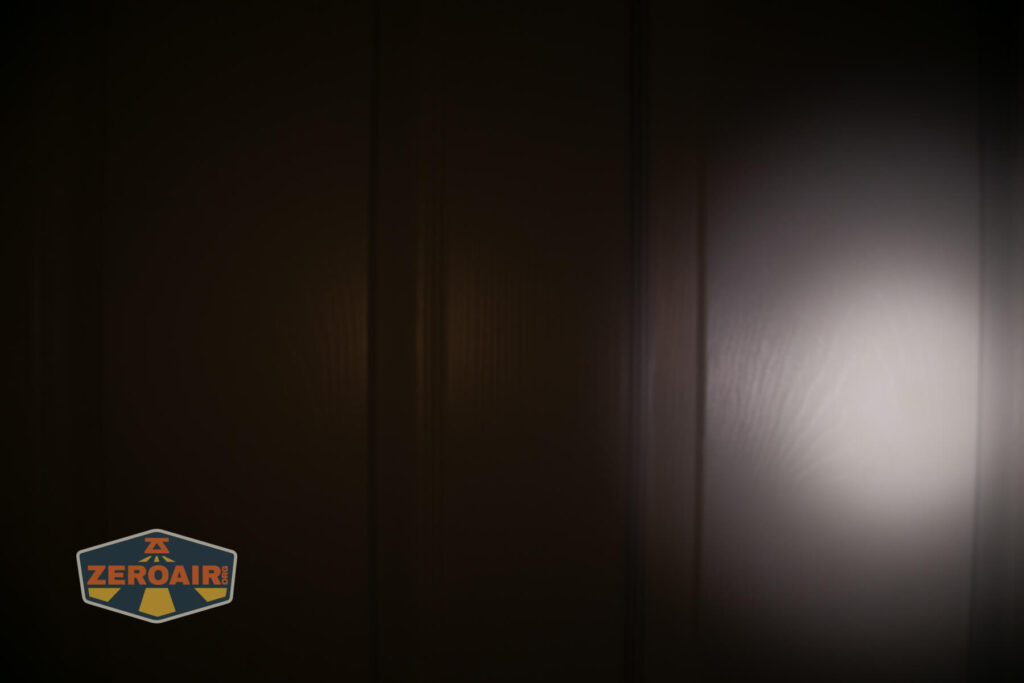
Beamshots
The light wasn’t even visible on the ceiling at any output level, so those normal photos aren’t included here! Just picture a completely dark ceiling…
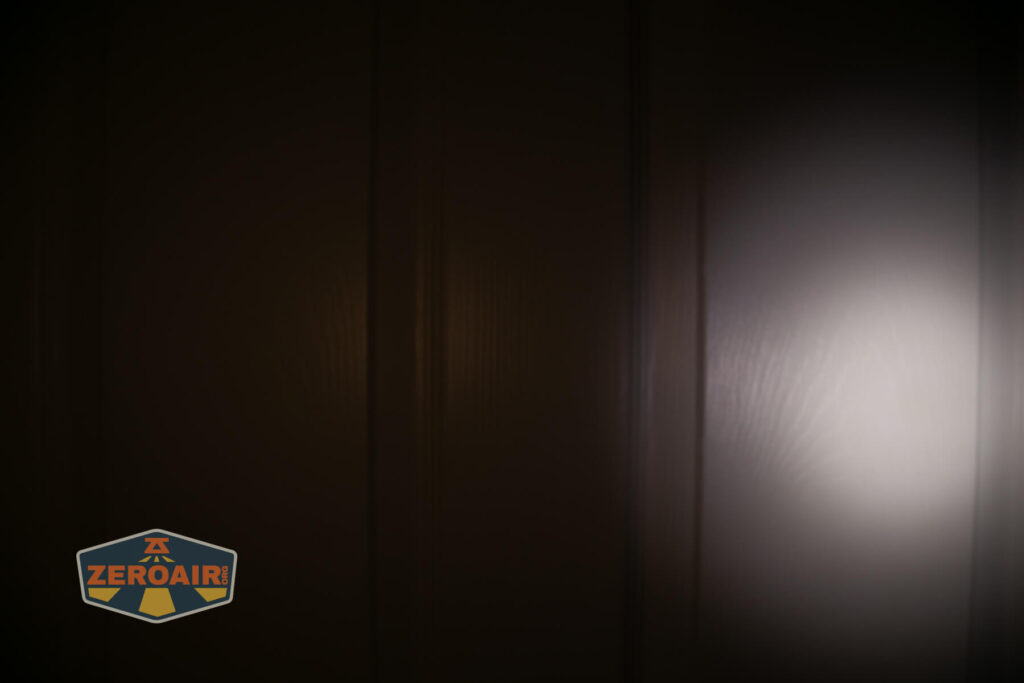
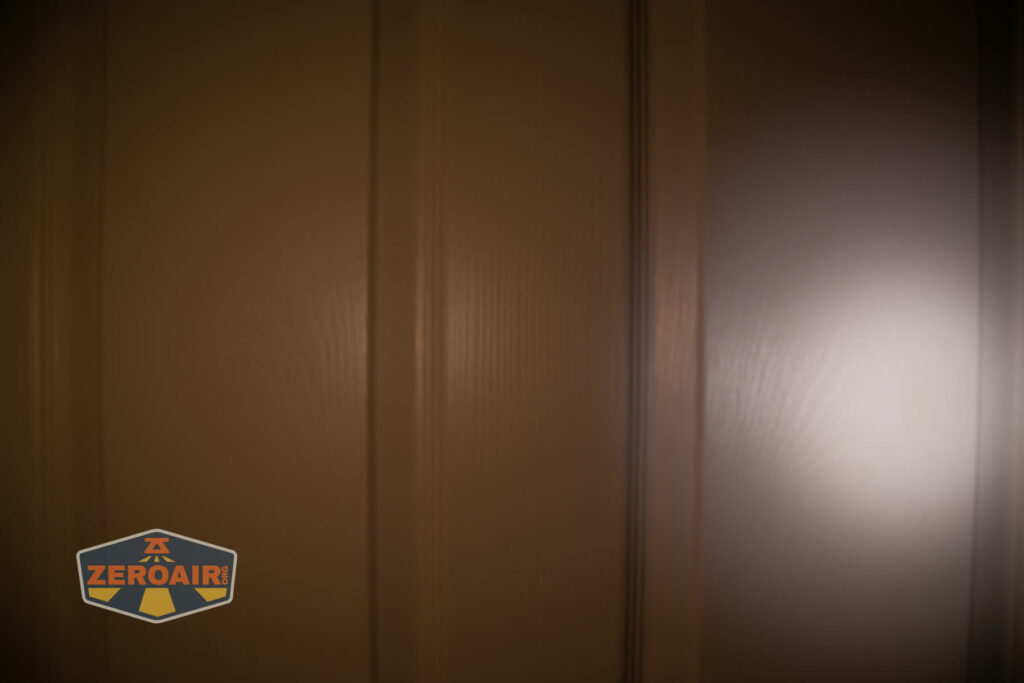
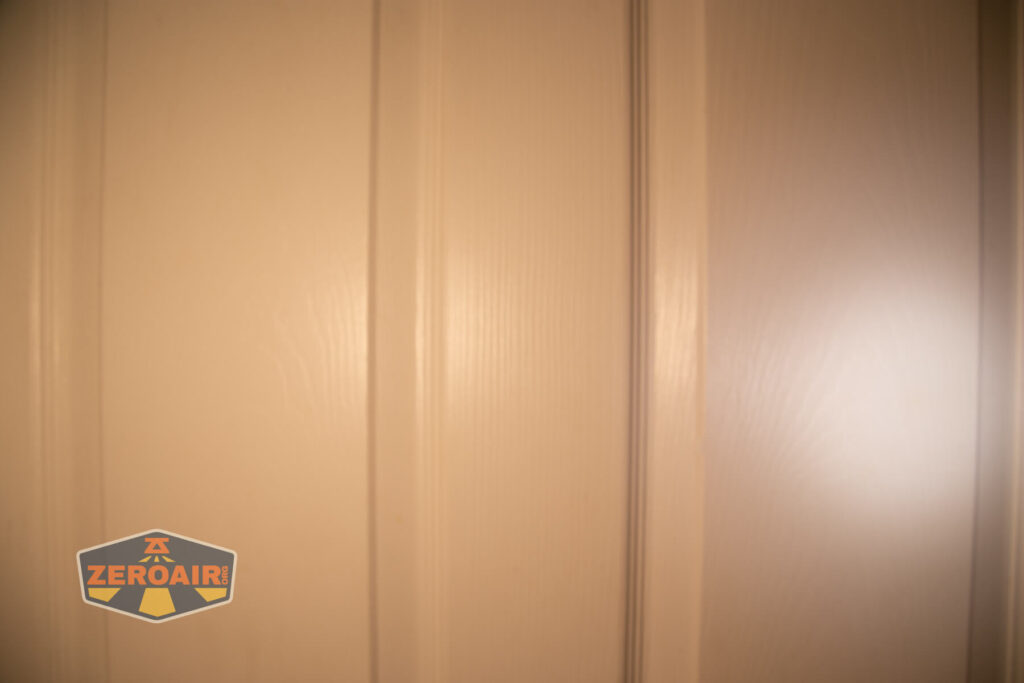
Tint vs BLF-348 (KillzoneFlashlights.com 219b version) (affiliate link)
I keep the test flashlight on the left and the BLF-348 reference flashlight on the right.
I tried to capture every level of all options in the stepped output, but I’m not sure this does that completely. Note that it’s possible to have just red, just 2700K white, and just 5000K white, but also some intermediate mix of red with either of the white outputs. That means you can tune the output to all sorts of specific mixes. Frankly, I found this to be very hard to manage because the light seems to revert to some certain output when it’s been off for some time.
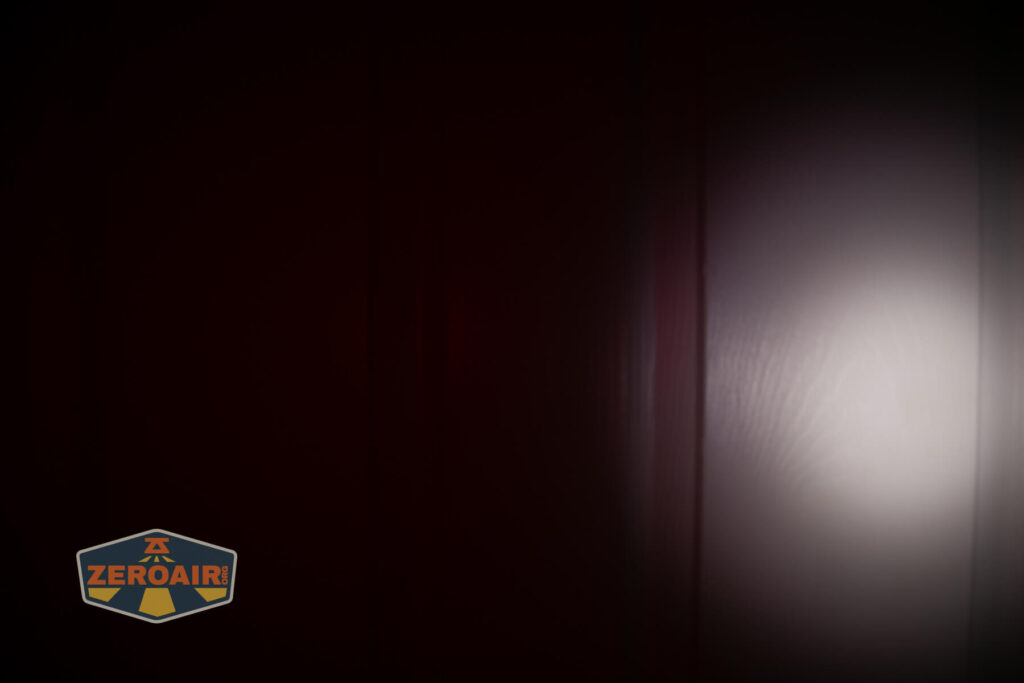
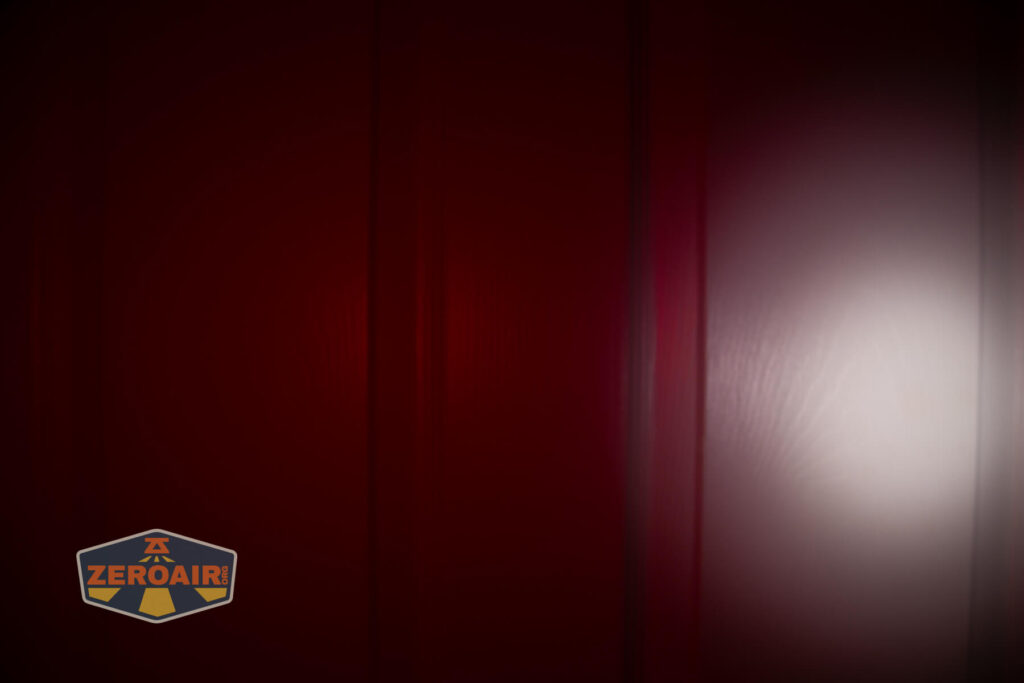
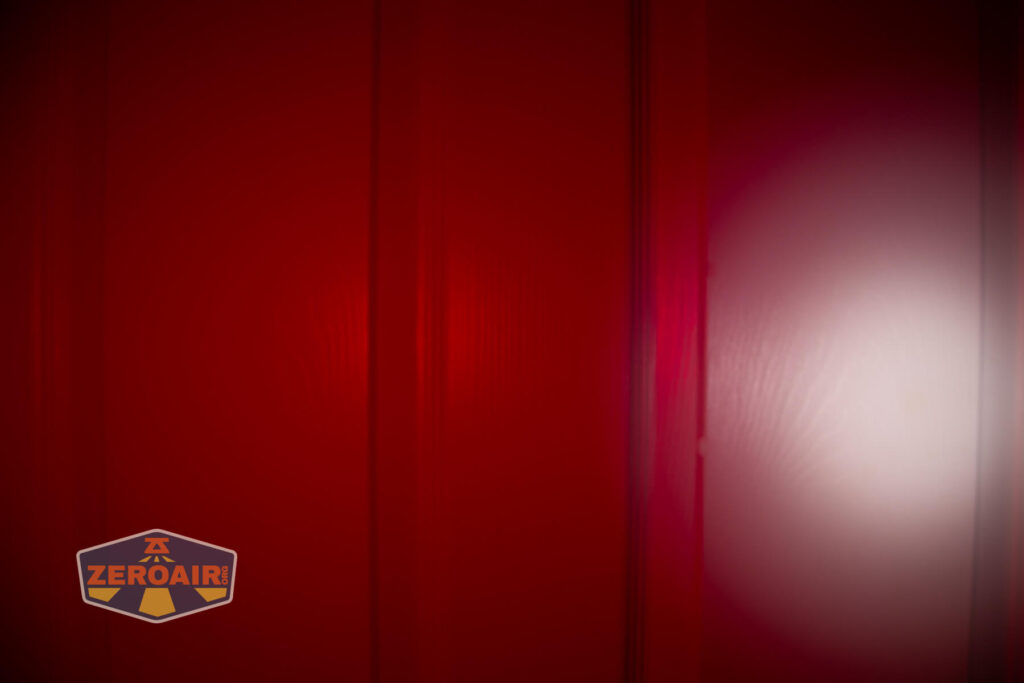
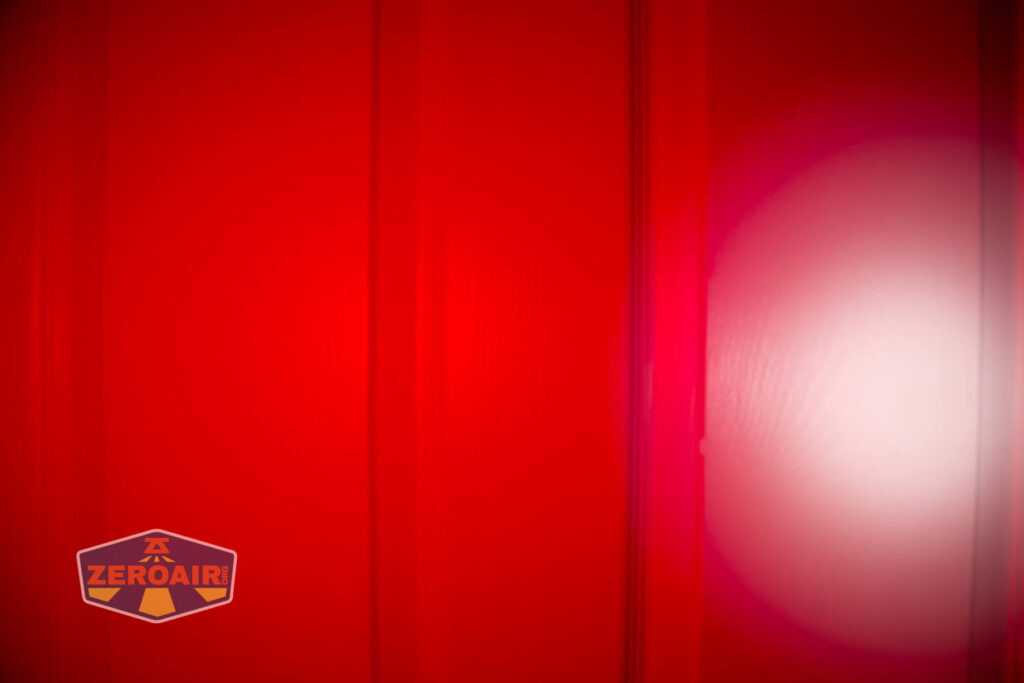

I say this about red probably more than I should – or maybe it just so happens that all the red emitter lights I have are the Luminus SST20 660nm. But this red is so red. It’s the kind of red you feel in your soul. Or if you don’t have one of those, you feel it all the way from your eyes down to your toe tips. It’s truly deep. It’s the deep of a thousand late-night conversations.

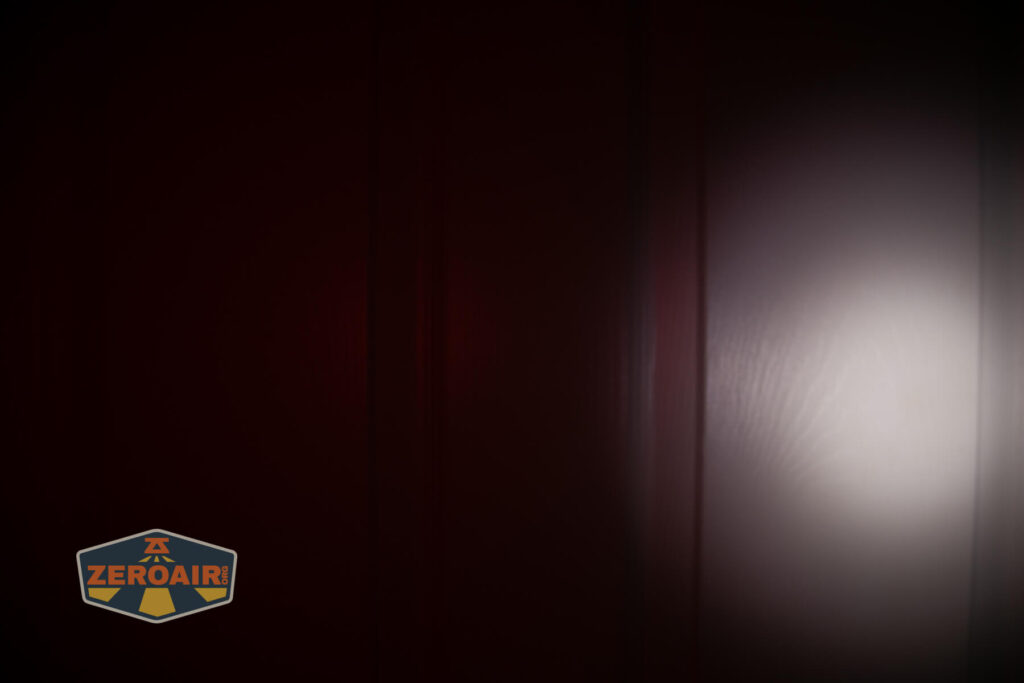
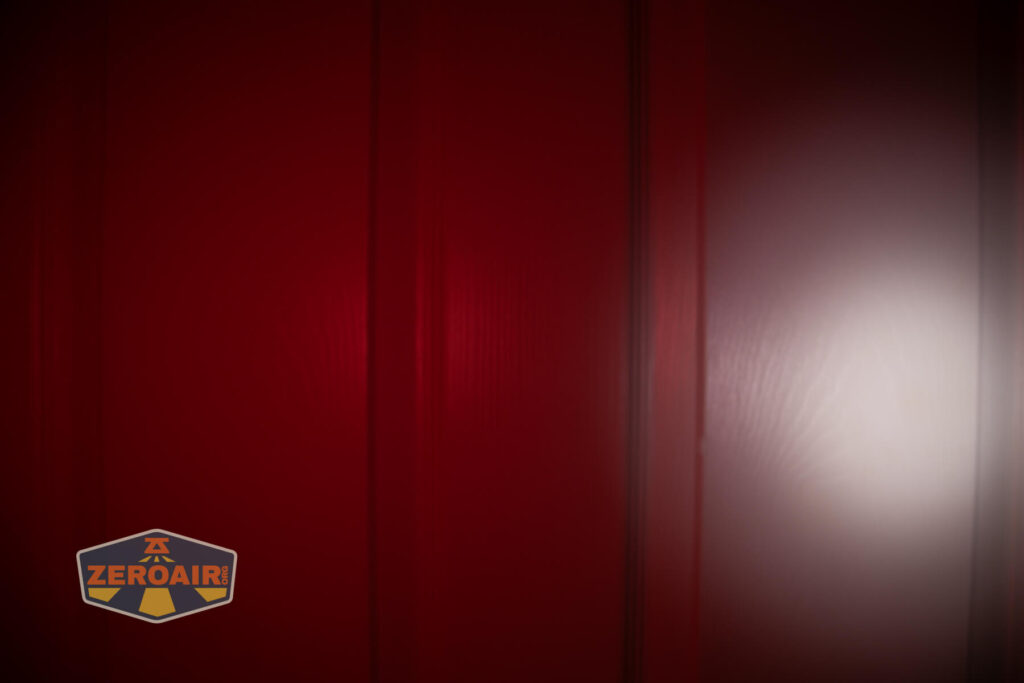
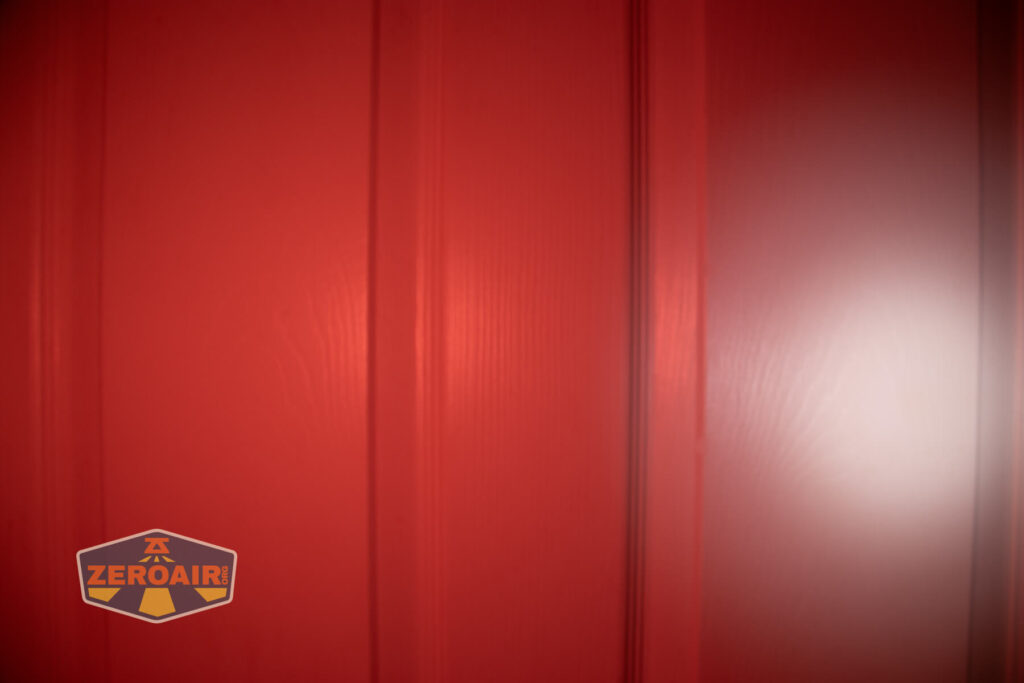
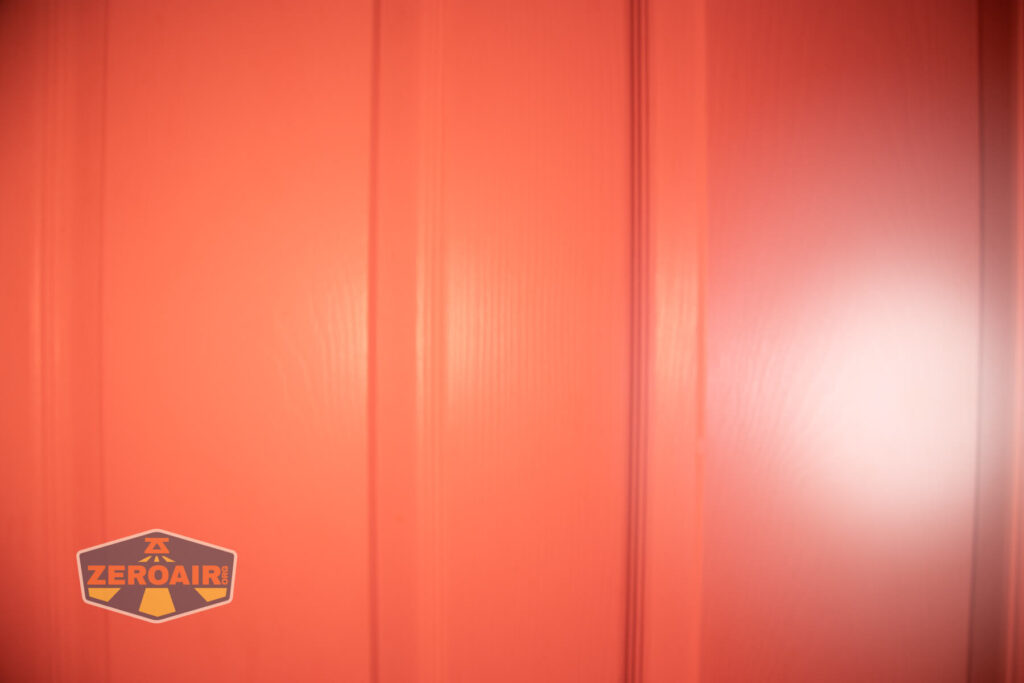

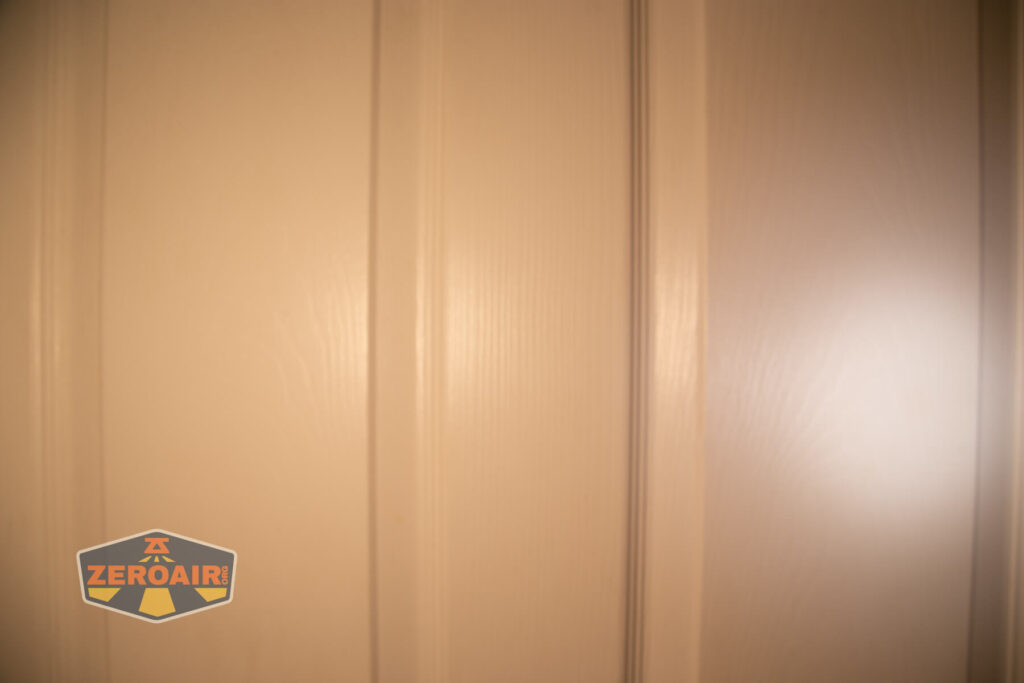


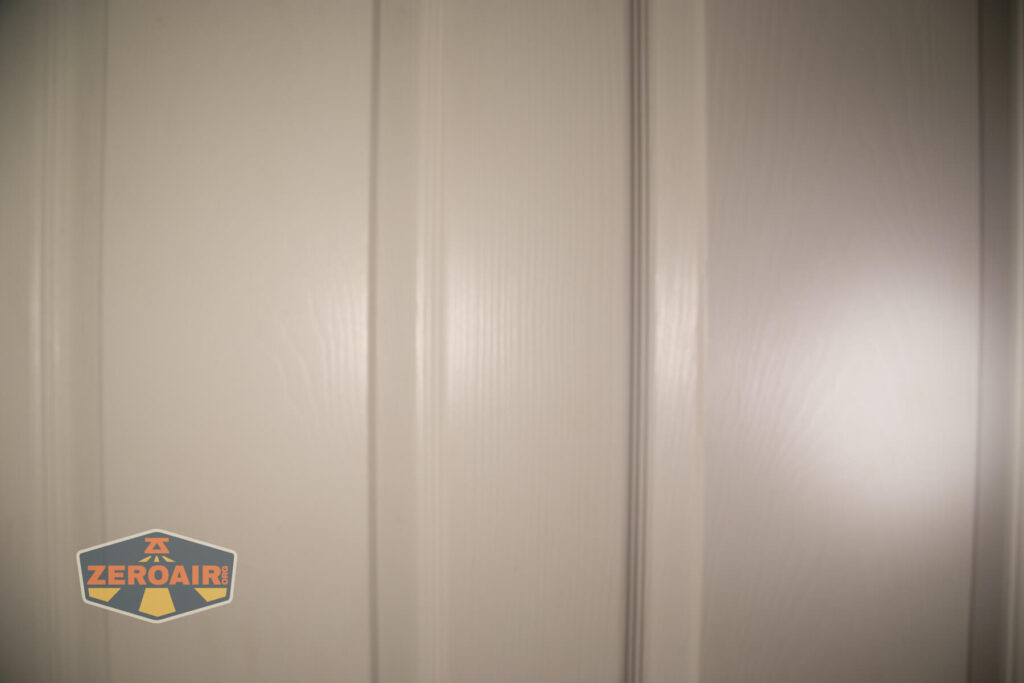
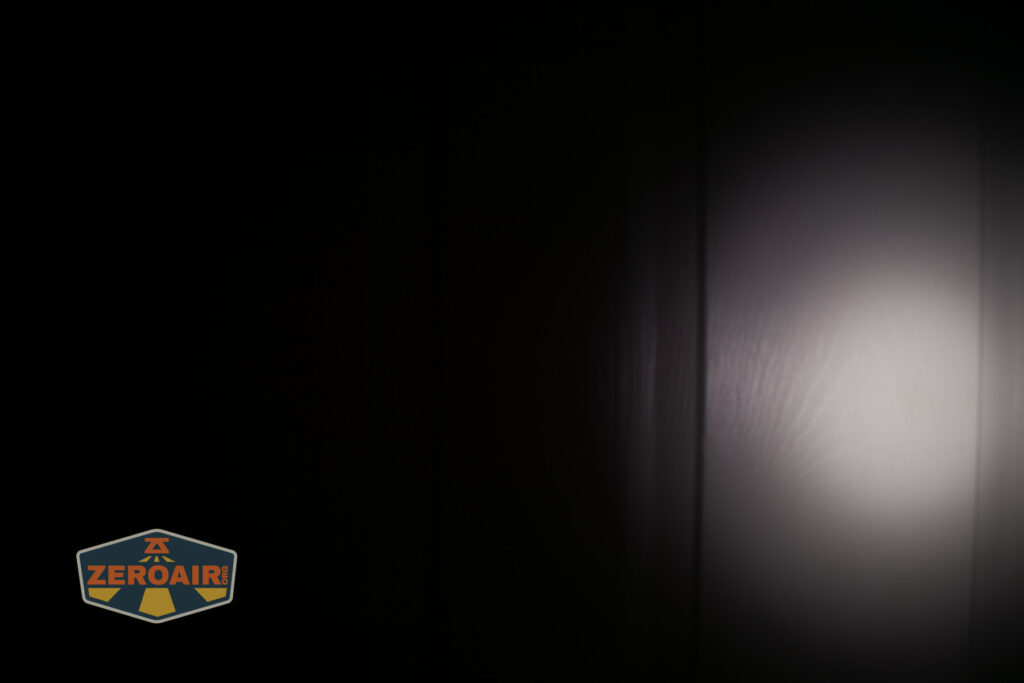
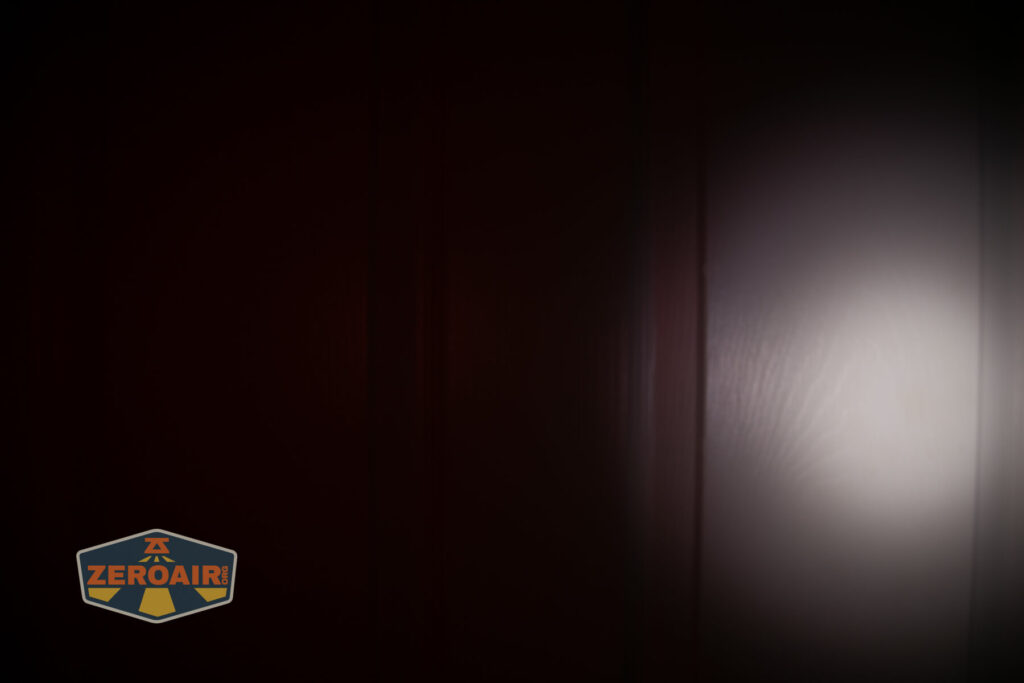
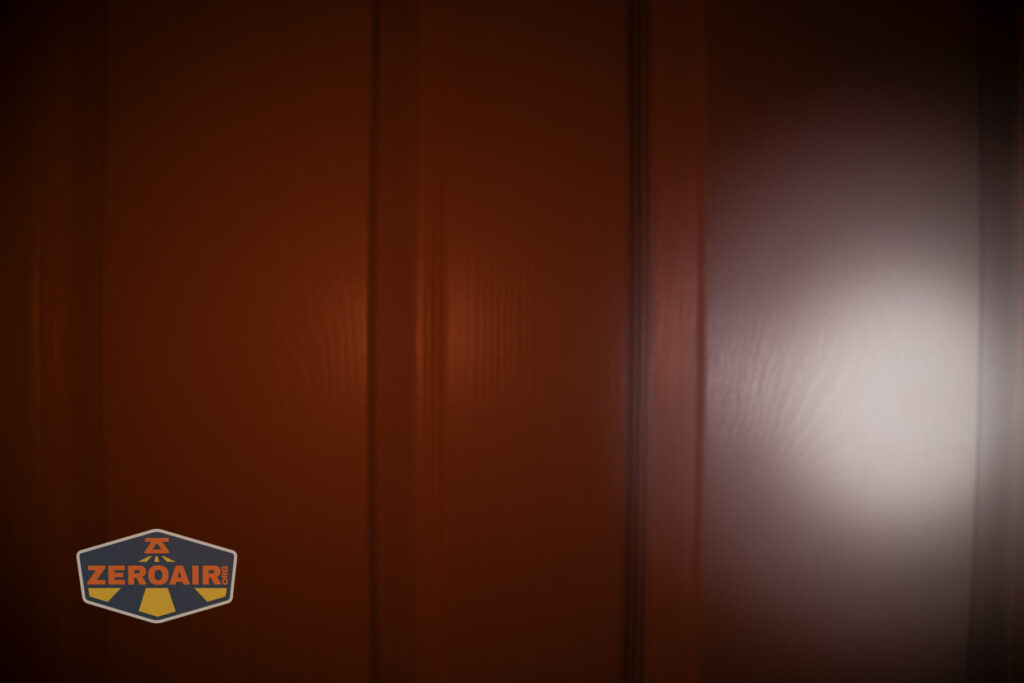
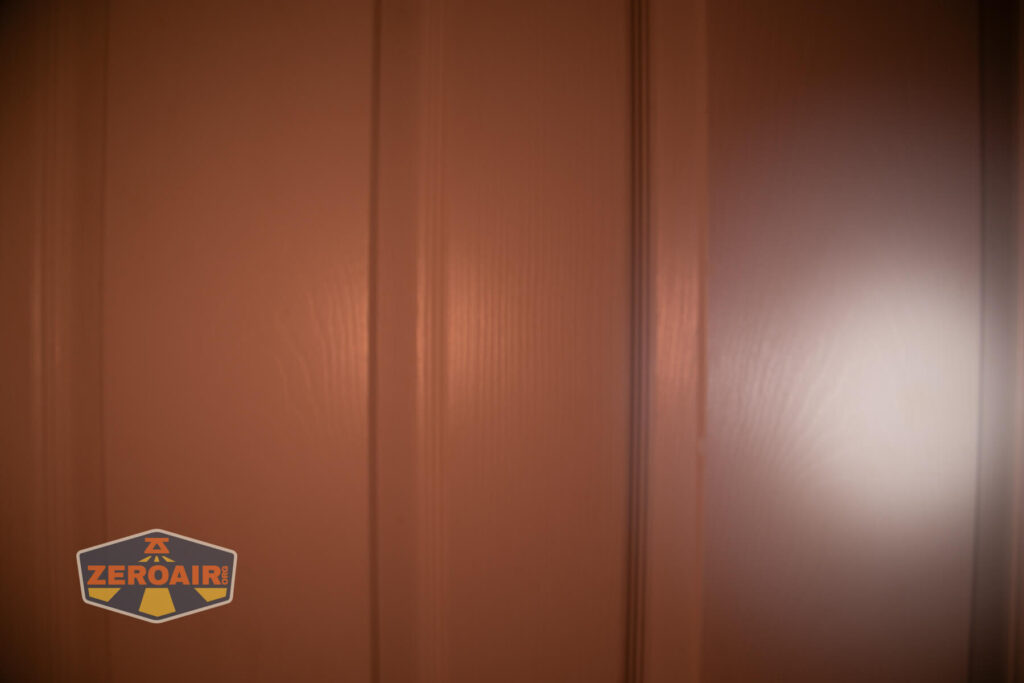
I compare everything to the KillzoneFlashlights.com 219b BLF-348 because it’s inexpensive and has the best tint!
Conclusion
What I like
- Use of Nicha 519a emitters
- 2700K option
- 5000K option
- High CRI output
- The red is so red
- Adding a cell adds only $5
What I don’t like
- The manual doesn’t match how the light works
- How the lantern works is confusing
Notes
- This content originally appeared at zeroair.org. Please visit there for the best experience!
- Please use my Amazon.com referral link to help support zeroair.org!
- Please support me on Patreon! I deeply appreciate your support!
Discover more from ZeroAir Reviews
Subscribe to get the latest posts sent to your email.