
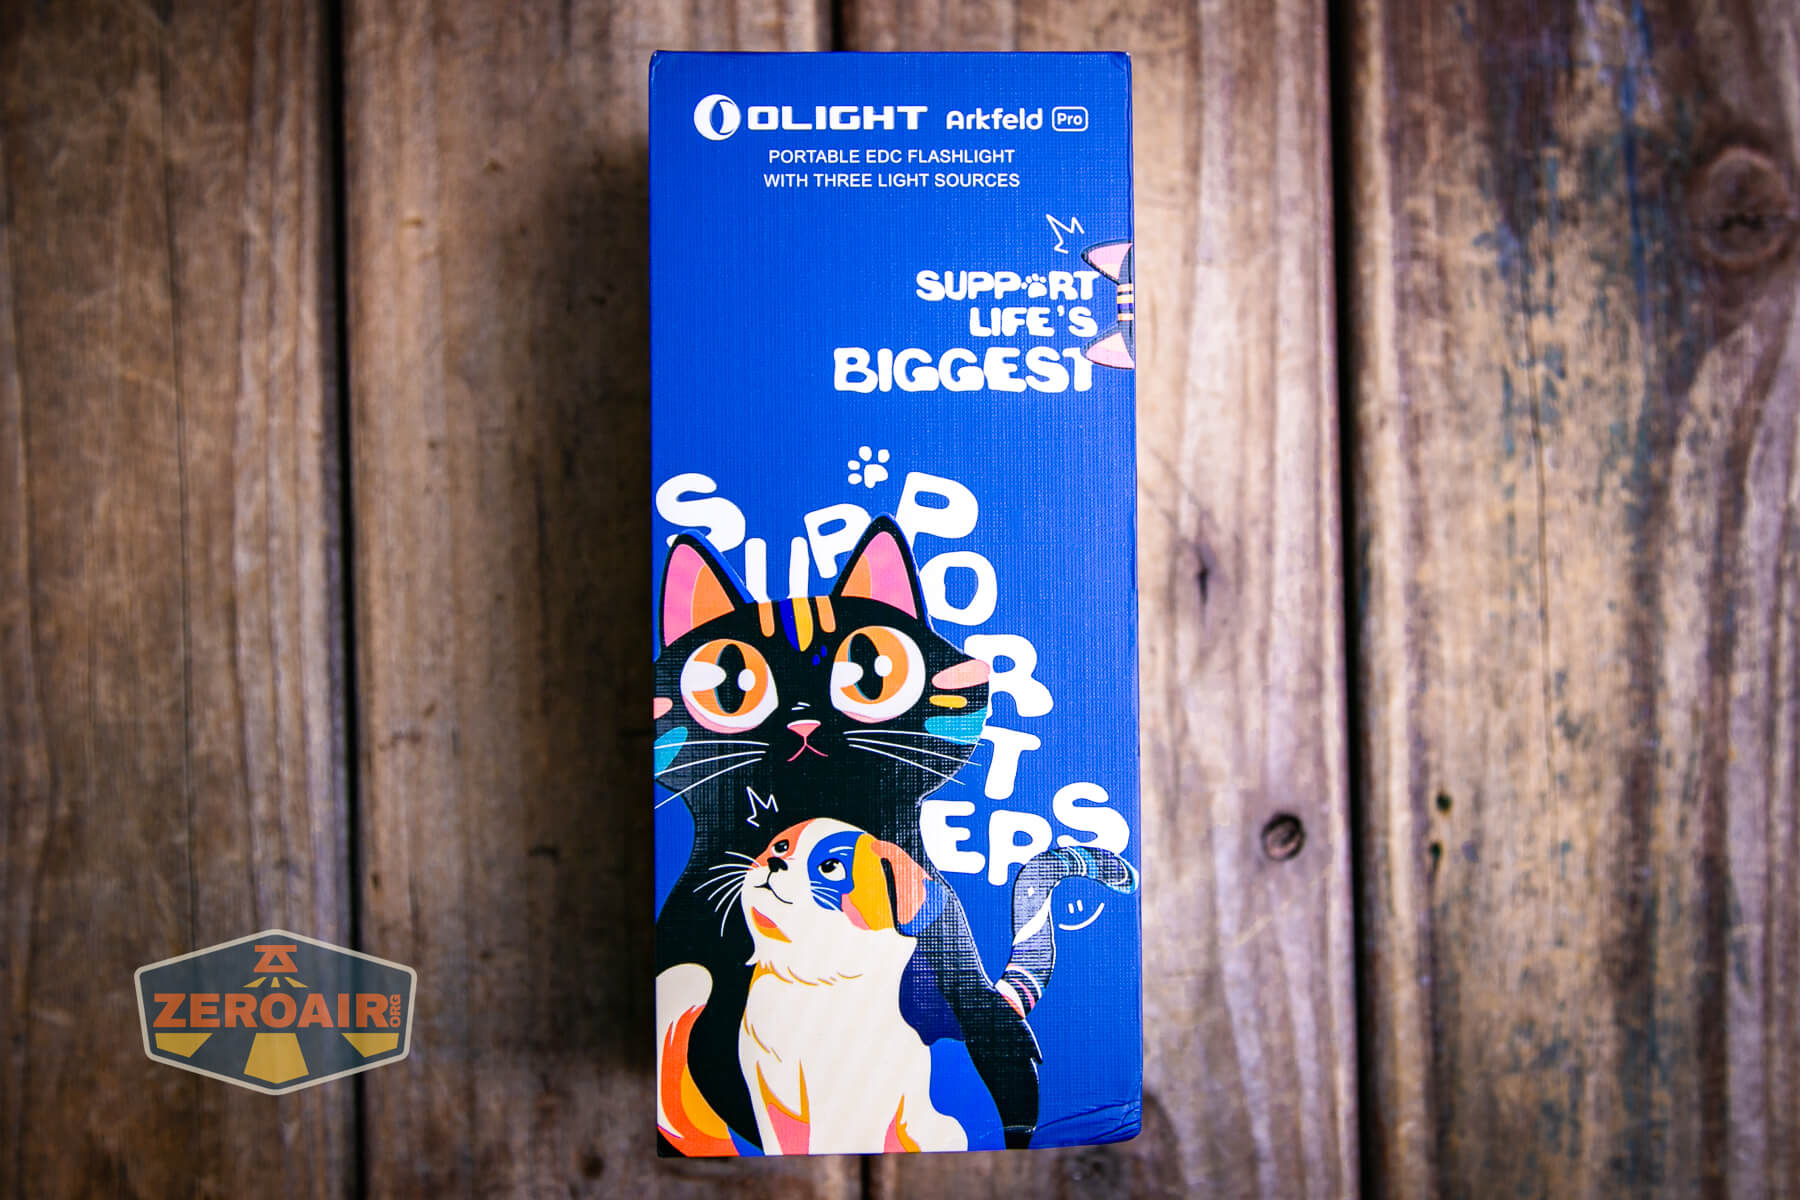
Olight Arkfeld Pro Paw Edition Flashlight Review
The Olight Arkfeld Pro Paw Edition flashlight is a new colorway of the Arkfeld Pro! The Pro has a white emitter and offers laser and UV in one package, too!
Official Specs and Features
Here’s a referral link to the Olight Arkfeld Pro Paw Edition flashlight product page.
Versions
At least five versions are (or “have been”) available – Black, Orange, Racing Stripes, Zombie Green, and this Paw Edition. Black is available in neutral and cool white. Orange and Zombie green are only in cool white. Though unlabeled, this Paw Edition also tests as cool white.
Price
The Olight Arkfeld Pro Paw Edition comes in a bundle at an introductory price ($25 off!) of $84.46. This should take anyone who was on the fence needing both a laser and UV but not wanting two lights. Now you can have both in one great package!
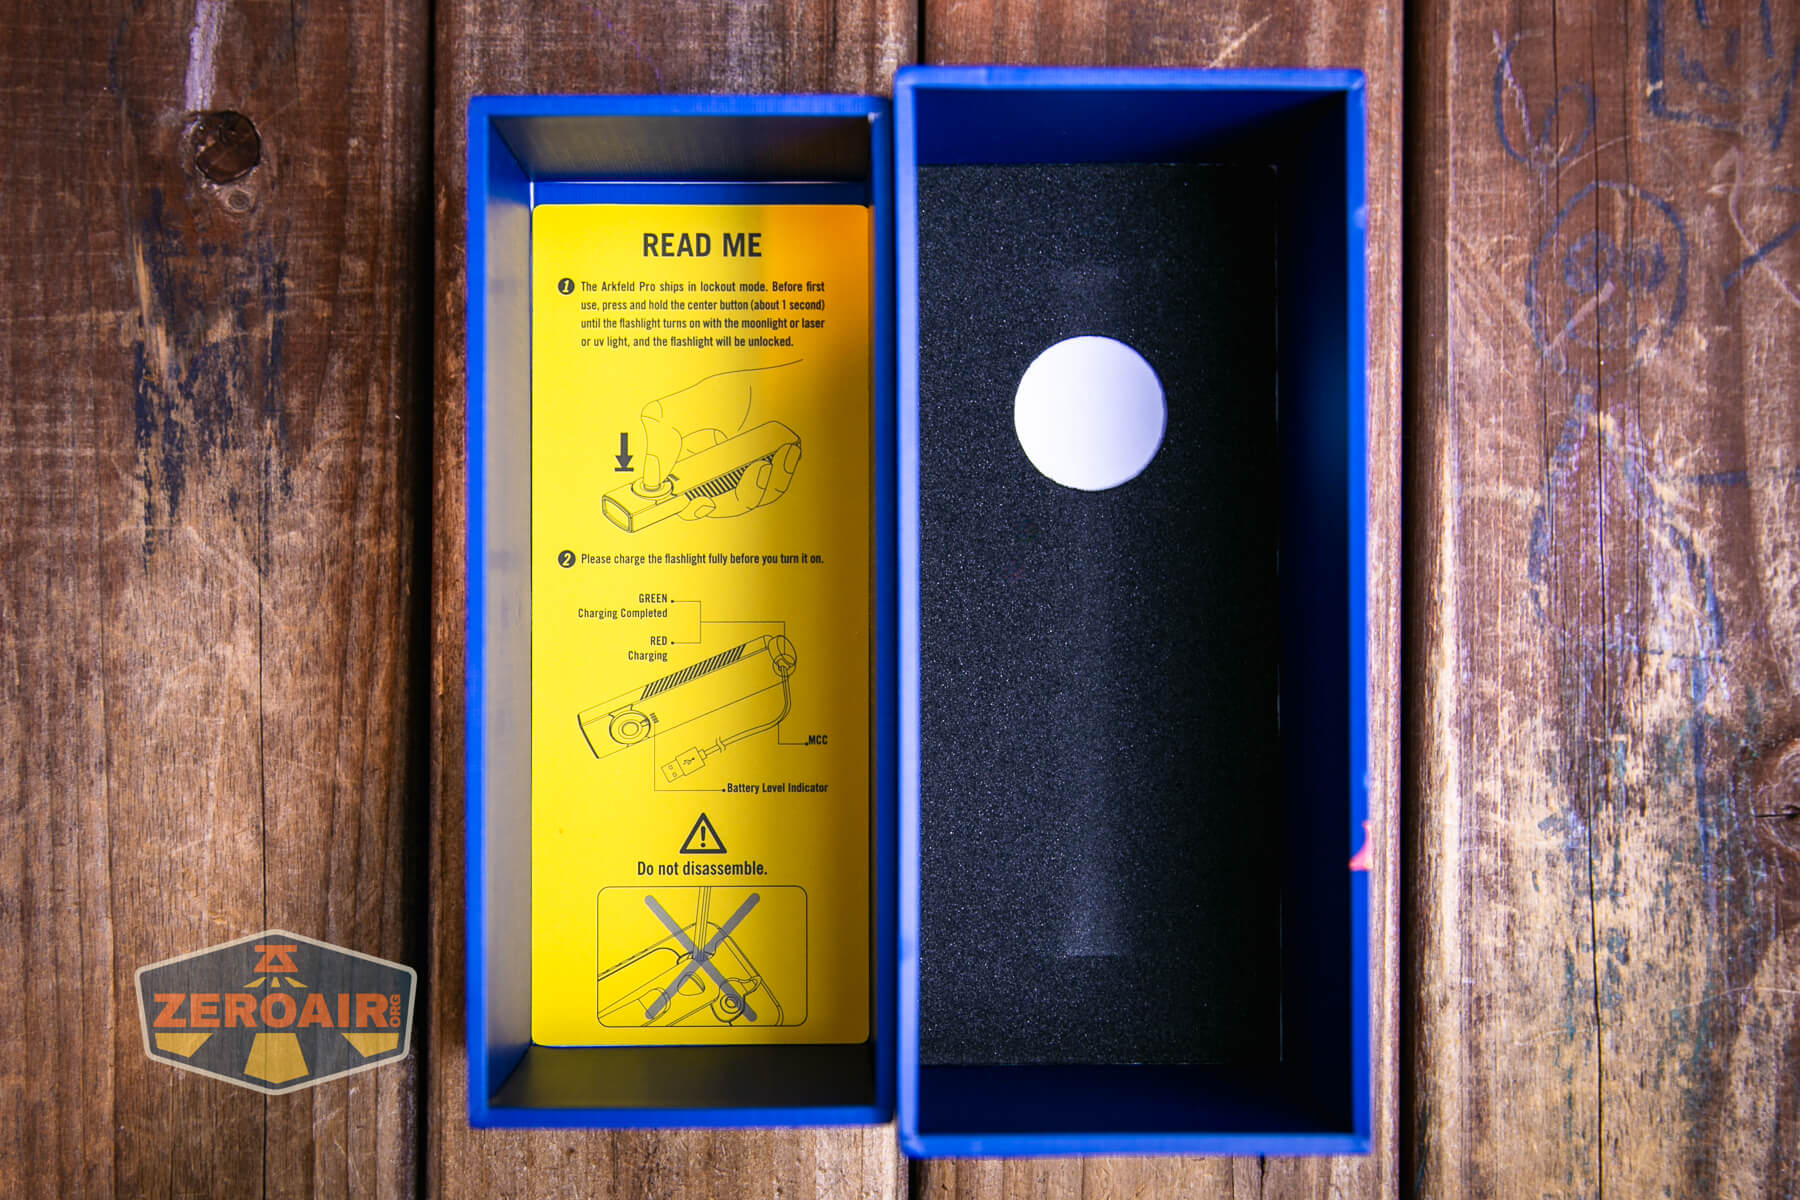
What’s Included

- Olight Arkfeld Pro Paw Edition flashlight
- Charging cable (Proprietary magnetic Olight MCC 0.5A/1A/2A version)
- Metal pin
- Manual
Package and Manual


Build Quality and Disassembly

The Olight Arkfeld Pro Paw Edition flashlight – like the other Arkfelds – has a very vapey feel… That doesn’t take away from the light, though – the Arkfeld Pro has a very robust feel. It’s solid.


One thing you might not notice right away is that this Pro version is noticeably larger than the non-Pro version. That’s not bad at all. But since the light is essentially just scaled up, it’s easy to miss that it’s larger. (In fact, I didn’t even realize it was larger until I held the Pro and not-Pro side by side.)
Of course, there’s no cylindrical cell in there to rattle around or be removed, or whatever. The cell is 100% built-in. That’s good and bad of course. Building the cell in means Olight can get reliable performance, but it also means you can’t change the cell when it wears out in a number of years.
Whatever the case about the battery, the build here is great. I love the anti-roll shape. Not only that but the Olight Arkfeld Pro Paw Edition flashlight into the pocket where I normally carry an 18650 light in a much more comfortable way. It’s approximately the same width as my wallet, depending on whether I’m carrying my American Express Centurion Card or not.
Having already disassembled my brown non-Pro version, I did not do so for the Orange Arkfeld Pro version. You’re invited to check out the photos from that review, though. Here’s a link. (Note: I didn’t get too far with disassembly.)
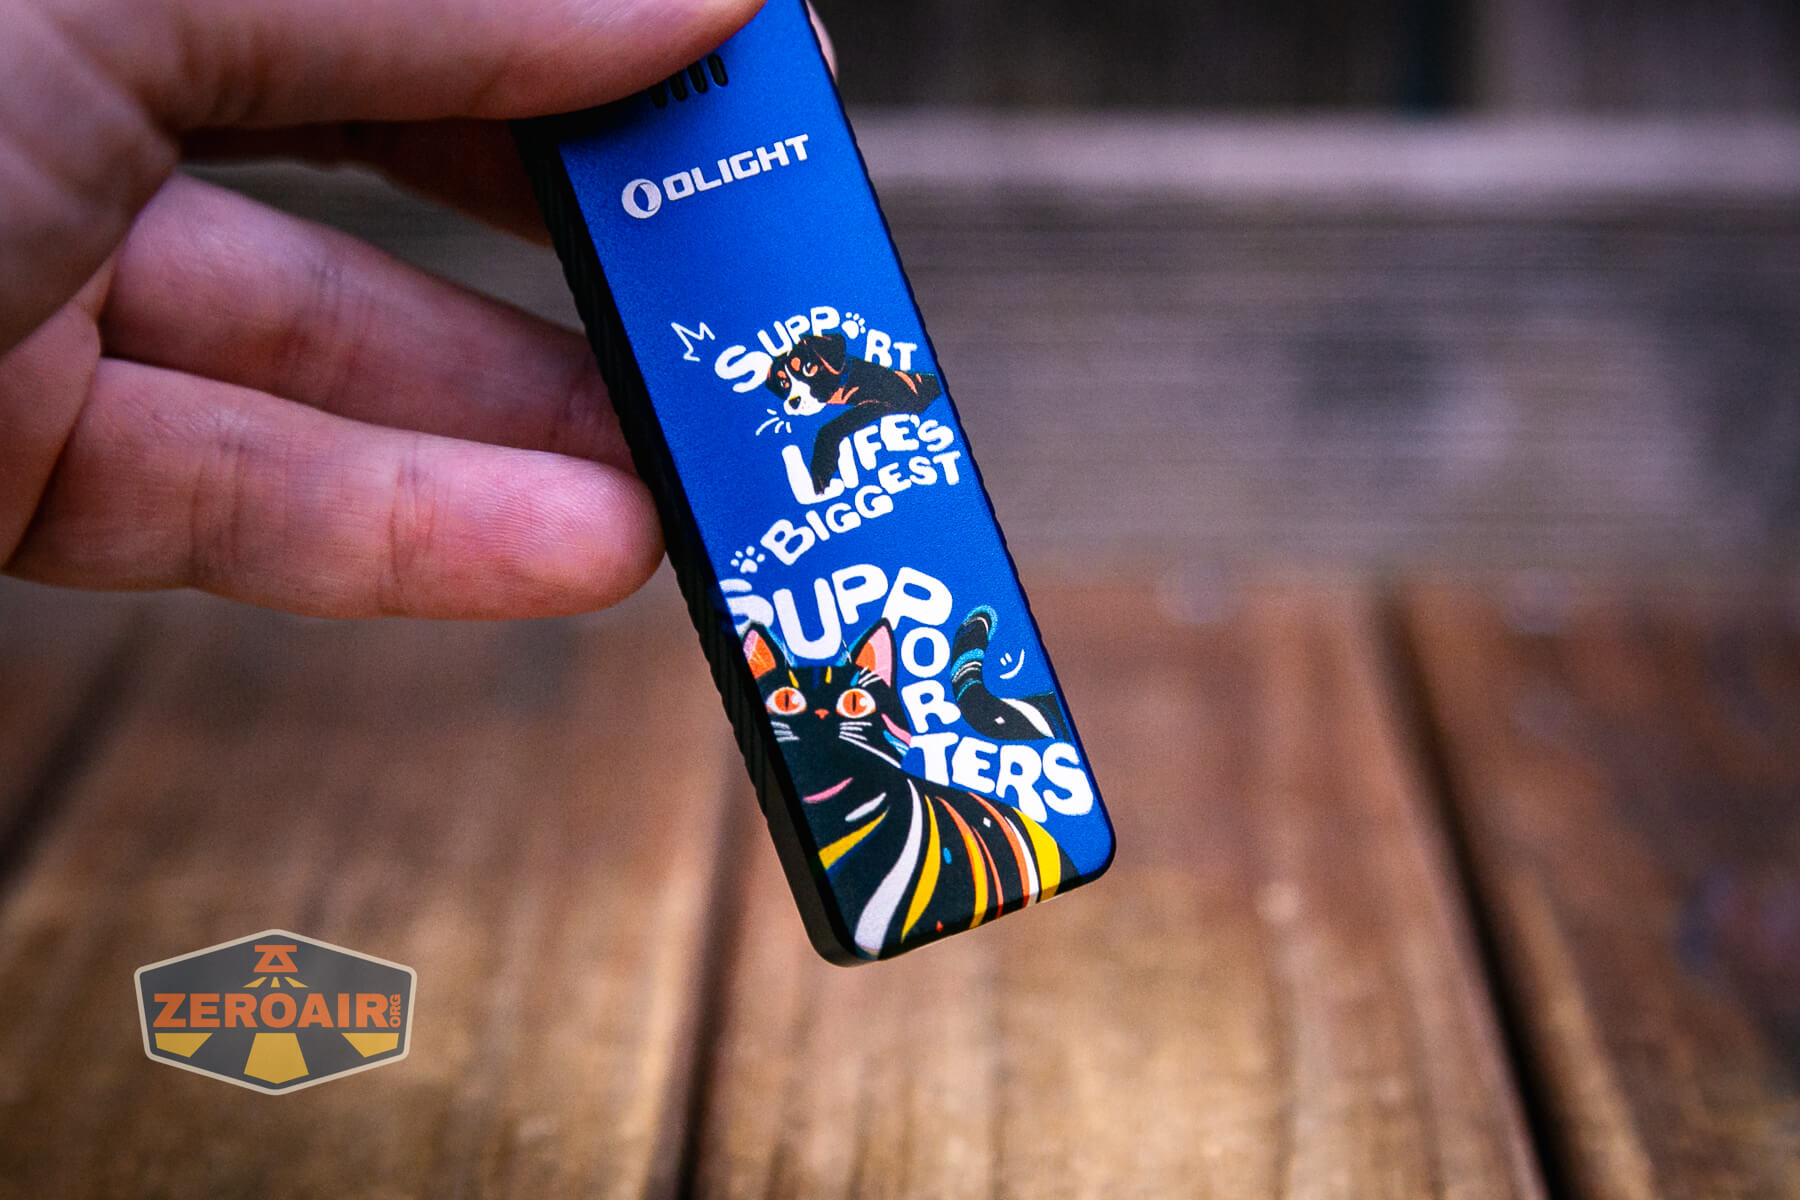
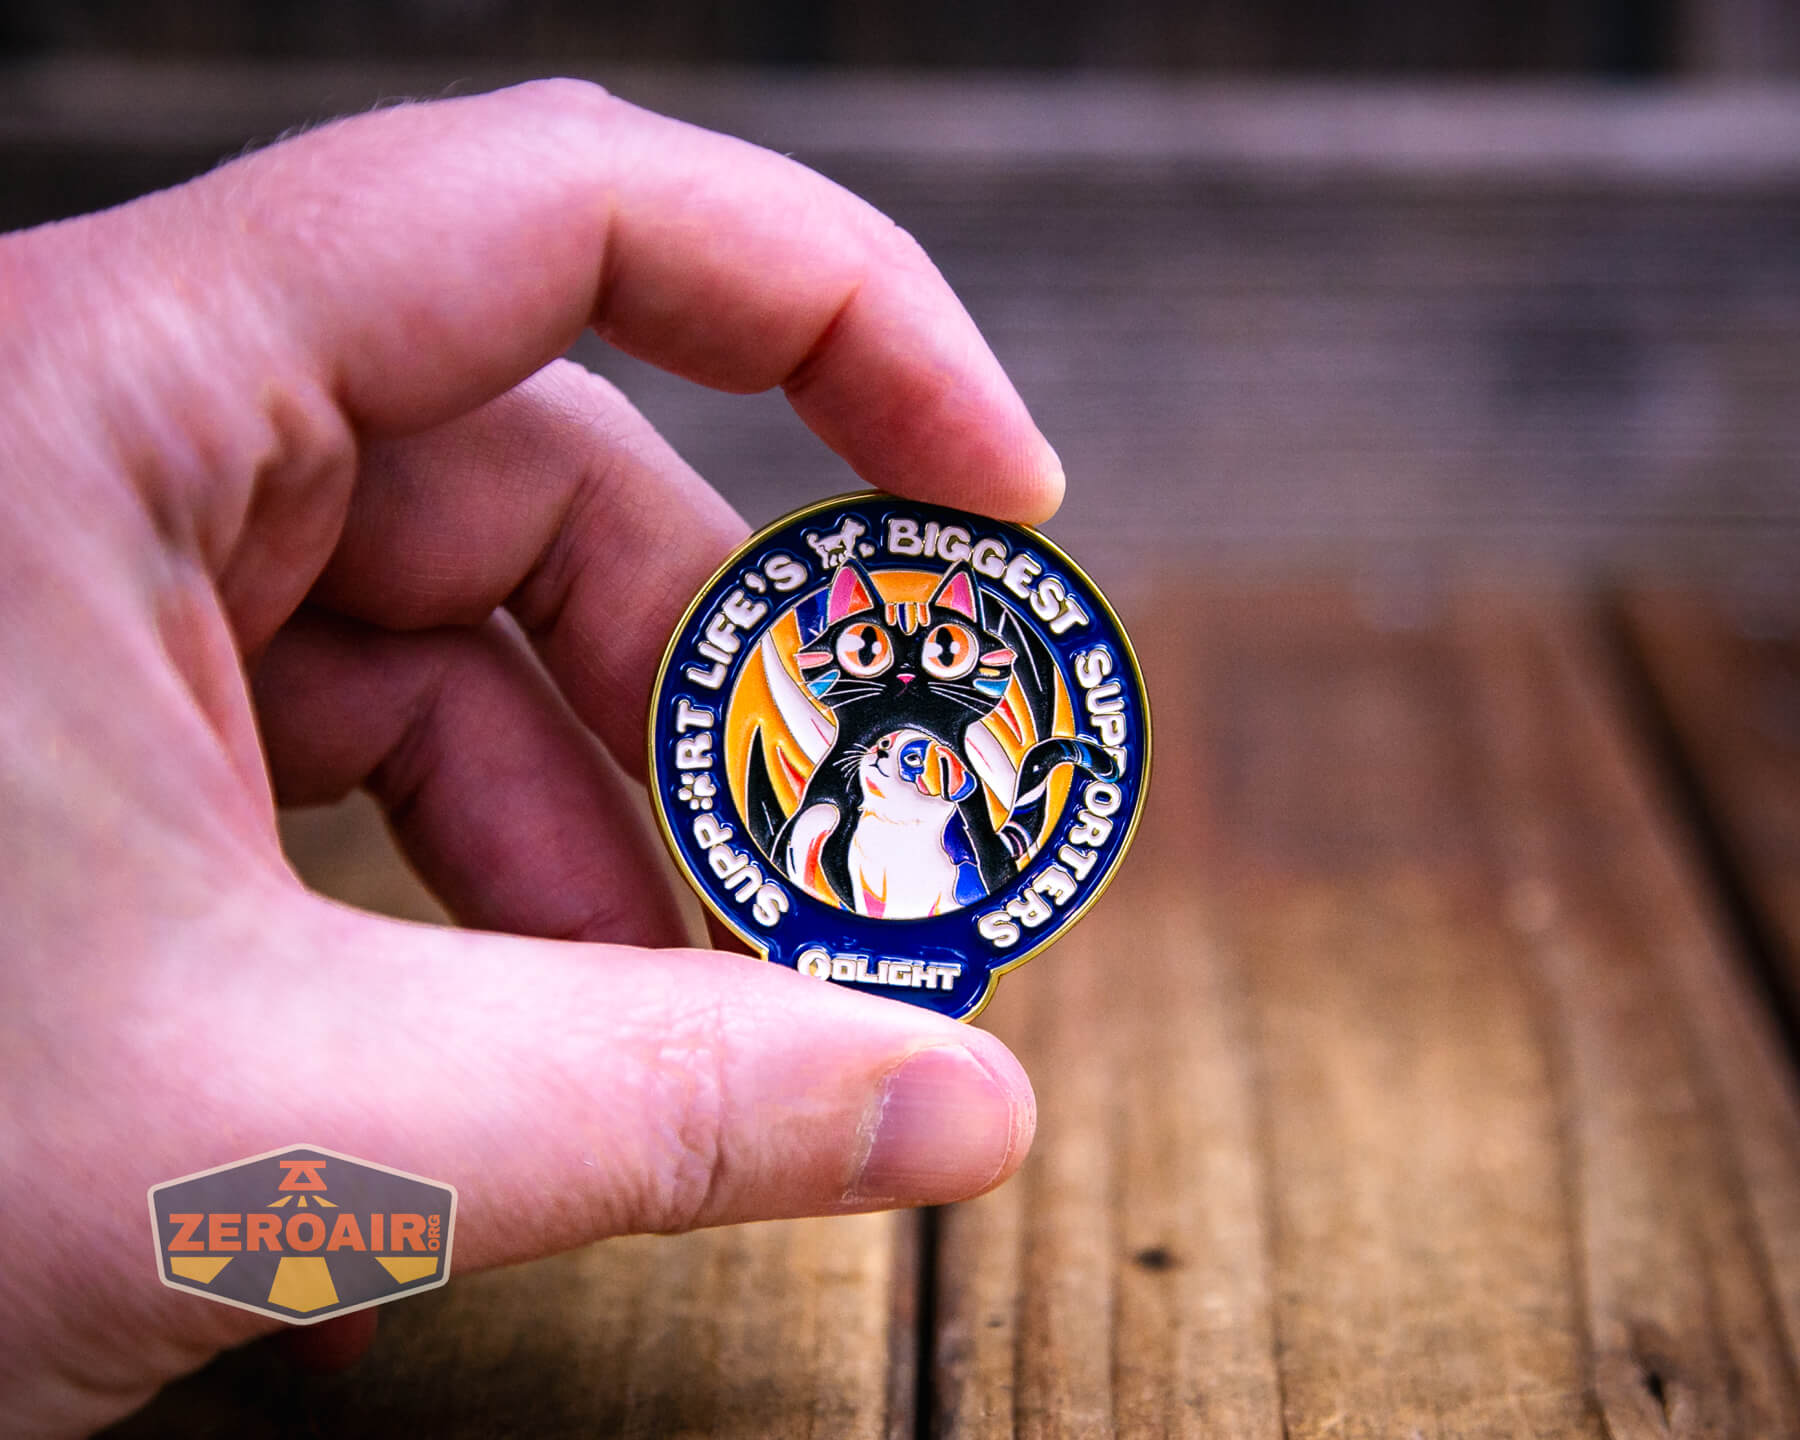
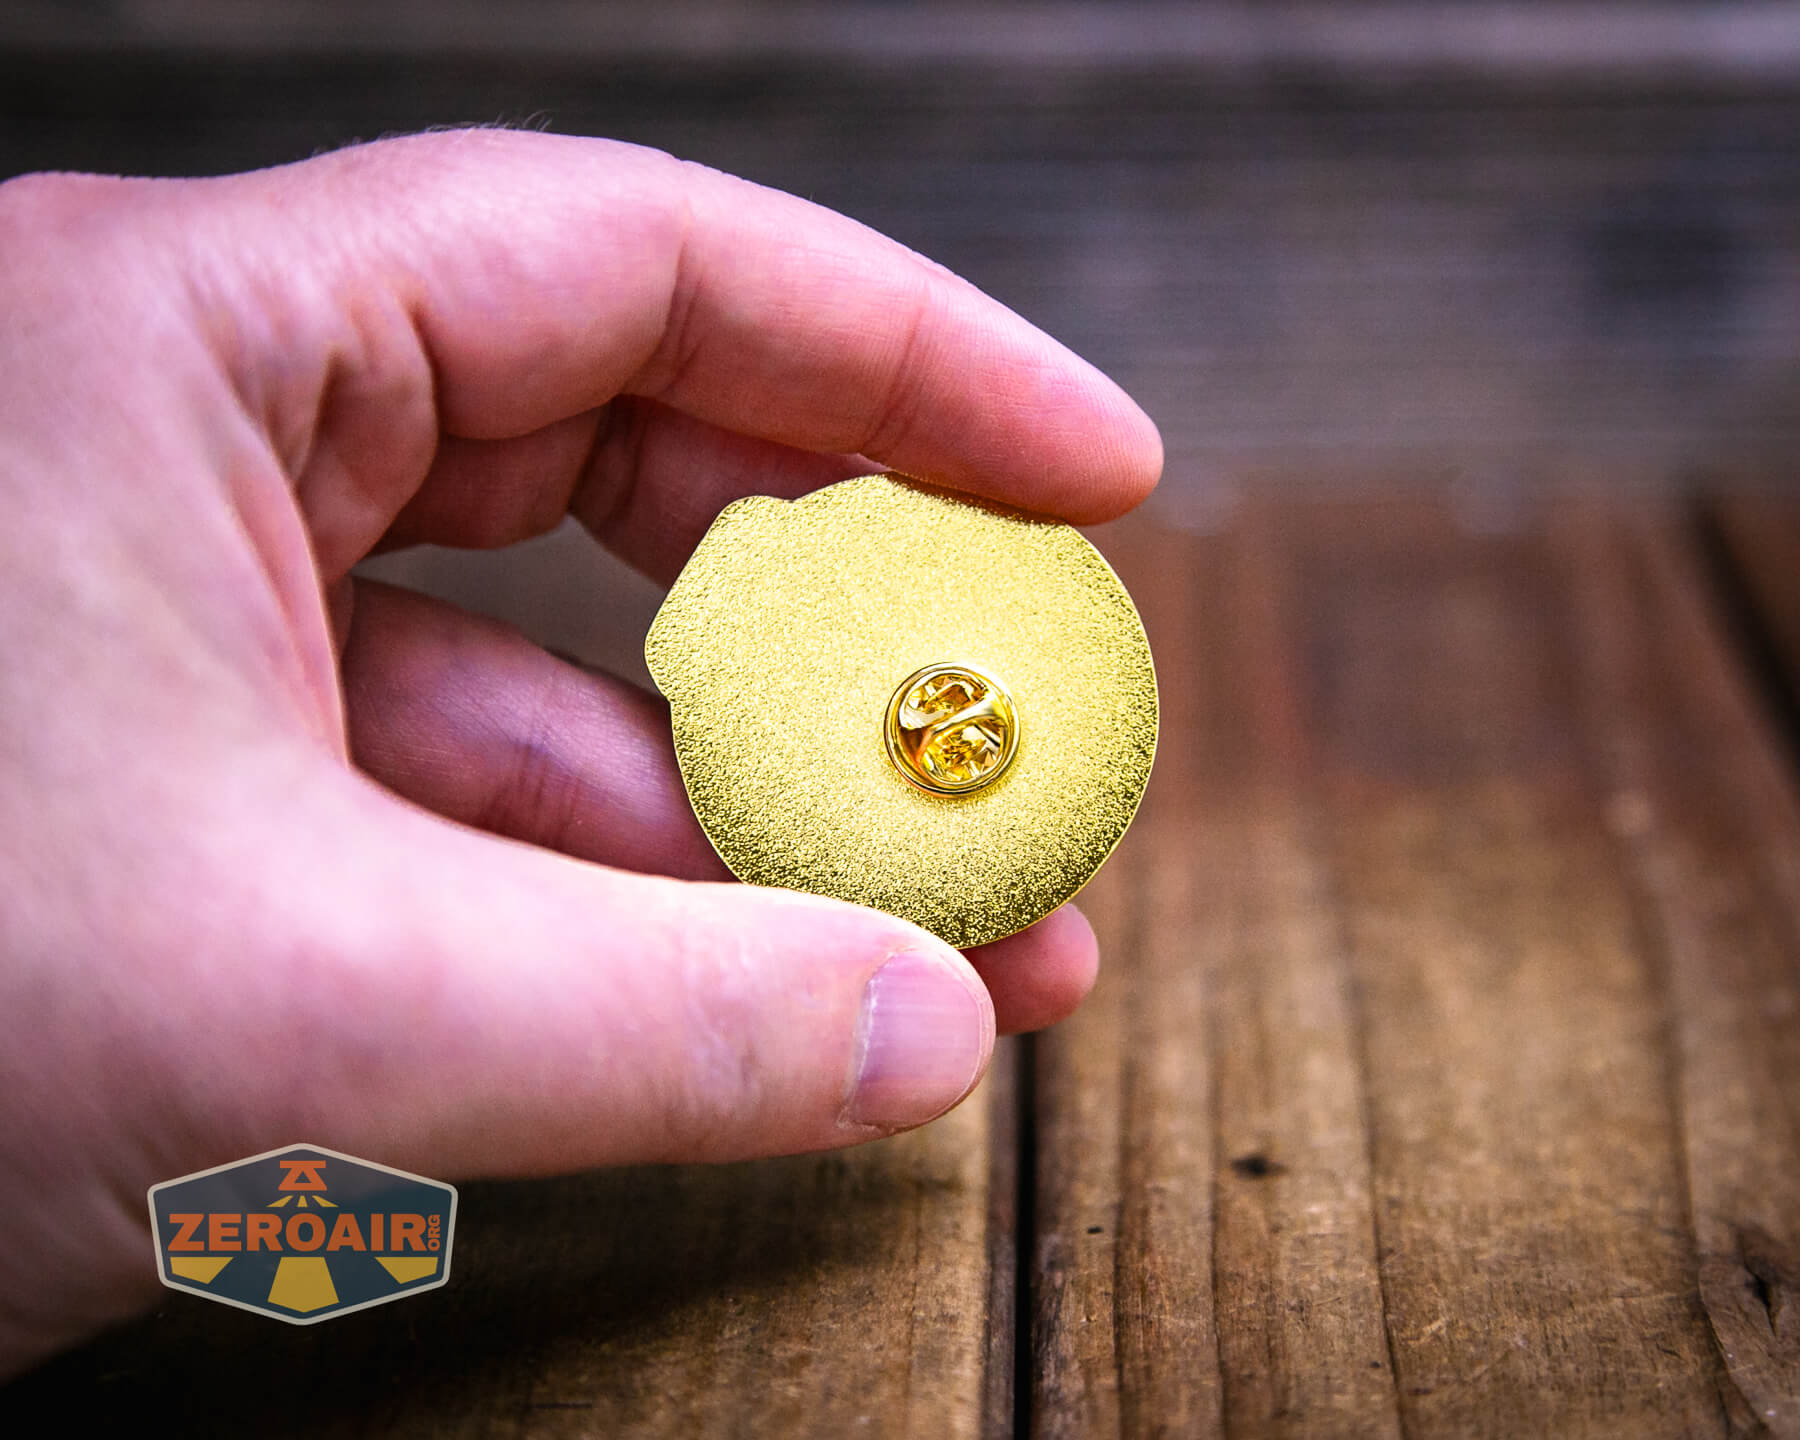
Olight includes a metal pin with the Arkfeld Pro Paw Edition flashlight. That’s a new thing for this edition, and it is all about pets!
Size and Comps
Weight: 3.92 oz (111g) (Battery Included)
Height: 0.63 in (16 mm)
Length: 4.72 in (120 mm)
Width: 1.06 in (27 mm)


If the flashlight will headstand, I’ll show it here (usually the third photo). If the flashlight will tailstand, I’ll also show that (usually in the fourth photo).


Here’s the test light with the venerable Convoy S2+. The version below is a custom laser-engraved Convoy S2+ host by GadgetConnections.com. I did a full post on an engraved orange host right here! Or go straight to GadgetConnections.com to buy your Convoy S2+ now!


Also above is the light beside a TorchLAB BOSS 35, an 18350 light. I reviewed the aluminum version of that light in both 35 and 70 formats. I also reviewed that specific edition, the “Oveready BOSS FT Collector Vintage Brass” 35. I love it!
Below you can see the Olight Arkfeld Pro EDC flashlight in orange (left) beside the previous Arkfeld. Again, the Pro is bigger, but I bet you’d never notice it if you didn’t have them side by side.

Retention and Carry
The Olight Arkfeld Pro Paw Edition flashlight still has the updated pocket clip, which is so much better than the first edition Arkfeld clip. This clip allows great deep carry, as well as having a two-way option. I don’t care at all about the two-way, but I love the deeper carry. 
This clip also offers a hole suitable for a lanyard! Two advancements in one clip!
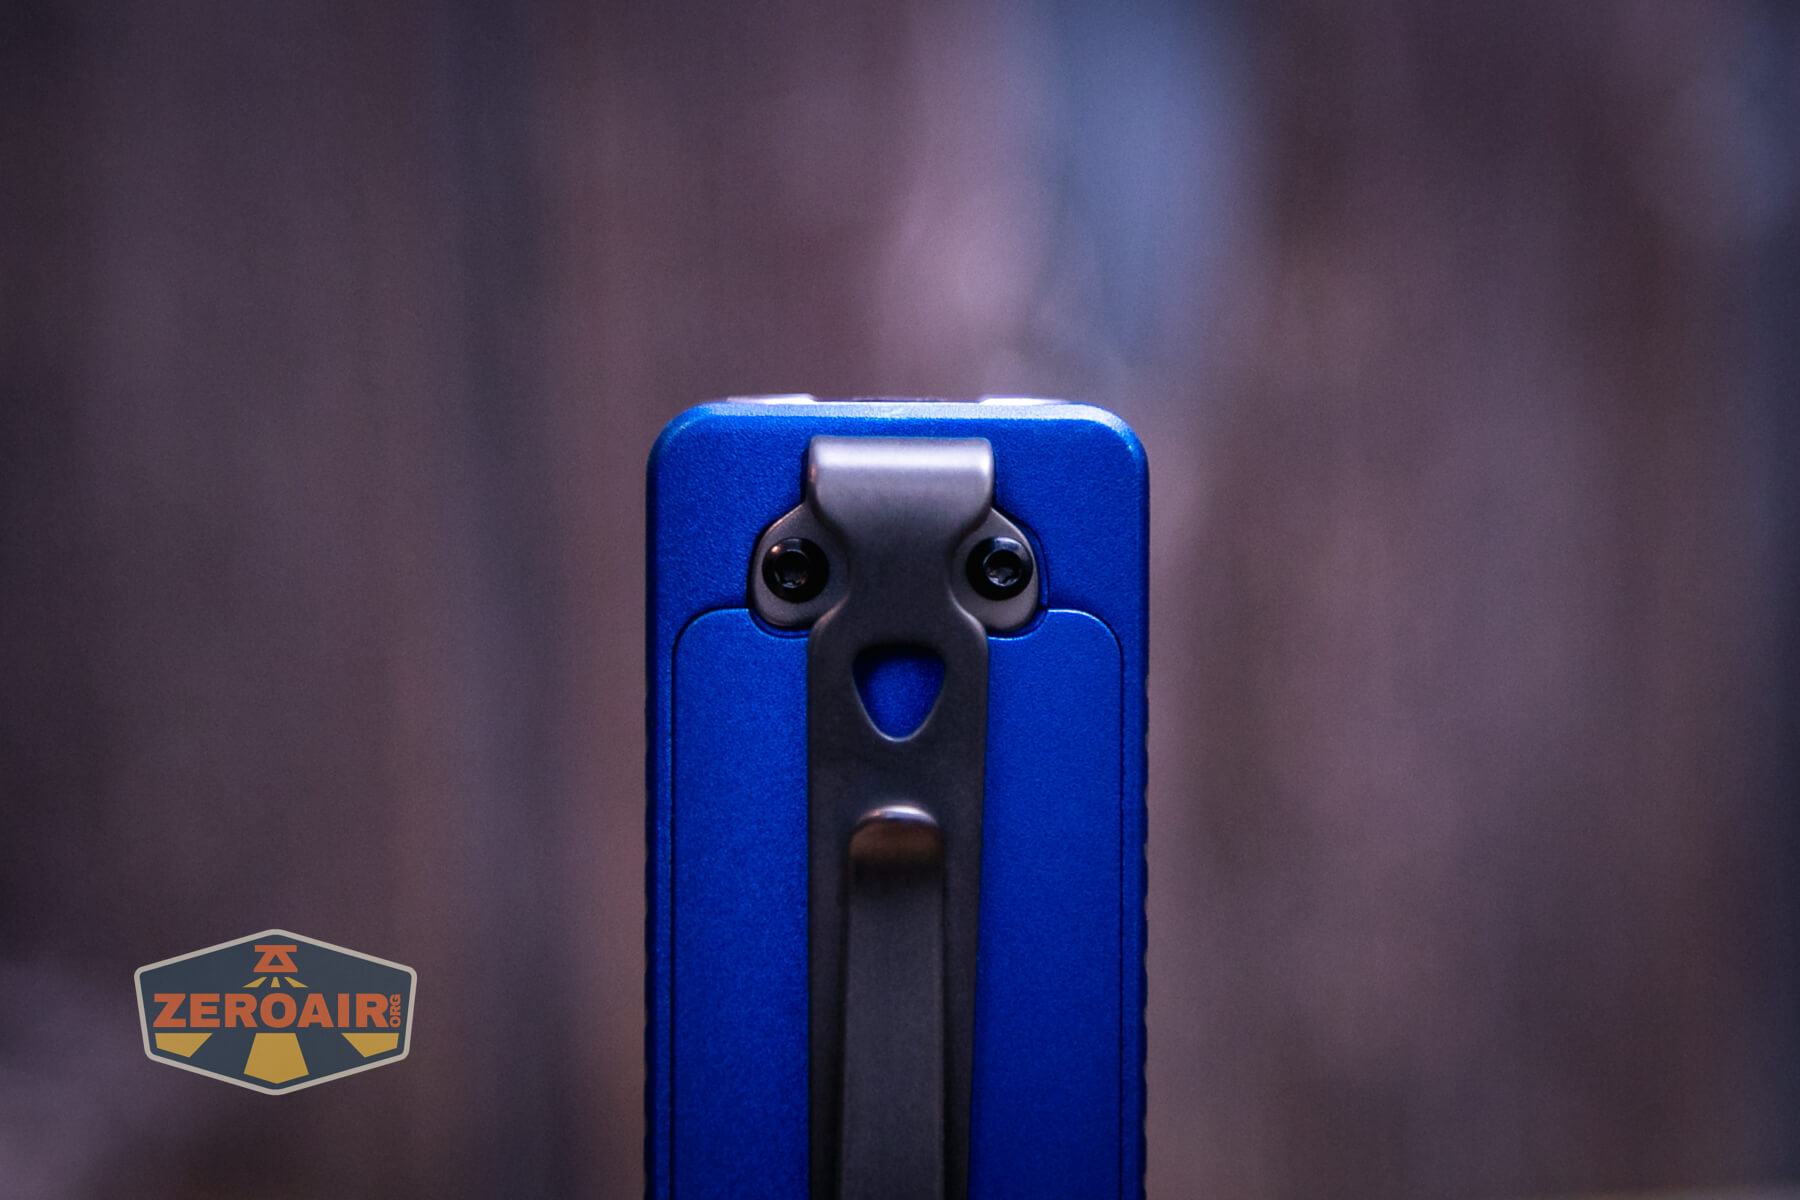
The only other way to retain the Arkfeld Pro is with the magnetic base. While mostly for charging, the magnet is strong enough to hold the light in place, too.
Power and Runtime
Olight states this as a “built-in 1500mAh Lithium Polymer Battery” and that’s perfectly logical. I was unable to gain any access to the LiPO but I did run a couple of output tests. There is a battery indicator below the switch and it does indicate when the voltage is low. The light finally shuts off, too.


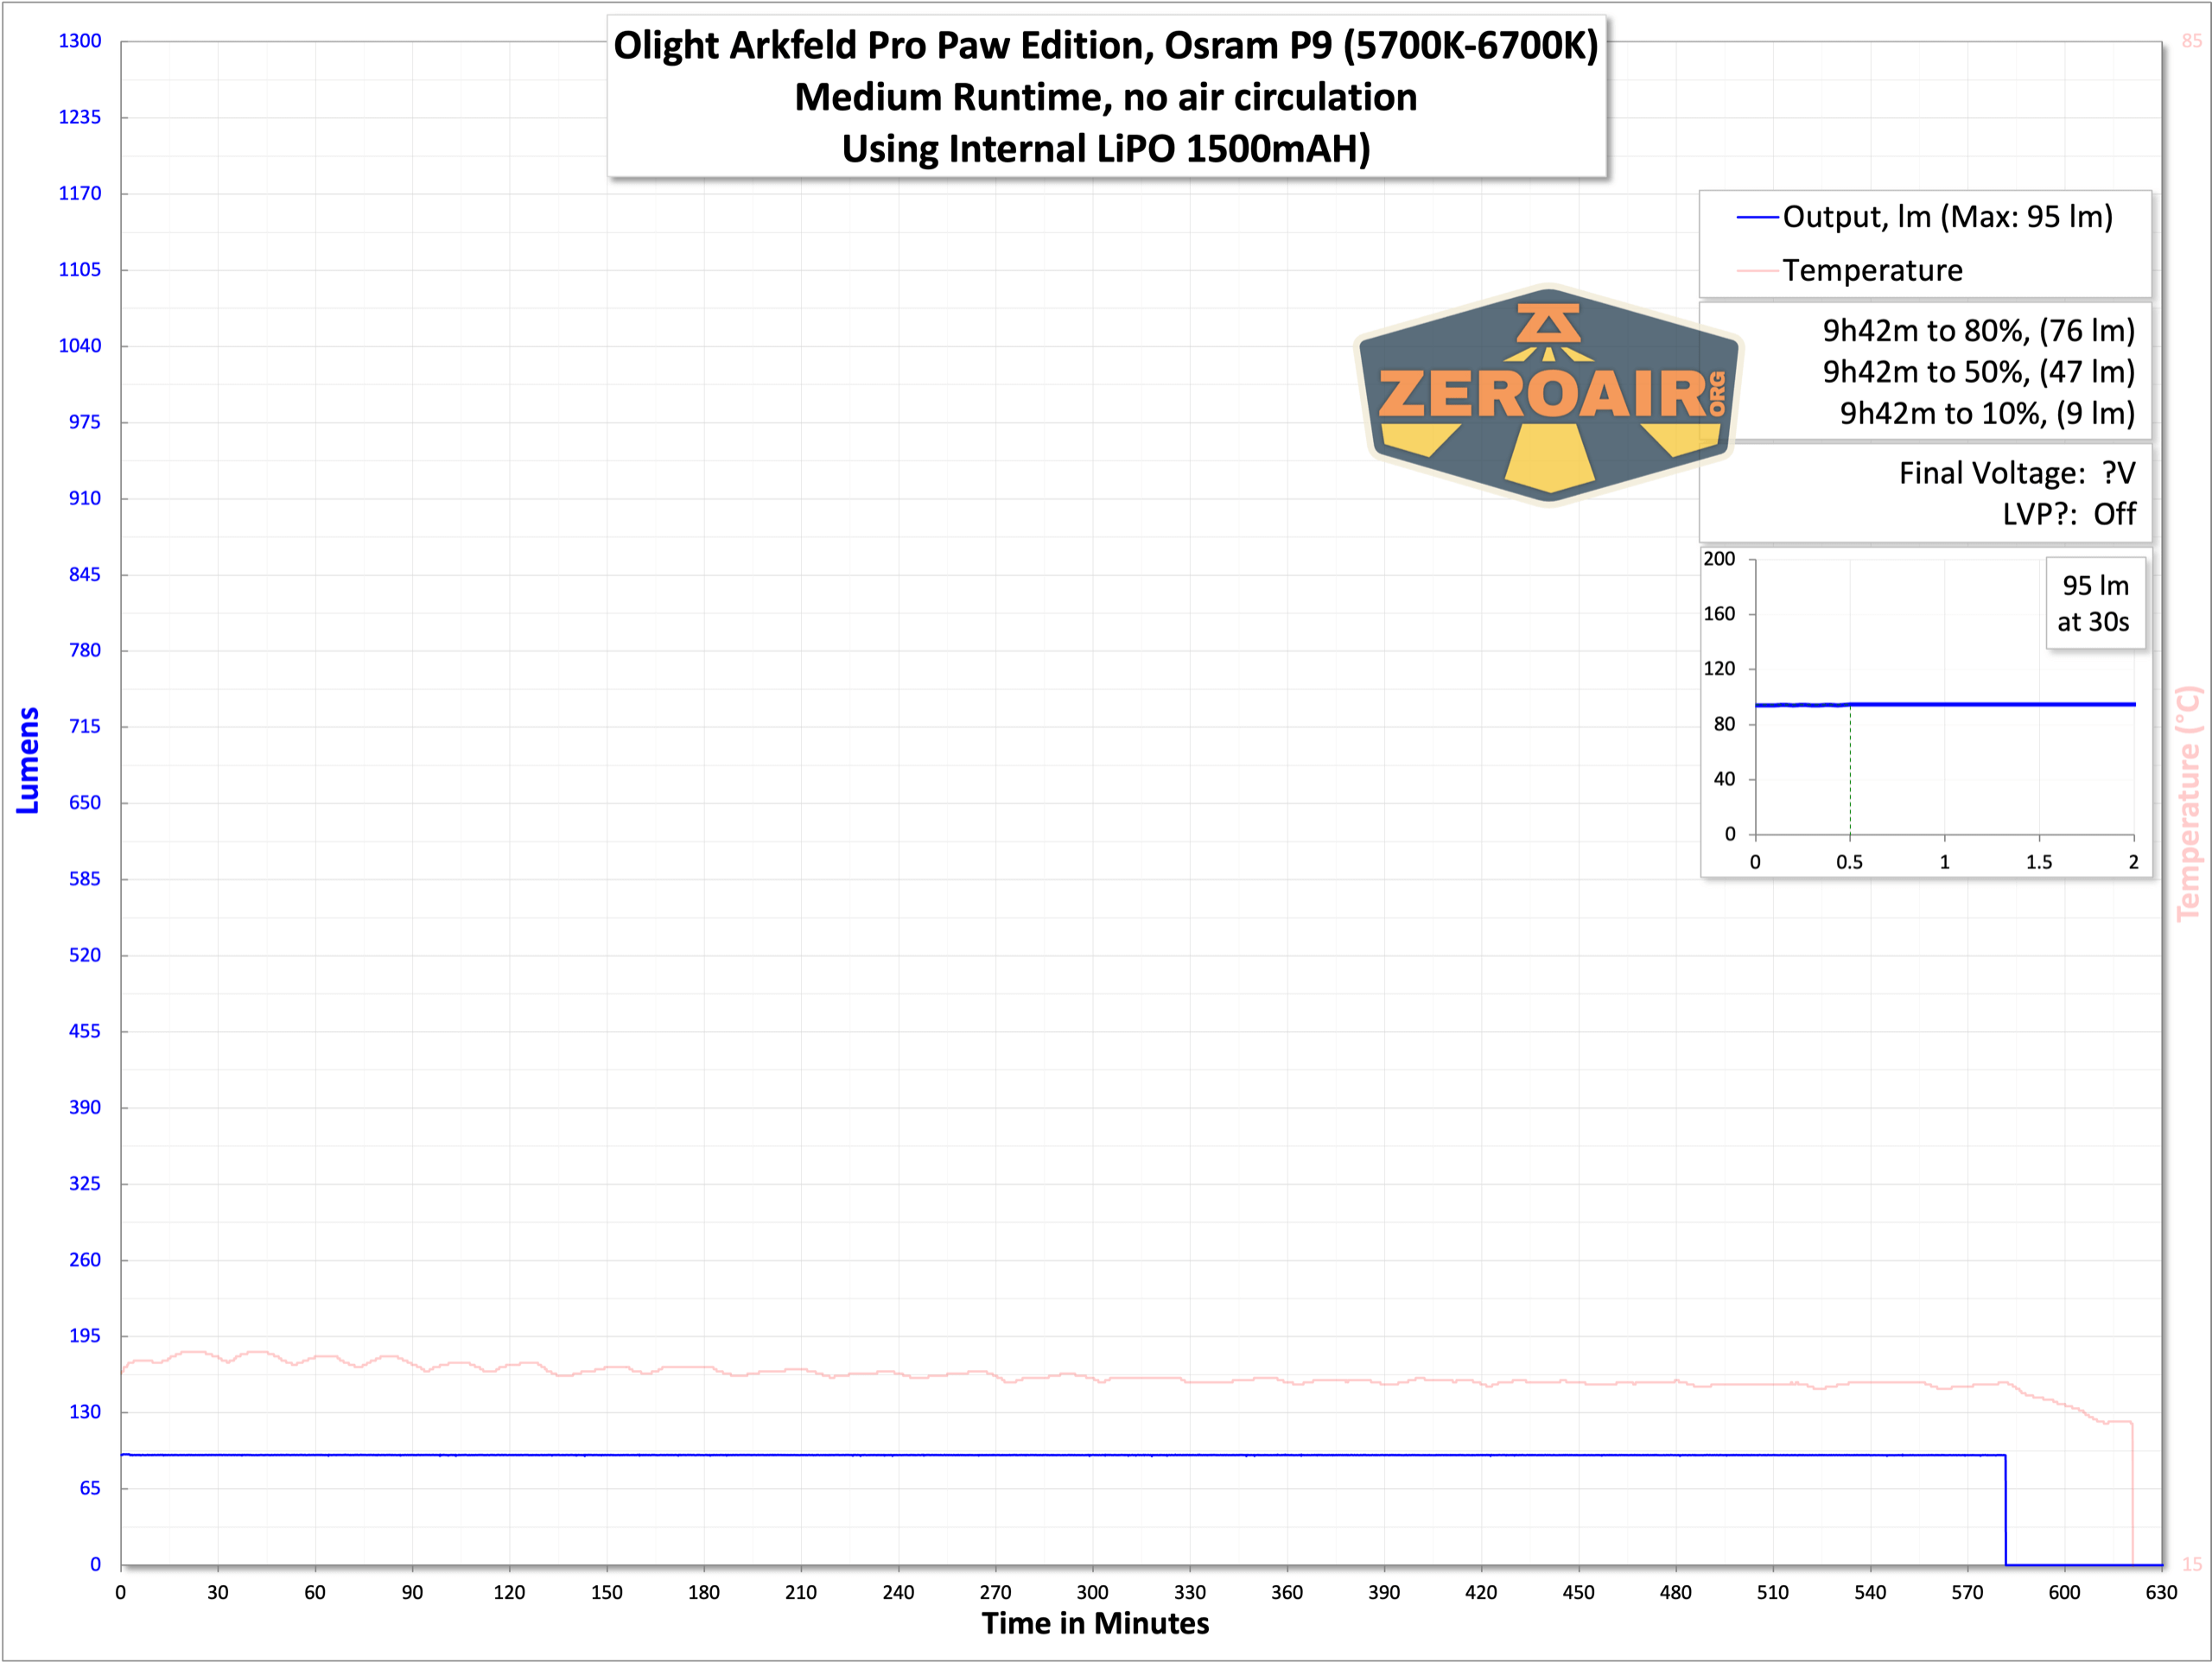
Output is nice and stable for all but the first few minutes of Turbo and steps down at timed intervals. The light appears to have low voltage protection, too, but I wasn’t able to check the post-run voltage.
Below you can see the battery indicator – two green indicators.

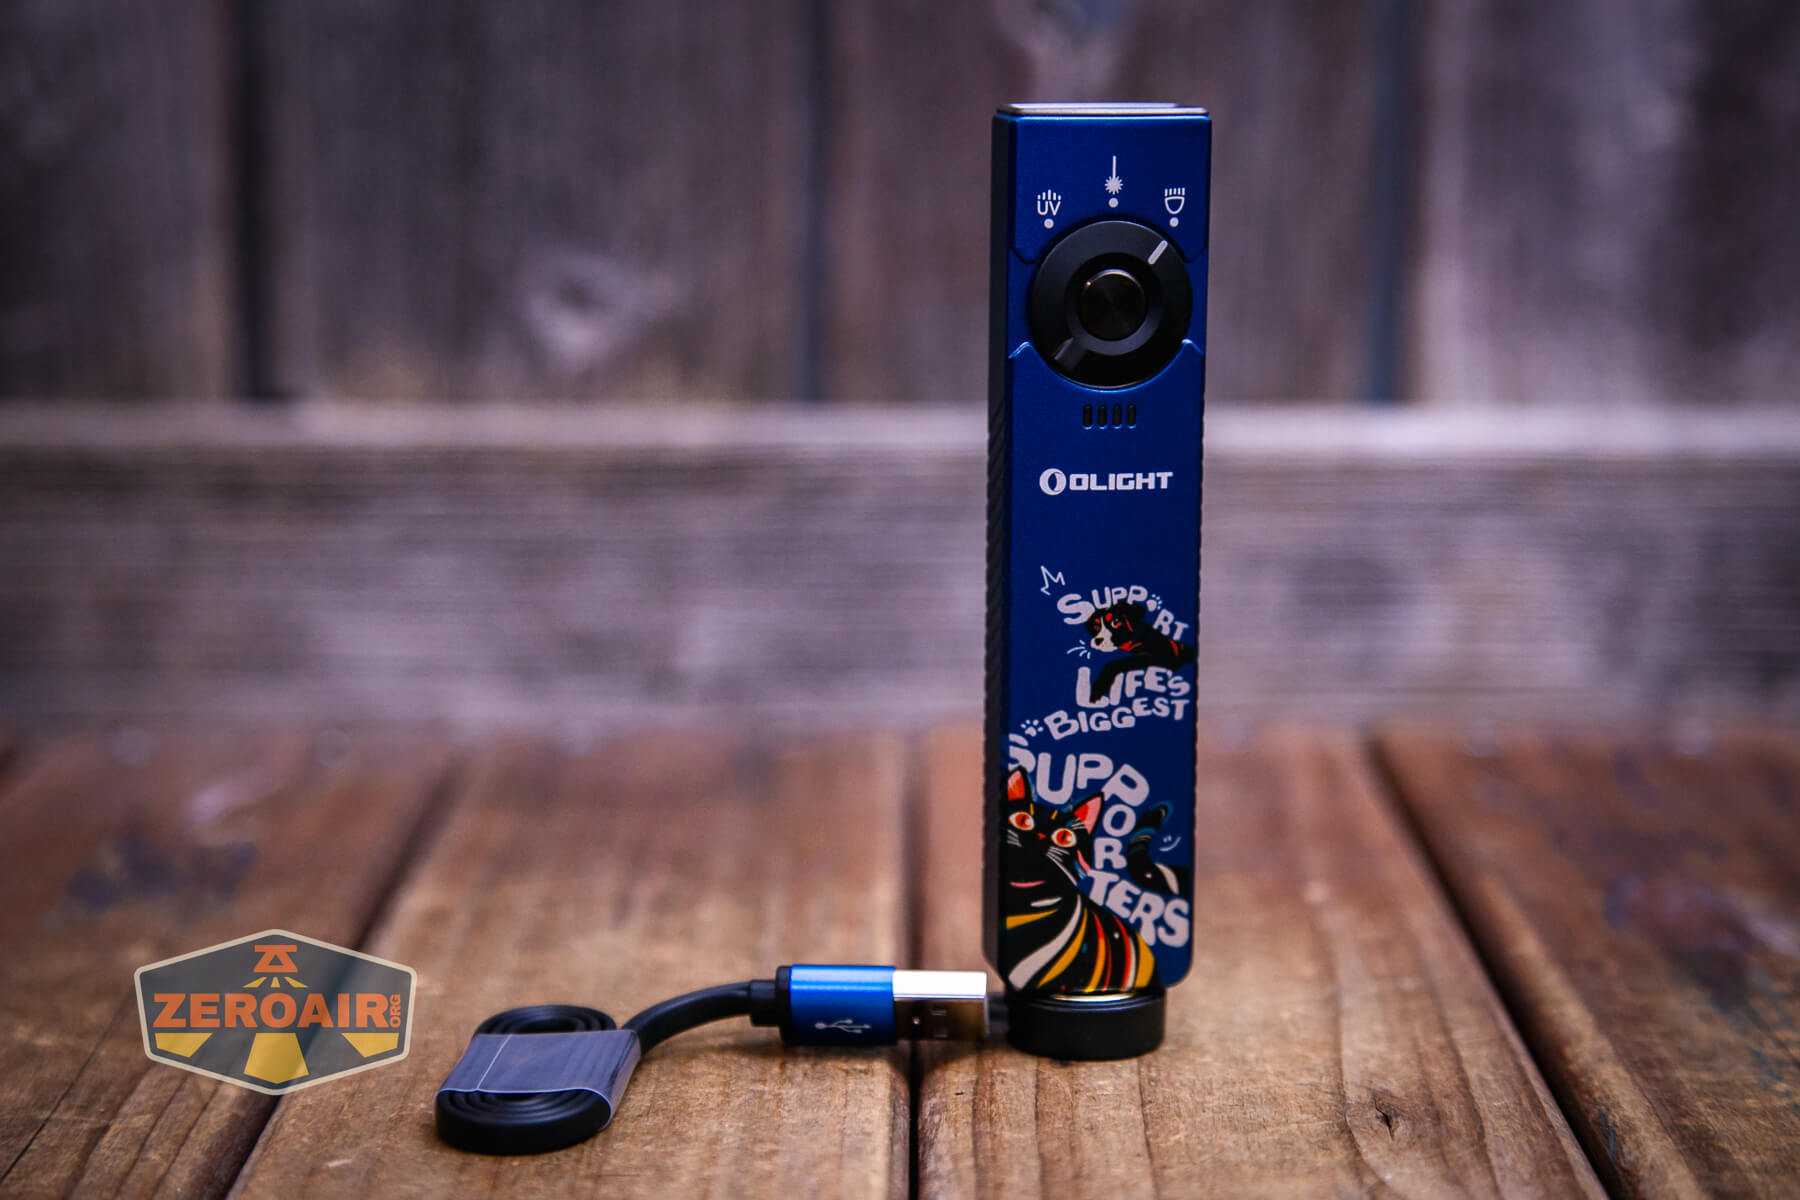
Charging
There’s also onboard charging, by way of a magnetic charge base and a magnetic charge connector in the tail (both parts are magnetic!). The charging base is the common Olight MCC.


The charger for this Olight Arkfeld Pro Paw Edition flashlight is an MCC1A charger.

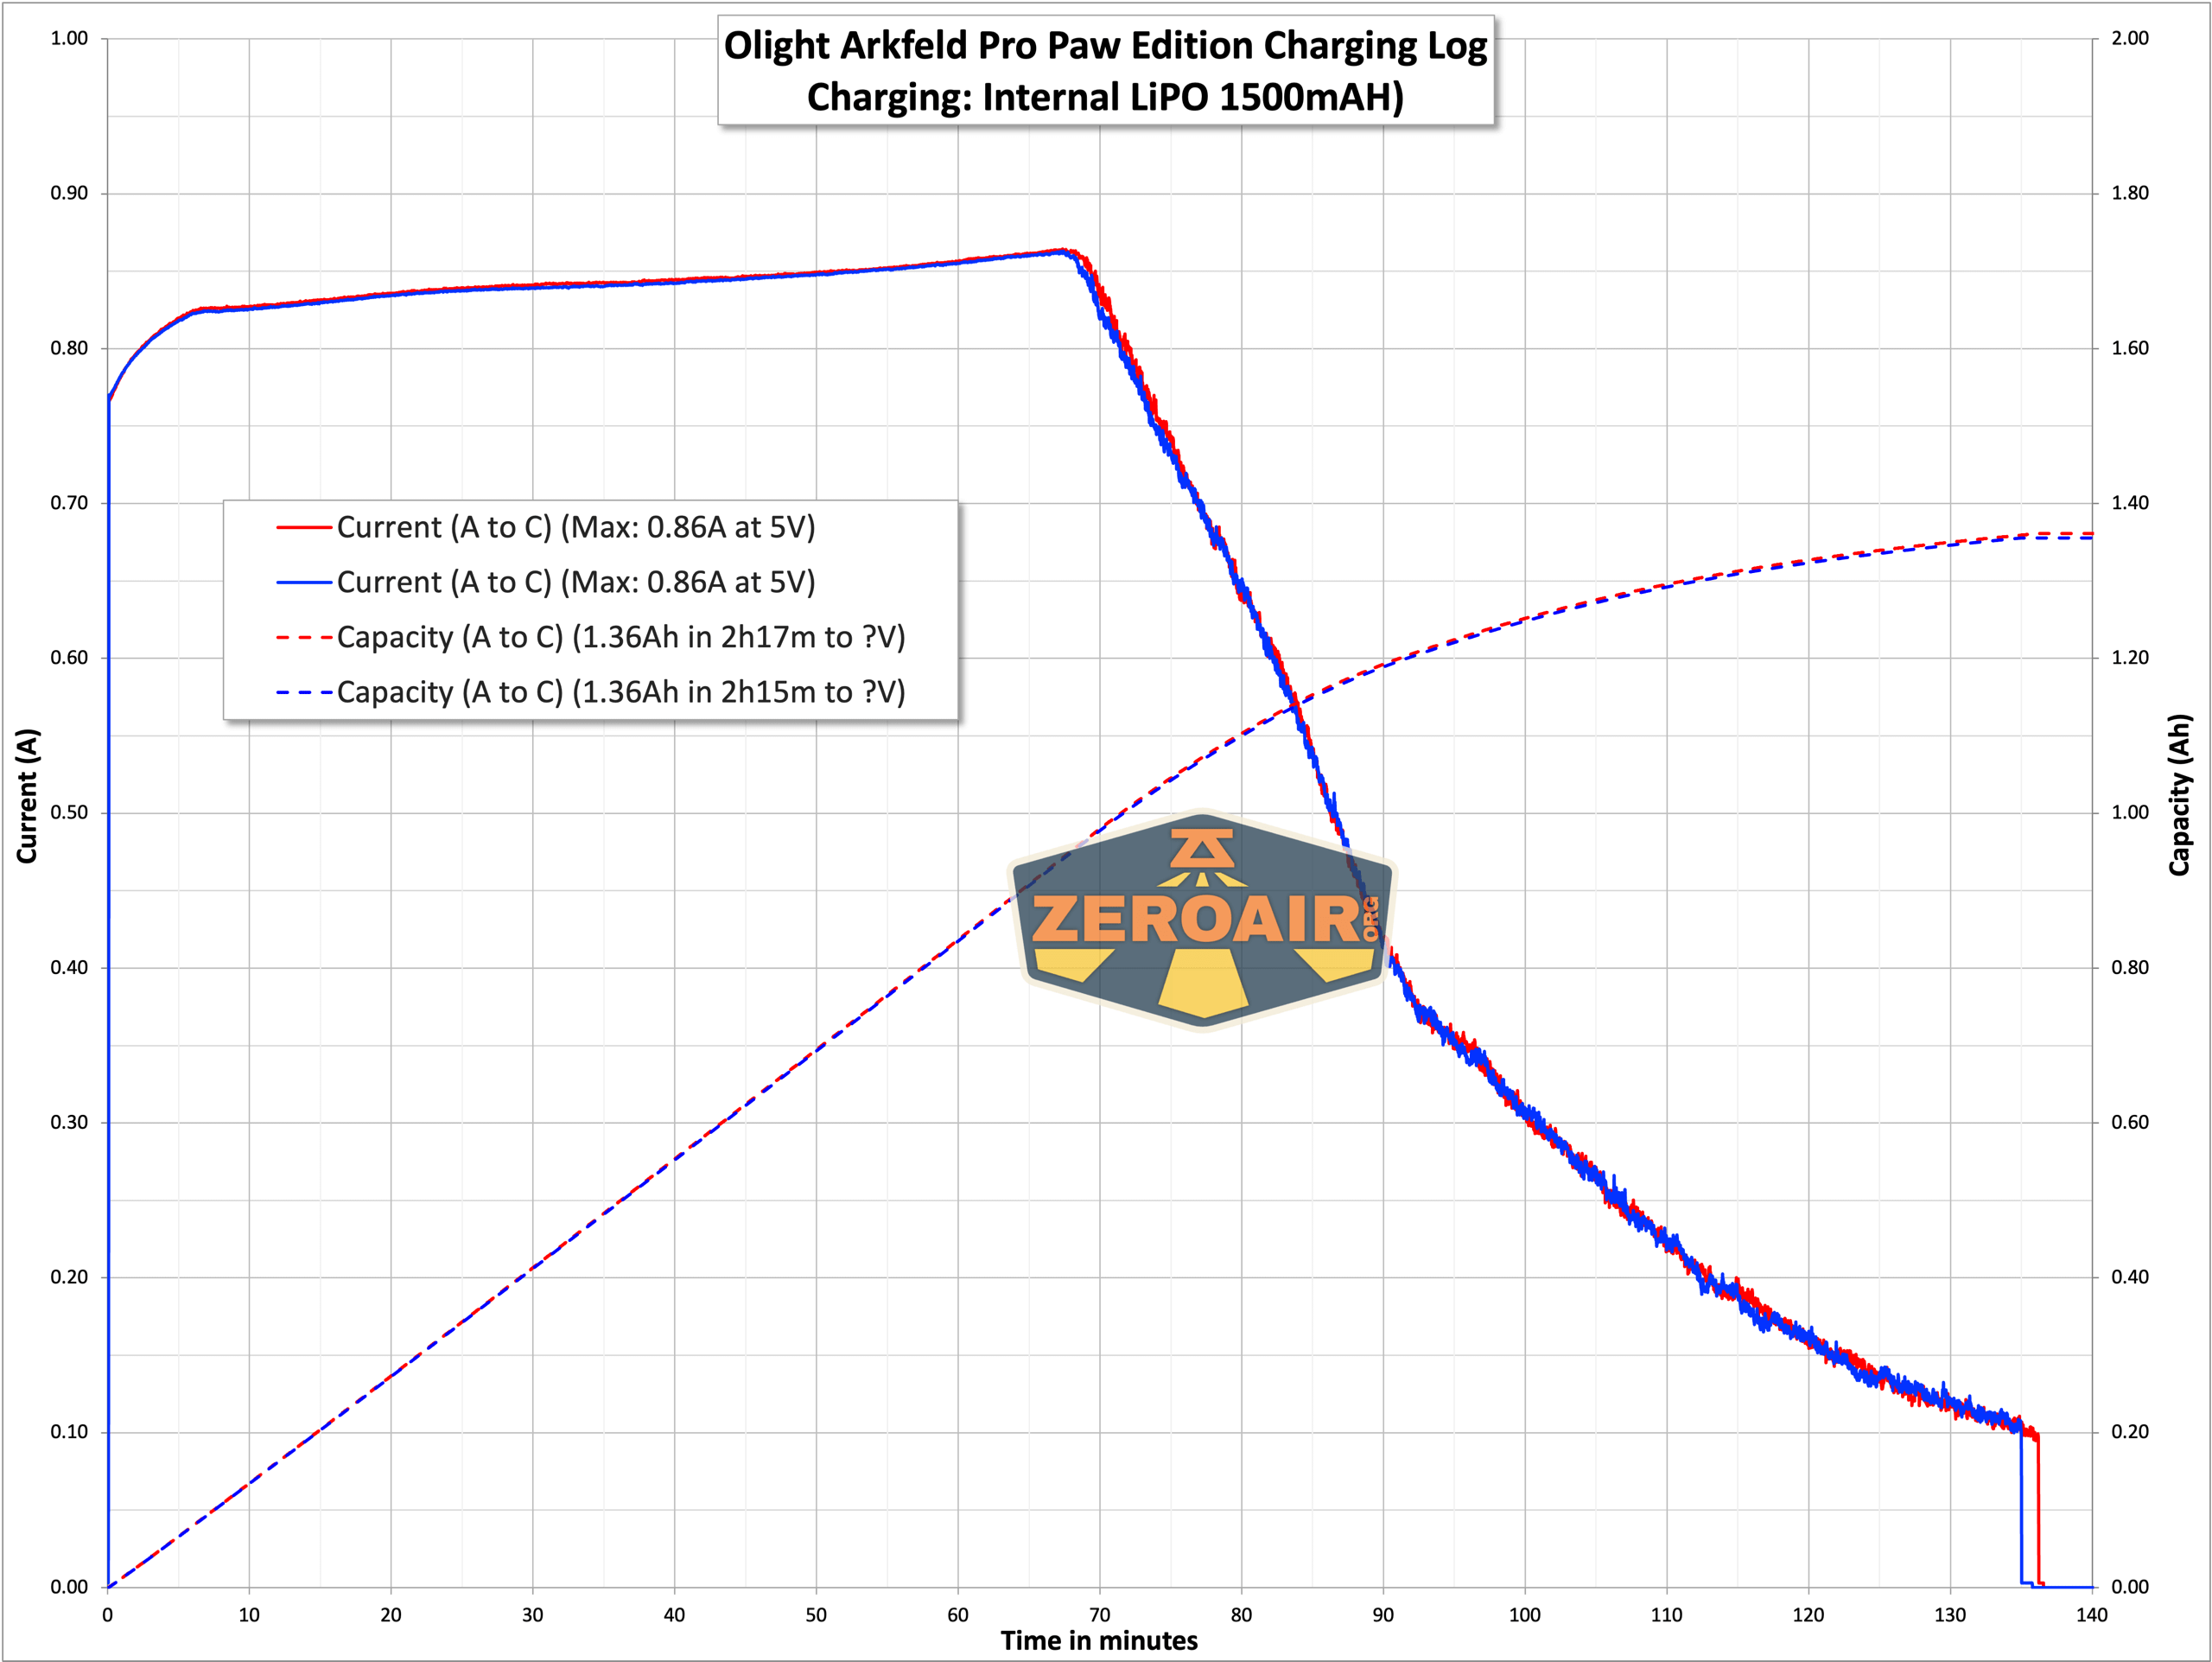
Charging looks pretty good. The max rate is around 0.9A. I would guess the LiPO could handle way more, so I’d love to see this utilize the full capability of a MCC charger.
Notably, this Pro version does not have the “intermittent” or drop-out charging that some of the previous versions had. It also charges more quickly and has a “firmer” cutoff point, too. All of those are very good improvements.
Modes and Currents
| Mode | Mode Claimed Output (lm) | Claimed Runtime | Measured Lumens |
|---|---|---|---|
| Turbo | 1300-420 | 4m-126m | 1203 (0s) 1195 (30s) |
| High | 420-100 | 135m+12m | 375 |
| Med | 100 | 9h45m | 95 |
| Low | 15 | 55h | 14 |
| Moon | 1 | 11d | 0.65 |
Pulse Width Modulation
Nothing really to mention here. None of the modes seem to be using PWM. The last mode below is strobe – I thought I’d include that one just for fun.


Here you can see a “baseline” – a chart with almost no light hitting the sensor. Then there’s the Ultrafire WF-602C flashlight, which has some of the worst PWM I’ve seen. It’s so bad that I used a post about it to explain PWM! Here are multiple timescales (10ms, 5ms, 2ms, 1ms, 0.5ms, 0.2ms) to make comparing this “worst” PWM light to the test light easier. That post also explains why I didn’t test the WF-602C at the usual 50us scale.
User Interface and Operation
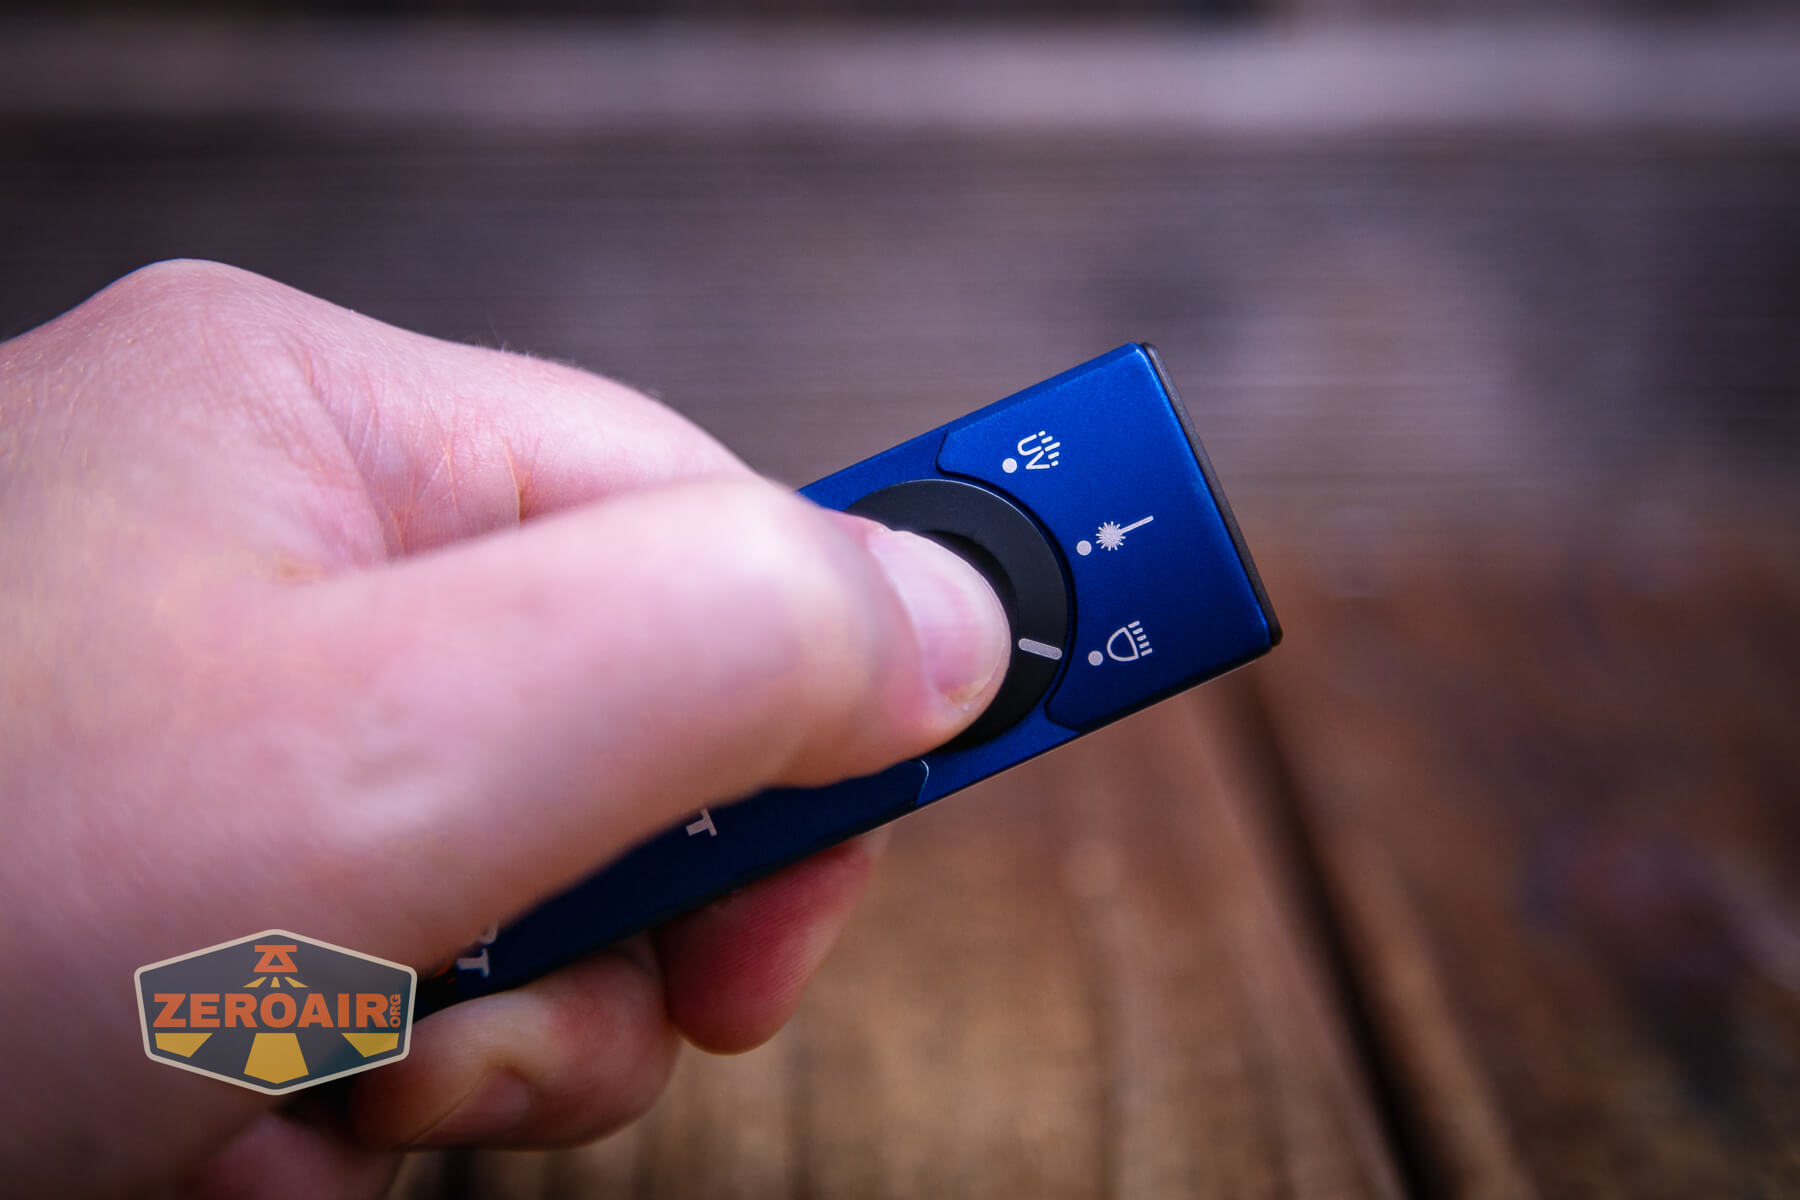
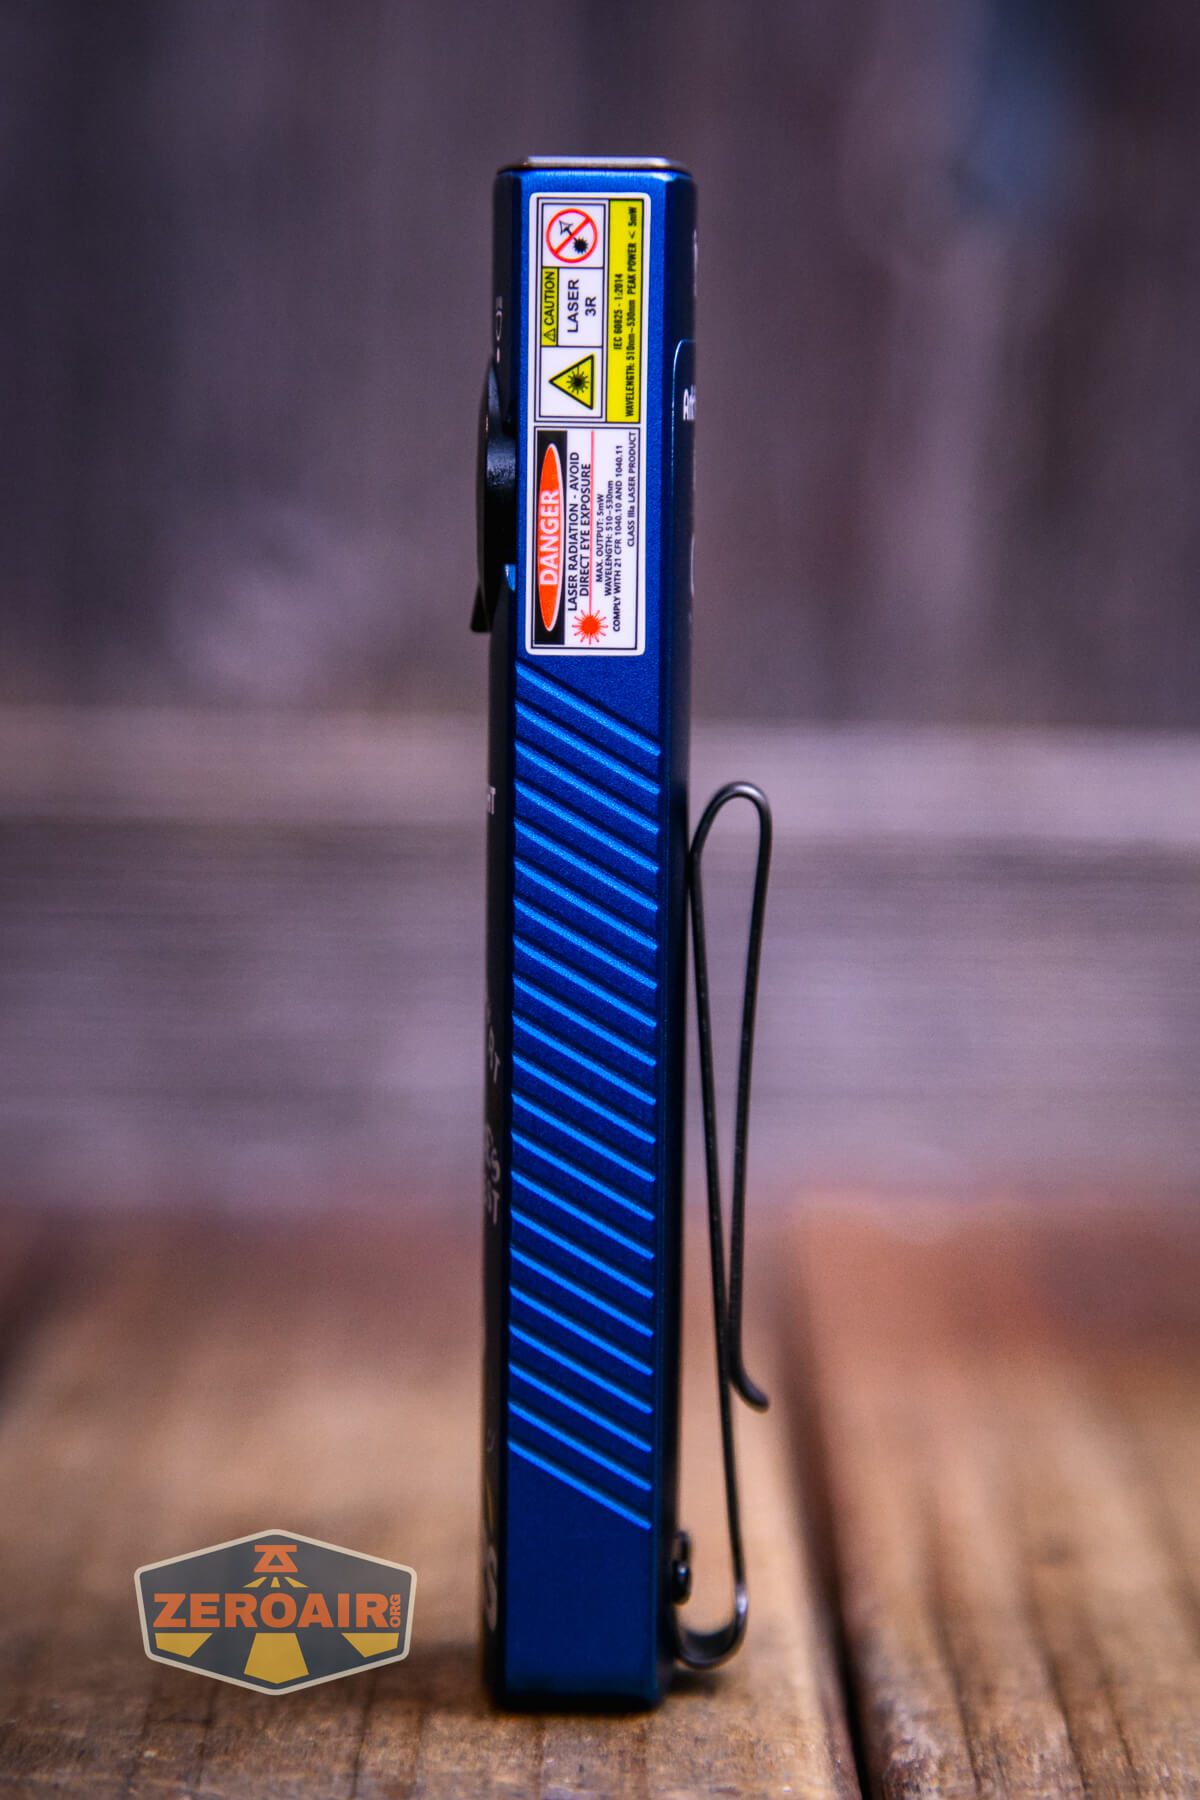
There’s just one e-switch on the Olight Arkfeld Pro Paw Edition flashlight. Surrounding that e-switch is a selector knob of sorts, which points to either white LED output, ultraviolet, or laser output. Functionally this is exactly the same as previous Arkfelds, but just with one added output option. The gold-colored clip mentioned above matches the gold-colored e-switch you can see below.

The e-switch isn’t proud at all. The selector has one nubs that help flip between outputs.
All of that said, the user interface is basically the same as the Olight S2R Baton II, which I’ve covered before. It’s also basically the same early-generation Arkfeld Pros. But it is not the same. It is the same as the updated Arkfeld Pro (meaning there are two iterations, and this is the newer user interface.)
Here’s a user interface table! This only applies when the selector is in the LED position. For ultraviolet or laser output, the switch is simply on/off.
| State | Action | Result |
|---|---|---|
| Off | Click | On (mode memory)^ |
| On | Hold (release at desired mode) | Mode cycle (L, M, H) (no Moon or Turbo) |
| Off | Hold | Moonlight |
| Any | Double click | Strobe (“Setting 1” – Default) Turbo (“Setting 2”) |
| Lockout | Click 10x+ and hold | Iterate between Setting 1 and Setting 2 (indicated by flashing twice) |
| Any | Triple click | Turbo (“Setting 1” – Default) Strobe (“Setting 2”) |
| Strobe | Click | Off |
| Strobe | Hold | Previous Mode |
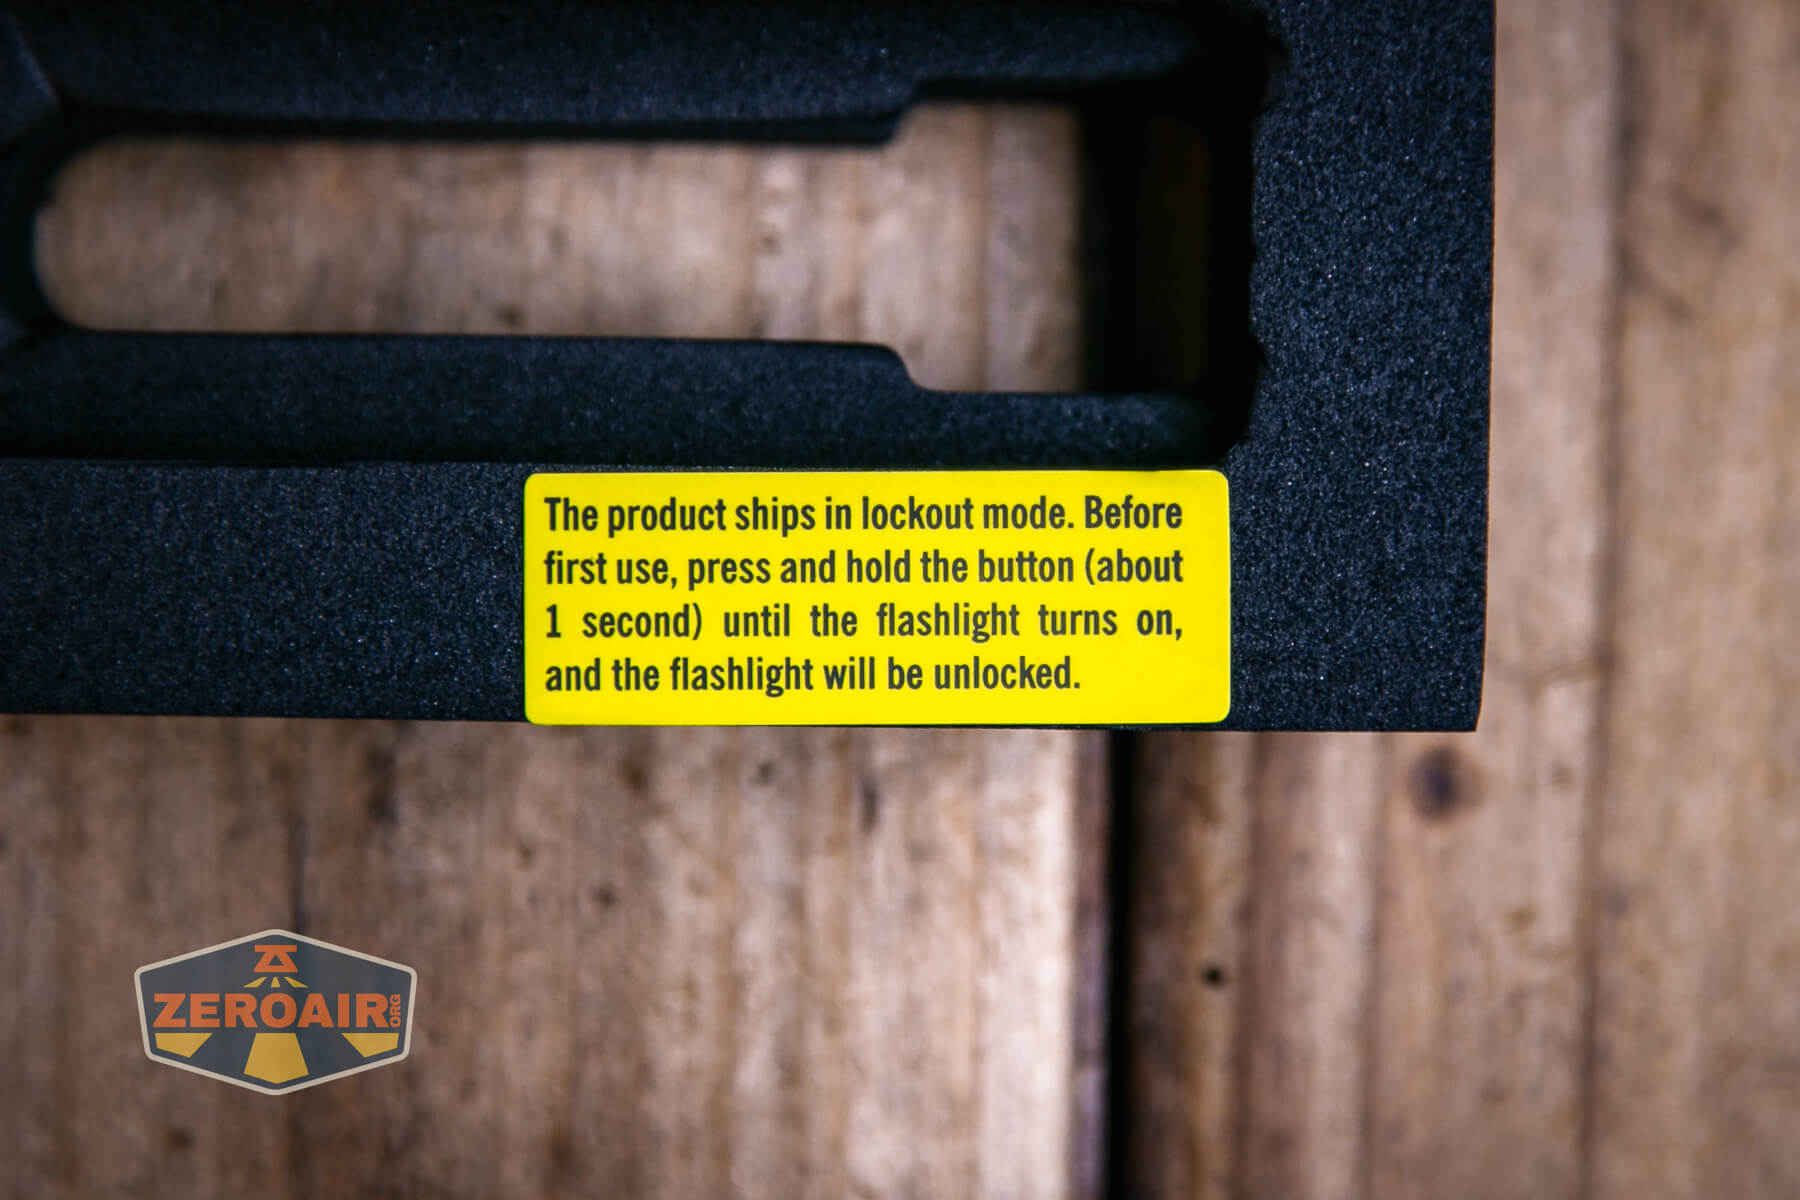
| Off | Long hold (past Moonlight) | Lockout (indicated by a single red line on the battery indicator)^ |
| Lockout | Hold | Unlock to Moonlight |
| On | Click then Click and Hold (quickly)^^ | Timer (Single blink: 3 minutes, Double blink: 9 minutes) |
| Timer | Click then Click and Hold (quickly)^^ | Switch between 3- and 9-minute timers. |
^ Moon, Low, Medium, and High are memorized. Turbo is memorized as High.
^^ The manual states this as “Double click and hold” but I think “Click then Click and Hold” quickly is more accurate. Any form of double click ends in Turbo or Strobe.
LED and Beam
Olight doesn’t state what emitter is in the Arkfeld Pro EDC flashlight. I would guess it’s an Osram P9, but it doesn’t matter too much since we’ll see a characterization of the emitter below.
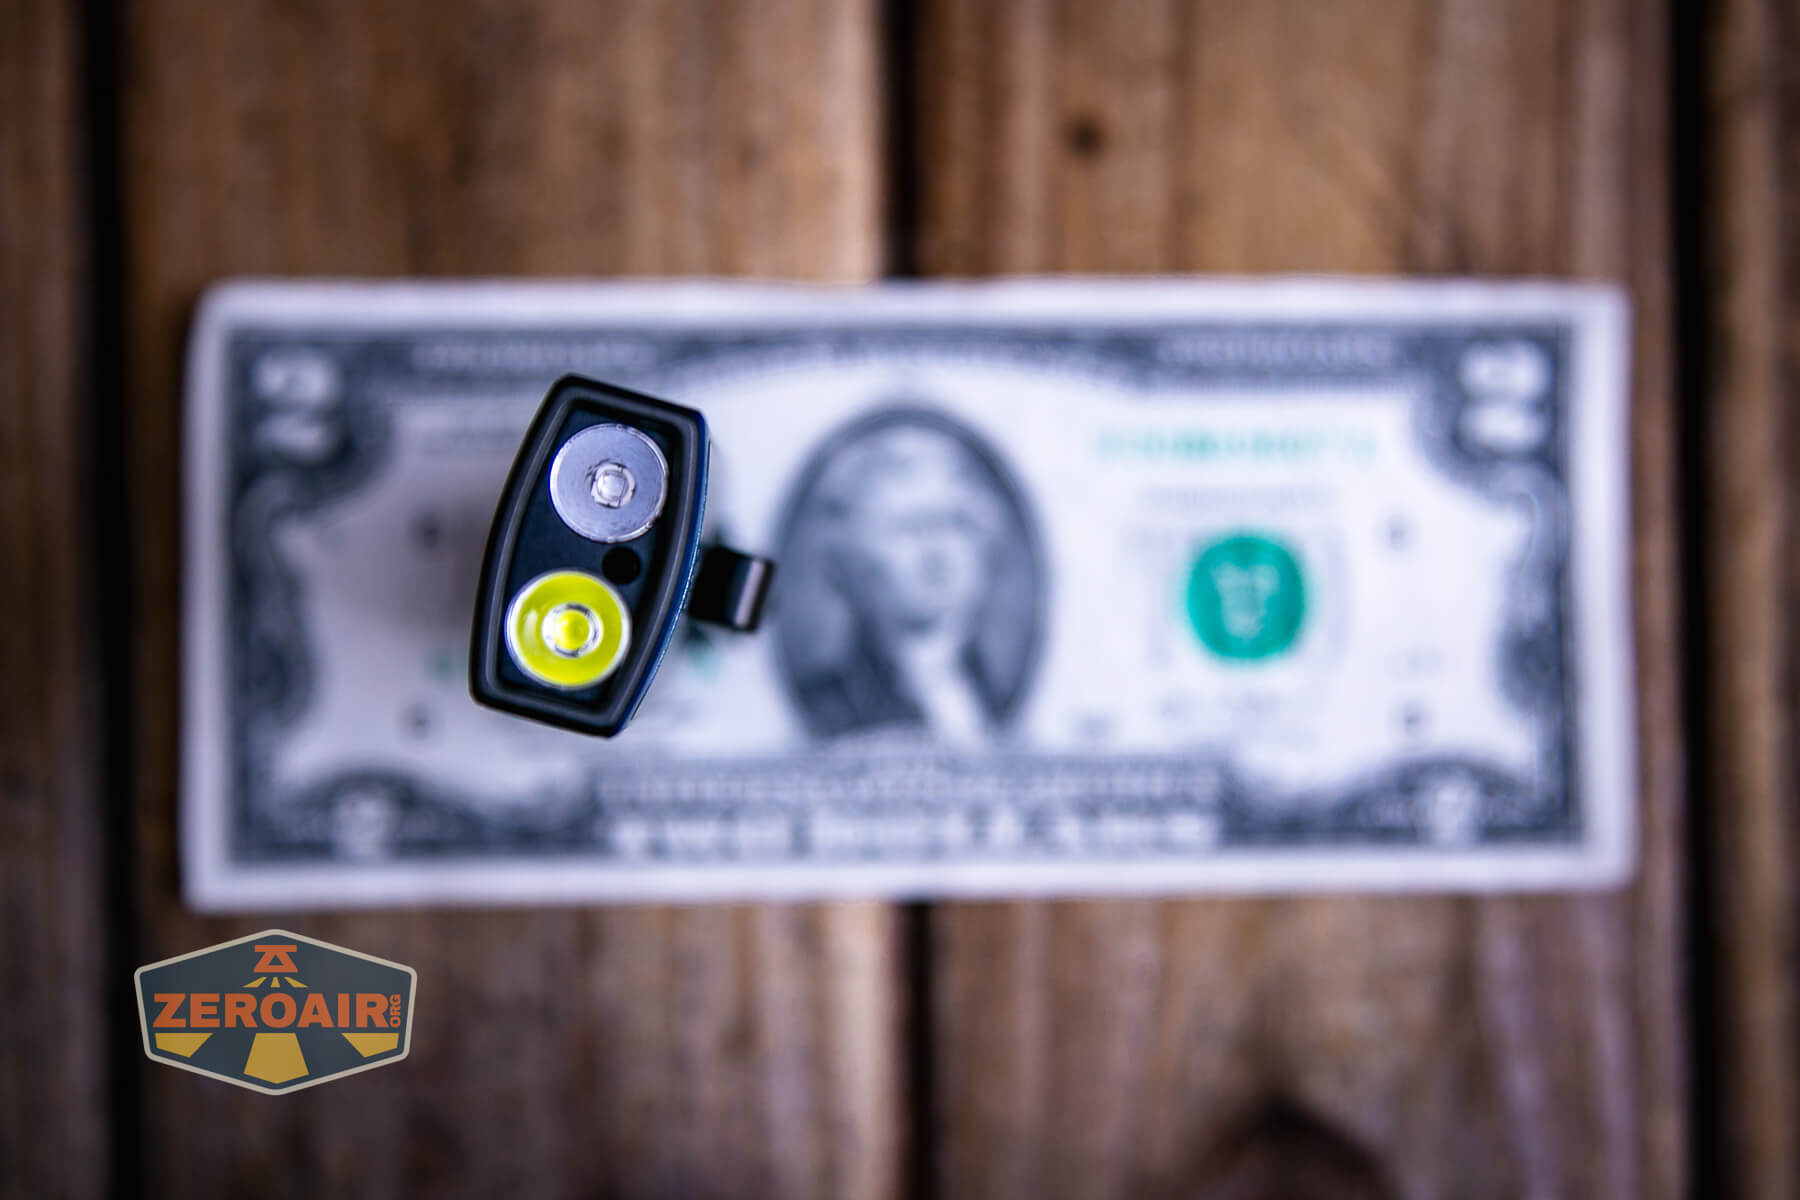
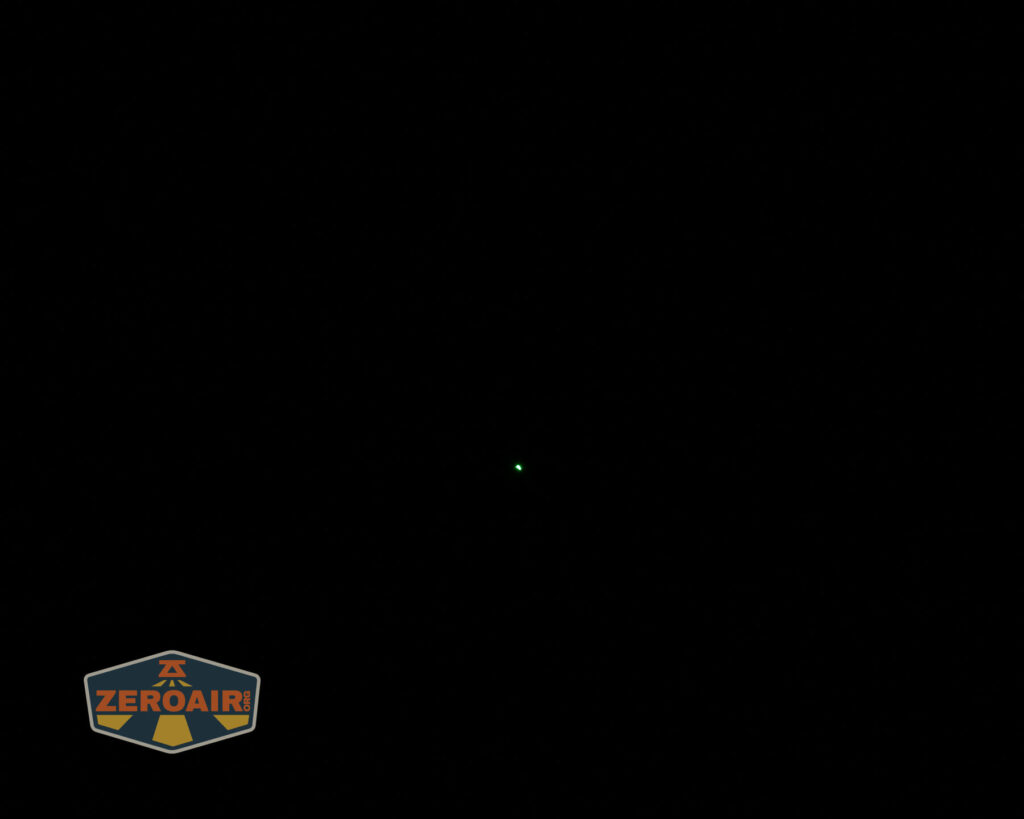
The emitter is in a small TIR, and beside that is an ultraviolet emitter. In the middle (at the bottom of the photo below) is the laser output.
When you turn the light on, these indicator LEDs briefly indicate what the general charge state is.
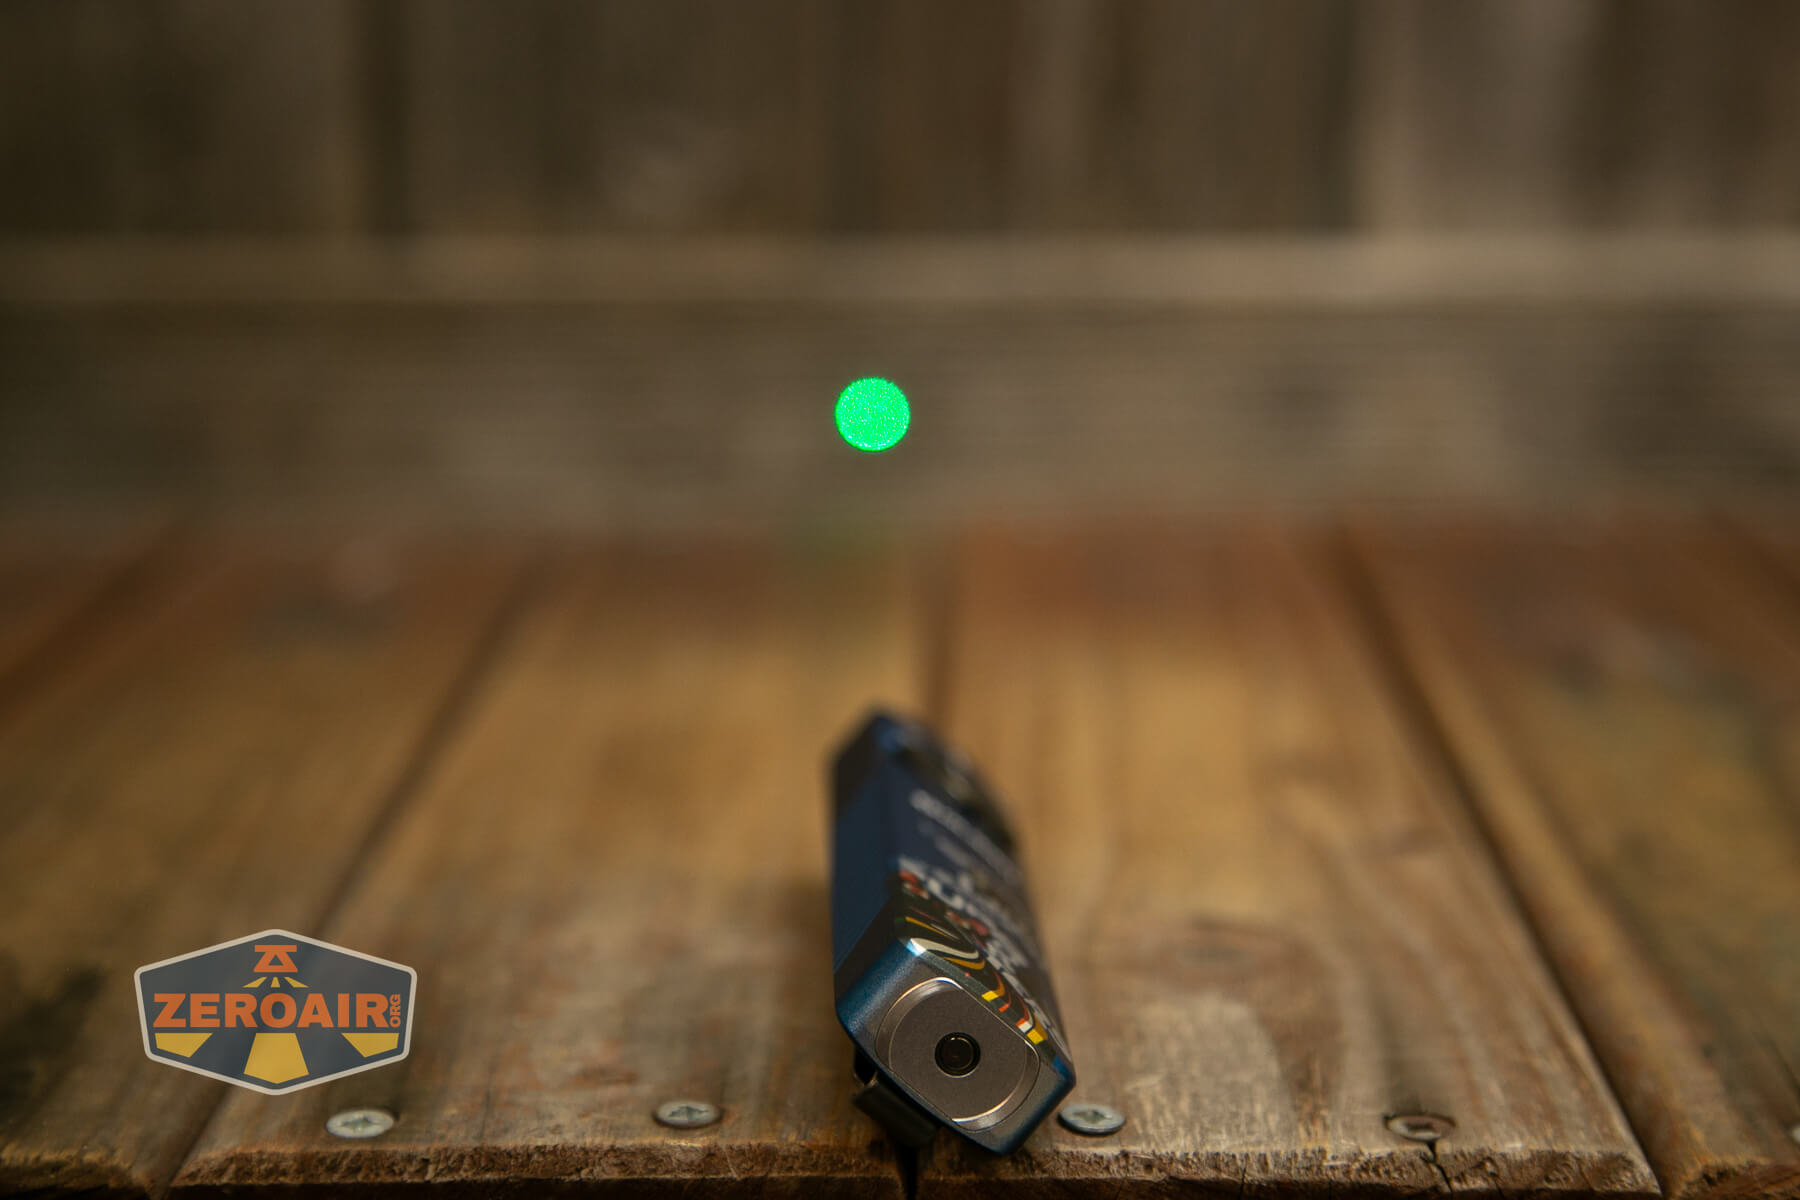
This is the 3R laser version, but I believe some markets may get a different (possibly less powerful) laser. I am not sure how you’d be able to check, but probably start with your local laser laws.
LED Color Report (CRI and CCT)
The CCT claim is 5700K to 6700K and this emitter just about hits that mark. I measure it between 6200K and 6800K. The CRI is mid to low, at around 72. More disappointingly though, is that the Duv is well above the BBL, demonstrating that the output is a bit greenish.


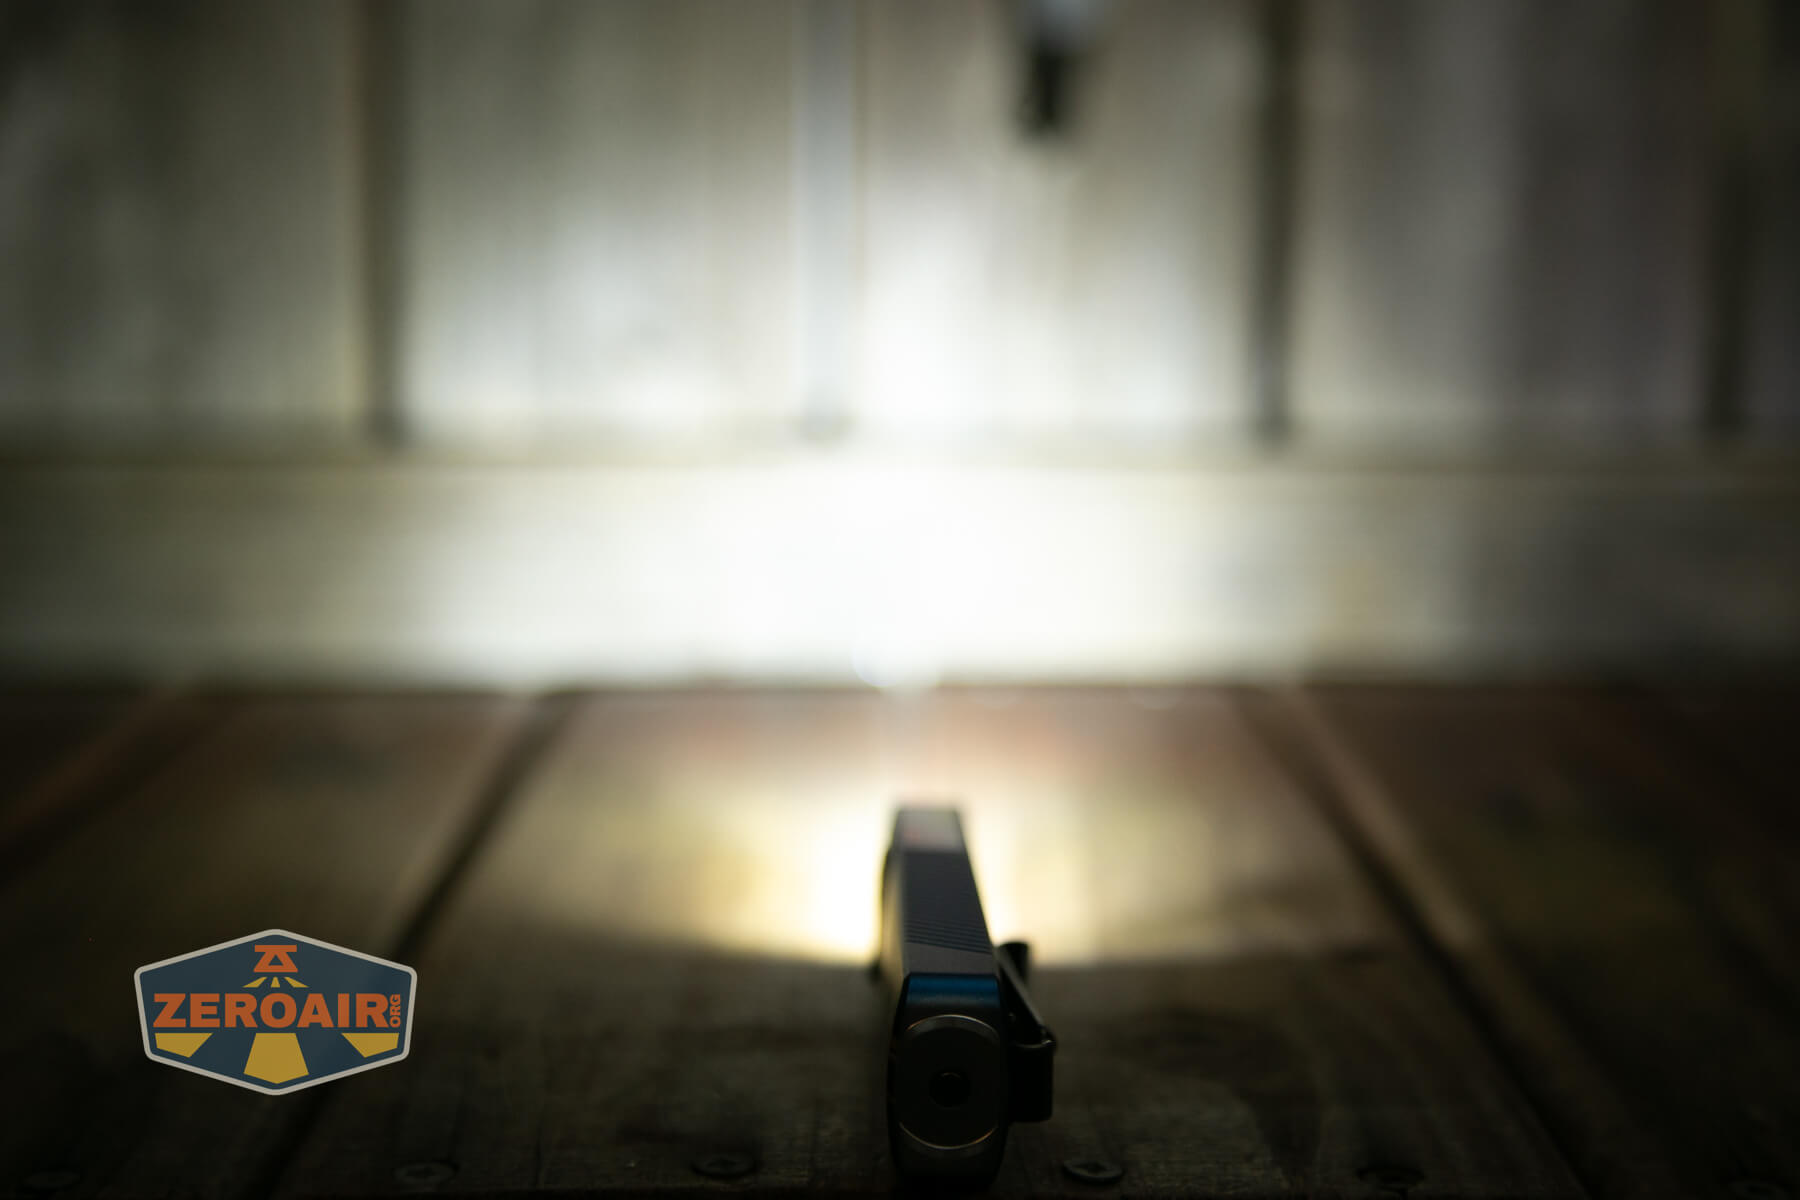
Beamshots
These beamshots always have the following settings: f8, ISO100, 0.3s shutter, and manual 5000K exposure. These photos are taken at floor level, and the beam hits the ceiling around 9 feet away.


Tint vs BLF-348 (KillzoneFlashlights.com 219b version) (affiliate link)
I keep the test flashlight on the left and the BLF-348 reference flashlight on the right.


I compare everything to the KillzoneFlashlights.com 219b BLF-348 because it’s inexpensive and has the best tint!
Summary and Conclusion
I liked the Arkfeld just fine. This one is better. I never need a laser, but I need UV even less. So to have both in one package is super convenient, even if I’ll only ever use the white emitter. As far as the white goes, this Arkfeld Pro is (still) very much a flat-shaped Baton, and I love batons. The Olight Arkfeld Pro EDC flashlight is a high-quality product!
The Big Table
| Olight Arkfeld Pro Paw Edition Flashlight | |
|---|---|
| Emitter: | |
| Price in USD at publication time: | |
| Cell: | Internal |
| Runtime Graphs | |
| LVP? | Yes |
| Switch Type: | E-Switch |
| Quiescent Current (mA): | ? |
| On-Board Charging? | Yes |
| Charge Port Type: | Proprietary Magnetic |
| Charge Graph | |
| Power off Charge Port | all modes |
| Claimed Lumens (lm) | 1300 |
| Measured Lumens (at 30s) | 1195 (91.9% of claim)^ |
| Candela per Lumen | 2.39 |
| Claimed Throw (m) | 102 |
| Candela (Calculated) in cd (at 30s) | 109lux @ 5.715m = 3560cd |
| Throw (Calculated) (m) | 119.3 (117% of claim)^ |
| Claimed CCT | – |
| Measured CCT Range (K) | 6200-6800 Kelvin |
| Item provided for review by: | Olight |
| All my Olight reviews! | |
^ Measurement disclaimer: Testing flashlights is my hobby. I use hobbyist-level equipment for testing, including some I made myself. Try not to get buried in the details of manufacturer specifications versus measurements recorded here; A certain amount of difference (say, 10 or 15%) is perfectly reasonable.
What I like
- Paw Edition is neat!
- Interesting shape!
- Good output
- Meets throw specifications
- The ultraviolet option is neat (and also easy to avoid)
- User interface will be very familiar to anyone with a Baton
- Slips into “the 18650 spot” in a pocket with more comfort than an 18650 light
- Combining these two secondary output options is a very good move on Olight’s part
What I don’t like
- Very floody
- Mid to low CRI
- Non-replaceable battery
- Proprietary charging (seriously, USB-C would be fantastic!)
Notes
- This content originally appeared at zeroair.org. Please visit there for the best experience!
- Please use my Amazon.com referral link to help support zeroair.org!
- Please support me on Patreon! I deeply appreciate your support!