
Zebralight SC600w IV Plus HI Flashlight Review
The Zebralight SC600w IV Plus HI flashlight features a neutral white Cree XHP50.3 HI emitter and a deep reflector for a great beam profile. Read on for more!
Official Specs and Features
Here’s a link to the Zebralight SC600w IV Plus HI flashlight product page.
Versions
While there’s just one version of the Zebralight SC600w IV Plus HI flashlight specifically, there are variations on this light and there are previous versions, too! This is the IV model, after all.
Price
The Zebralight SC600w IV Plus HI flashlight has seen a price increase fairly recently and is currently available for $109.
What’s Included
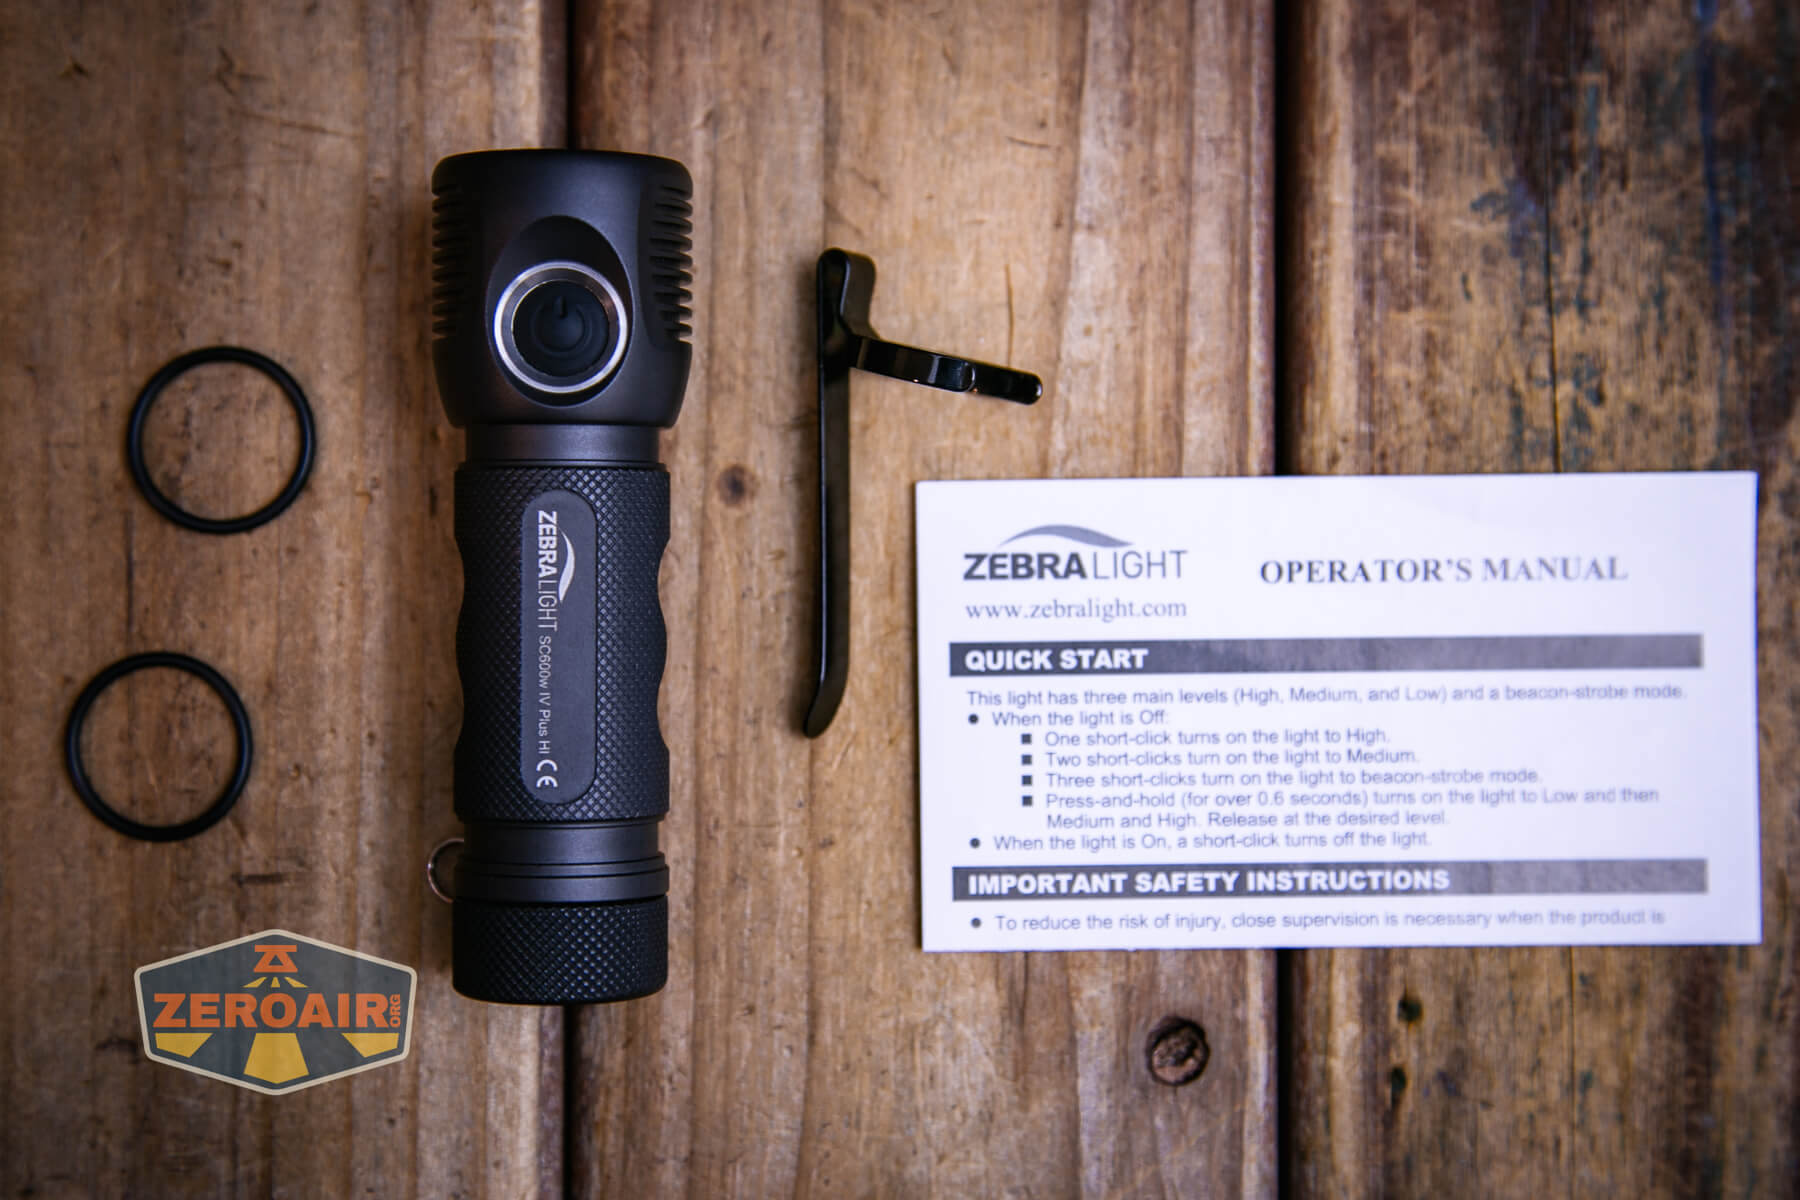
- Zebralight SC600w IV Plus HI flashlight
- Spare o-rings (2)
- Pocket clip
- Manual
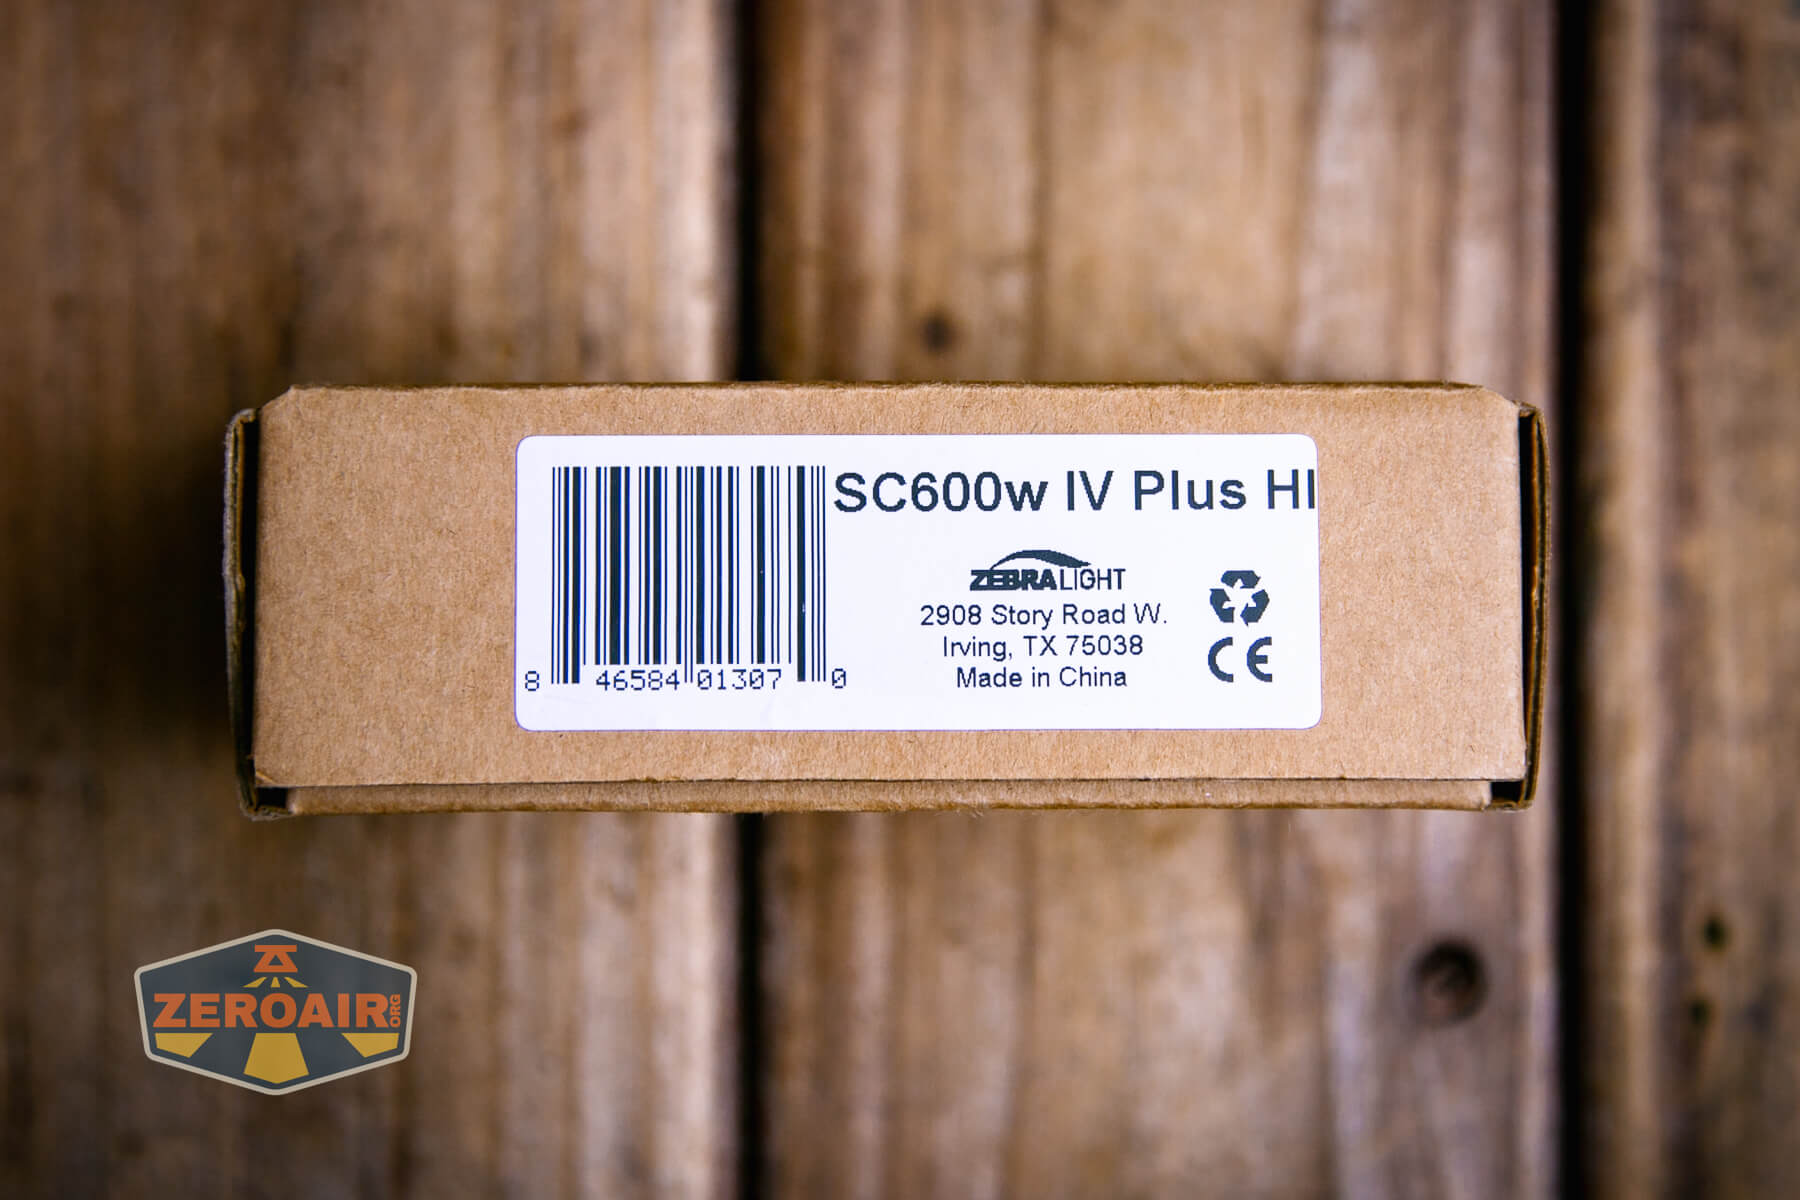
Package and Manual

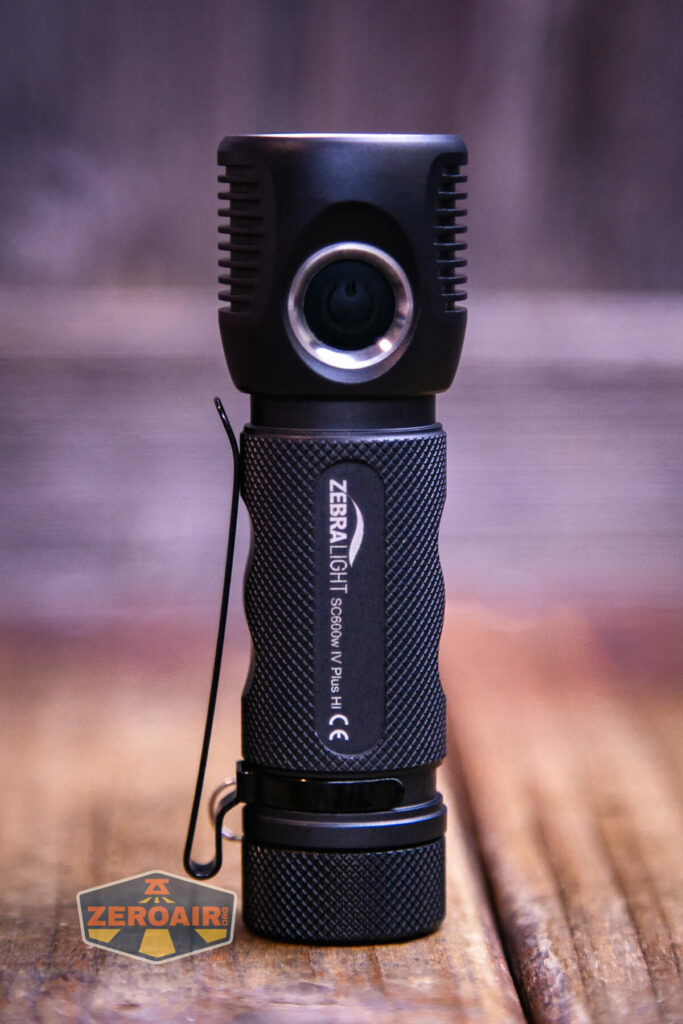
Build Quality and Disassembly

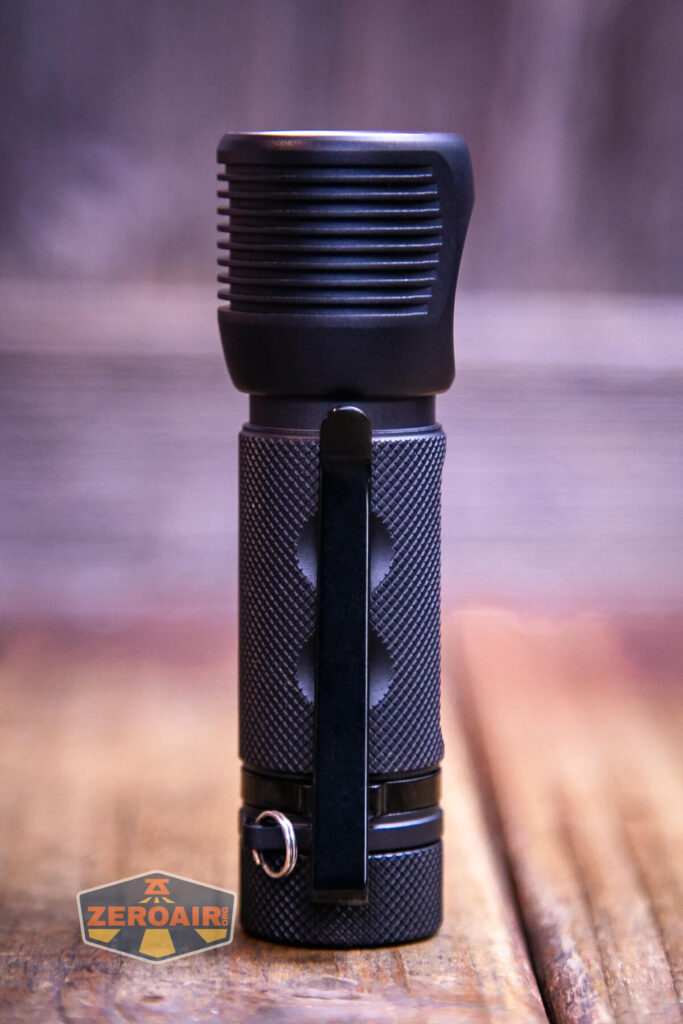
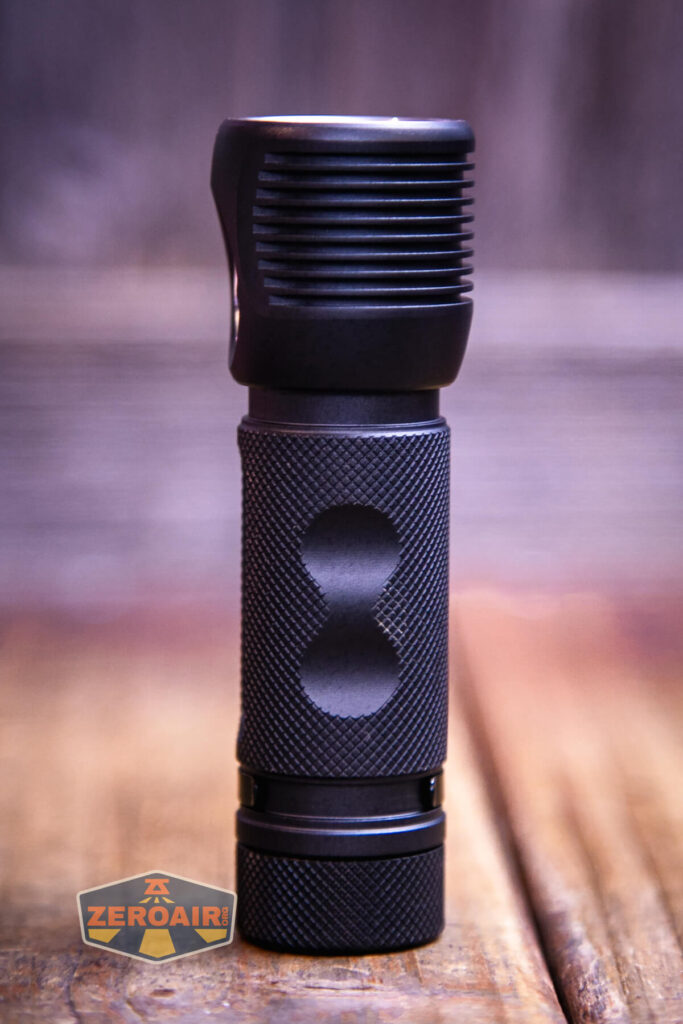
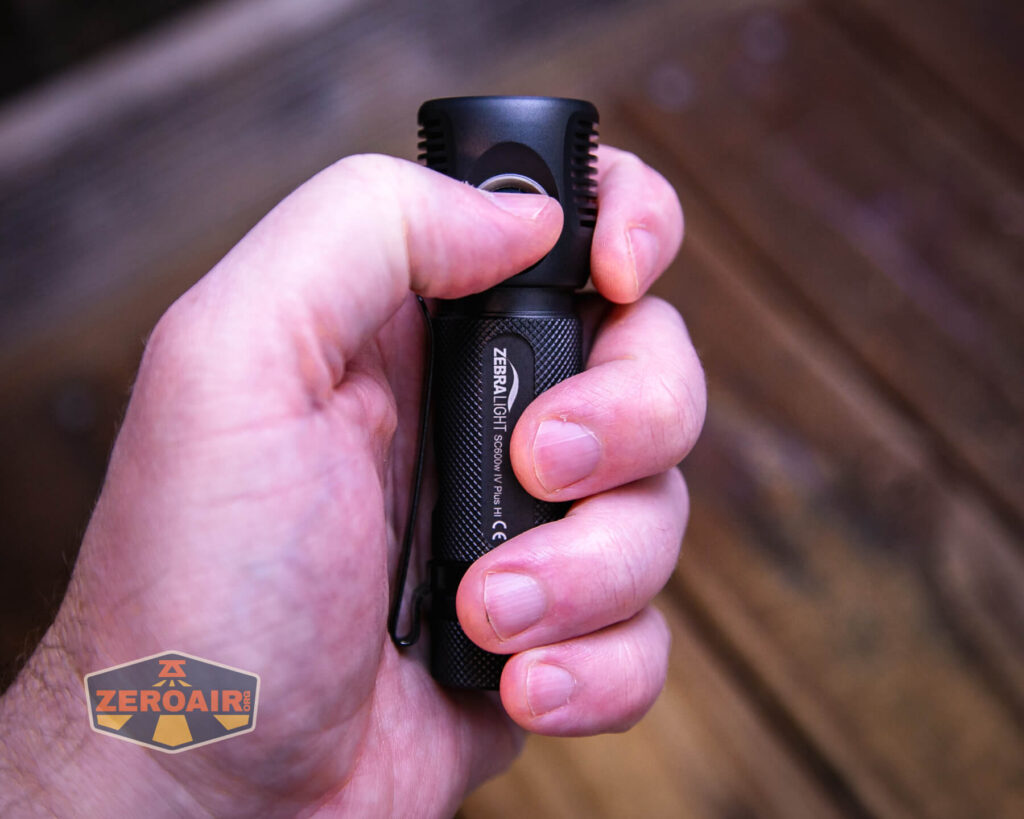
Zebralight is known for this “natural” anodization that’s used on all their lights. The Zebralight SC600w IV Plus HI flashlight has this too. This version has a bit more glossy finish, though, and is maybe an evolved version of some of the older-style “natural” anodizing. Either way, it’s very nice.
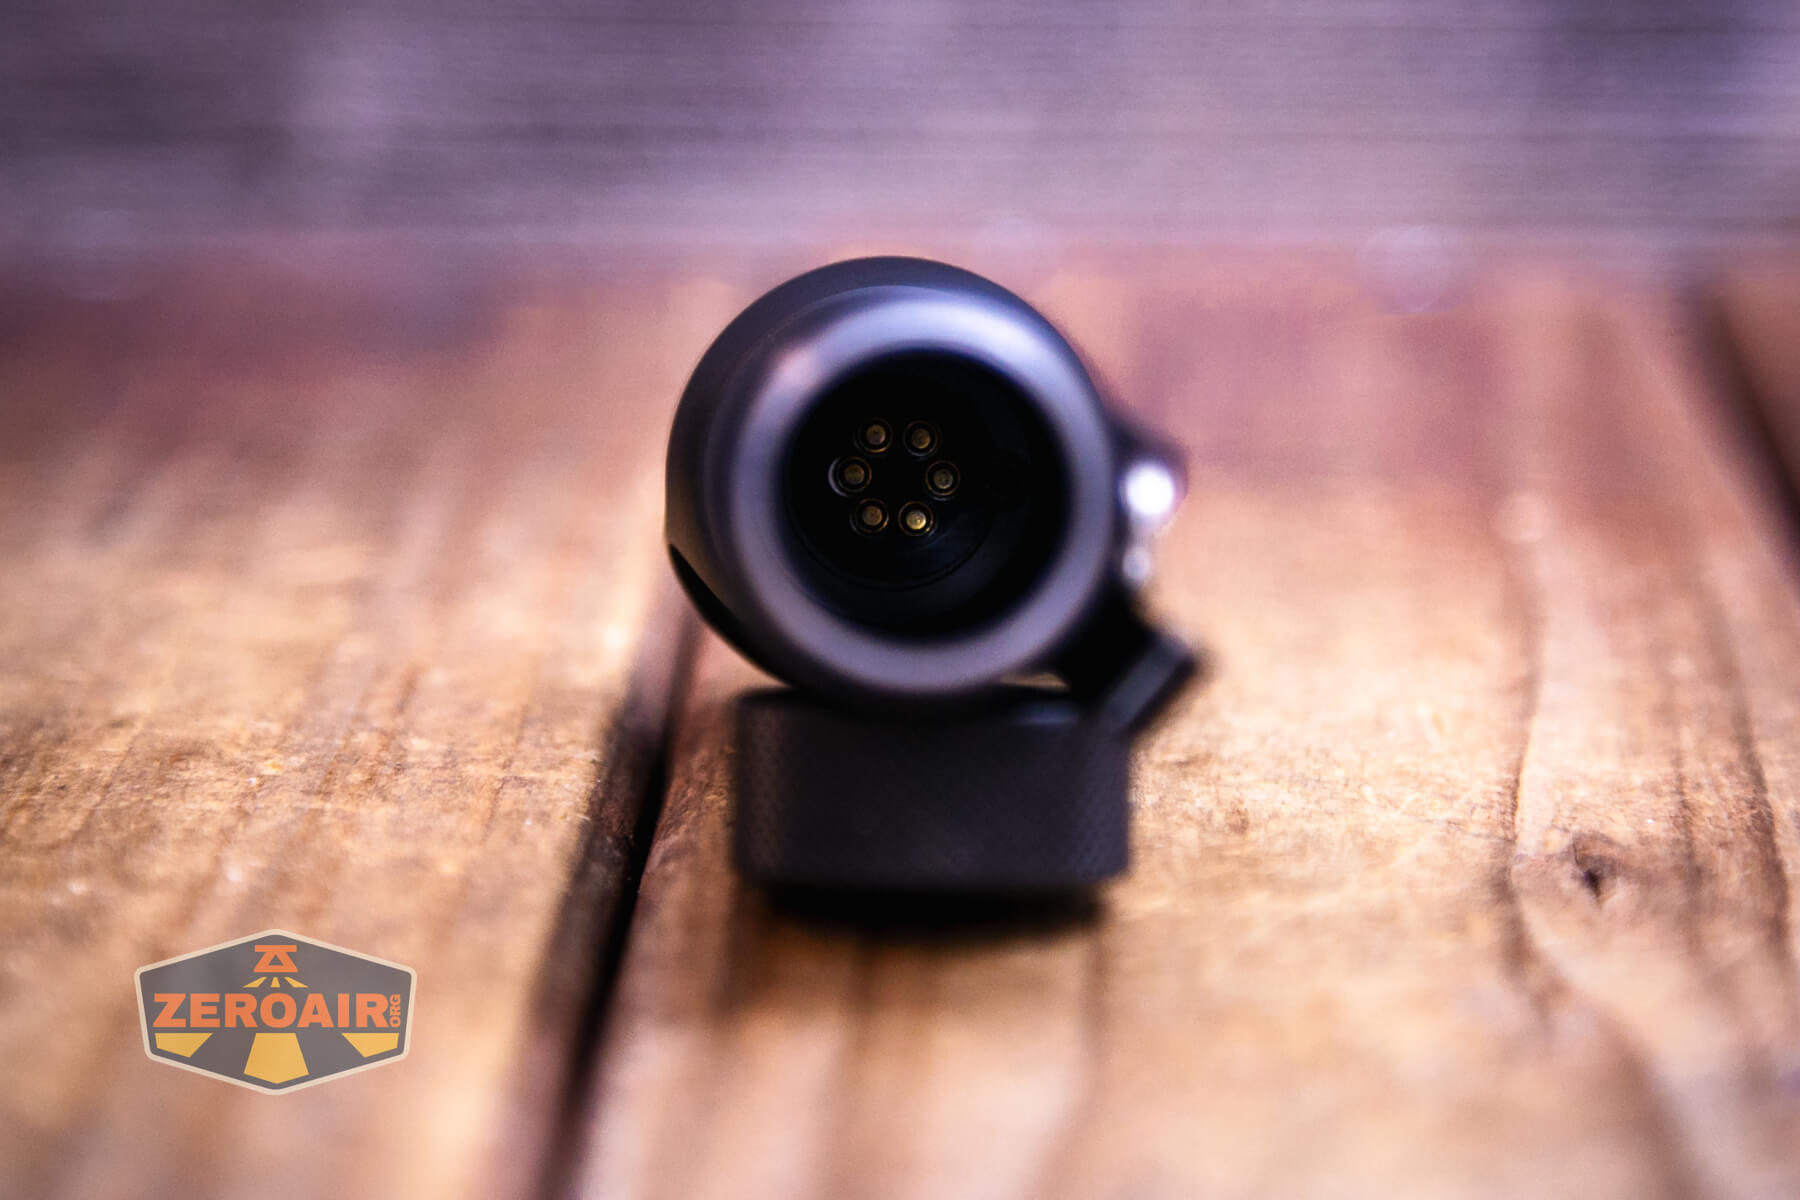
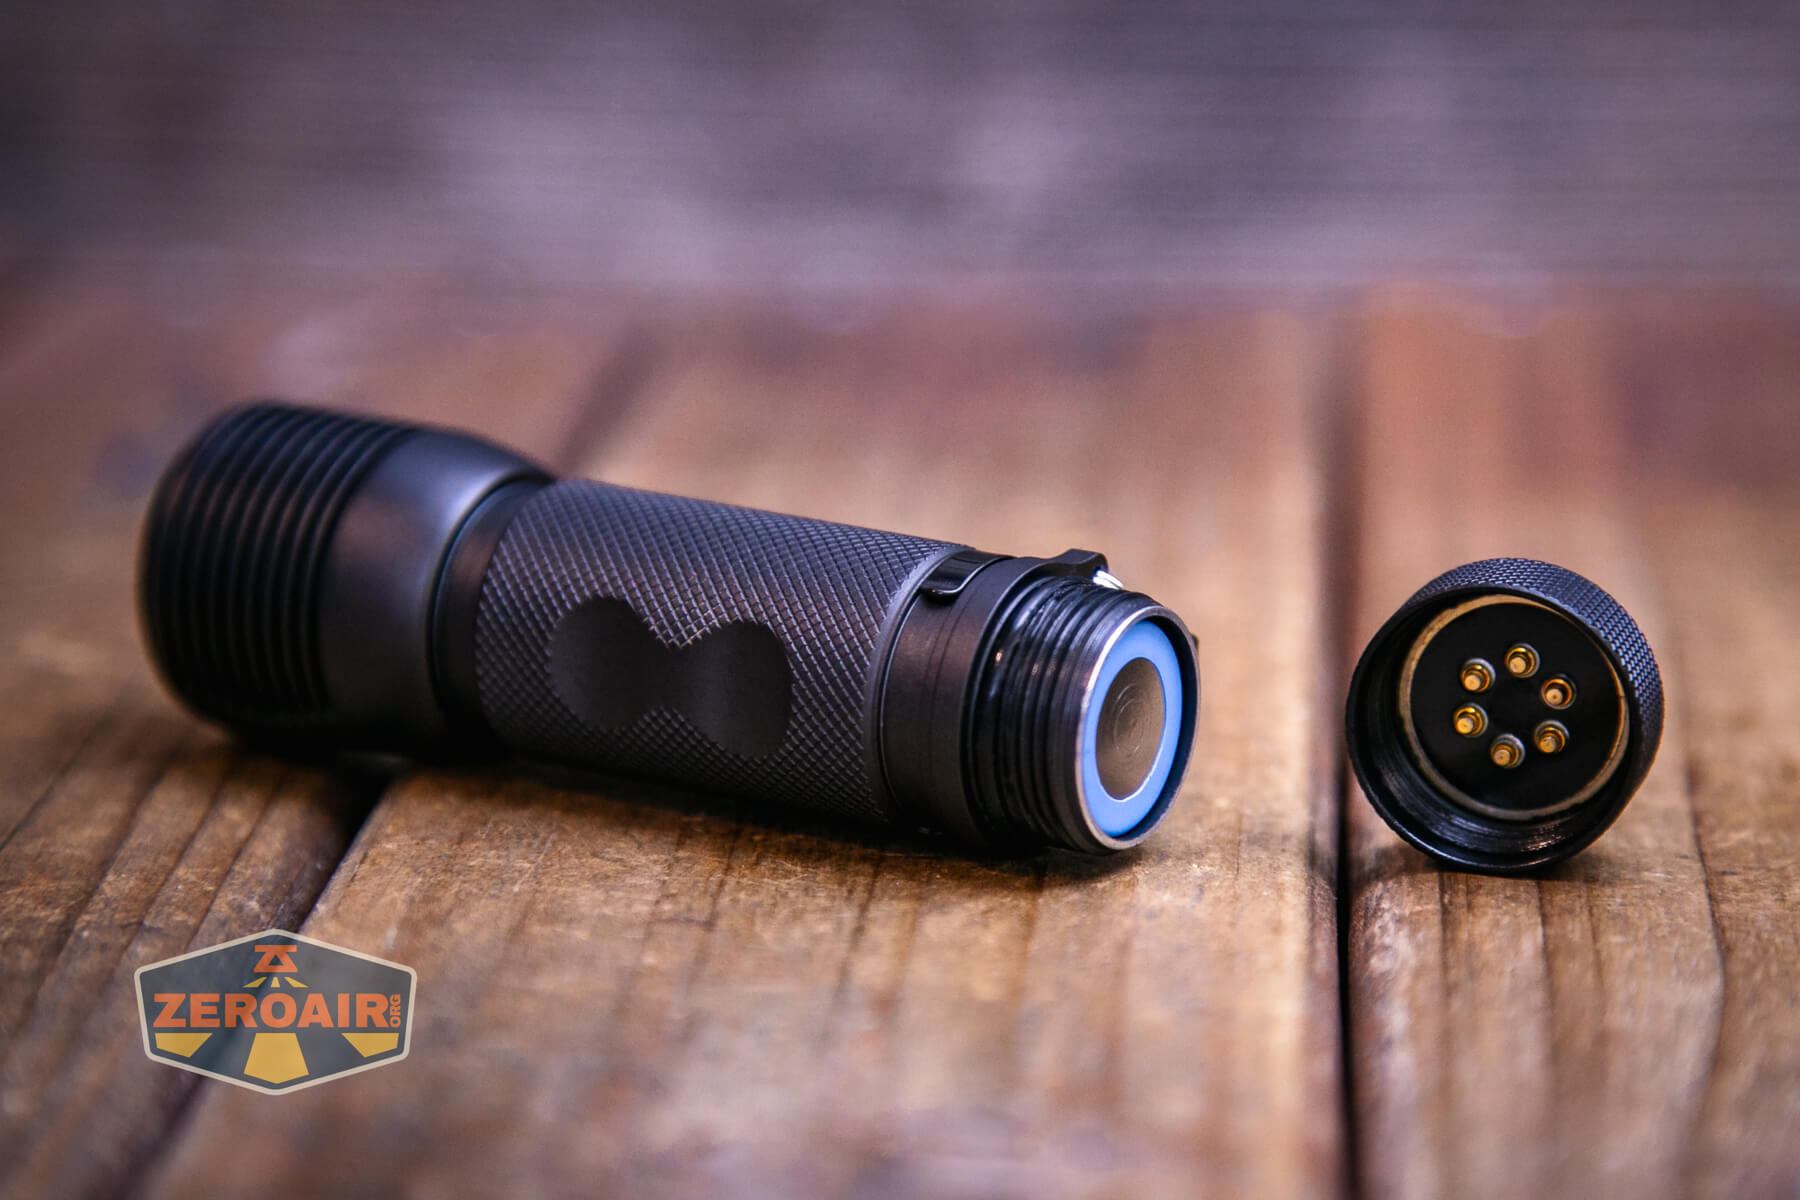
The tail end has pogo pins!
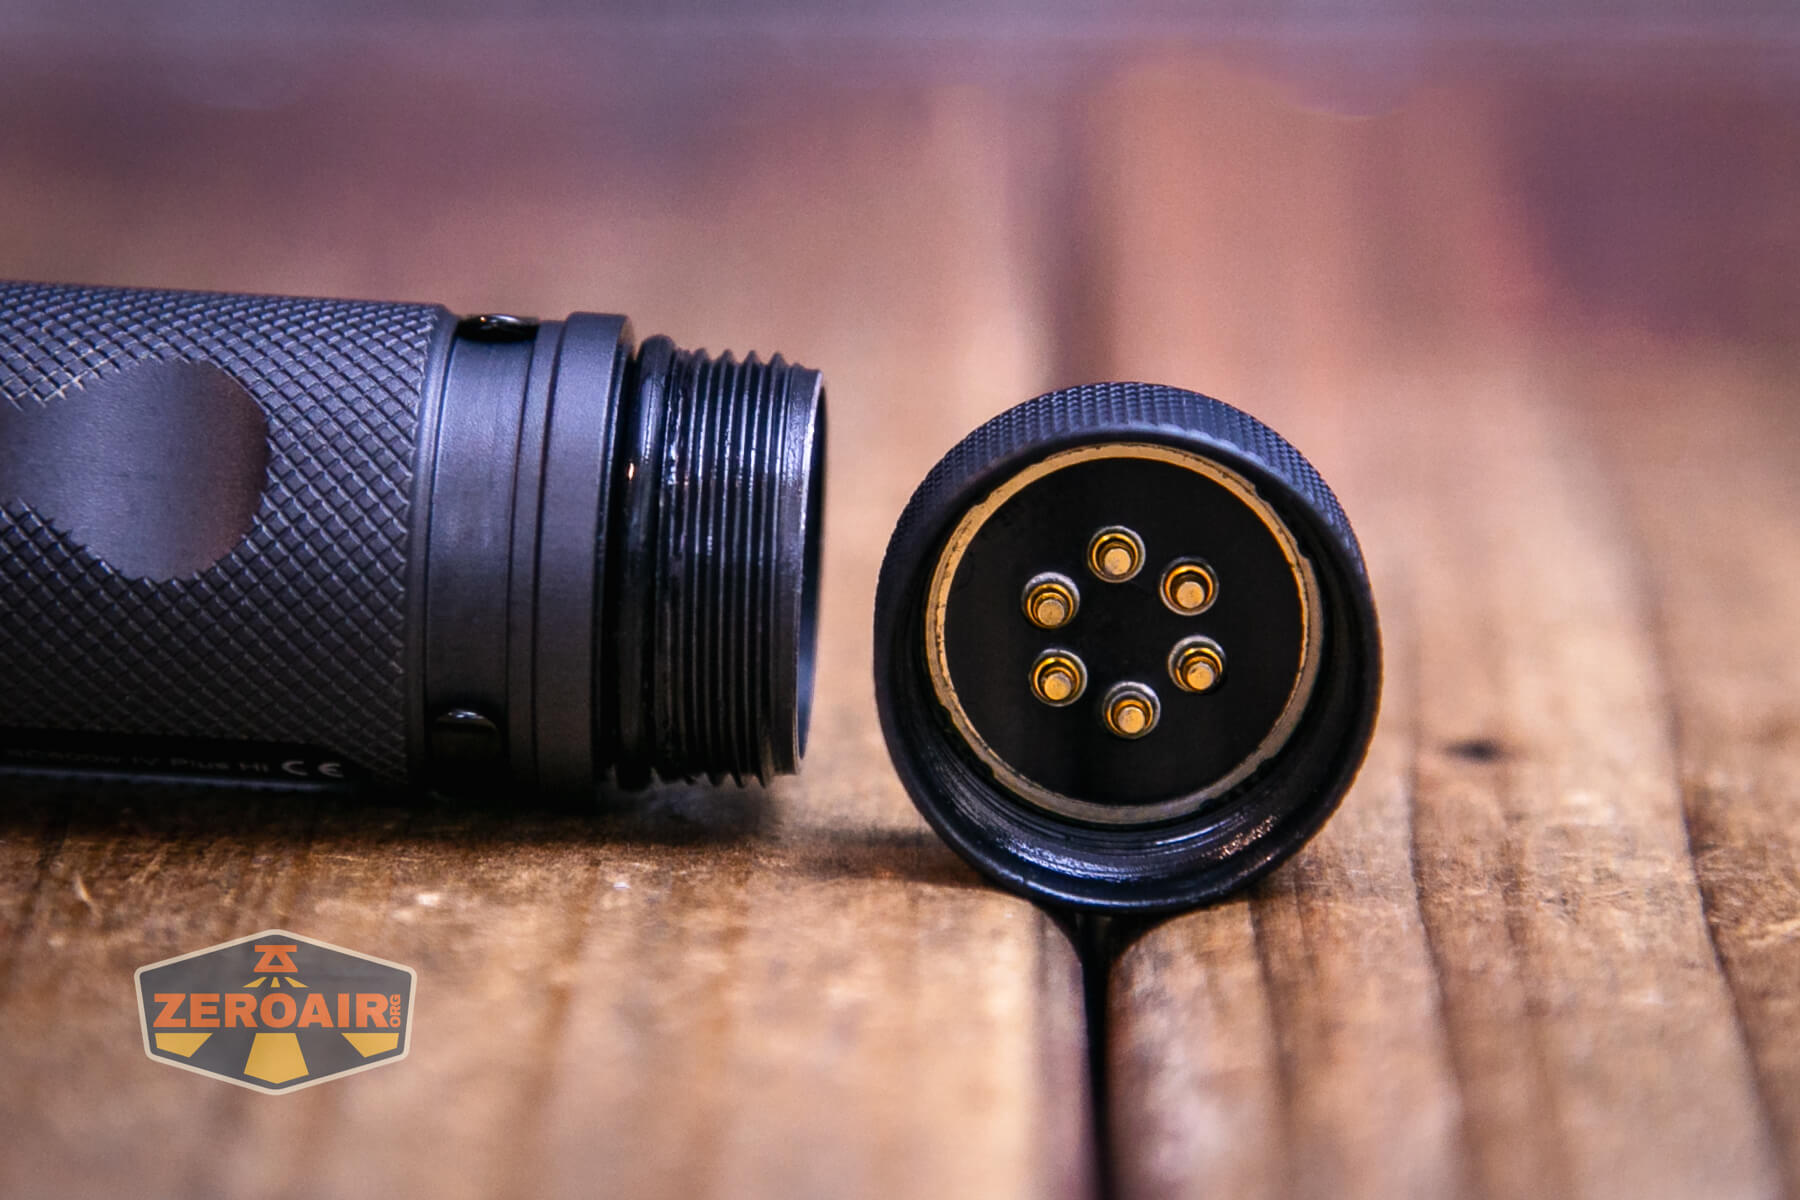
The head end has the same!
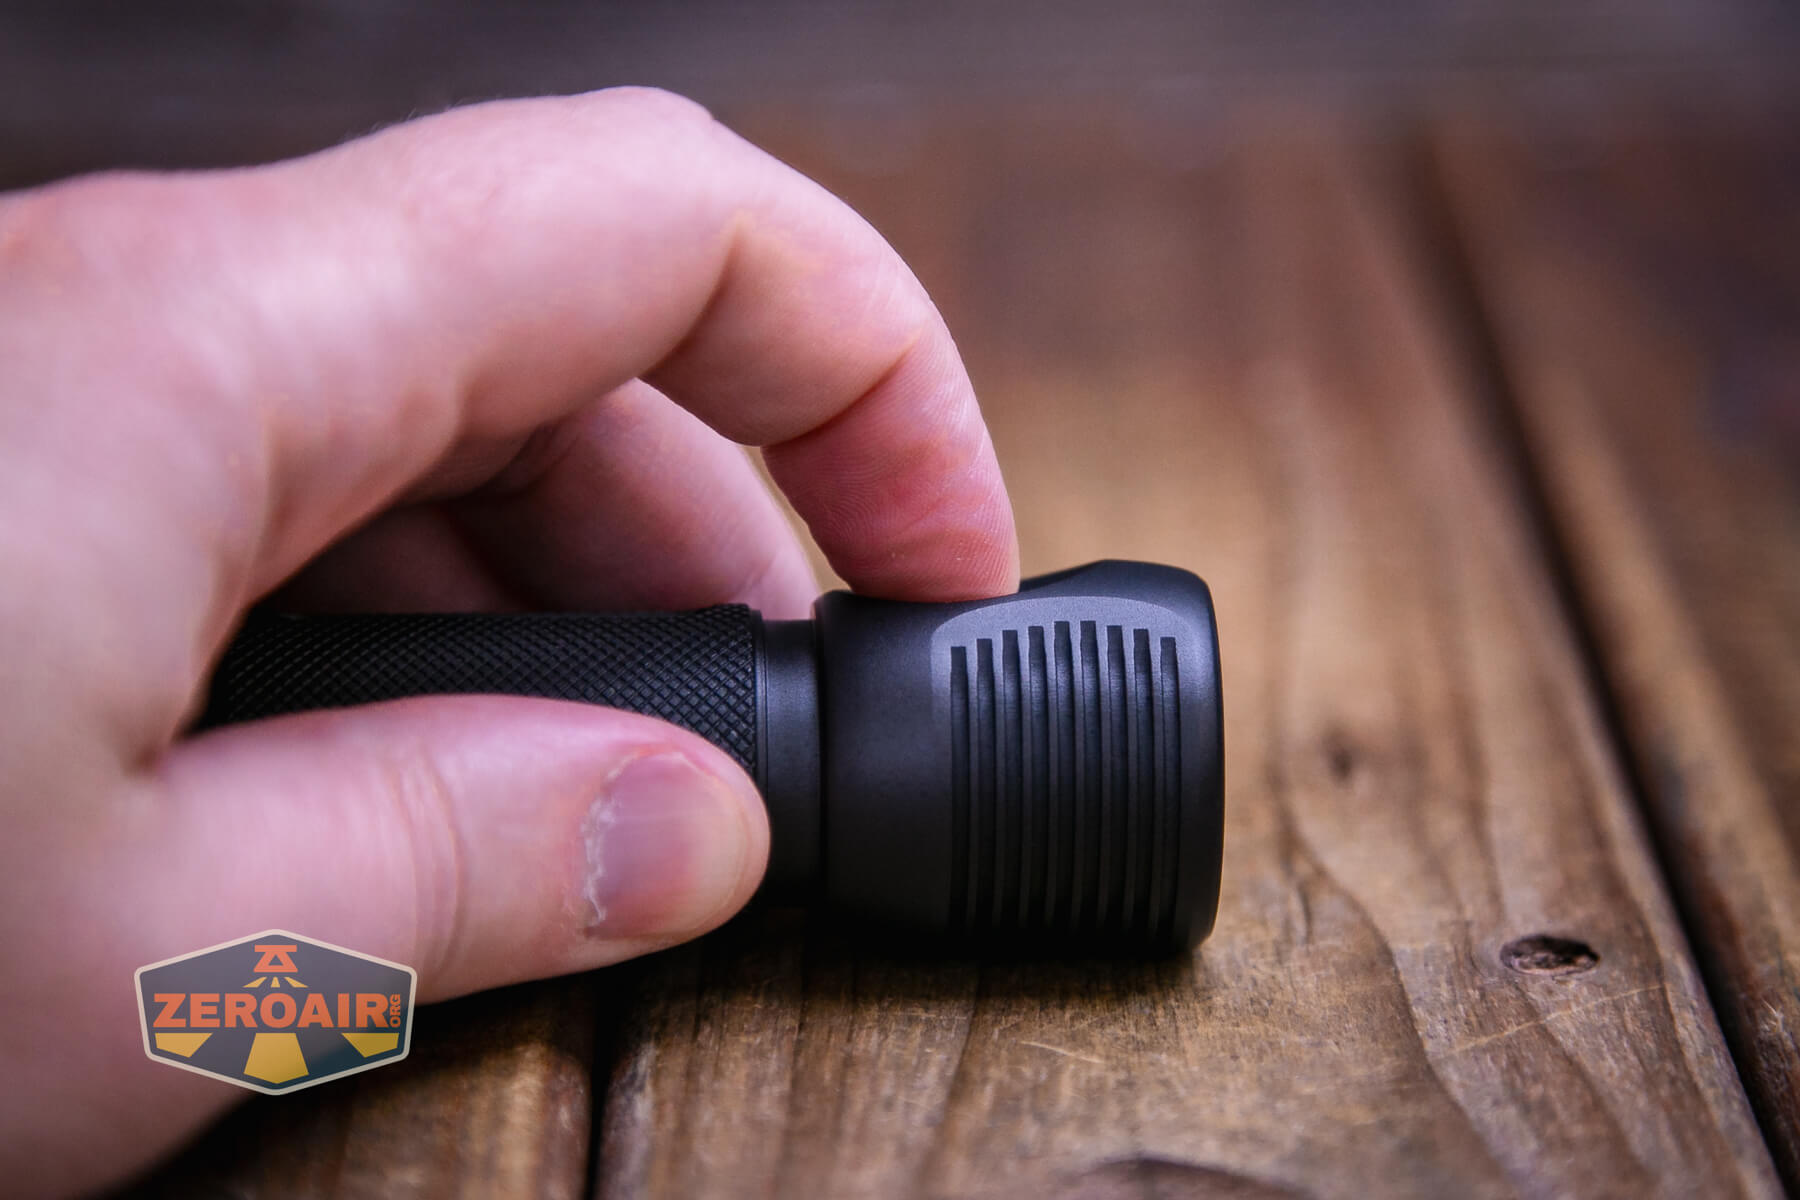
Here’s the head. I love how the head flares and contains this big, deep reflector. Also, these cooling fins while not deep, do function quite nicely to manage heat. More on that later, though. This head is very similar, but smaller in diameter, to that of the Zebralight SC700d.

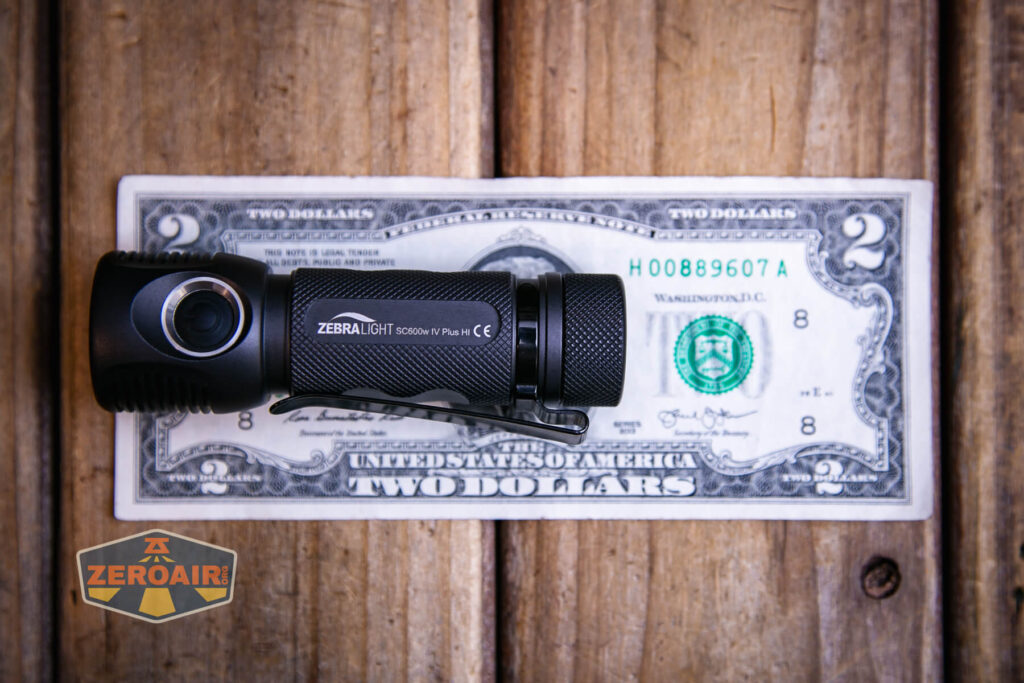
Size and Comps
Head Diameter: 1.2 inch (30 mm)
Body Diameter: 0.98 inch (25 mm)
Length: 3.8 inches (96 mm)
2.26 oz (64g) without battery

If the flashlight will headstand, I’ll show it here. If the flashlight will tailstand, I’ll also show that here too!
Here’s the test light with the venerable Convoy S2+. The version below is a custom laser-engraved Convoy S2+ host by GadgetConnections.com. I did a full post on an engraved orange host right here! Or go straight to GadgetConnections.com to buy your Convoy S2+ now!
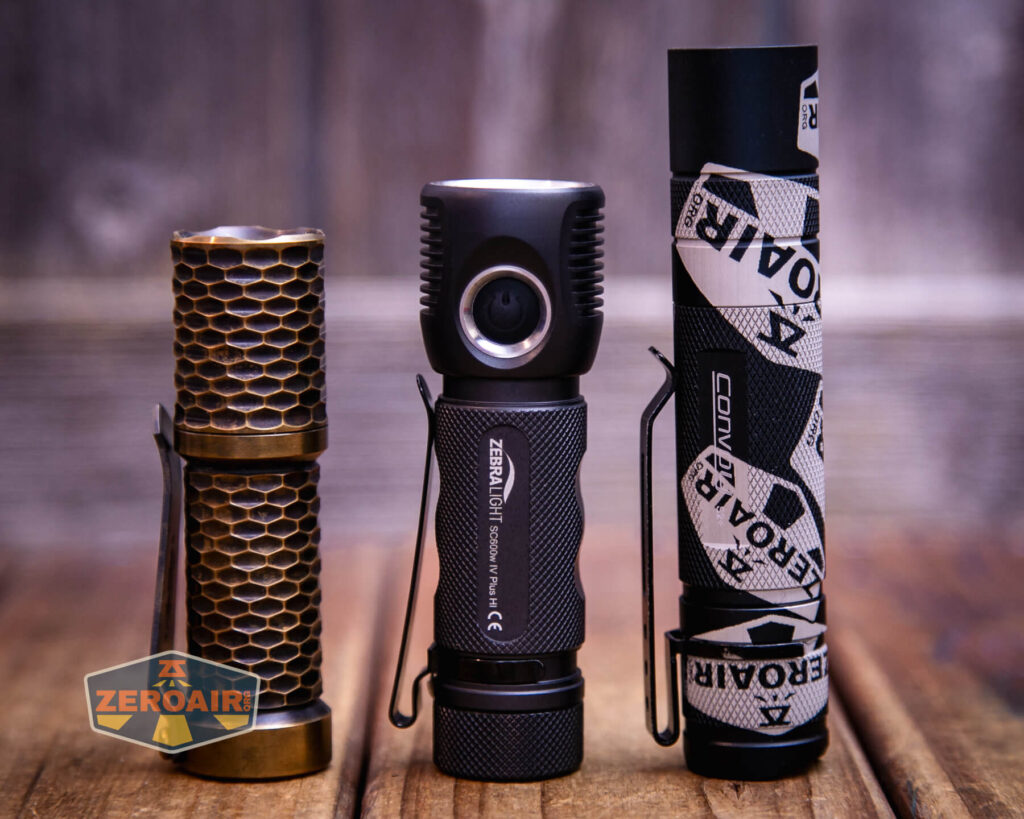
In the photo above, you may note that the SRM (standard reference material) flashlight for comparison has changed! I used a TorchLAB BOSS 35 for ages. Now, what you can see as the 18350 SRM is the Hanko Machine Works Trident. While I have not reviewed or tested the Gunner Grip version seen here, I have tested a Hanko Machine Works Trident Total Tesseract in brass. I love the Trident, and it’s a striking contrast next to the inexpensive Convoy S2+, which also makes a great standard reference material.
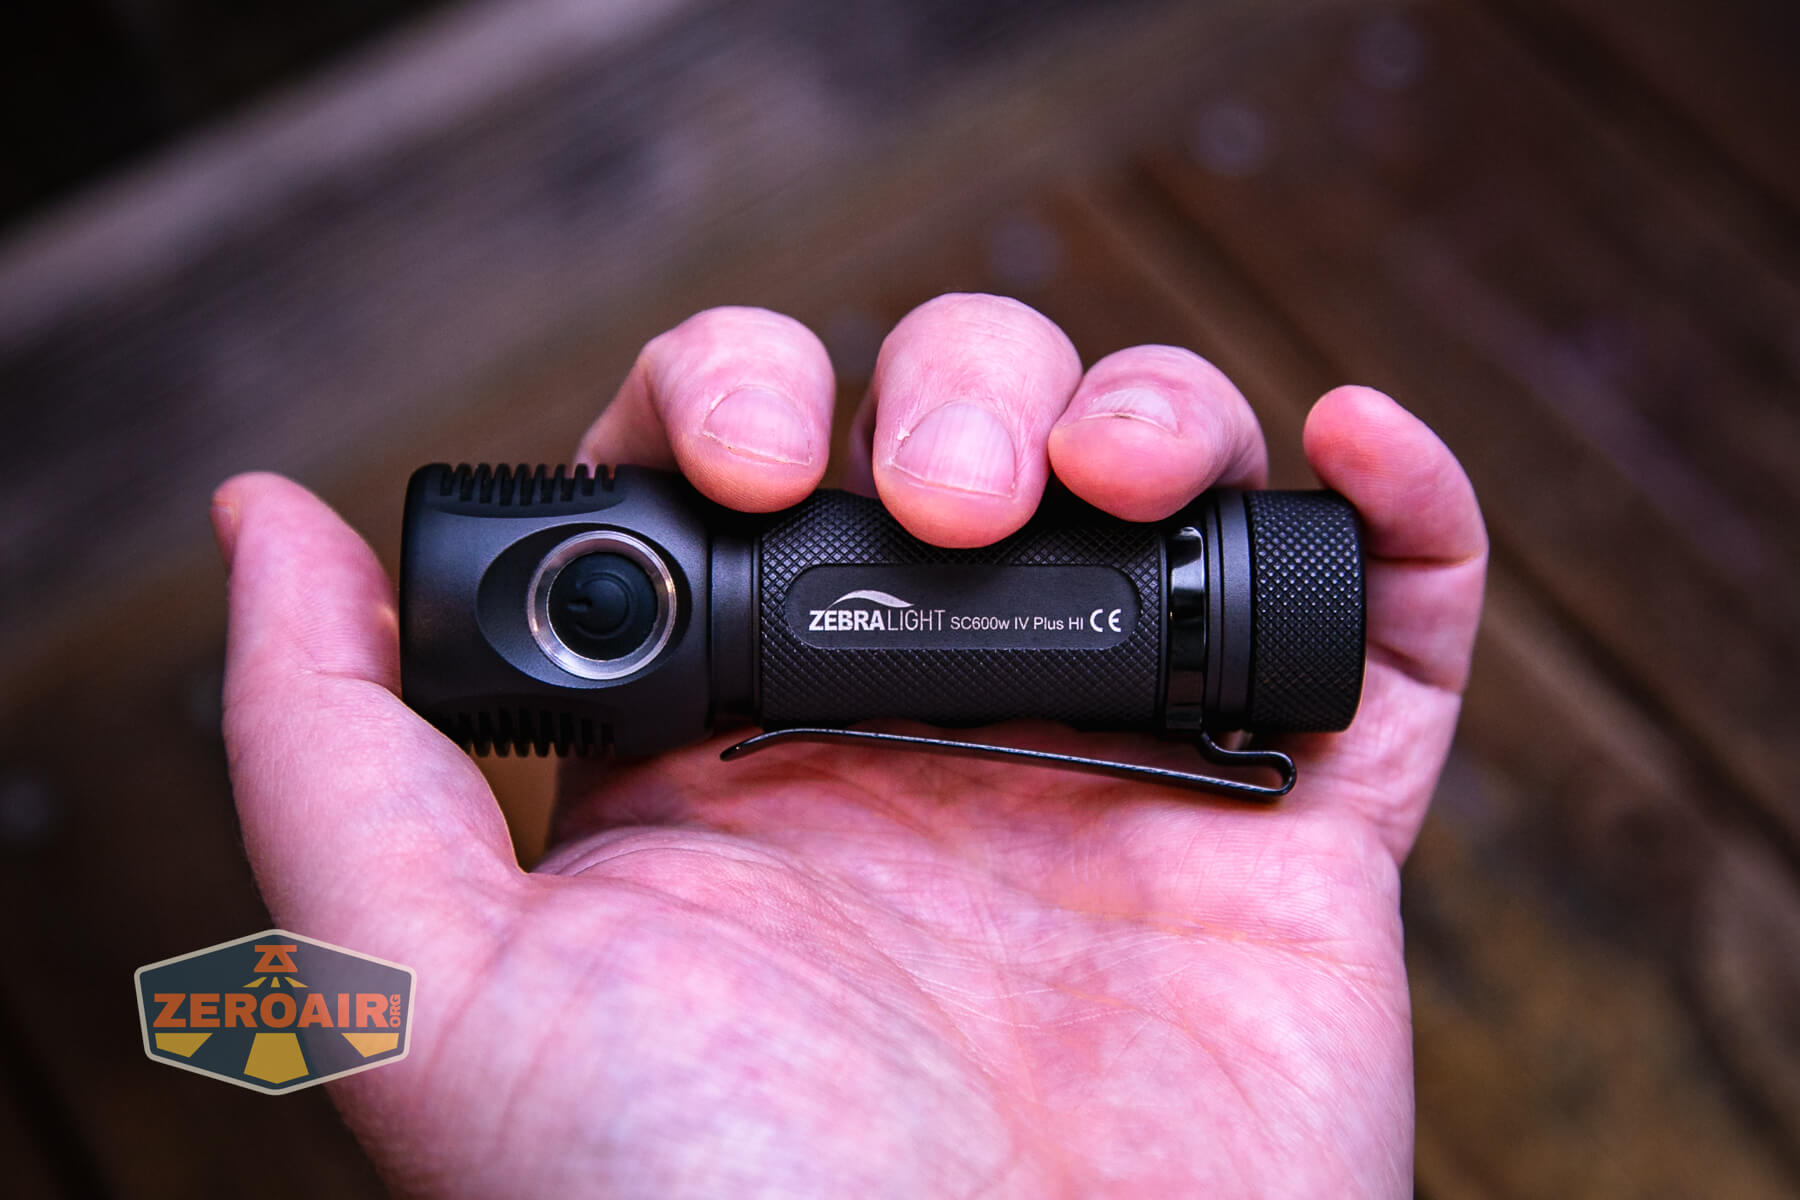
Retention and Carry
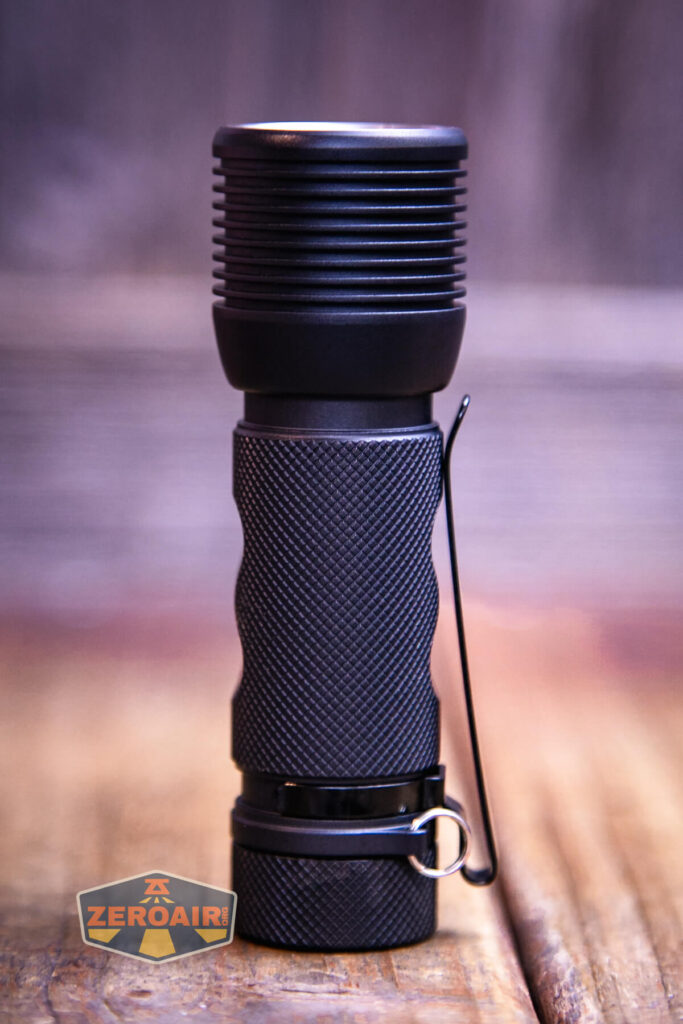
There’s a removable pocket clip with the Zebralight SC600w IV Plus HI flashlight.
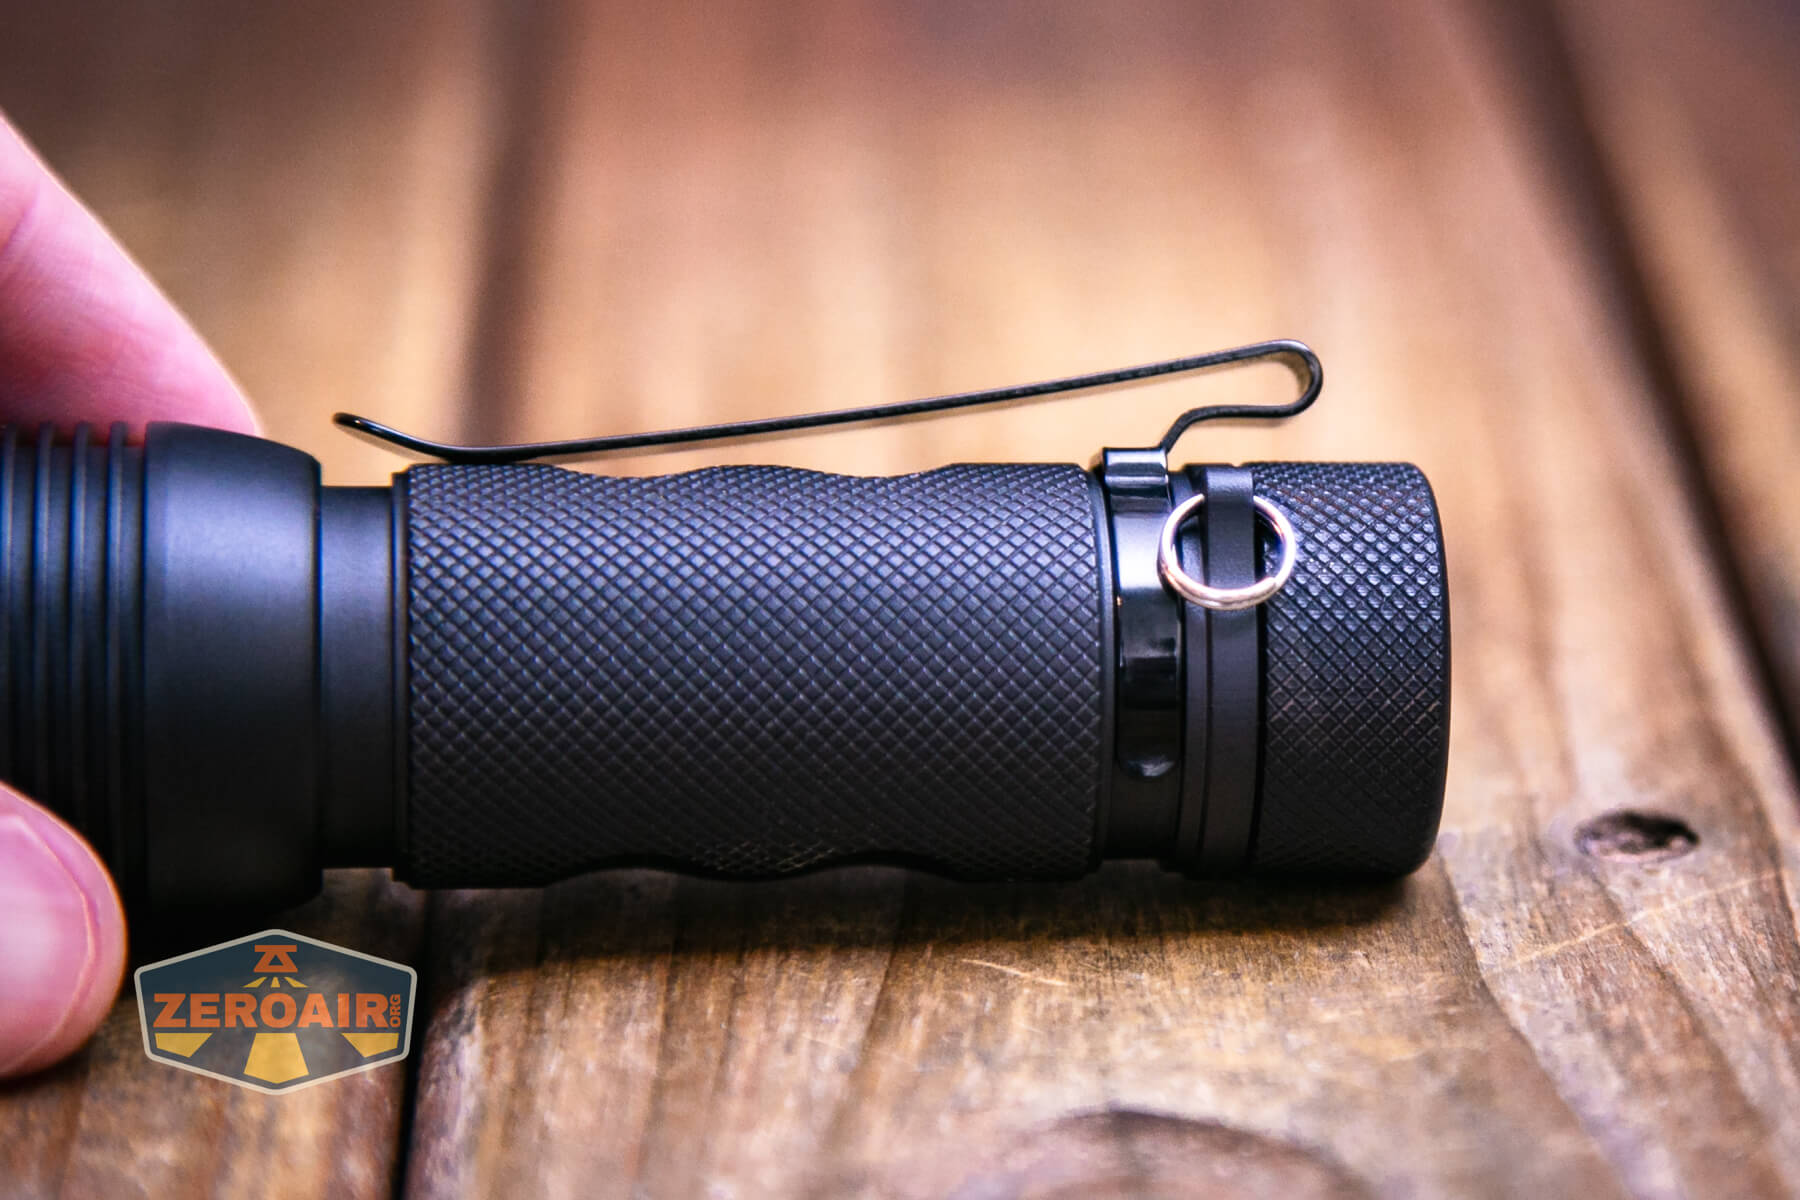
About the clip: This is not the run-of-the-mill clip that is on so many lights lately. Those clips are good, but this clip is better. It’s more of a deep carry clip, which also has a shiny finish that allows easy on and off a pocket. The carry is almost deep enough to put the light flush with the top edge of the pocket – the light sticks over the clip by just a few mm. I like those ubiquitous clips just fine: I really like this clip. (Note this isn’t just Zebralight fanboy talking: the JETBeam Jet-II Pro had a clip in this same style, and I loved that clip too.) The clip is not reversible since there is no groove on the head of the light for it.
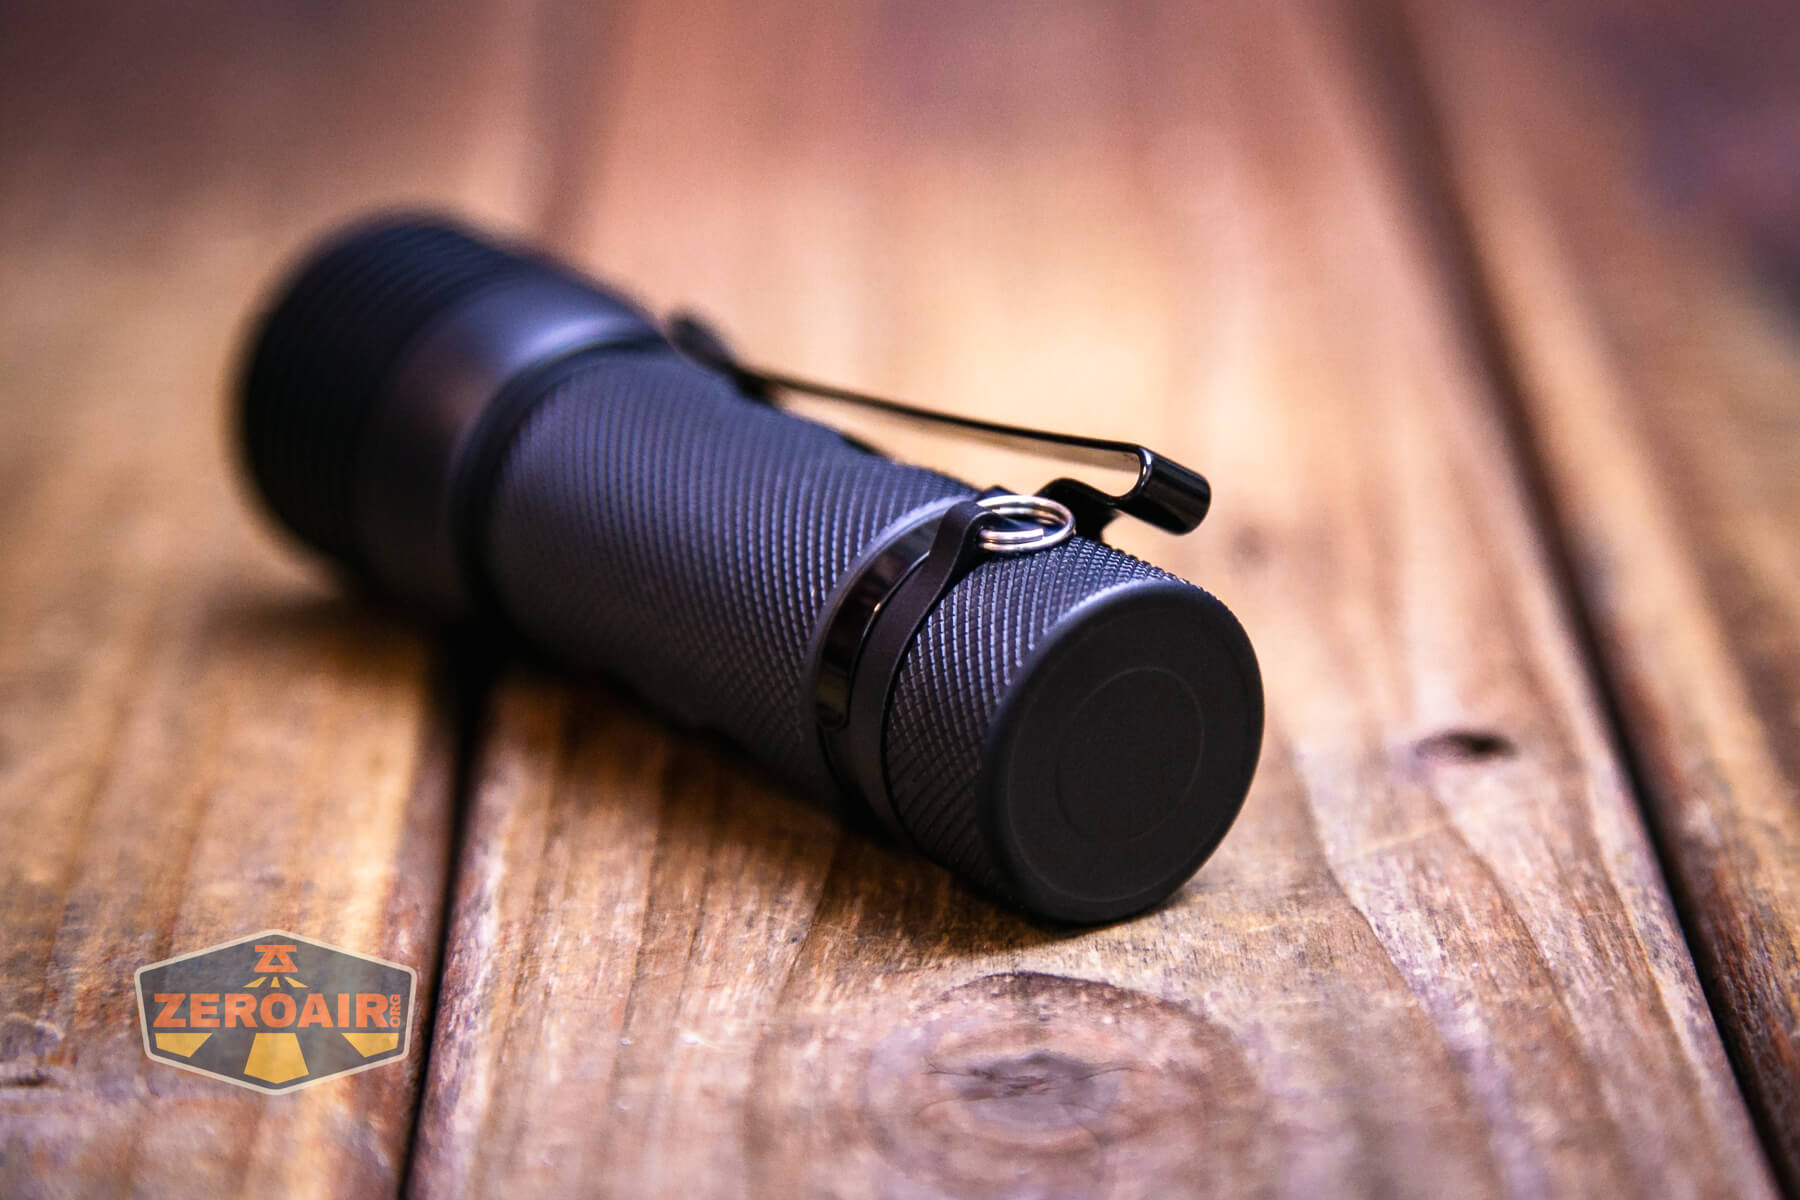
In both photos above, you can see the split ring. That ships attached to the light. Not just that, but it attaches to a permanent bulge just below the tailcap.
Power and Runtime
The Zebralight SC600w IV Plus HI flashlight runs a single lithium-ion cell. I tested the light with is this 3.5Ah cell seen below.. You’ll need to use a flat-top, unprotected cell in the SC600w IV Plus HI.
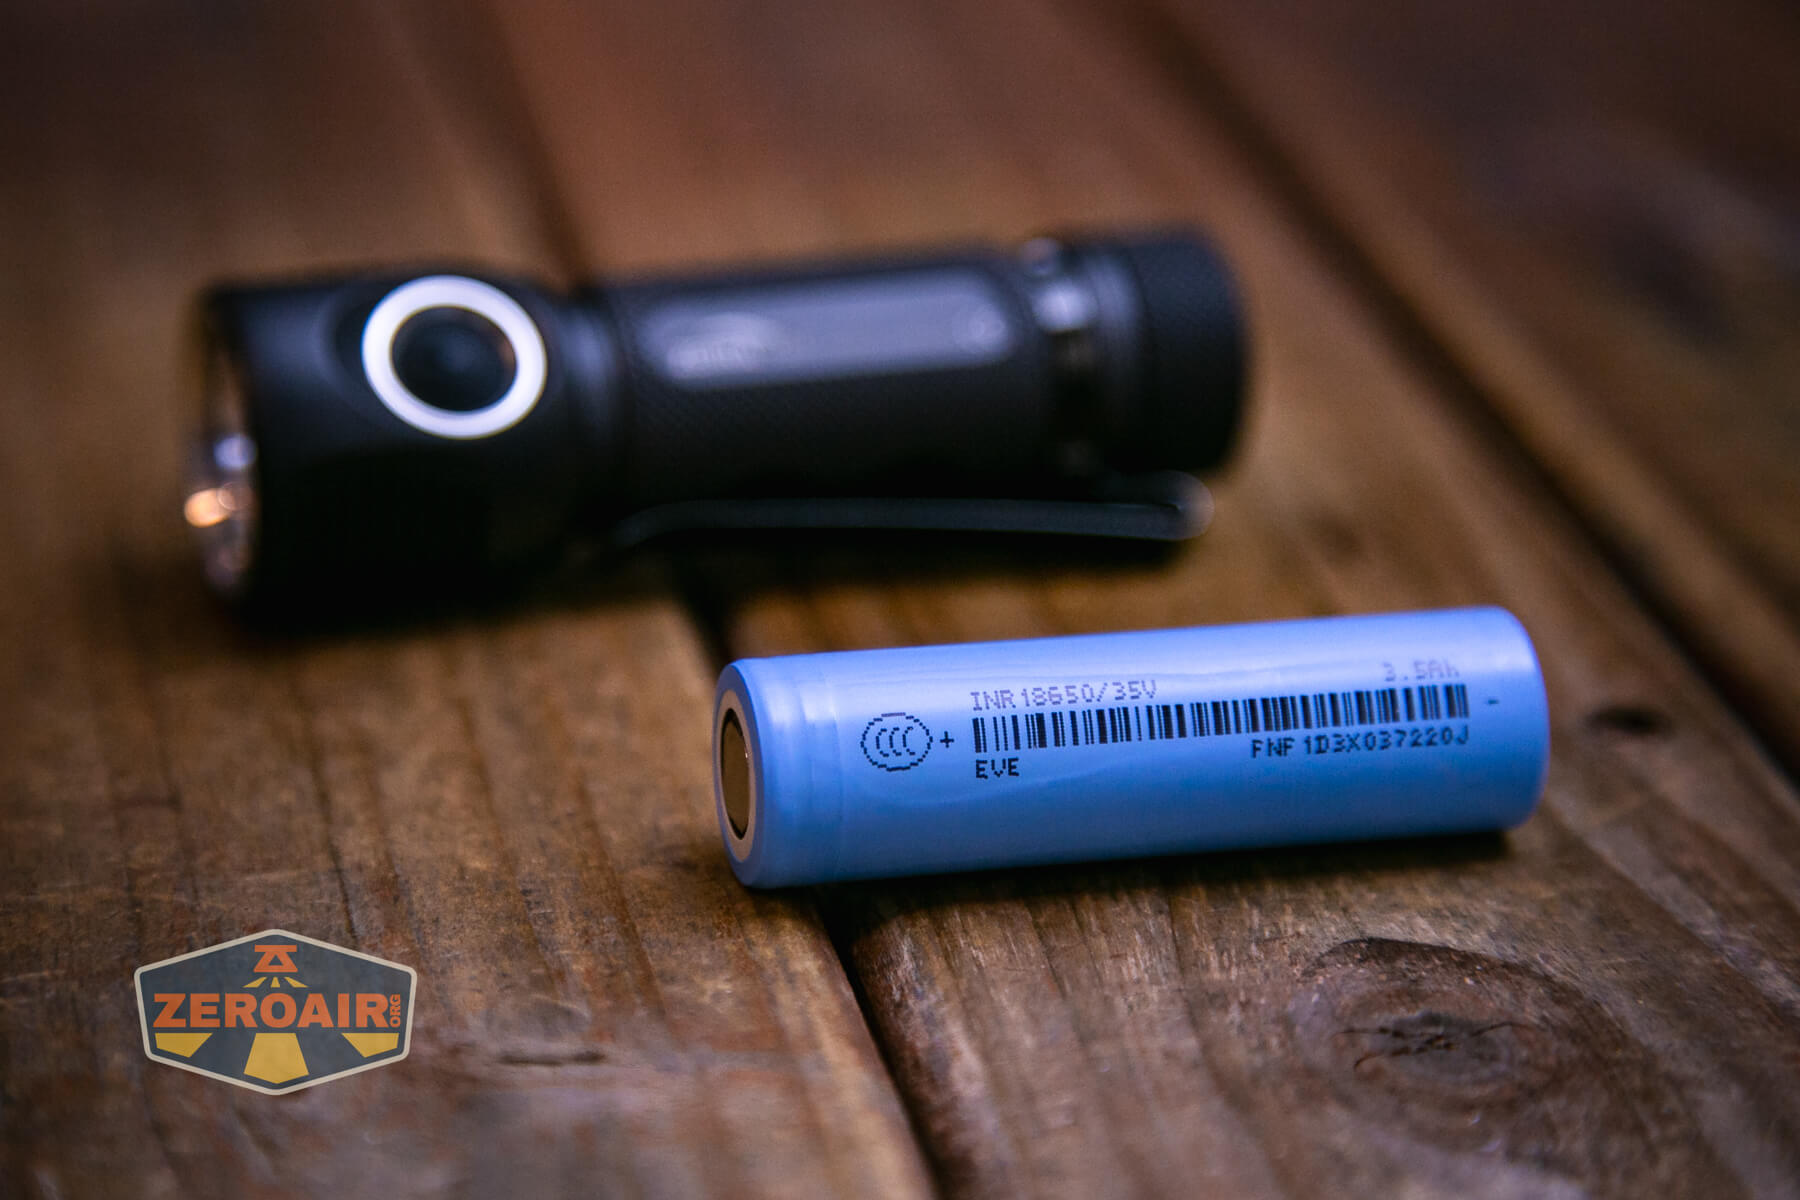
The cell goes into the Zebralight SC600w IV Plus HI flashlight in the usual direction – positive end (button) toward the head.
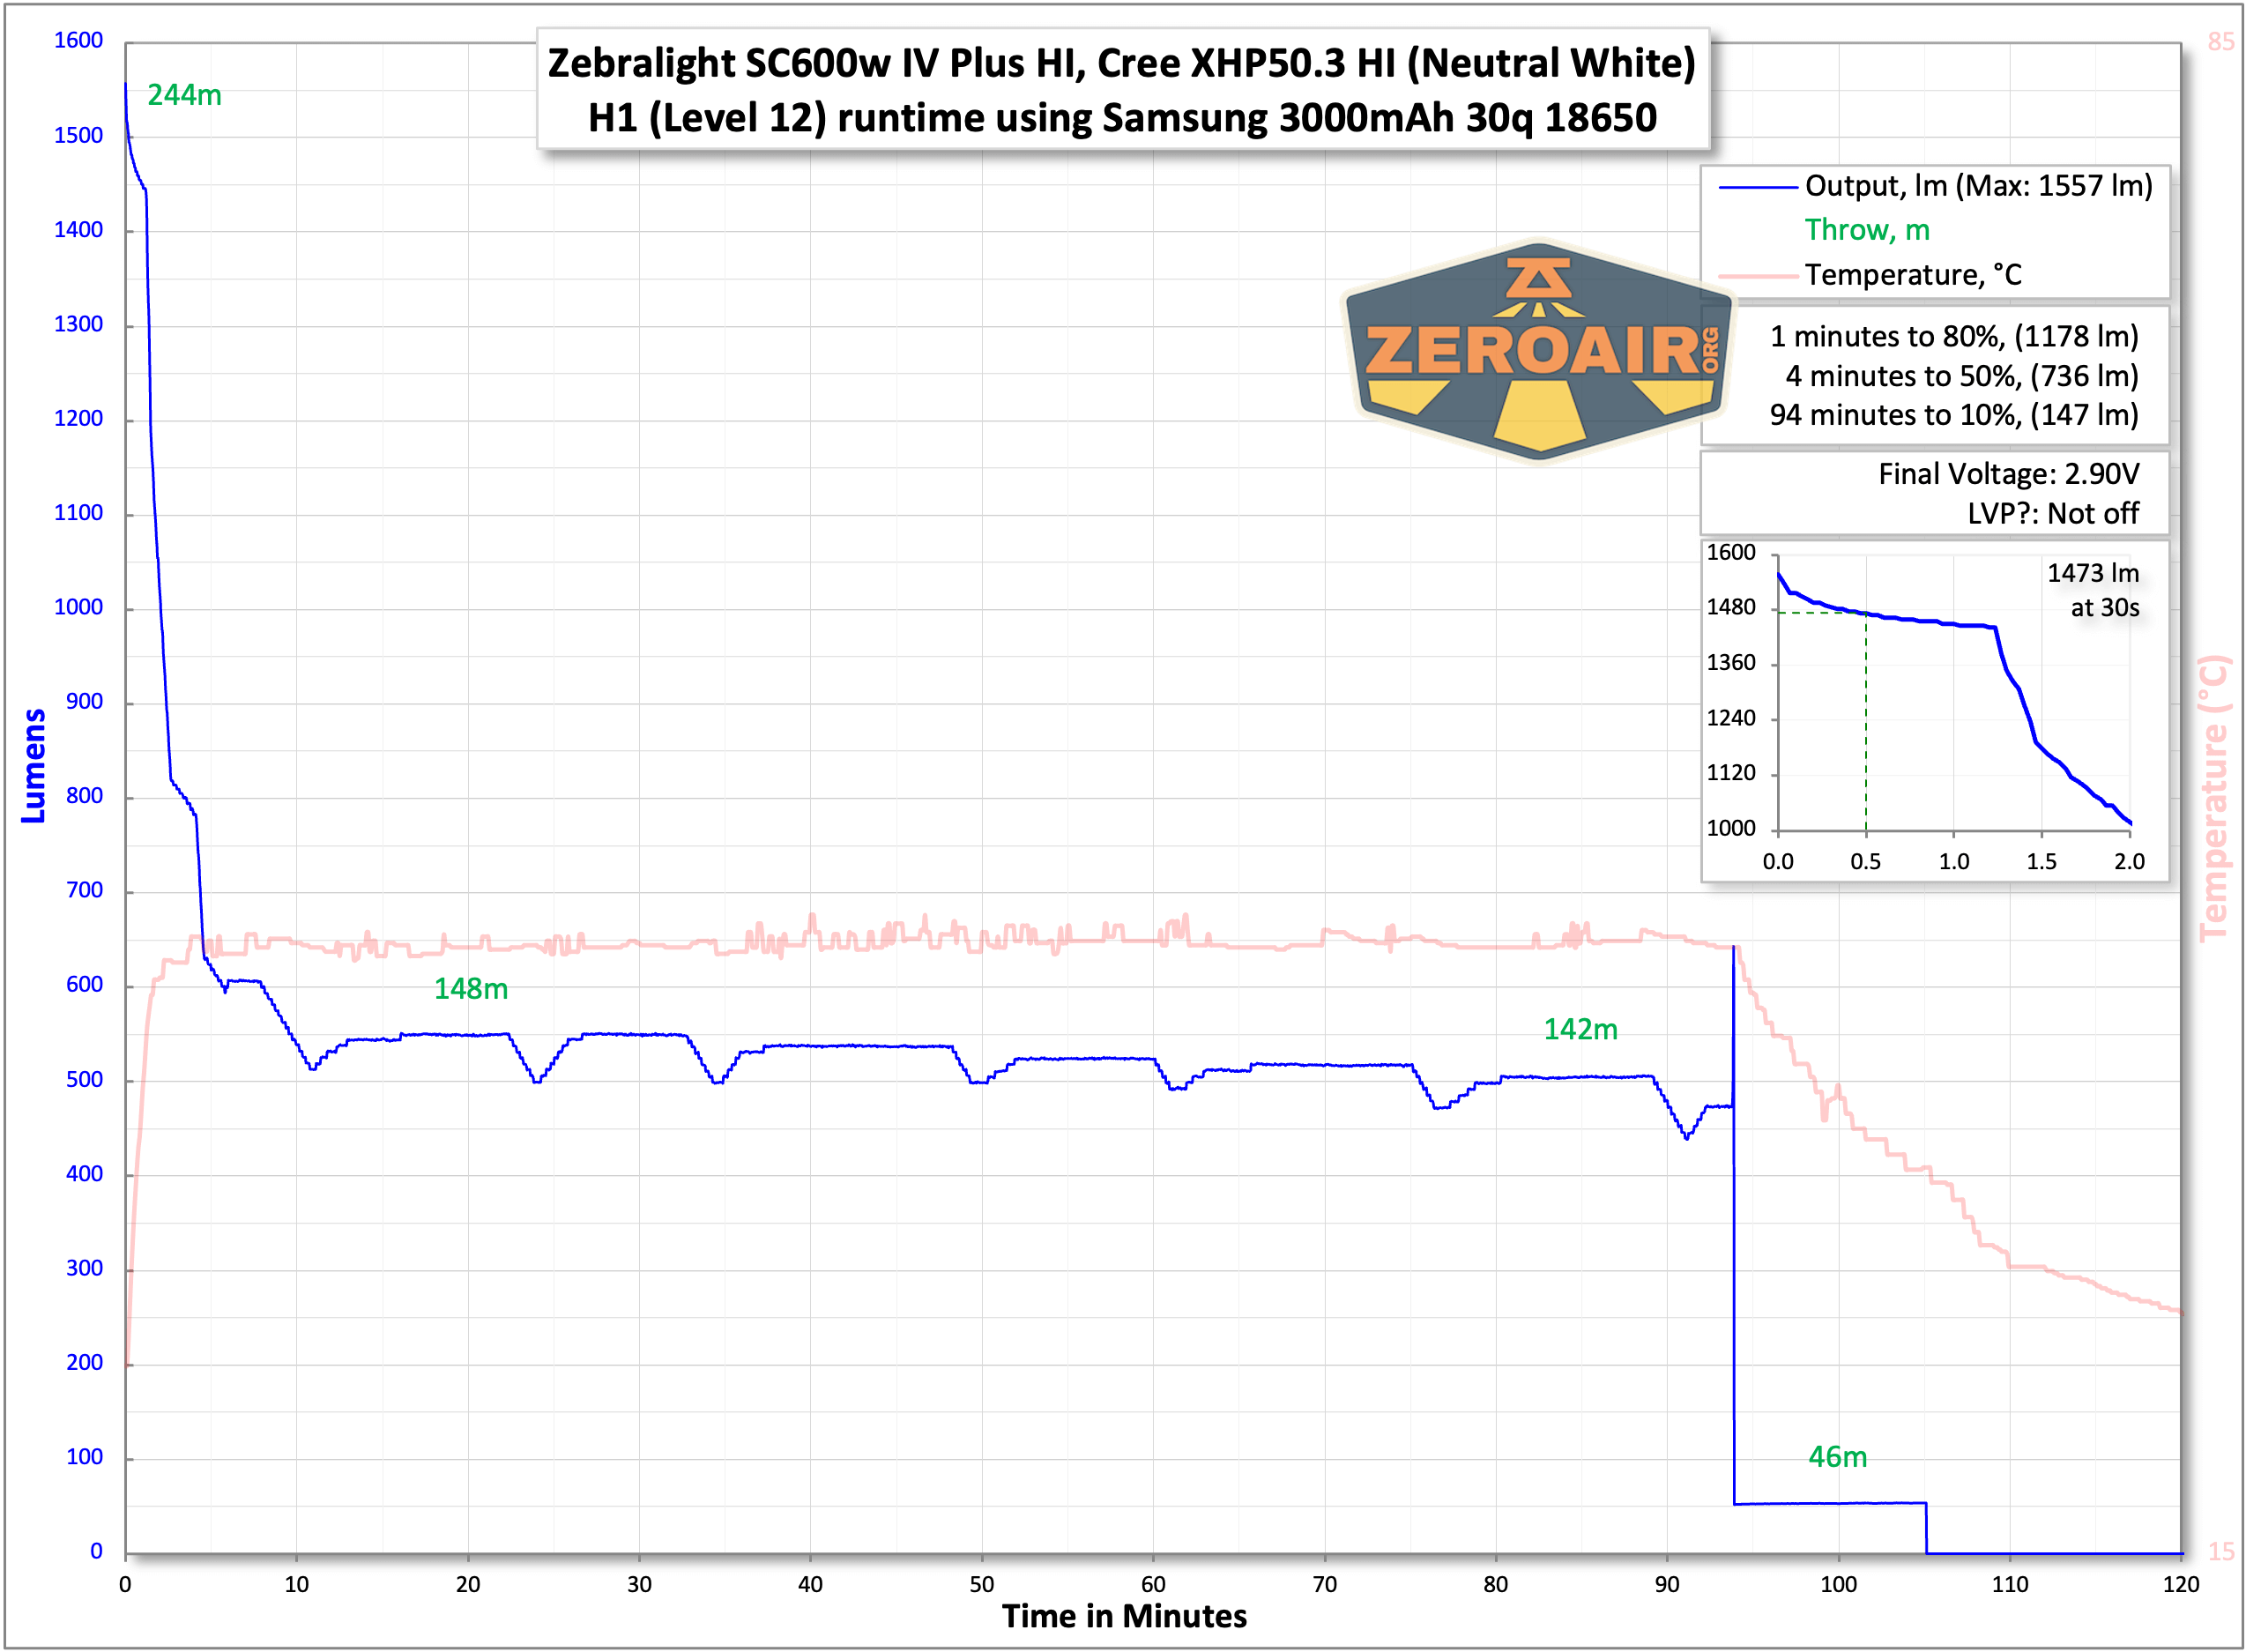
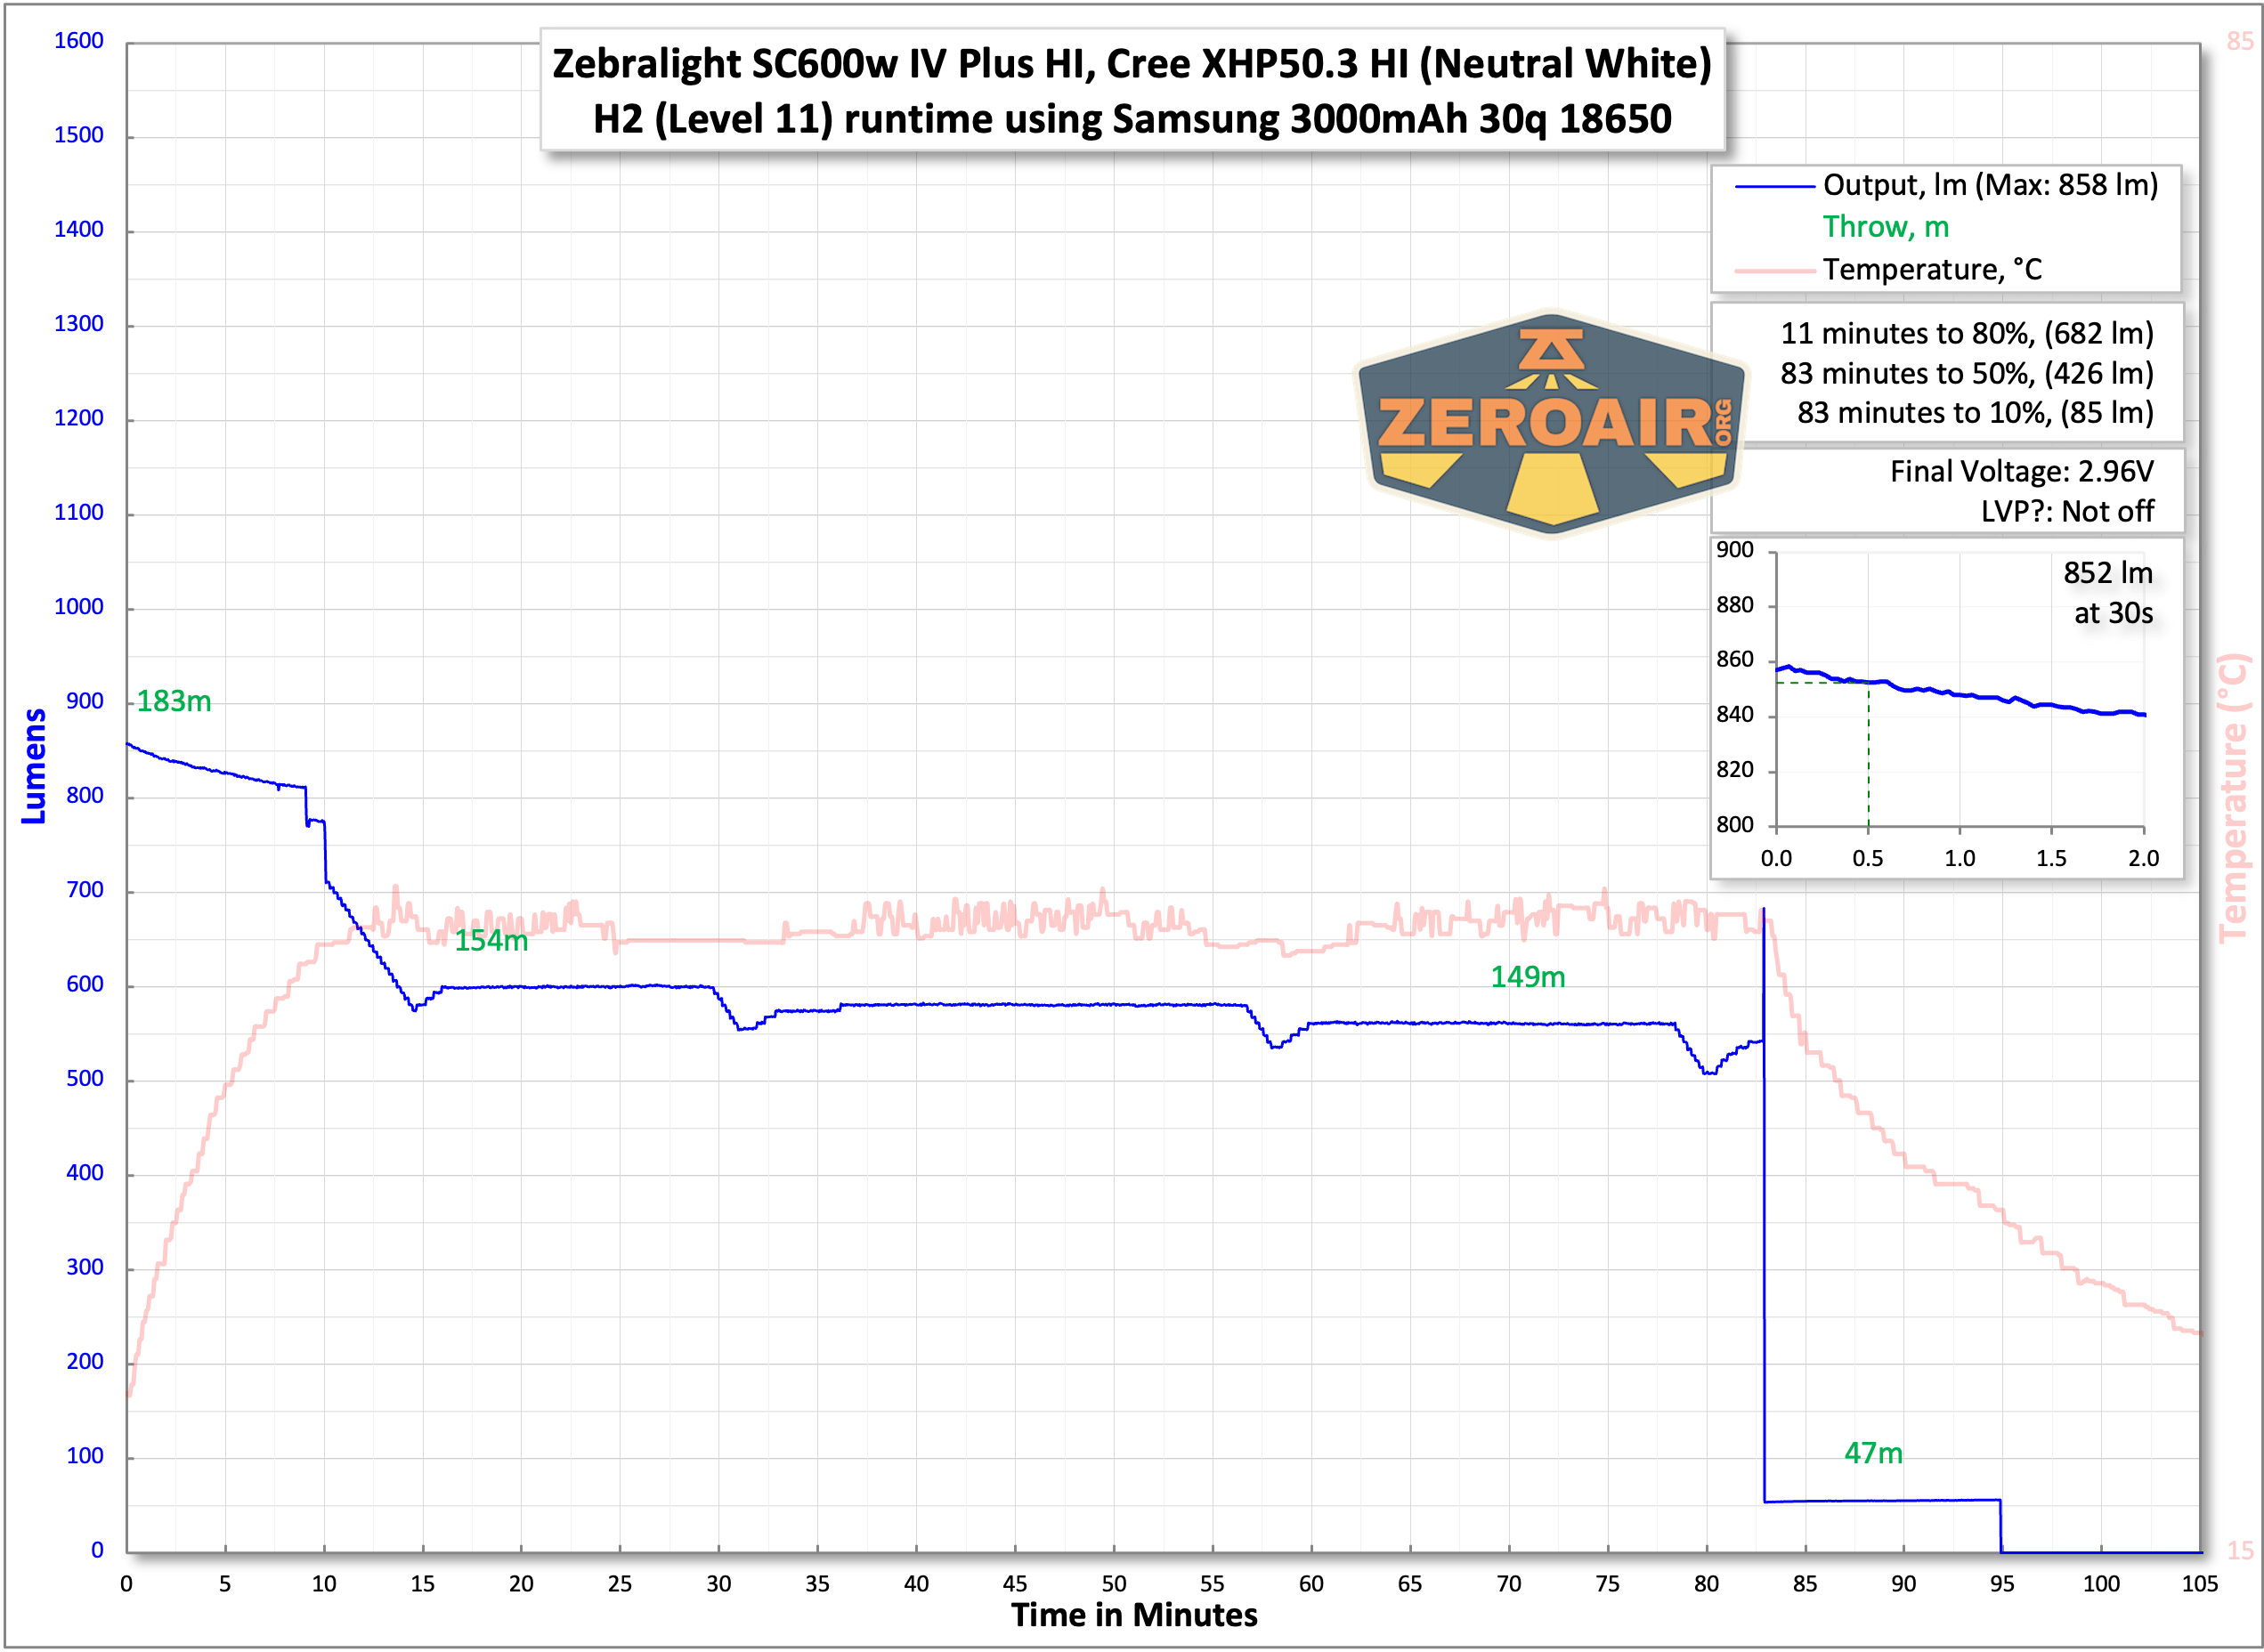
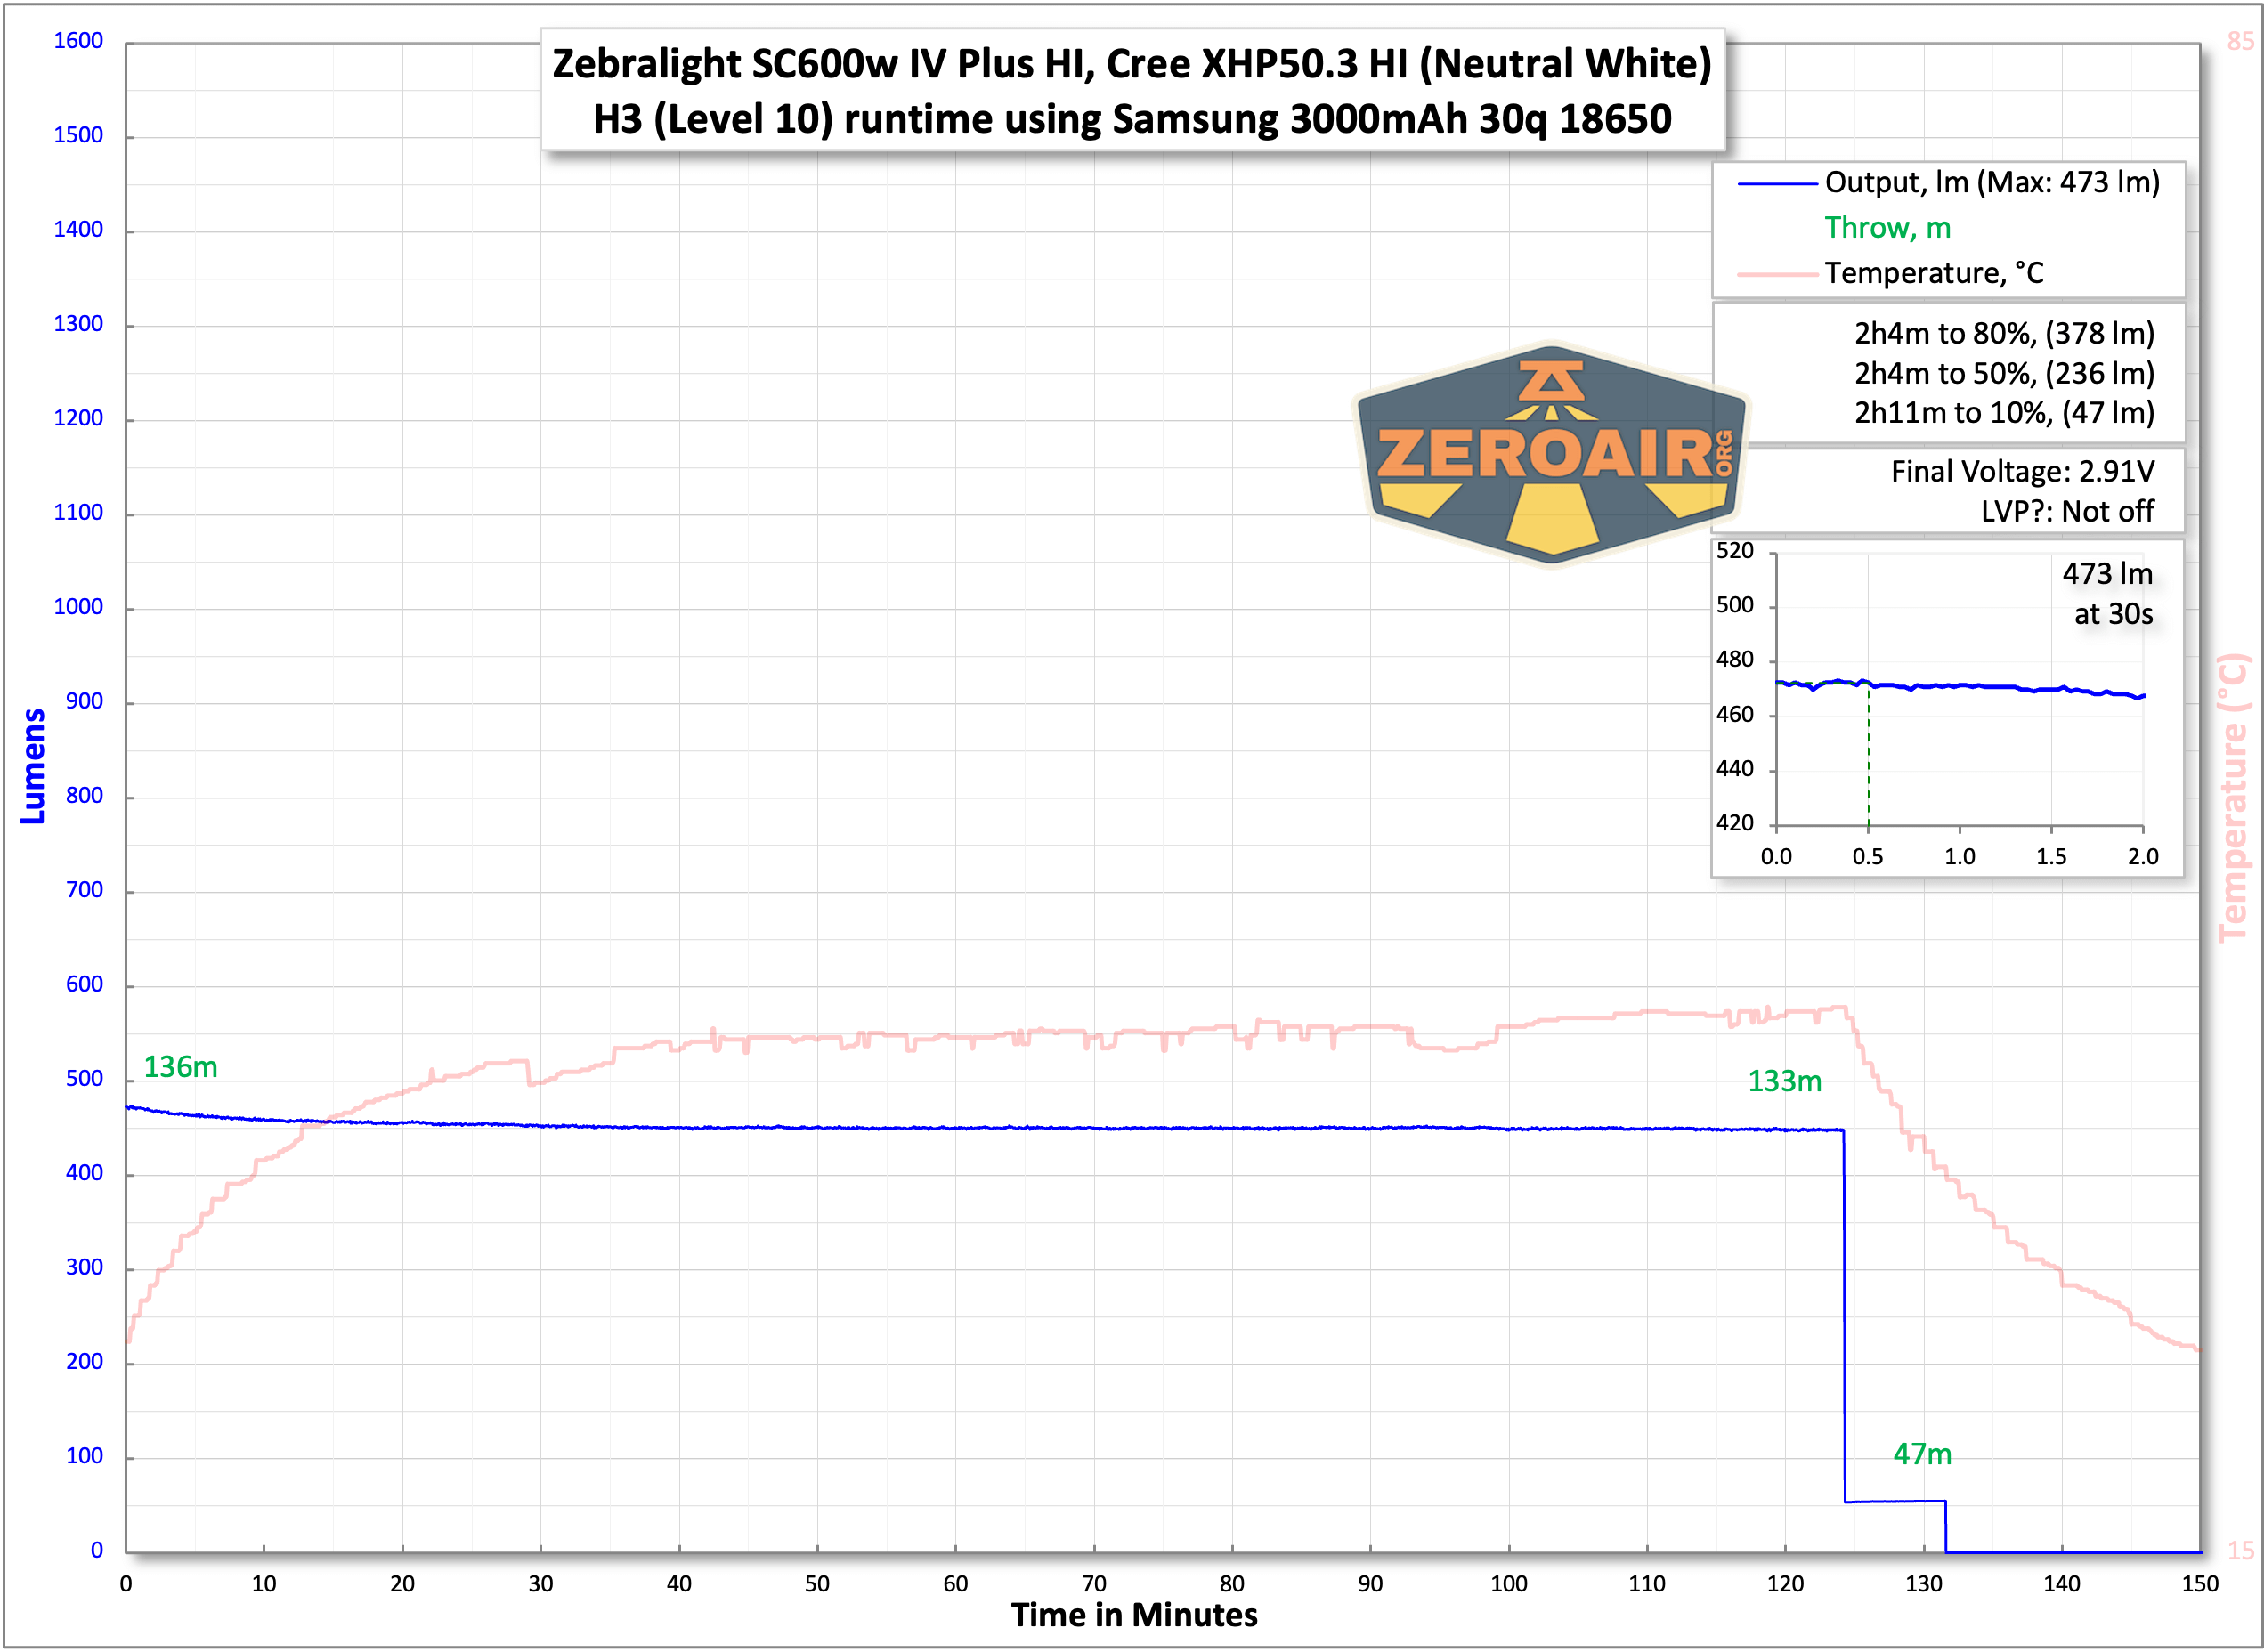
Here are several runtimes with a Samsung 30Q.
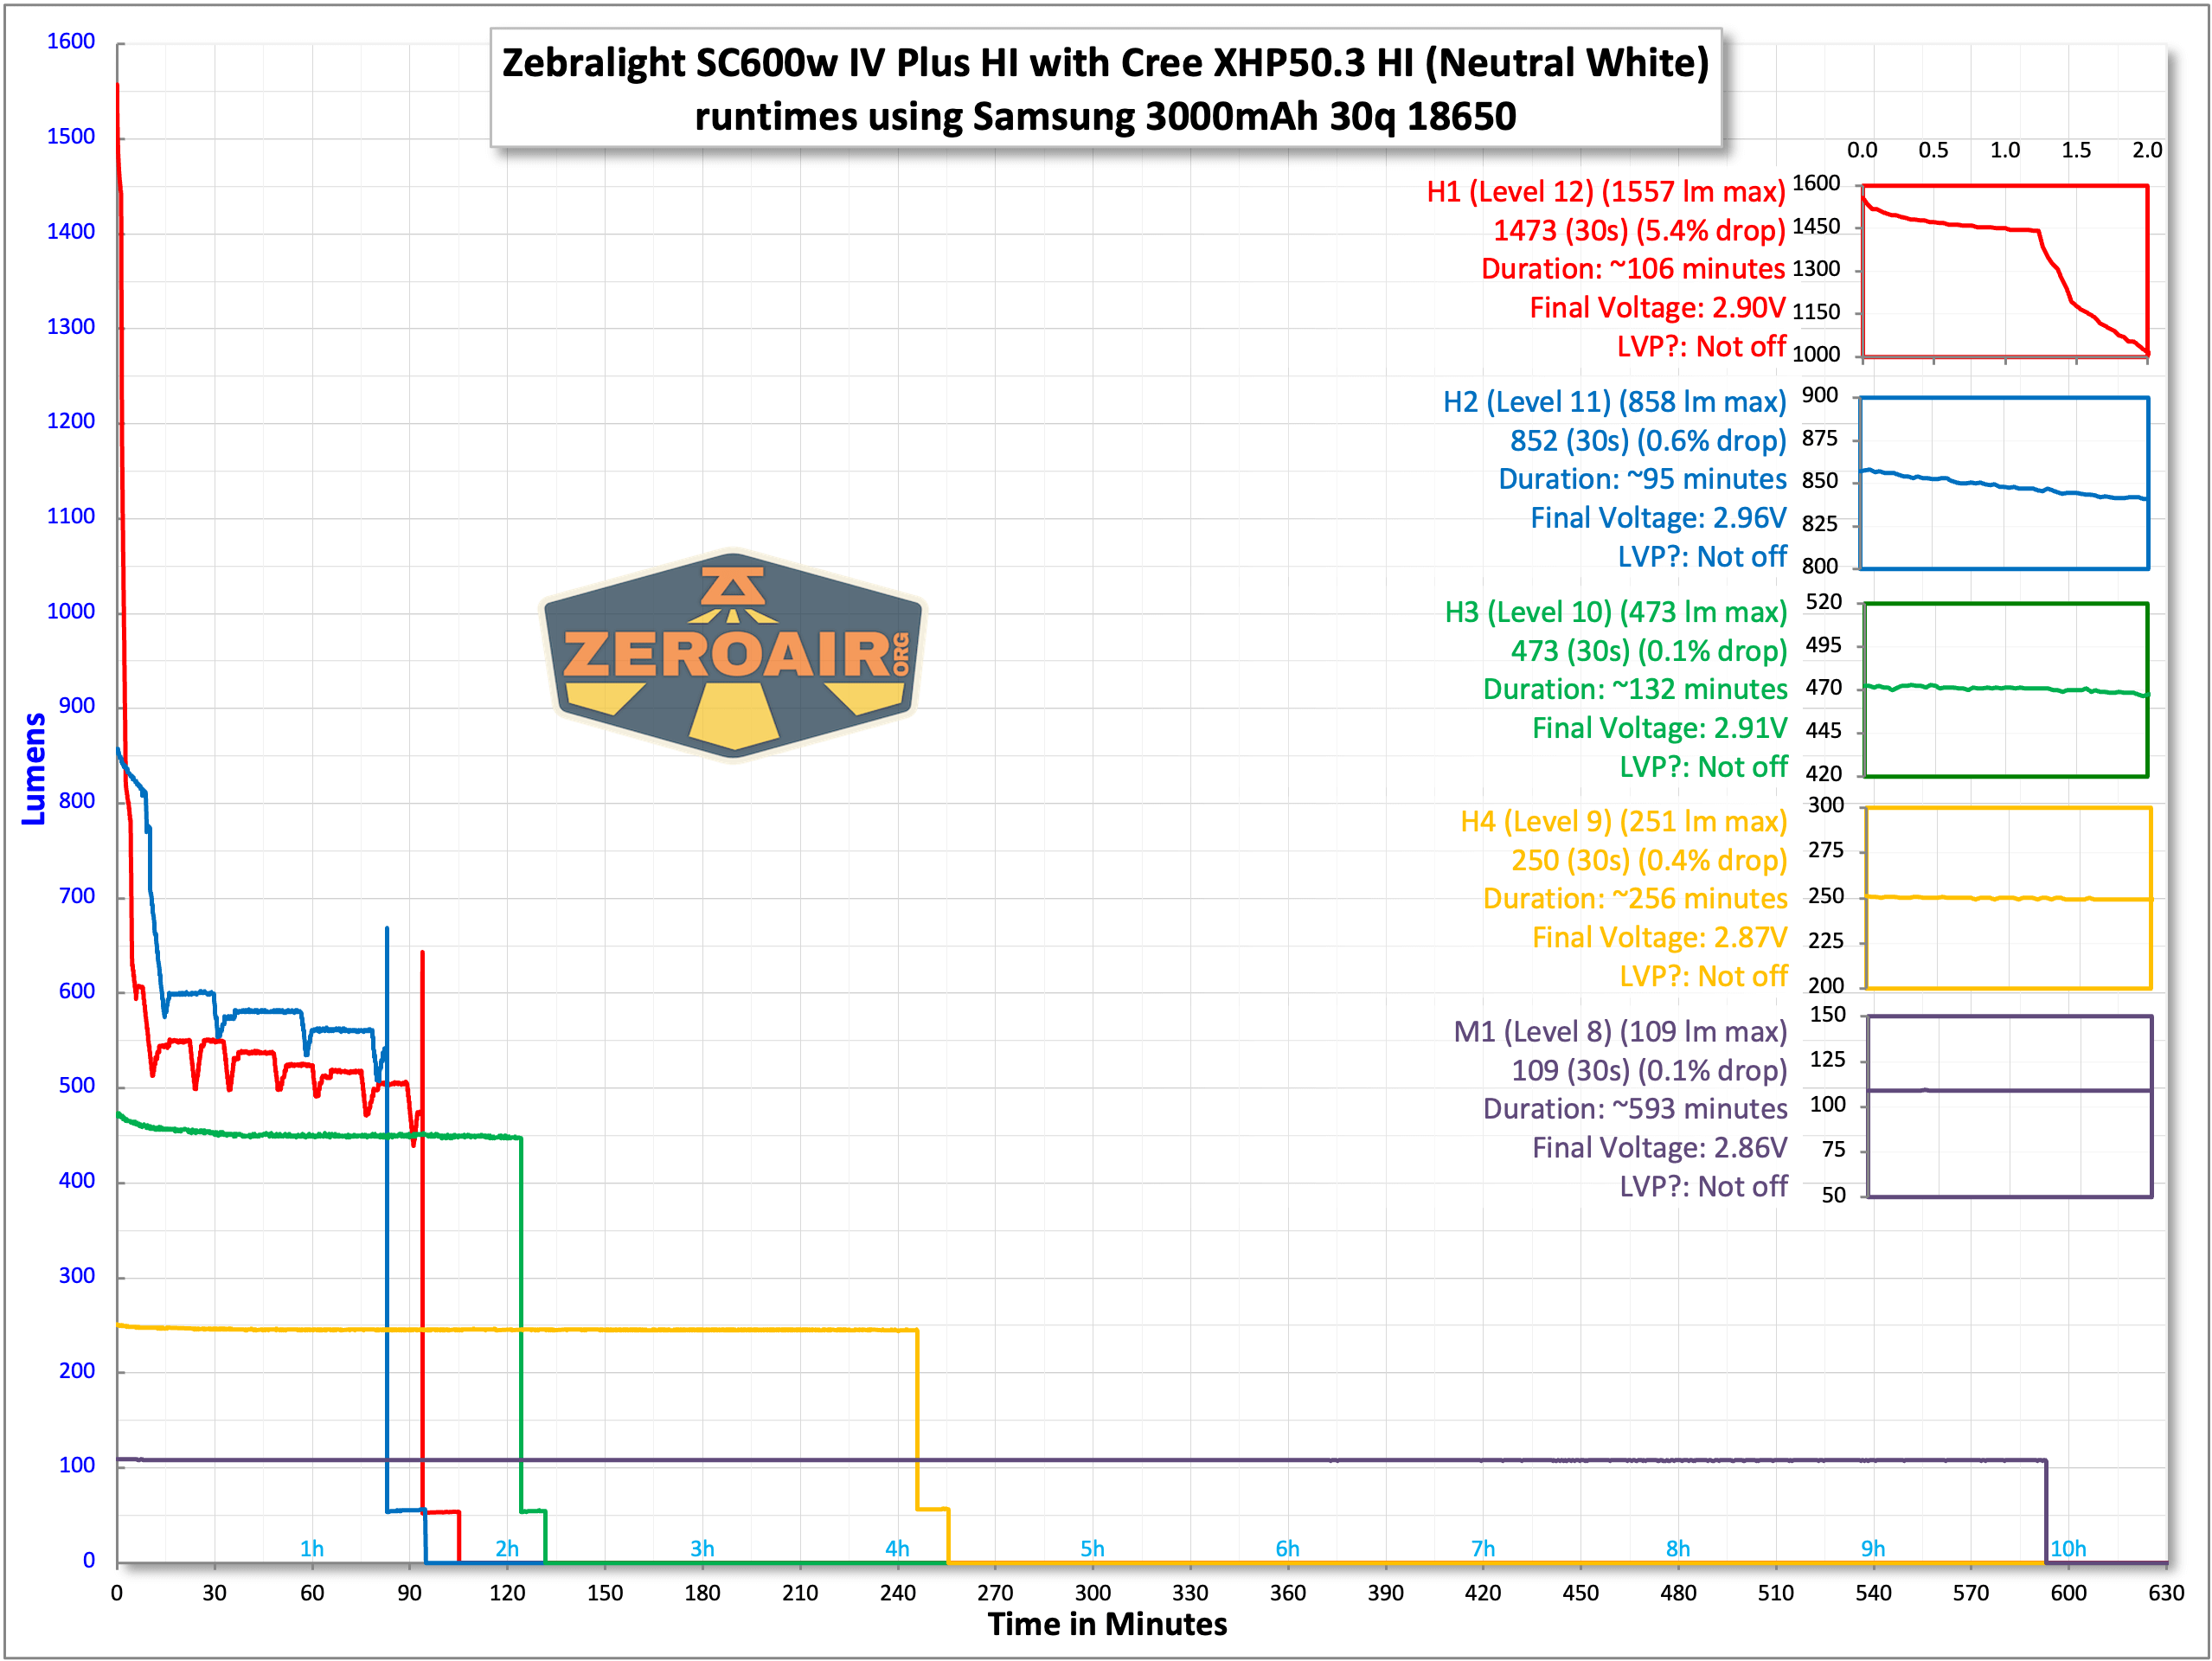
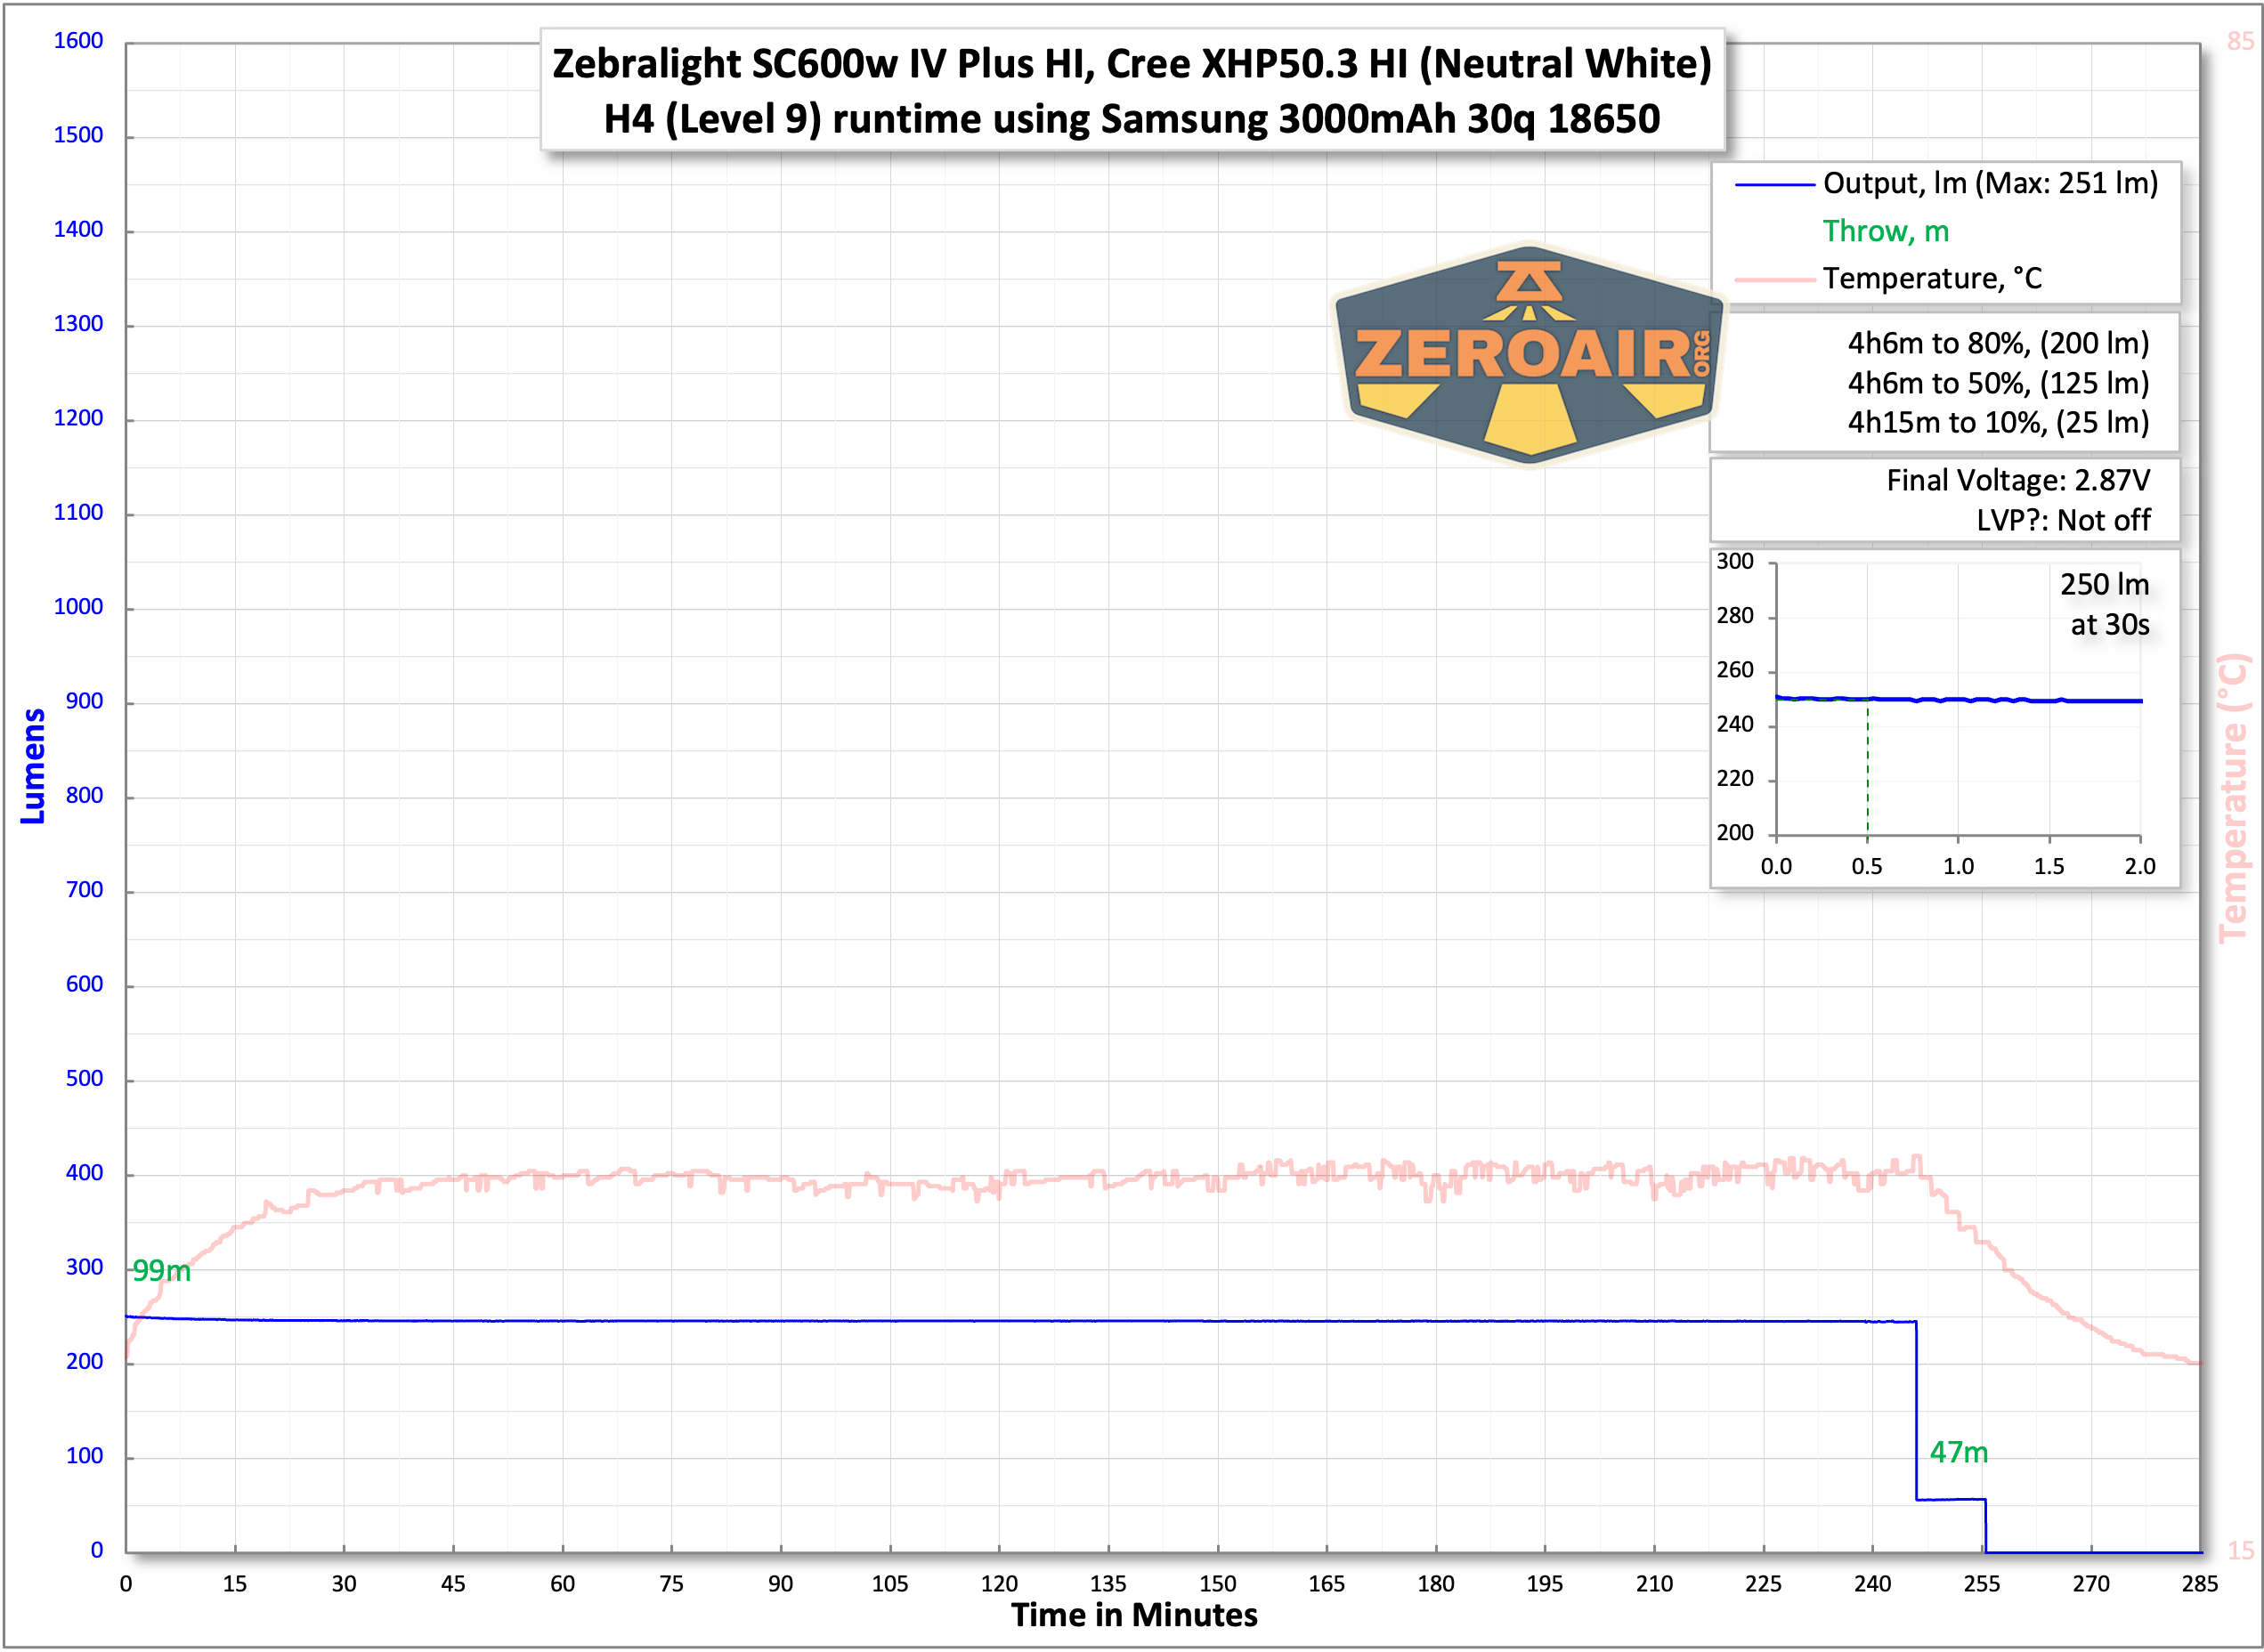
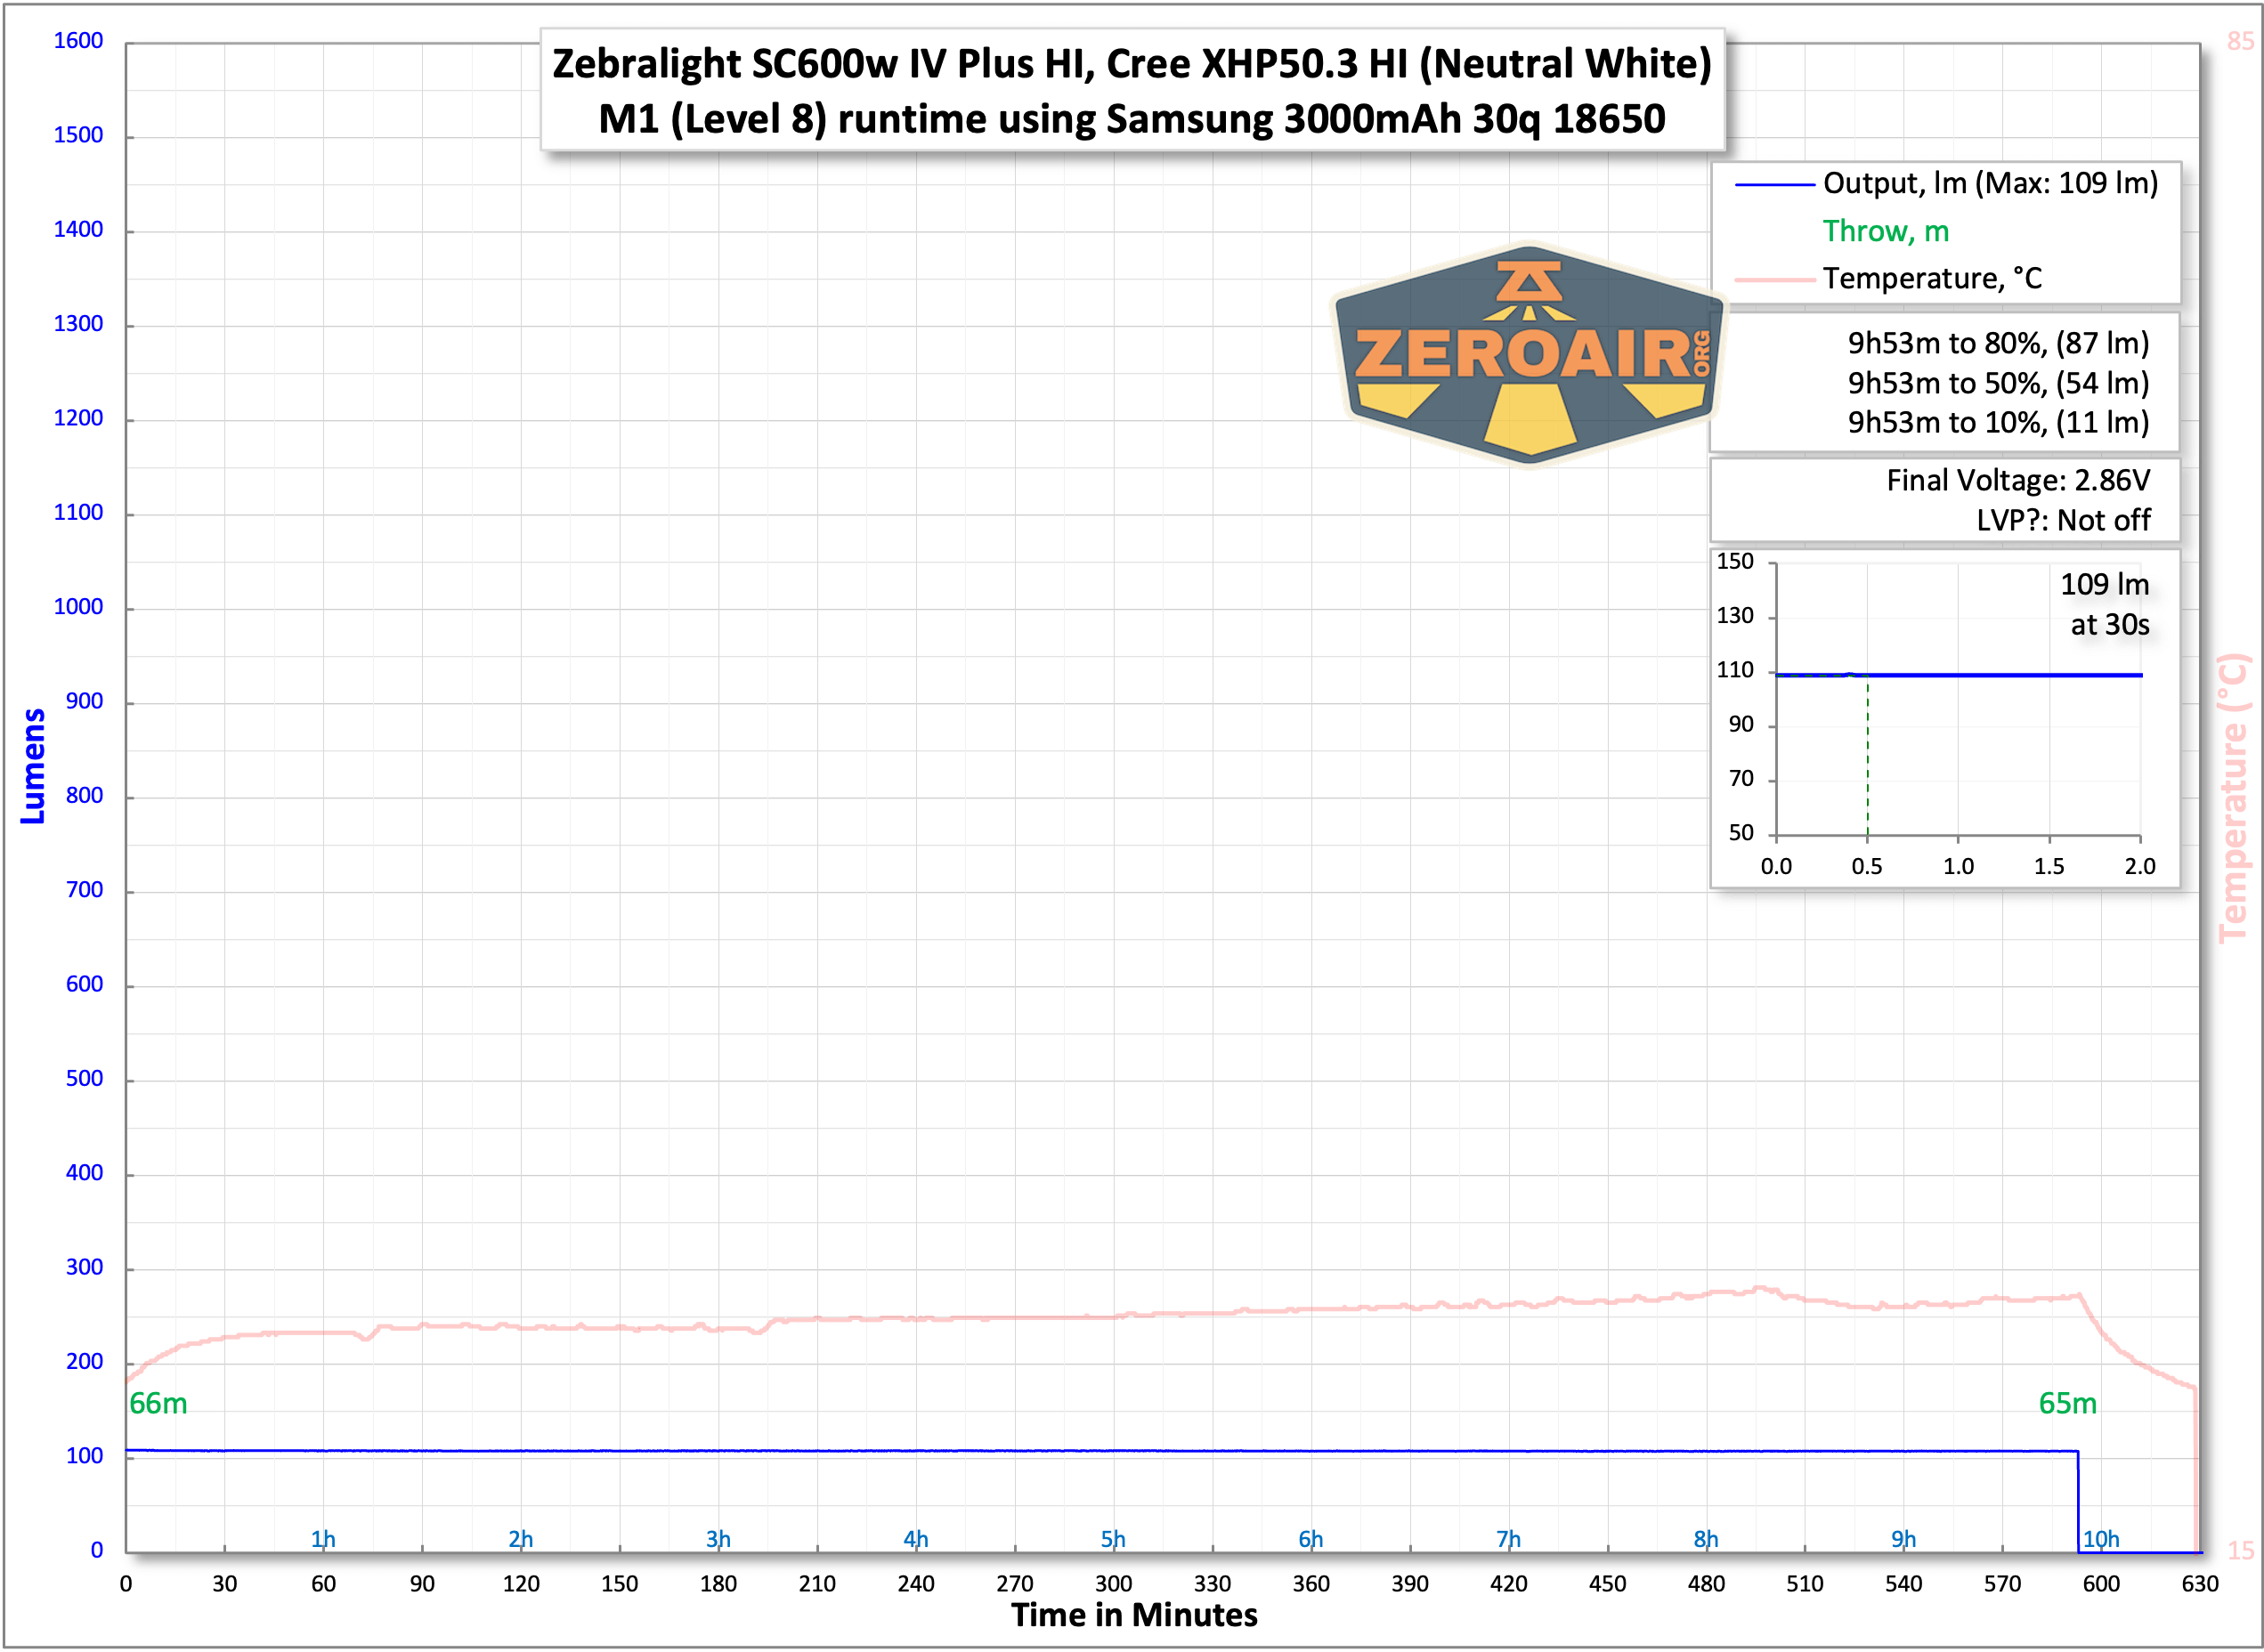
The temperature lines in these charts are included as general context, not precise measurements. The values represent the range (min to max) during testing, but should not be taken as exact readings. Temperature sensors are attached however feasible and not always on the bezel or hottest spot (assuming that can even be clearly defined). Even with ideal placement, too many variables affect temperature to definitively state a specific max value.
Modes and Currents
| Mode | Mode Claimed Output (lm) | Claimed Runtime | Measured Lumens | Tailcap Amps |
|---|---|---|---|---|
| H1 | 1700 | PID, 2.6h | 1557 (0s)1473 (30s) | 6.44 |
| H2 | 965 | PID, 3h | 852 | 2.49 |
| 521 | 3.2h | 473 | 1.14 | |
| 280 | 5.7h | 250 | 0.54 | |
| M1 | 128 | 13h | 109 | 0.23 |
| M2 | 56 | 28h | 57 | 0.11 |
| 25 | 2.5d | 24 | 0.03 | |
| 11 | 5.6d | 10.5 | [low] | |
| L1 | 3.4 | 15d | 3.5 | [low] |
| L2 | 0.8 | 1.6 months | 0.76 | [low] |
| 0.3 | 3 months | 0.26 | [low] | |
| 0.1 | 4.4 months | 0.08 | [low] |
Pulse Width Modulation
There is no PWM here, thankfully. This light doesn’t even have the sawtooth output on L1 and all three M2 modesthat some other similar Zebralights had. The modes are lowest to highest from top left to bottom right (just like in the other serial photos below).

Here you can see a “baseline” – a chart with almost no light hitting the sensor.
Then there’s the Ultrafire WF-602C flashlight, which has some of the worst PWM I’ve seen. It’s so bad that I used a post about it to explain PWM! Here are multiple timescales (10ms, 5ms, 2ms, 1ms, 0.5ms, 0.2ms) to make comparing this “worst” PWM light to the test light easier. That post also explains why I didn’t test the WF-602C at the usual 50us scale.
User Interface and Operation
The Zebralight user interface, a thing of legend. This light uses an e-switch, and a very nice one. It is clicky, with very positive action.
The switch falls in a perfect “user” spot when the light is in hand. I appreciate that it’s not the least bit exposed, too. Honestly, despite the difference in size between the SC65, SC600, and SC700, the switch is in just the right place on all sizes!

First of all, this user interface is basically as hard (or “featured”) as you want it to be. You can run this as a very simple user interface with easy (or “direct”) access to four modes (low, medium, high, strobe). But you can do more! If you dare. If you wish. But again, you don’t really have to!
I’m going to try to capture the user interface in a table, but I have to be honest, I’m not sure how this will go. But let’s give it a shot. Note that there are three mode groups (G5, G6, G7), and the light ships in G5 group.
| State | Action | Result |
|---|---|---|
| Off | Click | High (Your last used of four high possibilities) H1 3000 Lm H2 1458 Lm 945 Lm 583 Lm (hours) |
| Off | Click 2x | Medium (Your last used of four medium possibilities) (and technically, the light goes to High first, then medium) M1 192 Lm M2 52 Lm 25.2 Lm 11.6 Lm |
| Off | Click 3x | Strobe (Your last used of four Strobe possibilities) 0.2Hz Beacon at Low 0.2Hz Beacon at H1 4Hz Strobe at H1 19Hz Strobe at H1 |
| Off | Hold >0.6s | Mode cycle: Low^ > Medium > High (repeated) |
| On | Hold | Mode cycle: Low (always starts with Low no matter what mode you’re in!) > Medium > High (repeated) |
| On | Click | Off |
| On | Double Click | Toggles between Mode and Sublevel.
For example, between H1 and H2. |
| On | Double Click 6x | Enters programming for sublevels of a mode.
For example, if you’re in Medium, Double Clicking 6x will enter sublevel selection for M2.) |
| Sublevel selection for any mode | Double Click | Cycles the sublevel mode options.
For example, if you are programming M2, continued double clicks will cycle 11.6lm, 25.2lm, and 52lm repeatedly. Release and wait (or click) at the desired output. |
| Sublevel selection for any mode | Click | Selects sublevel. |
| Off | Click 4x | Battery indicator
The main emitter flashes brightly between 1 and 4 times to indicate cell capacity |
| On at H1 | Click off then on to H1 | Enter PID Thermal Regulation Temperature Programming for three highest output levels |
| PID Thermal Regulation Temperature Programming for three highest output levels | Press and hold to cycle from Low to High 6 times | On the 7th (or more) cycle, release the switch
|
| Off | Click 5x | Select G5 (Group 5) |
| Off | Click 6x | Select G6 (Group 6) |
| Off | Click 7x | Select G7 (Group 7) |
| Sublevel programming for G6 or G7 | Click 2x | Goes up a level in programming |
| Sublevel programming for G6 or G7 | Click 3x | Goes down a level in programming† |
| Sublevel programming for G6 or G7 | Click | Exit programming |
| In G6 or G7‡ | Click 5x | Reset G5 to factory settings |
| In G6 or G7‡ | Click 6x | Reset G6 to factory settings |
| In G6 or G7‡ | Click 7x | Reset G7 to factory settings |
^ Note that this is technical access to Low from off, despite not being written exactly that way in the manual.
† Successive triple clicks at the lowest output stay at the lowest output (and don’t cycle “backward” to H1)
‡ It does seem like factory resets (for all groups) can be done only when in G6 or G7. So to reset G5, you’ll need to enter G6 or G7.
Here are some group specifics:
In all three mode groups
- H can be either H1 or H2; M can be either M1 or M2; L can be either L1 or L2
- from OFF: 1-click to H; 2-click to M; press and hold to cycle from L, M to H
In G5
- H1 is fixed at 3000Lm, H2 can be 1458, 945, or 583Lm
- M1 is fixed at 192Lm, M2 can be 52, 25.2 or 11.6Lm
- L1 is fixed at 2.1Lm, L2 can be 0.32, 0.12 or 0.04Lm
In G6 and G7
- H1, H2, M1, M2, L1, and L2 can be programmed to any of the 12 available brightness levels
- Double-click 6 times at the H1, H2, …L2 to enter the programming mode for that level. Once in the programming mode, use double-click to go up one level and triple-click to go down one level. Use 1-click to exit the programming mode
Three consecutive 5-click (or 6-click, 7-click) to reset the G5 (or G6, G7) back to the factory default settings.
The fact that G6 and G7 allow all steady outputs to be any mode is not to be understated. If you wanted all high modes, you could program every level to H1. It’d be a little weird, but you could be absolutely certain that you’d only ever get H1 output. On the flip side, you could program every mode to be from the lowest to highest mode, and the light could peak at around 25 lumens (and basically last forever).
You could also reverse the mode cycles in whatever way you wish. Want High to be accessible from double click? Then program H1 to the M1 or M2 slot.
And finally, it’s not to be understated how easy it is to switch between groups. And easy to remember – 5, 6, or 7 clicks from off and you’ve switched groups. Unfortunately, there is no feedback that you’ve switched groups – a readout of maybe 5, 6, or 7 blinks on the lowest output would be nice. Or maybe a low blink with G5, M2 blink with G6, and H2 blink with G7 or something. Some feedback would be appreciated.
As far as I know, the user interface between the SC700d and SC700d HI is the same. I’ve copied the user interface from that review to this review…
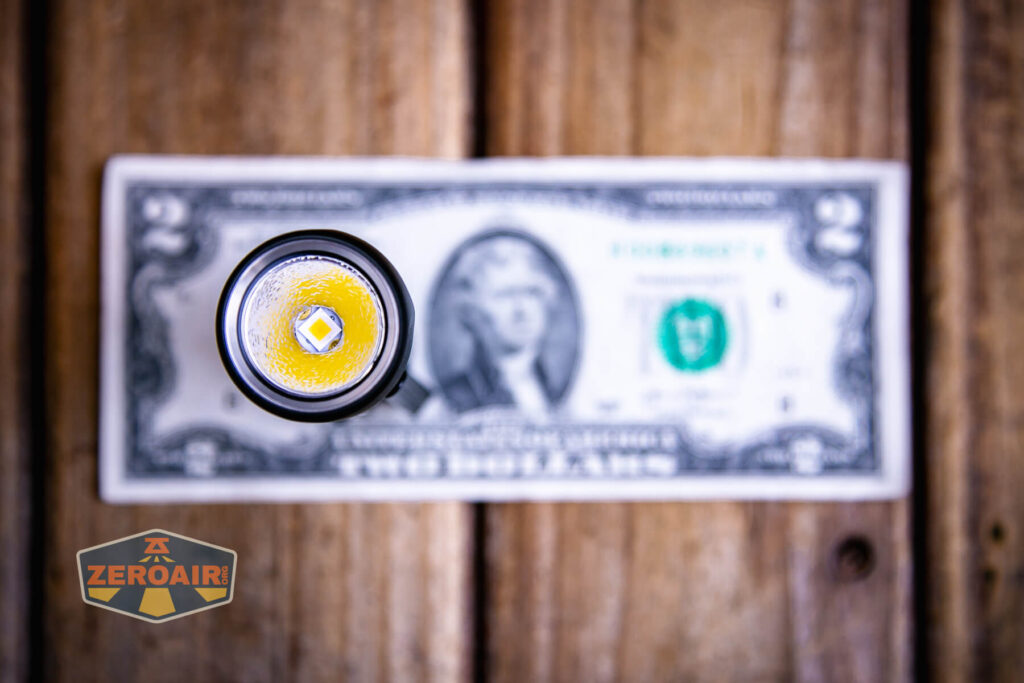
LED and Beam
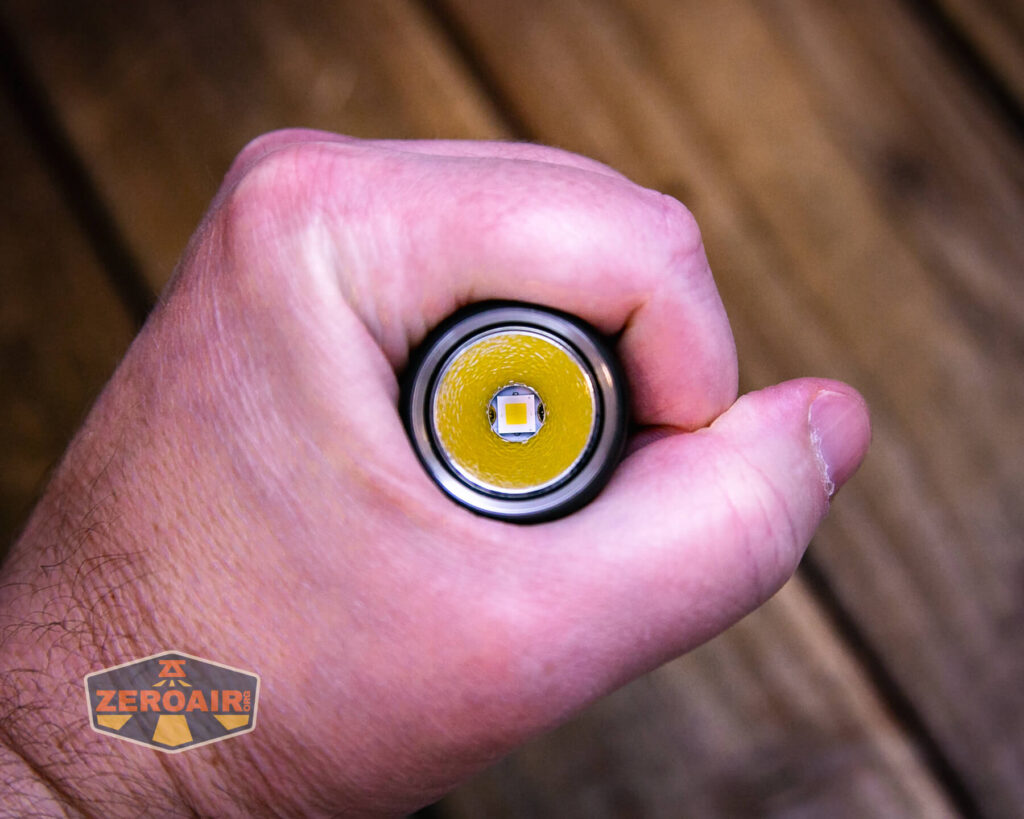
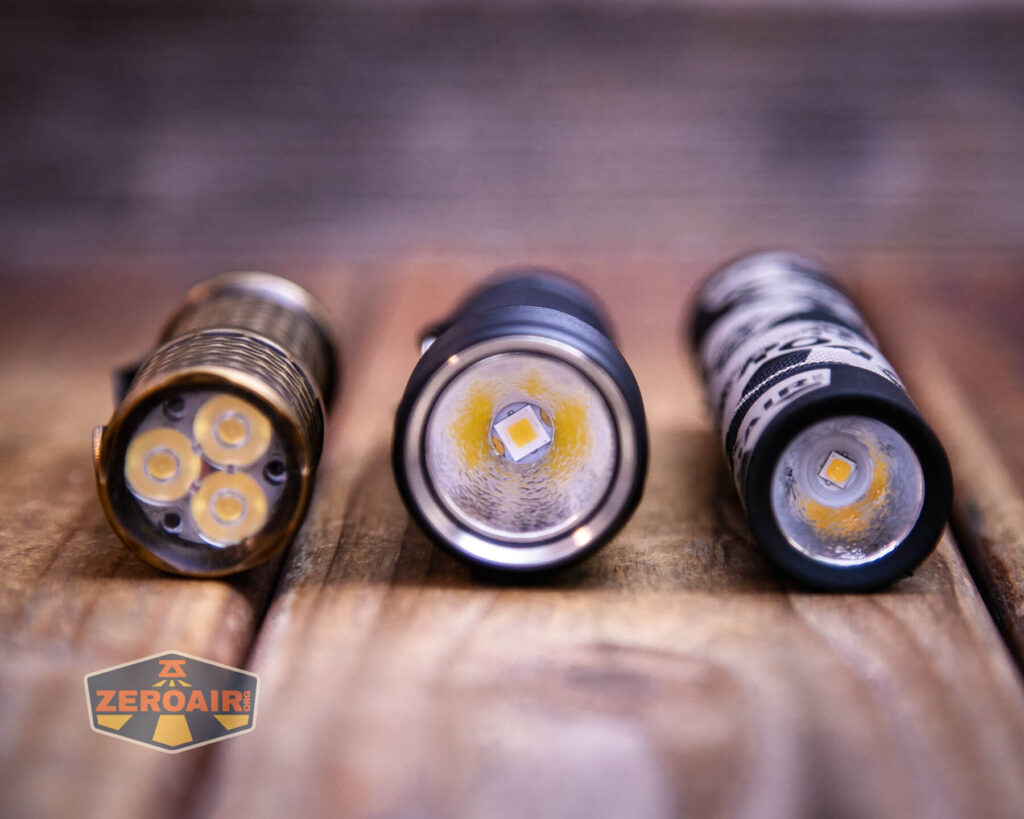
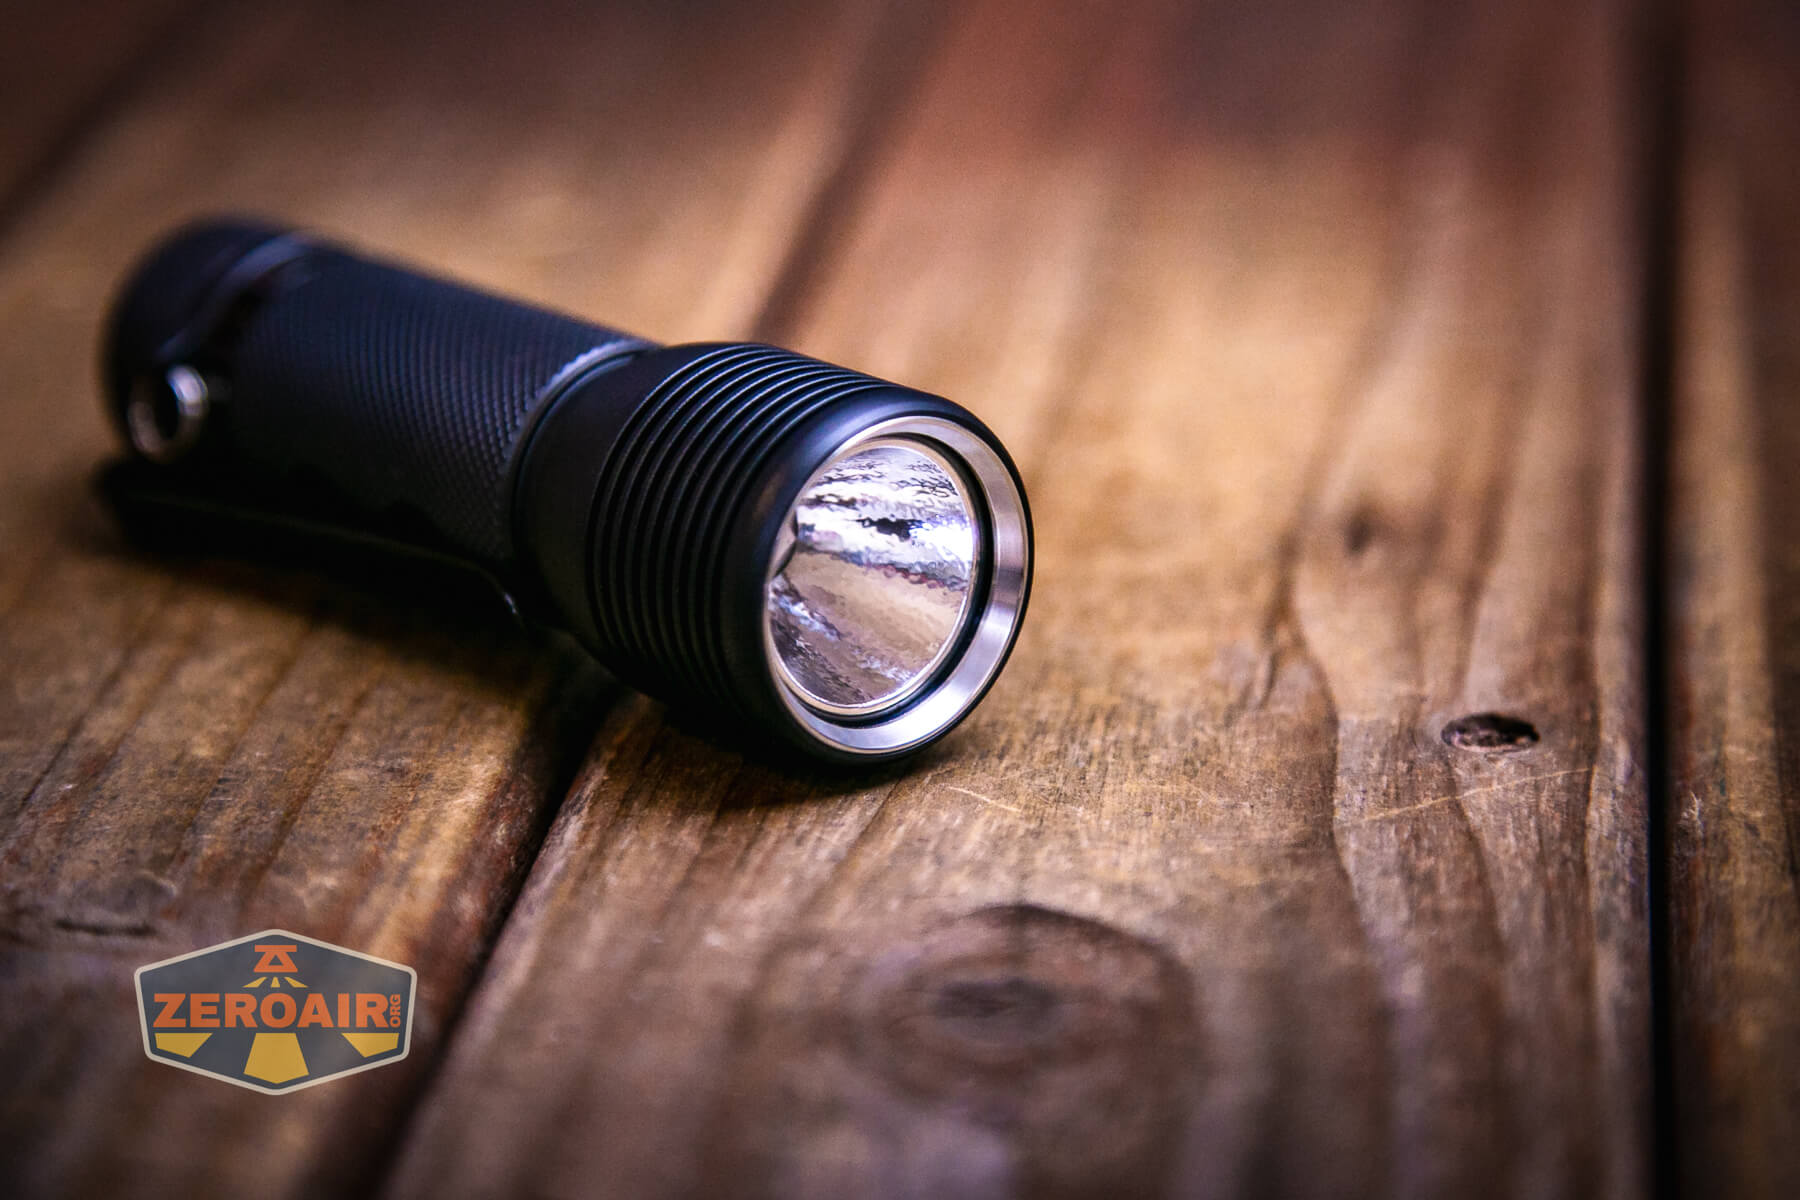
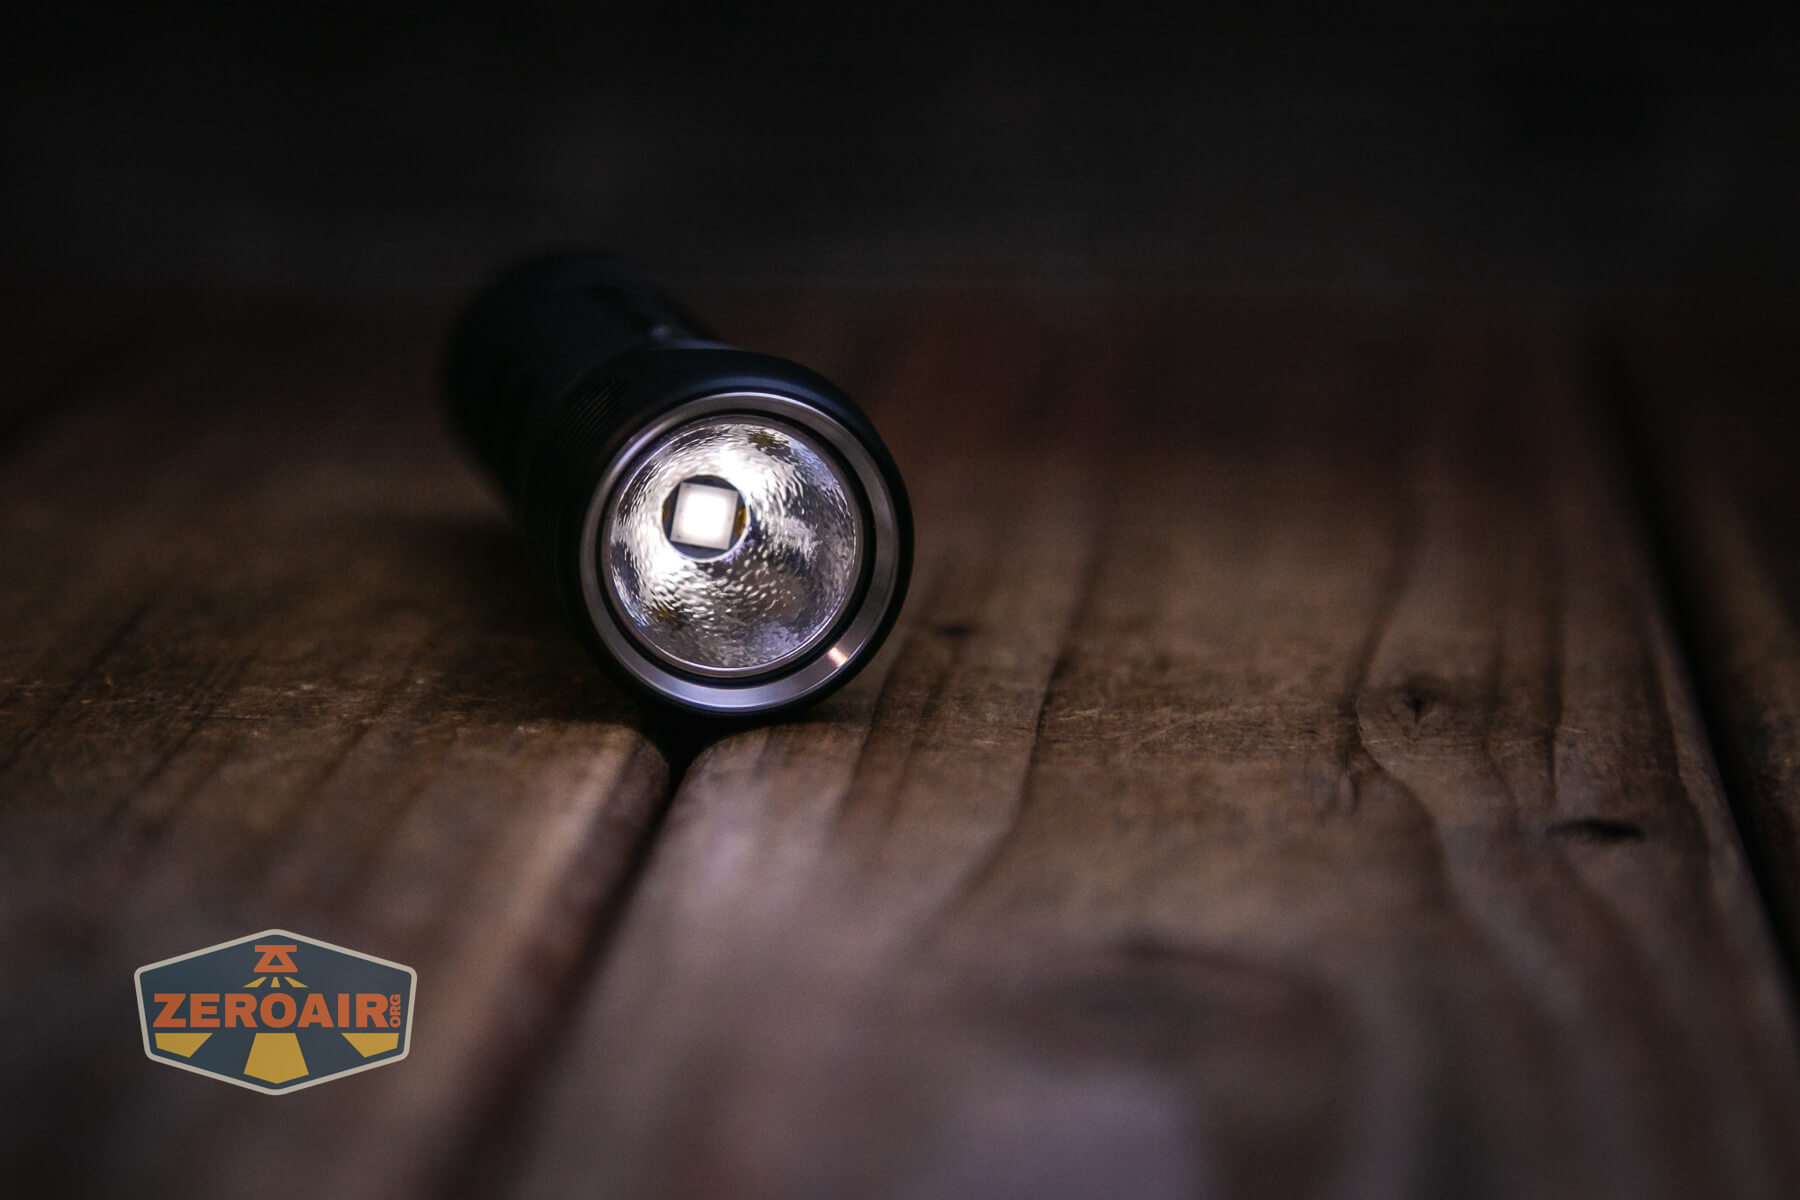
Of course, one of the biggest advancements here is that this is a domeless (“HI”) emitter. A “high intensity” emitter. It’s a neutral white Cree XHP50.3 HI, rated at 4500K. I love HI emitters!

That emitter is surrounded by a nice and deep lightly orange peel reflector.
Low on this light is very low!!
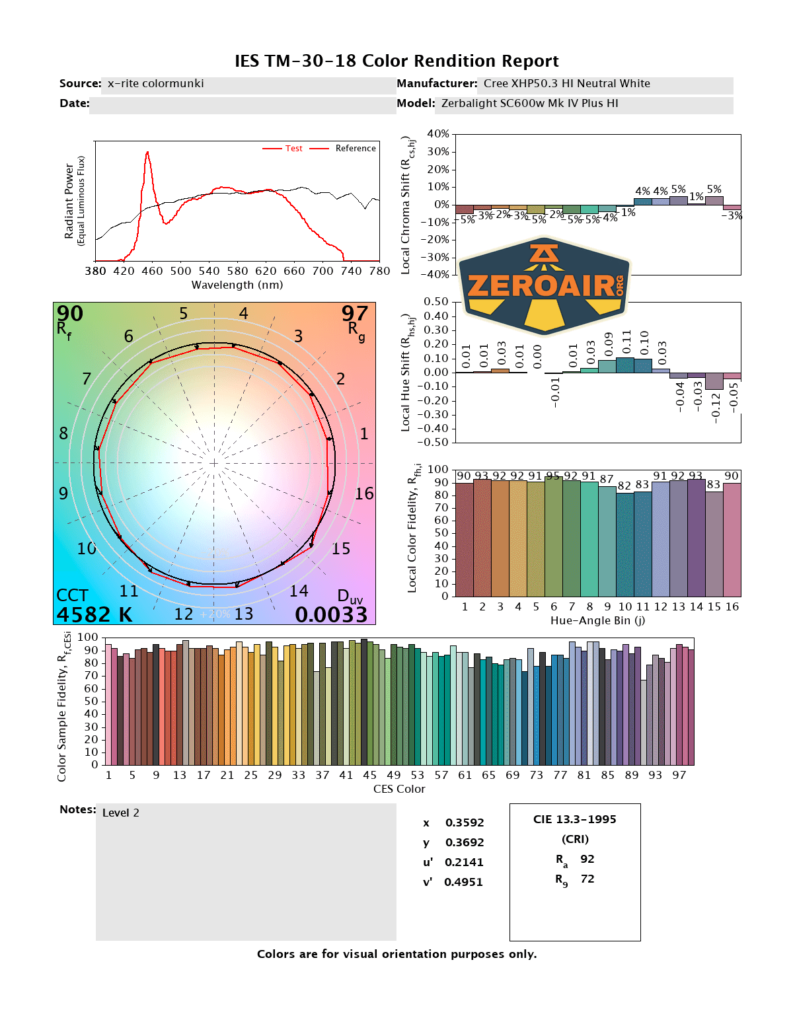
LED Color Report (CRI and CCT)
Zebralight makes the claim that this is a 4500K emitter, and it is. It ranges from 4500K on the lowest modes to around 5100K on the hardest driven mode. The high CRI claim is also met, averaging around 90.


CCT (Correlated Color Temperature) refers to the measurement of the color appearance of light, expressed in Kelvins (K), which indicates whether the light is warm (yellowish) or cool (bluish). A lower CCT (below 3000K) is considered warm light, while a higher CCT (above 5000K) gives cooler, bluish light.
CRI (Color Rendering Index) is a measure of how accurately a light source renders colors in comparison to natural sunlight. Scored on a scale from 0 to 100, higher CRI values indicate that colors appear more true to life and vibrant, similar to how they would look under the sun.
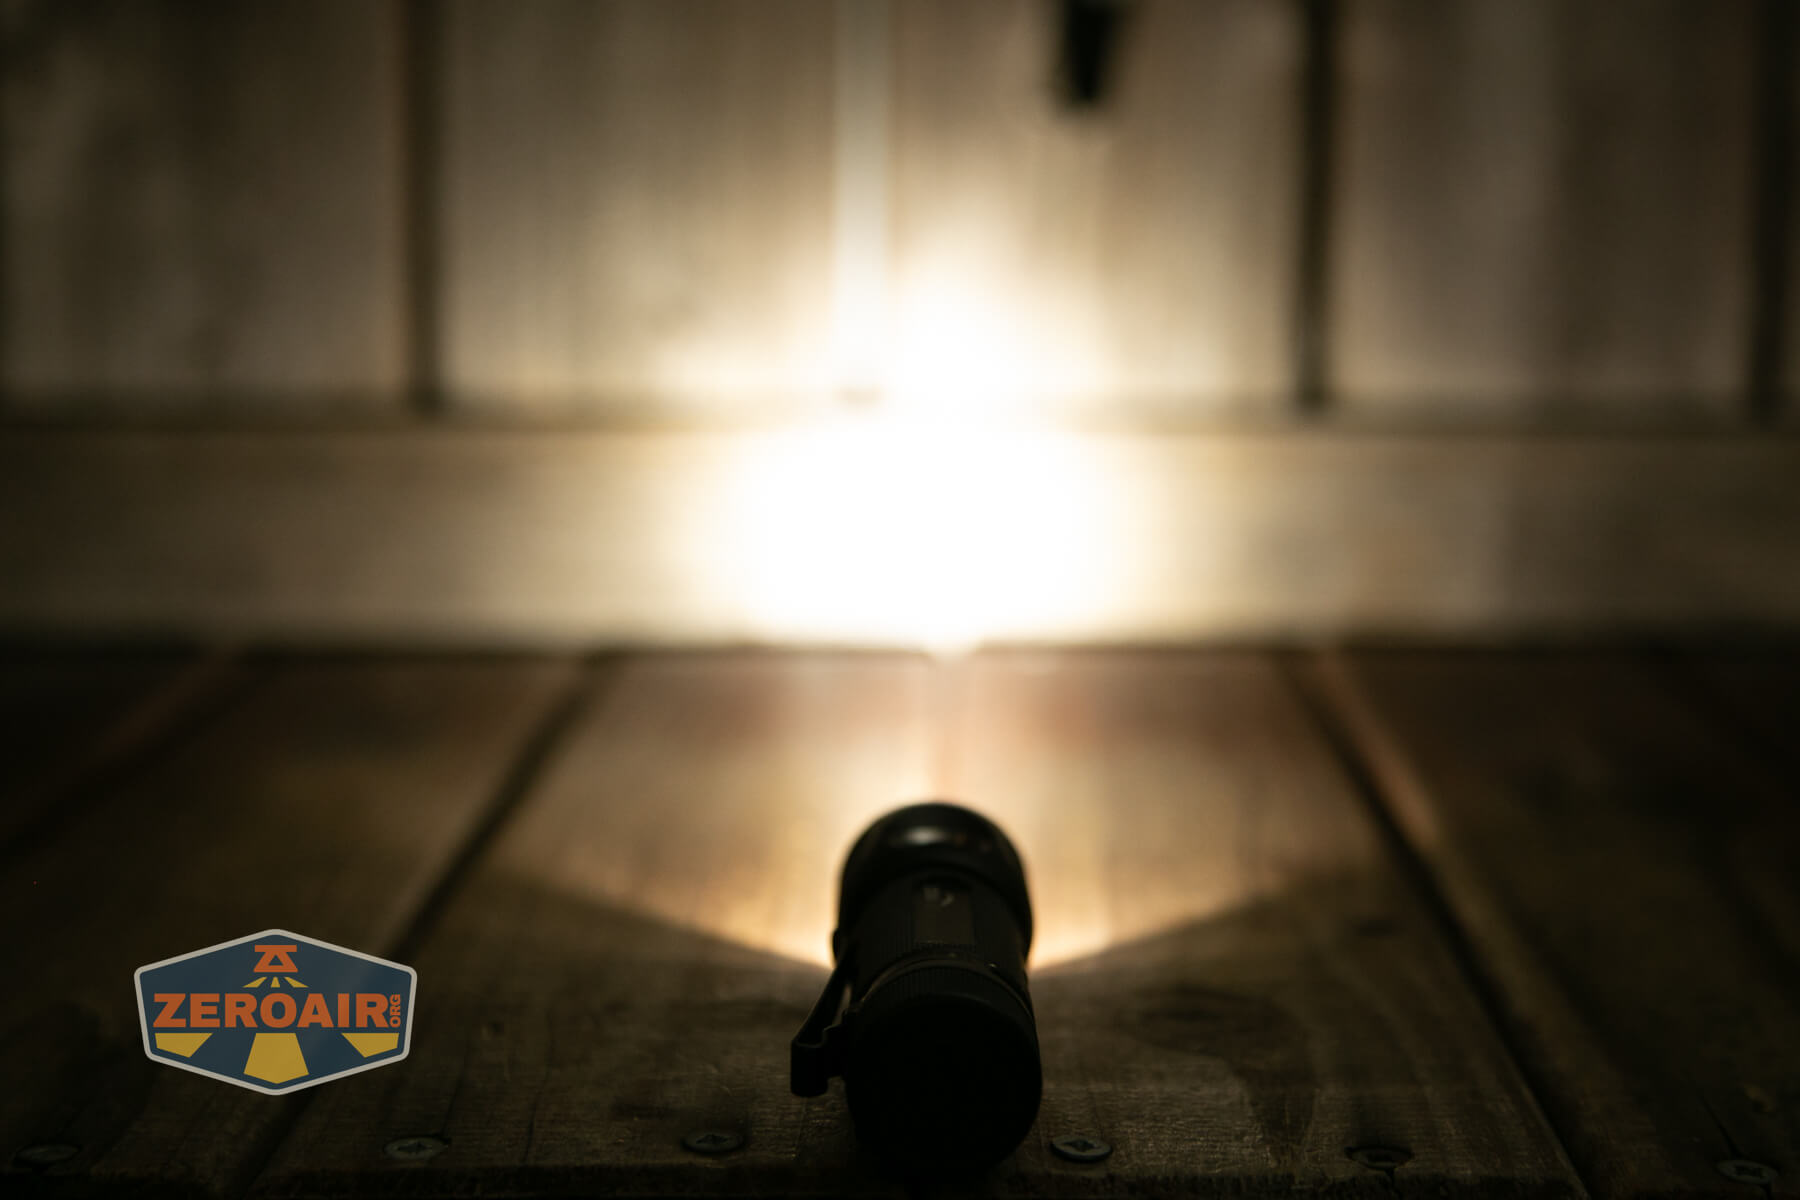
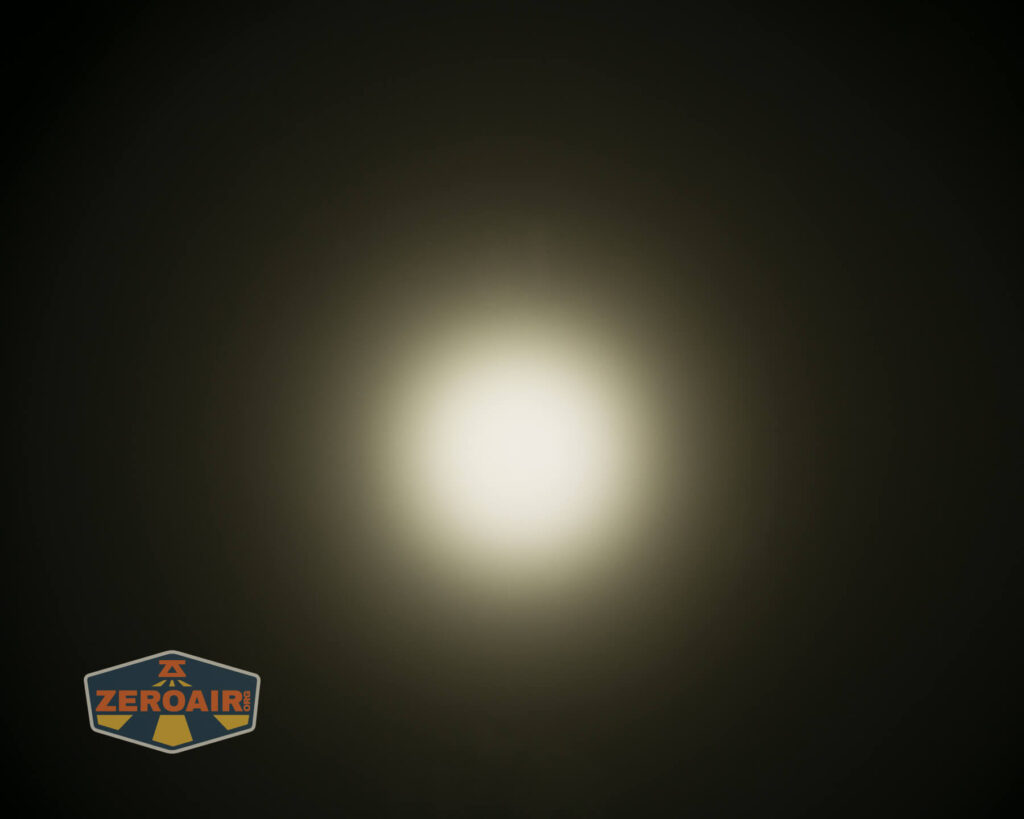
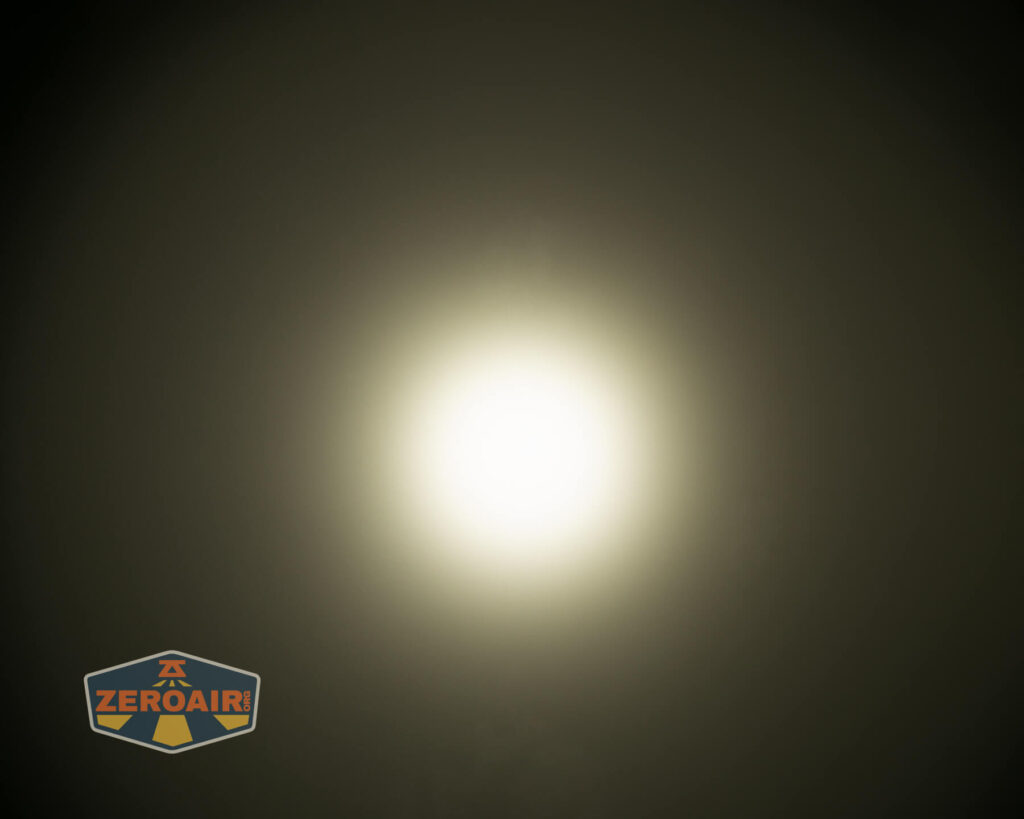
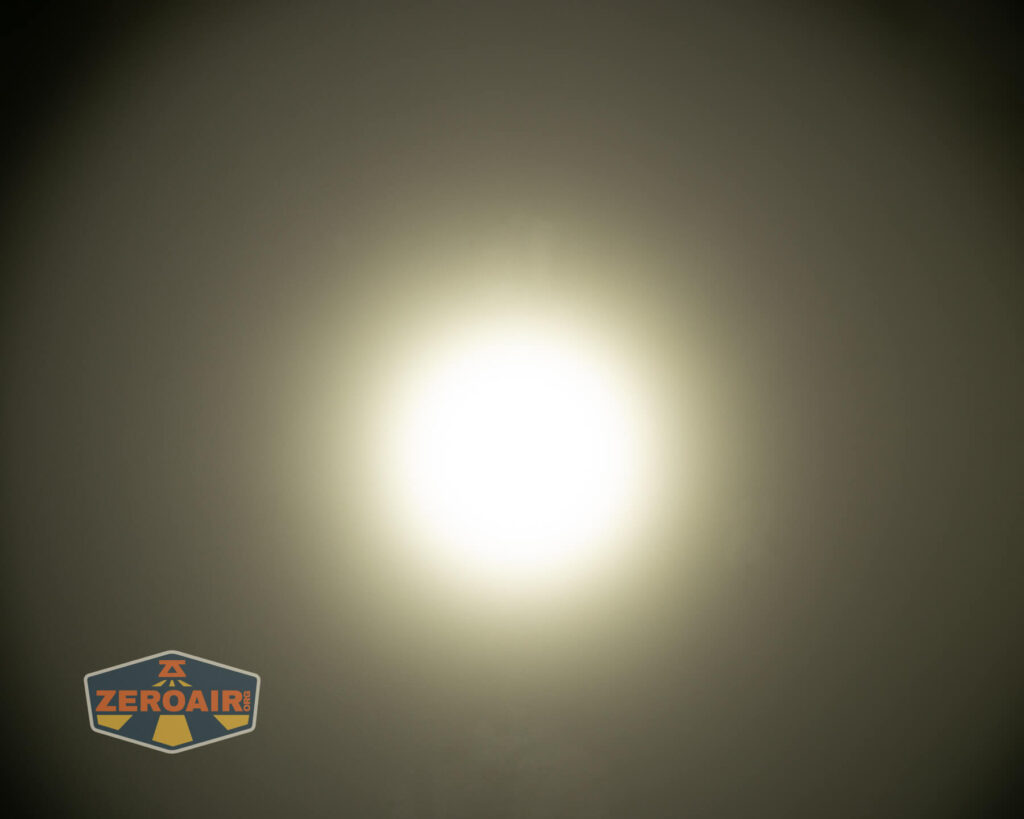
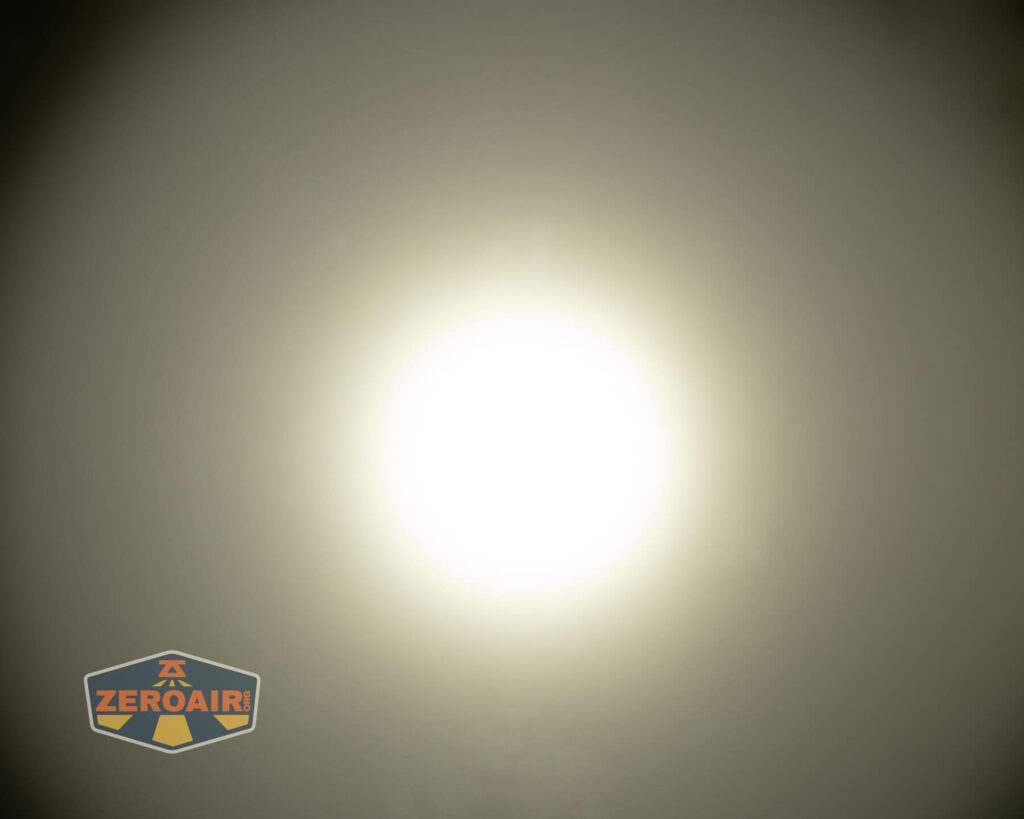
Beamshots
These beamshots always have the following settings: f8, ISO100, 0.3s shutter, and manual 5000K exposure. These photos are taken at floor level, and the beam hits the ceiling around 9 feet away.


Tint vs BLF-348 (KillzoneFlashlights.com 219b version) (affiliate link)
I keep the test flashlight on the left and the BLF-348 reference flashlight on the right. These photos are taken around 18 inches from the door.
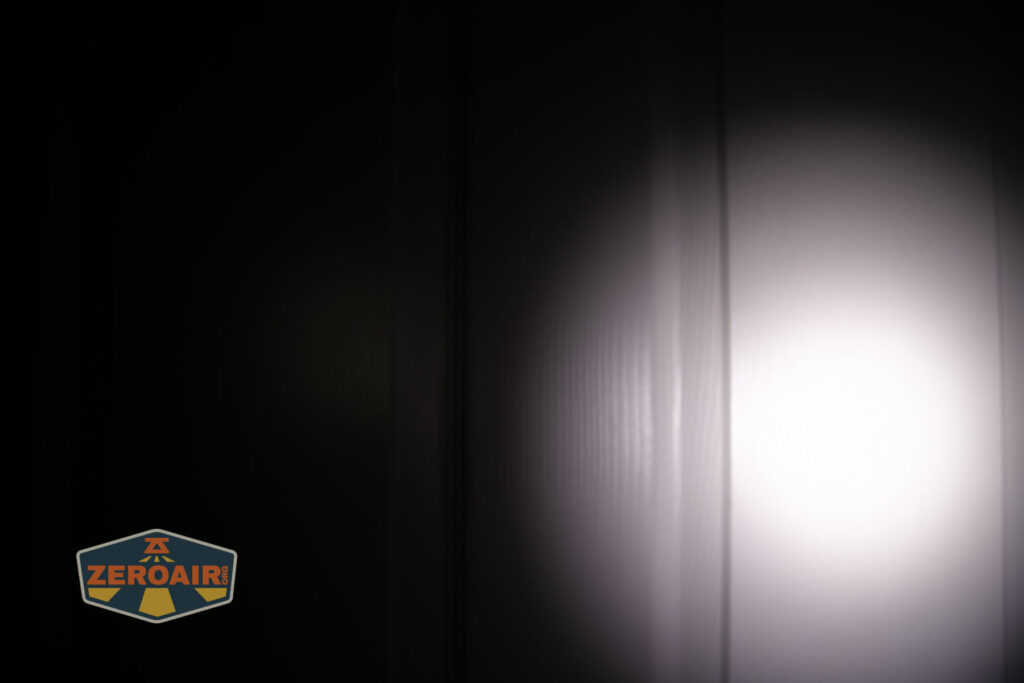
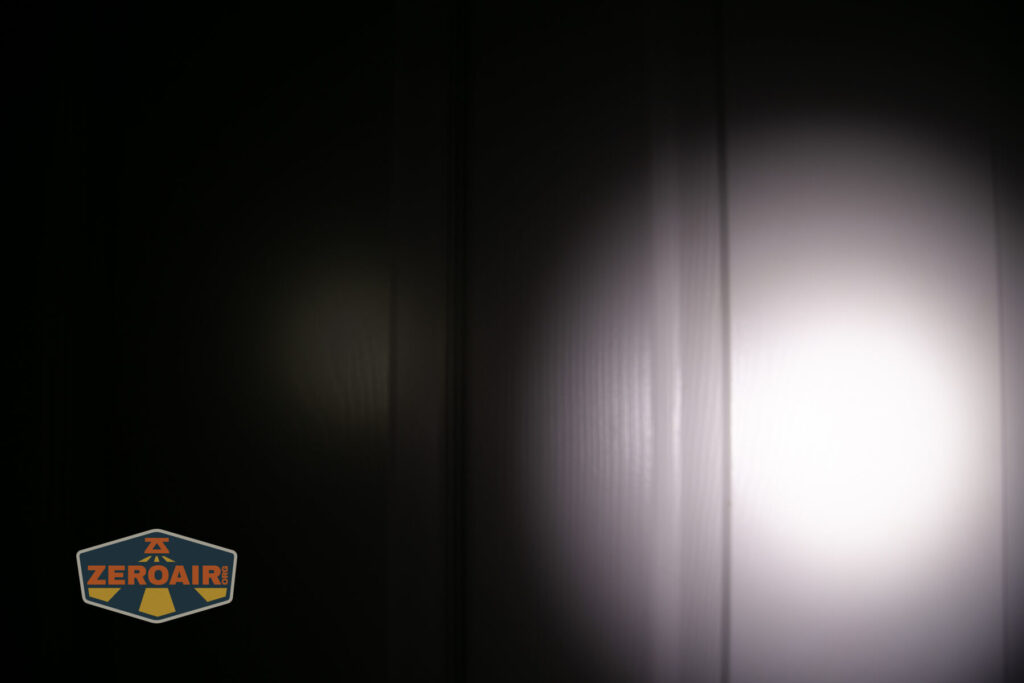
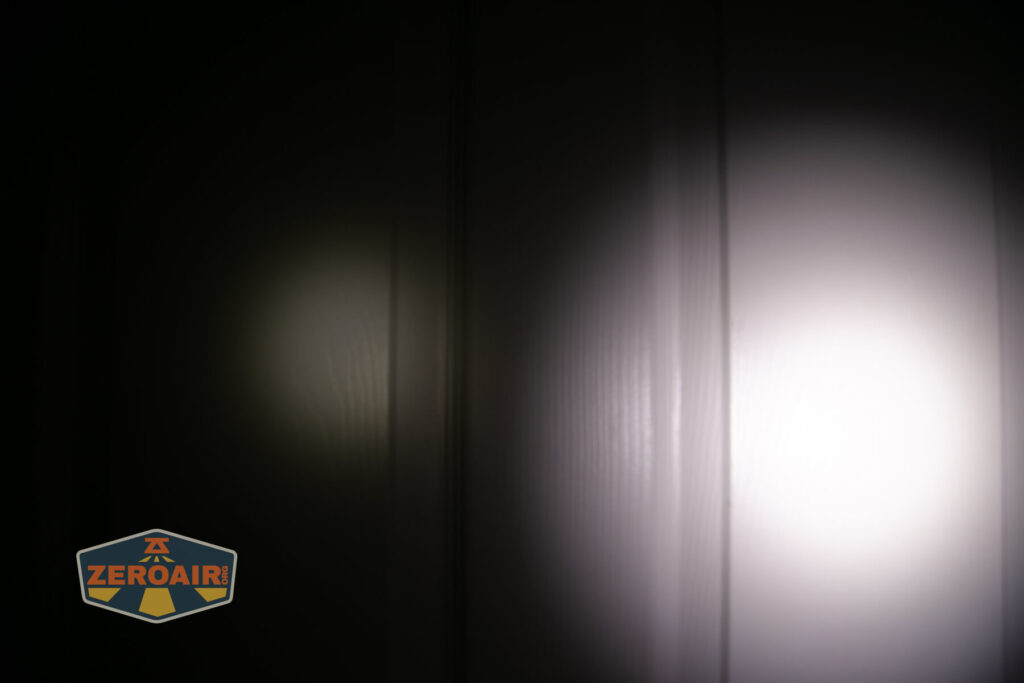
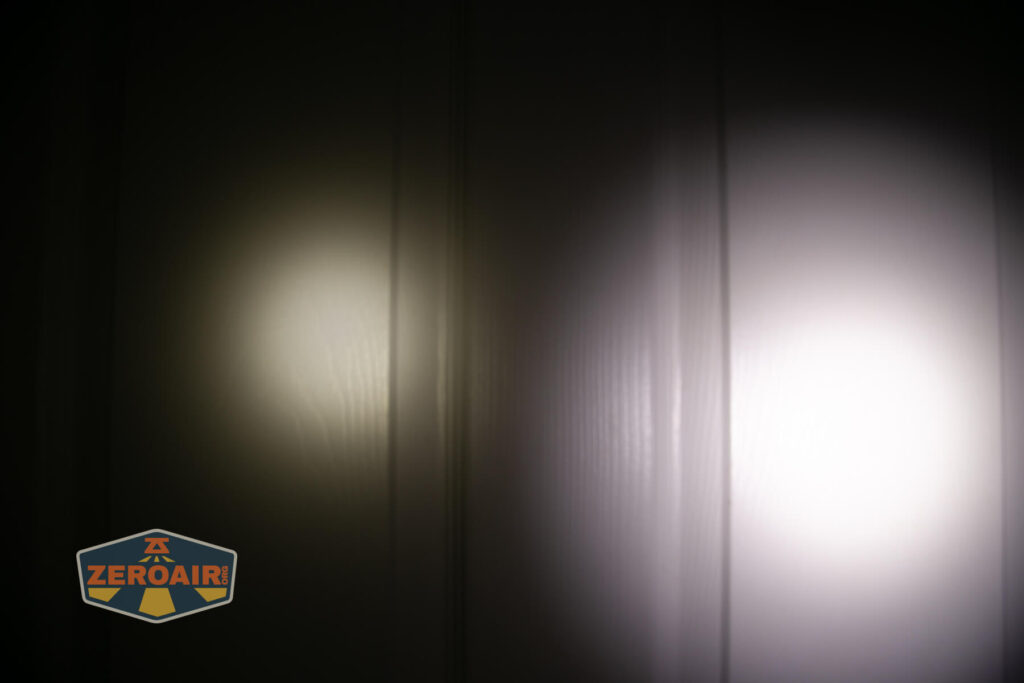
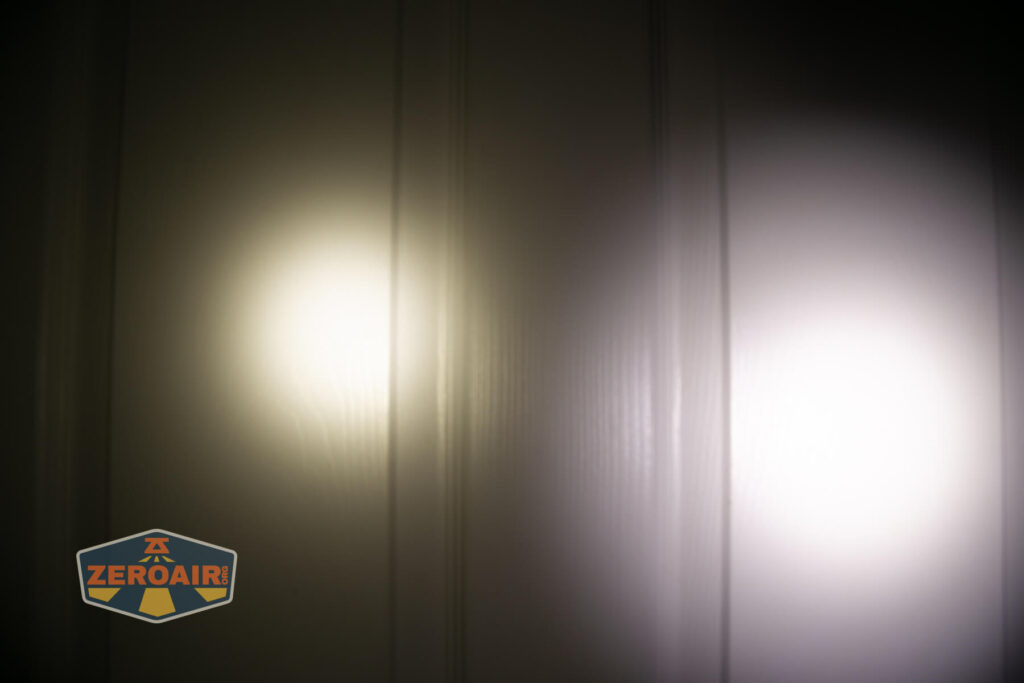
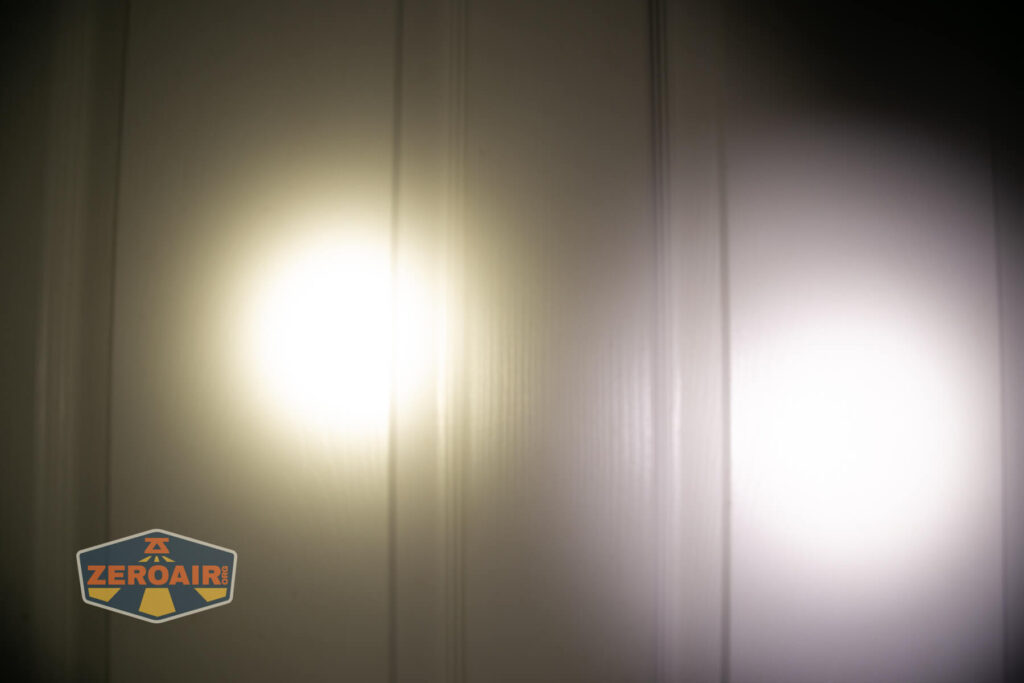
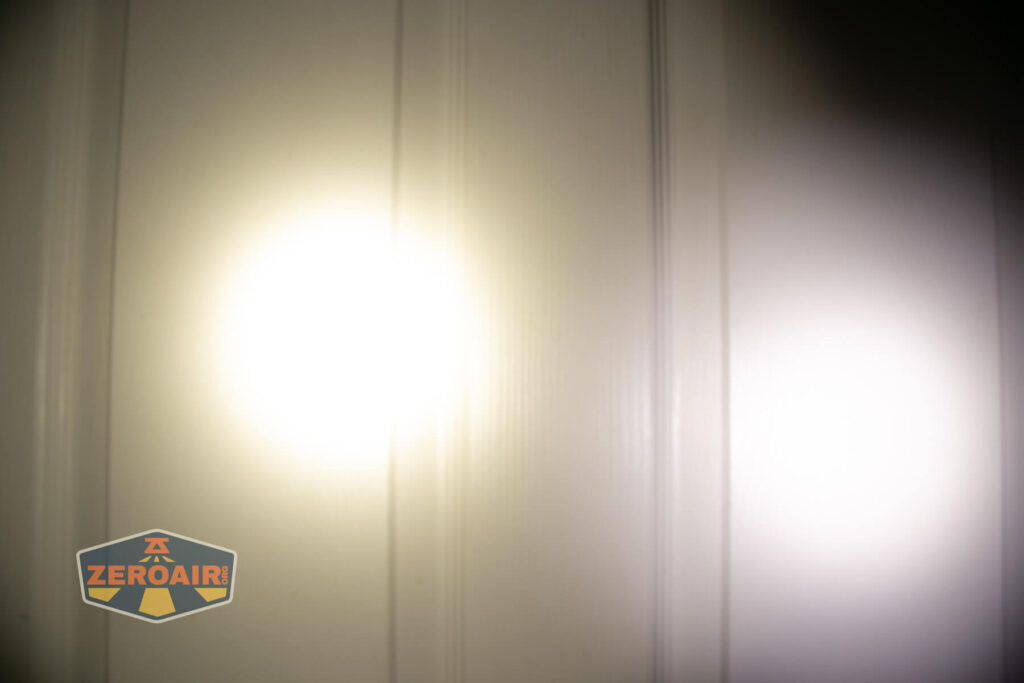
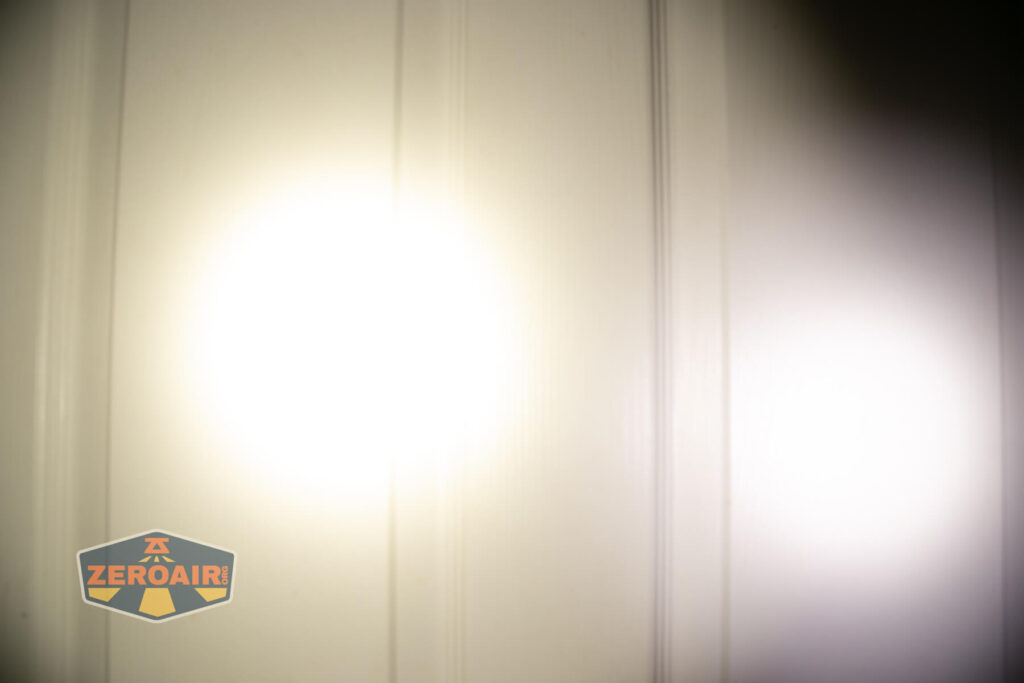

I compare everything to the KillzoneFlashlights.com 219b BLF-348 because it’s inexpensive and has the best tint!
Summary and Conclusion
I love the biggest Zebralights. I loved (still love, and use often) the SC700D HI. The Zebralight SC600w IV Plus HI flashlight is another fantastic light in the same vein. Probably more pocketable than the SC700, but more perfect for bag carry than the smaller SC65. I love this light! Zebralight’s amazing user interface, the 4500K output, and High CRI, all from a HI emitter. It’s really amazing. And yes, I know this isn’t a new light, but I hope you enjoy the data!
The Big Table
| Zebralight SC600w IV Plus HI Flashlight | |
|---|---|
| Emitter: | Cree XHP50.3 HI (Neutral White) |
| Price in USD at publication time: | $109.00 |
| Cell: | 1×18650 |
| Runtime Graphs | |
| LVP? | Yes. |
| Switch Type: | E-Switch |
| Quiescent Current (mA): | ? |
| On-Board Charging? | No |
| Claimed Lumens (lm) | 1700 |
| Measured Lumens (at 30s) | 1473 (86.6% of claim)^ |
| Candela per Lumen | 9.9 |
| Claimed Throw (m) | – |
| Candela (Calculated) in cd (at 30s) | 490lux @ 5.828m = 16643cd |
| Throw (Calculated) (m) | 258 |
| Claimed CCT | 4500 |
| Measured CCT Range (K) | 4500-5100 Kelvin |
| Item provided for review by: | Me |
| All my Zebralight reviews! | |
^ Measurement disclaimer: Testing flashlights is my hobby. I use hobbyist-level equipment for testing, including some I made myself. Try not to get buried in the details of manufacturer specifications versus measurements recorded here; A certain amount of difference (say, 10 or 15%) is perfectly reasonable.
What I like
- The size and shape.
- That it uses a 18650 cell
- The Zebralight user interface
- Output on all modes is fantastic
- Neutral white is the option!
- It’s high CRI!
- It’s great “handheld thrower” (at least, “ish” – cd/lm at 10)
- That it’s not encumbered by charging or indicator lights or anything
What I don’t like
- Essentially no feedback from programming
Notes
- This content originally appeared at zeroair.org. Please visit there for the best experience!
- Please use my Amazon.com referral link to help support zeroair.org!
- Please support me on Patreon! I deeply appreciate your support!
Discover more from ZeroAir Reviews
Subscribe to get the latest posts sent to your email.