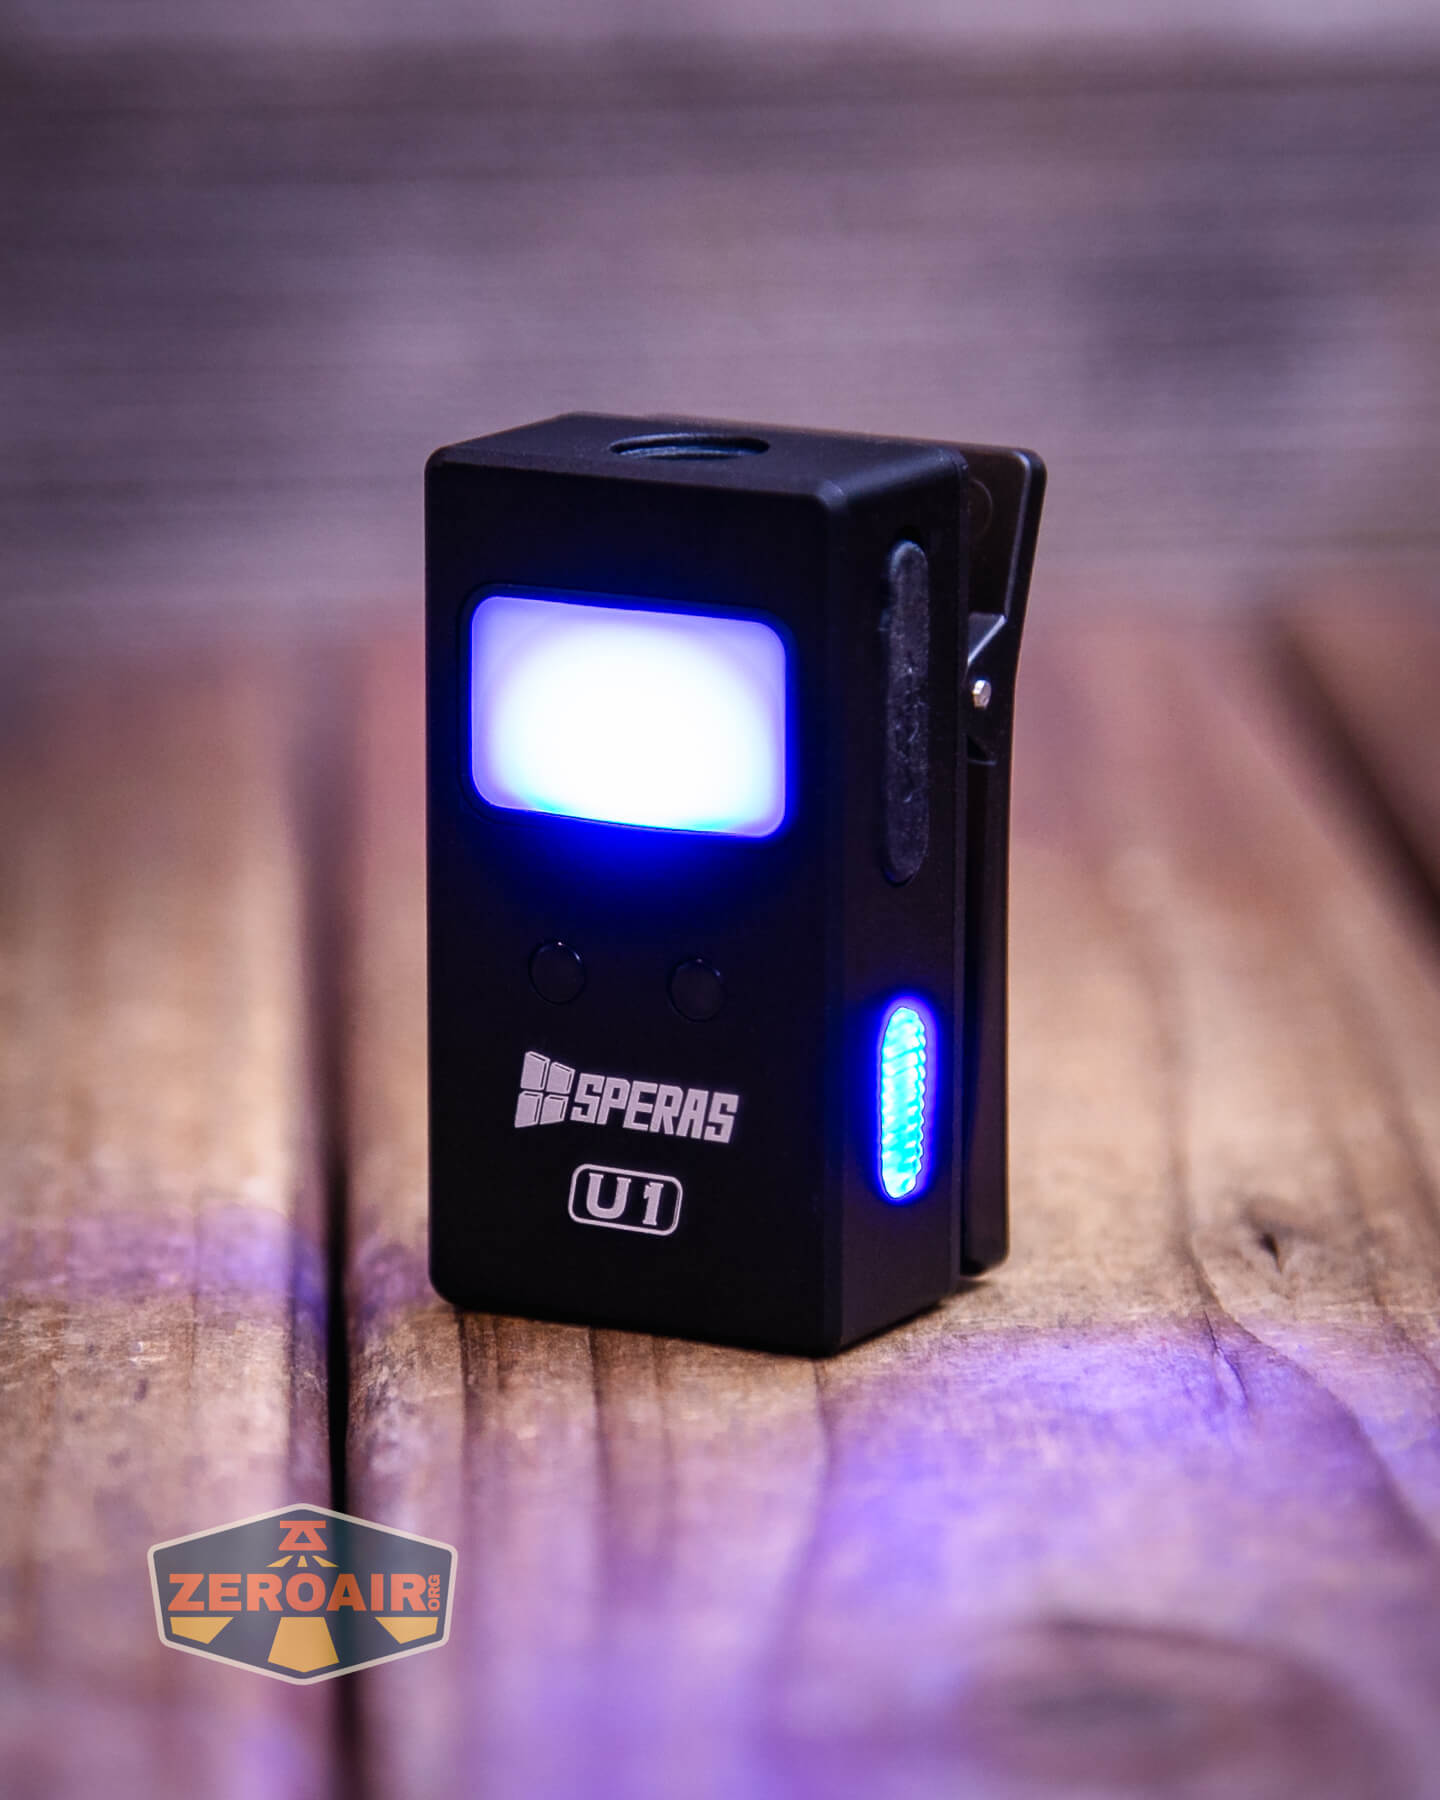
Speras U1 Multi-Function Clip Flashlight Review
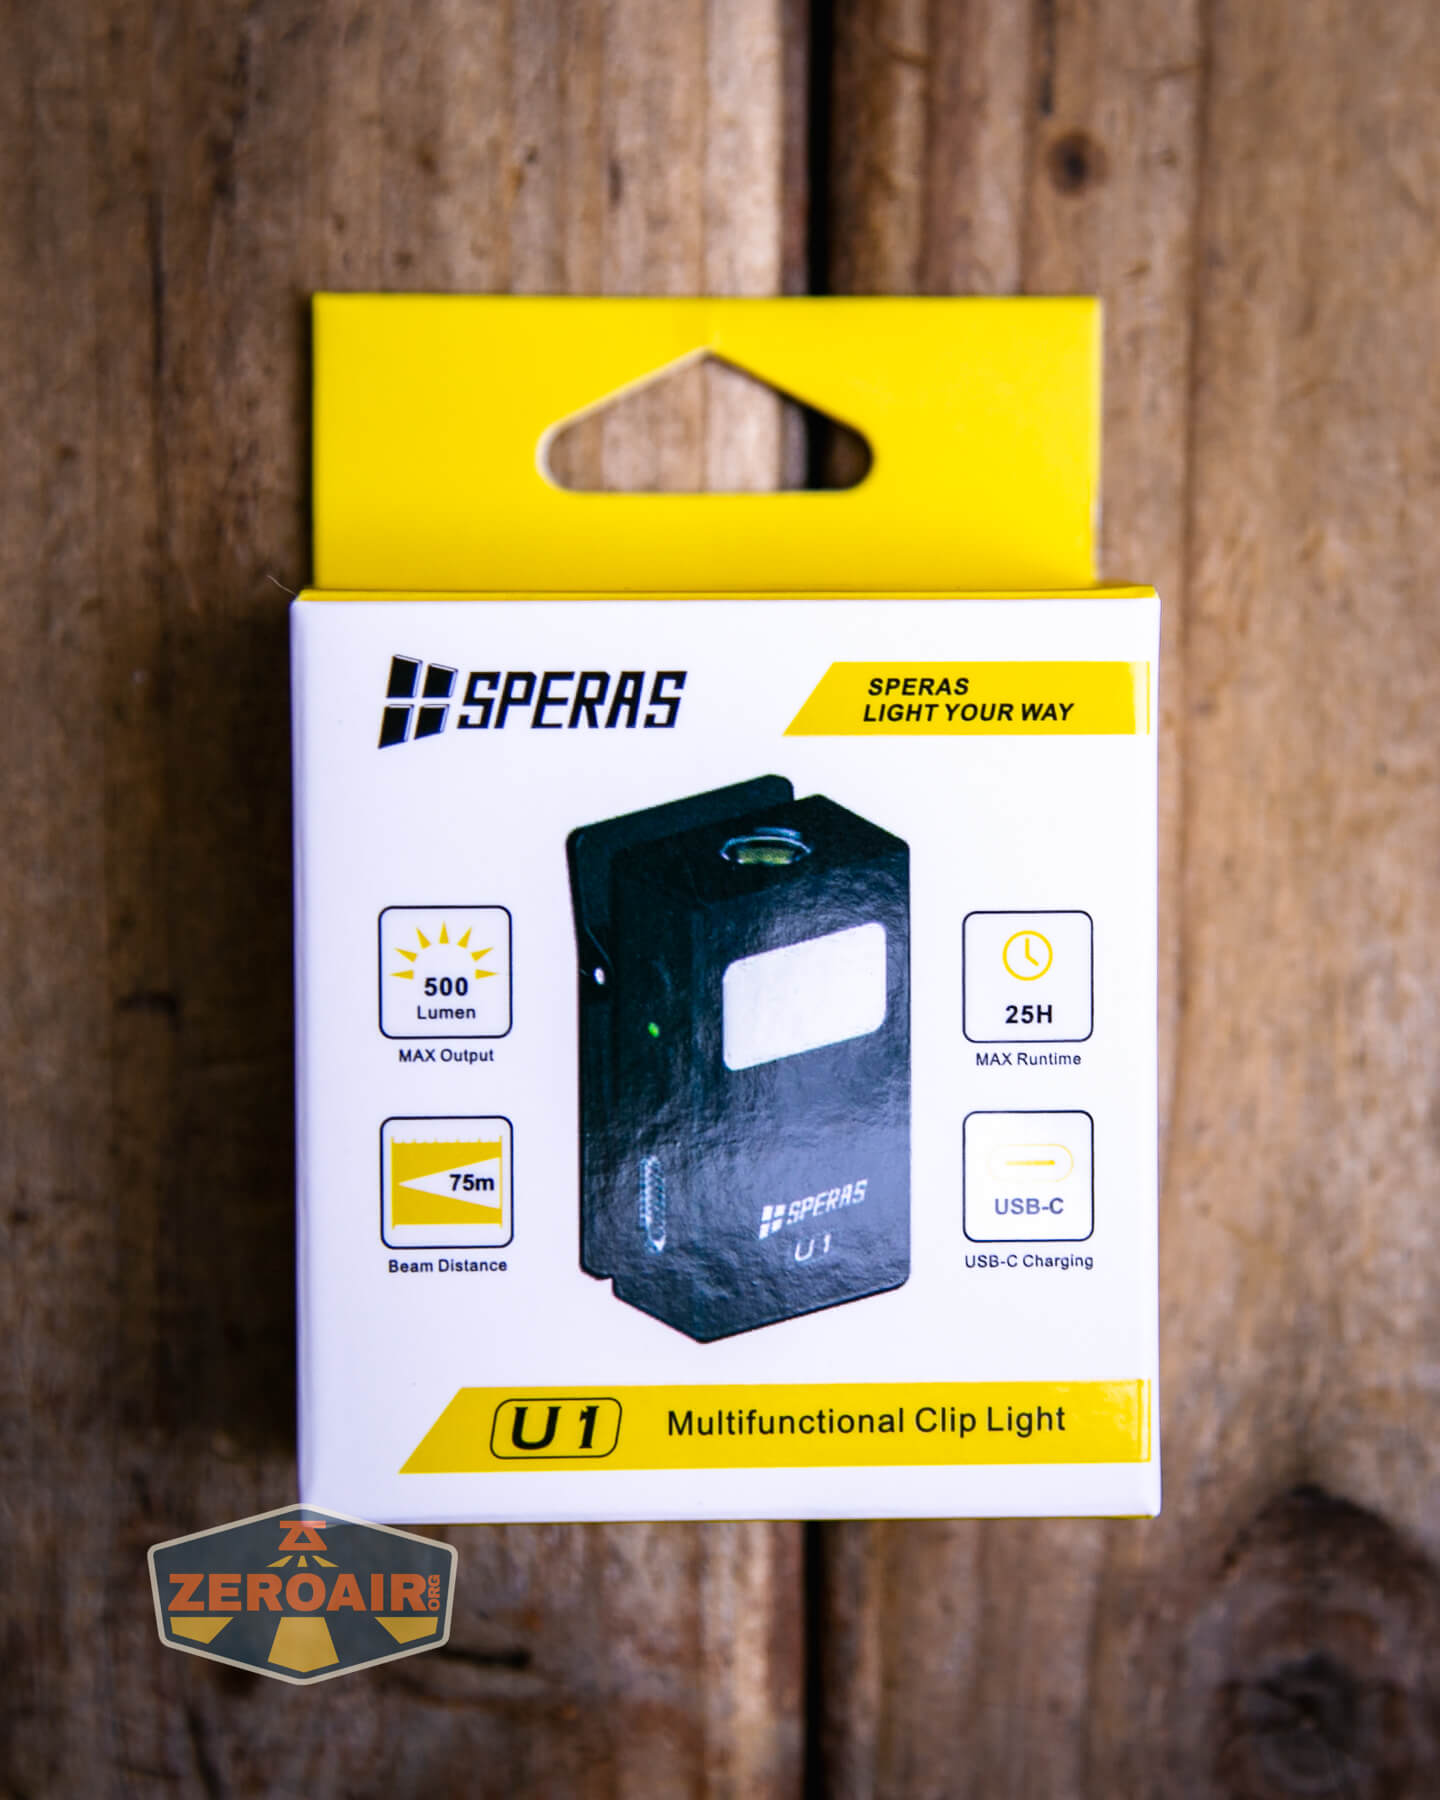
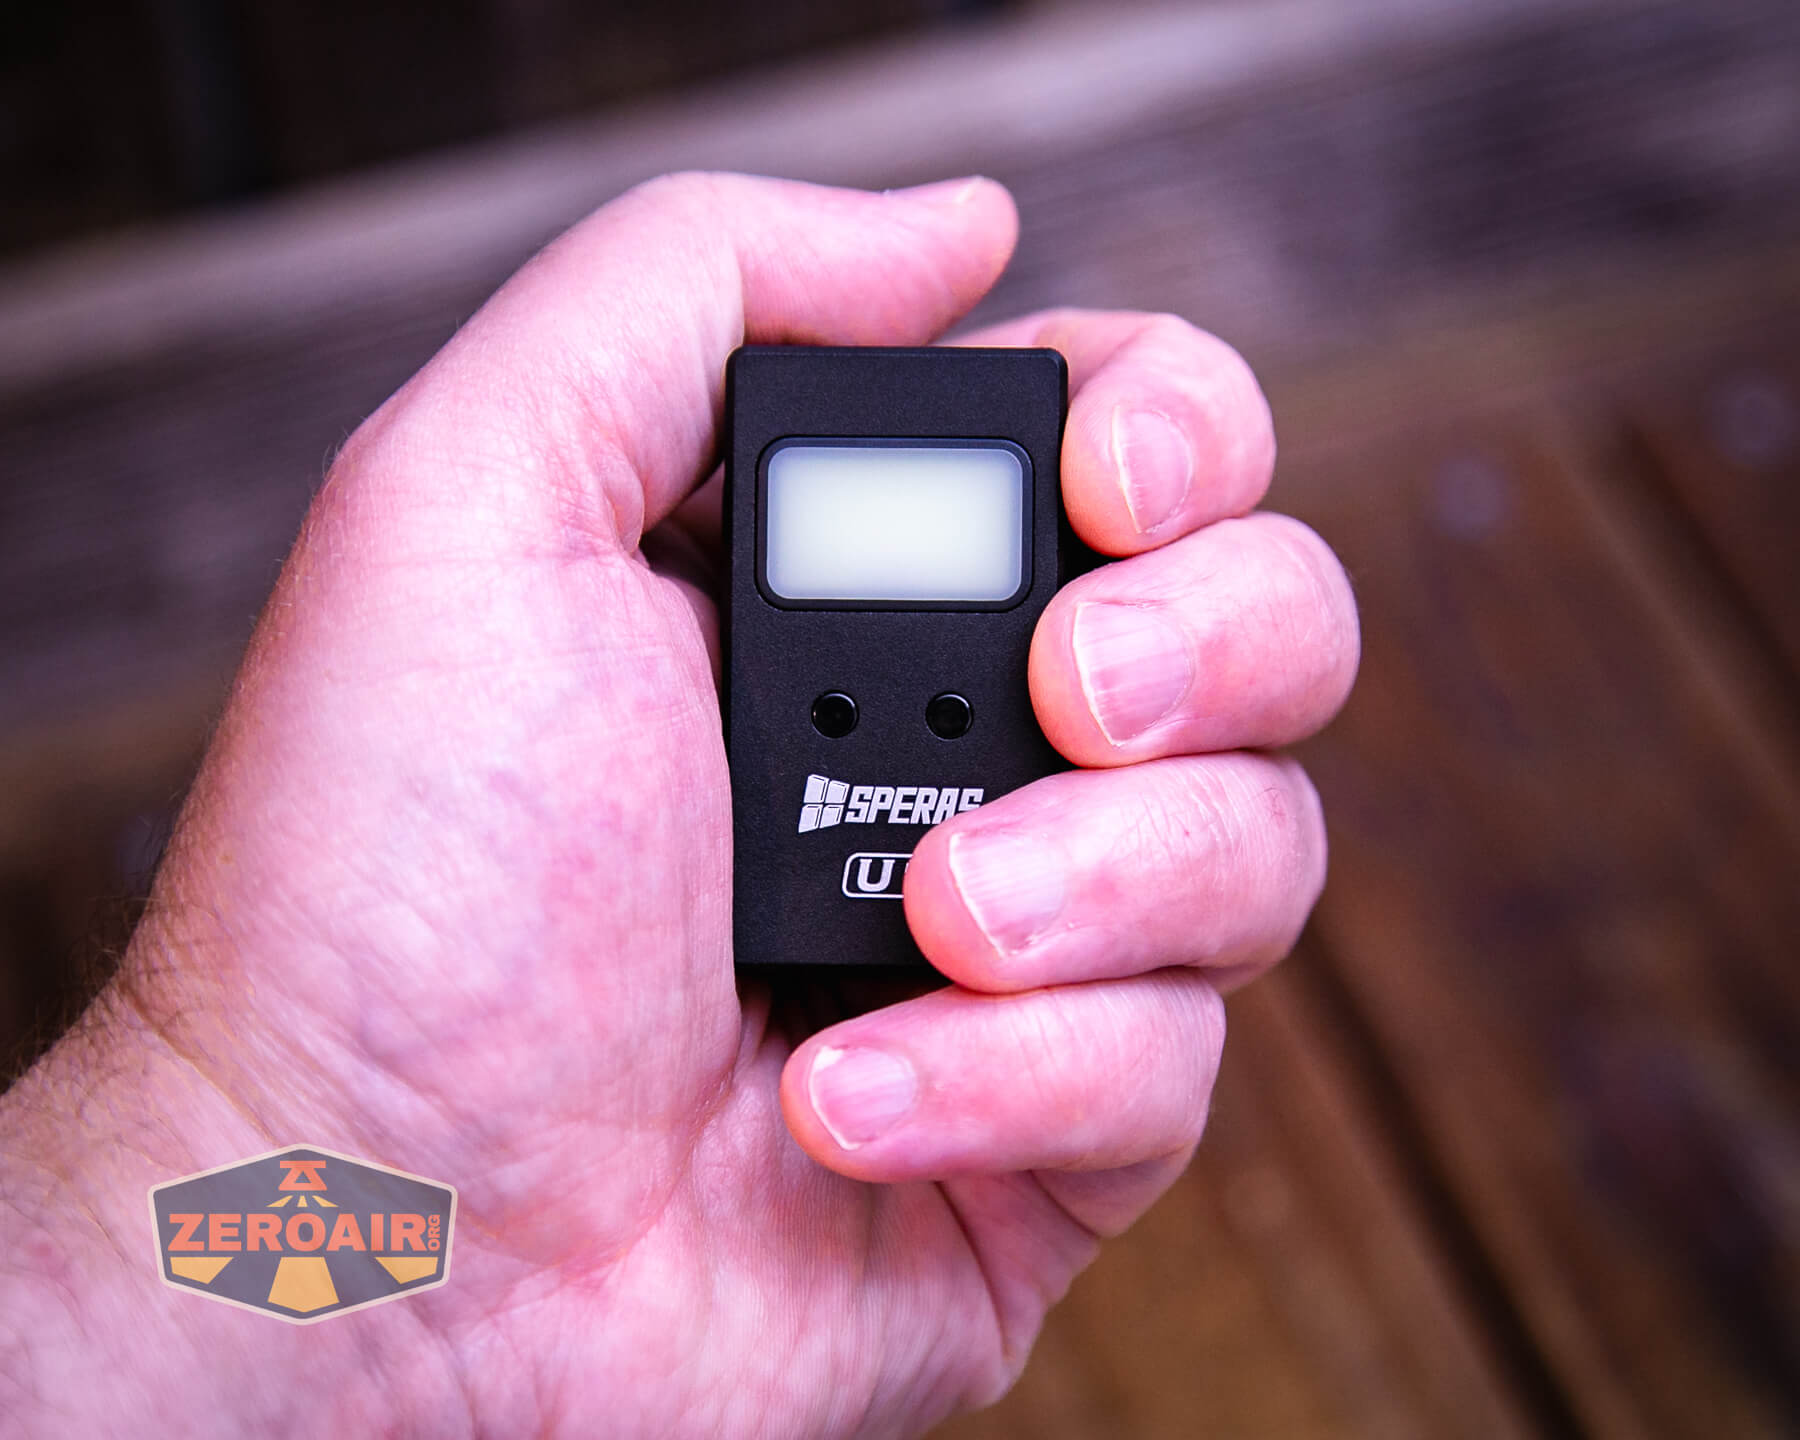
The Speras U1 multi-function clip light offers a spot light out the front and multiple side lights, including multi-color and white. It has USB-C charging, too!
Official Specs and Features
Here’s a link to the Speras U1 multi-function clip light product page.
Versions
I believe there’s just one version of the Speras U1 multi-function clip light.
Price
The Speras U1 multi-function clip light sells for $35.99.
What’s Included
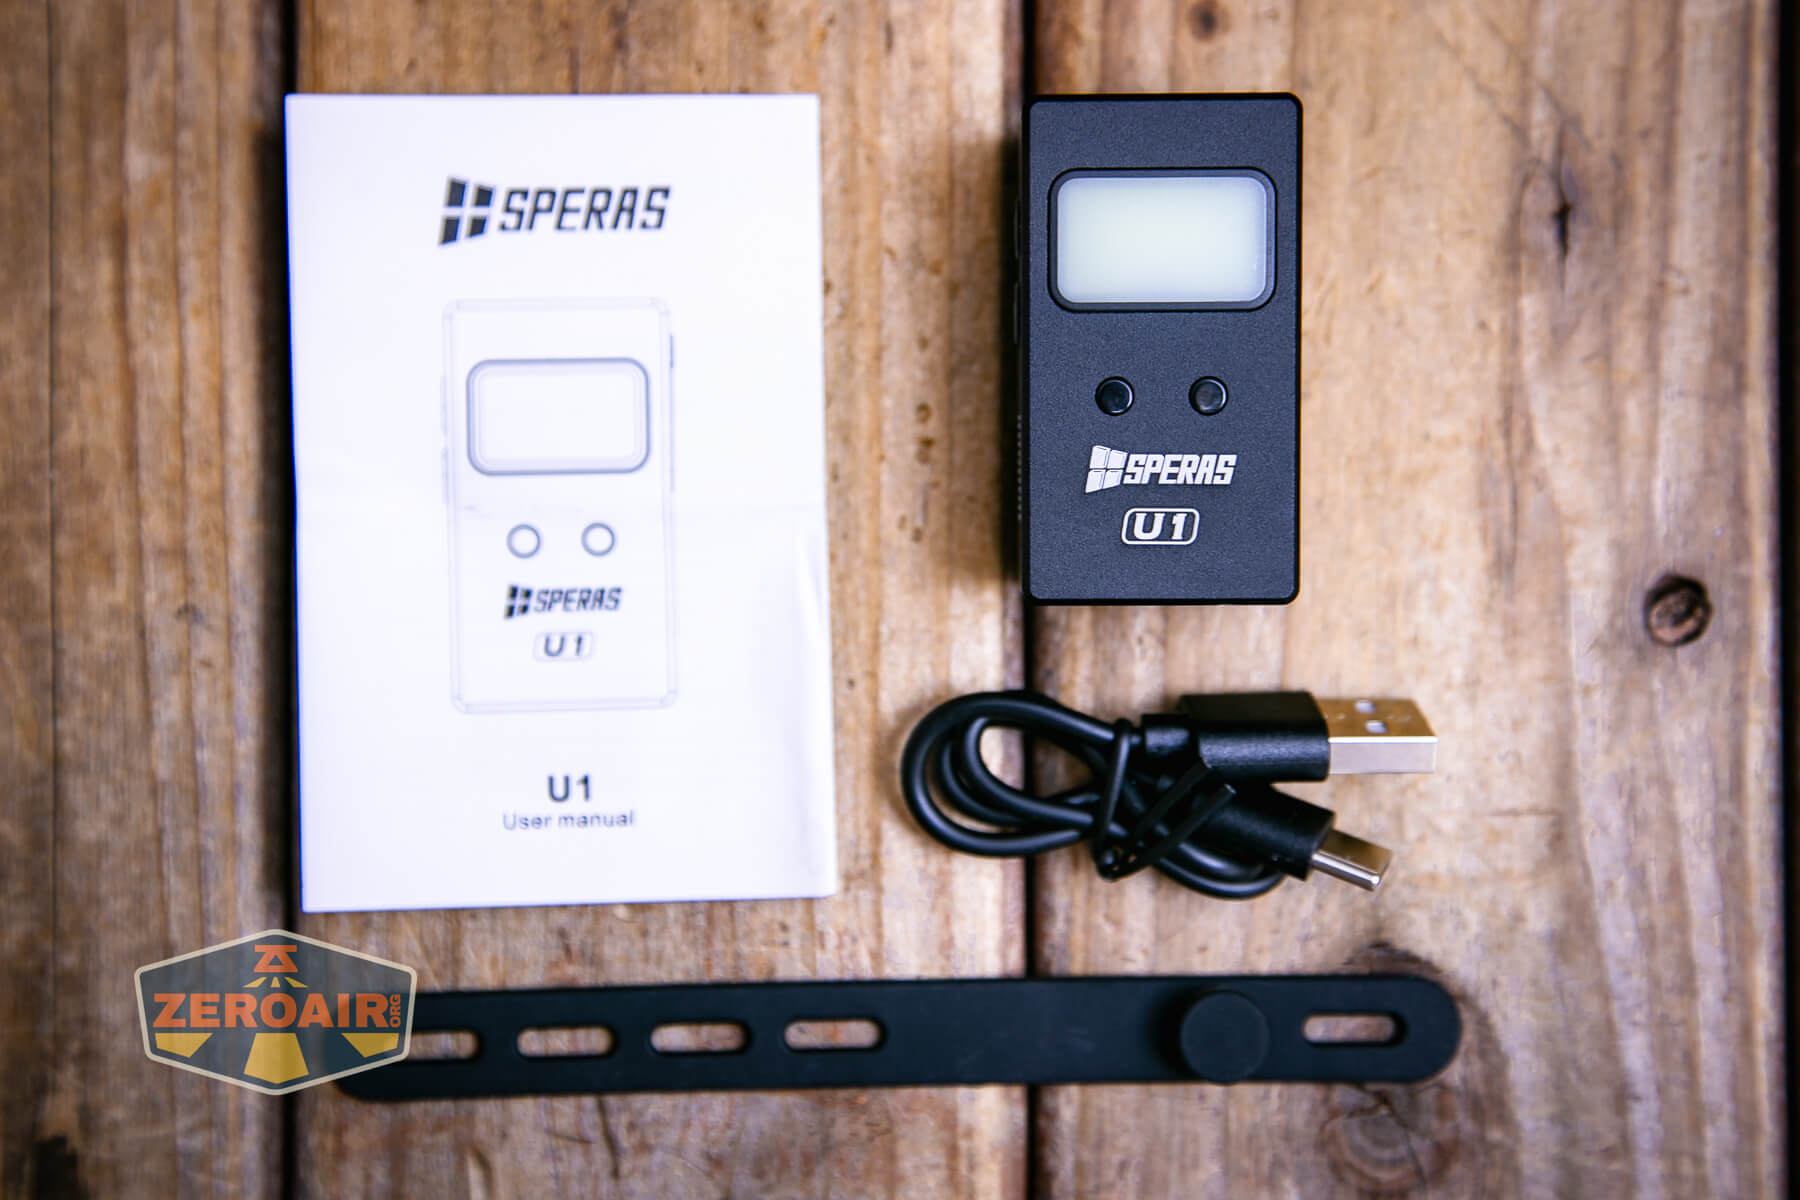
- Speras U1 multi-function clip light
- Charging cable
- Bike strap
- Manual
Package and Manual

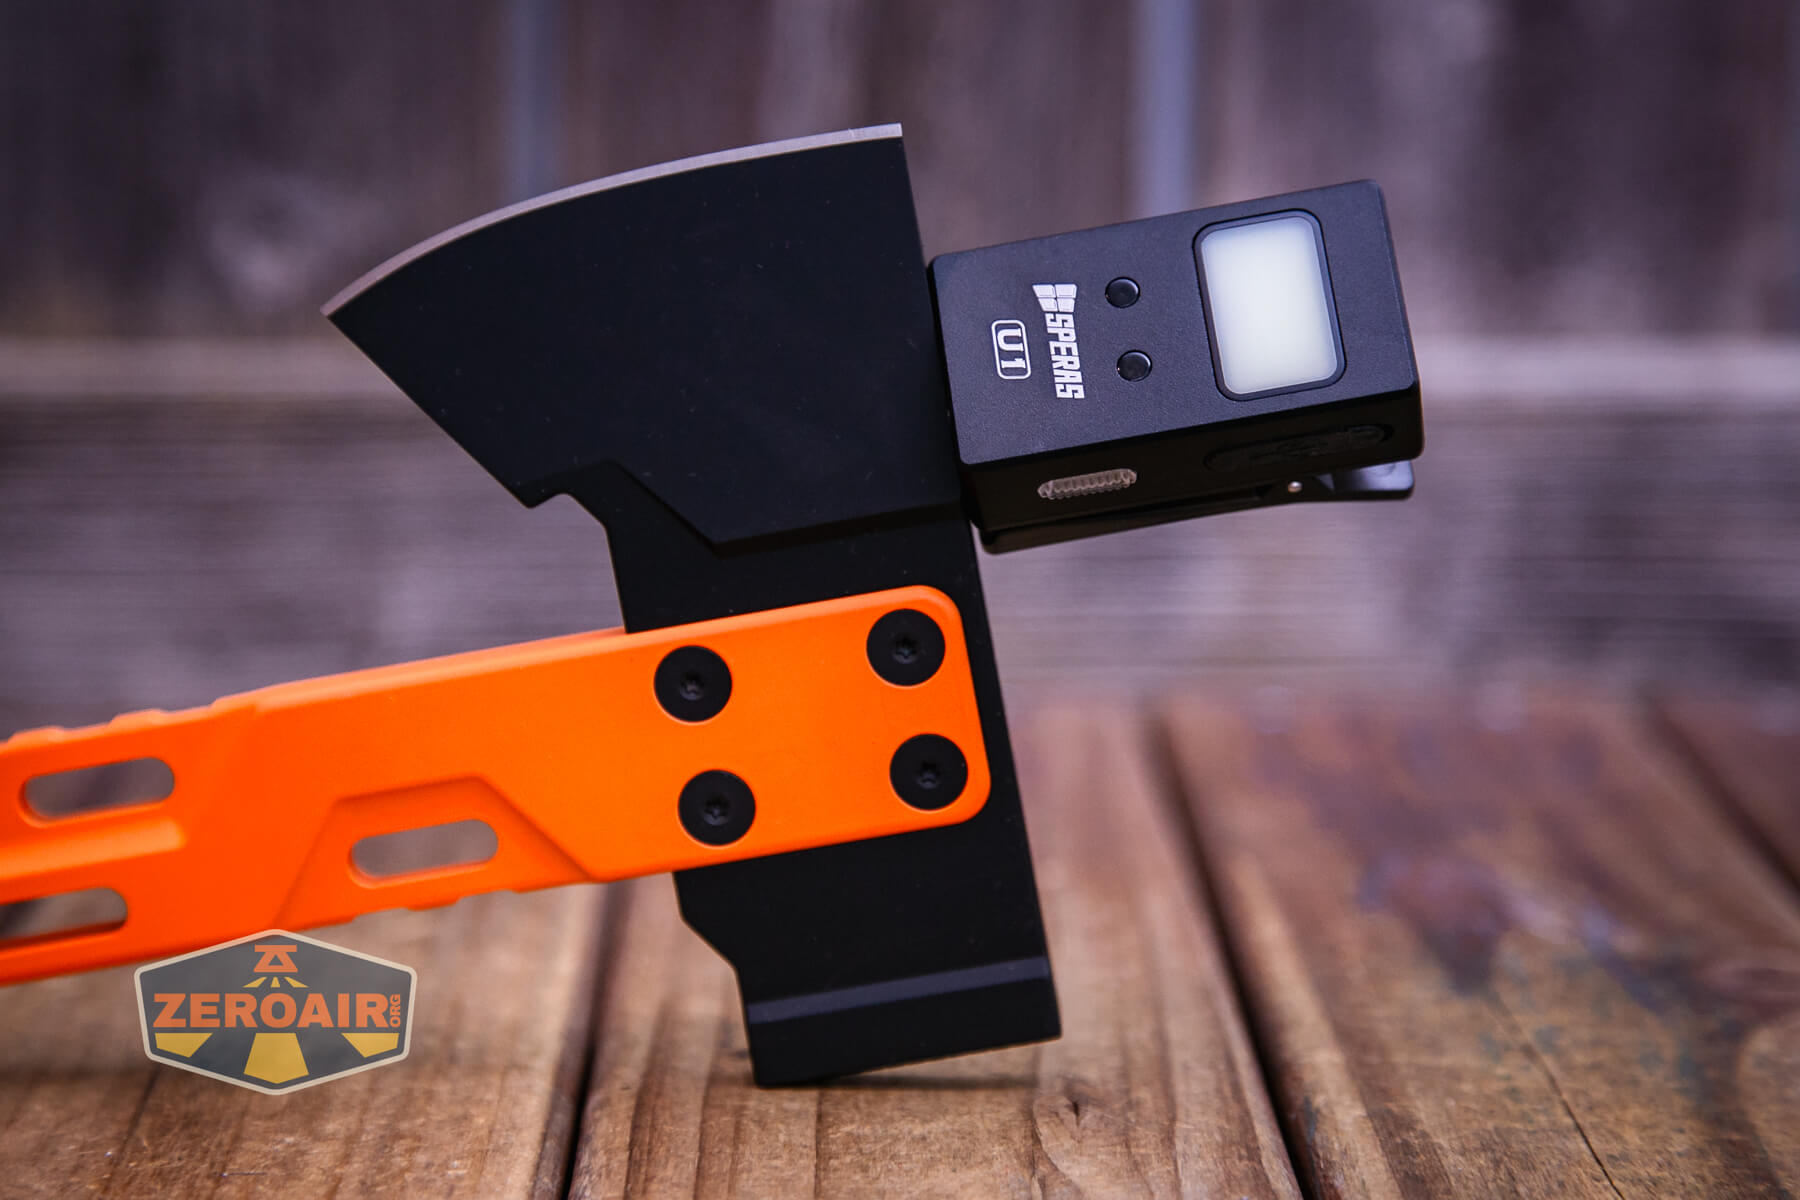
Build Quality and Disassembly
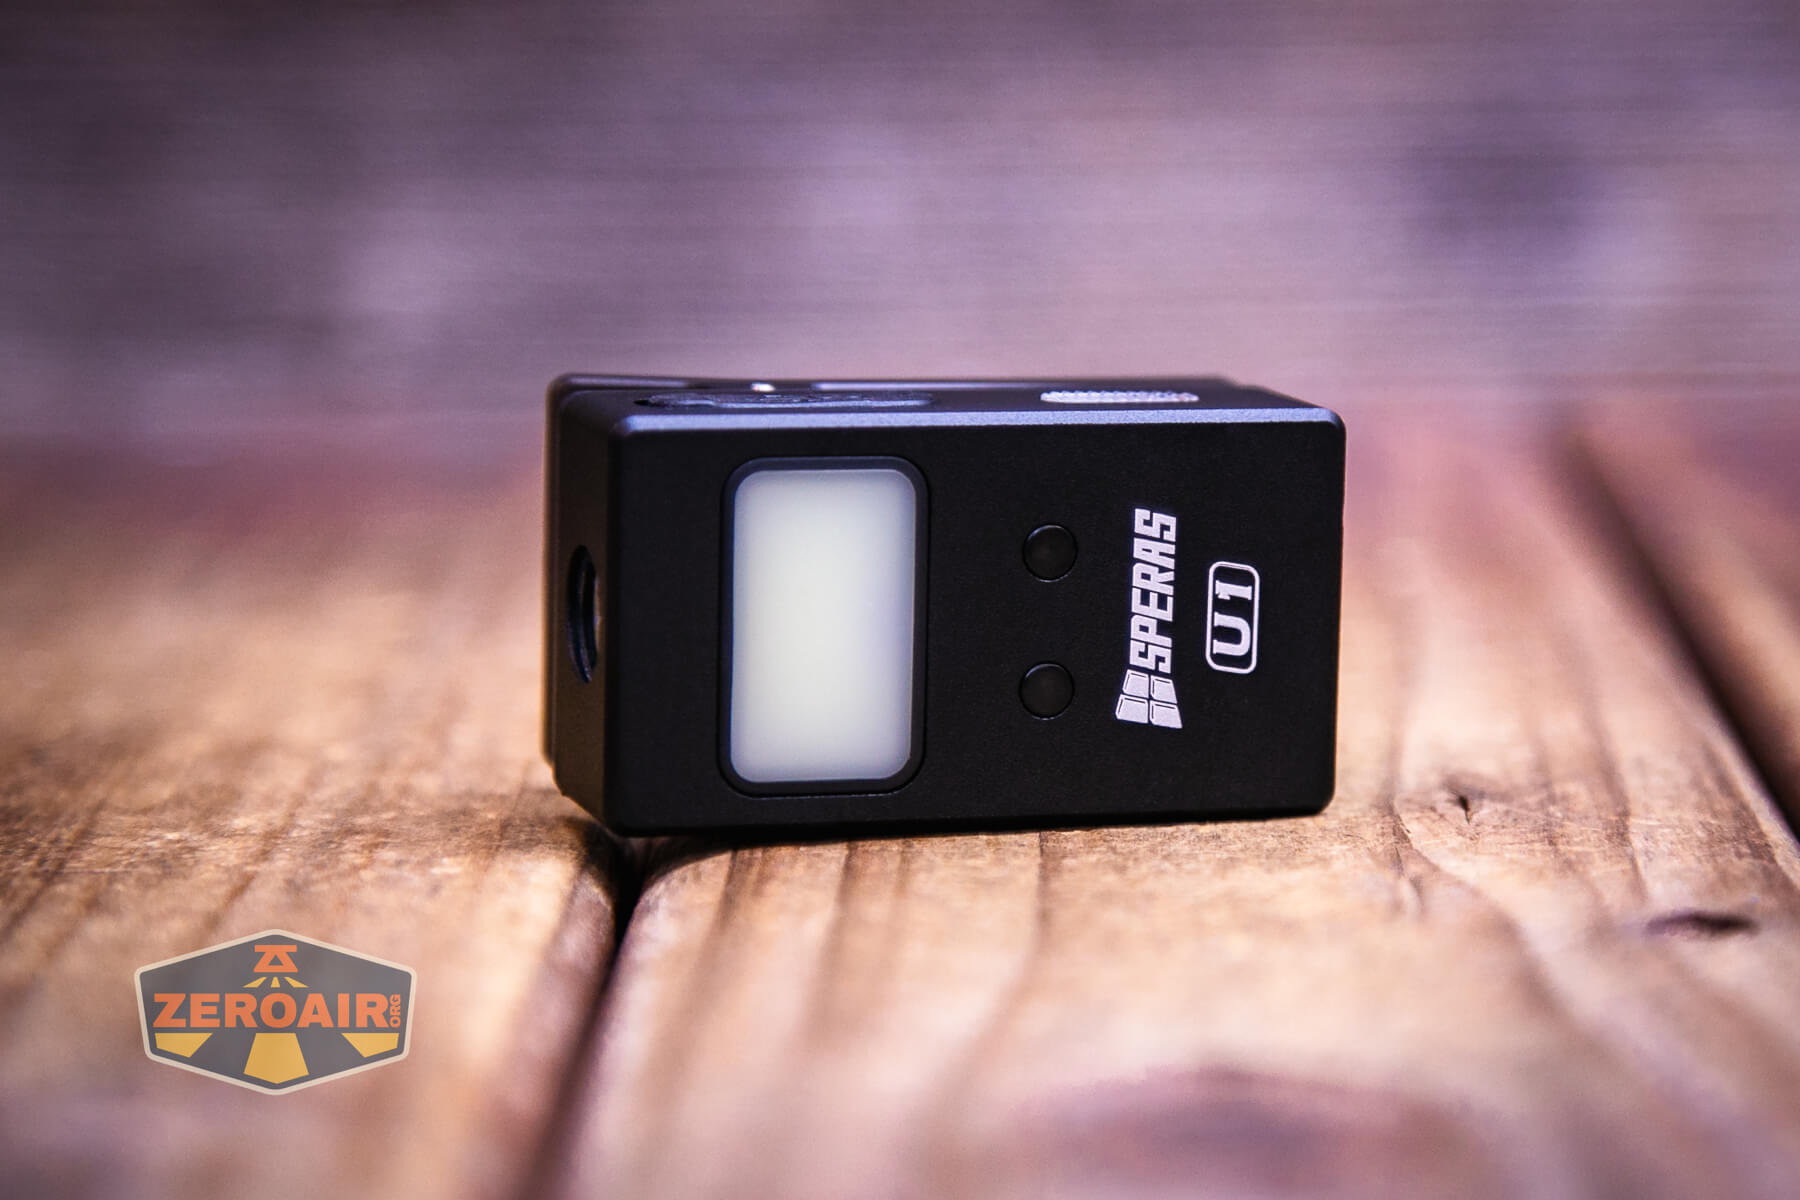
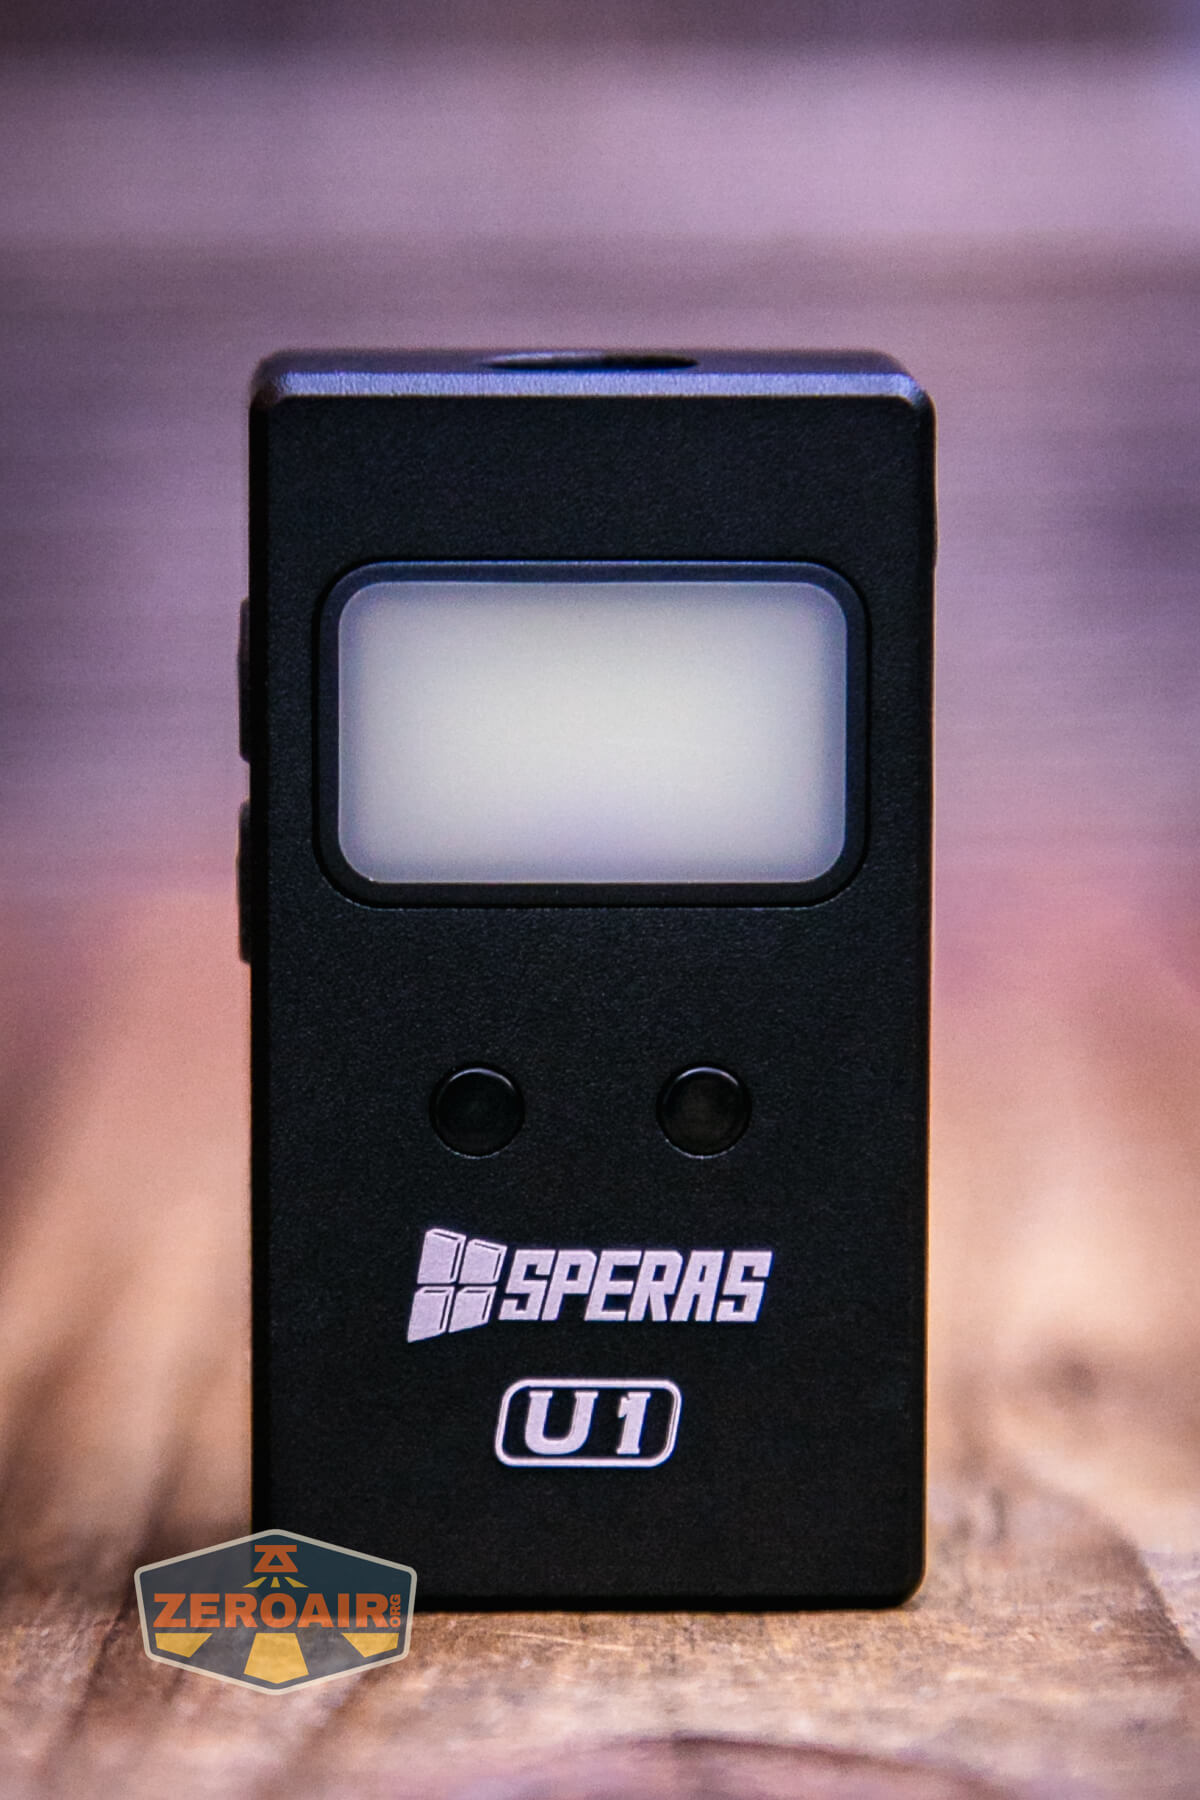
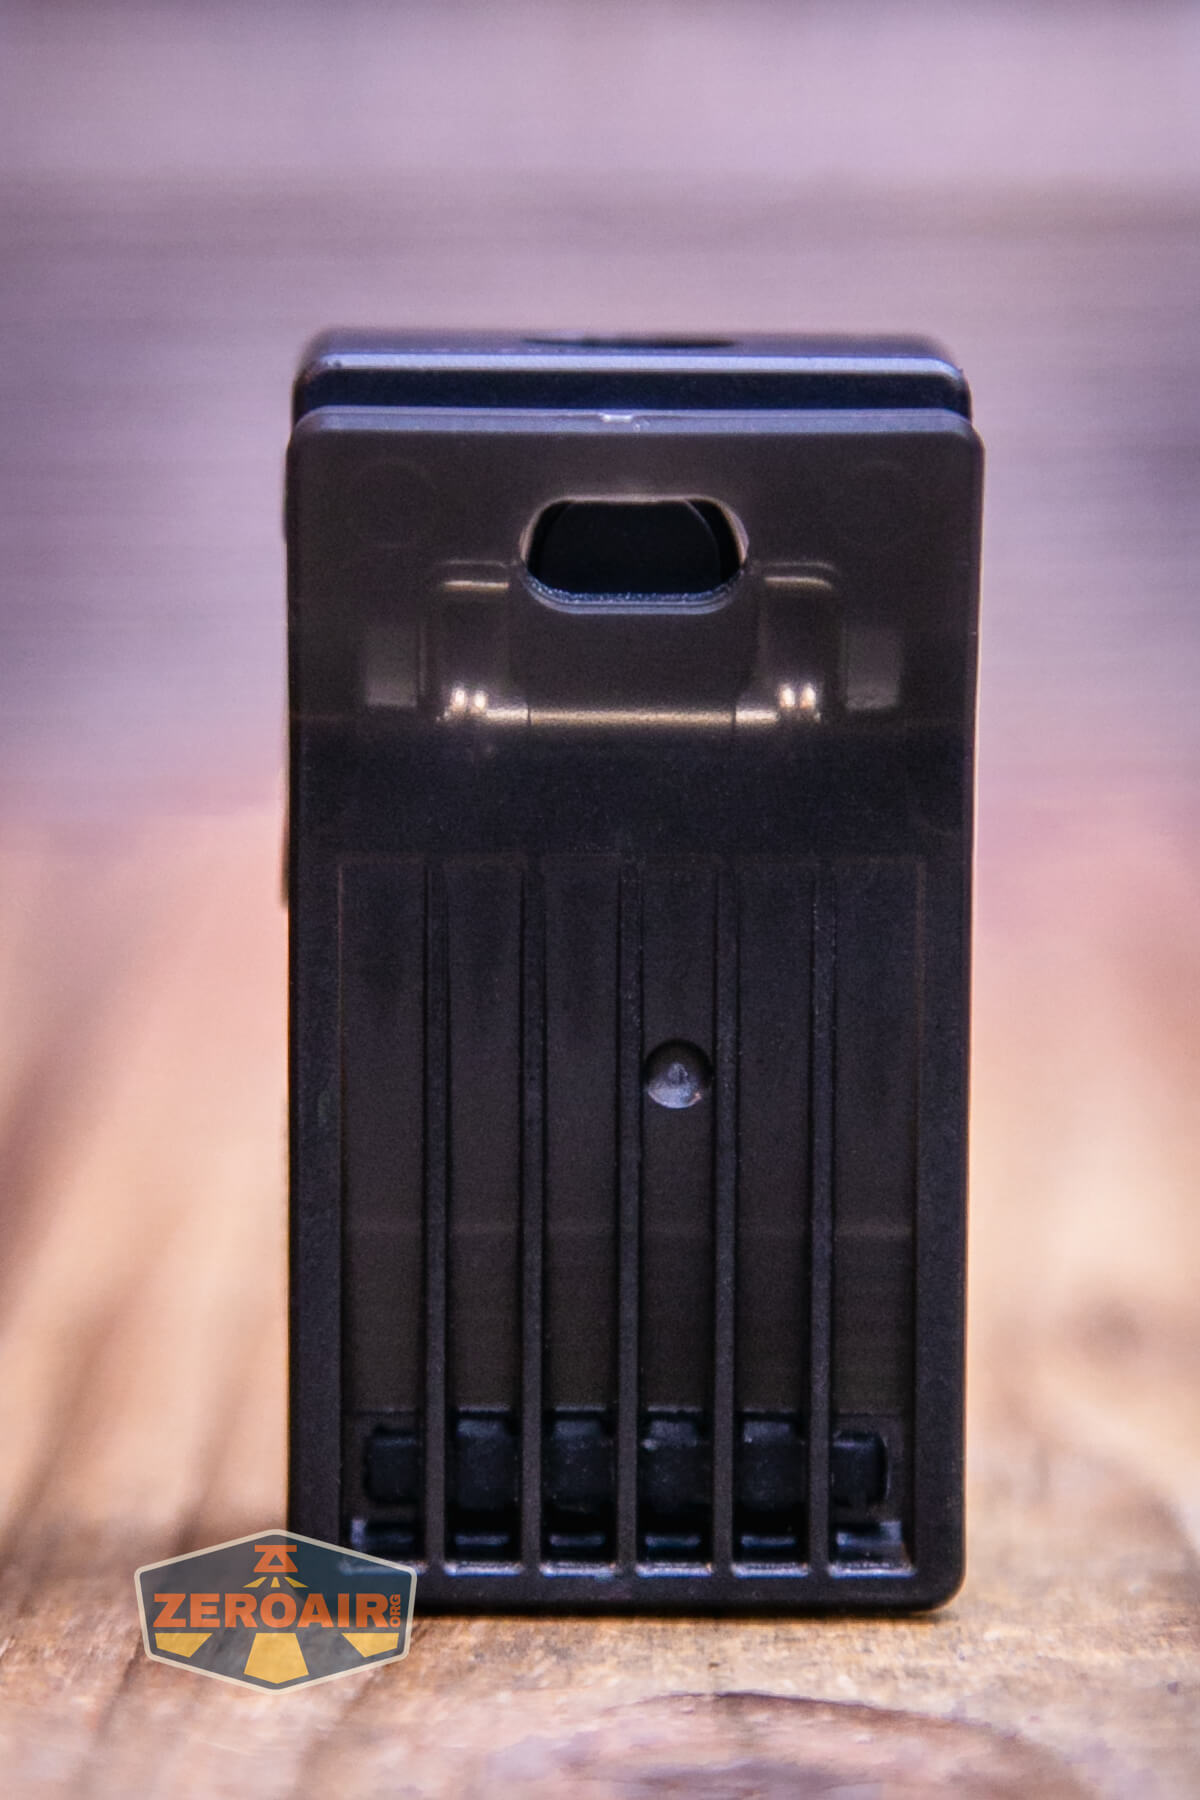
The Speras U1 multi-function clip light is very rectangular, and has a light on four sides! The back has a clip (with a 14mm mouth) and there’s even a magnet too.
The build quality is fine, with no real issues to speak of.
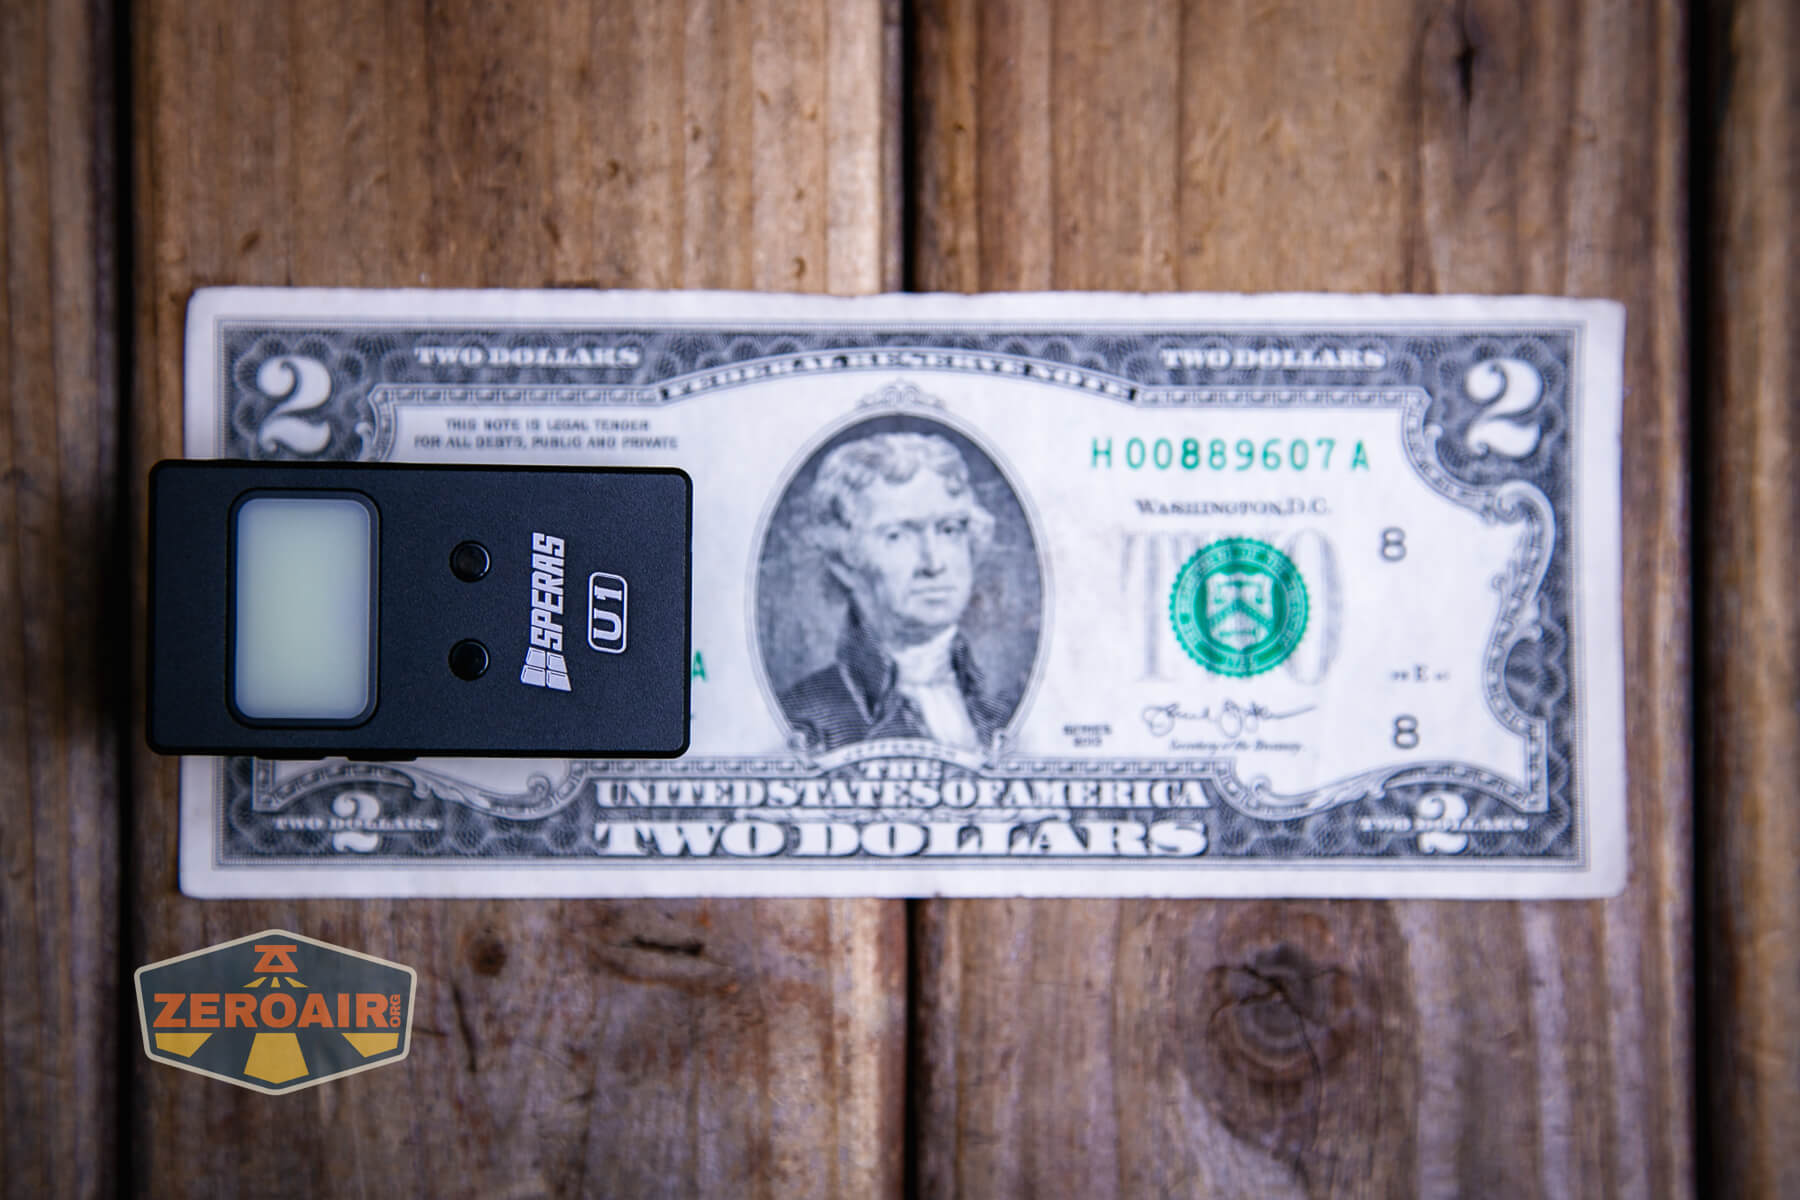
Size and Comps
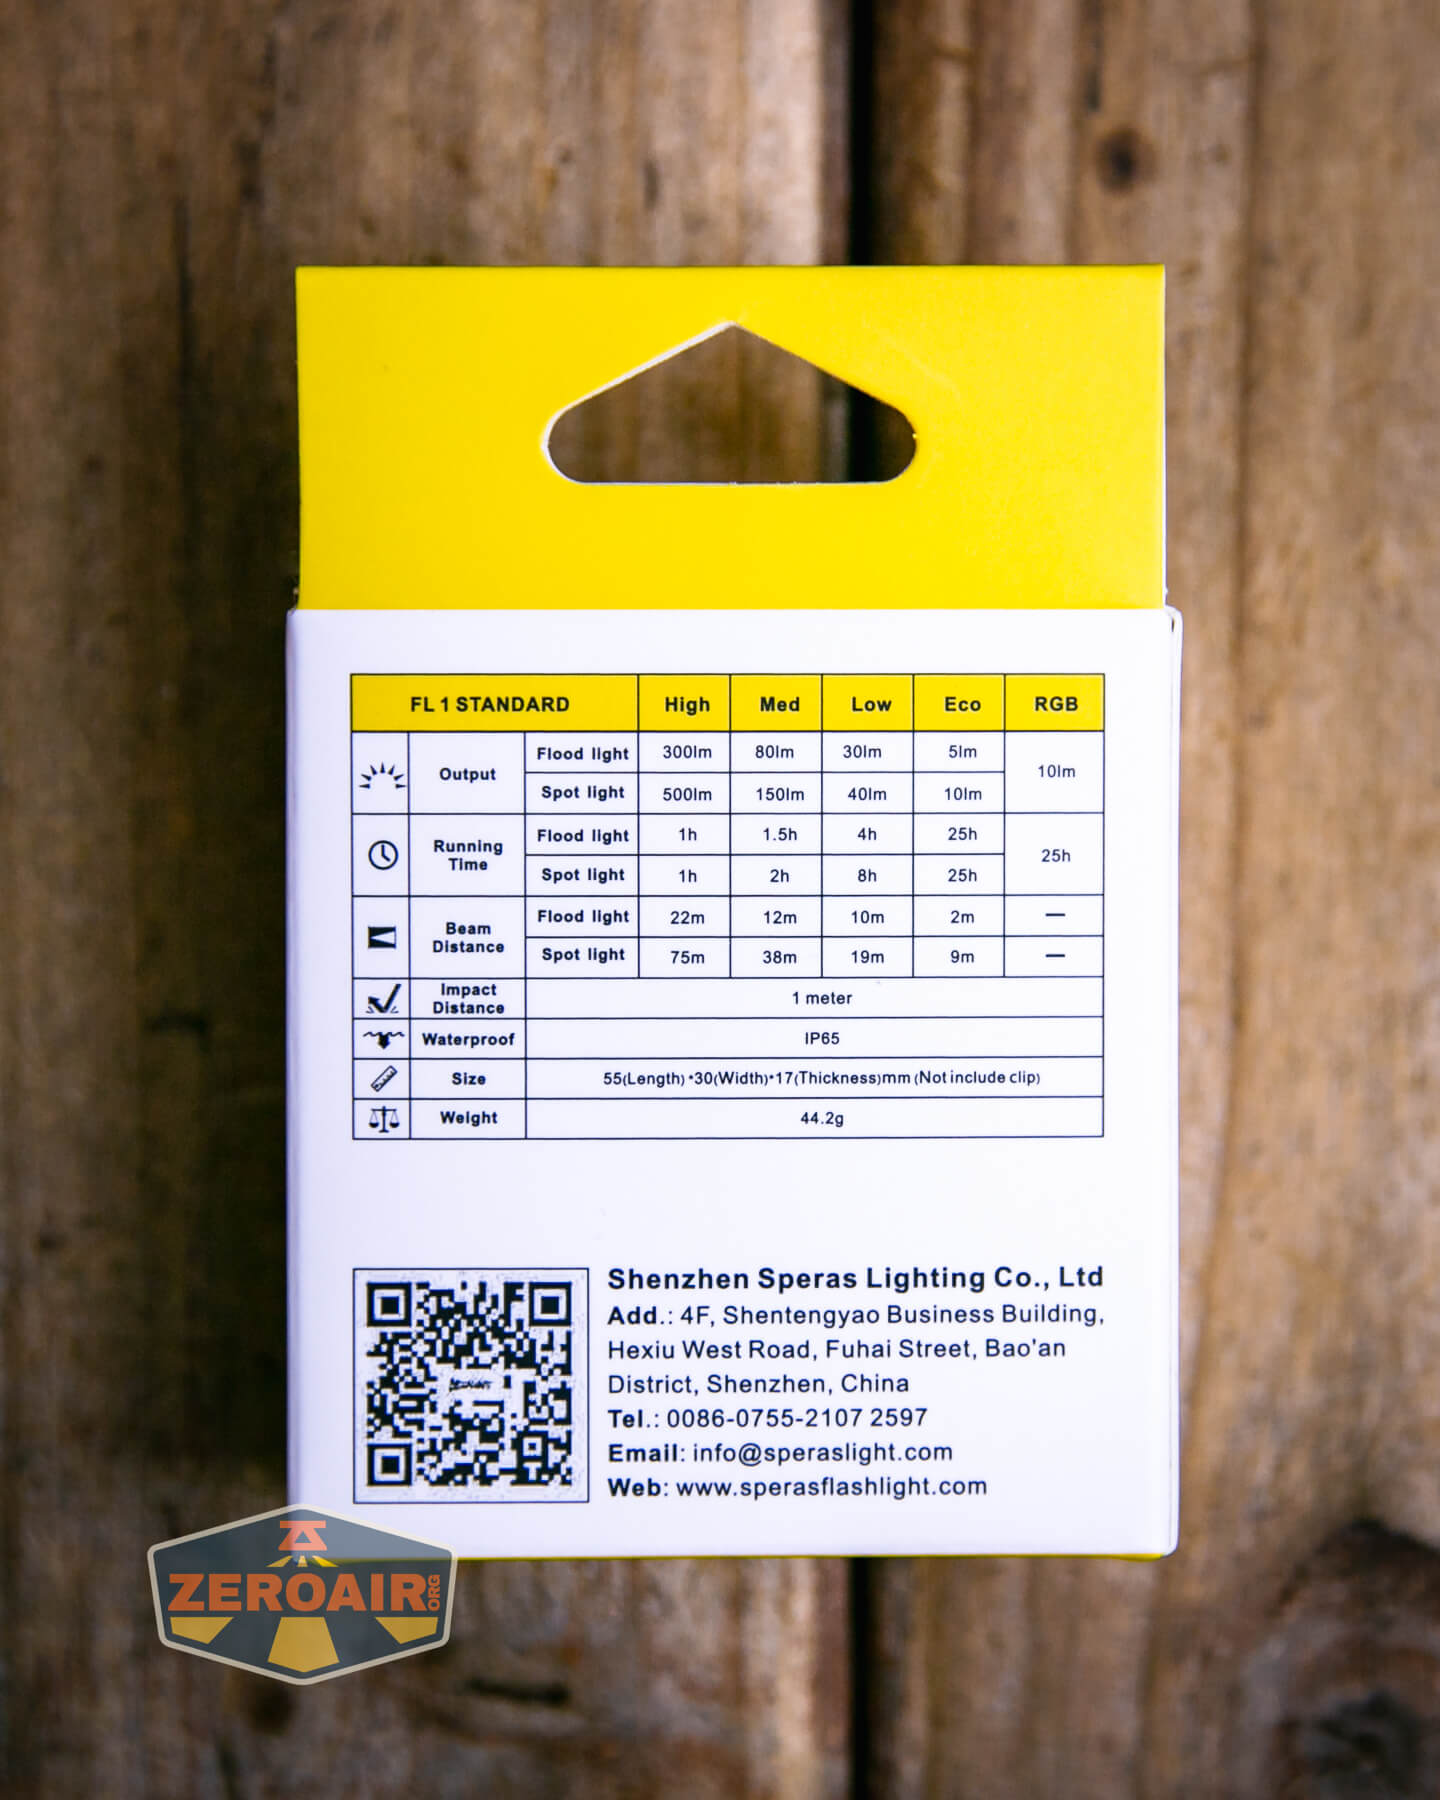
55mm x 17mm x 30mm and 44.2g.

If the flashlight can headstand, I’ll show it here. If it can tailstand, I’ll also show that here!

Here’s the test light with the venerable Convoy S2+. The version below is a custom laser-engraved Convoy S2+ host by GadgetConnections.com. I did a full post on an engraved orange host right here! Or go straight to GadgetConnections.com to buy your Convoy S2+ now!
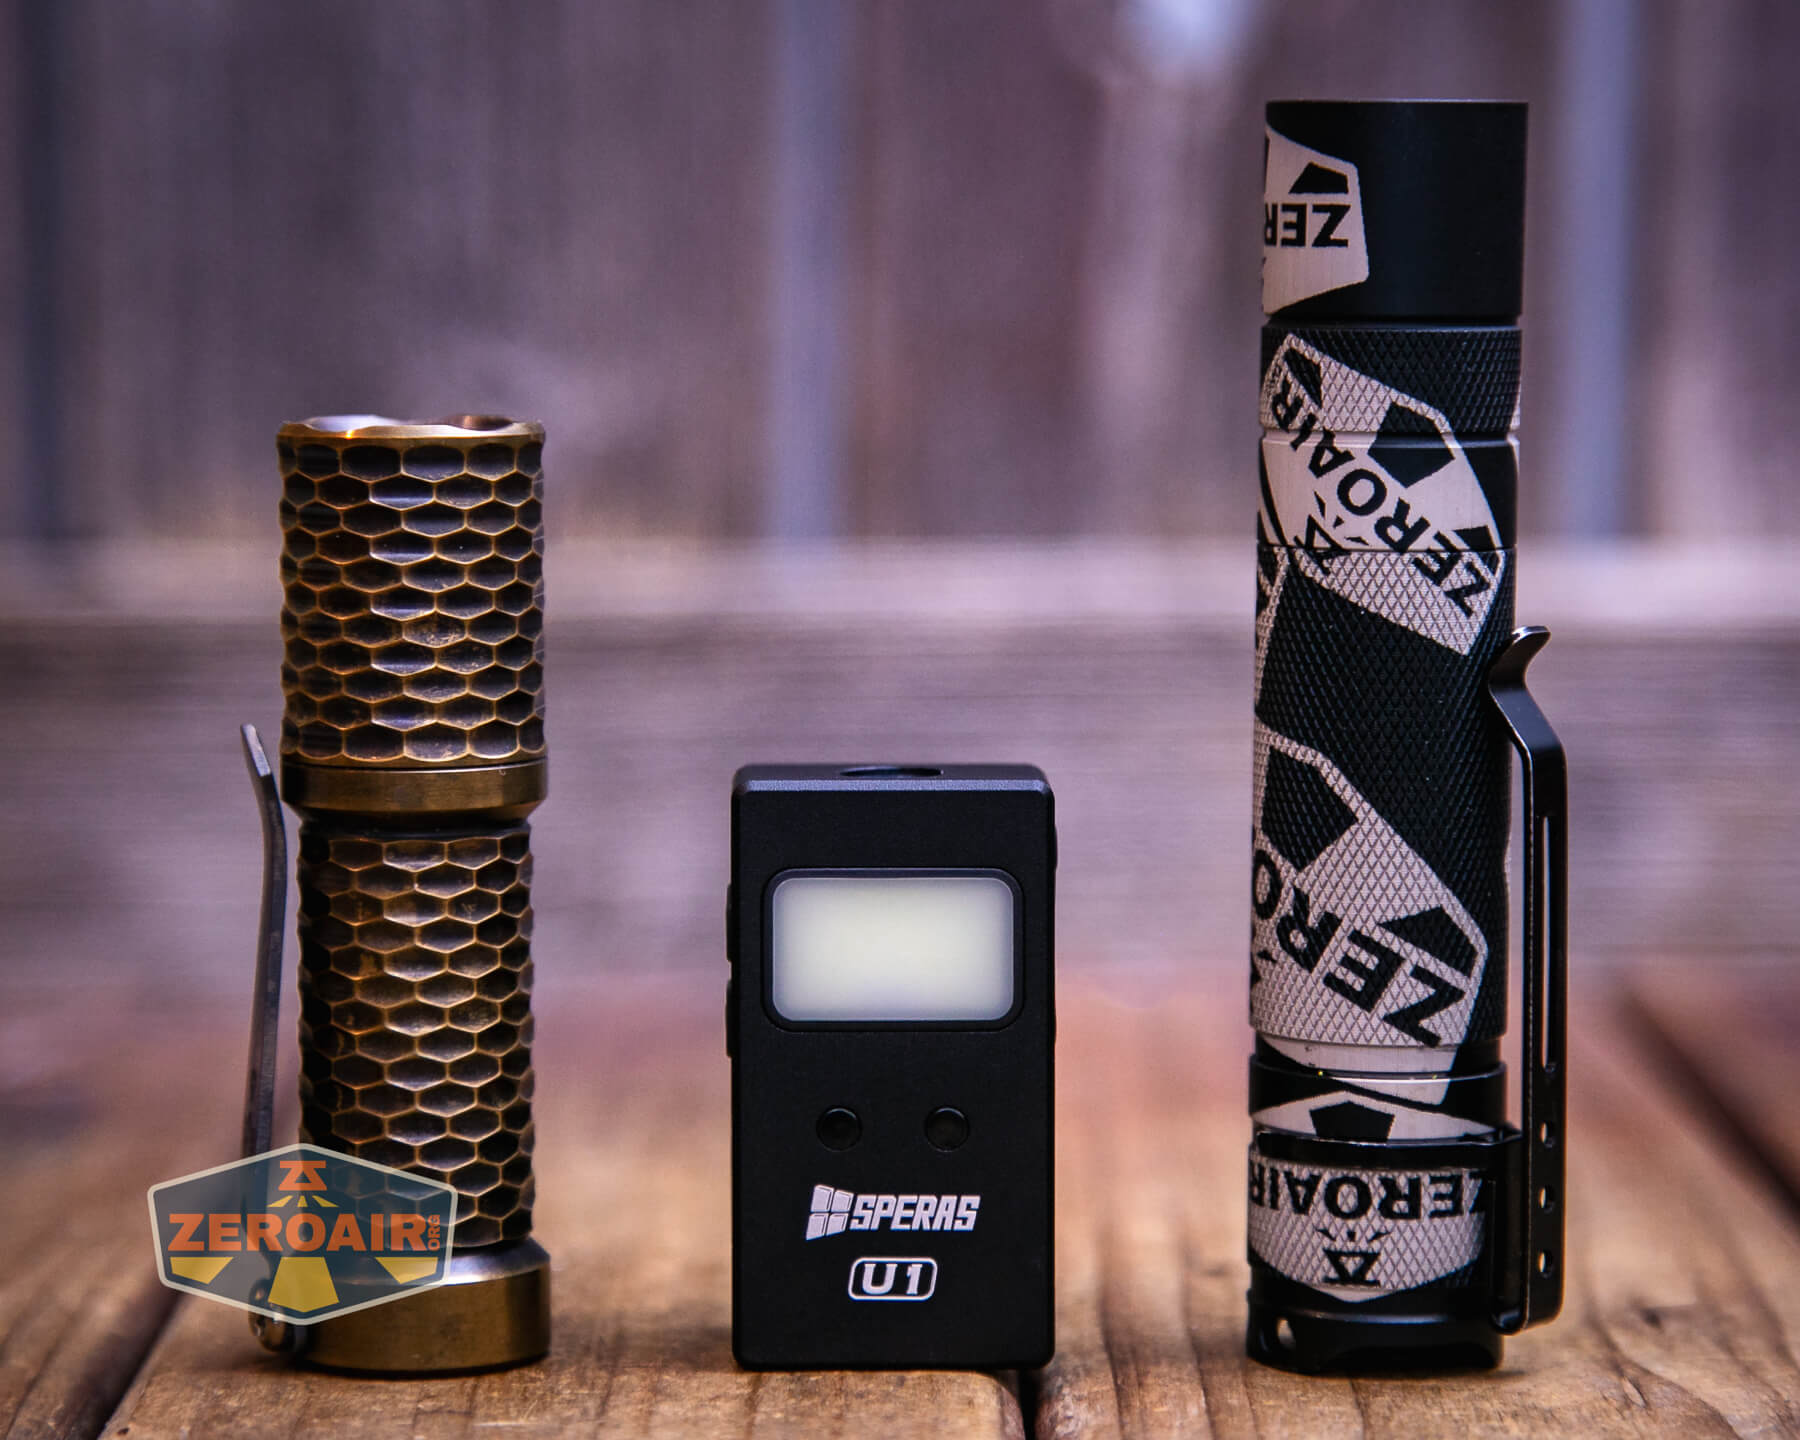
Also in the photo above, my Standard Reference Material (SRM) flashlight is the Hanko Machine Works Trident, an 18350 light. While I have not reviewed or tested the Gunner Grip version seen here, I have tested a Hanko Machine Works Trident Total Tesseract in brass. I love the Trident, and it’s a striking contrast to the inexpensive Convoy S2+, another great SRM.
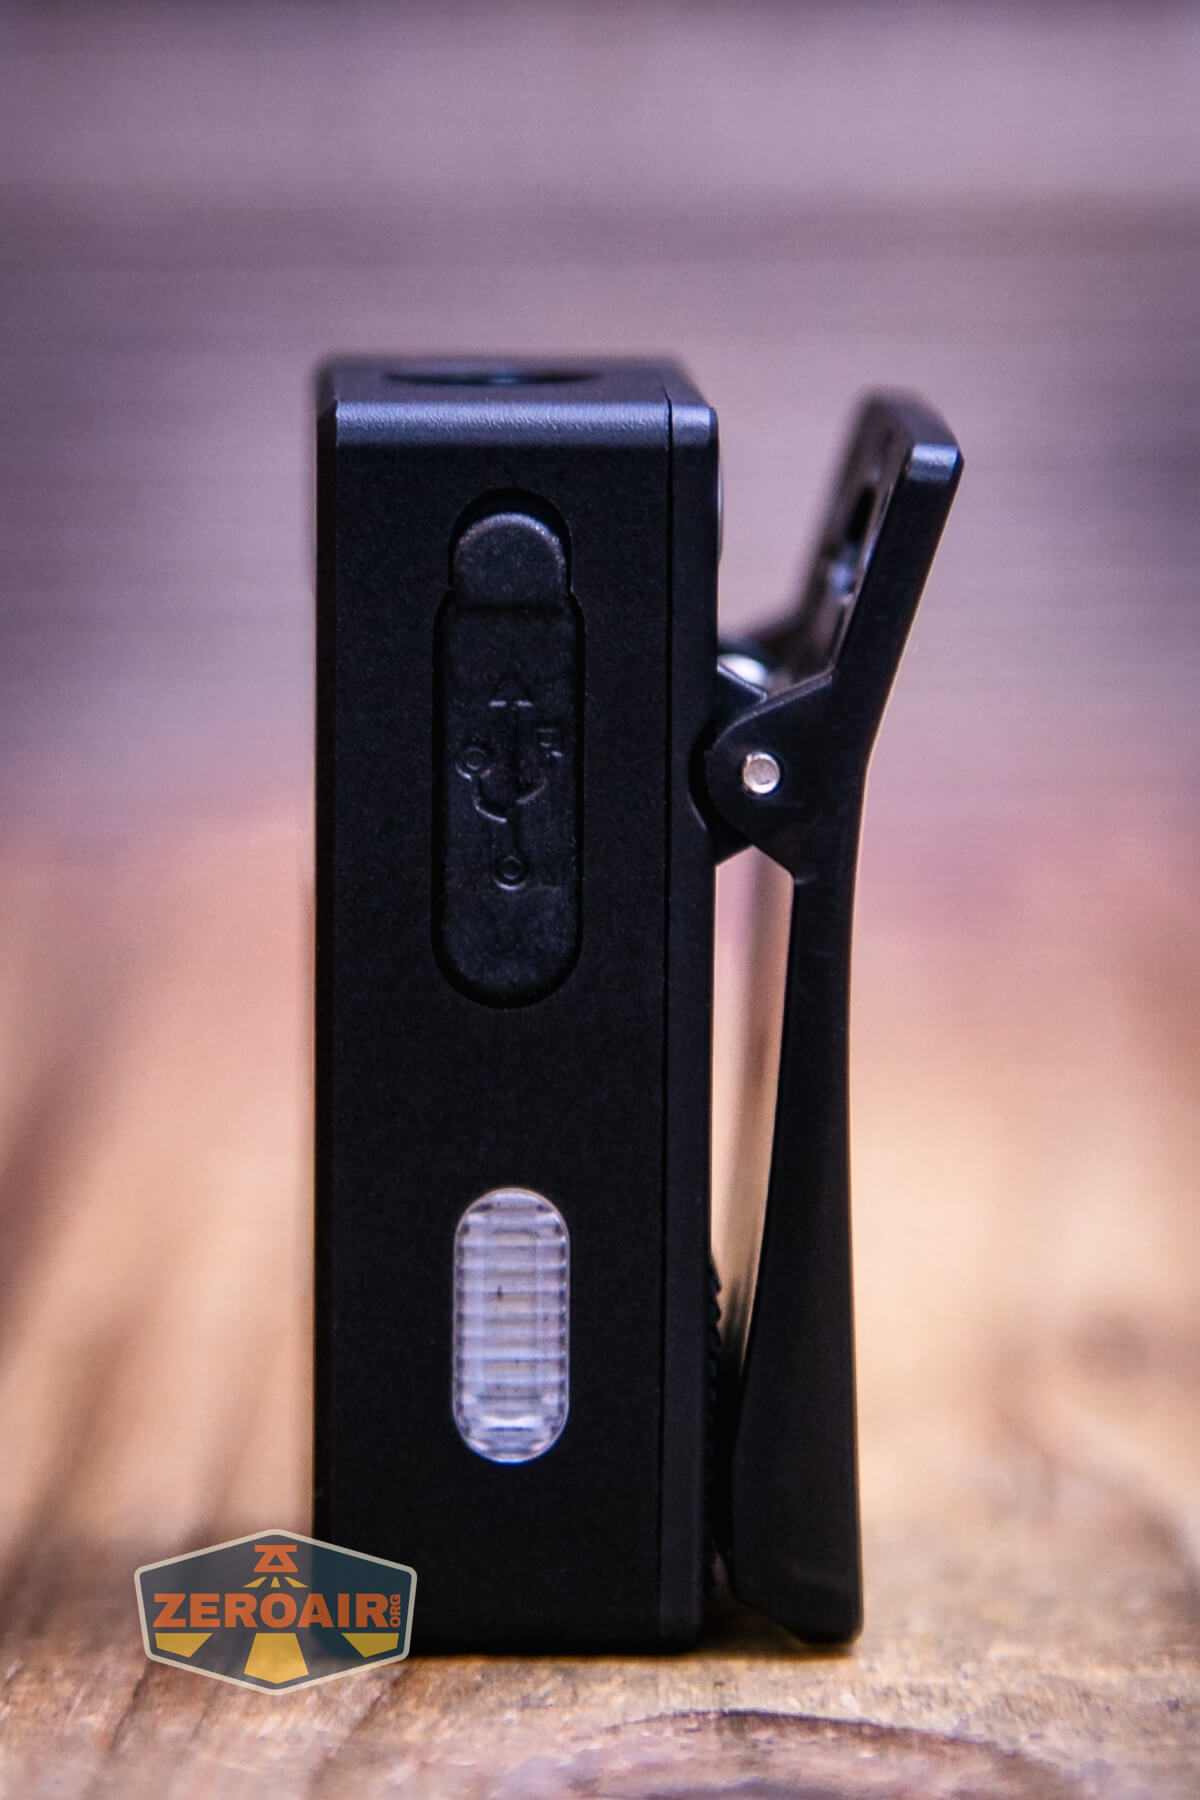
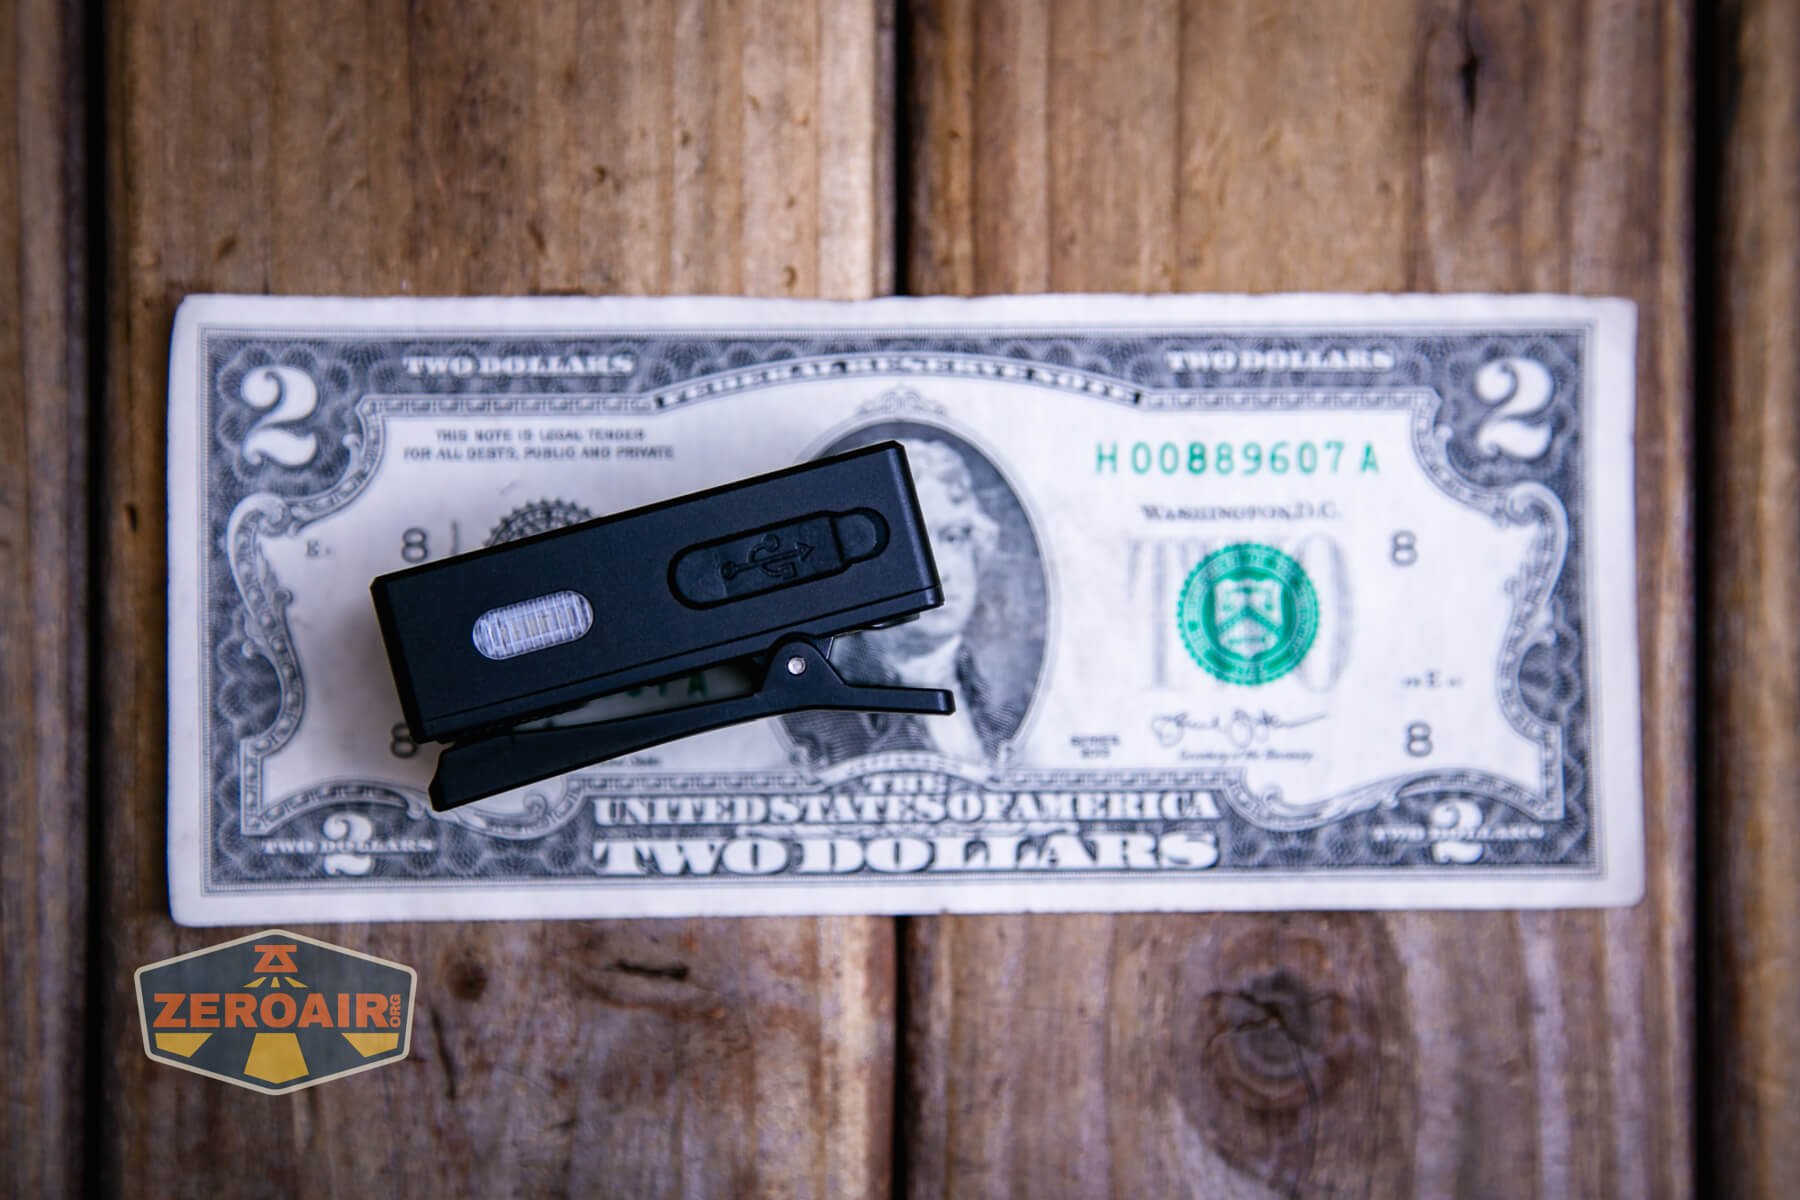
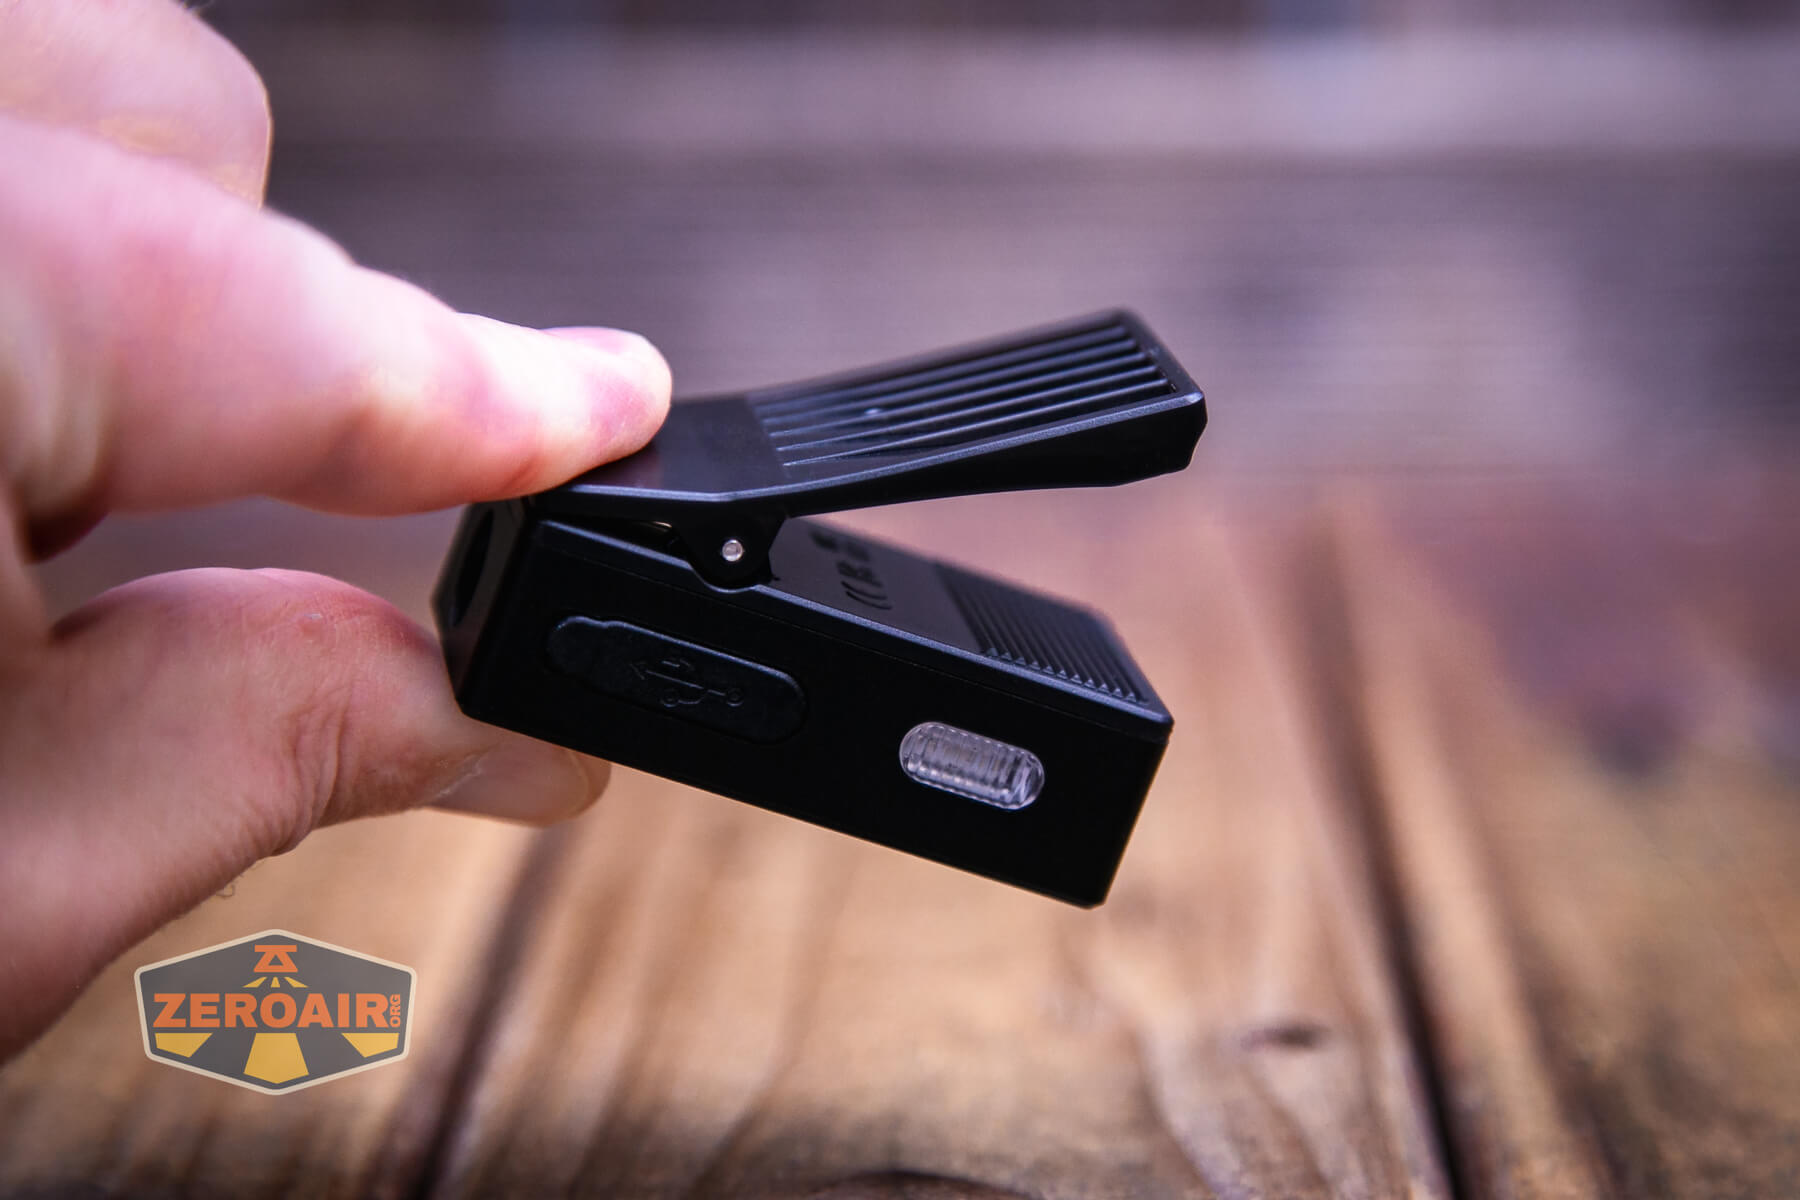
Retention and Carry
As stated right in the name, the Speras U1 multi-function clip light is primarily a clip flashlight. Speras promotes the opening as 14mm, which seems to be a very generous opening.
There’s also a magnet in the tailcap.
And there’s this bike mount, too. The manual doesn’t exactly cover how to use this strap.

Power and Runtime
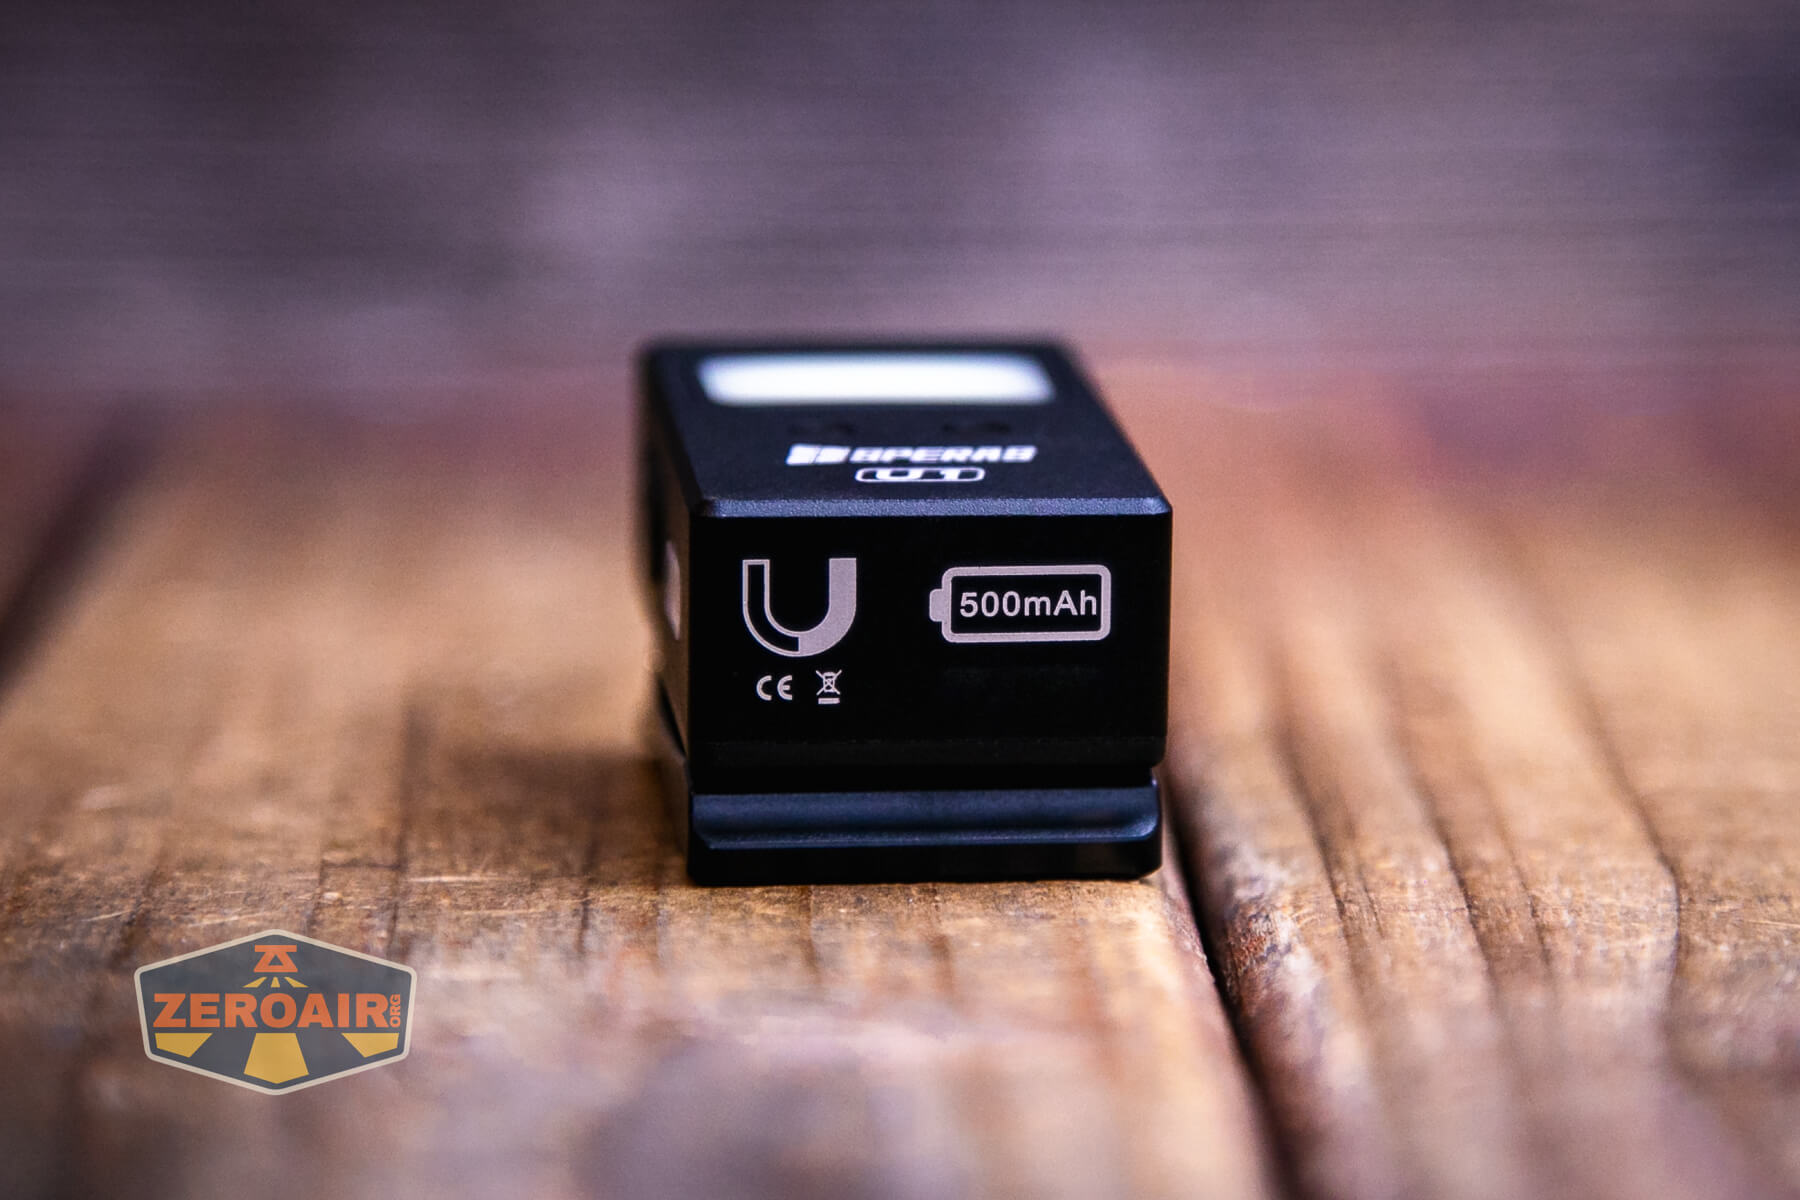
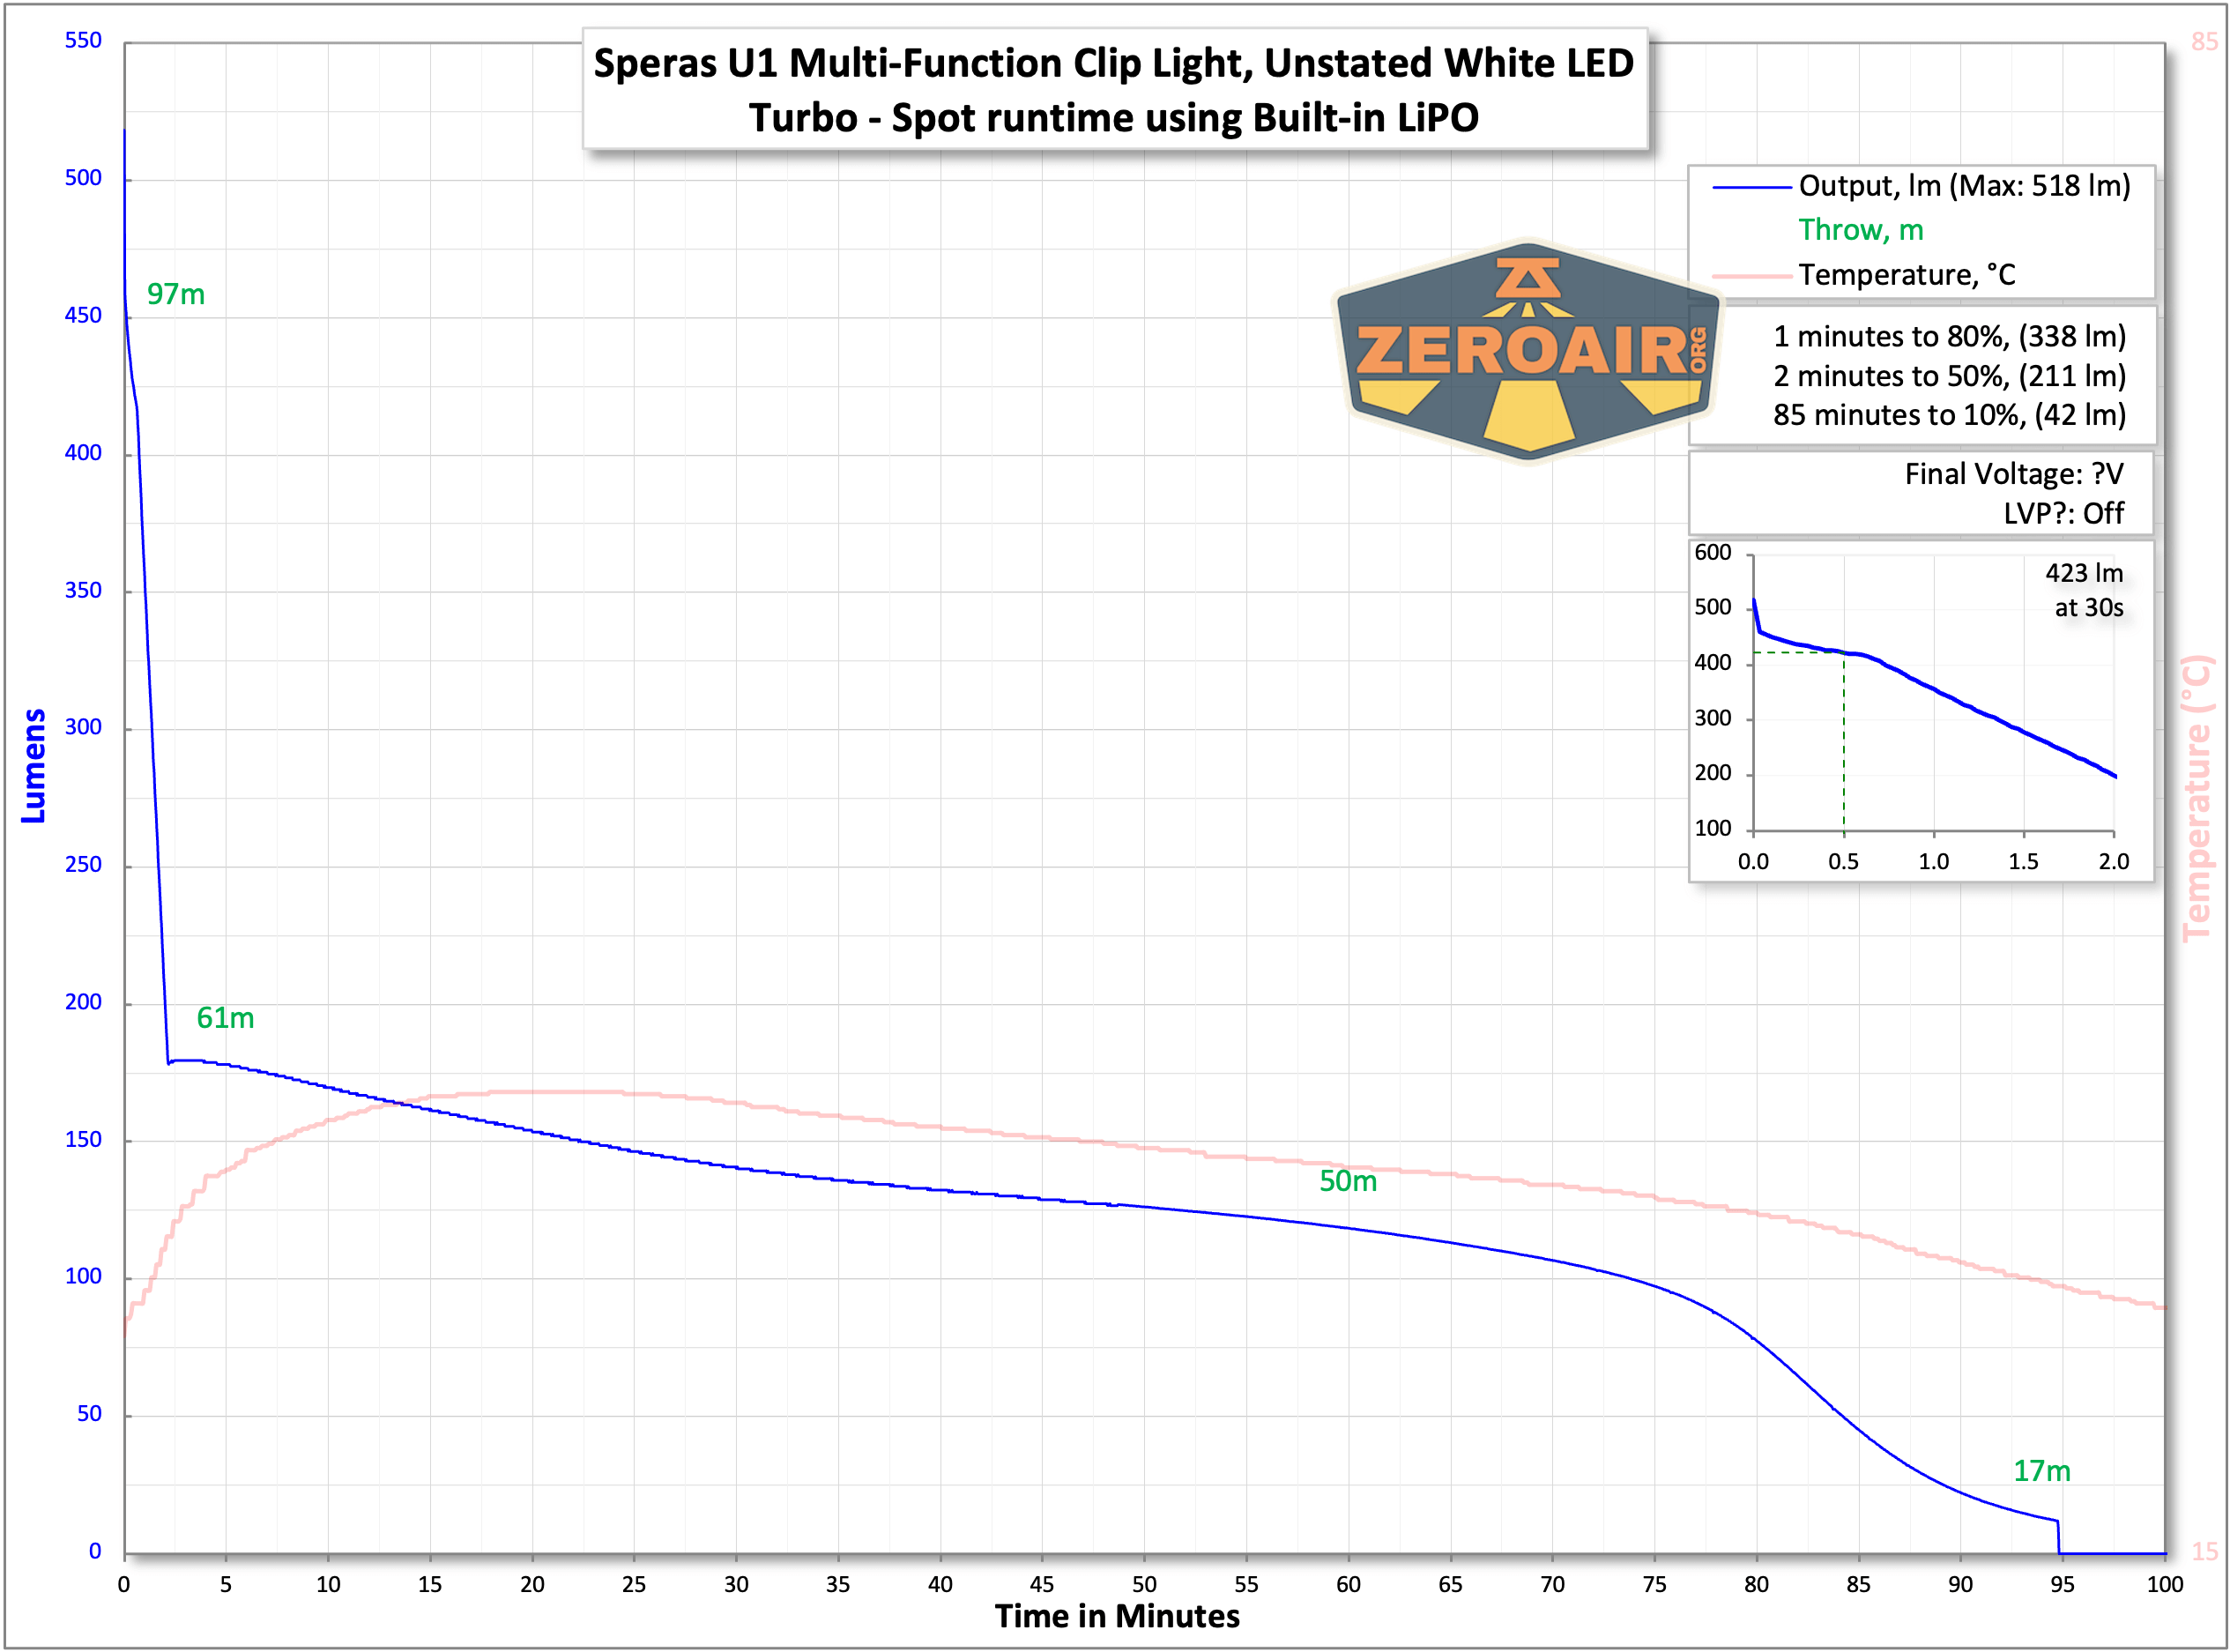
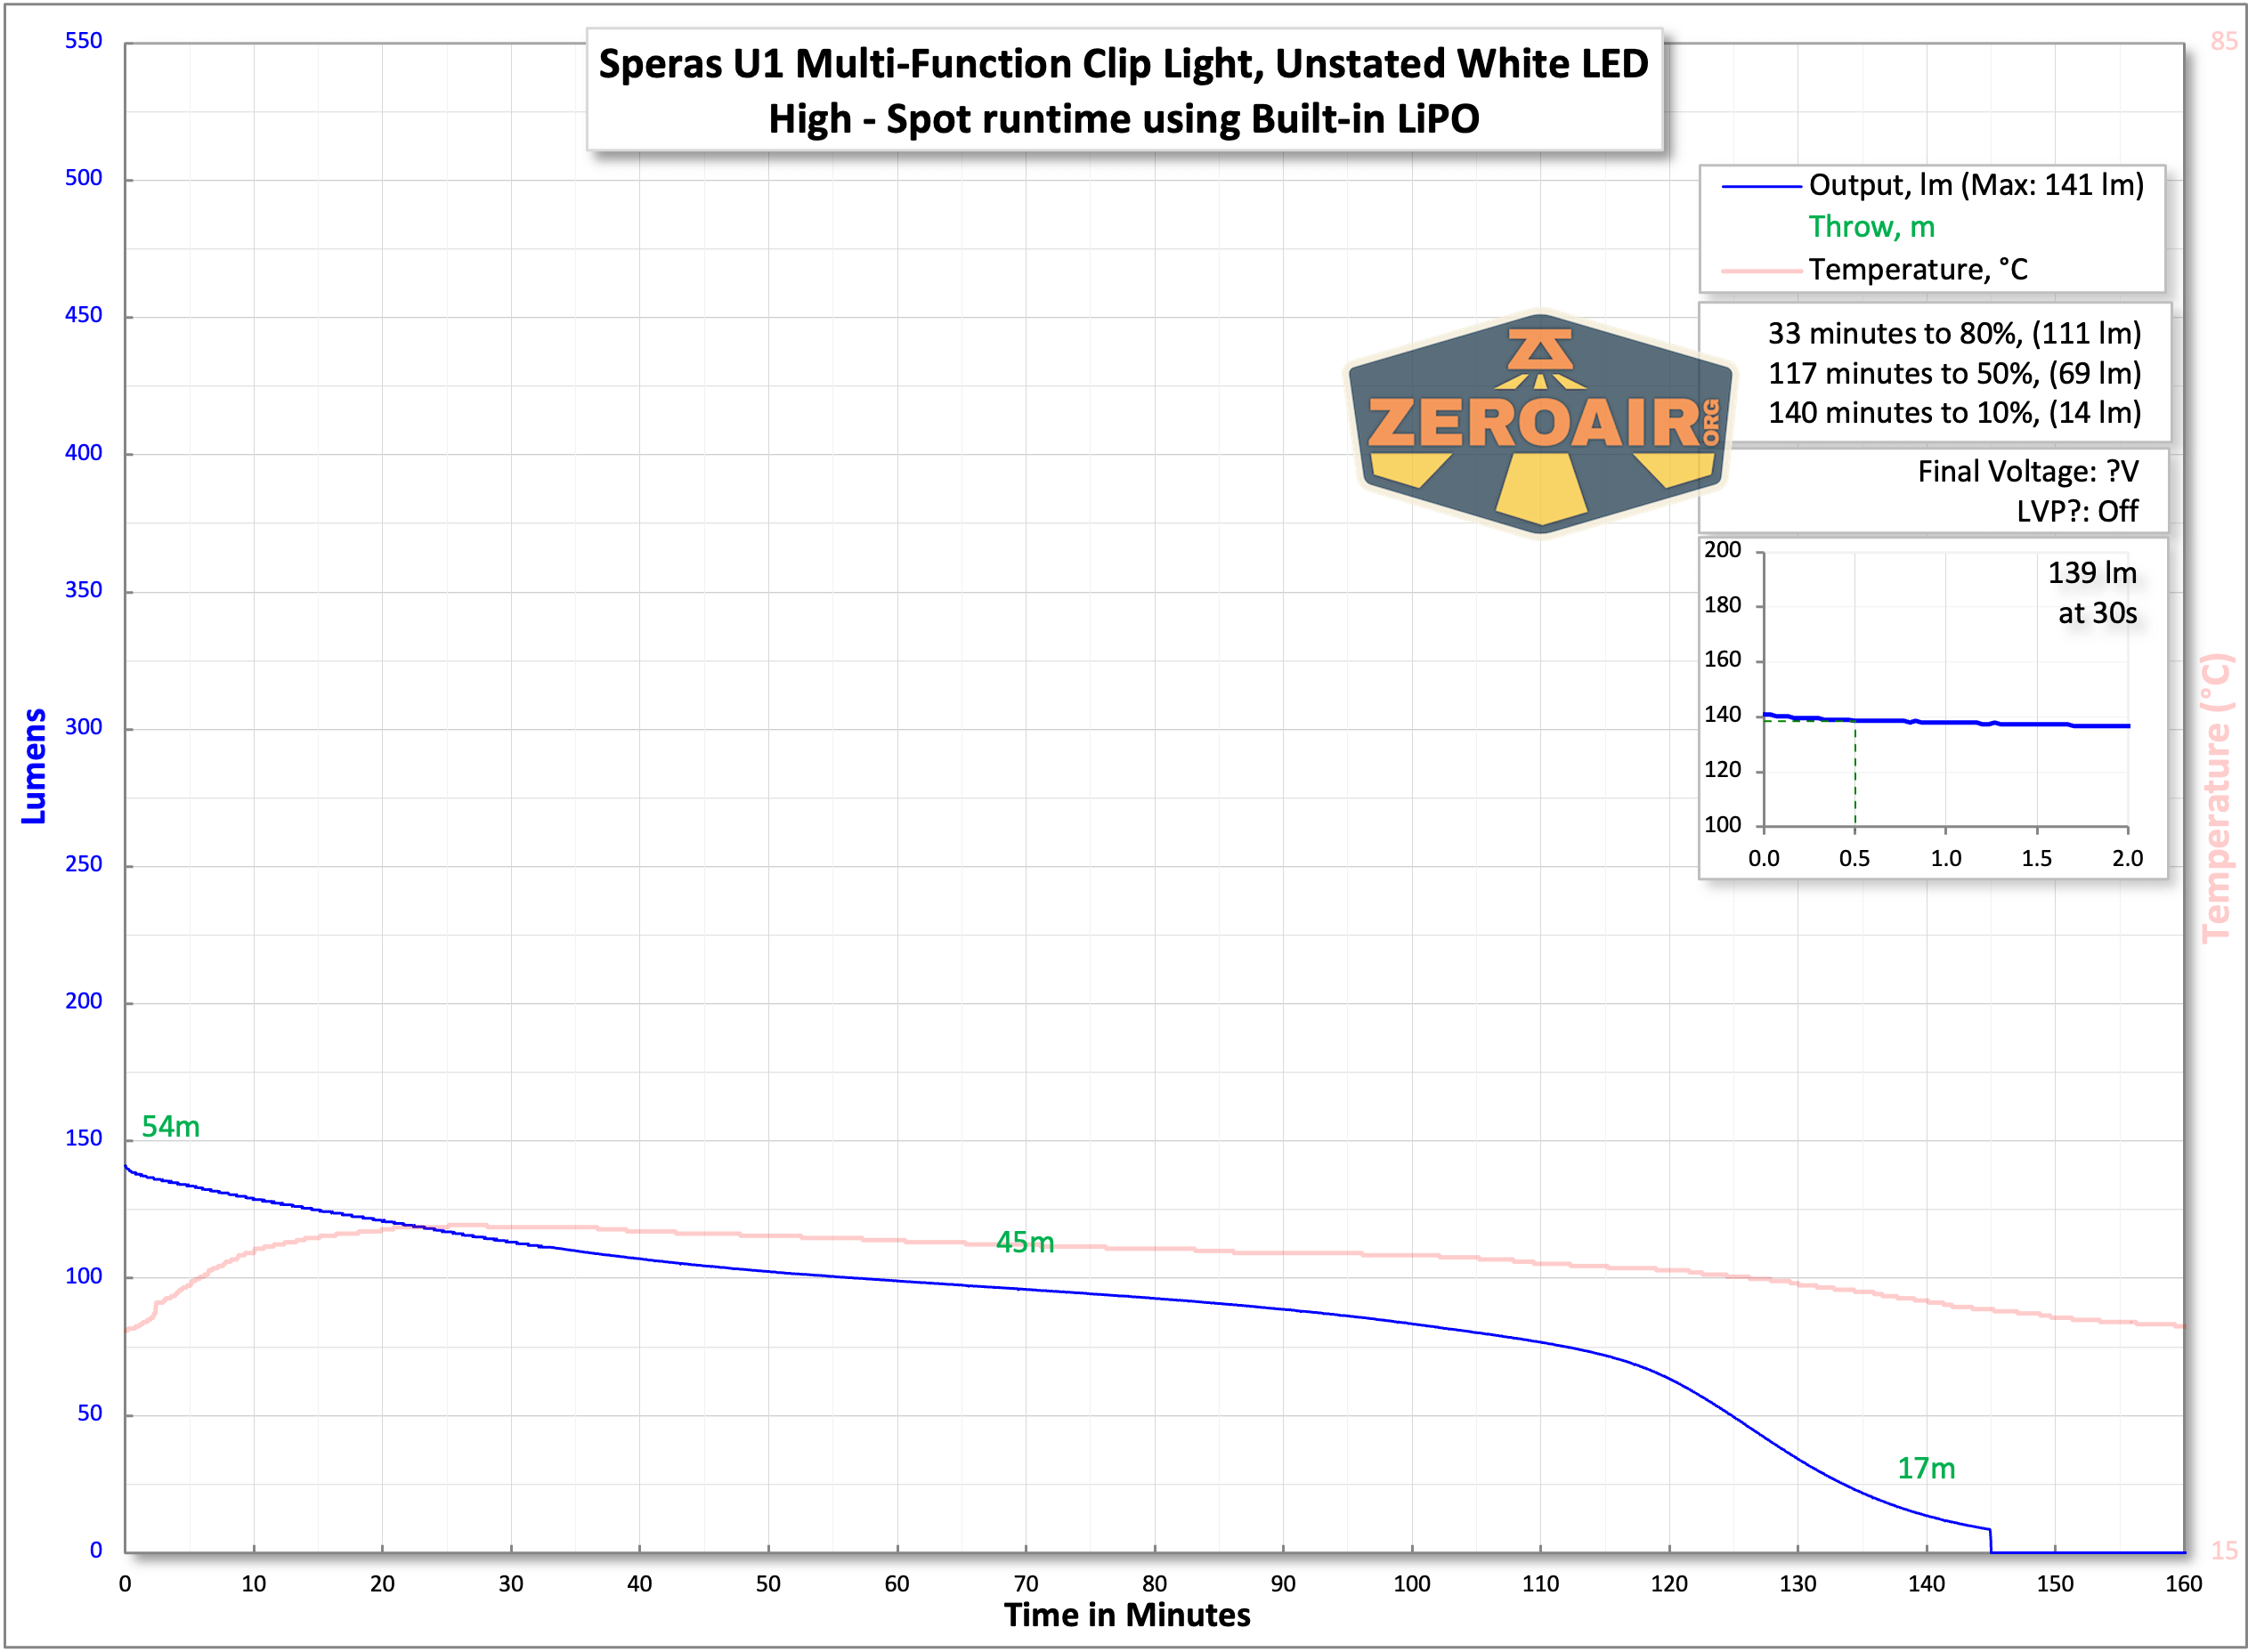
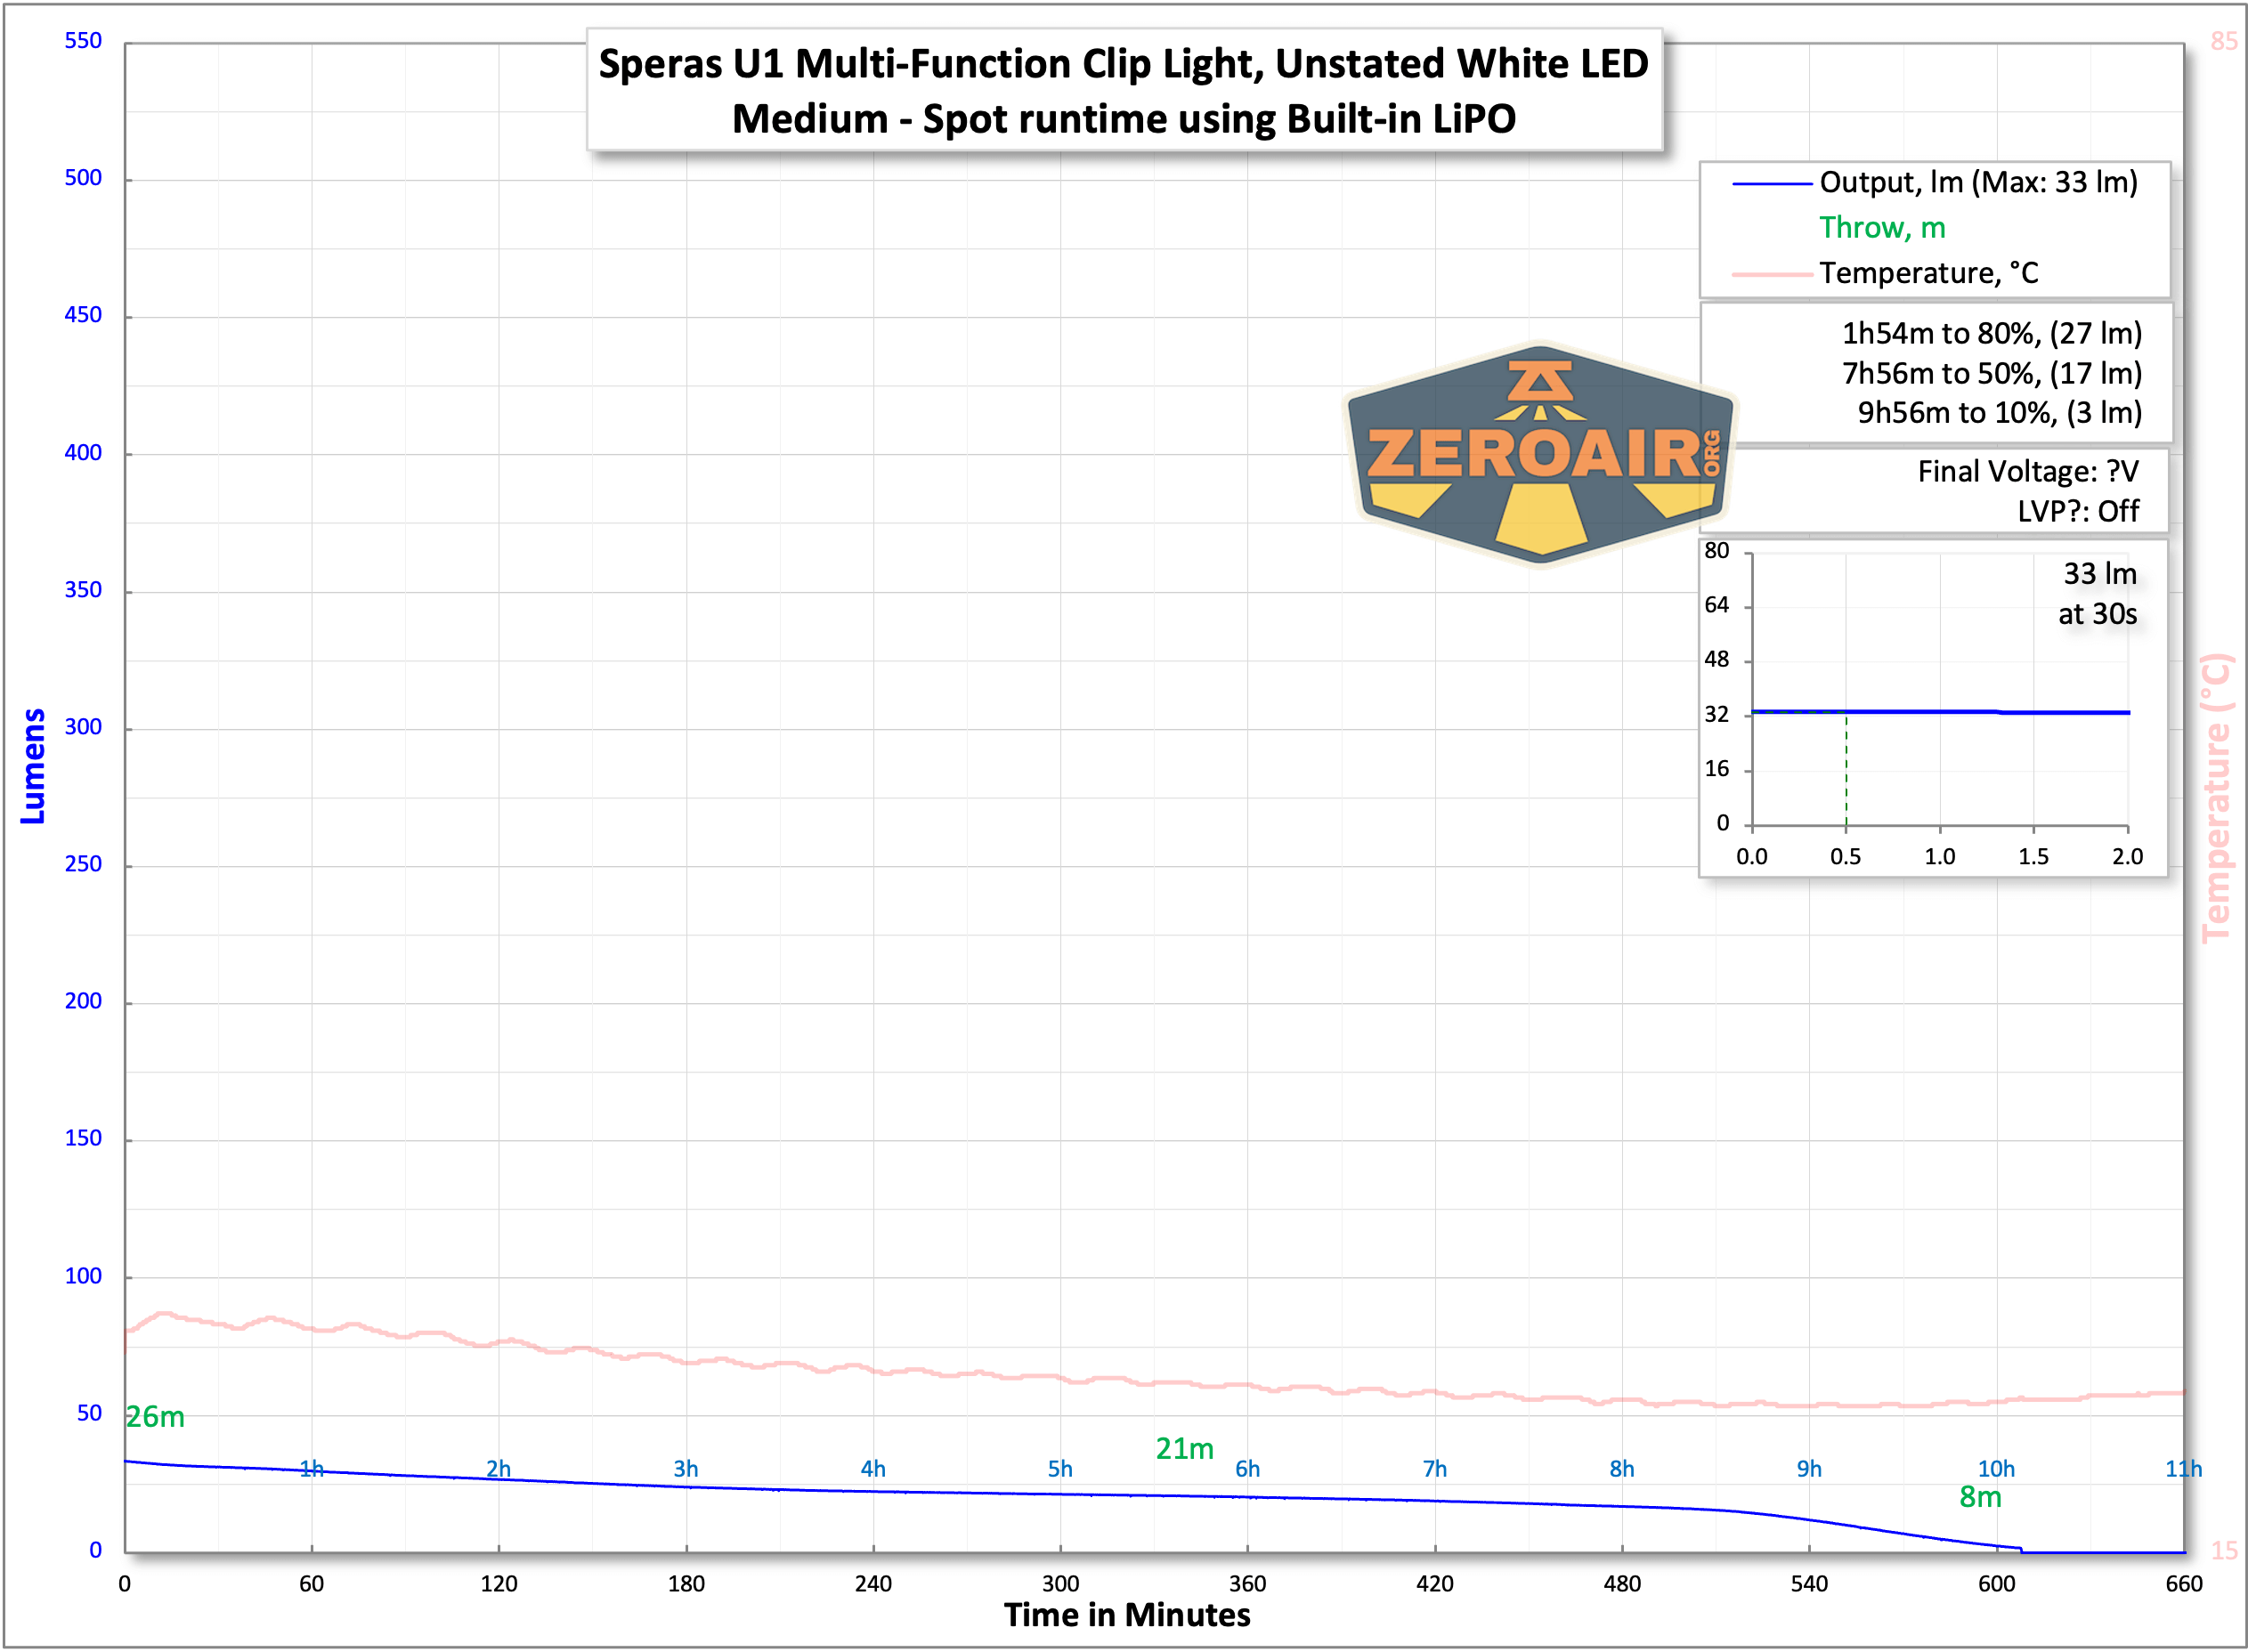
Below you can see runtime tests for the three highest spot modes and two highest flood modes. I don’t see the internal battery capacity listed anywhere in the documentation.

I did accidentally label the highest mode “Turbo” and that error cascades down to “high” and so on. I’ll correct this later.
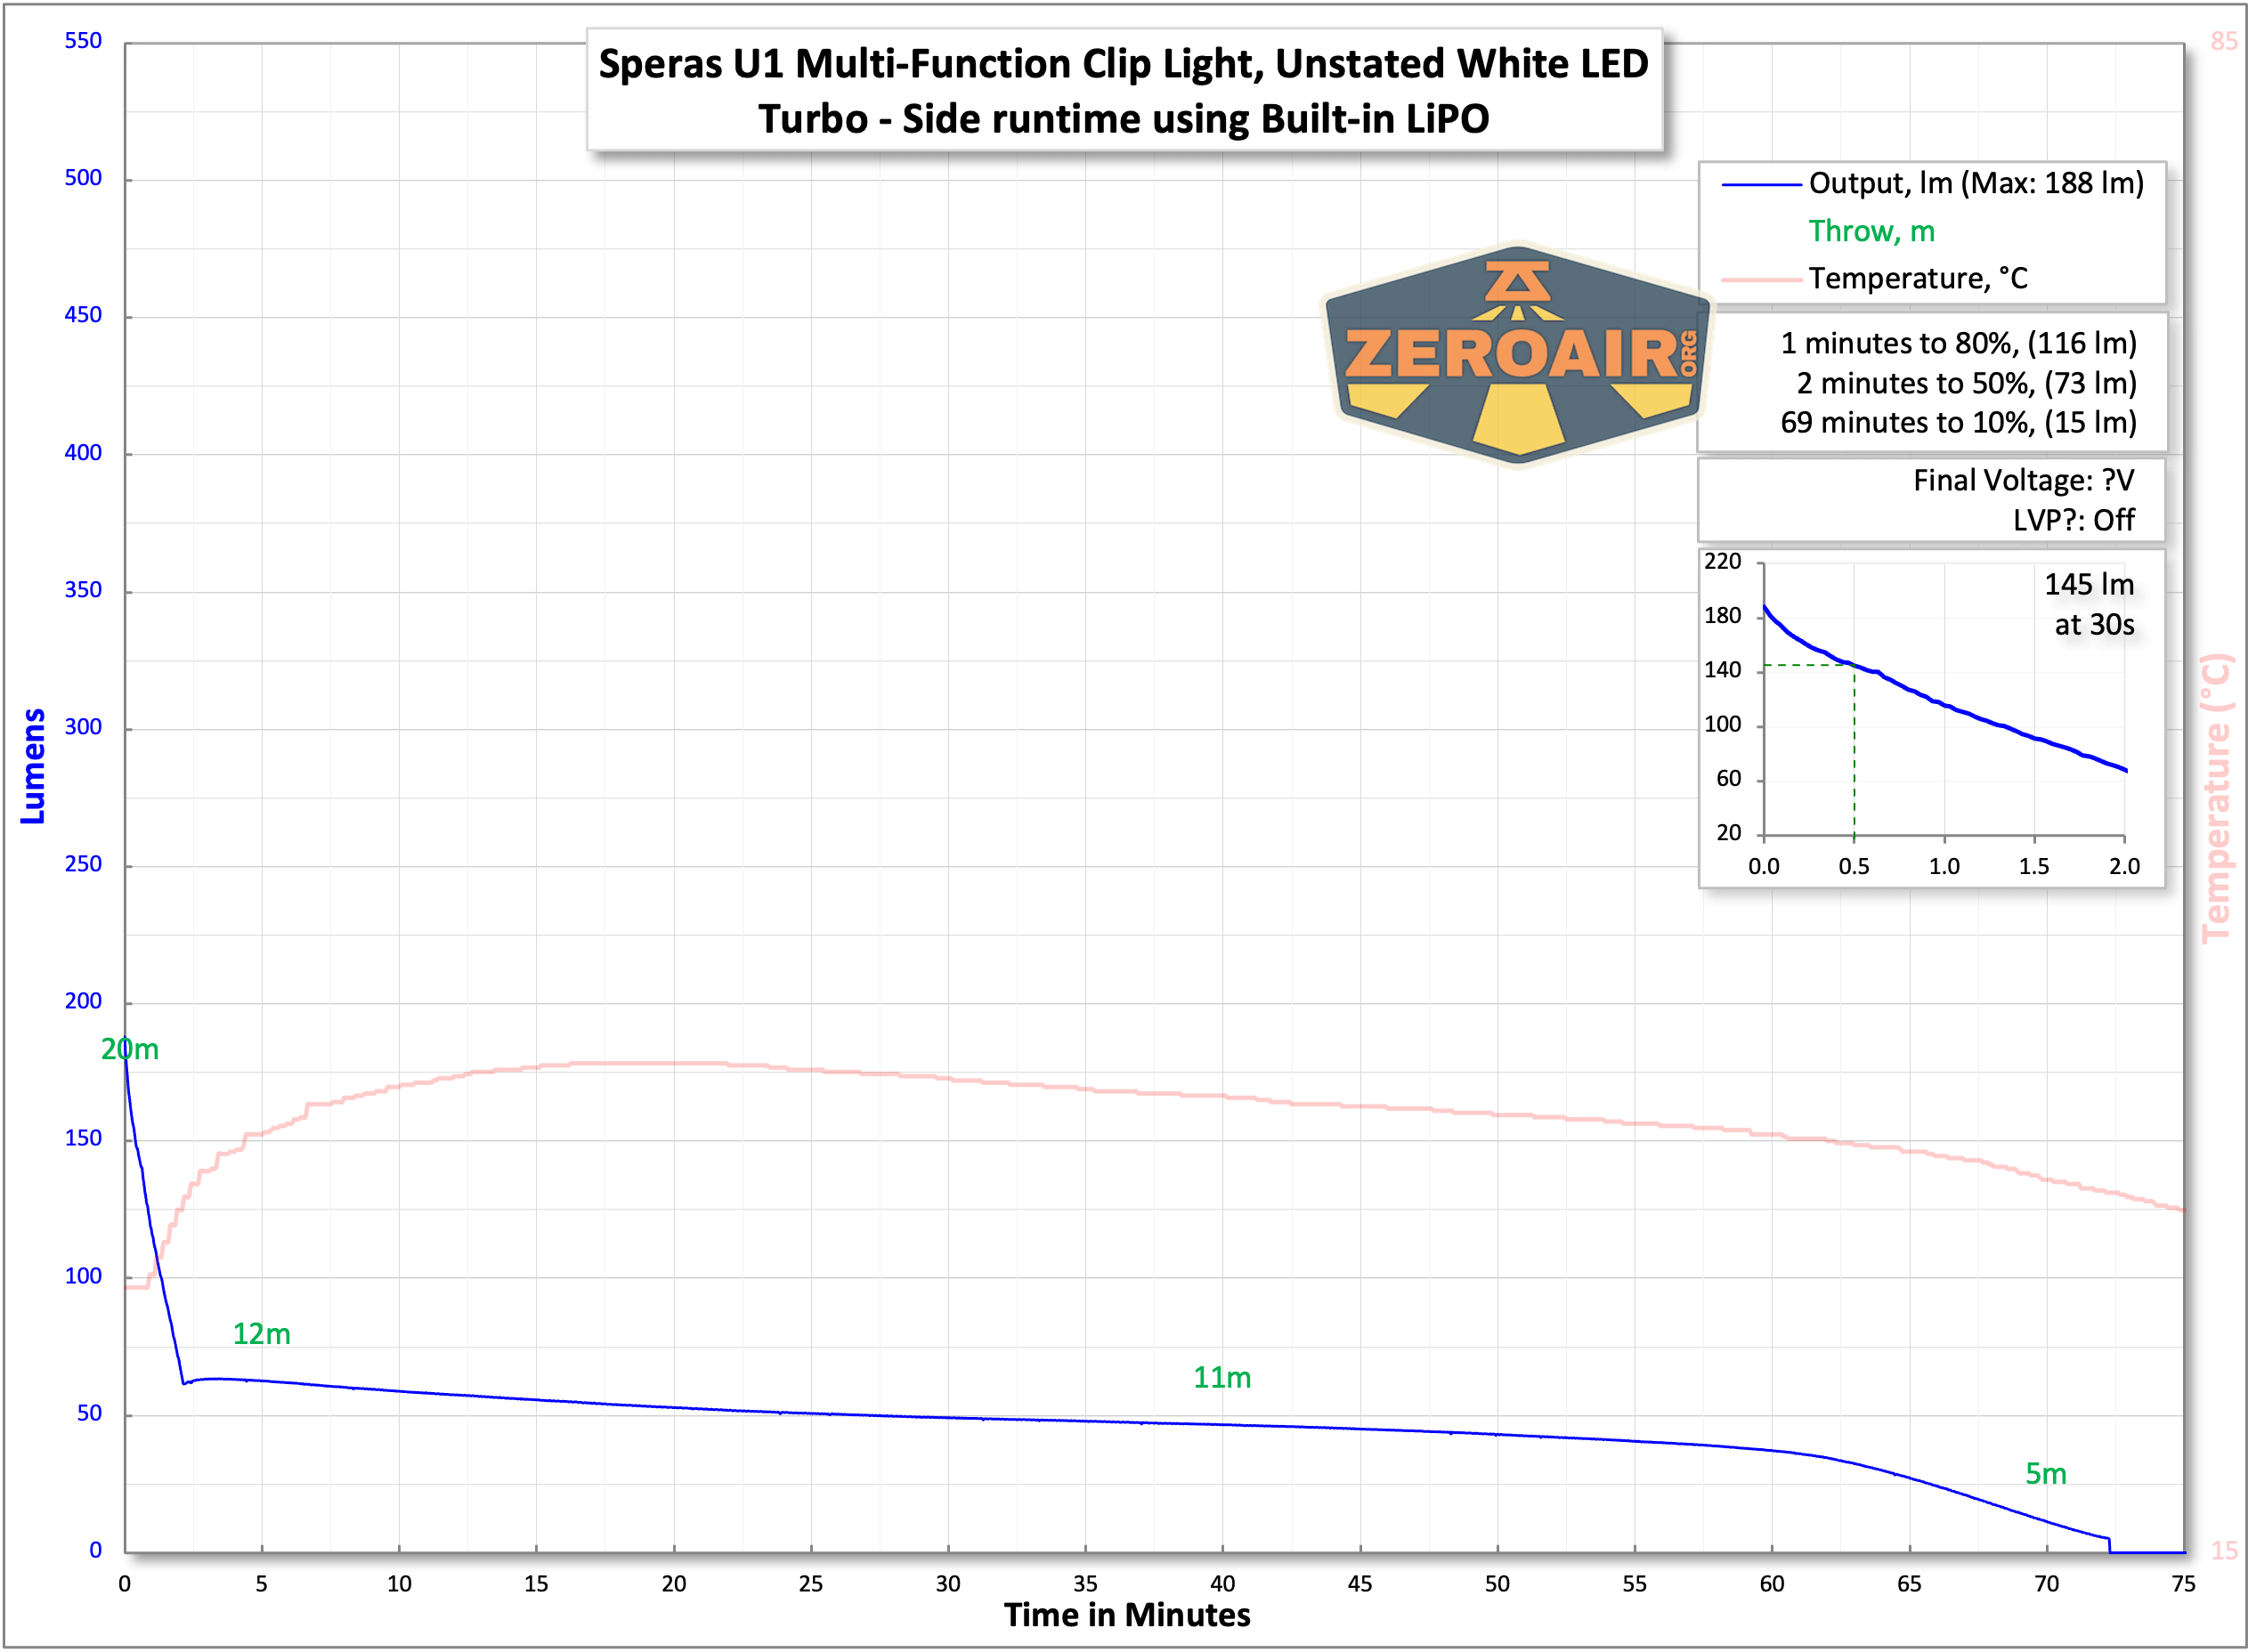

The temperature lines in these charts are included as general context, not precise measurements. The values represent the range (min to max) during testing, but should not be taken as exact readings. Temperature sensors are attached however feasible and not always on the bezel or hottest spot (assuming that can even be clearly defined). Even with ideal placement, too many variables affect temperature to definitively state a specific max value.
Charging
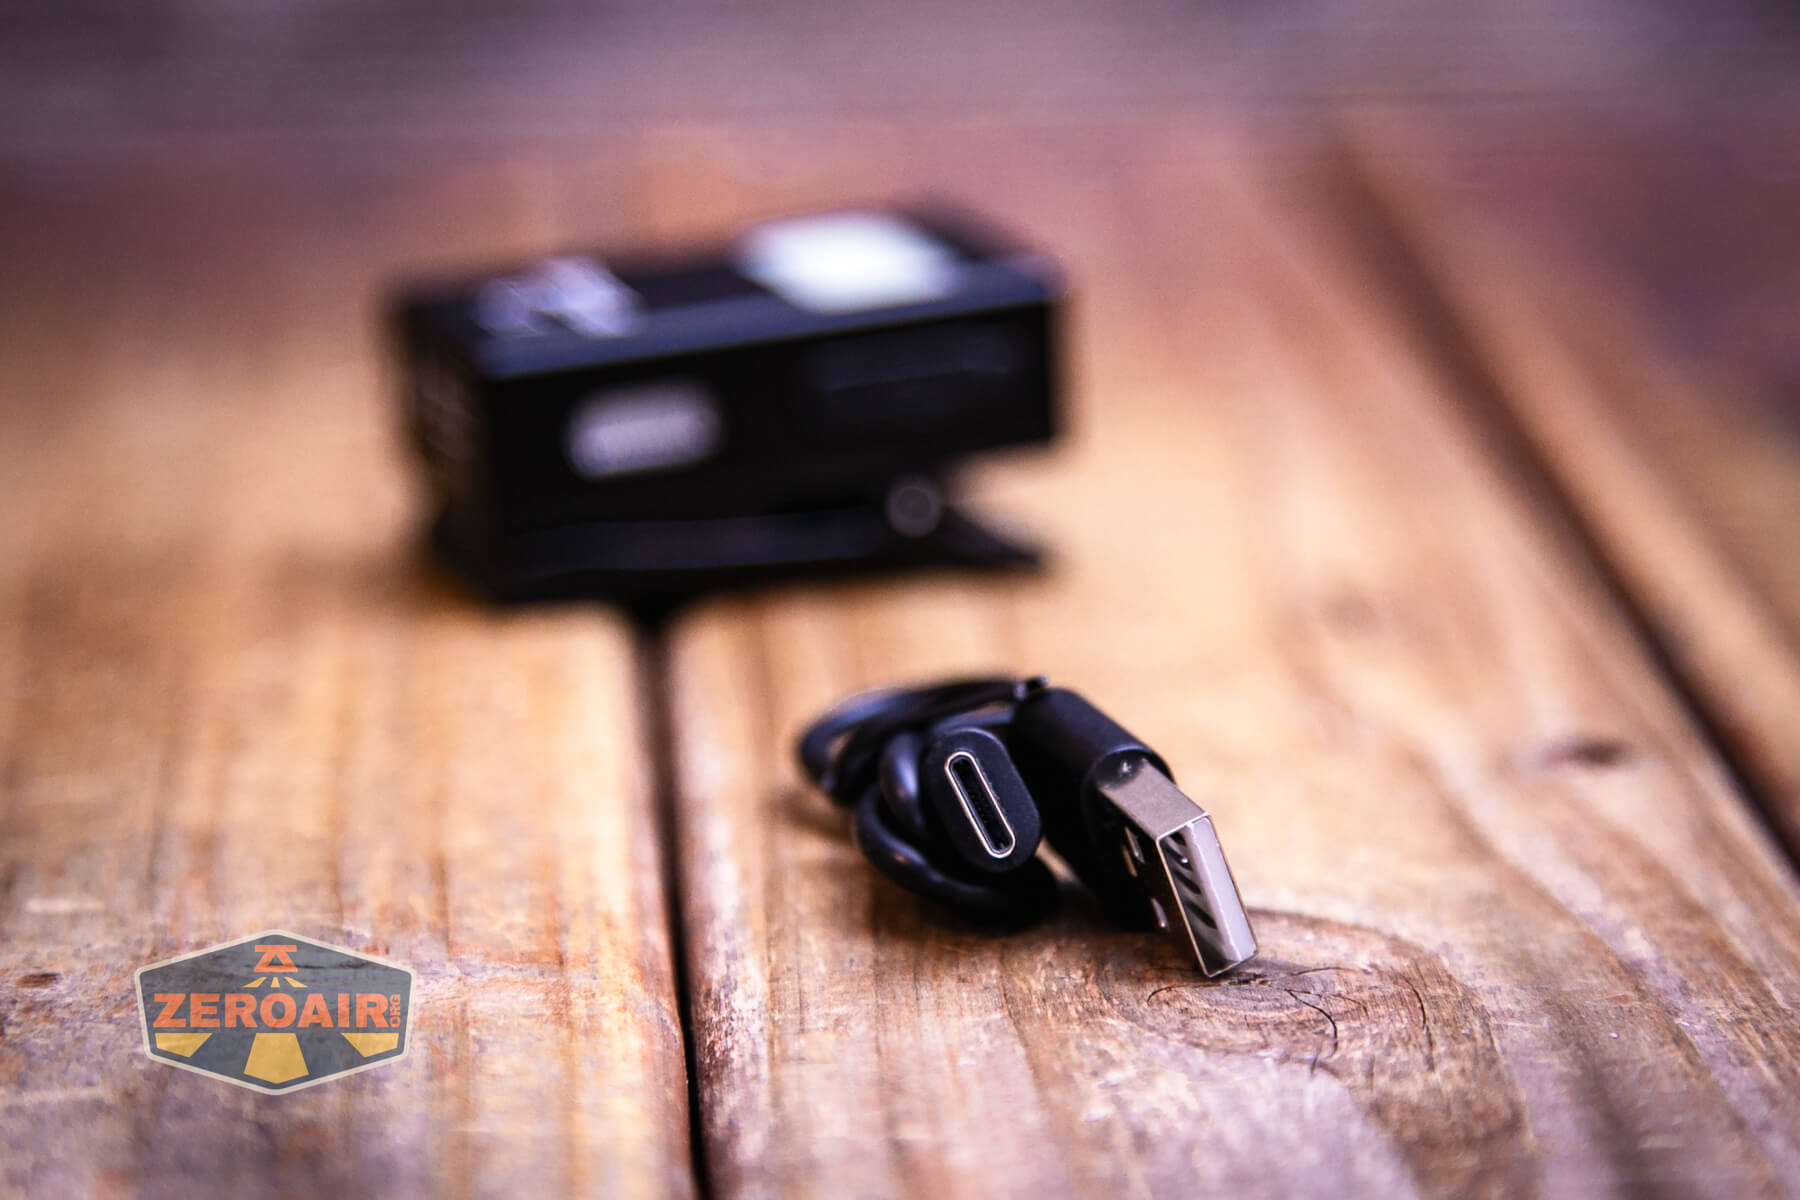
The Speras U1 multi-function clip light offers USB-C charging. The charge port is on the side and is opposite to the dual e-switches.

A USB to USB-C charging cable is included.
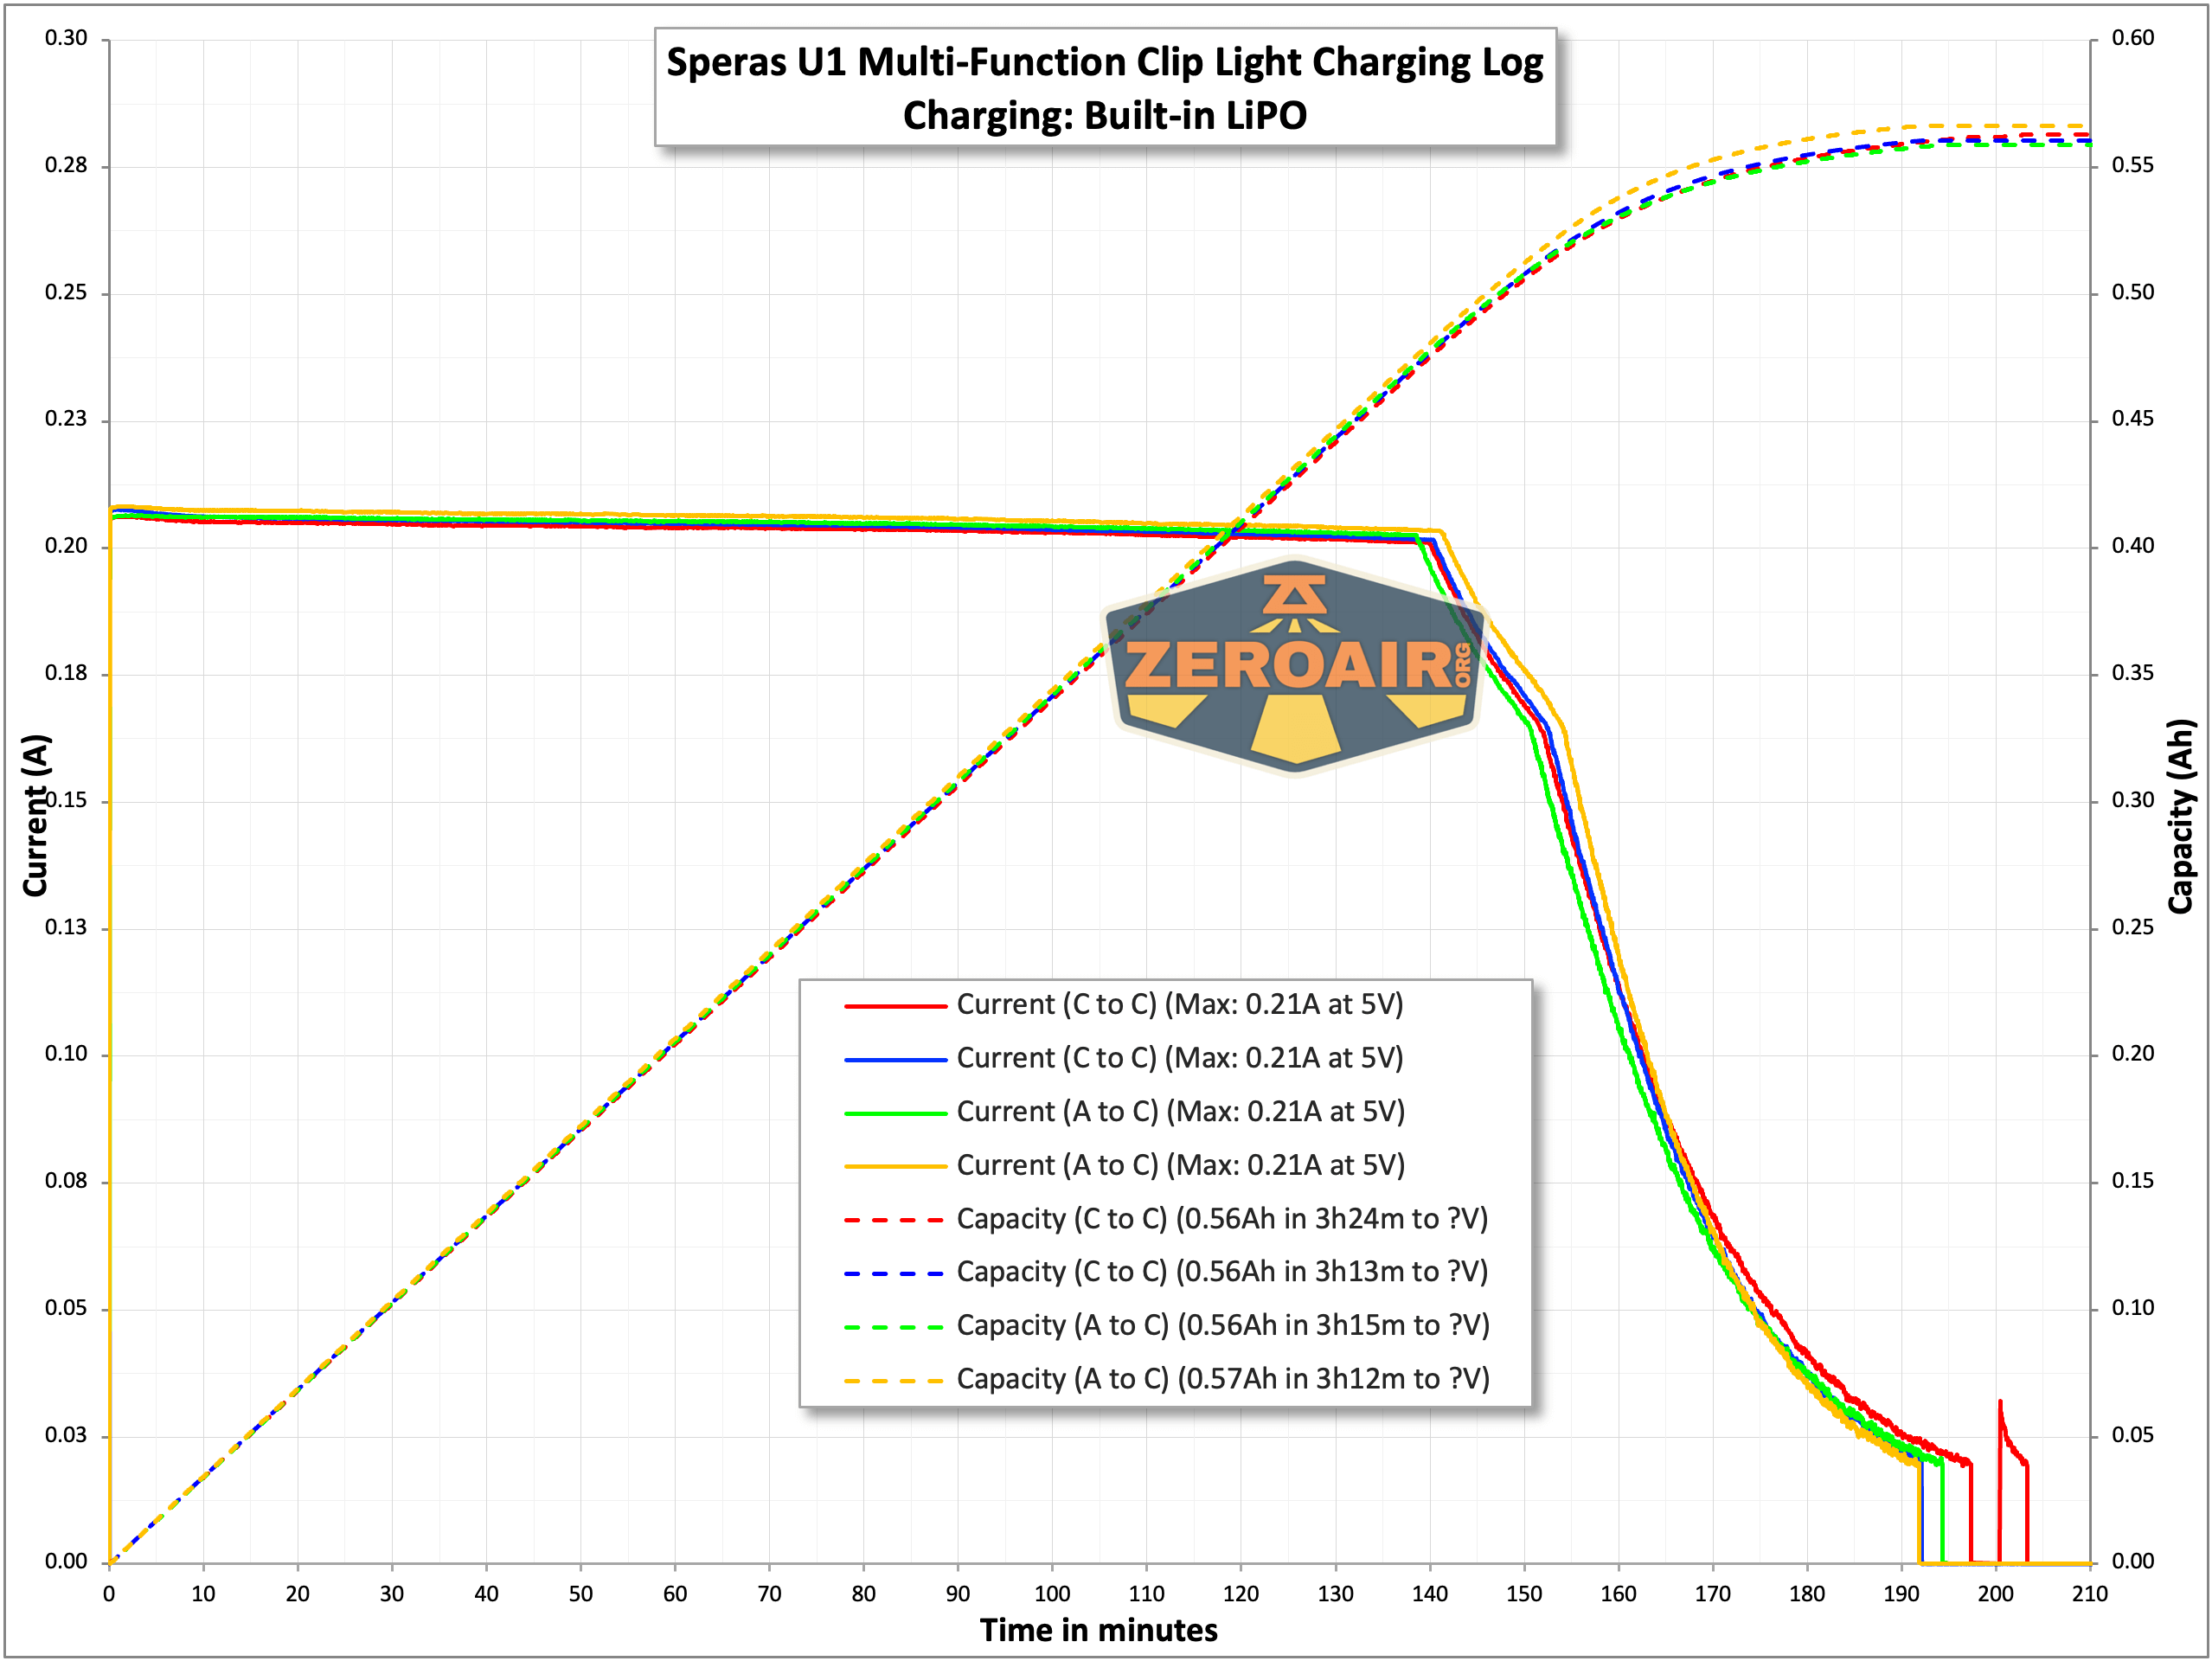
Both A to C and C to C work just fine, and have consistent performance of around 0.22A. The capacity appears to be around 0.6Ah.
Modes and Currents
| Mode | Mode Claimed Output (lm) | Claimed Runtime | Measured Lumens |
|---|---|---|---|
| Spot High | 500 | 1h | 518 (0s) 423 (30s) |
| Spot Med | 150 | 2h | 141 (0s) 139 (30s) |
| Spot Low | 40 | 8h | 33 |
| Spot Eco | 10 | 25h | 12 |
| Flood High | 300 | 1h | 188 (0s) 145 (30s) |
| Flood Med | 80 | 1.5h | 62 (0s) 58 (30s) |
| Flood Low | 30 | 4h | 22 |
| Flood Eco | 5 | 25h | 4.3 |
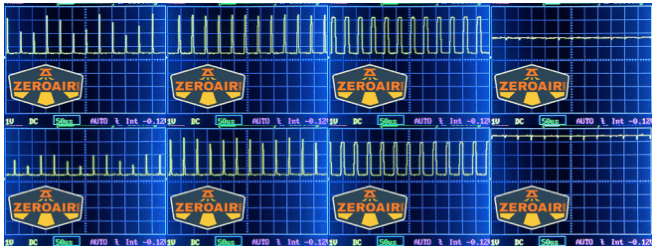
Pulse Width Modulation
PWM is about the same for spot or flood, and all of the lower modes have it.
Click here to see a “baseline” – a chart with almost no light hitting the sensor.
Then there’s the Ultrafire WF-602C flashlight, which has some of the worst PWM I’ve seen. It’s so bad that I used a post about it to explain PWM! Here are multiple timescales (10ms, 5ms, 2ms, 1ms, 0.5ms, 0.2ms) to make comparing this “worst” PWM light to the test light easier. That post also explains why I didn’t test the WF-602C at the usual 50us scale.
User Interface and Operation
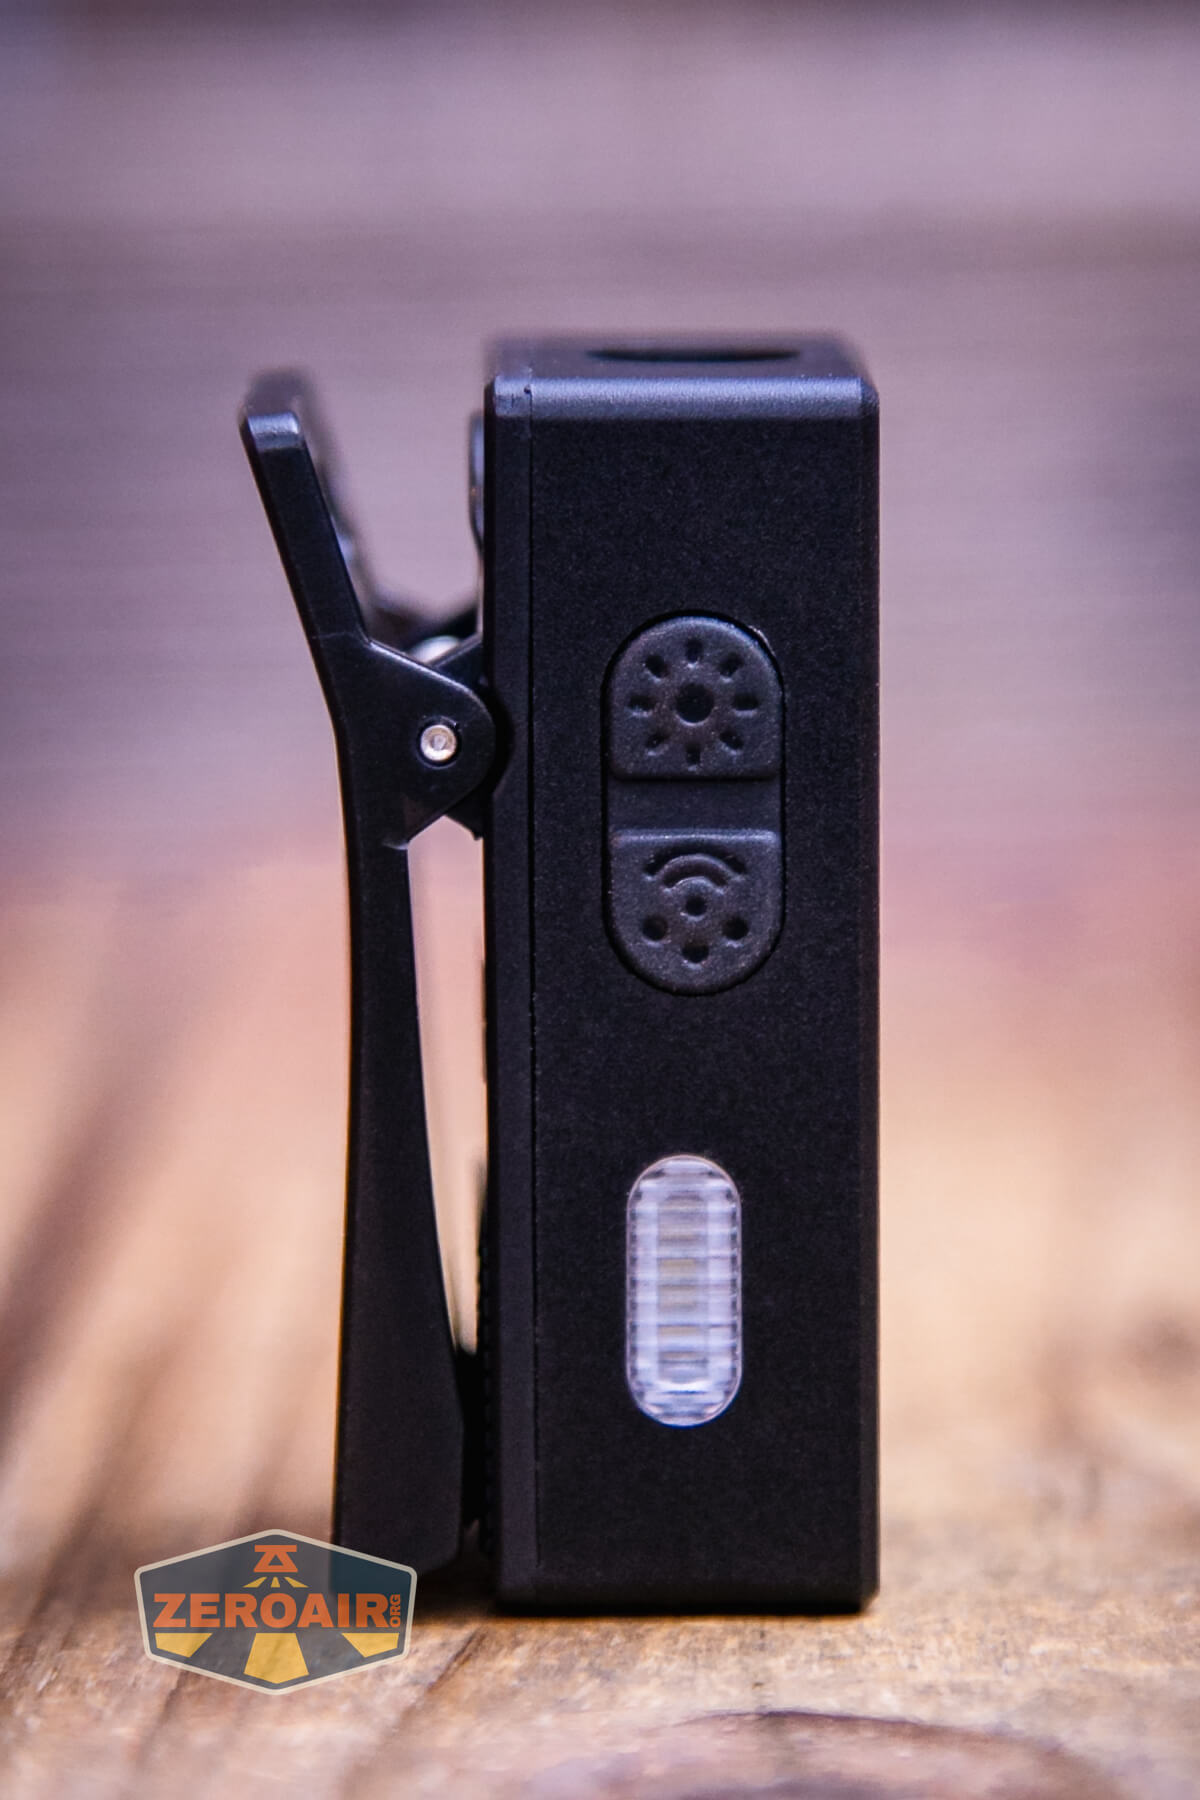
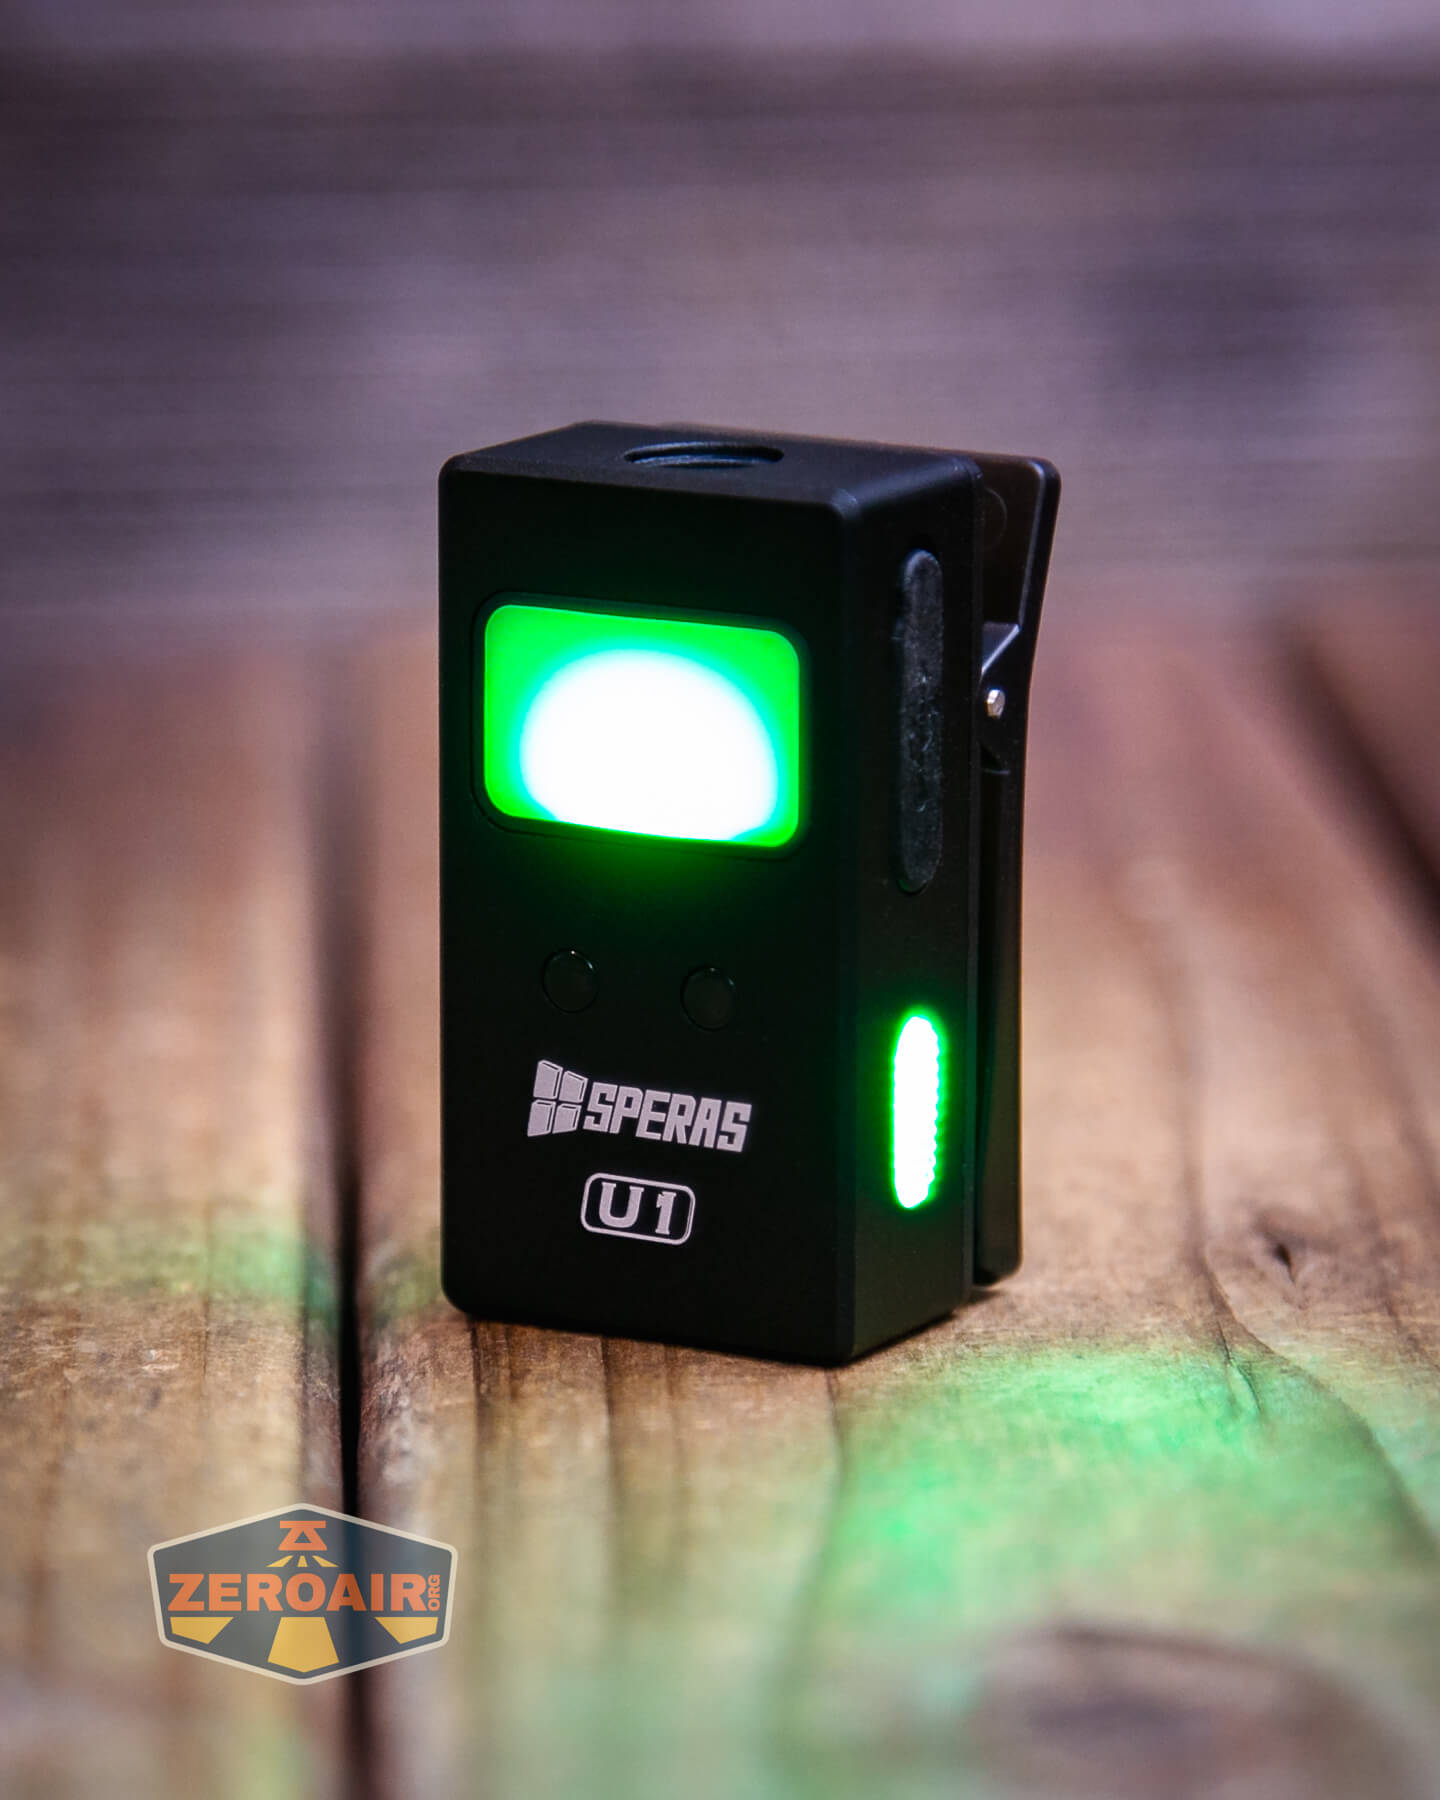
The Speras U1 multi-function clip light features two e-switches. Below, the top switch is the white light button, the lower switch is the RGB button, and between those two is a LED indicator.
Here’s a user interface table!
| State | Action | Result |
|---|---|---|
| Off | Click White LED Button | On – mode memory |
| Off | Double Click White LED Button | Iterate between Flood/Spot |
| Off | Hold White LED Button | Eco |
| On | Hold White LED Button | Mode advance (LMH) |
| On | Click White LED Button | Off |
| Off | Hold RGB Button | On in next color and same pattern |
| RGB On | Click RGB Button | Off |
| Off | Click RGB Button | On in previous color and pattern |
| Off | Double click RGB Button | On in previous color and next pattern |
| RGB On | Hold RGB Button | Advances color in current pattern |
| RGB On | Double click RGB Button | Iterates Pattern 1 and Pattern 2 in current color |
| RGB On | Triple click RGB Button | Pattern 3 in current color |
| RGB On Pattern 3 | Double click RGB Button | Pattern 1 in current color |
| Off | 4x click either button | Lockout |
| Lockout | 4x click either button | Unlock to mode memory (depending on button, RGB or white) |
| White on | Hold RGB button | Turn on sensor (same action to turn off sensor). When you turn the sensor on, the indicator LED between the switches turns red momentarily. |
| RGB on | Hold White LED button | Turn on sensor (same action to turn off sensor). When you turn the sensor on, the indicator LED between the switches turns red momentarily. |
| Sensor on | Turn off light | Sensor off |
The sensor just turns the light on and off – I don’t believe you can switch modes with the sensor. That’s fine by me, because it keeps the functionality simple!
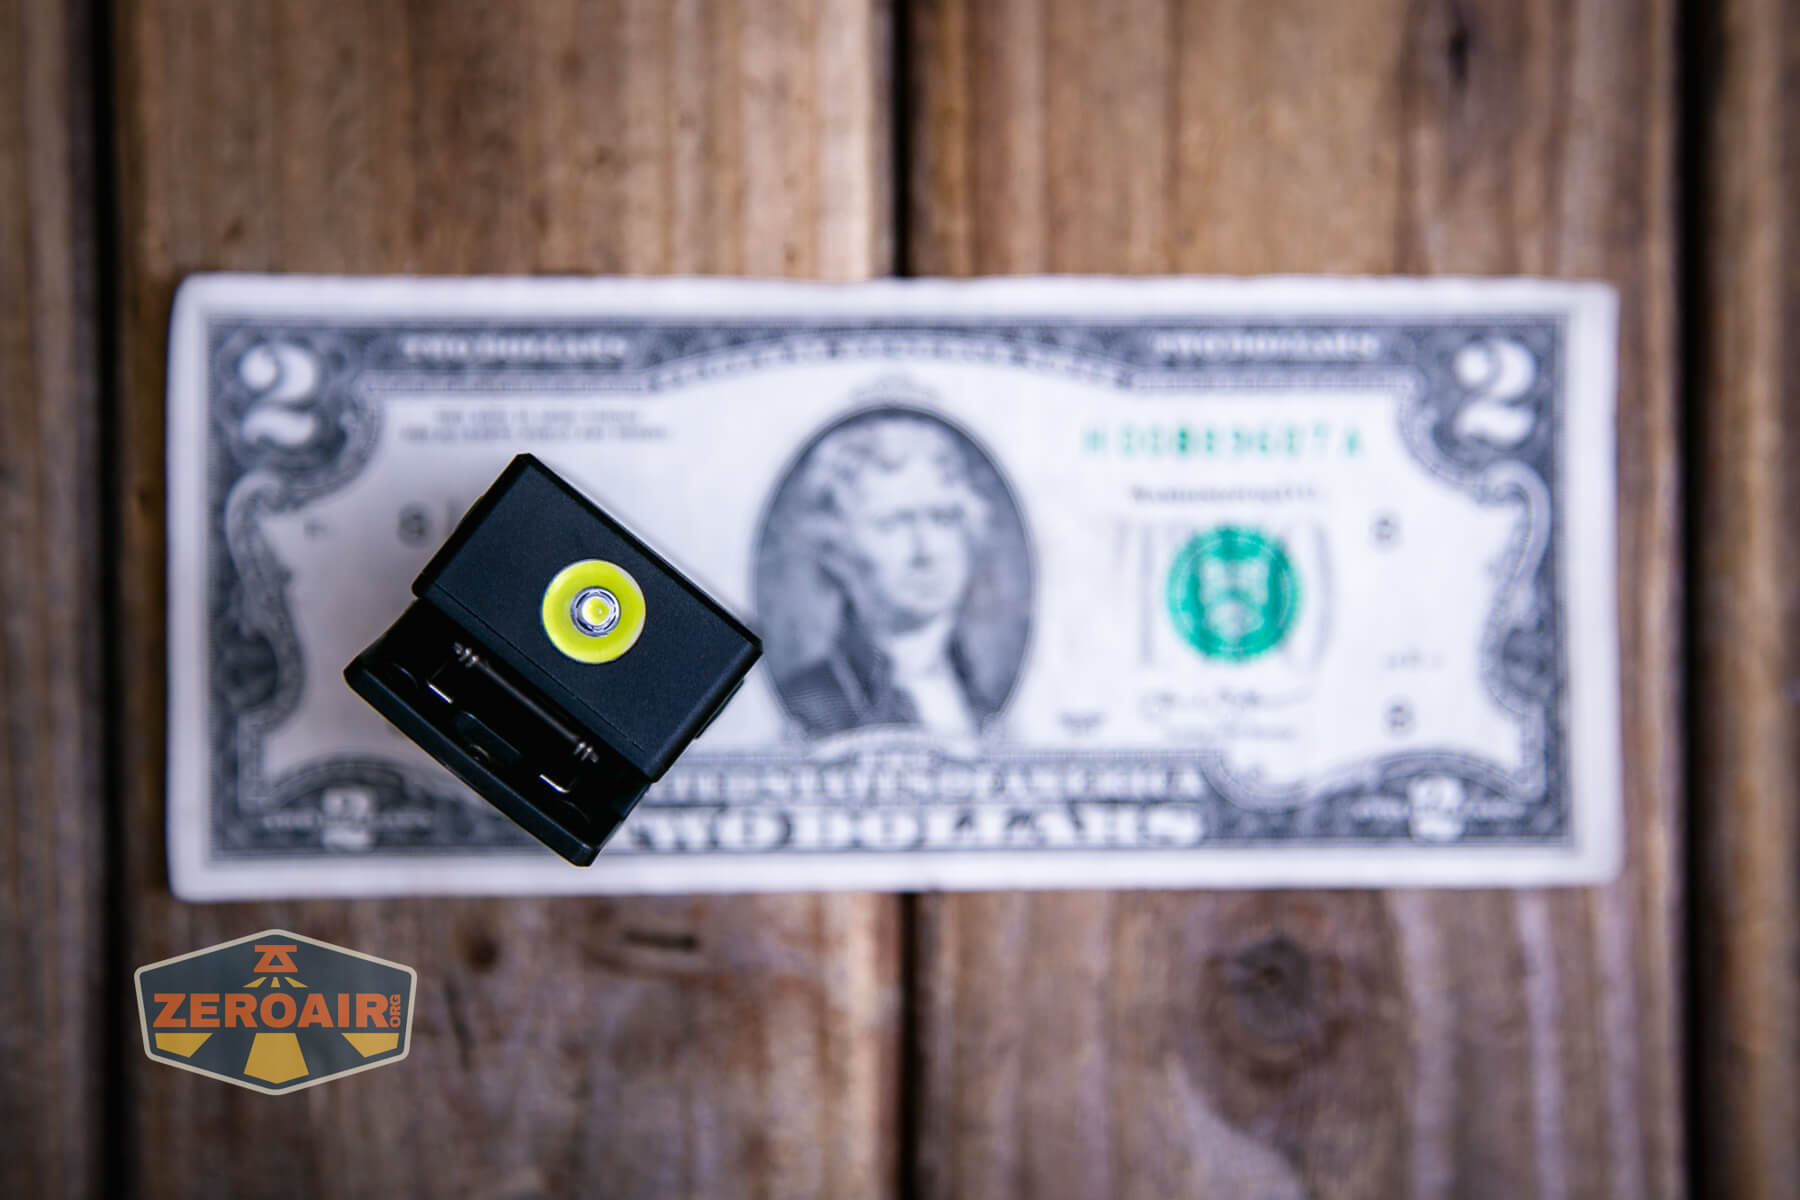
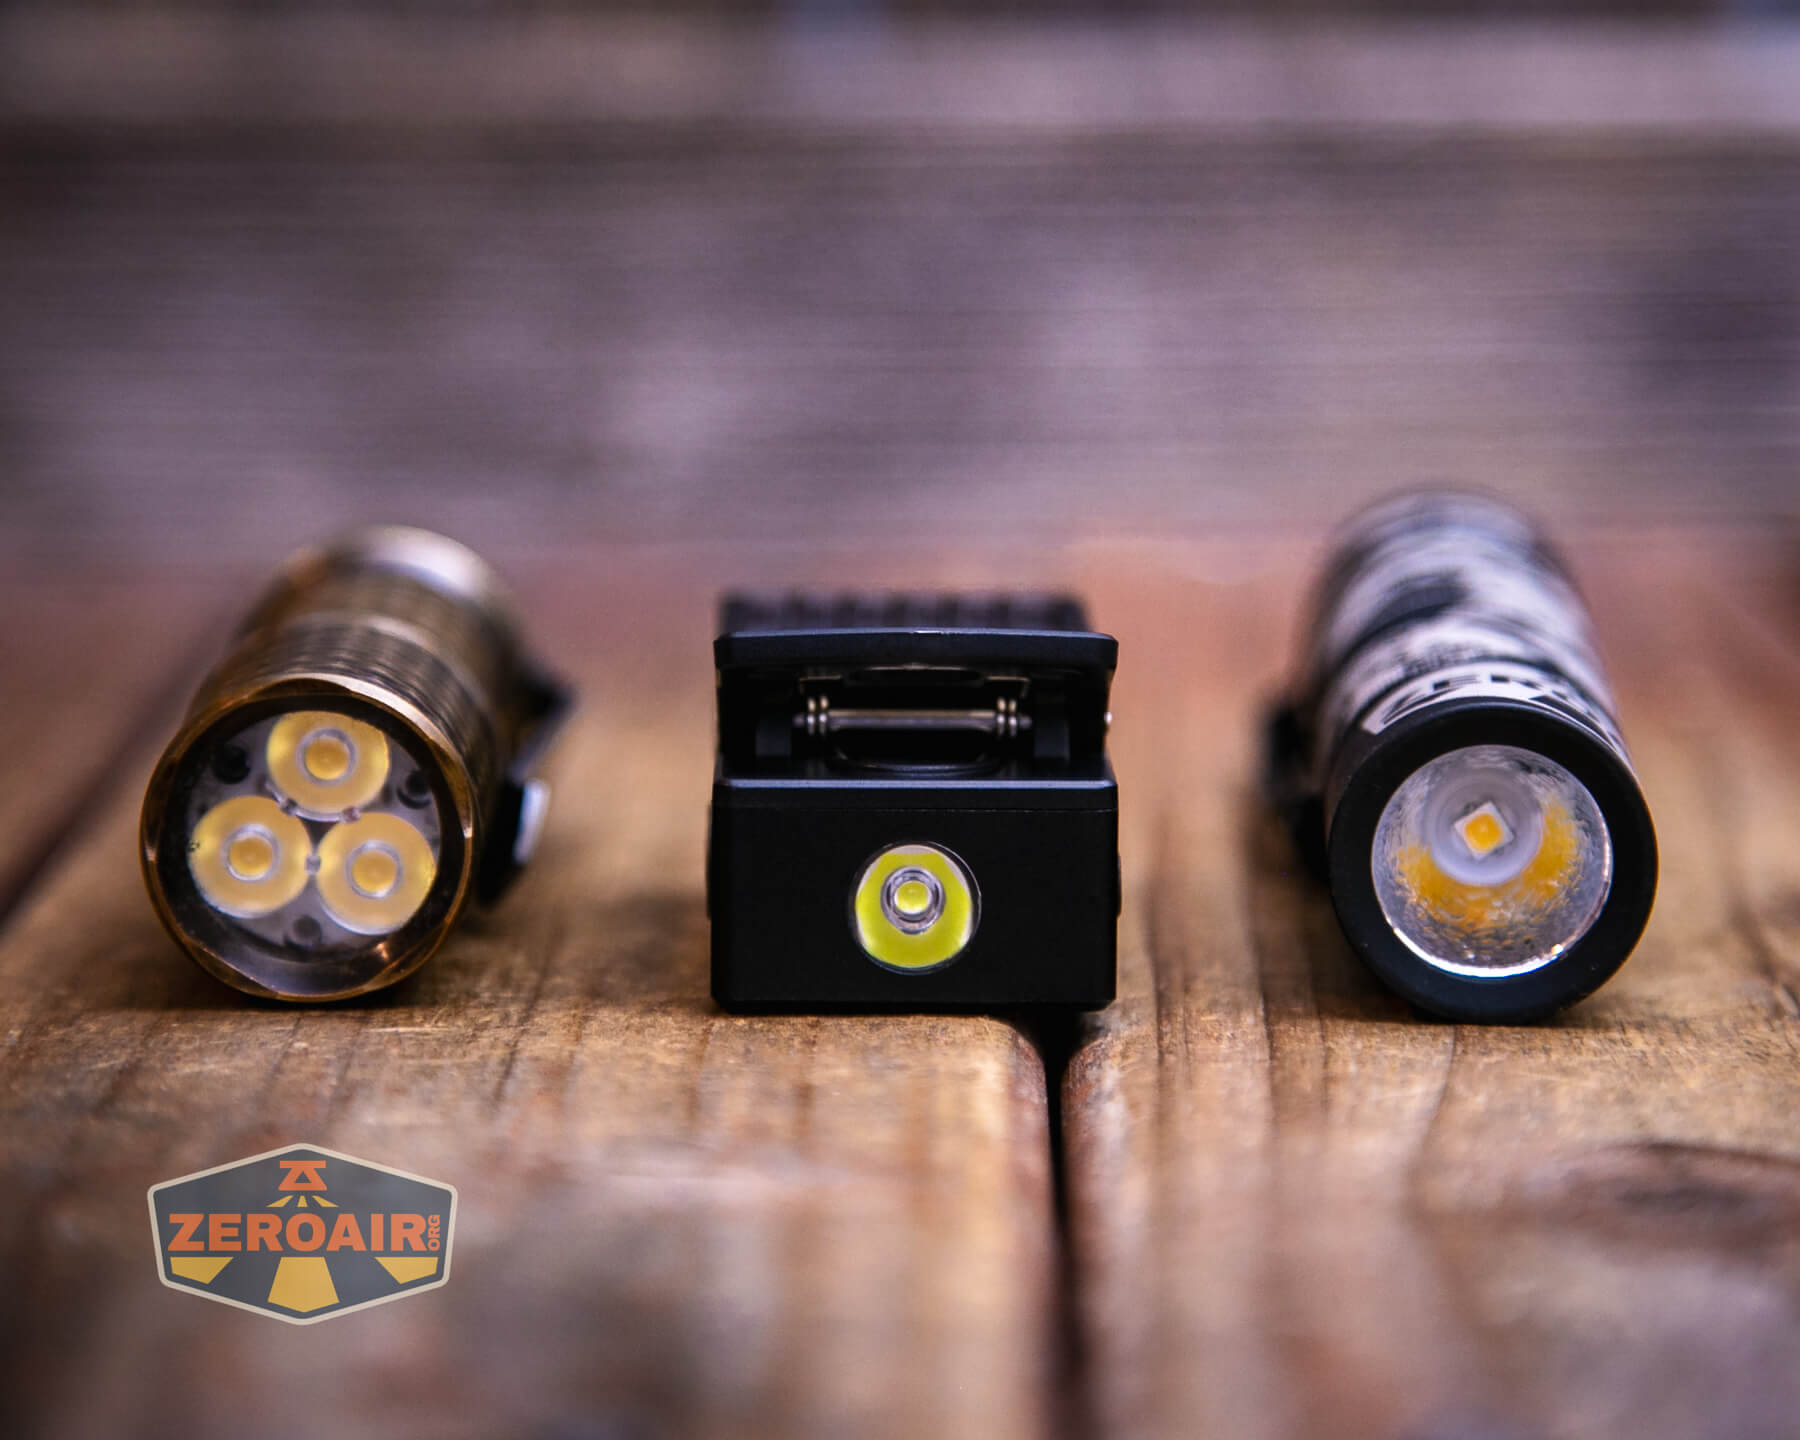
LED and Beam
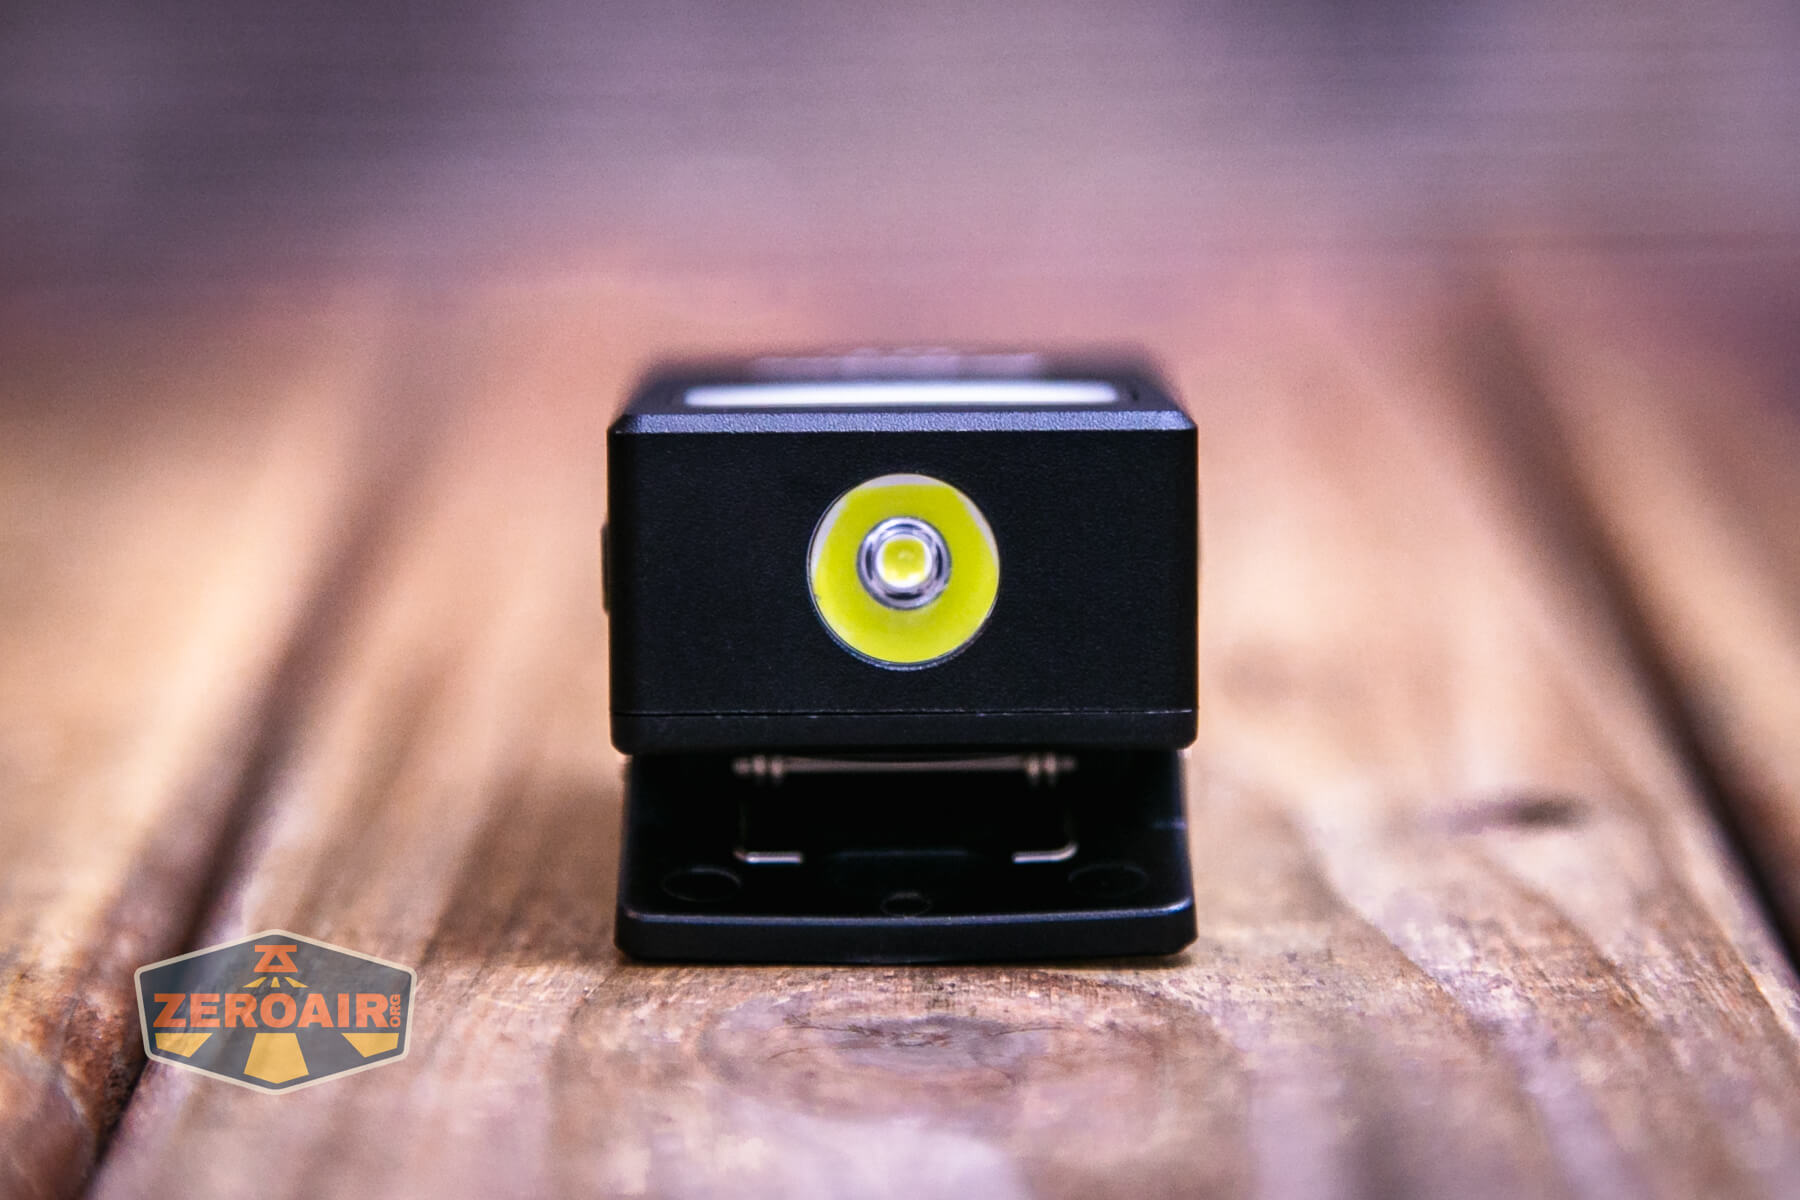
Speras doesn’t tell us what these emitters are. The spot emitter can be seen first below. It has a tiny TIR optic.
The flood emitter is this side panel.
The flood option is very floody!

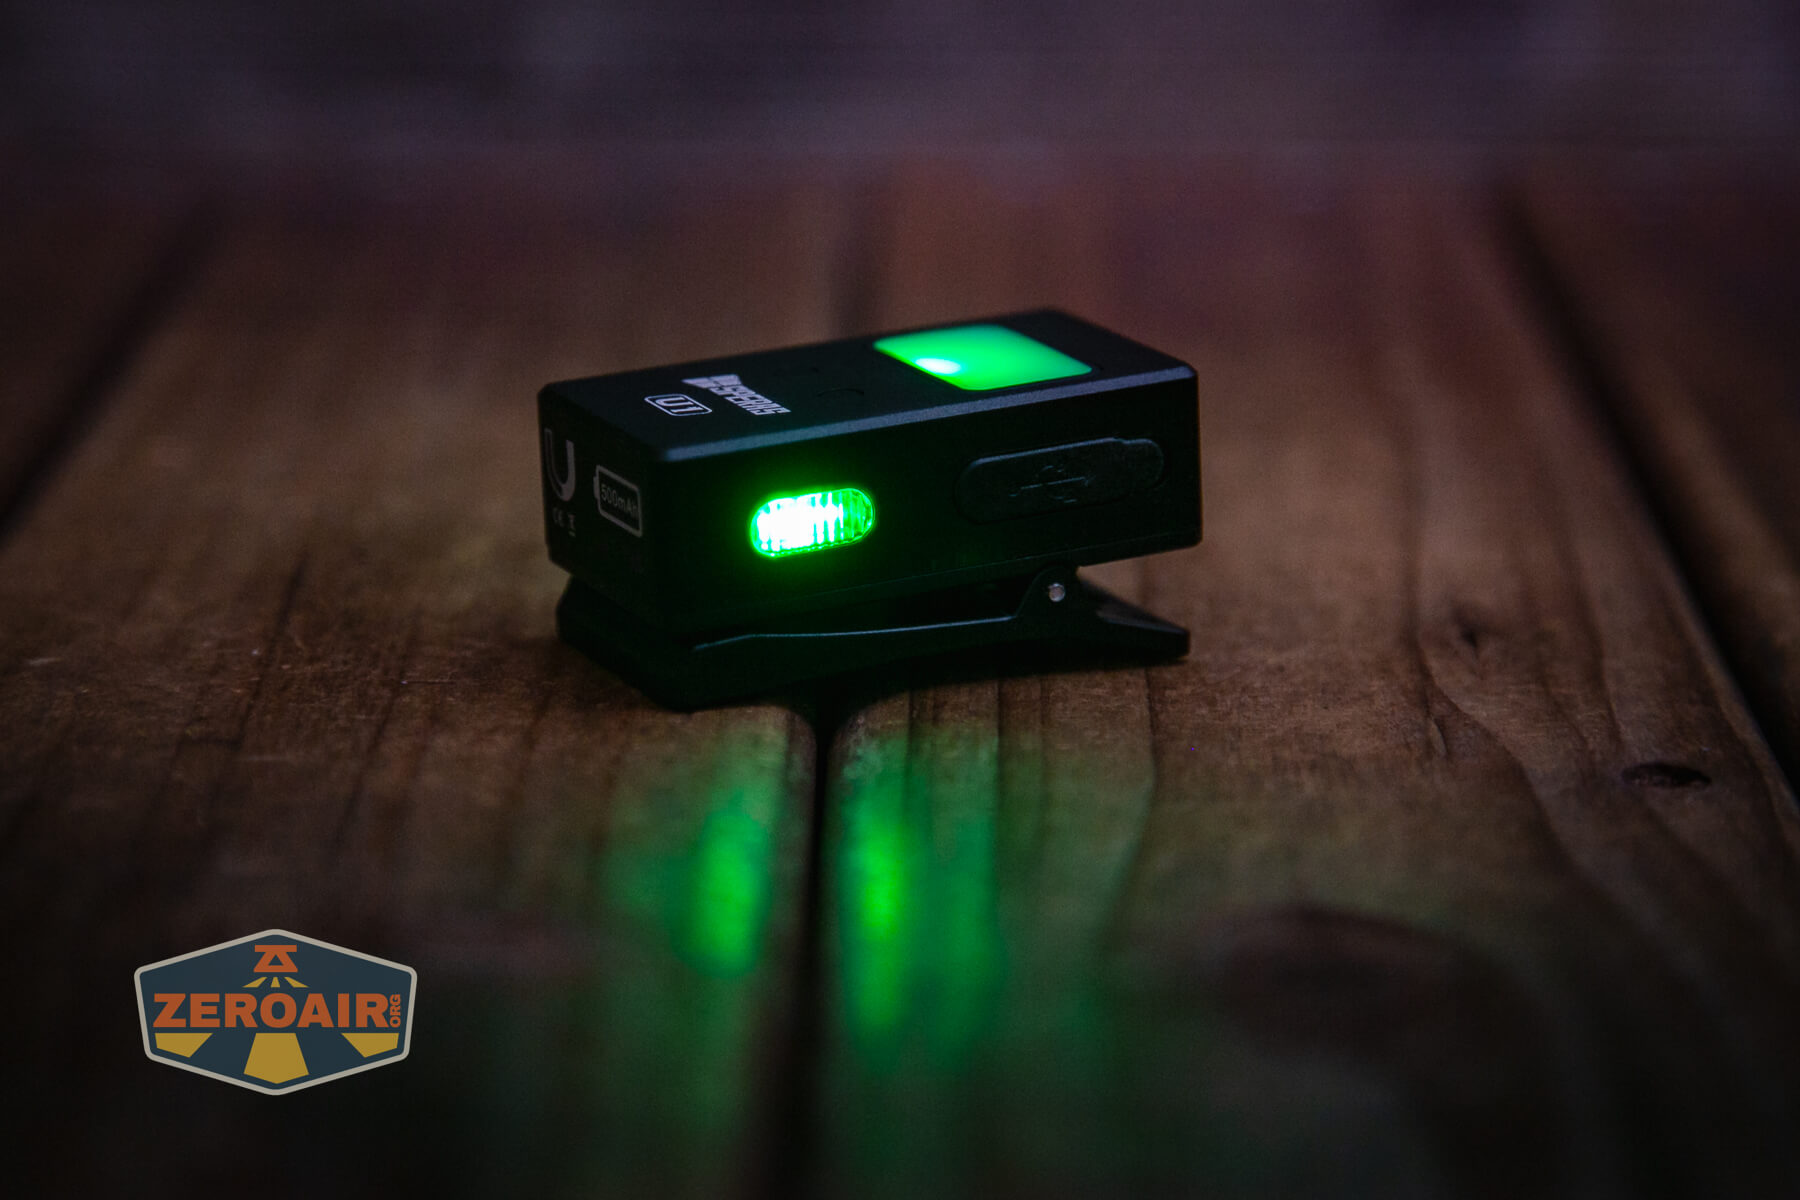
The RGB options also use the front panel that the white flood uses, but there are side RGB emitters, too. Each side has a small RGB. They’re in concert with the bigger emitter – so if it’s blue, they’ll be blue, too.


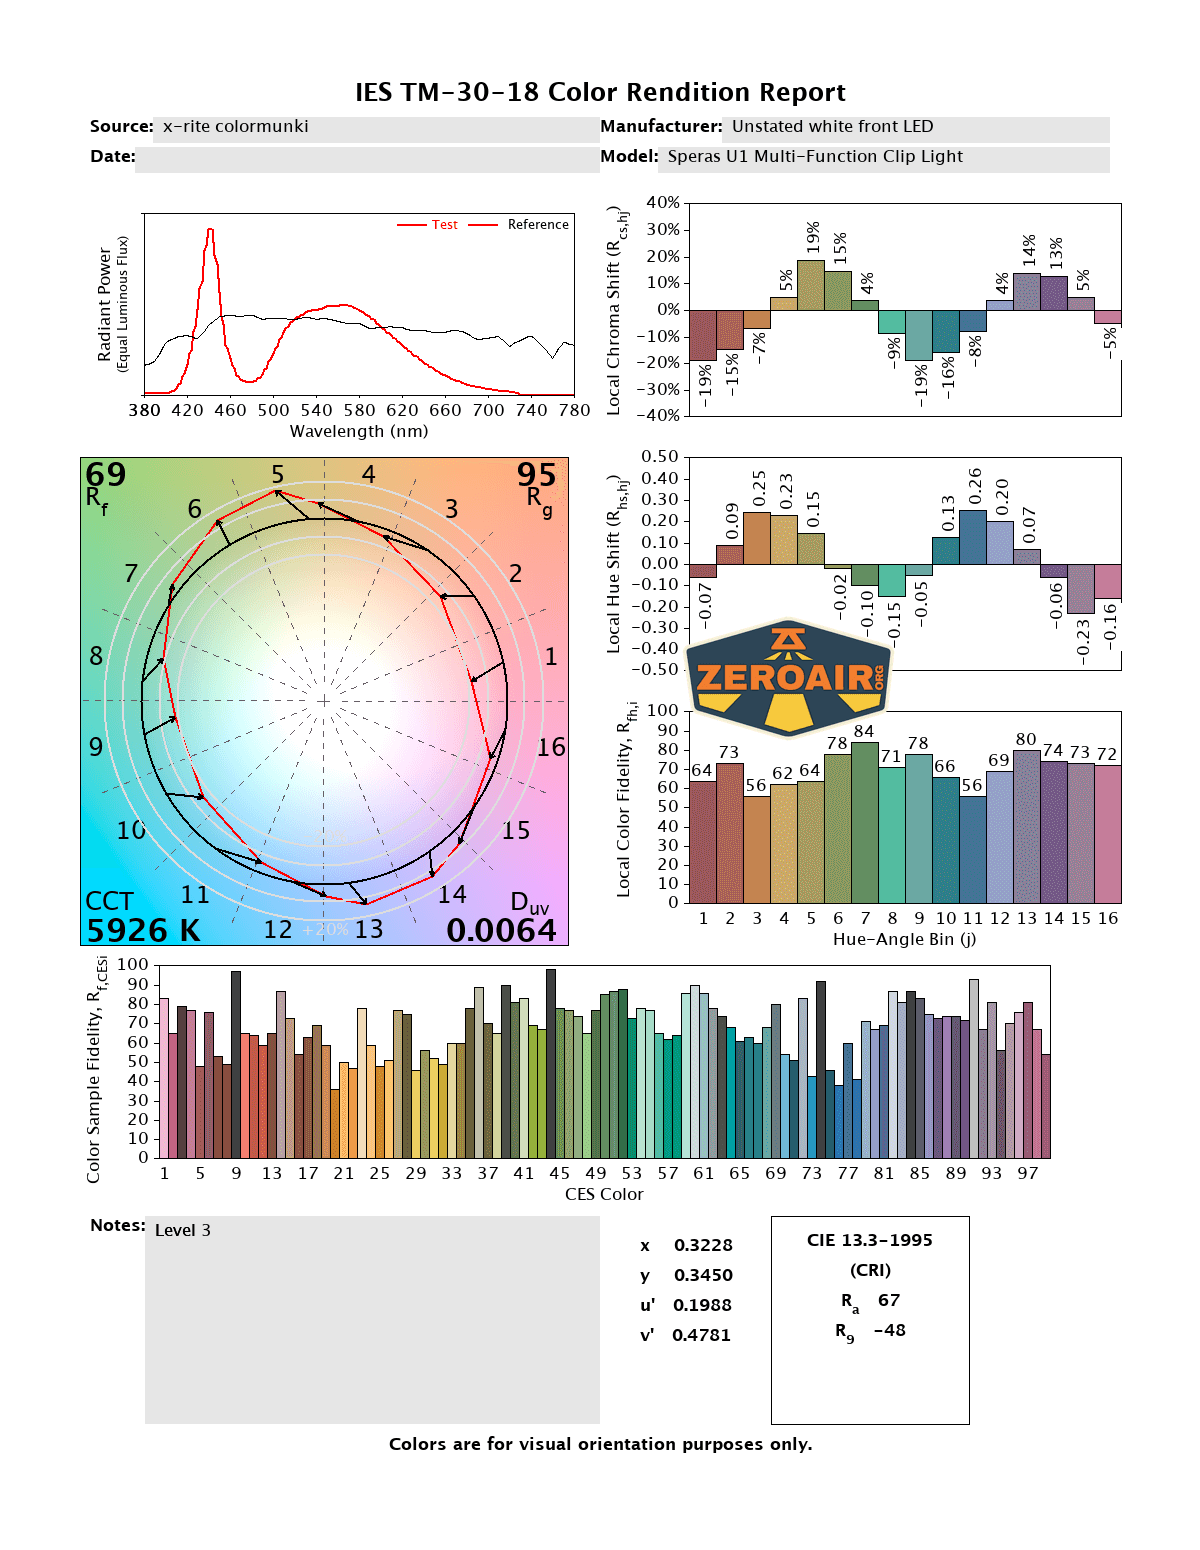
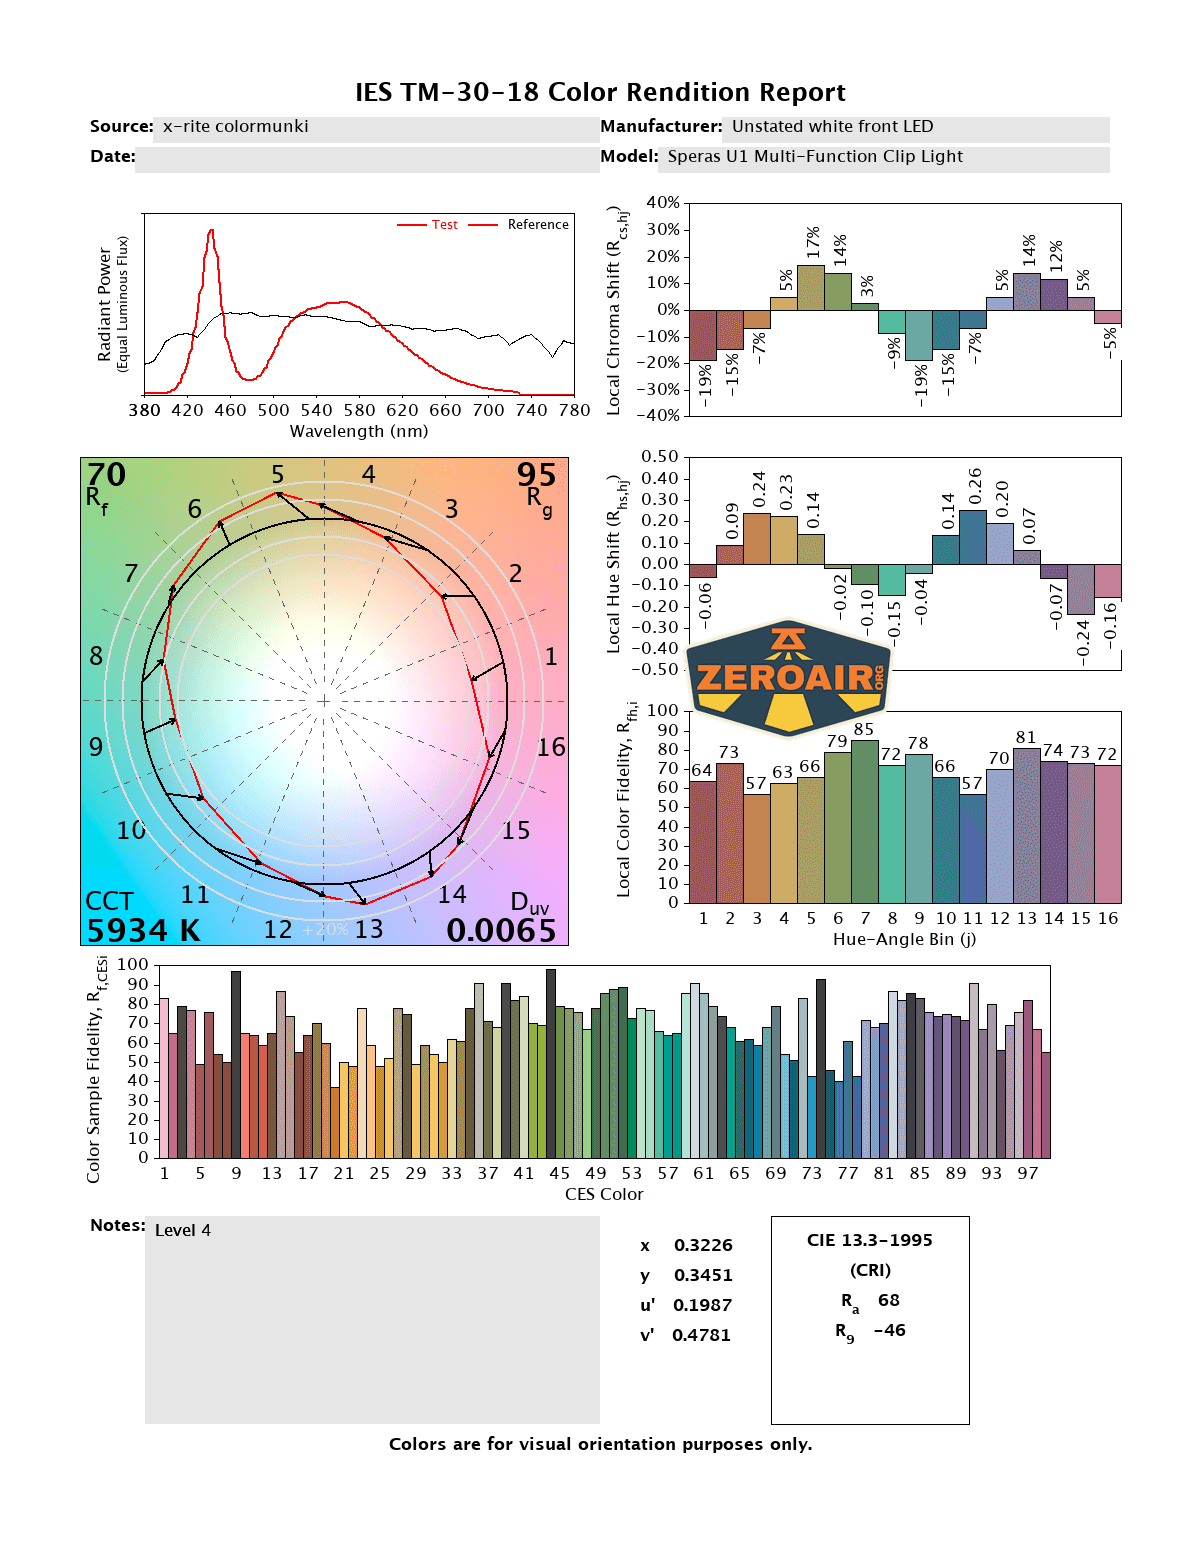
LED Color Report (CRI and CCT)
All the emitters (spot and flood) are neutral to cool white, and they’re both low CRI, too. So the advantage of having both is that one is more of a spot emitter, and one is very floody.
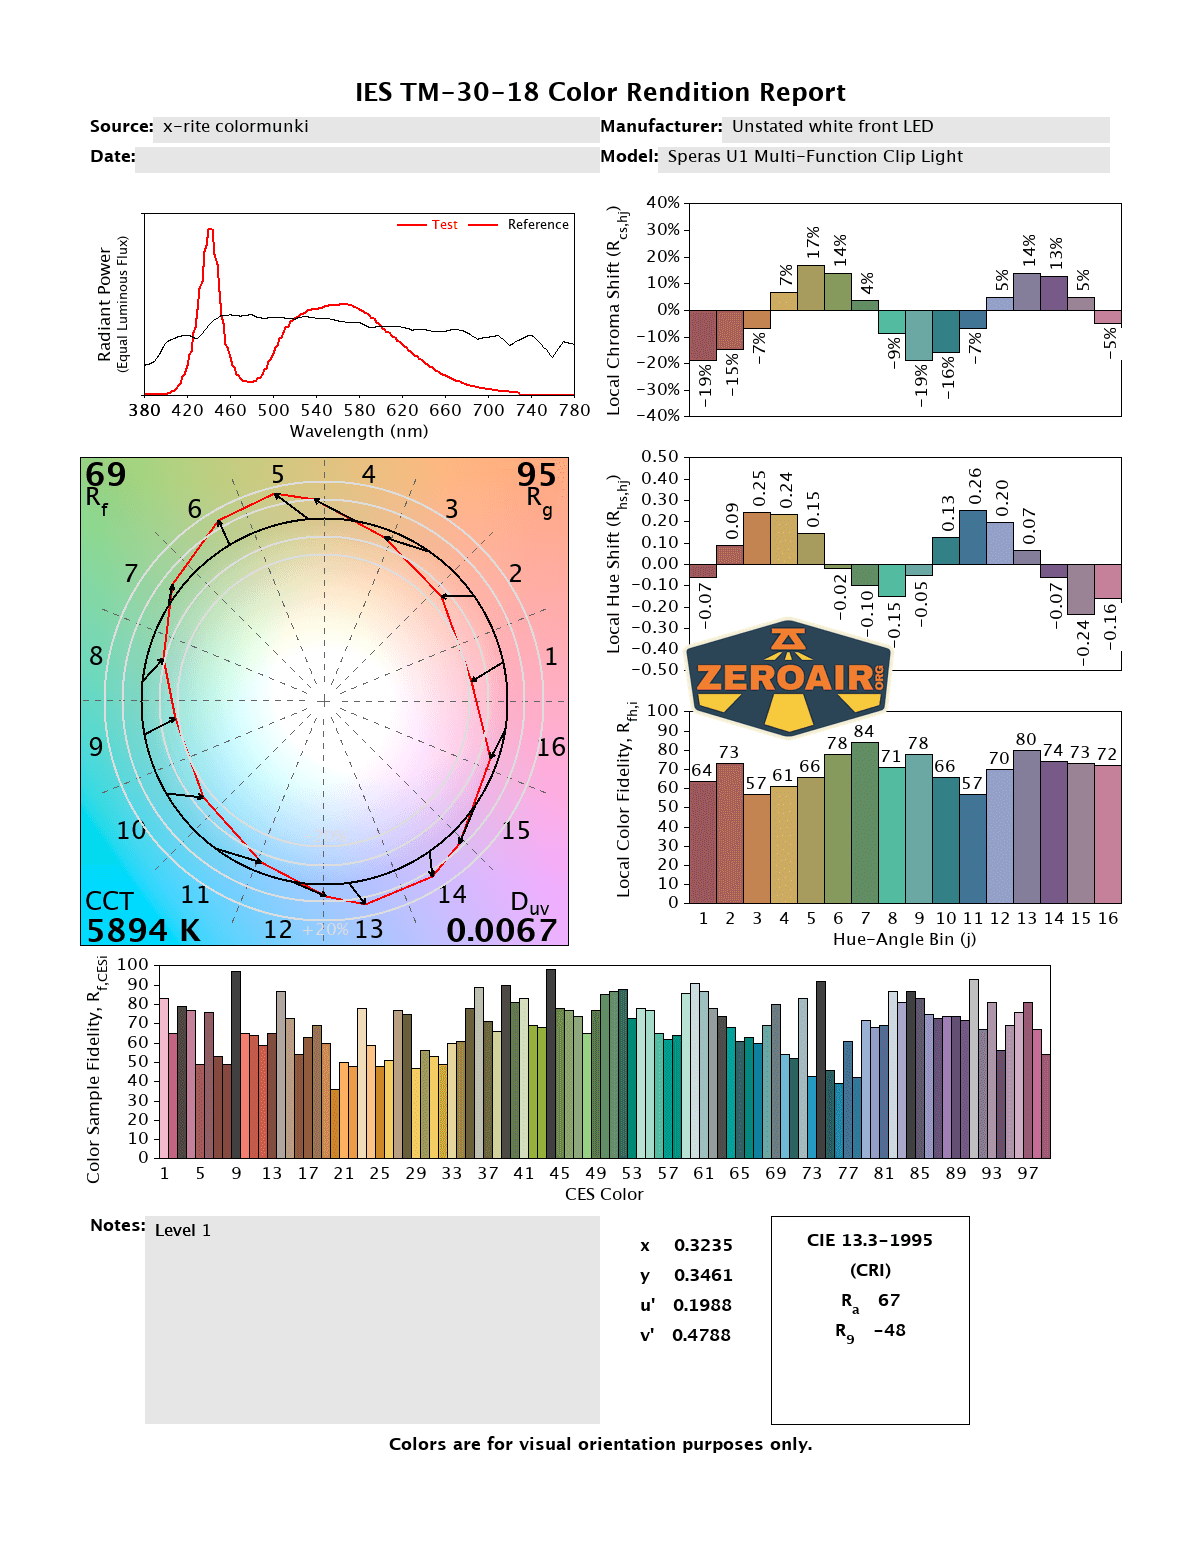


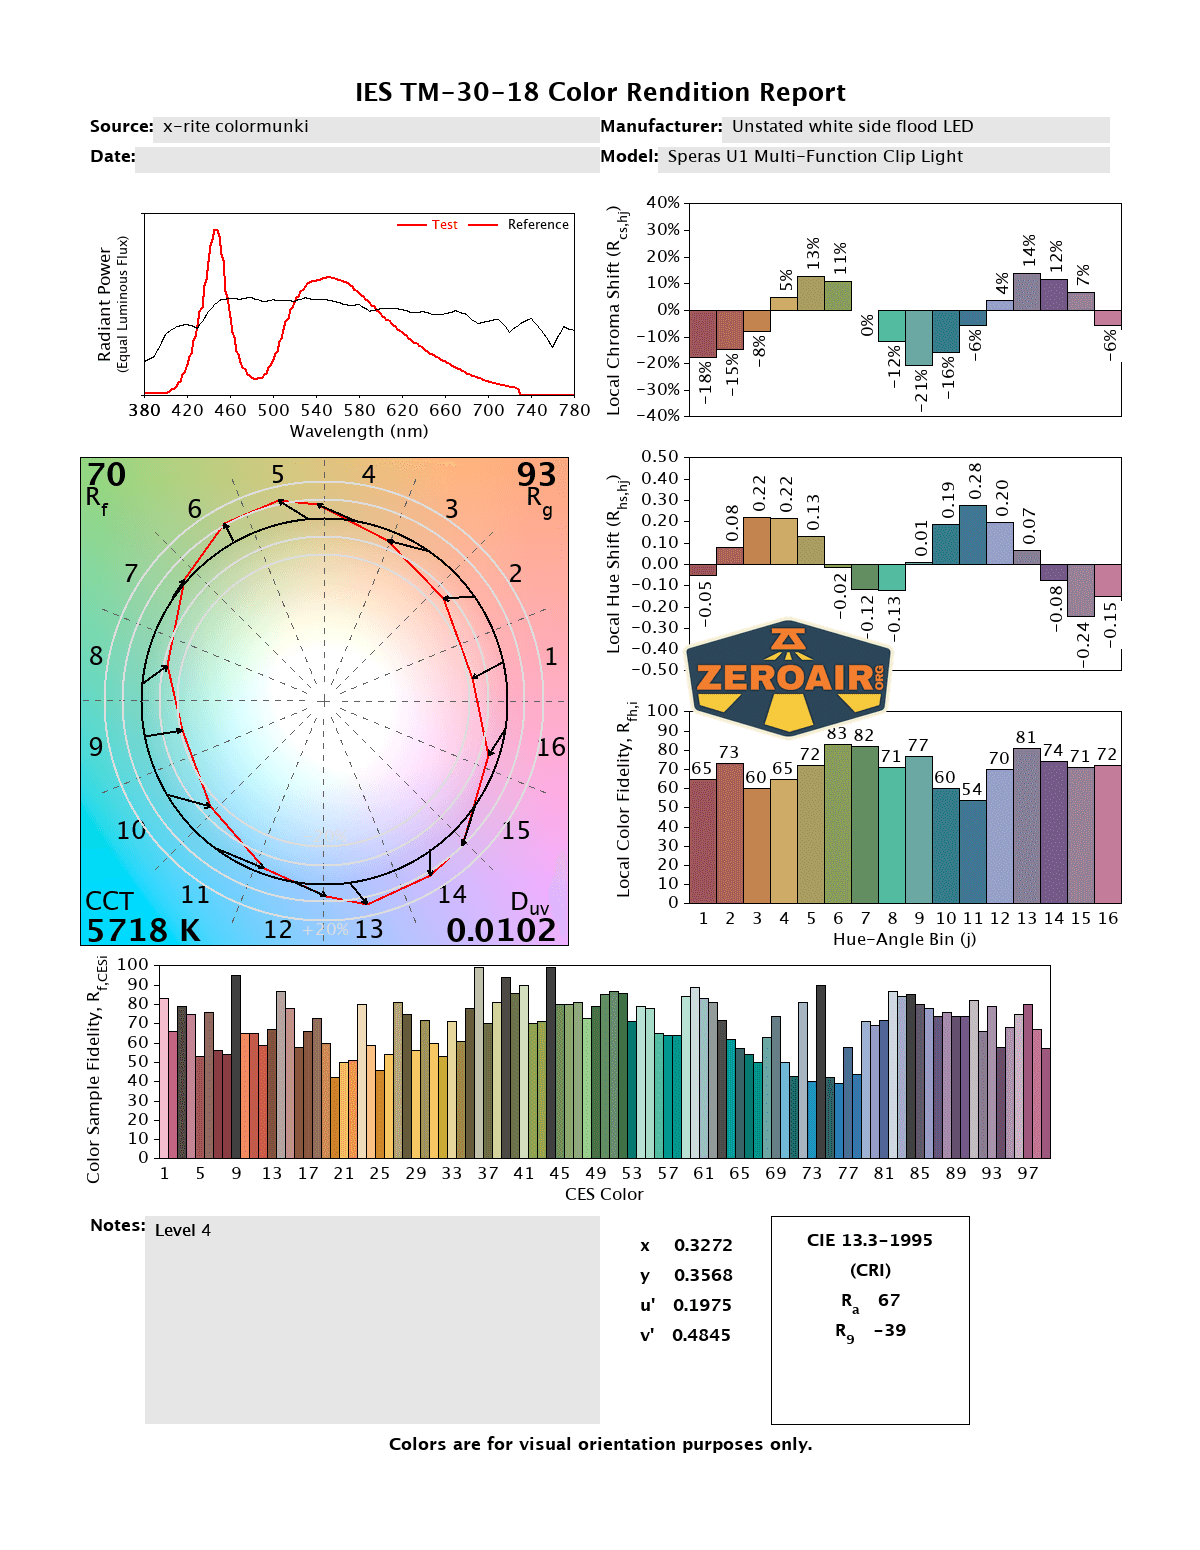
CCT (Correlated Color Temperature) refers to the measurement of the color appearance of light, expressed in Kelvins (K), which indicates whether the light is warm (yellowish) or cool (bluish). A lower CCT (below 3000K) is considered warm light, while a higher CCT (above 5000K) gives cooler, bluish light.
CRI (Color Rendering Index) is a measure of how accurately a light source renders colors in comparison to natural sunlight. Scored on a scale from 0 to 100, higher CRI values indicate that colors appear more true to life and vibrant, similar to how they would look under the sun.
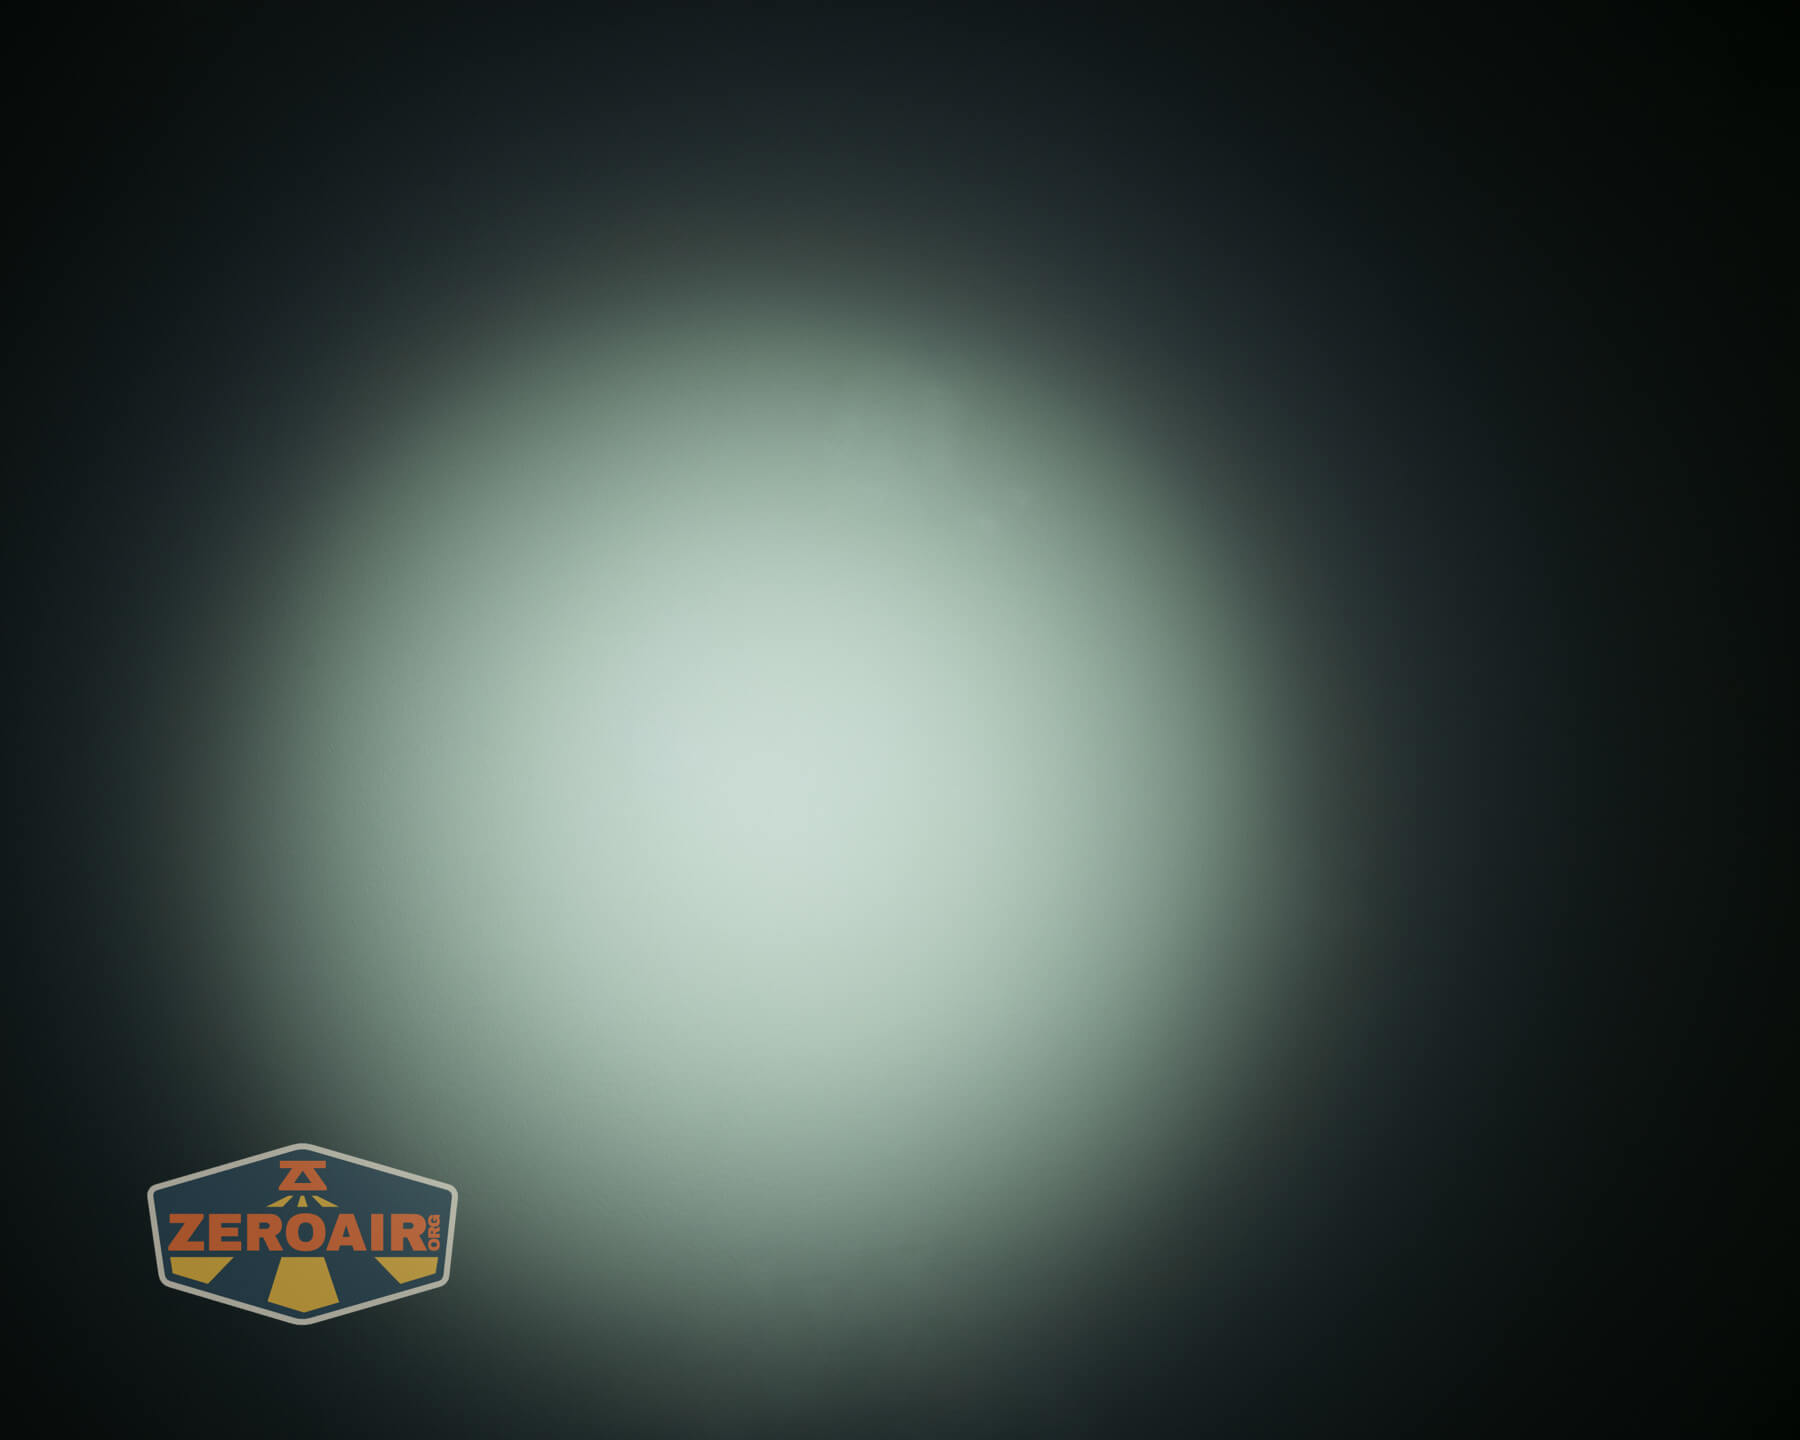
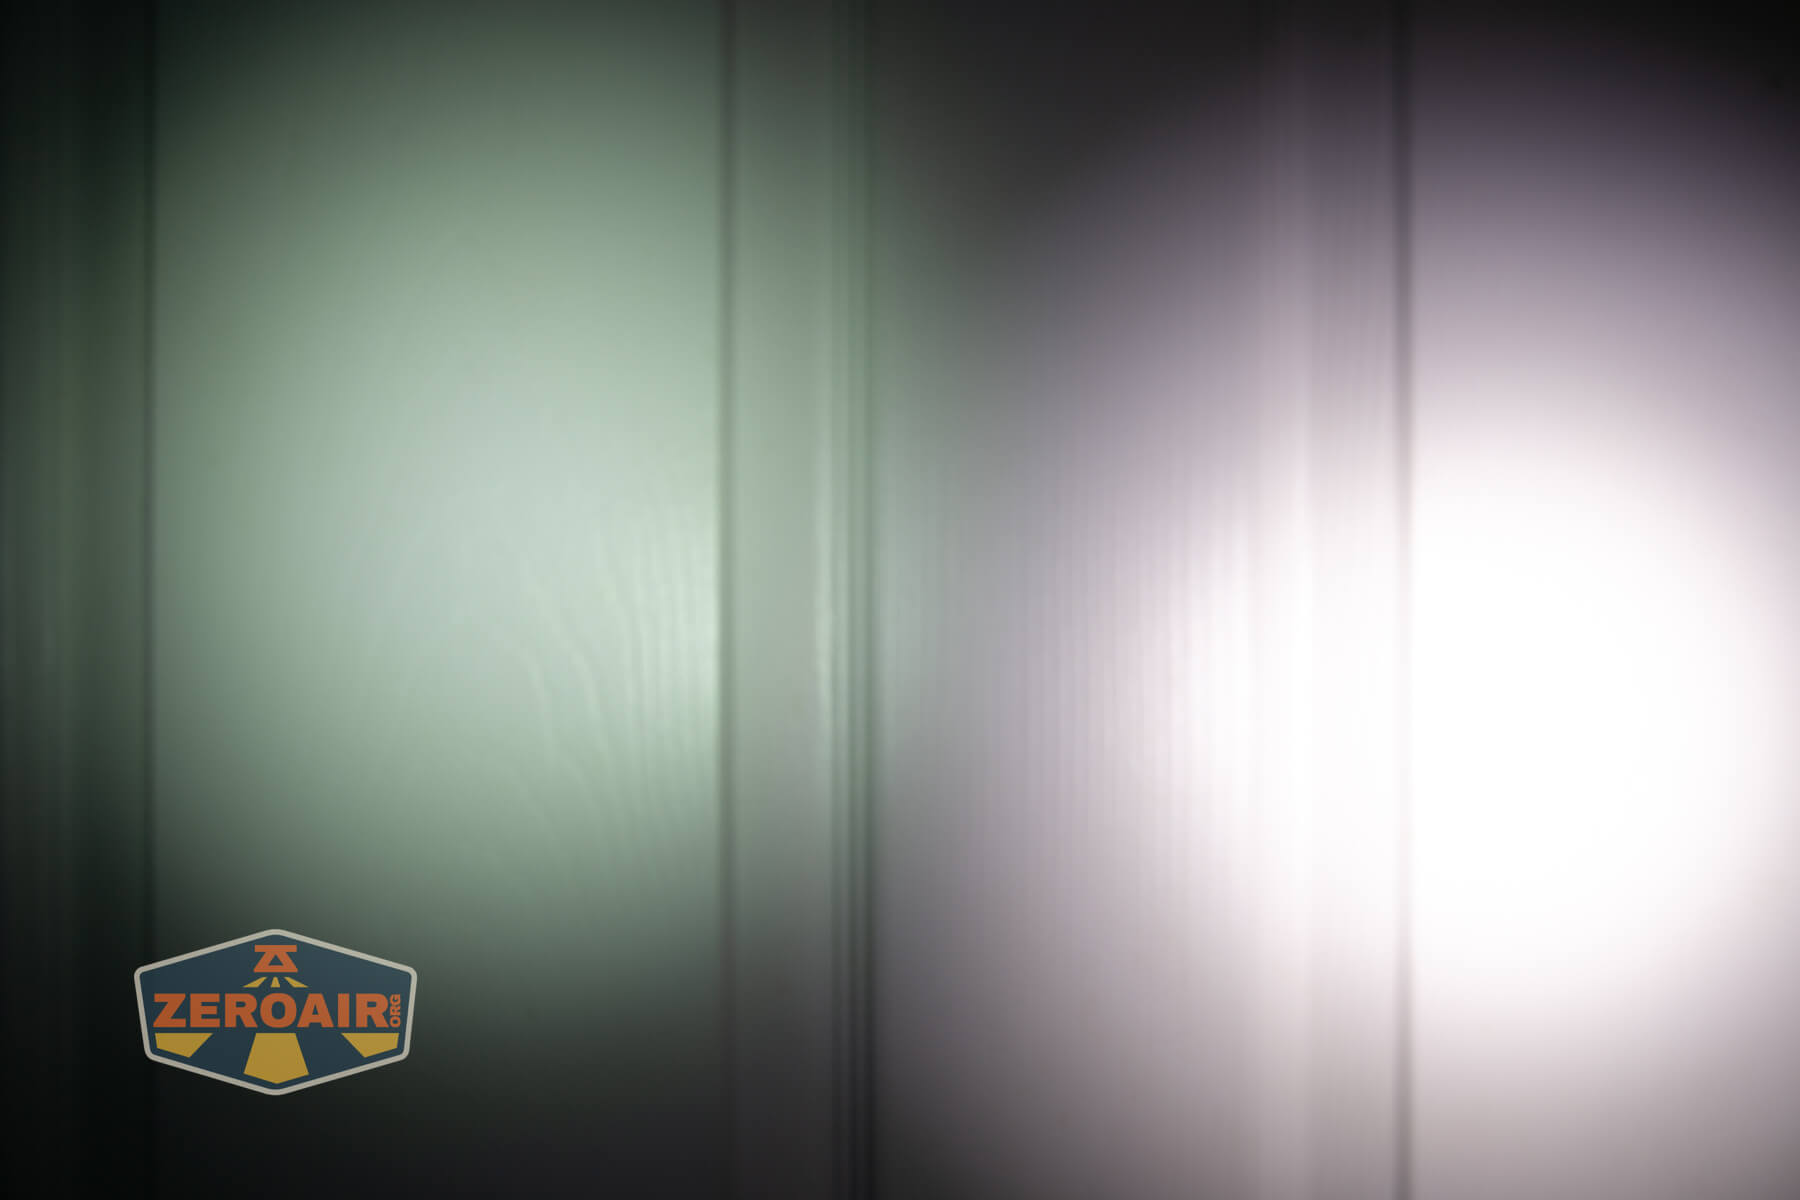
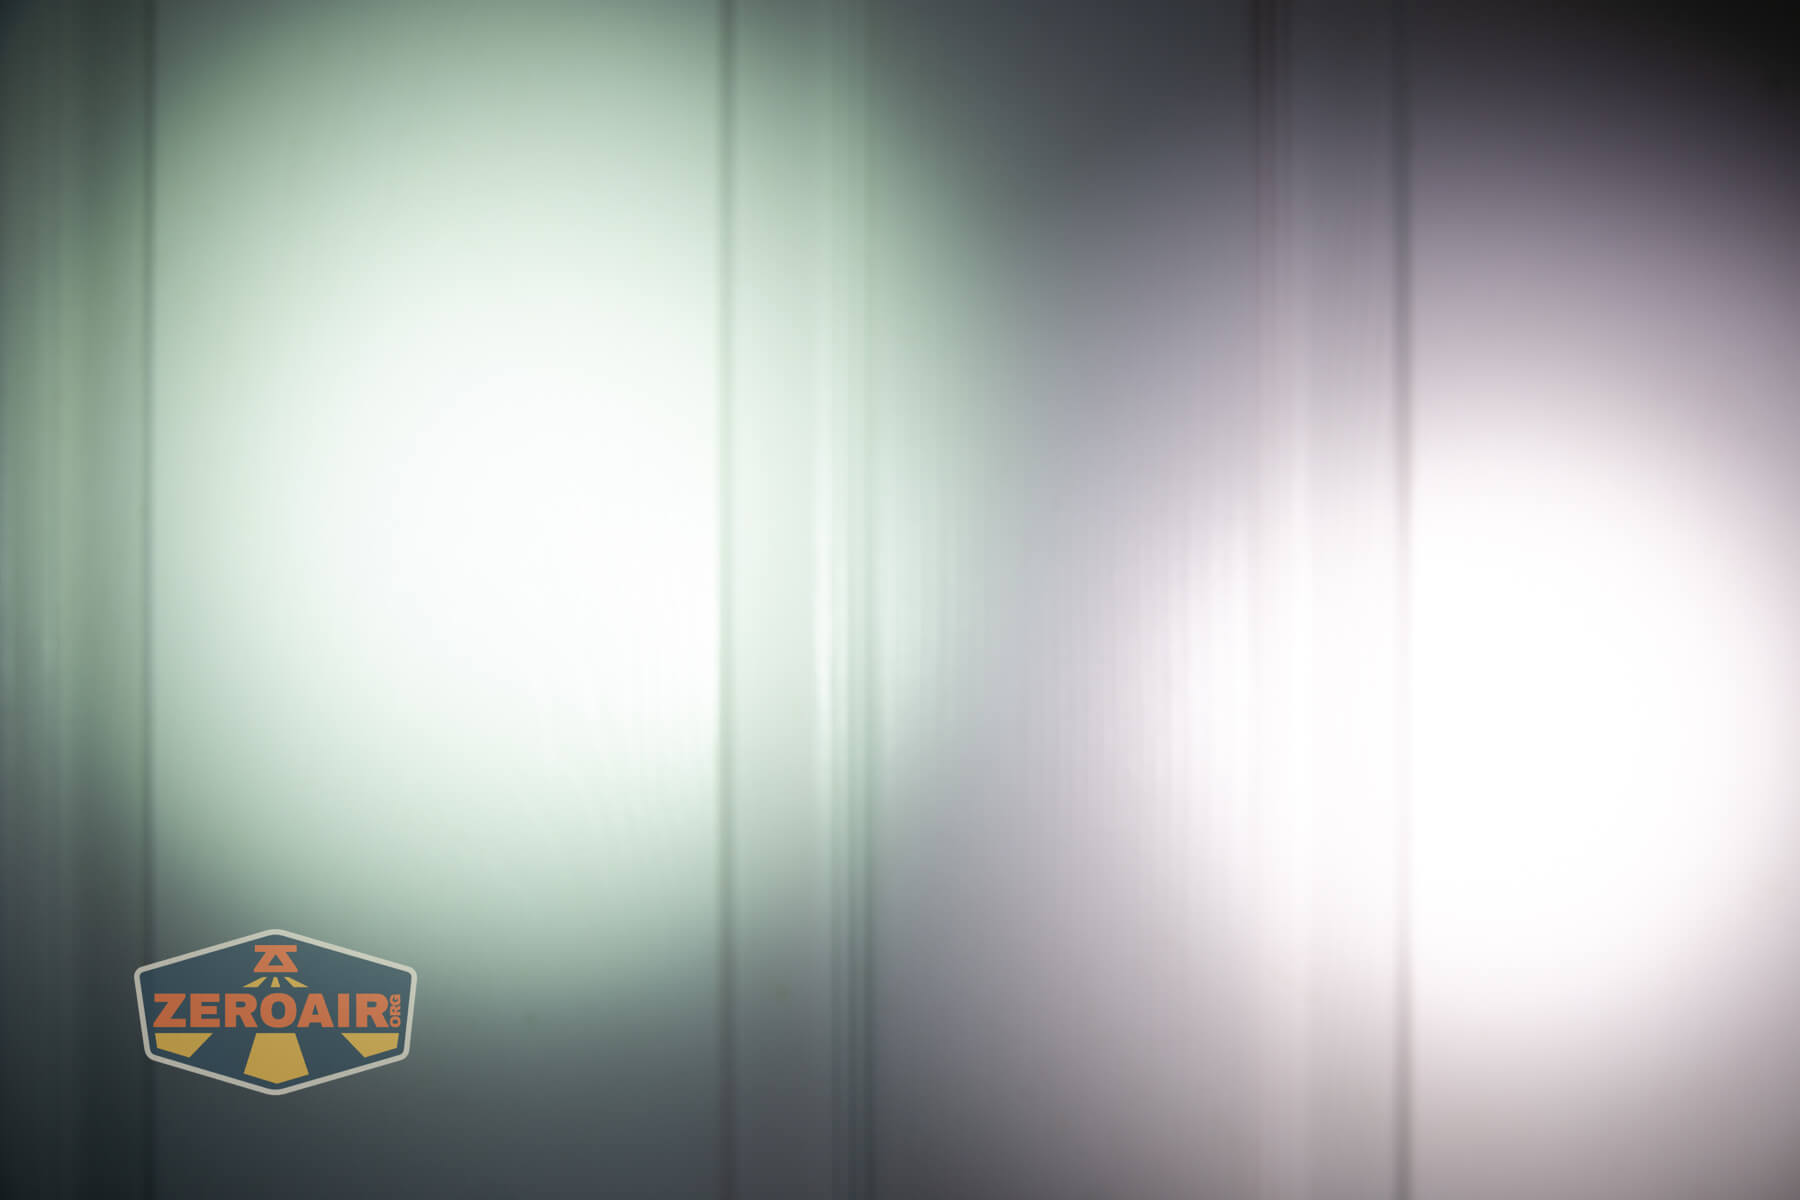
Beamshots
These beamshots always have the following settings: f8, ISO100, 0.3s shutter, and manual 5000K exposure. These photos are taken at floor level, and the beam hits the ceiling around 9 feet away.


Tint vs BLF-348 (KillzoneFlashlights.com 219b version) (affiliate link)
I keep the test flashlight on the left and the BLF-348 reference flashlight on the right. These photos are taken around 18 inches from the door.

I compare everything to the KillzoneFlashlights.com 219b BLF-348 because it’s inexpensive and has the best tint!
Summary and Conclusion
The Speras U1 multi-function clip light is a neat entry into the burgeoning field of clip lights. The sensor is interesting, and implemented in a way that I (surprisingly?) do not hate. All the RGB options are fun but not anything I need. Charging works fine, and the spot beam is quite spotty – useful as a “real” flashlight and more than a clip light.
The Big Table
| Speras U1 multi-function clip light | |
|---|---|
| Emitter: | Unstated white (Spot) Unstated white (Flood) |
| Price in USD at publication time: | $35.99 |
| Cell: | Internal |
| Runtime Graphs | |
| LVP? | Probably |
| Switch Type: | E-Switch |
| Quiescent Current (mA): | ? |
| On-Board Charging? | Yes |
| Charge Port Type: | USB-C |
| Charge Graph | |
| Power off Charge Port | All modes |
| Claimed Lumens (lm) | Spot: 500 Flood: 300 |
| Measured Lumens (at 30s) | Spot: 423 (84.6% of claim)^ Flood: 145 (48.3% of claim)^ |
| Candela per Lumen | Spot: 5.3 Flood: 0.6 |
| Claimed Throw (m) | Spot: 75 Flood: 22 |
| Candela (Calculated) in cd (at 30s) | Spot: 84lux @ 4.891m = 2009cd Flood: – |
| Throw (Calculated) (m) | Spot: 89.7 (119.6% of claim)^ Flood: – |
| Claimed CCT | Spot: – Flood: – |
| Measured CCT Range (K) | Spot: 5900 Kelvin Flood: 5700 Kelvin |
| Item provided for review by: | Speras |
| All my Speras reviews! | |
^ Measurement disclaimer: Testing flashlights is my hobby. I use hobbyist-level equipment for testing, including some I made myself. Try not to get buried in the details of manufacturer specifications versus measurements recorded here; A certain amount of difference (say, 10 or 15%) is perfectly reasonable.
What I like
- RGB is fun
- Charging is consistent
- The sensor isn’t overly complicated
- Fairly high output spot
- Spot has useful beam shape (not “keychainy”)
What I don’t like
- There’s just a lot going on with the user interface
Notes
- This content originally appeared at zeroair.org. Please visit there for the best experience!
- Please use my Amazon.com referral link to help support zeroair.org!
- Please support me on Patreon! I deeply appreciate your support!