Skilhunt H03 Headlamp Review
The Skilhunt H03 headlamp offers a neutral white output from the Cree XM-L2 emitter, and runs on a single 18650 cell. Read on!
Official Specs
Here’s a link to the Skilhunt H03 Headlamp product page.
| Part | Info |
|---|---|
| LED | CREE XM-L2 U4 |
| Max output | ANSI 1000 Lumens / 1200 LED Lumens |
| Max runtime | Few months |
| Max beam distance | 123 meters |
| Max peak beam intensity | 3800cd |
| Waterproof | IPX-8 |
| Impact resistant | 1 Meter |
| Battery | 1×18650 , 2x CR123A , 2x RCR123A |
| Rated Range | 2.7V ~ 8.4V |
| Length | 99.9mm / 3.93 inch |
| Head diameter | 23.5mm / 0.93 inch |
| Body diameter | 21.6mm/0.85 inch |
| Weight | 44g / 1.55oz (without battery) |
Accessories: Headband, clip, lanyard, magnet, replace rubber pad, Operator’s manual, Warranty card, Spare O-ring
When the battery voltage drops lower than 3.3V, the indicator flashes twice every 2 seconds. Battery voltage drops to lower than 3V, the indicator flashes 3 times every second.
When turning off the flashlight, press the switch for 1.5 seconds, the location indicator switch on and lock-out function is activated at the same time. Press the button only can switch the indicator on/off.
The indicator light flashes every second, locate the flashlight, easy find the flashlight in the dark quickly. Hold the switch for 1.5 seconds, switch the button unlock and enter into low mode.
Features
- Super bright & latest CREE XML-2 U4 LED, Max 1200 LED lumens. High-Performance, High-Efficiency, and energy conservation.
- Bead surface lens, wide and uniform flood beamshot.
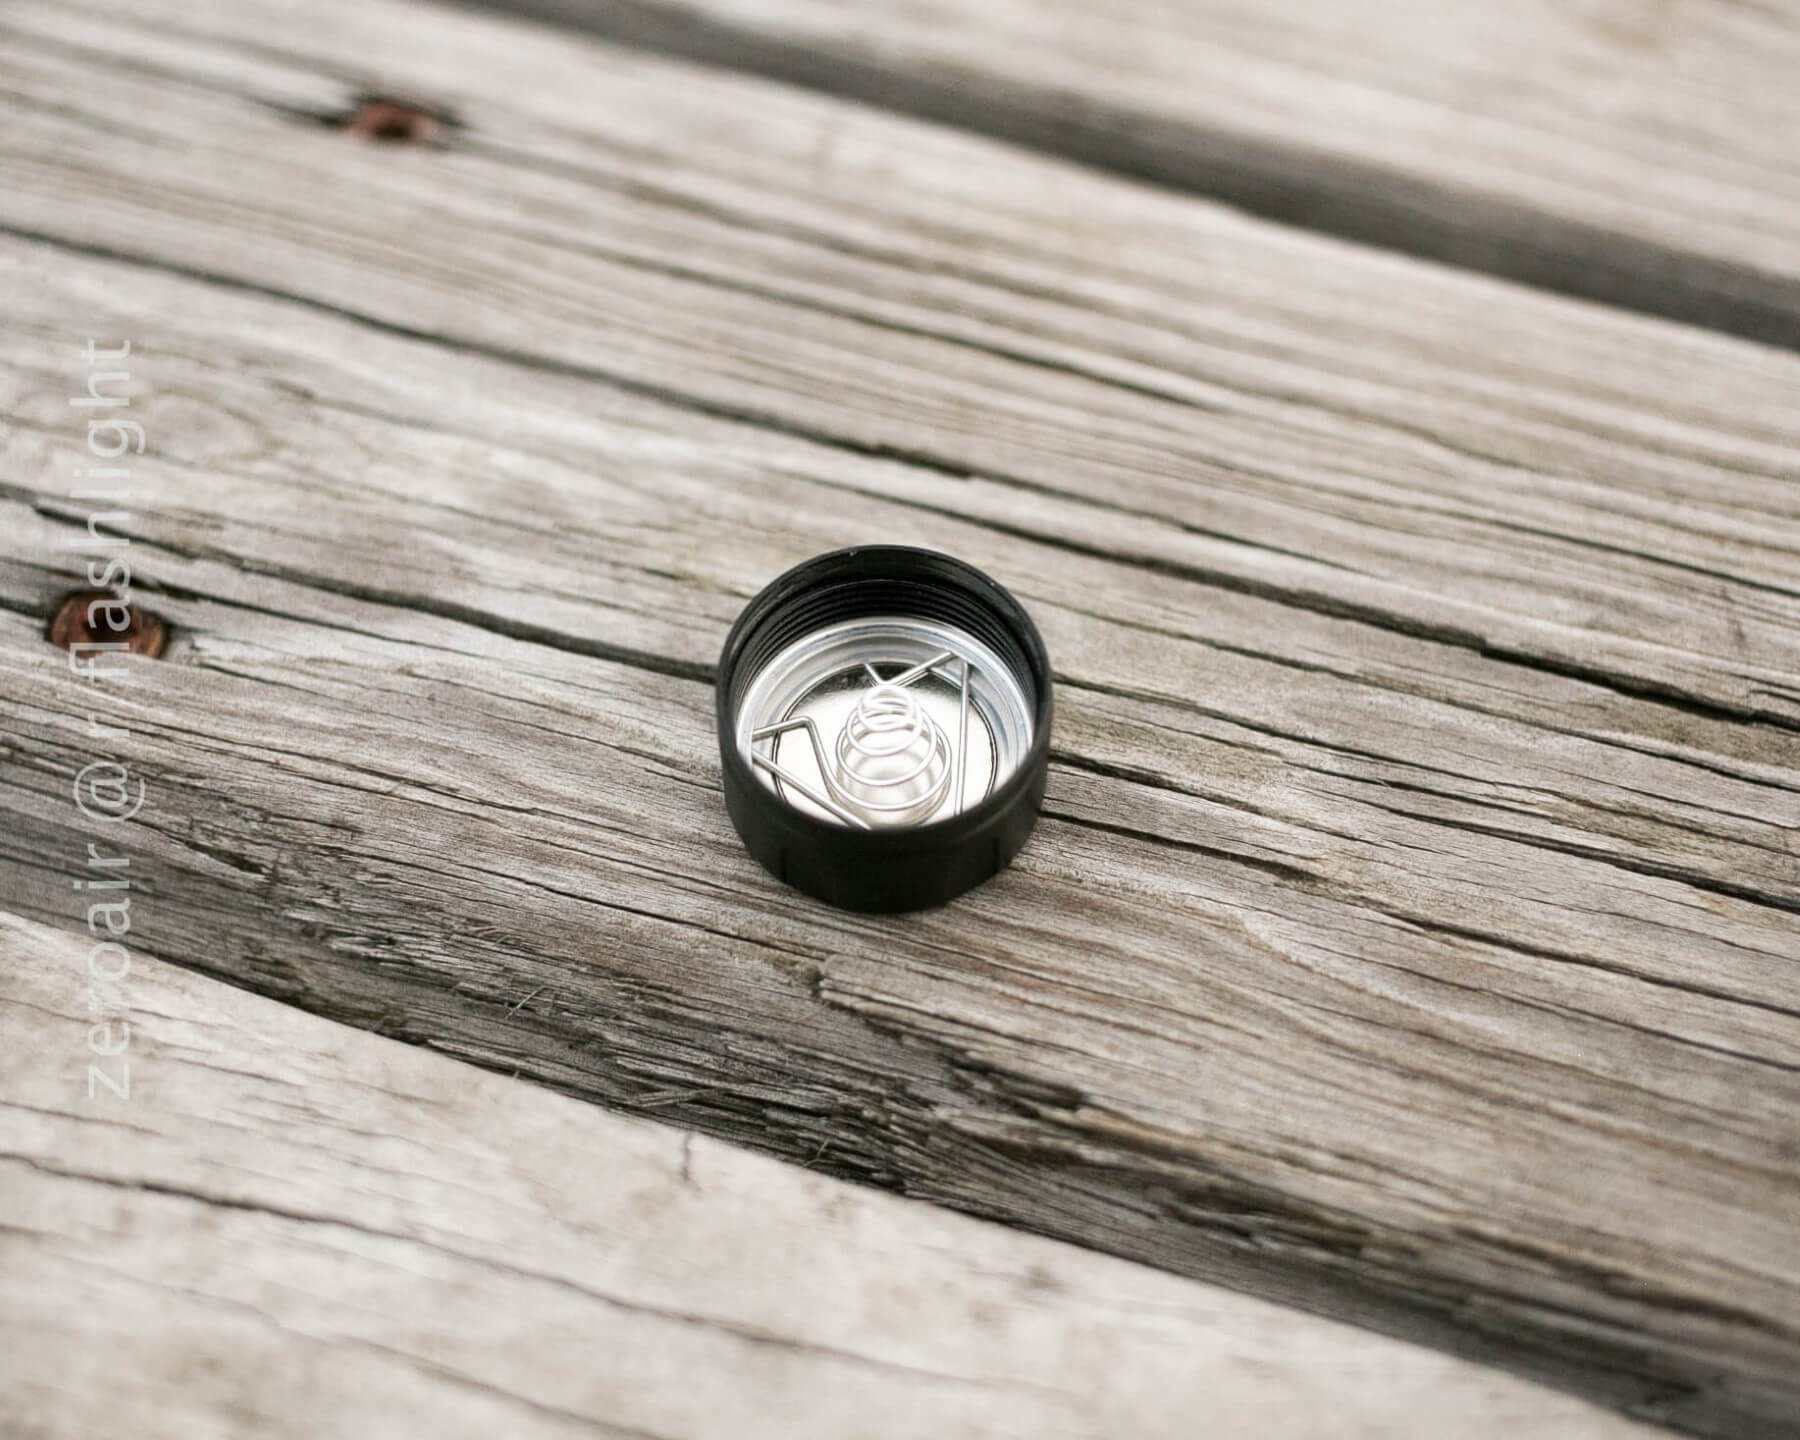
- Flat tail cap with strong magnet to secure to ferrous surfaces.
- Rugged indestructible aluminum body with anti-scratching type III hard anodization
- Multi-level dissipating heat design and thermoelectric separation copper star-board, excellent heat dissipation. Flashlight head integrated construction, high thermal conductivity.
- Side switch button to transferring mode user-friendly interface to adjust output.
- Eight output levels and three Strobe, suitable for different environment.
- Wide input range provides more choices of batteries. High efficiency driver circuit, no visible flash in any mode.
- Automatic memory function, remember last used setting and can be preset to specific output mode for instant access.
- Reverse polarity protection, to protect from improper battery installation.
- Low-voltage prompts function, the light will flash when the battery is low,remind user replace the battery on time.
- Engineered anti-slip knurling for a tightly firm grip.
- Dual recoil absorbing springs, better impact resistance.
- Tail stand as a candle-light.
- New intelligent temperature control technology for headlamp stable and safe use
- Low standby current below 0.5uA
- New side switch lock-out function.
The above section contains the manufacturer’s descriptions and claims, not my impressions or results.
Skilhunt H03 Short Review
Love this light – much more than I thought I was going to. For a brand I’ve heard little about, this light is an absolutely fantastic surprise. (I will not call it a Zebralight killer in the short review.)
Skilhunt H03 Long Review
What’s Included

- Skilhunt H03
- Headband
- Clip
- Lanyard
- Magnet
- Rubber pad
- Operator’s manual
- Warranty card
- Spare O-ring
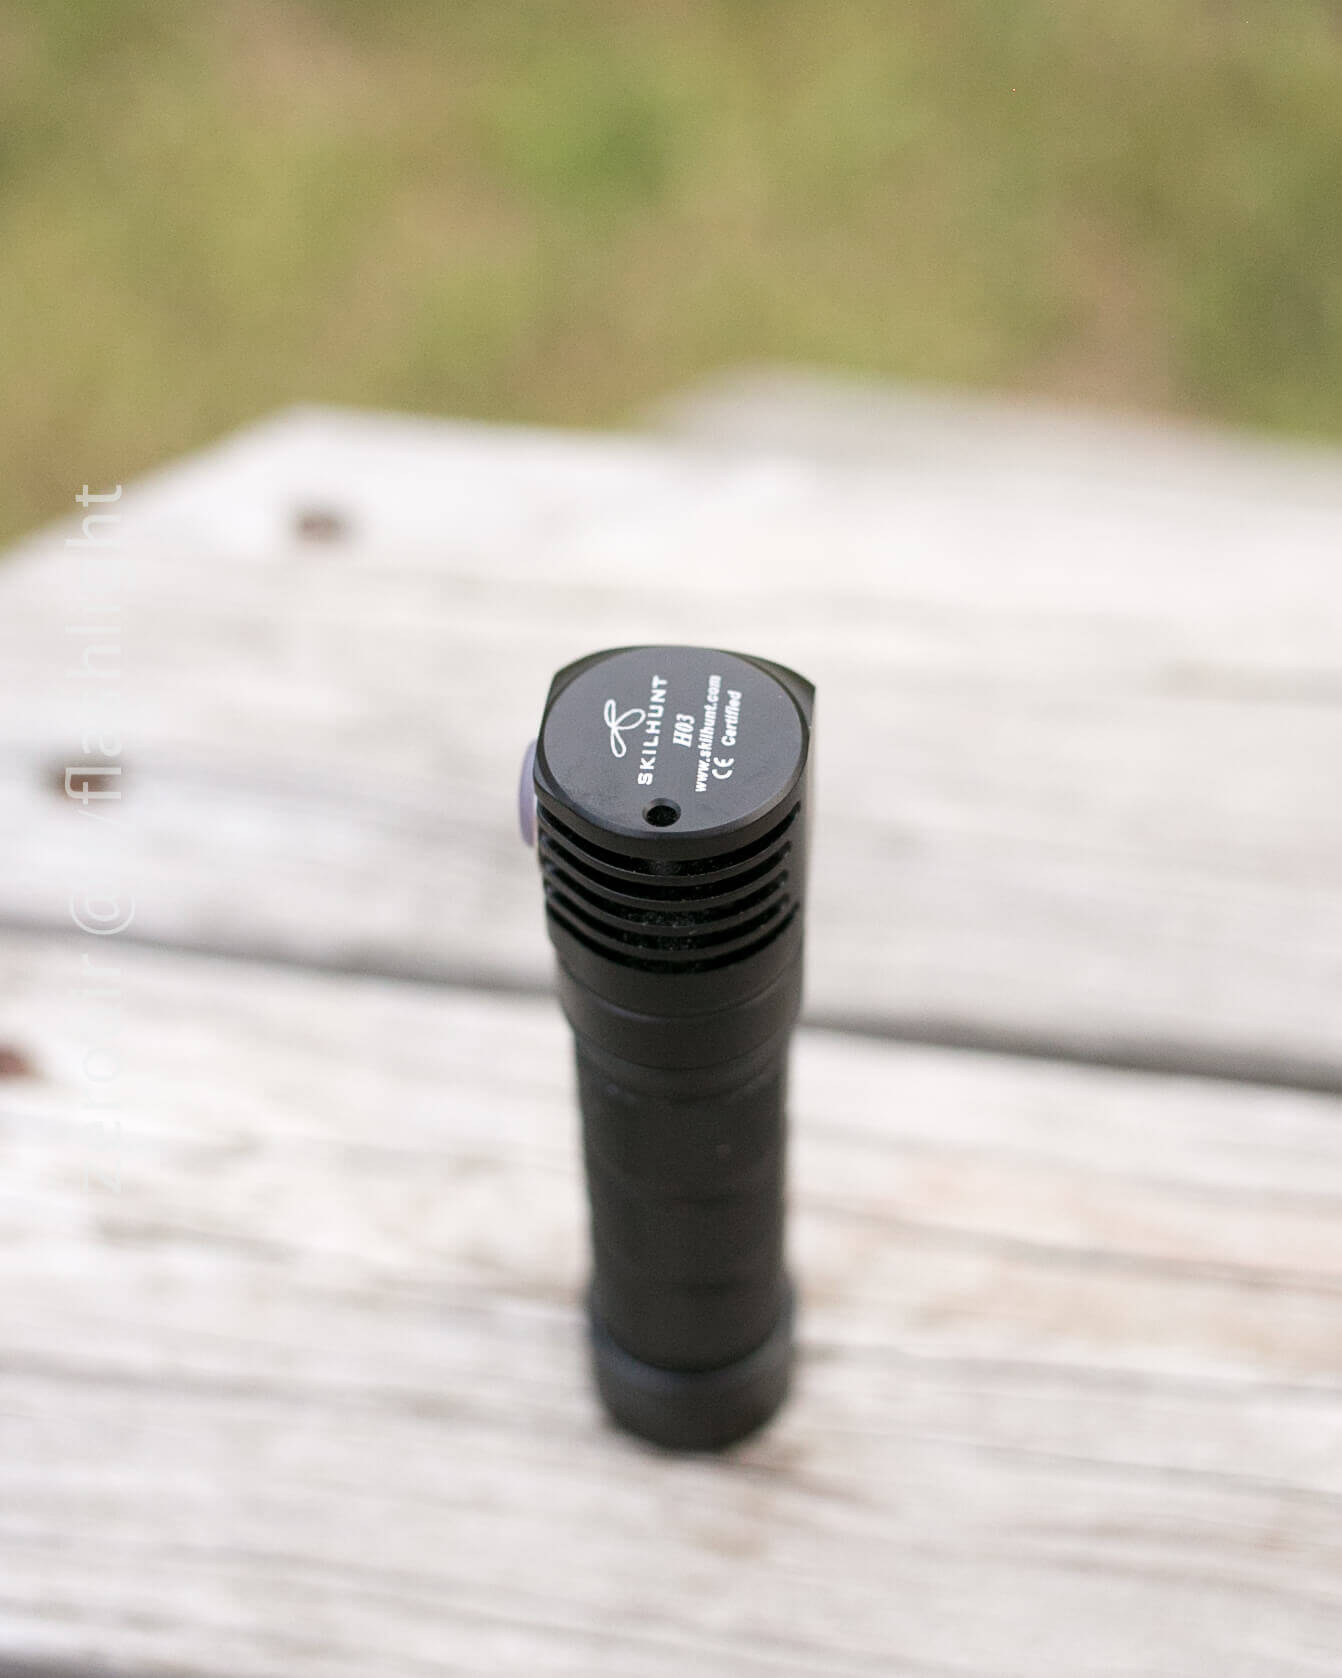
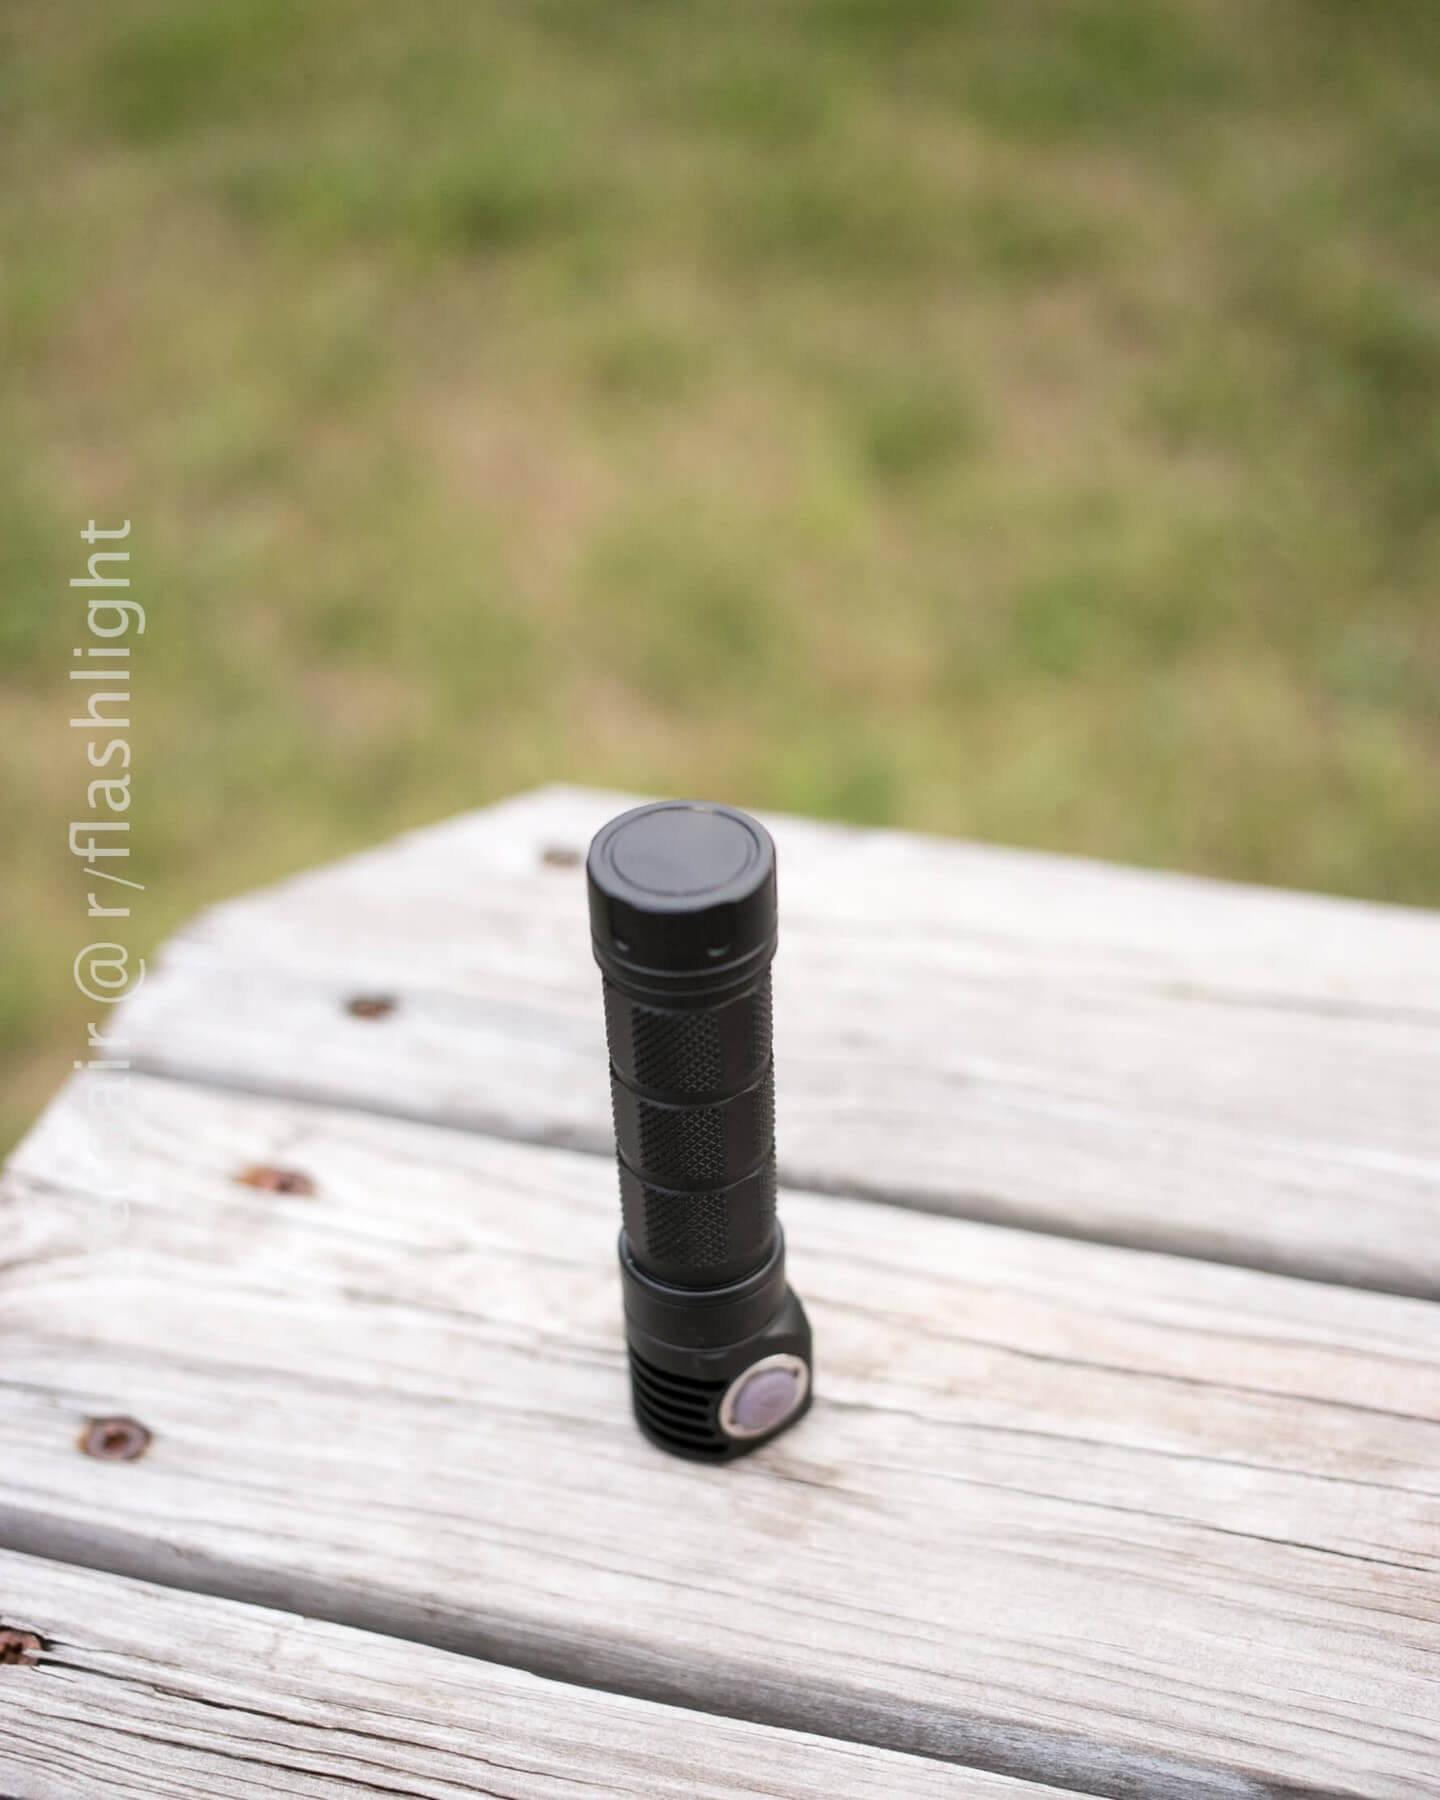
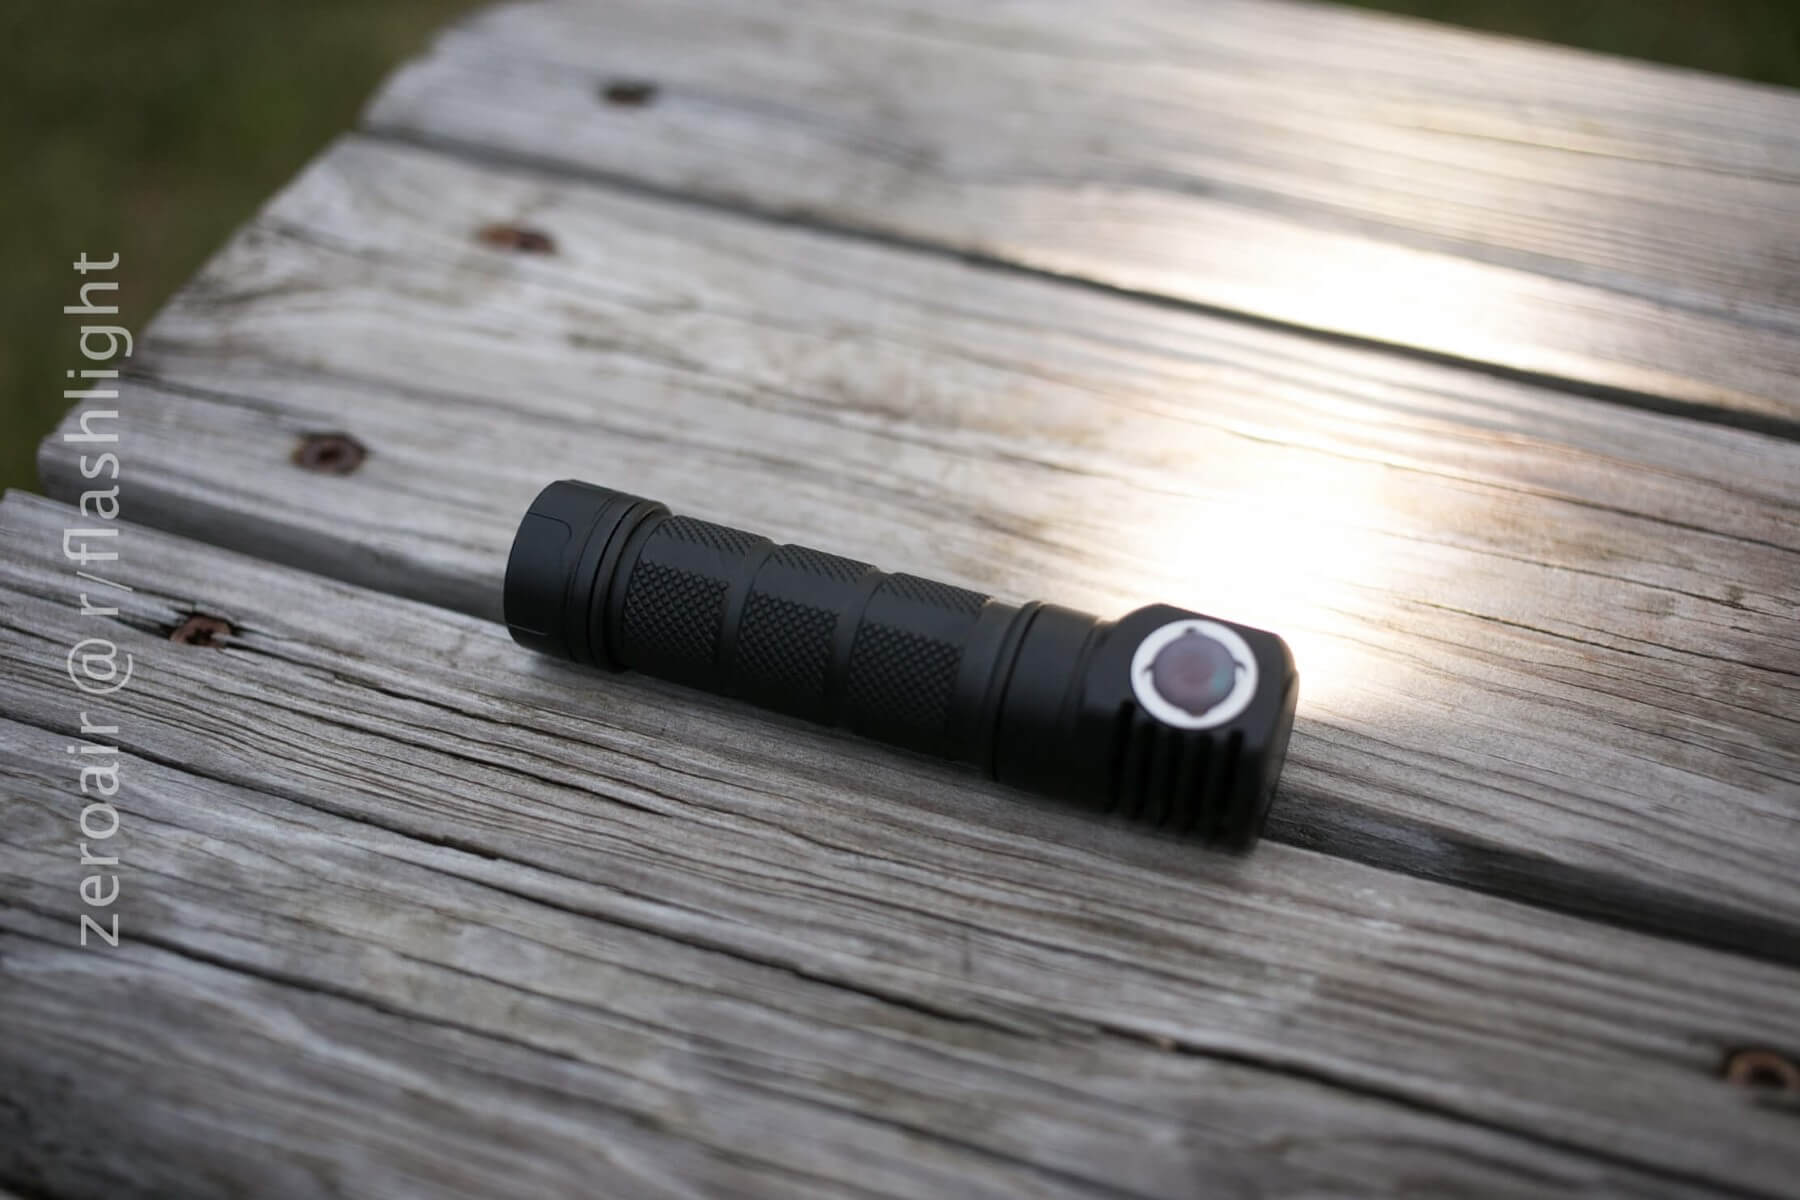
Build Quality, Durability, and Disassembly
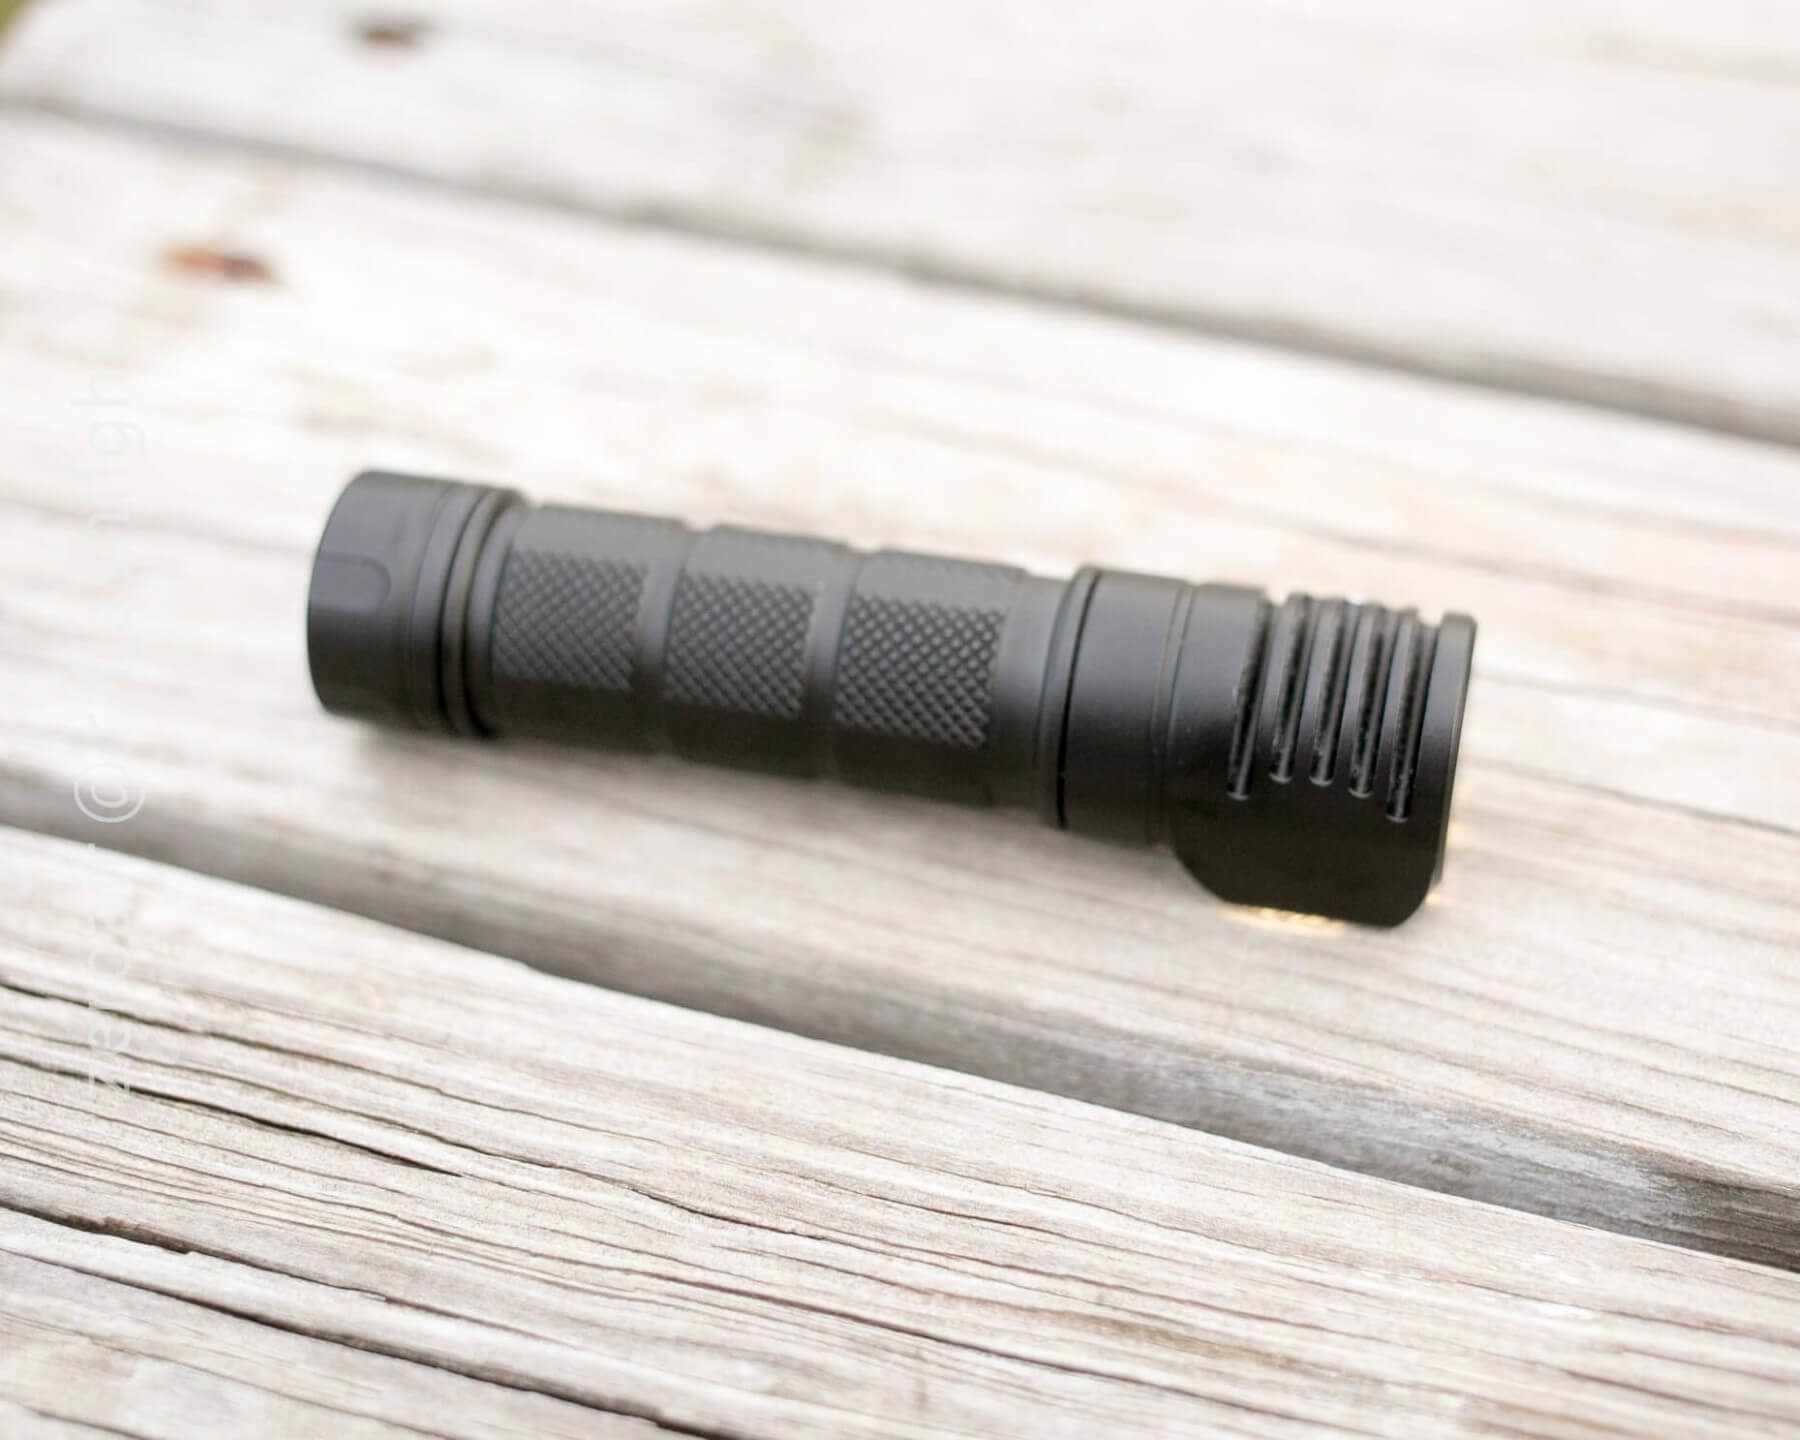
I’ll be honest, I have never really heard much about Skilhunt, so this was a real wildcard for me. But I have to tell you, this thing is spectacular. Anodizing is high quality – it does not feel like it’s going to chip. The springs on both the head and tail cap are a little thin, but hold the 18650 securely. The button is nice and responsive, and easy to find without looking. The clip is just the standard clip on many lights today and works just like it should. The fins on the head are thick and deep and should shed heat very well. The dimpled TIR optic is very clear (and looks clean under).

Water did not seem to ingress after a brief submersion, either.

Disassembly is much like other similar lights. The tailcap comes off so that batteries can be swapped. The magnet can be removed by removing the tailspring – Skilhunt recommends this because of the magnet’s strength.
I believe the TIR could be removed by unscrewing the 4 Torx screws. Same with the button, but I think that’d require a special tool. I tried with tweezers, but they slipped out. I’d love to get in there and see the button (and get the alignment right, too), but I just can’t seem to keep the tweezers from slipping out.

I expect this light will be highly durable, and I also expect to find out: I like this one enough that I’ll be carrying it often. Much like I used to carry Zebralights. Again, not saying this is a Zebralight killer. 🙂
The knurling is grippy but not abrasive, and perfect for a headlamp. The attachment for the headlamp connects over the knurled area, so the knurls really need to be friendly.

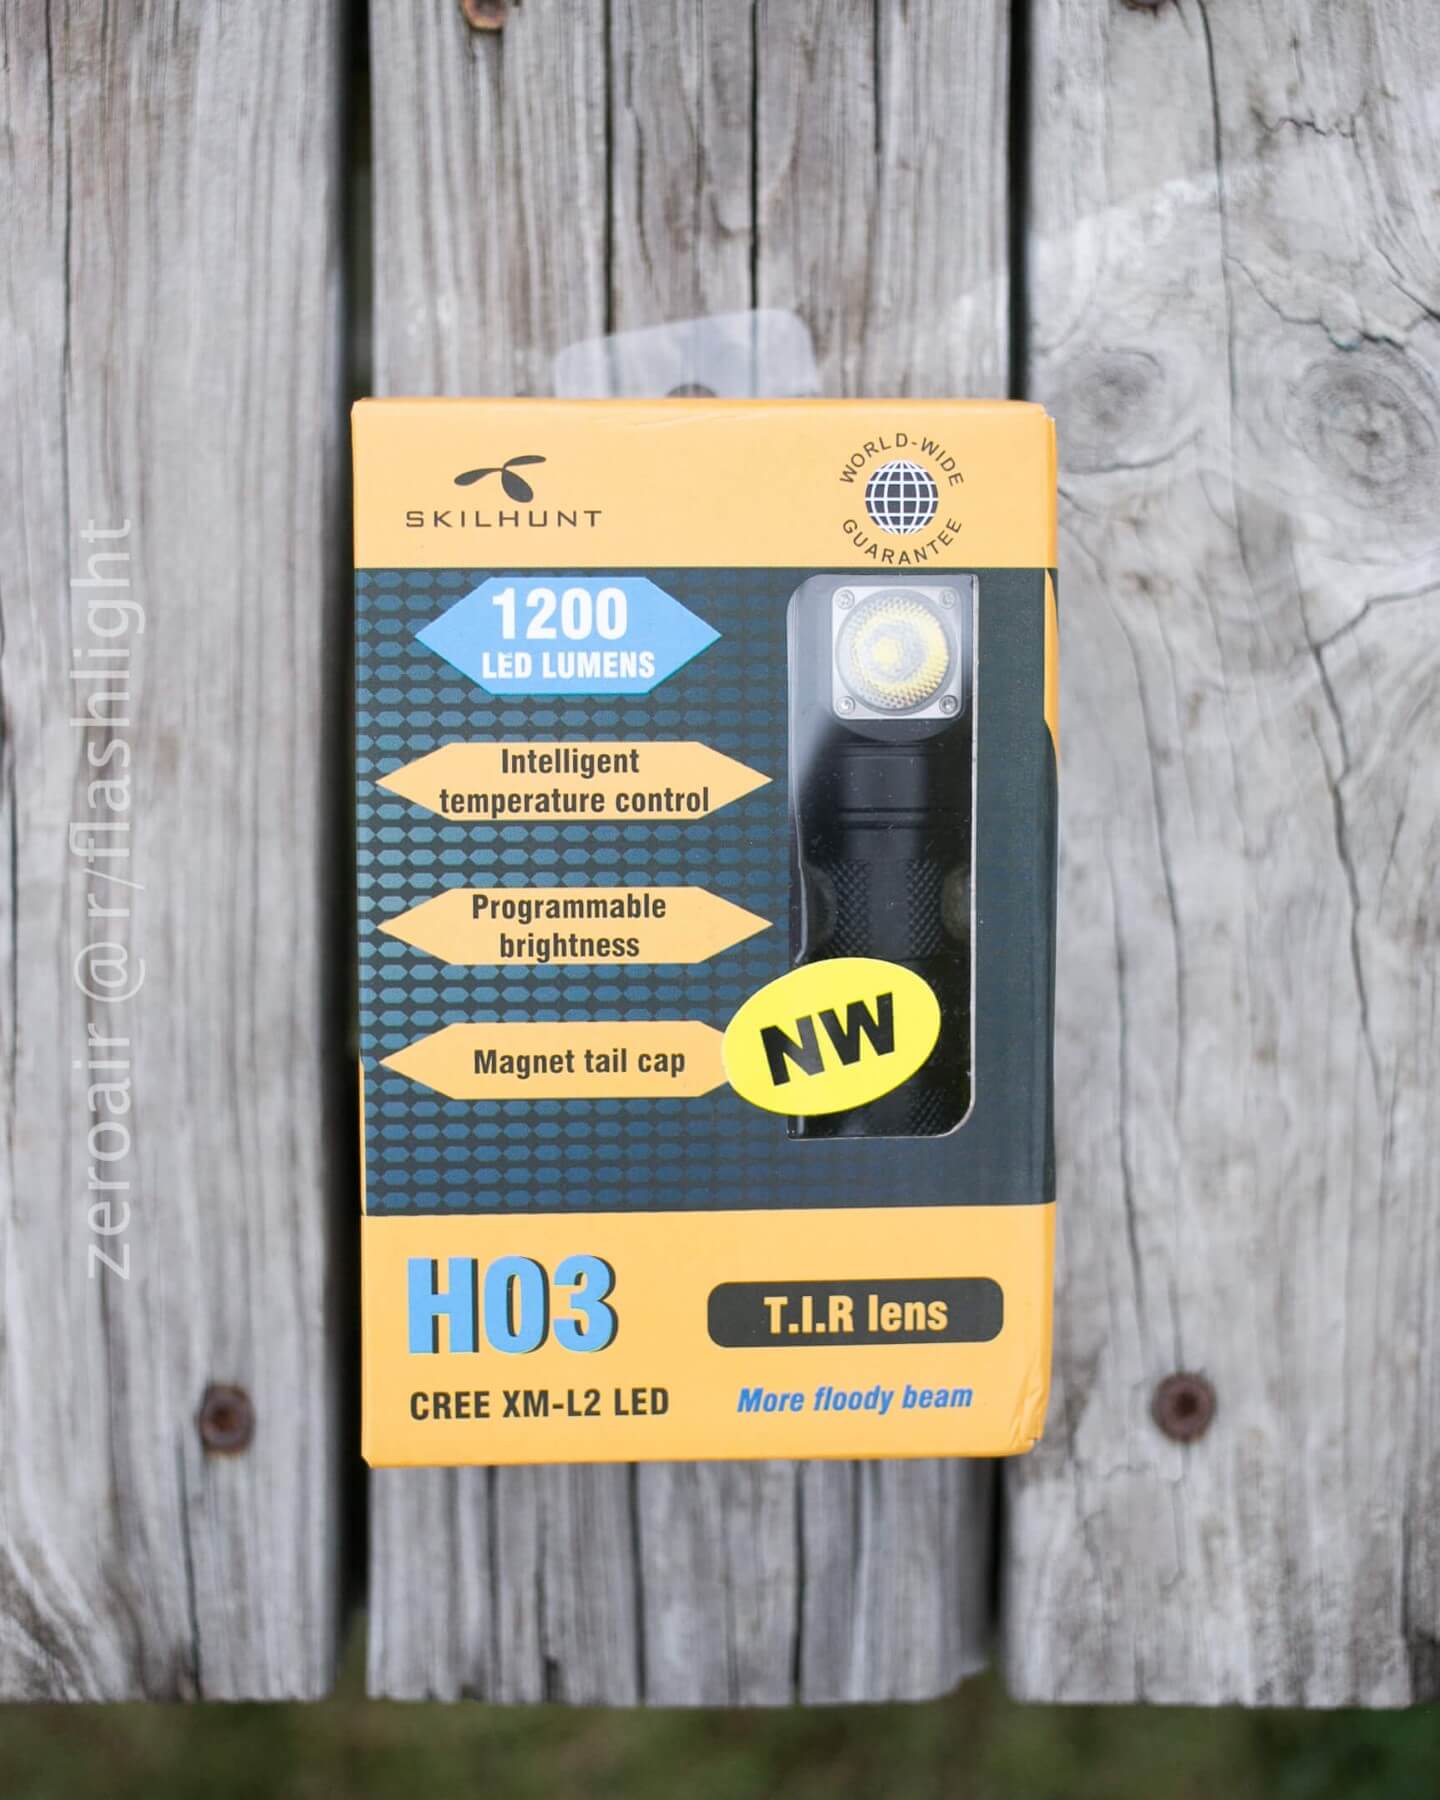
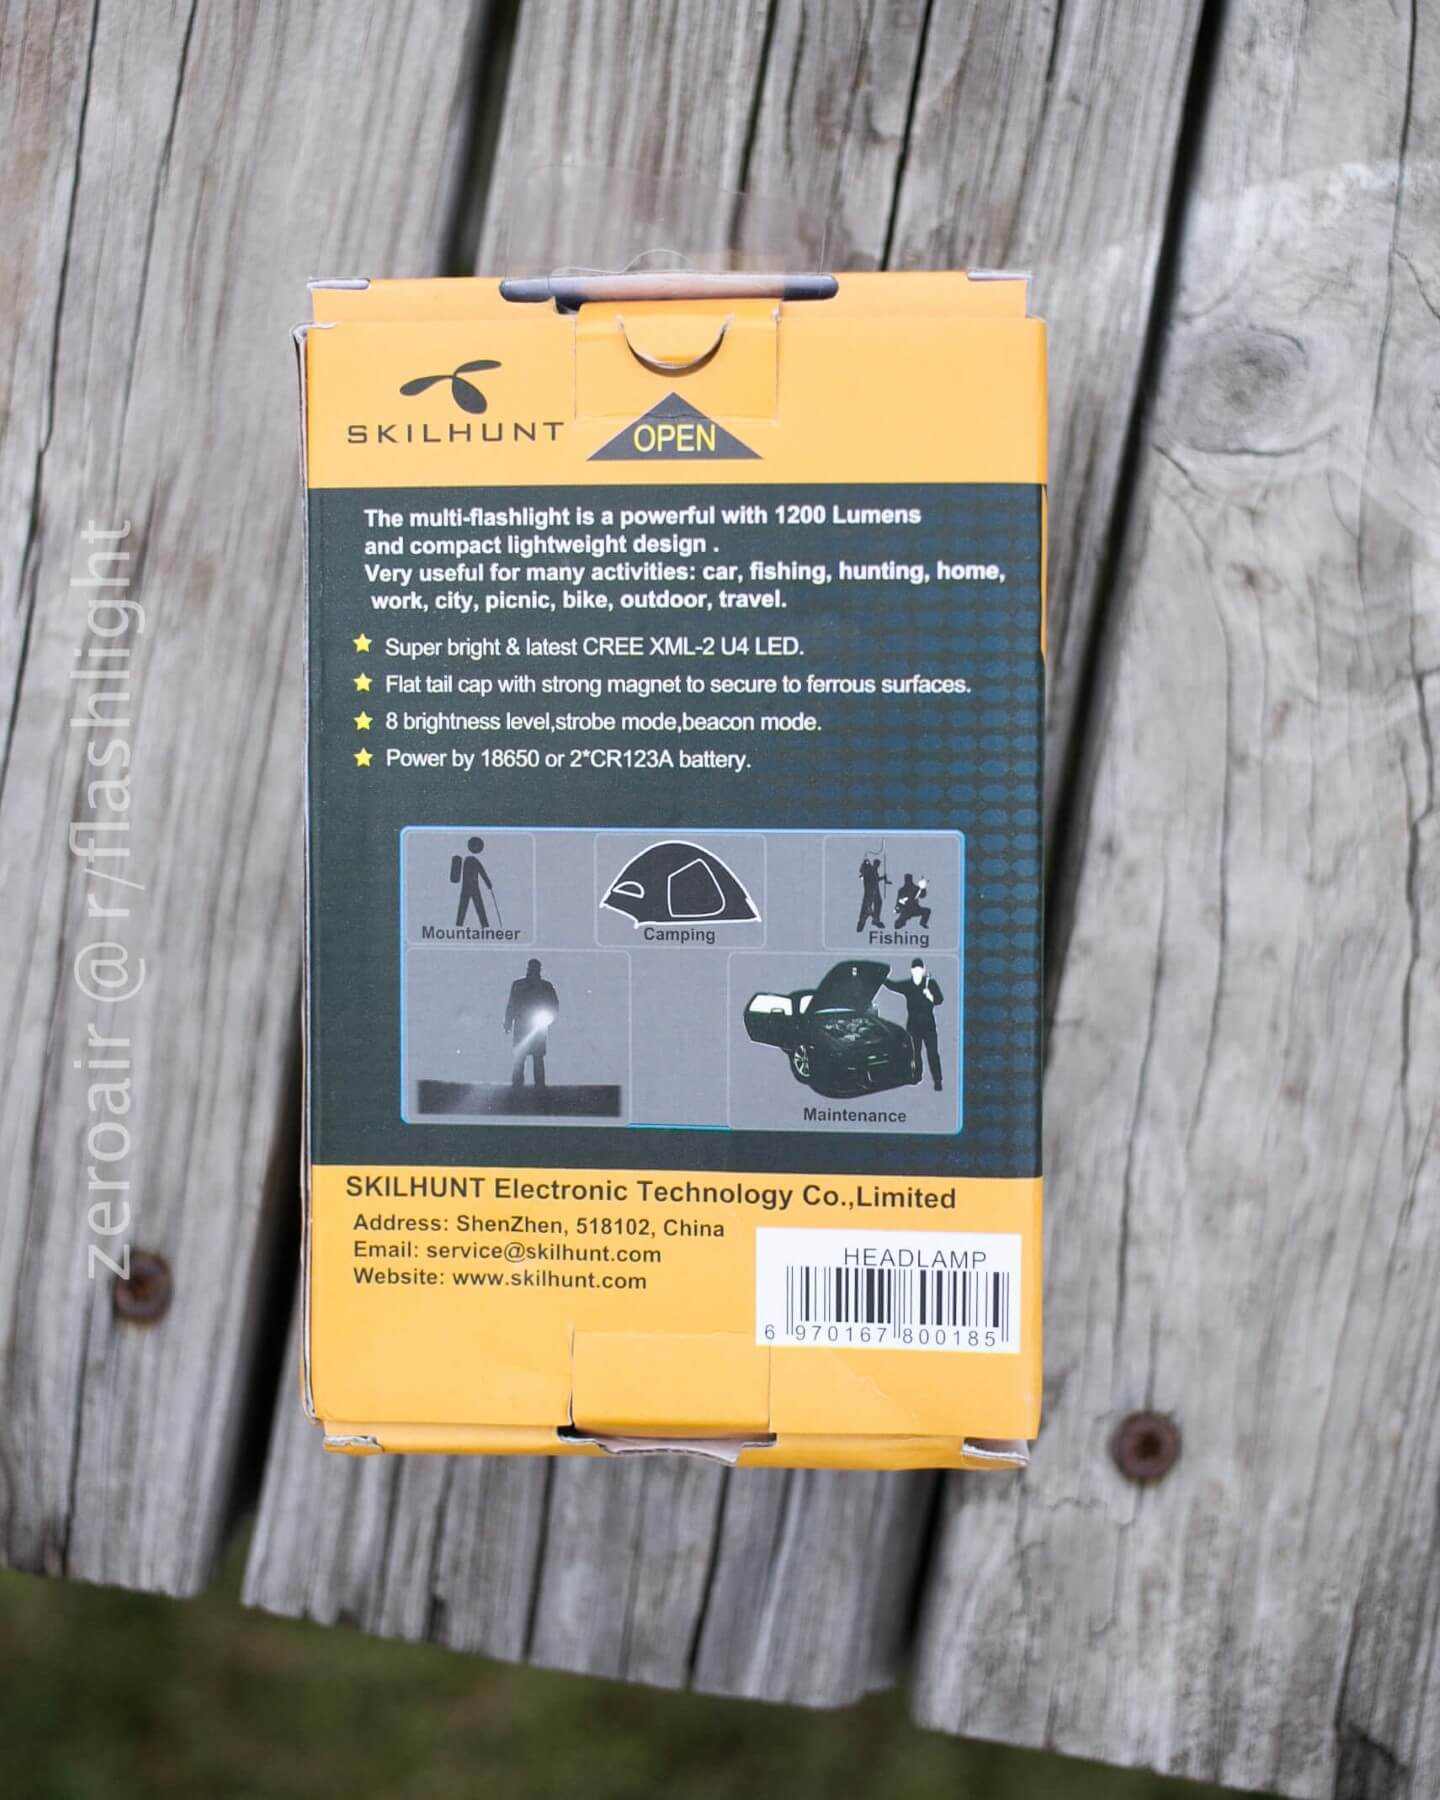
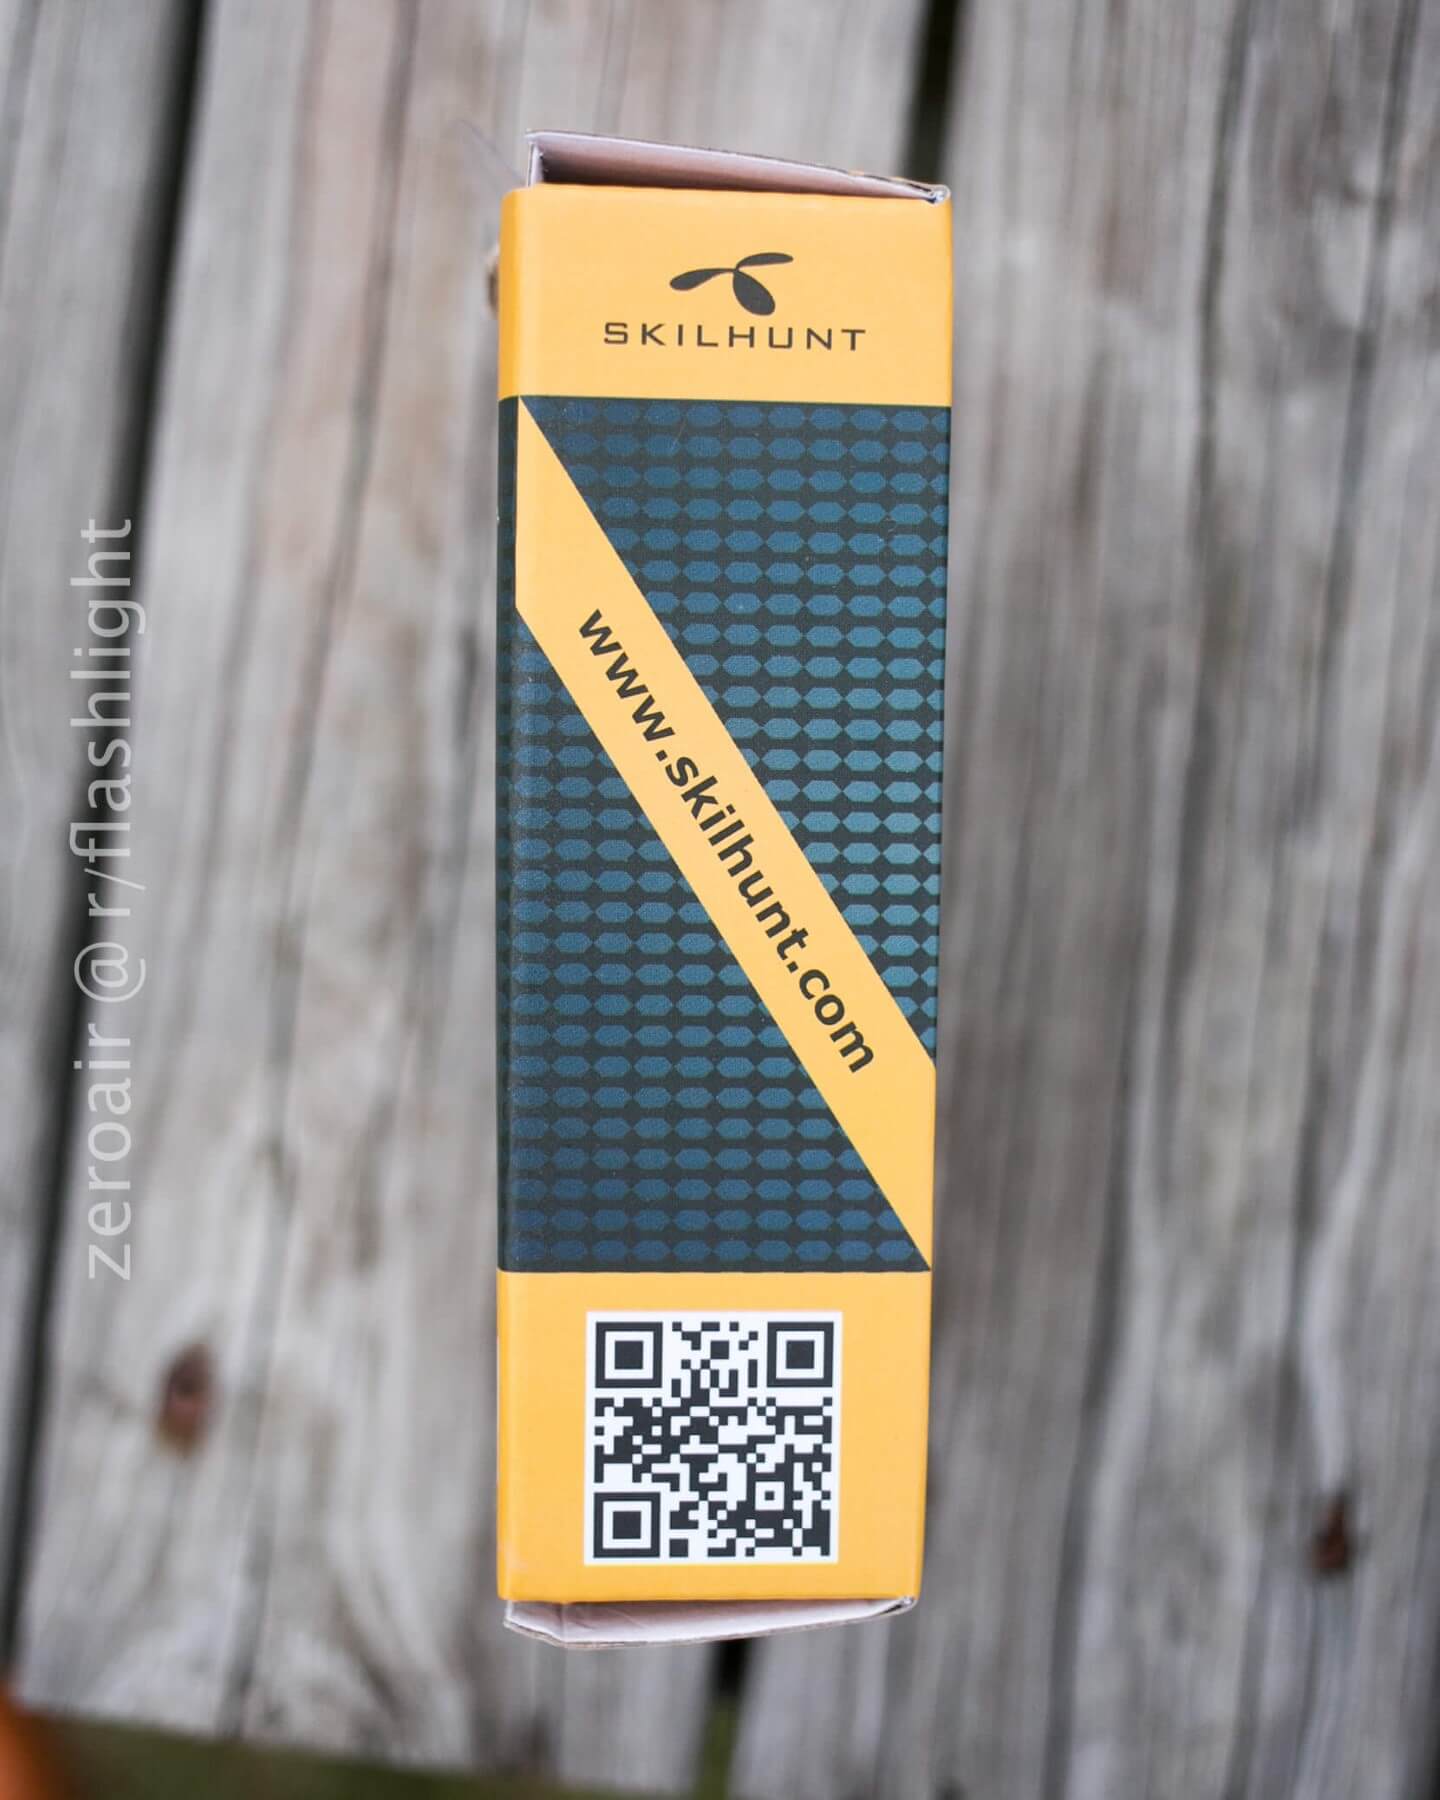
Package and Manual
The box this H03 comes in is just a cardboard one, with a little window for the goods. It has a QR code on the side. Gearbest sticker. I kind of like this package – a nice step between the cardboard like Zebralight comes in, and the plastic bubble one other comes in. The manual is good enough, but really, the user interface photo on the Skilhunt site is better than what’s in the manual.


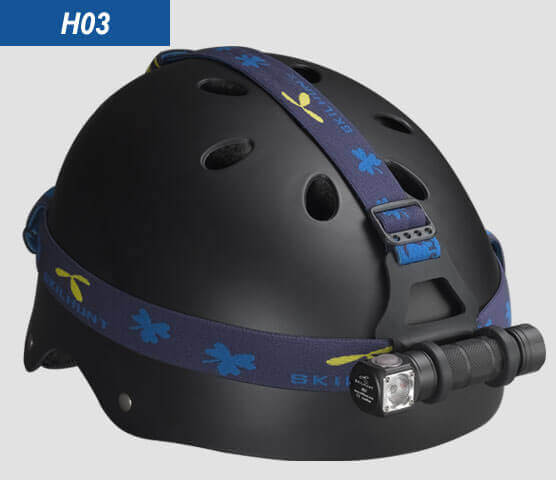
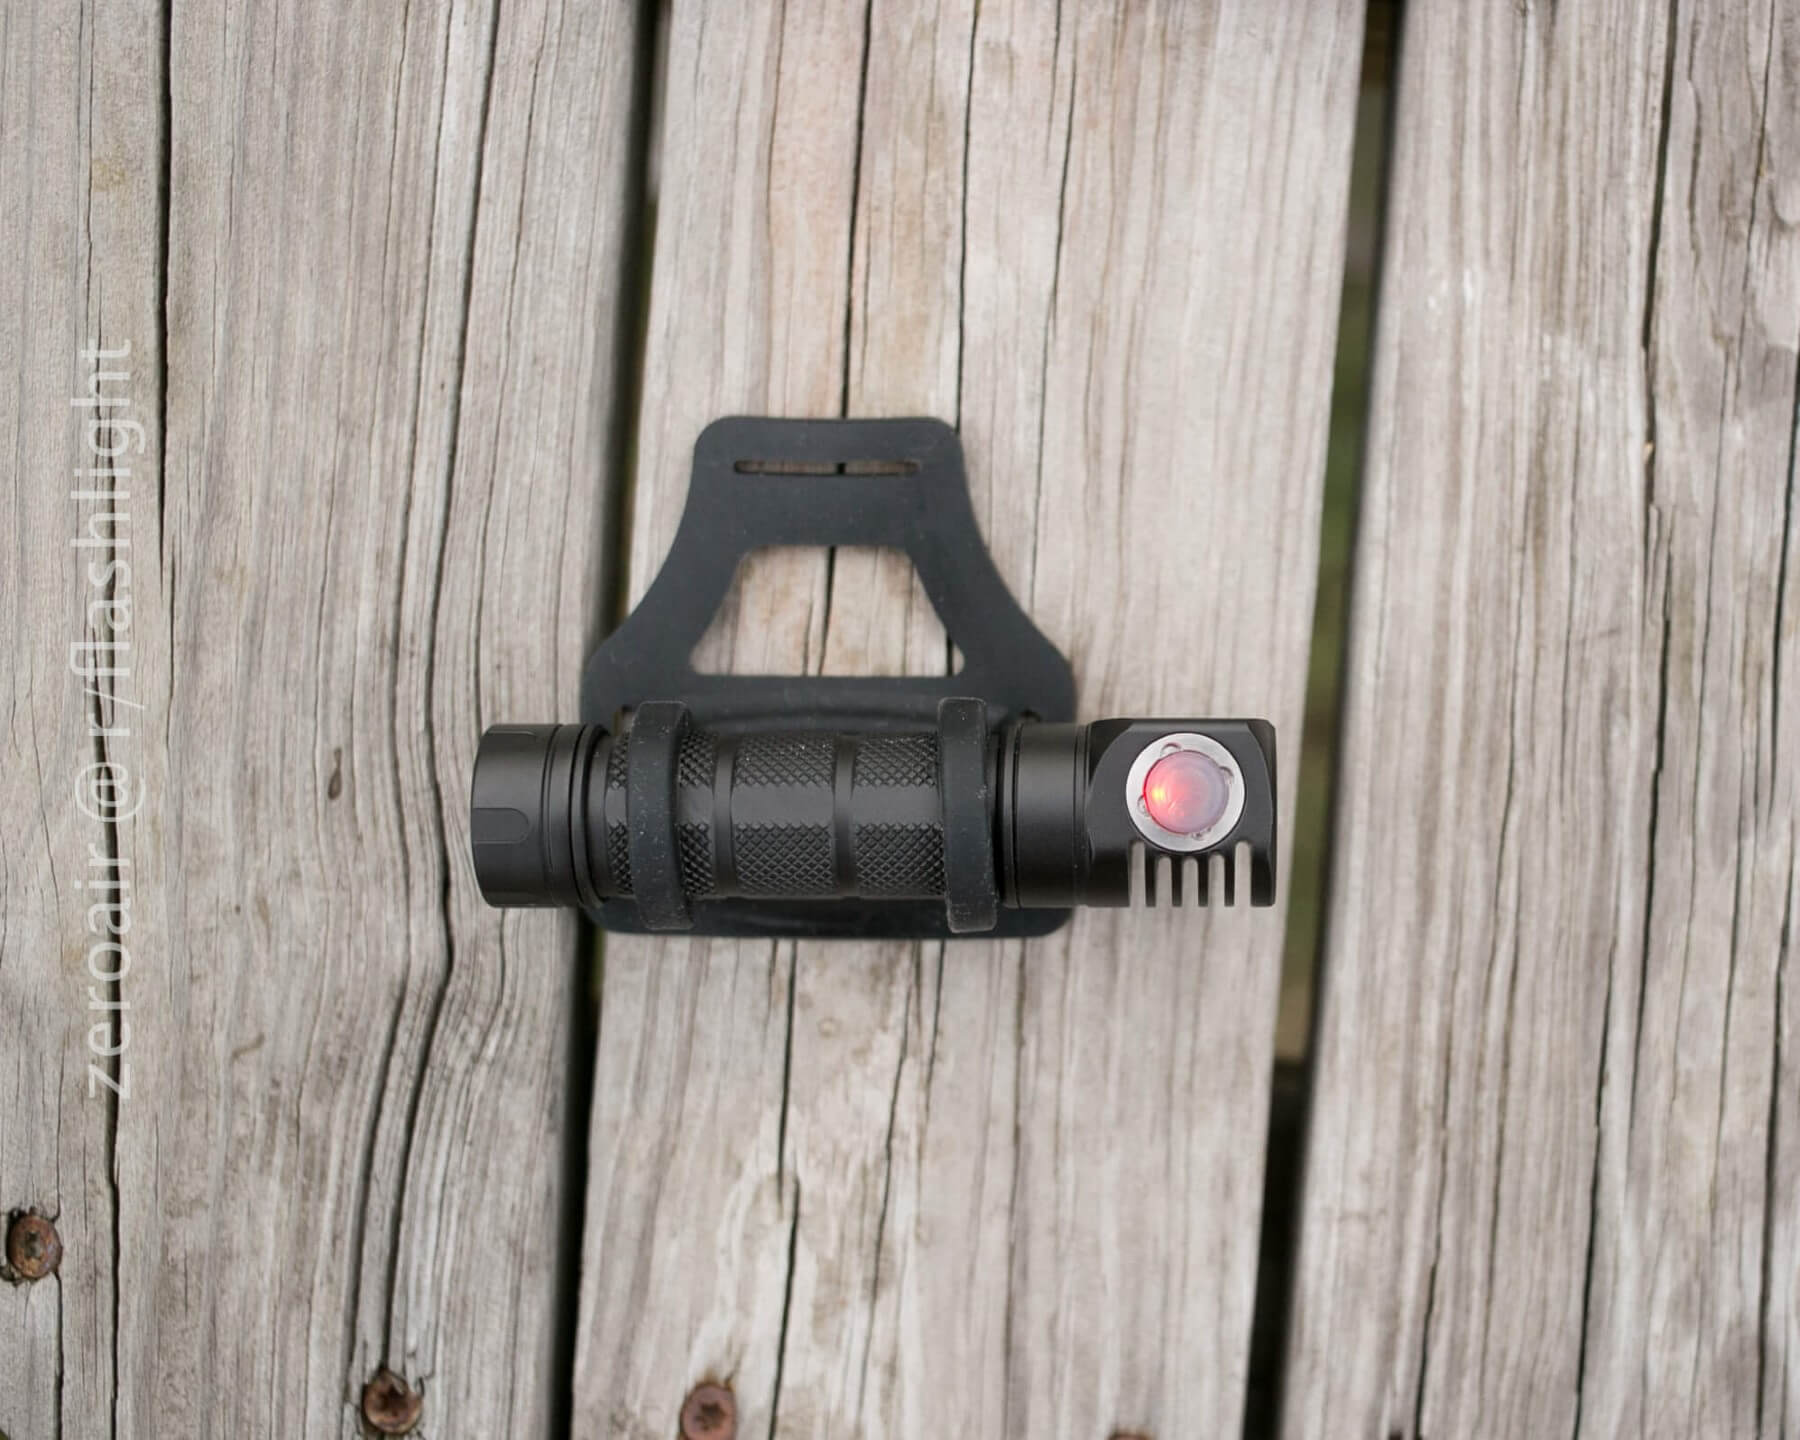
Retention
All the options!! Pocket clip. Headband. Lanyard. Magnet! The only thing this doesn’t come with is a pouch, and I’m not even mad. I typically carry it with the pocket clip, and it rides very well there. The clip leaves about 6mm of the head exposed, so there’s that much sticking out of my pocket. On shorter lights, this might be a problem, but on 18650 lights (including this one), it’s fine. The light doesn’t flip out. The lanyard hole is in kind of a strange place, but it seems this is an “improvement” from the H02, which had the attach point on the tailcap. But this means that the new one is round and uniform. I’m not sure what it improves, but it’ll work fine. Truth be told, I didn’t figure out the head strap, and I didn’t see a description in the manual of how to connect it all, but this image should help with that. I do like the little reflective patch on it – something I’ve emailed companies to add in the past! The headband is soft and stretchy. The piece that holds the light on the headband holds the light just tight enough, but allows easy rotational adjustments.


Power
It’s made for 18650 cells, but it will also accept two CR123A cells. That means the working voltage goes all the way up to 8.4V…. I apologize for not having matching CR123A cells to test what the light does, or a way to measure total output. But the manual does say the Turbo performance (lumen output) would be slightly better with CR123A cells. But overall runtime is grossly better with 18650s. It would seem to me that the extra lumens (900 to 1000) that the CR123A provides are hardly worth the drop in runtime by using them. (Runtimes are half or less across the board with CR123A). It’s certainly nice to have the option of multiple cell types, though.
This is a runtime graph for a 3500mAh 18650 for the highest mode. Note that I am not sure what the runtime specs mean for this light. I presume the “/” for “T1” means that the light stays on 900 lumens for a short time, and then steps down to T2. Total runtime is appx 3.5 hours as stated for T2, but it’s not steady, and drops off after 135 minutes, pretty steadily.

I would call what’s read there as “60%” to be quite a bit of usable light. So it steps down, but it’s still very usable for at least 135 minutes.
18650 (Rated)
| Mode | Lumens | Duration |
|---|---|---|
| T1 | 900 | / |
| T2 | 490 | 3.5 h |
| H1 | 365 | 5 h |
| H2 | 160 | 11 h |
| M1 | 70 | 25 h |
| M2 | 20 | 75 h |
| L1 | 3 | 450 h |
| L2 | 0.5 | / |
CR123A (Rated)
| Mode | Lumens | Duration |
|---|---|---|
| T1 | 1000 | / |
| T2 | 500 | 1.5 h |
| H1 | 370 | 2.5 h |
| H2 | 160 | 5 h |
| M1 | 70 | 10 h |
| M2 | 20 | 35 h |
| L1 | 3 | 200 h |
| L2 | 0.5 | / |
And a rated beam distance of 123m.
User Interface and Operation
There’s one side switch on this H03. It’s very pronounced, translucent, quite grippy, and has very squared edges: all of this is great. The switch has a red LED behind it, which will give the user various information. It’s hard not to just use the Skilhunt image as a description for the user interface because, quite frankly, it’s pretty intense. But I’ll say the same thing I said about the Olights I just reviewed: The user interface is trustworthy. It’s often possible to just guess what’s going to happen, and if you guess wrong, it’s usually not a bad wrong. (Ie, you won’t get strobe when looking for low.)

A single click turns the light on to the last used normal mode, and a single click advances normal modes. A long press turns the light off. That’s not my favorite, but it is ok. I’m more used to it now (after the Manker U11 had it). A user can double-click in every normal mode to access a second brightness for that mode (and then that’s the remembered mode). Double click does something in strobes too – switches between the three strobe modes (Beacon 1, Beacon 2, Strobe).
This is an extremely versatile user interface and one that I recommend playing around with.
There is Low Voltage Protection, which shuts the emitter off at around 3V.
I really appreciate the lockout function. Also, it’s useful (and more importantly, neat) that while in lockout, I can turn the button beacon on or off. That’s the first time I can think of a light doing that, and I really like it. Actually, I really like lit buttons in general.
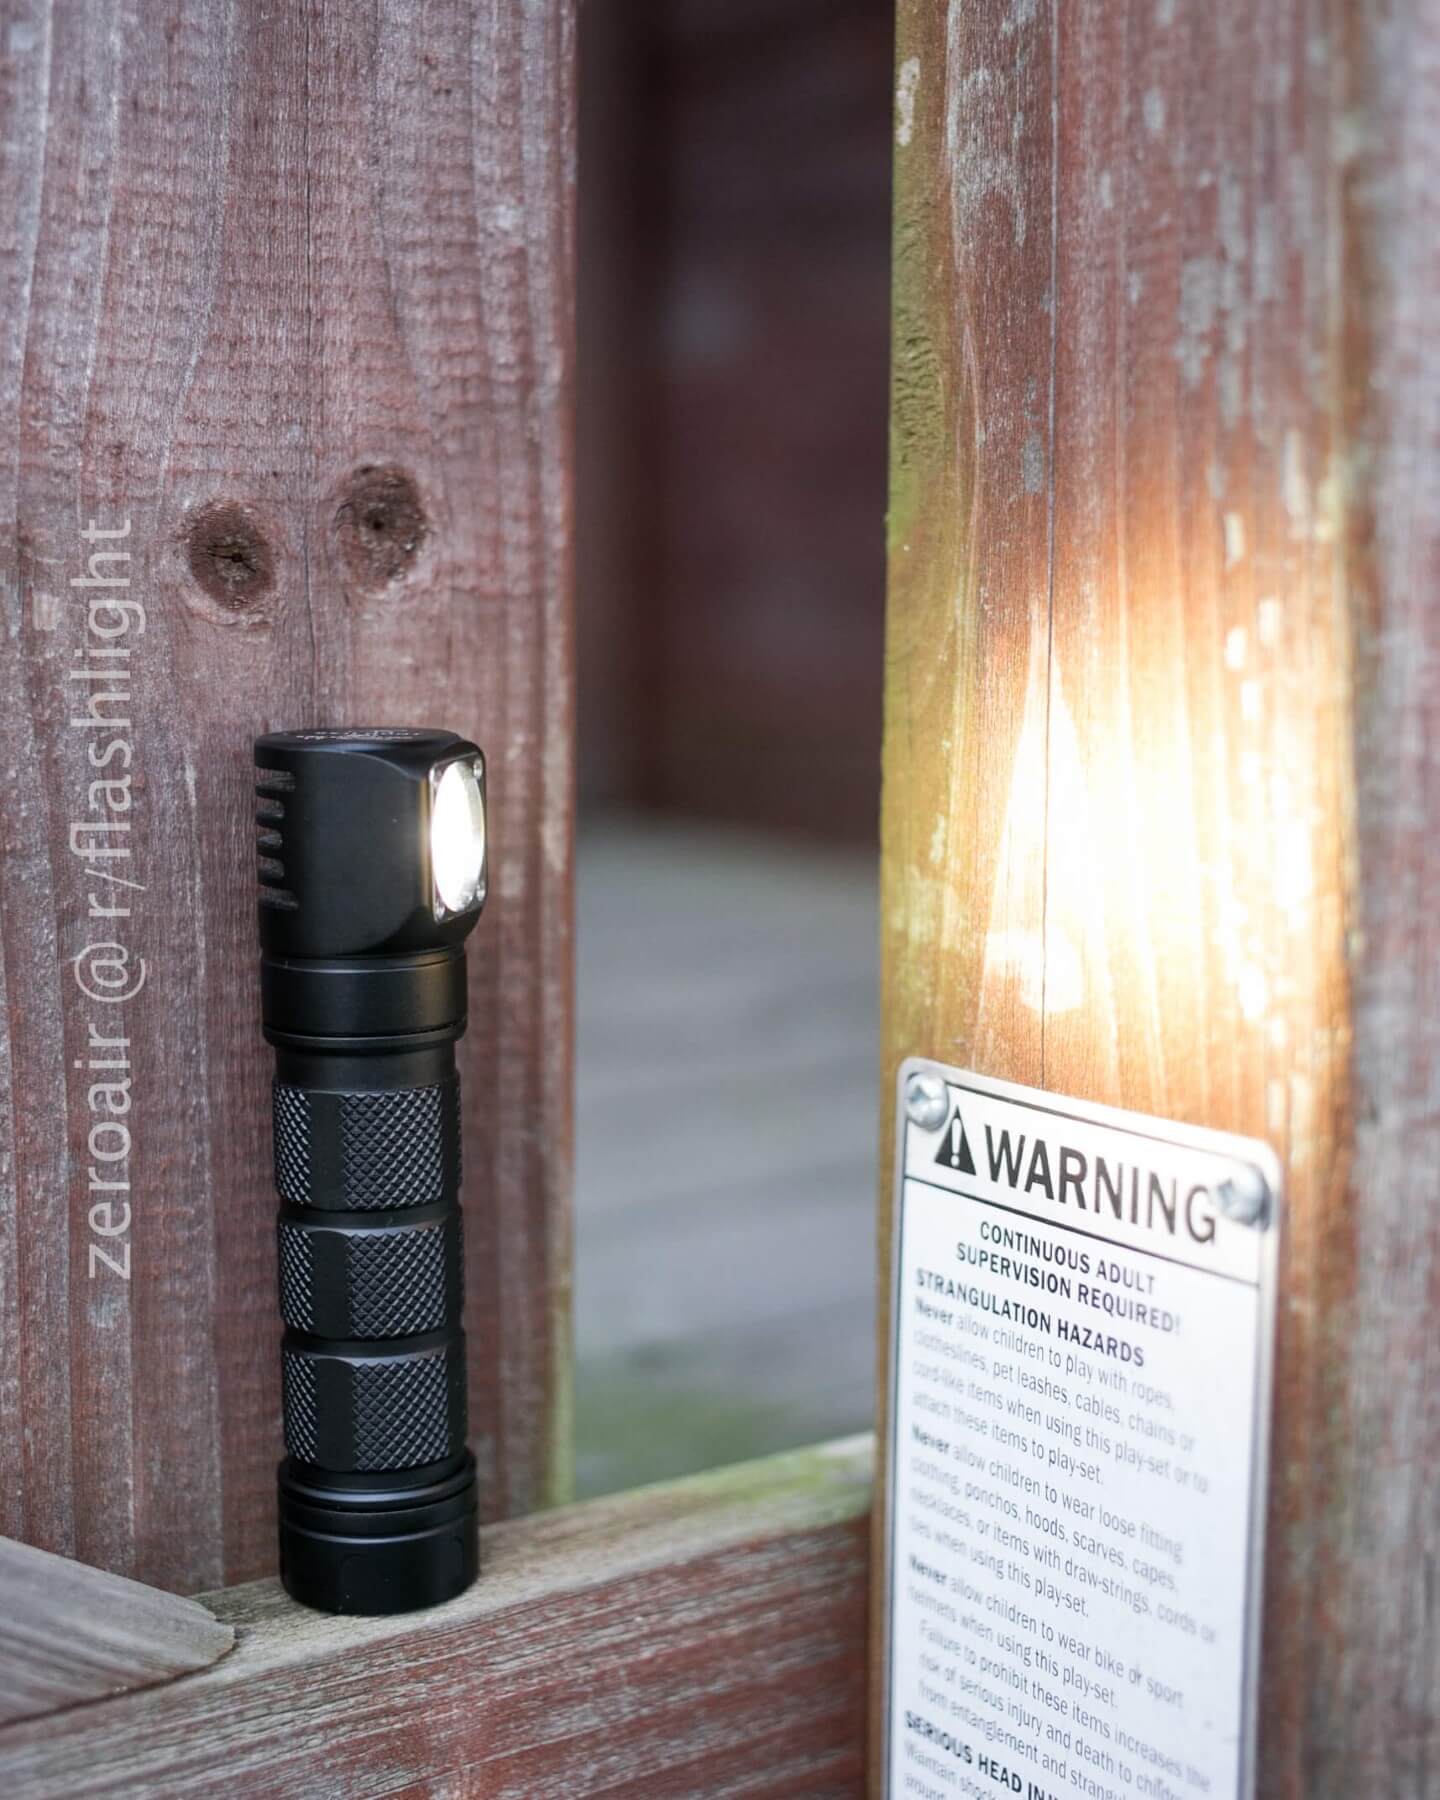
LED and Beam
A Cree XM-L2 U4 provides the light from the H03 and is neutral. There are quite a few options for setup for the H03, including Flood (and the flood is removable), Reflector, and TIR (like mine) – all three available in CW and NW. I’d be happy to have all 6 variants, so I could compare the differences in beams. Maybe I’ll talk to GearBest about that. 🙂
One thing I really like is that low is really low. It’s not quite “Zebralight low,” but it is very low.

The beam is what we’ve come to expect from a TIR, and the dimples on the surface make it even smoother and seem to diffuse it a little. I’d call it perfect for a headlamp!
These beamshots for the H03 are in order of increasing brightness, but the actual mode name order looks like this: L2>L1>M2>M1>H2>H1>T2>T1, as the higher of the grouped modes is always termed “1” and is the default. (That is, default is L1>M1>H1>T1.) These modes are nicely spaced, and if you happen not to like the one, they’re very easy to change to the “2”, individually, on the fly. You can have any combination of “1” and “2” that you wish.
Beamshots
These beamshots always have the following settings: f8, ISO100, 0.3s shutter, and manual 5000K exposure. These photos are taken at floor level, and the beam hits the ceiling around 9 feet away.


Size
99.9mm x 23.5mm (head) x 21.6mm (body). That’s fairly average for an 18650 headlamp of this type, maybe a little thinner than many. Shorter is the current-gen Zebralights, but they accept only unprotected cells (and that difference is approximately the difference in length).
Manker E14, Manker U11, Convoy S2+, Skilhunt H03, Convoy C8 (new edition).

Competitive Options
Zebralight H602/H600
Armytek Wizard/Wizard Pro
Conclusion
What I like
- Magnet
- Reflector
- Backlit input button
- UI
- Cell options
- Everything about this light.
What I don’t like
- It’s a little long for me to comfortably carry in my pocket
- Wish the button LED was not red (looks like a bomb, imo)
- Still think this is a strange lanyard point.
- Long-press to turn off
Final Thoughts
I really love this light. I’ve loved headlamps for a long time – Zebralight H31 is all I carried for years. And I don’t have a current Zebralight headlamp (or any other, actually), so for me this is perfect. I will no longer be shopping for a ZL headlamp. The user interface is close enough, the output is close enough, and the build quality is probably even better than the current ZebraLights.
I recommend buying this. Even at the regular price, I think it’s a great deal. At the sale price… wow.
Parting Shot
I have missed right-angle lights!
Notes
- This light was provided by GearBest for review. I was not paid to write this review.
- This content originally appeared at zeroair.org. Please visit there for the best experience!
- Use my amazon.com referral link if you’re willing to help support making more reviews like this one!
- Please support me on Patreon! I deeply appreciate your support!