Olight HS2 Headlamp Review
The Olight HS2 headlamp offers a dual-emitter setup with Cree XP-G2 and a built-in battery pack on the back that provides a good balance.
Official Specs and Features
Here’s a link to the Olight HS2 Headlamp product page.
Versions
This is the only version.
MSRP
You’ll be paying about $70 for this light unless you can find it on sale. You probably can’t, since this is a very new light.
Short Review
Despite my trepidation regarding a separated battery pack, I love this light. Could the tint be NW? Sure, yes. Would it being a [replaceable] 18650 tube on the back instead of the battery pack be cool? Sure, yes. But it’s great as it’s made, and I’m happy with it.
Long Review
The Big Table
| Olight HS2 | |
|---|---|
| Emitter: | Cree XP-G2 (Cree XP-G2 secondary) |
| Price in USD at publication time: | $70 |
| Cell: | Internal |
| Turbo Runtime | |
| LVP? | Warning |
| Switch Type: | E-Switch |
| Quiescent Current (A): | ? |
| On-Board Charging? | Yes |
| Charge Port Type: | micro-USB |
| Chargetime | |
| Power off Charge Port with no Cell? | ? |
| Claimed Lumens (lm) | 400 |
| Claimed Throw (m) | 85 |
| Candela (Calculated) in cd (at 30s) | 129lux @ 4.003m = 2067cd |
| Throw (Calculated) (m) | 90.9 (106.9% of claim)^ |
| All my Olight reviews! | |
^ Measurement disclaimer: Testing flashlights is my hobby. I use hobbyist-level equipment for testing, including some I made myself. Try not to get buried in the details of manufacturer specifications versus measurements recorded here; A certain amount of difference (say, 10 or 15%) is perfectly reasonable.
What’s Included

- Olight HS2 Headlamp
- USB cable
- Carry pouch
- Manual
- Spare headband clips
- Internal battery
Package and Manual
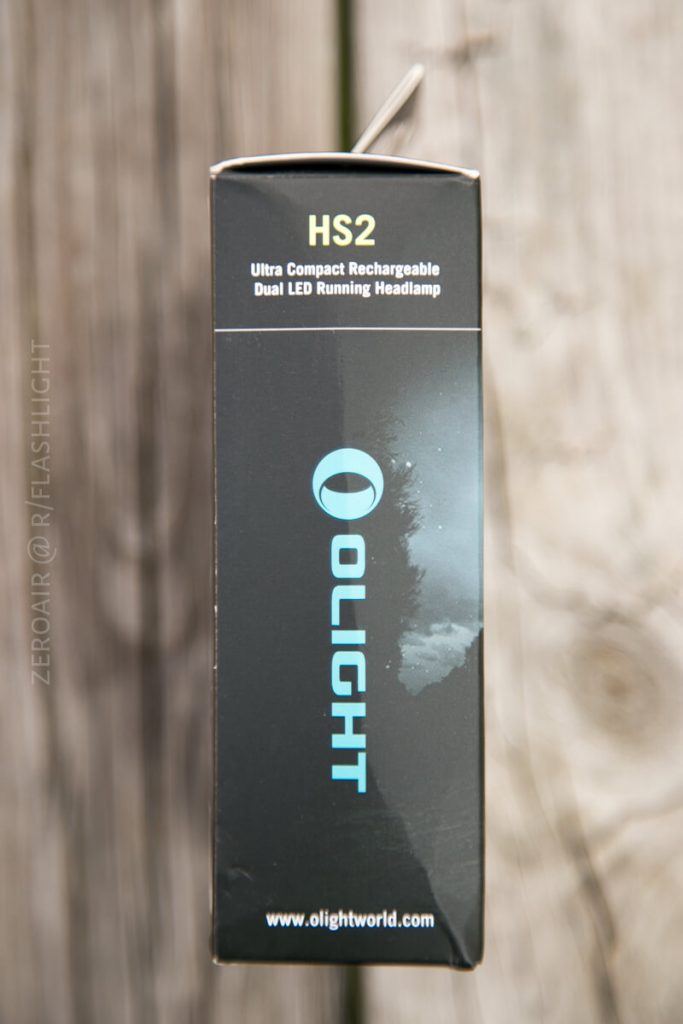
Olight uses their typical headlamp package here. The protective pouch serves as the main protection inside, and so the cardboard will probably go straight to recycling. The package has the usual amount of Olight printing and provides a description of the light (specs, features, etc).


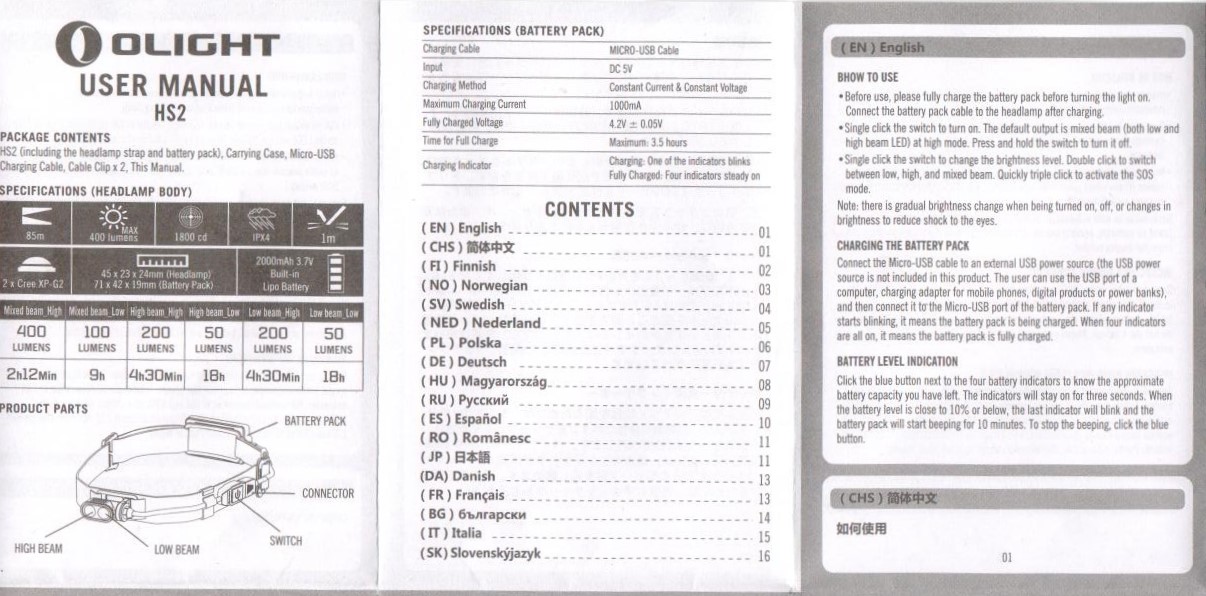
The manual is long but the each language is actually fairly short. Specs are repeated from the box, and is fairly simple.
Build Quality and Disassembly
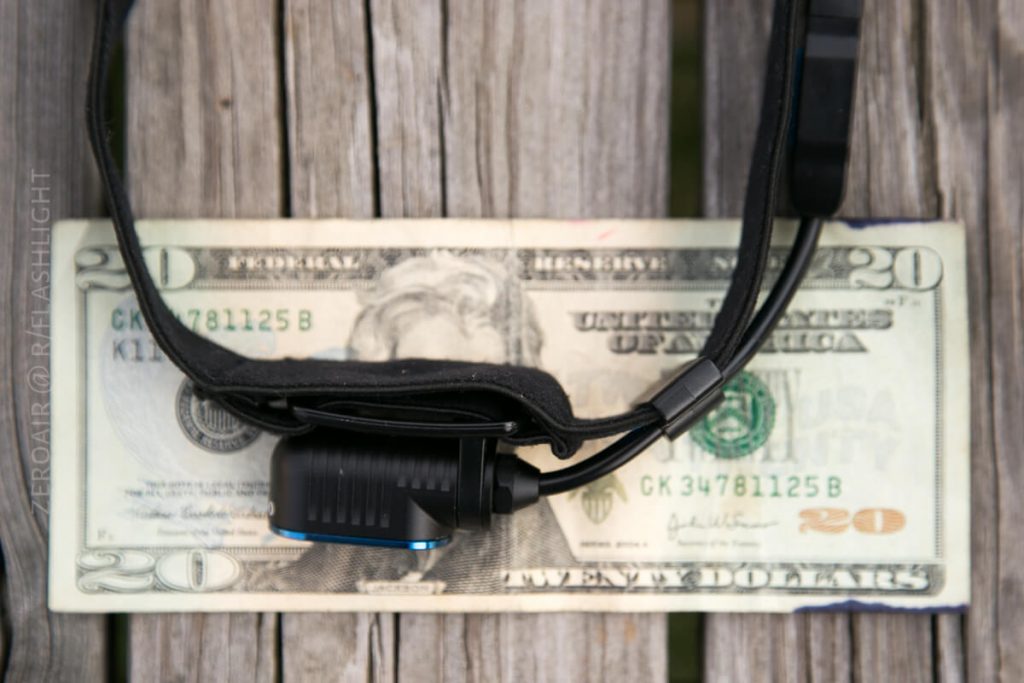
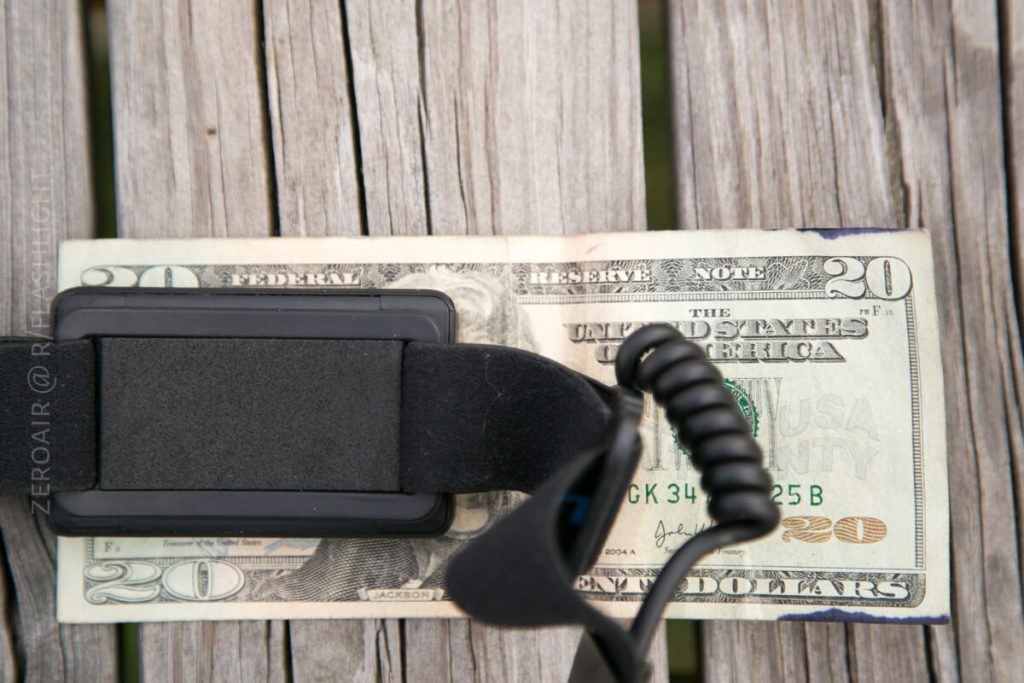
This is an unusual piece to evaluate for build quality, since the pieces are spread out and connected by cables. However, nothing about the device gives me any concerns for durability. The head of the light is well built and snug, with a press-fit Olight-blue bezel. The cables are thick, and well fit. The head pivots, and the cable attaching to the head is built for this – it works very well. The headstrap is stretchy and comfortable, and the head side of the battery has a soft foam padded piece for comfort.


I didn’t disassemble the light in the traditional sense, but I can report that the head will come off the headstrap easily. The head is connected by a ~6″ cable and should be viewed as a unit since the light’s driver is in the switch. This has the added advantage (and since the driver is versatile), that the head can be run off a micro-USB cable! Yes, that’s more like 5V instead of the 3.7V that the battery pack provides. And yes, it’s actually a little brighter on 5V!
Size
The head is small, and overall the whole unit is small, too.
One thing I’ve really liked about this light over all my other headlamps (which have cells attached to the head), is that when I’m wearing this light, I can’t actually see the light body. It’s actually a little weird, and completely awesome.
Retention
Just the headstrap. Of course you can pull the head off the setup, and have the head separate, using the light that way.
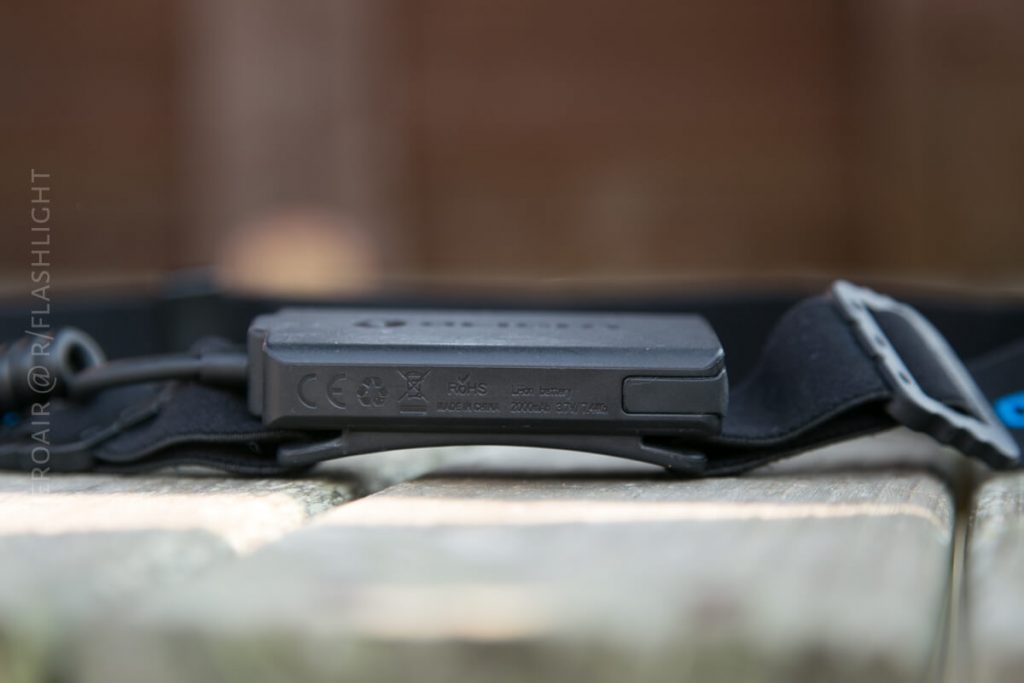
Below you can see the padded bit on the back of the battery pack.
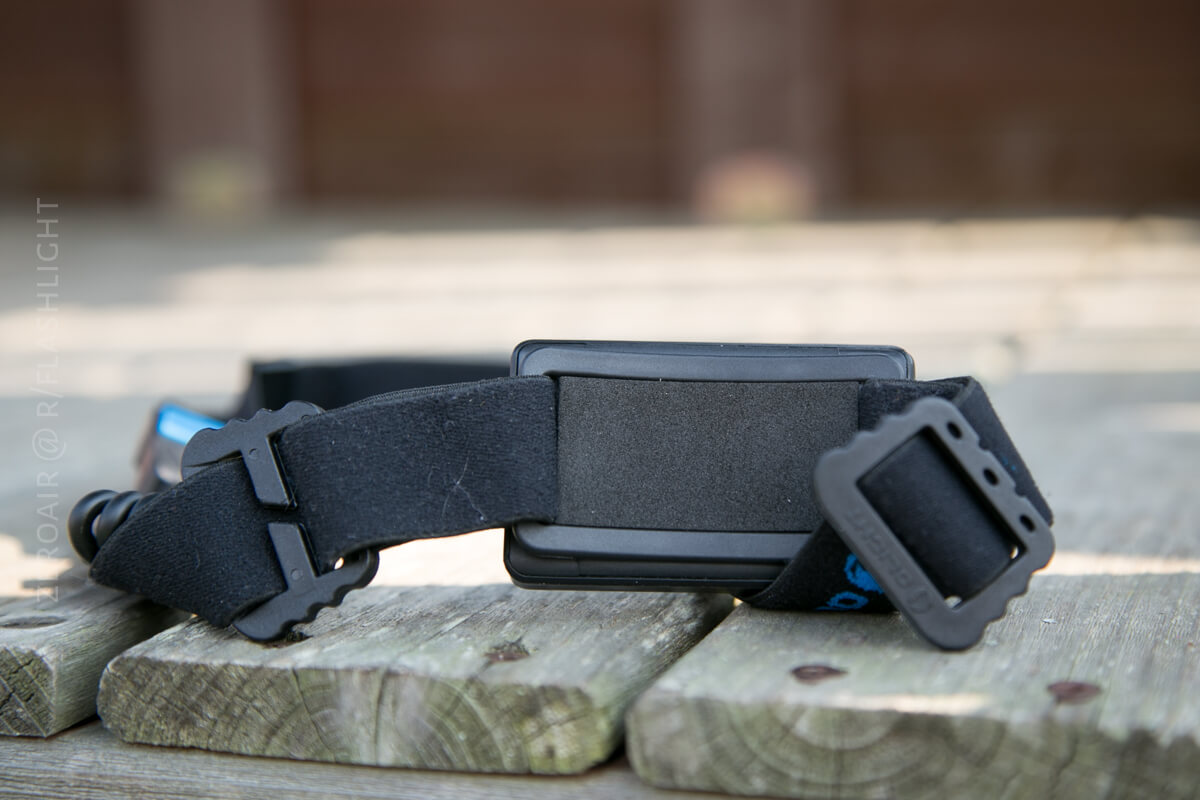
The headstrap is highly adjustable, and the adjustment bits are thin and lay plenty flat. It’s a very comfortable headlamp!

Power
The provided power is by a battery pack. The battery pack charges by micro-USB, and a cable is included. There’s a button on the battery pack which will light the four indicator LEDs near the switch to give an estimation of remaining power. The micro-USB has a rubber cover and fits snugly.
This is actually a Lipo battery. However, (as mentioned above), the battery pack is essentially just a micro-USB out power supply. In truth, the head can be plugged in to any micro-USB power supply. Including wall power. Including a battery pack like the Nitecore F1 or F2. This is an incredible feature. It means the HS2 can be taken off the headstrap and used with interchangeable 18650s (for example) with an F1. Now maybe i can’t think of a good reason to do that, but it’s nice that we can.


Here’s a few runtimes. One with both emitters on high, one with just flood and one with just throw. There’s a temperature dip on the Turbo was due to the sensor coming off.

Charging
Charging happens at about 1A, and looks very good.
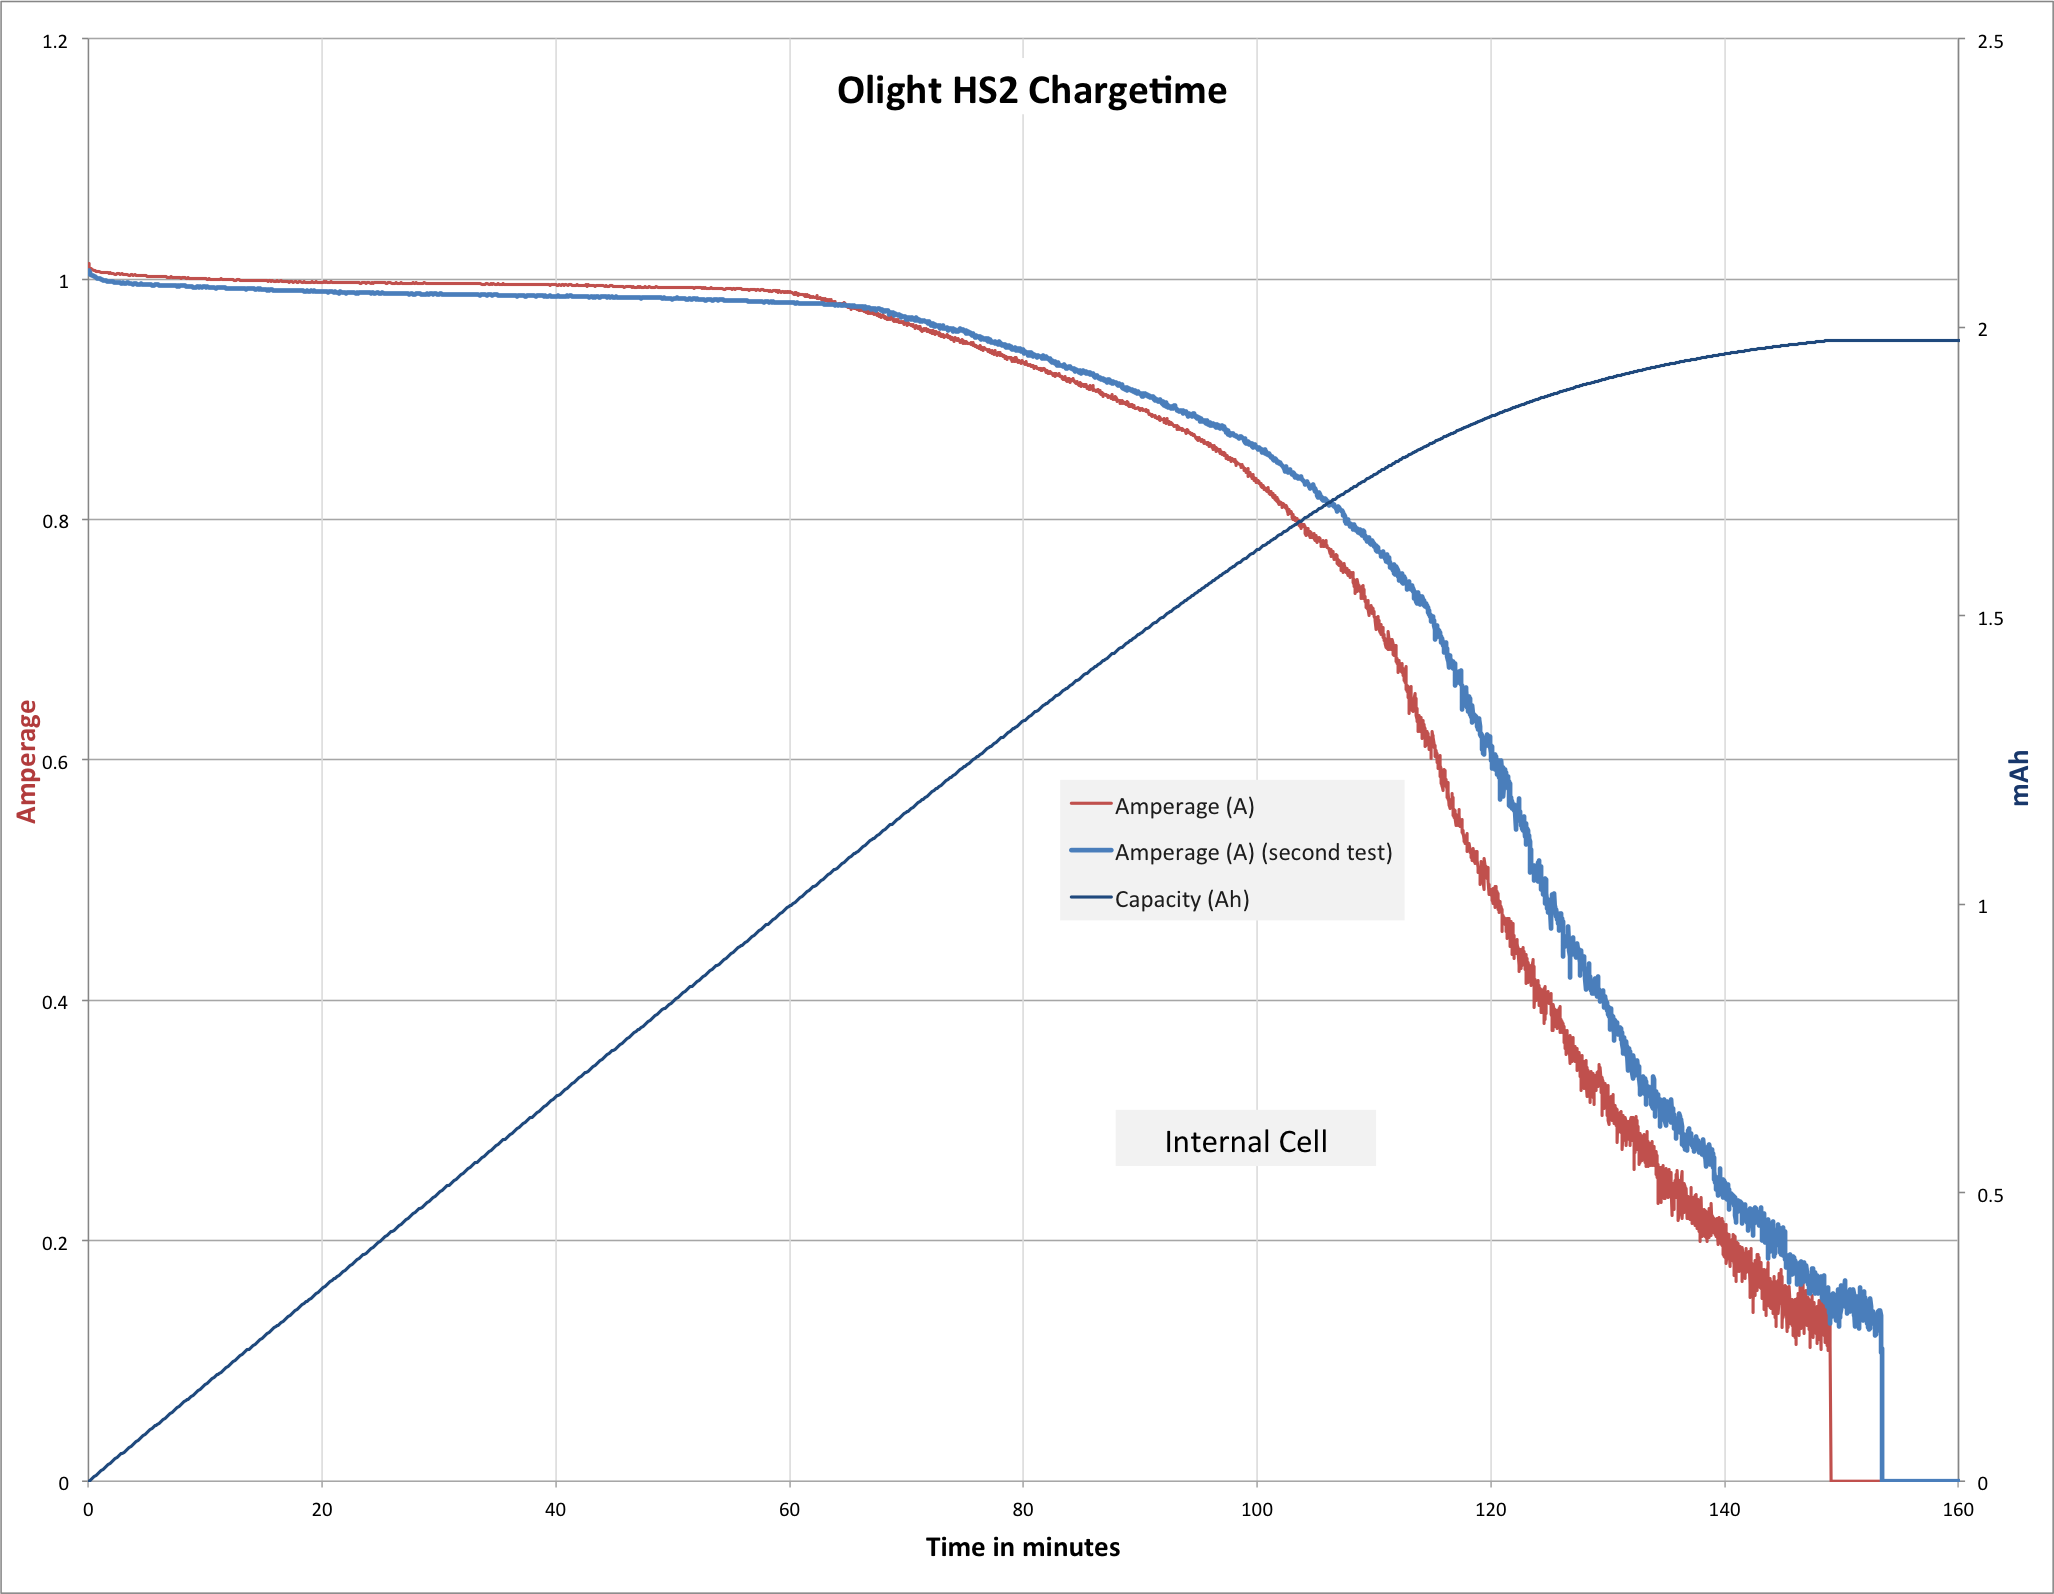
When the cell is full, clicking the blue button will make all 4 LEDs light up.

When the battery is depleted, the unit will make a [very loud] beeping as seen below.
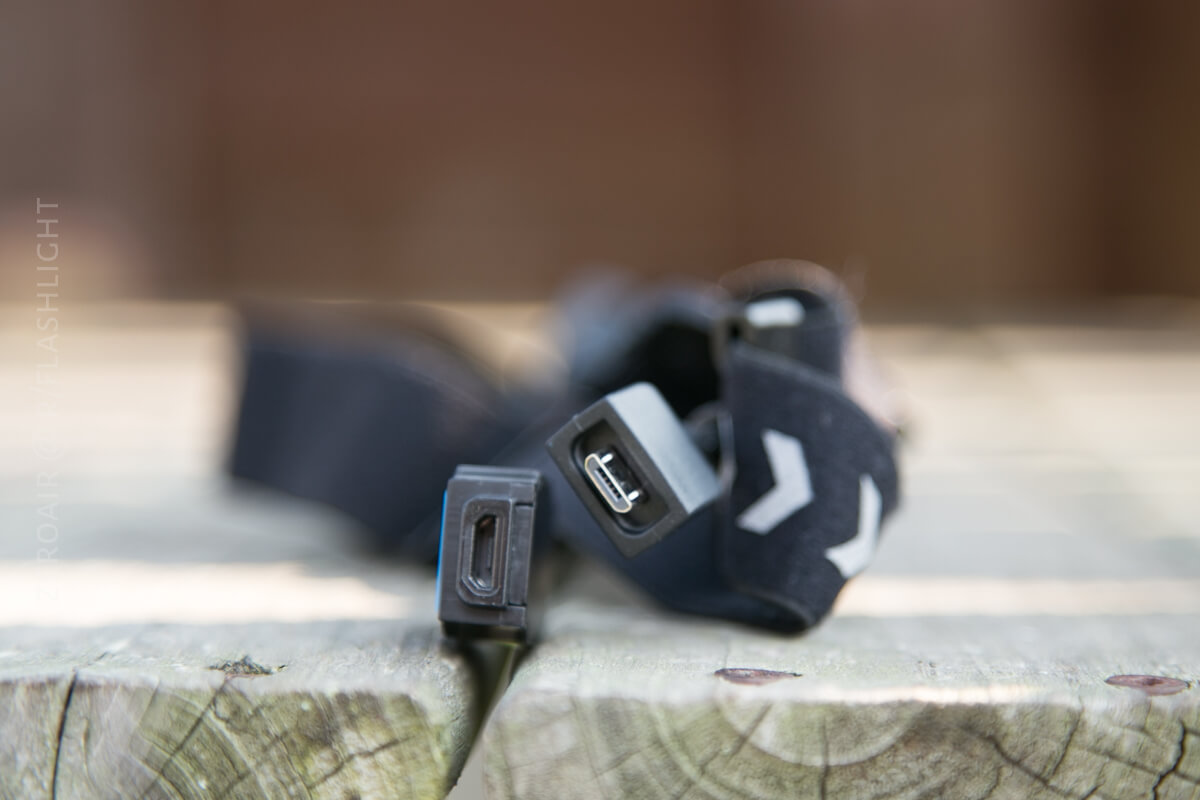
Below, see the micro-USB (male) of the battery pack, and the micro-USB (female) of the head.
User Interface and Operation
To operate the light, there’s a single plastic e-switch. The switch is on the connection between power and the head (and it’s on the head side).

The UI is simple. Click to high (this will be “mixed beam”). Click again for the lower mode. Double click to change between “Mixed”, “High”, and “Low” (in that order). (Olight is calling Throw and Flood, “High” and “Low” here, in obvious attempts to confuse consumers.) Double-clicking from Low or High will switch to the next group in low or high (whichever you were in).
To turn the light off (from any mode) just hold the button until it goes off. If you’re in any high mode, holding the switch will go through the low mode first. This takes too long for my taste, but at least it’s a consistent action across the modes.
Modes
| Mode | Mode Claimed Output (lm) | Claimed Runtime |
|---|---|---|
| Mixed, High | 400 | 2h12m |
| Mixed, Low | 100 | 9h |
| Throw, High | 200 | 4h30m |
| Throw, Low | 50 | 18h |
| Flood, High | 200 | 4h30m |
| Flood, Low | 50 | 18h |
LED and Beam
Both emitters are Cree XP-G2. The difference in beam shape is caused by the optic. The Mixed beam does provide a lot of light, and since it’s first it’ll probably be the one getting used most. There is a noticeable difference in the flood and throw, but for me personally, I’d probably just typically go with the mixed beam anyway. Of course, the runtimes are approximately double across the board using either single emitter in any mode over any mixed emitter in any mode. So if runtime is a concern, go with the single, flood or throw.

Beamshots
These beamshots are always with the following settings: f8, ISO100, 0.3s shutter, and manual 5000K exposure.


Tint vs BLF-348 (KillzoneFlashlights.com 219b version) (affiliate link)
I keep the test flashlight on the left, and the BLF-348 reference flashlight on the right.


Conclusion
What I like
- The light kind of disappears on the forehead
- Dual emitter make for nice options
- Internal cell seems accurately represented
- The light will run off 3.7V and 5V both (ie, can be used as a head for a Nitecore F1)
- It’s comfortable
What I don’t like
- The internal cell resists interchangeably (which means both the cell inside the pack can’t be changed, and a large part of the light as a whole would have to be replaced to change the cell)
- Cool white emitters (this with Nichia would possibly be perfect).
- UI is very runner-specific – the low is not really low at all.
Notes
- This light was provided by Olight (via Going Gear) for review. I was not paid to write this review.
- This content originally appeared at zeroair.org. Please visit there for the best experience!
- For flashlight-related patches, stickers, and gear, head over to PhotonPhreaks.com!
- Use my amazon.com referral link if you’re willing to help support making more reviews like this one!
- Please support me on Patreon! I deeply appreciate your support!

Pingback: Olight H16 Wave Headlamp Review – ZeroAir Reviews
Hi. Thoughts on this Vs the NU25 for running?
I would say it depends. How long are your runs?
The HS2 maintains a much more stable output than the NU25. That is probably the end of the story right there – the NU25 drops quickly to [possibly] usable output.
If you believe the HS2 would be comfortable for runs (it’s heavier than the NU25*), and don’t mind not having red output secondary and high cri output tertiary, then the HS2 is probably a better choice.
*I didn’t actually look up the weights to confirm this.
Pingback: Olight H16 Wave Headlamp Review - ZeroAir Reviews