
Nitecore HC70 Headlamp Review
The HC70 is a headlamp by Nitecore suitable for helmet mount. It uses a single Cree XM-L2 emitter and is powered by two 18650 cells.
Official Specs and Features
Here’s a link to the Nitecore HC70 headlamp product page.
Versions
There is just one version of this headlamp. Looks like a kit is available, which includes cells, too.
Price
$99.95. There looks to be a version that includes cells, which is around $119.95.
Short Review
This is a nice headlamp and very functional but its usefulness could be expanded and the cord doesn’t really need to be so long. It could even be a bike light with the right mount.
Long Review
The Big Table
| Nitecore HC70 | |
|---|---|
| Emitter: | Cree XM-L2 |
| Price in USD at publication time: | $99.95 |
| Cell: | 2×18650 |
| Turbo Runtime | |
| LVP? | Warning |
| Switch Type: | E-Switch |
| Quiescent Current (A): | ? |
| On-Board Charging? | Yes |
| Charge Port Type: | micro-USB |
| Chargetime | |
| Power off Charge Port with no Cell? | ? |
| Claimed Lumens (lm) | 1000 |
| Claimed Throw (m) | 182 |
| Candela (Calculated) in cd (at 30s) | 435lux @ 4.931m = 10577cd |
| Throw (Calculated) (m) | 205.7 (113% of claim)^ |
| All my Nitecore reviews! | |
^ Measurement disclaimer: Testing flashlights is my hobby. I use hobbyist-level equipment for testing, including some I made myself. Try not to get buried in the details of manufacturer specifications versus measurements recorded here; A certain amount of difference (say, 10 or 15%) is perfectly reasonable.
What’s Included

- Nitecore HC70 headlamp
- Head strap
- Manual
- Charge cord
Package and Manual
This package is fairly typical line for with black and yellow everywhere. It has the usual specifications and features and photos on the box. The box is a little flimsy, but that’s not a huge deal.


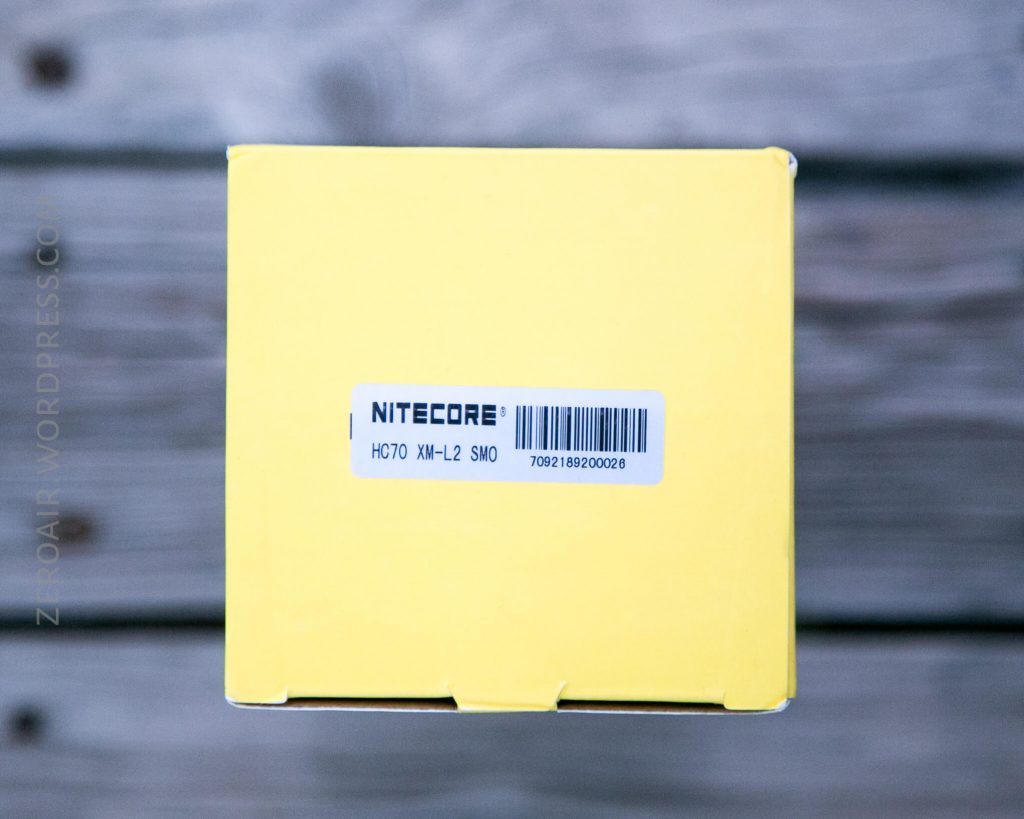
This box is bigger though because there’s a lot of material included with this package. For example, the cord connecting the headlamp to the battery pack. It’s long!
Here’s a pdf of the manual. It’s a fine manual, and up to Nitecore’s usual manual standards. A big sheet of paper, with many languages printed on it.
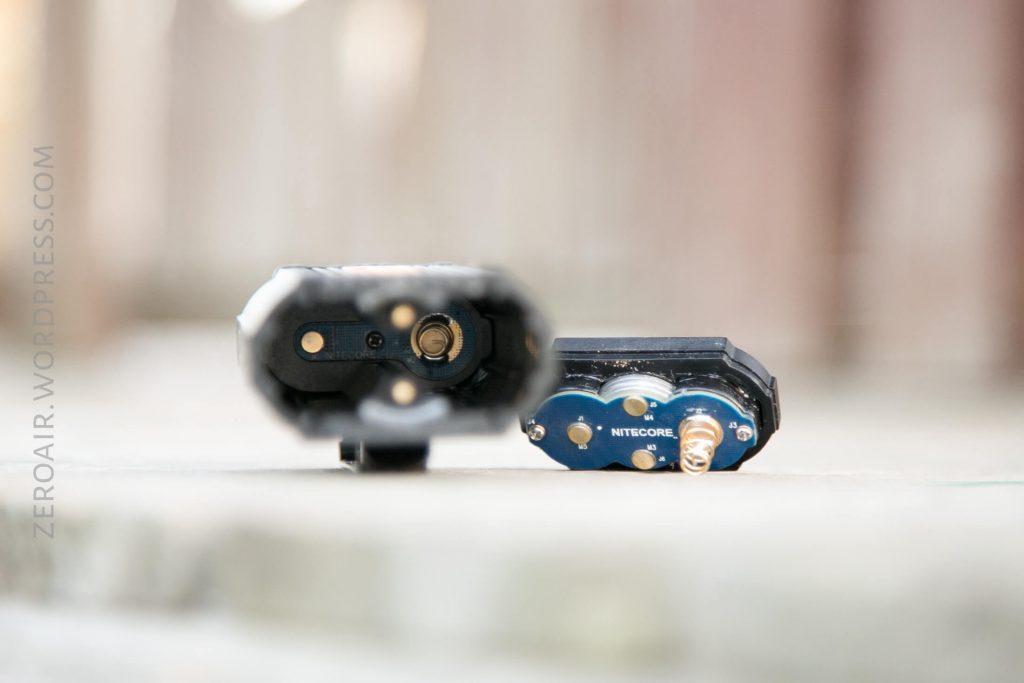
Build Quality and Disassembly
While there are a few things that I would like to improve, this is a well-built light. Both the headlamp and the battery part are solidly constructed. The battery has a screw-down end. This end has threads that are unanodized, and square. Big nice threads.

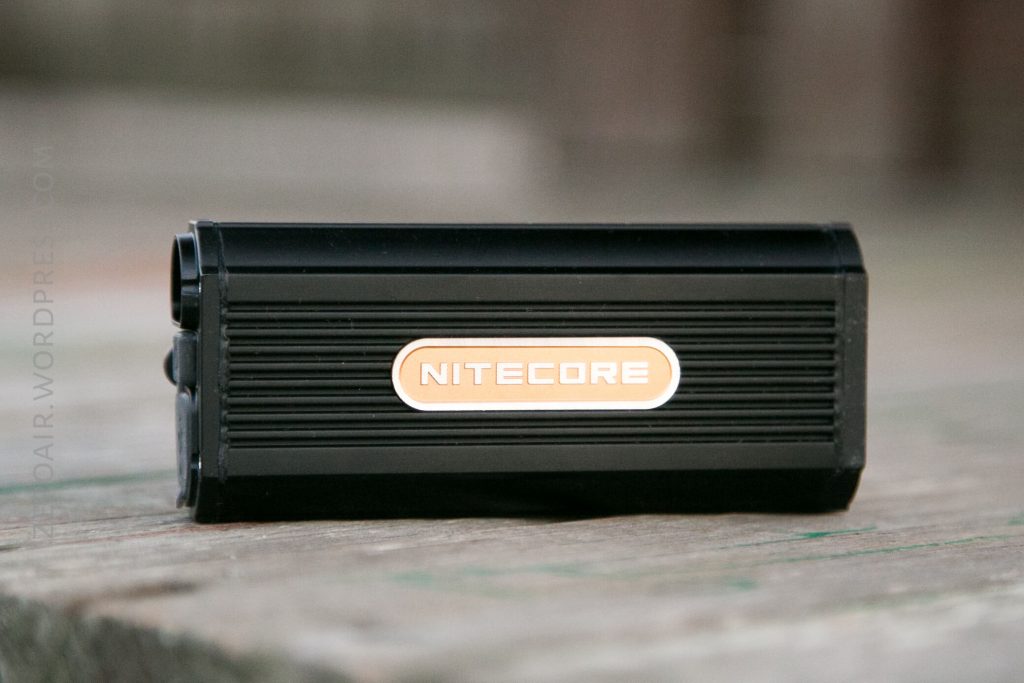


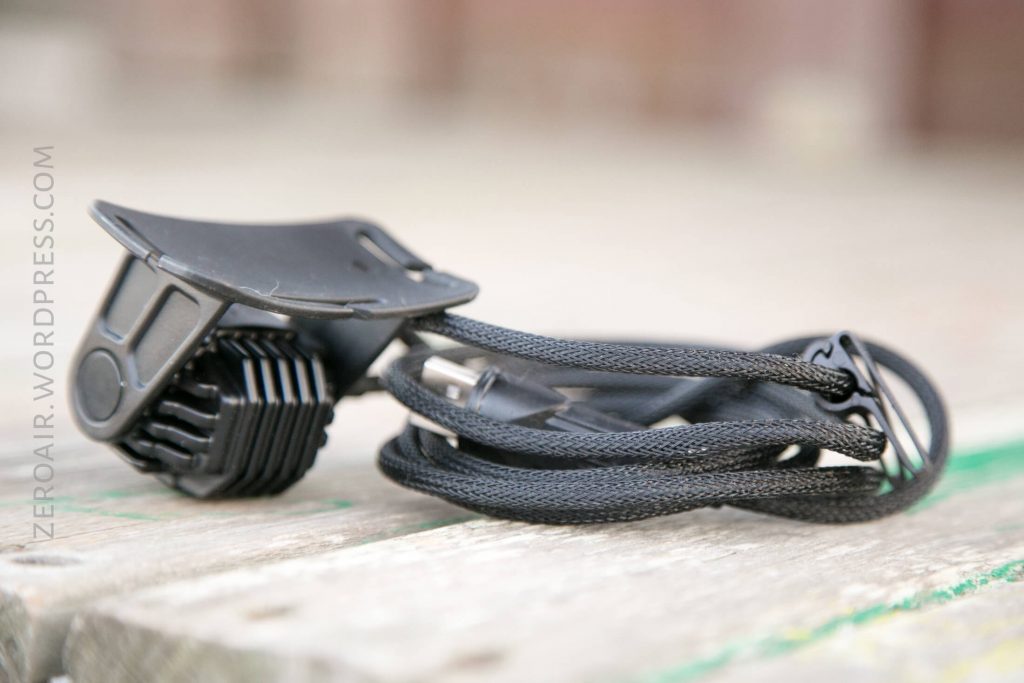
The headlamp itself is nicely built. It’s… anodized but I’d call it much more of a powder coat feel (maybe it is actually Powdercoat?). The headlamp is mounted to the plastic parts for the headstrap, and doesn’t seem to be removable from that. A nice addition here would be a helmet mount or a bike handlebar mount – but the headstrap parts obfuscate that. Maybe v2 of this unit will feature these improvements.

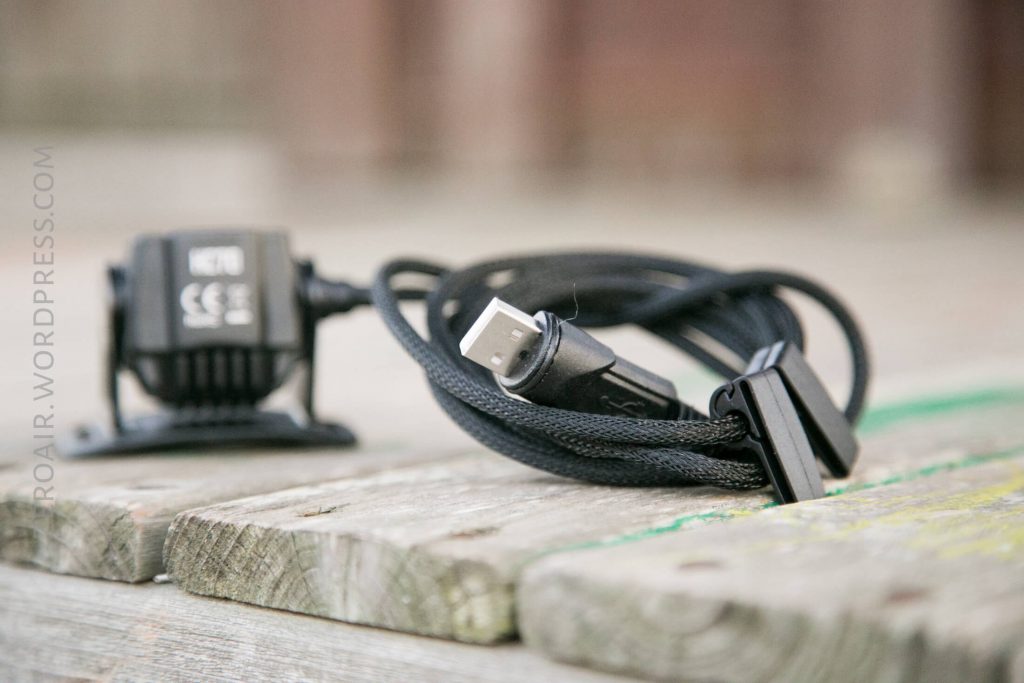
As stated elsewhere, the cord connecting the lamp to the battery is quite long. Too long? I don’t know…. too long for me, yes.

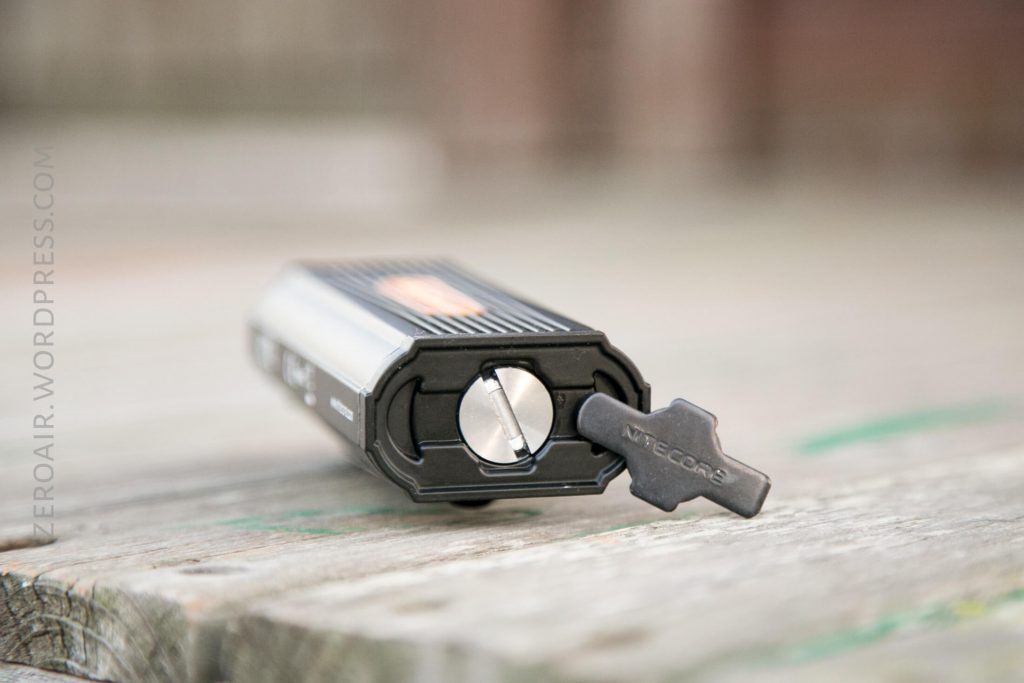
The battery has a screw-down closure. Fortunately, Nitecore includes an appropriate tool for opening this, and it stays handy by fitting in its location and staying there magnetically. That said, a coin could be used in this very wide slot. This closure is not hard to operate, but it’s fairly specific. Do it right or the cover will be askew.

Size
The official dimensions are 64mm x 36mm x 56mm. I’d call that a little meaningless since there are two essentially separate parts of this device. However, I will say that the battery is quite long, for what it is.

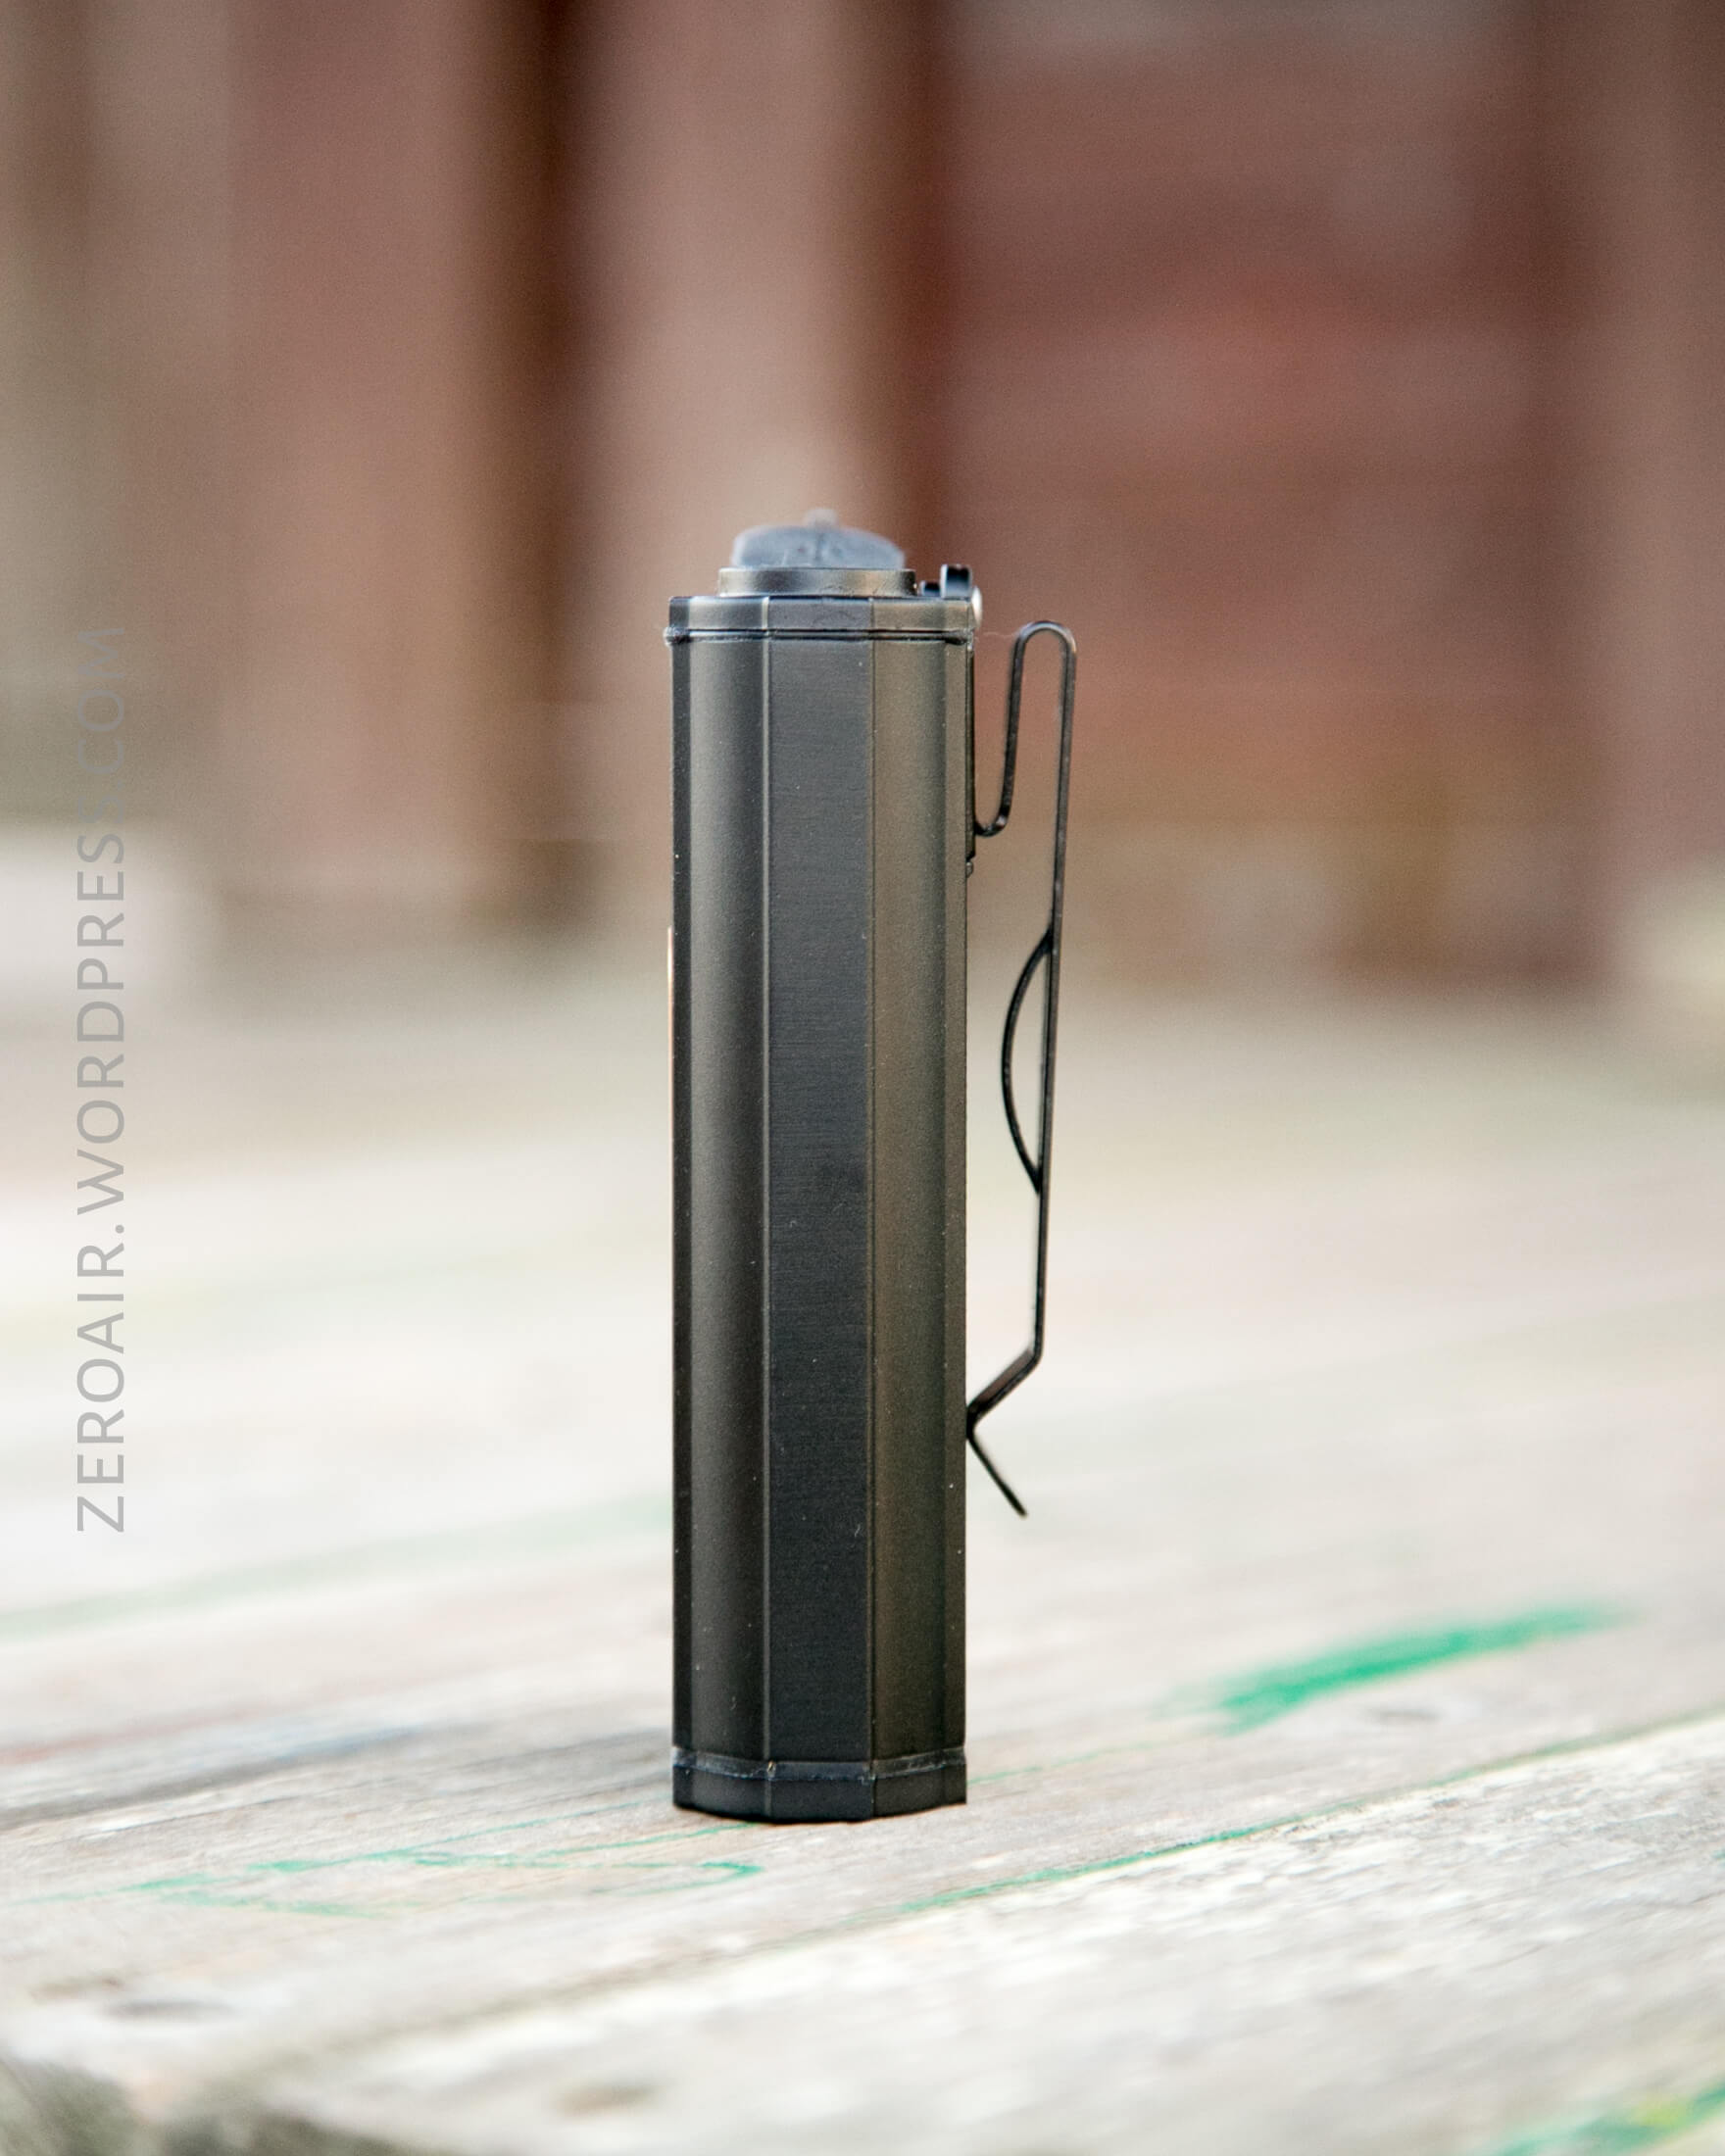
Retention
There’s a removable pocket clip on the battery. The clip is quite large, and has a usable mouth, but is not all that thick. I like the clip, even if it is a little large.

And of course, the head unit has the appropriate connectors for connecting to the two-piece strap. (Two-piece = around head and over head both.)

There’s no pouch or anything else for carrying this light.
Power
The HC70 is powered by two 18650 cells. In my testing, I found that these cells must be quite long. Any cell will work, but they just need to be long. Even these Efests seen below didn’t quite cut it – I had to add a small rare earth magnet to the positive end. And that was a little problematic because the driver end of the light is highly magnetic, so the magnet didn’t like staying where I put it. Still, it worked.


Runtime was on mode 5 (highest) with a number of resets, and cooling turned off appx midway through. After runtime, the individual cells were at 3.2V and 2.48V (blue test). In the second test, where I’d added magnets to the cells, the cells discharged much more evenly, to 2.95V (red test). I like that the light will reset to near-turbo over and over during the run. Just be sure that both of your cells make GOOD contact. I say “good” because the light won’t work on just one cell, so in my ‘bad’ run the cell must have been making some contact. How can you be sure? Well, I’d recommend just starting with a magnet. (I only had very small magnets. Larger diameter ones, for the negative terminal, would possibly work better.)

The HC70 does have LVP – at around 3.05V the light strobes wildly (not “strobe” but more like…. random strobe). Then around 2.95-3.0V, the light does shut off completely.
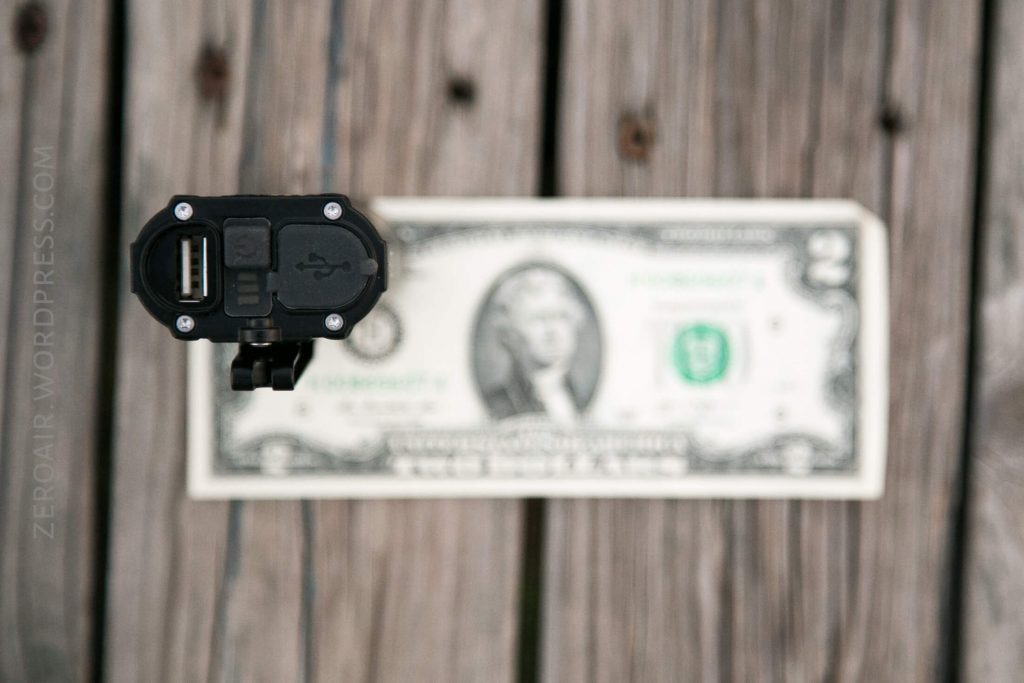
Charging
The cell tube does have onboard charging, too. That’s done by a standard micro-USB connection, and a cable is provided.

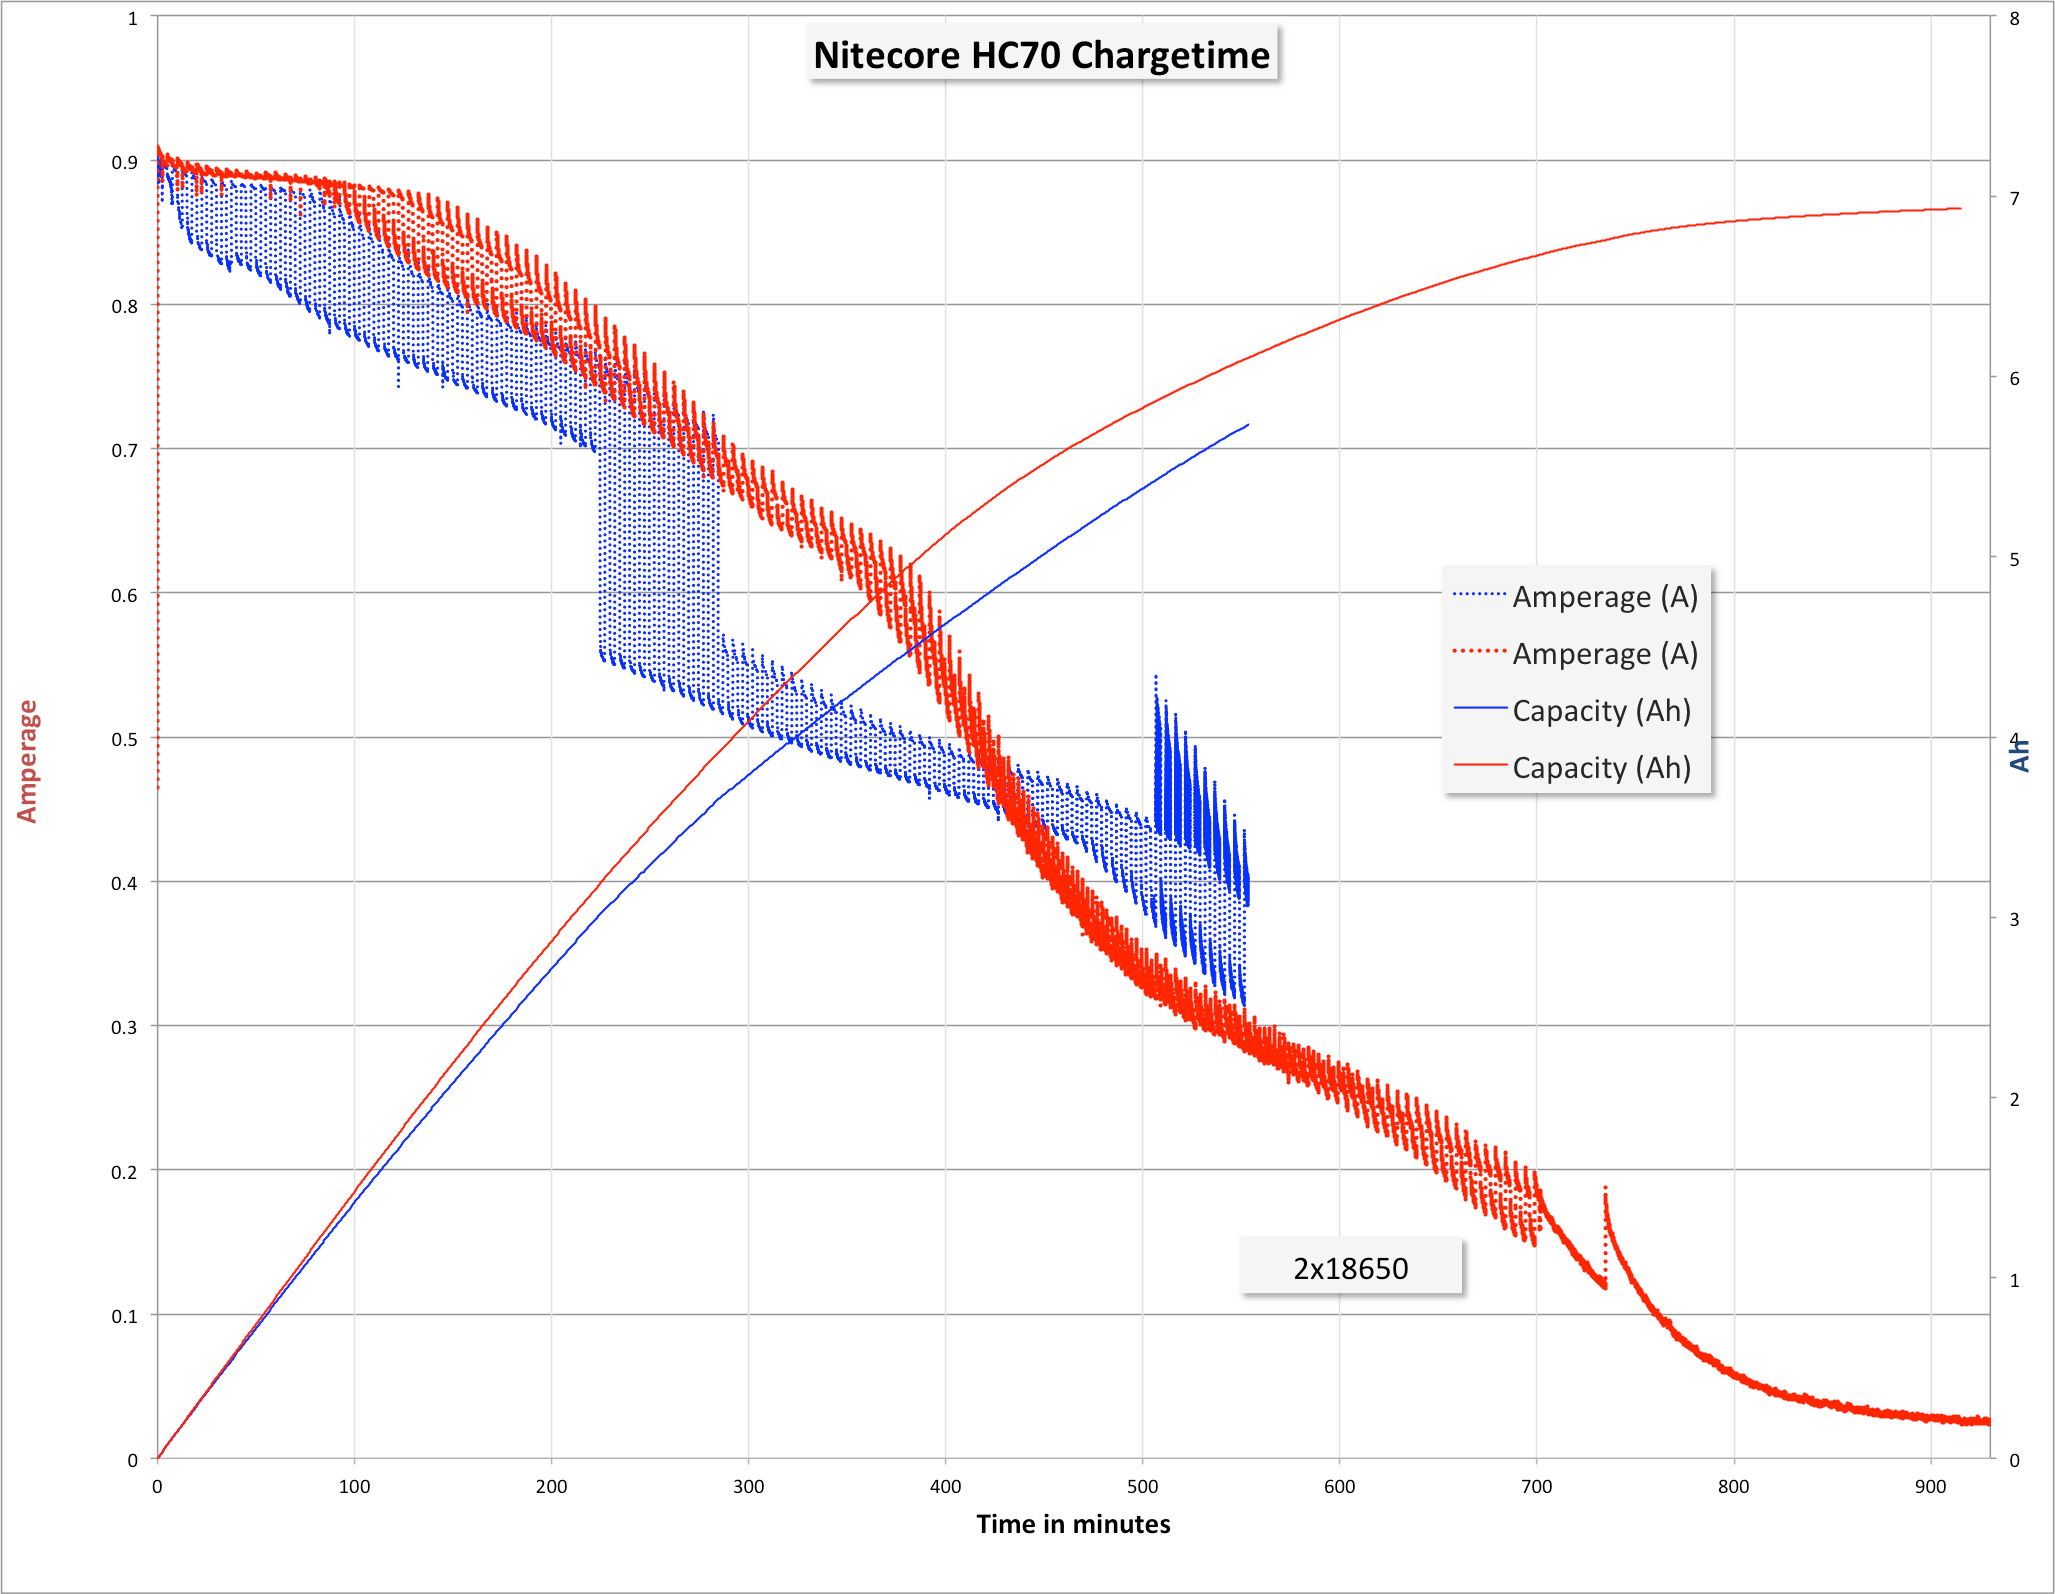
There’s a battery level indicator, too. Three bars mean “charged.”

The line color below corresponds to the runtimes in the graph above. The blue looks wonky because it is – I was charging two disparate cells. The graph gives me the idea that it’s charging the cells independently, for seconds at a time. That could be wildly wrong, of course. At the end of the red test, the cells were at 4.2V and 4.12V. I am not sure I’d call this very good charging, unfortunately. It could be.
A couple of other niggles about the power on this unit. The 2-up battery pack will not operate with just one cell (disappointing). The unit is not complicated to open, but it’s still cumbersome – clearly the idea is to have a couple of cells that just live in this light, and are never removed. I wouldn’t hate that idea if you’re using protected cells, but with unprotected cells (like those Efests), I’d recommend checking the voltage periodically to be sure you didn’t undercharge either cell. The USB plug that the light goes into does not have a cover. So the pack alone would not be a good travel power pack. I can’t imagine why Nitecore didn’t include a separate cover. That said, the light’s male USB has a sealing cover, so when it’s plugged in it does provide protection.
The USB-out for the light can clearly provide ample current (over 1A, I’d guess) since it’s running an XM-L2 at over 1000 lumens. (If I read Texas_Ace correctly, you’d need to hit an XM-L2 with around 3.3A to get 1000 lumens out of it.) My USB load was able to pull nearly 3A on one port, and over 3A on the other port, down to around 4V.
User Interface and Operation
The head has a mode e-switch.

And the tail has a button, too.

Here’s how the light operates. First a bit of a caveat: When the light (head) is plugged into the USB power source, the light turns on to the previously used mode. As far as I know this is not avoidable. I don’t like this at all. Secondly, the light may be turned off (and on) from the button on the battery pack. No mode changes, only off and on. This is really more of turning the battery pack off and on, which I like. Combining these two means the light can be connected and “off” but that’s a result of the battery pack being off. This is acceptable. (As a result, take all items in the “Action” column below to be from the head switch, not the battery switch.) On to the actual UI.
| State | Action | Result |
|---|---|---|
| Off | Click | On (Ultralow) |
| On | Click | Mode Advance (L>H direction) |
| On | Hold | Off |
| Off | Hold | Mode Memory (Including Turbo) |
| Off | Long Press | Mode Memory, then Turbo |
| Off | Double Tap | Special Modes |
| Special Mode Group | Click | Special Advance (Caution>SOS>Beacon) |
Modes
| Mode | Mode Claimed Output (lm) | Claimed Runtime | Mode Measured Lux |
|---|---|---|---|
| Turbo | 1000 | 2h15m | 20500 |
| High | 550 | 4h | 17160 |
| Mid | 240 | 10h | 4390 |
| Low | 65 | 30h | 517 |
| Ultralow | 1 | 220h | 33 |
LED and Beam
Nitecore chose a Cree XM-L2 for this light. The shallow reflector is smooth, and the beam is a fairly tight spot with reasonable spill.


Beamshots
These beamshots always have the following settings: f8, ISO100, 0.3s shutter, and manual 5000K exposure. These photos are taken at floor level, and the beam hits the ceiling around 9 feet away.


Tint vs BLF-348 (KillzoneFlashlights.com 219b version) (affiliate link)
I keep the test flashlight on the left and the BLF-348 reference flashlight on the right.

Random Comparisons and Competitive Options
Here’s a relevantly filtered page on parametrek.com. There are surprisingly some fairly similar lights in this category. For example, the Fenix HP30 has the [nearly] same setup (three years ago). I know that Fenix makes quality products, but it’s otherwise hard to compare the two. The HC70 does have twice the USB outs.
Conclusion
What I like
- Output is good
- Modes are simple enough
- I like these separate battery back, which has onboard charging and USB-out
- Built quality is good
What I don’t like
- Uneven discharge unless very long cells are used.
- The cord between headlamp and battery is very long (and hard-wired to the head).
Notes
- This light was provided by Nitecore for review. I was not paid to write this review.
- This content originally appeared at zeroair.org. Please visit there for the best experience!
- For flashlight-related patches, stickers, and gear, head over to PhotonPhreaks.com!
- Use my amazon.com referral link if you’re willing to help support making more reviews like this one!
- Please support me on Patreon! I deeply appreciate your support!