Nitecore UCN1 Canon Charger Review
The Nitecore UCN1 Canon is a USB charger device capable of use with Canon camera batteries. There’s a nice display providing ample information!
Official Specs
Here’s a link to the Nitecore UCN1 Canon Charger product page.
Price
This charger is listed for $20.
Short Review
This charger is very convenient. I like that it’s USB powered, but I also like the design of the Canon OEM charger (which plugs directly into the wall. It’s a fast charger, and I like the display too. It’s a very good little charger.
Long Review
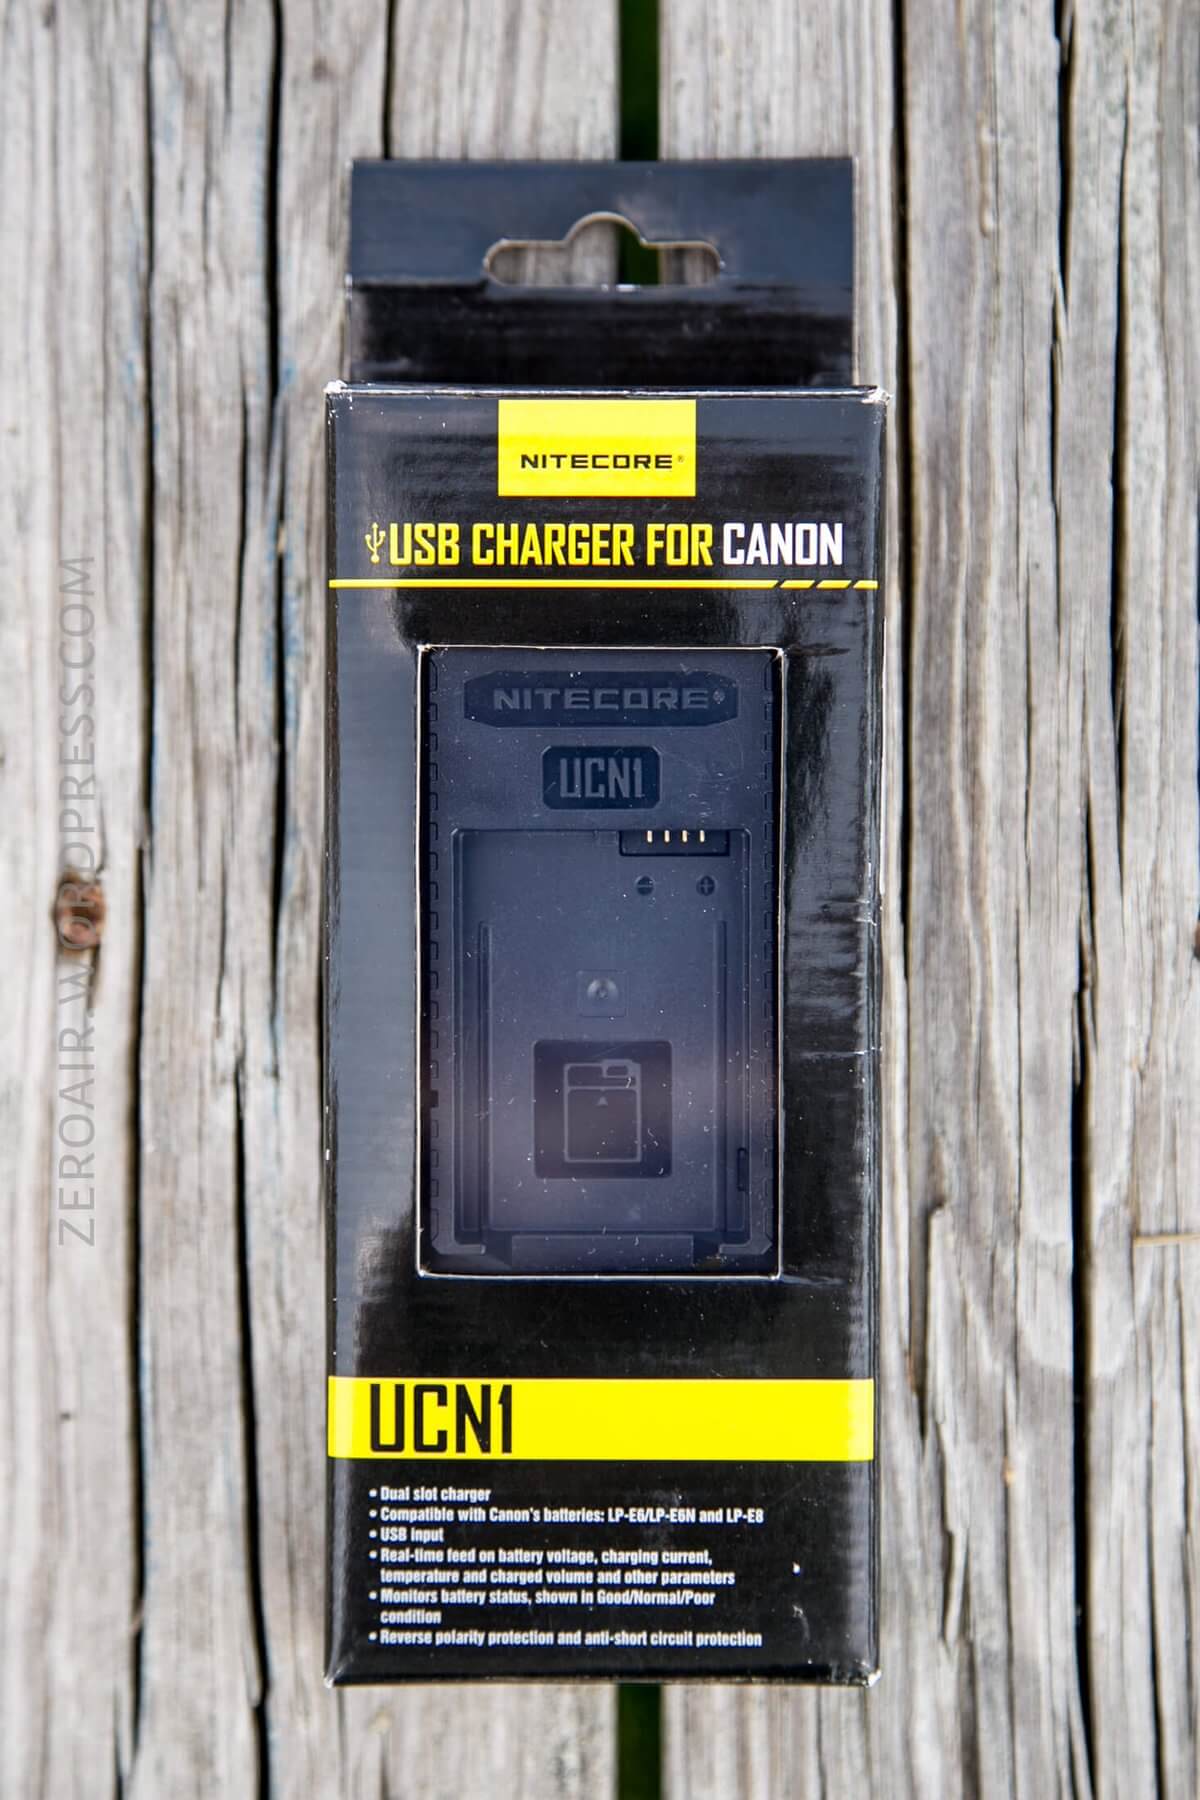
Key Features
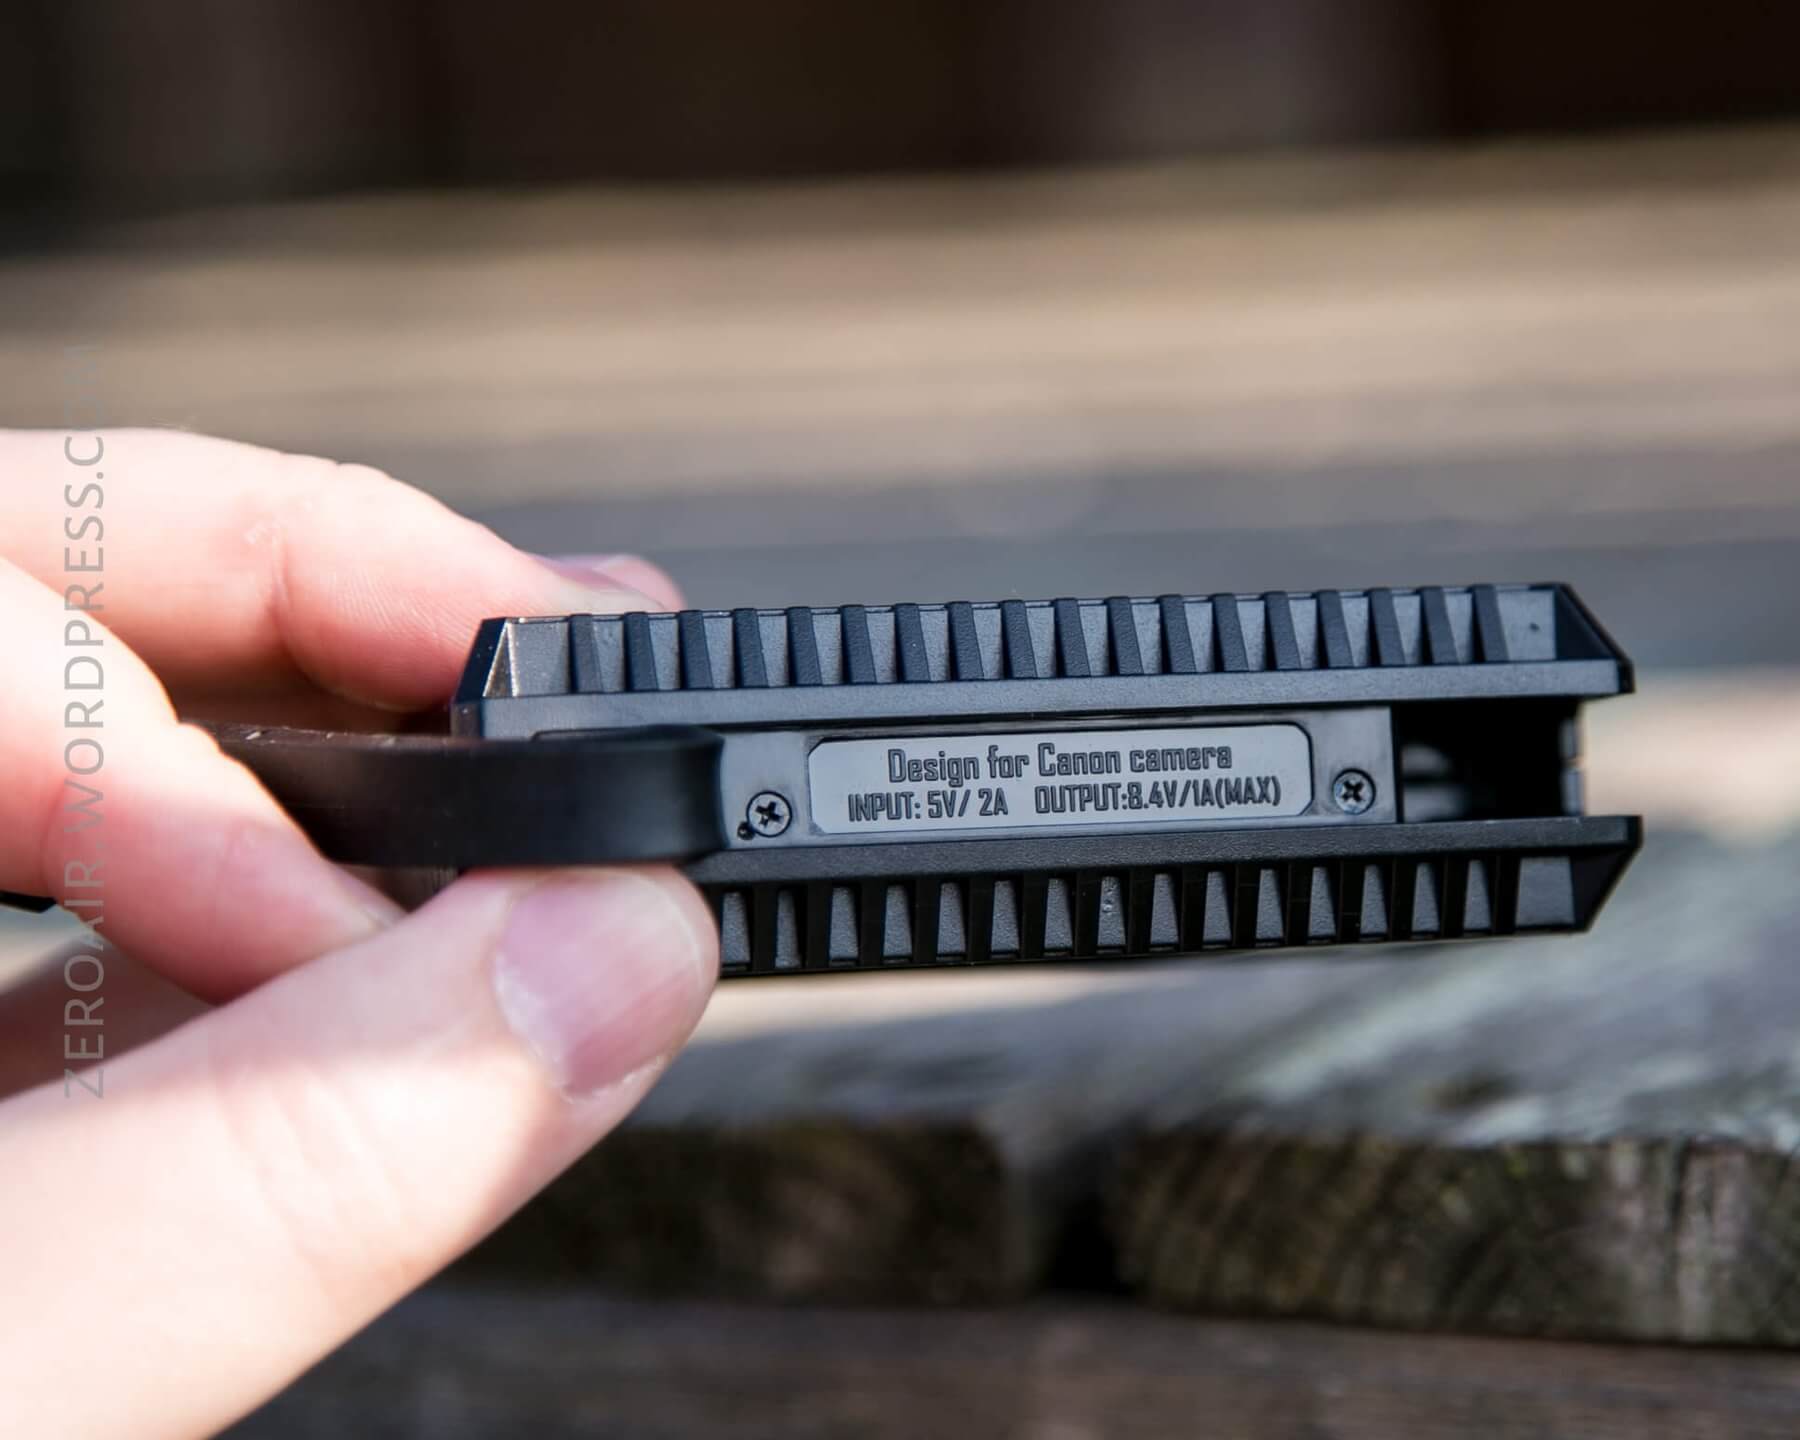
- Input DC 5V/2A
- Output voltage Slot 1 (LP-E6/LP-E6N) 8.4V
- Slot 2 (LP-E8) 8.4V
- Output current1000mA (MAX)
- Battery compatibility Canon camera batteries (LP-E6/LP-E6N and LP-E8)
- LP-E6/LP-E6N compatible models:
Canon EOS 5D Mark II, Canon EOS 5D Mark III, Canon EOS 5DS, Canon EOS 5DS R, Canon EOS 6D, Canon EOS 7D, 6D Mark II, 5D Mark IV, 80D, Canon EOS 7D Mark II, Canon EOS 60D, Canon EOS 60Da, Canon EOS 70D, Canon XC10 - LP-E8 compatible models:
Canon EOS Rebel T2i, Canon EOS Rebel T3i, Canon EOS Rebel T4i, Canon EOS Rebel T5i, Canon EOS 550D, Canon EOS 600D,Canon EOS 650D, Canon EOS 700D, 650D, 550D, Canon EOS Kiss X4, Canon EOS Kiss X5, Canon EOS Kiss X6
Manual and Packaging
The UCN1 ships in a package with the normal Nitecore colors, but it’s unusual in that there are two windows – one window on the front and one on the back. This is neat, but not all that necessary.
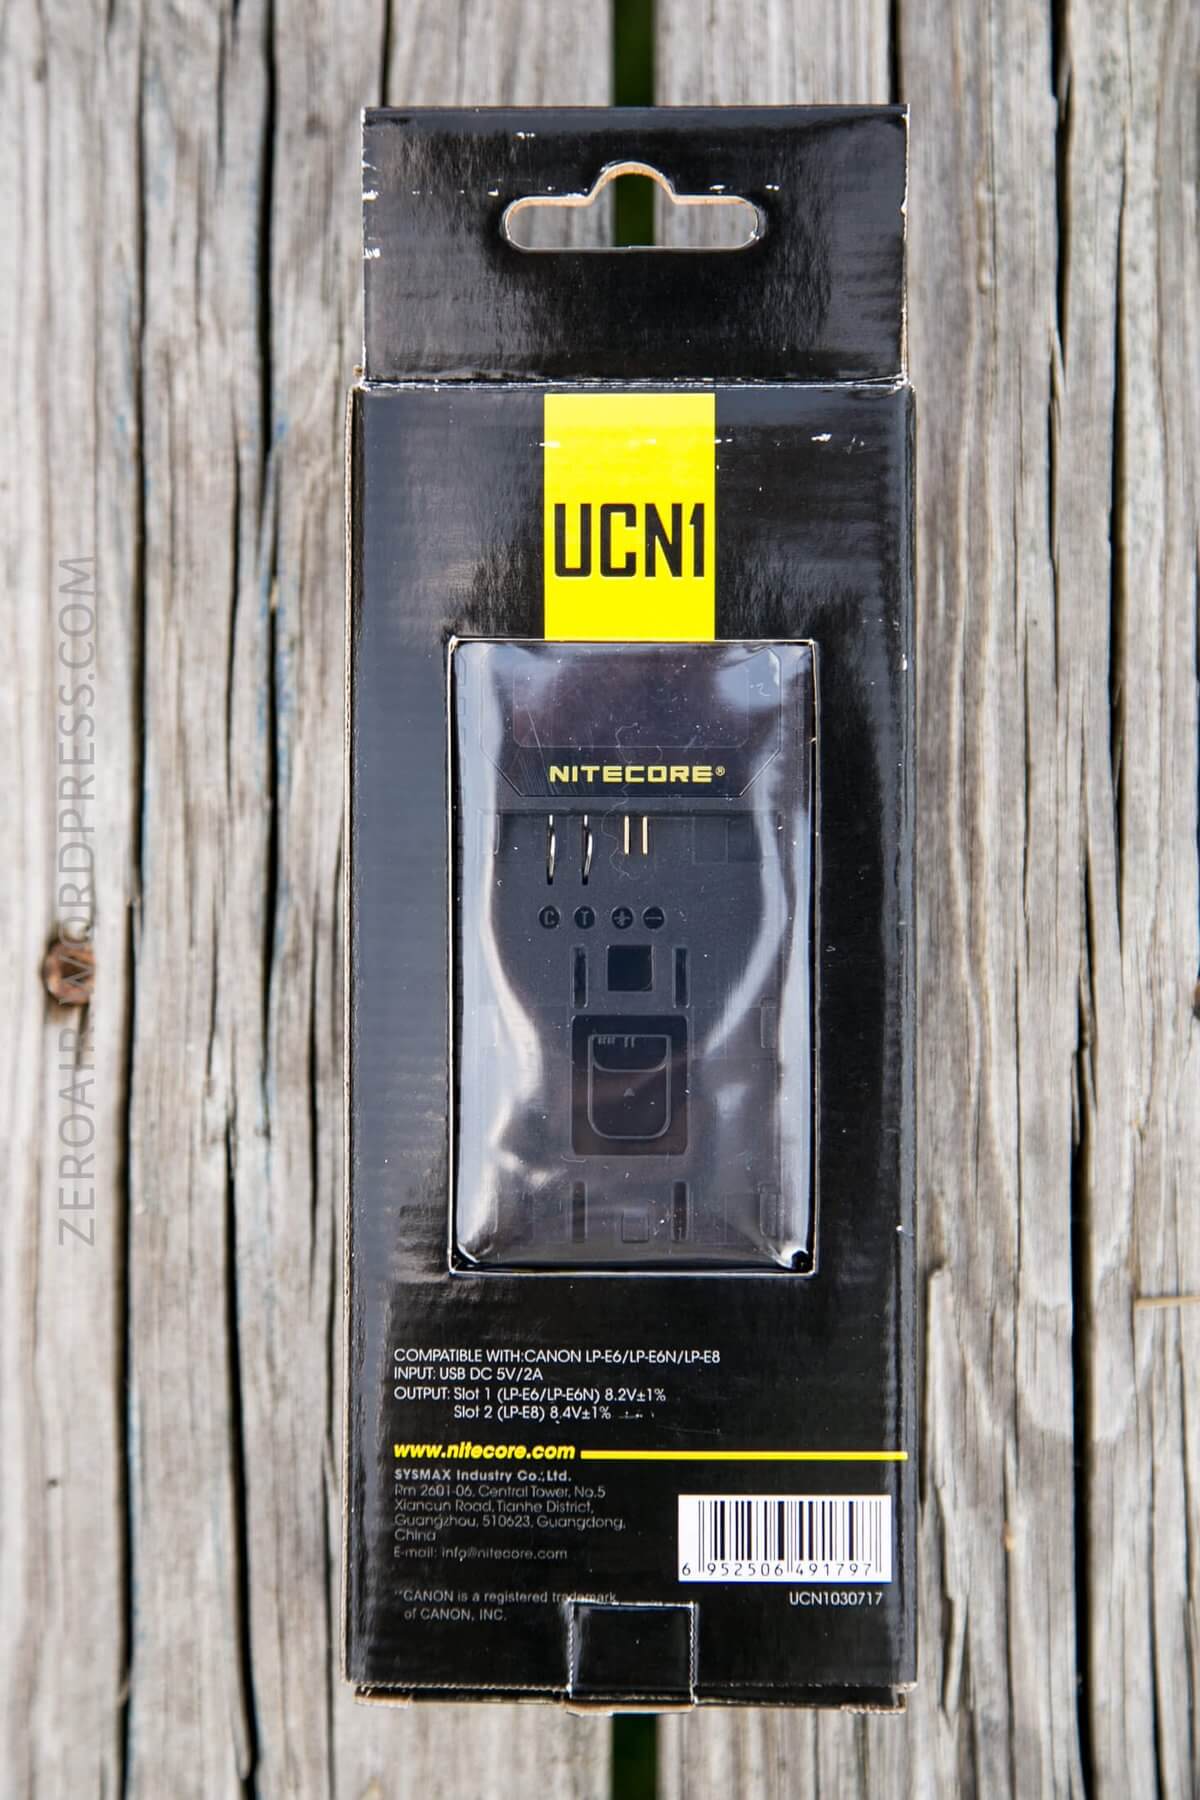
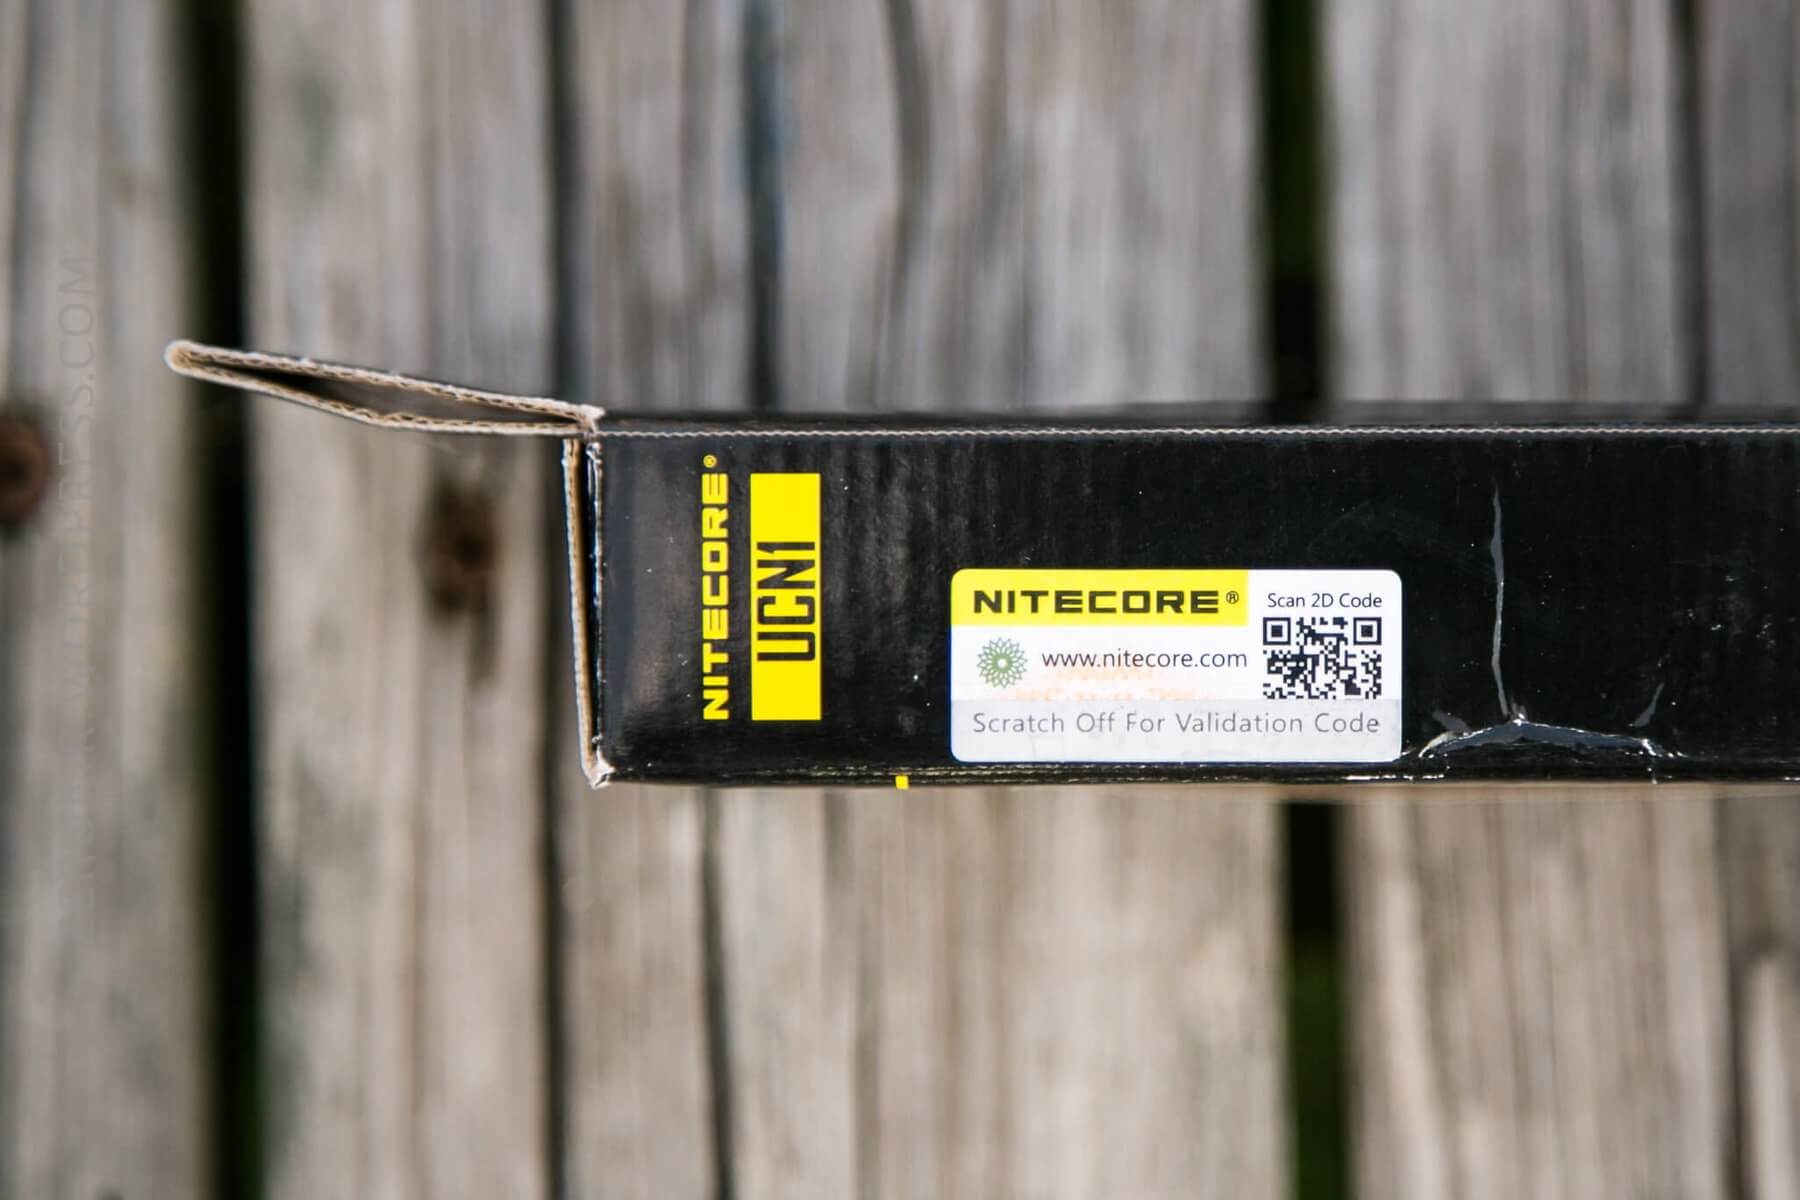
There’s also a sticker for proof of authenticity, on the side of the box.
Here’s a pdf manual.
What’s Included
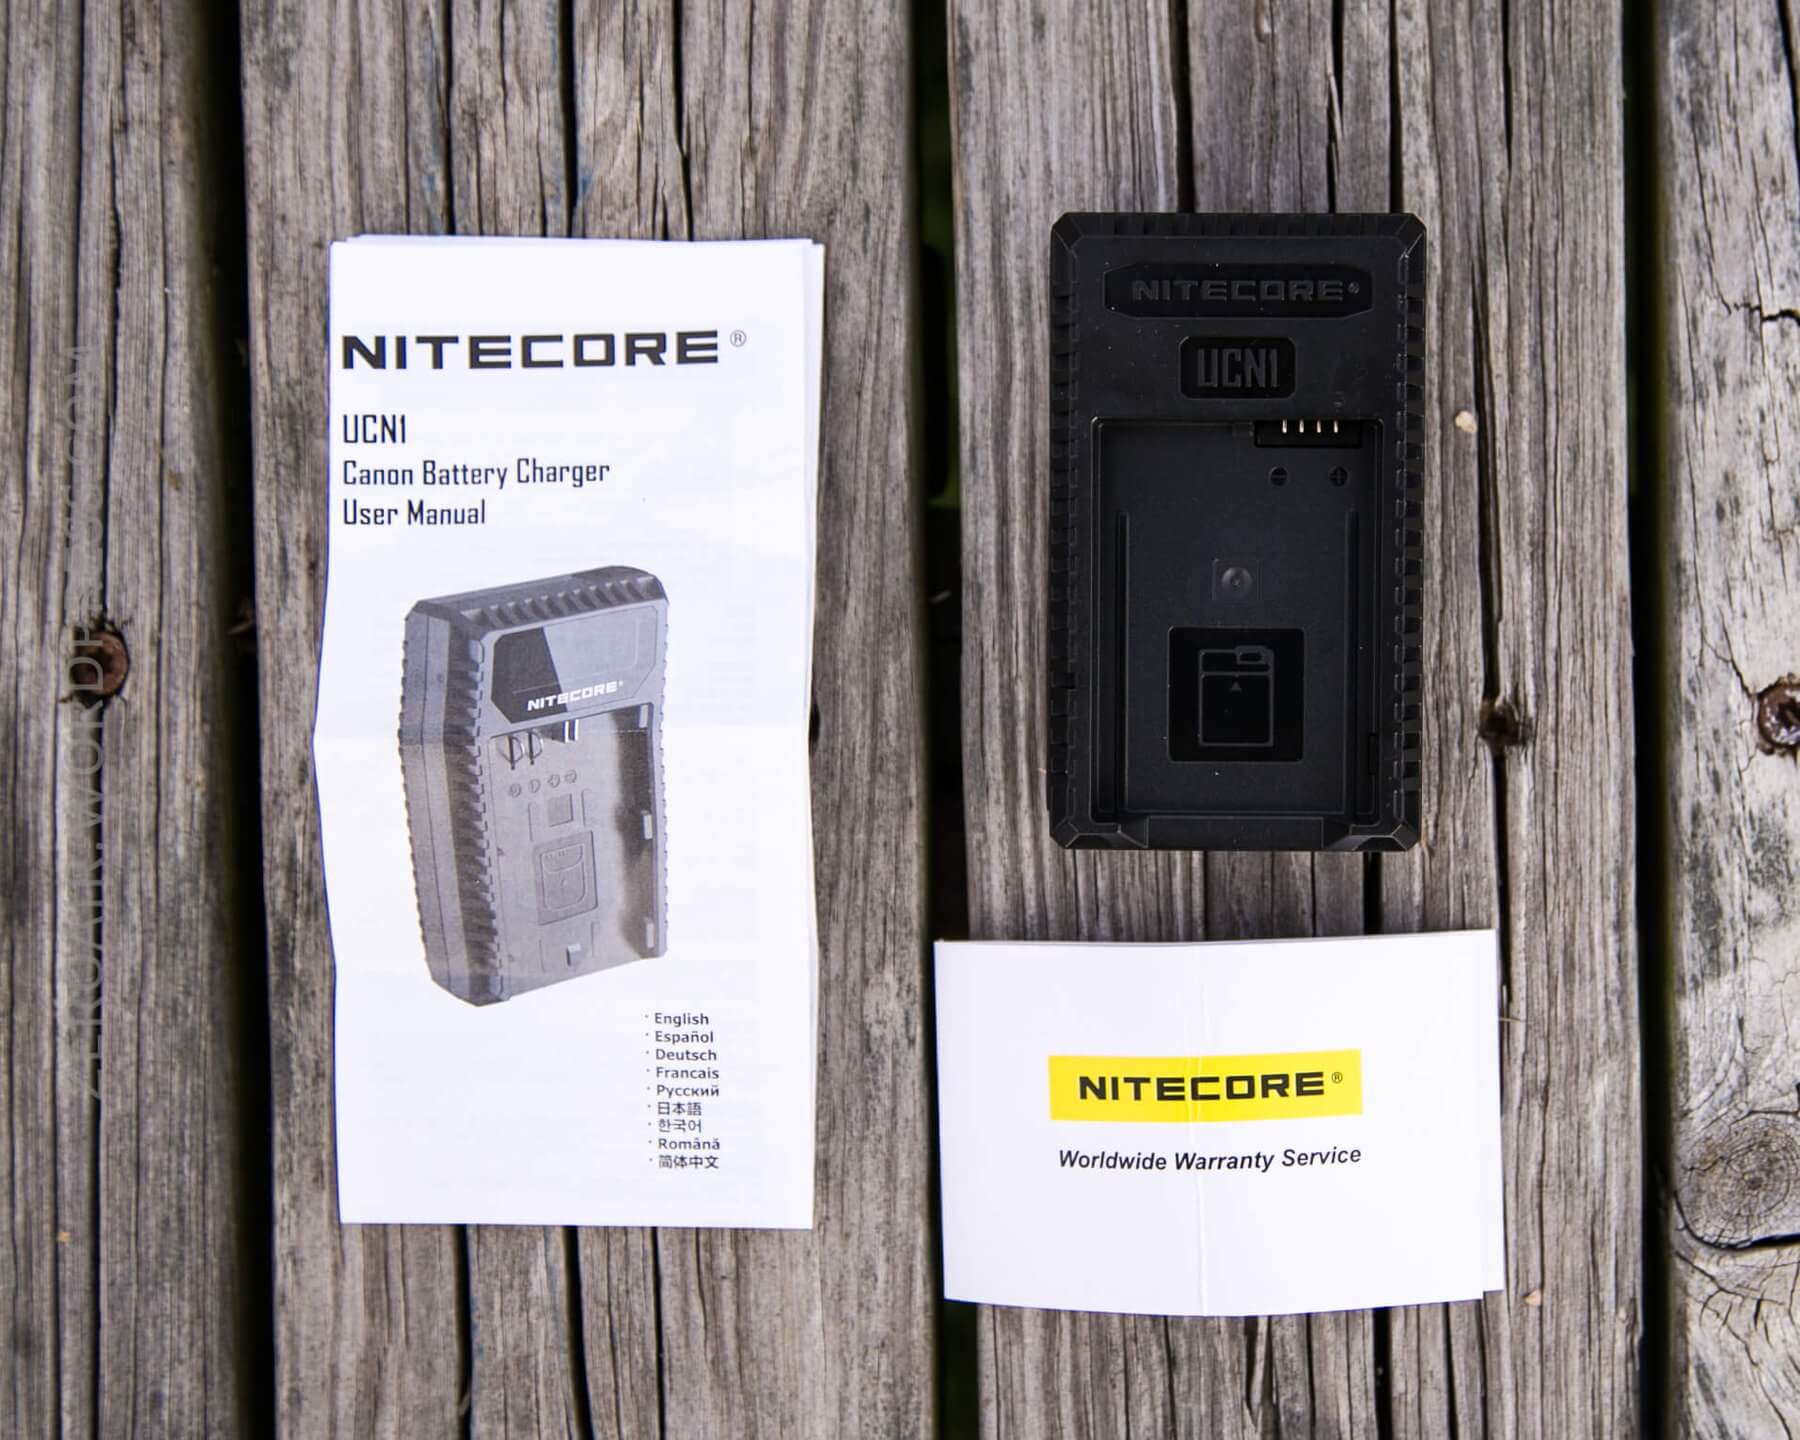
- Nitecore UCN1
- Manual
- Warranty card
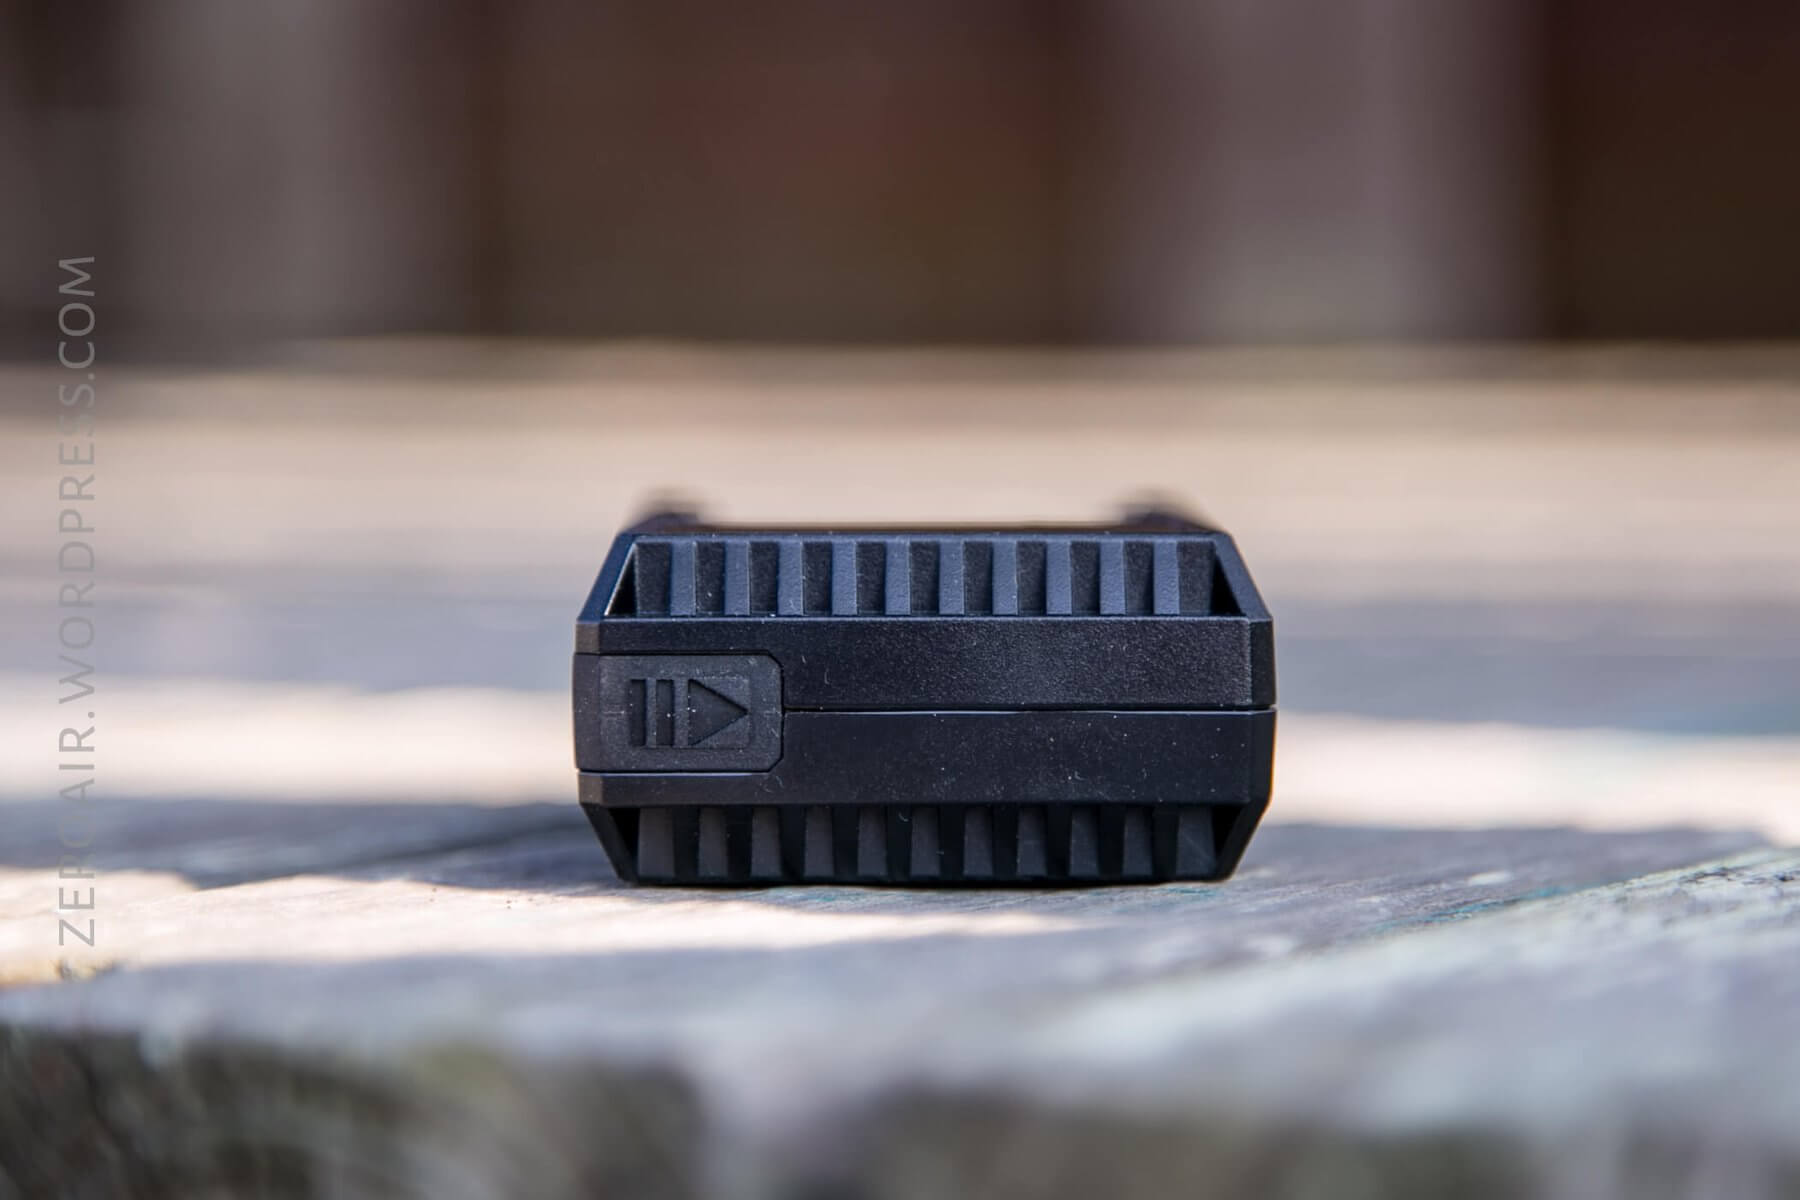
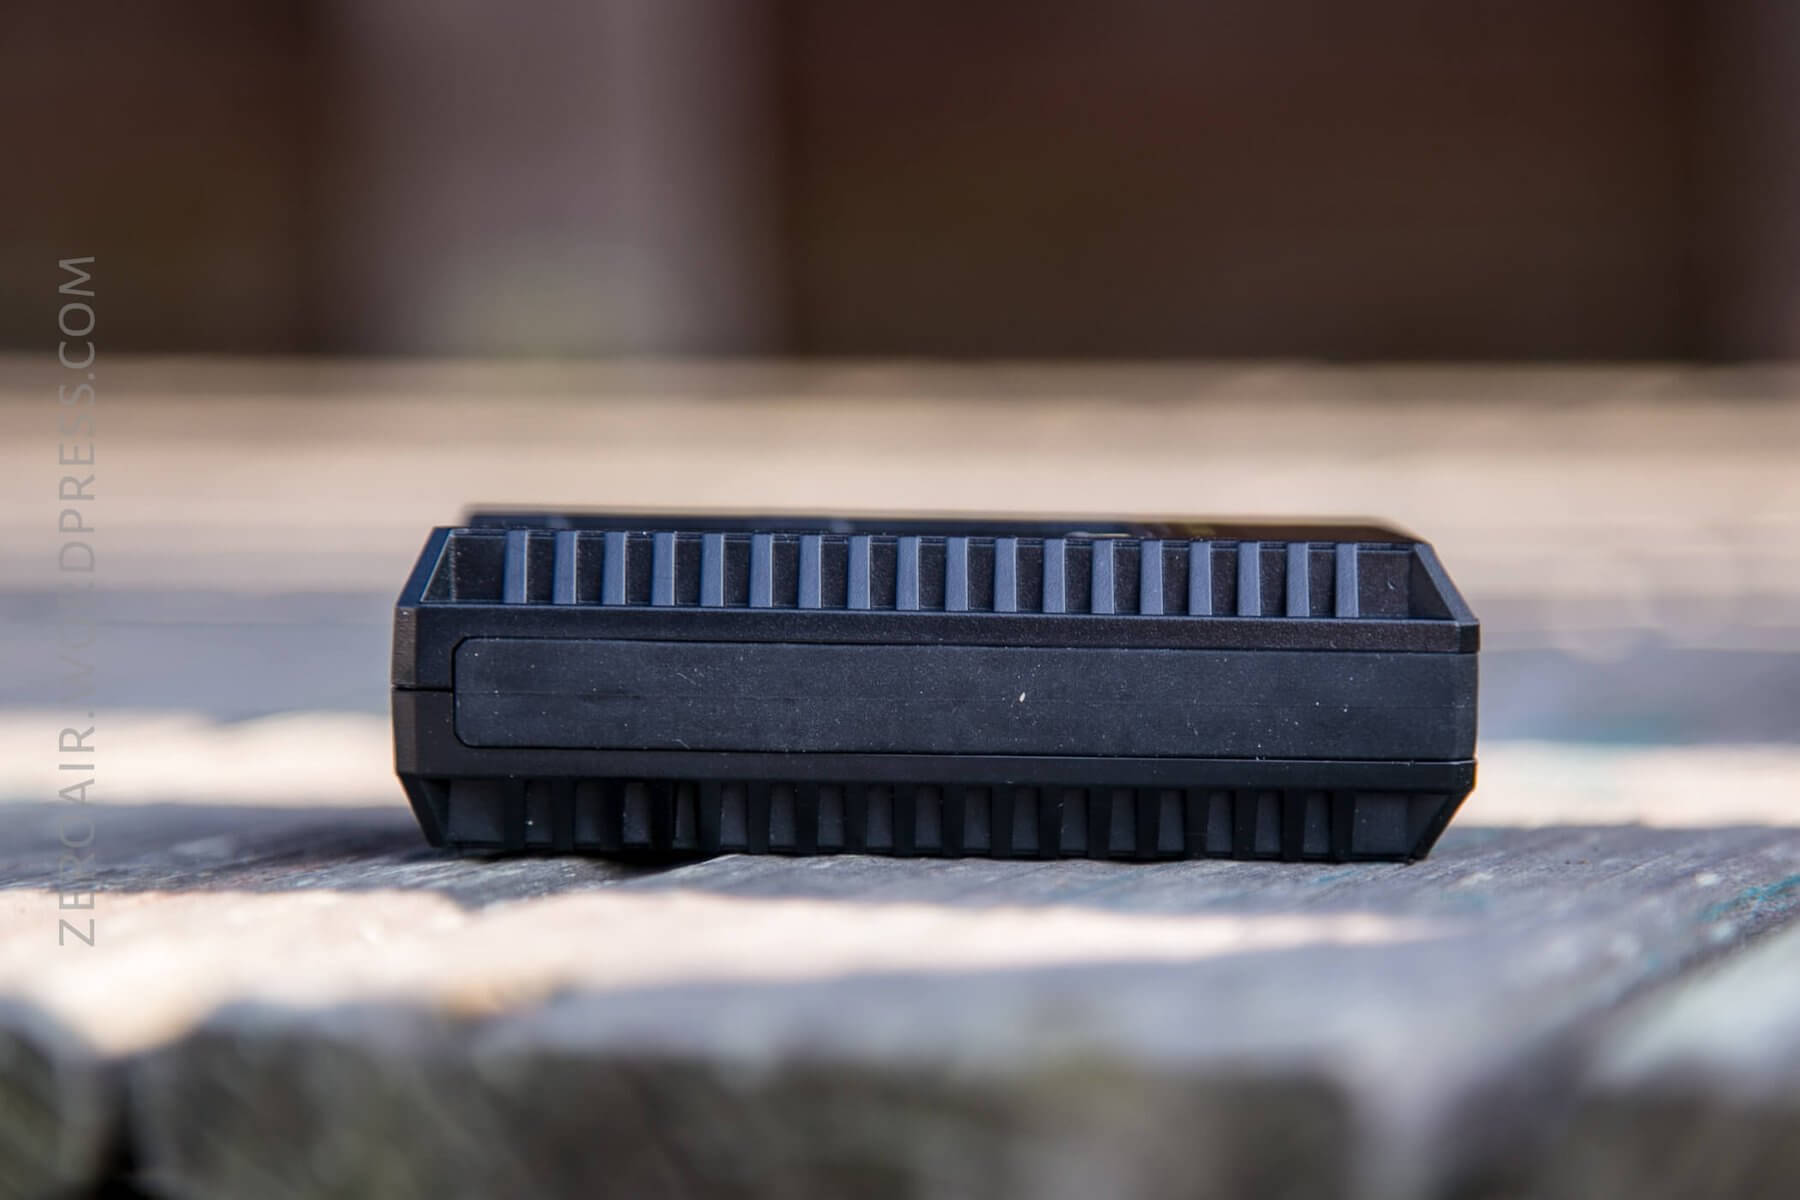
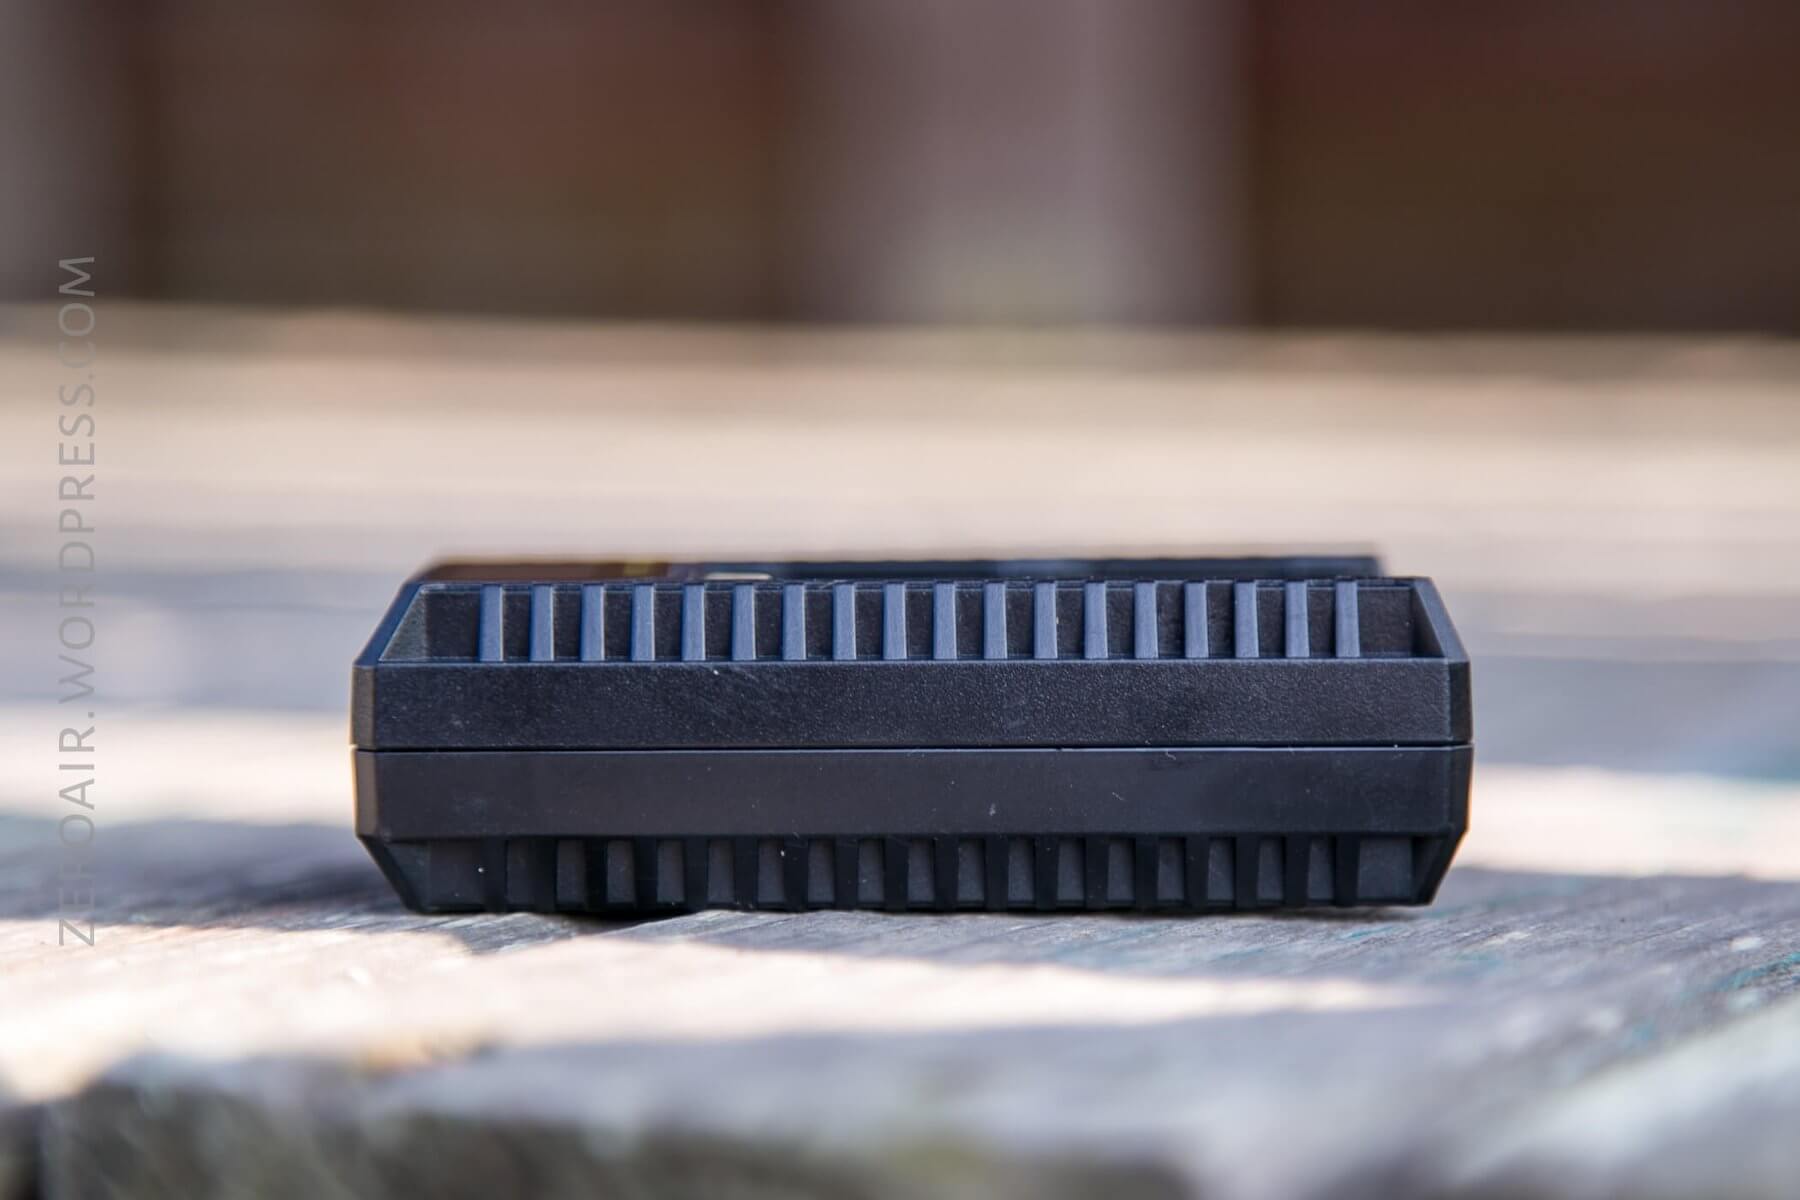
Build Quality and Durability
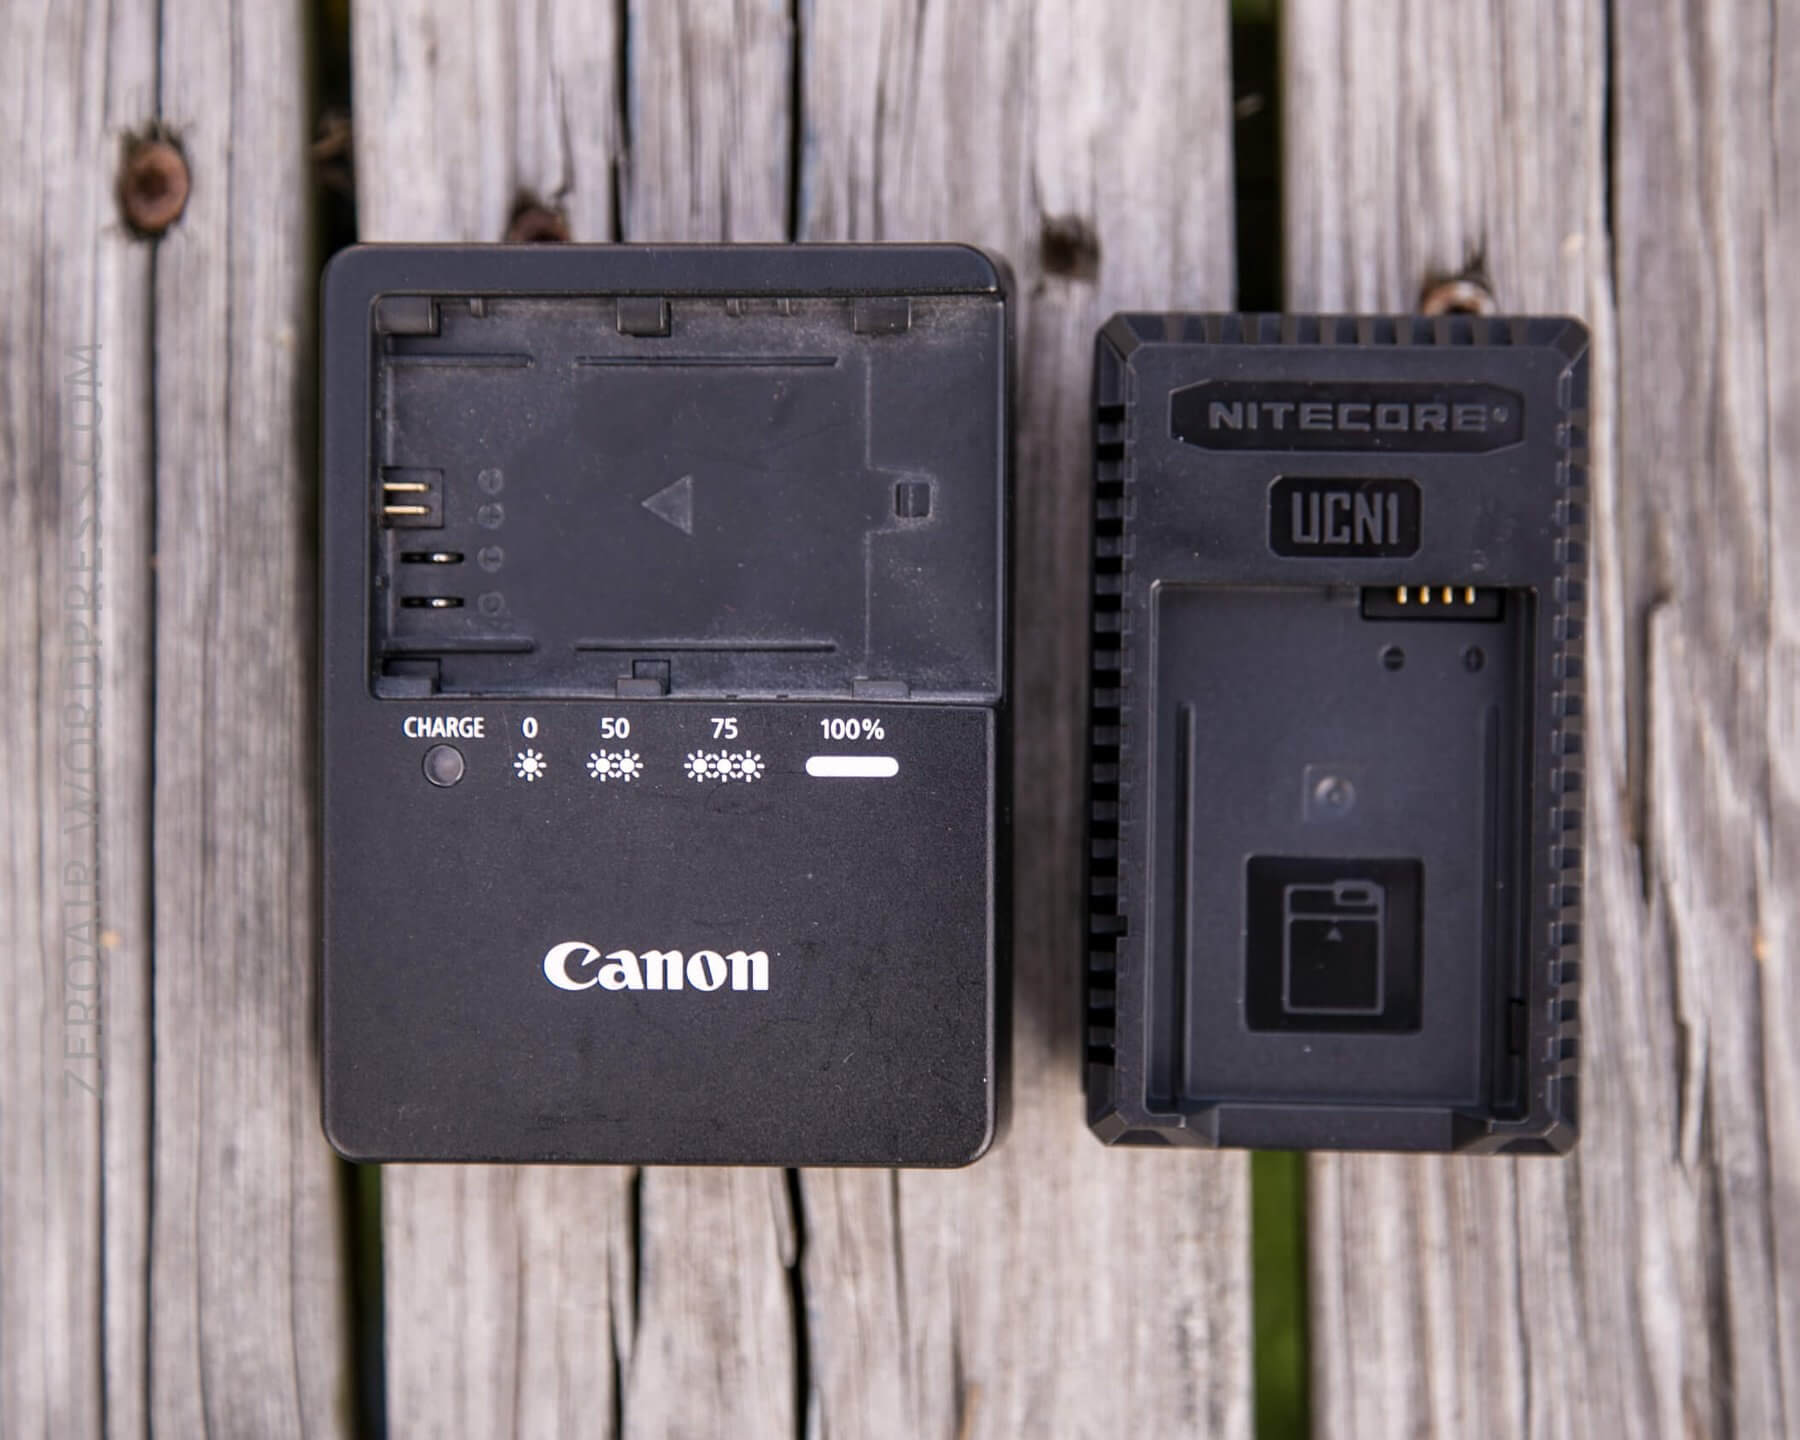
This little charger is built with many similarities to other Nitecore chargers.
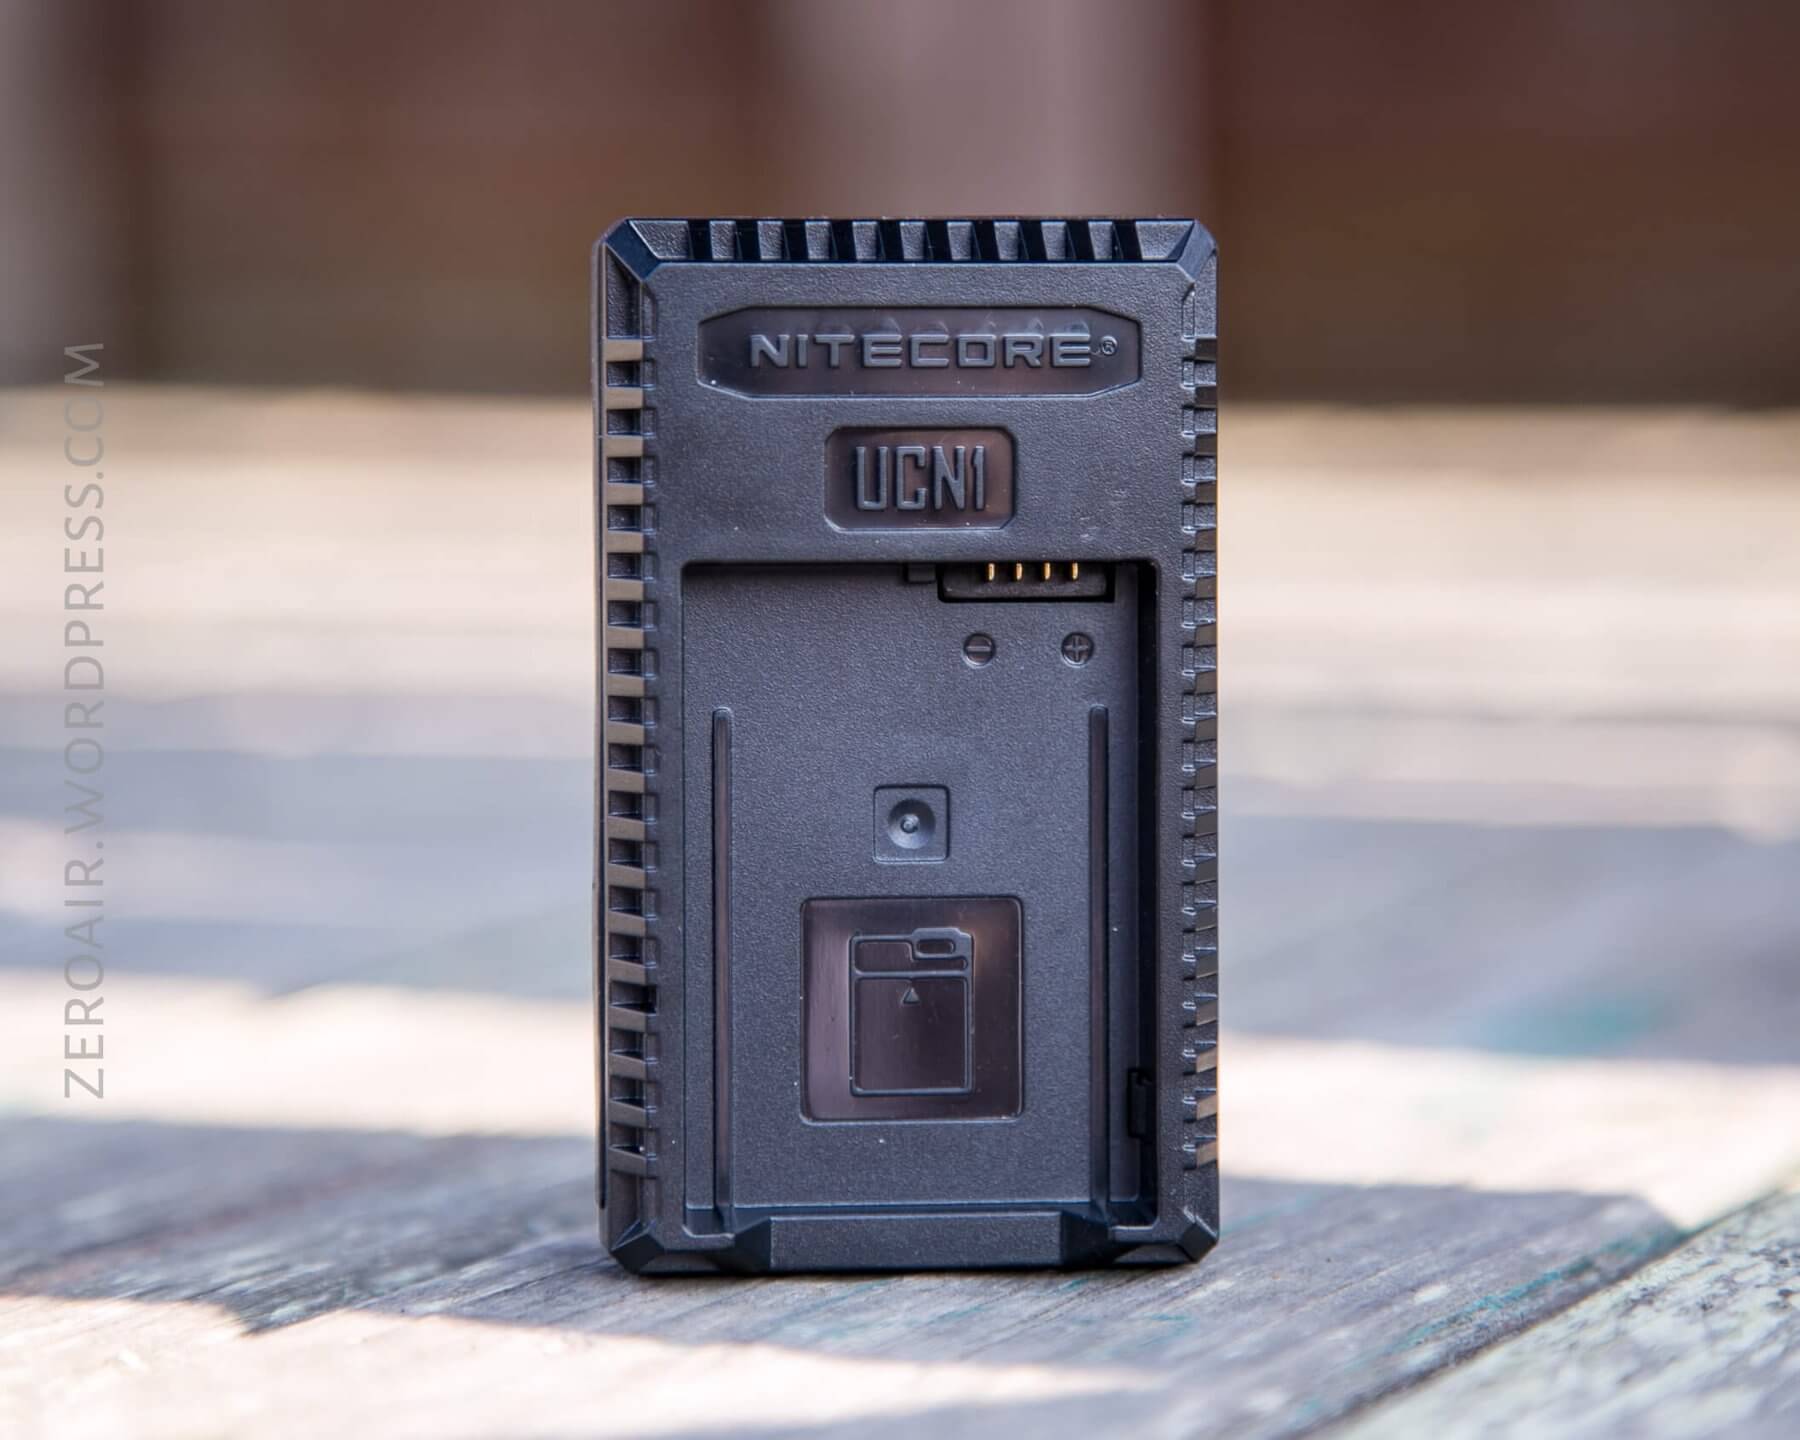
Of course, the charger is limited in use to Canon batteries. The bays fit the batteries perfectly and lock in place just like in the Canon OEM charger.
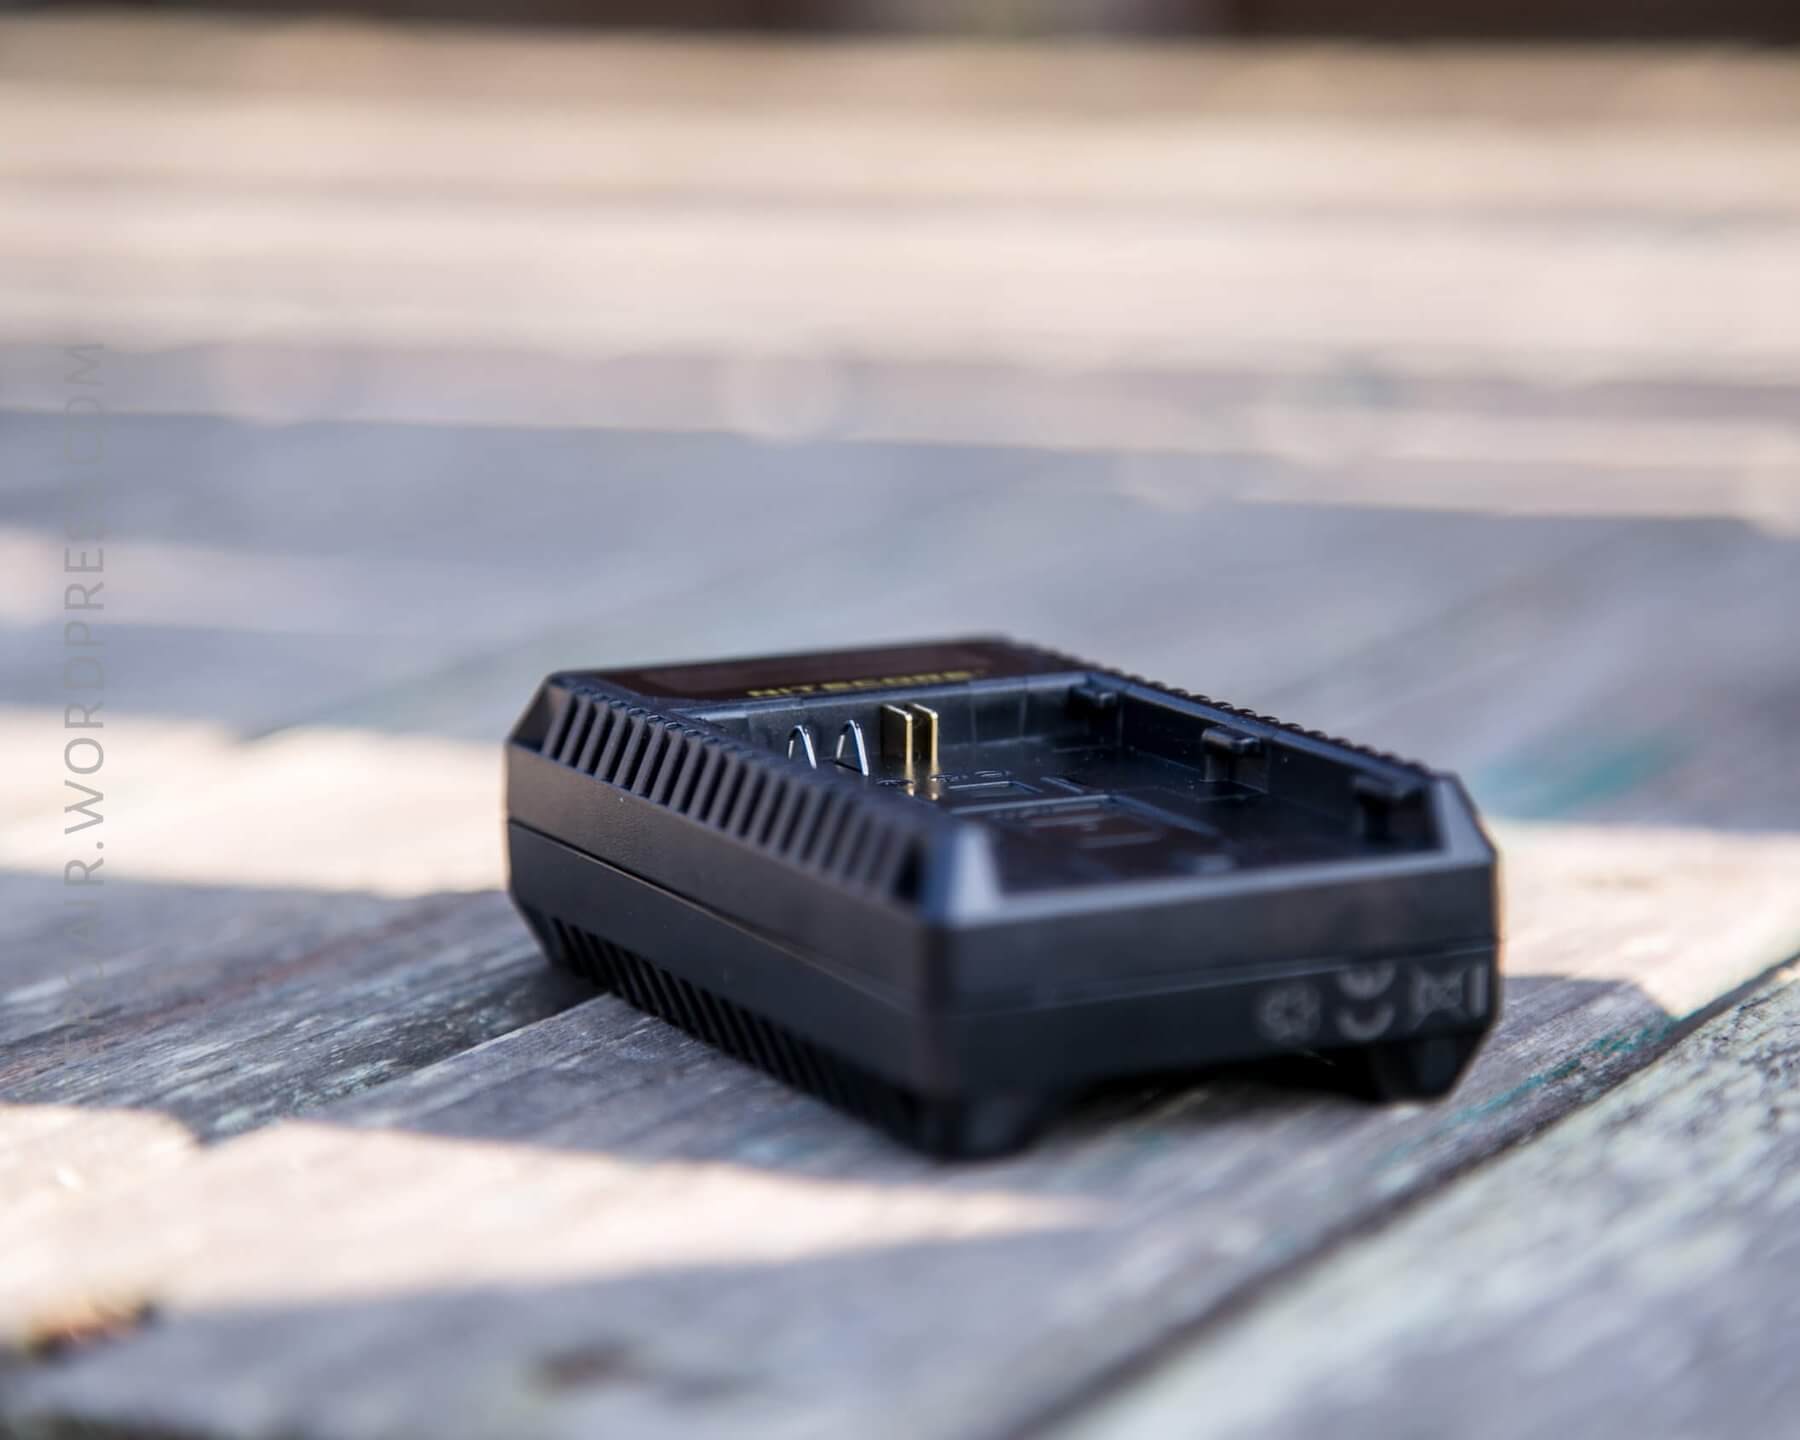
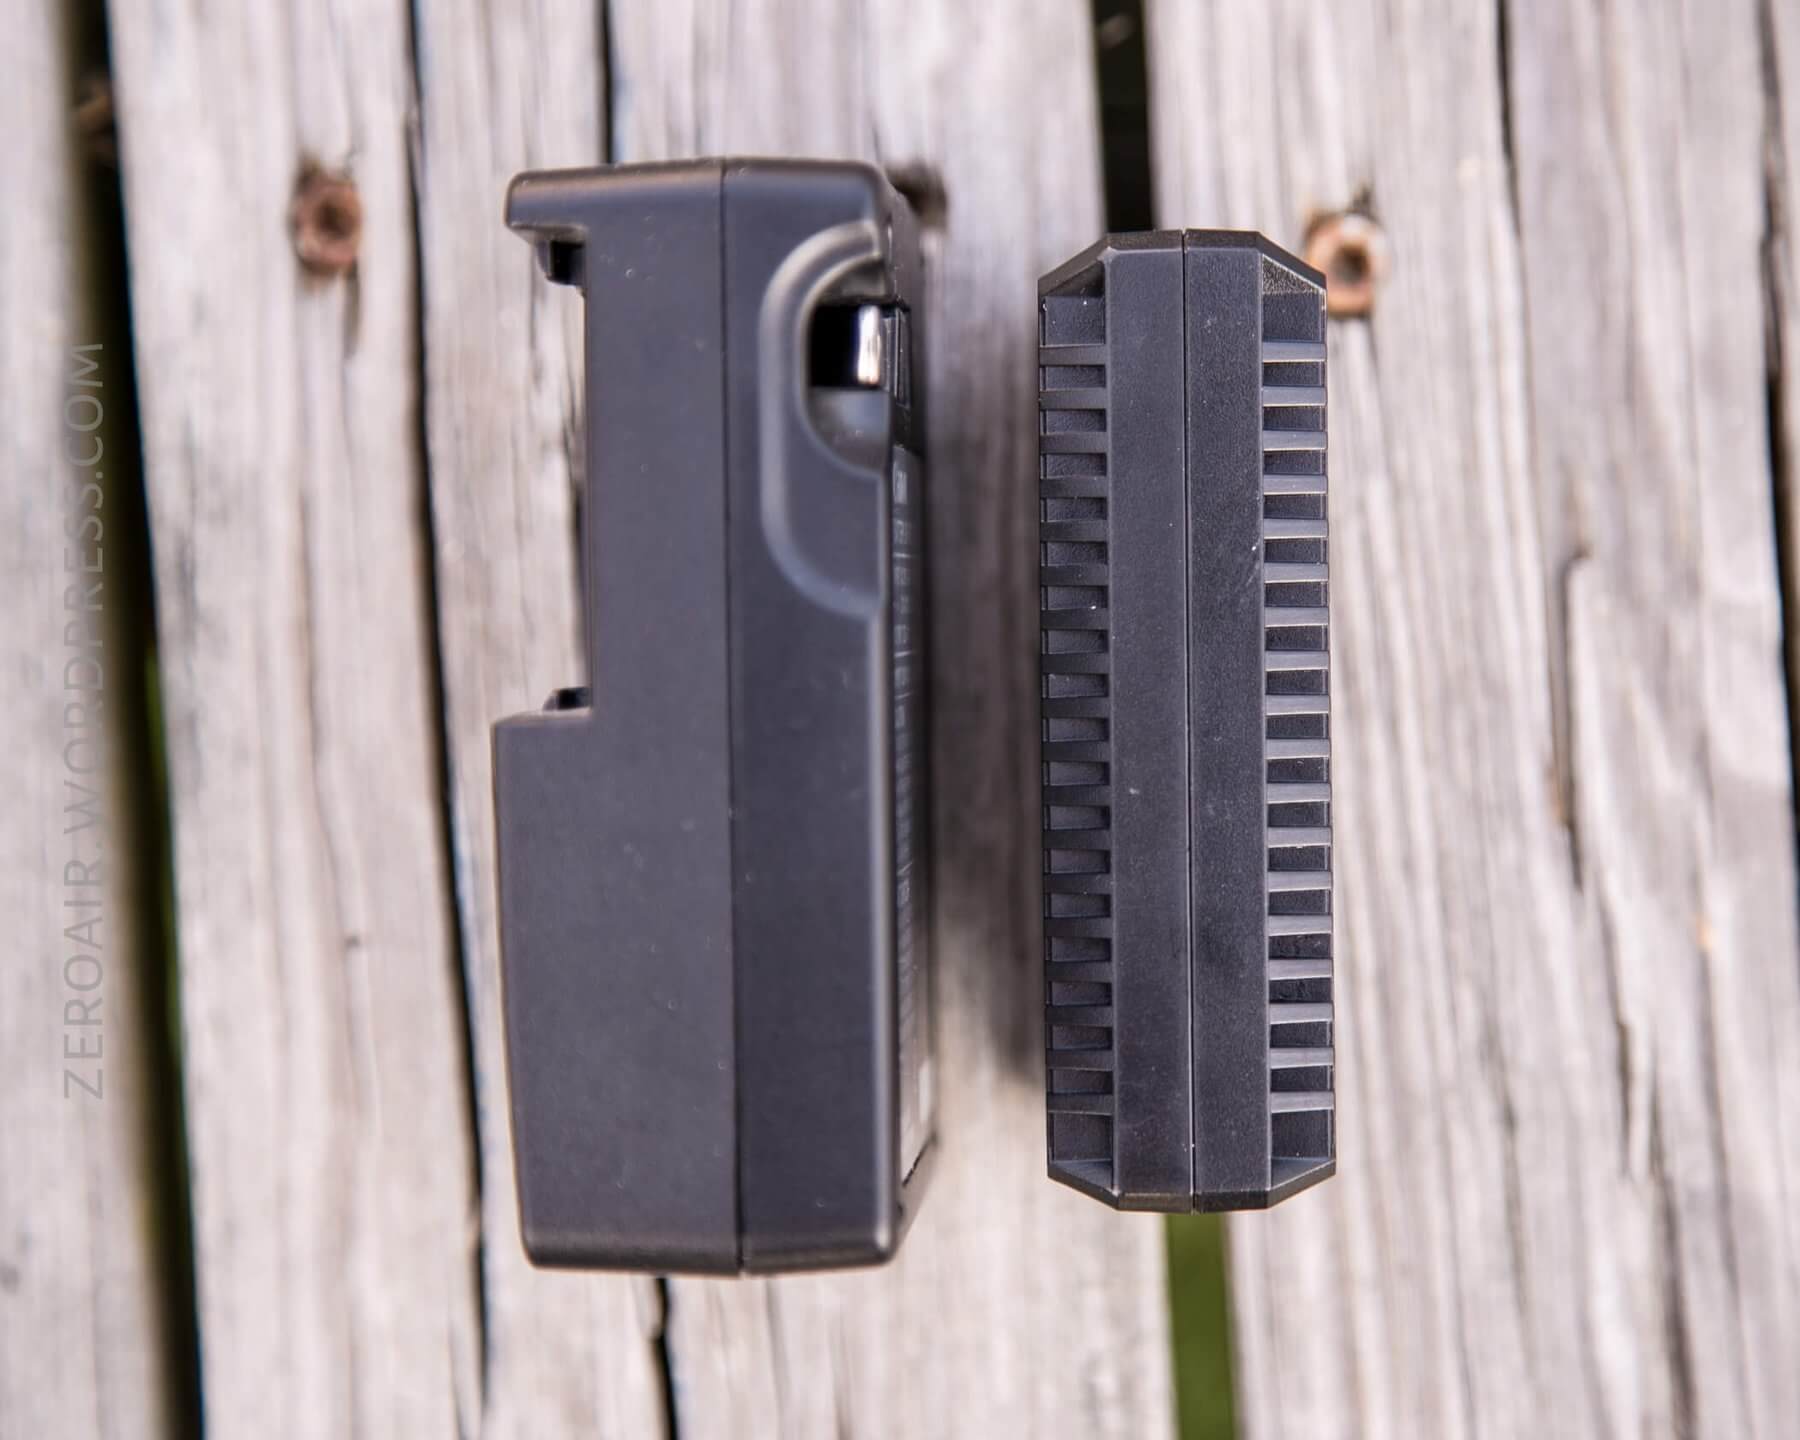
Below (right), note where the USB plug can be accessed.

Size
Officially, the UCN1 is 85mm x 50mm x 25mm and weighs 55.7g.
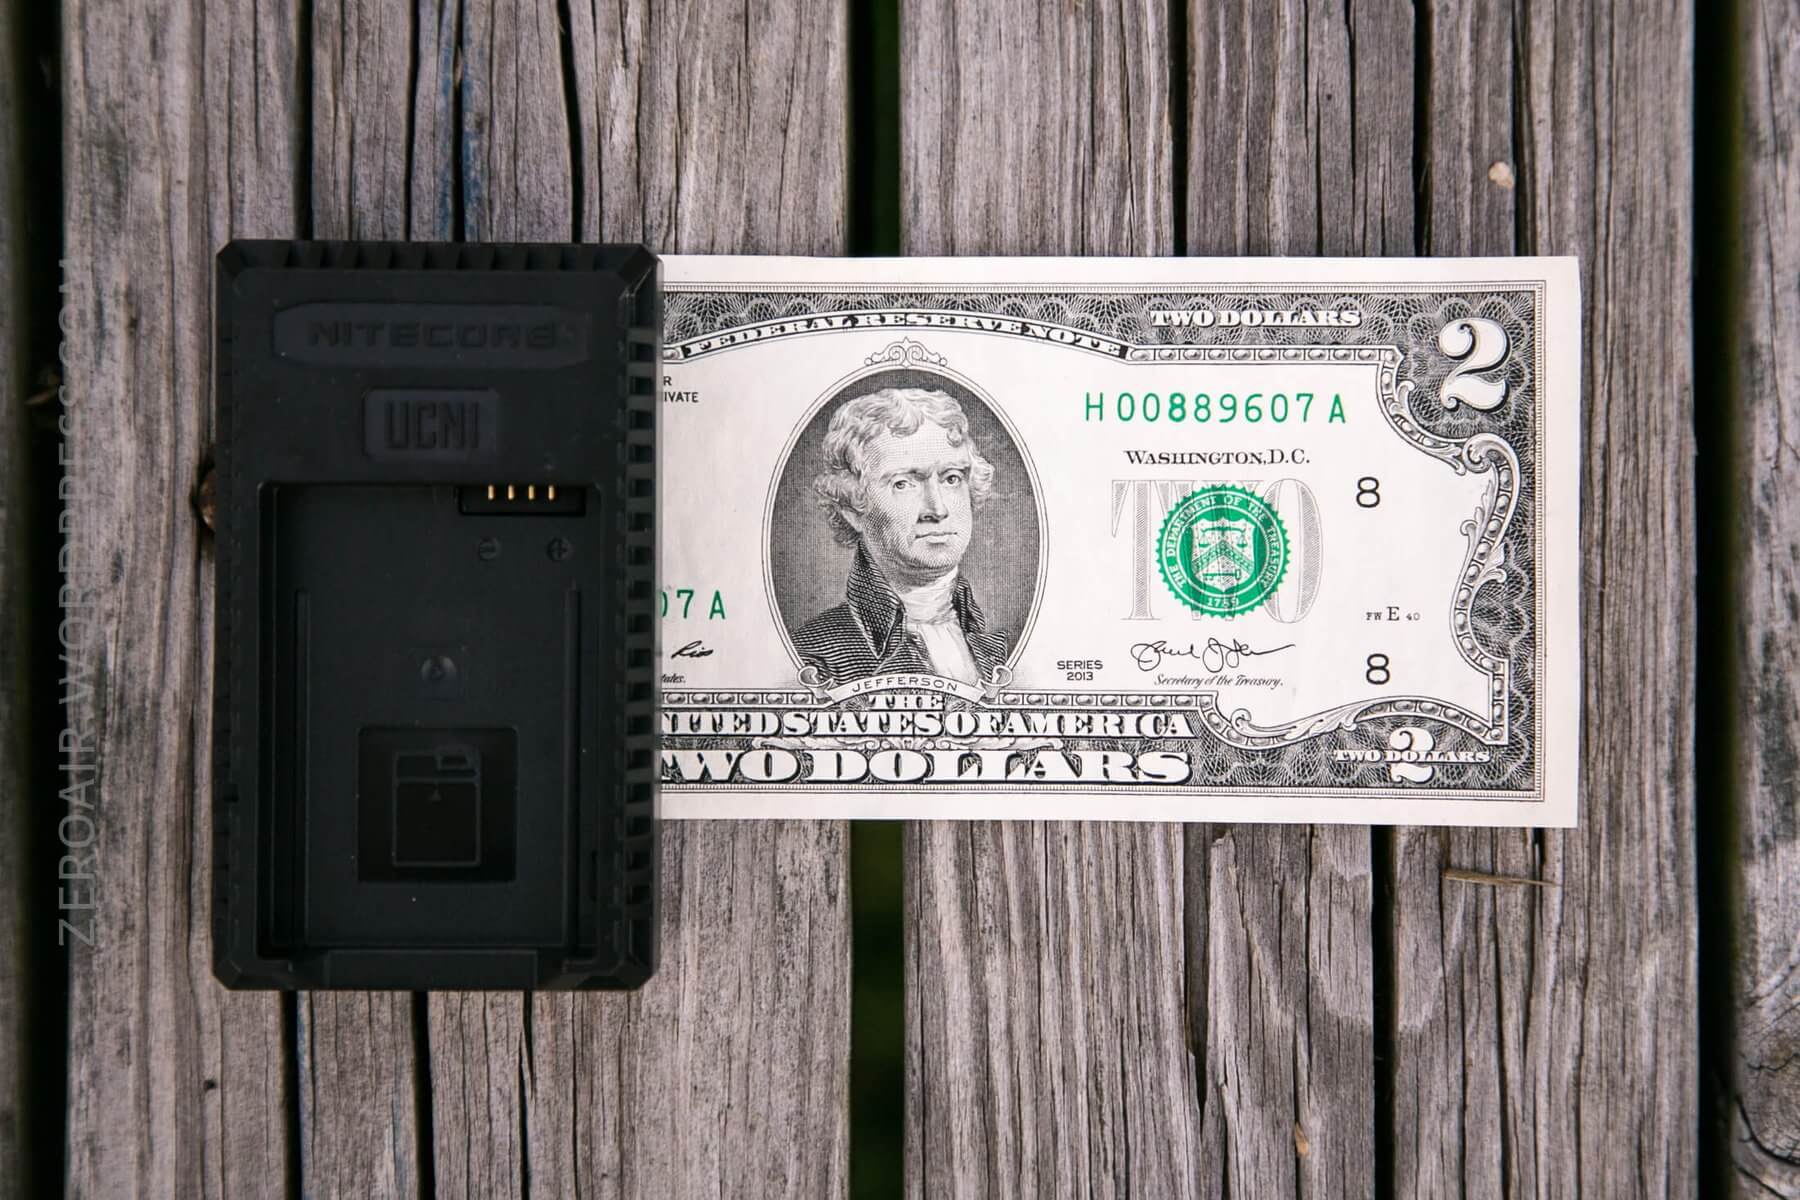
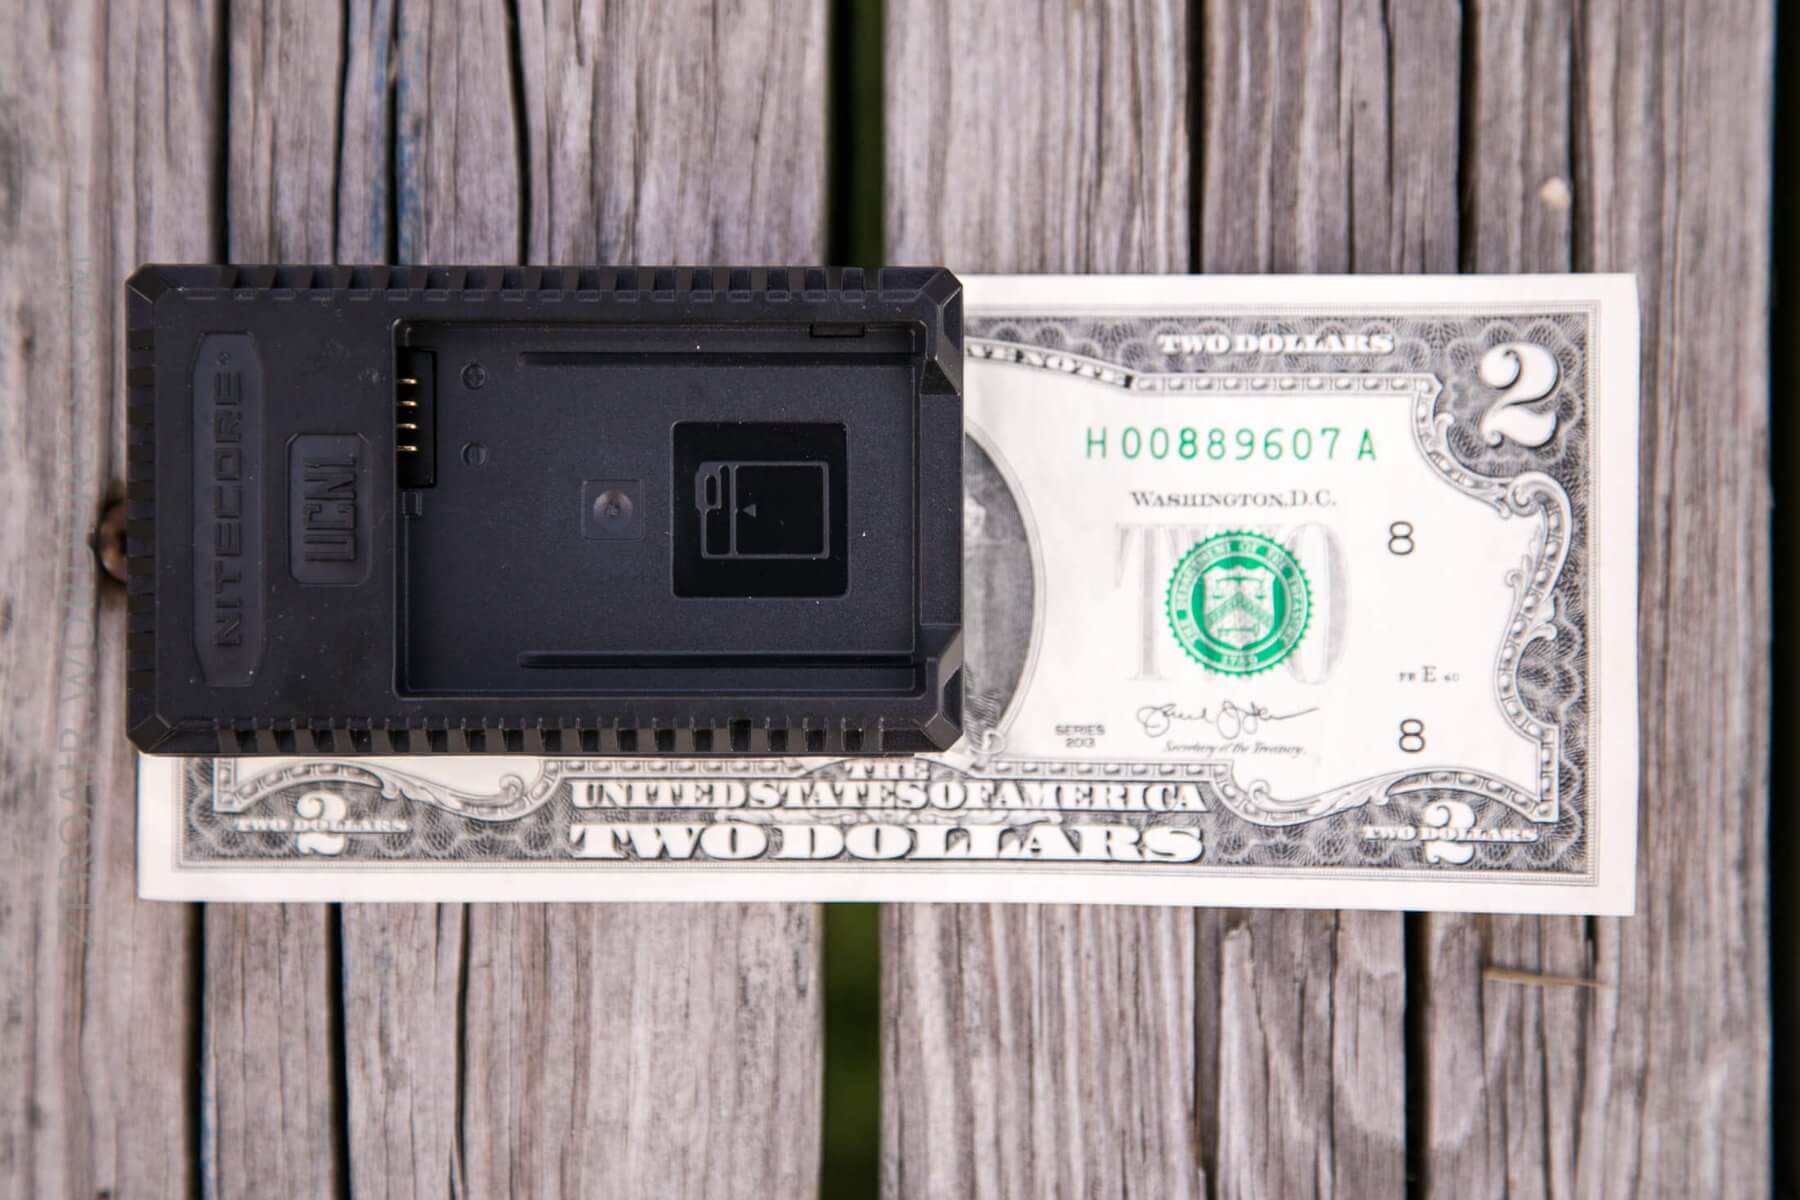

The charger is noticeably smaller than the OEM charger. Bear in mind that you’ll need a high-quality USB power source (which may mean a wall adapter, canceling the size difference.)
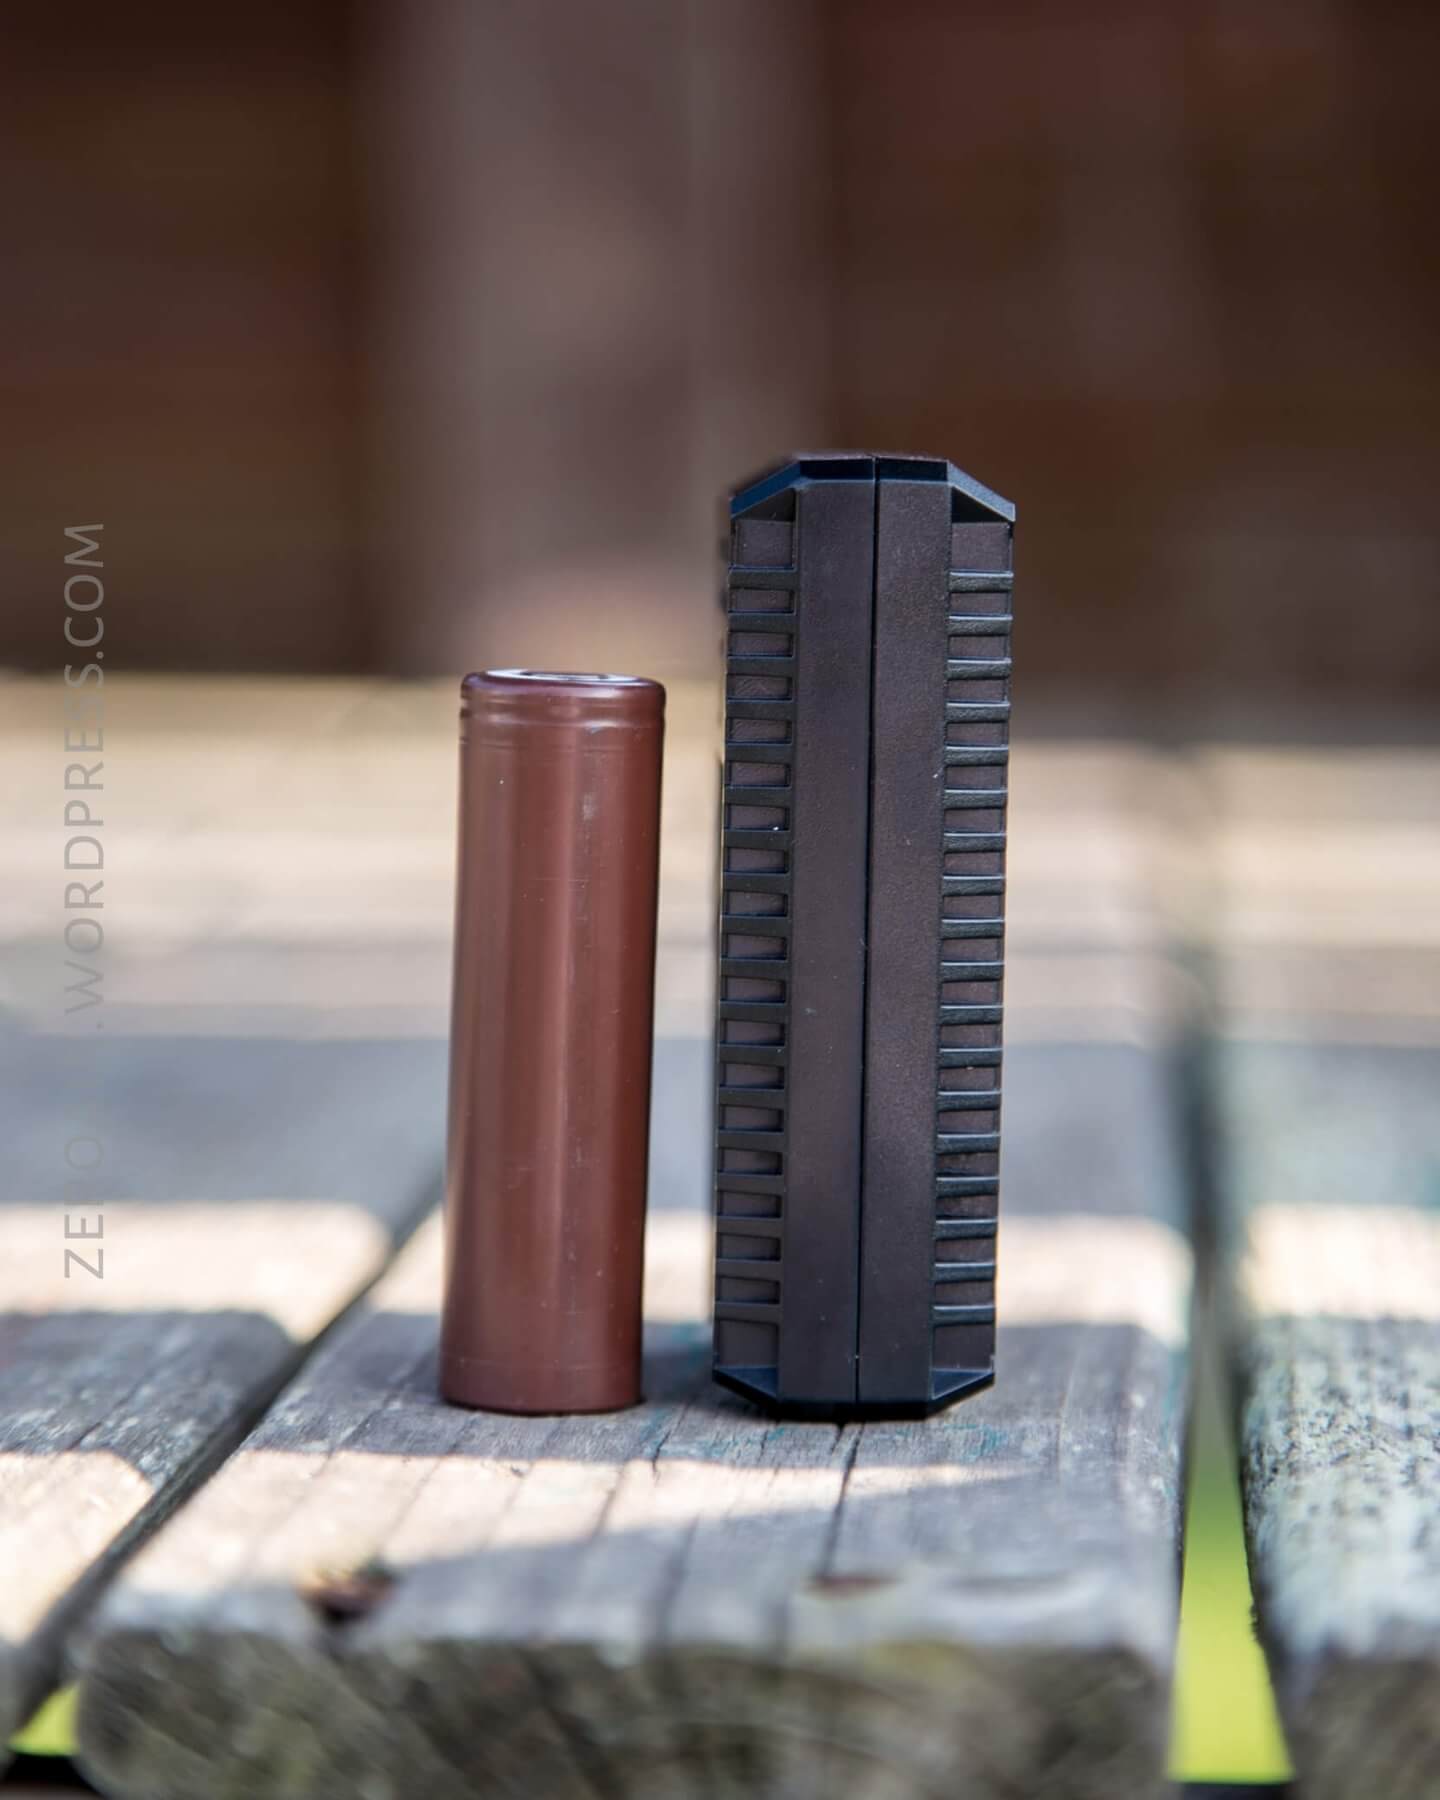
And just for giggles, an LG HG2.

Power
Power is supplied to the device by USB. That’s a blessing (and a curse, as you can see later). The USB power is extremely convenient since USB is ubiquitous.
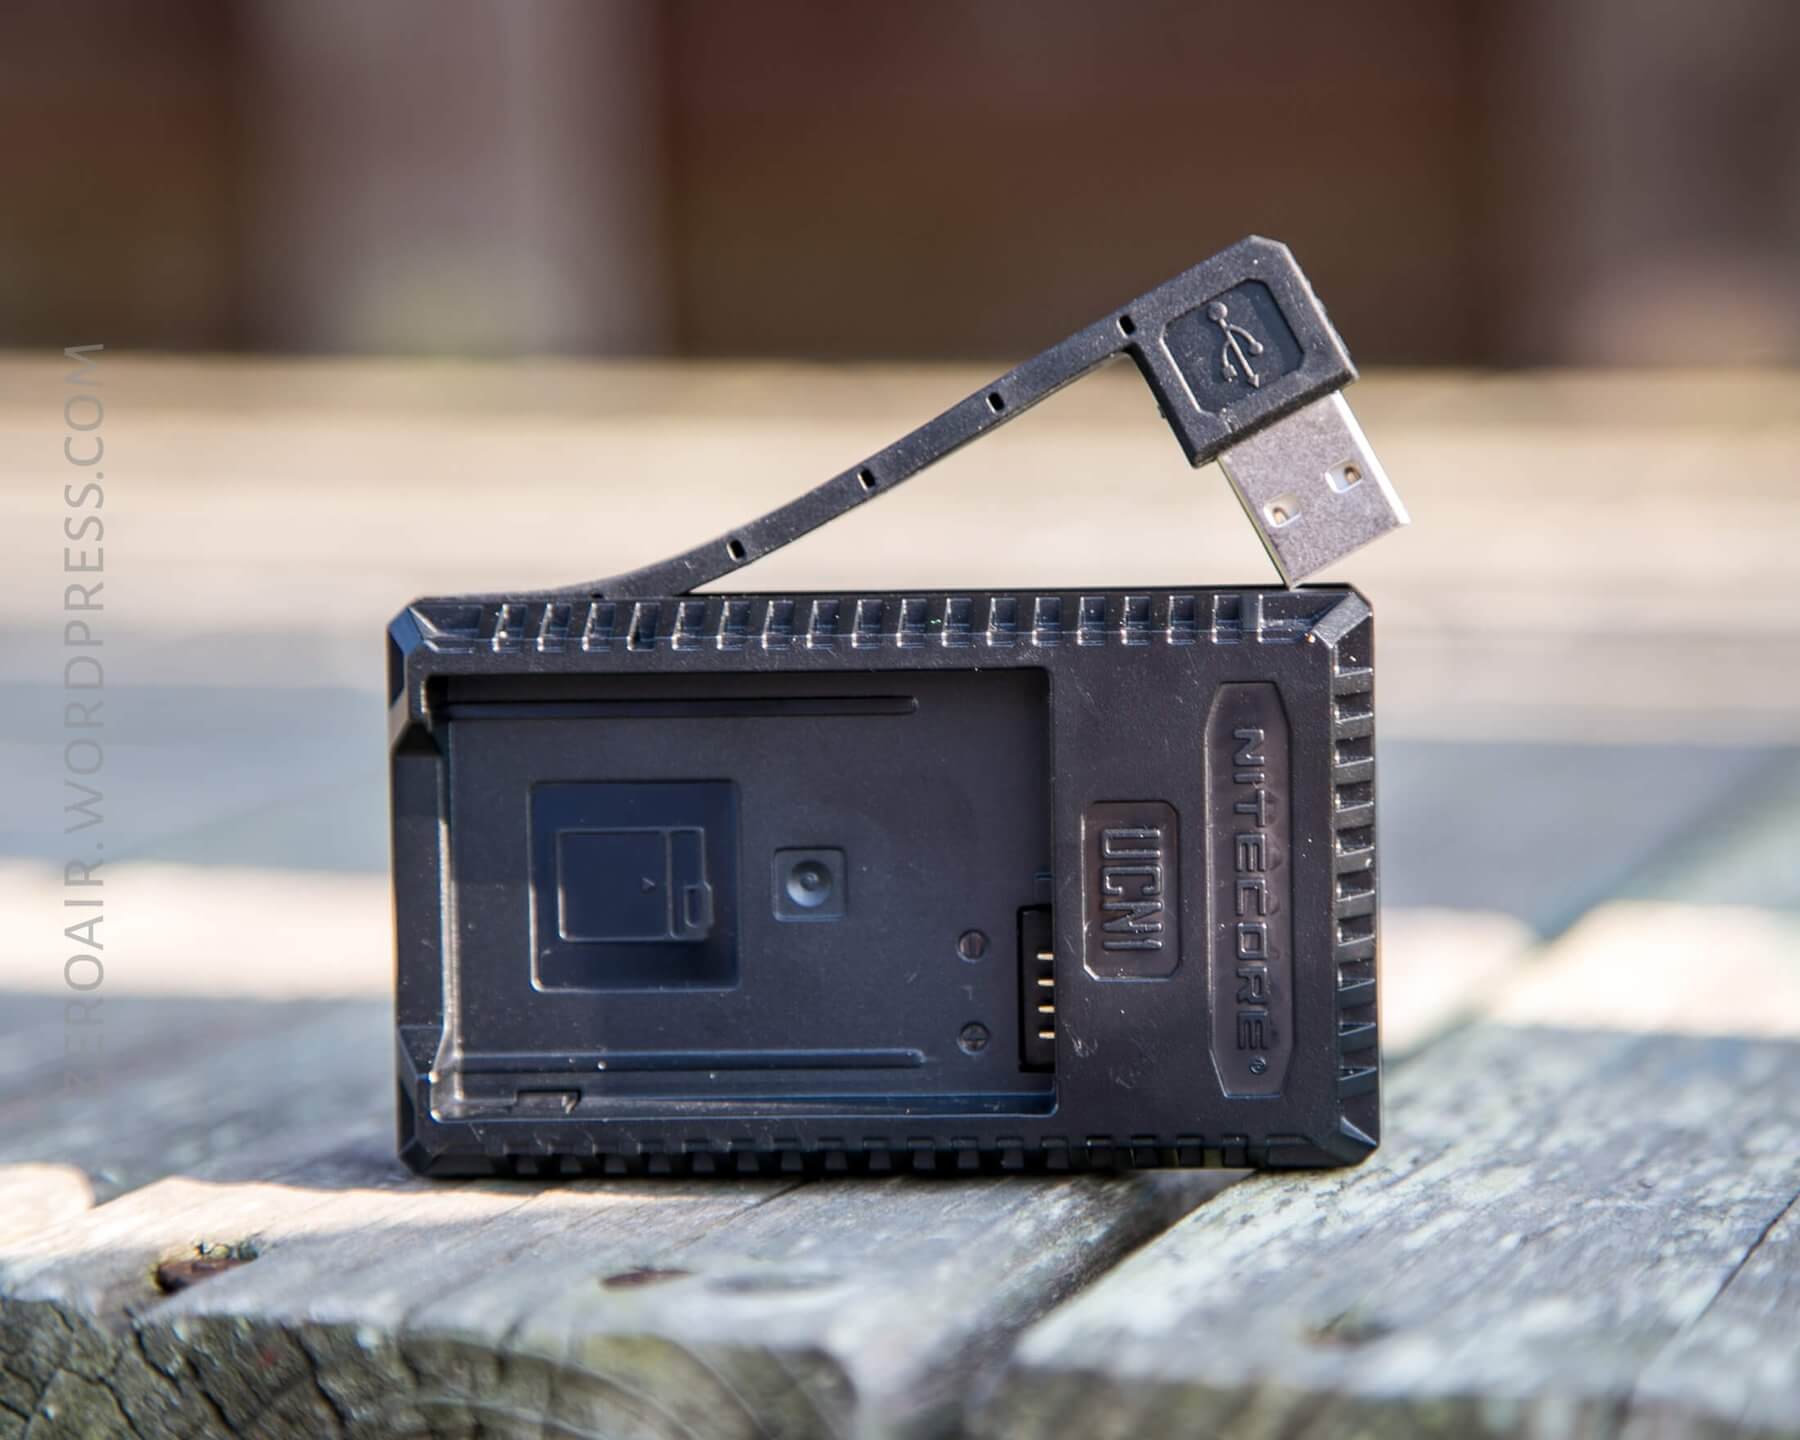
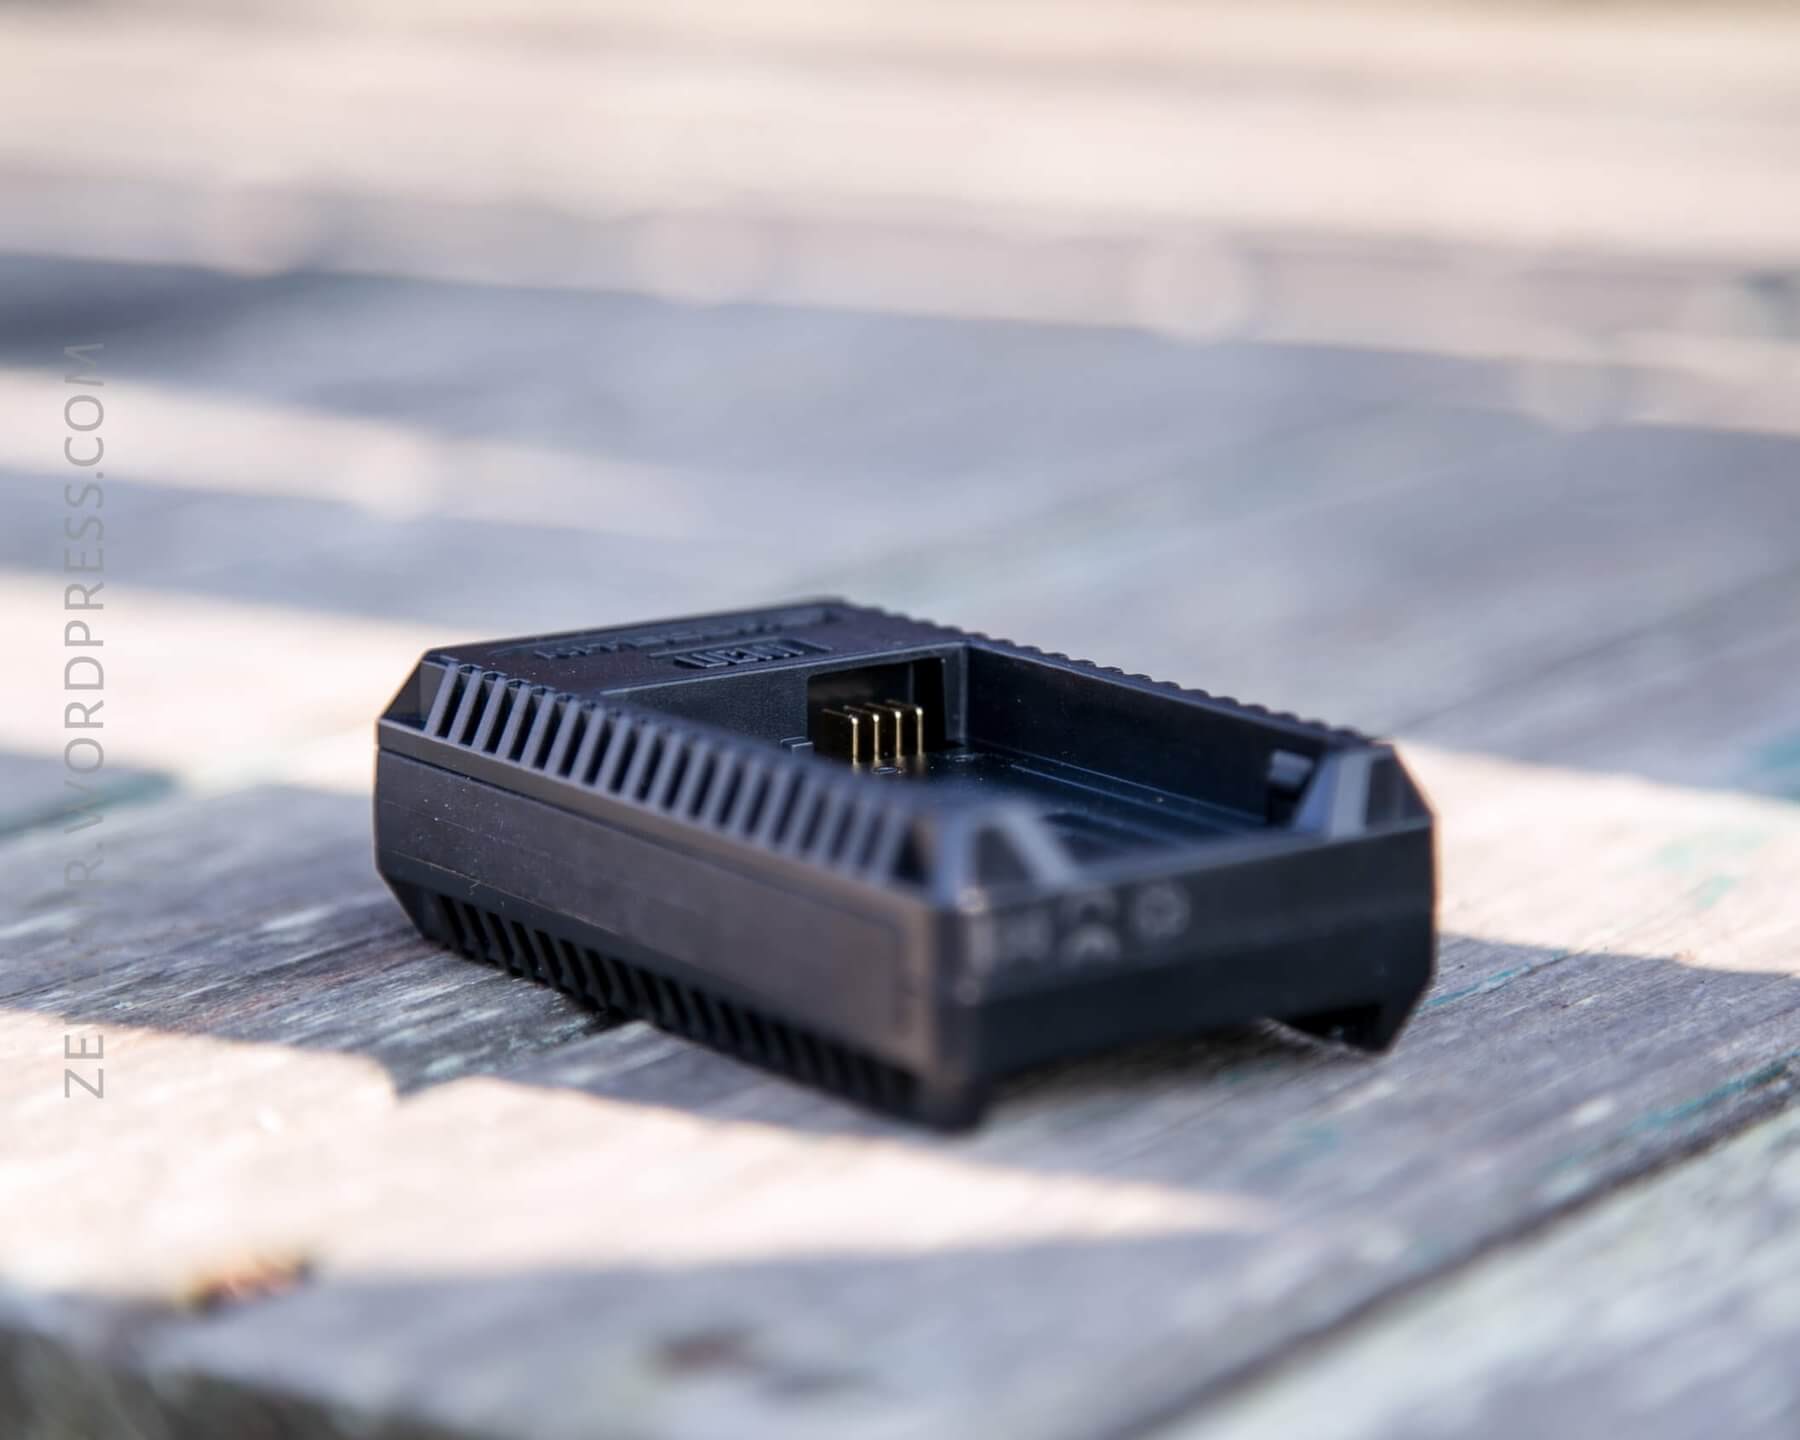
The USB plug is permanently attached and quite stiff. So the scenario that will allow the charger to rest comfortably on a table or something is going to be a little rare. Which is to say, during use, the charger hangs a bit funny.
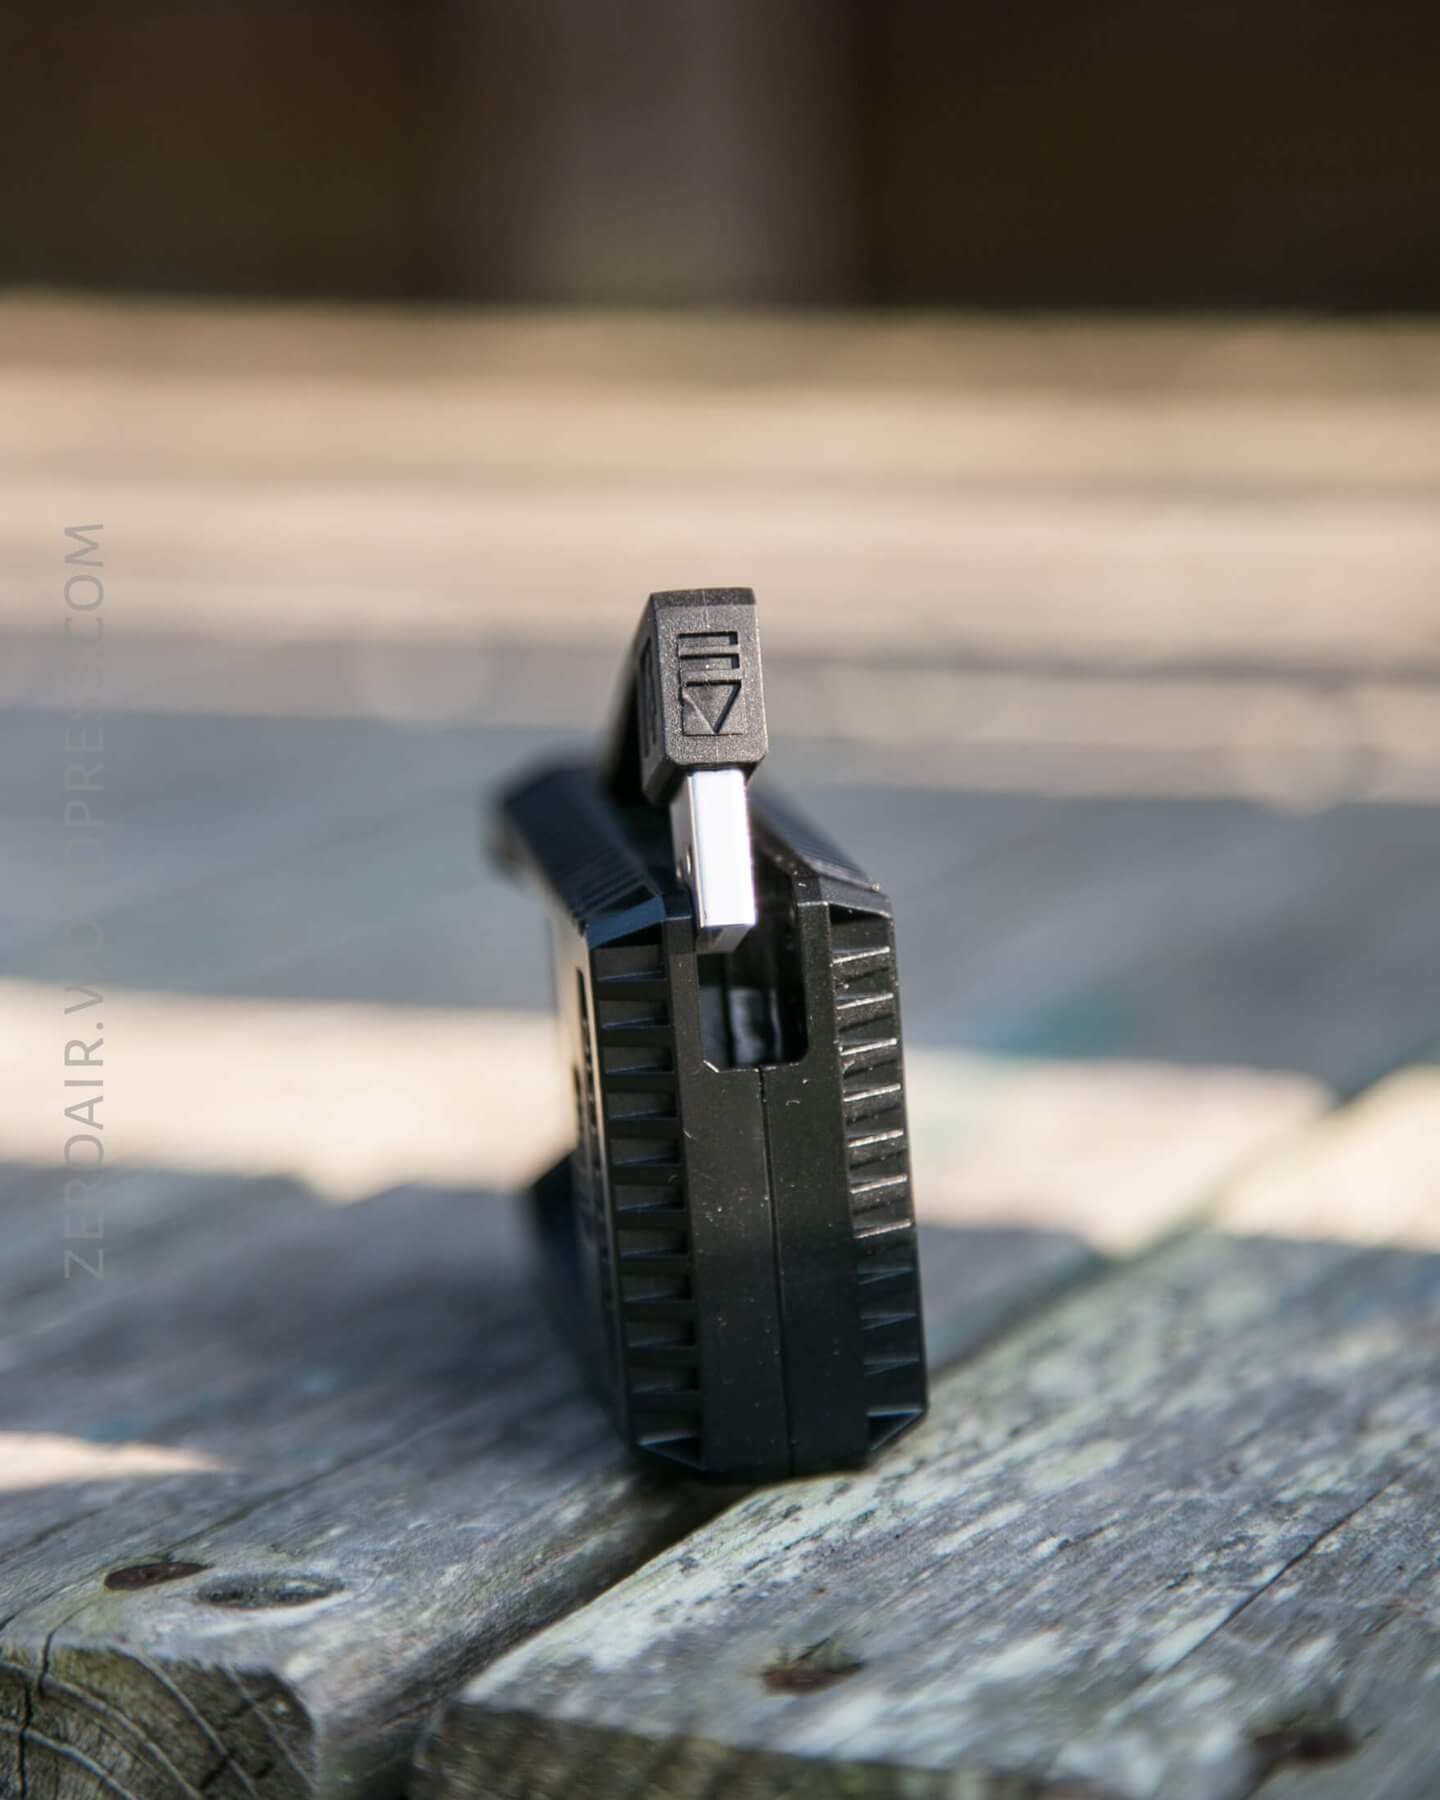
The plug fits into the body of the charger and essentially disappears completely when not in use.
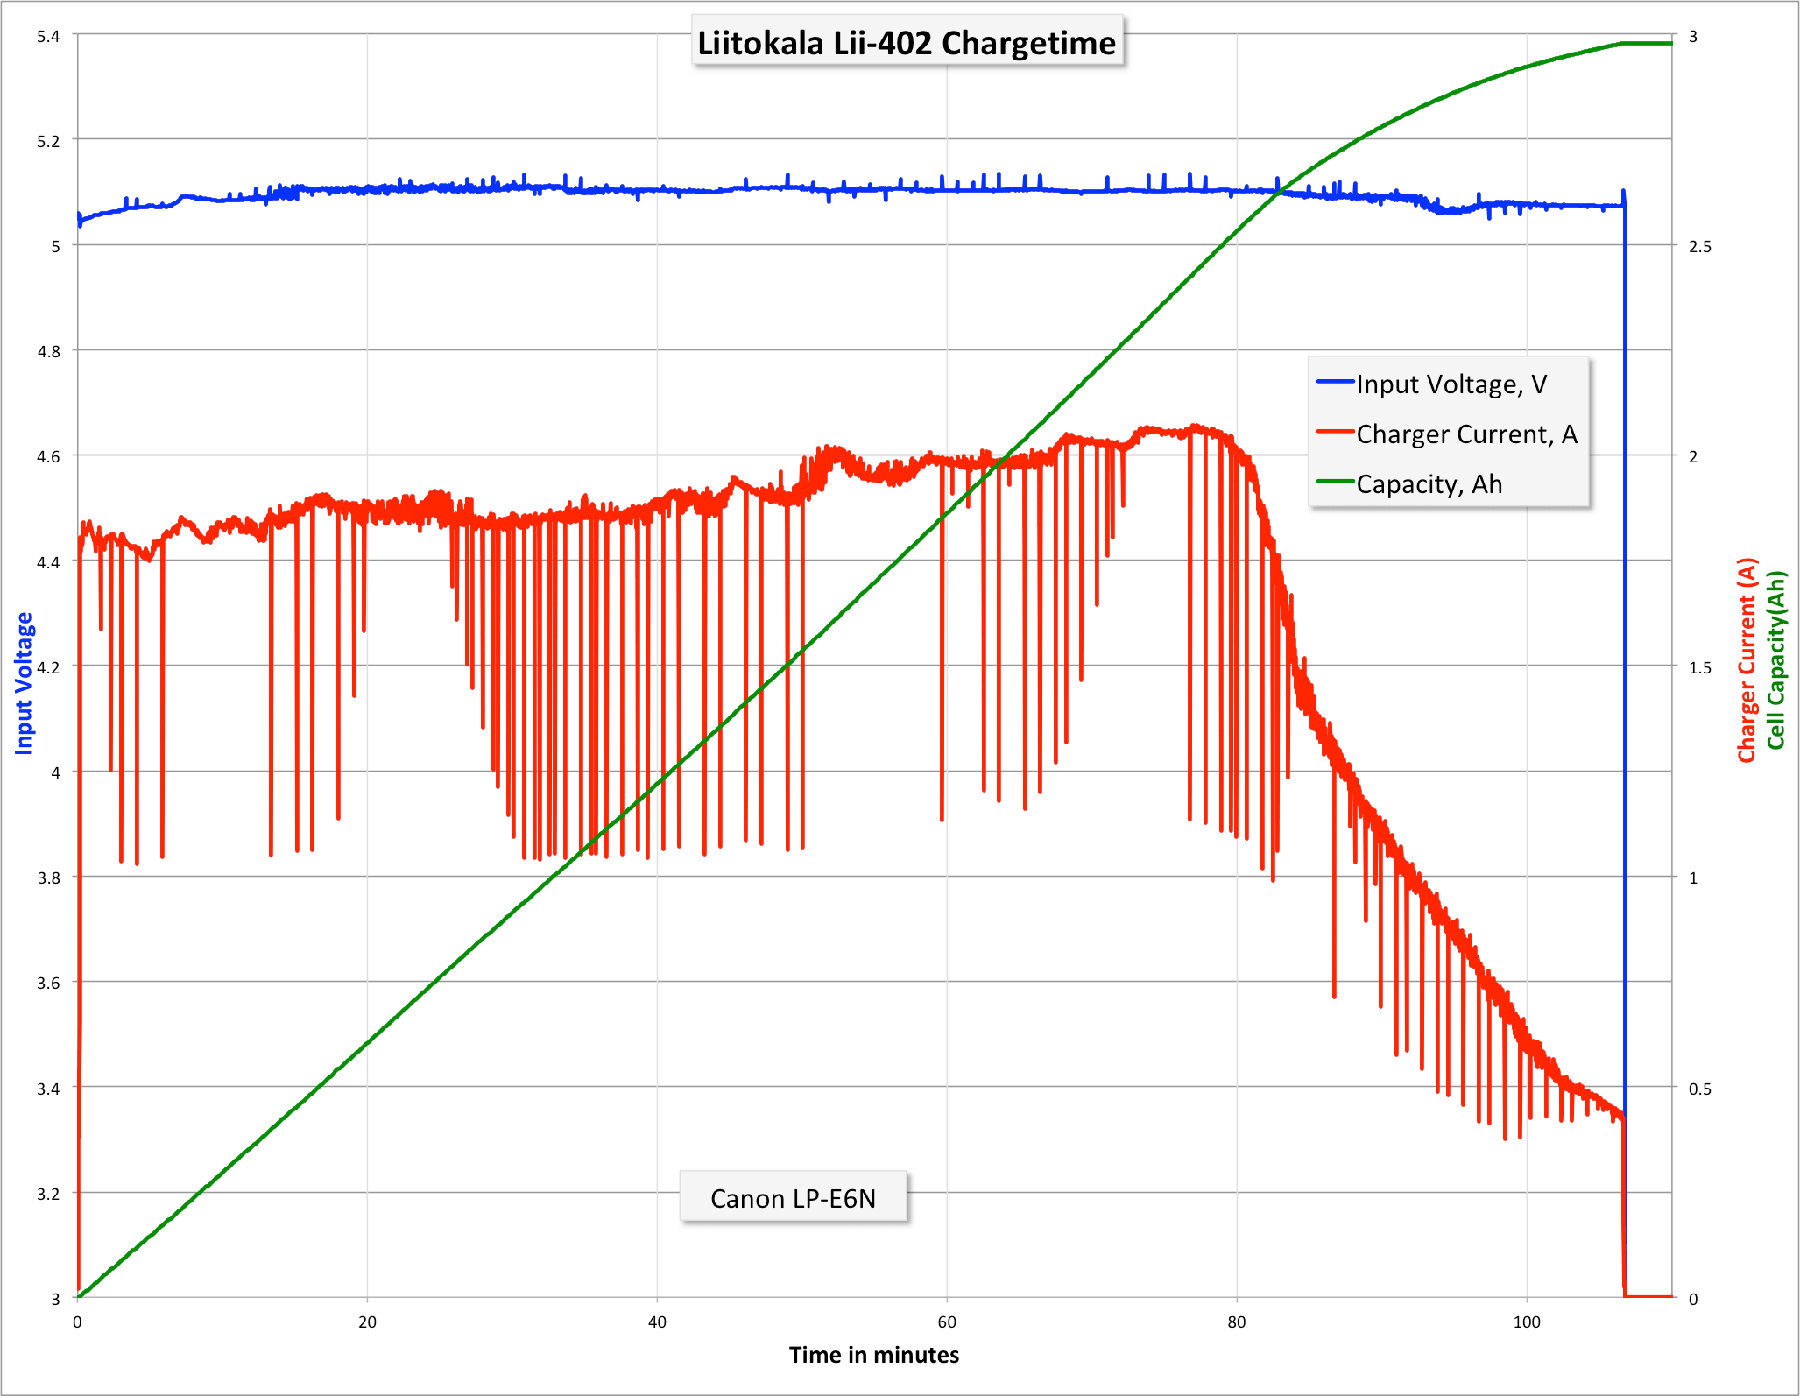
Now I’ll tell you why the USB-ness of this charger is a downside. It’s actually a positive, to be honest…. As you can see in the graph below, the charger is capable of drawing almost 2A. If you have a dedicated wall wart (or just a generally high quality [non-computer]) USB source then you’ll experience great performance out of this charger.
But if you try to use it over your computer’s USB port, you shouldn’t get more than 0.5A, which will really take a very long time to charge a Canon camera battery.
So the point is, don’t use computer power with this charger. And to be fair, the side of the device very clearly says this (phrased as “Input 5V 2A”).
Now, the good side of this is, that with a good USB source, you’ll be charging at 2A. That’s pretty ridiculous speed (and essentially the max speed) for USB. Something to note in the graph above that brings up a good point about how this charger works: My LP-E6N didn’t actually hold ~3000mAh. It’s an 1800mAh cell. What needs to be considered is that the LP-E6N is a 7.2V battery. (And I think that the 7.2V is nominal, with a “full” voltage of around 8.4V) So the charger has to take this 5V from USB and boost it to the voltage of the battery. It’s easier to consider this in Watts since Watts are conserved. 5V at 2A = 10W. Boosted to 8.4V, the cell is seeing more like 1.2A current (10W/8.4V). That also means that since I’m measuring the current at 5V, I have to do a little bit of math to see what the capacity of my battery is. That math is (5V/8.4V) x 3000=1786mAh. That doesn’t consider any inefficiencies but is a more realistic reading for my battery.
Why’d I say all that? Well, one reason is that that’s how I made the graph, and it needs explaining. Another is to demonstrate how slow charging from 0.5A will be. Another is because that math is interesting, and useful all over the place. Discussing Watts often makes things much more understandable, and comparable. I also say it to bring up the point that Nitecore has to use a boost circuit in this device, and it seems to be a pretty good one!
User Interface and Operation
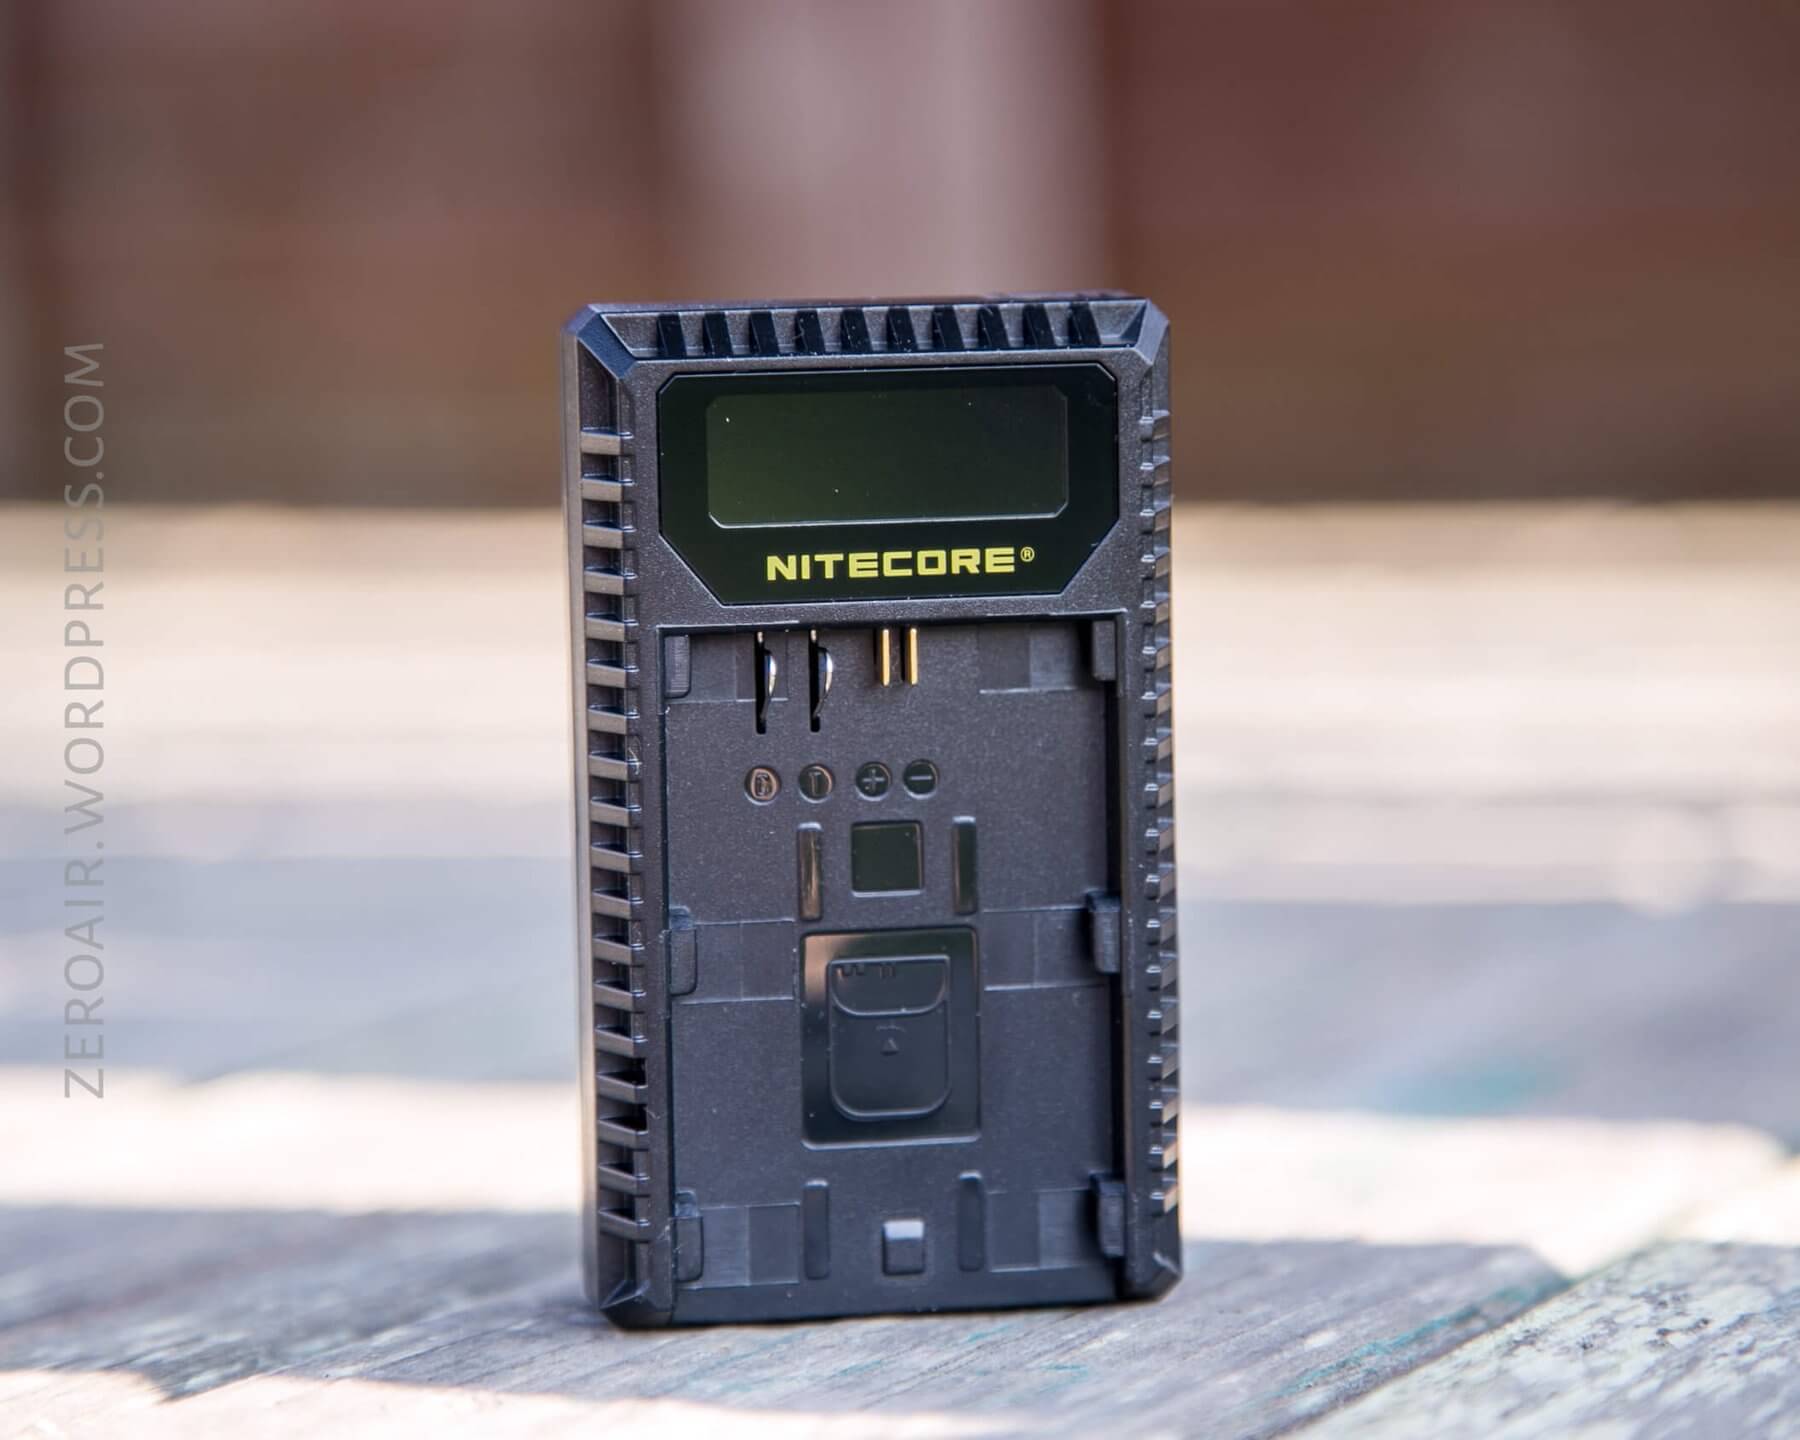
There are no buttons or any switches on this device. Just put the battery on the side it fits, plug it into a USB port, and charging will commence. The manual states that both sides may be used concurrently. I have only the LP-E6N. So I can’t test charging from both sides. I can say that there’s voltage on the pins of the LP-E8 side.
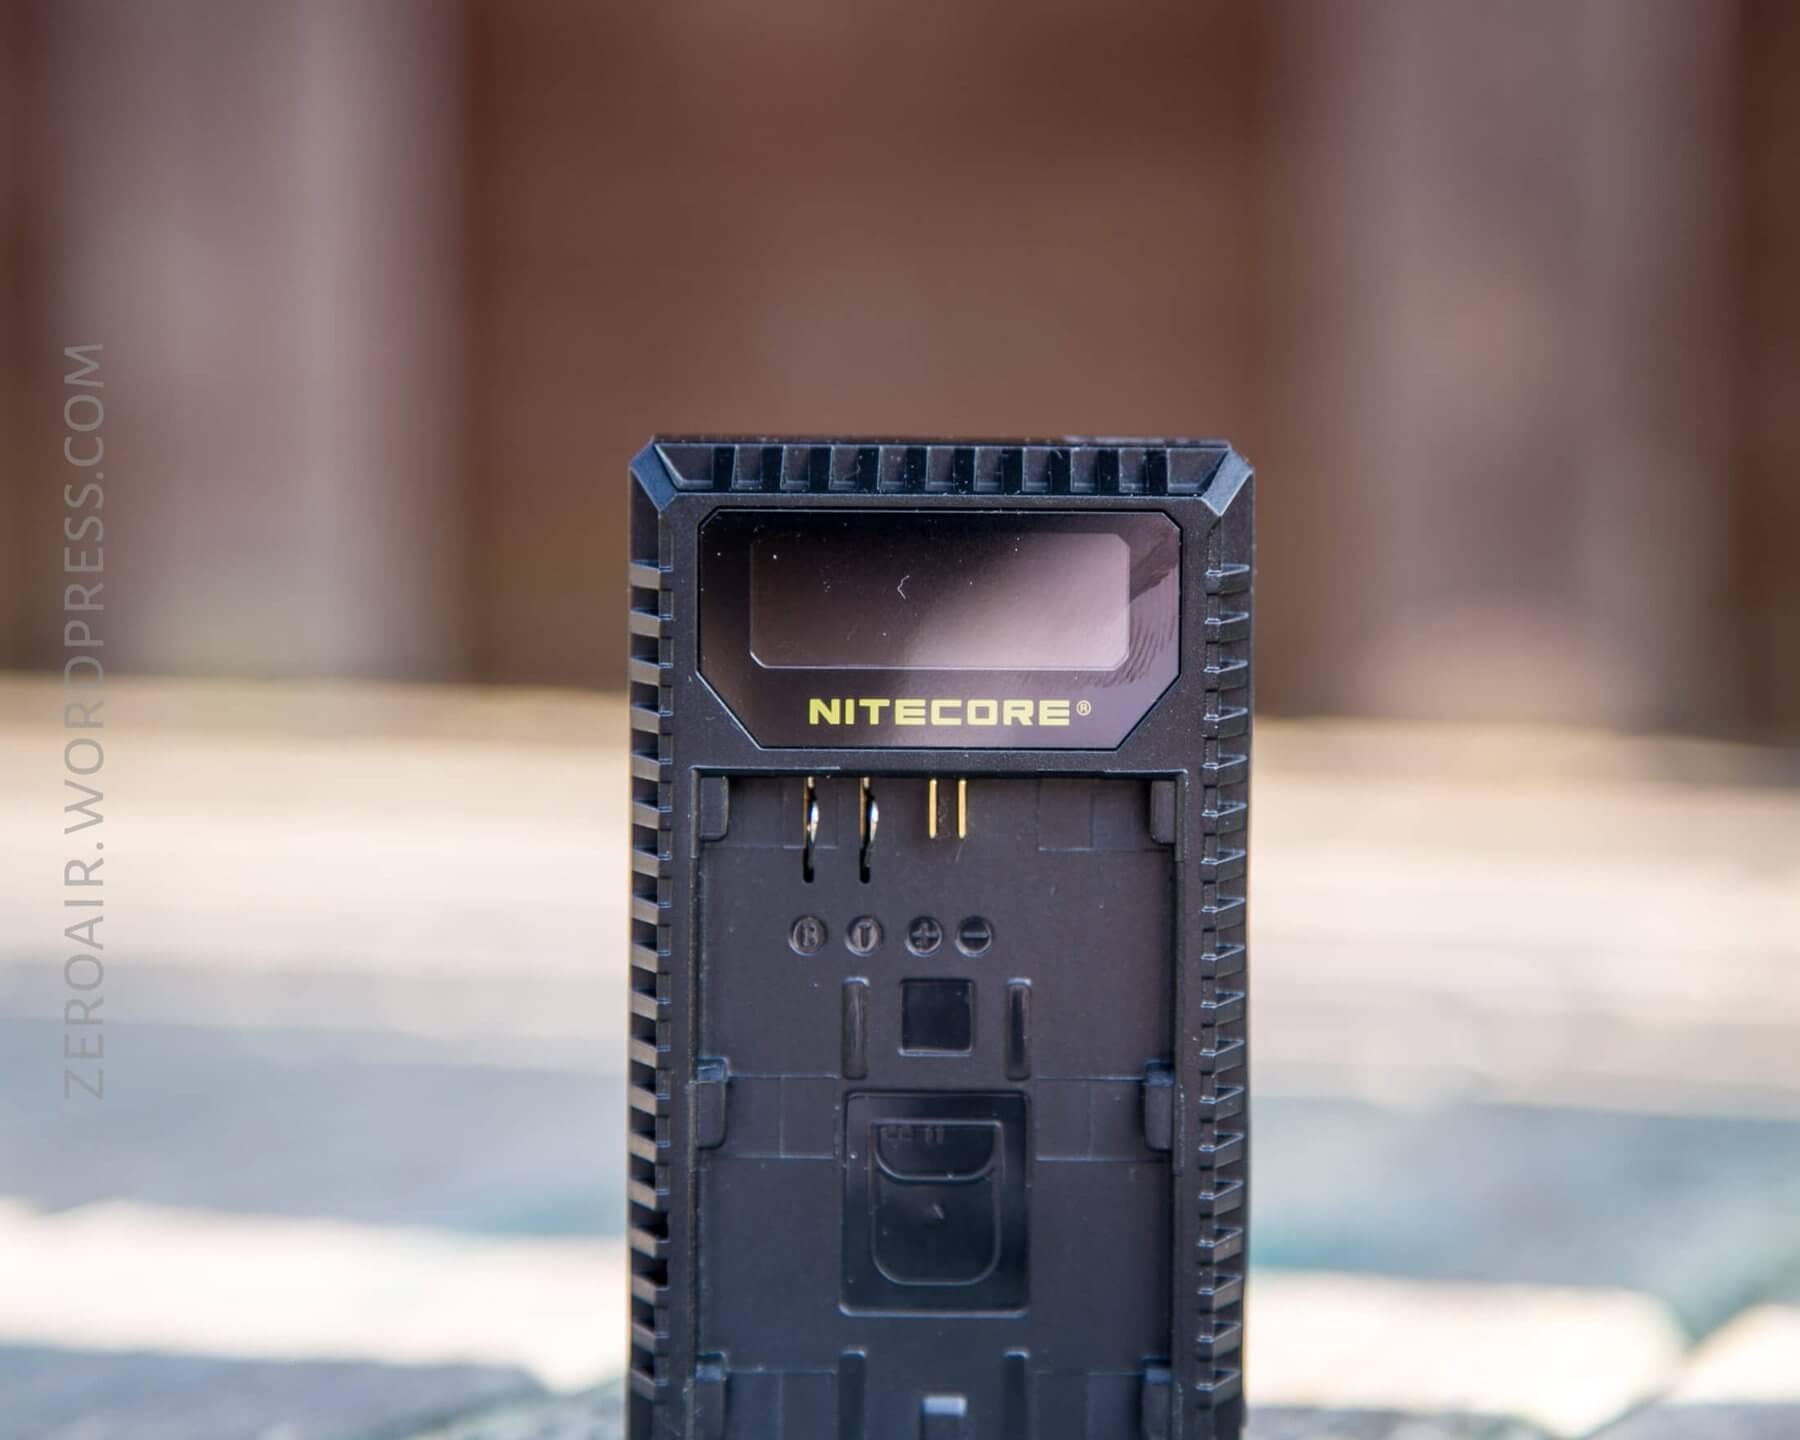
The screen displays information for both slots. (For reference, Slot 1 is the slot on the display side.)
The screen can be a little confusing to read the screen. It flashes through a couple of screens. One tells the battery voltage and the charge current. The other screen shows the charging temperature, and the charged “volume,” in mAh. Both screens always tell which slot is being described. And both screens always state the status of the battery (Good / Normal / Poor).
It’s a good setup.
Conclusion
I like this little charger. I’ll keep this one in my bag, most likely replacing the OEM charger. I love having extra information about the charging, and this charger provides me with that.
What I like
- Very quick charging
- Reading of my battery quality
- Reading of input mAh
- Smaller than the OEM charger
- Great display
What I don’t like
- No buttons
- USB cable is too specific (hard to place anywhere without strain)
- Wish the display would come on for 5-10 seconds to tell me some things about the battery upon install (without USB power). Shutting off after would be fine (and expected).
Notes
- This item was provided by Nitecore for review. I was not paid to write this review.
- This content originally appeared at zeroair.org. Please visit there for the best experience!
- Use my amazon.com referral link if you’re willing to help support making more reviews like this one!
- Please support me on Patreon! I deeply appreciate your support!
Discover more from ZeroAir Reviews
Subscribe to get the latest posts sent to your email.