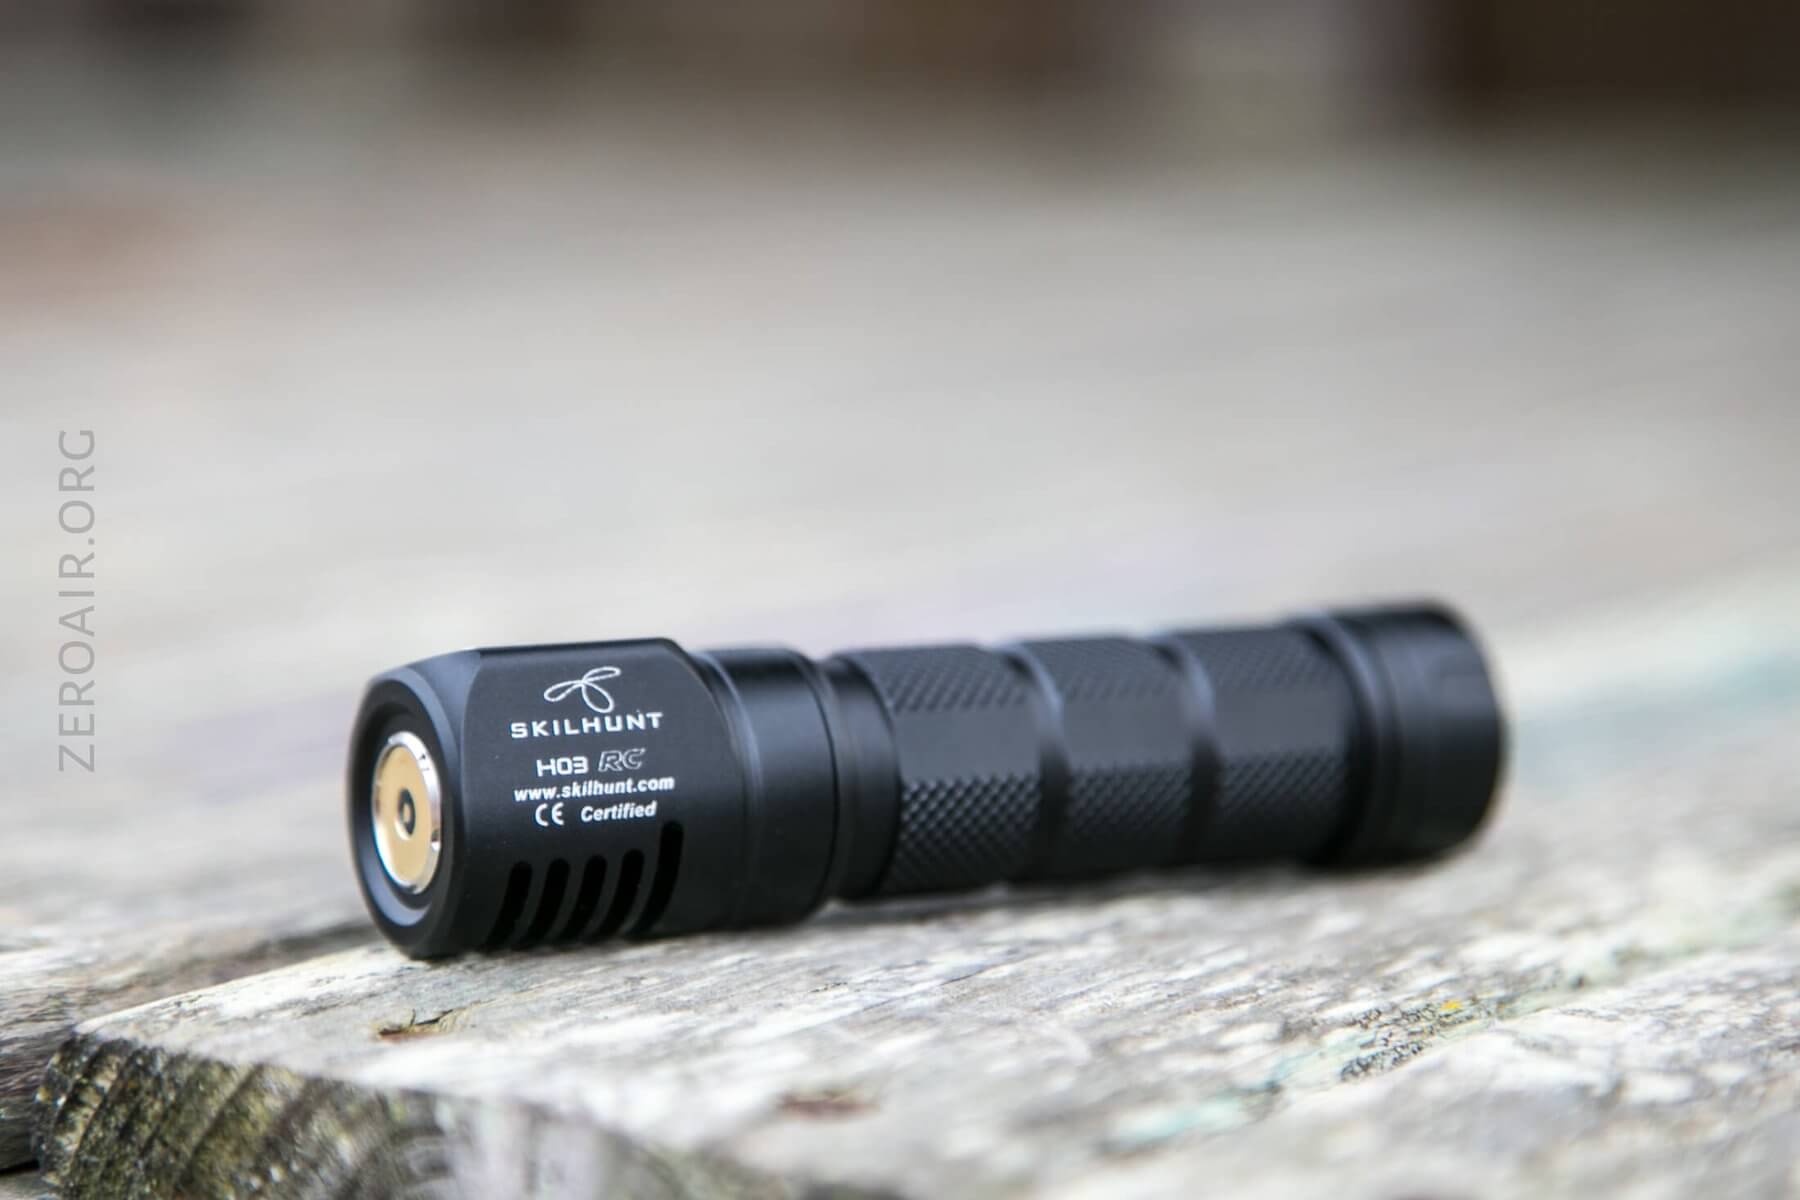
Skilhunt H03C RC Headlamp Review
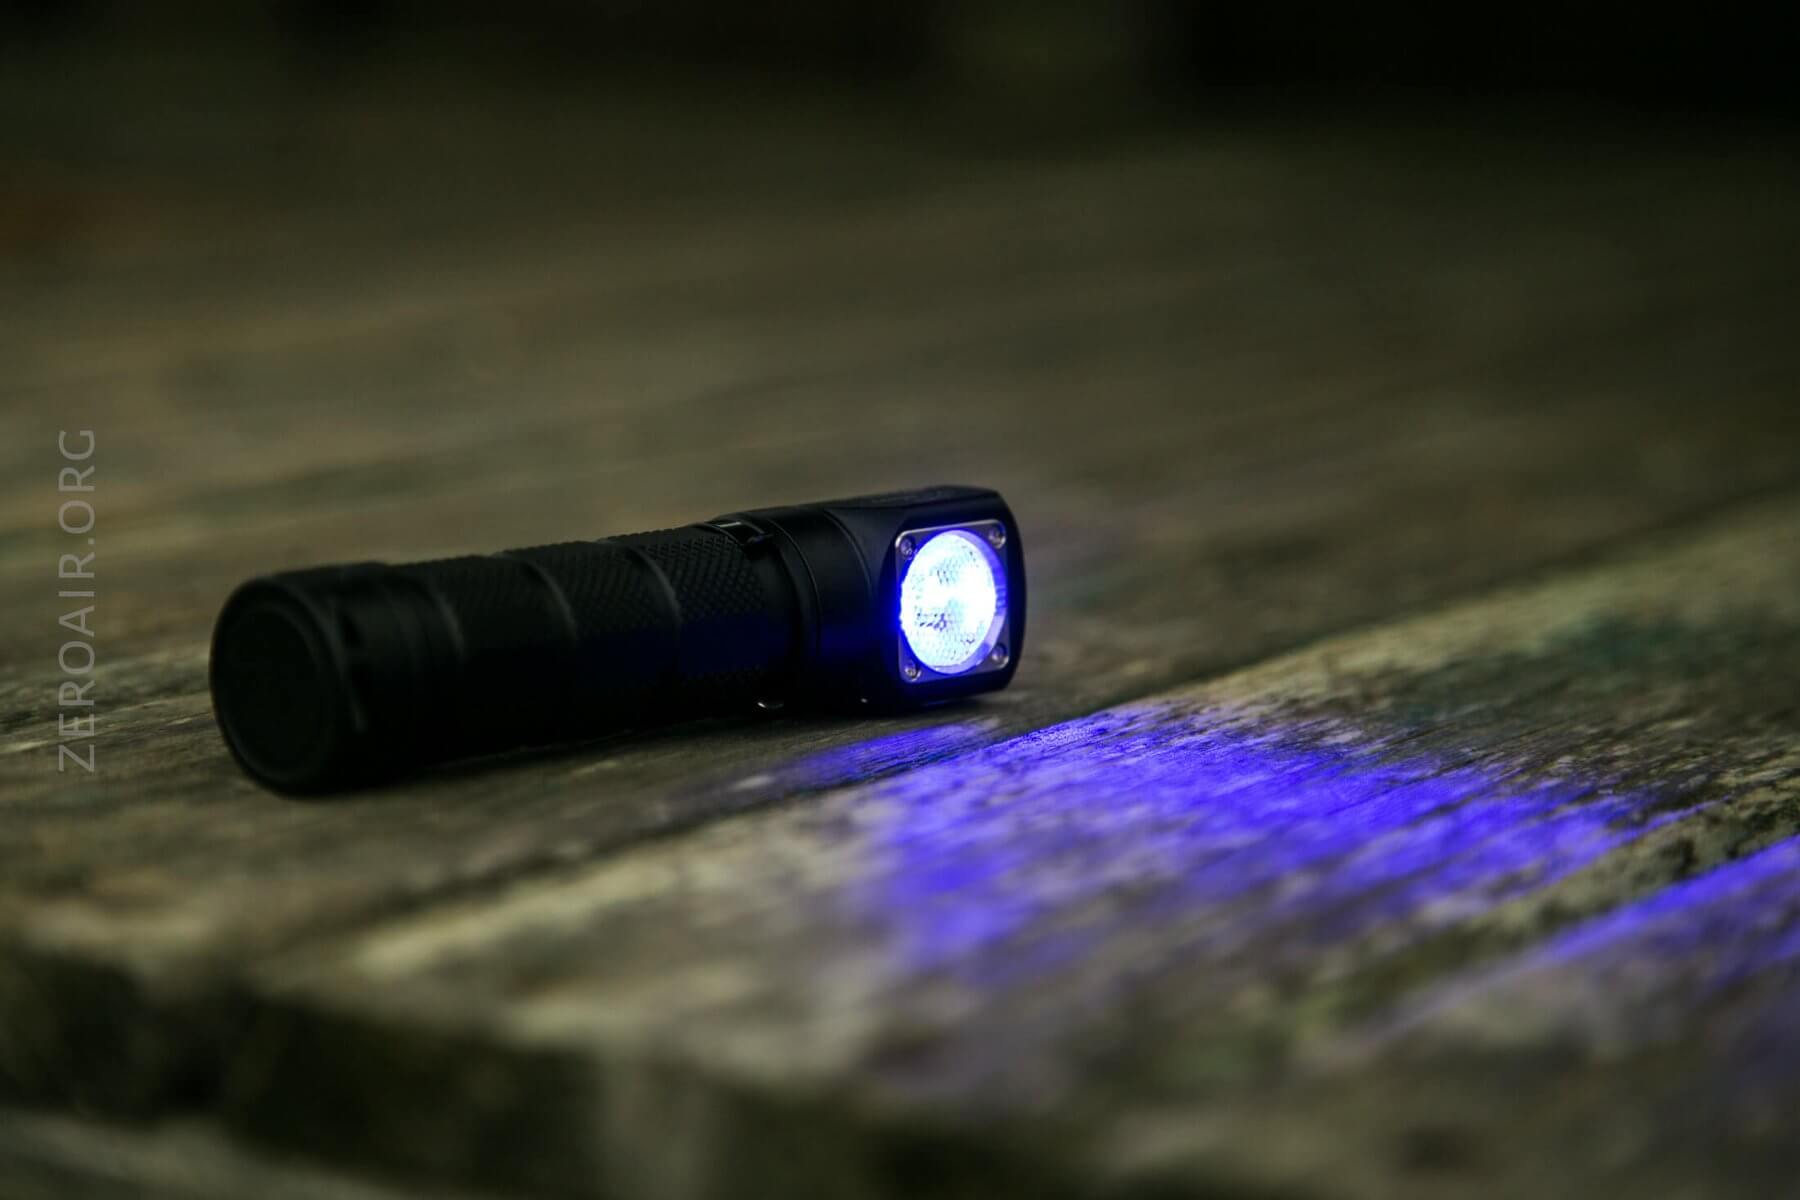
The Skilhunt H03C RC Headlamp is an 18650 headlamp that has a Cree XM-L Color emitter, so it offers red, green, and blue as well as white output!
Official Specs and Features
Here’s a link to the Skilhunt H03C RC Headlamp product page.
Versions
There are a bunch of H03 lights, of course. The newest iteration is the H03 RC, which is rechargeable. The H03 RC is available in the following flavors:
H03C RC – Color
H03R RC- Reflector version
H03F RC – Floody (with a flip-over diffuser)
H03 RC – Optic version
There are plenty of past versions, and probably one that suits your needs, too.
This specific version is available in CW and NW both – fortunately, I have the NW in for review.
Price
Here’s a link to GearBest, where I got this light. It’s currently $52.99, and under a flash sale.
Short Review
I like this light as much as I figured I would, and probably more. It retains all the things about the H03 that I like, while adding charging (which I won’t use, but it doesn’t affect the size of the light, so I call it a wash there). I love the color emitter options, too.
Long Review
The Big Table
| Skilhunt H03C RC | |
|---|---|
| Emitter: | Cree XM-L Color (NW) |
| Price in USD at publication time: | $52.99 |
| Cell: | 18650 |
| High Runtime | Green Runtime |
| LVP? | Yes, and warning |
| Switch Type: | E-Switch |
| Quiescent Current (A): | ? |
| On-Board Charging? | Yes |
| Chargetime | |
| Power off Charge Port with no Cell? | ? |
| Claimed Lumens (lm) | 220 |
| Measured Lumens (at 30s) | 205 (93.2% of claim)^ |
| Claimed Throw (m) | 48 |
| Candela (Calculated) in cd (at 30s) | 32lux @ 4.857m = 755cd |
| Throw (Calculated) (m) | 55.0 (114.6% of claim)^ |
| All my Skilhunt reviews! | |
^ Measurement disclaimer: Testing flashlights is my hobby. I use hobbyist-level equipment for testing, including some I made myself. Try not to get buried in the details of manufacturer specifications versus measurements recorded here; A certain amount of difference (say, 10 or 15%) is perfectly reasonable.
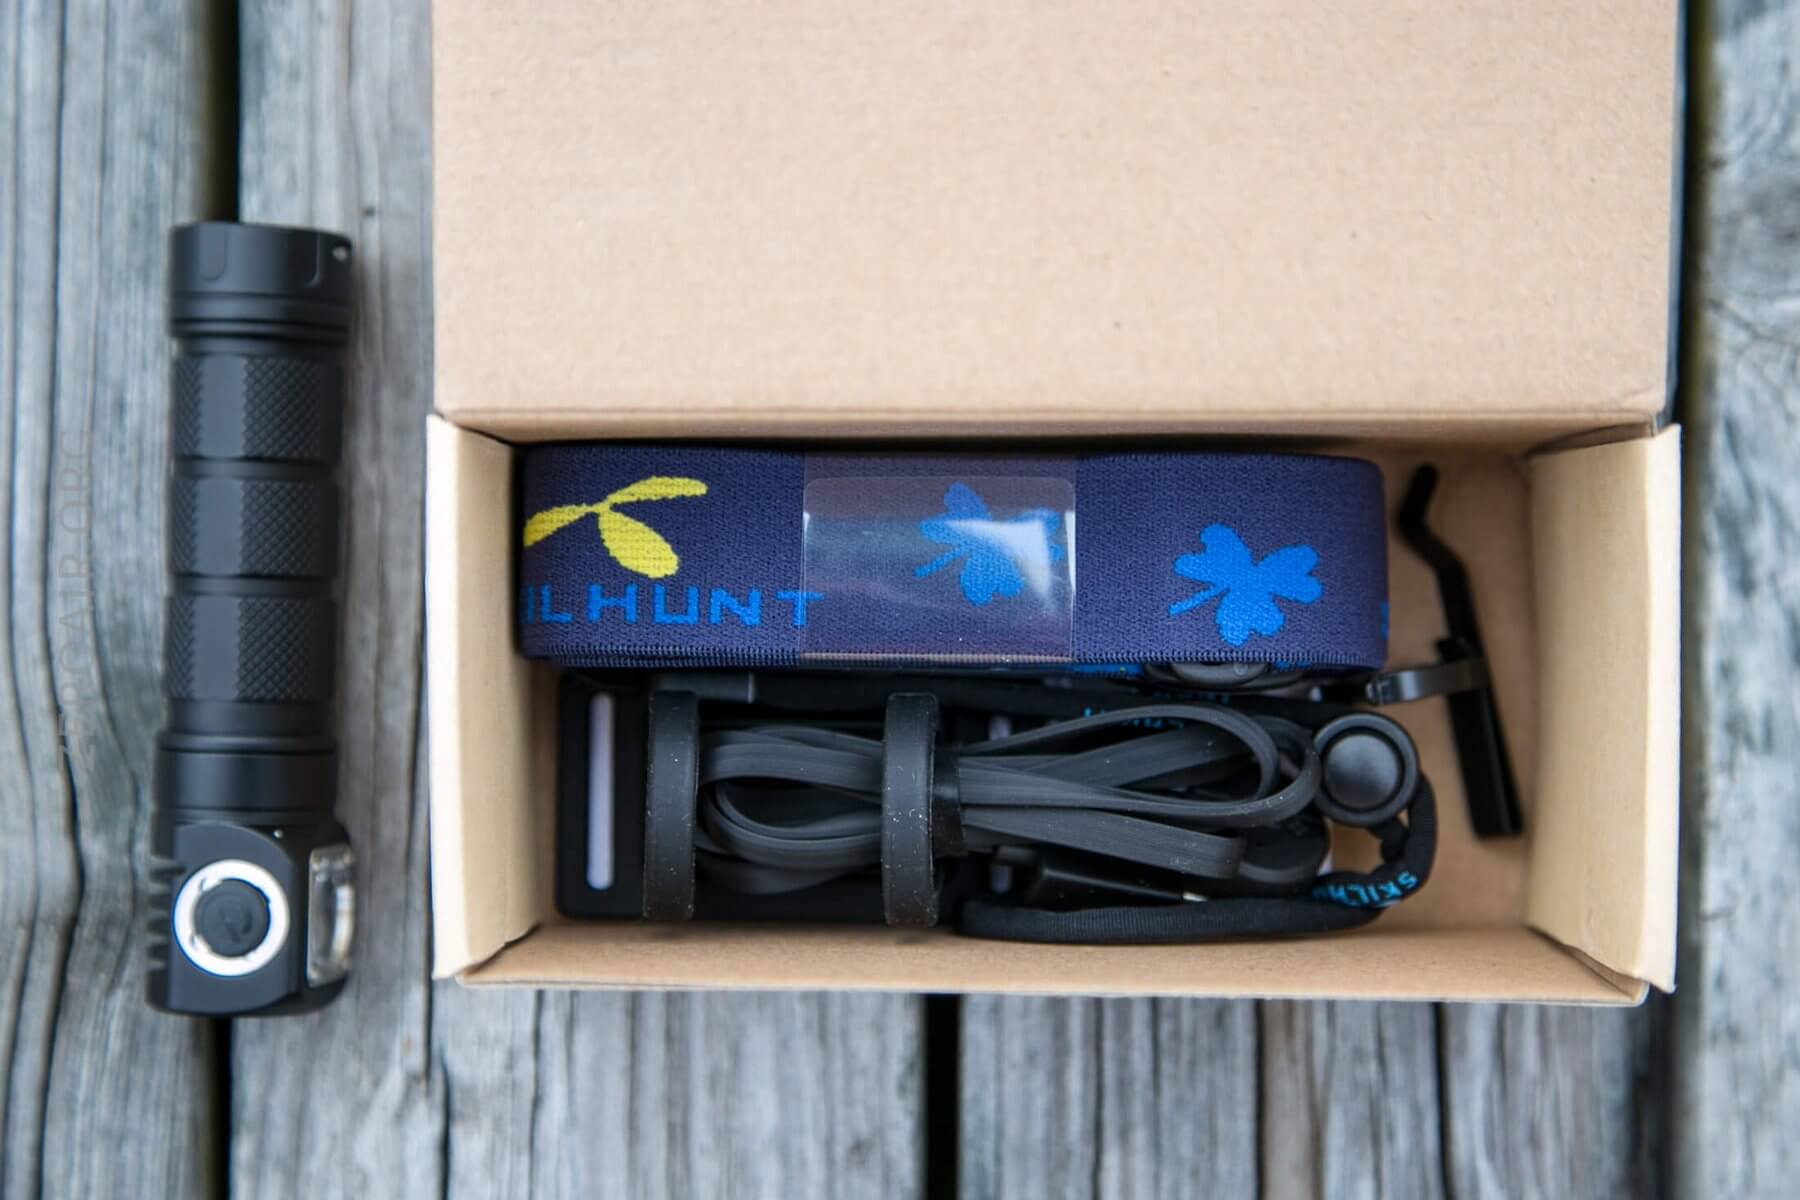
What’s Included

- Skilhunt H03C RC Headlamp
- Silicone Headstrap connector
- Spare o-rings (2)
- Lanyard
- Headband (over the head too)
- Pocket clip
- Charge cable (USB to proprietary)
Package and Manual
The package for this H03C RC is the same as the other RC version I had – it’s a very nice package, with an embossed sleeve over a flip-open box.
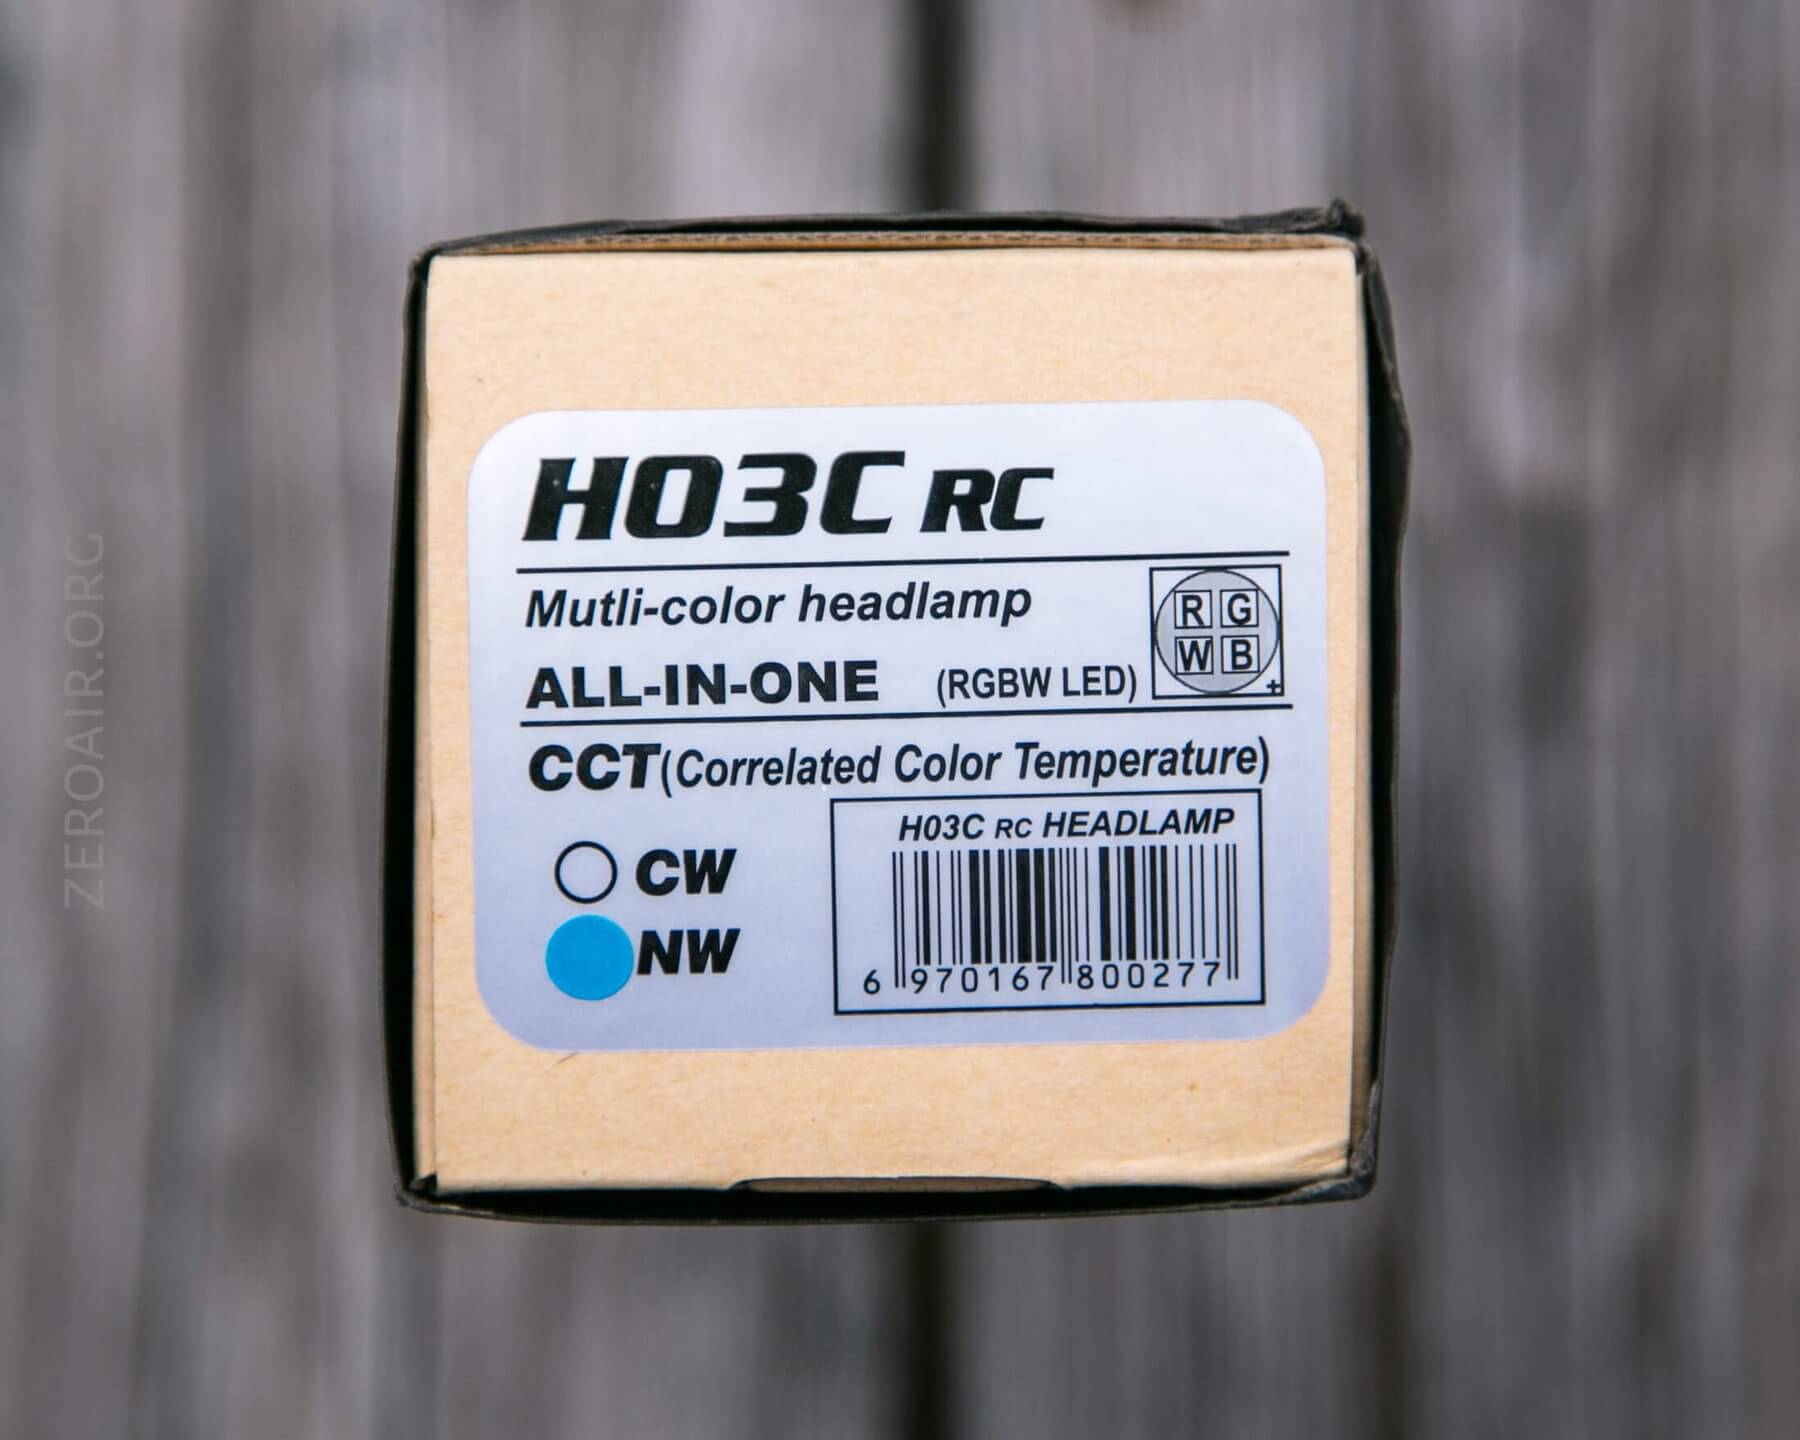
The end of that box is very clearly labeled with the identifiers of the light.
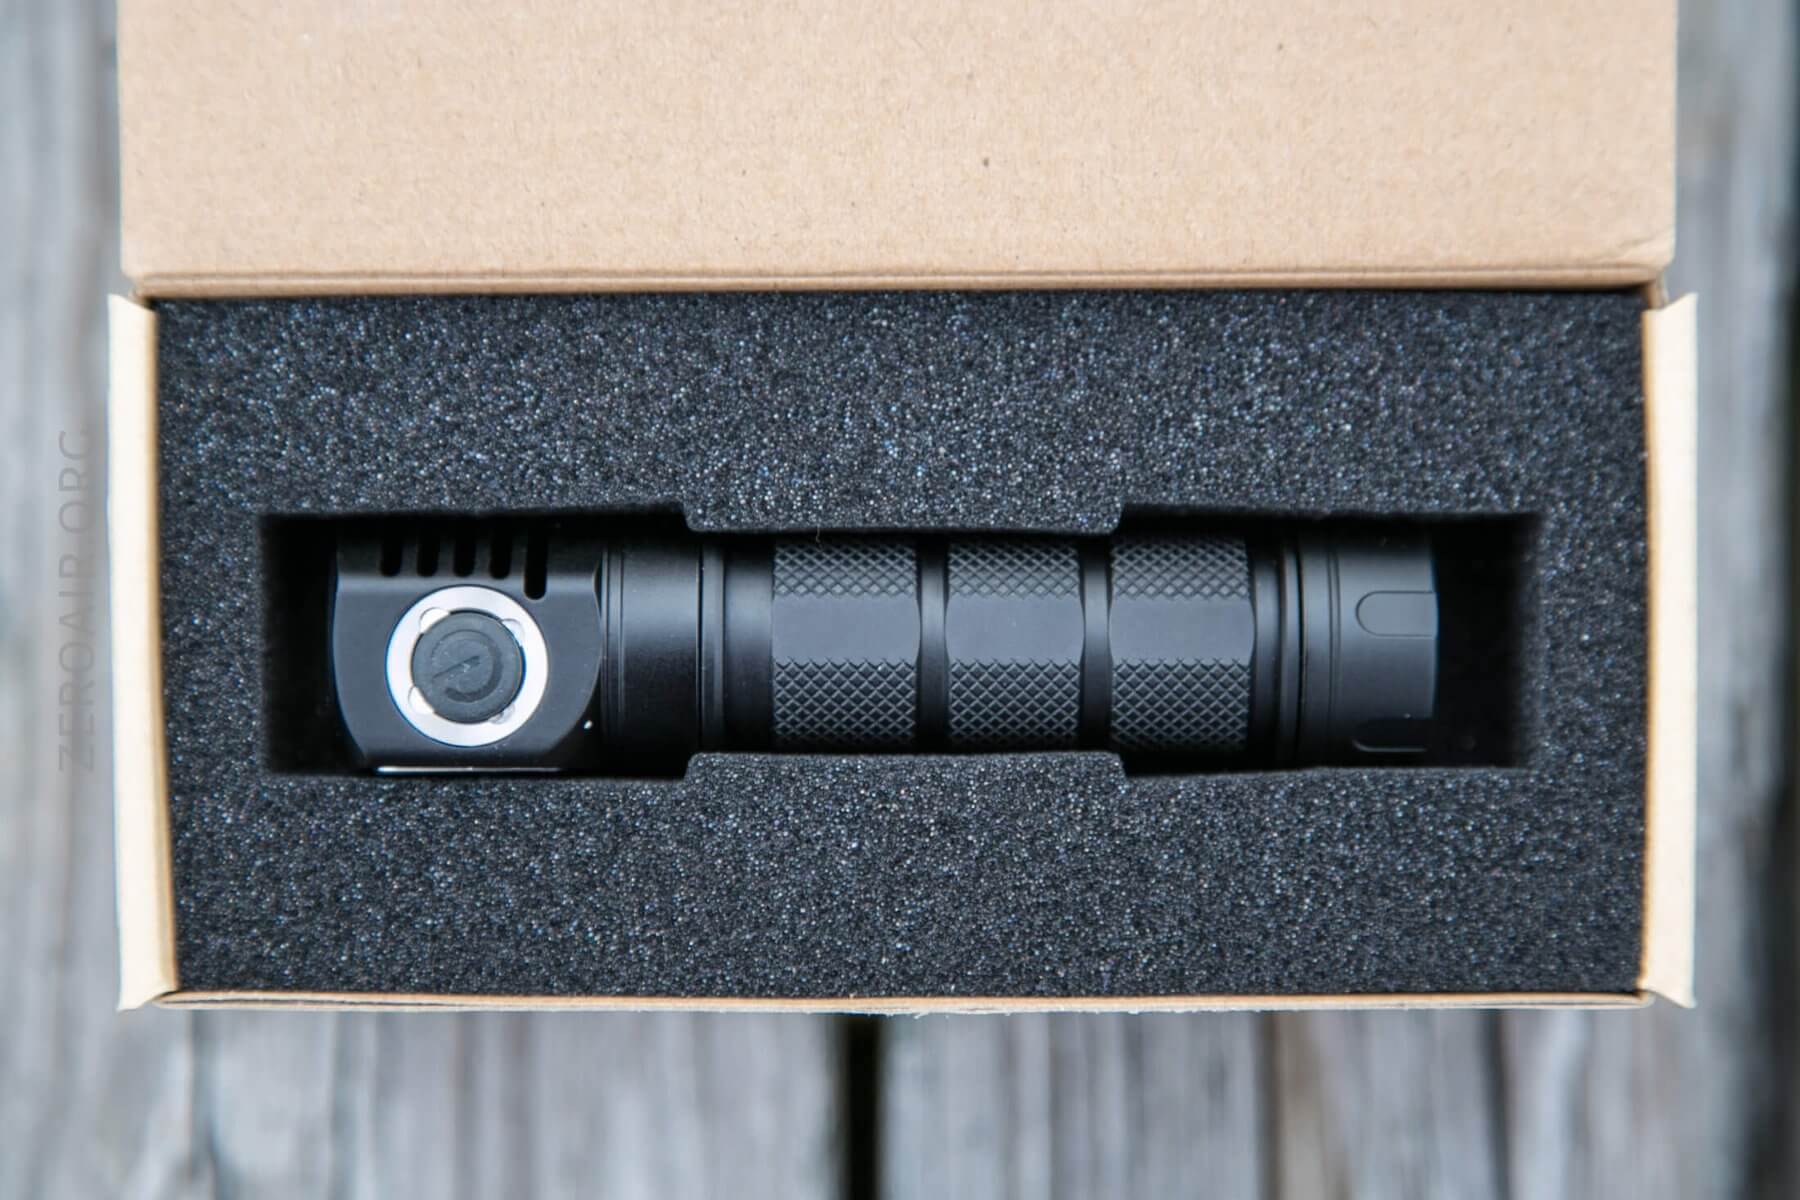
The light is held in place in some custom-cut foam.
Under that is some cardboard covering the rest of the goodies, seen here:
Build Quality and Disassembly
Everyone should own an H03. And the build quality is at least as good on this newer version as it is on the older versions. So the build quality of the H03C RC should be no surprise.
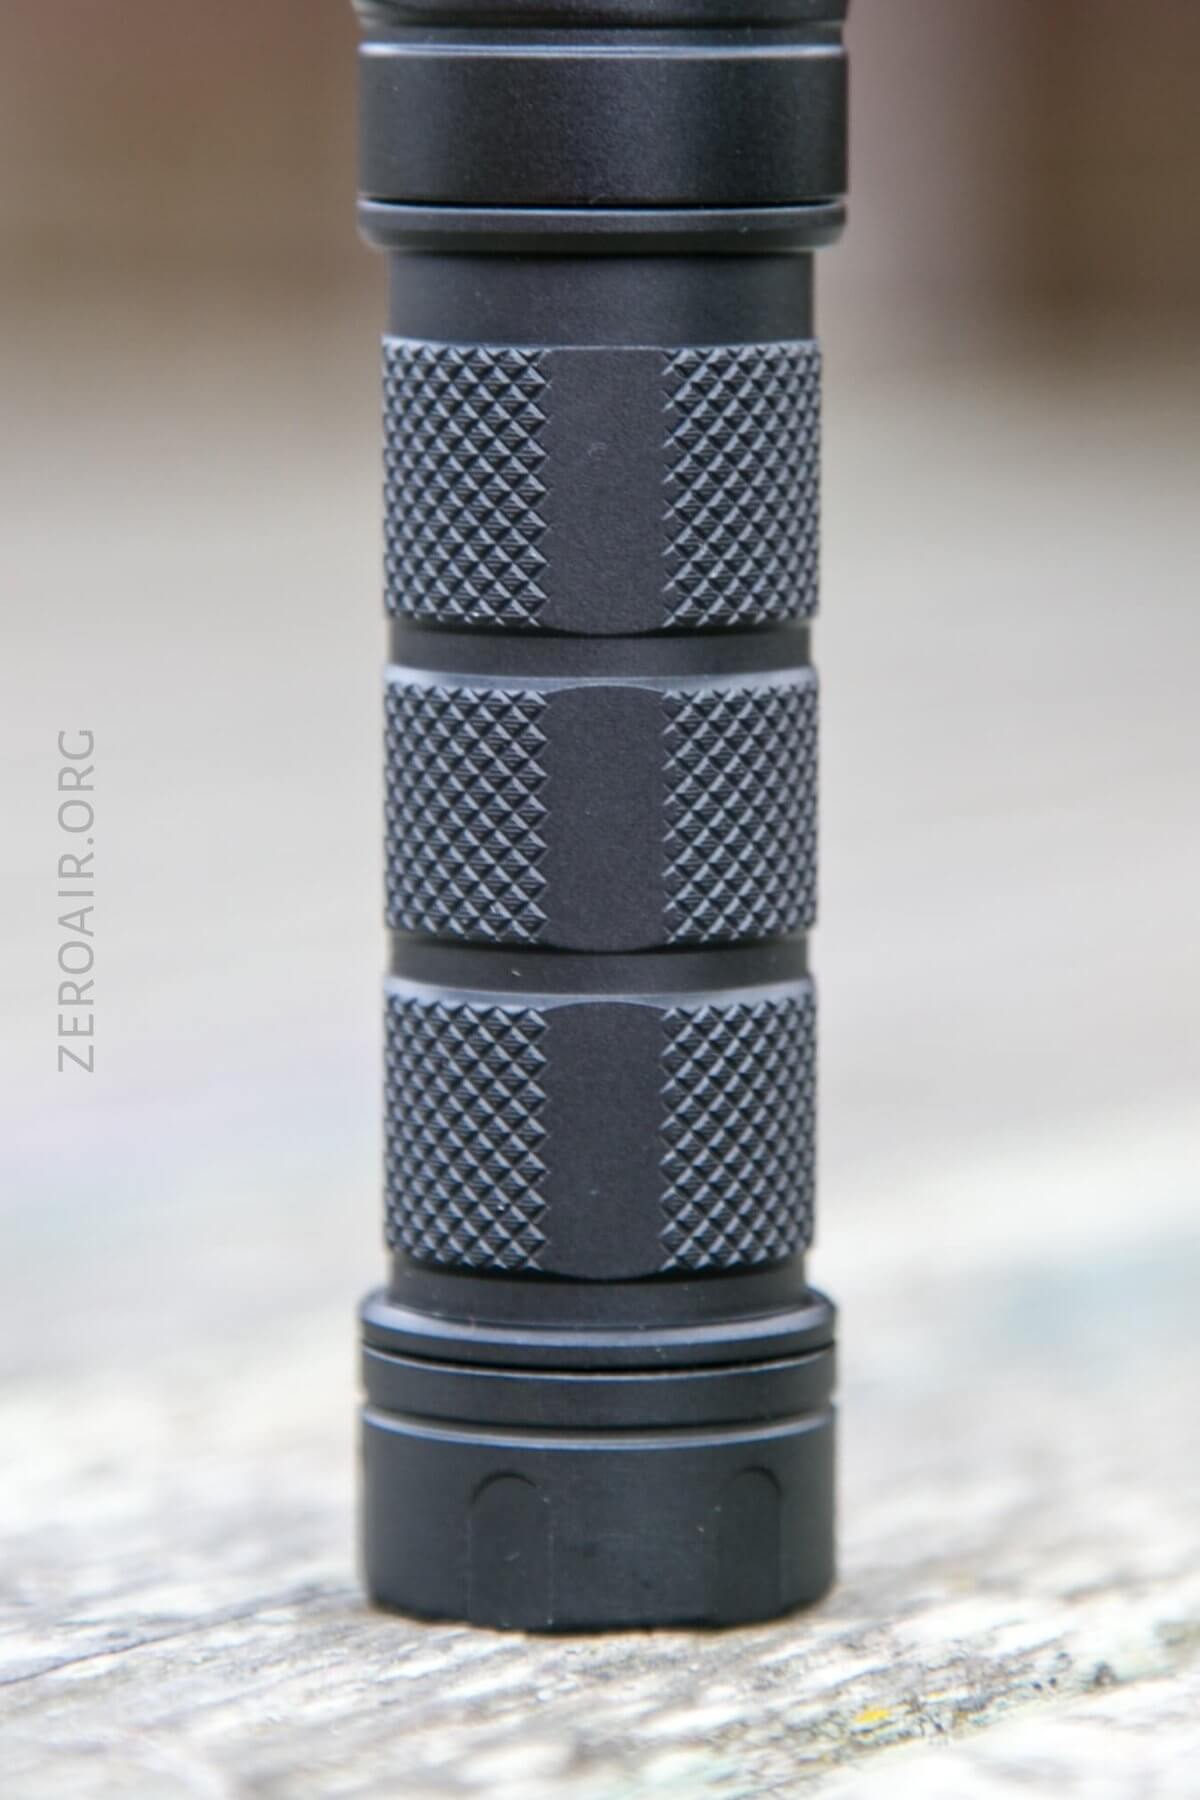
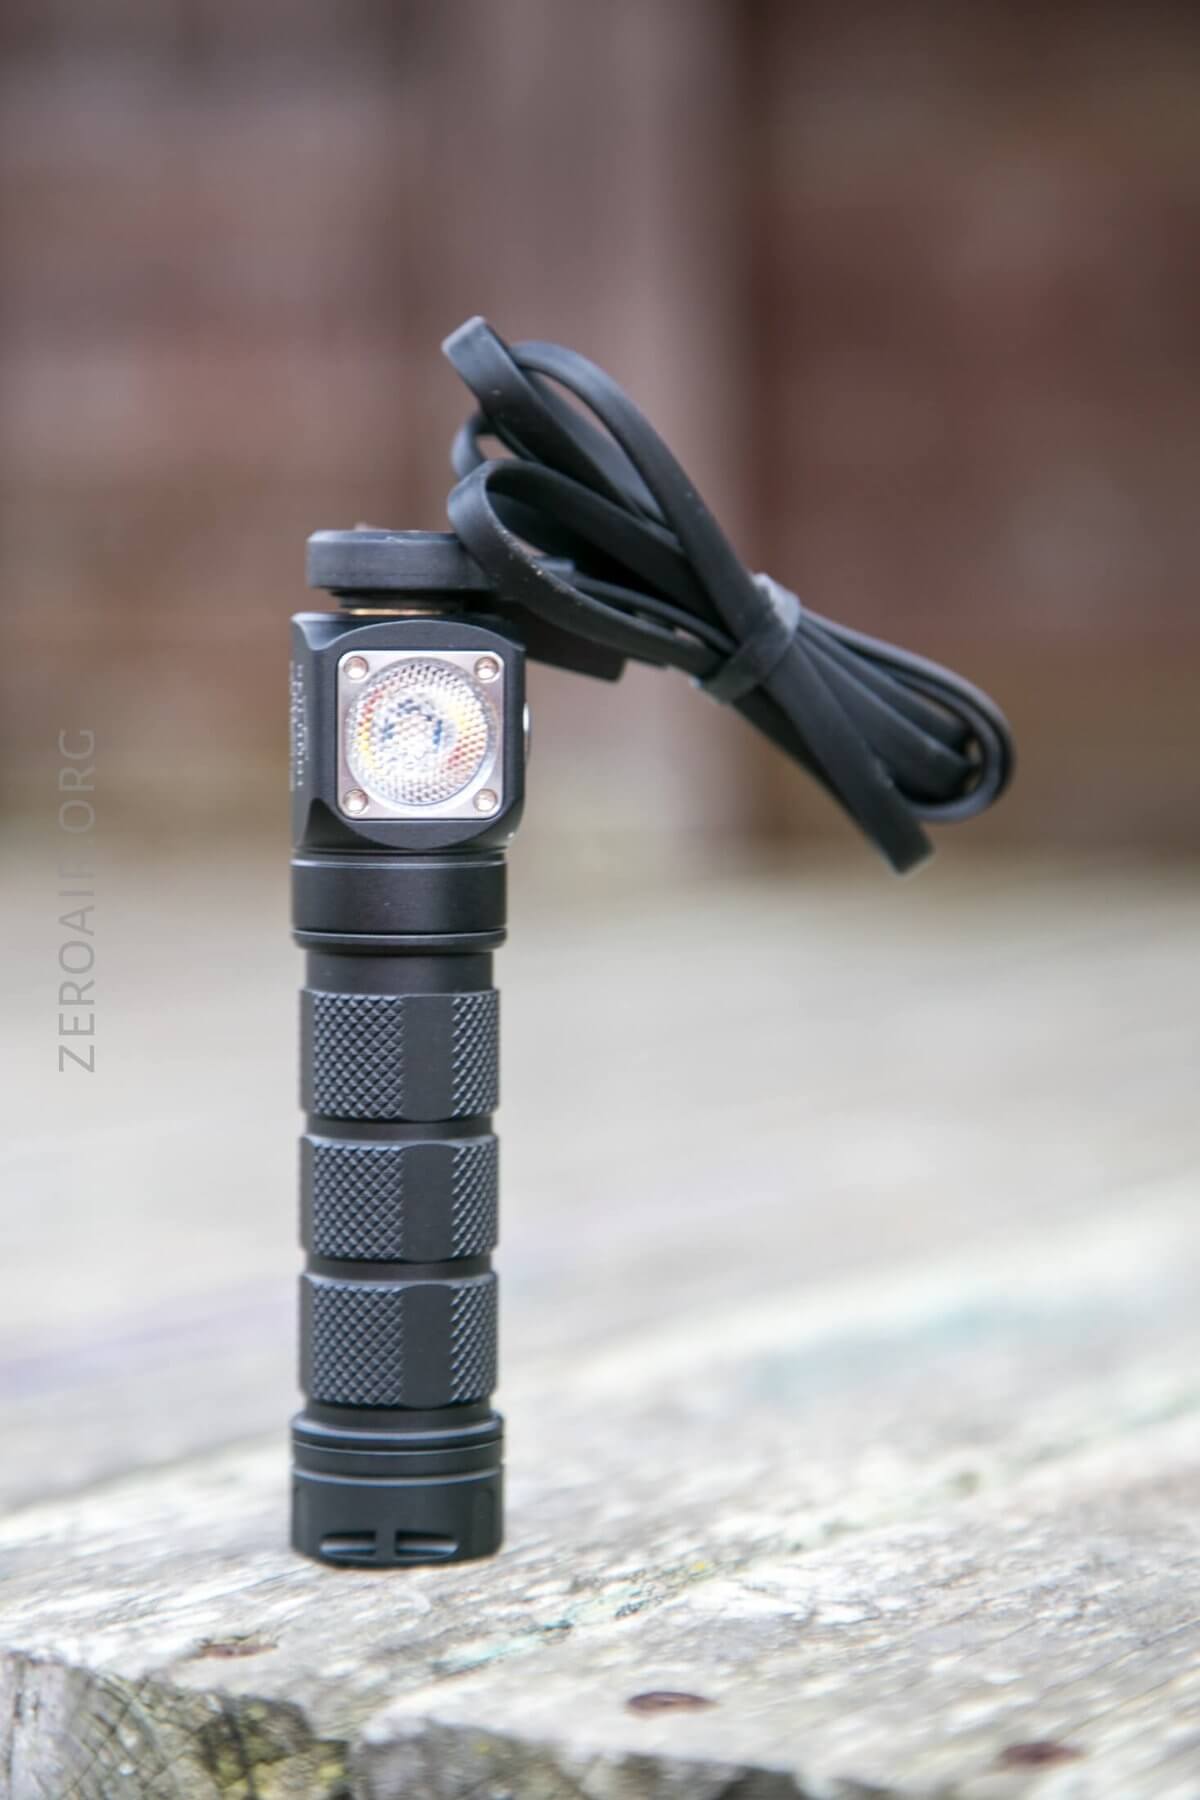
There is ample surface area for cooling, provided by very deep fins on the back of the head. The knurling is broken up by some (4) flat spots on the body, and it’s grippy enough.
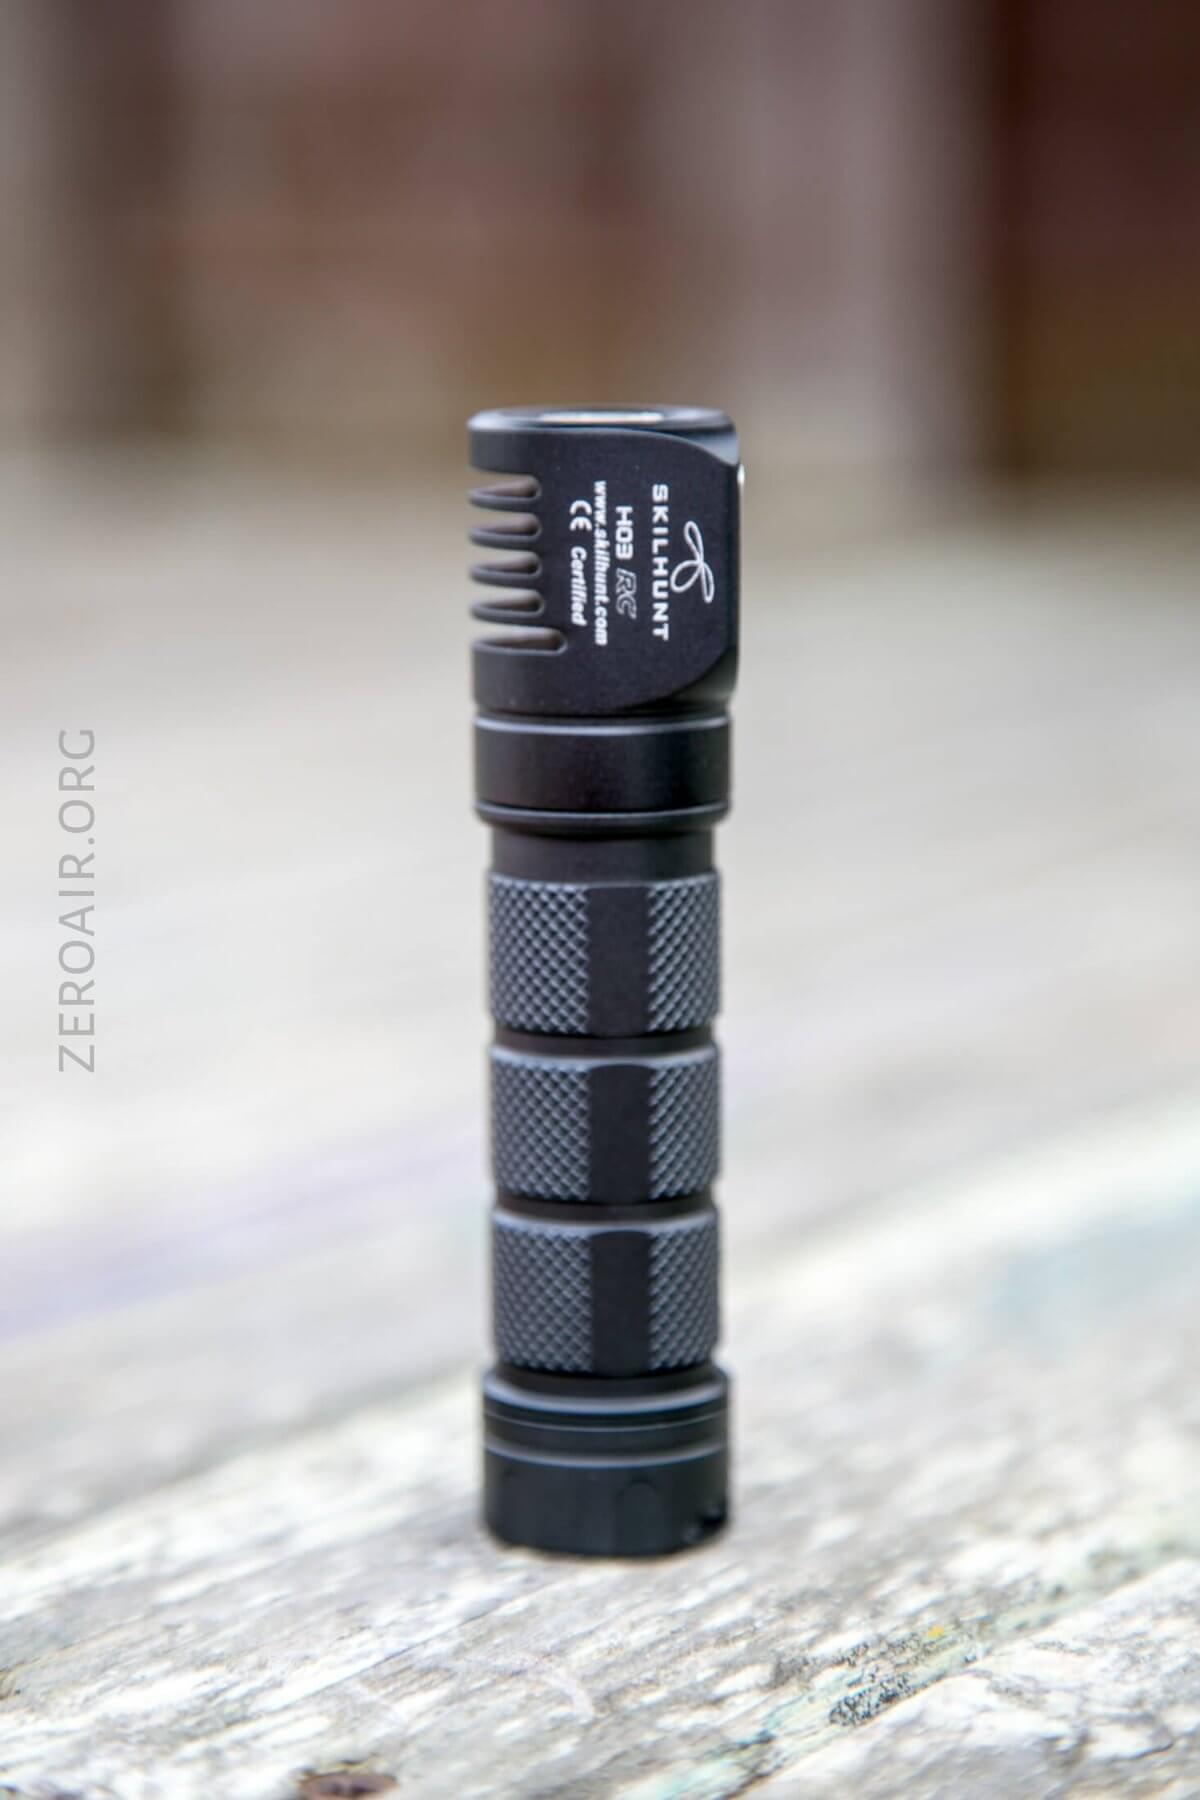
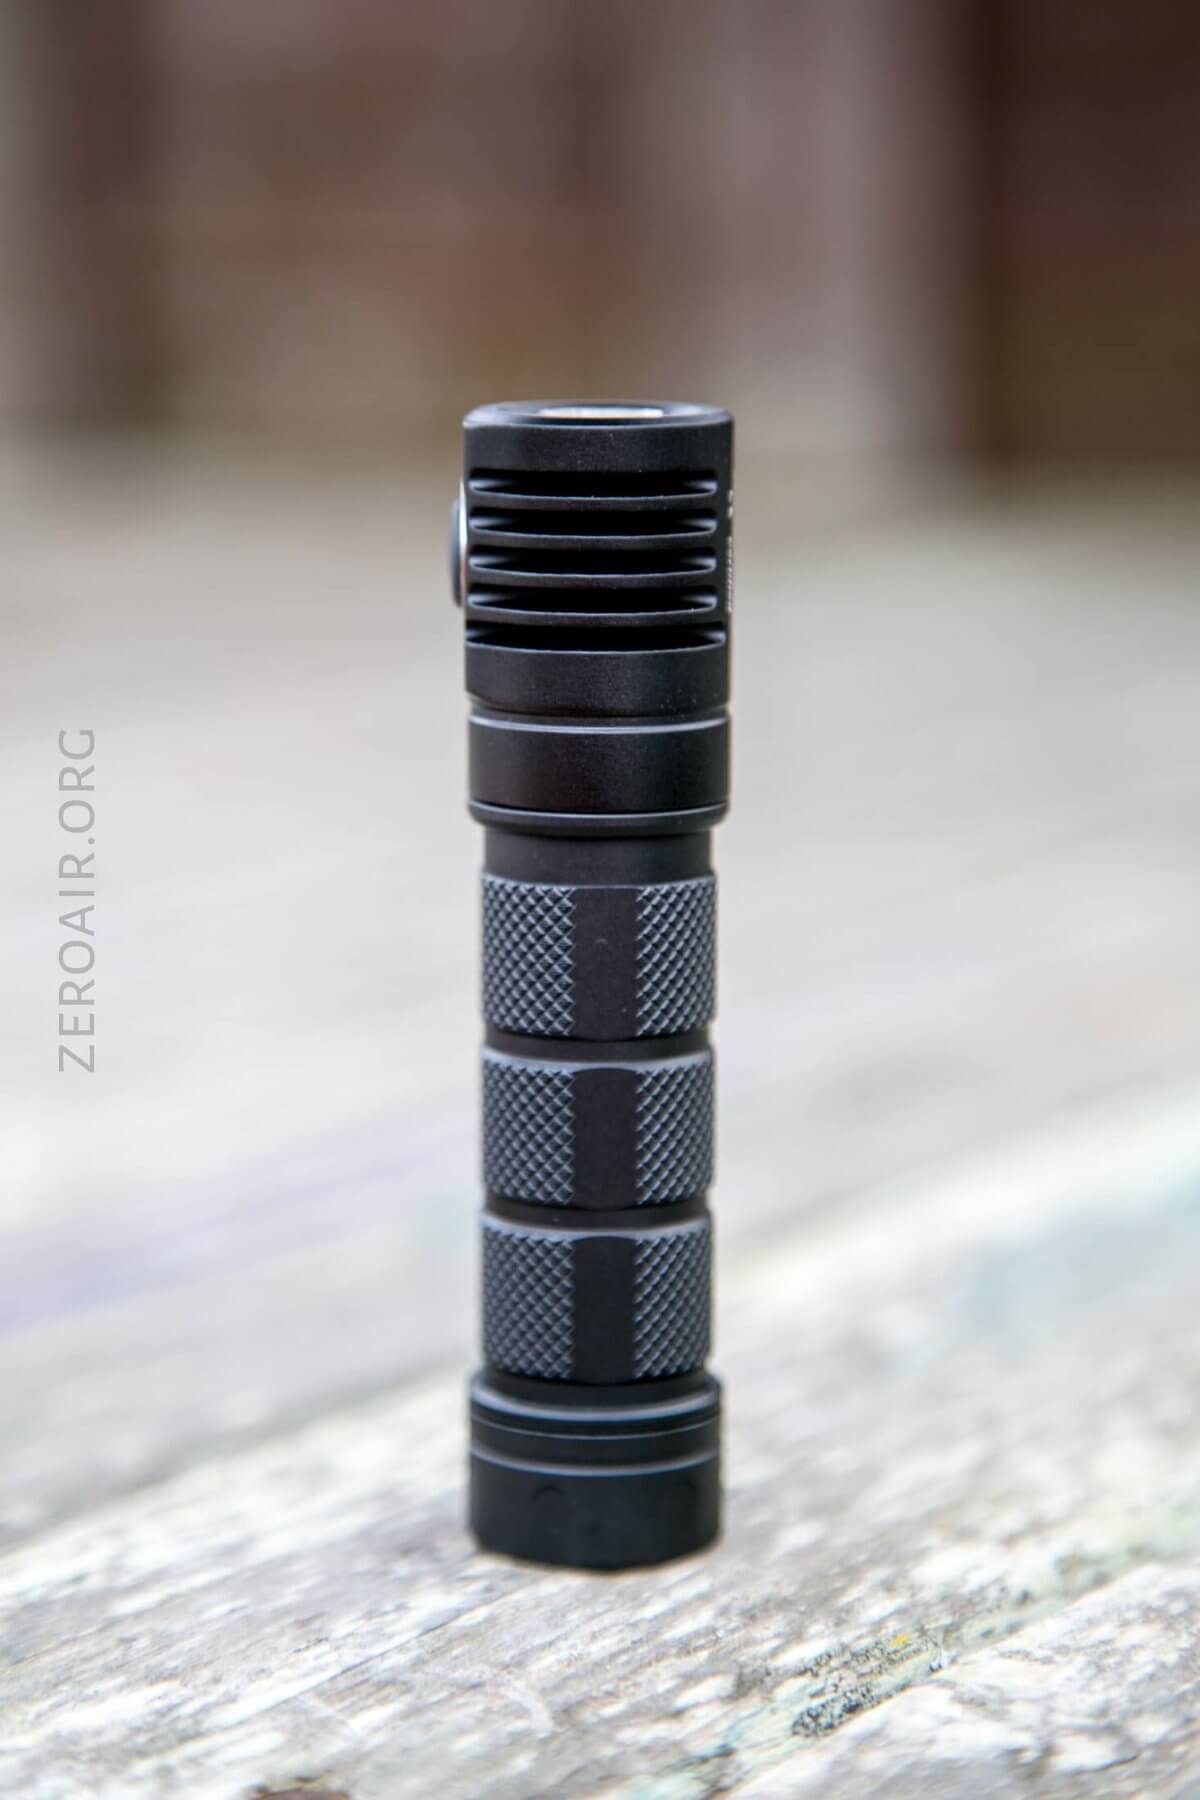
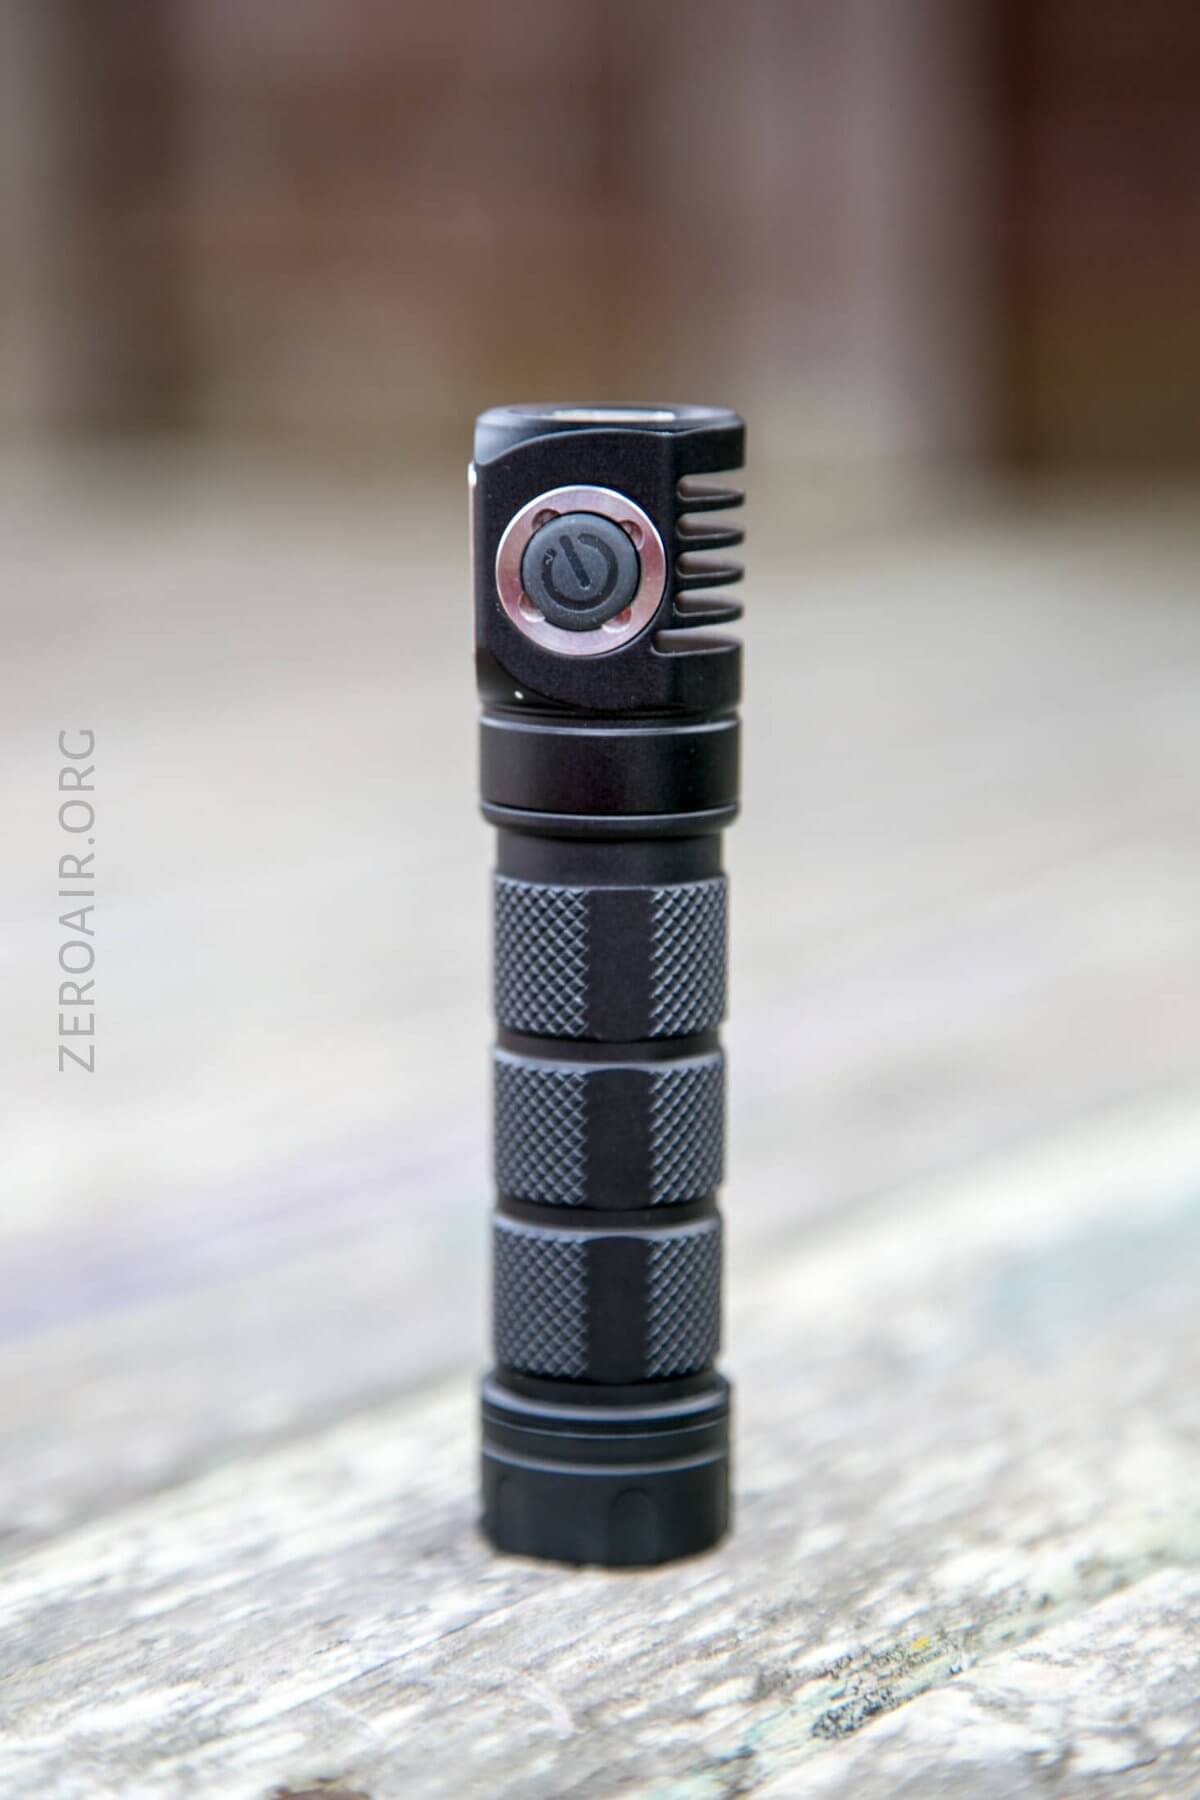
The knurling is the type I like best. Very comfortable hold, and hard to drop.
The 18650 cell goes with the positive end toward the head of the light, and that’s further promoted with the sticker just inside the cell tube. If you forget, be reminded with this sticker.
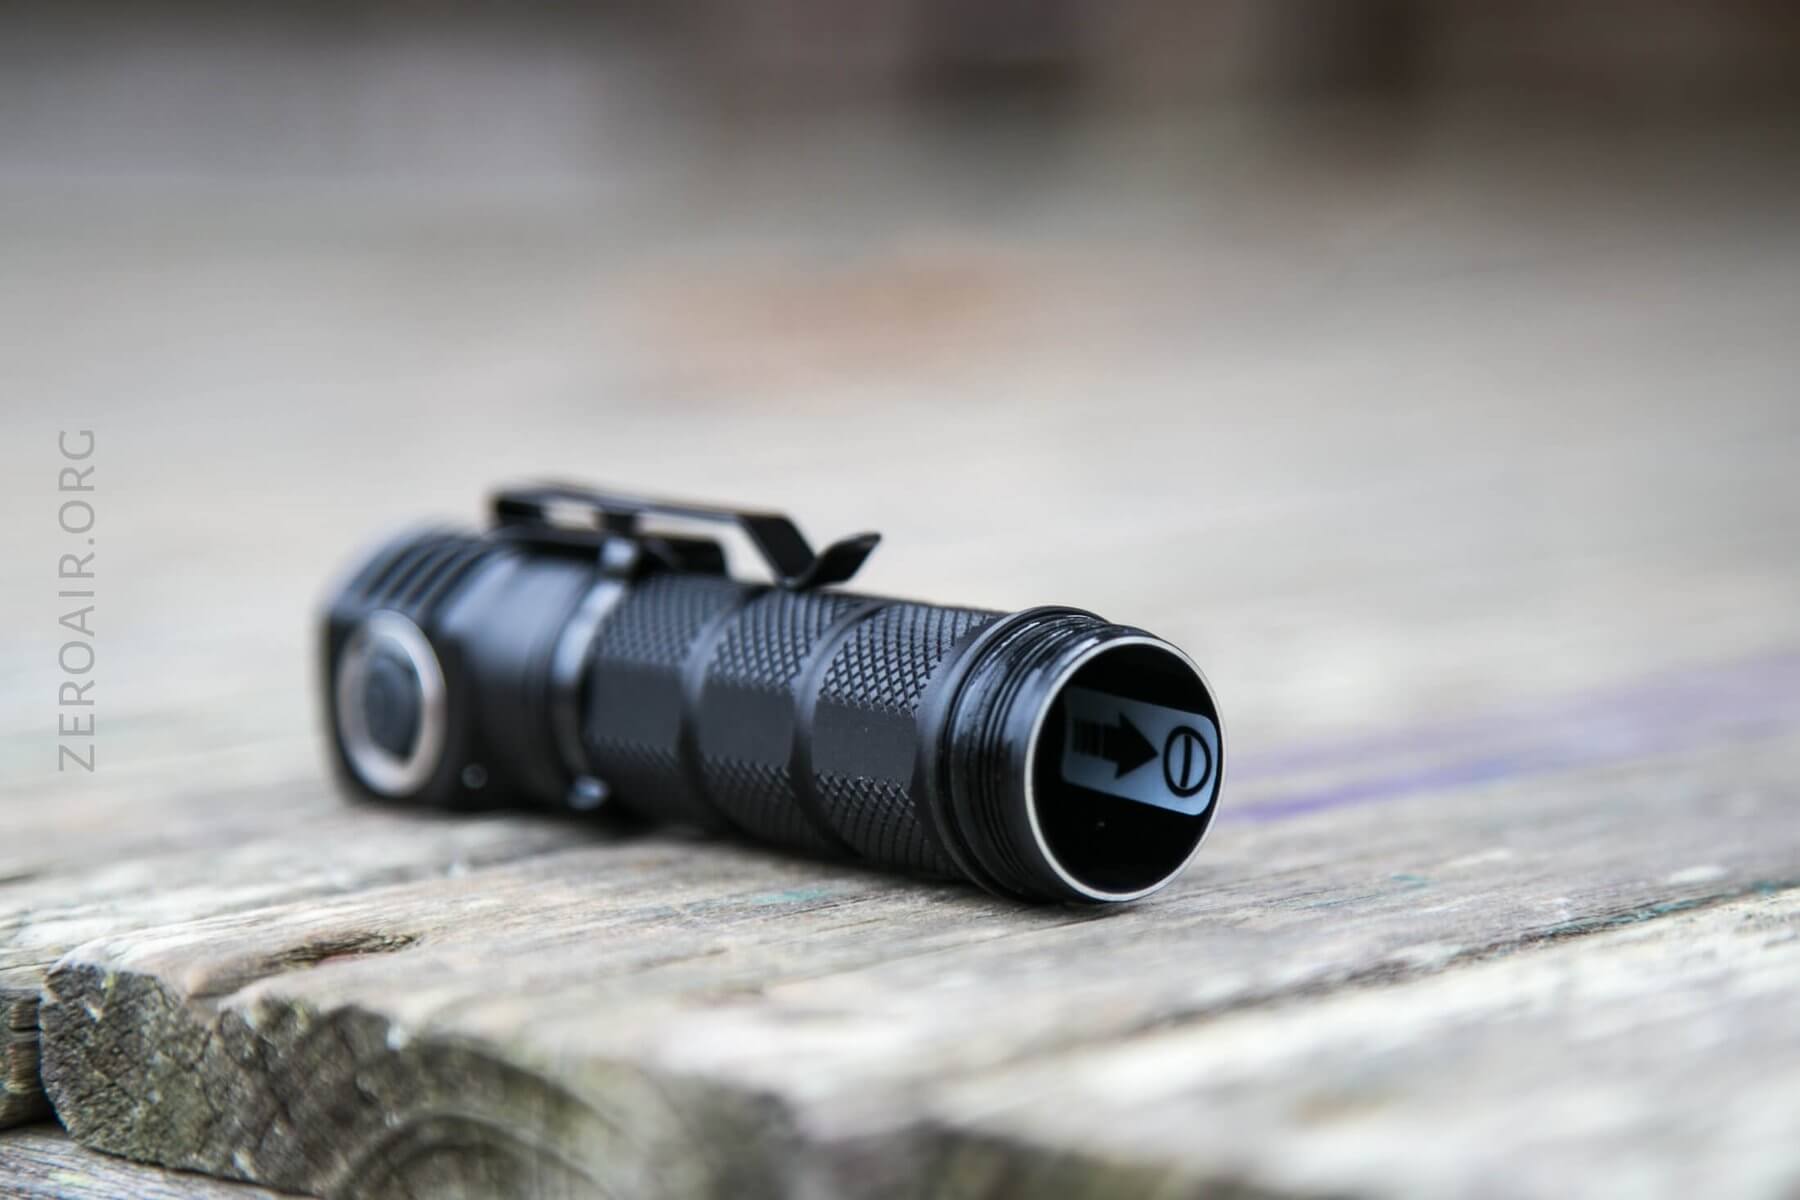
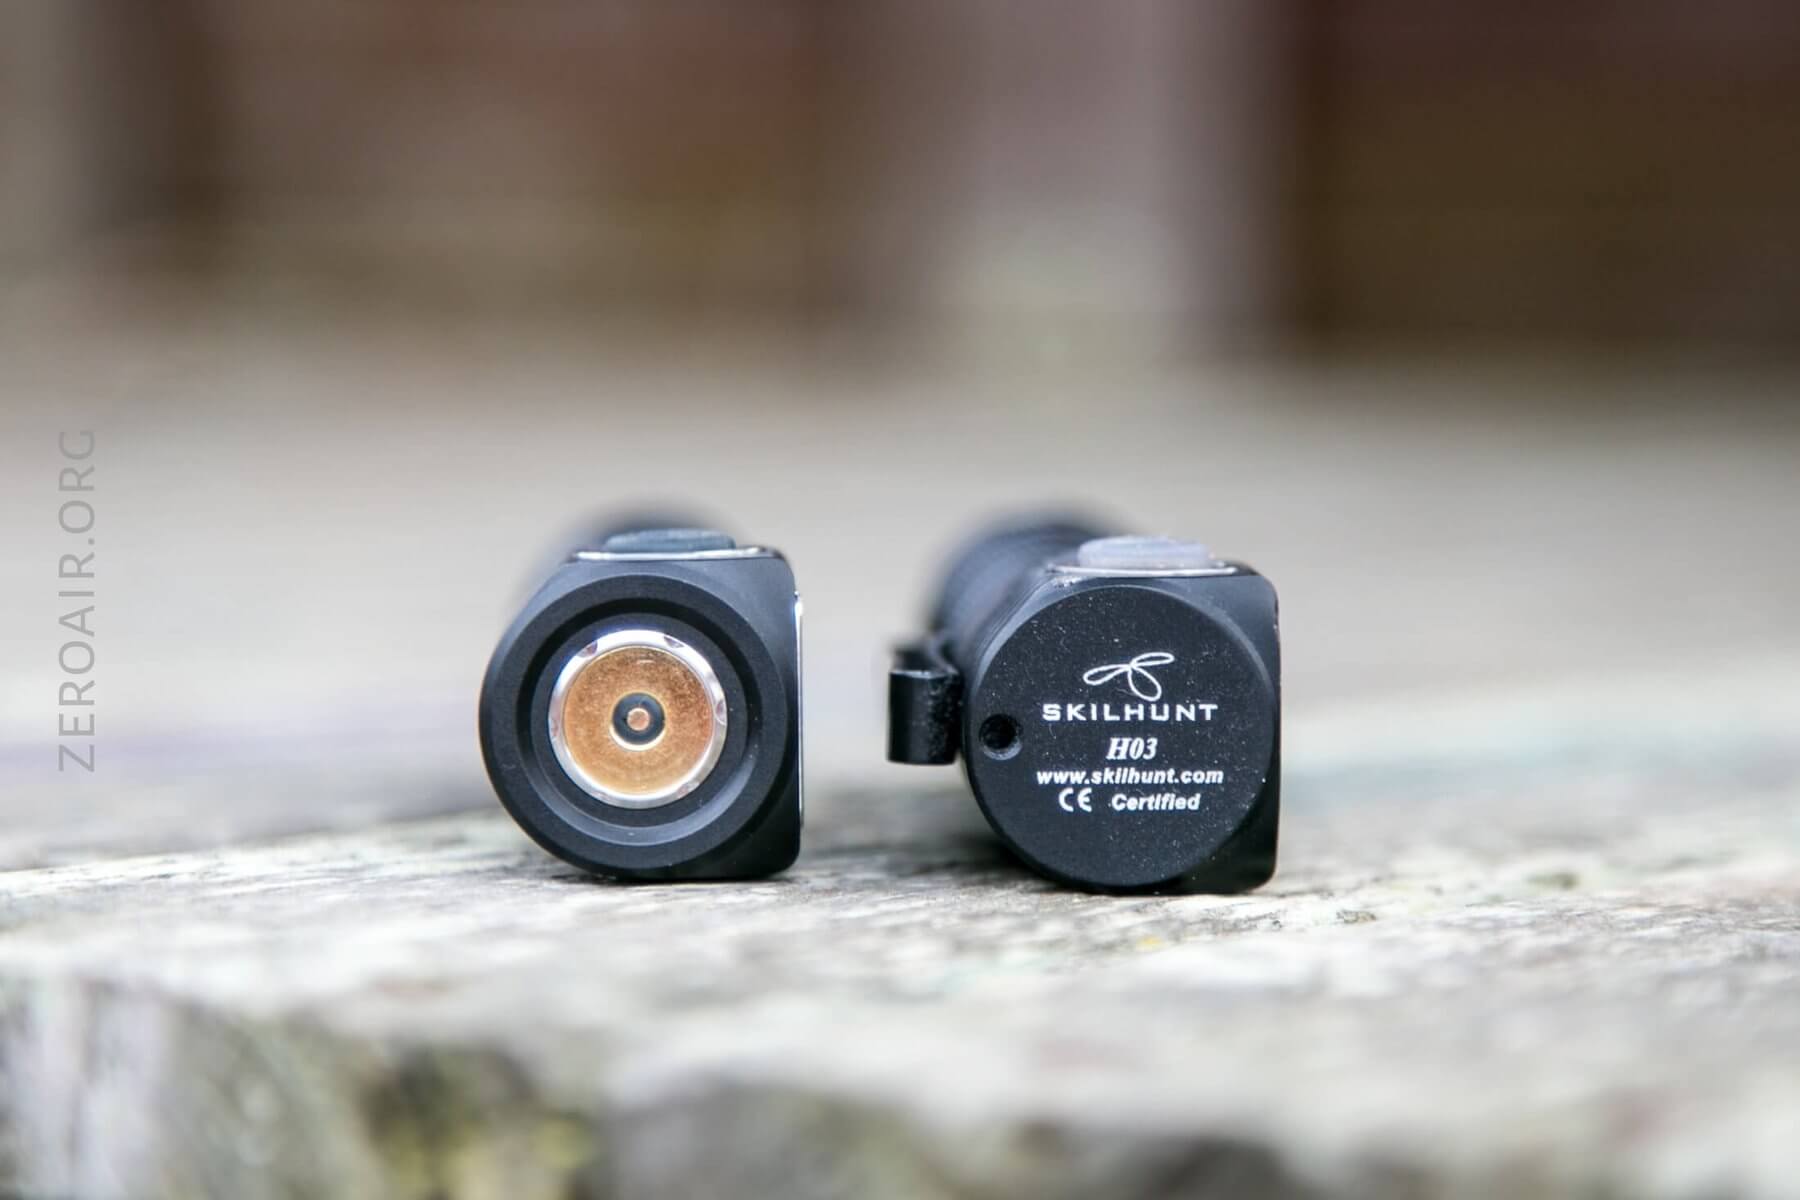
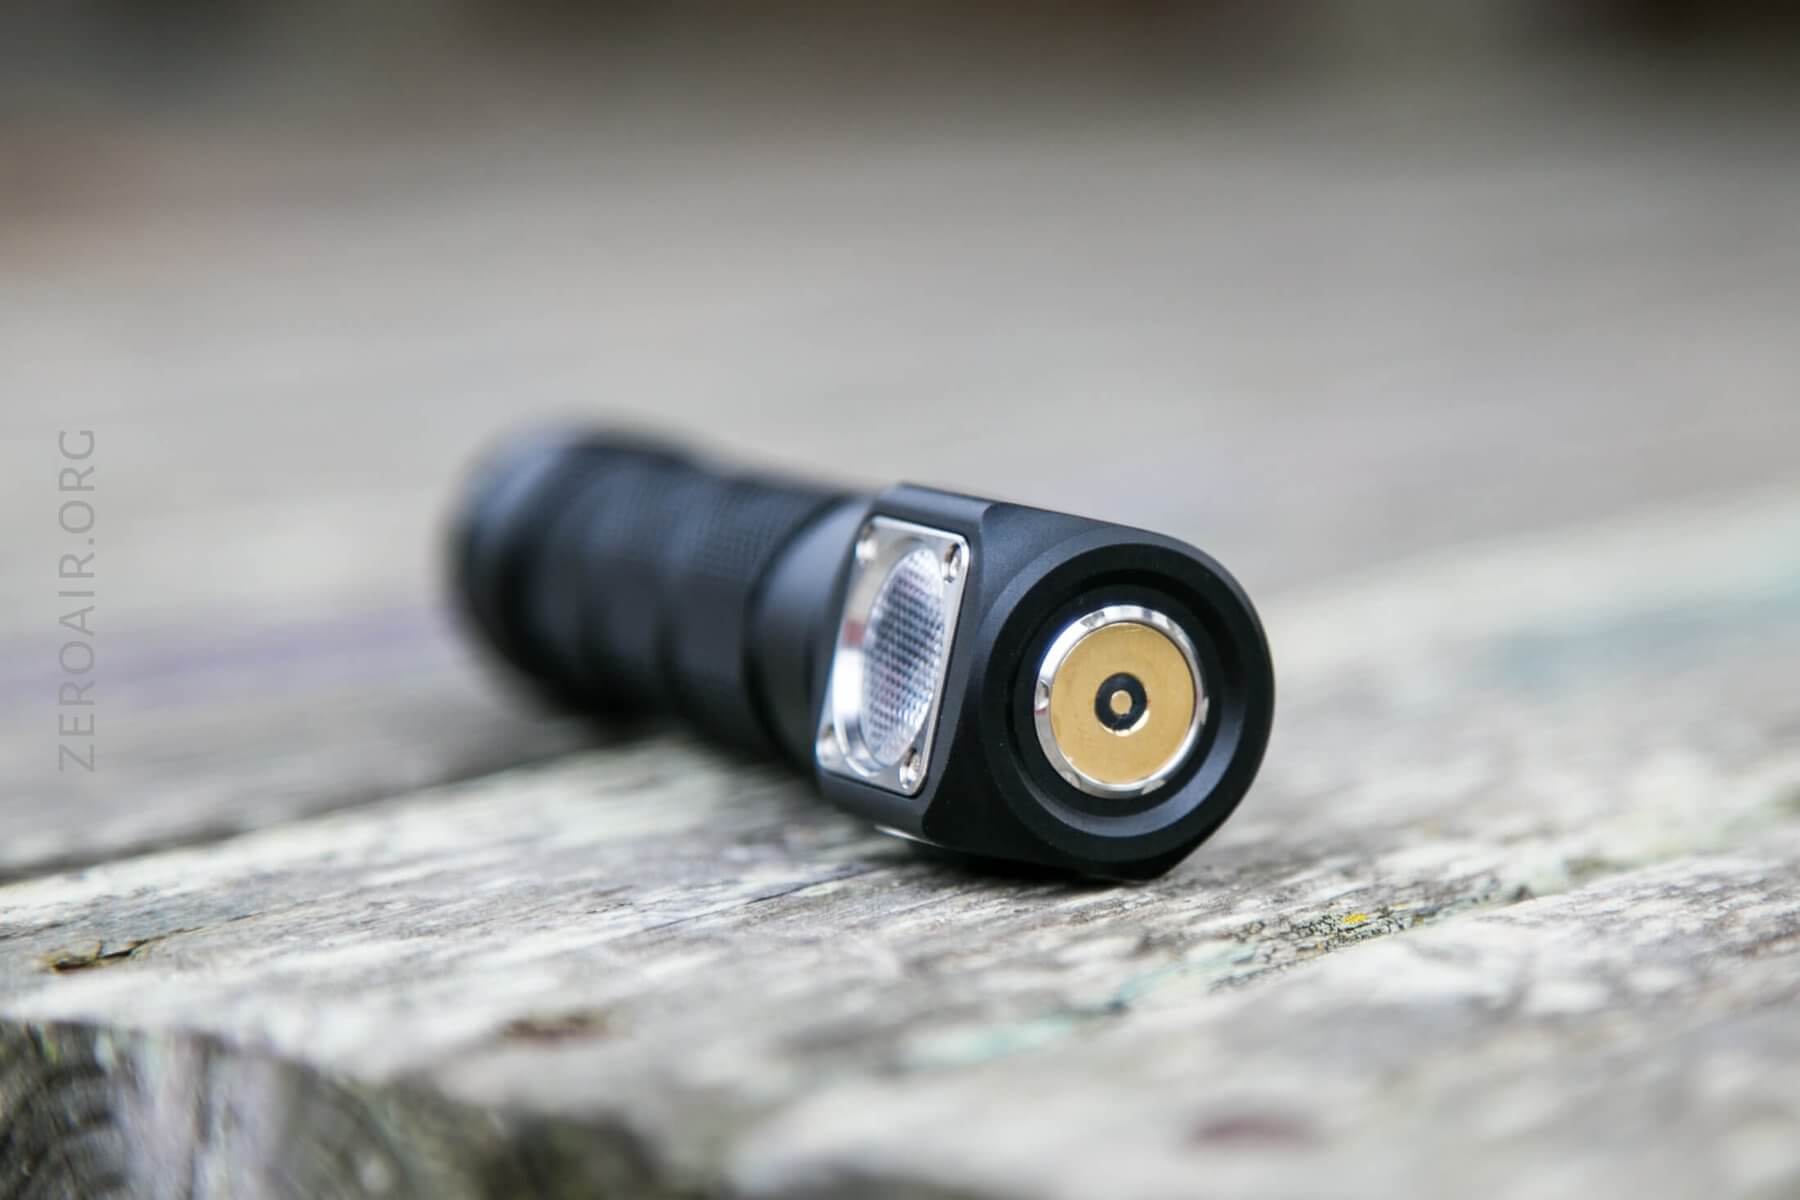
Both head and tail have springs, but neither is extremely stiff. They’re appropriately stiff, though, and do their job. Previous iterations of this light have included a small rubber spacer (if I recall correctly), but this one does not. Regardless, the tailcap spring is removable so that the magnet may be removed.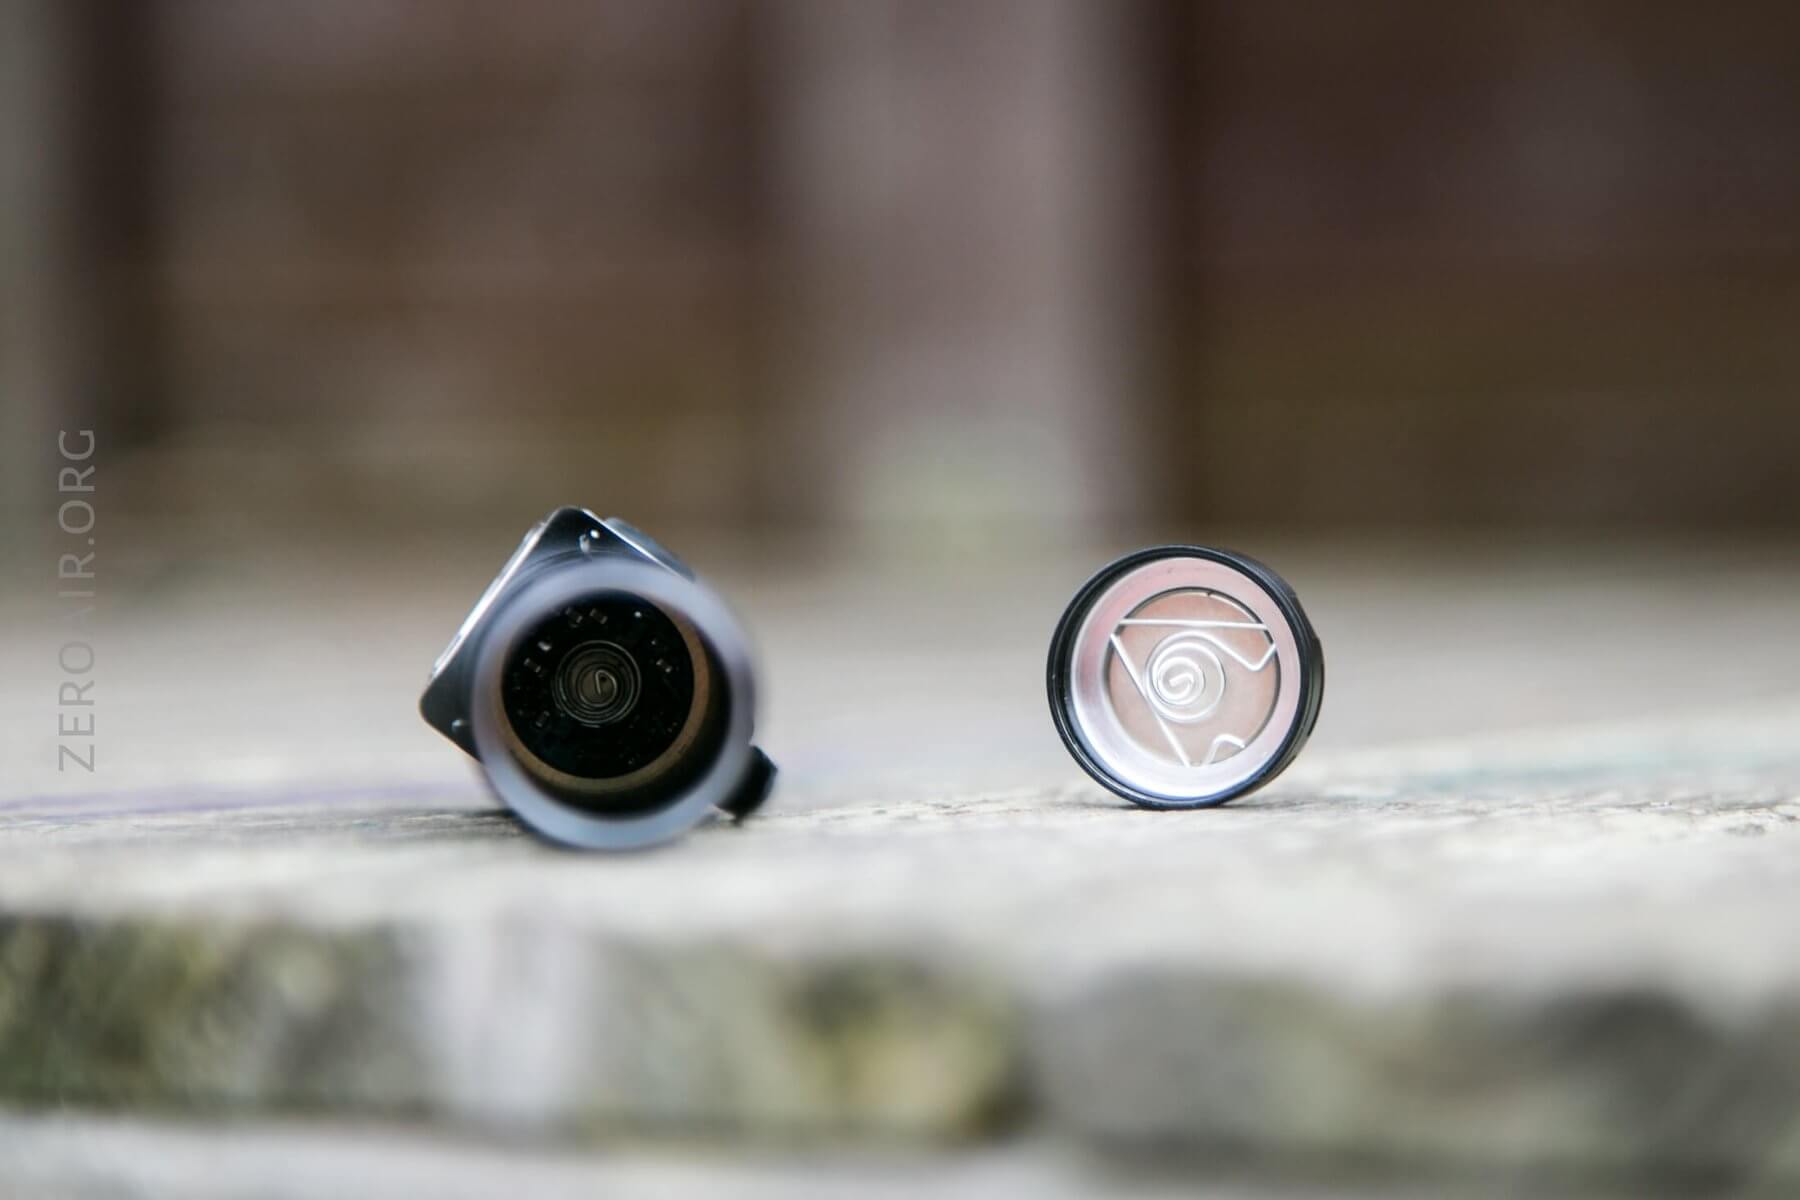
The threads are triangle cut, fairly short, and have plenty of lube. There’s also an o-ring for waterproofness.
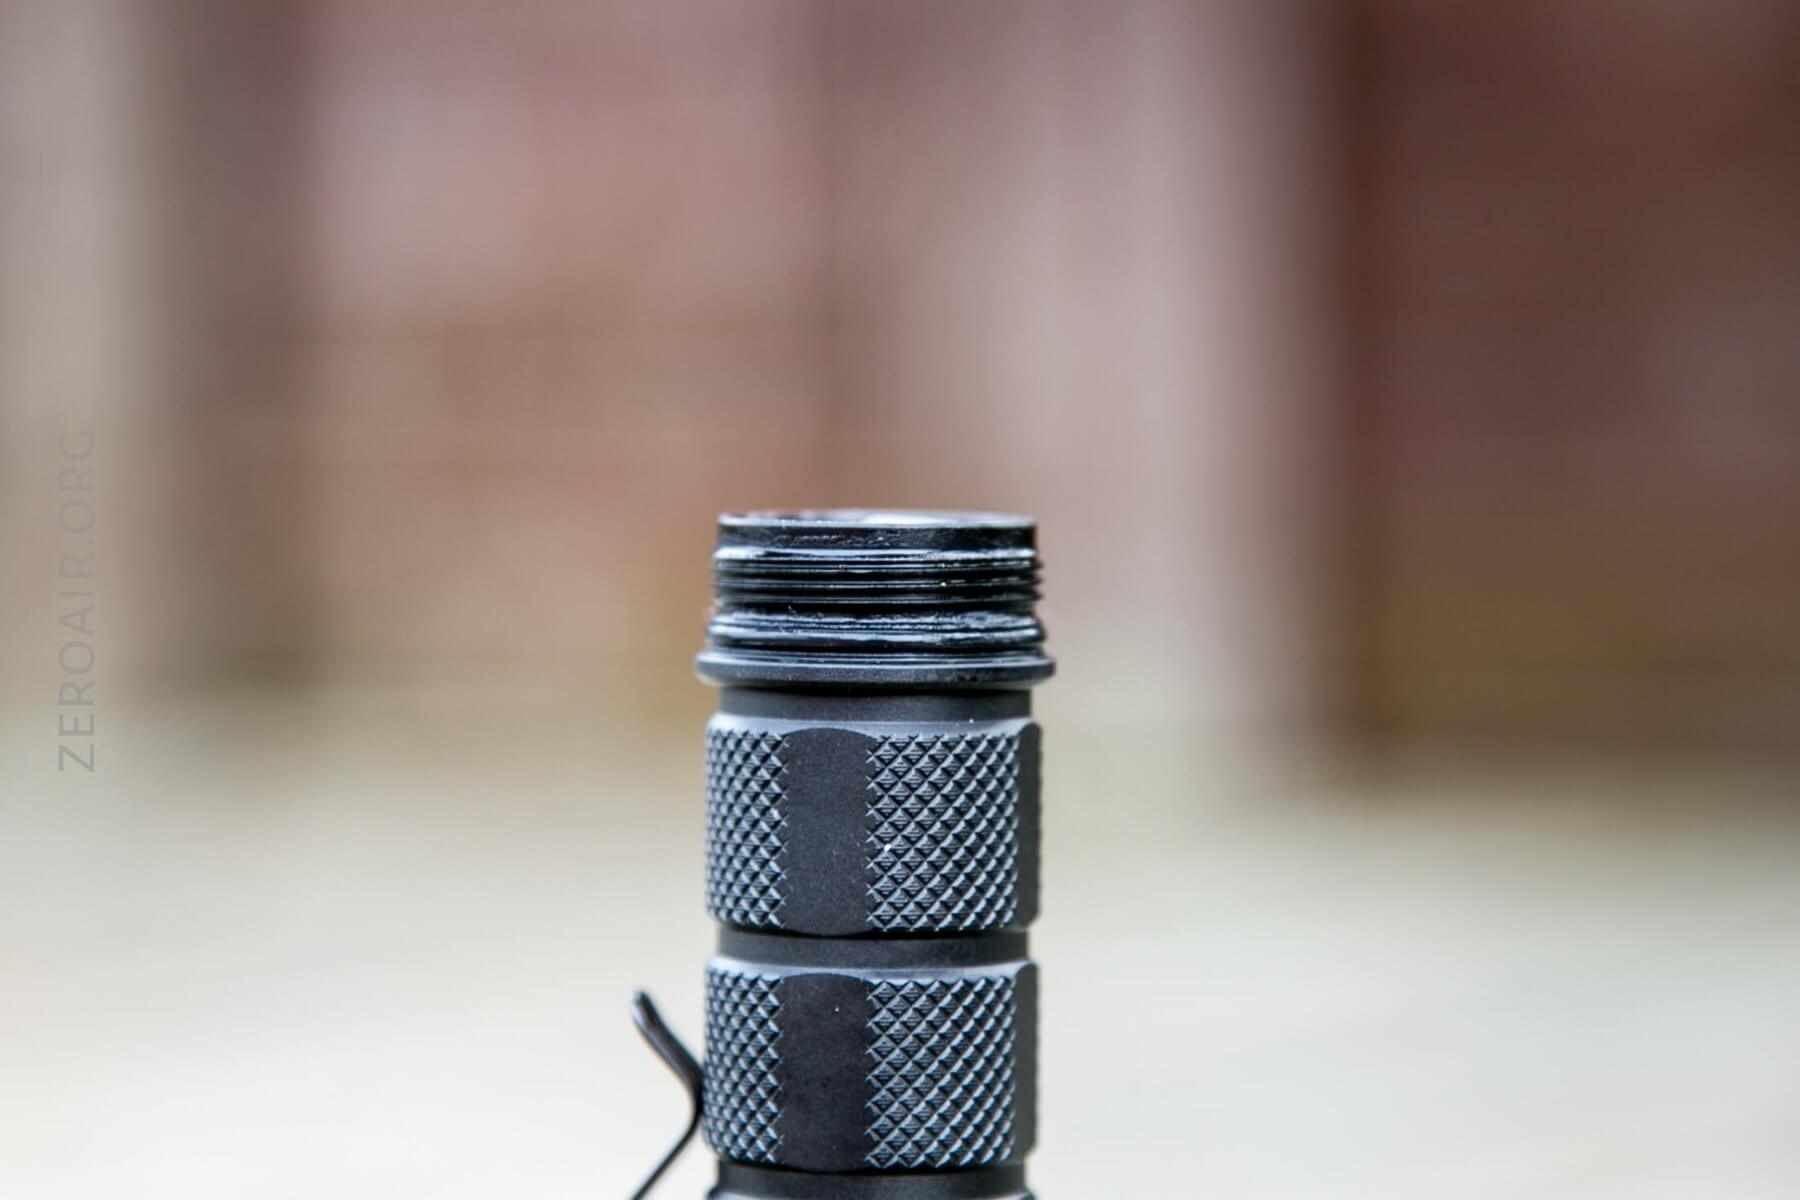
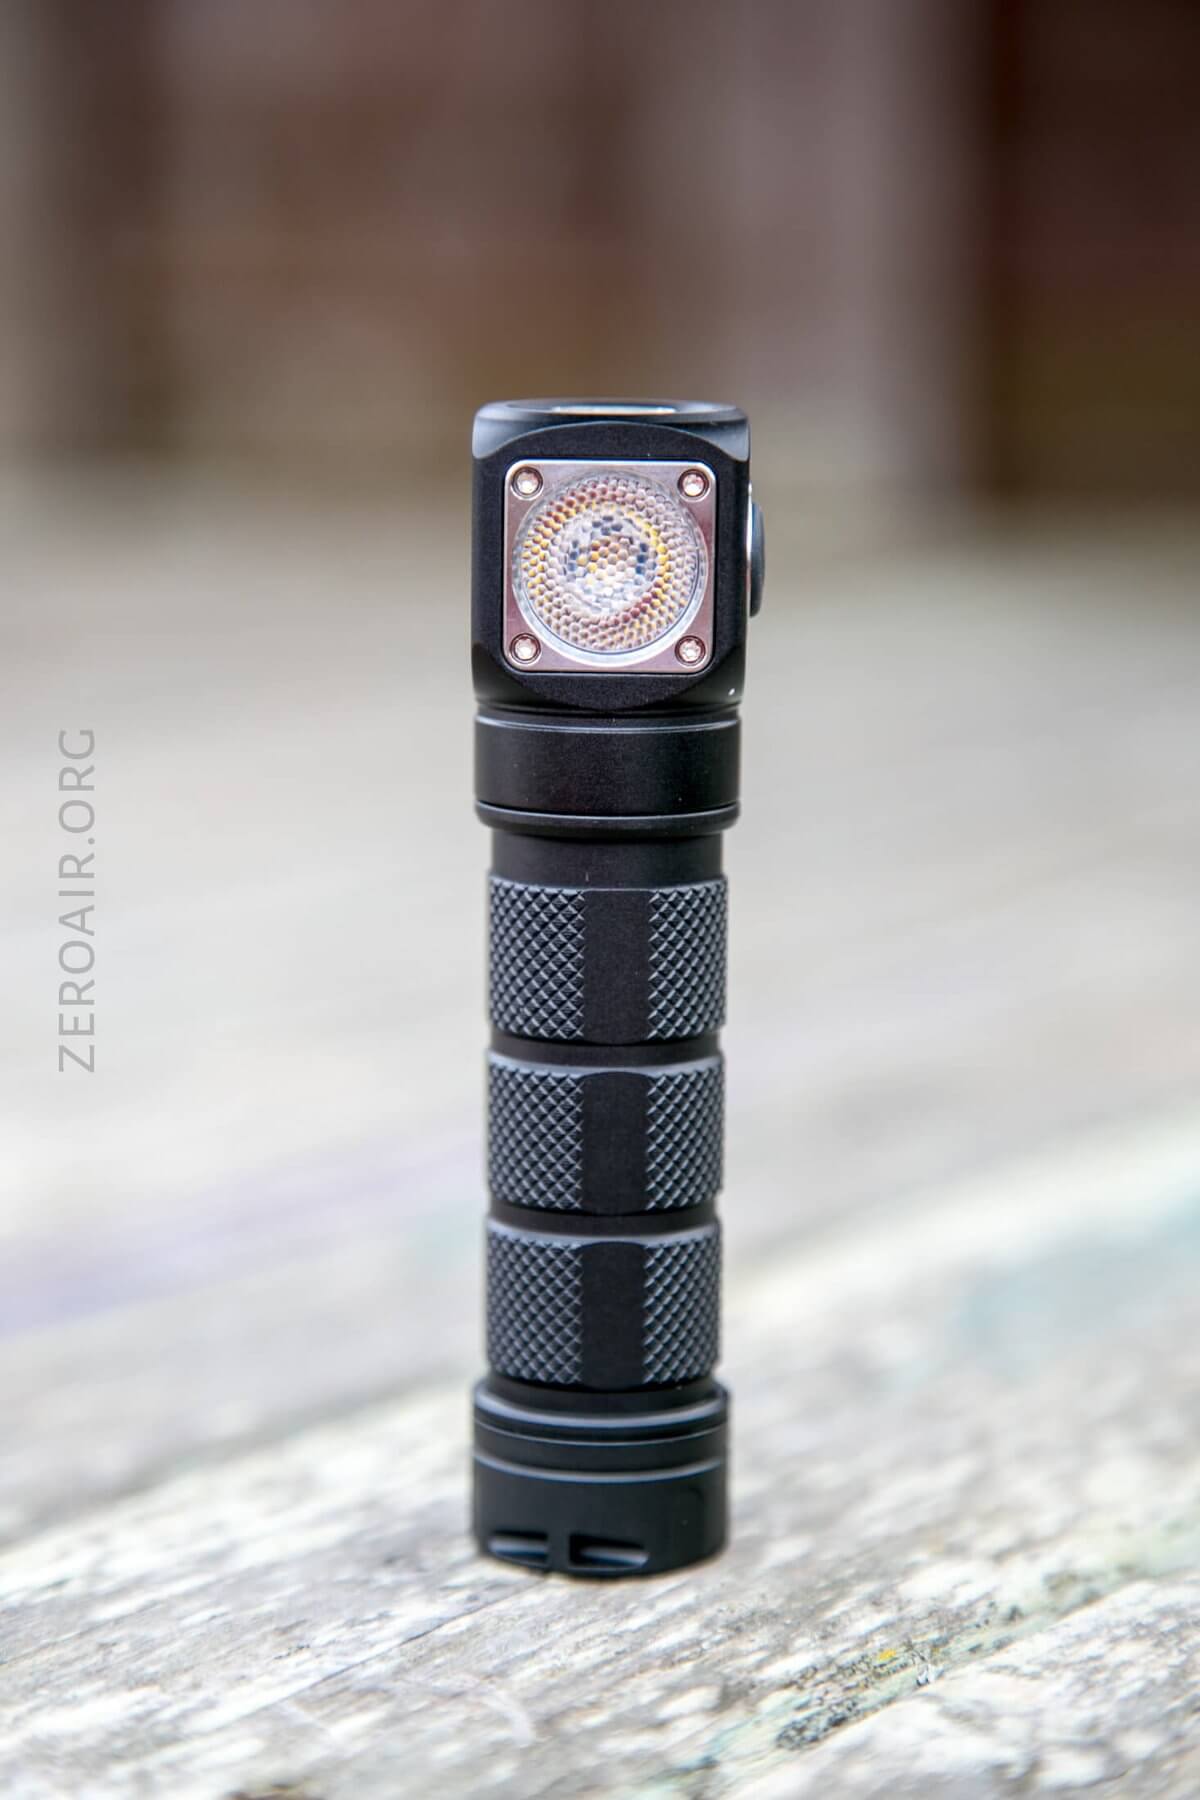
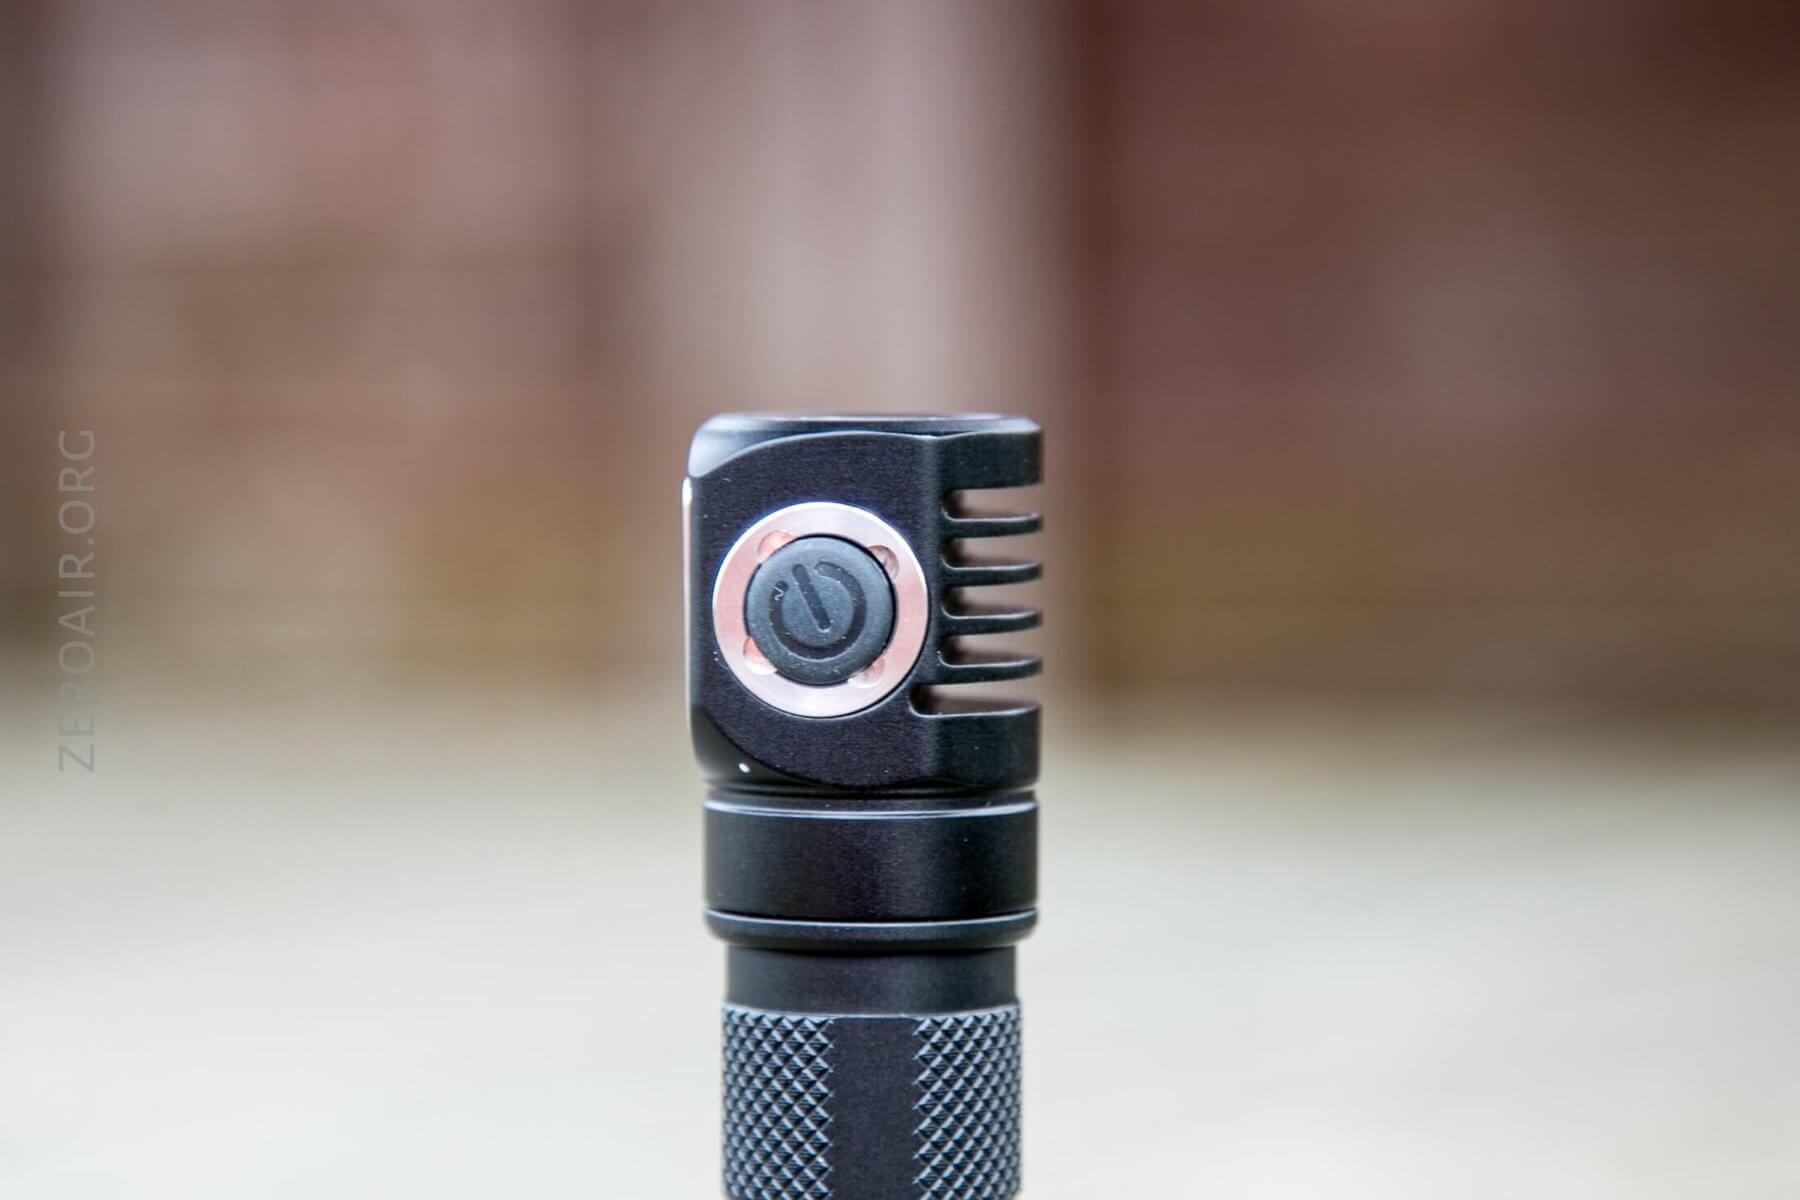
As with older Skilhunt H03’s, the head seems to be threadlocked on. It’s not impossible to remove it, but it’ll probably require some heat to break the threadlock. It’s possible to get at the emitter, though, by removing the 4 Torx screws and optic, directly from the front.
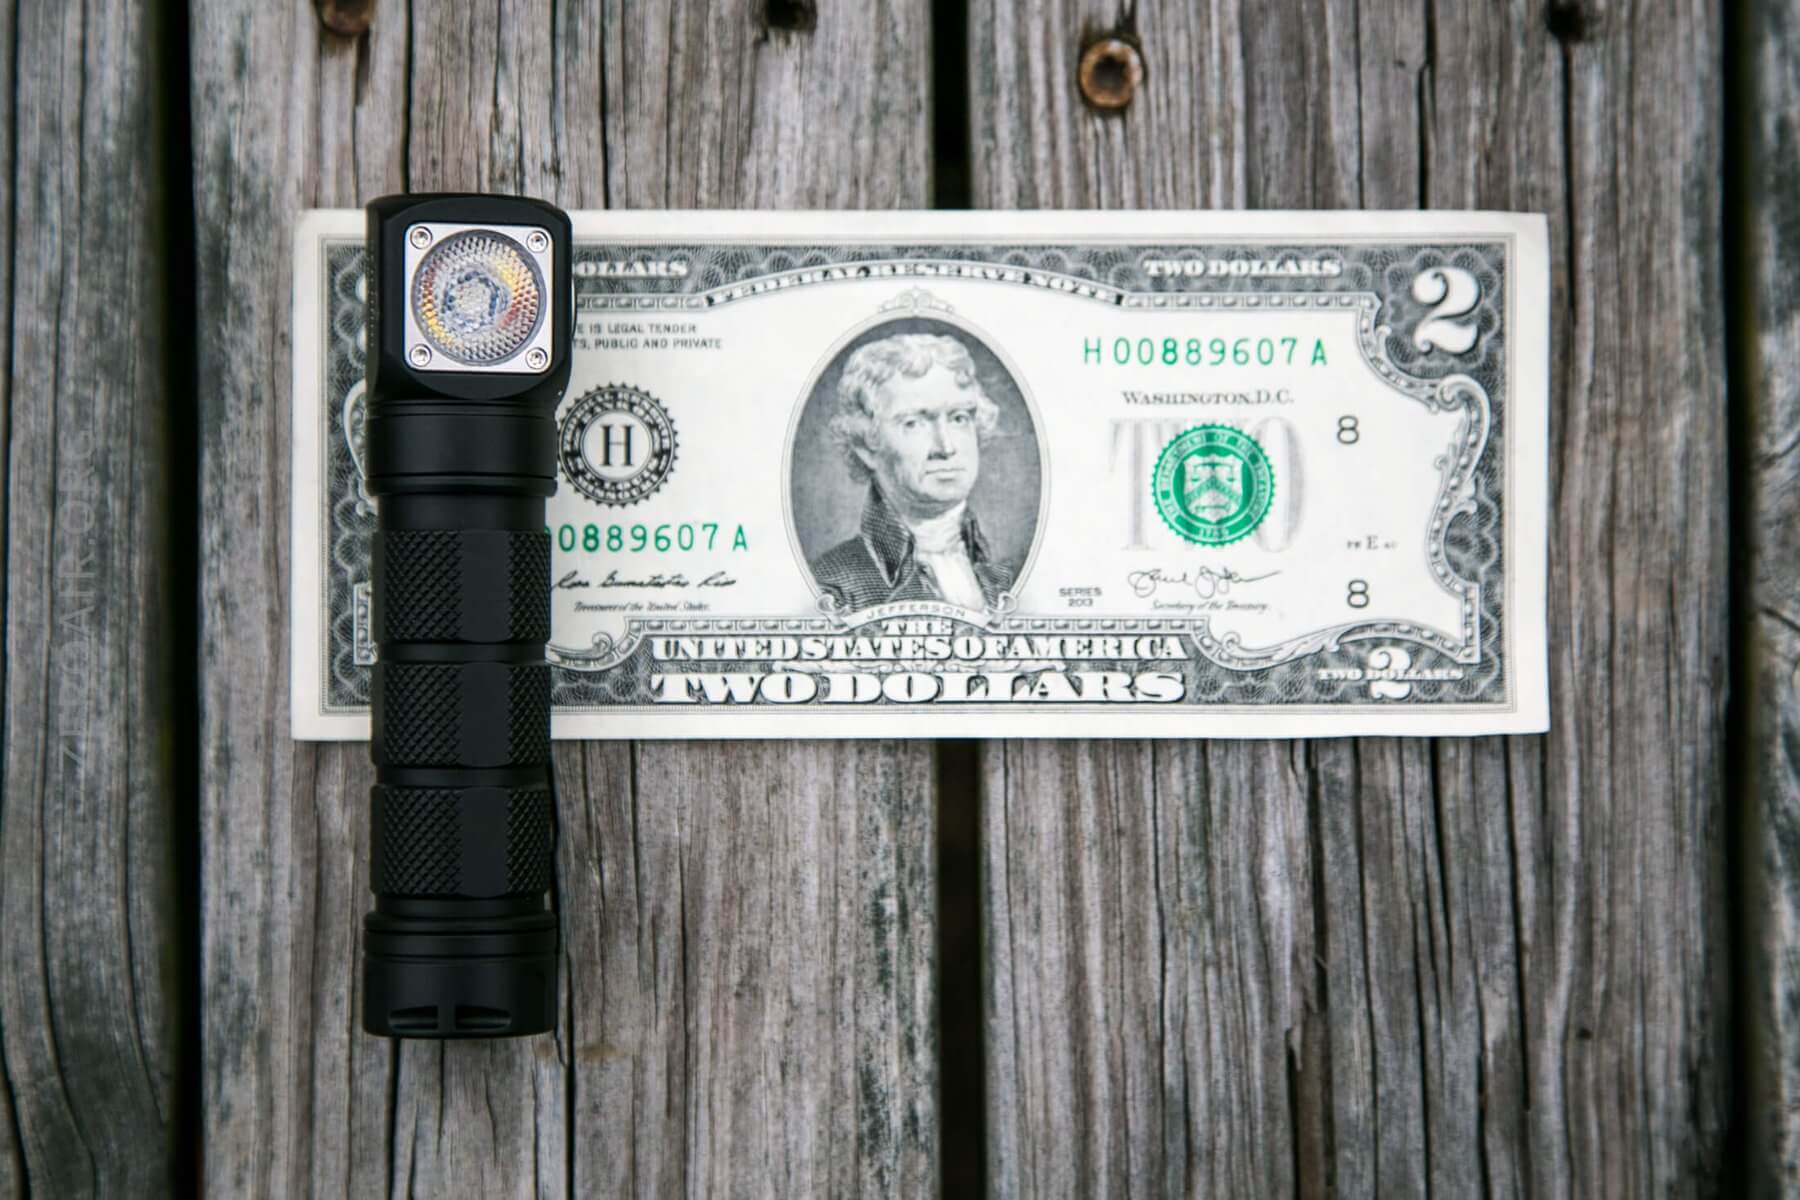
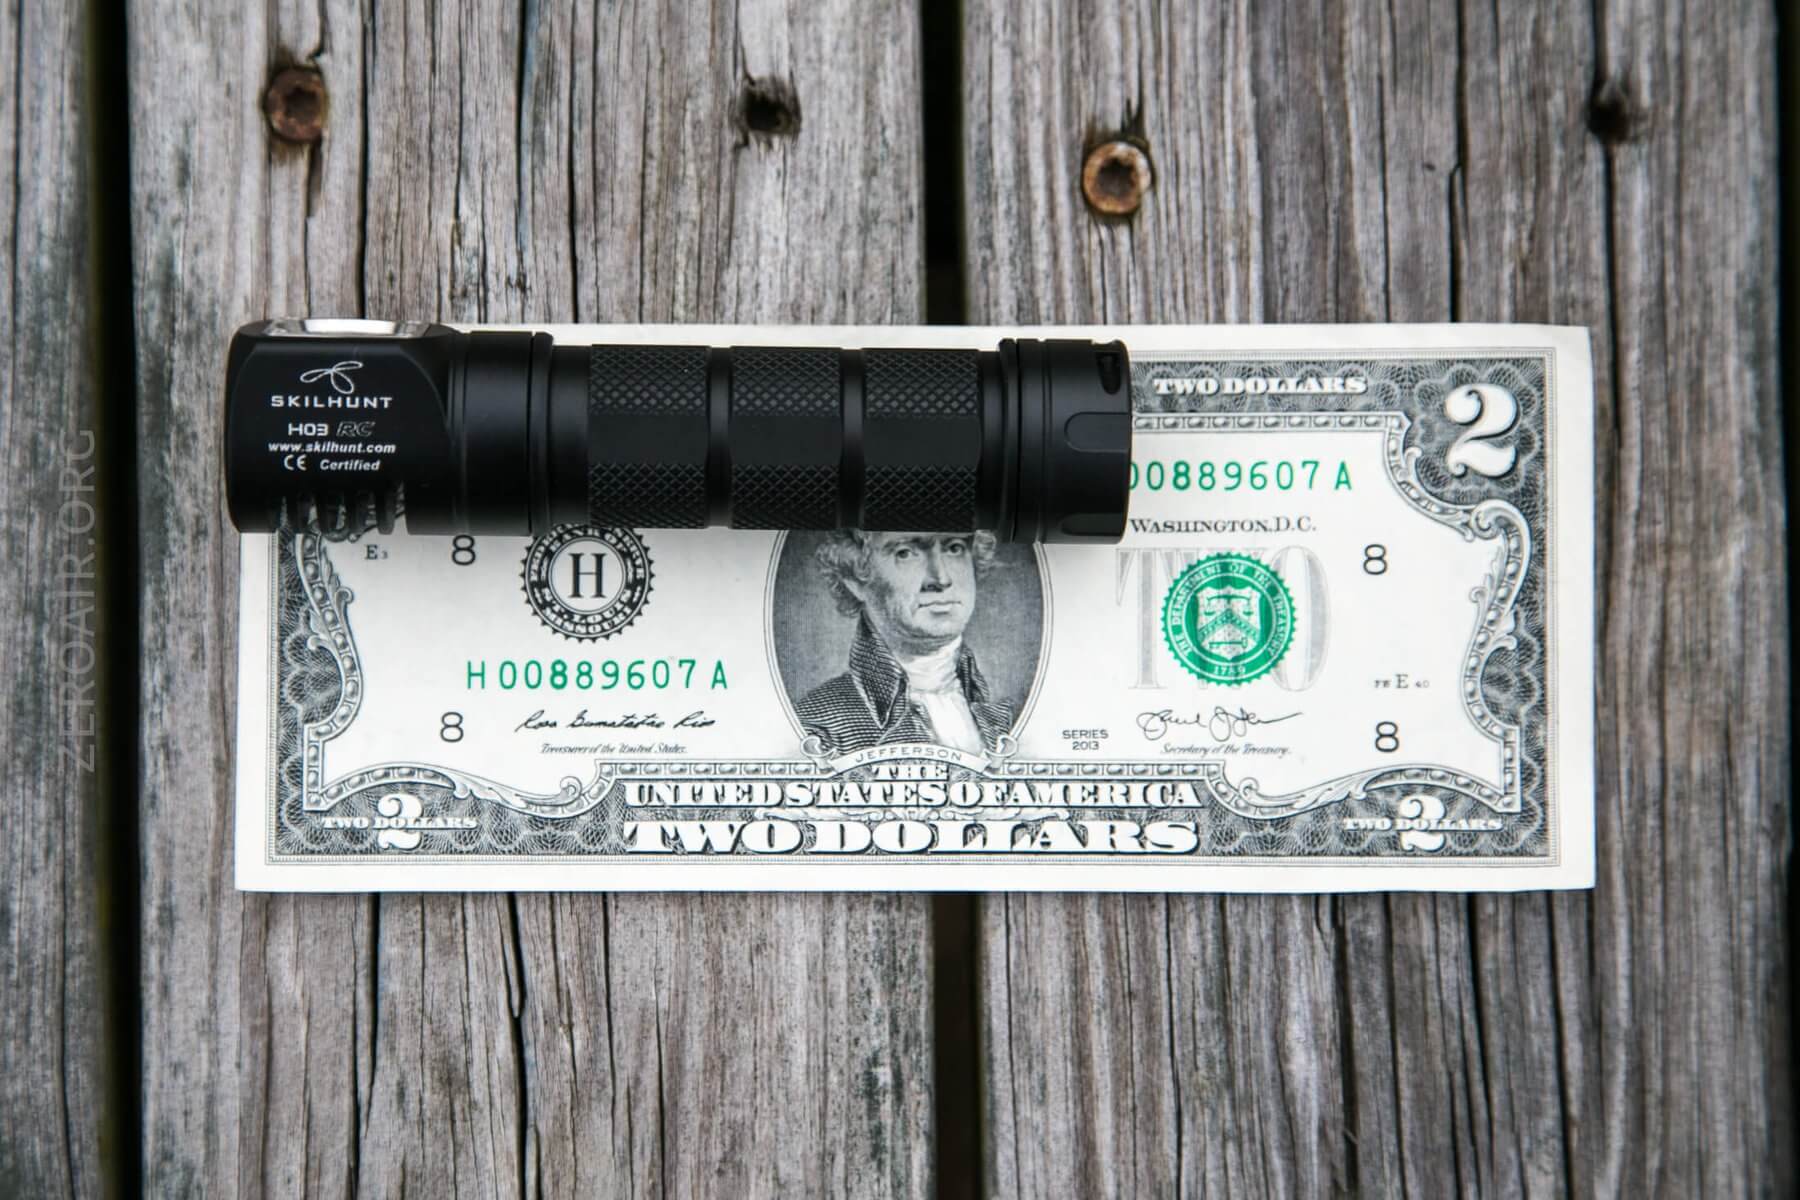
Size and Comps
Length 101.5mm
Head diameter 23.5mm
Body diameter 22.0mm
Weight: 47g (without battery)
Here’s the test light with the venerable Convoy S2+. Mine’s a custom “baked” edition Nichia 219b triple. A very nice 18650 light.
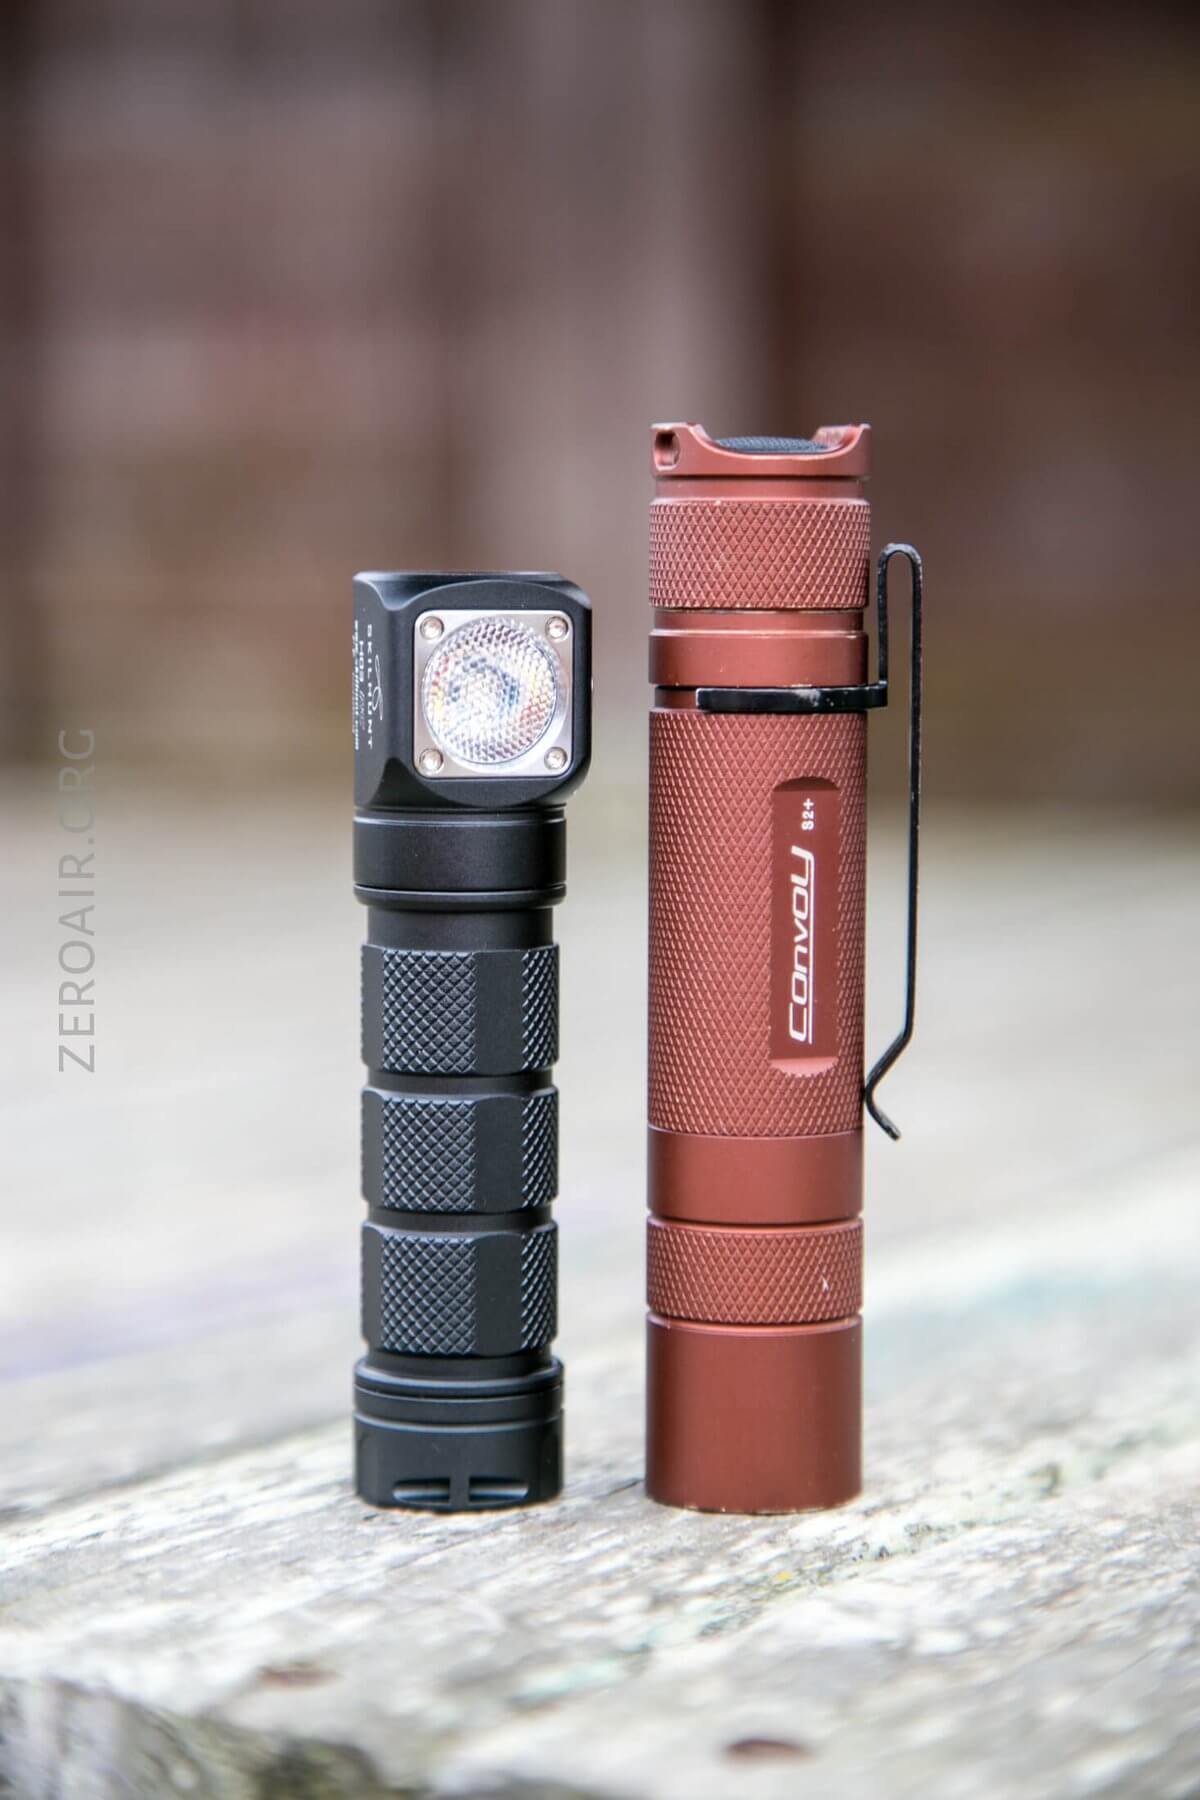
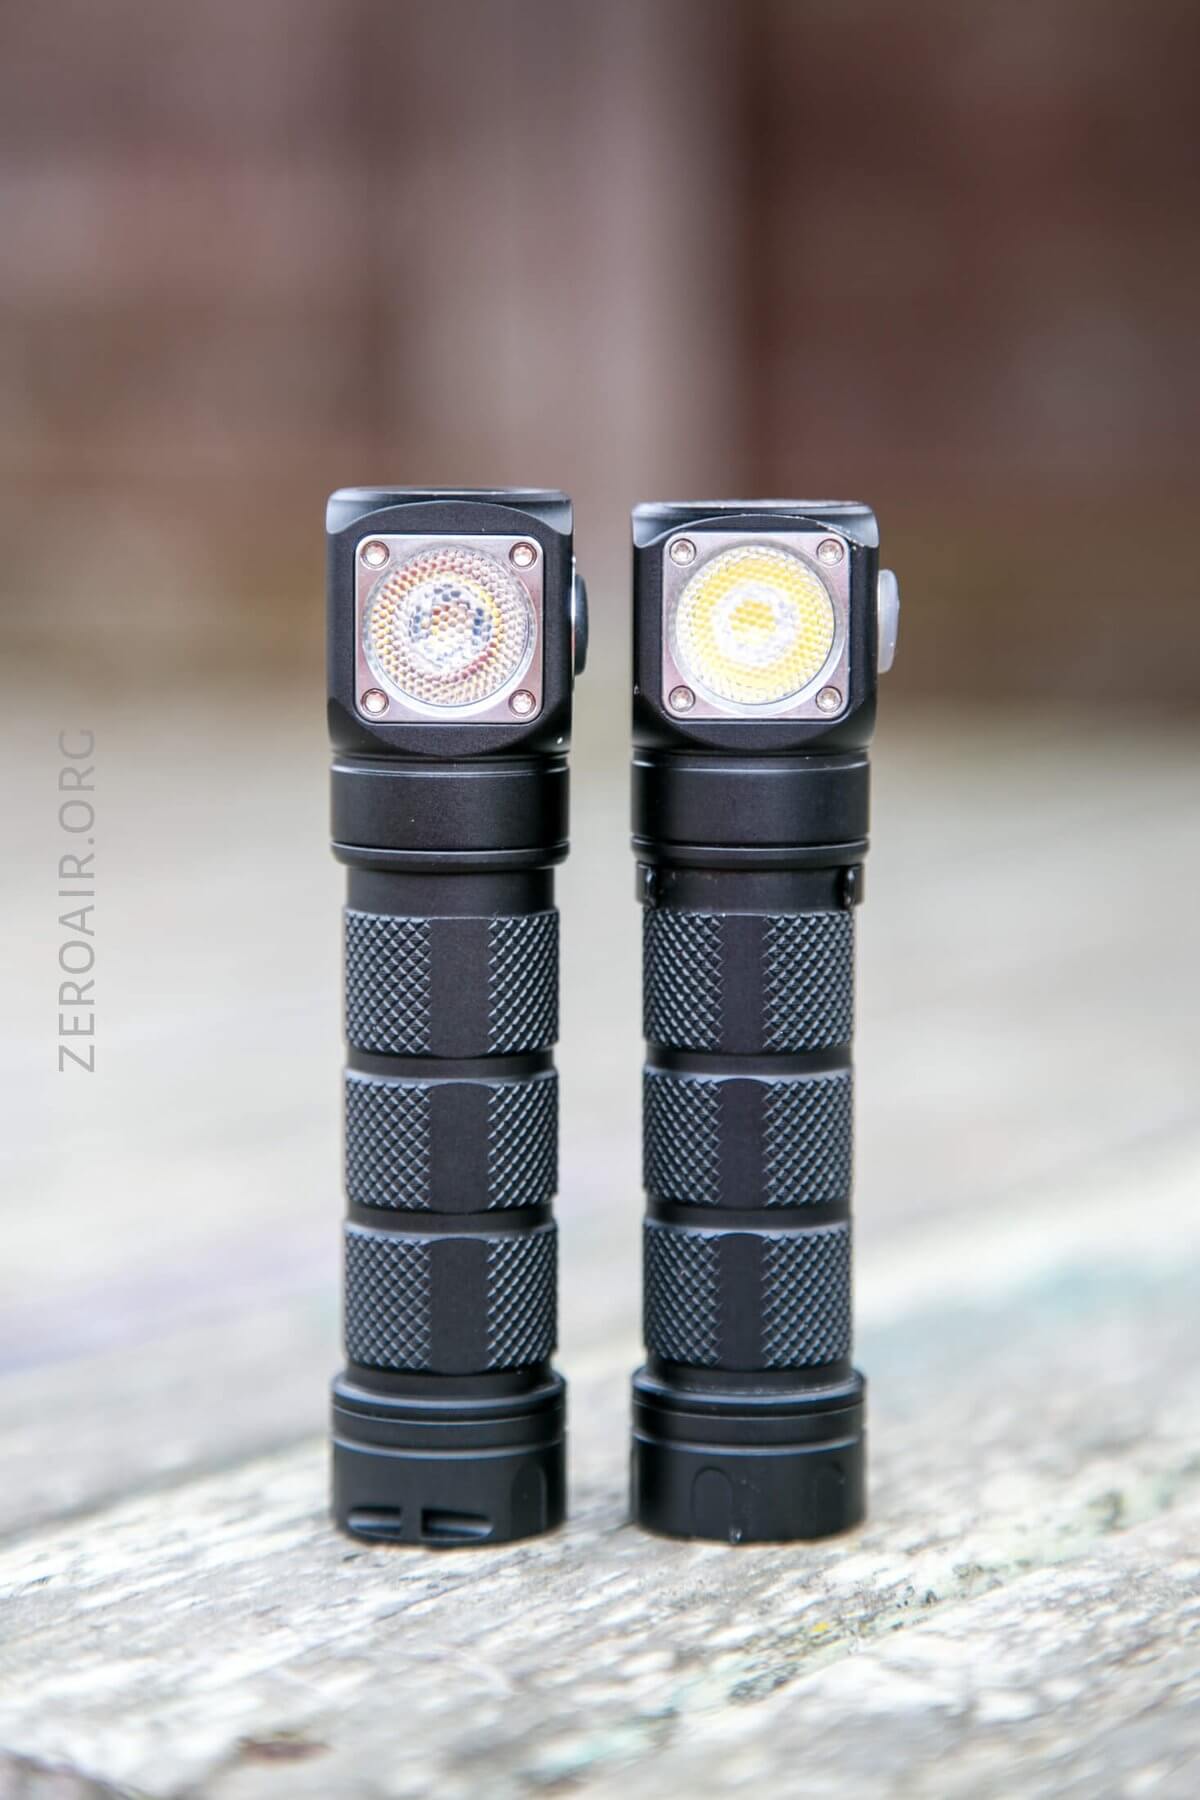
Below the H03C RC is beside the H03 (not RC). They are practically identical in size. In fact, and of course, there are many similarities.
Retention and Carry
As this is primarily a headlamp, the primary way to carry it will be with the included headband. The silicone connector is easy to use and comfortable. Push the tail end of the light through both holes, and then the light may be twisted to an orientation appropriate for your application.
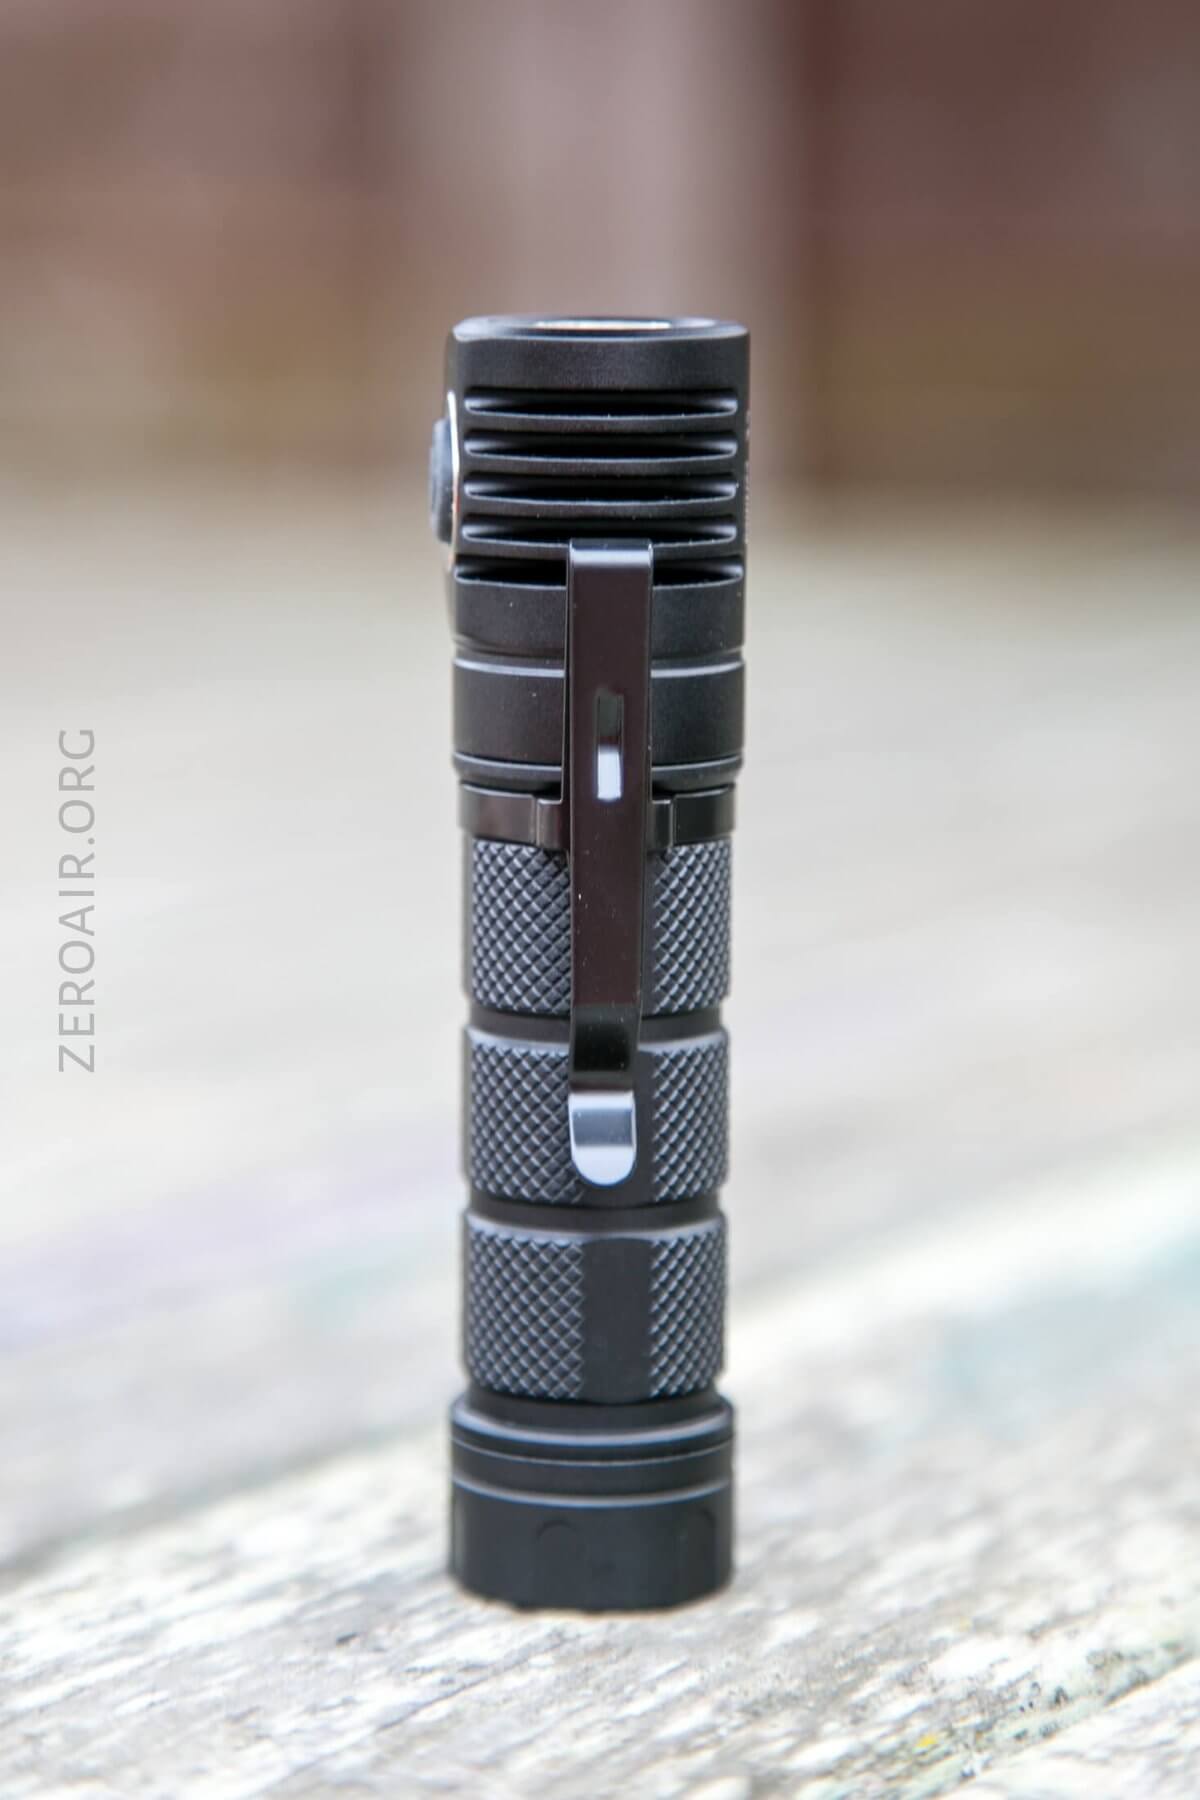
The second means for carrying, and the one I personally use for these lights (though often I do find myself in need of a headlamp, and wonder why all my headlamps have pocket clips instead of straps), is the pocket clip. It’s unchanged from previous generations. It connects only on the head end of the light and leaves quite a bit sticking out of a pocket. There is no spot on the tail end, nor is the cell tube reversible.
There’s also a lanyard, which connects to the tailcap through a small hole. The lanyard is a fine one, with a button to allow tightness adjustment.
And of course, there’s the magnet I already mentioned. It’s strong enough to hold the light horizontally, even a small bit of metal.
Power and Runtime
The H03C RC is powered by a single 18650. The specifications state a working voltage up to 8.4V, which should encompass the use of anything up to two 18350 cells (i.e., 2×16340/2xCR123/2xRCR123). I have not tested this light with two-up cells. With a spring on the head and tail, any type 18650 should work just fine. I tested with a flat top unprotected cell (LG HG2 in fact, for all tests).
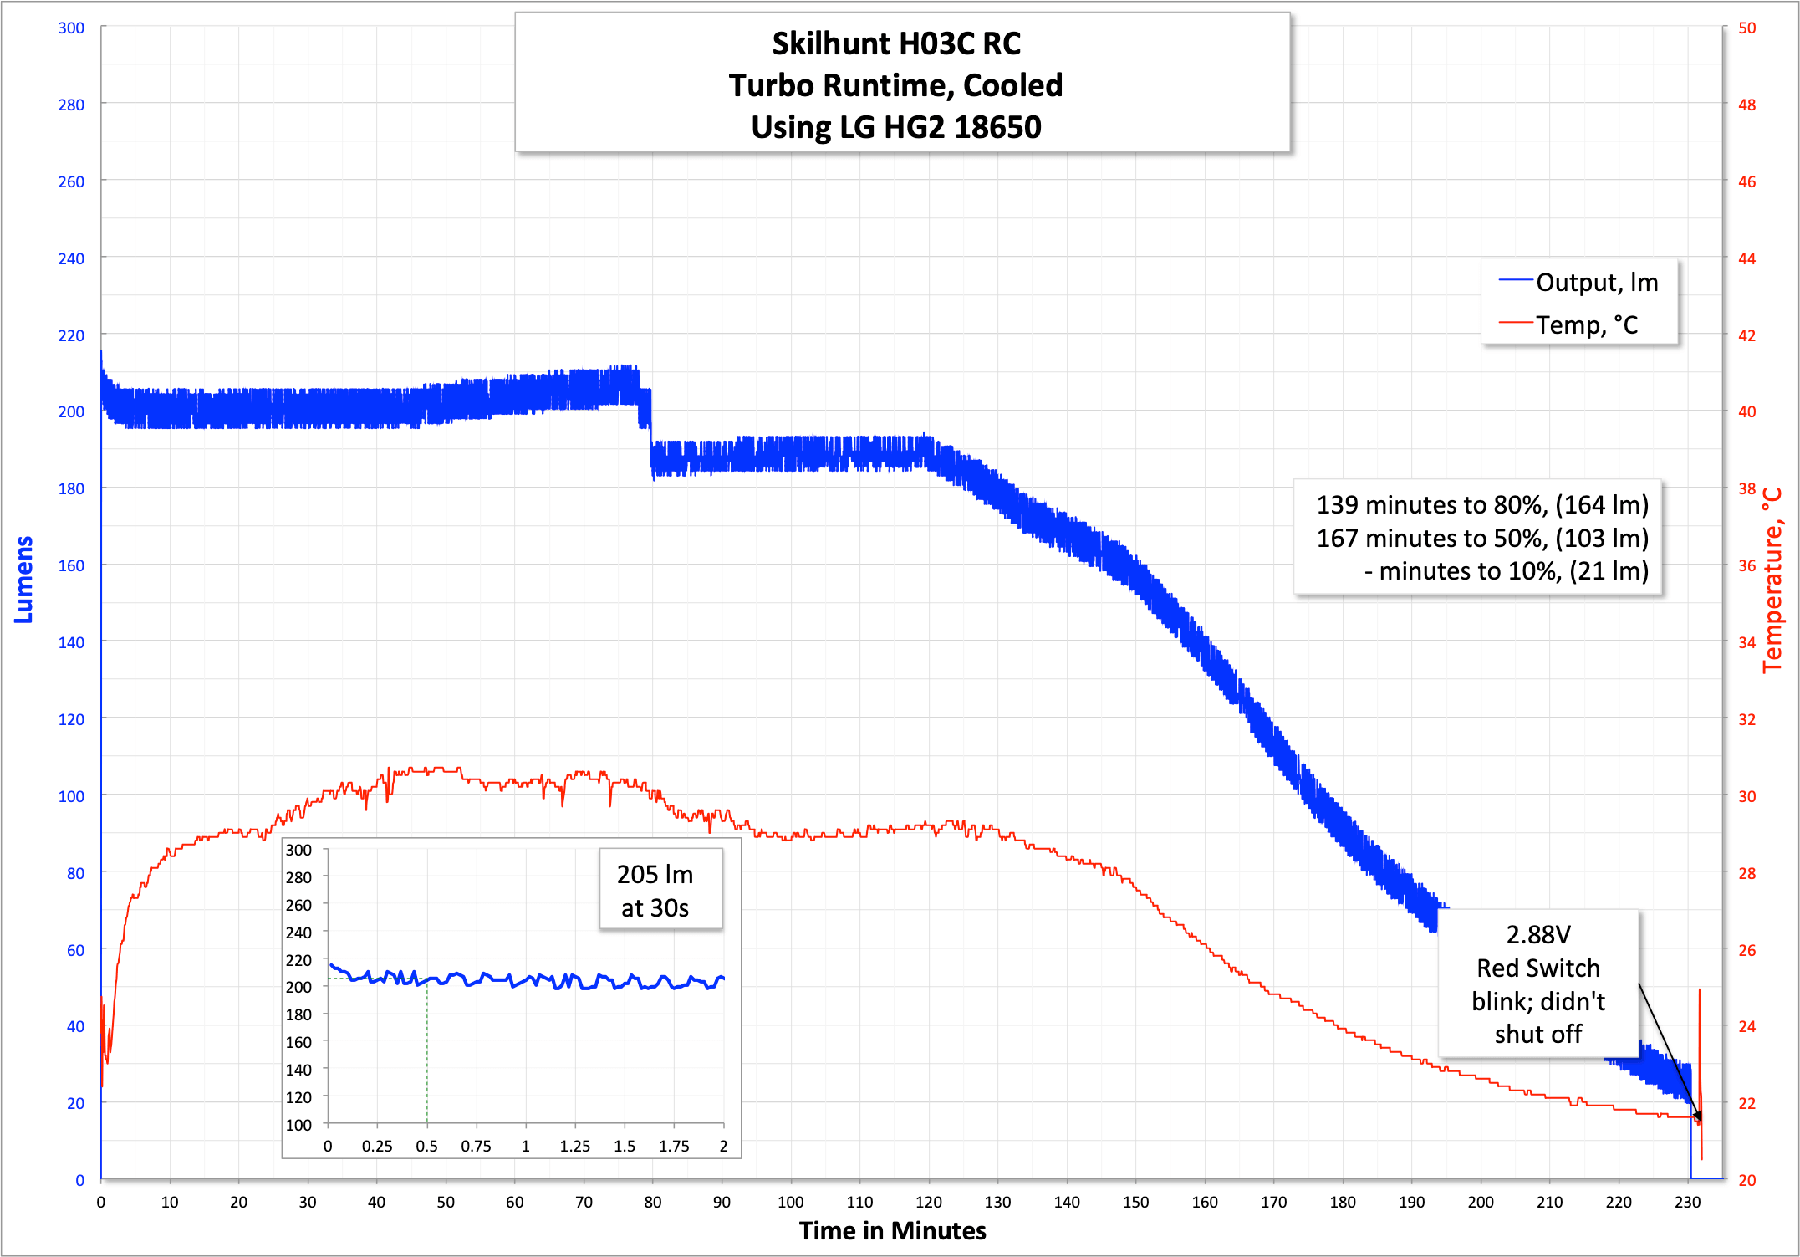
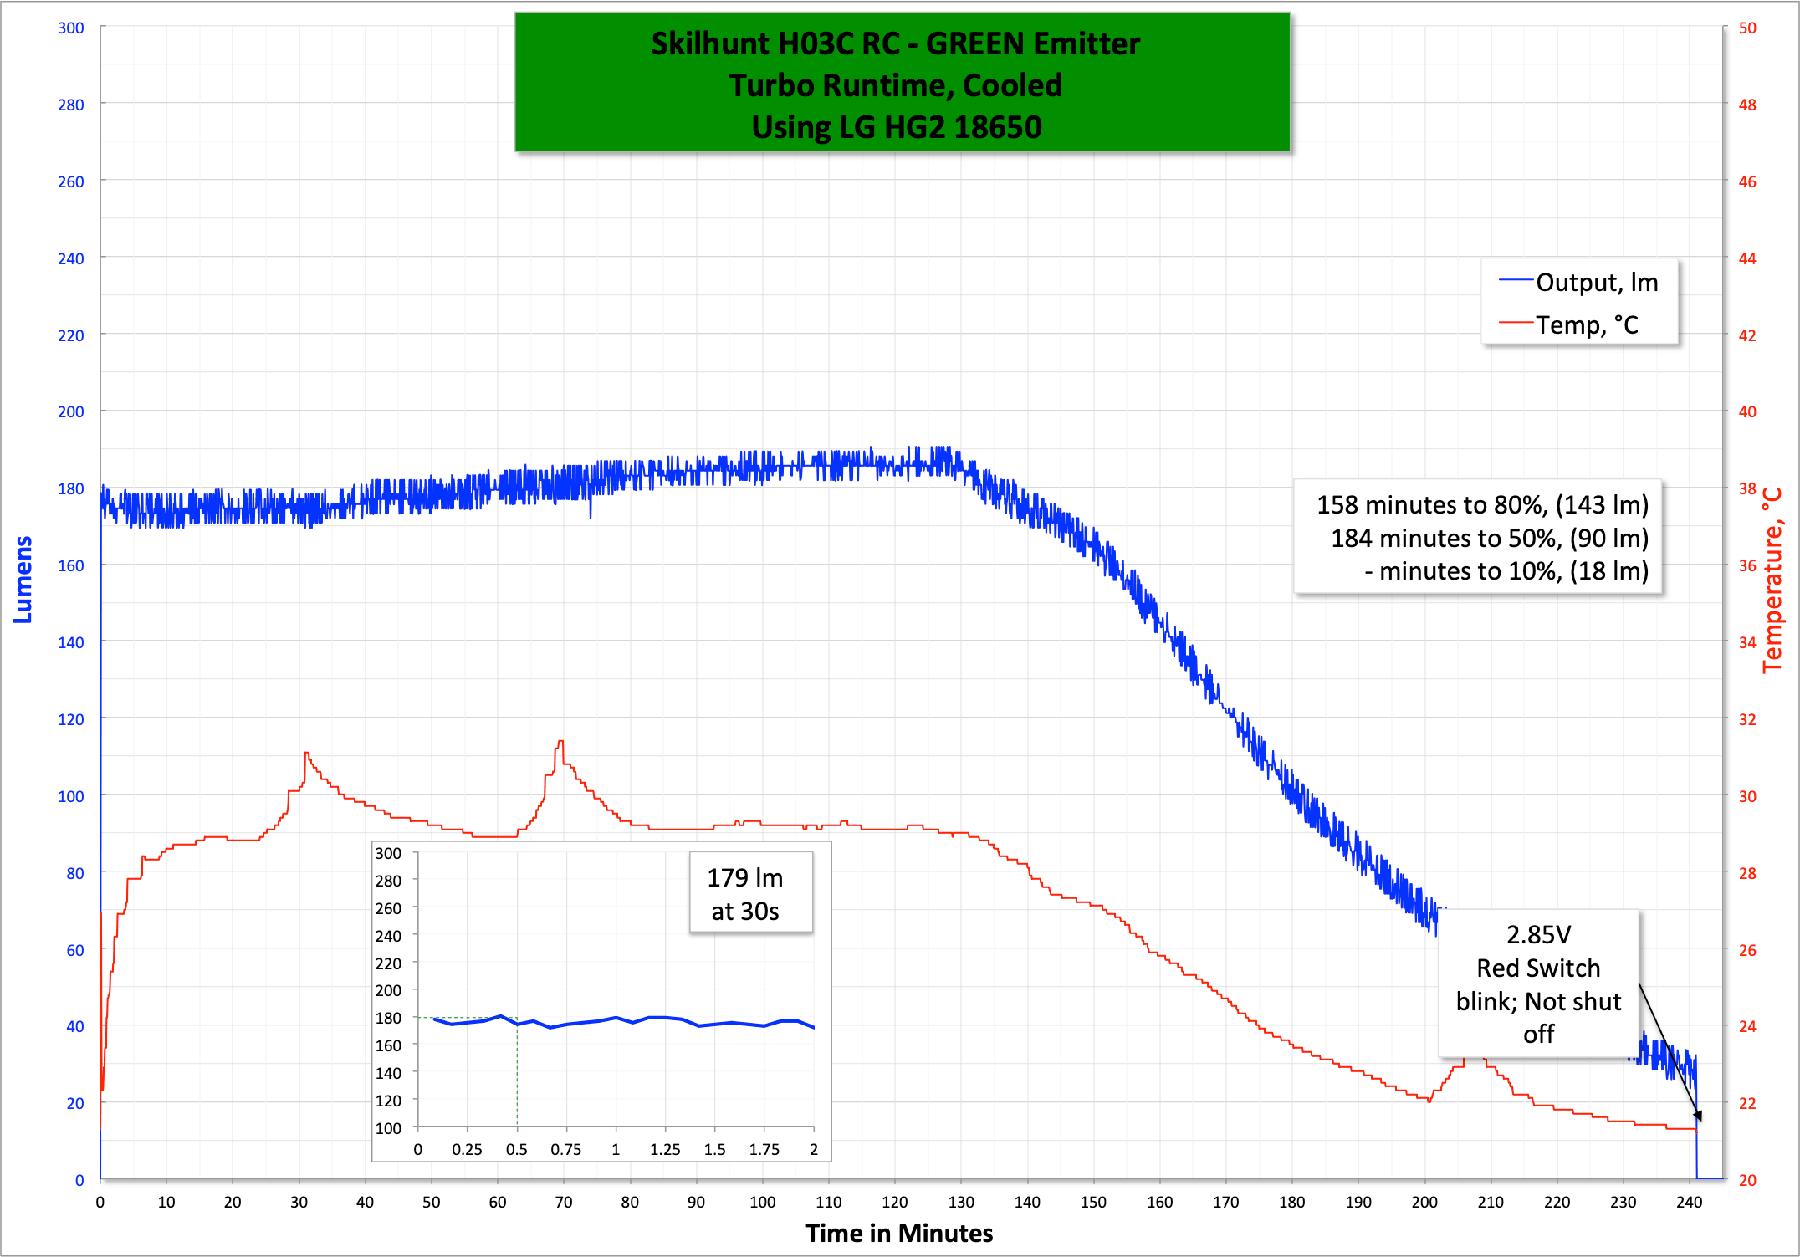
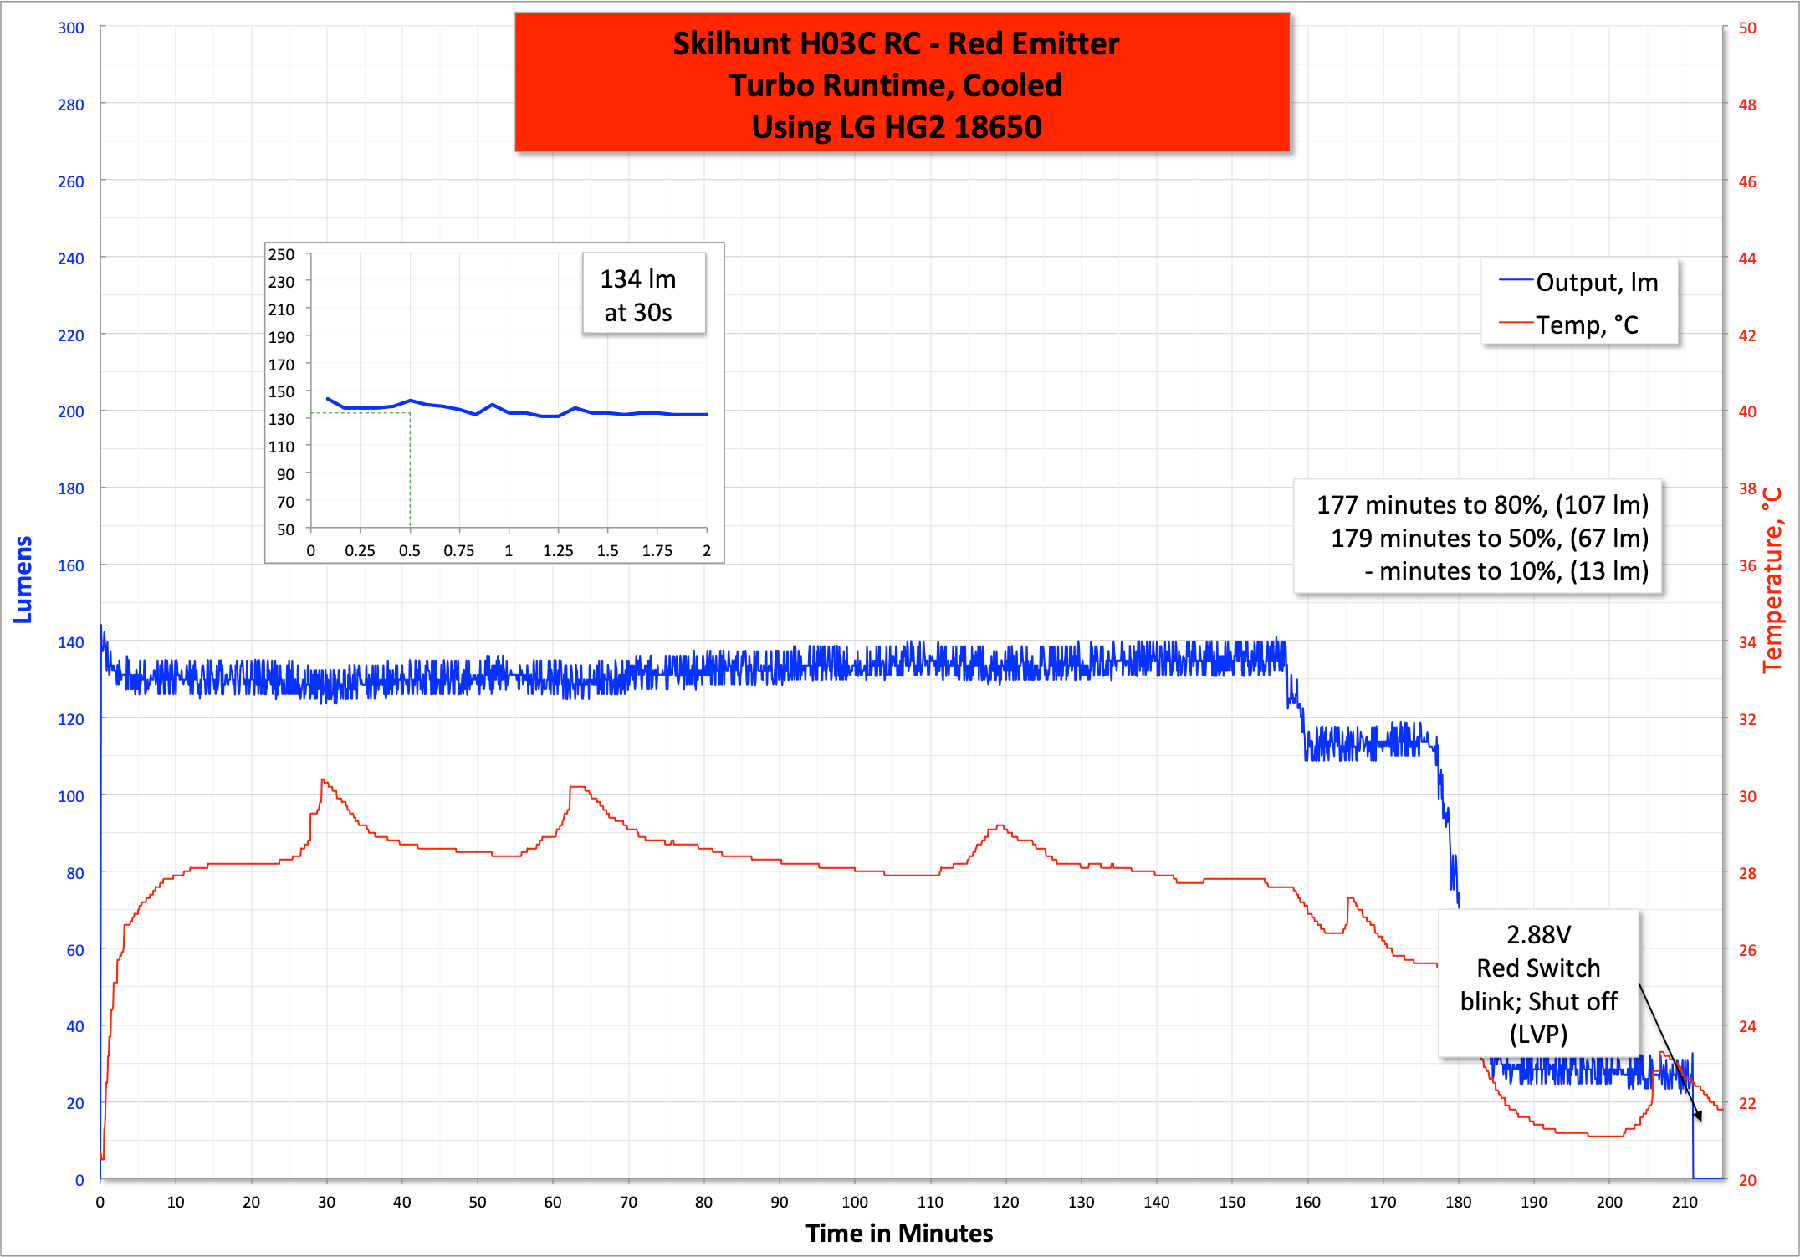
I also performed runtime tests for the Red and Green emitters. I tried for the Blue, but my lux meter is not sensitive to blue, so it wasn’t worthwhile to test that. I have no reason to suspect that the performance would be grossly different than red or green, though.
This light does have low voltage protection. The lowest test I saw was around 2.66V, but more normally it was around 2.8V. Long before that, though, the indicating switch will do its best to notify the user that the cell voltage is low. First, it’ll blink slowly and steadily, and then it’ll blink much faster. And finally, the light will go off.
Charging
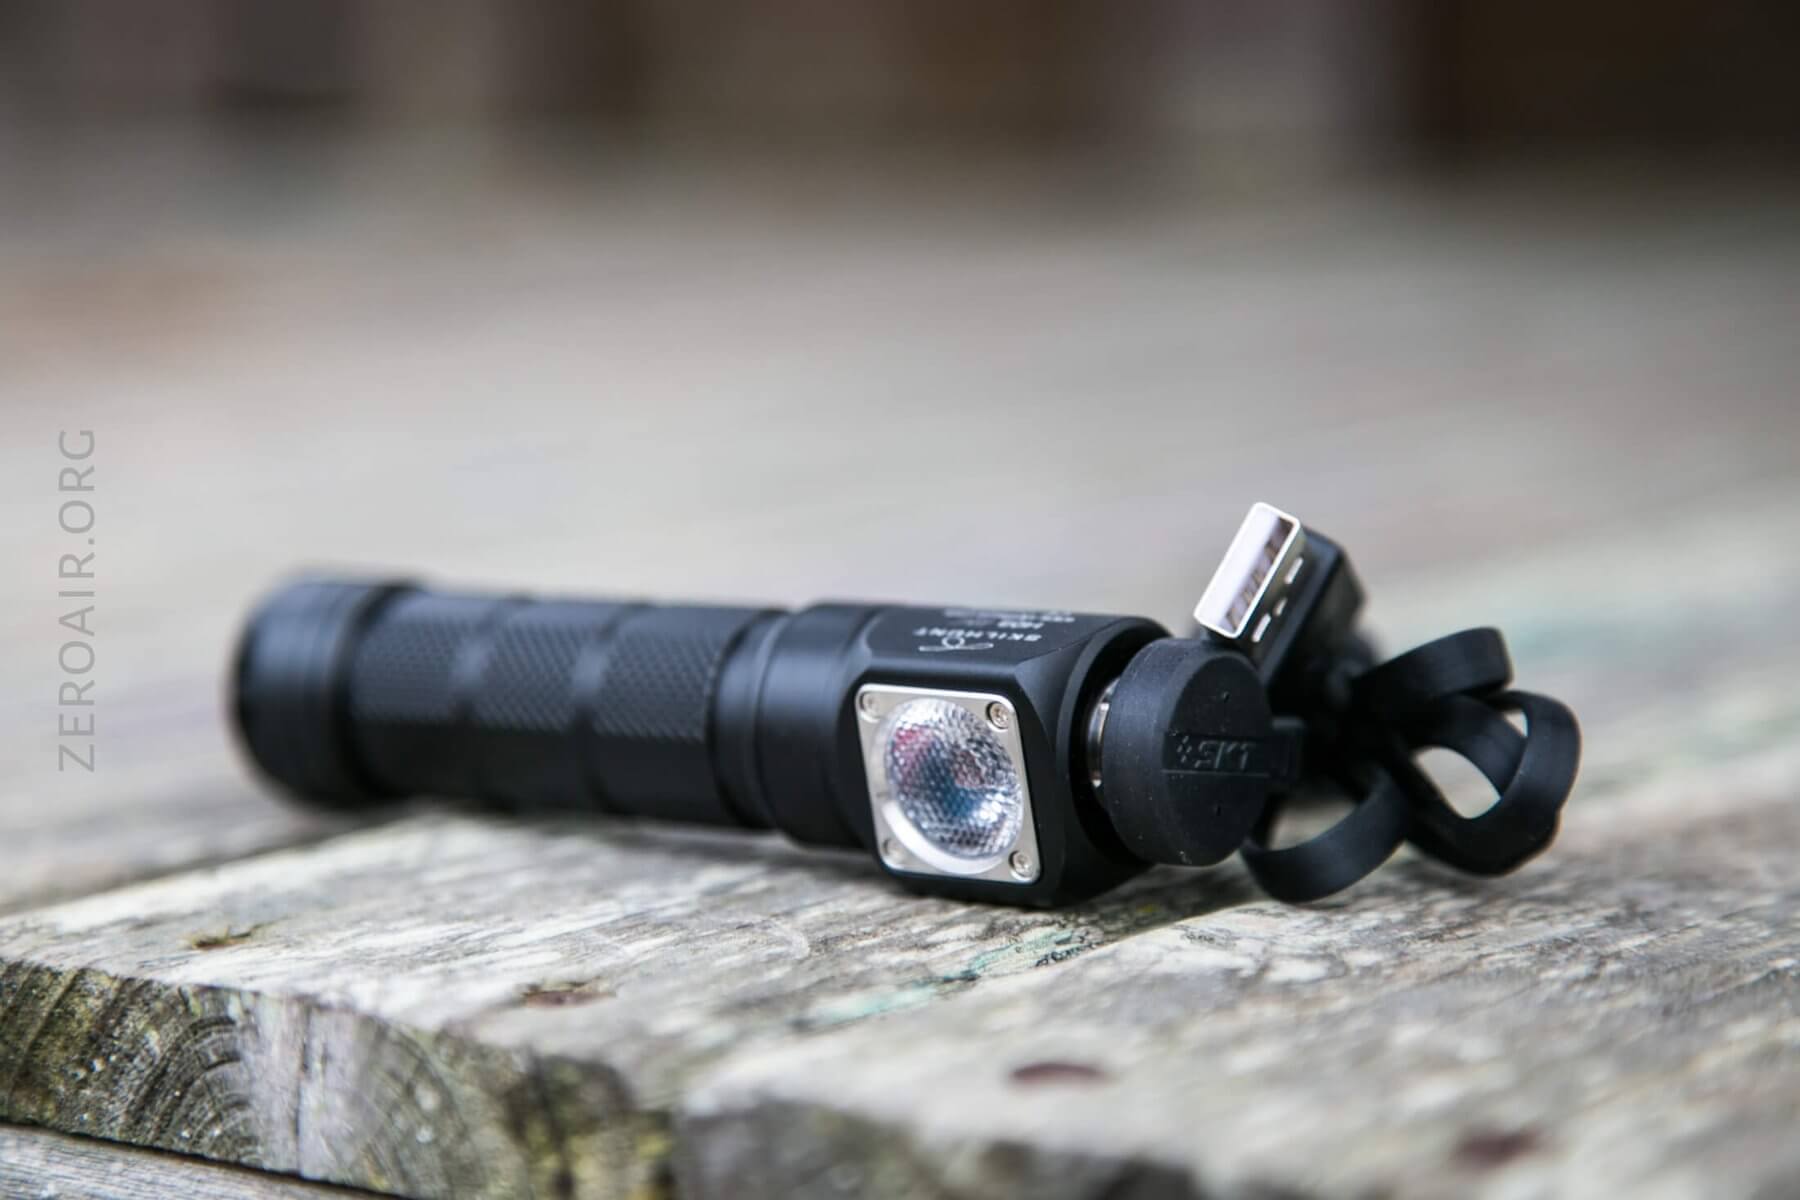
One notable thing about this light is that it includes onboard charging. That’s by a magnetic connector on the top of the light. And yes, the top is magnetic too, not just the connector.
Skilhunt includes a charge cable, and you’ll need to keep up with it – it’s a proprietary connector. It is, however, the same as the other Skilhunt RC lights, and I’ve confirmed that the performance between the cables is the same. The connector has a little pogo pin in the center for electrical notification to the charge system that things are ok (or not) to charge. The connector has a red and blue indicator for notification of charge status. While charging, the notification is constantly red. When completed, the notification on the cable connector is constant blue.
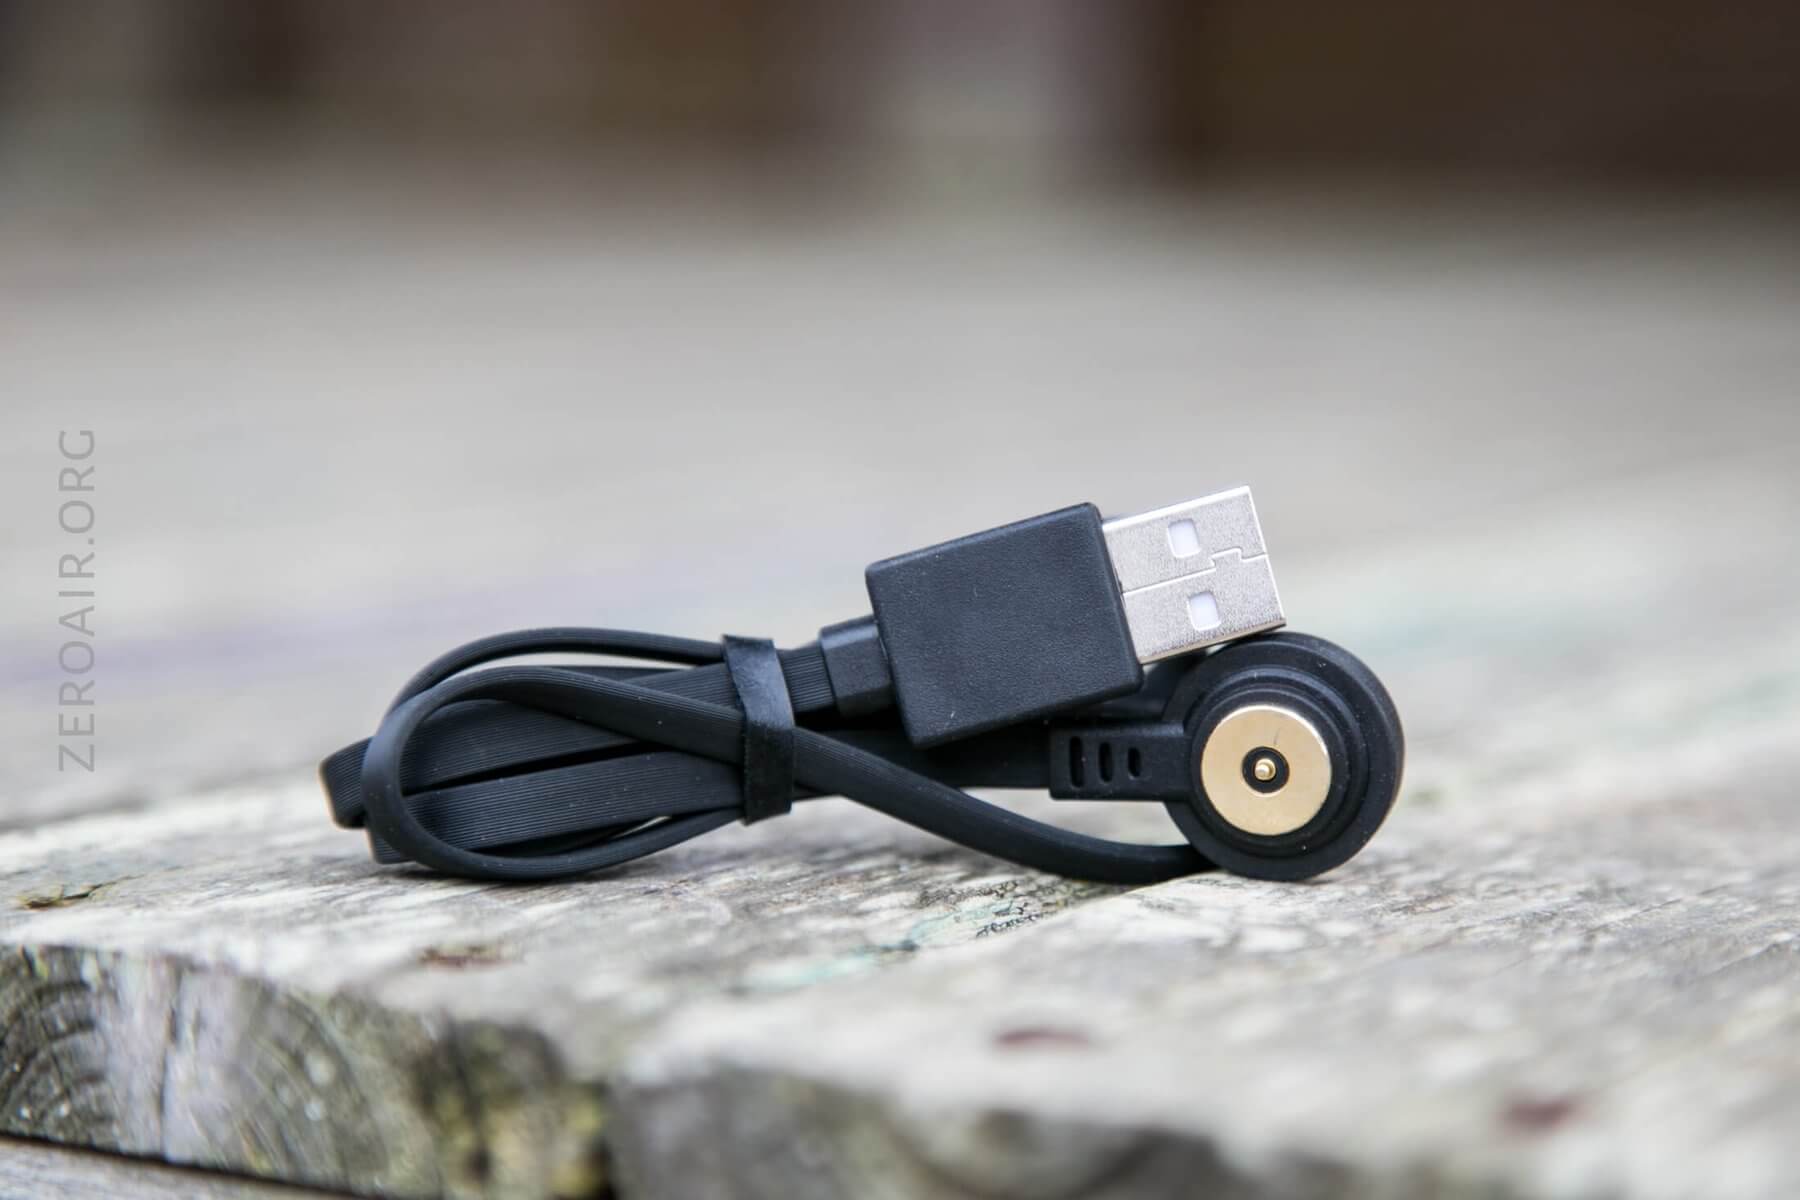
Here’s a chargetime. It’s a fine chargetime, taking around 3 hours to charge a completely drained cell.
User Interface and Operation
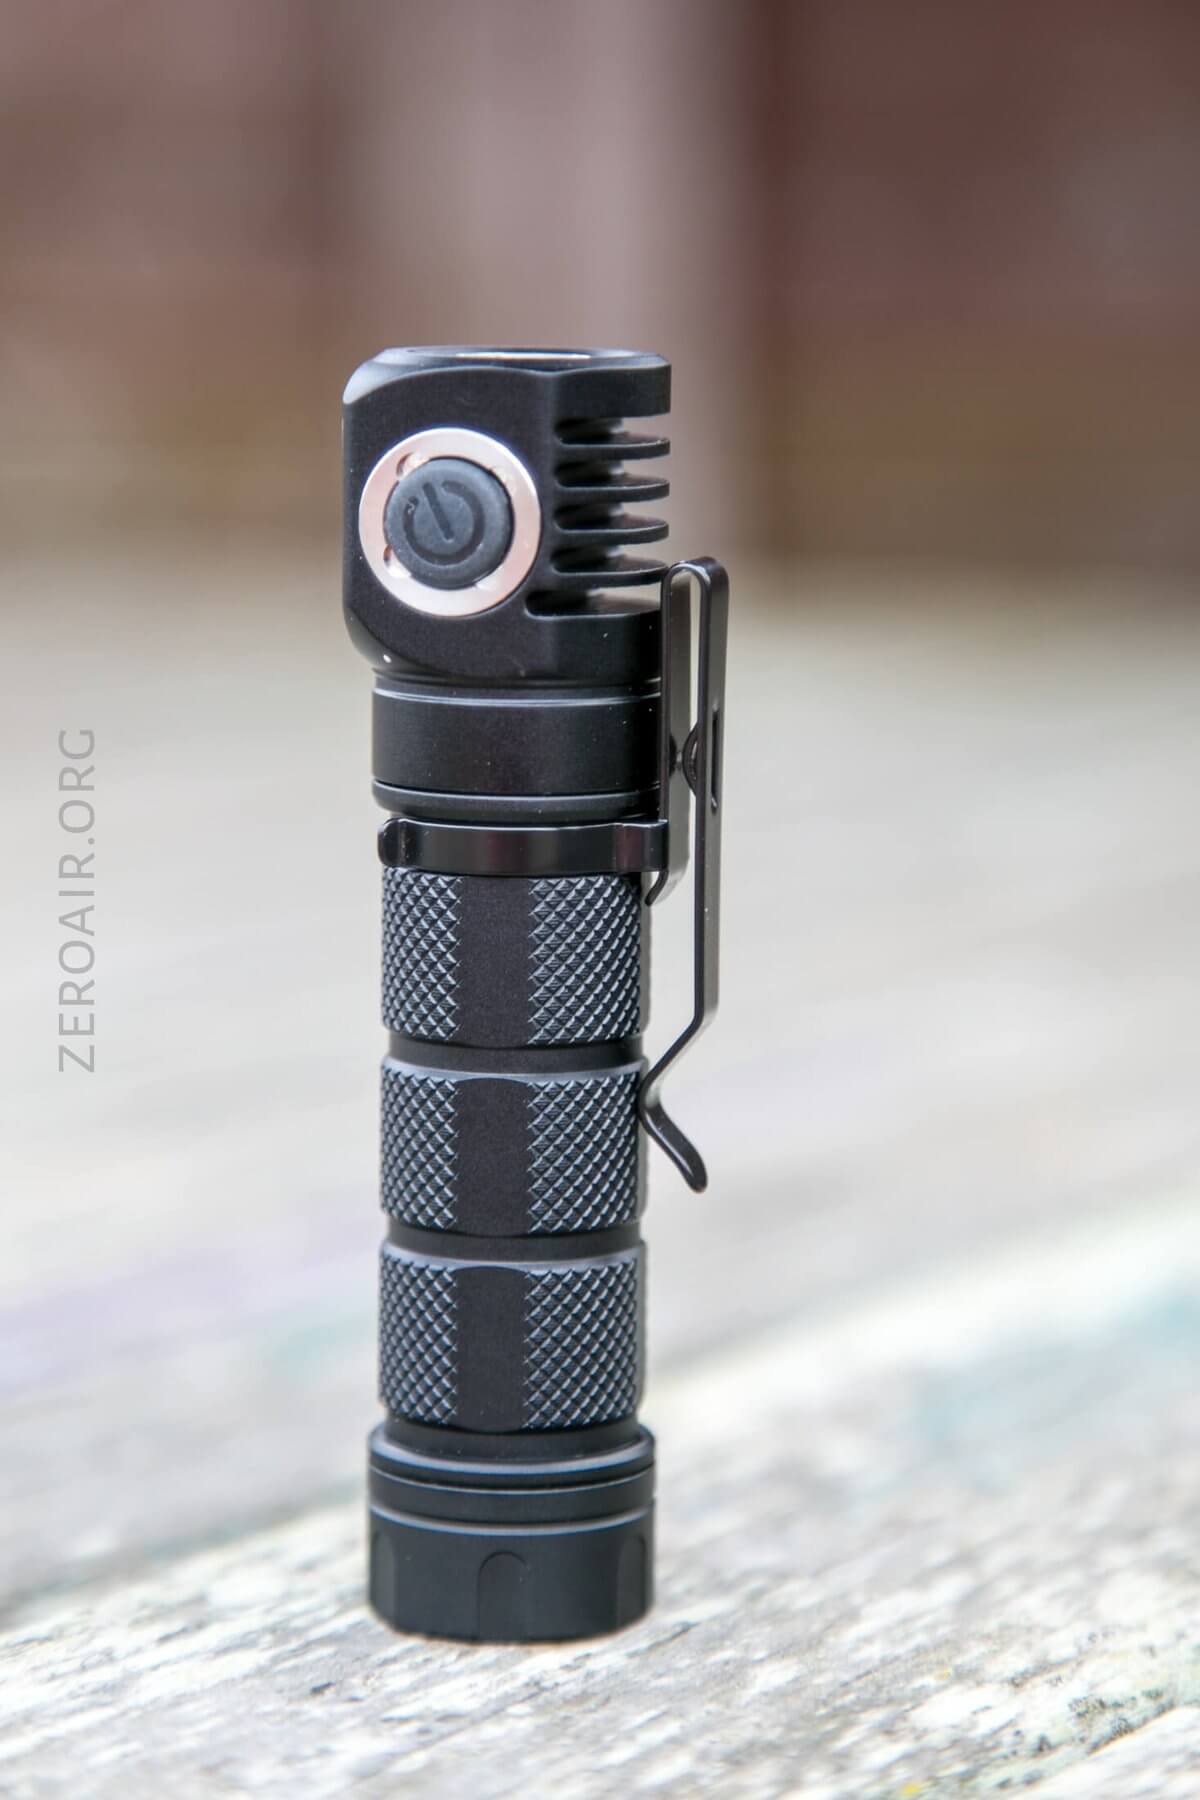
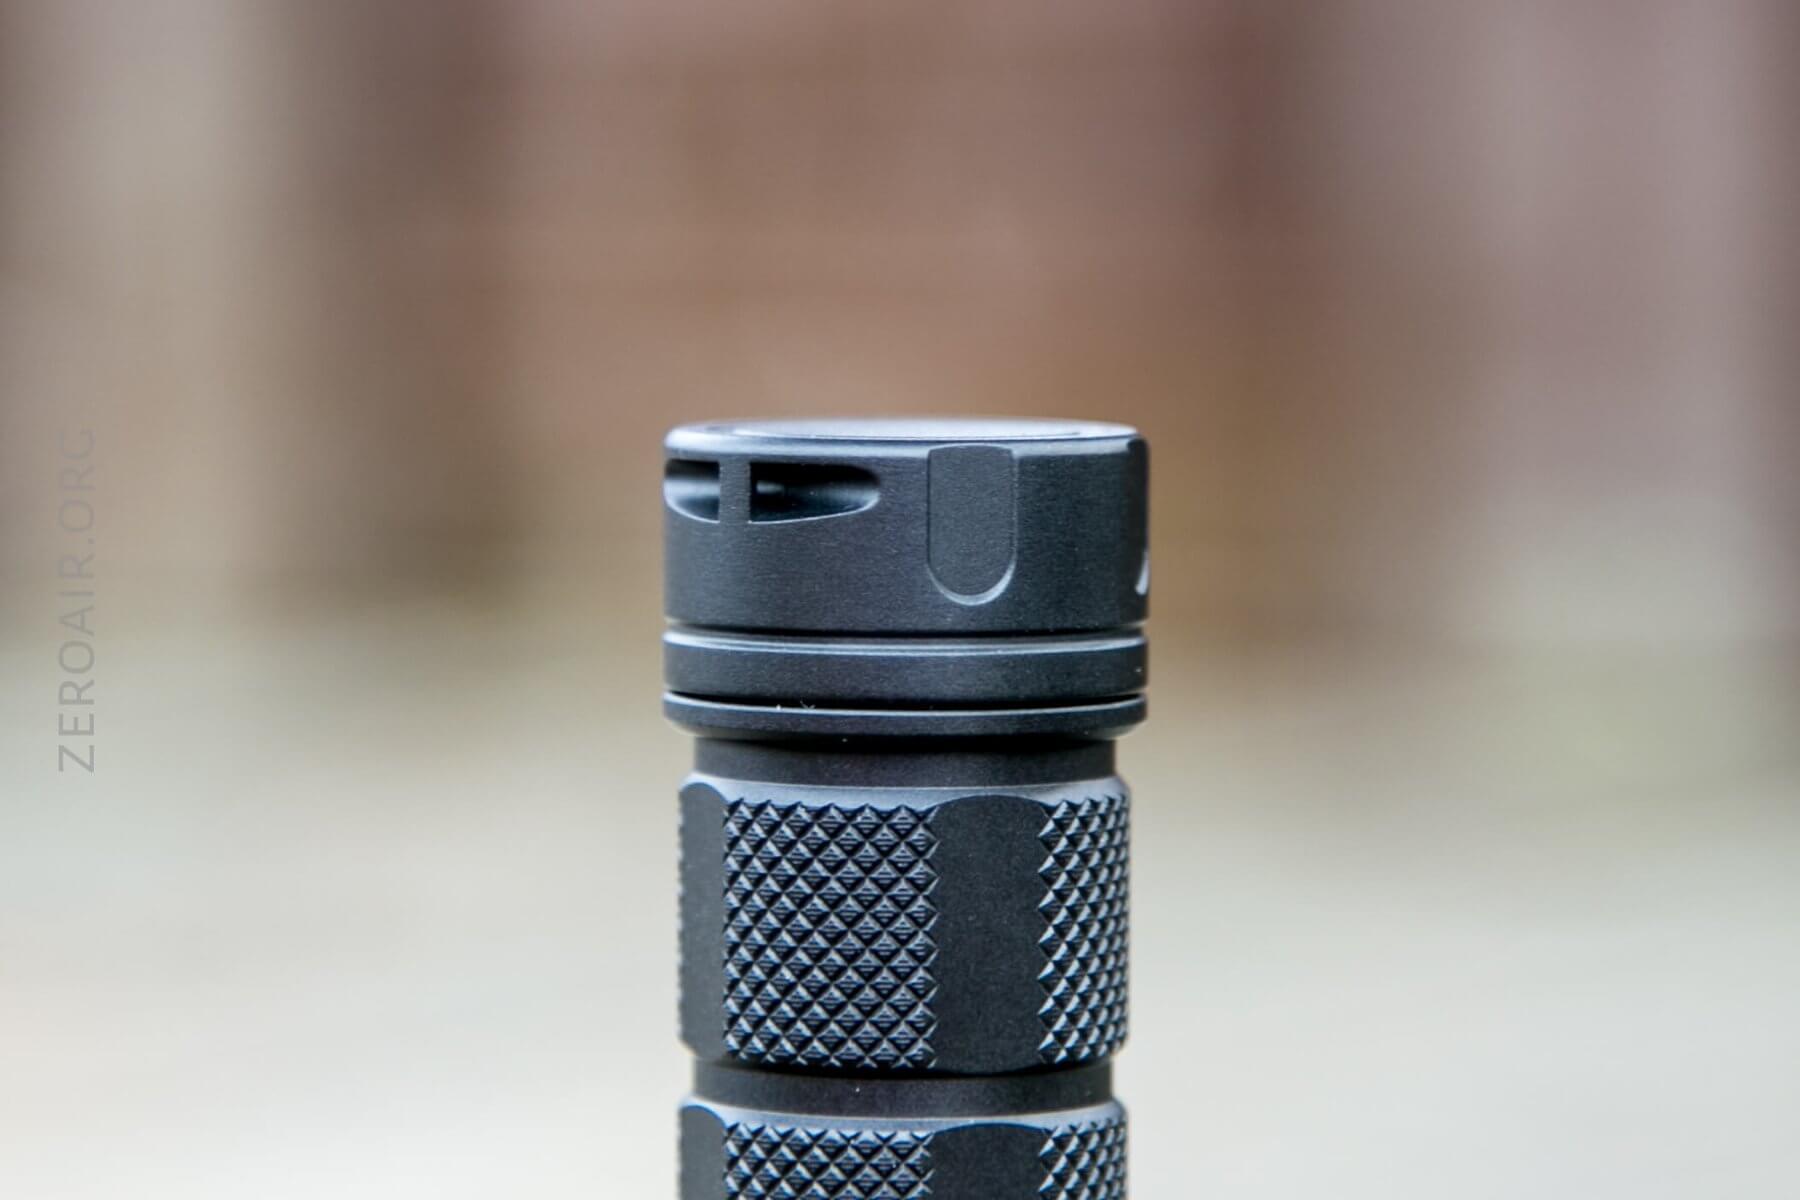
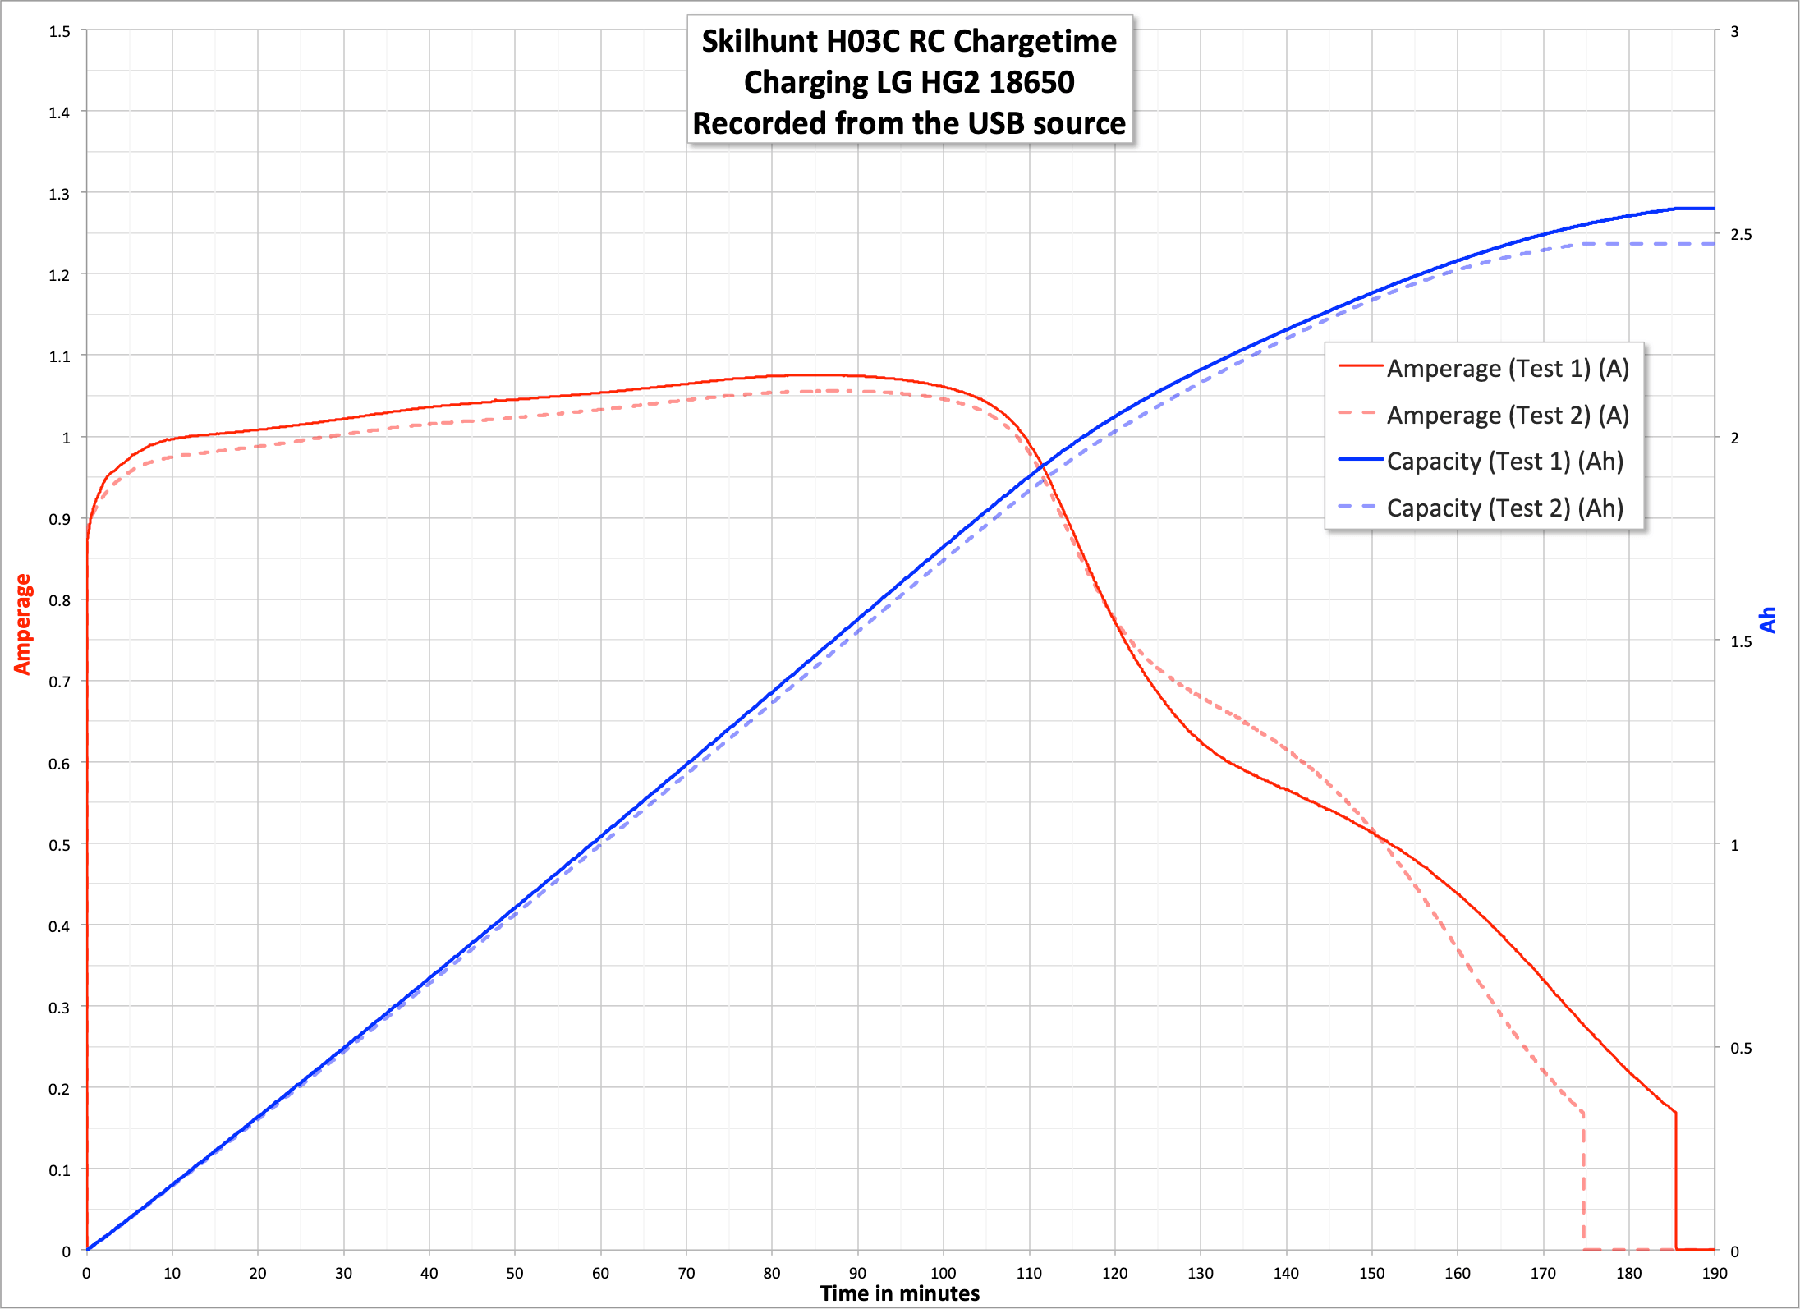
The button on the H03C RC is a single side e-switch on the side of the head. It’s an indicating switch, with only a red emitter behind it. The boot on the switch is gray, but translucent. As with the other *RC Skilhunt I have, the boot is contoured (convex) and honestly quite nice. There’s a very positive click to the action.
The indication of the switch is nice, too. It can function as a locator beacon, among other things.
The user interface of this light is a semi-simplified version of the other H03 RC lights. It’s simpler in that it lacks selectable sub-modes for every mode, but more difficult because it adds a whole series of things that can be done with the color emitters.
Here’s a user interface table!
| State | Action | Result |
|---|---|---|
| Off | Click | On (Mode Memory) |
| Off | Hold (0.5s) | Color Modes (Last used Color) |
| Off | Double Click | Color Strobe Modes^ |
| Steady Color (or Strobe) | Click | Color (or Strobe^^) advance (RGB) |
| Color (Any) | Double Click | White modes |
| White Modes | Double Click | Steady Color modes |
| Any | Triple Click | Color Strobes |
| Any | Hold | Off |
| Off | Hold 1.5s | Lock^^^ |
| Switch beacon | Click | Iterate Switch beacon |
| Lock | Hold 1.5s | Unlock (Main red light will flash 2x) to off |
| White Modes | Click | White Advance (LMHT) |
^ Double click from off should take the user to the RGB strobe modes. I found that to be the case about half the time, mostly when the light had been recently turned off. If the light had been off for a while already, Double Clicking seemed to take me to Low. (I would strongly prefer the straight-to-low option and get to the other color strobes via triple click.)
^^ Strobe advance is as follows: RGB: Red SOS, RGB Strobe, RB Strobe (i.e., Police light), S1 (Red) Beacon.
^^^ Locking the light also turns on the switch beacon
Modes and Currents
| Mode | Mode Claimed Output (lm) | Claimed Runtime | Measured Lumens | Tailcap Amps |
|---|---|---|---|---|
| Turbo | 220 | 4h | 205 | 0.67 |
| High | 100 | 12h | 90 | 0.17 |
| Mid | 40 | 36h | 40 | 0.05 |
| Low | 7 | 240h | 7 | – |
| Red | 100 | 4h | 134 | 0.65 |
| Green | 150 | 4h | 180 | 0.66 |
| Blue | 30 | 4h | 25 | 0.67 |
The XM-L Color doesn’t want a lot of current. So these may seem low, but I don’t think the emitters can be pushed much harder.
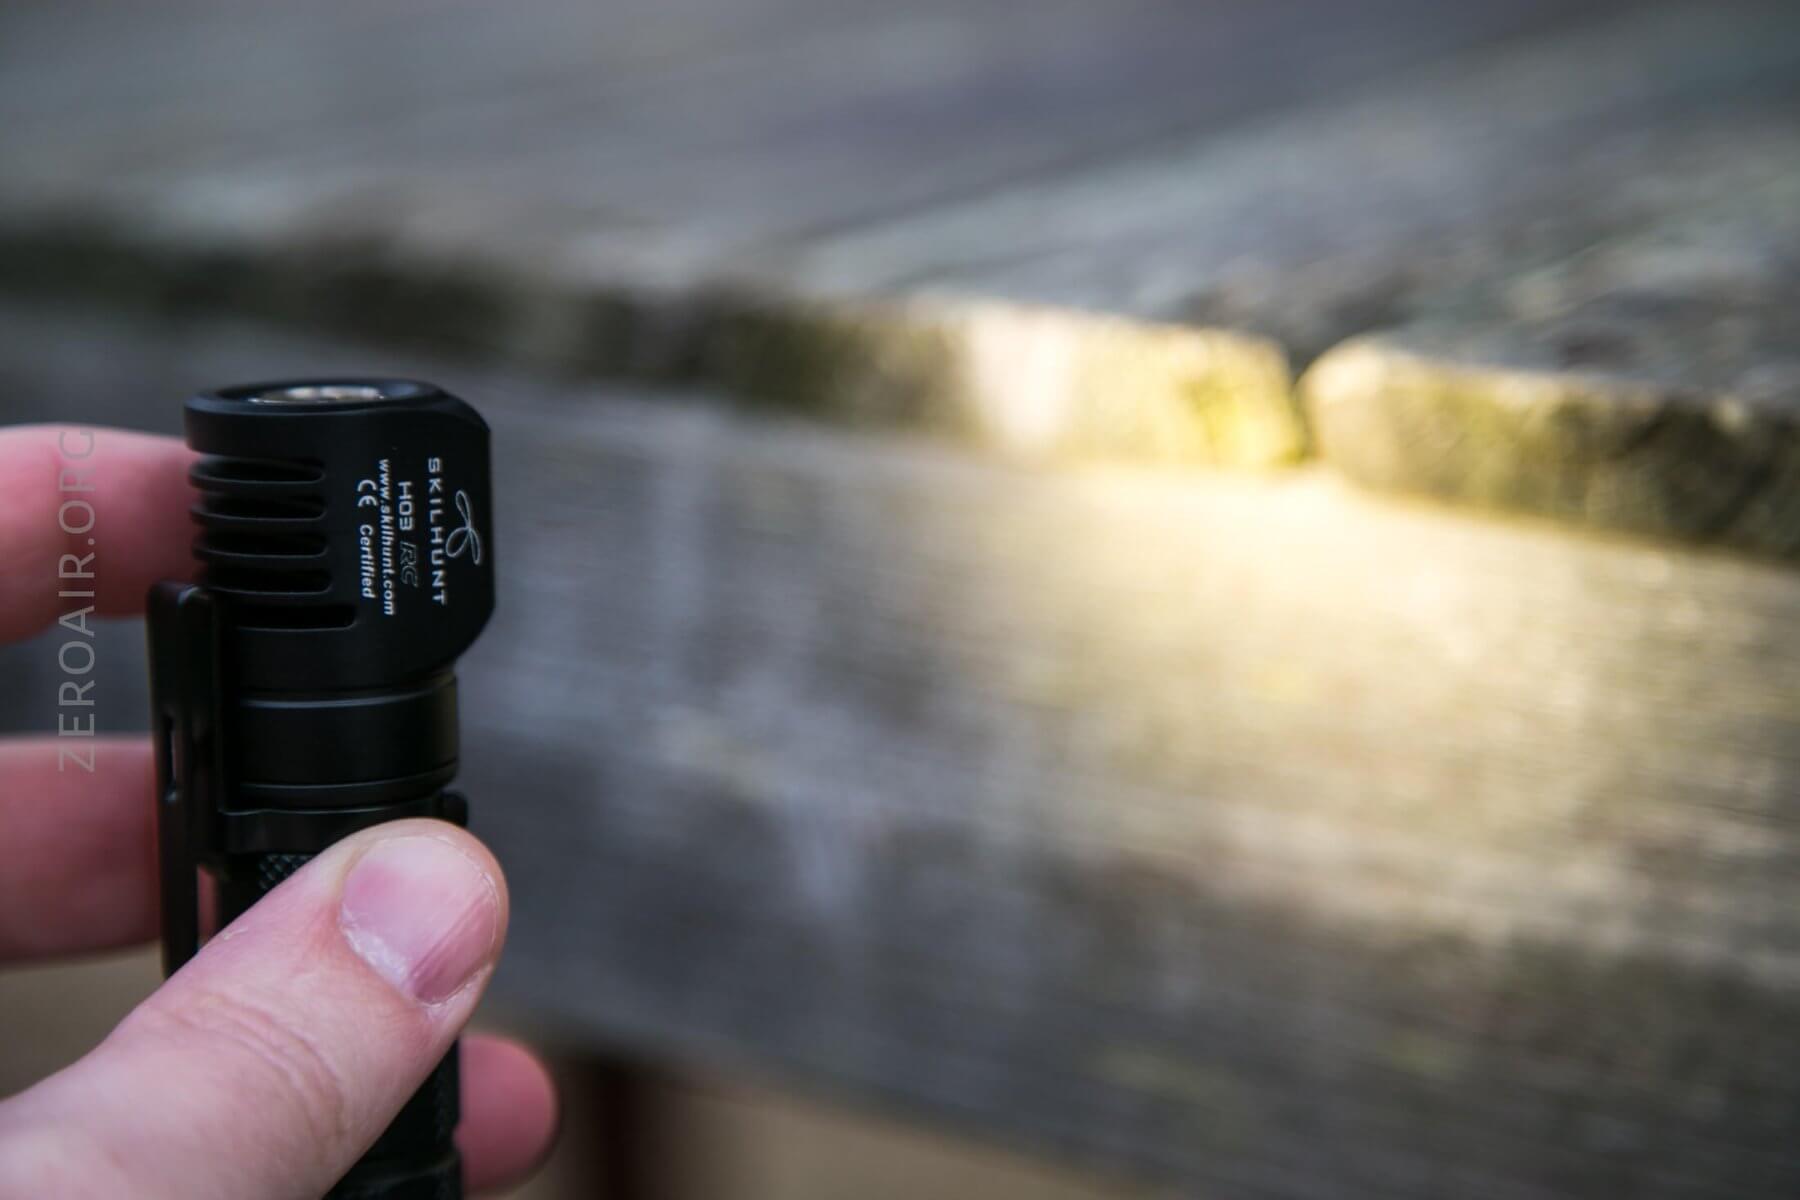
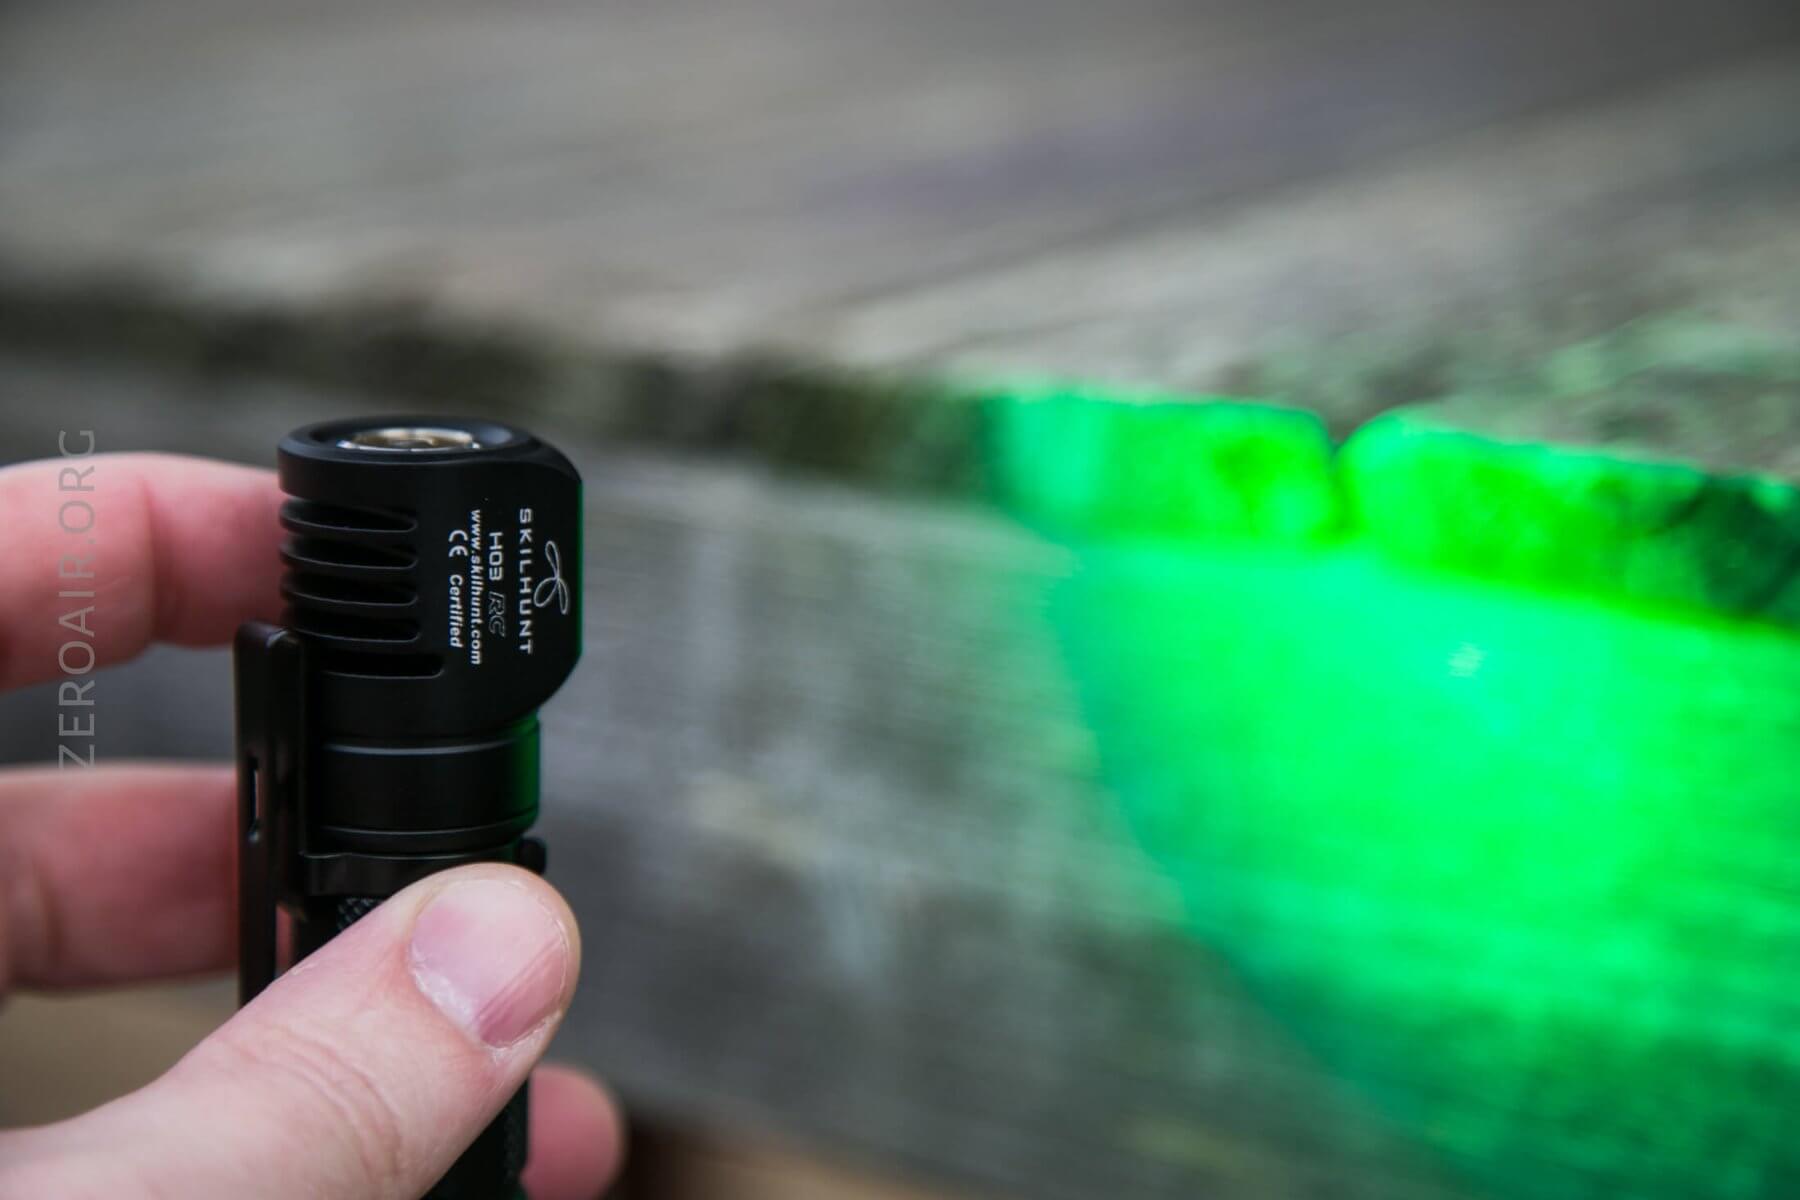
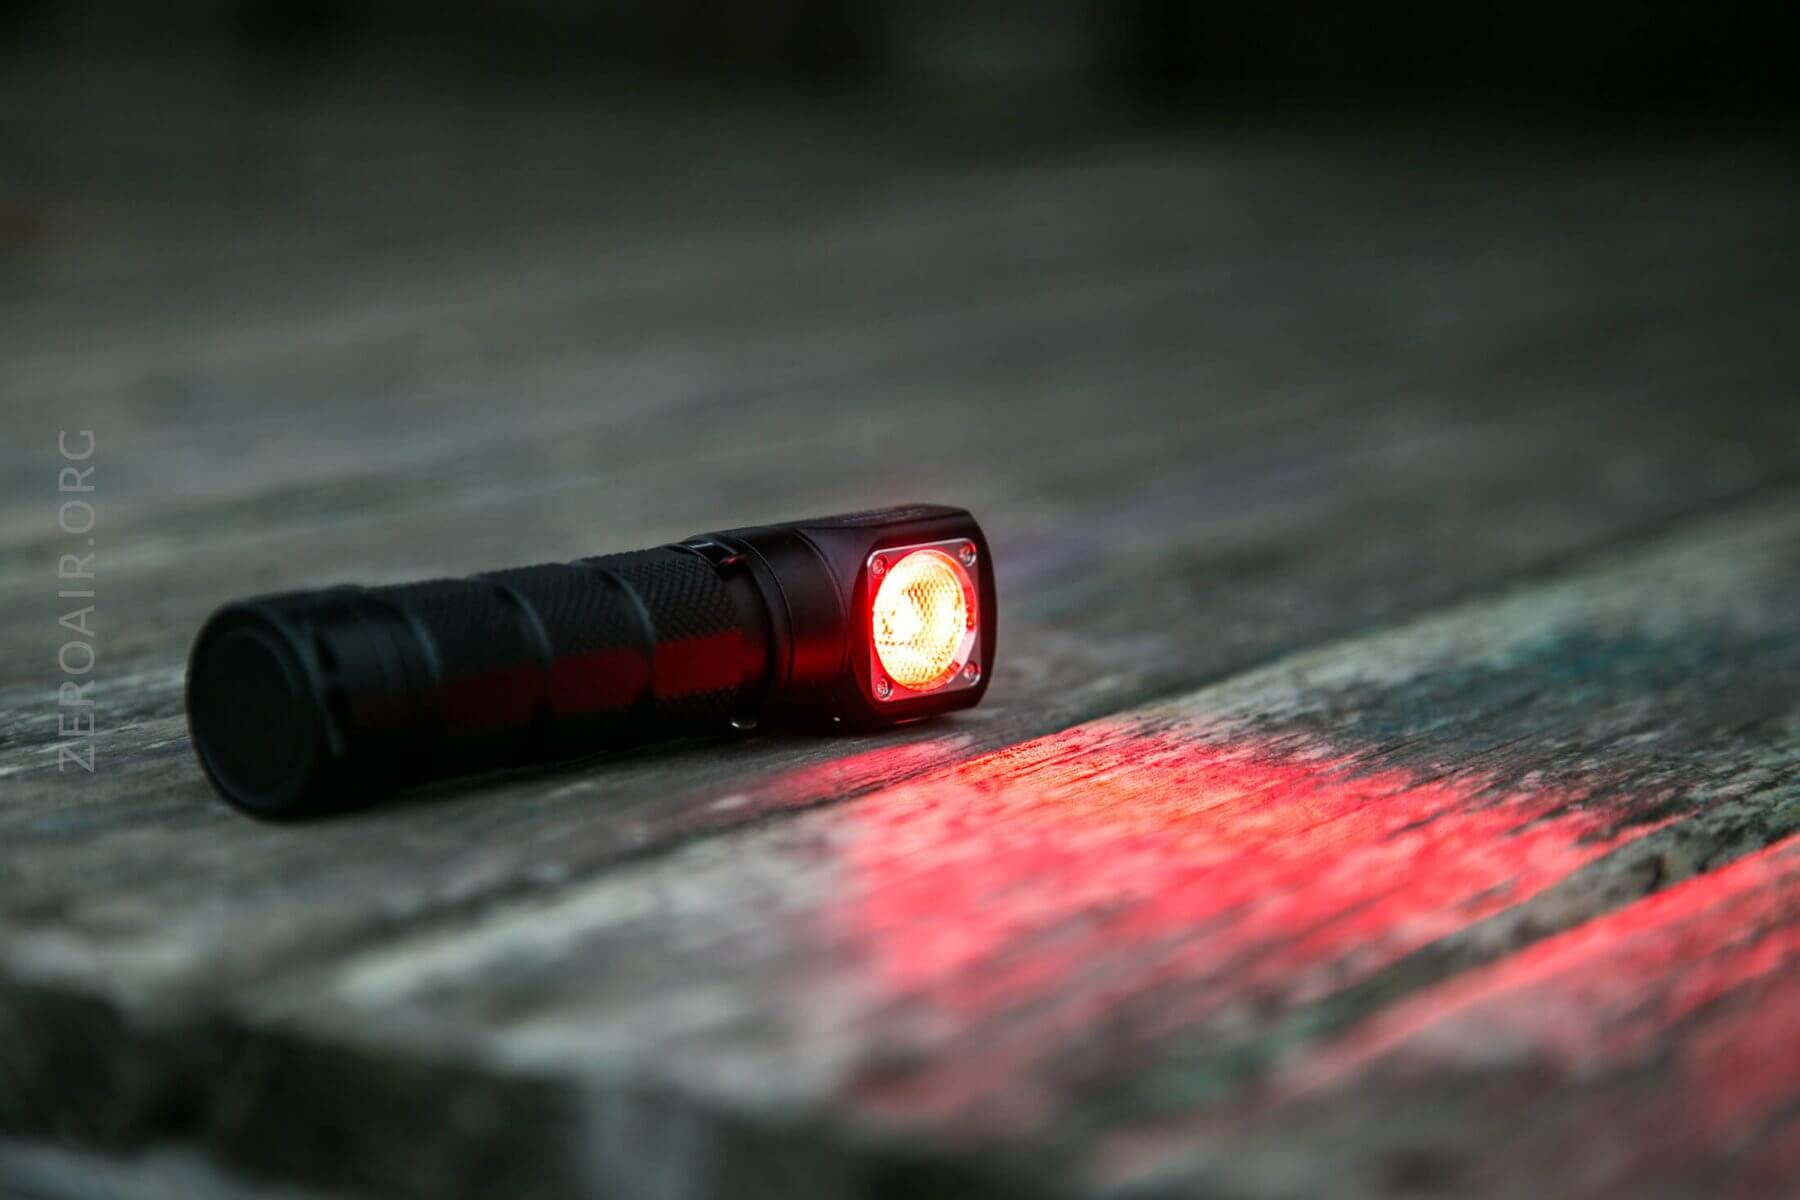
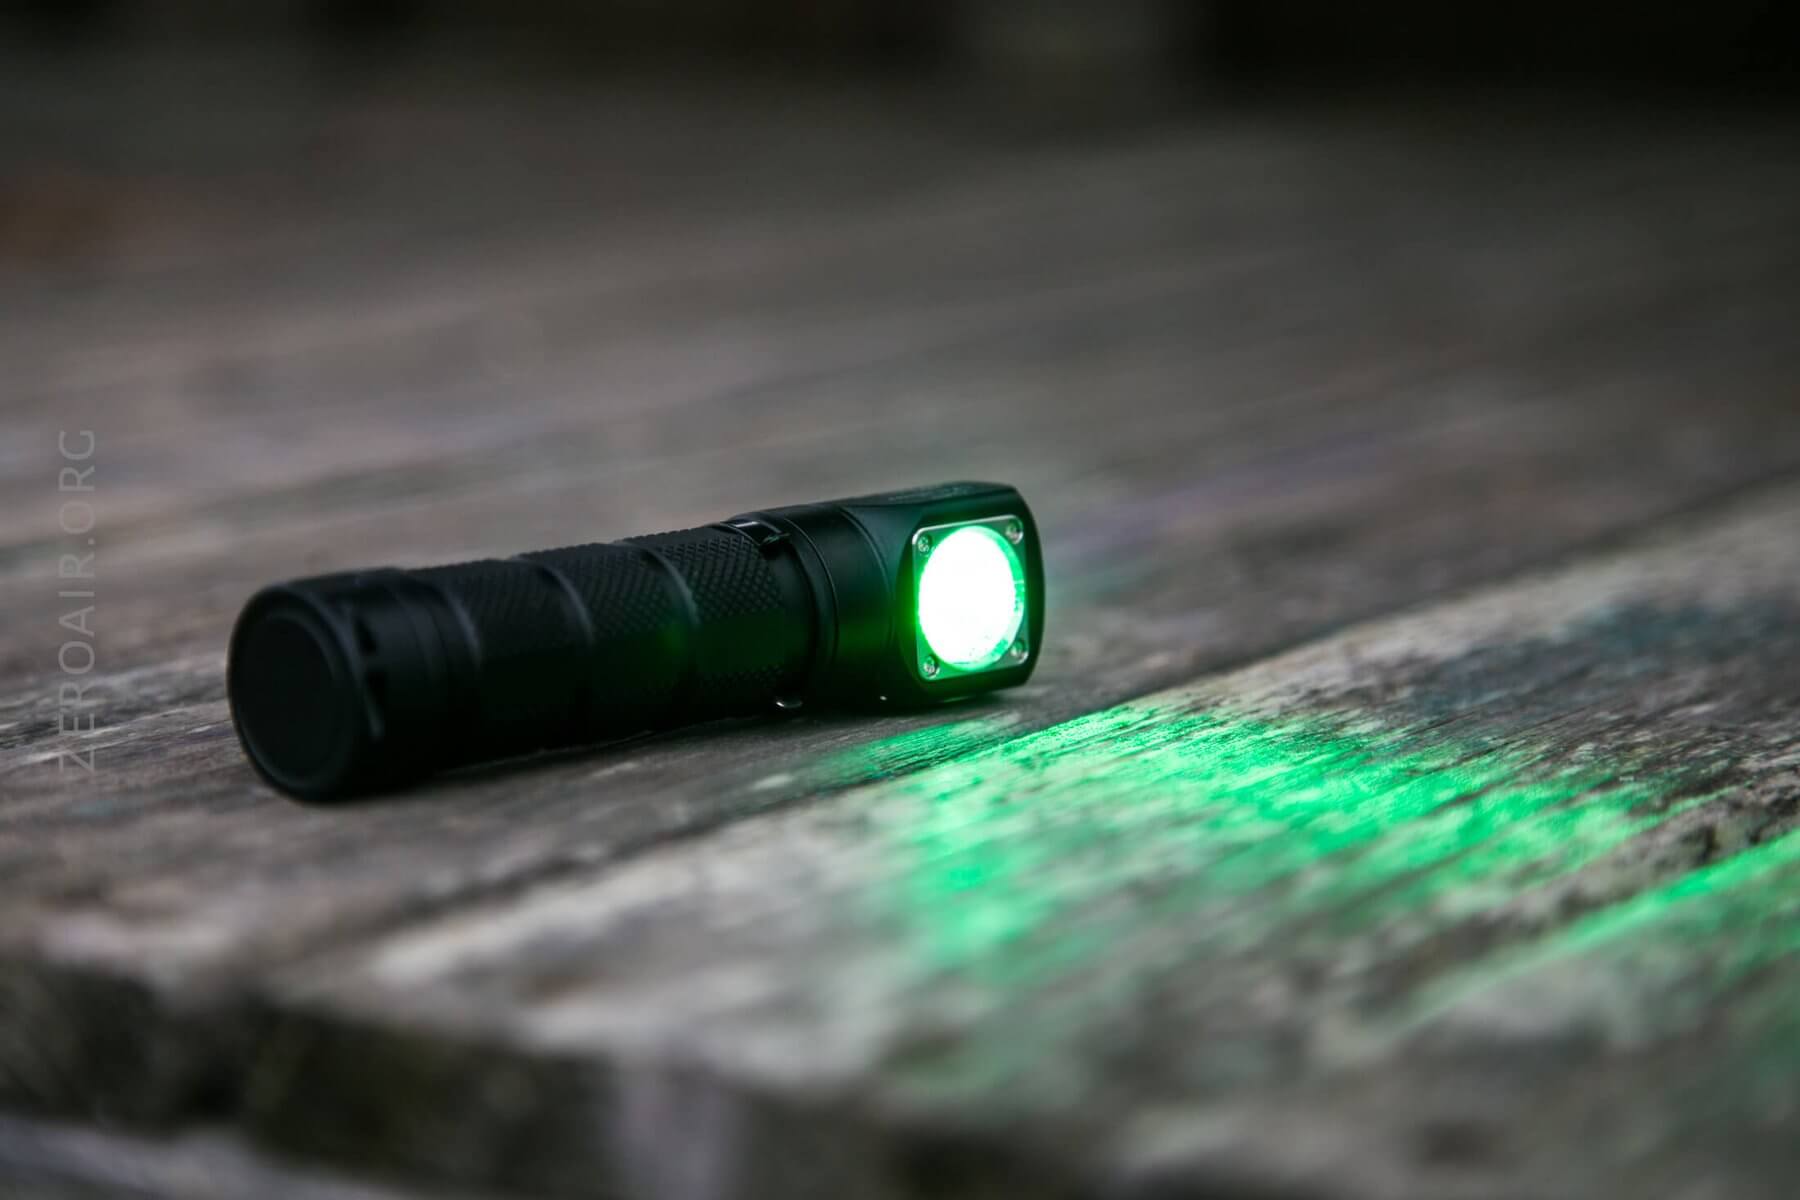
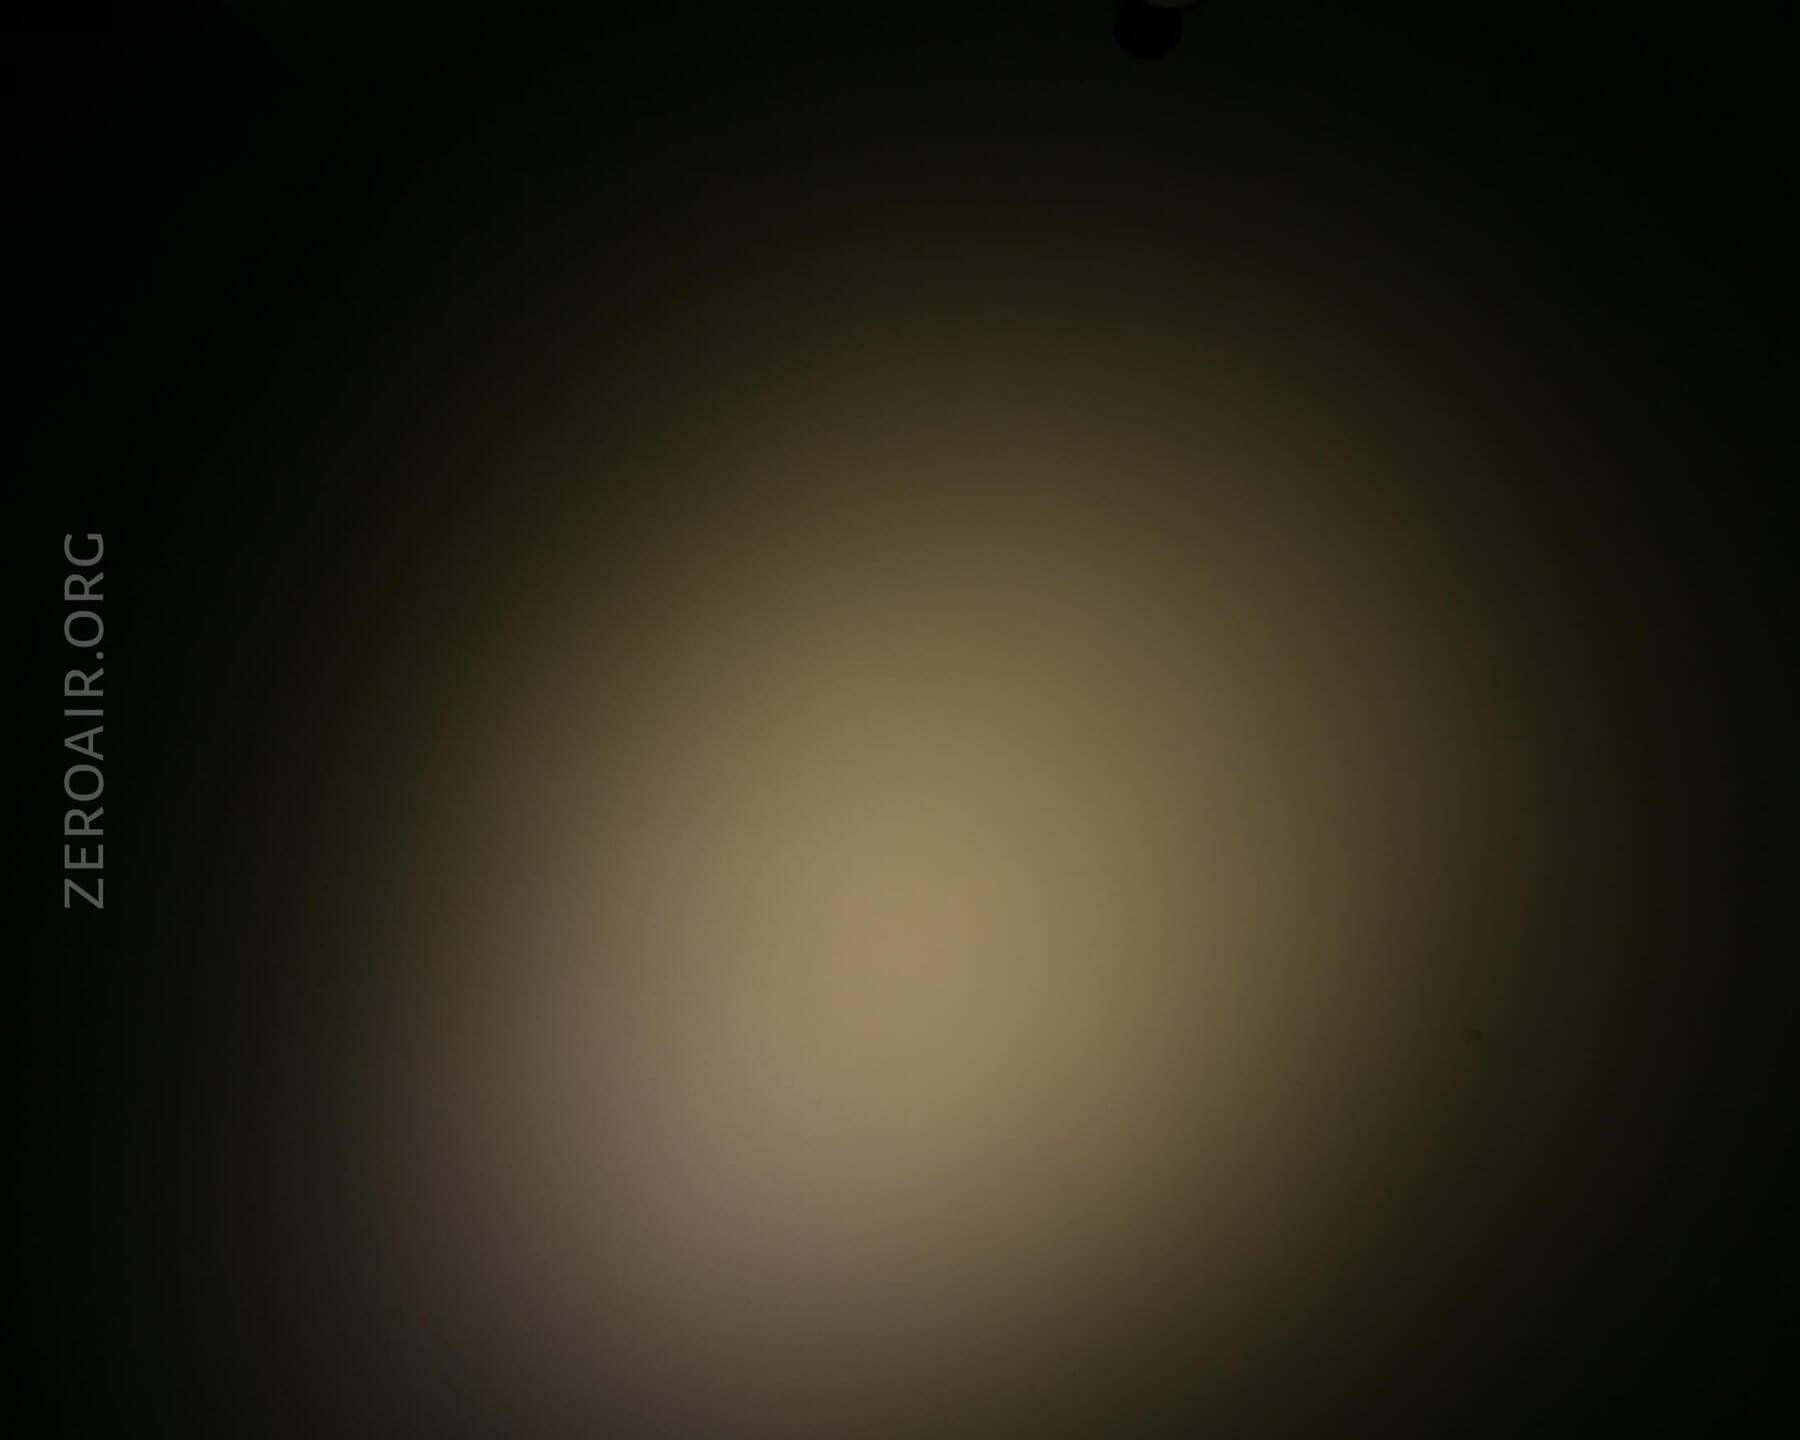
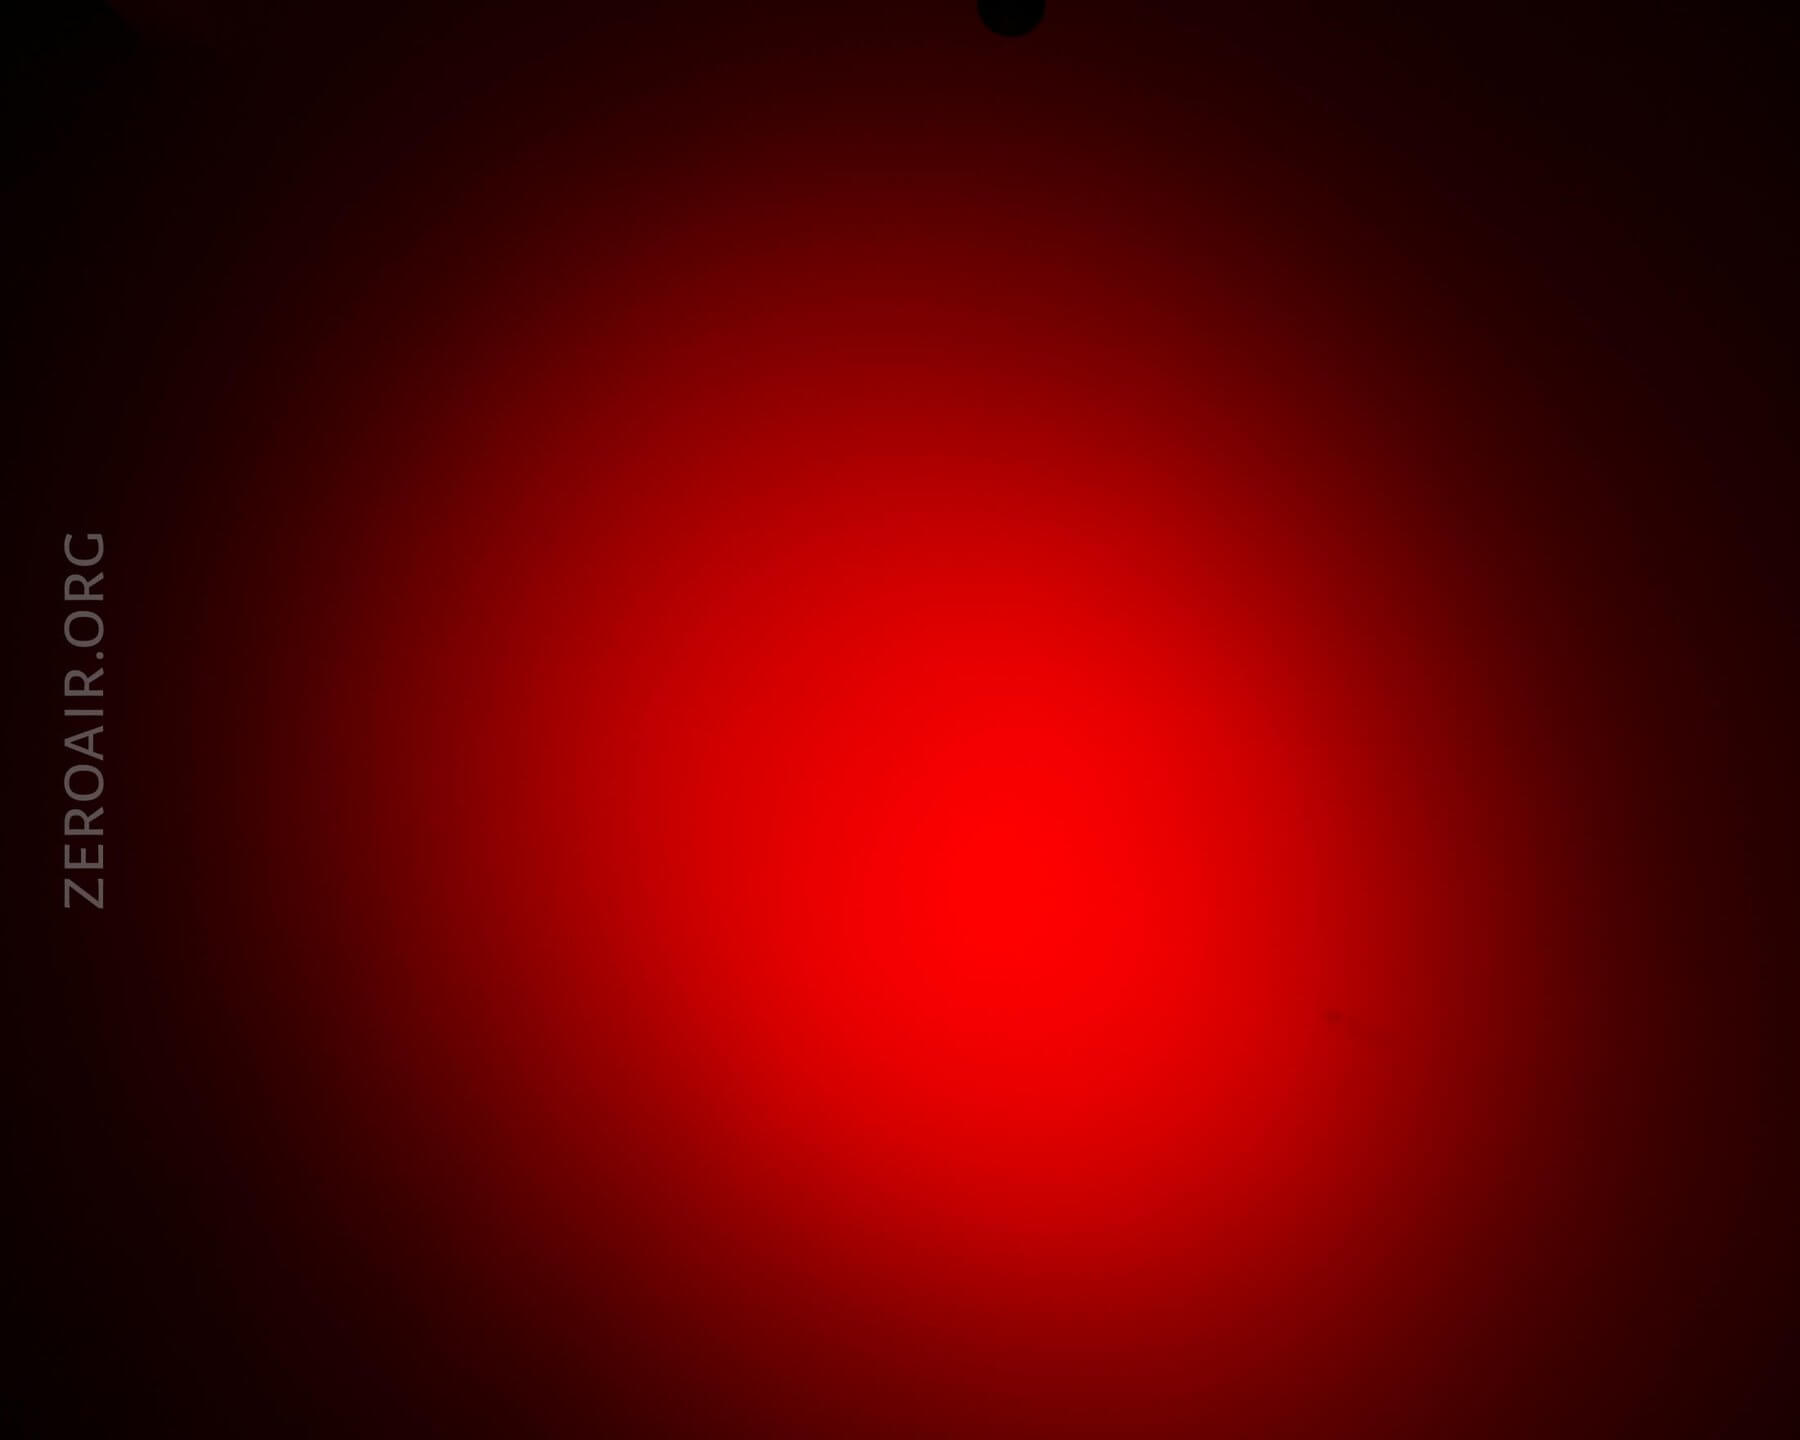
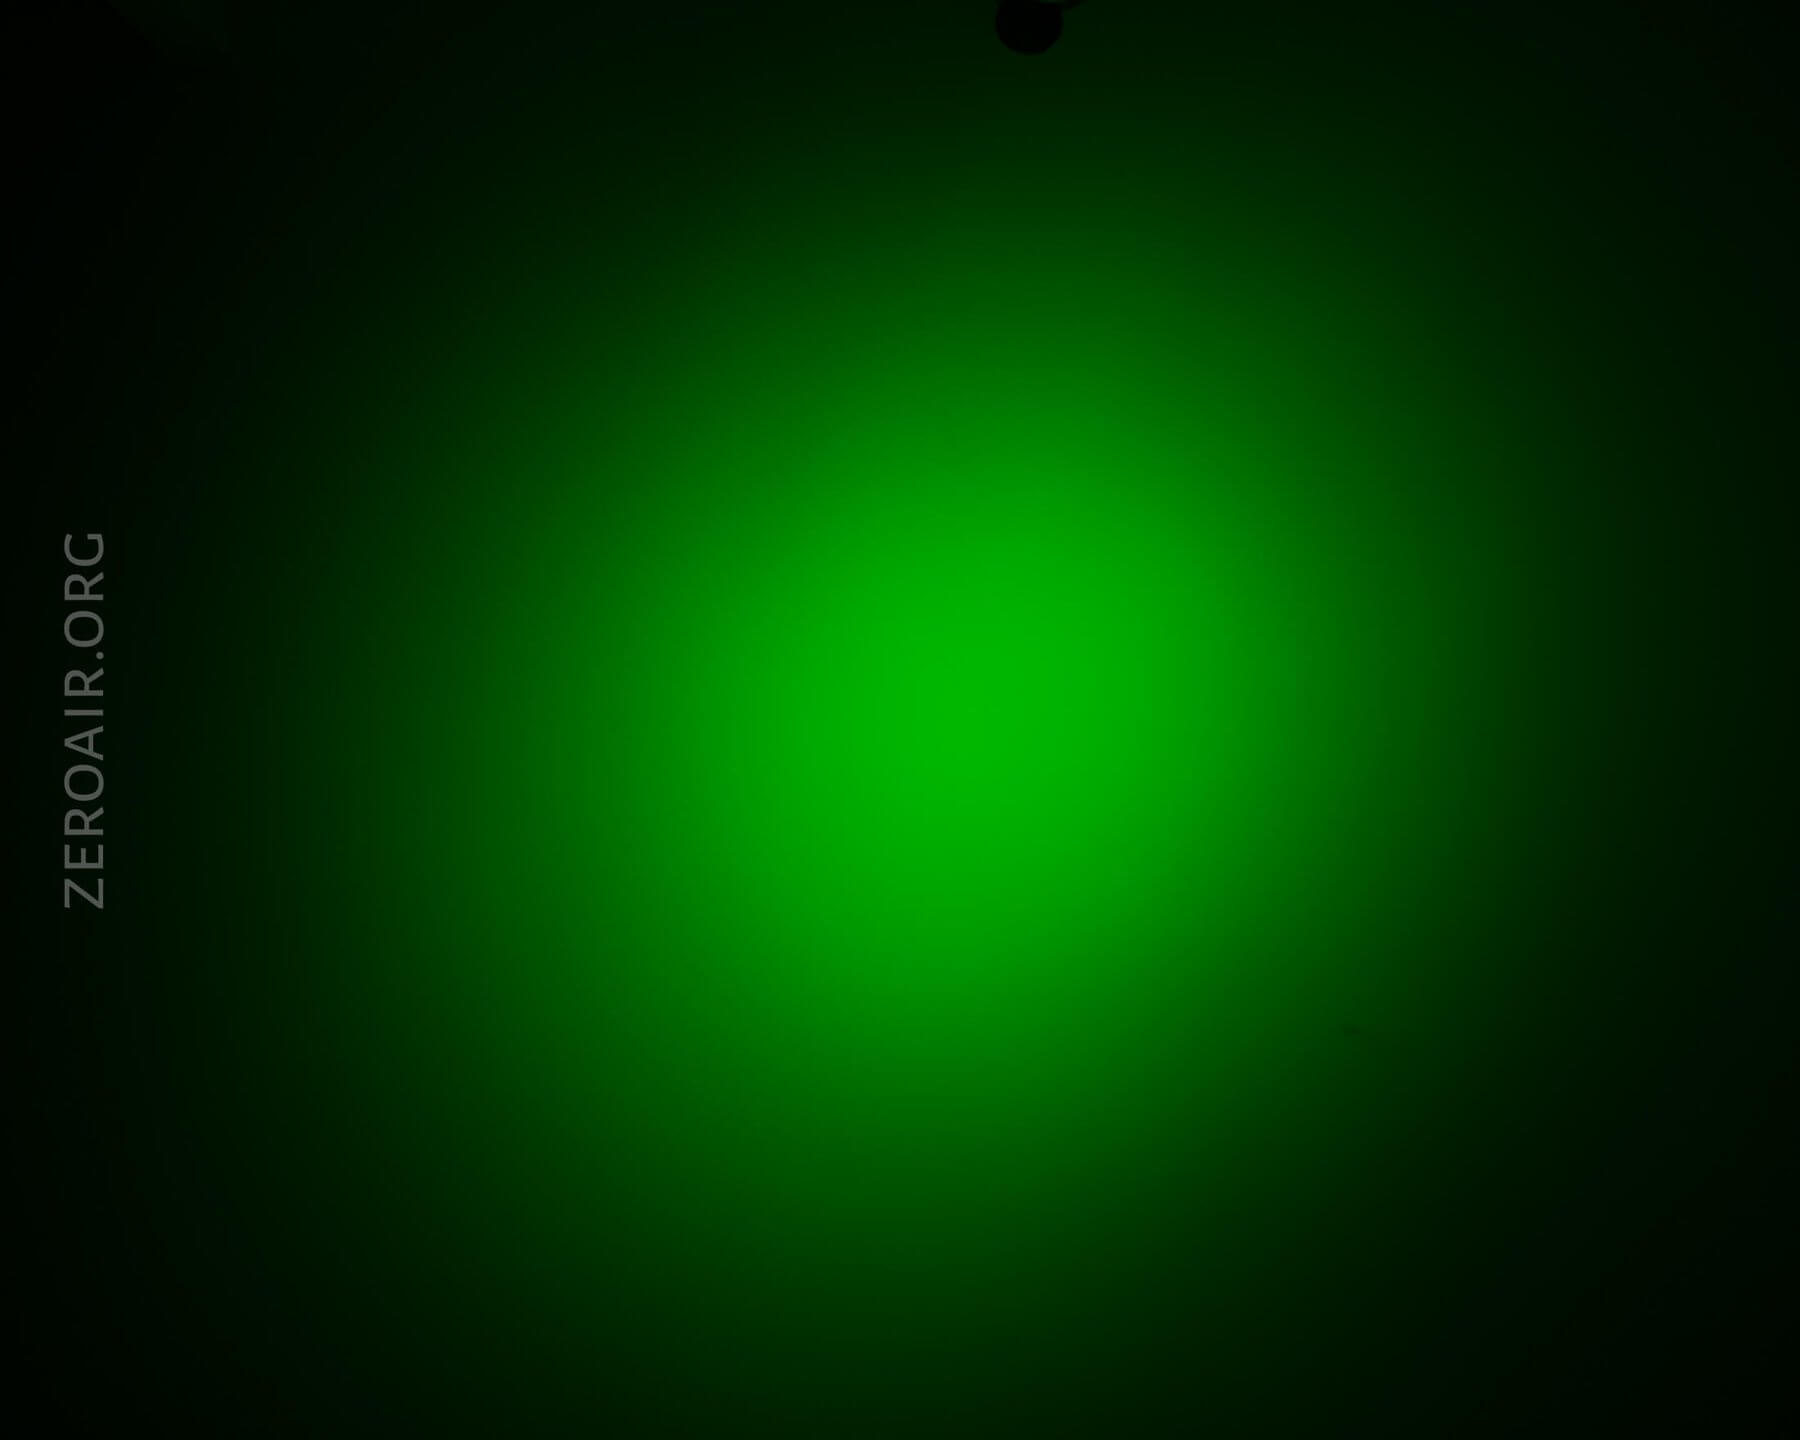
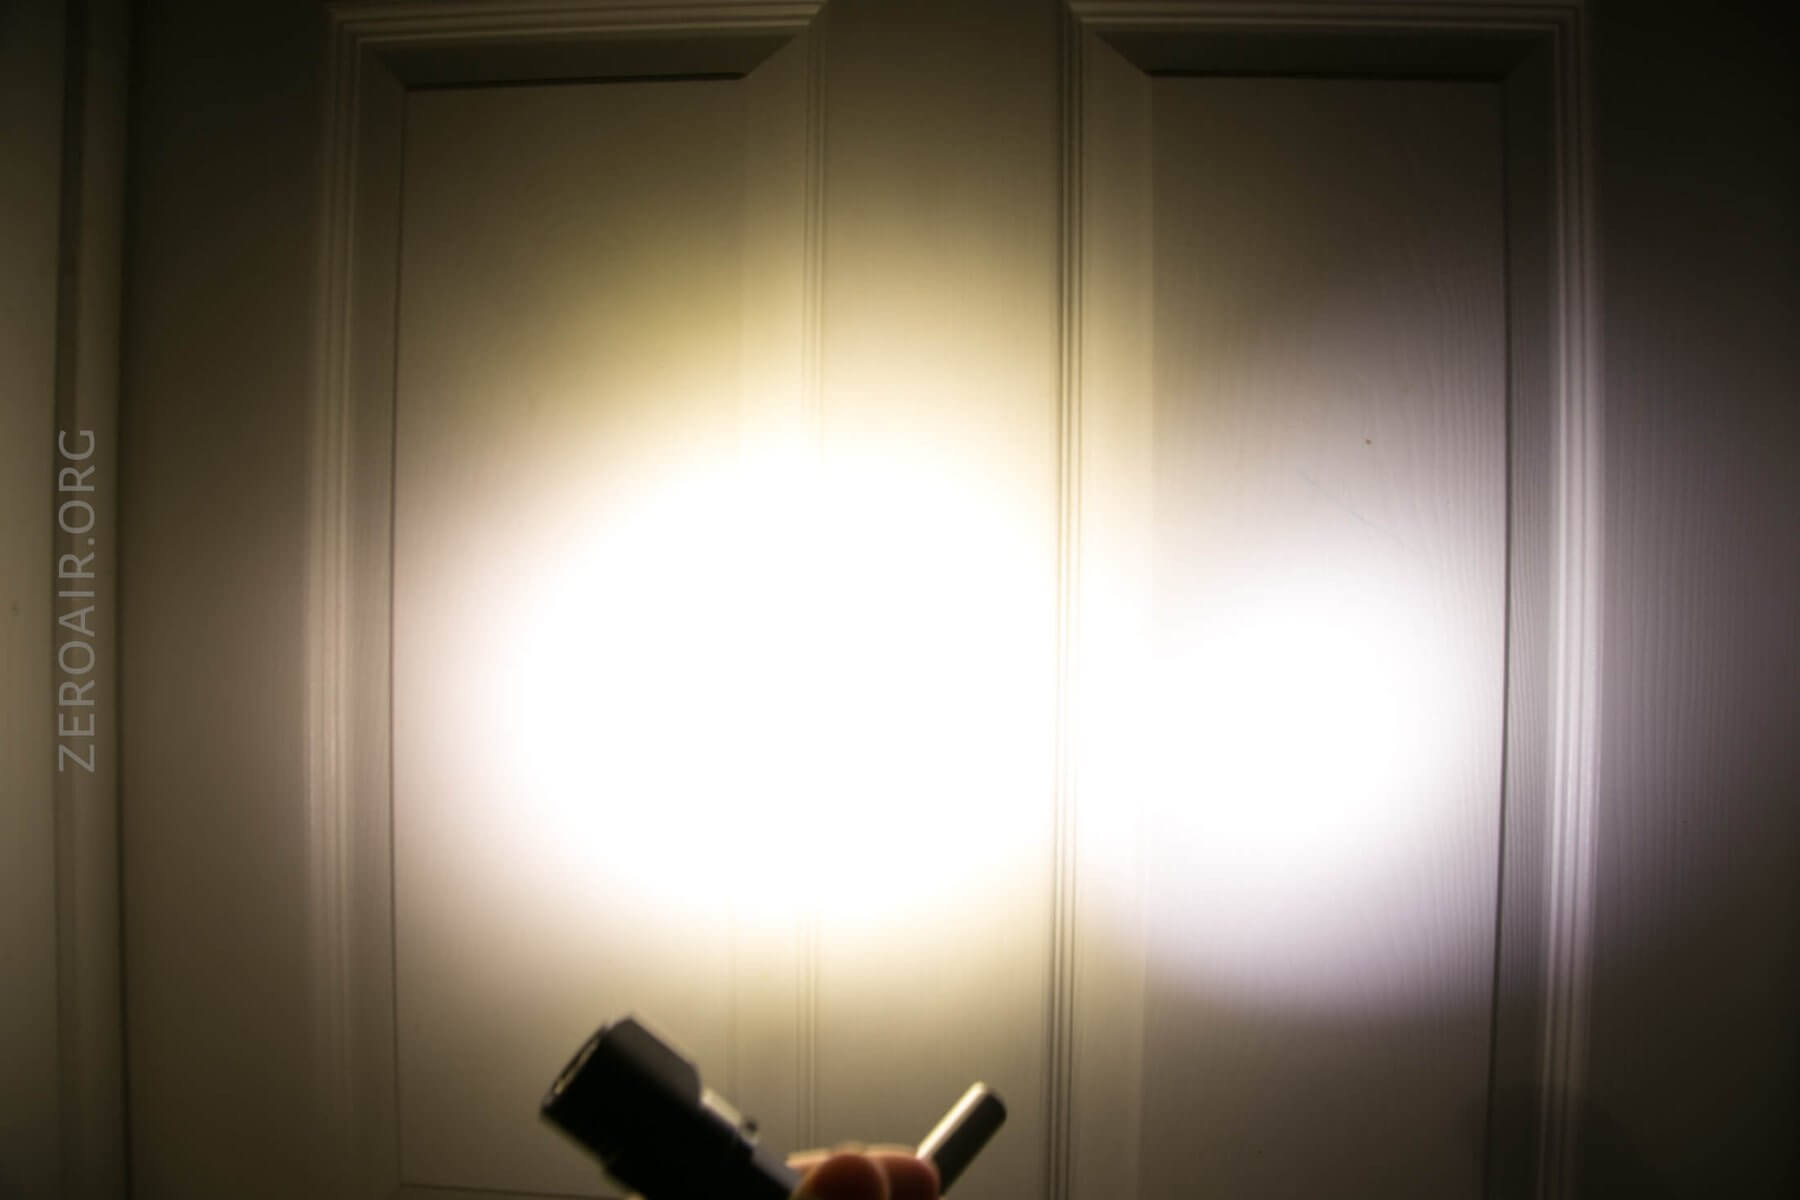
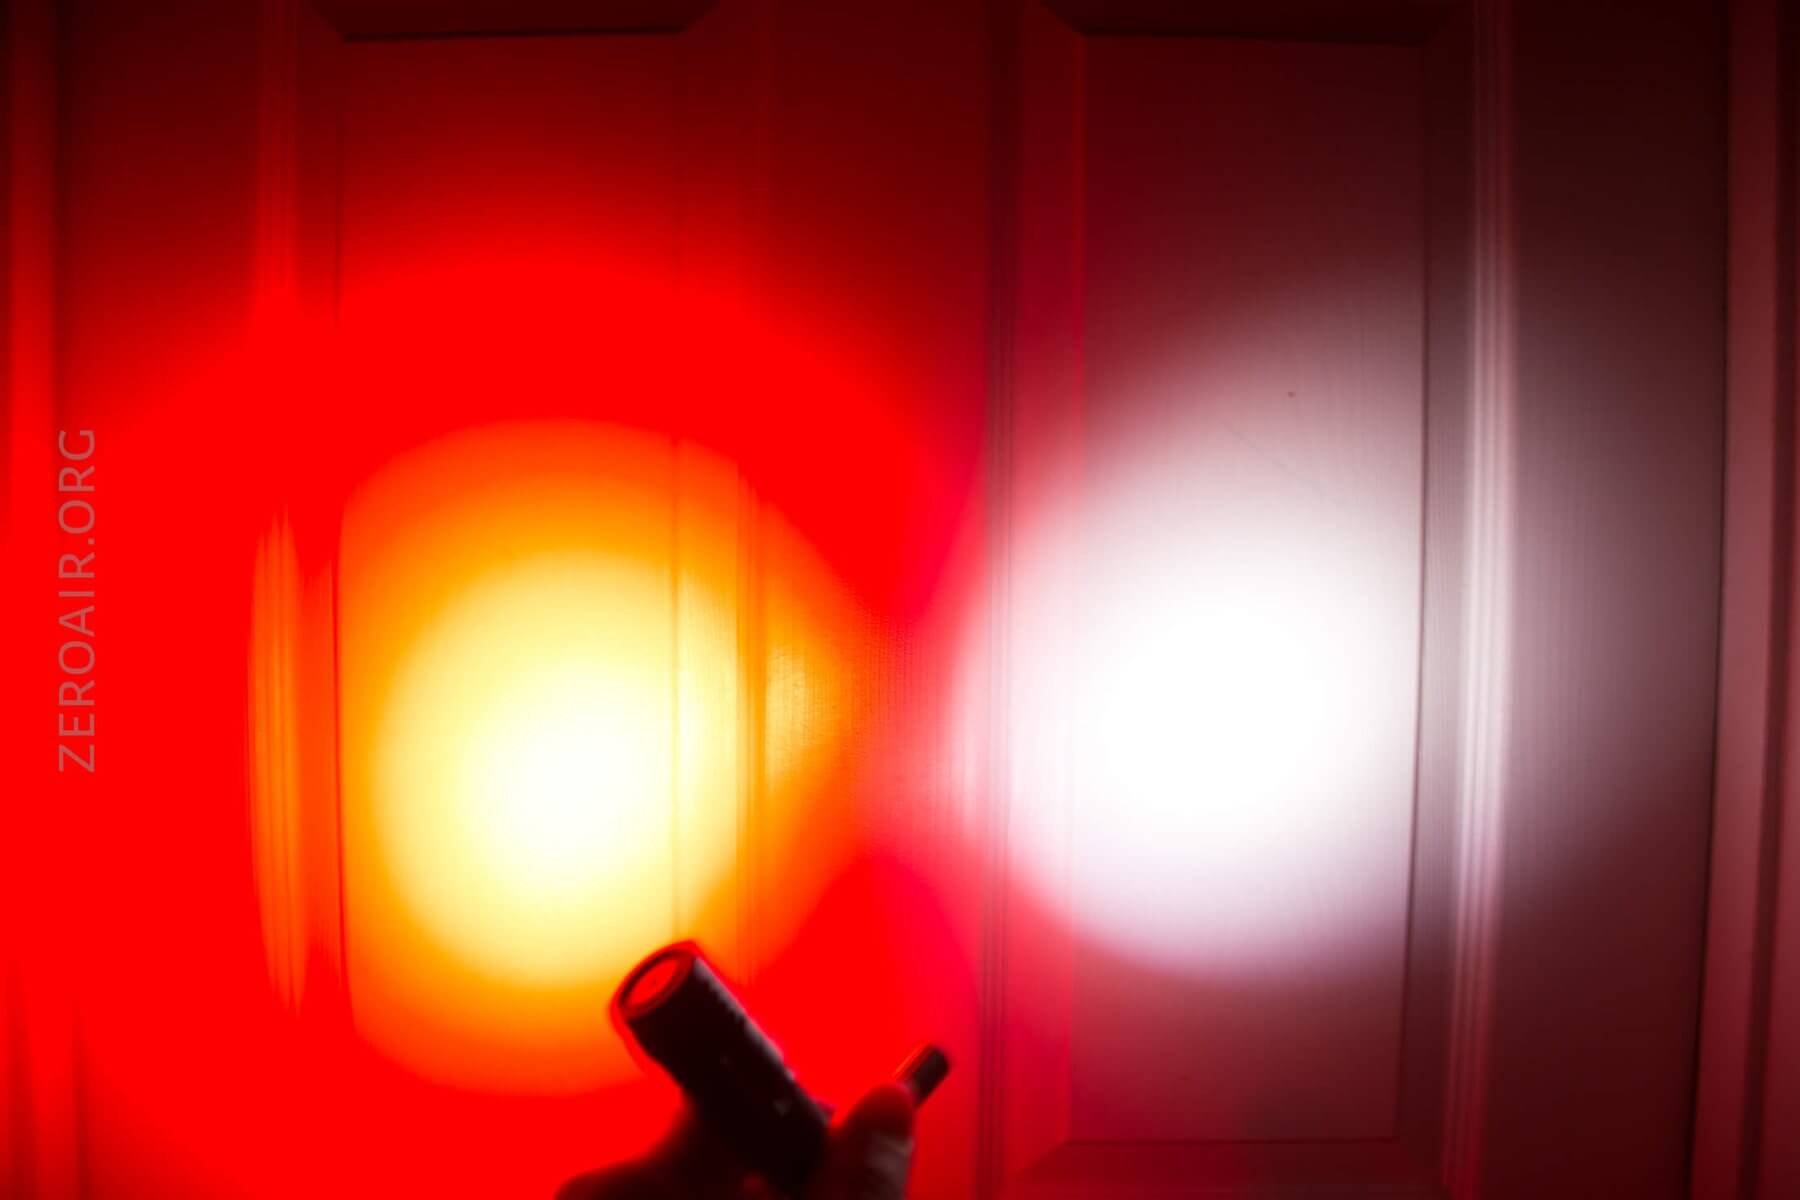
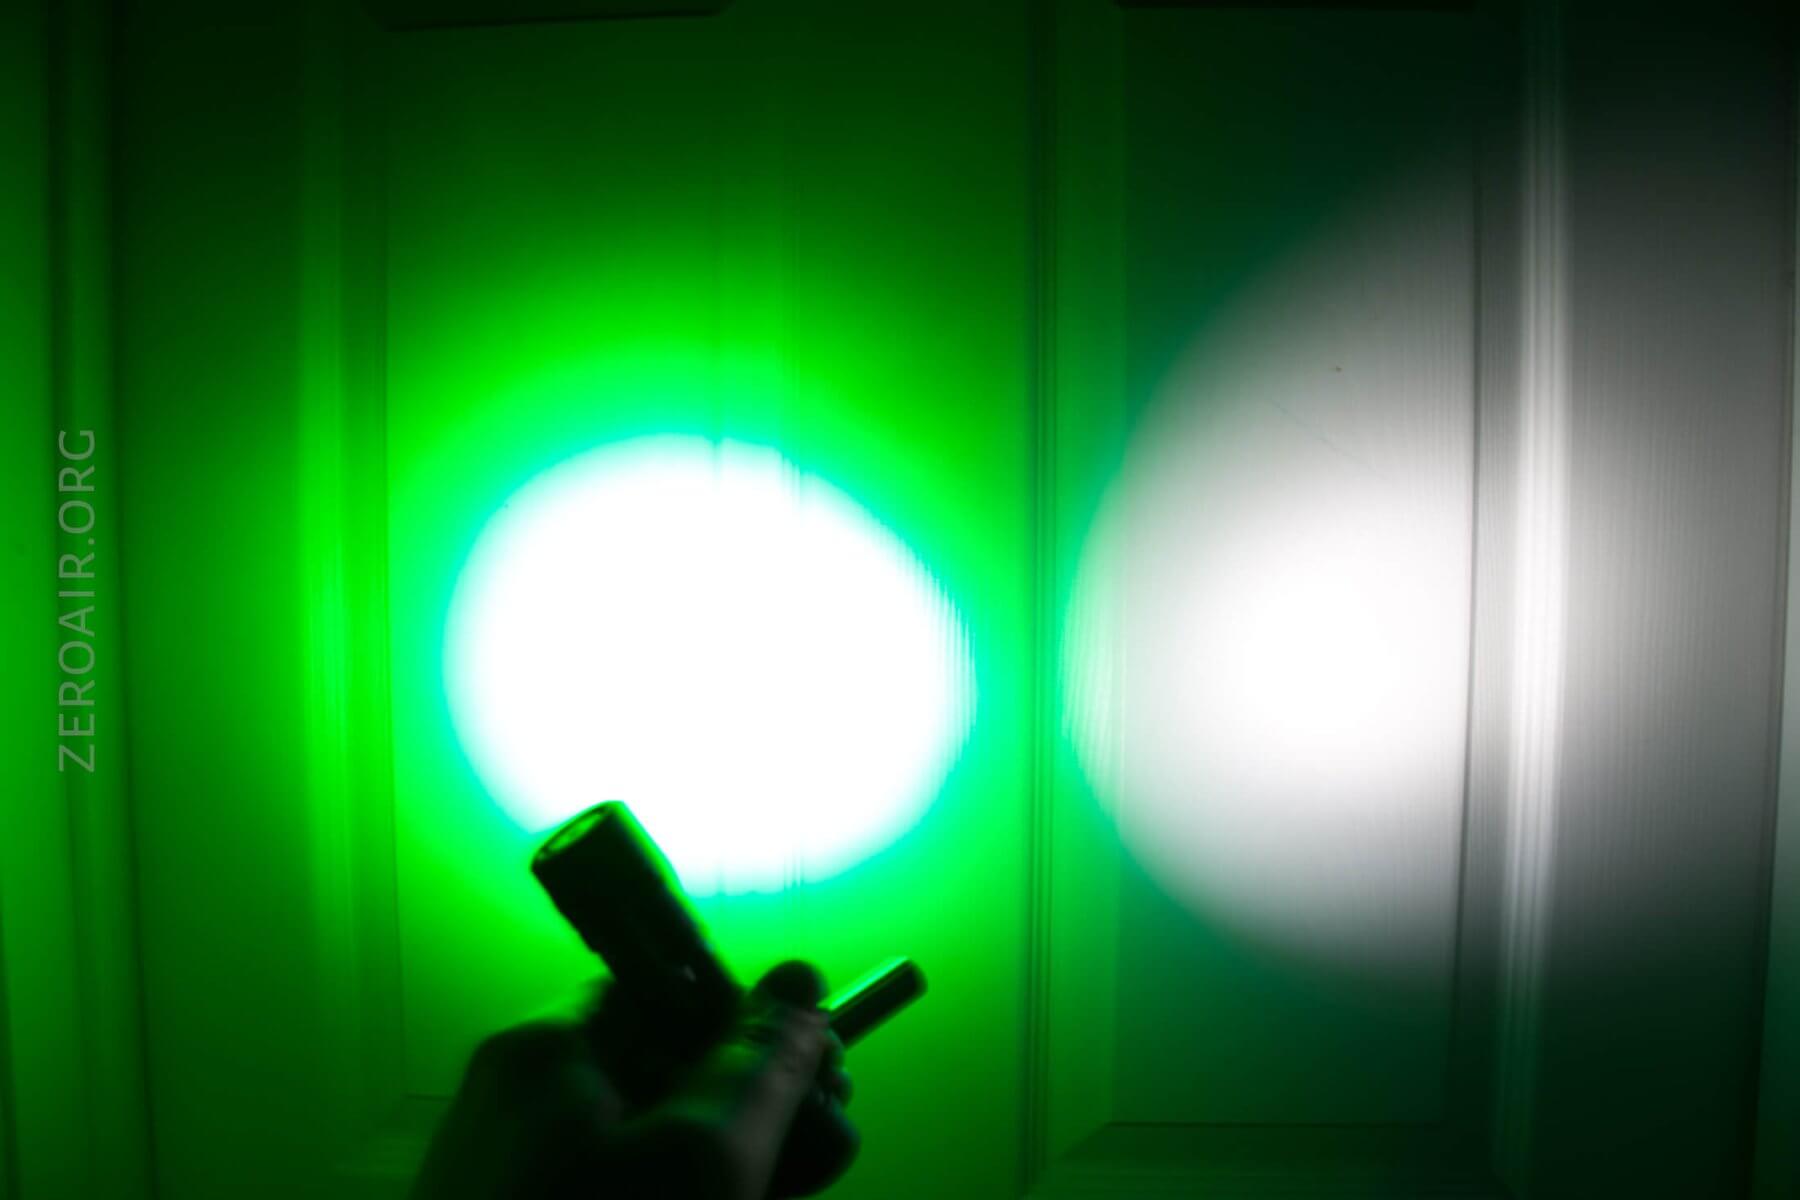
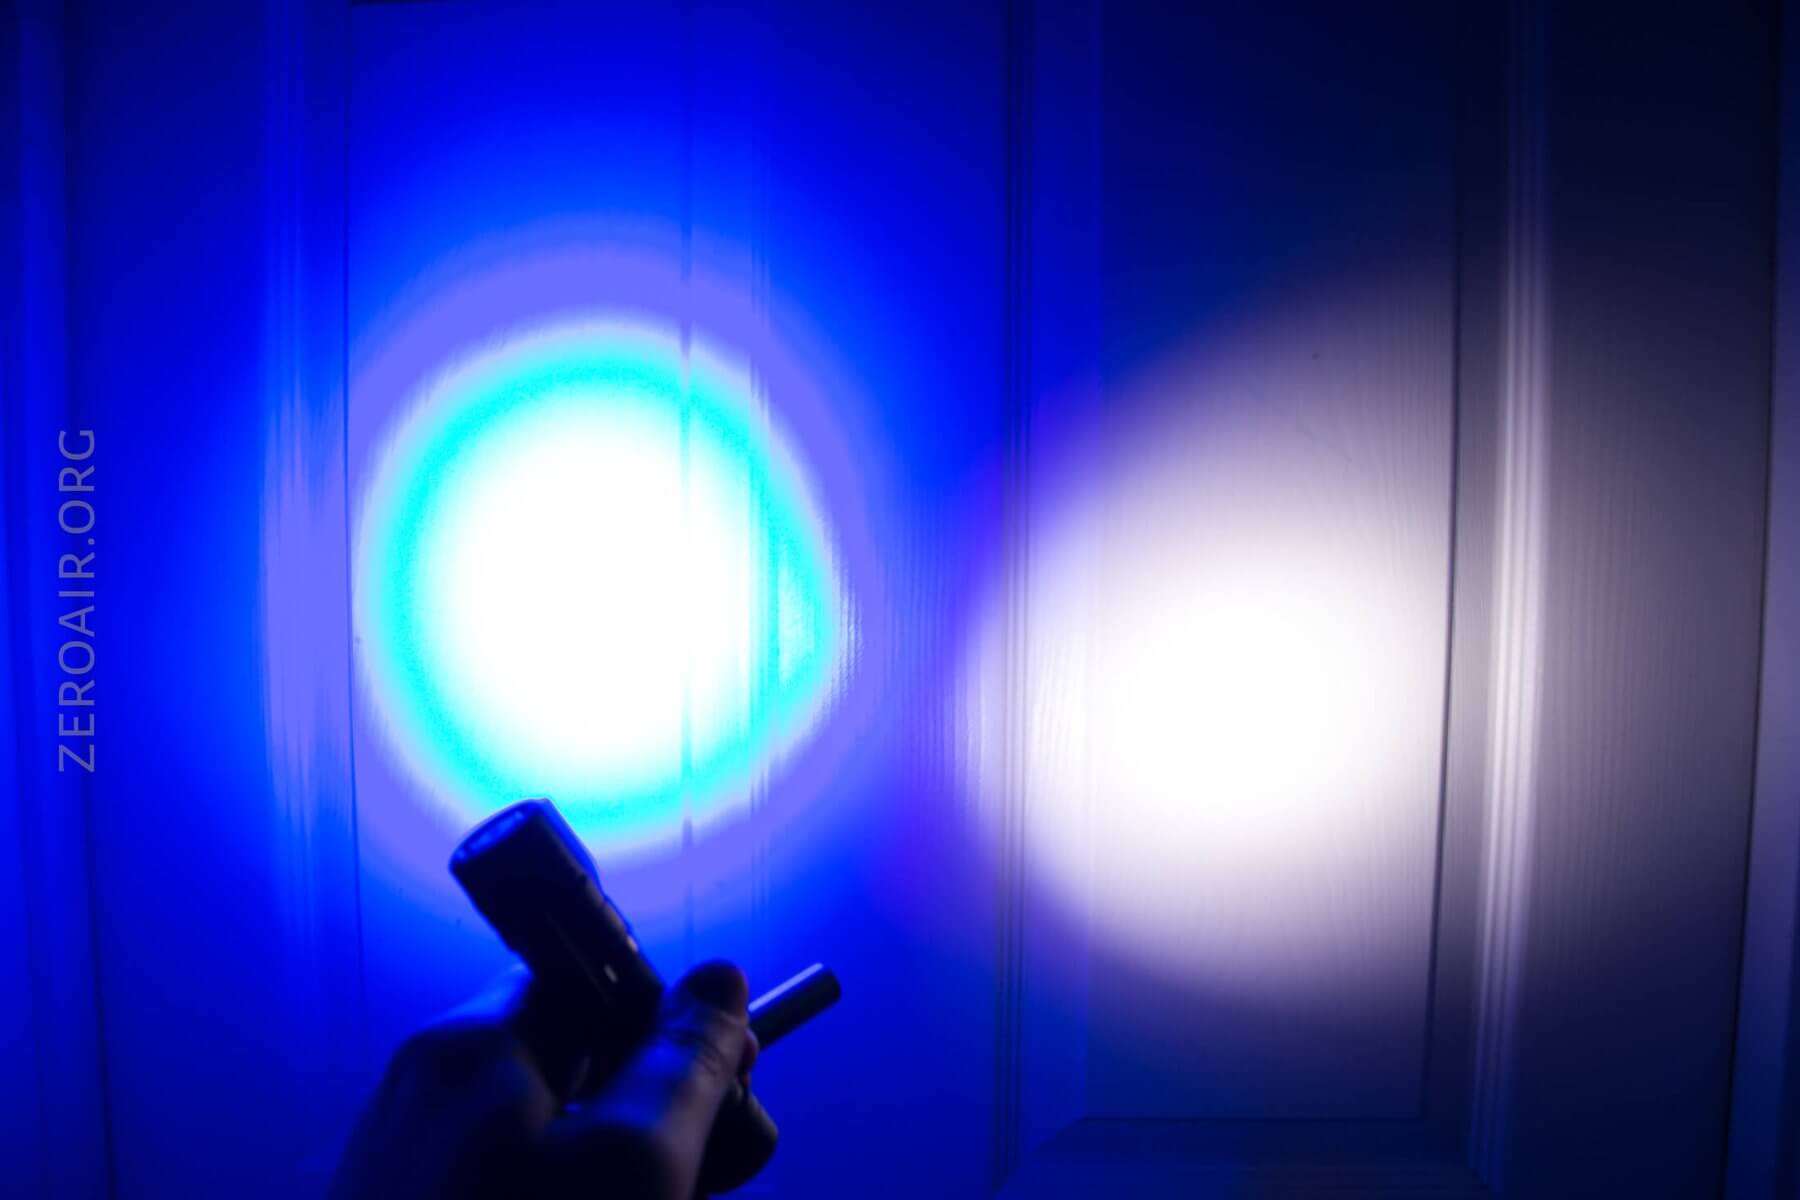
LED and Beam
The emitter in this neat little light is the interesting Cree XM-L Color, which has four emitters on one die. That makes it different from some other lights, which have completely separate emitters for their color choices. It also means the beam profiles are a little awkward, since only 1/4 of the die is sending output through the TIR – it ends up as a little big misshapen beam profile. When using the light, this won’t be a problem.
Here’s a look at each of the emitter colors.
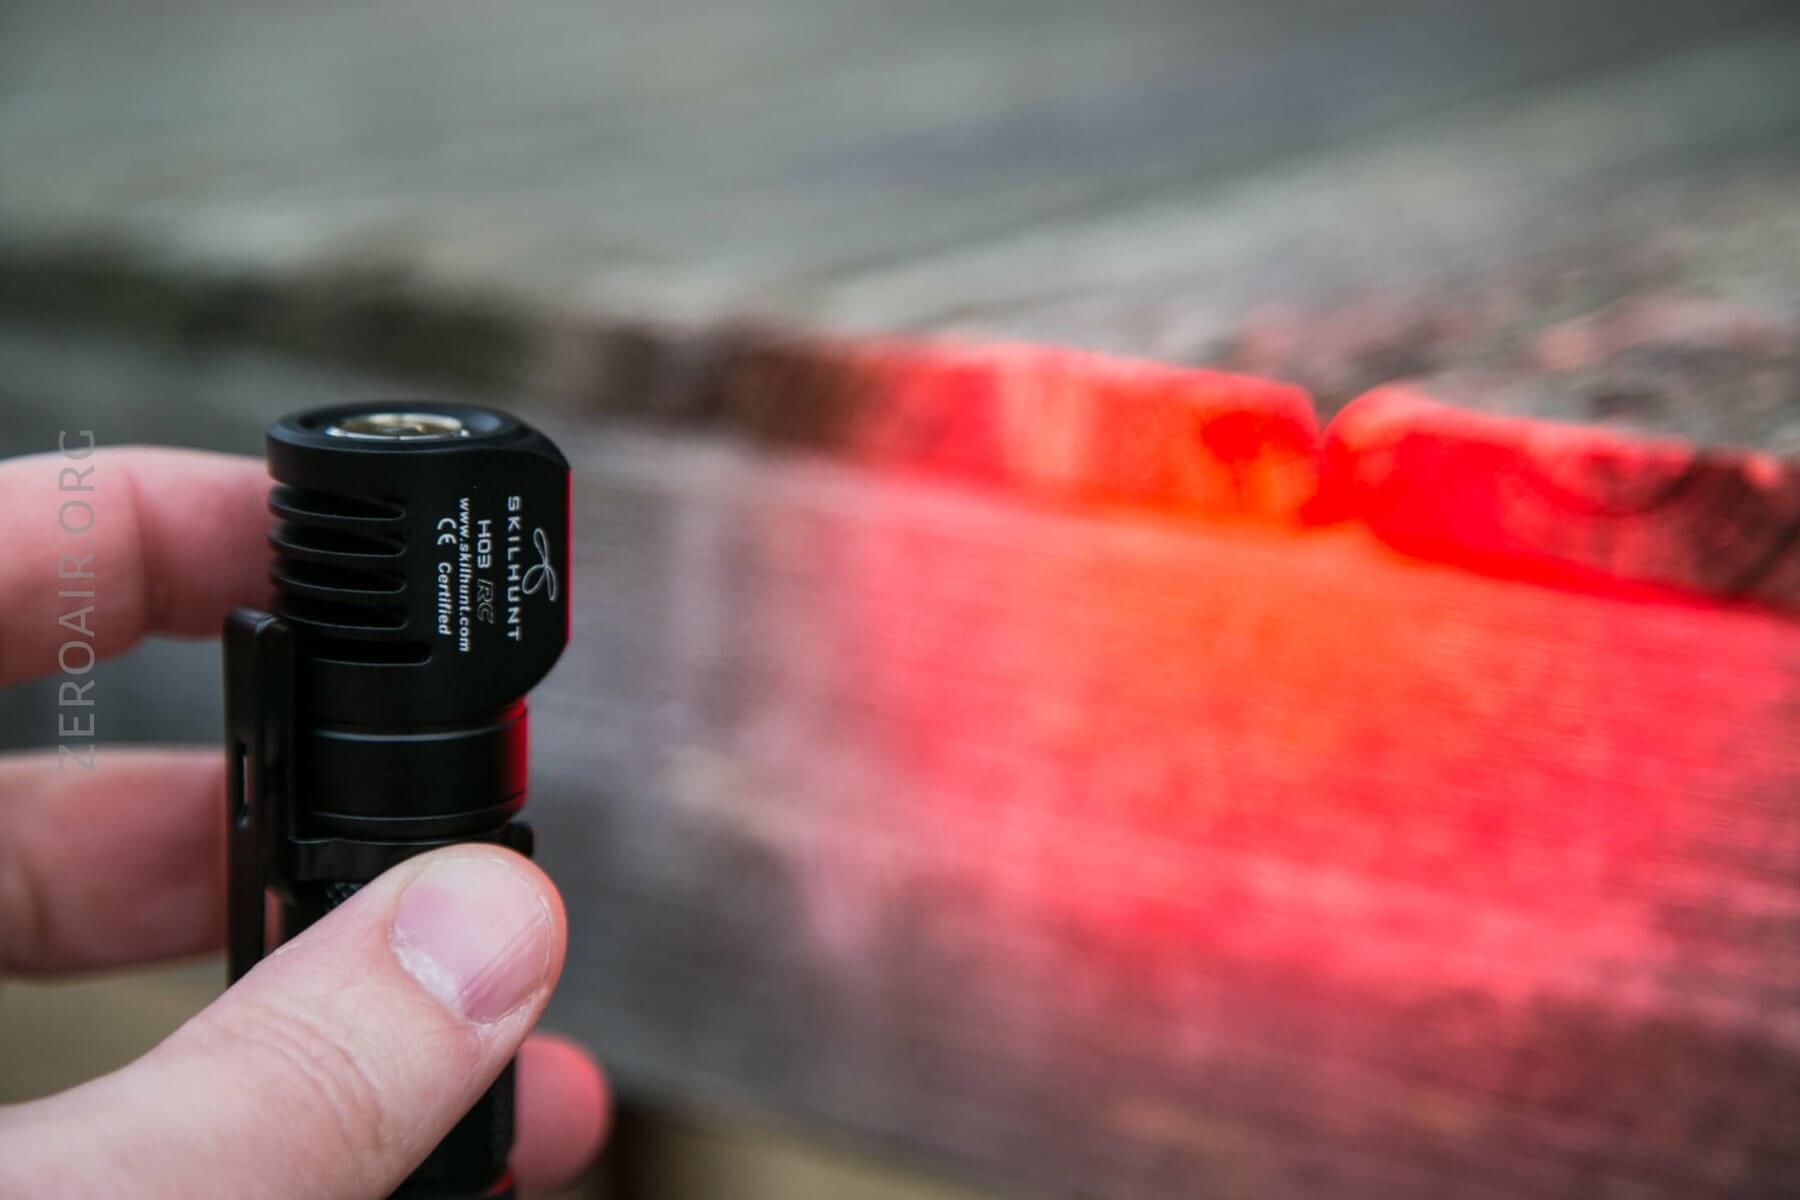

Dominant wavelength for the colors:
Red: 620-630nm
Green: 520-530nm
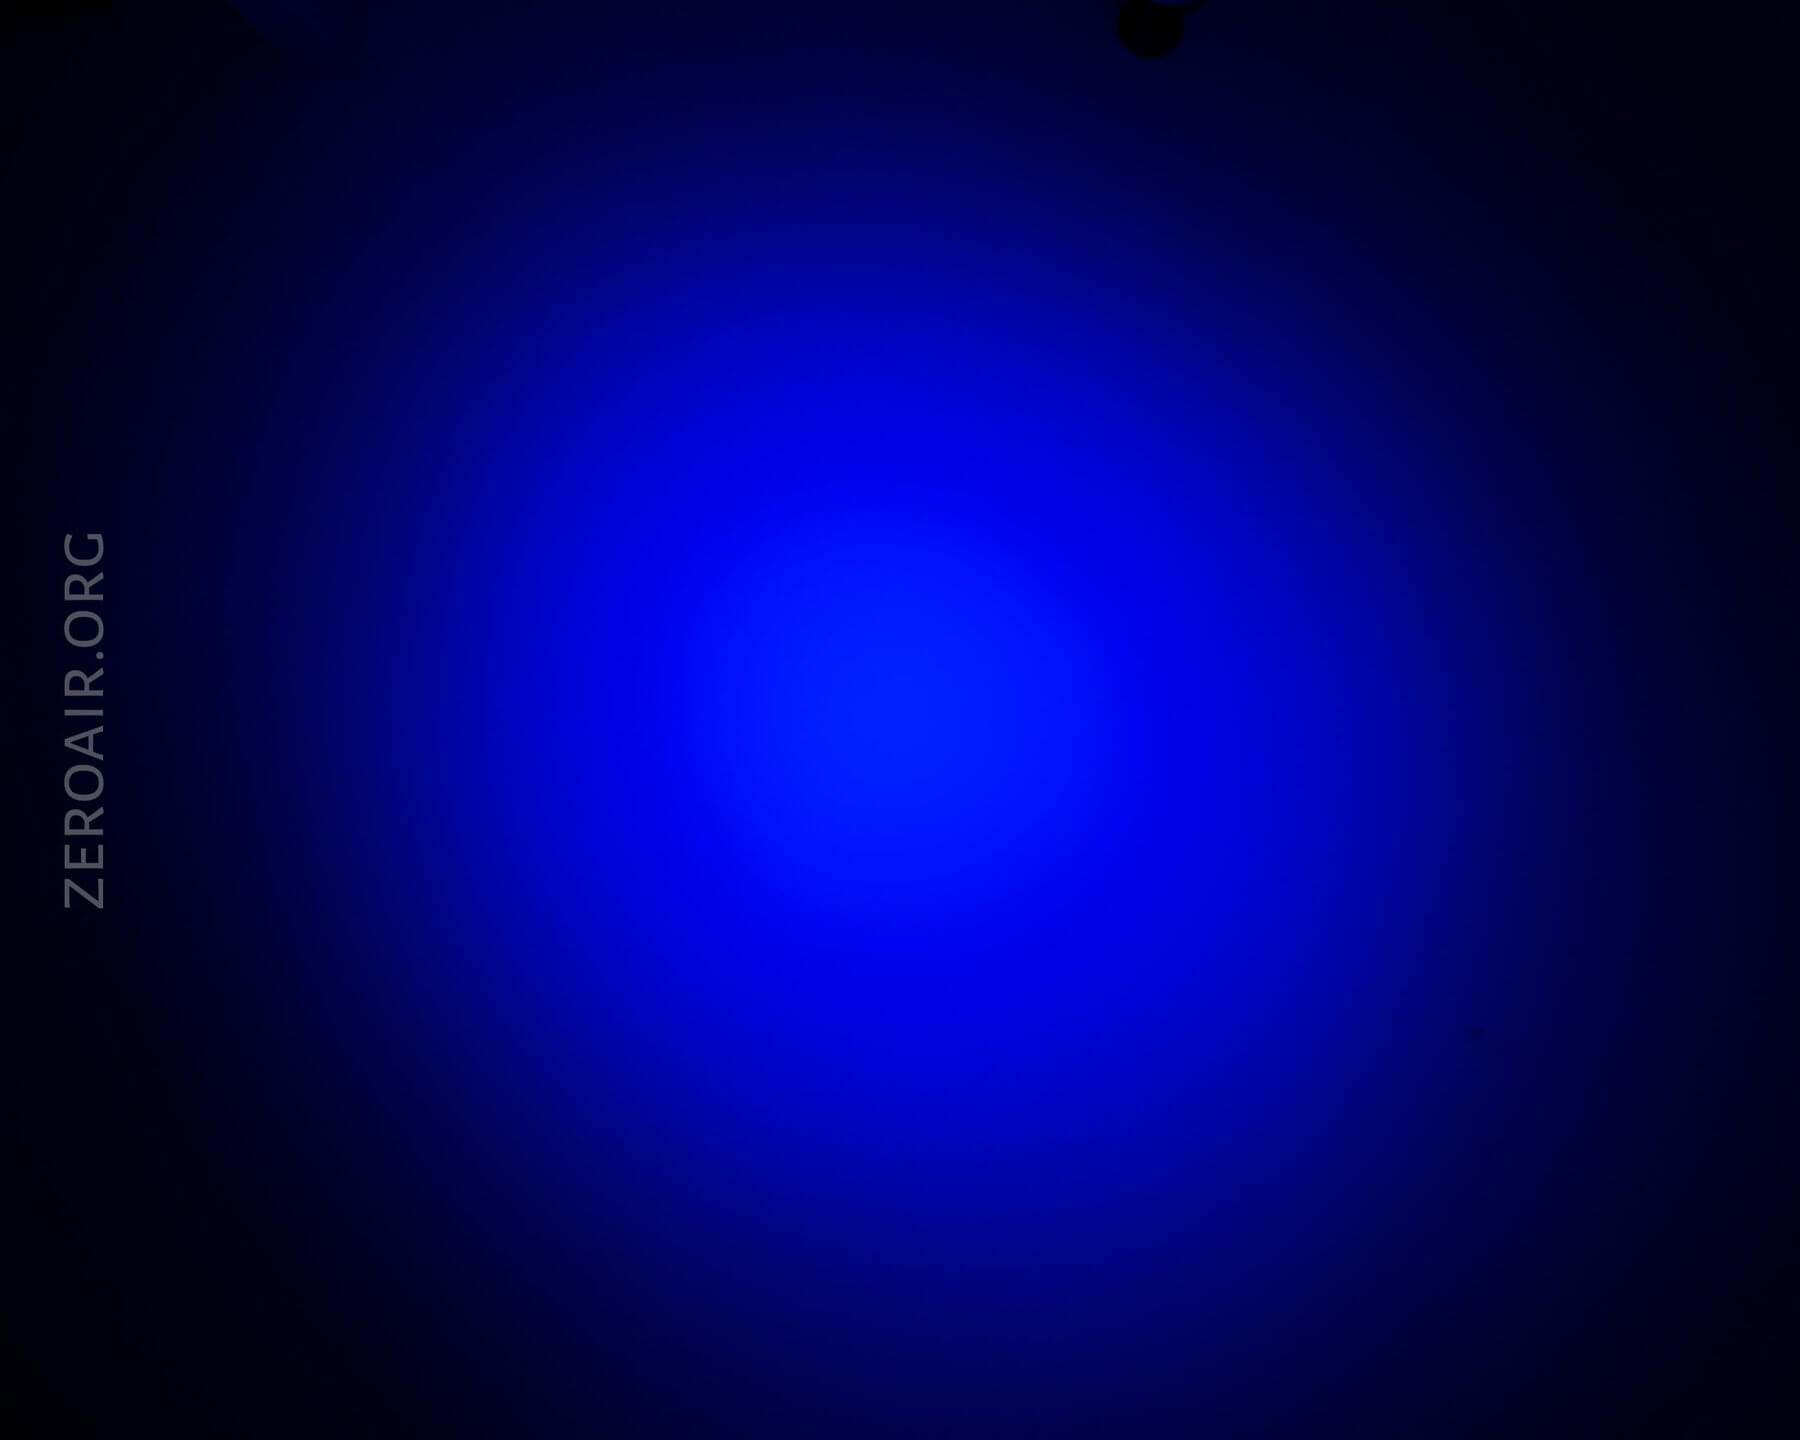
Blue: 450-460nm

And the four white modes. The “NW” is rated at 4000K, and that’s probably about right.


Tint vs BLF-348 (KillzoneFlashlights.com 219b version) (affiliate link)
Random Comparisons and Competitive Options
Here’s a link to parametrek.com. As far as I can tell, there’s no other headlamp utilizing this emitter. There’s really only one other flashlight using it, too. That’s the Eagtac D25LC2. If you want a light with this emitter, grab the H03C RC!
Another option is to get a light built by the maker of MELD firmware, which really utilizes the life out of this emitter. And if you don’t know what MELD is… have a look here. That’s not using the same emitter as this light, but I believe in some cases the XM-L Color is used.
Conclusion
What I like
- Fun multi-color light!
- On-board charging doesn’t add much size
- Low Voltage Protection
- Indicating switch
- Interesting strobe modes for RGB
What I don’t like
- Maximum output on Turbo is only 220 lumens
- Proprietary charge cable
- Underutilized indicating switch
- No modes (except “high”) for steady RGB
Notes
- This light was provided by GearBest for review. I was not paid to write this review.
- This content originally appeared at zeroair.org. Please visit there for the best experience!
- Use my amazon.com referral link if you’re willing to help support making more reviews like this one!
- Please support me on Patreon! I deeply appreciate your support!
Discover more from ZeroAir Reviews
Subscribe to get the latest posts sent to your email.