Amutorch X9 Flashlight Review
The Amutorch X9 flashlight is an e-switch flashlight with Luminus SST-40 emitters and onboard charging! Read on for some thoughts and testing!
Official Specs and Features
Here’s a link to the Amutorch X9 Flashlight product page.
Versions
There’s just one version.
Price and Coupon
The price now is $59.95, but the coupon AMUTORCH will take 15% off at NealsGadgets!
Short Review
I’d recommend buying other lights instead of this one. It’s a neat light, and has some things you might not find elsewhere (larger head with a triple), but the absolutely unregulated output on Turbo (and even high, for that matter) makes this a no-buy for me. Unless you really know you want a light to get over 70°C, then look elsewhere. (Buy two FW3A’s, and use them at the same time!)
Long Review
The Big Table
| Amutorch X9 | |
|---|---|
| Emitter: | Luminus SST-40 (Triple) |
| Price in USD at publication time: | $59.95 Use coupon AMUTORCH to take 15% off at NealsGadgets! |
| Cell: | 1×26650 |
| Turbo Runtime | High Runtime |
| LVP? | Yes |
| Switch Type: | E-Switch |
| Quiescent Current (A): | 0.00004 |
| On-Board Charging? | Yes |
| Chargetime | |
| Power off Charge Port with no Cell? | Yes, 3 modes |
| Claimed Lumens (lm) | 4500 |
| Measured Lumens (at 30s) | 4775 (106.1% of claim)^ |
| Claimed Throw (m) | 356 |
| Candela (Calculated) in cd (at 30s) | 951lux @ 4.455m = 18875cd |
| Throw (Calculated) (m) | 274.8 (77.2% of claim)^ (This is after the stepdown!) |
| All my Amutorch reviews! | |
^ Measurement disclaimer: Testing flashlights is my hobby. I use hobbyist-level equipment for testing, including some I made myself. Try not to get buried in the details of manufacturer specifications versus measurements recorded here; A certain amount of difference (say, 10 or 15%) is perfectly reasonable.
What’s Included
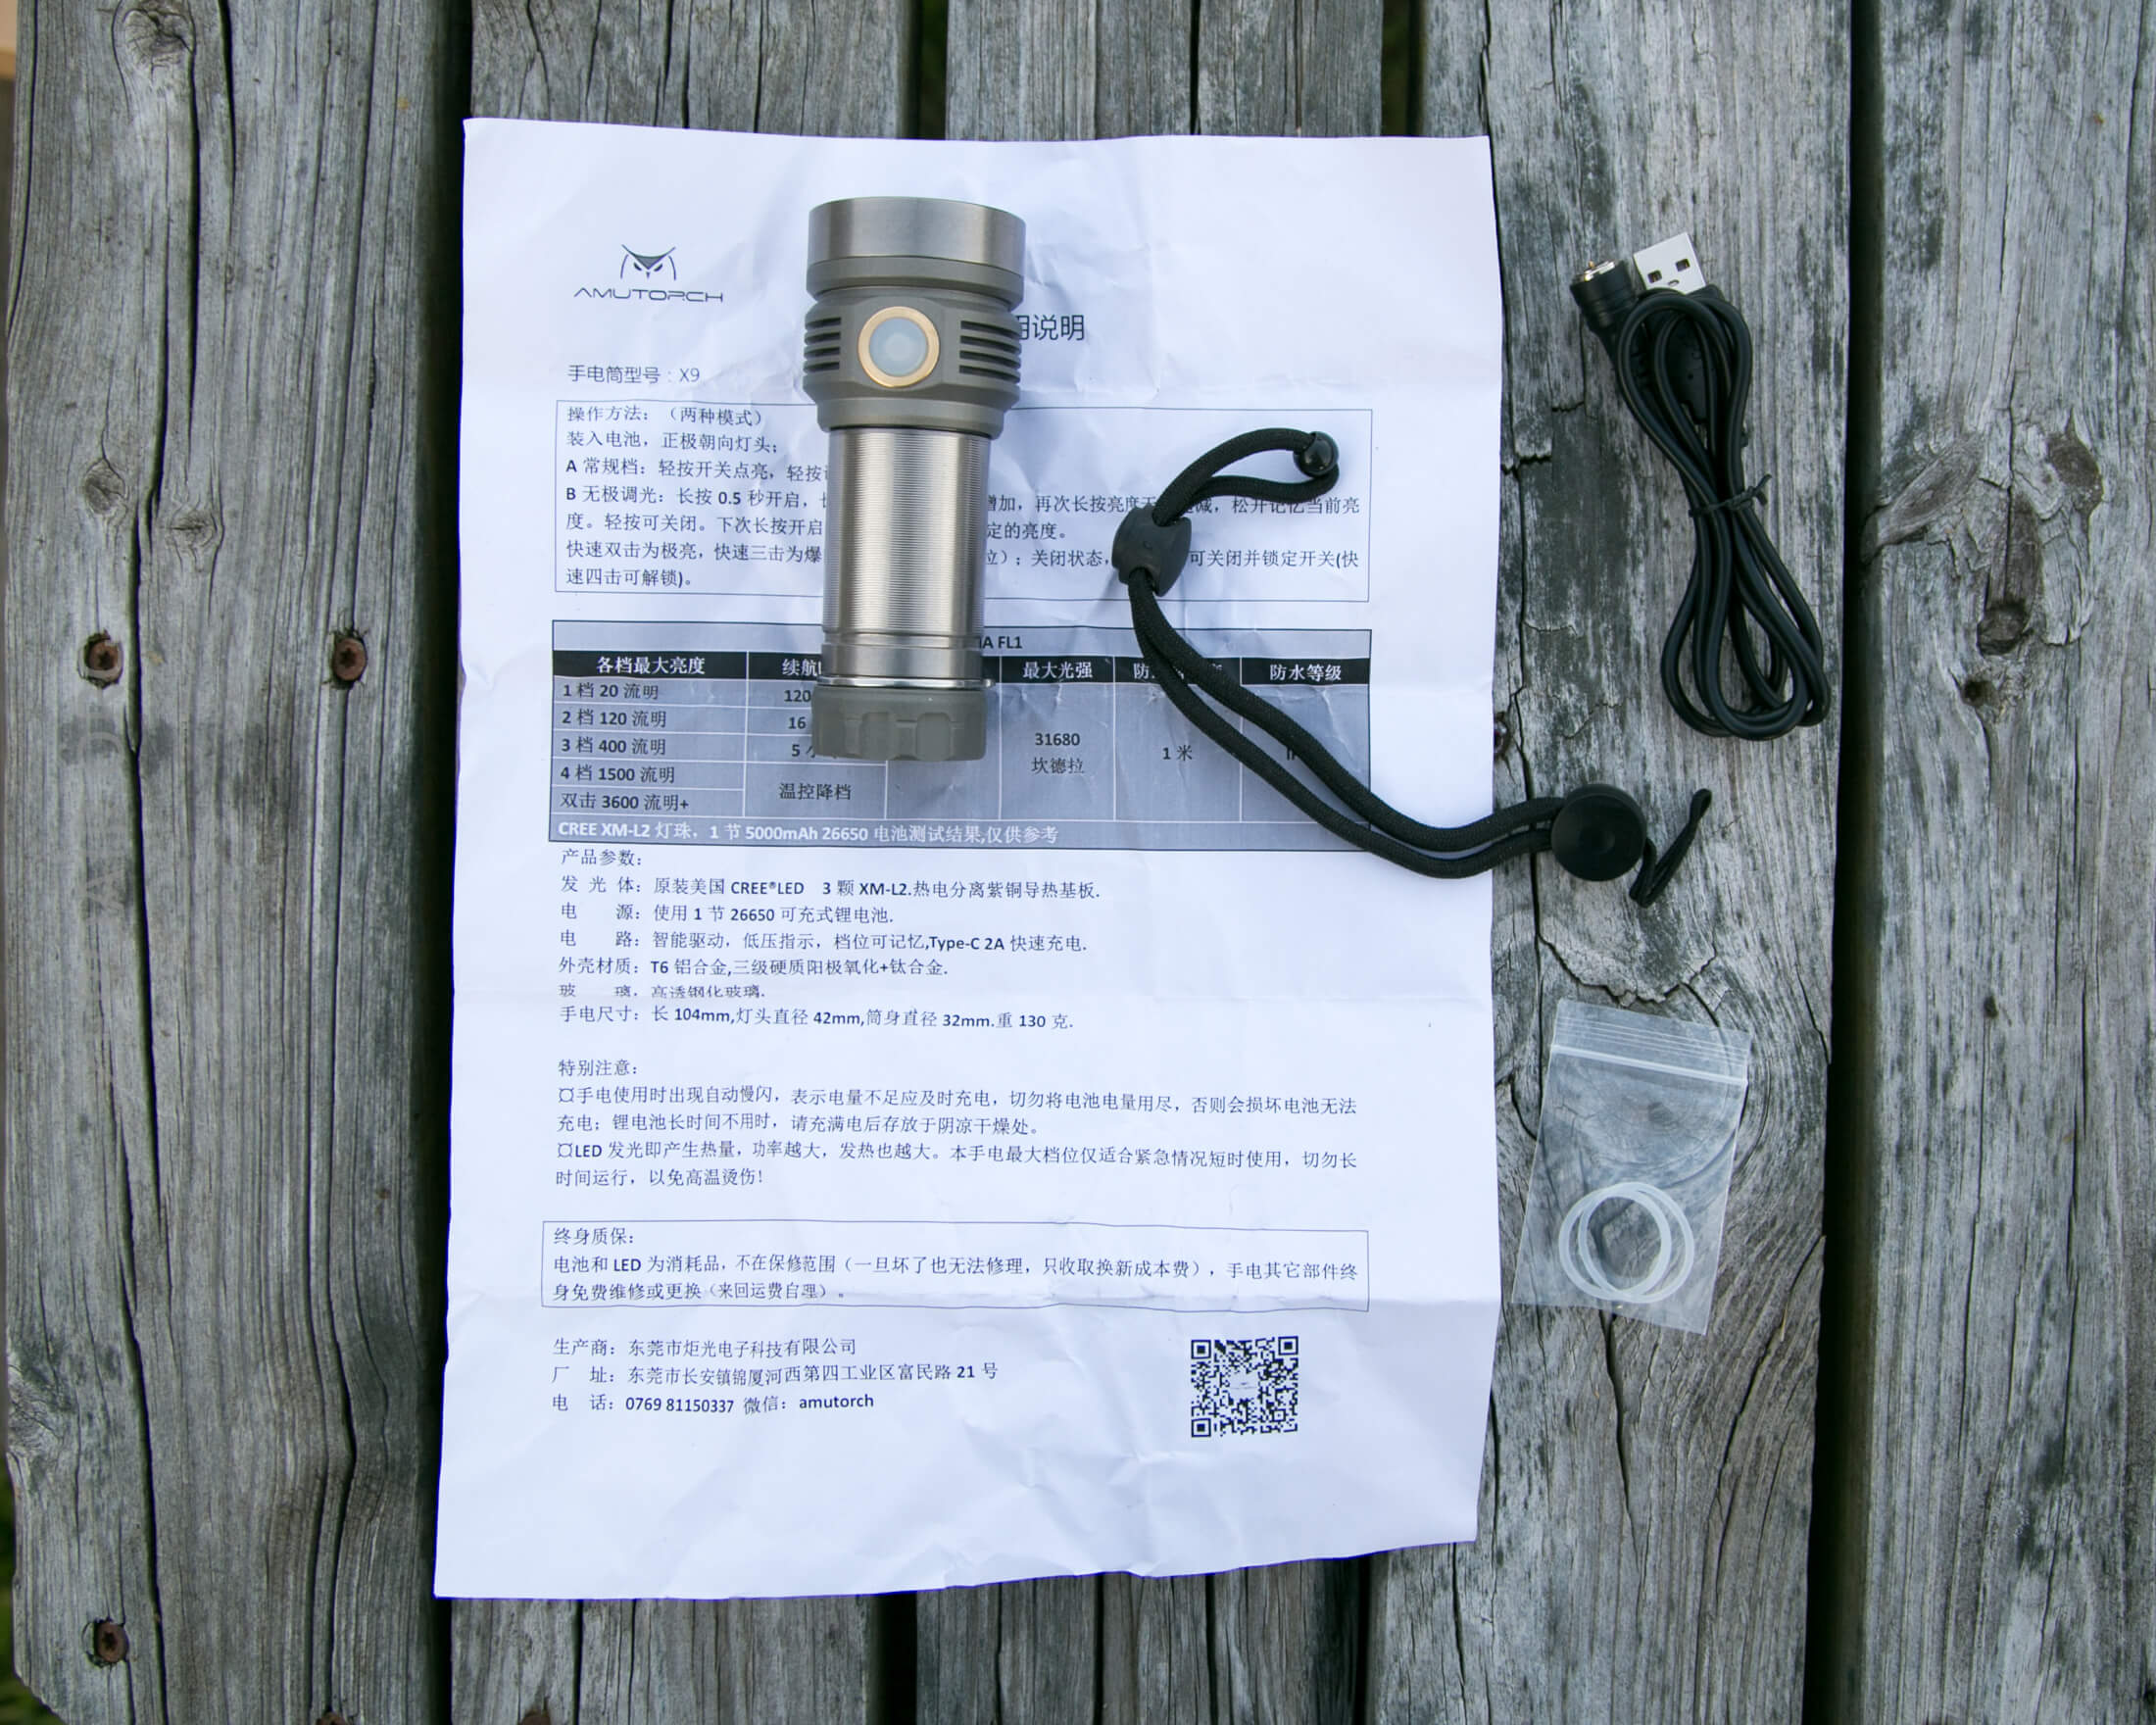
- Amutorch X8 Flashlight
- Lanyard
- Charge cable (USB to proprietary magnetic)
- Spare o-rings (2)
- Manual (in Chinese)
Package and Manual
I’m not including the manual because it’s in Chinese. I didn’t find an English manual.
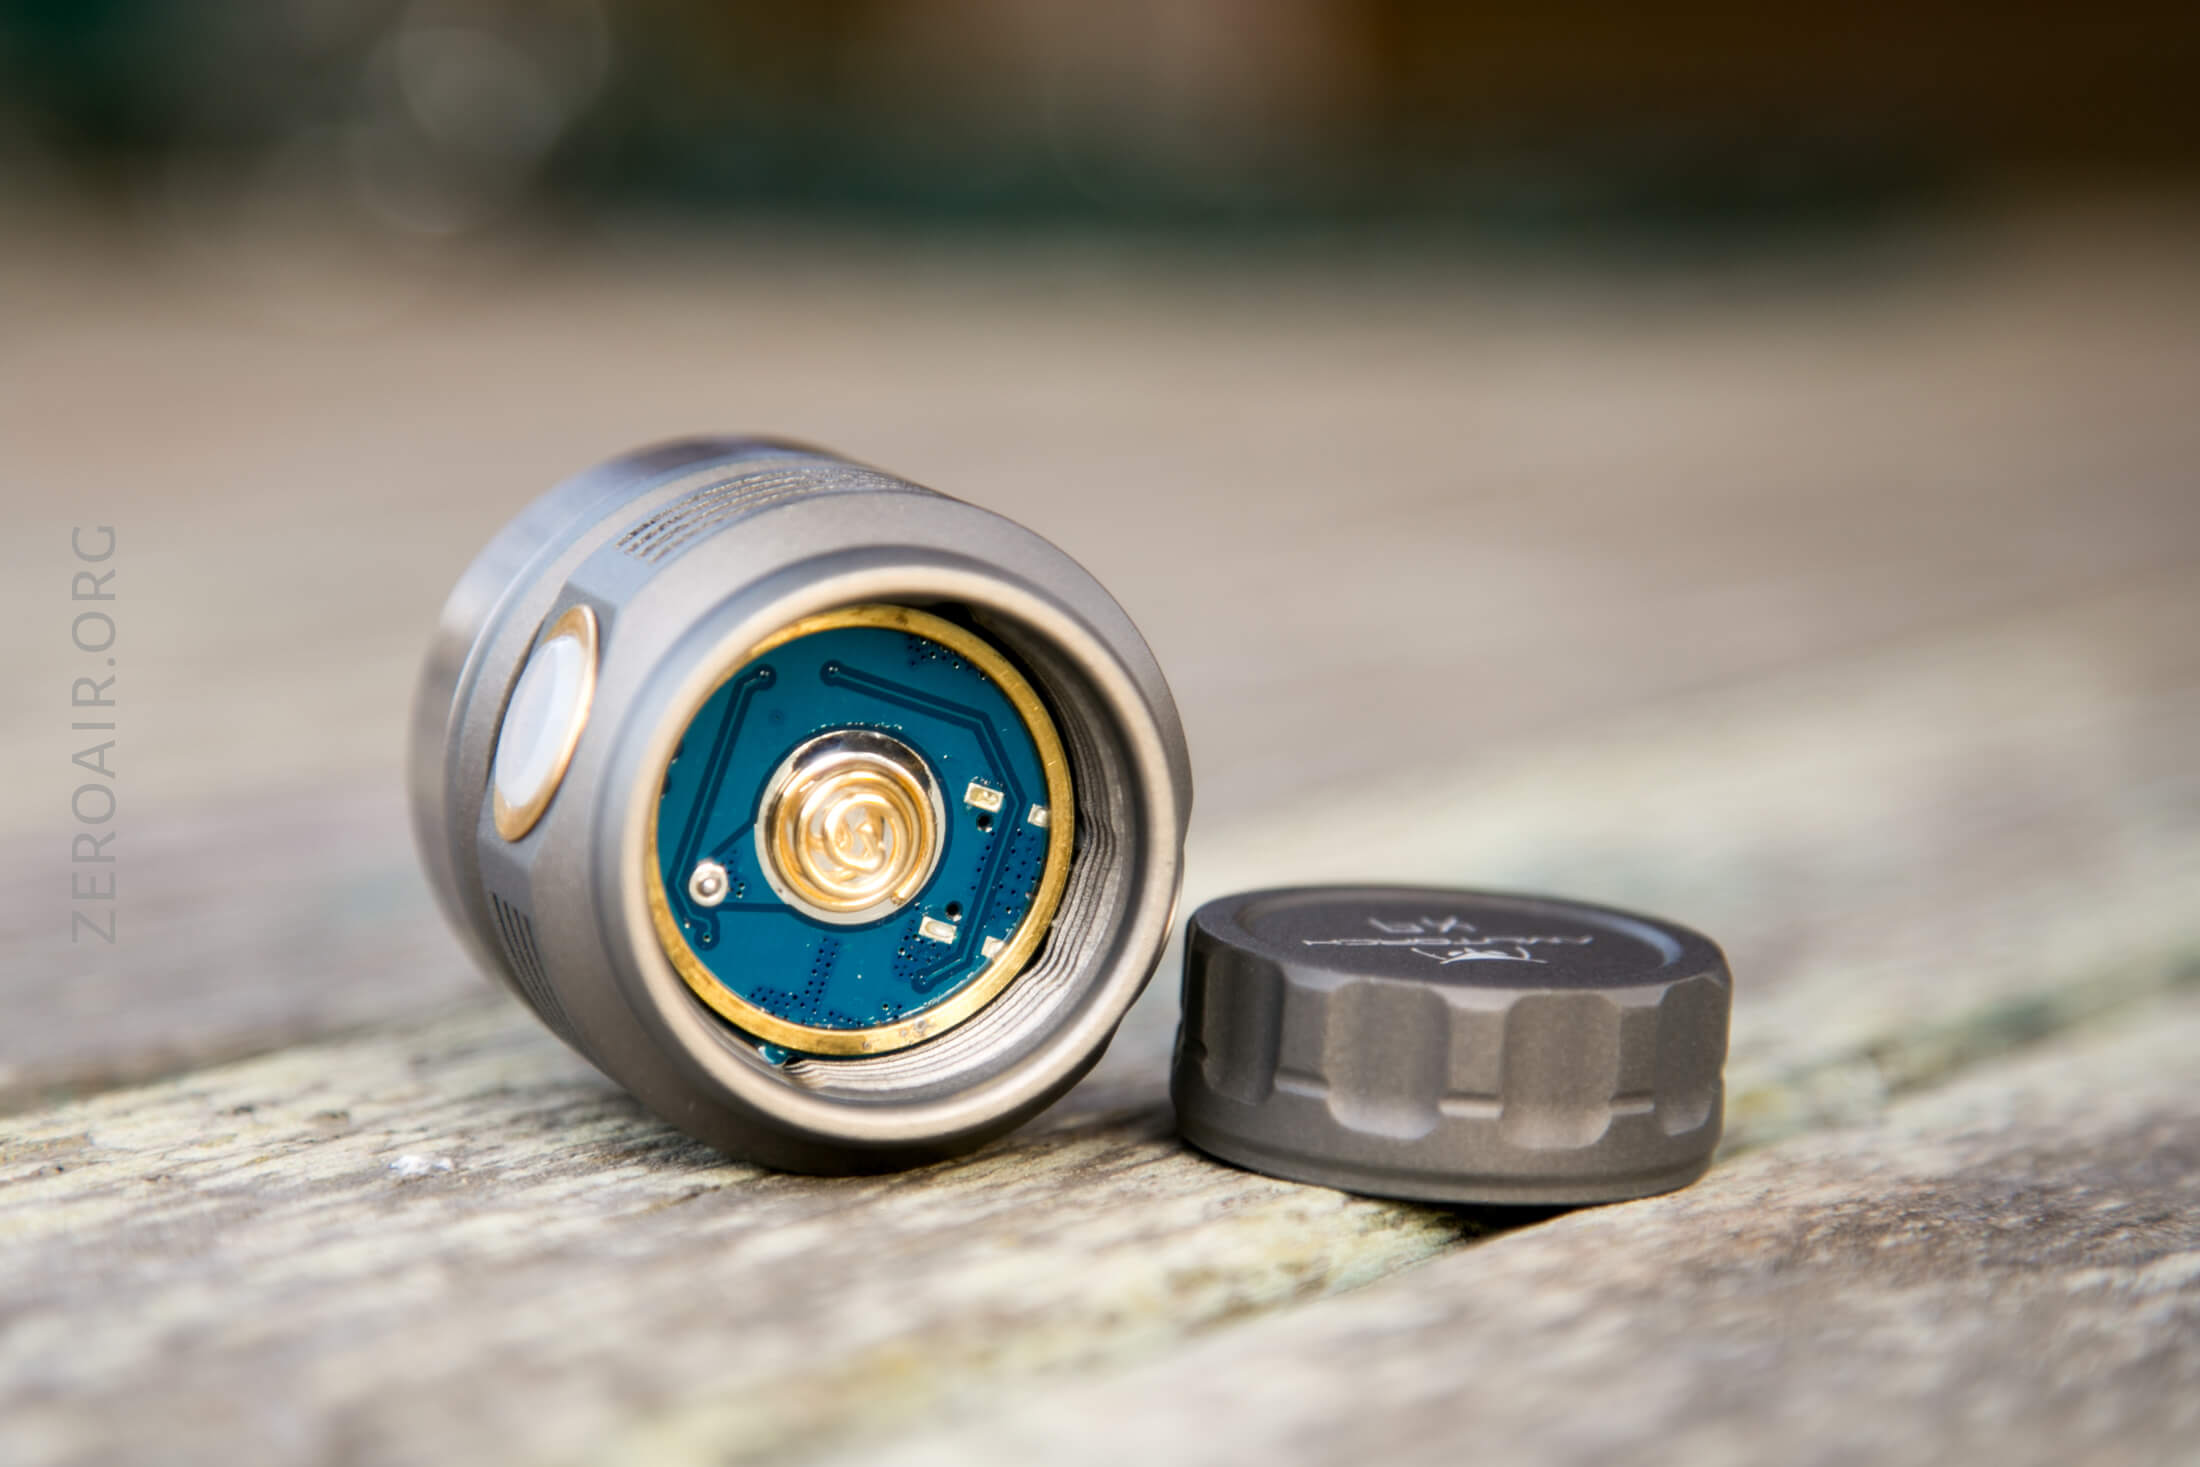
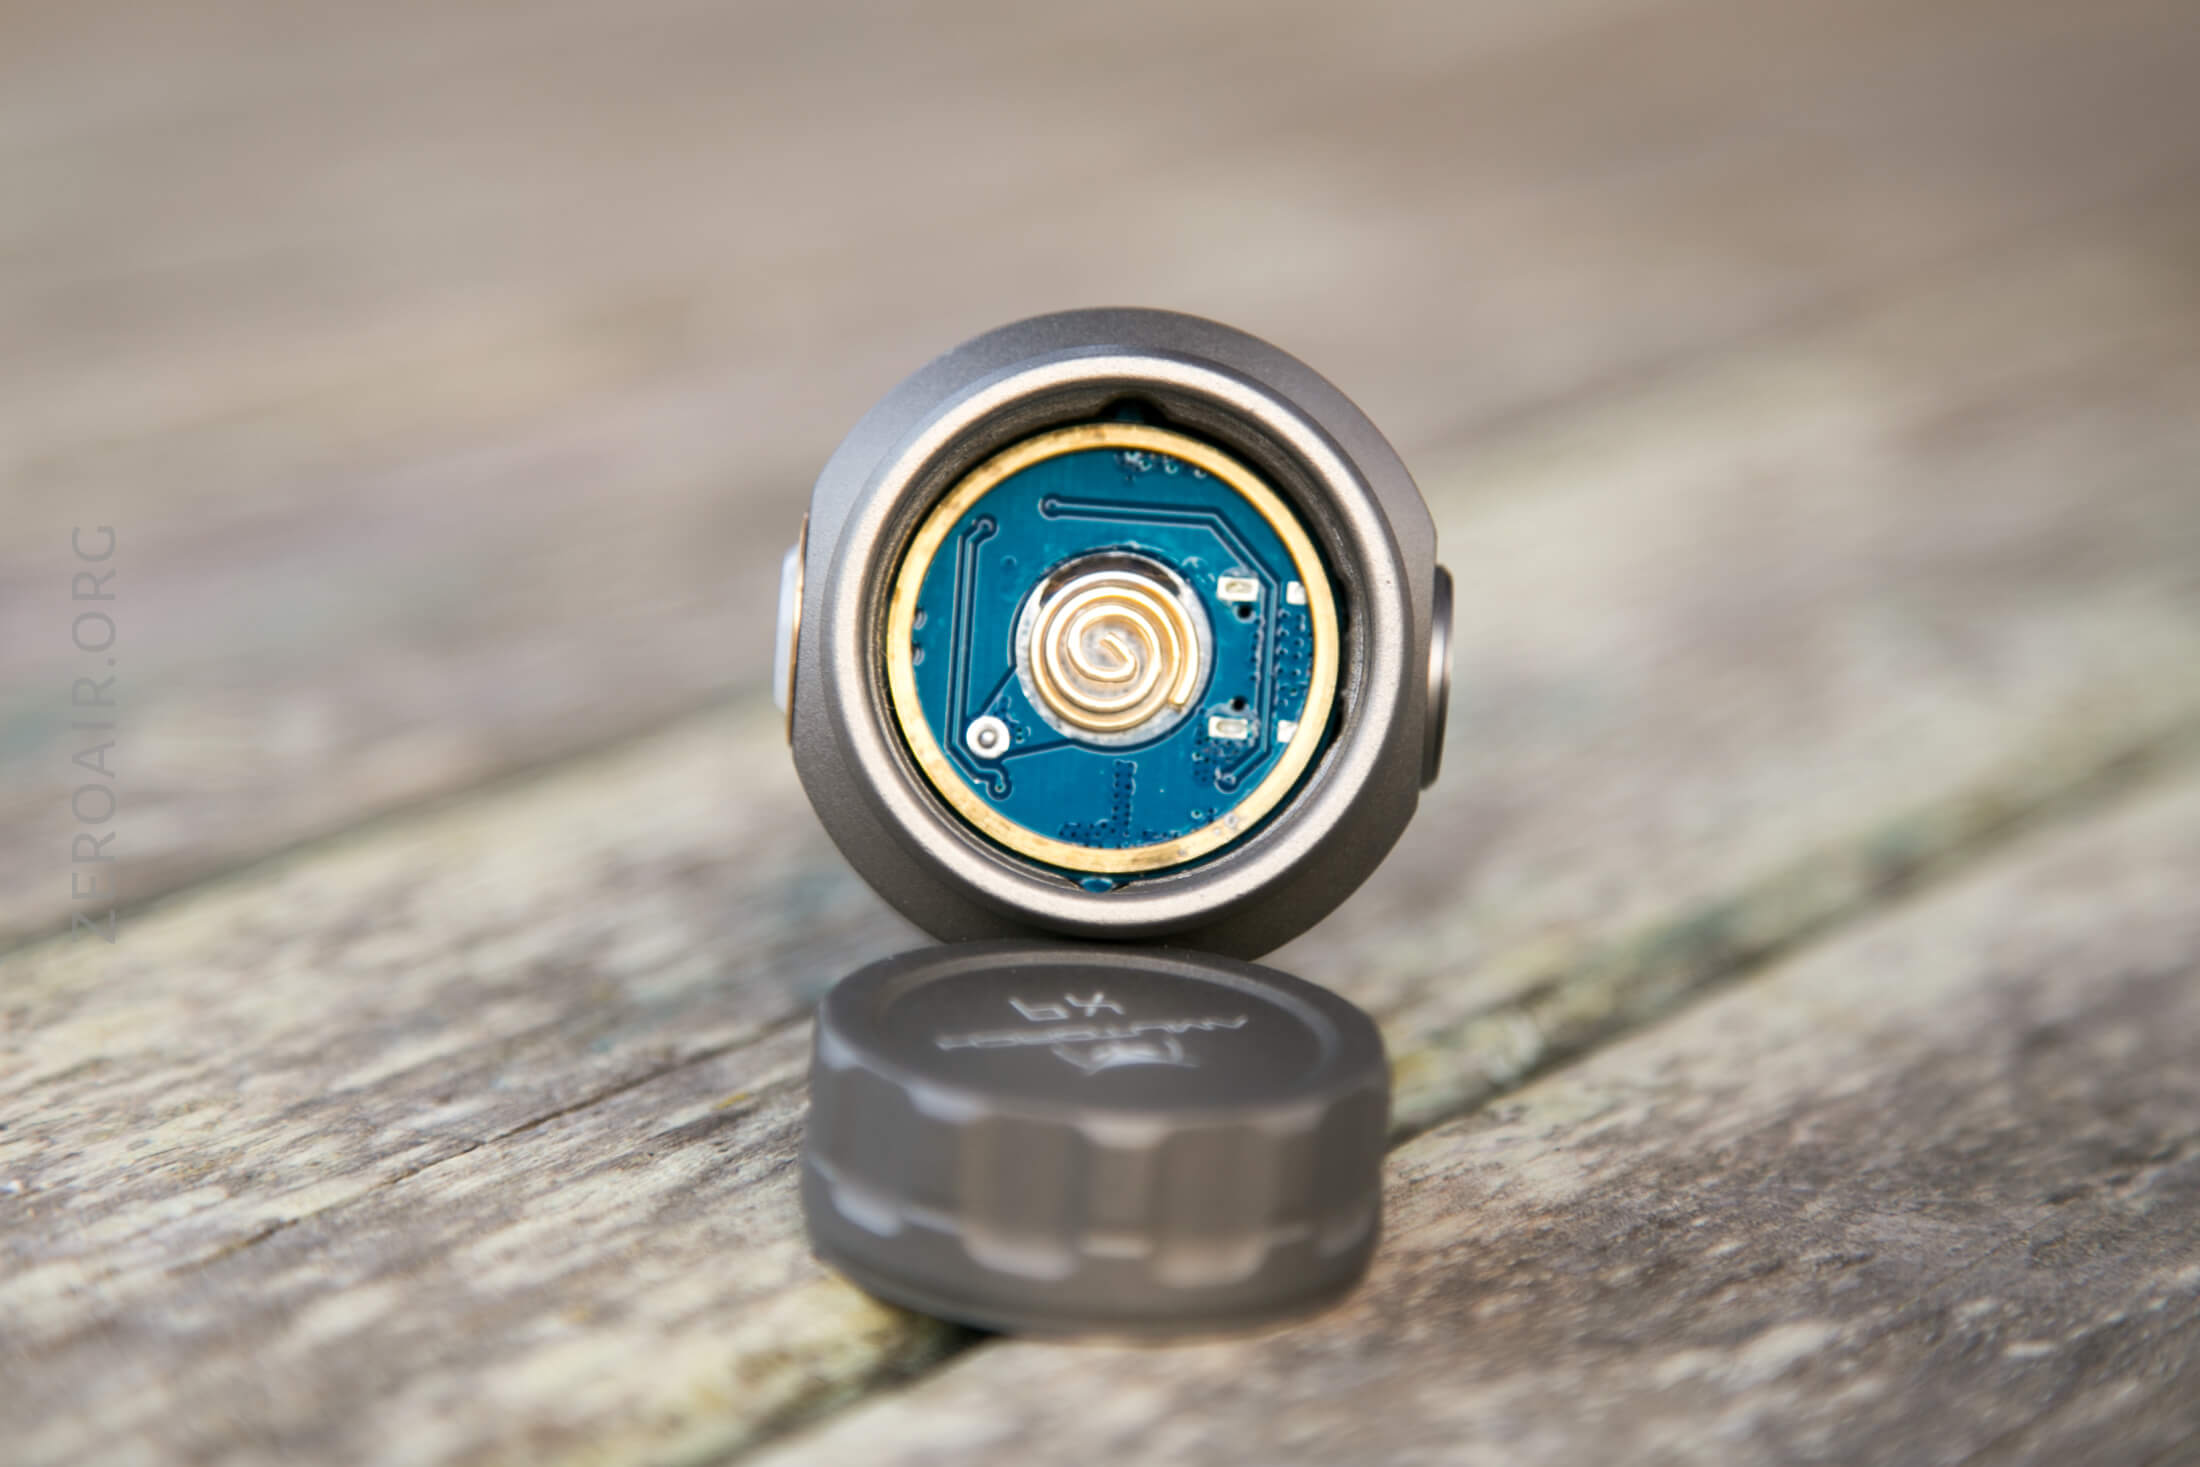
Build Quality and Disassembly
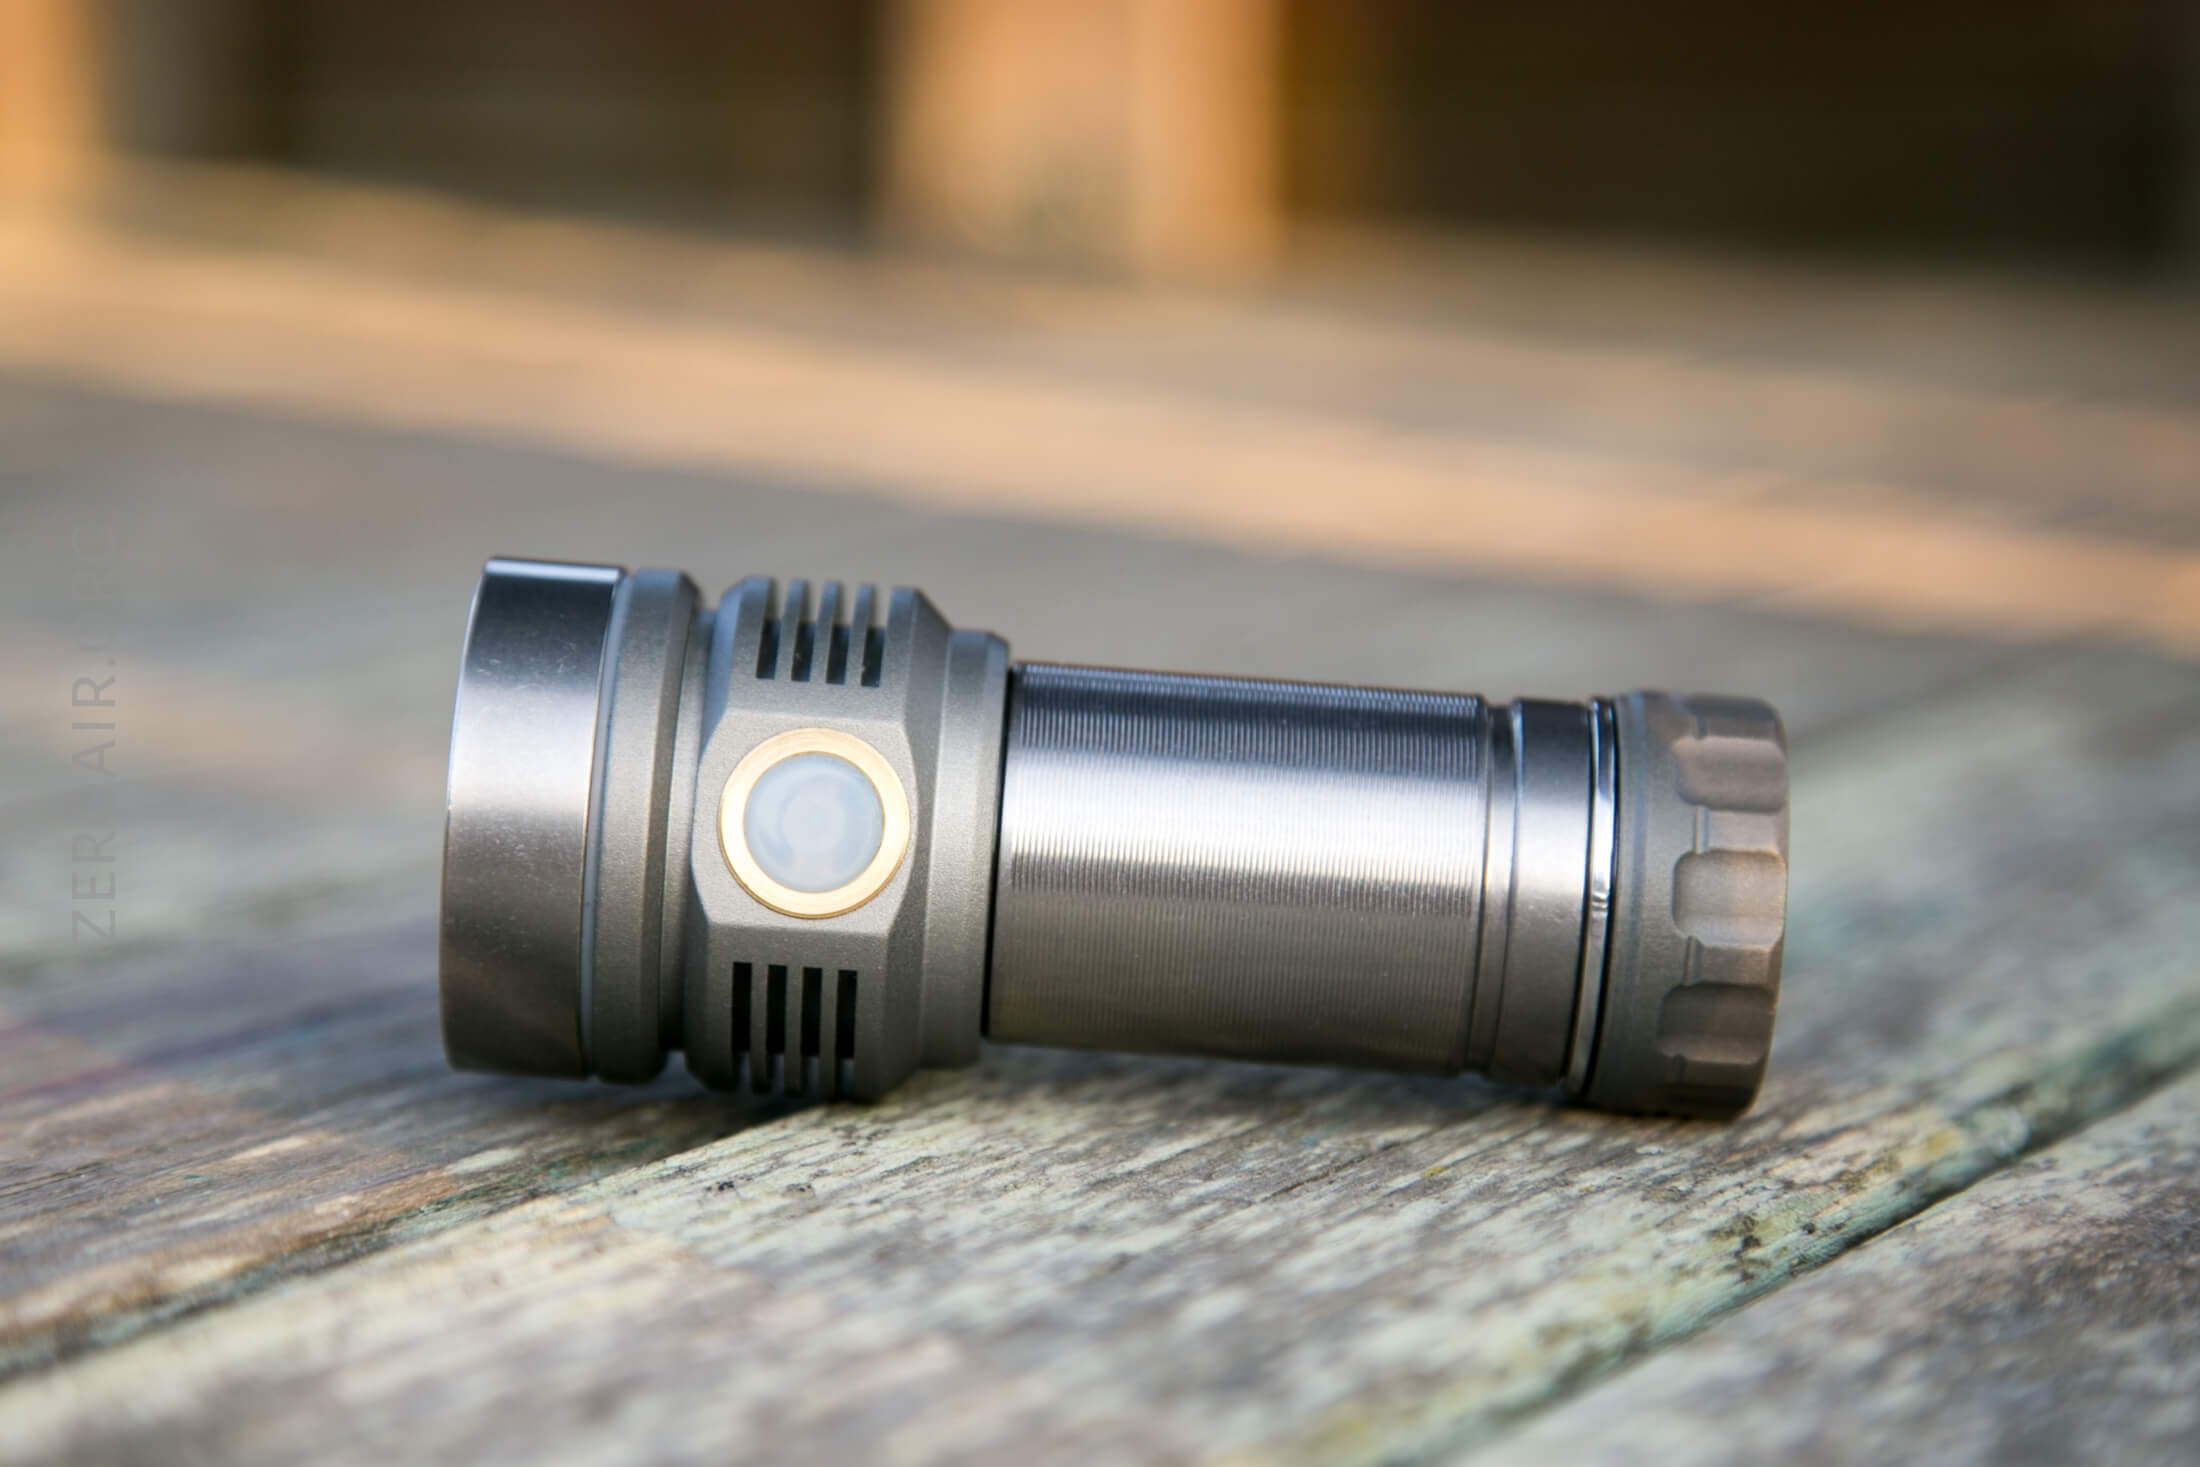
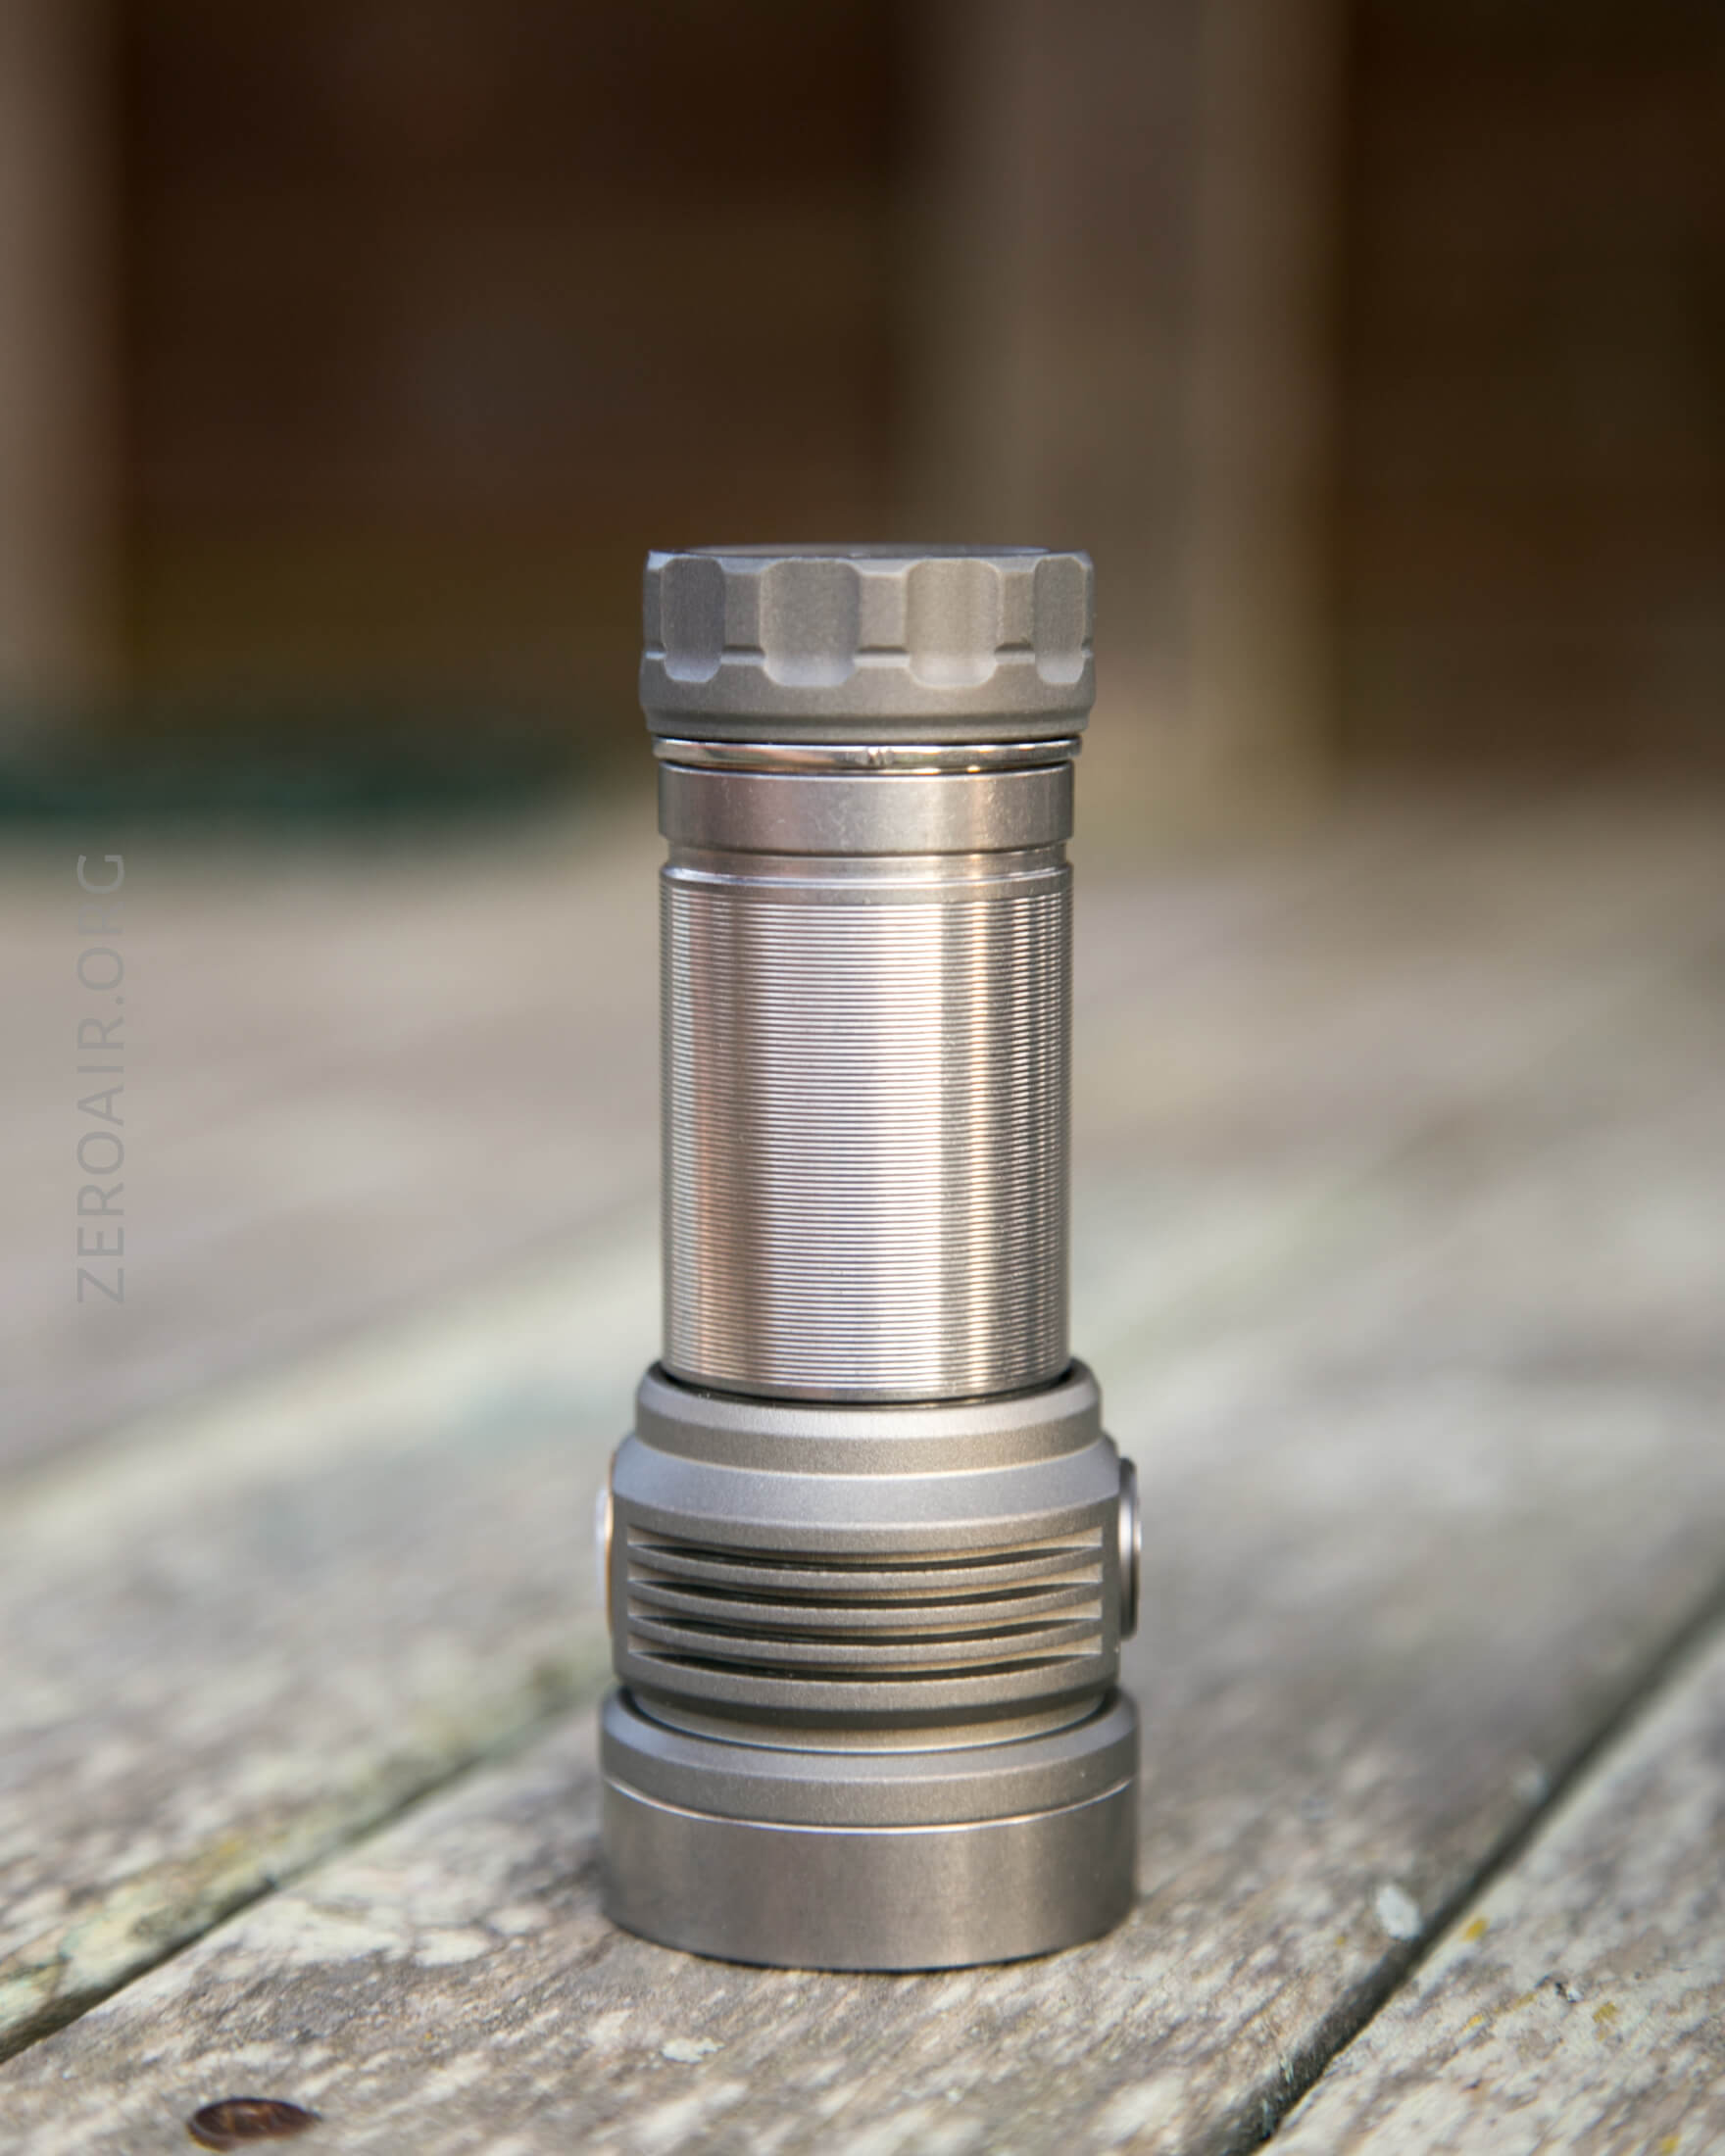
As with other similar lights, the threads on this light are a bit gritty. But that’s probably the second thing you’ll notice. The first is that the parts don’t seem to match – the head (switch/charge area) and tail match mostly, and the body and bezel match (mostly).
The X9 is titanium, and the thread scratchiness supports that claim.
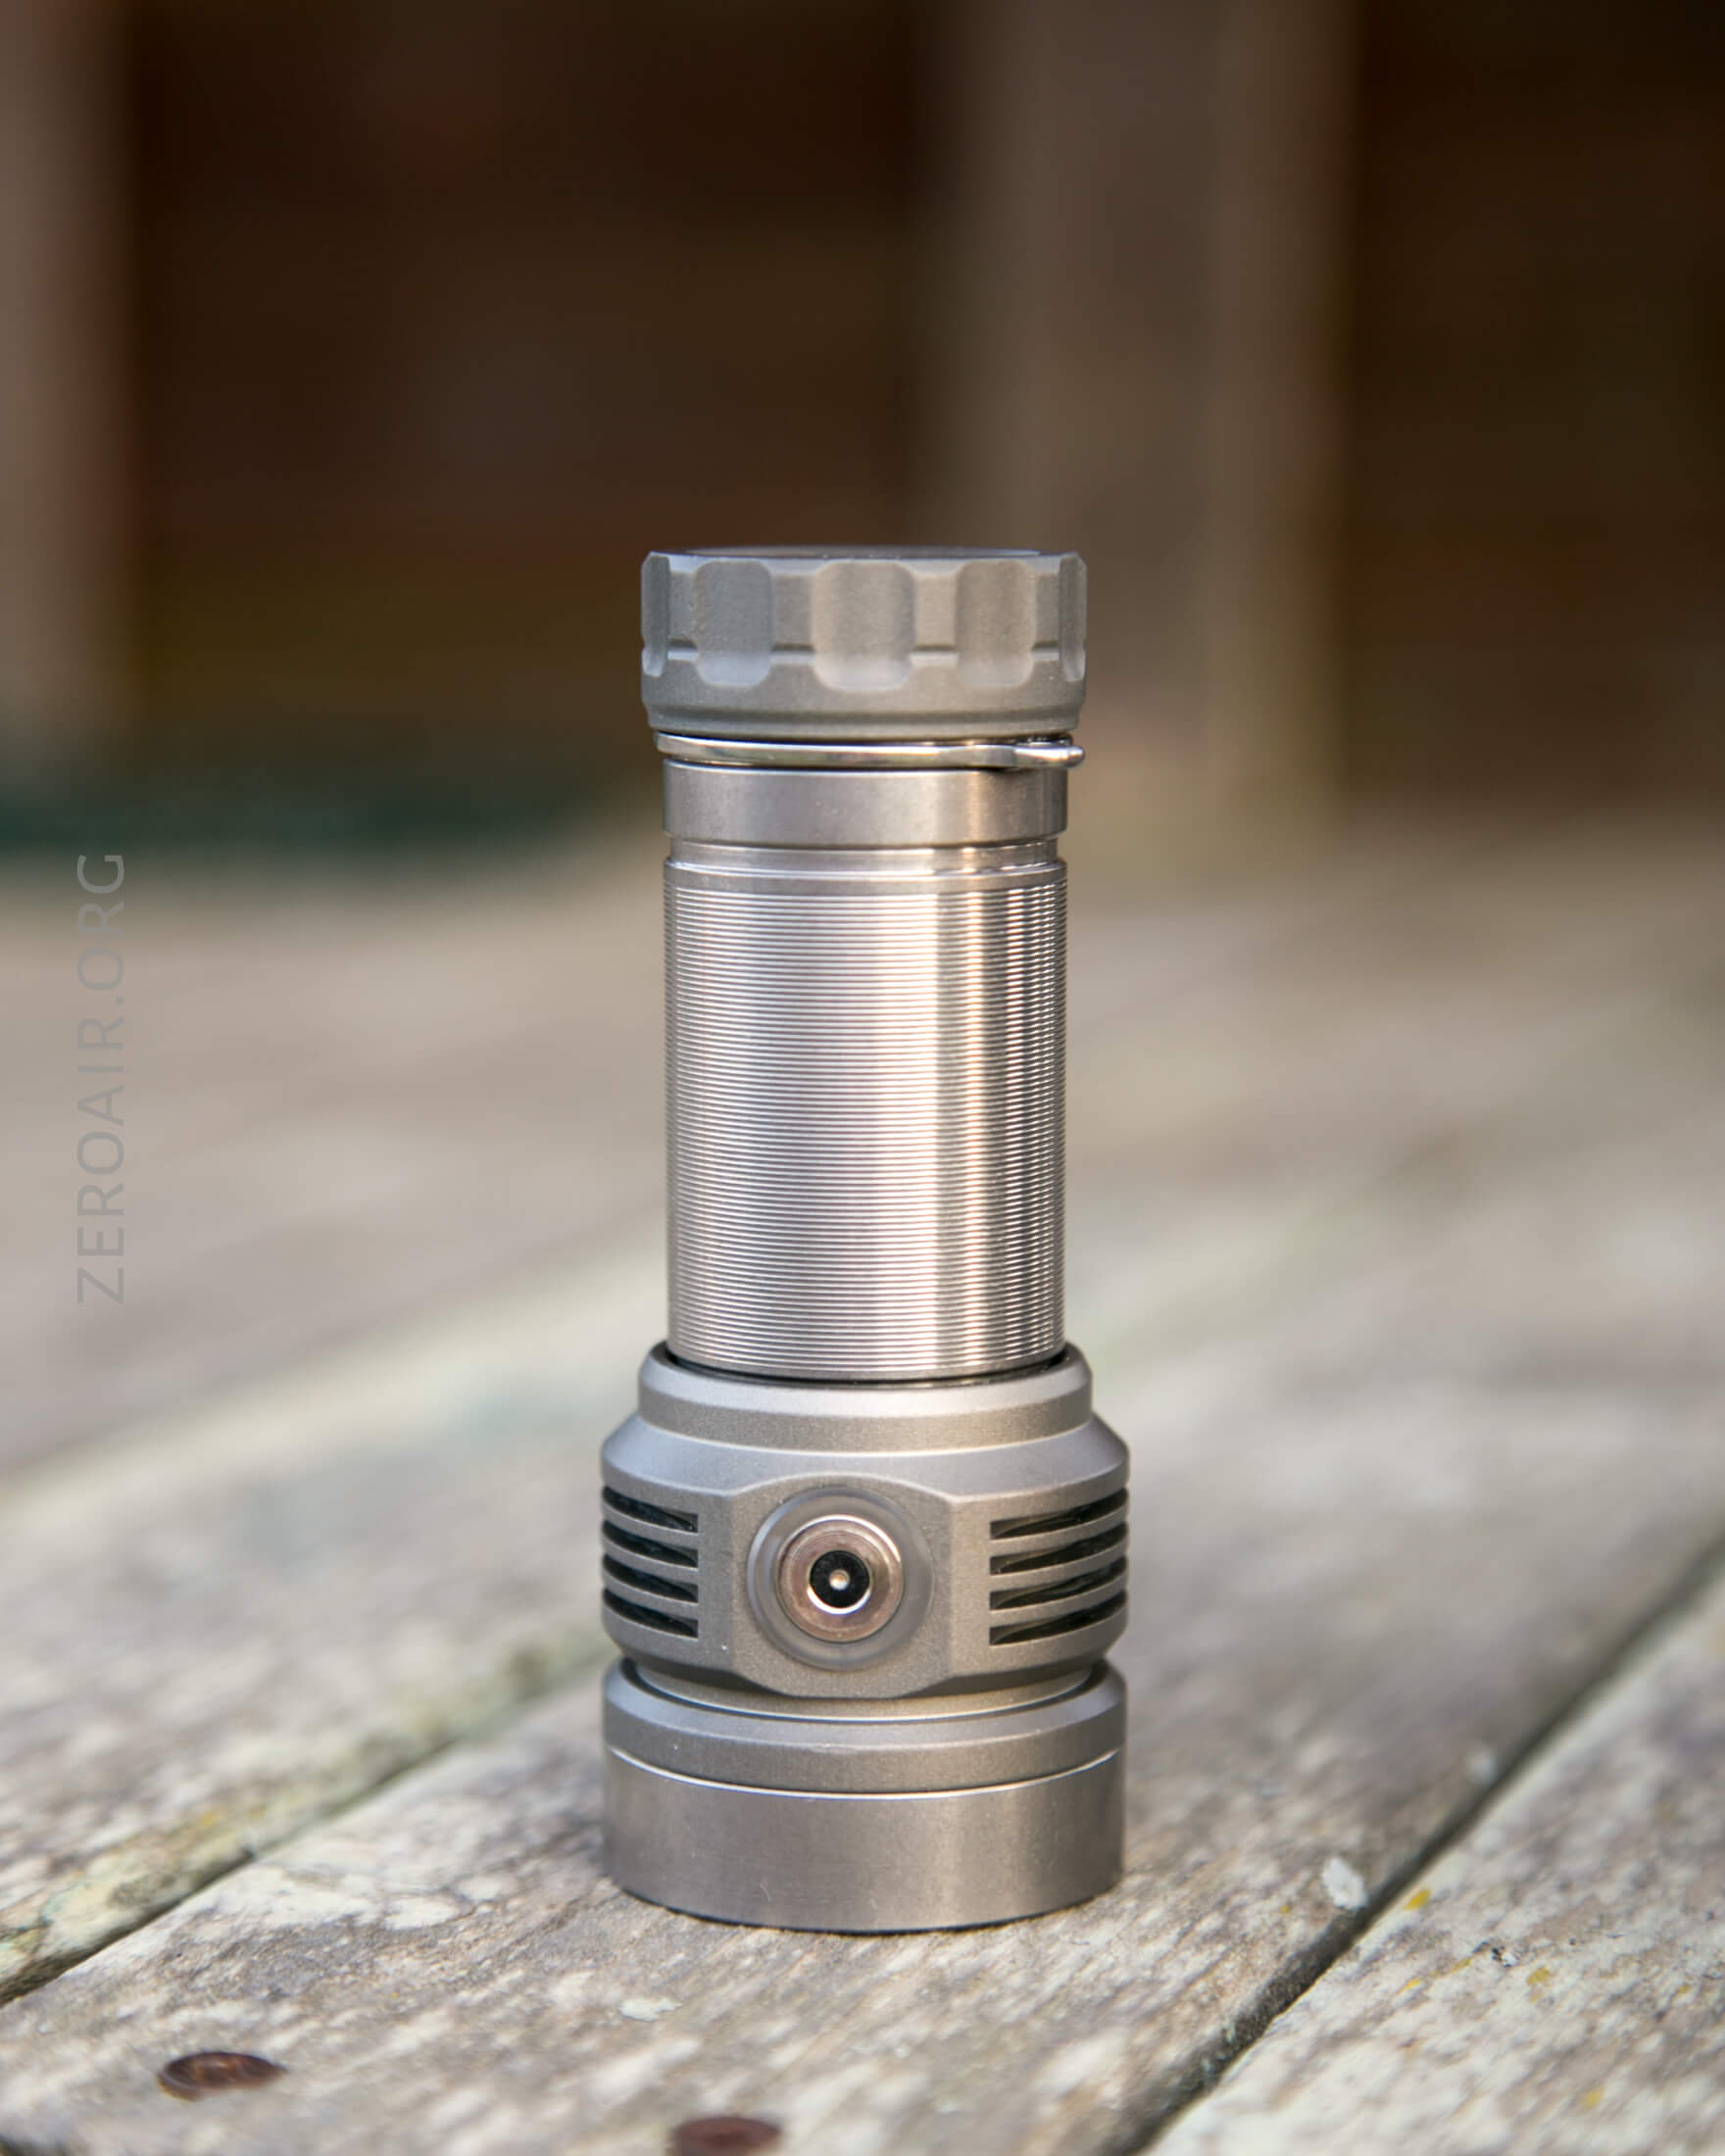
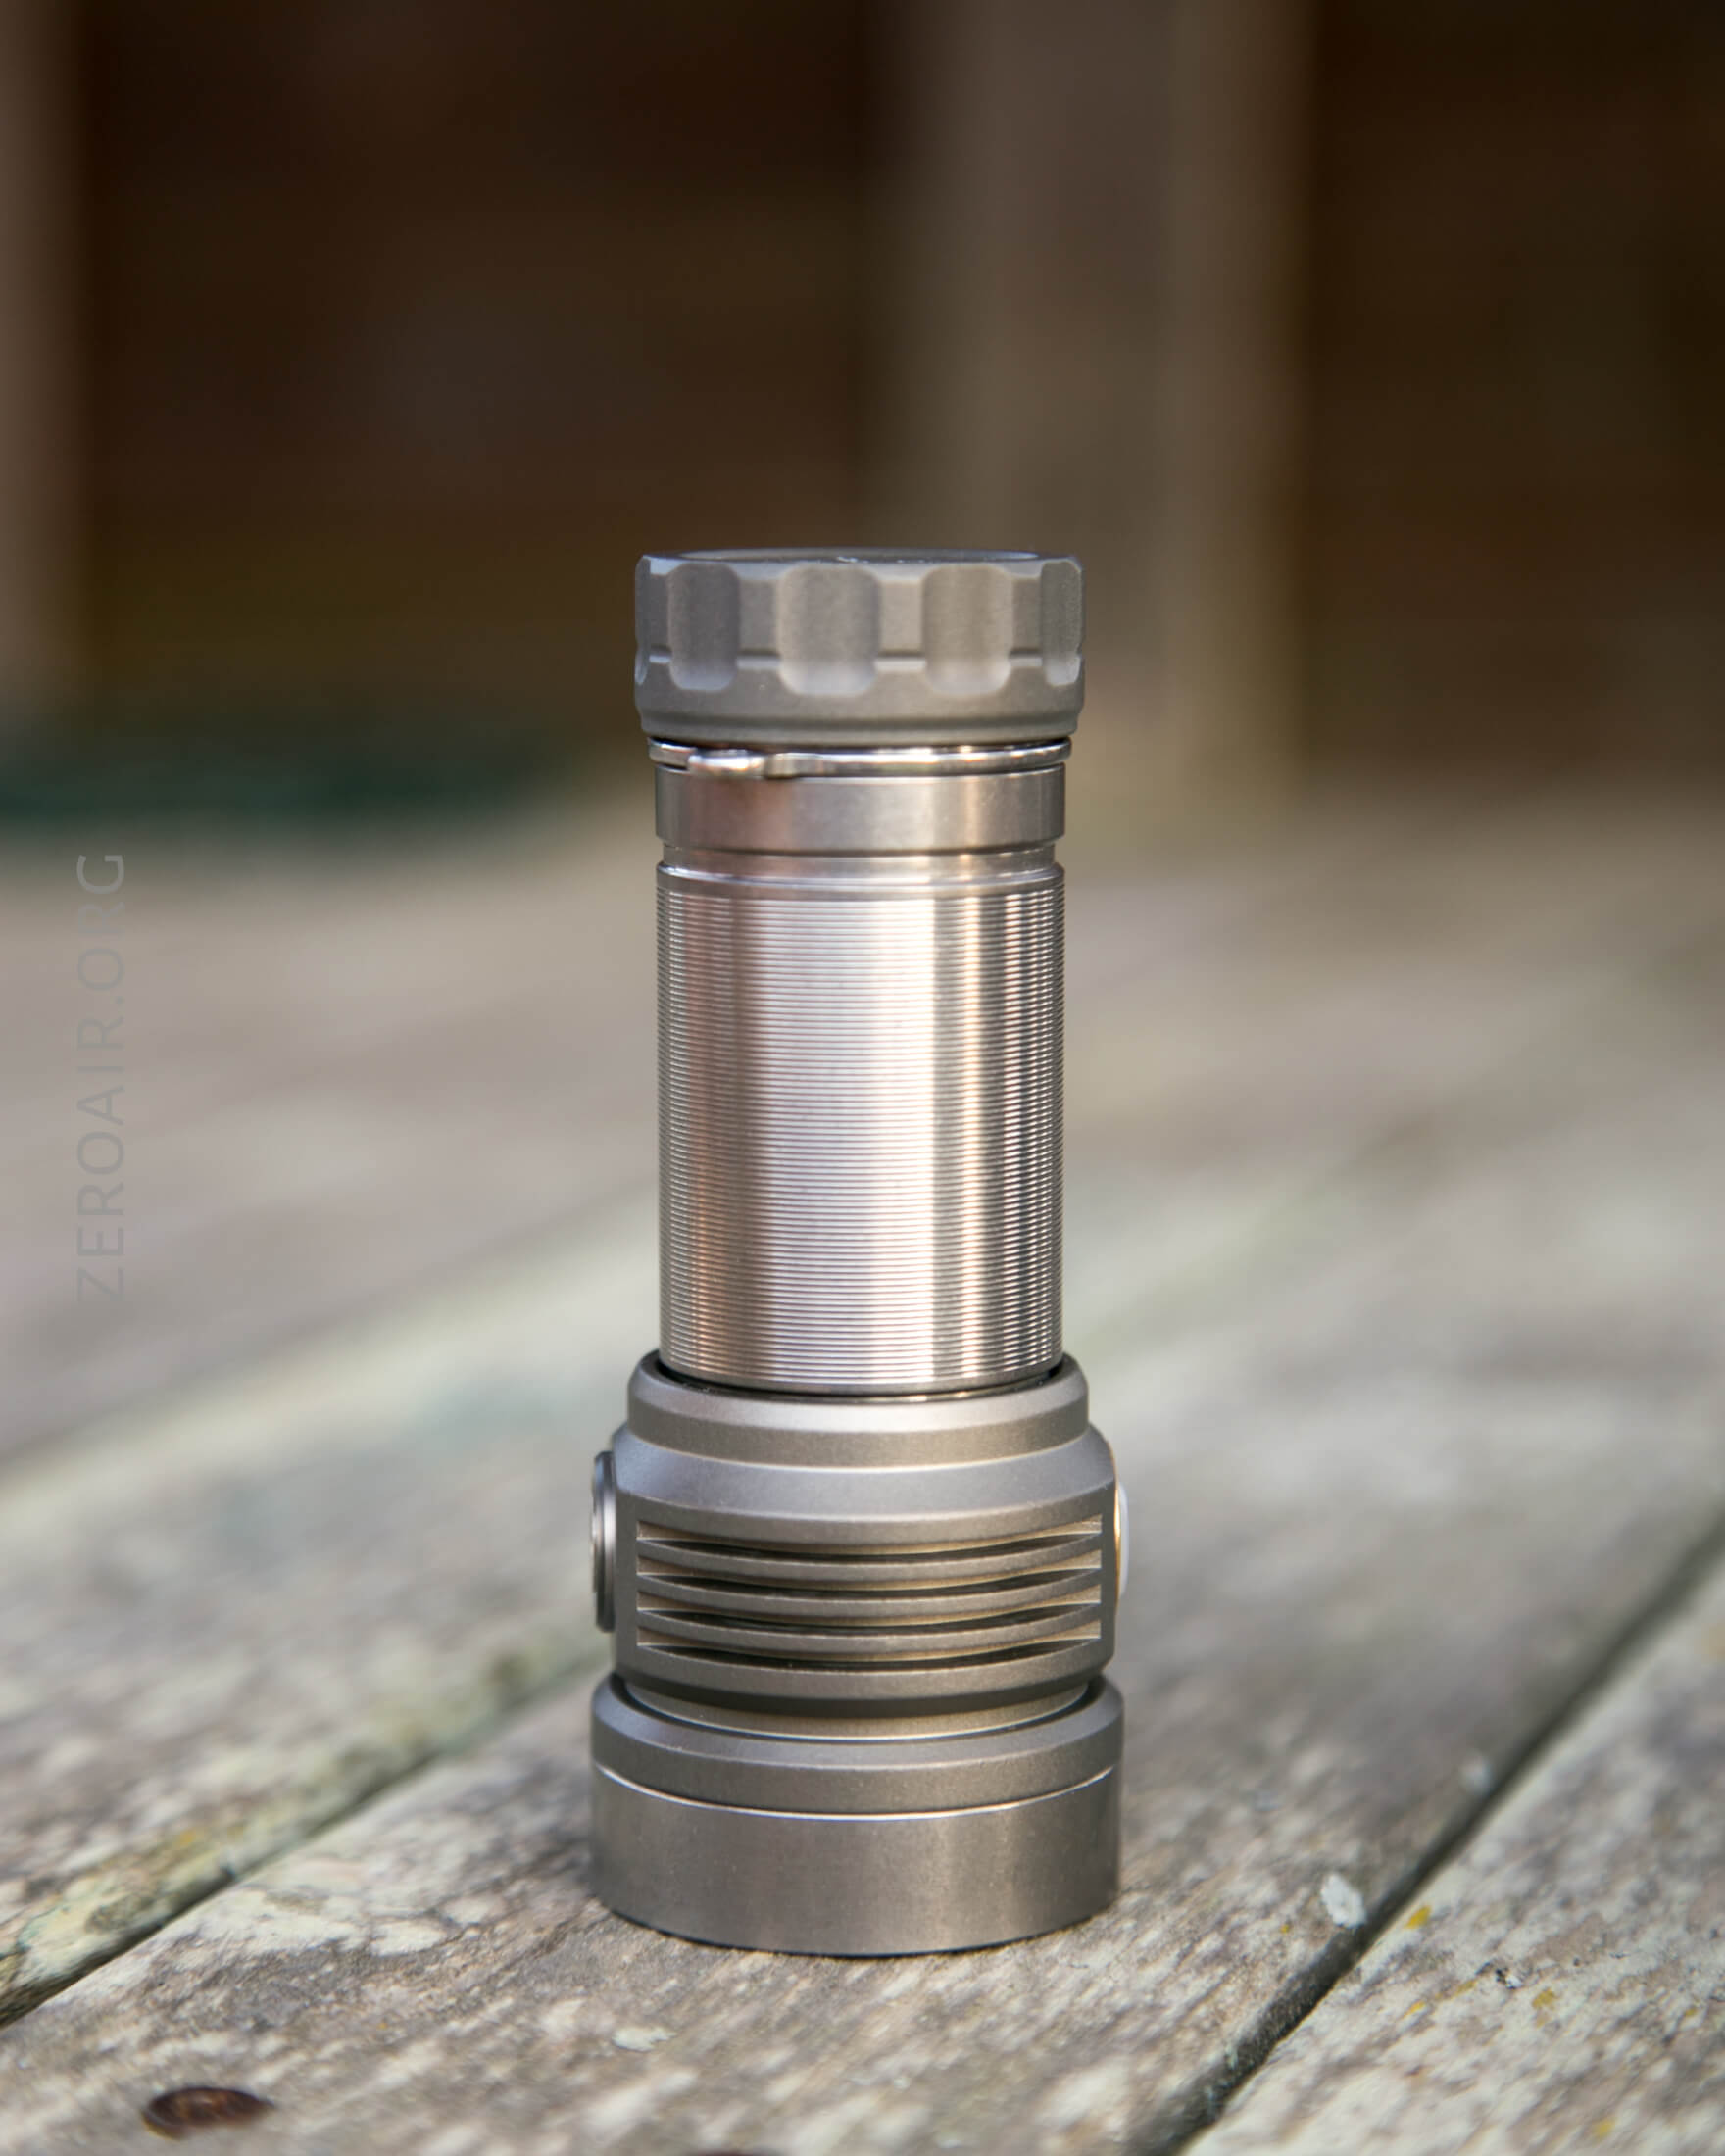
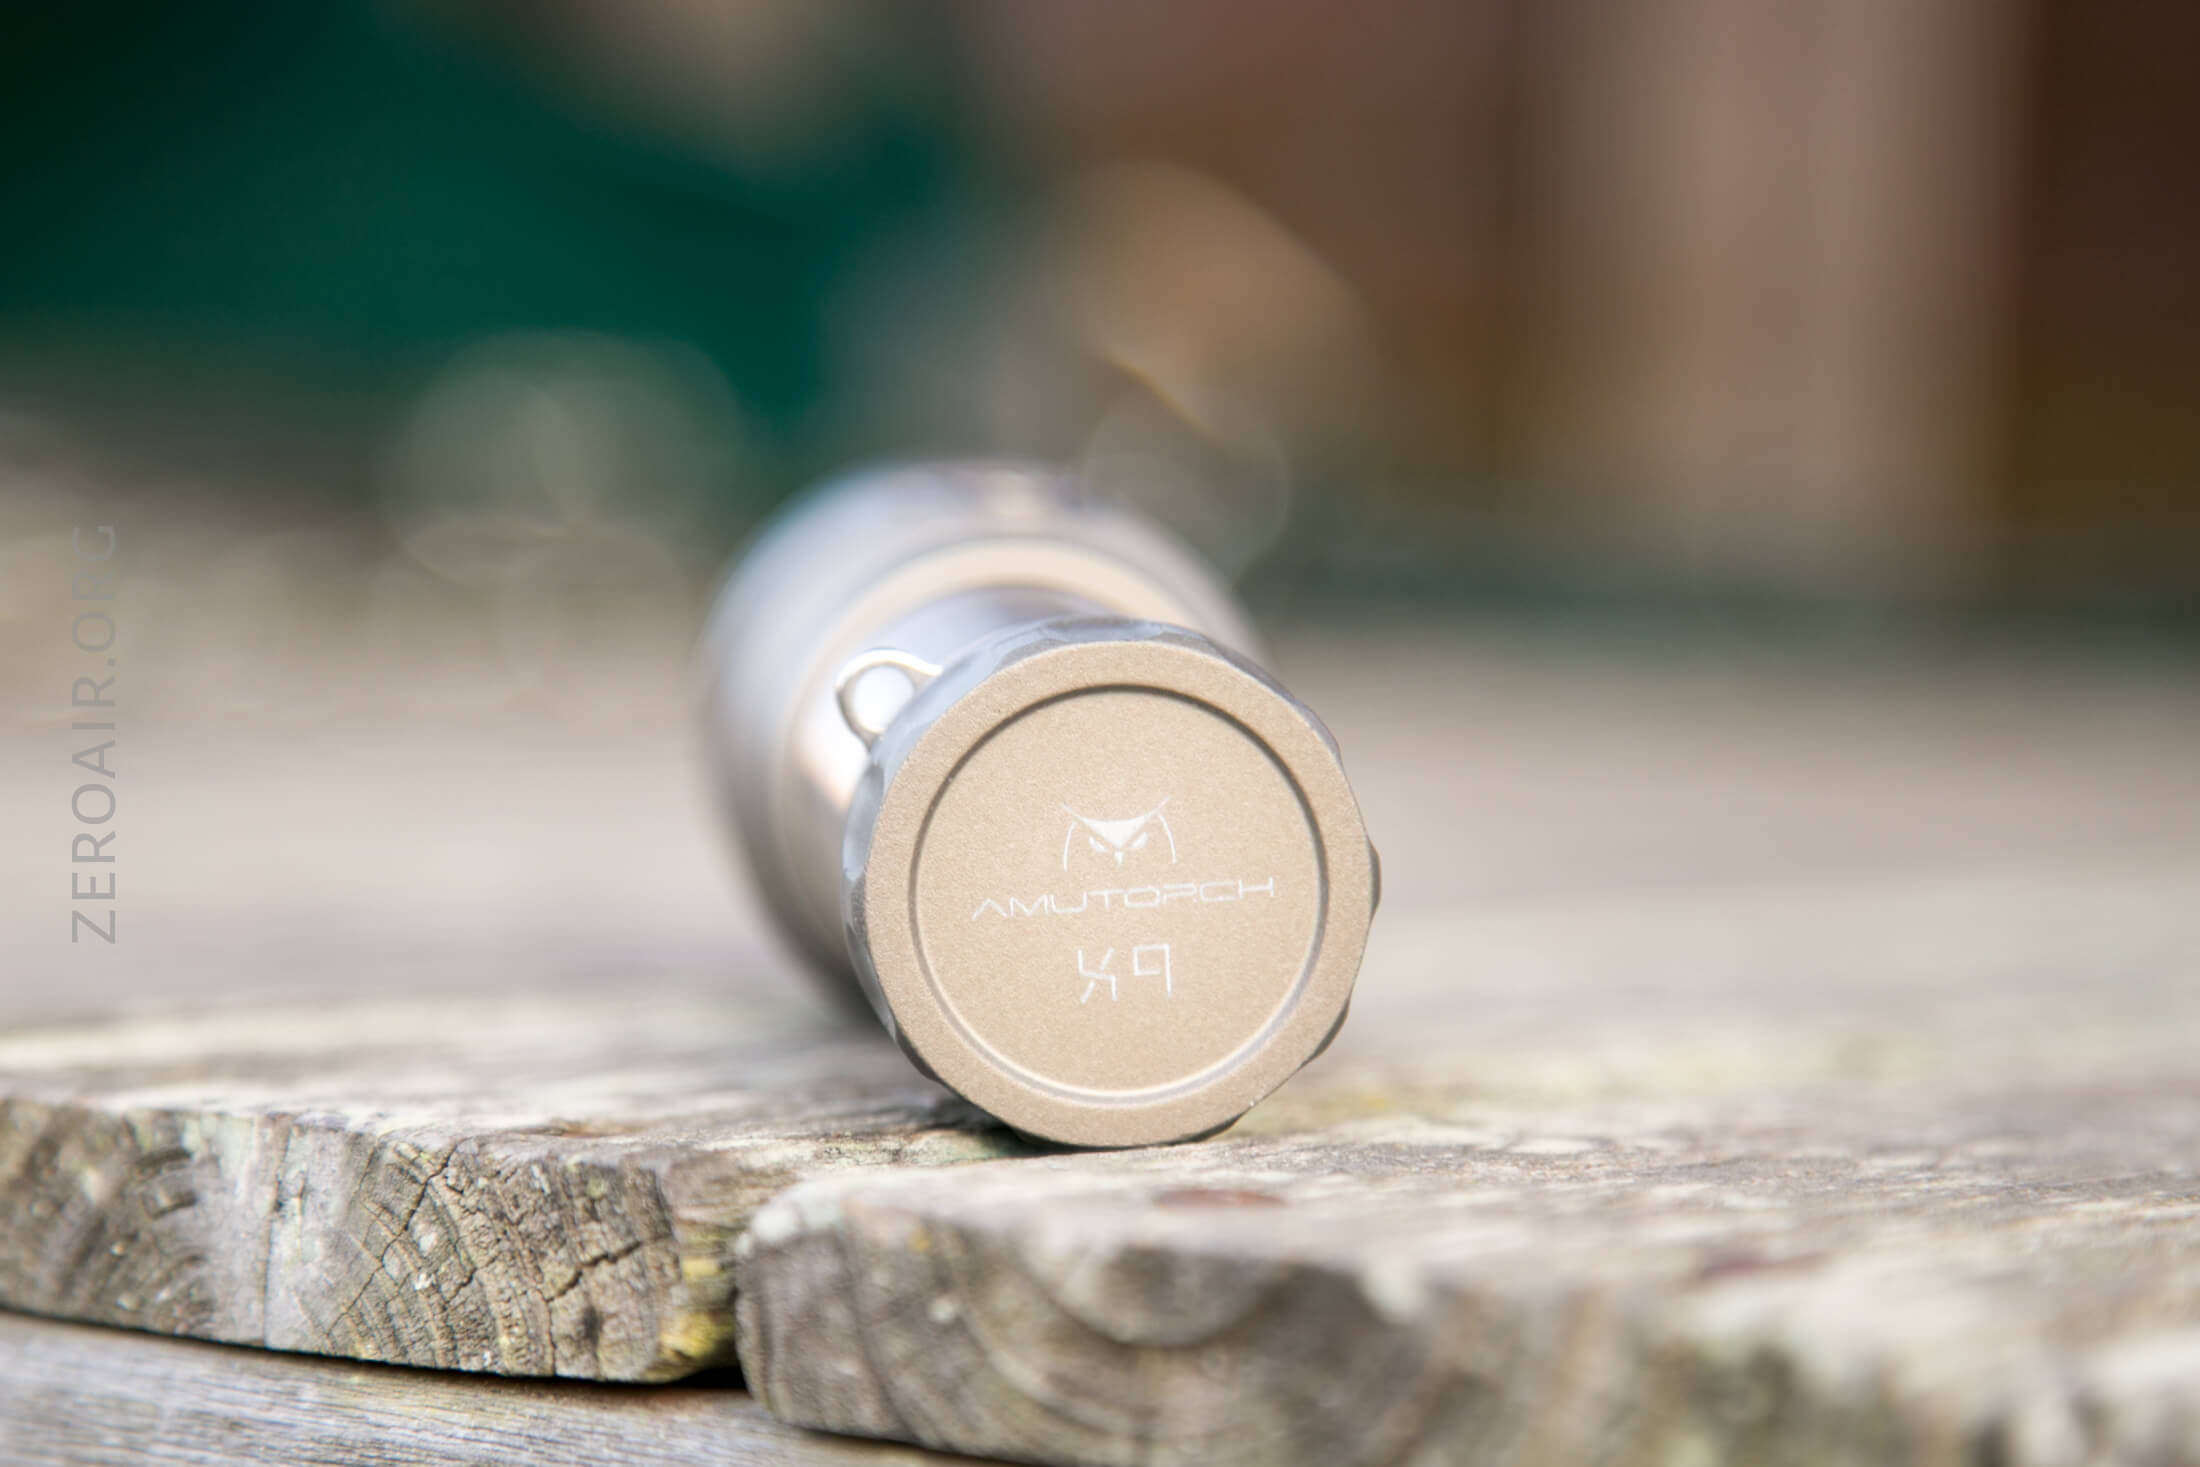
The tailcap has some nice indentations for grip, and is generally roughish, which also provides grip.
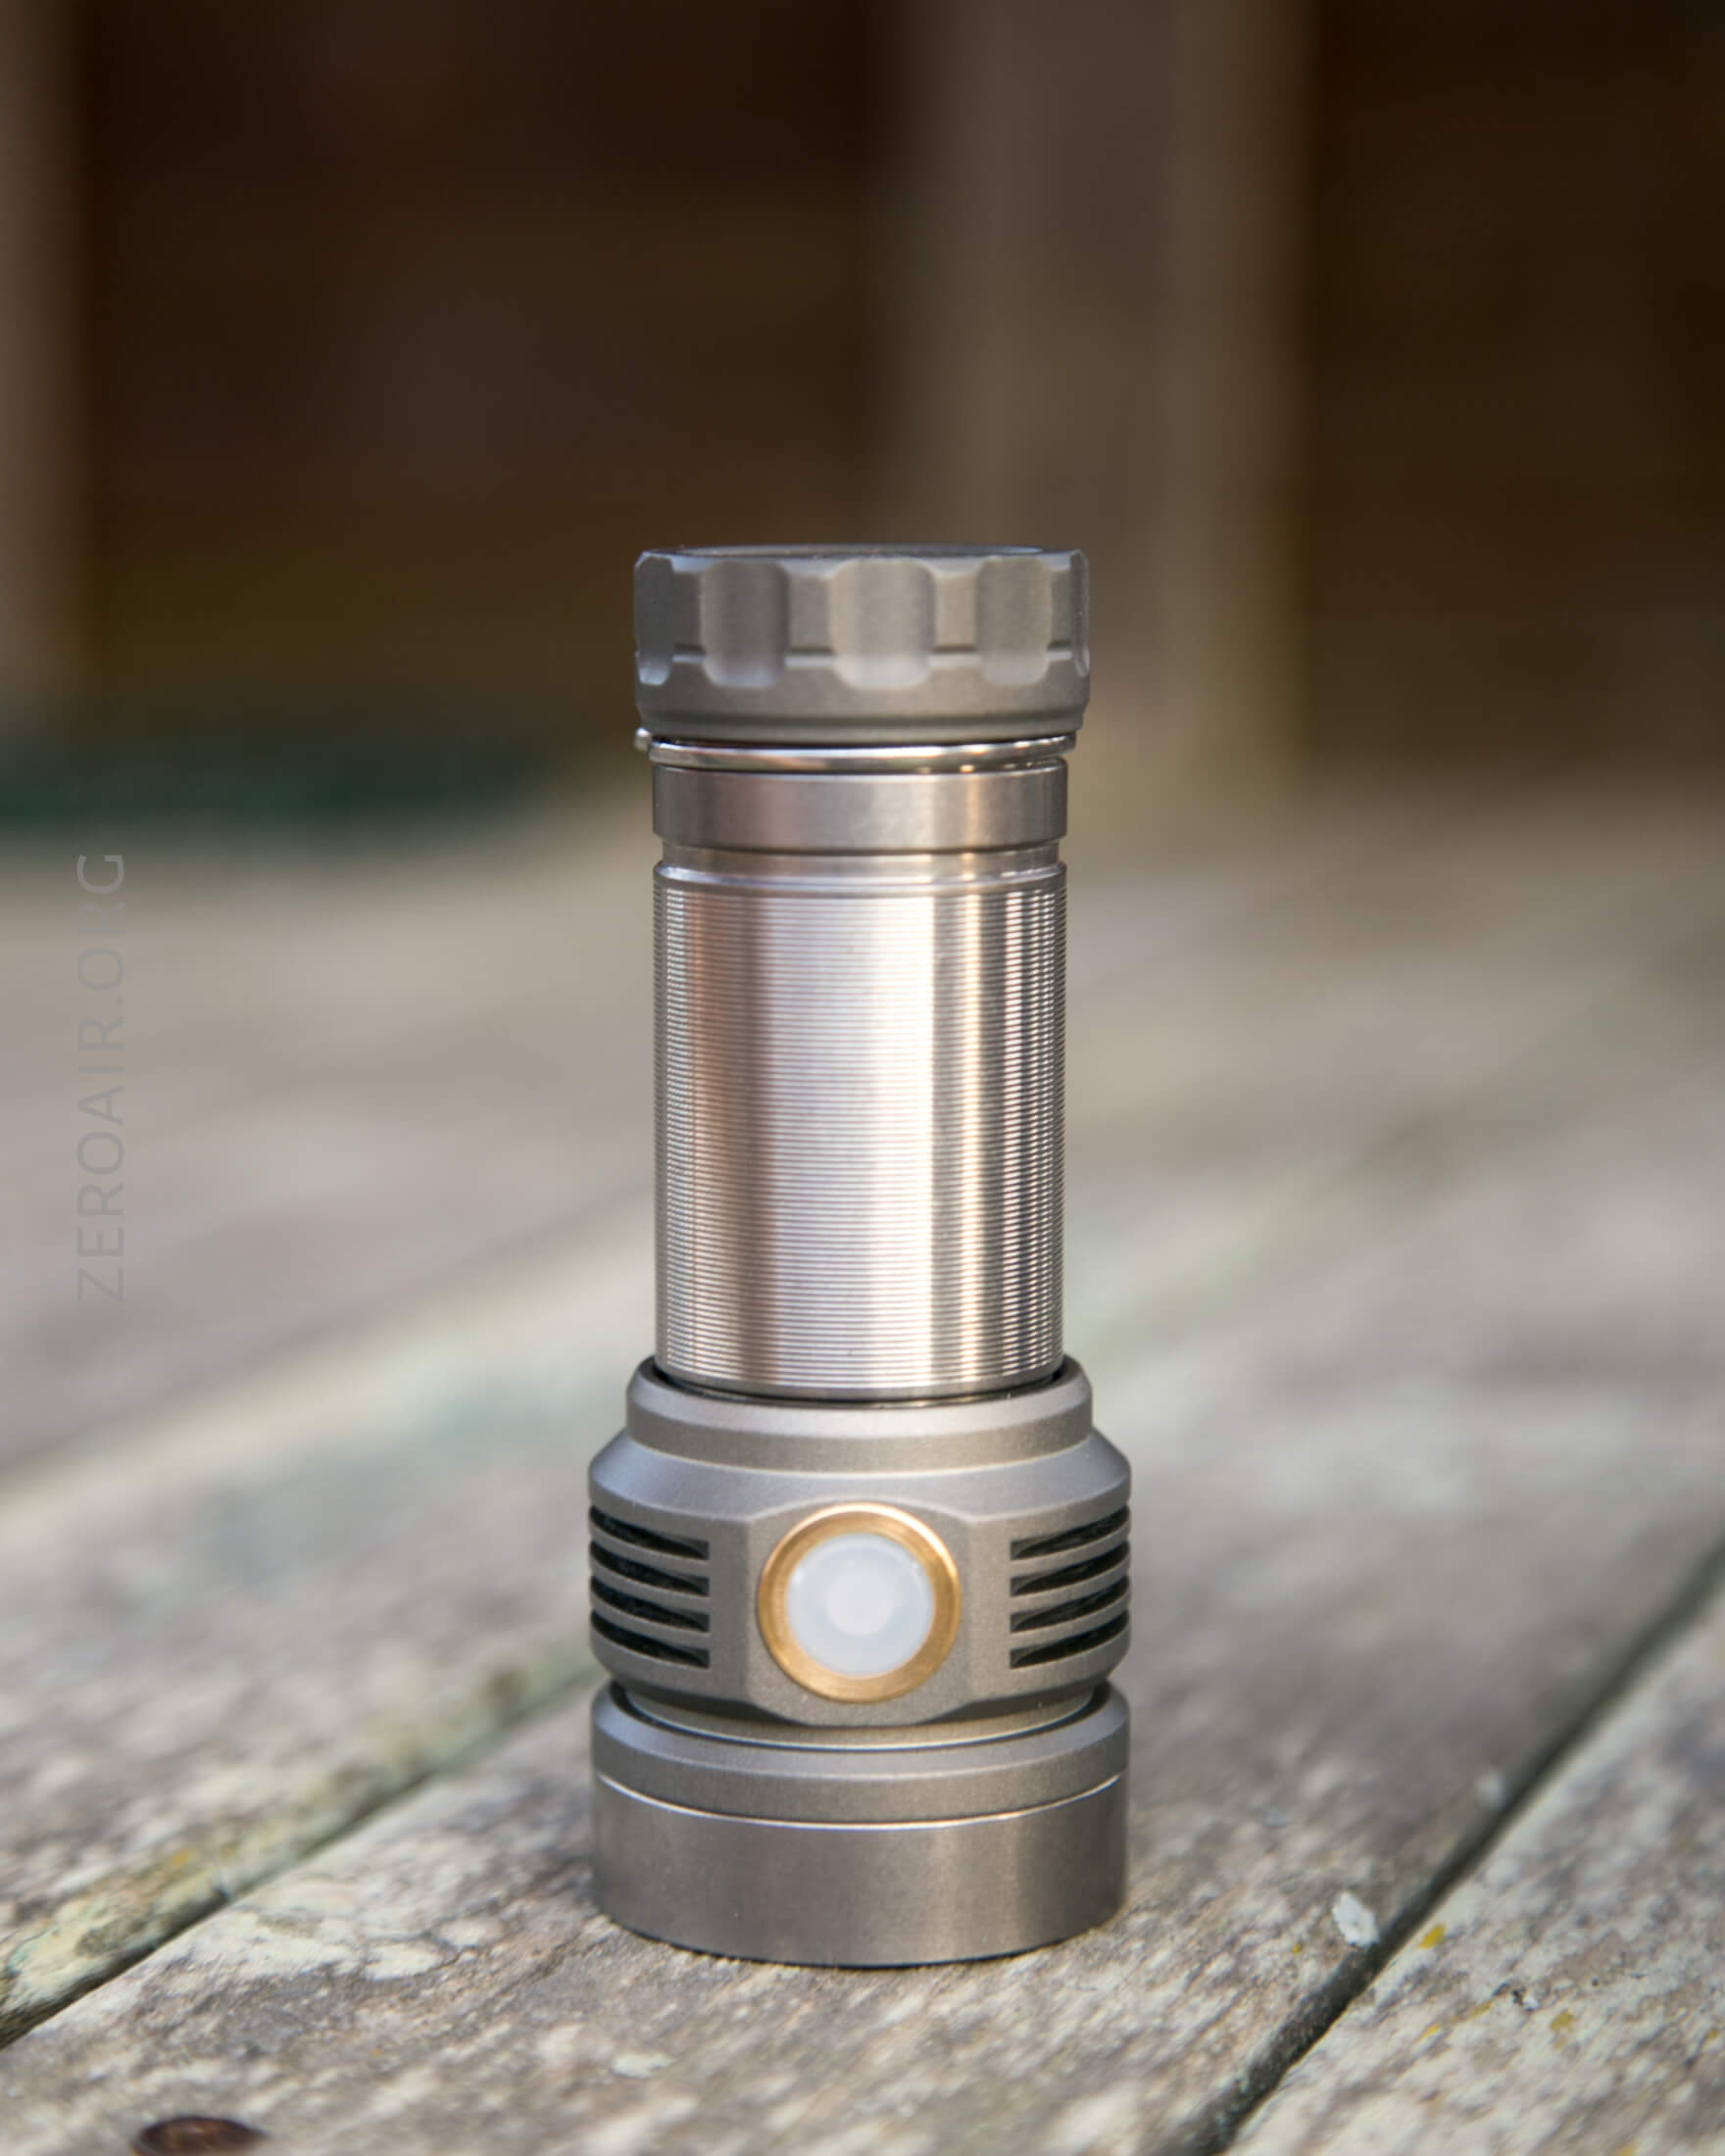
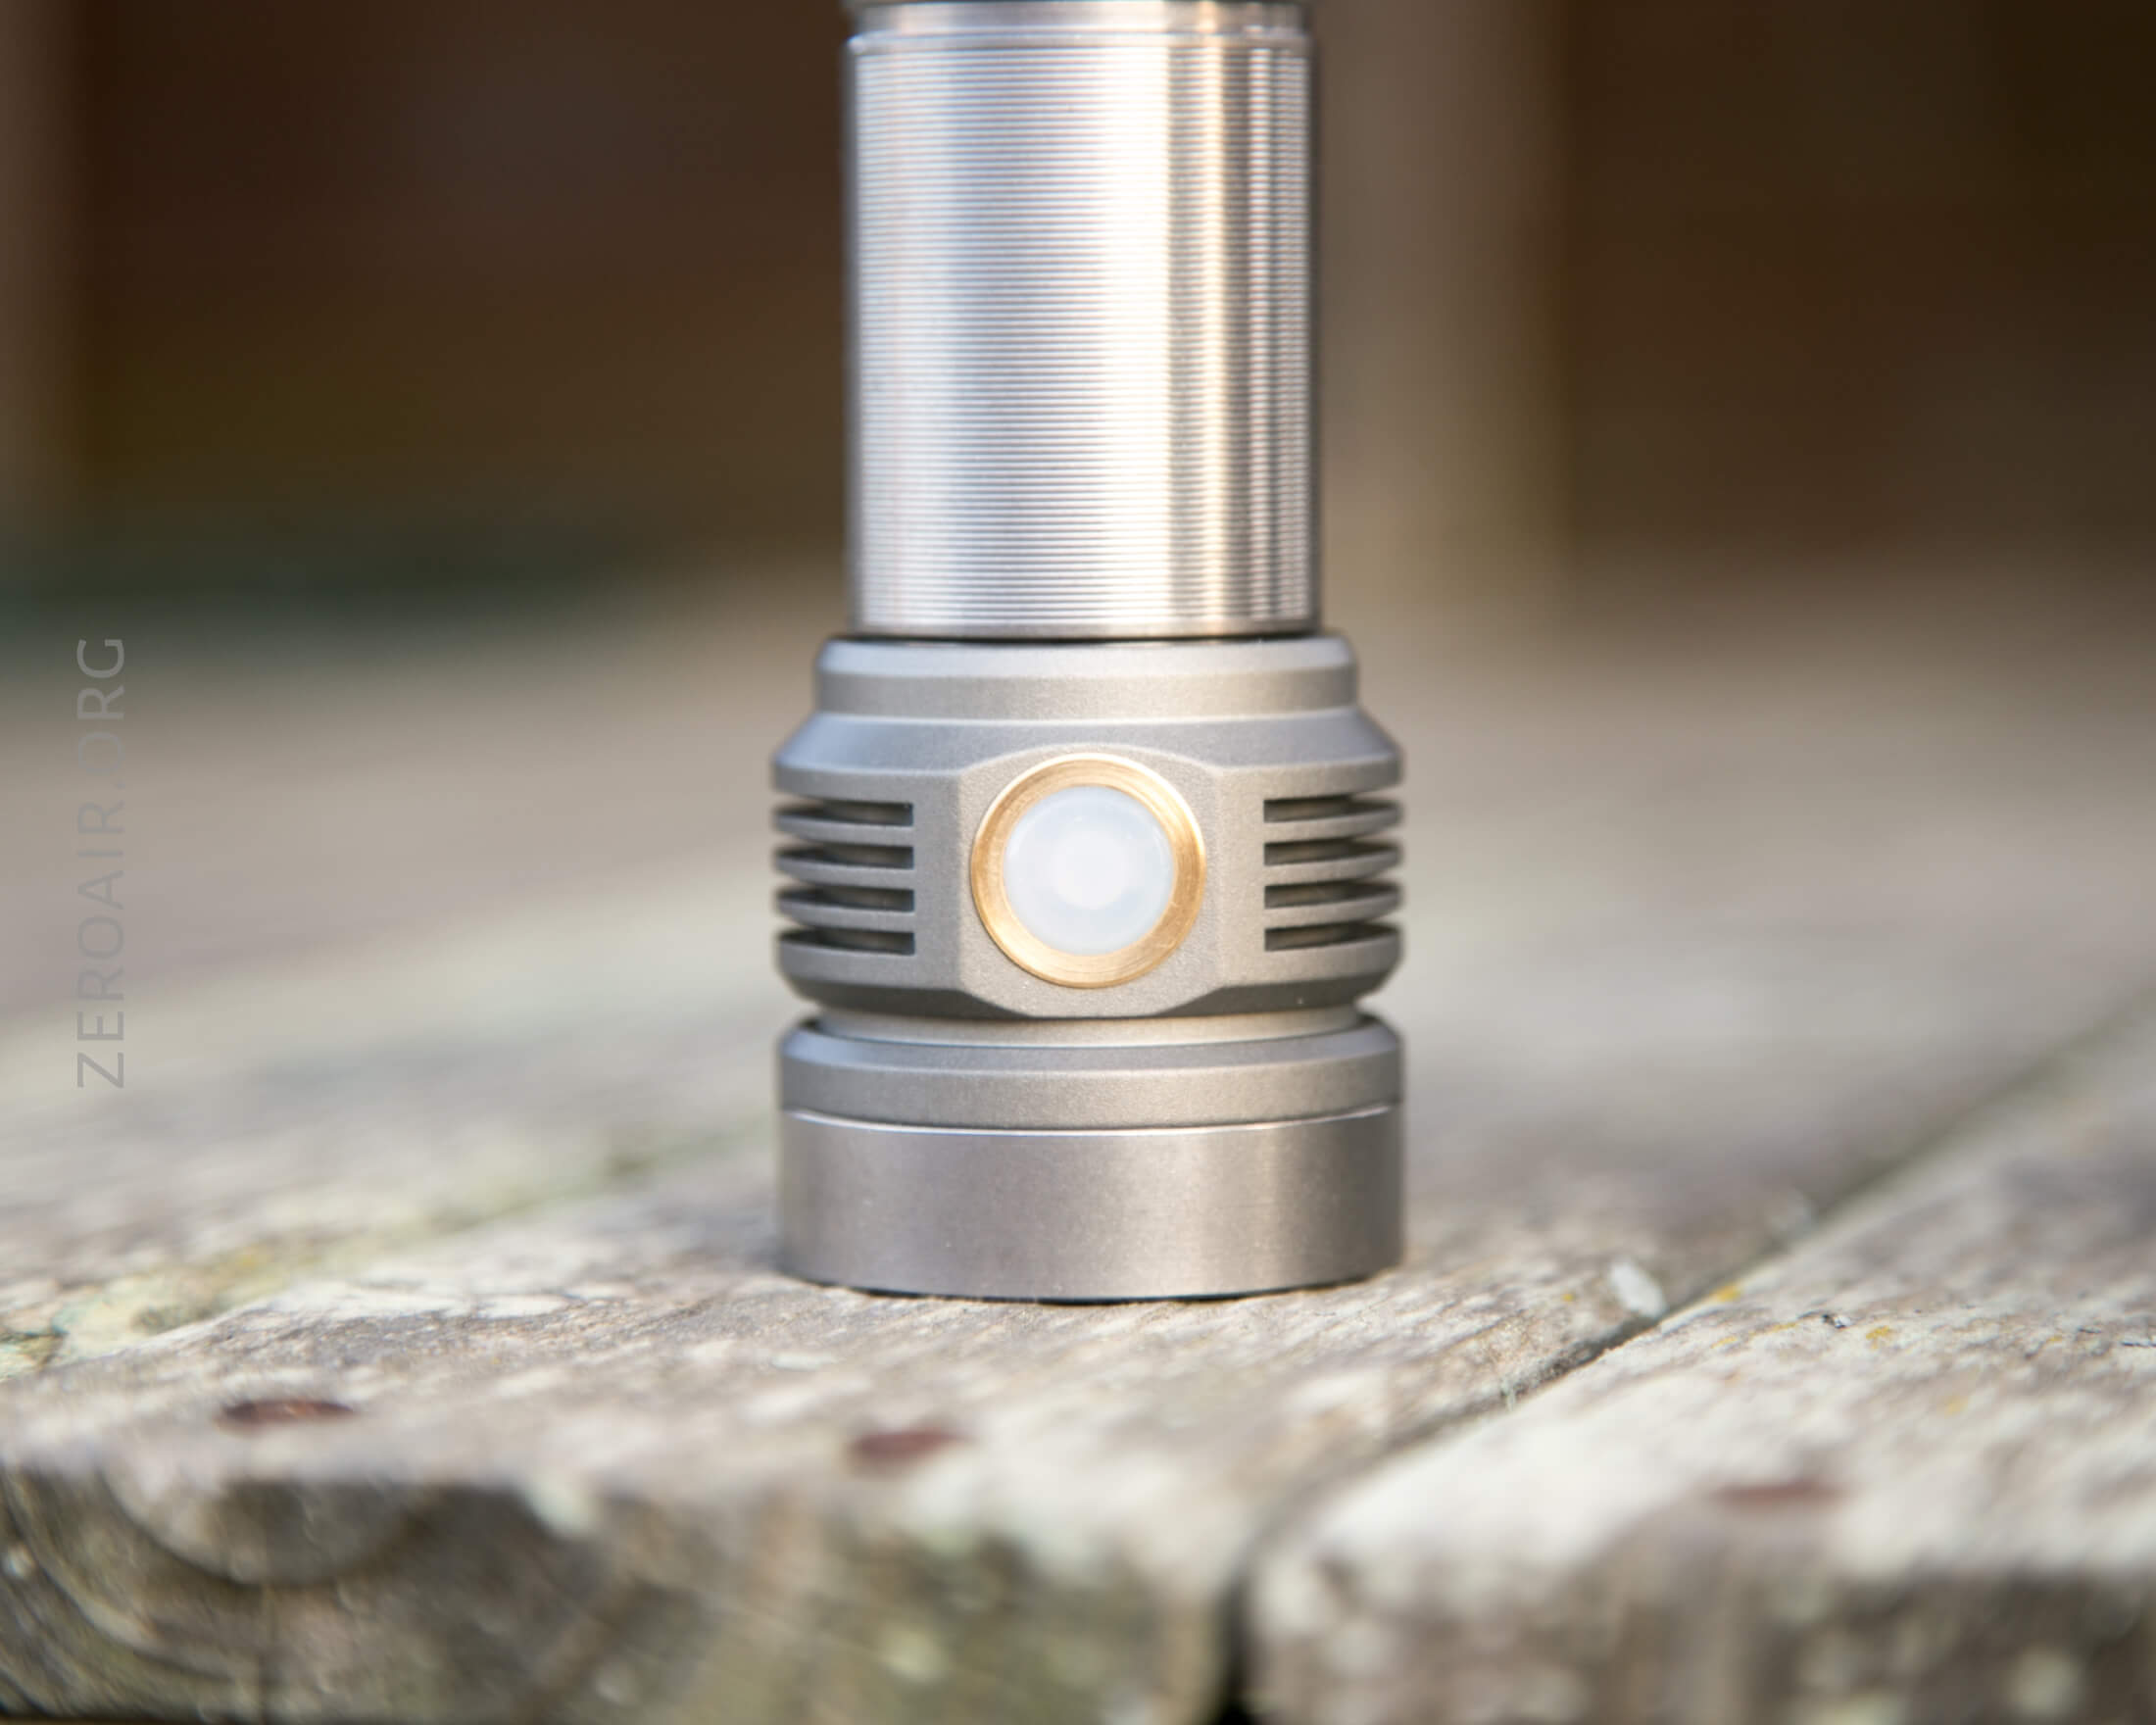
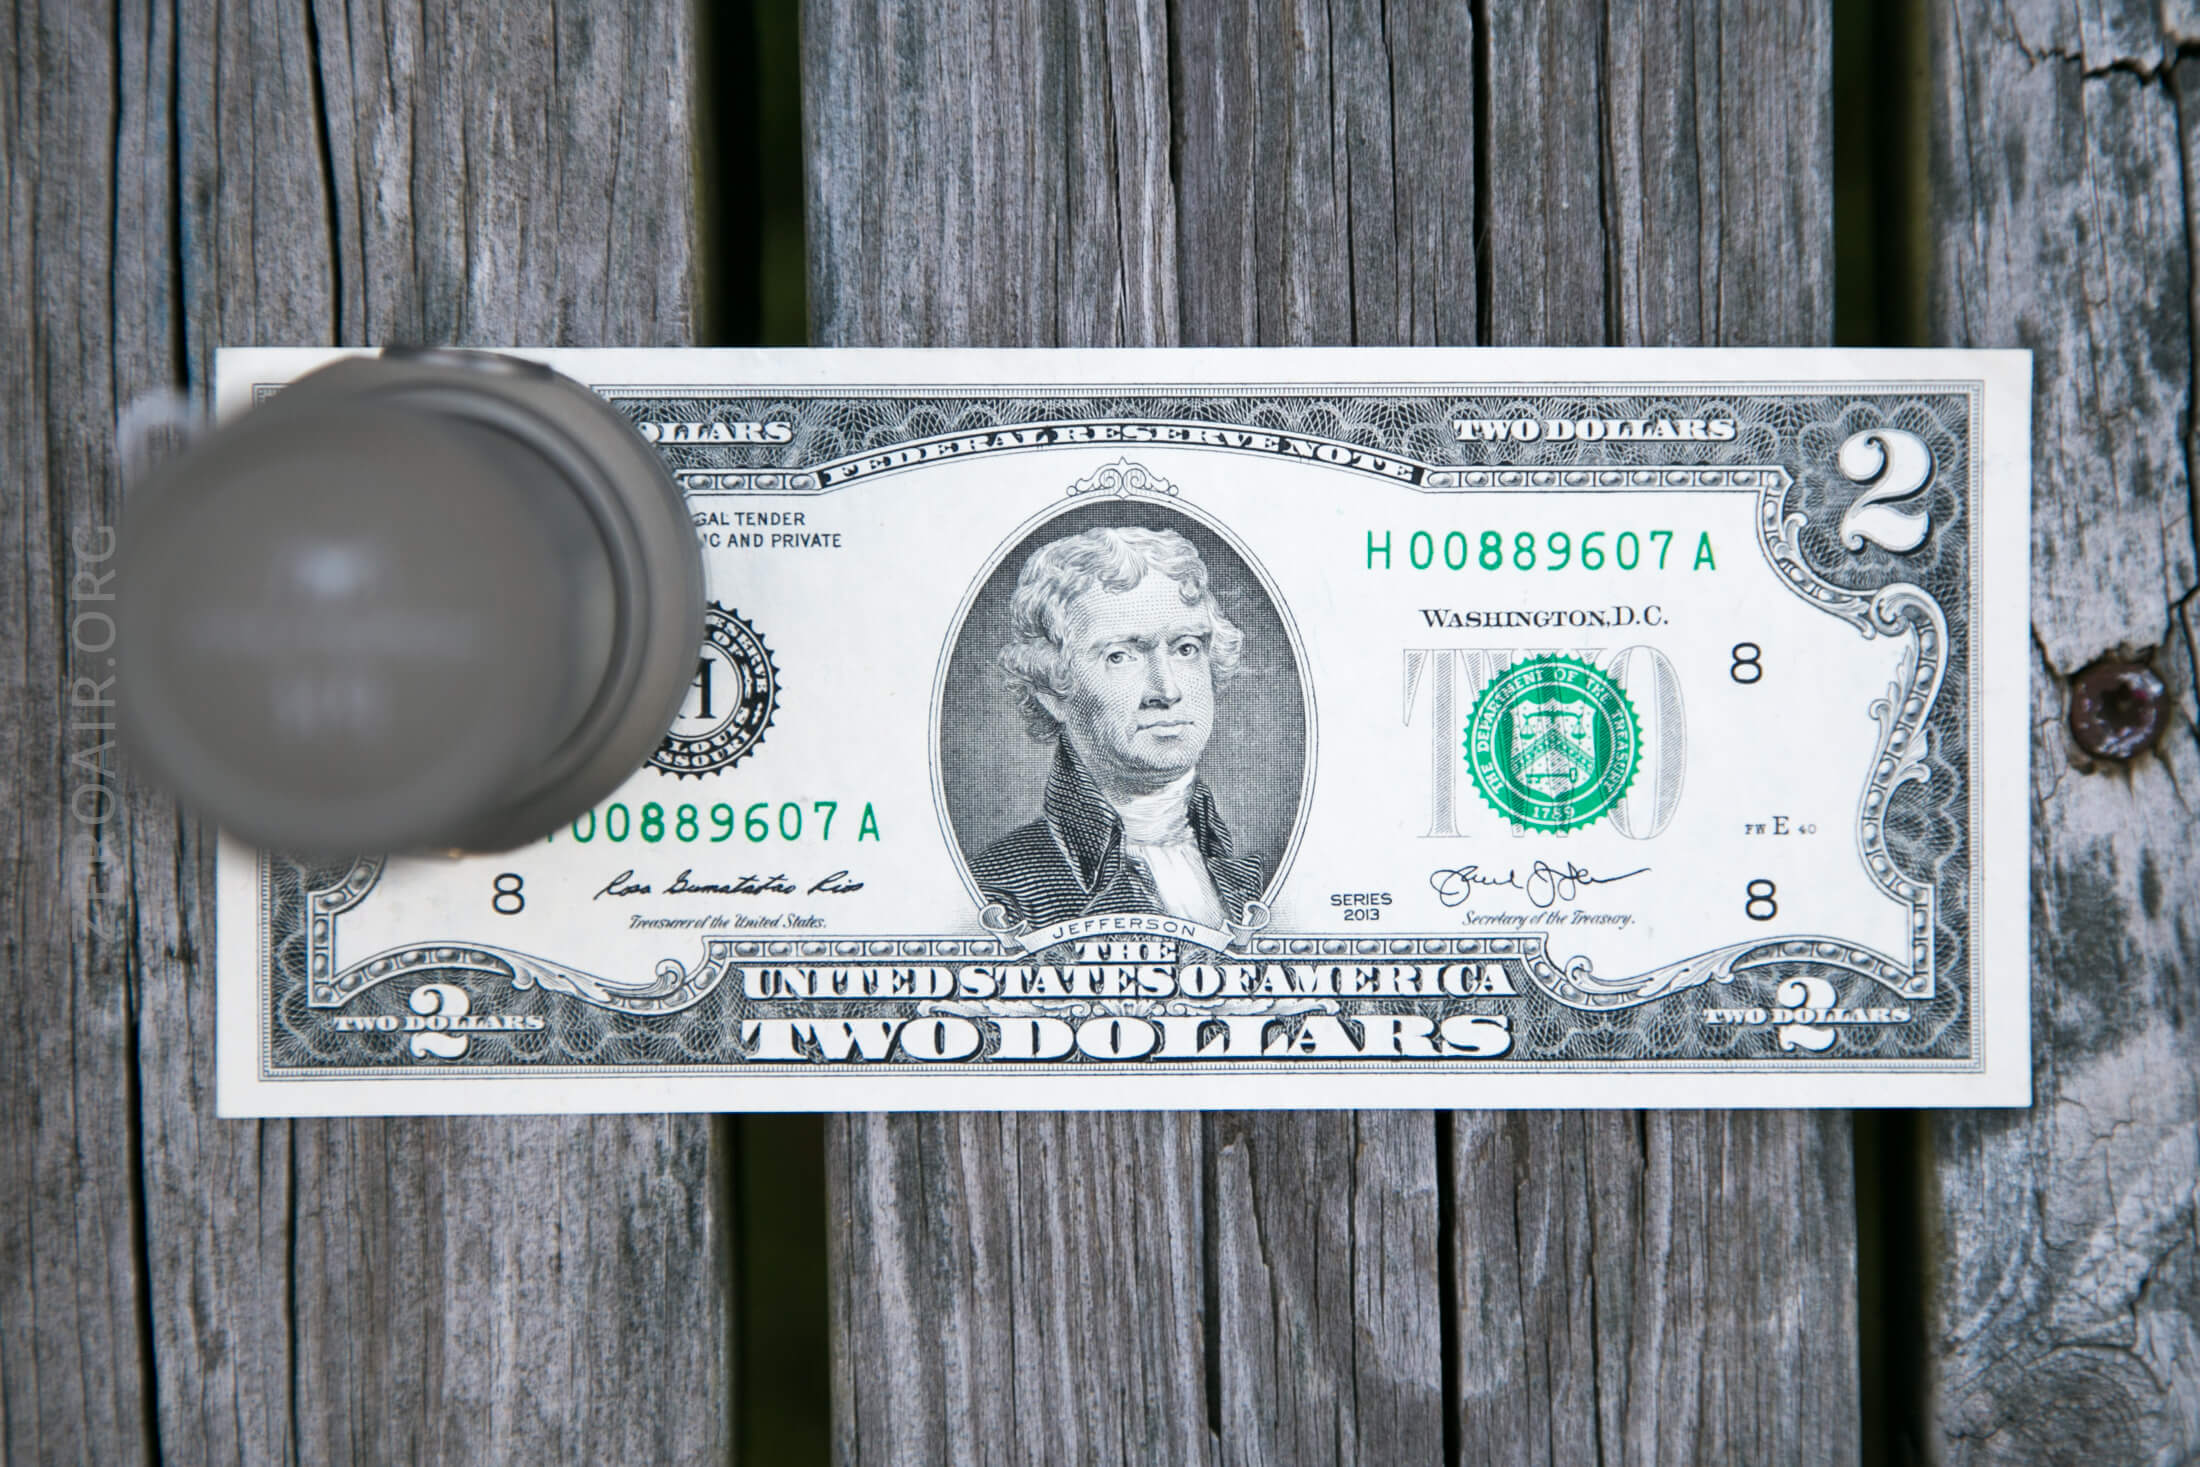
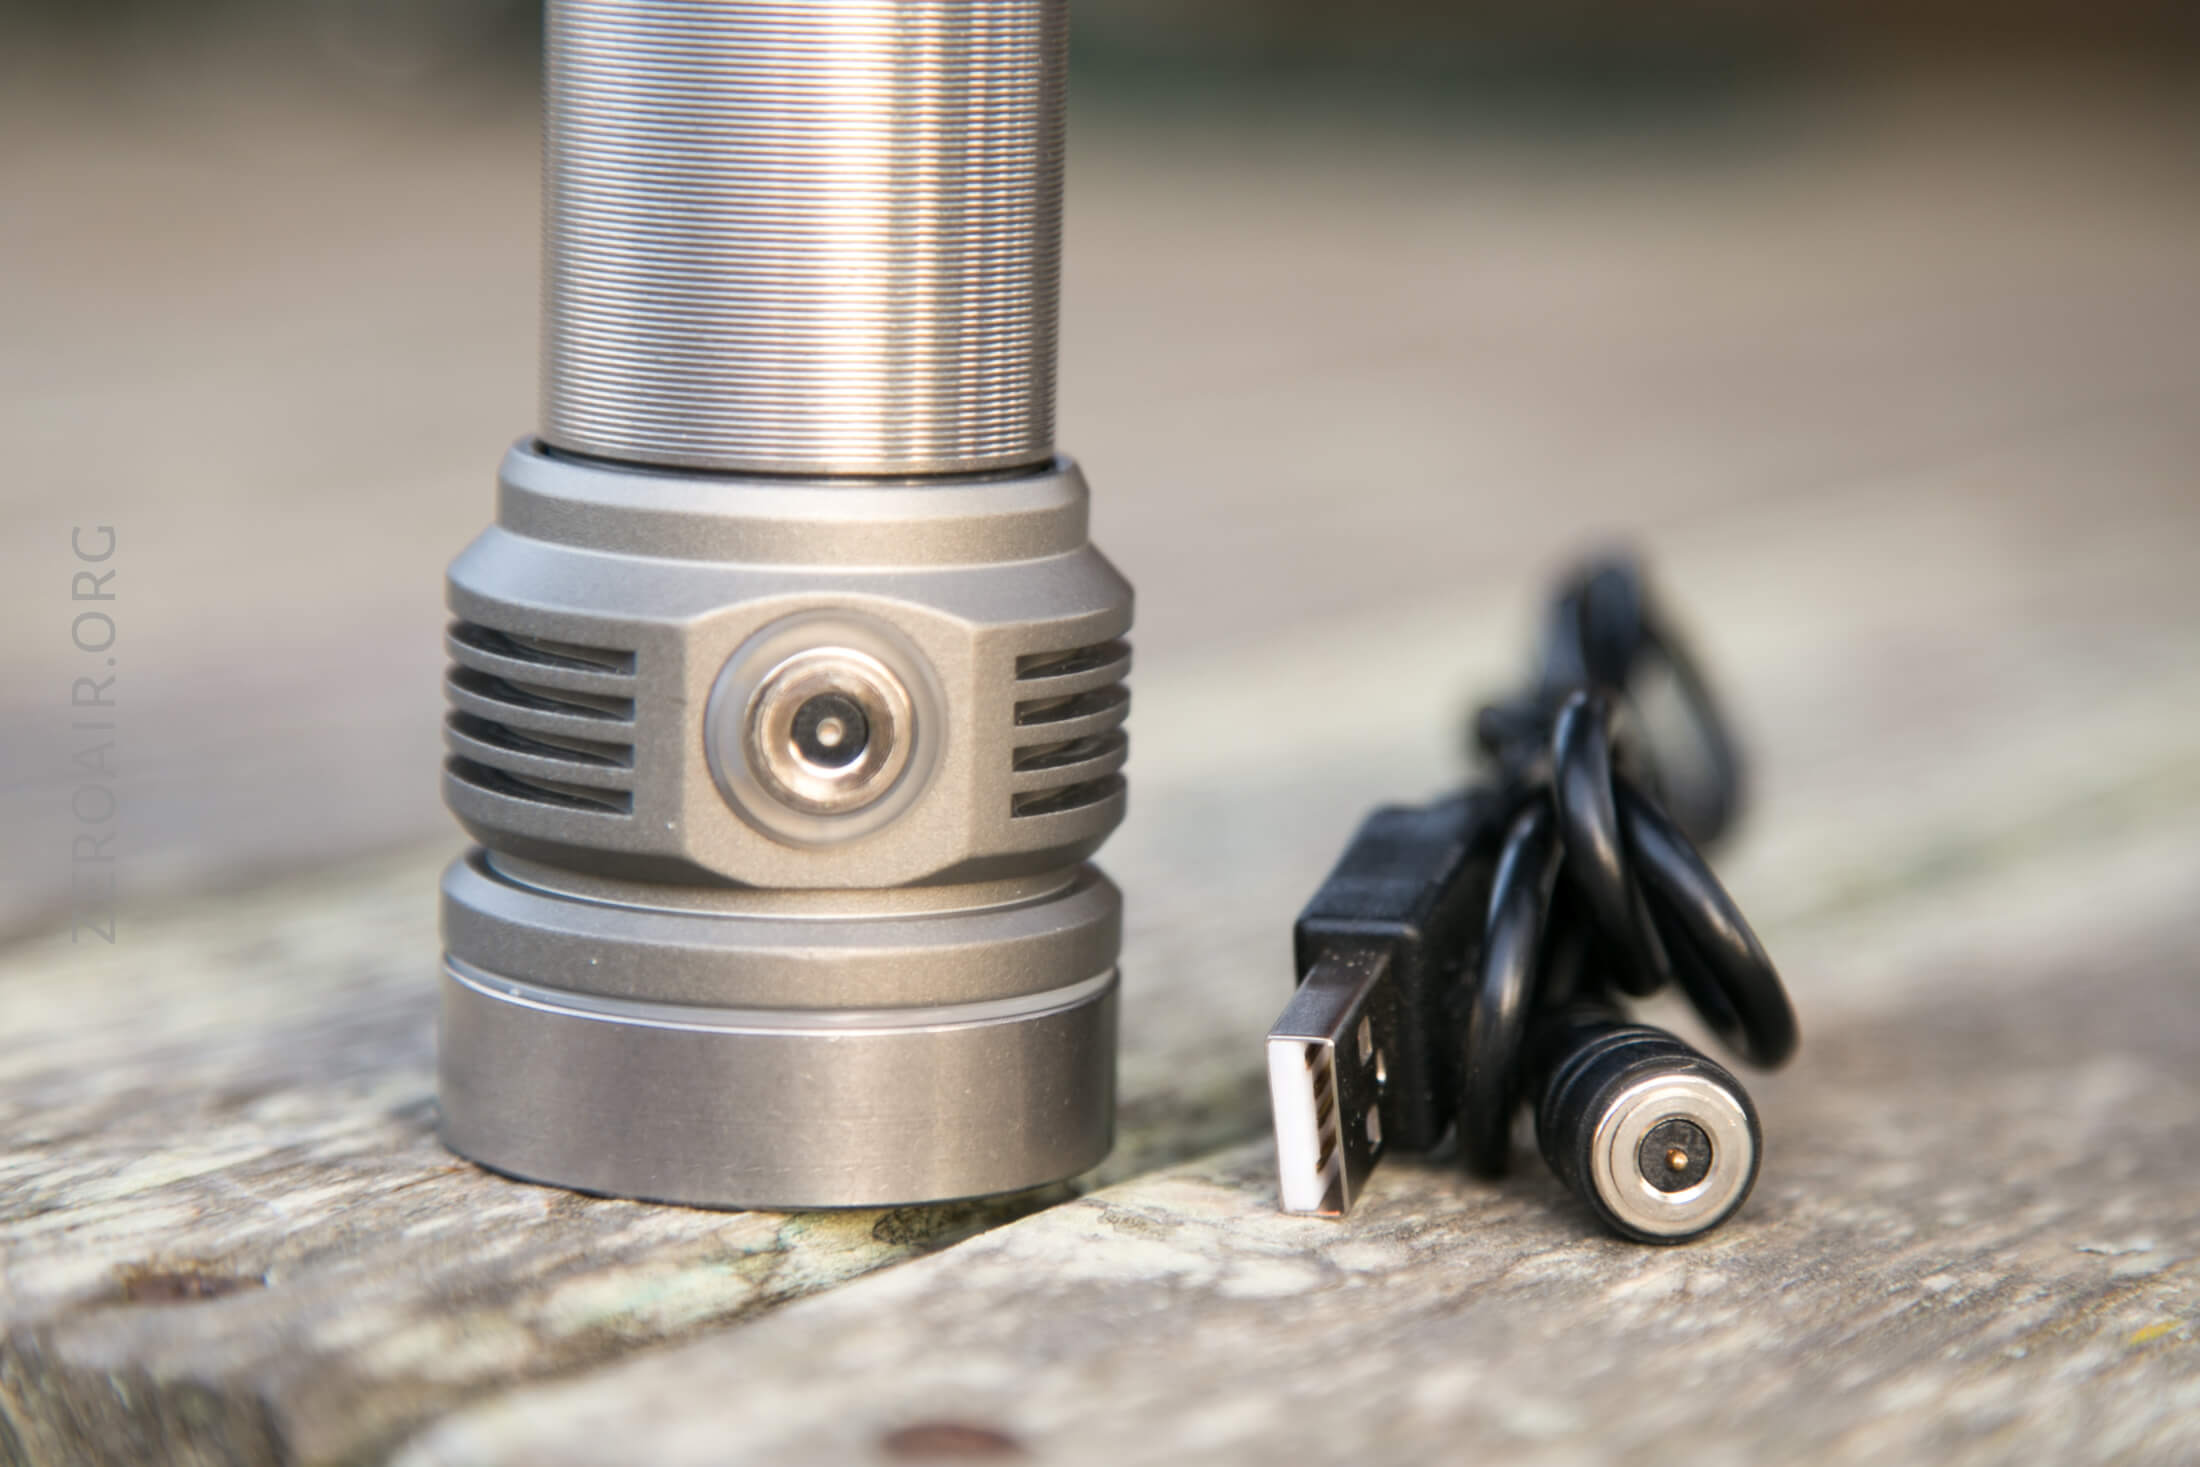
The head has thick fins, and let me tell you it absolutely needs those finds (more later). Also seen below is the charge port.
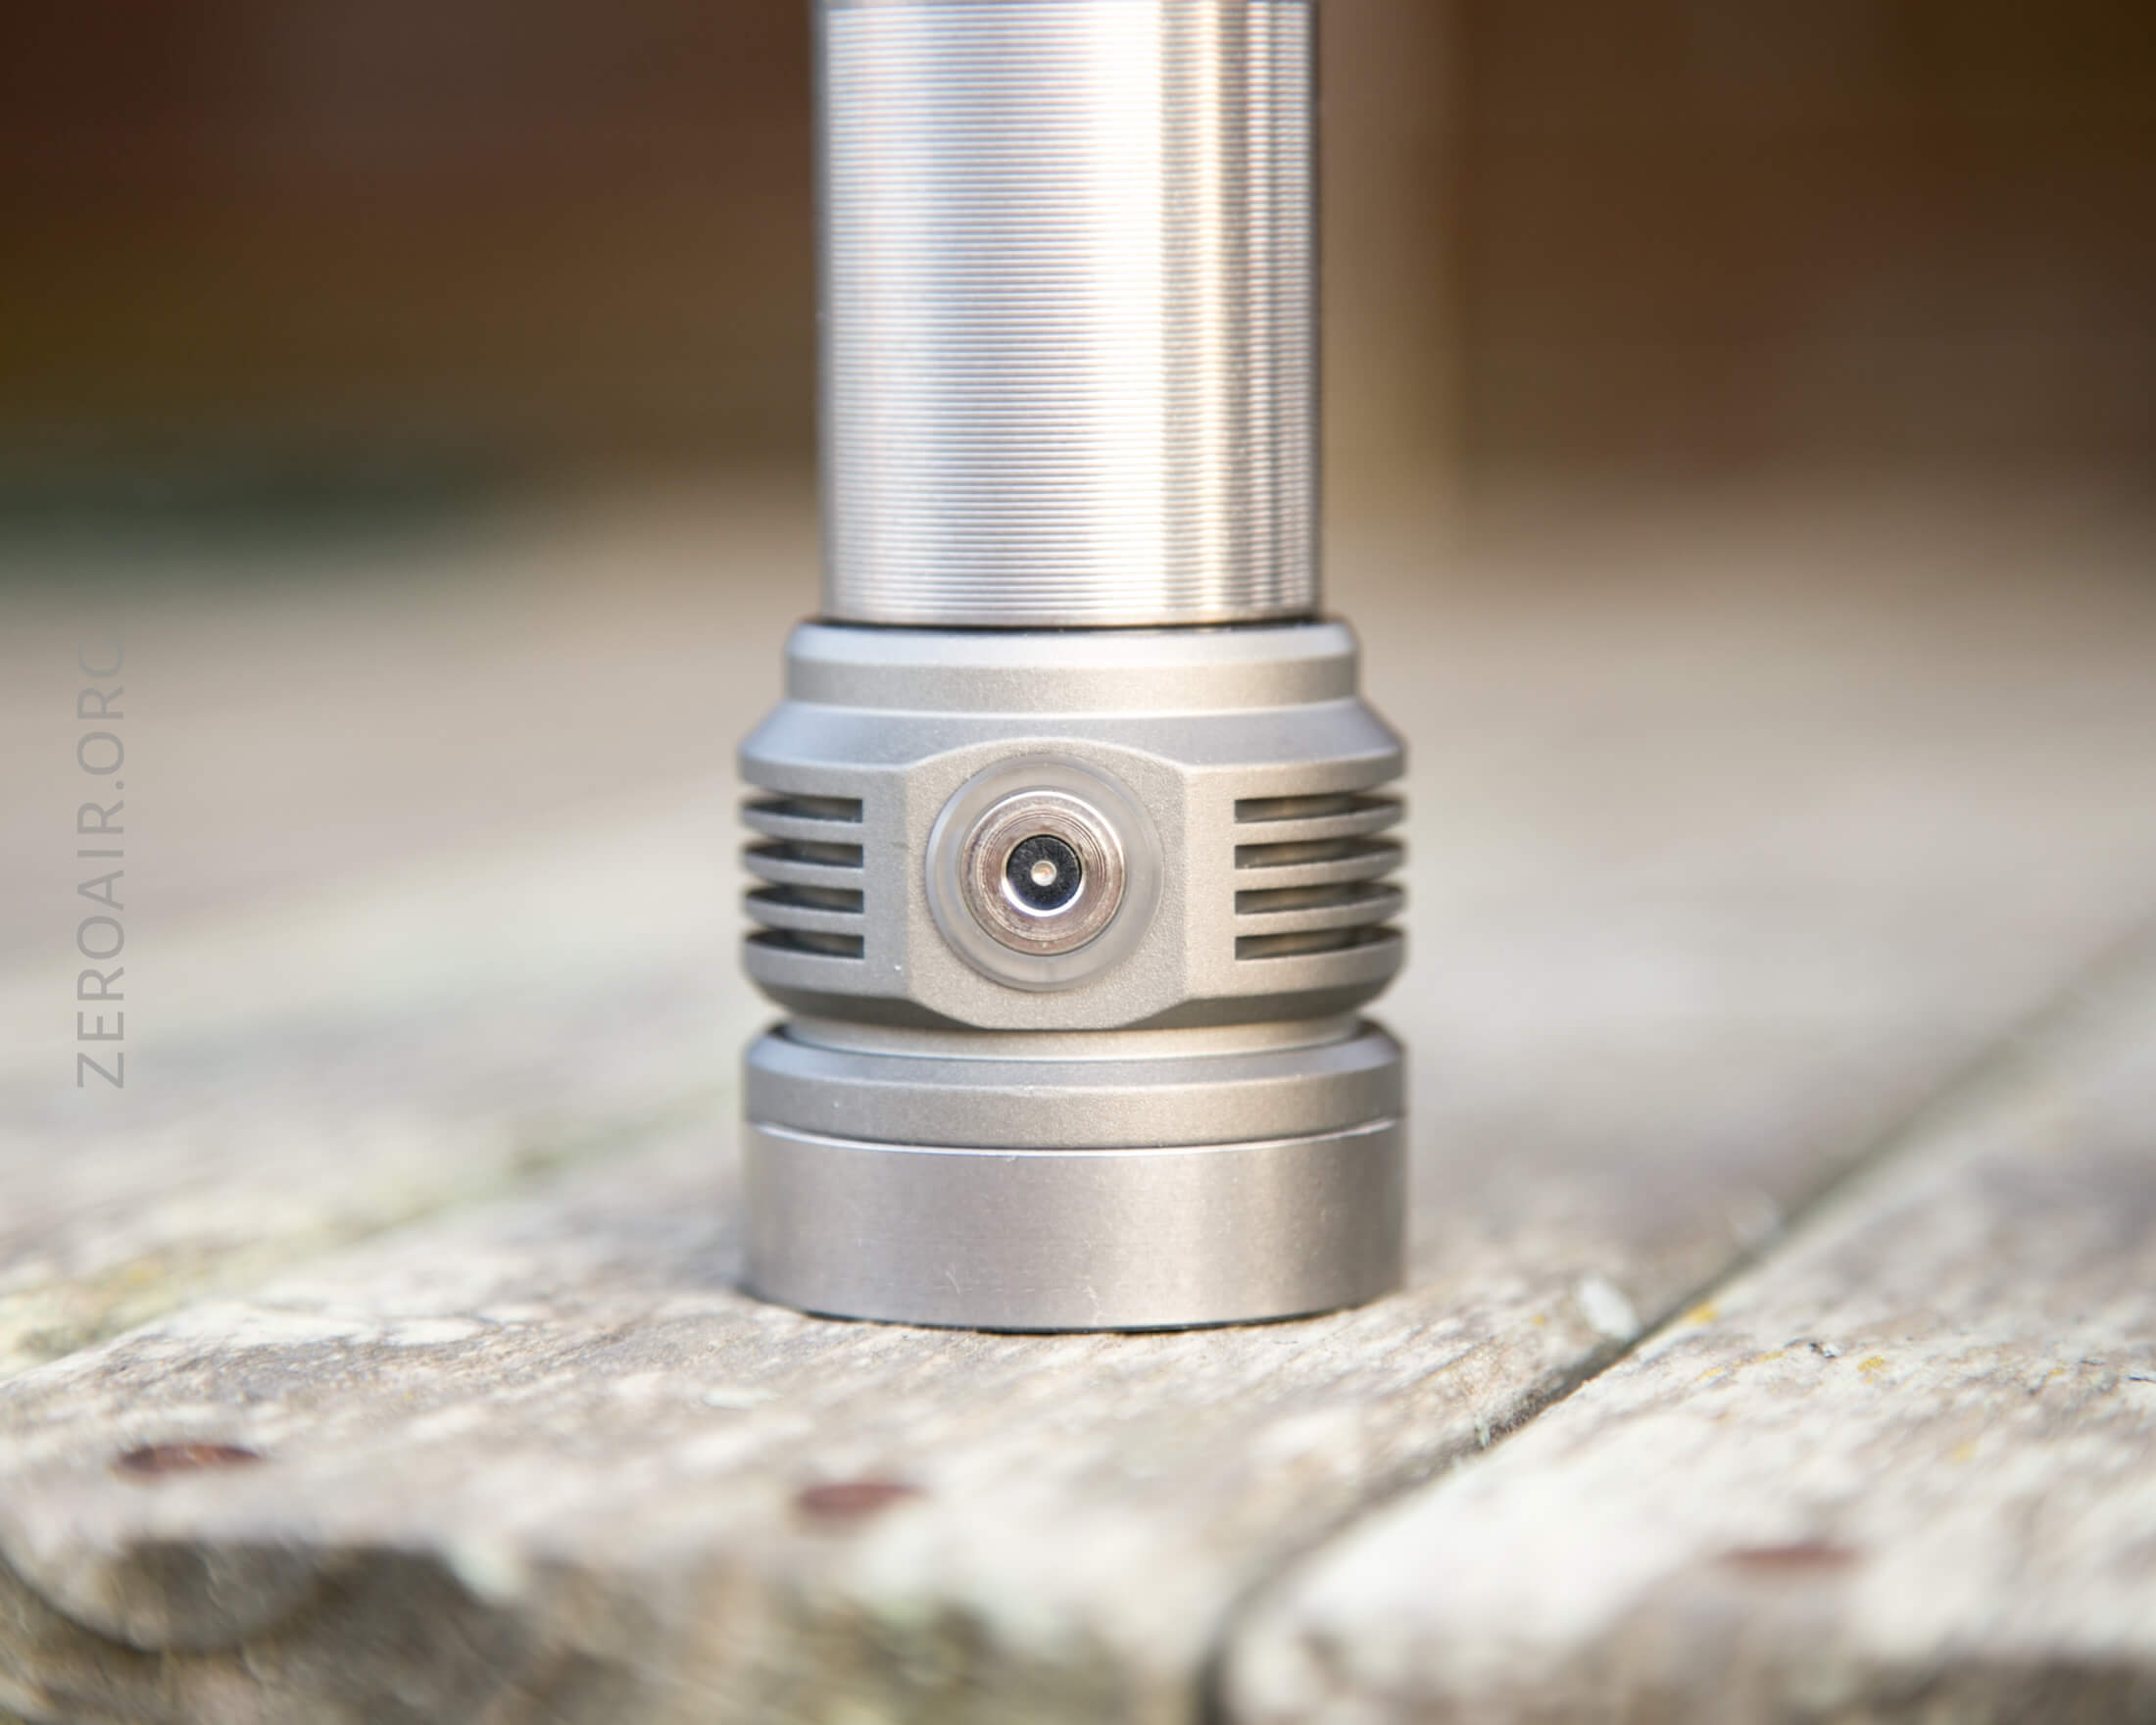
The button is opposite the charge port.
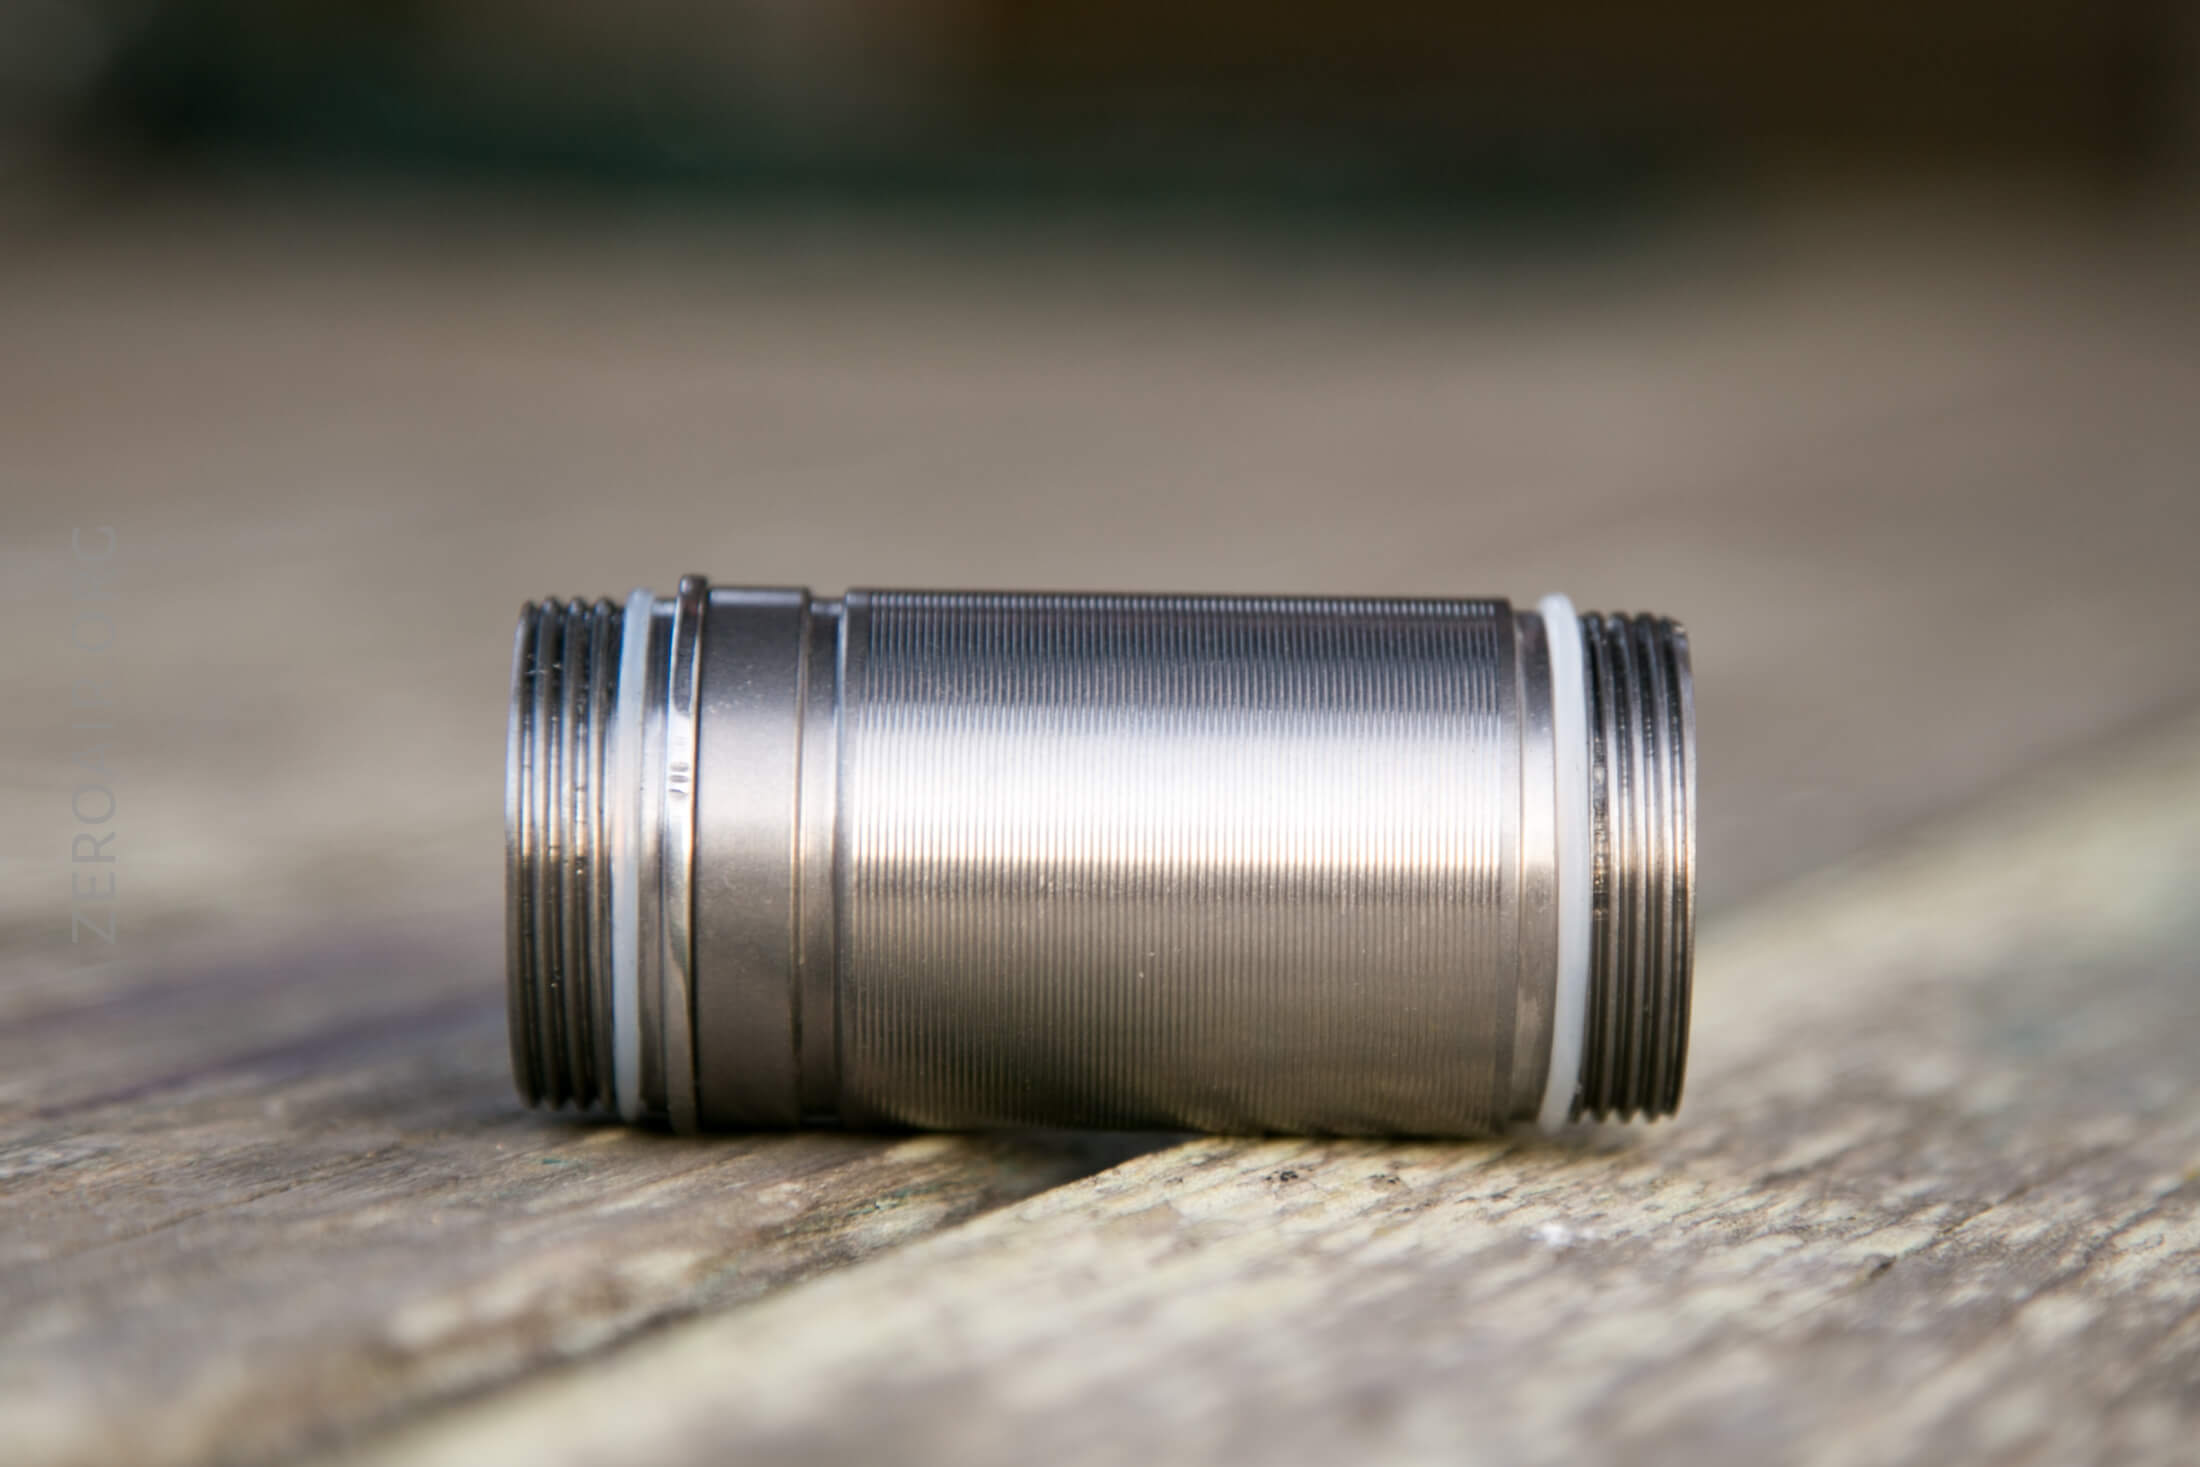
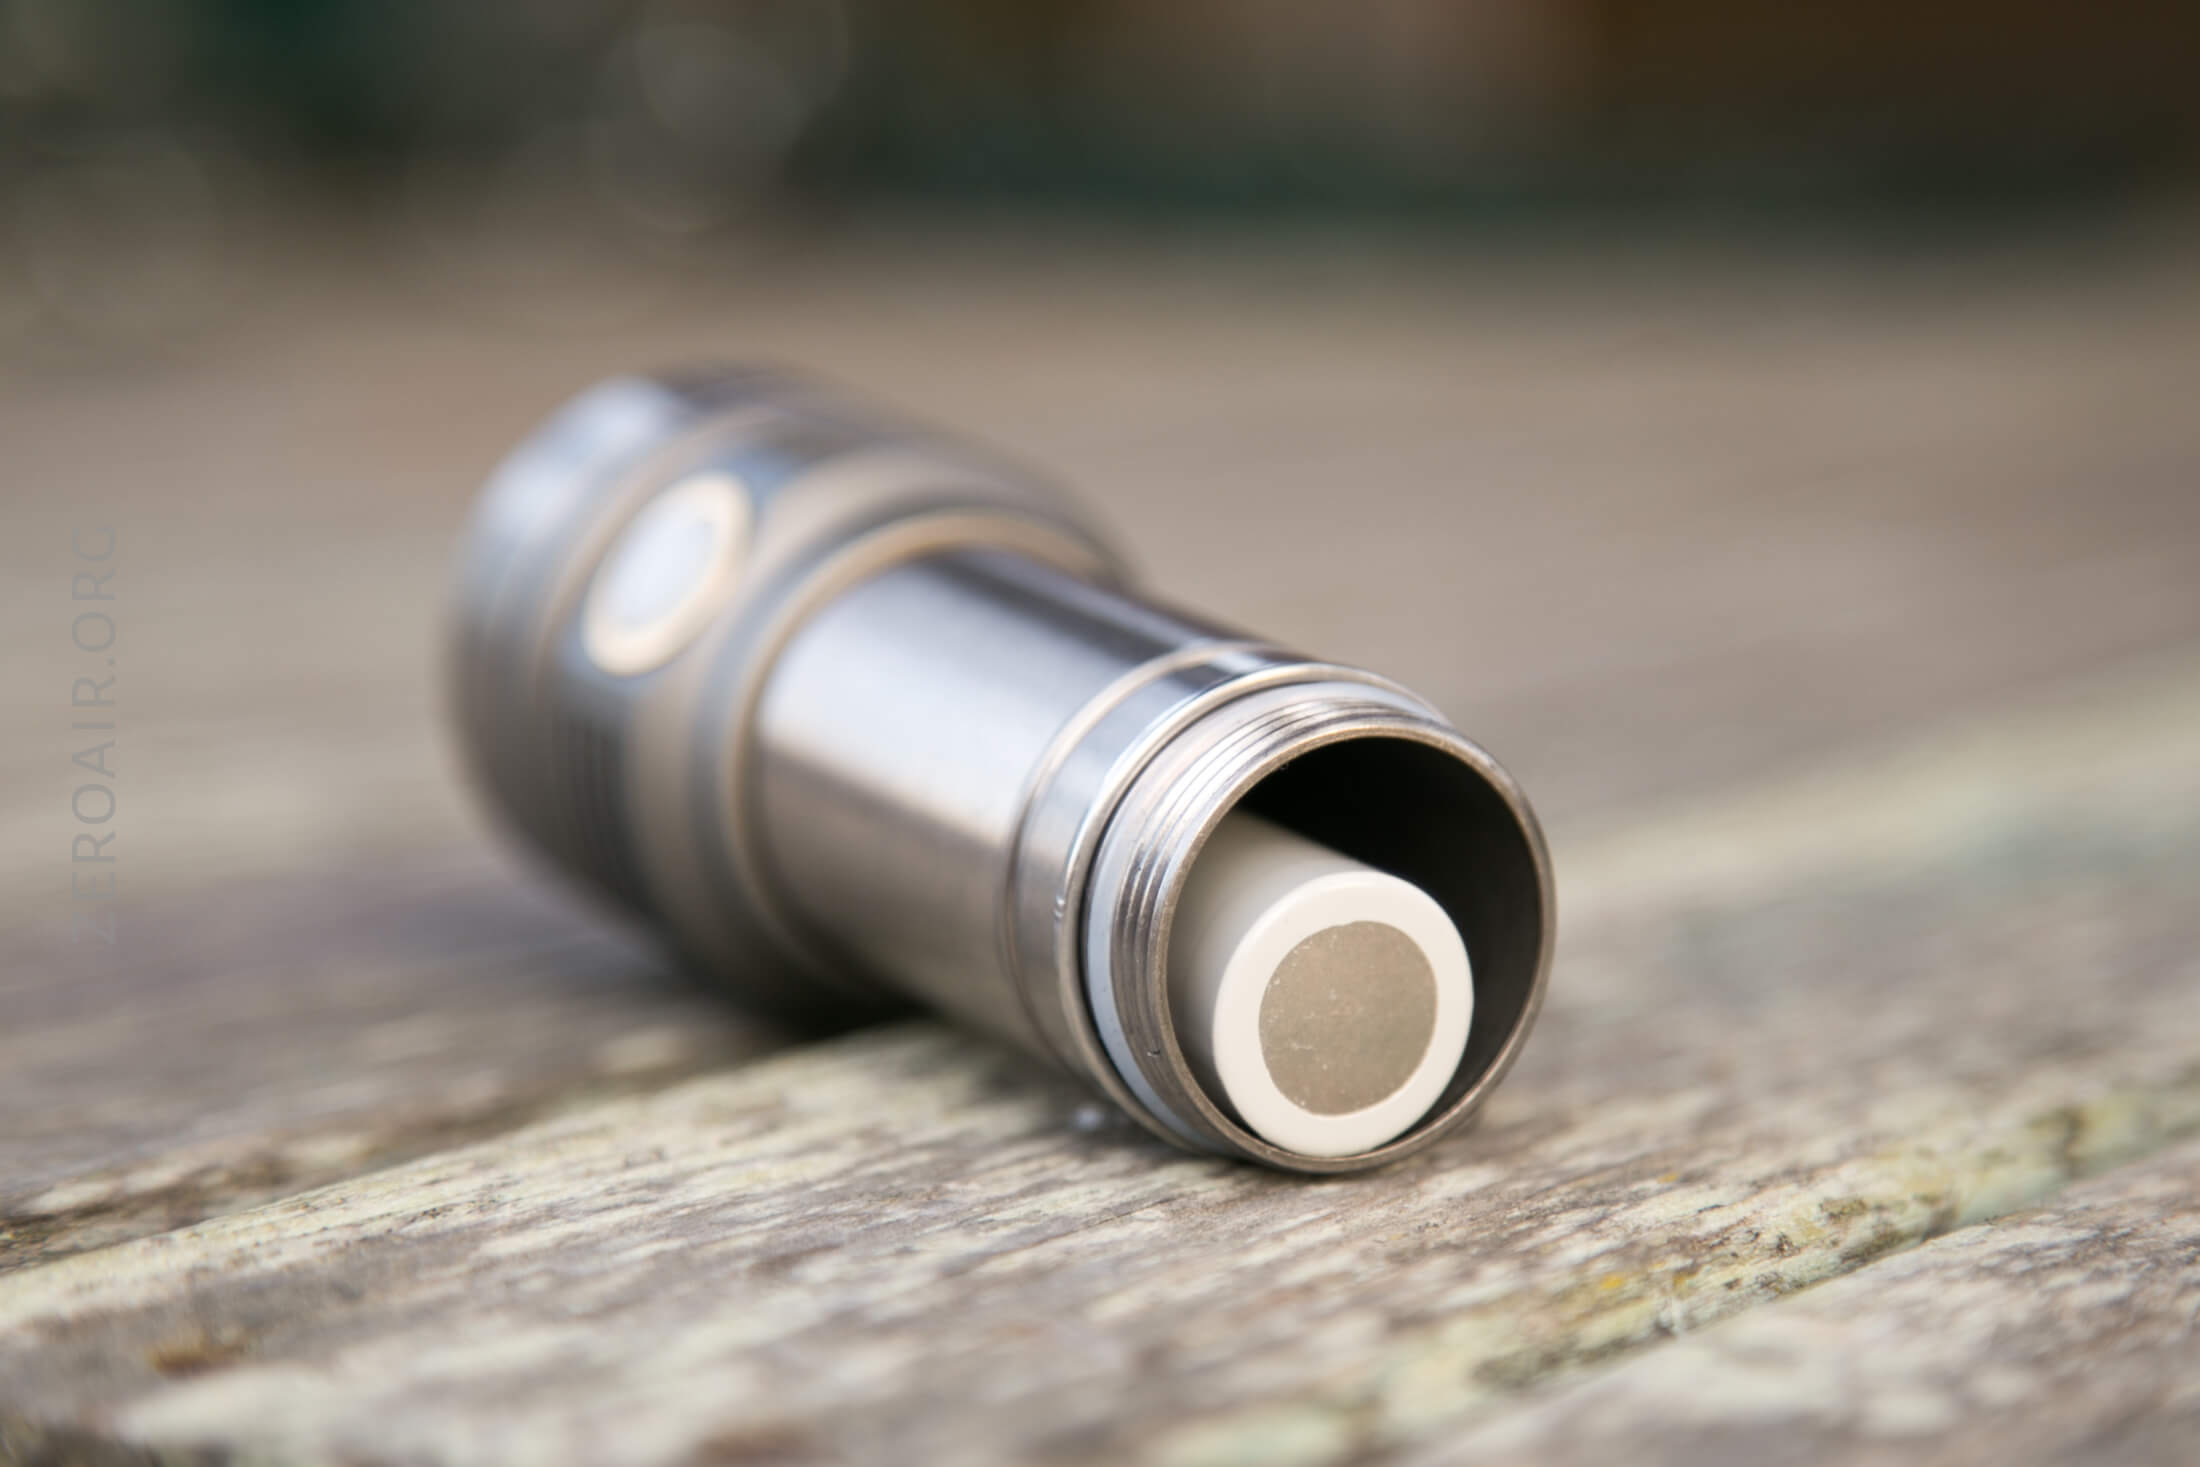
The cell tube is not reversible, even though it does screw together – electrical contact is not made.
The threads are big and thick, square-cut, with moderate lube.
Both the head and tail have very short, gold-plated, stiff, springy springs. The brass-looking ring on both the head and tail is actually a brass ring (not a layer on the MCPCBs).
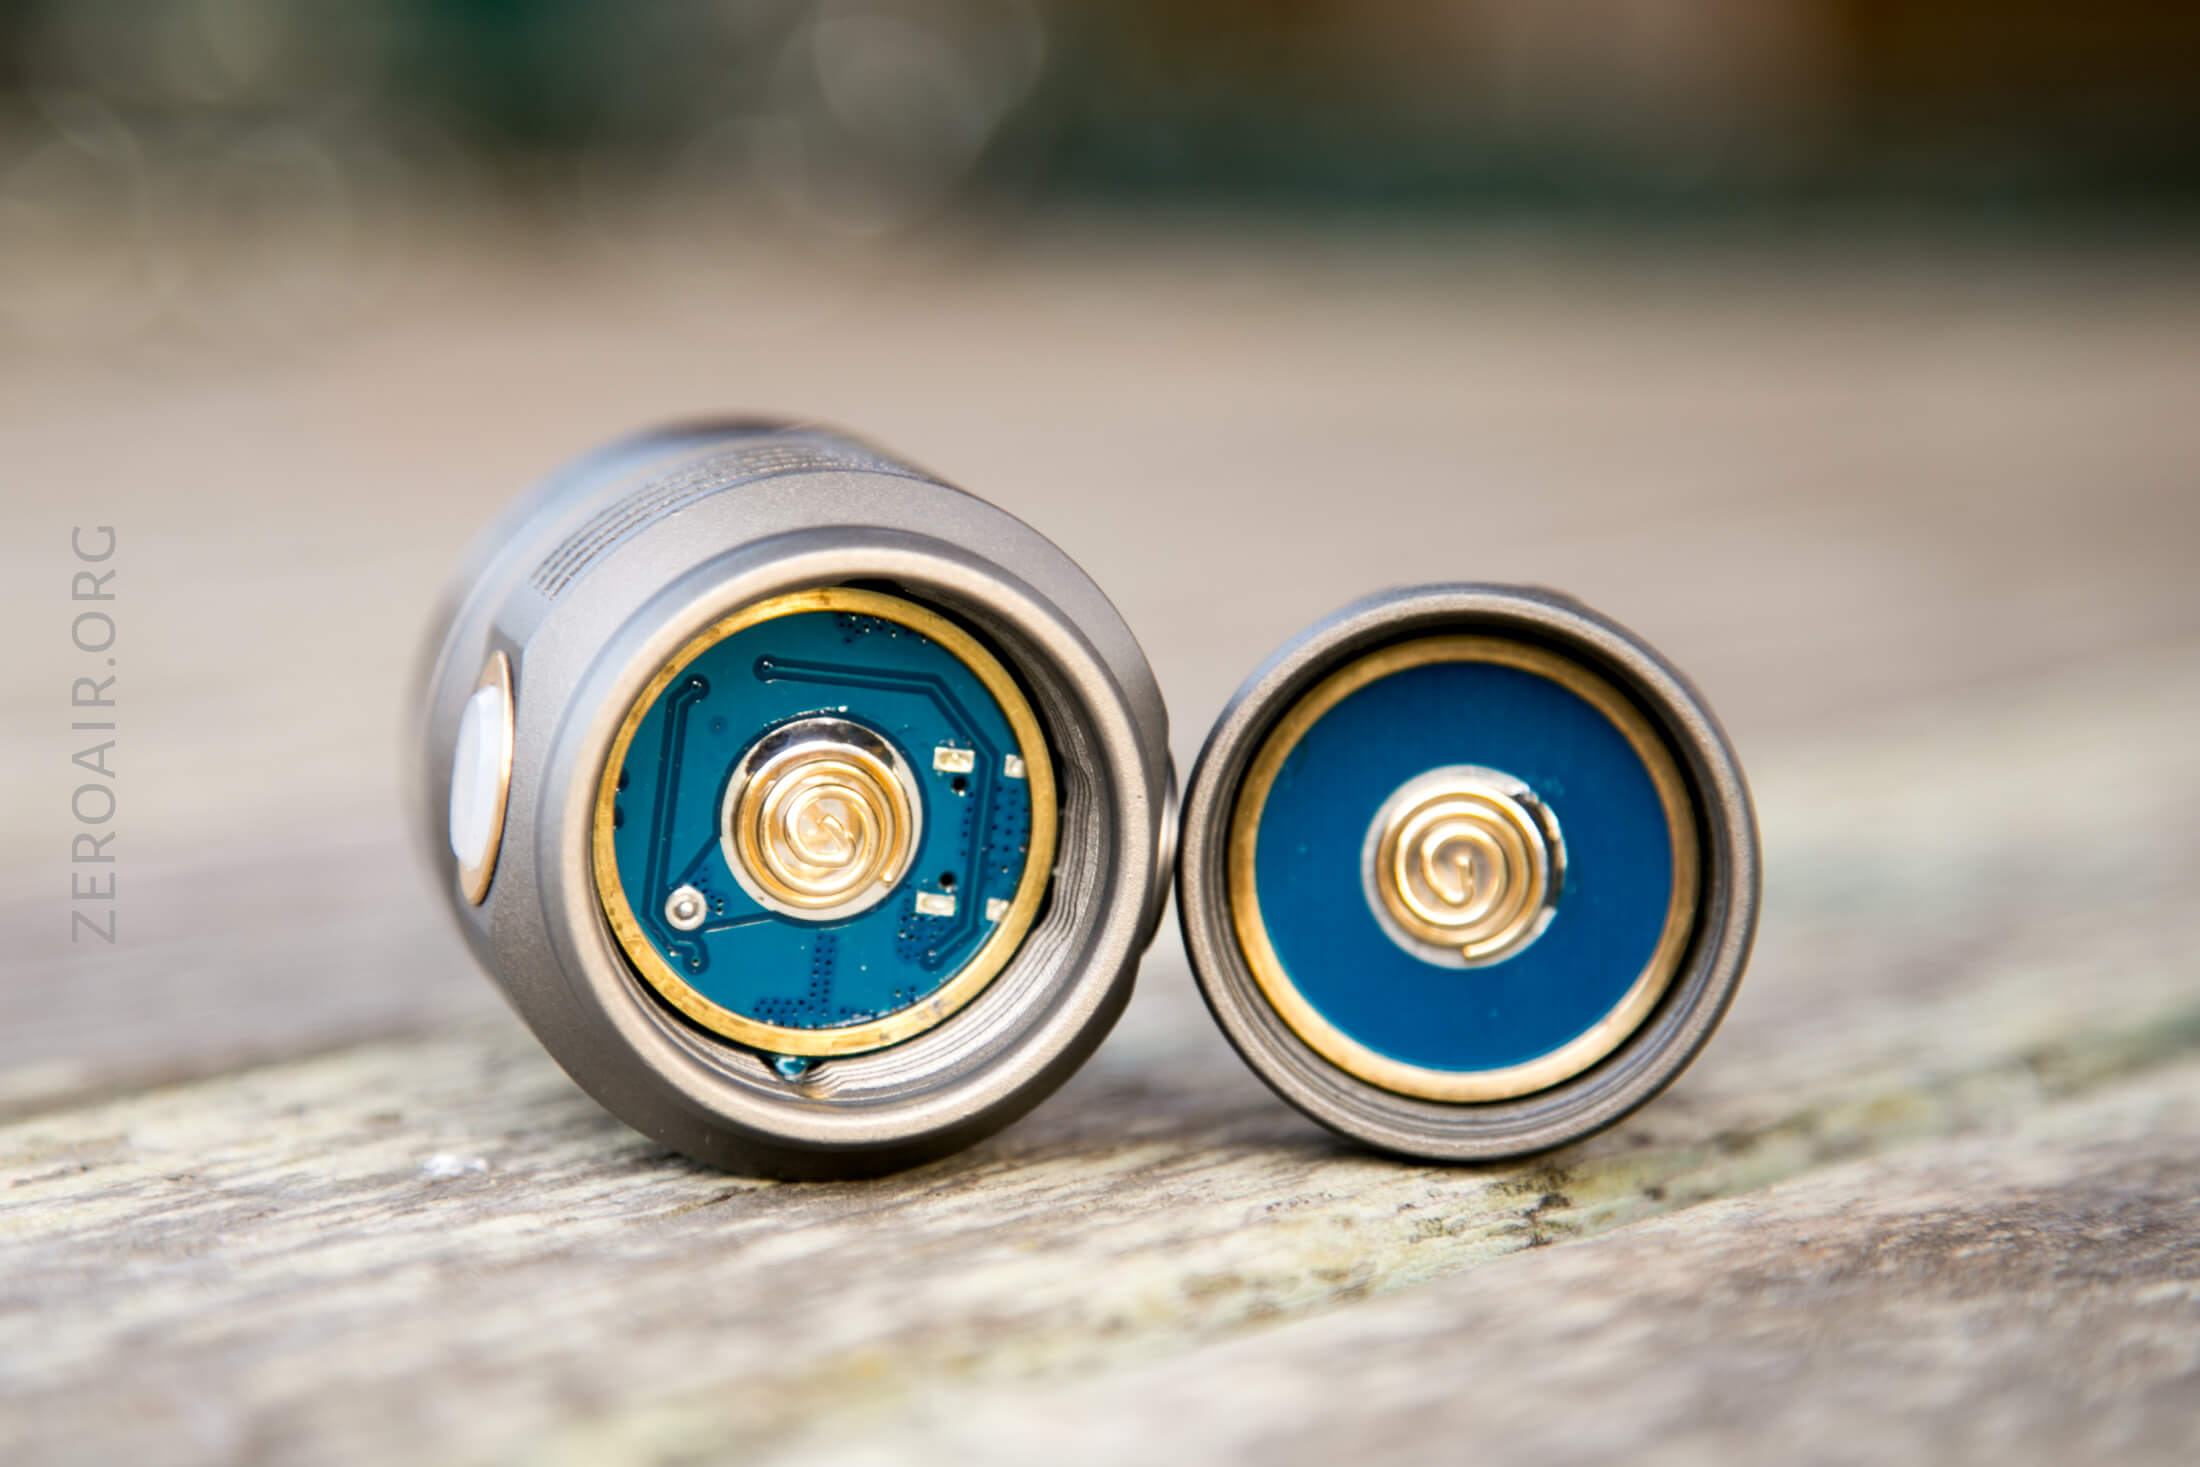
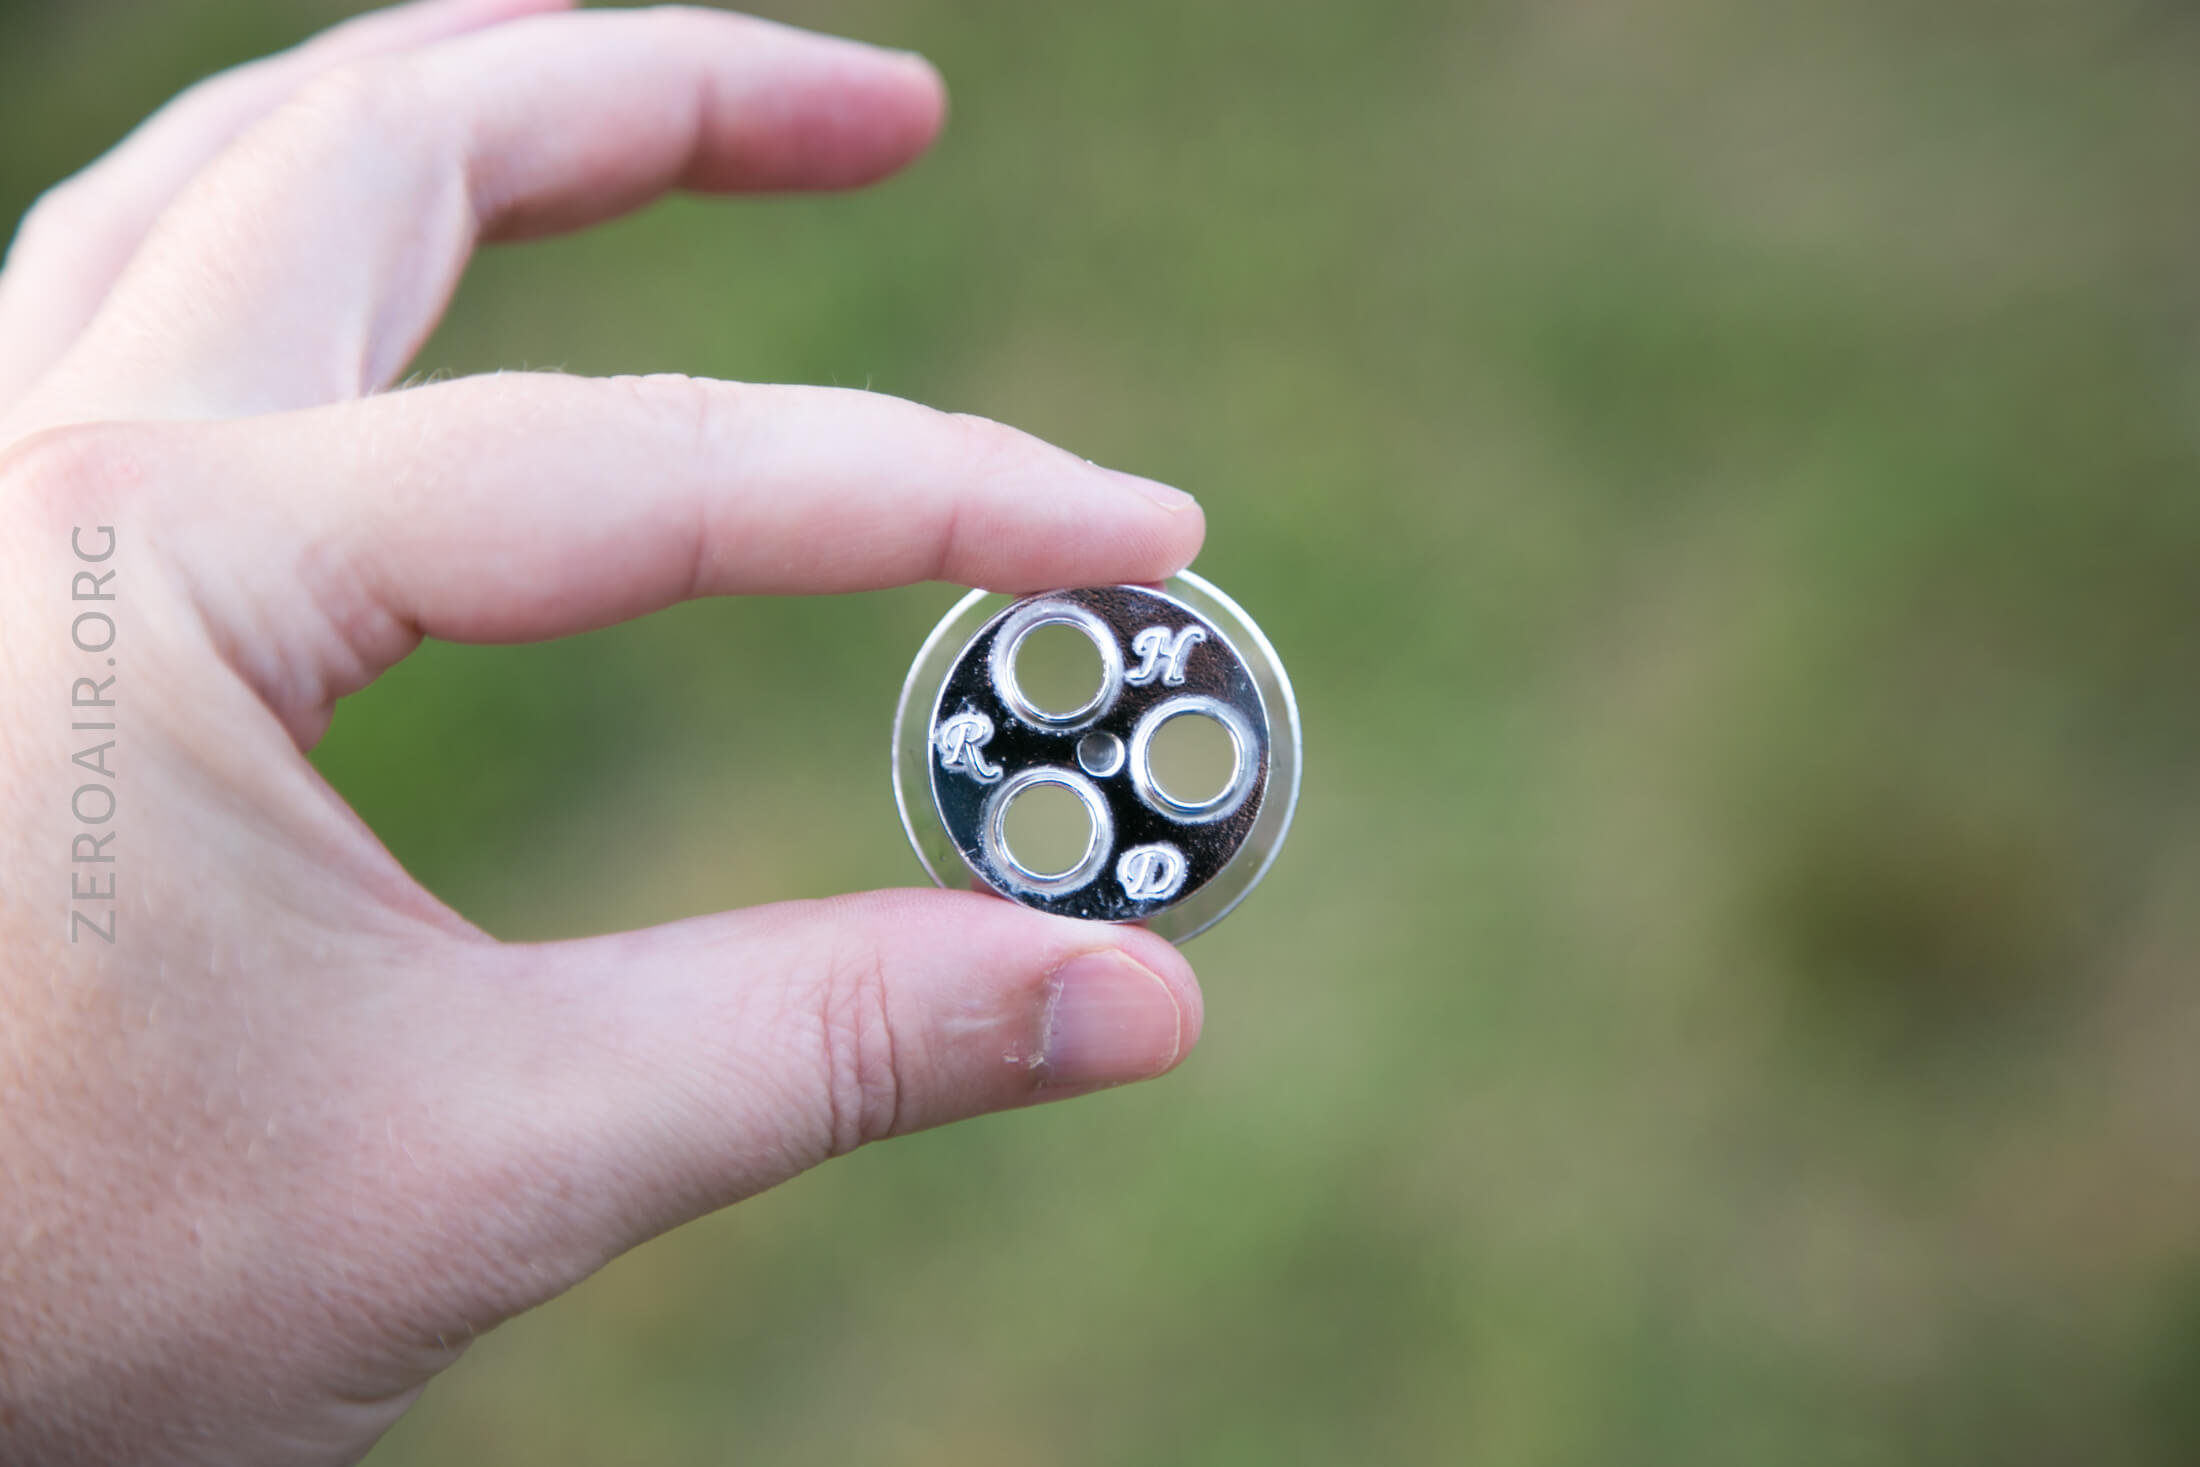
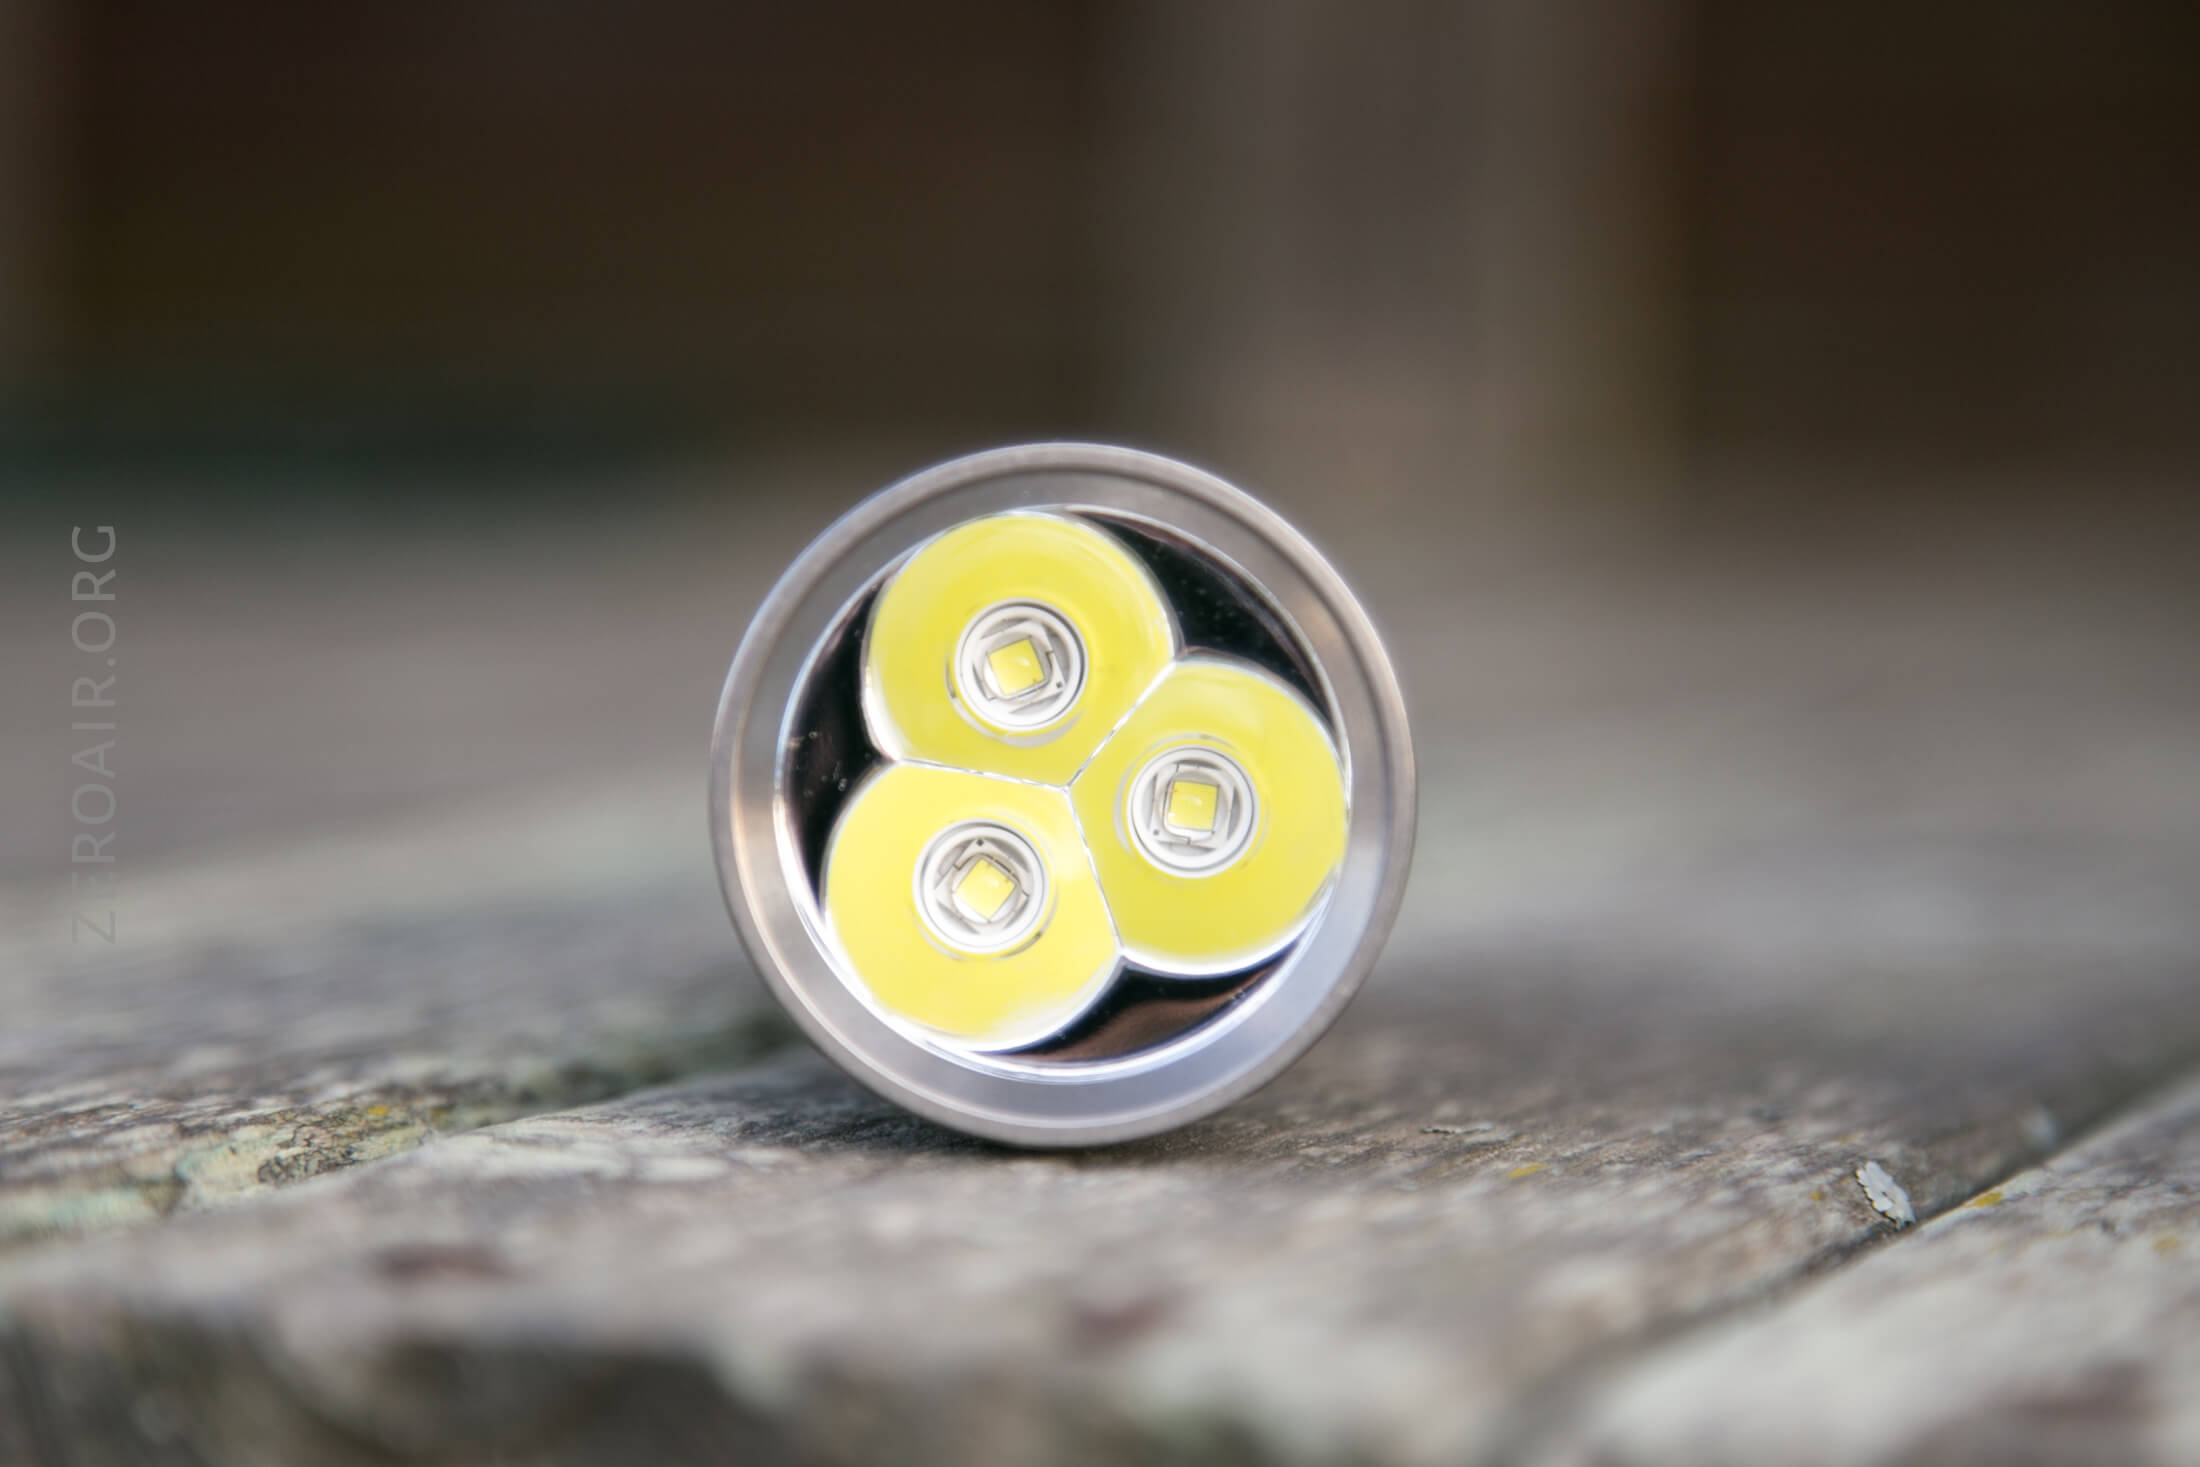
The bezel unscrews easily, and the reflector comes out easily. The MCPCB is held in place by a single screw in the center.
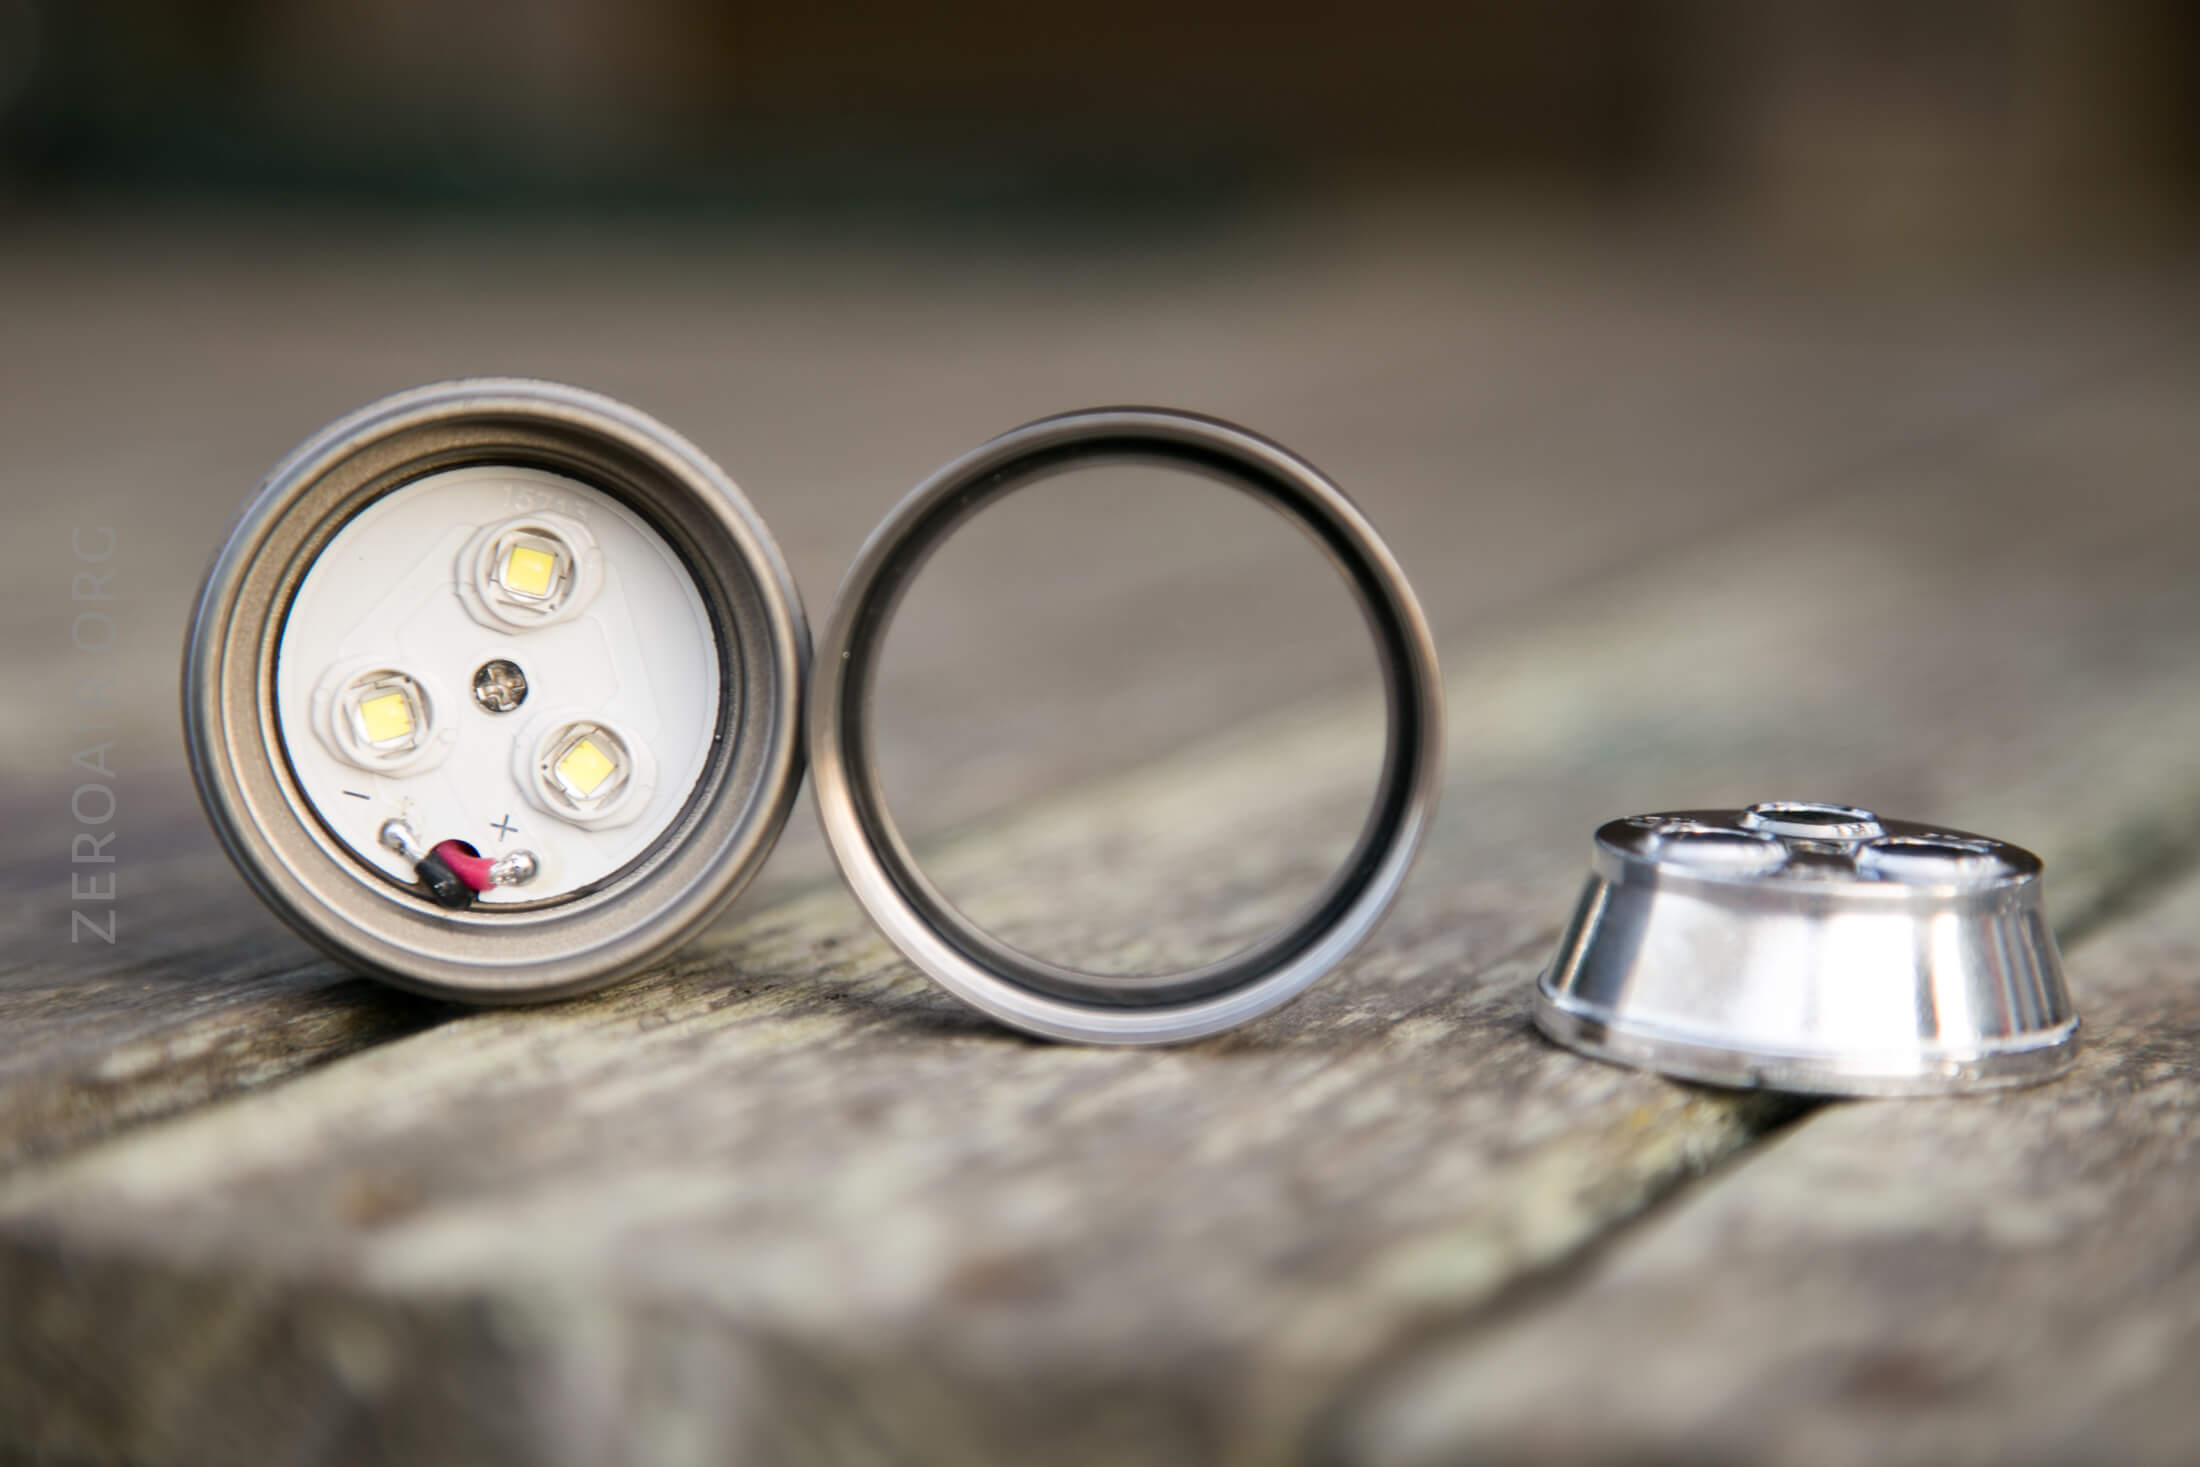
The underside of the aluminum reflector (which has a lot of mass, by the way) has built-in the initials RHD (Or HDR or DRH or whatever). I don’t know what that means but probably something important. I’m sure Nicholas Cage could help us decipher it.
There’s plenty of room in the cell tube. While this is a 26650 light, I have many more 18650 cells, and many more capable 18650 cells, so I tested the light with this Molicel P26A.
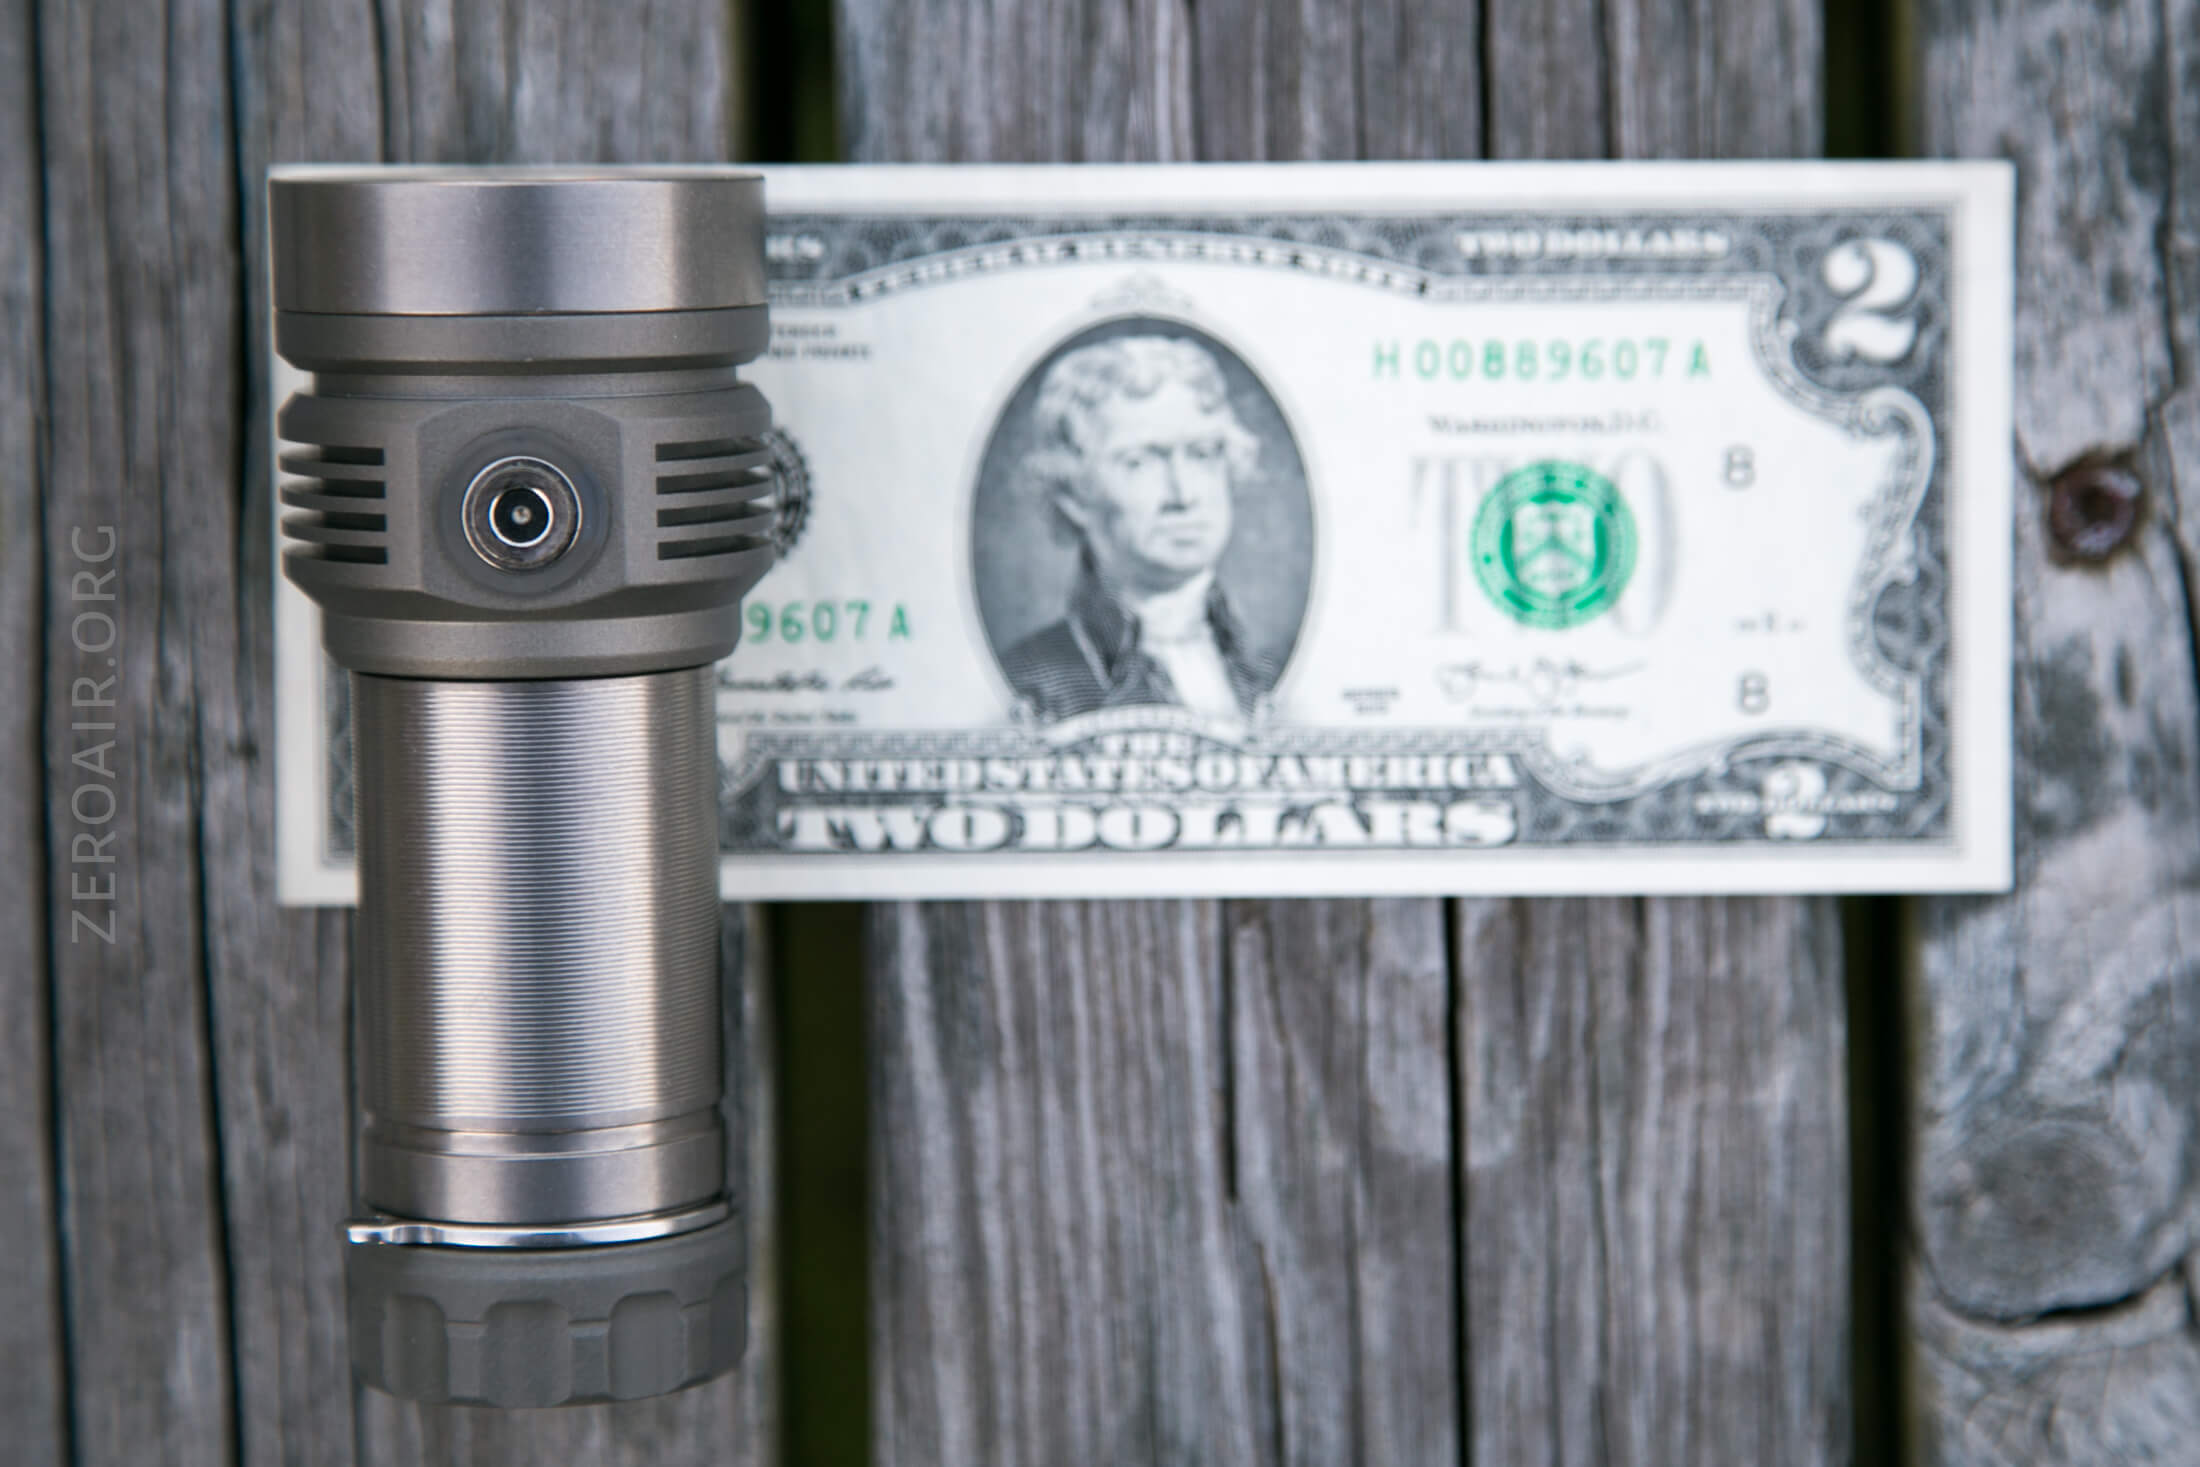
Size and Comps
Officially:
Weight: 130g
Size: 104mm x 42mm x 32mm (Length x Head Diameter x Body Diameter)
I measure it at: 104.21 x 42.12 x 31.69

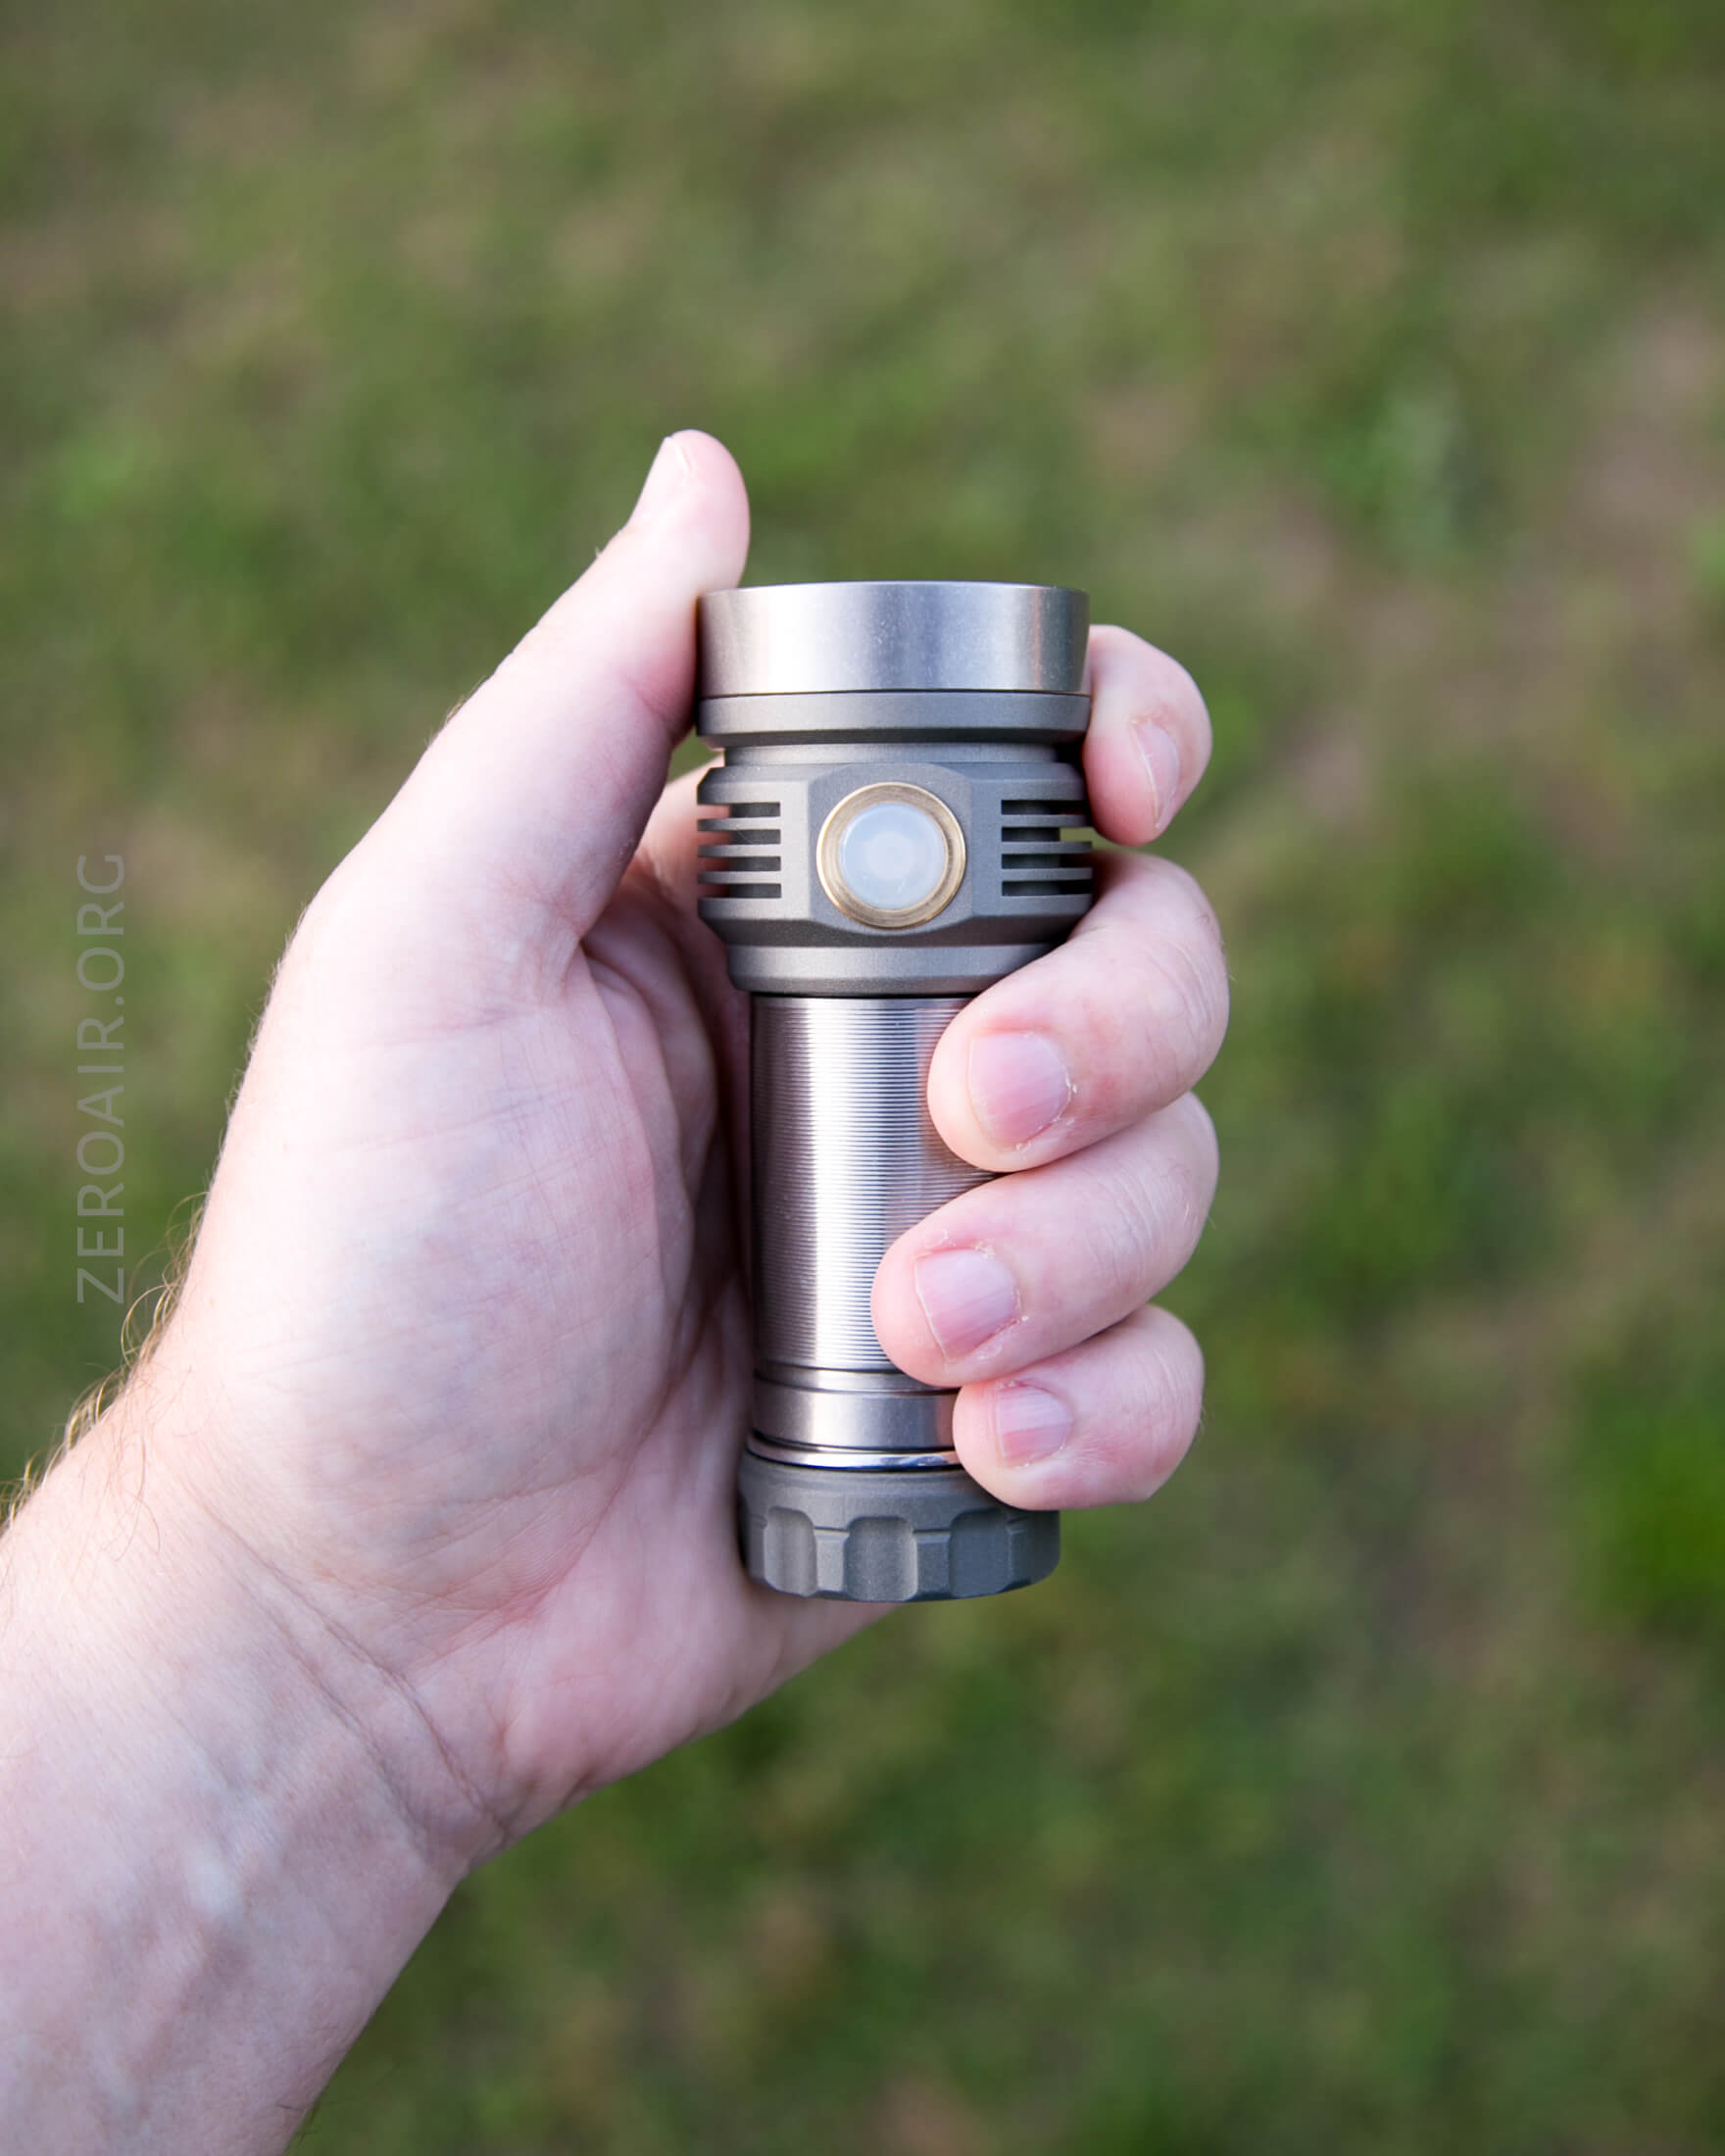
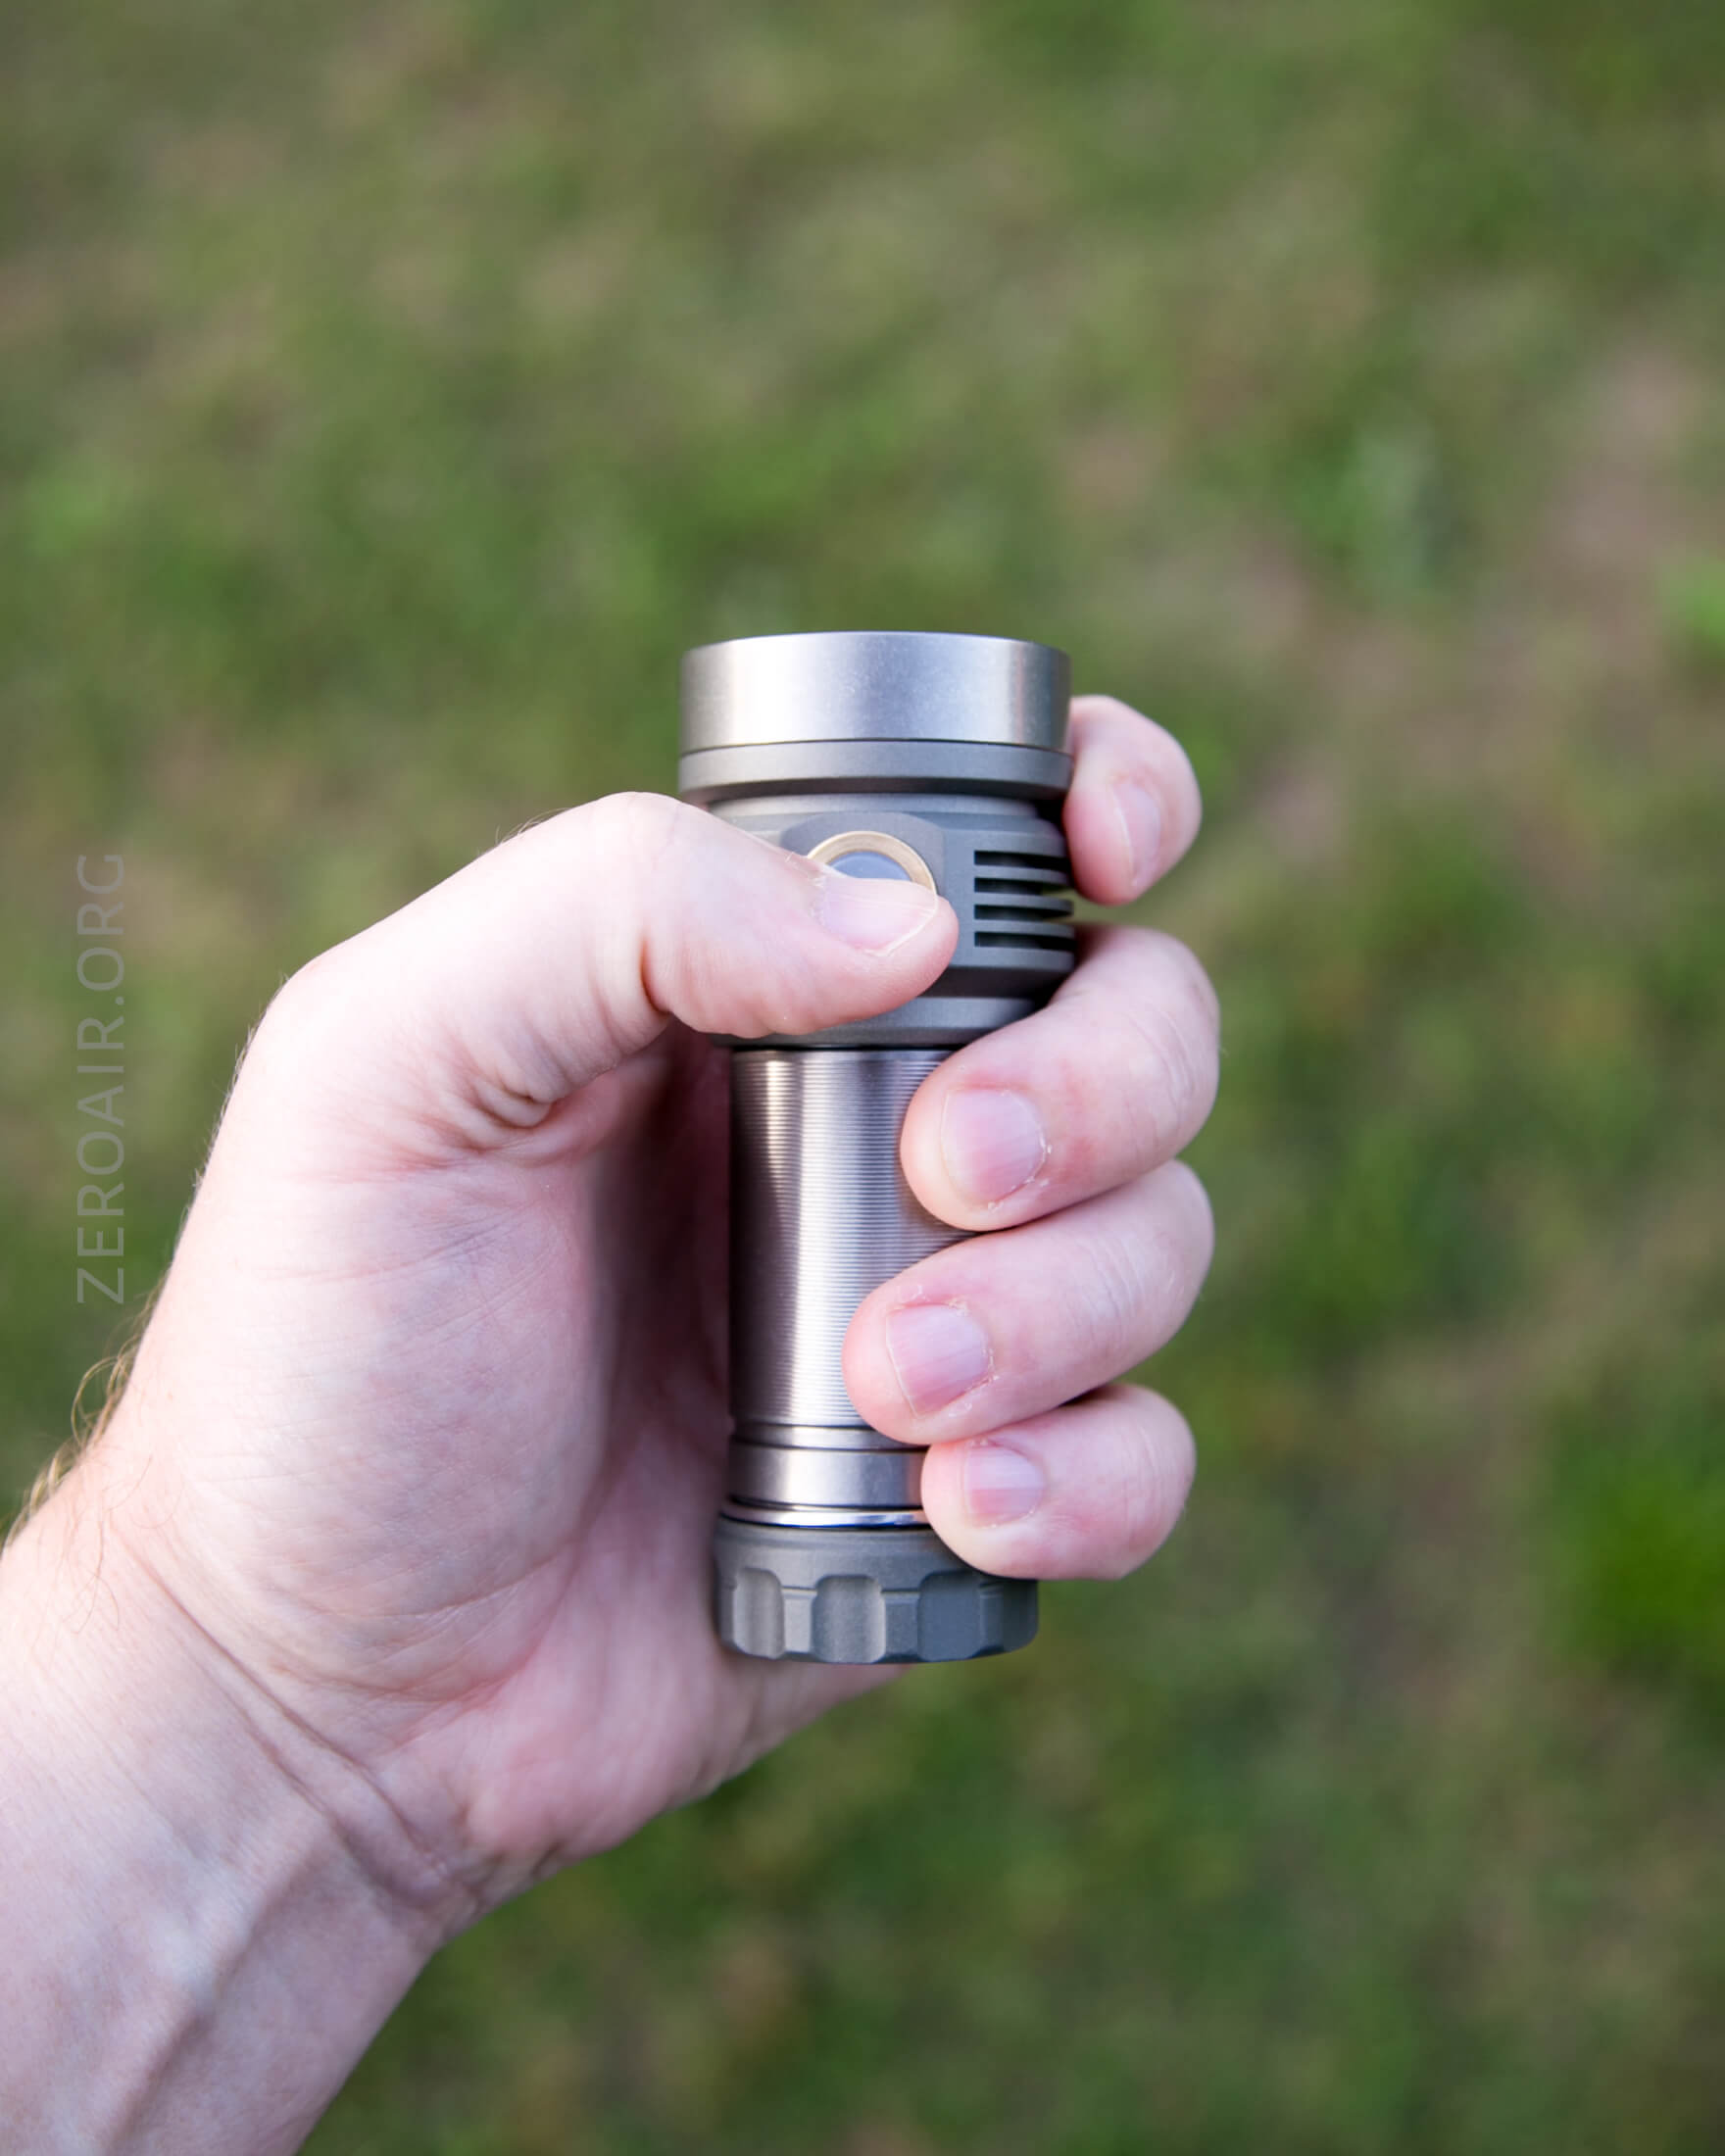
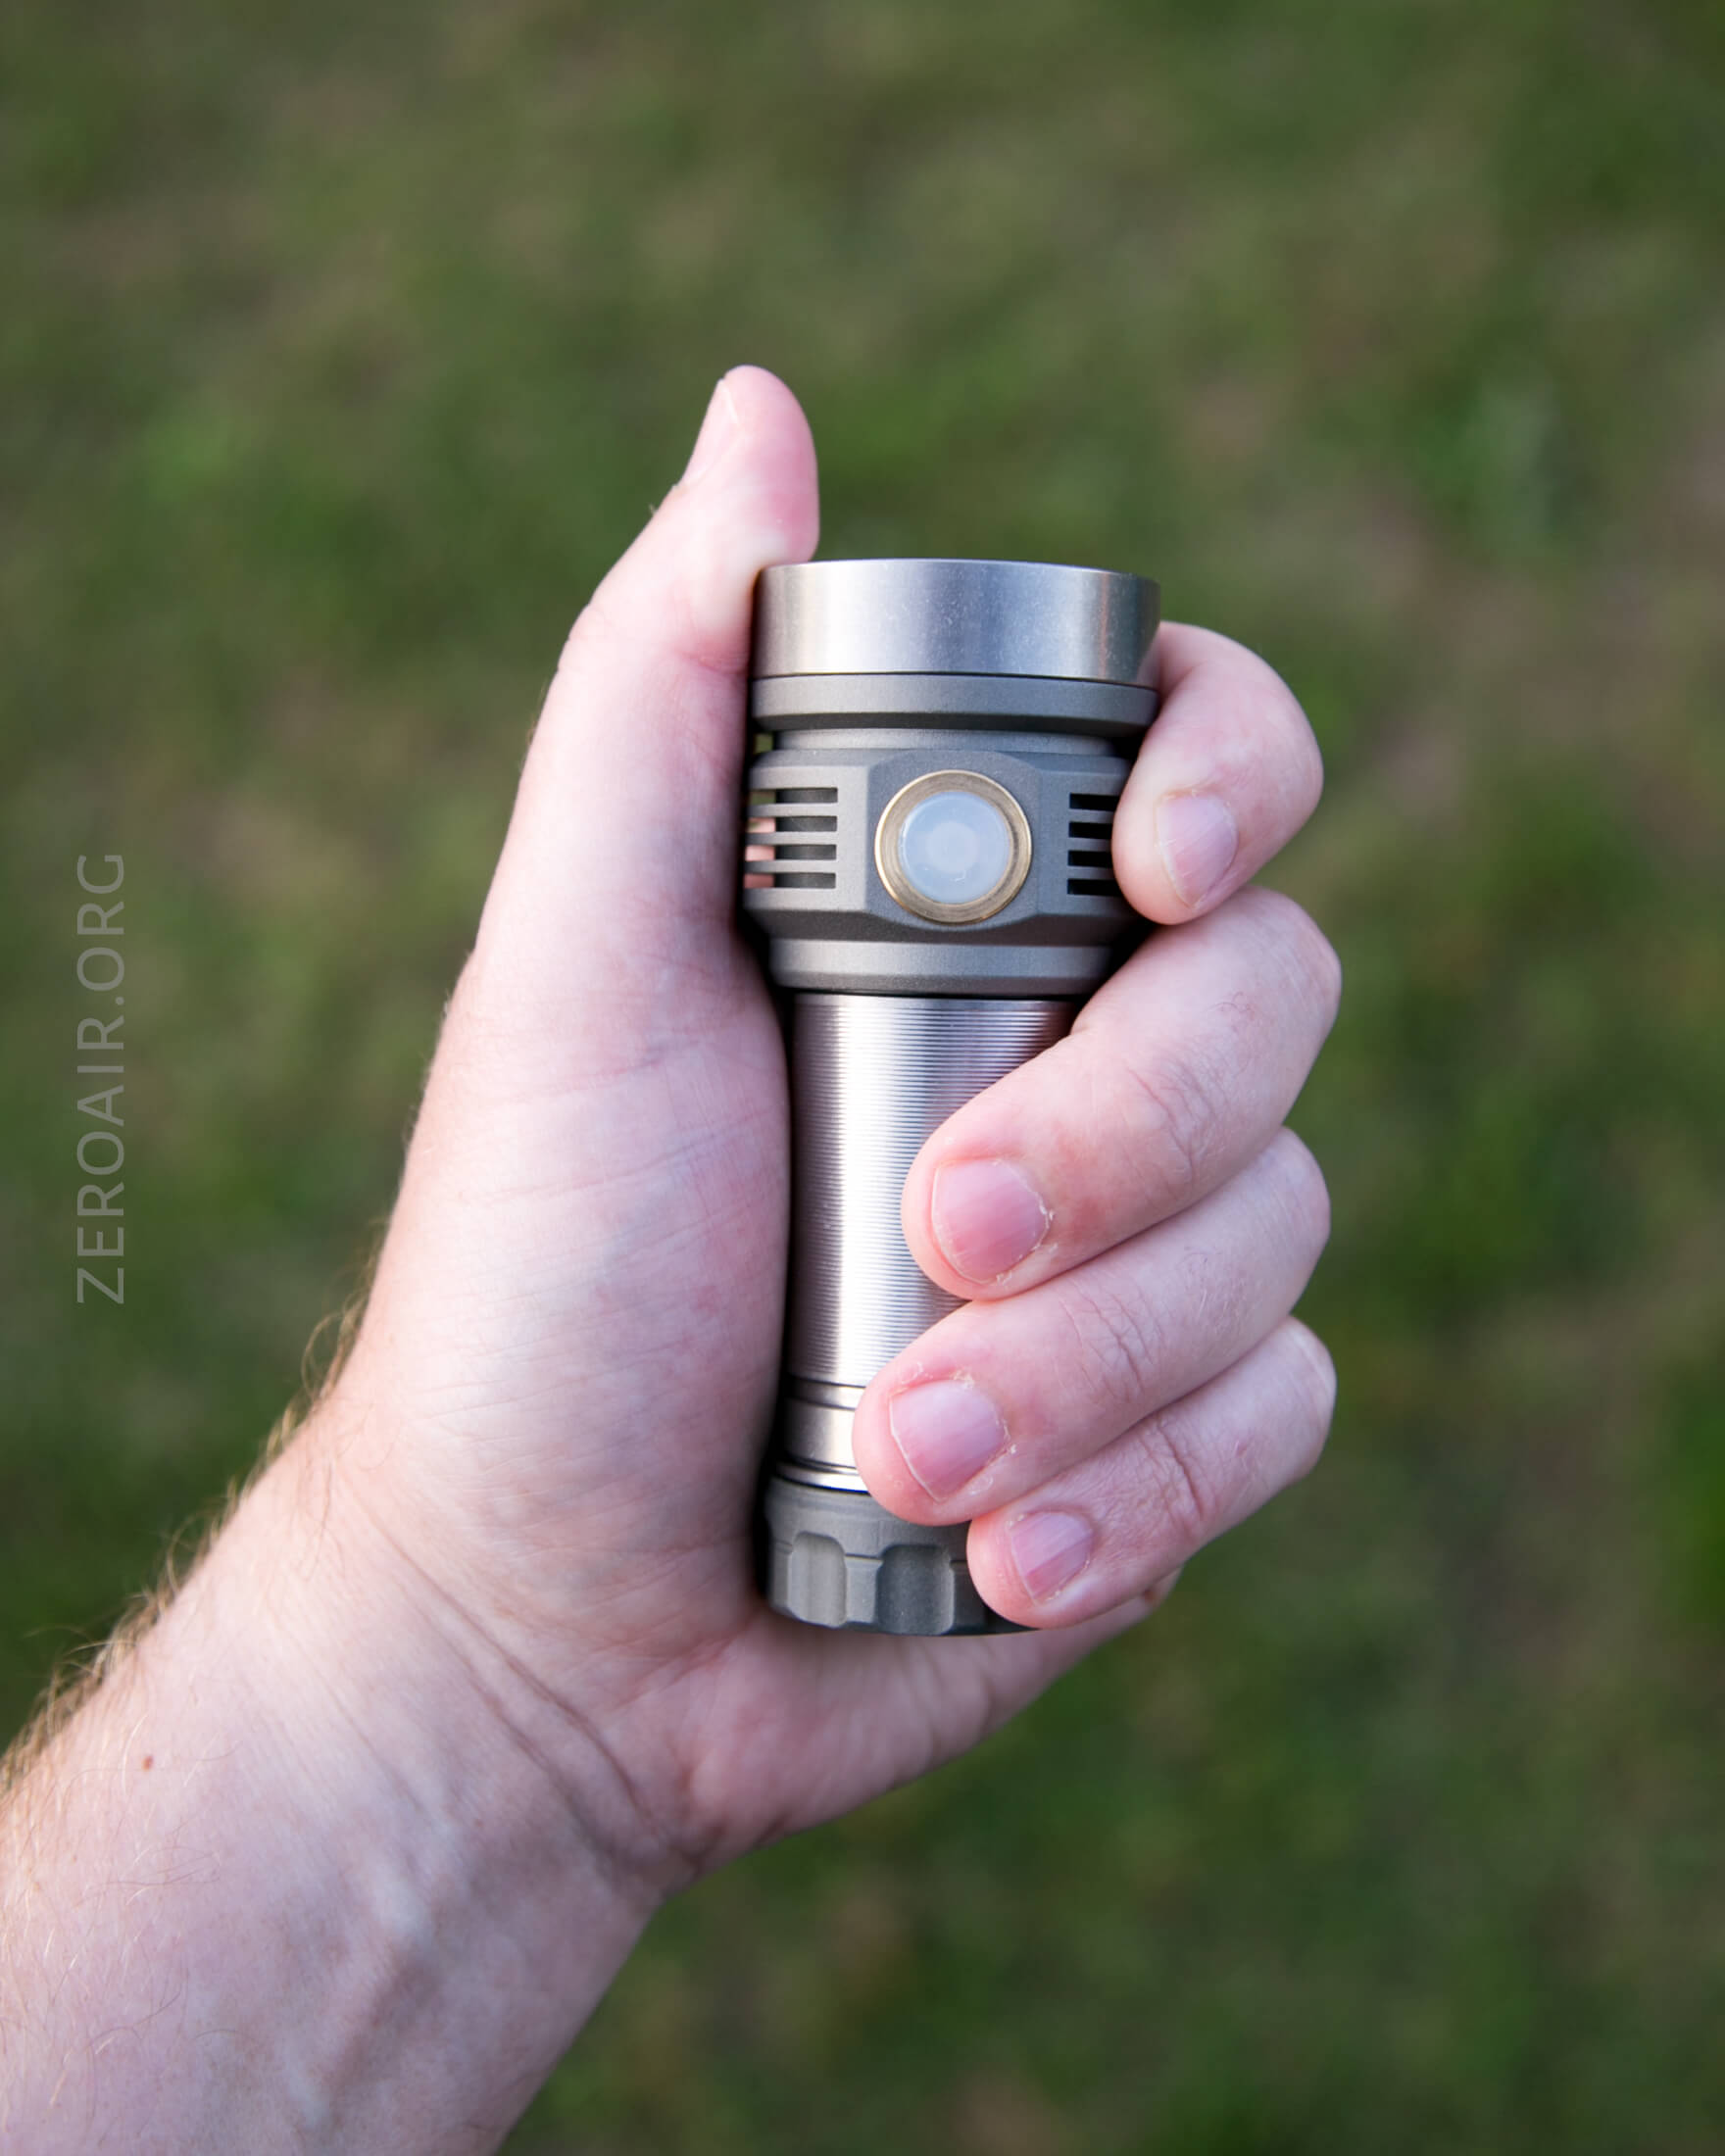
For a 26650 light, this one’s quite small. The head has some size, of course.
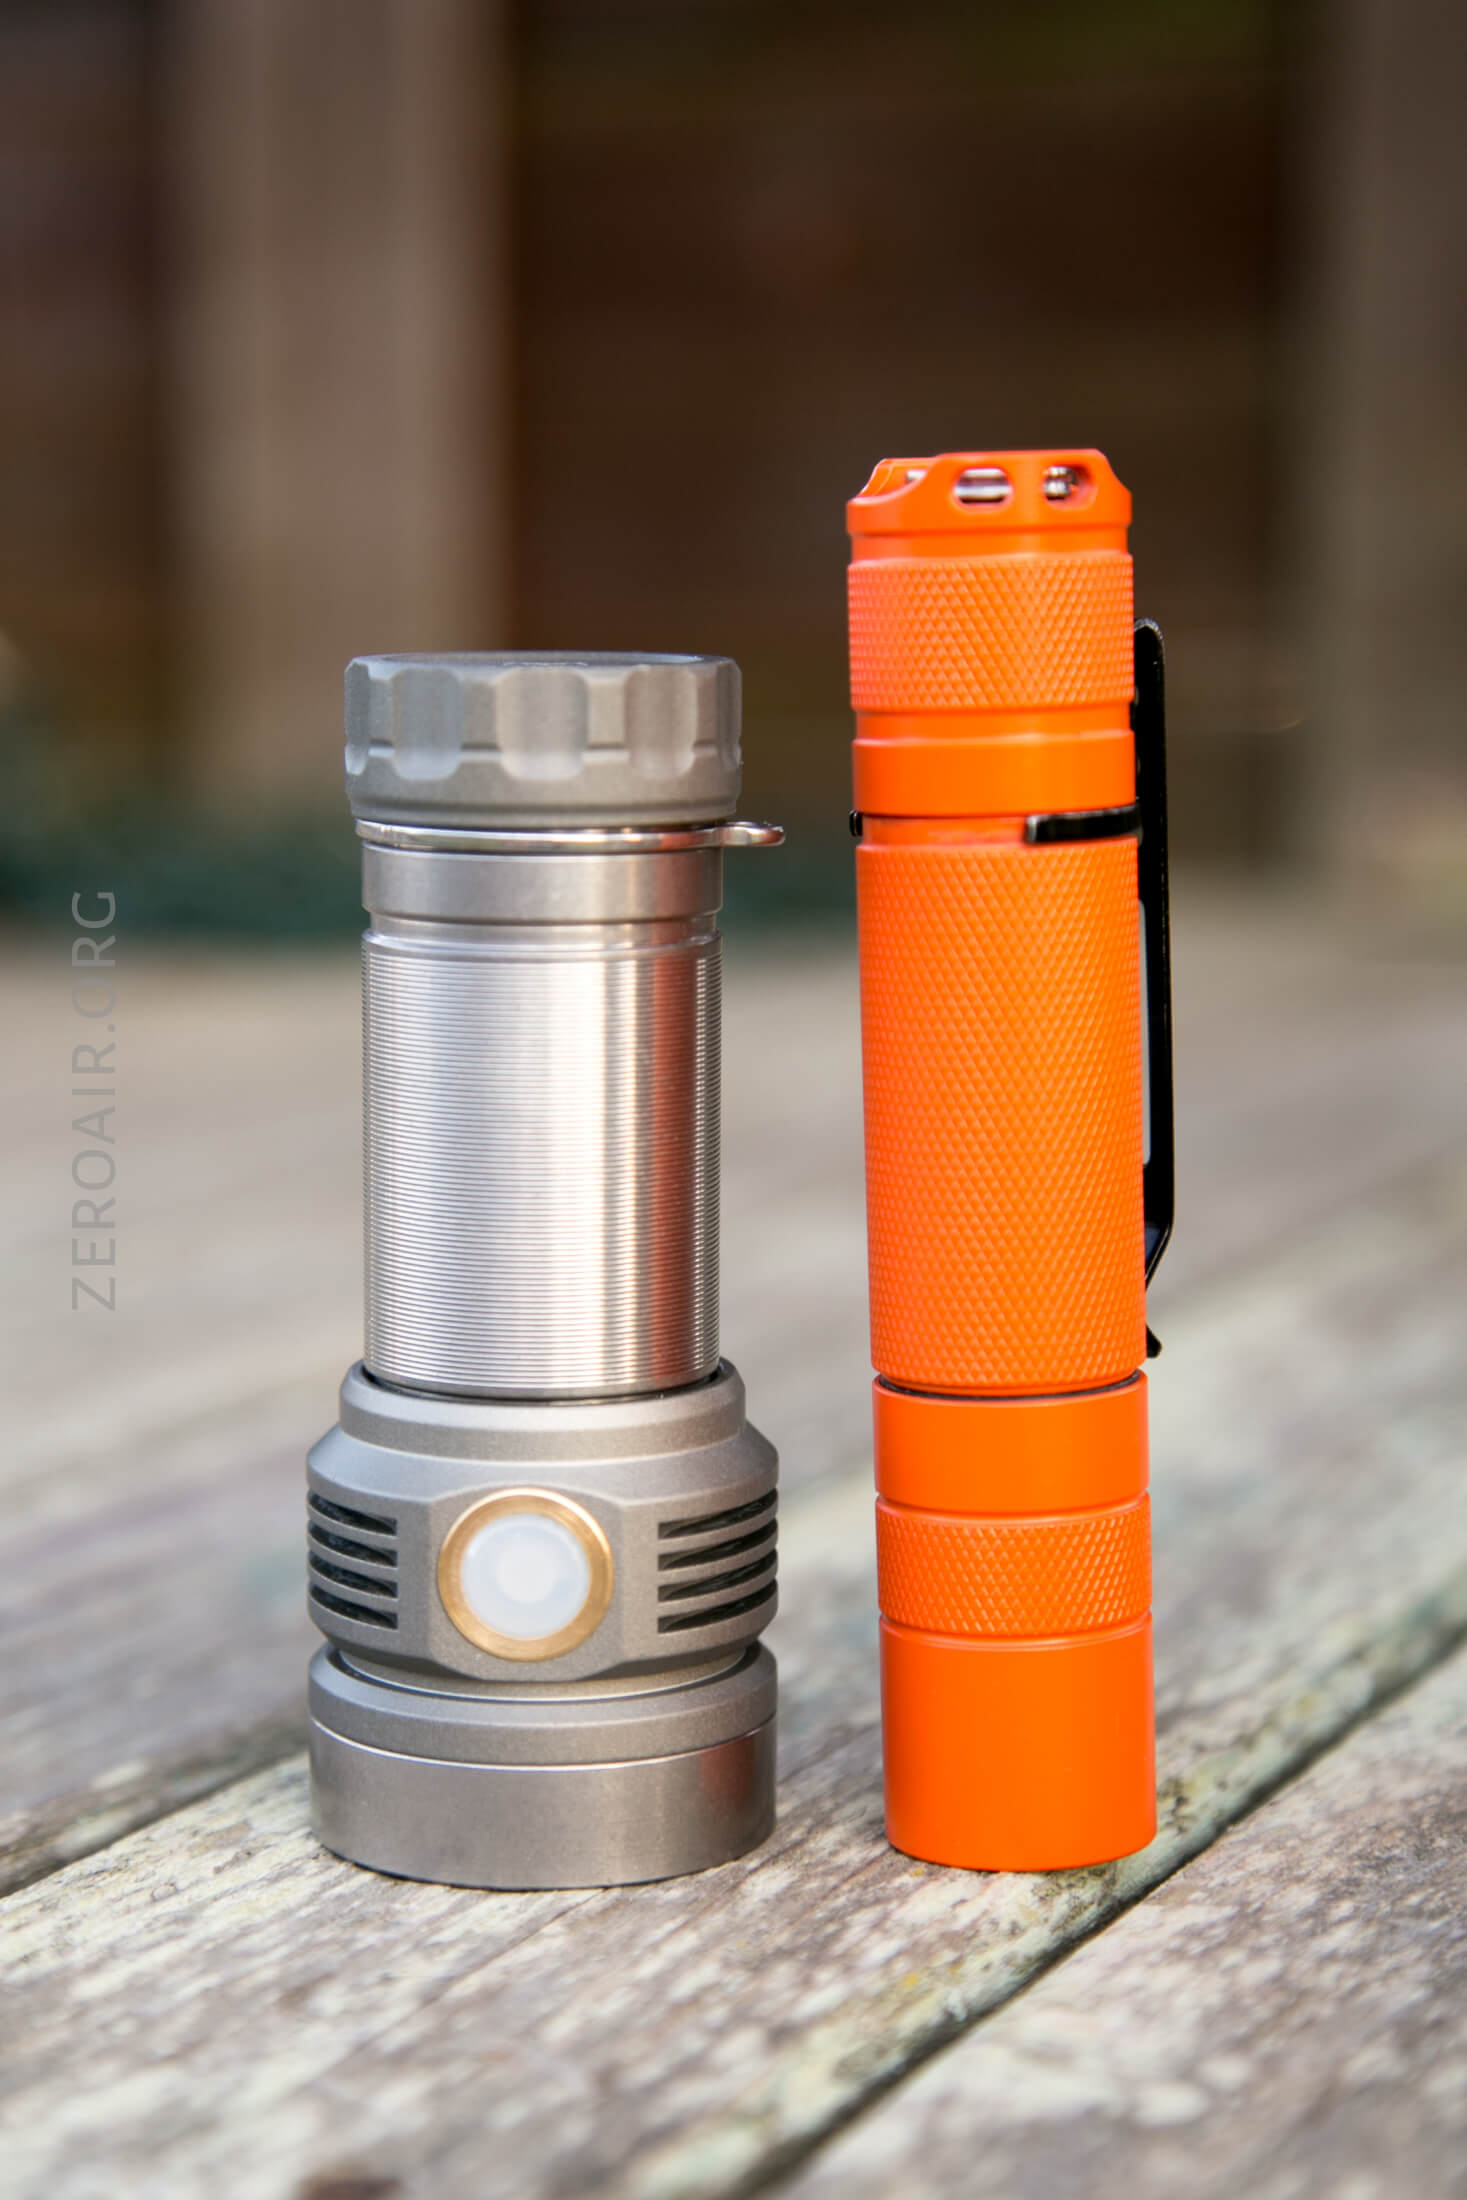
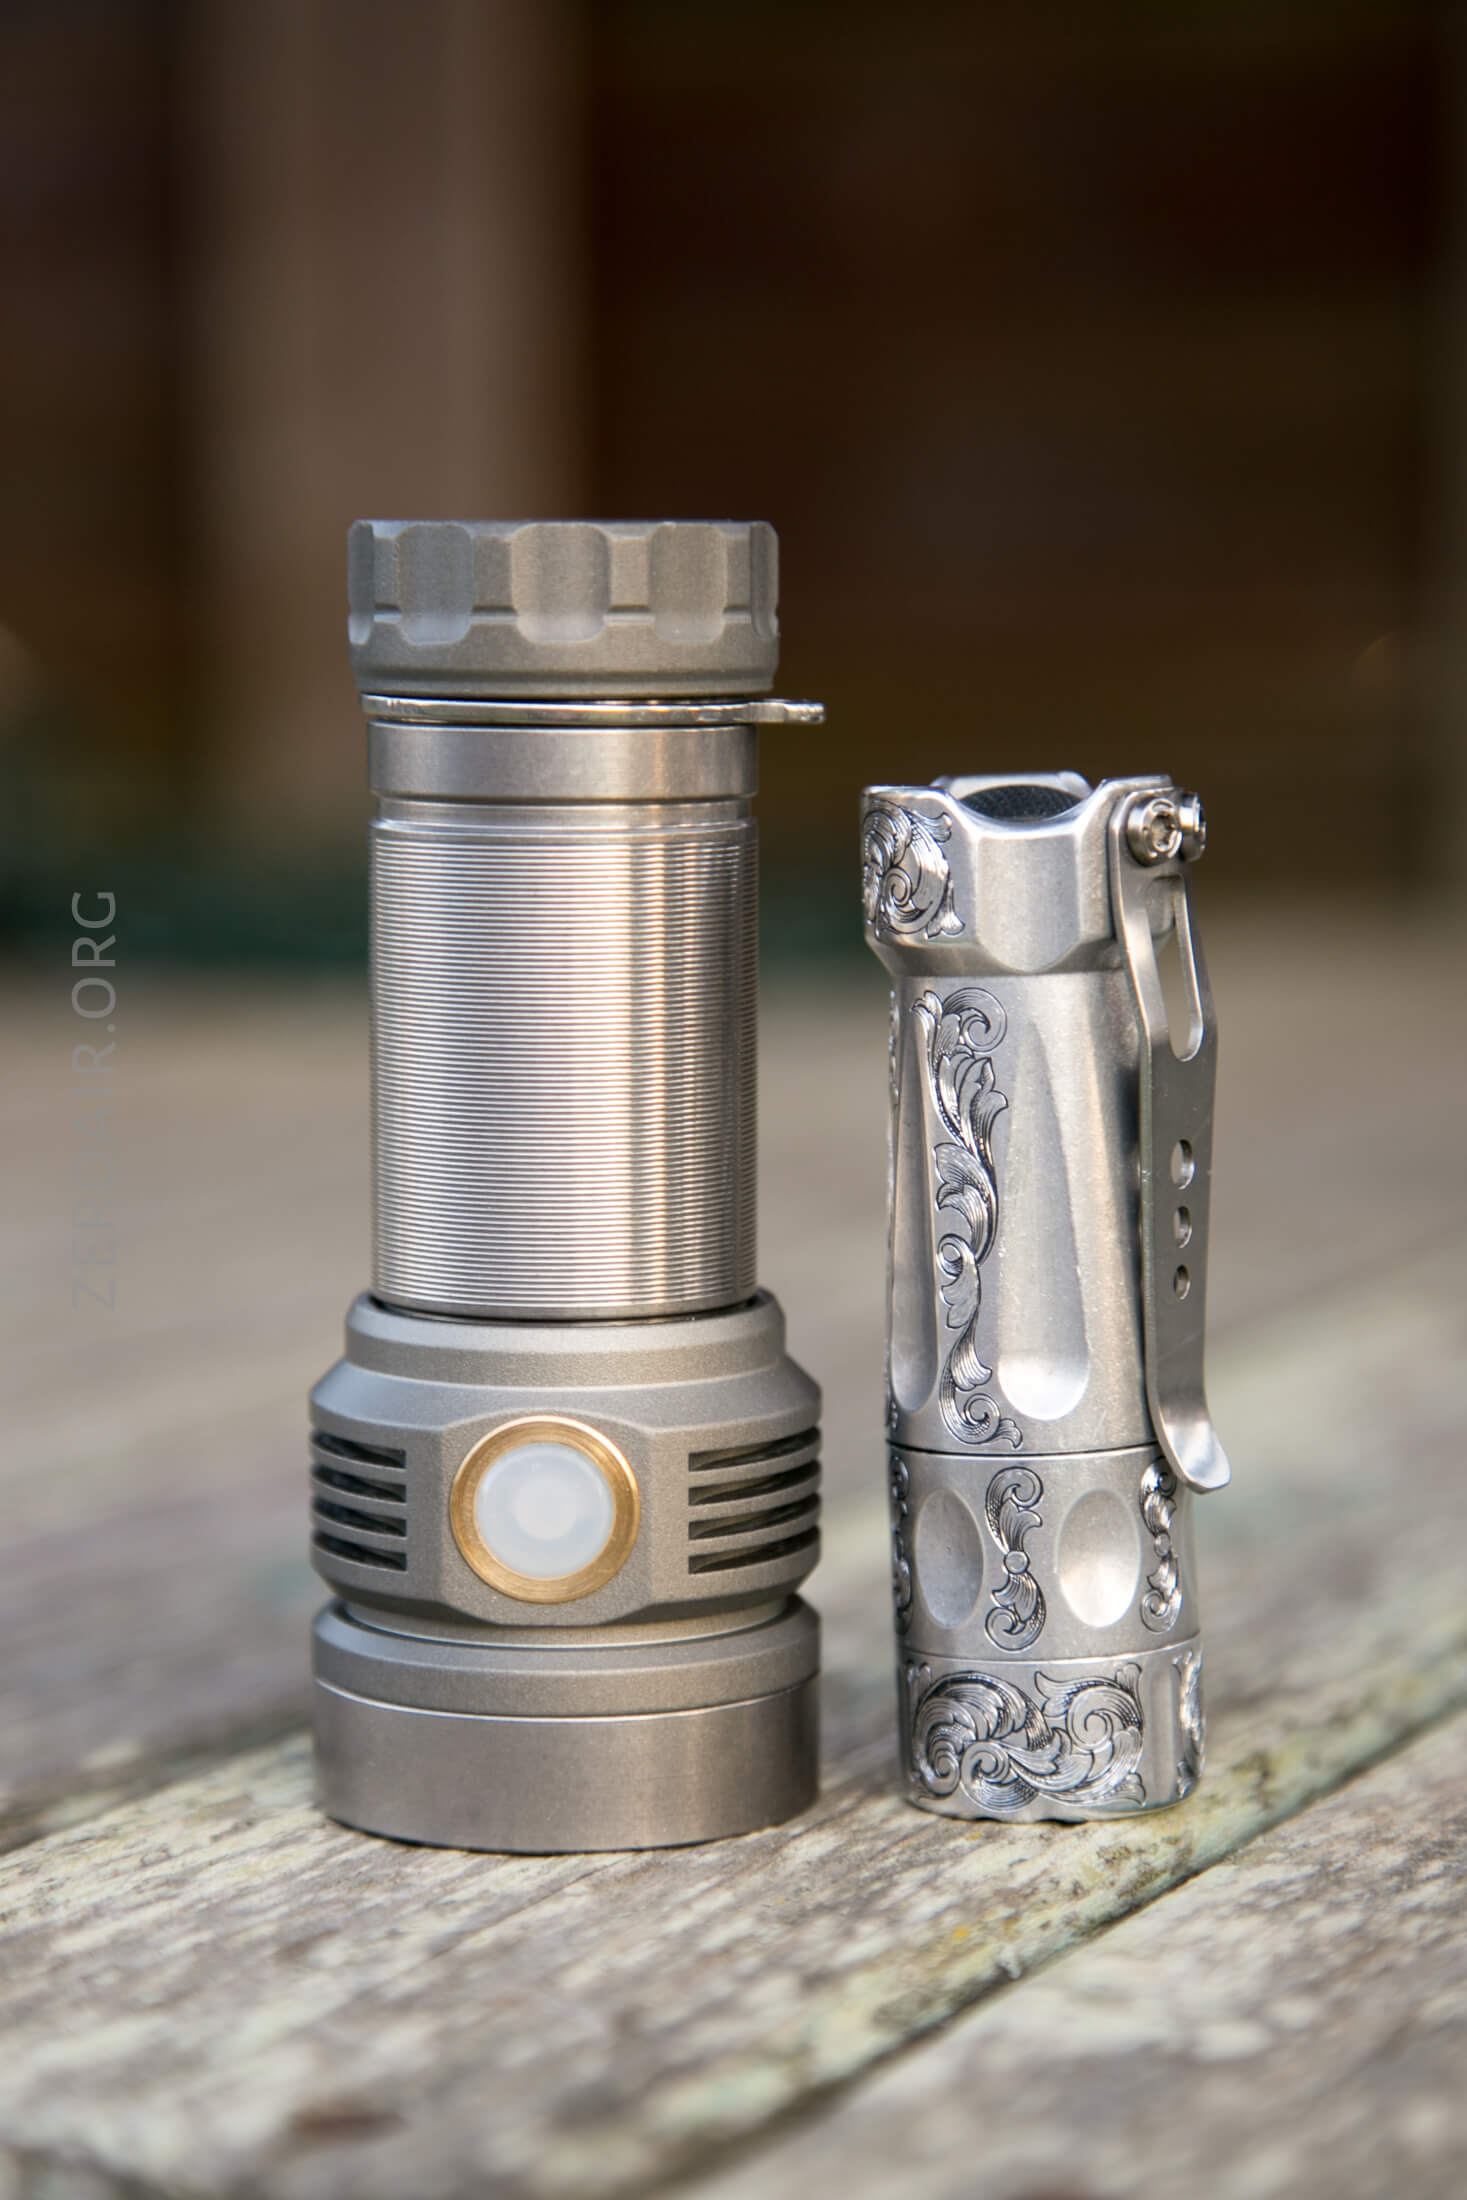
And here’s the light beside my custom-engraved TorchLAB BOSS 35, an 18350 light. I reviewed the aluminum version of that light in both 35 and 70 formats.
Retention and Carry
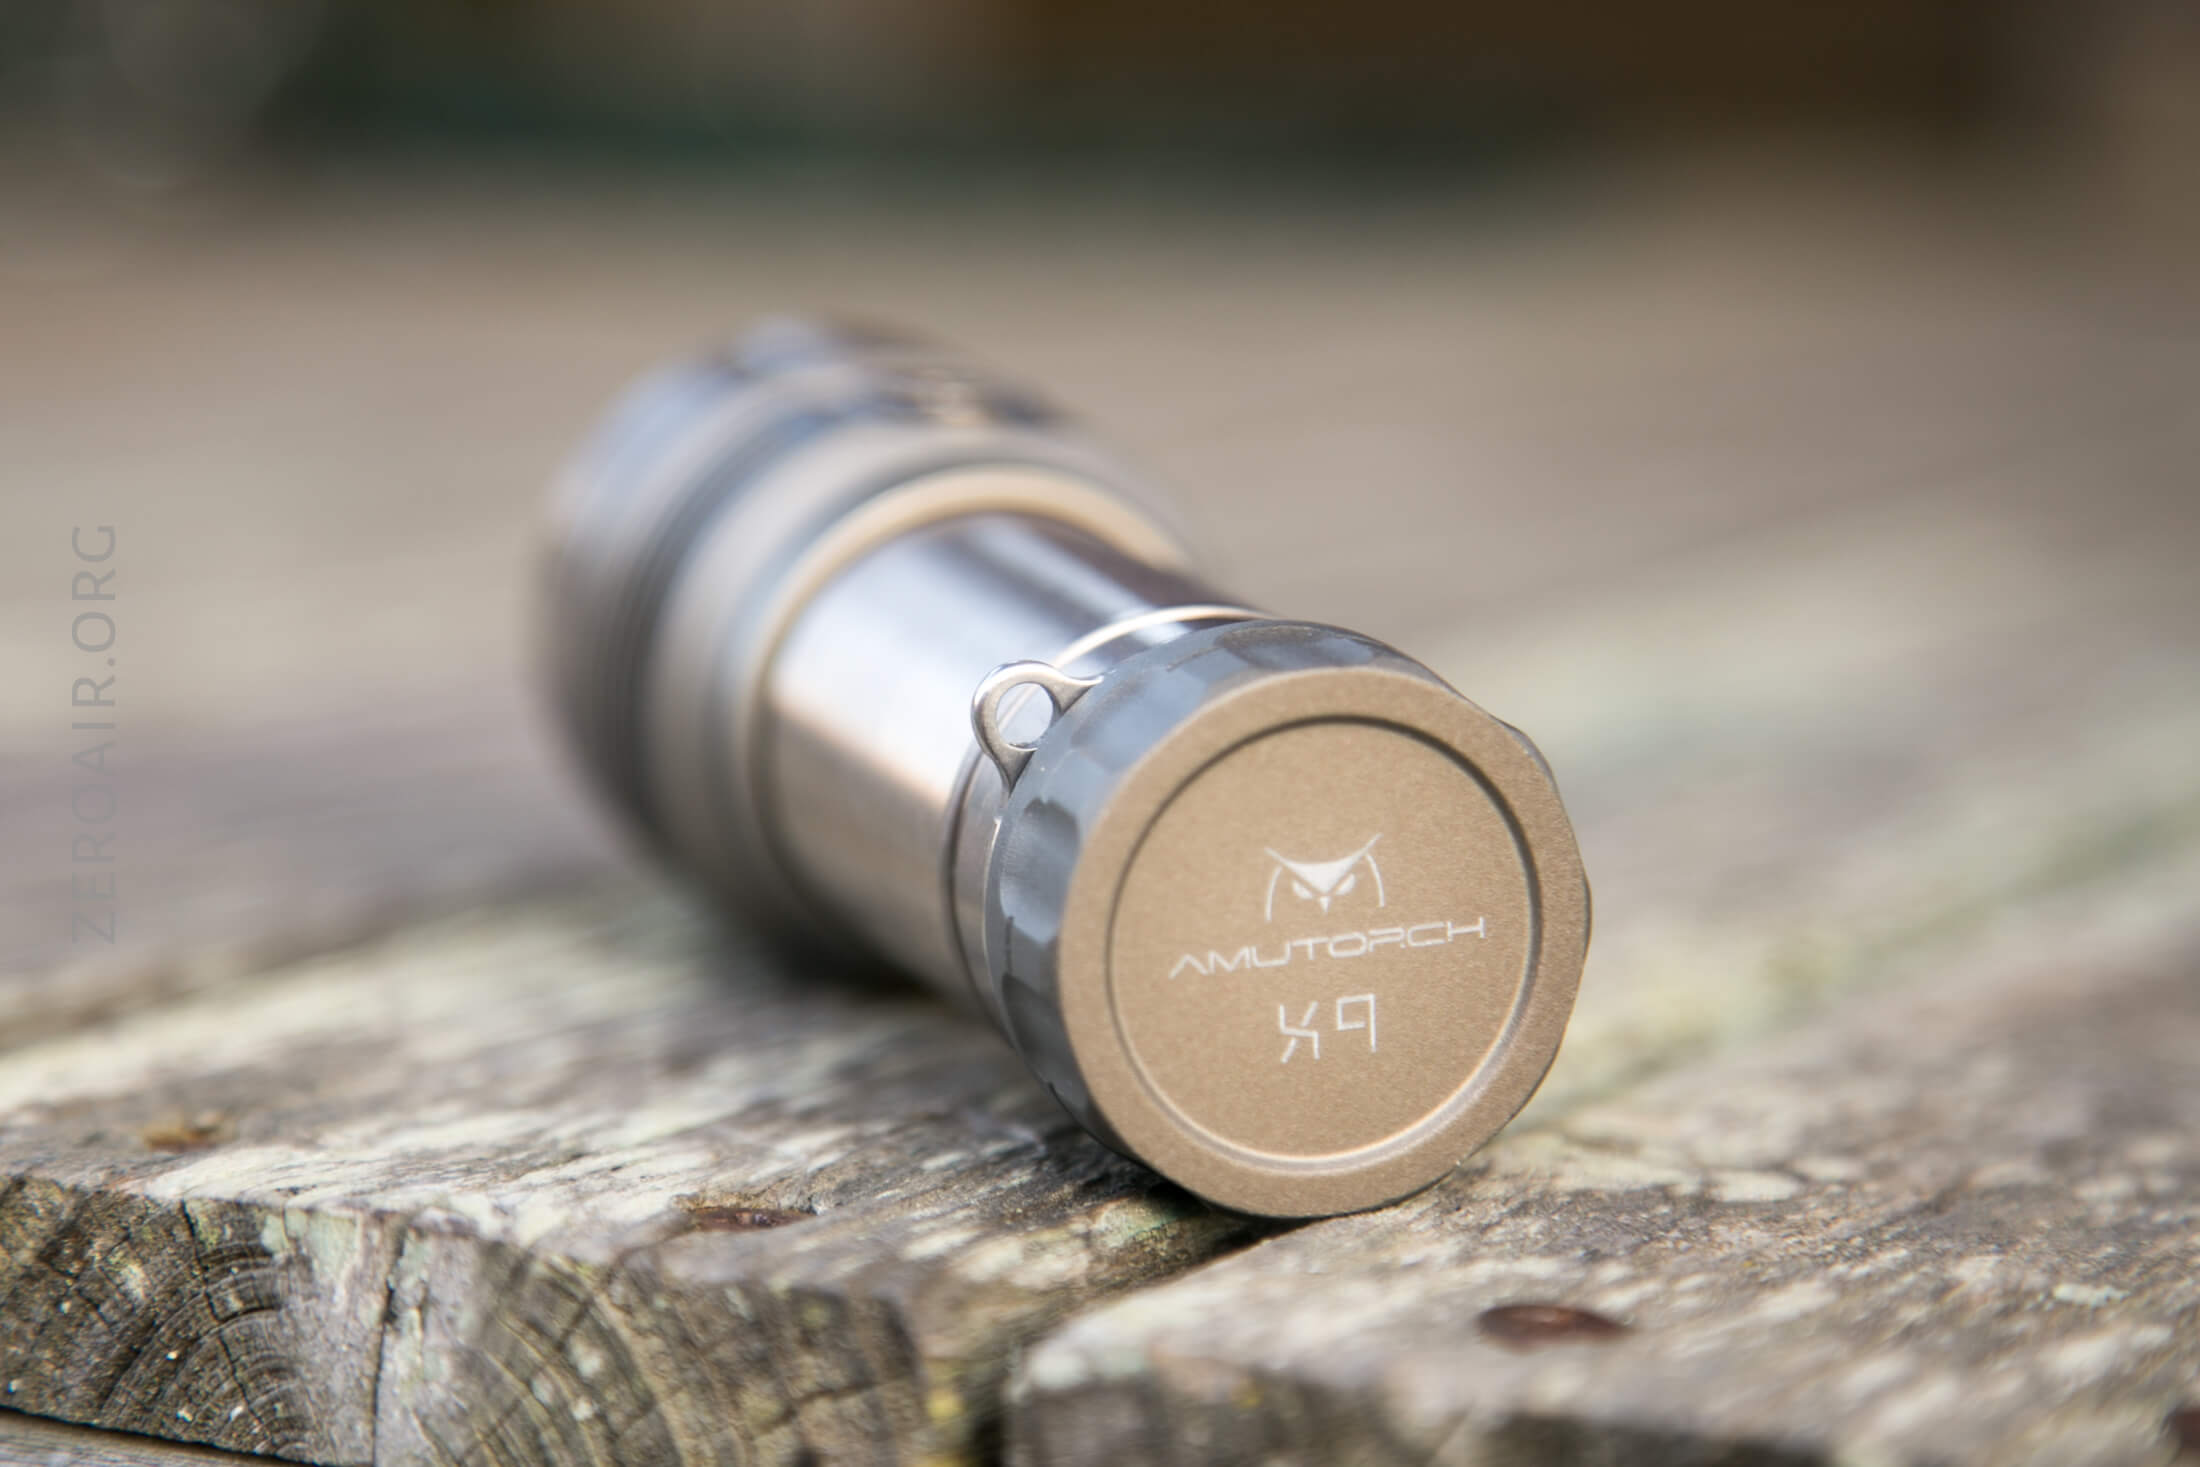
The only included means for carrying the X9 is the lanyard, which attaches through this steel ring collar on the tailcap. This is a very secure way to carry the X9. The ring is removable.
Power and Runtime
As said above, this is a 26650 light. A cell isn’t included, and all my 26650s aren’t necessarily high-drain cells. So I picked from my fairly vast supply of 18650 cells and went with this Molicel P26A 18650. It’s lower capacity (2600mAh) but has very high drain capabilities (35A).
And it works just fine. The springs hold it in place well enough. The only downside is that the cell probably can’t get its heat to the body of the light as efficiently.
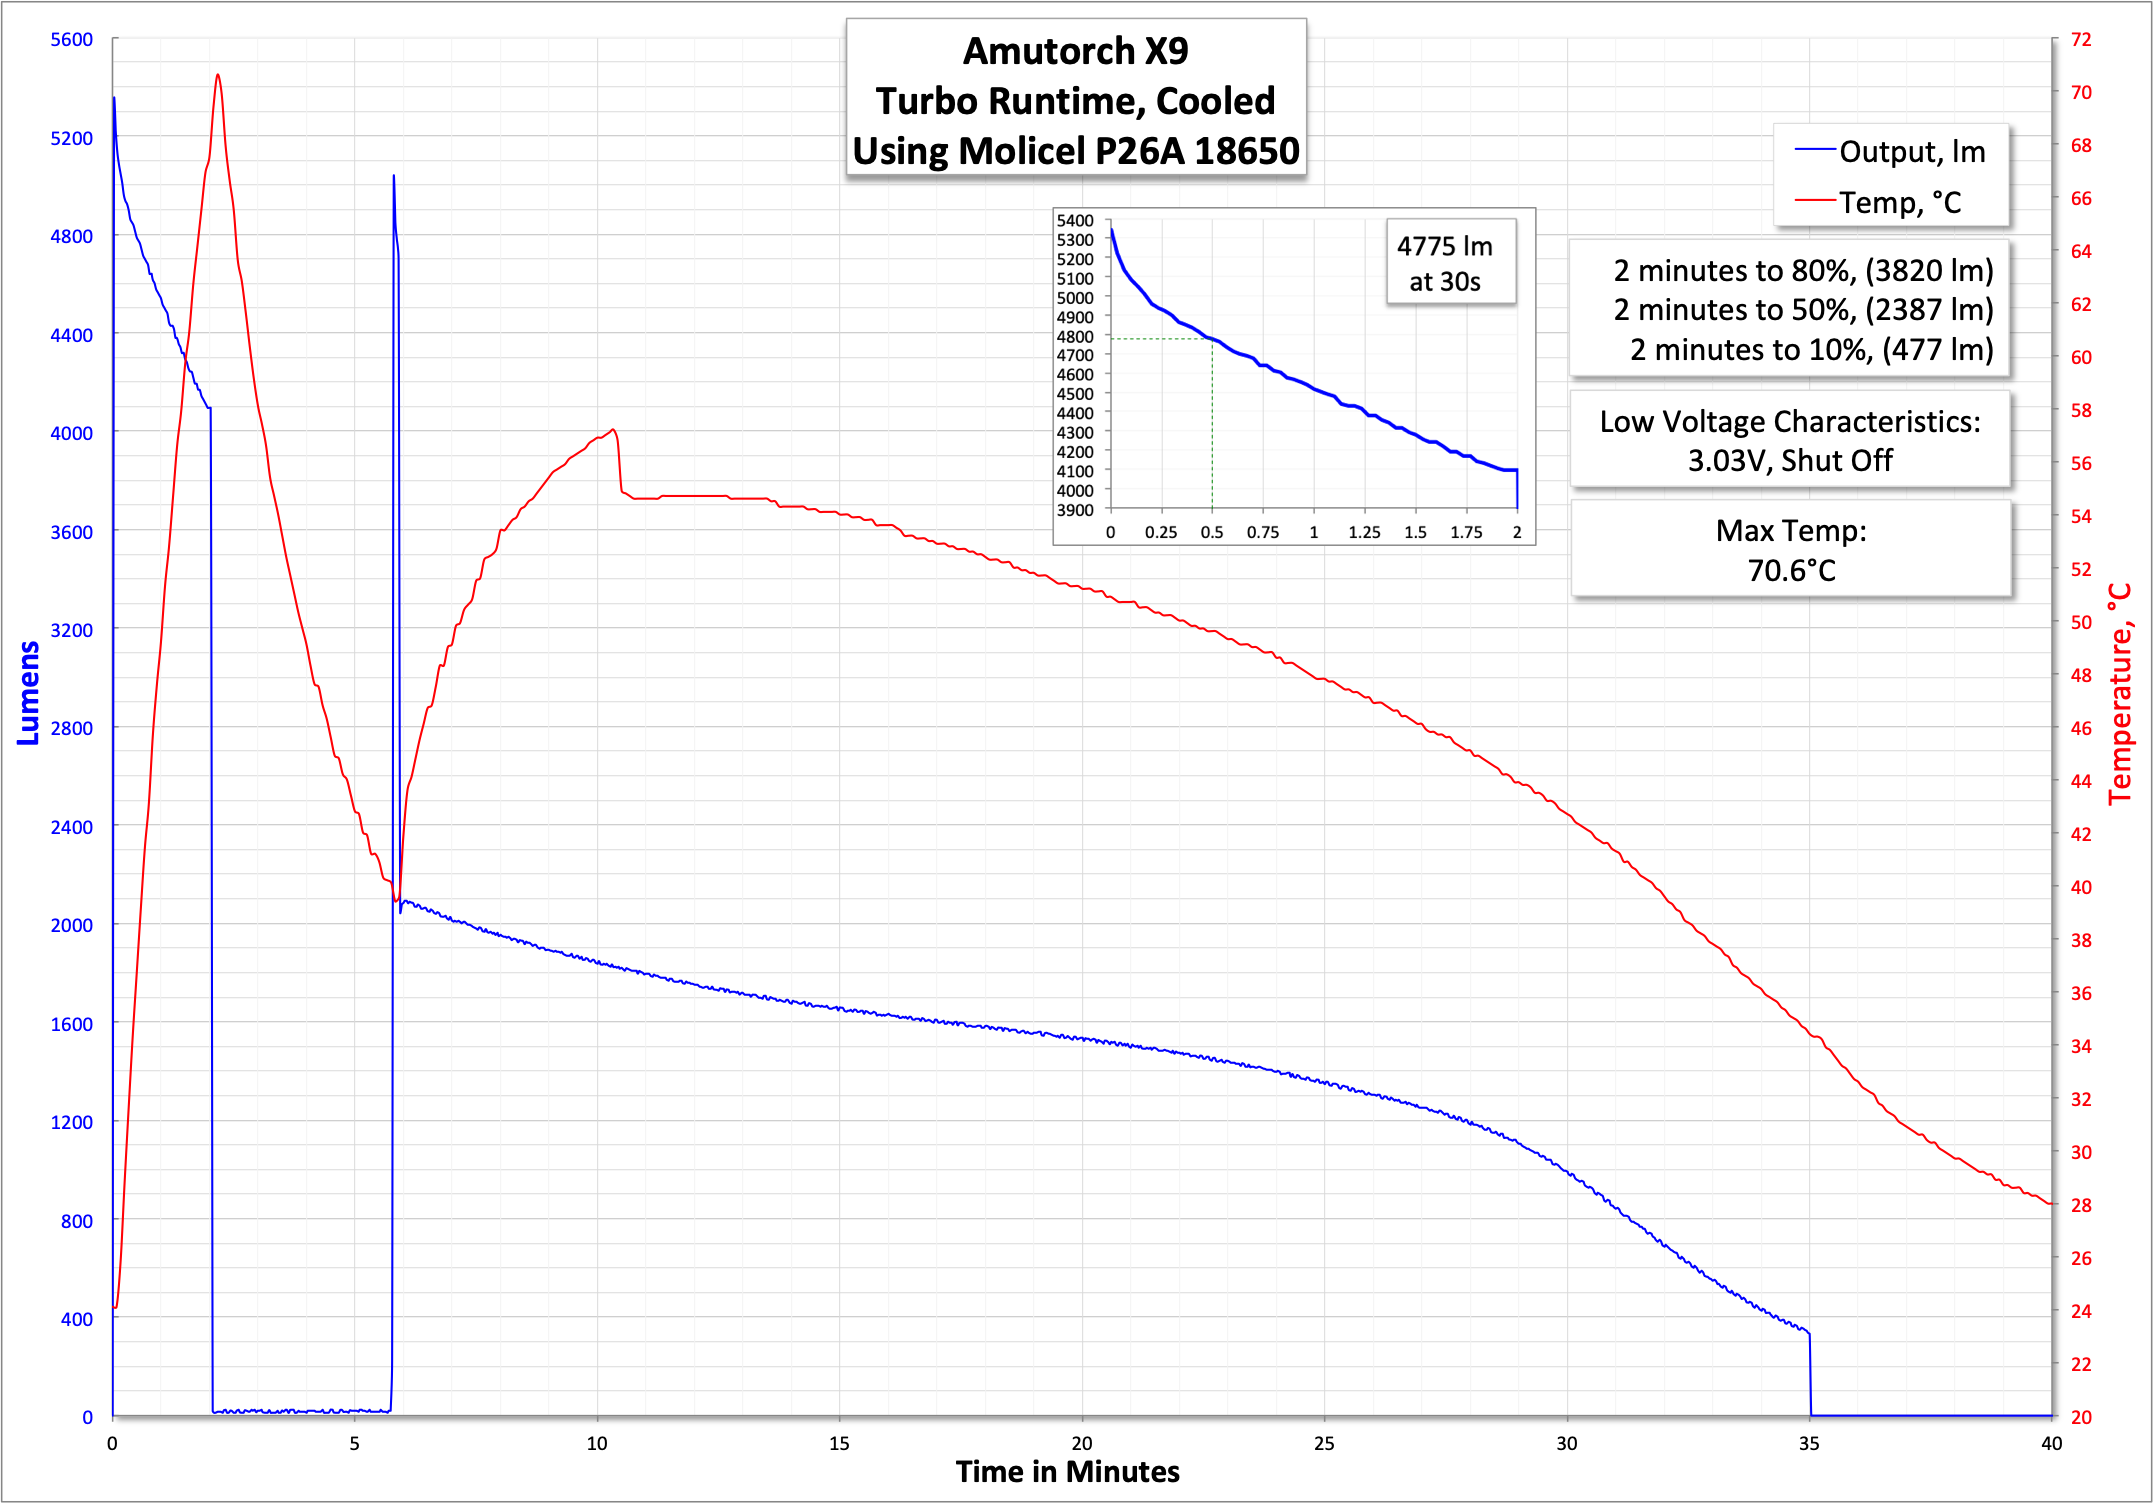
Here’s the runtime on Turbo. At 2 minutes, I manually shut off the light. Note the temperature (and the primary reason I will not recommend this light). It seems that the light is essentially a direct drive with no step-downs and no regulation. At over 5000 lumens, for 2 solid minutes (drifting downward with cell voltage, of course), this thing makes some heat! Over 70°C when I shut the light off. That’s absolutely too hot to hold, and was just about too hot to even touch. I let the light cool (fan-cooled runtime!) for a few minutes, and then restarted on turbo – the light stepped down quickly, and though the temperature still goes higher than lights usually do, it stayed within a safe range.
Thankfully, at least the light has LVP, which kicks in at around 3V. Very likely, on Turbo, the light would drain a cell so fast that the temperature might not cause any problems, but it’s much too close for my preference.
The High runtime performs similarly, appearing like an unregulated run. Note that the temperature rises quite high here, too.
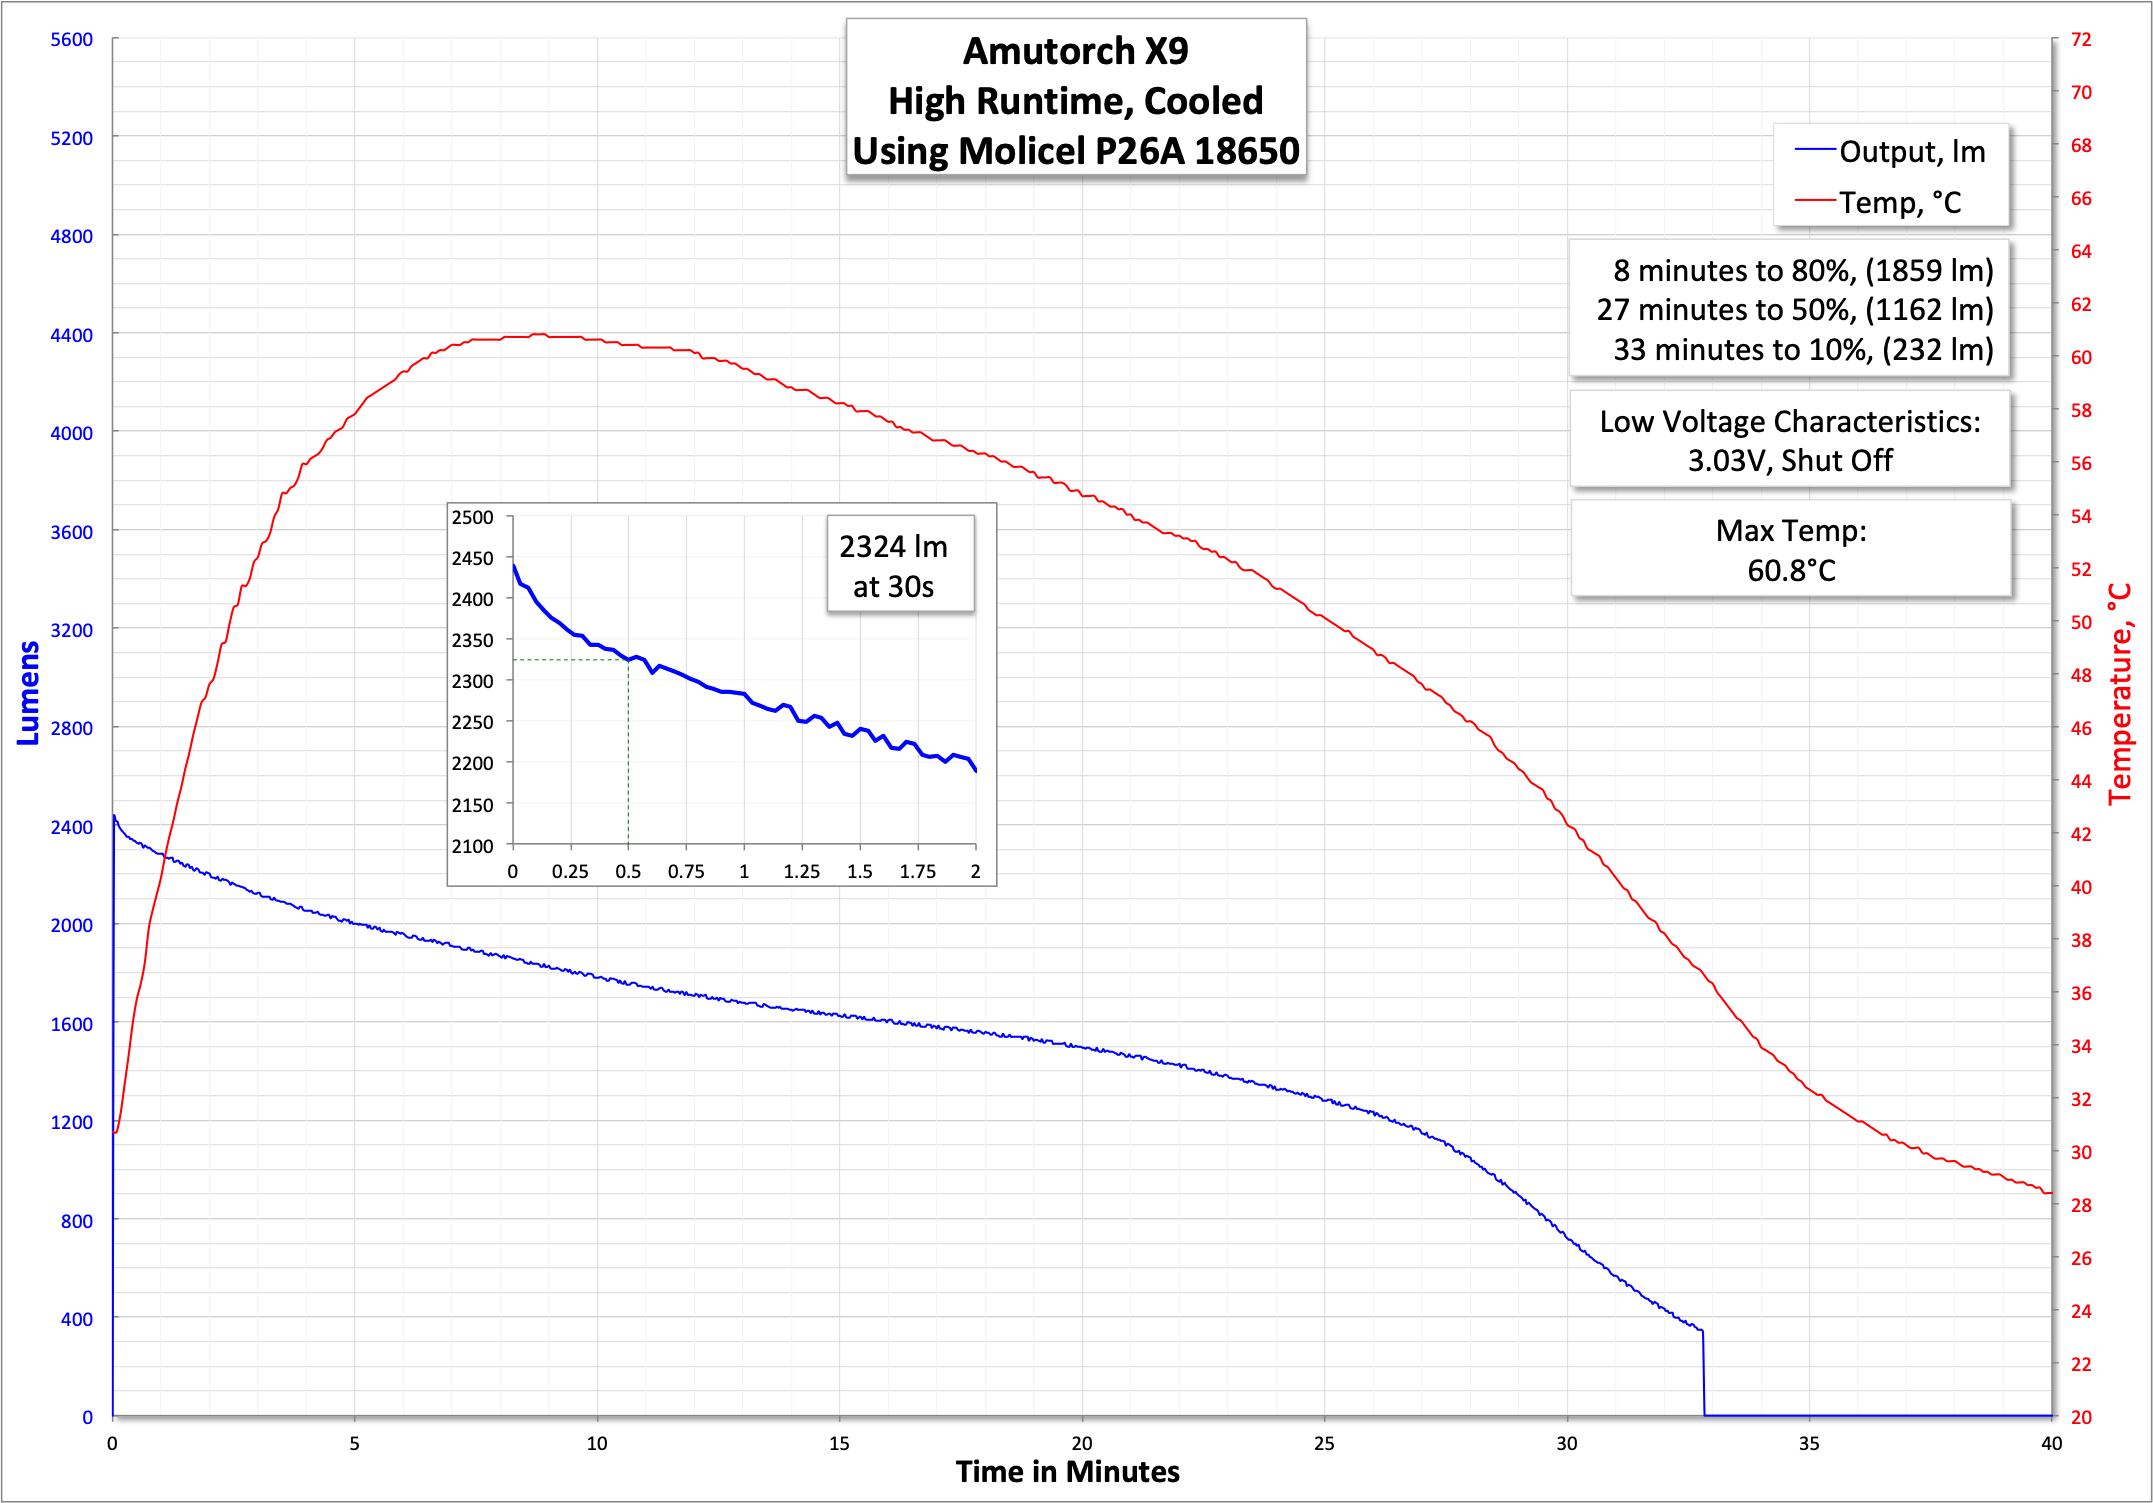
In both cases, the light exhibits low voltage protection.
Charging
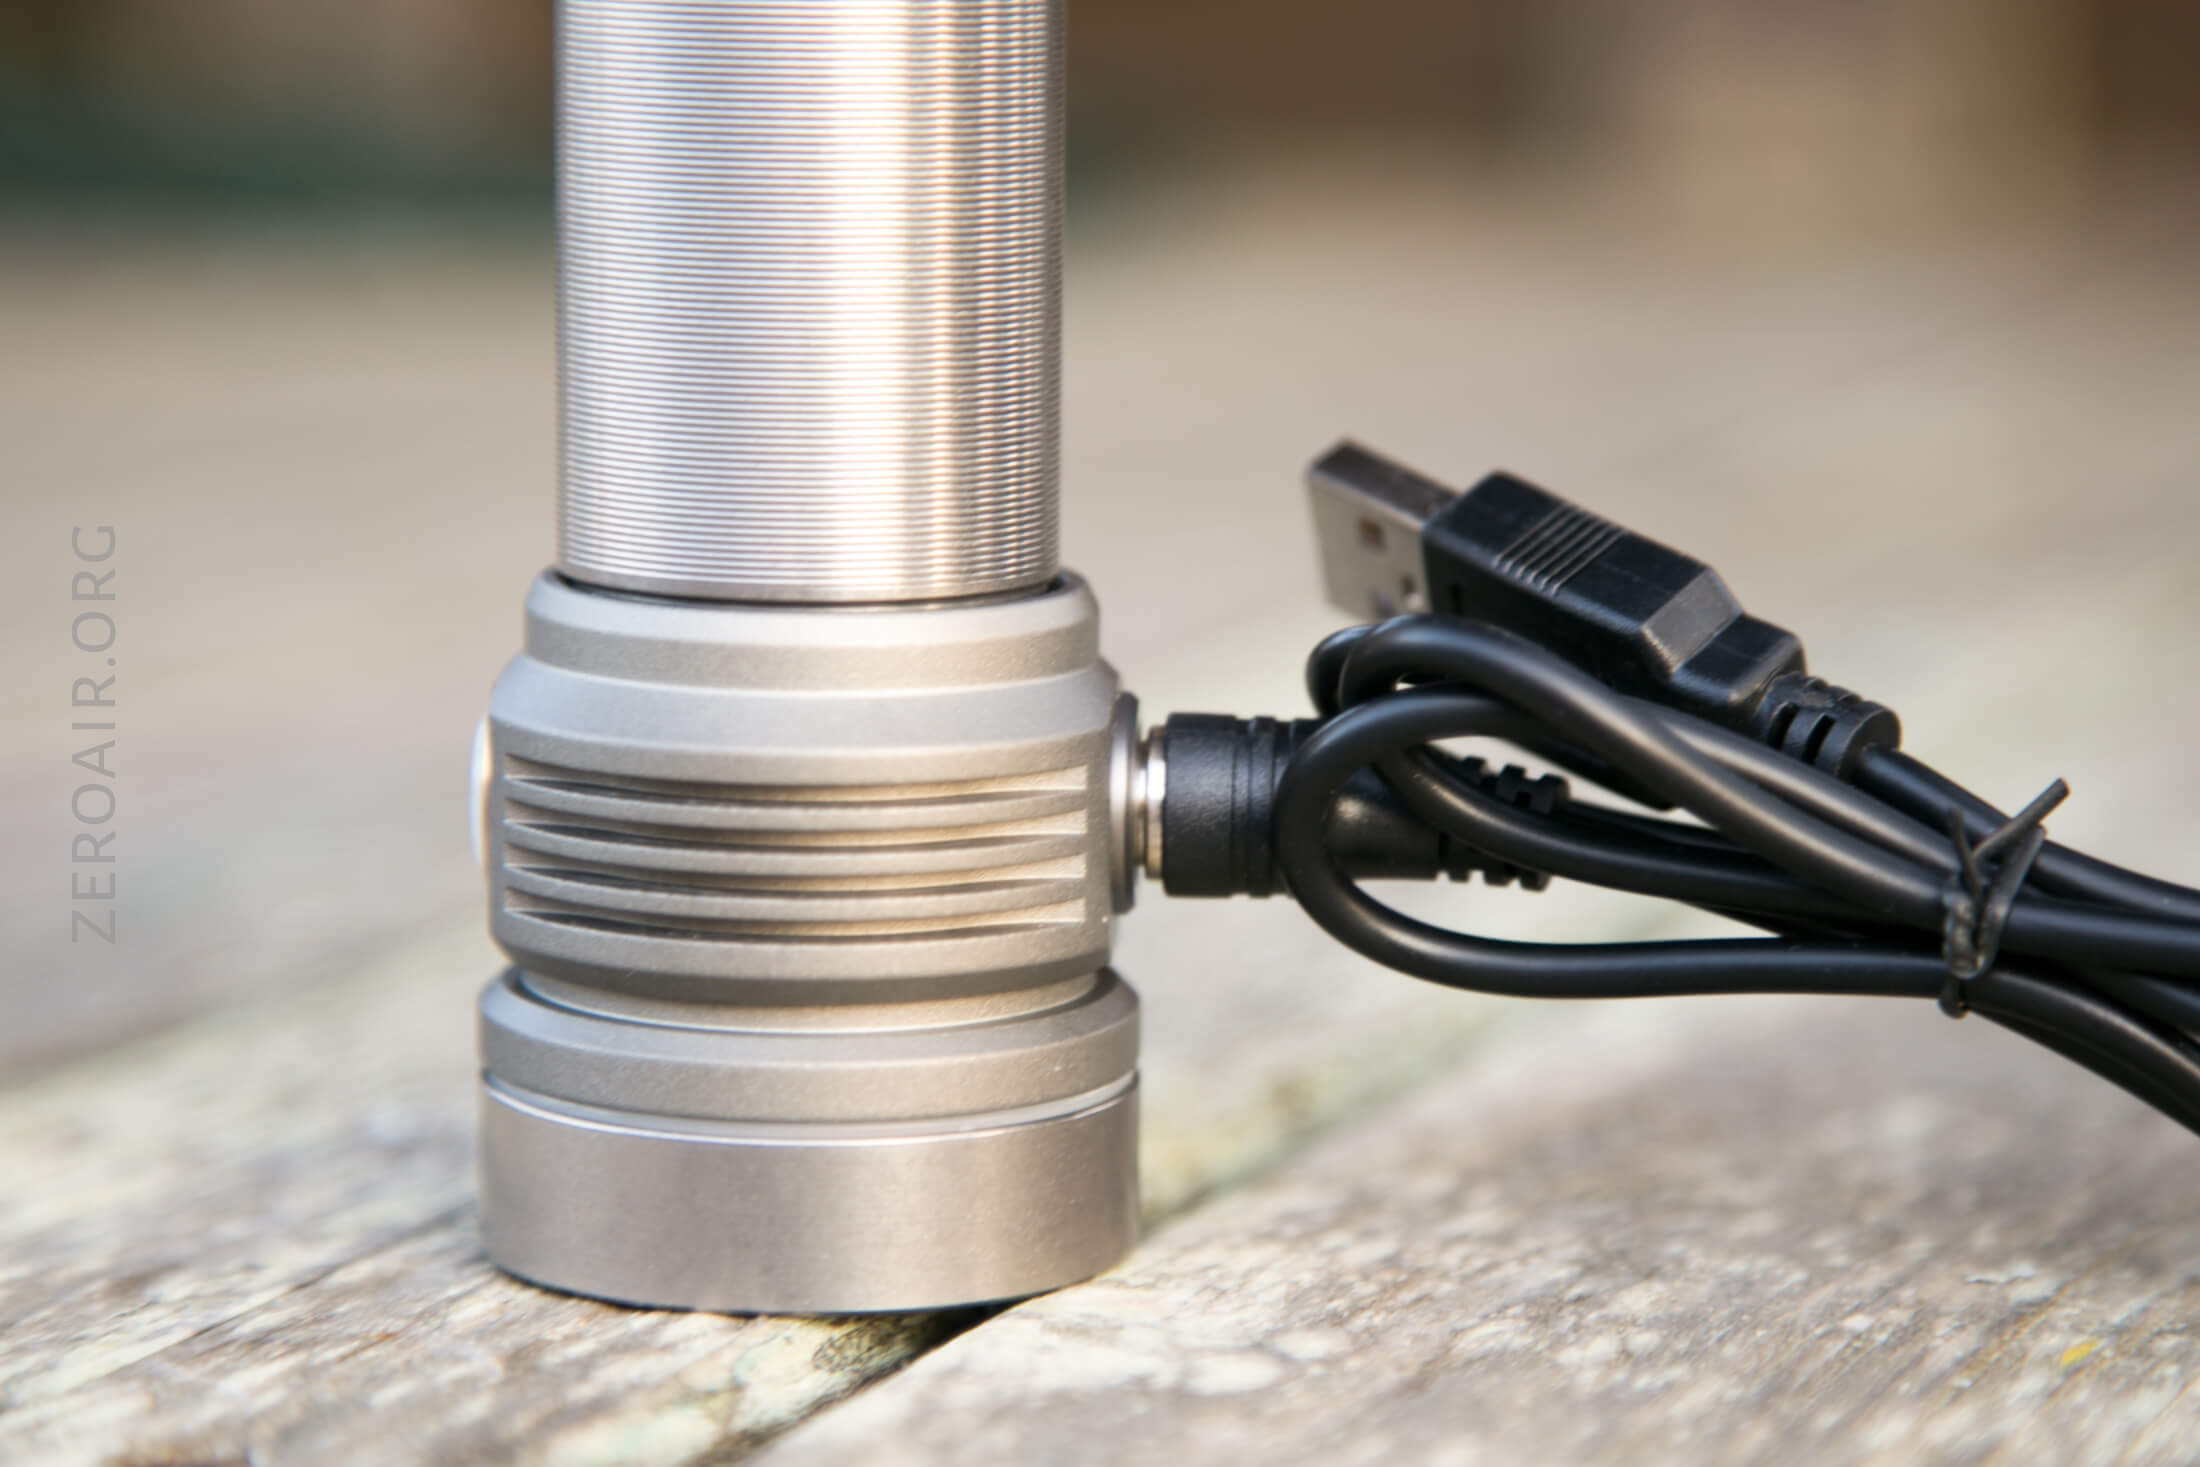
The X9 also has onboard charging. A cable is included because the connector is proprietary. It’s USB to proprietary magnetic.
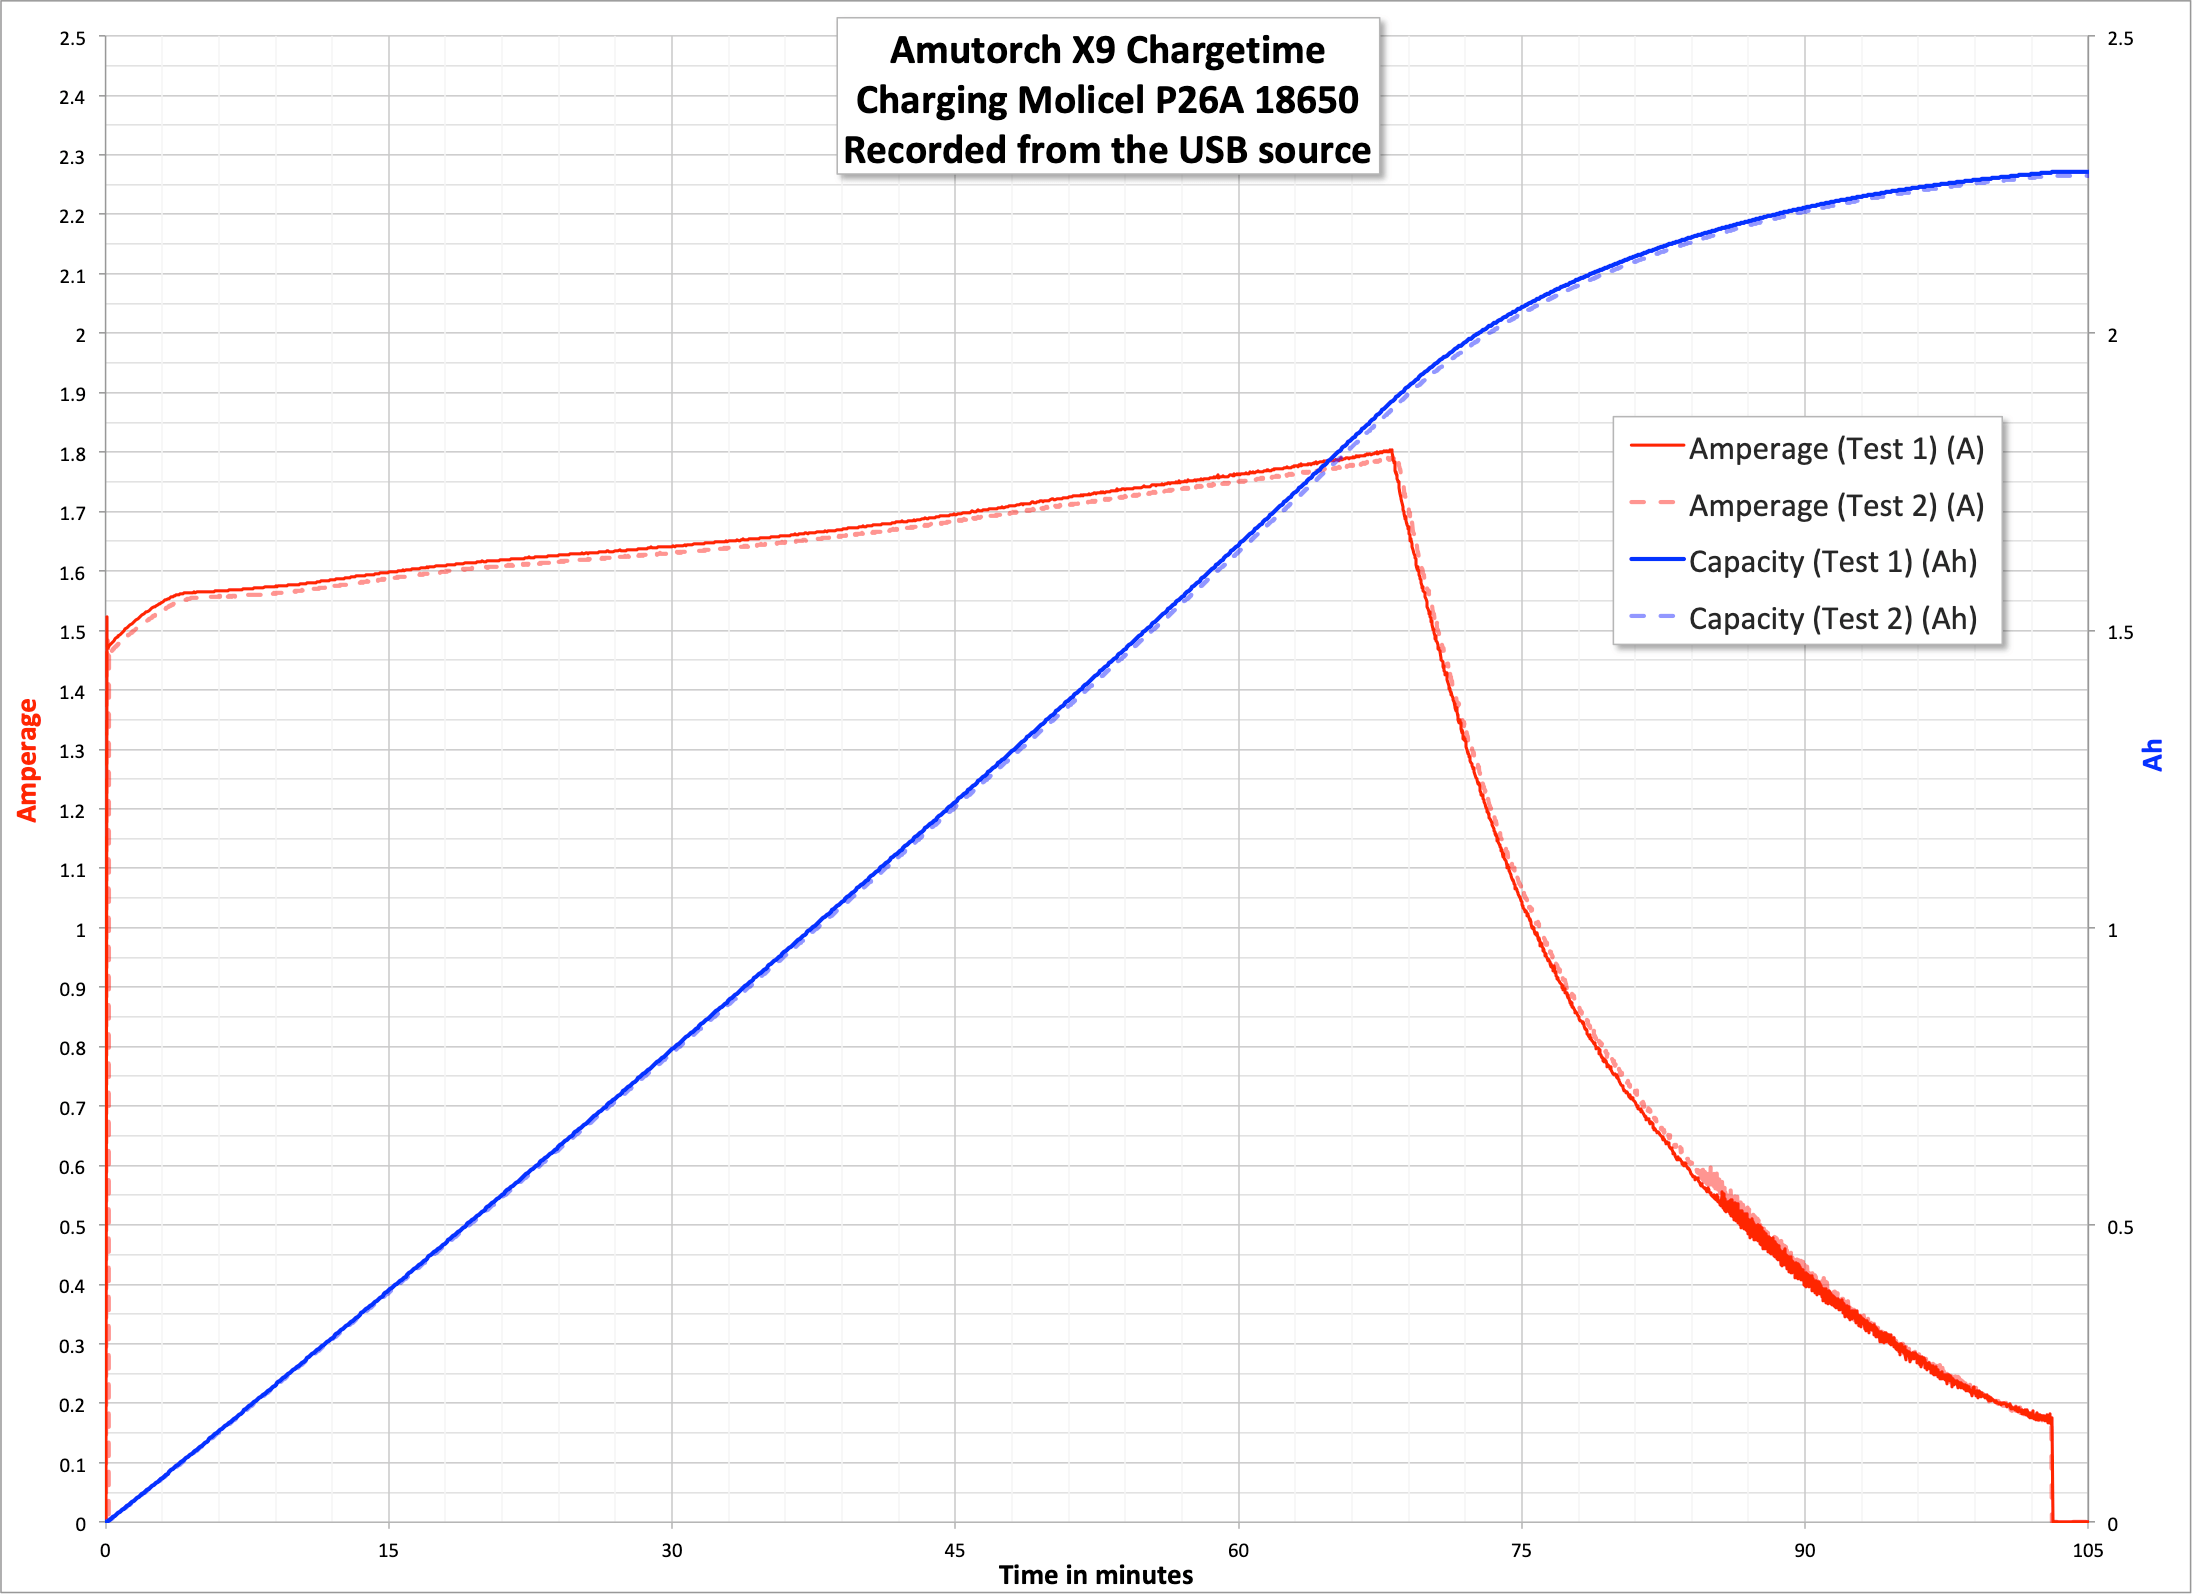
Charging works quite well, seeing over 1.5A for the whole CC phase, and charging this 2600mAh 18650 in well under 2 hours. (Yes, at peak current, that’s a little high for the average 18650, but ok once in a while. For 26650 cells, this should be a good charge rate.)
Modes and Currents
| Mode | Mode Claimed Output (lm) | Claimed Runtime | Measured Lumens | Tailcap Amps |
|---|---|---|---|---|
| Turbo | 4500 | 4775 | 5.35 | |
| High | 1500 | 2324 | 1.77 | |
| Medium 2 | 500 | 800 | 0.48 | |
| Medium 1 | 150 | ?? | ?? | |
| Low | 25 | 25 | 0.06 |
Pulse Width Modulation
PWM is visible on the scope on low, but not in person. No other modes exhibit PWM.
 Here you can see a “baseline” – a chart with almost no light hitting the sensor.
Then there’s the Ultrafire WF-602C flashlight, which has some of the worst PWM I’ve seen. It’s so bad that I used a post about it to explain PWM! Here are multiple timescales (10ms, 5ms, 2ms, 1ms, 0.5ms, 0.2ms) to make comparing this “worst” PWM light to the test light easier. That post also explains why I didn’t test the WF-602C at the usual 50us scale.
User Interface and Operation
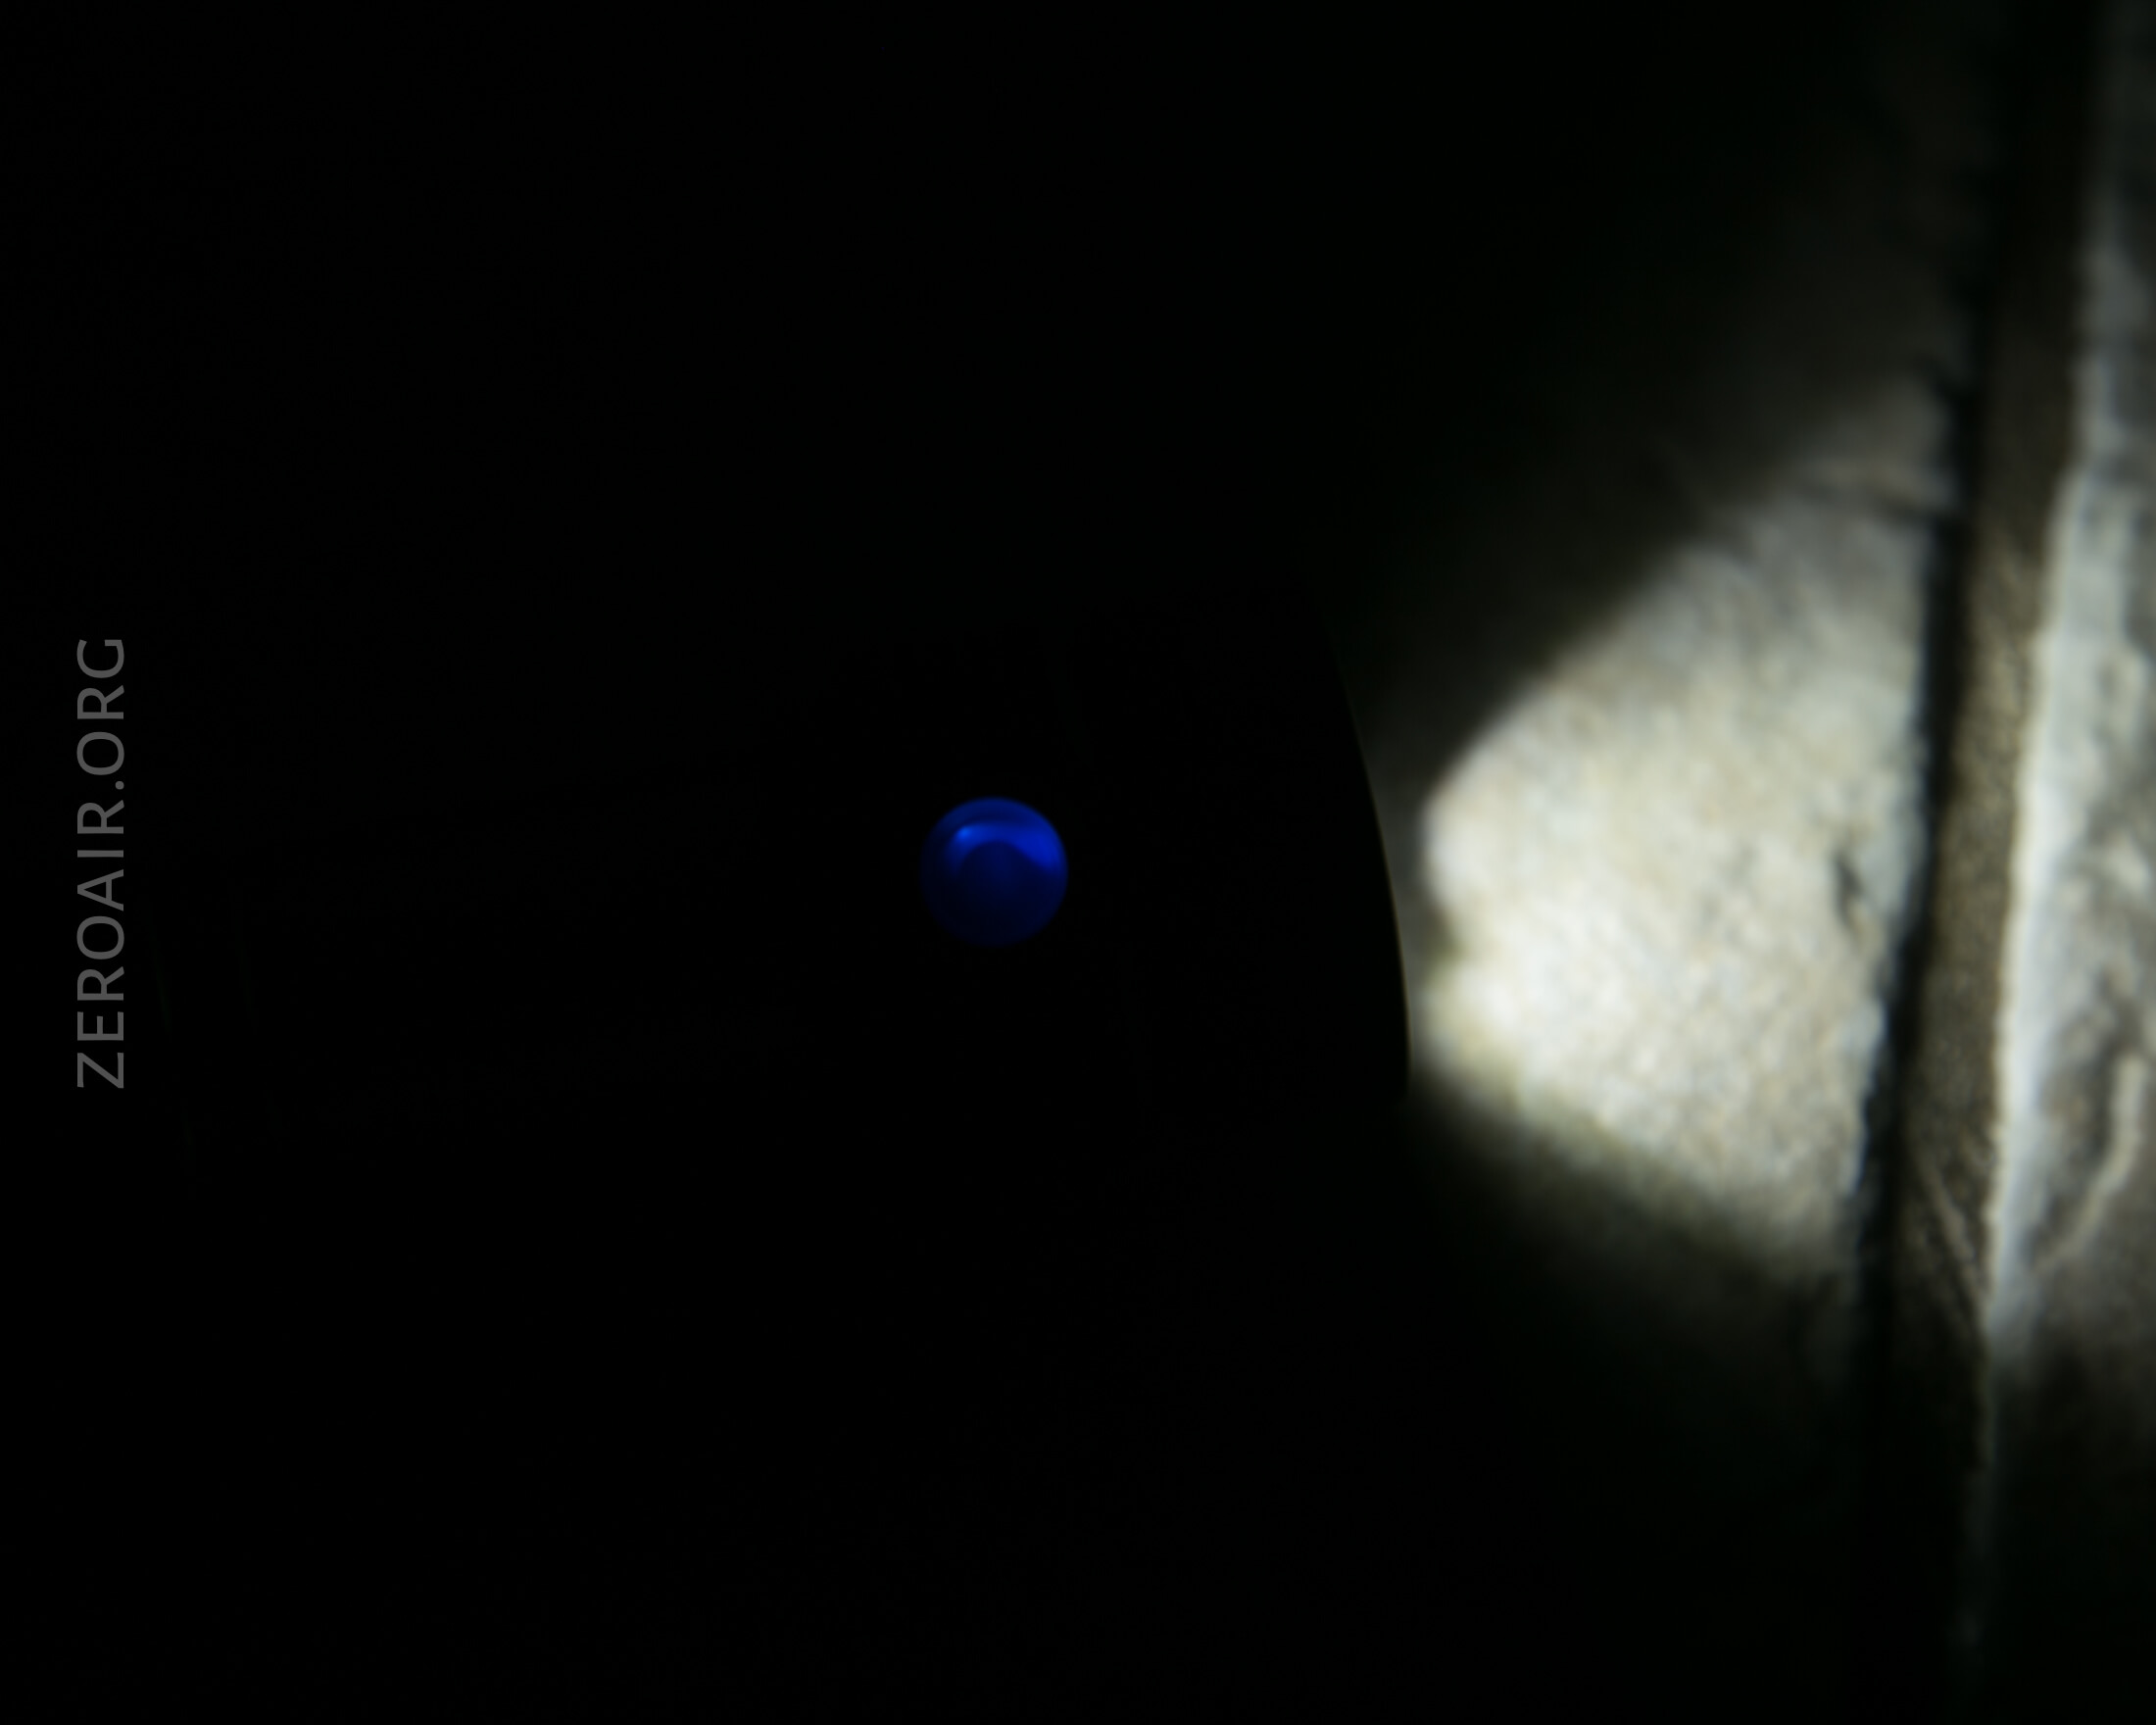
There’s a single switch on the X9. It’s a side e-switch with red and blue indicator functions. The silicone cover is translucent, and the button is clicky.
Here’s an example of the blue indication.
Here’s a user interface table! Remember, I don’t have a manual, so most of this is just going off me playing with the light and testing. I could easily miss things (like, apparently, I can’t figure out how to get to one of the middle modes, and make this a 4-mode light, not 5).
| State | Action | Result |
|---|---|---|
| Off | Click | On (Mode Memory, excluding Turbo) |
| Off | Hold | Low |
| Any | Double Click | Turbo |
| On | Click | Mode advance (LMH) |
| Any | Triple Click | Strobe |
| Off | Click 4x | Lockout (Double blink confirmation) |
| Lockout | Click 4x | Unlock (Double blink confirmation) |
| Low | Hold | Ramping (stops at max, no indication)^ |
| Ramping option | Click | Off |
^ After ramping all the way to Turbo, clicking again ramps the light down to Low.
Note that the only way to make the light be a ramping light is to turn it on to Low, and ramp-up. Once the ramp is happening, a click turns the light off (whereas a click advances the mode if you didn’t start in Low and make the light ramp.) I hope to be explaining that clearly enough….
LED and Beam
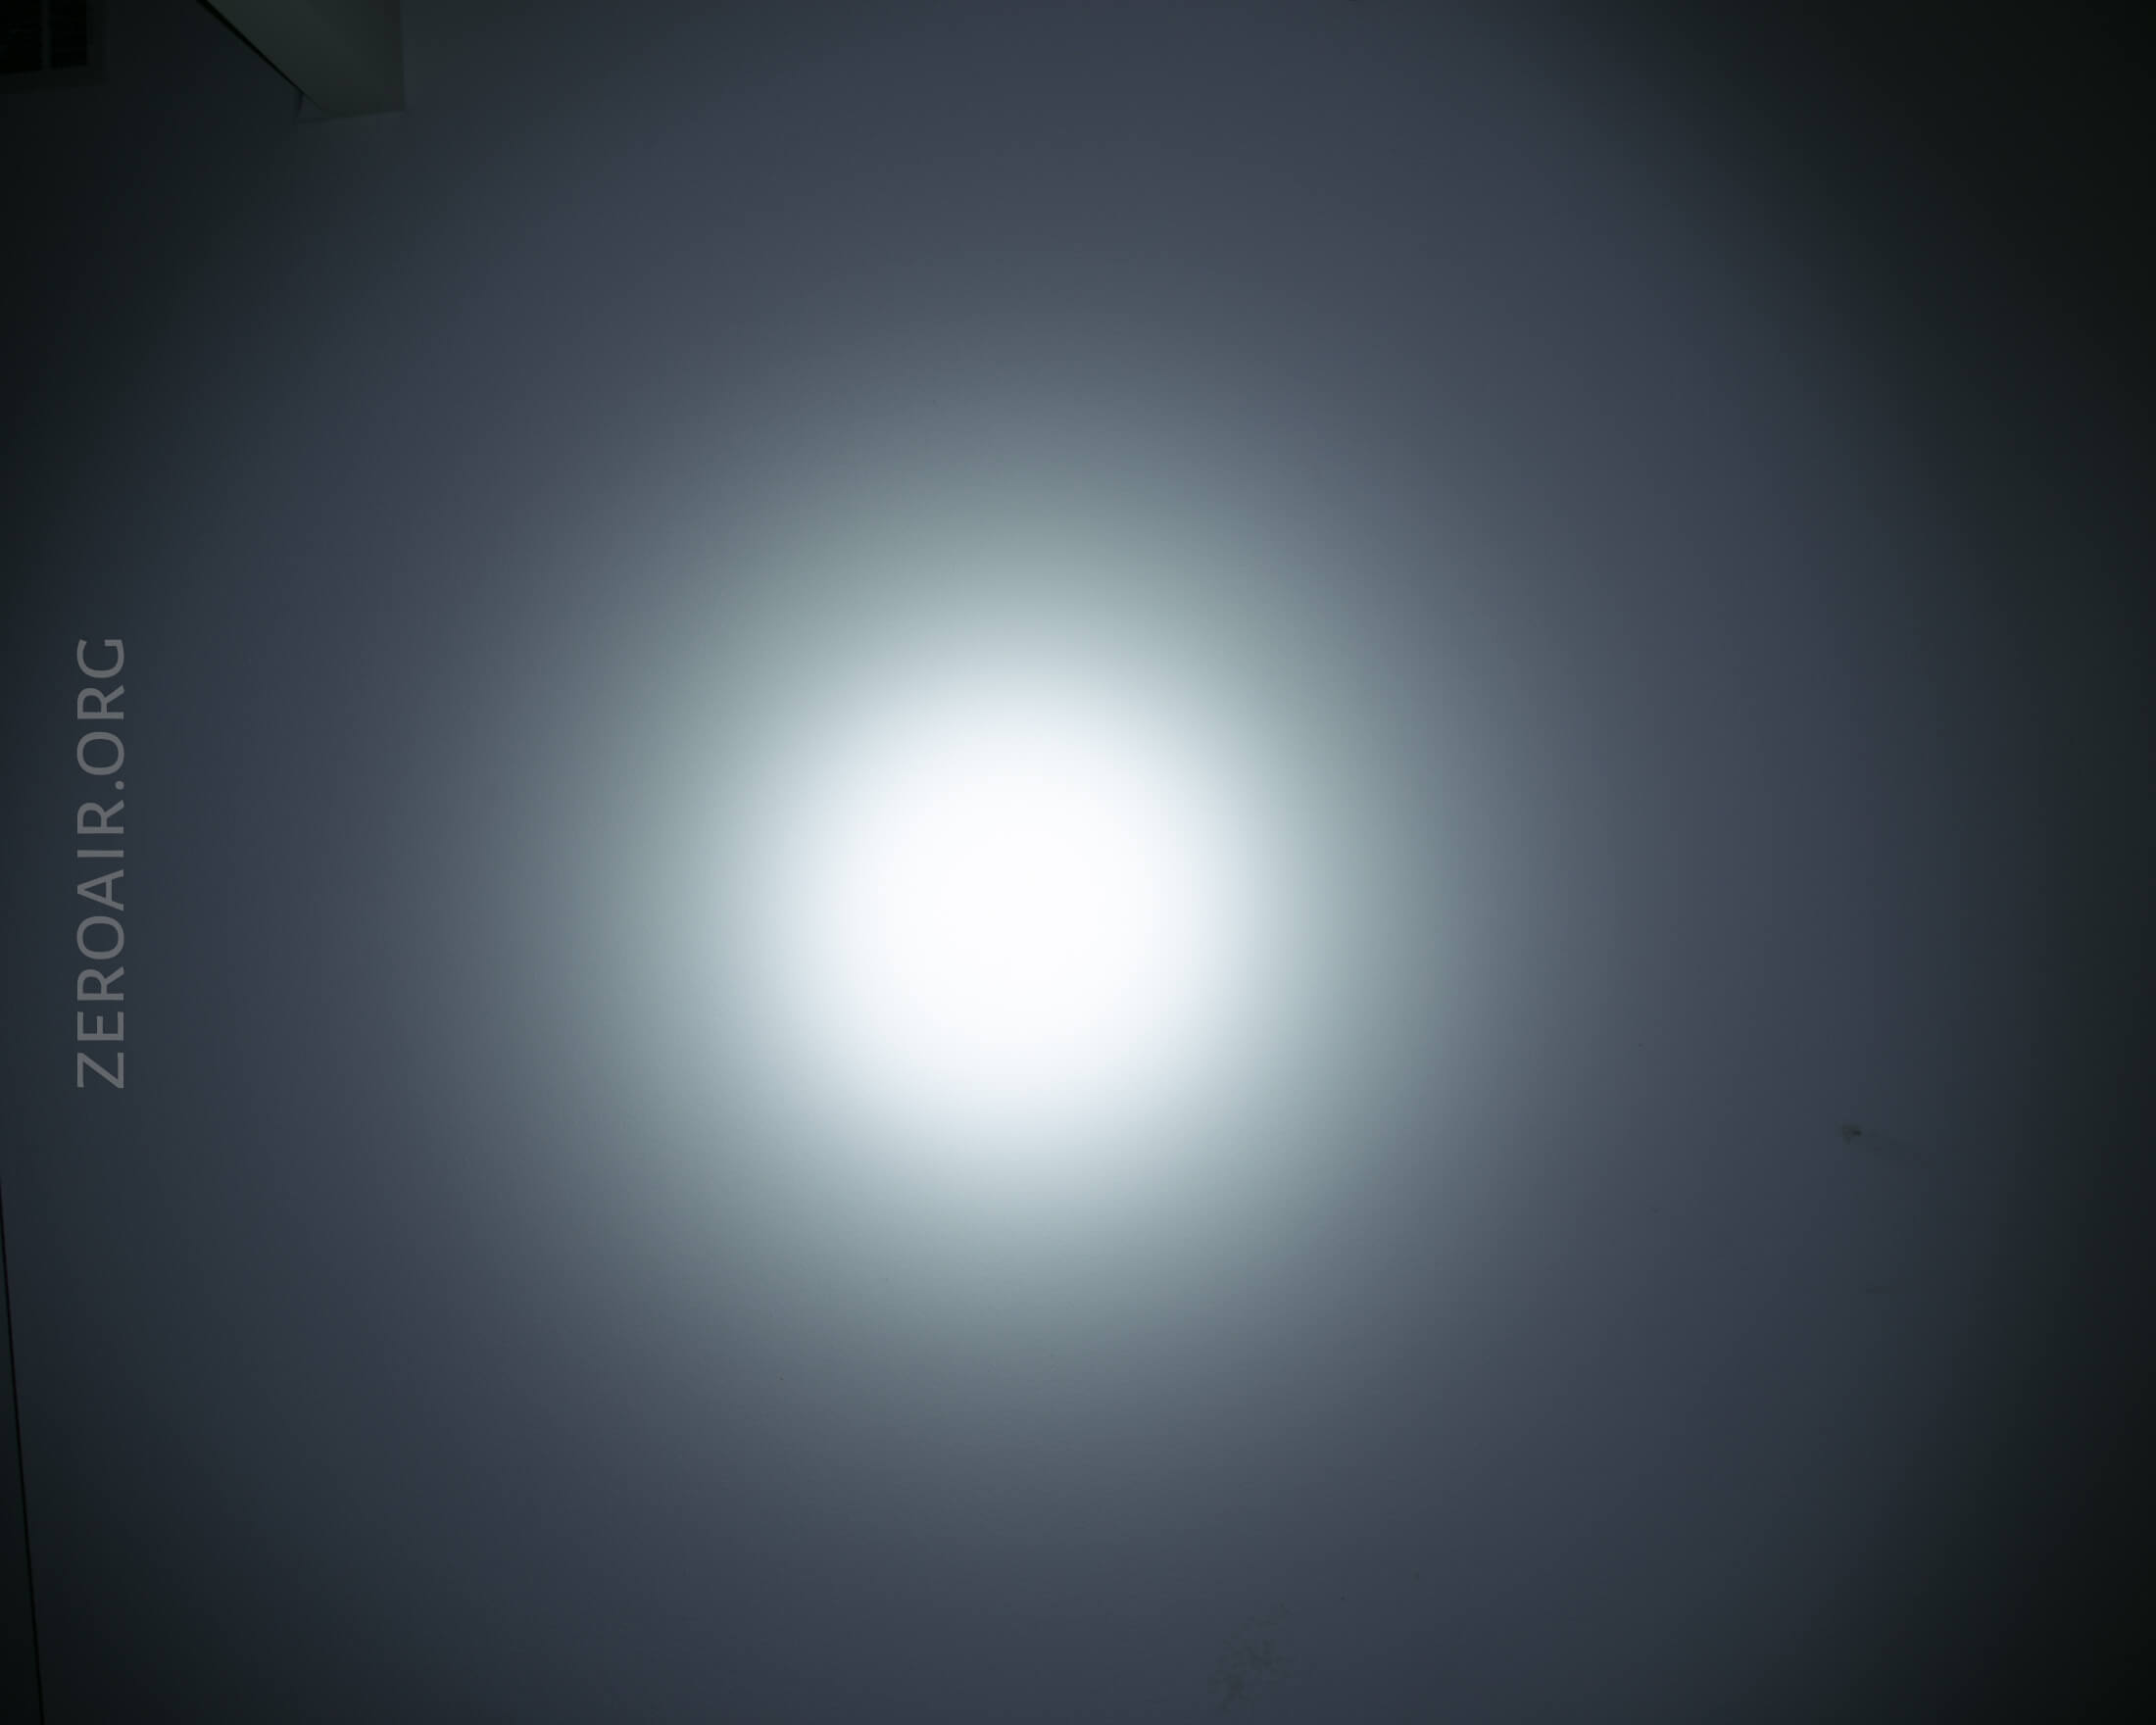
The emitters here are Luminus SST-40. There are three of them, which makes this a triple but not a traditional triple – each emitter has most of a reflector to itself. The beam is surprisingly well focused, and the three appear as one in the beam. The reflectors are smooth, and the beam has a hotspot with a bunch of spill, too.
These beamshots always have the following settings: f8, ISO100, 0.3s shutter, and manual 5000K exposure. These photos are taken at floor level, and the beam hits the ceiling around 9 feet away.
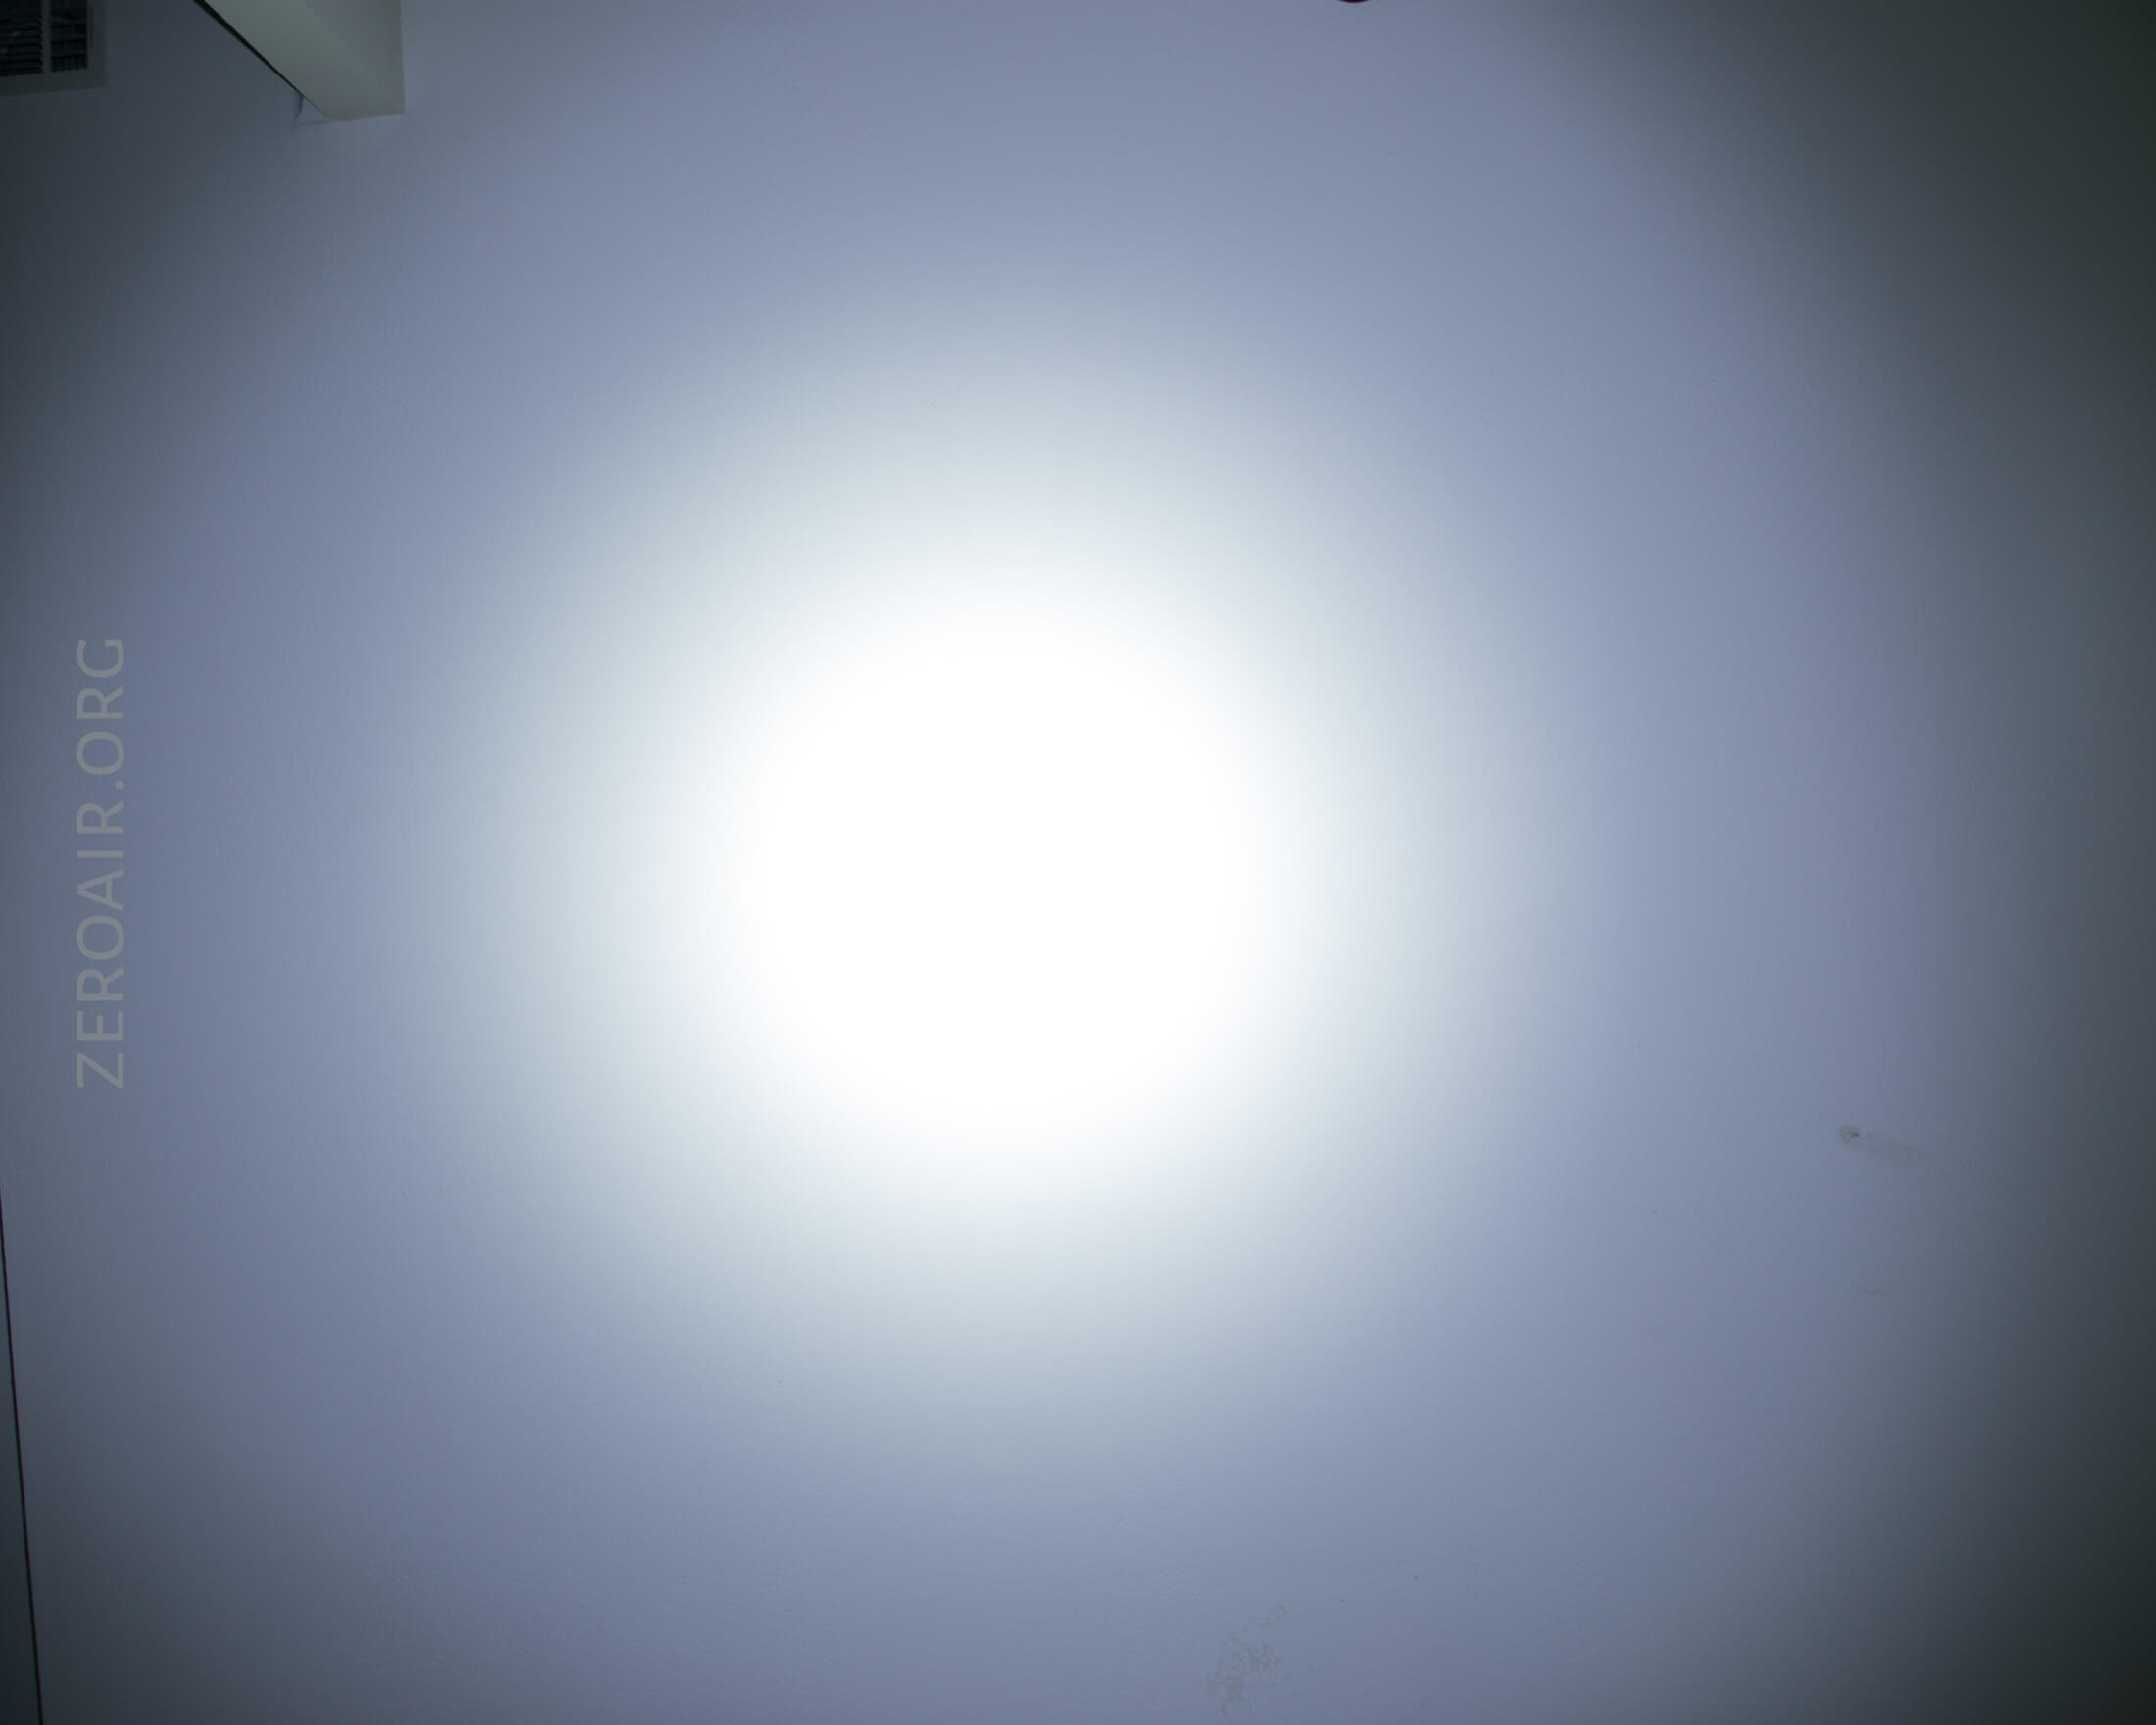
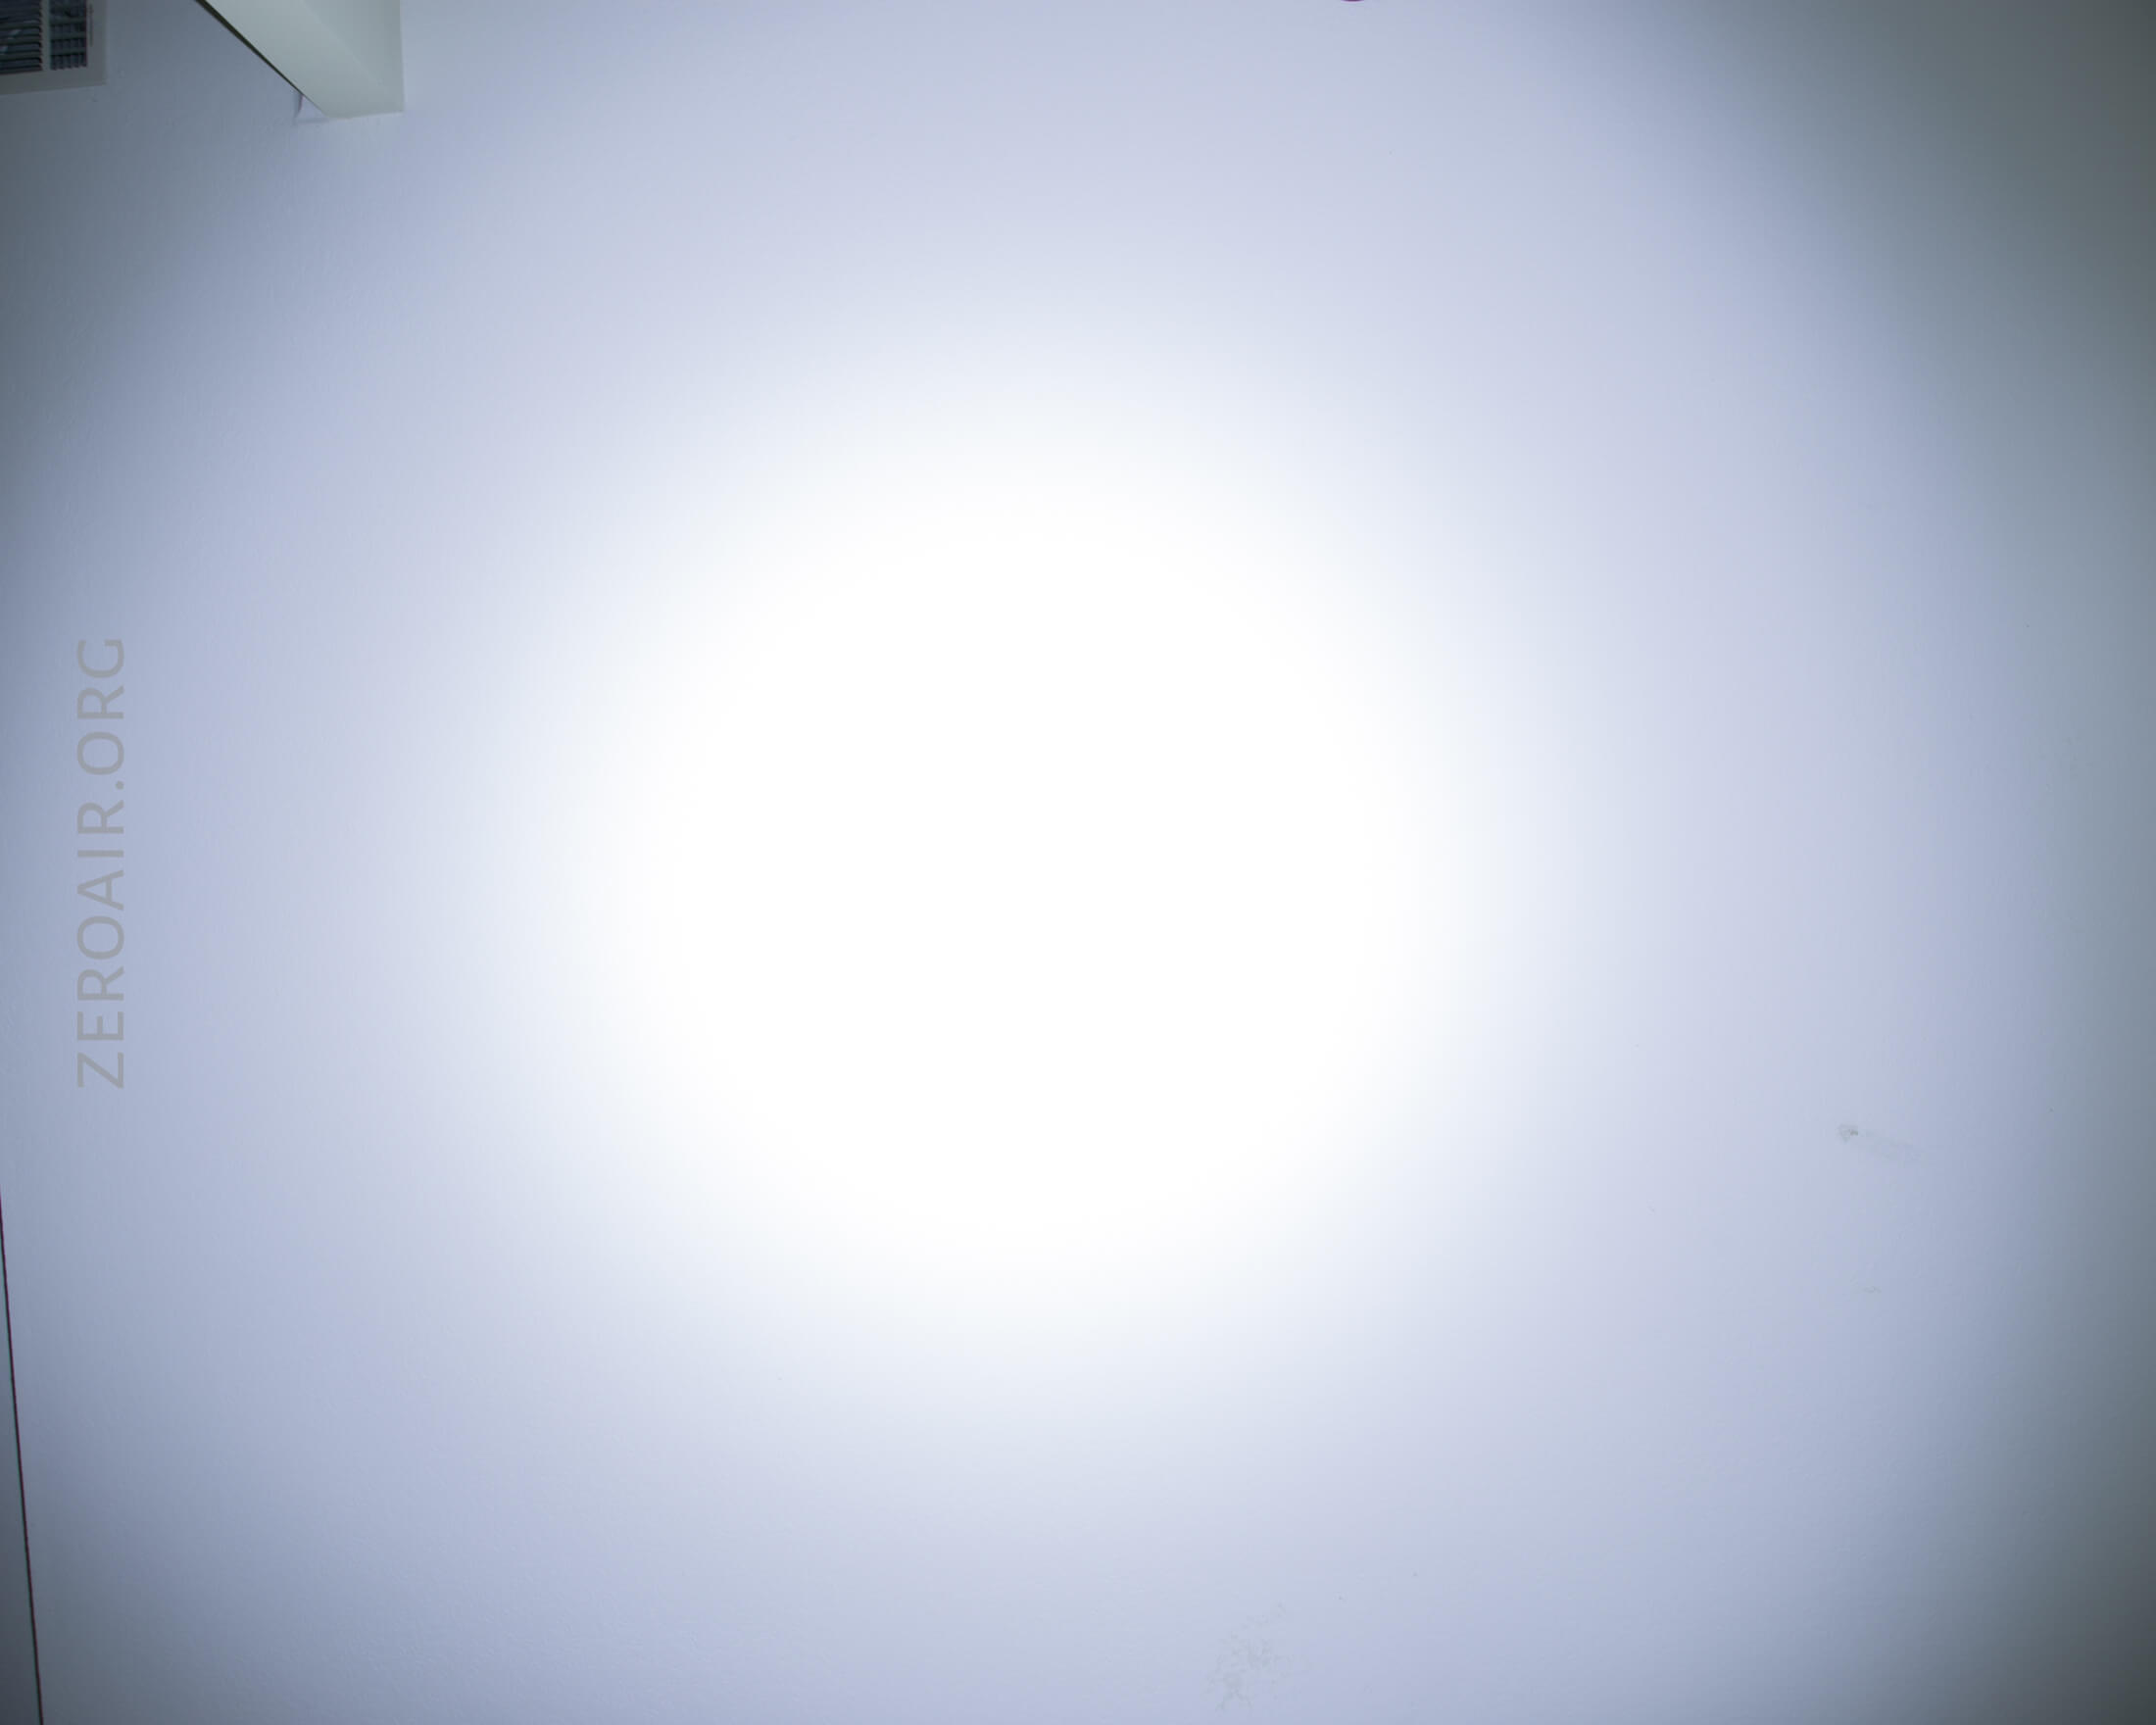
Tint vs BLF-348 (KillzoneFlashlights.com 219b version) (affiliate link)
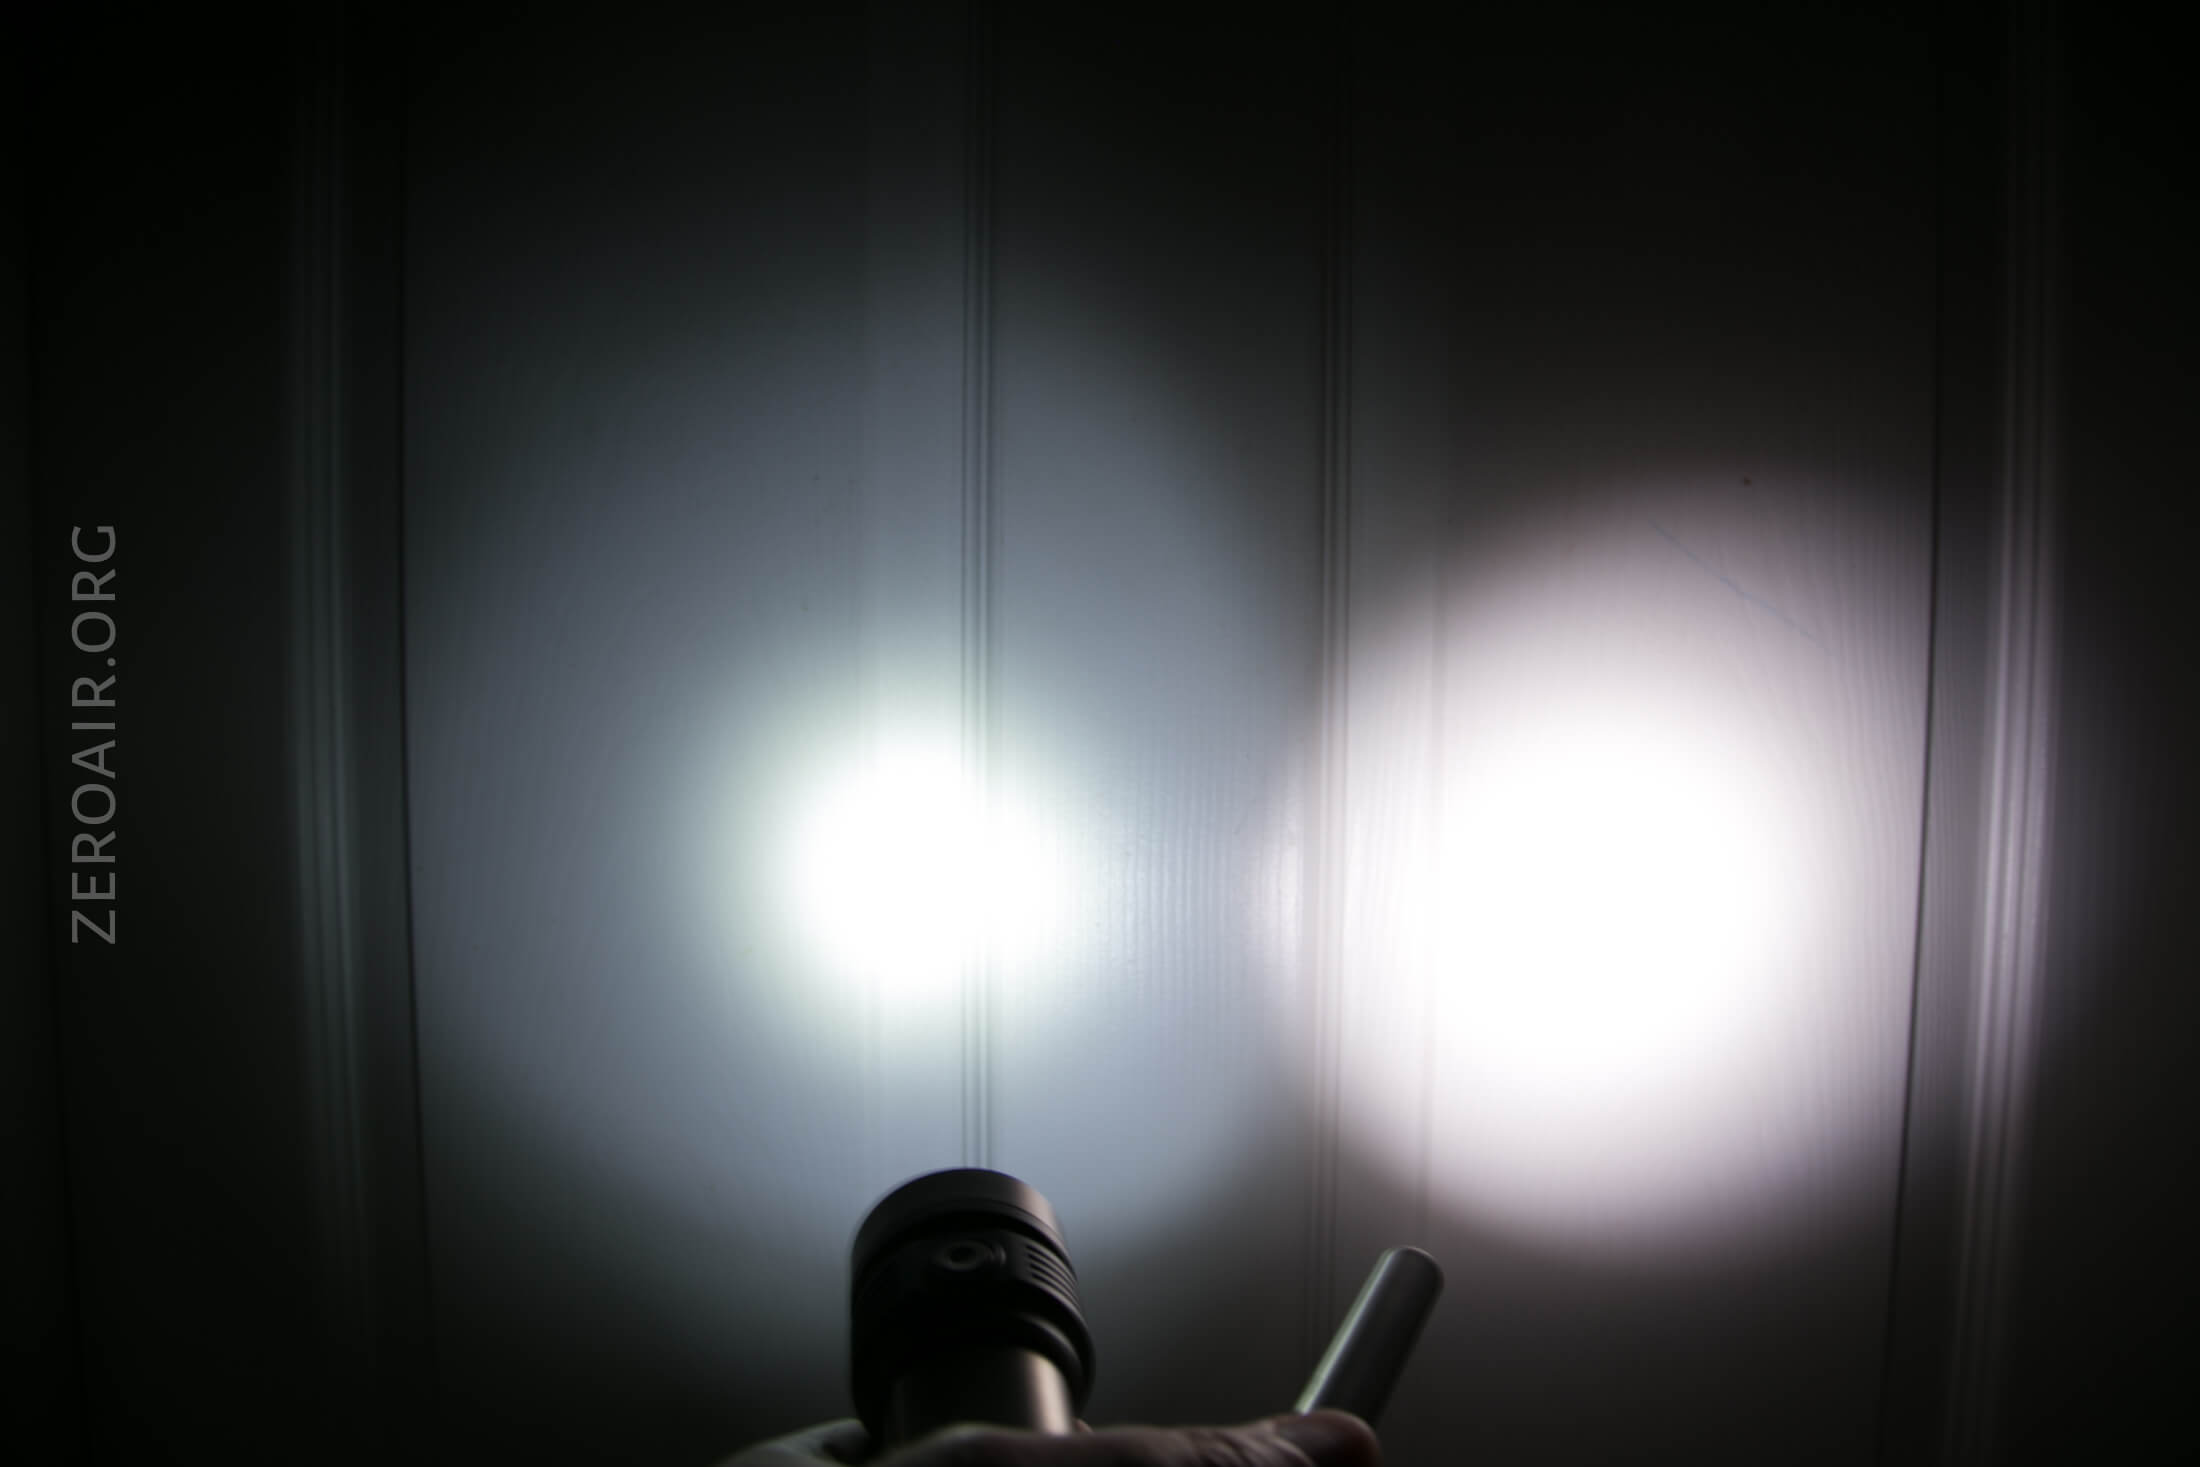
I compare everything to the Killzone 219b BLF-348 because it’s inexpensive and has the best tint!
Conclusion
What I like
- Good use of a 26650-size body
- Nice to see SST-40 emitters in production lights
- Charging works well
- Works with more than just 26650 cells (i.e., 18650 cells)
What I don’t like
- The unregulated output on Turbo (and even High, really) makes this light a danger to use carelessly
- The threads are gritty
- The body, head, and parts don’t really match well
- Claimed modes and actual modes don’t seem to line up well
Notes
- This light was provided by NealsGadgets.com for review. I was not paid to write this review.
- This content originally appeared at zeroair.org. Please visit there for the best experience!
- Use my amazon.com referral link if you’re willing to help support making more reviews like this one!
- Please support me on Patreon! I deeply appreciate your support!
Discover more from ZeroAir Reviews
Subscribe to get the latest posts sent to your email.
Maybe there’s a way to set a temperature regulation.
If only the manual was available in English!