Emisar D4V2 Brass with E21A Emitters Flashlight – the Best Light for Weighing Your Pockets Down!
The Emisar D4V2 Brass flashlight is a popular choice at r/flashlight. I recently bought one with Nichia E21A emitters at 4500K temperature. Read on for testing!
Official Specs and Features
Here’s a link to the official product page.
Versions of the Emisar D4V2 Brass Flashlight
There are a bunch of versions of the D4V2. First is aluminum, which comes in Dark Gray, Sand, and Cyan. Next is brass (seen here). Also available is titanium, which has a copper engine section. Finally, there’s even a special finished version of titanium: Raw Ore, Blue Wavy Clouds, Raw Ore 2, Blue Swirls, and Stars. Not all of those are currently available, unfortunately.
There are also innumerable emitter options. I bought an off-the-shelf option of Nichia E21A 4500K. There are other standard options, but it’s also possible to get Hank to do special things, like mixing emitter temperatures so you can get the output exactly where on the black body line you wish for it to be.
It’s also possible to get a mule version by special order!
Price
These go all the way from $45 (aluminum) to $107.56 (anodized titanium). The brass seen here is $69.95.
Short Review
This is a super fun light, even when it’s off. The RGB secondaries are enormously entertaining (and also very active and bright, if you wish). As far as output with the E21A emitters – it’s probably not going to be quite as bright as you were expecting, but it’s such a pleasant output that it likely won’t matter. The brass is great and makes the D4V2 a nice pocket chunk.
Long Review
The Big Table
Two tables here, since I tested the light as 18650 and 18350 both.
| Emisar D4V2 Brass Flashlight | |
|---|---|
| Emitter: | Nichia E21A (x4, “quad”) (4500K) |
| Price in USD at publication time: | $69.95 |
| Cell: | 1×18650 |
| Turbo Runtime | High Runtime |
| LVP? | Step down to Low in my tests |
| Switch Type: | E-Switch |
| Quiescent Current (mA): | (Depends on so much) |
| On-Board Charging? | No |
| Claimed Lumens (lm) | – |
| Measured Lumens (at 30s) | 667^ |
| Candela per Lumen | 3.2 |
| Claimed Throw (m) | – |
| Candela (Calculated) in cd (at 30s) | 158lux @ 3.652m = 2107cd |
| Throw (Calculated) (m) | 91.8^ |
| All my Emisar reviews! | |
| Emisar D4V2 Brass Flashlight | |
|---|---|
| Emitter: | Nichia E21A (x4, “quad”) (4500K) |
| Price in USD at publication time: | $9.90 |
| Cell: | 1×18350 |
| Turbo Runtime | High Runtime |
| LVP? | Step down to Low in my tests |
| Switch Type: | E-Switch |
| Quiescent Current (mA): | (Depends on so much) |
| On-Board Charging? | No |
| Claimed Lumens (lm) | – |
| Measured Lumens (at 30s) | 803^ |
| Candela per Lumen | 5.1 |
| Claimed Throw (m) | – |
| Candela (Calculated) in cd (at 30s) | 198lux @ 3.399m = 2288cd |
| Throw (Calculated) (m) | 95.7^ |
| All my Emisar reviews! | |
^ Measurement disclaimer: Testing flashlights is my hobby. I use hobbyist-level equipment for testing, including some I made myself. Try not to get buried in the details of manufacturer specifications versus measurements recorded here; A certain amount of difference (say, 10 or 15%) is perfectly reasonable.
What’s Included
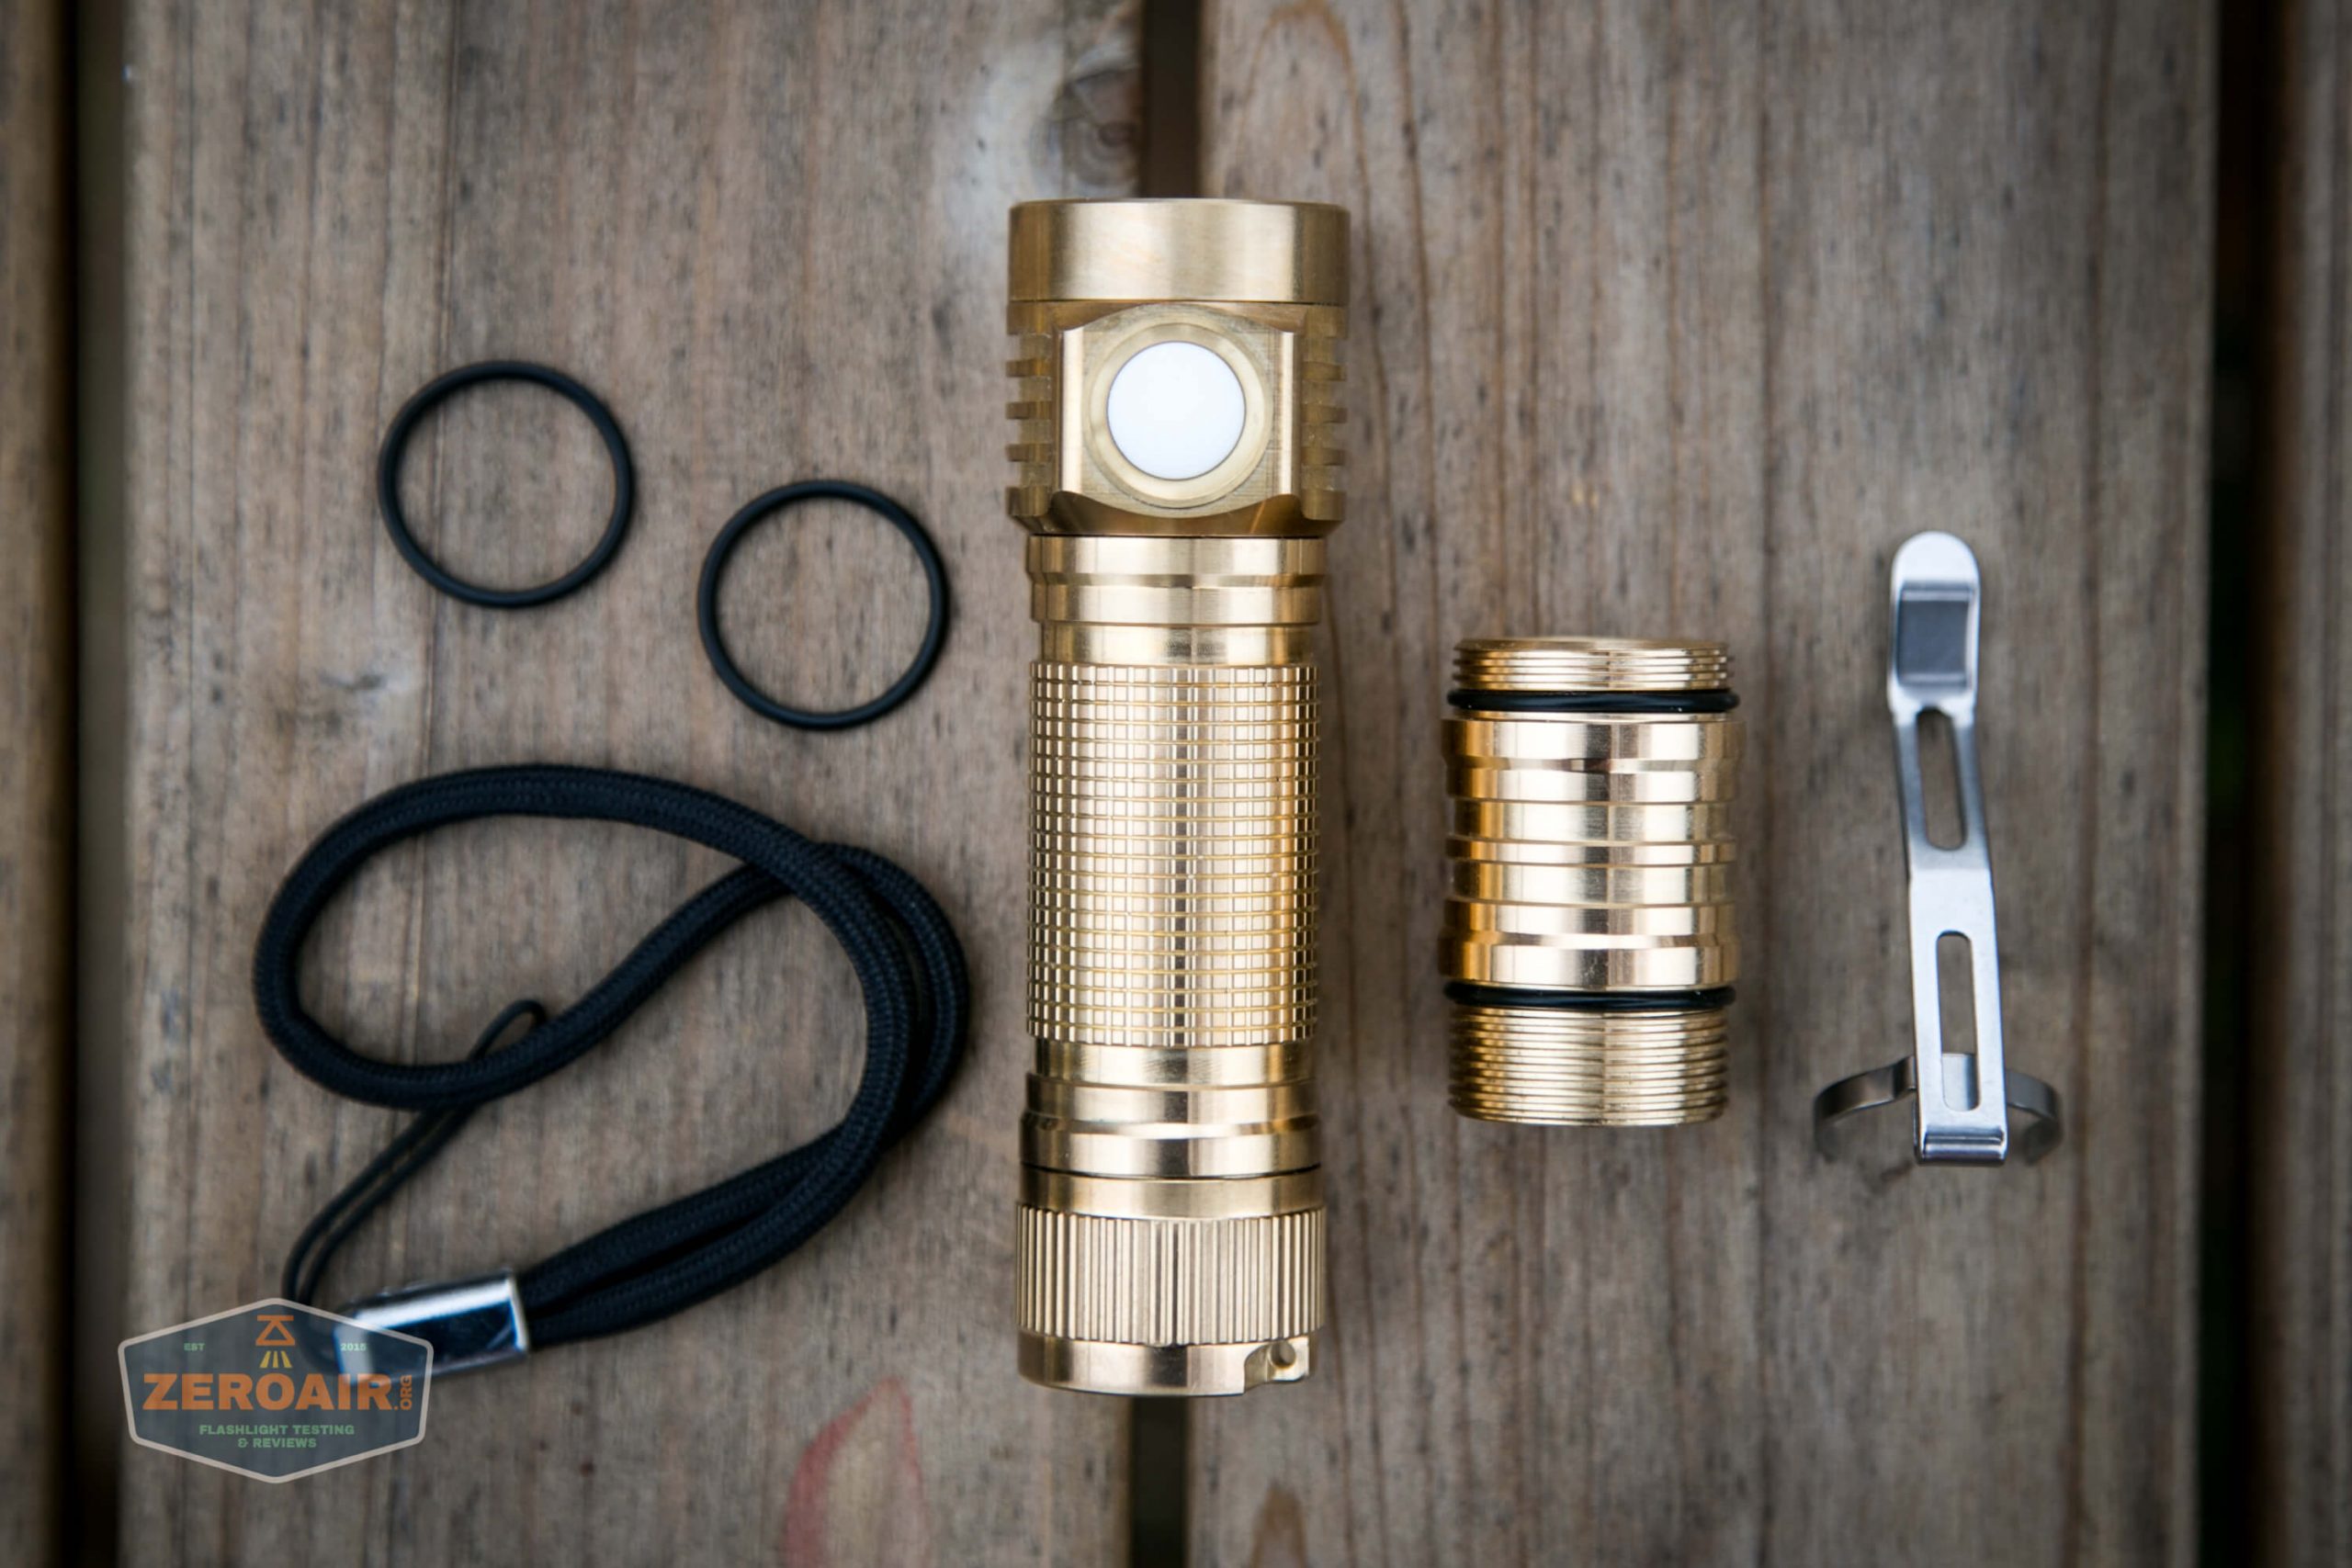
- Emisar D4V2 brass flashlight 18650 sized
- Lanyard
- Pocket clip
- Spare o-rings (2)
- Separate purchase: 18350 body
Package and Manual

There is no manual.
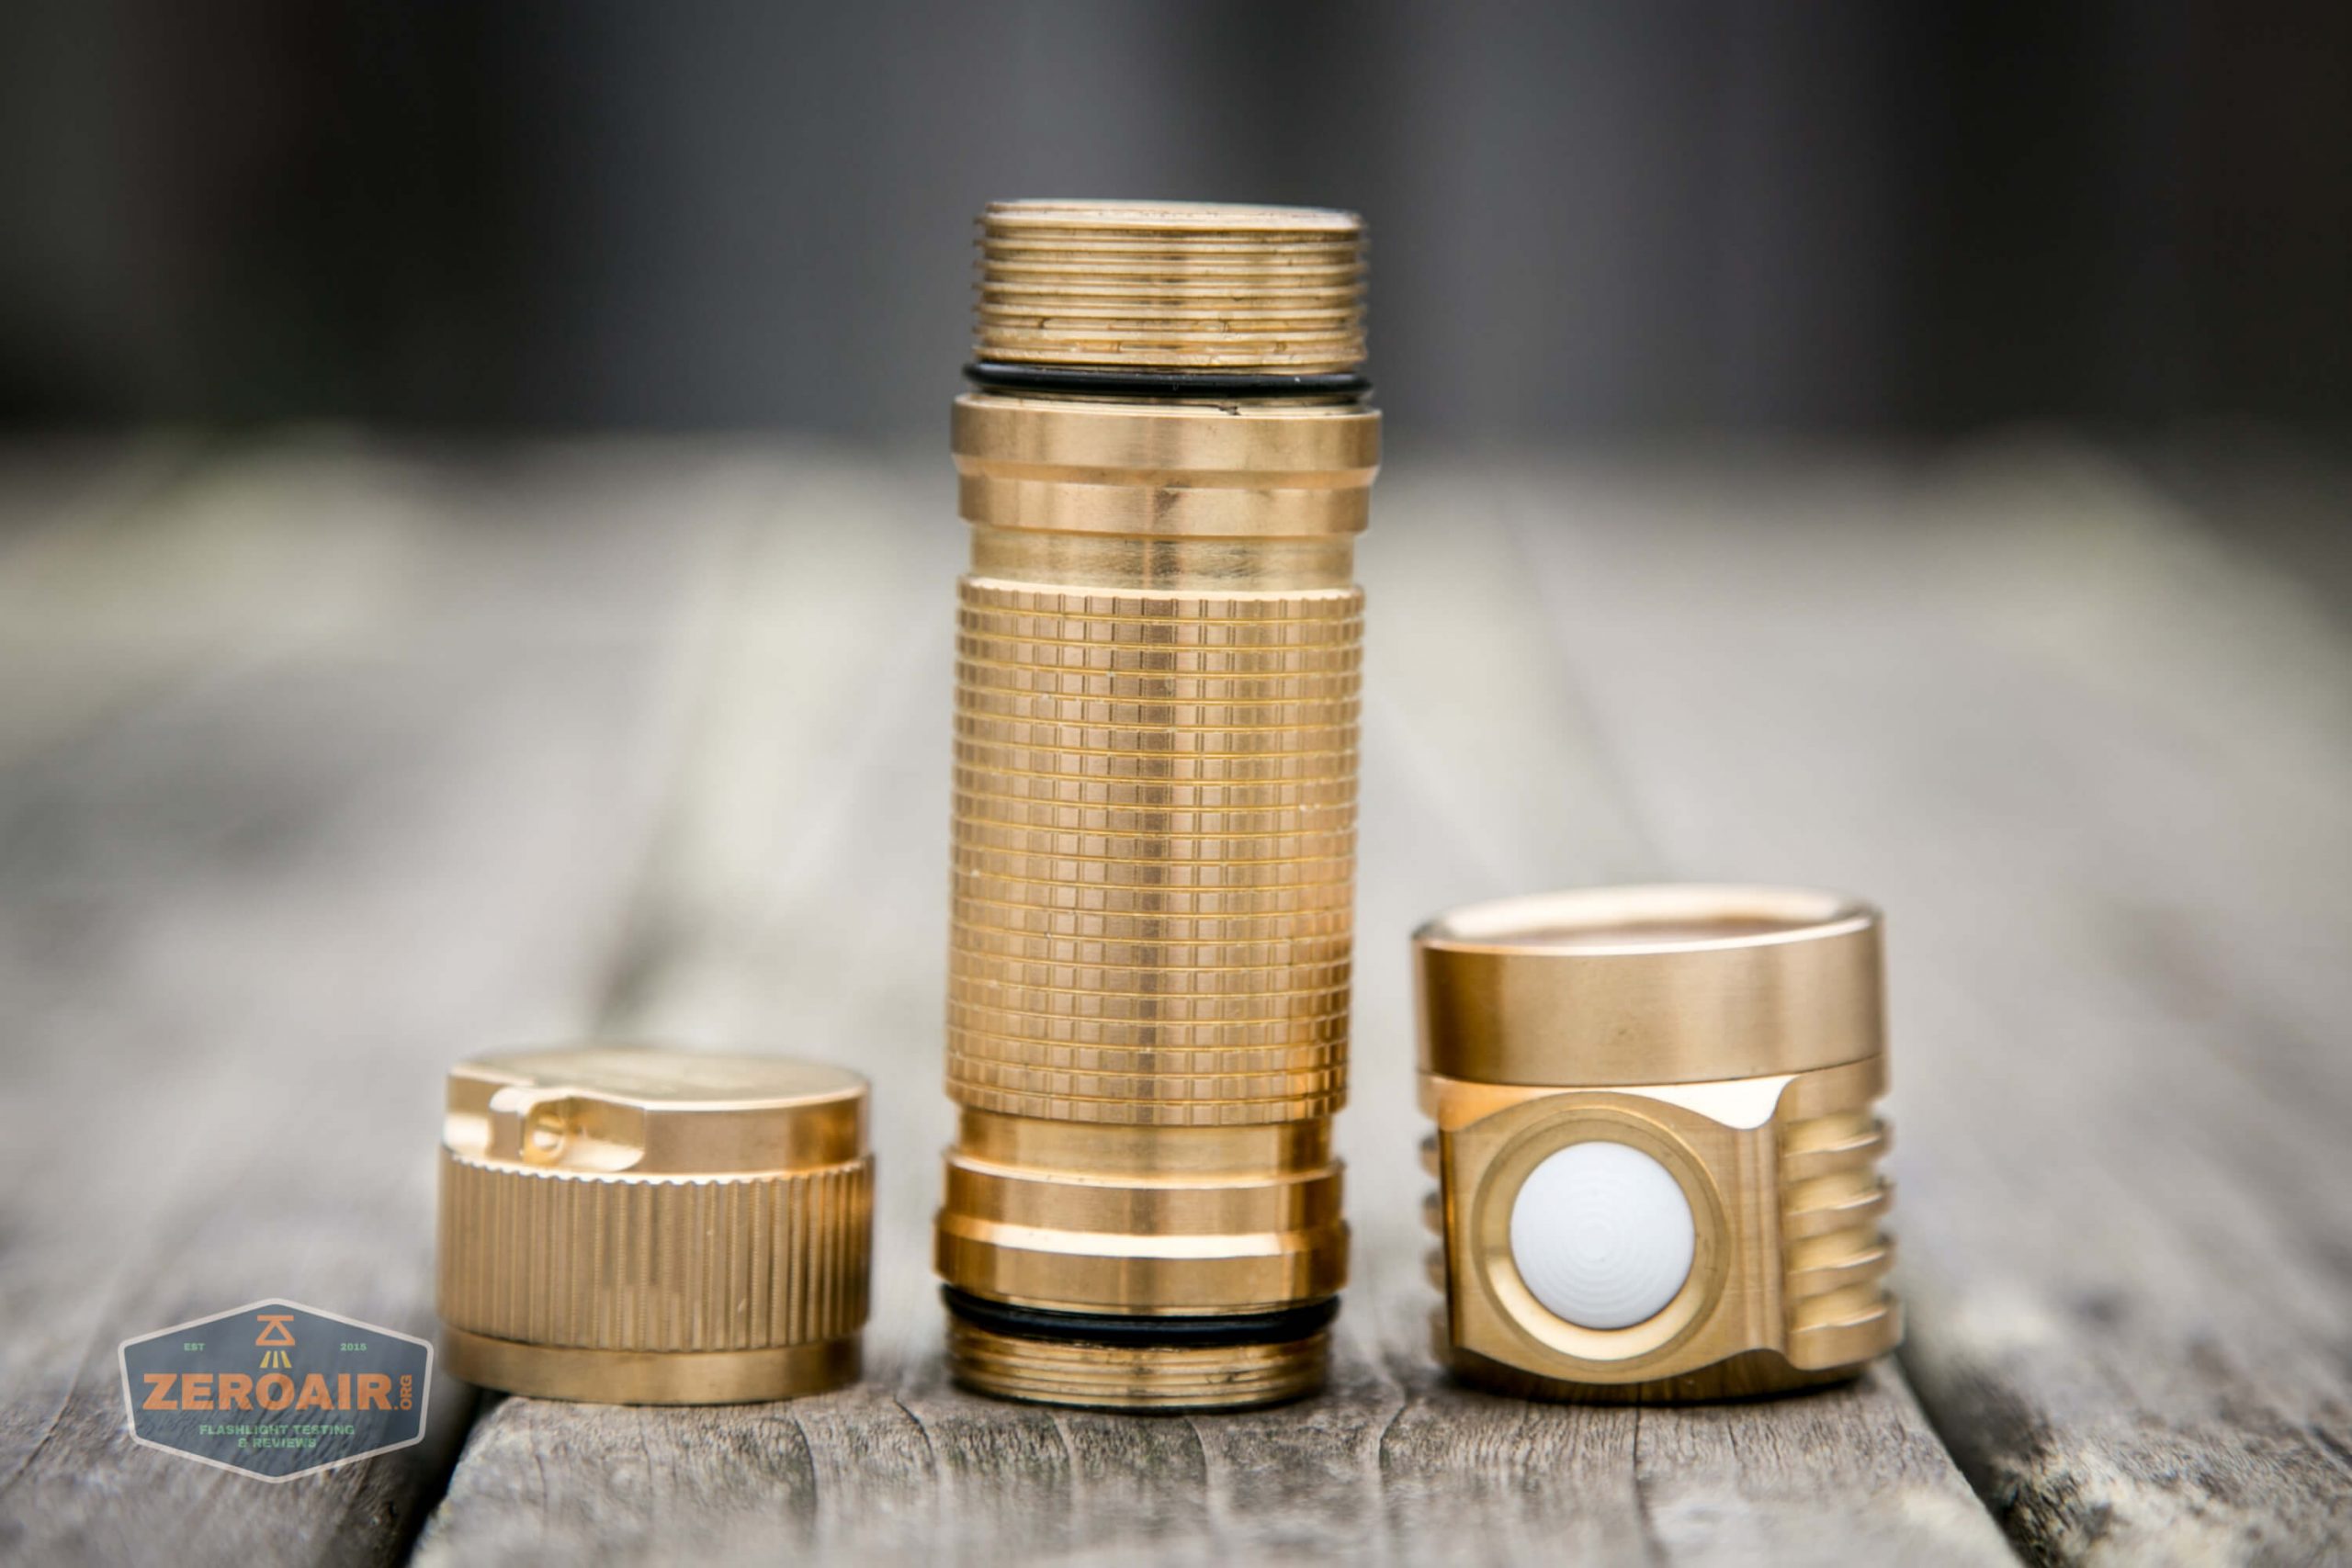
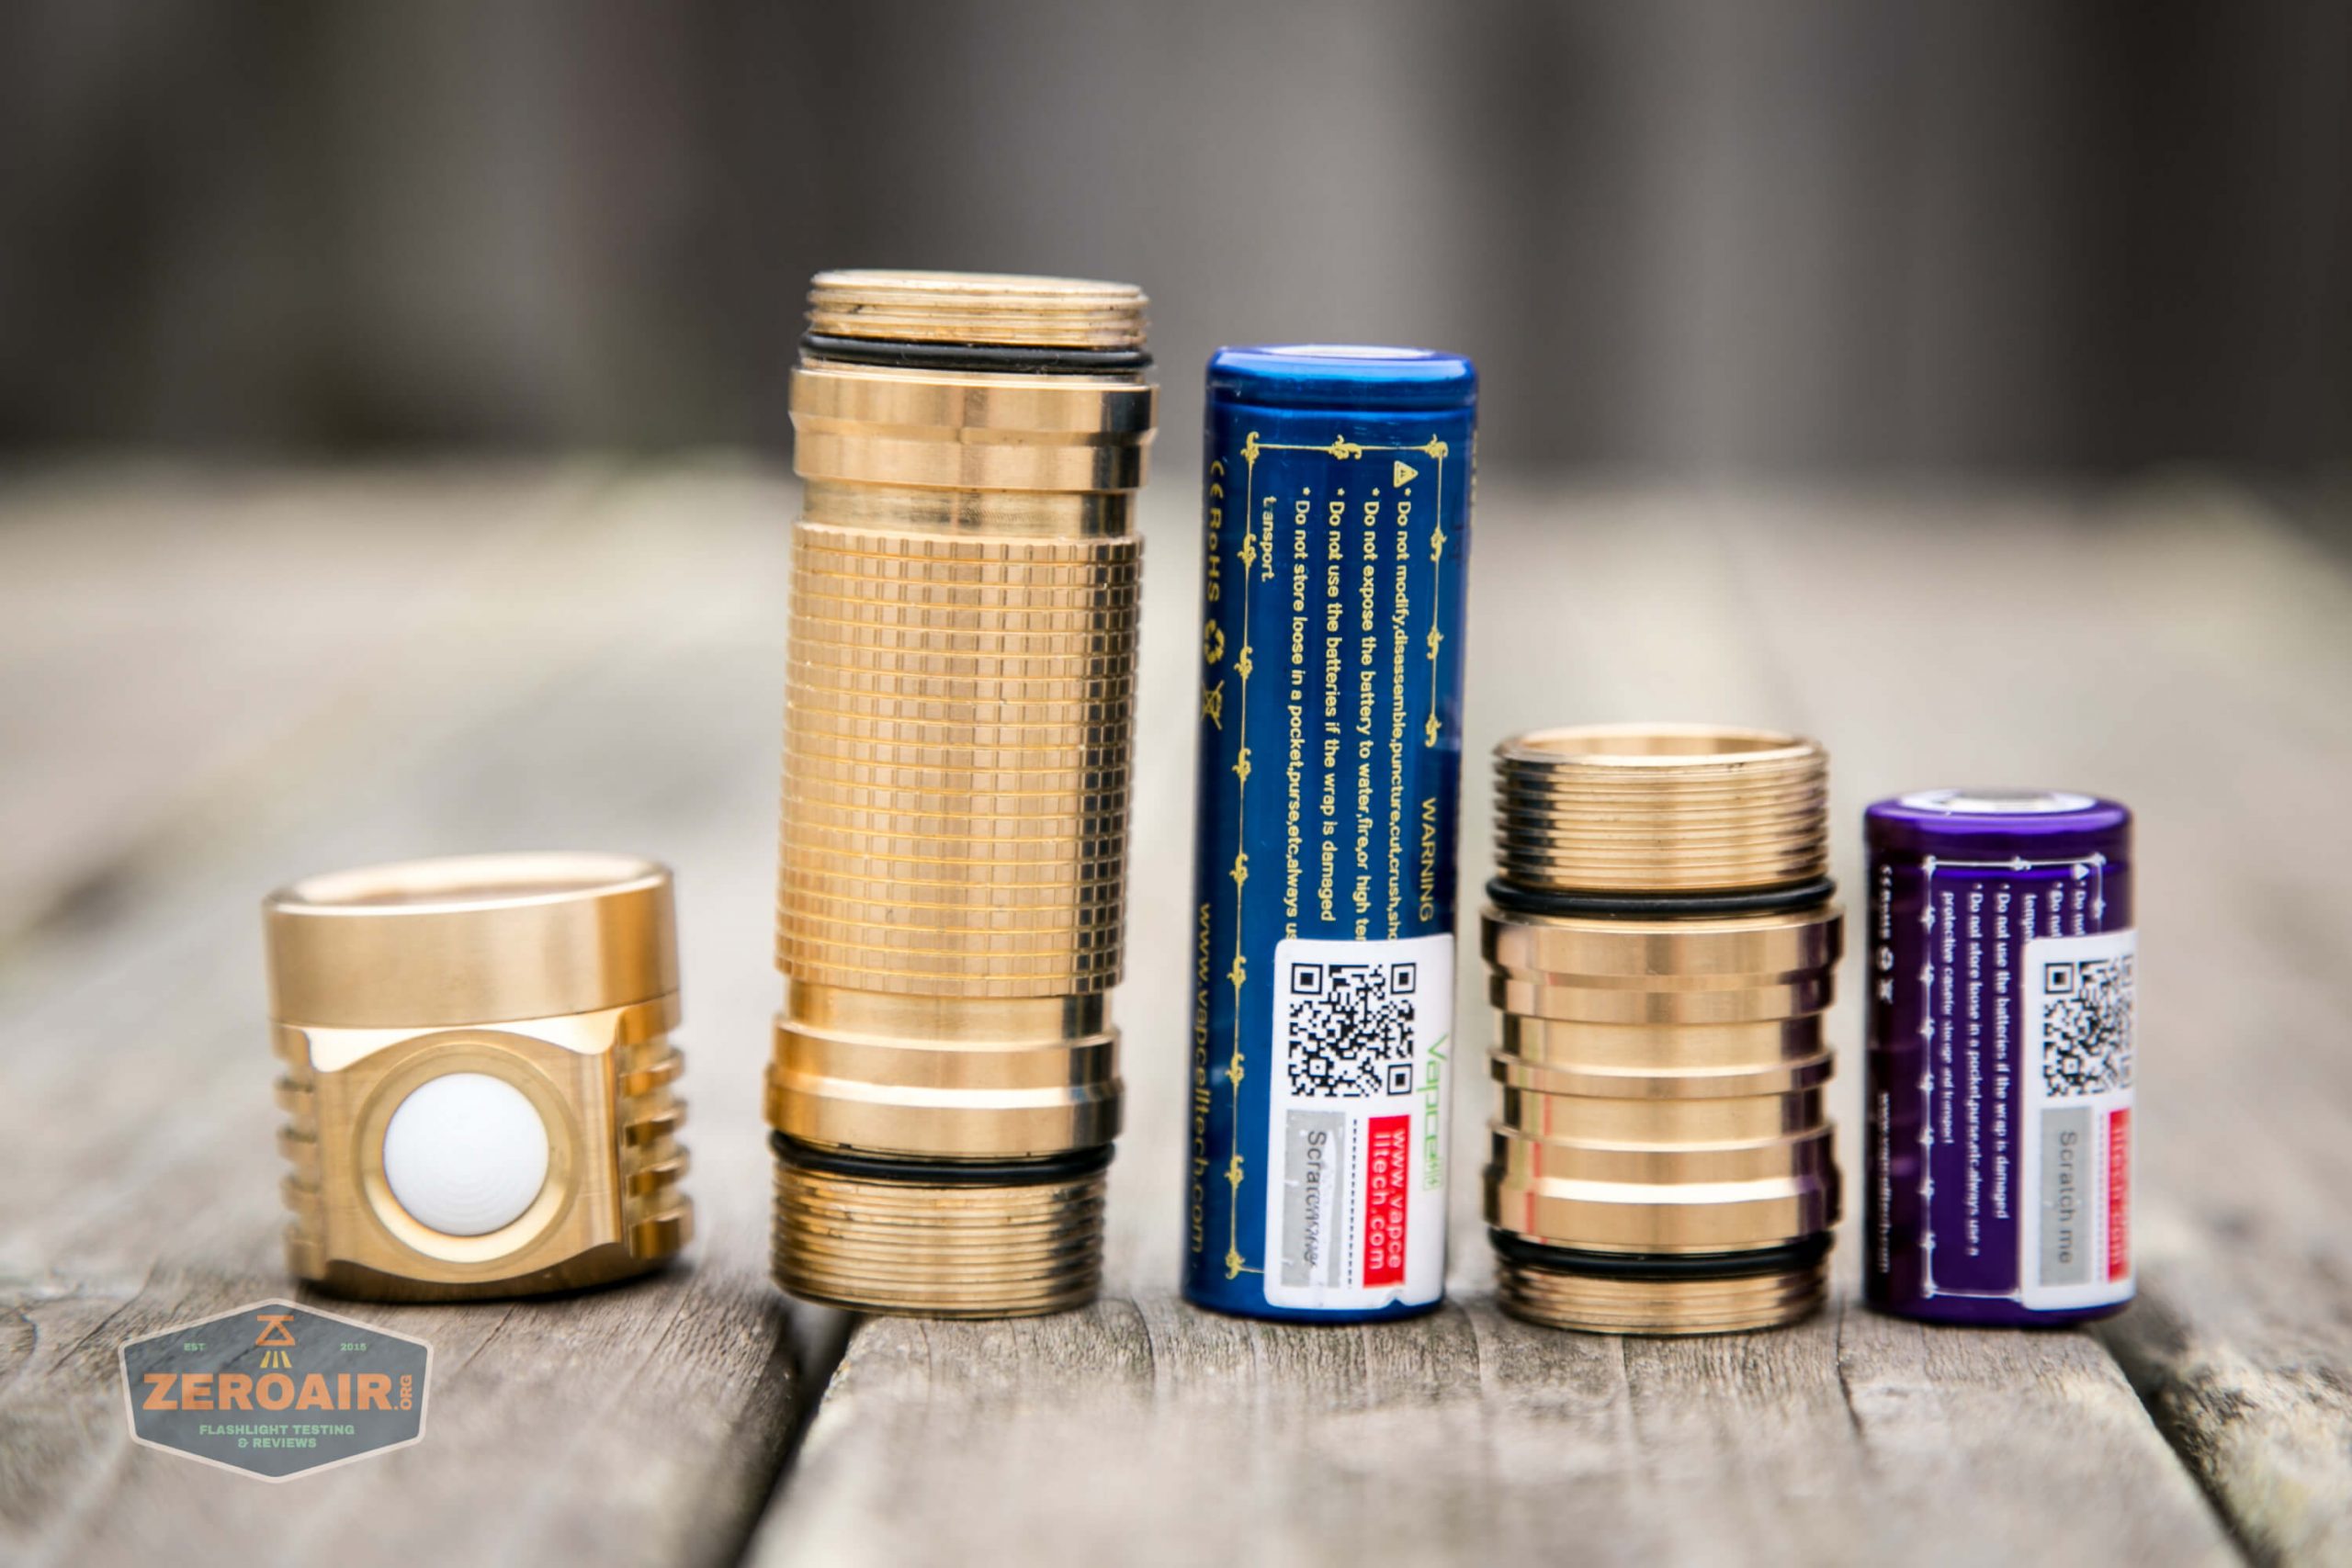
Build Quality and Disassembly
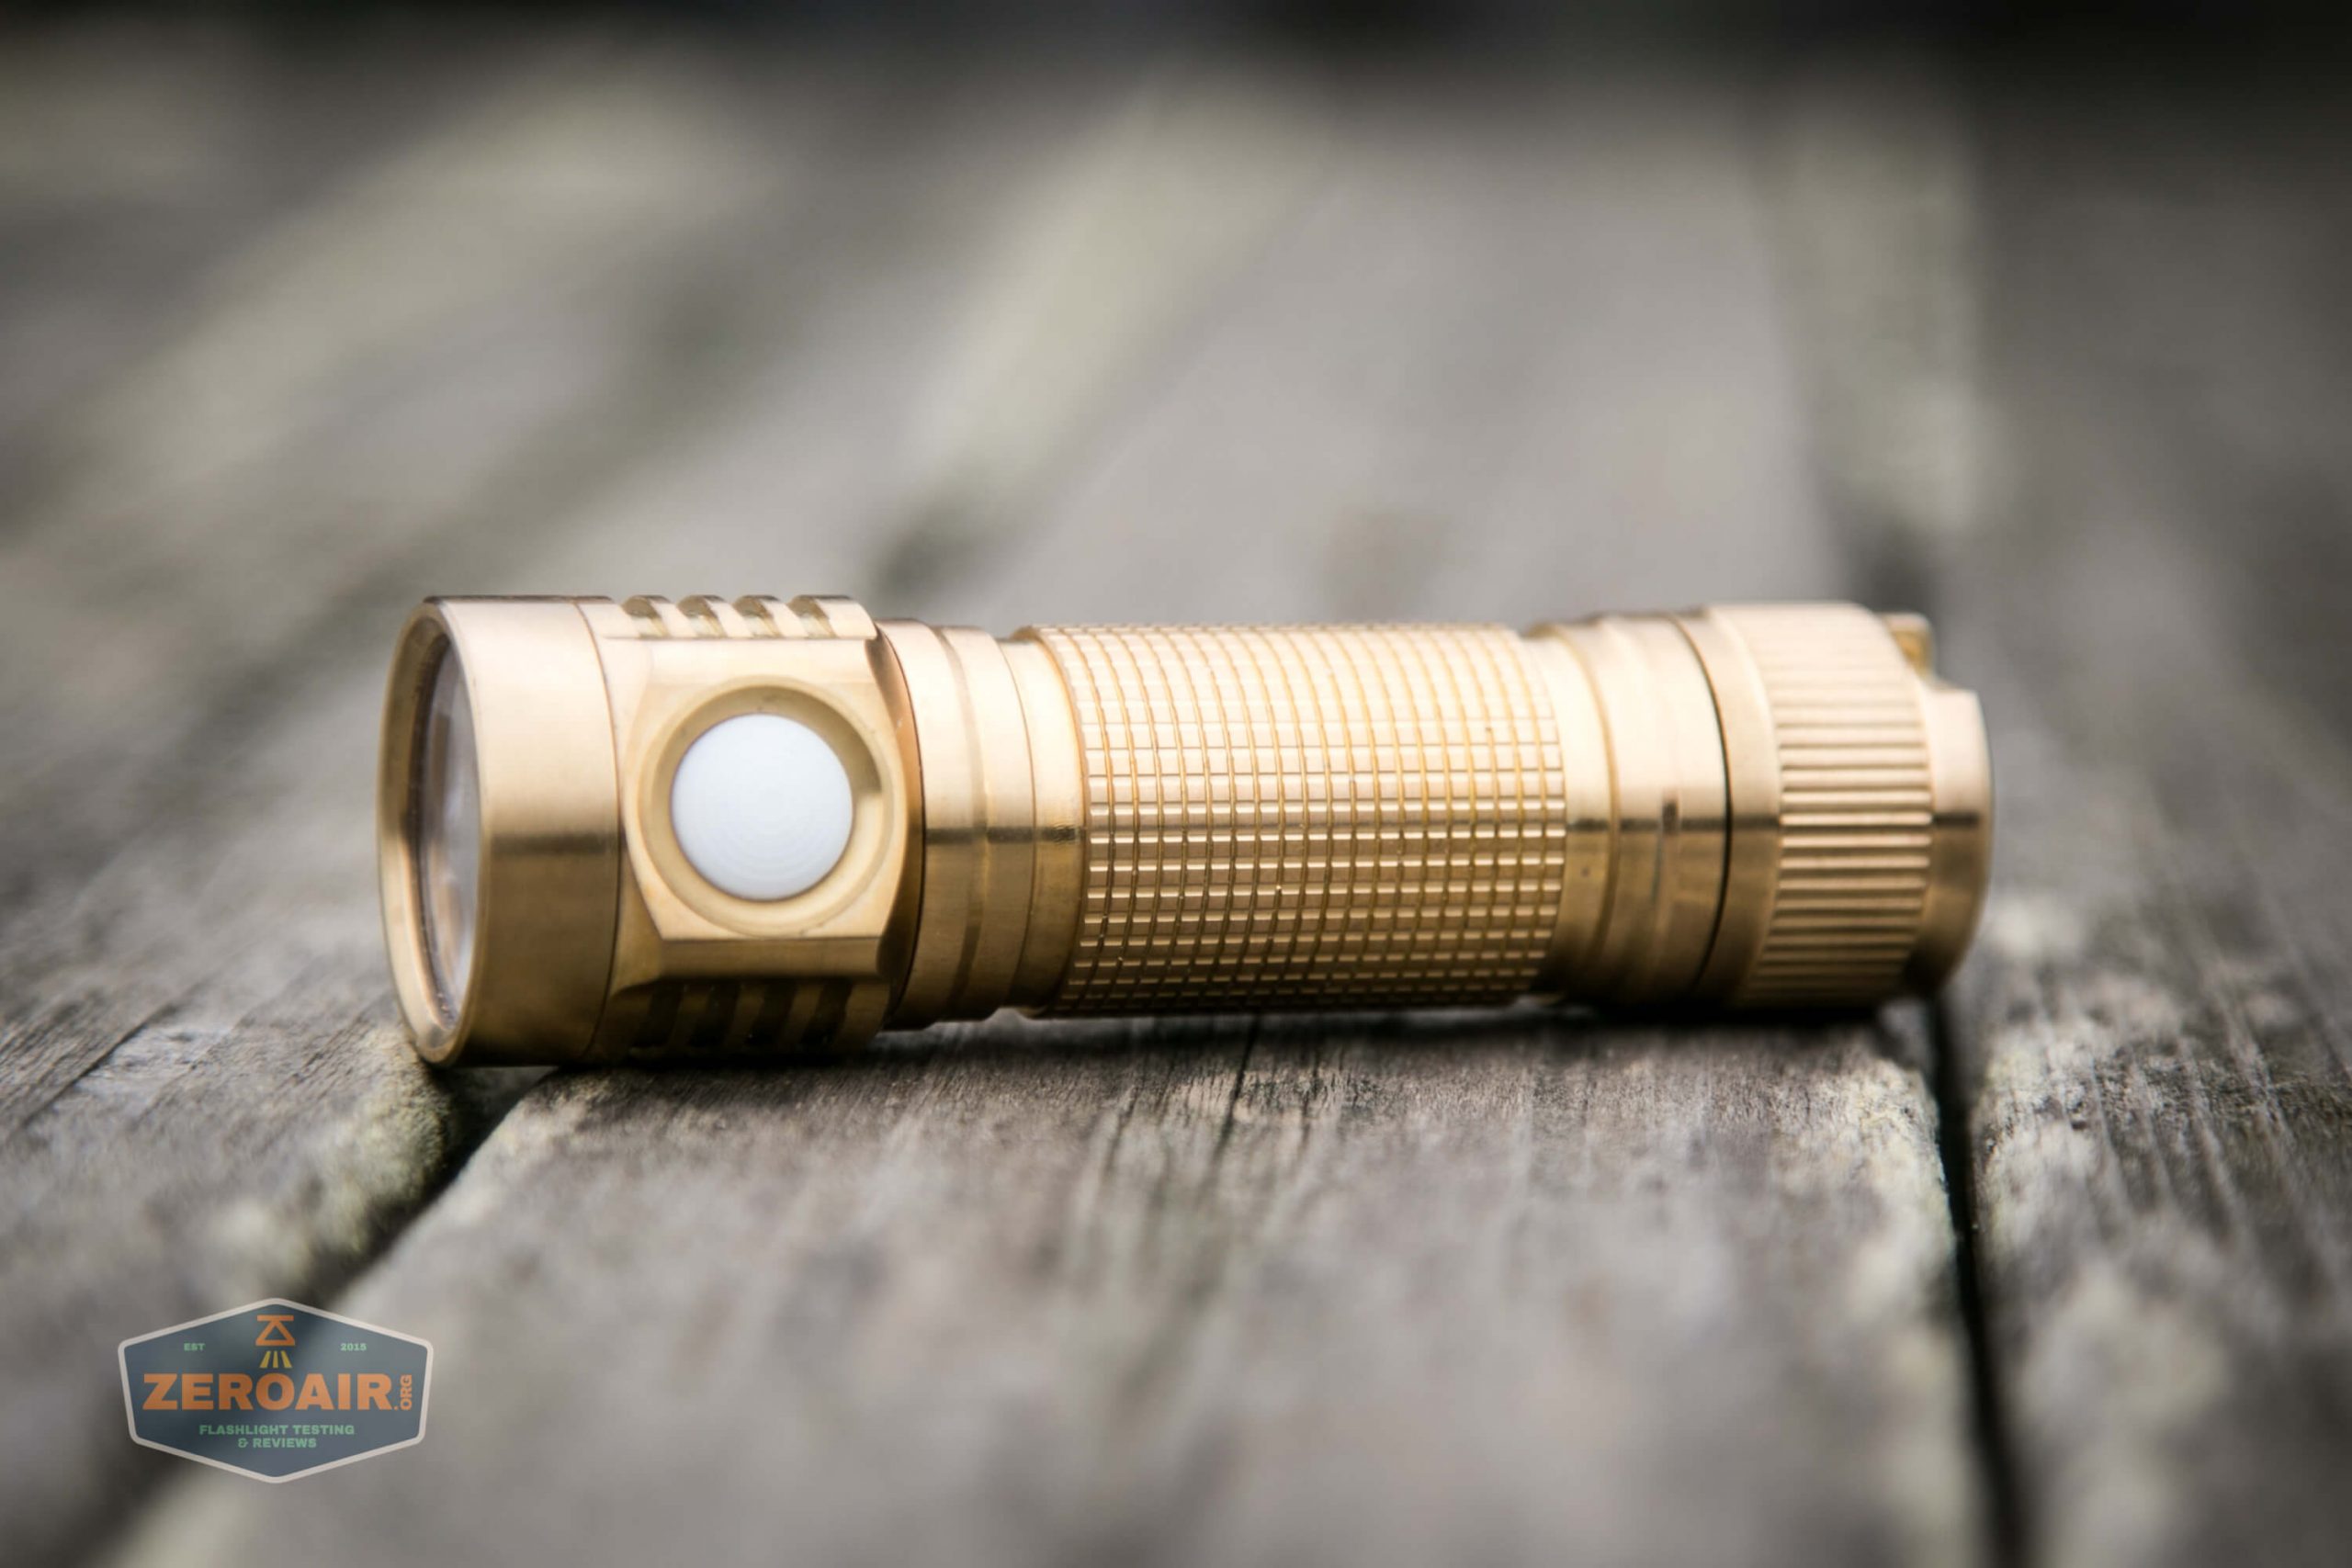
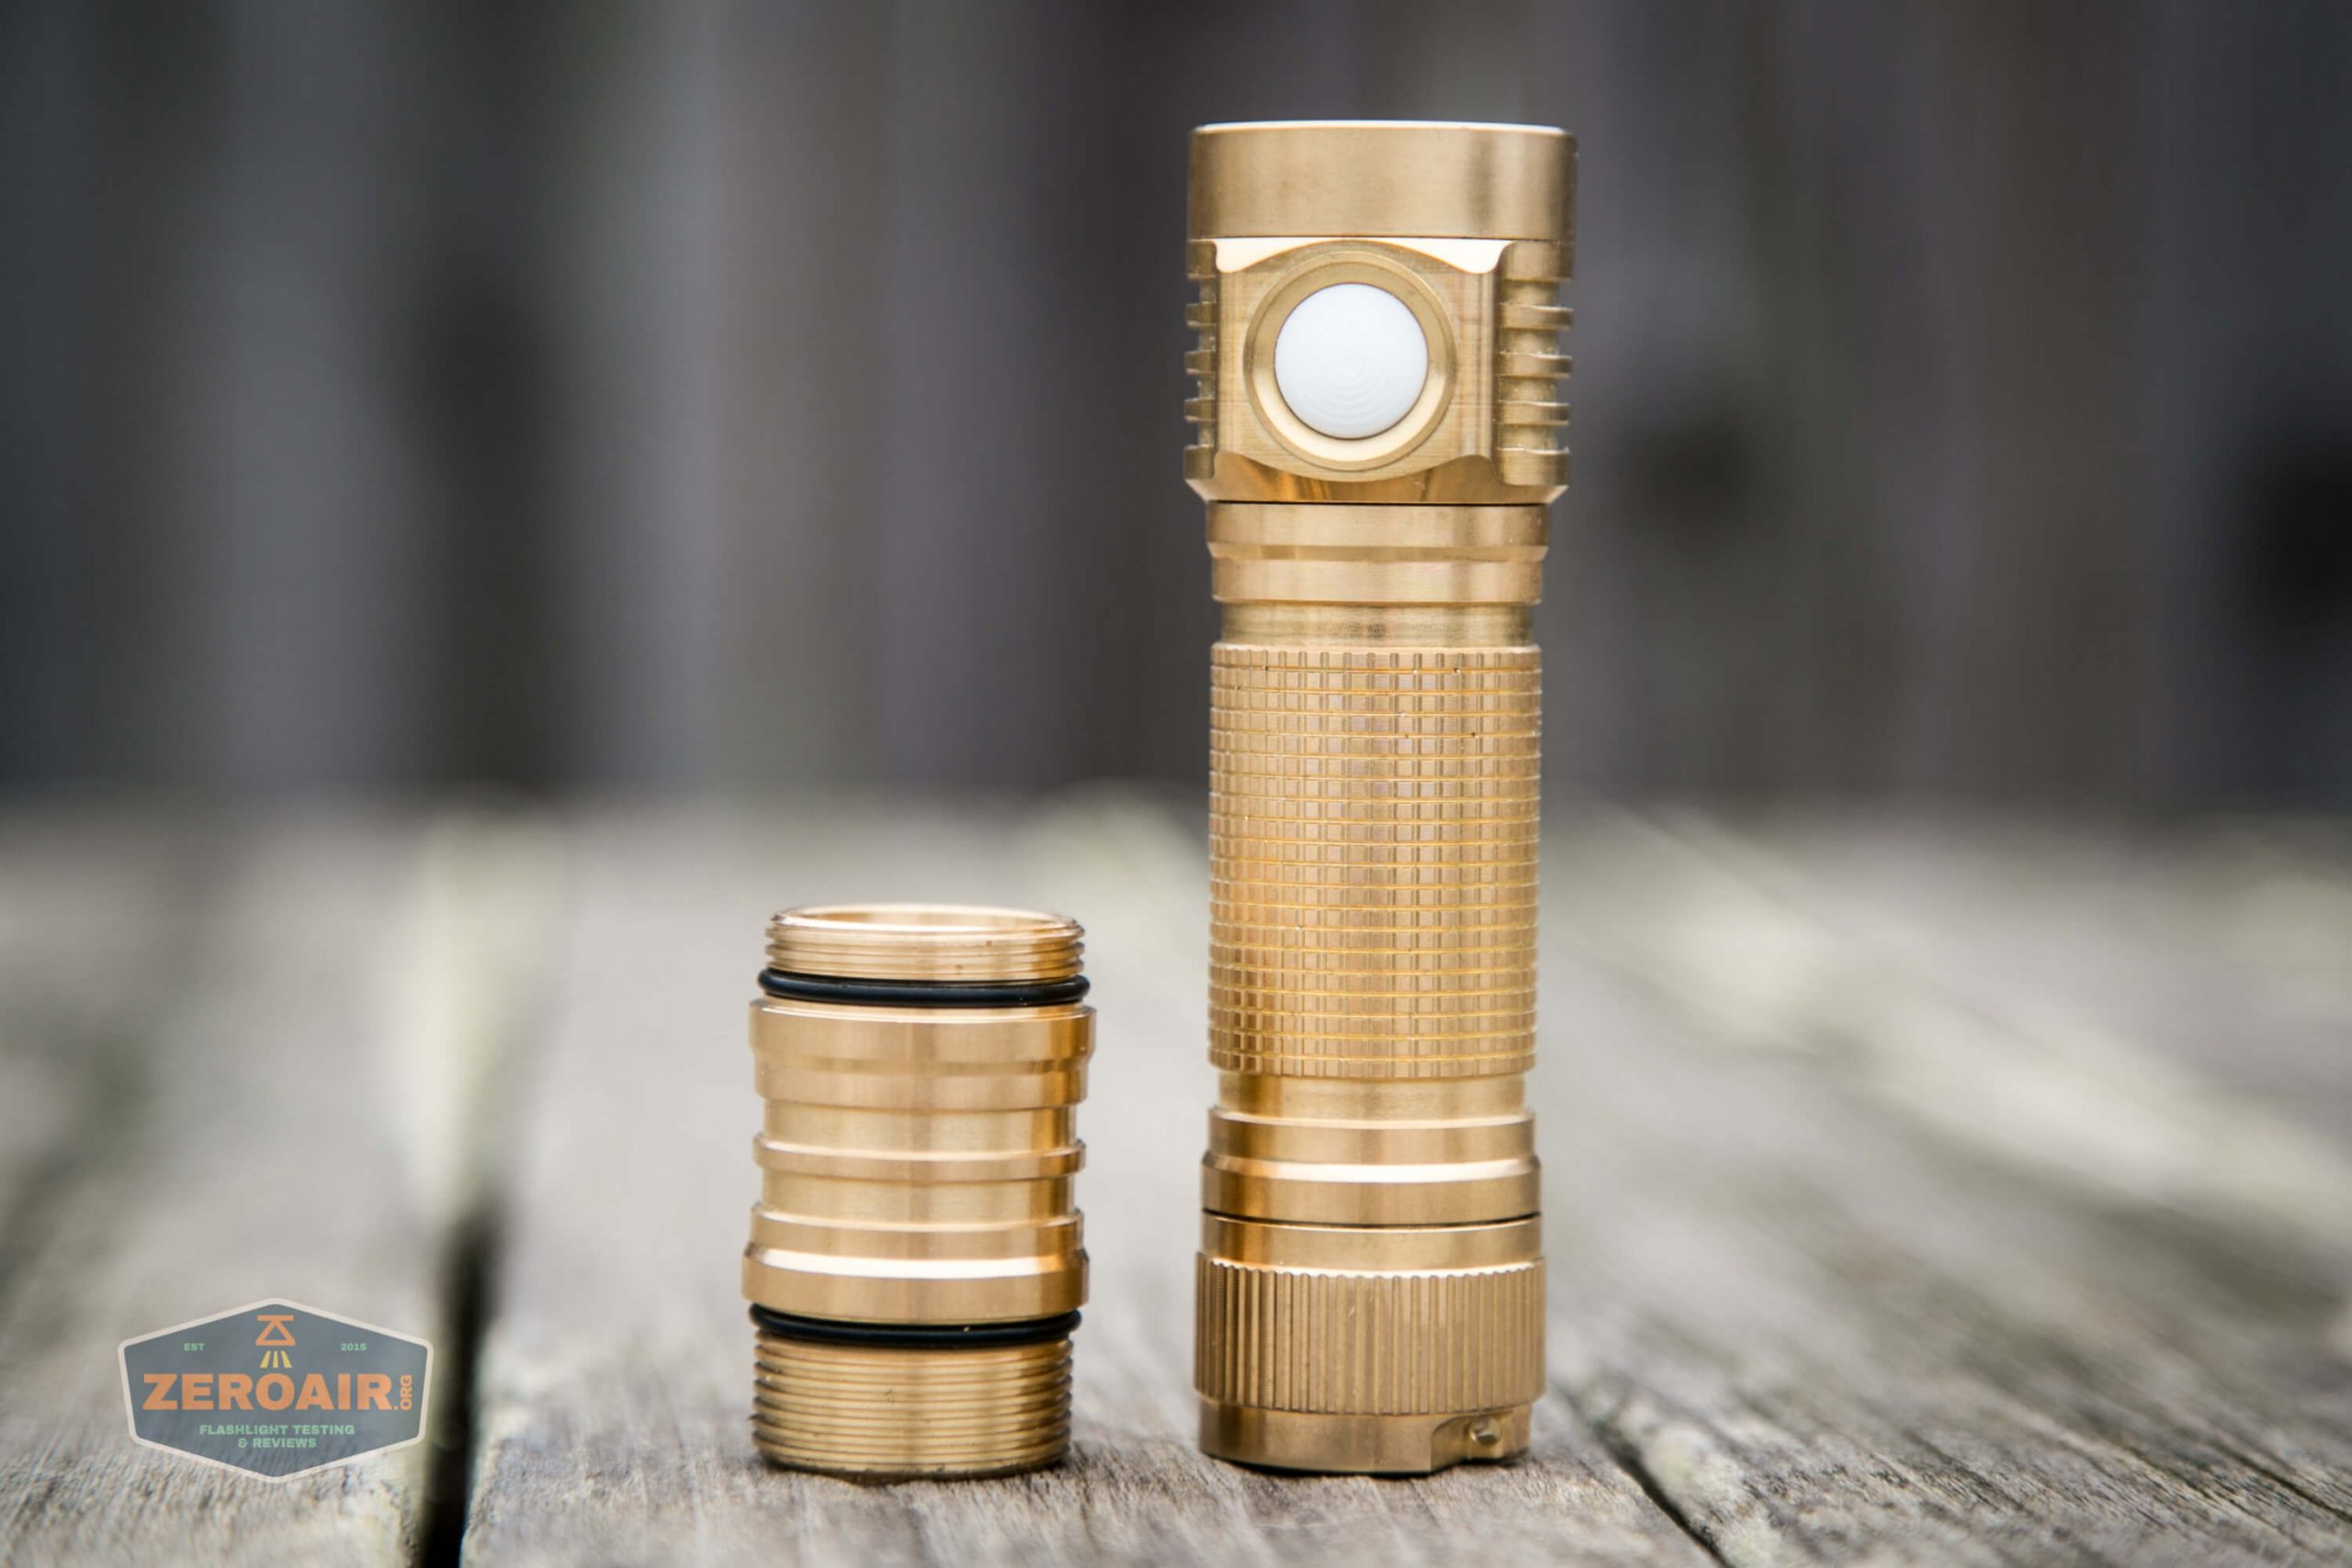
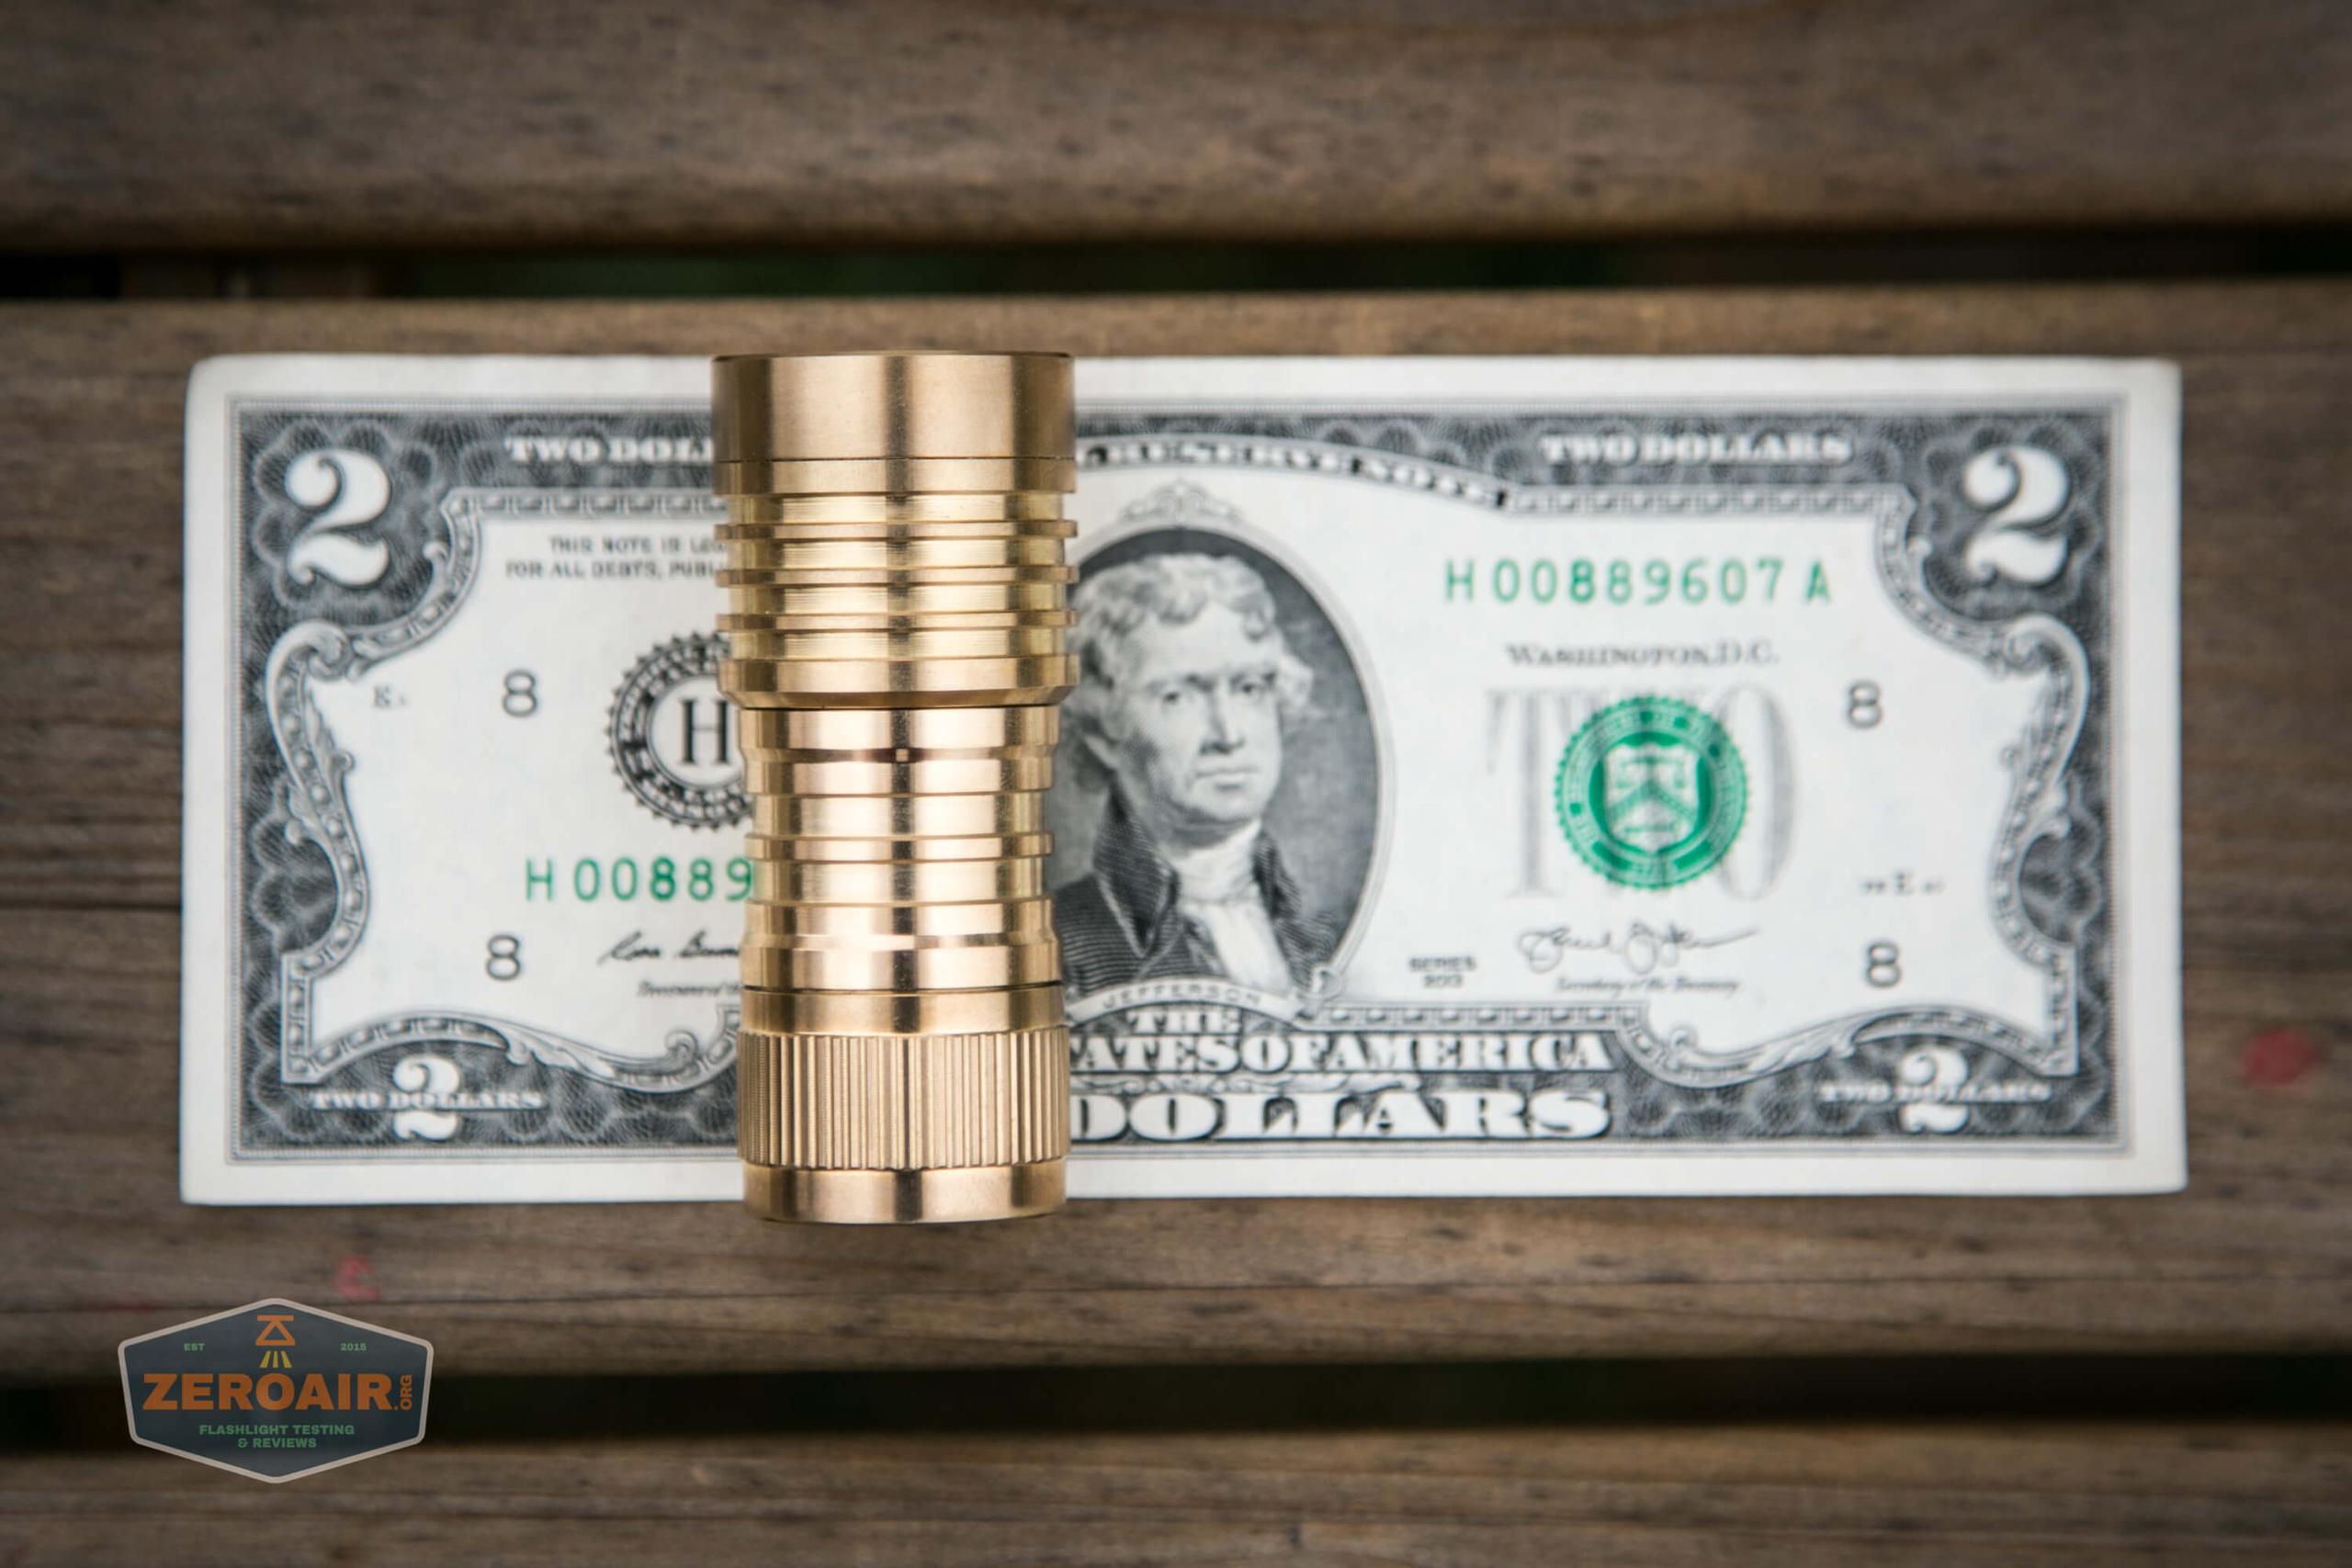
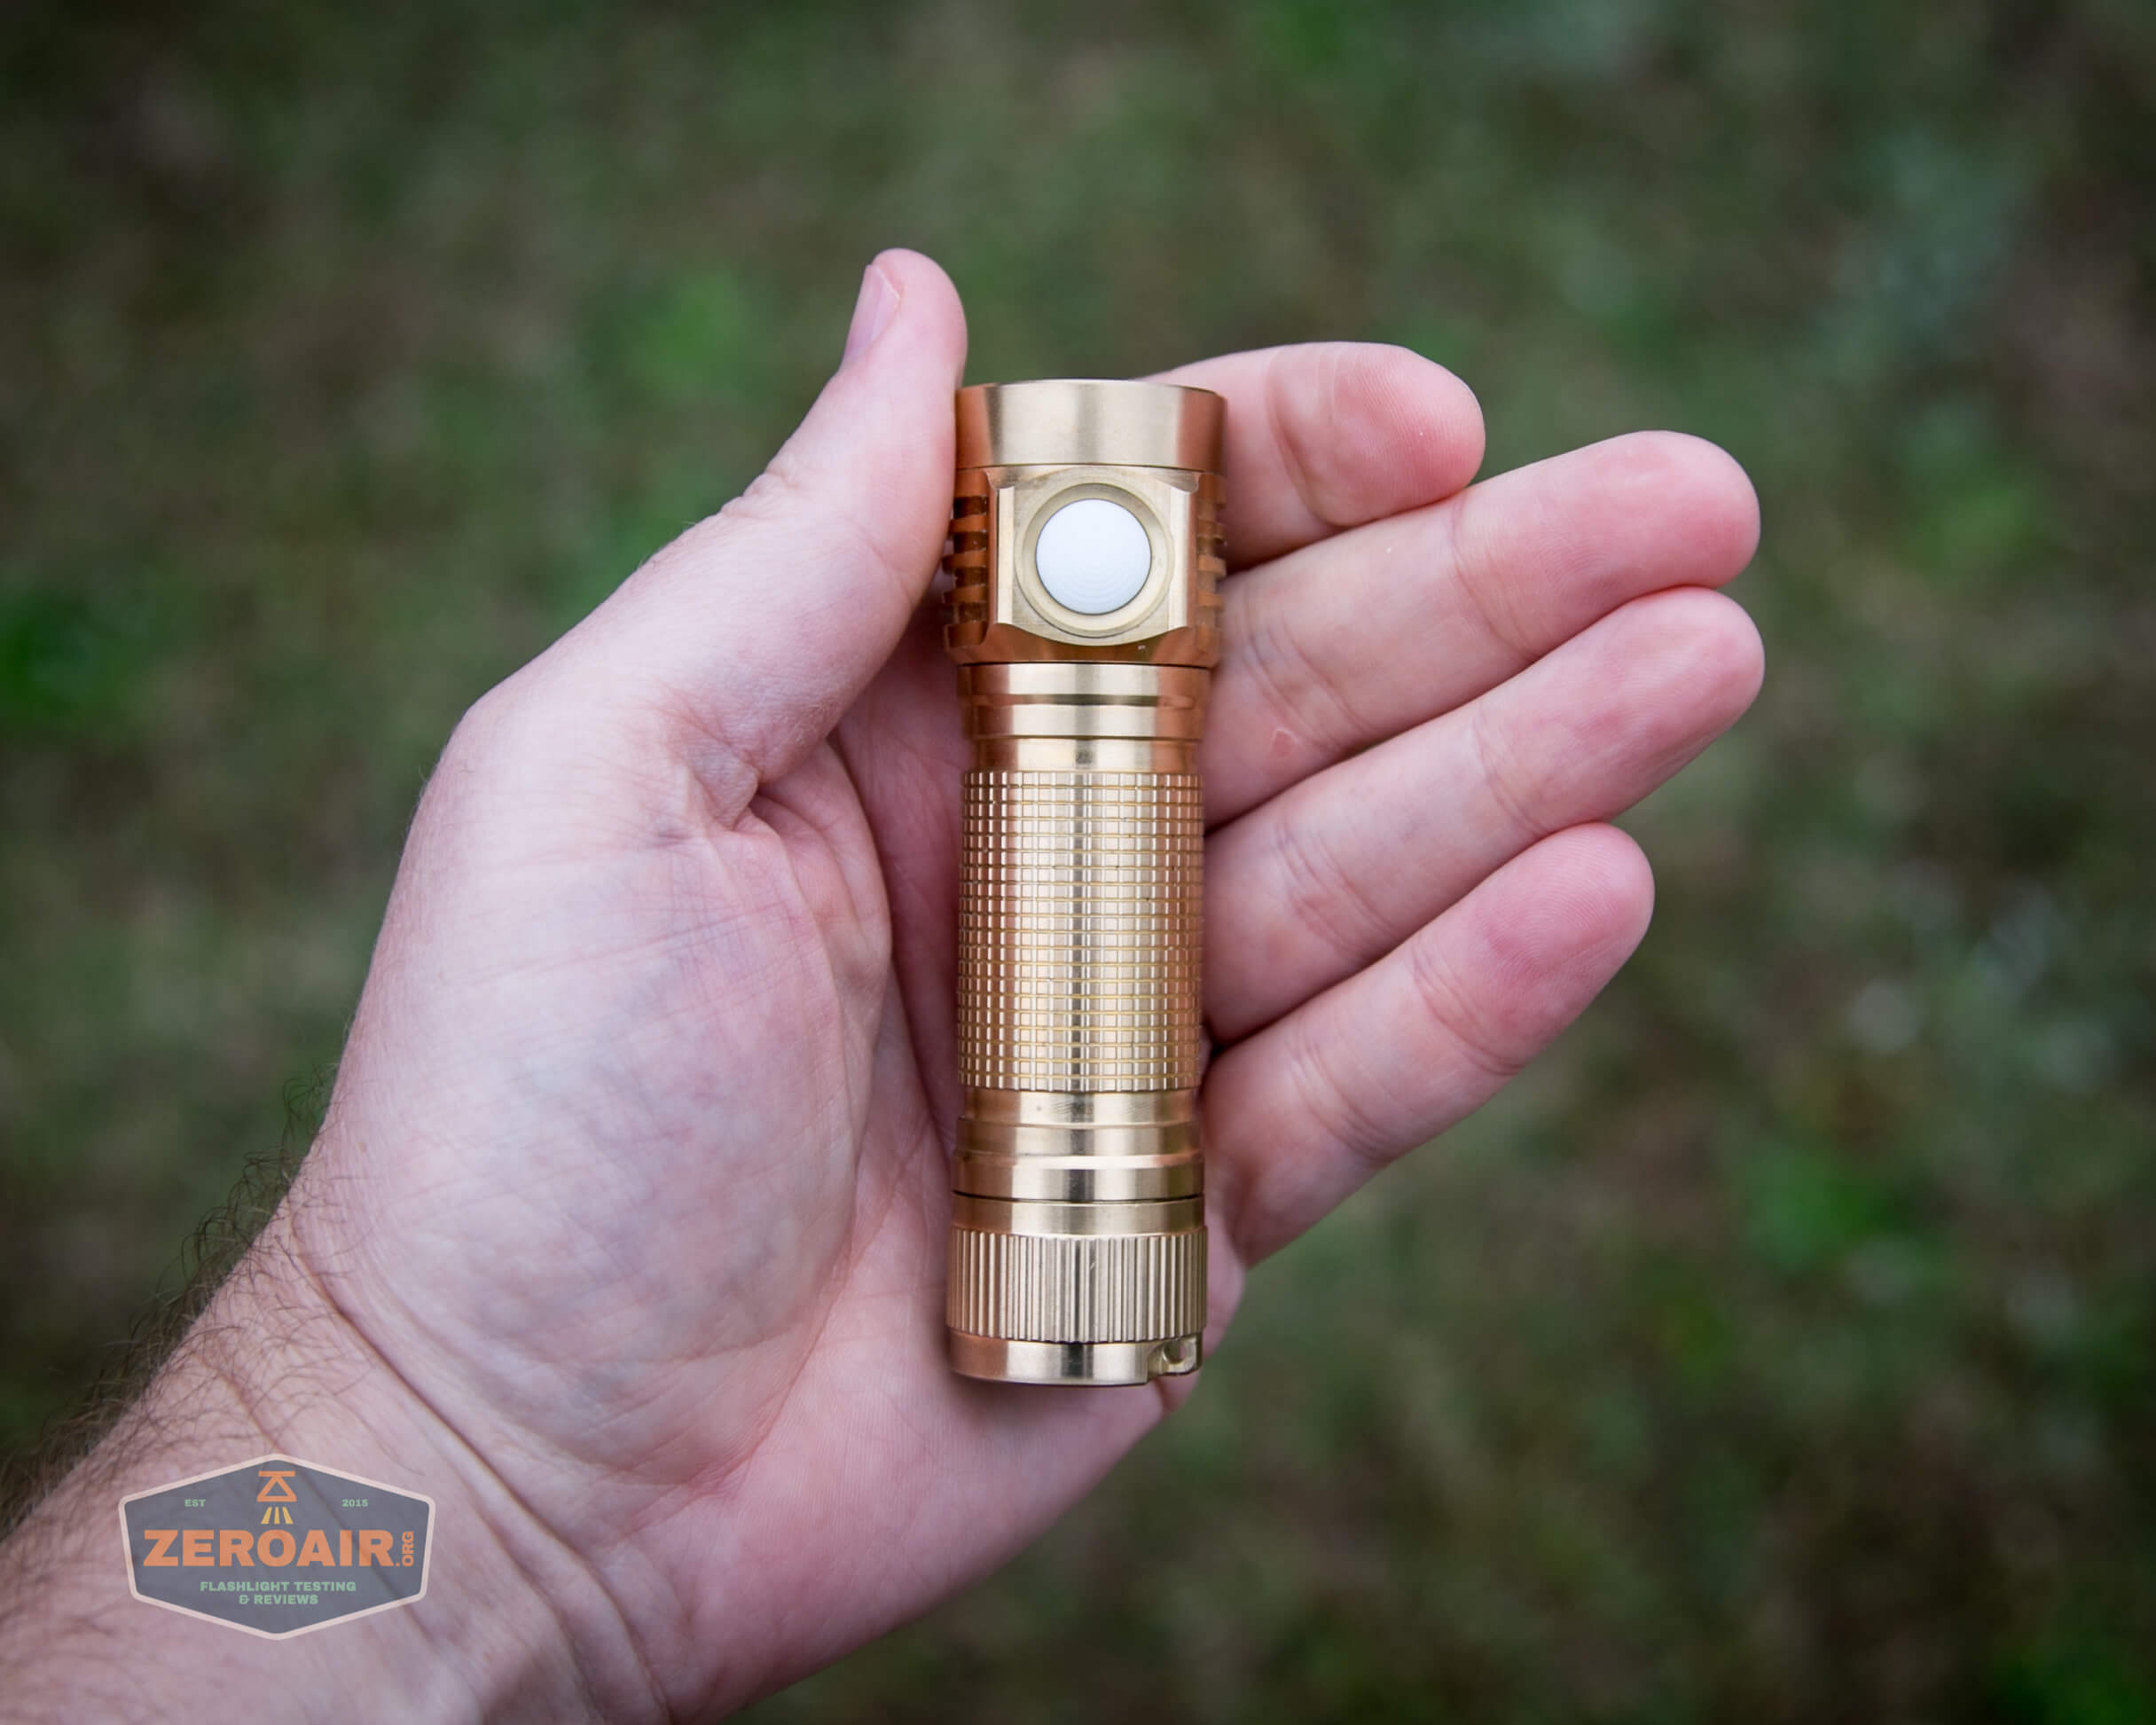
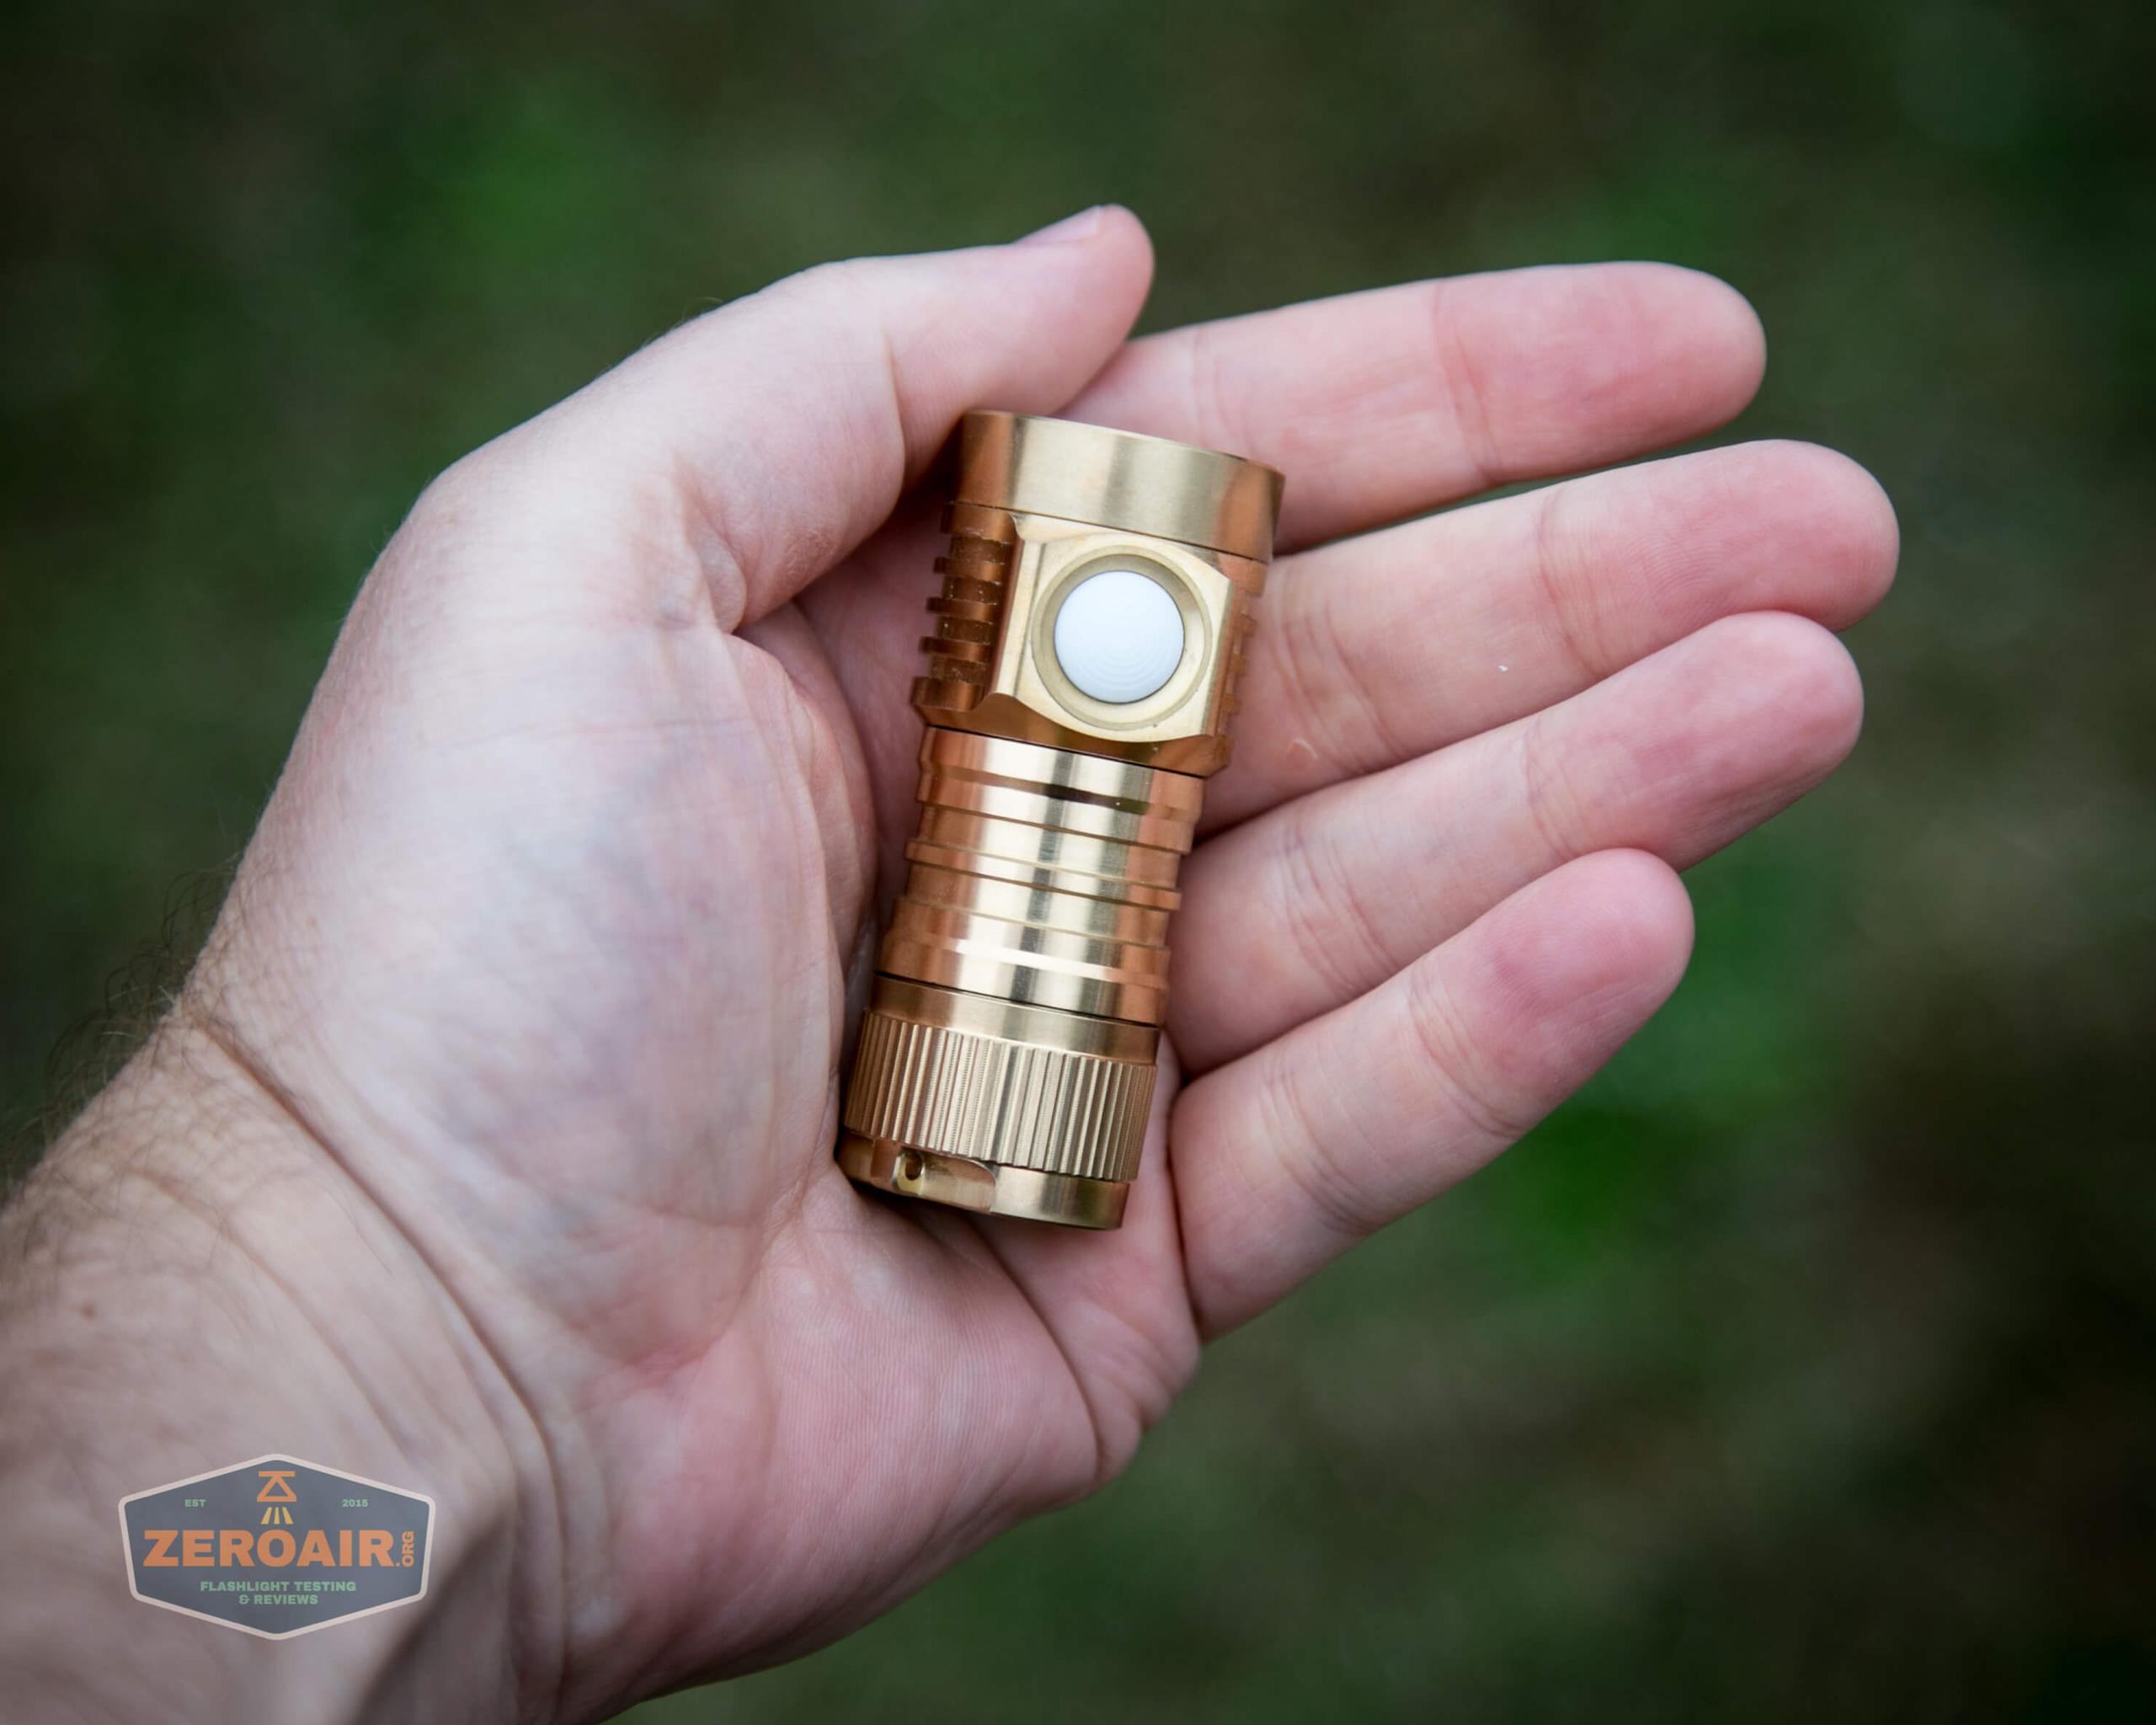
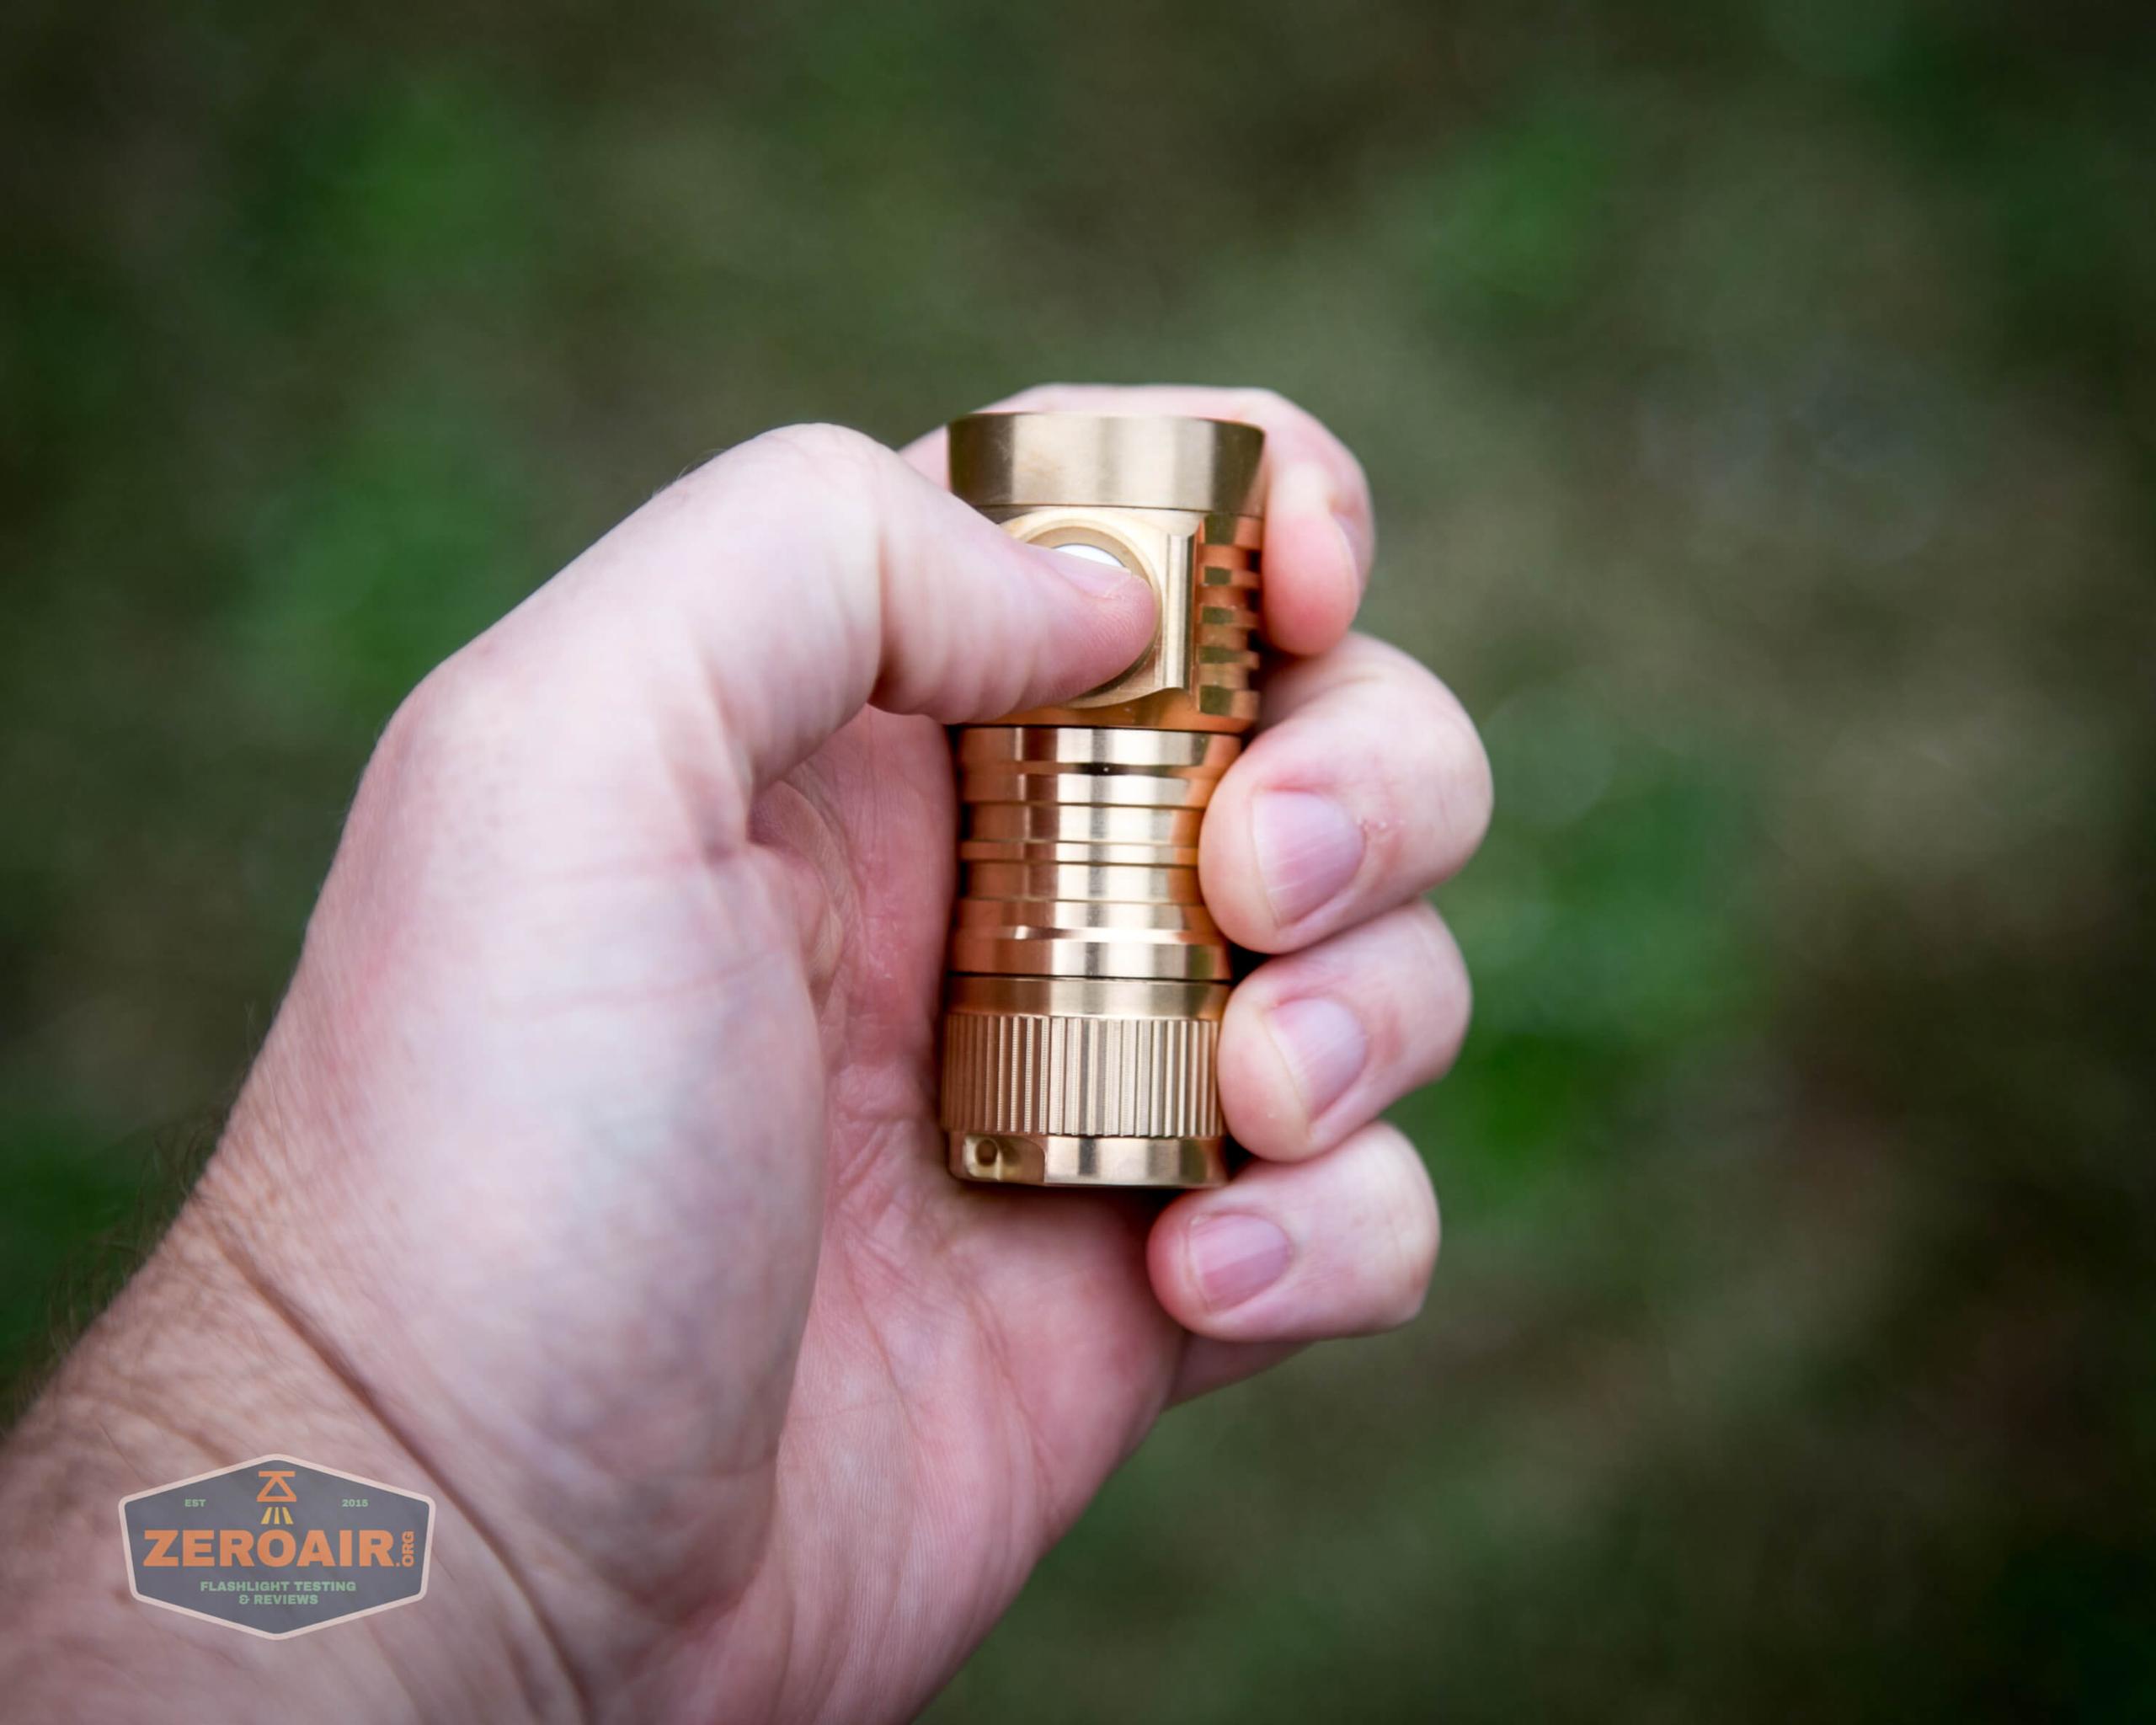
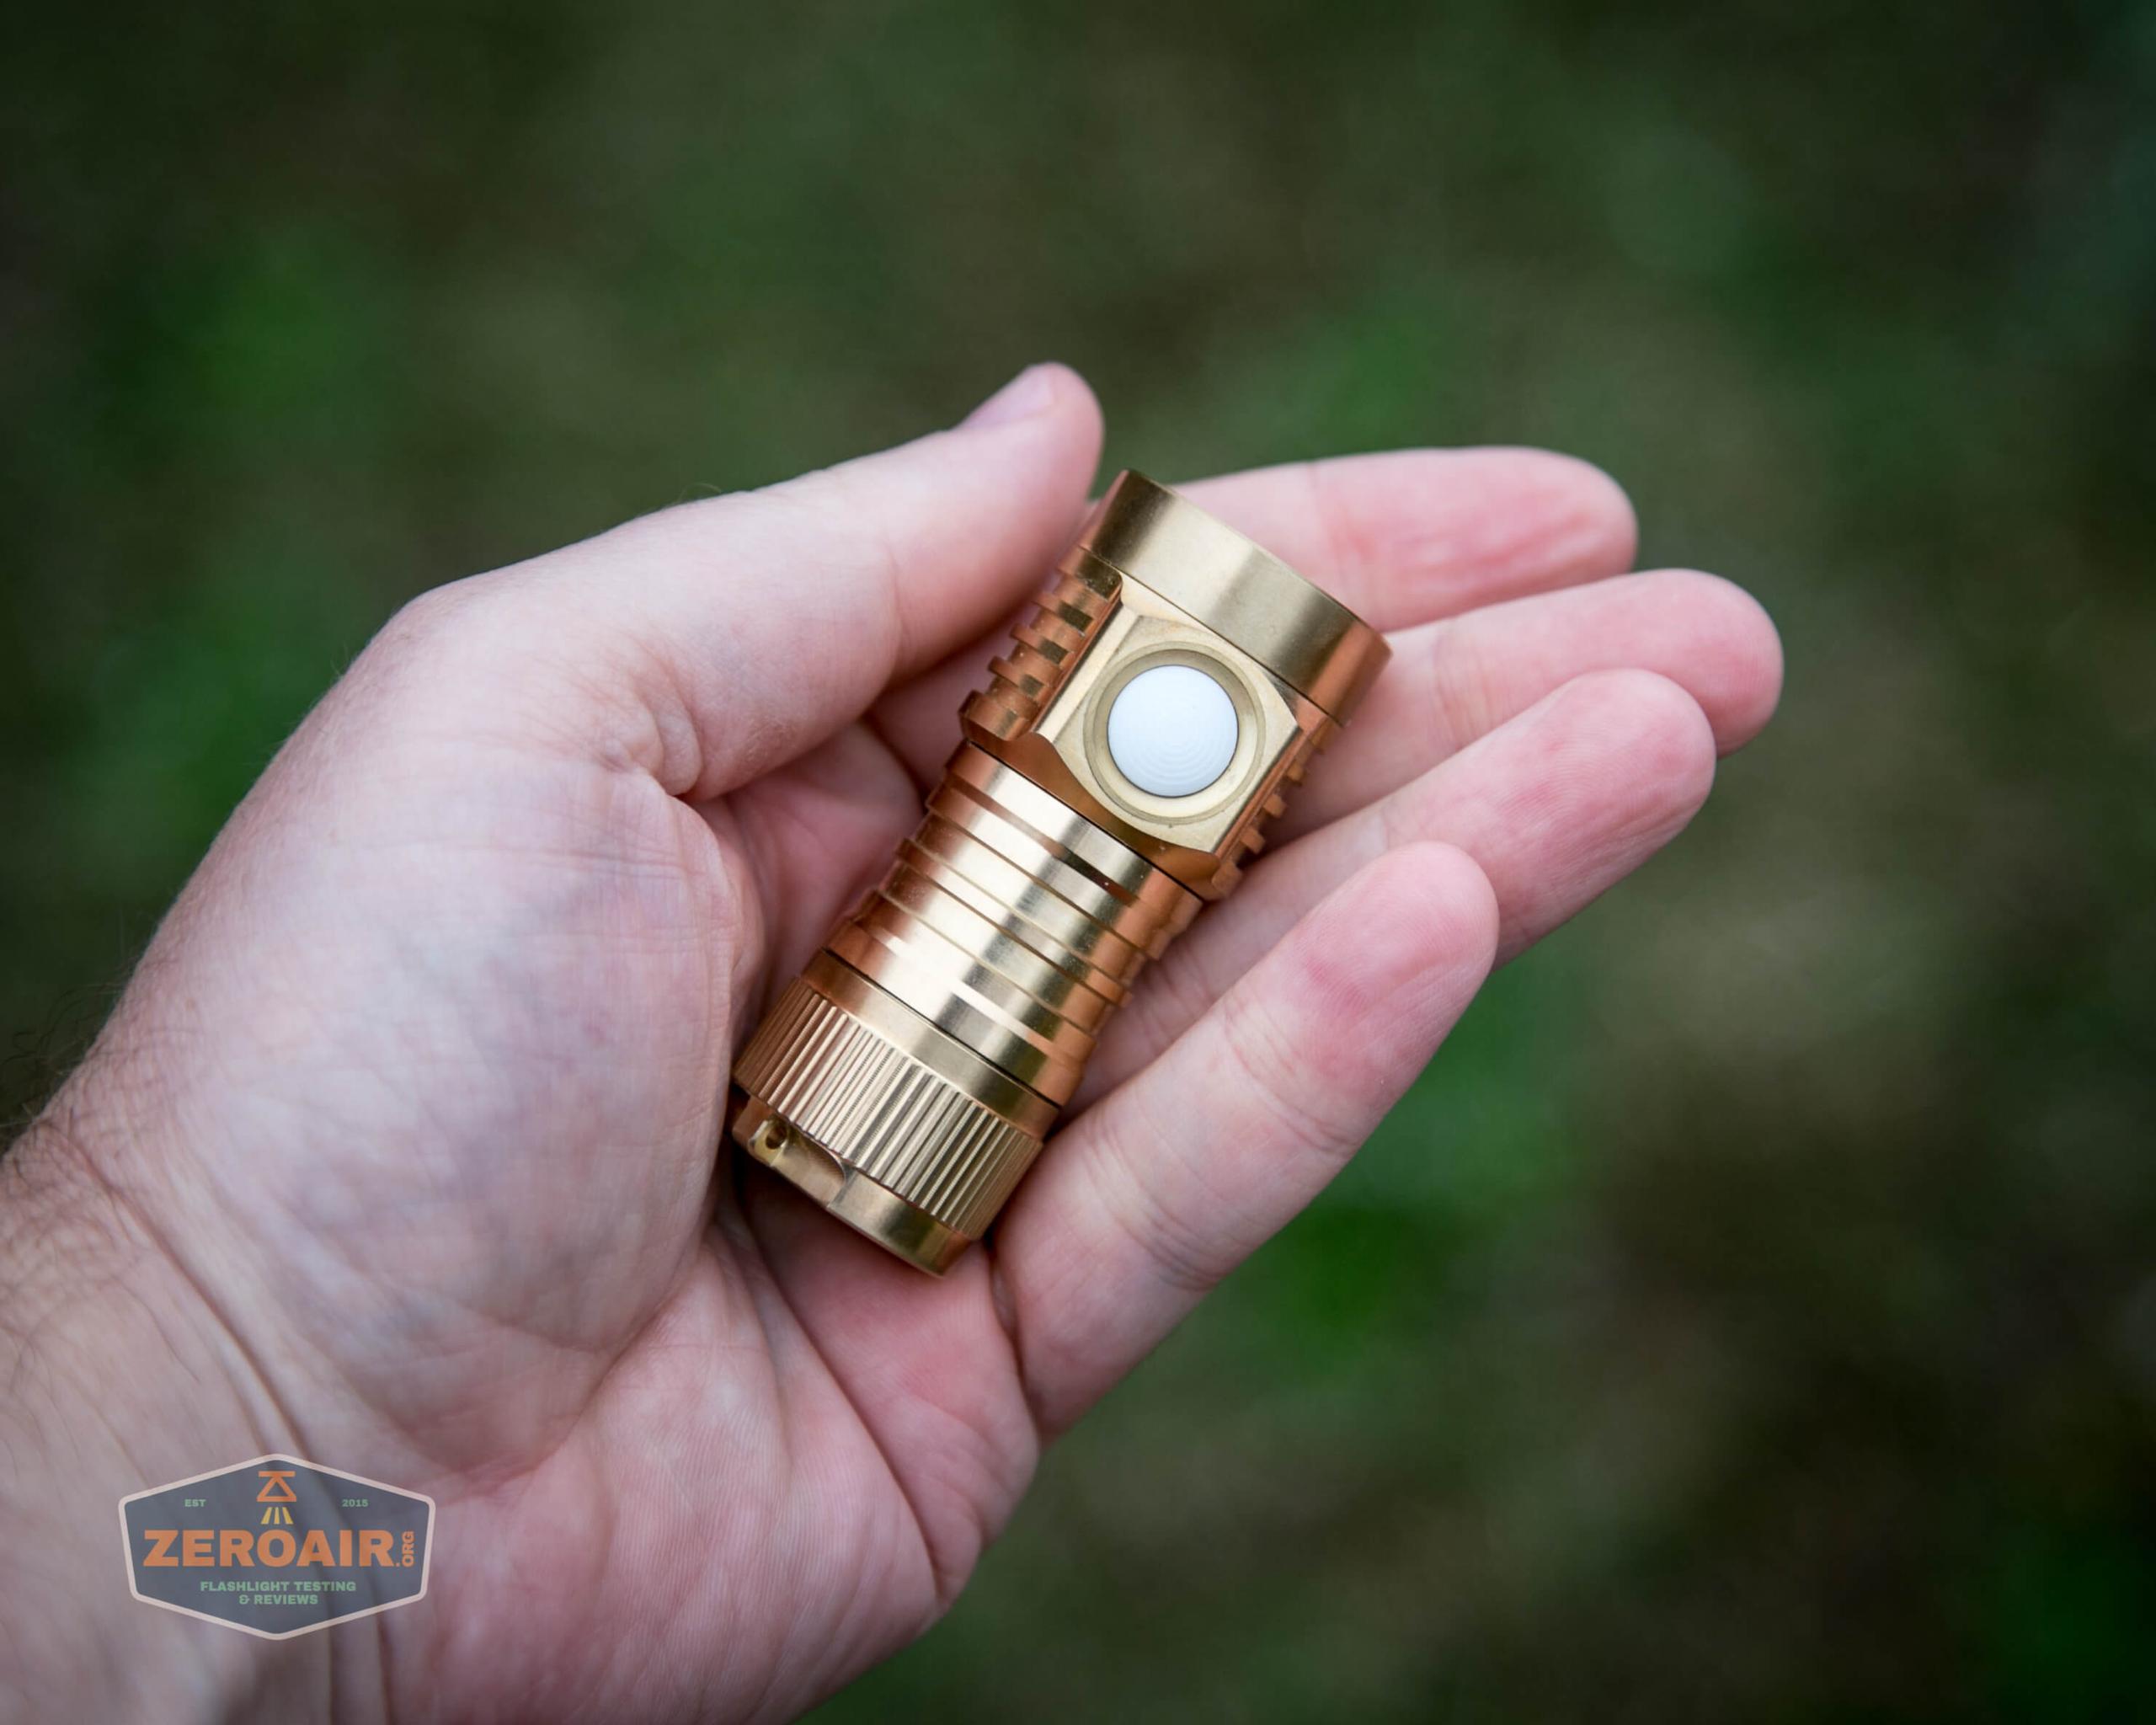
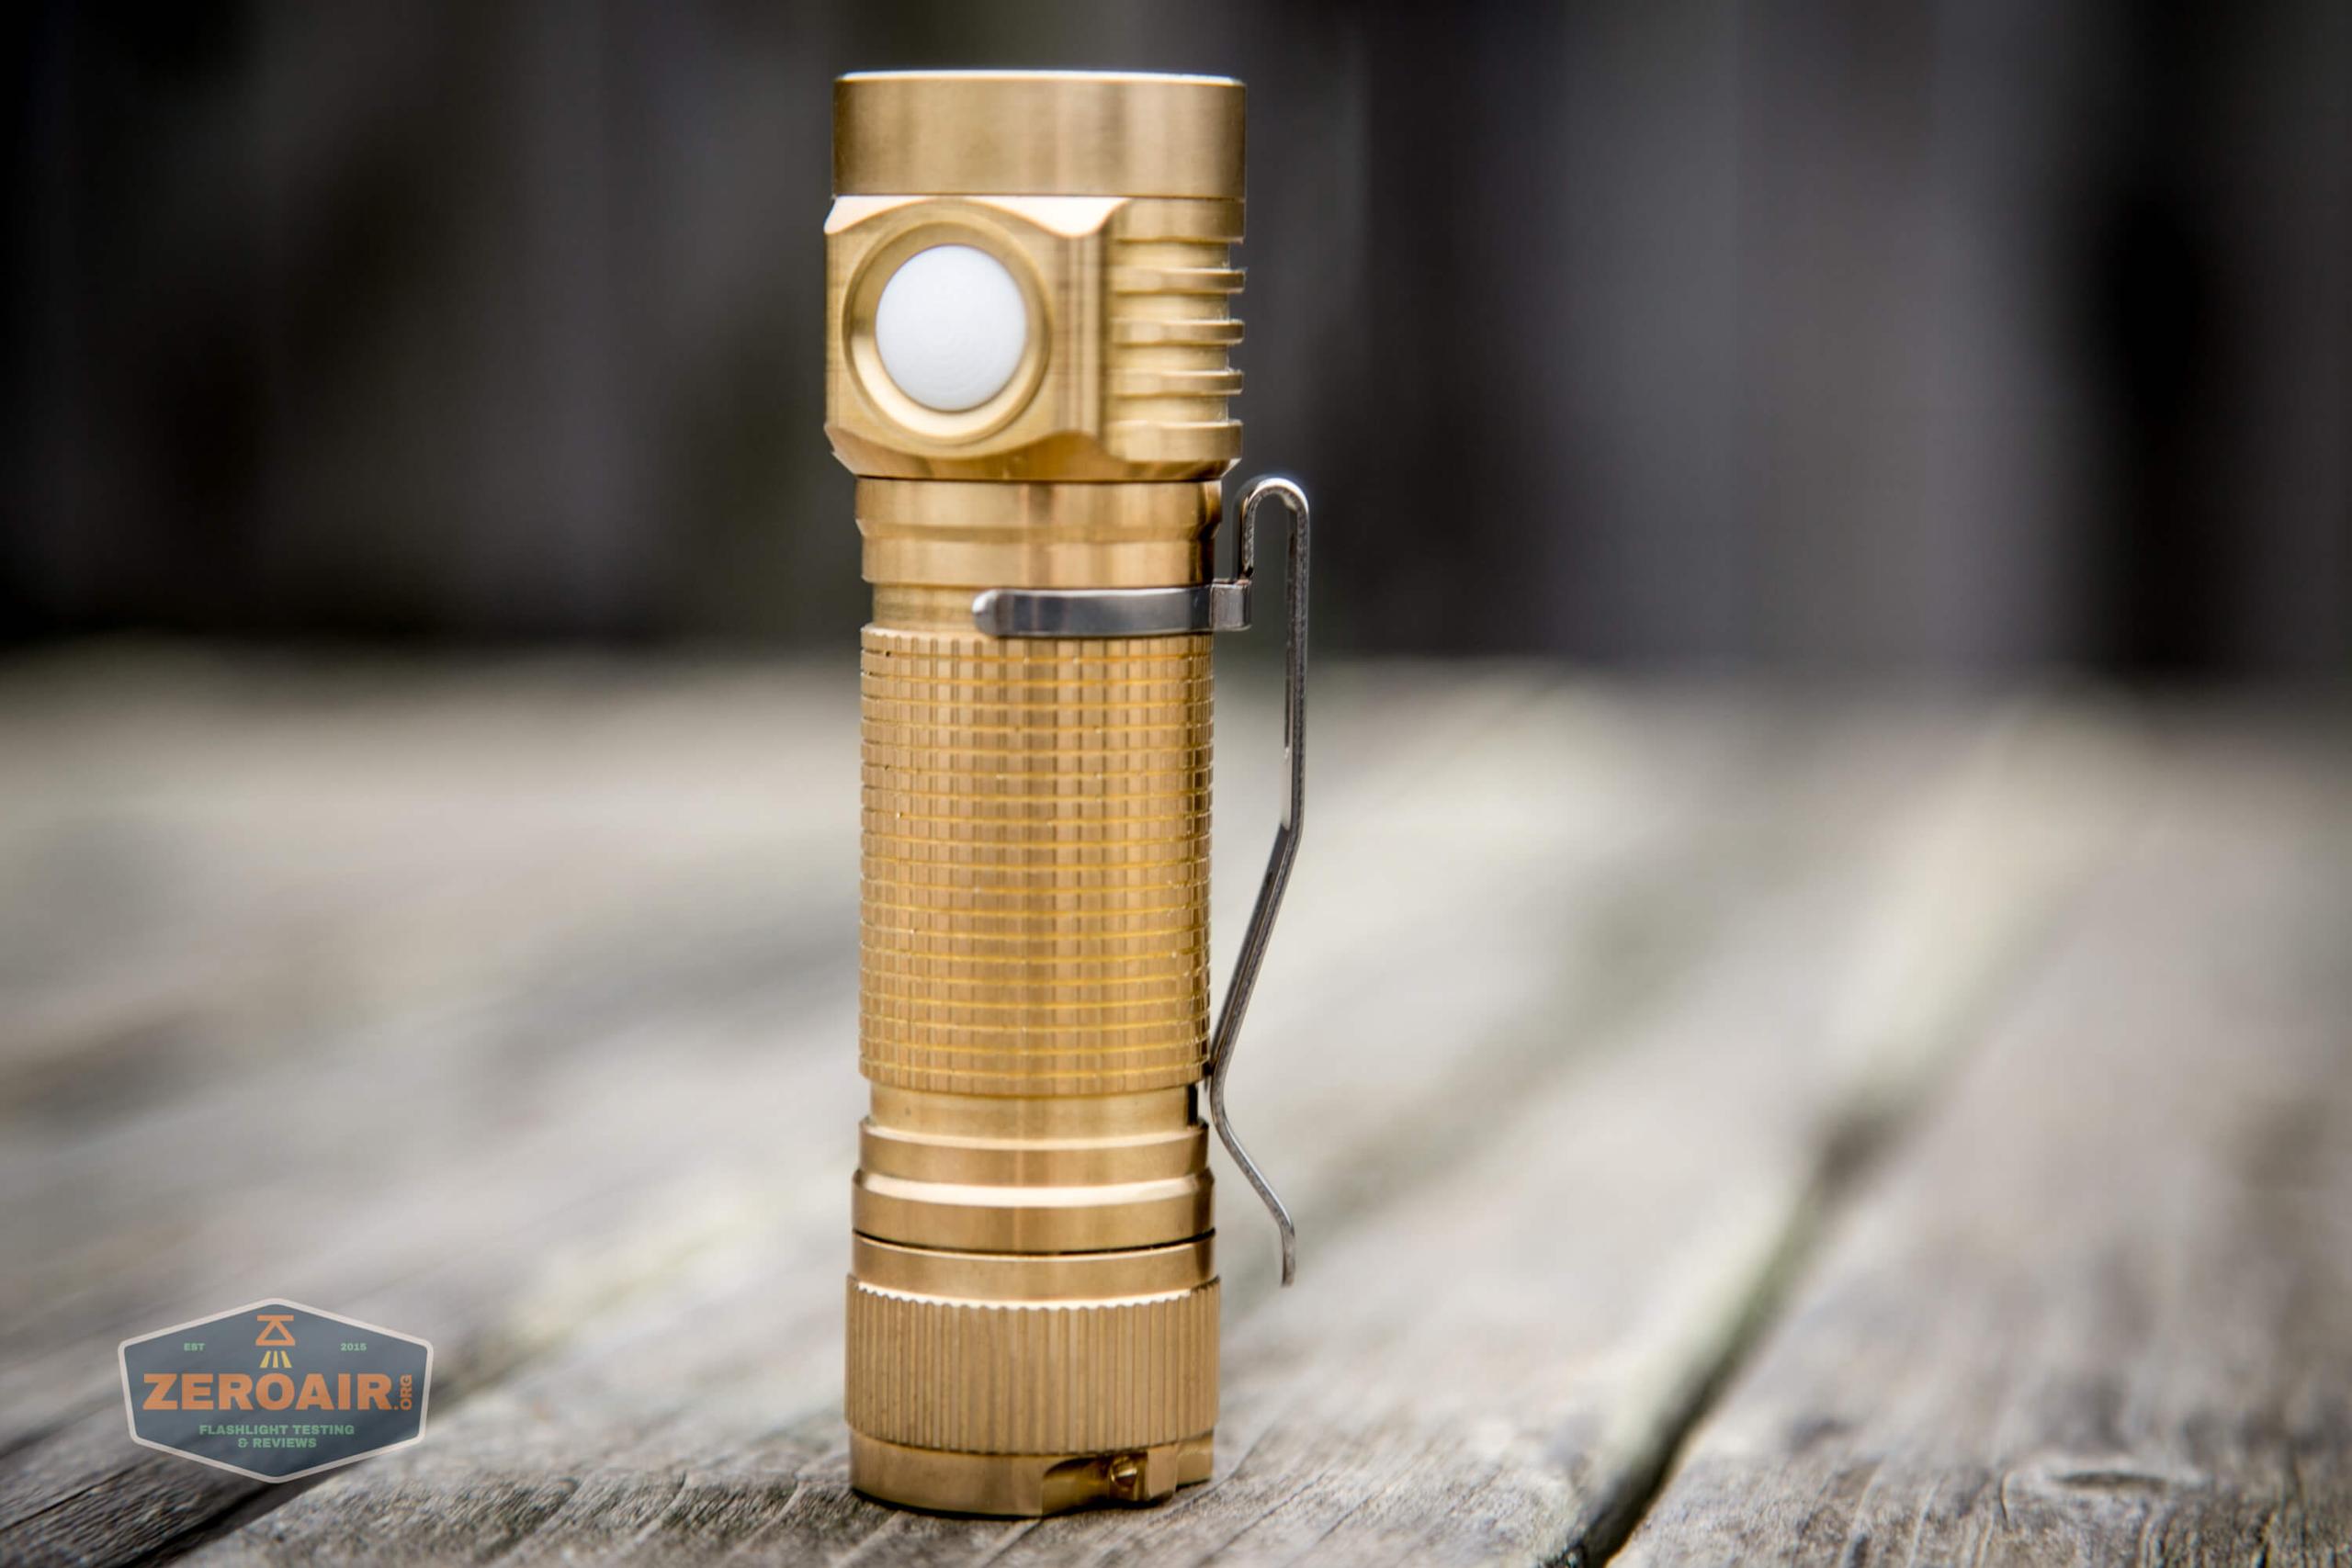
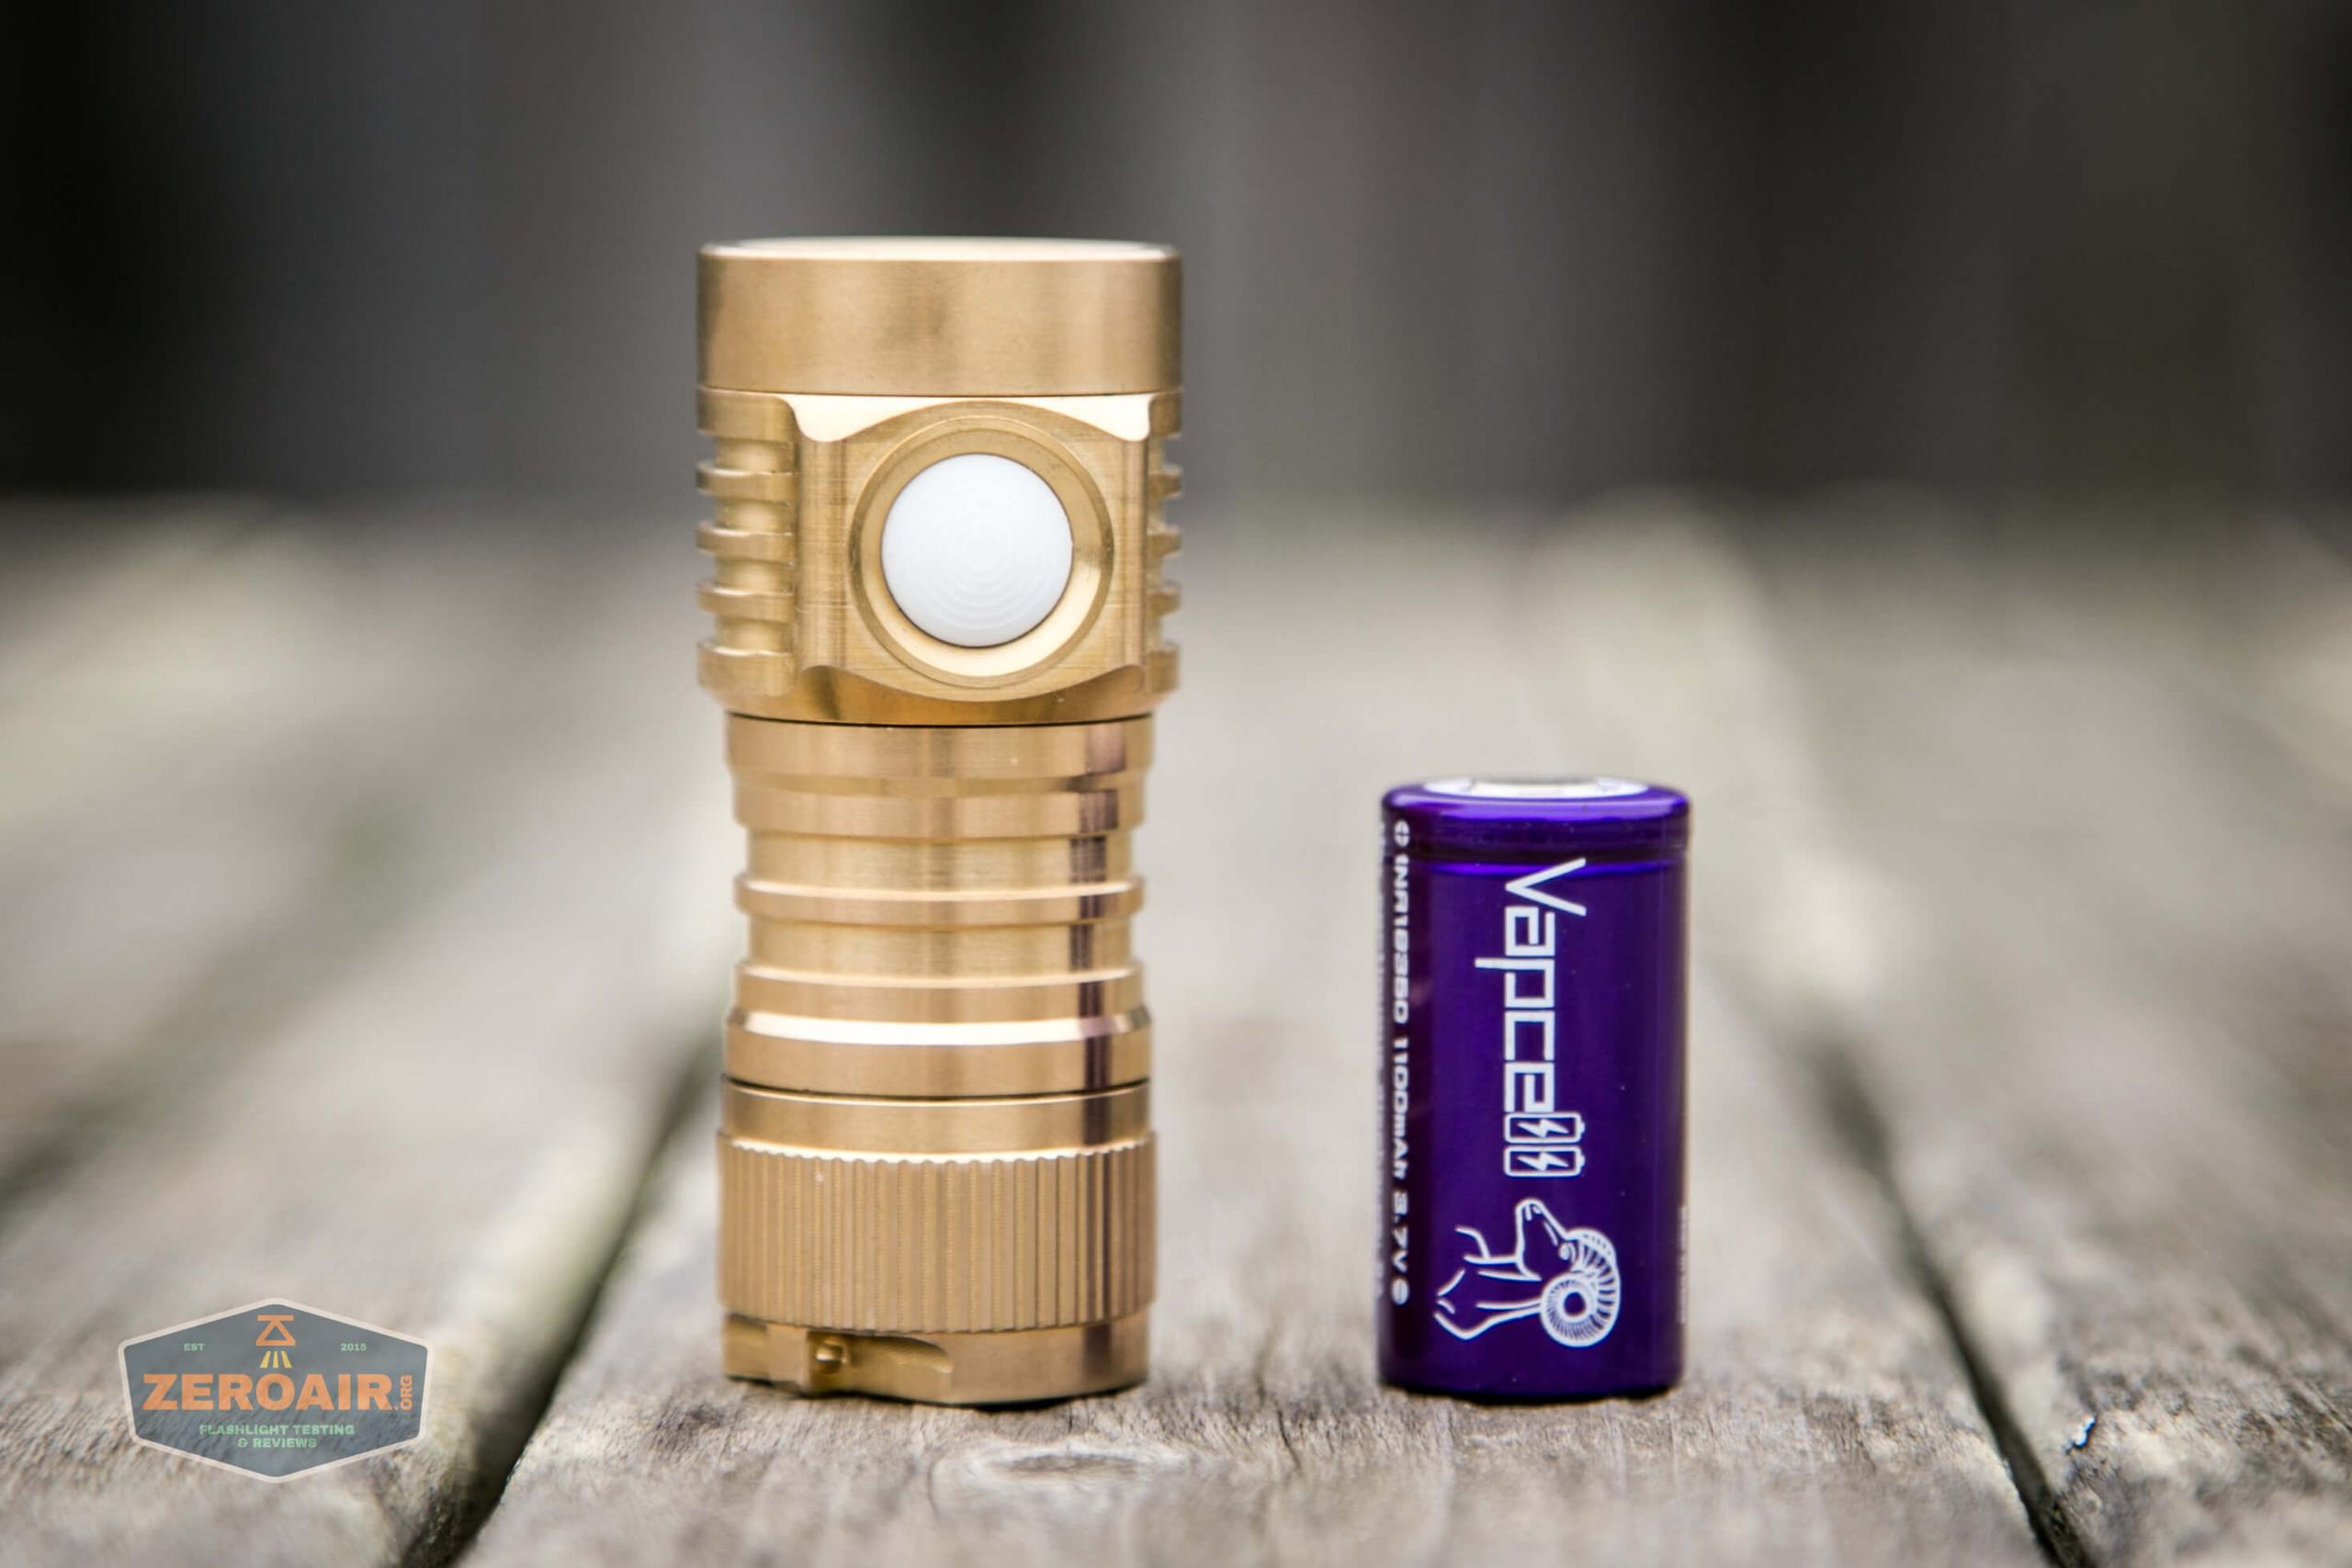
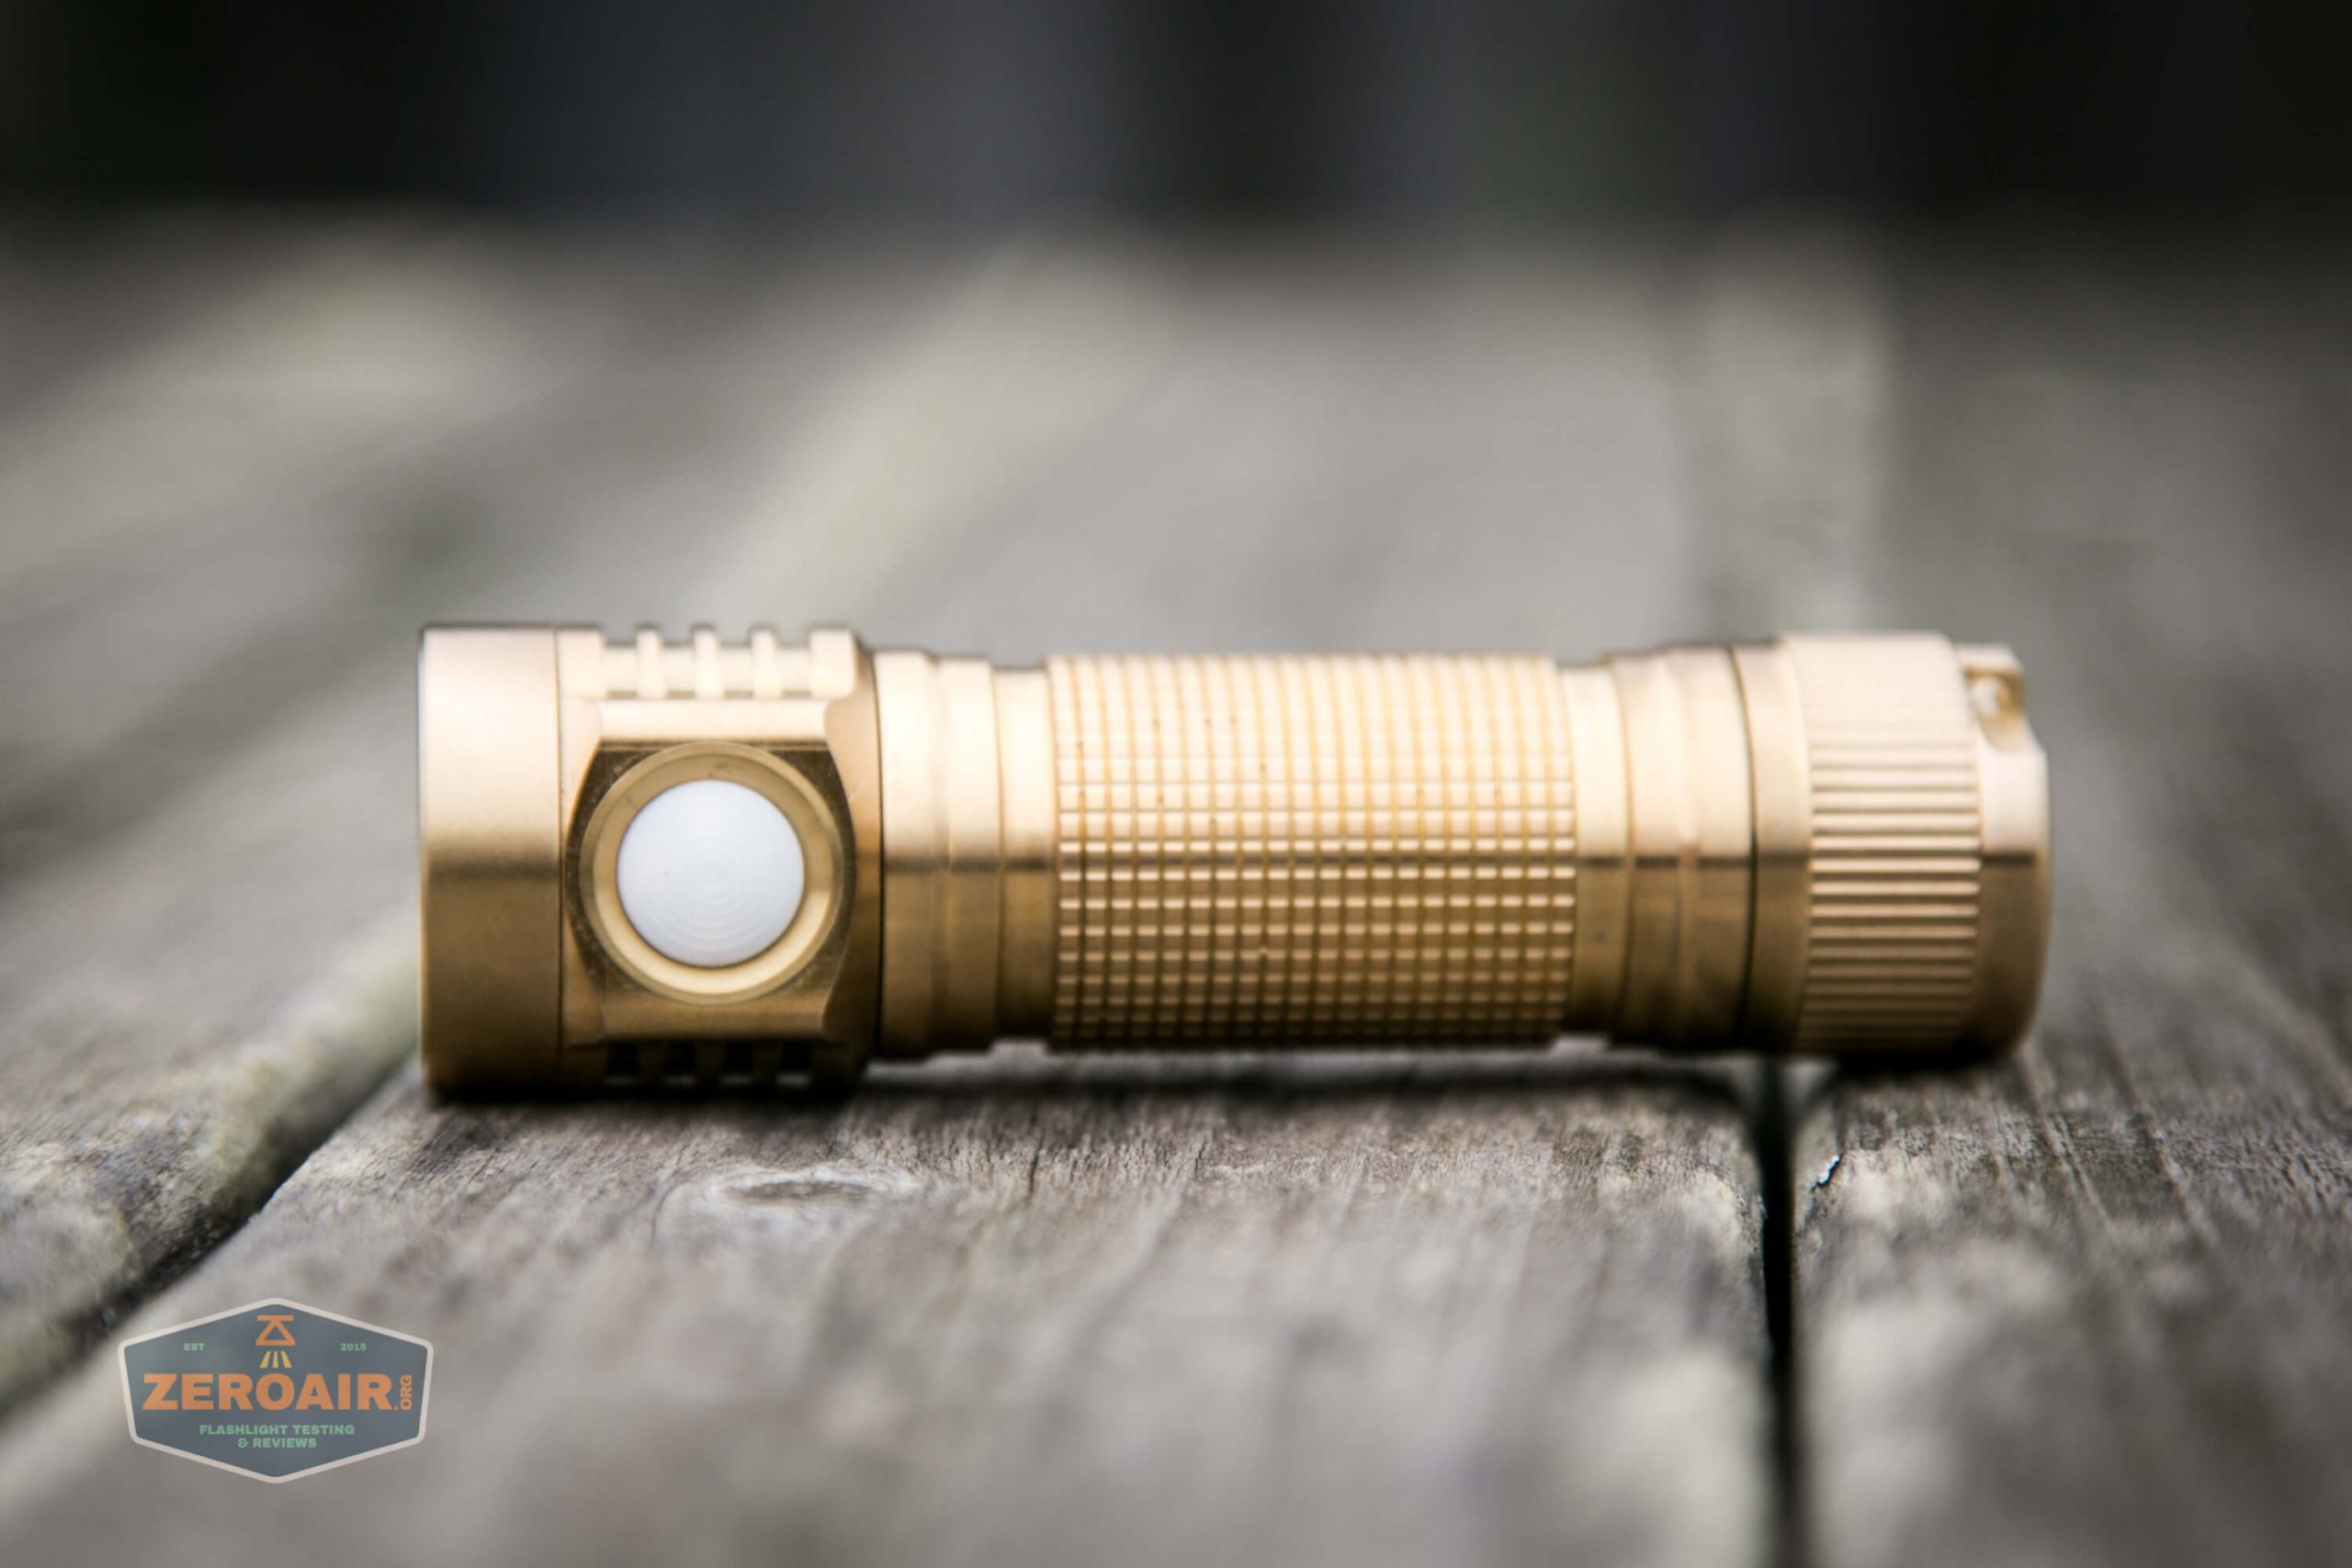
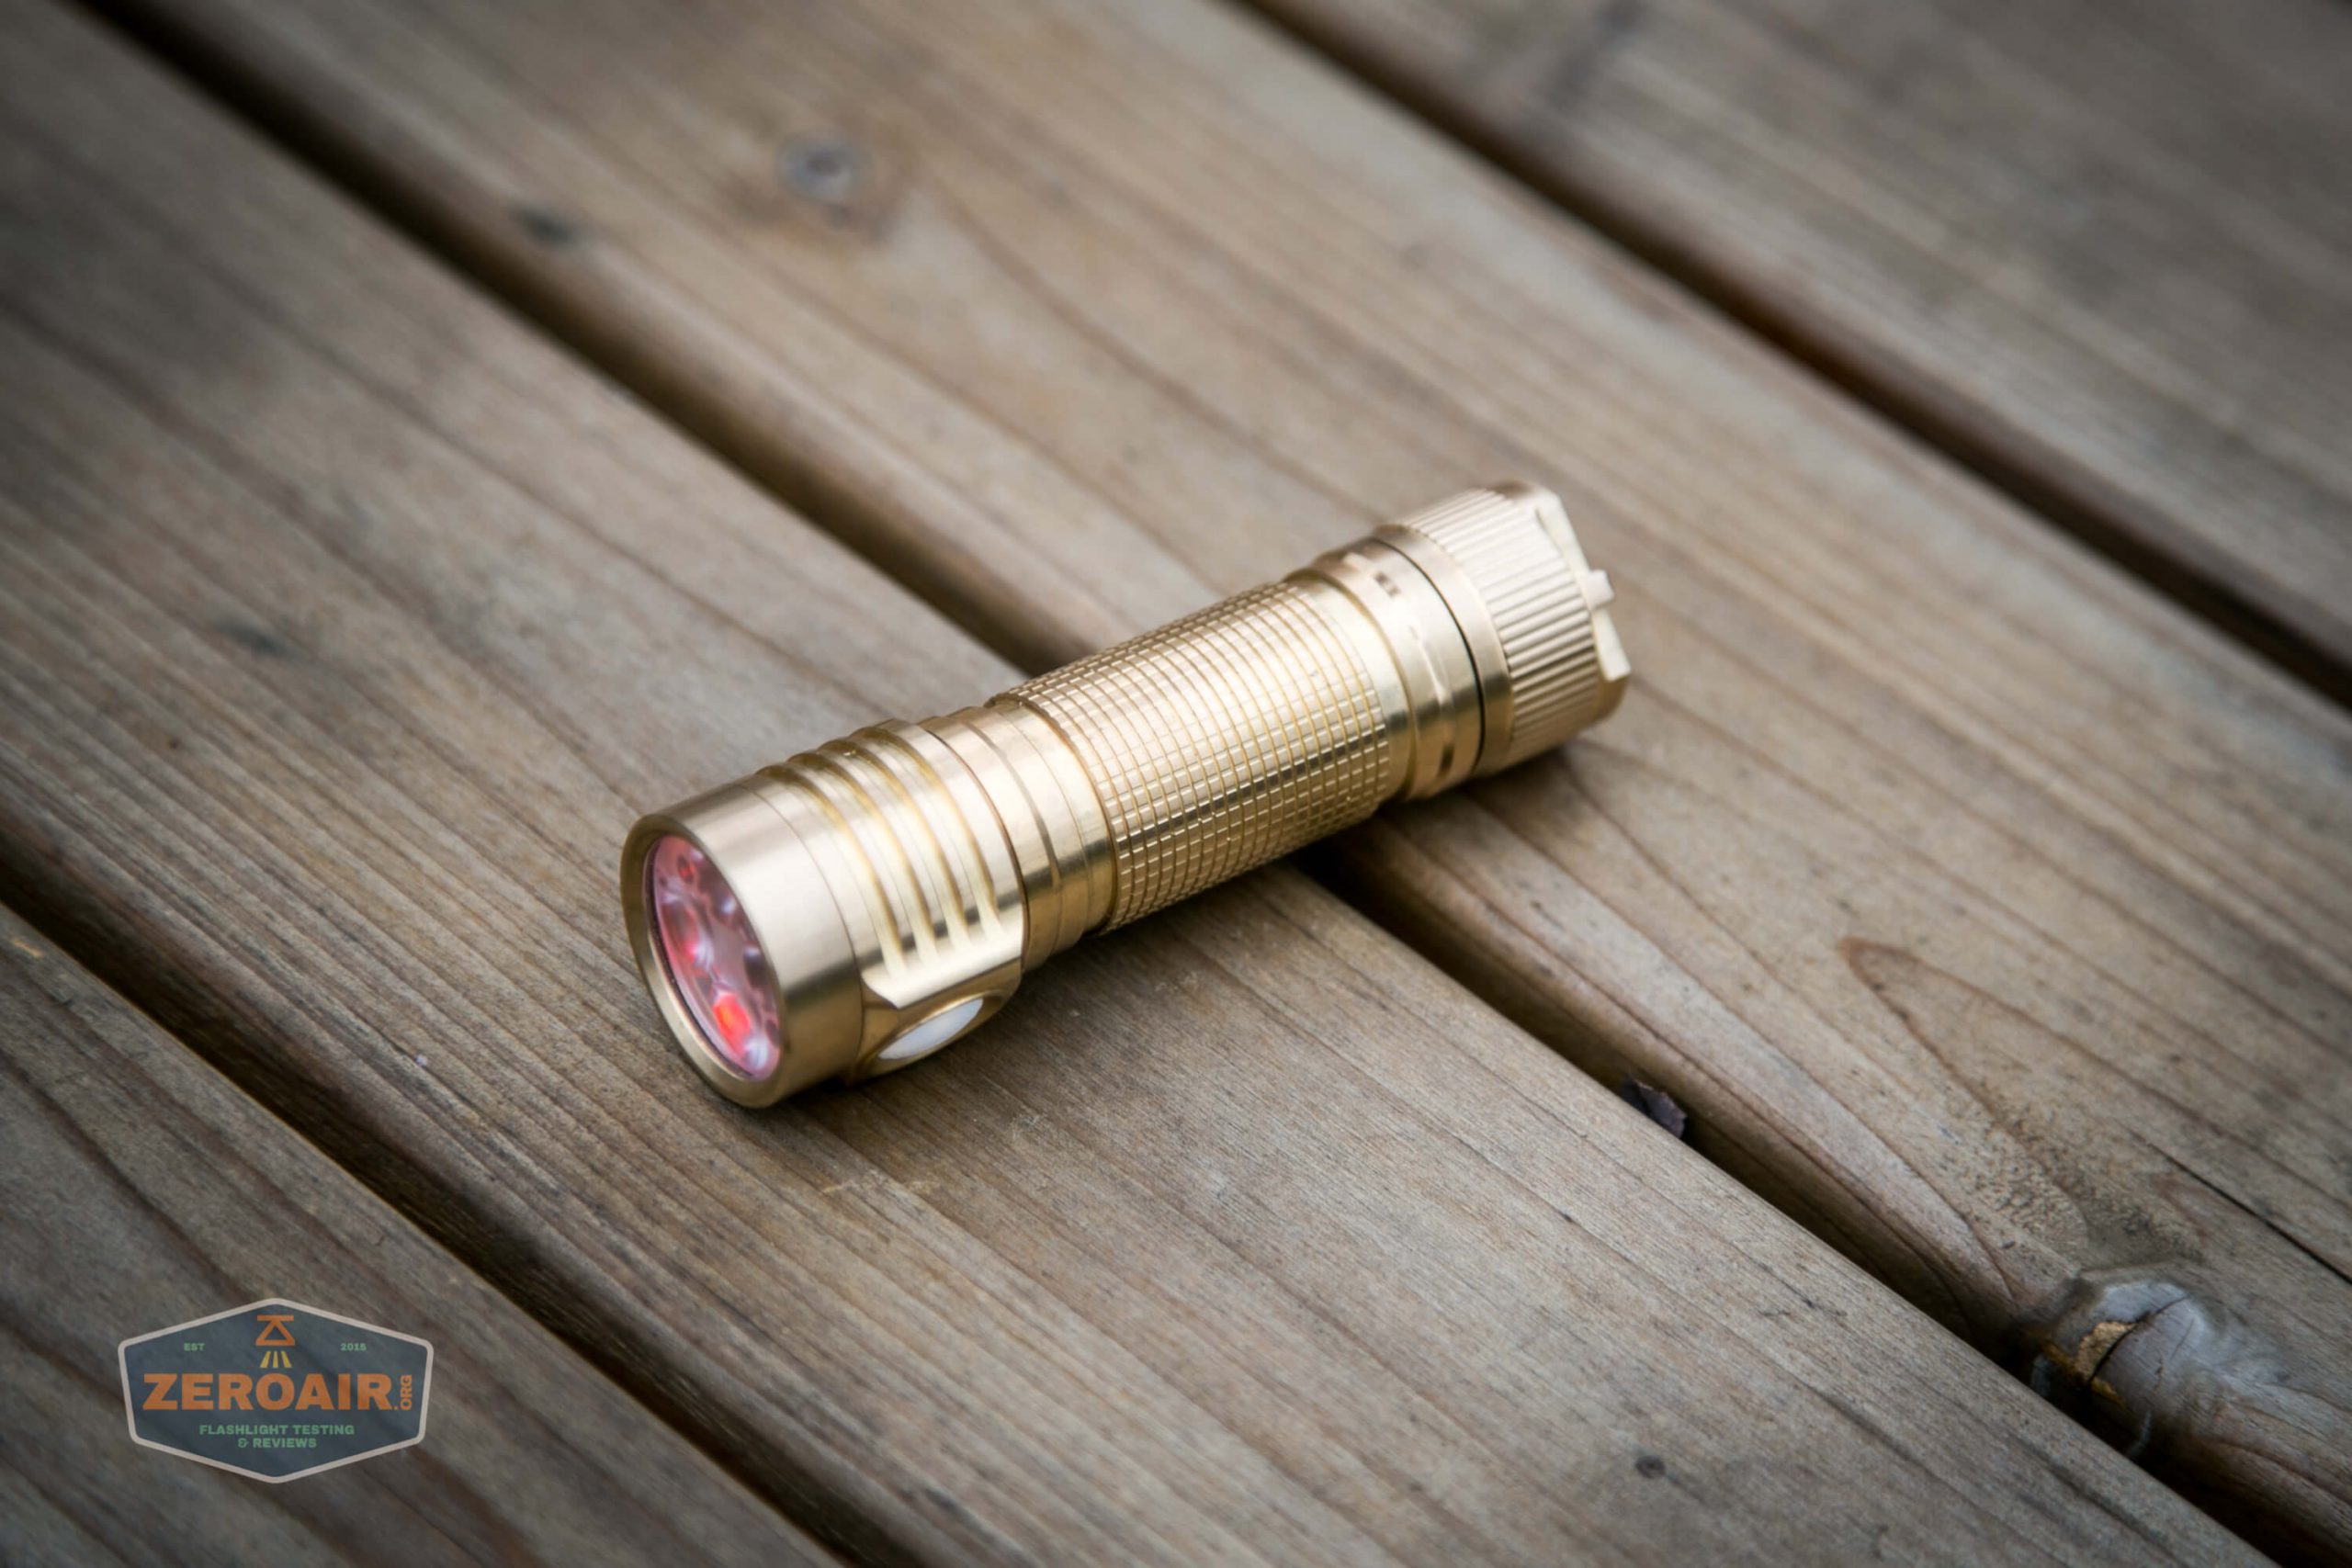
First of all, the brass light is a great-looking light. It’s also weighty.
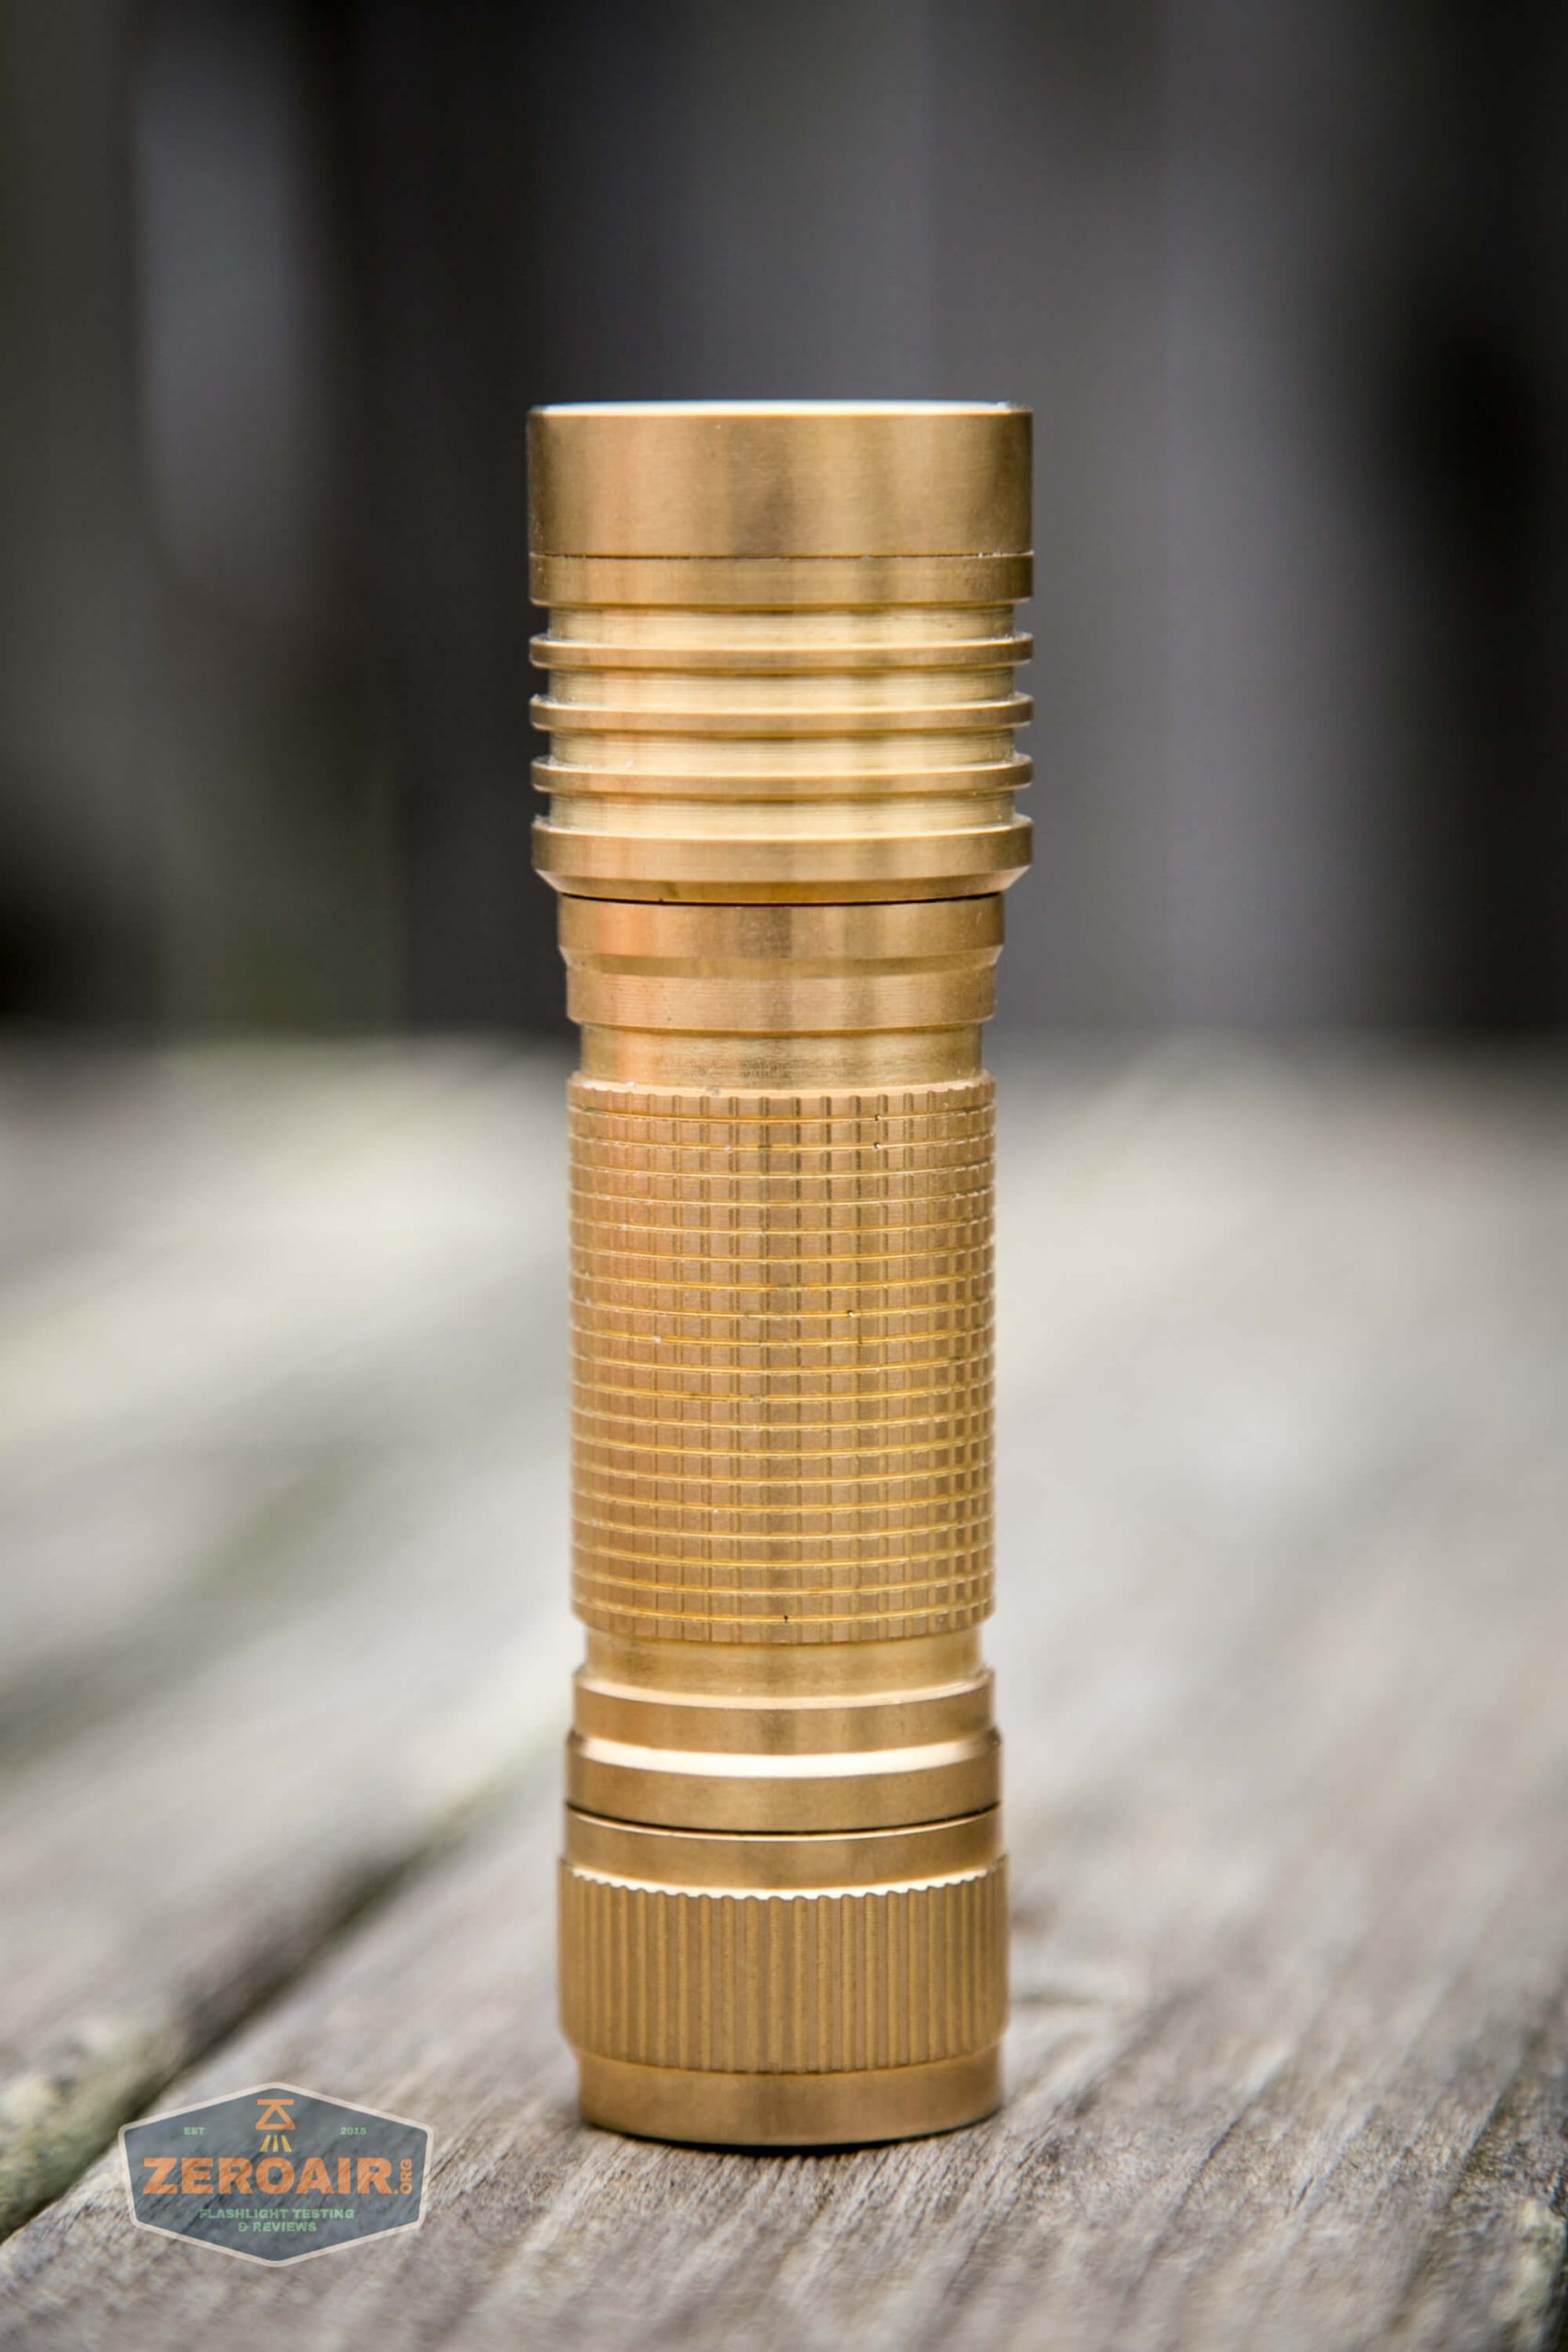
It isn’t a coated brass either; you’ll experience some patina as the brass ages. Though I can say this: after a month, mine still looks practically brand new. Patina formation depends a lot on how you use the light, and your body chemistry.
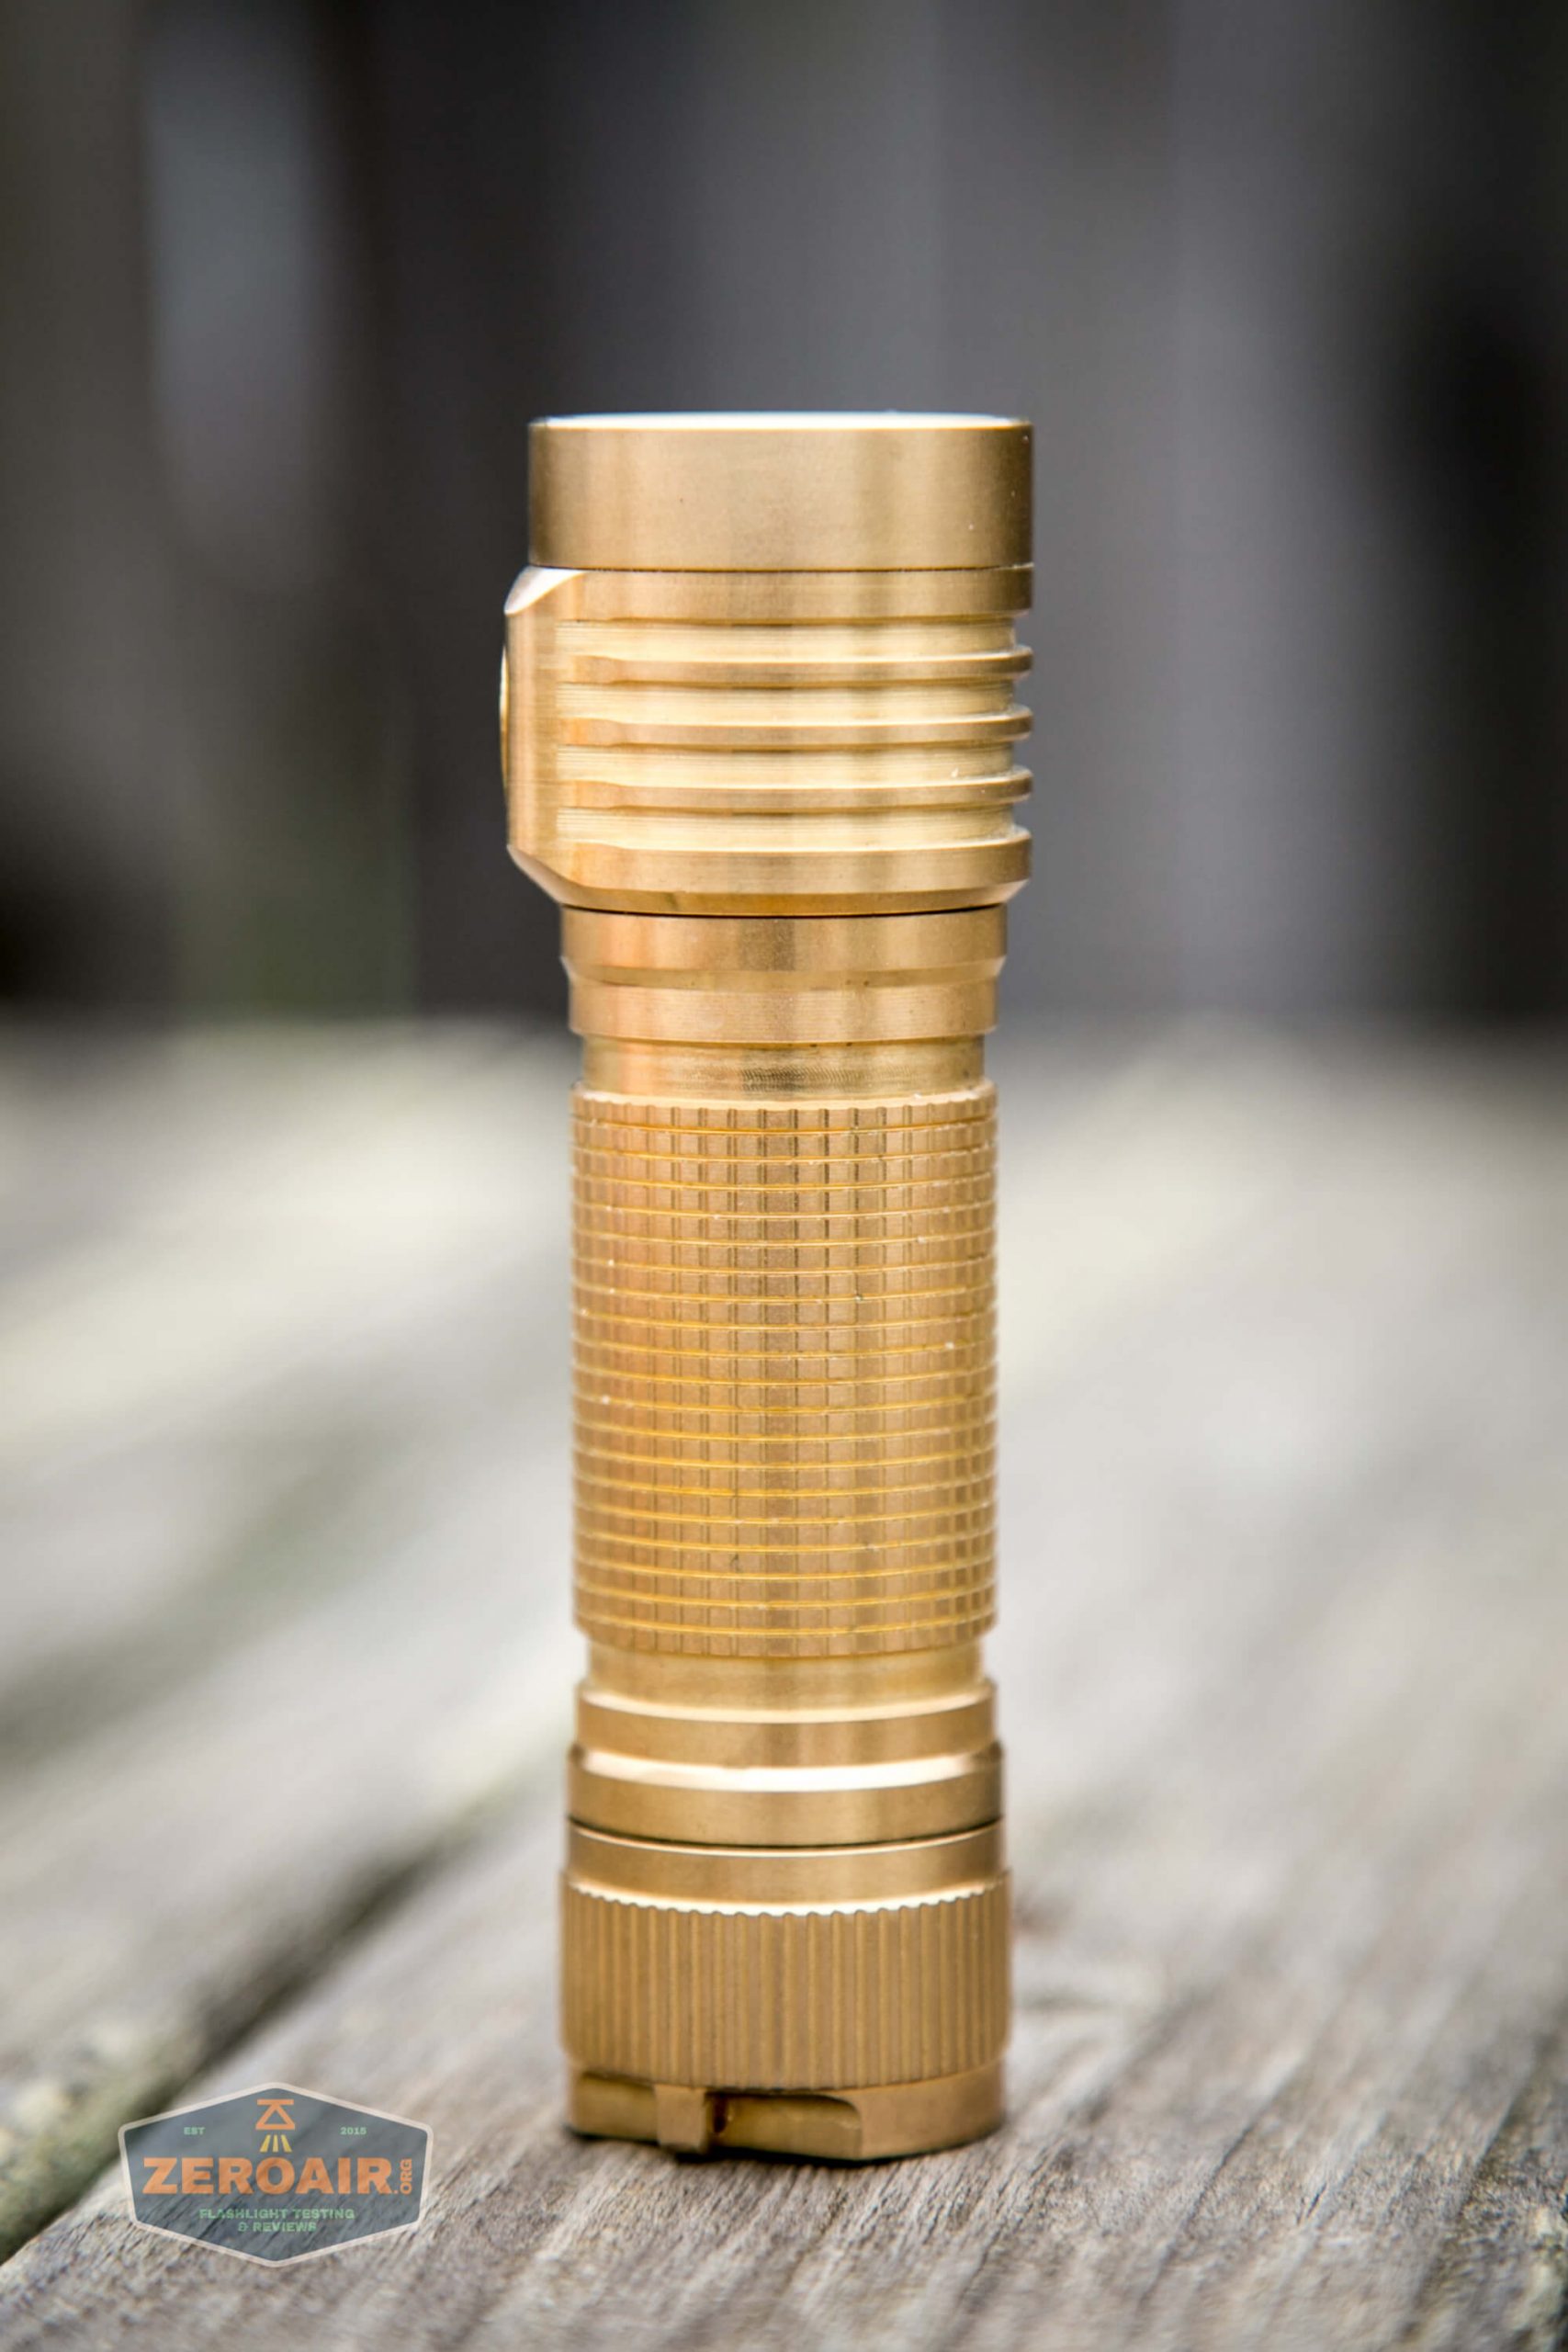
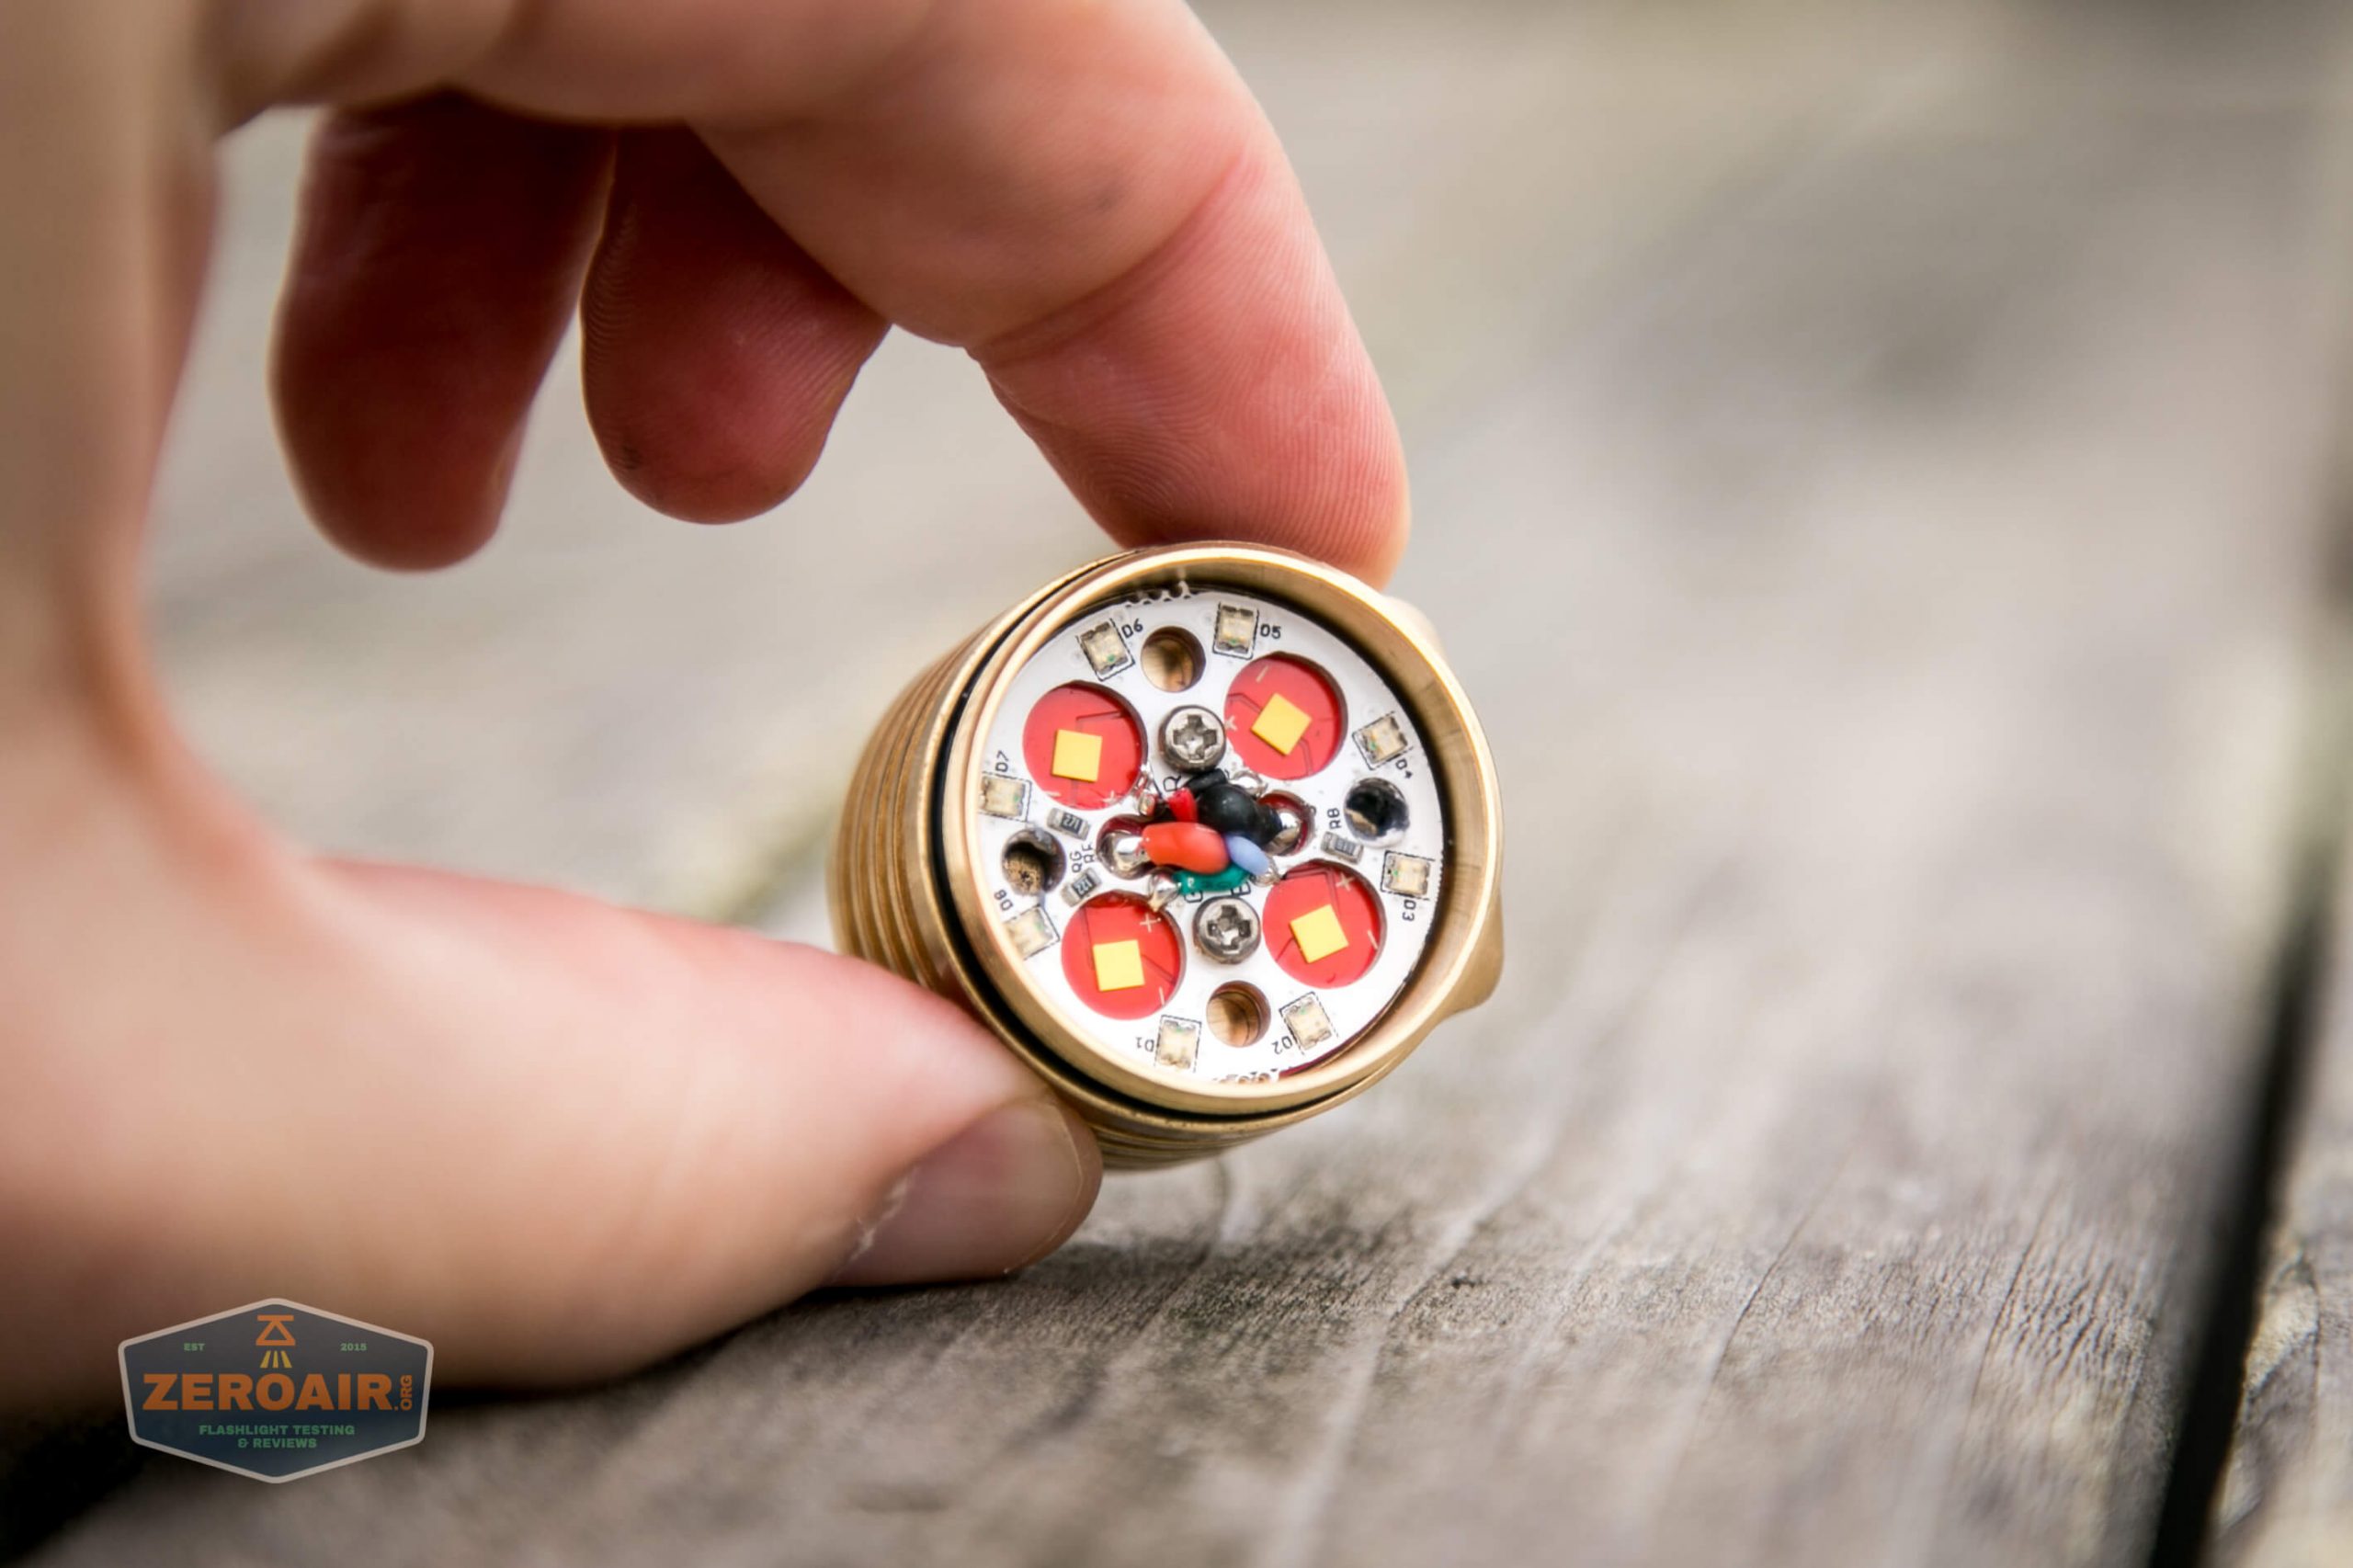
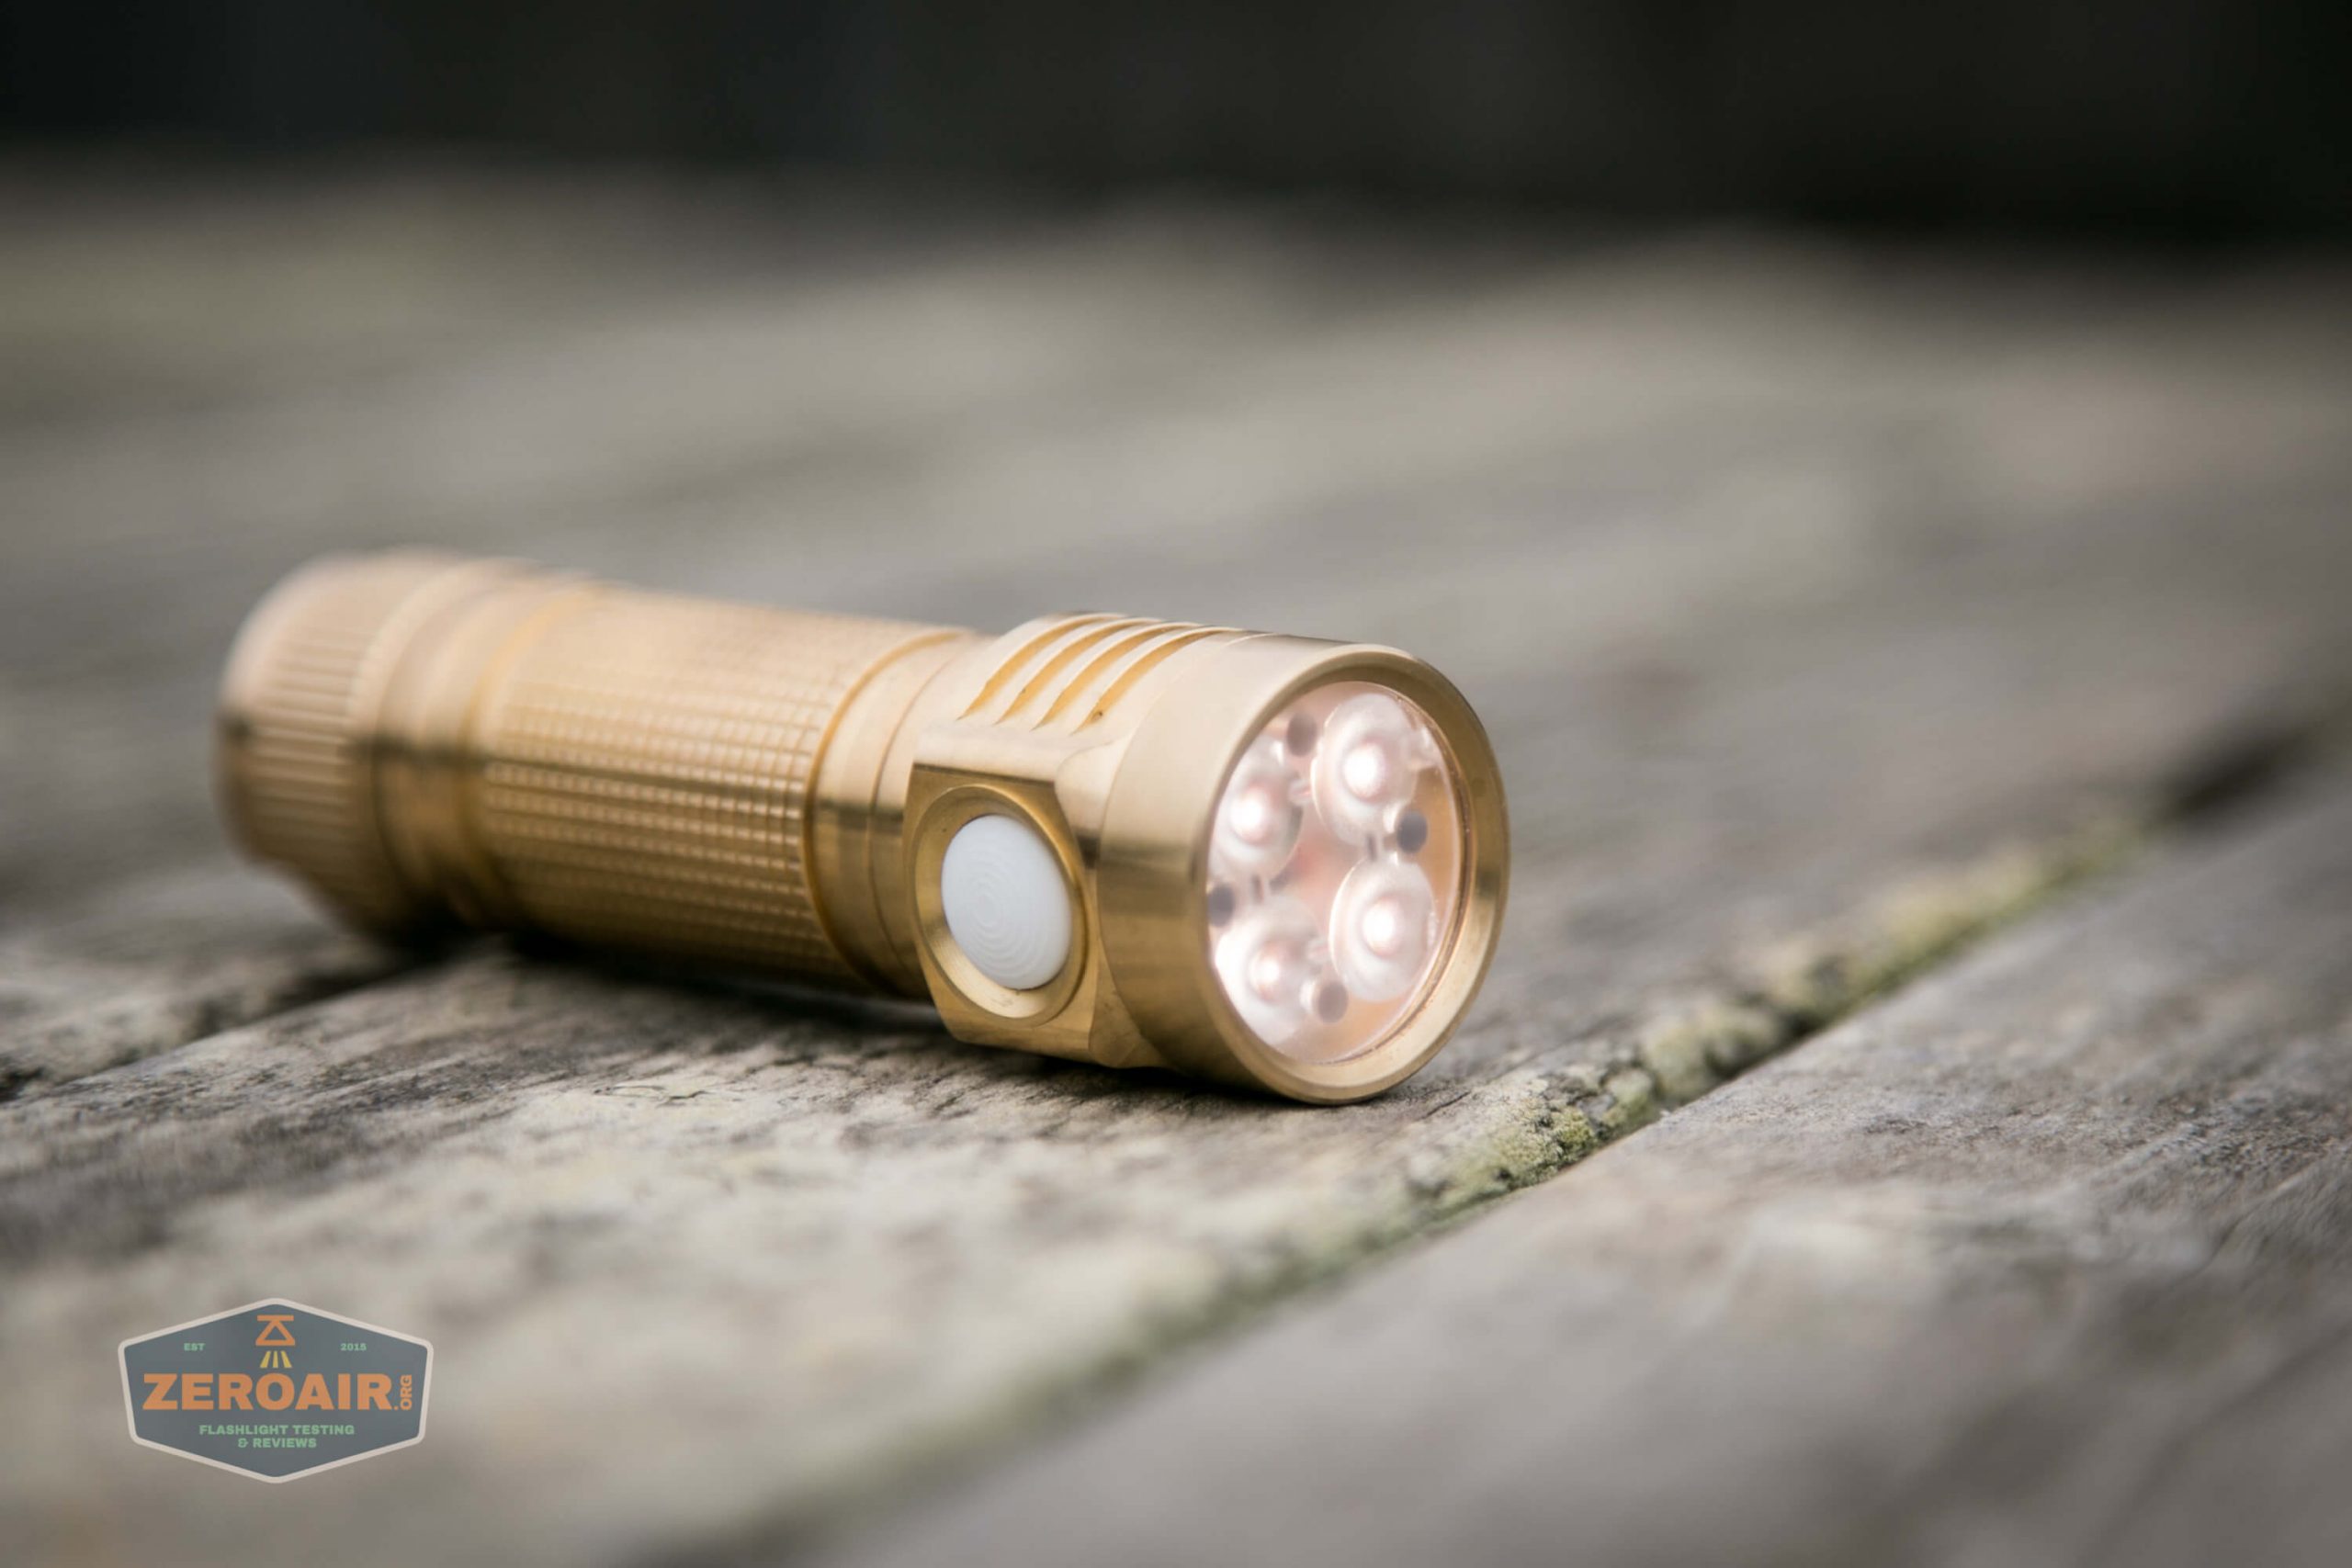
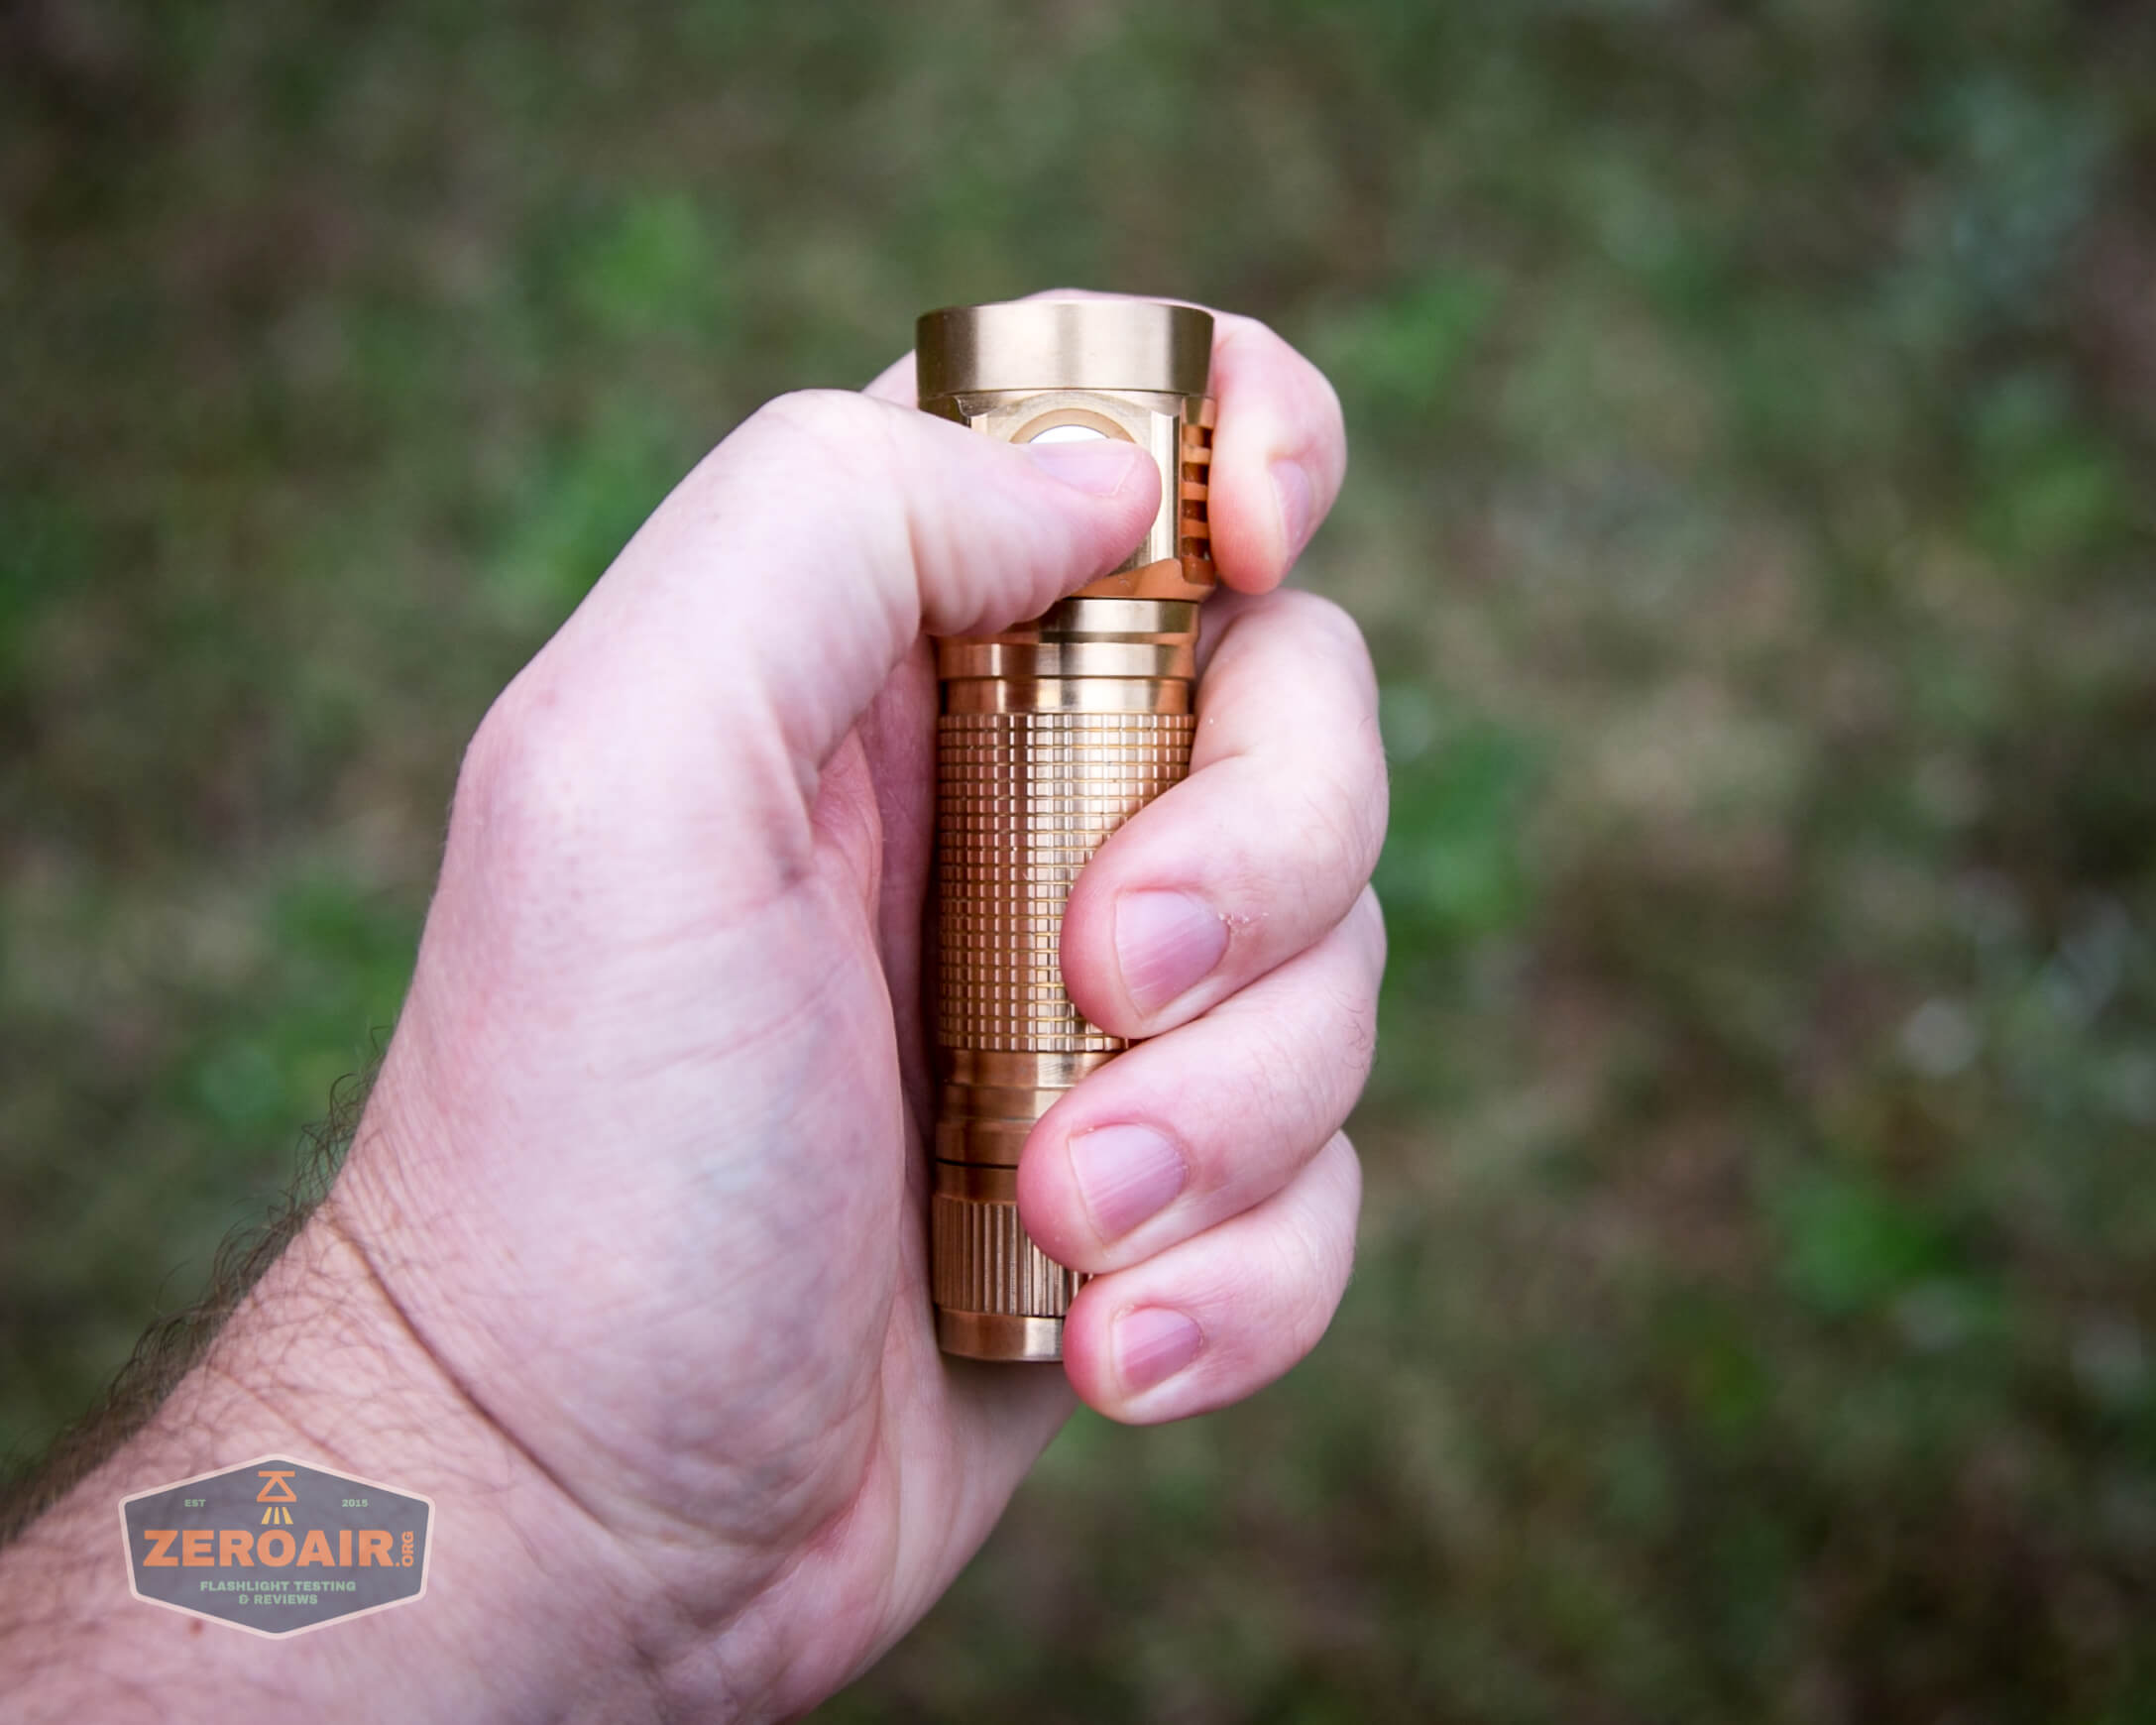
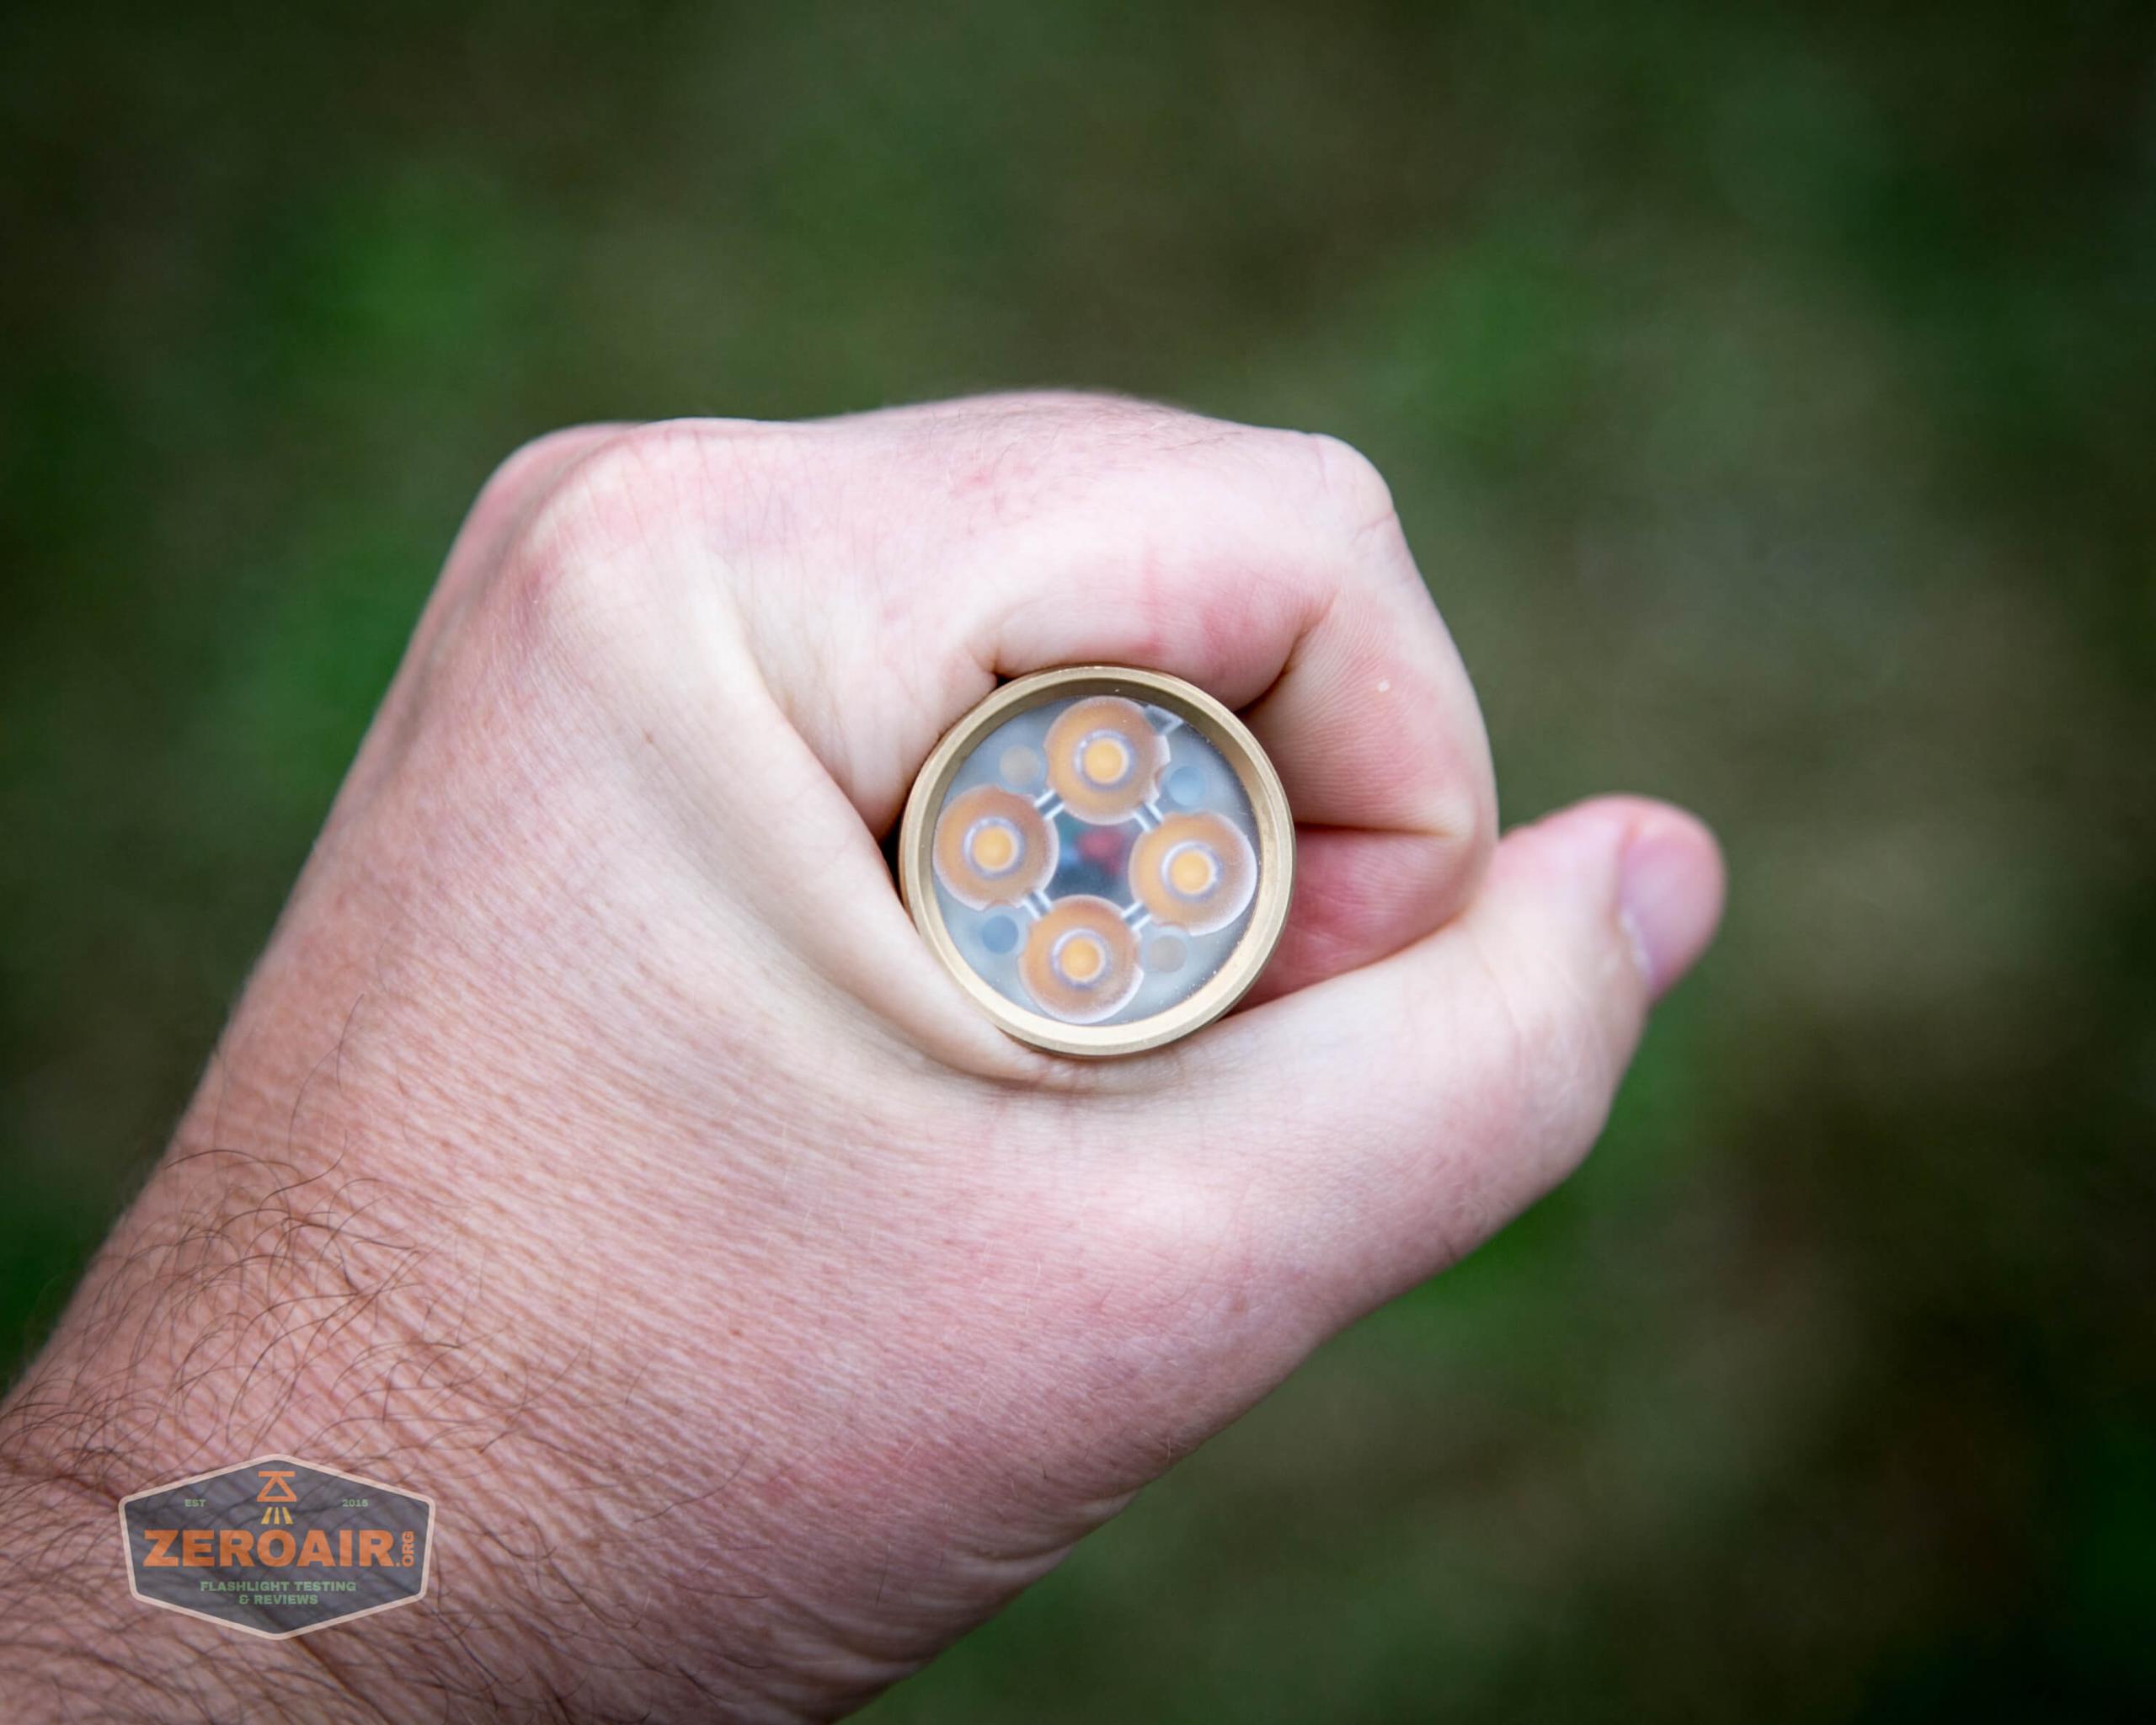
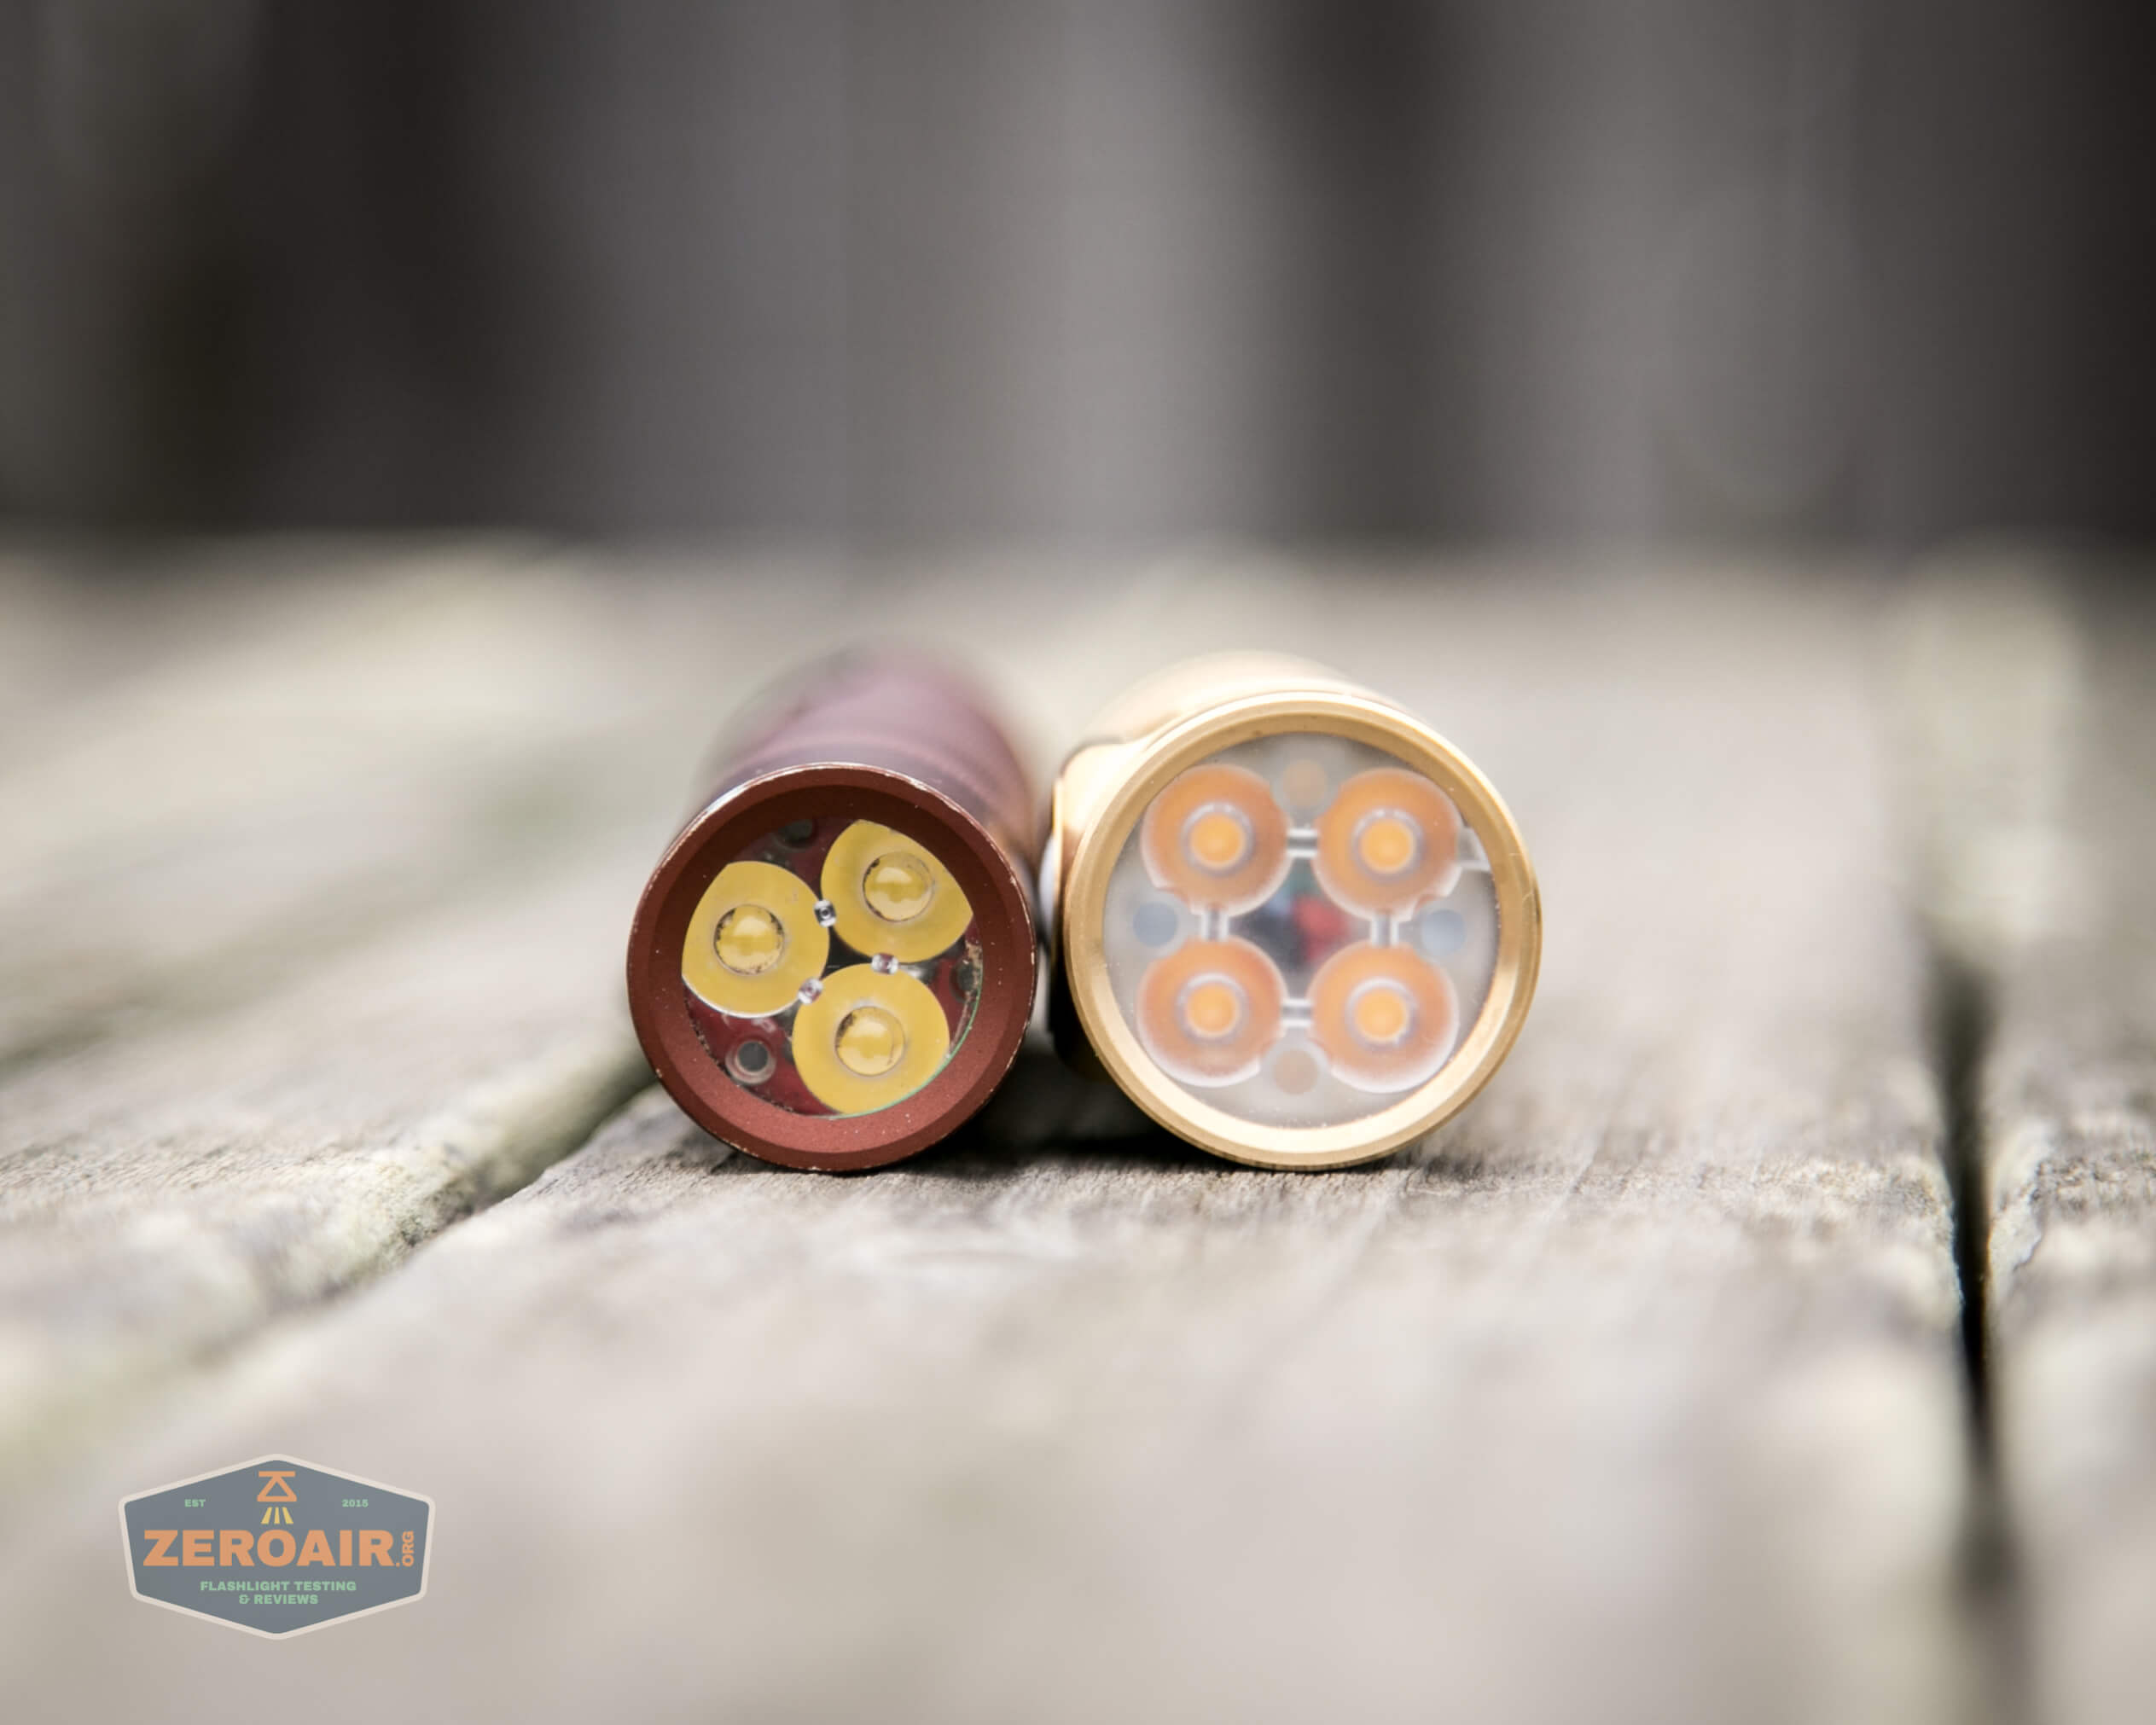
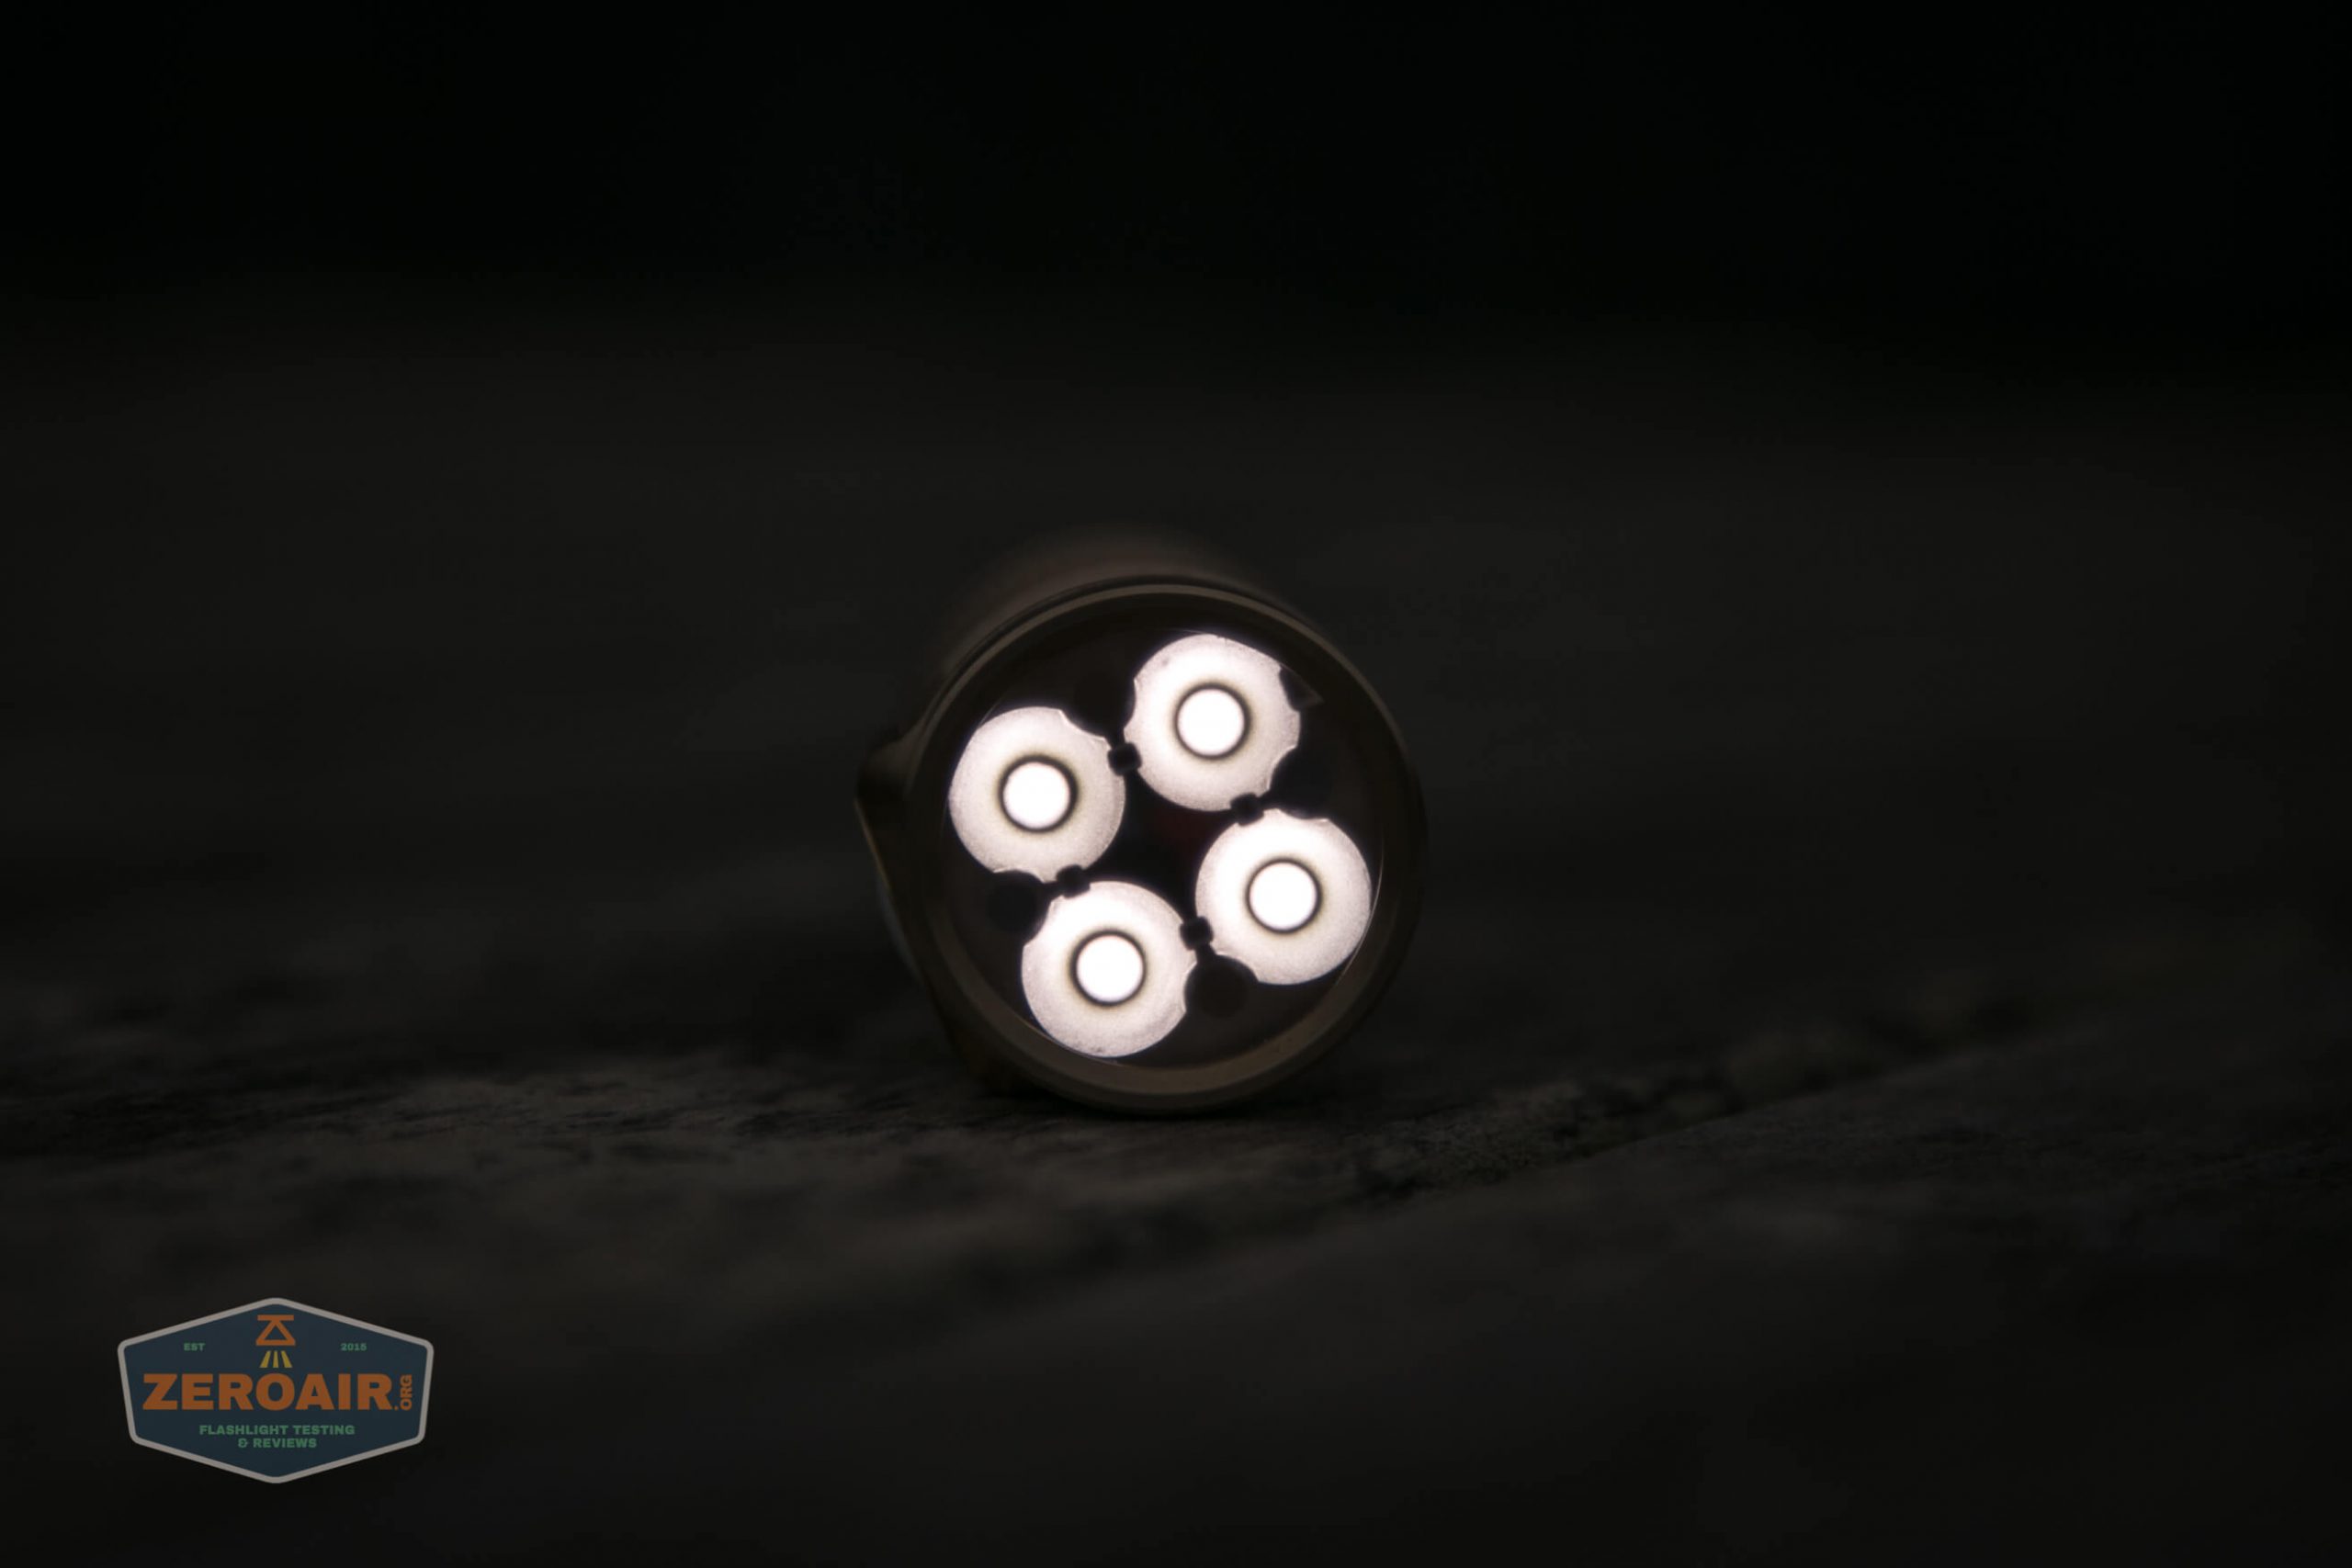
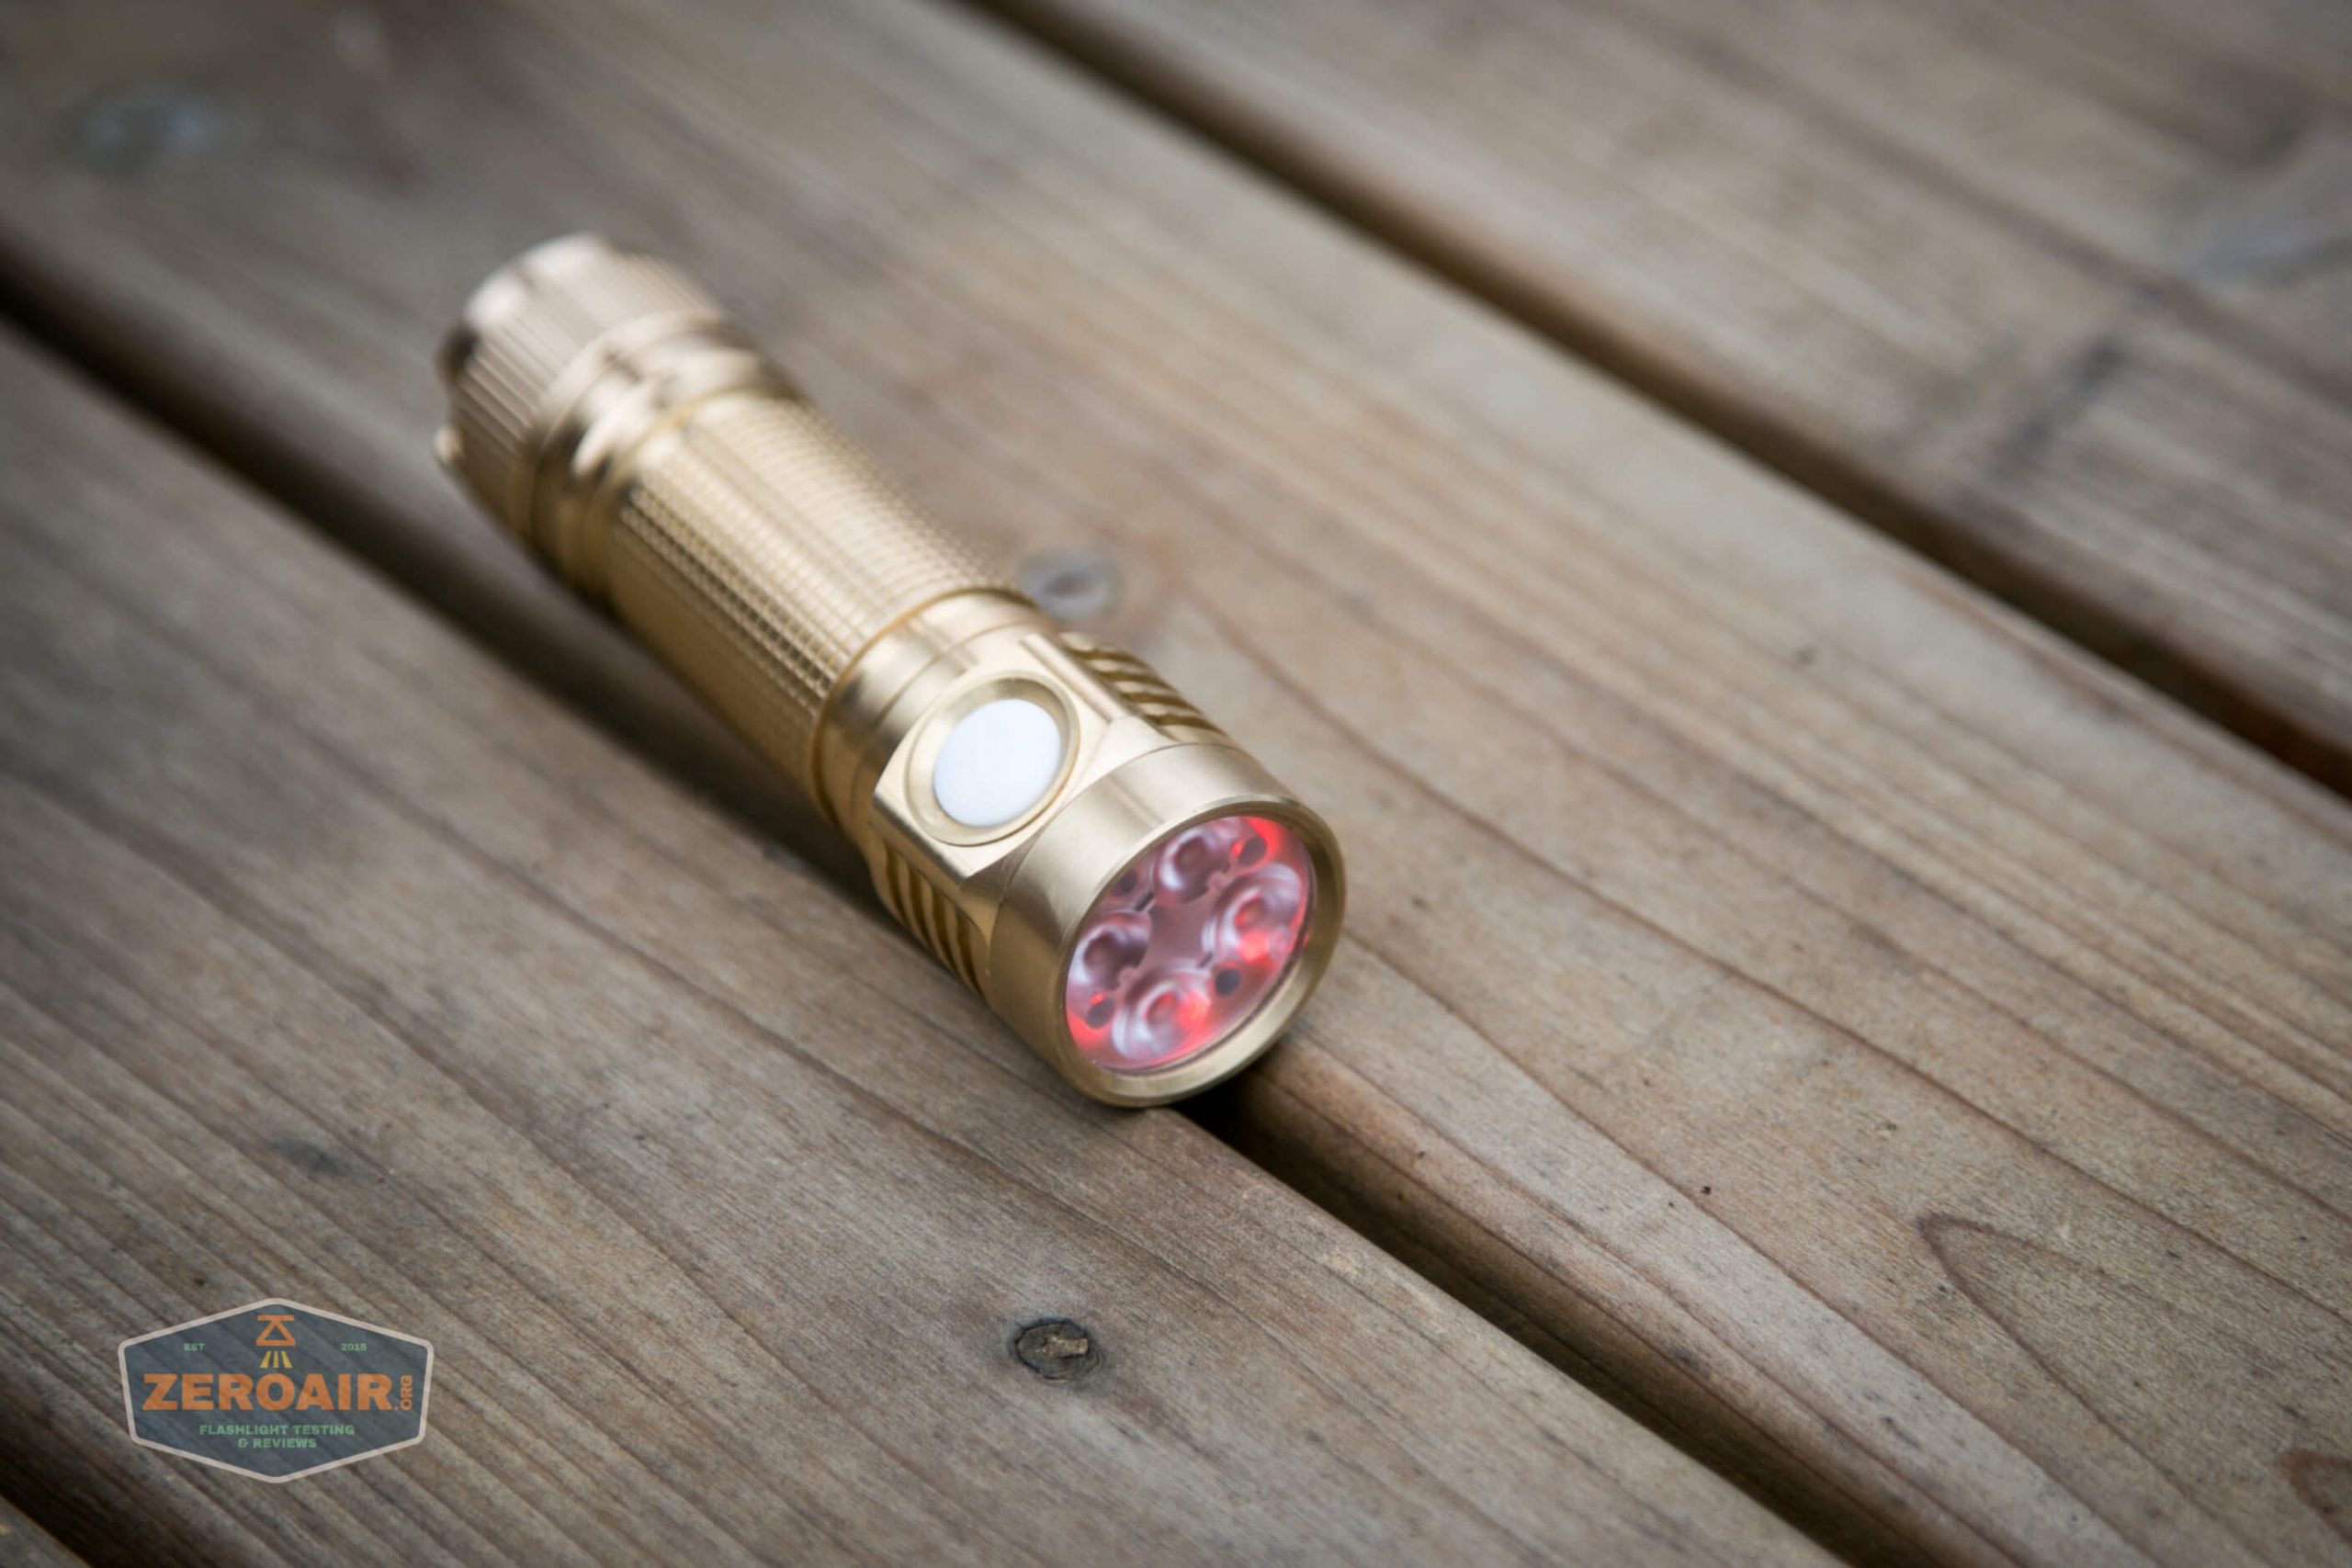
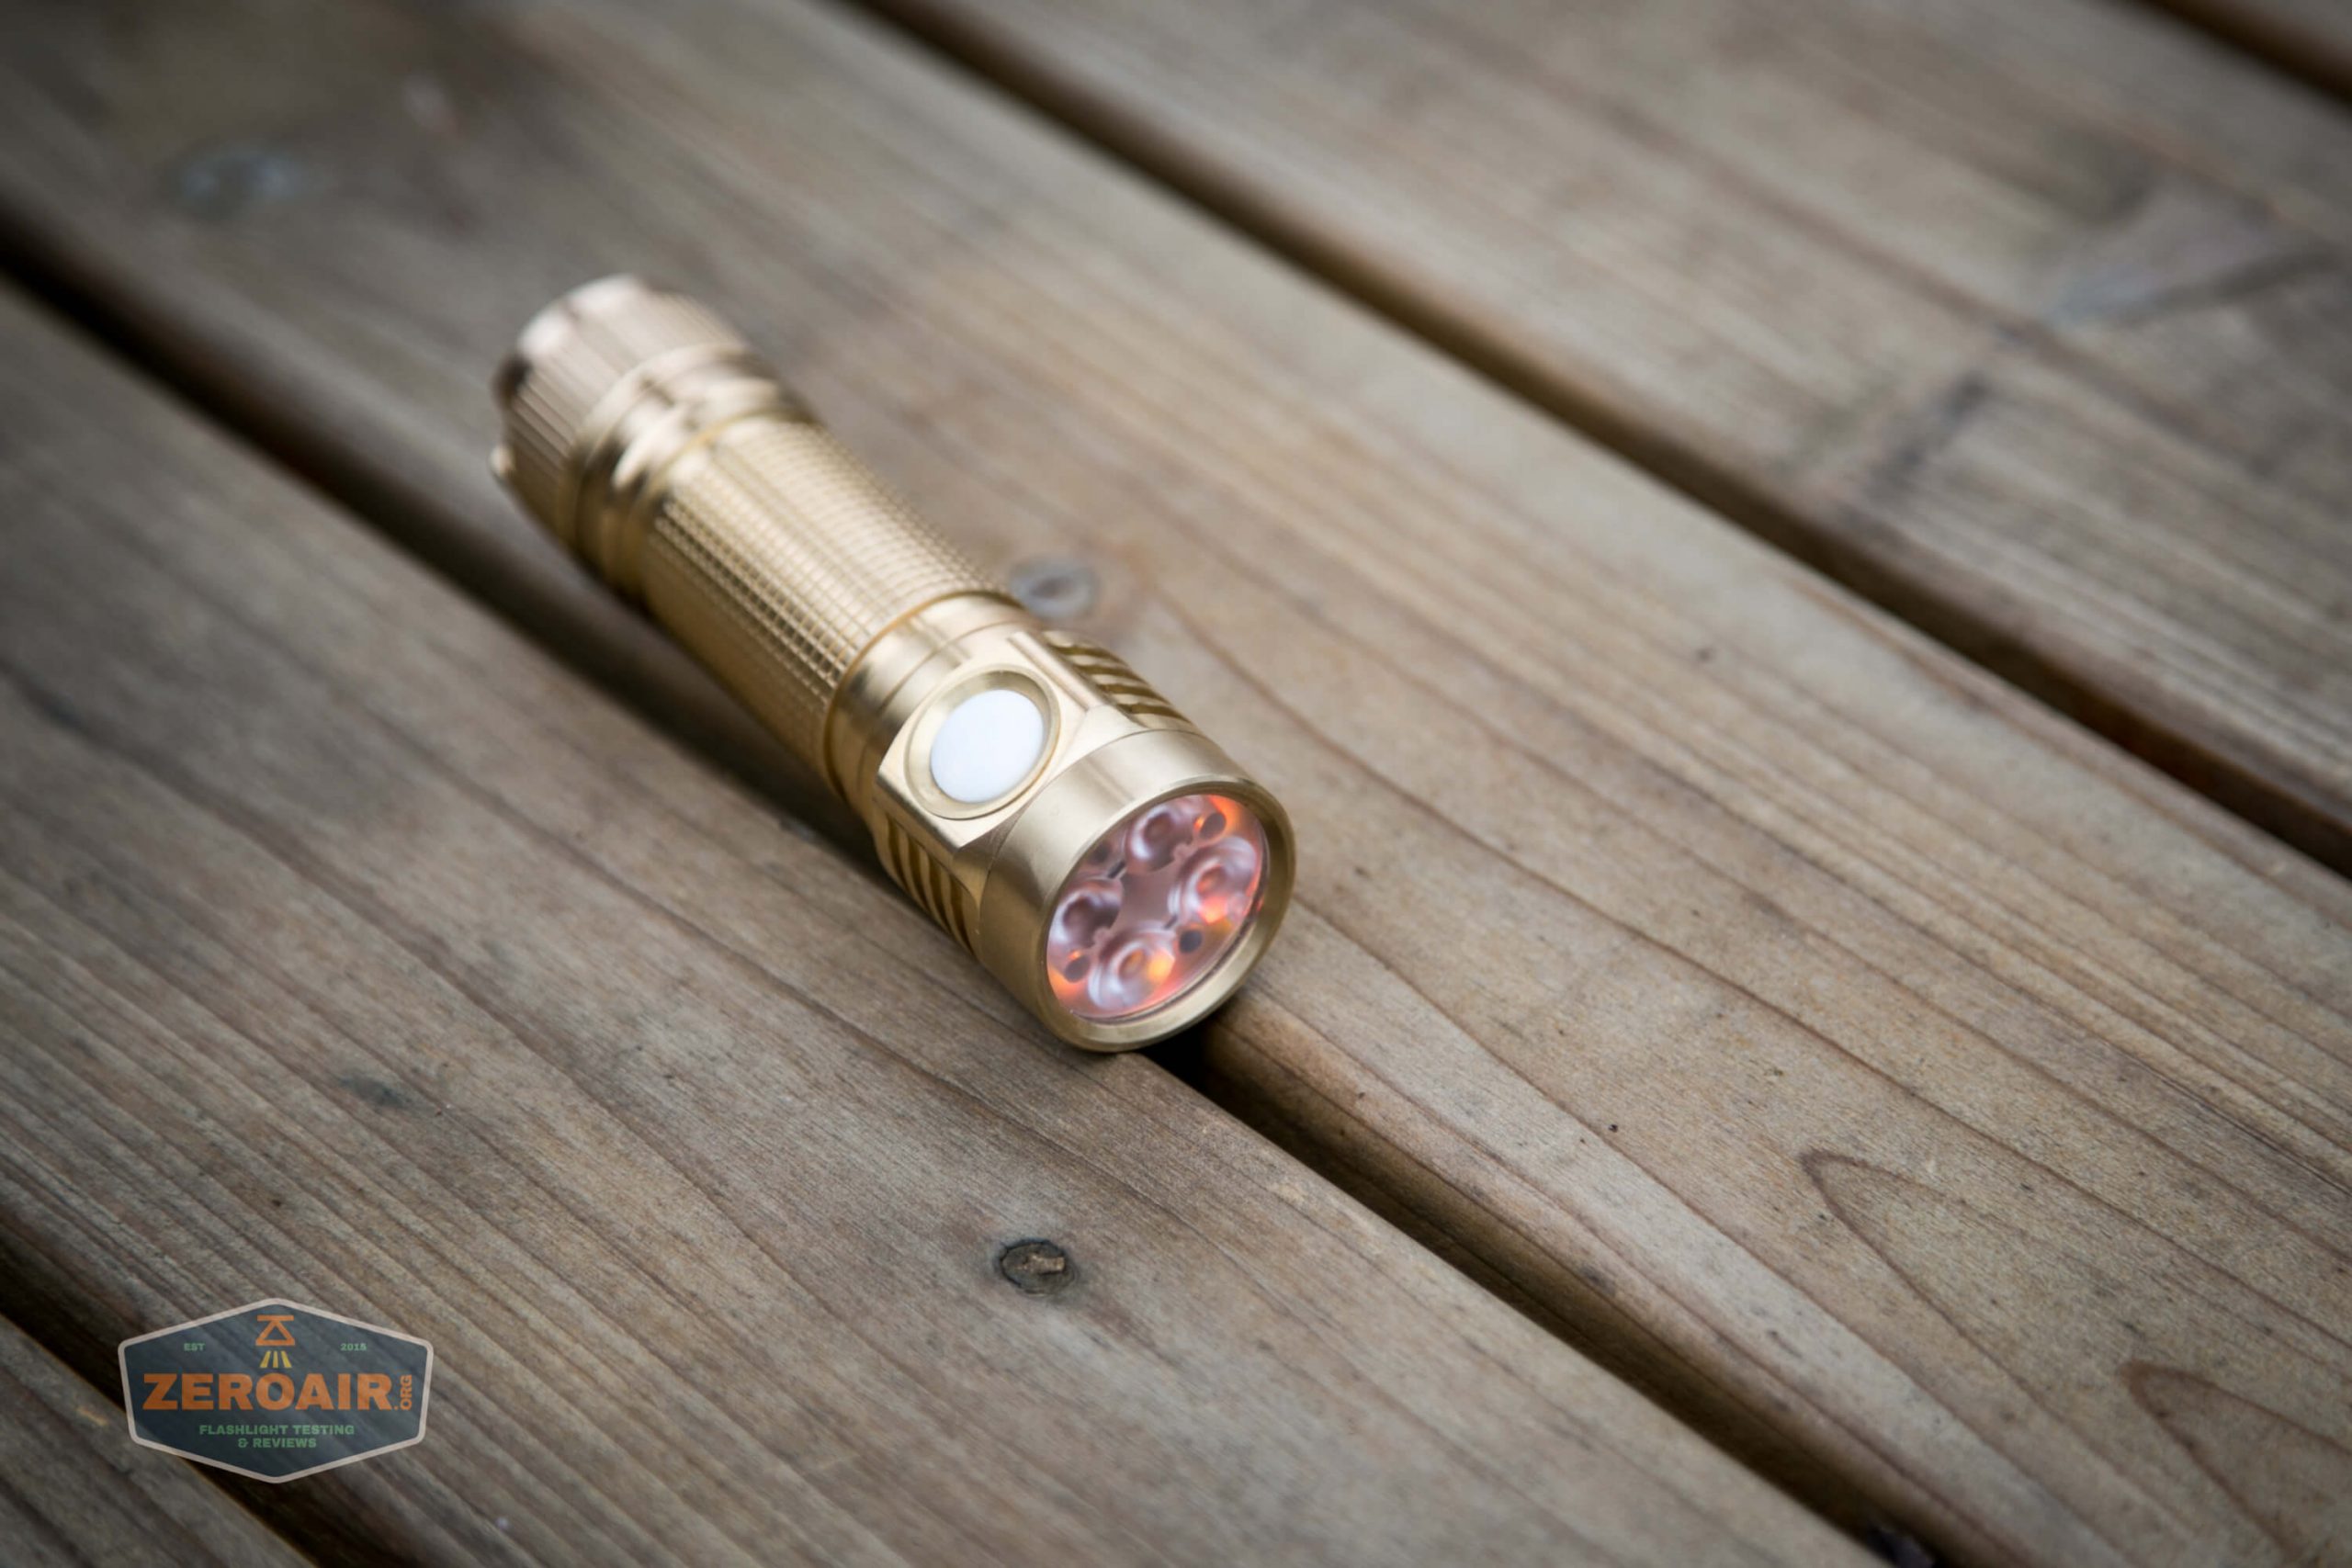
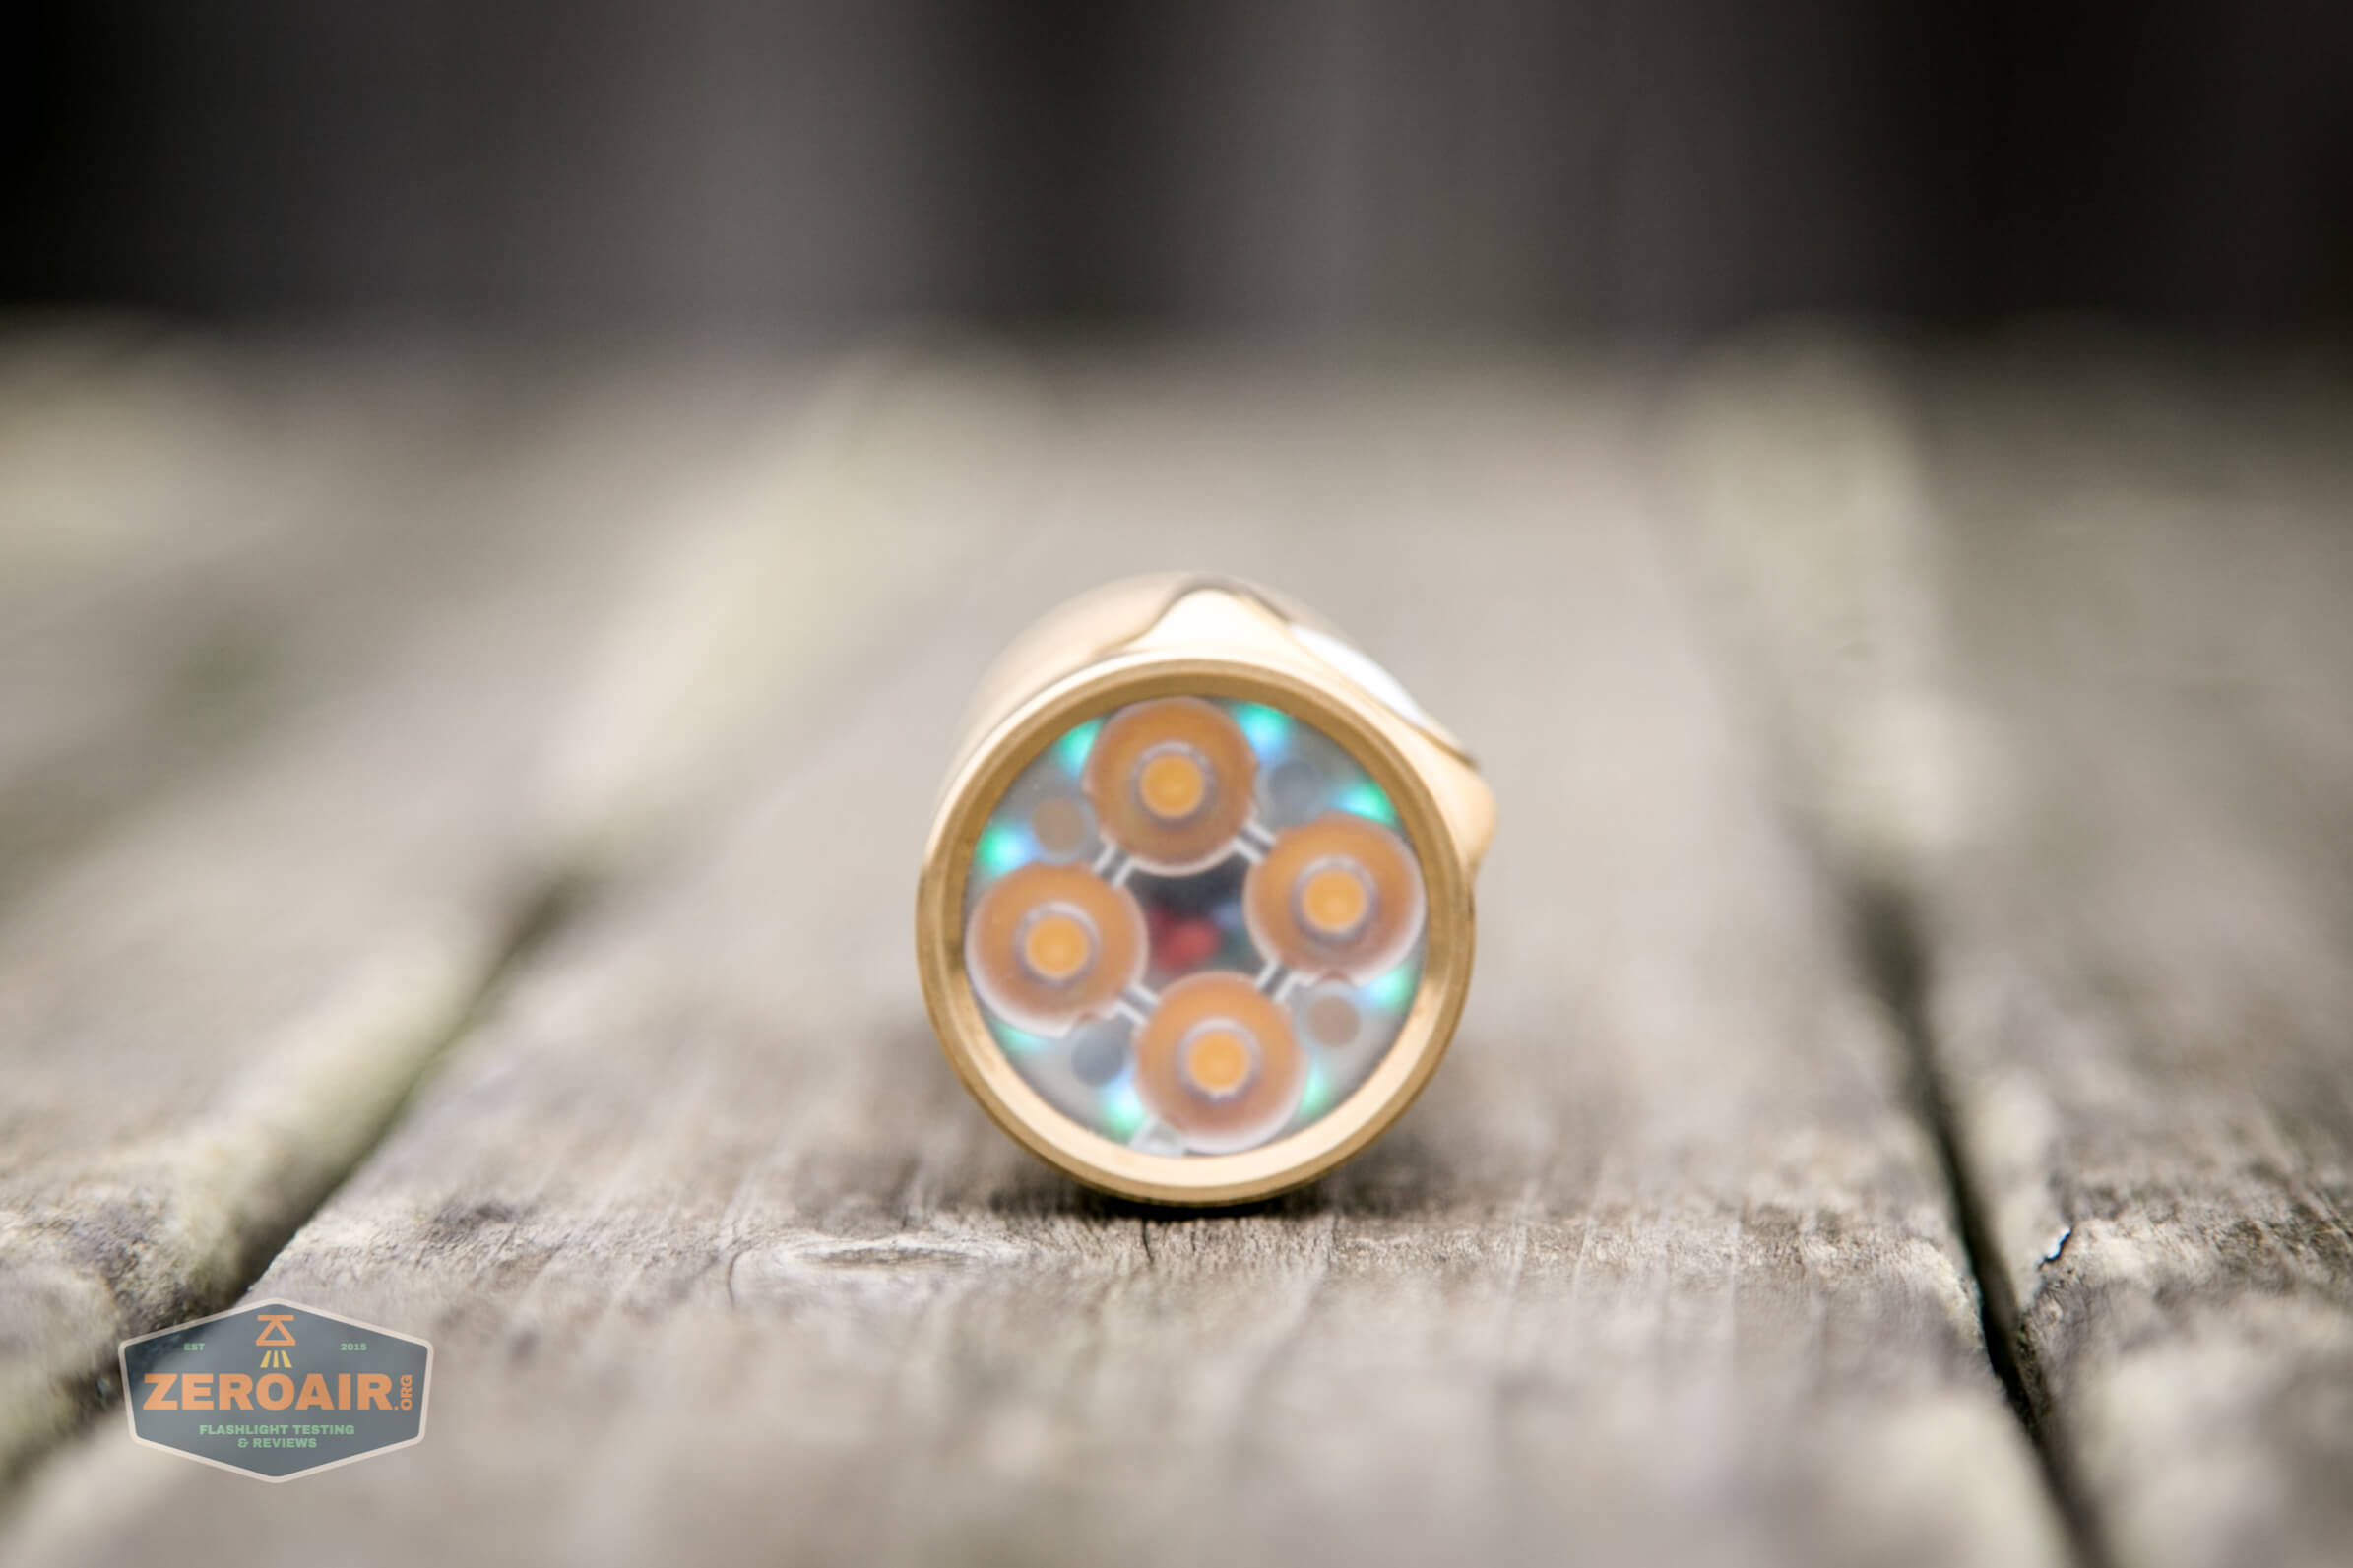
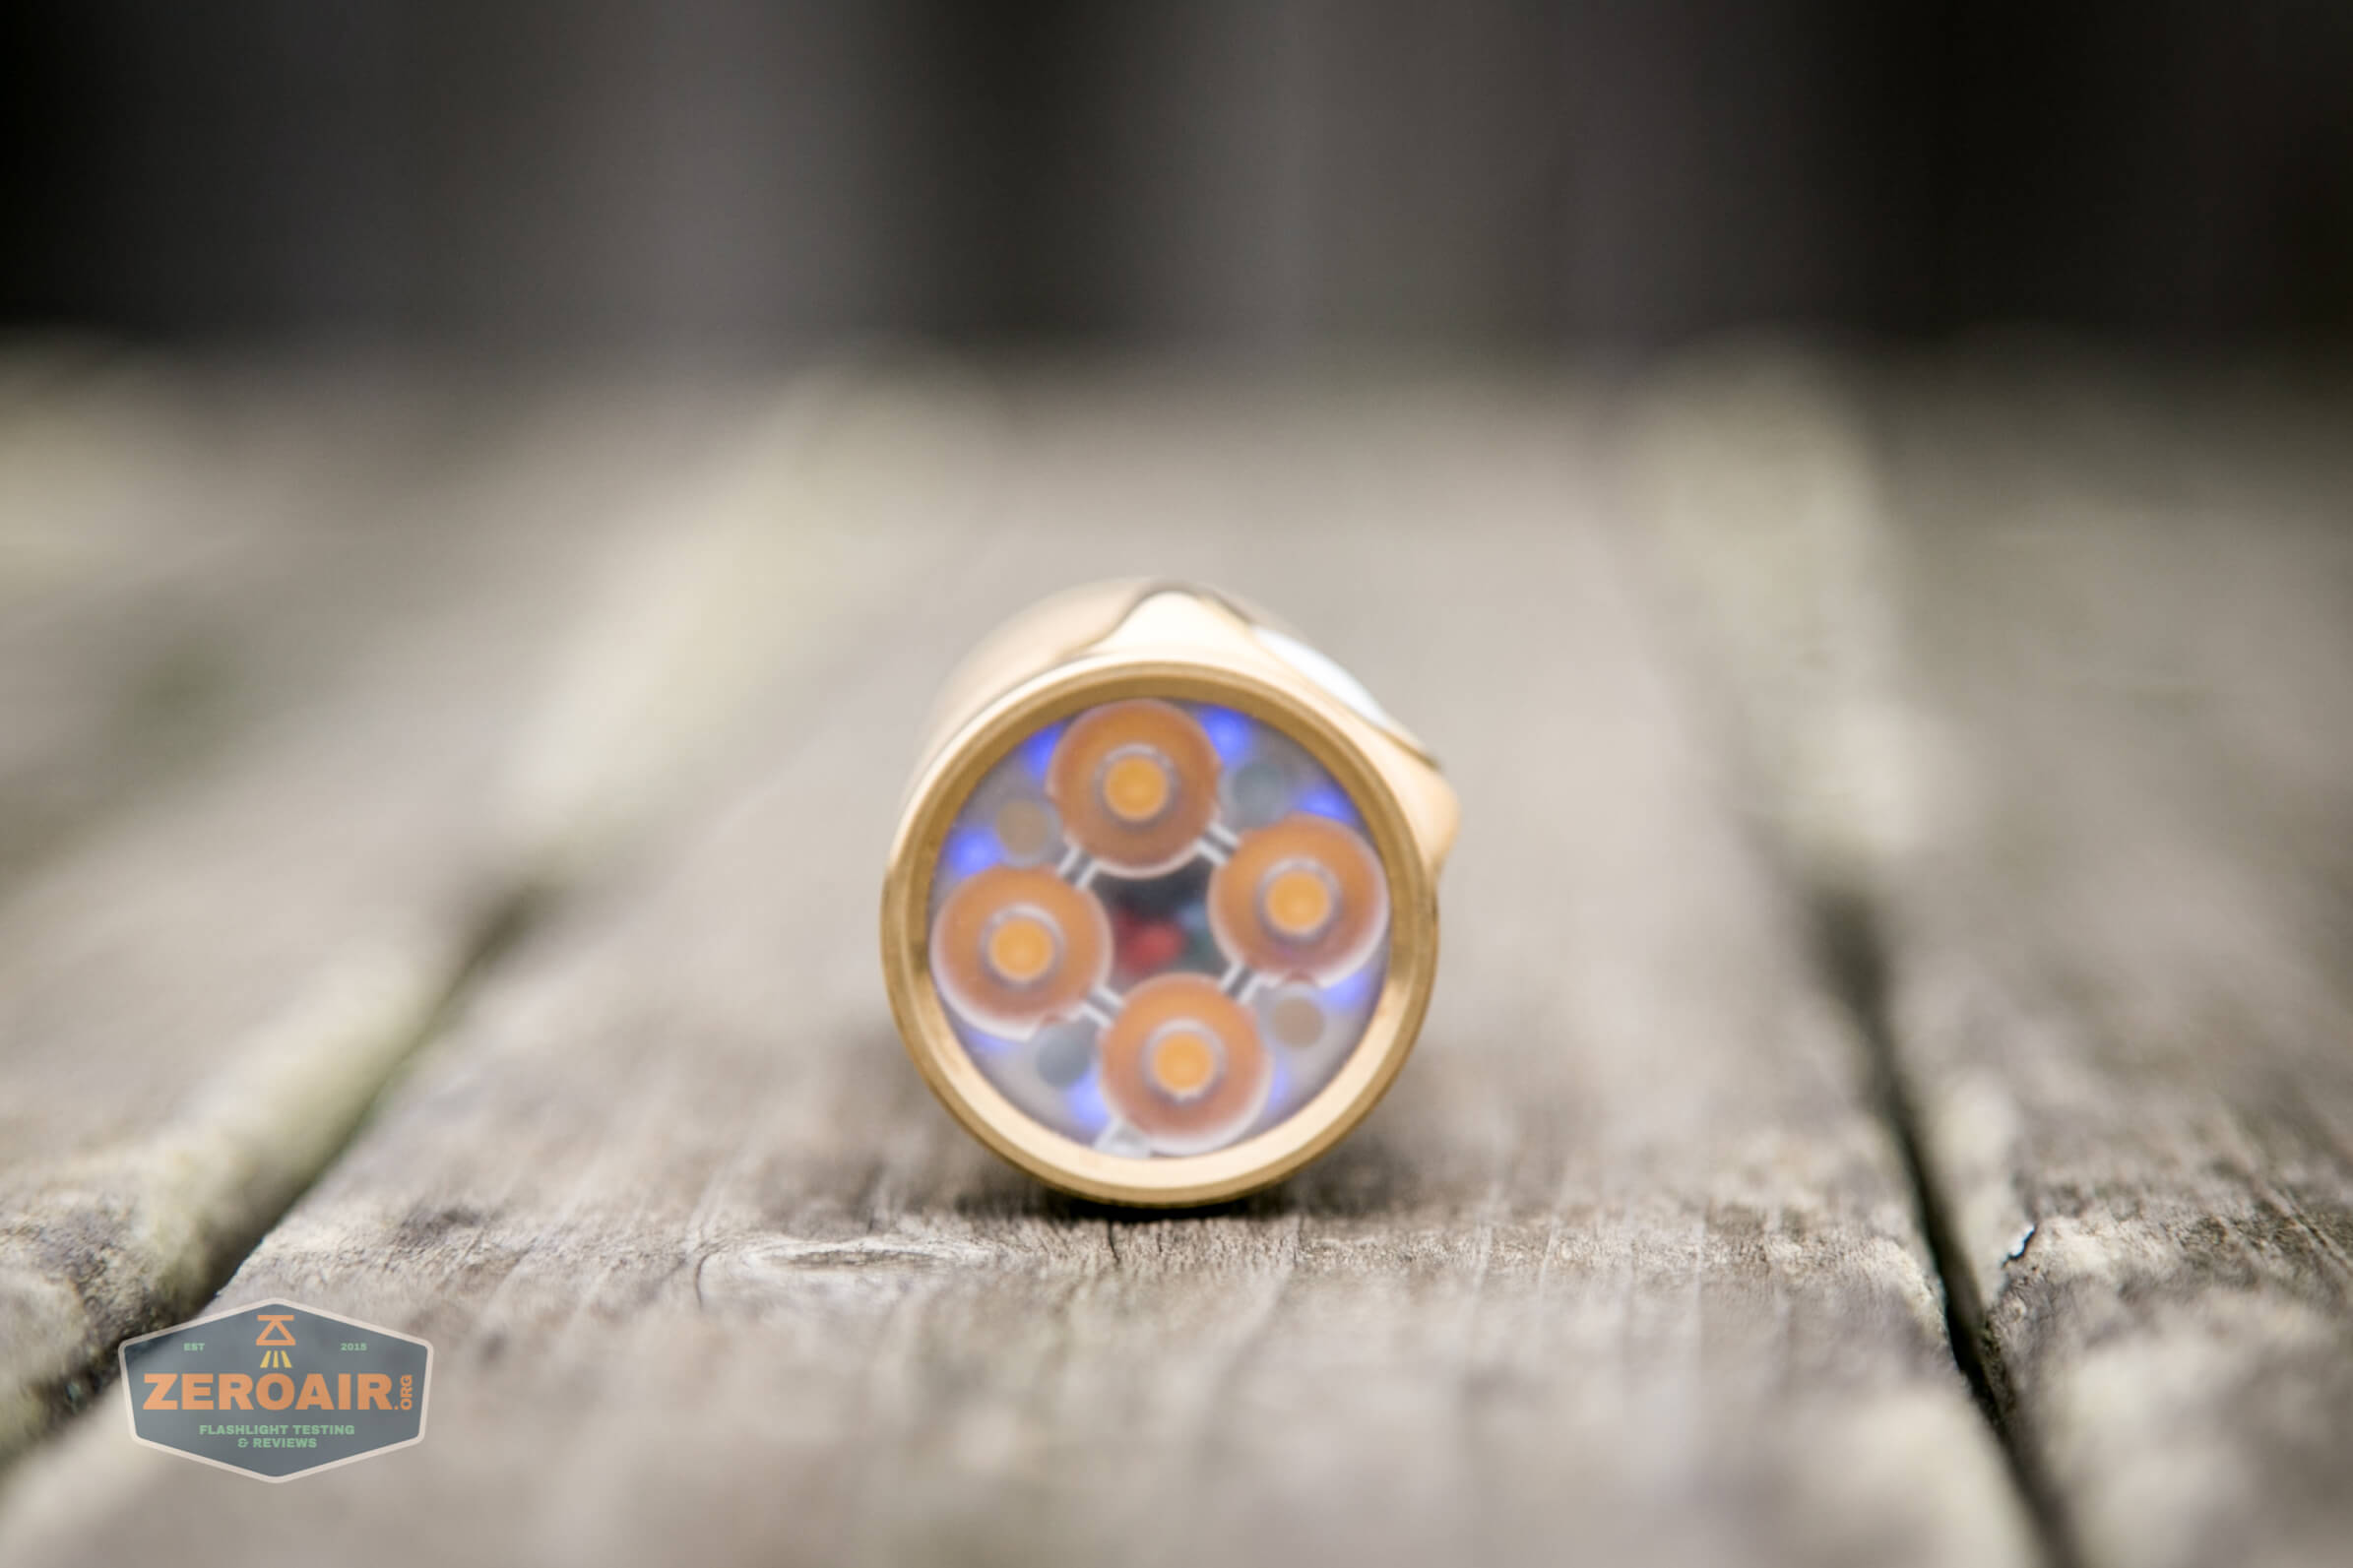
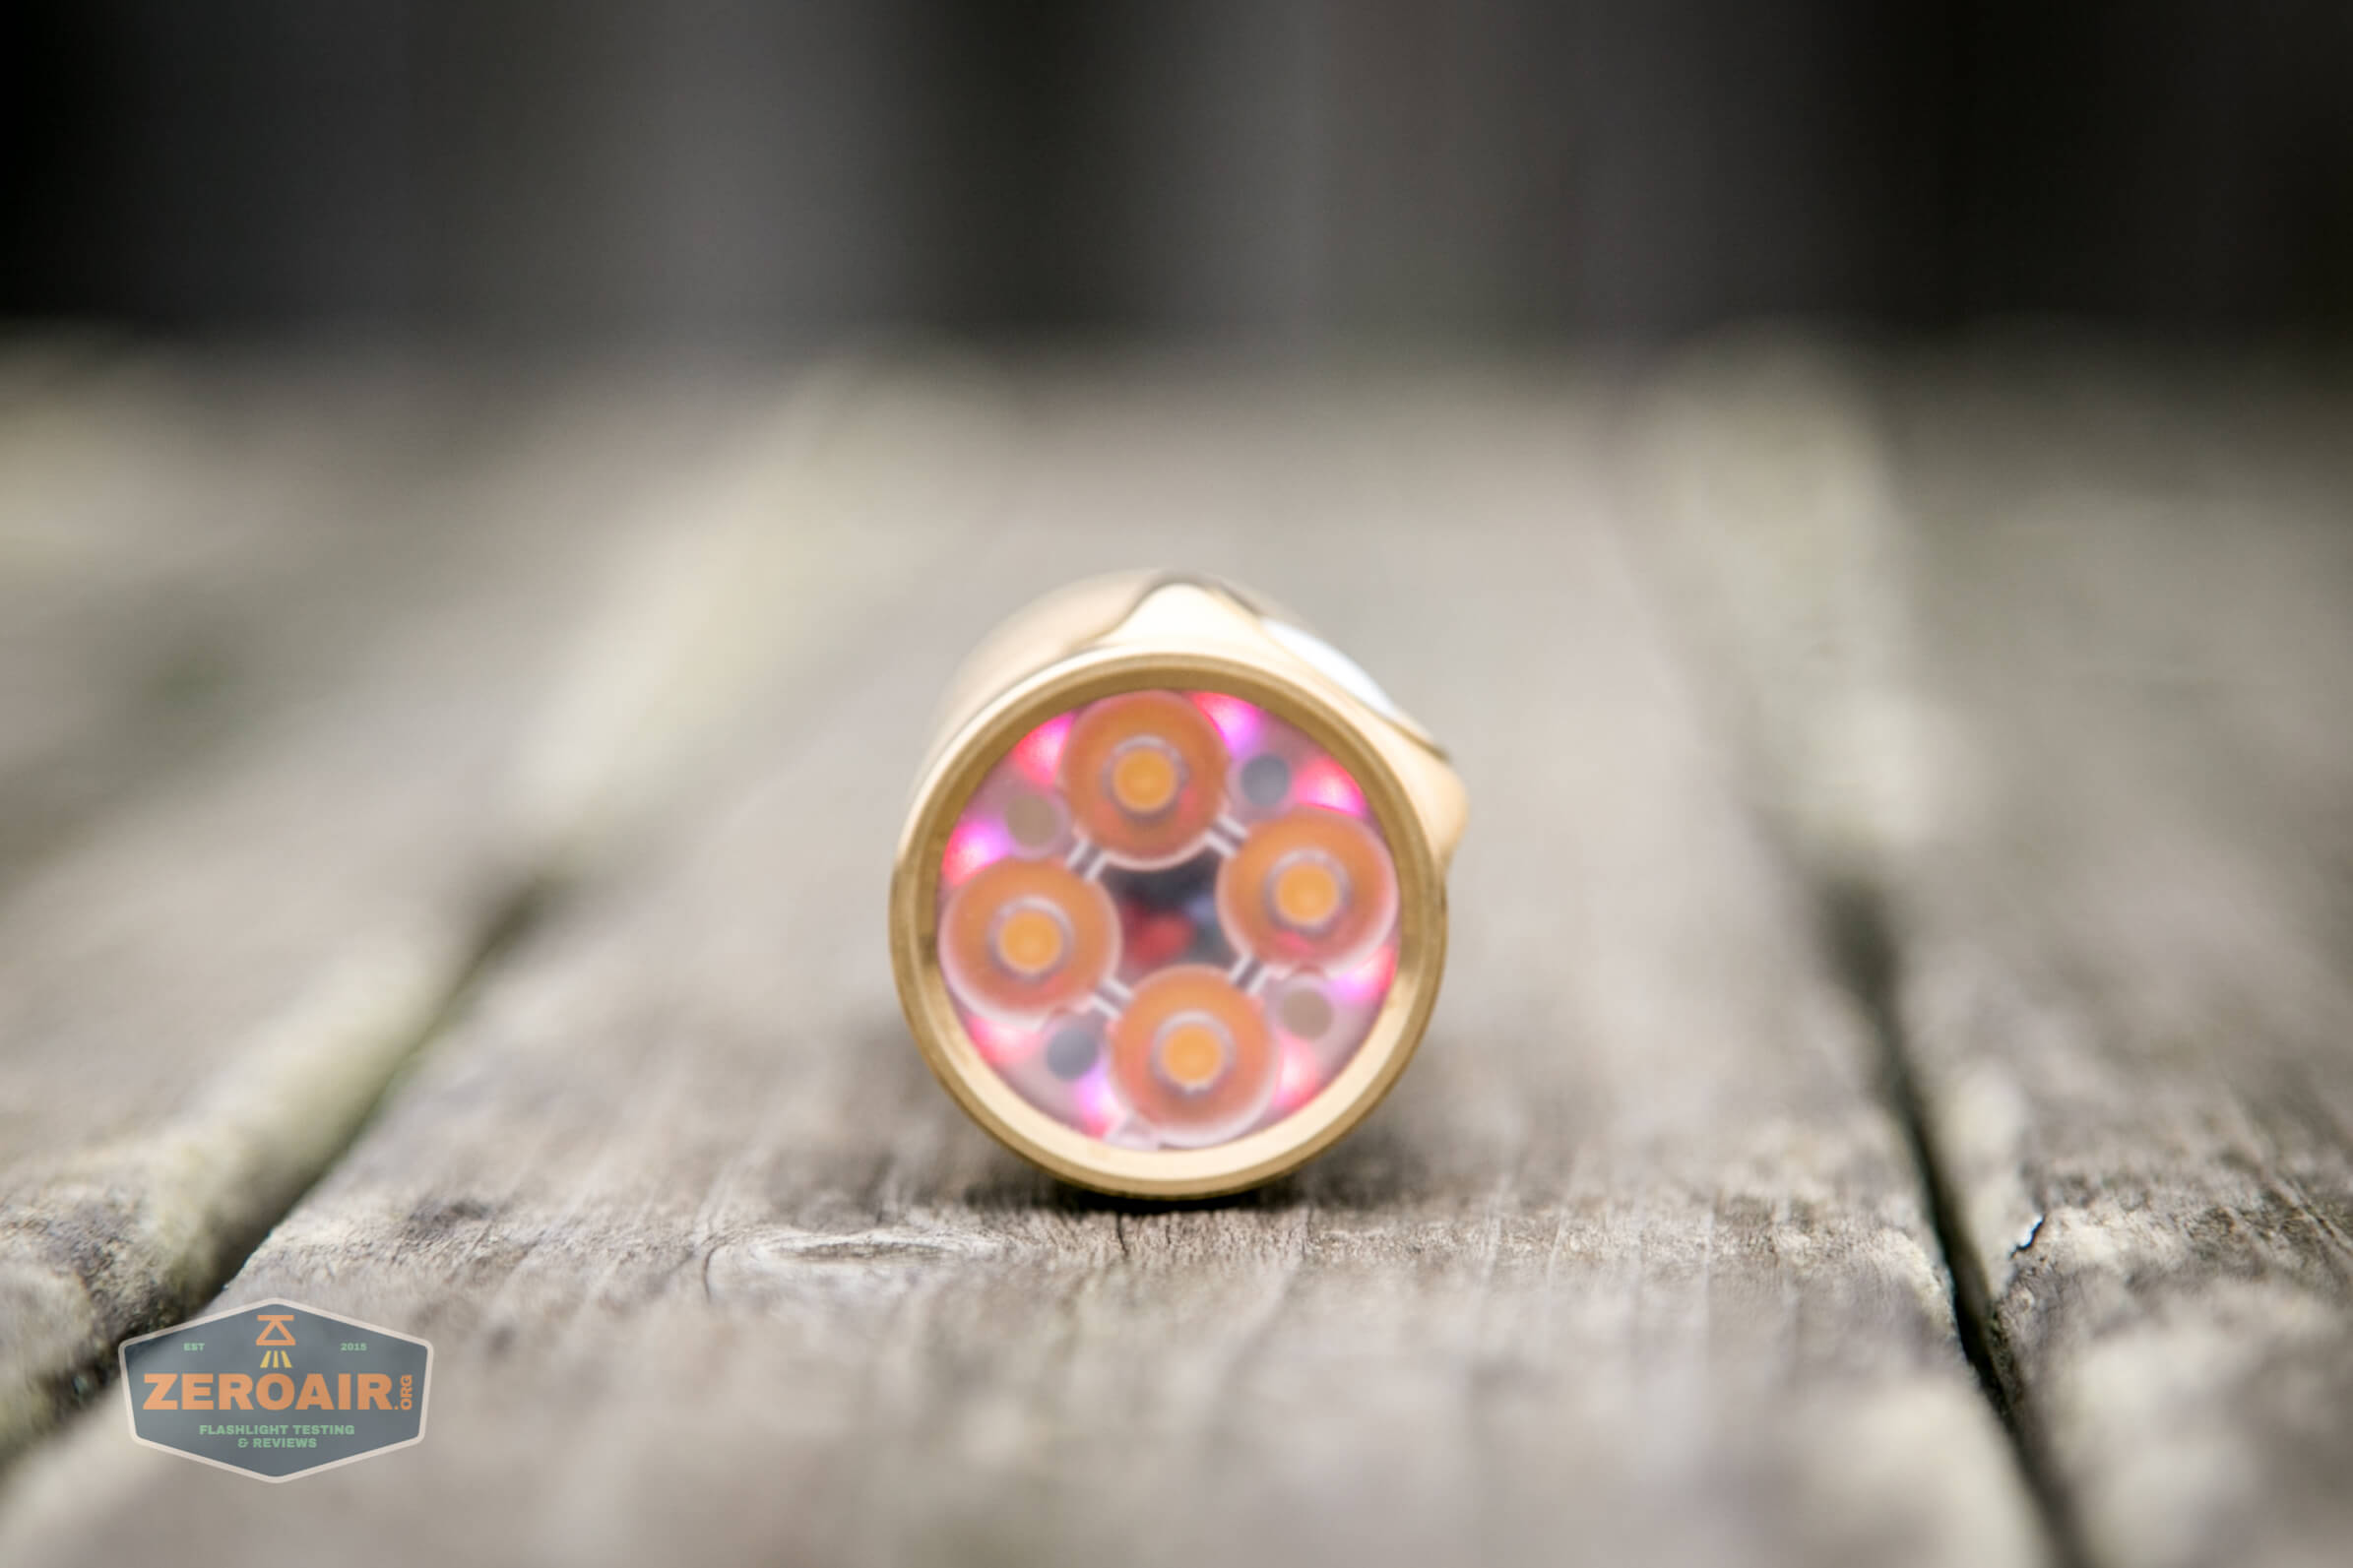
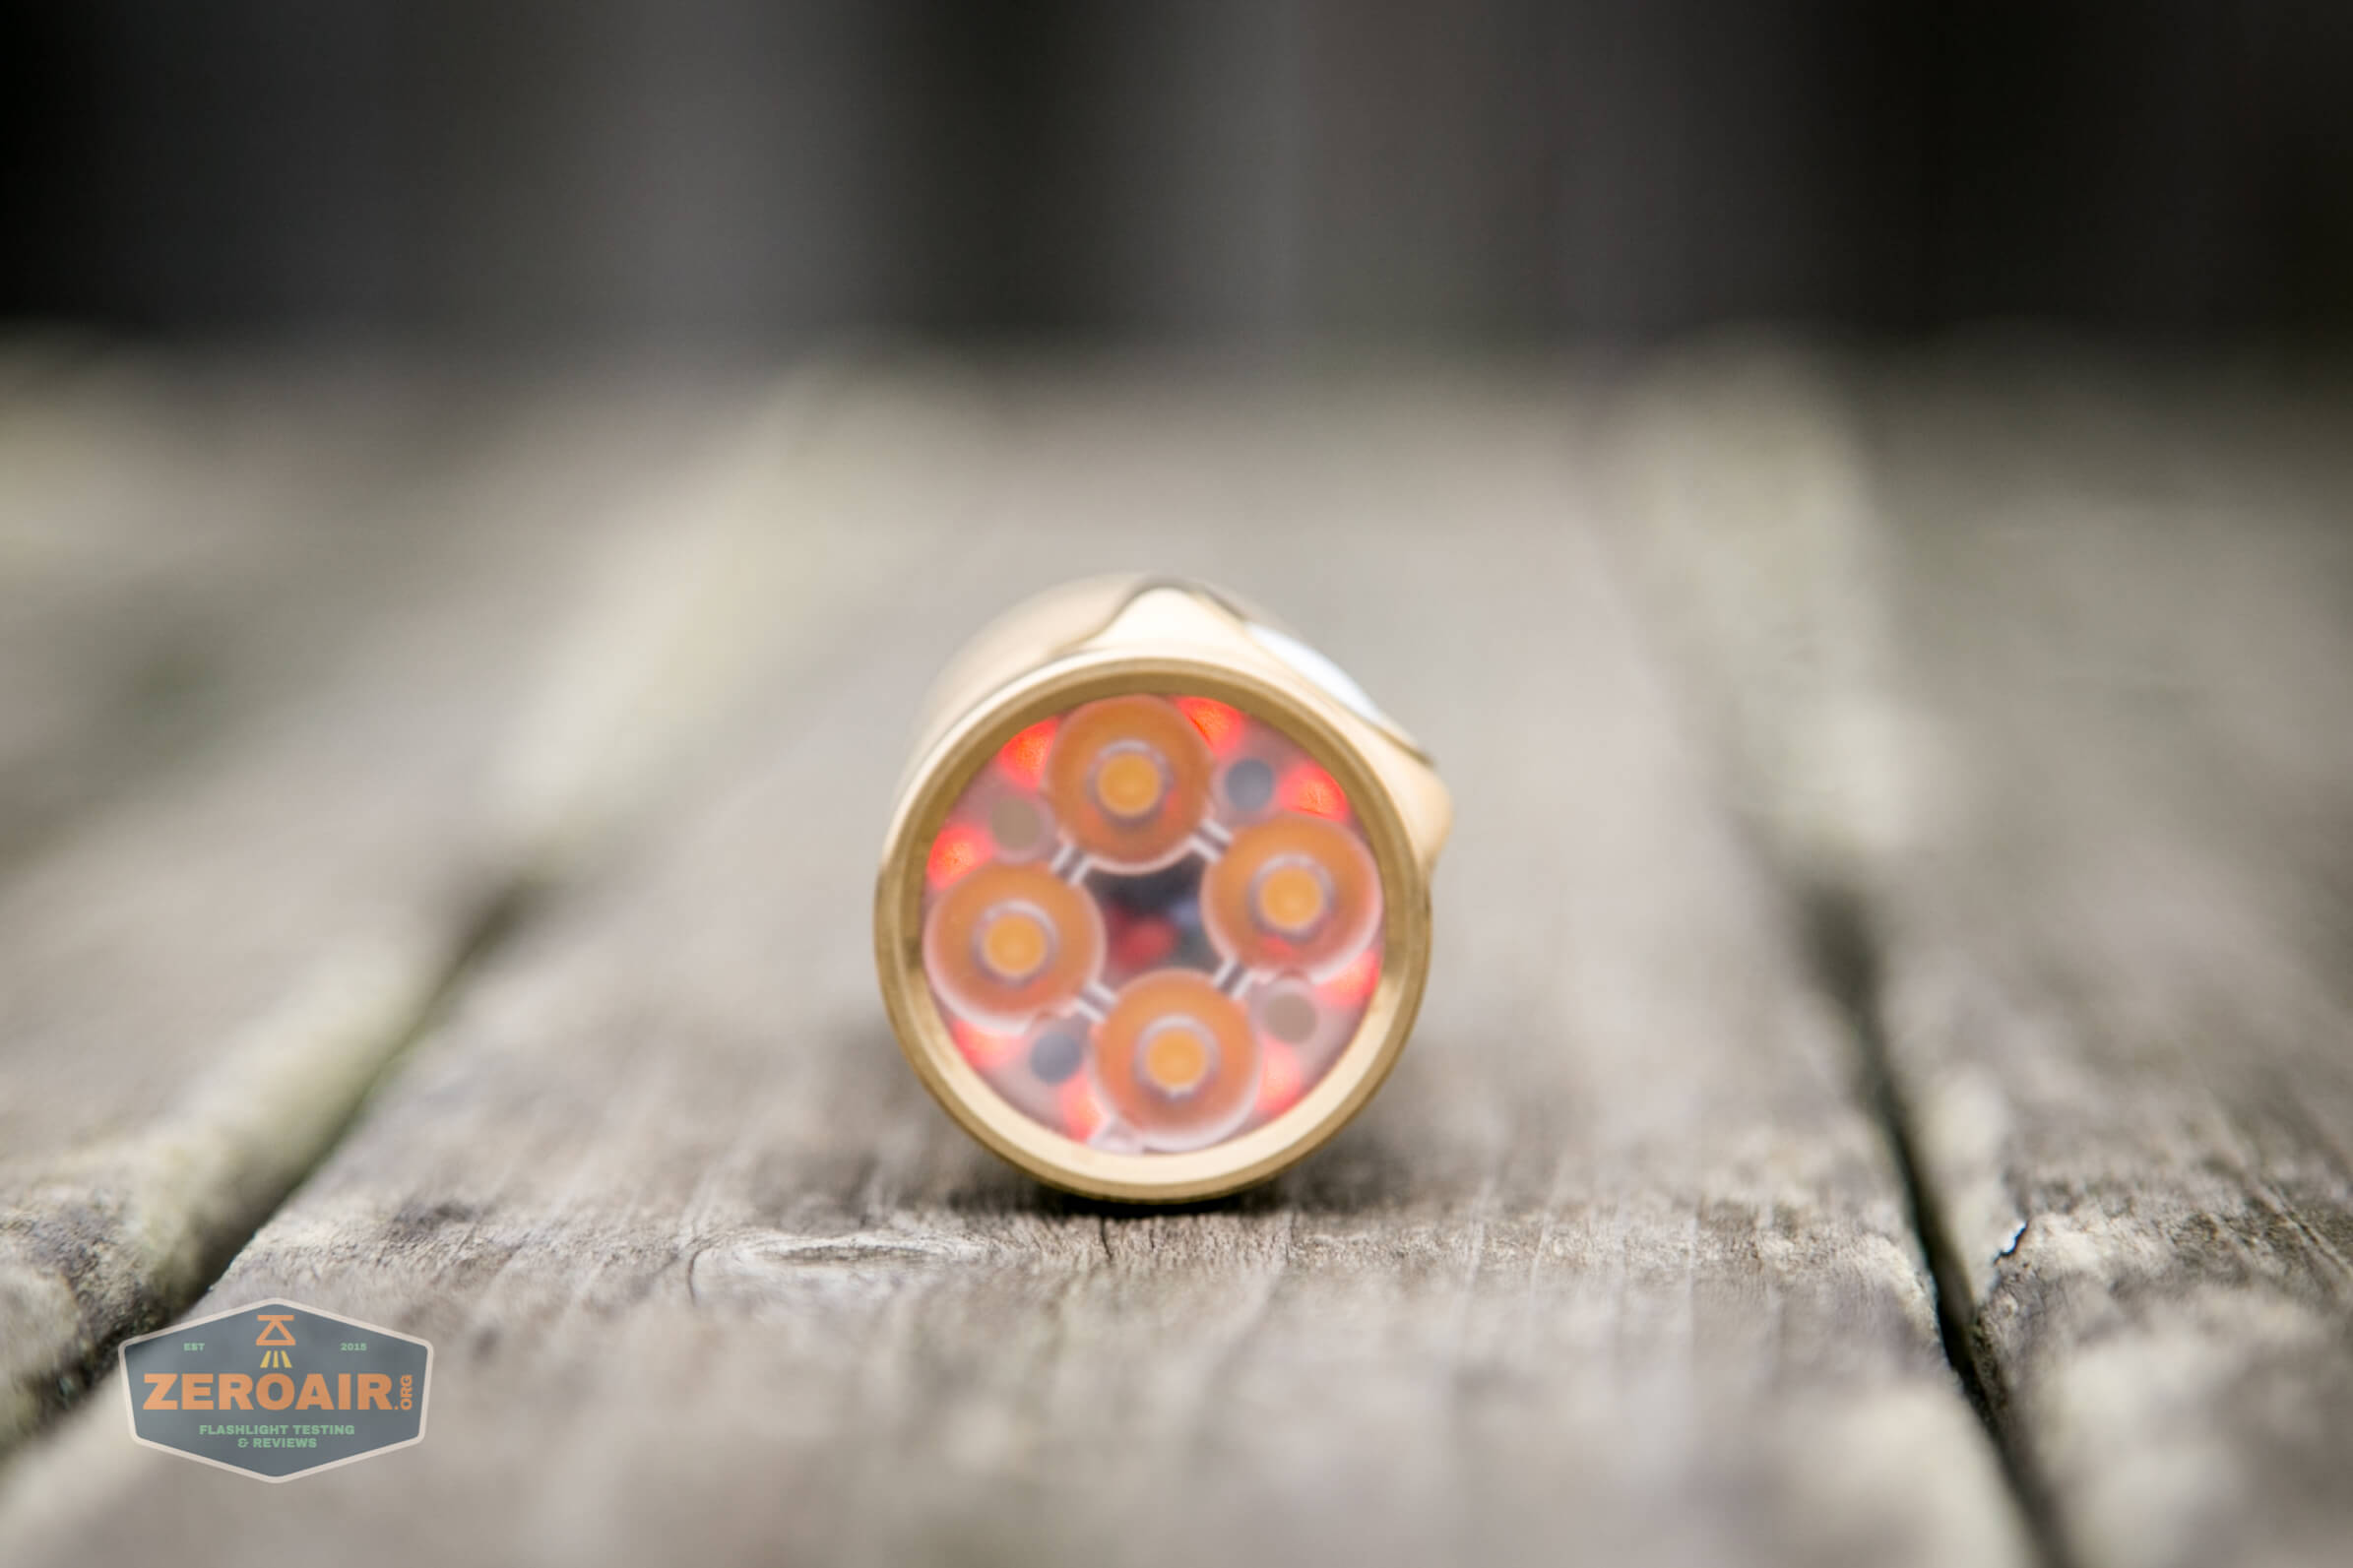
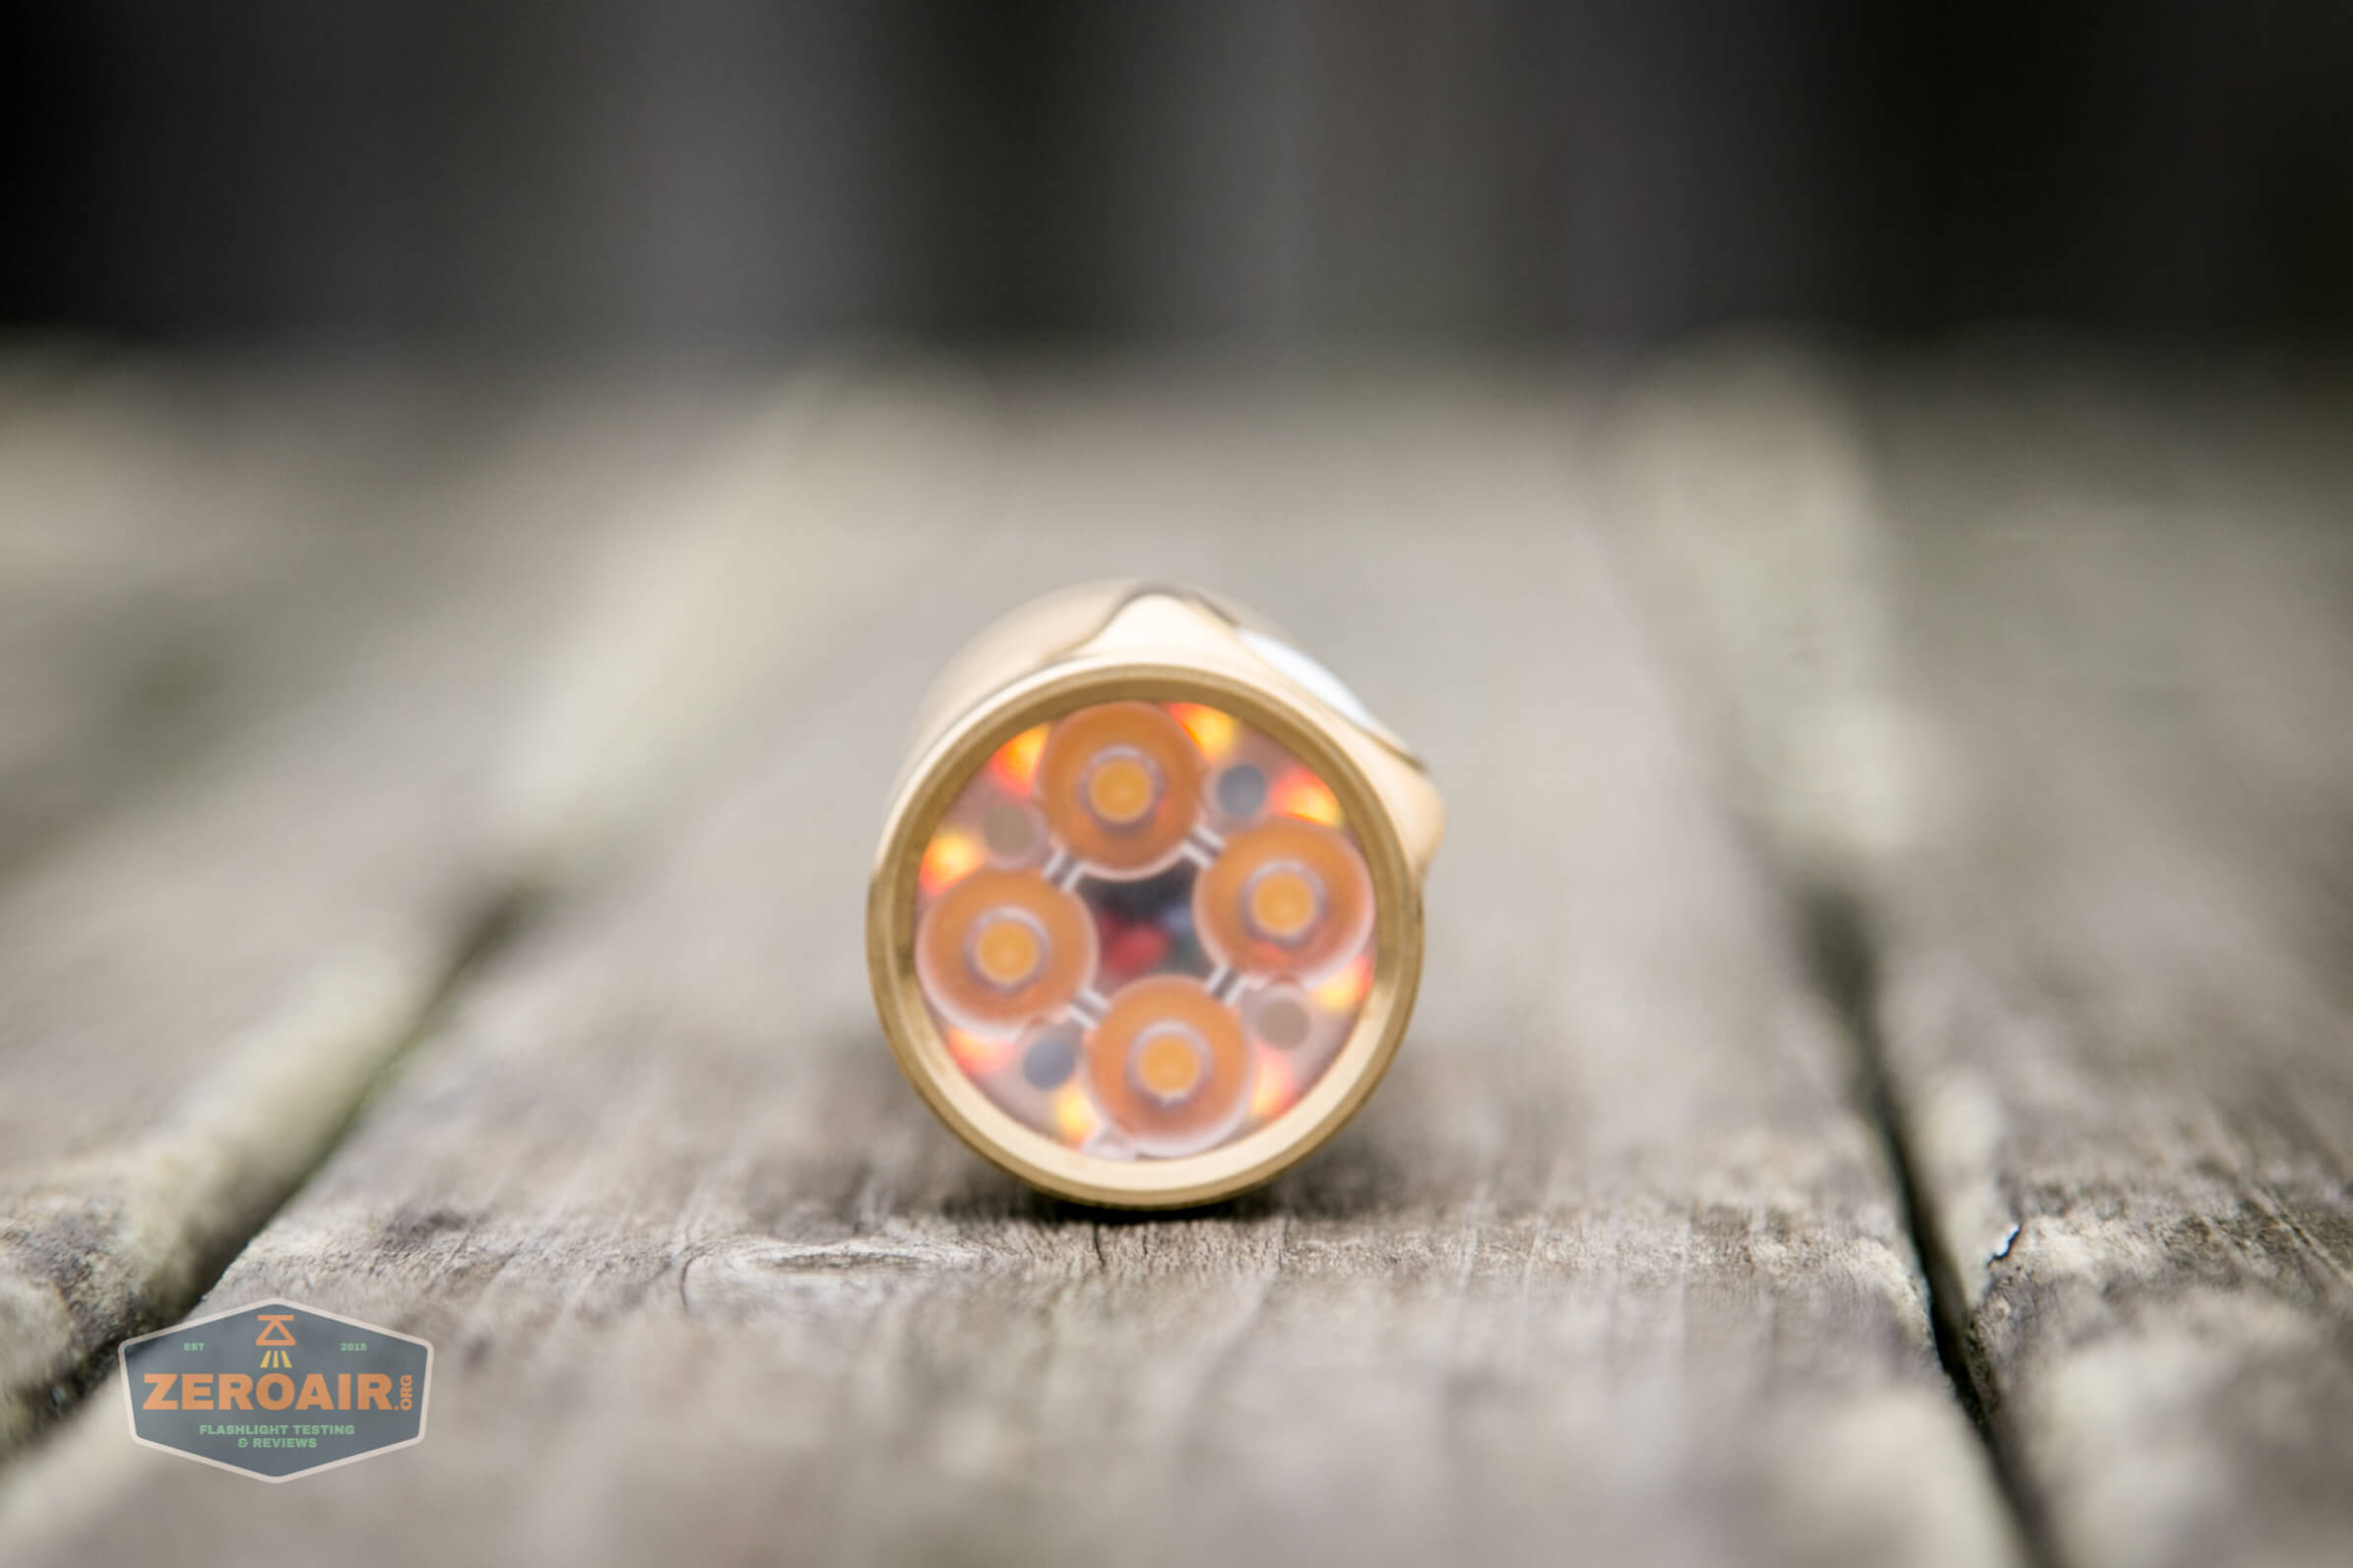
The Emisar D4V2 is a quad (four emitter) light, with a frosted Carclo optic.

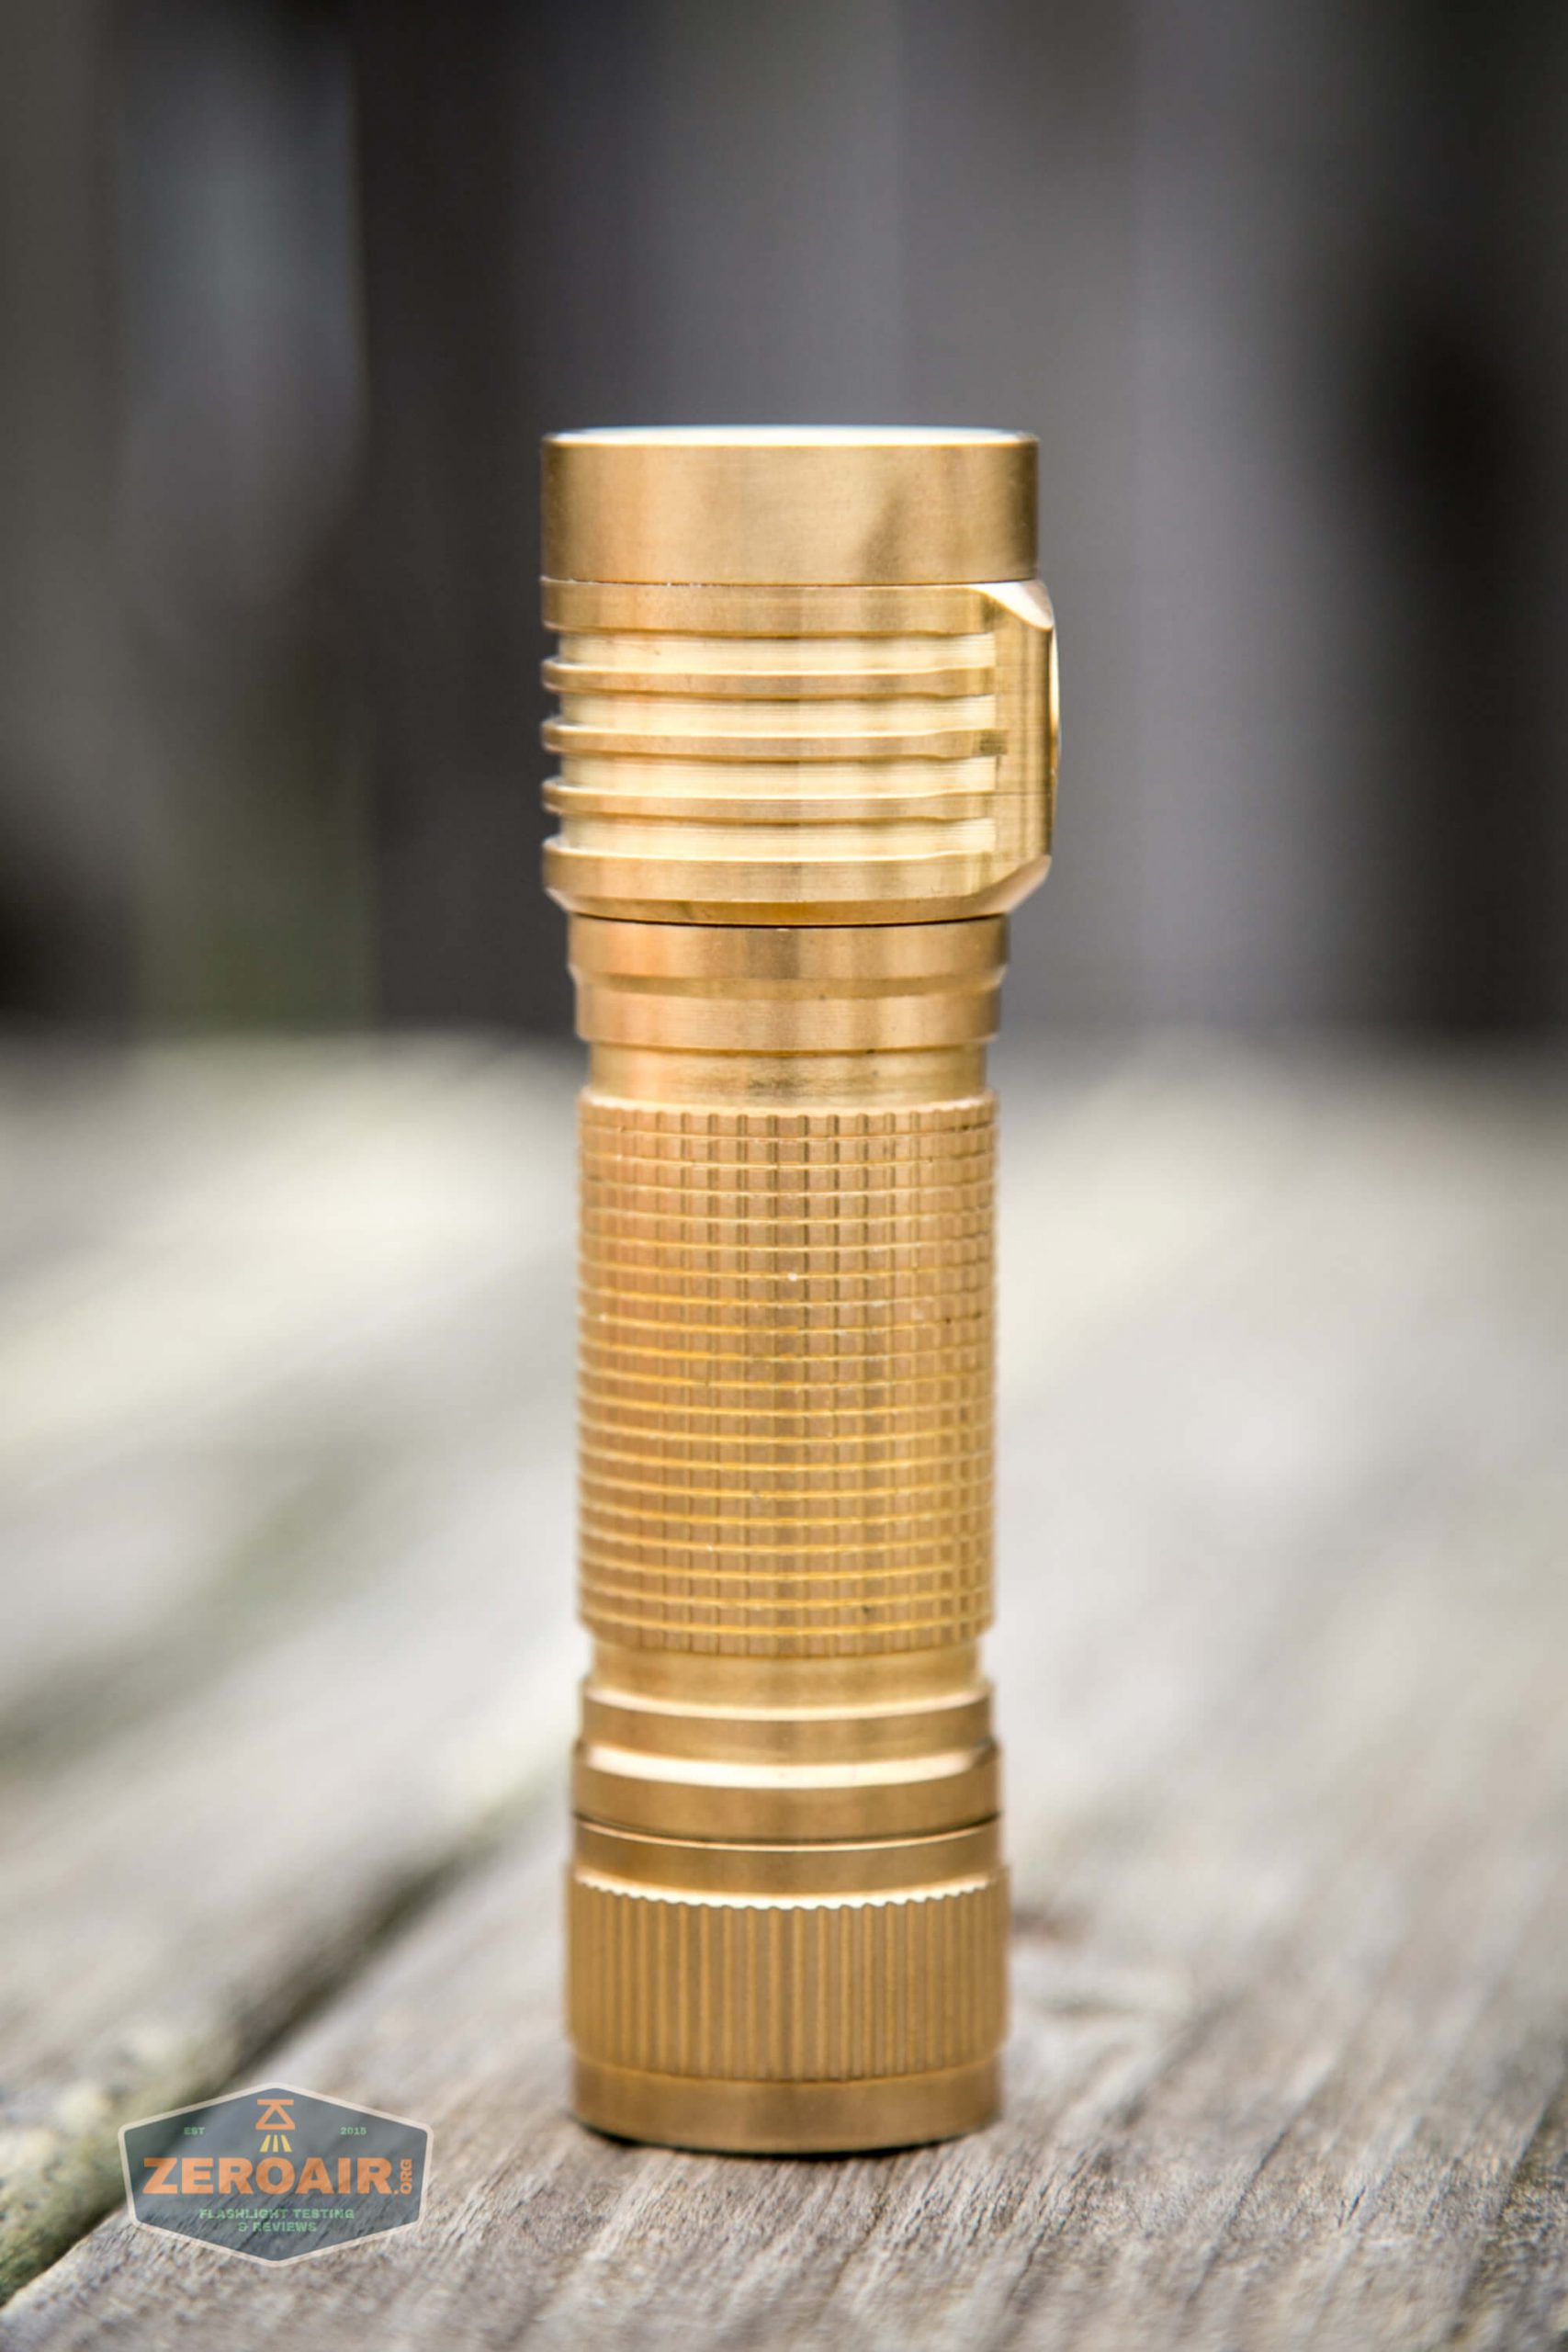
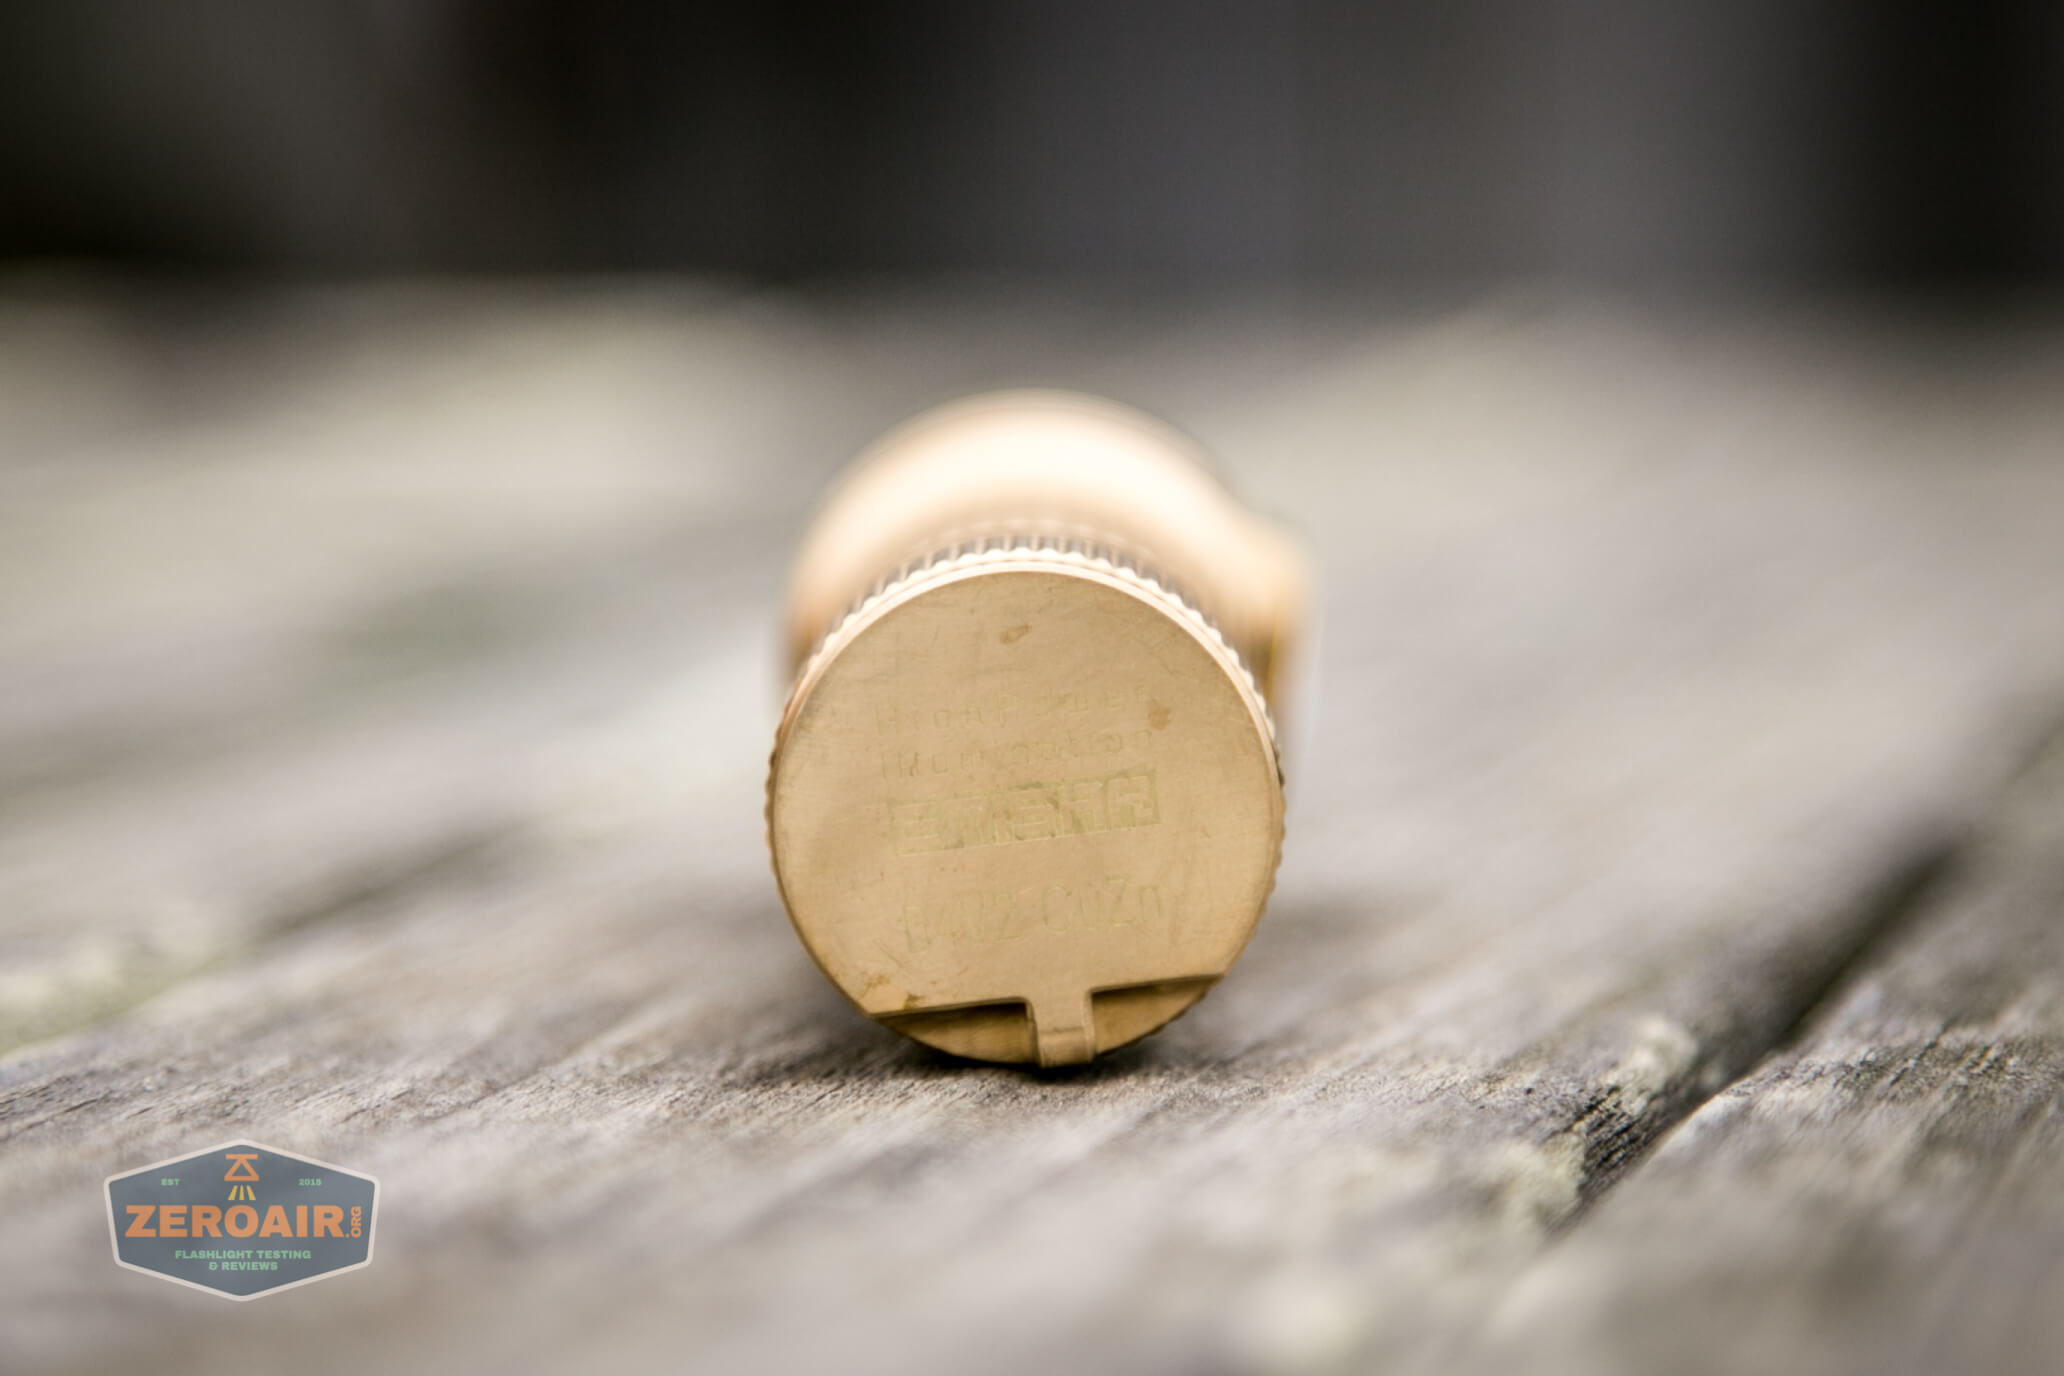
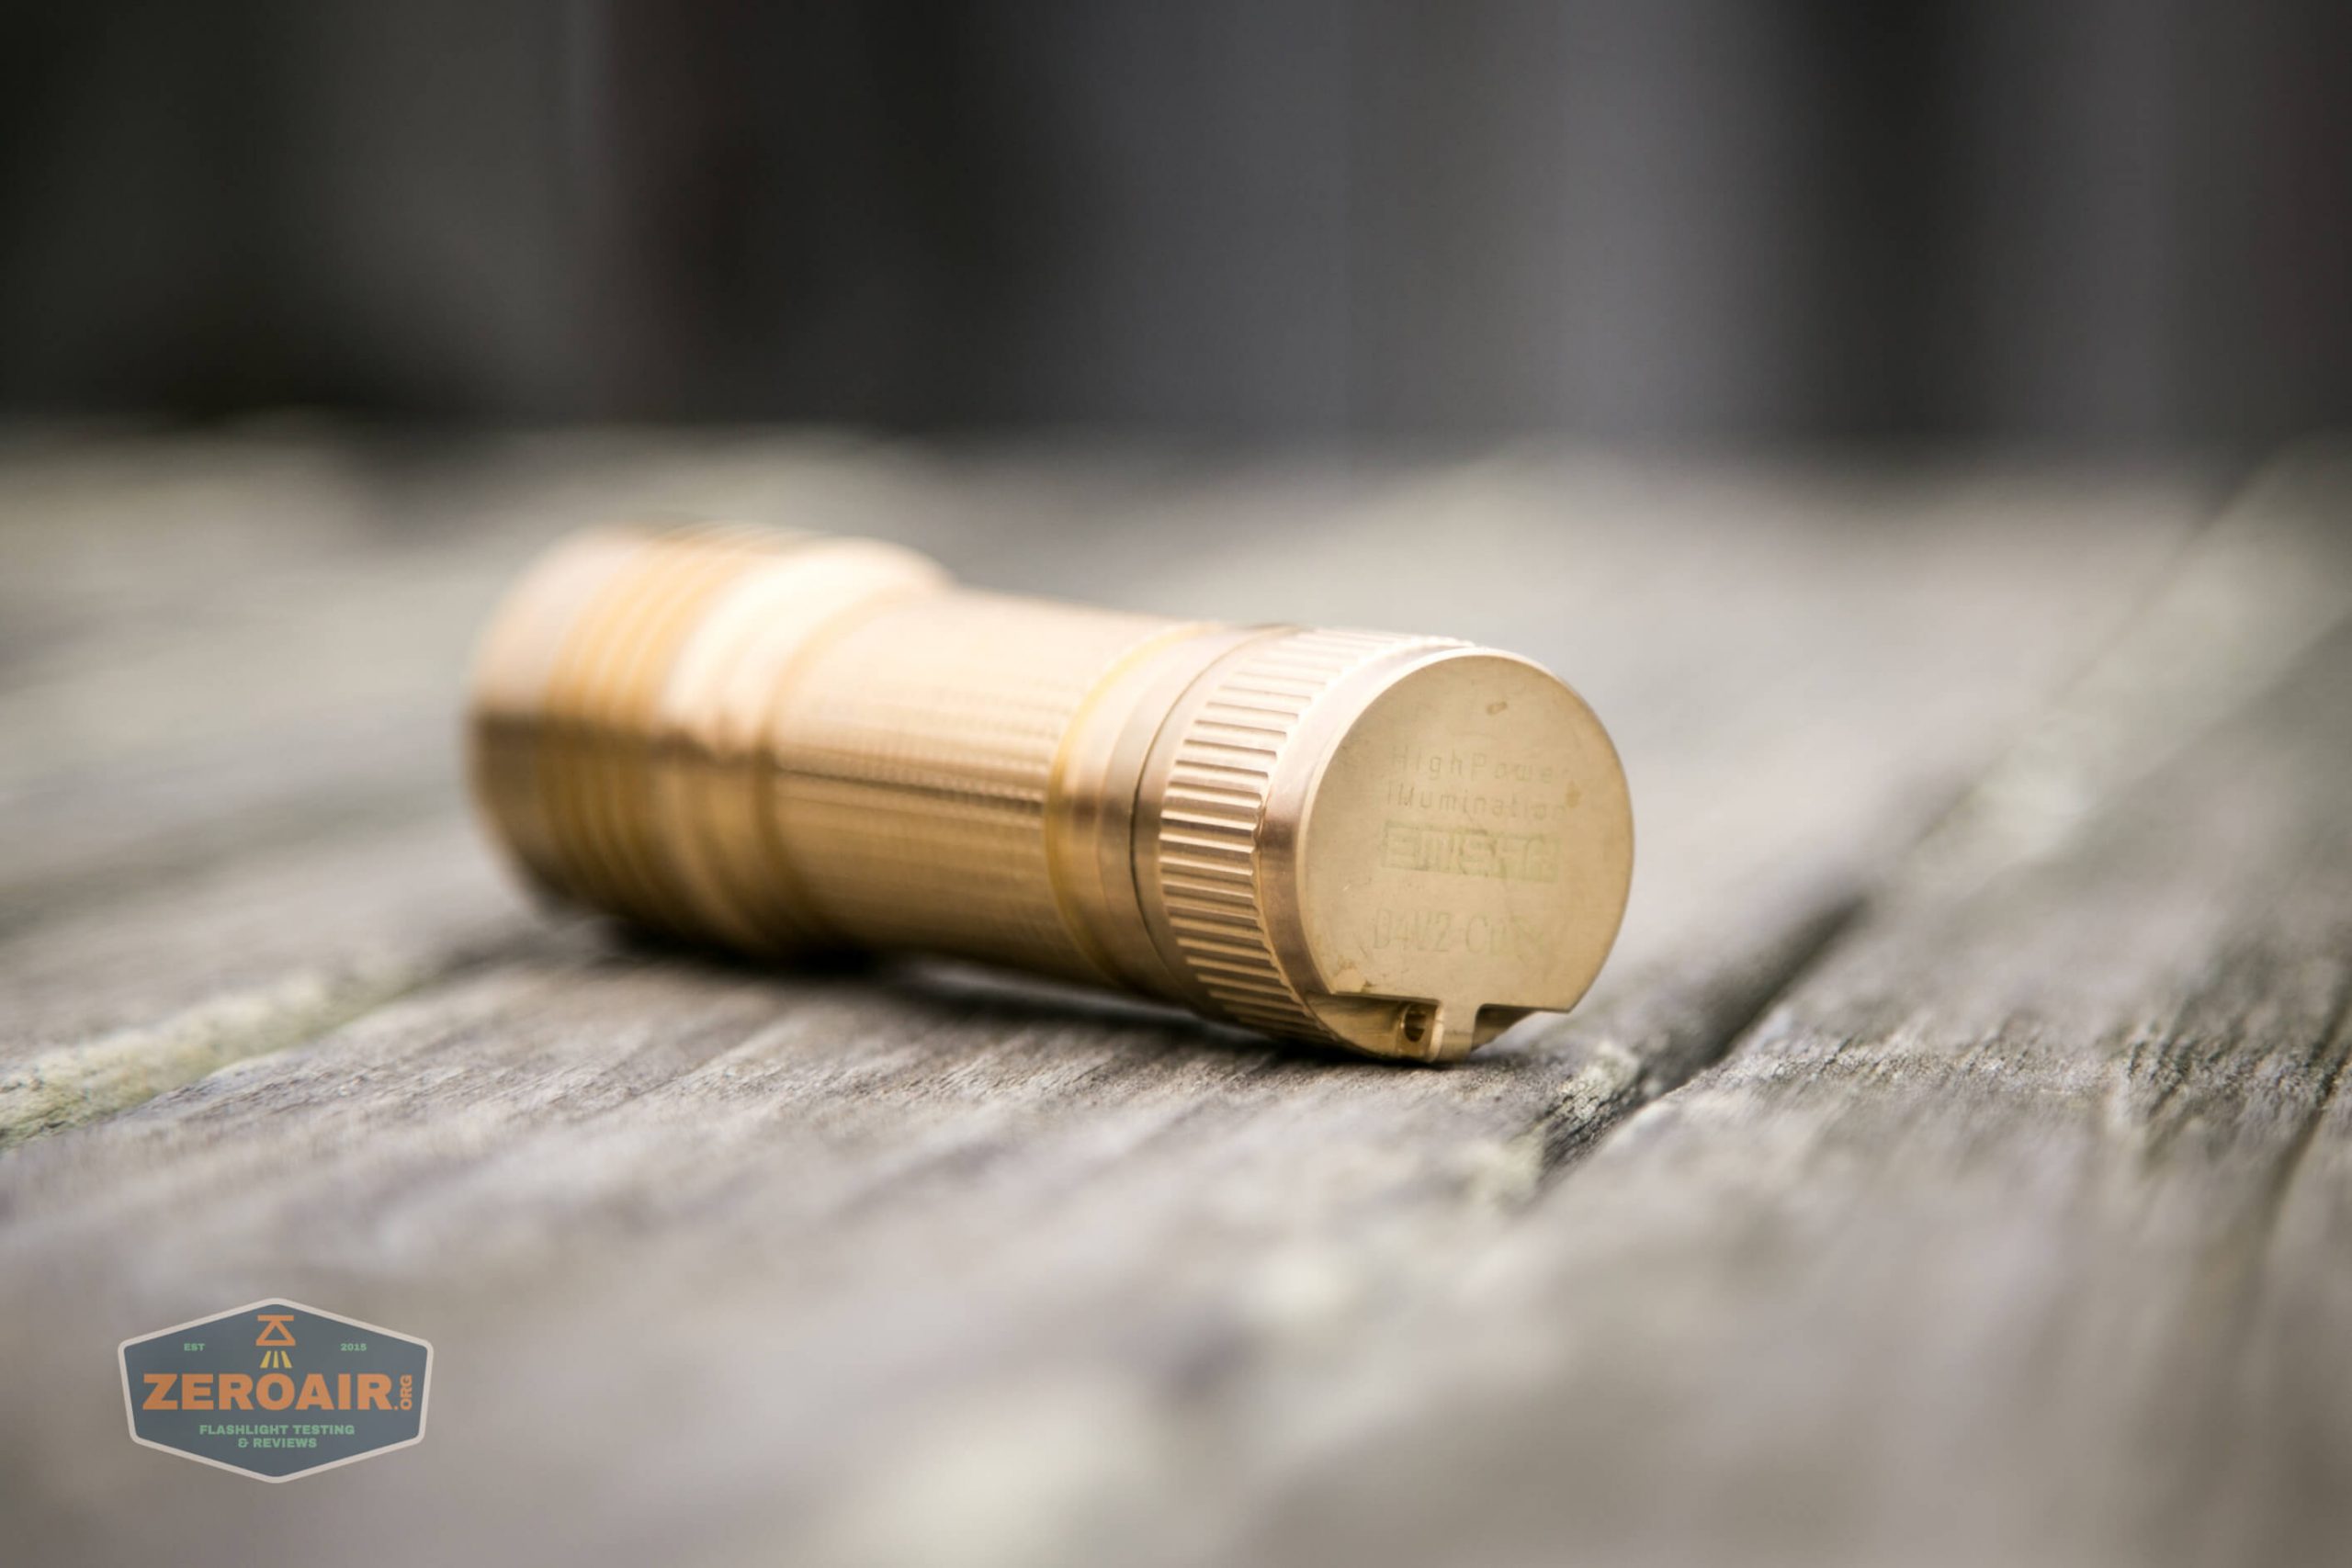
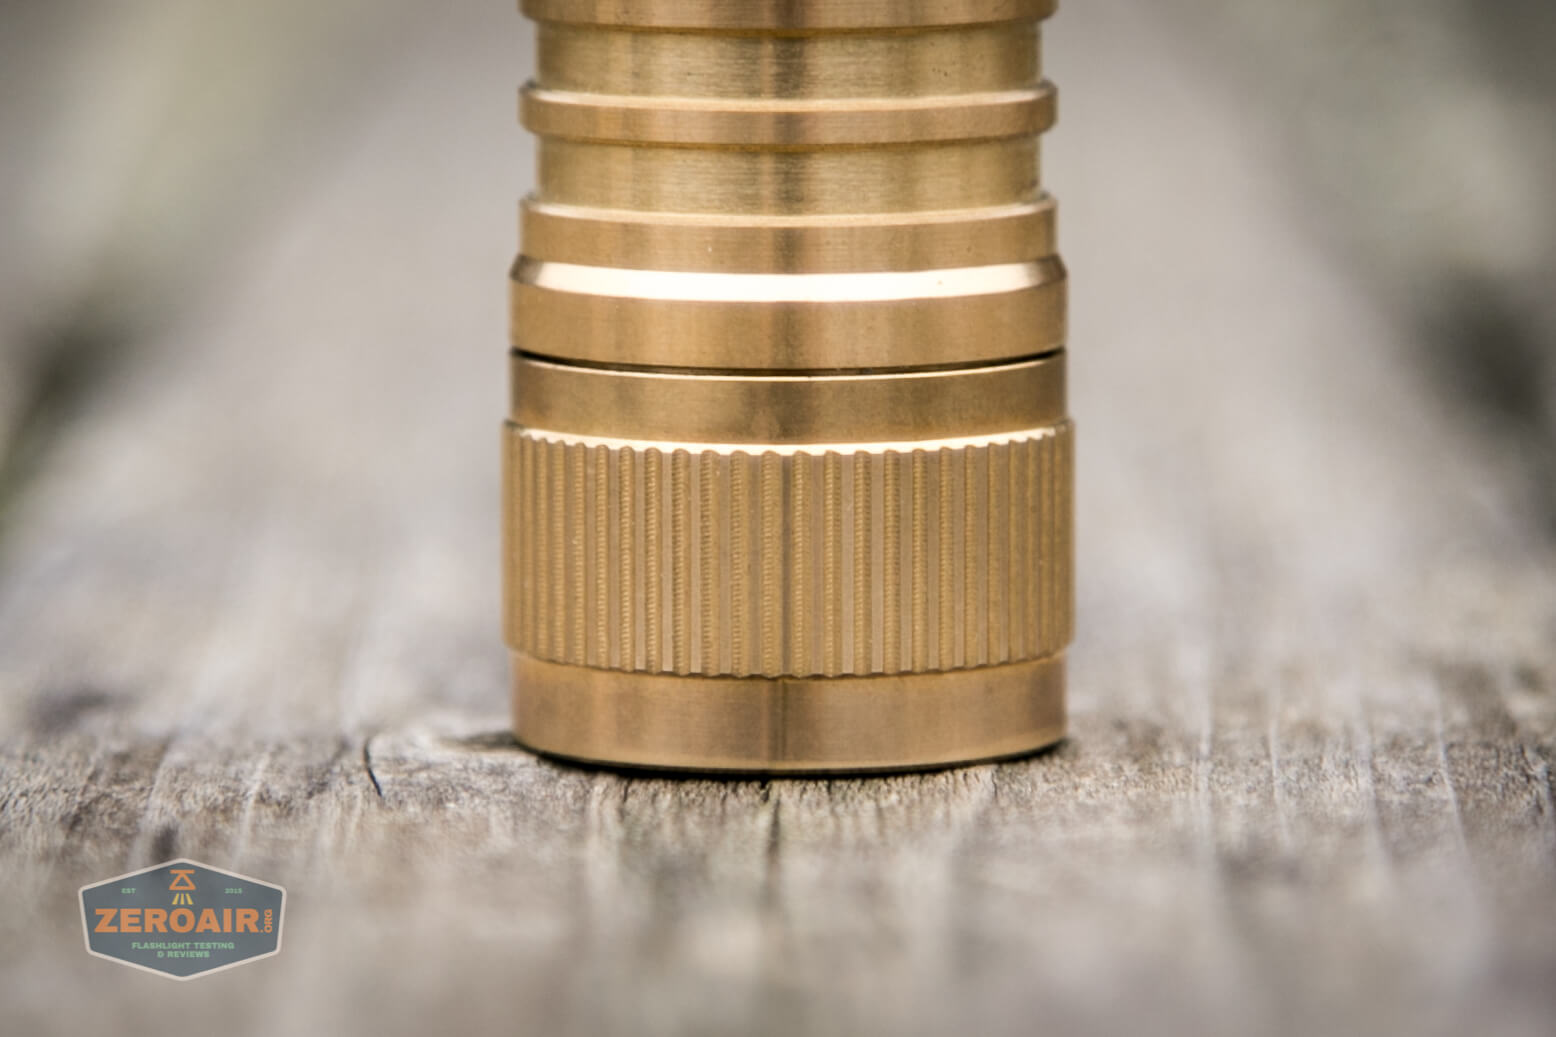
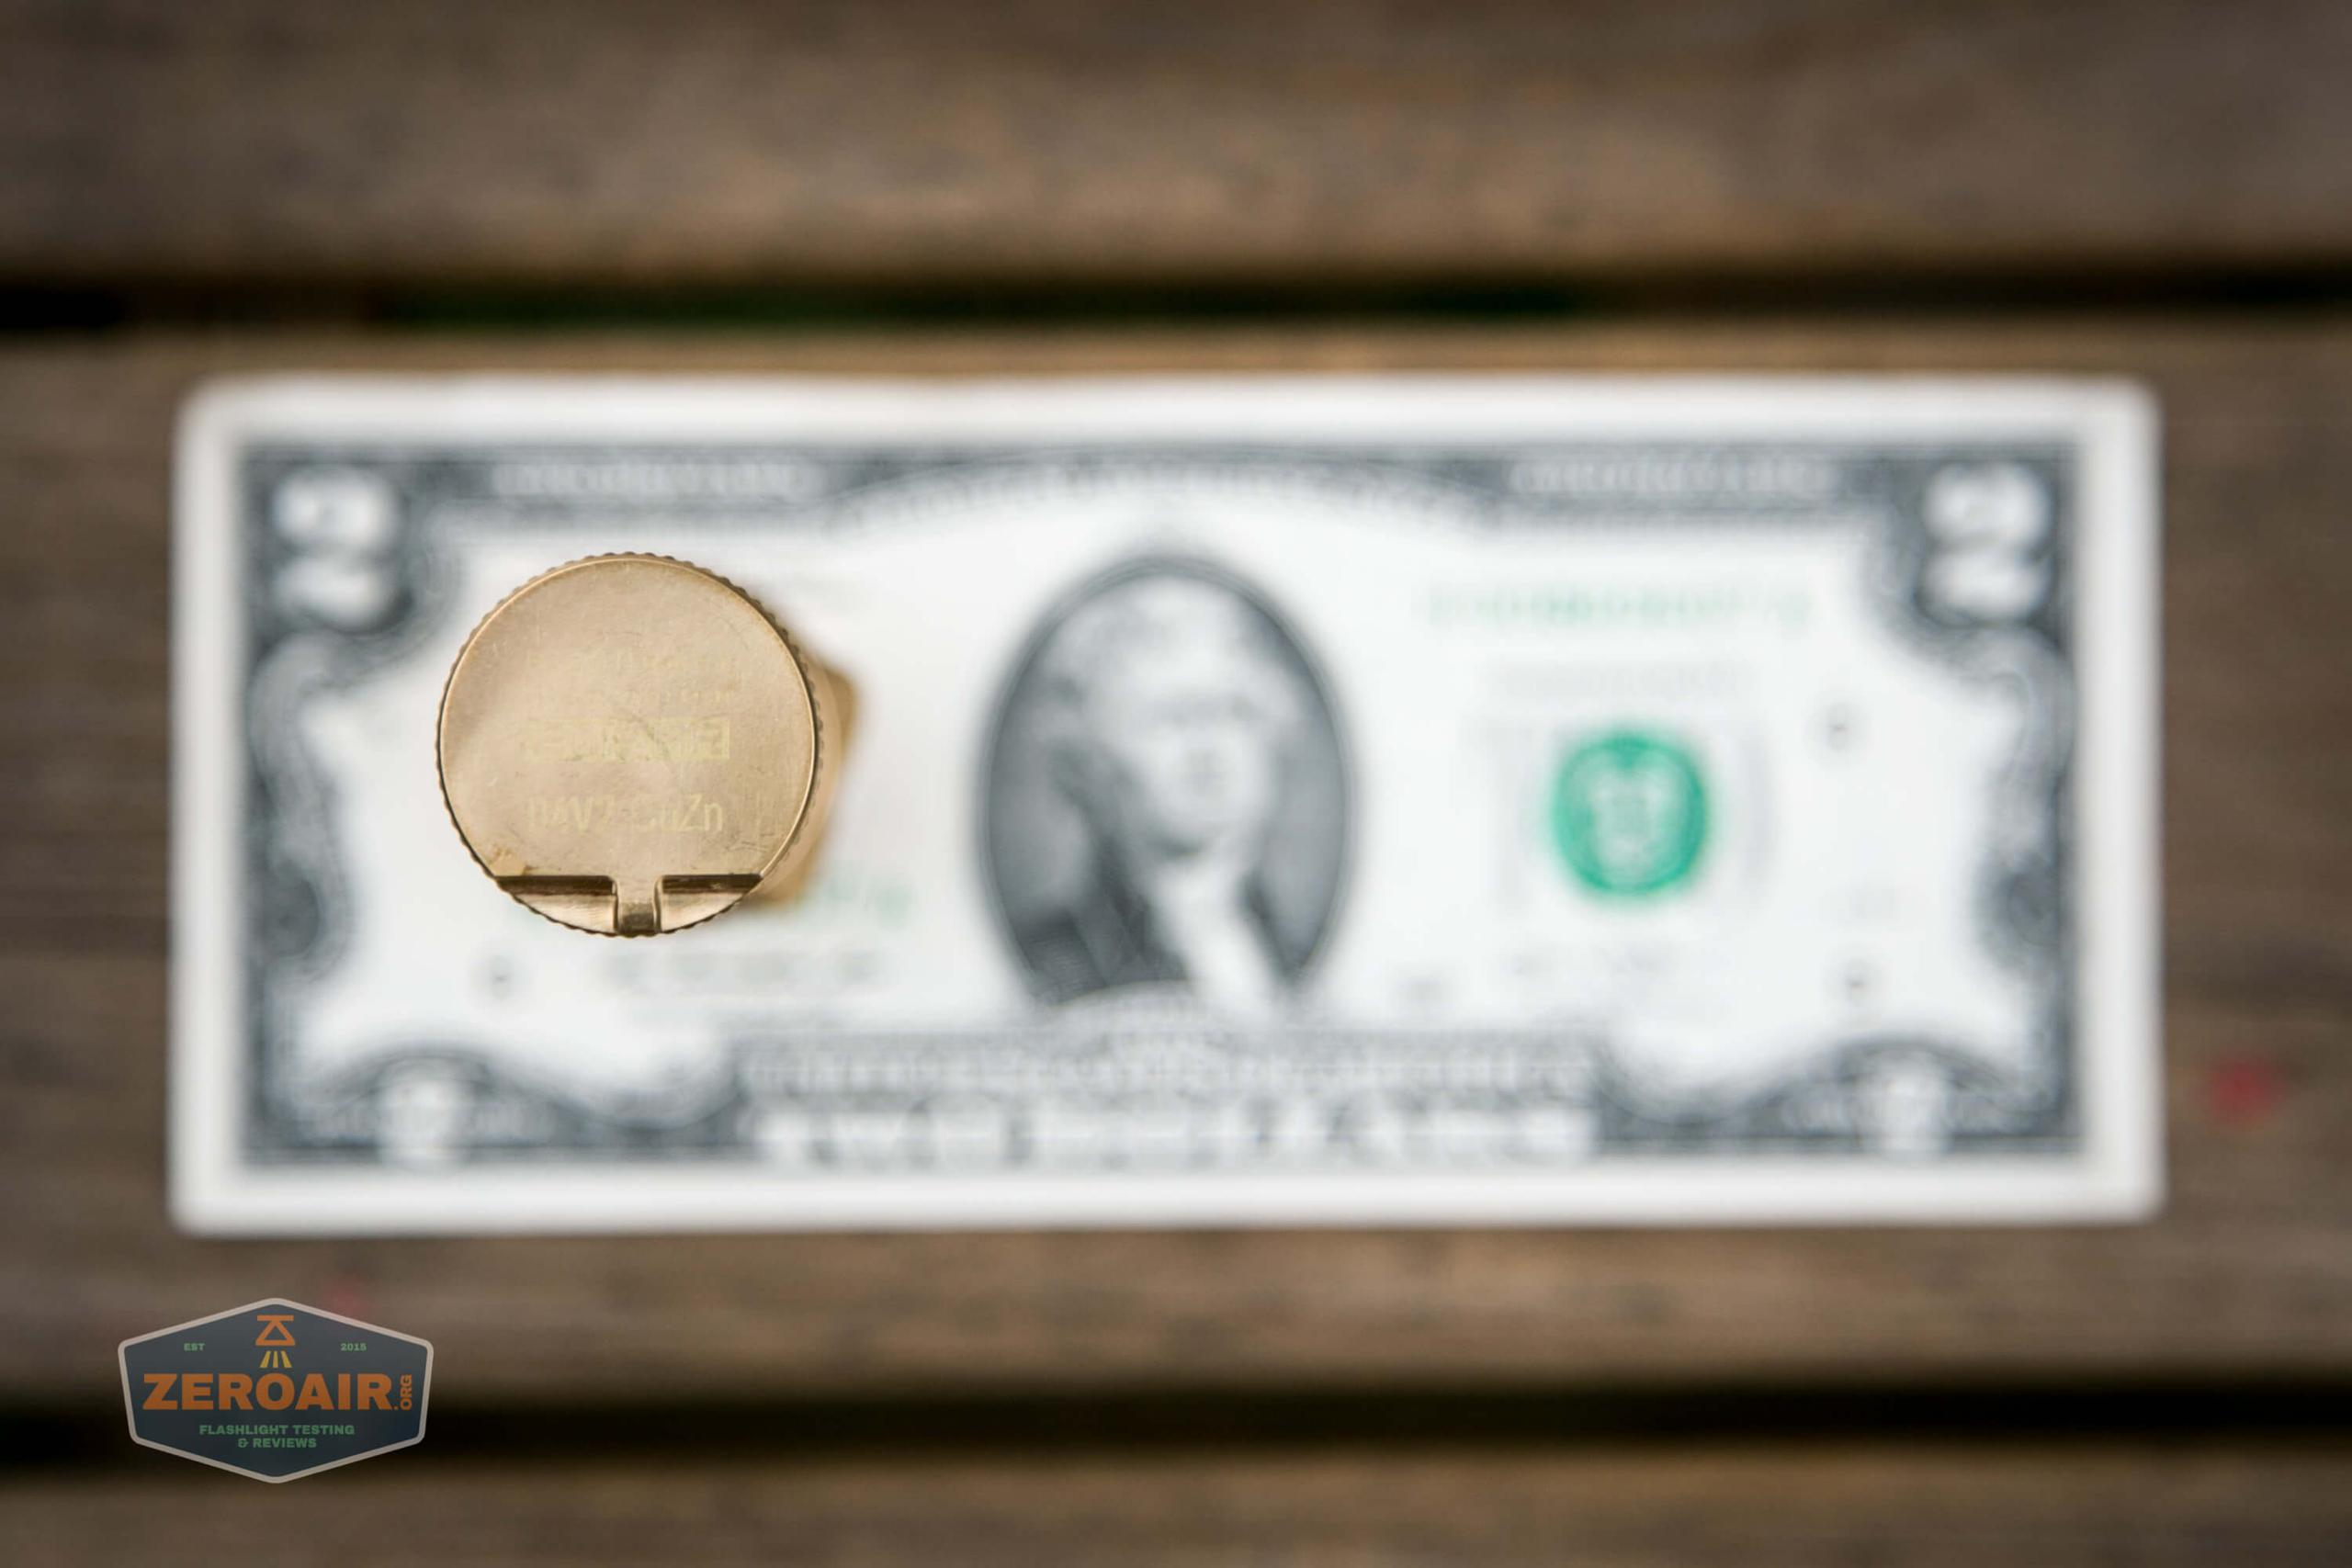
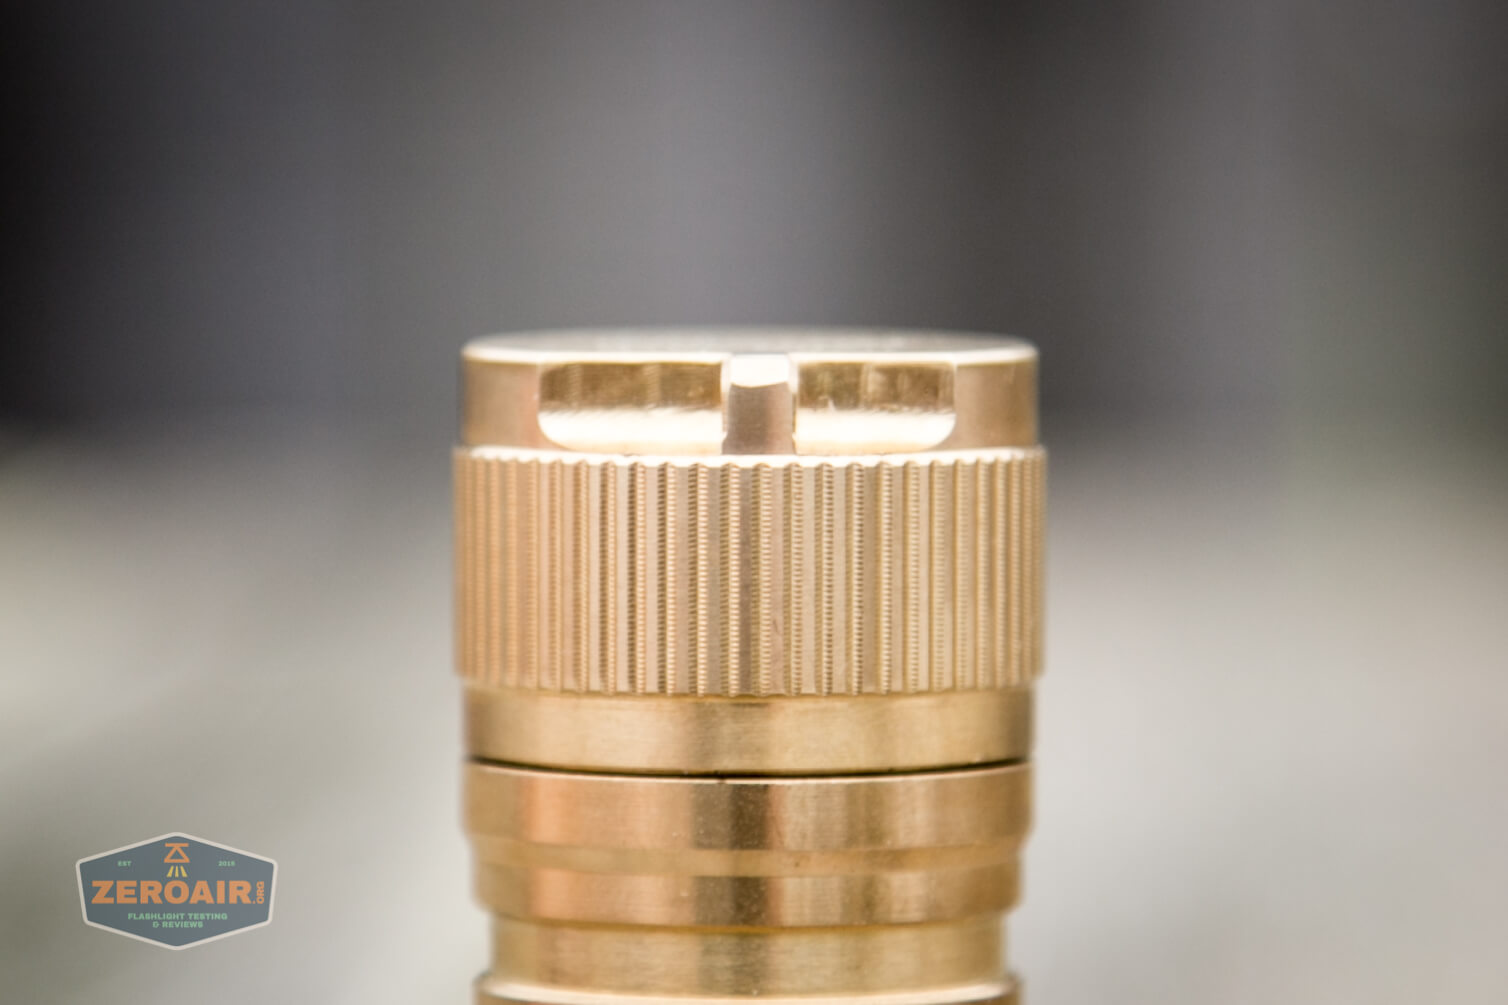
The tailcap has some branding, but it’s very faint on this brass version. For the record, it says “High Power Illumination | Emisar | D4V2 CuZn”
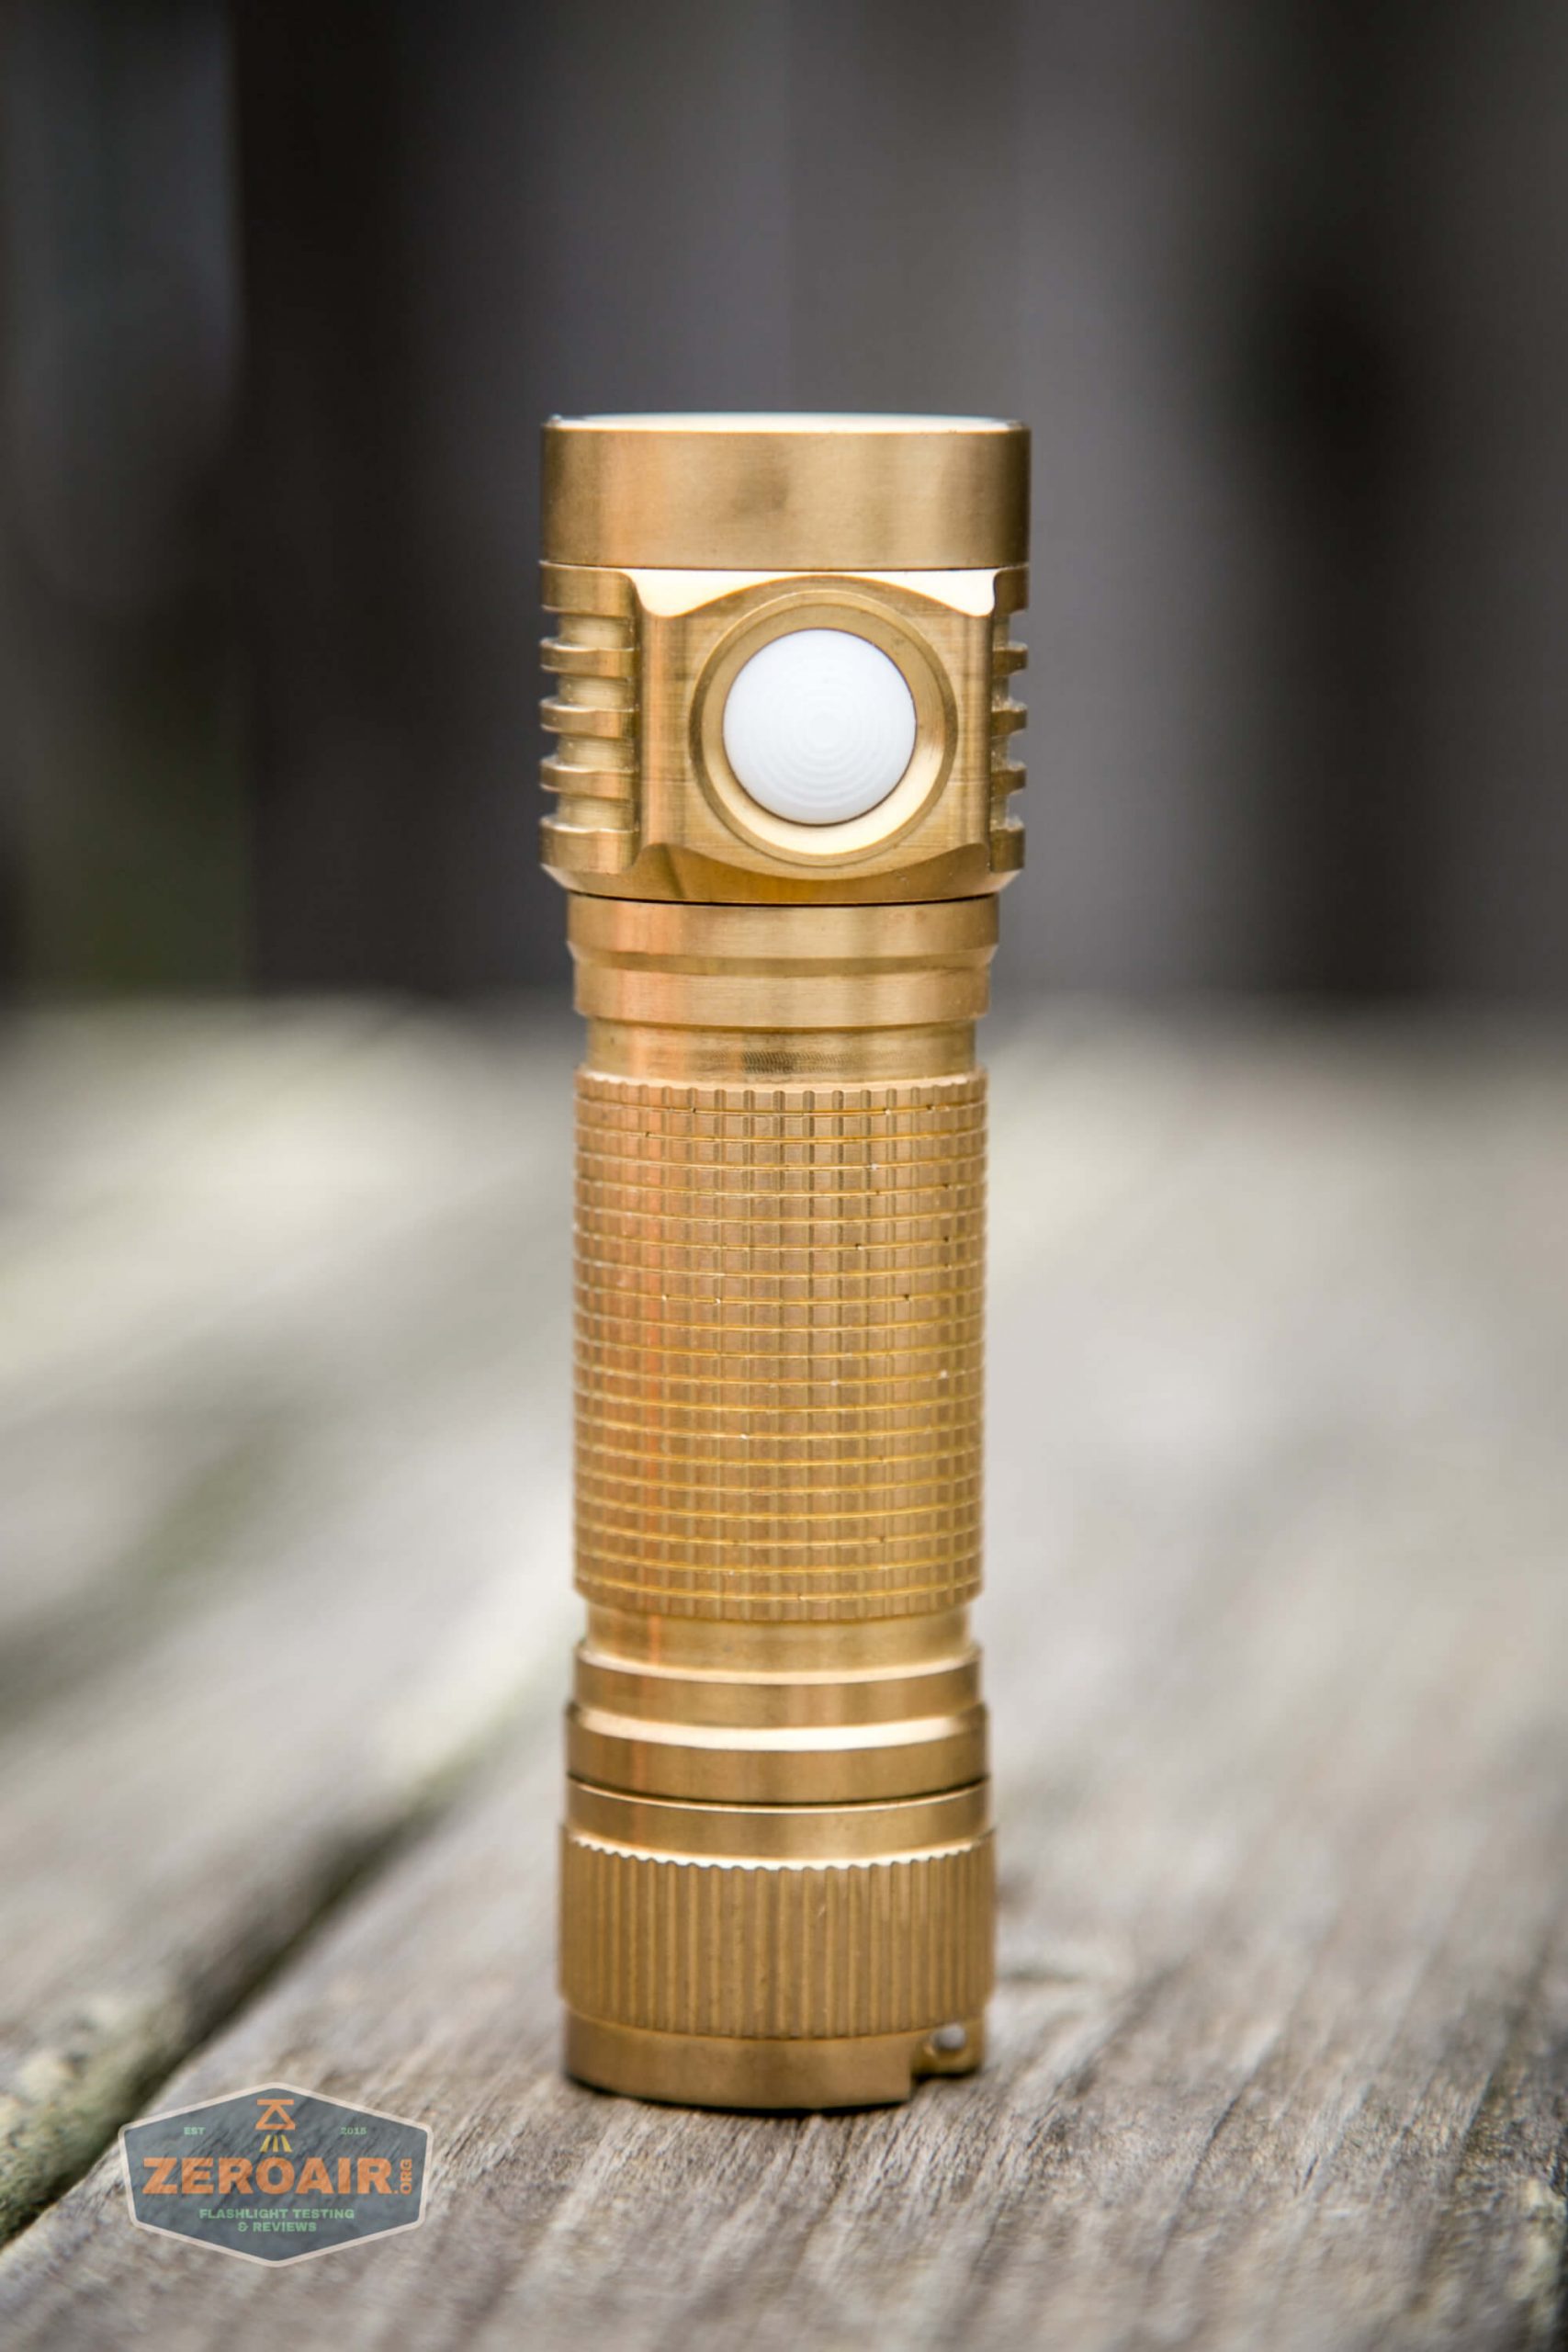
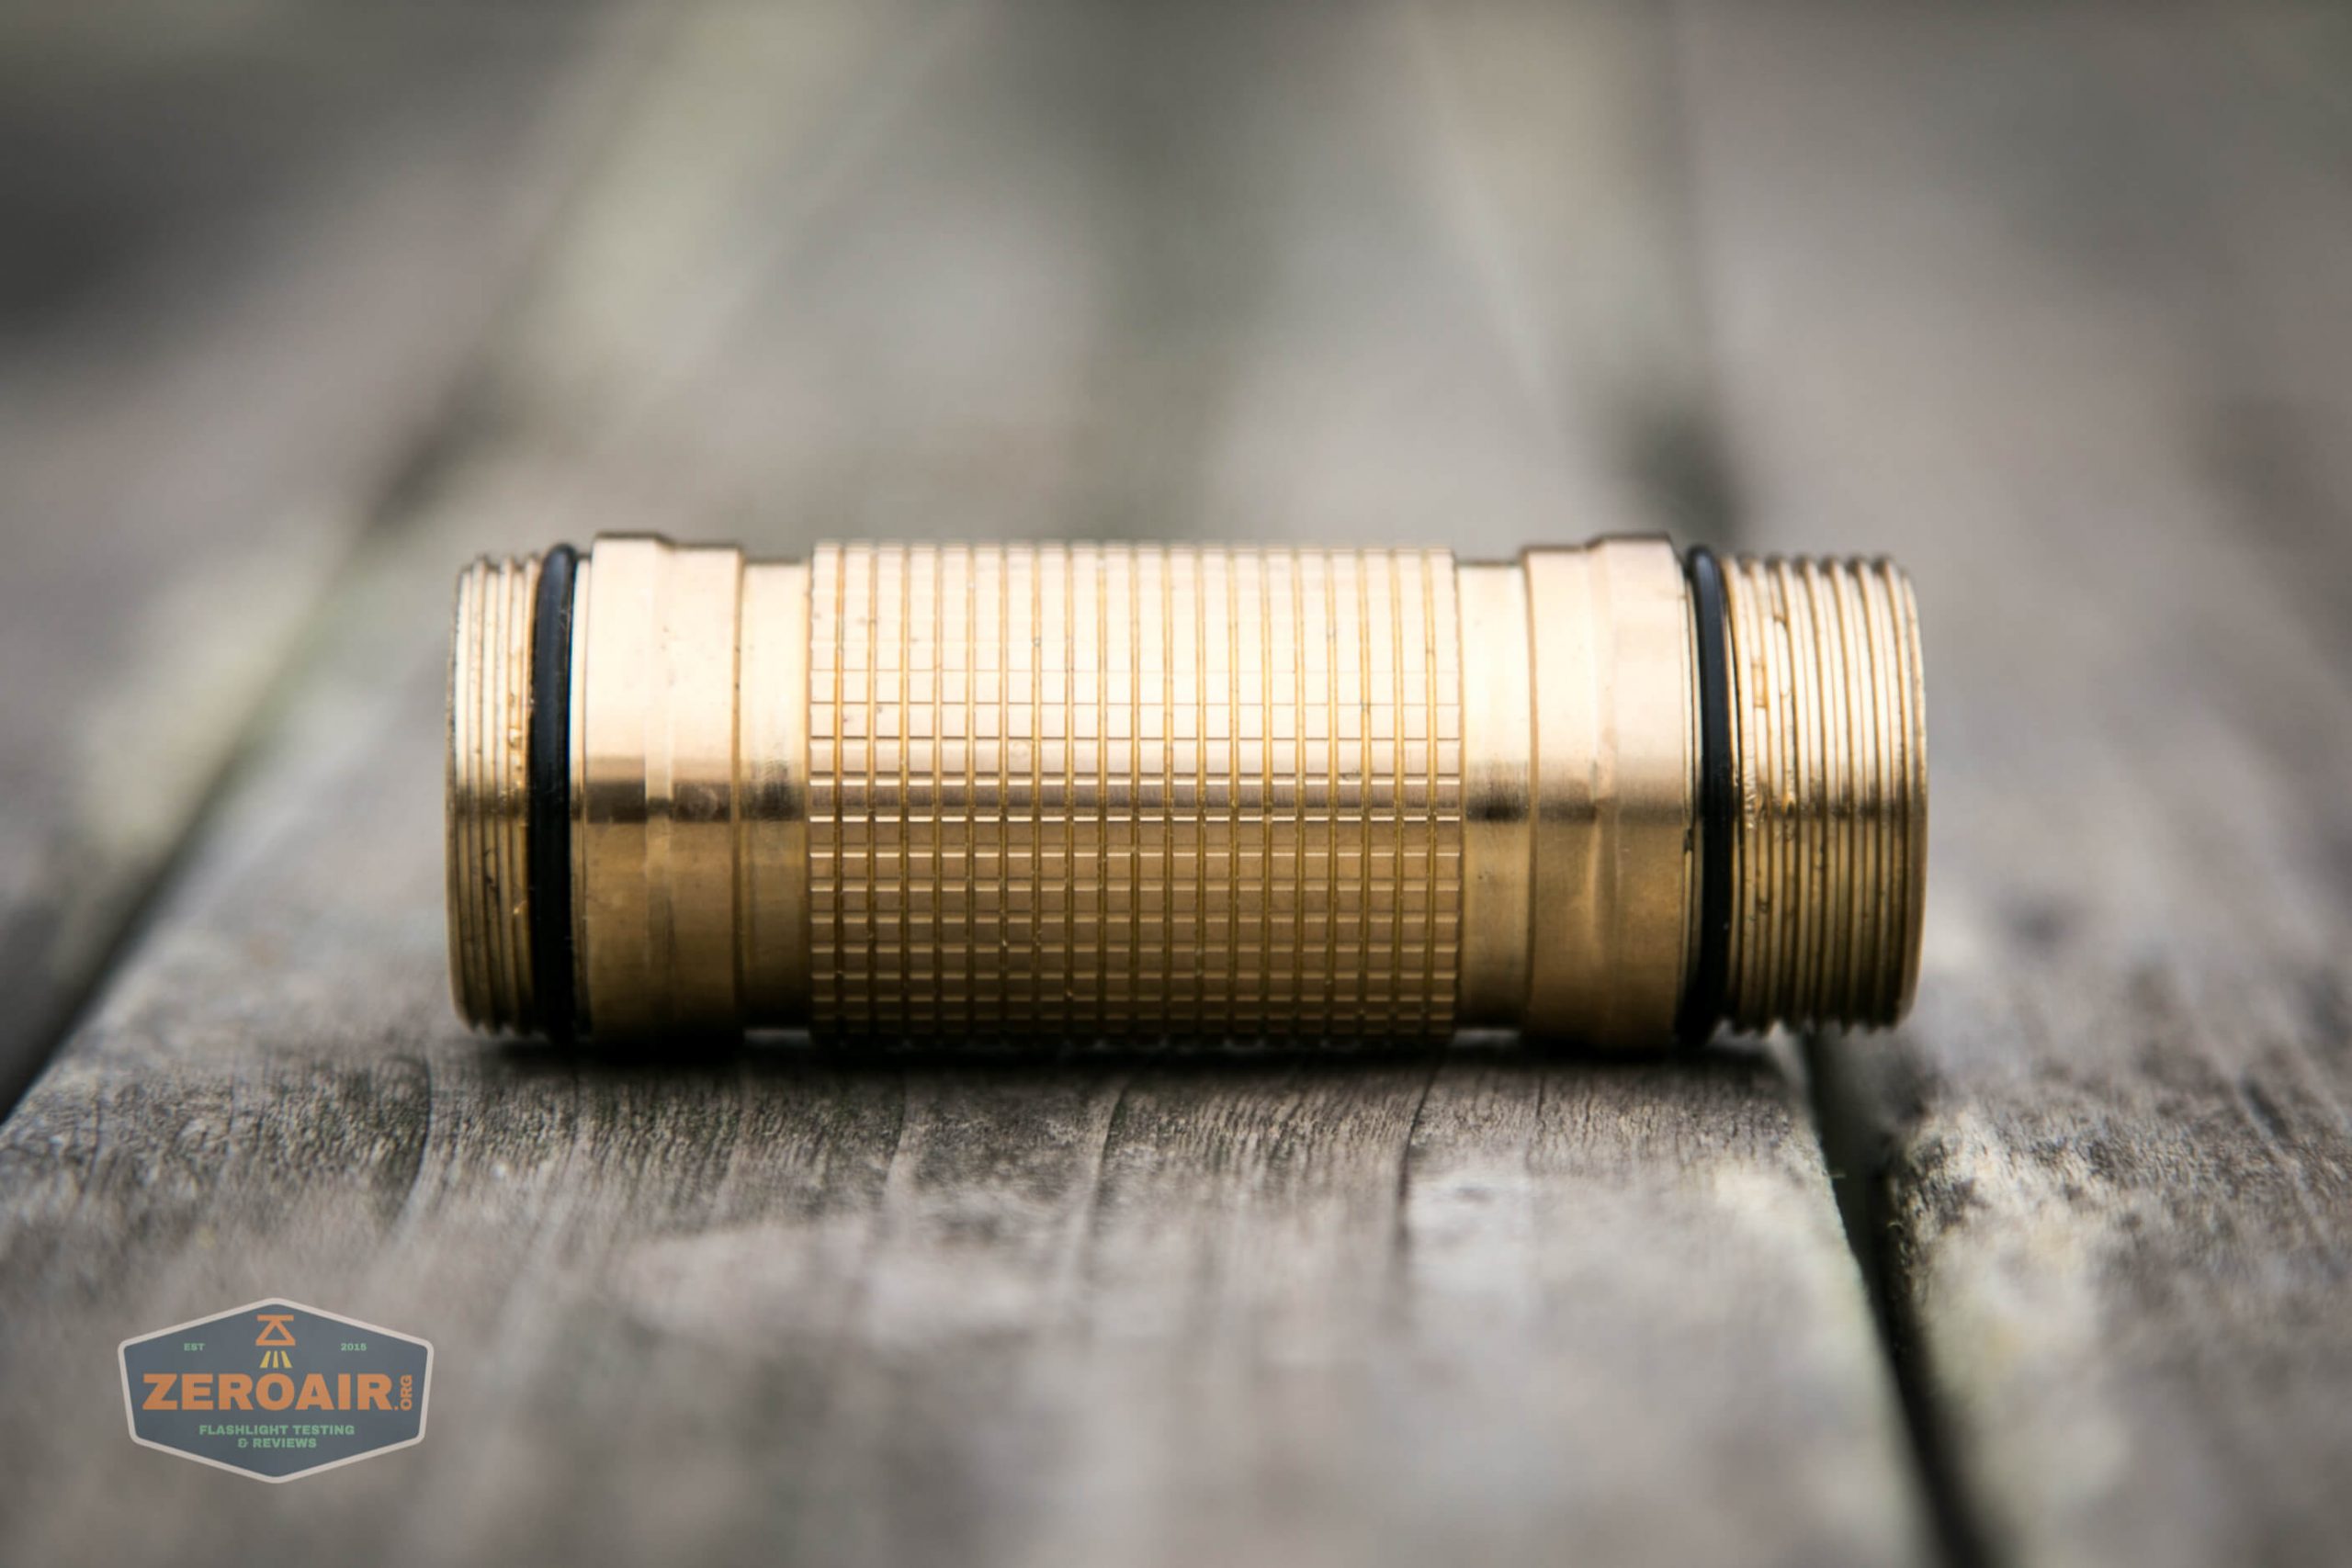
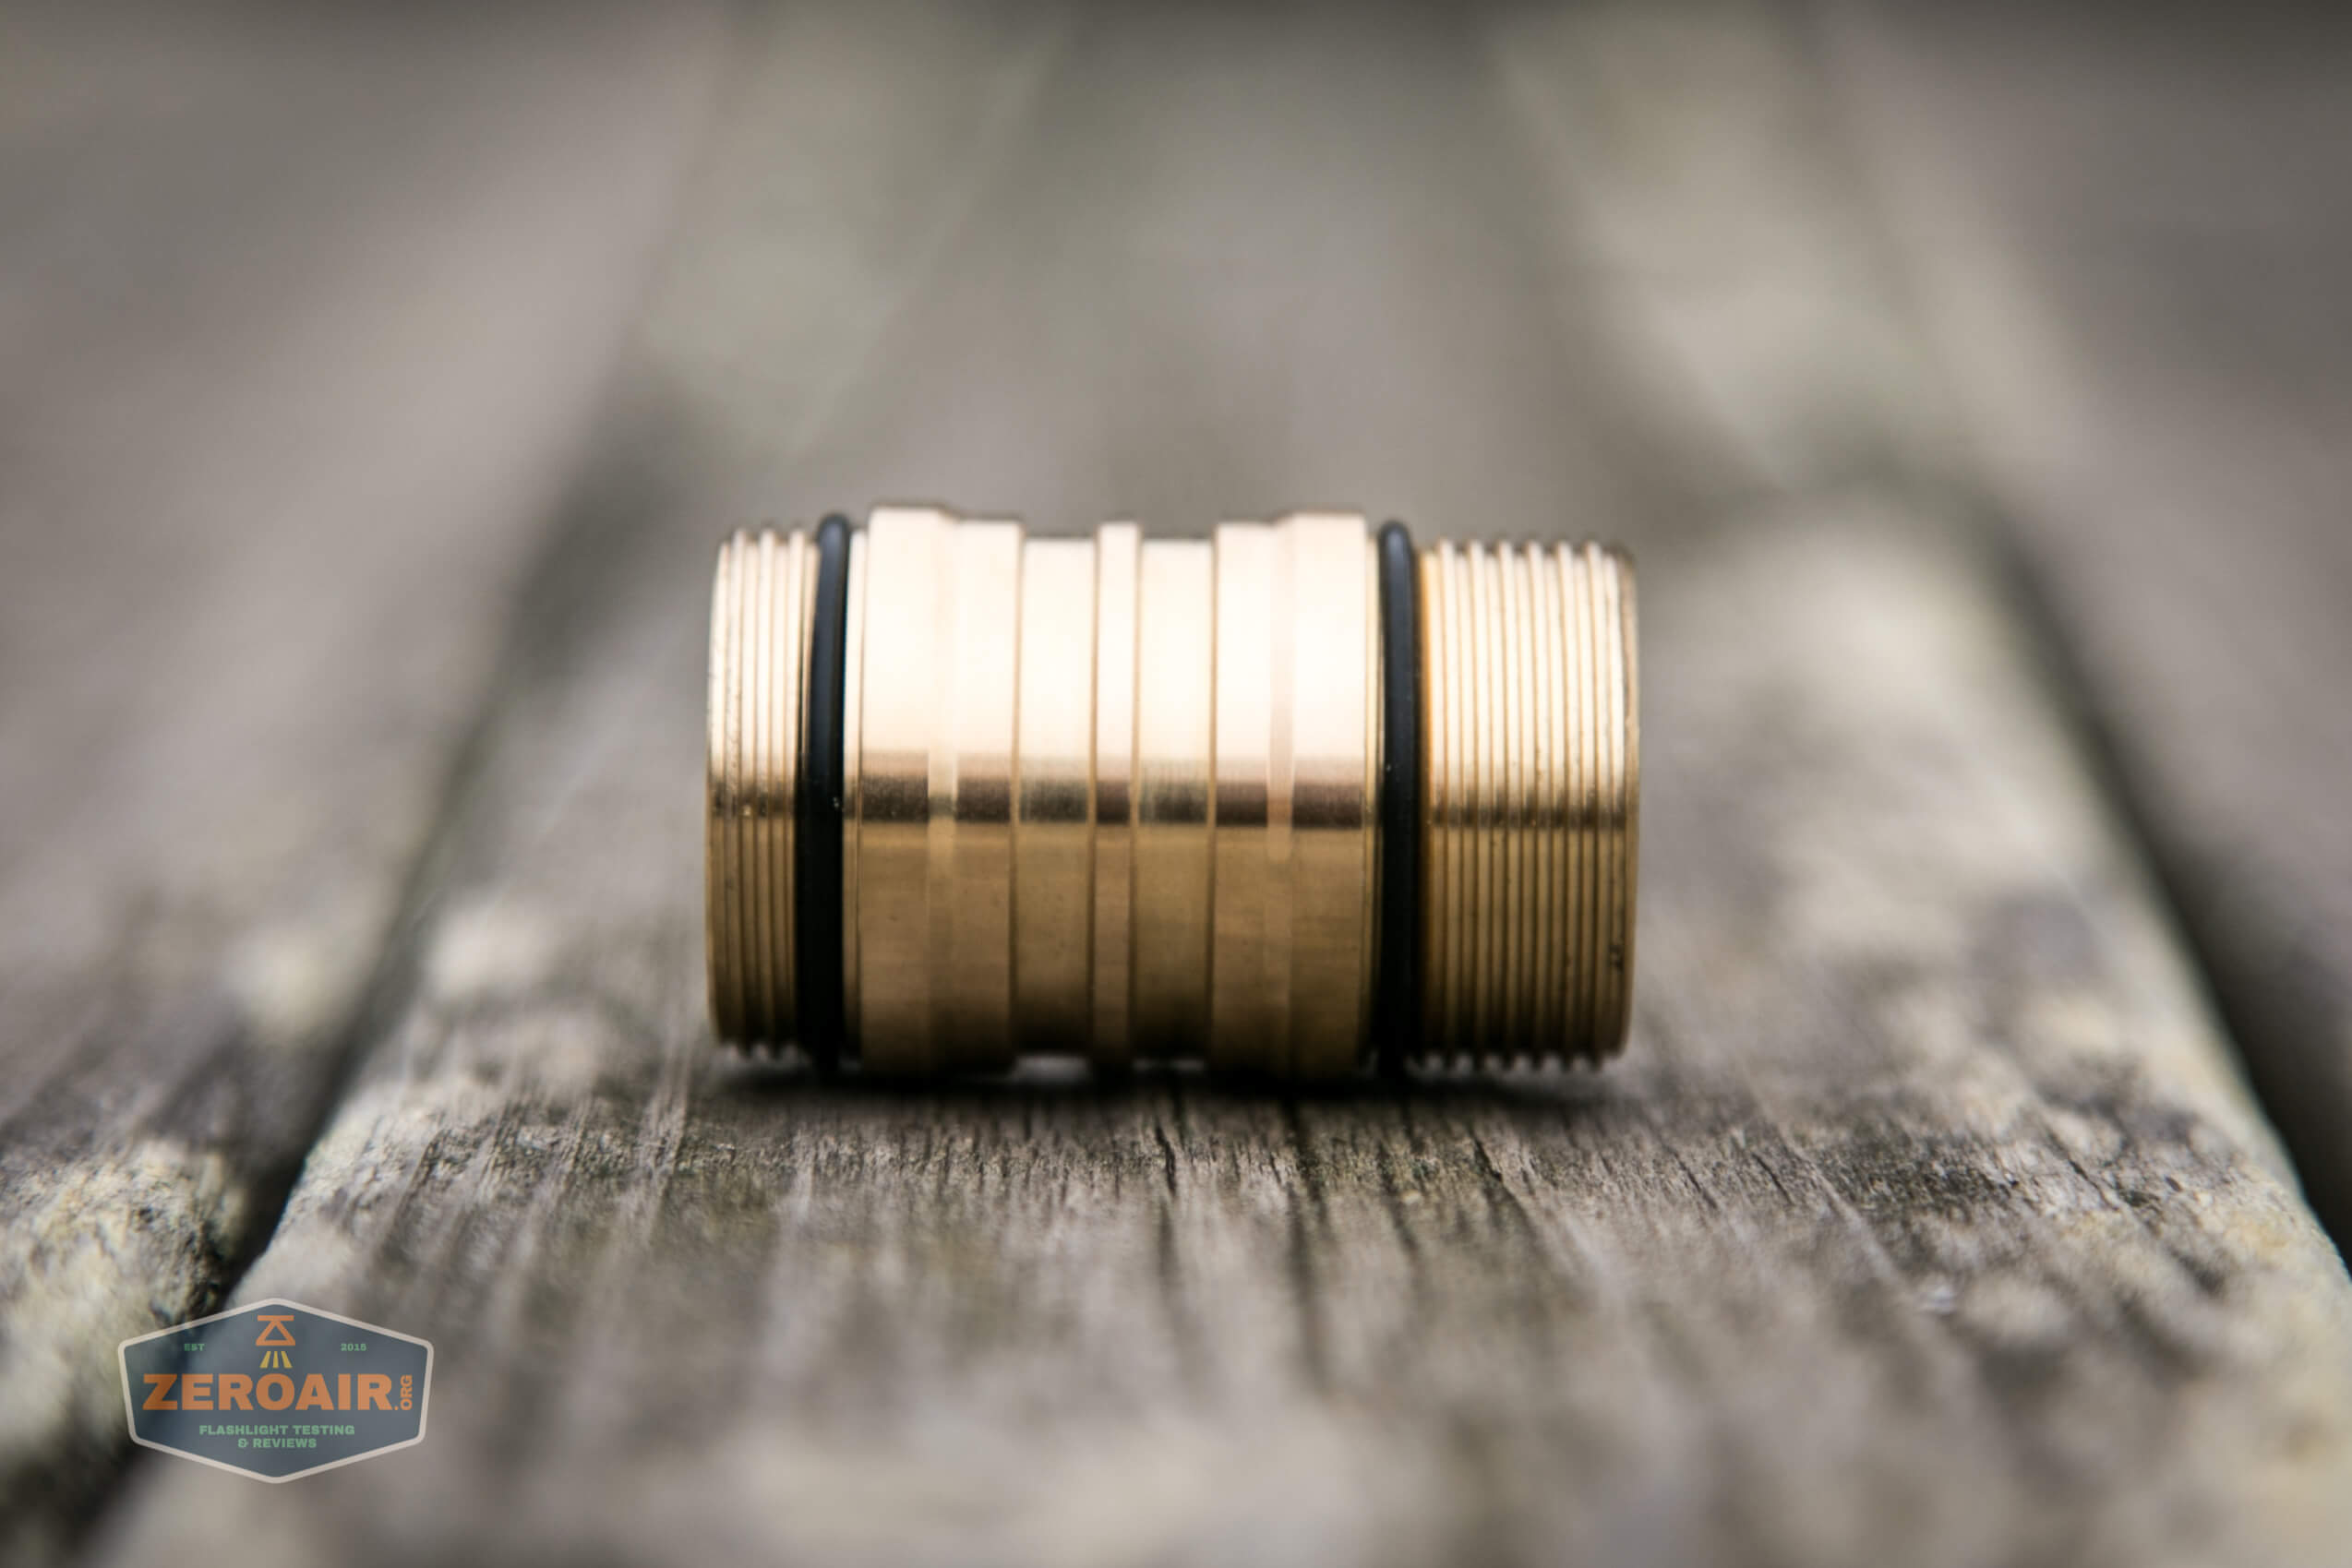
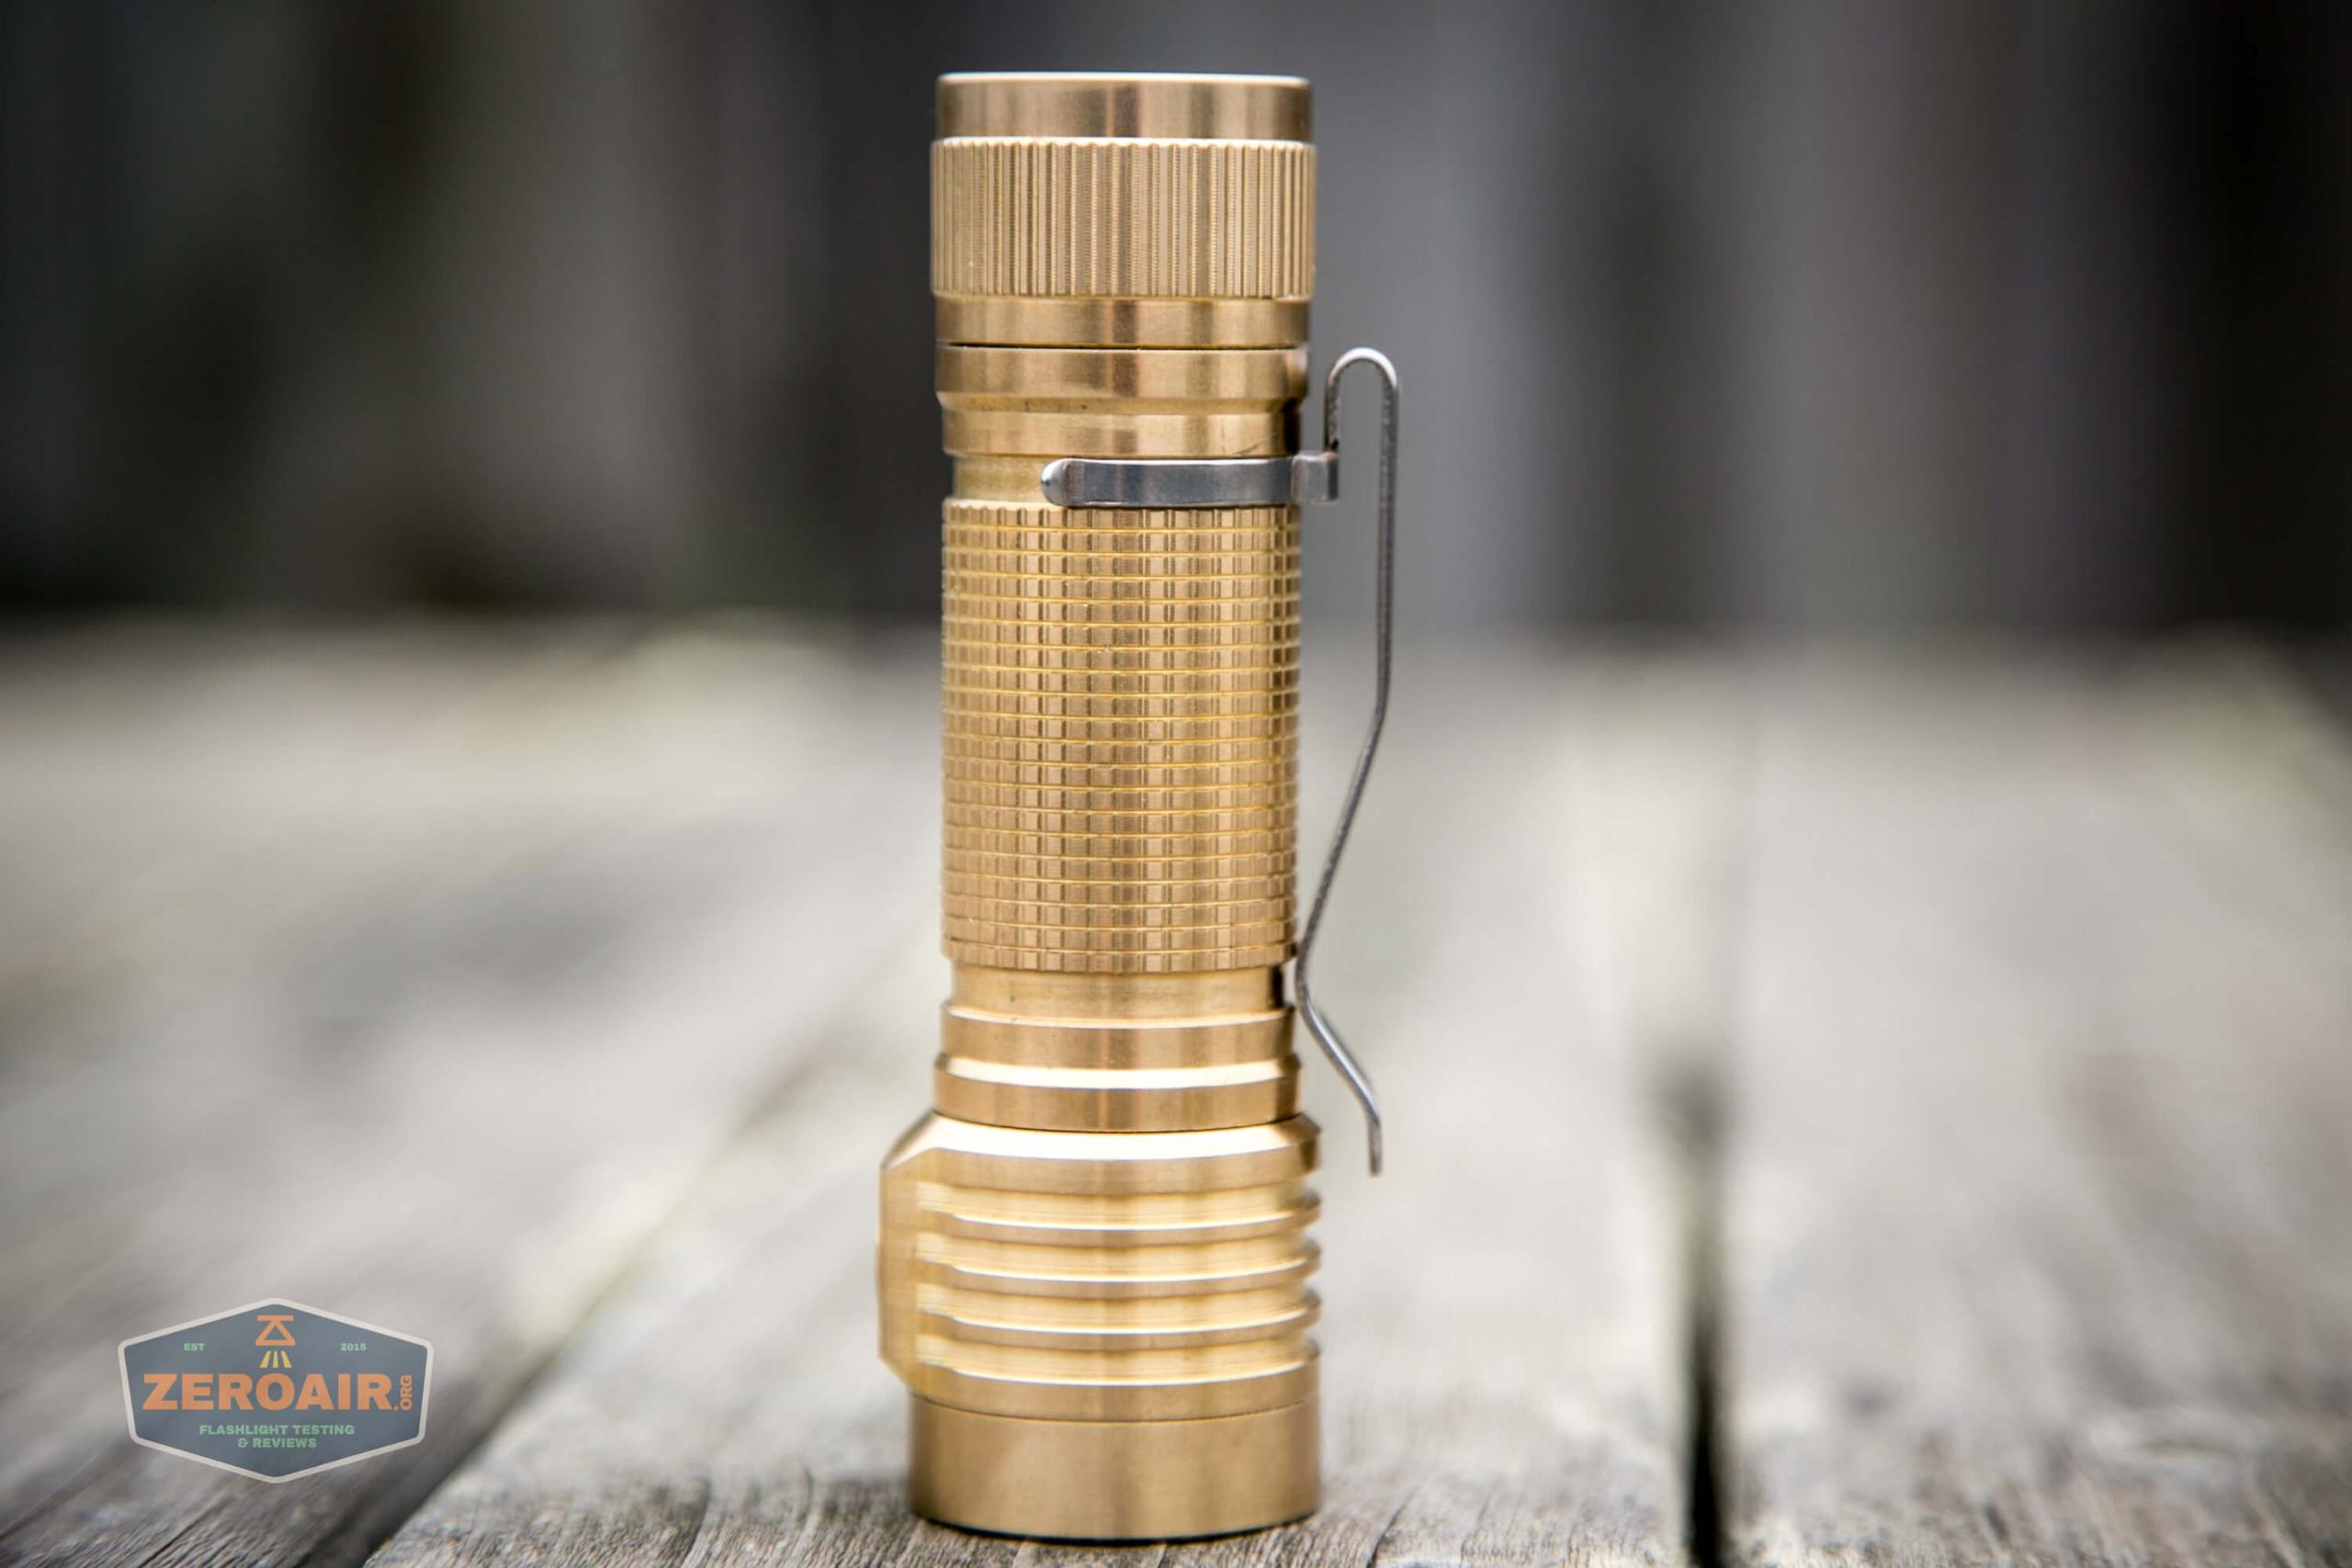
The 18650 body (the default version) has some square knurling, but the 18350 version has only grooves.

The head has cooling grooves.
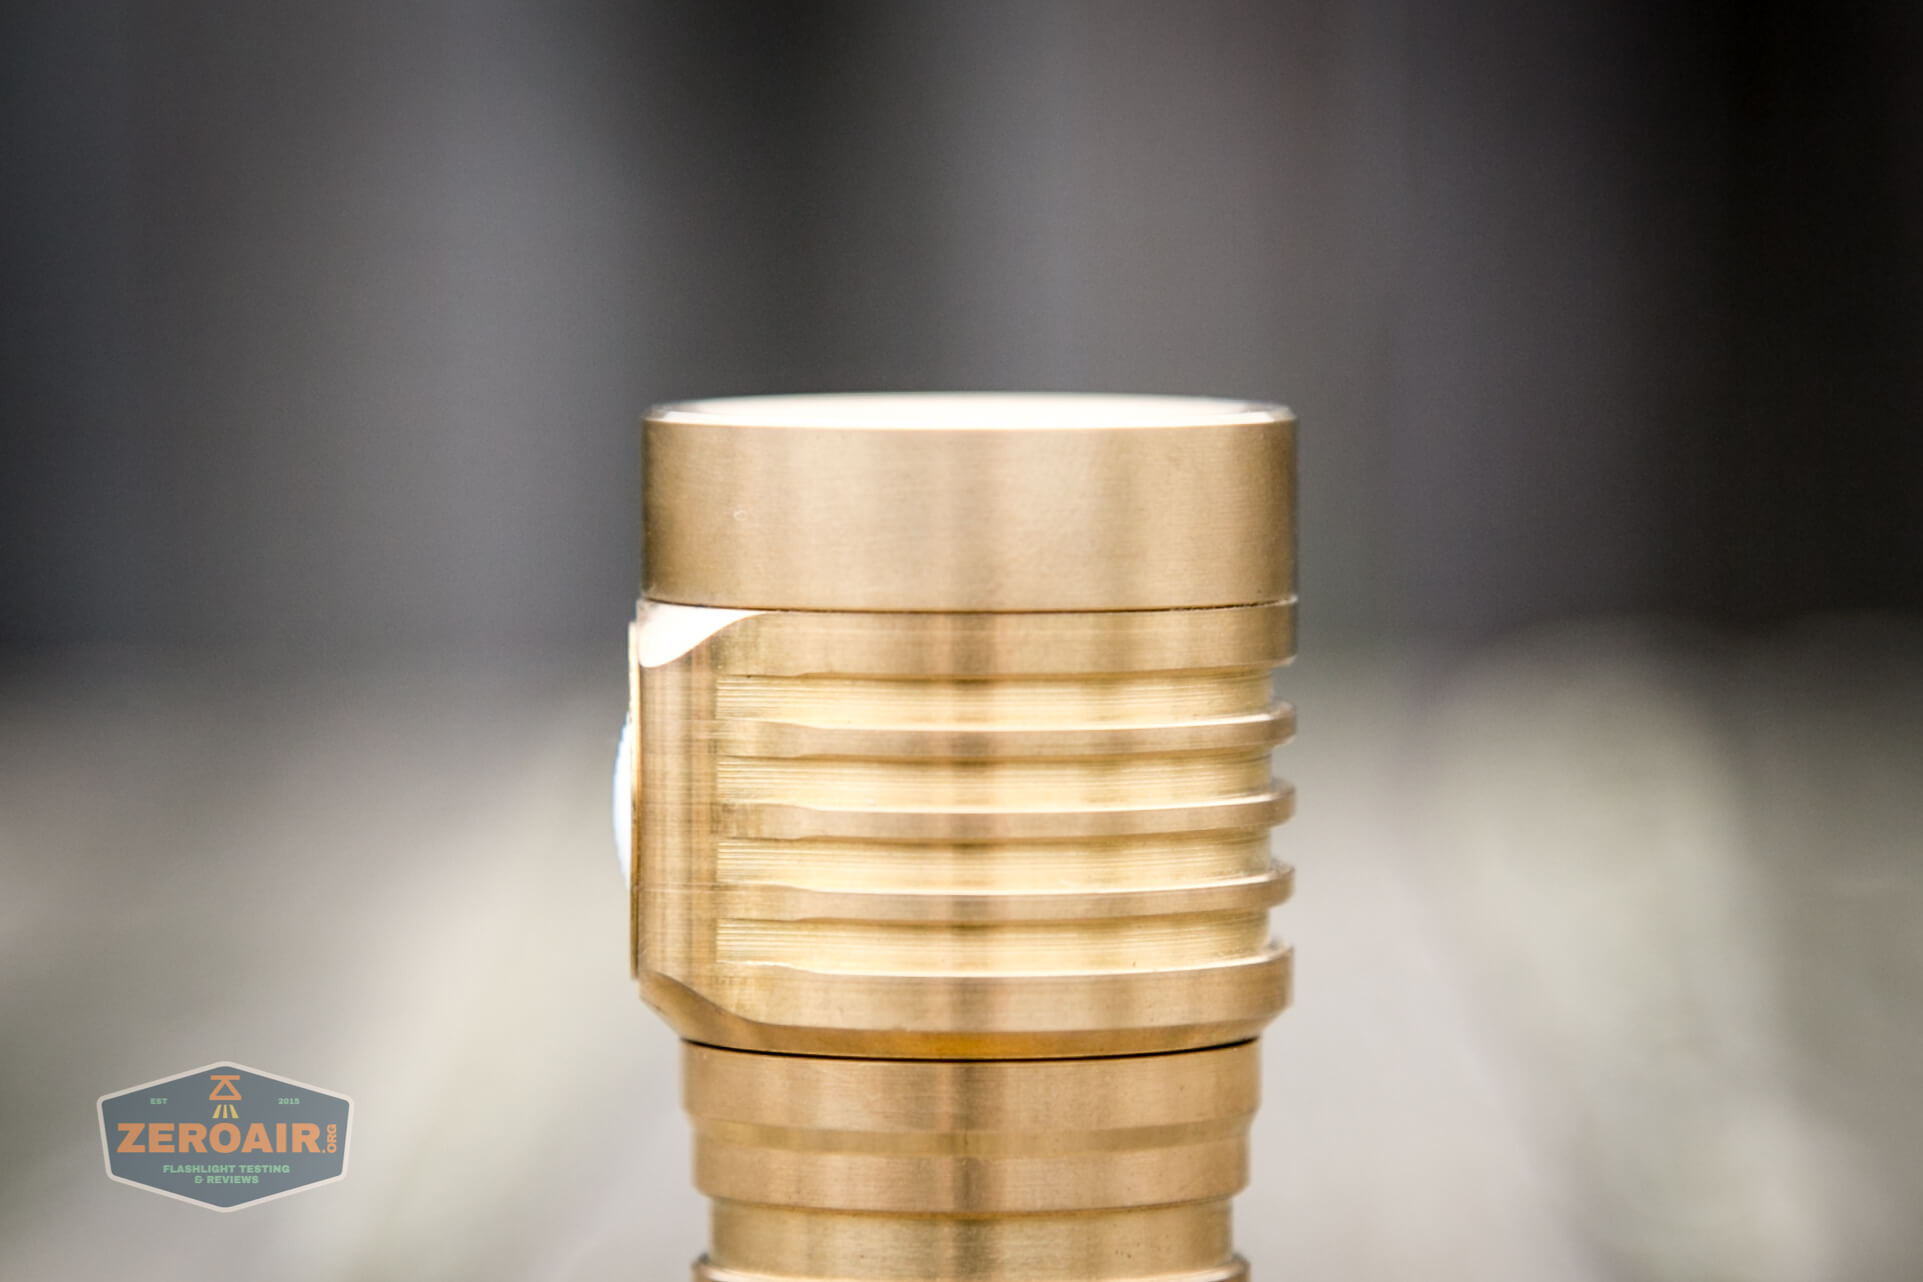
The finish is just machined metal. No stonewash or anything.
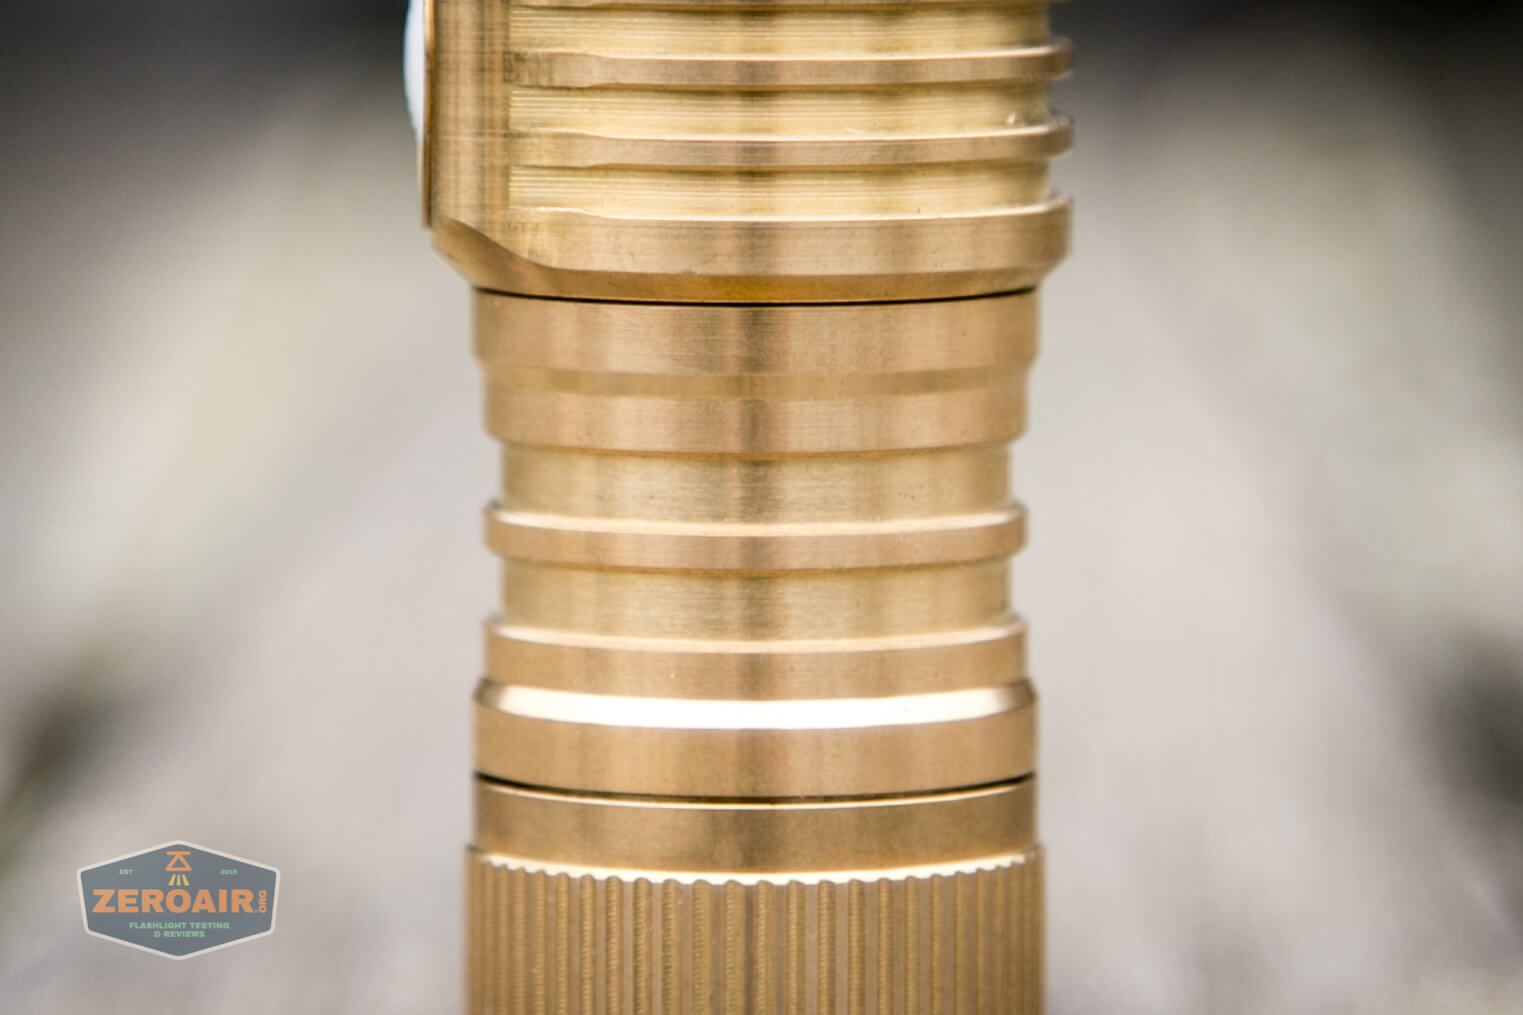
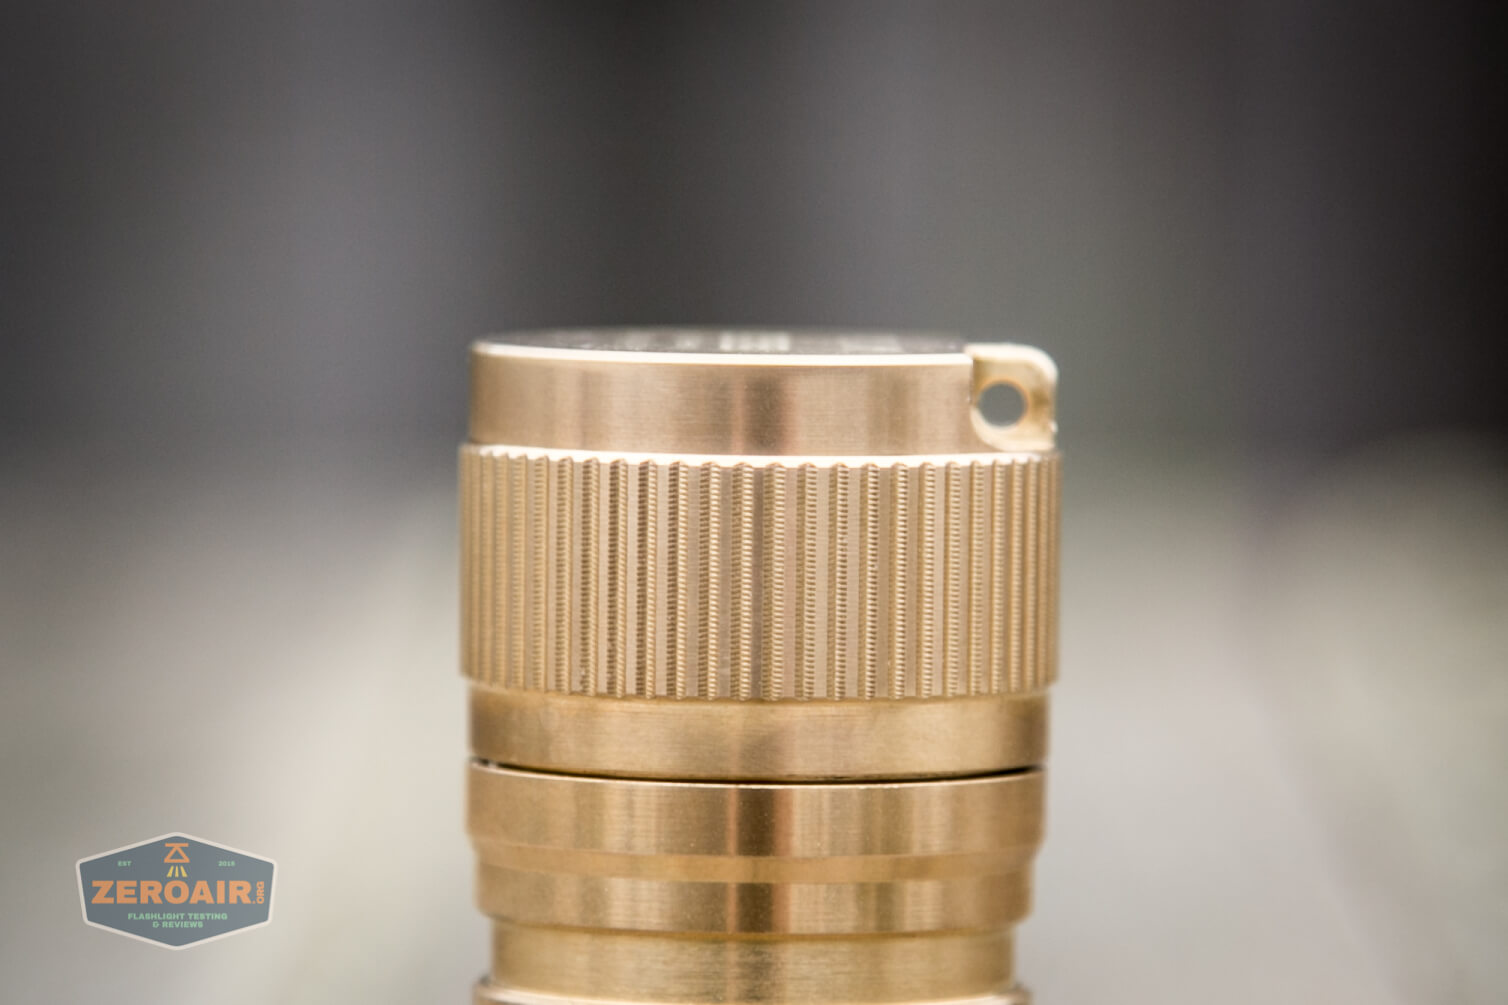
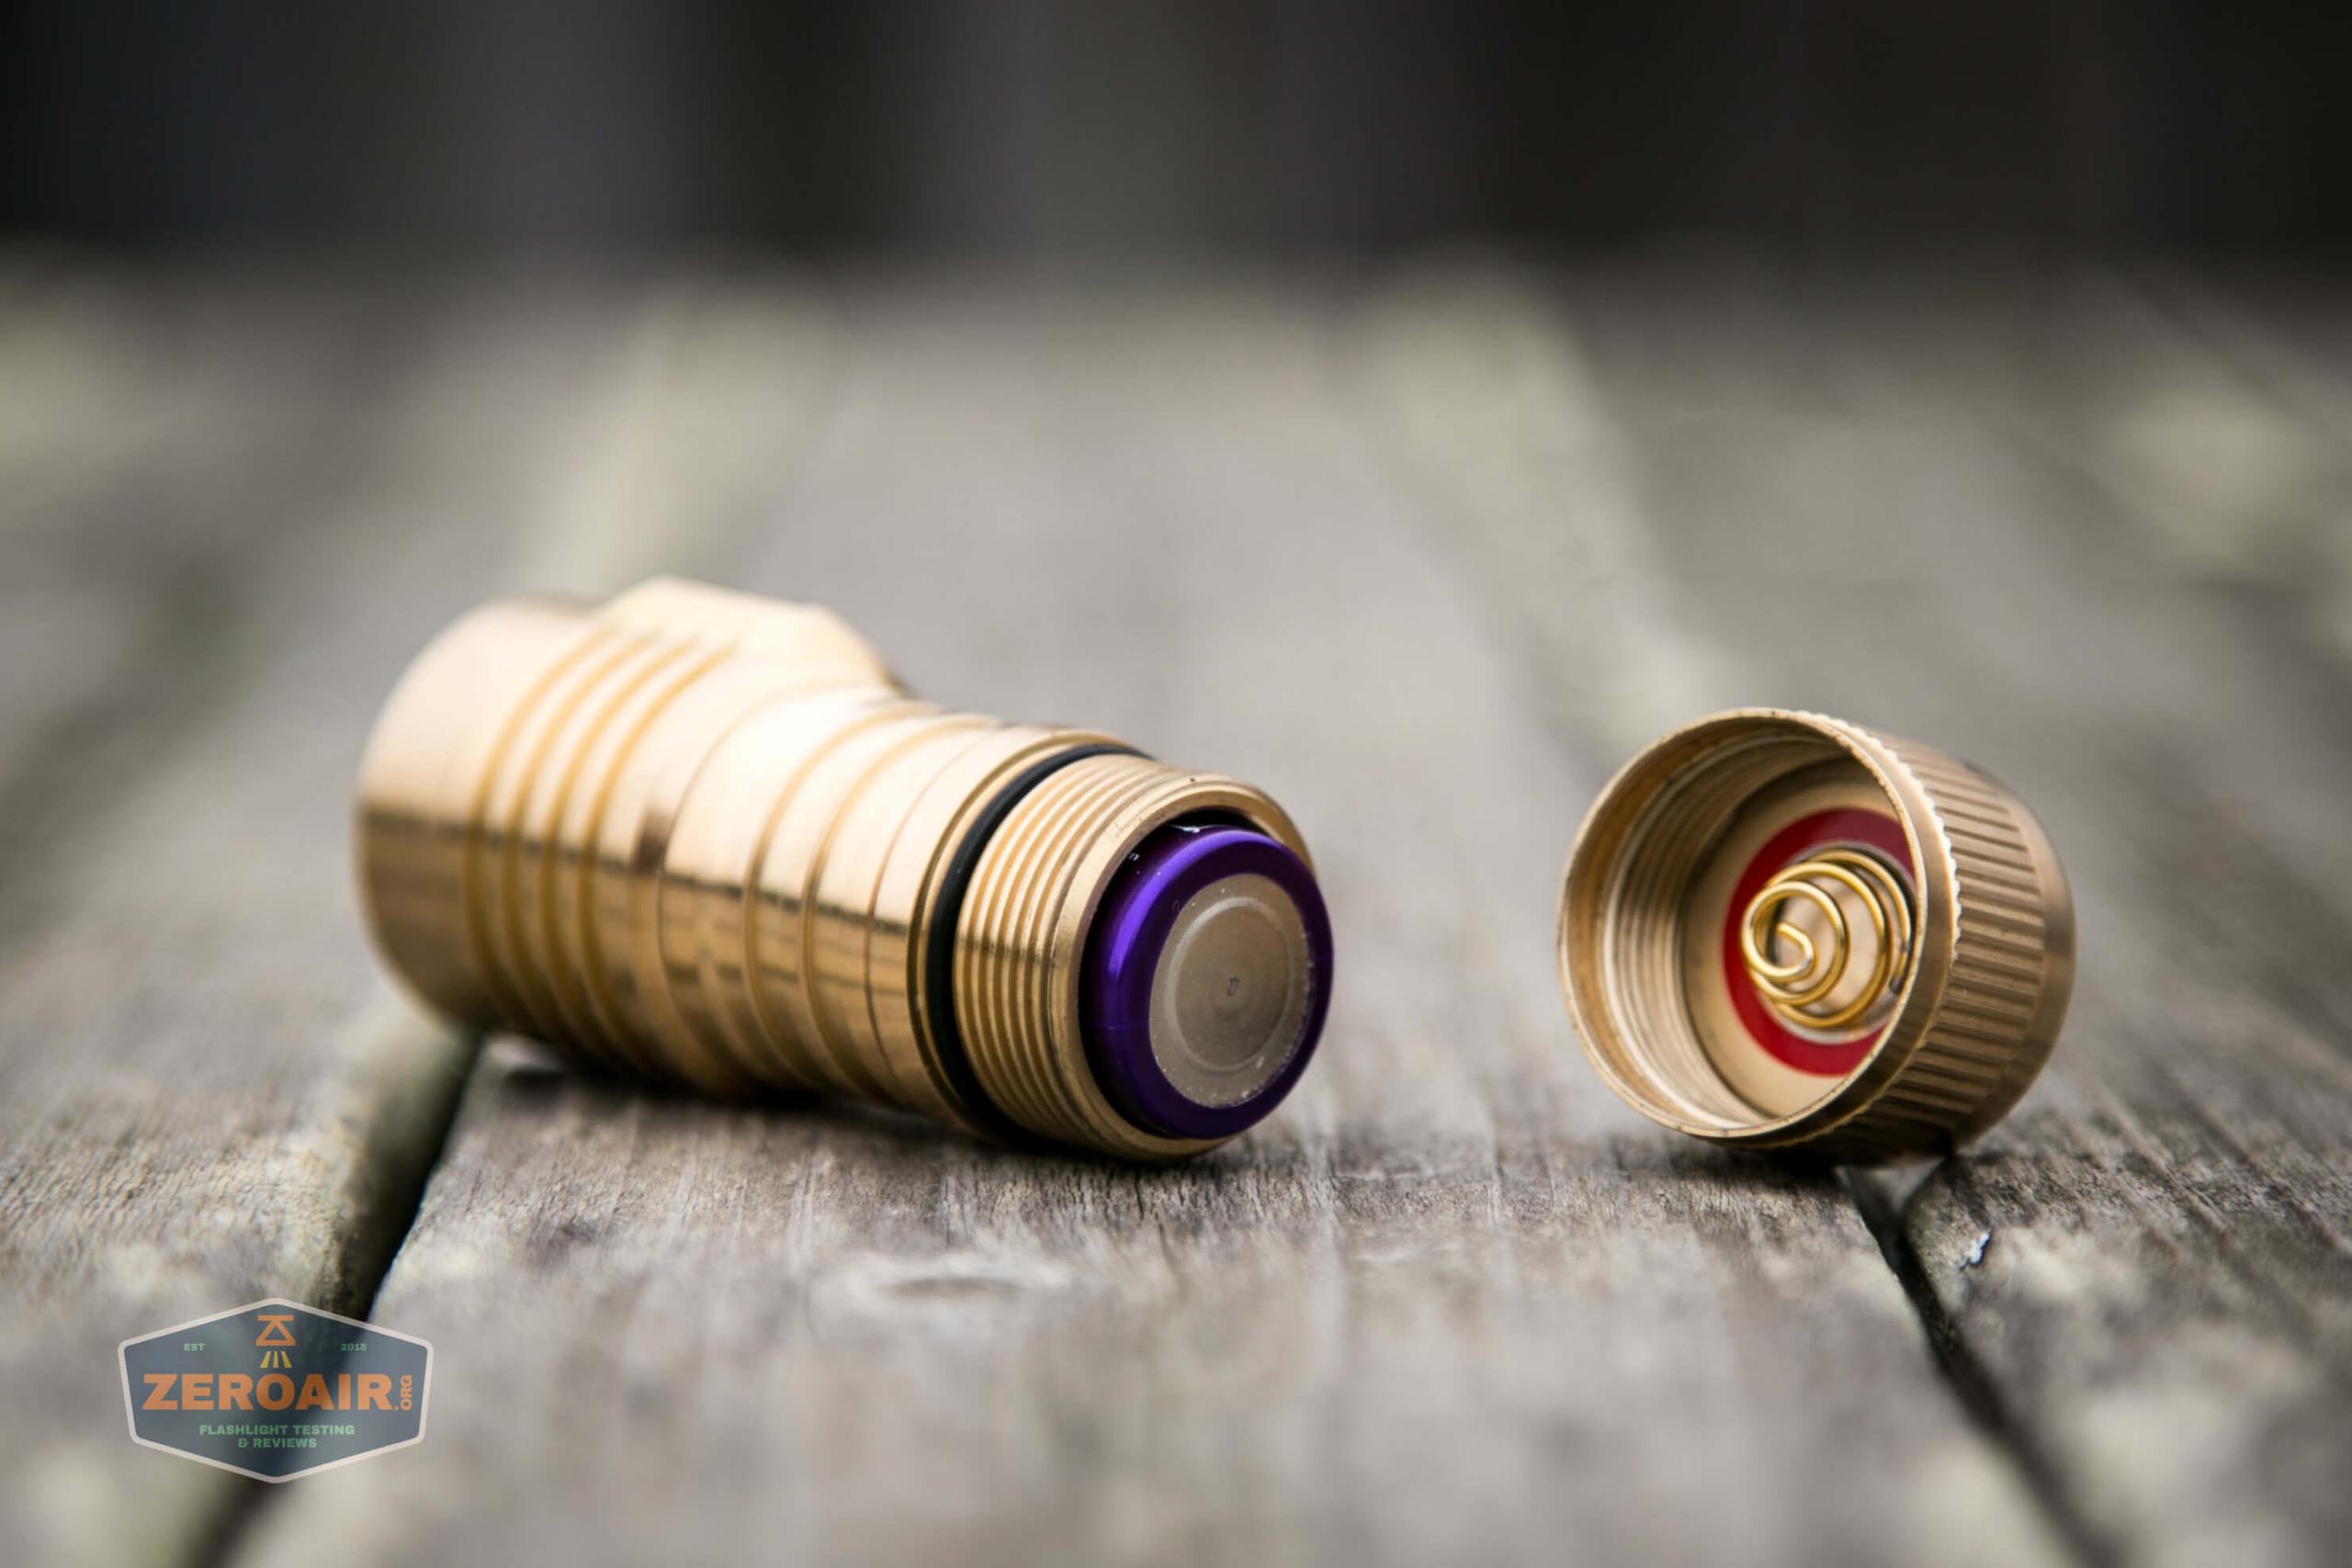
The tailcap has some very useful reeding, which aids in removal for cell swaps.


The head actually has very short threads. It’s actually much less work to remove the head for cell swaps.
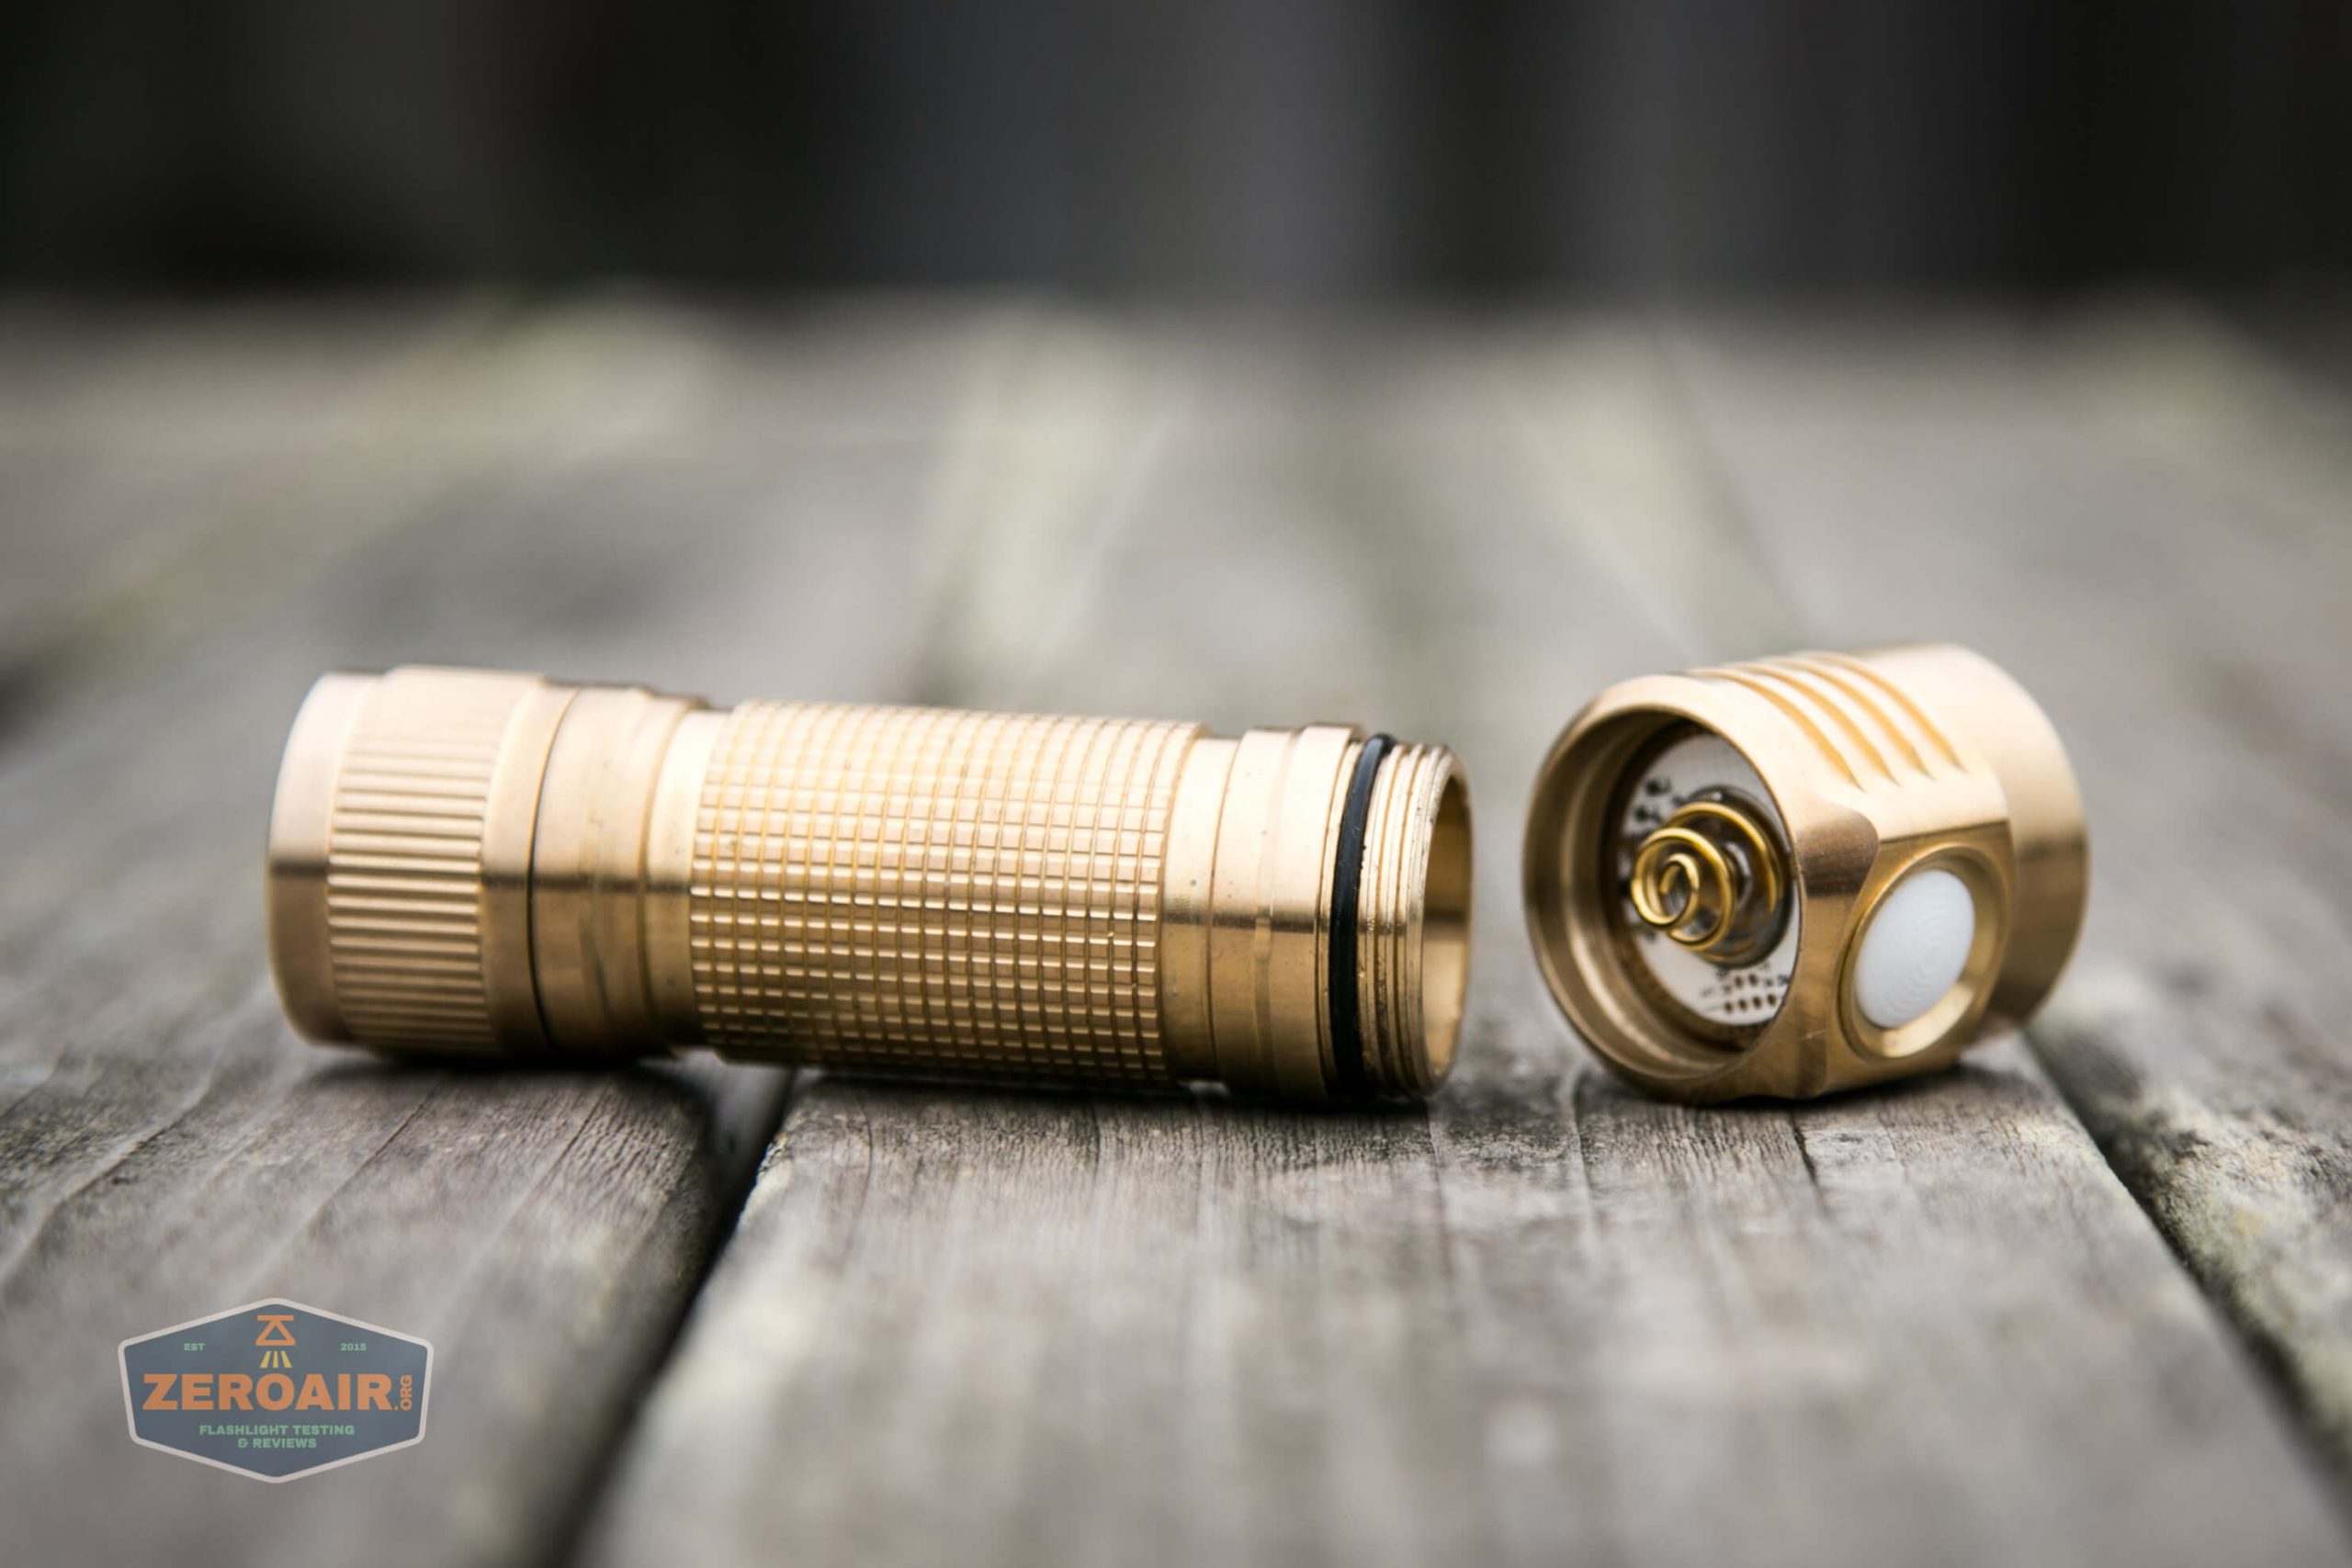
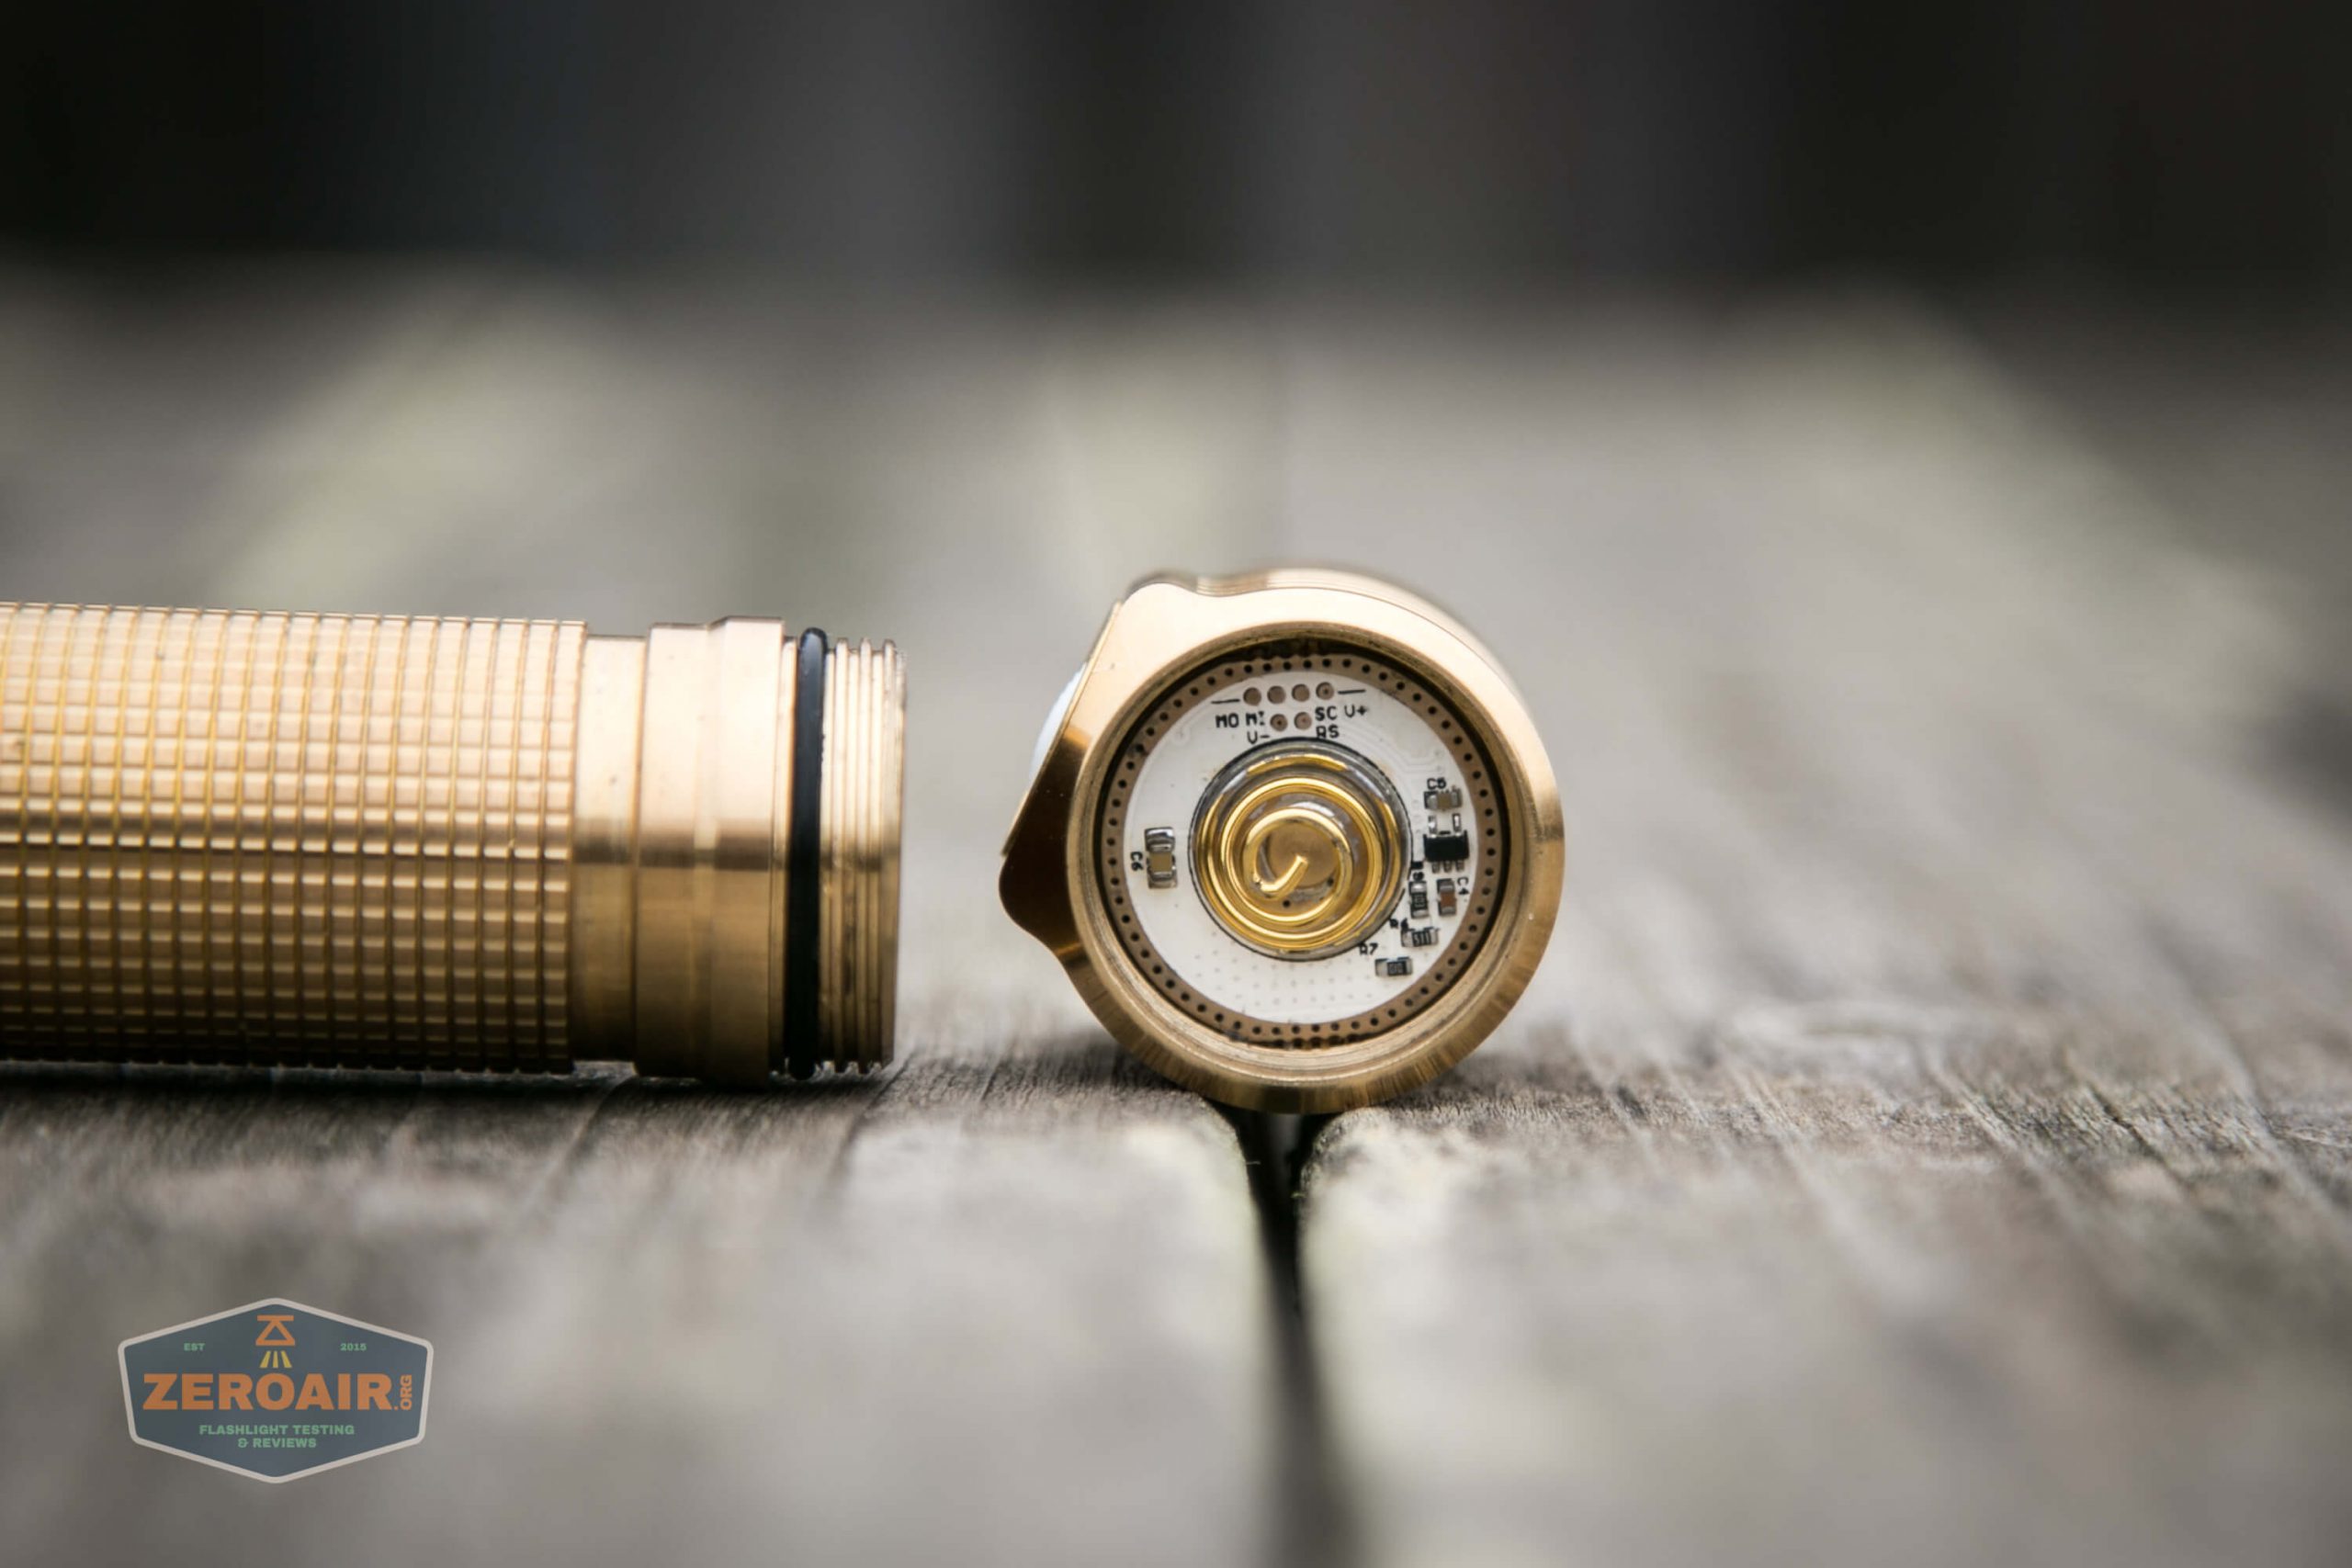
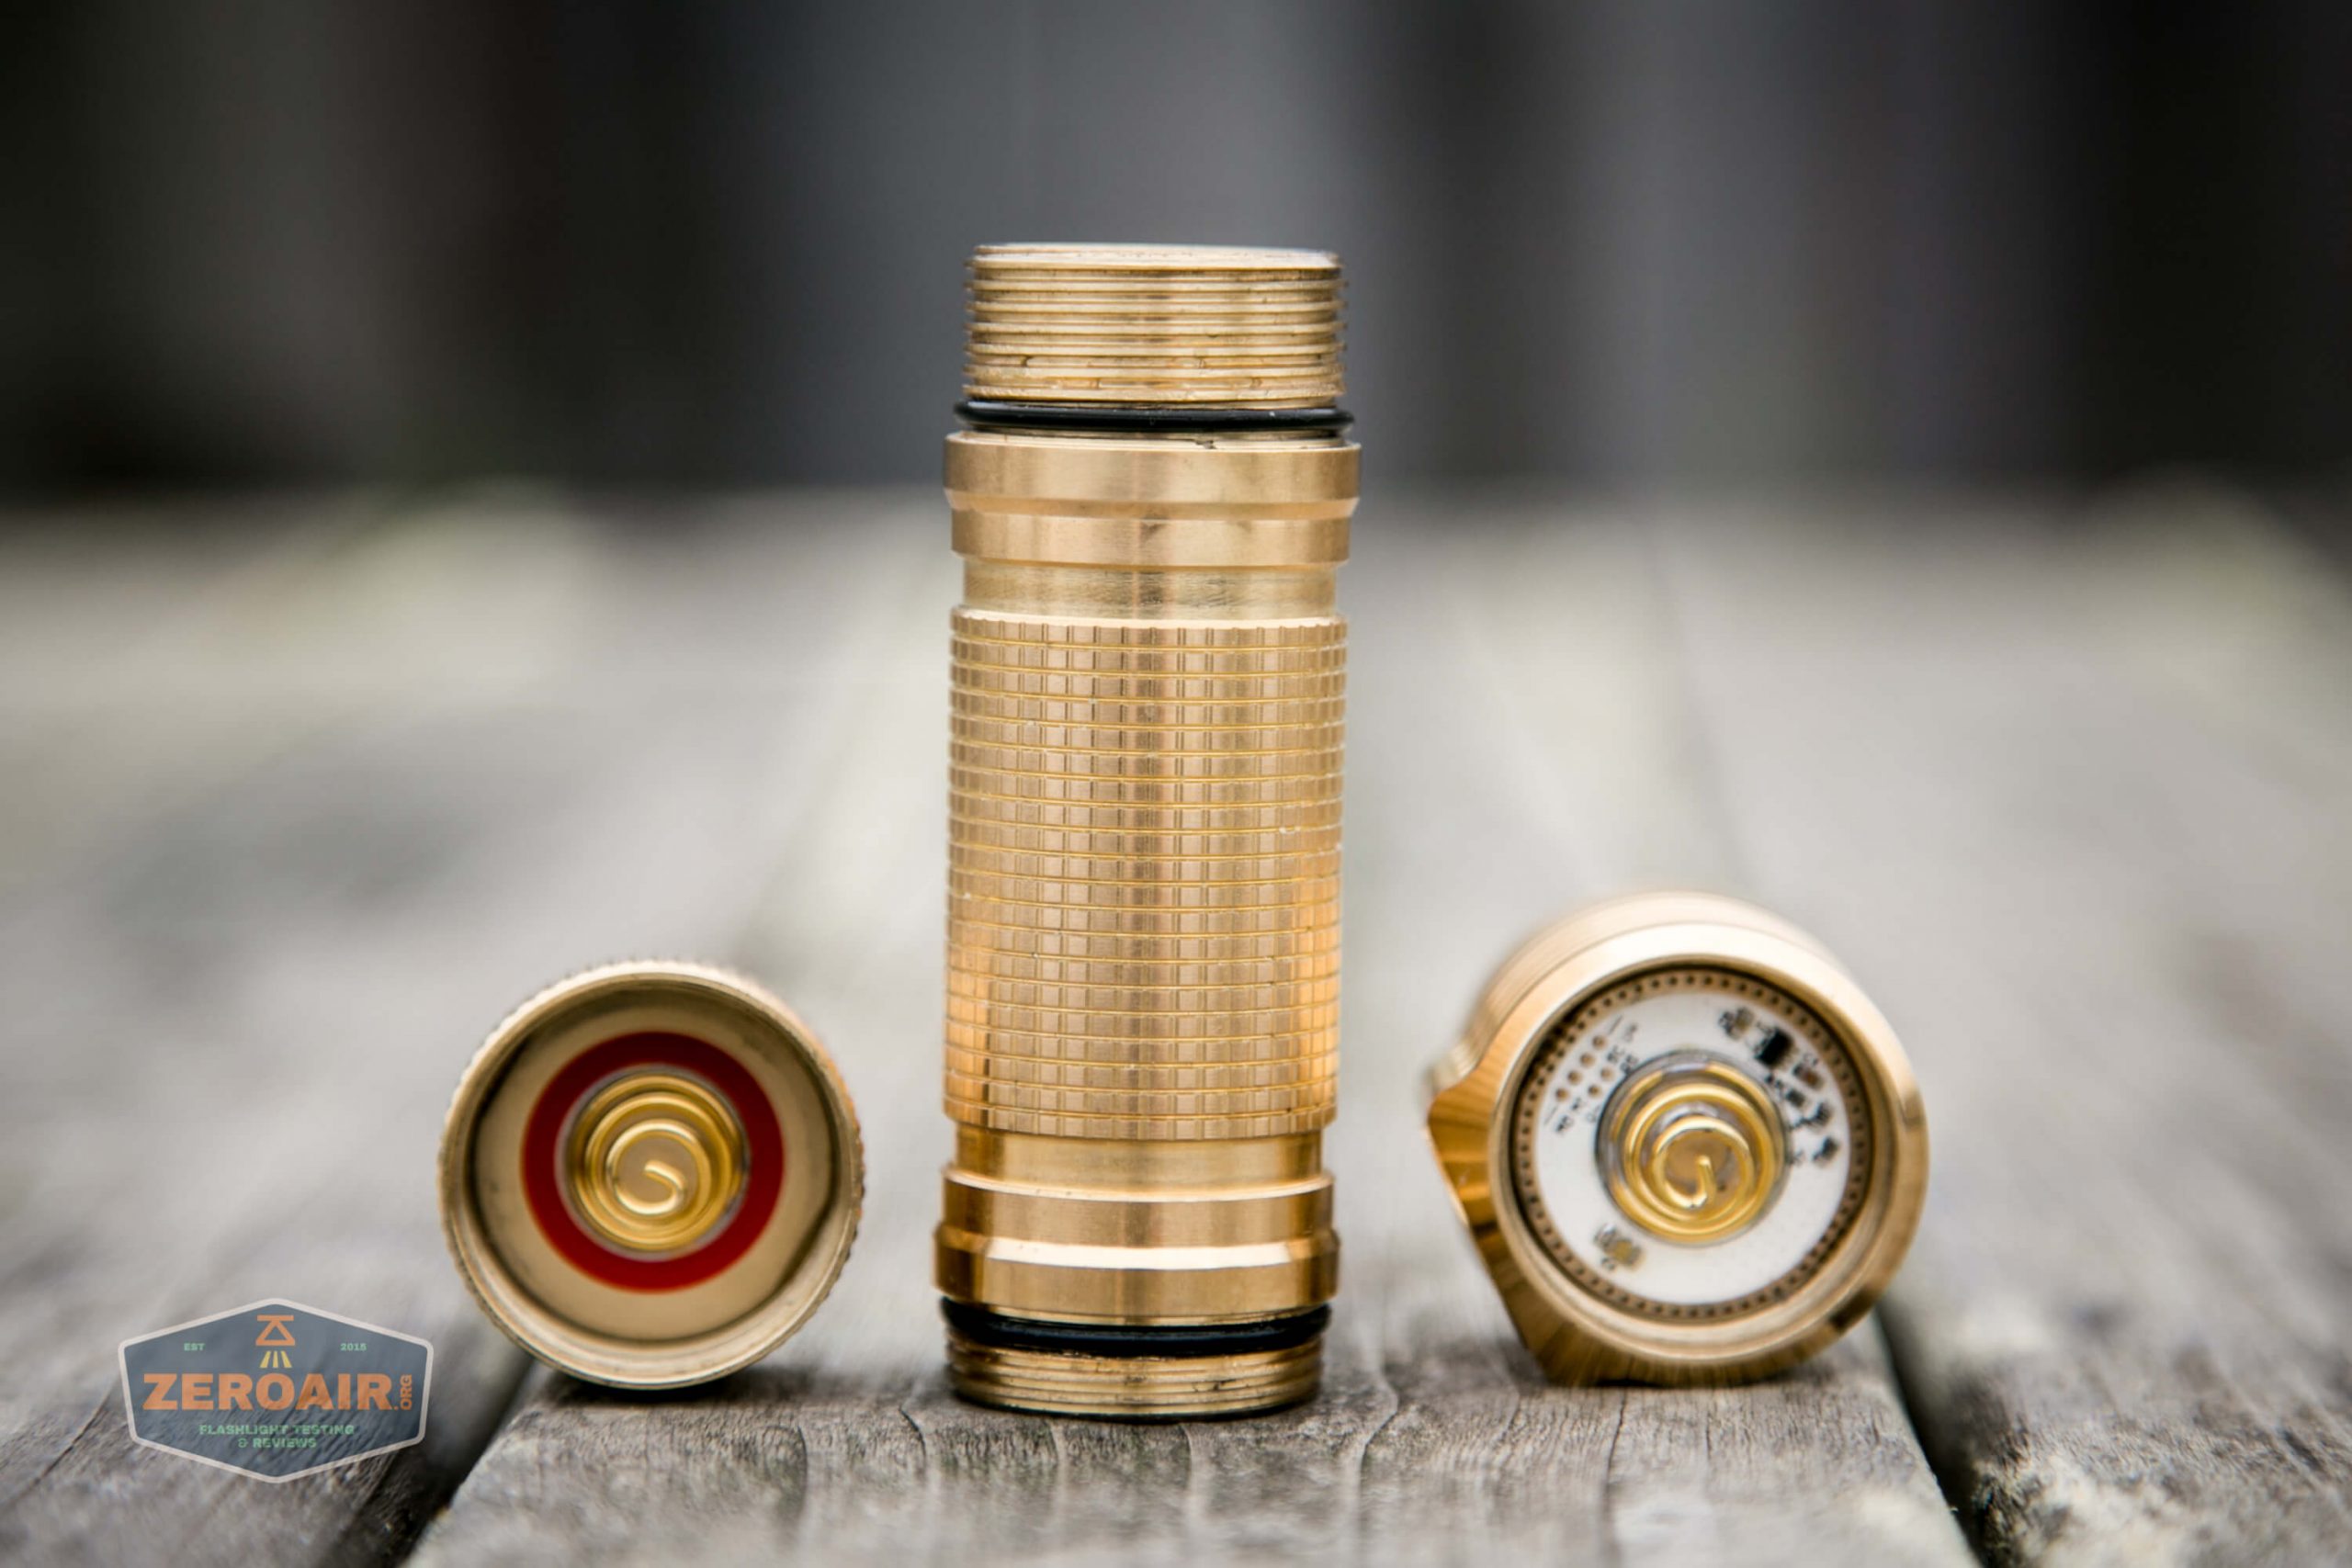
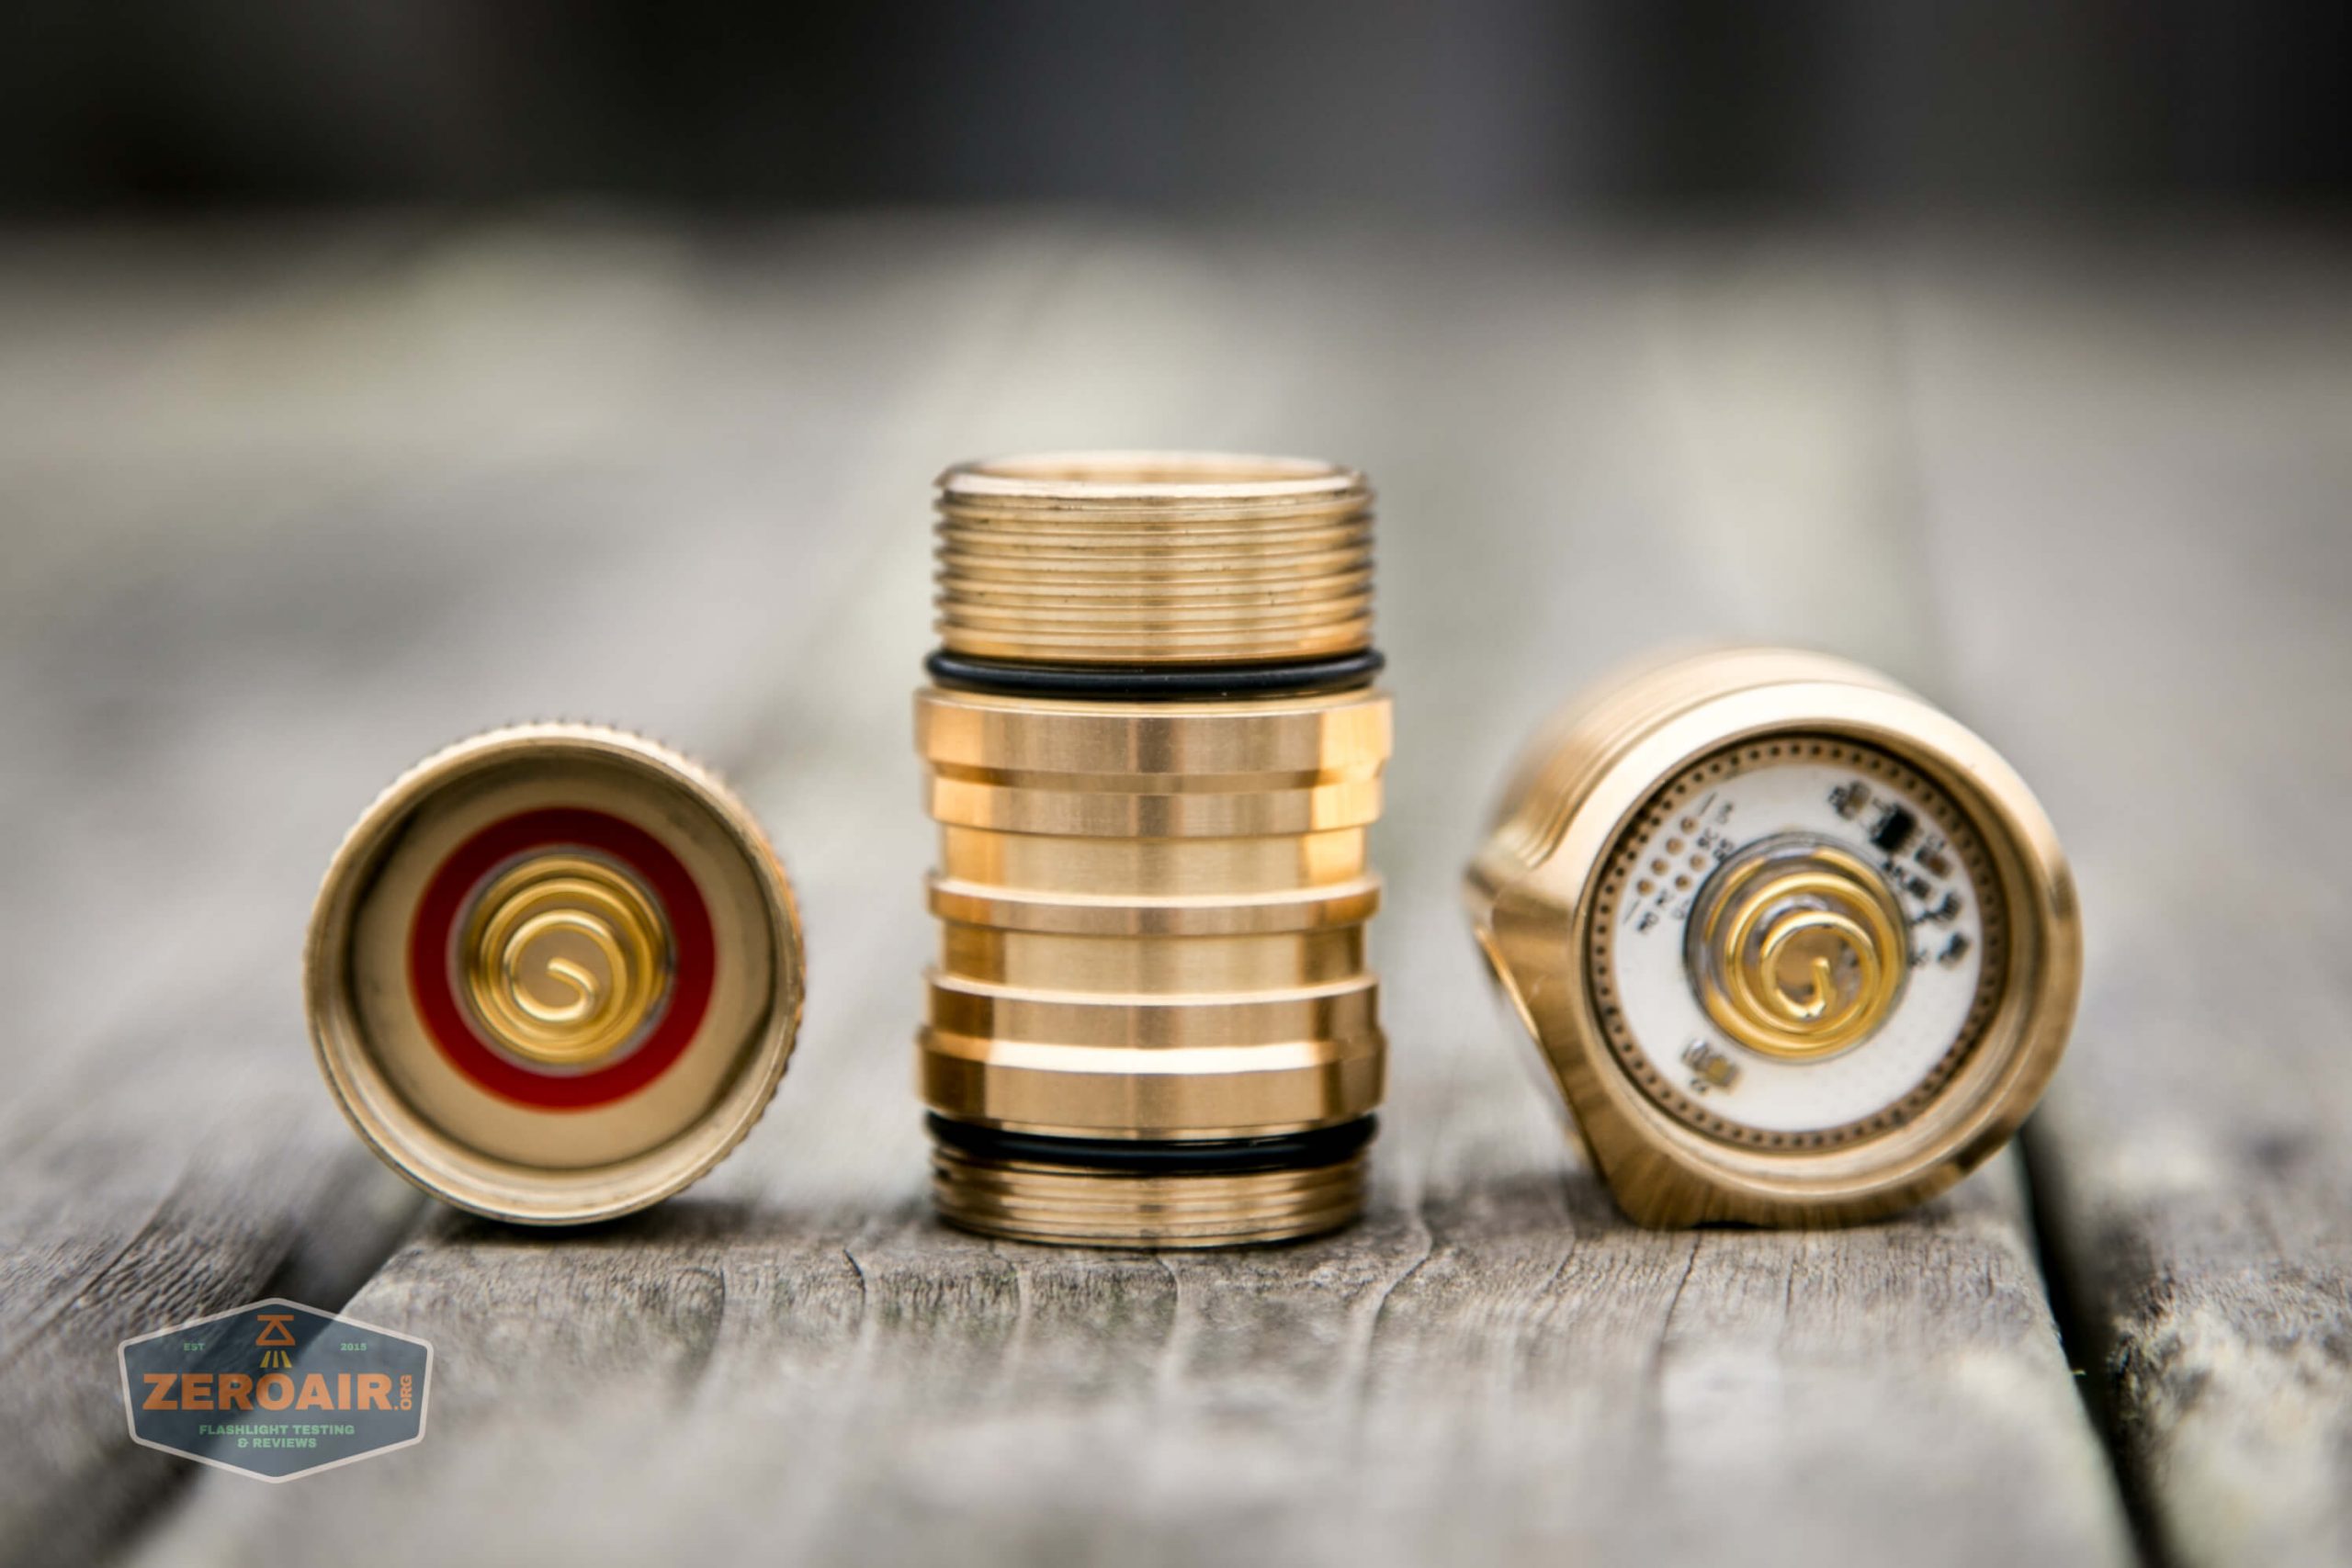
The head has a beefy spring. Also, note that the PCB here has some programming pads. Also, the PCB components on the spring side seen below indicate that this version (specifically the E21A emitter version) of the D4V2 has a linear driver (special thanks to ToyKeeper for that bit of info!) You’ll see one reason later why I am extremely pleased with this difference, but the reason is that the linear driver limits the current to 5A, which keeps these Nichia E21A’s from going up in a puff of magic smoke from an unregulated FET output (like the non-linear driver D4V2’s will have).
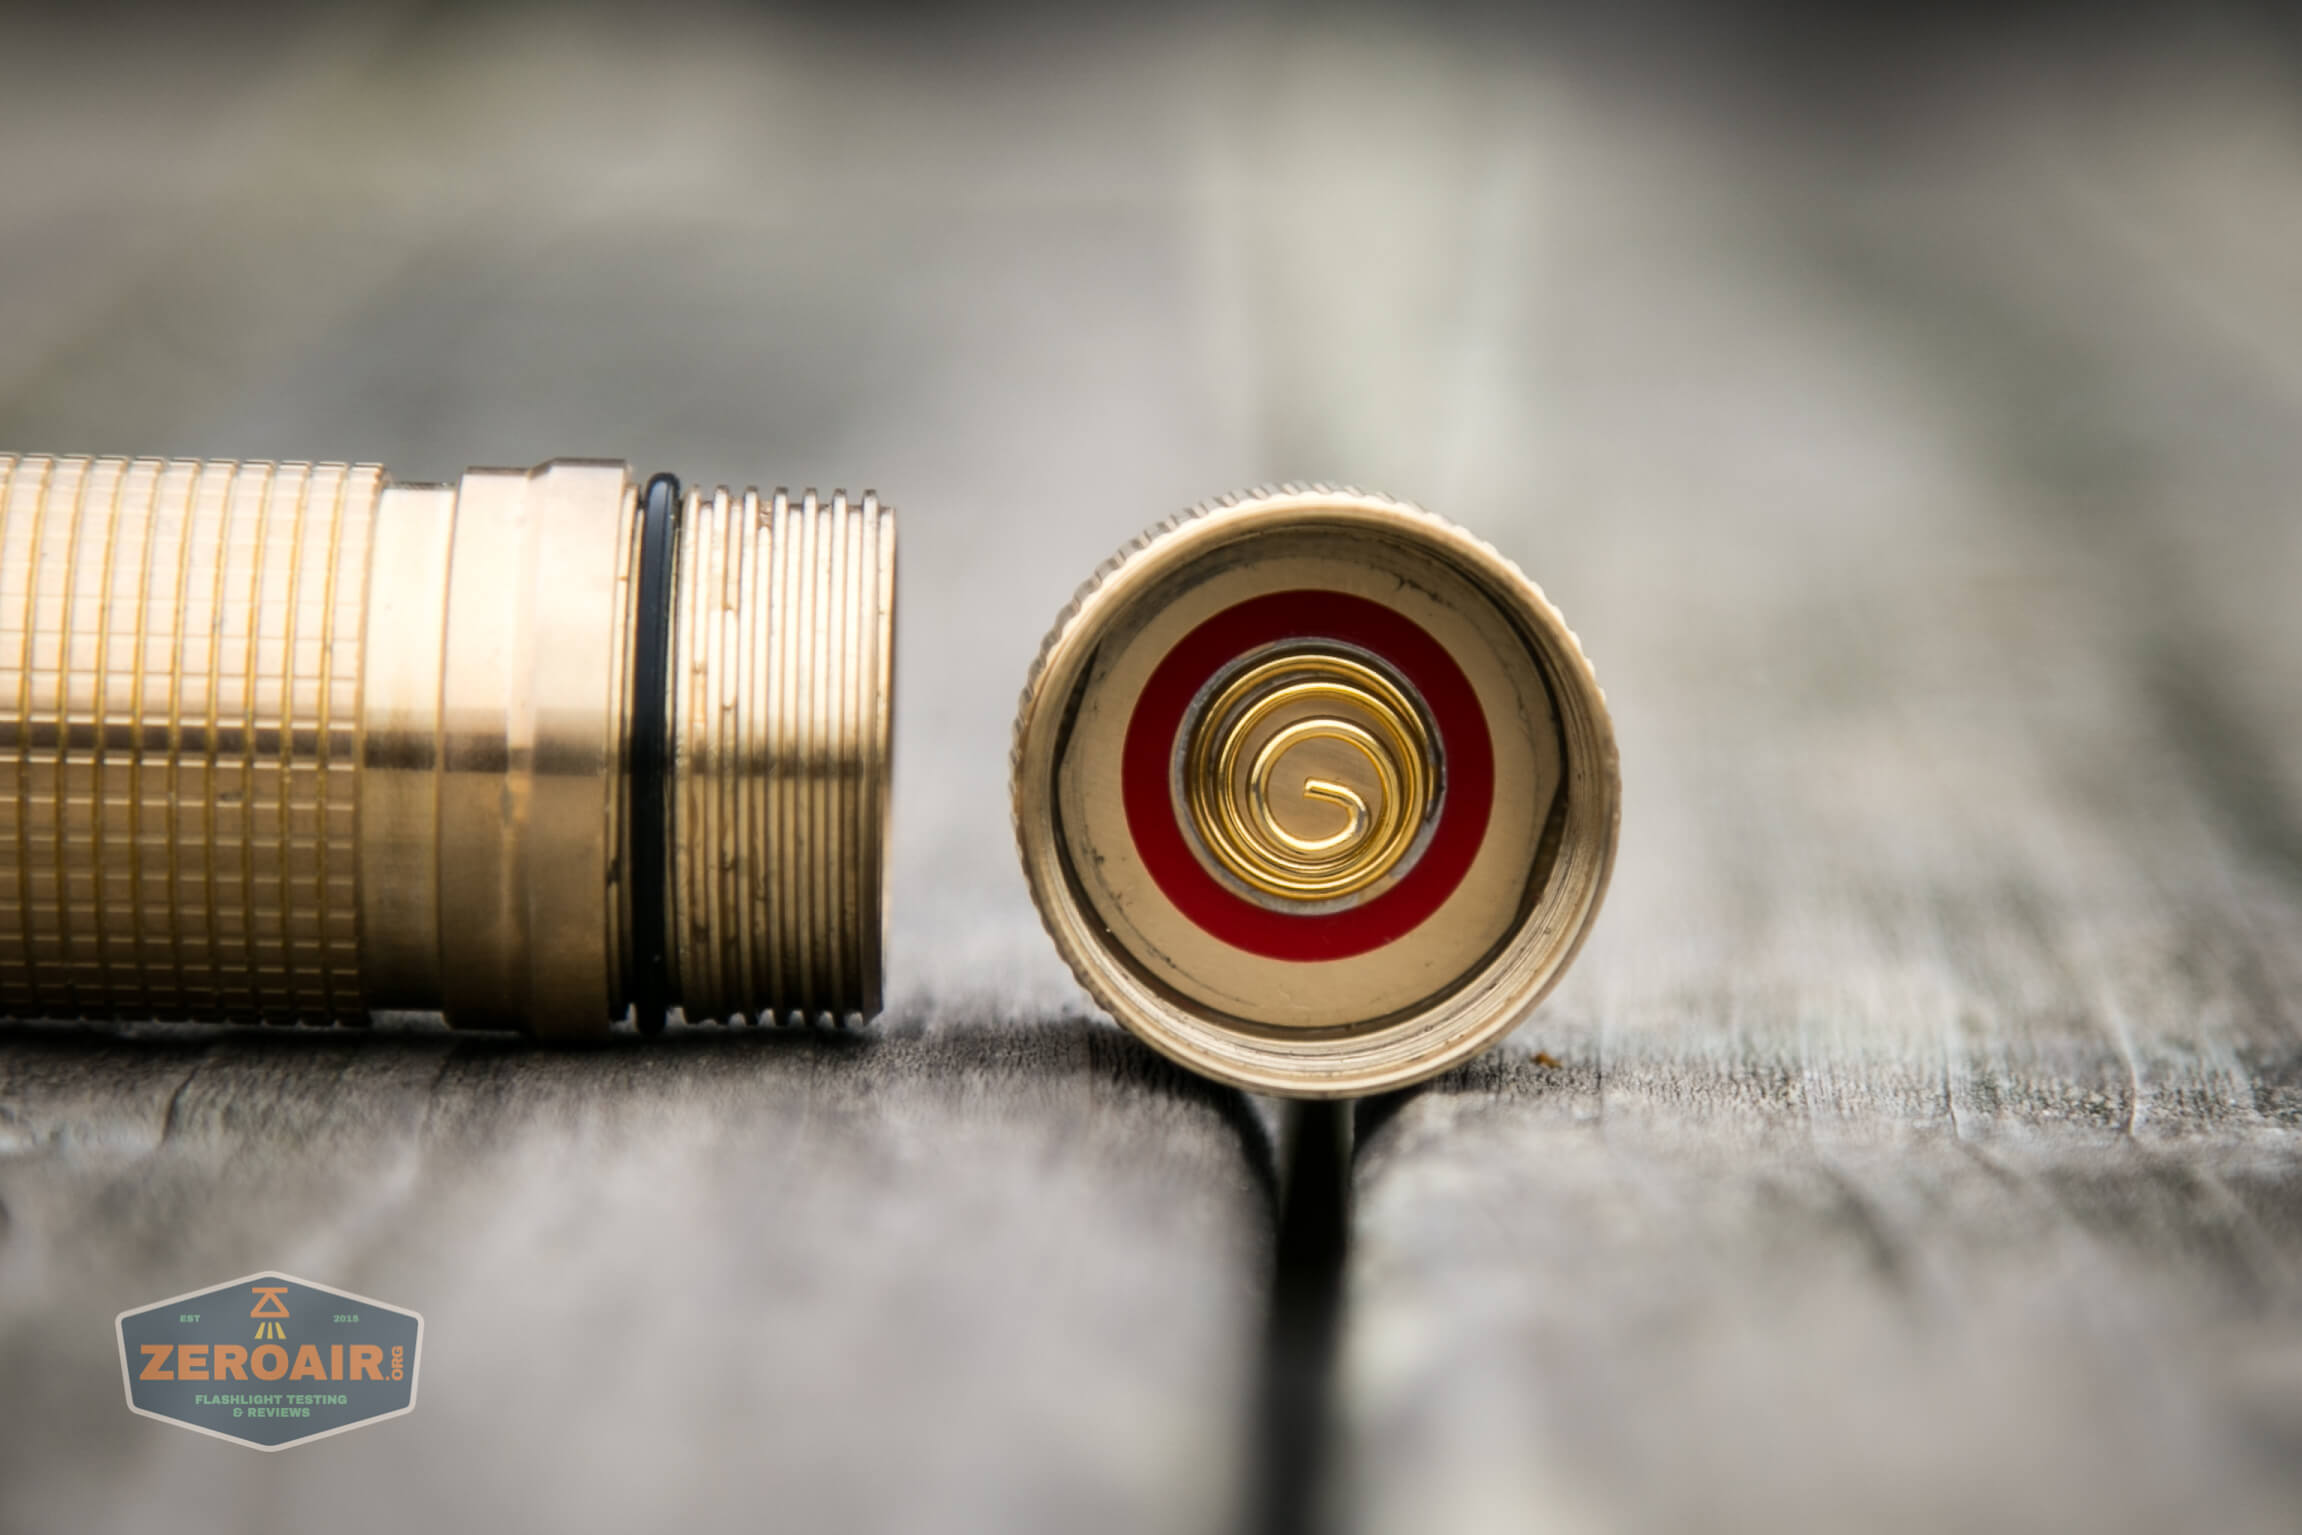
As I said, the threads on the tailcap are much longer. But they’re very smooth!
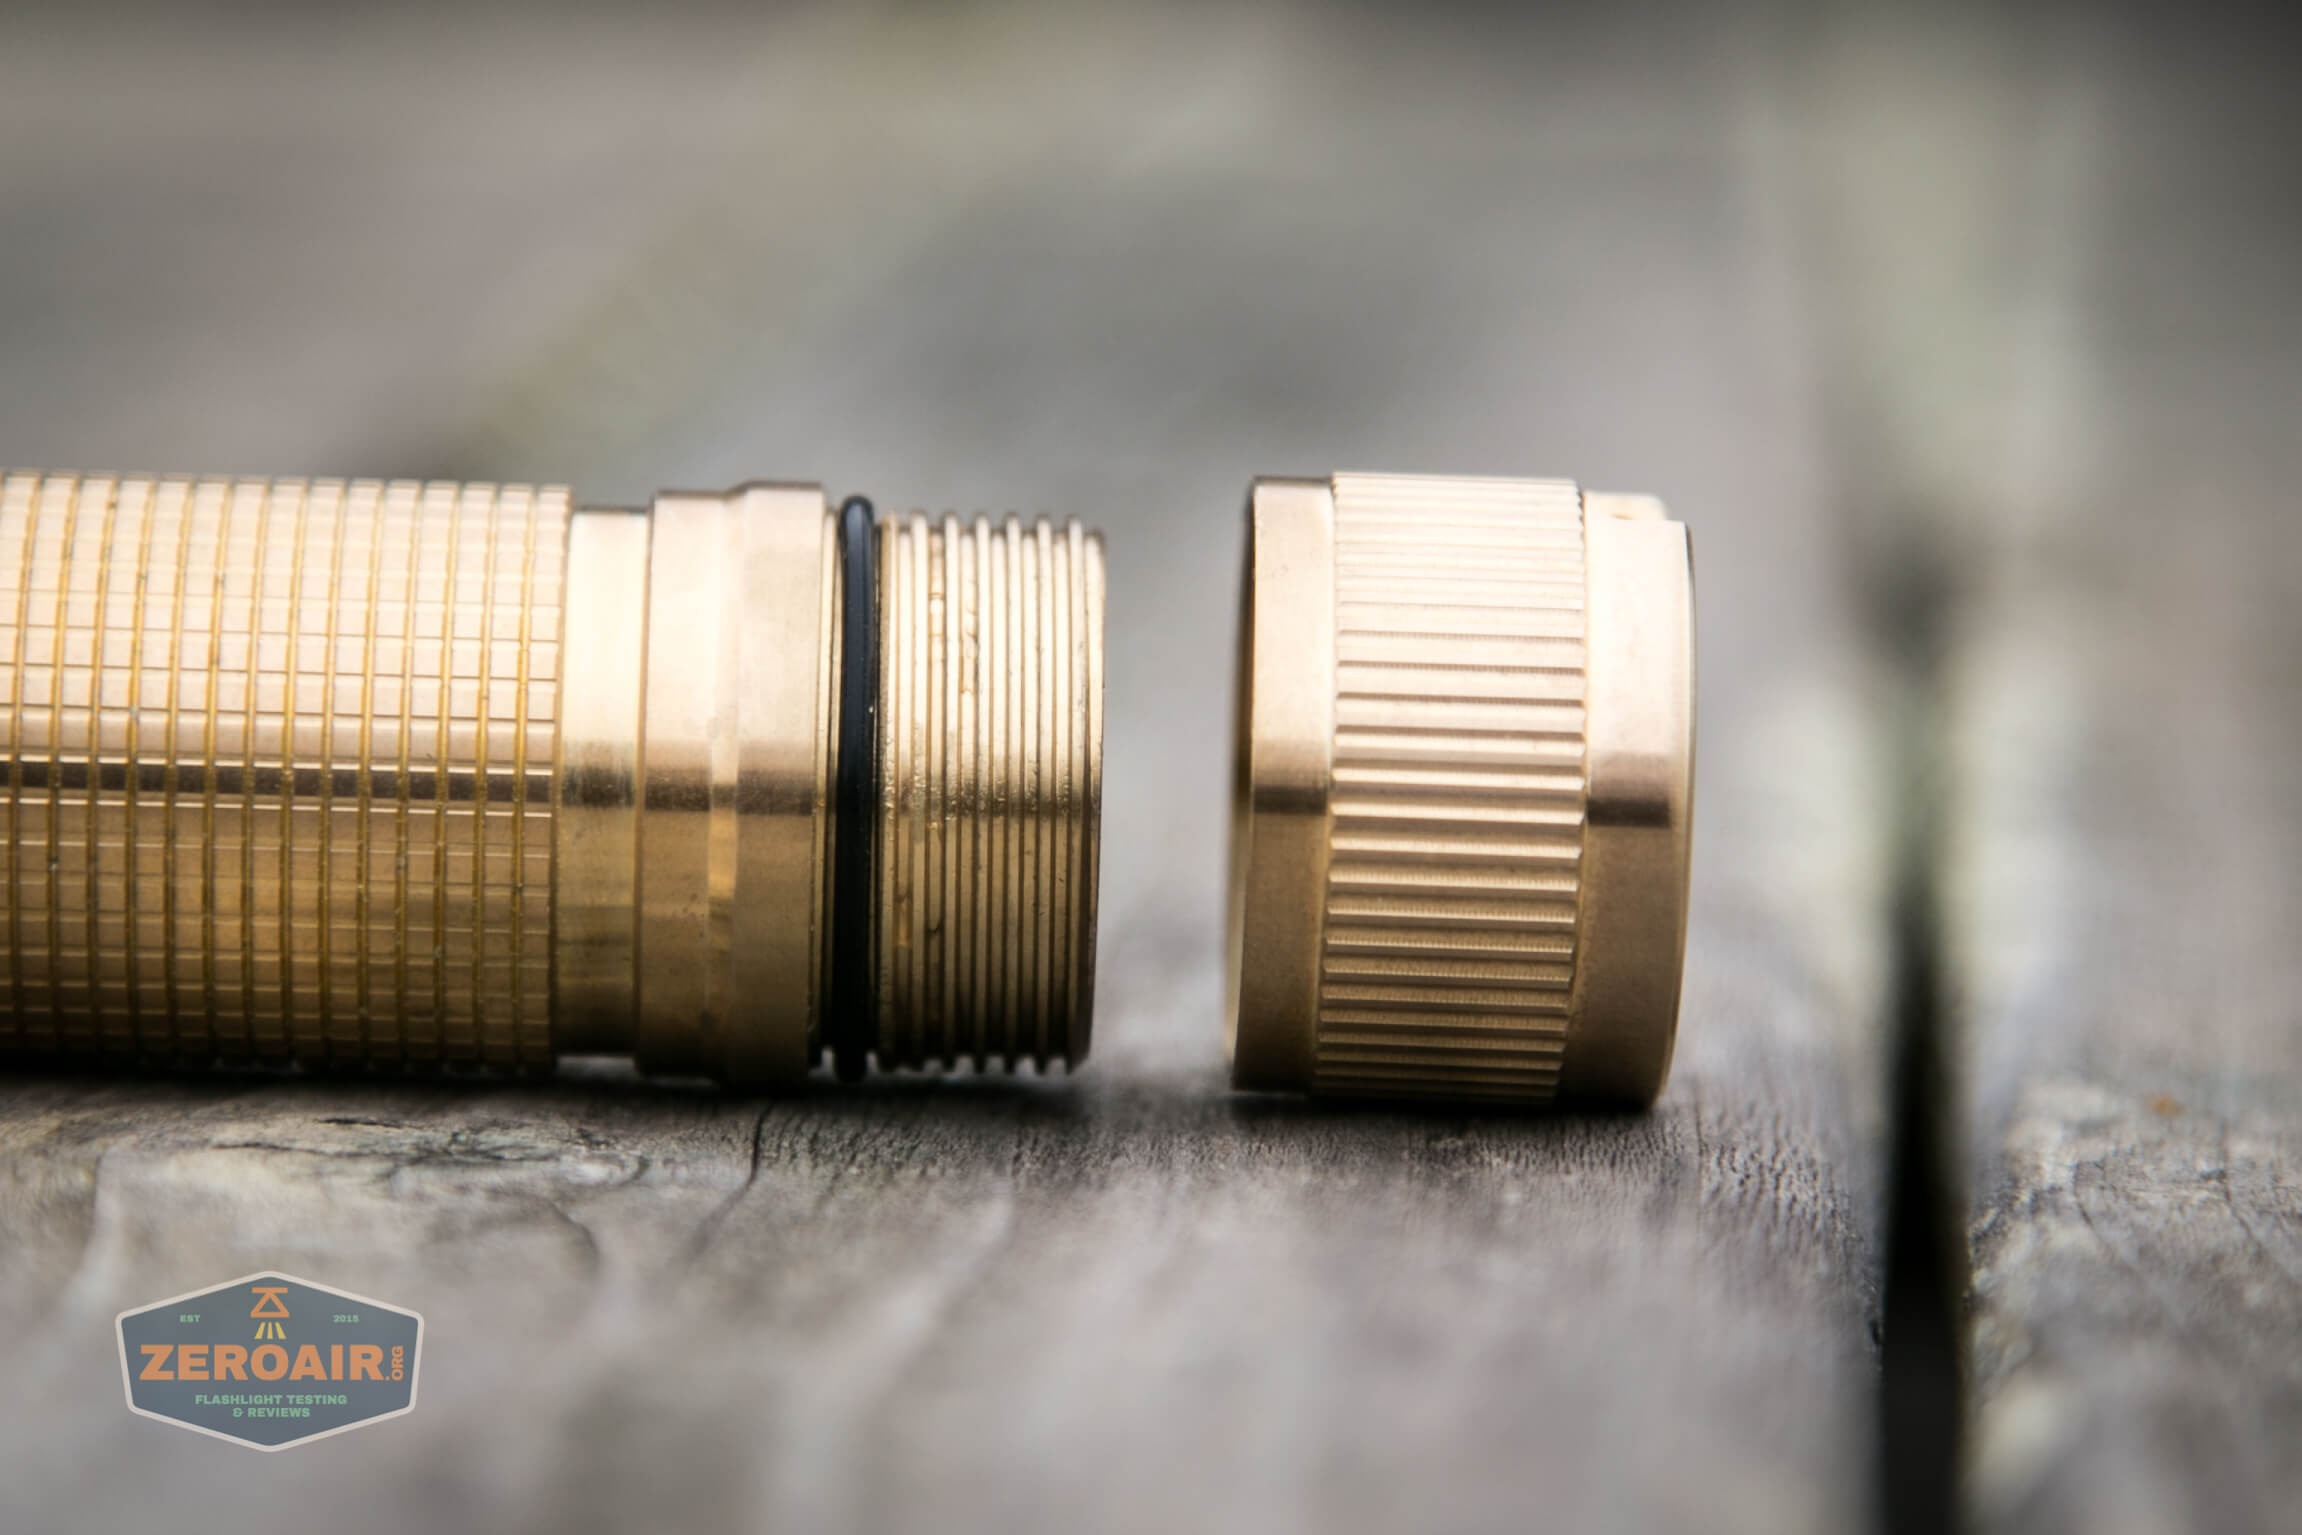
The tailcap also has a beefy spring. And my version has a magnetic tailcap too, which is an additional purchase as well.
The bezel unscrews from the head very easily. There’s a lens over the optic.
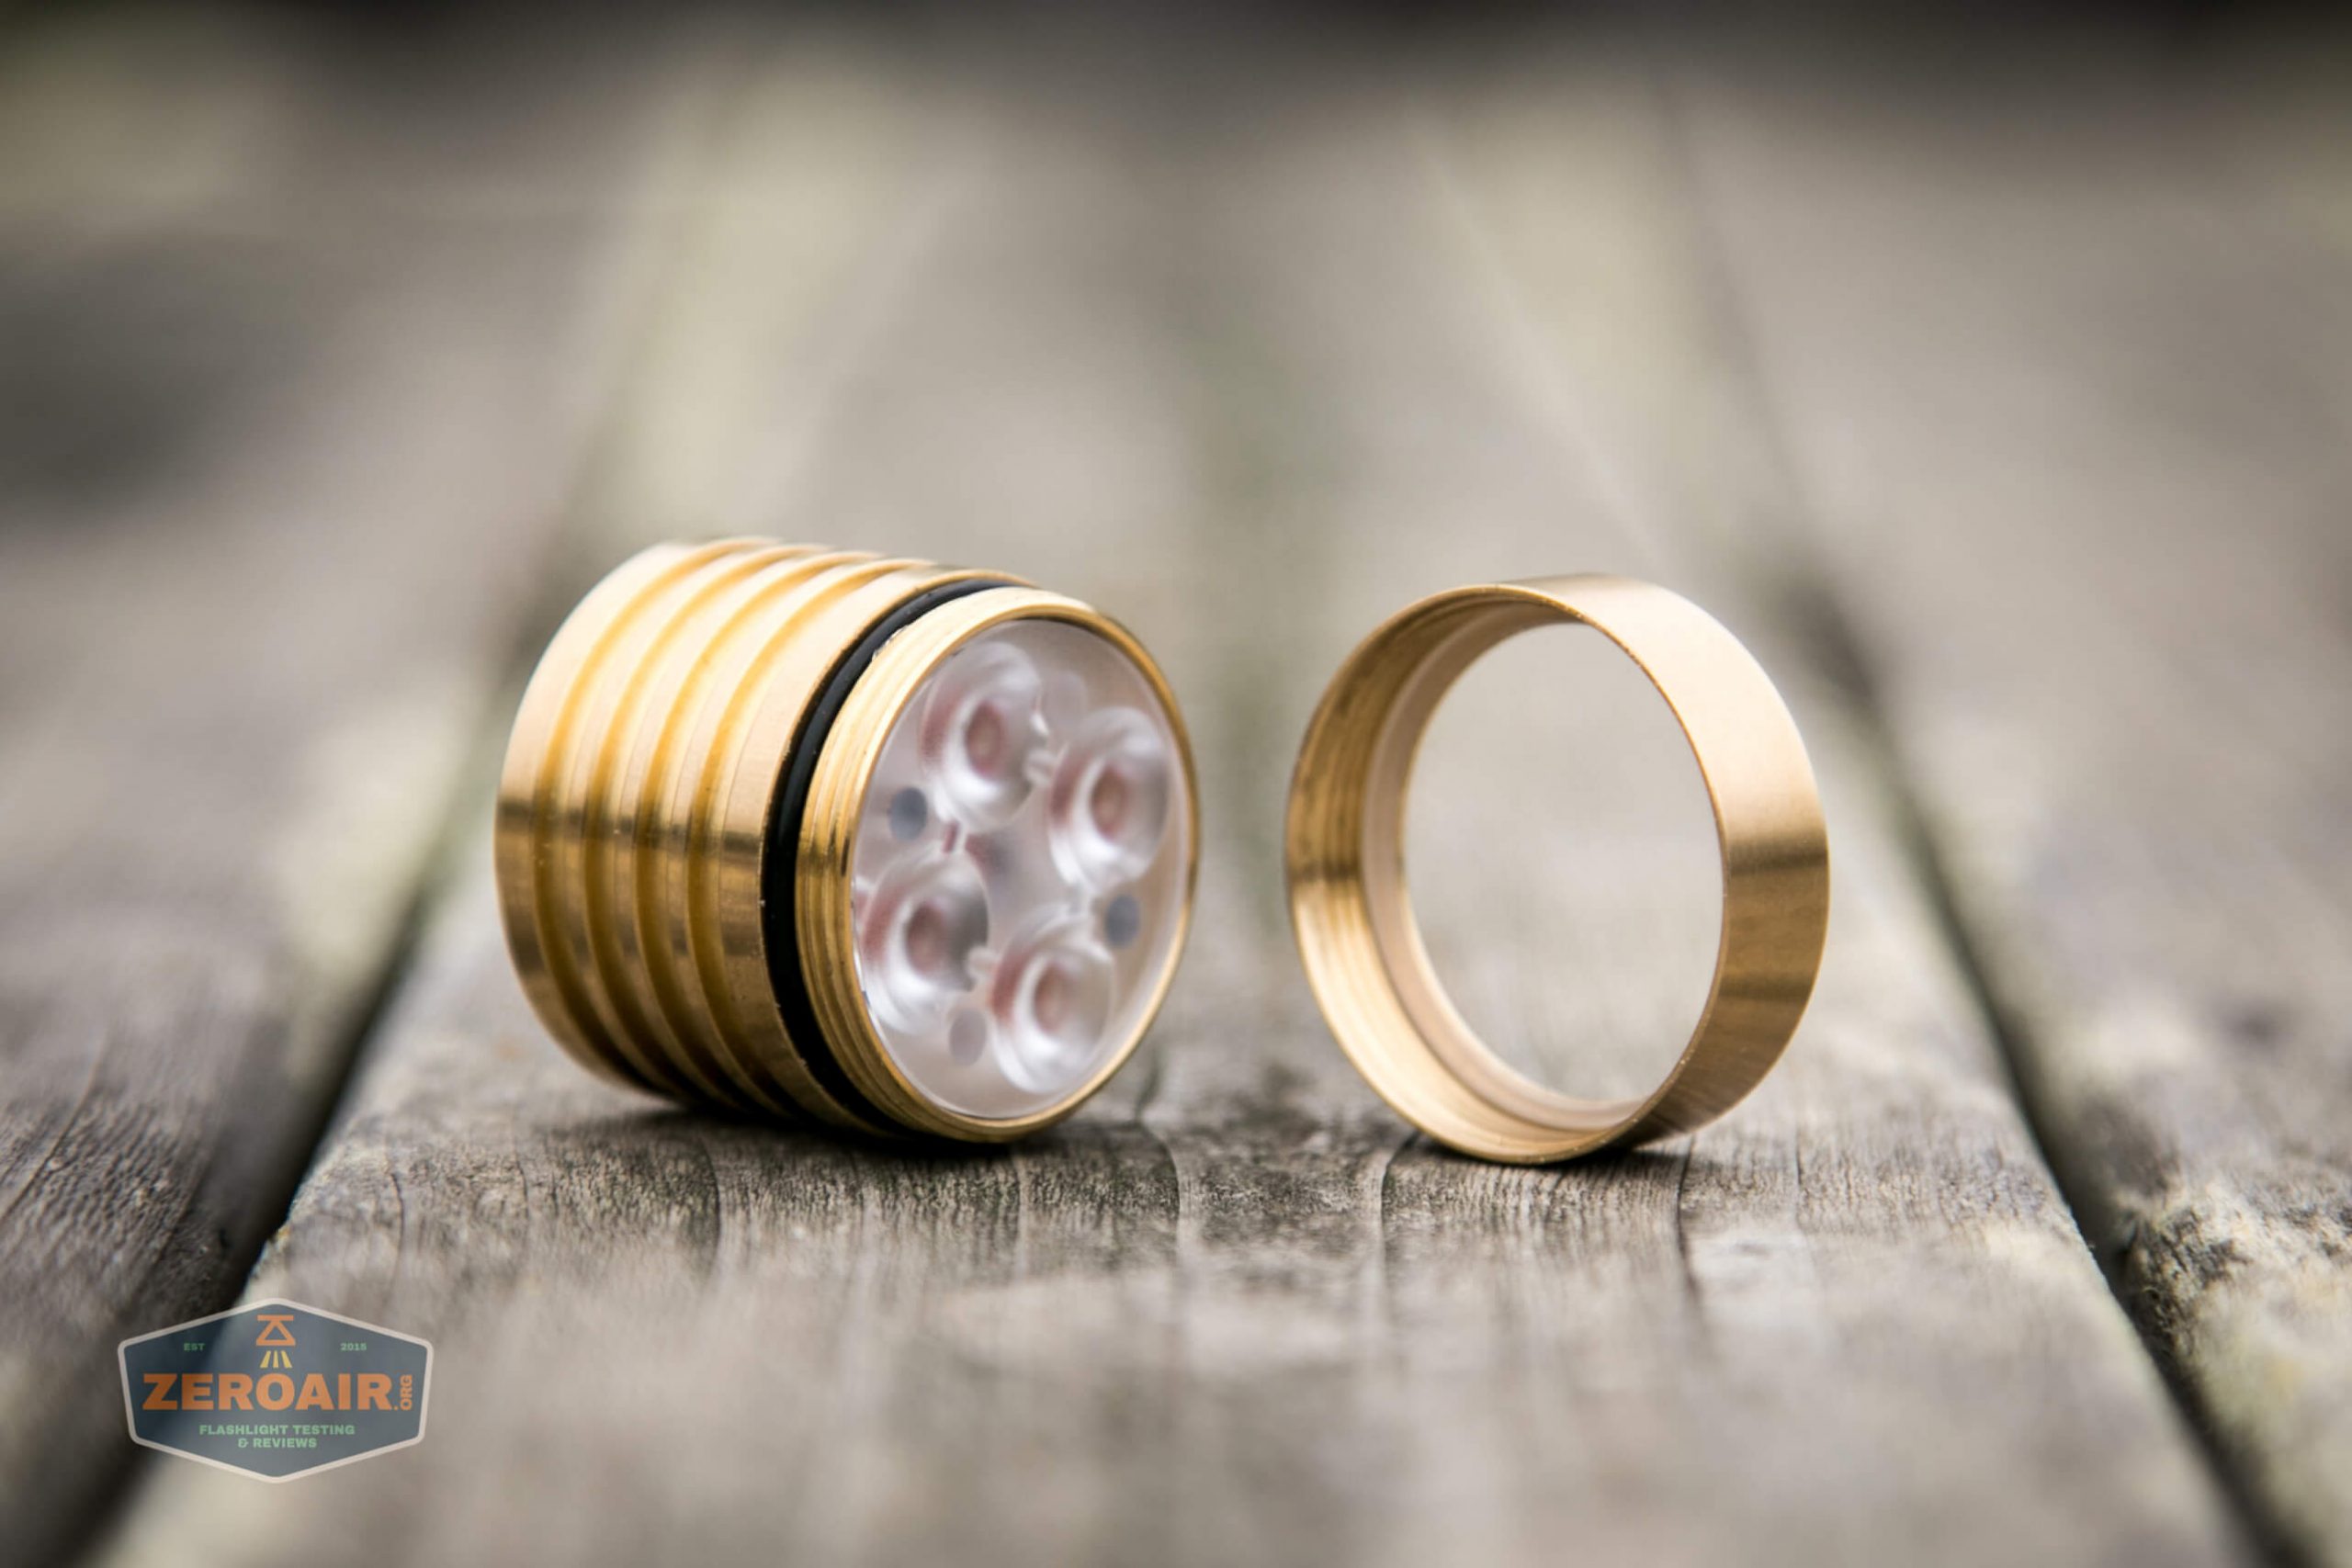
The optic doesn’t just fall right out, though. It’s… intentionally or unintentionally… stuck into the MCPCB. I removed this one by slipping a razor blade under the edge, and prying it up.
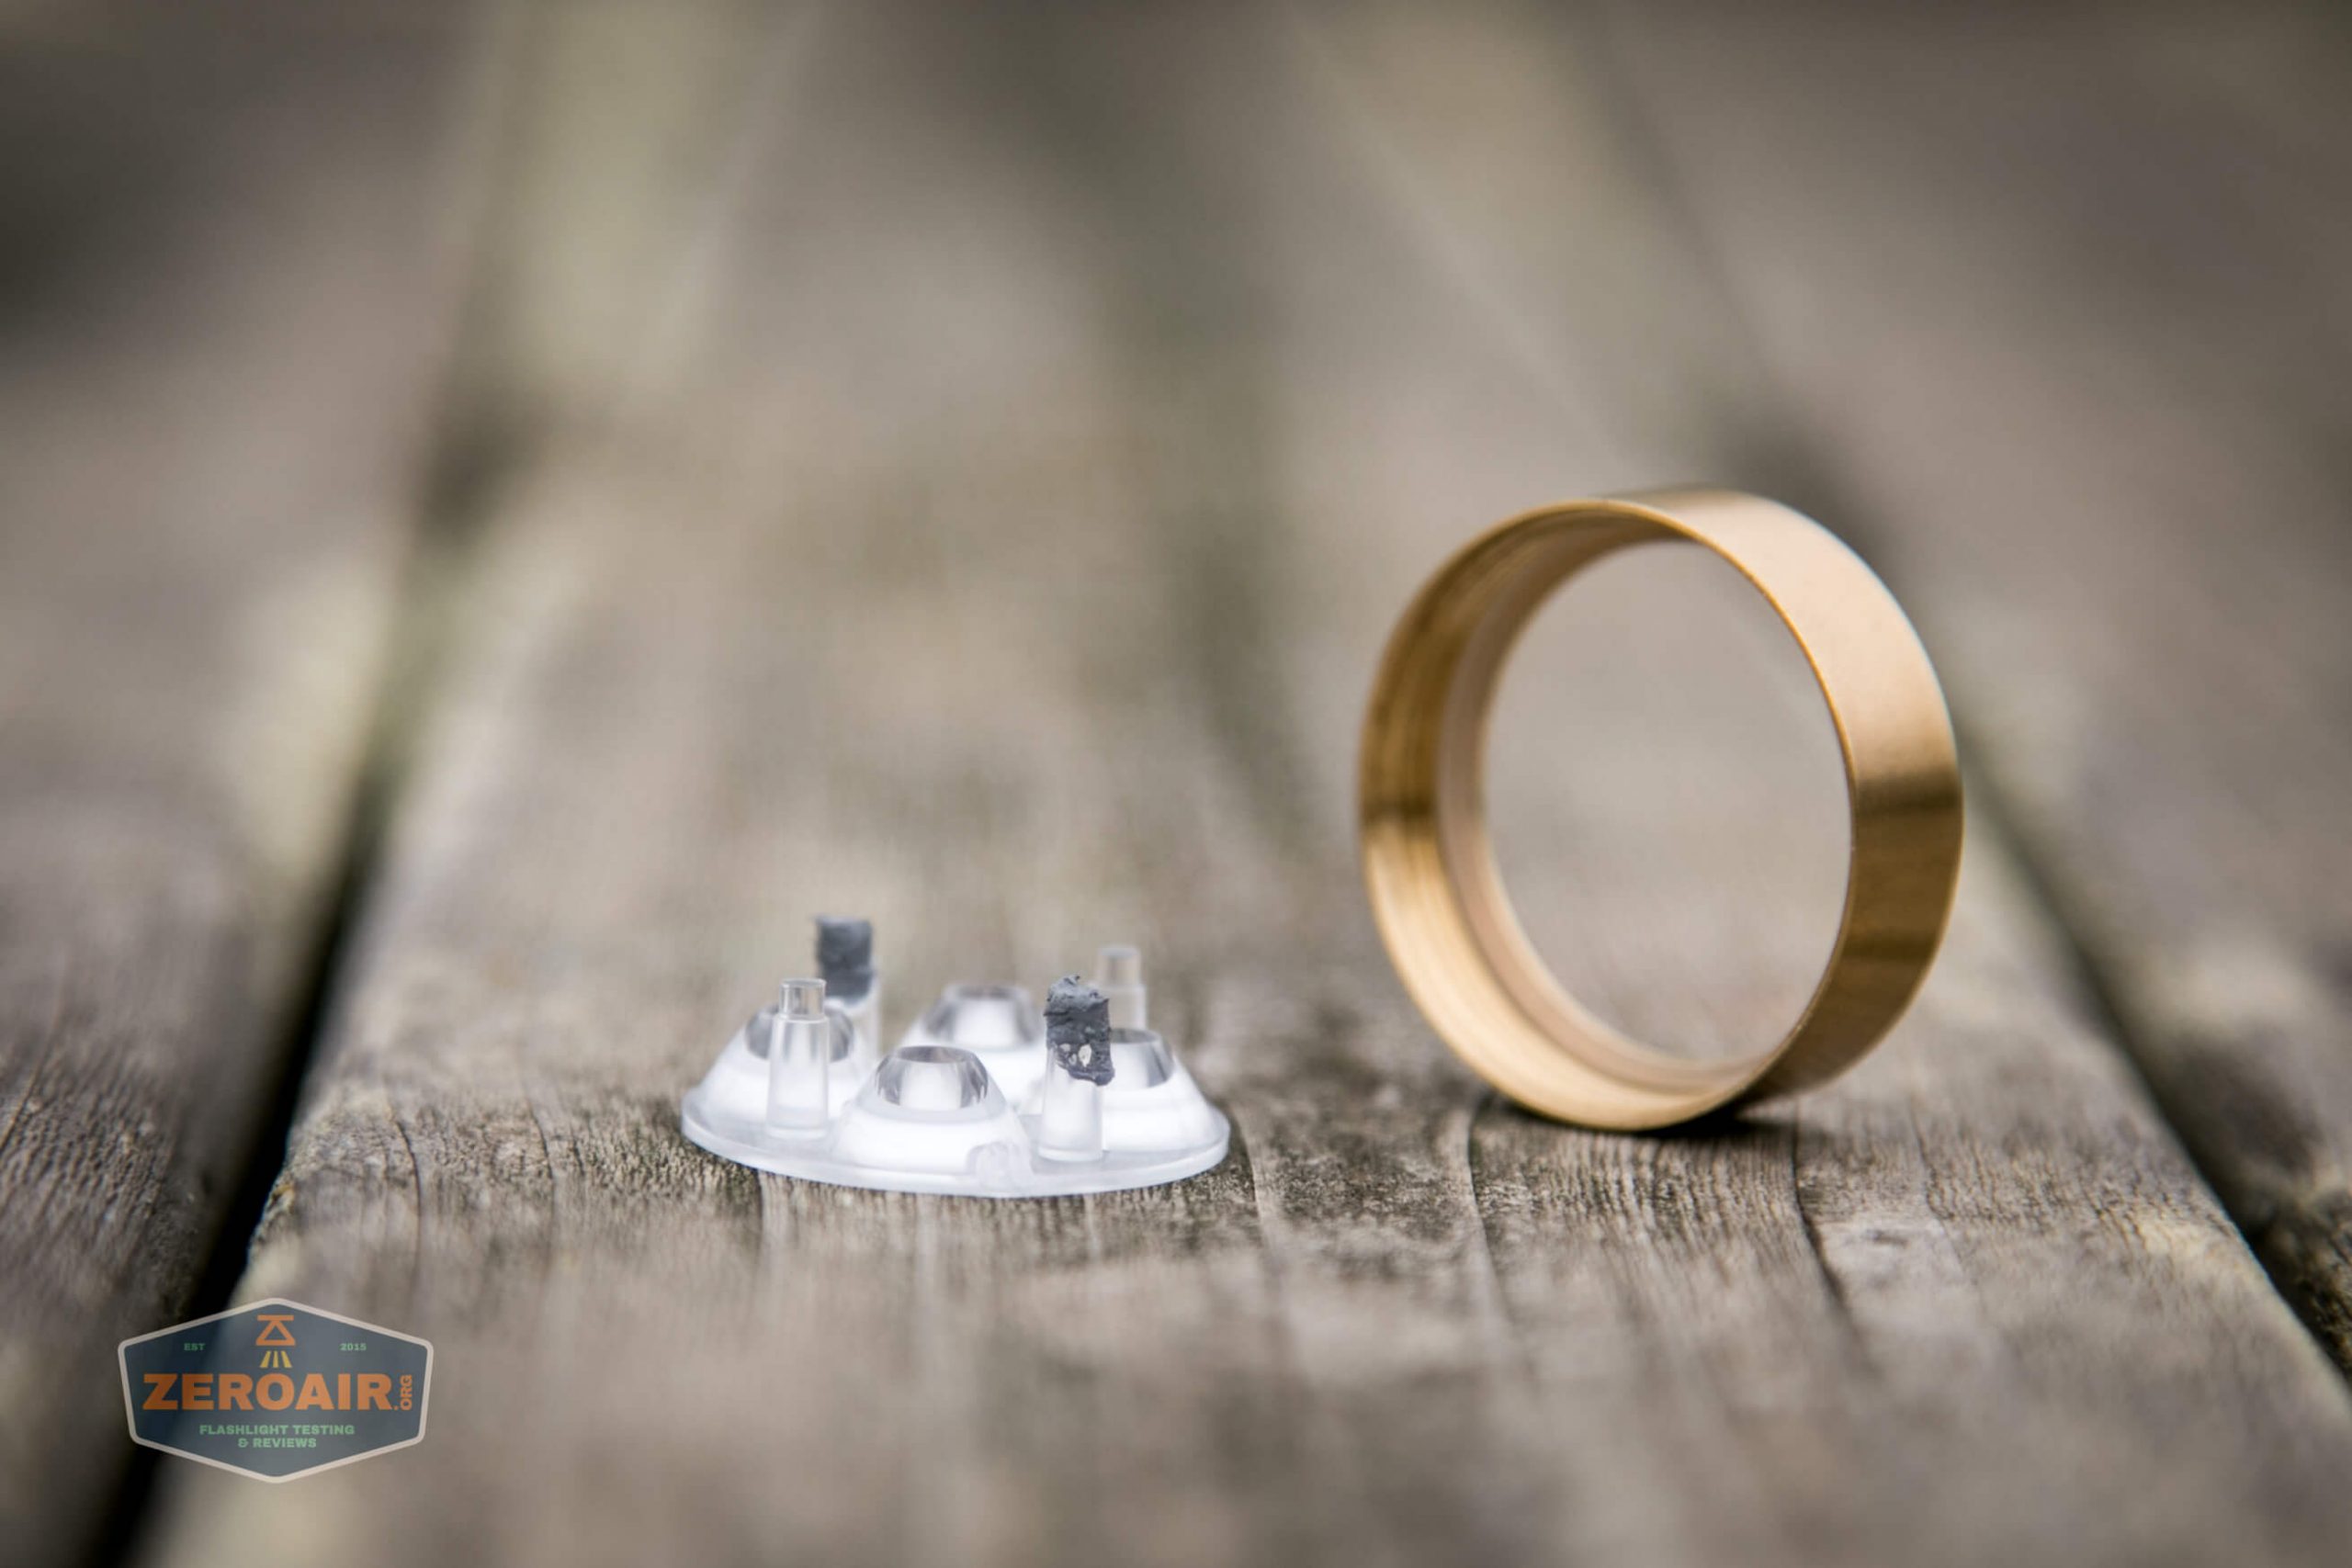
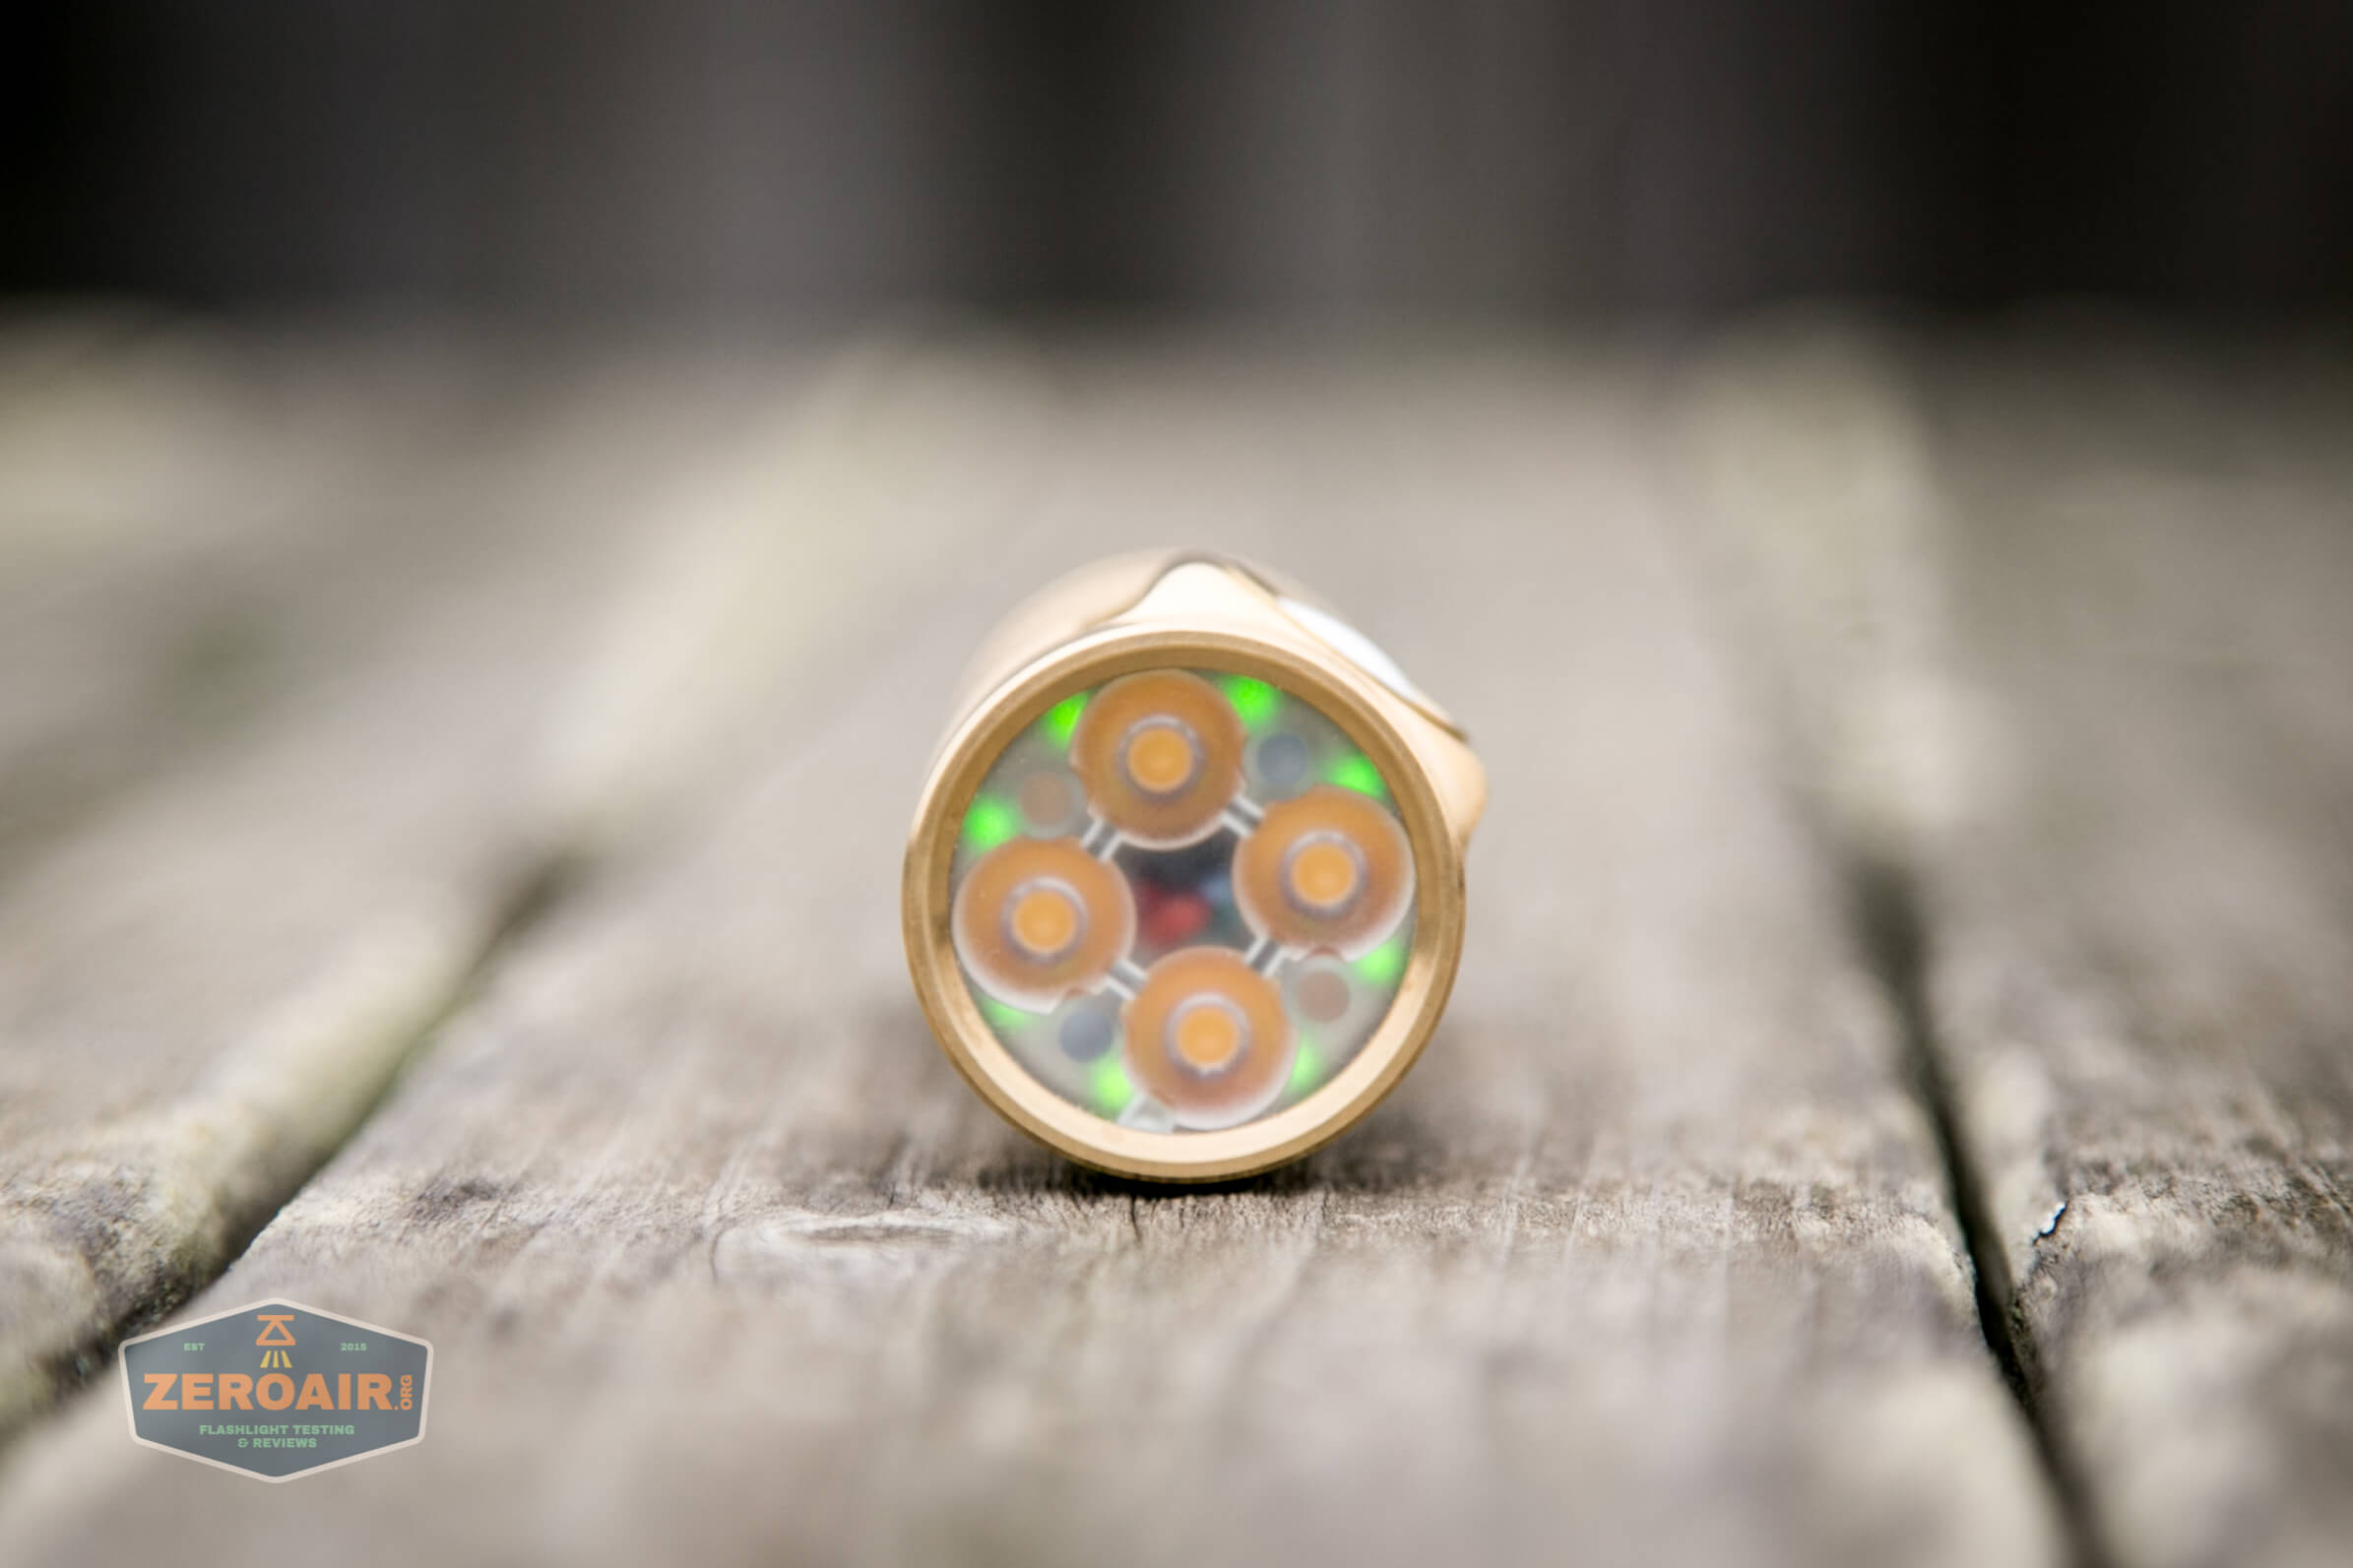
I think what is on the optic legs is thermal compound, which you can see below at the 4 and 10 positions. The 1 and 7 positions don’t have this thermal compound, and it looks like a brass shelf underneath.
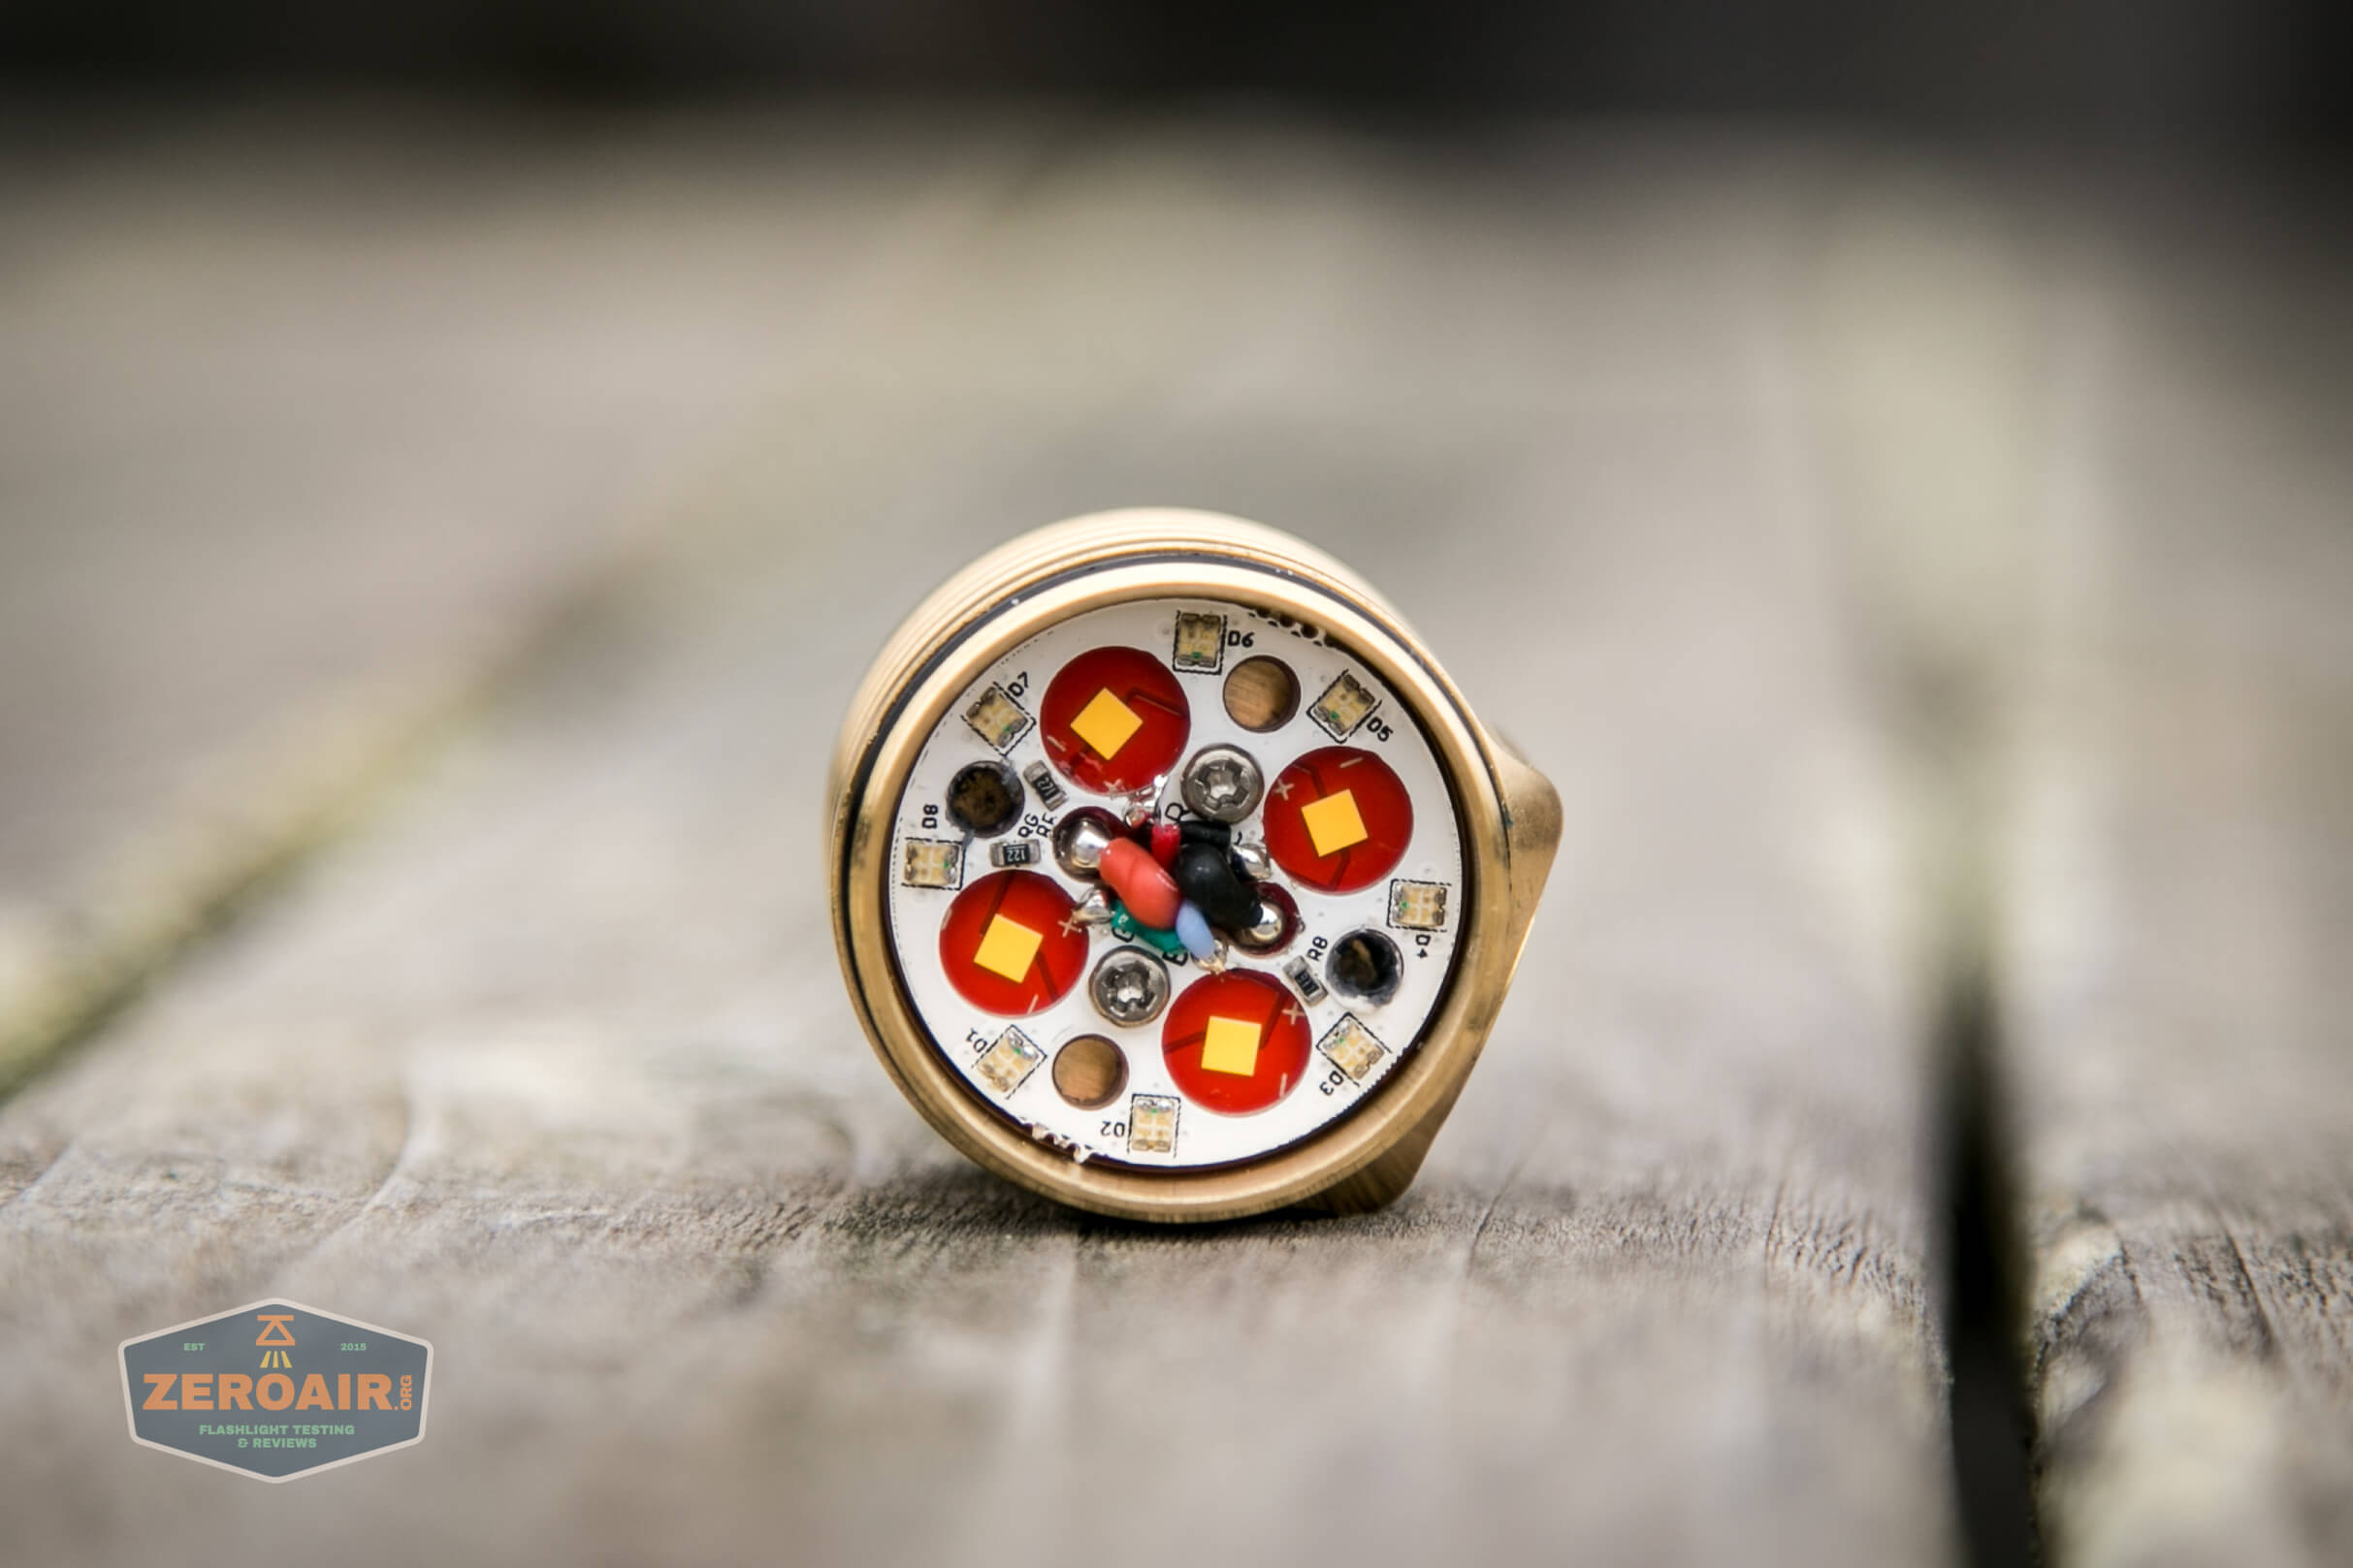
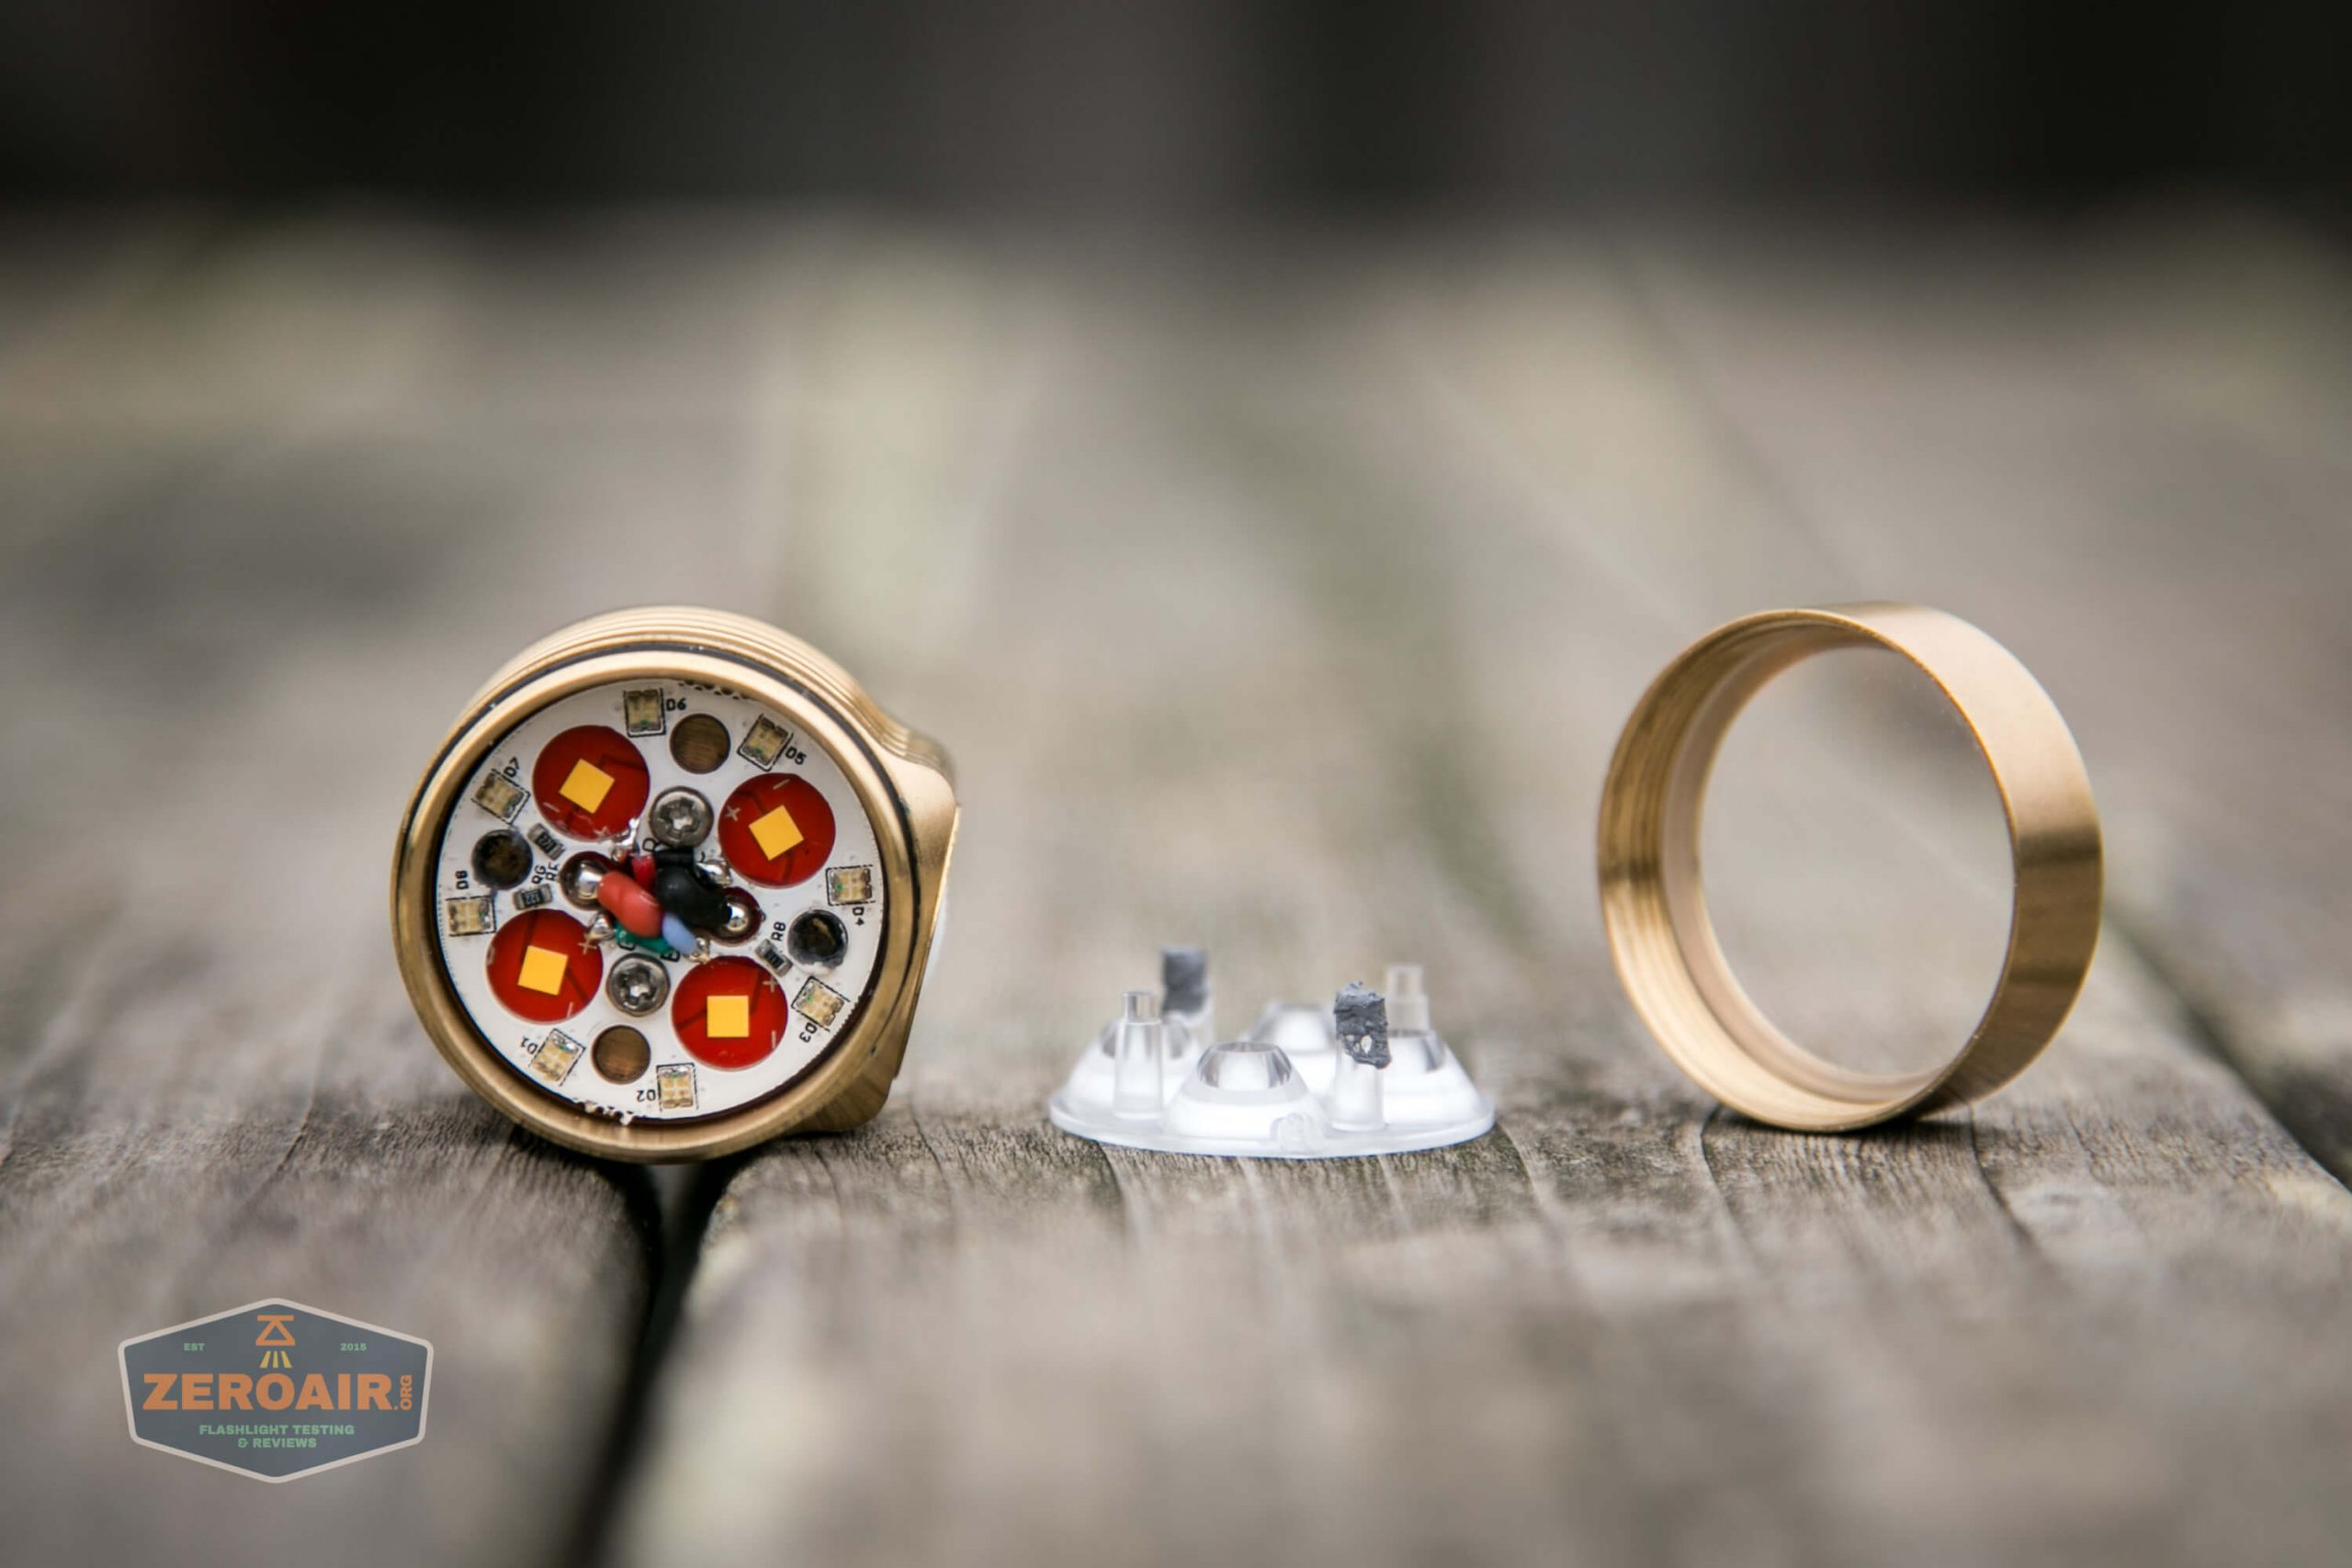
Look at the MCPCB here – there are actually two. The red one has the Nichia E21A emitters, and on top of that is a board which houses the RGB secondary emitters. These are held down with two screws.
The cell tubes are not reversible – again, because of how different in length the threads are. They’re both square-cut and well-lubed, though. Below is the 18650 tube.
And here’s the 18350 tube.
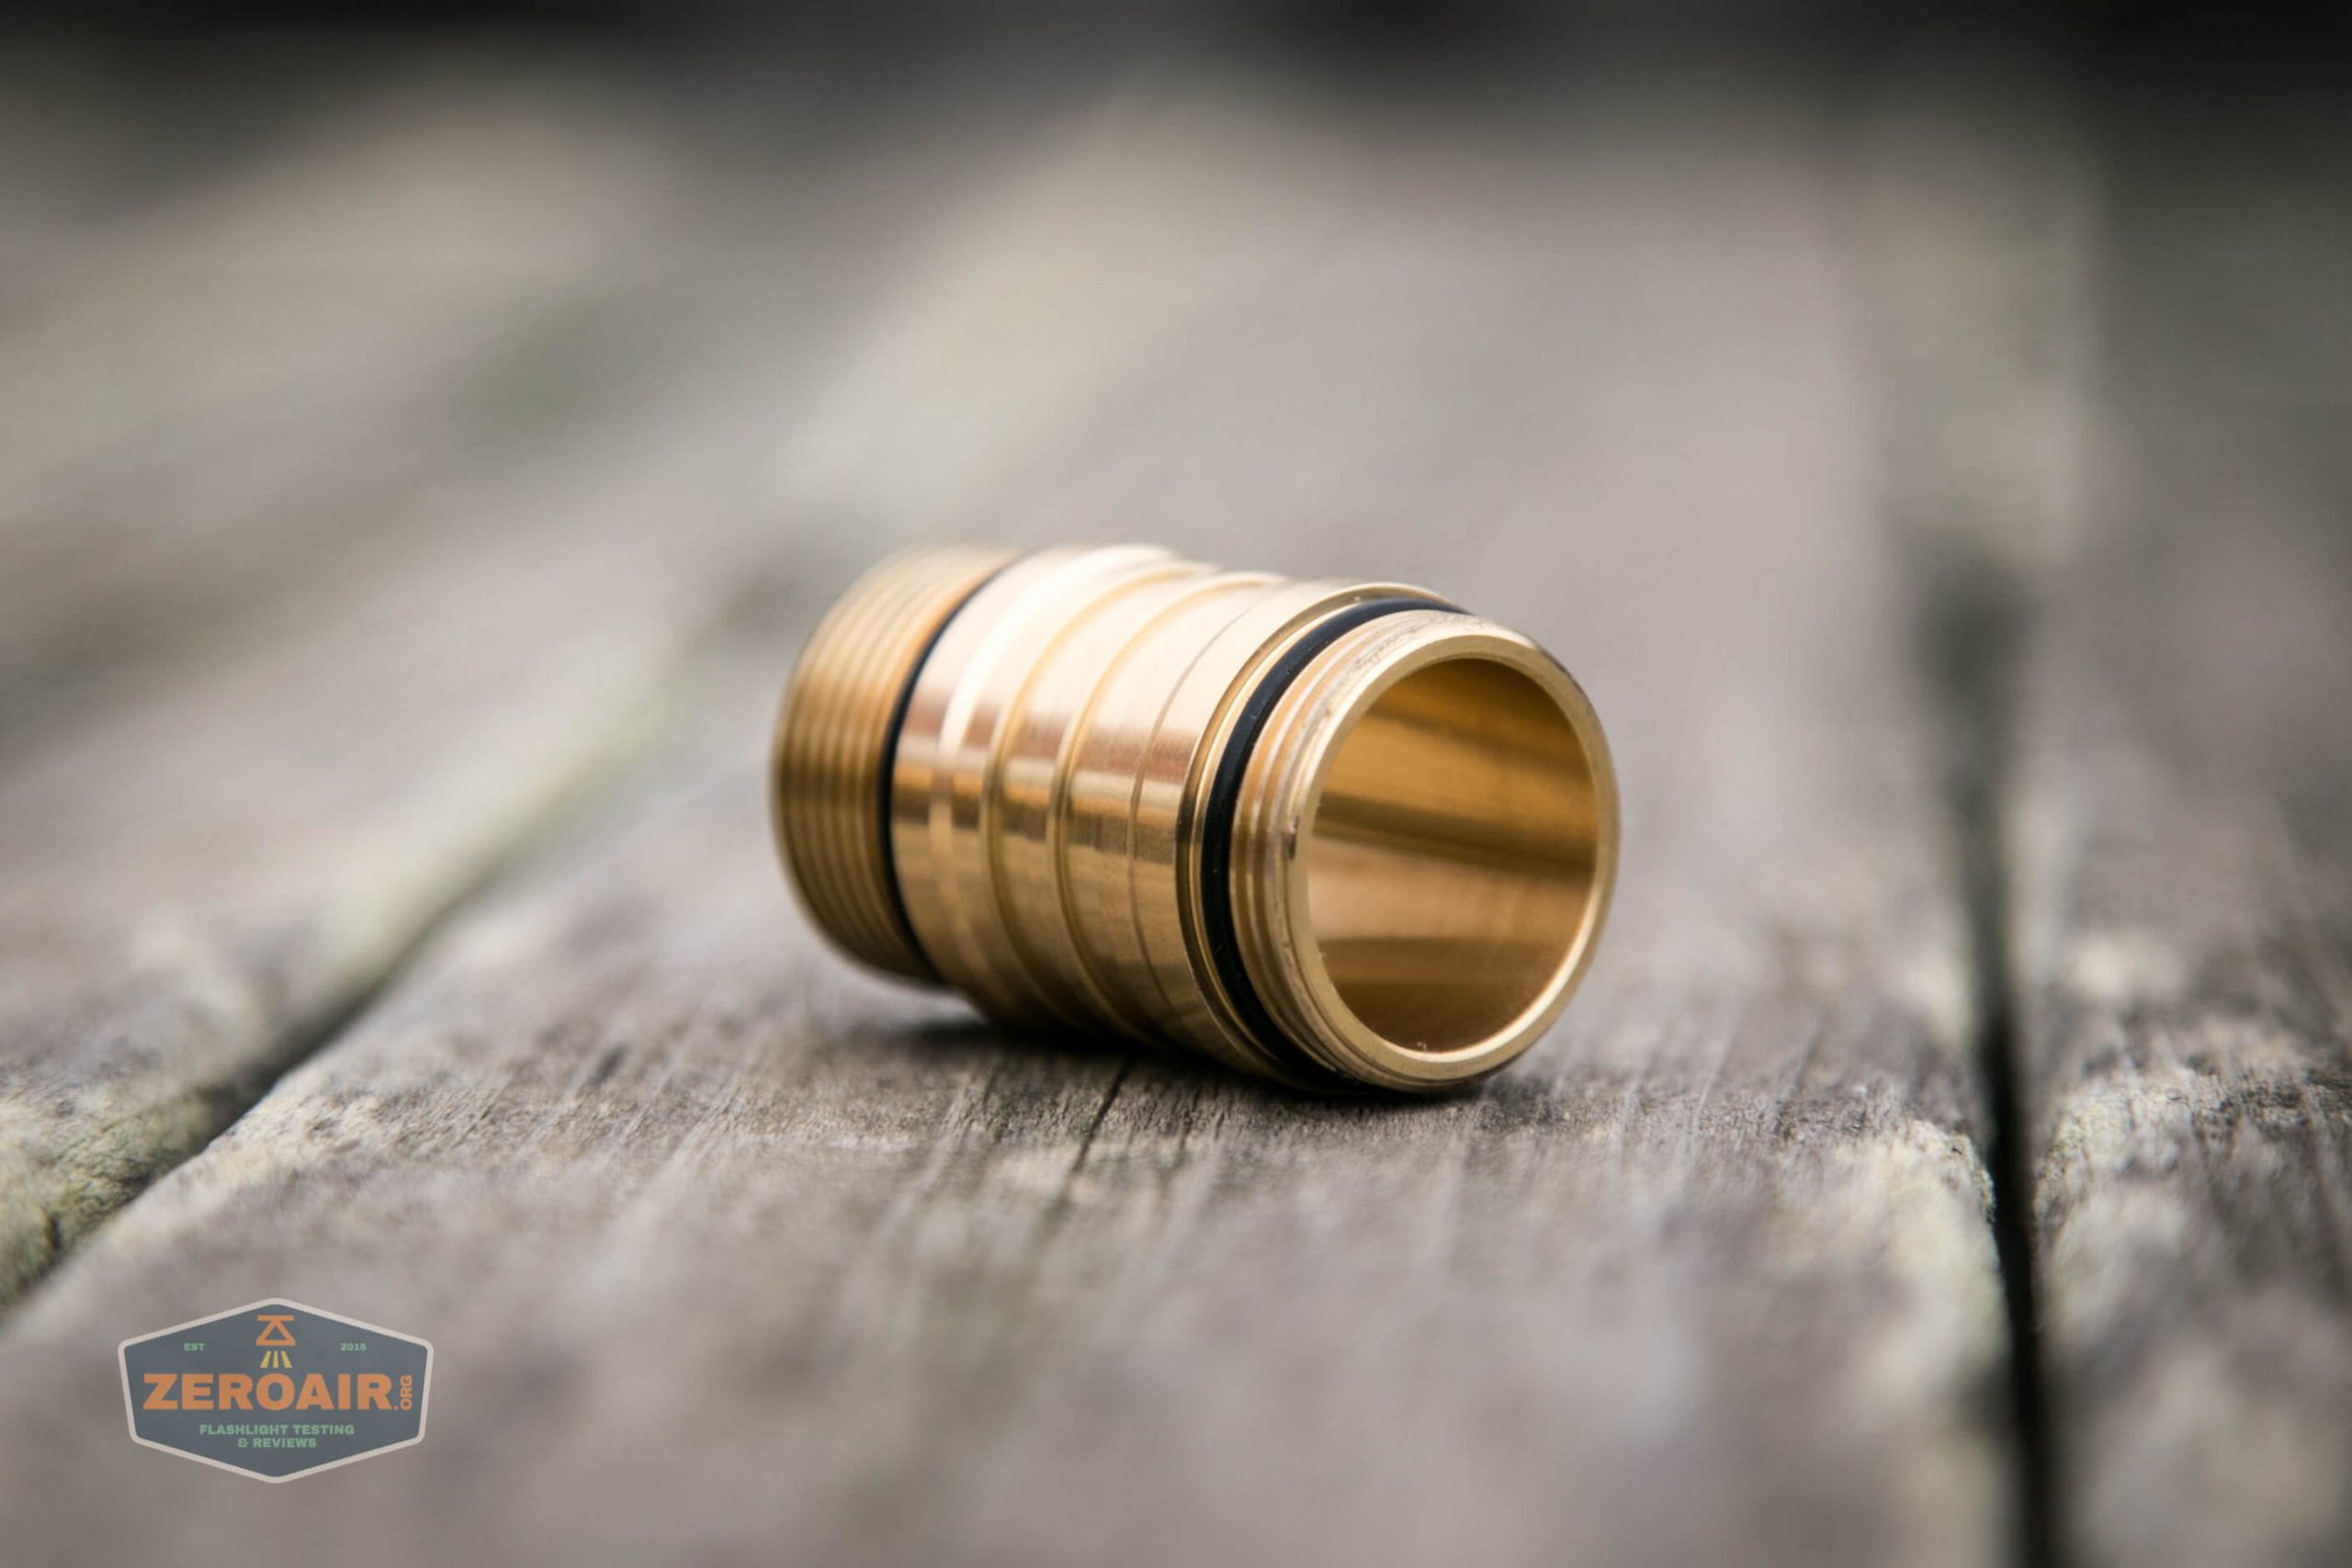
Each tube includes its own set of o-rings.

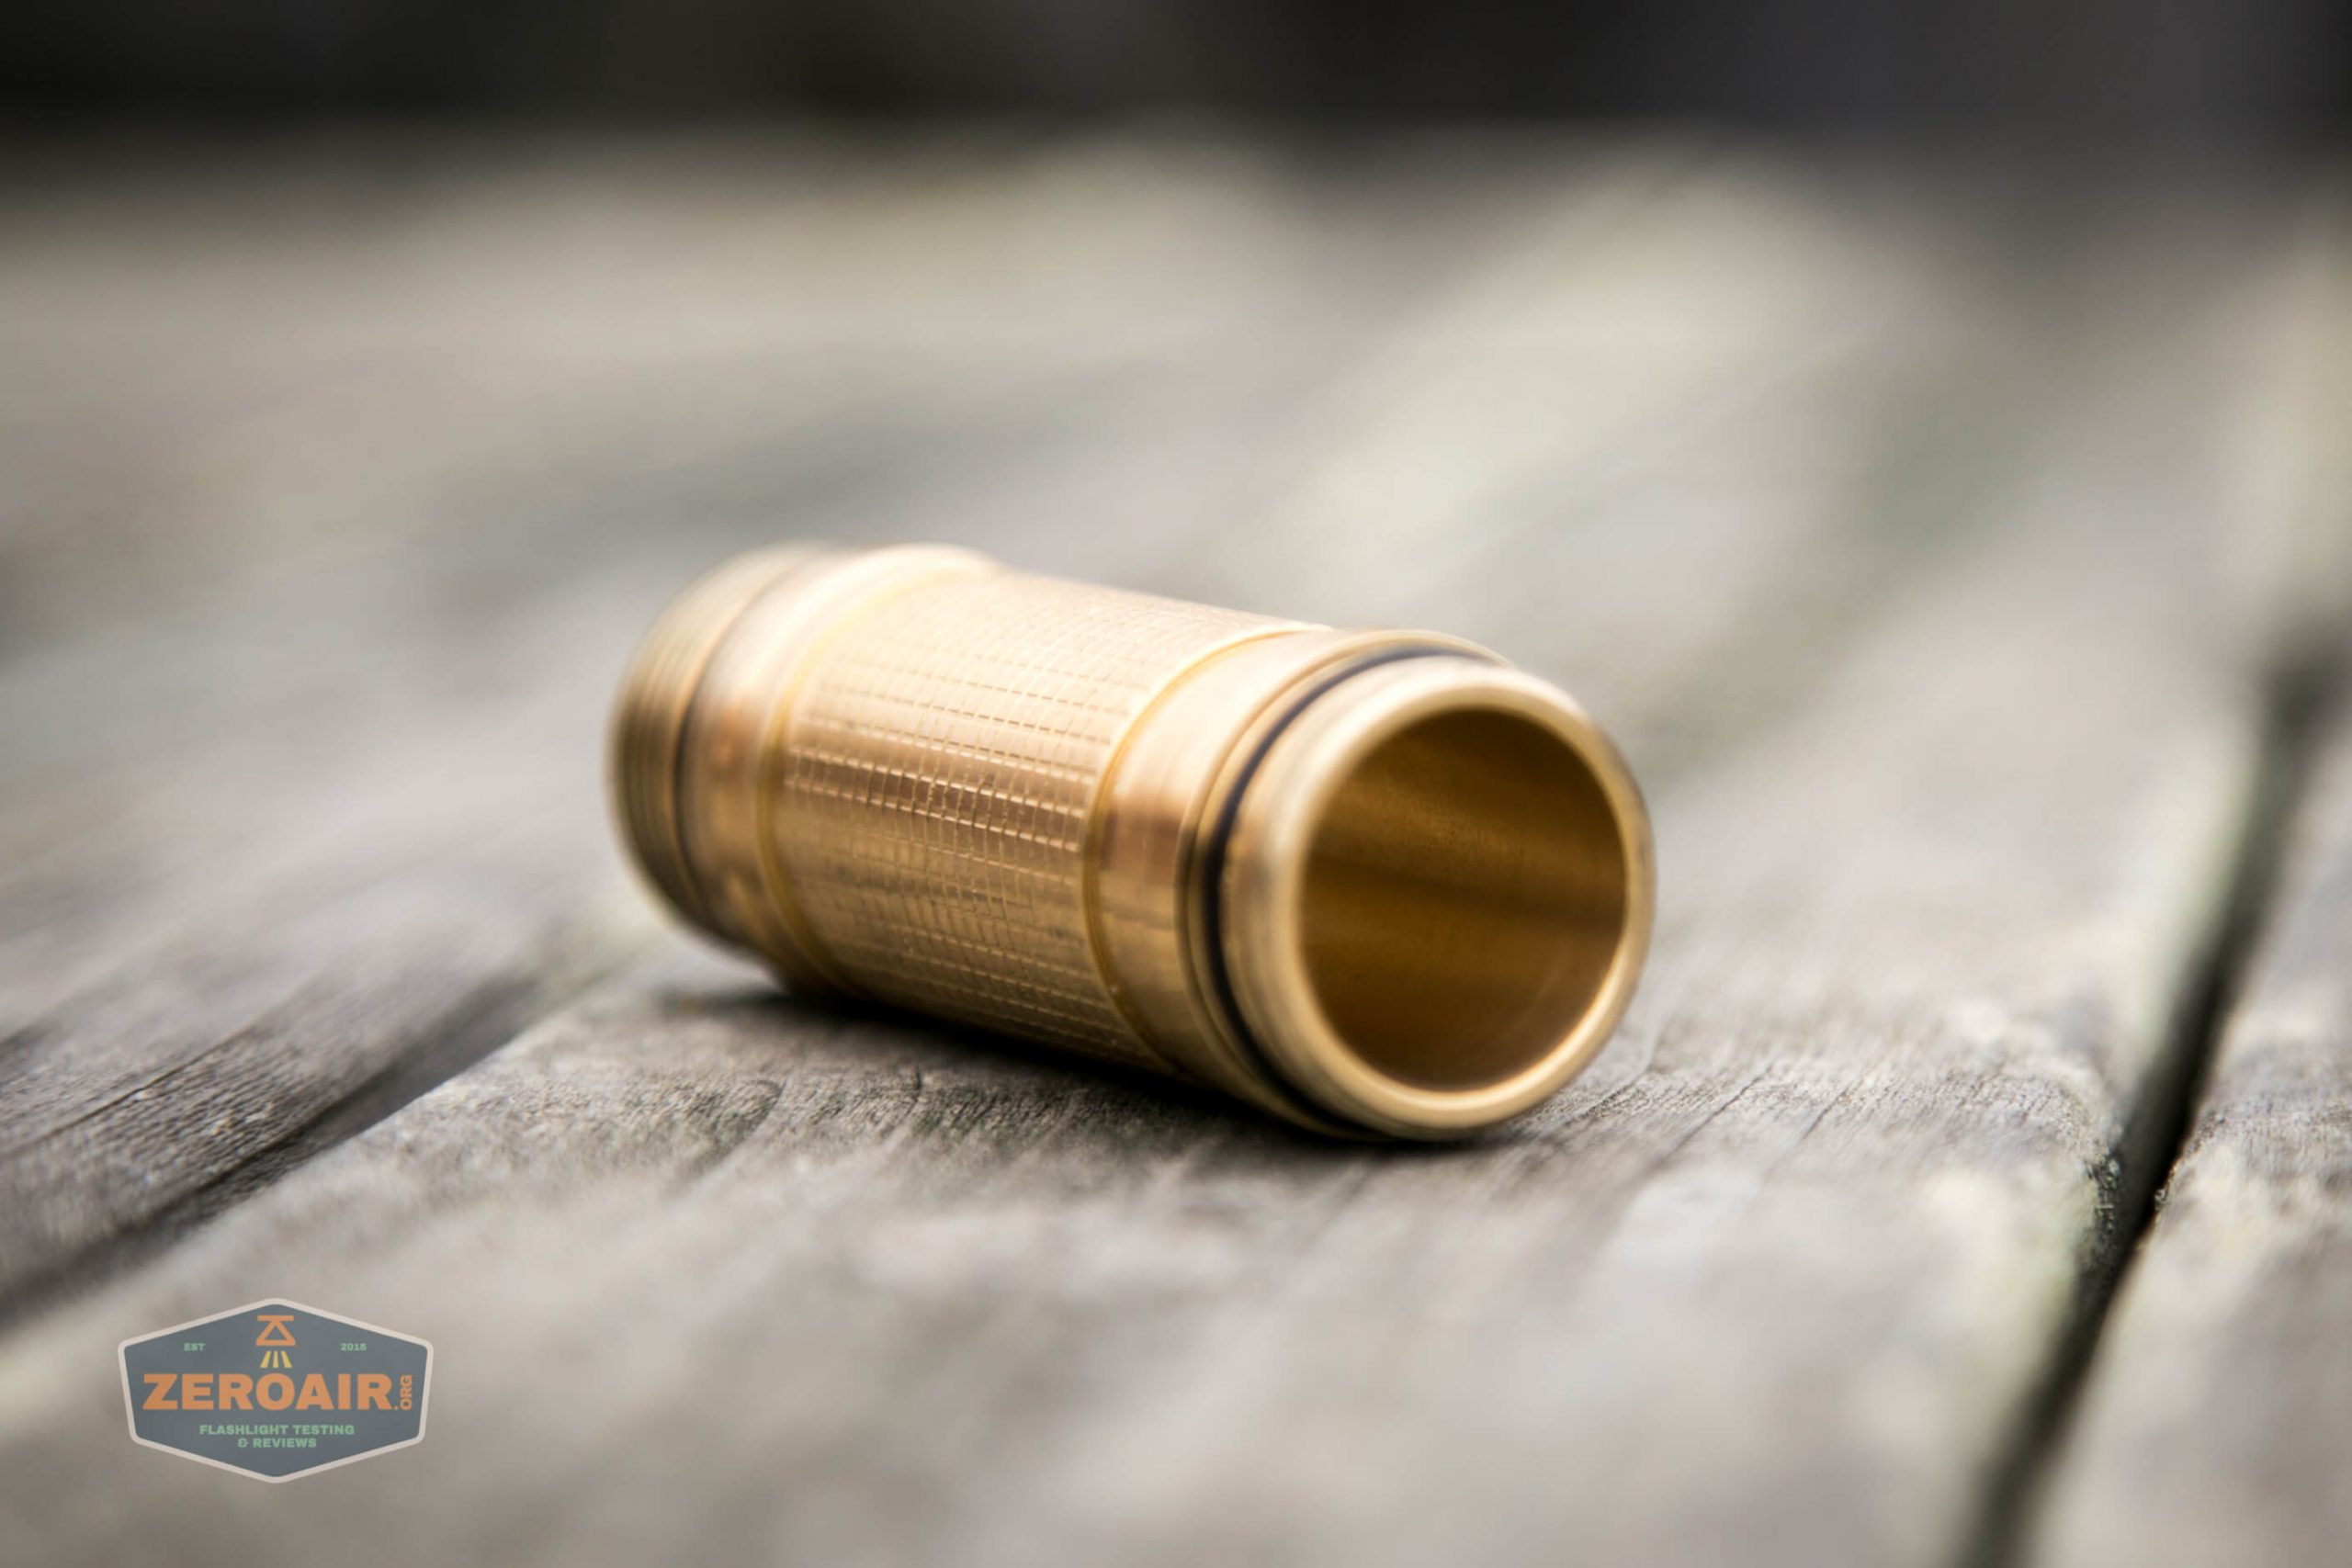
And both tubes are just tubes – the inside is just straight-sided.
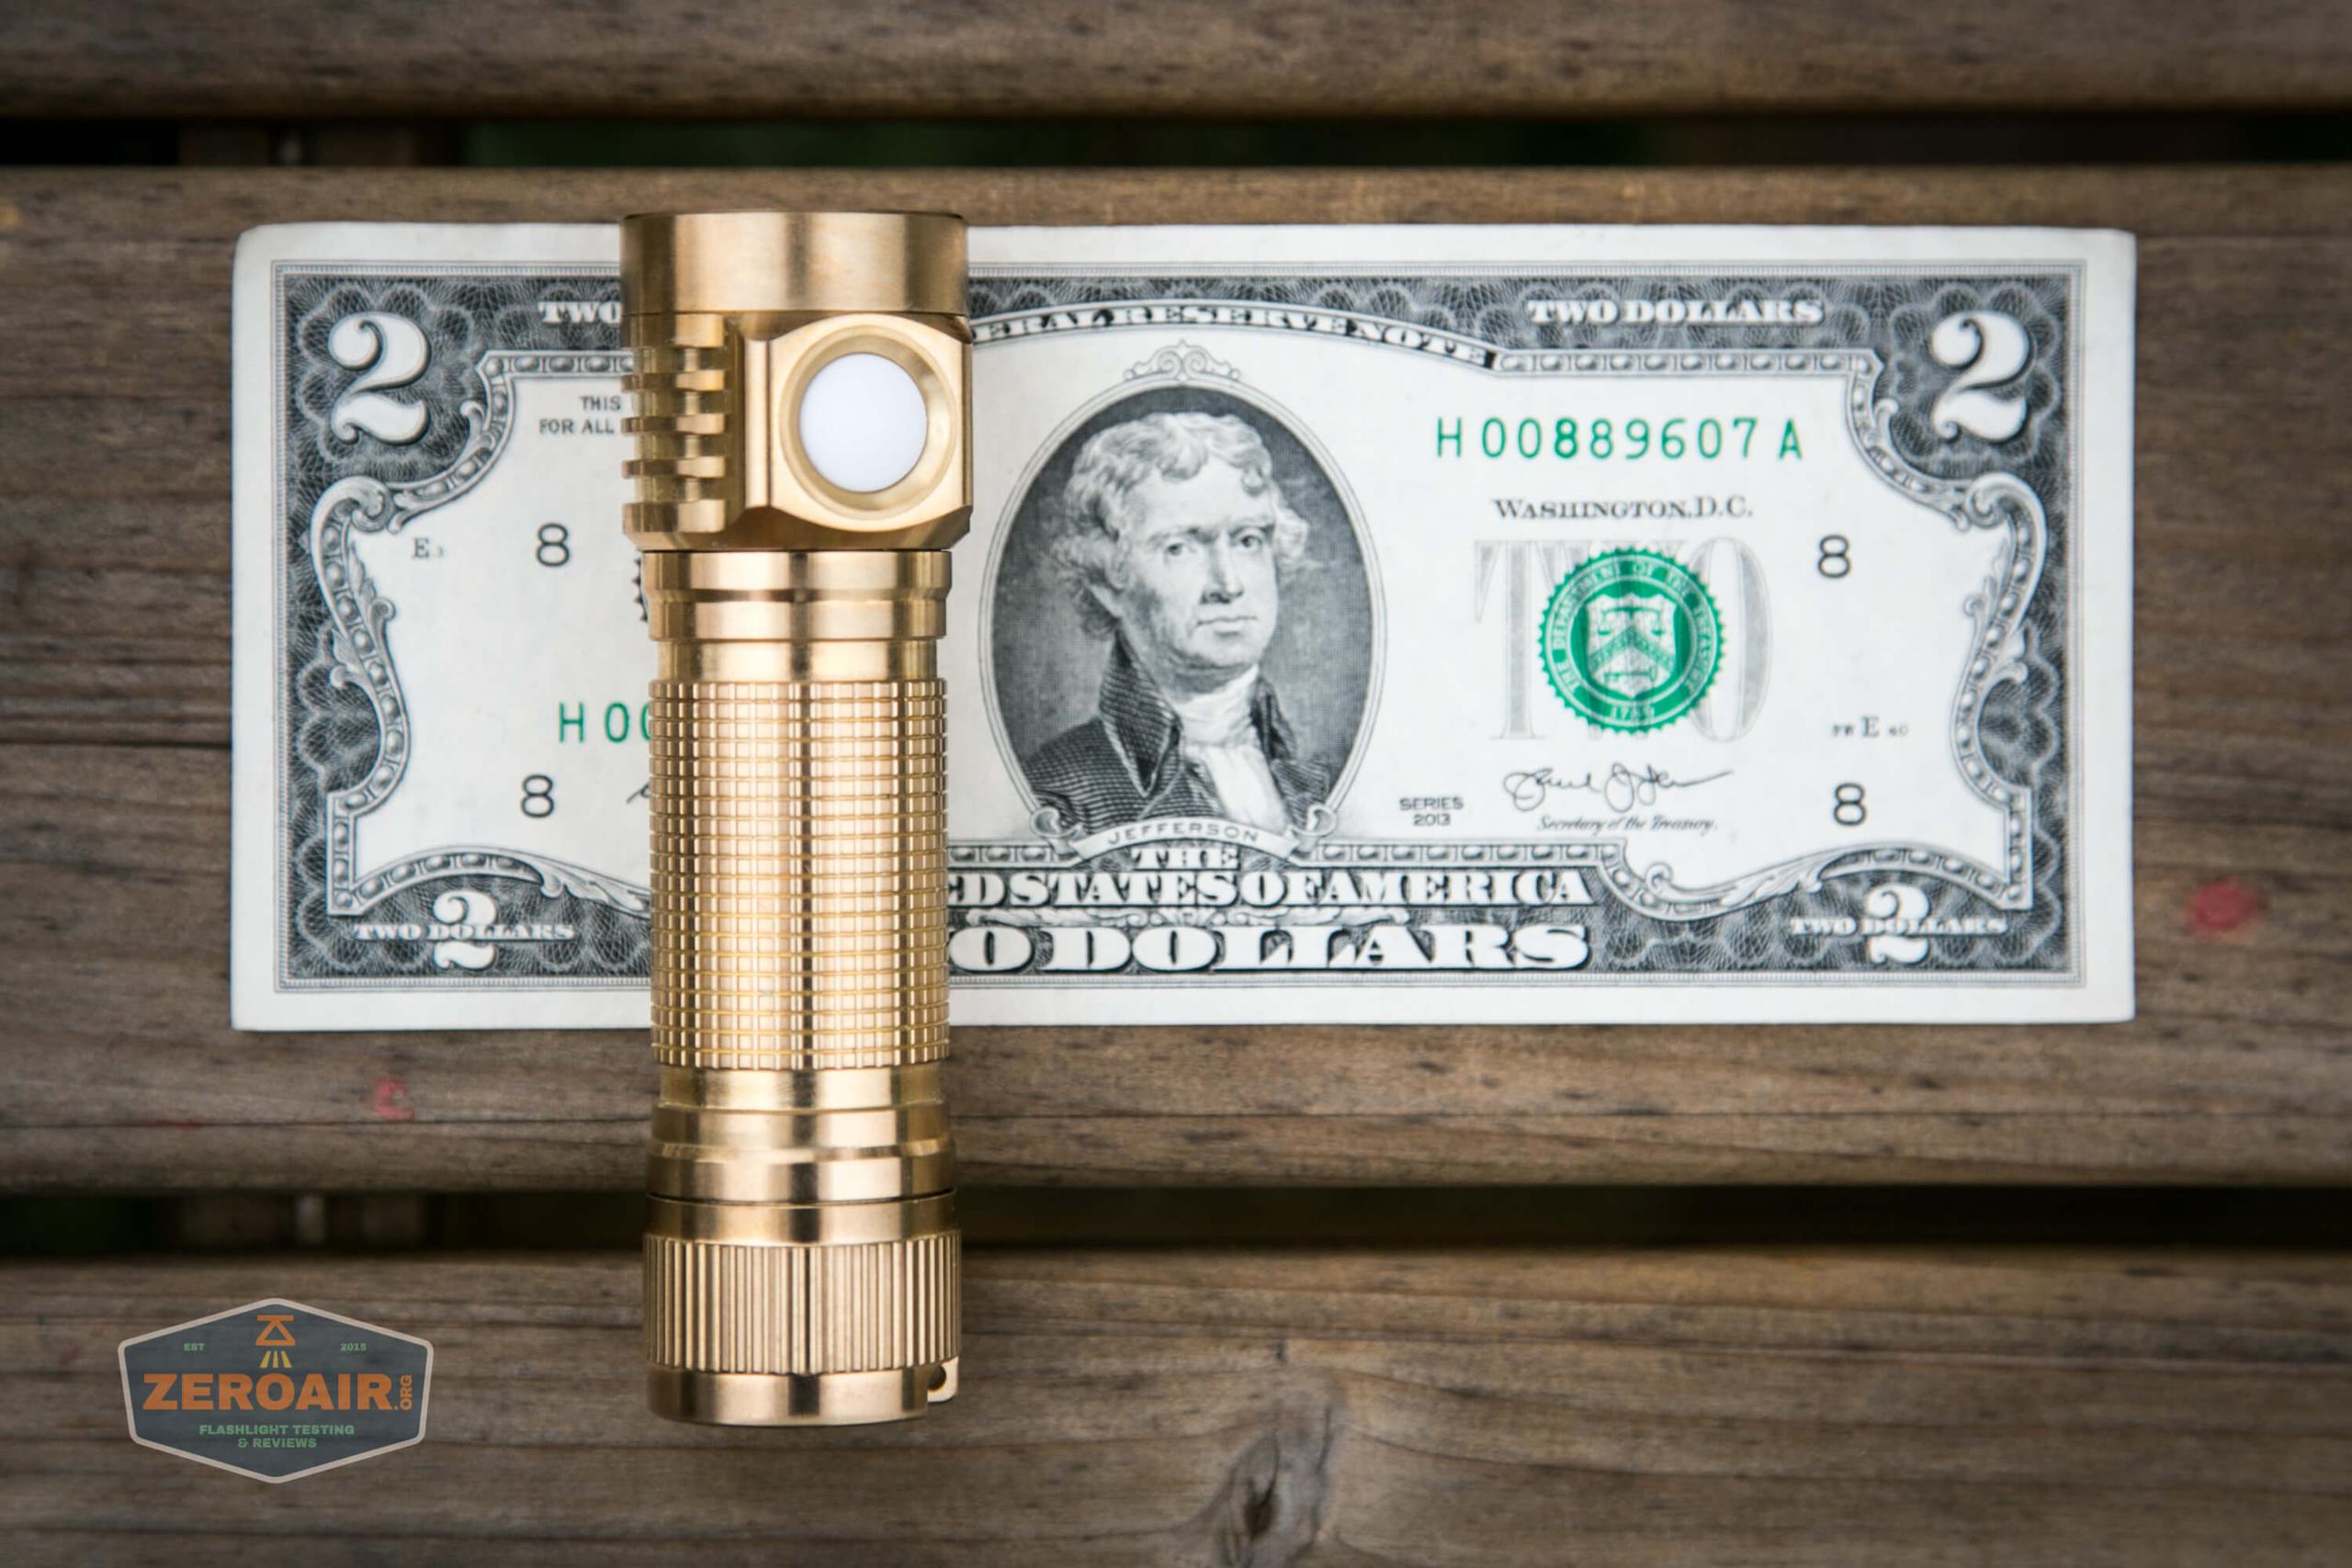
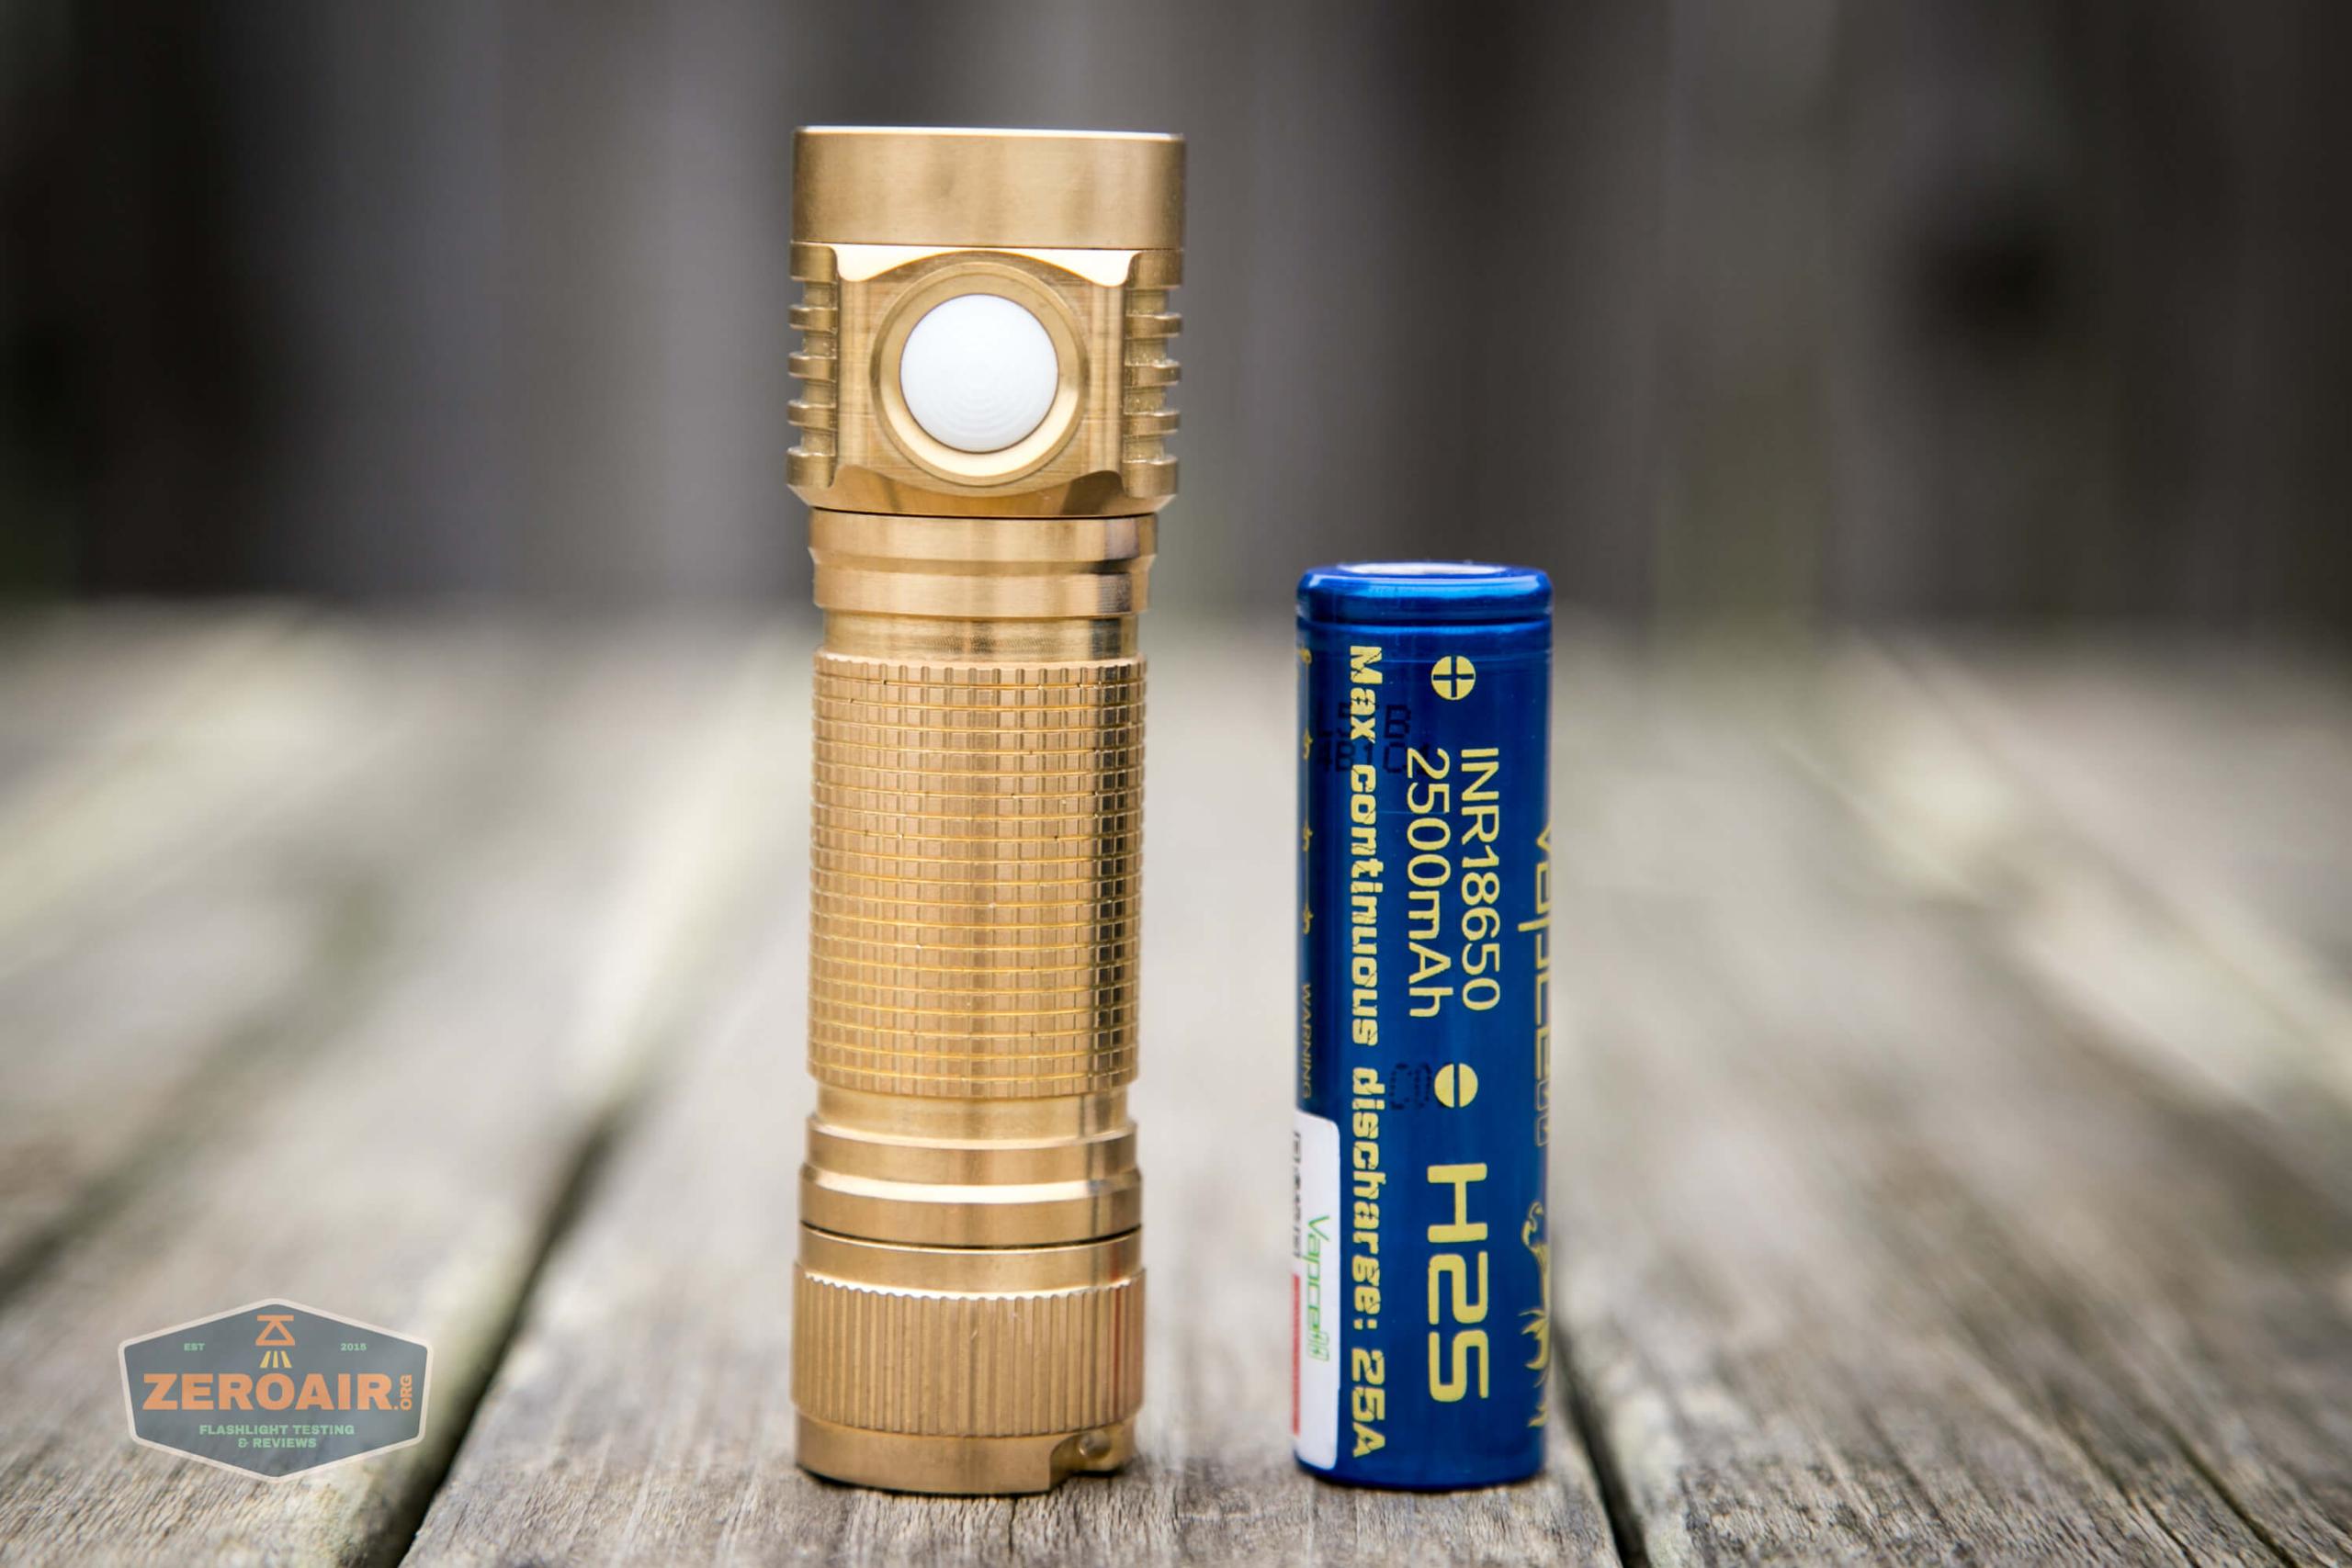
Size and Comps
Dimensions:
96mm (length of 18650)
65mm (length 18350)
28mm(head)
24mm(body)


If the flashlight will headstand, I’ll try to show it here. If the flashlight will tailstand, I usually show that here, too.
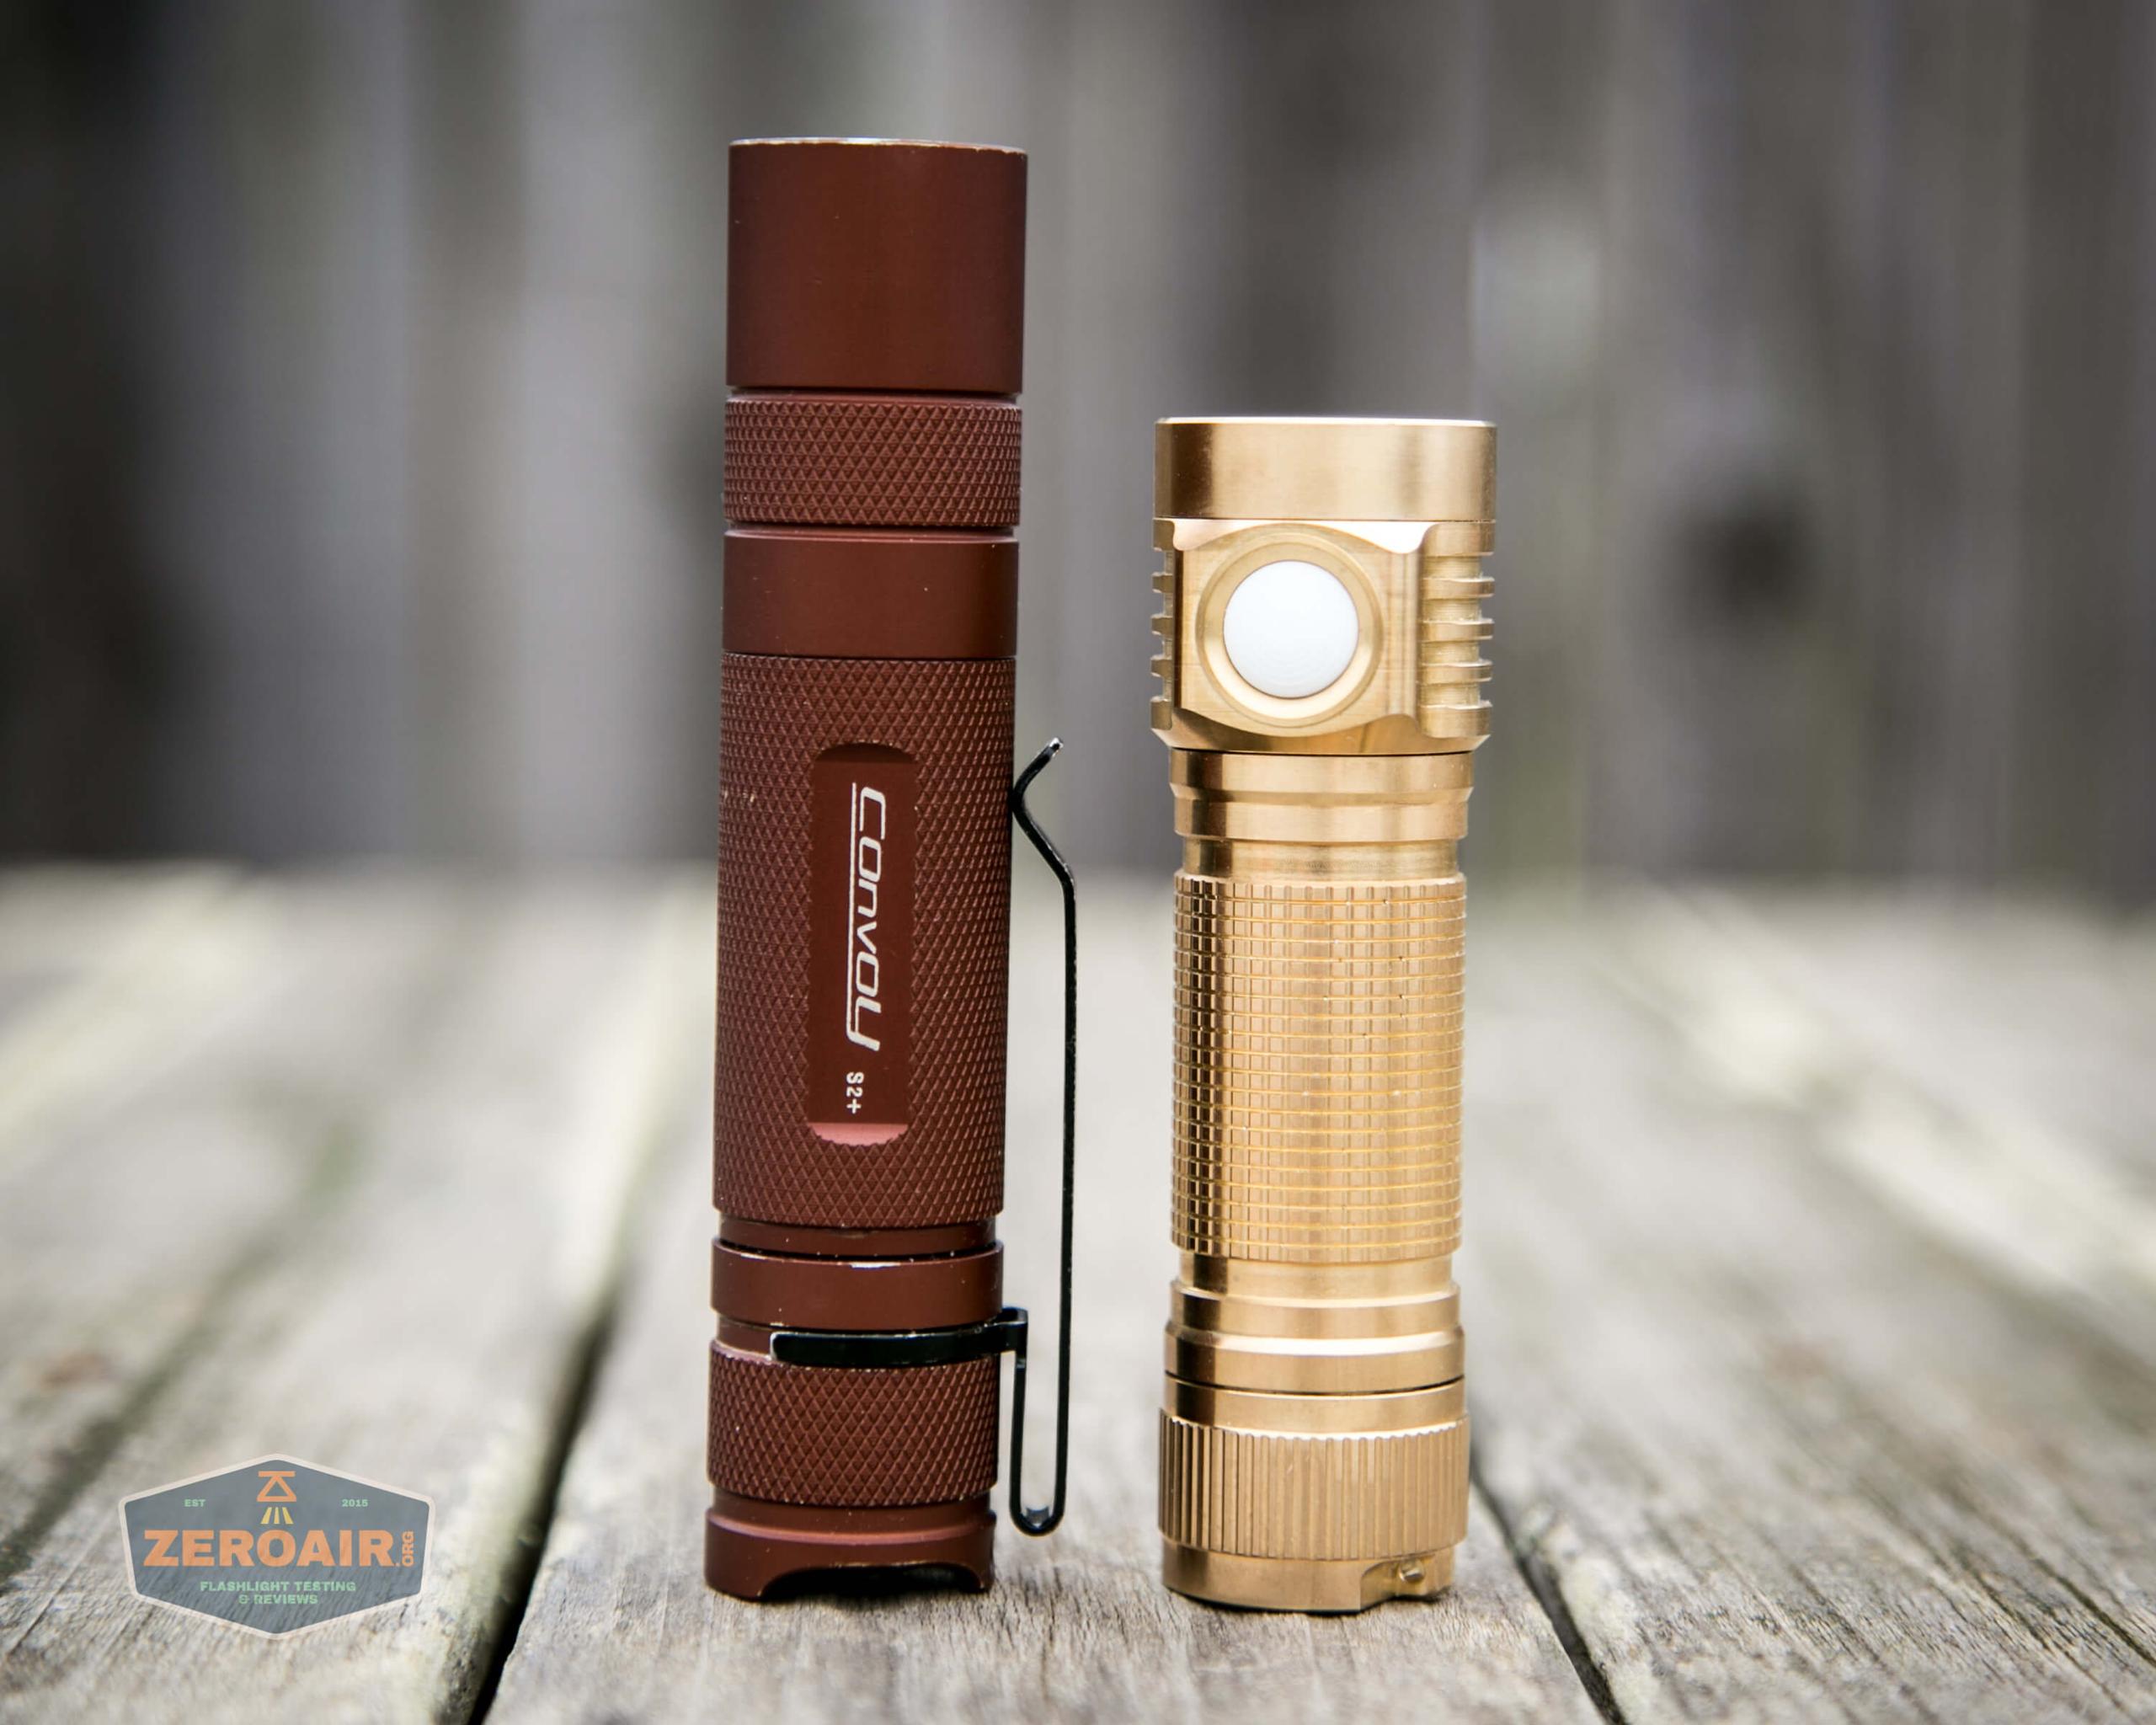
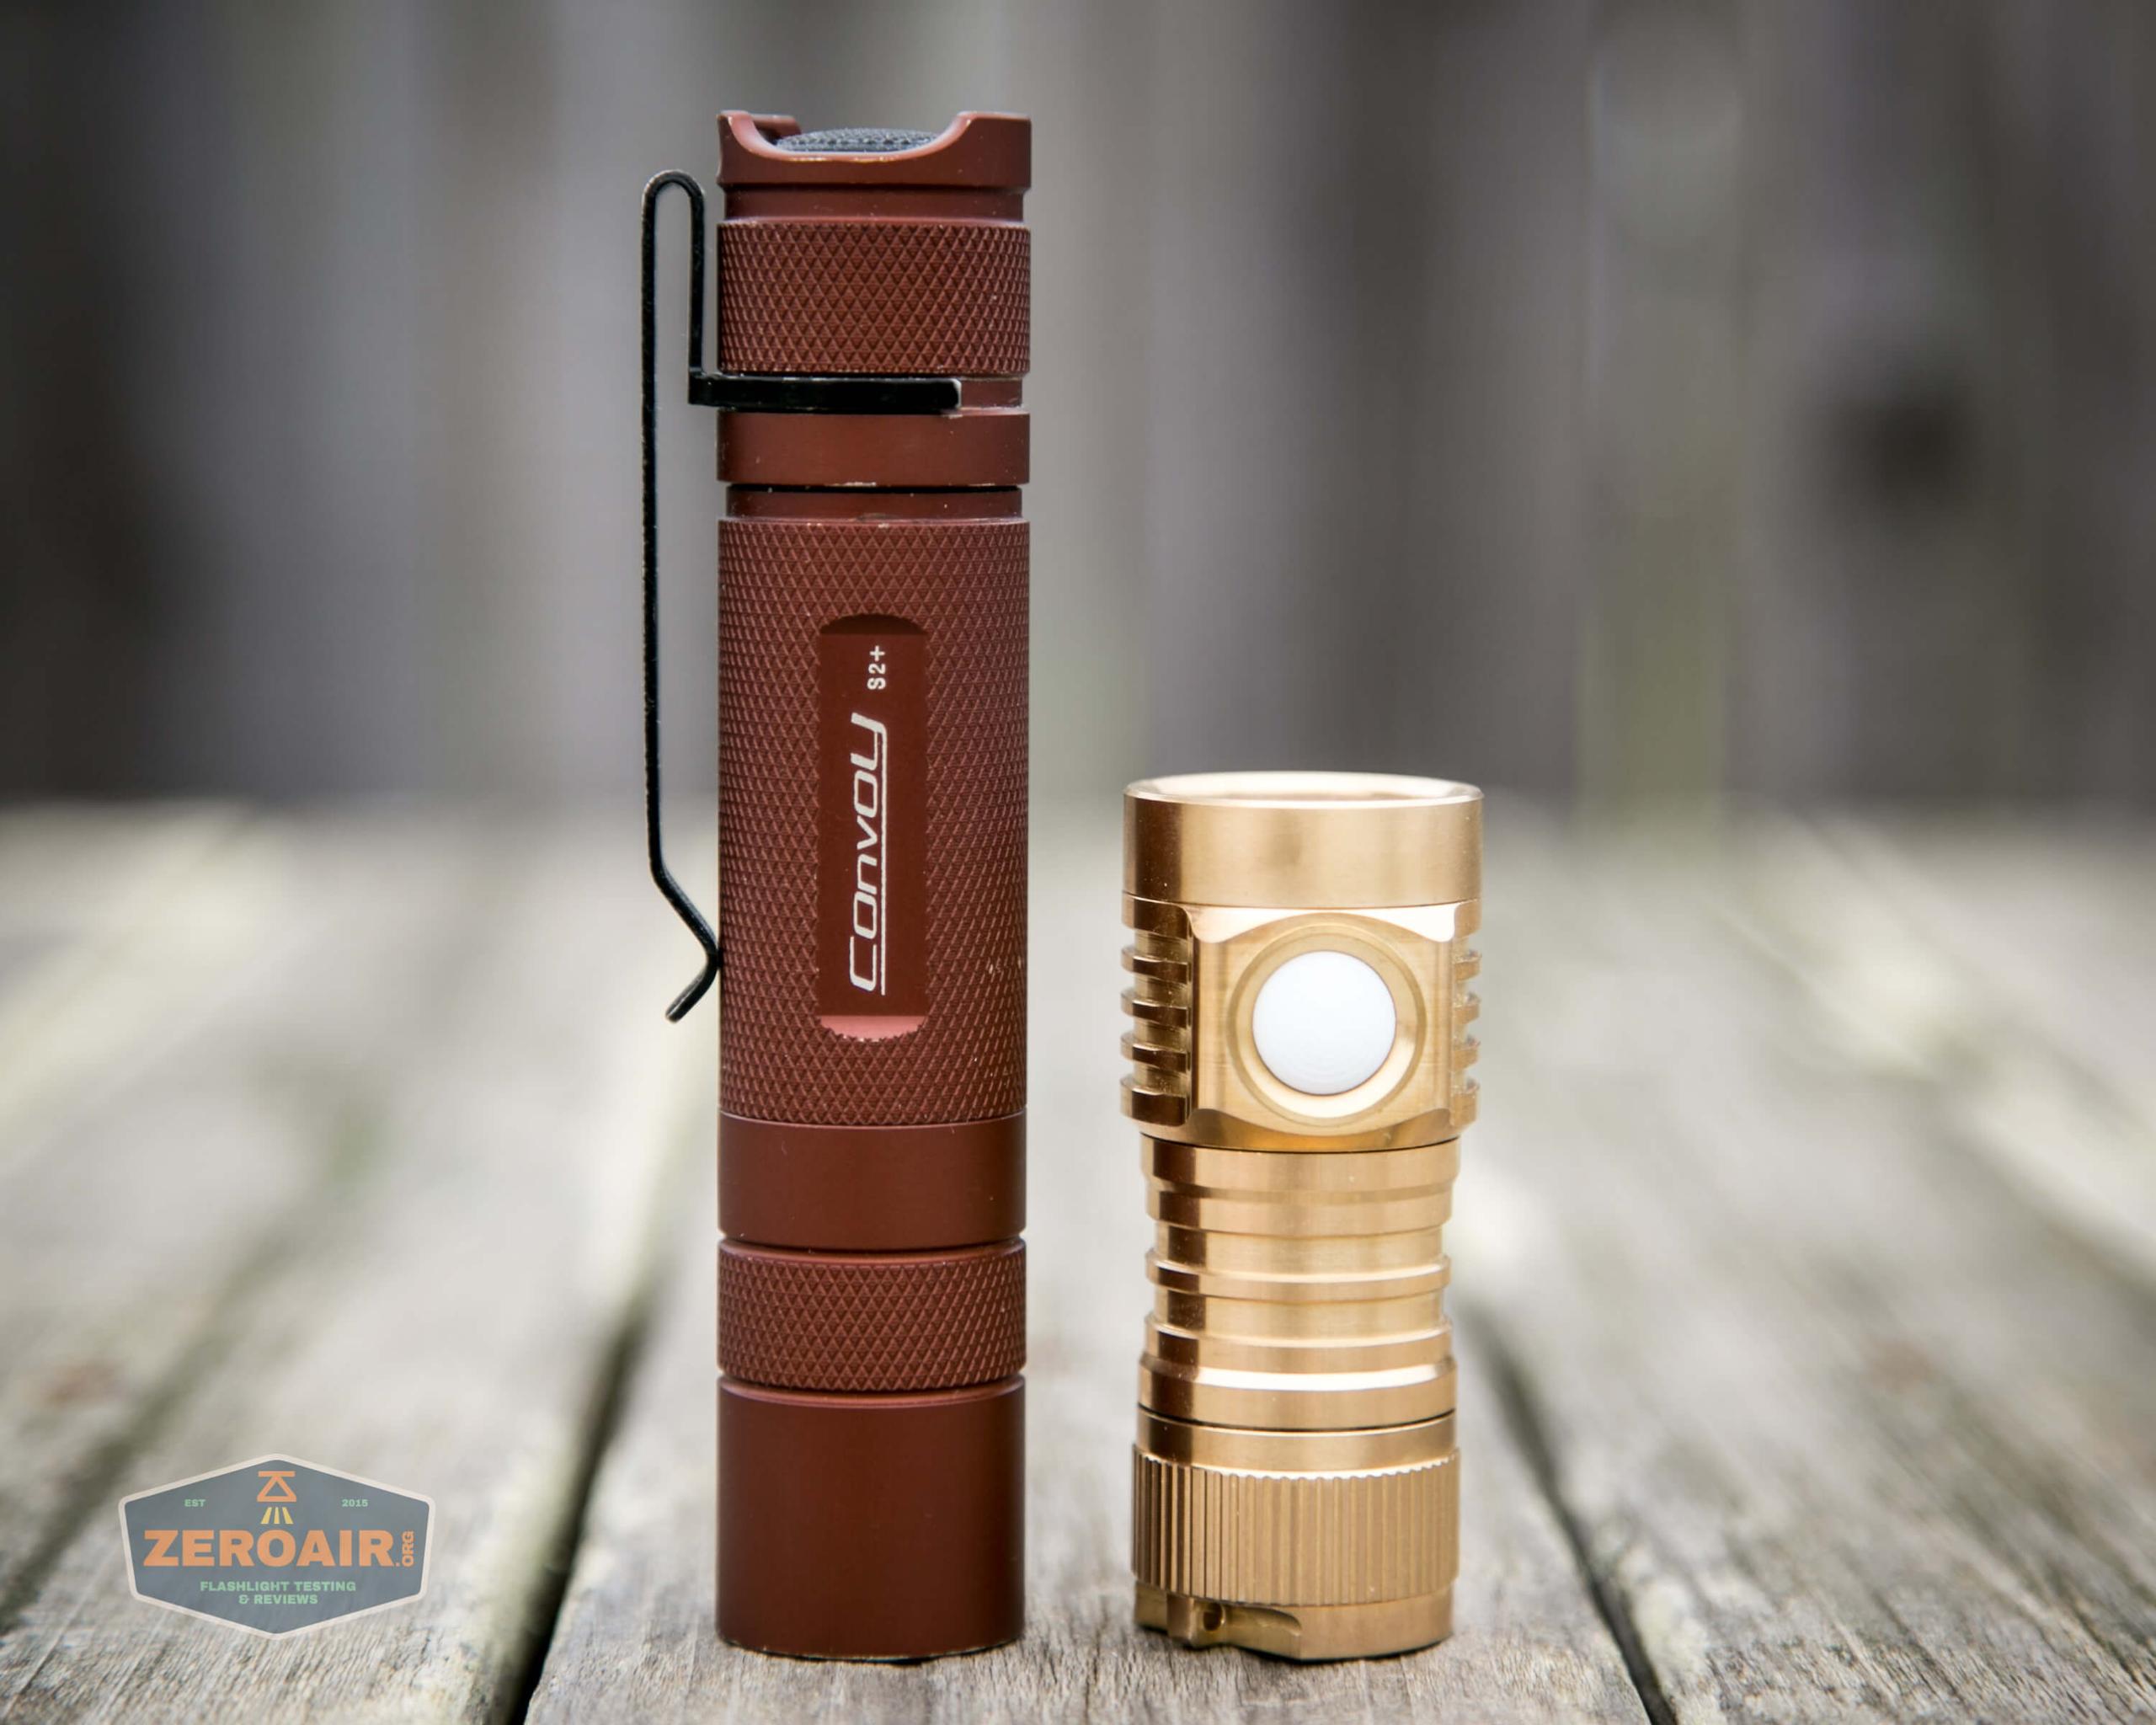
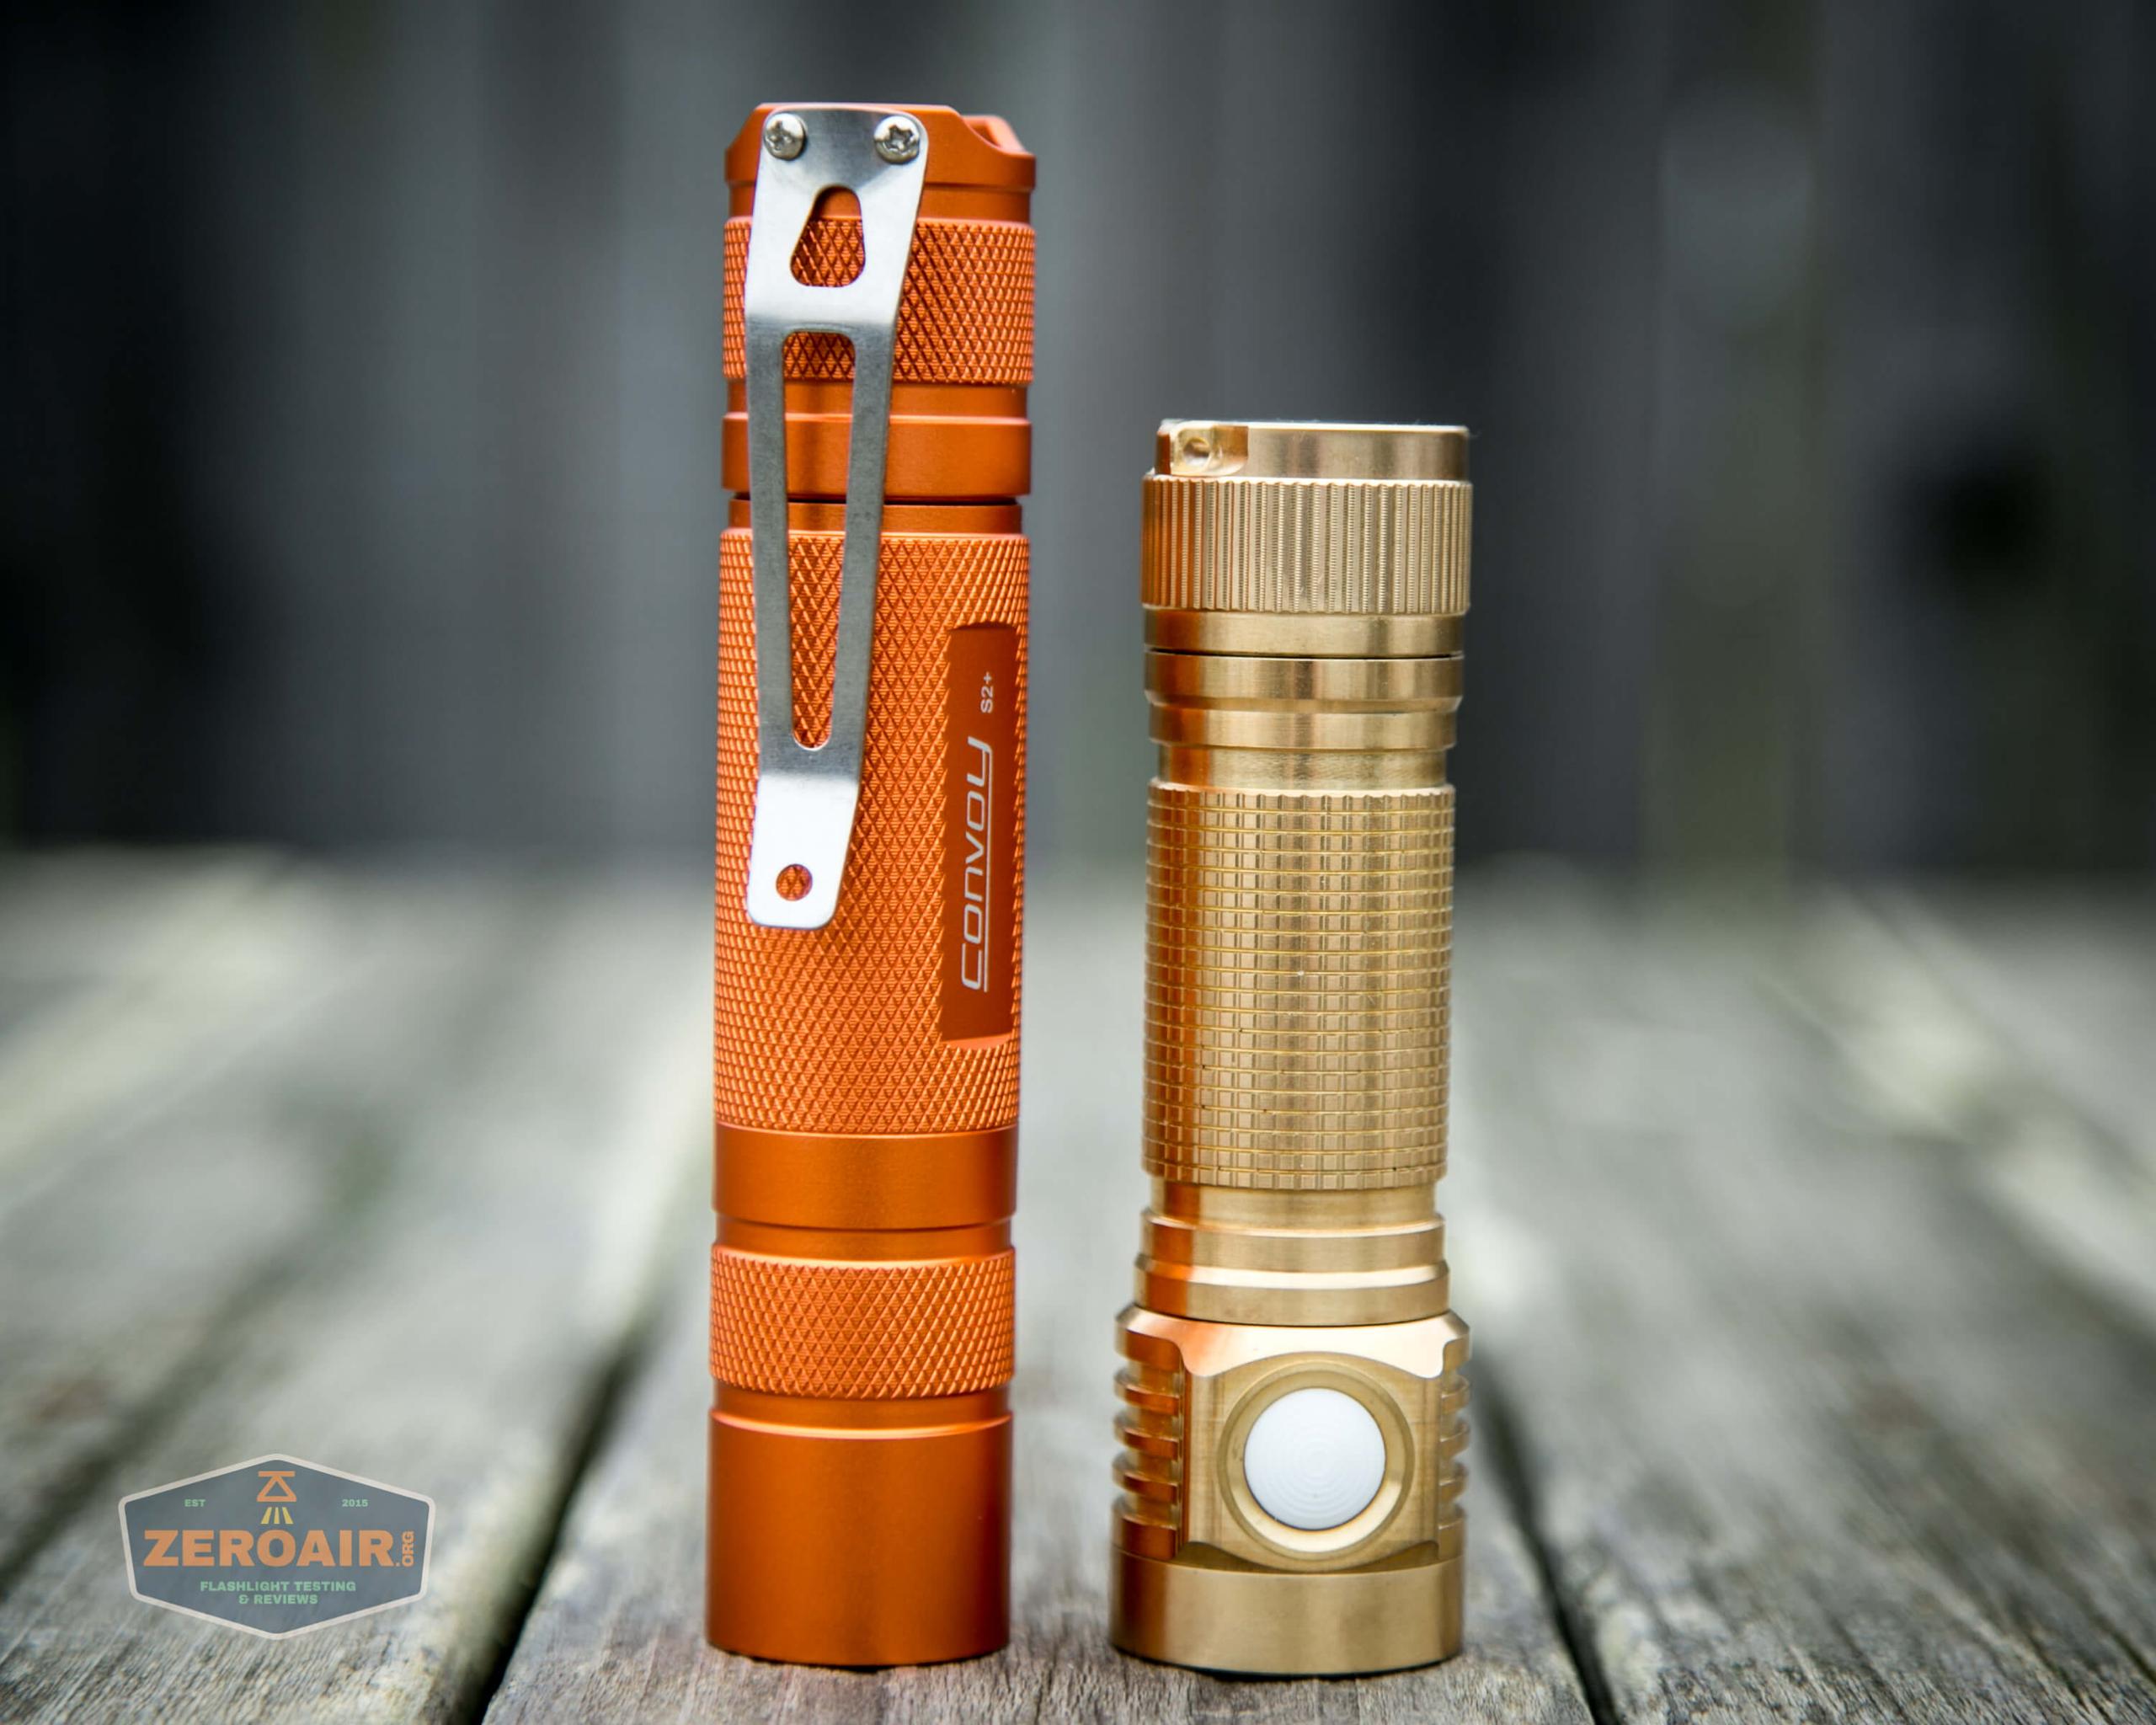
Here’s the test light with the venerable Convoy S2+. Mine is a custom “baked” edition Nichia 219b triple. A very nice 18650 light!
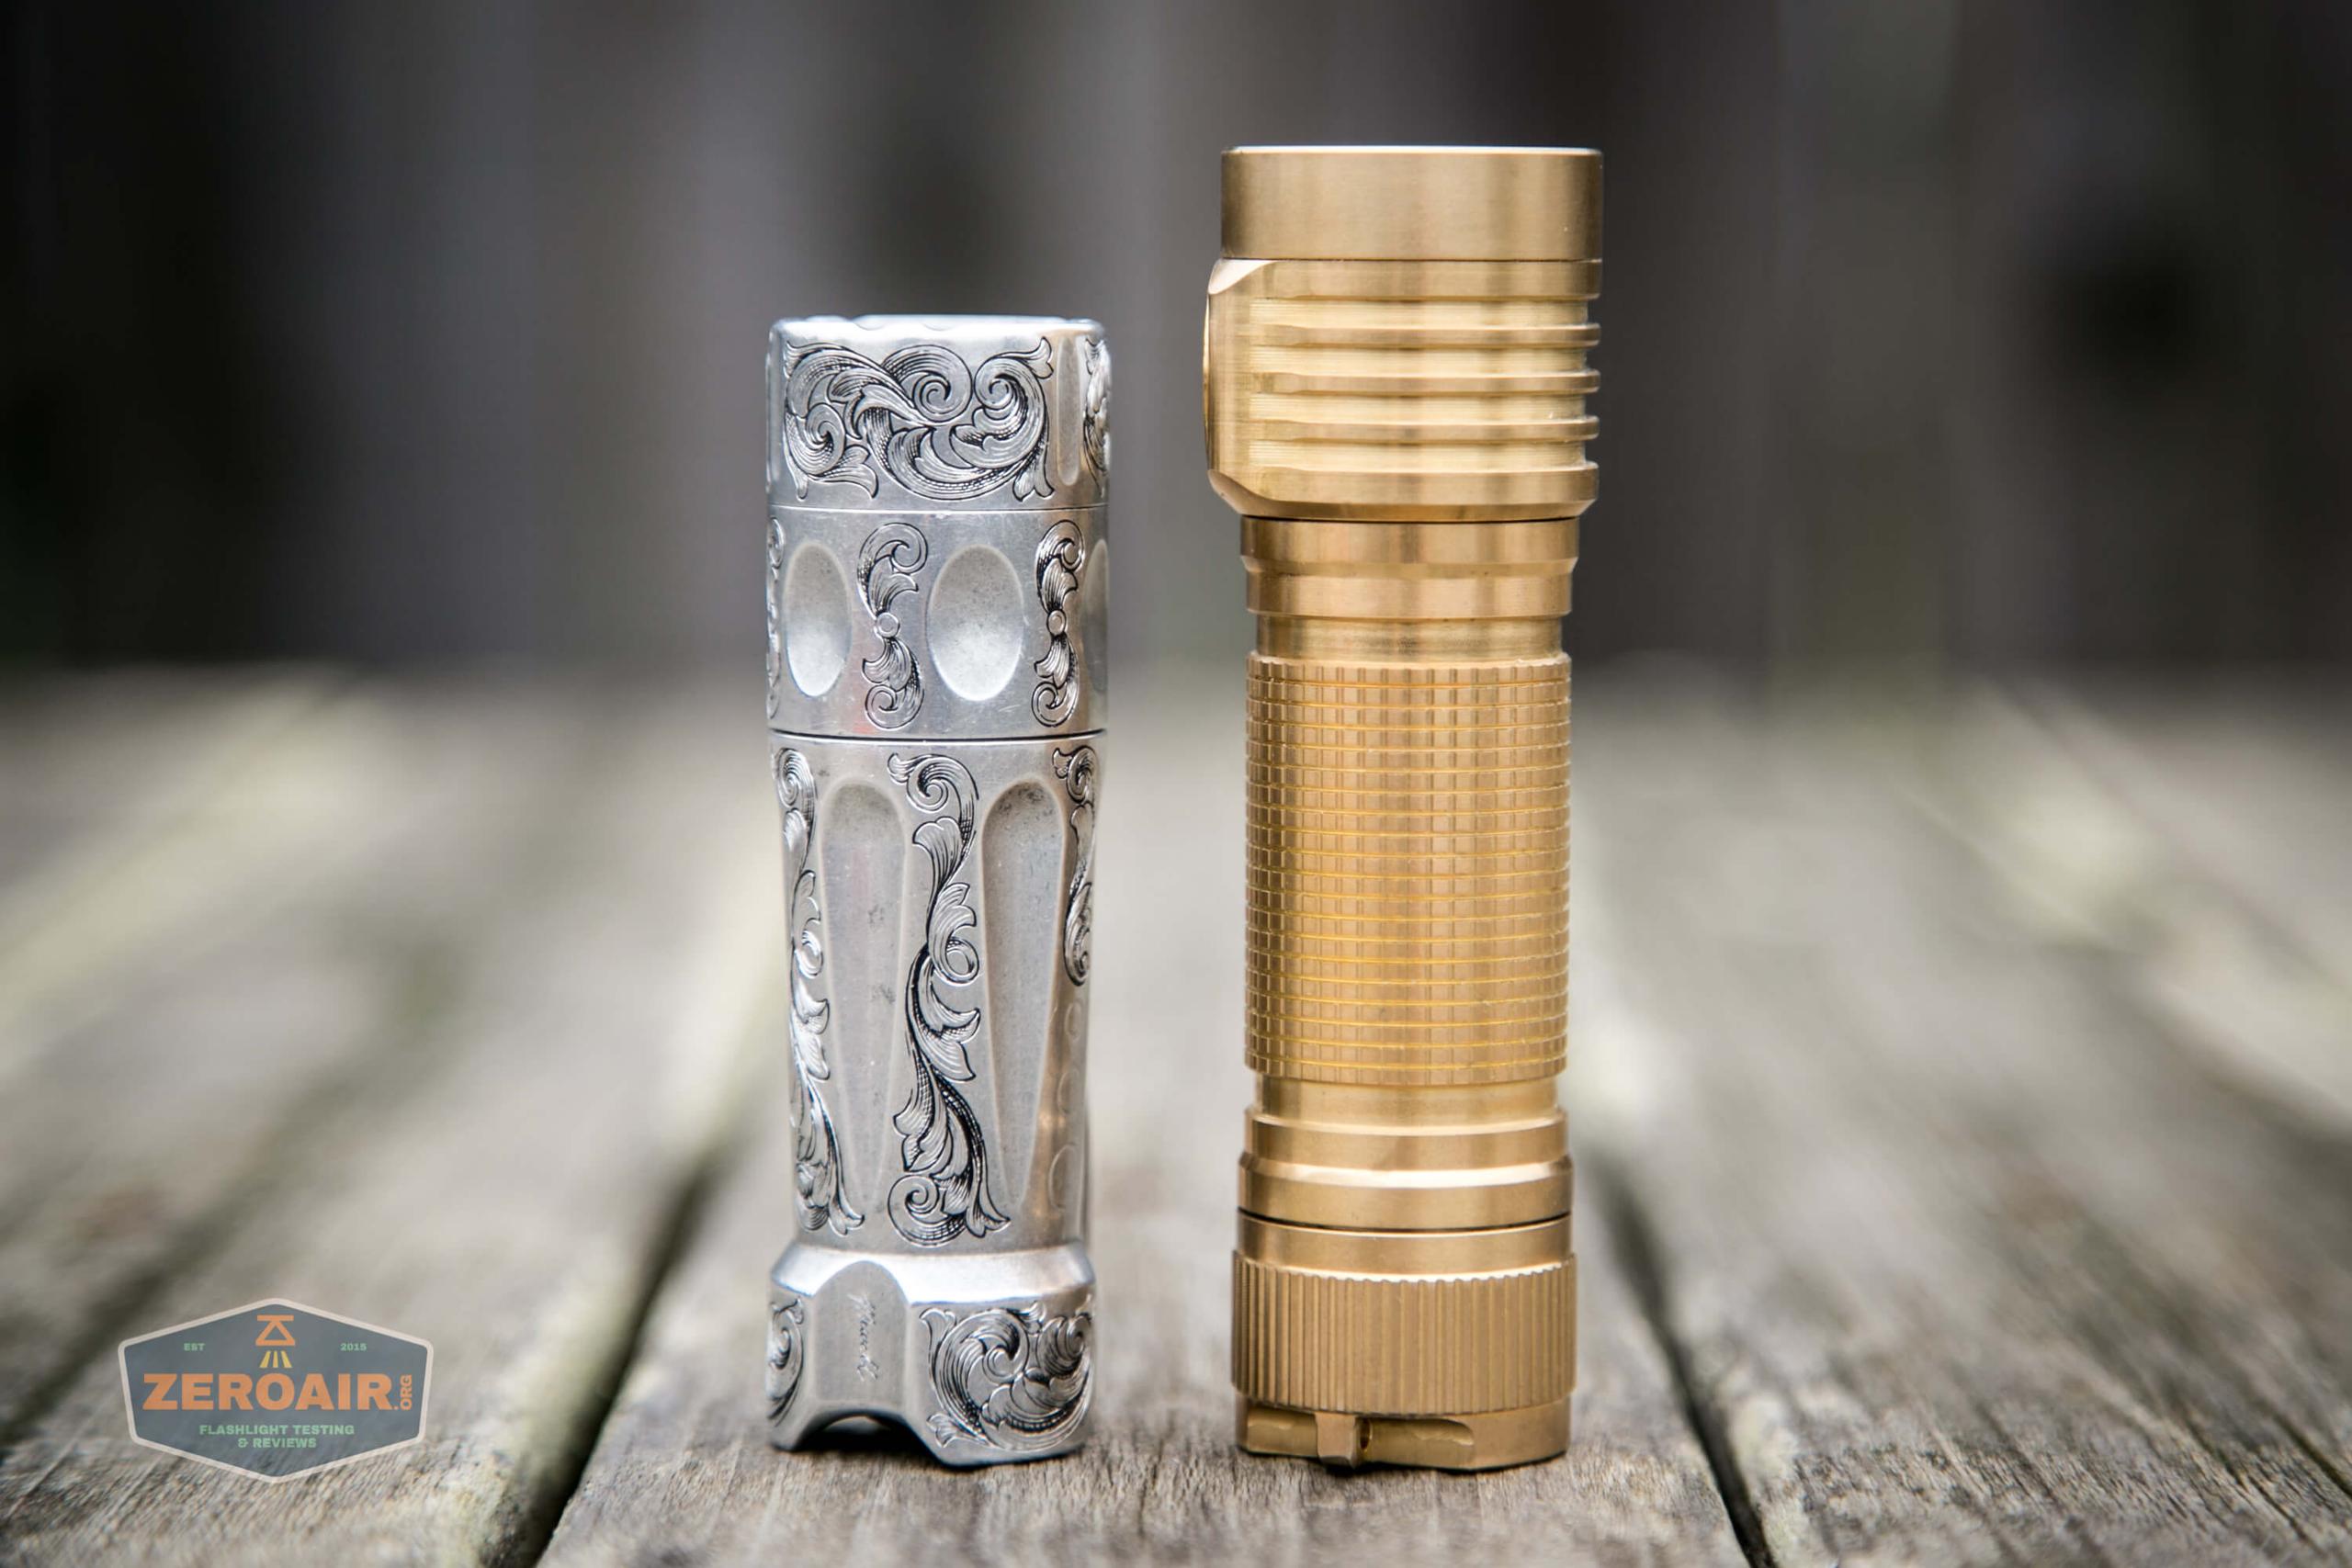
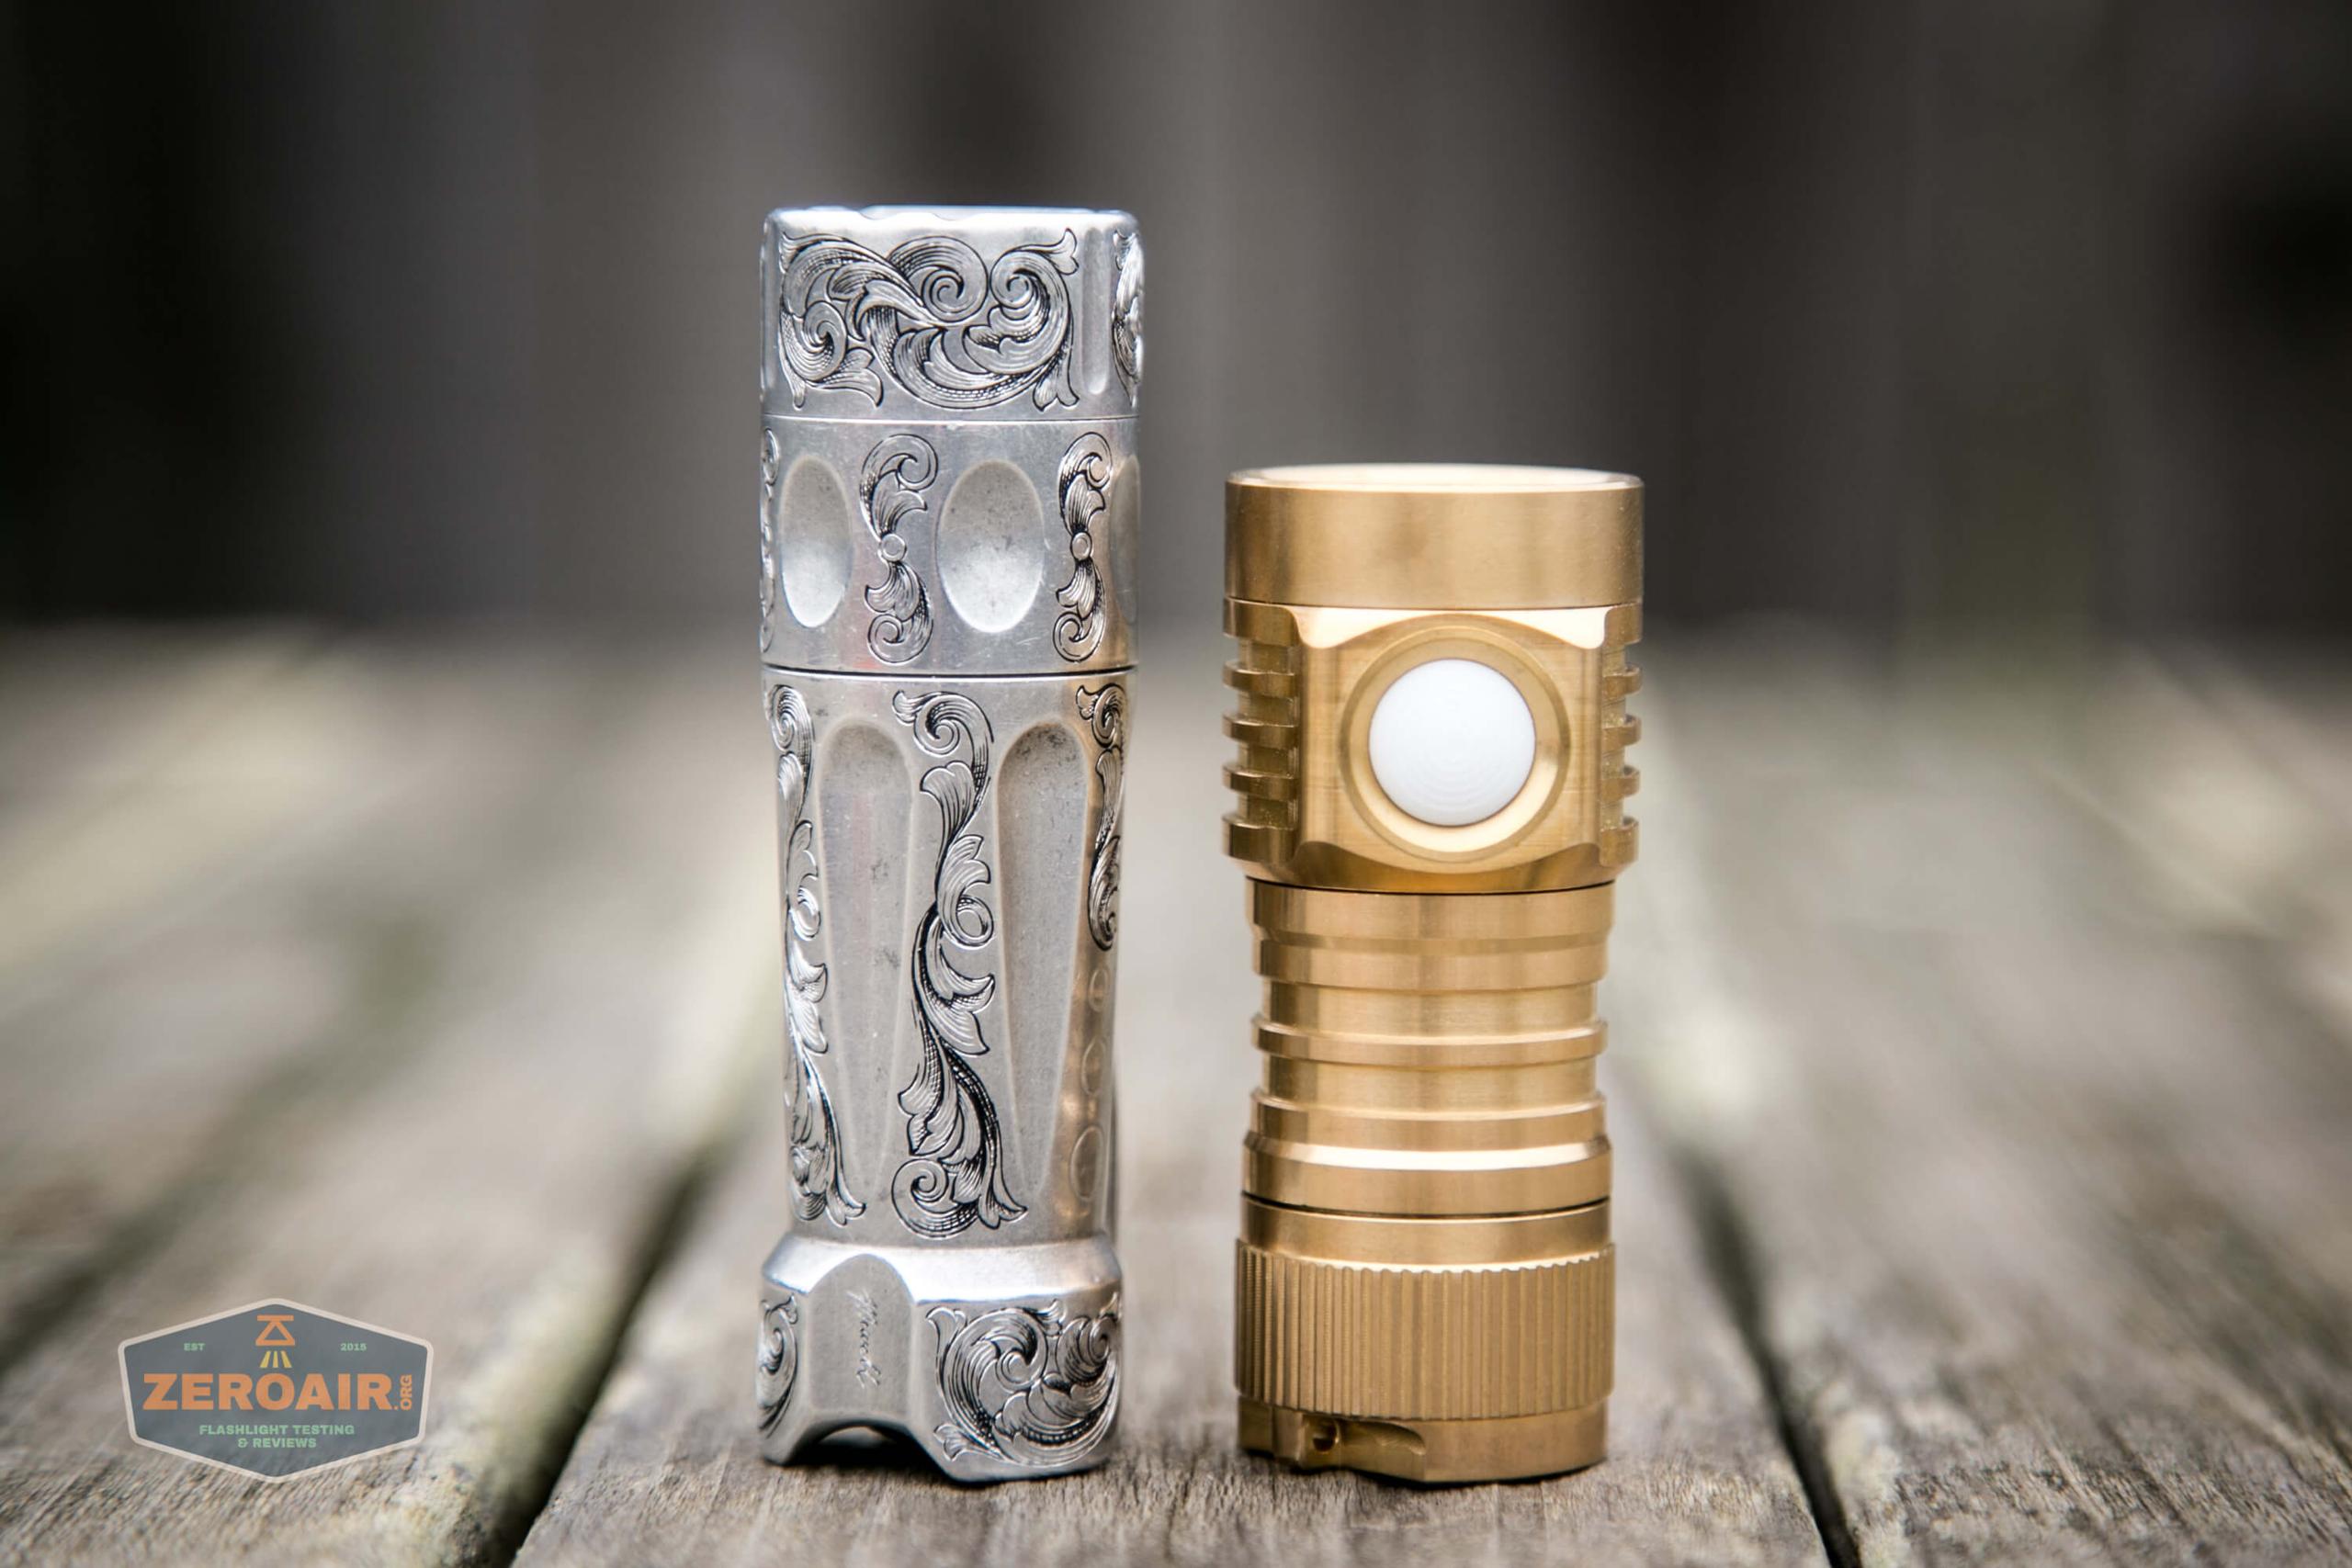
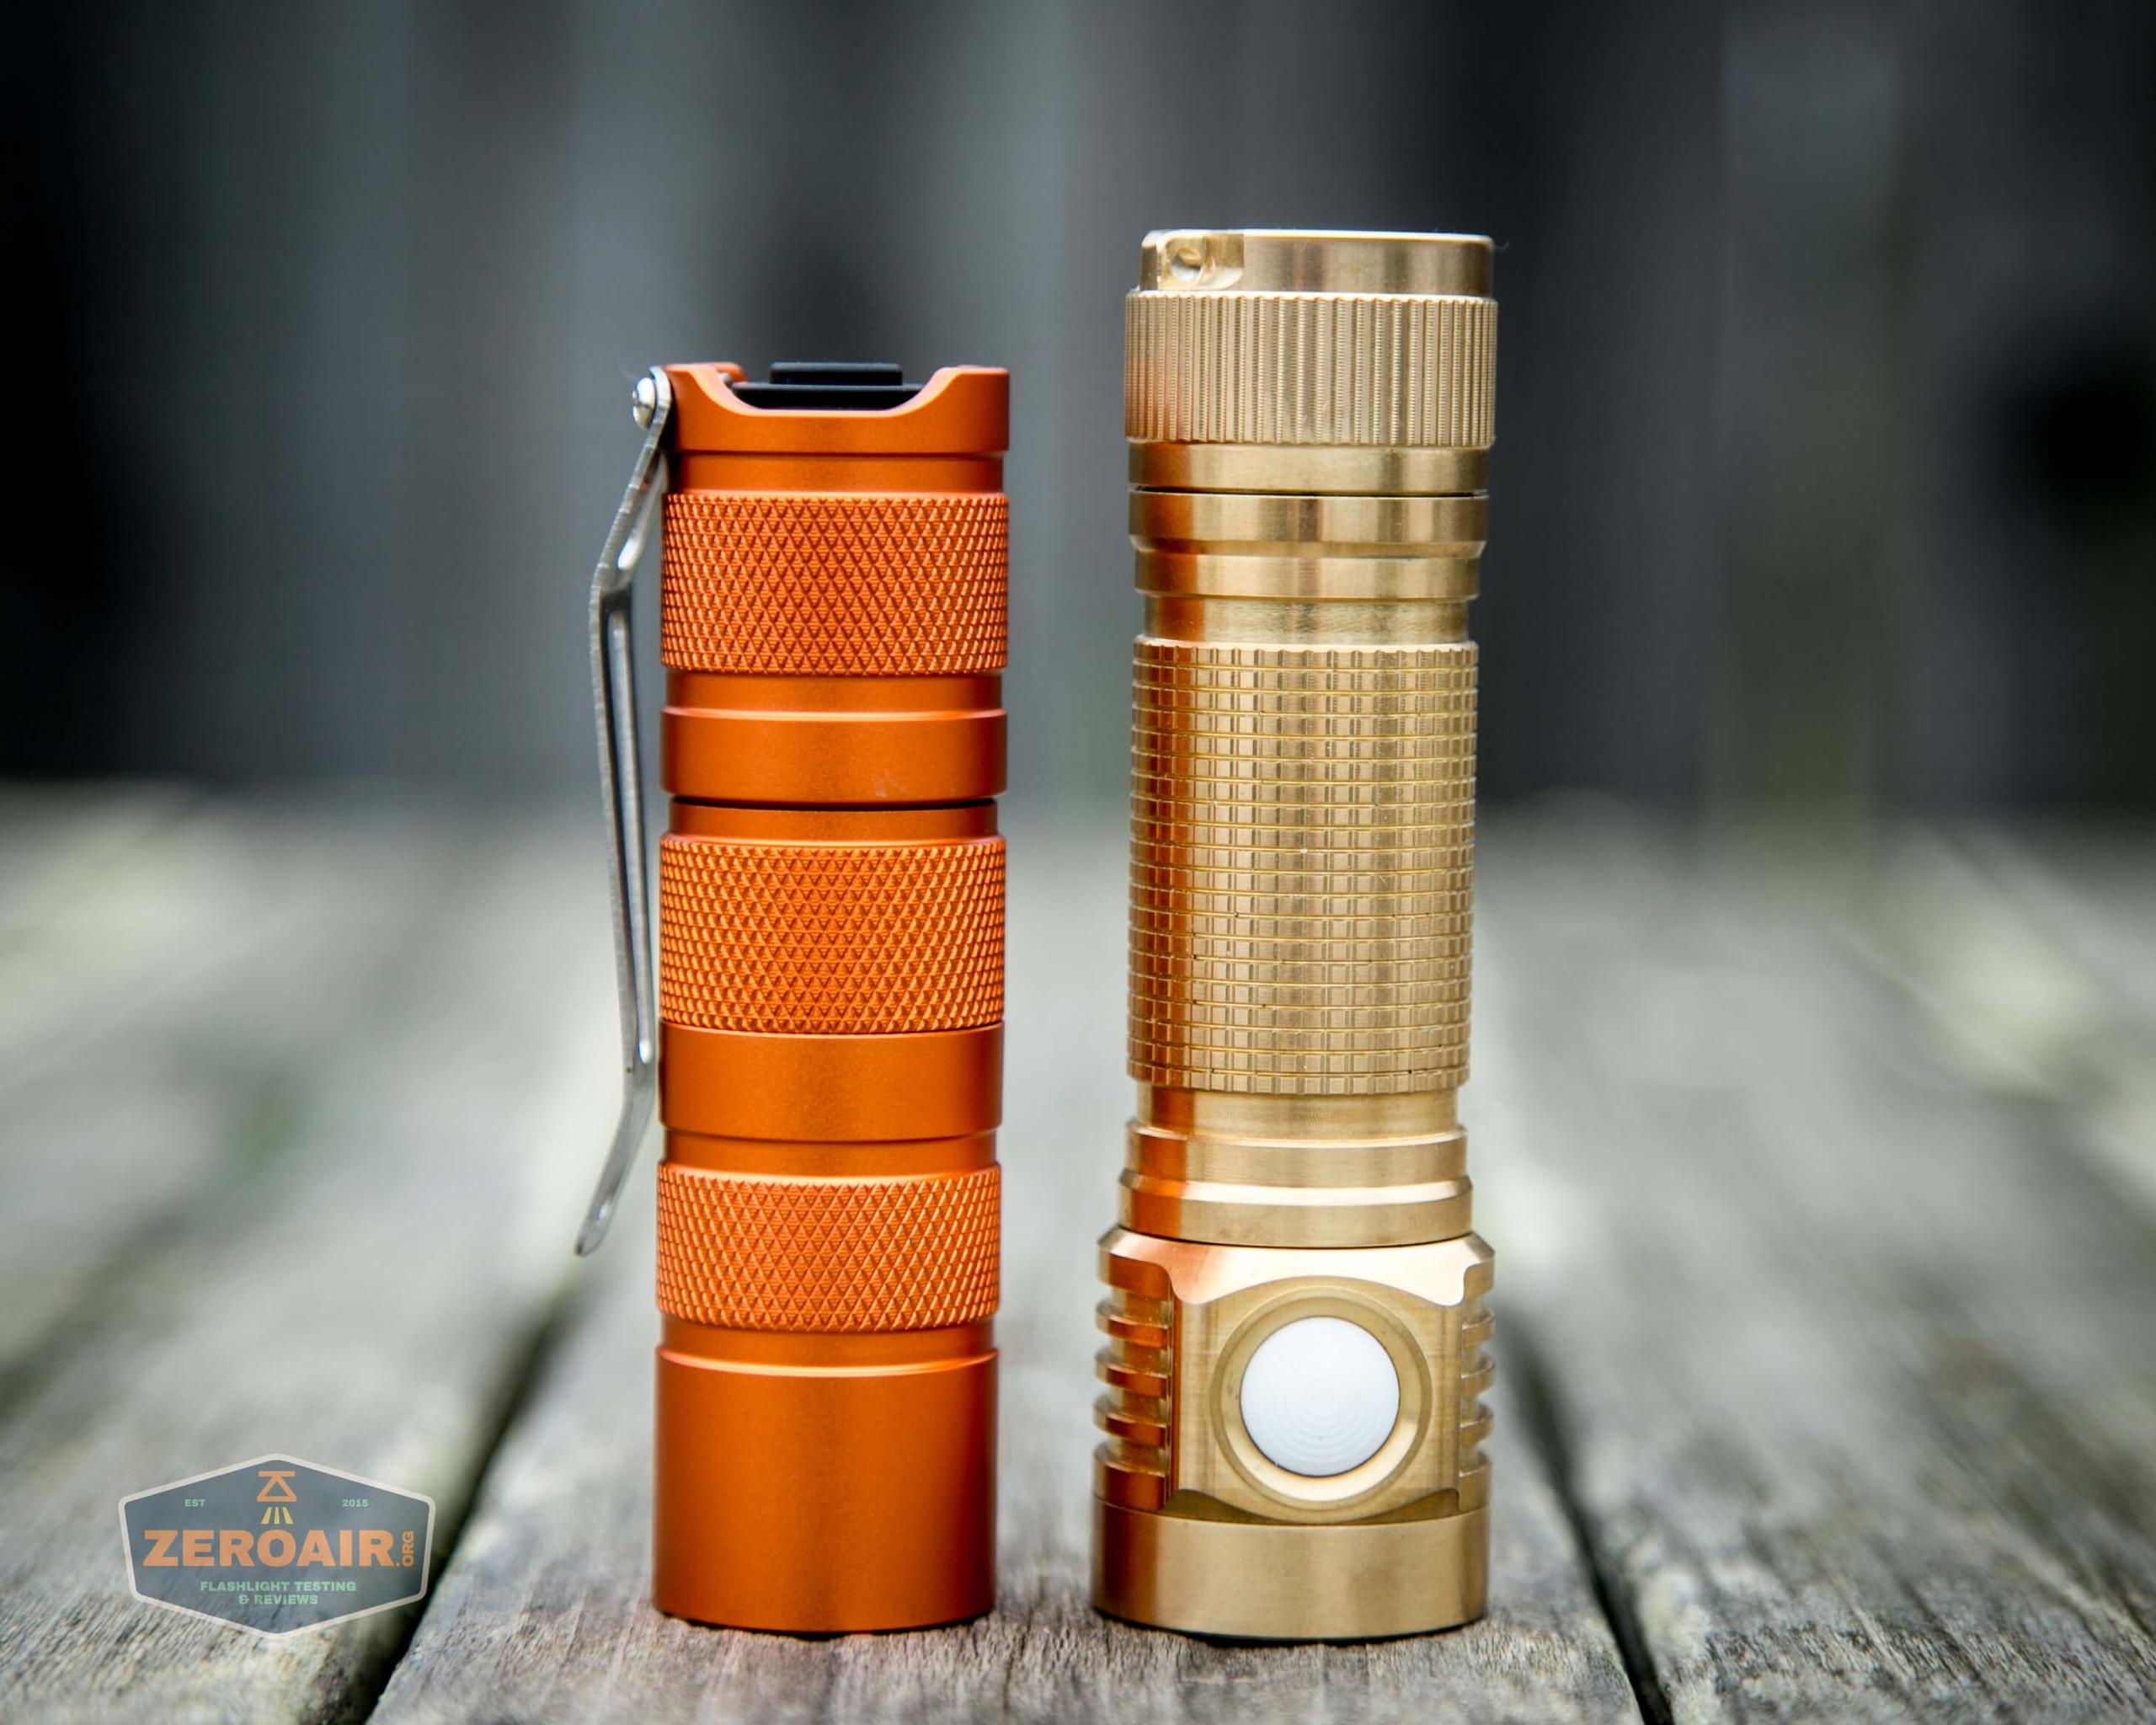
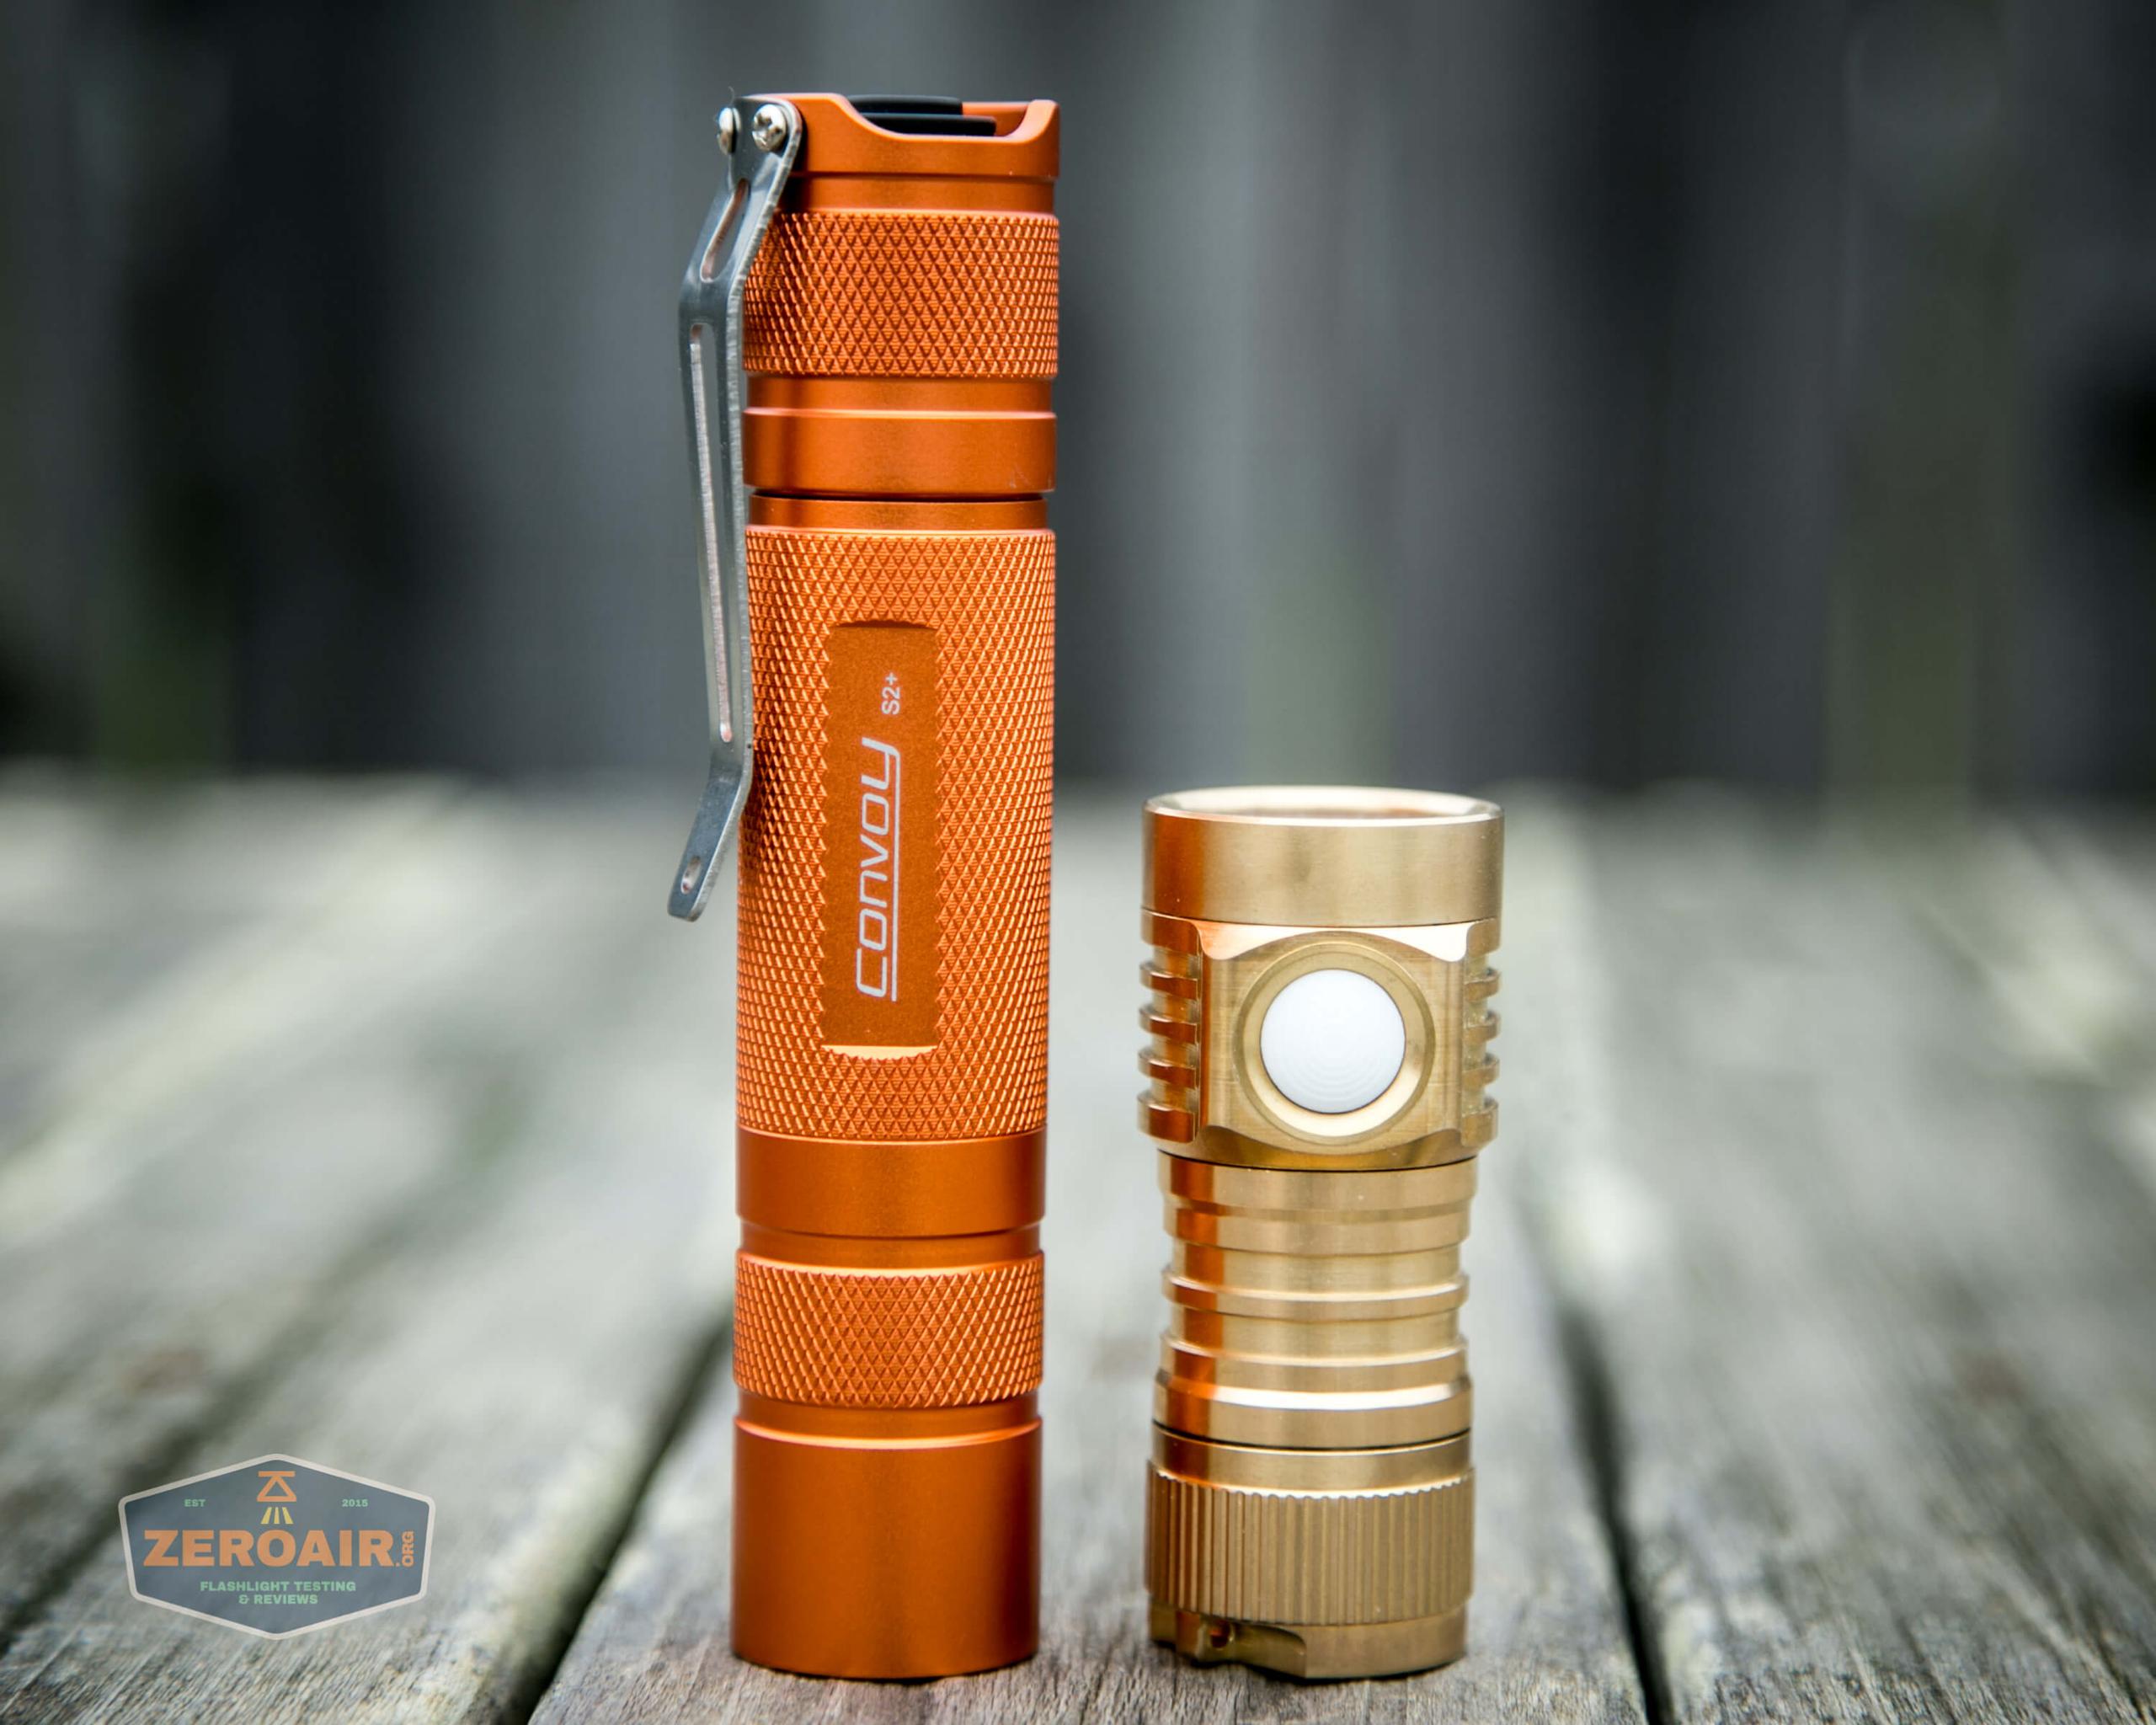
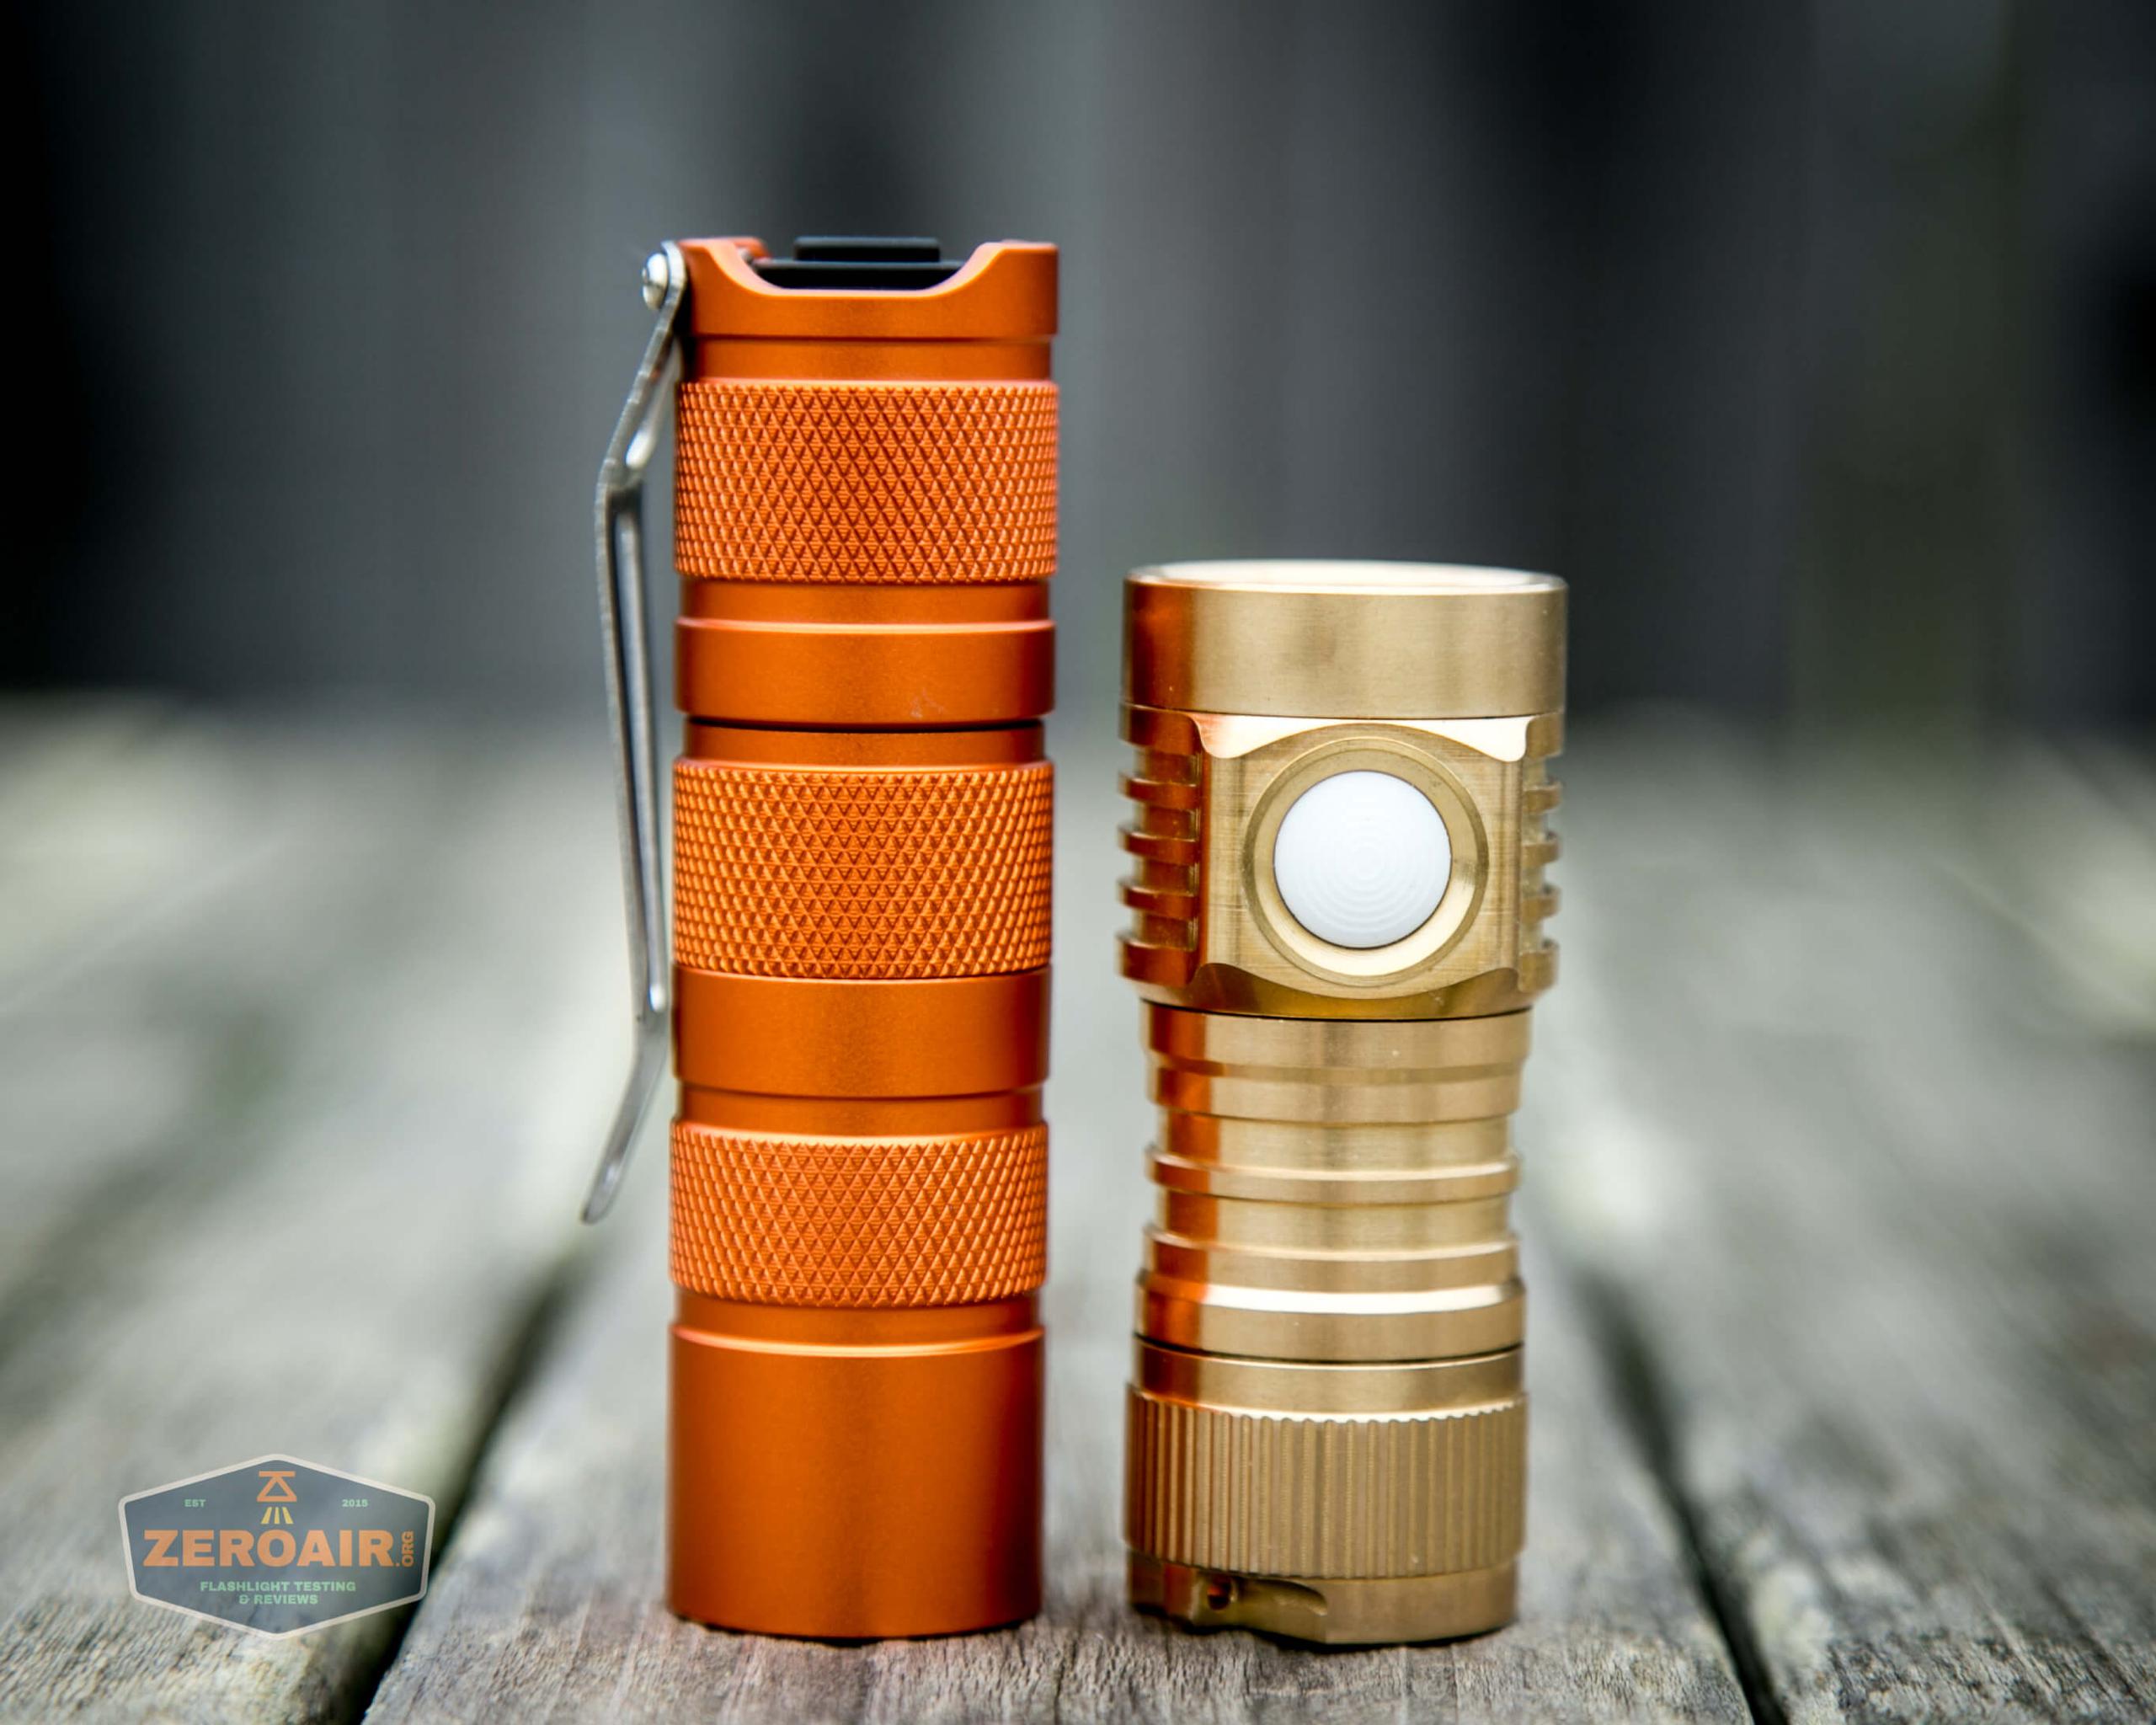
And here’s the light beside my custom-engraved TorchLAB BOSS 35, an 18350 light. I reviewed the aluminum version of that light in both 35 and 70 formats.
Just to throw out another light which has both 18650 and 18350 tube options, here’s the Emisar D4V2 with a 18650 and 18350 format Convoy S2+.
Retention and Carry
The primary way to carry the D4V2 is a friction-fit stainless steel pocket clip. The clip is uncoated, but nicely finished.
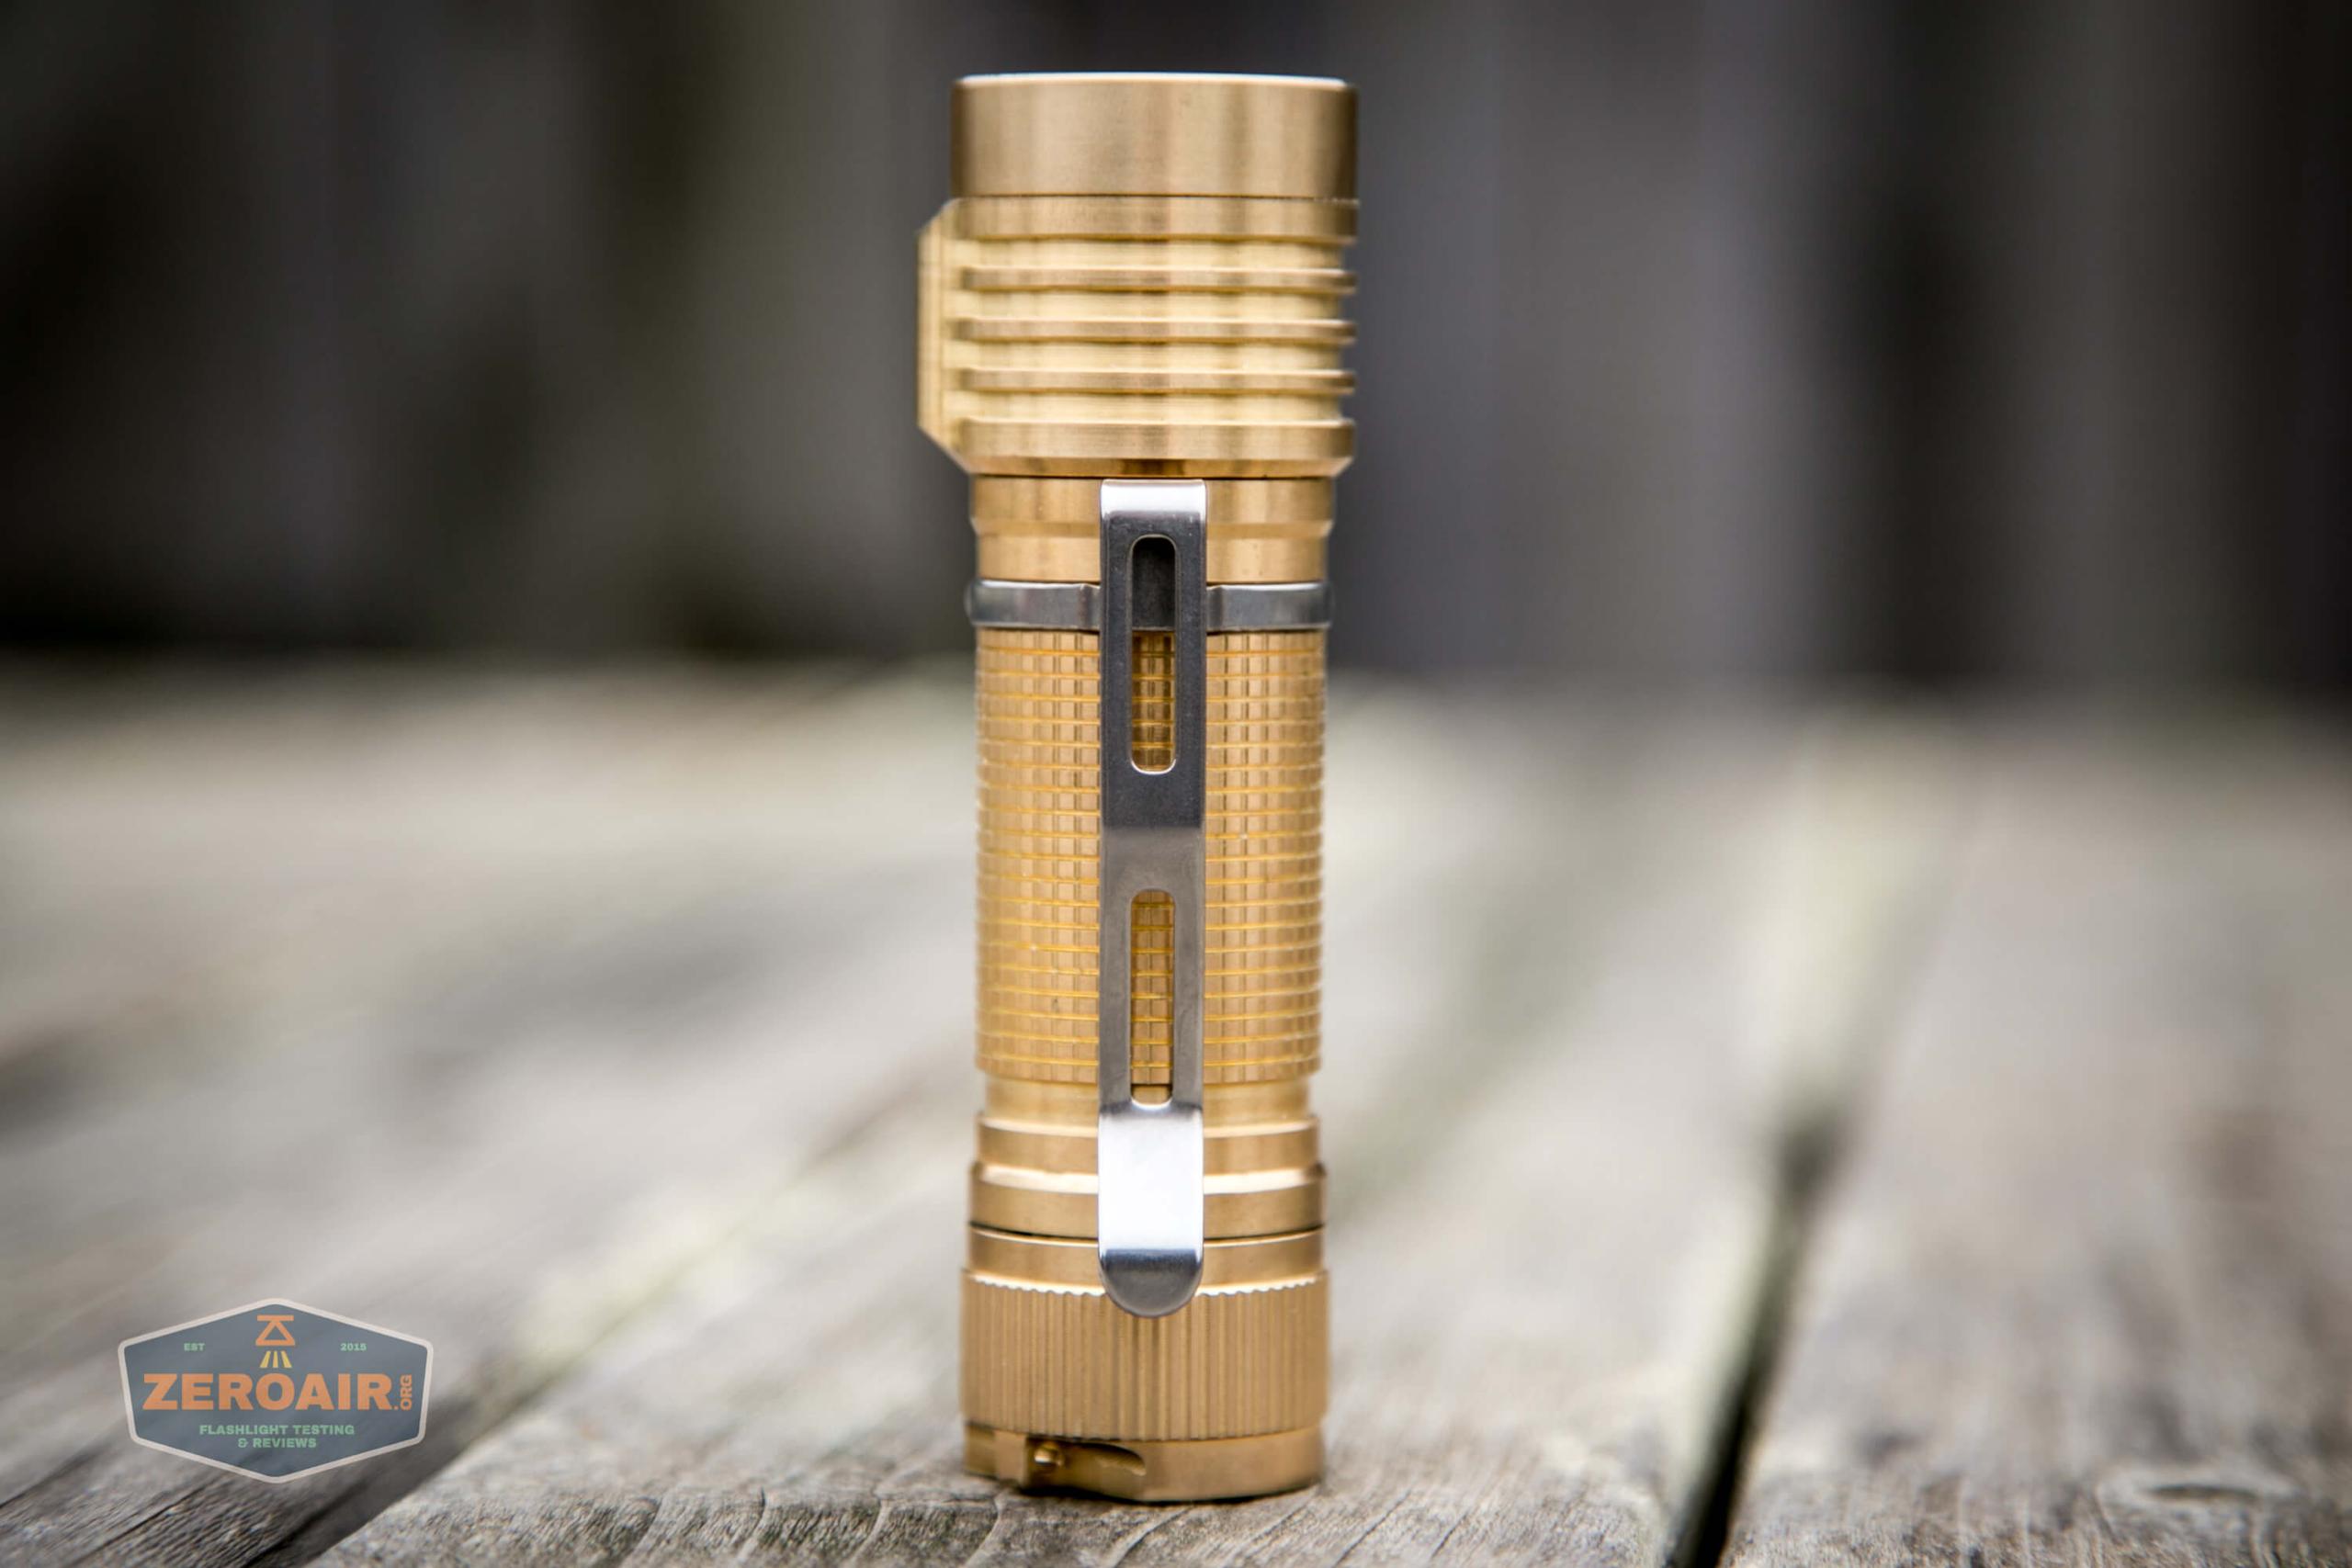
The 18650 tube has a place on the head or tail, so either orientation is possible.

The clip doesn’t mar the brass body, but it will leave a bit of a shine.
The pocket clip is not suitable for use with the 18350 body.
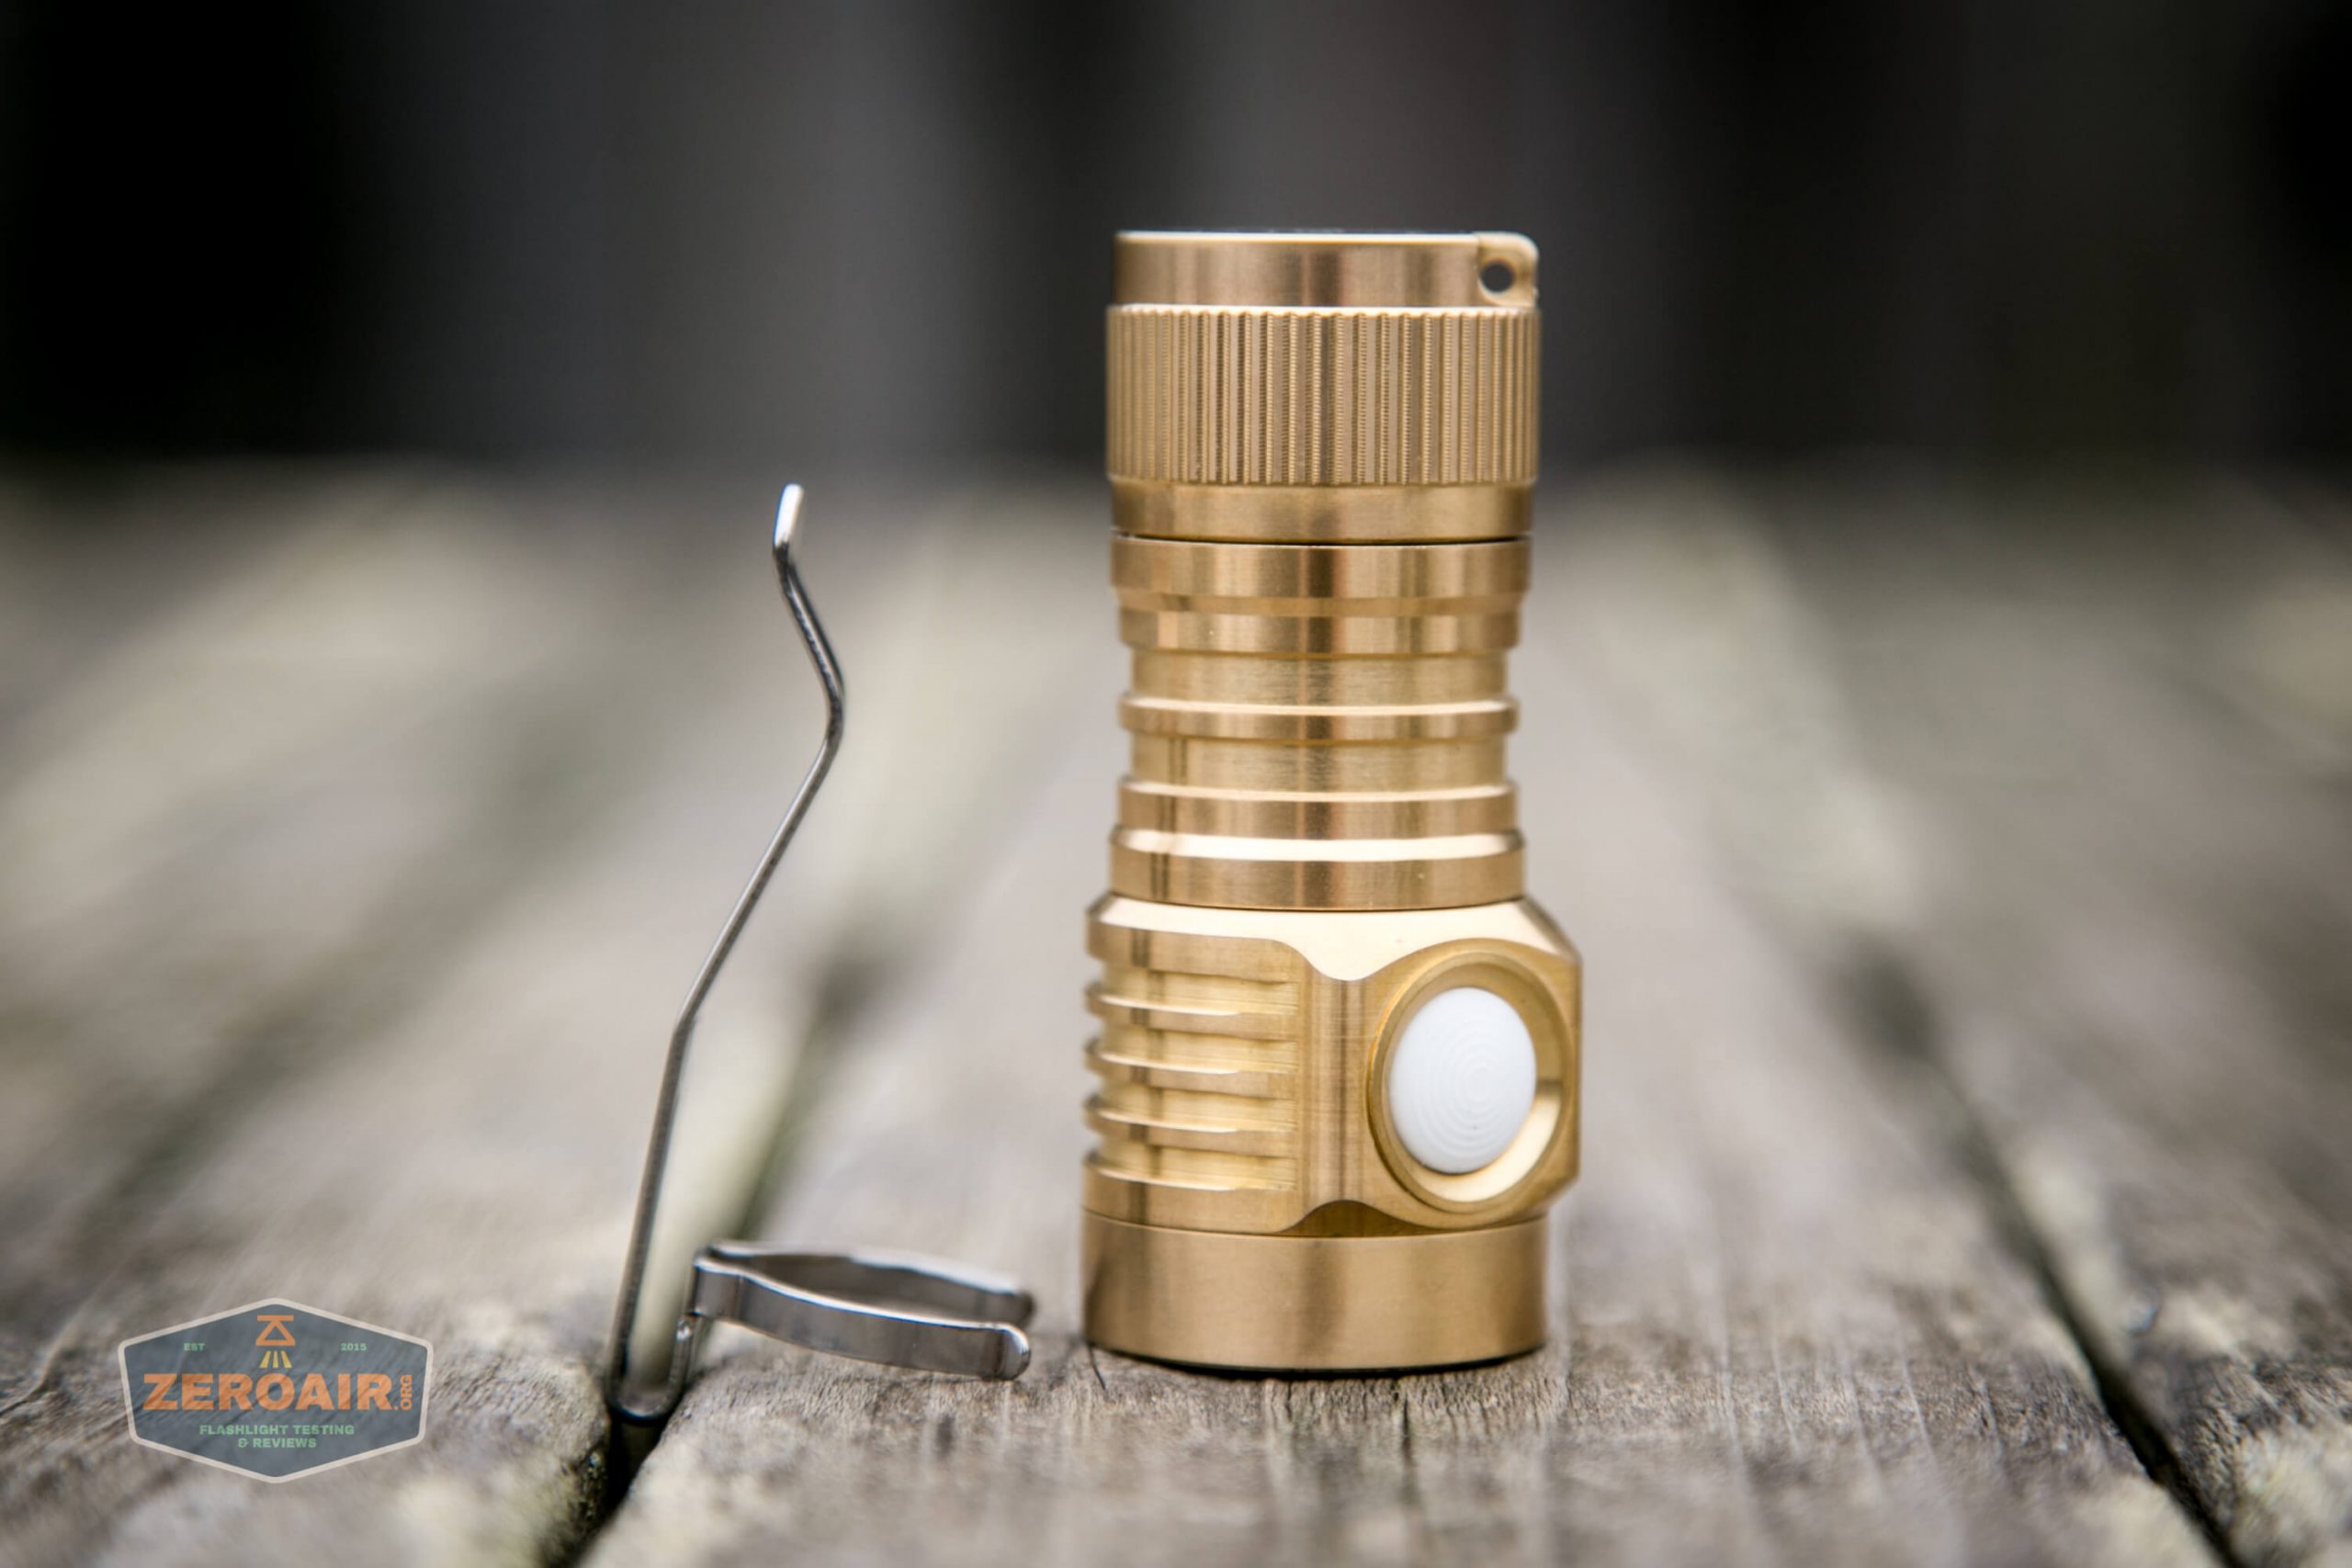
Another option for retaining the D4V2 is with an included lanyard. That attaches through a loop in the tailcap.
The magnet in these tailcaps won’t really hold the light horizontally – the brass is just too heavy.
Power and Runtime
The Emisar D4V2 runs on lithium-ion cells. The default is a single 18650. I tested with a flat top unprotected cell. While other cells will work in the light, even the unprotected cell is a snug fit. These springs are quite stiff, and there’s not excessive room in the cell tube.
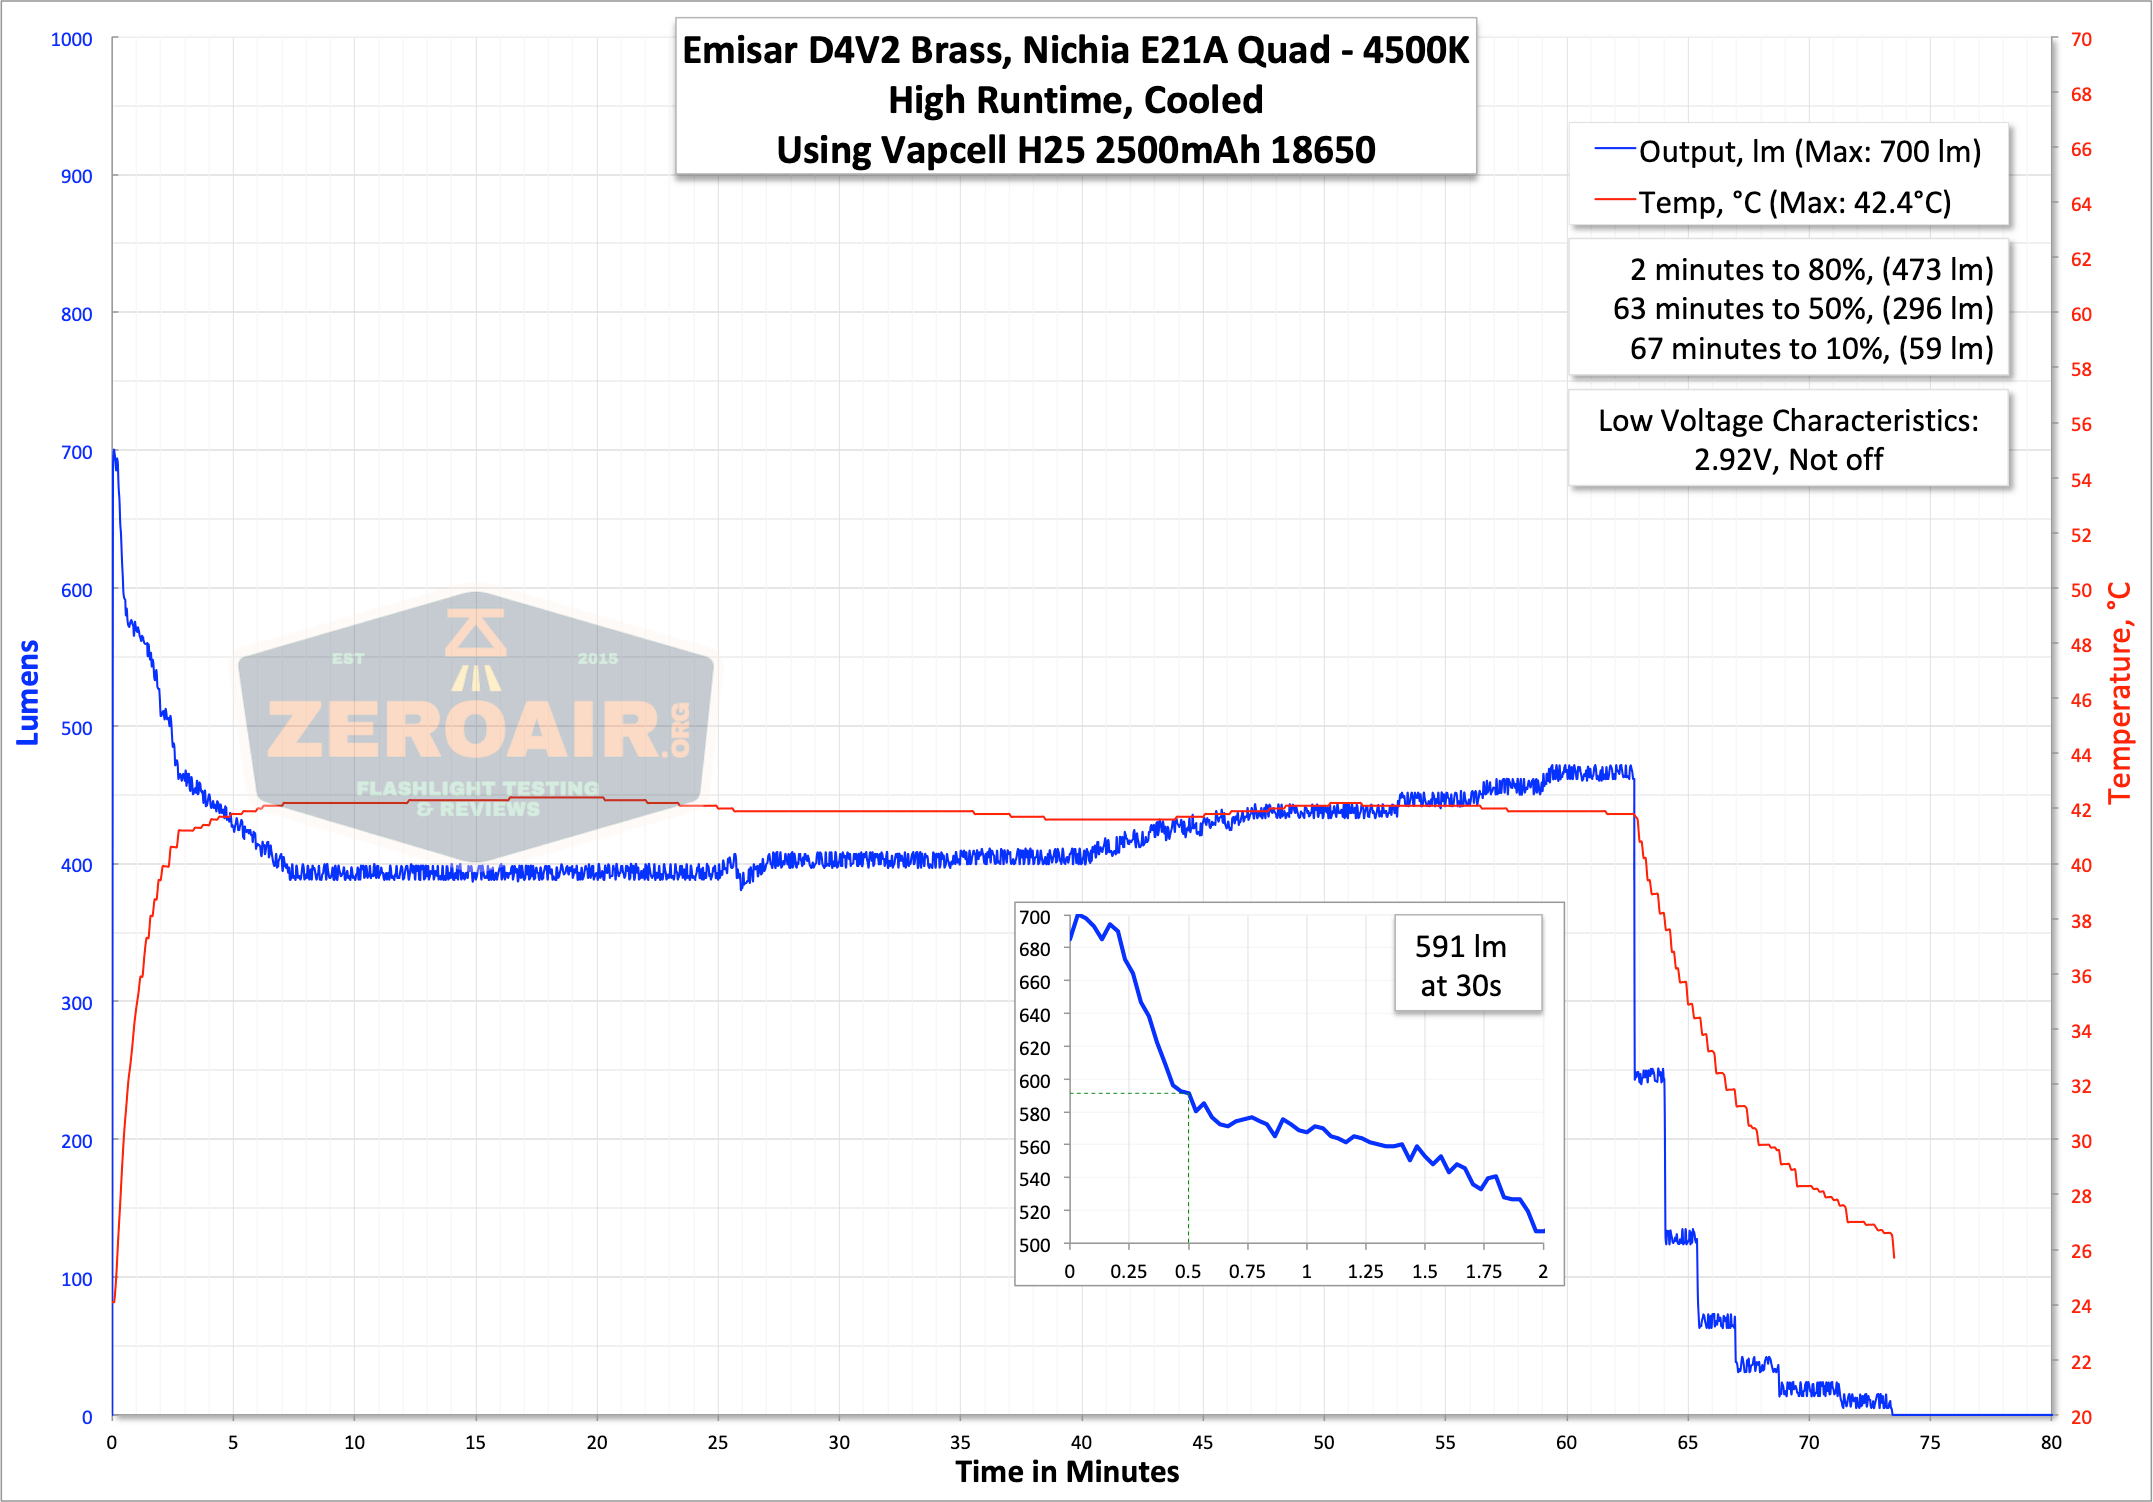
First are some tests with the default cell size – 18650. I tested with a Vapcell H25 2500mAh 18650, because it provides ample current potential. The cell installs in the usual way – positive end toward the head.

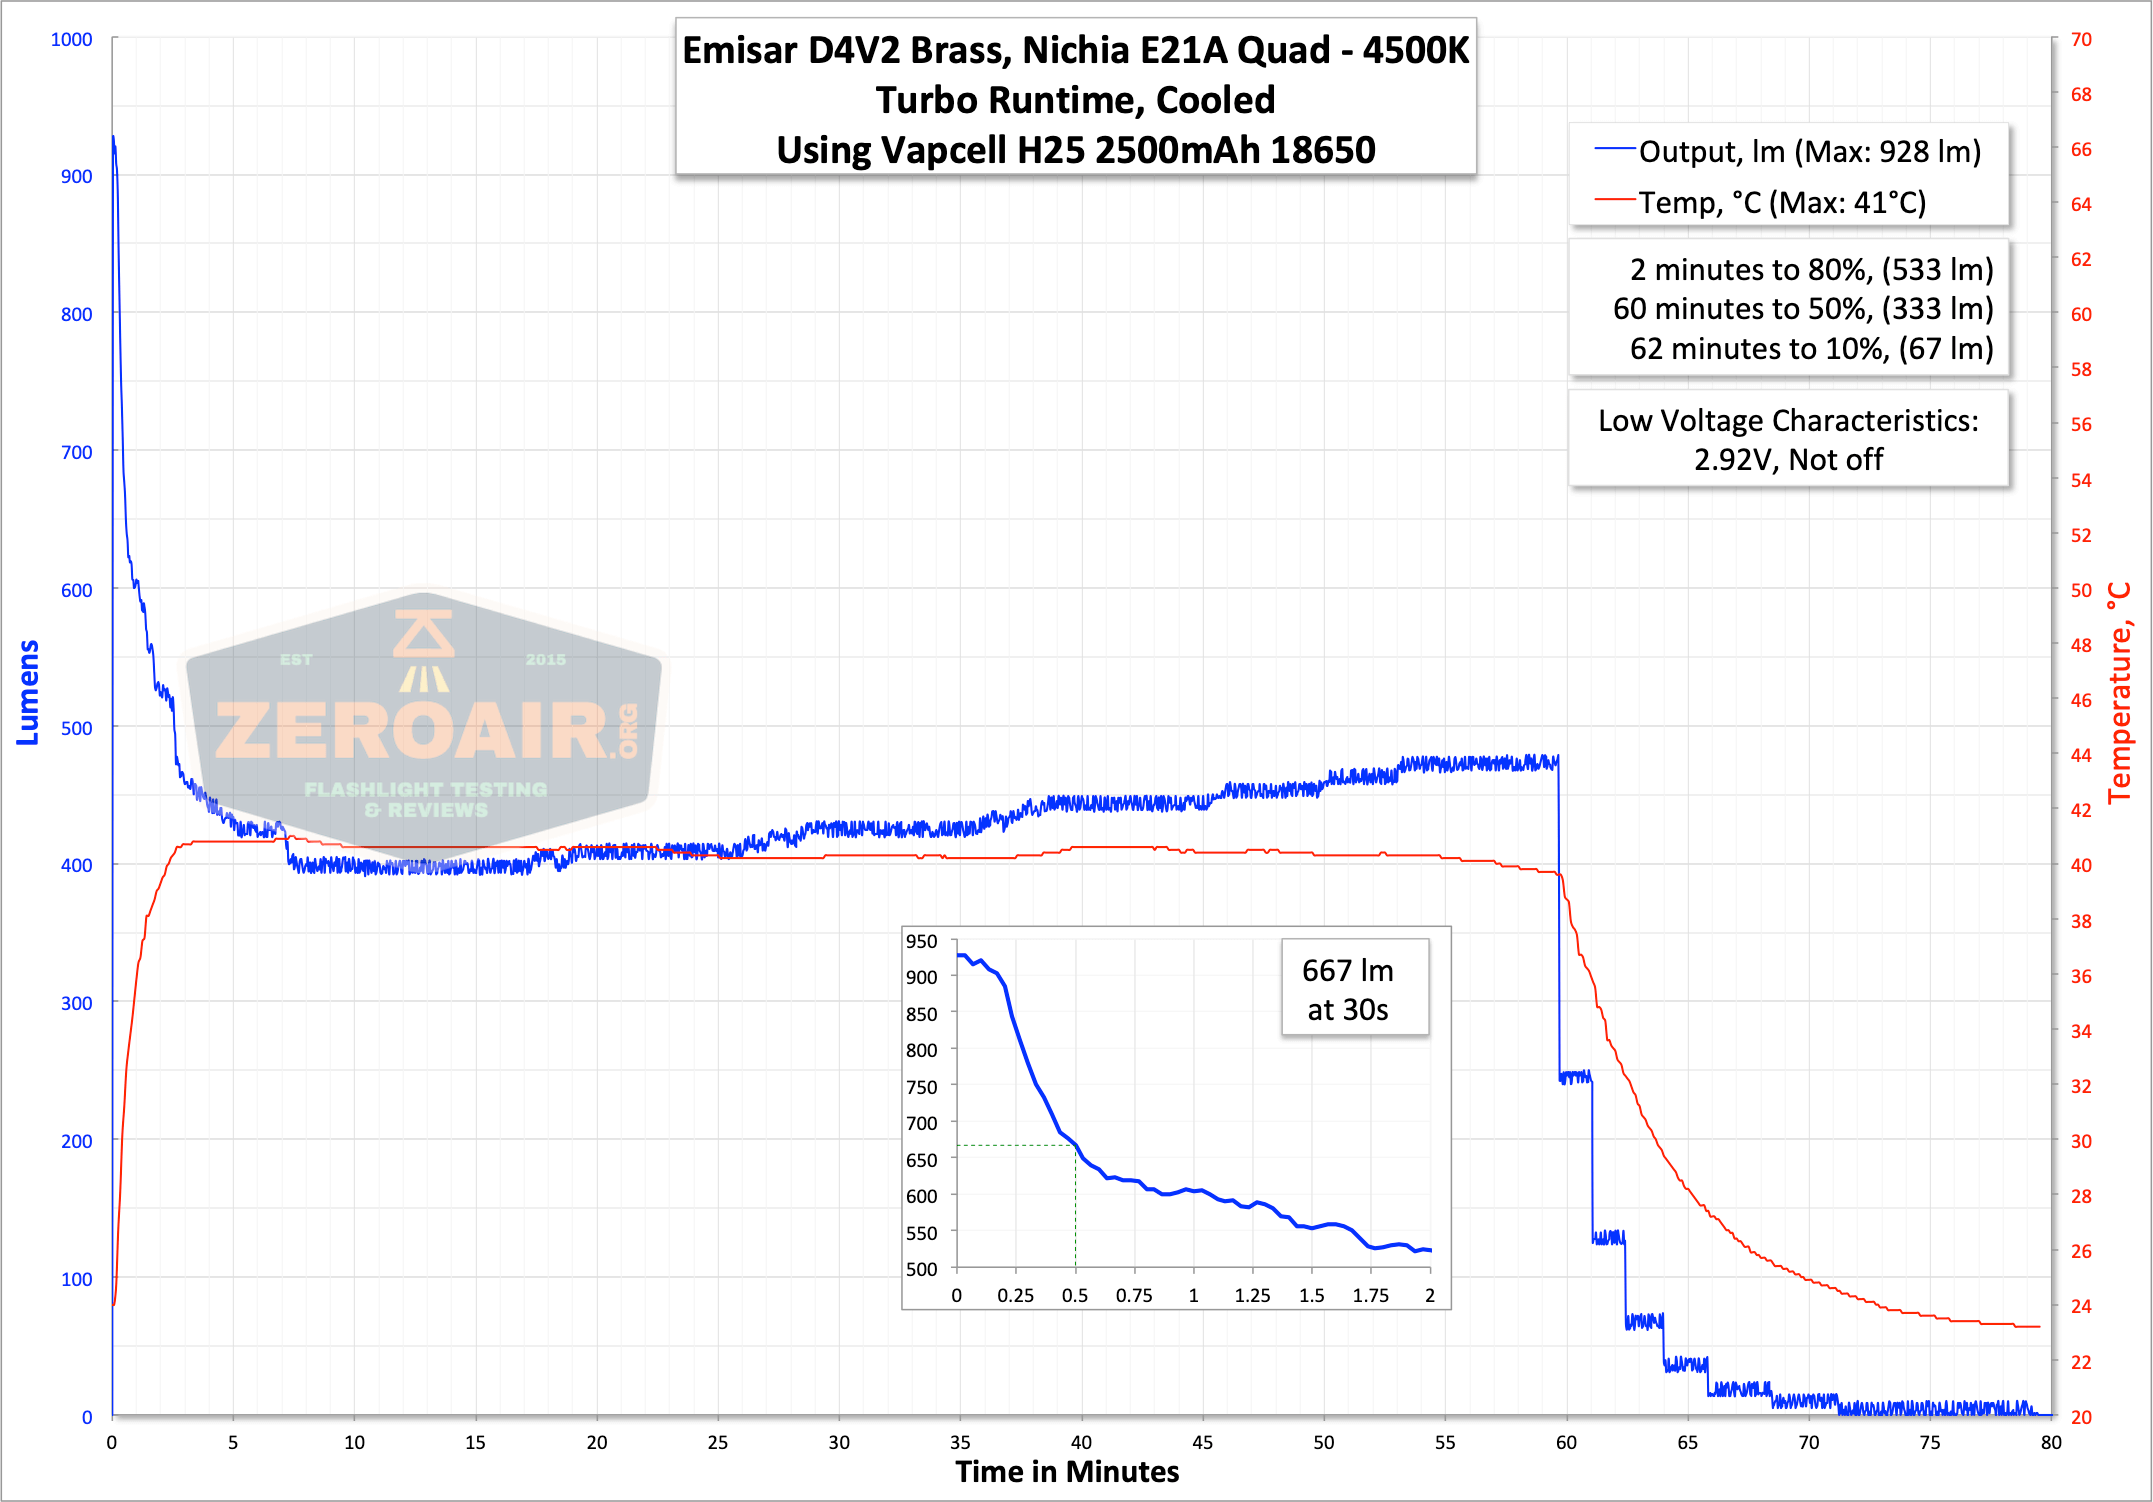
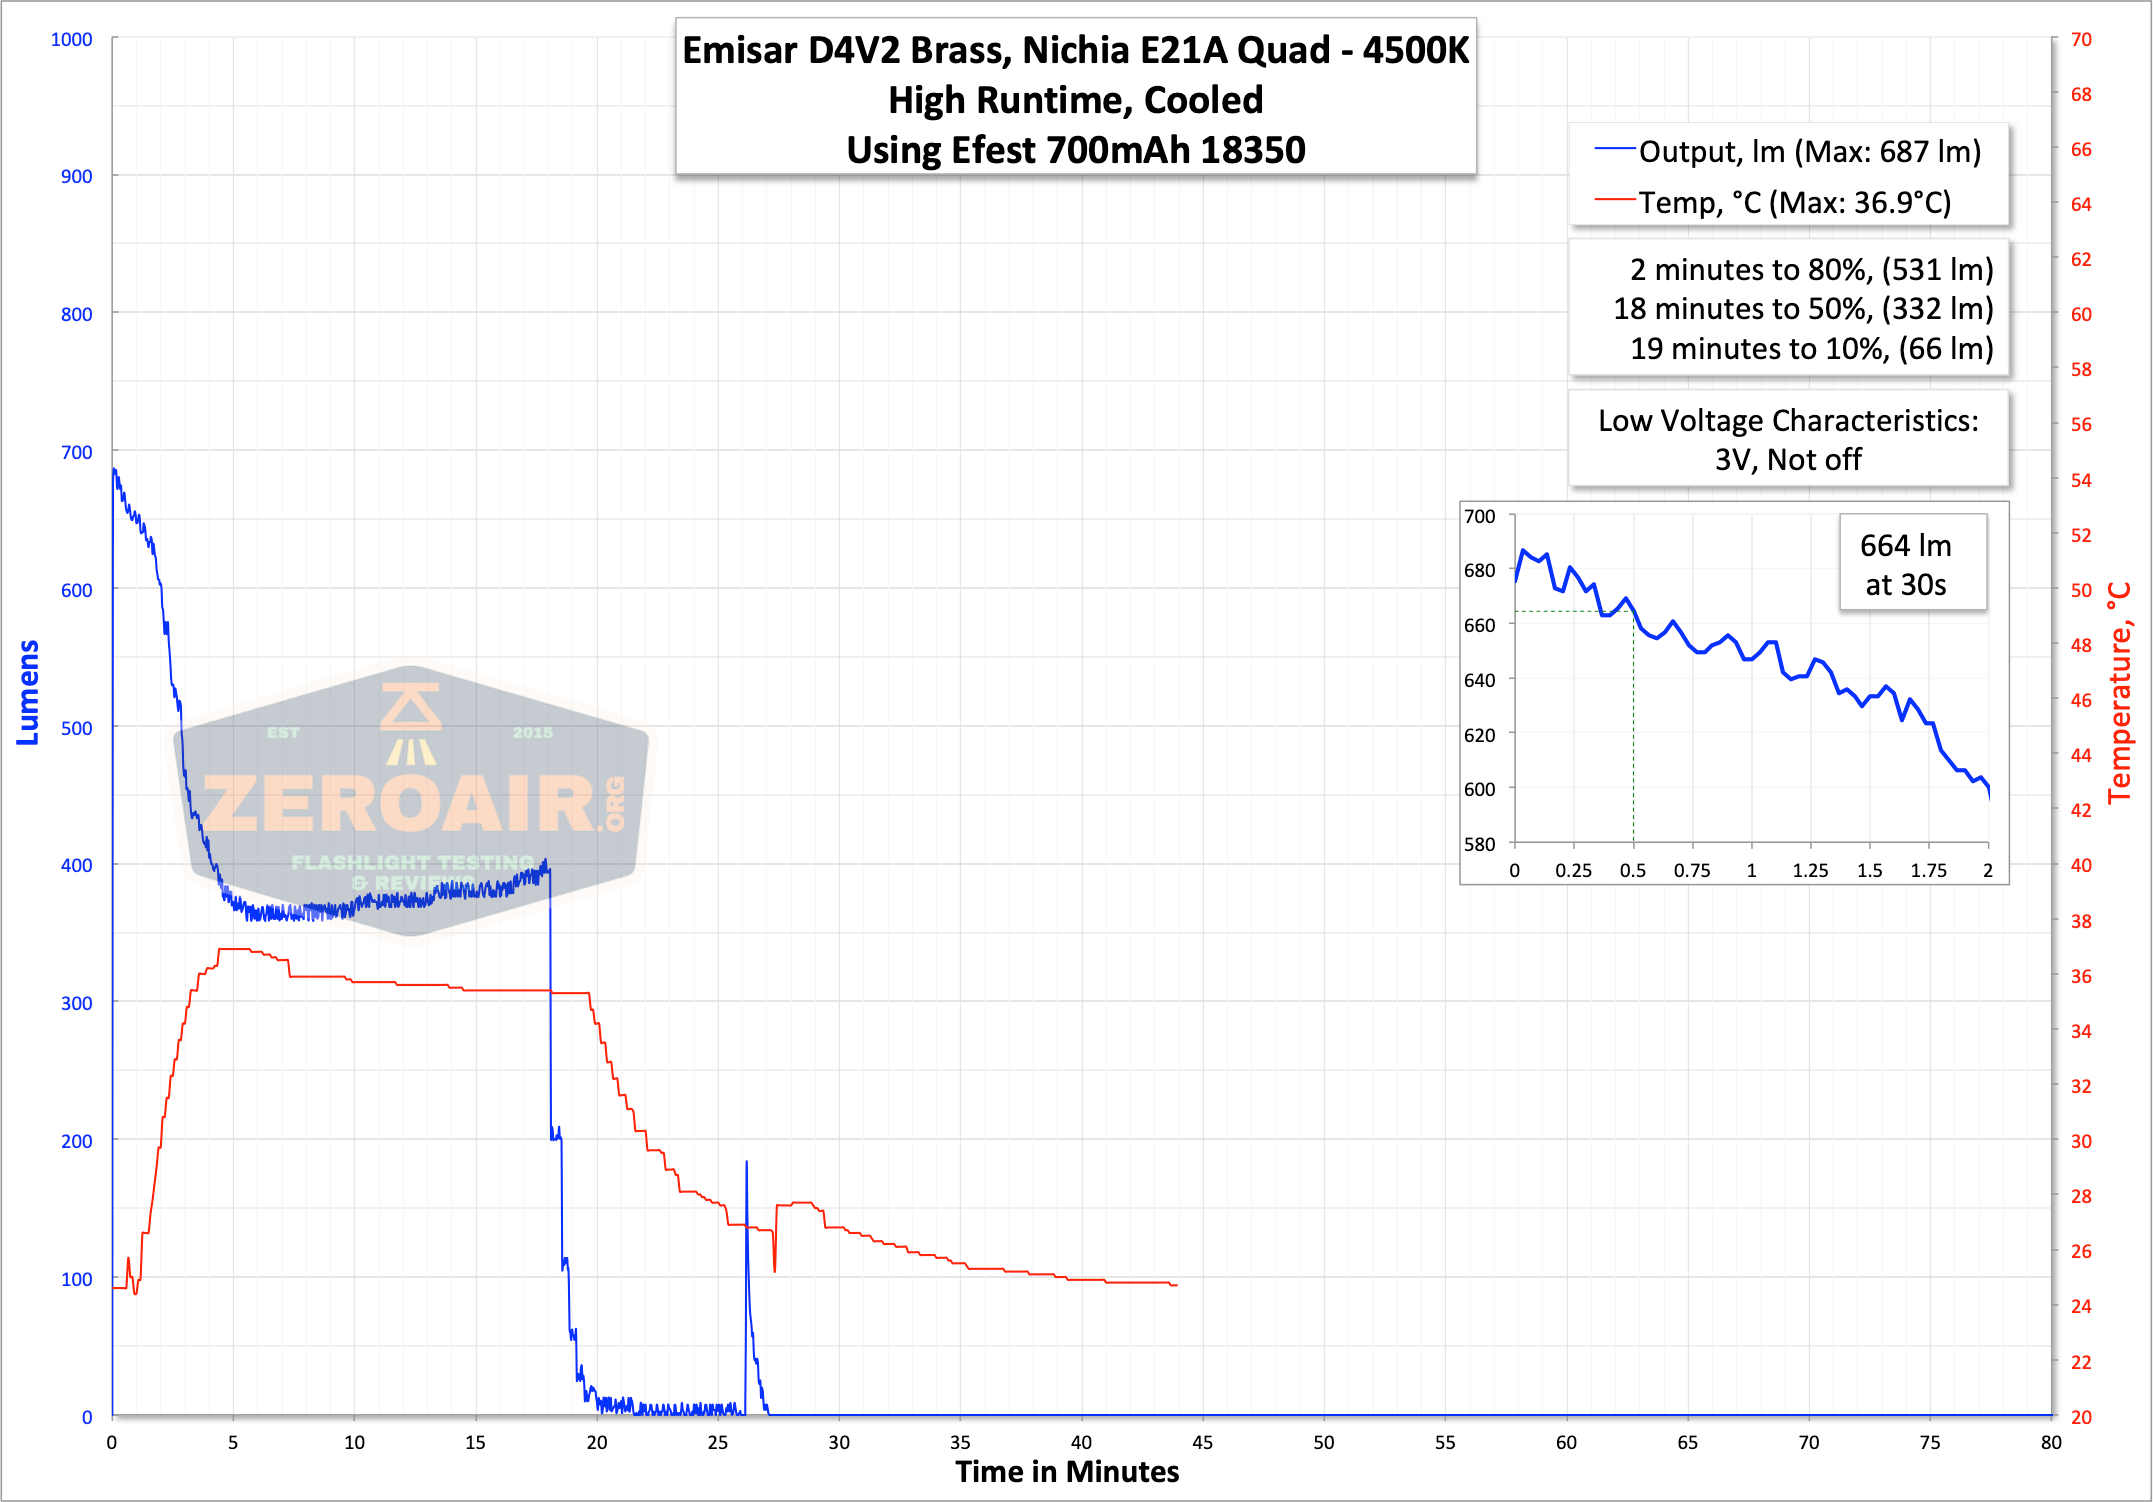
Turbo steps down quite quickly and never really gets all that hot. That’s probably good for these (shall we say “fragile”?) emitters. Output holds steady thereafter. I typically don’t experience LVP on Anduril lights. Maybe I am just not waiting long enough. But it’s there, and the light steps down too, so you’ll notice. I should mention that this “Turbo” is the output achieved when double clicking from an on state.
Output on High (which is the highest mode of the stepped output), also has a pretty big stepdown, and otherwise looks just like the Turbo output.
I also tested a bit with the optional 18350 format.
Interestingly, the output seems just a shade better, but this is not a statistically significant difference. So don’t get excited that an 18350 is going to be a better performer. Also, this shouldn’t be affected by the cell used, since the output is limited to 5A.
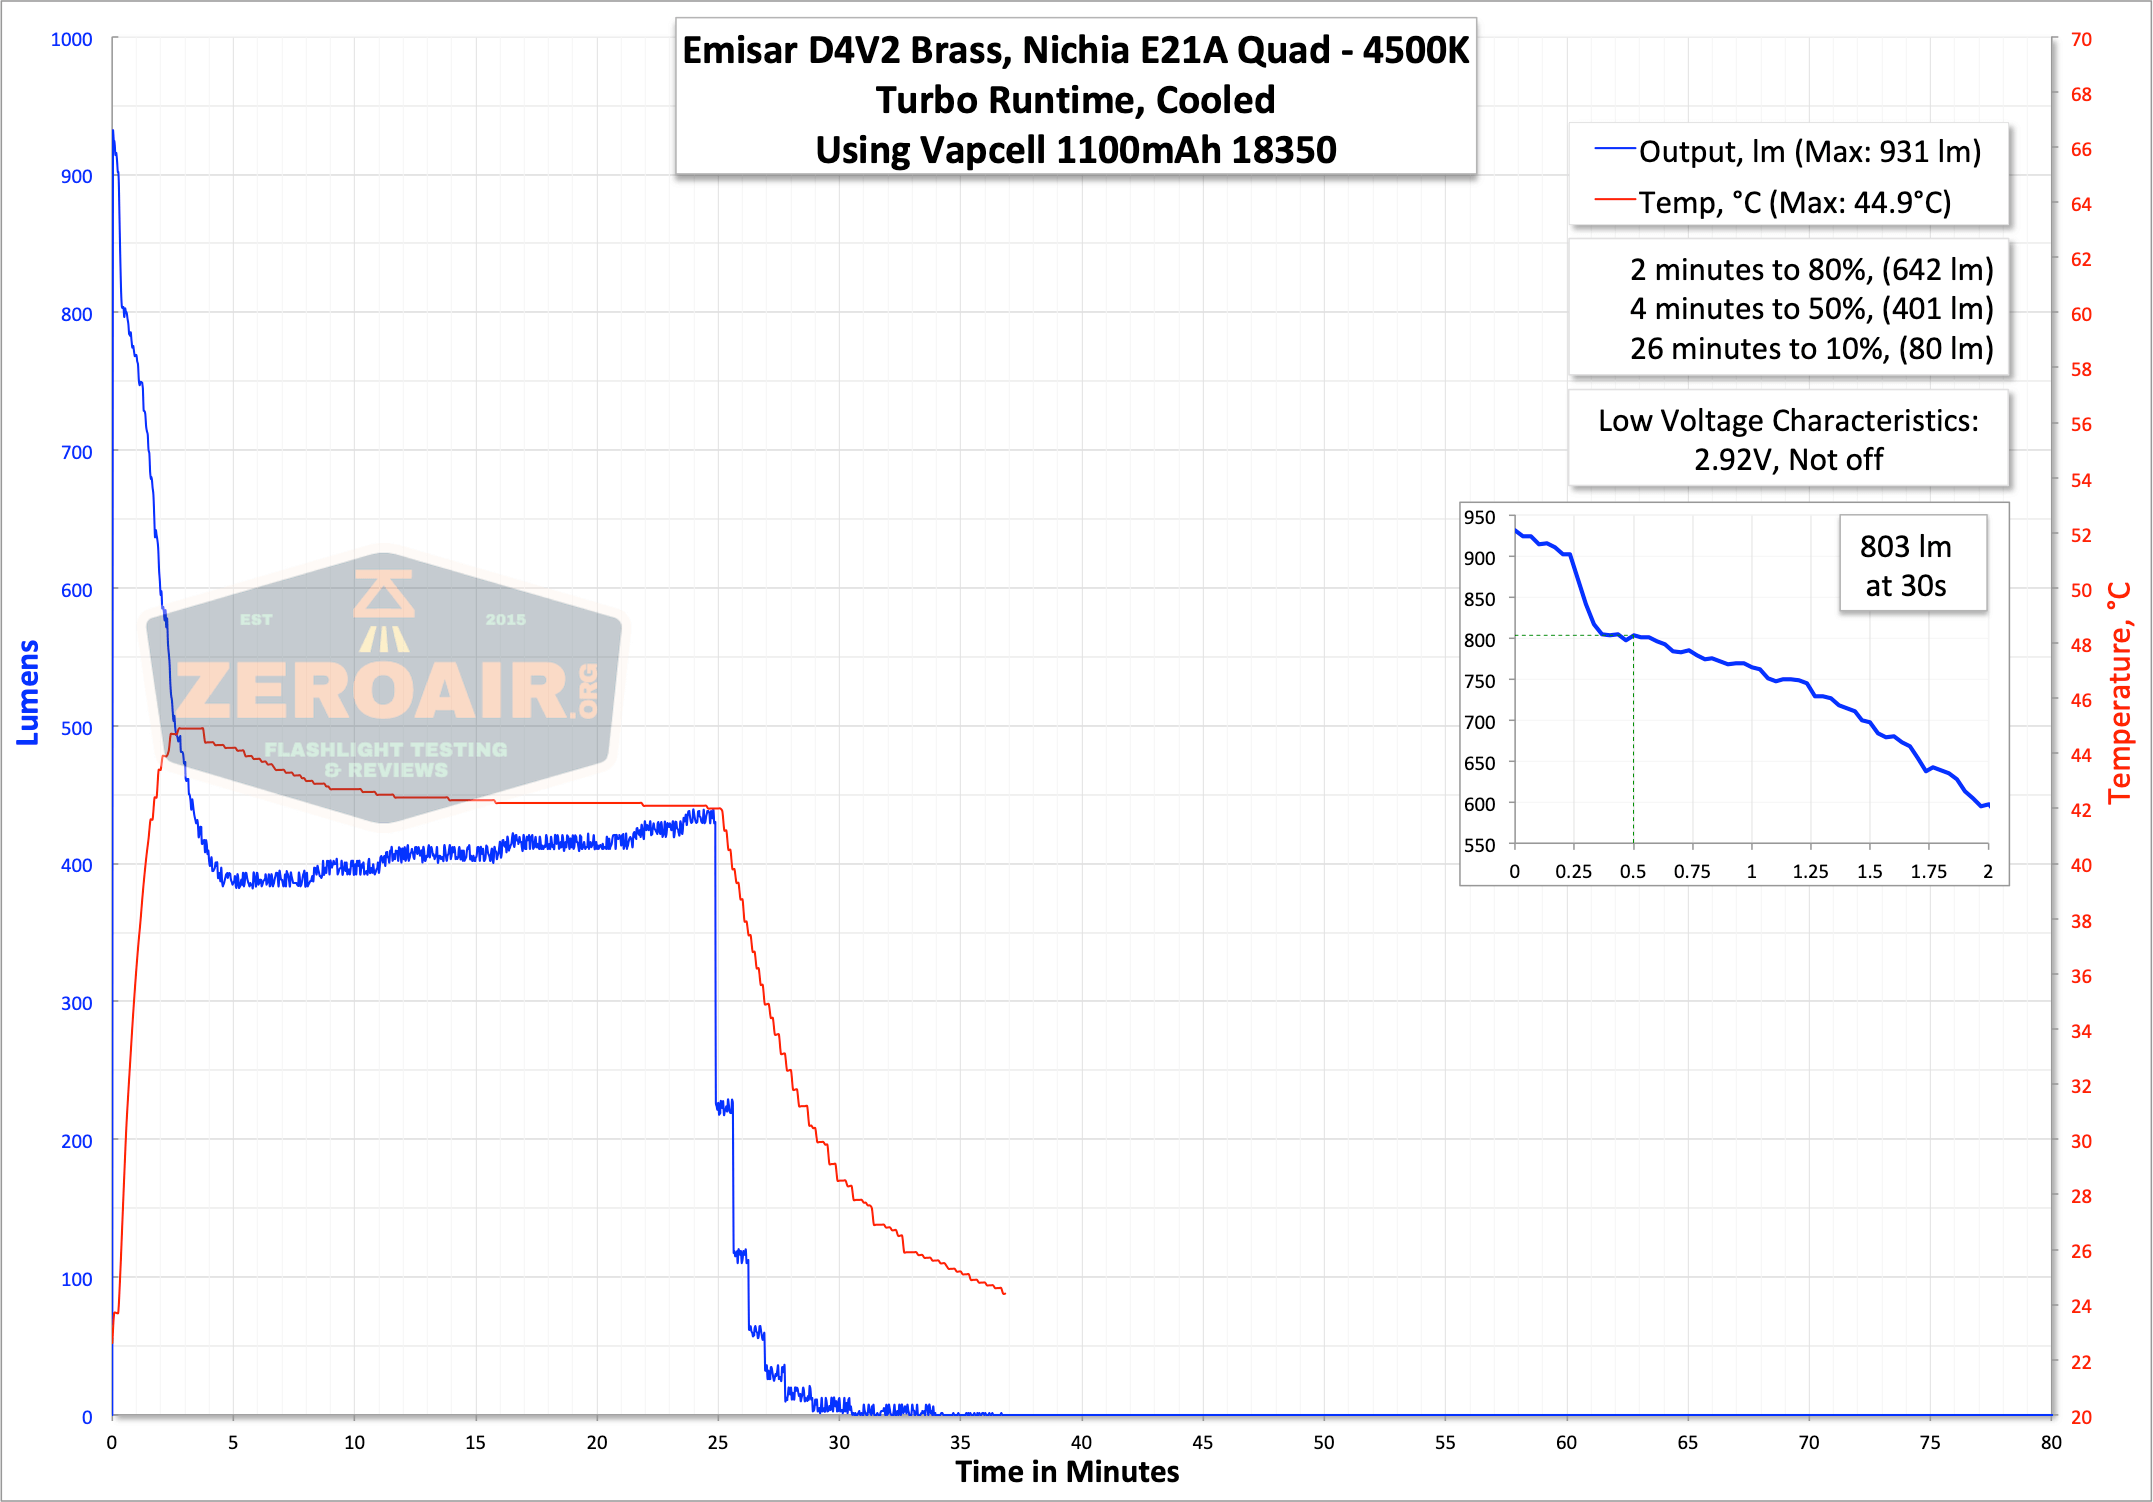
Regarding low voltage protection – above I said the light switches to low. If you see below at around 26 minutes, that is a ‘reset to turbo.’ That’s as high as the light goes when the cell is depleted. So again, you’ll notice if the cell is low.
Modes and Currents
| Mode | Mode Claimed Output (lm) | Claimed Runtime | Measured Lumens (18650/18350) | Tailcap Amps |
|---|---|---|---|---|
| Turbo | – | – | 667/803 | 4.50 |
| 7 (Stepped) | – | – | 591/664 | 3.46 |
| 6 (Stepped) | – | – | 2.28 | |
| 5 (Stepped) | – | – | 1.39 | |
| 4 (Stepped) | – | – | 0.77 | |
| 3 (Stepped) | – | – | 0.36 | |
| 2 (Stepped) | – | – | 0.13 | |
| 1 (Stepped) | – | – | 0.01 | |
| 0 (Ramping) | – | – | ~ |
Pulse Width Modulation
First is the lowest mode on the ramping part of the user interface. Then there are the eight-step modes. This is an interesting thing. All my other Andúril lights specifically have PWM. This D4V2 does not have PWM. That’s because this E21A D4V2 gets fitted with the linear driver mentioned above, and a linear driver means there is no PWM! Other D4V2 lights (that don’t have E21A emitters) will have the default Anduril driver, which does have PWM.
 Here you can see a “baseline” – a chart with almost no light hitting the sensor.
Then there’s the Ultrafire WF-602C flashlight, which has some of the worst PWM I’ve seen. It’s so bad that I used a post about it to explain PWM! Here are multiple timescales (10ms, 5ms, 2ms, 1ms, 0.5ms, 0.2ms) to make comparing this “worst” PWM light to the test light easier. That post also explains why I didn’t test the WF-602C at the usual 50us scale.
User Interface and Operation on the Emisar D4V2 Brass Flashlight
There’s one switch on the D4V2. It’s a side e-switch, with four white indicating LEDs. It’s quiet, but very clicky, and the rubber cover is nice and grippy. I opted for the “Warm White” backlighting, but Cool White is also available. And actually, if you message Hank, you can get other colors there too (from what I hear).
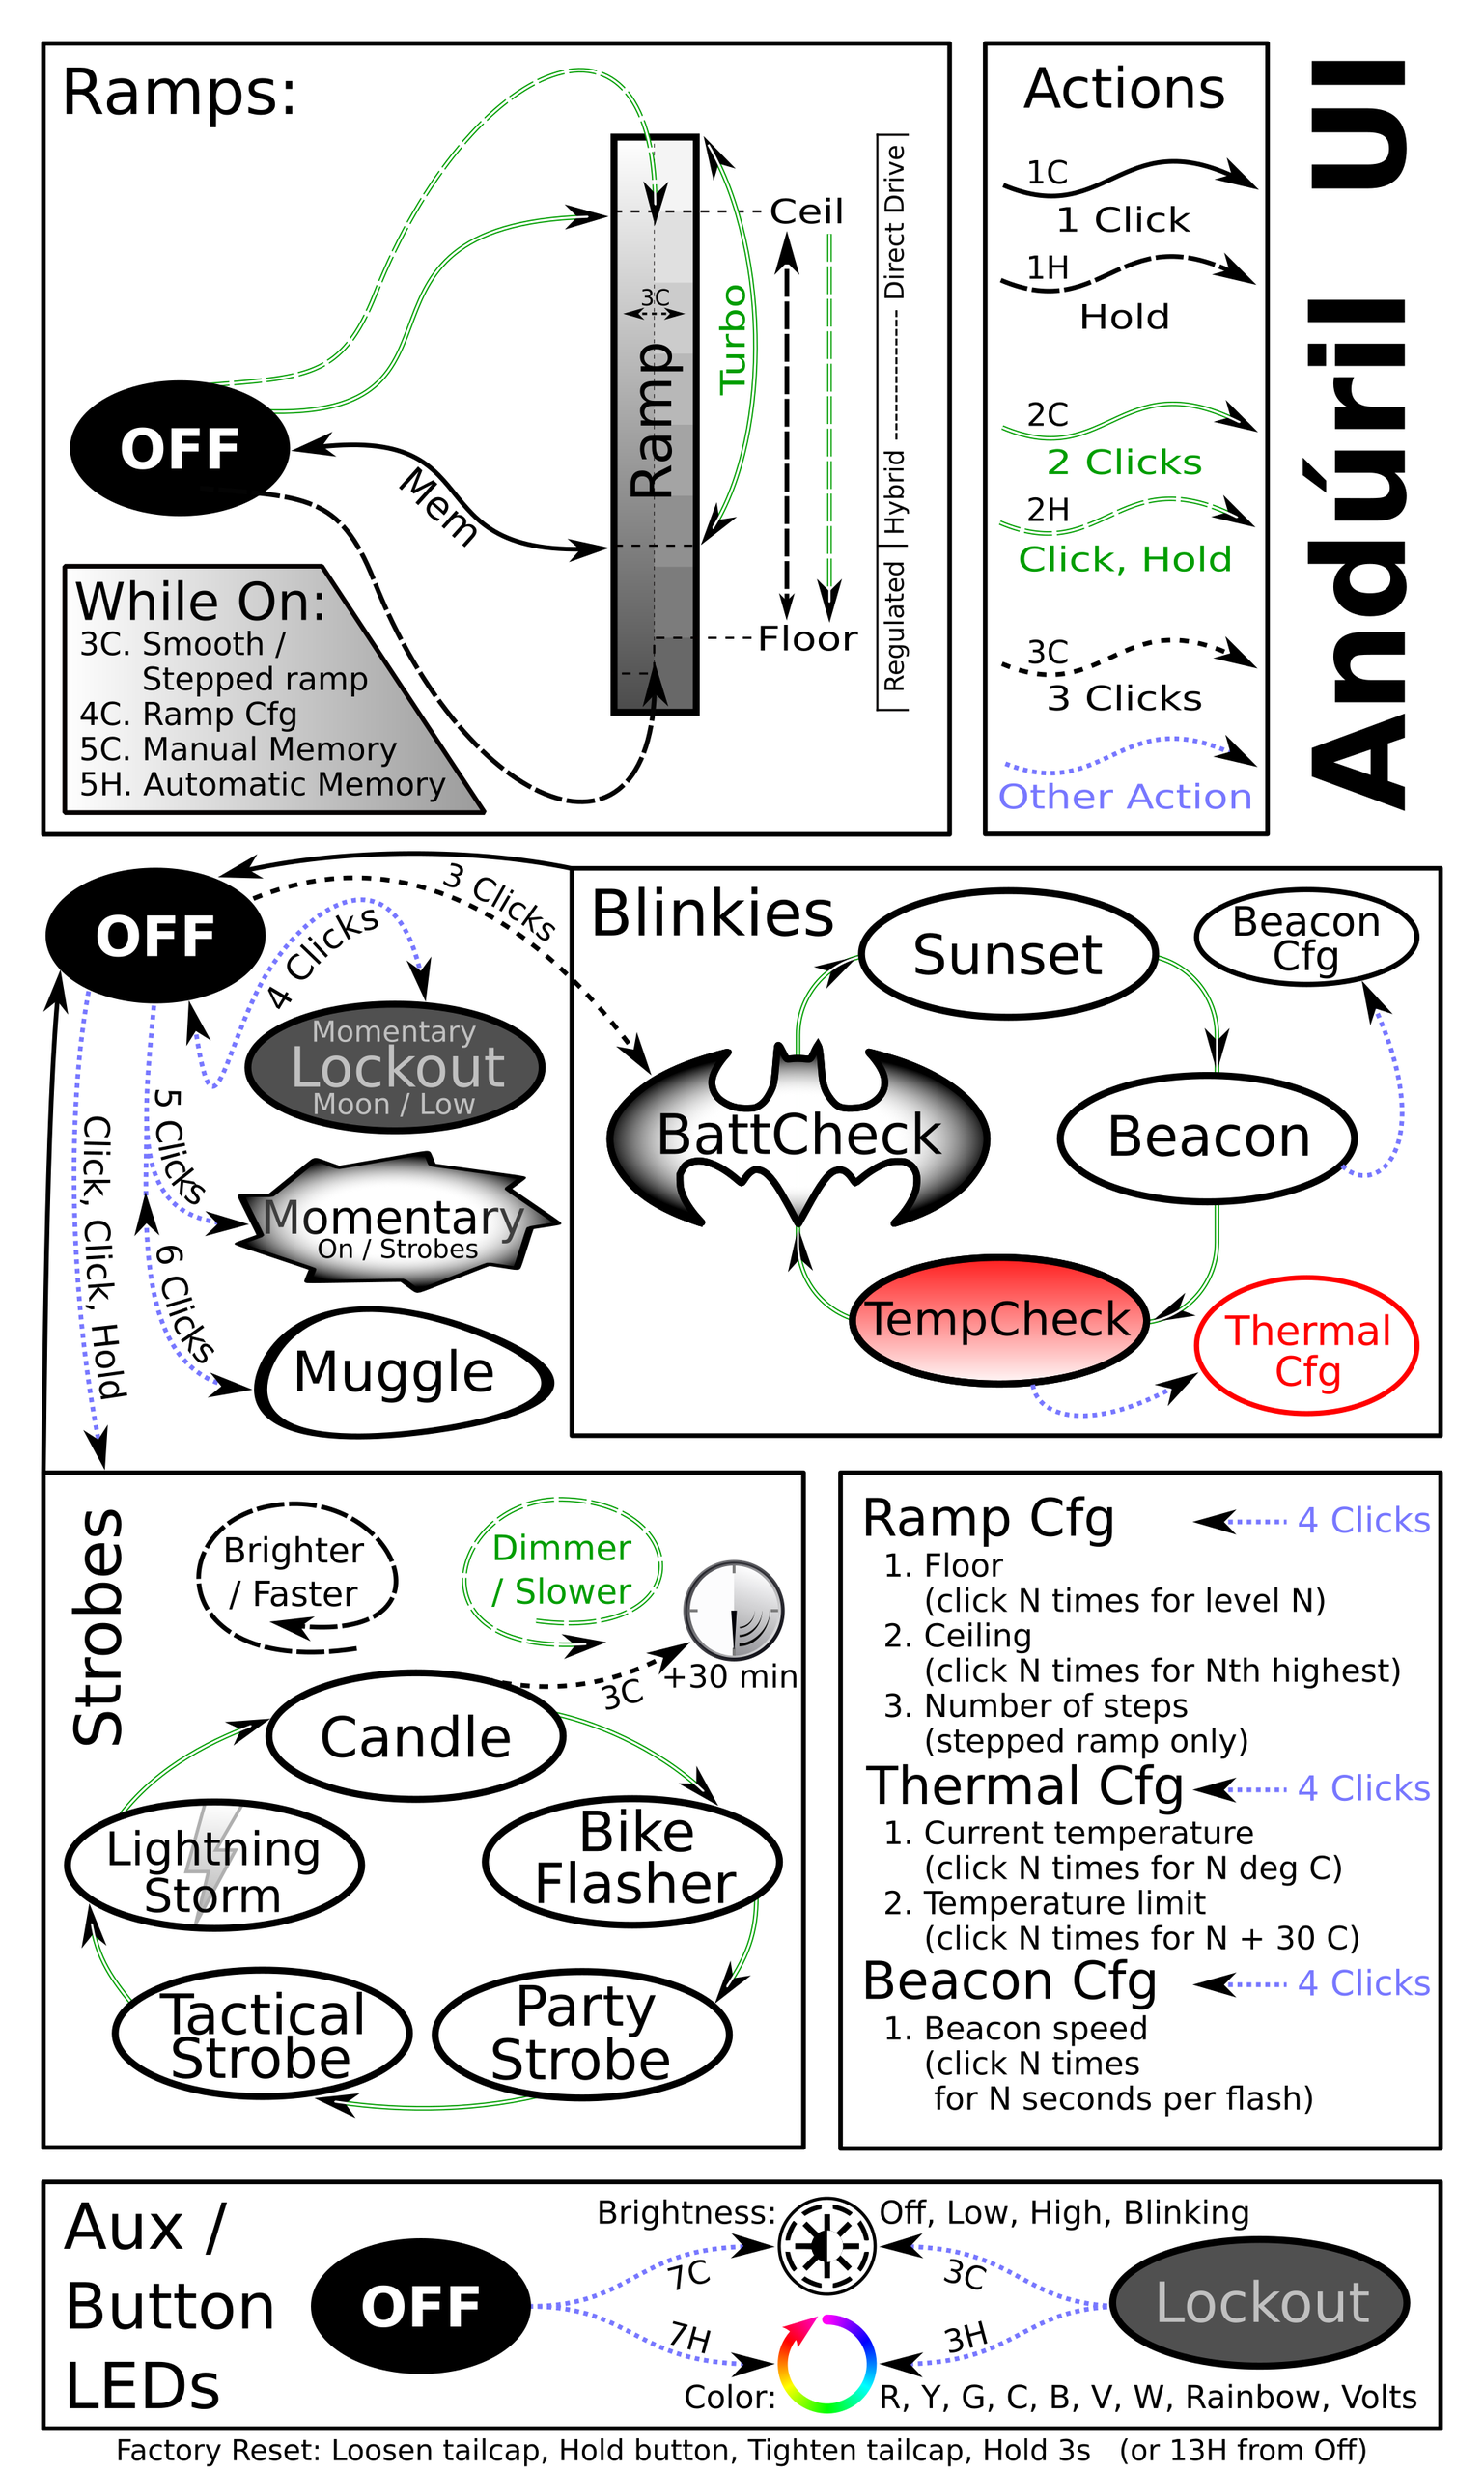
This light ships with Andúril by ToyKeeper. Andúril is a fantastic UI and extremely versatile!
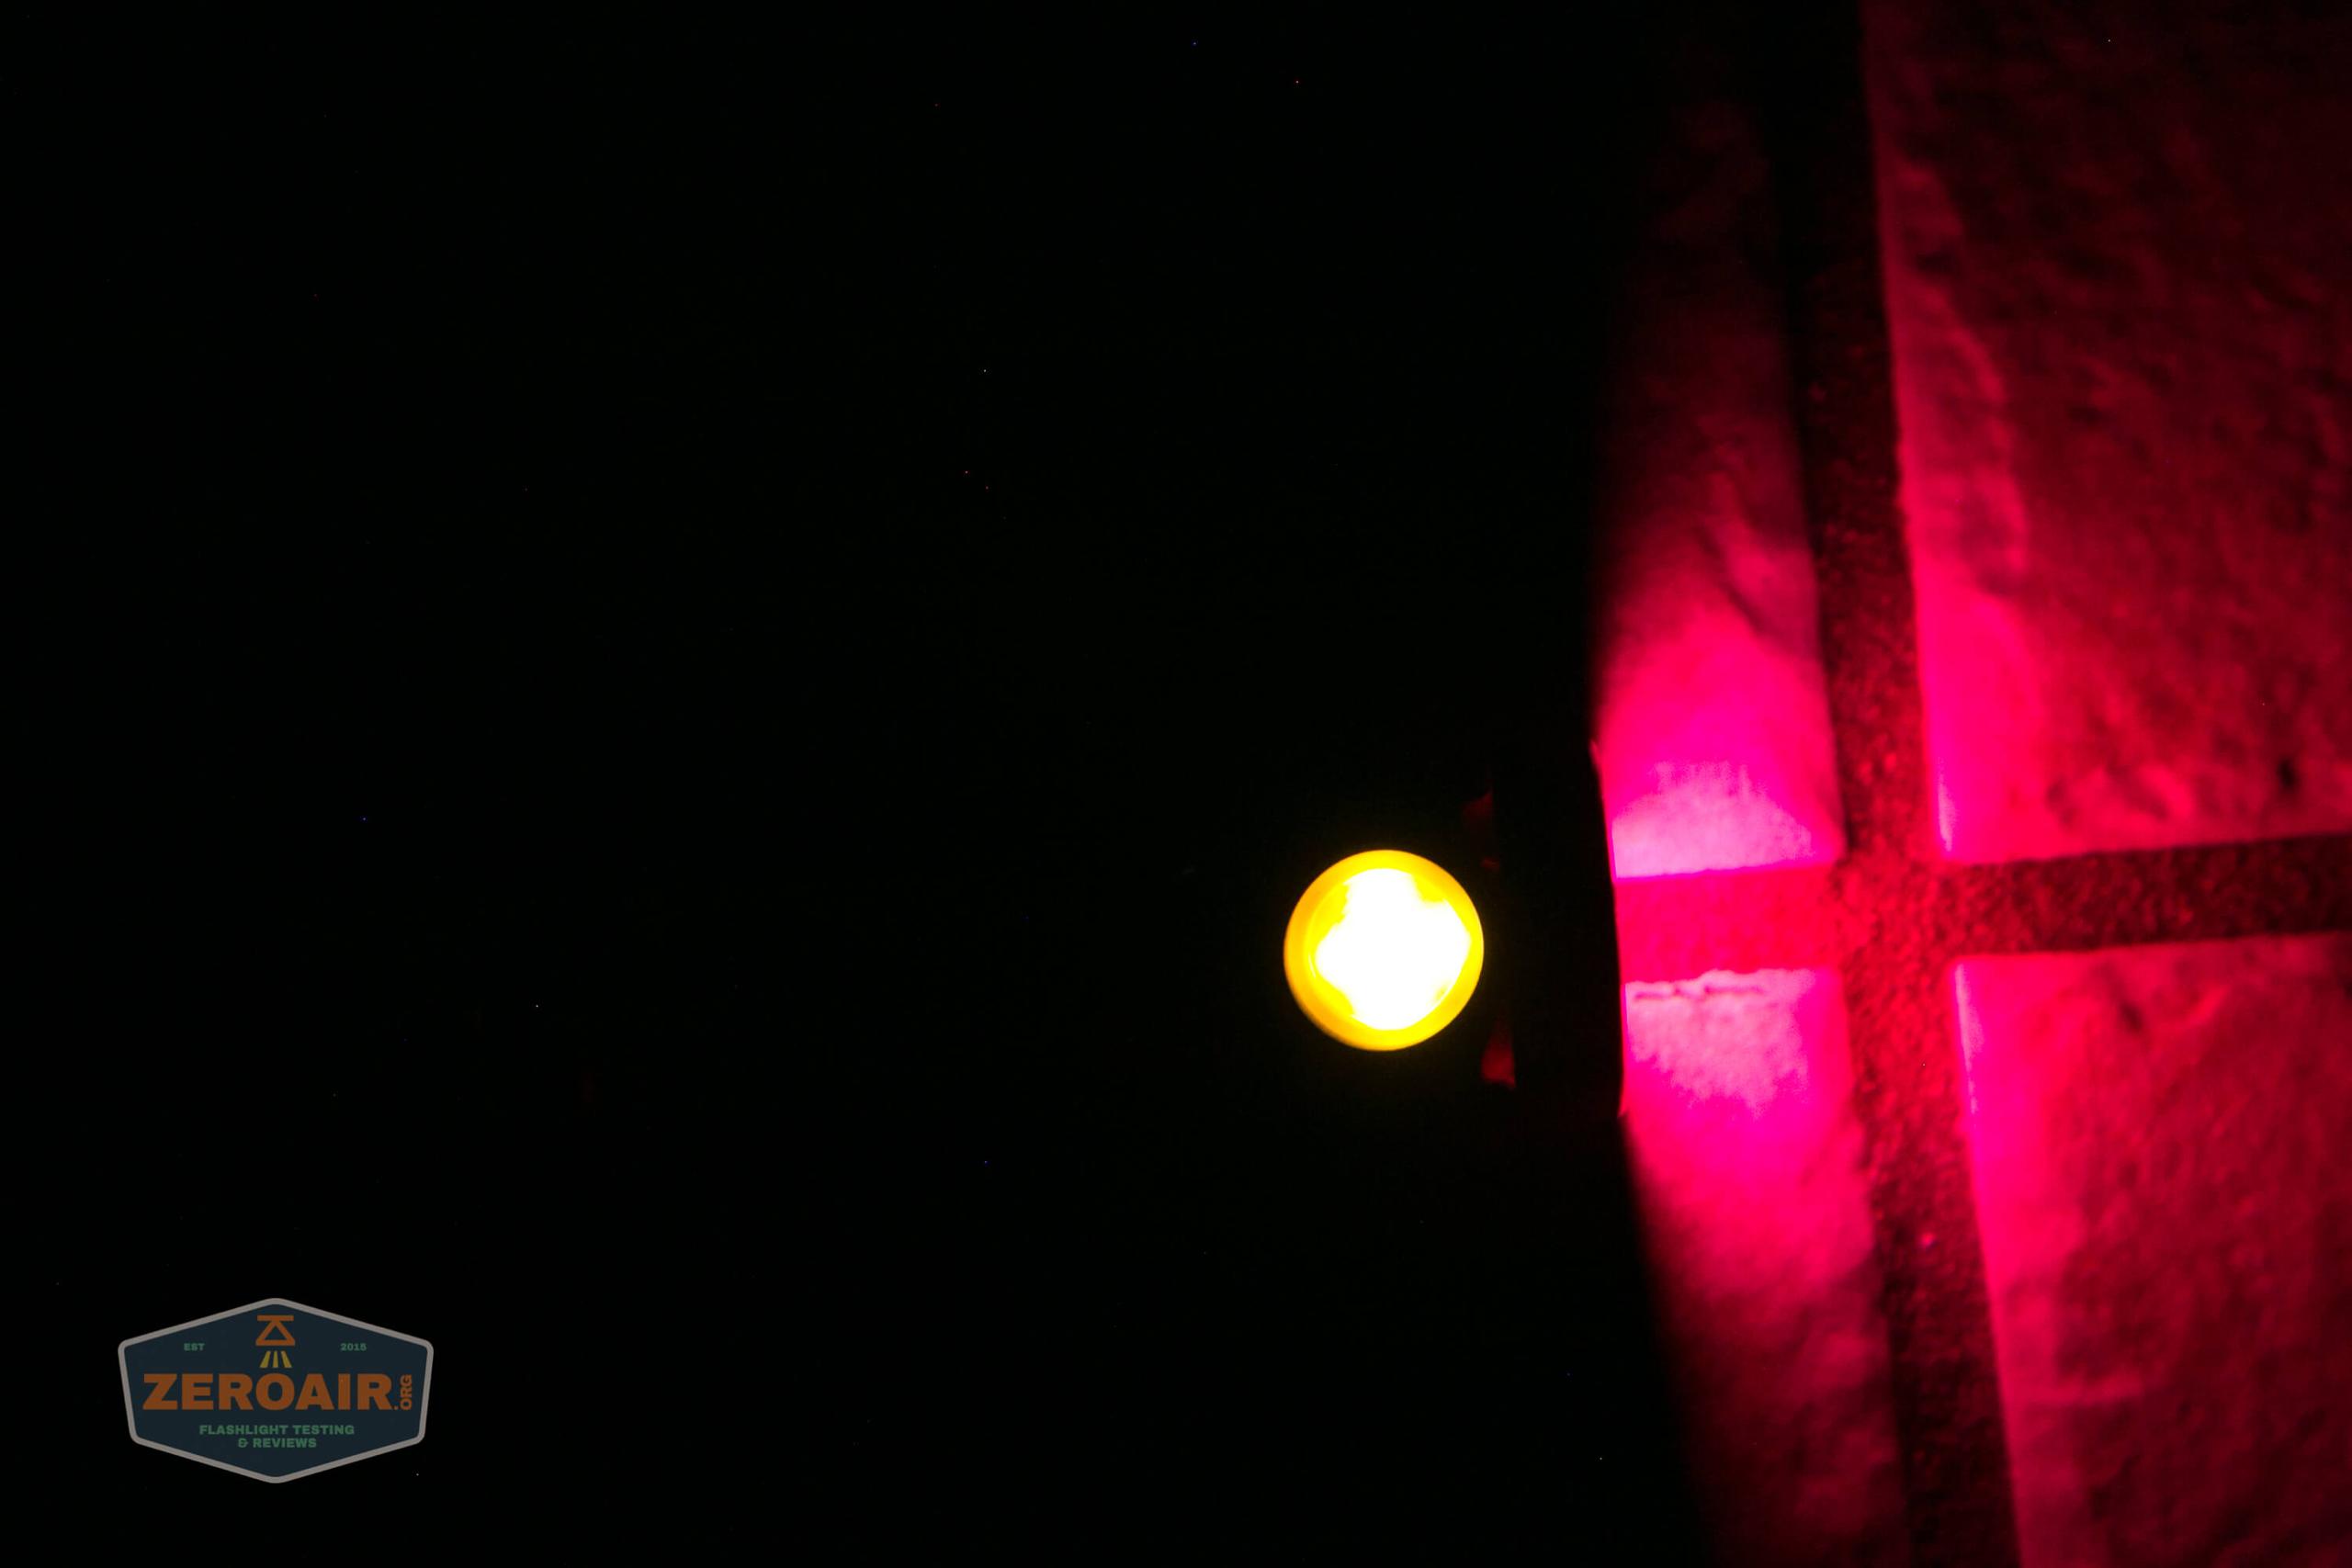
And here’s a night shot of the same.

First off, here’s the user interface chart made by ToyKeeper.
Here’s my user interface table! This table doesn’t cover the aux and switch LEDs, but they’re somewhat configurable too.
| State | Action | Result |
|---|---|---|
| Off | Hold | On (Low) |
| Off | Click | On (Mode Memory) |
| Off | Click 2x | Highest Hybrid Mode |
| Off | Click 3x | Blinkie Mode Group |
| Off | Click 4x | Lockout |
| Off | Click 5x | Momentary |
| Off | Click 6x | Muggle |
| Off | Click, Click, Hold | Strobe Group (Mode Memory Strobe) |
| Strobe Group | Click 2x | Strobe Cycle (Candle > Bike Flasher > Party Strobe > Tactical Strobe > Lightning Storm) |
| Blinkie Mode Group | Click 2x | Blinke Cycle (Sunset > Beacon > TempCheck > BattCheck) |
| On | Click 3x | Switch between Stepped and Smooth Ramp |
| On | Click 4x | Ramp Configuration |
| TempCheck | Click 4x | Thermal Configuration |
| Beacon | Click 4x | Beacon Configuration |
| Lockout | Click 4x | Off |
| Strobe Group | Click | Off |
| (Basically) On | Click | Off |
| Candle | Click 3x | 30 minute timer to off |
| Strobe Group | Hold | Heighten selected mode (Make faster or brighter) |
| Strobe Group | Click, Hold | Lessen selected mode (Make slower or dimmer) |
| On | Click 2x | FET Turbo |
| Ramp Configuration | [Wait for Single flash] Click N time for level N. | Selection of the “Low” you like best by clicking 1, 2, 3, etc. where 1, 2, 3, etc are different levels of low. |
| Ramp Configuration | [Wait for Second flash] Click N time for 1+Turbo-N. | Selection of the “Ceiling” you like best by clicking 1, 2, 3, etc. where 1, 2, 3, etc are different Ceiling levels. |
| Ramp Configuration | [Wait for Third flash] Click for how many steps you want in Stepped mode. | Sets Number of Steps. |
| Thermal Configuration | [Wait for First flash] Click for N times for N degrees C. | Displays Current Temperature. |
| Thermal Configuration | [Wait for Second flash] Click for N times for 30C + N. | Sets Temperature Limit. |
| Beacon Configuration | [Wait for First flash] Click for N times N seconds per flash | Sets Beacon Speed. |
Emisar D4V2 Brass Flashlight LED and Beam
The emitters in my D4V2 are Nichia E21A at a temperature of 4500K. There are four of them, making this a “quad.” The E21A really works better in warmer emitters. When I purchased, 4500K was what was on offer – now I believe there are some warmer options (possibly all the way down to 2000K.) It’s also possible to mix emitters, for example, 3500K and 2700K, which could add to the rosy tint. So if a rosy tint is something you desire, consider asking for a temperature mix!
The 4500K E21A has a profile of R9080, which is a very nice combo. The E21A is also very high CRI! (>98 CRI, I think).
The E21A is a special little emitter. It won’t handle just a ton of current (here, again, limited to 5A).
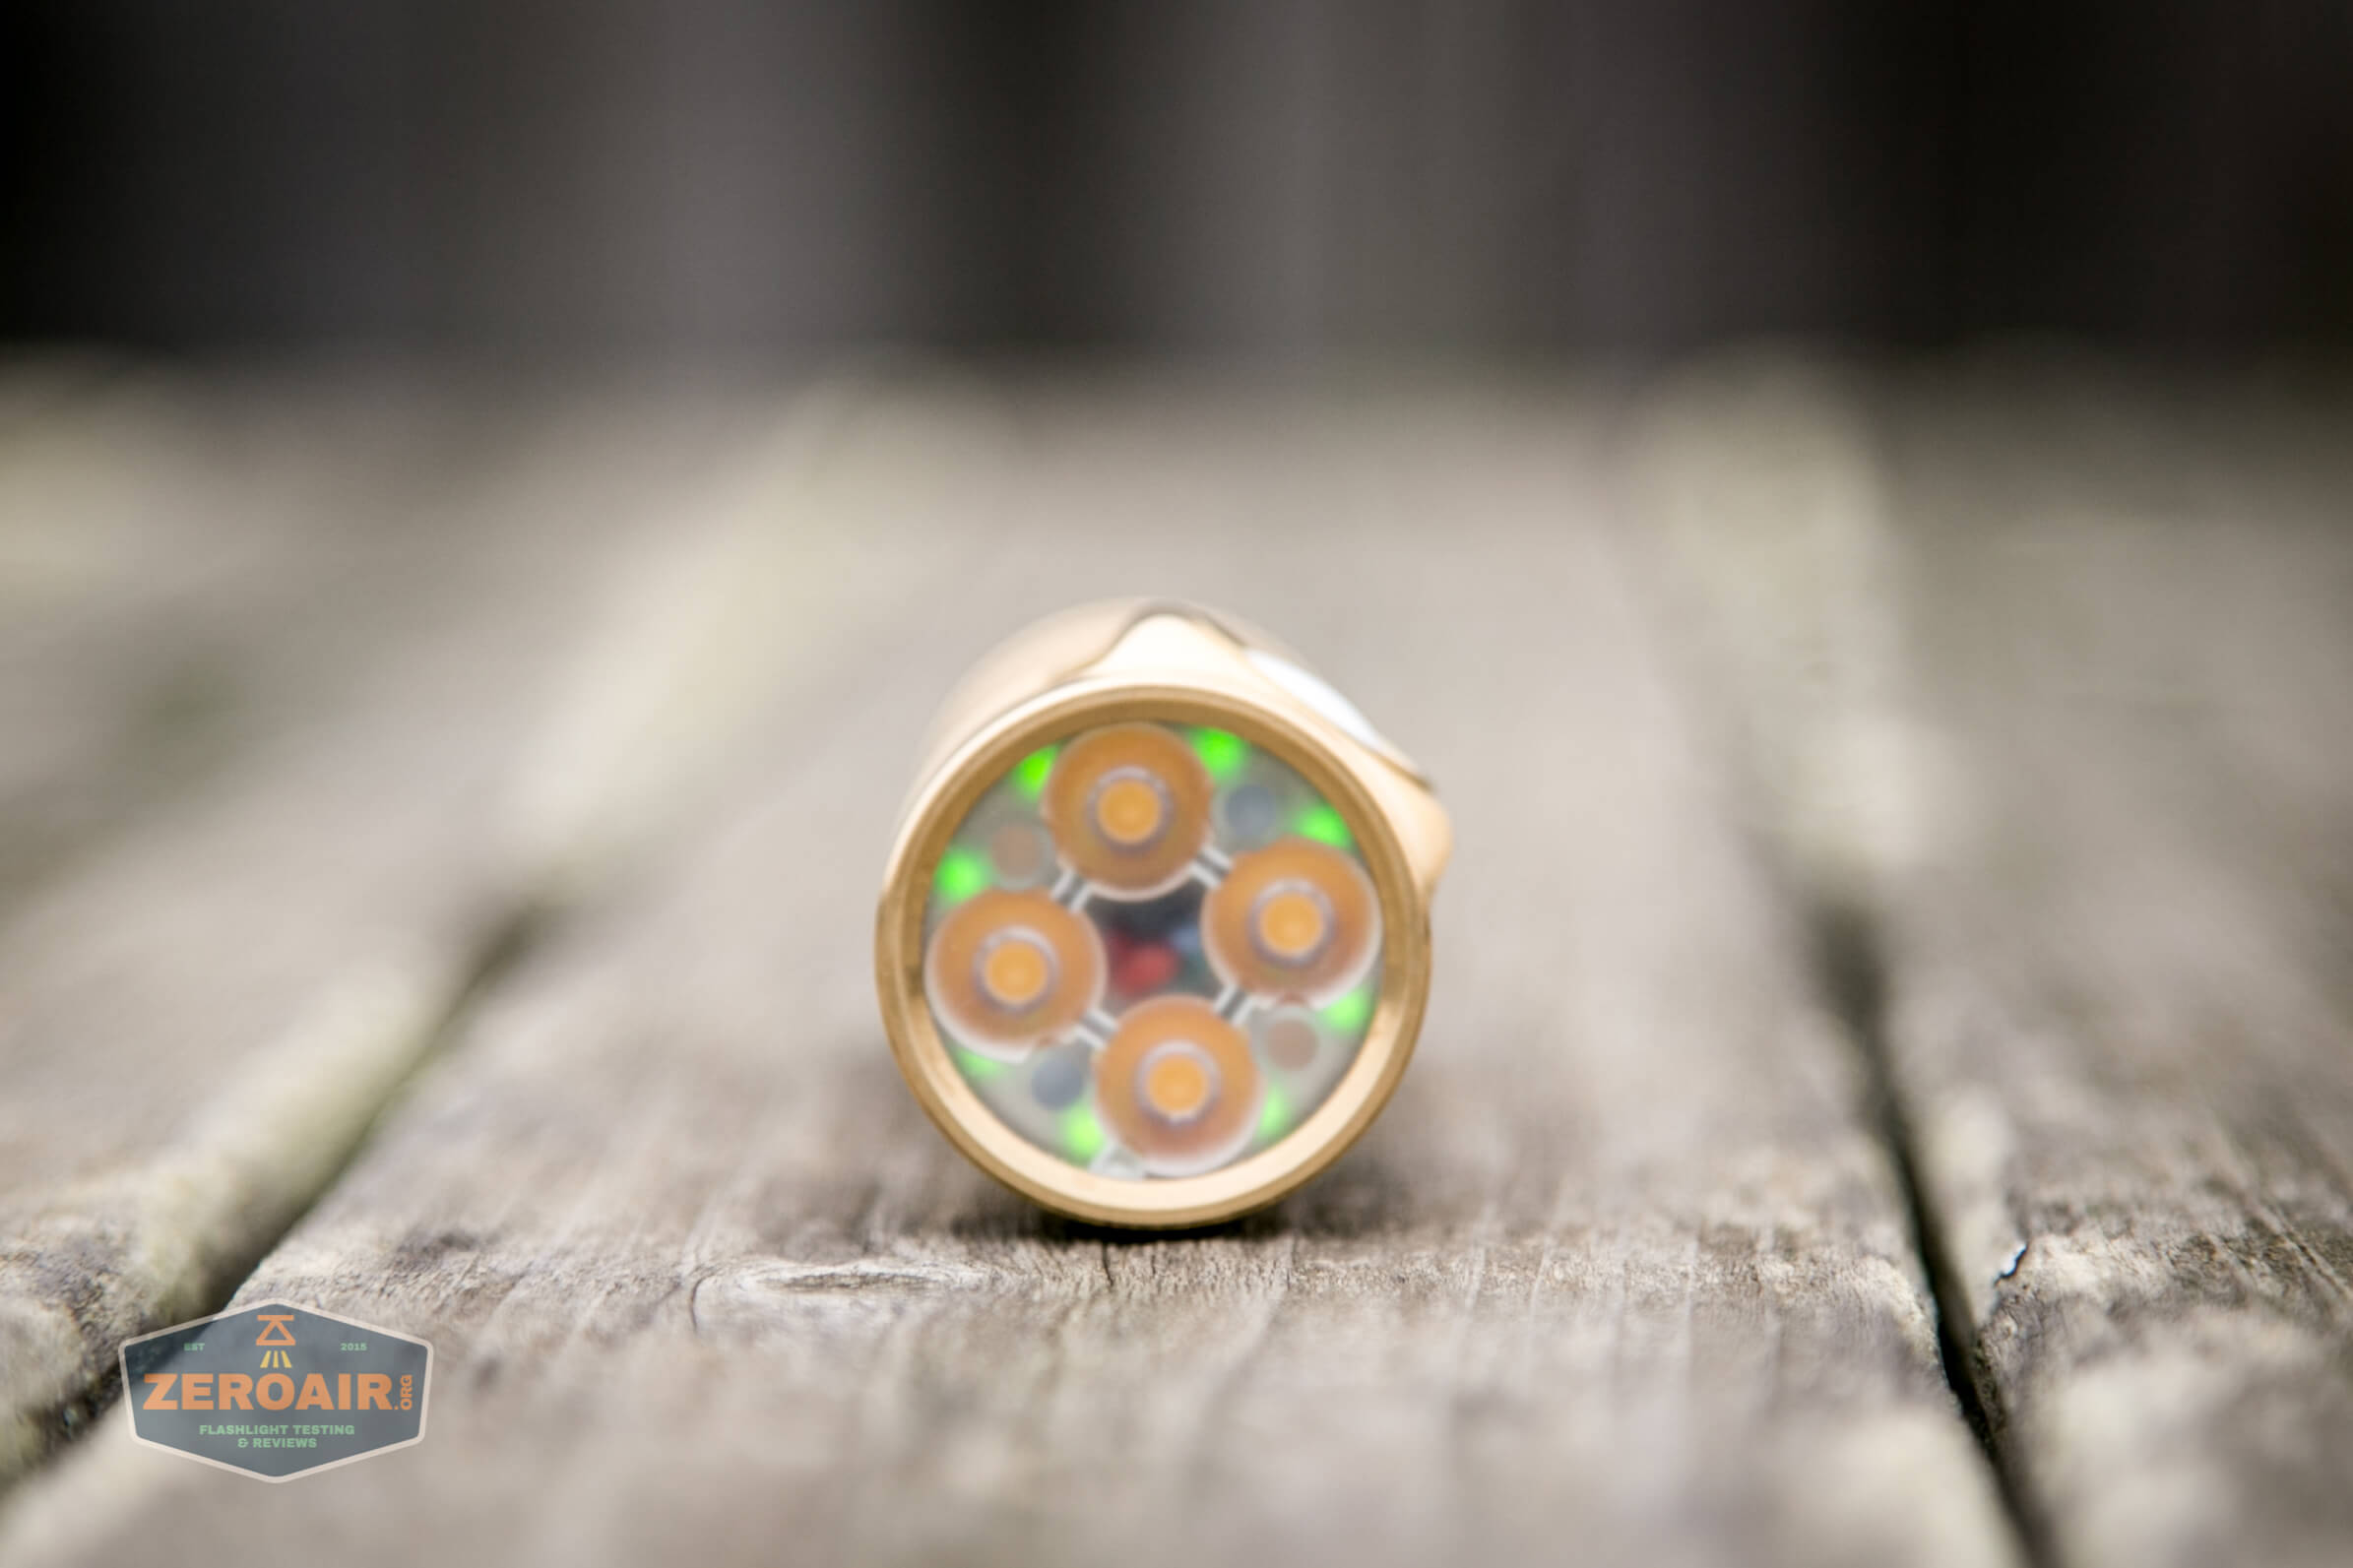
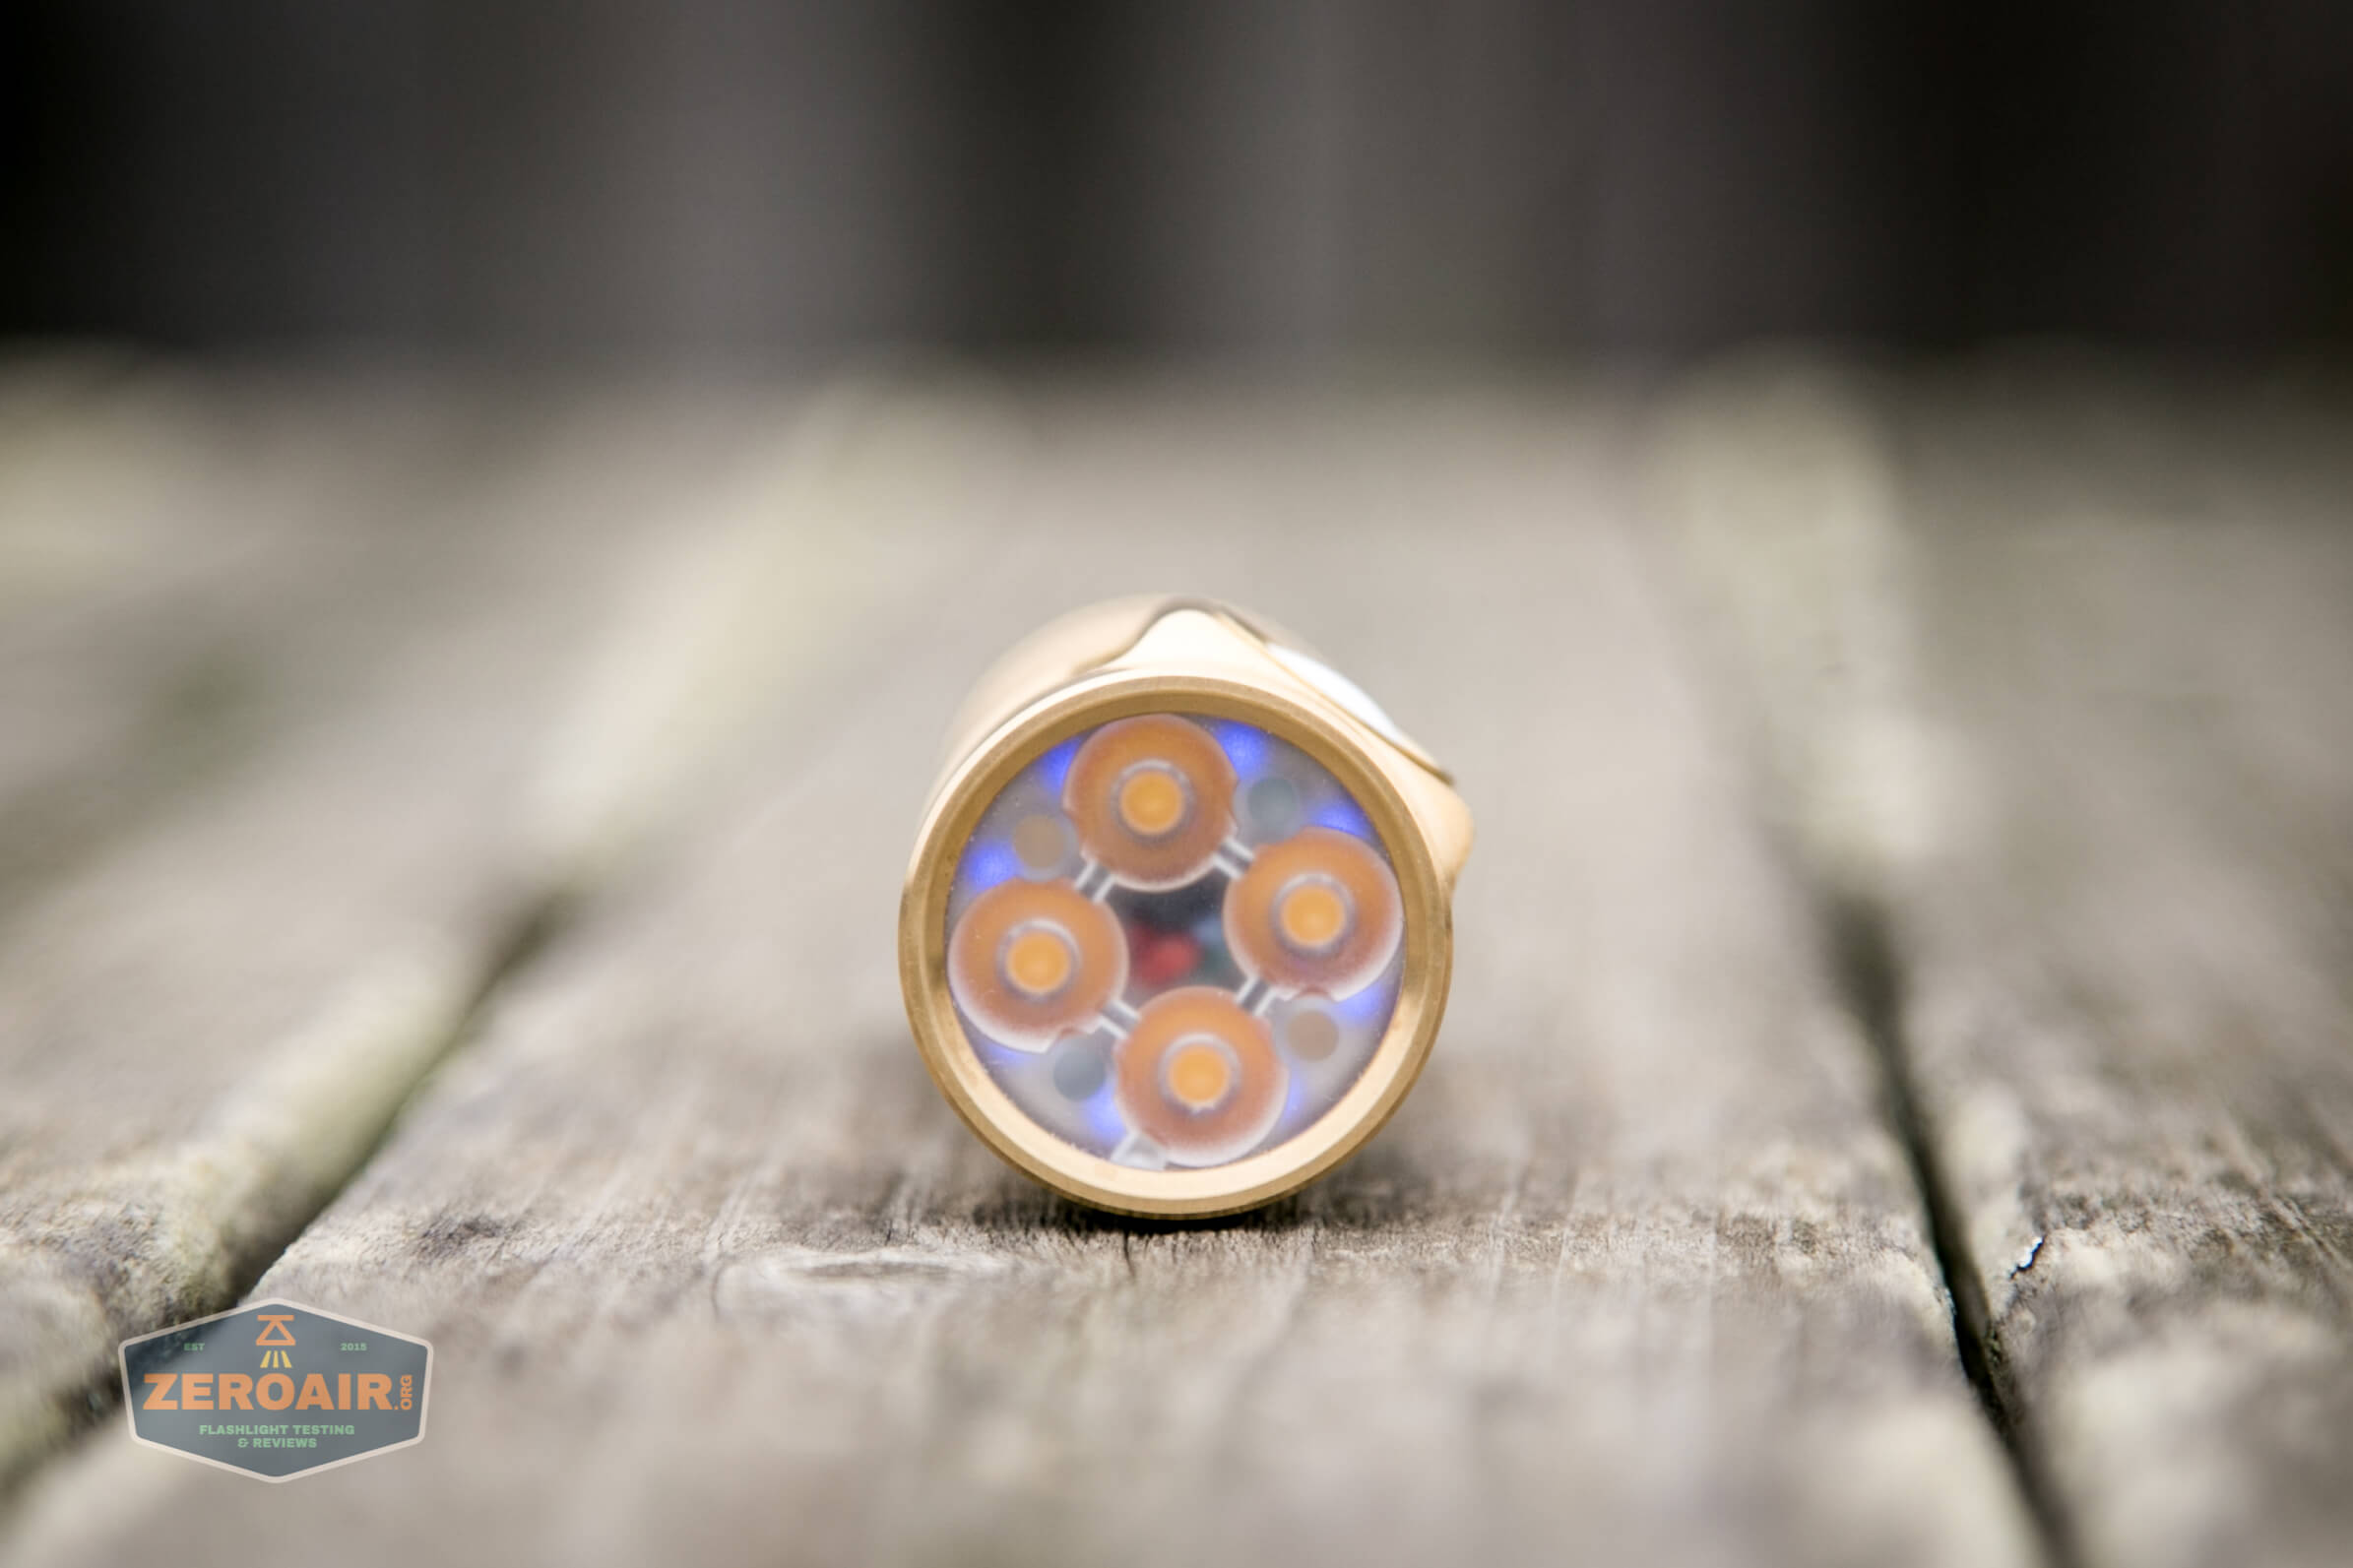
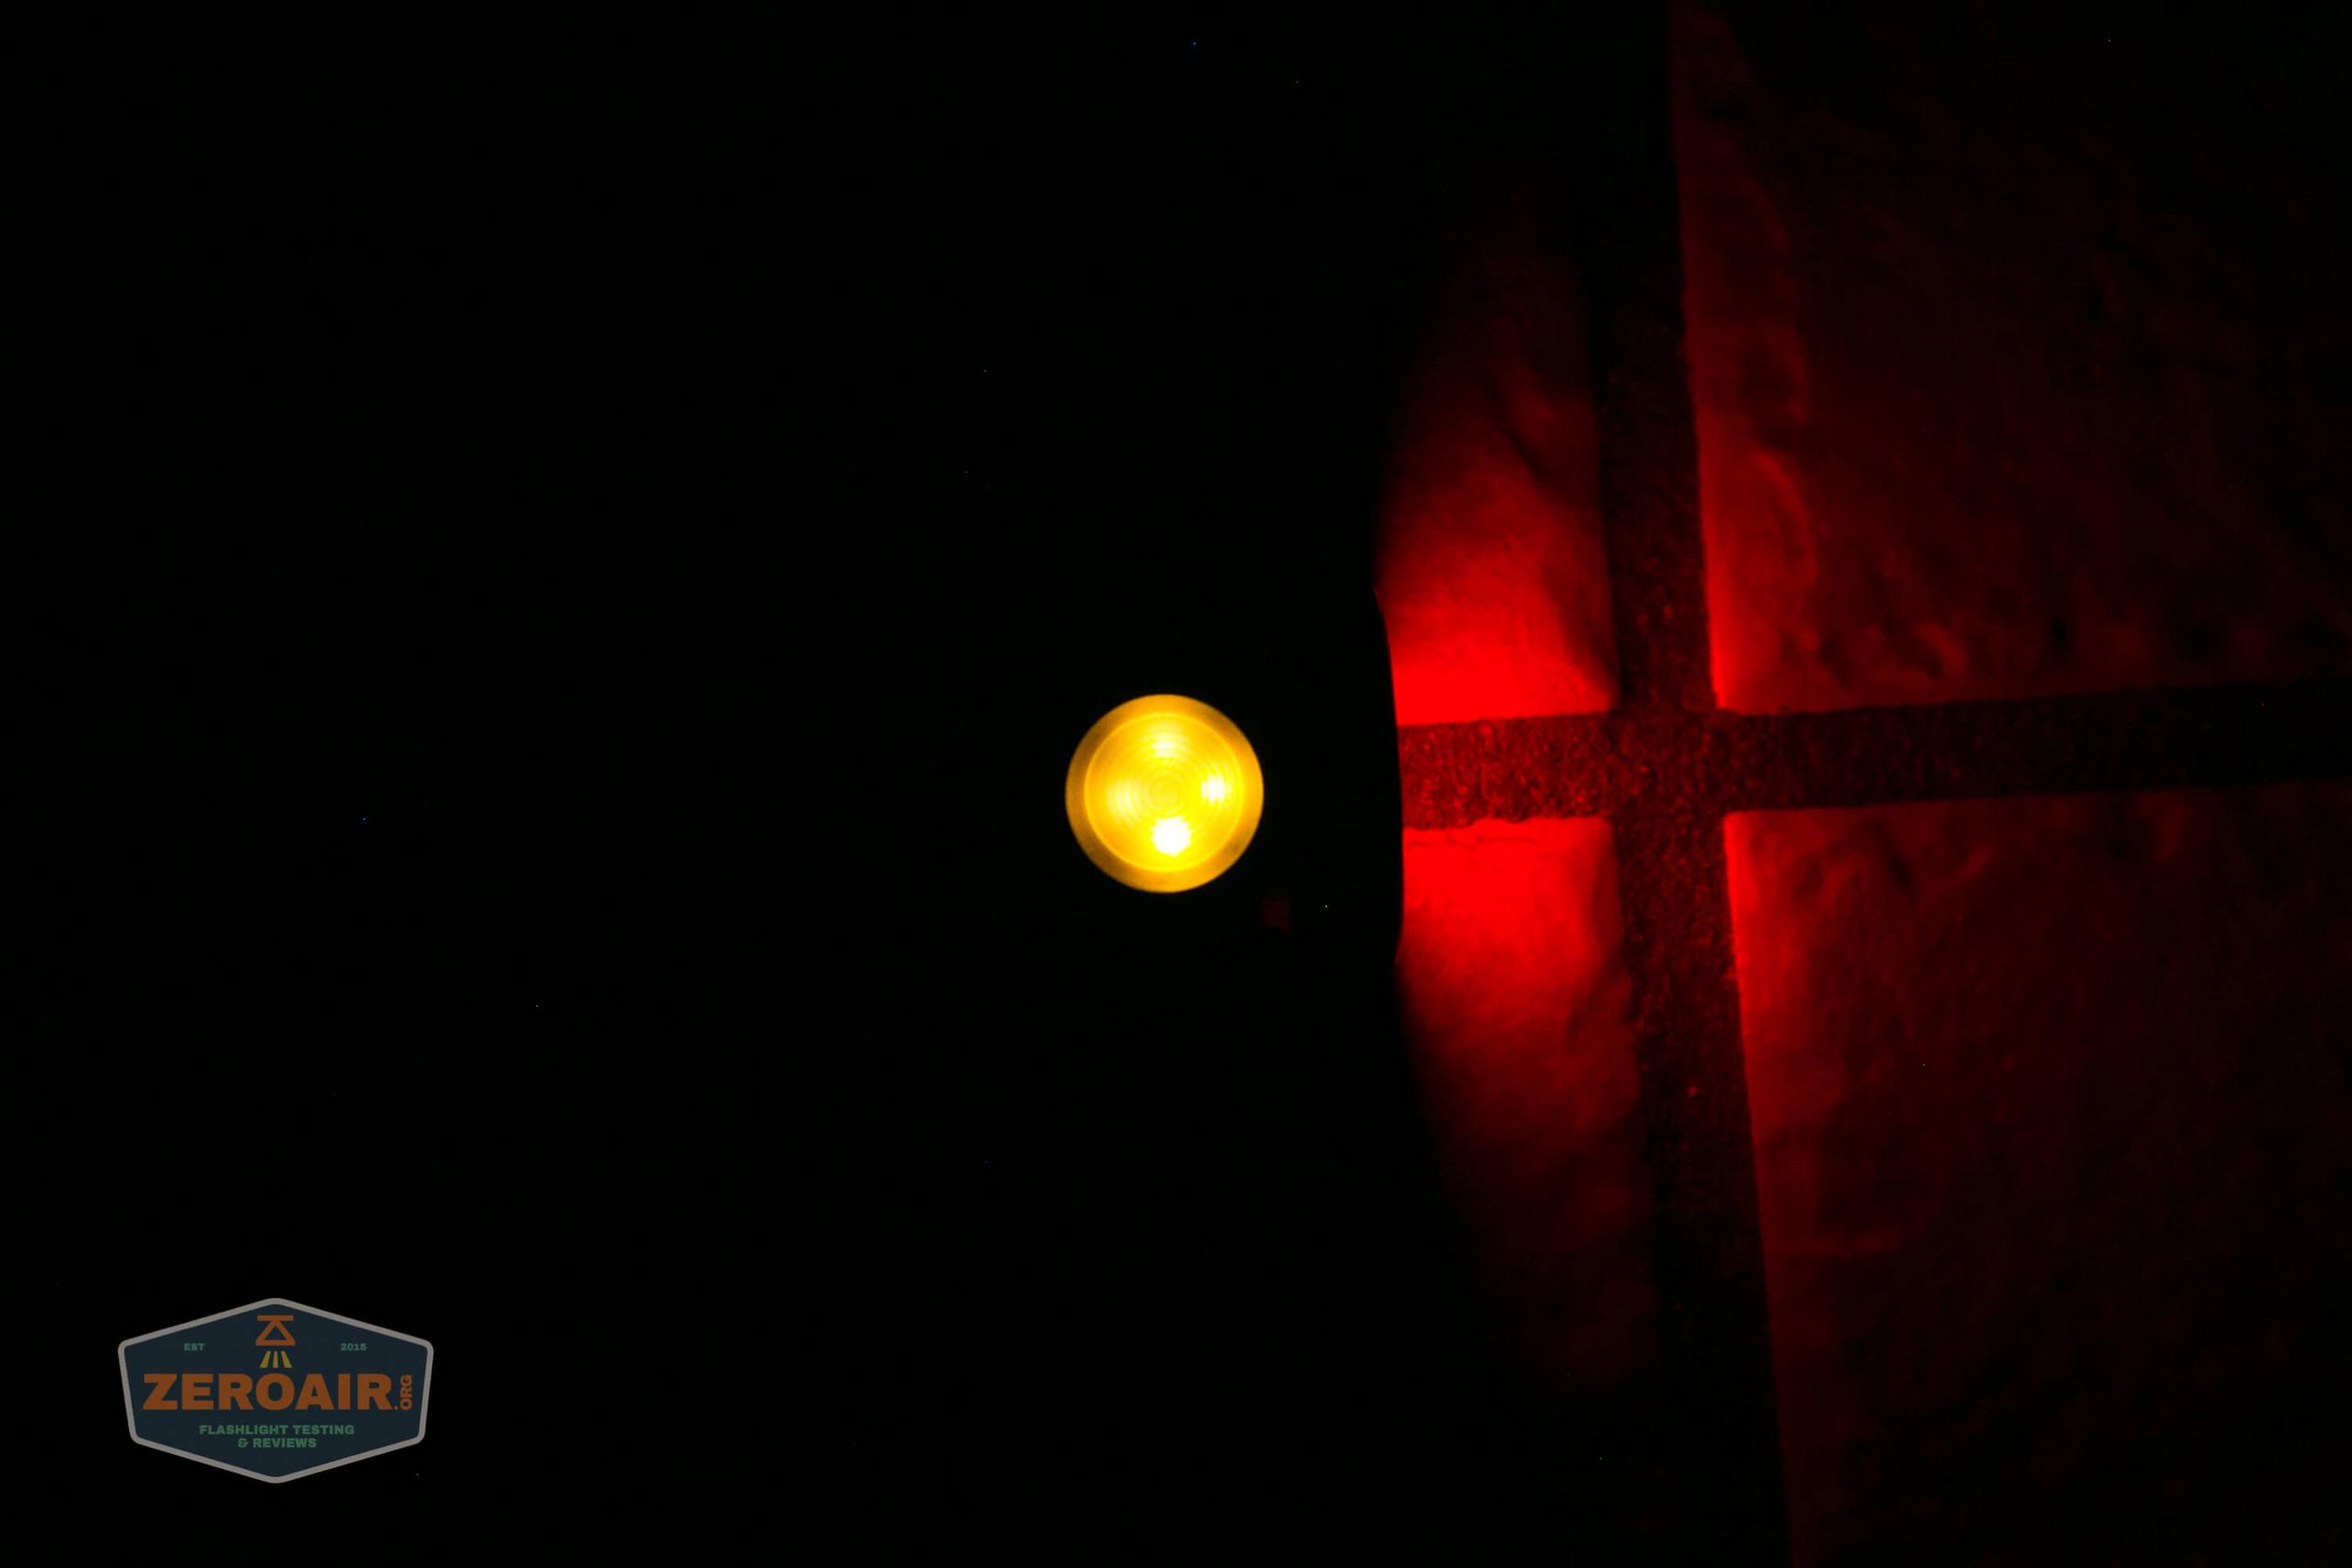
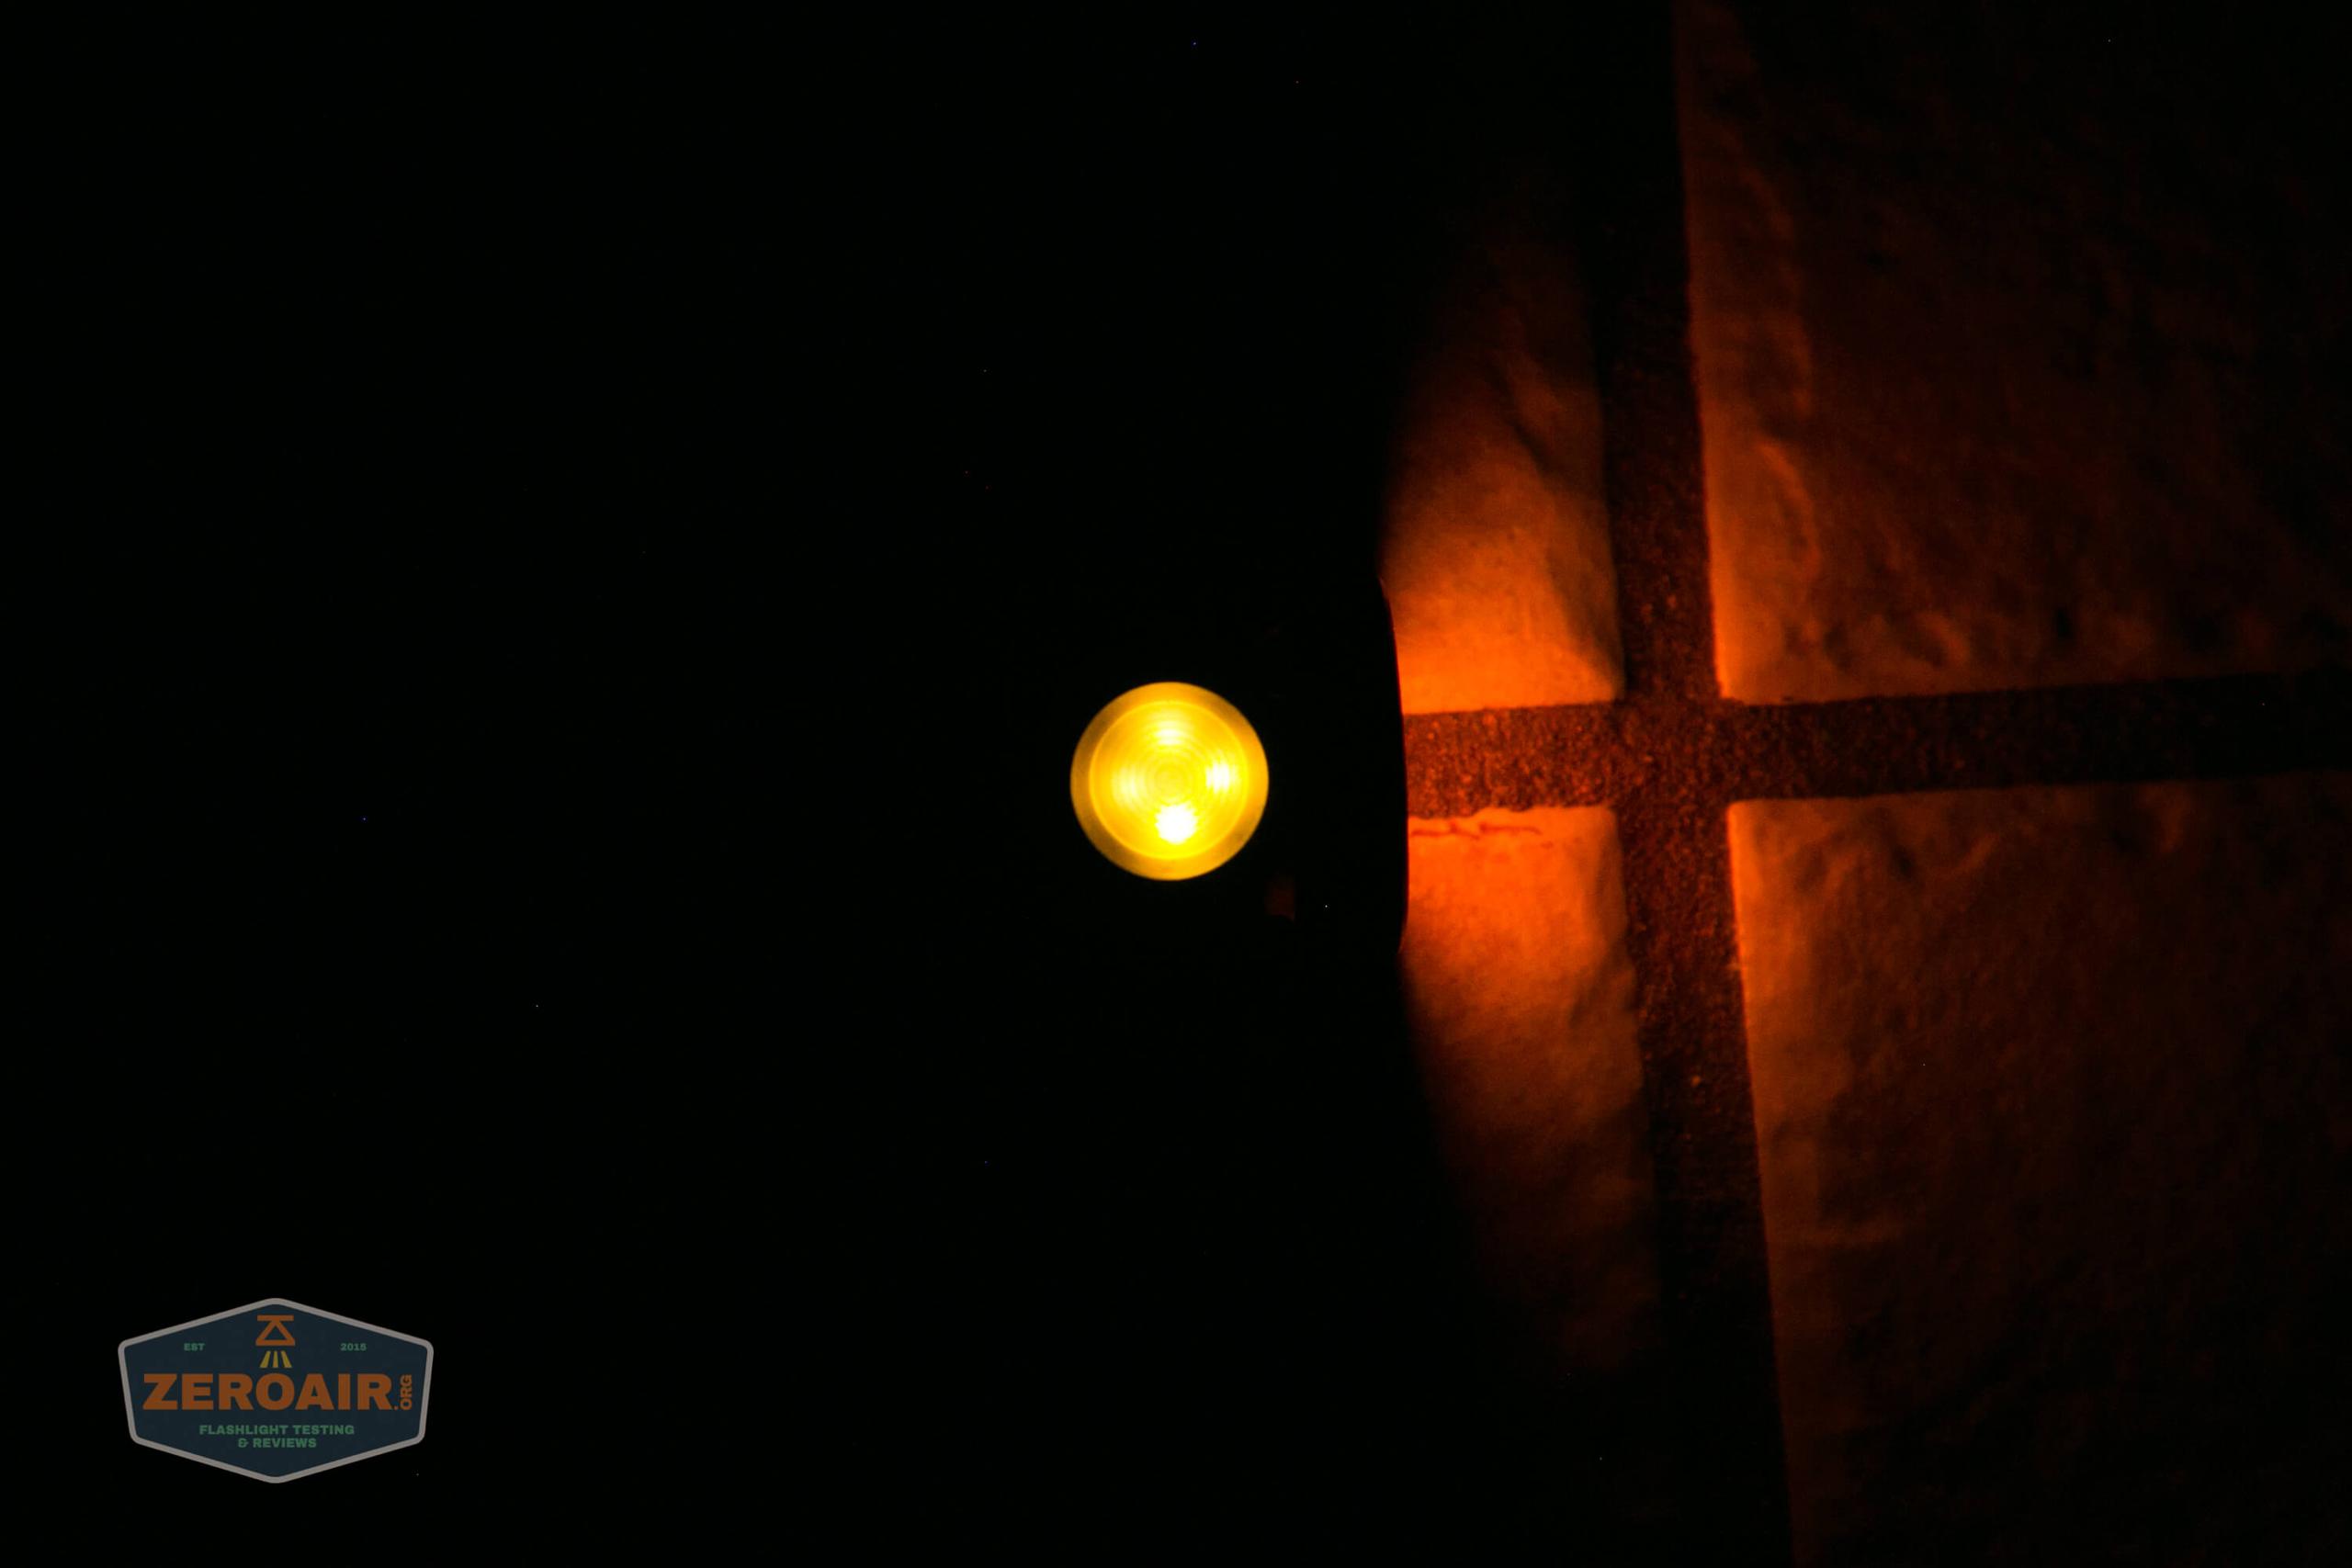
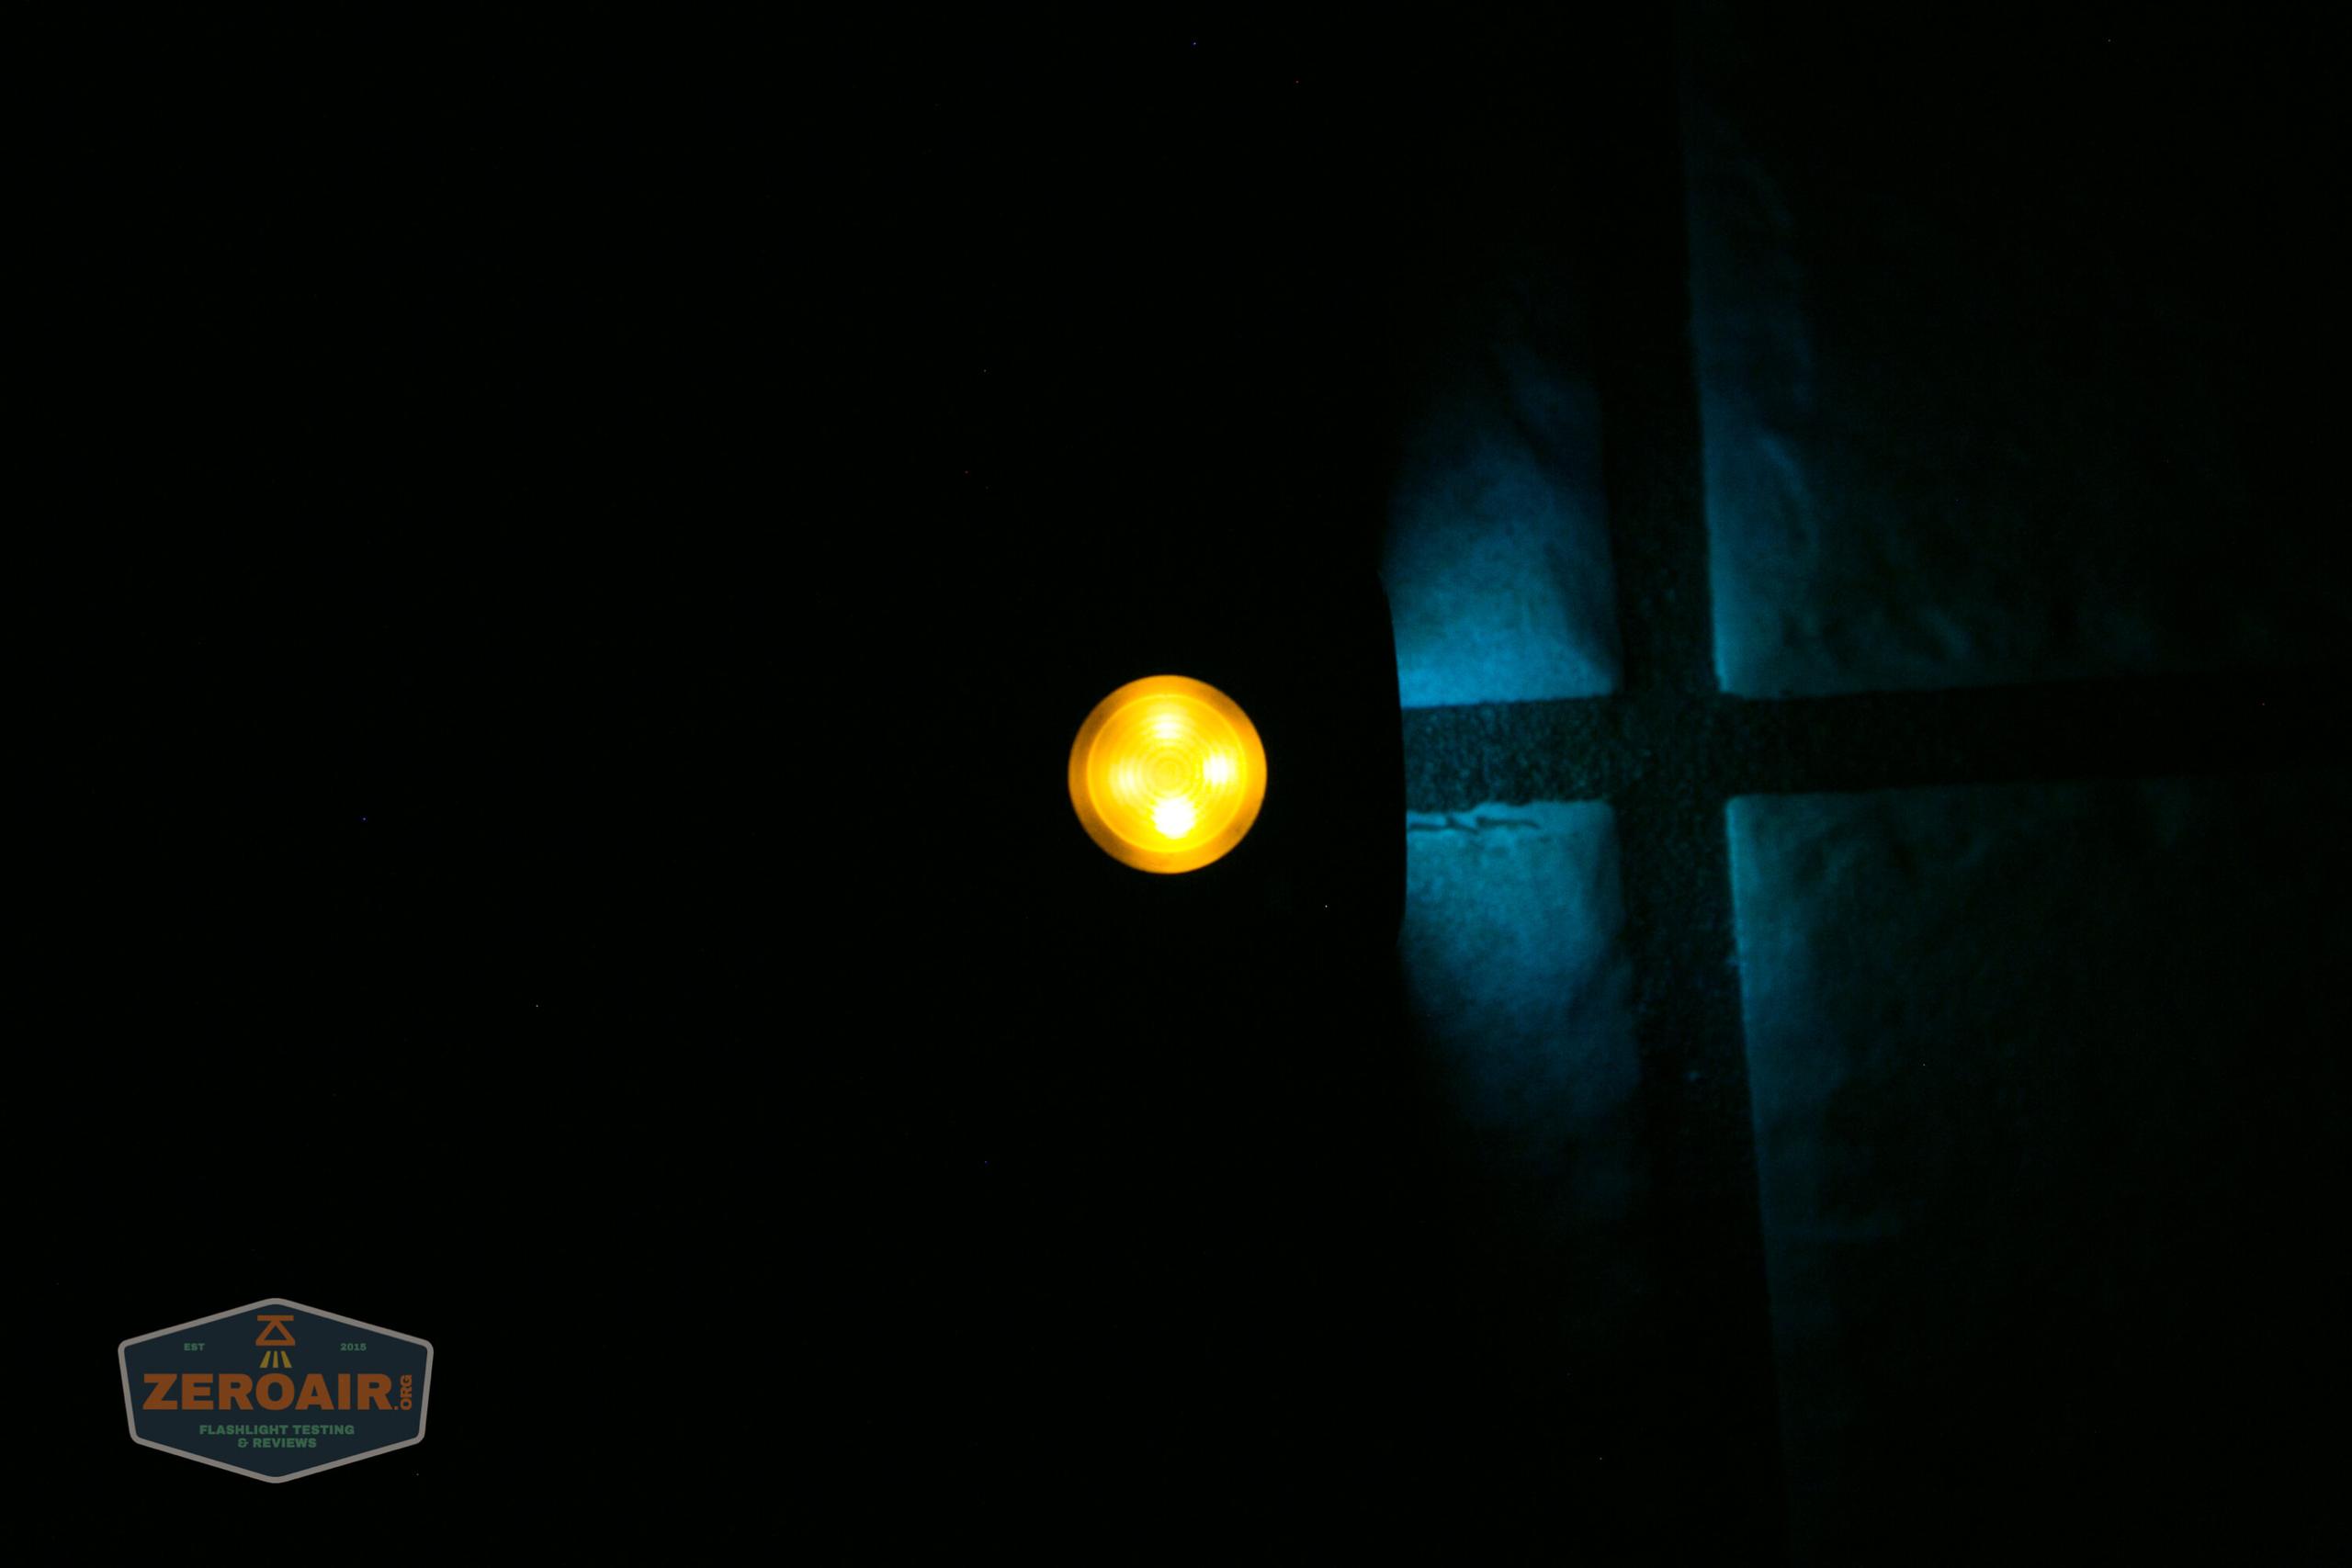
The secondary emitters are RGB, and by default are on “high” when the light is off. If you wish to change this setting, leave the light off and click 7x. That will iterate the secondaries to low.

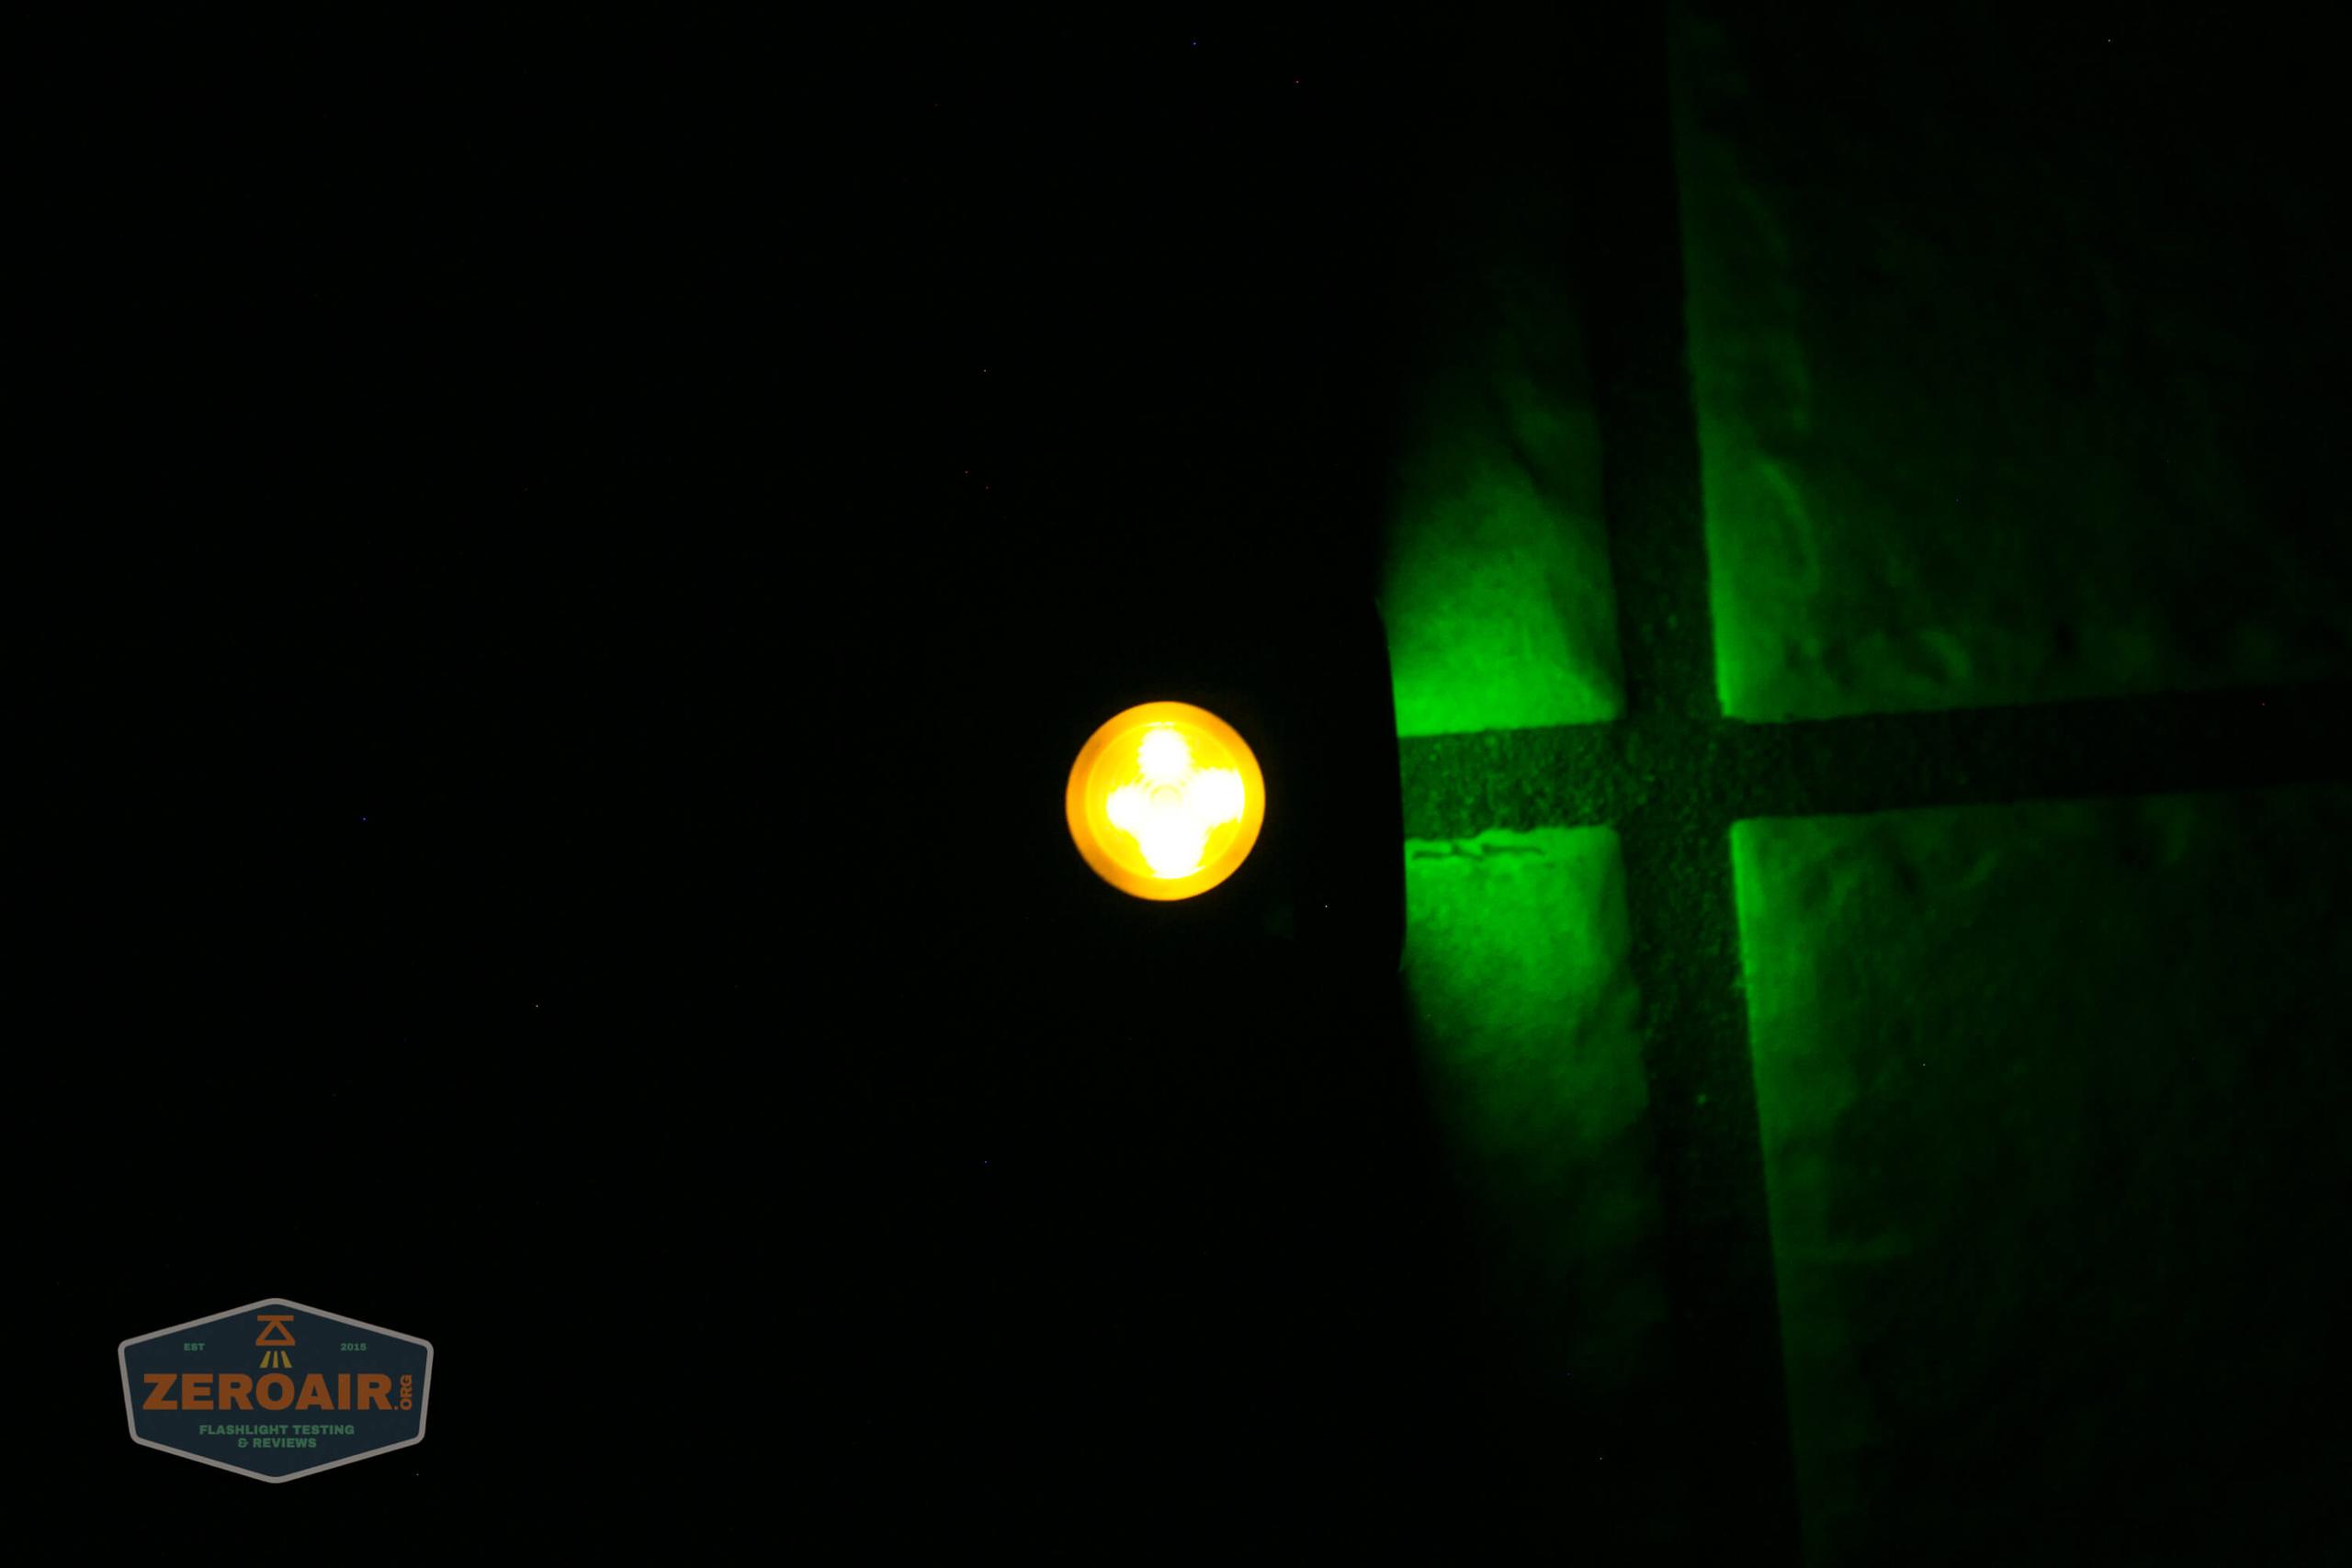

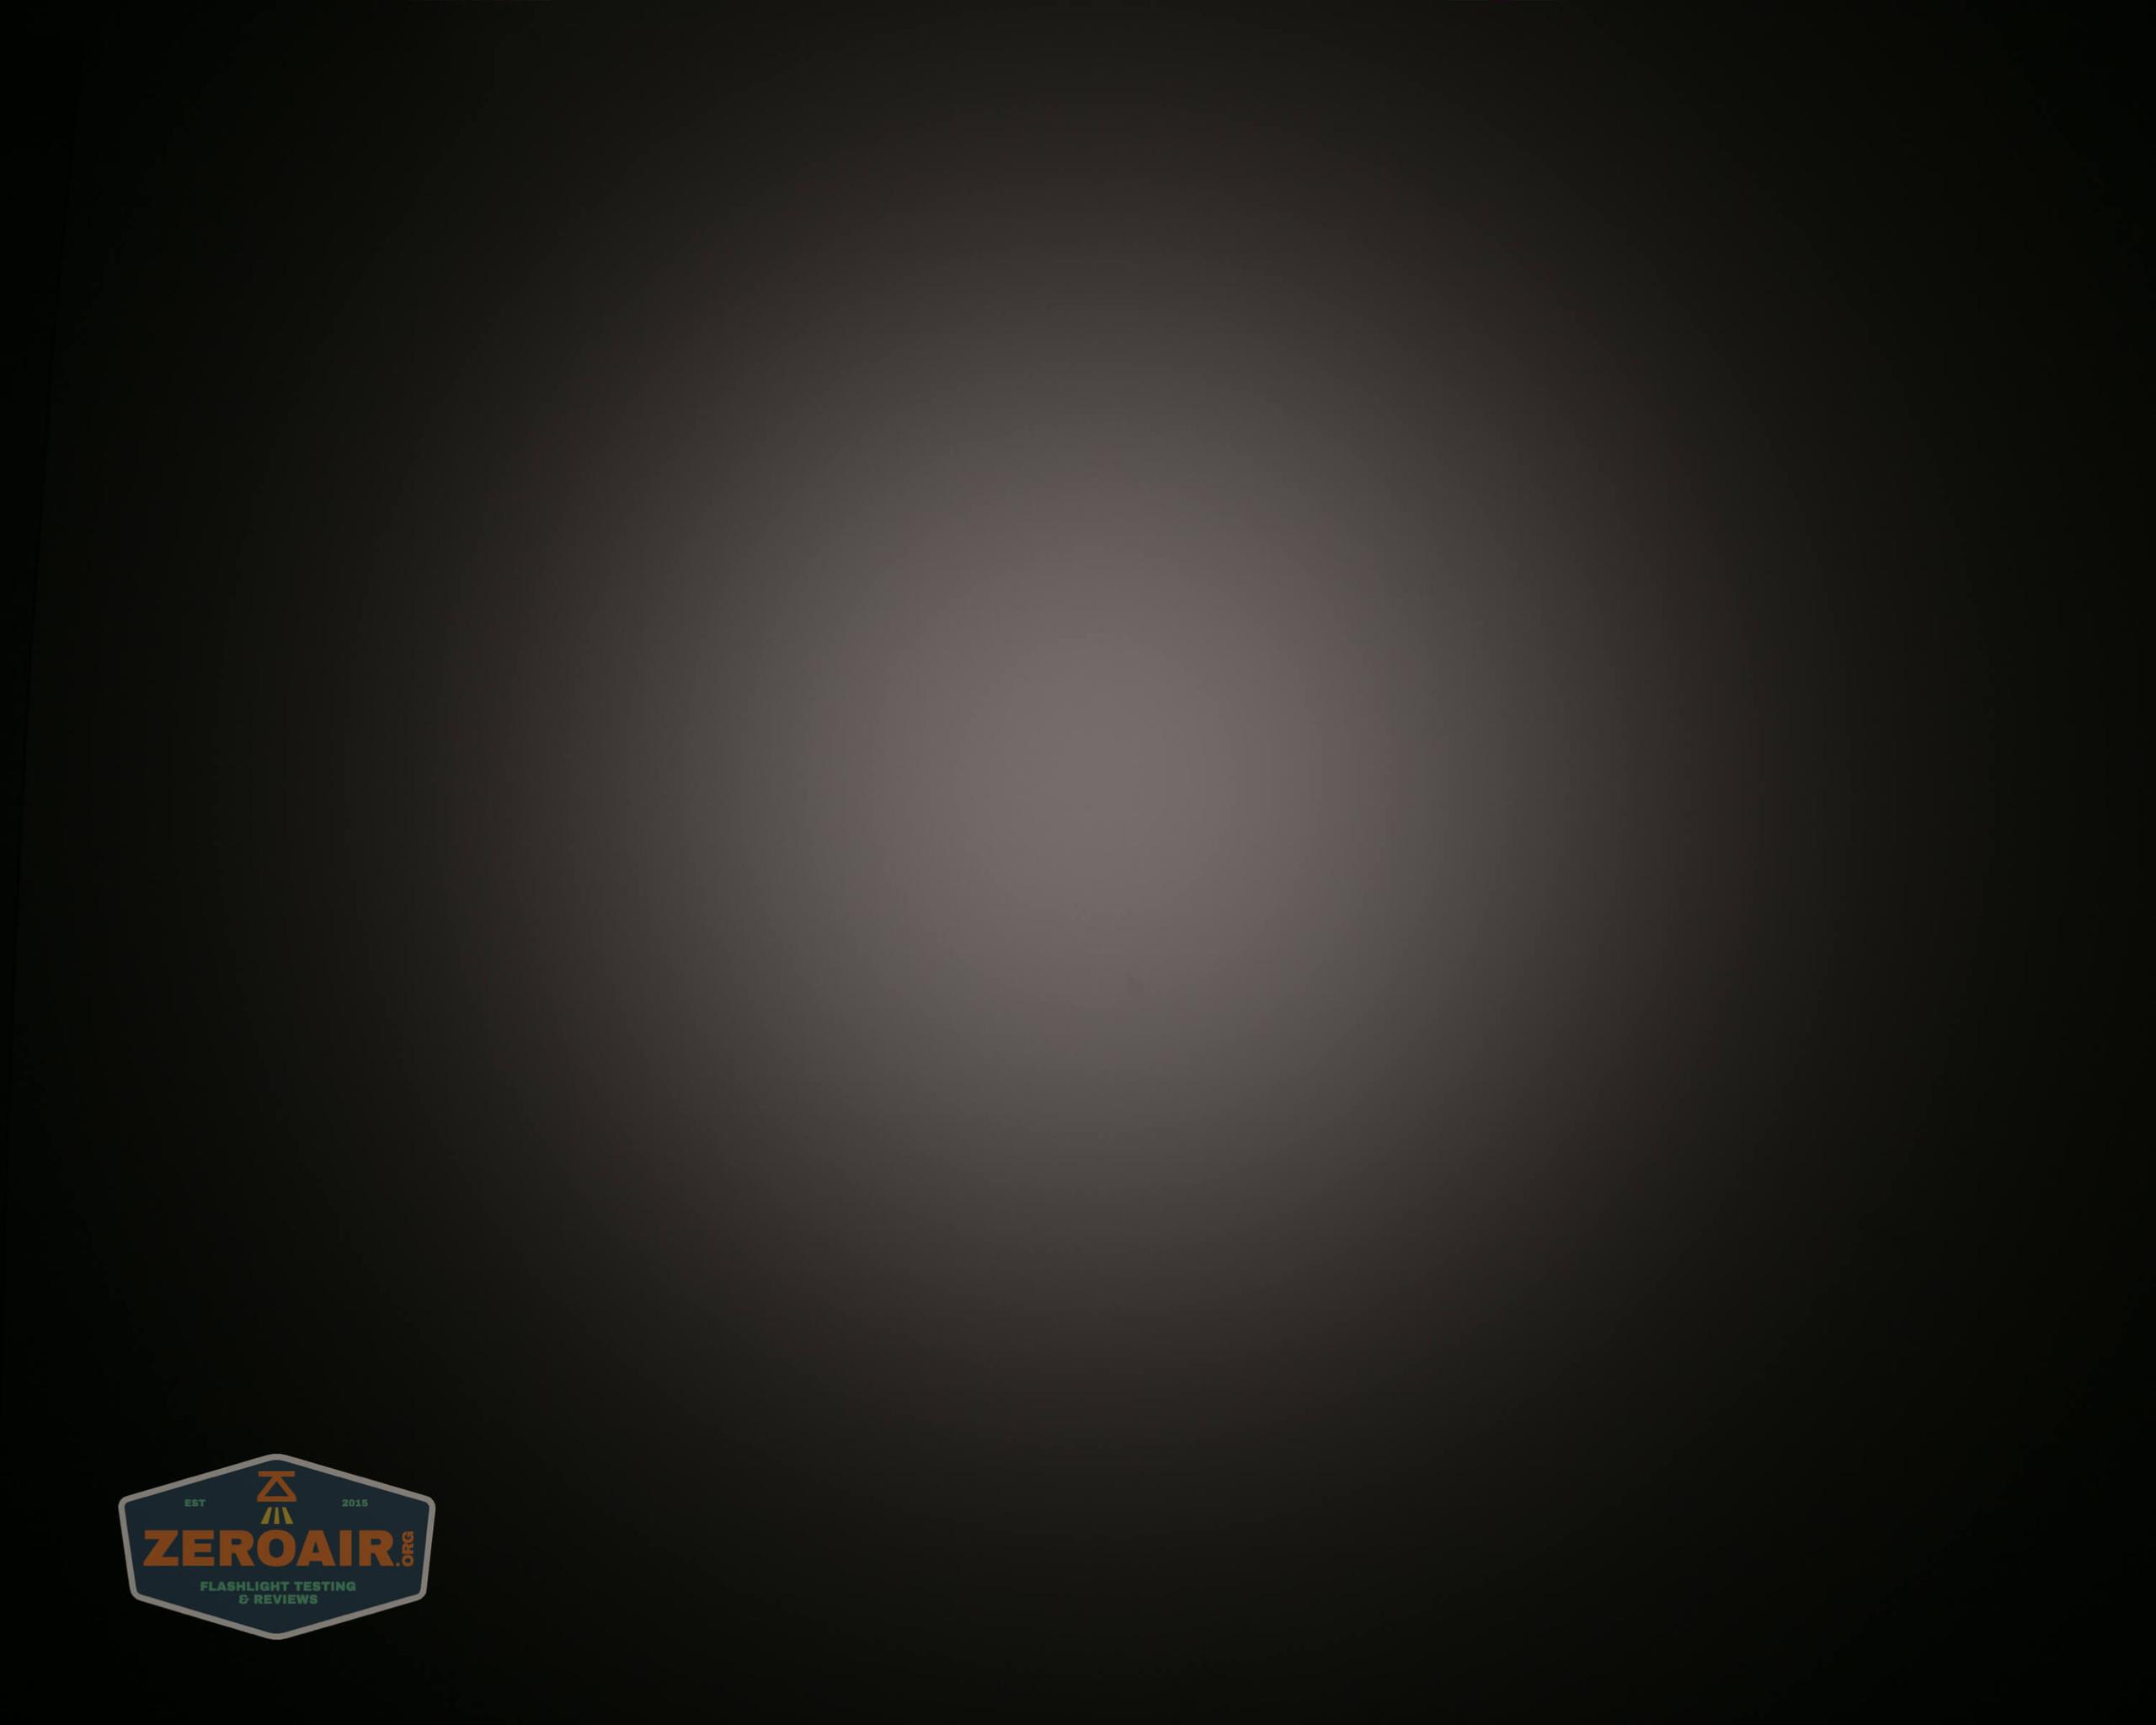
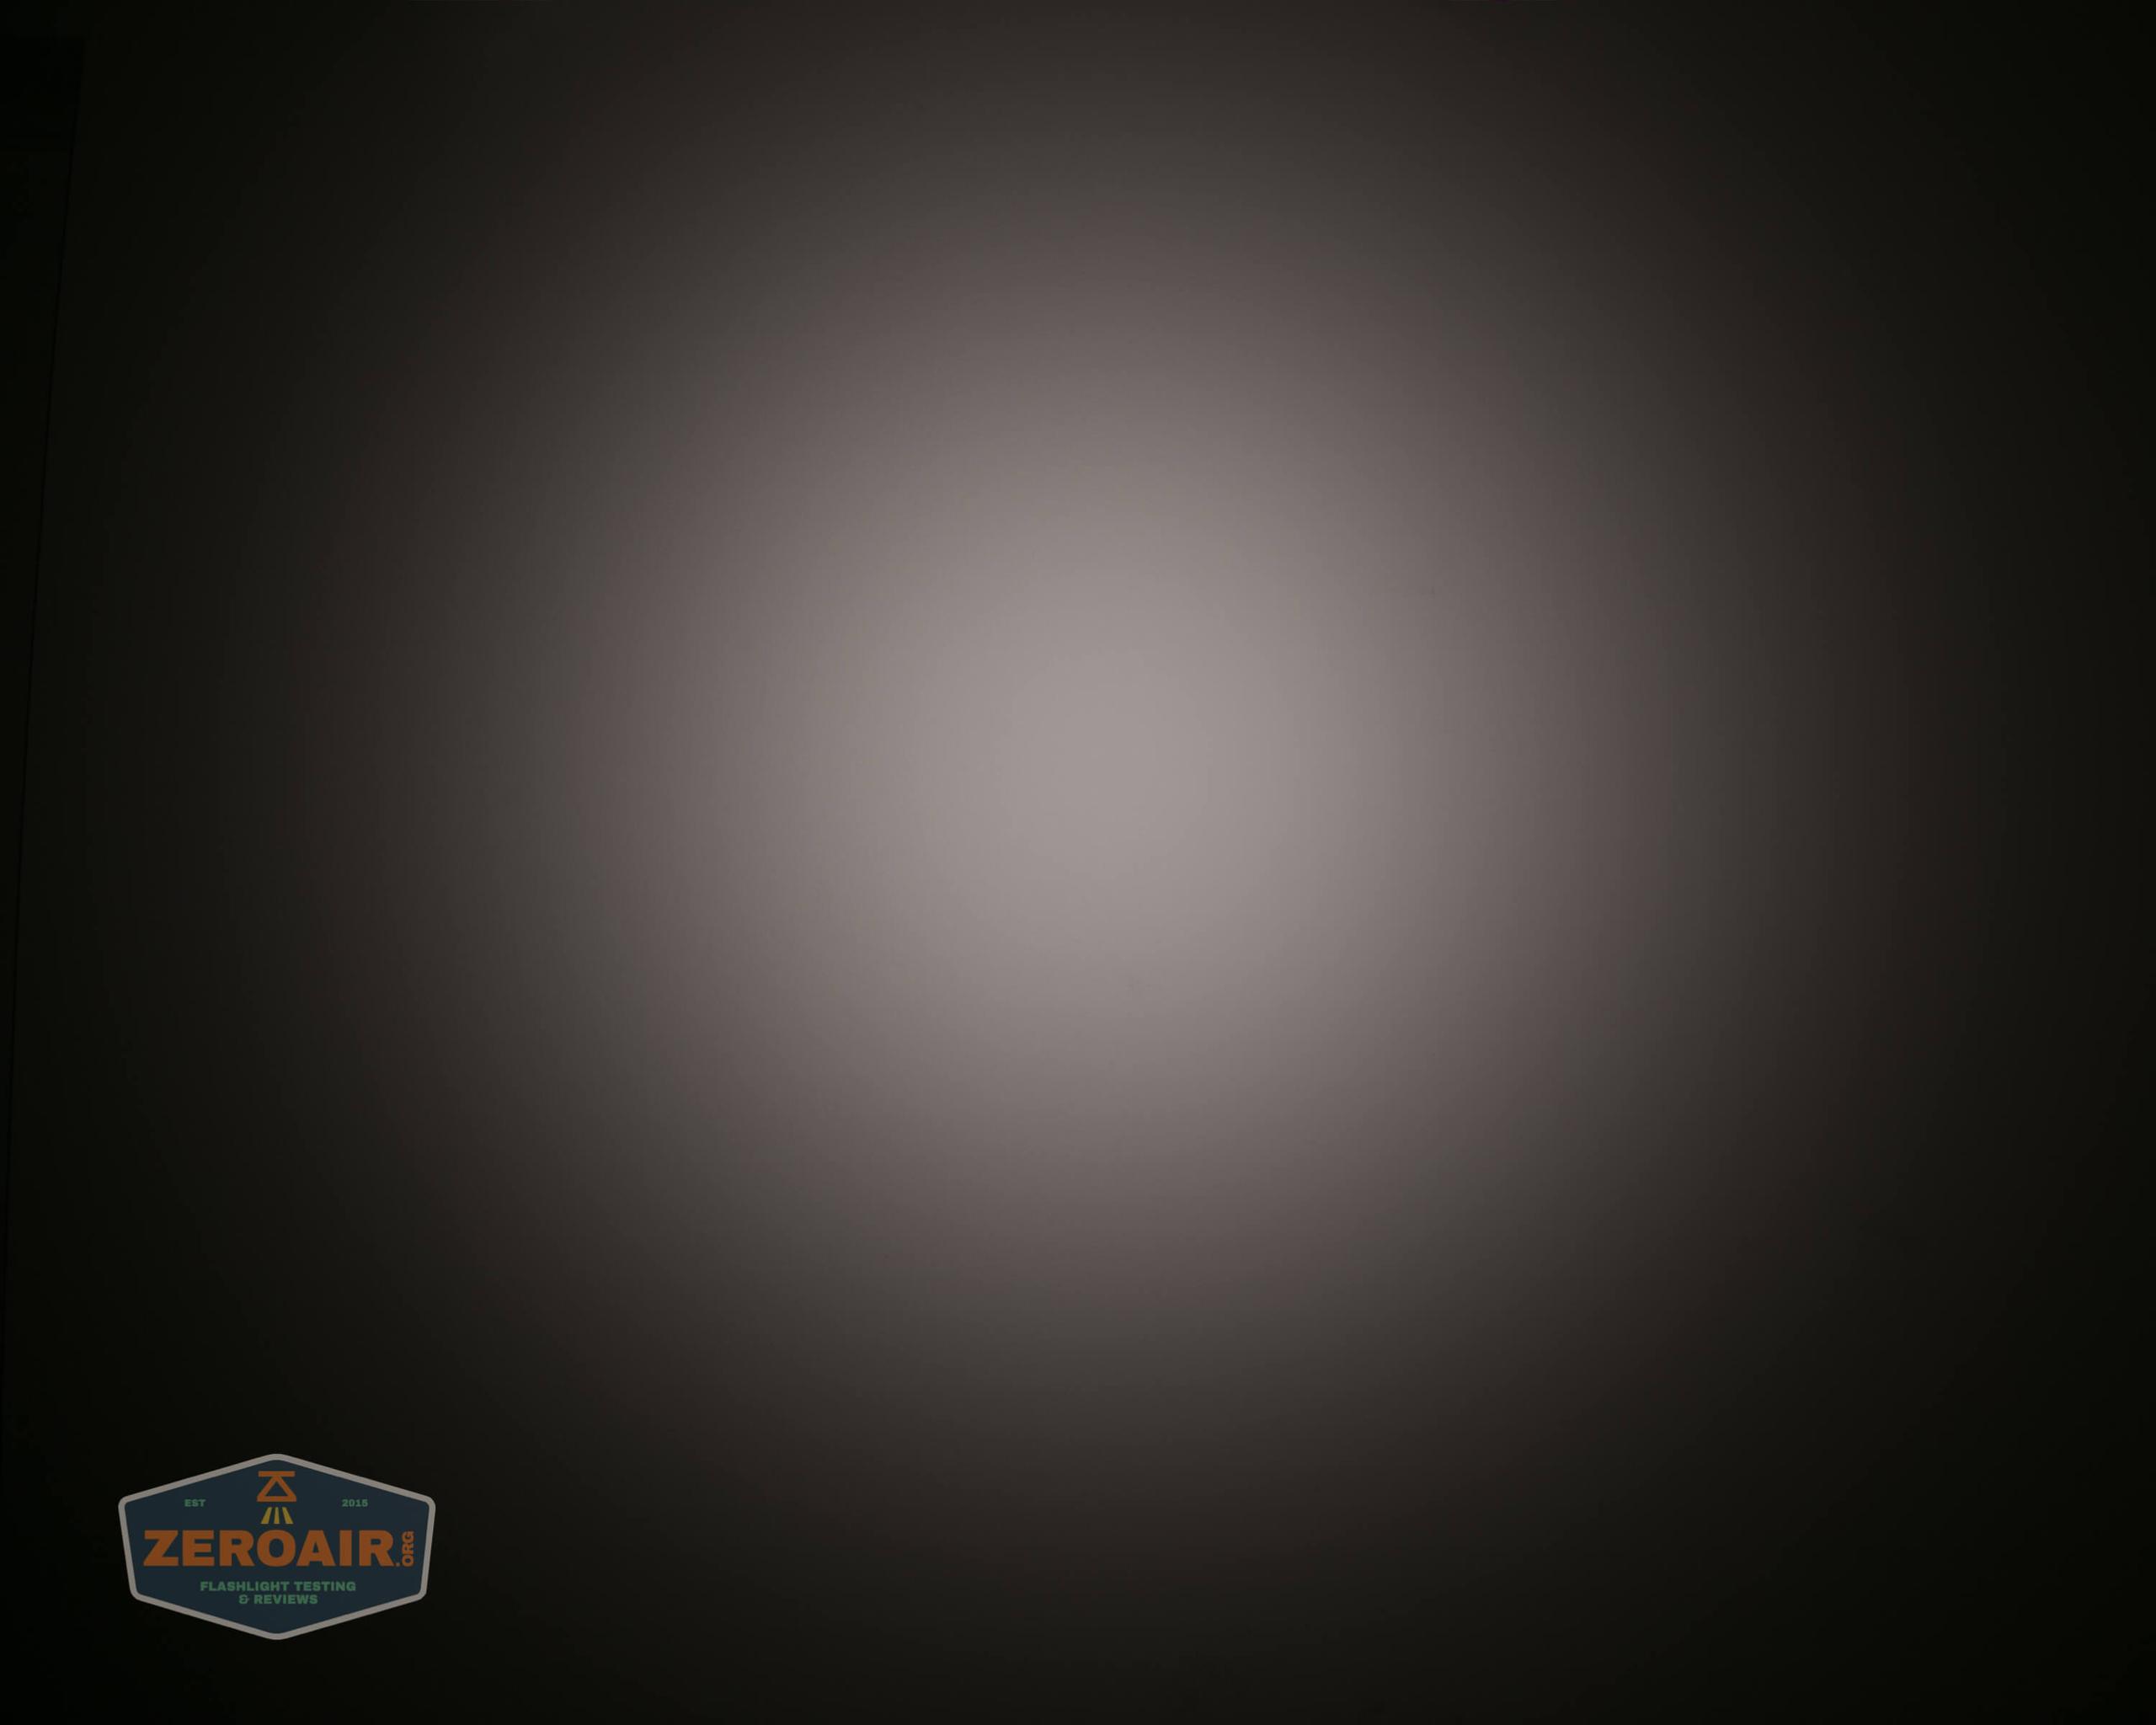
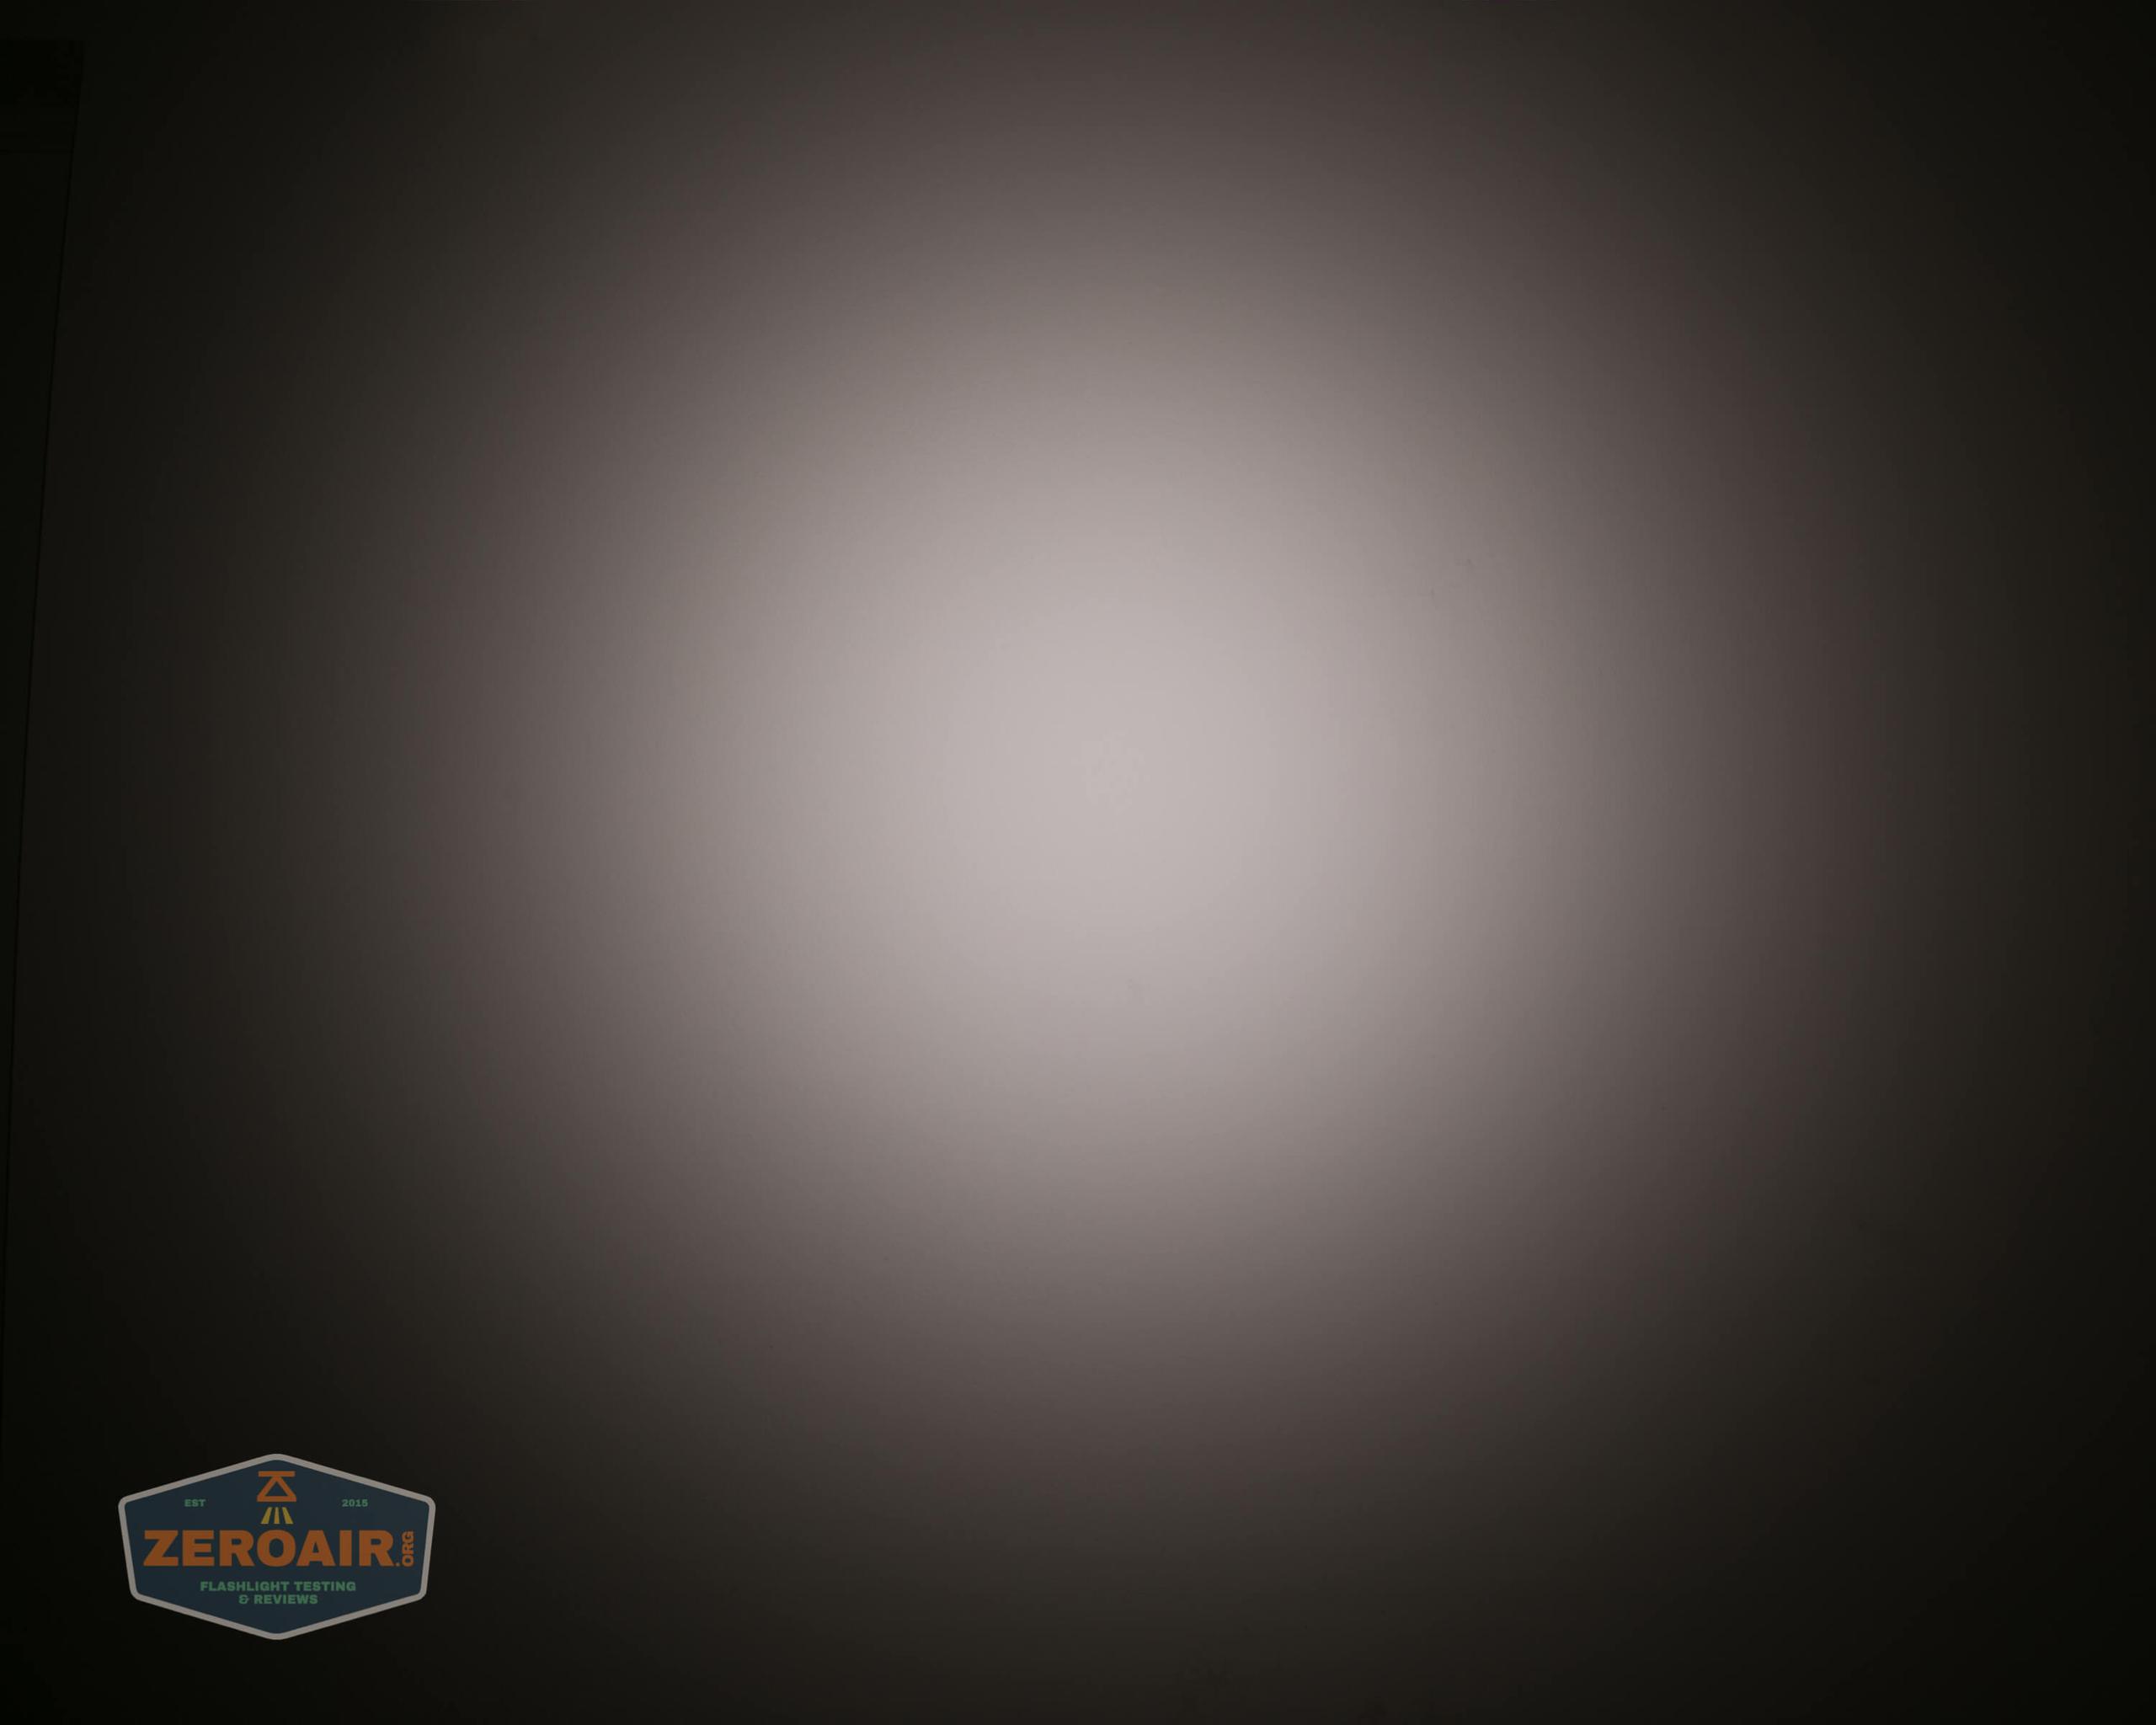
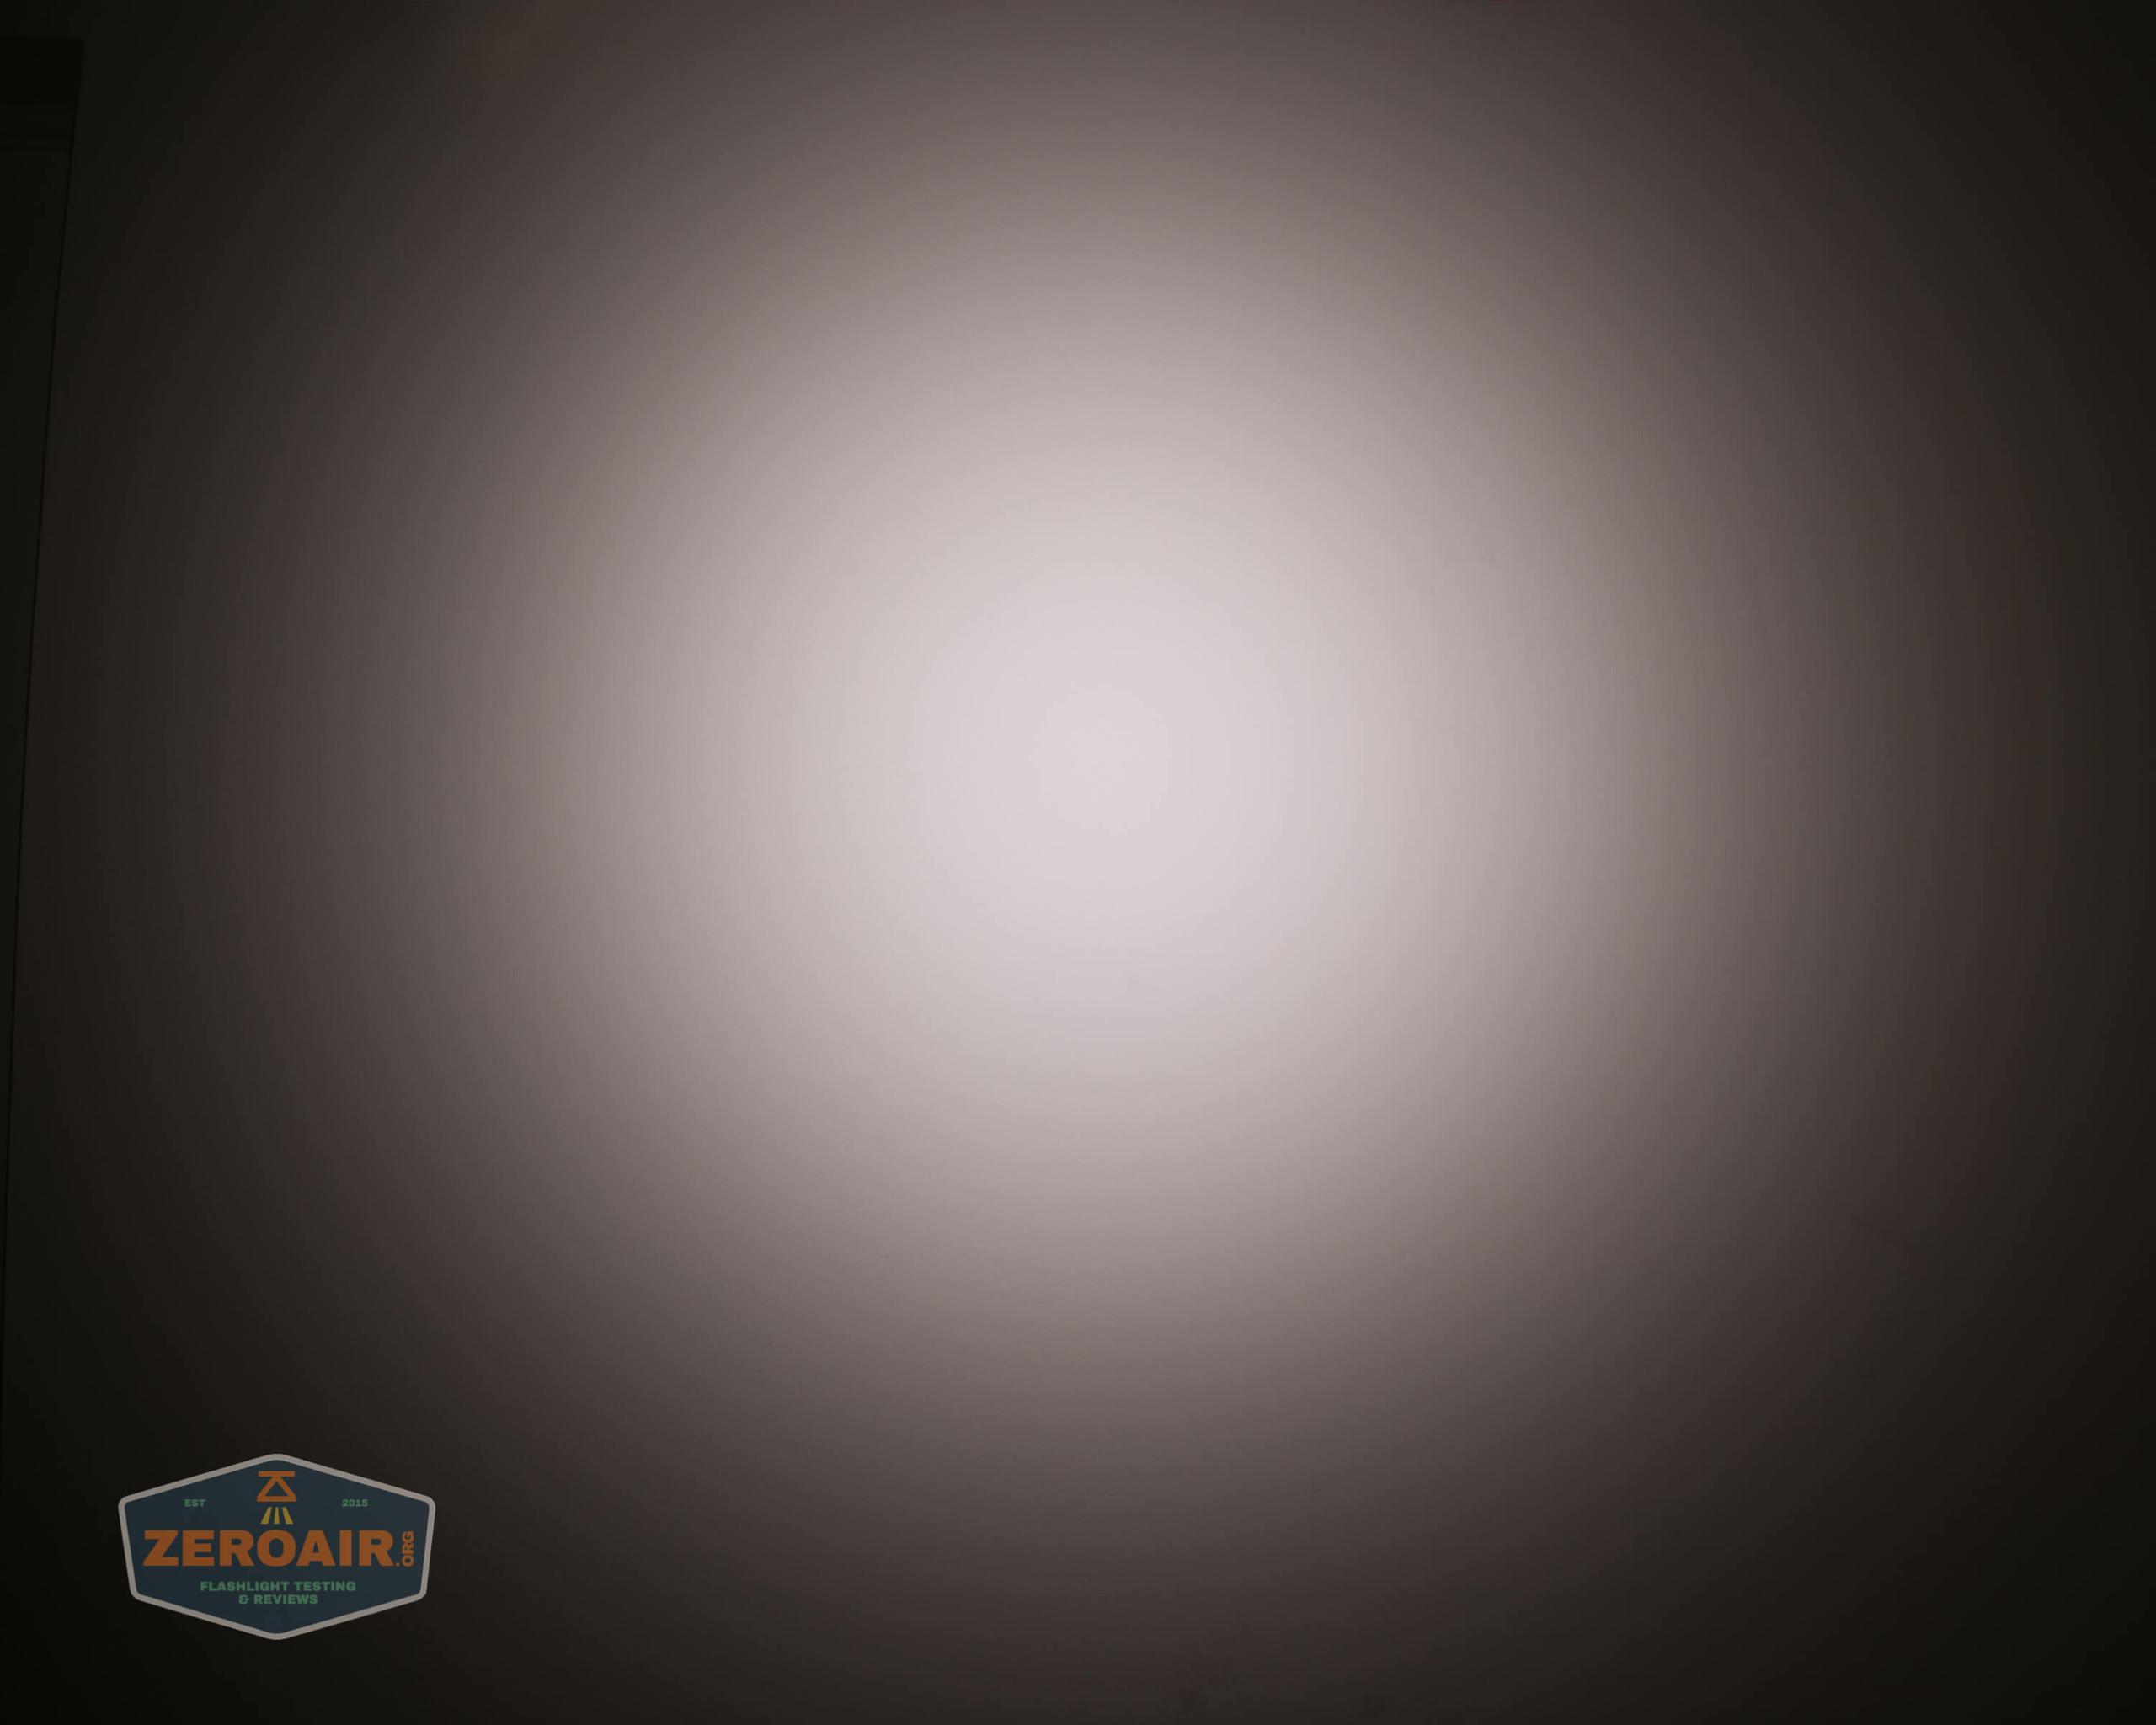
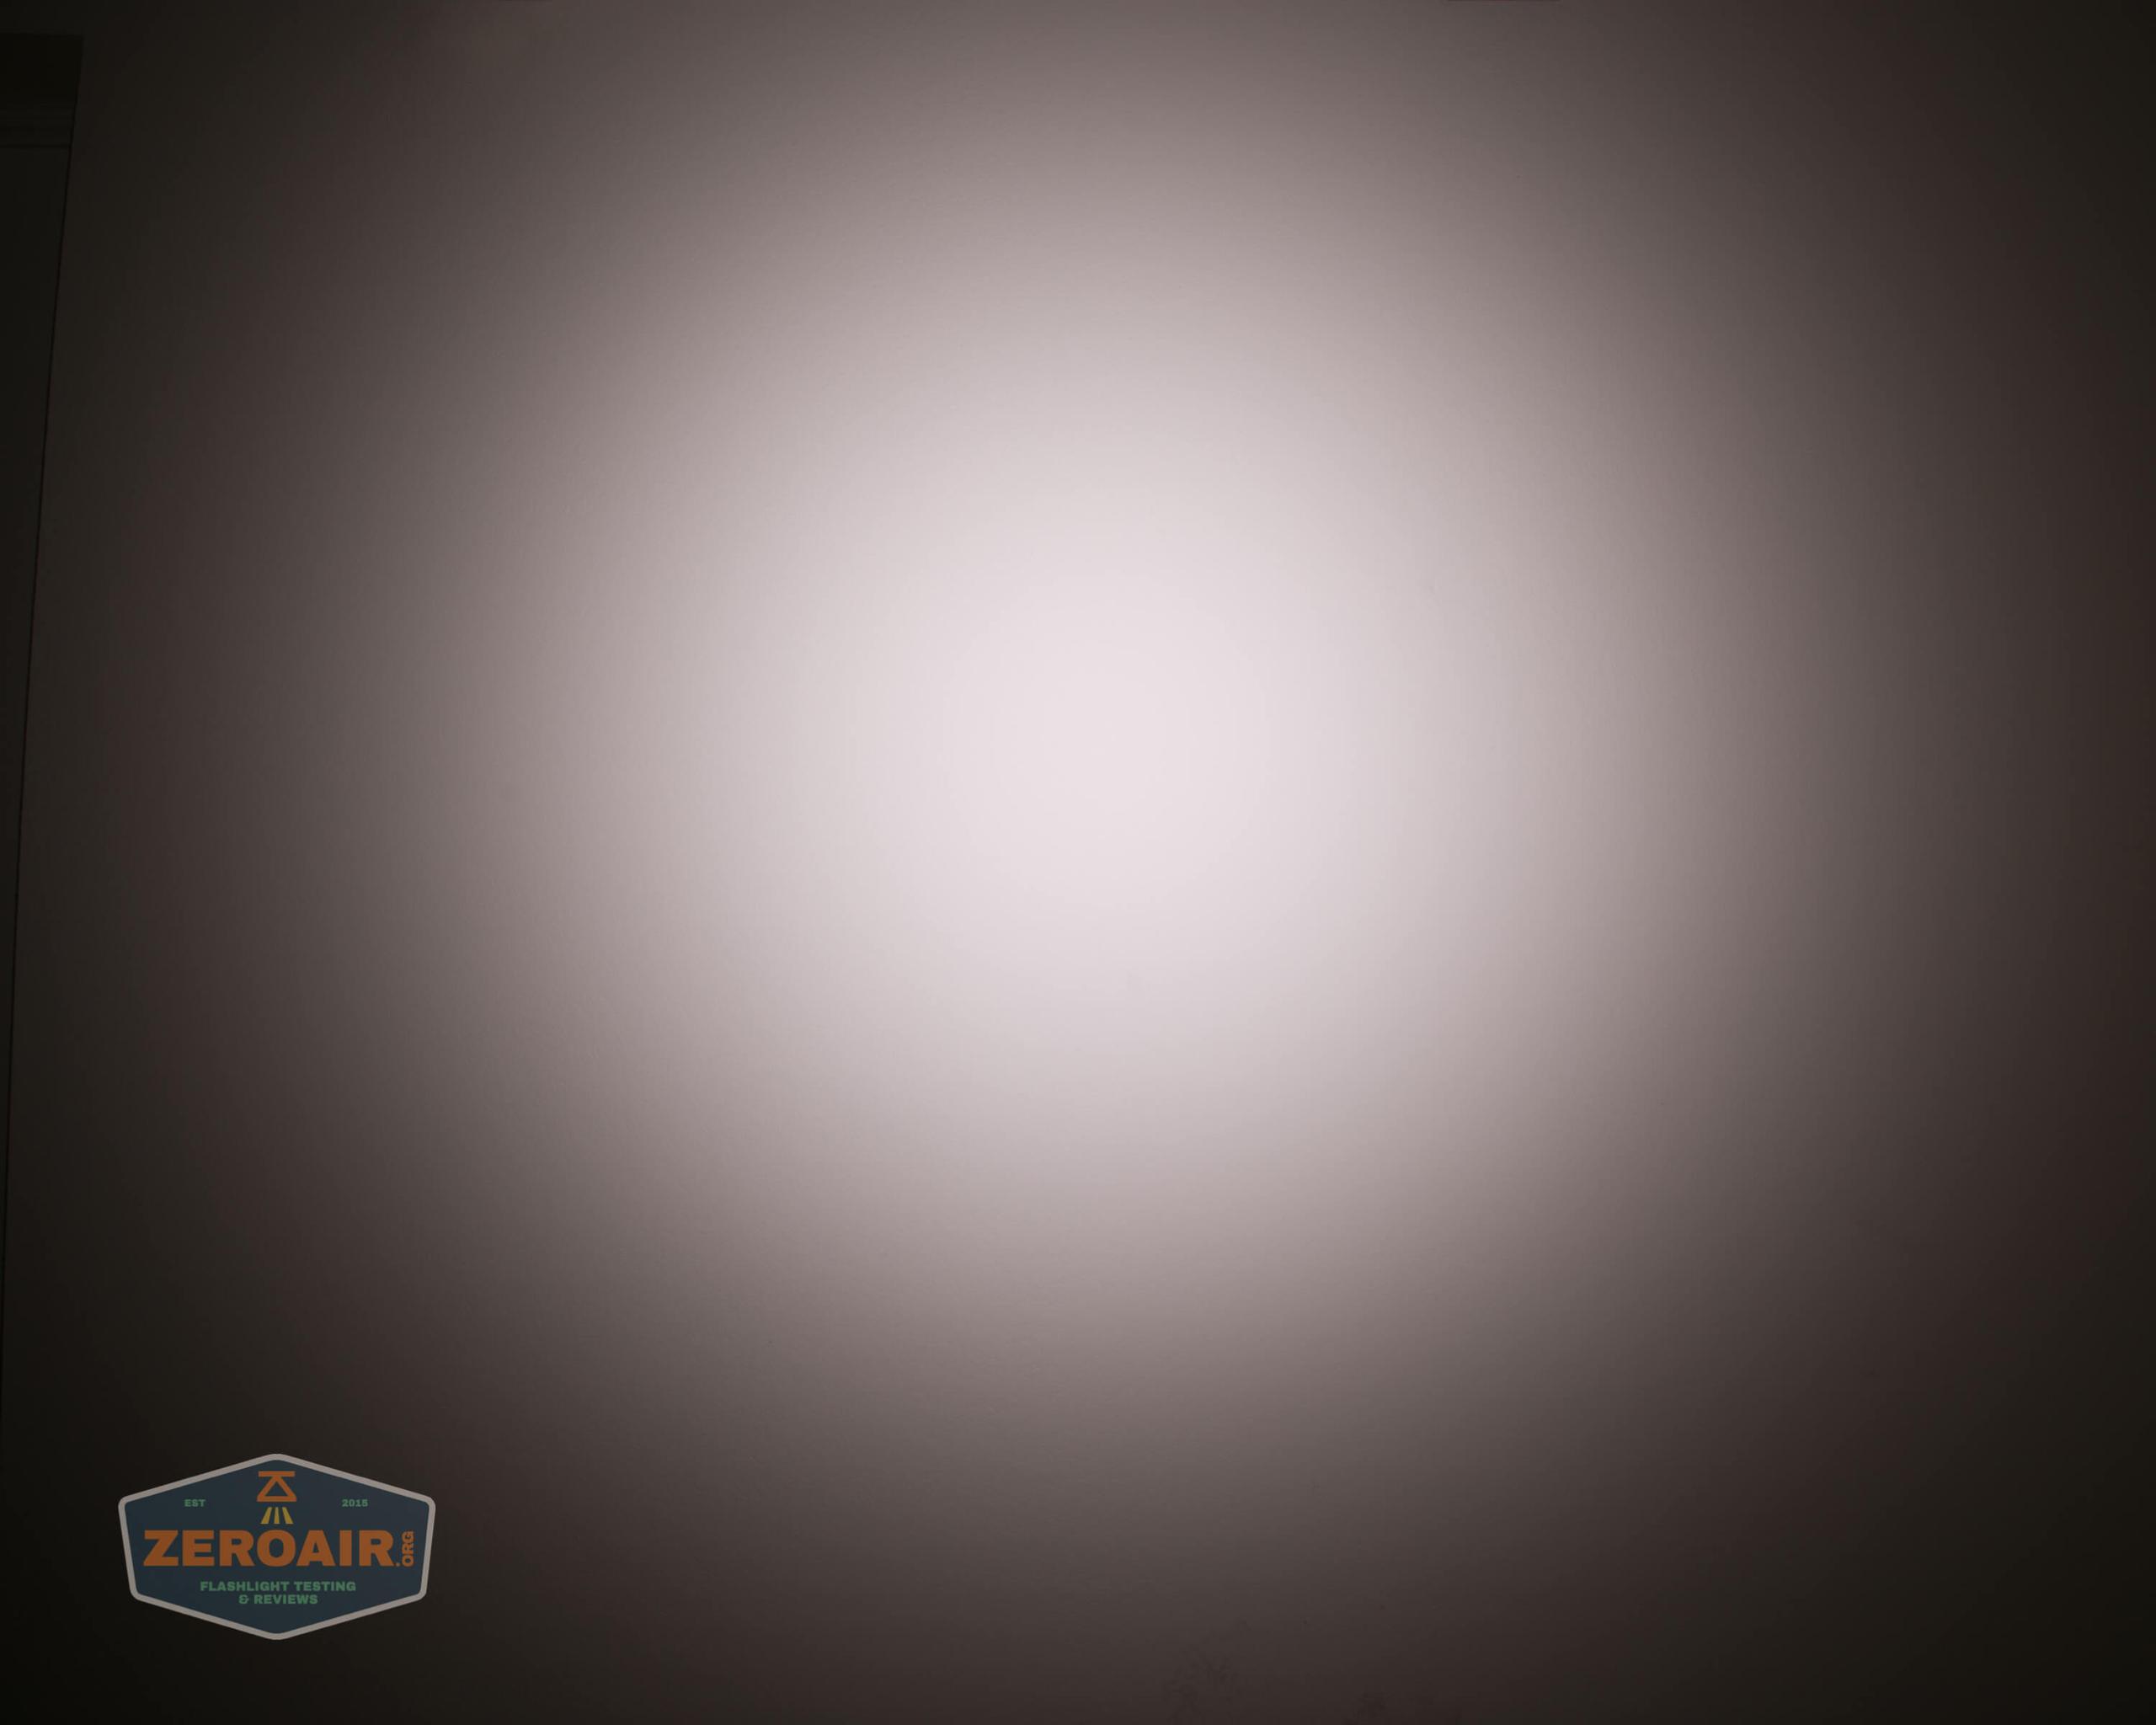
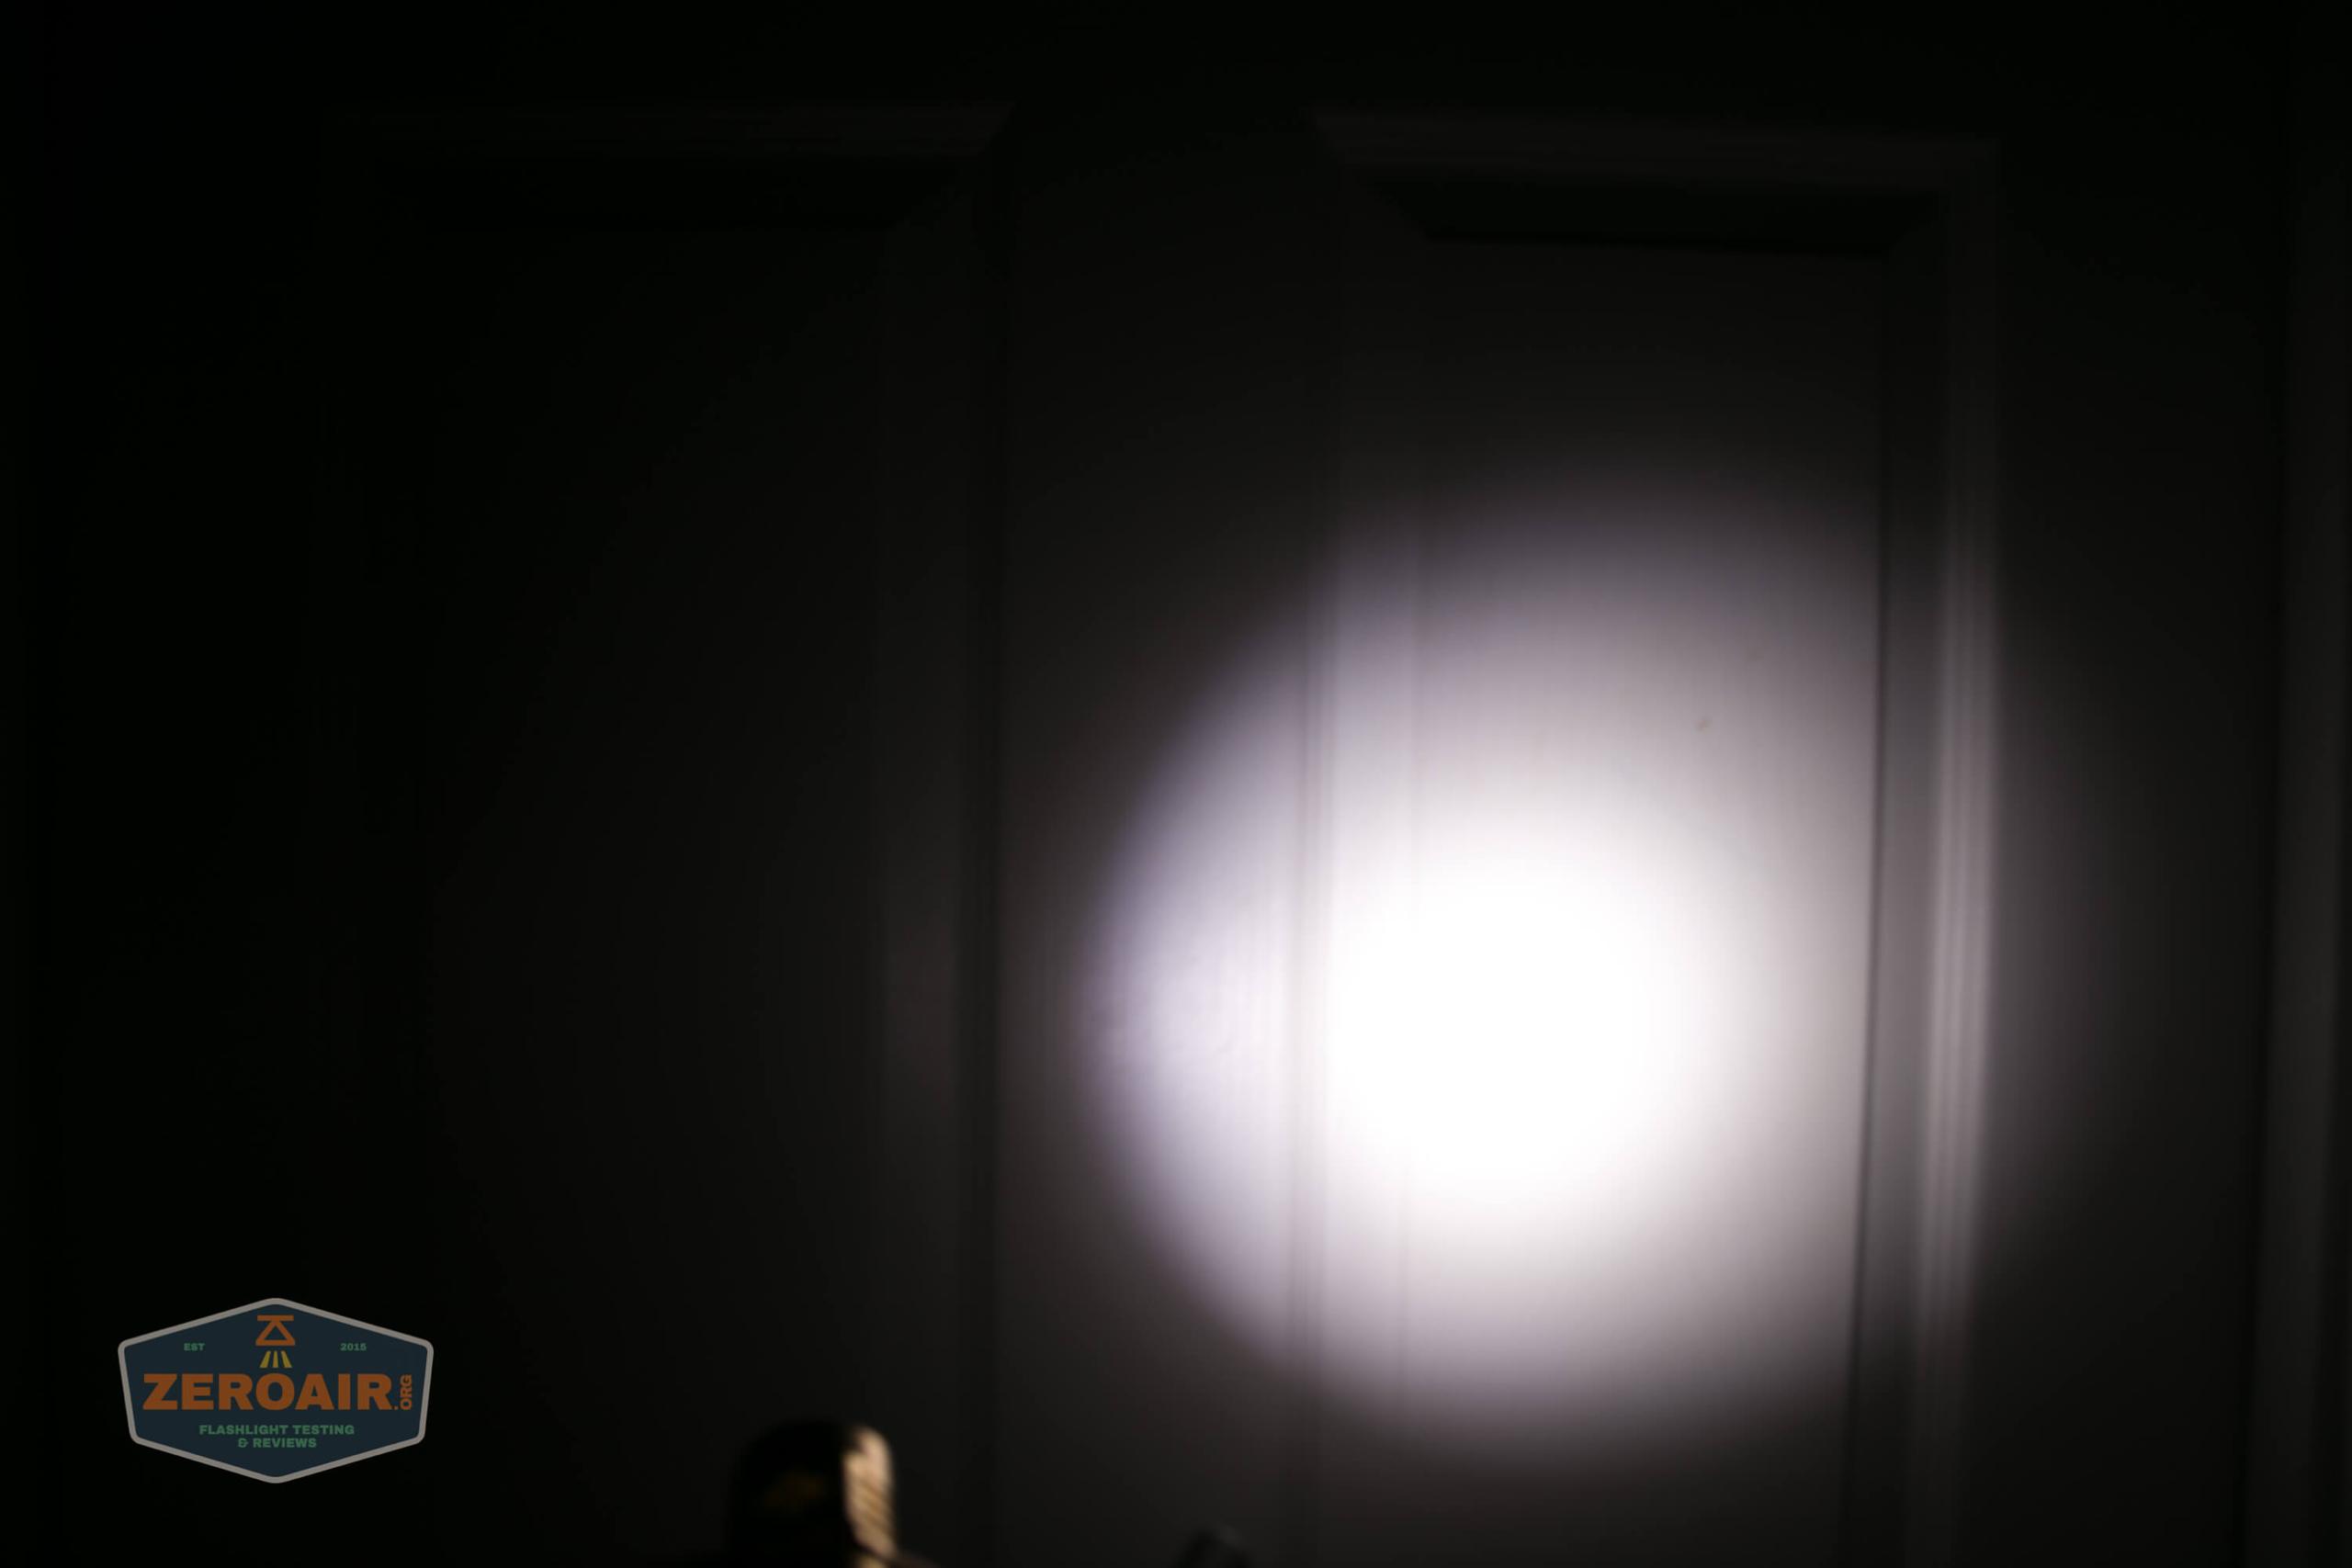
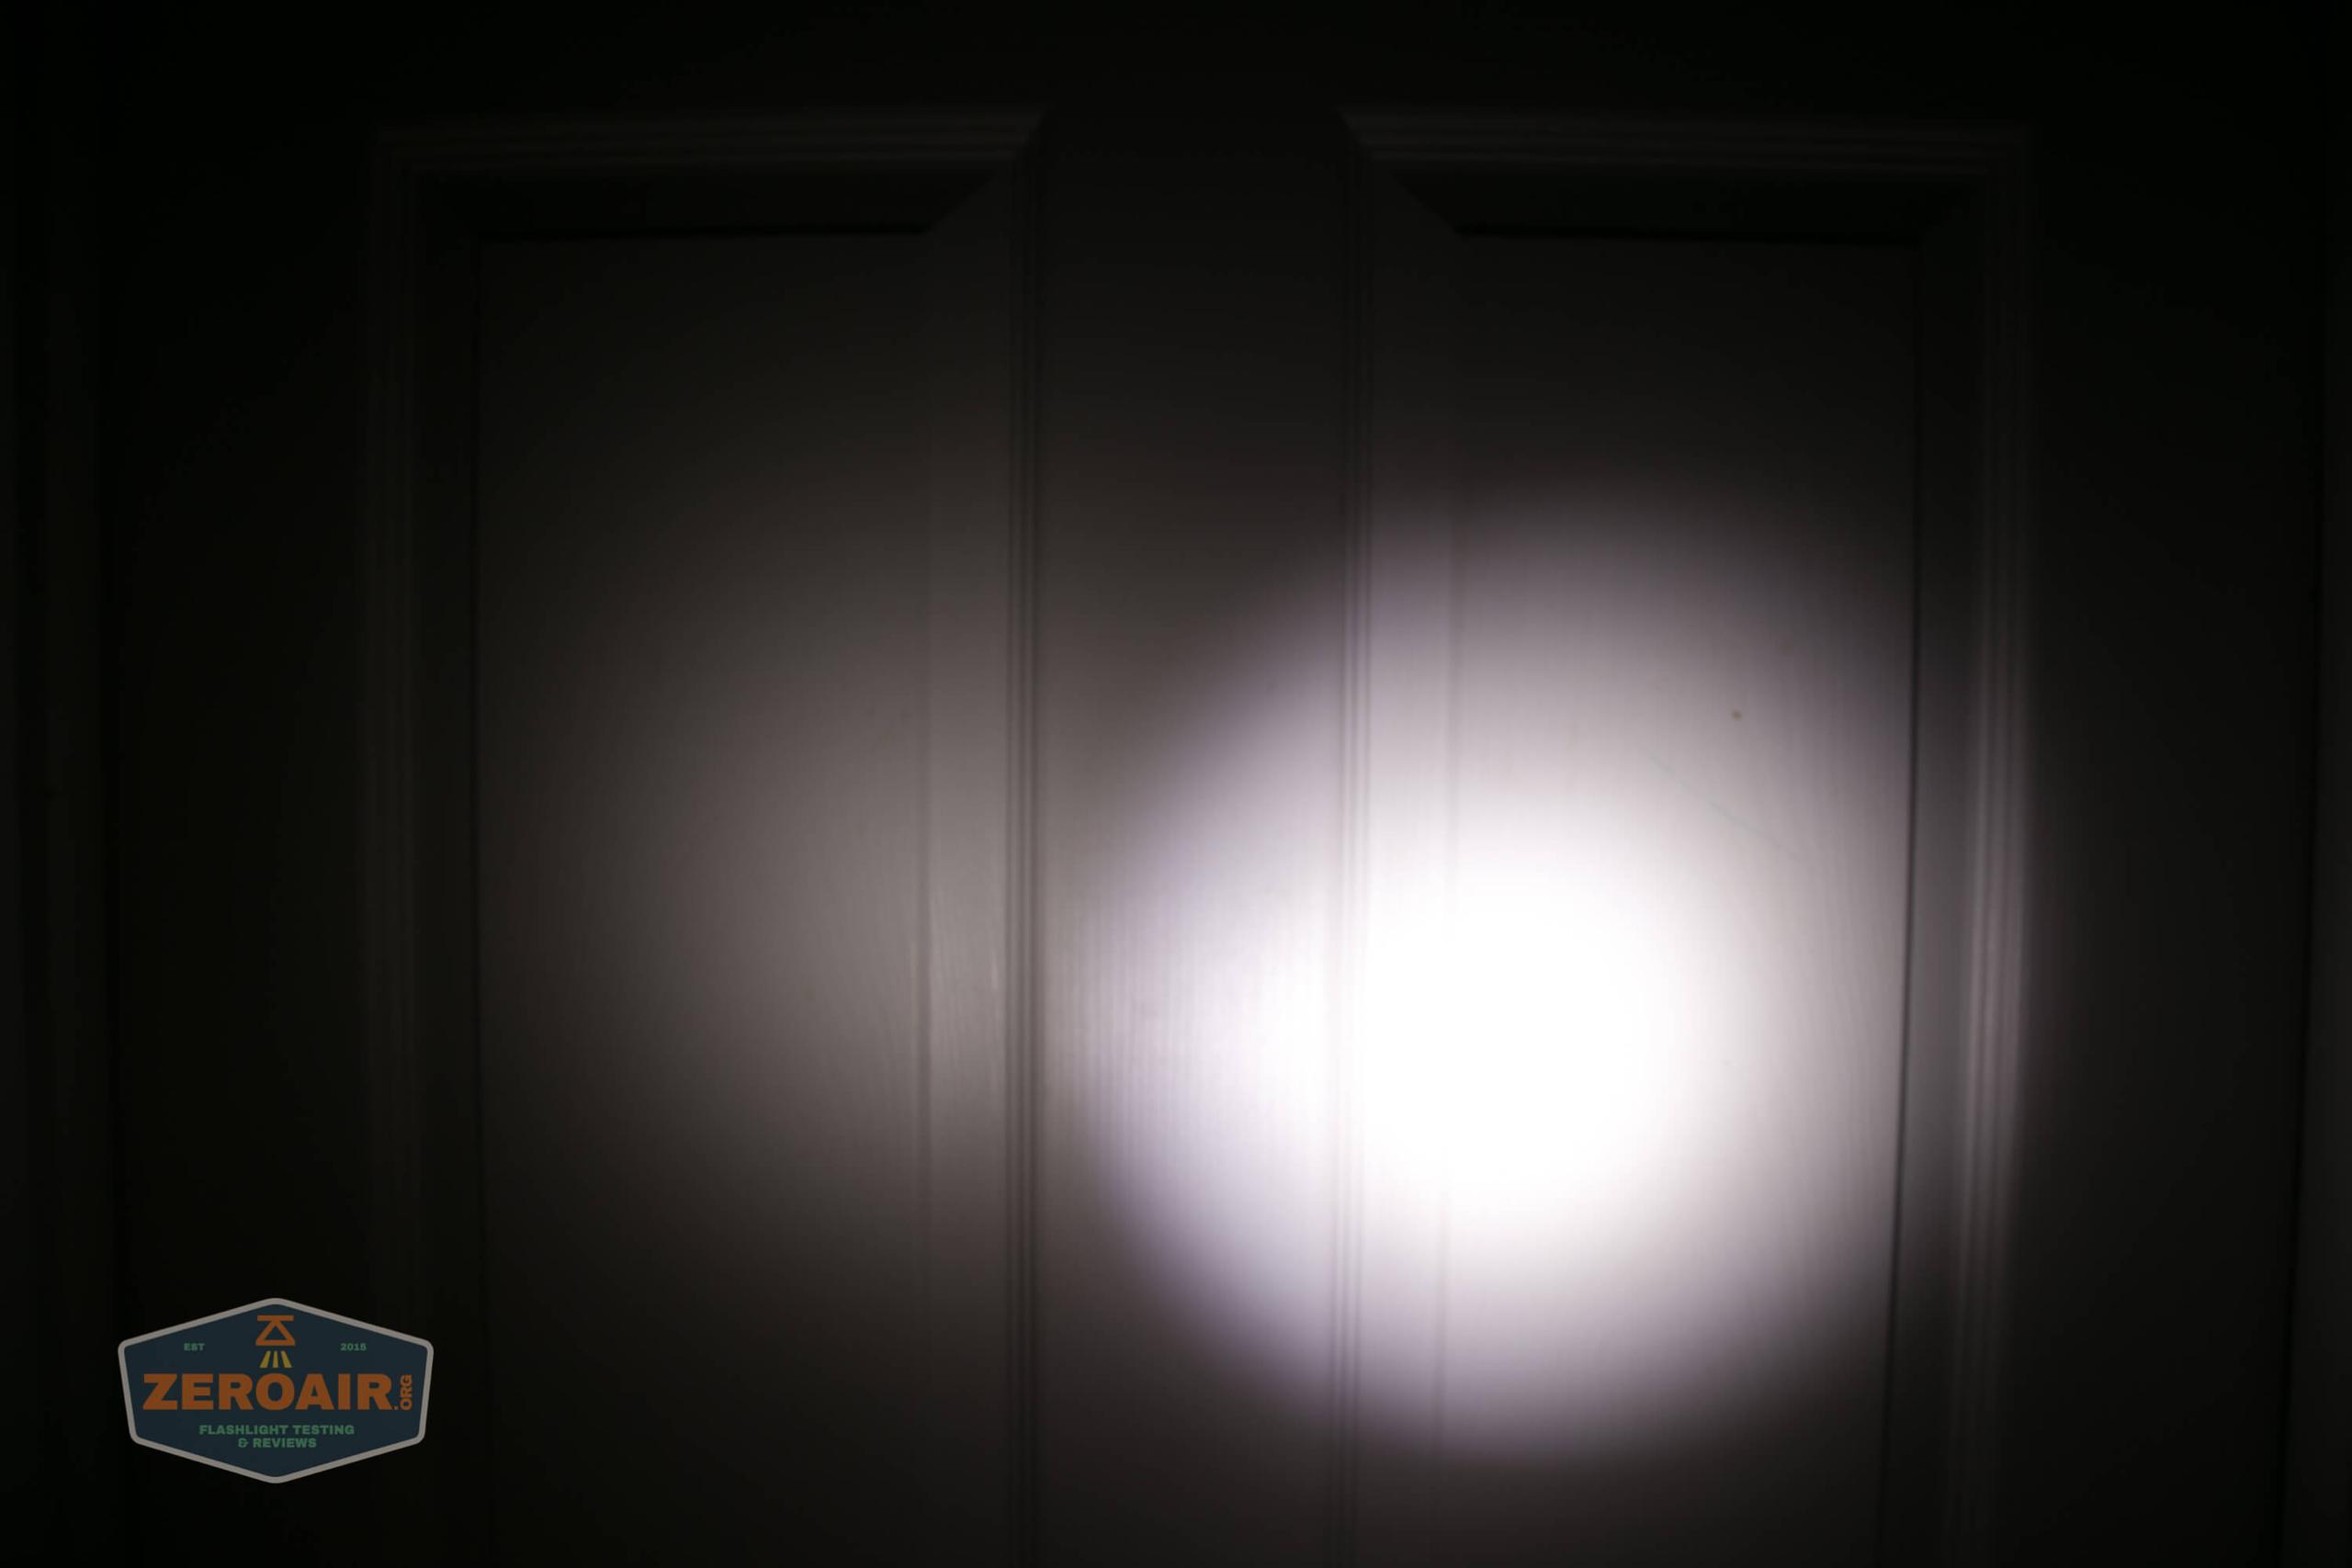
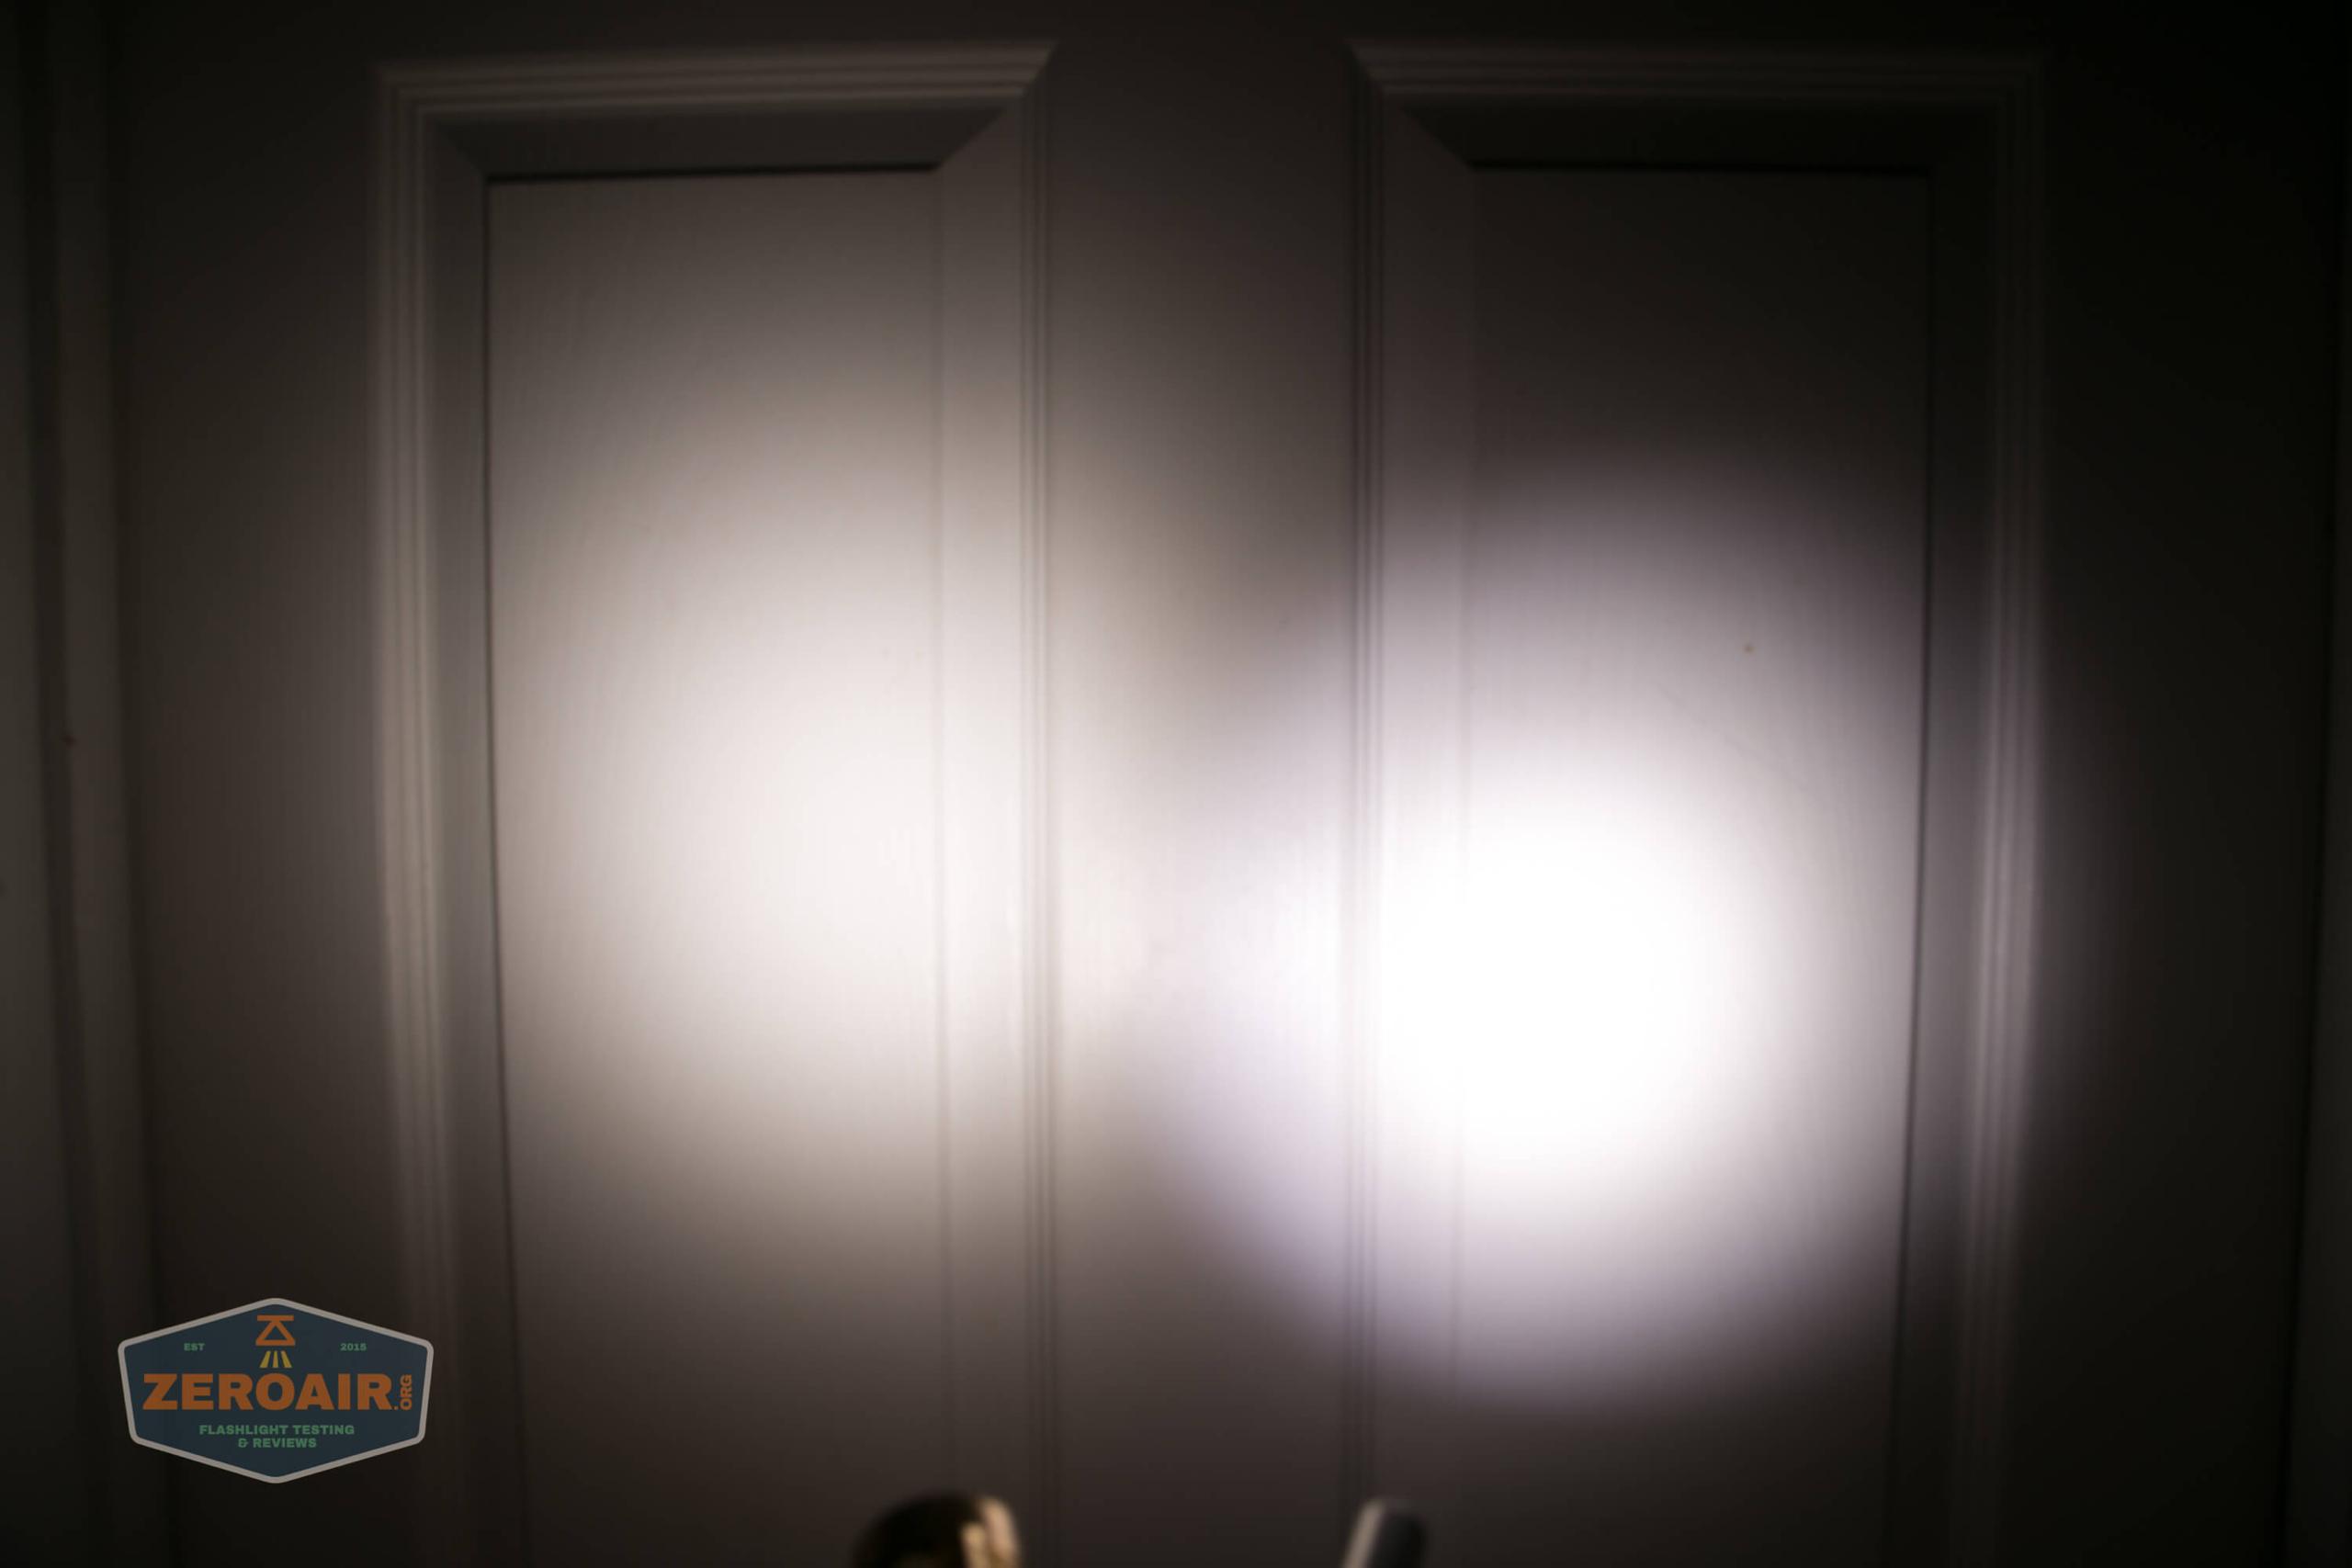
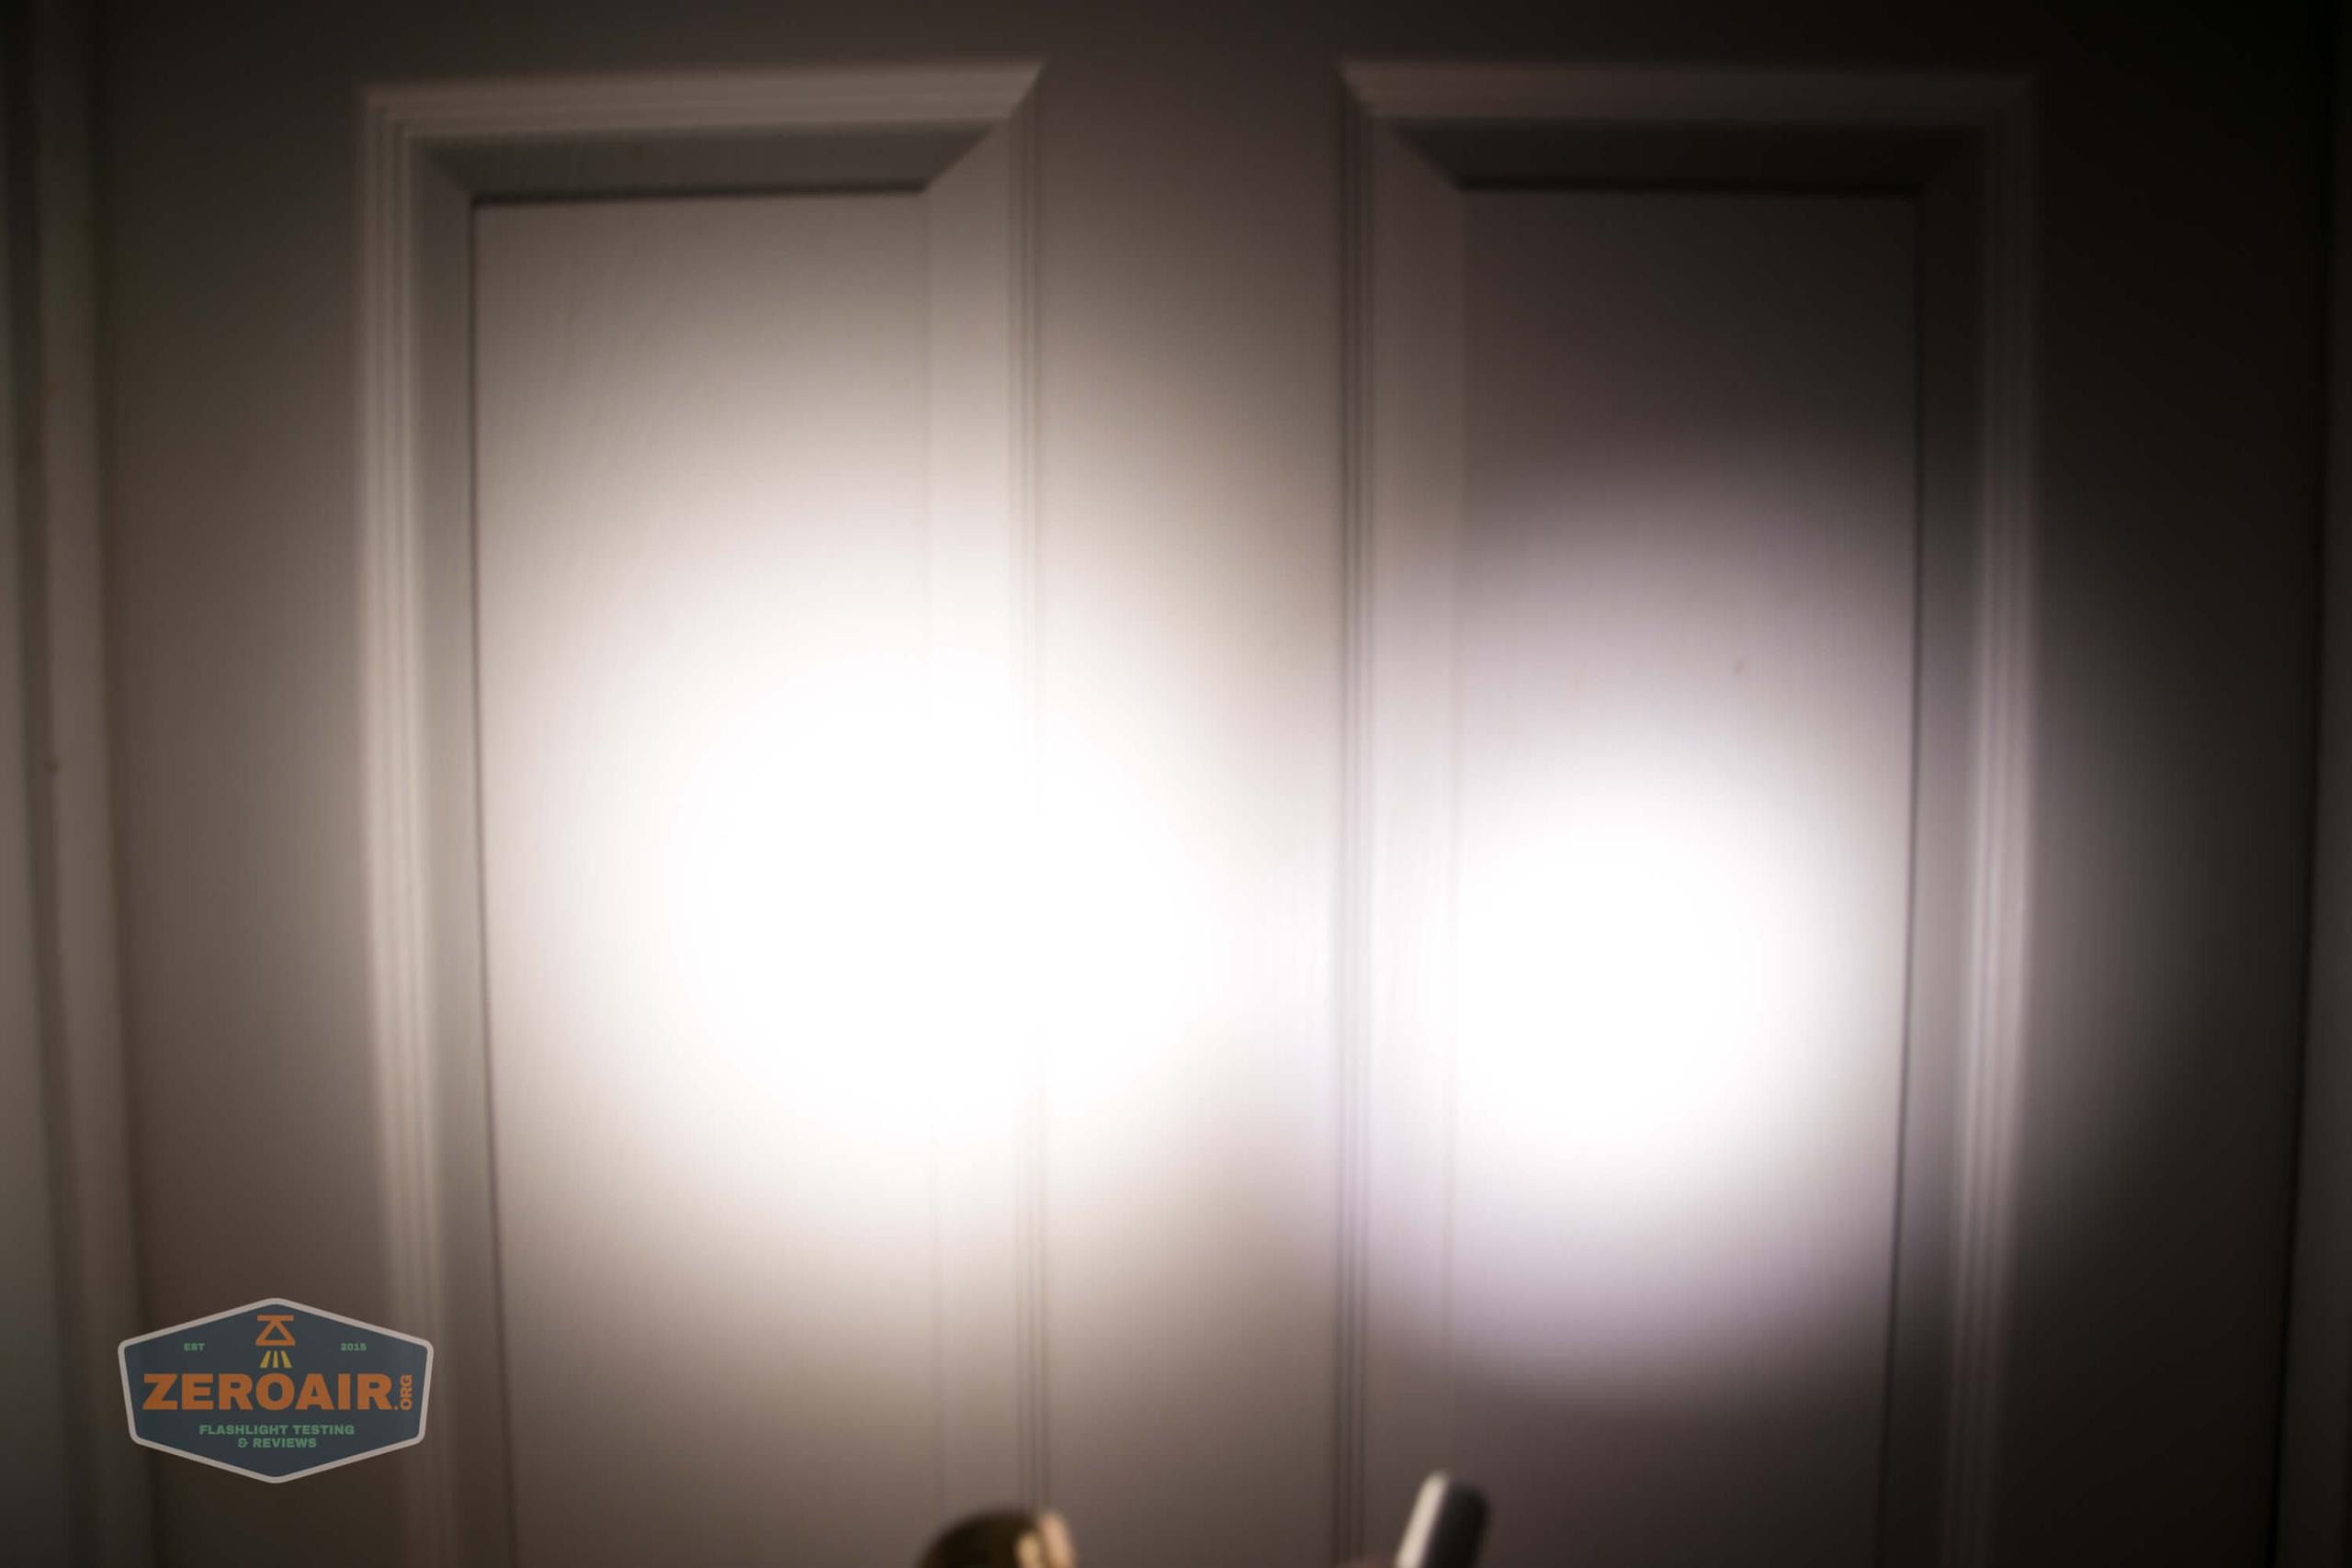
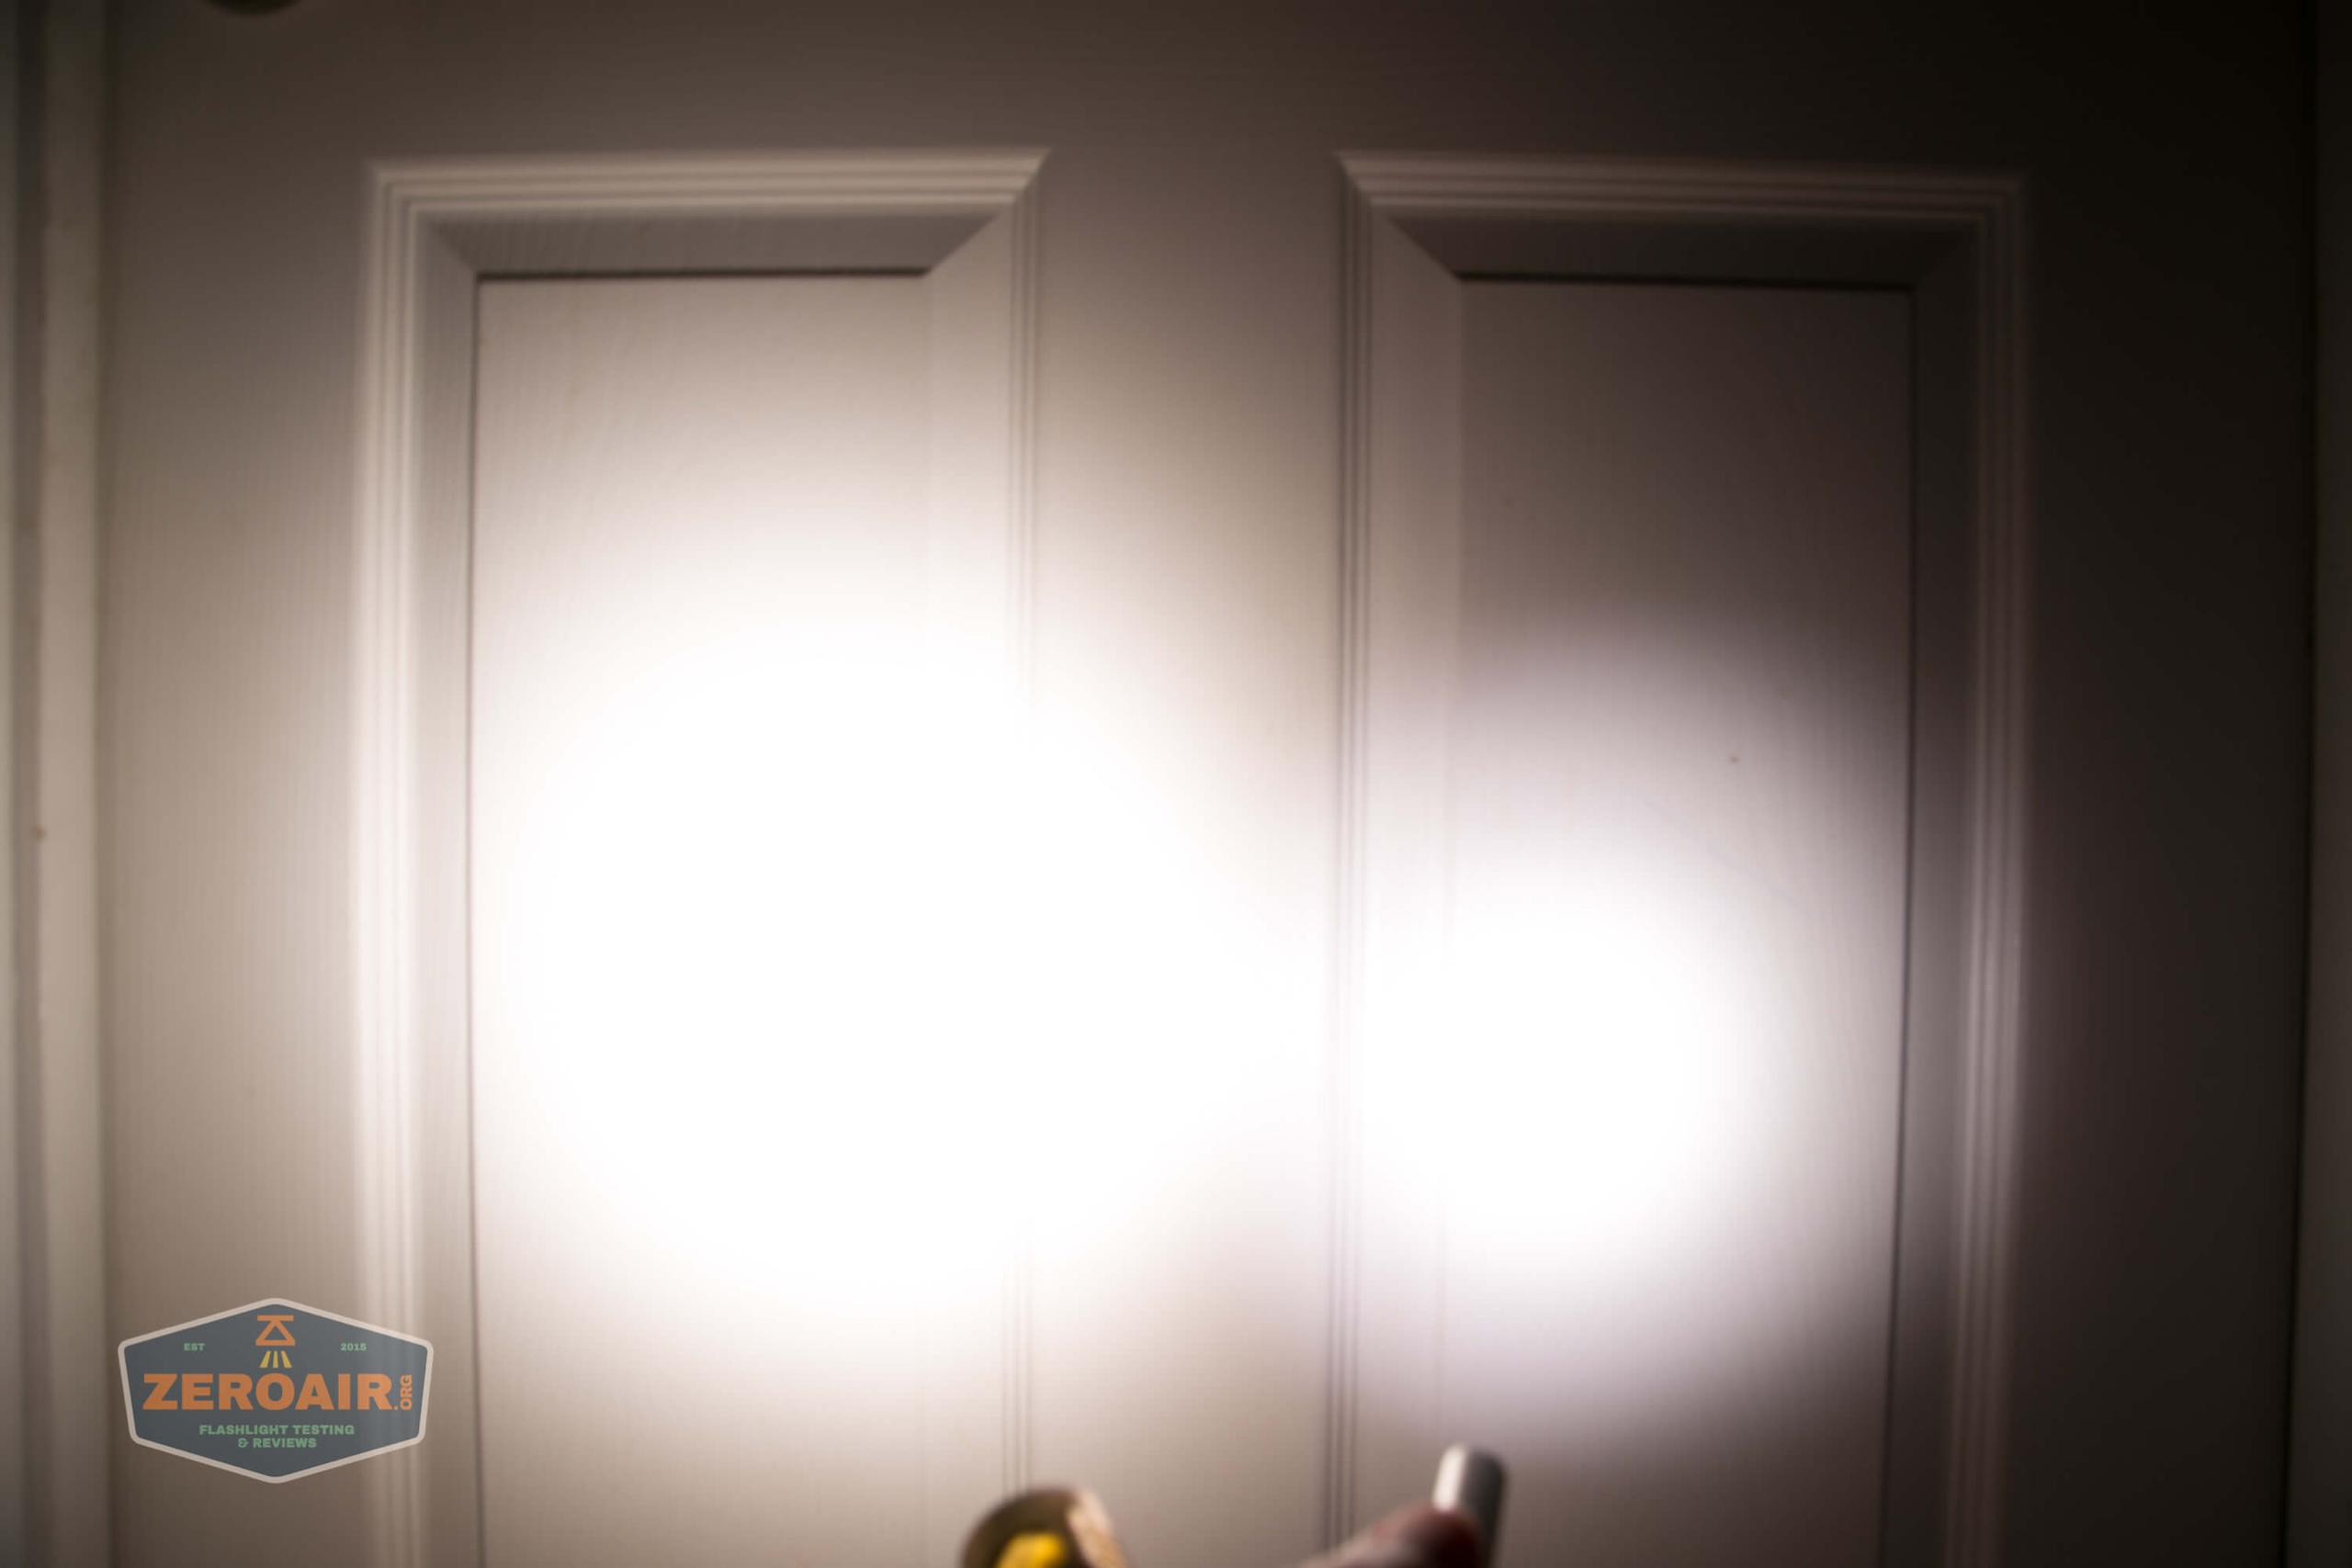
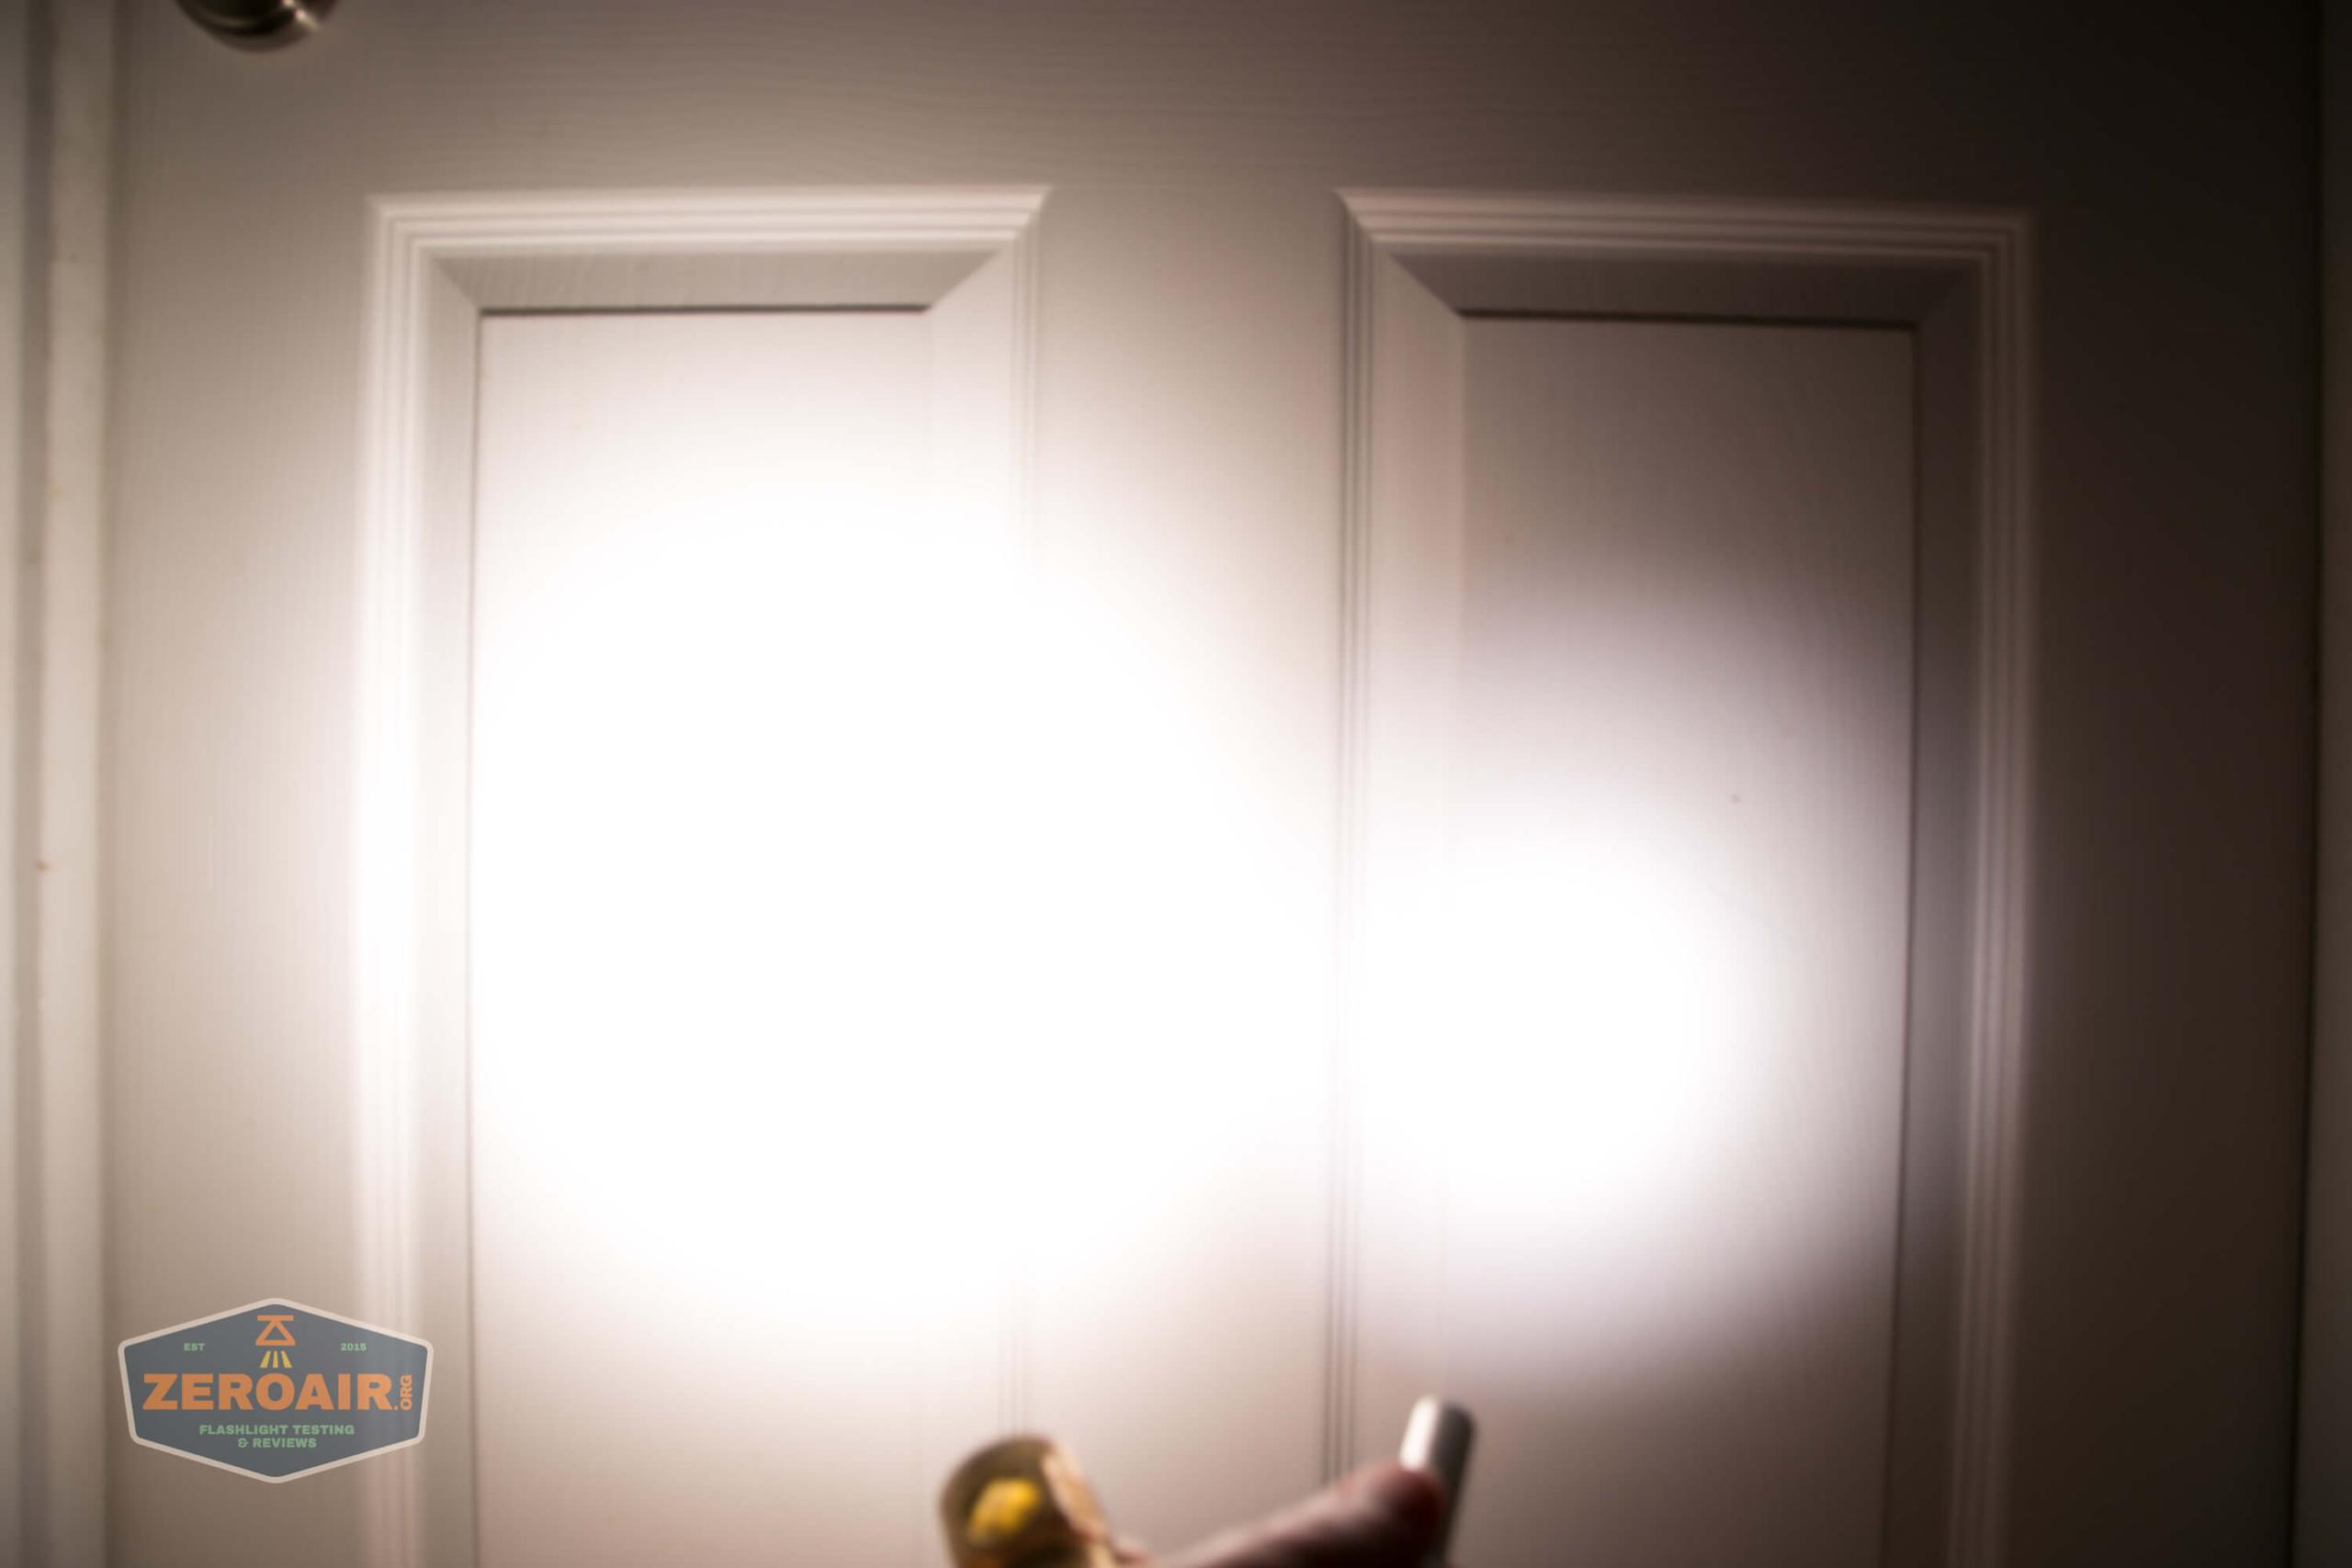
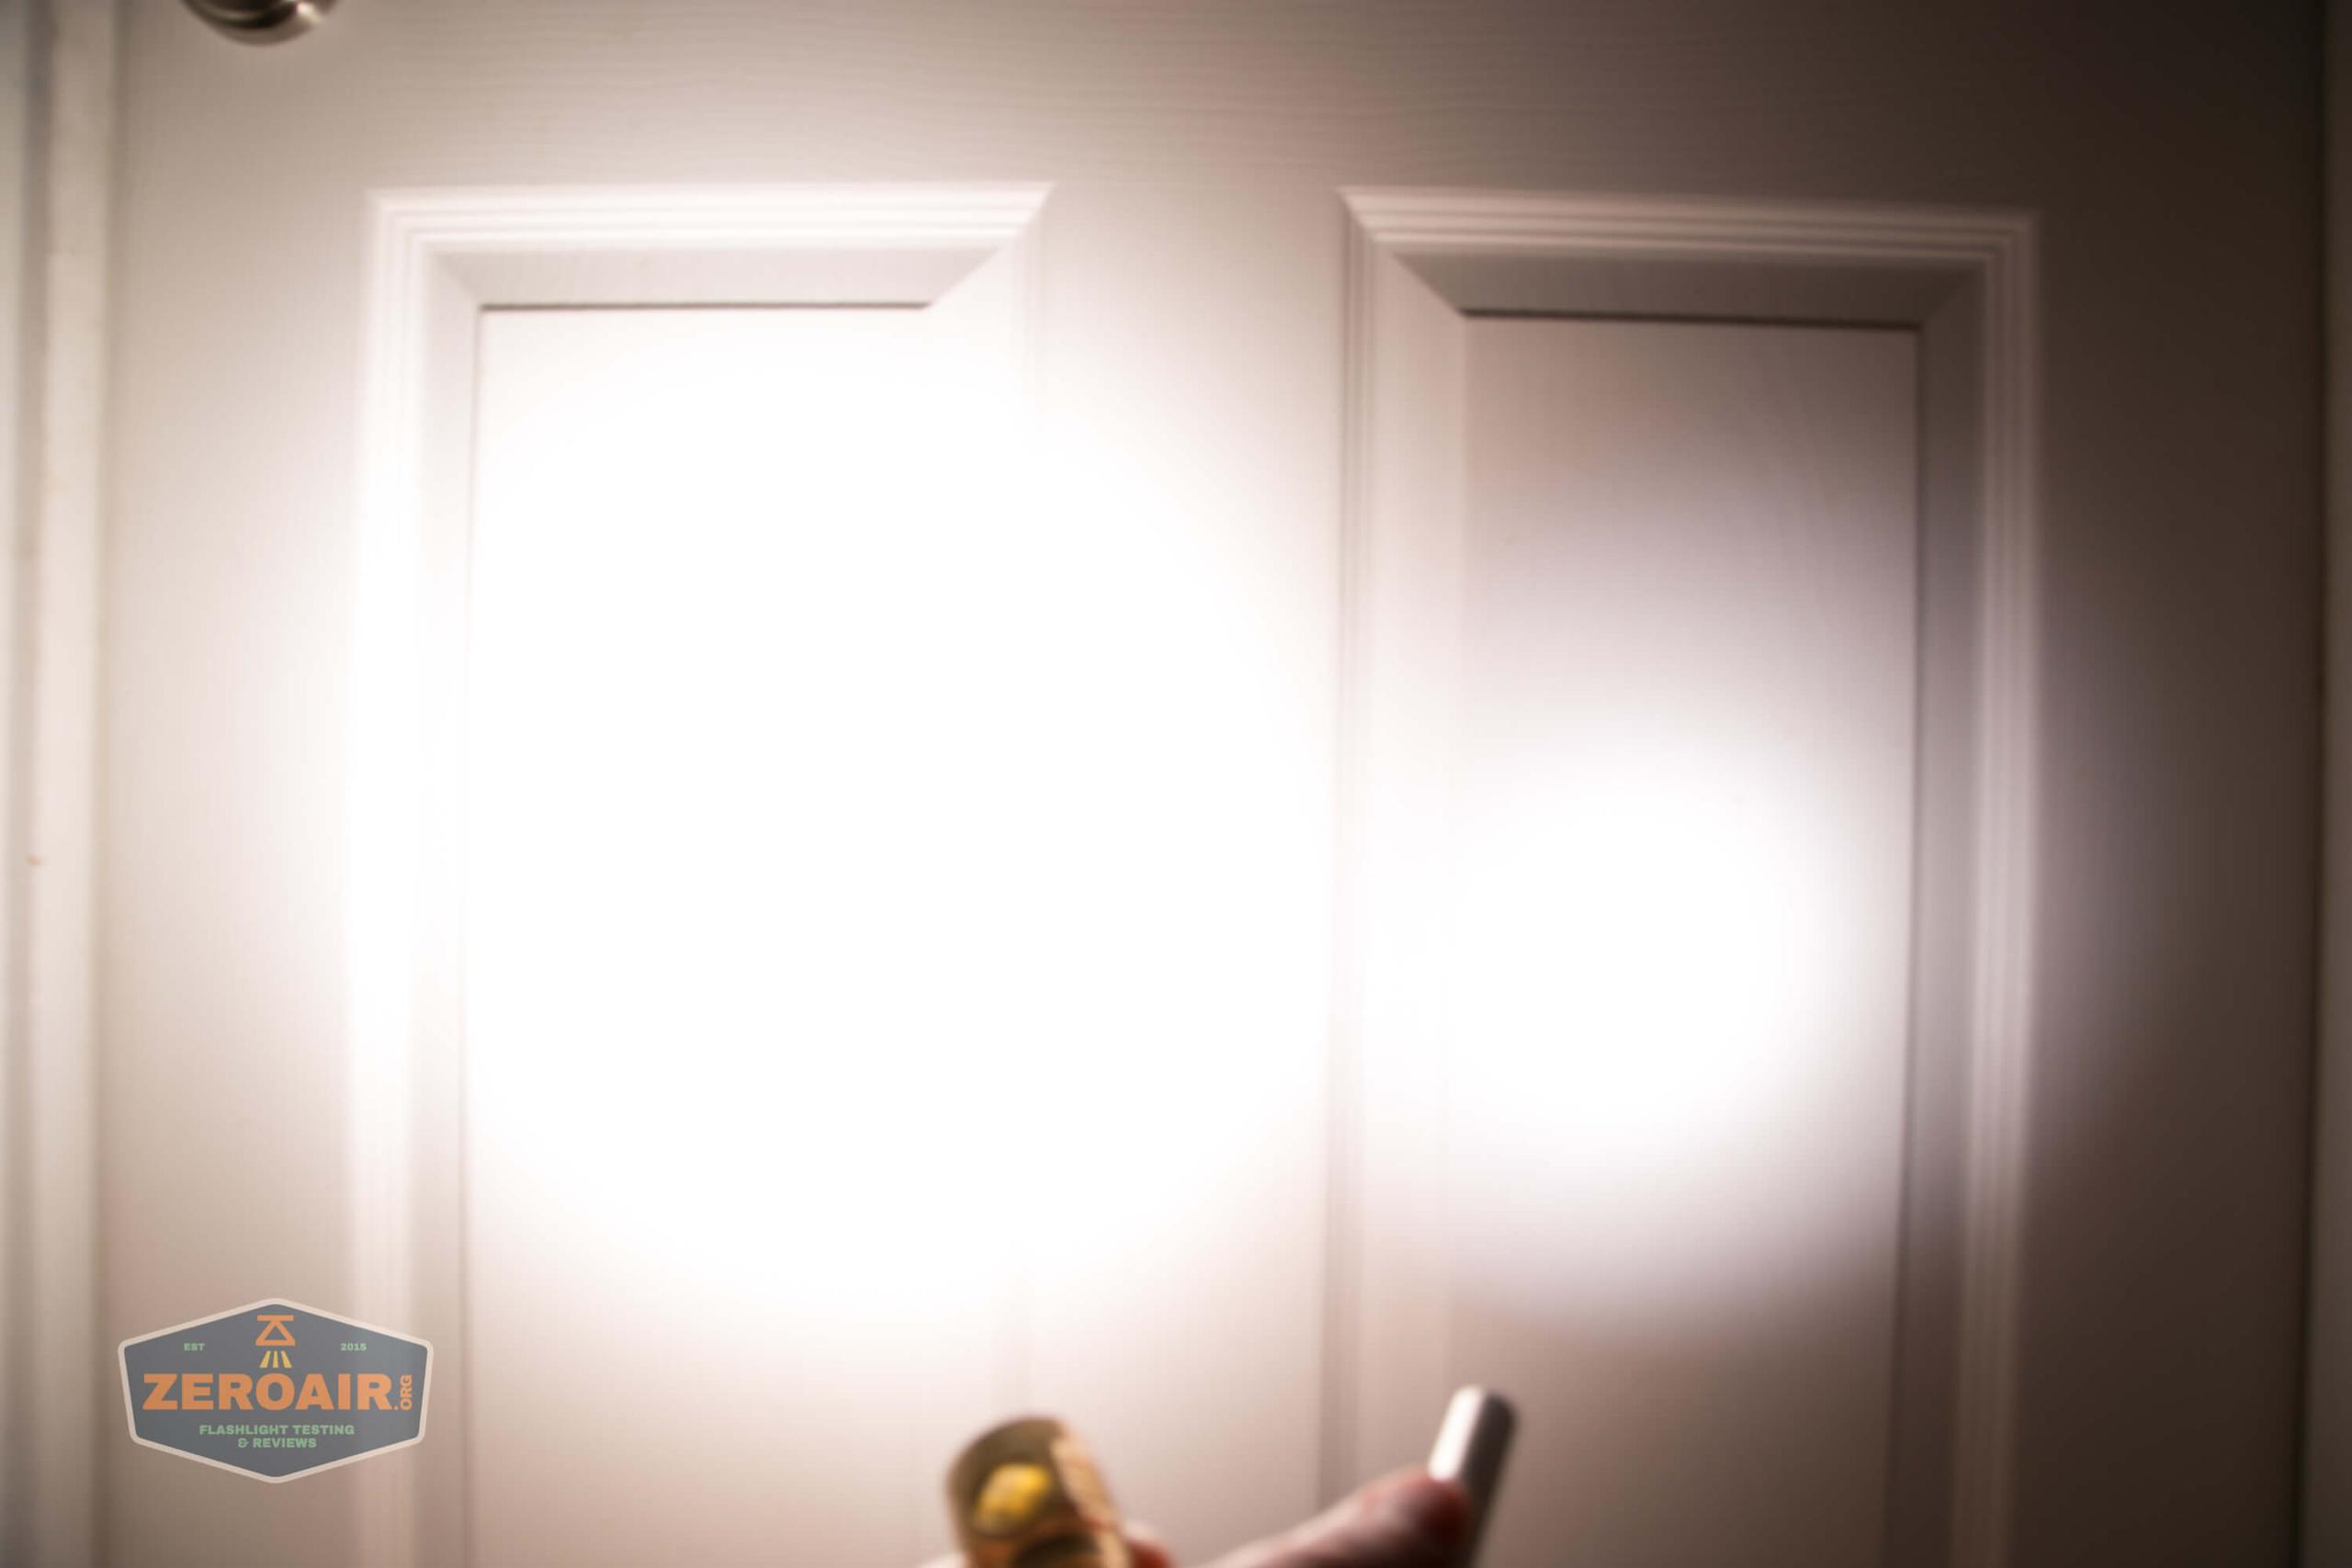
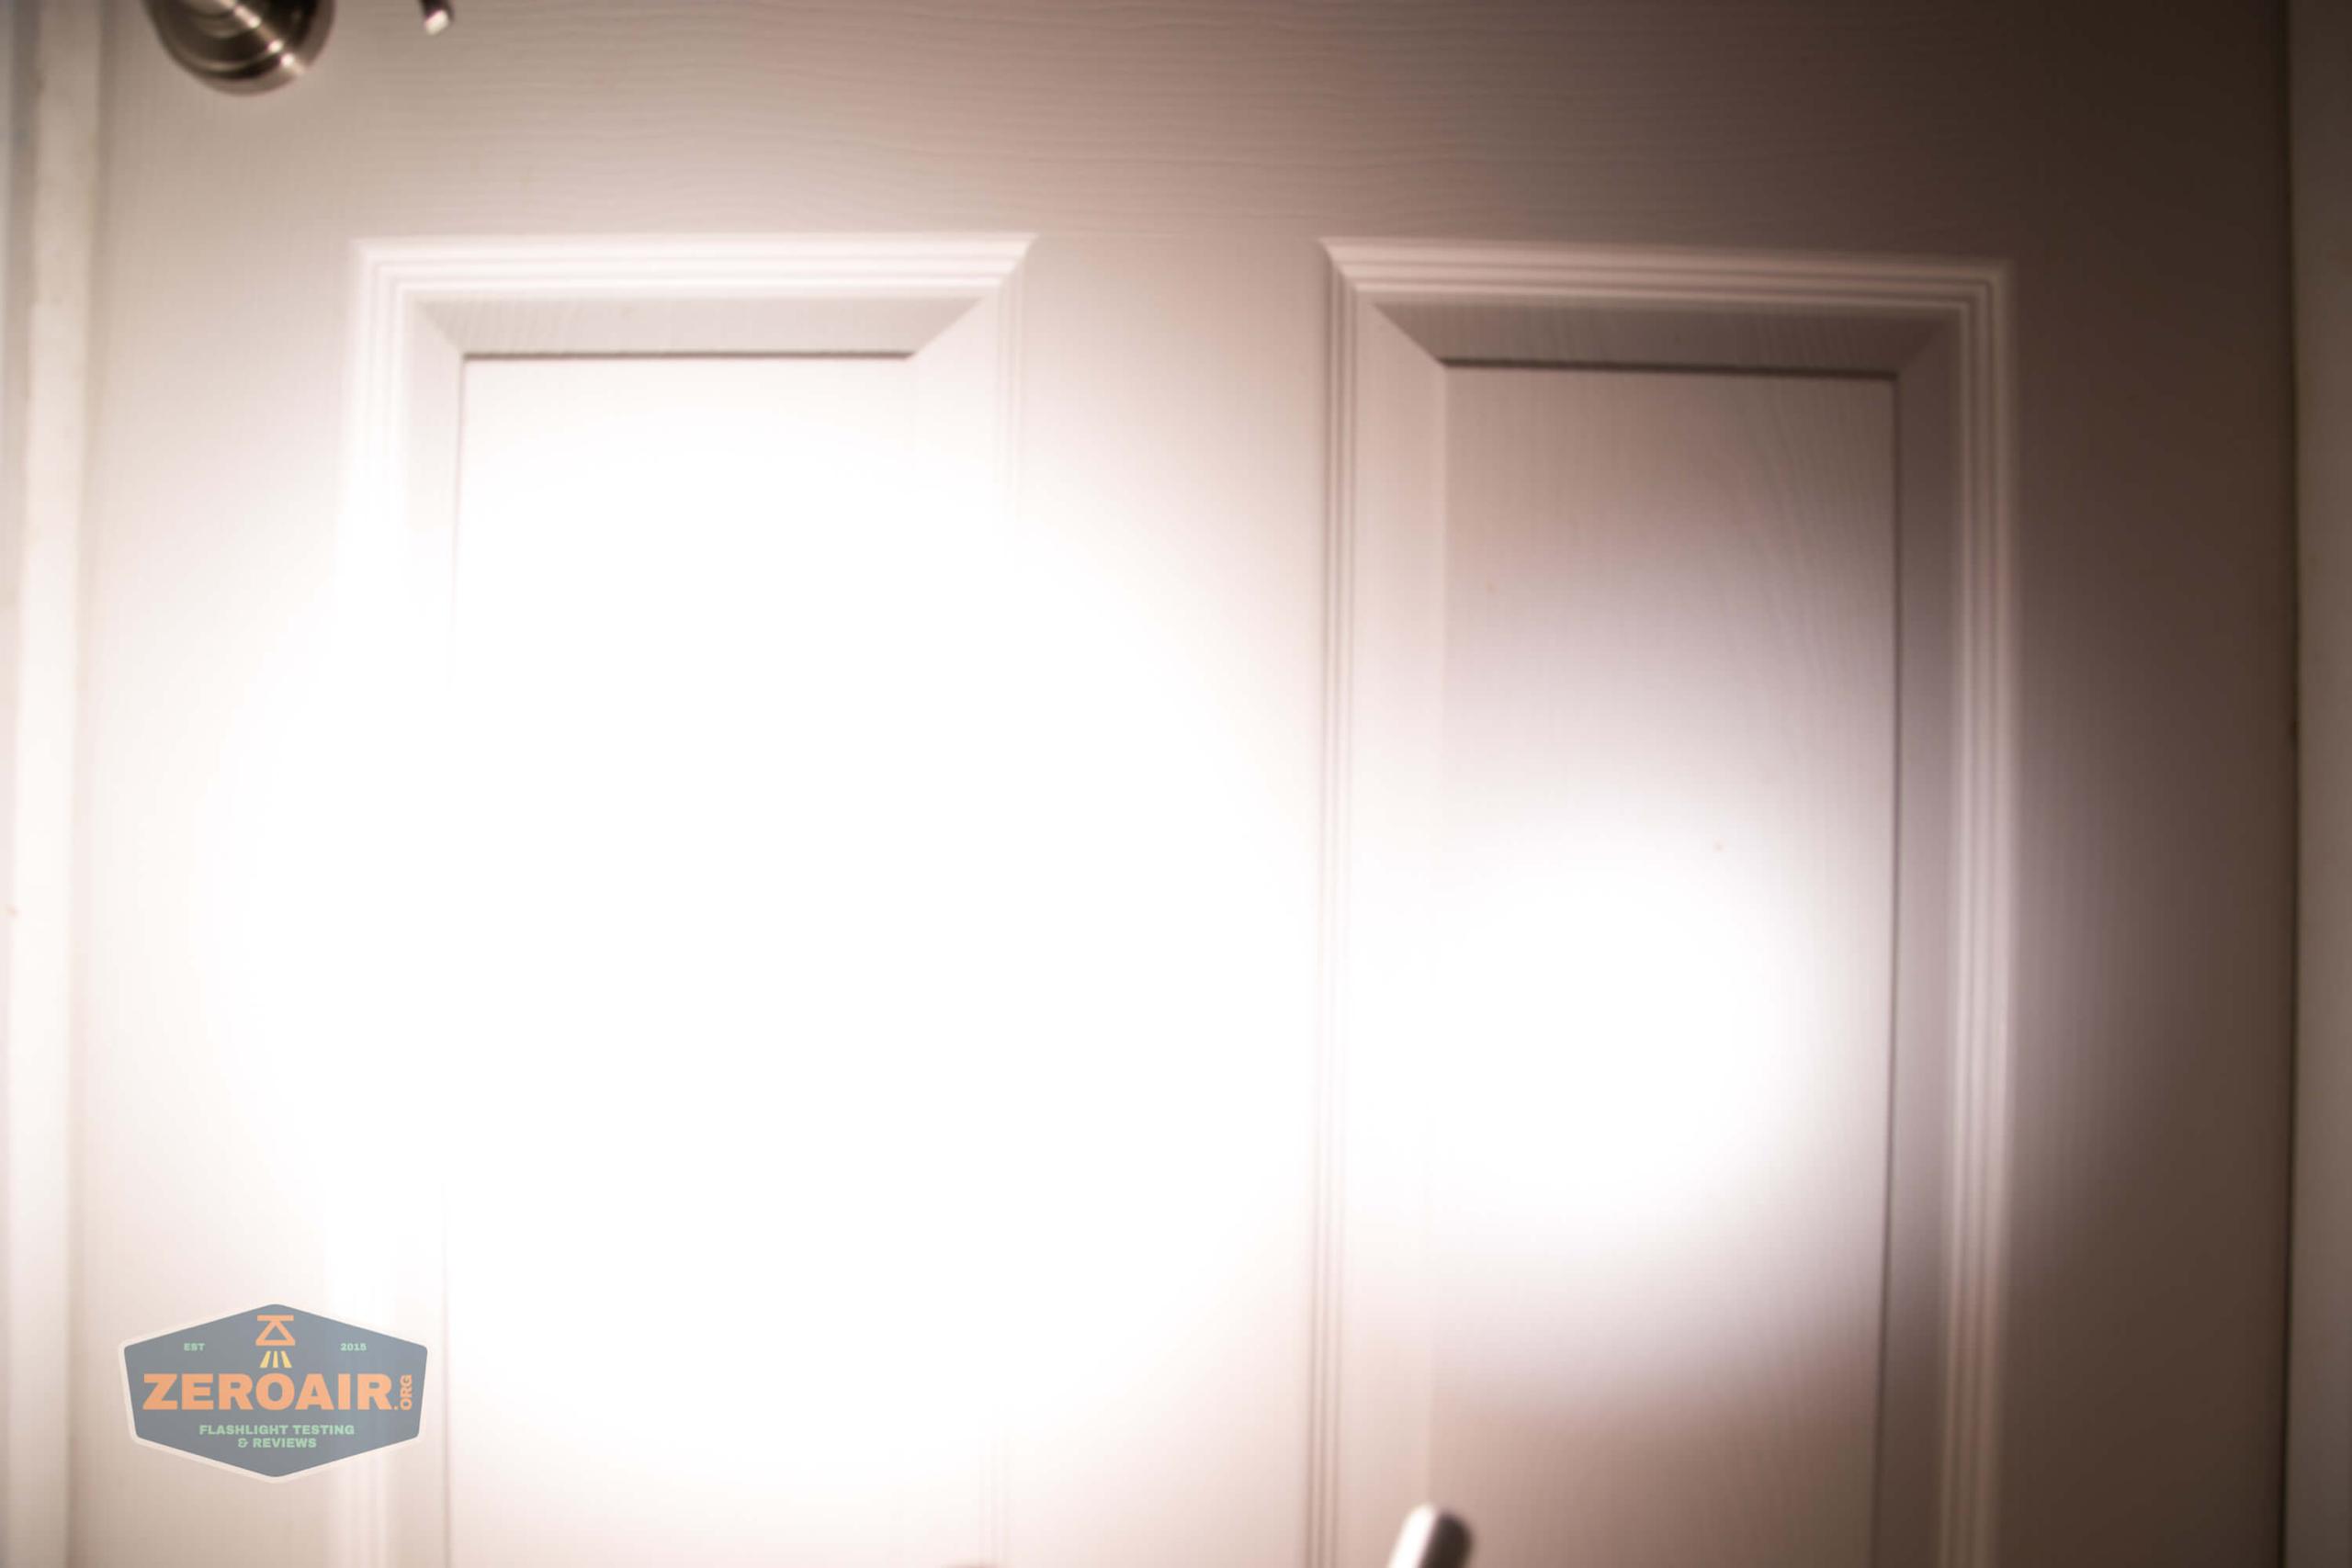
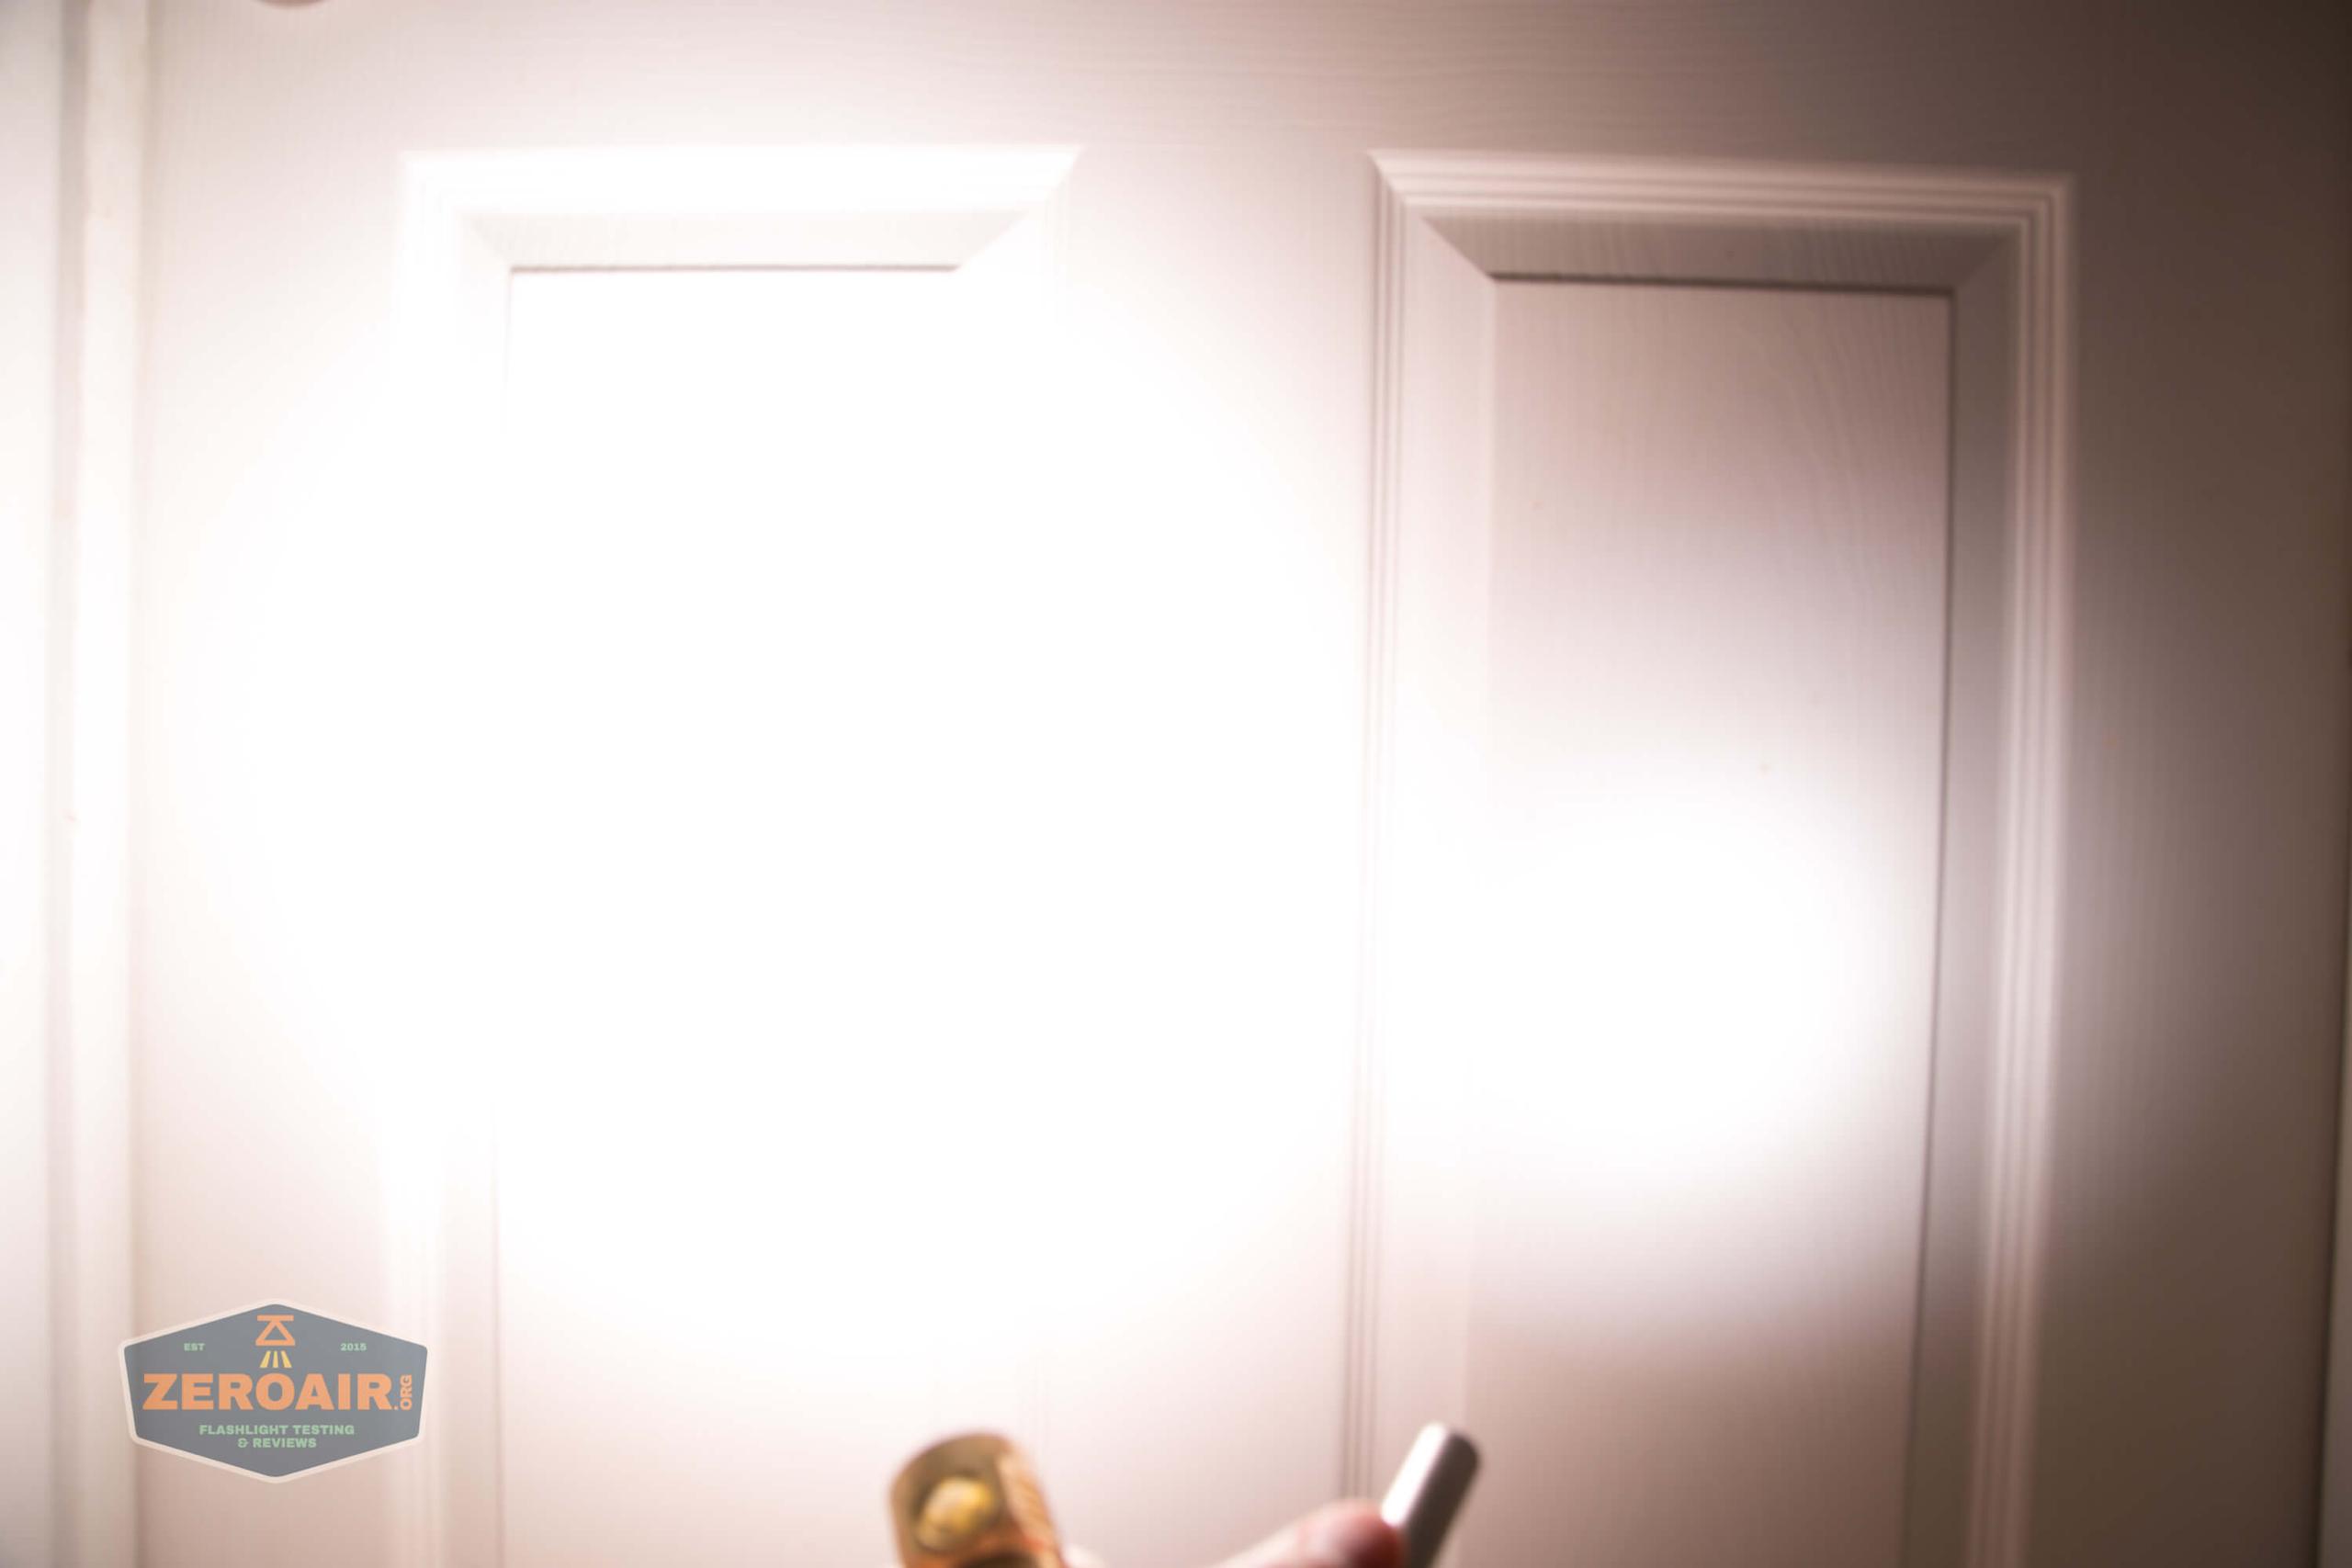
Beamshots
These beamshots always have the following settings: f8, ISO100, 0.3s shutter, and manual 5000K exposure. These photos are taken at floor level, and the beam hits the ceiling around 9 feet away.
I normally test only in stepped mode. However, the ramped output offers a much lower low, so the first mode below is actually the lowest of the ramped. Then the next 7 modes are the stepped options, and the rightmost is the [double click to] Turbo.


Tint vs BLF-348 (KillzoneFlashlights.com 219b version) (affiliate link)
I keep the test flashlight on the left and the BLF-348 reference flashlight on the right. As stated above, I normally test only in stepped mode. However, the ramped output offers a much lower low, so the first mode below is actually the lowest of the ramped. Then the next 7 modes are the stepped options, and the rightmost is the [double click to] Turbo.
I compare everything to the KillzoneFlashlights.com 219b BLF-348 because it’s inexpensive and has the best tint!
Conclusion on the Emisar D4V2 Brass Flashlight
What I like
- Great light offering E21A emitters
- Brass is very well finished on this version of the D4V2
- User interface drops the typical PWM of other Anduril lights
- Anduril is a fun, very feature-rich user interface.
What I don’t like
- Strangely, I wish the RGB could be just a little bit more configurable
- Output on turbo (and high for that matter) drops more quickly than I’d like
Notes
- This light was provided by me for review. I purchased this light myself with my own funds, and I was not paid to write this review.
- This content originally appeared at zeroair.org. Please visit there for the best experience!
- Use my amazon.com referral link if you’re willing to help support making more reviews like this one!
- Please support me on Patreon! I deeply appreciate your support!
Discover more from ZeroAir Reviews
Subscribe to get the latest posts sent to your email.
thanks for the review. I will be referencing your site in my video reviews from now on when i can. – Thefossilchannel https://www.youtube.com/user/TheFossilChannel
Cool, thank you!
Great review! However I’ve got a D4V2 in SST-20 5000k and another in E21A 4500K and the driver for the E21A was not great for battery life. With both my D4V2 using a fully charged LG HG2 18650 and set to the same output, roughly 150 lumen I got just over half as many hours runtime on the E21A with the linear driver. LED wise that should not be, the E21A is one of the best and most efficient LEDs every made. I found out later it’s the driver.
I finally joined the Emisar fold a few couple of months ago. My D4v2 had the wrong driver board so the E21As got blackened before I worked out what was going on. Yes that was blue light on turbo.
Hank was willing to do customer service and sent out a replacement head though. So it wasn’t a regretful purchase.
I like the 3500k tint but as Hank will do mixed emitters I wonder if it was a missed opportunity.
The output seems fine but I haven’t measured the battery life.
Pingback: Emisar D4V2 – The One Above All – Rymann Reviews
Pingback: Noctigon K9.3 (Nichia 219b sw35) Flashlight Review - ZeroAir Reviews