
Olight Warrior 3 Flashlight Review
The Olight Warrior 3 is an updated version of a popular flashlight. This version still offers a dual-switch interface and runs on one 21700.
Official Specs and Features
Here’s a Shareasale link to the Olight Warrior 3 flashlight product page.
Versions
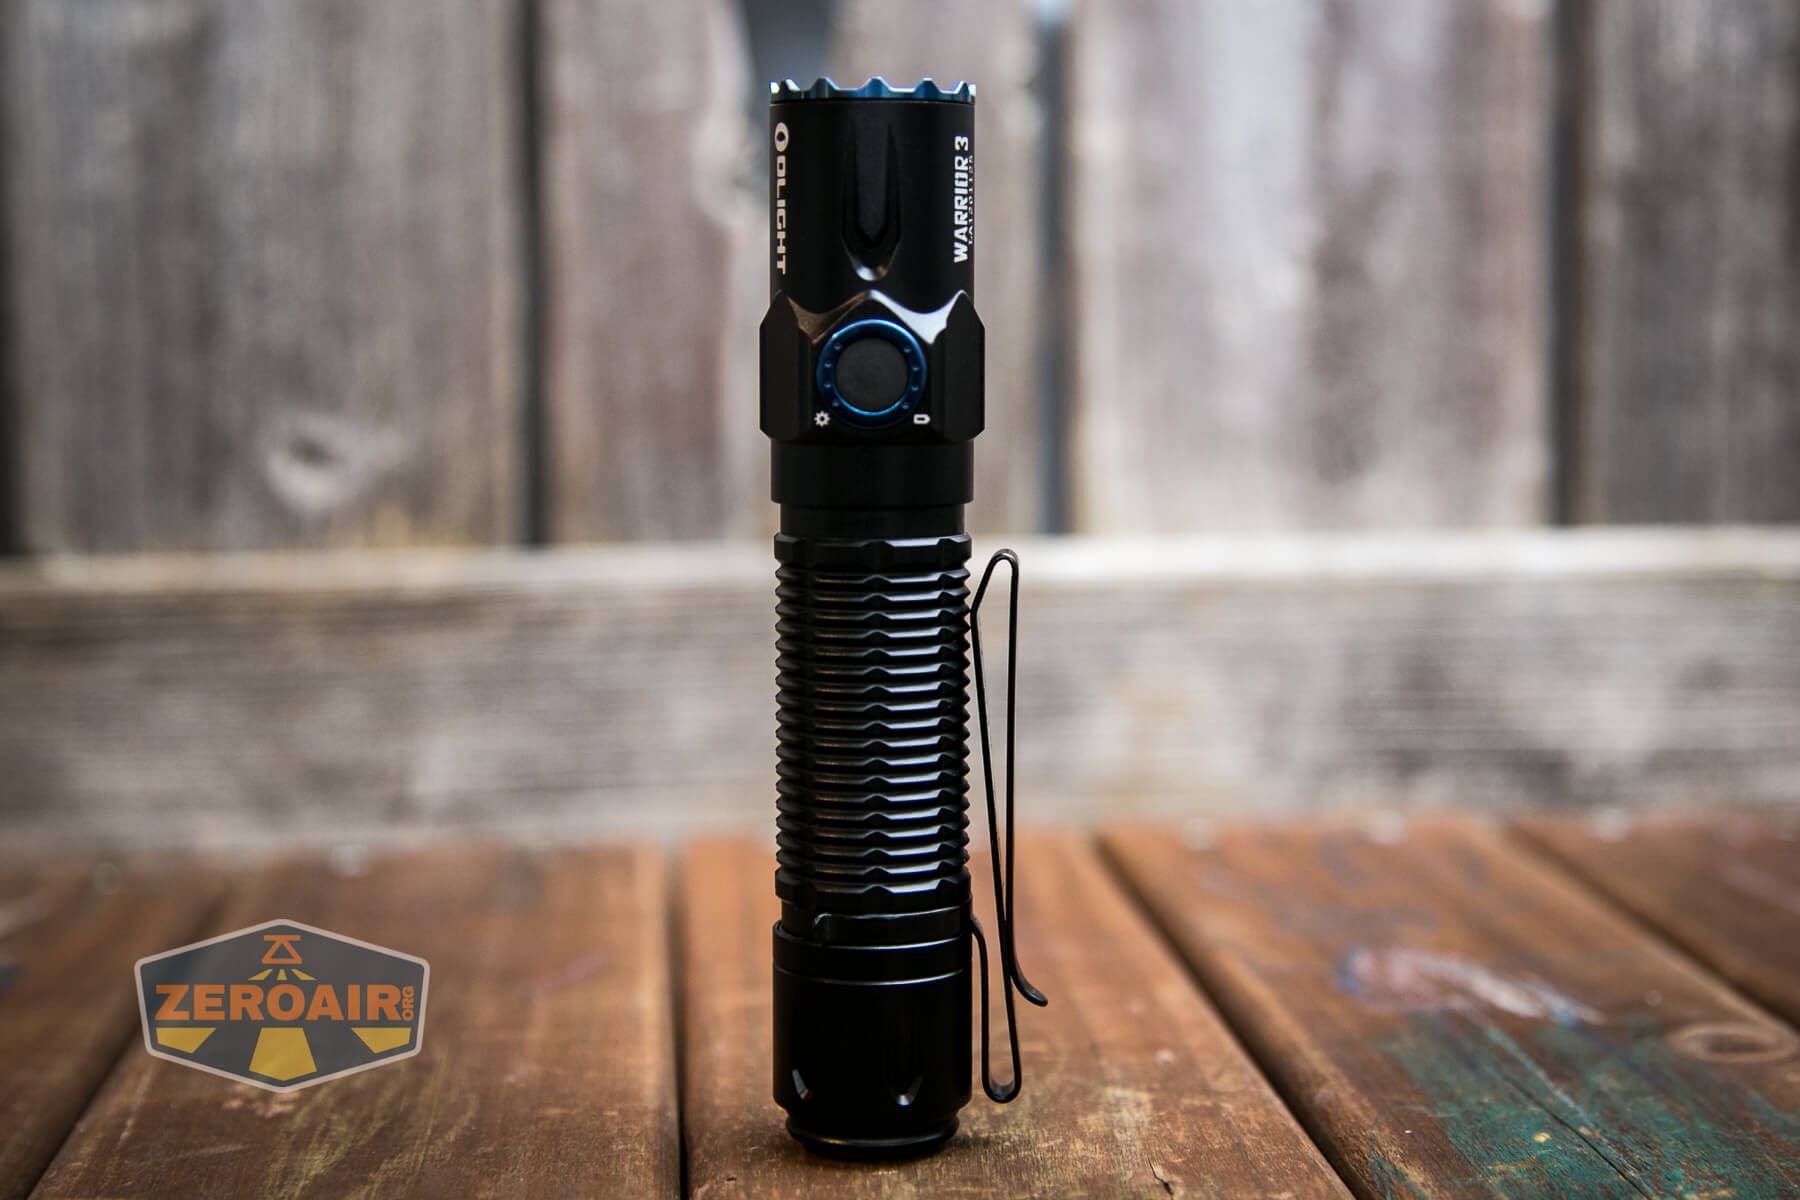
There are three Olight Warrior 3 flashlight versions. Black (seen here), Desert Camouflage, and Orange. Those last two are limited editions!

Price
As usual, Olight is having an introductory sale for their new lights. This Olight Warrior 3 flashlight is available through my Shareasale link for $83.97.
There are various kits available too – I recommend checking out the product page to see all of what’s available.

Short Review
This is a solid entry into the Warrior lineup from Olight. The Olight Warrior 3 improves some things. For example, the remote switch seems better and there’s a rail mount available for a little additional cost. I love the beam profile – a tight even hotspot with little spill. There is no lens over the TIR though, which might be a consideration for weapon mounting.
Long Review
The Big Table
| Olight Warrior 3 Flashlight | |
|---|---|
| Emitter: | Luminus SFT70 (6000K) |
| Price in USD at publication time: | $119.95 |
| Cell: | 1×21700 |
| Turbo Runtime Graph | Medium Runtime Graph |
| LVP? | Yes |
| Switch Type: | Dual Switch |
| On-Board Charging? | Yes |
| Charge Port Type: | Proprietary Magnetic |
| Charge Graph | |
| Power off Charge Port | with cell: all modes without cell: no modes |
| Claimed Lumens (lm) | 2300 |
| Measured Lumens (at 30s) | 2437 (106% of claim)^ |
| Candela per Lumen | 11.1 |
| Claimed Throw (m) | 300 |
| Candela (Calculated) in cd (at 30s) | 904lux @ 5.565m = 27996cd |
| Throw (Calculated) (m) | 334.6 (111.5% of claim)^ |
| Item provided for review by: | Olight |
| All my Olight reviews! | |
^ Measurement disclaimer: Testing flashlights is my hobby. I use hobbyist-level equipment for testing, including some I made myself. Try not to get buried in the details of manufacturer specifications versus measurements recorded here; A certain amount of difference (say, 10 or 15%) is perfectly reasonable.
What’s Included

- Olight Warrior 3 Flashlight
- Olight 5000mAh 21700 (customized/proprietary)
- Charge cable (USB to proprietary magnetic)
- Nylon holster
- Manual
Package and Manual


Build Quality and Disassembly


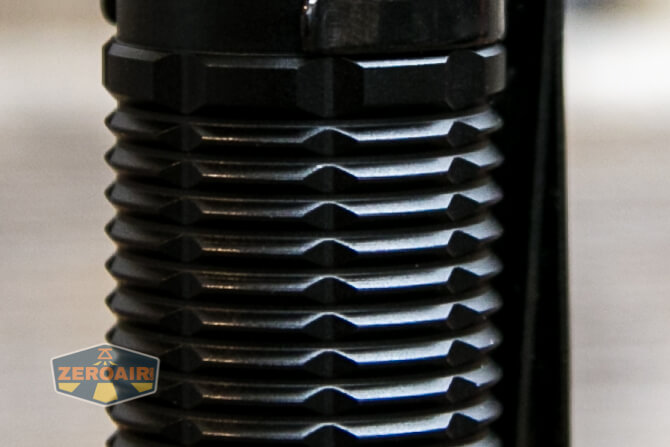


The Olight Warrior 3 is a flashlight with robust build quality.

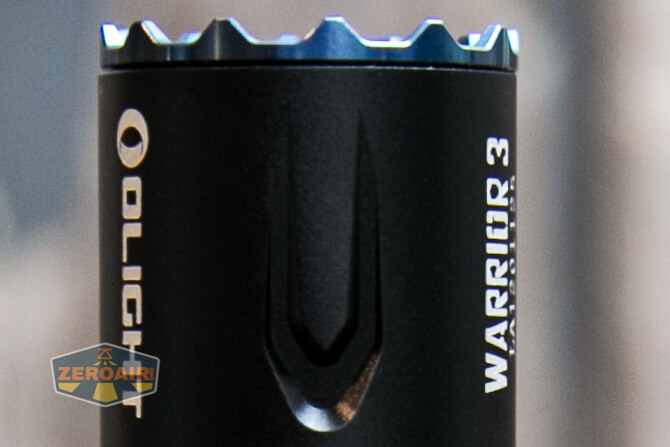
This design on the head seems to be a new take on the classic teardrop design. I like it.

Threads are smooth and well lubed. They’re anodized and long too. You might not really have to remove the tailcap much, though.

Inside is a springy button on the tail end.

The head end gets all the contact points. The proprietary nature of the cell is required because of the setup inside the head there.


Size and Comps
Weight (g / oz) 176g/6.21oz
Length (mm / in) 139/5.47
Body Diameter (mm / in) 29.5/1.16


If the flashlight will headstand, I’ll show it here (usually the third photo). If the flashlight will tailstand, I’ll show that here, too (usually the fourth photo).


Here’s the test light with the venerable Convoy S2+. Mine’s a custom “baked” edition Nichia 219b triple. A very nice 18650 light.


And here’s the light beside my custom-engraved TorchLAB BOSS 35, an 18350 light. I reviewed the aluminum version of that light in both 35 and 70 formats.

I have a couple of Olight M2R Pro Warriors, and I suppose they’re the most recent previous iteration of this Warrior lineup. The lights are quite similar in look. But different in a few features. Namely, the emitter on the Warrior 3 is cooler white.


Secondly, the Warrior 3 is a little bit longer and has this connection point for the remote switch on the tailcap. The tailcaps fit physically between the two versions but do not work between the two.

Retention and Carry
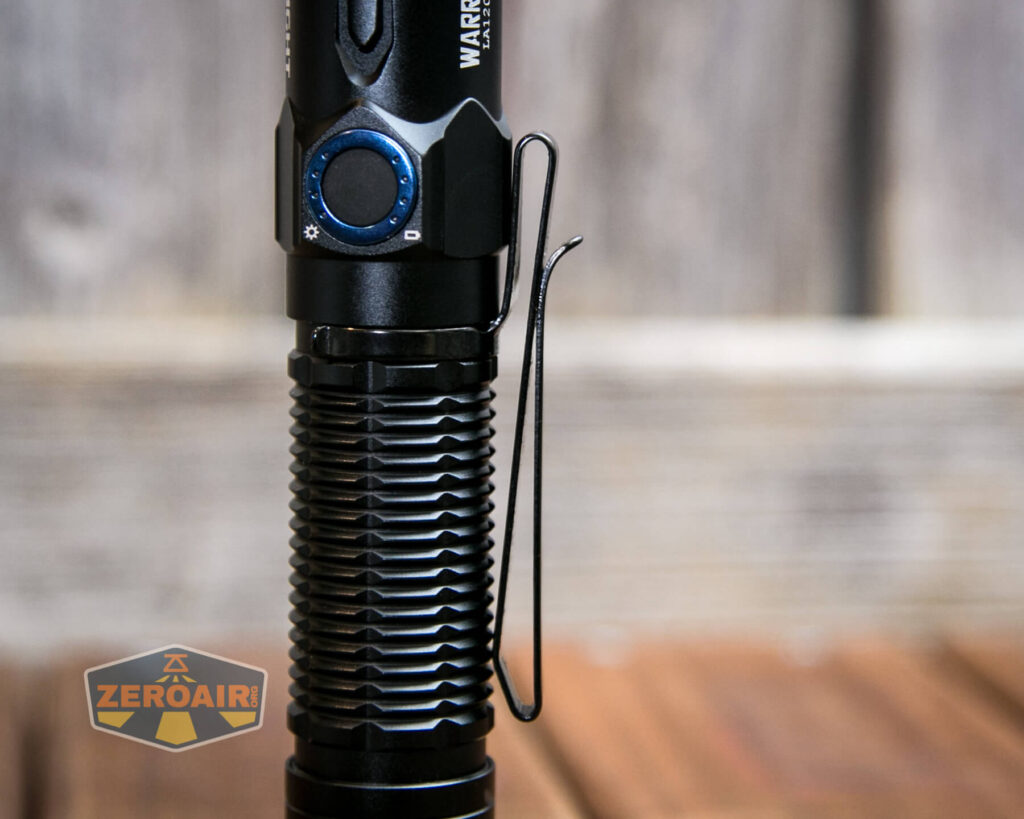
First off I’ll mention the pocket clip. Not only does it fit on the head or tail end of the light, but it’s also a “two-way” friction fit clip. The clip is long and well suited for this light.


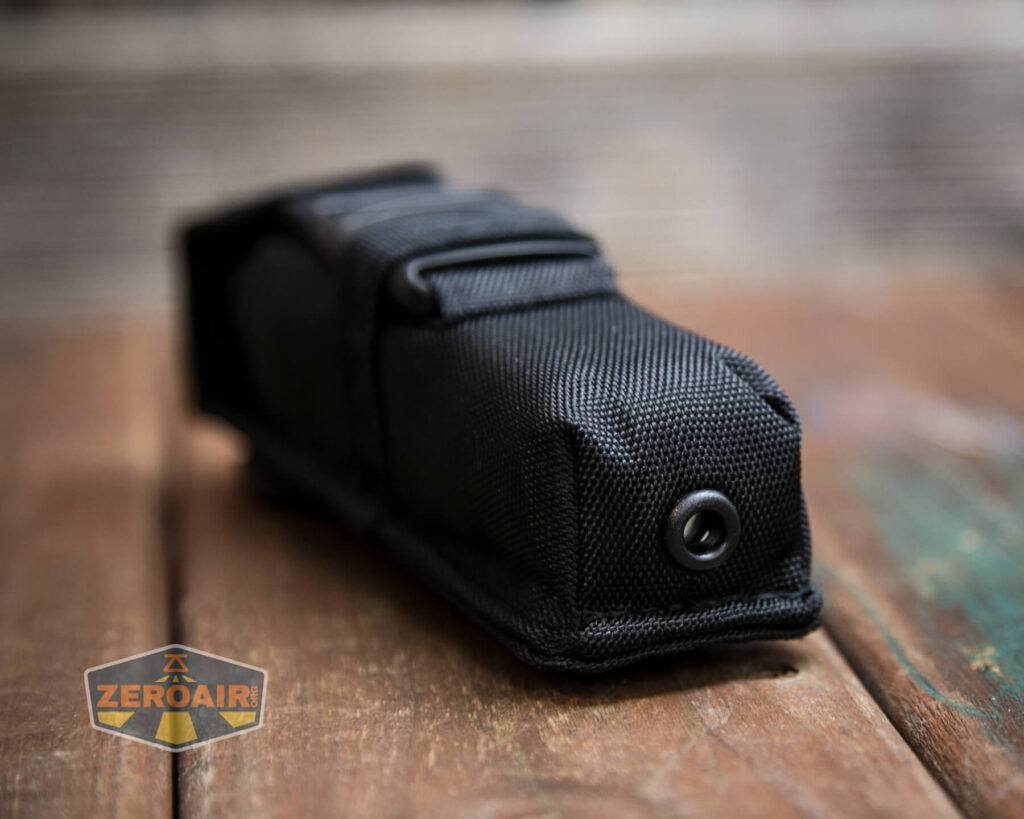
There’s also this fantastic nylon pouch, which we’ve seen on other similarly sized Olight flashlights.


No lanyard is included. In fact, there’s not even a place to attach a lanyard! That’s another change from the M2R Pro Warrior.
Power and Runtime
The Olight Warrior 3 flashlight is powered by a proprietary 21700 cell. It’s proprietary in that both positive and negative terminals are exposed on the positive end of the cell. It will not be charged in a bay-type charger. Also, traditional 21700 cells will not work in the light, and can’t be charged by the light.
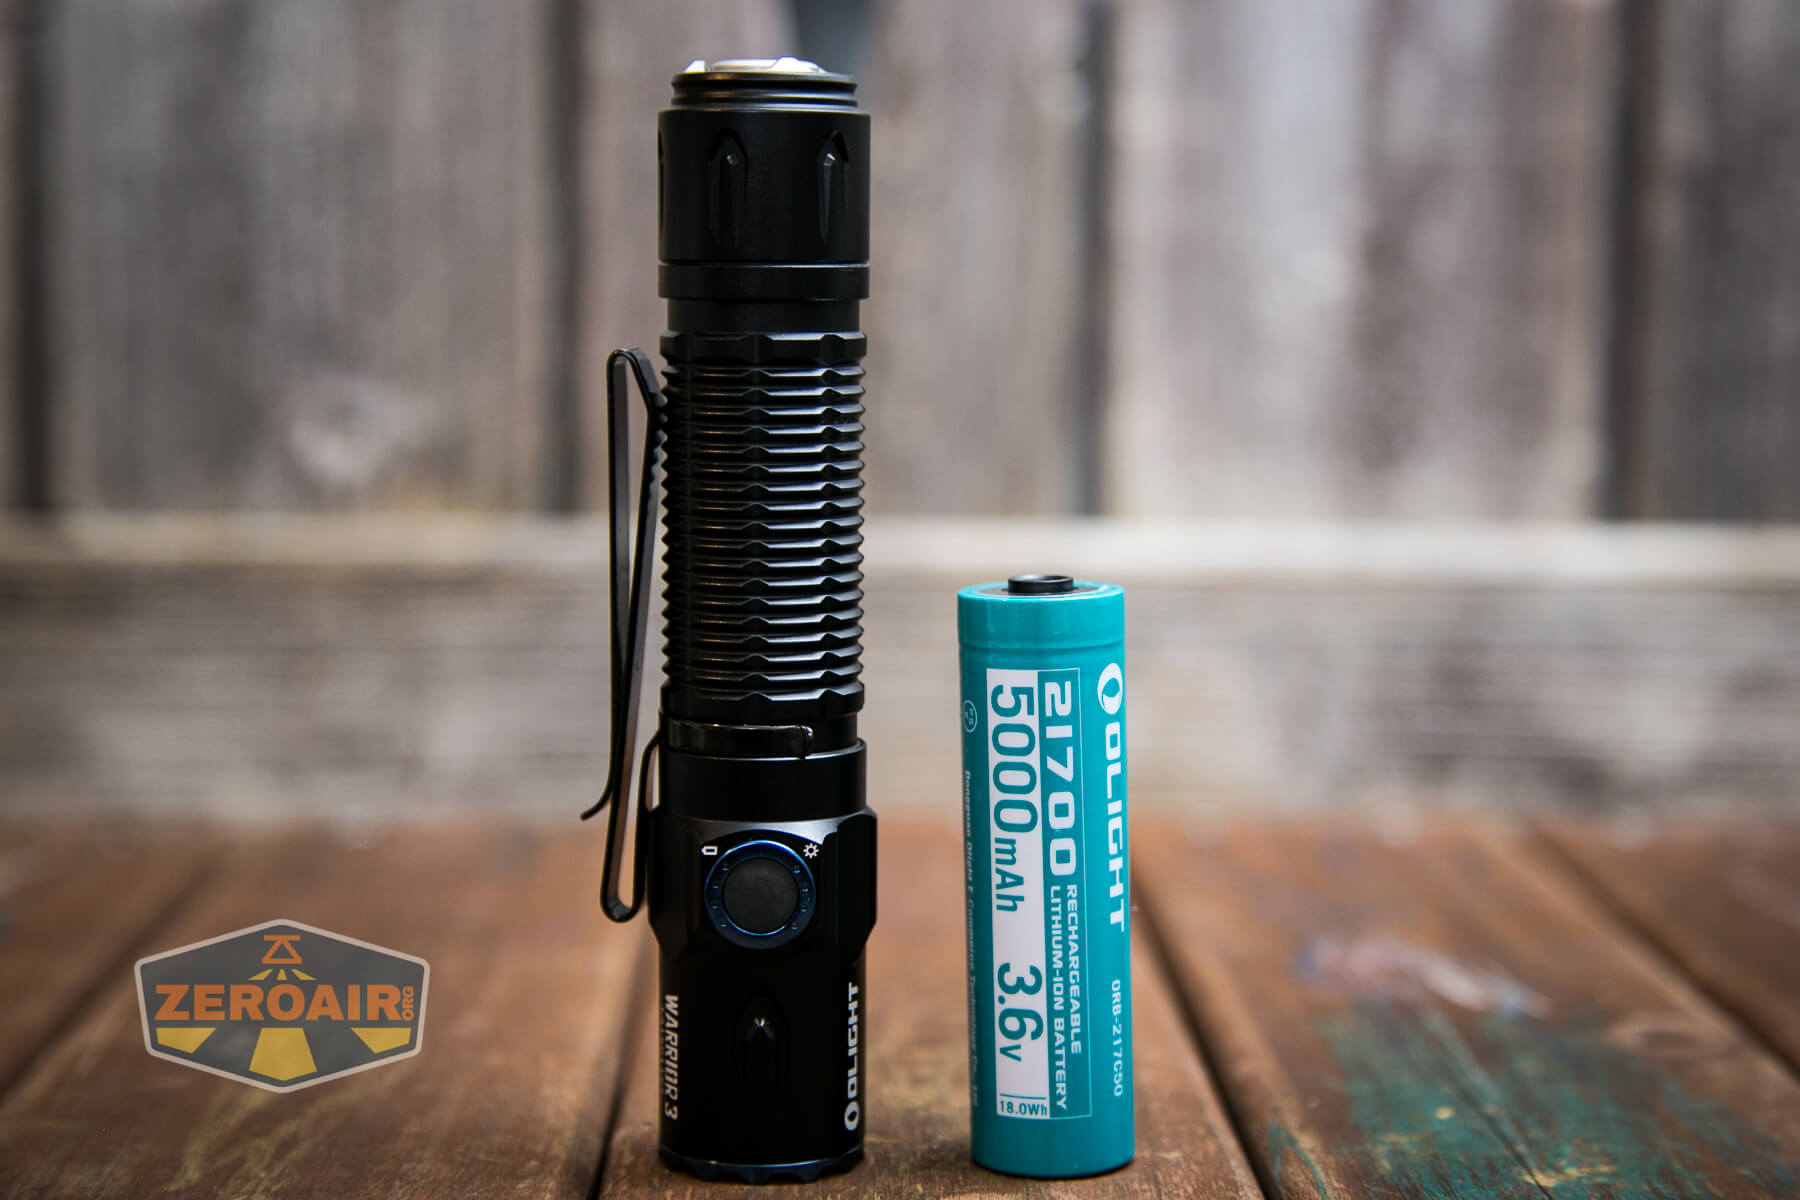


The cell fits into the Warrior 3 in the normal direction – positive terminal toward the head.

Because of this setup, the light will actually work without the tailcap installed. Interesting!

Below are a couple of runtimes. Turbo and Medium for now (but I’ll throw a High output graph in there soon.) I ran the temperature log for Medium but completely forgot to attach the sensor. So no temp on that mode.


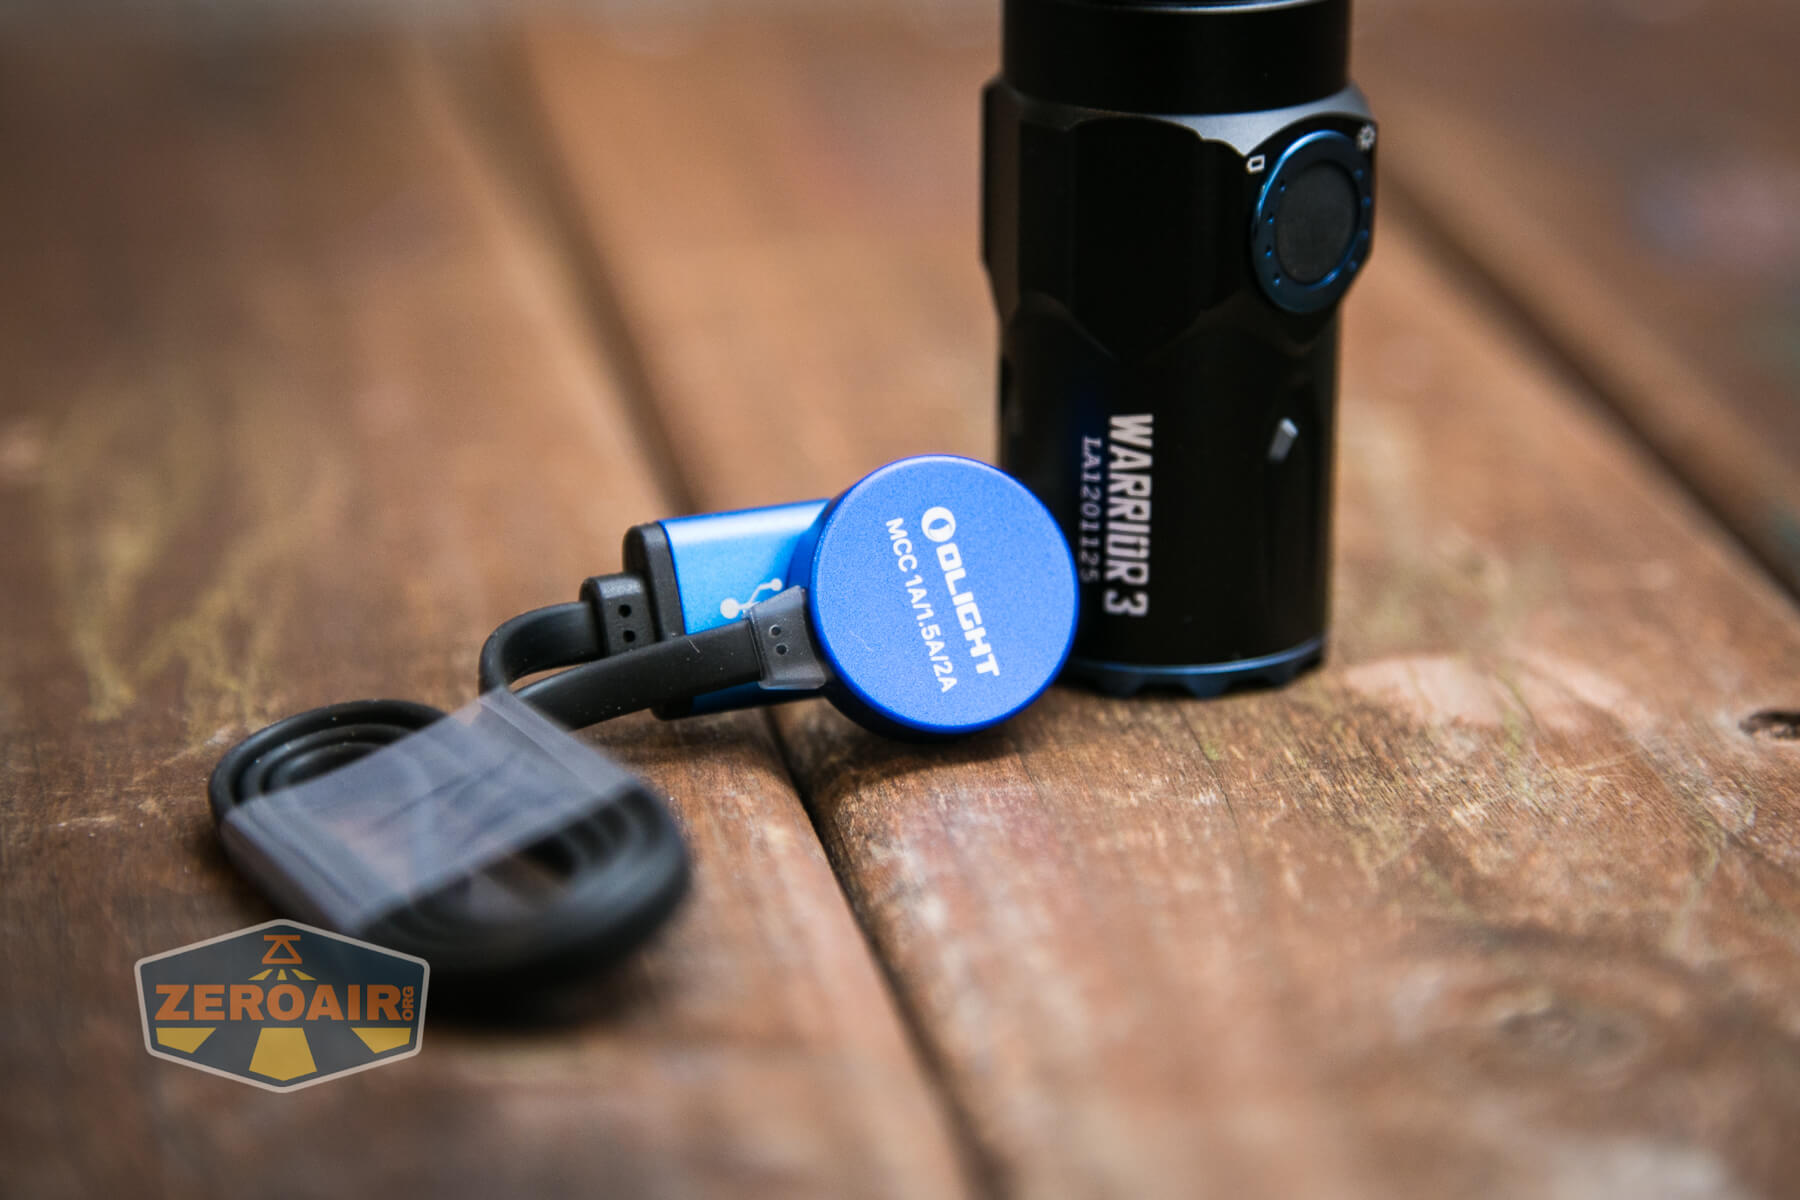
Charging
The Olight Warrior 3 has onboard charging via a USB to magnetic connector.
This is the standard MCC charger.


Here’s a charge test – charge rate goes up to over 2A and takes around 5 hours. The charging base is red while charging is ongoing, but turns green when the charge is ‘complete.” Based on my testing, it seems that charging is still happening even after the base turns green, for at least some amount of time. (An hour? maybe?)

Modes and Currents
| Mode | Mode Claimed Output (lm) | Claimed Runtime | Measured Lumens | Tailcap Amps |
|---|---|---|---|---|
| Turbo | 2300 | 2.5m/160m/39m | 2437 | 7.41 |
| High | 800 | 166m/39m | 875 | 1.52 |
| Med | 200 | 13h | 218 | 0.32 |
| Low | 15 | 130h | 19.1 | 0.02 |
| Moon | 1 | 55d | 0.9 | ~ |
Pulse Width Modulation
There’s no PWM on any mode.


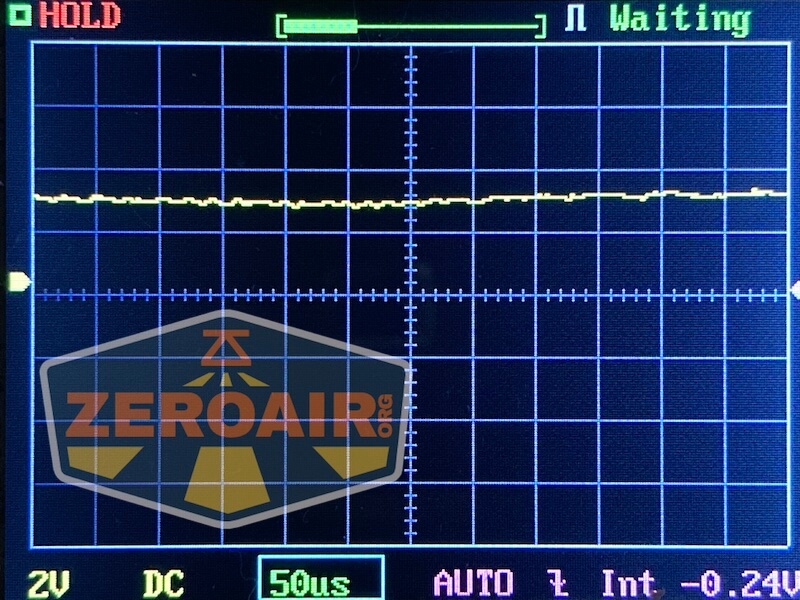


Here you can see a “baseline” – a chart with almost no light hitting the sensor.
Then there’s the Ultrafire WF-602C flashlight, which has some of the worst PWM I’ve seen. It’s so bad that I used a post about it to explain PWM! Here are multiple timescales (10ms, 5ms, 2ms, 1ms, 0.5ms, 0.2ms) to make comparing this “worst” PWM light to the test light easier. That post also explains why I didn’t test the WF-602C at the usual 50us scale.
User Interface and Operation
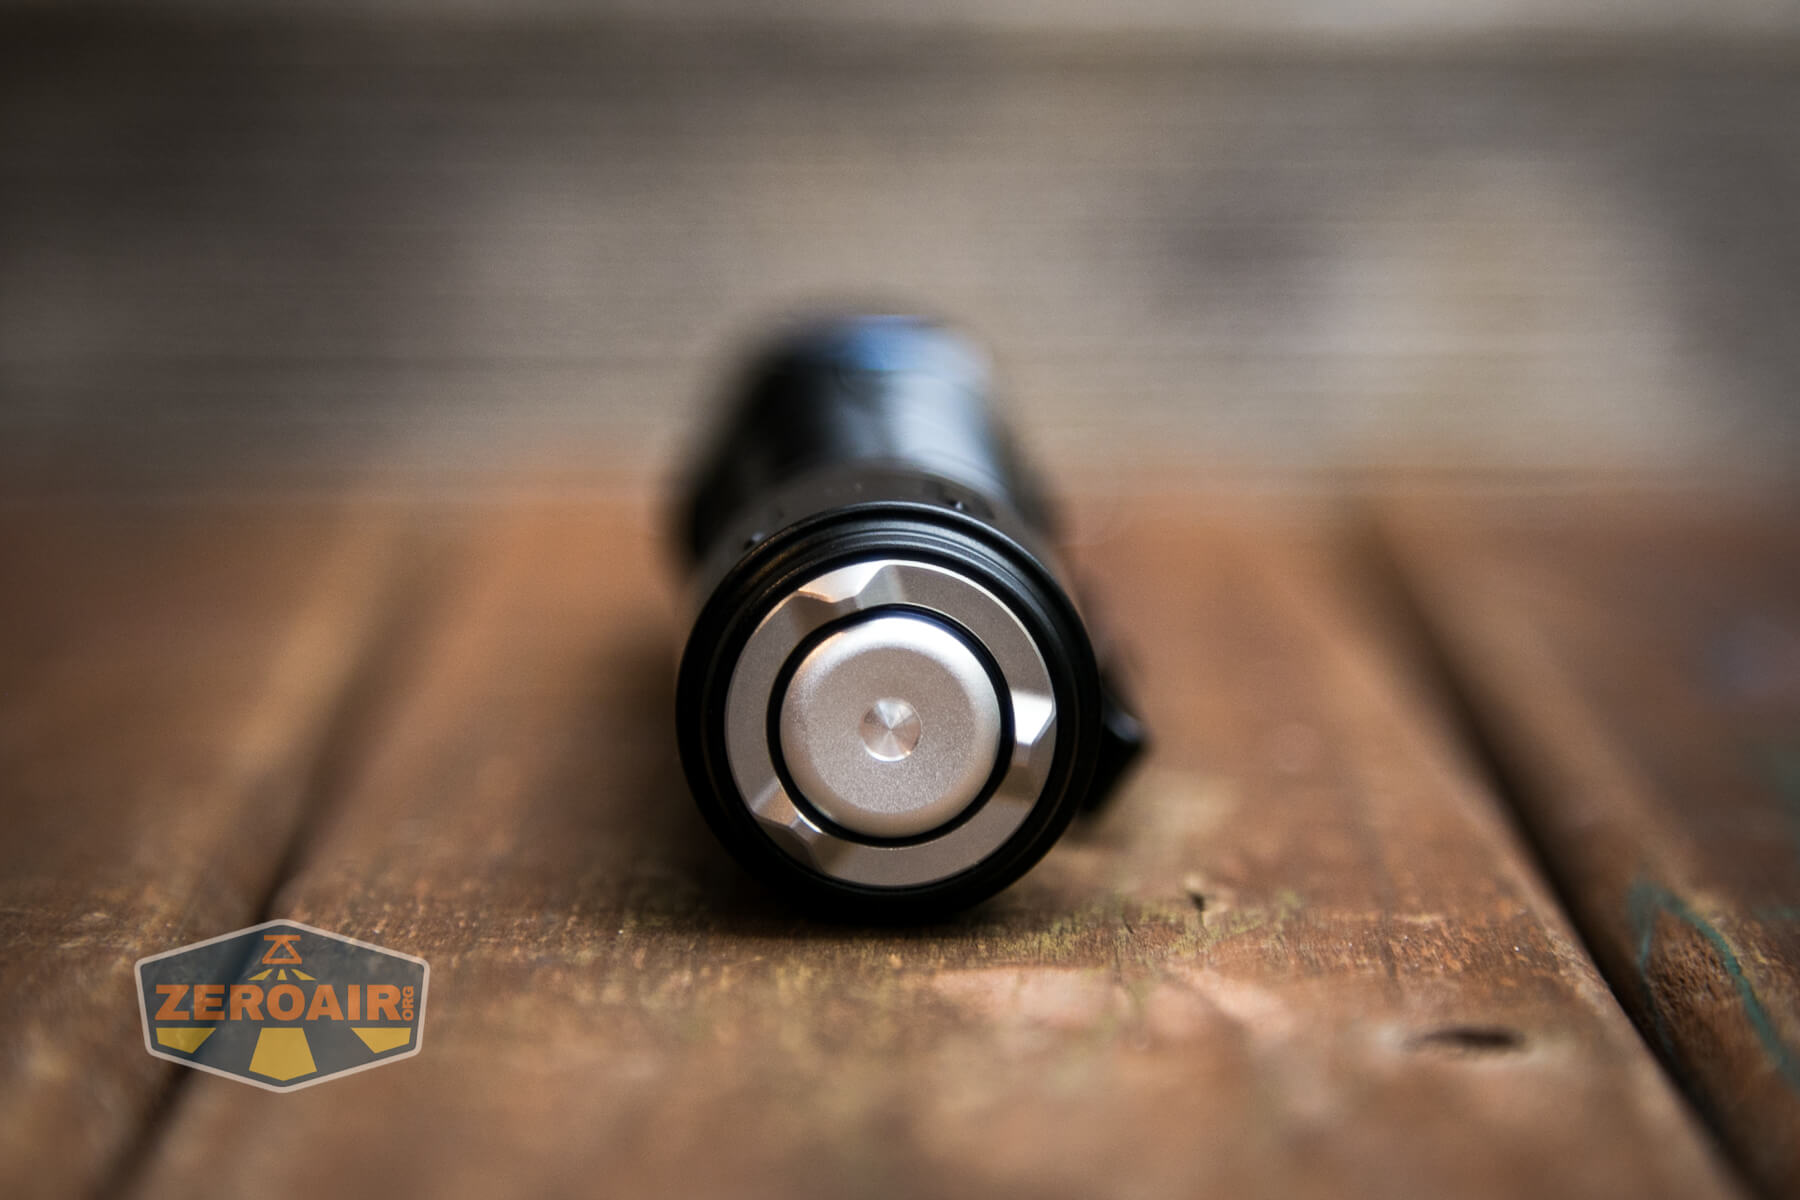
There are two switches on the Warrior 3. First is the metal tail switch which also is used in charging.
This tail switch has both a tripod design for tailstanding and metal contacts for charging.


Next is the indicating side e-switch.


This e-switch on the side of the head is flat and pleasantly large. On both sides of the switch are four green LEDs. The right side indicates the cell charge level (below seen as four green spots in every photo). The four on the left indicate which output level is selected.


Here’s a user interface table!
| State | Action | Result |
|---|---|---|
| Off | Click Side Switch | On (Mode Memory; Moonlight can be memorized but Turbo can not) |
| Off | Hold Side Switch | Moon |
| Off | Double Click Side Switch | Turbo |
| Any | Triple Click Side Switch | Strobe |
| On | Click Side Switch | Off |
| On | Hold Side Switch | Mode Advance (L>M>H) (Moon and Turbo are excluded from the cycle) |
| Turbo | Double Click Side Switch | Return to previous mode (High and Medium both return to Medium) |
| Off | Long Hold Side Switch | Lockout (Technically “Moon then lockout”) |
| Lockout | Click Side Switch | Indicator around Side Switch blink red for 2s to indicate lockout |
| Lockout | Hold Side Switch | Unlock to Moonlight |
| Any | Hold (“half-press”) Tail Switch | Medium (in Config 1, default) Turbo (in Config 2) |
| Any | Click Tail Switch | Turbo (in Config 1) Strobe (in Config 2) |
| Off | Hold Tail Switch, Click Side Switch | Switch between Config 1 and 2 (there is no confirmation. You can differentiate by actuating the tail switch and observing the mode.) |
LED and Beam
Olight carefully doesn’t mention what emitter is used in the Warrior 3 flashlight. Whatever is used has no dome, so throw should be good.

Also the Warrior 3 uses a TIR, which further accentuates the already-throwy emitter profile.

I checked around and I really don’t know what this emitter is. Here’s a close-up for you to make up your own mind about it. I’ll add that the emitter is readily accessible. The bezel unscrews easily. Then the optic falls out easily (along with the white plastic o-ring that sits between the optic and bezel). Then with some coaxing, you can get the white cup out last.

Based on the image below, this looks to be a Luminus SFT70 emitter!


LED Color Report (CRI and CCT)
Here’s a CRI report for all modes, after an emitter warmup. What can we say about this? Well, it’s not as cool as I’d have guessed – under 6000K for all but Turbo. (No surprise that turbo turns cooler in the Kelvin range.) Another thing we can say is that it’s decidedly low CRI (around 70). And the third important point is “how are the reds” – the very negative R9 tells us this. And a final point is the Duv being positive (and really a “not small” positive number) indicates there’s enough green here that you’ll probably notice.

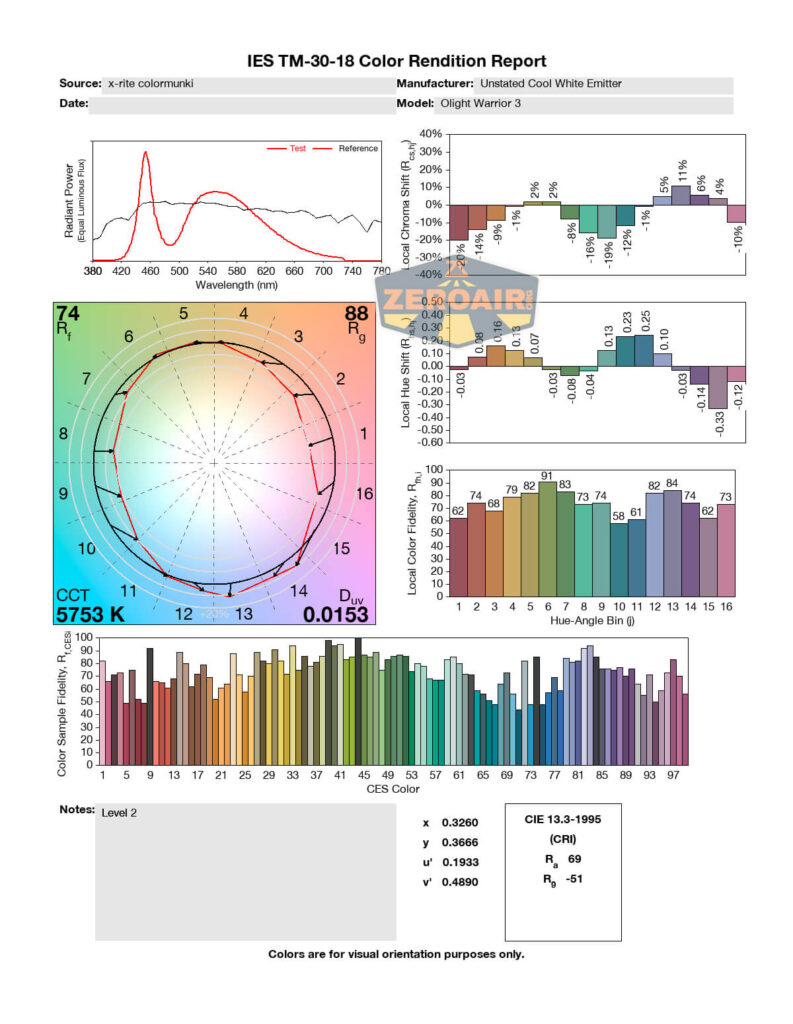


But! This does make for an efficient high-output emitter, and for this purpose, I expect that’s what Olight wanted. So this is the right emitter for their goal, I guess.
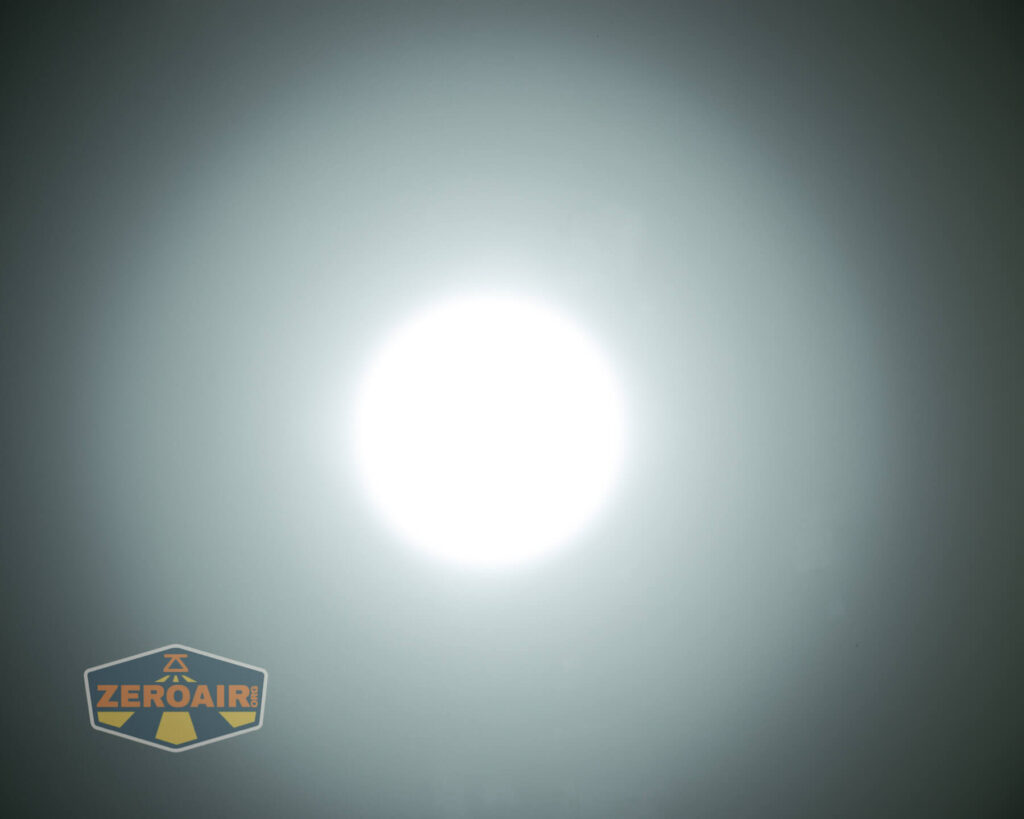
Beamshots
These beamshots always have the following settings: f8, ISO100, 0.3s shutter, and manual 5000K exposure. These photos are taken at floor level, and the beam hits the ceiling around 9 feet away.


Tint vs BLF-348 (KillzoneFlashlights.com 219b version) (affiliate link)
I keep the test flashlight on the left and the BLF-348 reference flashlight on the right.


I compare everything to the KillzoneFlashlights.com 219b BLF-348 because it’s inexpensive and has the best tint!
Conclusion
What I like
- Good build quality
- Fantastic beam profile
- Great dual switch interface
- The new “Fuel Gauge” trickling down from bigger lights to this one – big positive
- Flat e-switch. This sounds minor, but it’s very pleasant.
What I don’t like
- Proprietary charging
- Customized 21700
- Cool white emitter
Notes
- This content originally appeared at zeroair.org. Please visit there for the best experience!
- For flashlight-related patches, stickers, and gear, head over to PhotonPhreaks.com!
- Please use my Amazon.com referral link to help support zeroair.org!
- Please support me on Patreon! I deeply appreciate your support!
Emiftter of warrior 3 is sft70, it is a dedome version of sst70
Thanks!
Love your reviews!!
I really feel disappointed there’s no lanyard mount on this. Makes me think it’s more for a WML than carry light, especially with the aggressive bezel. Puts it in a half in/half out situation that’s just weird to me.
Also, I read that there is PWM visible in moon mode, but at a very high frequency. Is that normal if so?
My testing does not support that there is PWM visible in Moon mode.
Thanks – Great review – As ALWAYS!
Some people claimed that “Turbo” would no longer work, as soon as the voltage/charge dropped below a “certain” level (starting somewhere around 65%-50%)
Can you confirm this?
Would be a shame for a tactical light with a dedicated “Turbo”-switch
🙁
Great flashlight! Optics, beam shape, autonomy, sensations – everything is on top! The new switch is many steps up from previous switches (m2r/pro etc.) Keep in mind that the physical lock when you unscrew the cover will only break contact with the rear button. The side switch will still be available. But the new design of the button is really great and I hope it will eliminate possible accidental activation – the stroke is tight, short and the button is very recessed. In all other respects, this is a super flashlight!